Forza Horizon 5 Handbook | 100% Achievements Guide
 K$U$HA
(433 ratings)
Nov 5, 2021 @ 2:26am13,212961
AchievementsCharactersClassesCo-opCraftingGame ModesGameplay BasicsLootMaps or LevelsModding or ConfigurationMultiplayerSecretsStory or LoreTradingWalkthroughsWeaponsWorkshopRussian
✦ Briefing 🔍
Before starting the journey, let's check our GPS so we not to run into a dead end, because the optimal route will save both our time and nerves :)

If you are planning to get 100% of achievements, then it is better to immediately pay attention to the most unusual of them: "Seasoned Veteran", "Min, Meet Max", "Gotta Smash 'Em All".
The difficulty of these achievements is that it is necessary to wait for the change of seasons and episodes. The season changes every week on Thursday at 14:30 GMT, and the series changes every month after going through a cycle of 4 seasons.
Achievements Seasoned Veteran and Min, Meet Max can be done within 1 month, if you get in time for the first season. The main thing is to complete all the tasks from the Festival playlist (for more details, see the Finish Line section).
But to get the Gotta Smash 'Em All achievement it will take more than 1 month, since during the first series it was possible to complete only 1 task out of 5 (for more details, see the "Crash Test" section). The tasks themselves are easy, and for them you need to destroy some objects on the map, for example, cacti. The problem is that you have to wait for these tasks to appear in the playlist. Let's hope that the developers will fix this situation, and such tasks will appear at least once per season...

There are 2 main ways to collect the collectibles: the Treasure Map Expansion and the Community Interactive Map. In my experience, spending time and attention on manually tracking the progress of the collection is not very pleasant, but if you still like this process, then the interactive map will help you find losses in case of an emergency.
After registration, you will be able to mark which items you have collected:
https://swissgameguides.app/maps/forza_horizon_5/mexico
https://store.steampowered.com/app/1613285/Forza_Horizon_5/
If you are running low on credits, search the EventLab for the Blueprints. Usually, there are some popular schemes from other players for credits and experience.
To boost your car mastery points, it is better to use one of these Hoonicorn cars, pumping all car mastery for the selected car:

HOONIGAN GYMKHANA 10 FORD HOONICORN MUSTANG can be bought from the auction or received as a reward for playlist activity. Available multiplier is x8.
HOONIGAN FORD "HOONICORN" MUSTANG can be bought from the Autoshow (500,000 credits), be won from Wheelspin, or from the auction. Available multiplier is x7.
After purchasing one of these cars and pumping its car mastery, to simplify the process, you can go to the airfield (the simplest location):
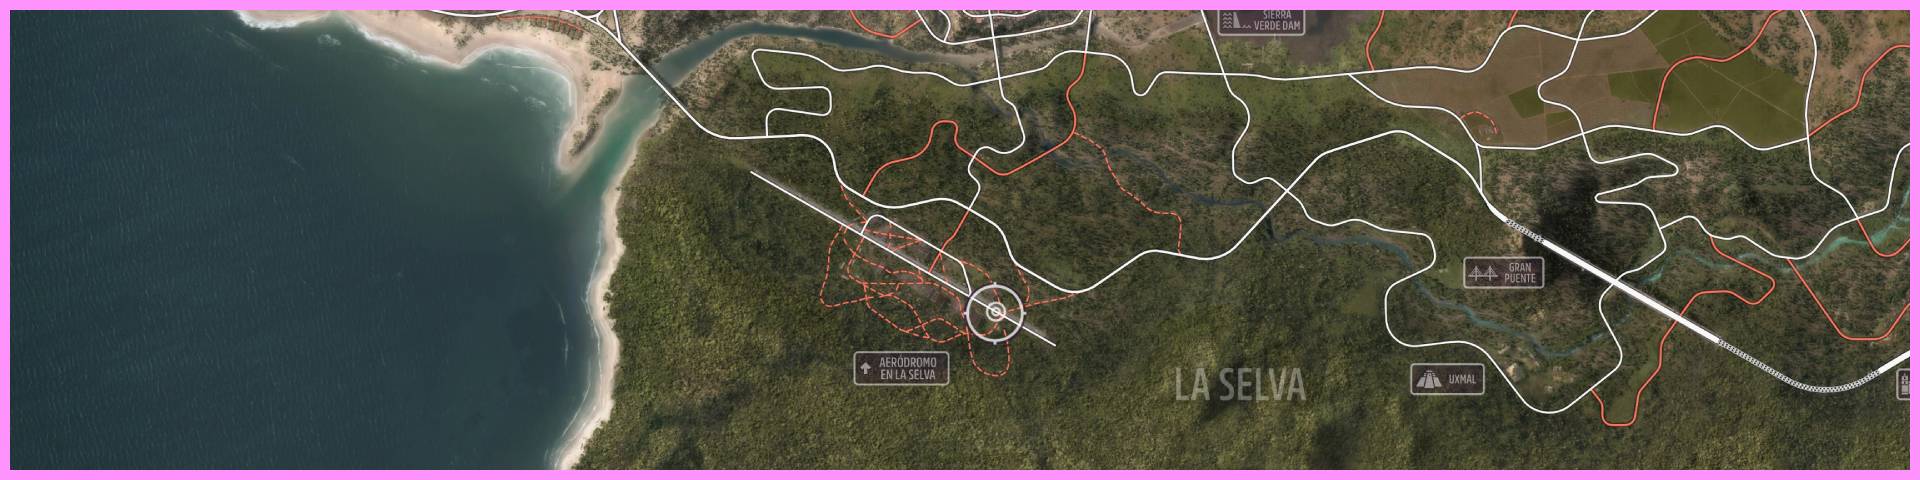
For easy drifting, disable Traction Control and Stability Control in difficulty settings. The only thing left to do is to drift around, performing techniques, and keep an eye on the multiplier. Do not forget, that you will not get more than 10 points of car mastery for 1 run (1 point = 50k), so, the result after multiplication should not exceed 500k (gaining in 4 minutes):

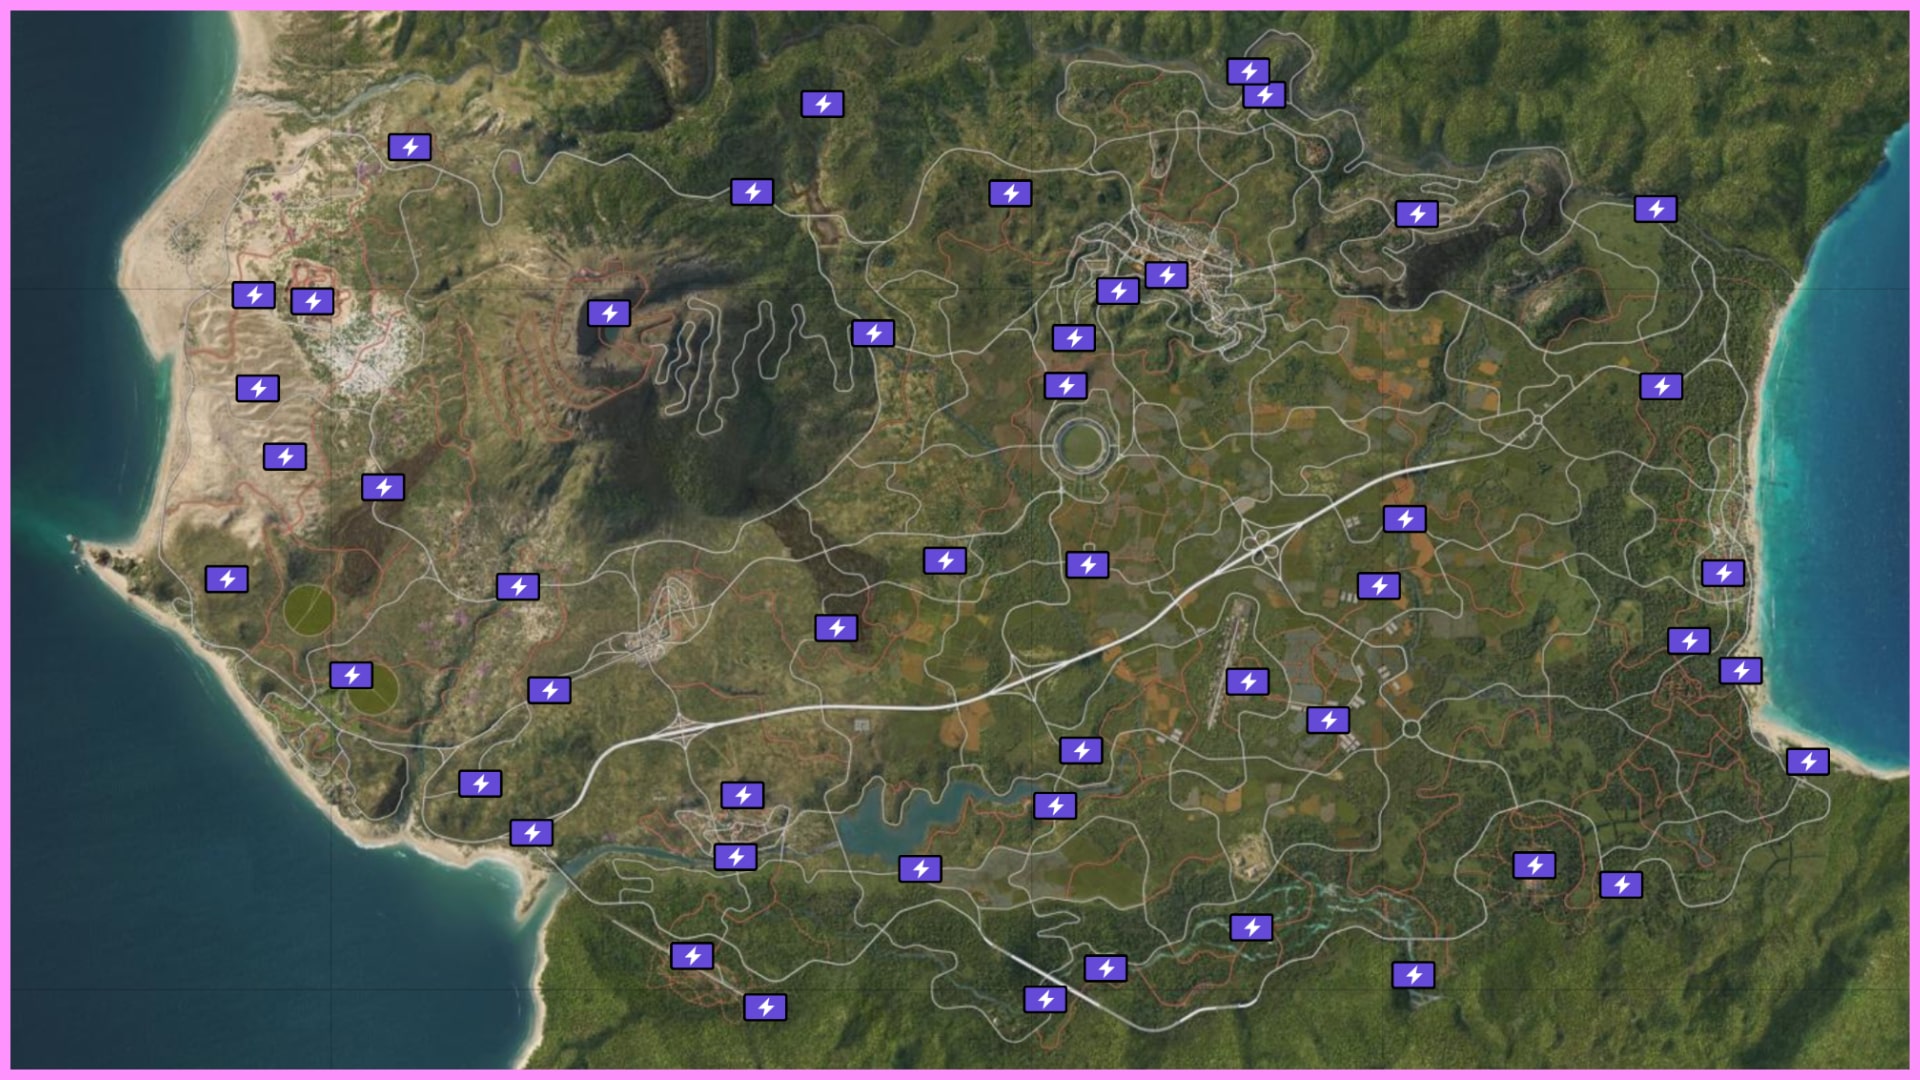
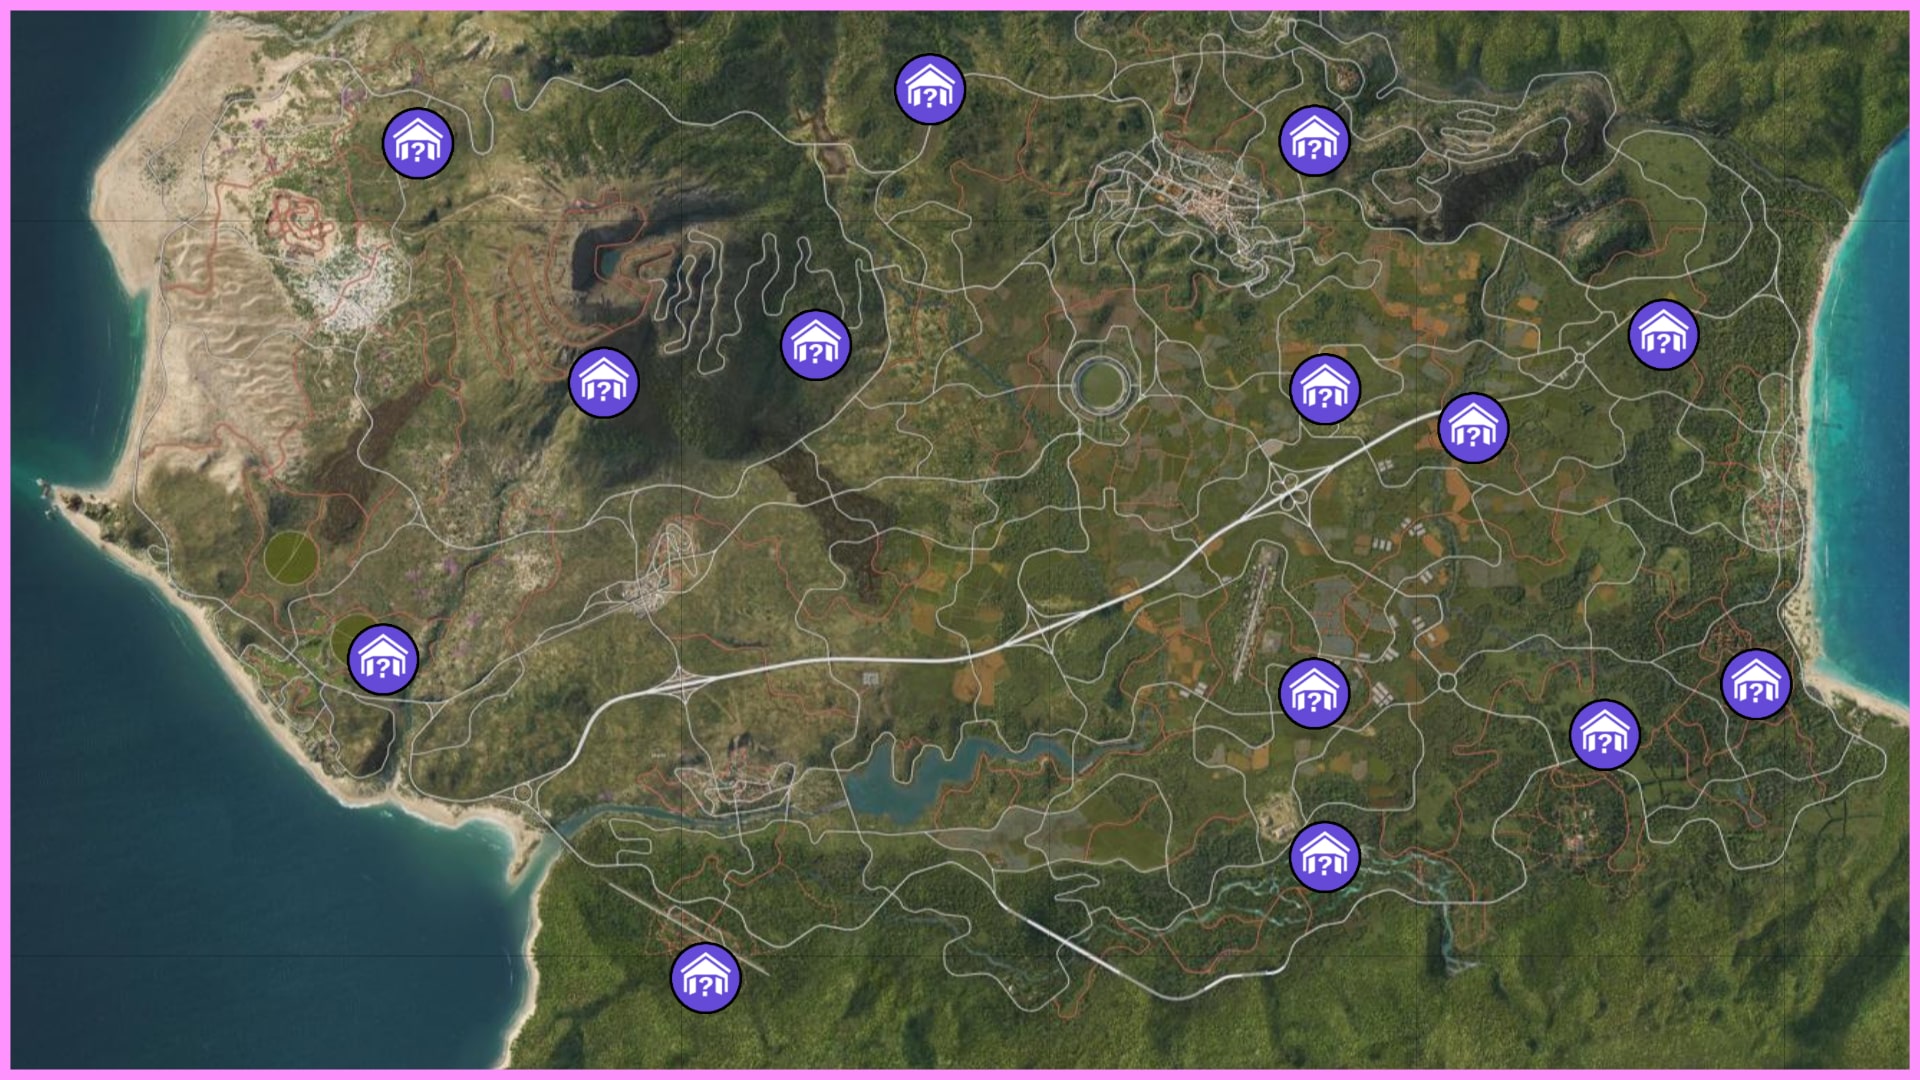
It would be better, if you purchase the Buenas Vistas house, as soon as possible, and break all the fast travel stands so as not to waste time and credits. Build the STREET SCENE outpost (more detaild in the "Horizon Adventure" section) to display the house on the map.
Fast Travel Boards Map:
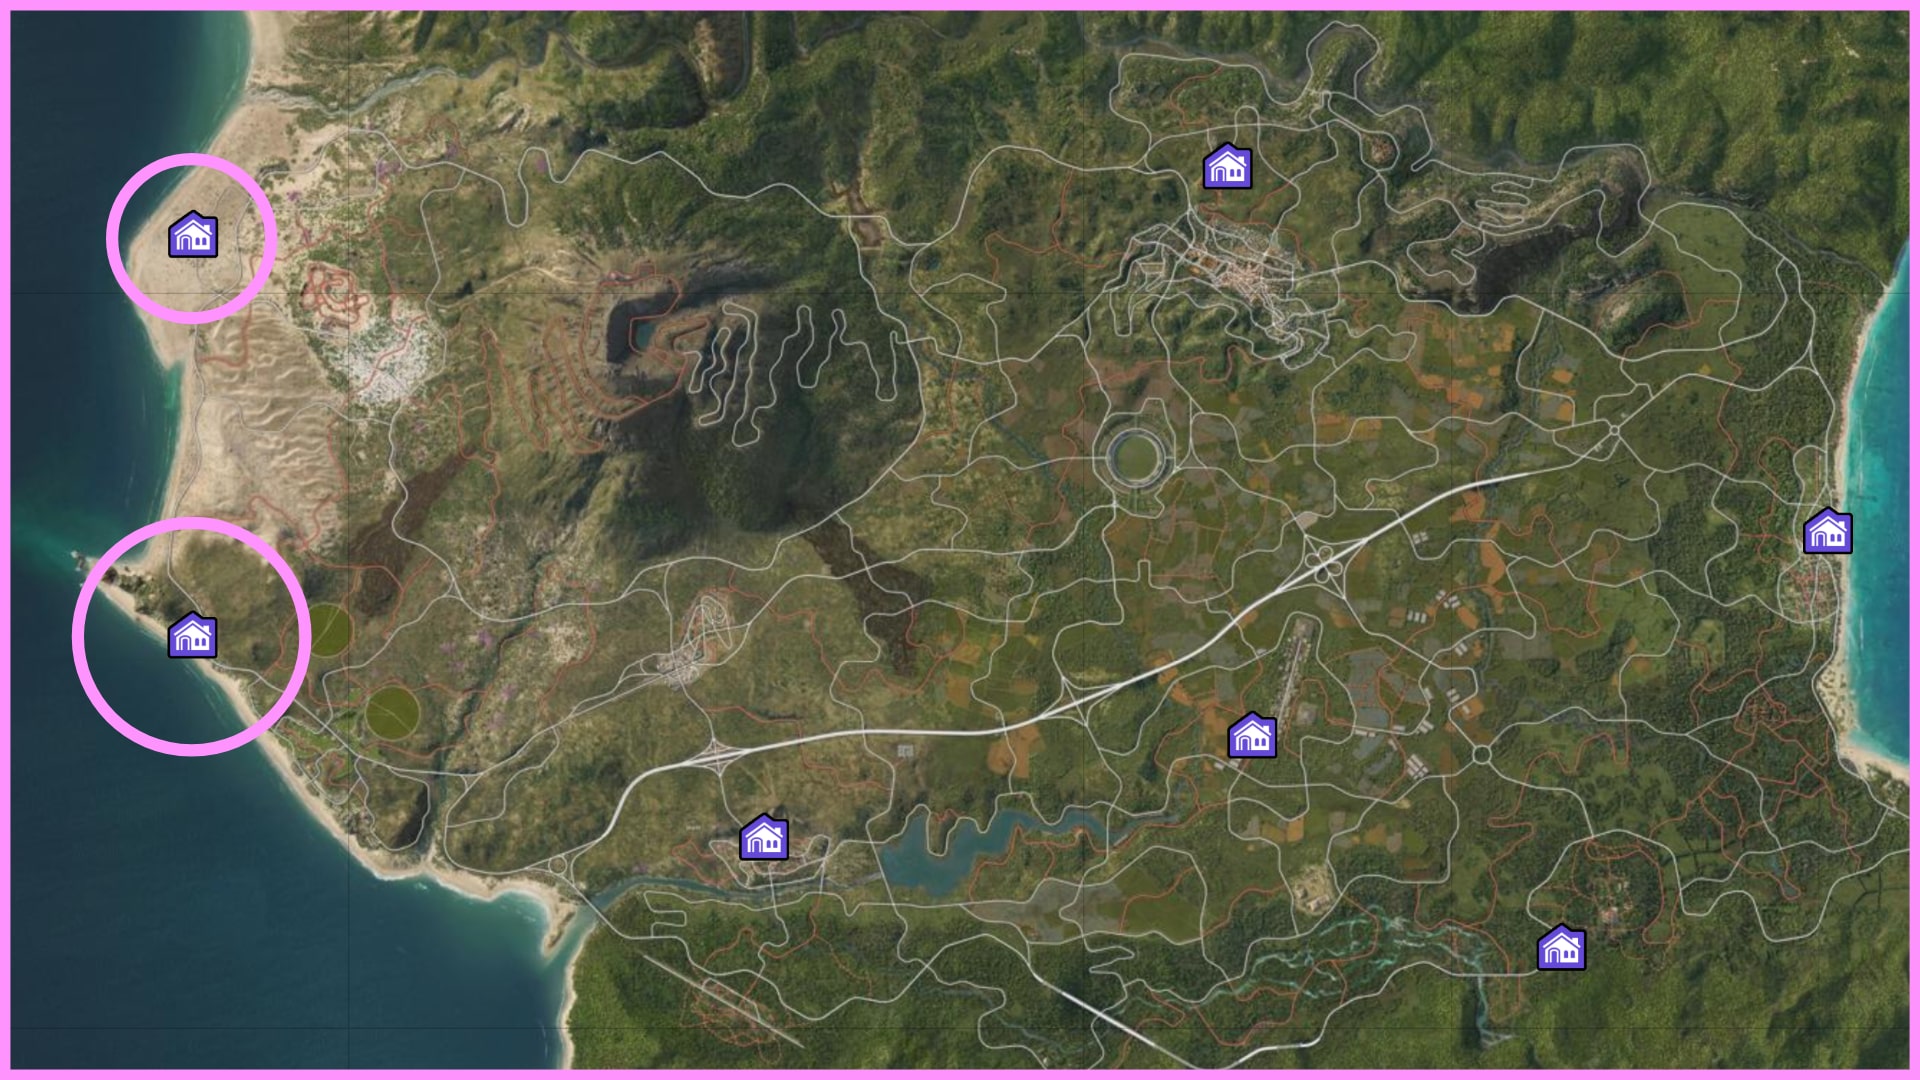
The needed house (lower on the picture, 2 000 000 cr), and, just above it, there is the house required for the 14th Barn Find:
In this section, I will describe the pitfalls that Horizon drivers may encounter while driving around the Horizon Festival.
If you are planning to get 100% of achievements, then it is better to immediately pay attention to the most unusual of them: "Seasoned Veteran", "Min, Meet Max", "Gotta Smash 'Em All".
The difficulty of these achievements is that it is necessary to wait for the change of seasons and episodes. The season changes every week on Thursday at 14:30 GMT, and the series changes every month after going through a cycle of 4 seasons.
Achievements Seasoned Veteran and Min, Meet Max can be done within 1 month, if you get in time for the first season. The main thing is to complete all the tasks from the Festival playlist (for more details, see the Finish Line section).
But to get the Gotta Smash 'Em All achievement it will take more than 1 month, since during the first series it was possible to complete only 1 task out of 5 (for more details, see the "Crash Test" section). The tasks themselves are easy, and for them you need to destroy some objects on the map, for example, cacti. The problem is that you have to wait for these tasks to appear in the playlist. Let's hope that the developers will fix this situation, and such tasks will appear at least once per season...
There are 2 main ways to collect the collectibles: the Treasure Map Expansion and the Community Interactive Map. In my experience, spending time and attention on manually tracking the progress of the collection is not very pleasant, but if you still like this process, then the interactive map will help you find losses in case of an emergency.
After registration, you will be able to mark which items you have collected:
https://swissgameguides.app/maps/forza_horizon_5/mexico
https://store.steampowered.com/app/1613285/Forza_Horizon_5/
If you are running low on credits, search the EventLab for the Blueprints. Usually, there are some popular schemes from other players for credits and experience.
To boost your car mastery points, it is better to use one of these Hoonicorn cars, pumping all car mastery for the selected car:
HOONIGAN GYMKHANA 10 FORD HOONICORN MUSTANG can be bought from the auction or received as a reward for playlist activity. Available multiplier is x8.
HOONIGAN FORD "HOONICORN" MUSTANG can be bought from the Autoshow (500,000 credits), be won from Wheelspin, or from the auction. Available multiplier is x7.
After purchasing one of these cars and pumping its car mastery, to simplify the process, you can go to the airfield (the simplest location):
For easy drifting, disable Traction Control and Stability Control in difficulty settings. The only thing left to do is to drift around, performing techniques, and keep an eye on the multiplier. Do not forget, that you will not get more than 10 points of car mastery for 1 run (1 point = 50k), so, the result after multiplication should not exceed 500k (gaining in 4 minutes):
It would be better, if you purchase the Buenas Vistas house, as soon as possible, and break all the fast travel stands so as not to waste time and credits. Build the STREET SCENE outpost (more detaild in the "Horizon Adventure" section) to display the house on the map.
Fast Travel Boards Map:
The needed house (lower on the picture, 2 000 000 cr), and, just above it, there is the house required for the 14th Barn Find:
✦ Ready! Set! Go! 🟢
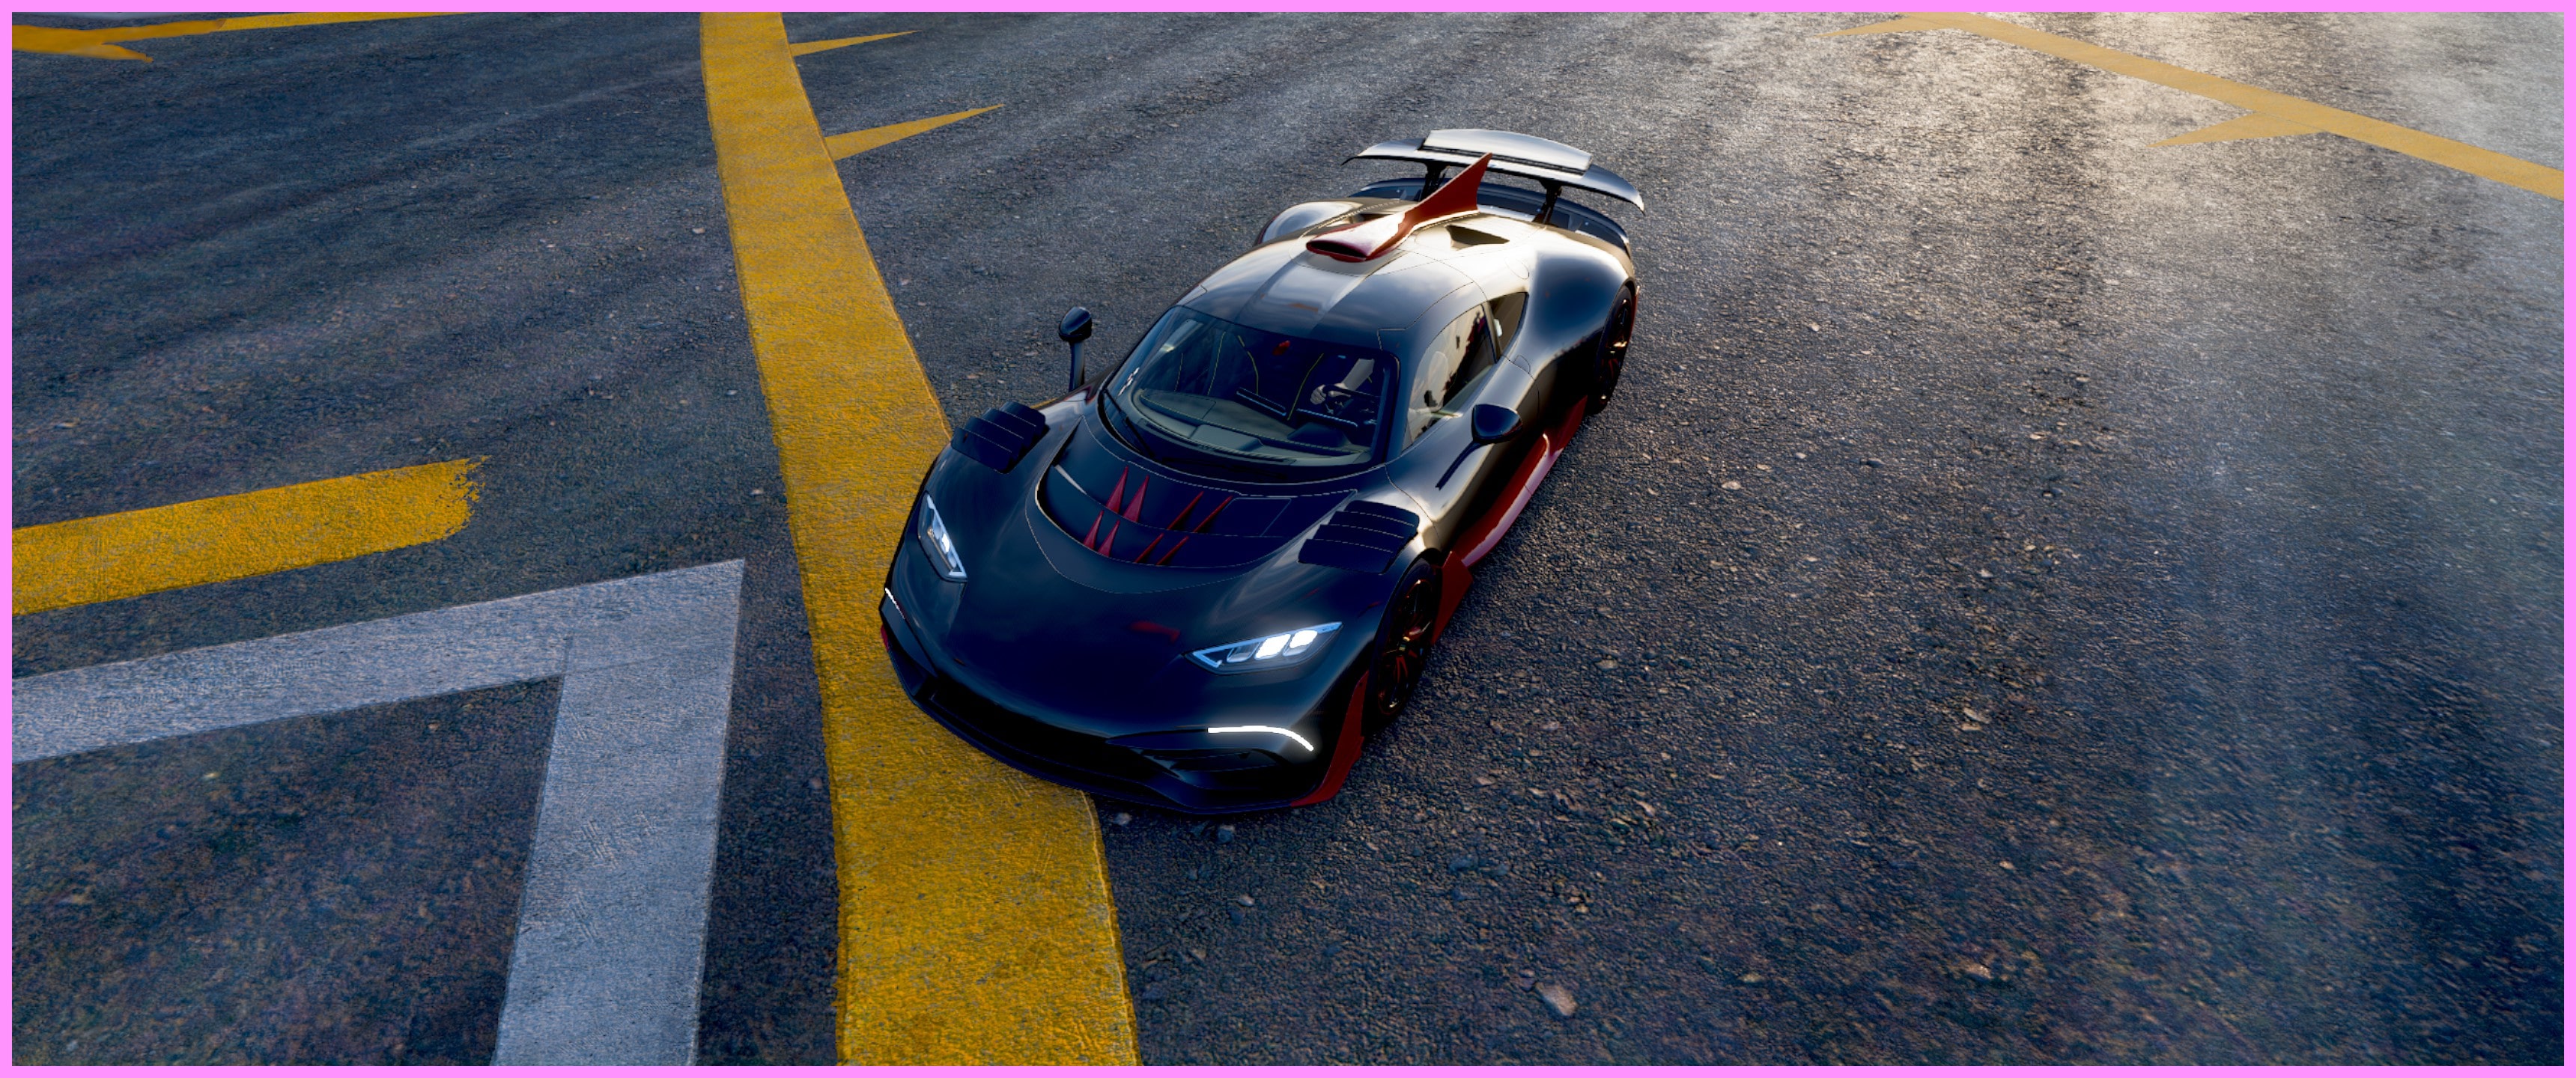
Fasten your seat belts, turn the ignition key, pedal to the metal! We begin our epic Horizon adventure, this time in Mexico. Get ready for an incredible amount of activities, a wide selection of cars, interesting tuning and fascinating visuals! Go, go, go!
Complete the first race at the start of the game. The achievement pops immediately after the starting race.
The "On a Wing and a Prayer" Showcase Event is the second objective, immediately after the initial drive and introductory cinematic. You'll need to drive to the designated location and race against a cargo plane and two wingsuit-equipped NPCs riding dirt bikes.
![]()
Enter and complete any one Race Event in FH5, which you will be able to do immediately after completing the first three objectives in FH5 (the initial drive, the first Showcase Event, and the first Horizon Story)
The first Forza Horizon 5 player house is "Casa Bella"
Once you complete the initial drive, first Showcase Event, first Horizon Story, and earn enough Accolade points to start a new Horizon Adventure chapter, you'll be directed to Mulegé, where you'll be given Casa Bella by Ramiro
Earned after you complete the initial drive, first Showcase Event, first Horizon Story, and accept your first player house from Ramiro in Mulegé.
After which, Forza Horizon 5 should expand and give you increased access to the Horizon Adventure campaign.
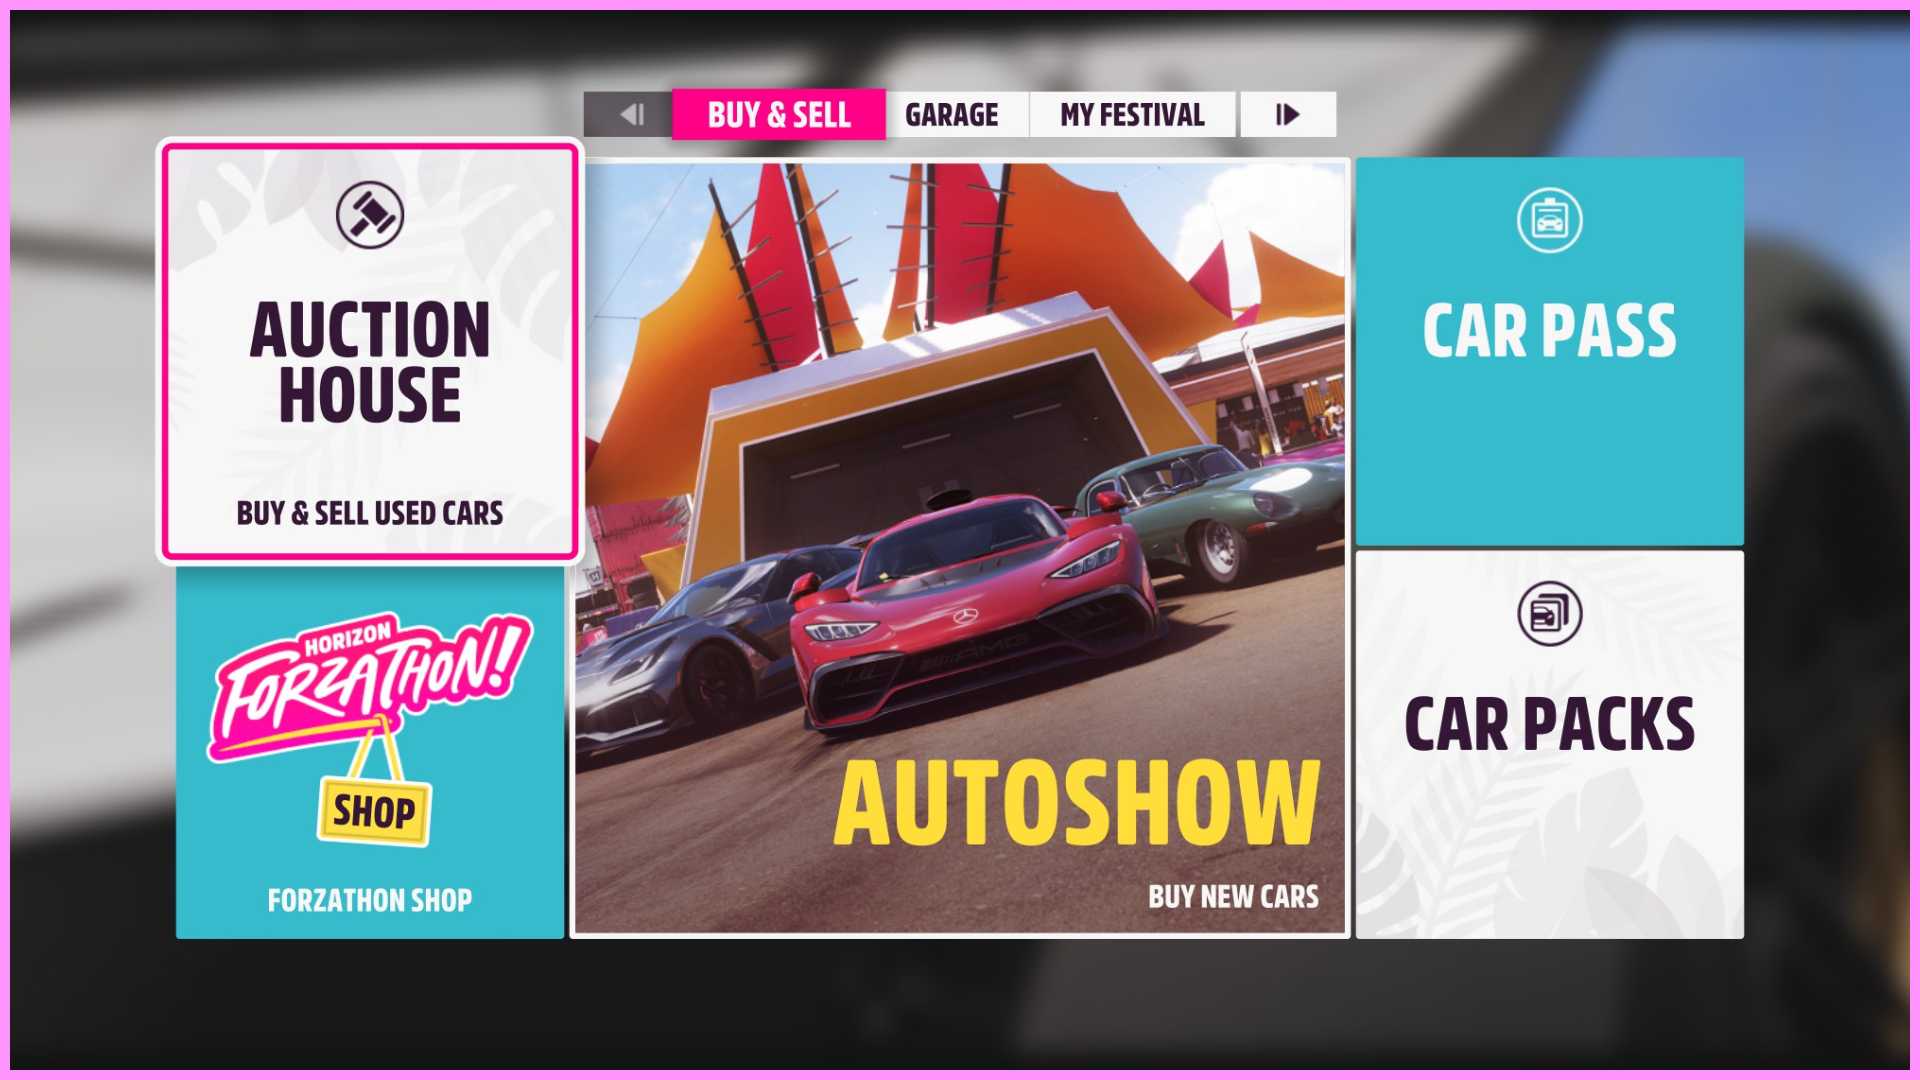
Buy any car at all from the Forza Horizon 5 Autoshow. You can do it, for example, through the menu, visiting Autoshow or opening Car collection. More details can be found in the "Car Collection" section.
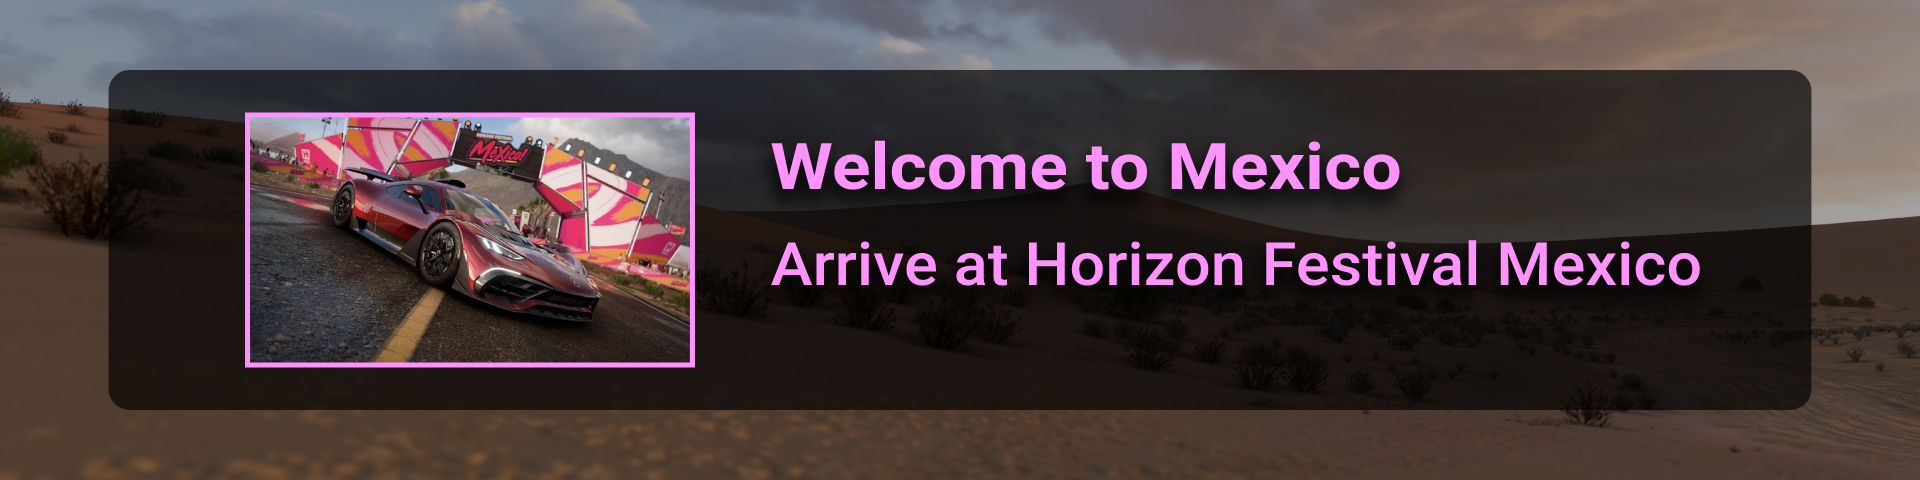
Welcome to Mexico
Complete the first race at the start of the game. The achievement pops immediately after the starting race.
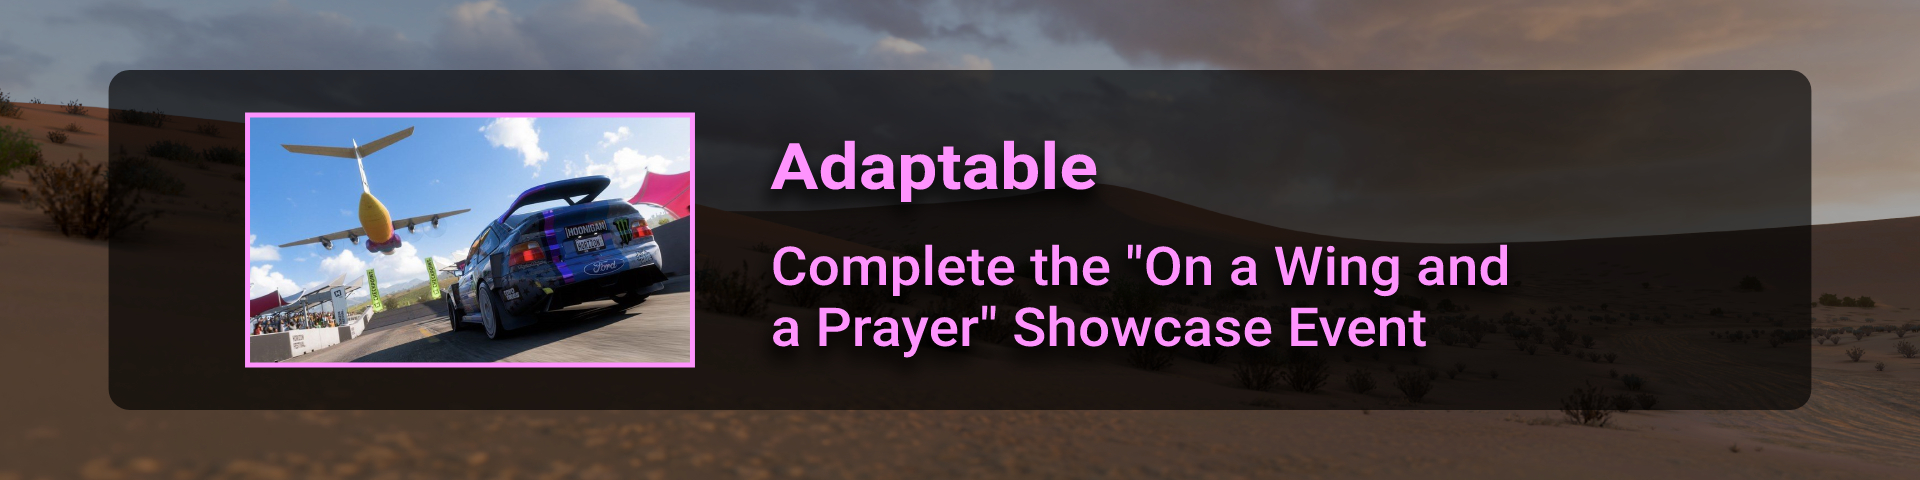
Adaptable
The "On a Wing and a Prayer" Showcase Event is the second objective, immediately after the initial drive and introductory cinematic. You'll need to drive to the designated location and race against a cargo plane and two wingsuit-equipped NPCs riding dirt bikes.
Race into Action
Enter and complete any one Race Event in FH5, which you will be able to do immediately after completing the first three objectives in FH5 (the initial drive, the first Showcase Event, and the first Horizon Story)
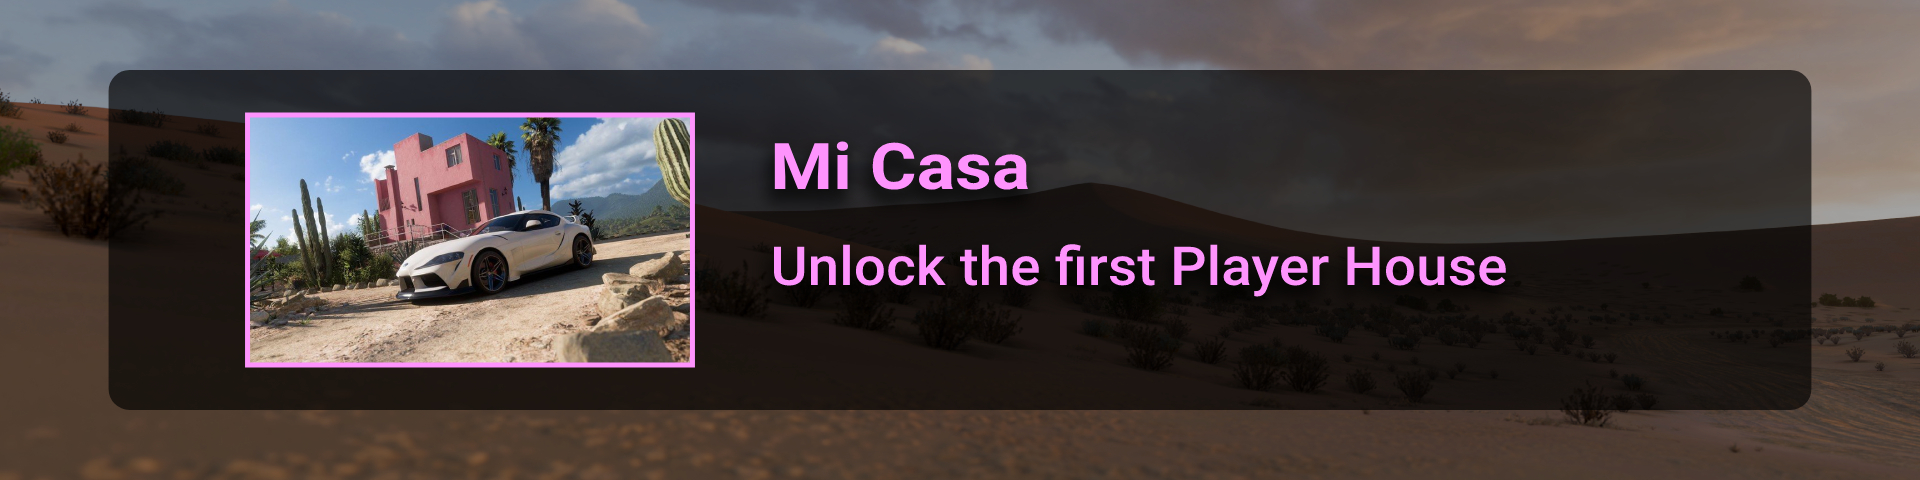
Mi Casa
The first Forza Horizon 5 player house is "Casa Bella"
Once you complete the initial drive, first Showcase Event, first Horizon Story, and earn enough Accolade points to start a new Horizon Adventure chapter, you'll be directed to Mulegé, where you'll be given Casa Bella by Ramiro
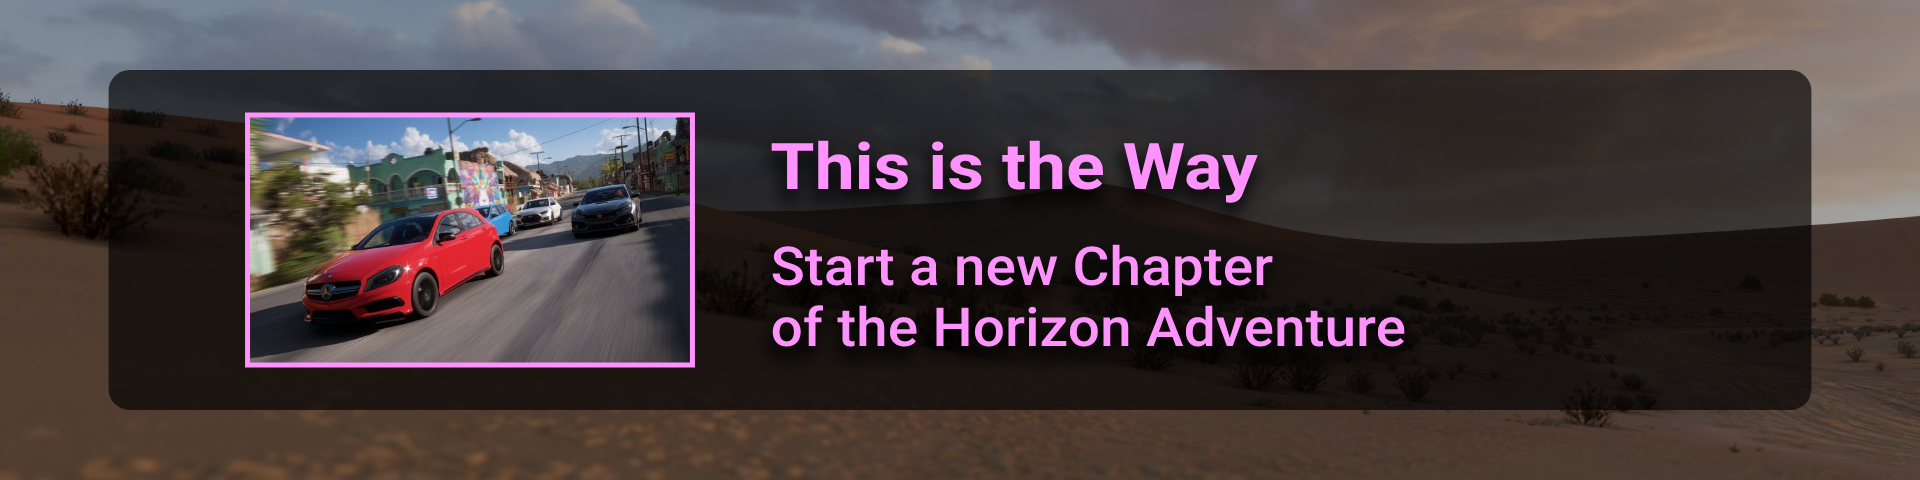
This Is the Way
Earned after you complete the initial drive, first Showcase Event, first Horizon Story, and accept your first player house from Ramiro in Mulegé.
After which, Forza Horizon 5 should expand and give you increased access to the Horizon Adventure campaign.
First Love
Buy any car at all from the Forza Horizon 5 Autoshow. You can do it, for example, through the menu, visiting Autoshow or opening Car collection. More details can be found in the "Car Collection" section.
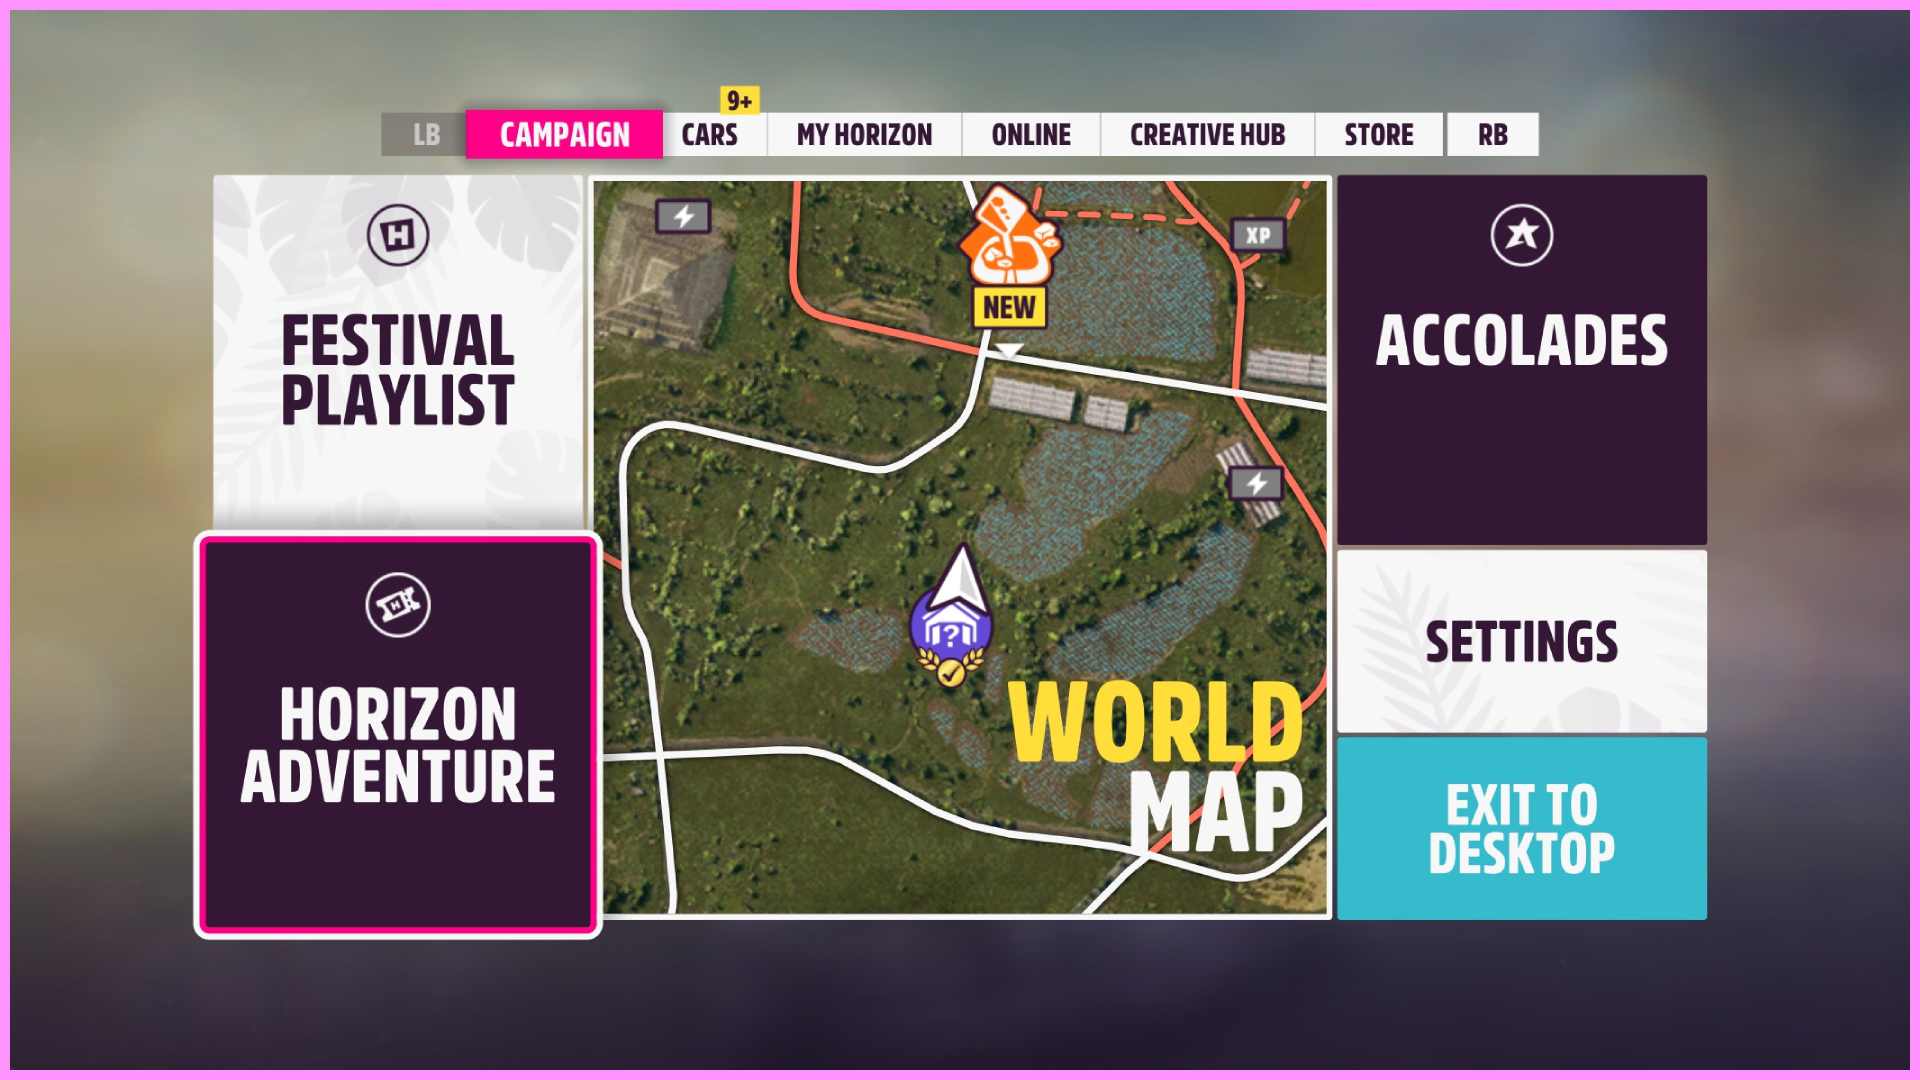
✦ Horizon Adventure 🌵
Congratulations, you are a member of the Horizon Festival in Mexico now! It's time to earn some reputation and prove that you deserve to be the Hall of Fame star! But no rush, because there are still a lot things to learn.
Let's start with Forza Horizon 5's major update, Expeditions, which are exploration and story-driven events.
Open the Horizon Adventure tab:
There are 5 expeditions in total, one for each outpost on the adventure page, each expedition gives you access to new races and activities:
Complete any of the expeditions.
Category WILDS "Dirt Racing" - "Jungle Expedition".
Category STREET SCENE "Street Racing" - "Guanajuato Expedition".
By unlocking this outpost, you can also buy a house that will unlock the fast travel ability. The cost of this house is 2 million credits.
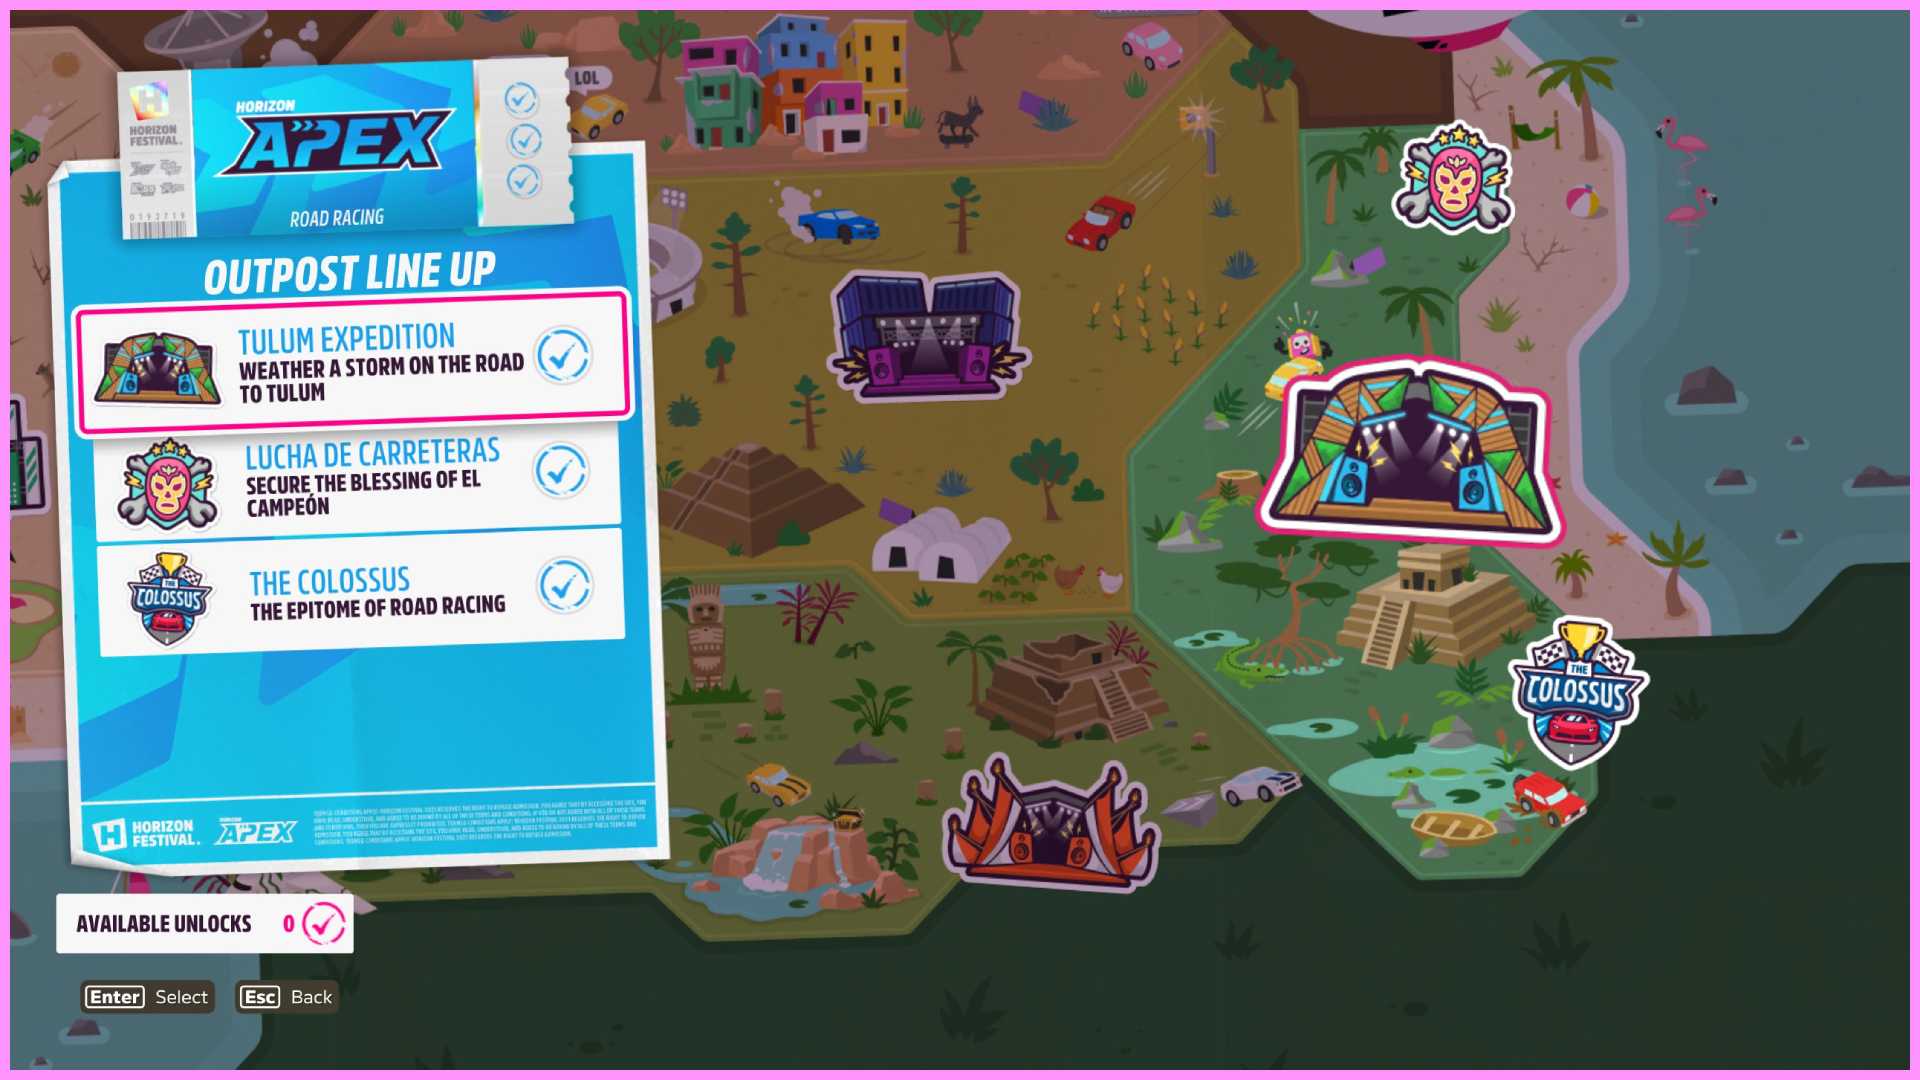
Category APEX "Road Racing" - "Tulum Expedition".
Be sure to complete the additional objectives from this expedition to earn the "Stunning Photography", "An Item Of Extreme Value" (for more details, see the "Photo Album" section), and "New Tune" achievements.
During the Tulum expedition, you not only can take a picture of Tlaloc's Golden Totem for the achievement "An Item Of Extreme Value", but you can also get this achievement for installing a radio beacon. Again, this is an optional objective, so just make sure you complete all optional missions and you will receive this achievement. Just roll around the ruins and you will see a pop-up Accolade icon on the map, one of which will be where you need to place the beacon.
Category BAJA "Cross Country Racing" - "Baja Expedition".
Category RUSH "PR Stunts" - "Canyon Expedition".
There are 7 Player houses to buy in Forza Horizon 5, and together they are still cheaper than buying a Castle in Forza Horizon 4! You need 7,850,000 Credits (if you have VIP and Welcome Pack) OR 10,050,000 Credits (without VIP & WP)
1st House - Casa Bella - Free - This house is the first house you will come across when you start FH5, and is free.
2nd House - La Casa Solariega - 1.5 Million Credits (or Free with VIP) - This house is free if you have the VIP membership for FH5. You can locate this house near the ancient ruins of Teotihuacán. This house will appear on the map after being gifted Casa Bella.
3rd House - Lugar Transquilo - 700K Credits (or Free with Welcome Pack) - Another house which is free if you have the Welcome Pack for FH5. This house is located on the East Coast by the town called Playa Azul. This house will appear on the map after being gifted Casa Bella.
4th House - Buena Esperanza - 700K Credits - This house unlocks on map once you have completed Horizon Apex Expedition.
5th House - La Cabaña - 150K Credits - This house unlocks on map once you have completed Horizon Baja Expedition.
6th House - Buenas Vistas - 2 Million Credits - This house unlocks on map once you have completed Horizon Guanajuato Expedition. Perk of this house allows you to Fast Travel to any road on map. The more Fast Travel Boards you destroy, the cheaper your next Fast travel will be (minus 200 credits every time you hit a board). Once you've hit all 50, like in FH4, Fast Travel will be free.
7th House - Hotel Castillo - 5 Million Credits - This house unlocks on map once you have completed Horizon Street Scene Expedition. One massive perk of purchasing this house compared to the others, is you get a daily wheelspin every time you log into FH5.
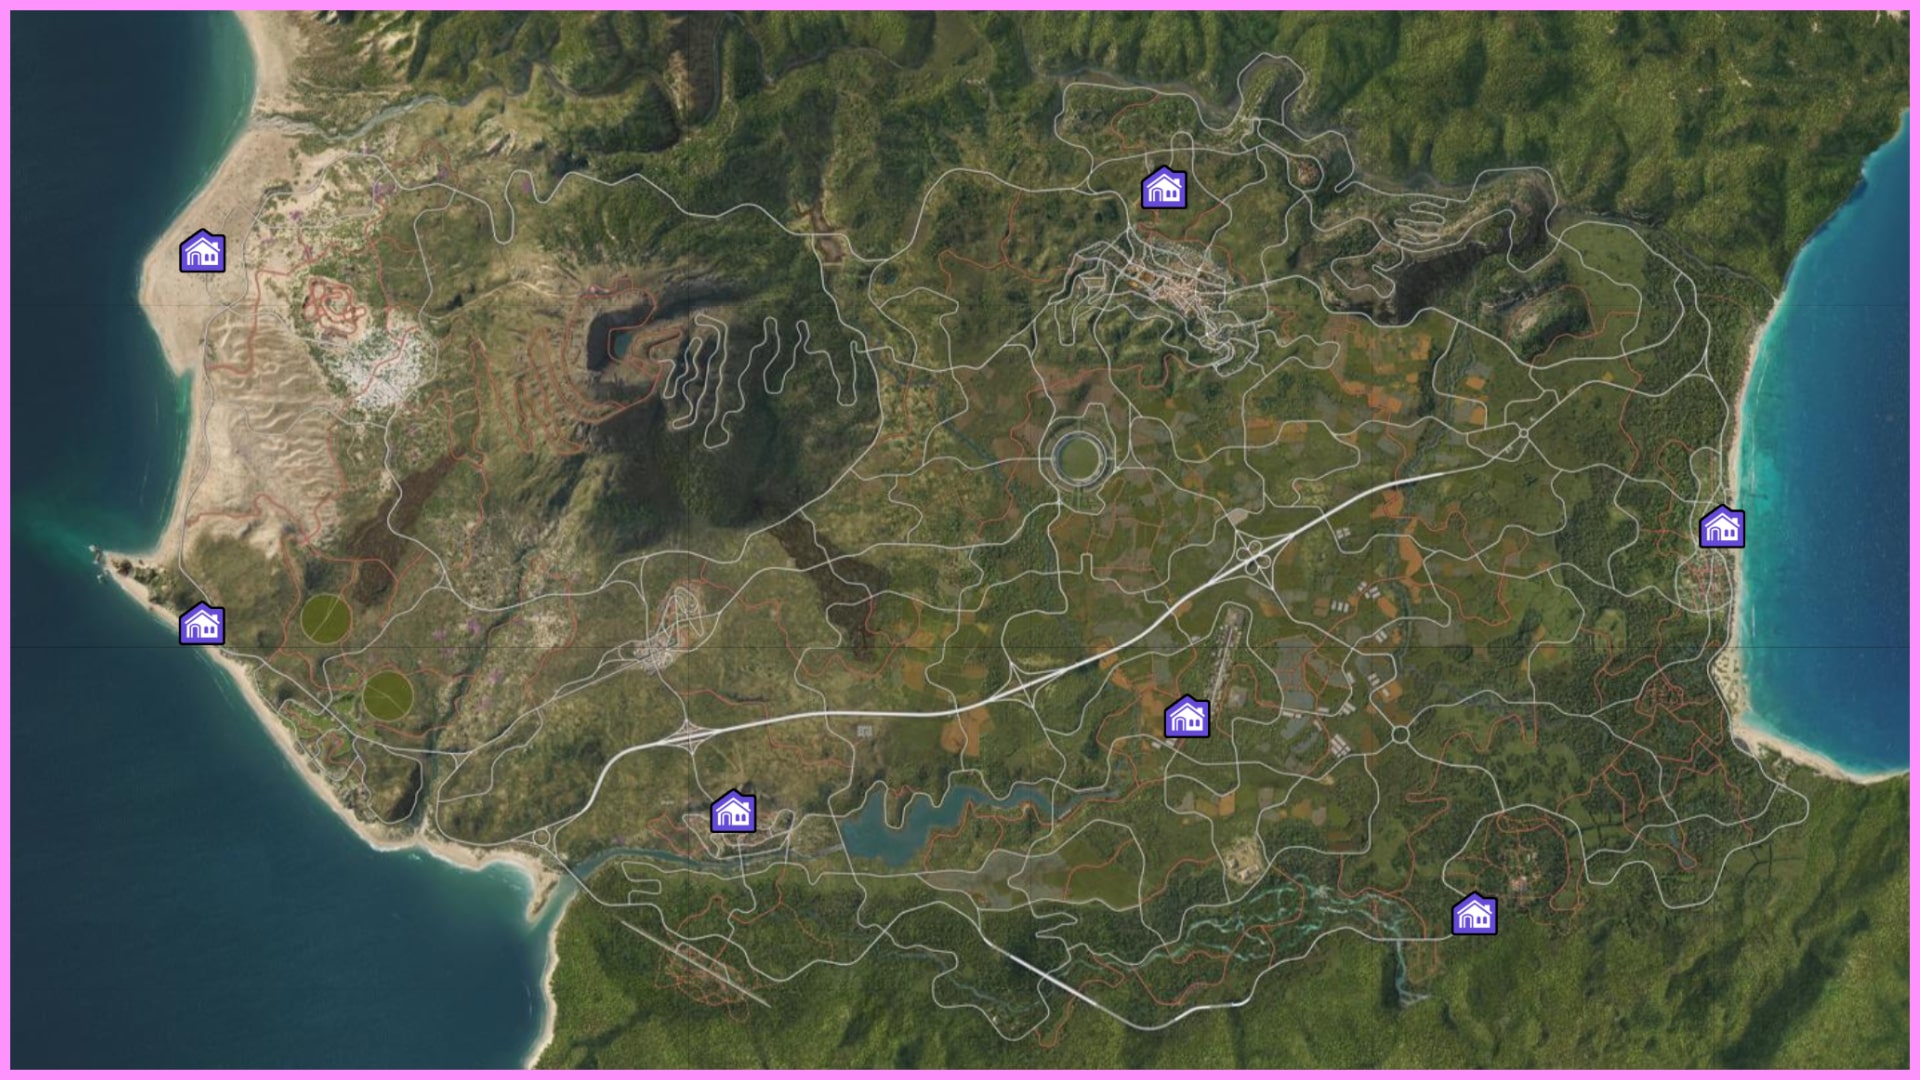
All houses location:
Dotted through the Forza Horizon Adventure map, there will be Showcases that you can unlock. The first one, 'On a Wing and a Prayer' is unlocked early on in the Forza Horizon Adventure (it's the second one to unlock in the Mainstage category). The other 3 are unlocked as follows:
To unlock the final event (Goliath, Marathon, Juggernaut, Titan), you need to spend all the tickets you receive for Accolade points on one stage. The main stage opens with Goliath. The last one(4th) is the Horizon Finale Event. Unlock it and this achievement will be yours. It's better to open Goliath first to get the "Long Gone" achievement faster, although you will still have to unlock all of the final events for the "Hall of Famer" achievement.
The Goliath Race is the fourth event for Accolade points on the Horizon Adventure Map in the Main Stage tab. Win an event and this achievement will be yours. Keep in mind that this is one of the longest races in the game, so don't be afraid to use the rewind function if you find yourself losing, as we have to win for this achievement.
Note, that you must complete the main, standard Goliath event, not the EventLab event, as the EventLab race will not count towards unlocking the achievement. On a Porsche Taycan Turbo S, it took 14 minutes 46 seconds. So on a Bugatti or Jesko of the X999 class, the race should go even faster. Make sure to set the difficulty lower than usual. To avoid losing and repeating the event.
Complete every Horizon Adventure ticket and complete every event you unlock. Along the way, you will have to win races in many other disciplines in order to collect enough Accolade Points to level up and earn tickets. The total number of Accolade Points required for the Hall of Fame is 200 000. After completing all the objectives in the Horizon stages and accumulating enough Accolade Points, you will receive an invitation.
Let's start with Forza Horizon 5's major update, Expeditions, which are exploration and story-driven events.
Open the Horizon Adventure tab:
There are 5 expeditions in total, one for each outpost on the adventure page, each expedition gives you access to new races and activities:
- Horizon Apex - Tulum Expedition, unlocks the Road Racing
- Horizon Wilds - Jungle Expedition, unlocks the Dirt Racing
- Horizon Baja - Baja Expedition, unlocks the Cross Country Racing
- Horizon Rush - Canyon Expedition, unlocks the PR Stunts
- Horizon Street Scene - Guanajuato Expedition, unlocks the Street Racing
No Stone Unturned
Complete any of the expeditions.
AWDyssey
Category WILDS "Dirt Racing" - "Jungle Expedition".
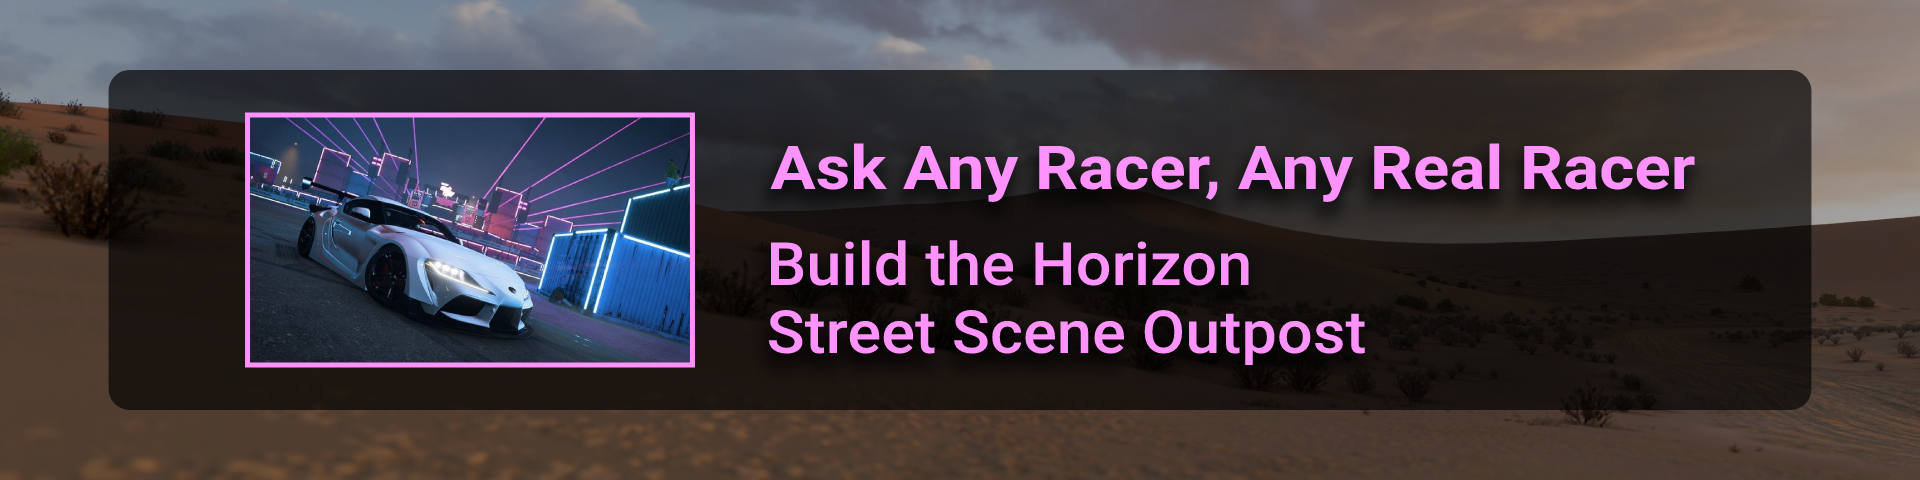
Ask Any Racer, Any Real Racer
Category STREET SCENE "Street Racing" - "Guanajuato Expedition".
By unlocking this outpost, you can also buy a house that will unlock the fast travel ability. The cost of this house is 2 million credits.
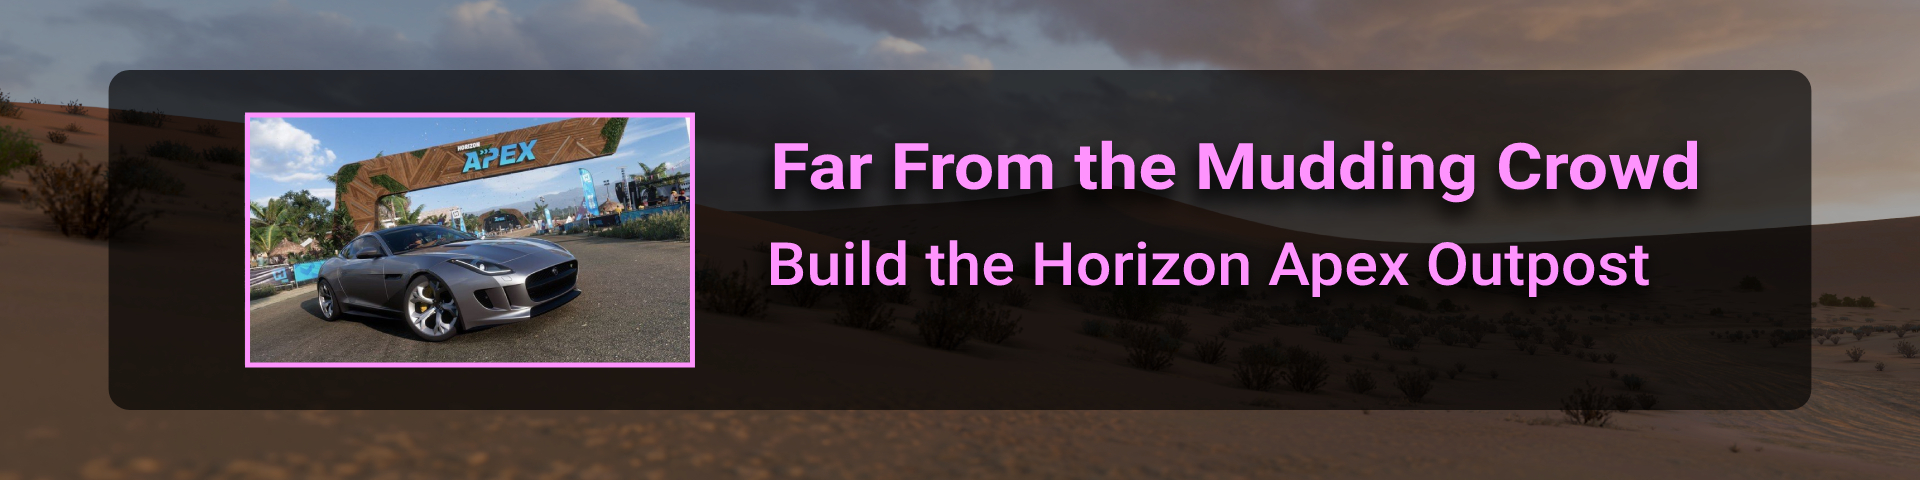
Far from the Mudding Crowd
Category APEX "Road Racing" - "Tulum Expedition".
Be sure to complete the additional objectives from this expedition to earn the "Stunning Photography", "An Item Of Extreme Value" (for more details, see the "Photo Album" section), and "New Tune" achievements.
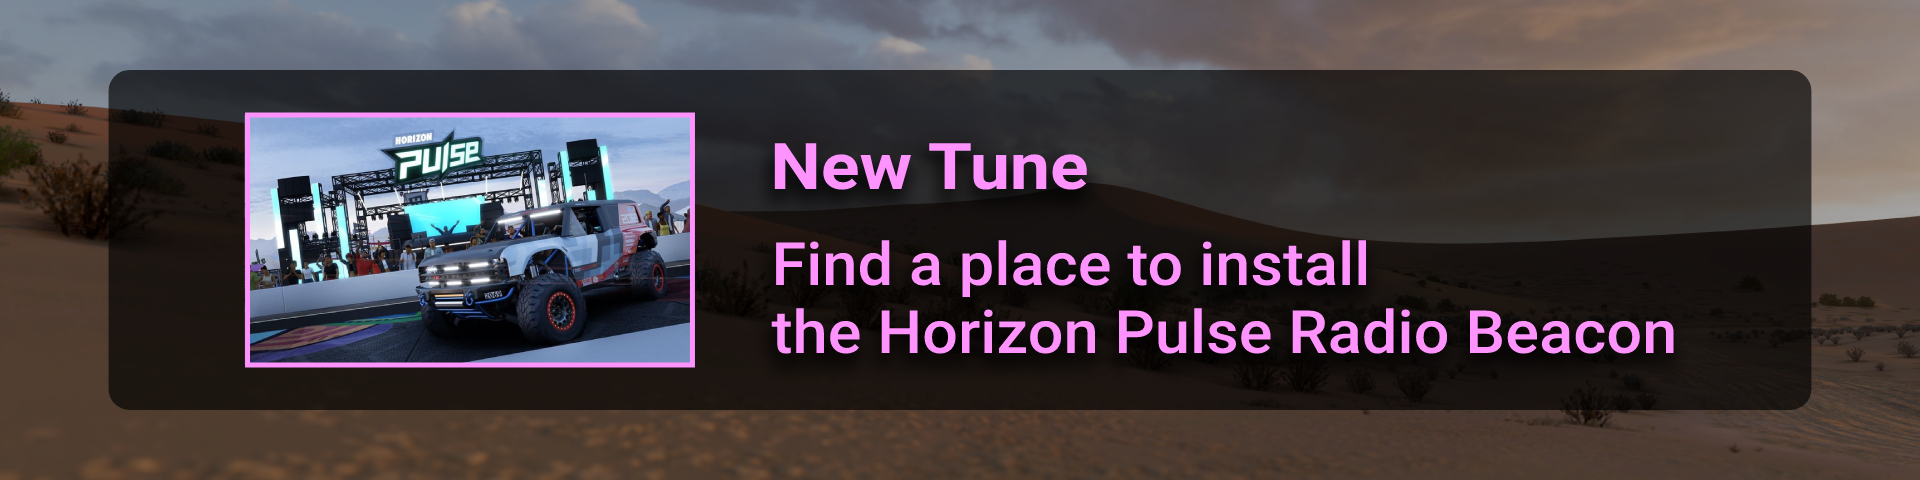
New Tune
During the Tulum expedition, you not only can take a picture of Tlaloc's Golden Totem for the achievement "An Item Of Extreme Value", but you can also get this achievement for installing a radio beacon. Again, this is an optional objective, so just make sure you complete all optional missions and you will receive this achievement. Just roll around the ruins and you will see a pop-up Accolade icon on the map, one of which will be where you need to place the beacon.
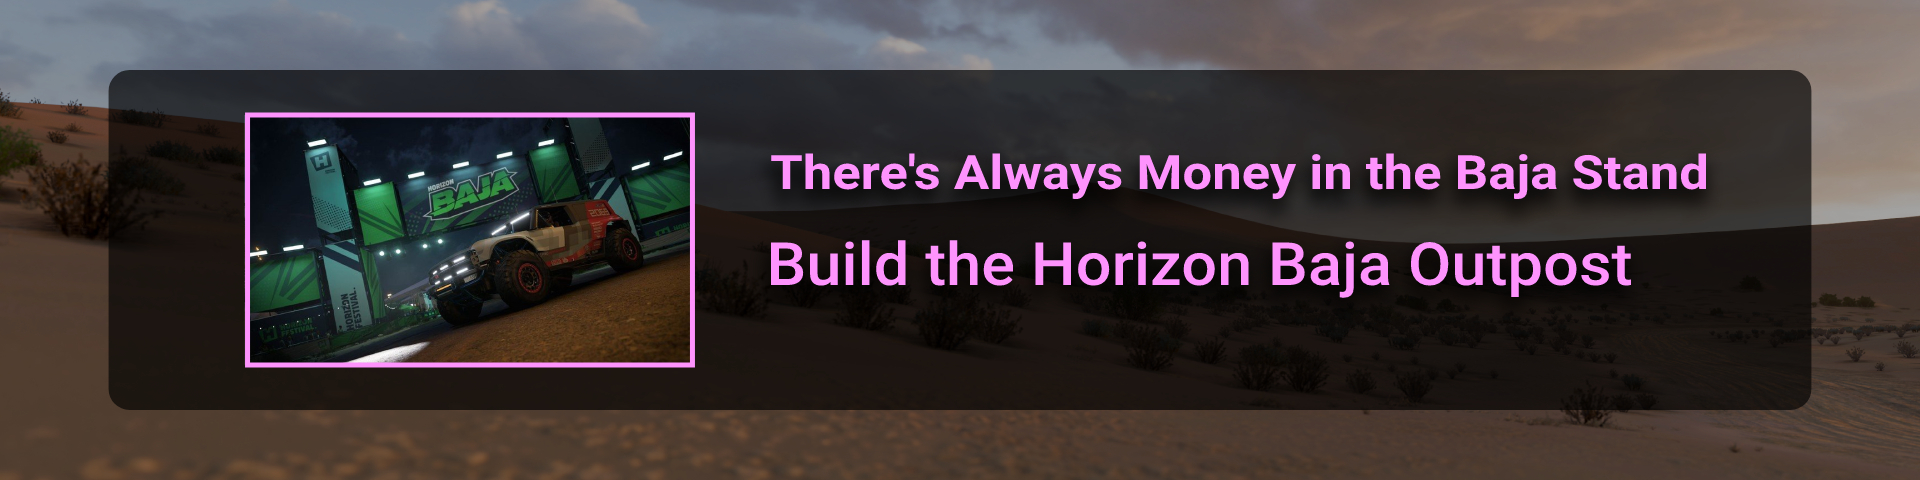
There's Always Money in the Baja Stand
Category BAJA "Cross Country Racing" - "Baja Expedition".
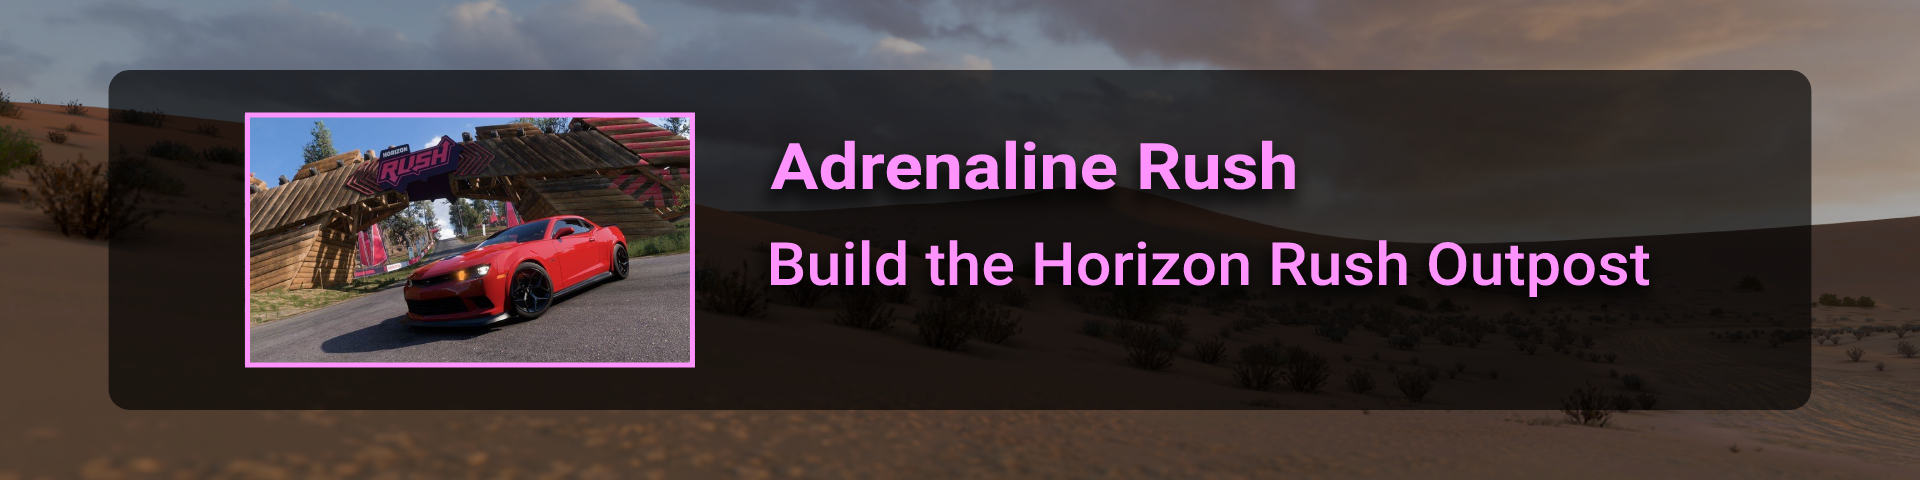
Adrenaline Rush
Category RUSH "PR Stunts" - "Canyon Expedition".
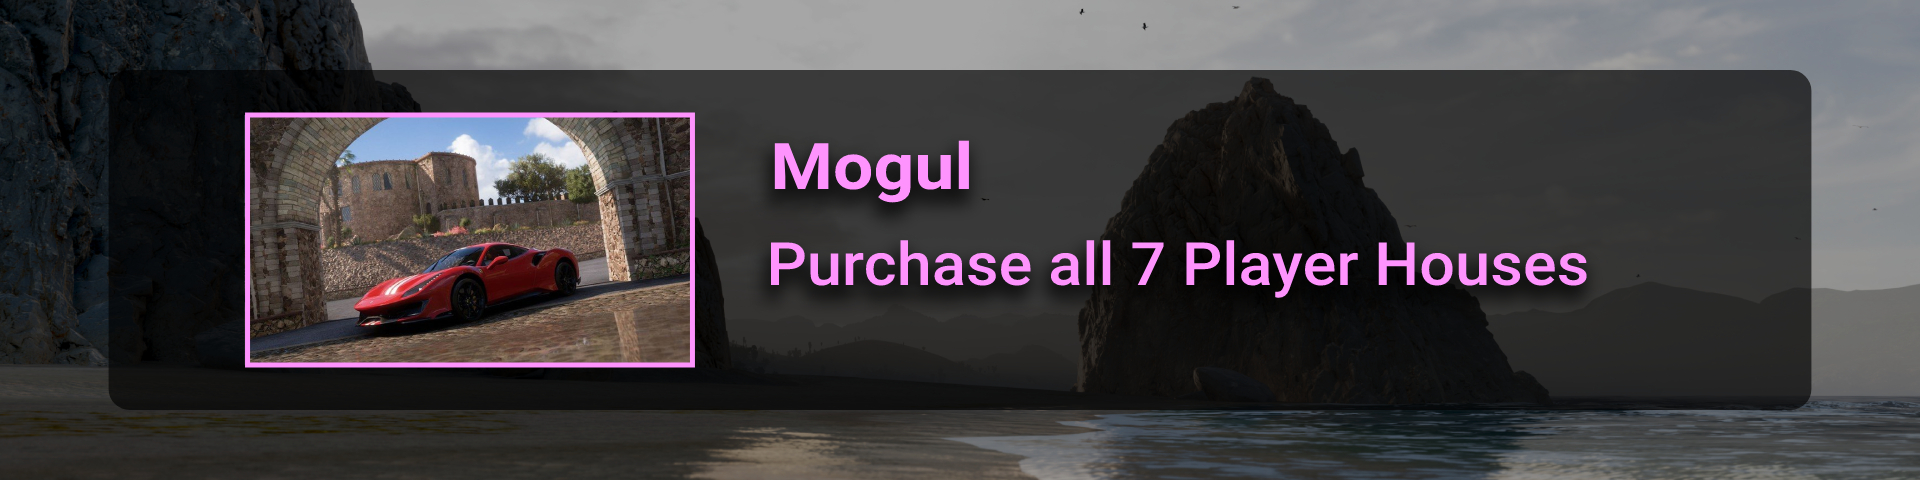
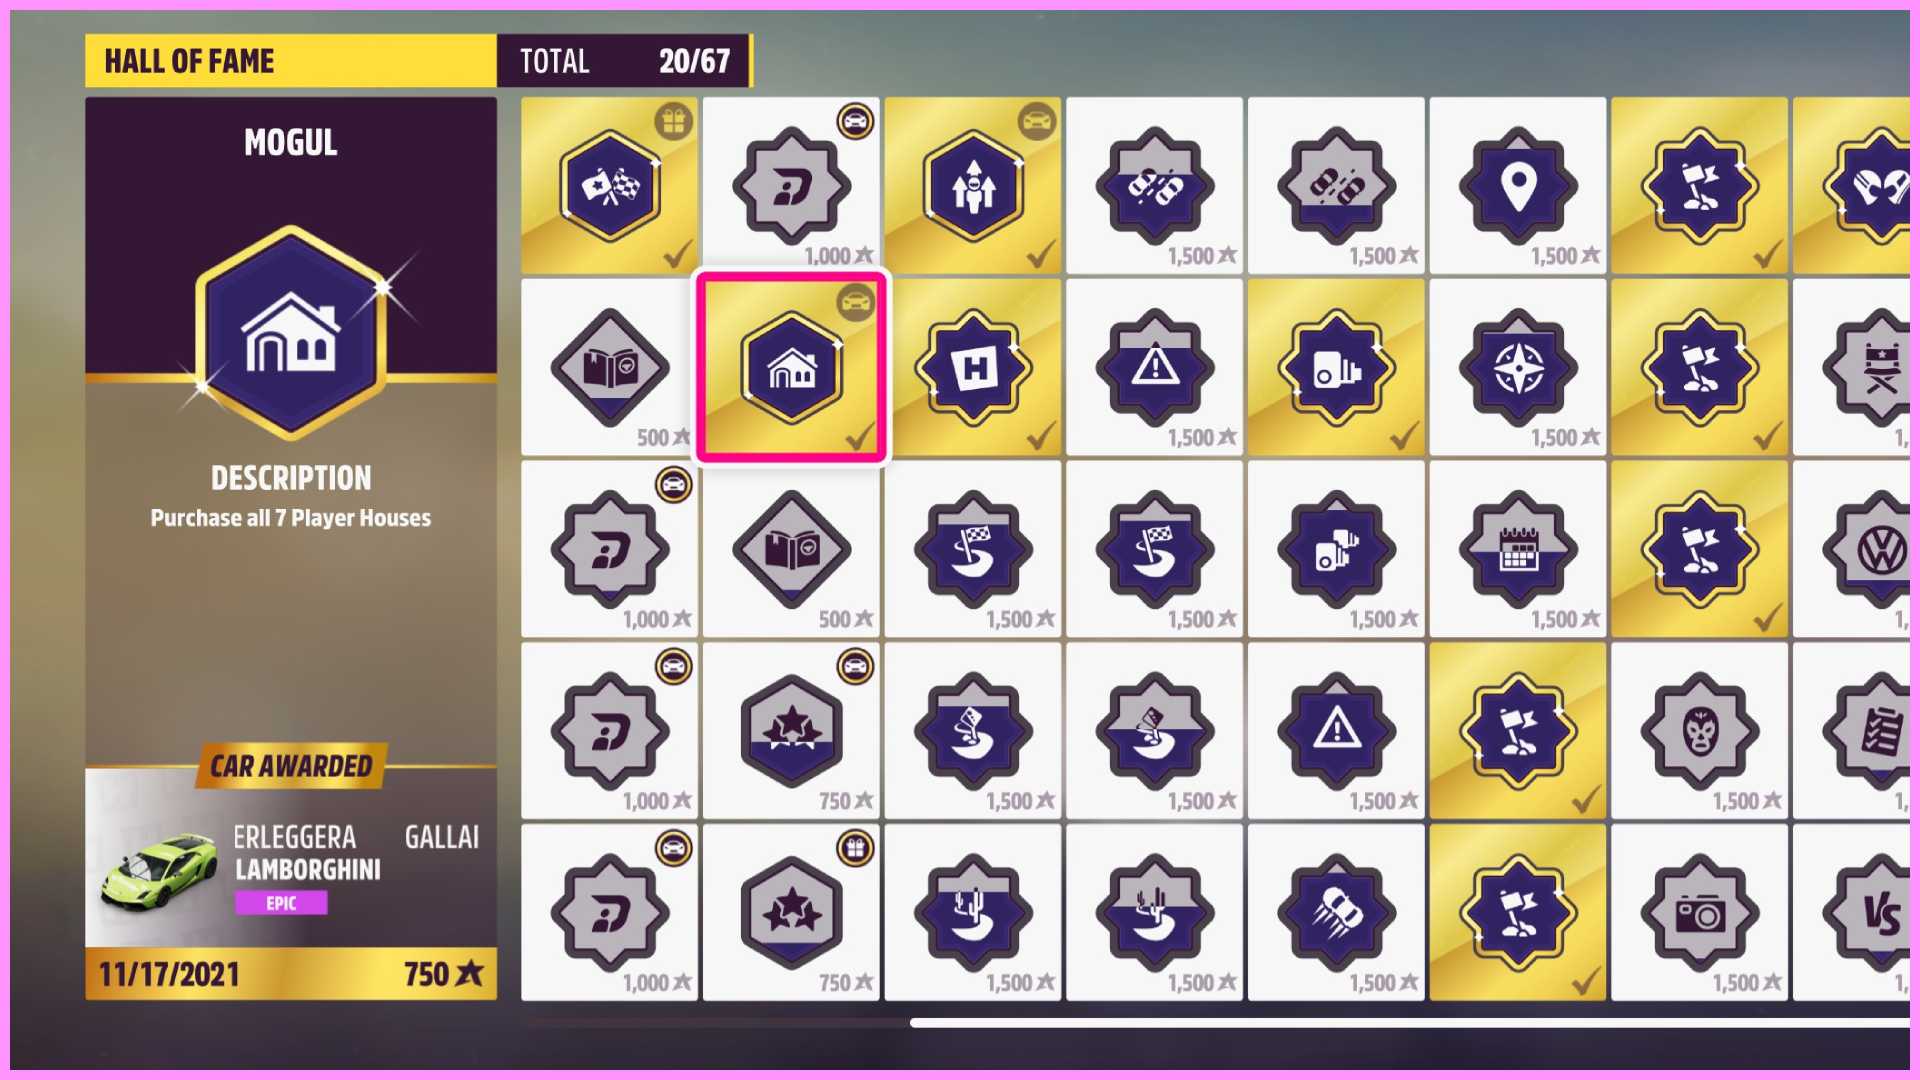
Mogul
There are 7 Player houses to buy in Forza Horizon 5, and together they are still cheaper than buying a Castle in Forza Horizon 4! You need 7,850,000 Credits (if you have VIP and Welcome Pack) OR 10,050,000 Credits (without VIP & WP)
1st House - Casa Bella - Free - This house is the first house you will come across when you start FH5, and is free.
2nd House - La Casa Solariega - 1.5 Million Credits (or Free with VIP) - This house is free if you have the VIP membership for FH5. You can locate this house near the ancient ruins of Teotihuacán. This house will appear on the map after being gifted Casa Bella.
3rd House - Lugar Transquilo - 700K Credits (or Free with Welcome Pack) - Another house which is free if you have the Welcome Pack for FH5. This house is located on the East Coast by the town called Playa Azul. This house will appear on the map after being gifted Casa Bella.
4th House - Buena Esperanza - 700K Credits - This house unlocks on map once you have completed Horizon Apex Expedition.
5th House - La Cabaña - 150K Credits - This house unlocks on map once you have completed Horizon Baja Expedition.
6th House - Buenas Vistas - 2 Million Credits - This house unlocks on map once you have completed Horizon Guanajuato Expedition. Perk of this house allows you to Fast Travel to any road on map. The more Fast Travel Boards you destroy, the cheaper your next Fast travel will be (minus 200 credits every time you hit a board). Once you've hit all 50, like in FH4, Fast Travel will be free.
7th House - Hotel Castillo - 5 Million Credits - This house unlocks on map once you have completed Horizon Street Scene Expedition. One massive perk of purchasing this house compared to the others, is you get a daily wheelspin every time you log into FH5.
All houses location:
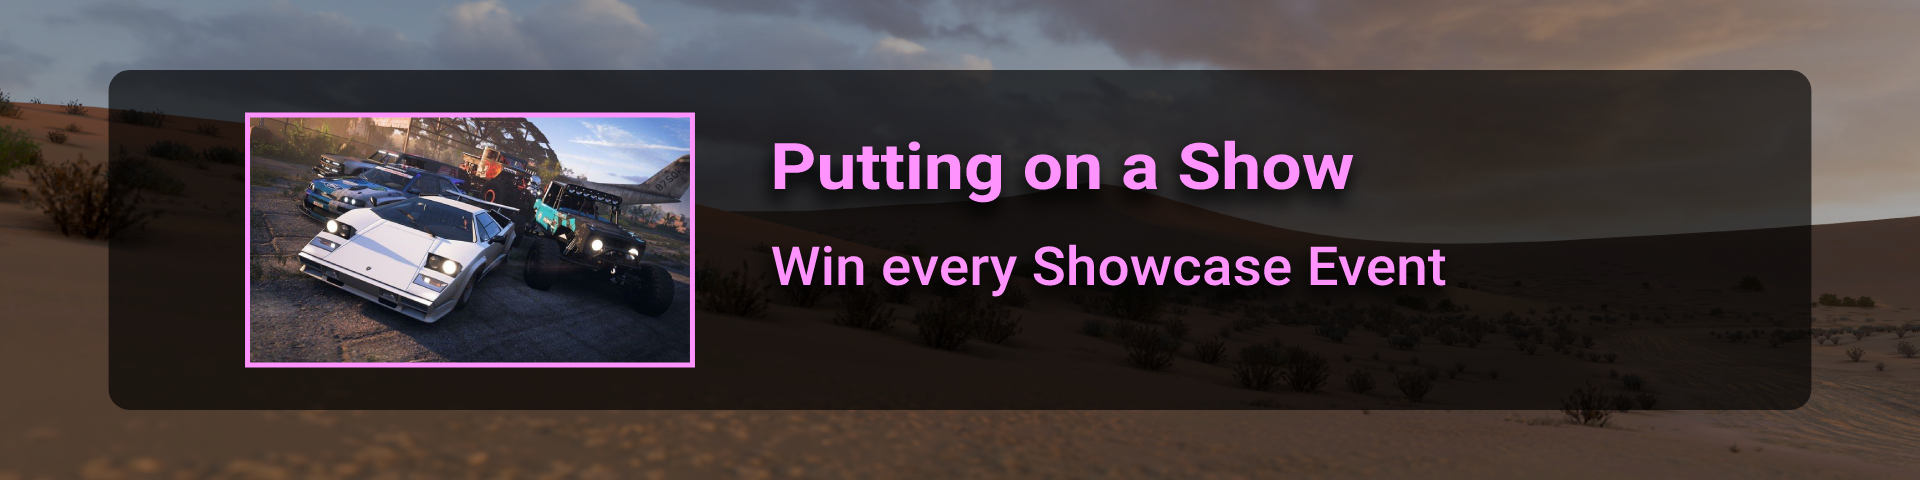
Putting on a Show
Dotted through the Forza Horizon Adventure map, there will be Showcases that you can unlock. The first one, 'On a Wing and a Prayer' is unlocked early on in the Forza Horizon Adventure (it's the second one to unlock in the Mainstage category). The other 3 are unlocked as follows:
- Flood, Sweat and Gears - The third ticket that needs to be unlocked in the Dirt Racing outpost line-up
- Buggy and the Beast - The second ticket in the Cross-Country Racing outpost line-up
- Catch Me If You Canyon - The second ticket in the PR Stunts outpost line-up
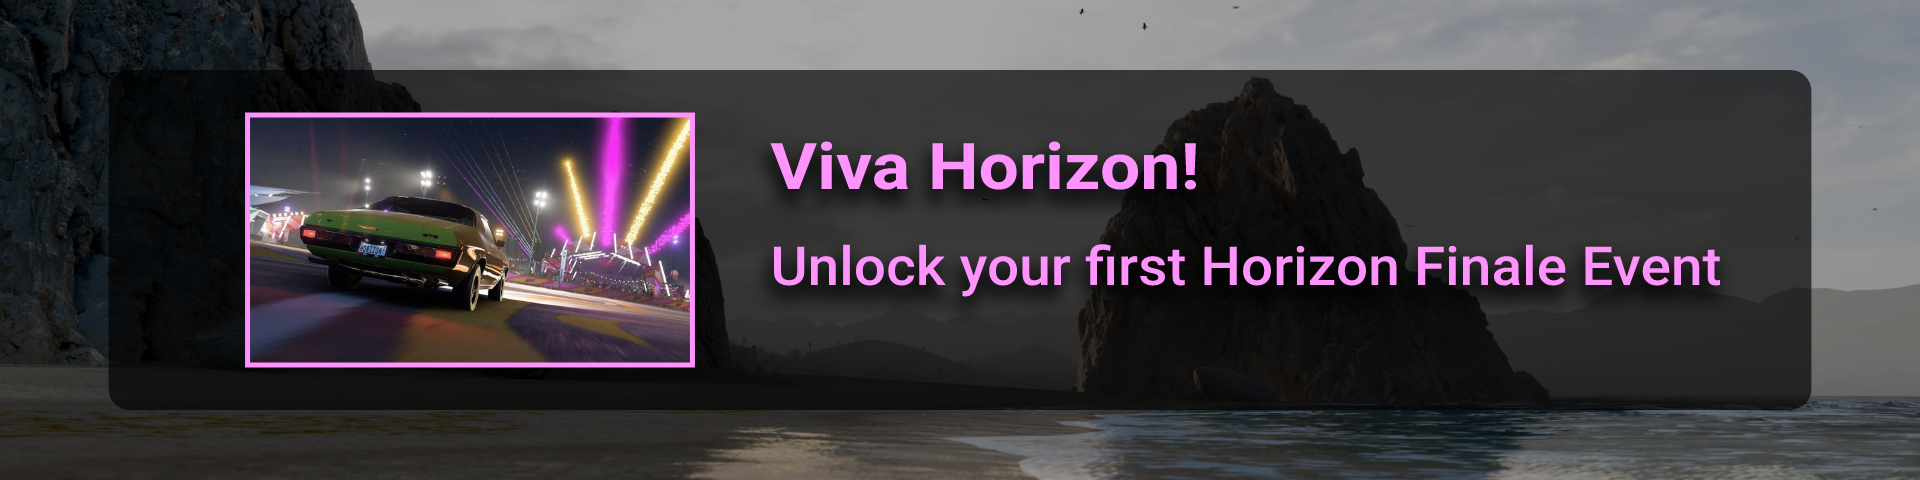
Viva Horizon!
To unlock the final event (Goliath, Marathon, Juggernaut, Titan), you need to spend all the tickets you receive for Accolade points on one stage. The main stage opens with Goliath. The last one(4th) is the Horizon Finale Event. Unlock it and this achievement will be yours. It's better to open Goliath first to get the "Long Gone" achievement faster, although you will still have to unlock all of the final events for the "Hall of Famer" achievement.
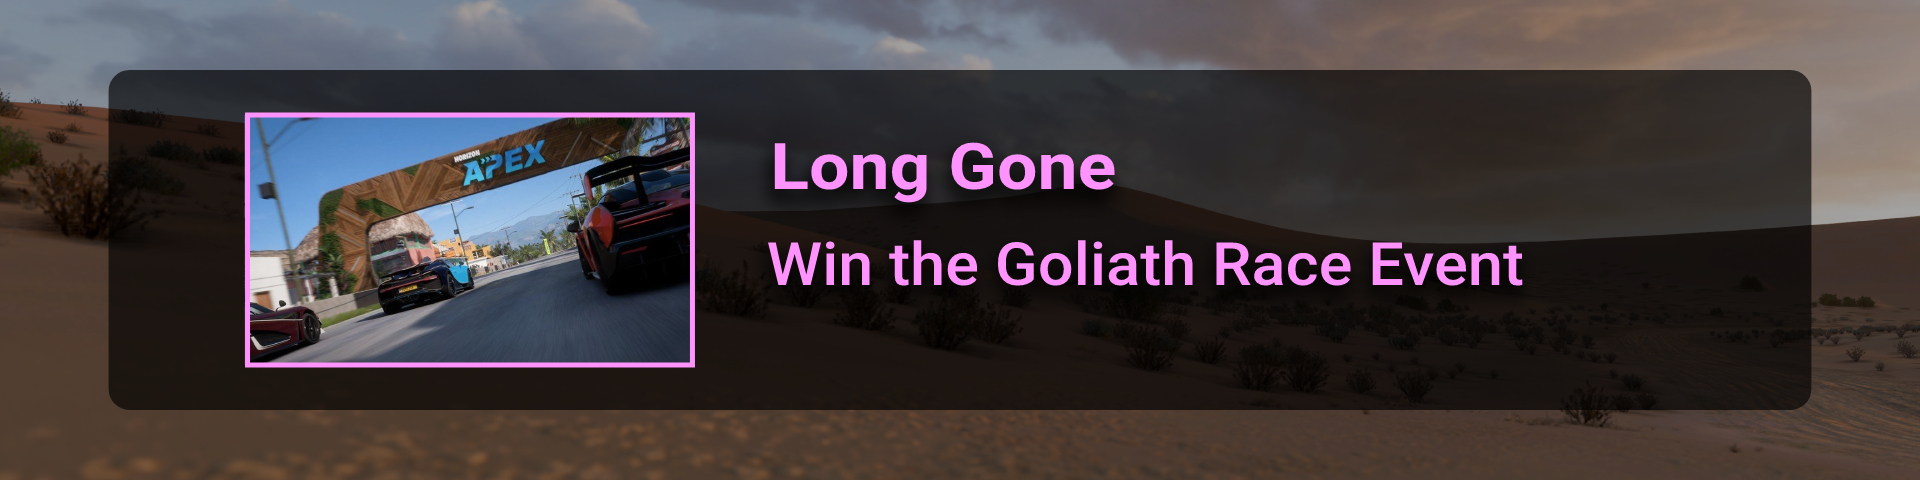
Long Gone
The Goliath Race is the fourth event for Accolade points on the Horizon Adventure Map in the Main Stage tab. Win an event and this achievement will be yours. Keep in mind that this is one of the longest races in the game, so don't be afraid to use the rewind function if you find yourself losing, as we have to win for this achievement.
Note, that you must complete the main, standard Goliath event, not the EventLab event, as the EventLab race will not count towards unlocking the achievement. On a Porsche Taycan Turbo S, it took 14 minutes 46 seconds. So on a Bugatti or Jesko of the X999 class, the race should go even faster. Make sure to set the difficulty lower than usual. To avoid losing and repeating the event.
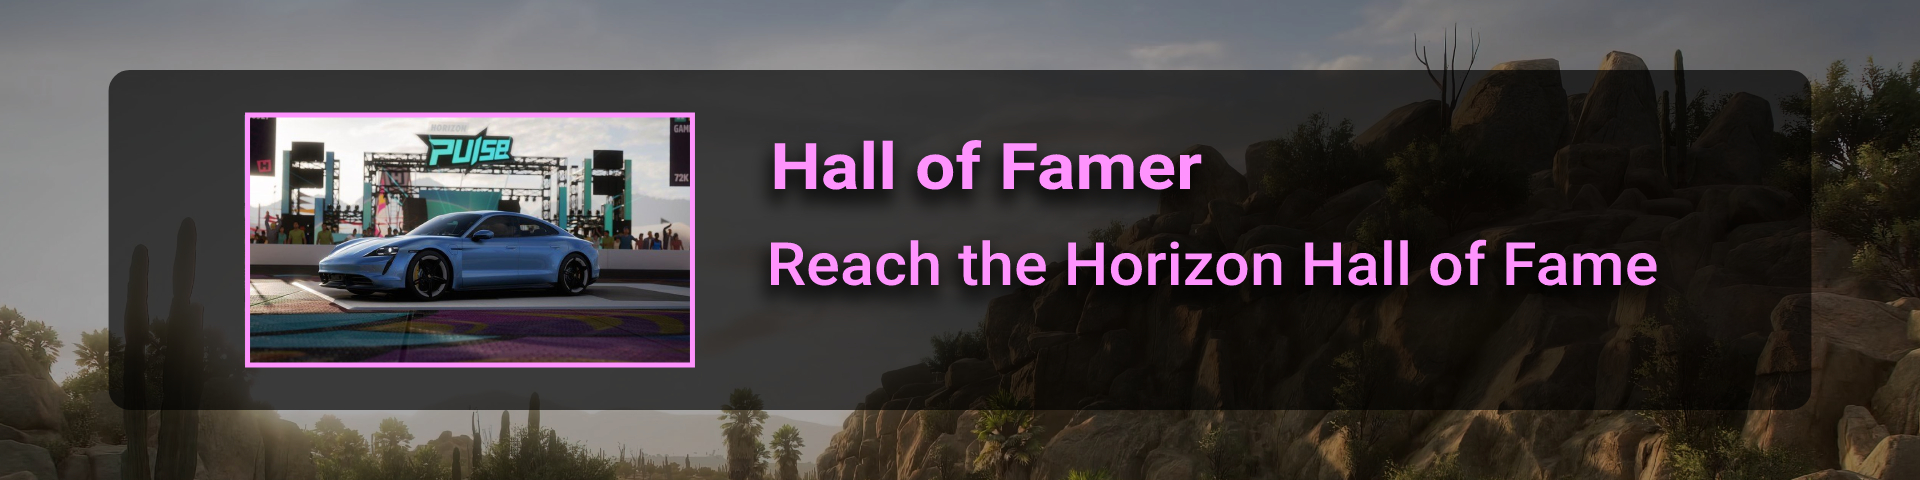
Hall of Famer
Complete every Horizon Adventure ticket and complete every event you unlock. Along the way, you will have to win races in many other disciplines in order to collect enough Accolade Points to level up and earn tickets. The total number of Accolade Points required for the Hall of Fame is 200 000. After completing all the objectives in the Horizon stages and accumulating enough Accolade Points, you will receive an invitation.
✦ Horizon Stories 🎬
Quite an interesting turn in our way. Stories carry some kind of useful information about the cars and places that we pass. The main issue here is childish stories and stupid characters... Therefore, if you, like me, just complete one full story for 2 achievements and go further, no one will judge you. Sadly, this is not the most exciting part of our journey... But you won't face any difficulties here :)
The story icons are unlocked via Horizon Adventure and look like this:

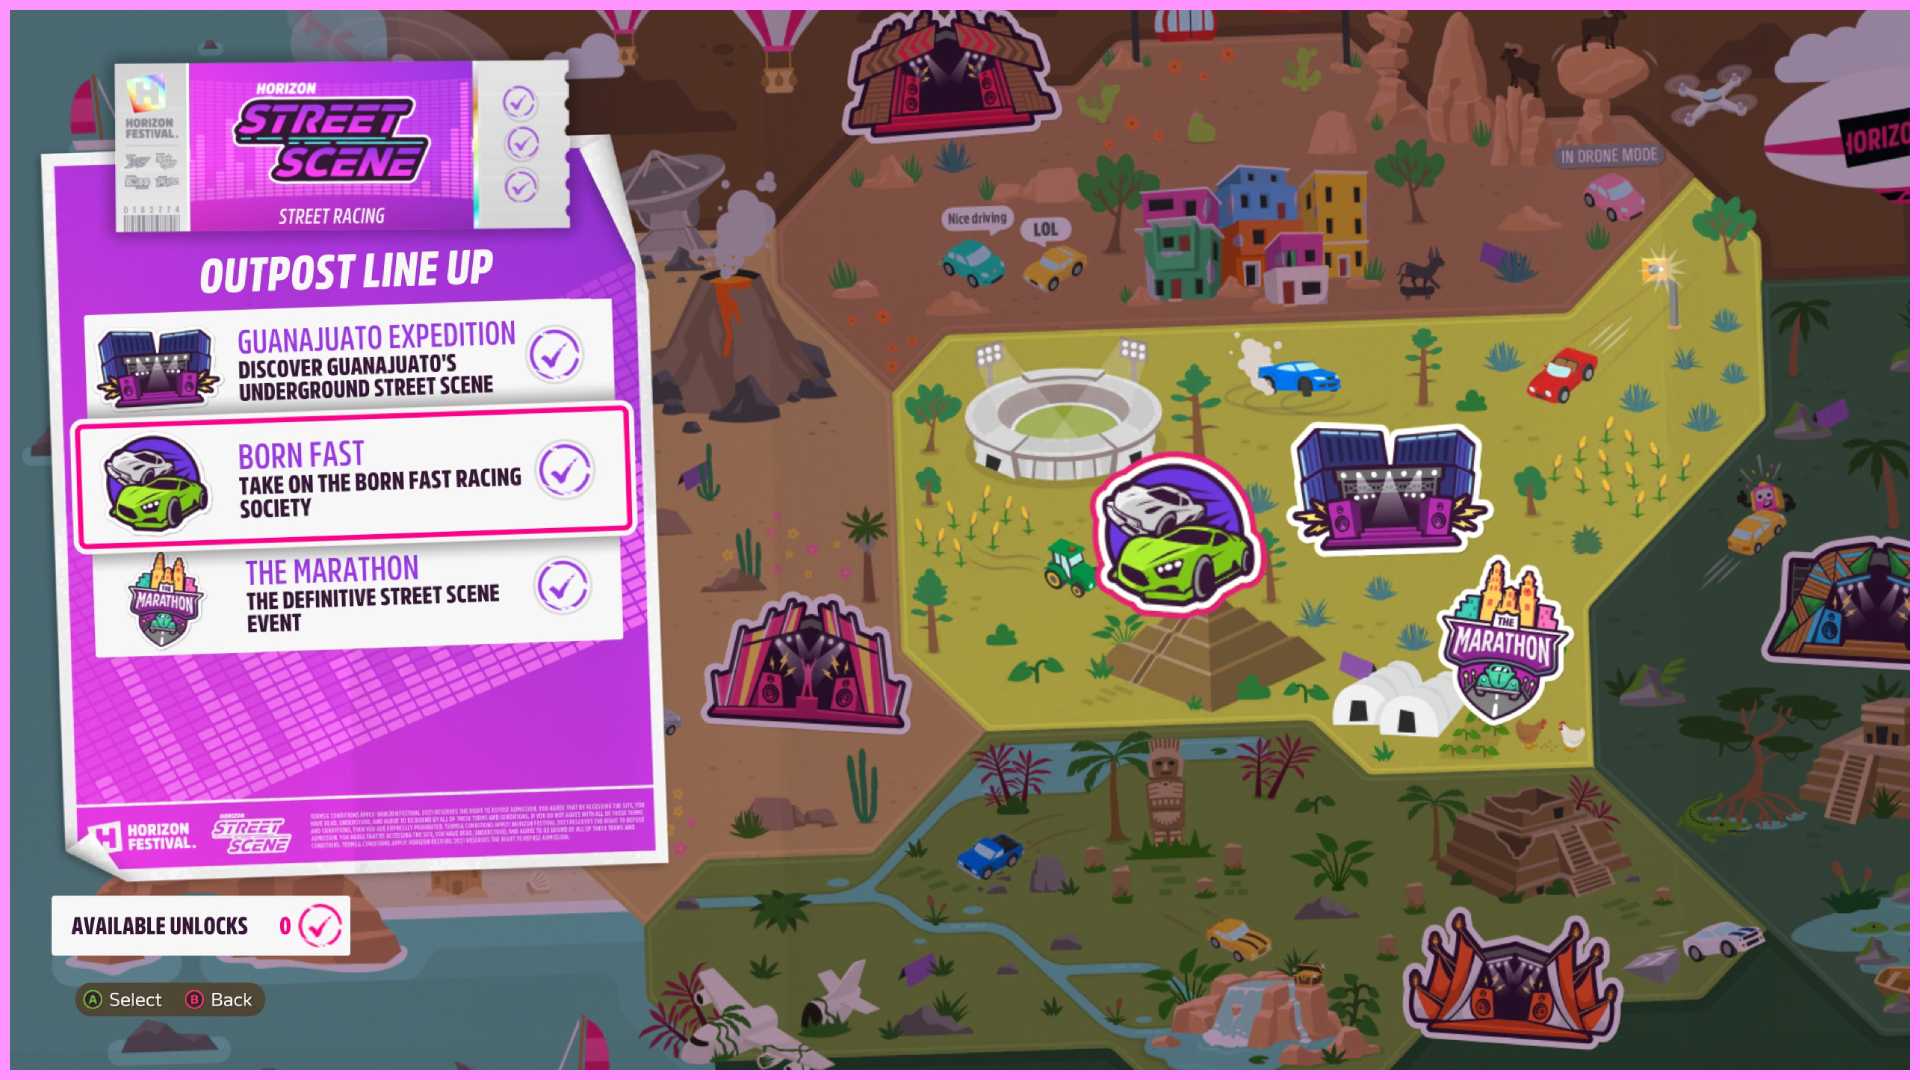
You need to unlock the Born Fast story in the Horizon Adventure by earning Accolade Points. This is the second stage of the "STREET SCENE" outpost:
You also need to open the Hall of Fame to unlock the final chapter of the story (Tristan chapter). To enter the Hall of Fame, you need to unlock all tasks (21) from Horizon Adventure, plus 1 more Accolade level (200k points in total). You earn Accolade points for almost all activities in the game.
After entering the Hall of Fame, the Tristan chapter will open. You need to get 3 stars (2.25 minutes) to get the achievement.
You can get this achievement if you are going to get the achievement "How to Race Friends and Influence People", because you need to earn 3 stars in all chapters in it. But it is possible to earn 3 stars in any other story (yellow badges) that unlock on the Horizon Adventure map.
The story icons are unlocked via Horizon Adventure and look like this:
How to Race Friends and Influence People
You need to unlock the Born Fast story in the Horizon Adventure by earning Accolade Points. This is the second stage of the "STREET SCENE" outpost:
You also need to open the Hall of Fame to unlock the final chapter of the story (Tristan chapter). To enter the Hall of Fame, you need to unlock all tasks (21) from Horizon Adventure, plus 1 more Accolade level (200k points in total). You earn Accolade points for almost all activities in the game.
After entering the Hall of Fame, the Tristan chapter will open. You need to get 3 stars (2.25 minutes) to get the achievement.
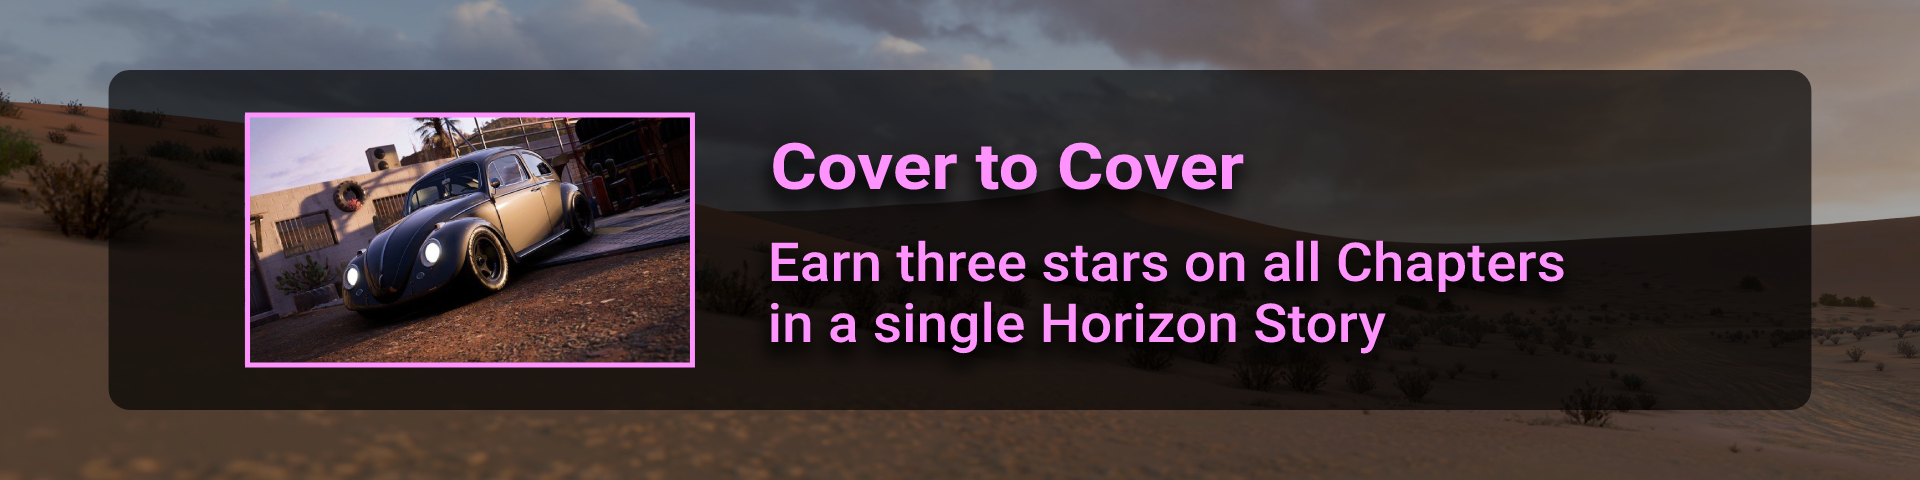
Cover to Cover
You can get this achievement if you are going to get the achievement "How to Race Friends and Influence People", because you need to earn 3 stars in all chapters in it. But it is possible to earn 3 stars in any other story (yellow badges) that unlock on the Horizon Adventure map.
✦ Horizon Arcade 🎈
Take a short stop in our Horizon Adventure. Horizon Arcade races consist of a series of 3 challenges for various skills. The original idea was to bring players together, and they tried to get the most out of their capabilities for a common goal (and Forzathon Points). For 3 rounds, you can get 60 points, so, it is 20 points for each stage. However, after the latest updates, you can easily complete all 3 stages in solo...
Don't forget that you can use fast travel to avoid wasting precious seconds :)
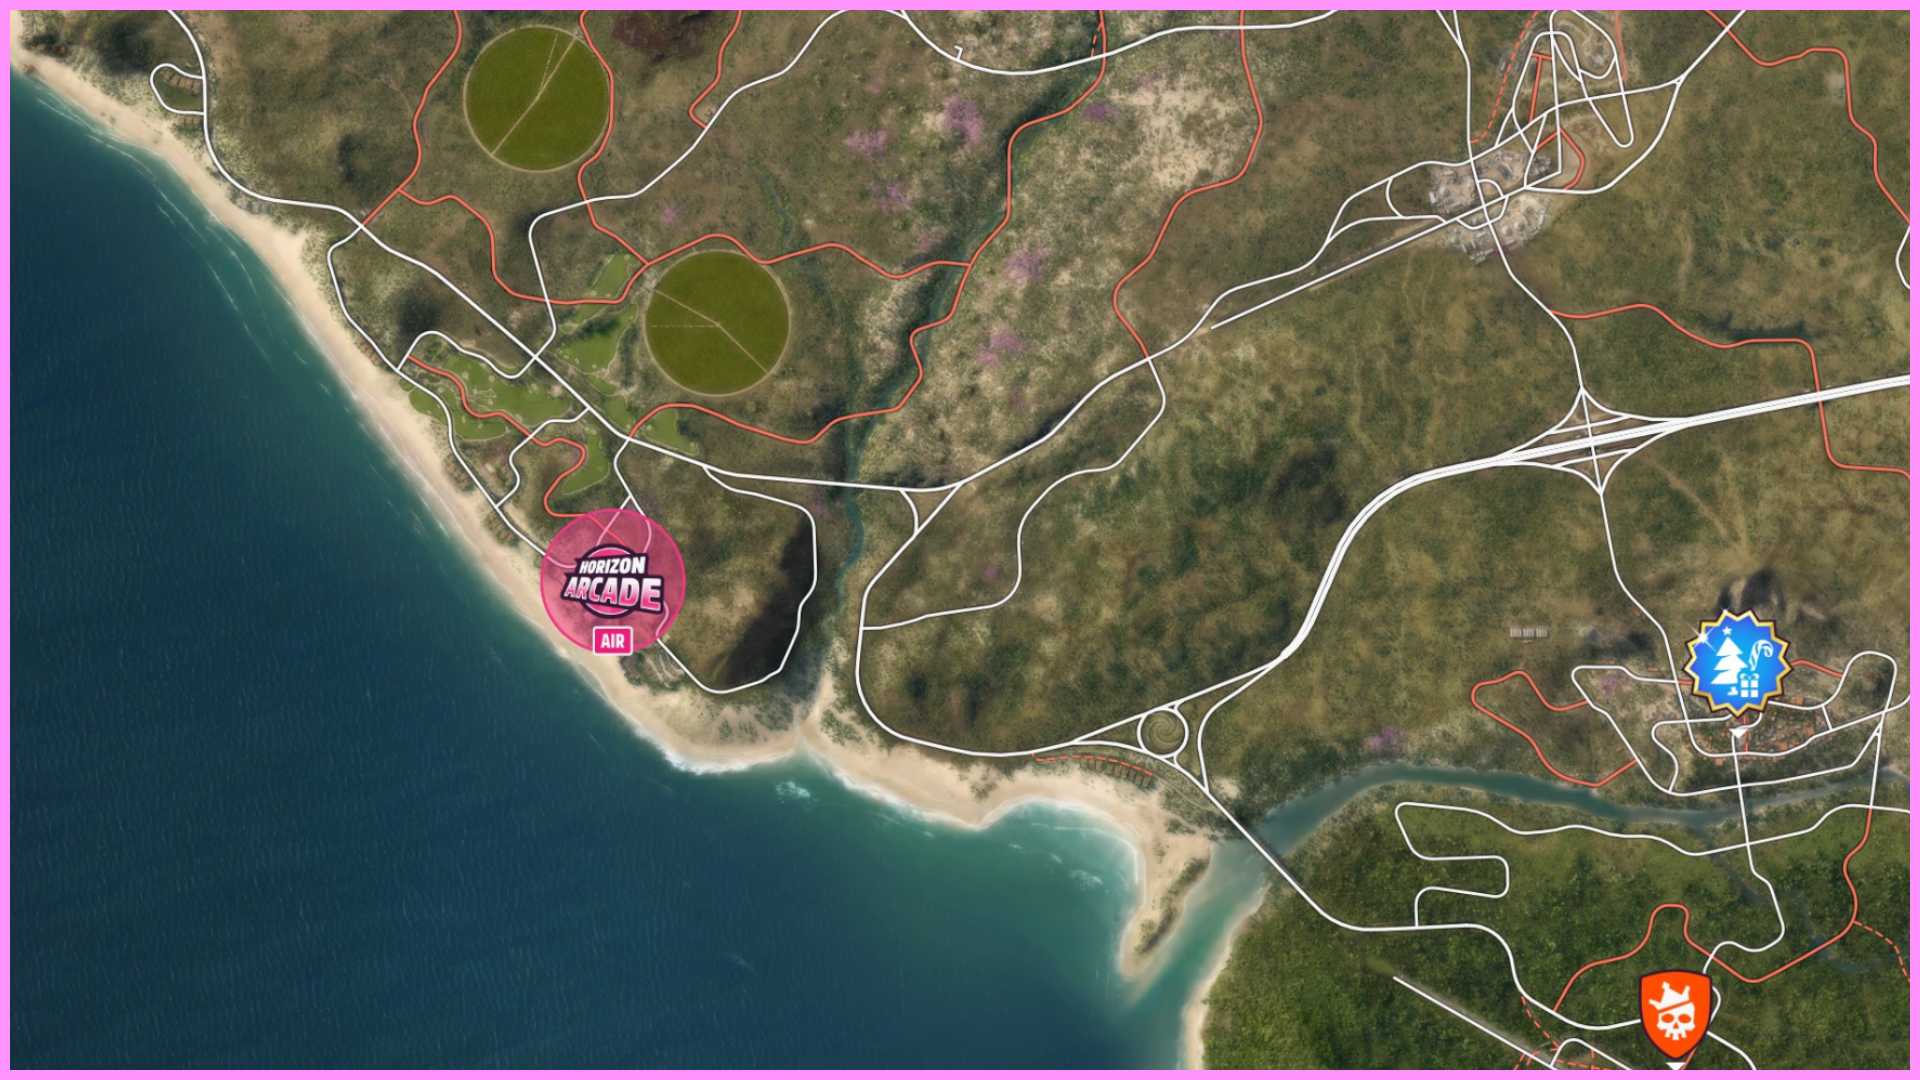
After you complete the prologue, Horizon Arcade events will spawn across Mexico. Drive up to one of these pink circles (or just teleport), wait for the event to start and get involved. You do not need to win it, although it is worth trying as you need to win 5 of them in order to achieve «Unlimited Prowess!».
This is how the events look:
There are 5 different disciplines such as drift, crash, chaos, speed and air. The names are self-explanatory, and are associated with the demonstration of a particular technique.
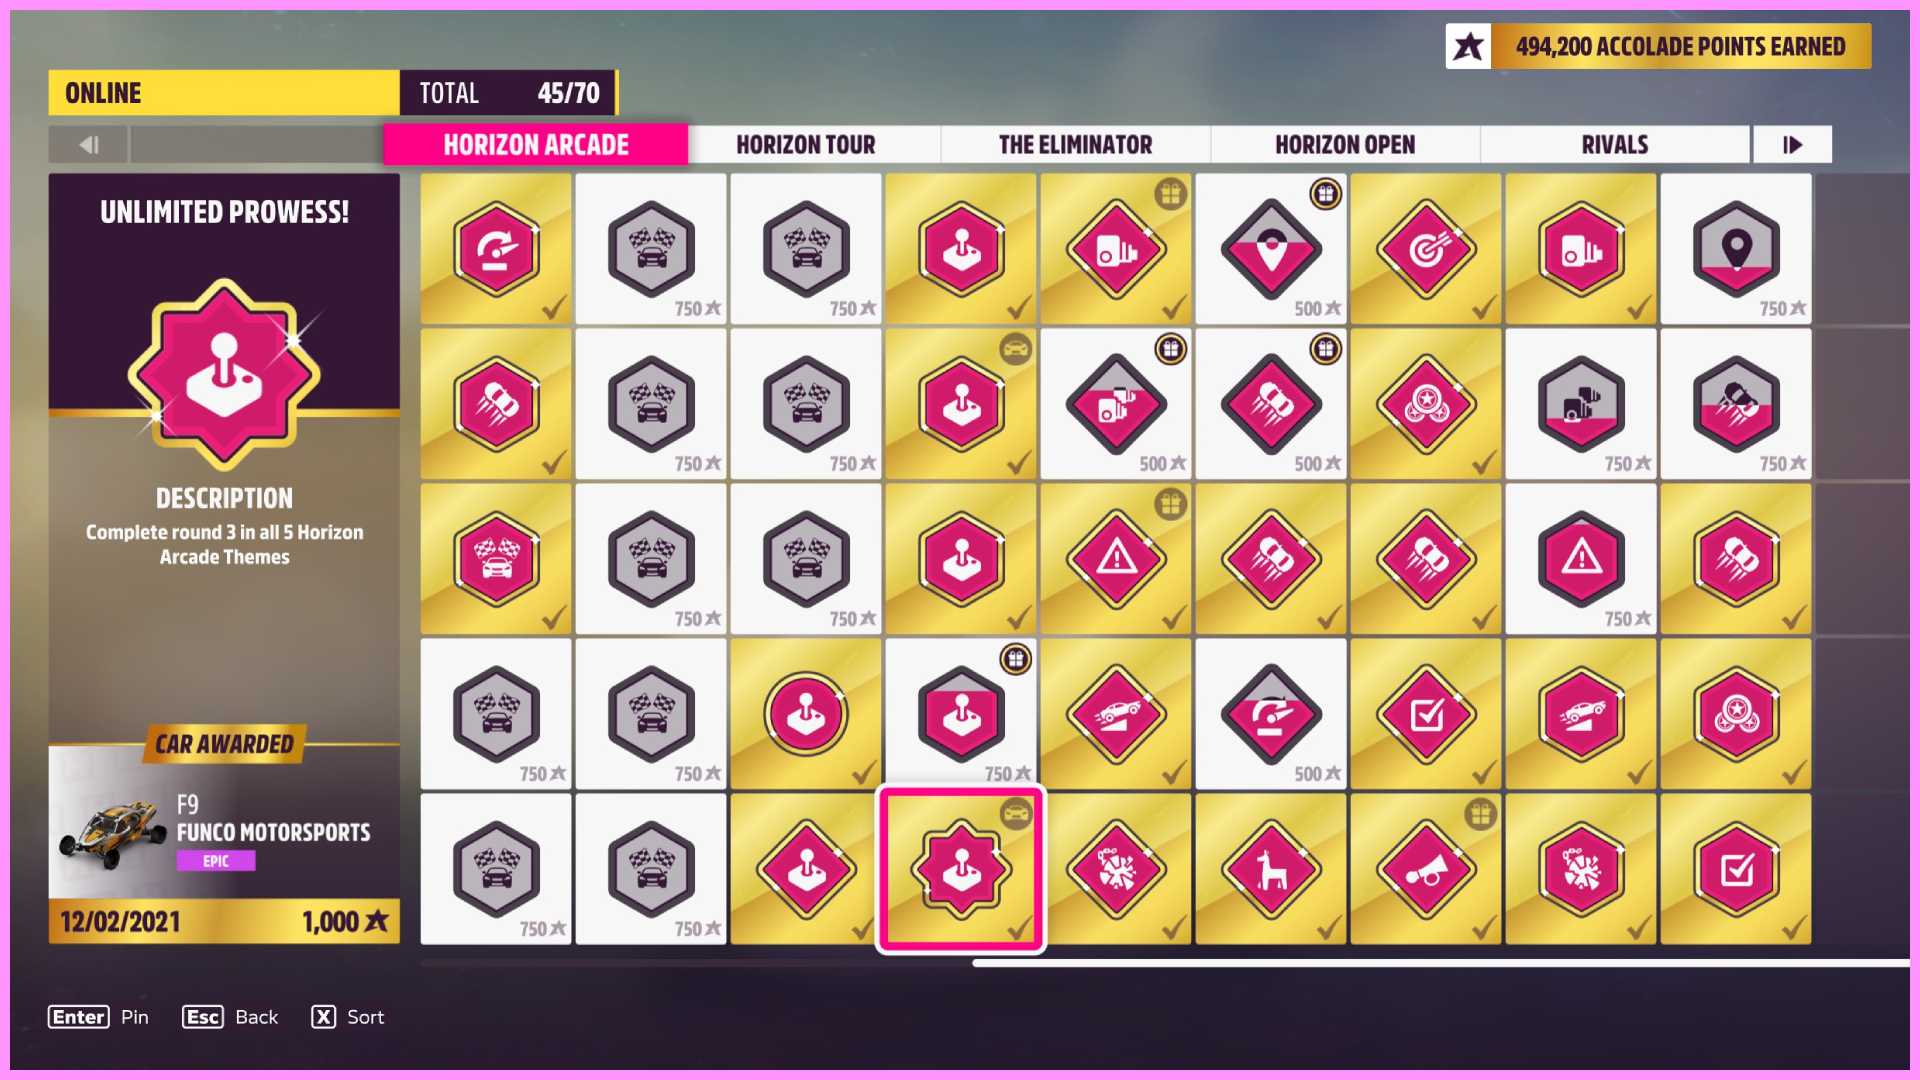
You can see what will be running at the moment if you pay attention to the word below in the center of the pink circle or hover over it. All you have to do for this achievement is to finish the third round in each discipline. 10 minutes to win 3 rounds. Just remember to keep track of what events you have done. And you can do this by securing the "Unlimited Mastery" test (Menu - "Accolades" - "Online" - "Horizon Arcade"):
Don't forget that you can use fast travel to avoid wasting precious seconds :)
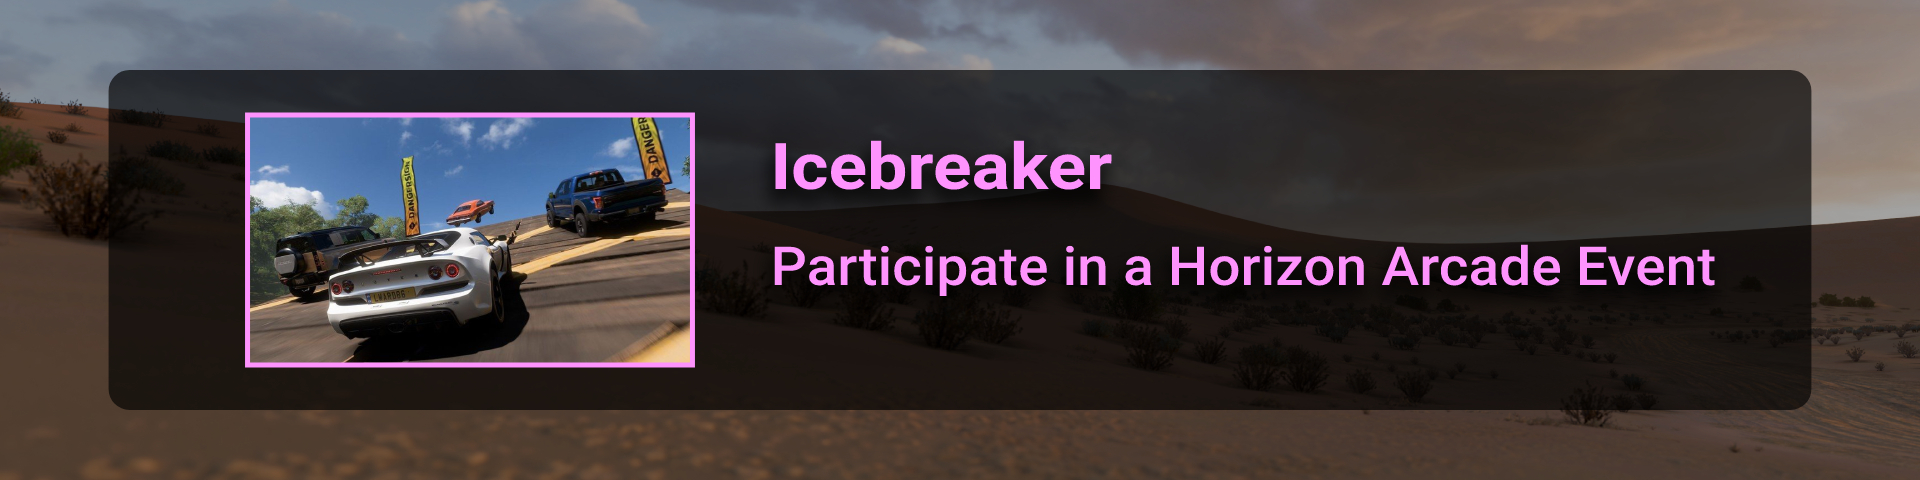
Icebreaker
After you complete the prologue, Horizon Arcade events will spawn across Mexico. Drive up to one of these pink circles (or just teleport), wait for the event to start and get involved. You do not need to win it, although it is worth trying as you need to win 5 of them in order to achieve «Unlimited Prowess!».
This is how the events look:
Unlimited Prowess!
There are 5 different disciplines such as drift, crash, chaos, speed and air. The names are self-explanatory, and are associated with the demonstration of a particular technique.
You can see what will be running at the moment if you pay attention to the word below in the center of the pink circle or hover over it. All you have to do for this achievement is to finish the third round in each discipline. 10 minutes to win 3 rounds. Just remember to keep track of what events you have done. And you can do this by securing the "Unlimited Mastery" test (Menu - "Accolades" - "Online" - "Horizon Arcade"):
✦ Photo Album 📷
In this section, we are going to photograph cars, sights and weather conditions.
To be able to take pictures for the Horizon Promo, you need to buy the Lugar Tranquilo home. This house is on the east side of the map on the beach. If you own the Welcome Pack DLC, you get the house for free, otherwise it will cost you 700,000 credits. To gain access to the home, build the Horizon Apex Outpost by completing the Tulum Expedition on the Horizon Adventure.
Expedition to Tulum:
House location:
![]()
If you are not getting achievements from this category try this method:
https://steamcommunity.com/app/1551360/discussions/0/4040356398515664970/
You'll get this one naturally doing the Tulum Expedition, but only if you're doing the optional objectives and trying to get the 'An Item of Extreme Value' achievement at the same time.
If you are on an expedition to Tulum, photographing Tlaloc's Golden Totem is an optional task, so just make sure you complete all optional tasks (they reward Accolade points) and you will receive this achievement. Just roll around the ruins and you will see Accolade icons (gray stars) on the map, one of which is Totem.
But if you missed it during the expedition, don't worry. You can go back to the mark and take a photo as shown in the screenshots:
There is a way to make this achievement easier. Go to Menu > Creative Hub > EventLab > Event Blueprints > Search > Enter the share code "514 524 330" (no spaces, they're here for readability).
It seems, that this method has been fixed and now you can only get the achievement in free ride mode. During the Spring Season, ride near the satellite. As soon as you see a sandstorm, teleport directly to the satellite. Make sure to set default weather settings in photomode.
The achievement dropped on this shot (but if it does not work, try to drive closer to the satellite and take a photo):
Go to Menu > Creative Hub > EventLab > Event Blueprints > Search > Enter the share code 182 638 460 (no spaces, they're here for readability).
Press the camera button to enter photo mode as soon as the race starts.
Just take a picture of what is happening behind your car, as I did in the screenshot:
(Option with Las Ranas Cross Country race works only if it's Spring Hot season. But in Blueprint we already have the needed season set)
1st option:
Go to Menu > Creative Hub > The Horizon Super7 > Challenge Cards > Search > Share Code > Then enter 290 932 975 (without spaces). And just shot your car.
This is how the Mercedes-AMG ONE 2021 looks:
2nd option:
Go to Menu > Creative Hub > EventLab > Event Blueprints > Search > Share Code > Then enter 358 678 300 (without spaces).
There were 2 Mercedes-AMG ONEs in the opponent's grid. Just take a picture of the entire grid of cars. I was on BMW S2 class.
You can make a picture of a random person/friend in the car, or you can get the car yourself from Wheelspins or the Autoshow (2,700,000 Credits) or from the festival playlist if it is available.
![]()
The easiest way to do this: every time you start a race, use your camera and take a picture of everyone on the grid. If you change vehicle classes (for example, D-class to S2), your opponents' vehicles will also change. Pay attention to the symbol of the camera next to the name of the Driver, if there is one, you have not photographed this car before. You can also take a photo of all your Barn Finds (14) and check the garage (perhaps, legendary cars dropped wheelspin and you forgot to take a shot of them).
The legendary cars in your garage are signed on a yellow background at the bottom and come in different classes:
![]()
Remember to use Quick Shot Mode ("P" on your keyboard and "RB or R1" on your controller) to save some time.
Also you can try this via Blueprints:
Go to Menu > Creative Hub > The Horizon Super7 > Challenge Cards > Search > Share Code > Then enter one of the following code: 169 910 983 or 604 786 984 (without spaces). Don't forget to change the car classes.
To be able to take pictures for the Horizon Promo, you need to buy the Lugar Tranquilo home. This house is on the east side of the map on the beach. If you own the Welcome Pack DLC, you get the house for free, otherwise it will cost you 700,000 credits. To gain access to the home, build the Horizon Apex Outpost by completing the Tulum Expedition on the Horizon Adventure.
Expedition to Tulum:
House location:
If you are not getting achievements from this category try this method:
https://steamcommunity.com/app/1551360/discussions/0/4040356398515664970/
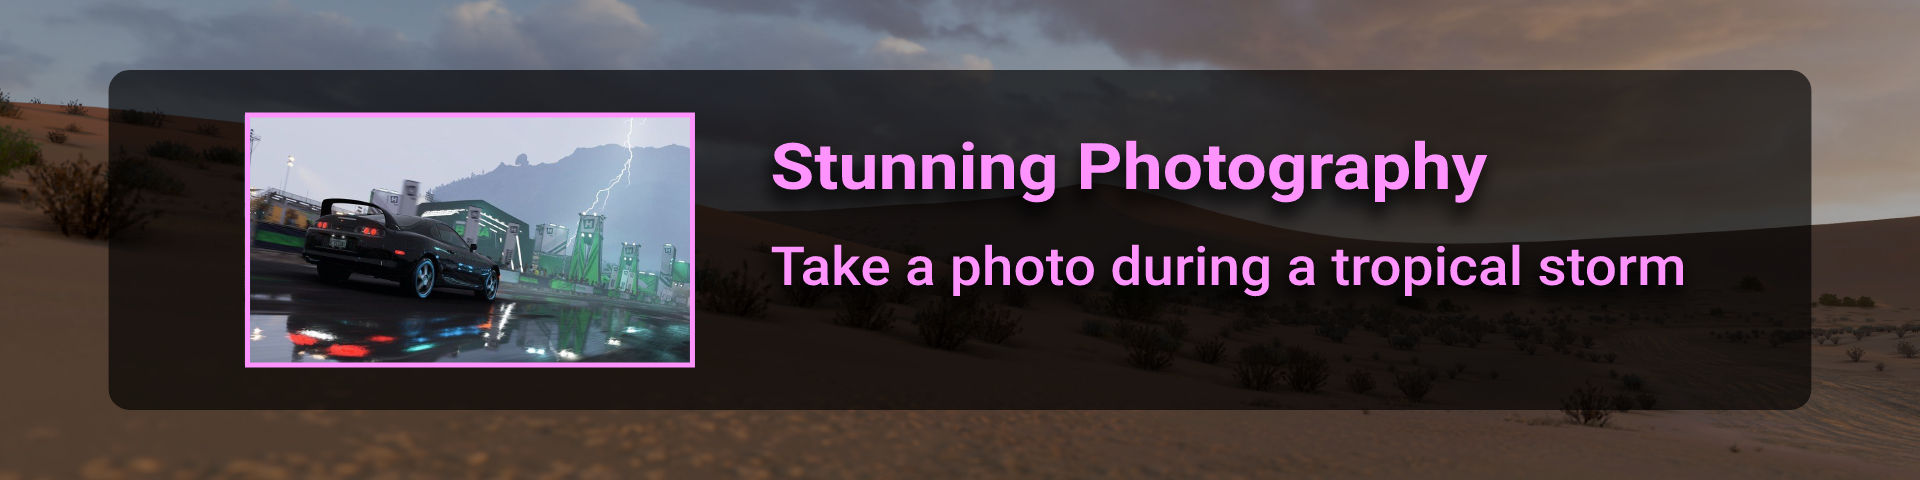
Stunning Photography
You'll get this one naturally doing the Tulum Expedition, but only if you're doing the optional objectives and trying to get the 'An Item of Extreme Value' achievement at the same time.
An Item Of Extreme Value
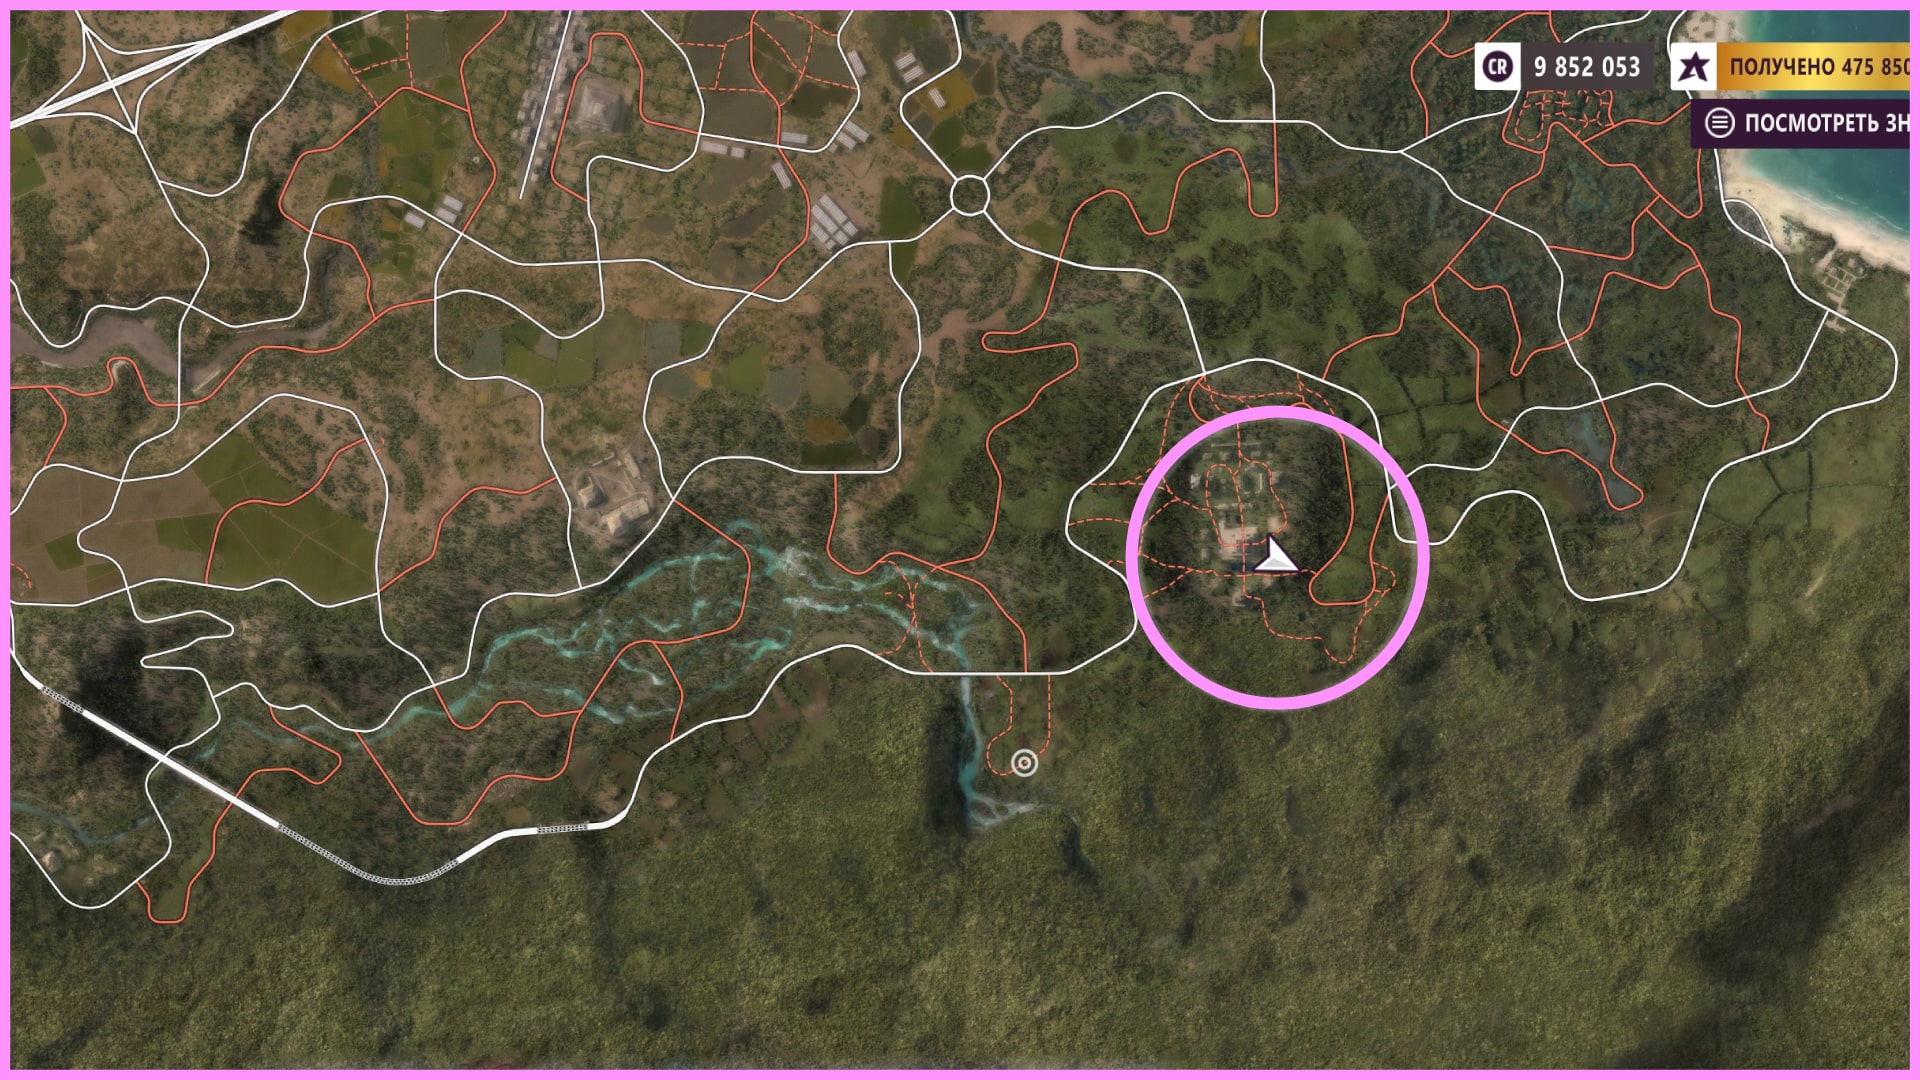
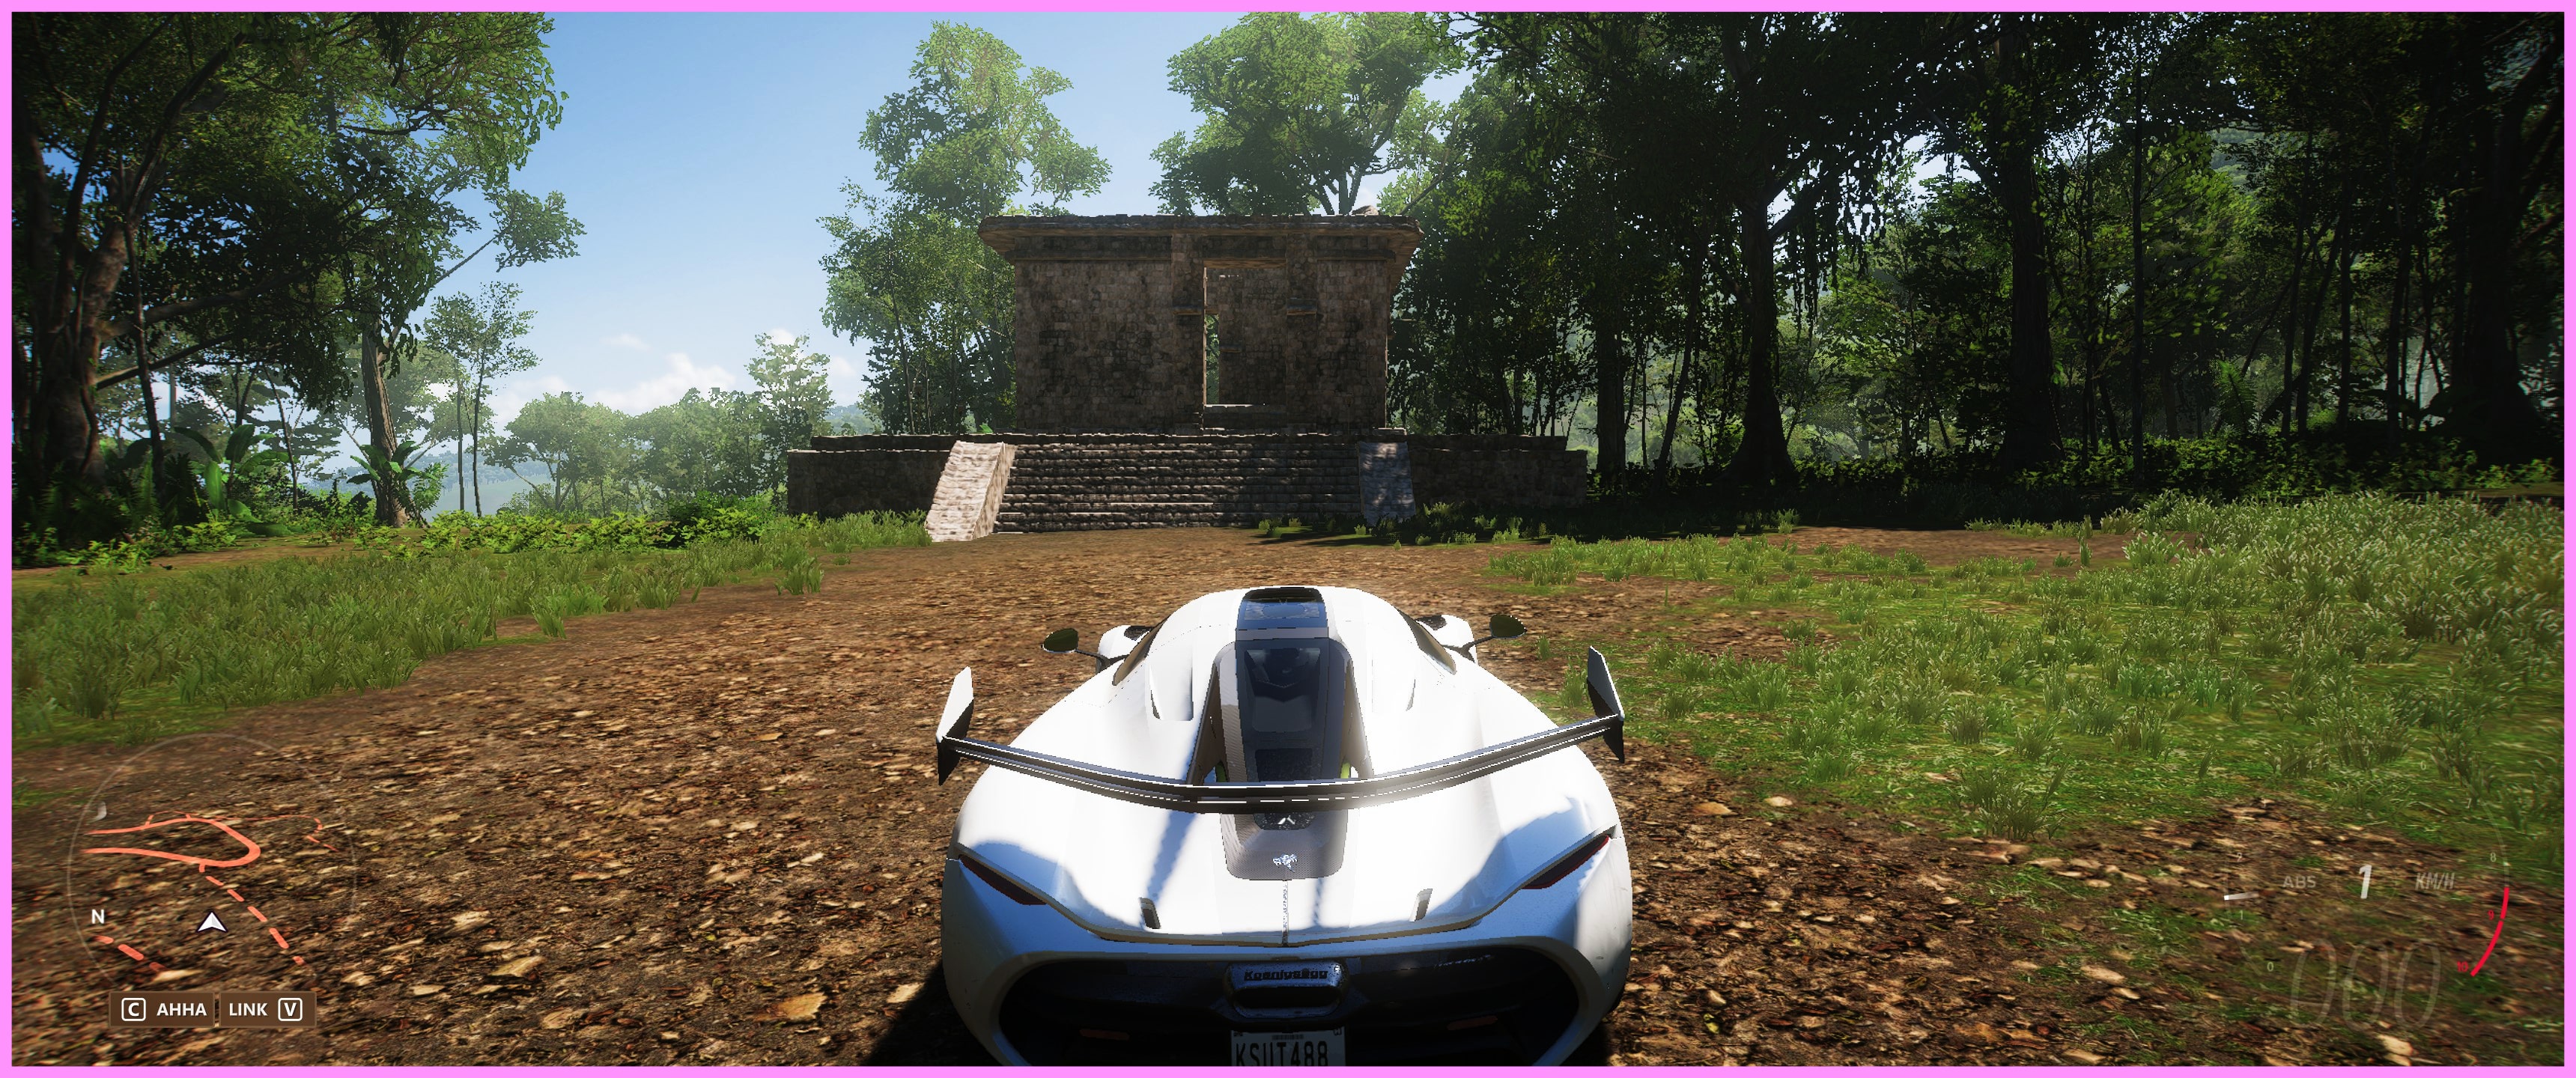
If you are on an expedition to Tulum, photographing Tlaloc's Golden Totem is an optional task, so just make sure you complete all optional tasks (they reward Accolade points) and you will receive this achievement. Just roll around the ruins and you will see Accolade icons (gray stars) on the map, one of which is Totem.
But if you missed it during the expedition, don't worry. You can go back to the mark and take a photo as shown in the screenshots:
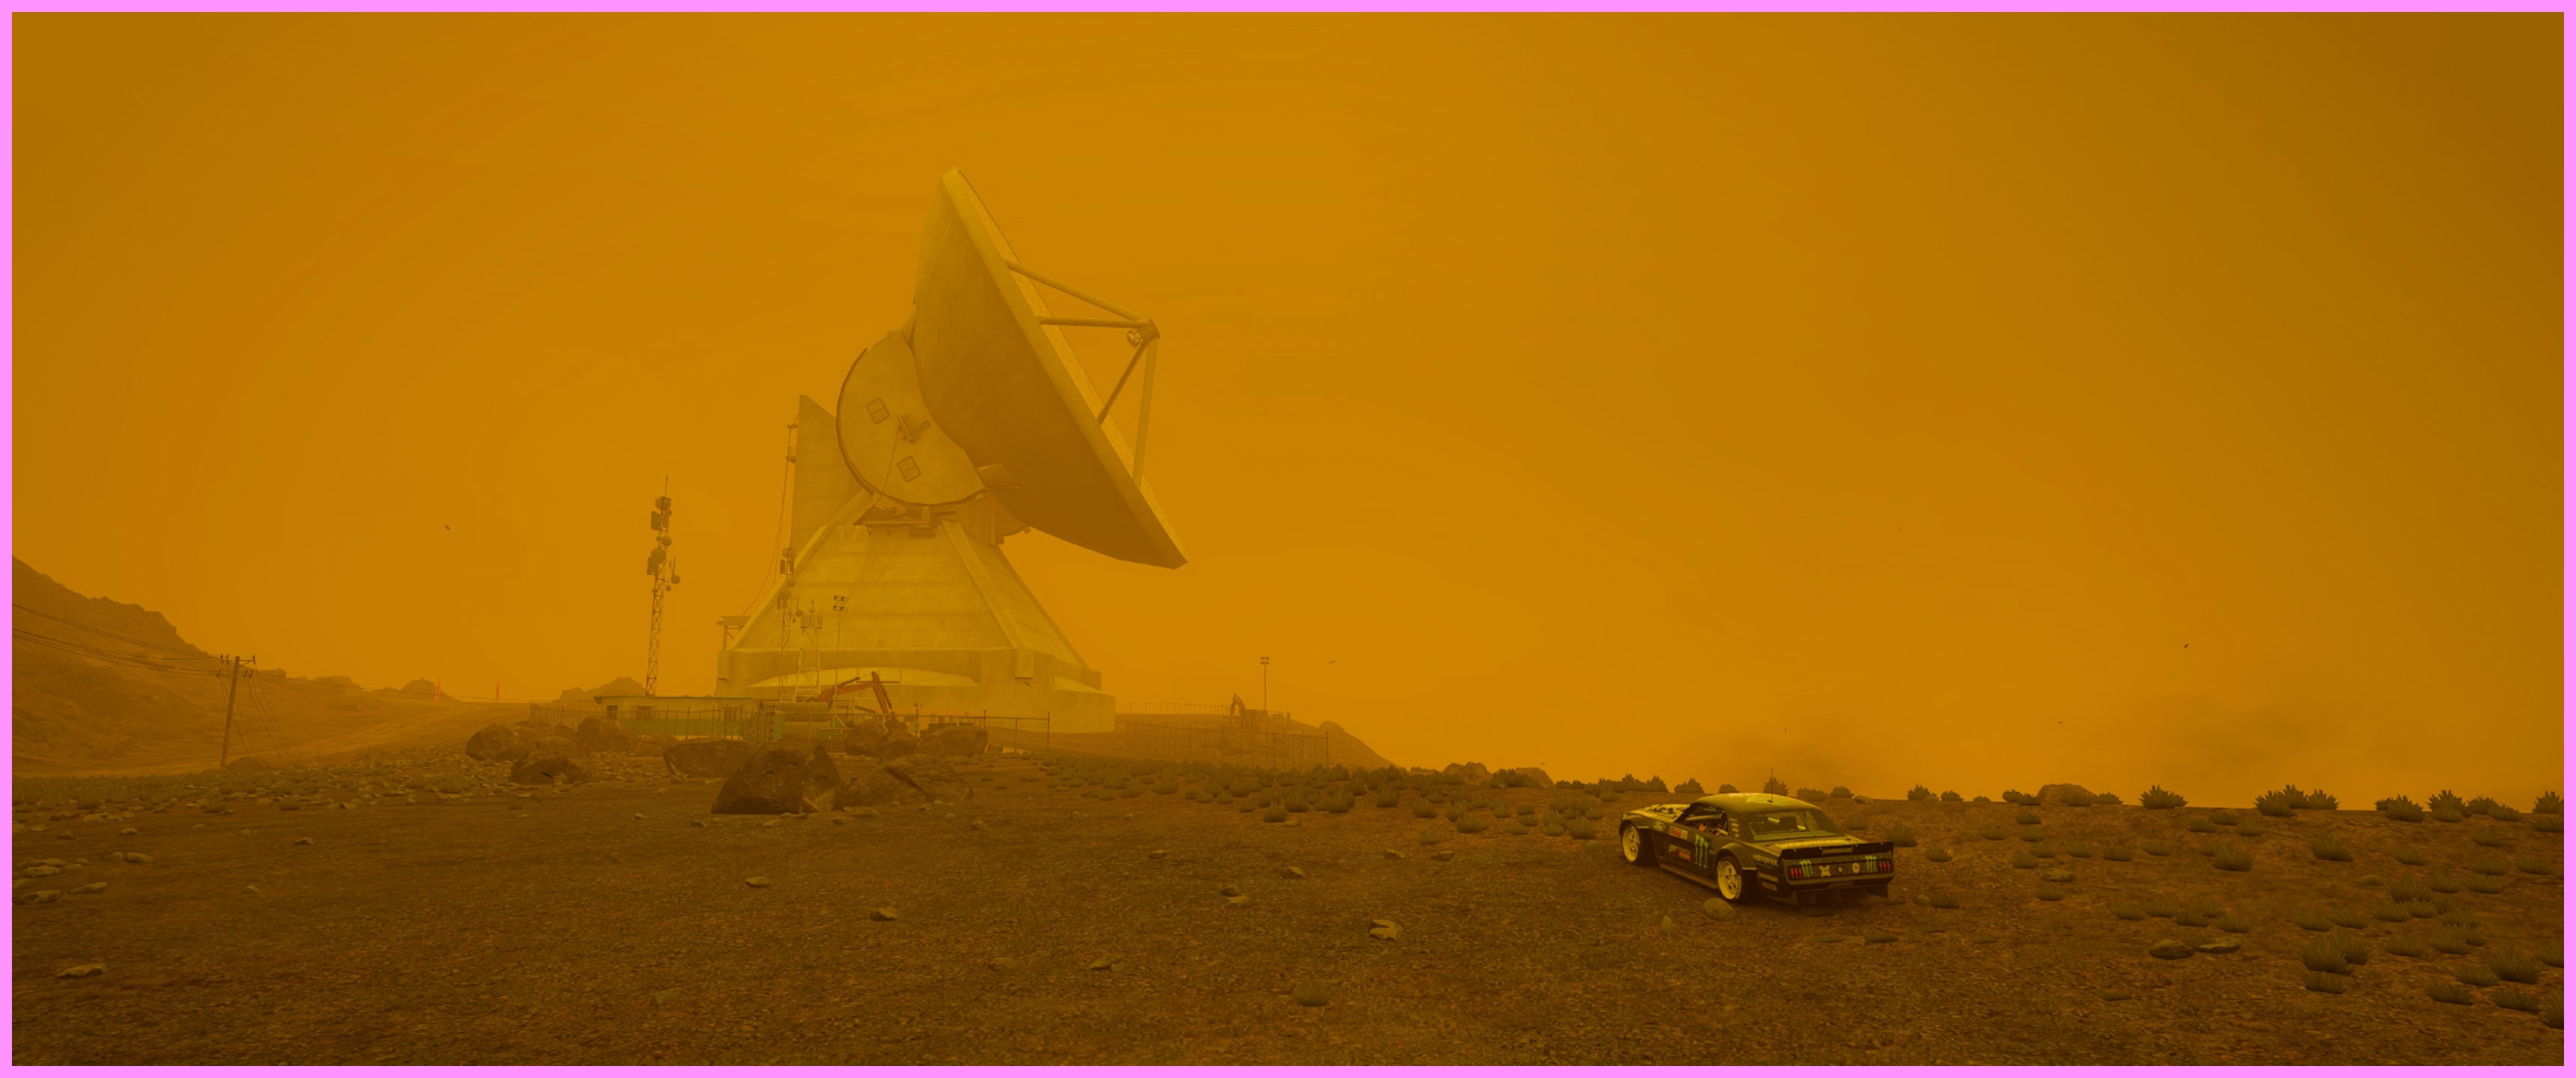
Dust in the Lens
There is a way to make this achievement easier. Go to Menu > Creative Hub > EventLab > Event Blueprints > Search > Enter the share code "514 524 330" (no spaces, they're here for readability).
It seems, that this method has been fixed and now you can only get the achievement in free ride mode. During the Spring Season, ride near the satellite. As soon as you see a sandstorm, teleport directly to the satellite. Make sure to set default weather settings in photomode.
The achievement dropped on this shot (but if it does not work, try to drive closer to the satellite and take a photo):
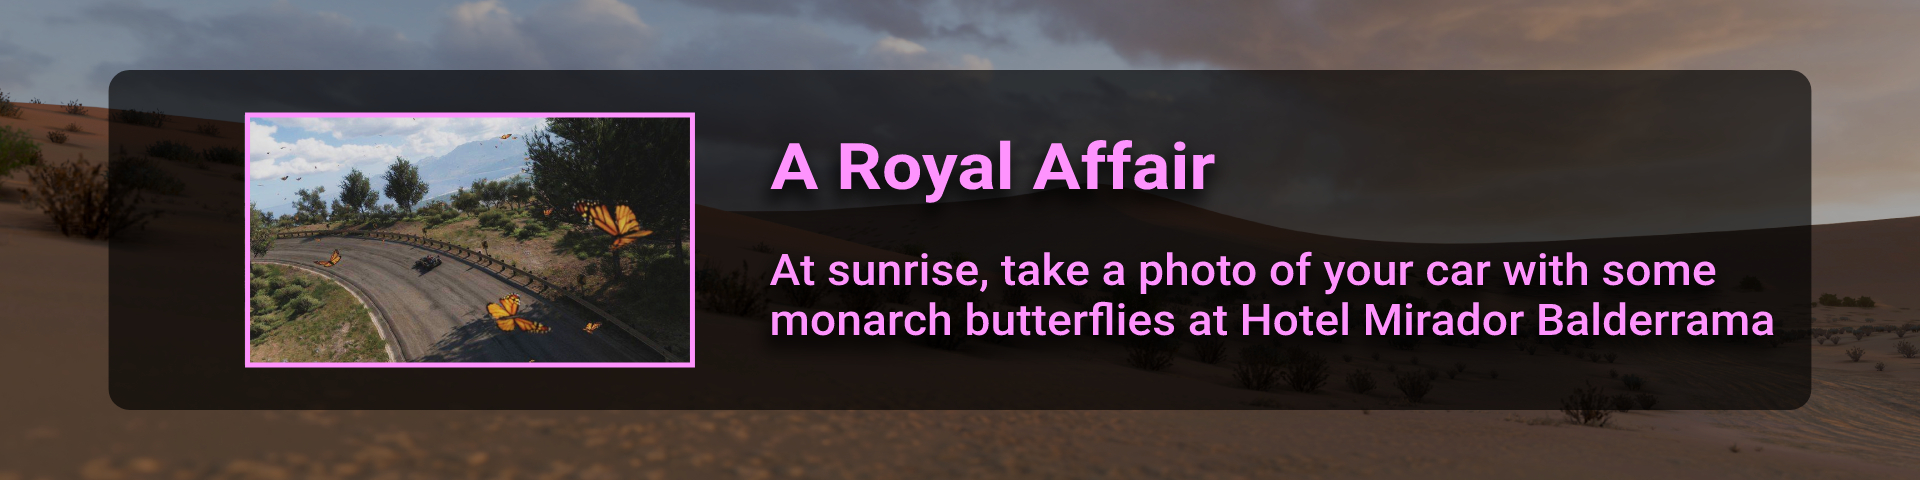
A Royal Affair
Go to Menu > Creative Hub > EventLab > Event Blueprints > Search > Enter the share code 182 638 460 (no spaces, they're here for readability).
Press the camera button to enter photo mode as soon as the race starts.
Just take a picture of what is happening behind your car, as I did in the screenshot:
(Option with Las Ranas Cross Country race works only if it's Spring Hot season. But in Blueprint we already have the needed season set)
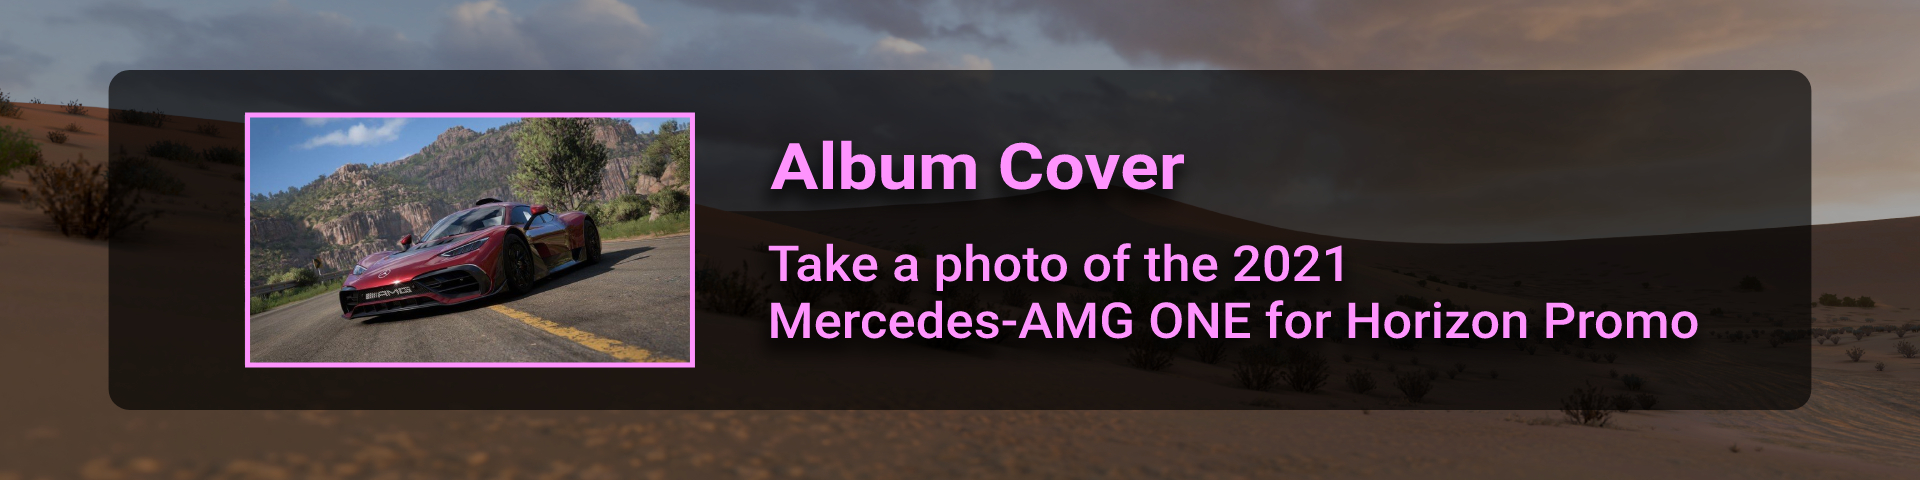
Album Cover
1st option:
Go to Menu > Creative Hub > The Horizon Super7 > Challenge Cards > Search > Share Code > Then enter 290 932 975 (without spaces). And just shot your car.
This is how the Mercedes-AMG ONE 2021 looks:
2nd option:
Go to Menu > Creative Hub > EventLab > Event Blueprints > Search > Share Code > Then enter 358 678 300 (without spaces).
There were 2 Mercedes-AMG ONEs in the opponent's grid. Just take a picture of the entire grid of cars. I was on BMW S2 class.
You can make a picture of a random person/friend in the car, or you can get the car yourself from Wheelspins or the Autoshow (2,700,000 Credits) or from the festival playlist if it is available.
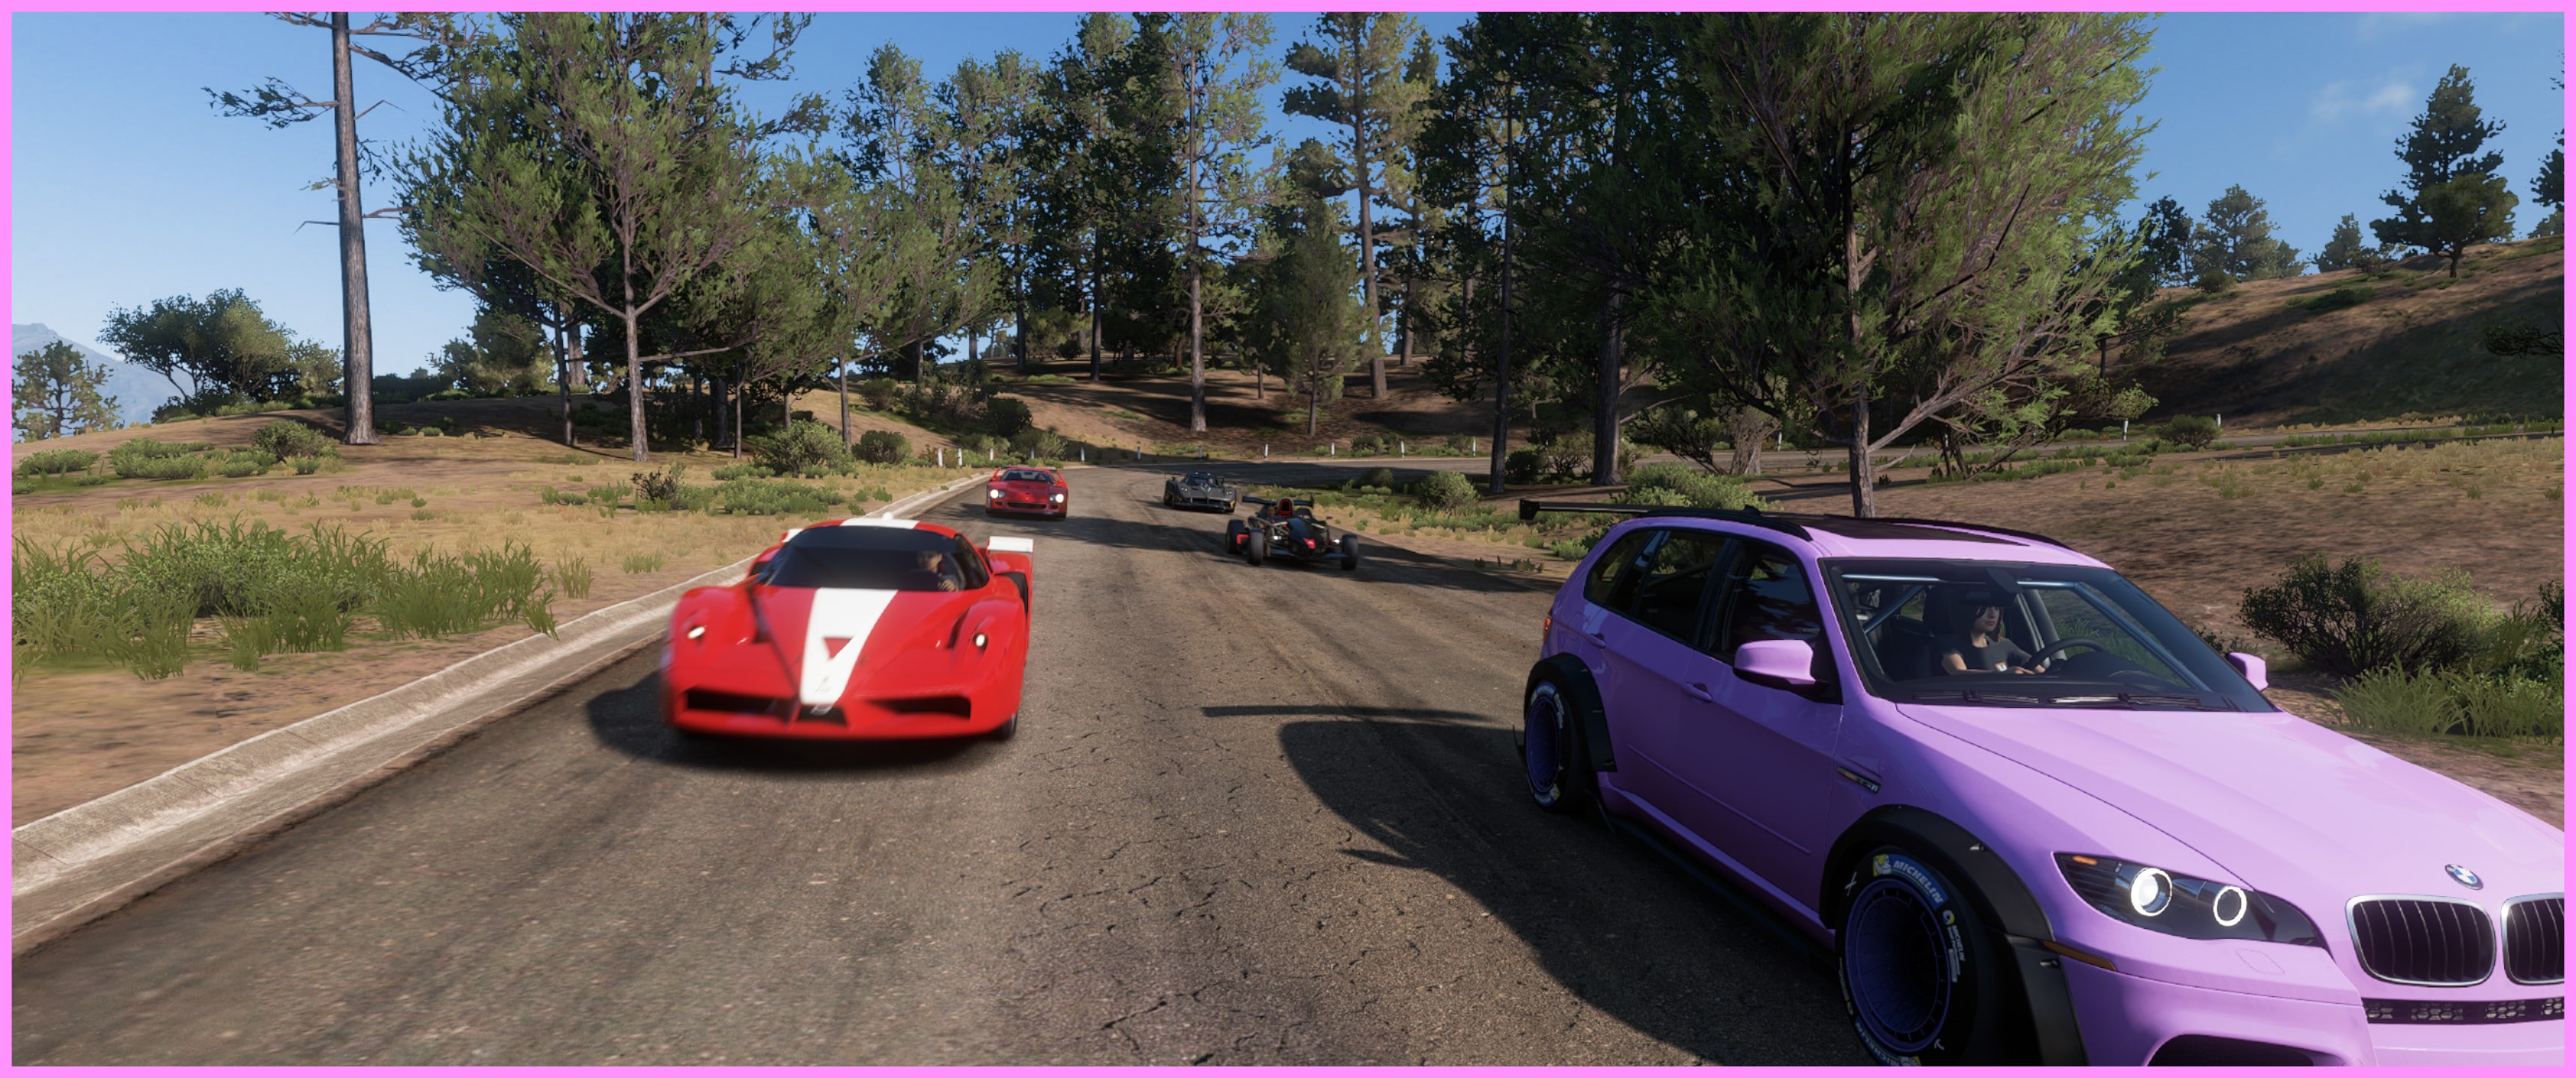
Fit to Print
The easiest way to do this: every time you start a race, use your camera and take a picture of everyone on the grid. If you change vehicle classes (for example, D-class to S2), your opponents' vehicles will also change. Pay attention to the symbol of the camera next to the name of the Driver, if there is one, you have not photographed this car before. You can also take a photo of all your Barn Finds (14) and check the garage (perhaps, legendary cars dropped wheelspin and you forgot to take a shot of them).
The legendary cars in your garage are signed on a yellow background at the bottom and come in different classes:
Remember to use Quick Shot Mode ("P" on your keyboard and "RB or R1" on your controller) to save some time.
Also you can try this via Blueprints:
Go to Menu > Creative Hub > The Horizon Super7 > Challenge Cards > Search > Share Code > Then enter one of the following code: 169 910 983 or 604 786 984 (without spaces). Don't forget to change the car classes.
✦ Car Collection 🚗
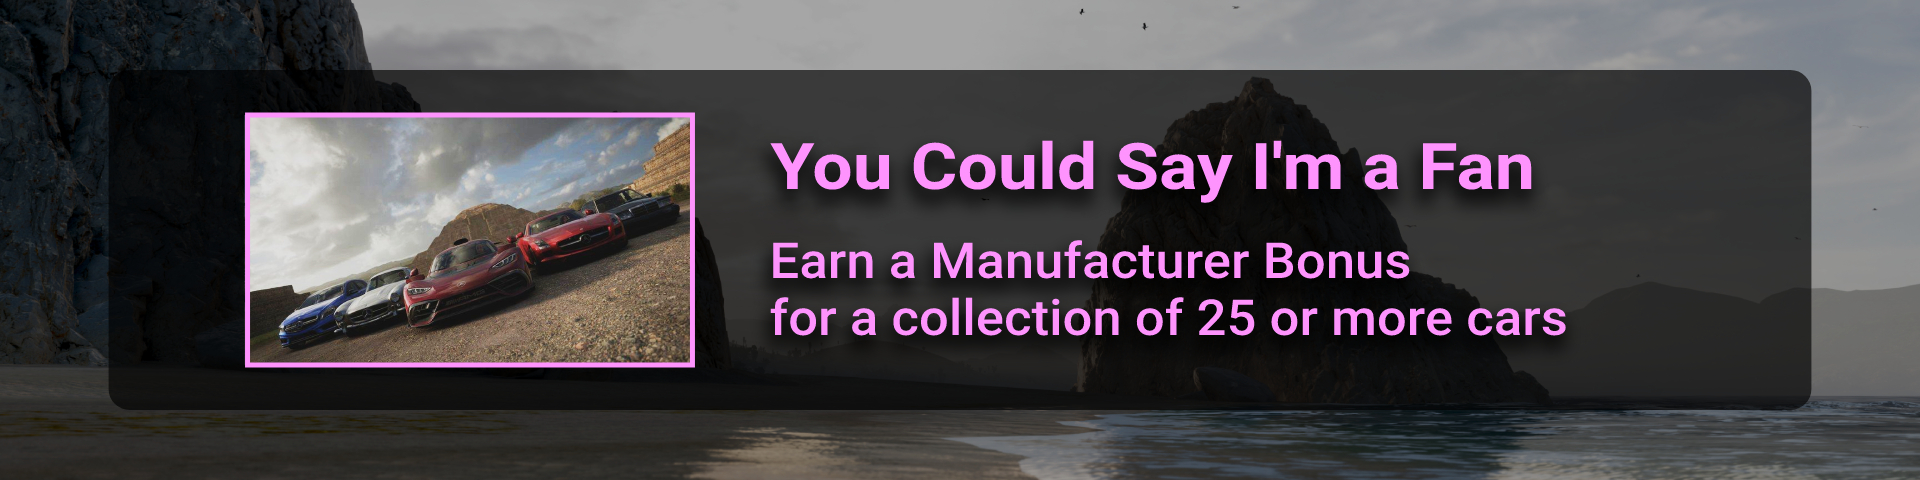
We have to collect at least 25 cars from one manufacturer for the achievement "You Could Say I'm a Fan". At the moment there are 553 cars in the game. You can see your collection of cars through the menu: Cars > Car Collection. You can buy cars directly from the Car Collection by simply pressing the Buy button (Y on your XBOX keyboard and gamepad) when you hover over the car (if you can afford it, of course).
You can get cars in several ways:
- buy from Autoshow or Auction House
- complete certain Accolade tasks with a car badge
- get for completing events from the Festival Playlist

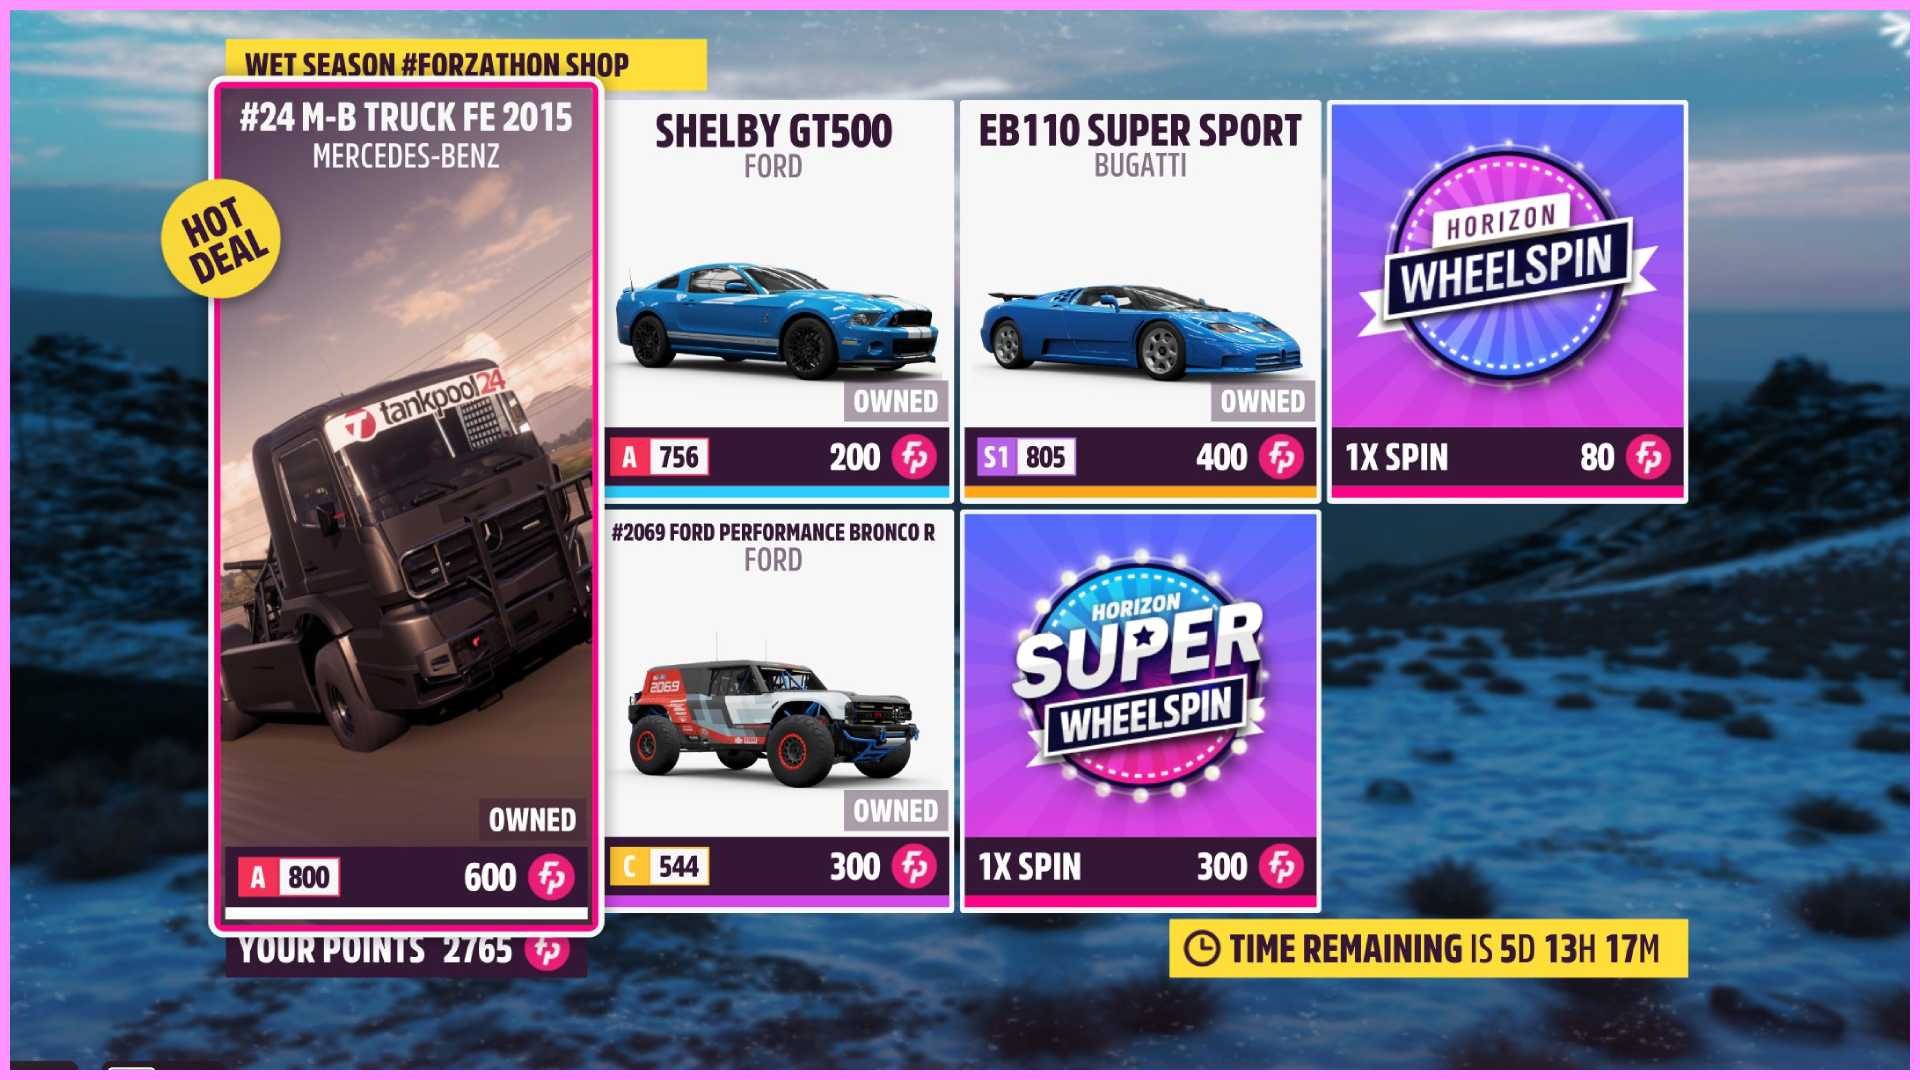
- buy from the Forzathon shop
- get randomly from a Wheelspin (or super wheelspin)
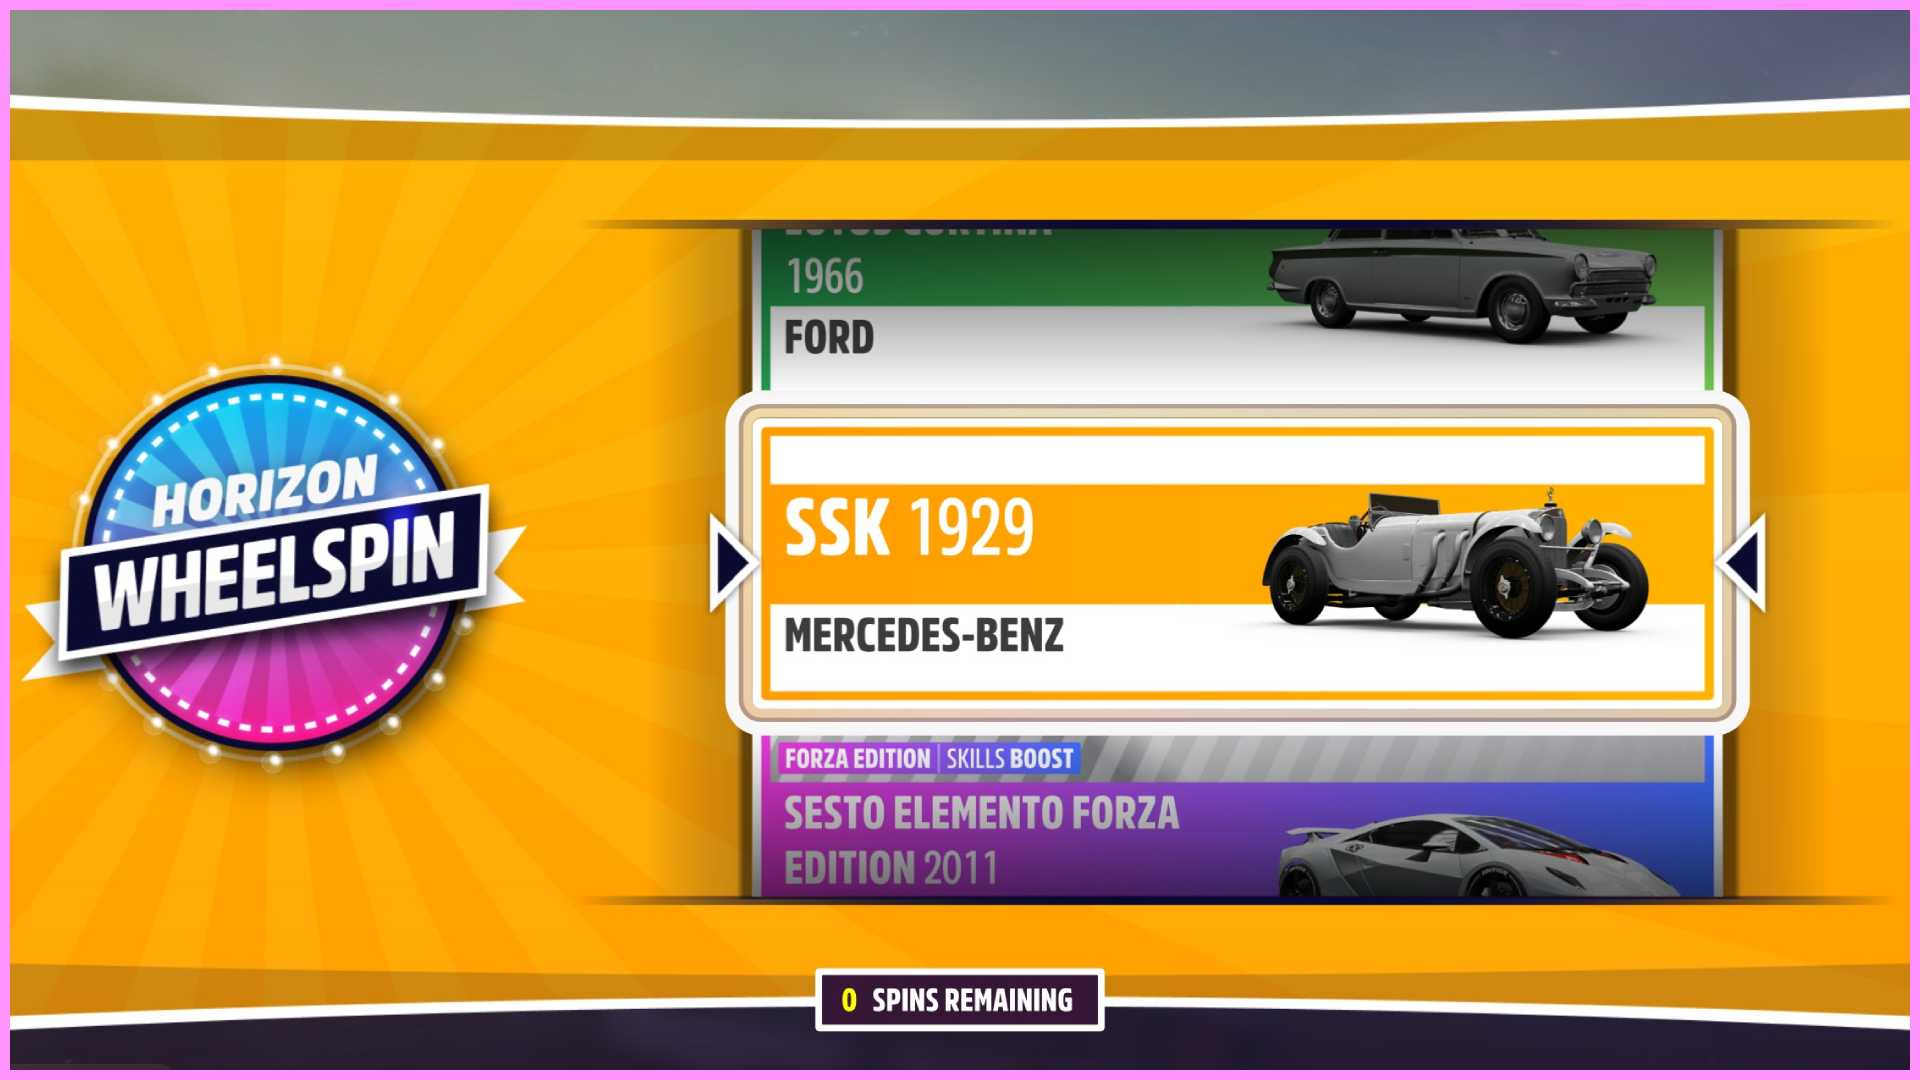
The achievement will drop when you get a rare Forza Edition car after a wheelspin or super wheelspin, so it all depends on random.
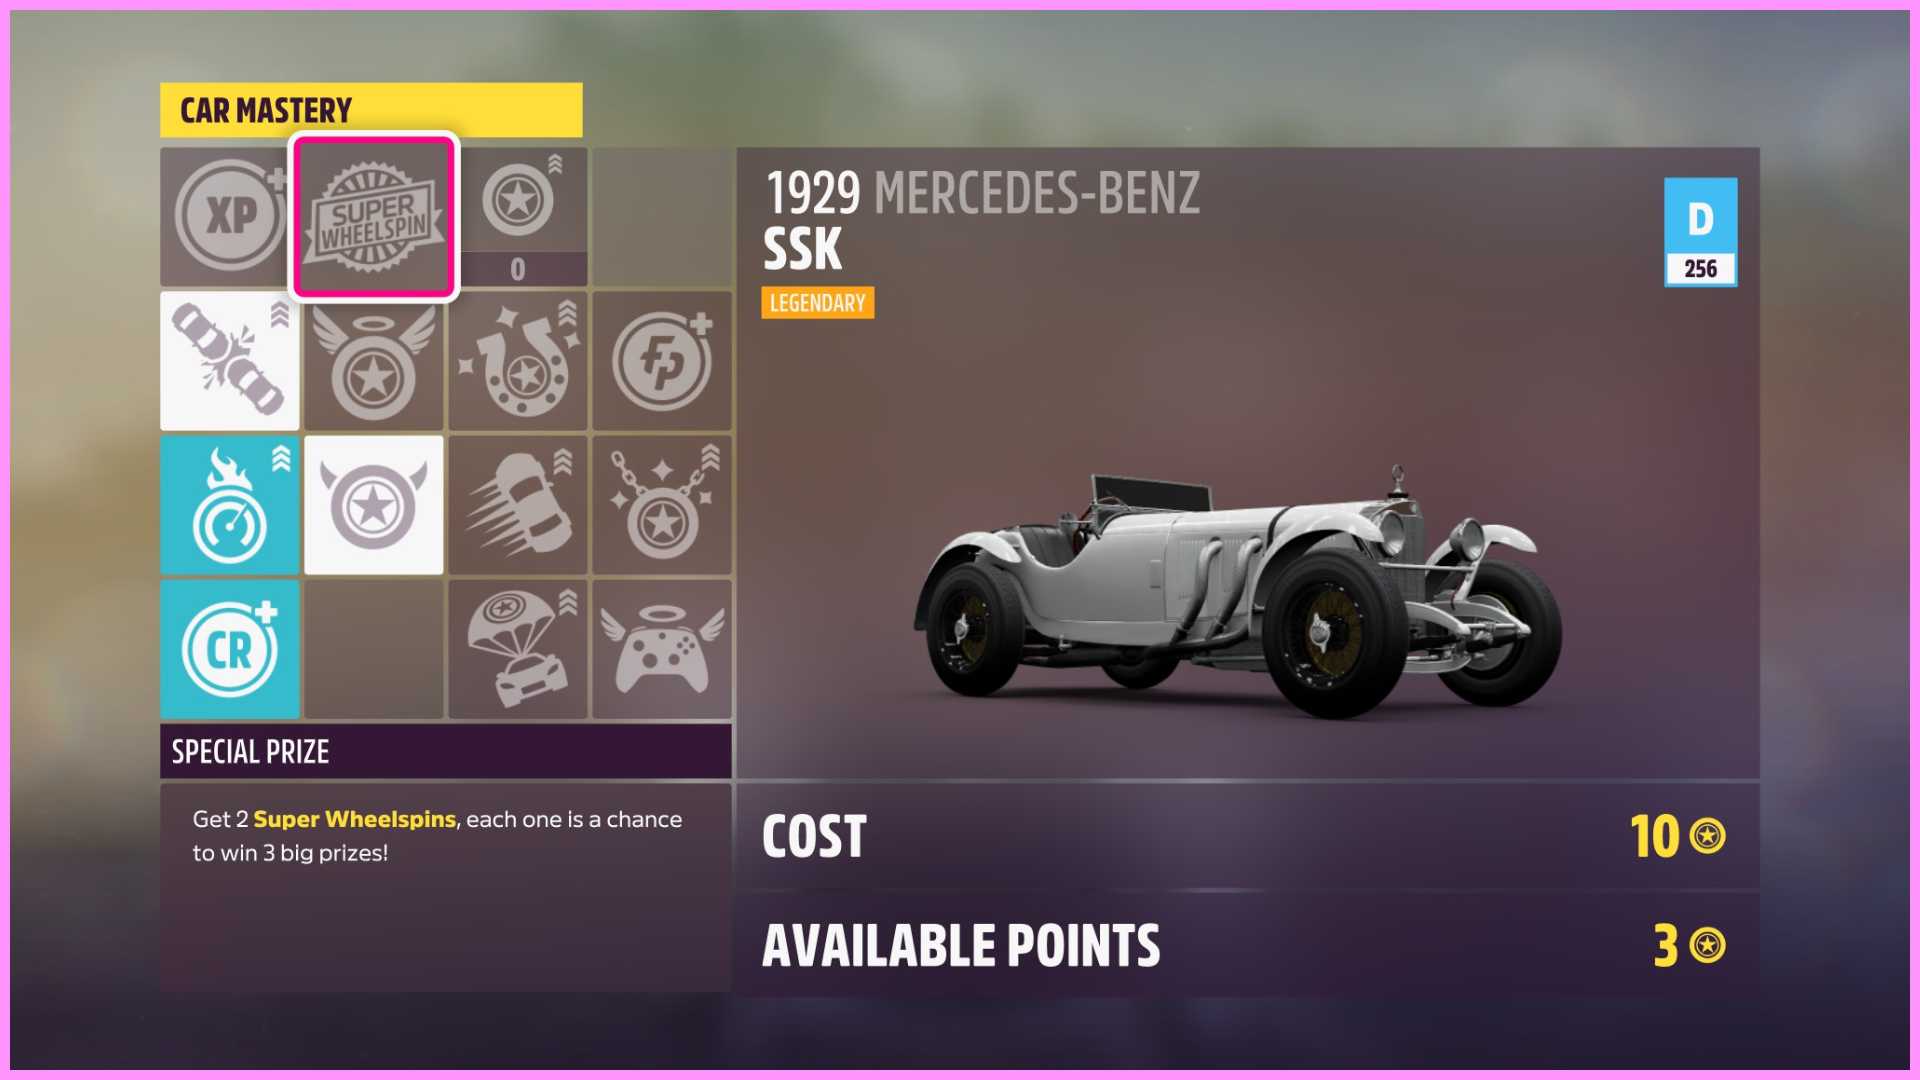
You can get wheelspins if you up your player level. Some player houses will give you wheelspins as a bonus. At the same time, quite a lot of cars have a wheelspin as car mastery skill (or a super wheelspin):
Find and restore all 14 Barn Finds of Forza Horizon 5. After you have found the car, you still need to wait a while until the mechanic informs you that the car is ready and can be picked up.
The last 14th rarity can be obtained after buying a house for 150k La Cabaña (top left on the map).
All Barn Finds map:

As soon as you unlock the first Barn Find, you have the opportunity to send the car to other players. Keep in mind that this will remove the car from your garage, so only send the car you are not using, and also do not give away rare cars that might be useful to you later, so as not to catch them in the auction or in the bonus game.
Or you can just send a gift via menu: My Horizon - Send a gift.
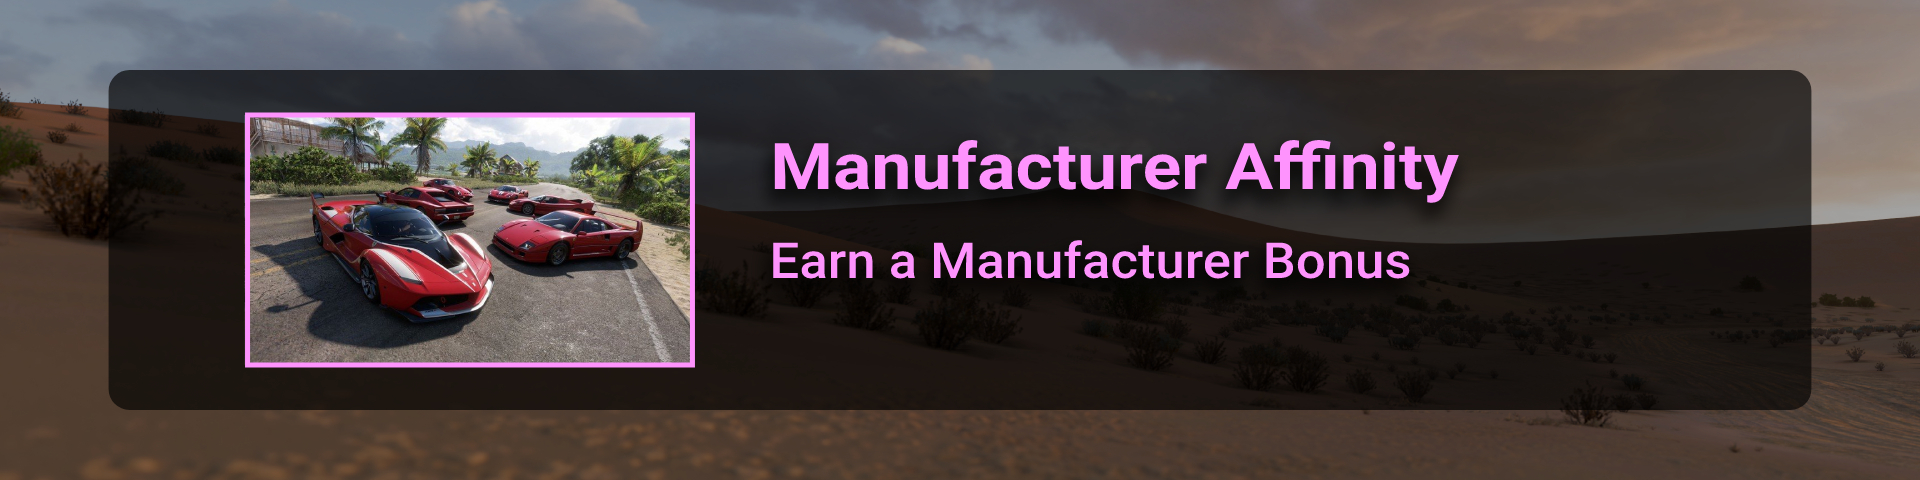
If you unlock the vast majority of cars for a manufacturer, you will receive a manufacturer bonus on the Car Collection screen (Menu - Cars tab). Receive this bonus and the achievement will drop. Some manufacturers only need 1 car to receive the bonus, and these cars cost approximately 25 000 - 50 000 credits.
For example, you can buy this Can-Am Maverick X RS Turbo R and you will be given a bonus on the right:

This is where things get a little tricky. Currently there are 5 manufacturers with 25 or more vehicles: BMW, Chevrolet, Ferrari, Ford and Porsche, but not all of these vehicles can be bought directly. Either way, you need a little luck in the wheelspin game. It's better to ignore Ford as they have 58 cars in the game, and to get the manufacturer's bonus you need to unlock most of the cars (not all). Also, ignore the Porsche - too expensive, like the Ferrari. That leaves Chevrolet and BMW.
So, basically, you just need to go through the game and see which cars you have more at the time of the Hall of Fame. If you are lucky enough to have a bonus game for BMW, not a Chevrolet, then buy the ones that are missing, or wait for something else to drop(here comes the purchase of a castle for 5M credits, which gives a daily bonus game). If you are missing one or two cars, look at the auction house. If the vehicle is not on auction, keep spinning the bonus games and check the rewards for the Seasonal Event and the Forzathon Shop, the Seasonal Event Store where you can spend your daily / weekly / seasonal currency.
Some people say, the BMW collection didn't count for the achievement, after collecting 25 BMWs and receiving the bonus. So it's better not to risk and collect Chevrolet first!
You can get cars in several ways:
- buy from Autoshow or Auction House
- complete certain Accolade tasks with a car badge
- get for completing events from the Festival Playlist
- buy from the Forzathon shop
- get randomly from a Wheelspin (or super wheelspin)
A Forza Edition to My Collection
The achievement will drop when you get a rare Forza Edition car after a wheelspin or super wheelspin, so it all depends on random.
You can get wheelspins if you up your player level. Some player houses will give you wheelspins as a bonus. At the same time, quite a lot of cars have a wheelspin as car mastery skill (or a super wheelspin):
Better Than New
Find and restore all 14 Barn Finds of Forza Horizon 5. After you have found the car, you still need to wait a while until the mechanic informs you that the car is ready and can be picked up.
The last 14th rarity can be obtained after buying a house for 150k La Cabaña (top left on the map).
All Barn Finds map:
A Heart of Gold
As soon as you unlock the first Barn Find, you have the opportunity to send the car to other players. Keep in mind that this will remove the car from your garage, so only send the car you are not using, and also do not give away rare cars that might be useful to you later, so as not to catch them in the auction or in the bonus game.
Or you can just send a gift via menu: My Horizon - Send a gift.
Manufacturer Affinity
If you unlock the vast majority of cars for a manufacturer, you will receive a manufacturer bonus on the Car Collection screen (Menu - Cars tab). Receive this bonus and the achievement will drop. Some manufacturers only need 1 car to receive the bonus, and these cars cost approximately 25 000 - 50 000 credits.
For example, you can buy this Can-Am Maverick X RS Turbo R and you will be given a bonus on the right:
You Could Say I'm a Fan
This is where things get a little tricky. Currently there are 5 manufacturers with 25 or more vehicles: BMW, Chevrolet, Ferrari, Ford and Porsche, but not all of these vehicles can be bought directly. Either way, you need a little luck in the wheelspin game. It's better to ignore Ford as they have 58 cars in the game, and to get the manufacturer's bonus you need to unlock most of the cars (not all). Also, ignore the Porsche - too expensive, like the Ferrari. That leaves Chevrolet and BMW.
So, basically, you just need to go through the game and see which cars you have more at the time of the Hall of Fame. If you are lucky enough to have a bonus game for BMW, not a Chevrolet, then buy the ones that are missing, or wait for something else to drop(here comes the purchase of a castle for 5M credits, which gives a daily bonus game). If you are missing one or two cars, look at the auction house. If the vehicle is not on auction, keep spinning the bonus games and check the rewards for the Seasonal Event and the Forzathon Shop, the Seasonal Event Store where you can spend your daily / weekly / seasonal currency.
Some people say, the BMW collection didn't count for the achievement, after collecting 25 BMWs and receiving the bonus. So it's better not to risk and collect Chevrolet first!
✦ Crash Test 💥
Quite a fun stage where we have to break various objects. However, there are 2 achievements that will be quite long due to the waiting of events in the series. You should immediately pay attention on the "Treasure Hunter" and "Gotta Smash 'Em All" achievements. You can scroll through the entire series, so as not to accidentally miss them during the month (that is the series). You need to break all the chests for a single series (their number may vary from series to series) and complete 5 tasks titled "Collectibles" from the "Challenges" section. The 2nd will most likely require 2 or 3 series (months) to complete...
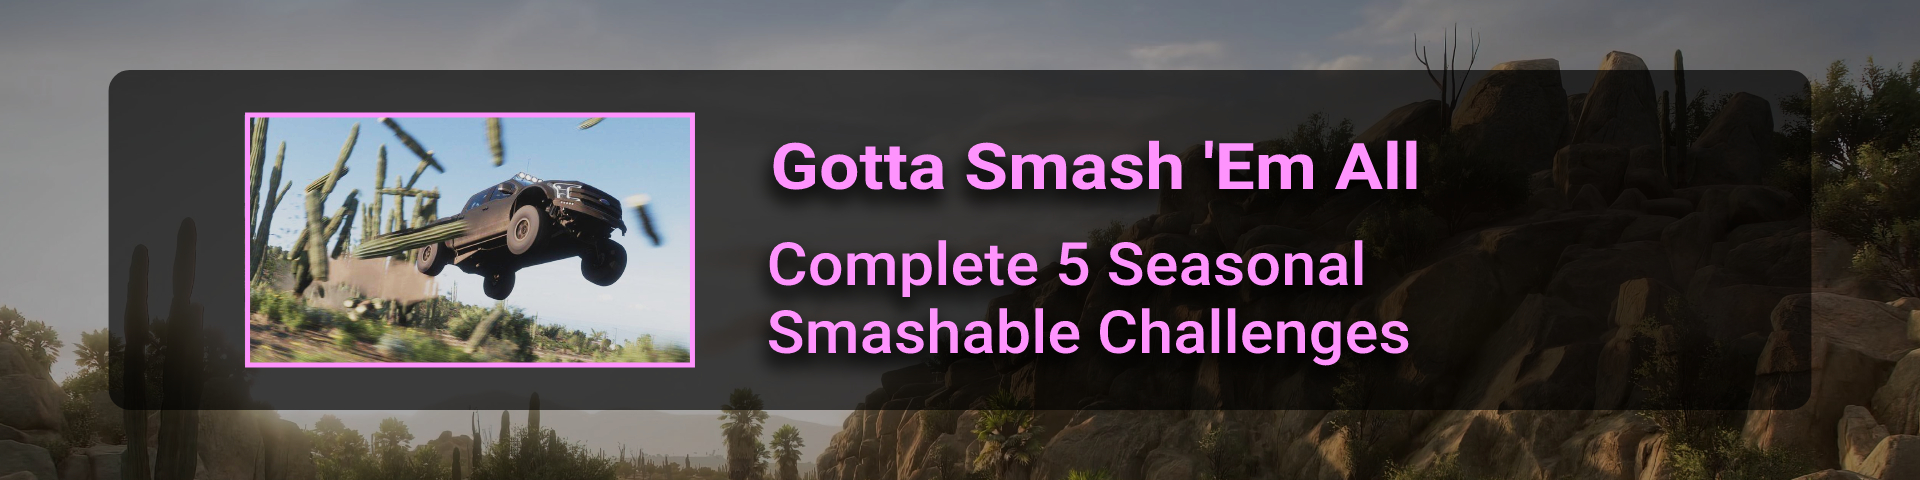
Smashable challenges are shown in the "Challenges" category on the right side of the Festival Playlist menu.
In Series 1, there is one Smashable Challenge in Summer Season. The title is "Collectibles" where you have to smash 100 Cactus (good to do this while going for the smashing 500 Cactus achievement).
Daily challenges, probably, do not count (there was a Series 0 Smashable Daily challenge that didn't count on achievement tracker)...
Depending on if Daily Challenges count or not, it may take several months for this achievement to be possible to unlock T-T

Go to the pause menu > Creative Hub > The Horizon Super7 > Challenge Cards > Search > Share Code > Then enter «531 845 273» (type without spaces, they are here just to improve readability) and then the challenge card will pop up and all you have to do is run into the cacti.
Tracking might be a little buggy so just smash them until the achievement pops. I had to restart it once after the cactus line was empty. And don't repeat my mistake... You can smash them with the left or right side of your car, no need to hit them with the front part only xD
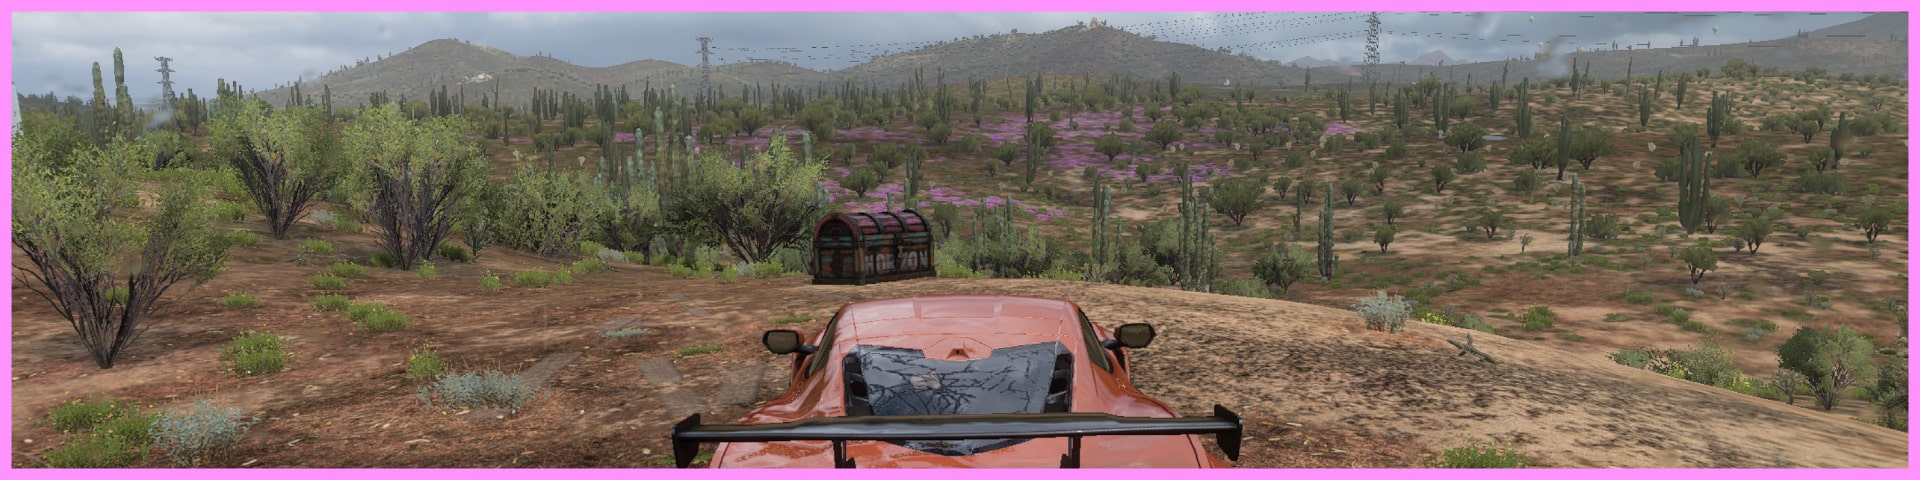
Another season based one here, so keep an eye out for the Treasure Chest seasonal challenges in playlist, when they pop-up. Complete the challenges, find the treasures and this achievement is yours.
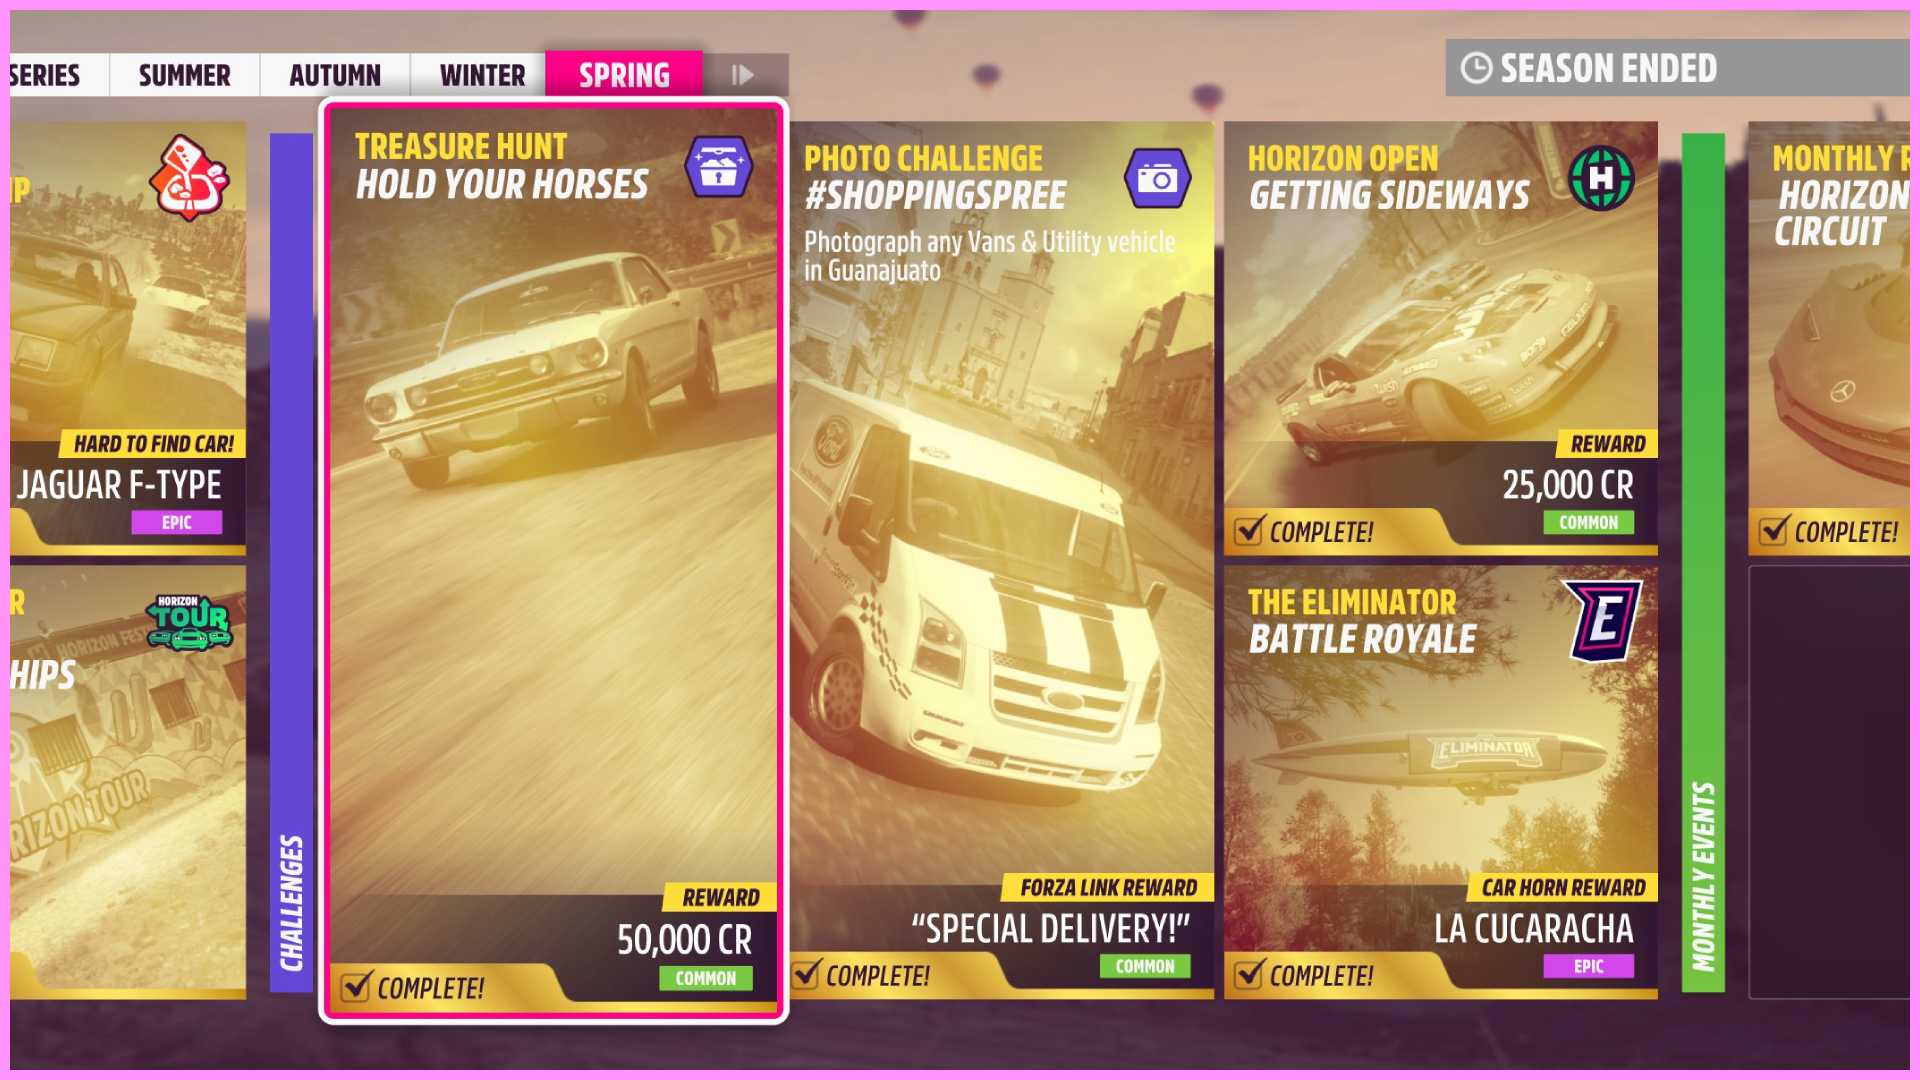
Treasure Hunts are located in the "Challenges" on the right side of the Festival Playlist menu and are titled "Treasure Hunt".
In Series 1 there are two Treasure Hunts: the first is in Summer and the second is in Spring
Retrieve both Treasure Chests and you unlock the achievement.
In future Series there may be more / less Treasure hunts per series.
Tracker is probbably not working here, because of different treasures amount per series.
This is what the task looks like before execution:
Icon on a map (appears after completing the challenge from playlist):
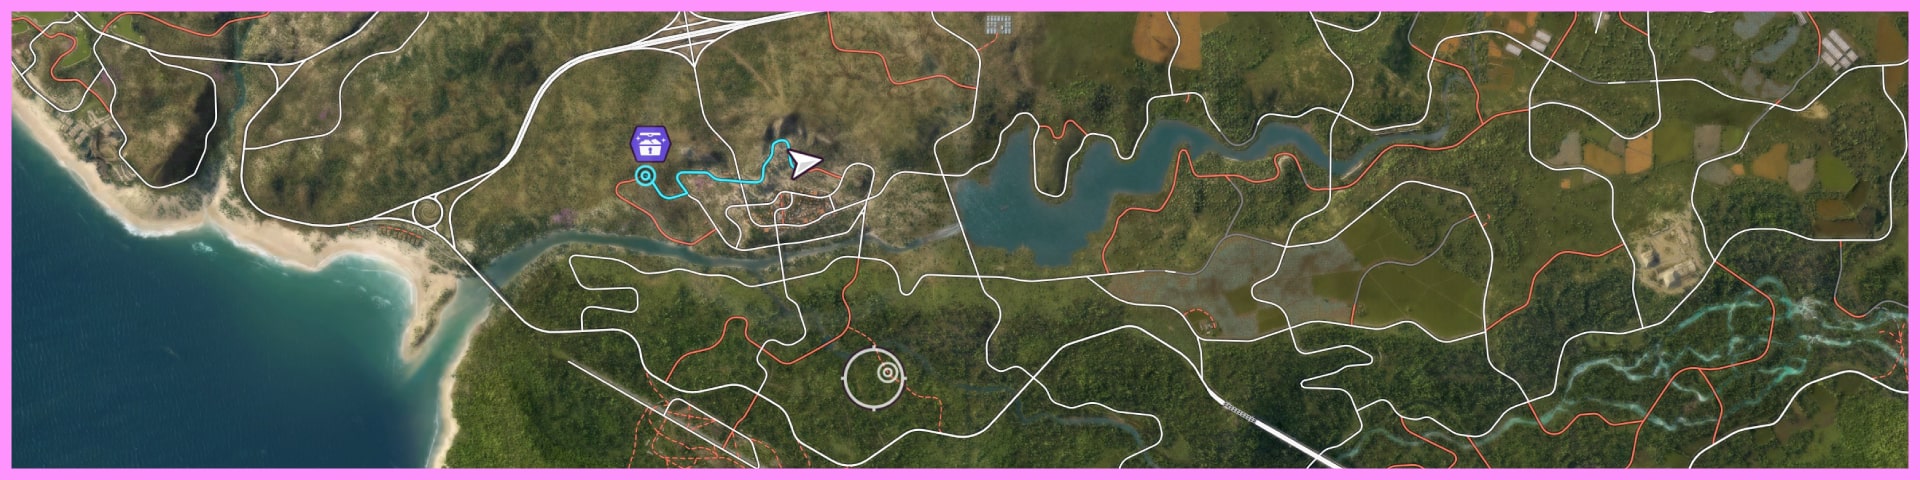
How the treasure looks:
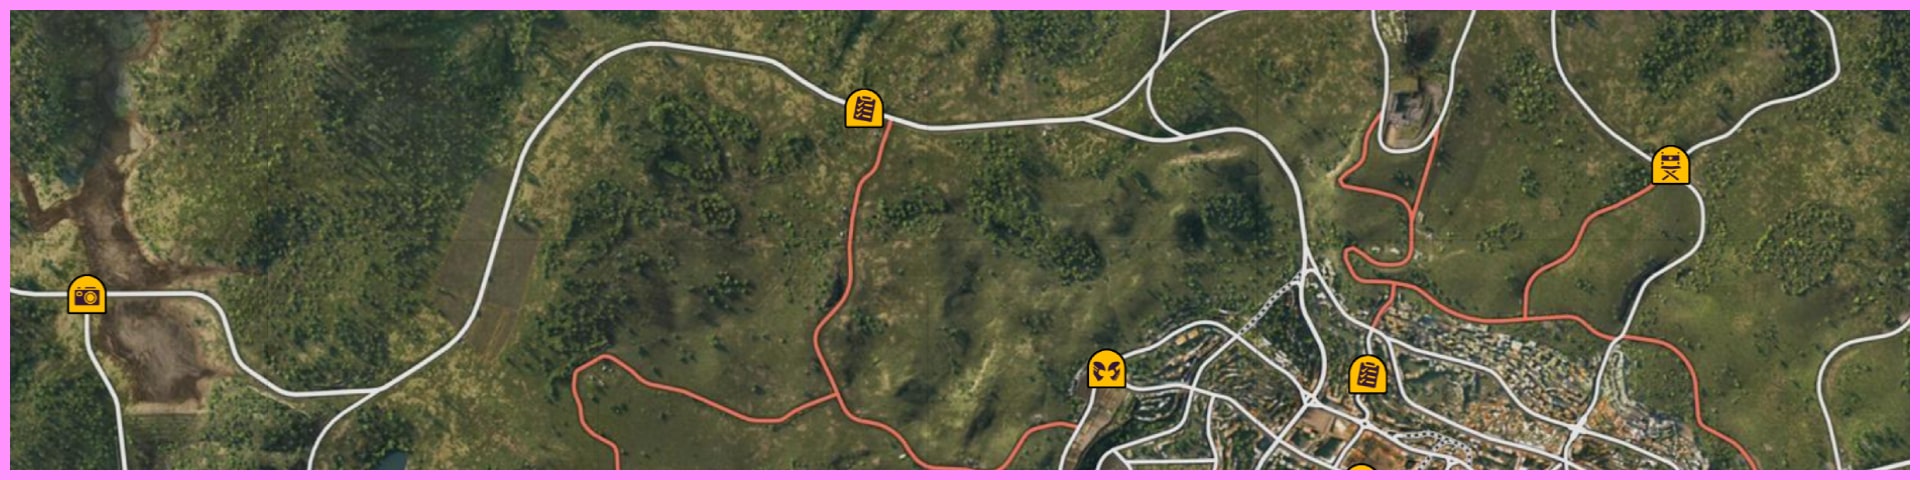
The boards are not displayed on the map if you are not near them, and even if you have driven all the roads and completed 80 races, you still will not have all the stands on the map, since some of them are in "secret" places (for example high in the mountains, or far from the road on the beach).
Bonus boards map (so you can understand which places have not been visited):
And there is a good video smashing 200 xp boards (i made a time link for one of the most unusual boards):
https://youtu.be/Lslc56hUefI?t=1556
Gotta Smash 'Em All
Smashable challenges are shown in the "Challenges" category on the right side of the Festival Playlist menu.
In Series 1, there is one Smashable Challenge in Summer Season. The title is "Collectibles" where you have to smash 100 Cactus (good to do this while going for the smashing 500 Cactus achievement).
Daily challenges, probably, do not count (there was a Series 0 Smashable Daily challenge that didn't count on achievement tracker)...
Depending on if Daily Challenges count or not, it may take several months for this achievement to be possible to unlock T-T
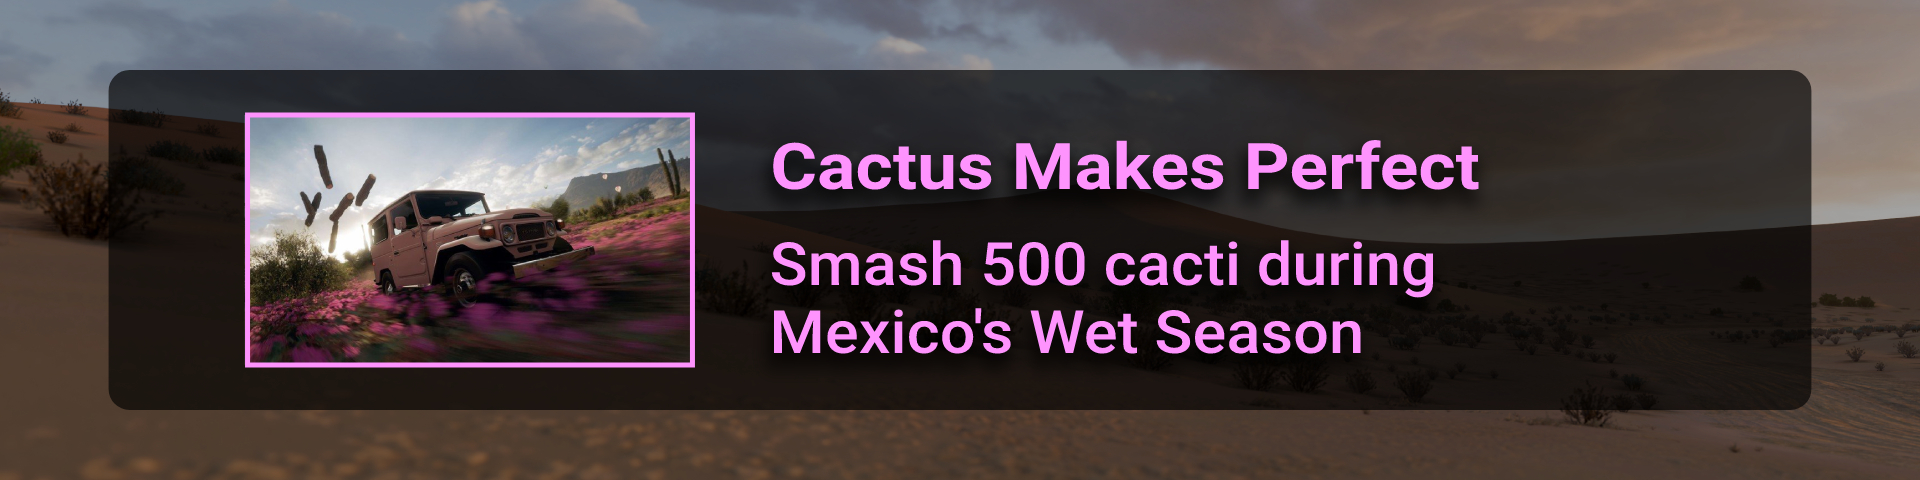
Cactus Makes Perfect
Go to the pause menu > Creative Hub > The Horizon Super7 > Challenge Cards > Search > Share Code > Then enter «531 845 273» (type without spaces, they are here just to improve readability) and then the challenge card will pop up and all you have to do is run into the cacti.
Tracking might be a little buggy so just smash them until the achievement pops. I had to restart it once after the cactus line was empty. And don't repeat my mistake... You can smash them with the left or right side of your car, no need to hit them with the front part only xD
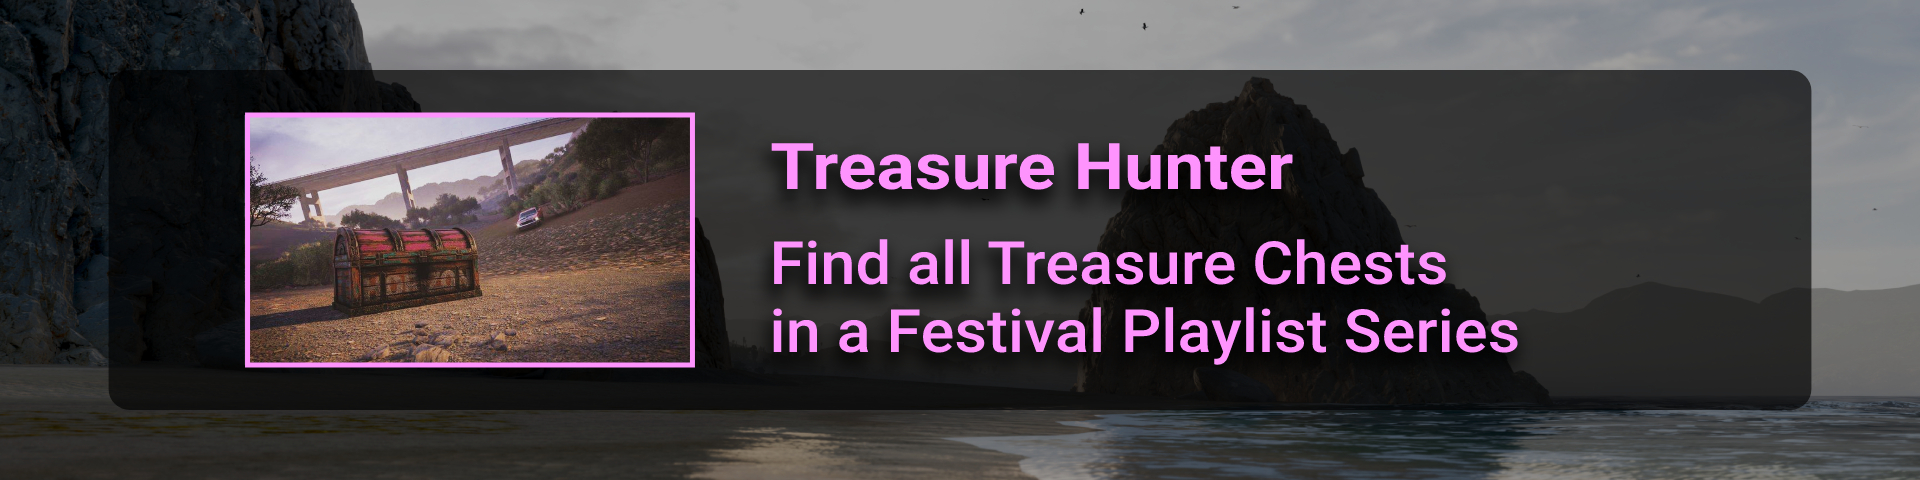
Treasure Hunter
Another season based one here, so keep an eye out for the Treasure Chest seasonal challenges in playlist, when they pop-up. Complete the challenges, find the treasures and this achievement is yours.
Treasure Hunts are located in the "Challenges" on the right side of the Festival Playlist menu and are titled "Treasure Hunt".
In Series 1 there are two Treasure Hunts: the first is in Summer and the second is in Spring
Retrieve both Treasure Chests and you unlock the achievement.
In future Series there may be more / less Treasure hunts per series.
Tracker is probbably not working here, because of different treasures amount per series.
This is what the task looks like before execution:
Icon on a map (appears after completing the challenge from playlist):
How the treasure looks:
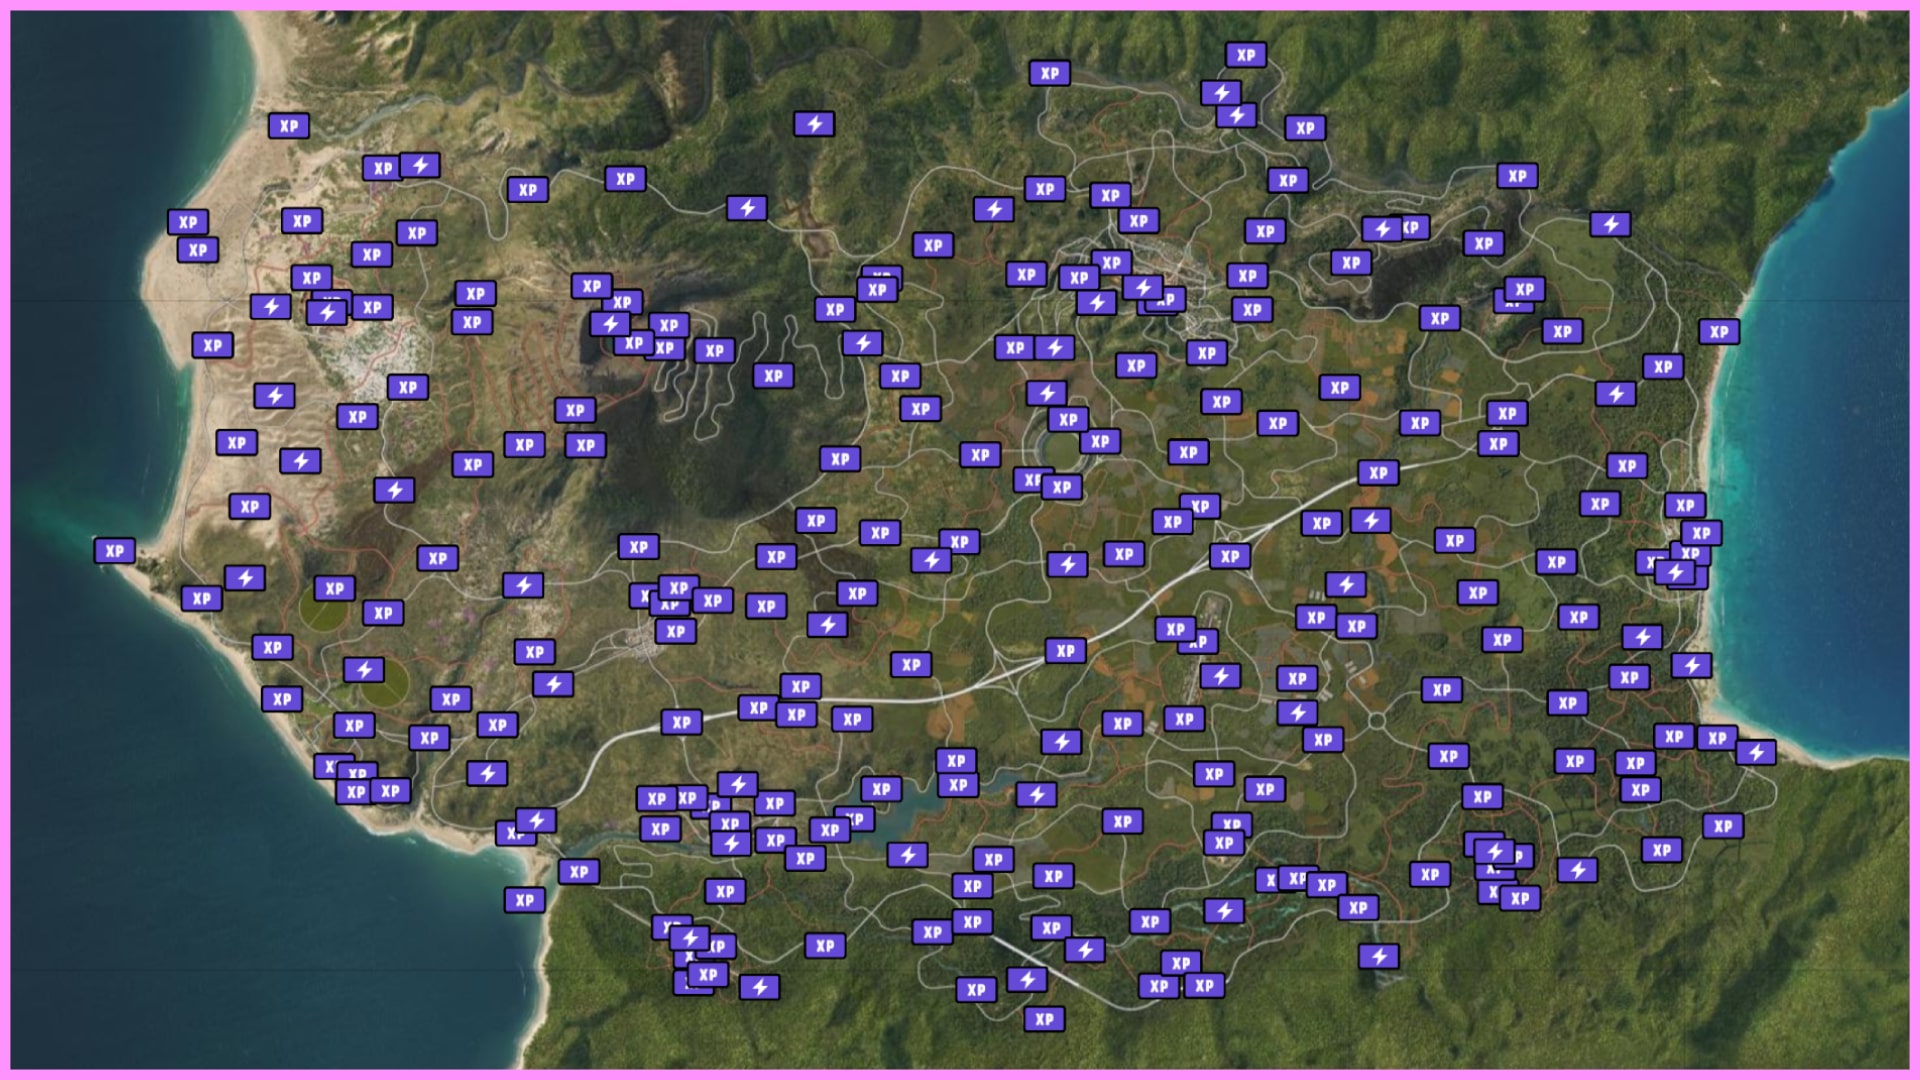
Complete Collection
The boards are not displayed on the map if you are not near them, and even if you have driven all the roads and completed 80 races, you still will not have all the stands on the map, since some of them are in "secret" places (for example high in the mountains, or far from the road on the beach).
Bonus boards map (so you can understand which places have not been visited):
And there is a good video smashing 200 xp boards (i made a time link for one of the most unusual boards):
https://youtu.be/Lslc56hUefI?t=1556
✦ Daredevil ☠️
Welcome to the most exciting part of our adventure!
Despite the absence of cops in the Forza Horizon series, they monitor riders' activity through police radars that are deployed throughout Mexico! It's time to show the Horizon community who is the real daredevil here and break all the records in PR Stunts! Take the fastest car and go full speed ahead! My favorite highway on our trip, I hope you'll enjoy it :)
Forza Horizon 5 features 103 different daring antics across 5 different disciplines.
There are:
31 speed traps
22 speed zones
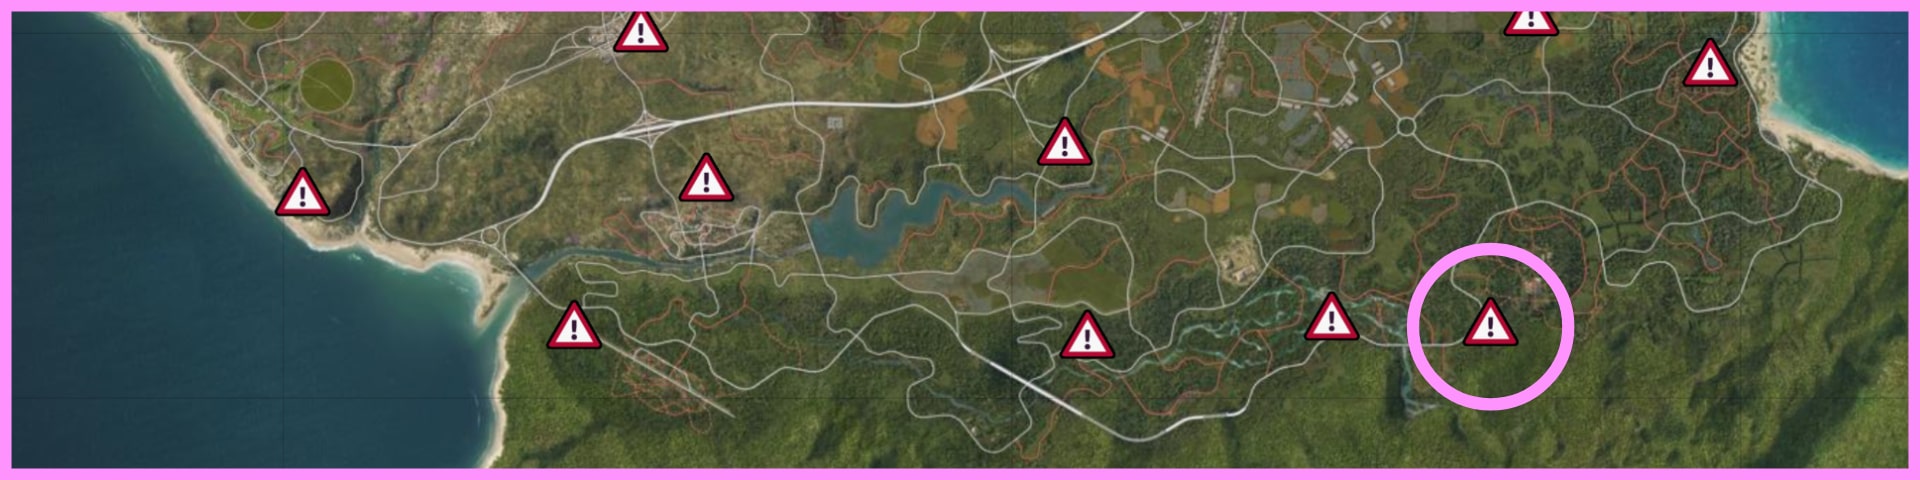
20 danger signs
20 drift zones
10 trailblazer gates
So, that means there are a possible 309 stars to earn. So in order to get this achievement, you need to unlock 300 of them, which is basically most of them. In short, this is gonna take a lot of time and effort, mainly, because you need the right tools for the job use any fast car (example: Koenigsegg Jesko with X999) and you won't expirience any problems. In comparison with 4th forza it's a lot easier. For most of the speed zones, traps, danger signs and trailblazer gates, grab yourself a Lamborghini Sesto Elemento Forza Edition 2011 and that can be maxed out to have 8.9 speed, 10 handling, 10 acceleration, 10 launch and 10 braking - that tends to do the job across the board. In fact, it can work for a lot of the drift zones too because of the sheer power and torque, but if you're struggling, try a specific drift car, like the Ford 88 Mustang RTR (2018) or the Formula Drift 64 Nissan 370Z (2018).
There's an issue with Sesto Elemento though: it's a Wheelspin car, so if you are not lucky enough, just buy a Lamborghini Centenario LP 770-4, as that's a beast too.
Go to menu > Creative Hub > EventLab > Event Blueprints > Search > search for the word "unbeatable", or you can create your own events on unbeatable difficulty and disable your enemies. Win any 6 different events, repeating the same event 6 times won't work.
Mexico has 578 roads. You must travel their entirety before they register as completed and you can unlock this achievement. It's not actually the hardest of achievements, and if you're doing the 80 different races achievement, you'll have a lot of them already sorted by the time you get around to this, but if not, it's time to hit the map, remove all the other icons and see which roads you still need to get. Basically, you need to turn all the roads either white or red. Main roads need to be white, and side roads need to be red. Keep an eye out for those tiny little roads that are easy to miss as well (as was the case in Horizon 4). In terms of a couple of the easy to miss ones, try here:
- to the left of the D in Dunas Blancas (the desert to the west of Mexico)
- to the south of the C in Cordillera (in the centre of the map)
Despite the absence of cops in the Forza Horizon series, they monitor riders' activity through police radars that are deployed throughout Mexico! It's time to show the Horizon community who is the real daredevil here and break all the records in PR Stunts! Take the fastest car and go full speed ahead! My favorite highway on our trip, I hope you'll enjoy it :)
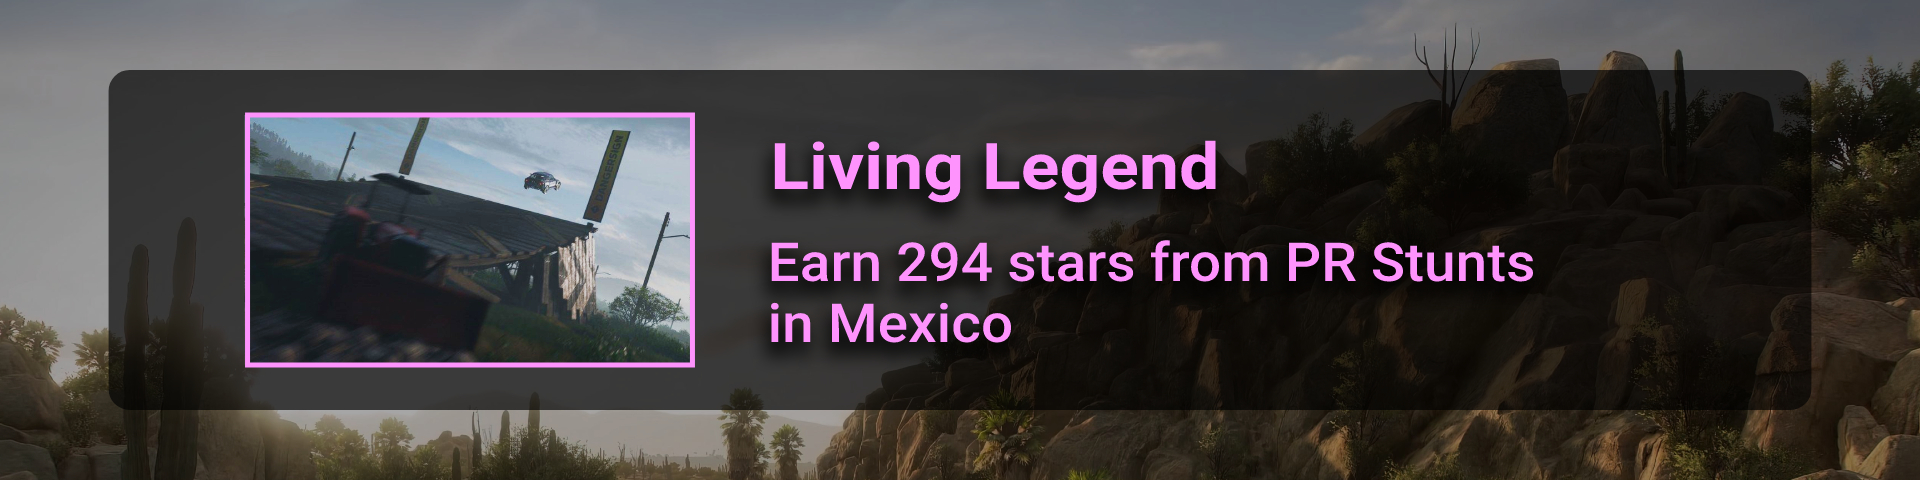
Living Legend
Forza Horizon 5 features 103 different daring antics across 5 different disciplines.
There are:
31 speed traps
22 speed zones
20 danger signs
20 drift zones
10 trailblazer gates
So, that means there are a possible 309 stars to earn. So in order to get this achievement, you need to unlock 300 of them, which is basically most of them. In short, this is gonna take a lot of time and effort, mainly, because you need the right tools for the job use any fast car (example: Koenigsegg Jesko with X999) and you won't expirience any problems. In comparison with 4th forza it's a lot easier. For most of the speed zones, traps, danger signs and trailblazer gates, grab yourself a Lamborghini Sesto Elemento Forza Edition 2011 and that can be maxed out to have 8.9 speed, 10 handling, 10 acceleration, 10 launch and 10 braking - that tends to do the job across the board. In fact, it can work for a lot of the drift zones too because of the sheer power and torque, but if you're struggling, try a specific drift car, like the Ford 88 Mustang RTR (2018) or the Formula Drift 64 Nissan 370Z (2018).
There's an issue with Sesto Elemento though: it's a Wheelspin car, so if you are not lucky enough, just buy a Lamborghini Centenario LP 770-4, as that's a beast too.
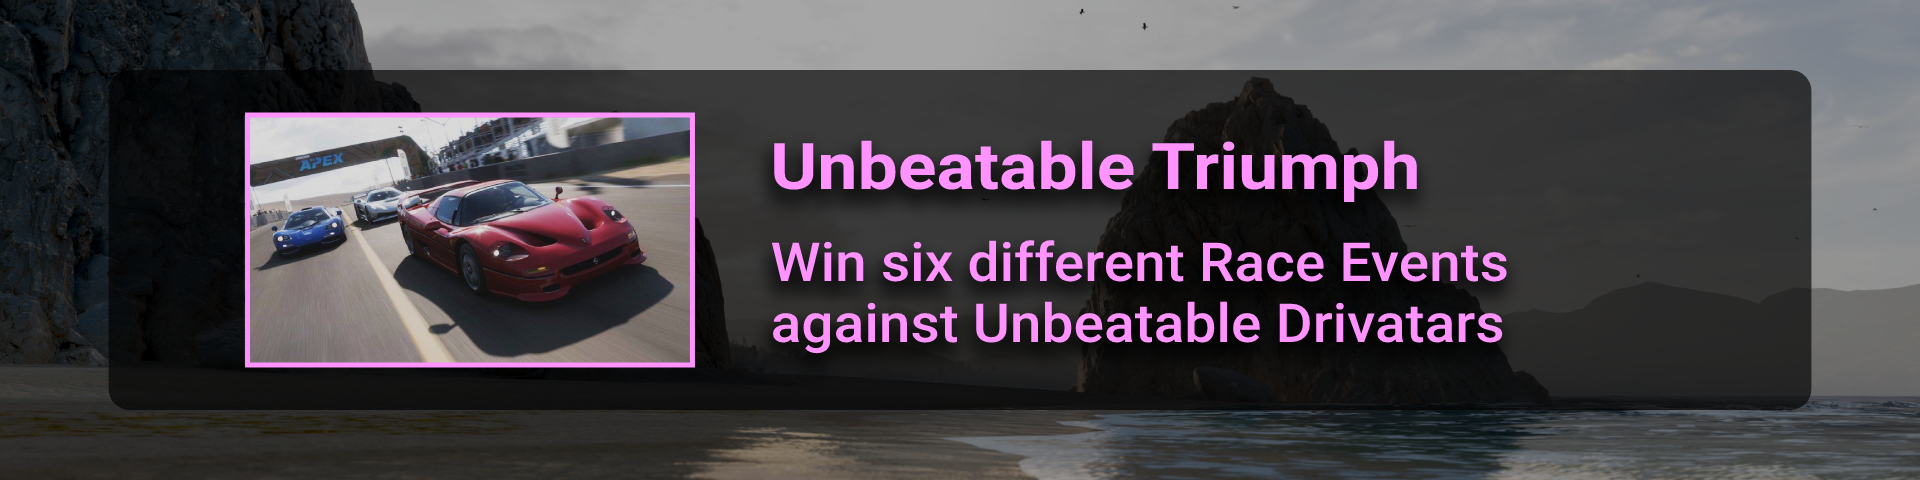
Unbeatable Triumph
Go to menu > Creative Hub > EventLab > Event Blueprints > Search > search for the word "unbeatable", or you can create your own events on unbeatable difficulty and disable your enemies. Win any 6 different events, repeating the same event 6 times won't work.
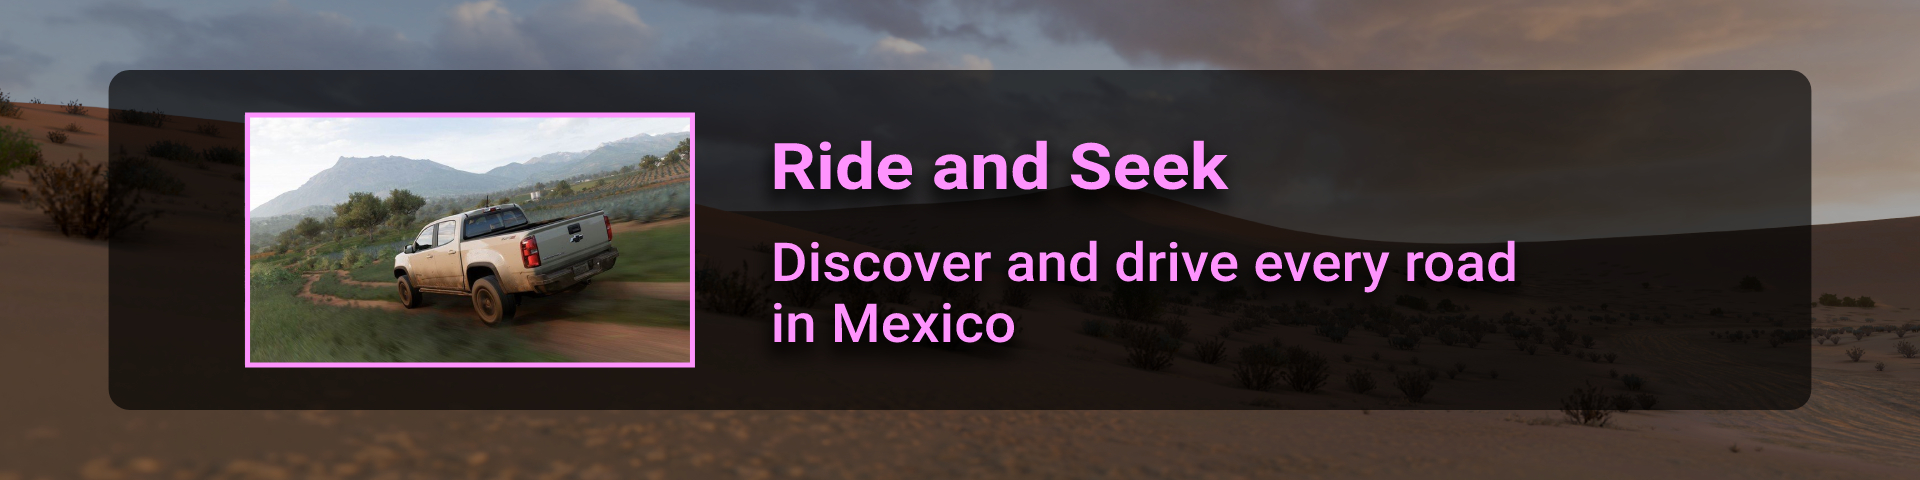
Ride and Seek
Mexico has 578 roads. You must travel their entirety before they register as completed and you can unlock this achievement. It's not actually the hardest of achievements, and if you're doing the 80 different races achievement, you'll have a lot of them already sorted by the time you get around to this, but if not, it's time to hit the map, remove all the other icons and see which roads you still need to get. Basically, you need to turn all the roads either white or red. Main roads need to be white, and side roads need to be red. Keep an eye out for those tiny little roads that are easy to miss as well (as was the case in Horizon 4). In terms of a couple of the easy to miss ones, try here:
- to the left of the D in Dunas Blancas (the desert to the west of Mexico)
- to the south of the C in Cordillera (in the centre of the map)
✦ More Adrenaline! ⚡
You liked the extreme dose from the previous stage, right? There are still a couple of crazy challenges that we have to complete, because the real racers can't be stopped! Use the previously acquired skills, and the next achievements will not be long in coming ;)
Here, probably, we have confusing description. The truth is you can ignore the whole "2 minute" aspect, and instead, what you should do is head to the "Water Performance" challenge in the Accolades menu and pin the corresponding task. To unlock this task for pinning, you need to complete one (or both ...) of trailblazers (possibly for 3 stars):
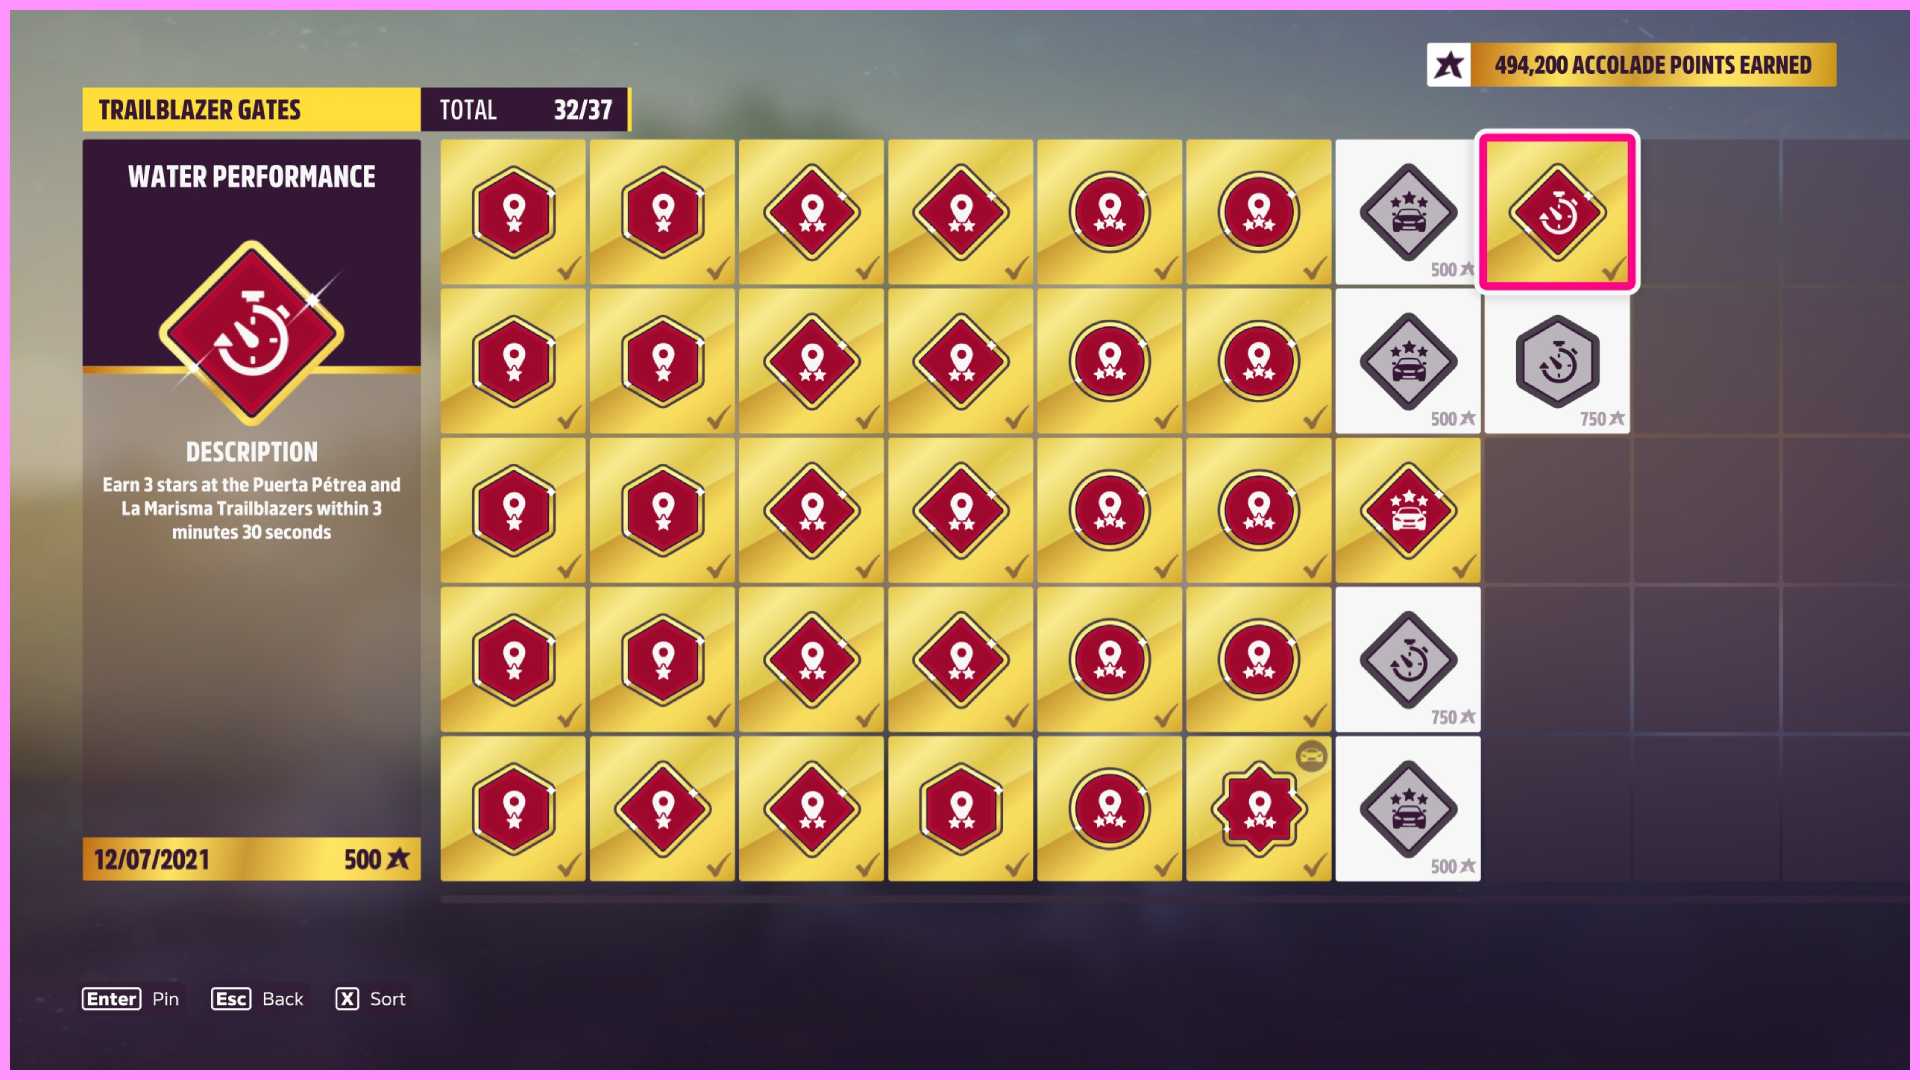
What you actually need to do to unlock this achievement is to 3-star both the «Puerta Petrea» and «La Marisma Trailblazer» events within 3-minutes and 30-seconds.
So what does this mean and how do you do it? Well, first things first, choose a car, upgrade it to X999 (the best choice for Lambo Sesto Elemento Forza Edition 2011, I used Jesko) and the first thing you need to do is to pass the trailblazer "La Marisma" and get 3 stars ( at least 20 seconds on the timer must left). It's easy enough on the Lambo, just try to avoid water as it slows you down, but don't forget that water can help you slow down to change the direction. You can rewind as much as you like to get through the jungle.
When you get 3 stars for the first track, the timer on the left starts (3:30). This means that you have 3 minutes 30 seconds to get to the next trailblazer and get 3 more stars. Place a mark and calmly drive this way to the next gate:
A few notes: DO NOT use the fast travel, it resets the progress, you have to drive there, so set a pin and race up the coast (the Puerta Petrea is in the top right, just to the left of the Hotel Mirador Balderrama and The Eliminator logo). Another point of note: you can use rewind, sure, but the timer carries on while you're rewinding time, so be wary of that.
As for the Puerta Petrea track, it is not so scary. You need to leave on the gate timer at least 25 seconds. Jump off the cliff, and follow the road, as in the screenshot, and then turn left and carefully drive between the rocks:
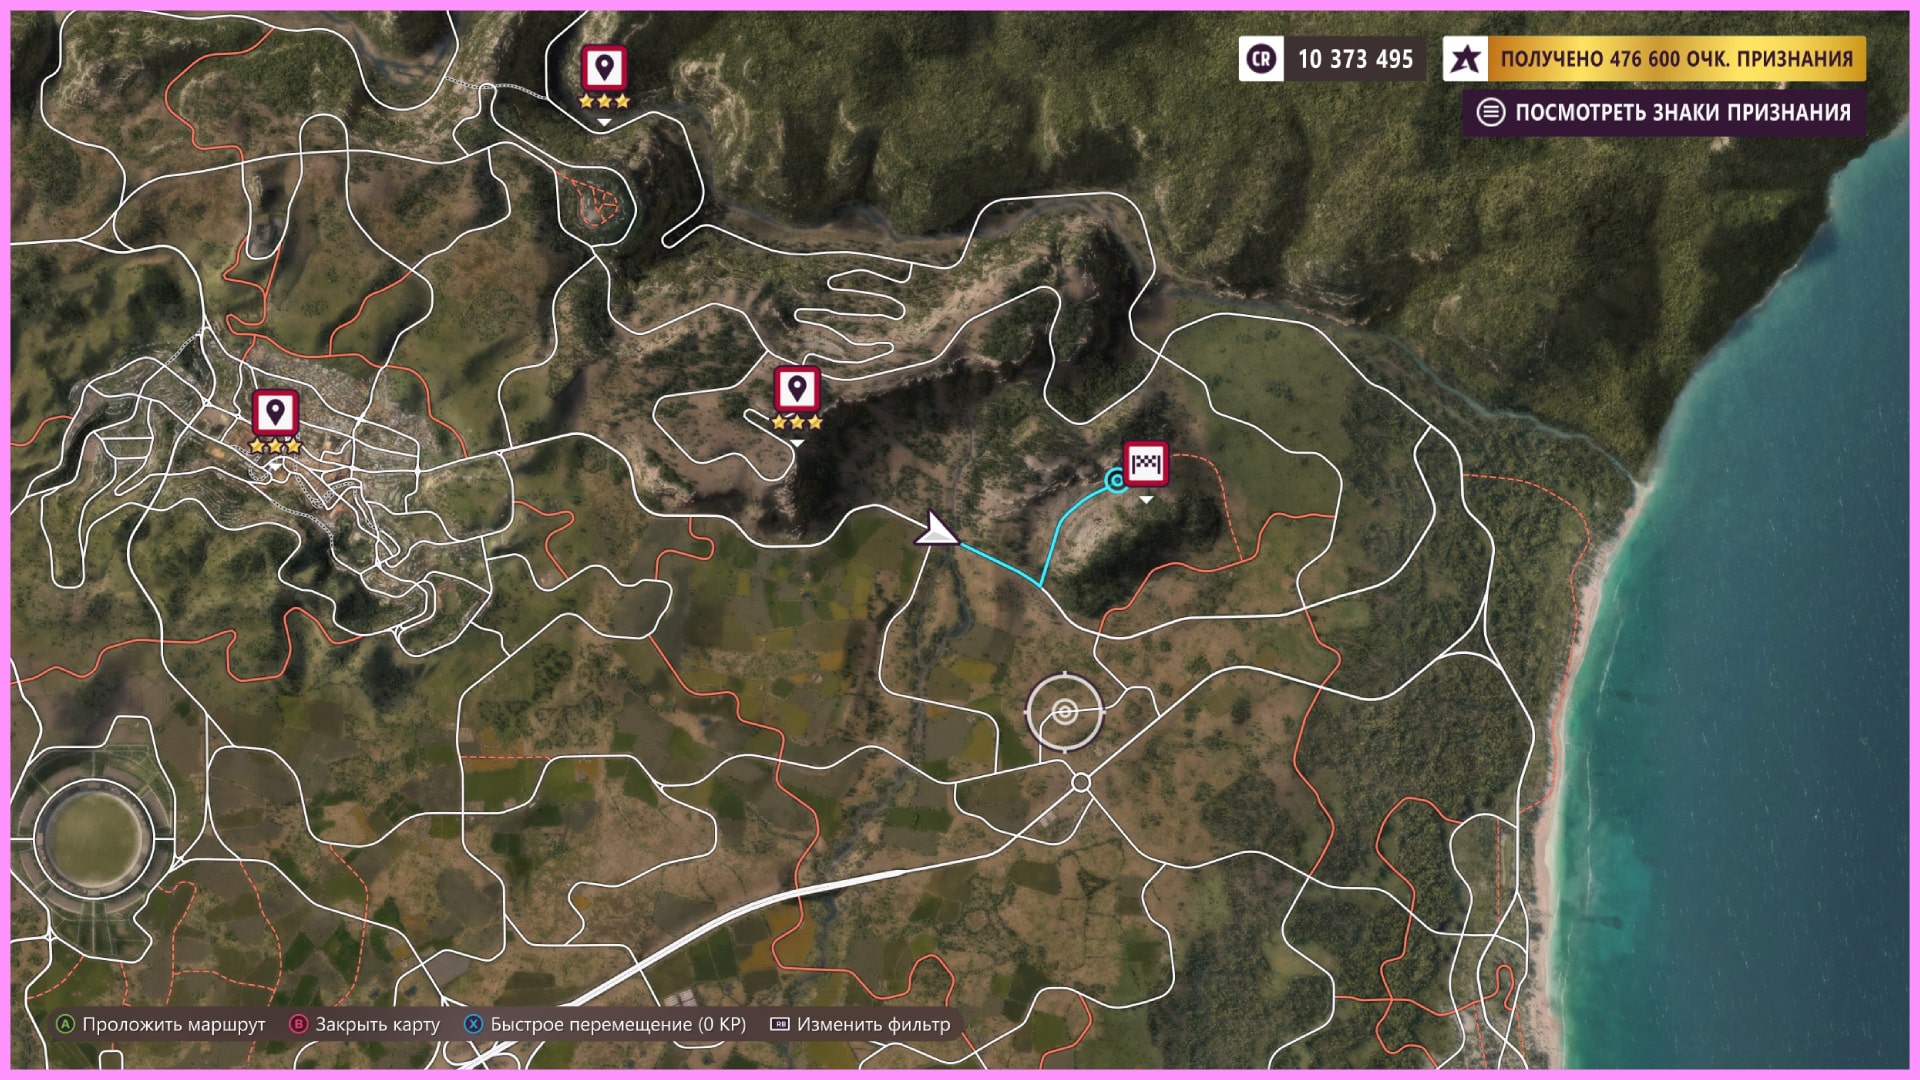
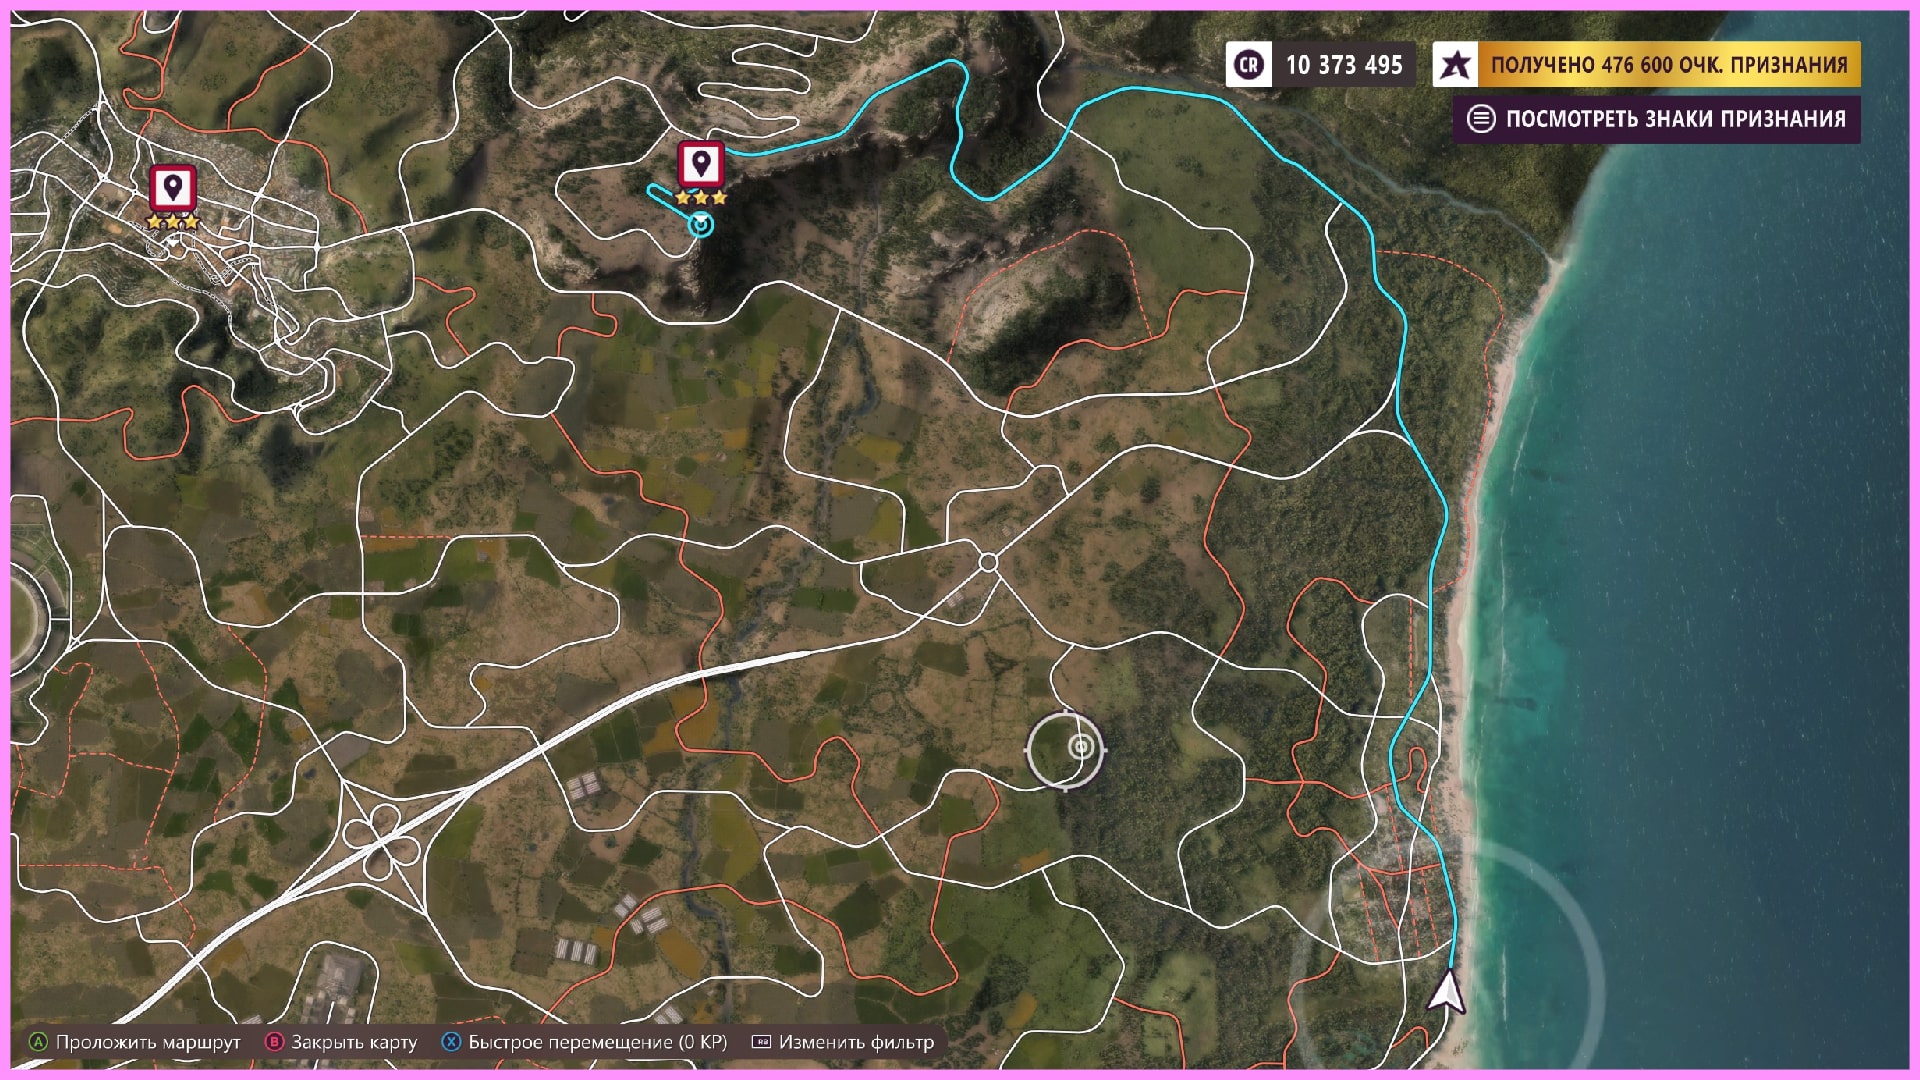
Trailblazers location (bottom circle - «La Marisma», upper circle - «Puerta Petrea»):
Eagle's Perch Danger Sign can be found in the bottom right of Mexico's large map, just to the left of the Ek' Balam ruins, near the Bueno Esperanza house. All you need to do is jump at least 289.6 metres in the Ford Supervan 3, which costs 500 000 credits at the Autoshow at the main Horizon Mexico festival post. Obviously, to make this easier you can tune up your Ford Supervan 3 with a better tuning setup (X999).
Eagle's Perch Danger Sign location:
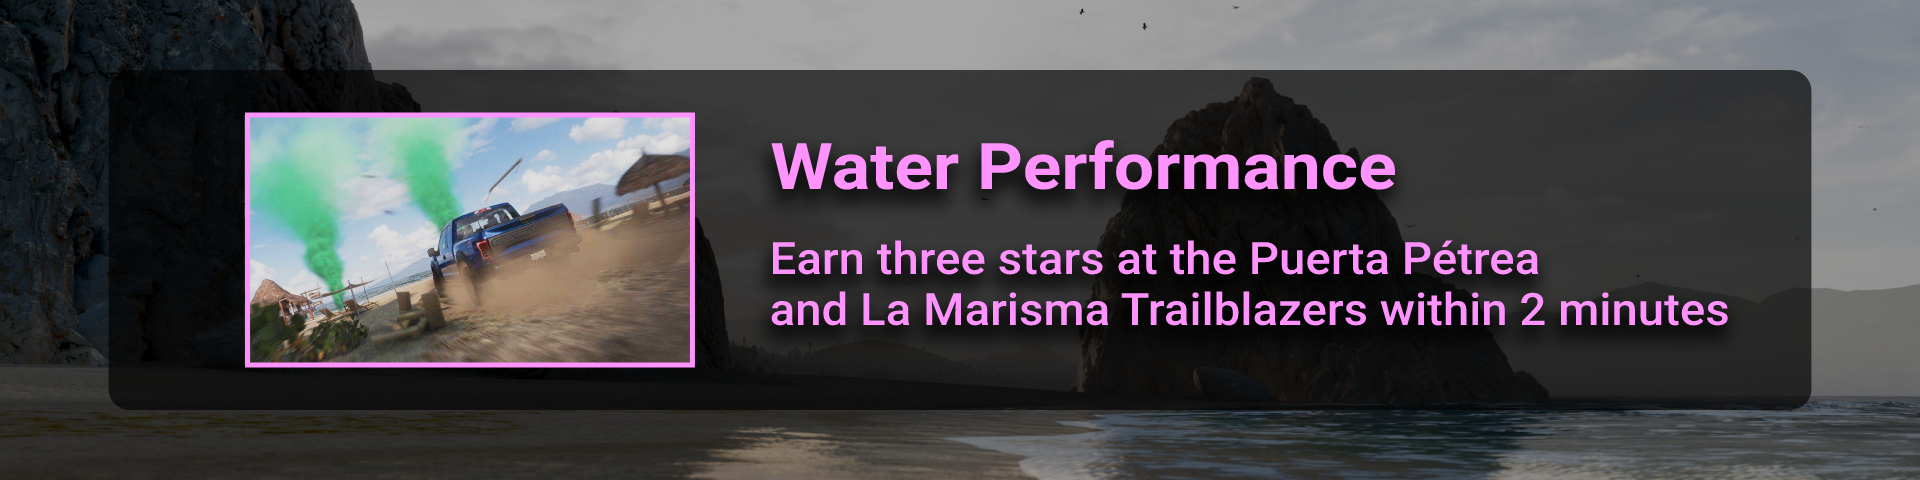
Water Performance
Here, probably, we have confusing description. The truth is you can ignore the whole "2 minute" aspect, and instead, what you should do is head to the "Water Performance" challenge in the Accolades menu and pin the corresponding task. To unlock this task for pinning, you need to complete one (or both ...) of trailblazers (possibly for 3 stars):
What you actually need to do to unlock this achievement is to 3-star both the «Puerta Petrea» and «La Marisma Trailblazer» events within 3-minutes and 30-seconds.
So what does this mean and how do you do it? Well, first things first, choose a car, upgrade it to X999 (the best choice for Lambo Sesto Elemento Forza Edition 2011, I used Jesko) and the first thing you need to do is to pass the trailblazer "La Marisma" and get 3 stars ( at least 20 seconds on the timer must left). It's easy enough on the Lambo, just try to avoid water as it slows you down, but don't forget that water can help you slow down to change the direction. You can rewind as much as you like to get through the jungle.
When you get 3 stars for the first track, the timer on the left starts (3:30). This means that you have 3 minutes 30 seconds to get to the next trailblazer and get 3 more stars. Place a mark and calmly drive this way to the next gate:
A few notes: DO NOT use the fast travel, it resets the progress, you have to drive there, so set a pin and race up the coast (the Puerta Petrea is in the top right, just to the left of the Hotel Mirador Balderrama and The Eliminator logo). Another point of note: you can use rewind, sure, but the timer carries on while you're rewinding time, so be wary of that.
As for the Puerta Petrea track, it is not so scary. You need to leave on the gate timer at least 25 seconds. Jump off the cliff, and follow the road, as in the screenshot, and then turn left and carefully drive between the rocks:
Trailblazers location (bottom circle - «La Marisma», upper circle - «Puerta Petrea»):
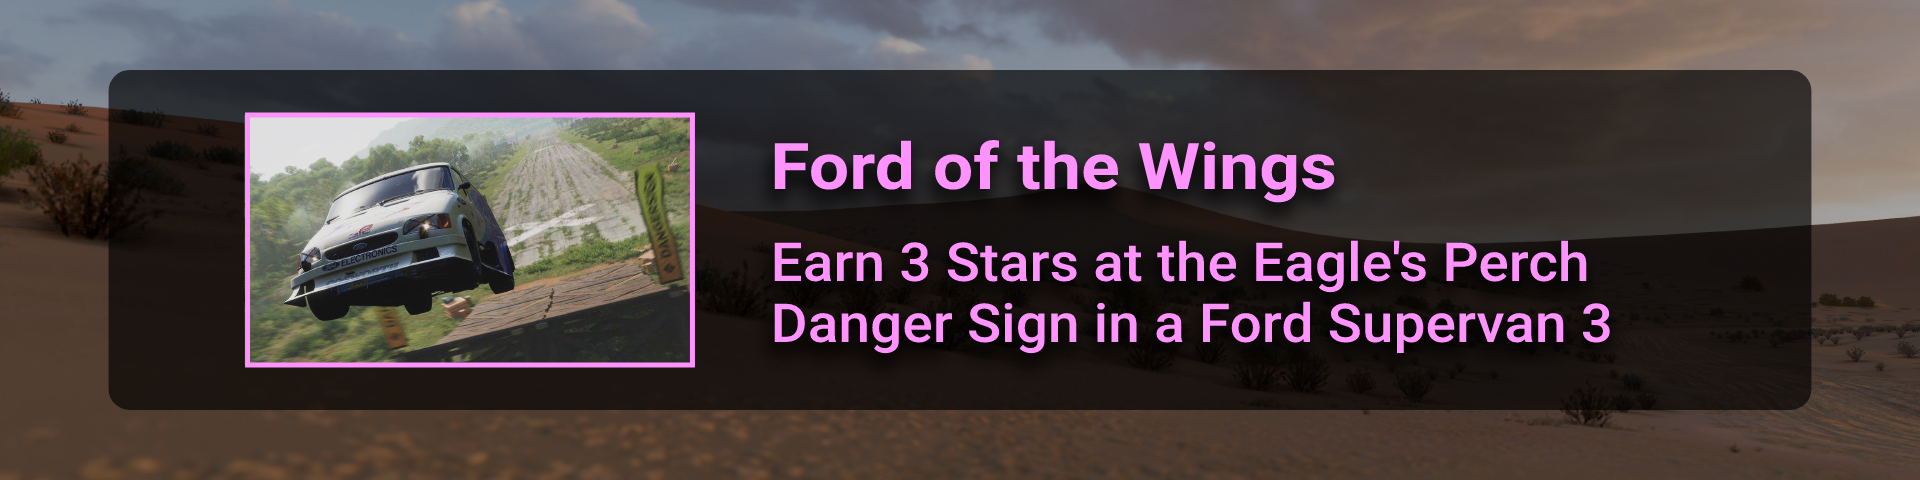
Ford of the Wings
Eagle's Perch Danger Sign can be found in the bottom right of Mexico's large map, just to the left of the Ek' Balam ruins, near the Bueno Esperanza house. All you need to do is jump at least 289.6 metres in the Ford Supervan 3, which costs 500 000 credits at the Autoshow at the main Horizon Mexico festival post. Obviously, to make this easier you can tune up your Ford Supervan 3 with a better tuning setup (X999).
Eagle's Perch Danger Sign location:
✦ Online Activities 🌐
On this stretch of our trip, you are already an experienced racer! Which means it's time to compete against other players! Online achievements in this part have been significantly simplified when compared with the previous one. So there shouldn't be any special problems here. Nevertheless, I wish you good luck and no cacti along the way :)
The Horizon Tour Race Event is basically Forza Horizon 5's multiplayer mode(the big green icon). It is below the large volcano in the north-west (La Gran Caldera). Complete the race and this achievement will be yours. Try to overtake all the drivatars (red team) to get the "Front Runner" achievement.
It was easier for me to launch from the festival playlist menu (since it needed to be completed in each season to achieve "Min, Meet Max"):
These races are going to be against AI and you don't need to rely on your team to get this achievement. The AI aren't hard, you can beat them with some practice of course.
Since there are only 3 races in a tour you will need to do another tour, it usually pops after 3 races on your first tour, then on your second tour it unlocks at the end of the second races (5 races in total).
The achievement tracker seems not to work well for many people, so if you don't see it goes up just keep trying.
You don't need to come first in the whole event, you just need to beat all the AI (the red team), so if you have a really good teammates who are always first, then don't worry, just focus on being first vs the AI.
It's possible to beat them with stock cars, but, if you are struggling, then you can, quickly, before the event starts, upgrade your car to the maximum, the event allows, that should give you a fairly decent advantage against them. Good luck ^^
Go to menu > choose the "Creative Hub" tab > go to EventLab. Finish an event, get an achievement. You can set short length and 1 lap in search filter.
You are able to give Kudos by liking the design for the car for example.
The key to success here is to get the best car as quickly as possible. This means that you need to track down clouds of purple / pink smoke and try to level up your car (the higher the number, the better). Usually, good upgrades are found near attractions (e.g. airfield). Once you have a better car than most players, you can go hunting. If you see someone with a worse car than yours, then challenge them and win the pvp race. So that by the end of the zone there are fewer rivals left in the final race. However, it may turn out that you will lose to an opponent in a car of a lower level than yours. Therefore, it makes sense to avoid enemies, so not to drop out before the final race. In Forza Horizon 4, I beat opponents with cars of level 9-10 in a level 6-7 car. Because a good jeep in a long cross-country race can be much more profitable than a supercar. Good luck on this challenging achievement!
You can quickly start it through the menu by going to the "Online" - "Horizon Open" - "The eliminator":
Just to the south-east of the Horizon mainstage, near the Sierra Nevada Dam and to the west of the Cordillera area, you'll find a "Super7" icon. This is where you'll want to head for this achievement. But it can also be accessed from the menu!
The Super7 is basically 7 community made challenge events that you need to pass, 1 after another (although your progress is saved so you don't need to do them in one session). These events aren't set, so if there's one you're struggling with, just reshuffle the card, basically. Just do all 7 events and this achievement is yours.
PI Classes basically means the number assigned to the car (so, like a 999 is an X; an 998 is S2; an 850 is an S1; a 750 is an A, and so on), so once you actually understand that, this achievement is a little easier to understand.
So first things first, find yourself an A class car you really love. Then, head into the Rivals page on the pause menu (it's under online). Then pick a track, beat your "rival's" time, then head back to the garage, auto-upgrade the car to the next class, so, in this case, an S1, then rinse and repeat - it's going to cost you about 50k a level, so make sure you have the money. Quick note, if the auto-upgrade doesn't give you the option, head into "Find Tuning Setups" and see if it gives you any options - it should do. After you've done that, beat another rival's time in a different event, go back to Horizon Mexico and make the car an S2, then beat another time. Once you do that, the achievement is yours.
But wait, before you go, first, a valuable tip. To get this and beat your rival, it's all about clean laps. Clean laps beat non-clean laps (as indicated by an exclamation point). So, in fact, it's not even about being fast in some cases, just race clean. Don't cut corners or use the rewind function.
Keep trying different tuning setups and the 3 different classes on different courses and eventually it'll unlock.
If you click start and go to the Online tab, the big button in the middle takes you to the Horizon Open page, which consists of 4 events:
- Open Racing
- Open Drifting
- Playground Games
- The Eliminator
Win an event to get this achievement. It's recommend to play Playground Games, which should throw you into a team event, where you have a 50/50 chance of winning. Just keep trying.
NOTE: This achievement is, probably, bugged. Sooo it's better to start with the playground games, cuz other modes may not trigger the achievement...
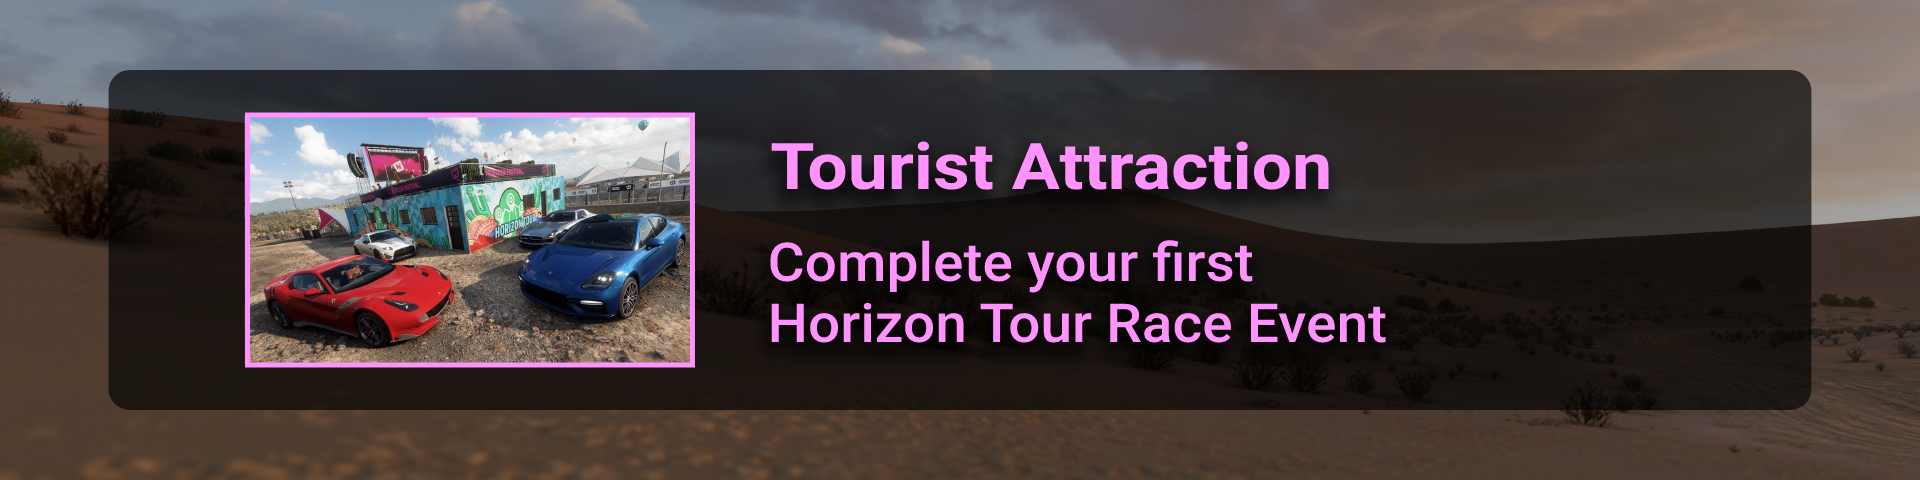
Tourist Attraction
The Horizon Tour Race Event is basically Forza Horizon 5's multiplayer mode(the big green icon). It is below the large volcano in the north-west (La Gran Caldera). Complete the race and this achievement will be yours. Try to overtake all the drivatars (red team) to get the "Front Runner" achievement.
It was easier for me to launch from the festival playlist menu (since it needed to be completed in each season to achieve "Min, Meet Max"):
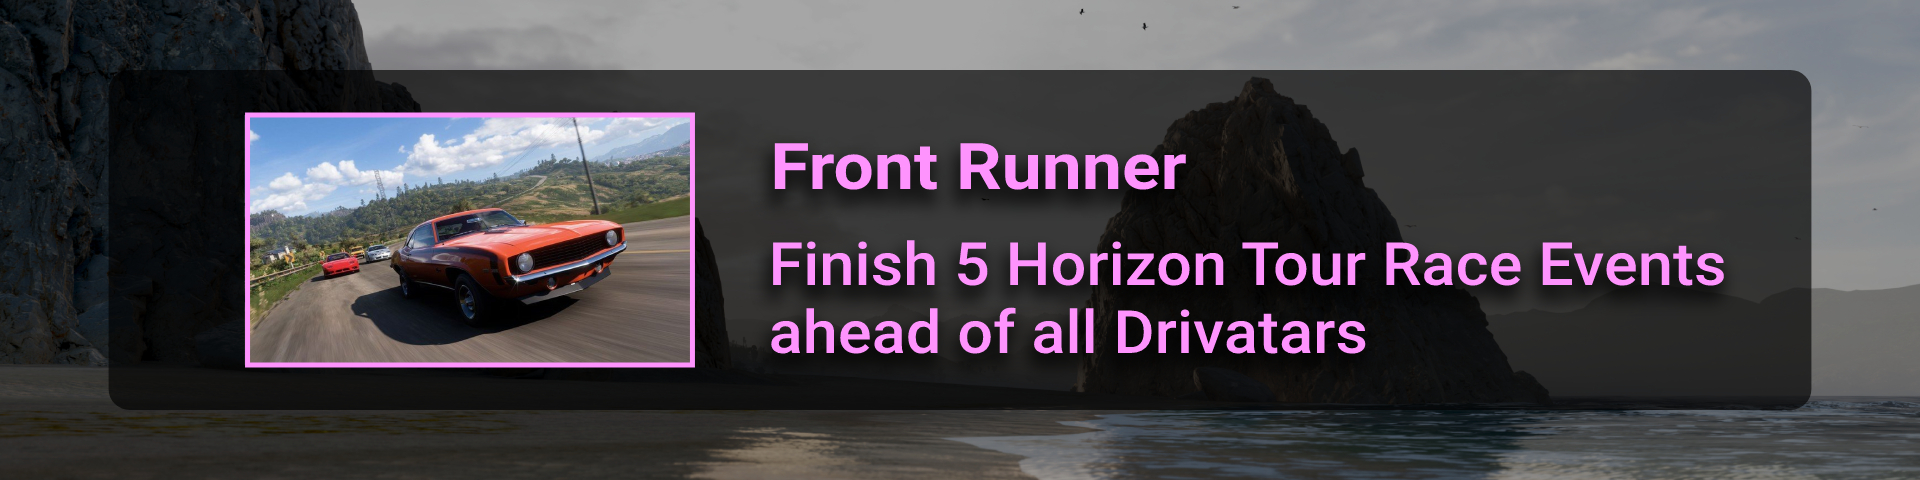
Front Runner
These races are going to be against AI and you don't need to rely on your team to get this achievement. The AI aren't hard, you can beat them with some practice of course.
Since there are only 3 races in a tour you will need to do another tour, it usually pops after 3 races on your first tour, then on your second tour it unlocks at the end of the second races (5 races in total).
The achievement tracker seems not to work well for many people, so if you don't see it goes up just keep trying.
You don't need to come first in the whole event, you just need to beat all the AI (the red team), so if you have a really good teammates who are always first, then don't worry, just focus on being first vs the AI.
It's possible to beat them with stock cars, but, if you are struggling, then you can, quickly, before the event starts, upgrade your car to the maximum, the event allows, that should give you a fairly decent advantage against them. Good luck ^^
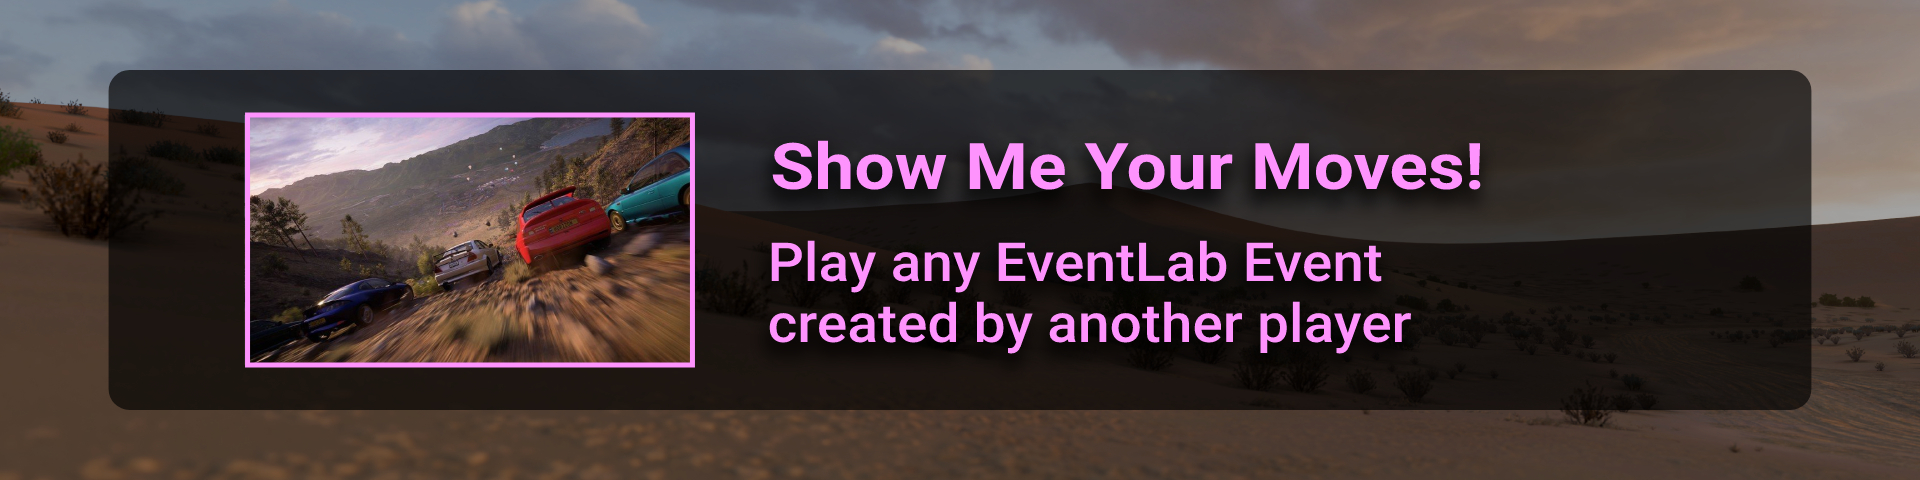
Show Me Your Moves!
Go to menu > choose the "Creative Hub" tab > go to EventLab. Finish an event, get an achievement. You can set short length and 1 lap in search filter.
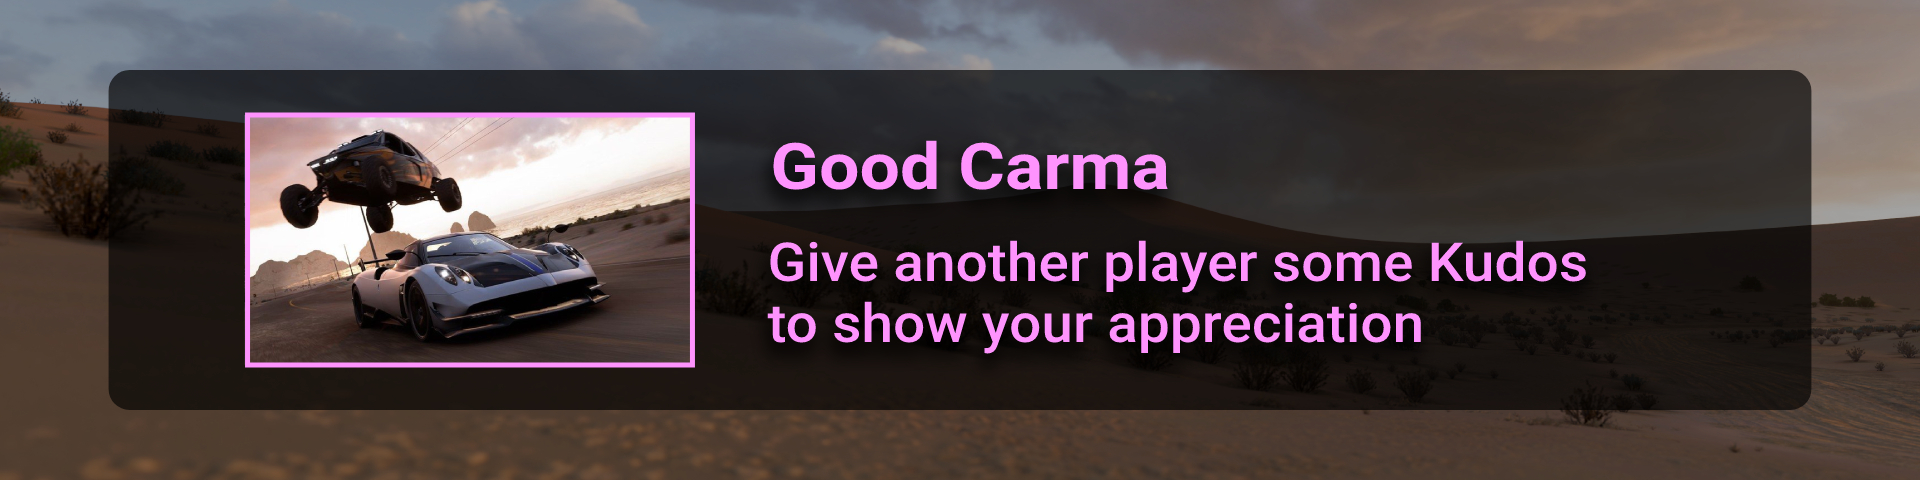
Good Carma
You are able to give Kudos by liking the design for the car for example.
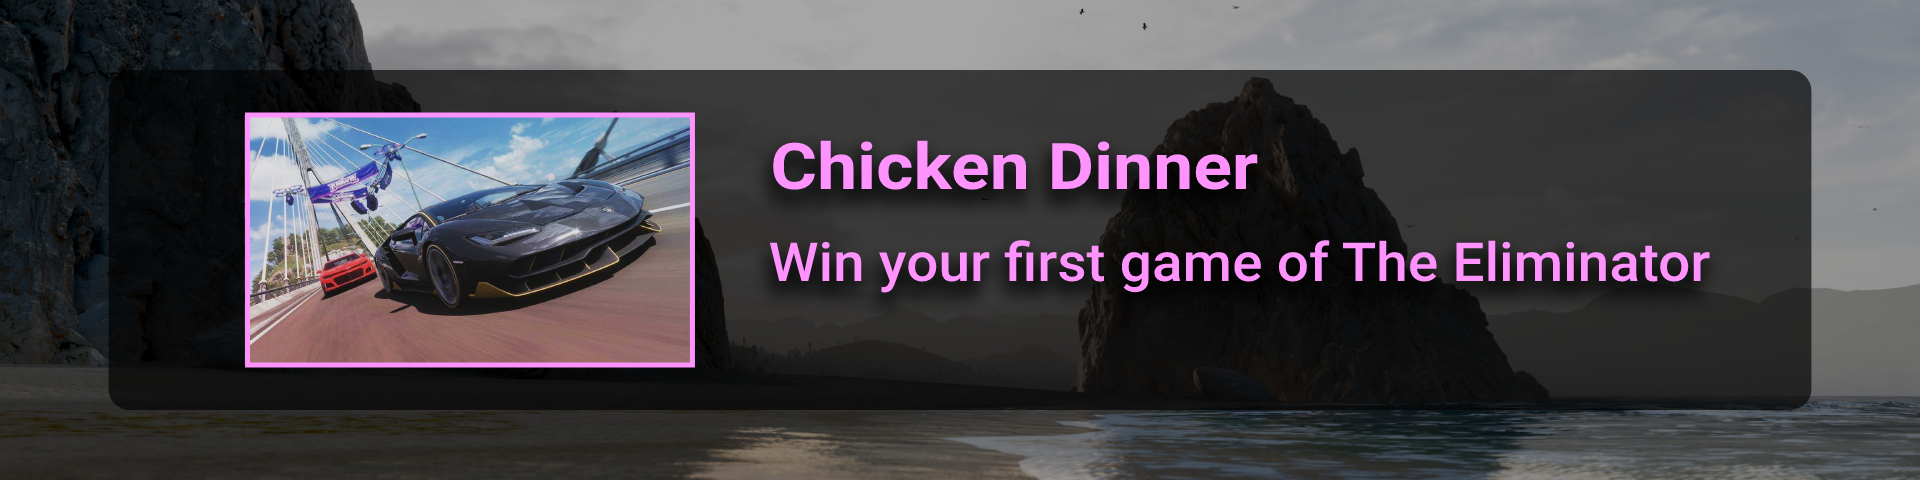
Chicken Dinner
The key to success here is to get the best car as quickly as possible. This means that you need to track down clouds of purple / pink smoke and try to level up your car (the higher the number, the better). Usually, good upgrades are found near attractions (e.g. airfield). Once you have a better car than most players, you can go hunting. If you see someone with a worse car than yours, then challenge them and win the pvp race. So that by the end of the zone there are fewer rivals left in the final race. However, it may turn out that you will lose to an opponent in a car of a lower level than yours. Therefore, it makes sense to avoid enemies, so not to drop out before the final race. In Forza Horizon 4, I beat opponents with cars of level 9-10 in a level 6-7 car. Because a good jeep in a long cross-country race can be much more profitable than a supercar. Good luck on this challenging achievement!
You can quickly start it through the menu by going to the "Online" - "Horizon Open" - "The eliminator":
Jackpot
Just to the south-east of the Horizon mainstage, near the Sierra Nevada Dam and to the west of the Cordillera area, you'll find a "Super7" icon. This is where you'll want to head for this achievement. But it can also be accessed from the menu!
The Super7 is basically 7 community made challenge events that you need to pass, 1 after another (although your progress is saved so you don't need to do them in one session). These events aren't set, so if there's one you're struggling with, just reshuffle the card, basically. Just do all 7 events and this achievement is yours.
I Have the High Ground
PI Classes basically means the number assigned to the car (so, like a 999 is an X; an 998 is S2; an 850 is an S1; a 750 is an A, and so on), so once you actually understand that, this achievement is a little easier to understand.
So first things first, find yourself an A class car you really love. Then, head into the Rivals page on the pause menu (it's under online). Then pick a track, beat your "rival's" time, then head back to the garage, auto-upgrade the car to the next class, so, in this case, an S1, then rinse and repeat - it's going to cost you about 50k a level, so make sure you have the money. Quick note, if the auto-upgrade doesn't give you the option, head into "Find Tuning Setups" and see if it gives you any options - it should do. After you've done that, beat another rival's time in a different event, go back to Horizon Mexico and make the car an S2, then beat another time. Once you do that, the achievement is yours.
But wait, before you go, first, a valuable tip. To get this and beat your rival, it's all about clean laps. Clean laps beat non-clean laps (as indicated by an exclamation point). So, in fact, it's not even about being fast in some cases, just race clean. Don't cut corners or use the rewind function.
Keep trying different tuning setups and the 3 different classes on different courses and eventually it'll unlock.
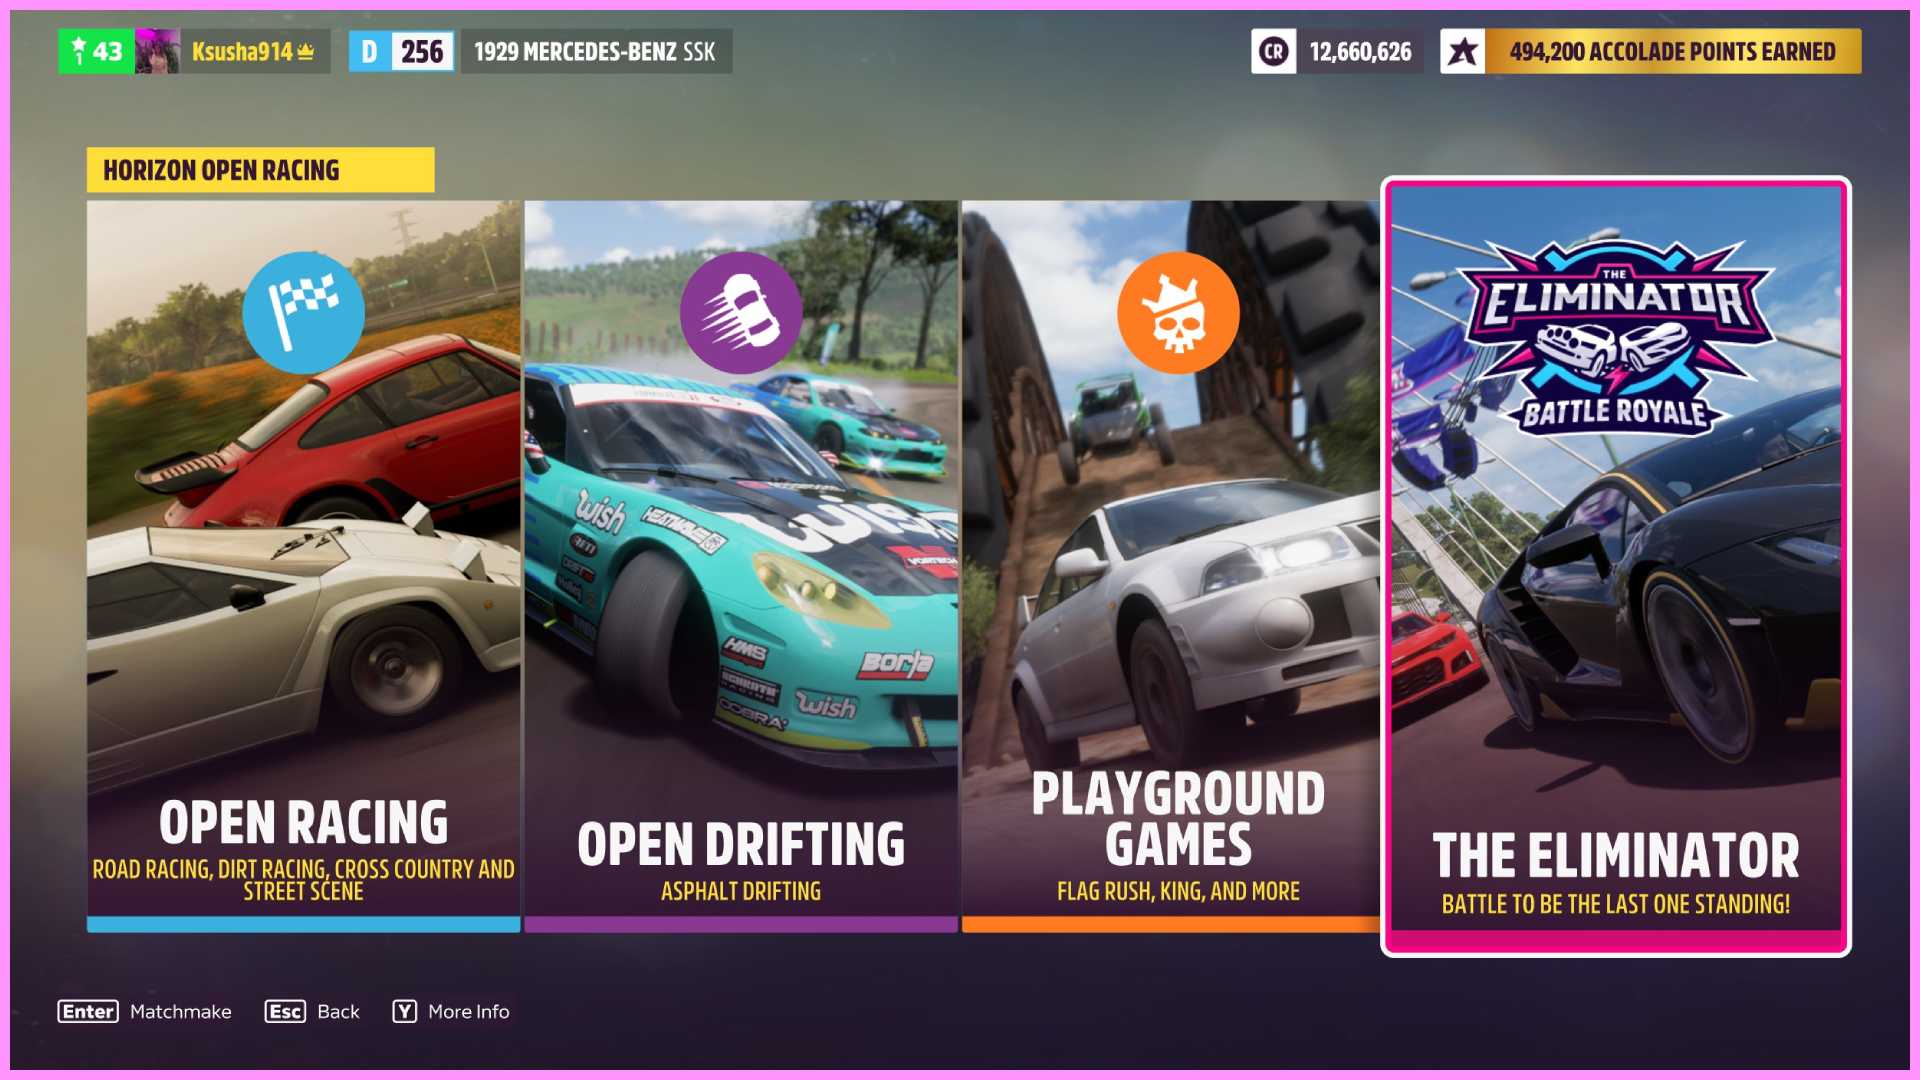
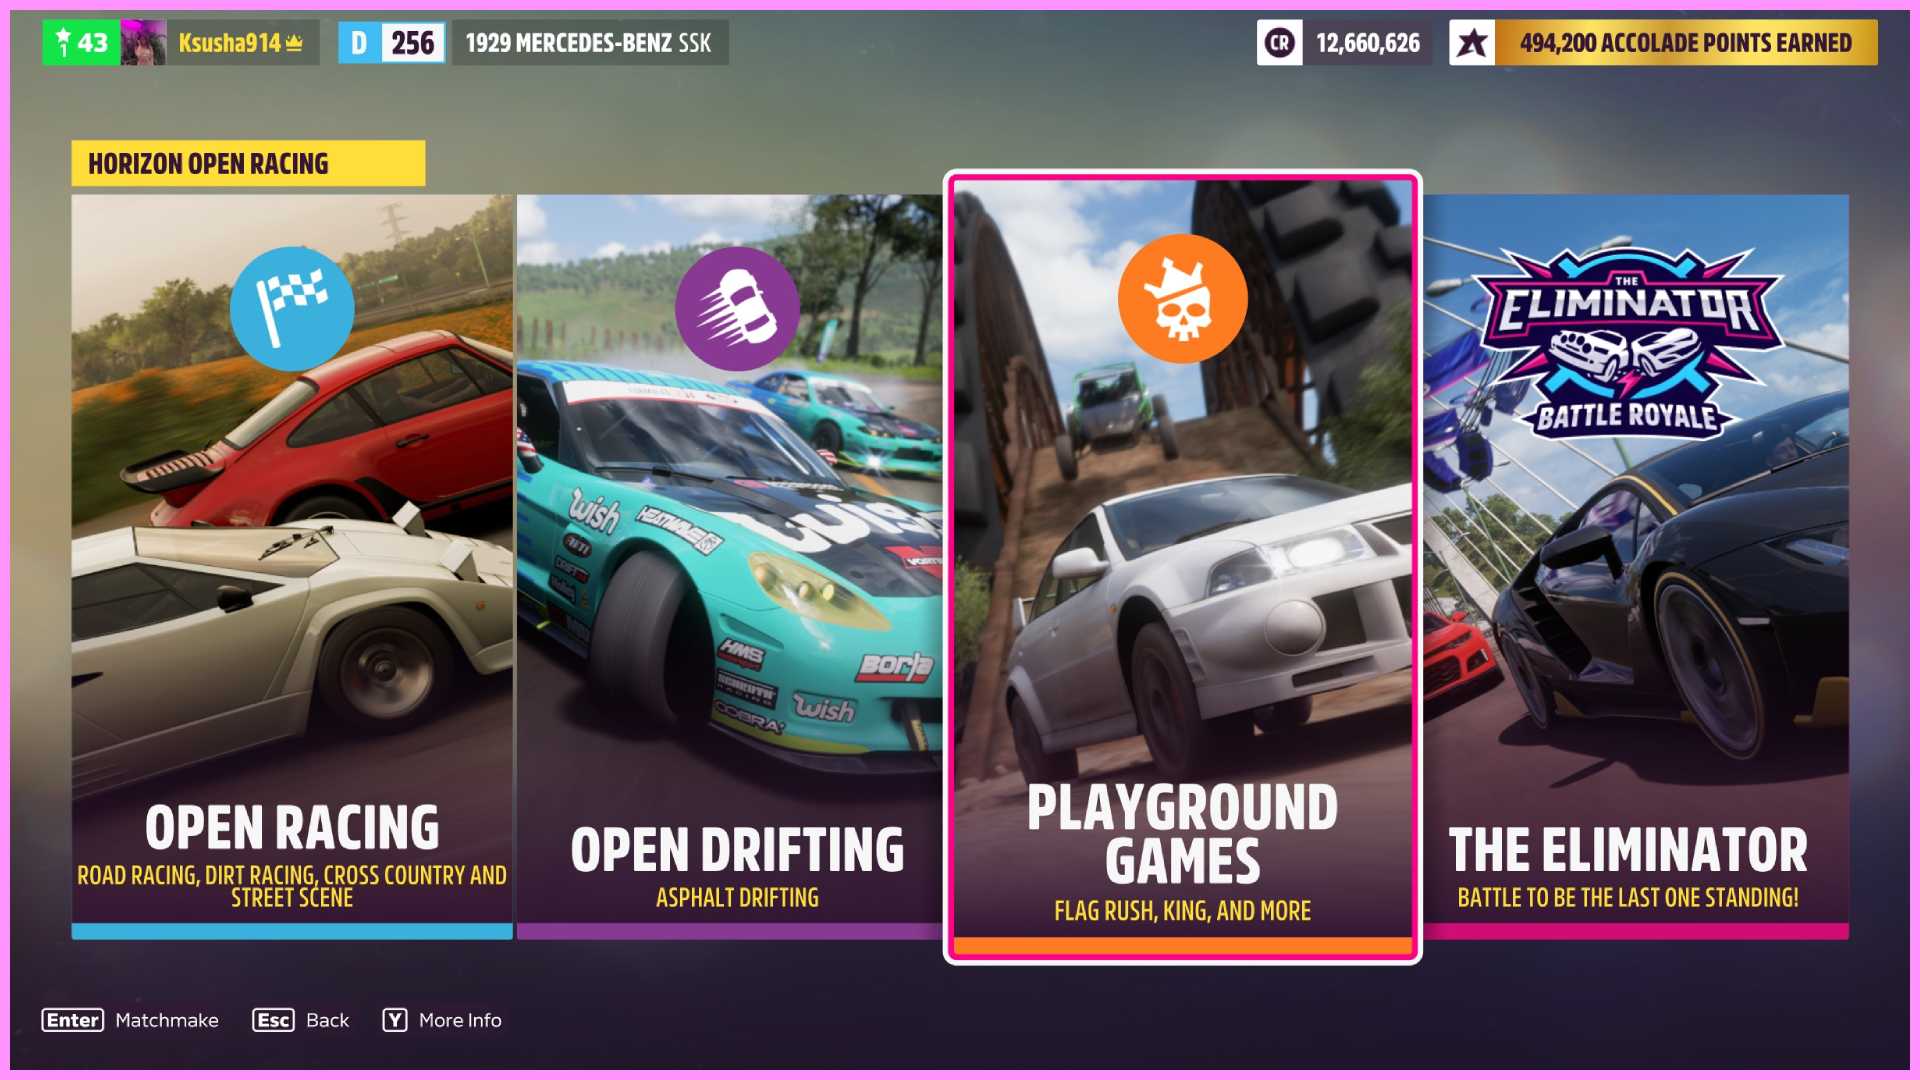
You're the Champion
If you click start and go to the Online tab, the big button in the middle takes you to the Horizon Open page, which consists of 4 events:
- Open Racing
- Open Drifting
- Playground Games
- The Eliminator
Win an event to get this achievement. It's recommend to play Playground Games, which should throw you into a team event, where you have a 50/50 chance of winning. Just keep trying.
NOTE: This achievement is, probably, bugged. Sooo it's better to start with the playground games, cuz other modes may not trigger the achievement...
✦ The Finish Line 🏁
Our adventure is coming to an end, but don't be sad... Those who designed our run have thought of everything, and left a couple of enduring achievements for last. Hopefully you'll have better luck than I did and won't run into any bugs while completing these quests. Well, let's get started!
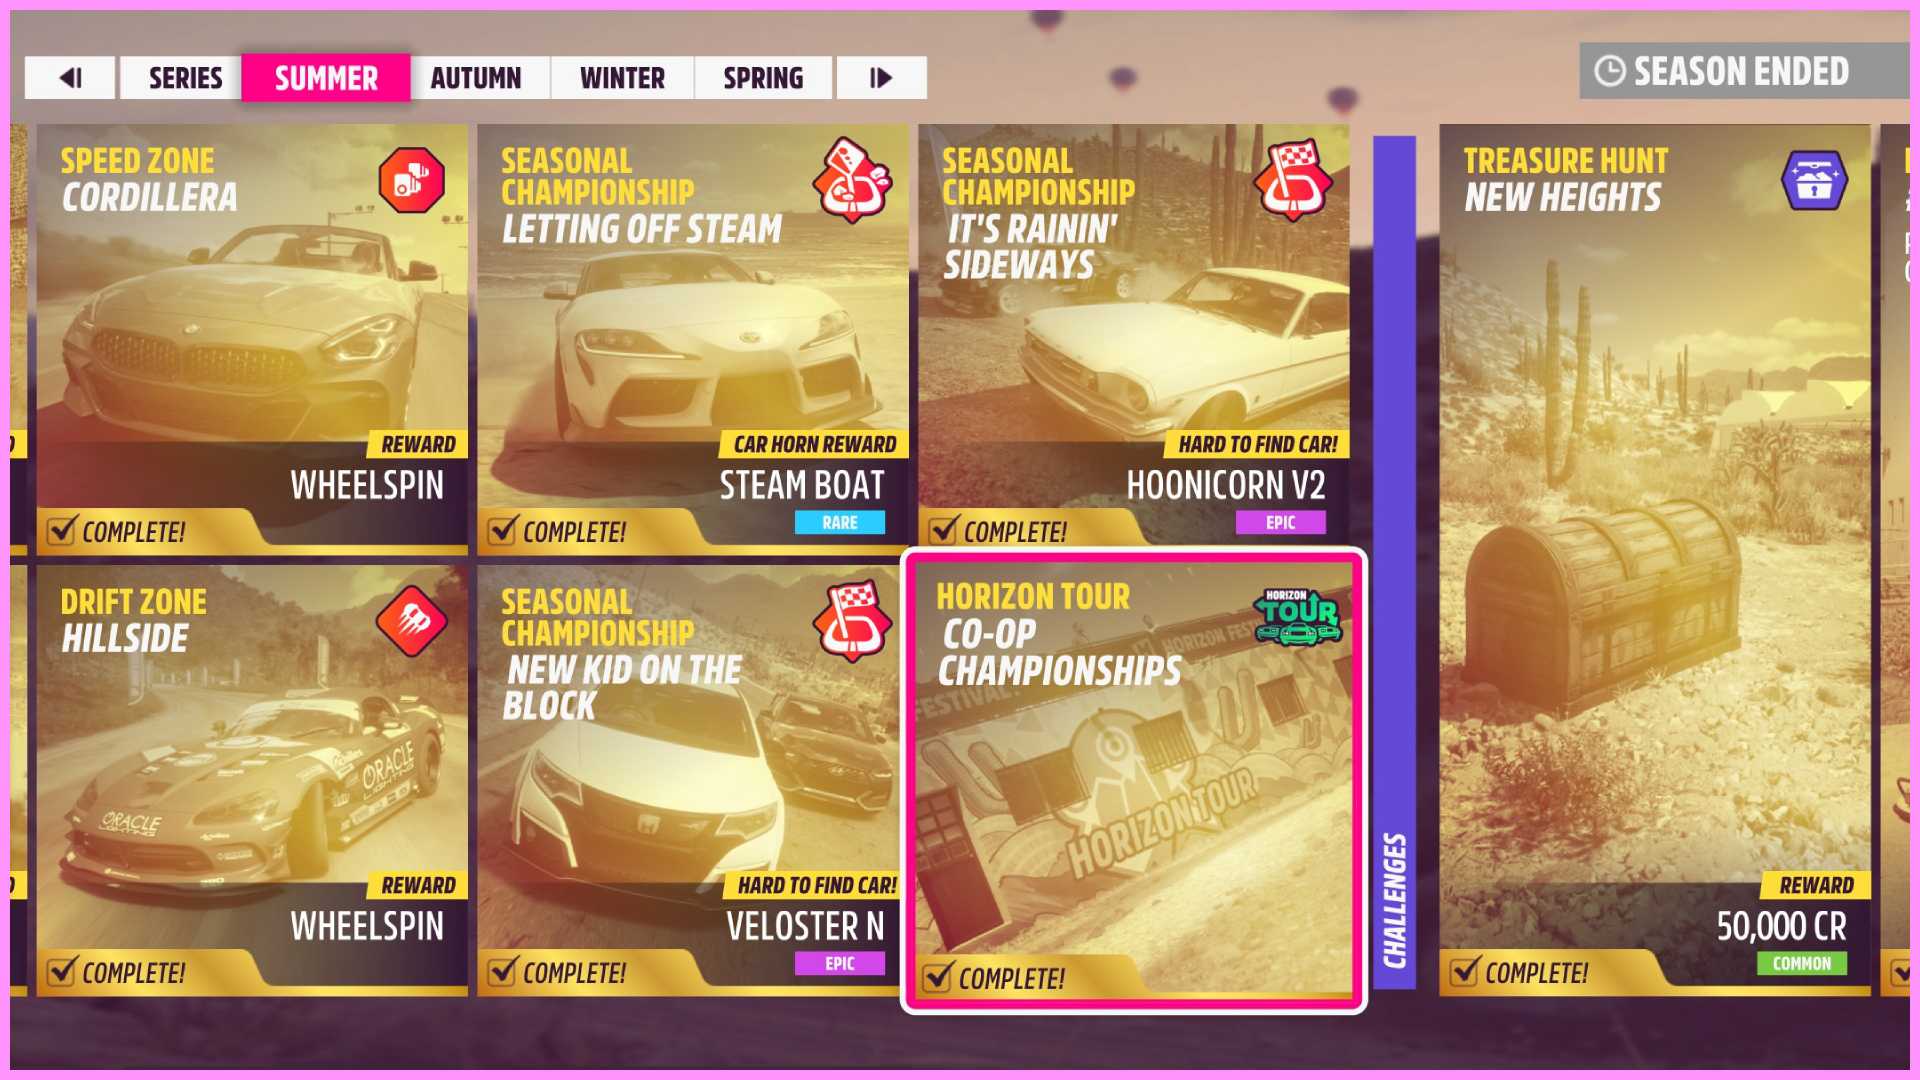
The festival playlist is on this tab in the menu:
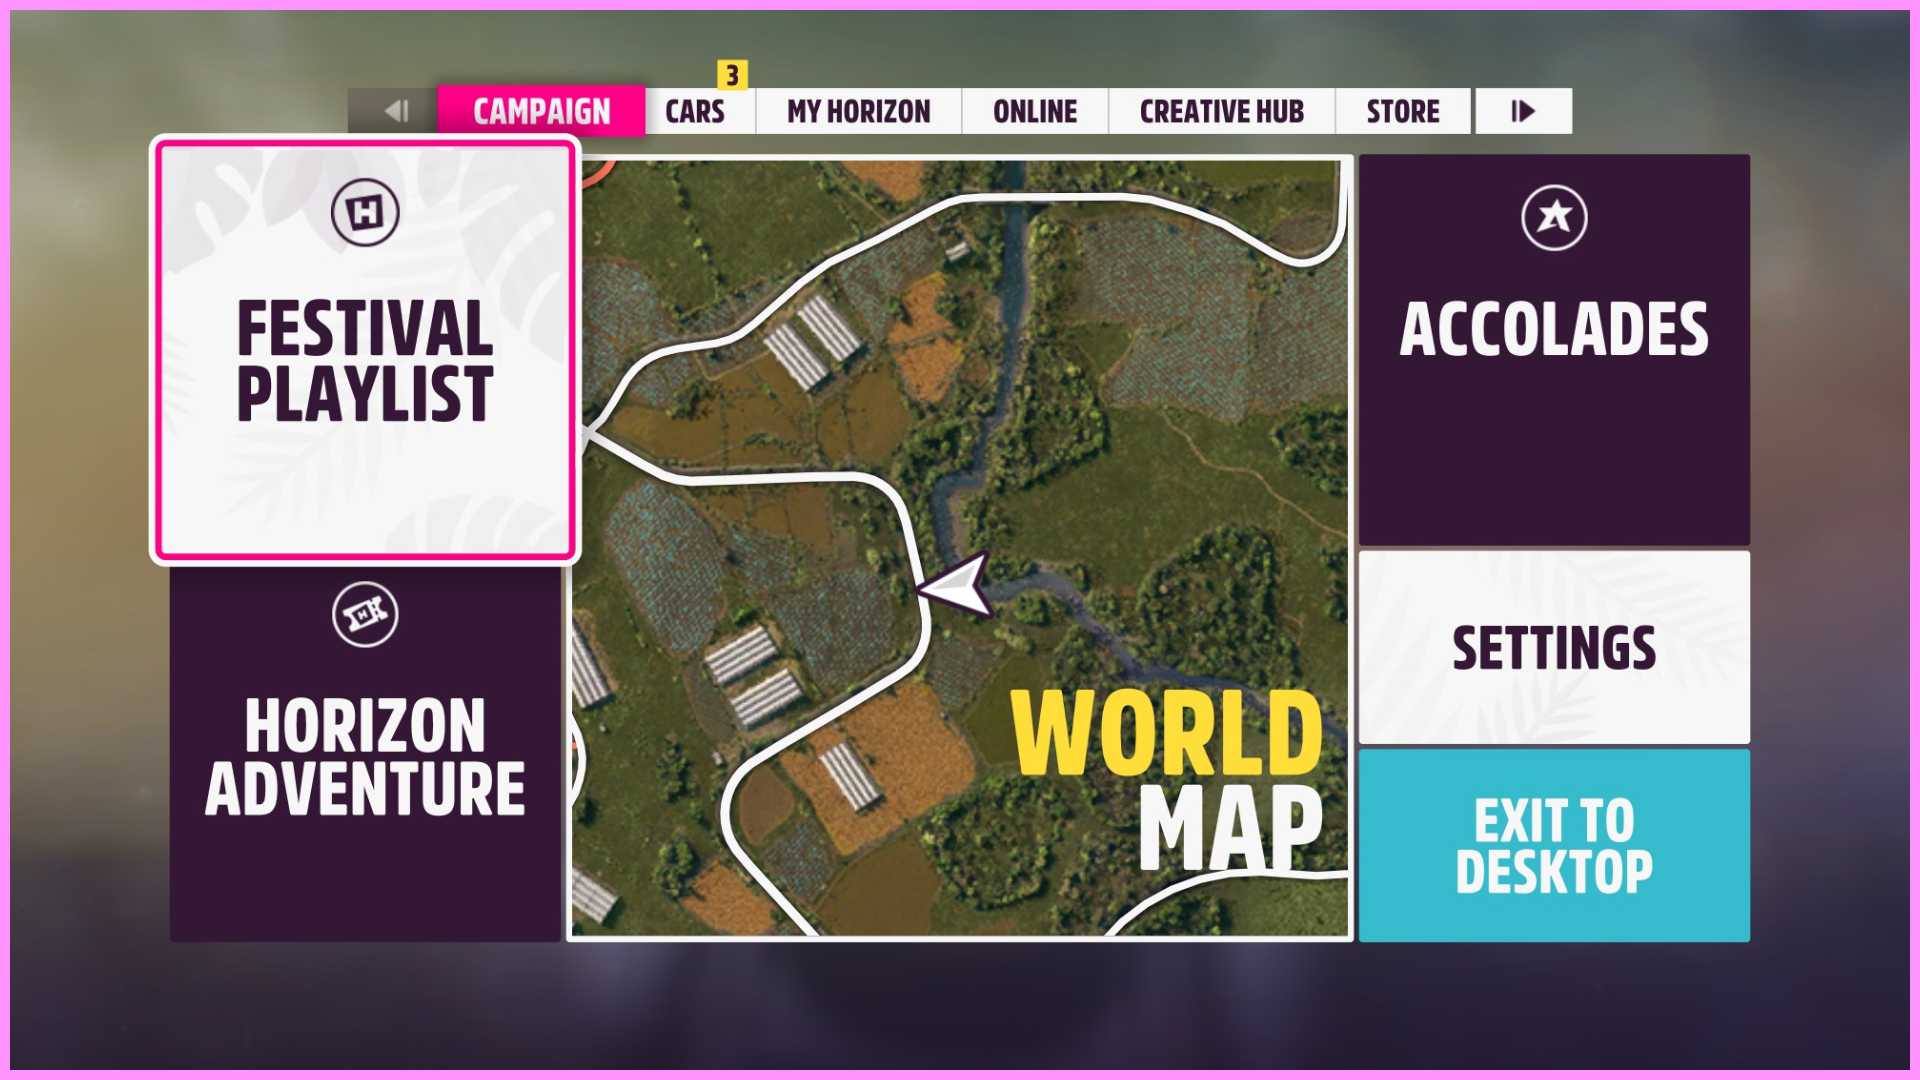
The main achievement in this section, as well as in the game, is "Min, Meet Max". It will require you to complete all the challenges in the series (month)... So be careful ;)
The Festival Playlist is on the main campaign tab. If you go there, you'll see a number of seasonal events in which you can participate. Do one of them each season, and you'll get that achievement. So, given that playlist seasons are updated once a week, it will take at least 3 weeks and 1 day if you start playing on the Thursday when the series(month) is updated. Just make sure you check the playlist at least once a week to complete the challenge.
Also, don't forget that we still have the "Min, Meet Max" achievement, which requires you to complete all of the challenges in one series.
The season changes every week on Thursday at 14:30 GMT, and the series changes every month after going through a cycle of 4 seasons.
The Festival Playlist, which can be found in the pause menu, has a load of events in it that you need to complete before the season ends (the season lasts a week, renews on Thursday at 14:30 GMT, and the series lasts a month). You can tell which events left if you scroll right. They are usually races, PR events and some online stuff too. Do all of them and you'll get this achievement.
You have to complete every event from the series (every season) and fill the progress bar on the series tab:
That is, in the first series should get 263/263 points. However, in the fall season there was a buggy daily task, and it is likely that most drivers will be able to get this achievement only in Series 2 (if no new bugs...). Since it would be 262/263 without the daily task...
But it's not all so sad, because we still have the Collectibles challenge, and no one knows, how often it will appear. Perhaps we'll have time to complete a few more episodes completely before we catch the 5 "Collectibles" category events...
All you have to do is, surprisingly enough, win the race 80 times. A few things to watch out for:
1. You need to win, so if you're having some difficulties, it's probably better, if you lower the difficulty.
2. You need different races, so you can't repeat the same events over and over again. However, what may be meant here is that you can't press restart on the final race screen, but you can re-enter the race from free mode.
3. The fastest races are drag racing, do them, although there aren't many of them.
4. If you plan on getting all the achievements, you'll probably win 80 different races without any problems.
If you want a really fast way of getting this then you can create a blueprint at a circuit race (it needs to be one where we can set laps) and in the event settings set the following settings:
- Max number of drivatars to "off"
- Duration to 1 minute
Be sure to check your progress on the achievement tracker!
The rest you can leave default. When you start the race you will instantly win it when it starts. Then just simply repeat the same blueprint over and over until you have the achivement.
Make sure you press continue at the end of the event, pressing restart and doing the race that way will not update the tracker.
The festival playlist is on this tab in the menu:
The main achievement in this section, as well as in the game, is "Min, Meet Max". It will require you to complete all the challenges in the series (month)... So be careful ;)
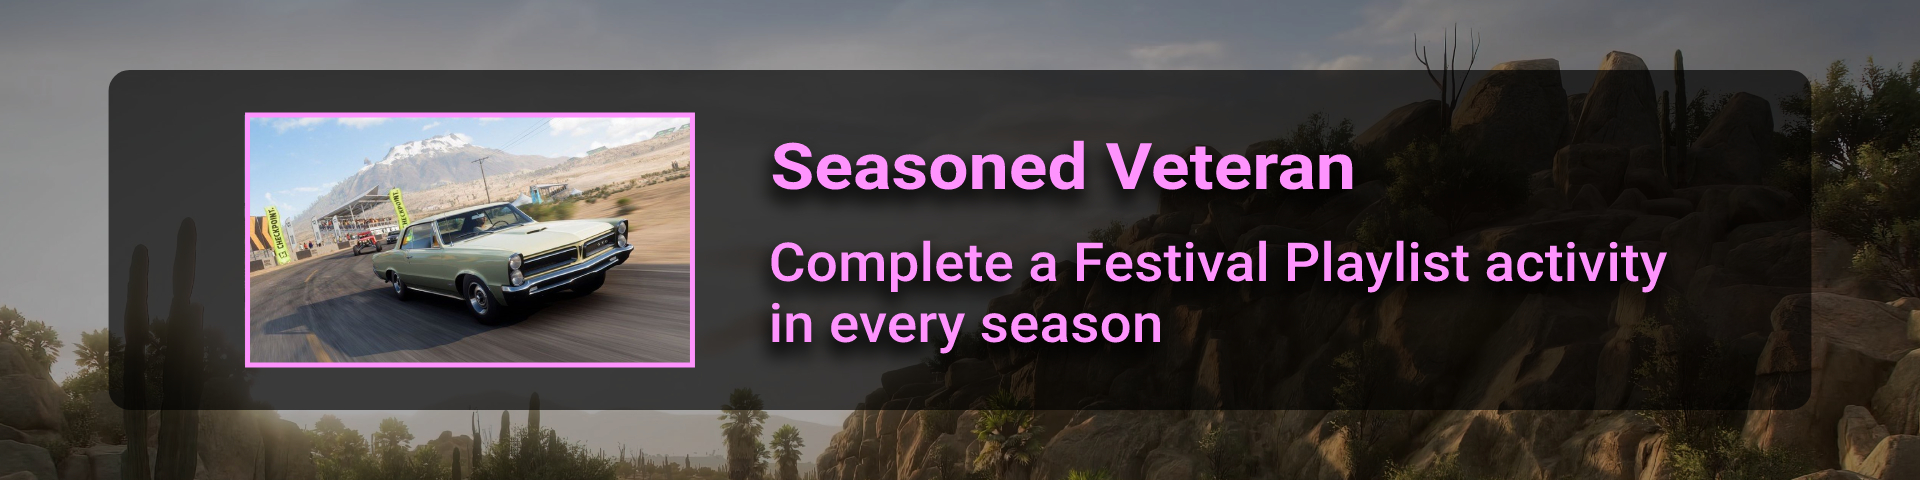
Seasoned Veteran
The Festival Playlist is on the main campaign tab. If you go there, you'll see a number of seasonal events in which you can participate. Do one of them each season, and you'll get that achievement. So, given that playlist seasons are updated once a week, it will take at least 3 weeks and 1 day if you start playing on the Thursday when the series(month) is updated. Just make sure you check the playlist at least once a week to complete the challenge.
Also, don't forget that we still have the "Min, Meet Max" achievement, which requires you to complete all of the challenges in one series.
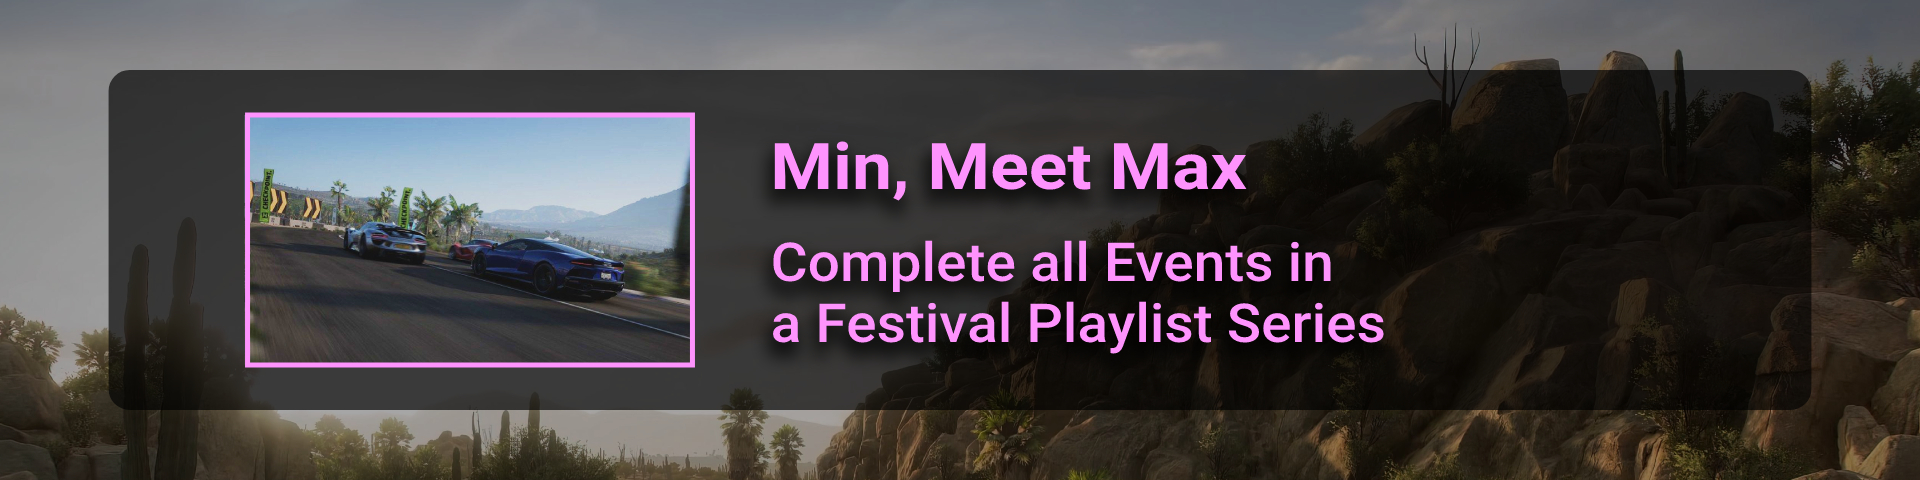
Min, Meet Max
The season changes every week on Thursday at 14:30 GMT, and the series changes every month after going through a cycle of 4 seasons.
The Festival Playlist, which can be found in the pause menu, has a load of events in it that you need to complete before the season ends (the season lasts a week, renews on Thursday at 14:30 GMT, and the series lasts a month). You can tell which events left if you scroll right. They are usually races, PR events and some online stuff too. Do all of them and you'll get this achievement.
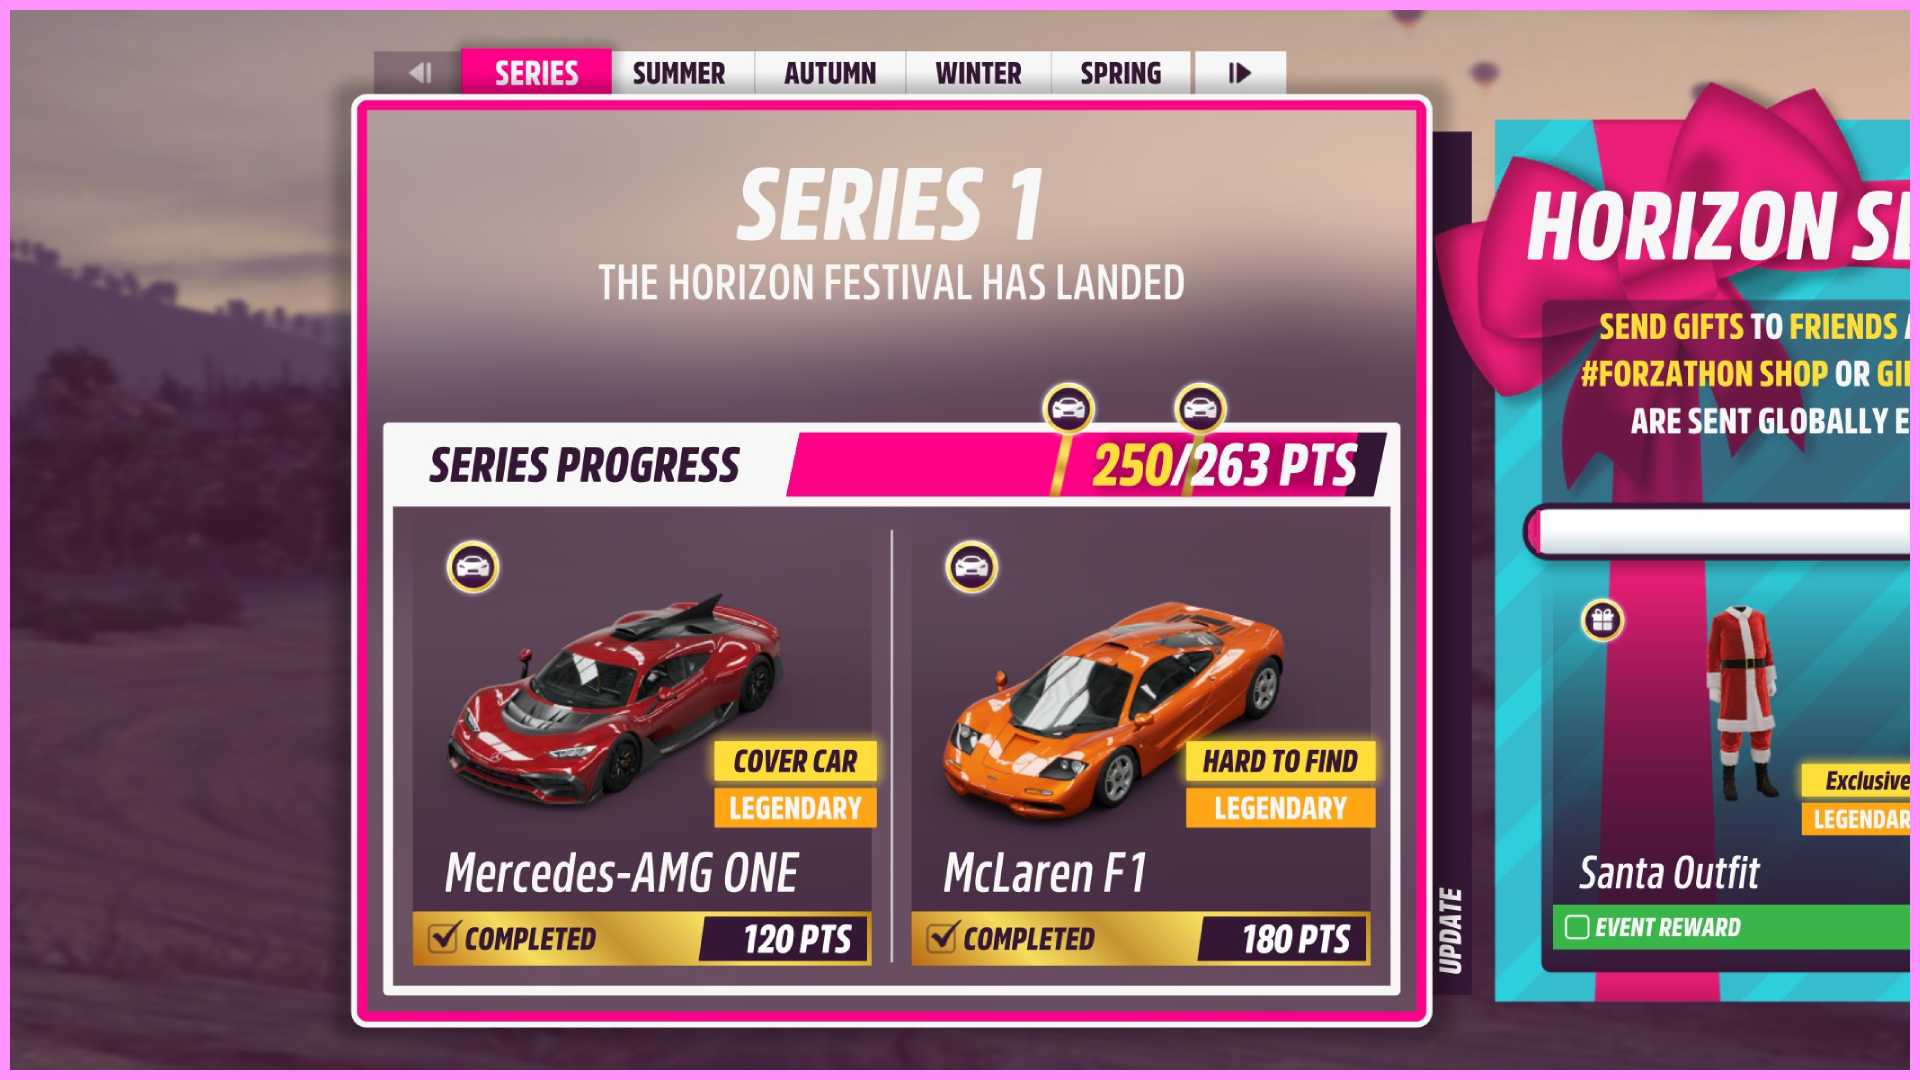
You have to complete every event from the series (every season) and fill the progress bar on the series tab:
That is, in the first series should get 263/263 points. However, in the fall season there was a buggy daily task, and it is likely that most drivers will be able to get this achievement only in Series 2 (if no new bugs...). Since it would be 262/263 without the daily task...
But it's not all so sad, because we still have the Collectibles challenge, and no one knows, how often it will appear. Perhaps we'll have time to complete a few more episodes completely before we catch the 5 "Collectibles" category events...
Racing and Pacing and Plotting the Course
All you have to do is, surprisingly enough, win the race 80 times. A few things to watch out for:
1. You need to win, so if you're having some difficulties, it's probably better, if you lower the difficulty.
2. You need different races, so you can't repeat the same events over and over again. However, what may be meant here is that you can't press restart on the final race screen, but you can re-enter the race from free mode.
3. The fastest races are drag racing, do them, although there aren't many of them.
4. If you plan on getting all the achievements, you'll probably win 80 different races without any problems.
If you want a really fast way of getting this then you can create a blueprint at a circuit race (it needs to be one where we can set laps) and in the event settings set the following settings:
- Max number of drivatars to "off"
- Duration to 1 minute
Be sure to check your progress on the achievement tracker!
The rest you can leave default. When you start the race you will instantly win it when it starts. Then just simply repeat the same blueprint over and over until you have the achivement.
Make sure you press continue at the end of the event, pressing restart and doing the race that way will not update the tracker.
✦ Hot Wheels DLC 🔥
✦ Hot Wheels Story 🔥
No One Expects the Hot Wheels Expedition
Go to the Hot Wheels logo on the map and finish the intro race.
Lessons in Hot Wheels History
The story unlocks after completing the first qualifier event. Just complete it for the achievement.
Major in Hot Wheels History
New stories will unlock as soon as you complete new qualifier events.
Professor of Hot Wheels History
All stories were easy enough to beat on 3 stars. But if you see that you failed the requirement it's better to restart. So you don't need to play again via all parts of the story chapter (It usually has 2 or more parts where you need to drive without stars requirements).
✦ Hot Wheels Races 🔥
The Rookie
First race after the intro race.
Pros, No Cons
This one is currently bugged here and unlocks only in Xbox App on July 22, 2022 Seems to be fixed...
You will need to complete some missions to get enough points to unlock this event. Feel free to check in Hot Wheels Mission menu or just do everything you see on the map.
For the next 4 achievements (including Goliath Race) you need to gather Hot Wheels points for missions.
I'm an Expert Now
WORT, WORT, WORT!
Next 2 achievements for winning the Hot Wheels Goliath event easily can be done first try. Set the difficulty a bit lower than your usual one and take fast enough car. I've used Hot Wheels 2012 Bad to the Blade (BTTB) boosted to S2 for max speed and it took 4min 54sec.
Hot Wheels Legend

Supersonic
Over-Qualified

Should be easy. Just meet the requirements.
Altitude Quickness
Simple too. Complete all the races you see on the map.
There we have 4 achievements simply by winning all races on the map. You need to win a race which has sections from achievements' pictures.
Aquanaut
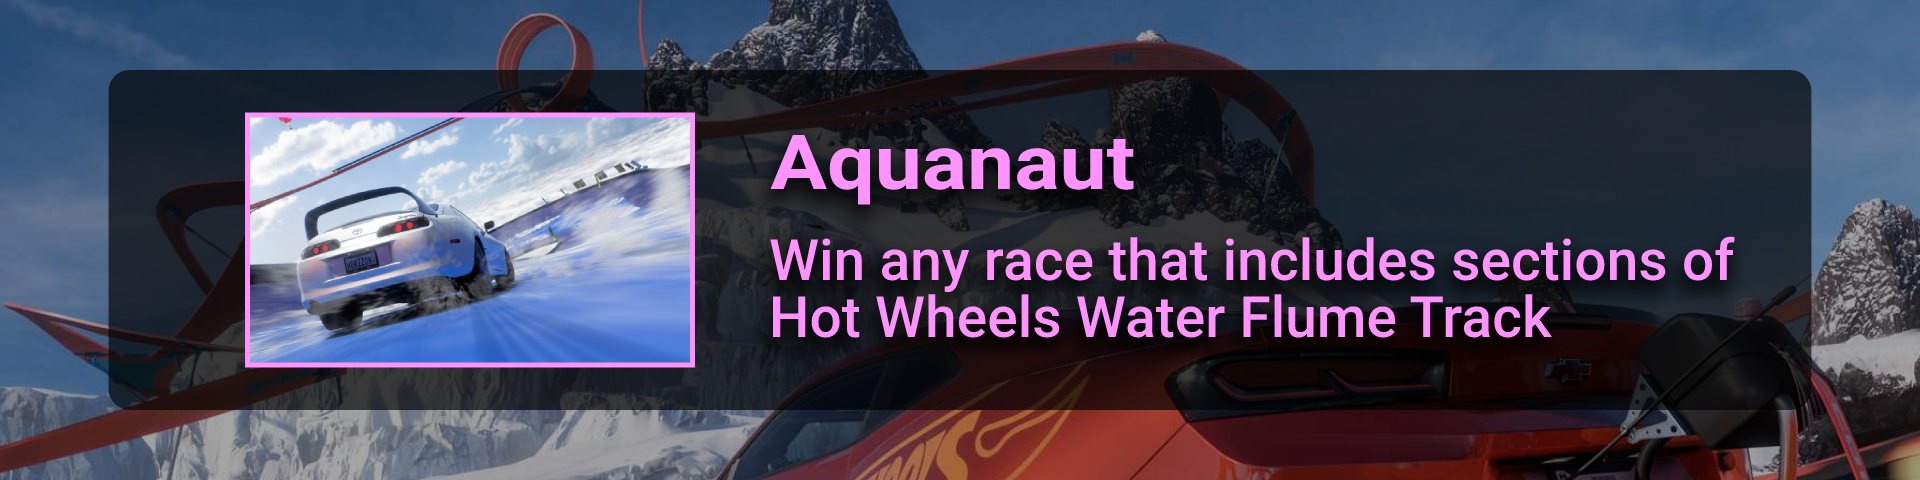
The first race with this track type is an A class road race on the forest island - Waterslide Speed Circuit. Just look for the hilighted route that includes the wide blue track on the map.
Icy Roads Ahead

The first race that includes this track type is the B class hazard race located on the snowy island. This unlocks after completing the first qualifier event.
Shaken not Third
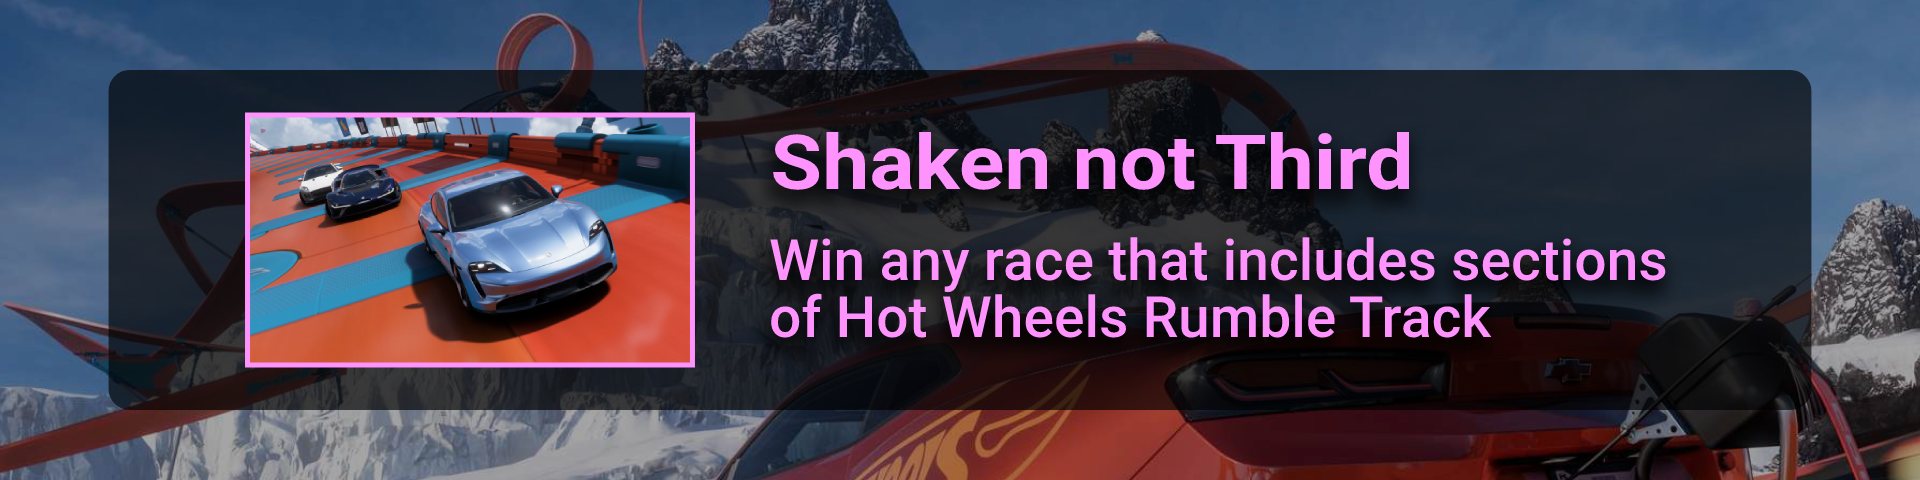
The first race that has this track type is a B class hazard race located on the jungle island. The other has the magnet track. Unlocked after completing the first qualifier event.
Attracted to Victory

The first race that has this track type is a B class hazard race located on the jungle island. The other has the rumble track. Unlocked after completing the first qualifier event.
✦ Hot Wheels Missions 🔥
This achievements require you to advance to the X Class Legend Rank in the Hot Wheels Academy found in the Hot Wheels tab in Menu. All missions are pretty self-explanatory and you can pin them to track your progress of a particular mission.


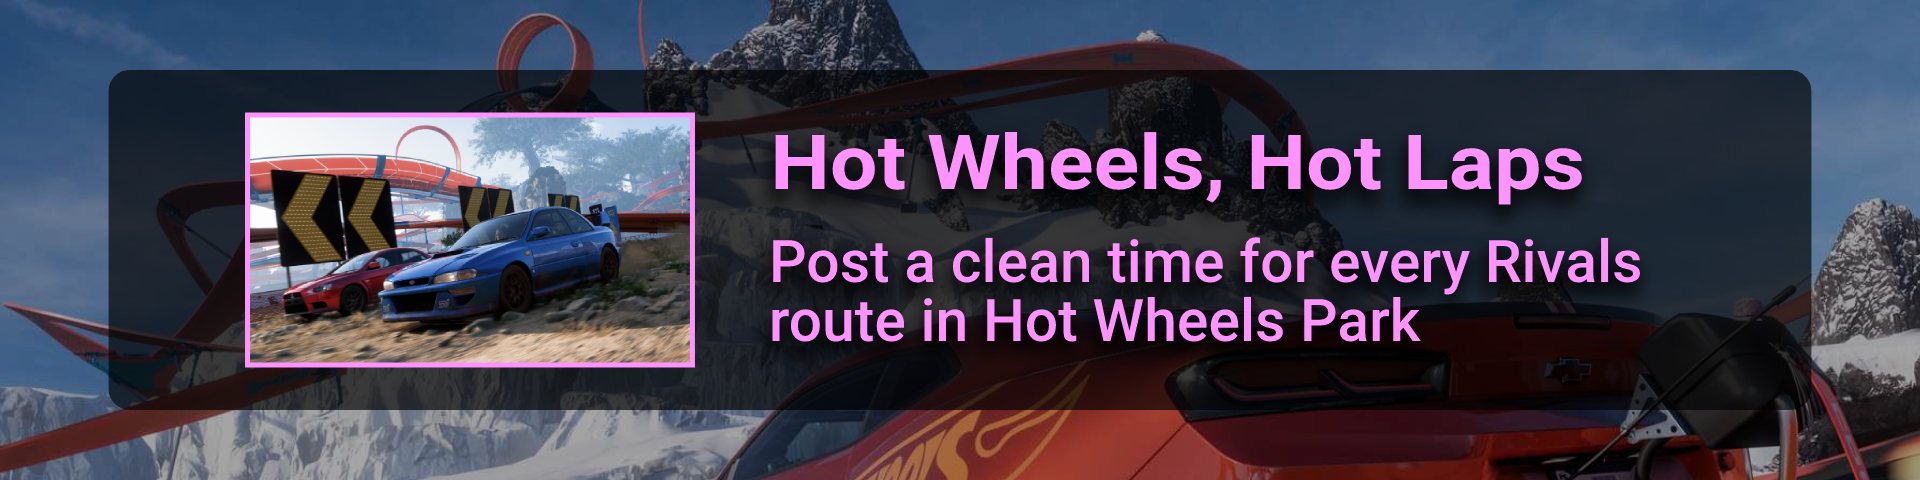
You need to be Hotwheels Legend Rank before starting this achievement!
This is because the missions needed to track the achievement are locked behind this rank.
Use a car that has good grip, predictable handling and not a huge amount of power to minimise the chance for losing control, I used the BMW X5 M FE 2011 tuned S2 998 to do them all.
Do not hurry, keep calm and try to stay at the center of the road. You are not allowed to hit the obstacles and rewind. If you see penalty pop up simply restart asap.
Another tweak you can do here is to chose your opponets time. Just scroll using your mouse to the leaderboard's bottom and spin your mousewhell a bit to make the players list load faster. Then choose the last one with the worst time not to worry about it. And don't follow ghost direction. Because they tend to fail at some points. Also you can turn all the helpers on in settings. Especially the direction to be ready to brake asap.
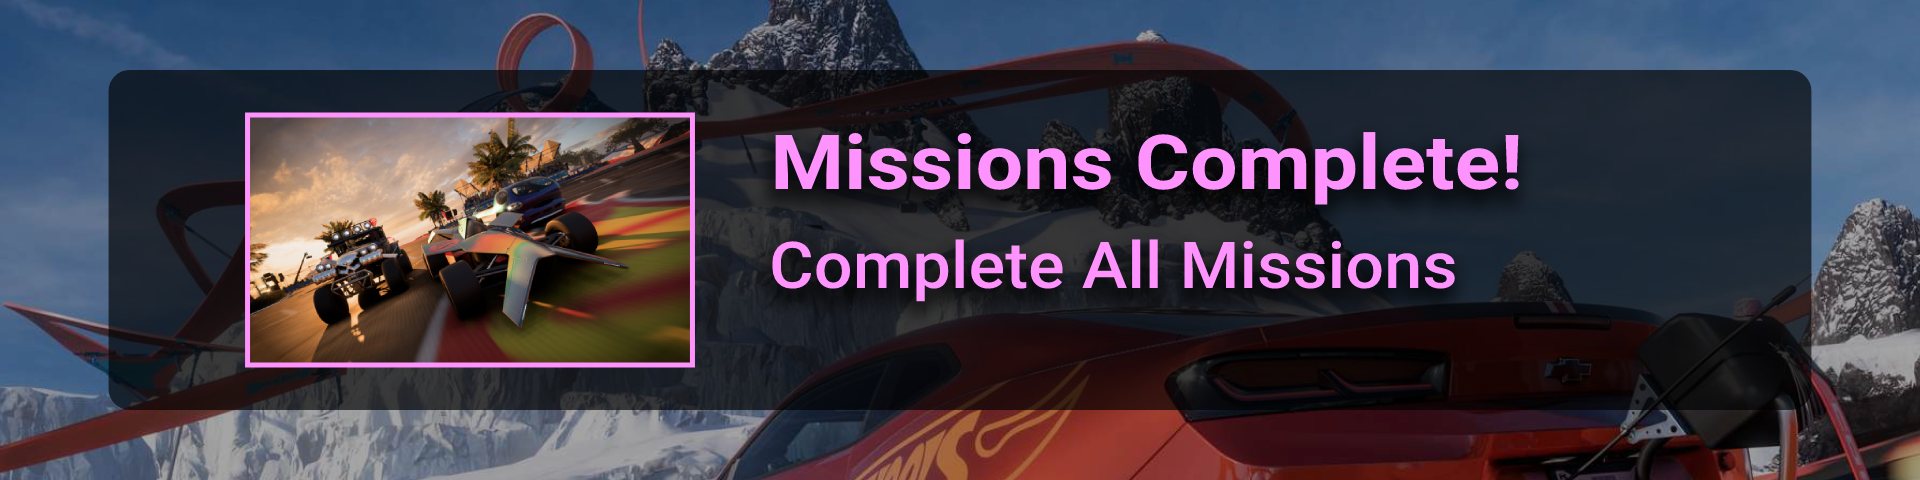
Missions!
More Missions!
Hot Wheels, Hot Laps
You need to be Hotwheels Legend Rank before starting this achievement!
This is because the missions needed to track the achievement are locked behind this rank.
Use a car that has good grip, predictable handling and not a huge amount of power to minimise the chance for losing control, I used the BMW X5 M FE 2011 tuned S2 998 to do them all.
Do not hurry, keep calm and try to stay at the center of the road. You are not allowed to hit the obstacles and rewind. If you see penalty pop up simply restart asap.
Another tweak you can do here is to chose your opponets time. Just scroll using your mouse to the leaderboard's bottom and spin your mousewhell a bit to make the players list load faster. Then choose the last one with the worst time not to worry about it. And don't follow ghost direction. Because they tend to fail at some points. Also you can turn all the helpers on in settings. Especially the direction to be ready to brake asap.
Missions Complete!
✦ Hot Wheels Activities 🔥
Competition, Experimentation and Creativity
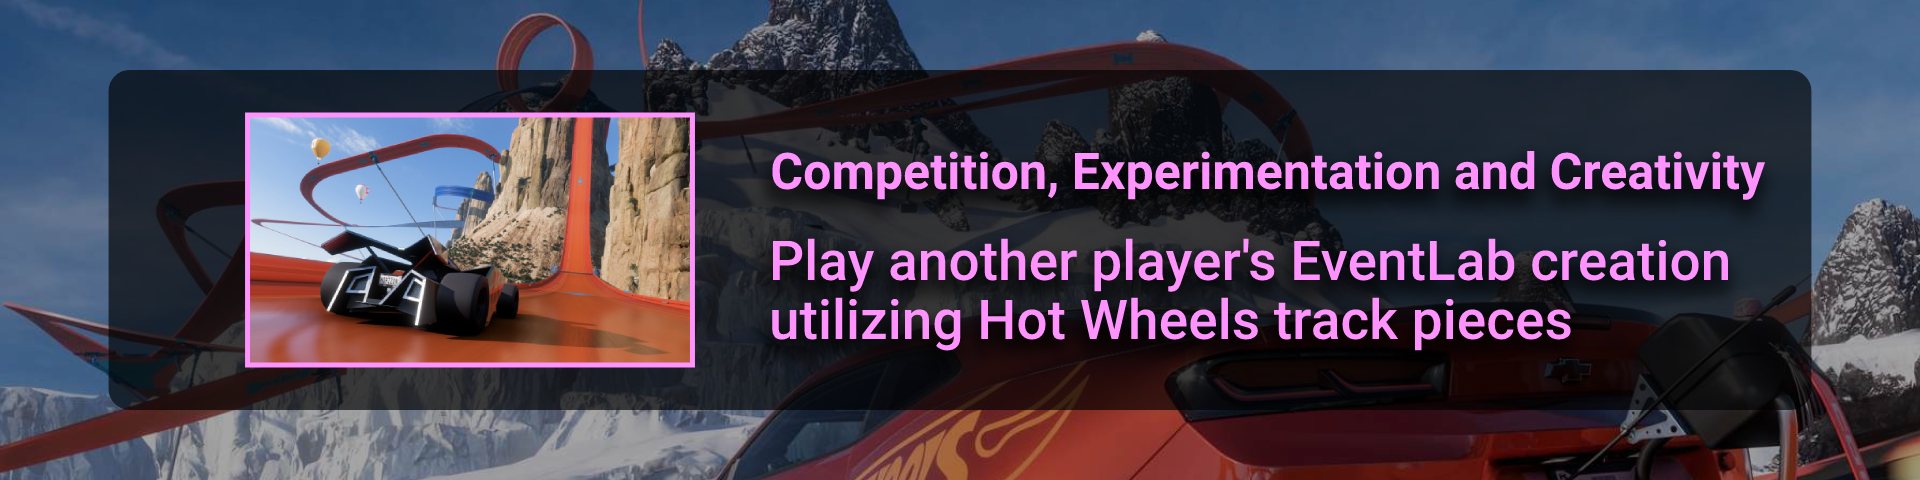
Go to Menu > Creative Hub > EventLab > Event Blueprints > Search > Enter the share code 111 612 606 (no spaces, they're here for readability). The achievement pops at loading screen.
Beach Bomb
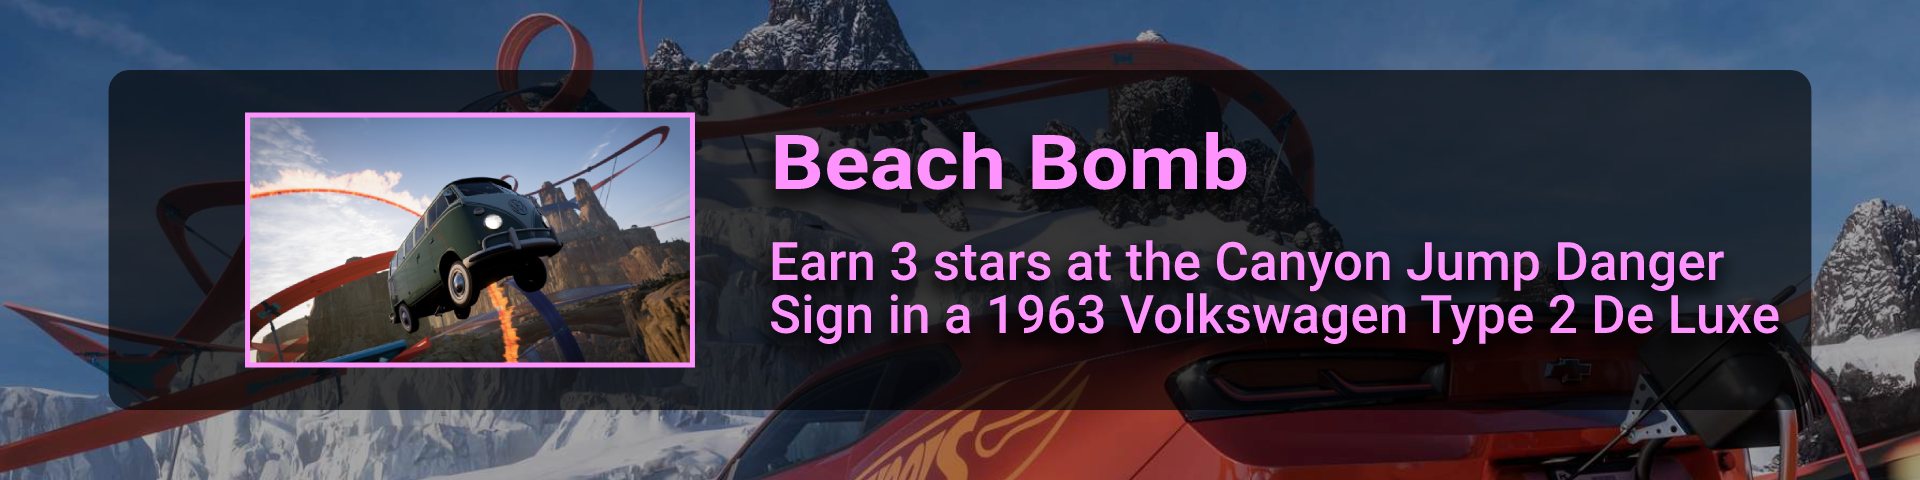
The Canyon Jump danger sign appears once you've completed the S1 Expert qualifier event and can be found on the hammer mountain in the south east of the map.
The 1963 Volkswagen Type 2 De Luxe can be purchased from the autoshow for 40,000 credits.
You'll need to tune the car to meet the 3 star requirement of 335.3m/1100ft. Just search in tunes for the best one.
Points Mean Prizes
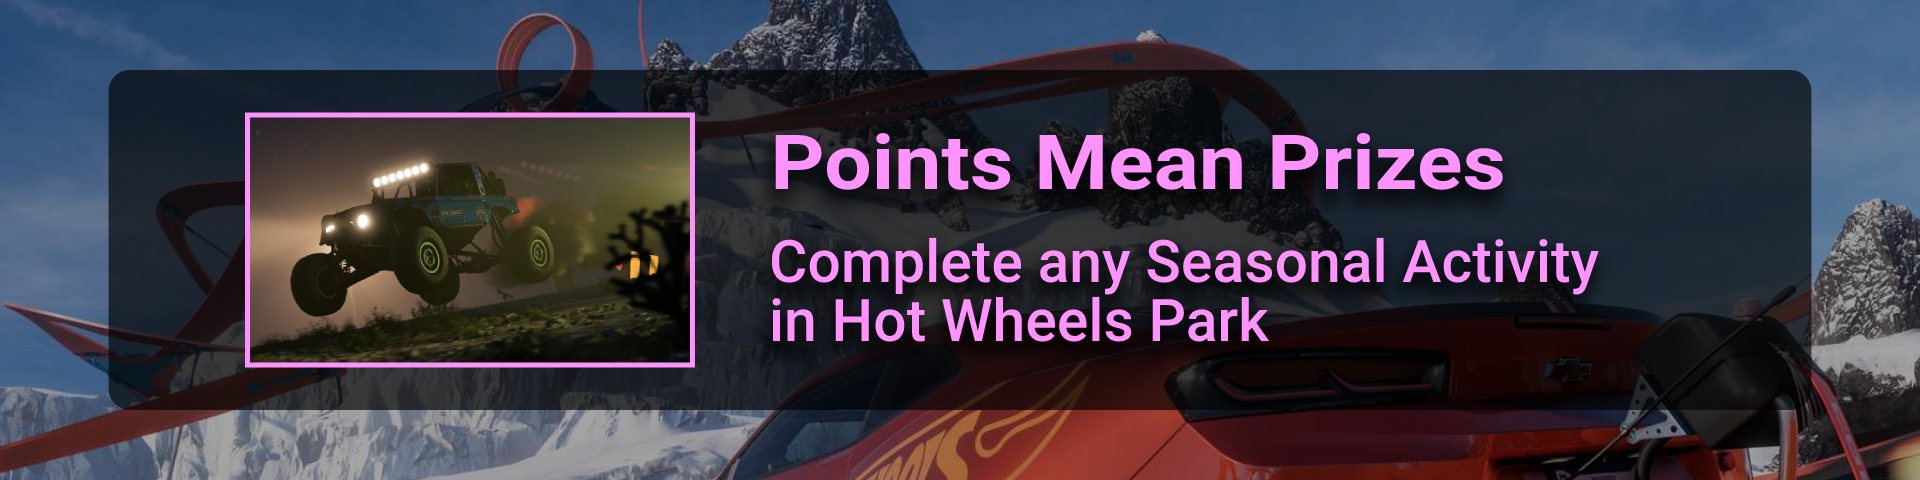
To get the achievement all you need to do is complete one #FORZATHON Daily challenge from the Seasonal Playlist while in the Hot Wheels park and the achievement will pop. You can do any activity like it says, but the daily challenges are always the shortest and easiest to earn.
High Roller

This achievement requires you to be in Hot Wheels Park when spinning the wheel each time. Super Wheelspins count as 1. If you've saved up wheelspins from outside of the DLC (including before launch) and simply wait to use them until you're in Hot Wheels Park they will count.
Also you can buy 8 Zenvo TSR-S from the Car Collection menu. Spend on each copy 21 Skill Points to get a Wheelspin and 2 Super Wheelspins for a total of 8 Wheelspins and 16 Super Wheelspins. Since you gain at least 33,600 XP from the 168 Skill Points used, you will inevitably get more Wheelspins (at least one) from leveling up unless you are SUPER HIGH of a level that leveling up takes forever. Note that you need a whooping 9 600 000 CR to do this since the TSR-S is rather expensive at 1 200 000 CR.
Hot Wheels All Star
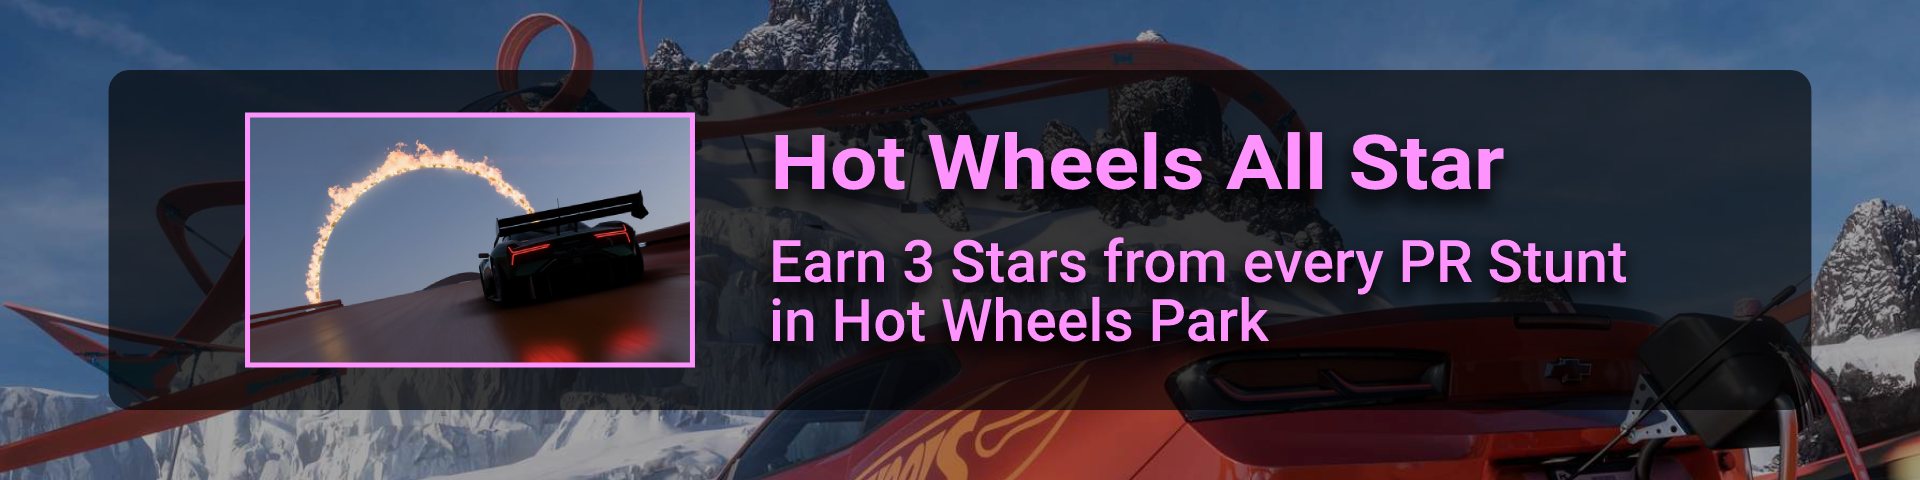
Use the fastest car you have (like Koenigsegg Jesko tuned to X999) and it will be easy.
✦ Hot Wheels Collectibles 🔥
Soared and Board
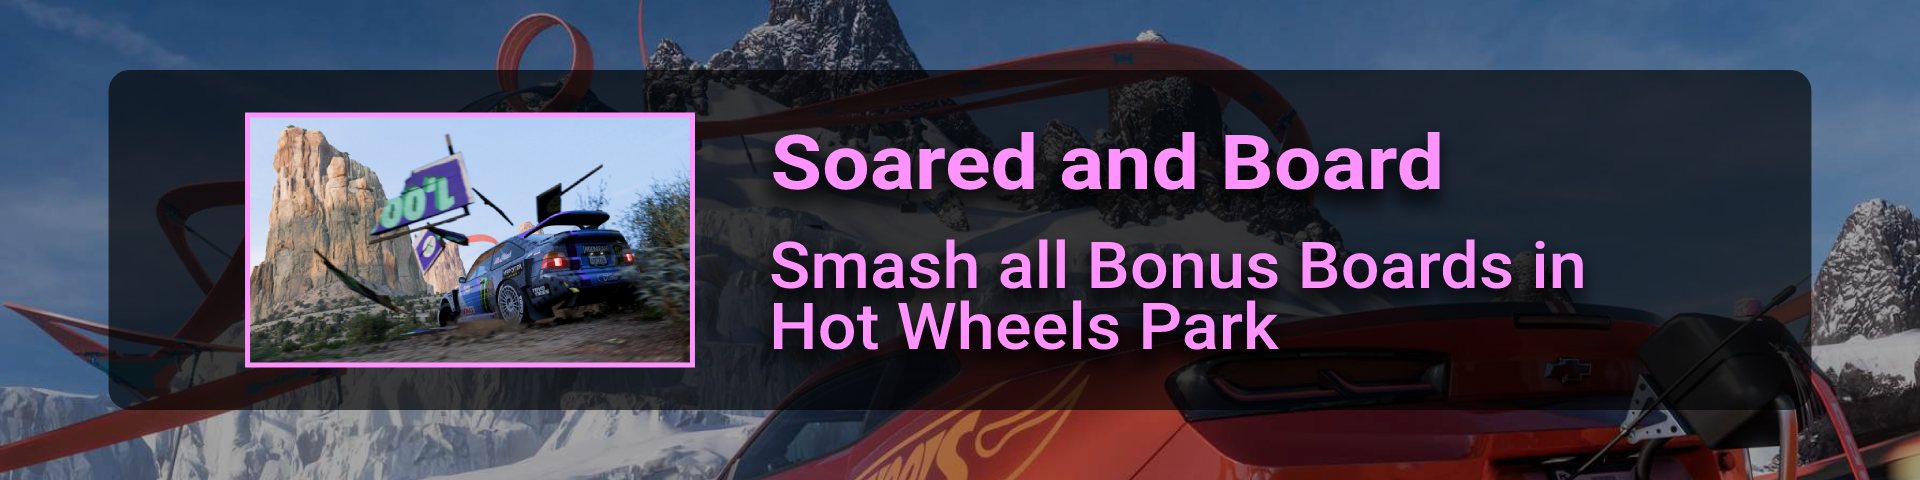
If you have Treasure Map dlc you can reveal all bonus boards on the map. All of them were hidden out of roads. So you have to find the closest orange (on map not orange plastic roads which are almost everywhere) part of the road with white dashes. It means that here you can go off road to go after bonus boards.
Interactive Hot Wheels Map:
https://guides4gamers.com/forza-horizon-5/map/hot-wheels/
All Bonus Boards Video:
Gotta Pop 'Em All
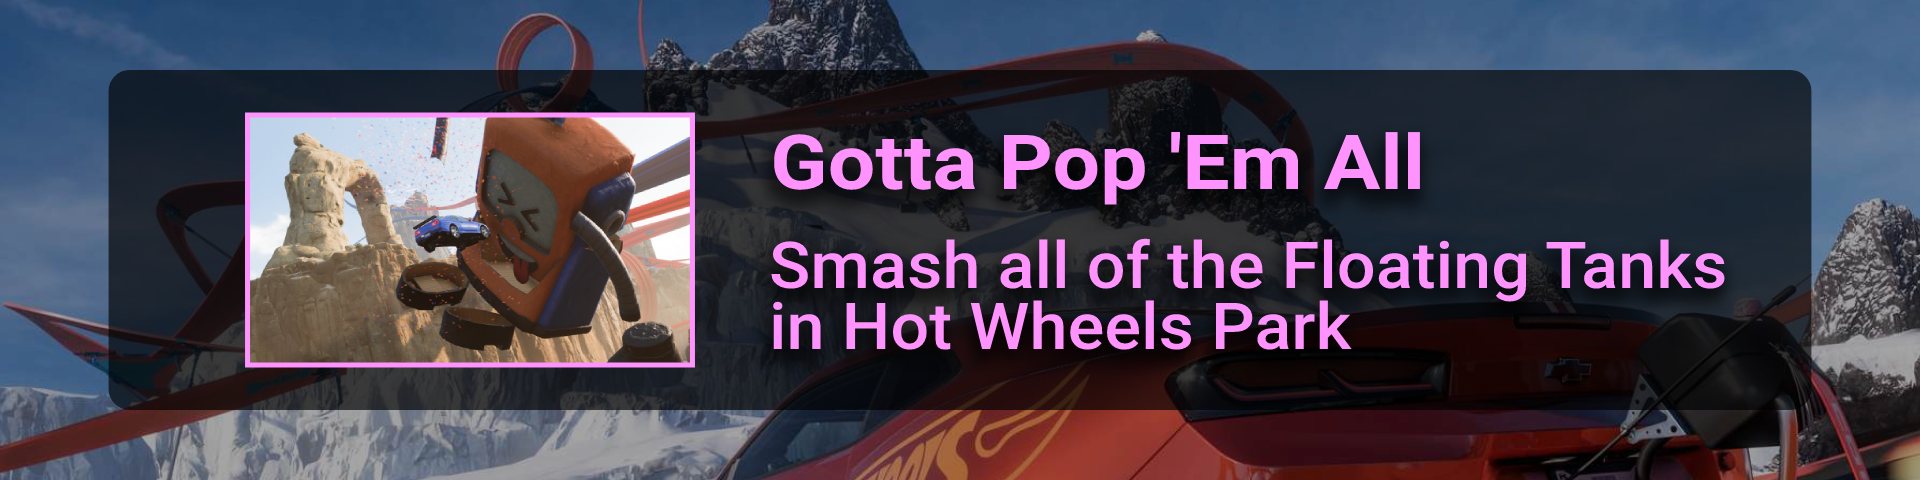
To see all the Floating Tanks on the map you should progress further in Hot Wheels events.
All Floating Tanks Video:
Fresh Pressed Orange Routes
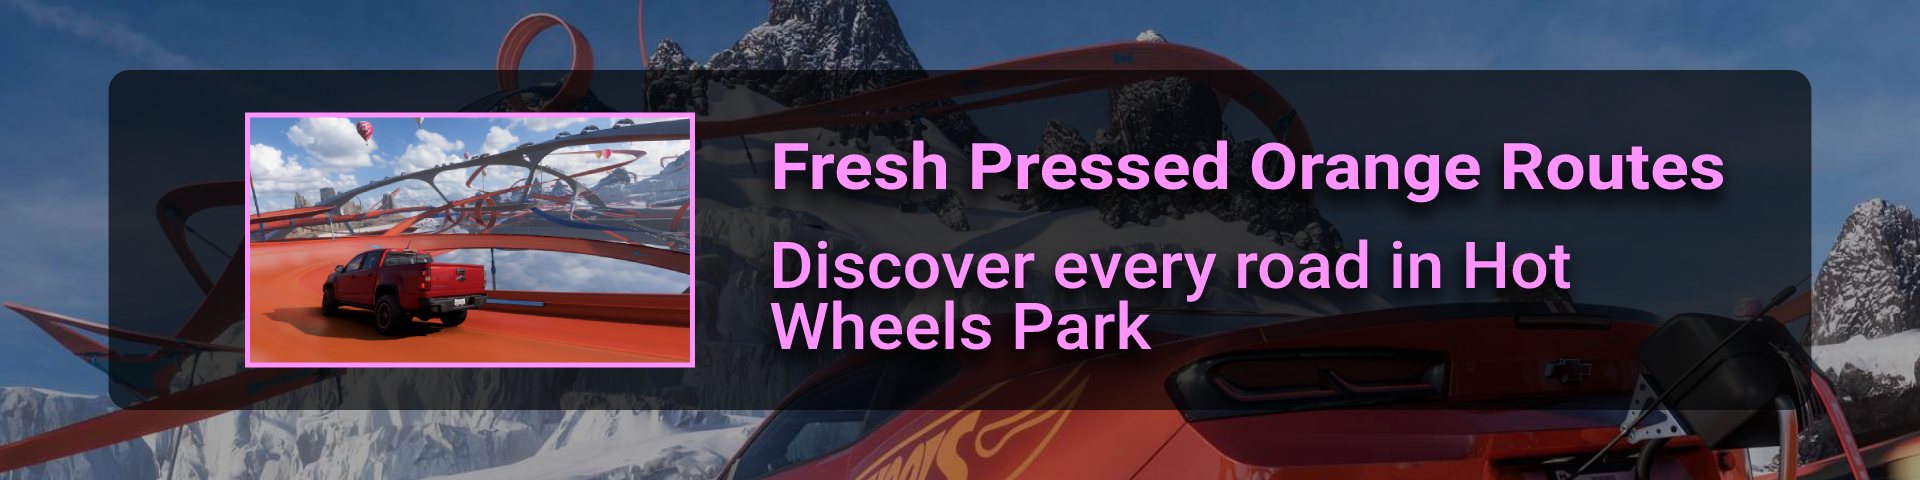
Feel free to leave this achievement to the very end because you will discover many roads by completing the races. But if you want to do it first, just turn off all marks on the map via filter and make all roads colored white and orange.
✦ Title update: Series 10 🆕
Badge of Honour
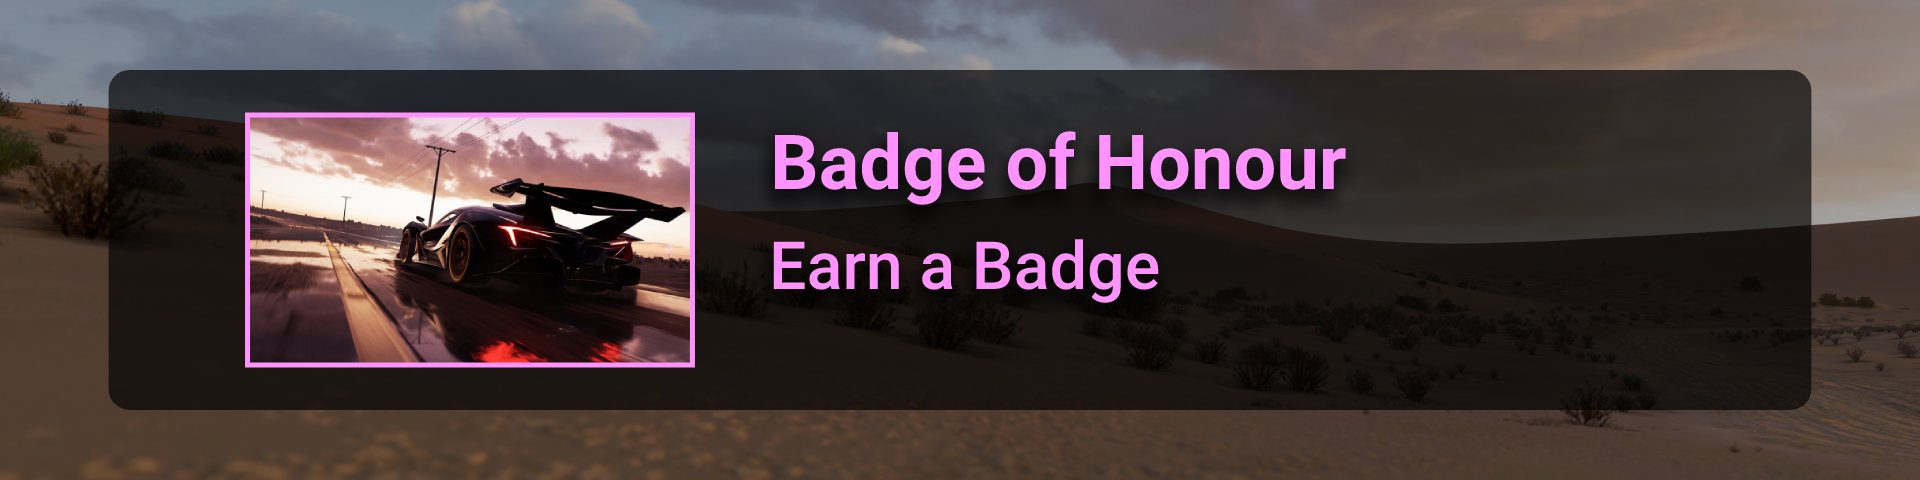
Badges are a new reward type earned by completing special challenges or by levelling up in Horizon Open. These add a small colorful icon beside your name and are visible in Horizon Life Free Roam, race standings and Leaderboards. There are currently 20 badges you can earn, but you only need 1 for the achievement. The badges:
- The Grand Opening - Reach Level 10 in Horizon Open
- Horizon Open Newcomer - Reach Level 100 in Horizon Open
- Horizon Open Rookie - Reach Level 200 in Horizon Open
- Horizon Open Amateur - Reach Level 300 in Horizon Open
- Horizon Open Enthusiast - Reach Level 400 in Horizon Open
- Horizon Open Expert - Reach Level 500 in Horizon Open
- Horizon Open Pro - Reach Level 600 in Horizon Open
- Horizon Open Elite - Reach Level 700 in Horizon Open
- Horizon Open Specialist - Reach Level 800 in Horizon Open
- Horizon Open Master - Reach Level 900 in Horizon Open
- Horizon Open Champion - Reach Level 1000 in Horizon Open
- Race Leader - Complete 100 Horizon Open Races or Custom Races
- Drift Leader - Complete 50 Horizon Open Drift Rounds
- Games Leader - Complete 100 Rounds of PG Games
- Lucky Streak - Win 3 PG Games in a row
- Give Me Five! - Bank a total of 5,000,000 Skill Score in Horizon Open
- Beep, Beep, Coming Through - Bank a total of 100,000 Skill Score in Horizon Open
- Can't Touch This - Earn 200 Speed Skills in Horizon Open
- Love You 3000 - Earn 3000 Clean Racing Skills in Horizon Open
- Drifter's Paradise - Earn 6000 Drifting or E-Drifting Skills in Horizon Open
You should unlock Beep, Beep, Coming Through or The Grand Opening within your first 5 events or so. Progress can be tracked through the in game "Badges" tab under "Campaign" in the pause menu.
Hoonigan Impressionist
On the final Chapter of Drift Club Mexico, you'll see small pink donkey piñatas on the side of the road on route to the first target.
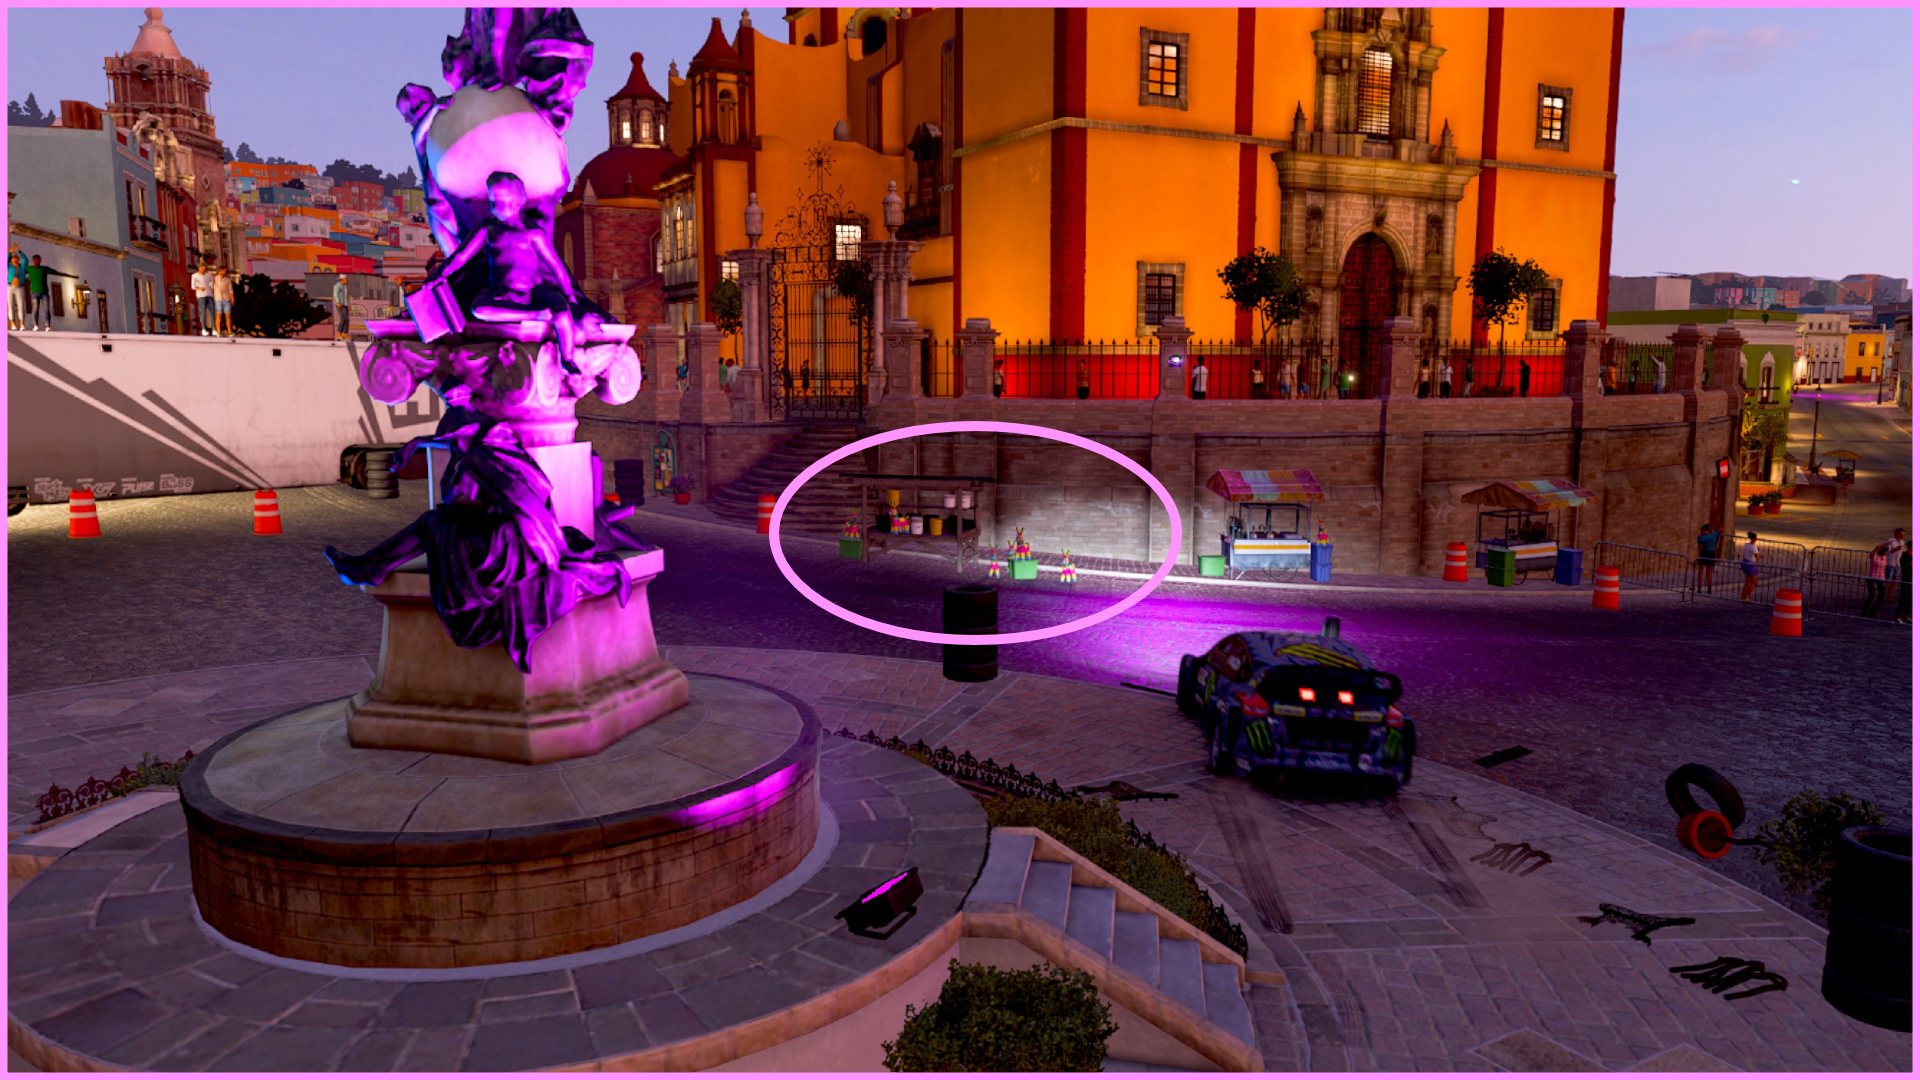
The Grand Opening
The quickest way to level up is to go S2 Street racing.
- Select a fast, easy to control S2 class car
- Go to the Online tab of the menu and select Horizon Open
- Select the Custom Racing option towards the right
- Set Racing Series to "STREET" and Performance Class to "S2"
Street races will only be point-to-point so you won't have to deal with long, 3-lap races. Plus, being S2 will make the races end really quickly. You only accumulate Horizon Open XP at the end of the championship so be sure not to quit until the 3 event championship is finished.
You will level up about 5-8 levels after every championship with this method.
Also check your car's mastery for any XP boosts. For example, the Koenigsegg CCGT has a mastery you can purchase that permanently boosts your event finish XP by 20% which can allow you to level up noticeably faster.
Another One Bites the Dust
Join the Club
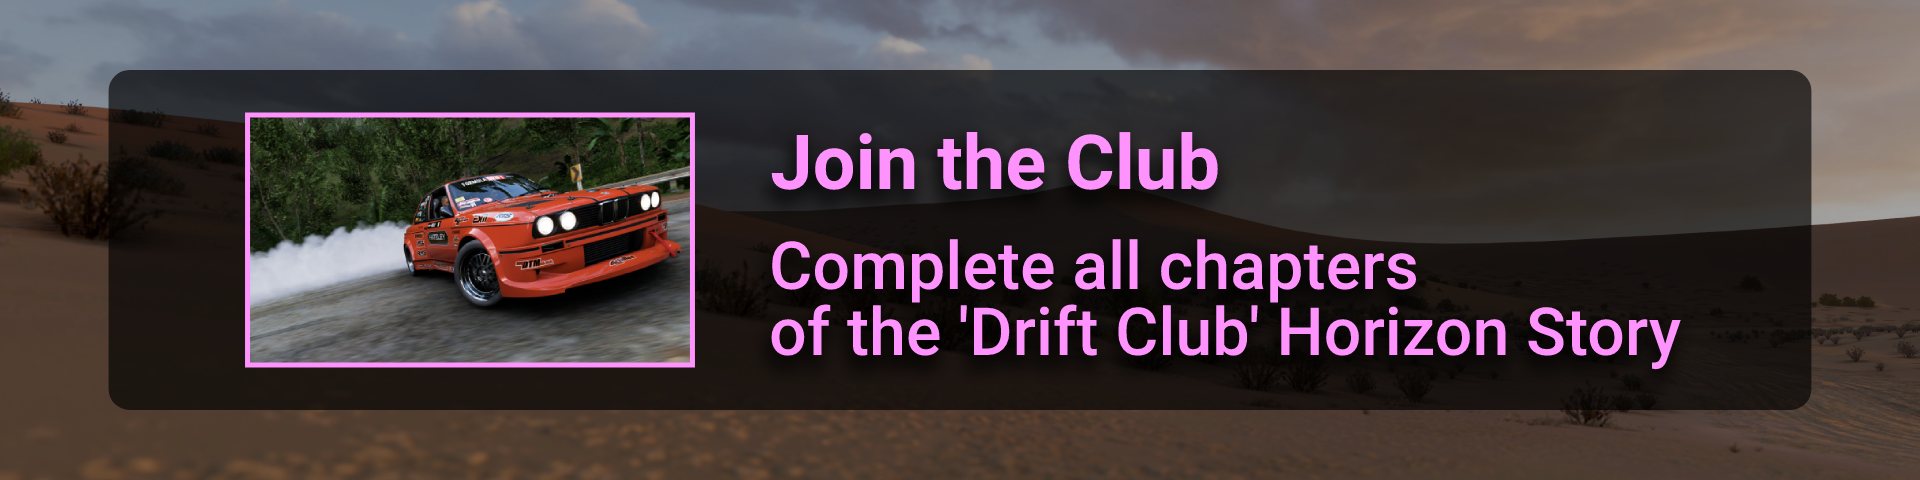
Drift Club Mexico
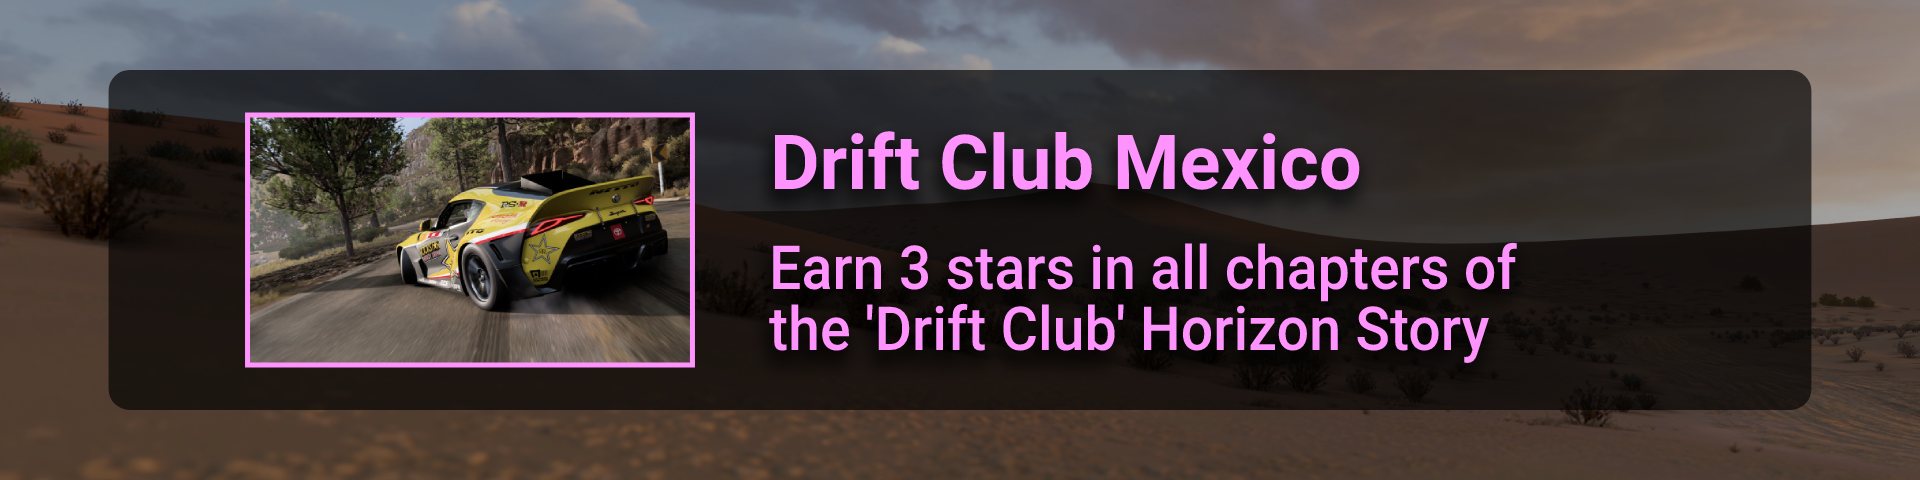
One for All
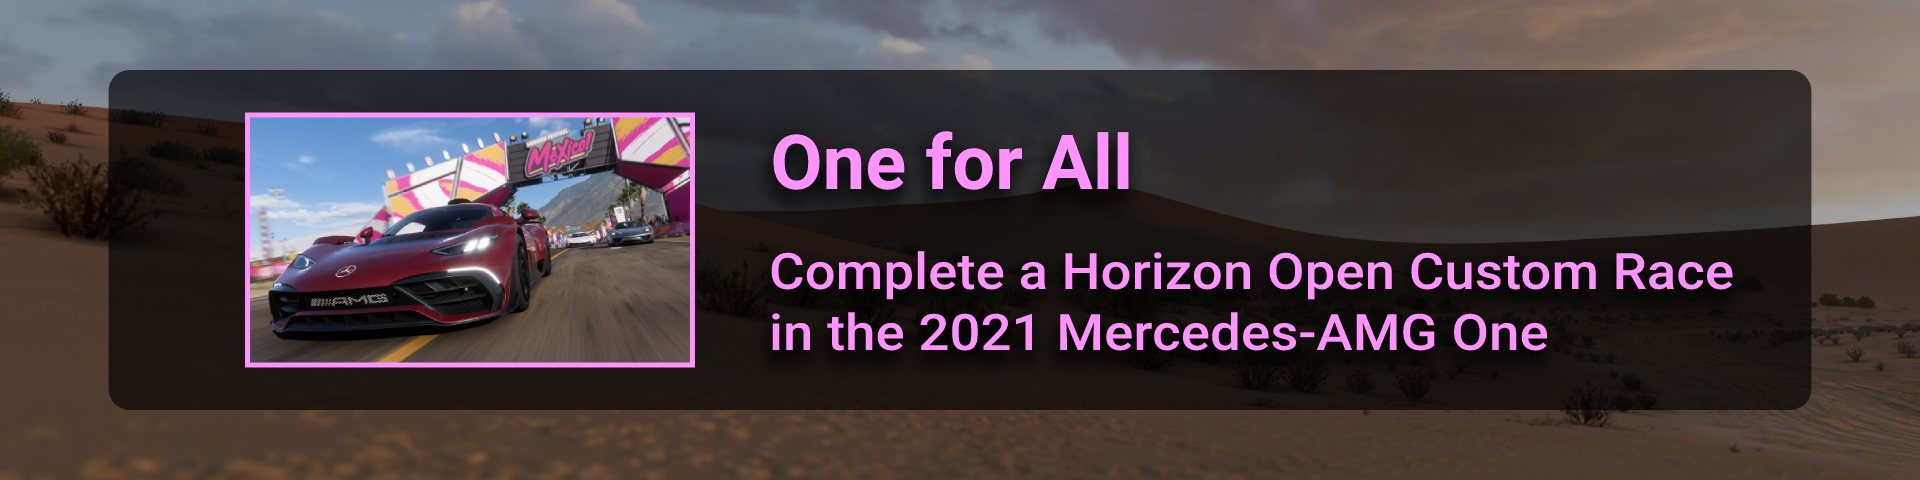
This car can be purchased from the show for 2 700 000 CR or try and get it cheaper at auction. Tune it and make sure you only choose S2 or lower, because X999 is not allowed in online races.
Go to online tab from menu and choose Horizon Open then scroll right to select Custom Racing. Select Street type and the race class that matches your tune (S2 tune and class are faster to finish). Then simply join and finish 1 race.
Back in the Saddle
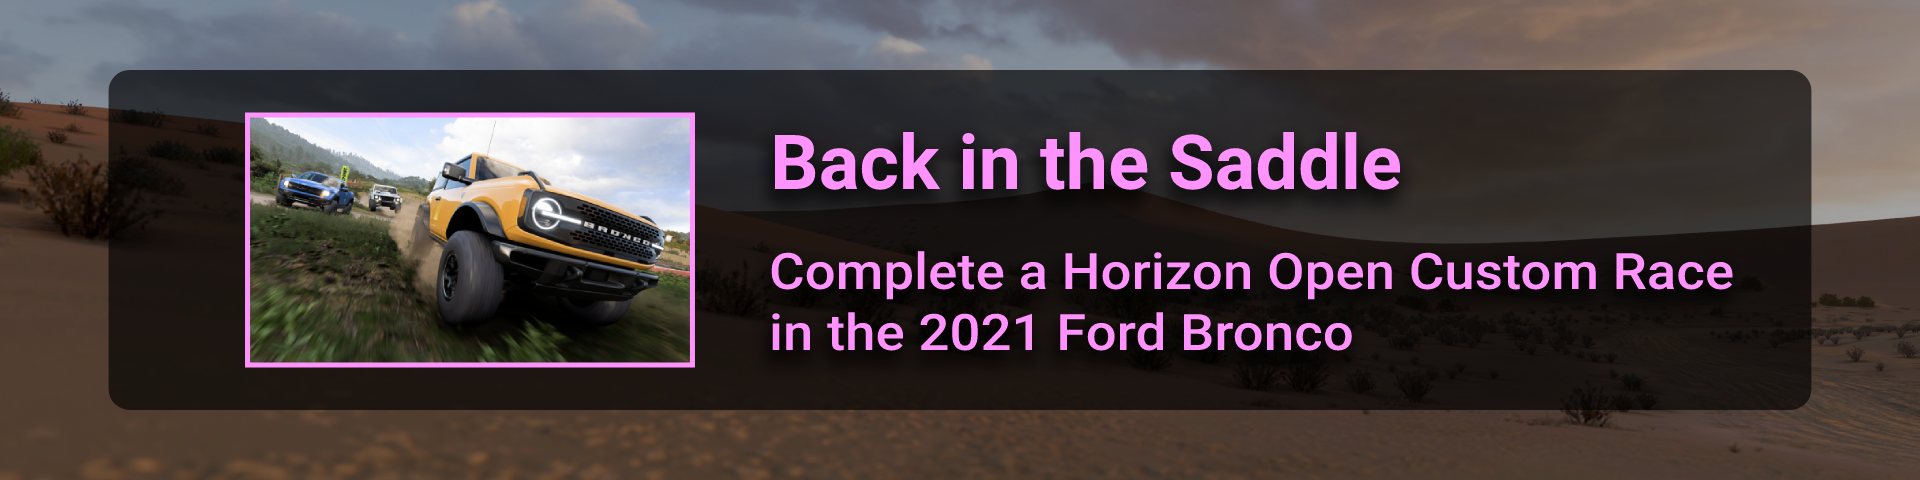
Same as One for All achievement but choose Ford Bronco 2021 car.
✦ Horizon 10-Year Anniversary 🆕
Welcome to Mexico 2.0
Smash Happy
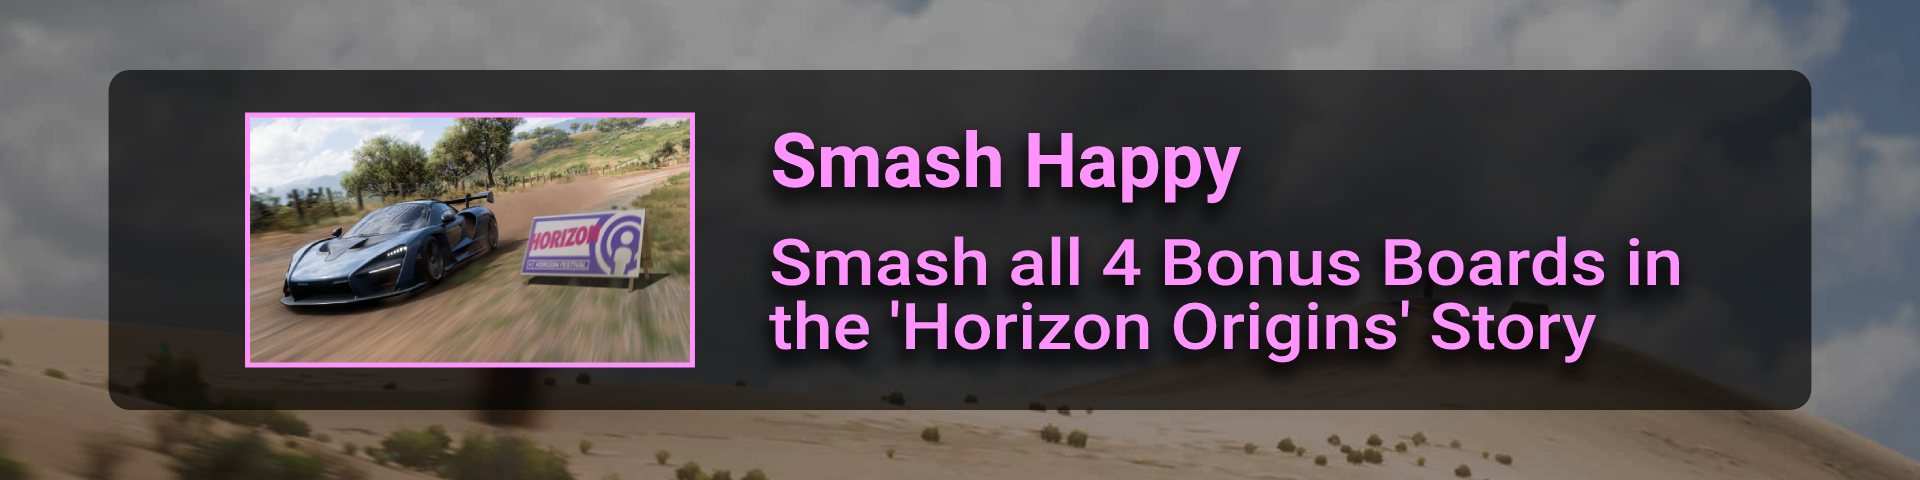
These are found in the 'Horizon Origins' stories in every Horizon race, excluding Chapter 1: Horizon Mexico. As you drive near each board, Scotty (the DJ host of this story pack) will comment on a board being very near. Also, once you smash the board, you can quit the event and the board still counts as collected.
Chapter 2: Horizon Colorado
You'll be racing your second car, a red VW. This is the race for stars (not the first race against Darius). Follow the path down a dusty hill then up another. Partway up this hill, on your left, you'll spot the board. You're about 2.1 miles away from the target.

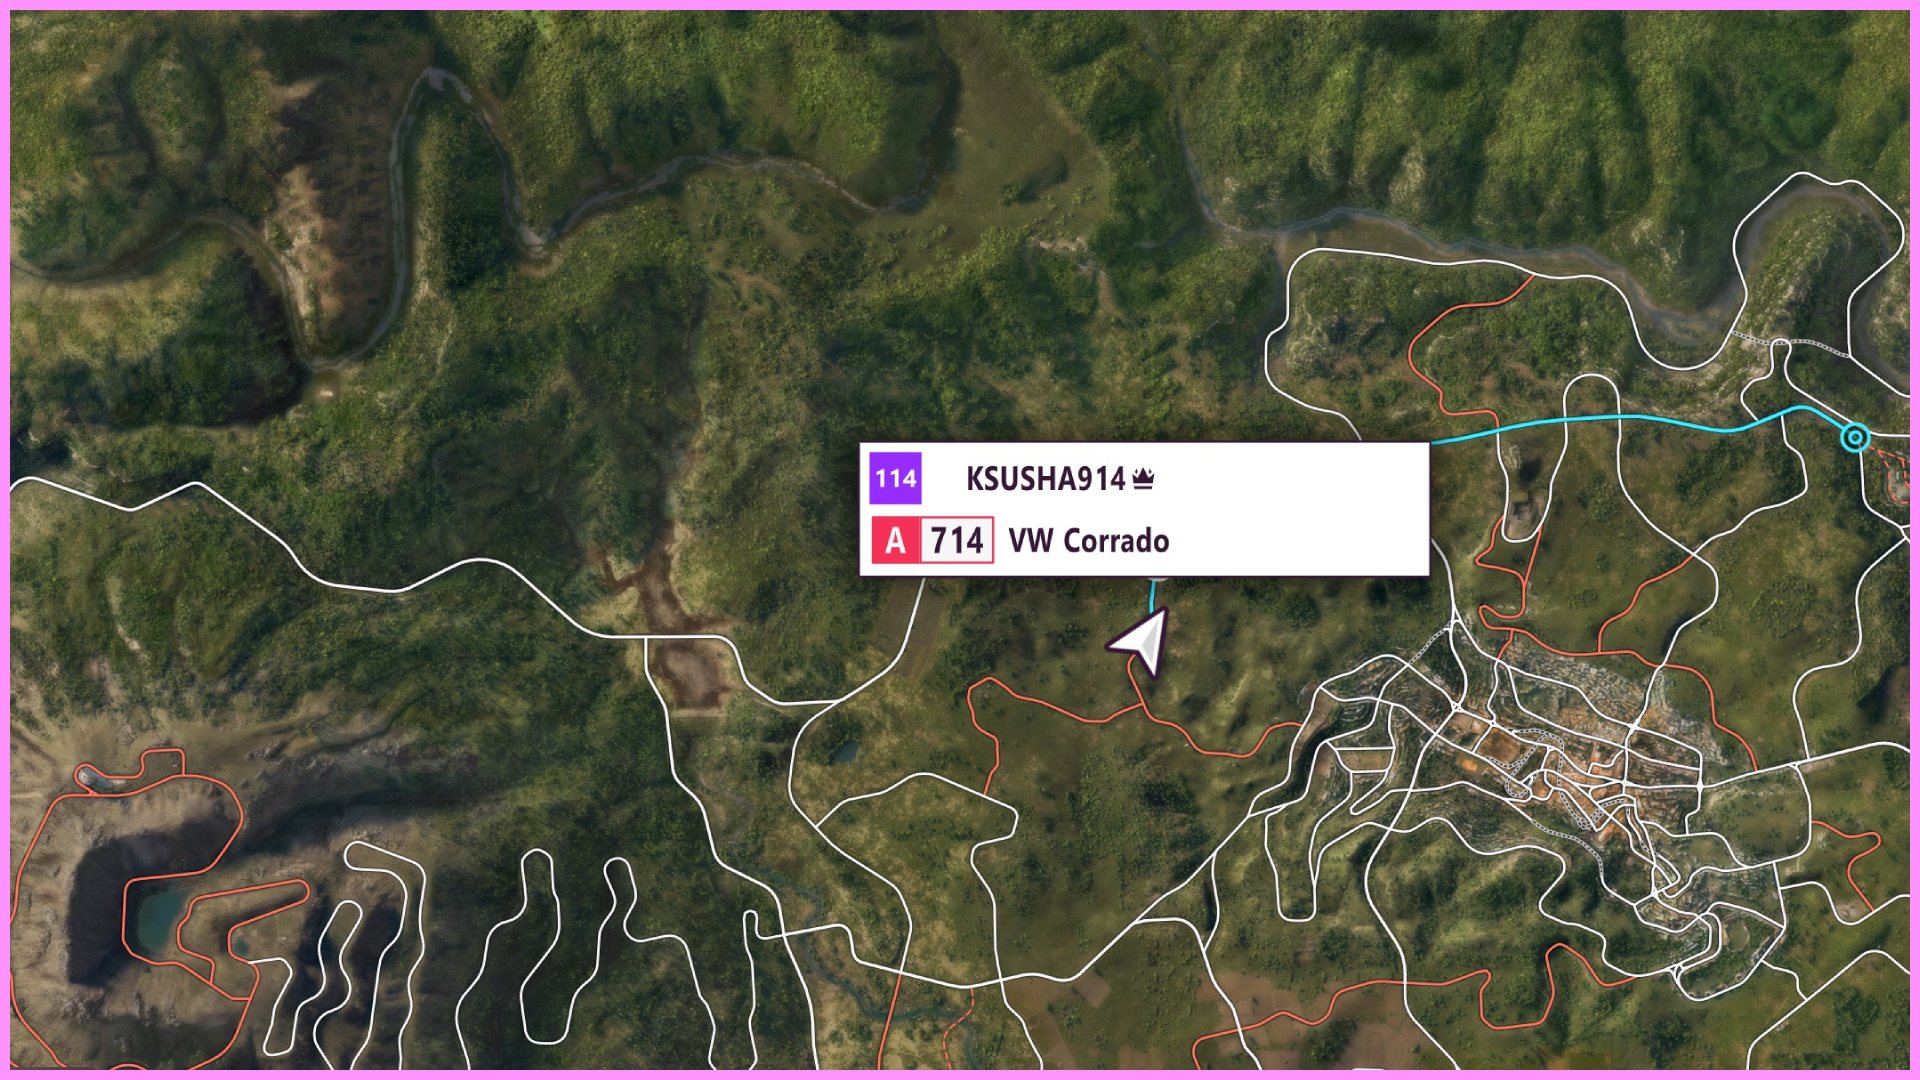
Chapter 3: Horizon Eurpose
You only use one car in this chapter, the Lamborghini Huracán. Start the race and follow the path you're told to. When you're about 3.3 miles away from the end (shortly after the first long corner) you'll find this board on your left-hand side.
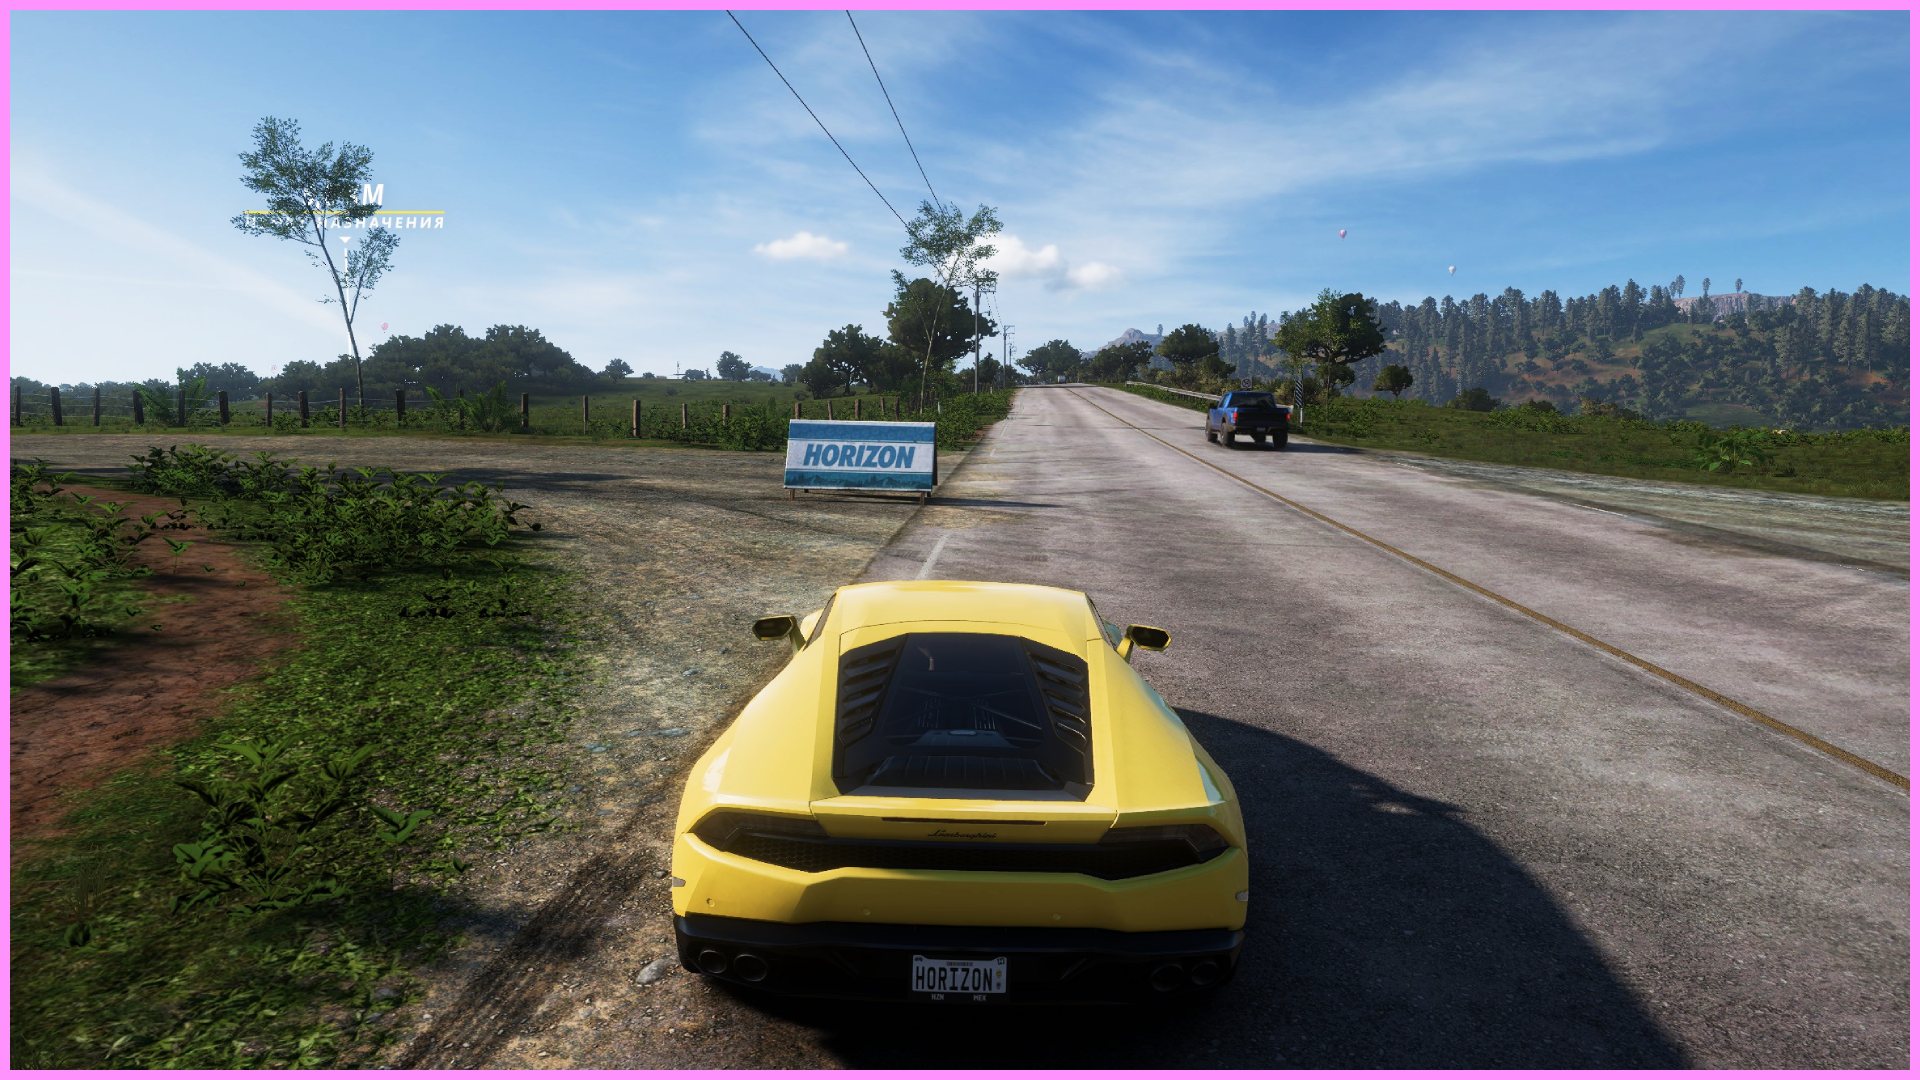
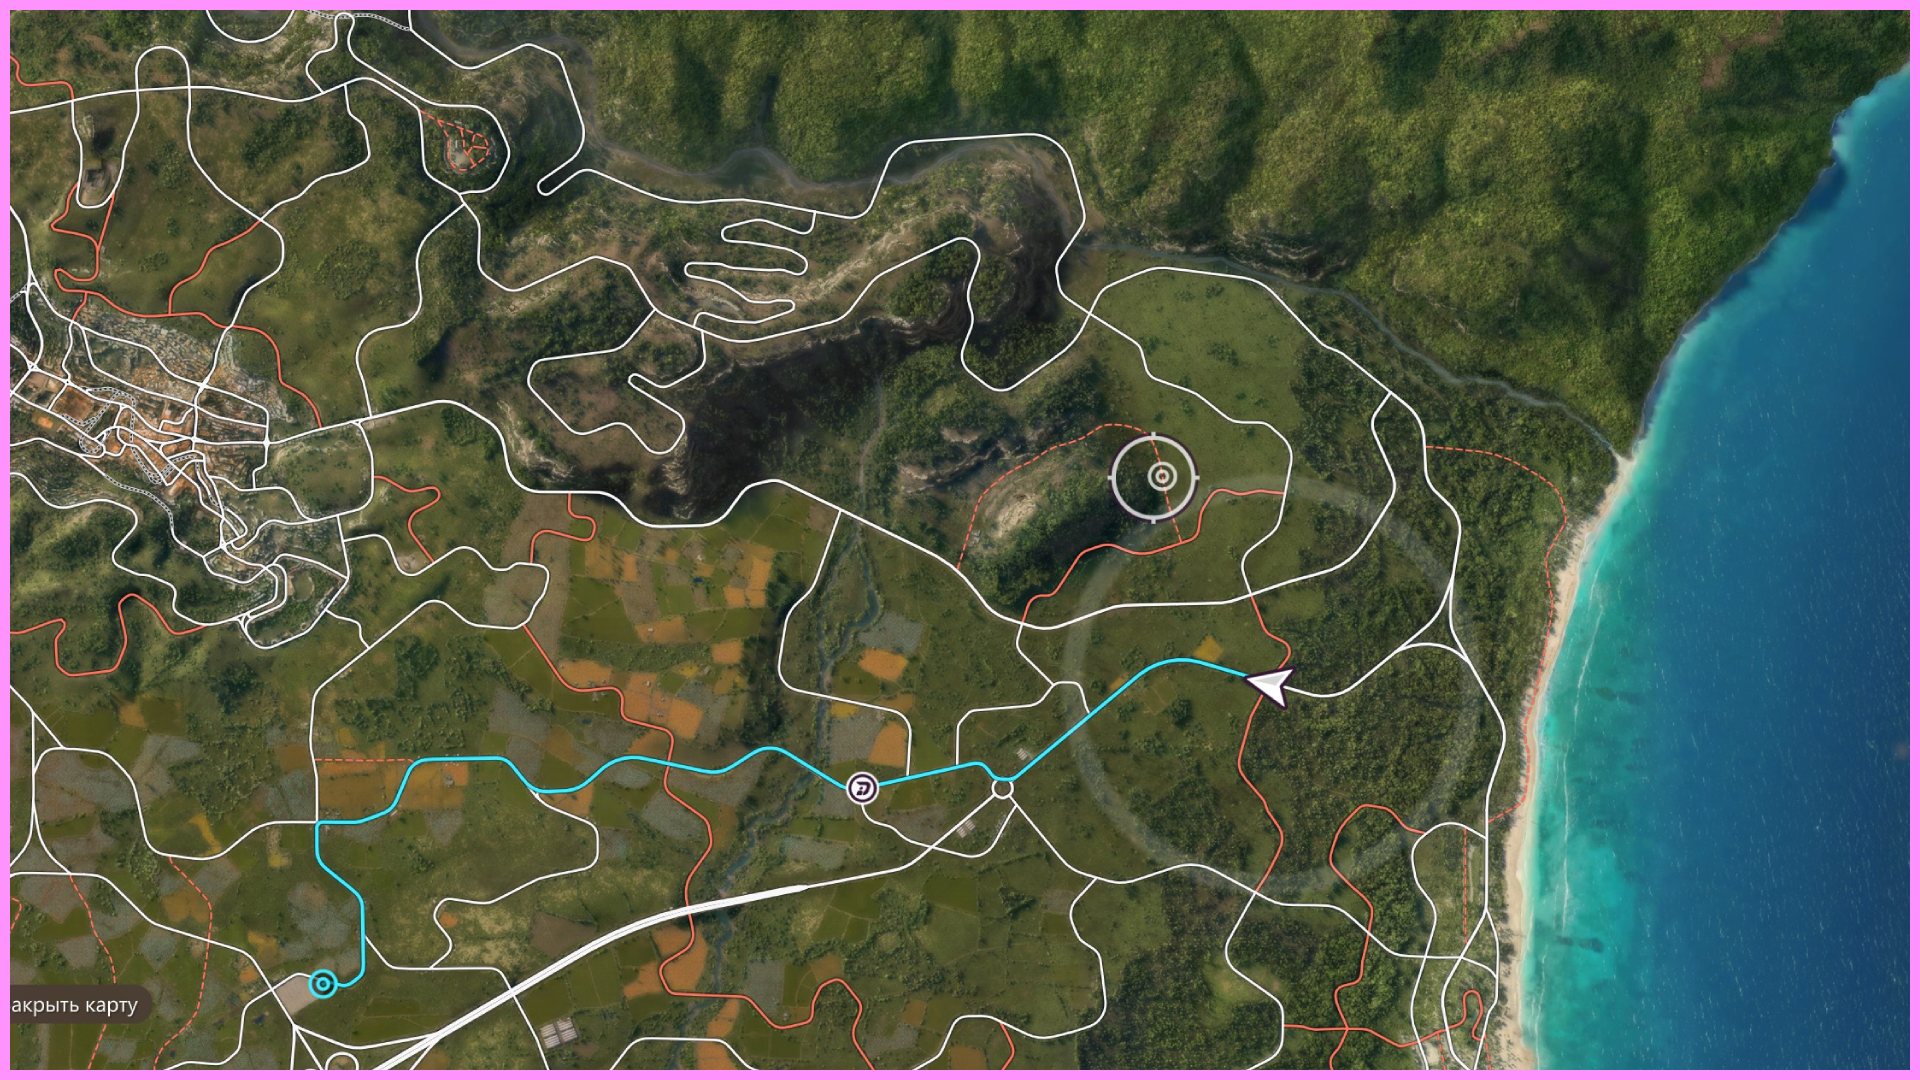
Chapter 4: Horizon Australia
In the Lamborghini Centenario, the first car that you drive, with a 5-minute target to reach the destination, drive around the first corner and the board will be on your left a little way down the road. You'll be about 4 miles away from the end.
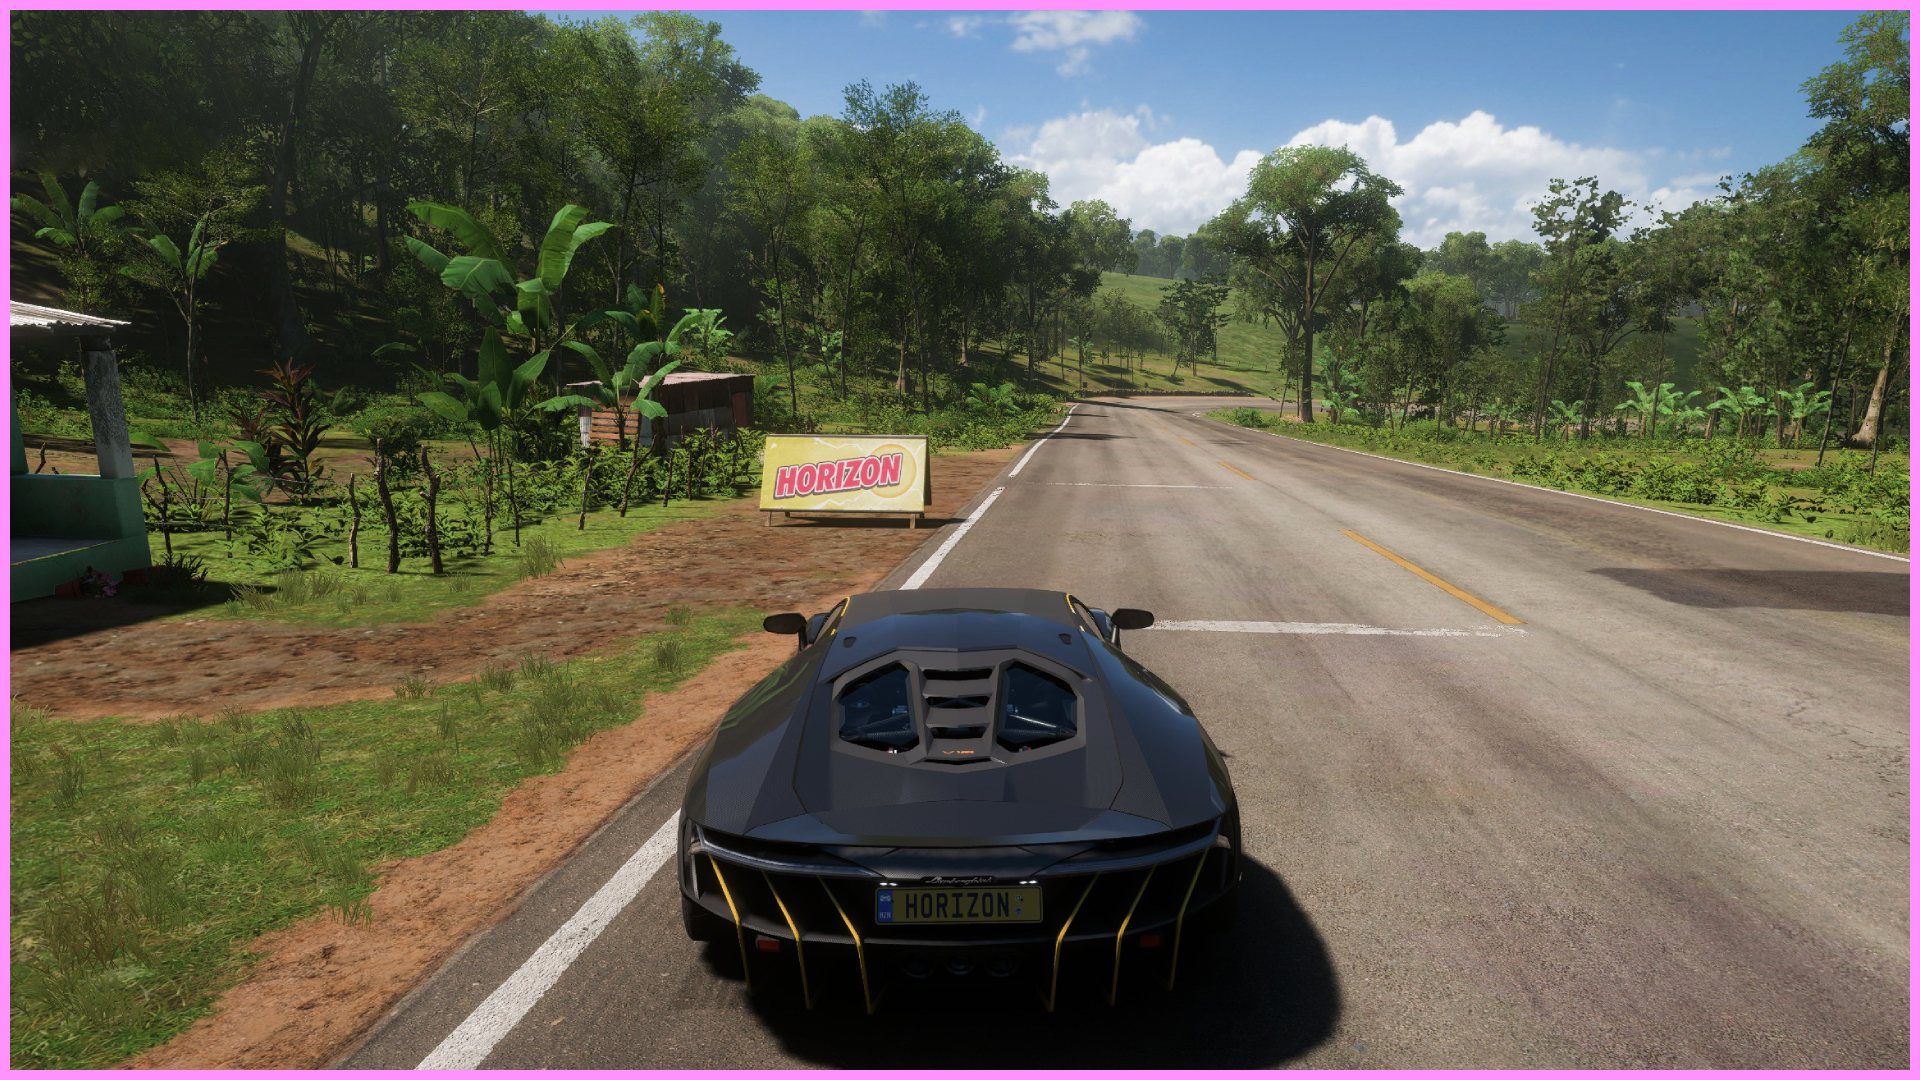
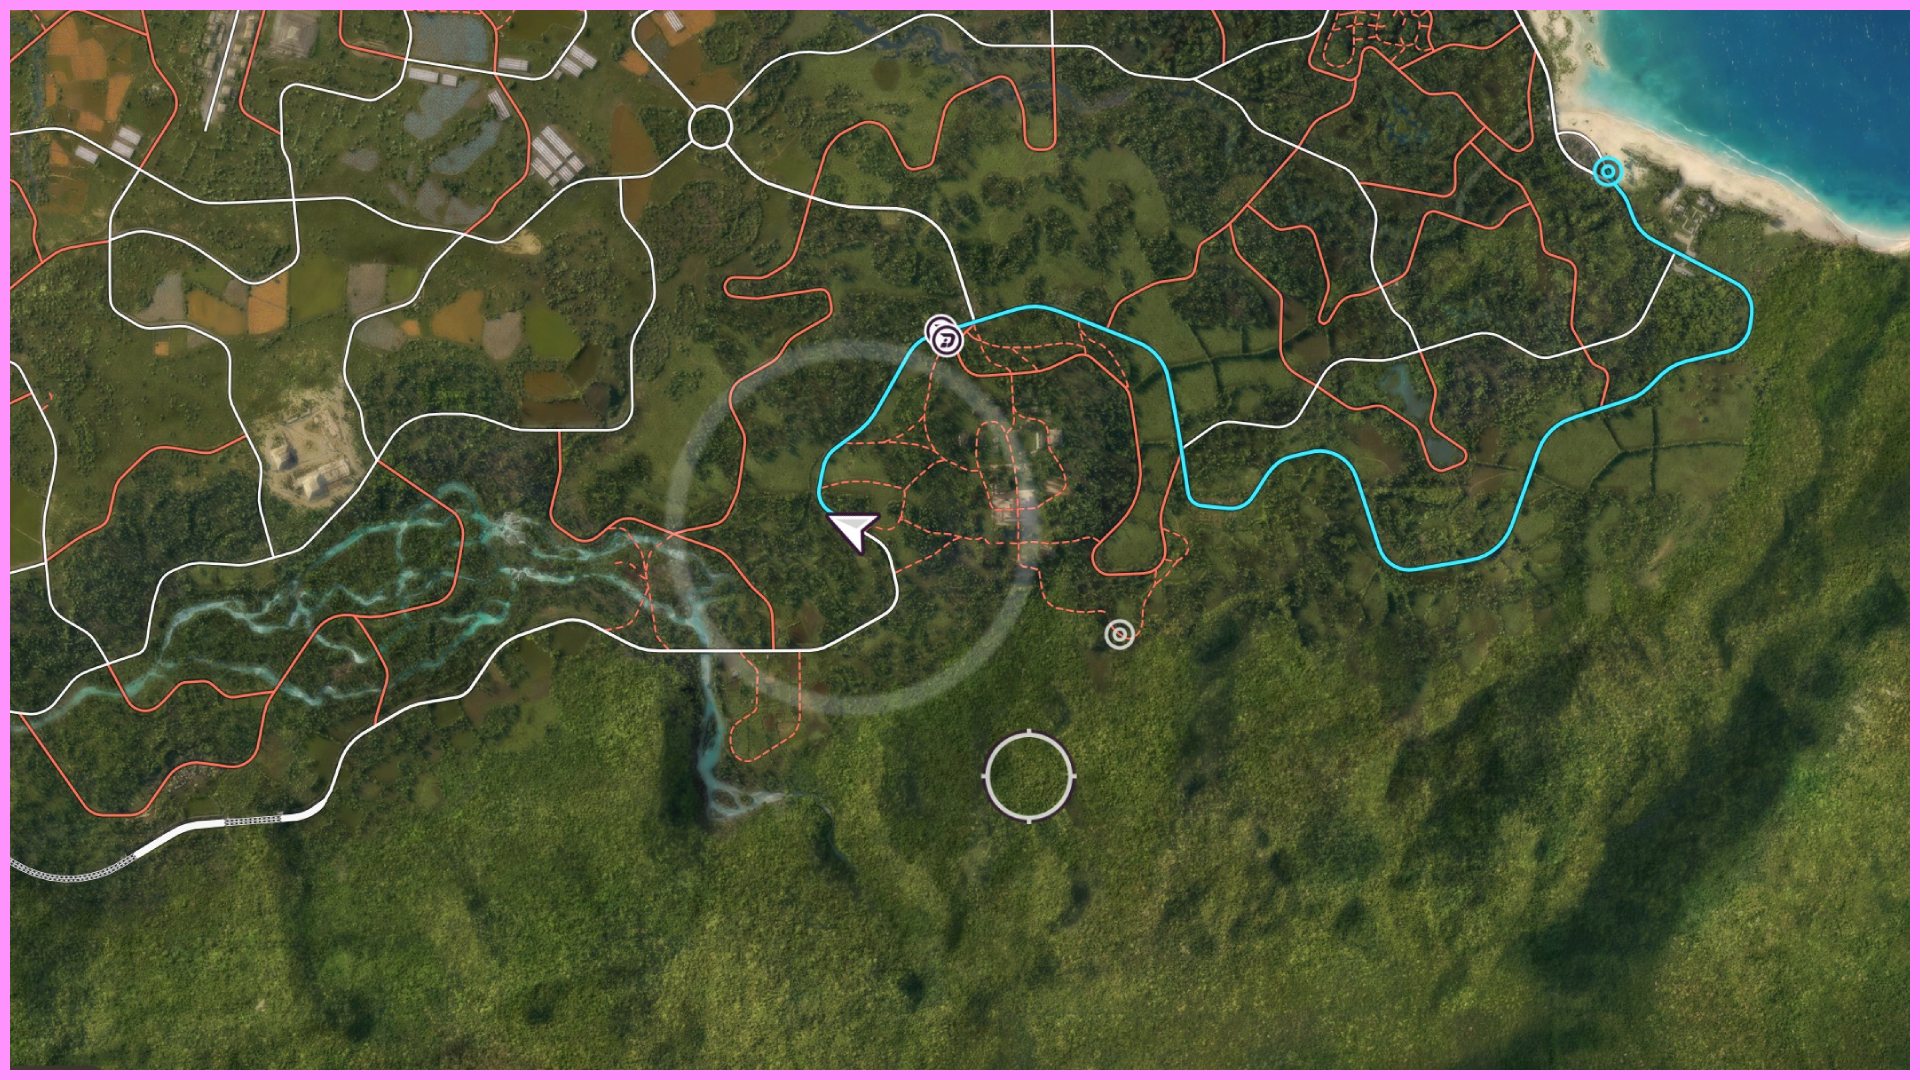
Chapter 5: Horizon UK
Finally, when driving the first car, the McLaren Senna, Follow the path down and around the road, just before your reach a right turn, about 2.4 miles away from the target, the board is on your right.
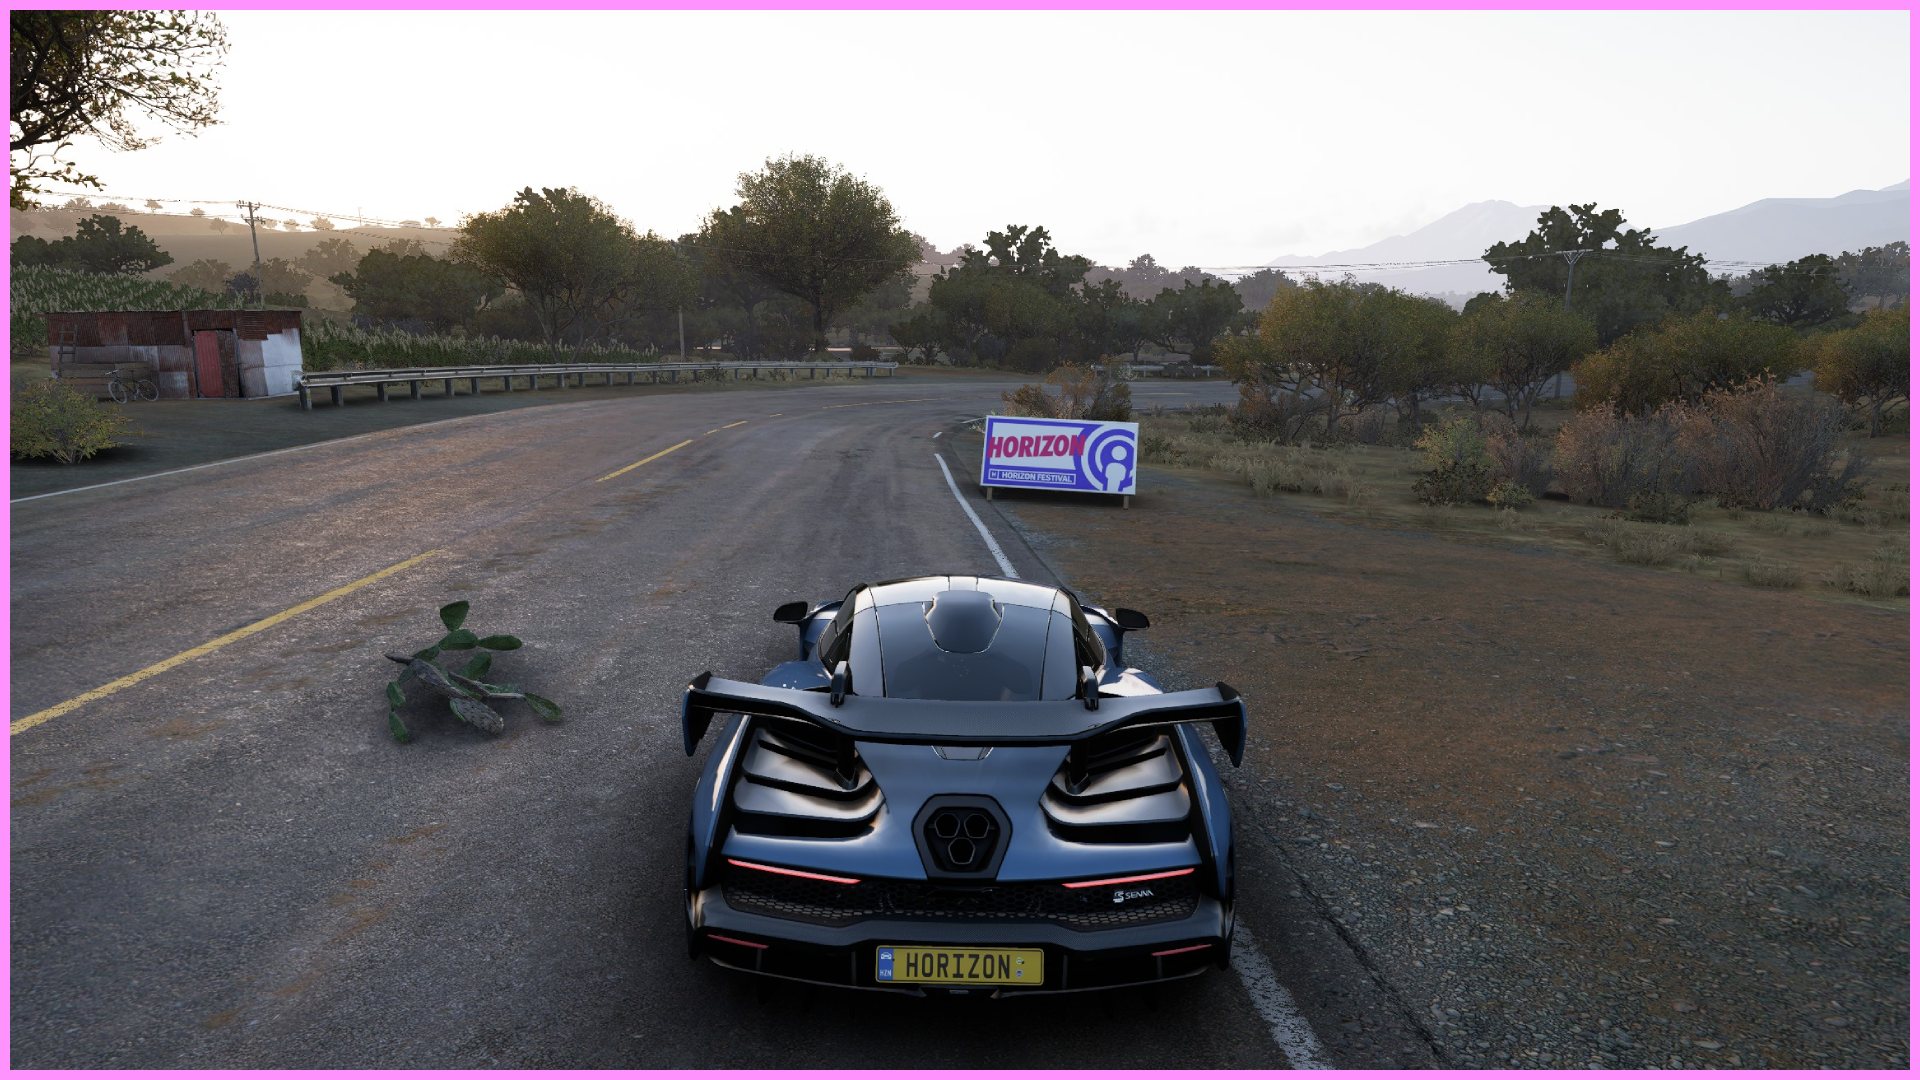
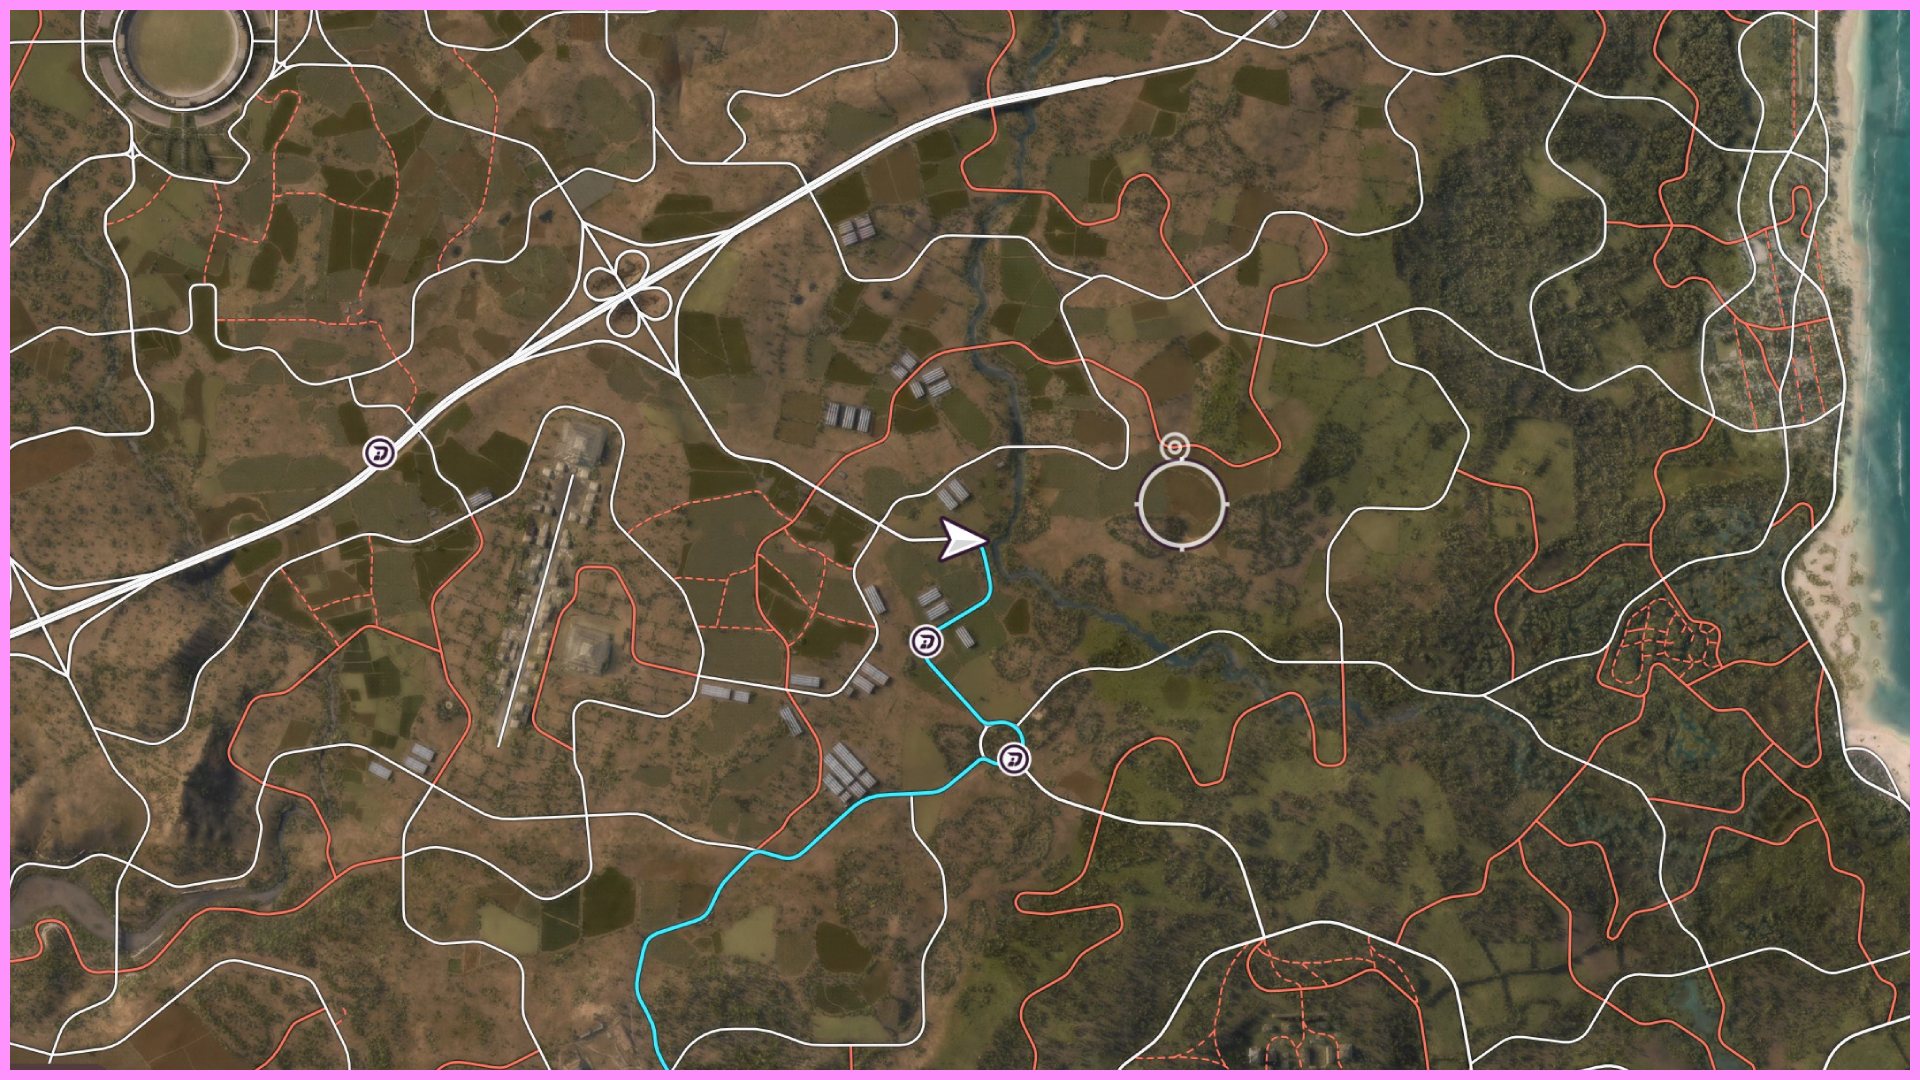
Blast from the Past
Memory Lane

You need to match 3 star requirements in races when it's shown. Cut corners and don't follow the road exactly if you need extra time.
I'll Just Take this Now
To unlock the first Midnight Race you have to win 4 Street Races. You can pin the street races that you need and track them in your Accolades tab in Street Races section. Also if you don't want to spend much time you can play instant race from EventLab. Go to Menu > Creative Hub > EventLab > Event Blueprints > Search > Enter the share code "120 503 011" (no spaces, they're here for readability).
Nighthawk
There are 4 Midnight Battles in total. So to unlock them all you need to win 16 Street Races.
Made in Mexico
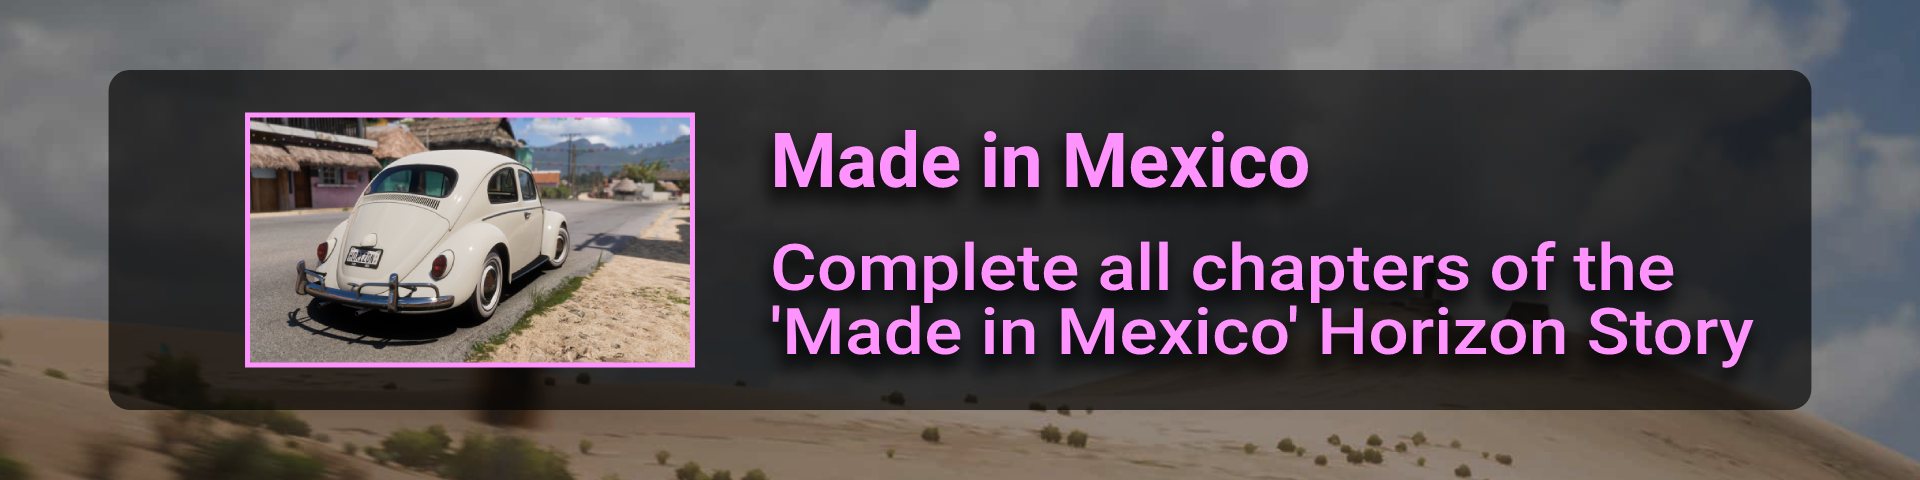
The 'Made in Mexico' Horizon Story can be found as yellow sign on a map.
V.U.H.L.

Chapter 1: Made in Mexico - Finish in 1:50
Chapter 2: Buggy in the Baja - Finish in 4:00. Cut most of the corners entirely and go off road
Chapter 3: Viva El Vocho - Finish in 2:30. Go the shortest route to the finish
Chapter 4: Through the Eras - Get 50 000 skill points in the Volkswagen Mk7 Golf R. Combine wreckage and drifting
Chapters 5 and 6: The Timeless Mk 1/The Powerful Mk 7.5 - Finish in 1:45. These are identical races, the only difference being the car you drive (Mk1 Golf in story 5 and Mk7 in story 6)
Chapter 7: Living La Vida Loba - Get 150 000 skill score
Chapter 8: Muchos Caballos - Finish in 2:15
Chapter 9: Carrera Panamericana - Finish in 3:45
✦ Rally Adventure DLC 🚩

✦ Rally Adventure Story 🚩
Welcome to Sierra Nueva
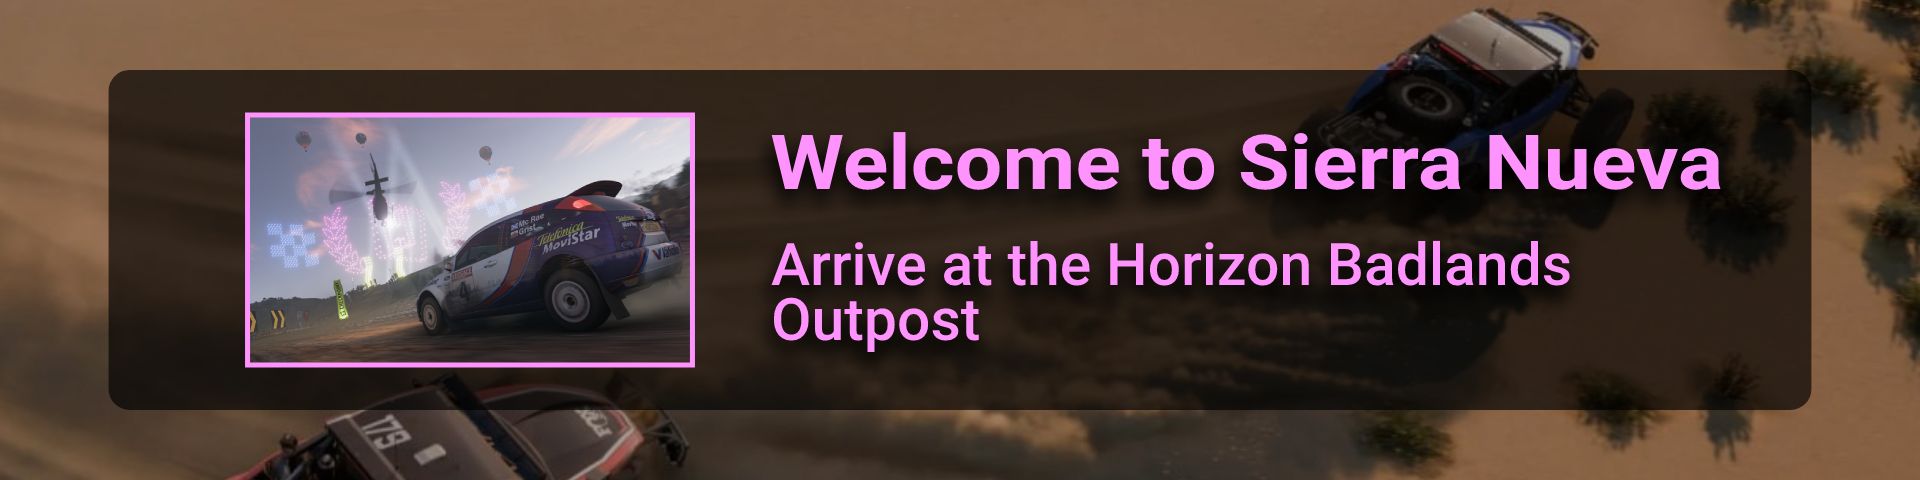
Go to this Rally Adventure icon and complete the first intro race:
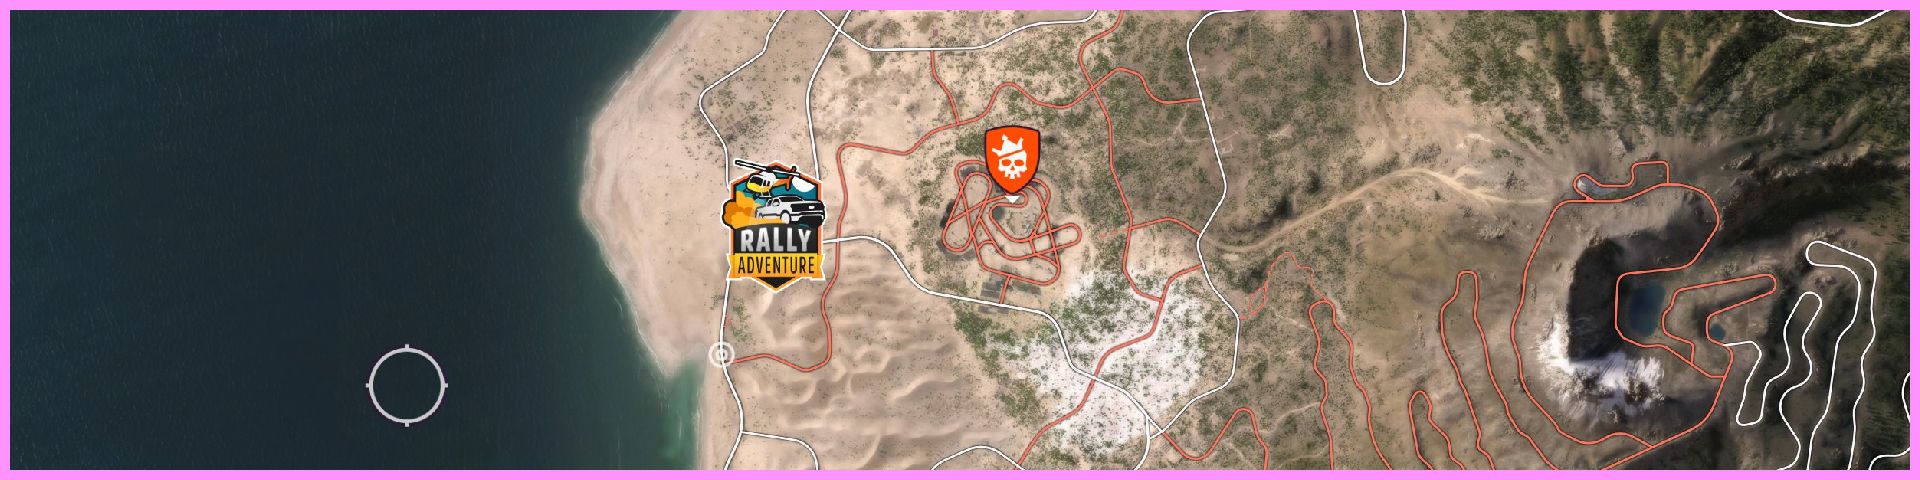
Unlimited Rally
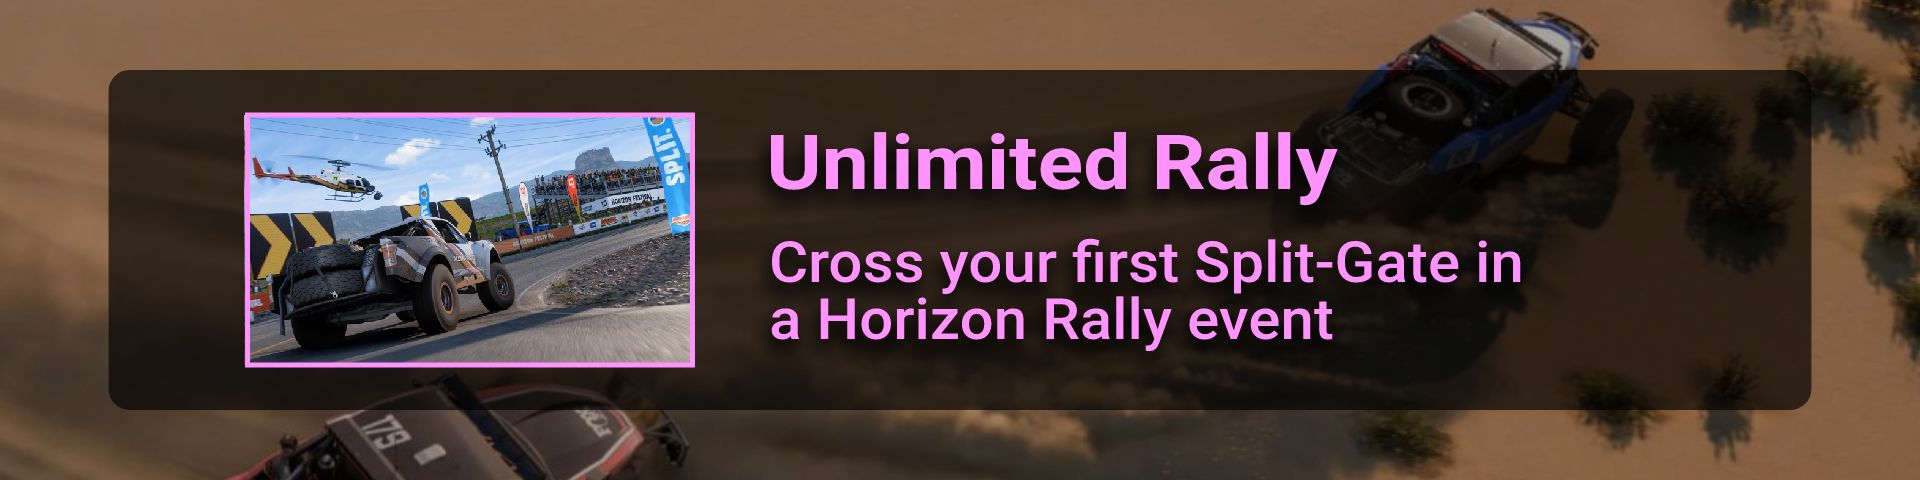
After the intro race you will start the first rally race and these blue split gates:

Rouen
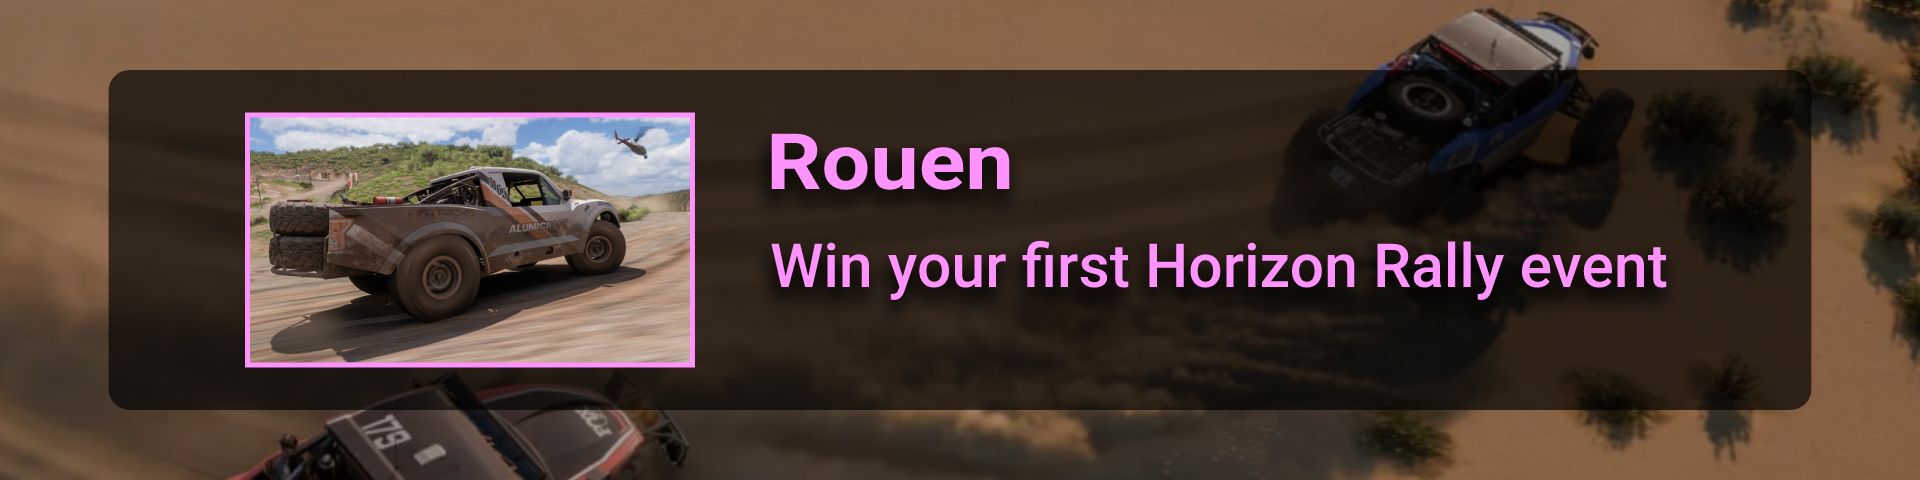
The first available race after intro.
It's Rally Time!

You can choose any of 3 teams. After some progression you will be able to join 2 other teams.
Road Rally
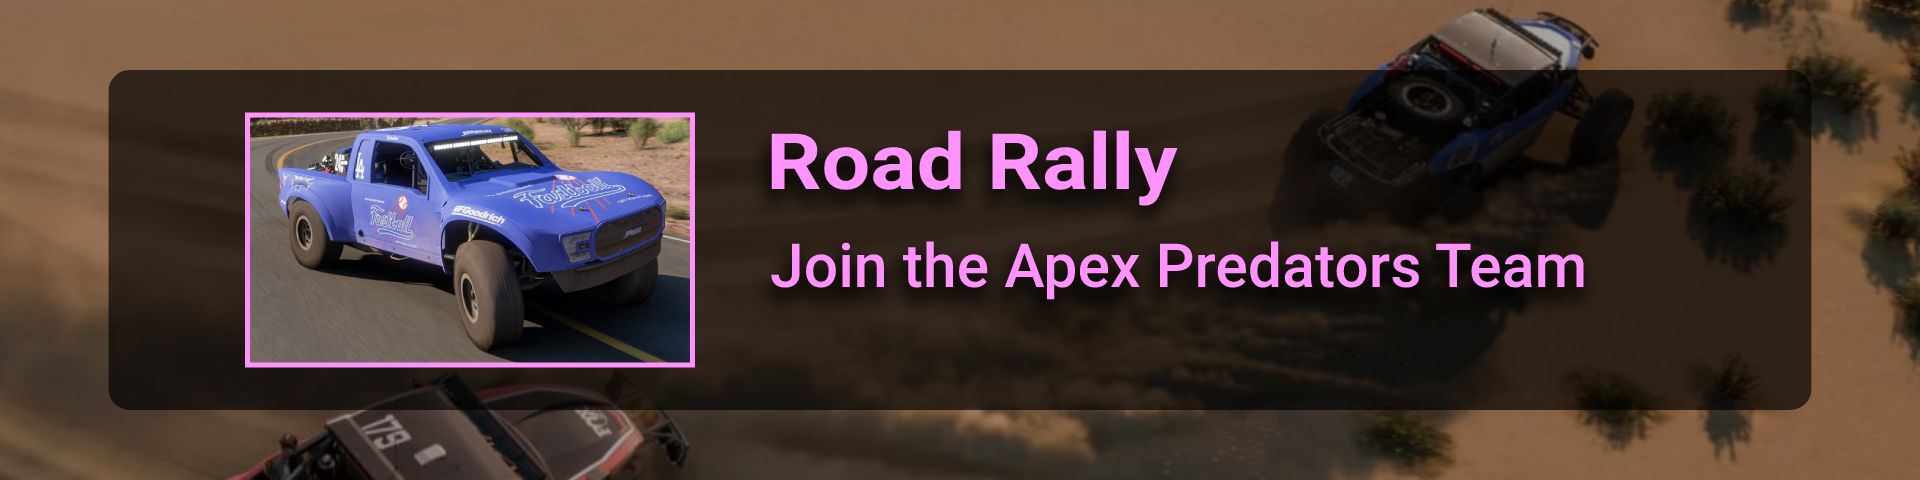
In The Still Of The Night
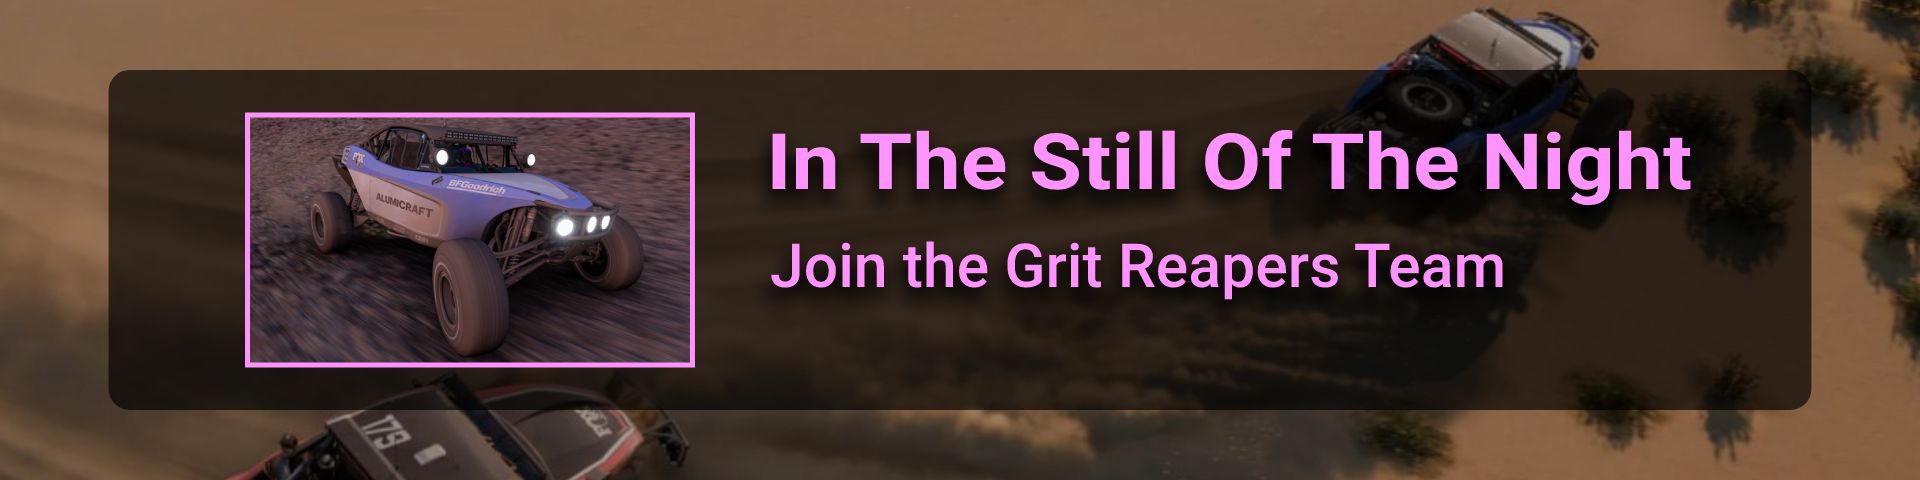
Better Together
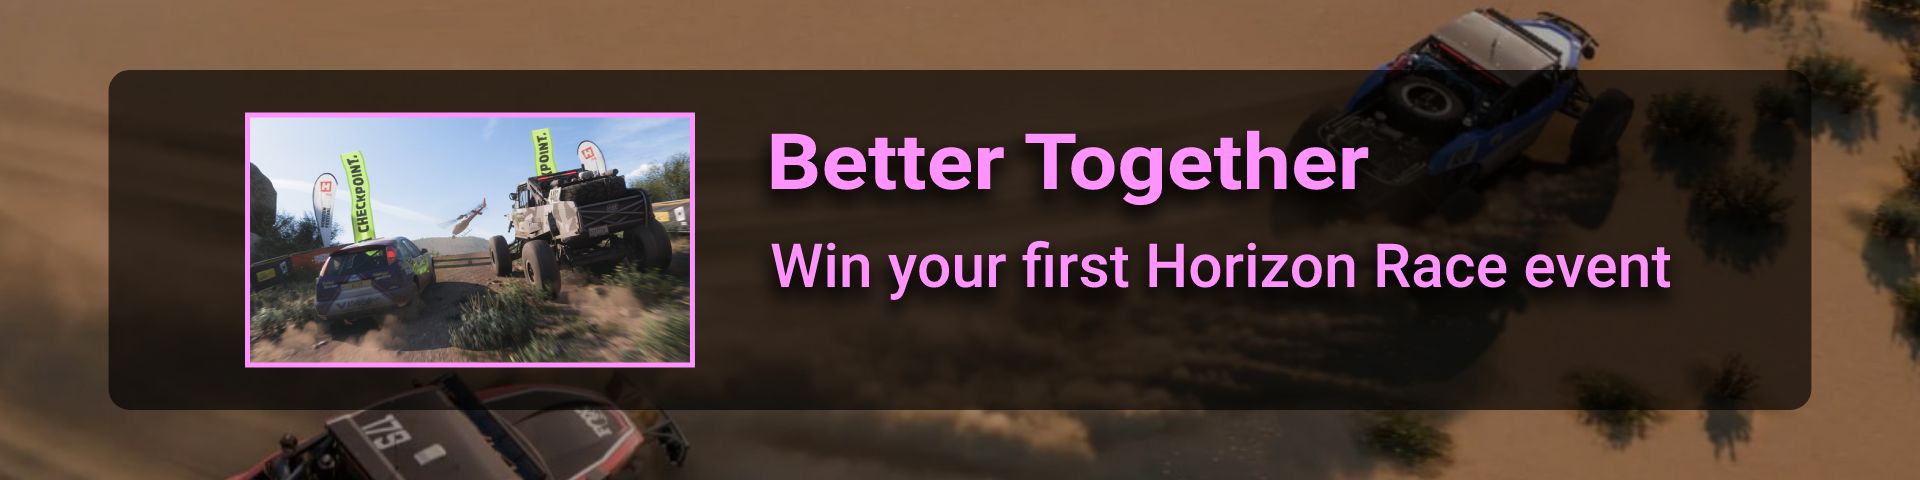
Choose the race type instead of rally type on any available event.
Pink Slip
Unlocks after completiing 8 race/rally events and getting 8rep level.
Picking Up The Tab
Horizon Badlands Champion
Available after winning all 3 tean champion races.
Keep Calm And Rally On
Course Connoisseur
✦ Rally Adventure Challenges 🚩
Living up to the Rep
Just Reppin'
Cash and Rally
Backwards, At Night, In The Rain
Got this one bugged, cuz all events are completed both race and rally types, but Reapers challenge counter stuck on 7/8 races. Finally, counter got 8/8 after replaying all 8 reapers events in race mode.
Follow My Lead
I Ain't Gonna Change
Completed It Mate
All challenges seem clear, but feel free to ask about any challenge in comments, if you've stucked. Remember, that for free roam challenges with timer you can't use fast travel (it will reset the timer). Pin the challenge and you will see all needed tasks.
✦ Rally Adventure Collectibles 🚩
You can use this interactive map of Sierra Nueva to track collectibles:
https://mapgenie.io/forza-horizon-5/maps/sierra-nueva
You can track them via interactive map or if you have treasure map dlc press the button while on map to reveal the boards. Just remember, that these boards become visible on the map with your predators reputation progression increased.
Apex Predator Board:
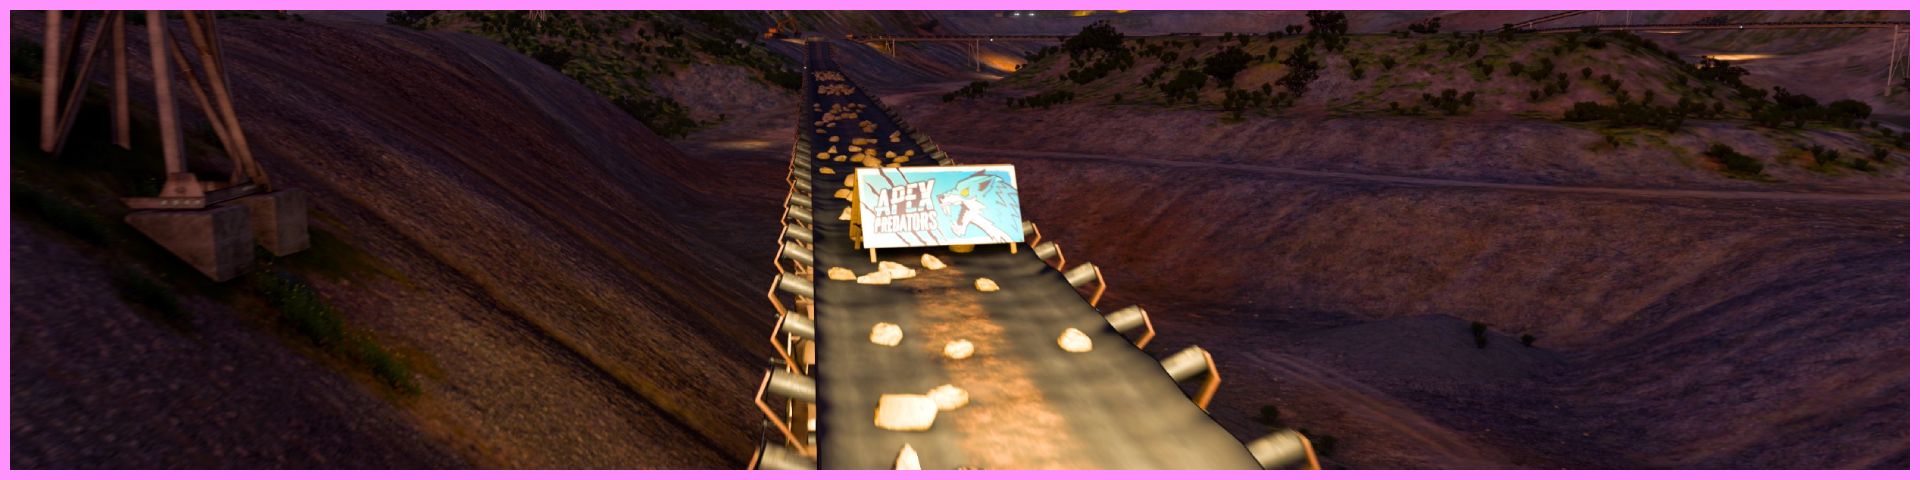
There are many of them on map, but if you want to speed up the process you can go to this place (Bike track) after completing every race till you get 150:
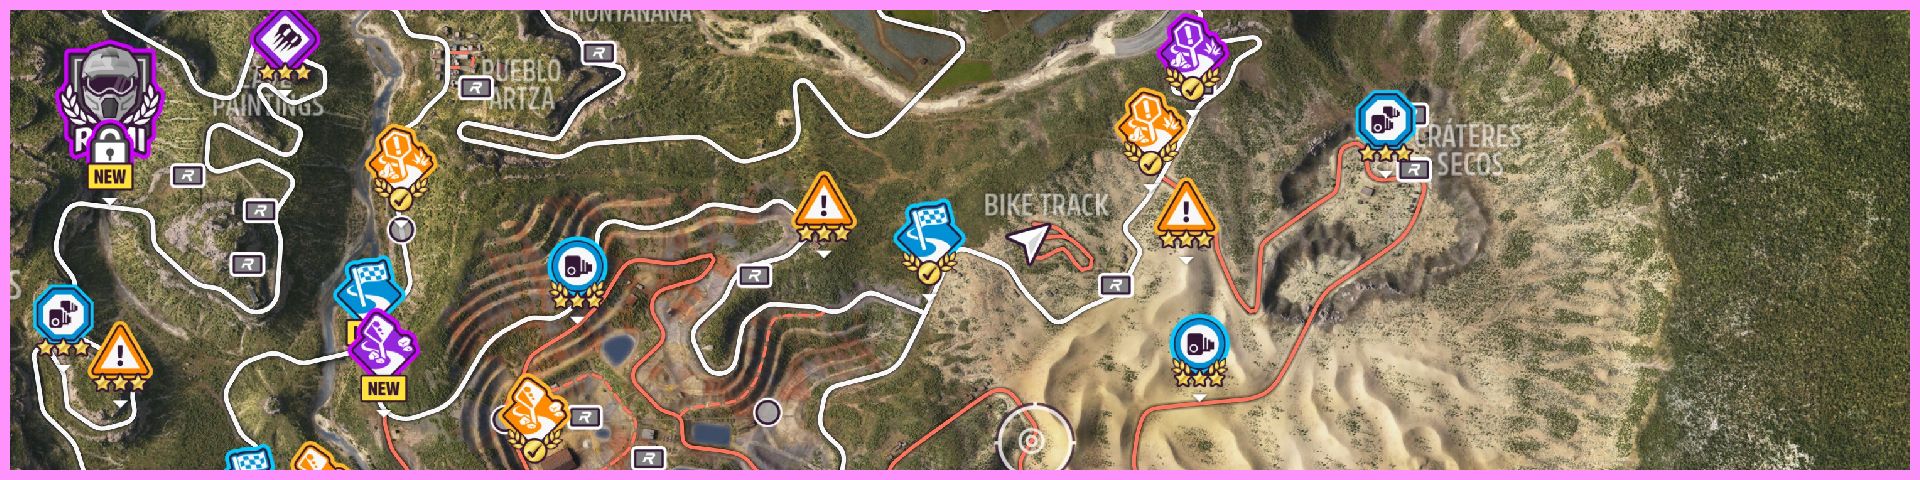
Pinata truck:
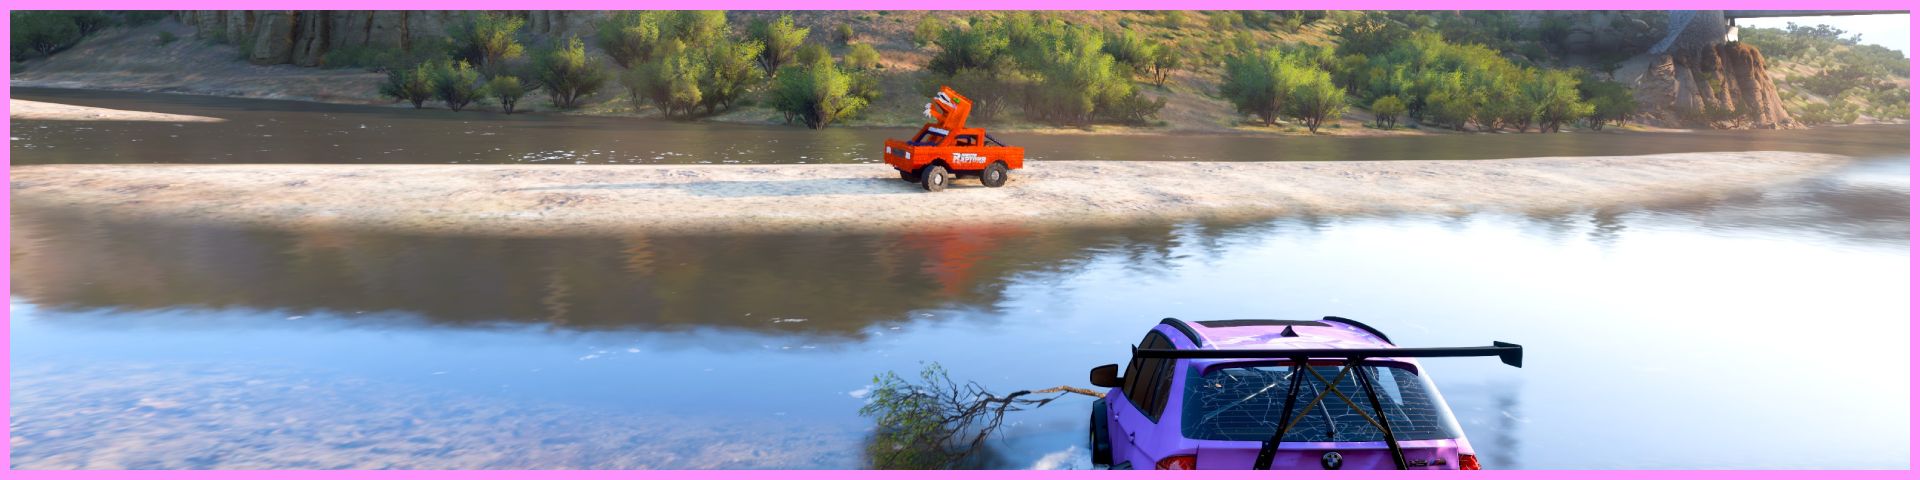
Same as pinatas you can boost them coming back to your prefered place after a race. I've liked this line:
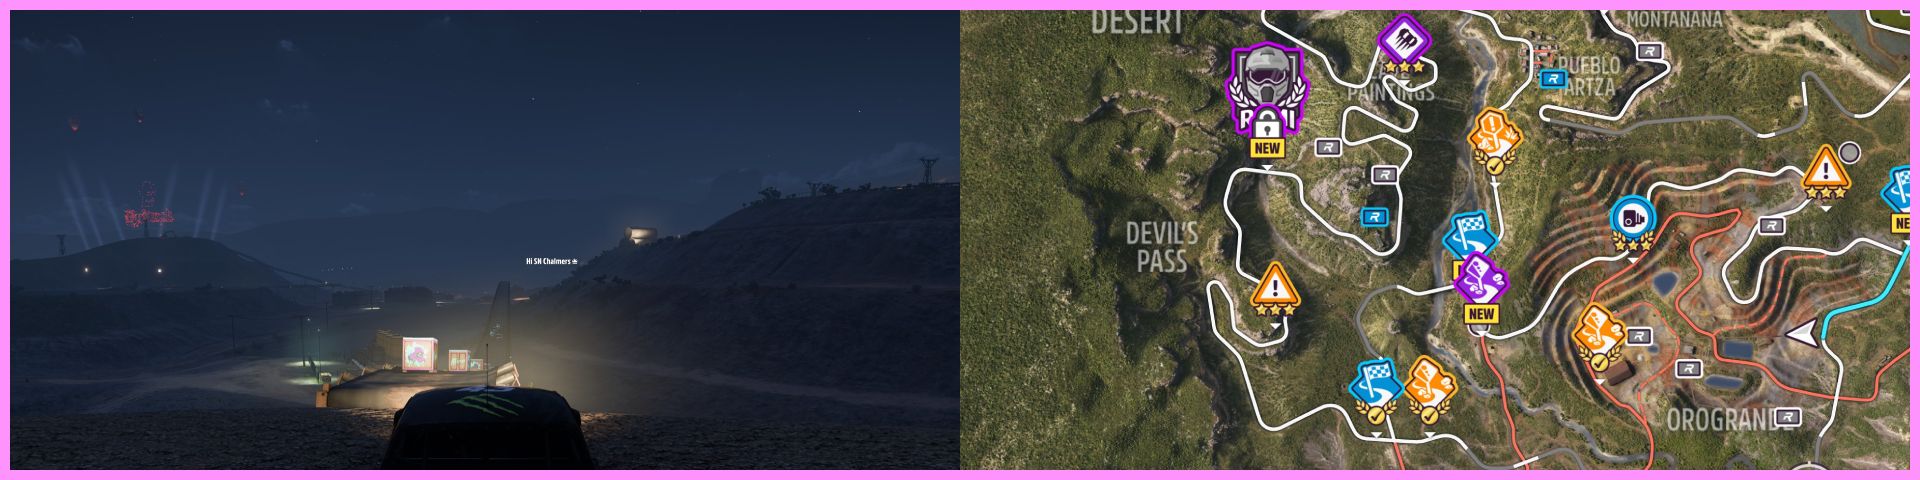
Grit Rreaper Crate:

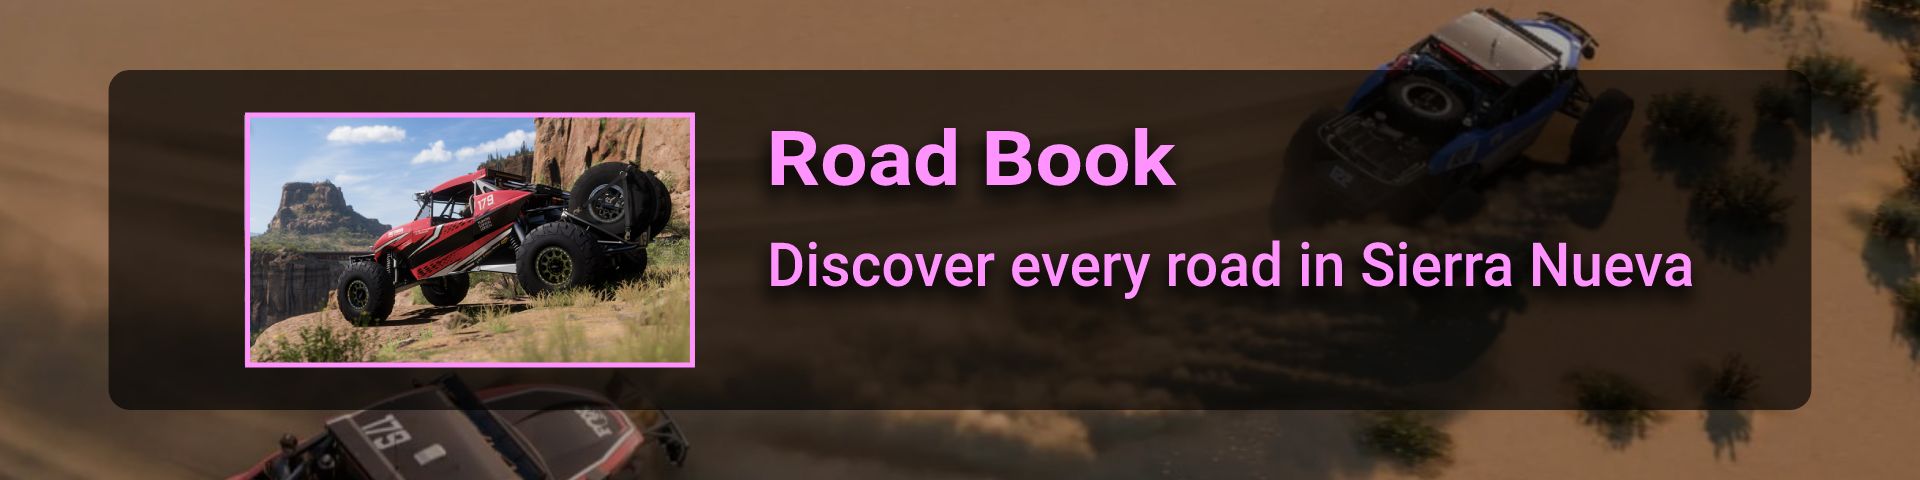
Turn off everything in map filter and clear the uncleared roads. Should be fast enough.
https://mapgenie.io/forza-horizon-5/maps/sierra-nueva
Smashlicious
You can track them via interactive map or if you have treasure map dlc press the button while on map to reveal the boards. Just remember, that these boards become visible on the map with your predators reputation progression increased.
Apex Predator Board:
Generating Alternate Smash Flows
Smashtastic
There are many of them on map, but if you want to speed up the process you can go to this place (Bike track) after completing every race till you get 150:
Pinata truck:
Put it on my Smash Drive
Same as pinatas you can boost them coming back to your prefered place after a race. I've liked this line:
Grit Rreaper Crate:
Road Book
Turn off everything in map filter and clear the uncleared roads. Should be fast enough.
✦ Rally Adventure Activities 🚩
Canyon Master
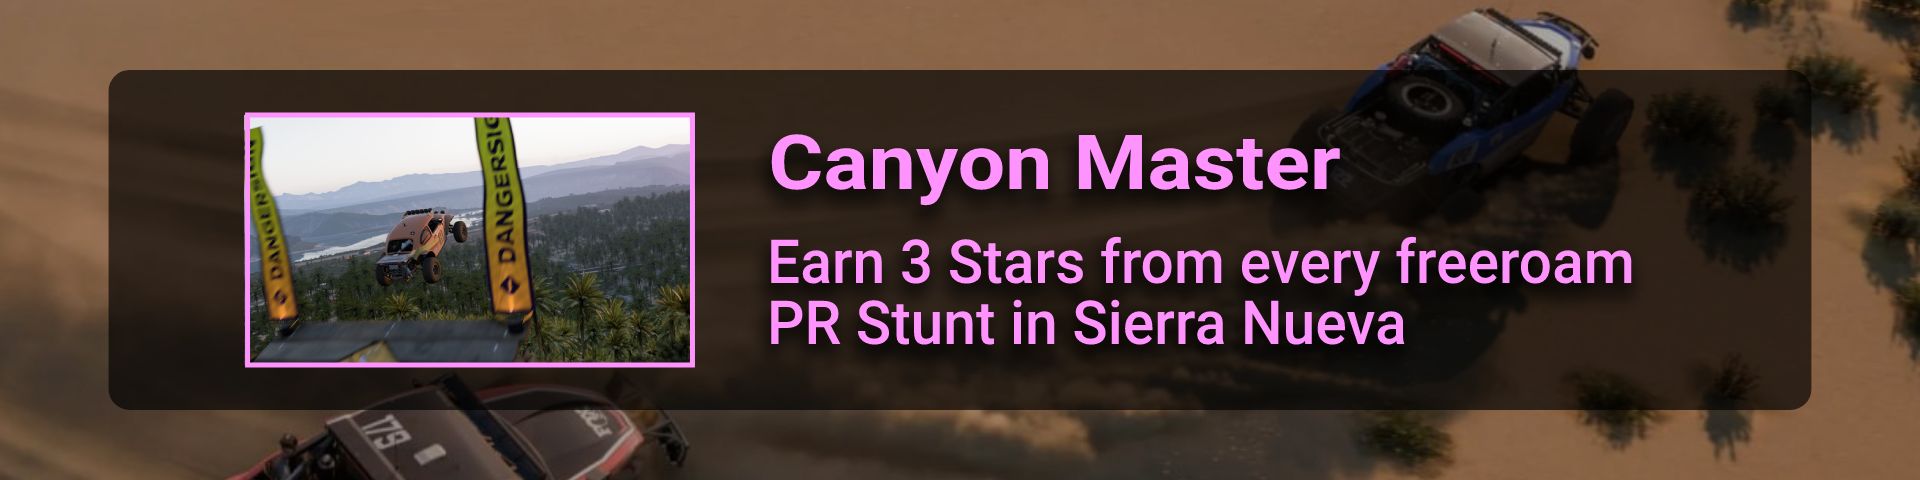
First, you need to unlock all of them, getting all 3 team's reputation points. Then simply clear all speed traps, speed zones, danger signs and drift zones for 3-star result.
That Time of Year
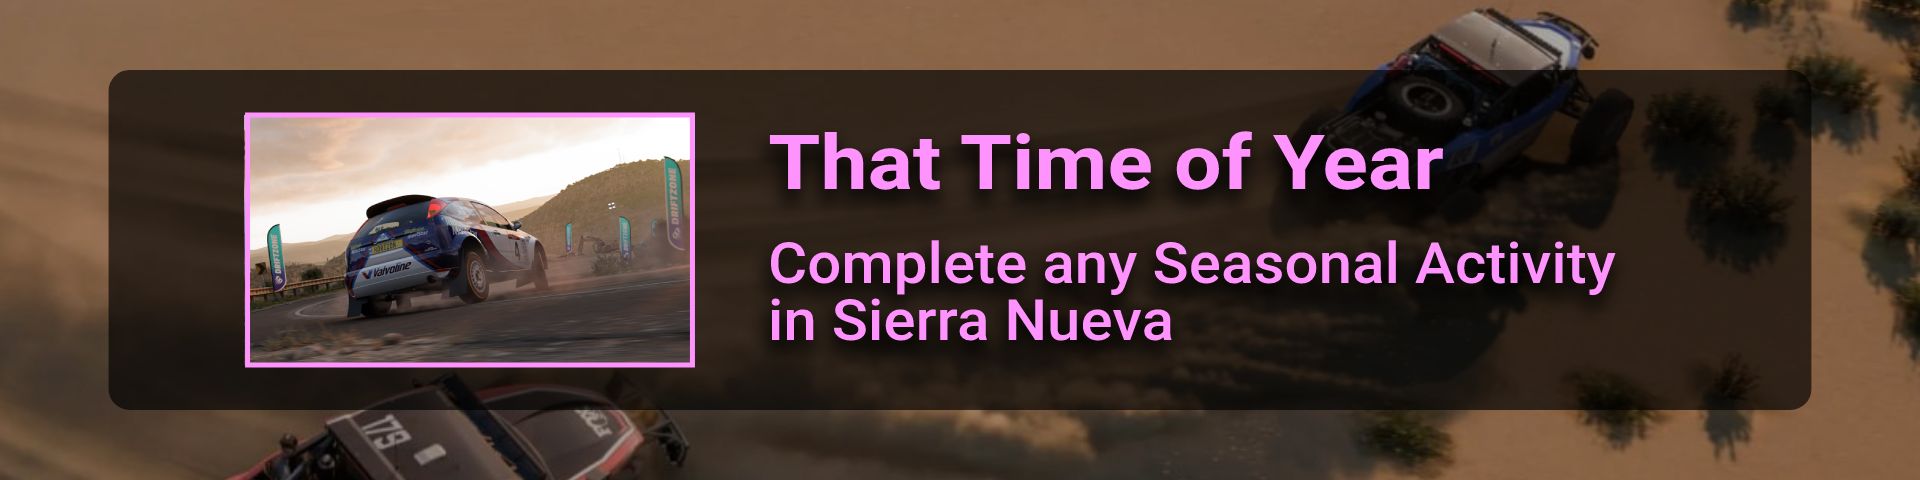
I've got this achievement by finishing daily challenge on Sierra Nueva map. But at that moment there were no special Rally Adventure season challenges on the map. So may be it can't be done now for daily challenge. You can try anyways the daily one first if you see something easy that can be done in Sierra Nueva, or just go and beat orange/red marked activity like this one:

Life Skills
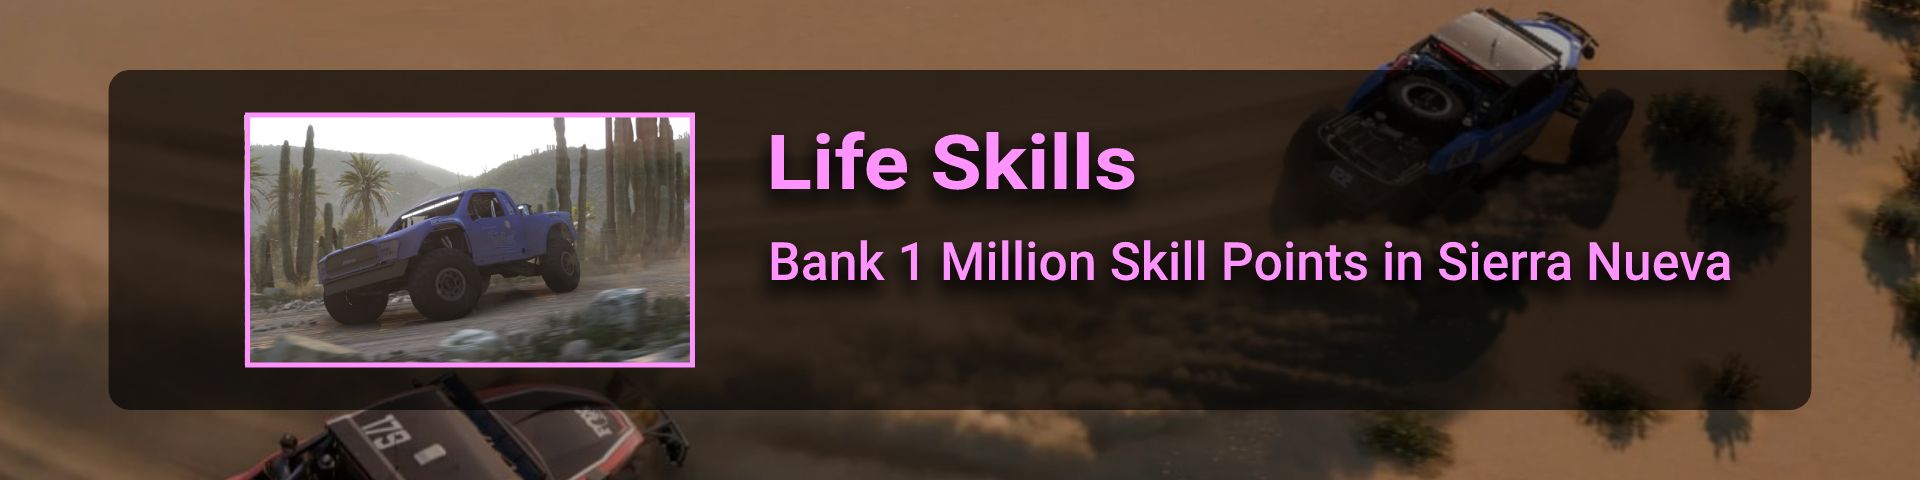
You can take Hoonicorn (with opened skill for x8 multiplier) and go to air planes field. Chain drift and crash skills till you get 125000 x8 and stop. I did it during the skill song with x10 multiplier (should be faster) in 1 go. Not sure if it counts in total, better to do it in 1 go.
✦ Día de Muertos 💀

✦ Día de Muertos Story 💀
On the Road Again
Donut Media HiLow Story location:
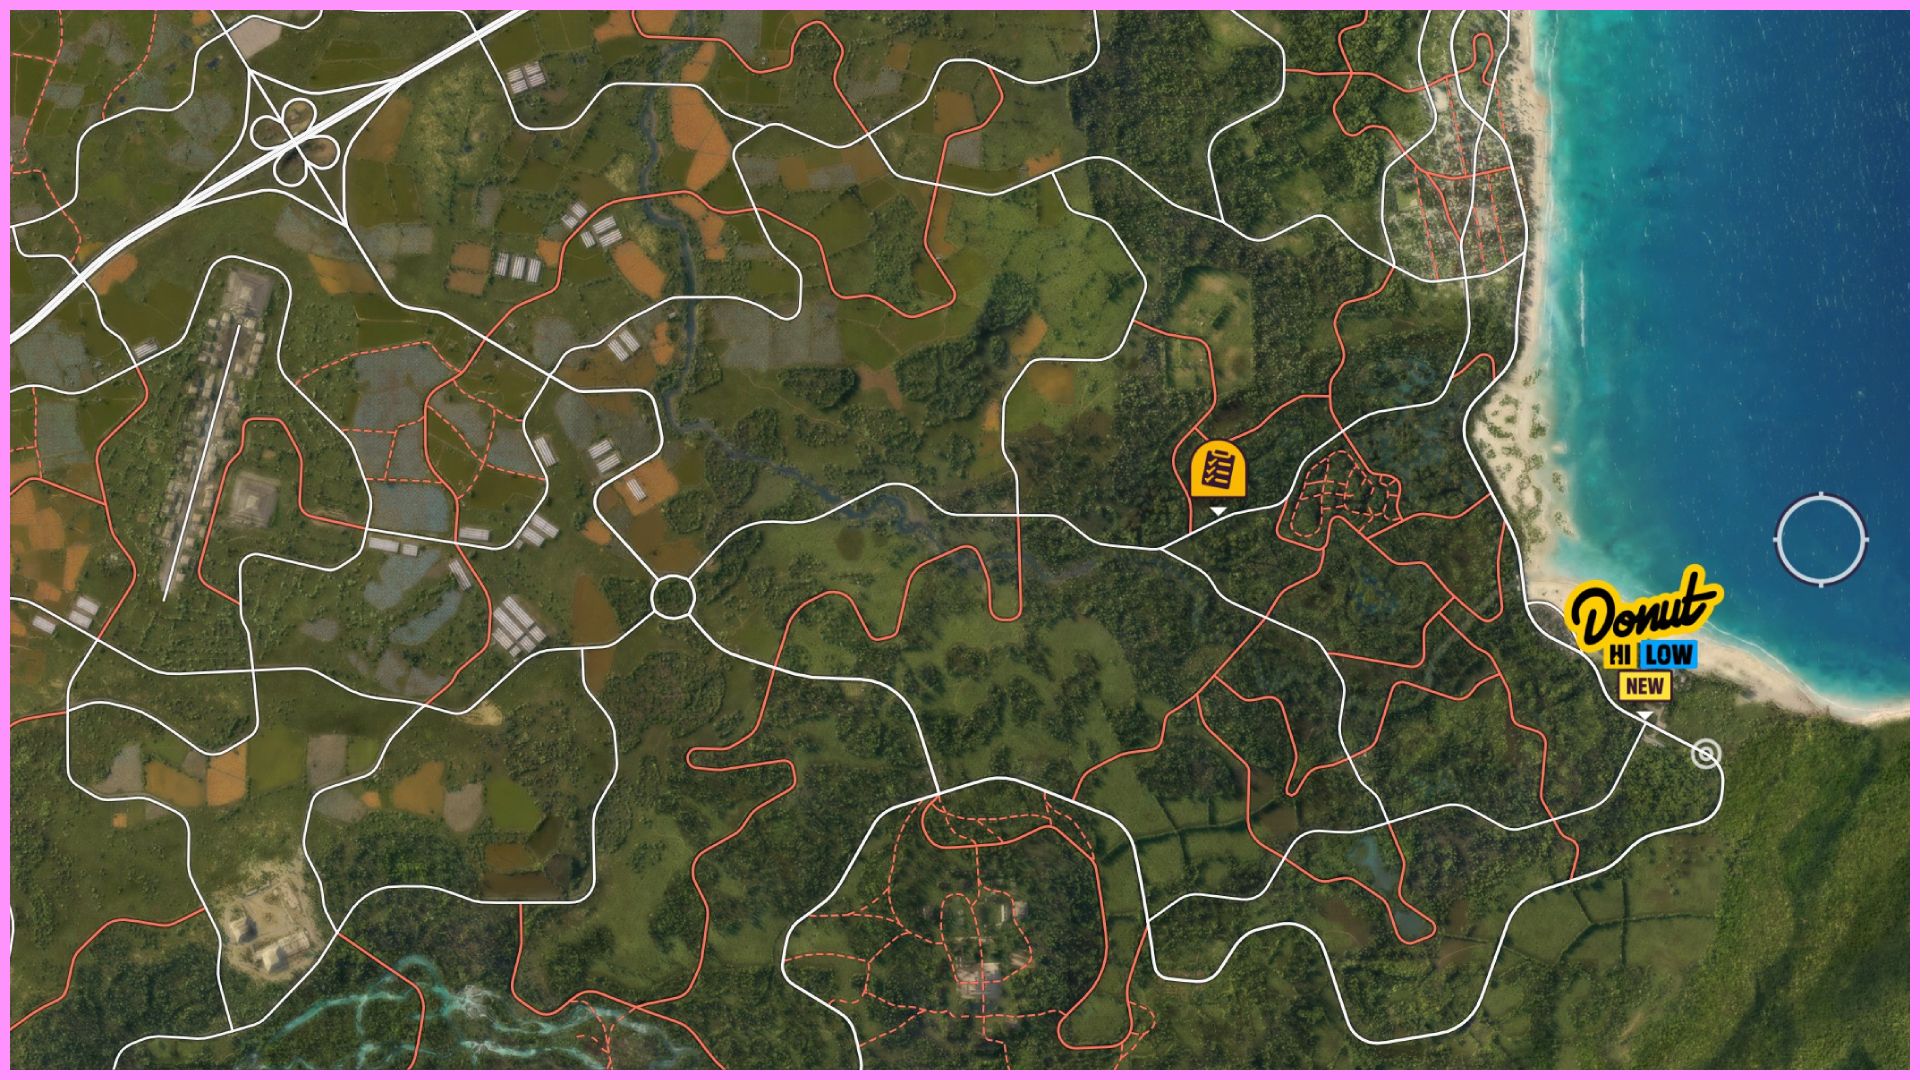
Hi Five
Low Five
Give It the Beans!
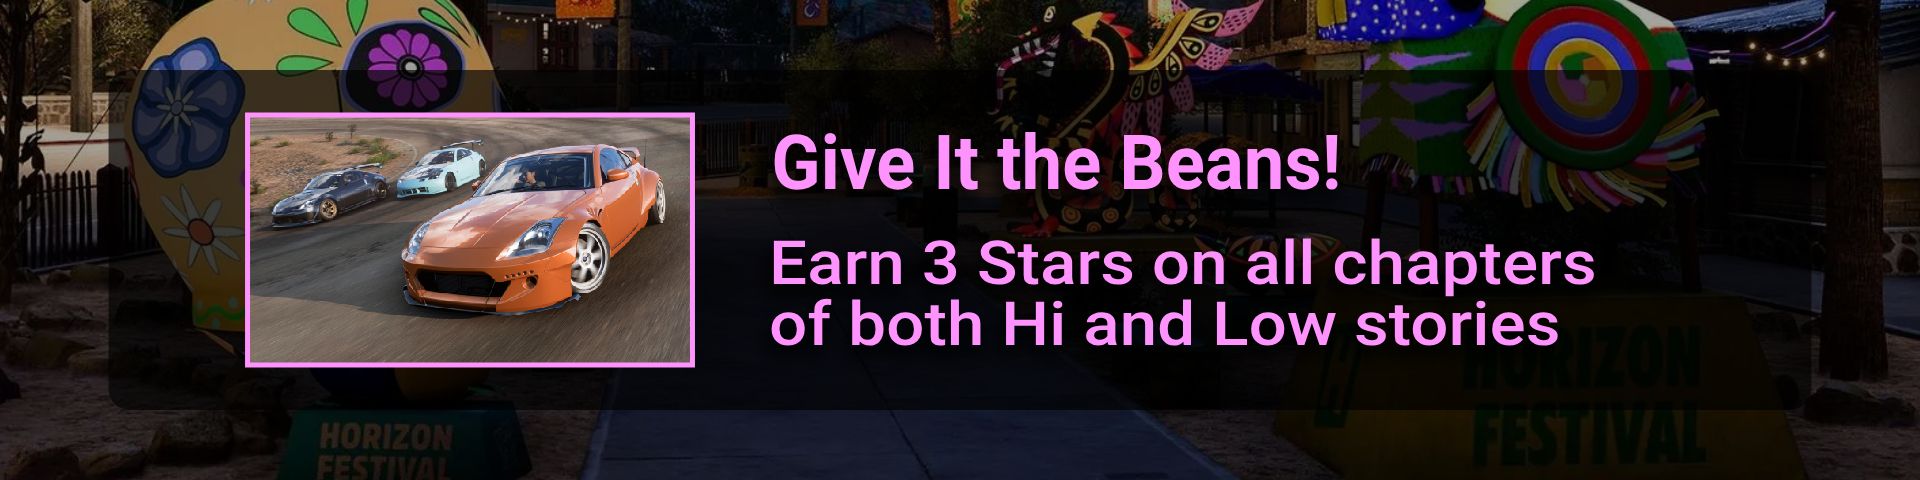
All chapters are easy enough, except 7th. Just cut corners where it is possible.
In Chapter 7 you can use this setup from the video below. It worked 2 times first try.
1. Conversion:
- engine swap - 6.2l v8
- body kit - rocket bunny
- aspiration - centrifugal supercharger
- rear wing - big country labs
- tire compound - slick race
- rim - sport rim style - work work emotion t5r
- brakes - street brakes
- spring and dampers - race
- transmission - sport
- differential - race diff
- exhaust - race
- intake - sport
Tune Menu Settings:
- Tires - 2.4 2.3
- Gear - 3.28
- Alignment Front caster Angle - 7.0
- Springs - 149.7 147.1 7.5 9.5
- Damping - 9.3 8.3 4.9 4.9
- Aero - 90 145
- Diff - 100 5
Video:
Back to School
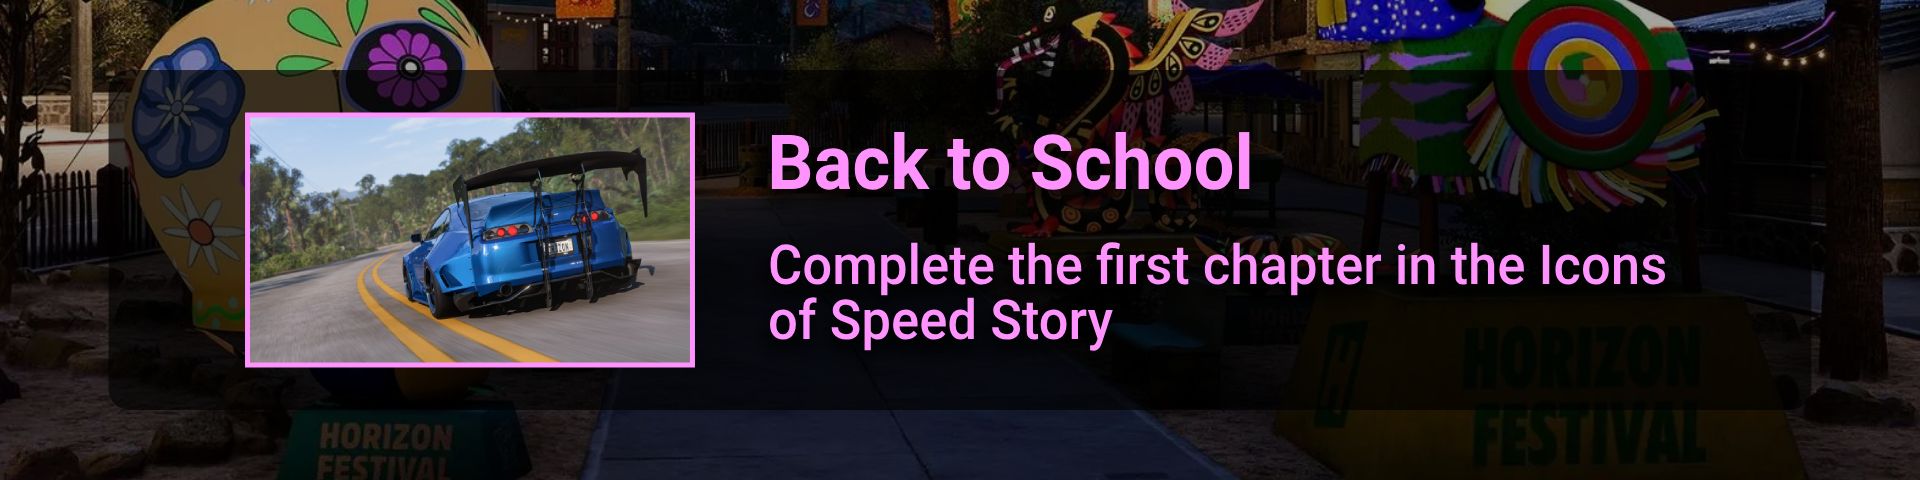
Icons of Speed Story location:
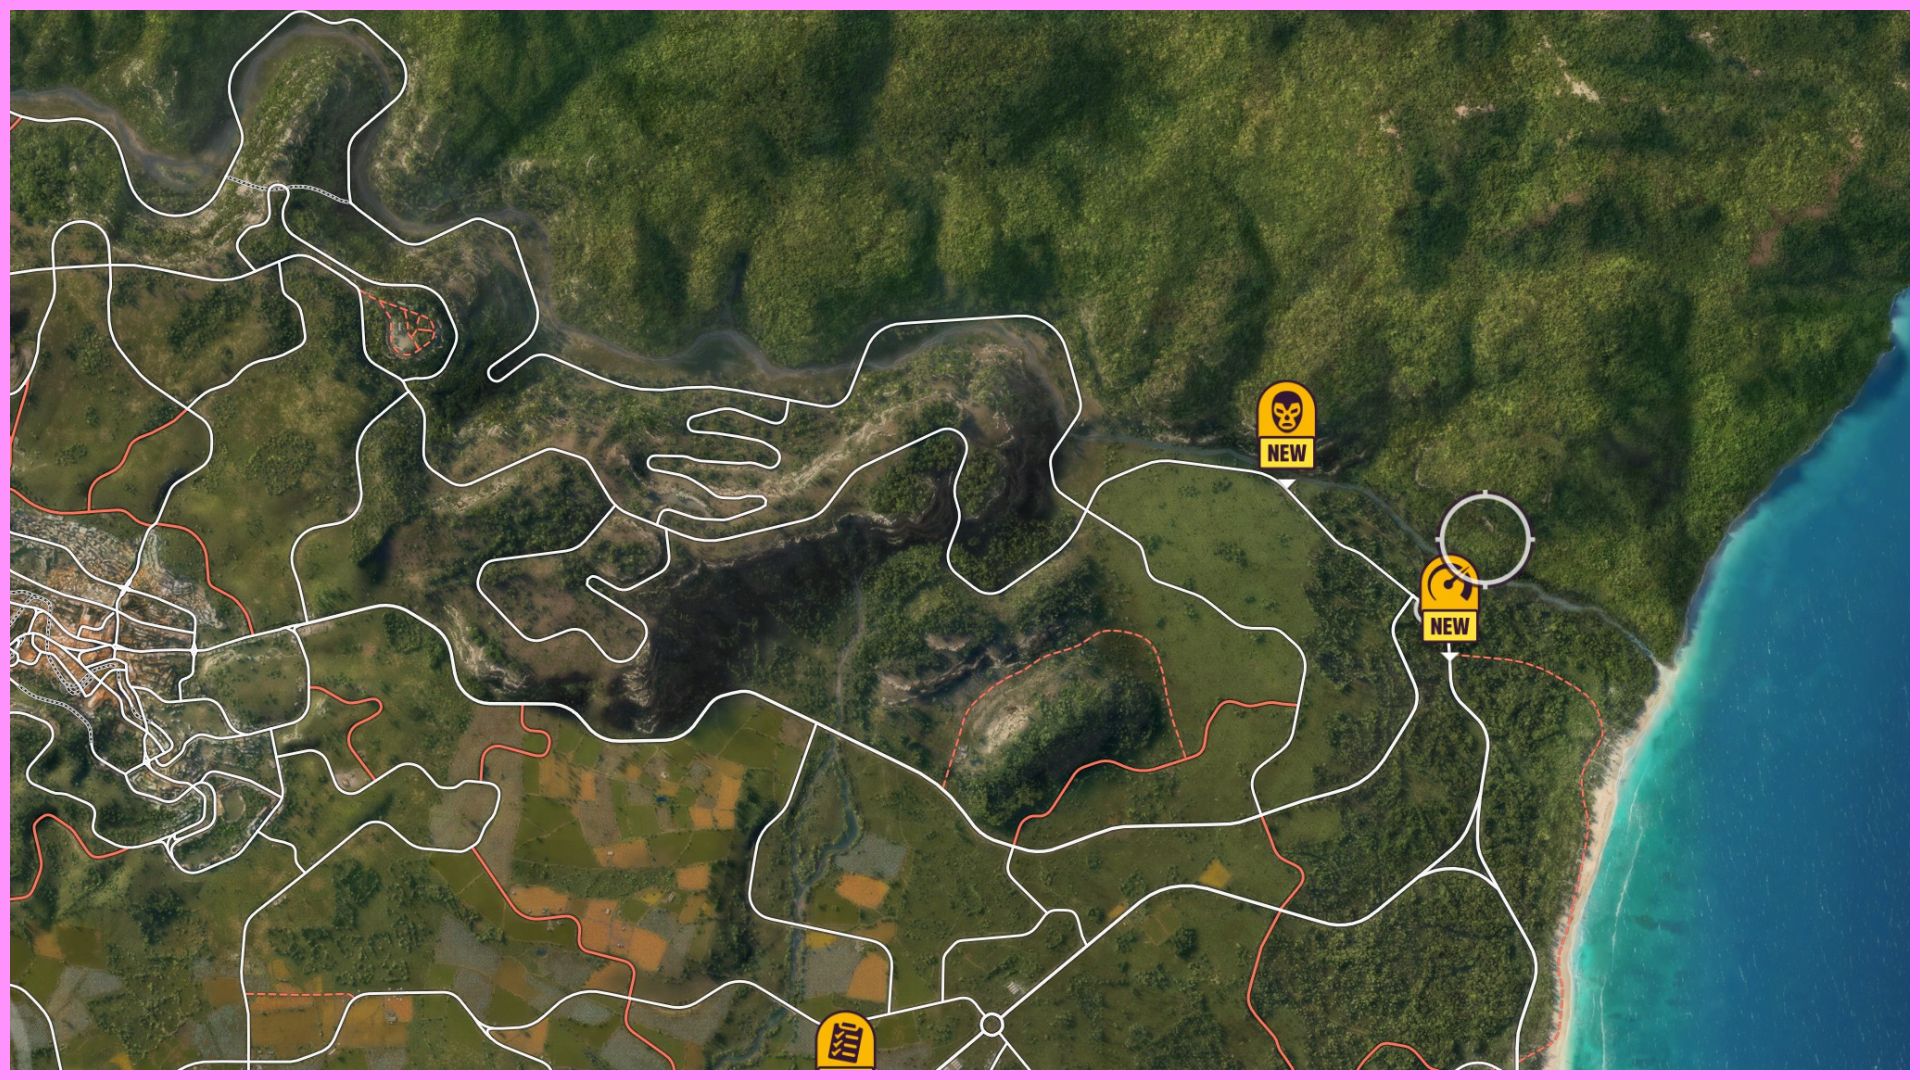
A New Era
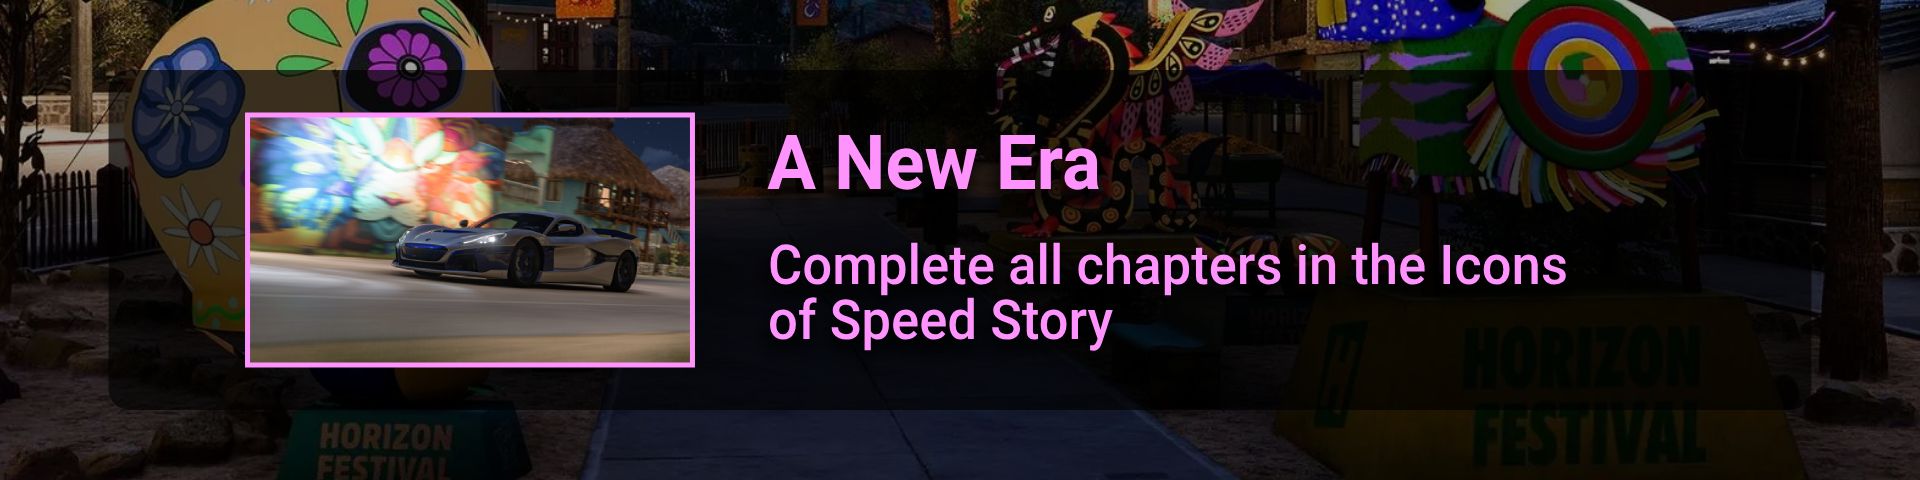
A True Icon
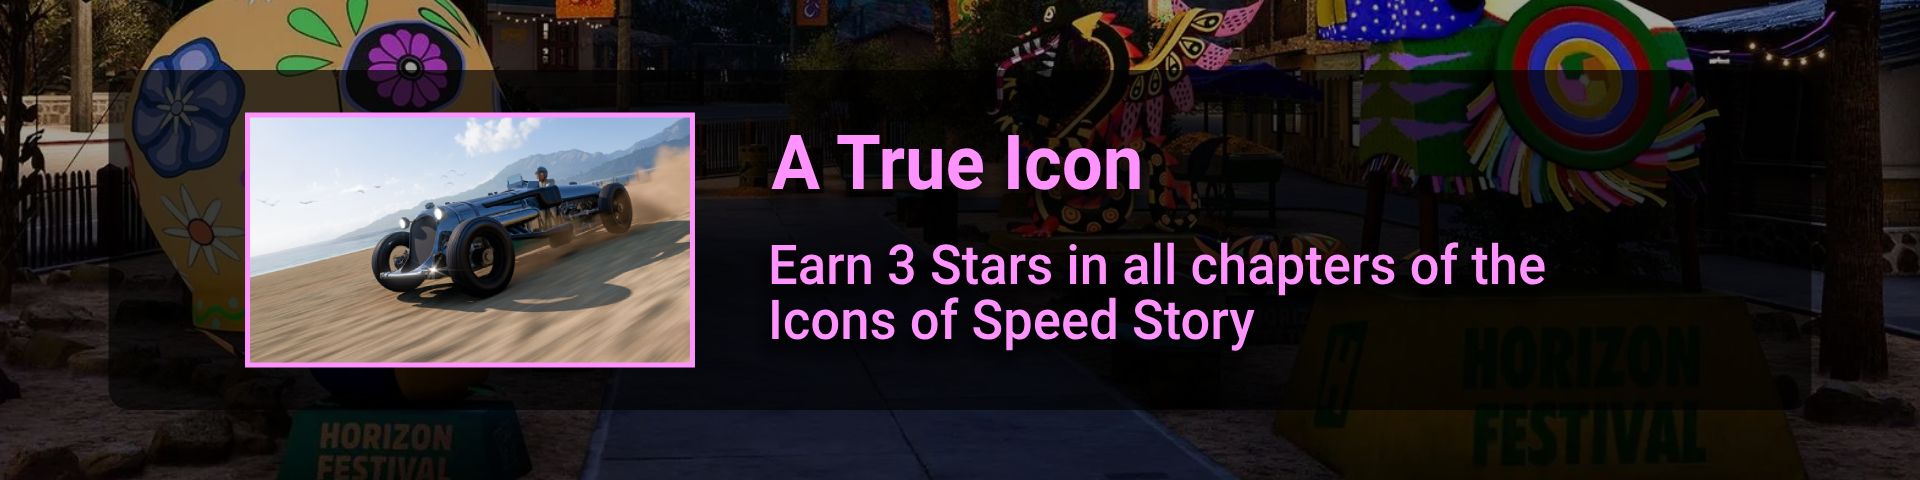
All chapters are easy enough, except 2nd. In Chapter 2. You have to be very precise. Hold gas button, no brake, because you have not much time to reach the needed speed amount. Avoid being in a drift, turning left or right and don't hit the boats or huts. You need almost straight path with minimum left/right moves to gain the speed faster.
✦ Día de Muertos Photo 💀
Go to Photo mode and open Effects Menu (Y on Xbox and keyboard). Here you have to change needed options. Set option, take a photo, then you don't have to save the result or post it (only screen, where cars are getting scanned), just come back to Effects and change next option. To avoid bugs it's better, when your car is stopped and not moving. You can combine effects to get all 3 achievements faster
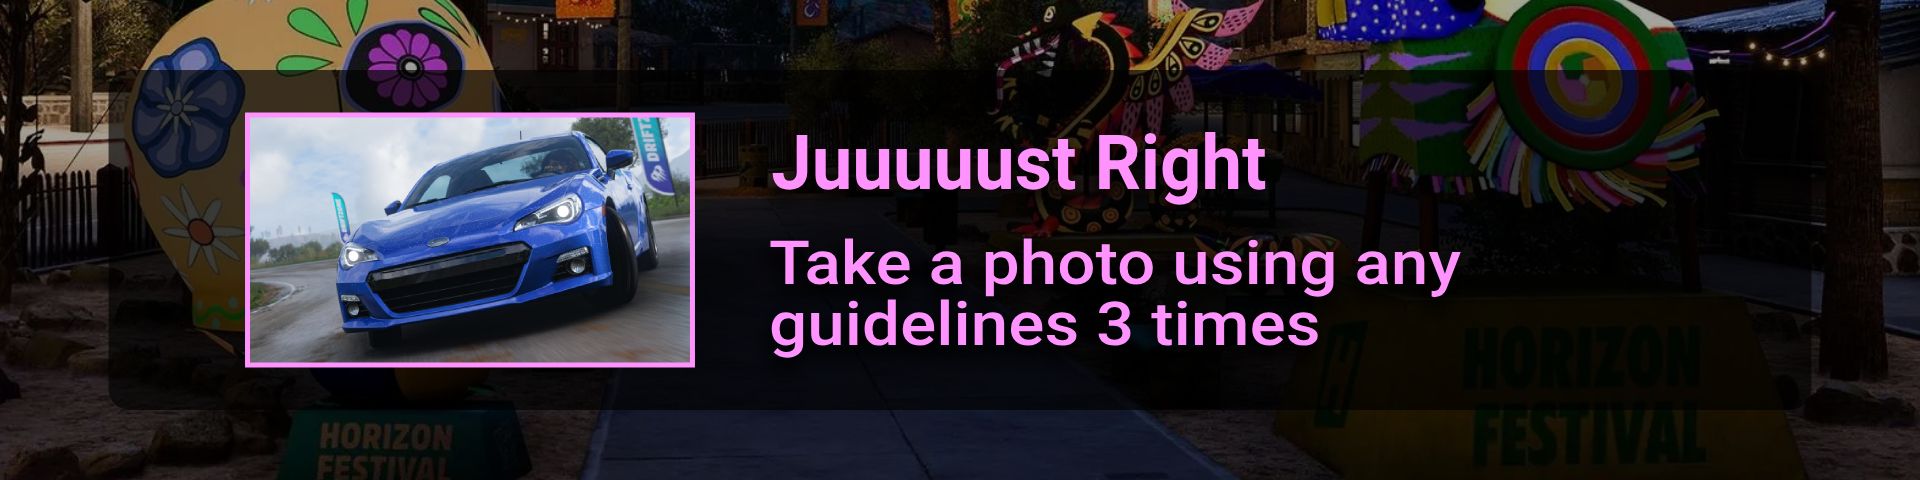
Guidelines option in effects. Works with the same guideline 3 times, except the default one
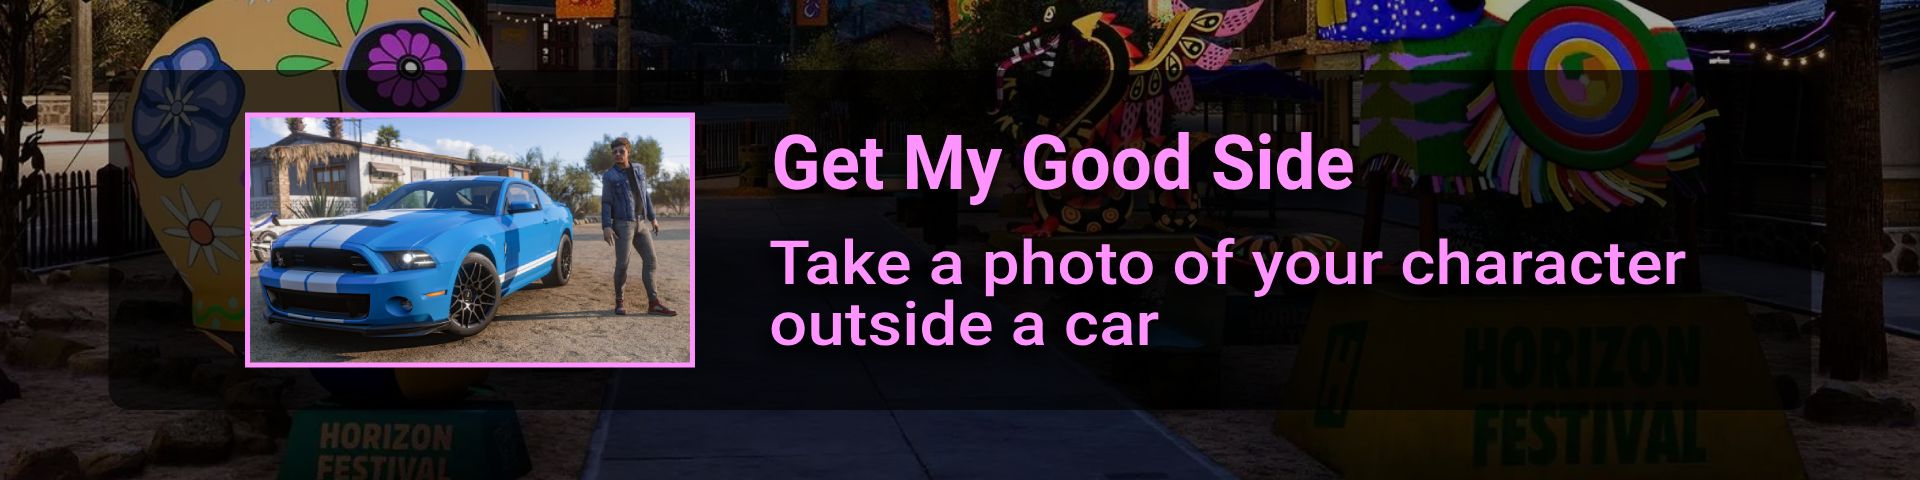
Character option in effects. Select anything you want, except the default one (in car), and take a shot
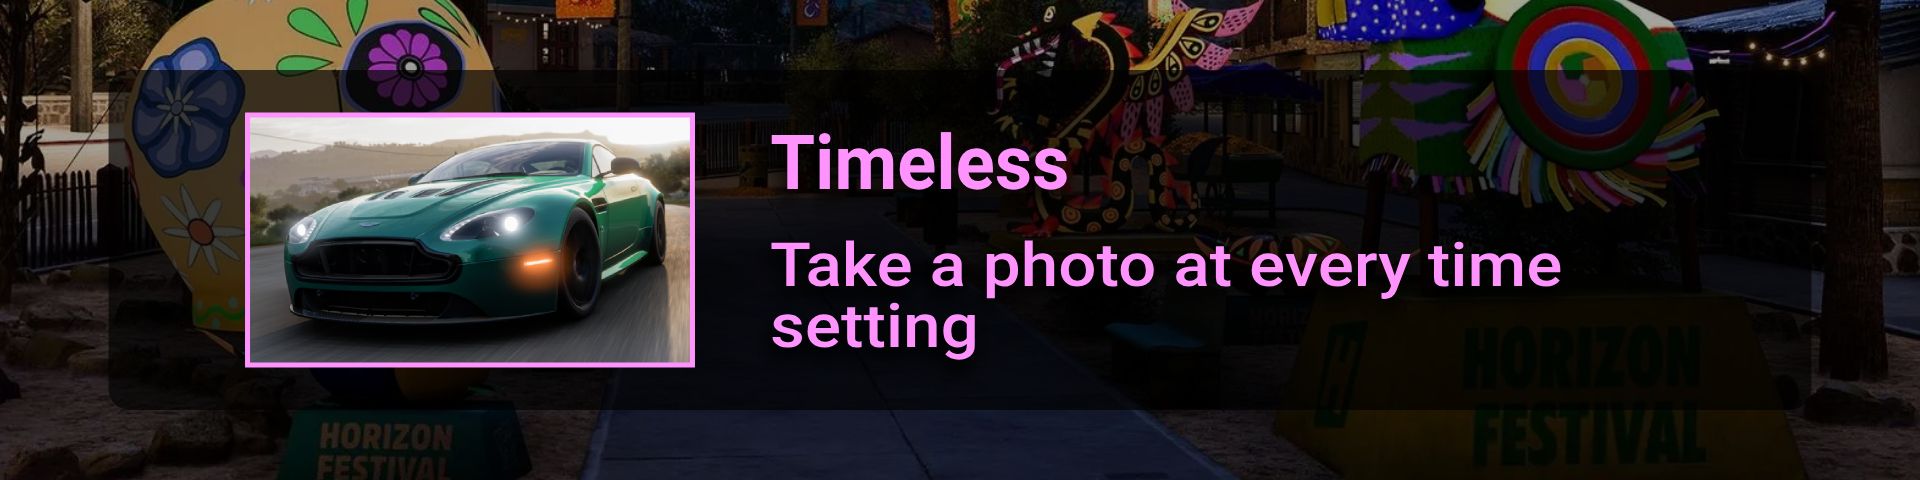
Time of Day option in effects. There are 8 of them. Use all available time effects except the default one
Juuuuust Right
Guidelines option in effects. Works with the same guideline 3 times, except the default one
Get My Good Side
Character option in effects. Select anything you want, except the default one (in car), and take a shot
Timeless
Time of Day option in effects. There are 8 of them. Use all available time effects except the default one
✦ Día de Muertos Test Track 💀
The test track location:
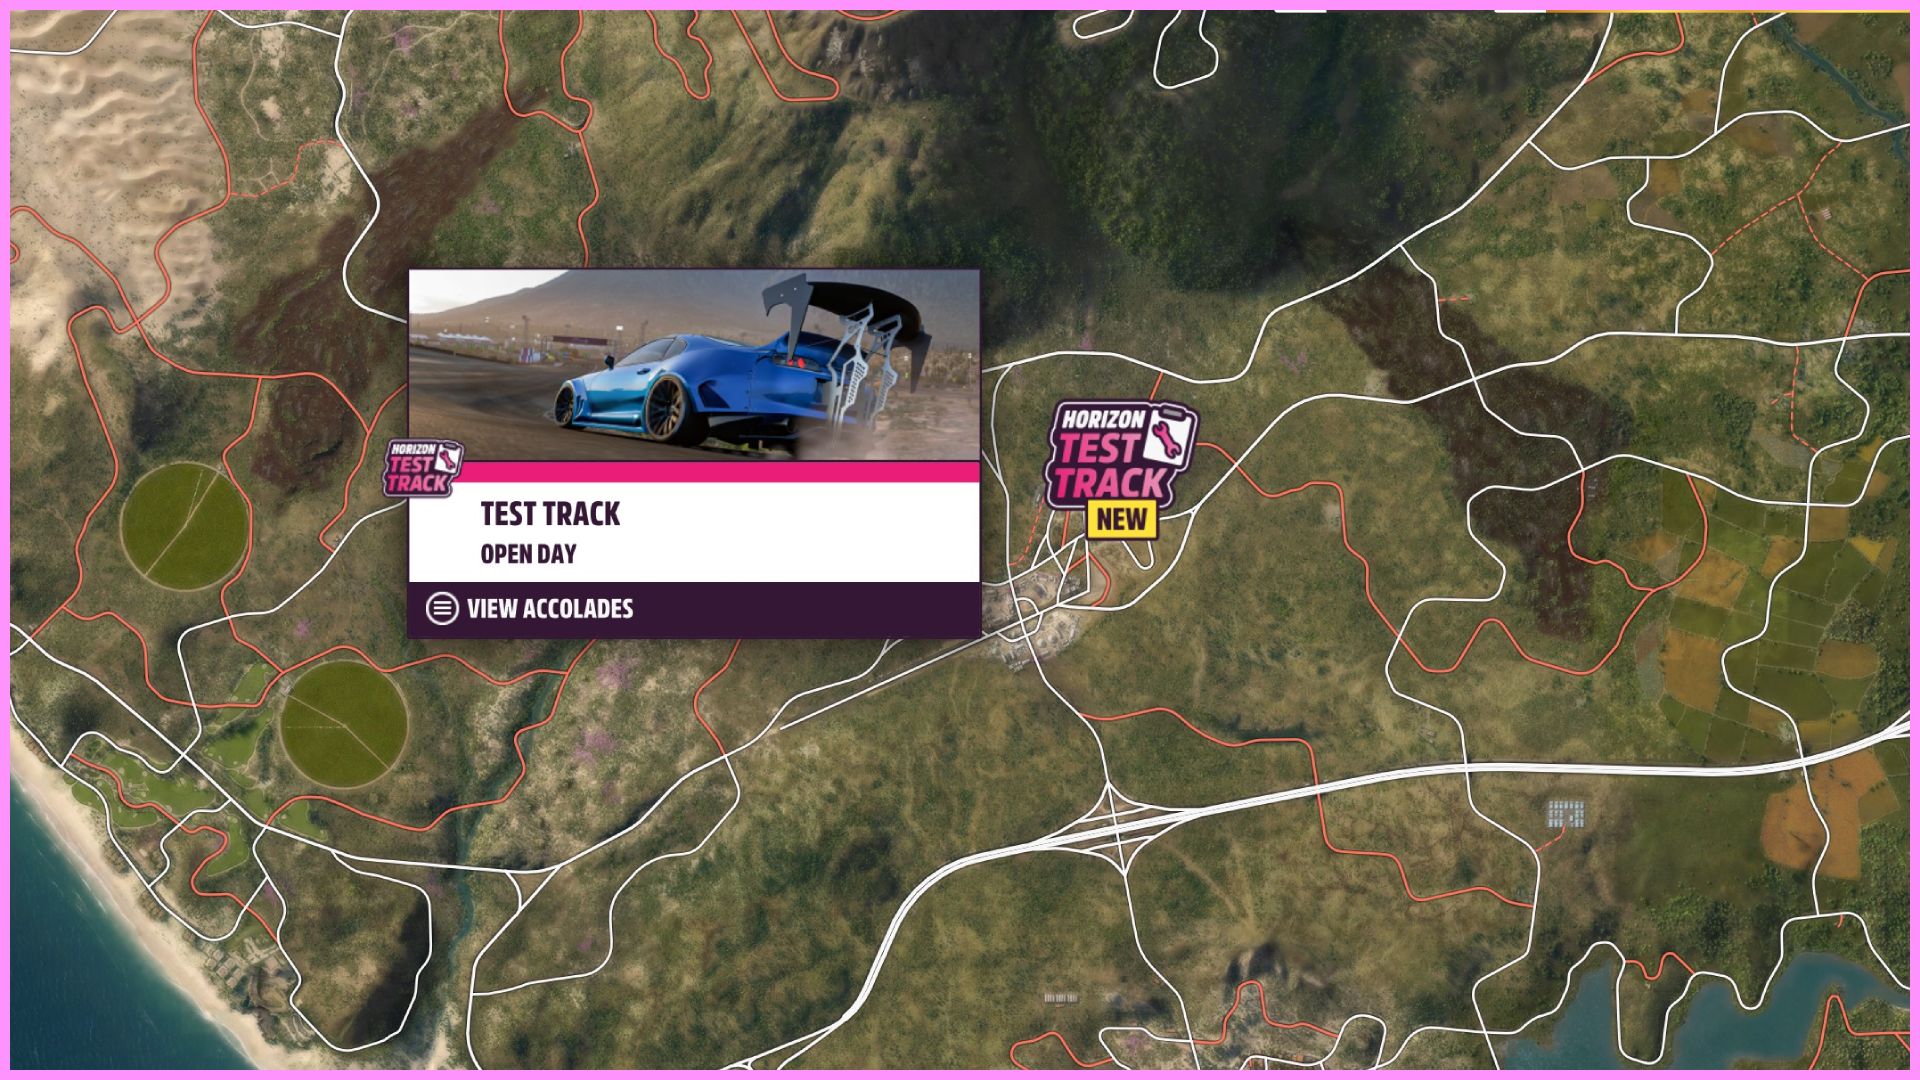
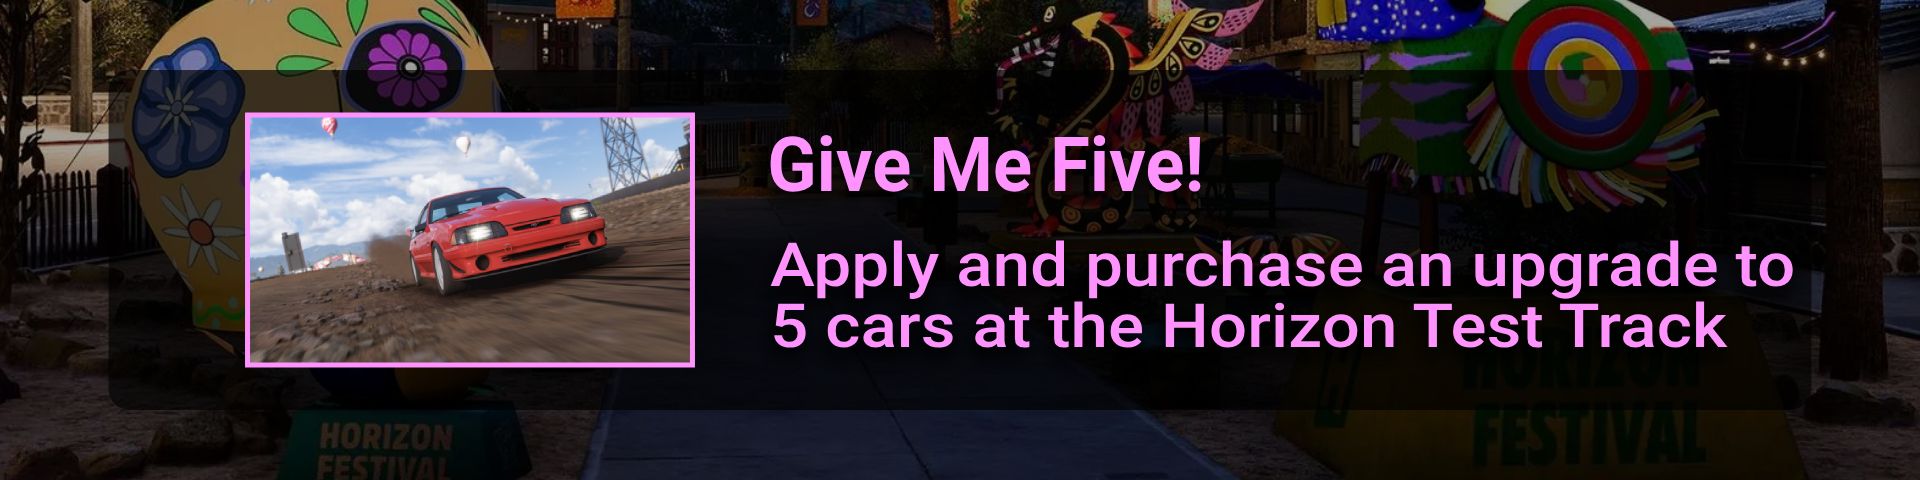
Choose any car you want and apply any 1 upgrade to it. Then quit via pause menu and choose to install & buy the upgrade. Repeat 4 more times, but every time pick a new diferent car. It requires 5 different cars, 5 upgrades on 1 car won't work
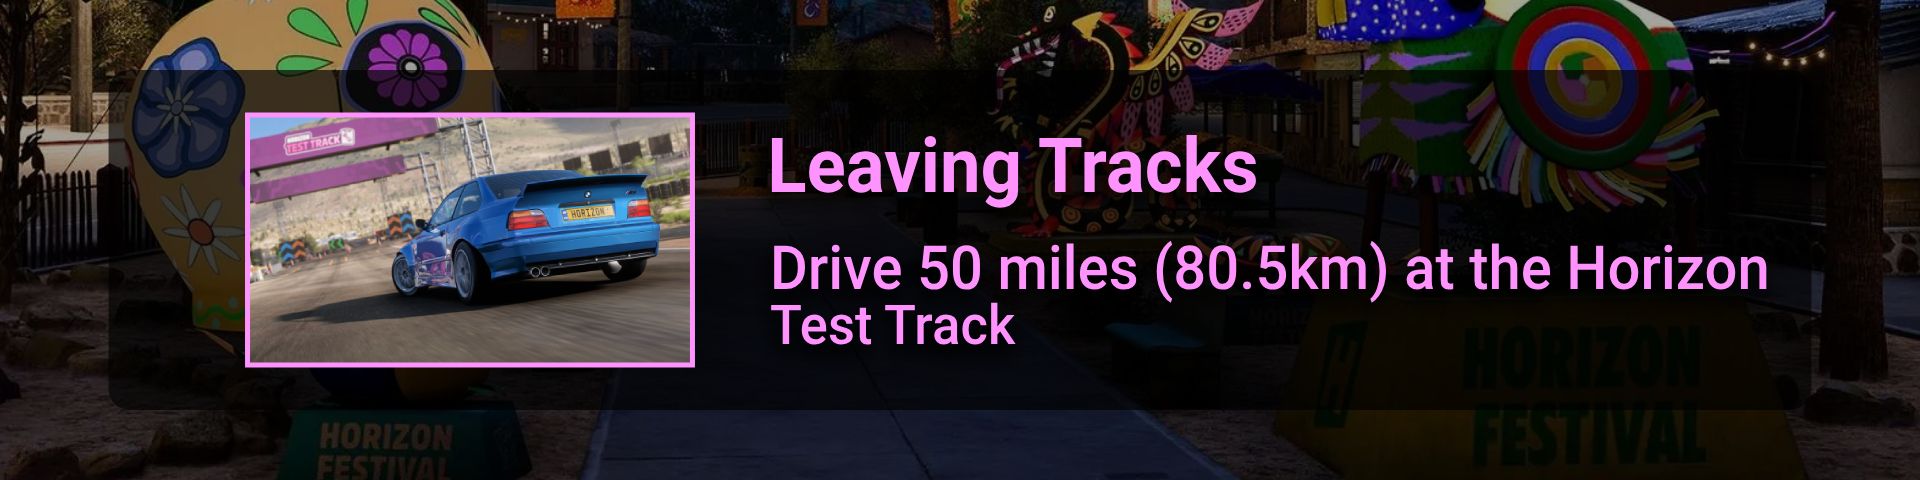
Take fast S2 car and apply some upgrades to improve the speed and acceleration. Now go to long highway near you. Actually, all routes counts, but it's more comfortable to drive this highway forward and back. You need 6-7 times. Also you can track your progress using Accolades. Choose Creative -> Test Track and pin the accolade
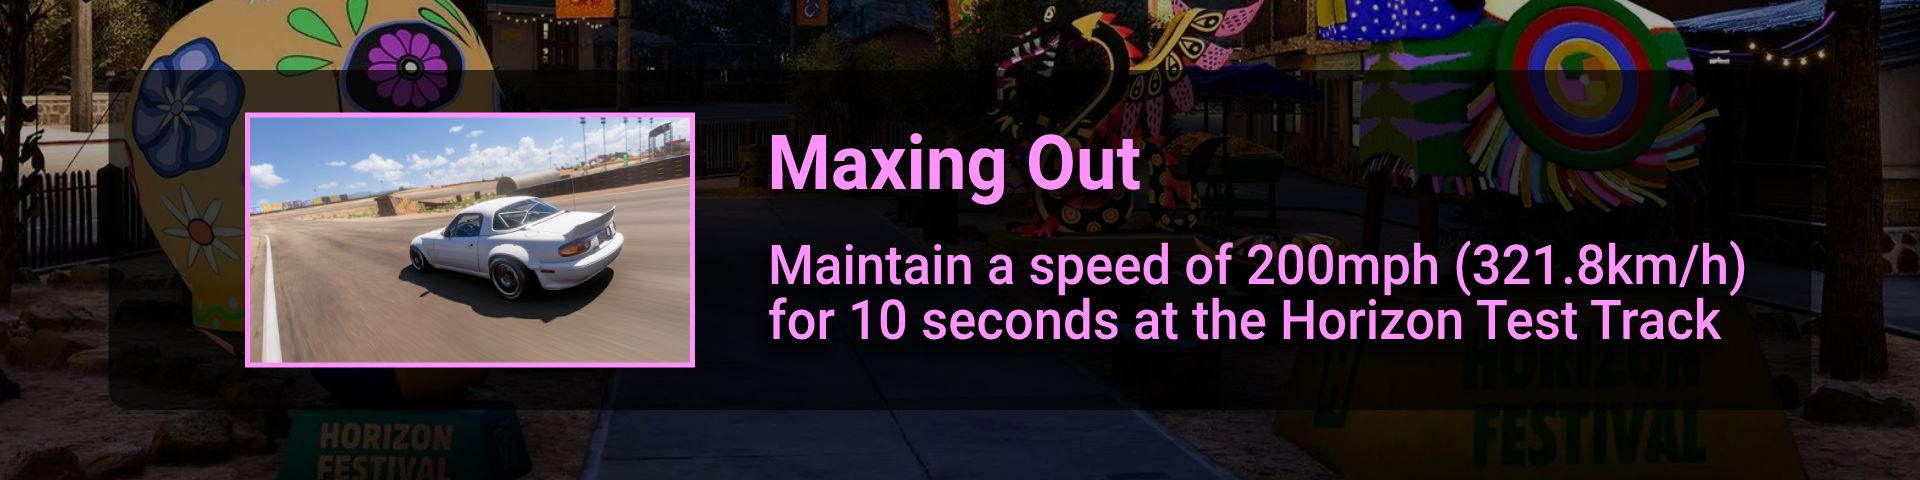
The same highway and upgraded S2 car from previous achievement
Give Me Five!
Choose any car you want and apply any 1 upgrade to it. Then quit via pause menu and choose to install & buy the upgrade. Repeat 4 more times, but every time pick a new diferent car. It requires 5 different cars, 5 upgrades on 1 car won't work
Leaving Tracks
Take fast S2 car and apply some upgrades to improve the speed and acceleration. Now go to long highway near you. Actually, all routes counts, but it's more comfortable to drive this highway forward and back. You need 6-7 times. Also you can track your progress using Accolades. Choose Creative -> Test Track and pin the accolade
Maxing Out
The same highway and upgraded S2 car from previous achievement
✦ Hide and Seek 🙈
You can start a game in Hide and Seek mode via the menu under the Online tab or by arriving at this mark on the map:
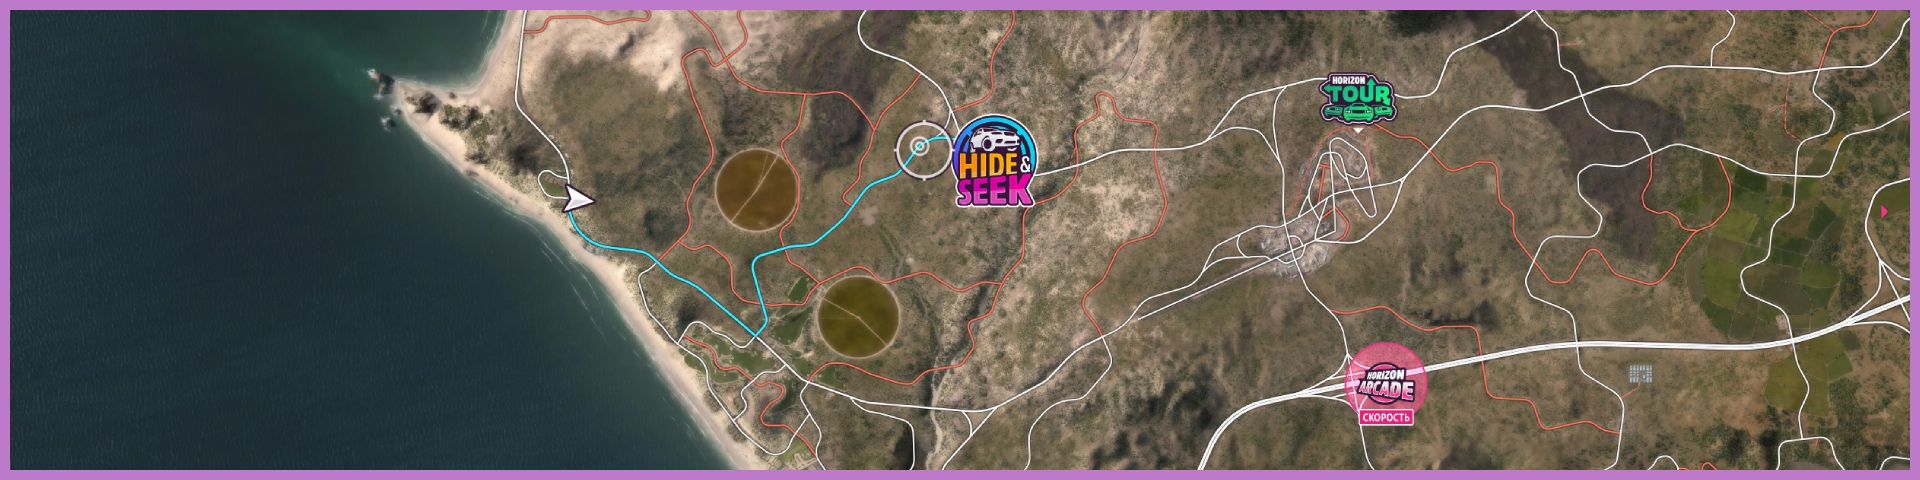
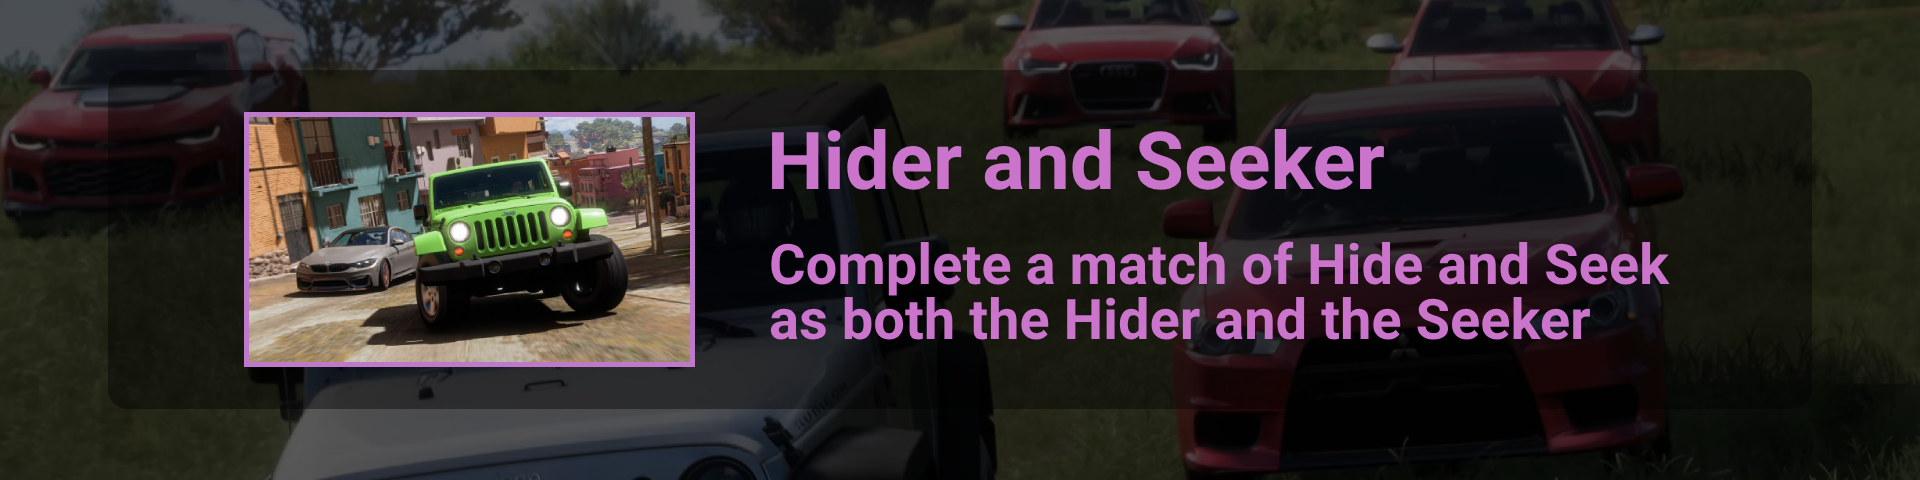
Simply finish the games for each side, winning is optional. In a session there are 5 Seekers and 1 Hider, which are randomly selected
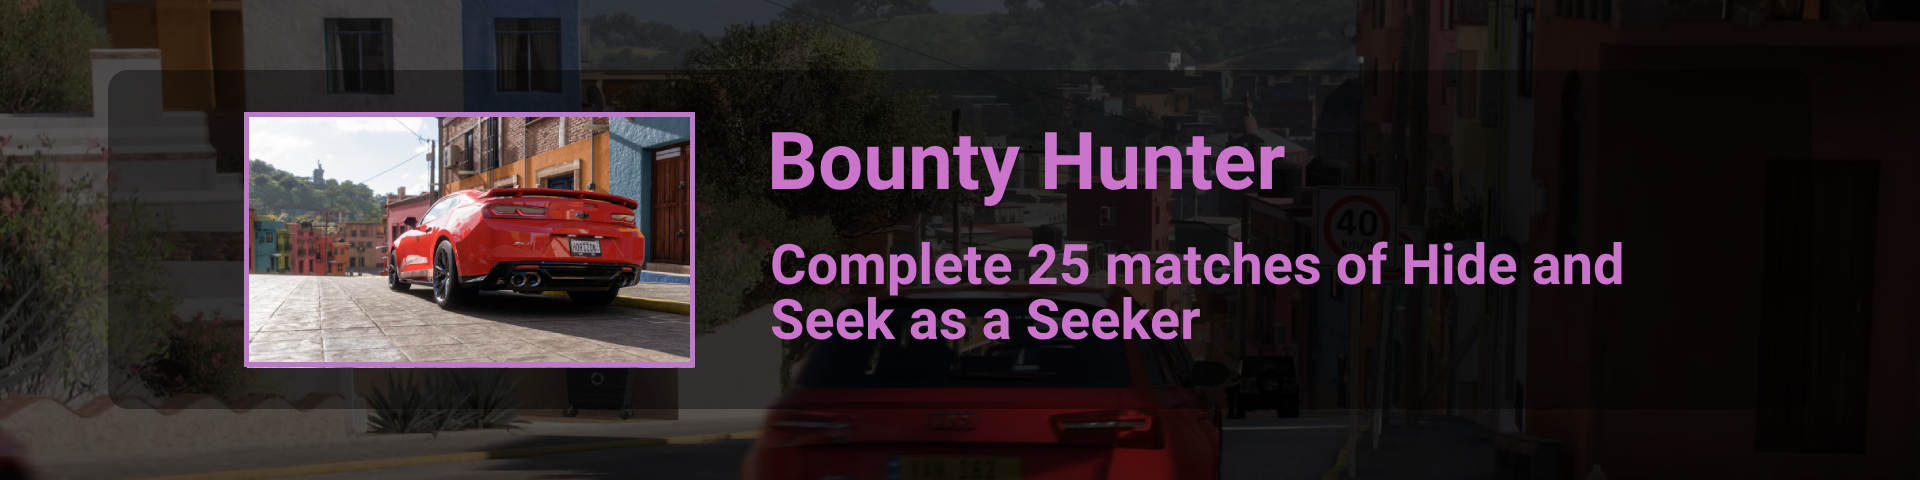
You become a Seeker much more often than a Hider, you can't choose a team
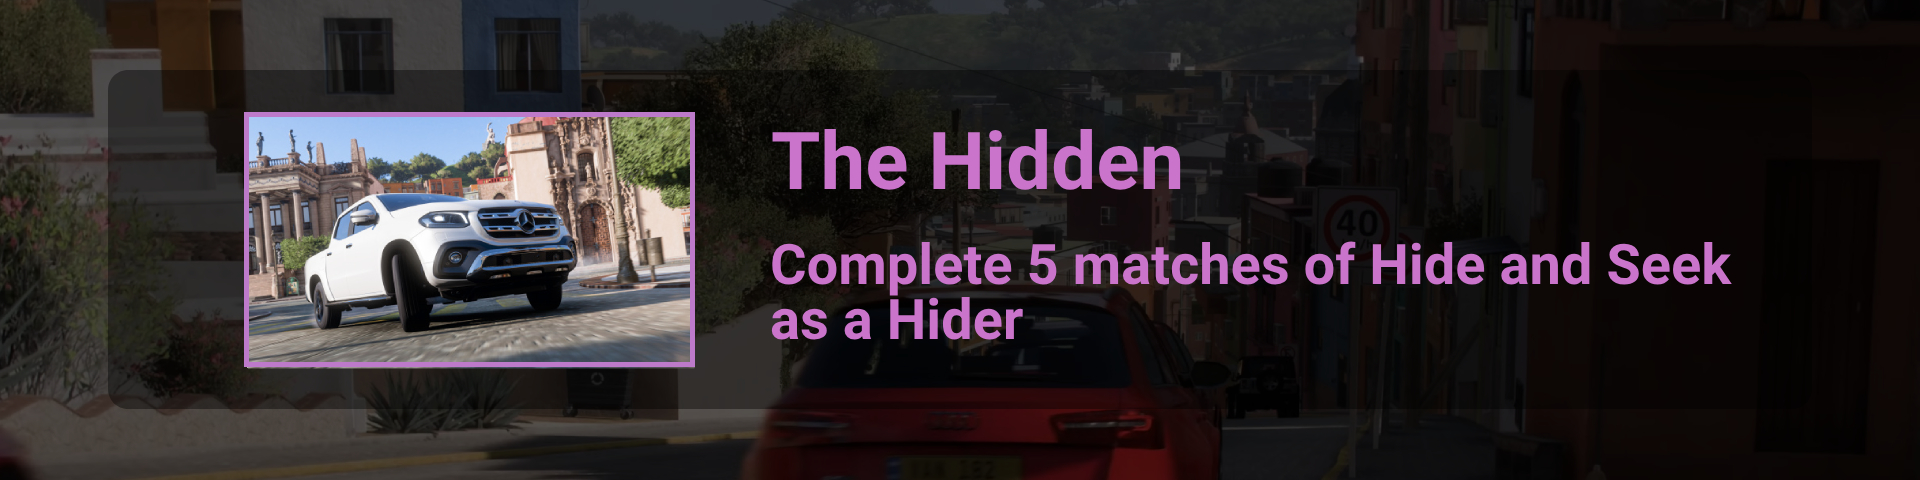
For this achievement, you just need to complete 5 runs, but it is better to try attacking 20 Seekers per match for the Catching a Break achievement beforehand, as the honor of becoming a Hider is relatively rare....
The description is wrong! You just need to complete 20 games in Hide and Seek mode with no crashes or any other exits other than getting rewards, which is available at the end of each game
The description is wrong! You just need to complete 50 games in Hide and Seek mode without crashes or any other exits, except for the rewards available at the end of each match. In the case of crashes - stats may reset. If the game crashes - restart the game every 5 matches and lower the graphics settings (Disable RTX completely)

There are a total of 3 maps in Hide and Seek mode, get after completing a race on each map
To win, you need to get to the final area and prevent the Seekers from filling up the scale, so stay as far away from them as possible, especially if you are being chased by several Seekers. But it might be worth it to let a group of Seekers get close enough to use the stun ability to escape....
On the Playa Azul map, it's easiest to hide in the trees and stun a group of Seekers when they arrive all together. Once the finish area becomes available, the only thing left to do is to run away ;)

To win you need to scan the Hider with an ability and stay close to him, it is much more effective if you are not only alone with the Hider, but also with your team partners. The Seeker scale on the left shows the percentage of victory

Will drop automatically if you search for the Hider as a team of Seekers for a while...
You must attack 20 Seekers per game, a successful attack is marked by a broken car icon on the opponent. Gather Seekers in groups and use the ability on companies of 3-4 (ideally 5, so only 4 activations of the ability will suffice). As with the Blending In achievement, the best map to use is Playa Azul, where you can hide among the trees... The easiest way to get this is to gather a convoy of 6 players and boost 20 attacks...
Hider and Seeker
Simply finish the games for each side, winning is optional. In a session there are 5 Seekers and 1 Hider, which are randomly selected
Bounty Hunter
You become a Seeker much more often than a Hider, you can't choose a team
The Hidden
For this achievement, you just need to complete 5 runs, but it is better to try attacking 20 Seekers per match for the Catching a Break achievement beforehand, as the honor of becoming a Hider is relatively rare....
Dedicated to the Cause
The description is wrong! You just need to complete 20 games in Hide and Seek mode with no crashes or any other exits other than getting rewards, which is available at the end of each game
Never Back Down
The description is wrong! You just need to complete 50 games in Hide and Seek mode without crashes or any other exits, except for the rewards available at the end of each match. In the case of crashes - stats may reset. If the game crashes - restart the game every 5 matches and lower the graphics settings (Disable RTX completely)
Lay of The Land
There are a total of 3 maps in Hide and Seek mode, get after completing a race on each map
Blending In
To win, you need to get to the final area and prevent the Seekers from filling up the scale, so stay as far away from them as possible, especially if you are being chased by several Seekers. But it might be worth it to let a group of Seekers get close enough to use the stun ability to escape....
On the Playa Azul map, it's easiest to hide in the trees and stun a group of Seekers when they arrive all together. Once the finish area becomes available, the only thing left to do is to run away ;)
The Big Reveal
To win you need to scan the Hider with an ability and stay close to him, it is much more effective if you are not only alone with the Hider, but also with your team partners. The Seeker scale on the left shows the percentage of victory
Covering Ground
Will drop automatically if you search for the Hider as a team of Seekers for a while...
Catching a Break
You must attack 20 Seekers per game, a successful attack is marked by a broken car icon on the opponent. Gather Seekers in groups and use the ability on companies of 3-4 (ideally 5, so only 4 activations of the ability will suffice). As with the Blending In achievement, the best map to use is Playa Azul, where you can hide among the trees... The easiest way to get this is to gather a convoy of 6 players and boost 20 attacks...
✦ Horizon Realms 🌌
You can start the game in Realms mode by arriving at this marker on the map:
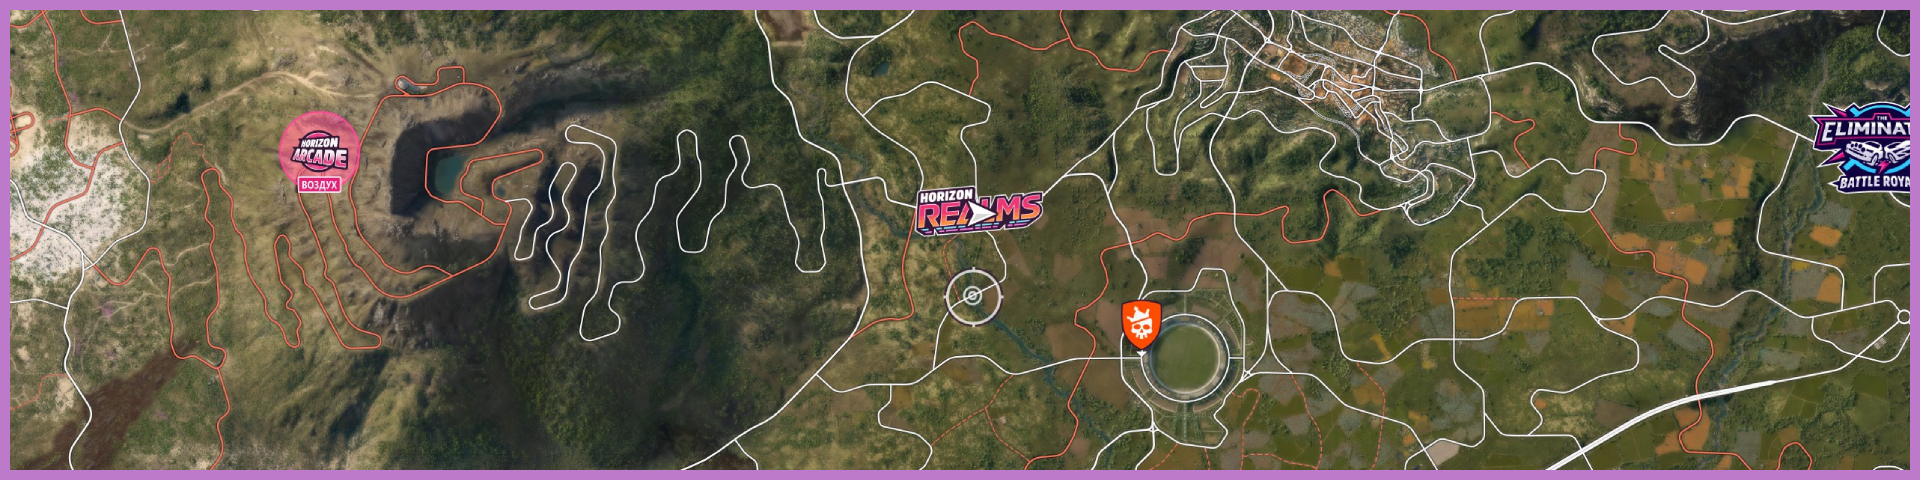
Enter the Realm
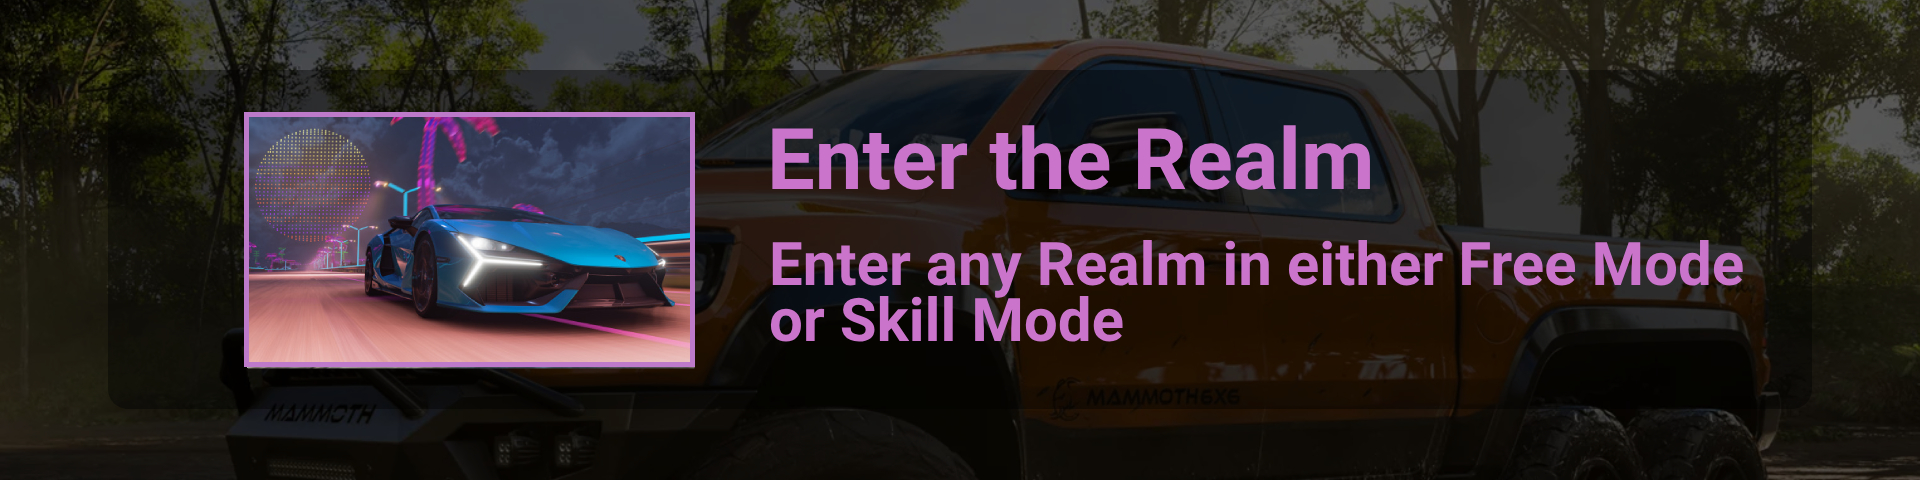
To complete the races of the Technique mode, you only need to score 100 points, although 5 minutes are allotted for each one
Tidy Little Bow
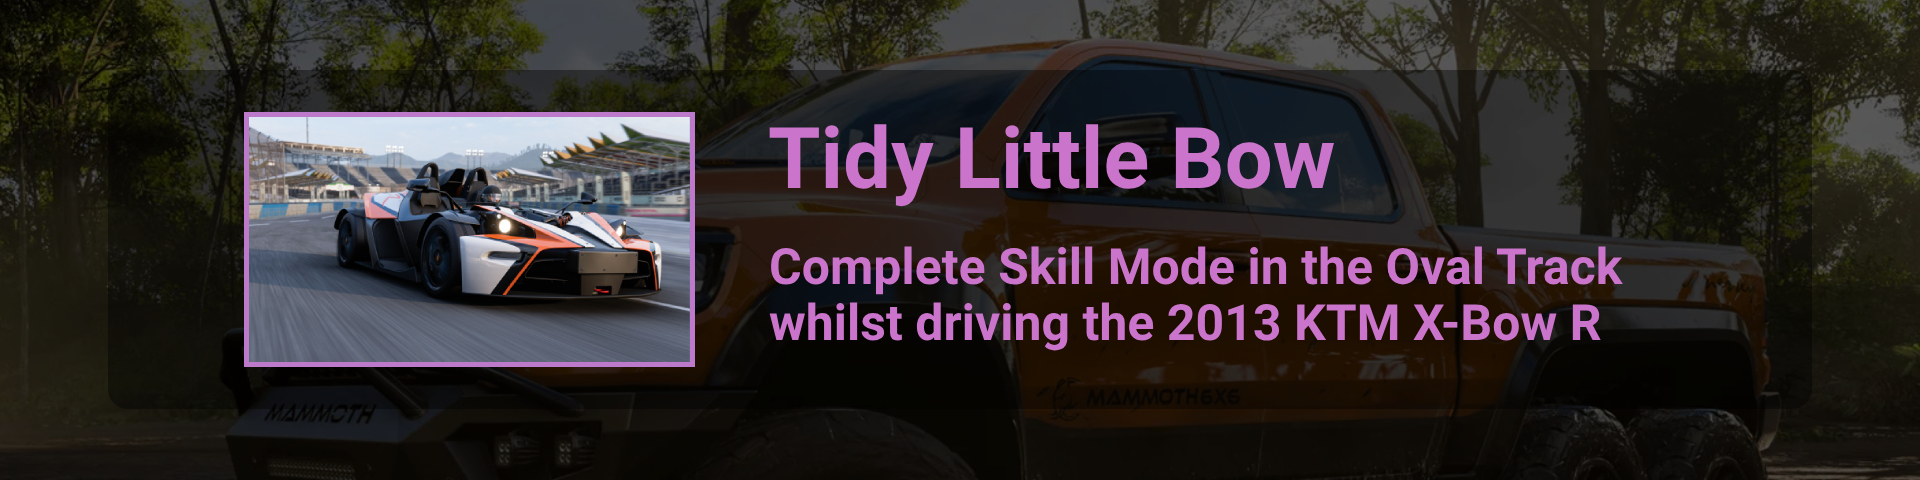
Party Like It's 1987
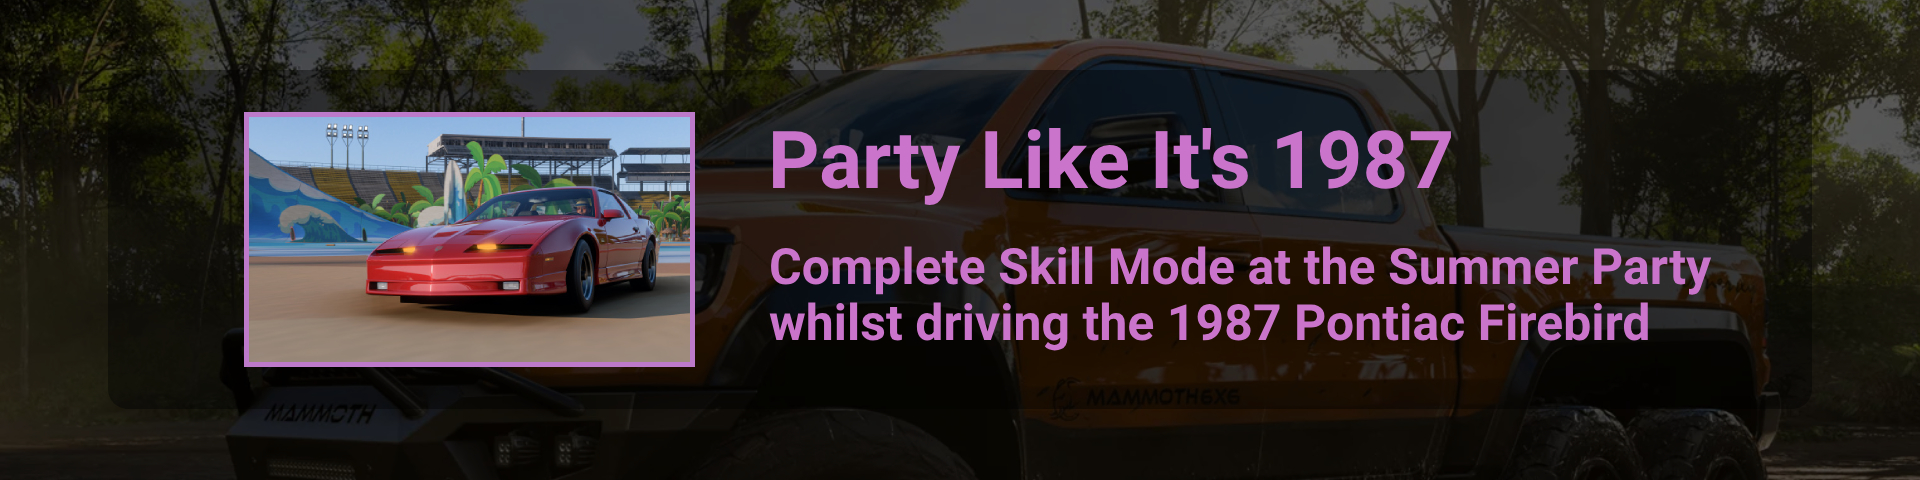
As The Clock Strikes Midnight
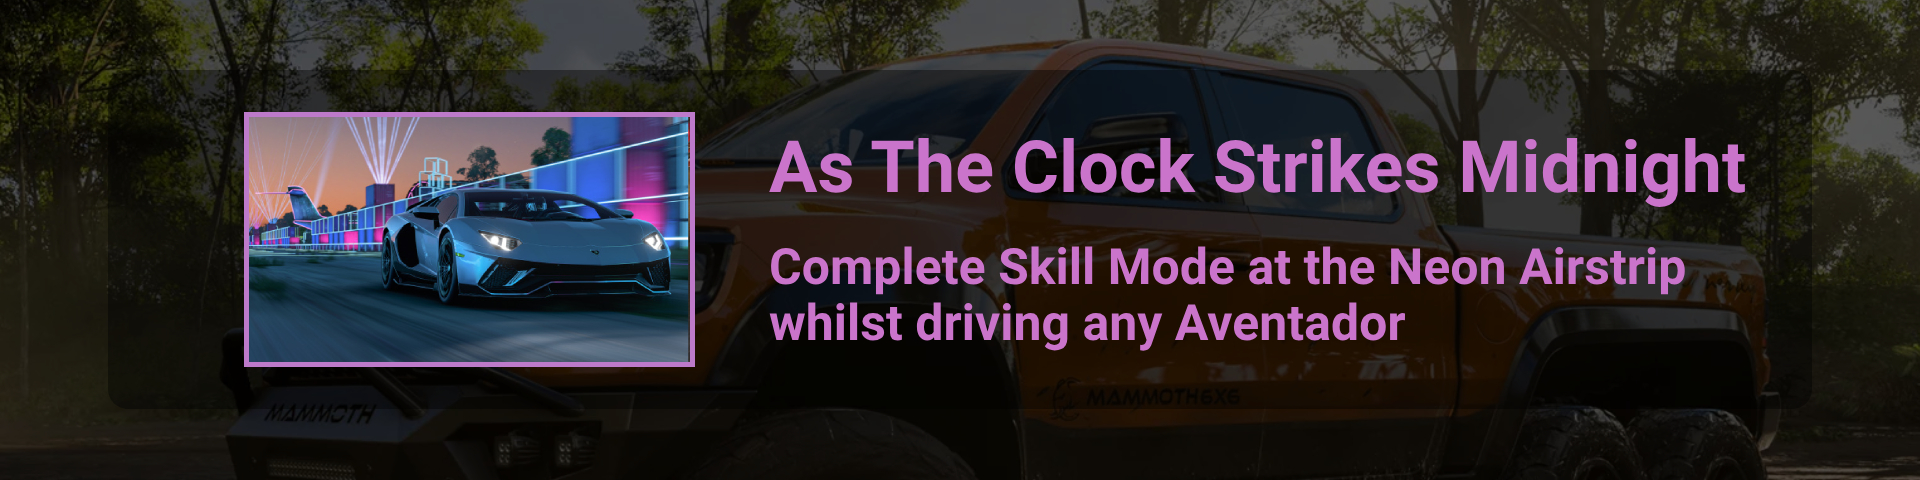
Winging It
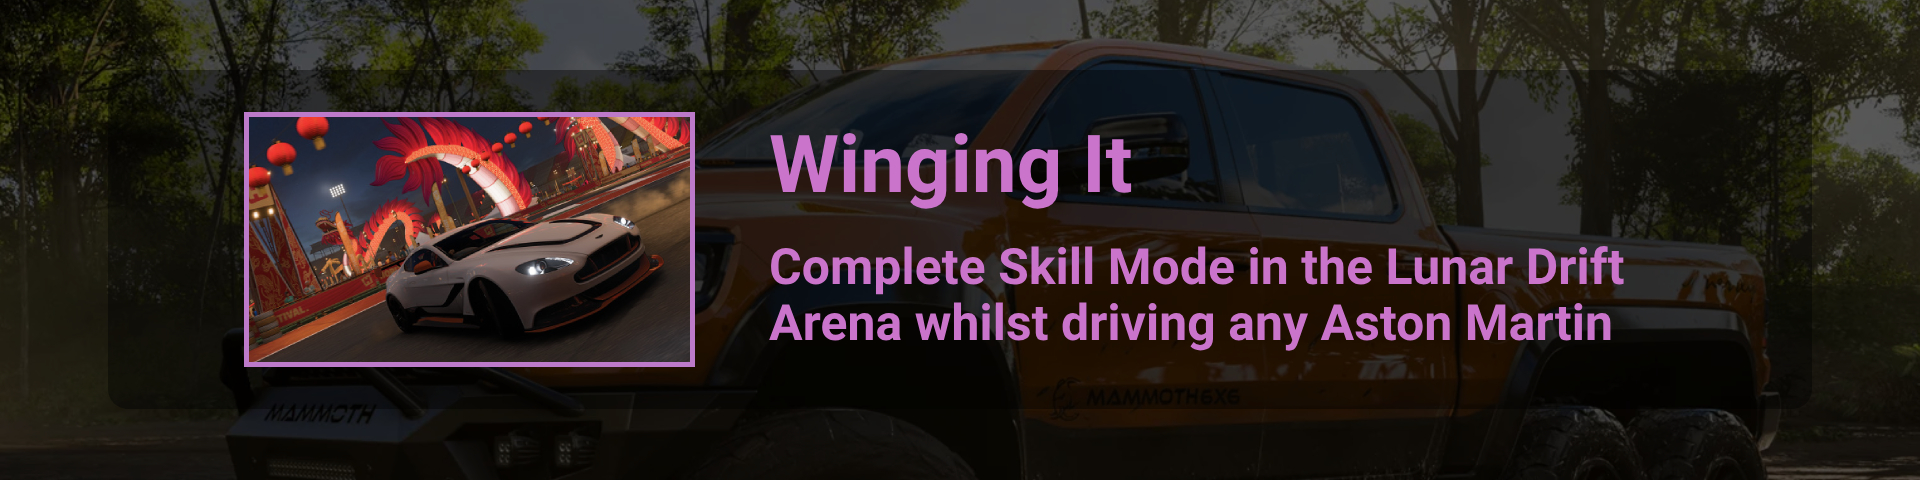
Time-Wyrm
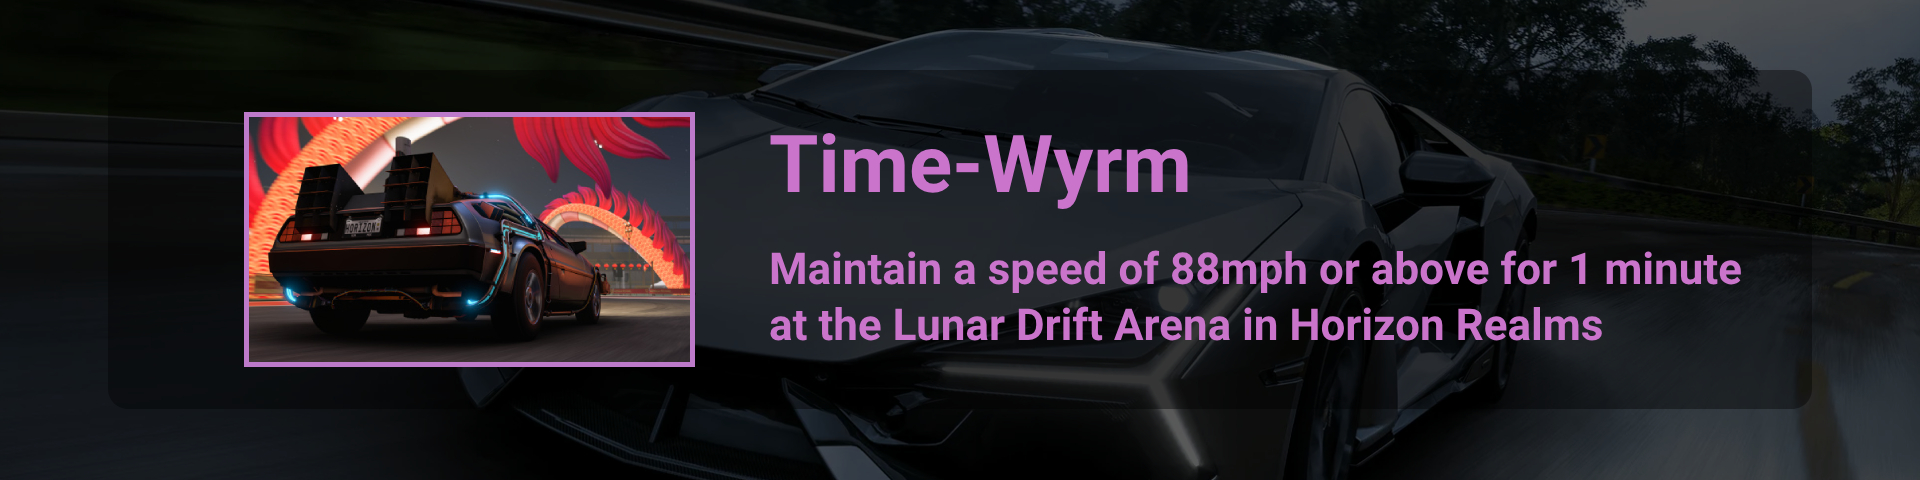
Right At Home
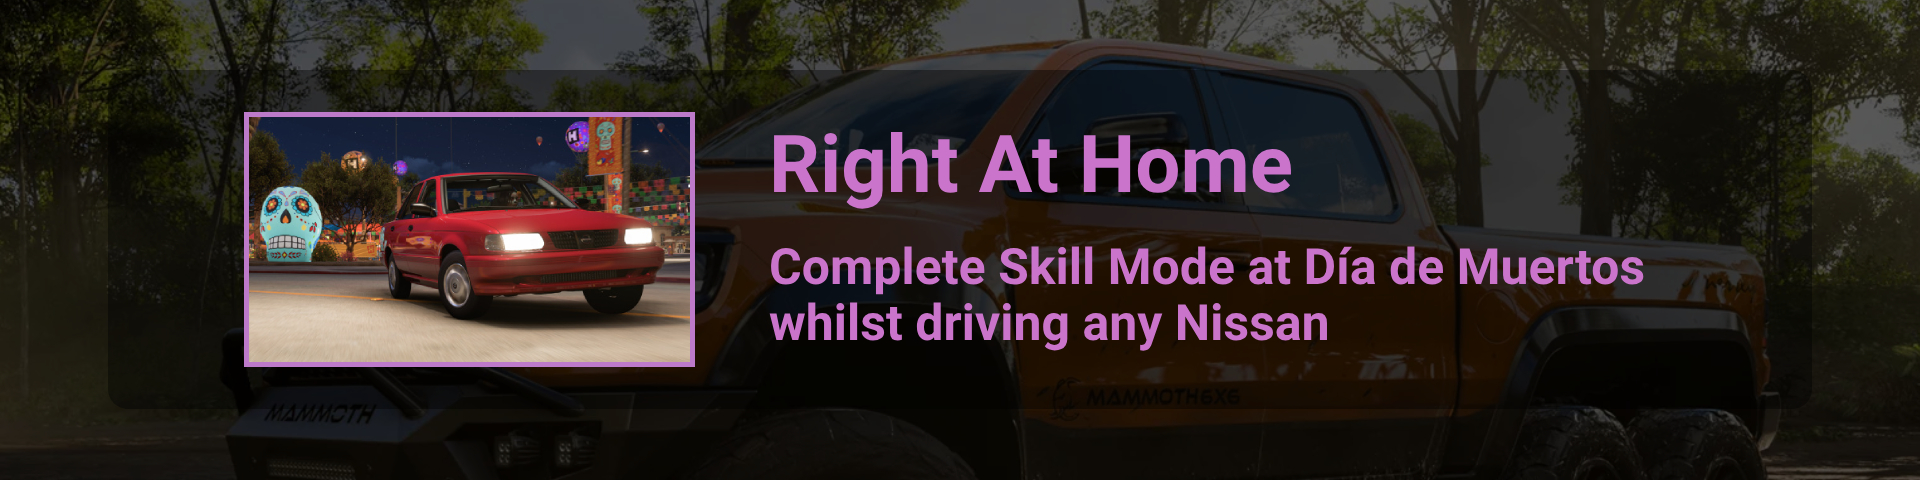
You Might Need a Map
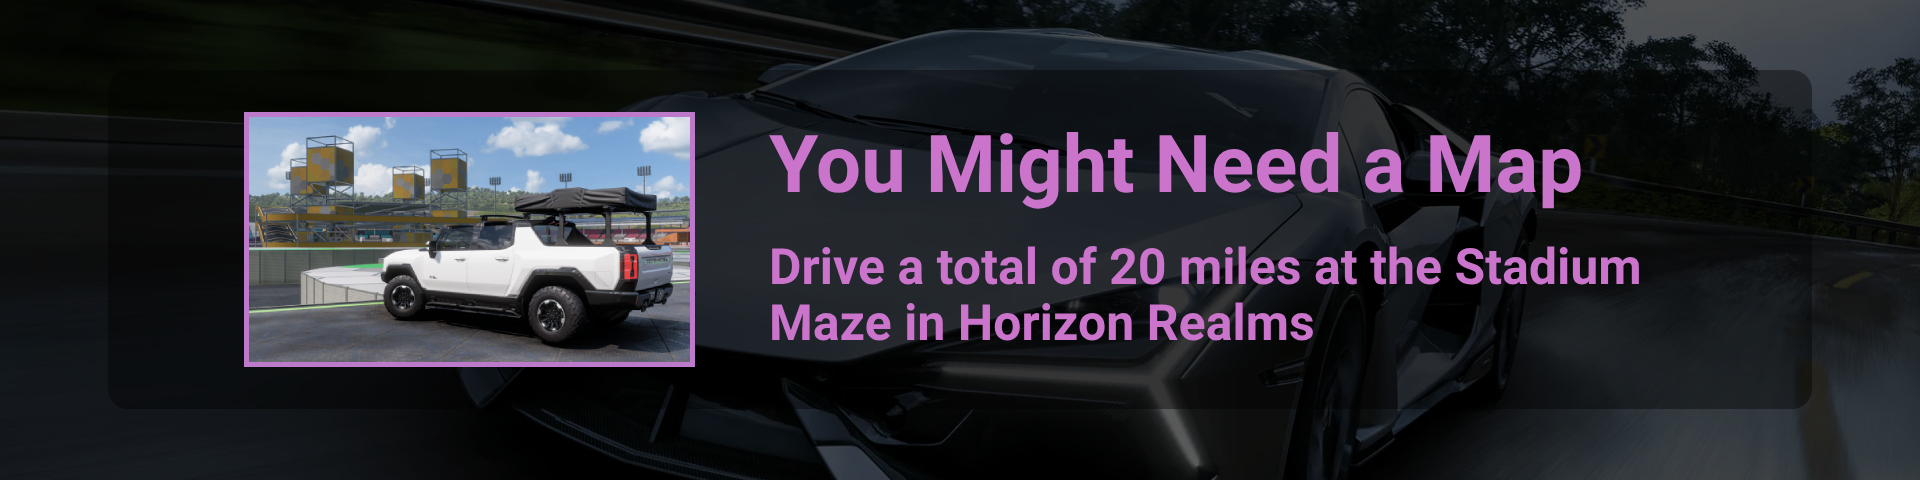
It is necessary to pass exactly on the map Labyrinth at the stadium. The easiest way to get through is to drive around the outer ring of the map until the achievement drops. You can track your progress through the rewards Accolafes - Worlds of Horizon - You Might Need a Map, the accolade drops a little earlier the achievement does
Driving in a...
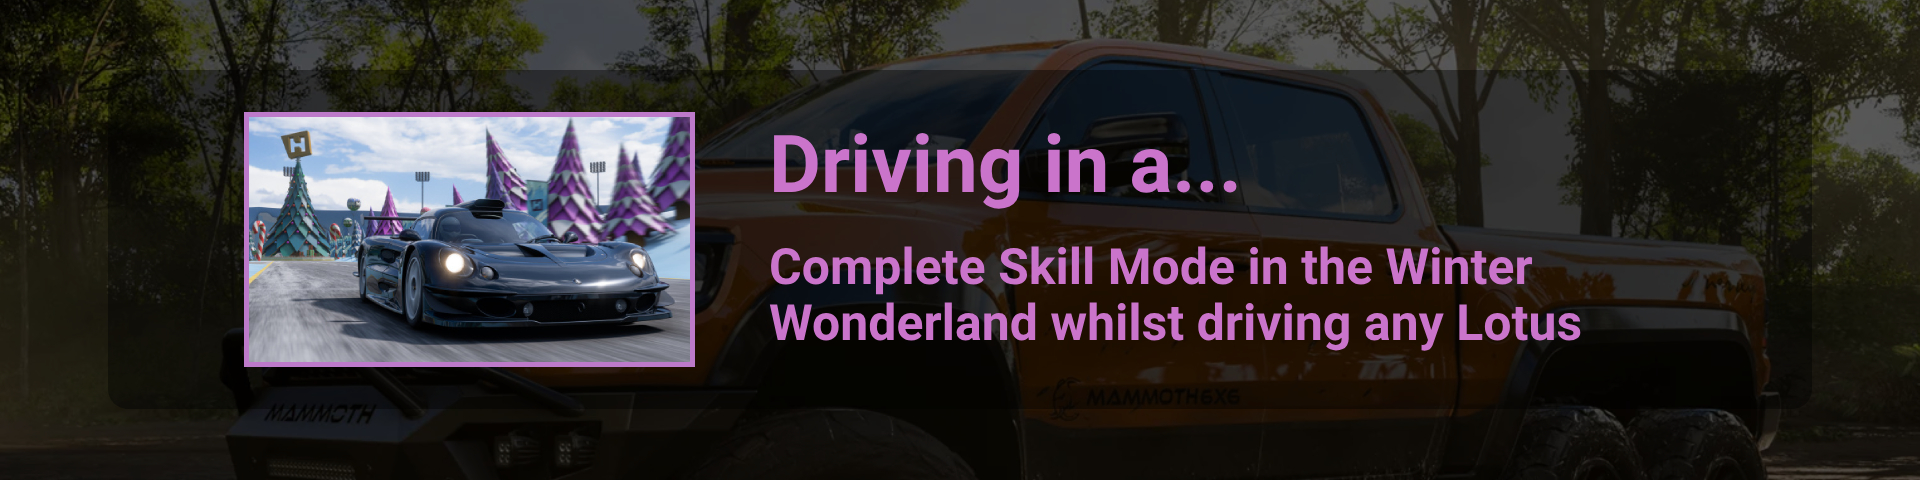
Stunt-tacular
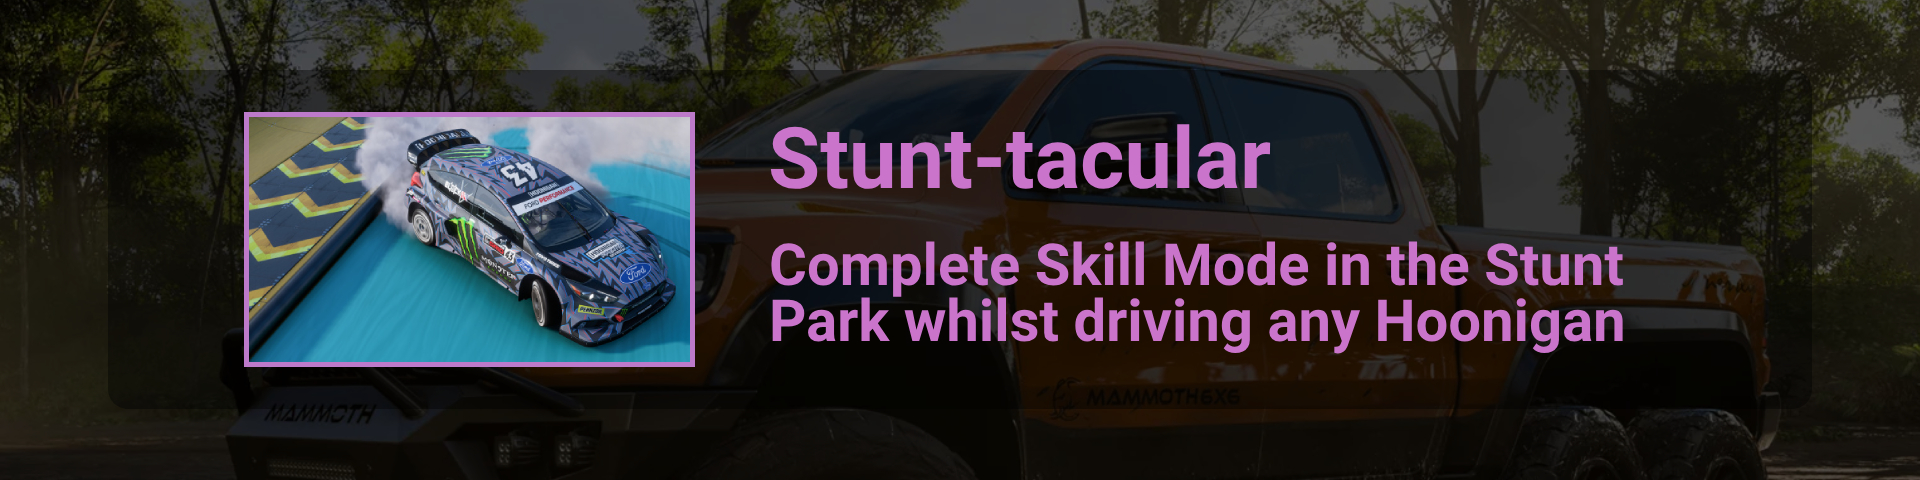
You're On Thin Ice
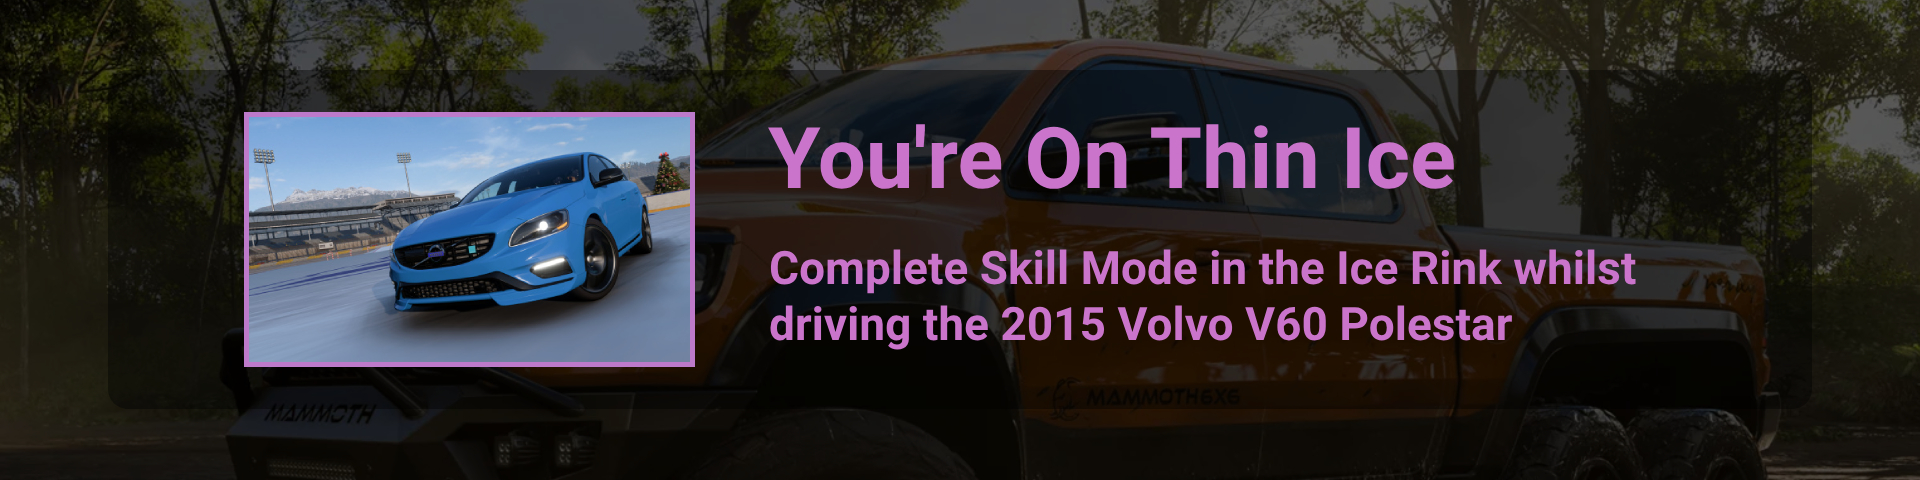
Master of Realms
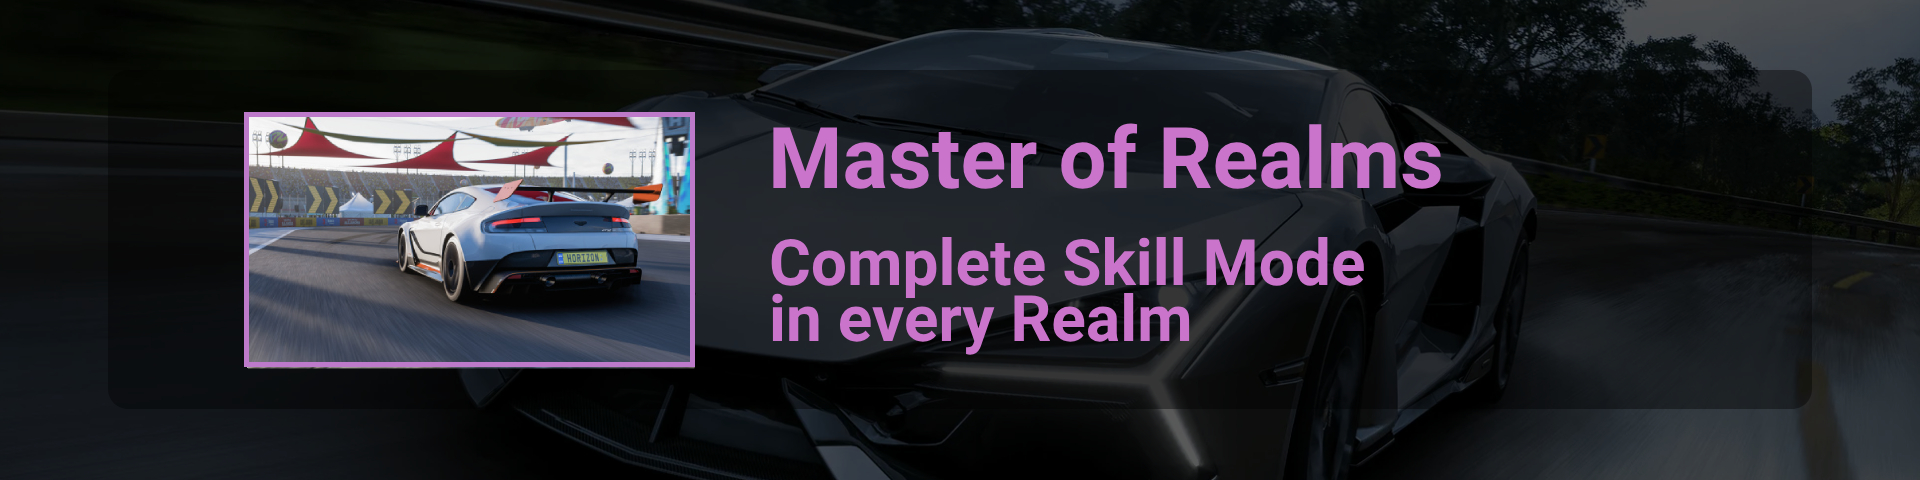
It is not enough to perform a technique, you also need to not disrupt the calculation of points by collision, at least, I had Drift technique counted only after stopping and multiplying the points by a coefficient, the same was with the Crash technique
Free Bird
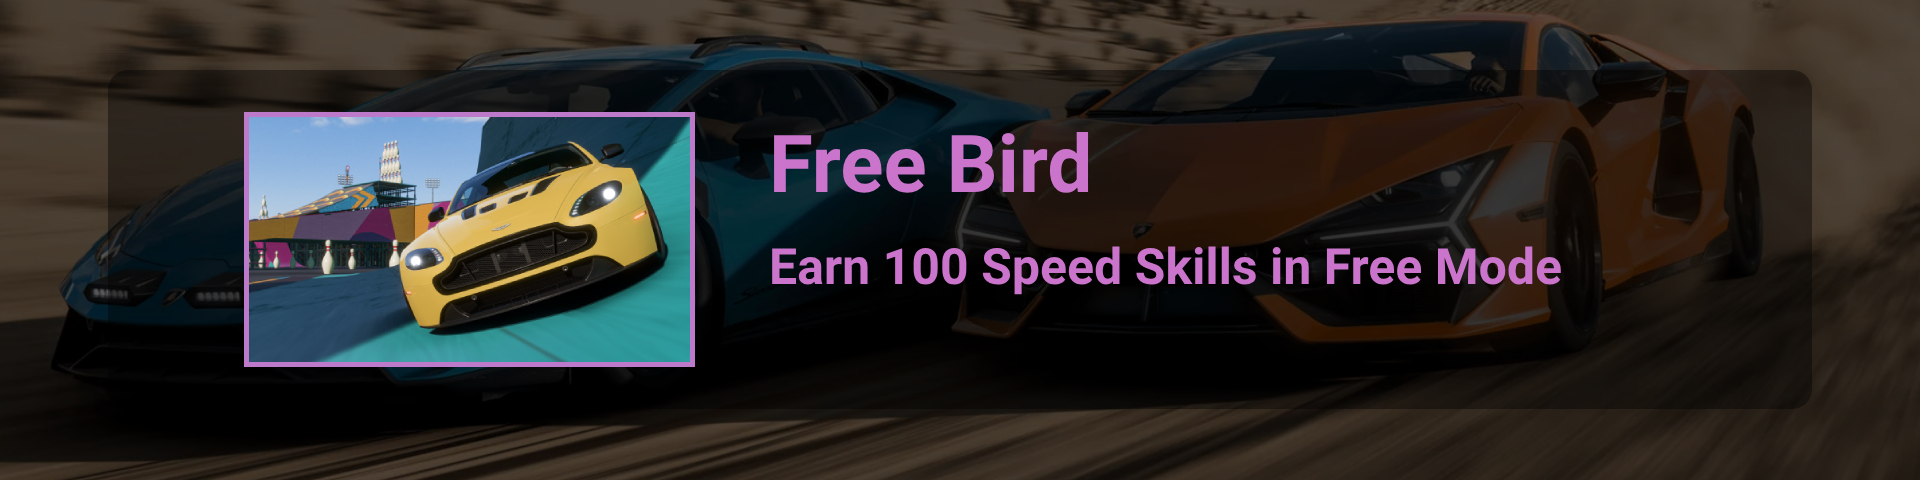
The Retrovave Highway or Neon Runway map will do. In any X999 class hypercar, drive quickly to one side, turn around carefully so as not to lose a series of points by collision, and drive back again
Drifting, Drifting, Drifting
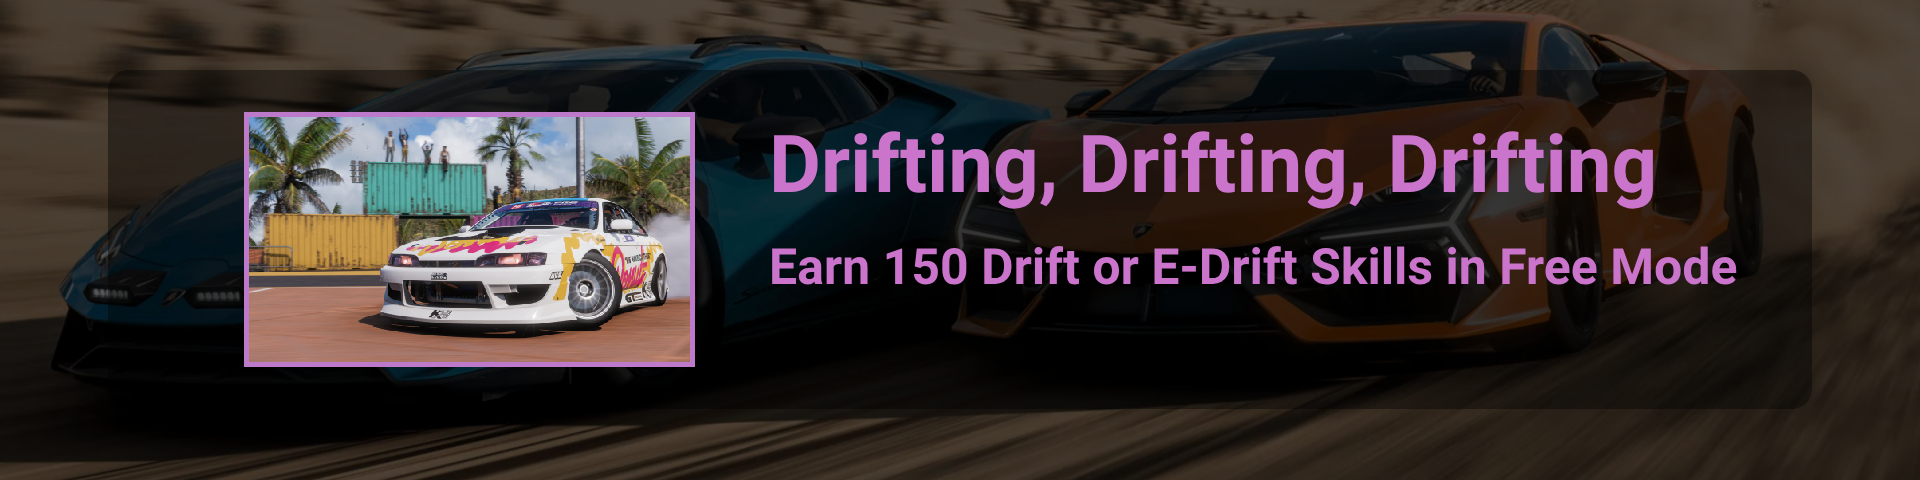
Oval track map, on the outer circle behind the stadium. You can combine it with the Crash technique, combining drifting and destroying small white pillars. The main thing is not to crash so as not to knock down the multiplier and get points
Demolisher
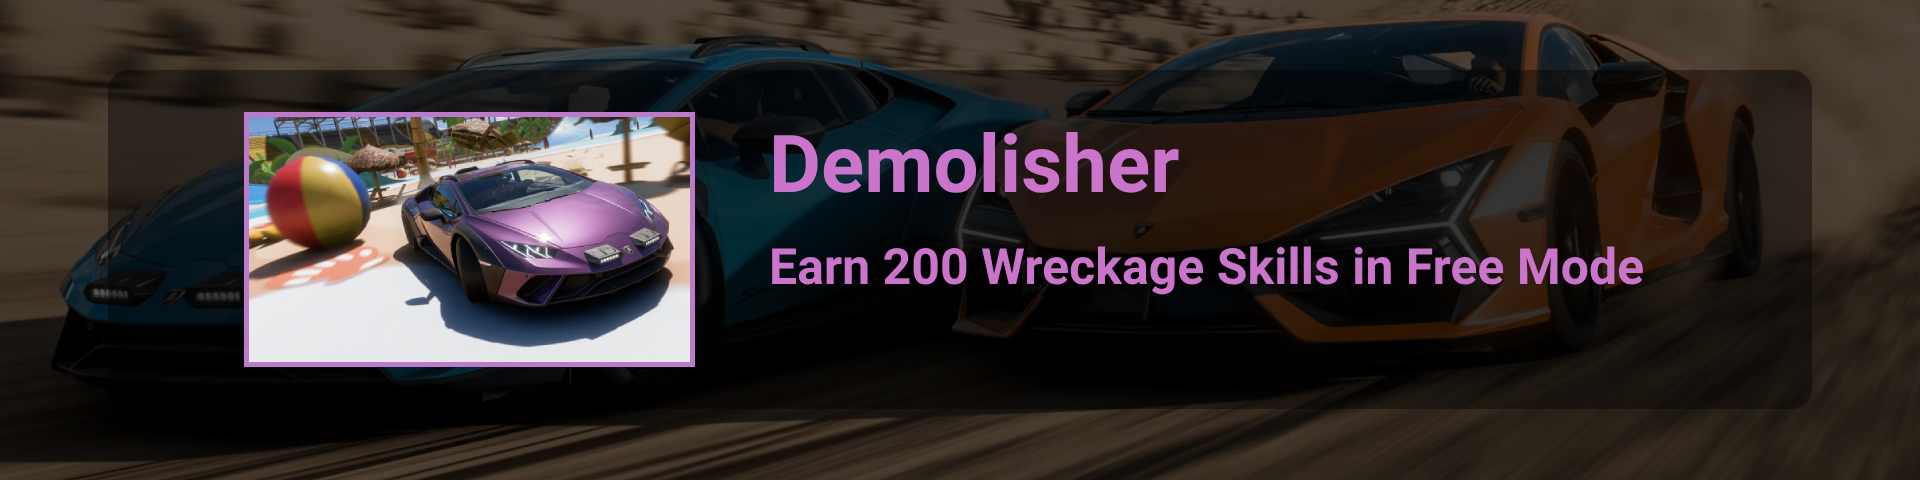
Spanning Generations
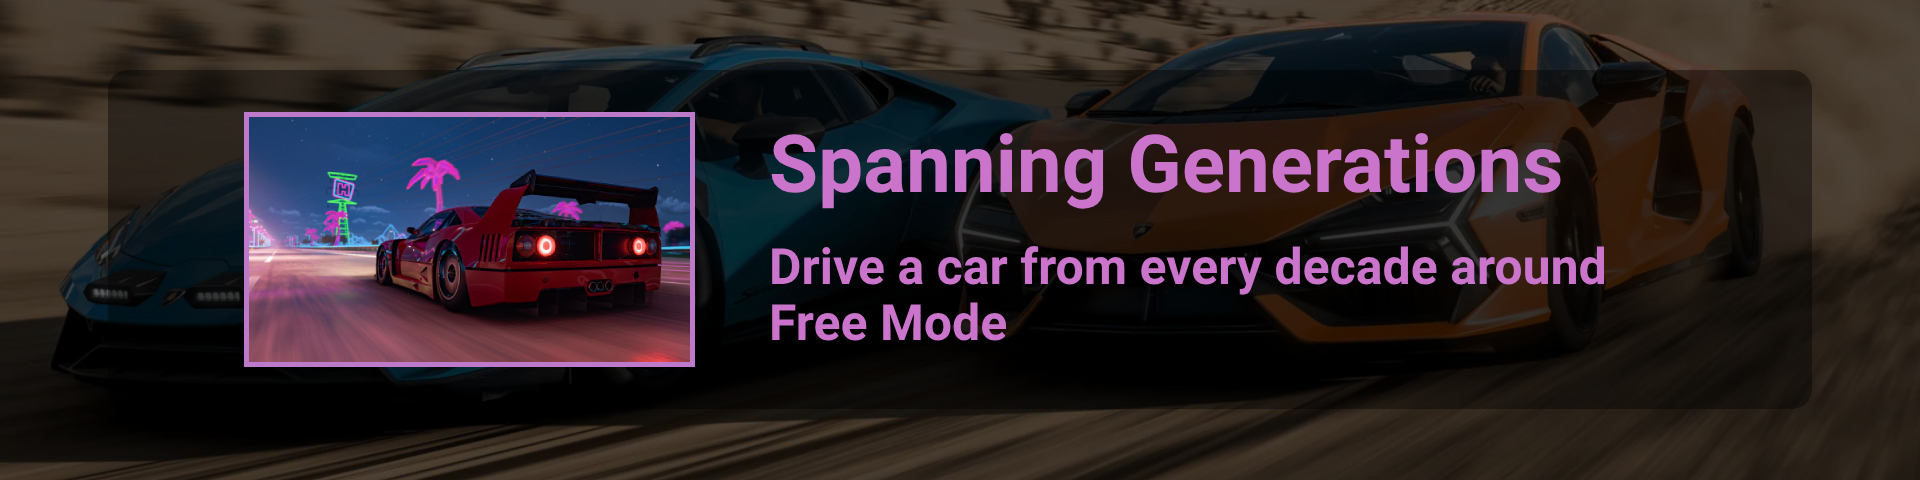
It is sufficient to change machines while in free mode.Menu - Cars - Change car - Sort - Year of manufacture. Choose one from each category of years, starting with the most recent, I have so the achievement fell on the 5th or 6th category, probably due to accidental use of more modern cars earlier. At the same time you can take pictures of the cars, for the achievement “Keep That Camera Rolling”
Keep That Camera Rolling

Enter free mode, take a quick photo, select a new car via Menu - Cars and repeat the quick photo action with the new car. You can take all photos on one map
✦ The Conclusion 💖
Good luck on your Horizon Adventure! If you have any questions, you can ask in the comments or by texting me :)
I hope you will not face such invisible walls in your way:
