Complete Art Gallery Guide (Comics from Cutscenes also Included)
 Attempt_NP1
(41 ratings)
Feb 7, 2024 @ 5:00am2,28151
Story or LoreEnglish
Please Consider Rating This Guide
If you find any of this guide's contents interesting, helpful, and/or entertaining, please make sure to click the thumbs-up button, which is located right above this section. Awards, favoriting, and sharing are also greatly appreciated.
Thanks in advance for any and all support!
Regarding Invalid-URL Errors
Over the past few years, I have noticed that when I left-click an image in order to view a larger version of it, I sometimes encounter an invalid-URL error:
This occurs despite a) having both a good and stable internet connection, and b) having no problems doing the exact same thing on other sites (e.g. IGN, Neoseeker,[www.neoseeker.com] PowerPyx,[www.powerpyx.com]etc.).
And this isn't isolated to just myself. If you're curious to see other mentions of this error, check out the following links below to Steam posts covering the exact same problem:
Anyway, if you're experiencing this problem, I have some straightforward suggestions that should allow you to view an enlarged version of your desired image:
Computer Users (on either a browser or the Steam client):
Instead of left-clicking the image, right-click it and select either the Open Link in New Tab or Open Image in New Tab option (NOTE: the wording might be different depending on what browser you're using, so just select the option closest to one of the two listed).
Mobile Users:
I have not experienced this problem on my phone, but if you have, I recommend holding down your finger on the image until a box pops up and then selecting the Open Image in New Tab or Open in New Tab option. Keep in mind that this may be worded differently depending on the browser or operating system you're using, so just look for whatever option is similar to one of the above.
And that's about it. Hopefully the above allows you to work around any invalid-URL errors you may encounter.
This occurs despite a) having both a good and stable internet connection, and b) having no problems doing the exact same thing on other sites (e.g. IGN, Neoseeker,[www.neoseeker.com] PowerPyx,[www.powerpyx.com]etc.).
And this isn't isolated to just myself. If you're curious to see other mentions of this error, check out the following links below to Steam posts covering the exact same problem:
- Steam Guide - Images Frequently Wont Load [2022]
- Steam guide pictures showing "Invalid URL" when clicked by a Steam user [2025]
- Images in guides are giving an error when clicking on them (screenshot) [2025]
Anyway, if you're experiencing this problem, I have some straightforward suggestions that should allow you to view an enlarged version of your desired image:
Computer Users (on either a browser or the Steam client):
Instead of left-clicking the image, right-click it and select either the Open Link in New Tab or Open Image in New Tab option (NOTE: the wording might be different depending on what browser you're using, so just select the option closest to one of the two listed).
Mobile Users:
I have not experienced this problem on my phone, but if you have, I recommend holding down your finger on the image until a box pops up and then selecting the Open Image in New Tab or Open in New Tab option. Keep in mind that this may be worded differently depending on the browser or operating system you're using, so just look for whatever option is similar to one of the above.
And that's about it. Hopefully the above allows you to work around any invalid-URL errors you may encounter.
Introduction
Welcome to Street Fighter 6's art gallery guide!
In this guide, you will find general guidance about how to unlock all images in the gallery accompanied by the artwork itself.
Very broadly, all the pictures in this game can be obtained by a) playing Capcom's arcade/console games, b) fighting V-Rivals at one of the battle hubs, c) clearing objectives in arcade mode and completing each character's story multiple times, and d) maxing your style and bond levels with all masters in World Tour mode.
Keep in mind that the art gallery will continue to grow as more characters are released. It is currently up-to-date and includes the DLC characters Rashid, A.K.I., Ed, Akuma, M. Bison, Terry, and Mai. As a bonus, I have included all the slides that make up the comic movies from World Tour (which can be found in the gallery's cutscenes section).
If you want to view the slides from the characters' arcade stories, then check out the guide I made for them here.
I hope you like both the quality and quantity of this game's artwork as much as I do!
Battle Hub - Game Center (Part 1)
About the Game Center
Before getting into the details, keep in mind that the unlock conditions for Game Center artwork vary. To the best of my knowledge, you can unlock artwork by a) playing games in the Battle Hub or via the Game Center tab in your Gallery, or b) getting them as a reward from one of the Notices in the News section (which can be found in the multi-menu).Some of the artwork might be permanently missable, due to things like rewards no longer being obtainable after a Premium Pass expires (unless Capcom reuses some of the passes in the future or makes pass-exclusive games available at the Battle Hub cabinets later on down the line) or there being a time limit to claim notice rewards.
Seeing as I am not going to purchase every Premium Pass, there are limits to how much artwork I can acquire on my own. Because of this, I created a thread here through which I can receive help from other players in order to keep this section as up-to-date as I can. If you have any new information, correction(s) to something I got wrong, or artwork I am missing, please let me know either through the abovementioned thread or in the comments section at the bottom of this guide.
From here on, I will cover how to unlock Game Center artwork in a bit more detail for those of you that want to have a better understanding of their unlock methods. If you are disinterested in this and just want to view the artwork, please skip to the next section.
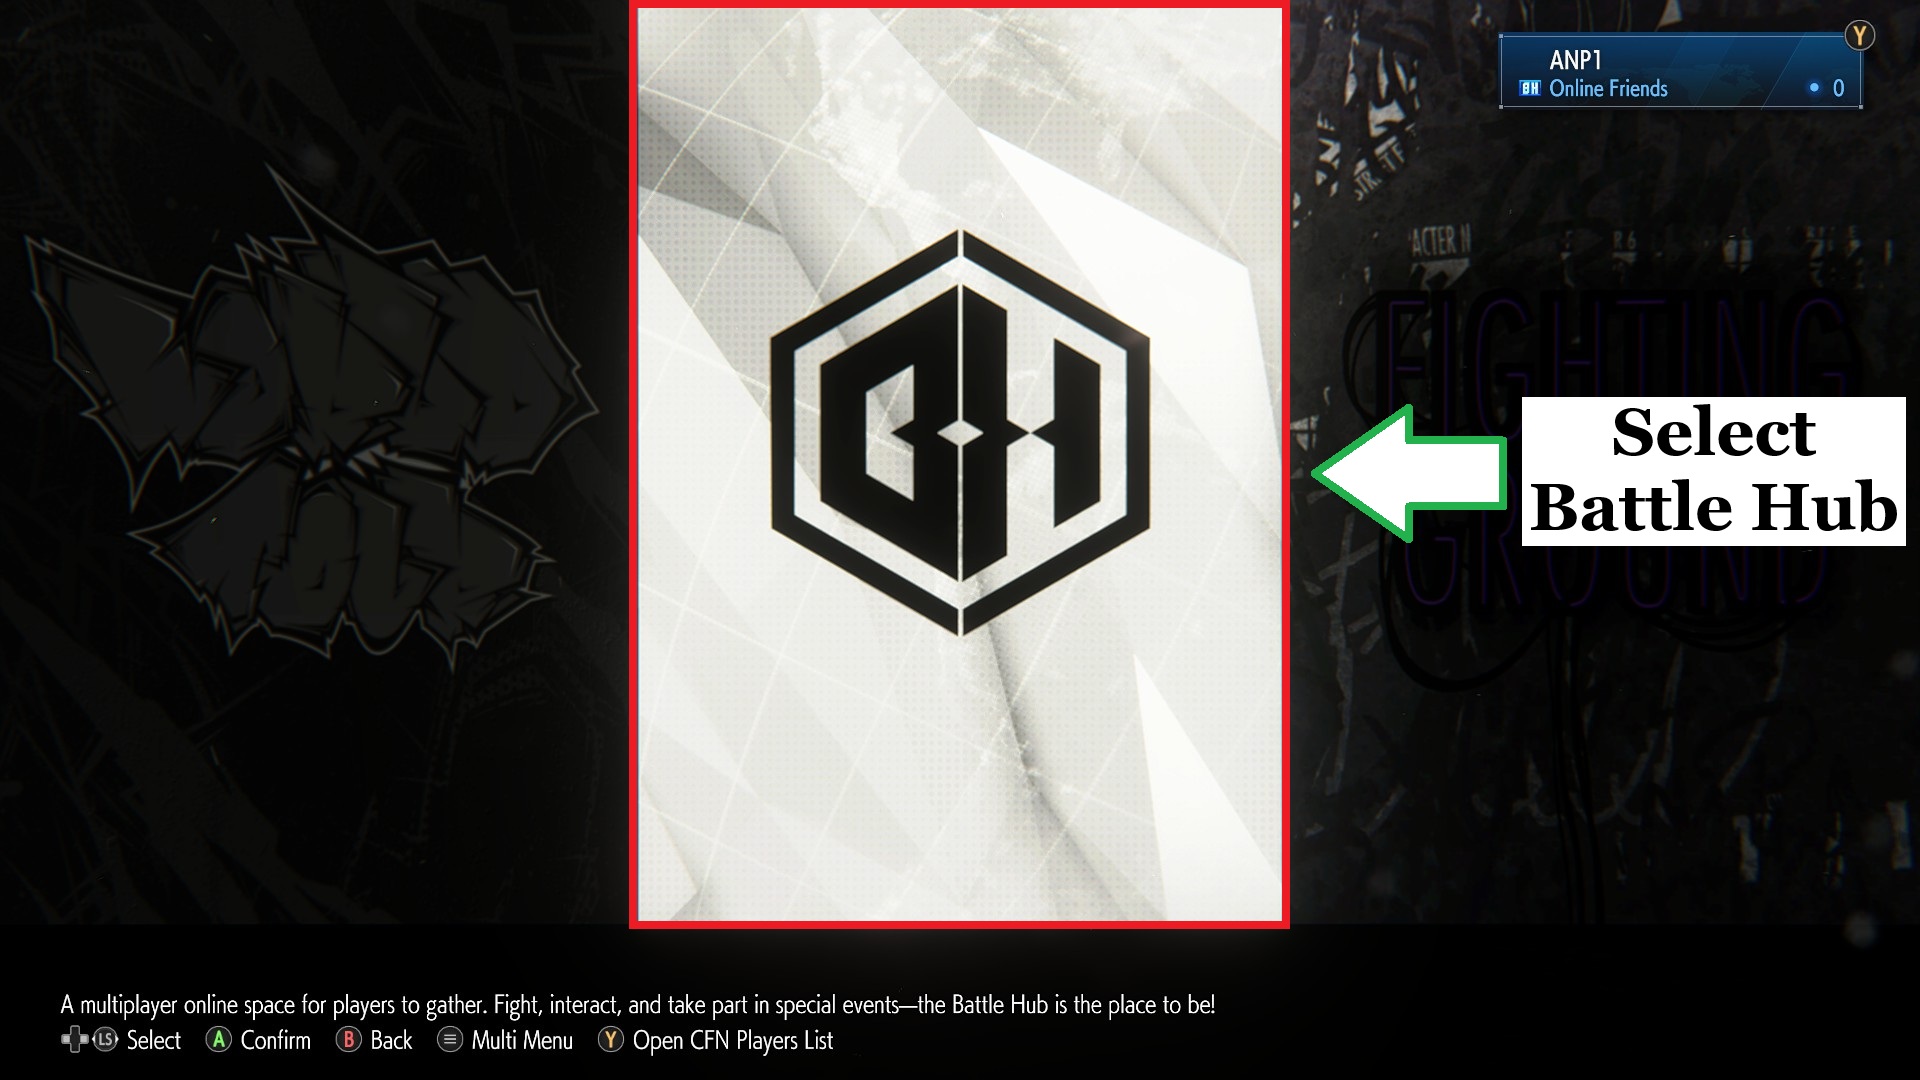
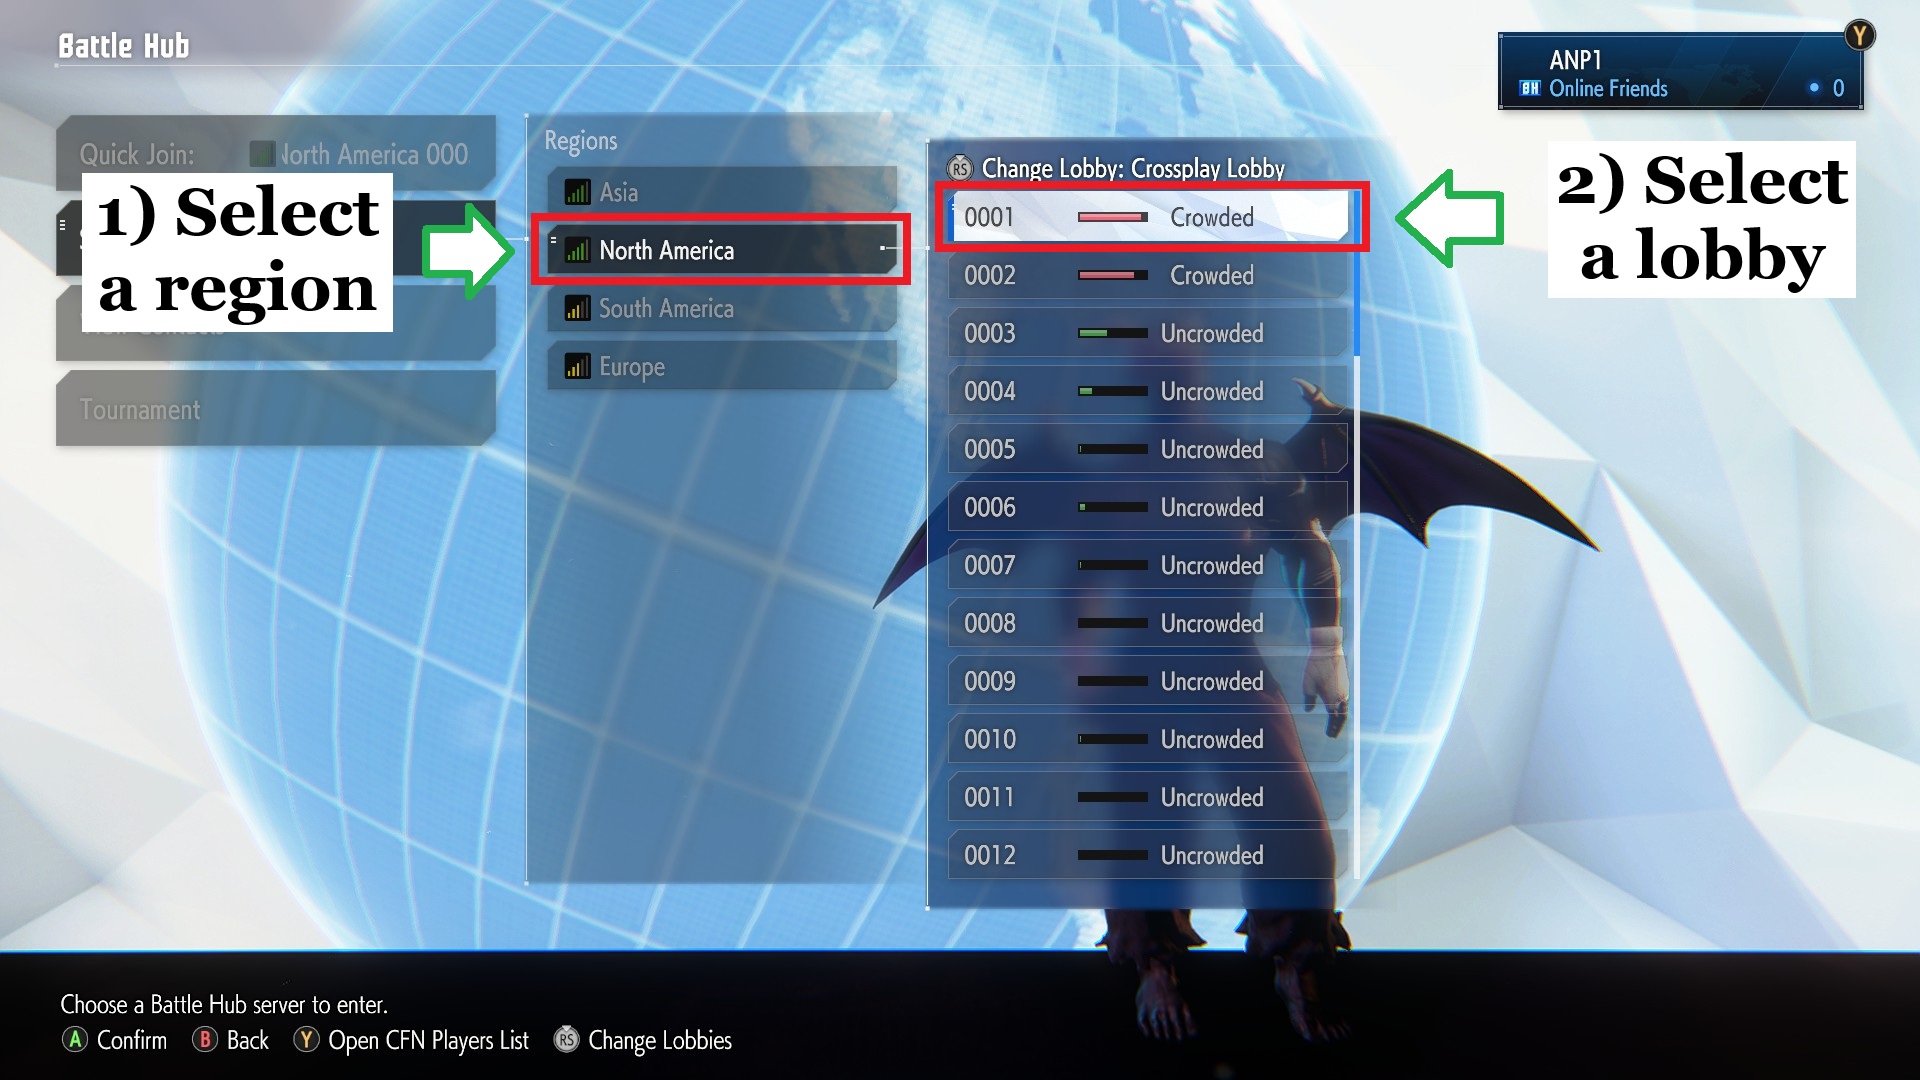
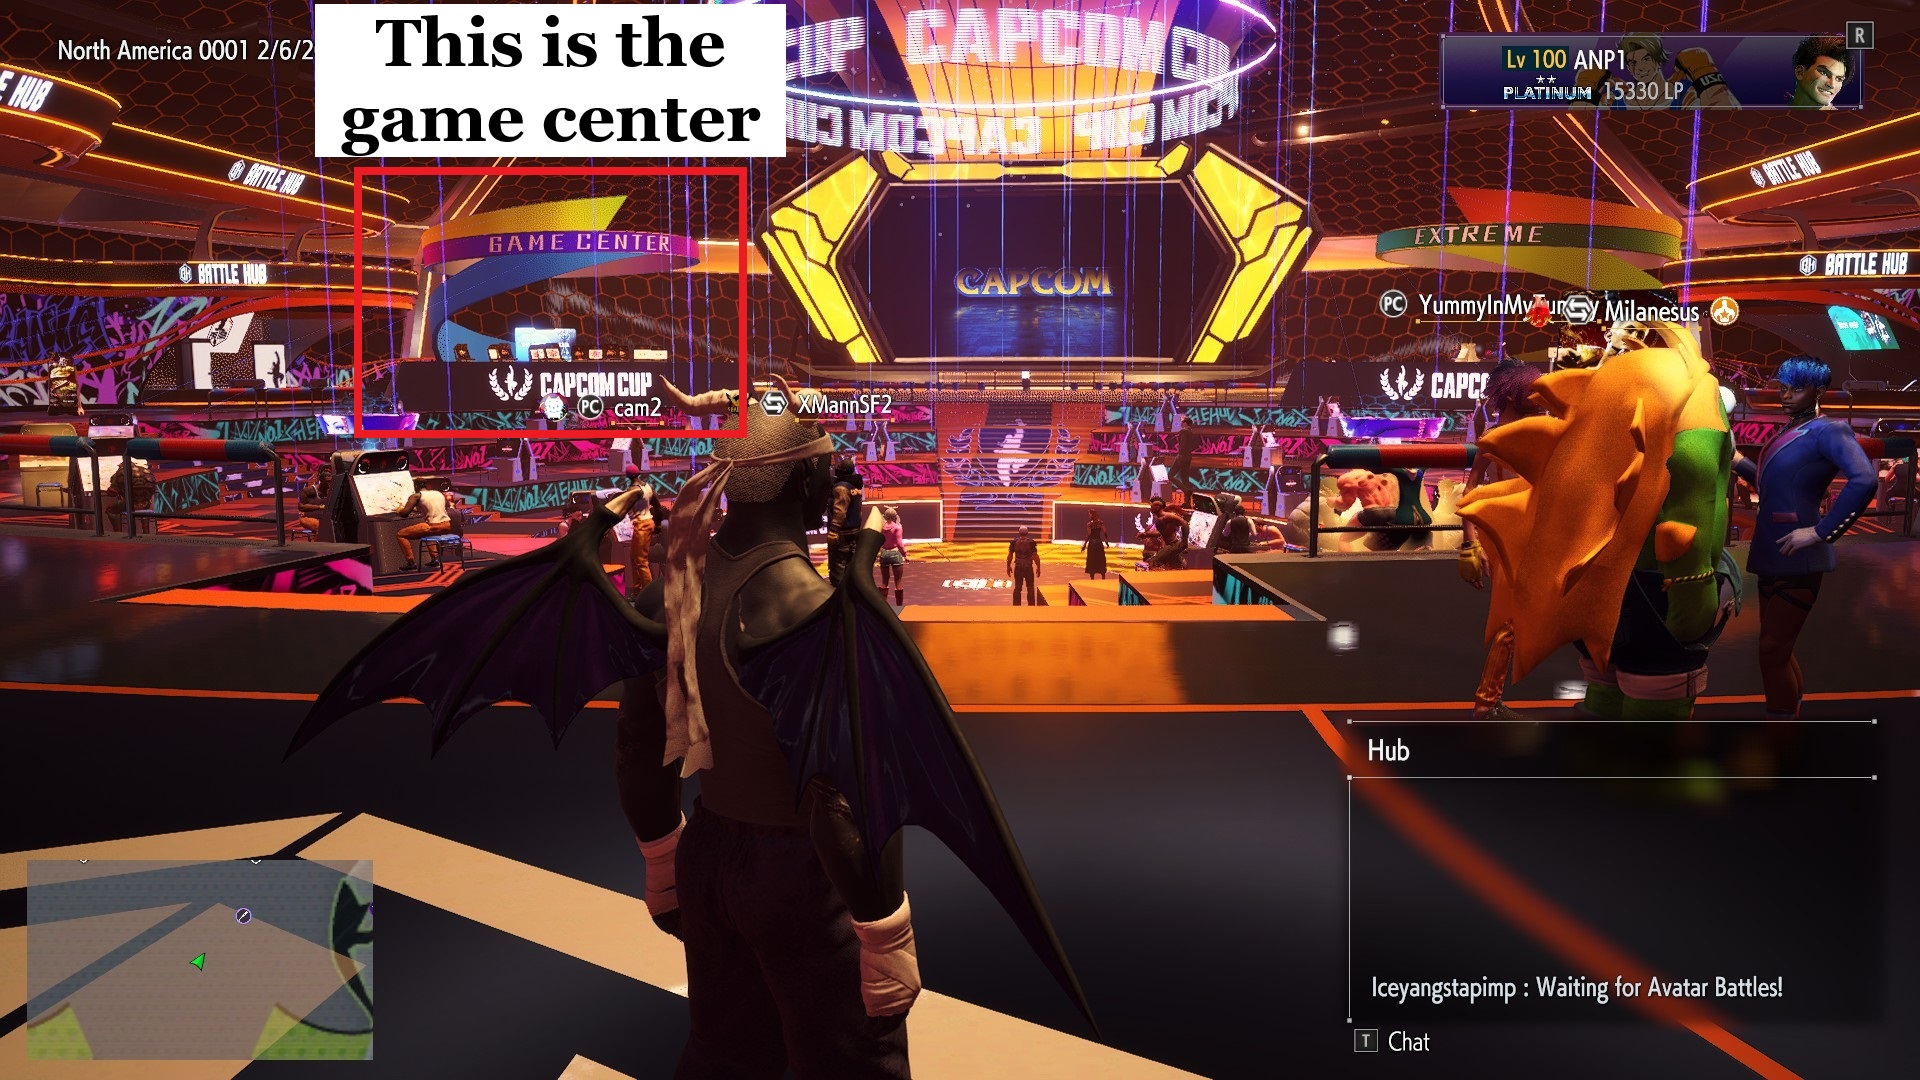
Having completed my preamble, I will now transition into the details. Let's start with the Battle Hub's arcade cabinets, which, perhaps confusingly, are also collectively referred to as the Game Center. To access these cabinets, you'll need to select Battle Hub from the main menu and then choose one of the many lobbies available:
Once you've joined a lobby, stay on the first floor and head over to the area left of the big screen, which is outlined by a red box in the image below:
You'll find many arcade cabinets lined up next to one another, which--when interacted with--allow you to play whatever games are currently available:
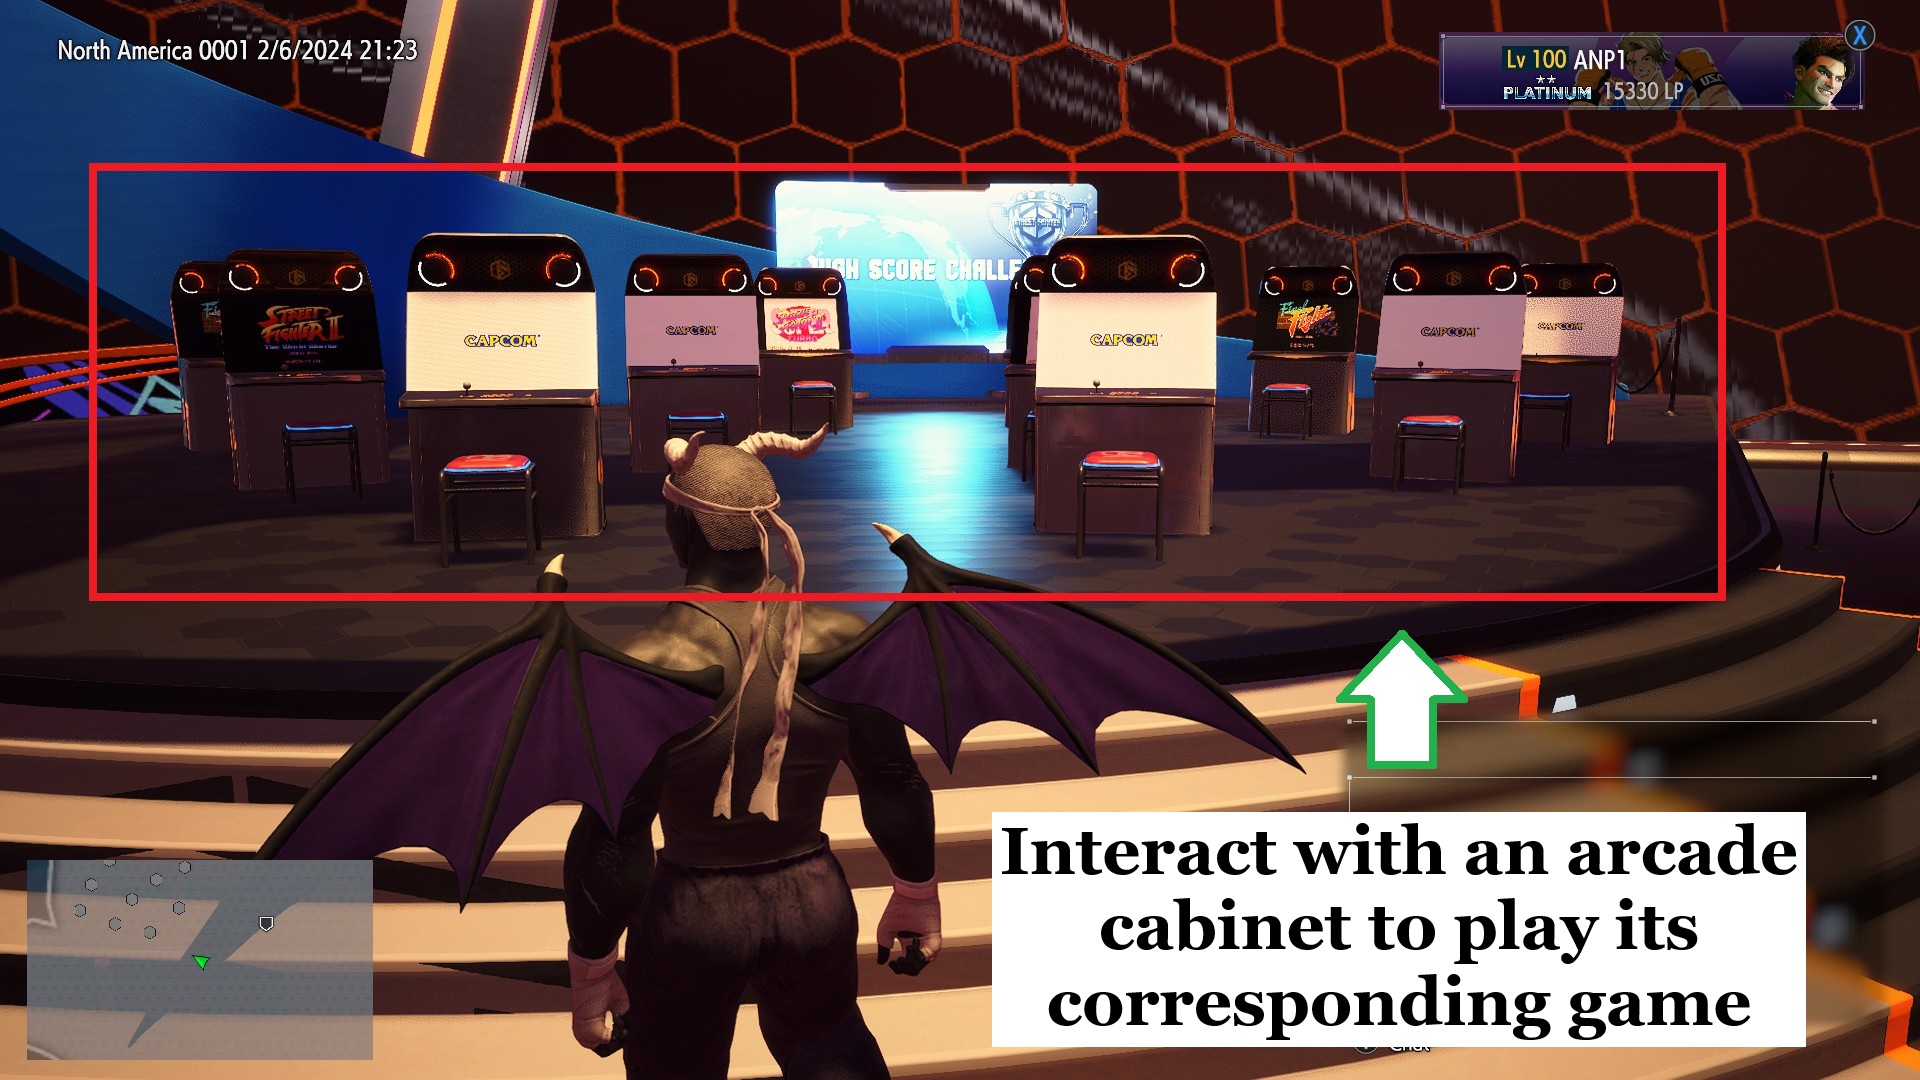
Depending on the cabinet, the games will be cycled daily, weekly, or monthly. If you want to get all of the images yourself, check the Game Center regularly and make sure you play the game you're trying to unlock artwork from. No need to use all of your continues or lose a life: playing for just a brief moment is enough.
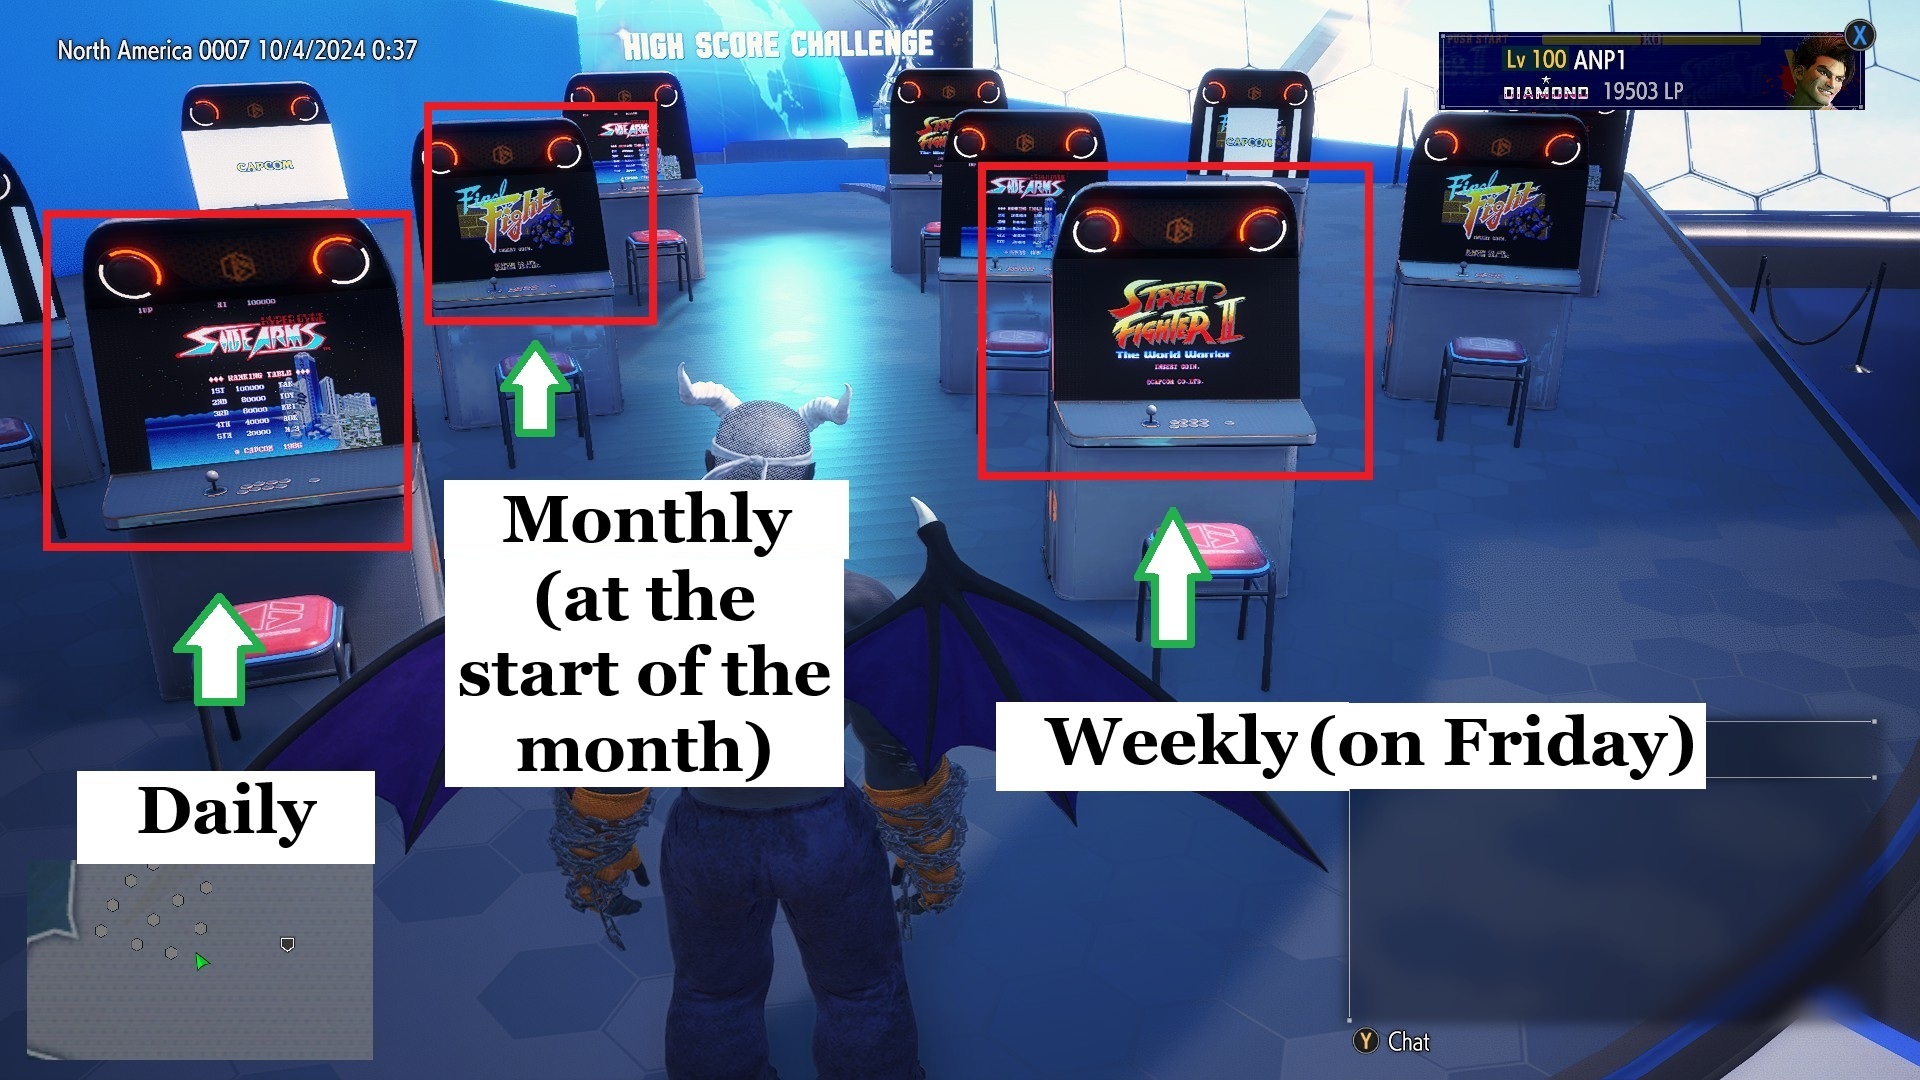
Now you may be curious to know how to distinguish the arcade cabinets by their frequency of game rotation (e.g. daily, weekly, or monthly). Unless Capcom has changed it since I last checked, the following screenshot should be accurate, but keep in mind that "at the start of the month" and "on Friday" refer to my time zone, so you may want to adjust accordingly:
Lastly, you may want to peruse the following table to specifically learn which games are daily, weekly, or monthly; however, it may not be fully accurate/up-to-date, so please keep this in mind:
Game Title
Frequency
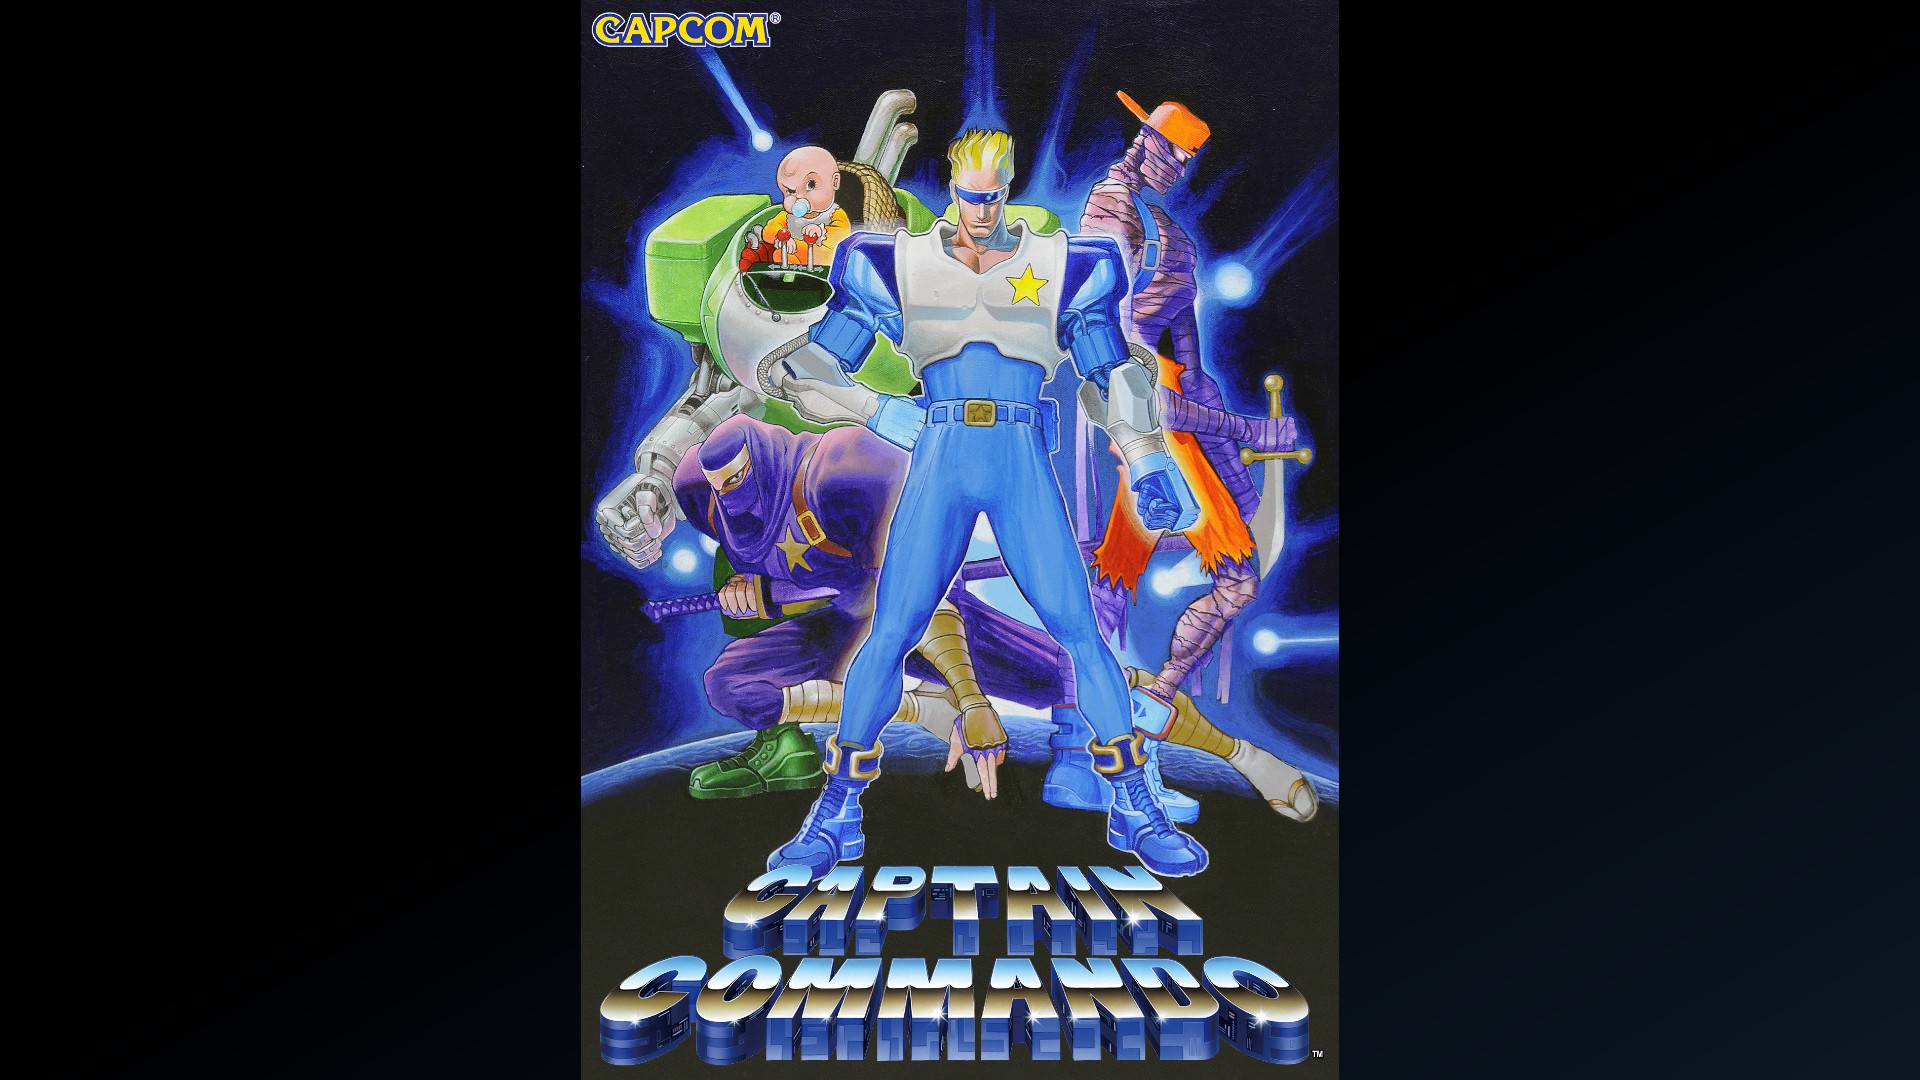
Captain Commando
Monthly
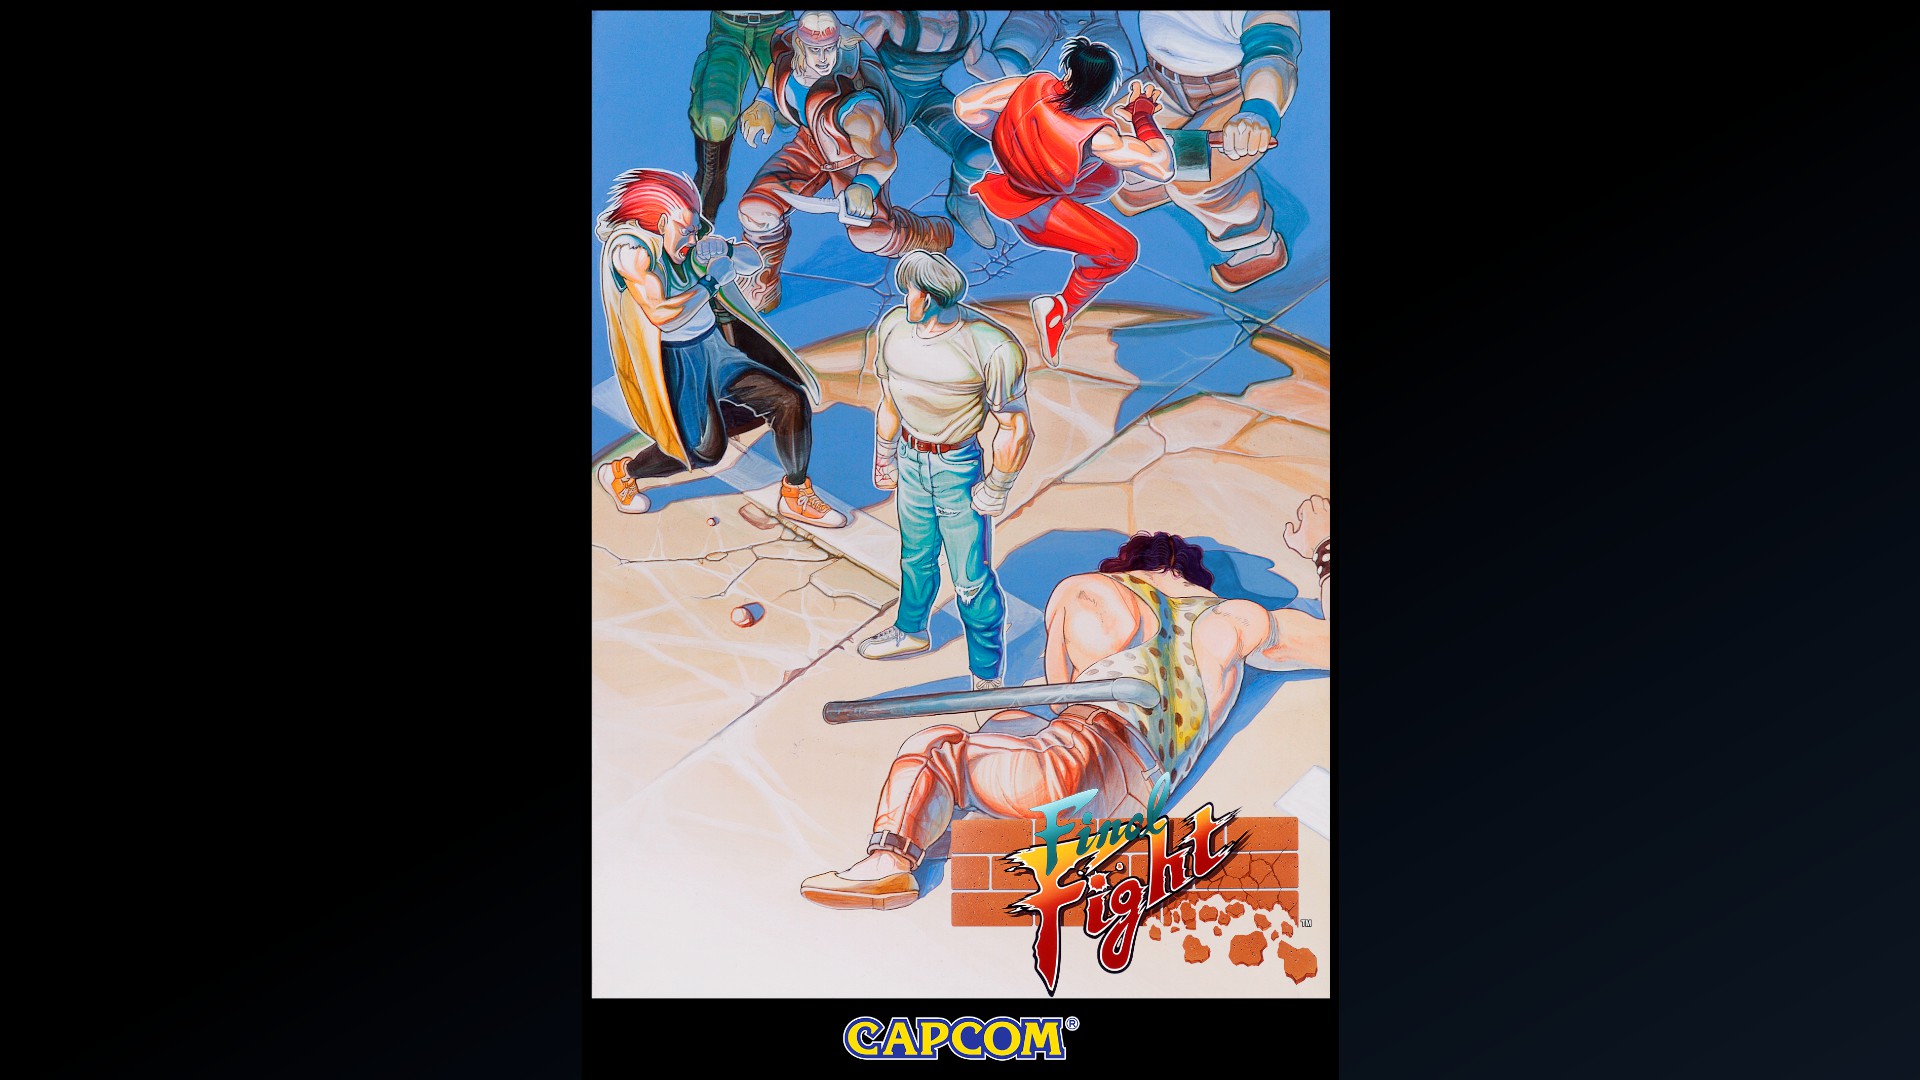
Final Fight
Monthly
Ghouls 'n Ghosts
Not sure, but I think it's monthly*
Legendary Wings
Daily
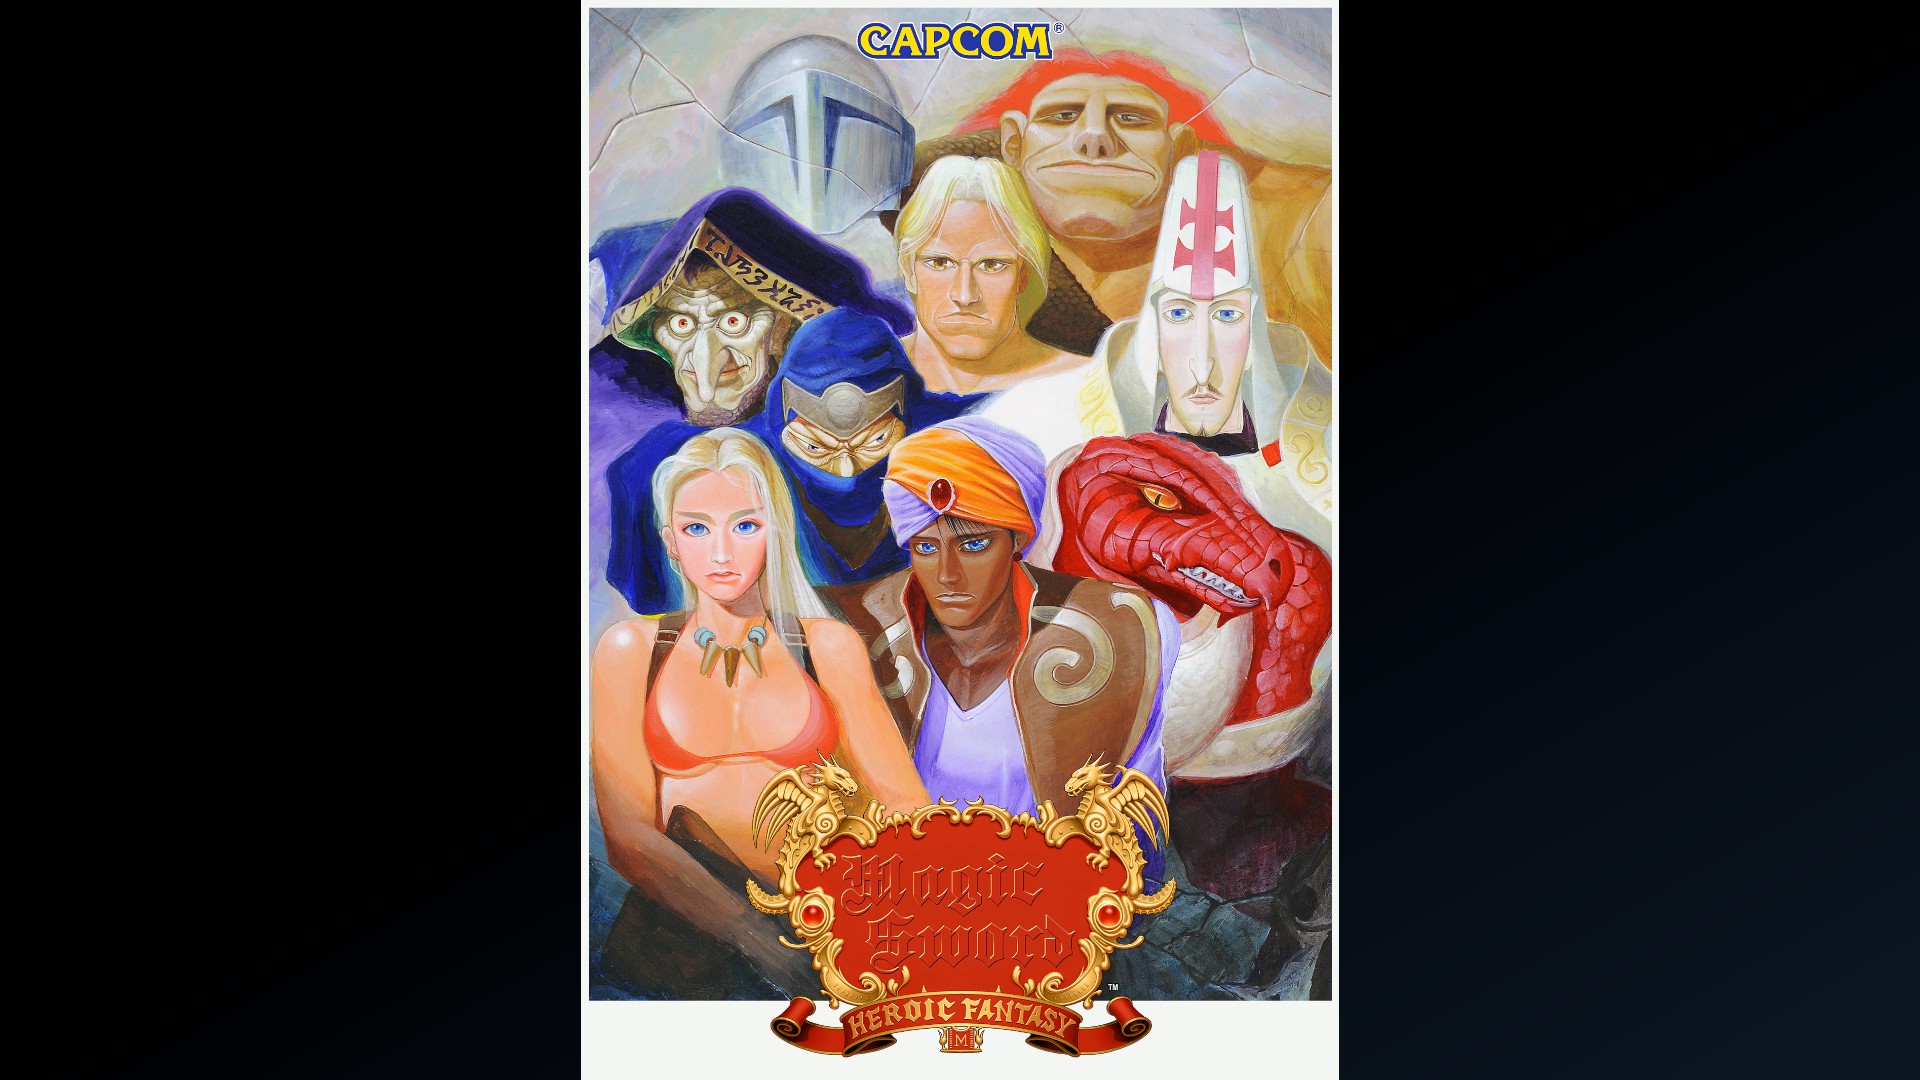
Magic Sword
Daily
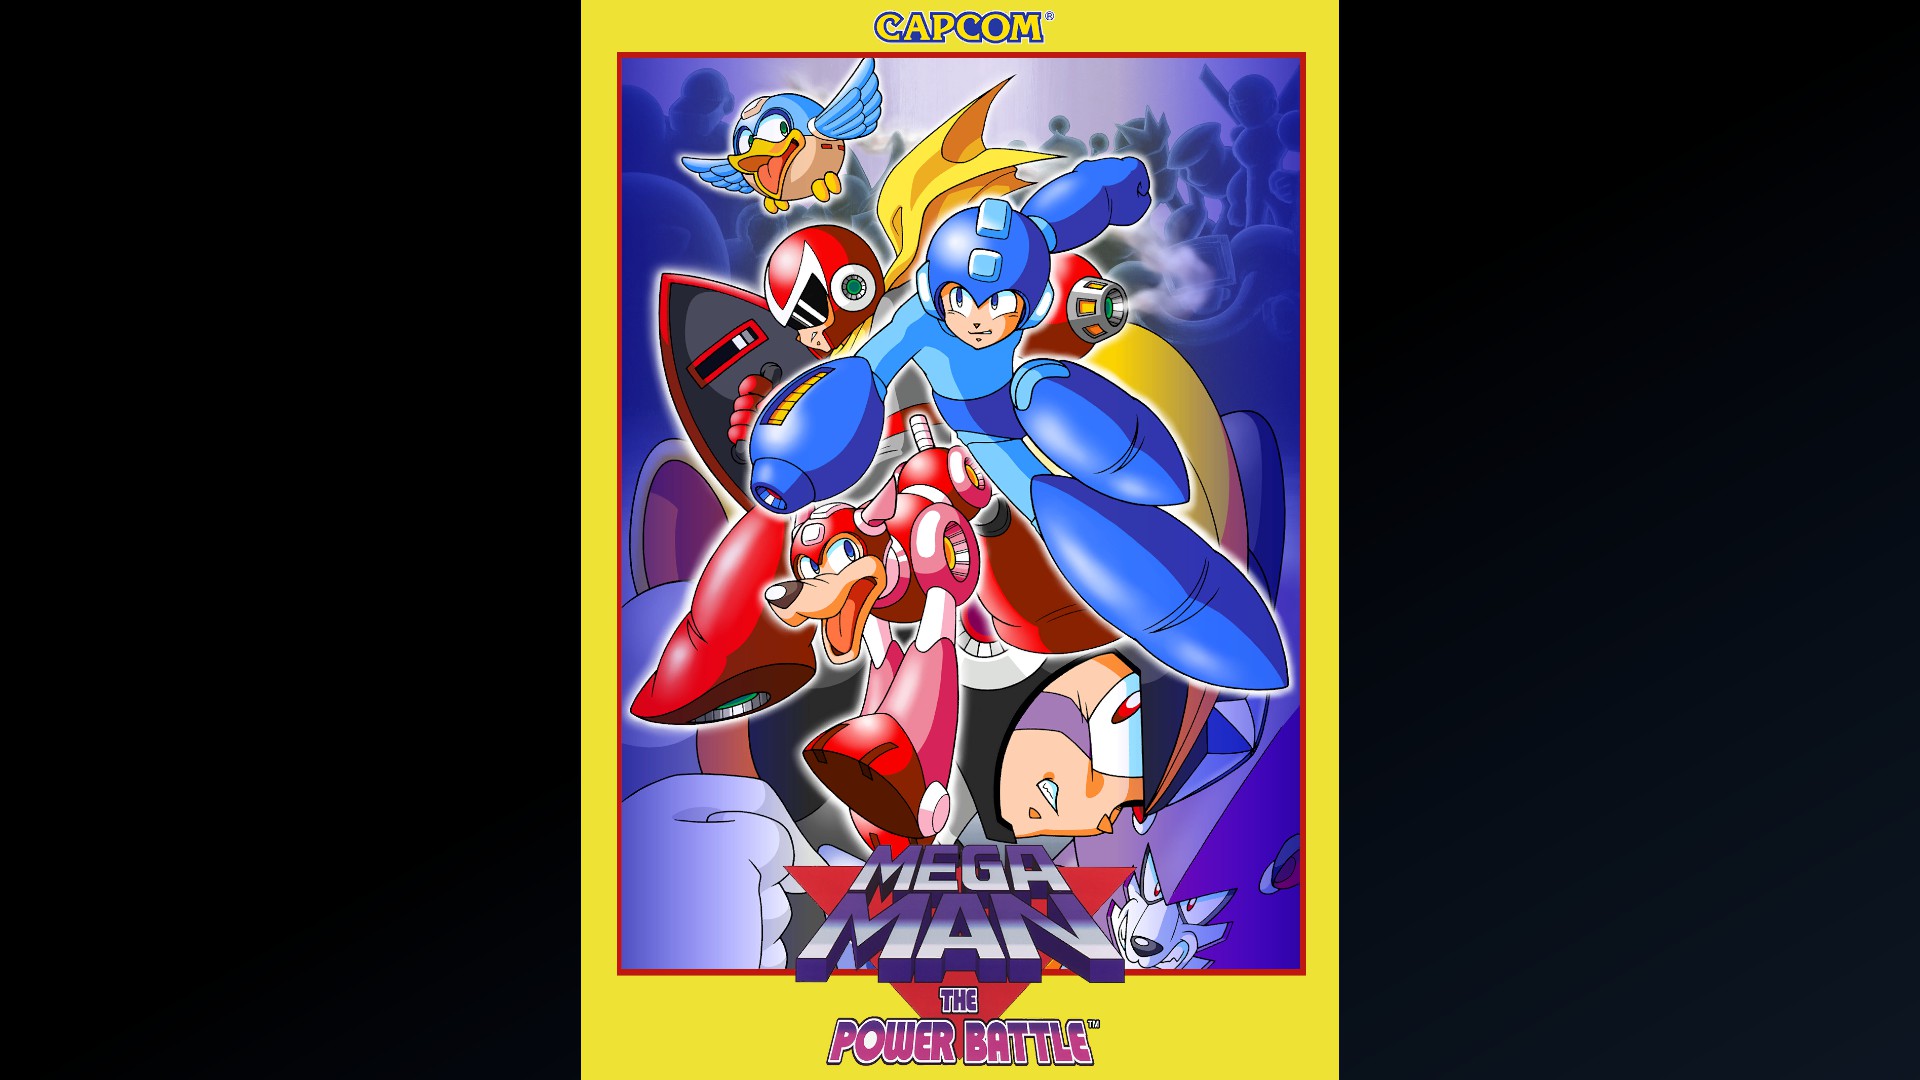
Mega Man: The Power Battle
Daily
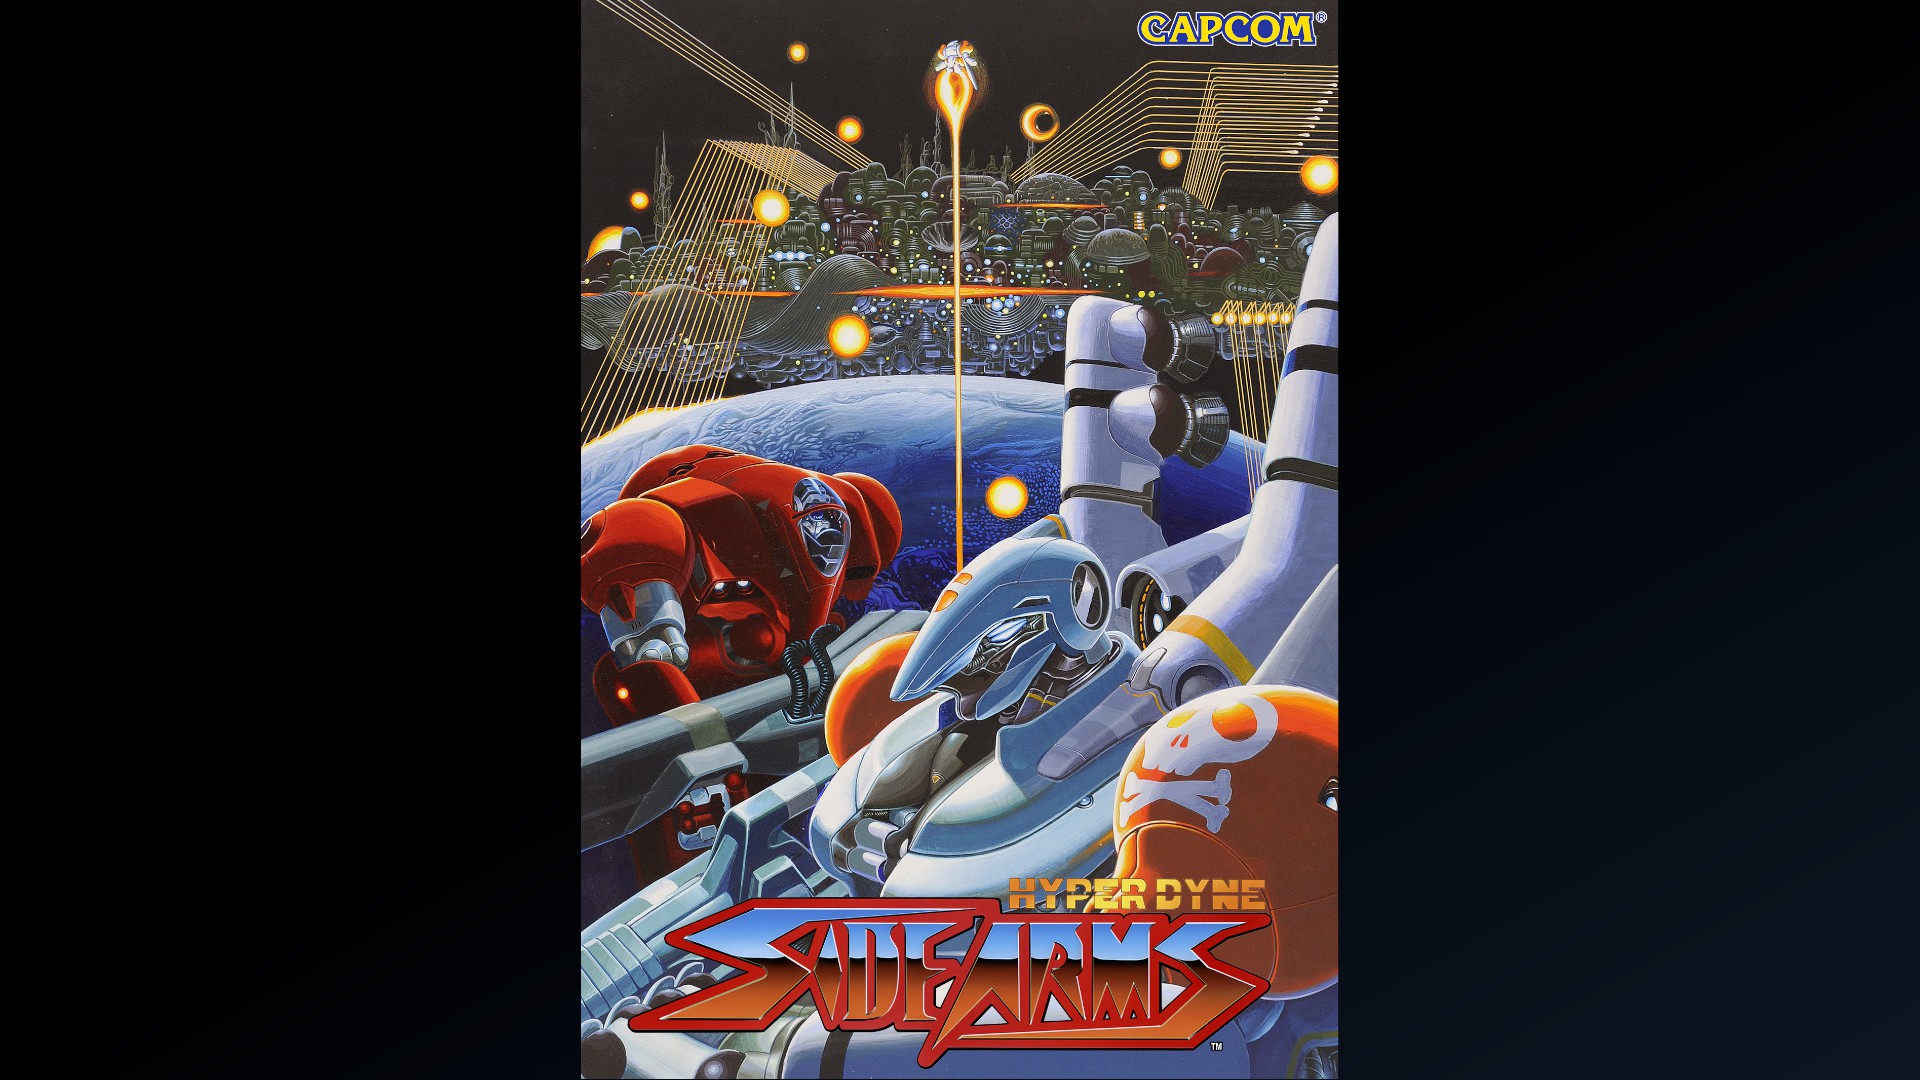
Side Arms
Daily
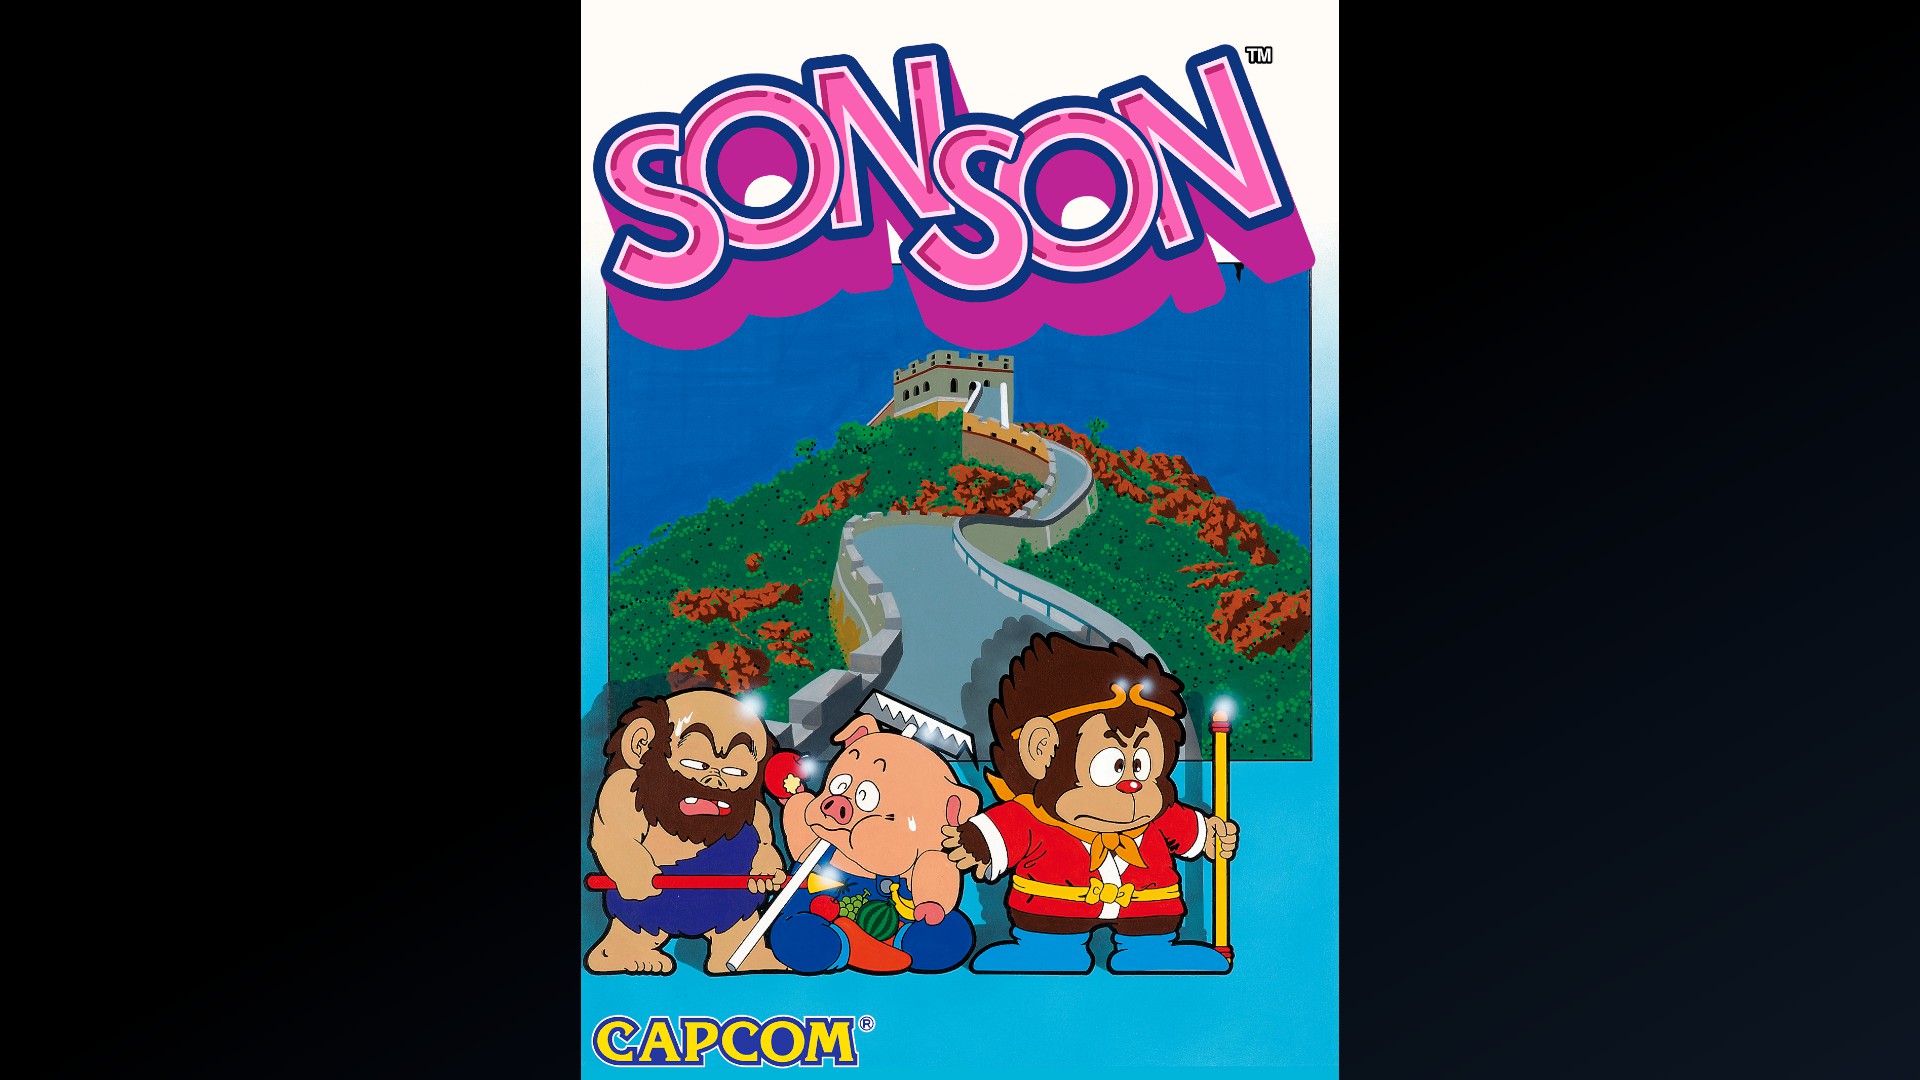
SonSon
Daily
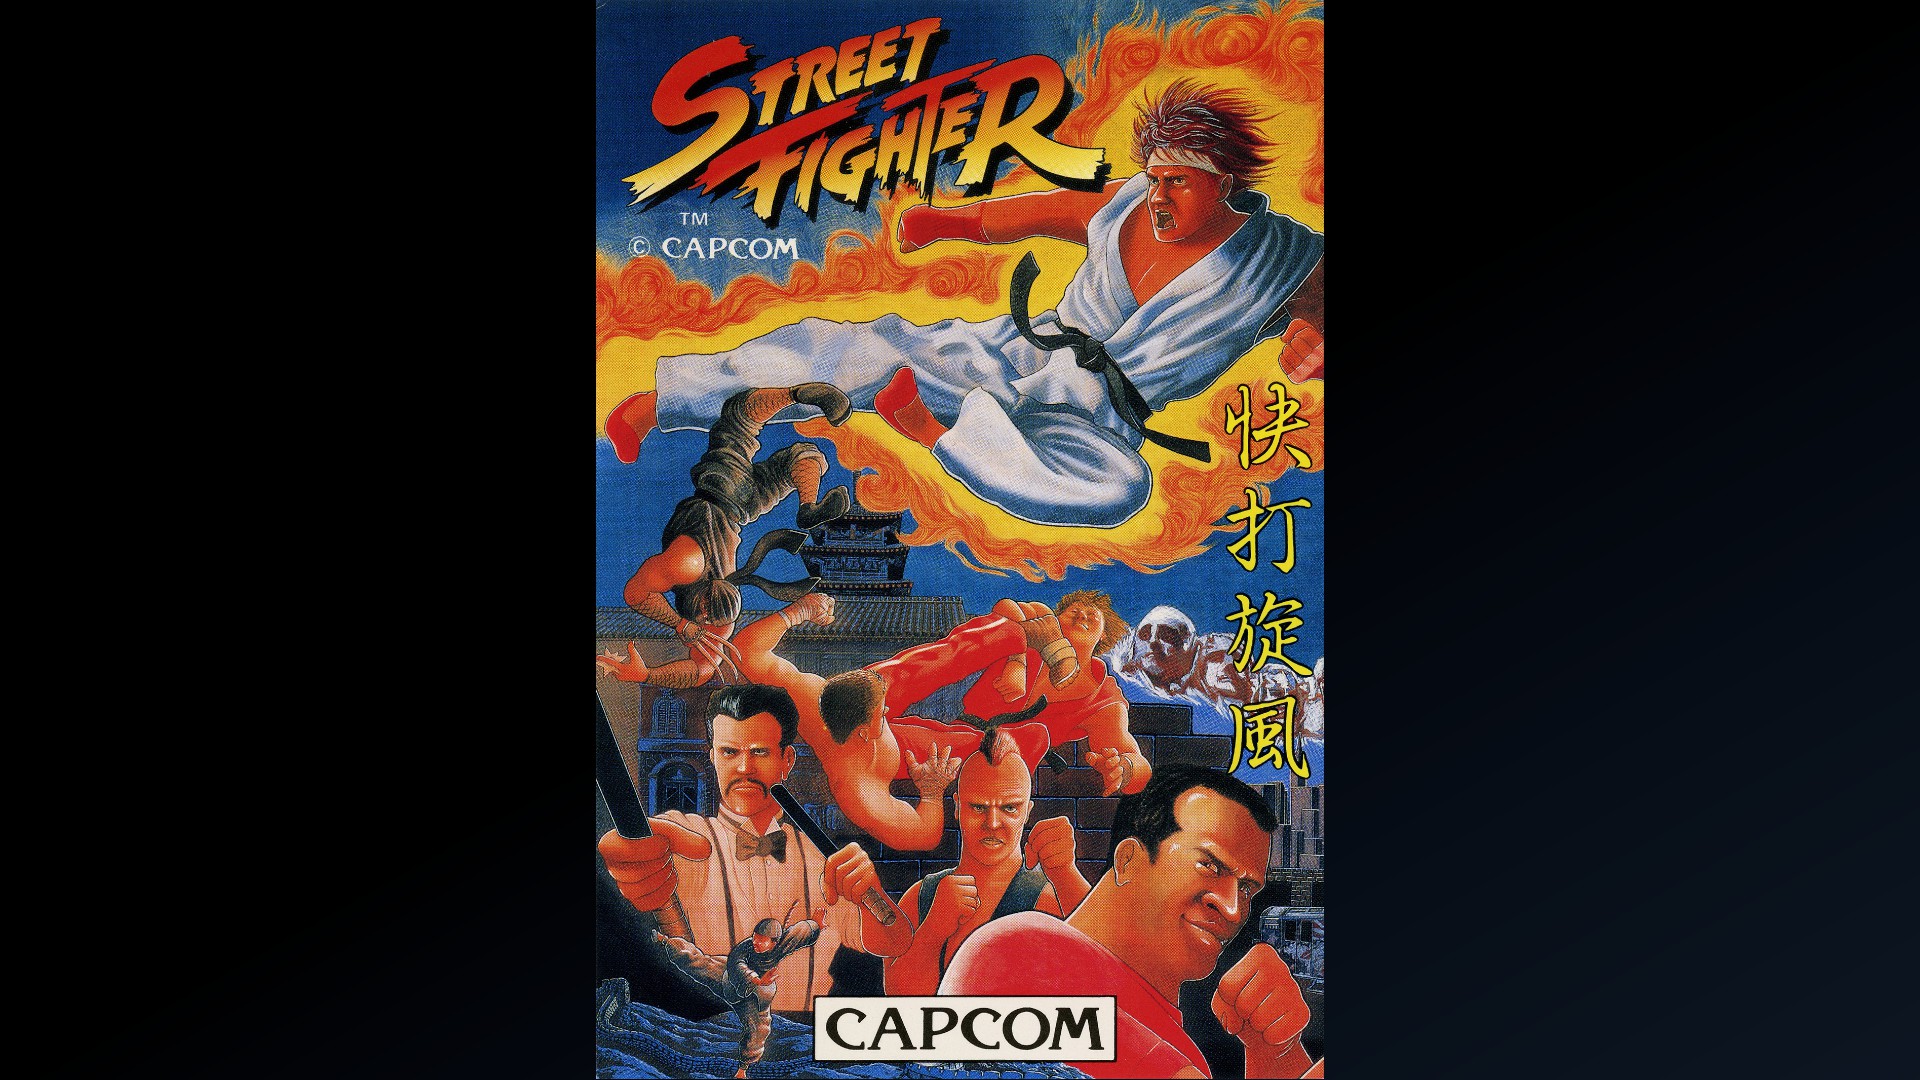
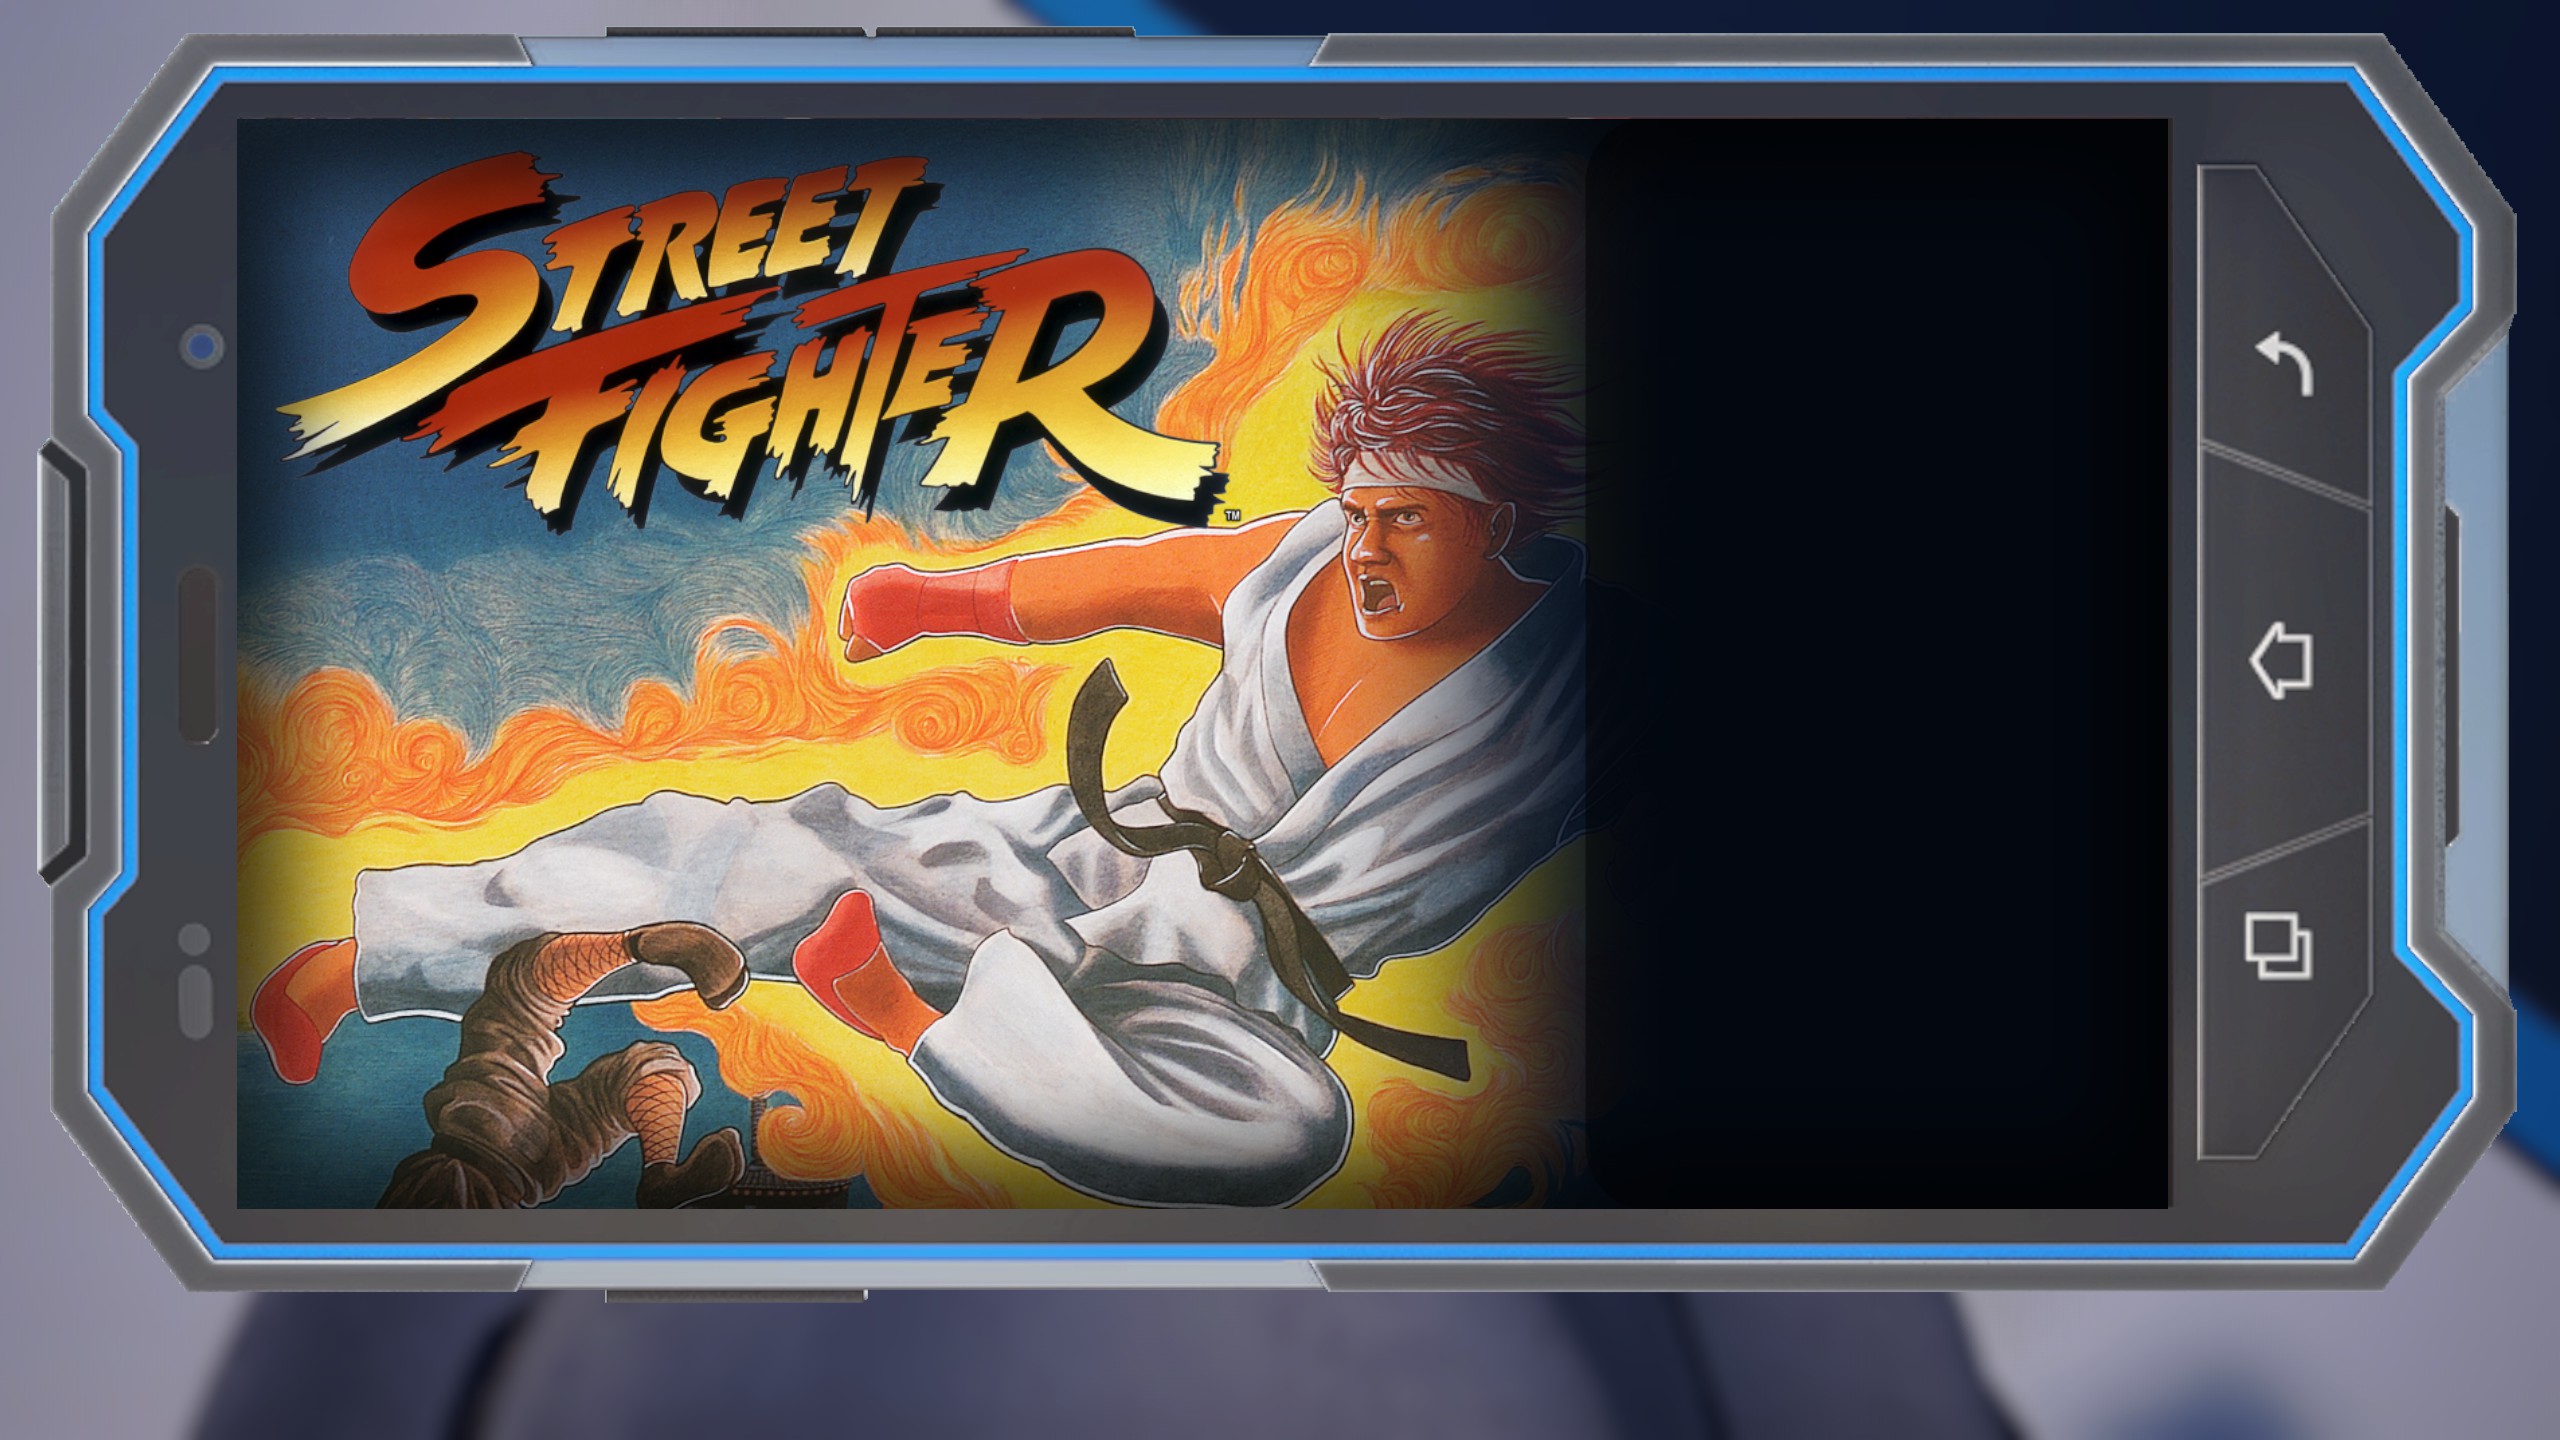
Street Fighter
Weekly
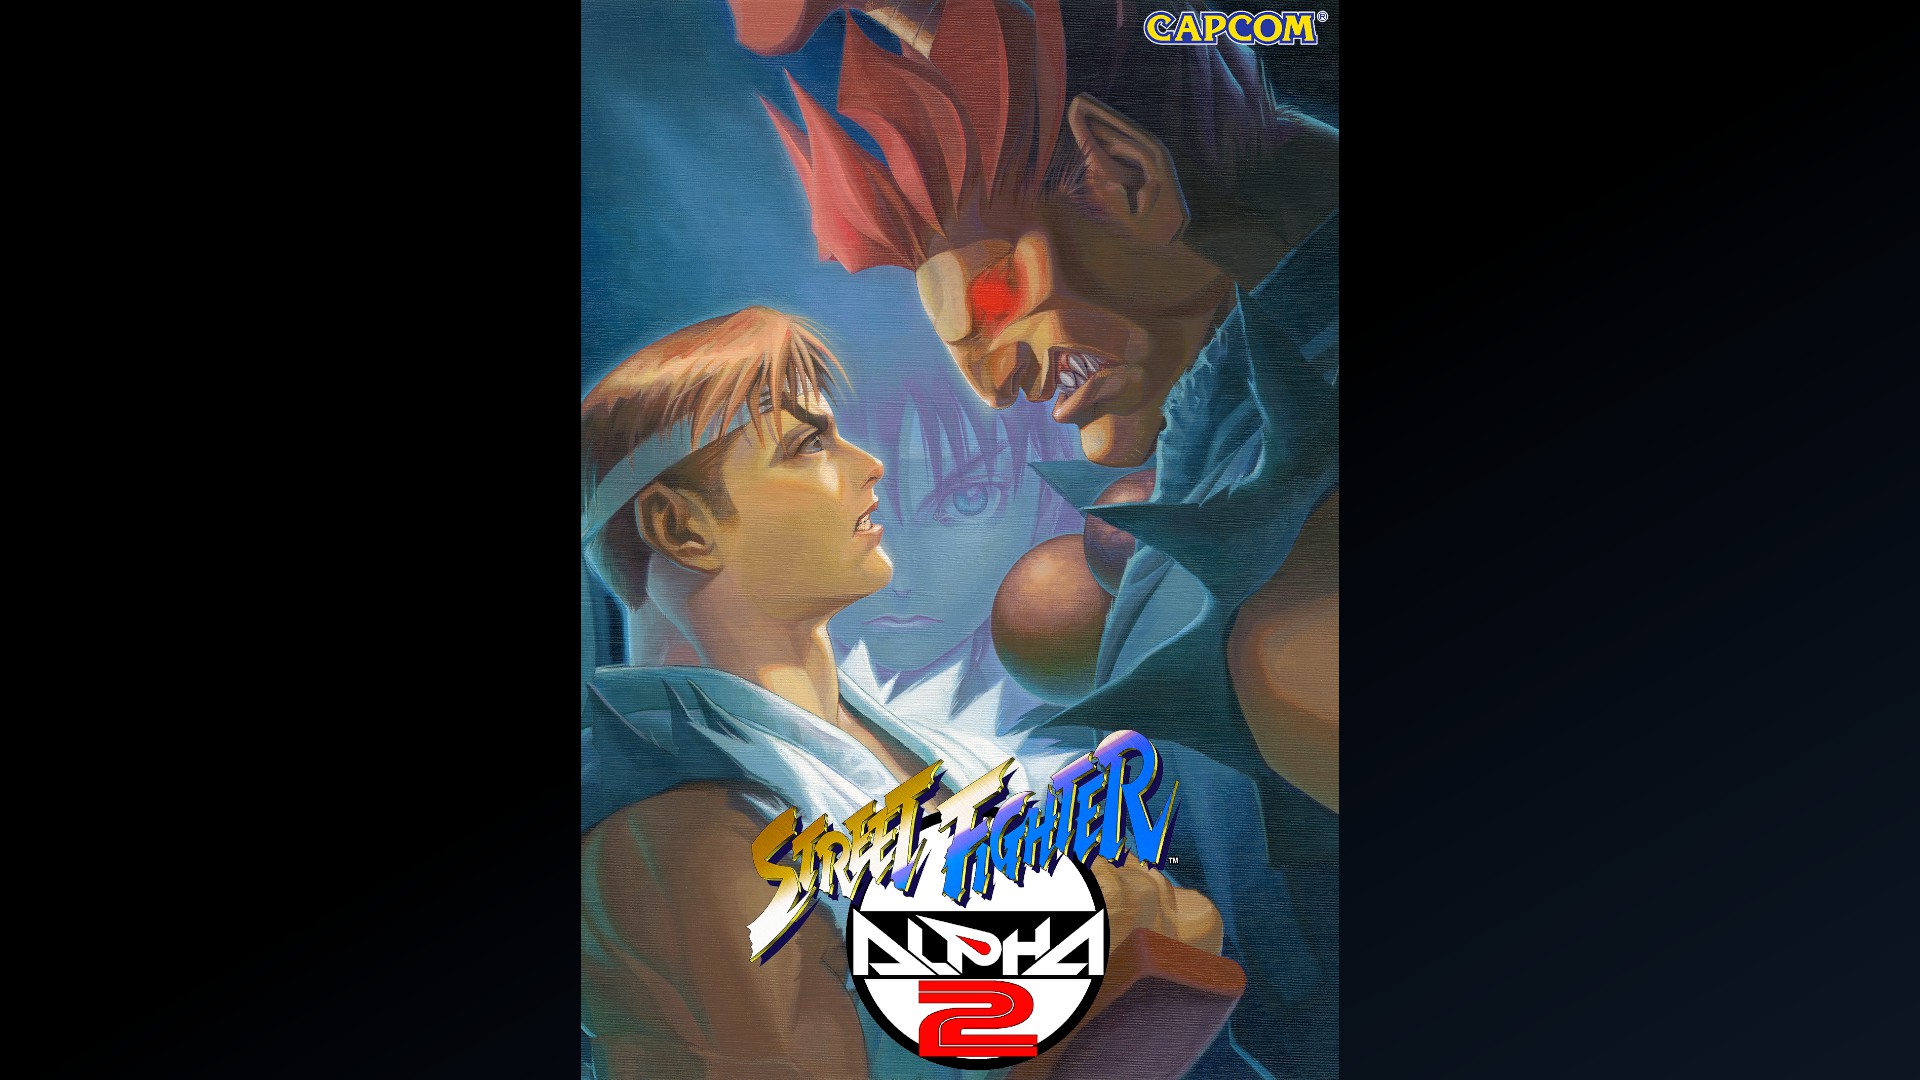
Street Fighter Alpha 2
Weekly
Street Fighter II
Weekly
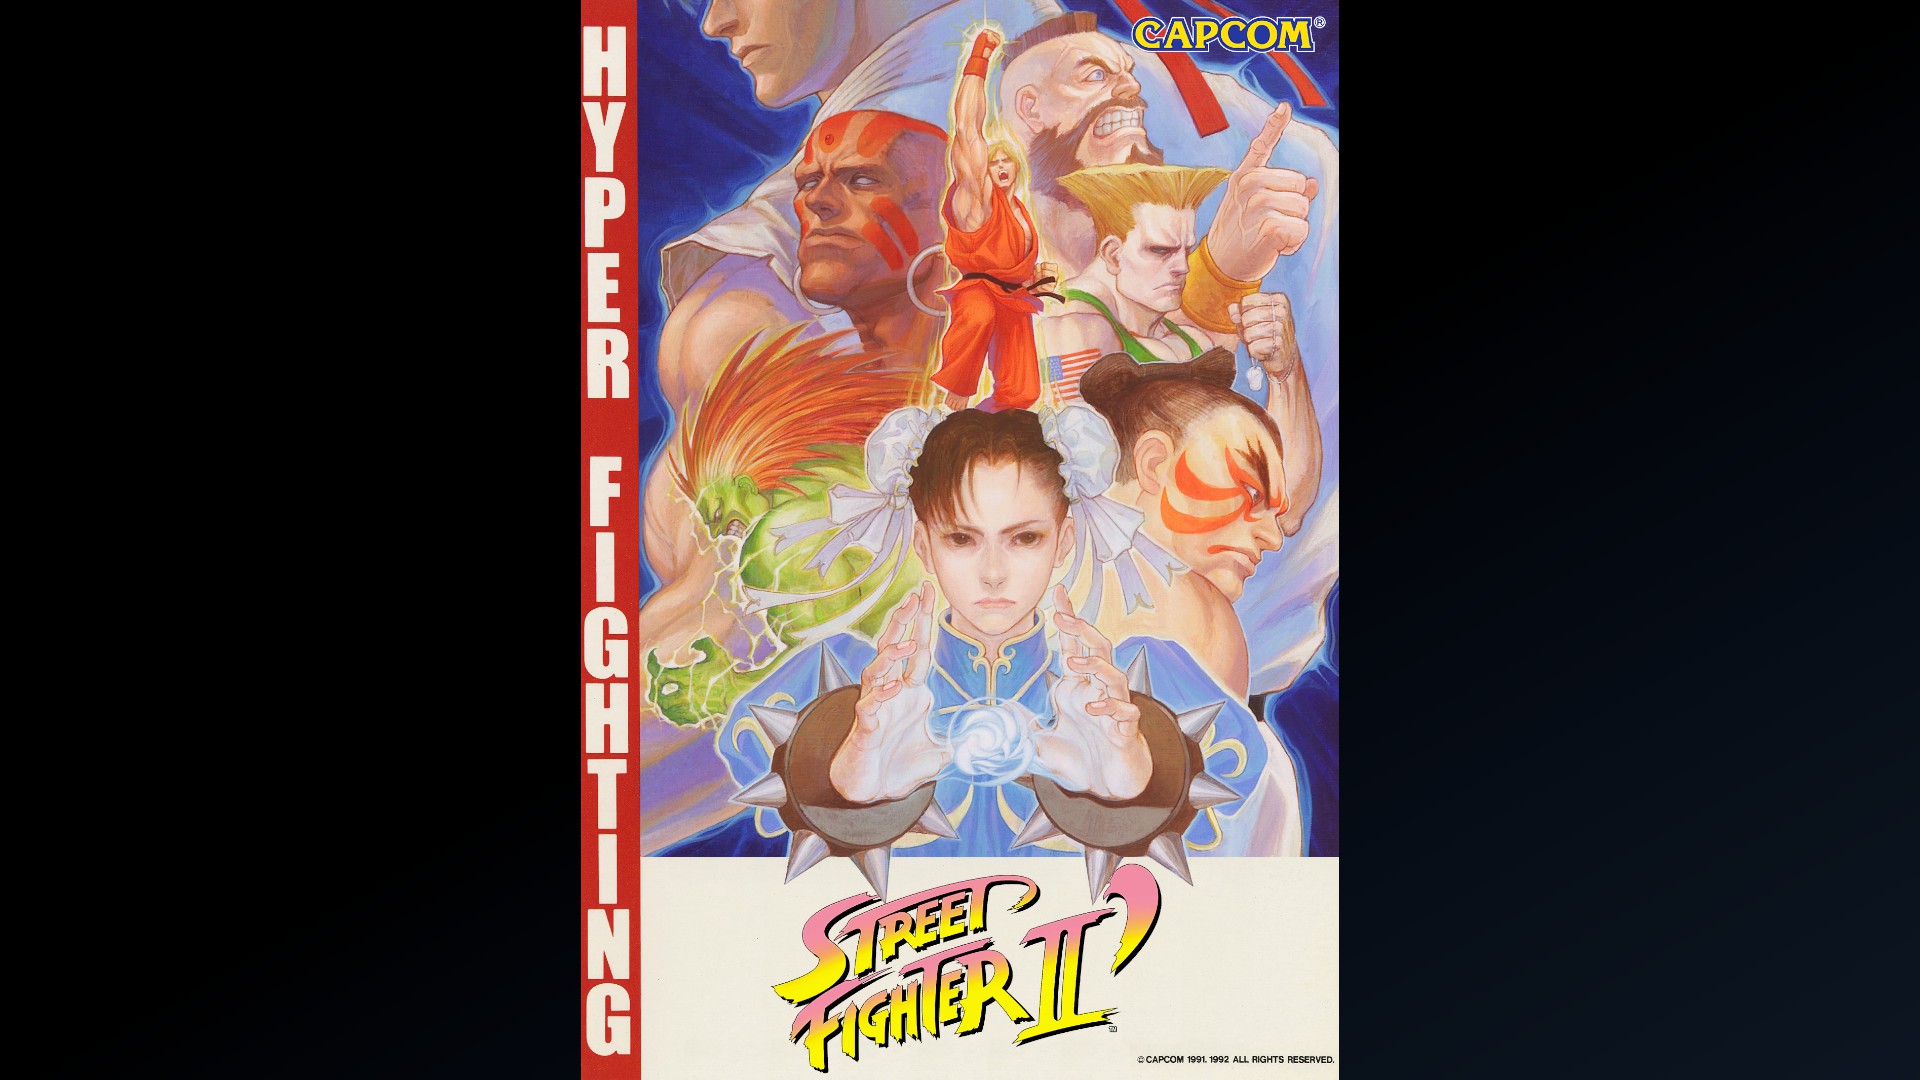
Street Fighter II': Hyper Fighting
Weekly
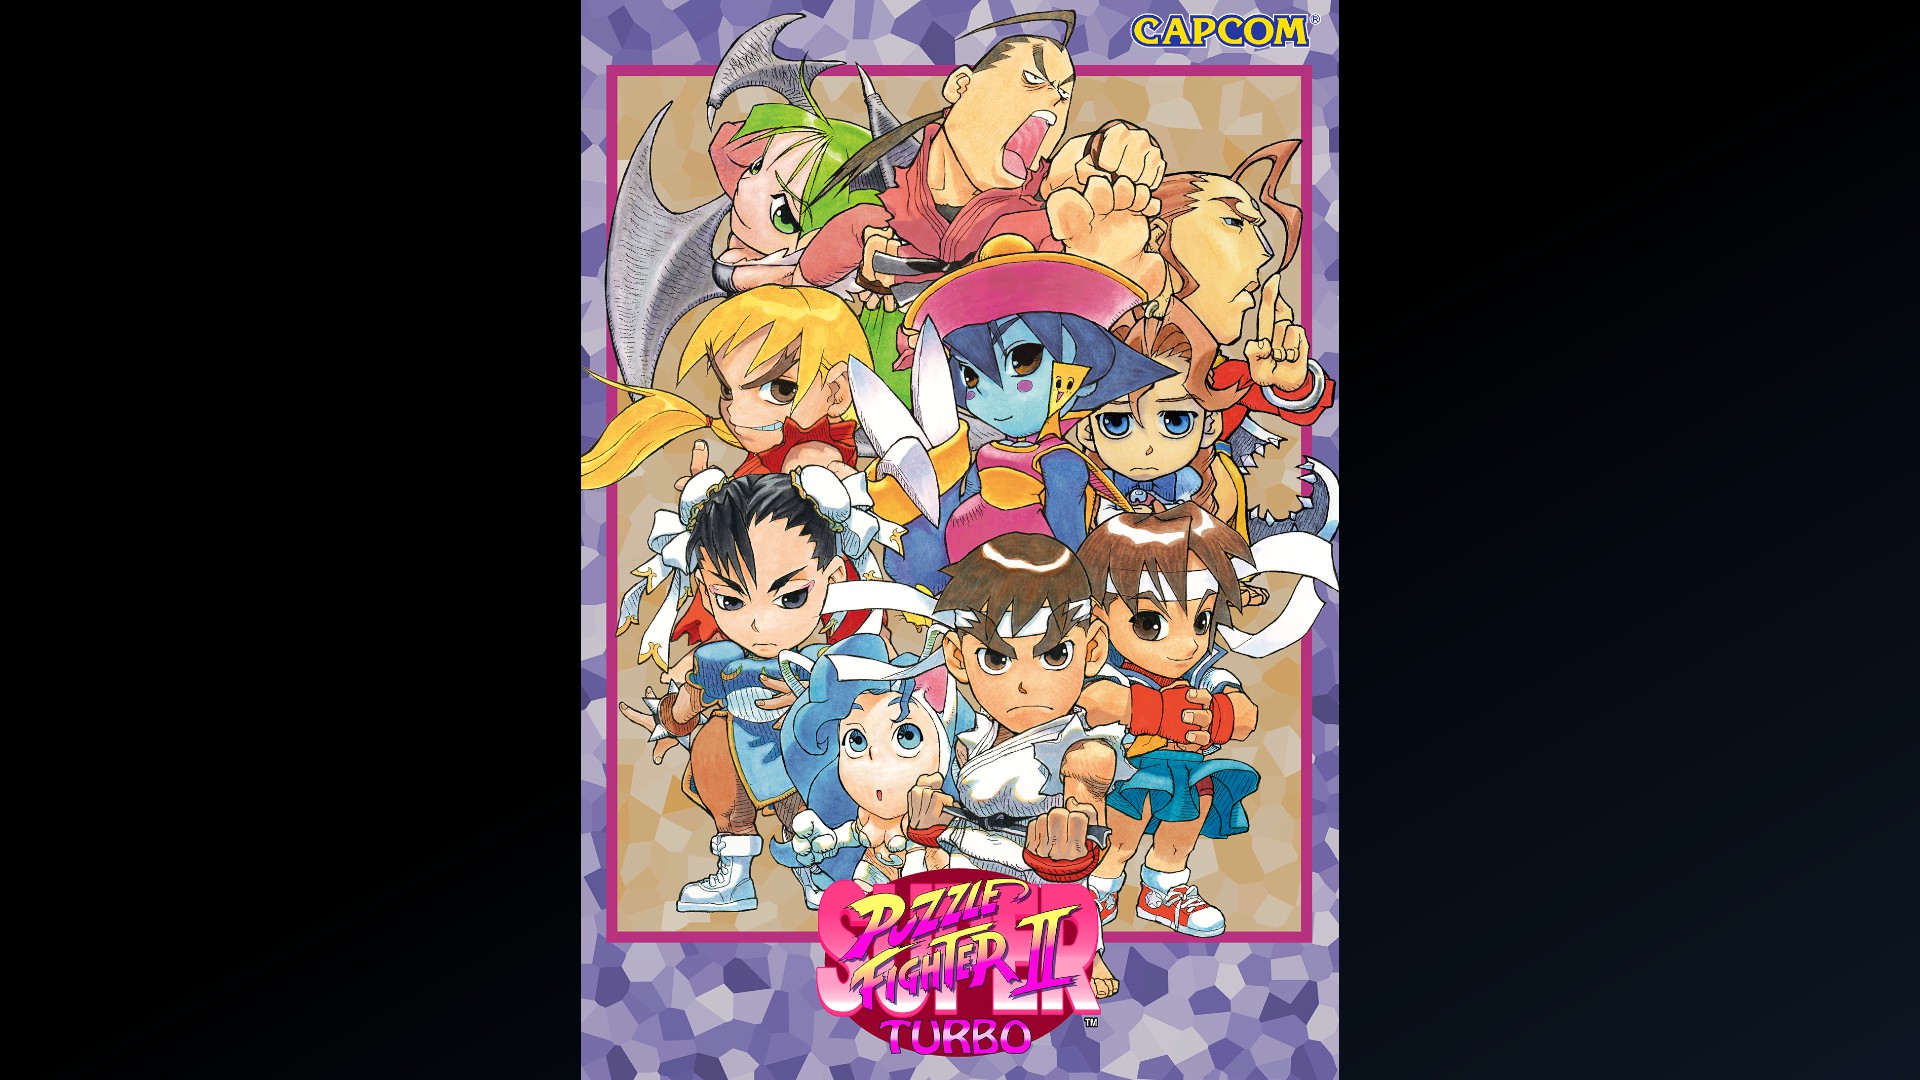
Super Puzzle Fighter II Turbo
Daily
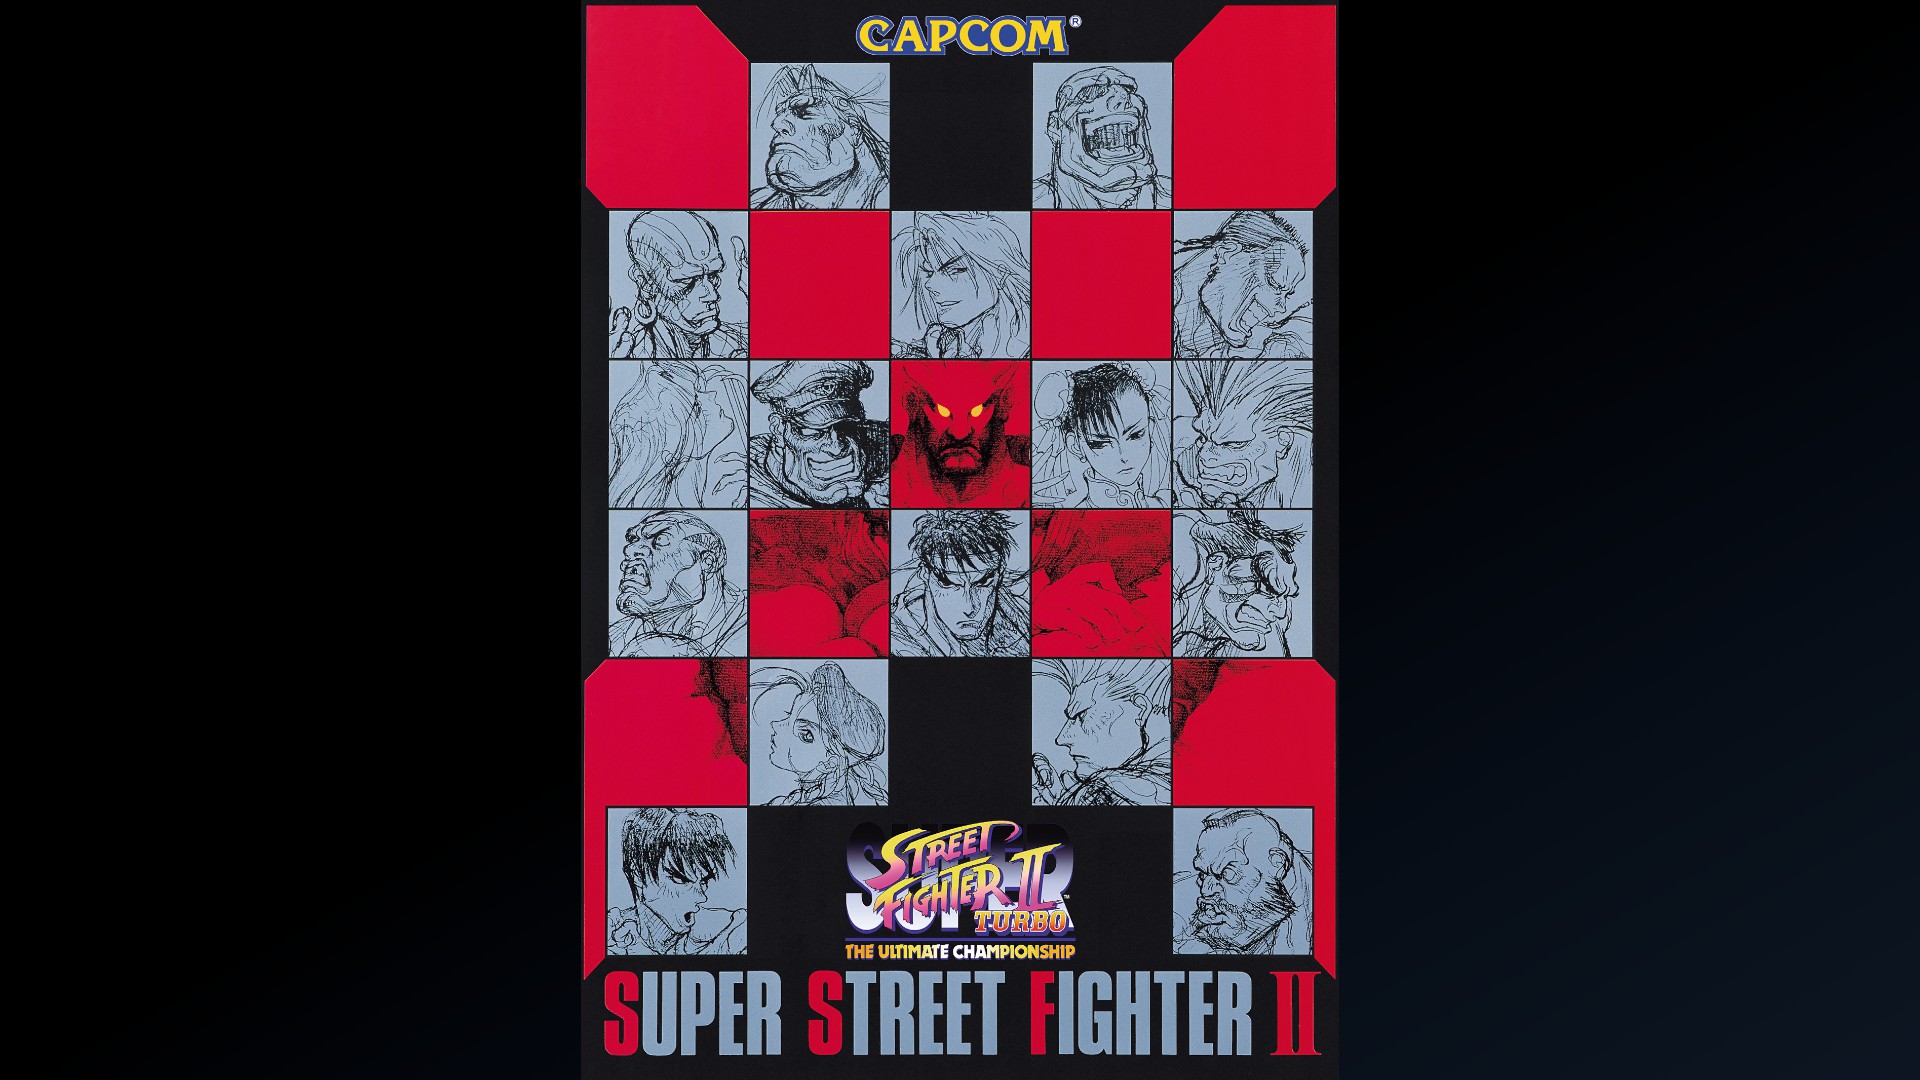
Super Street Fighter II Turbo
Weekly
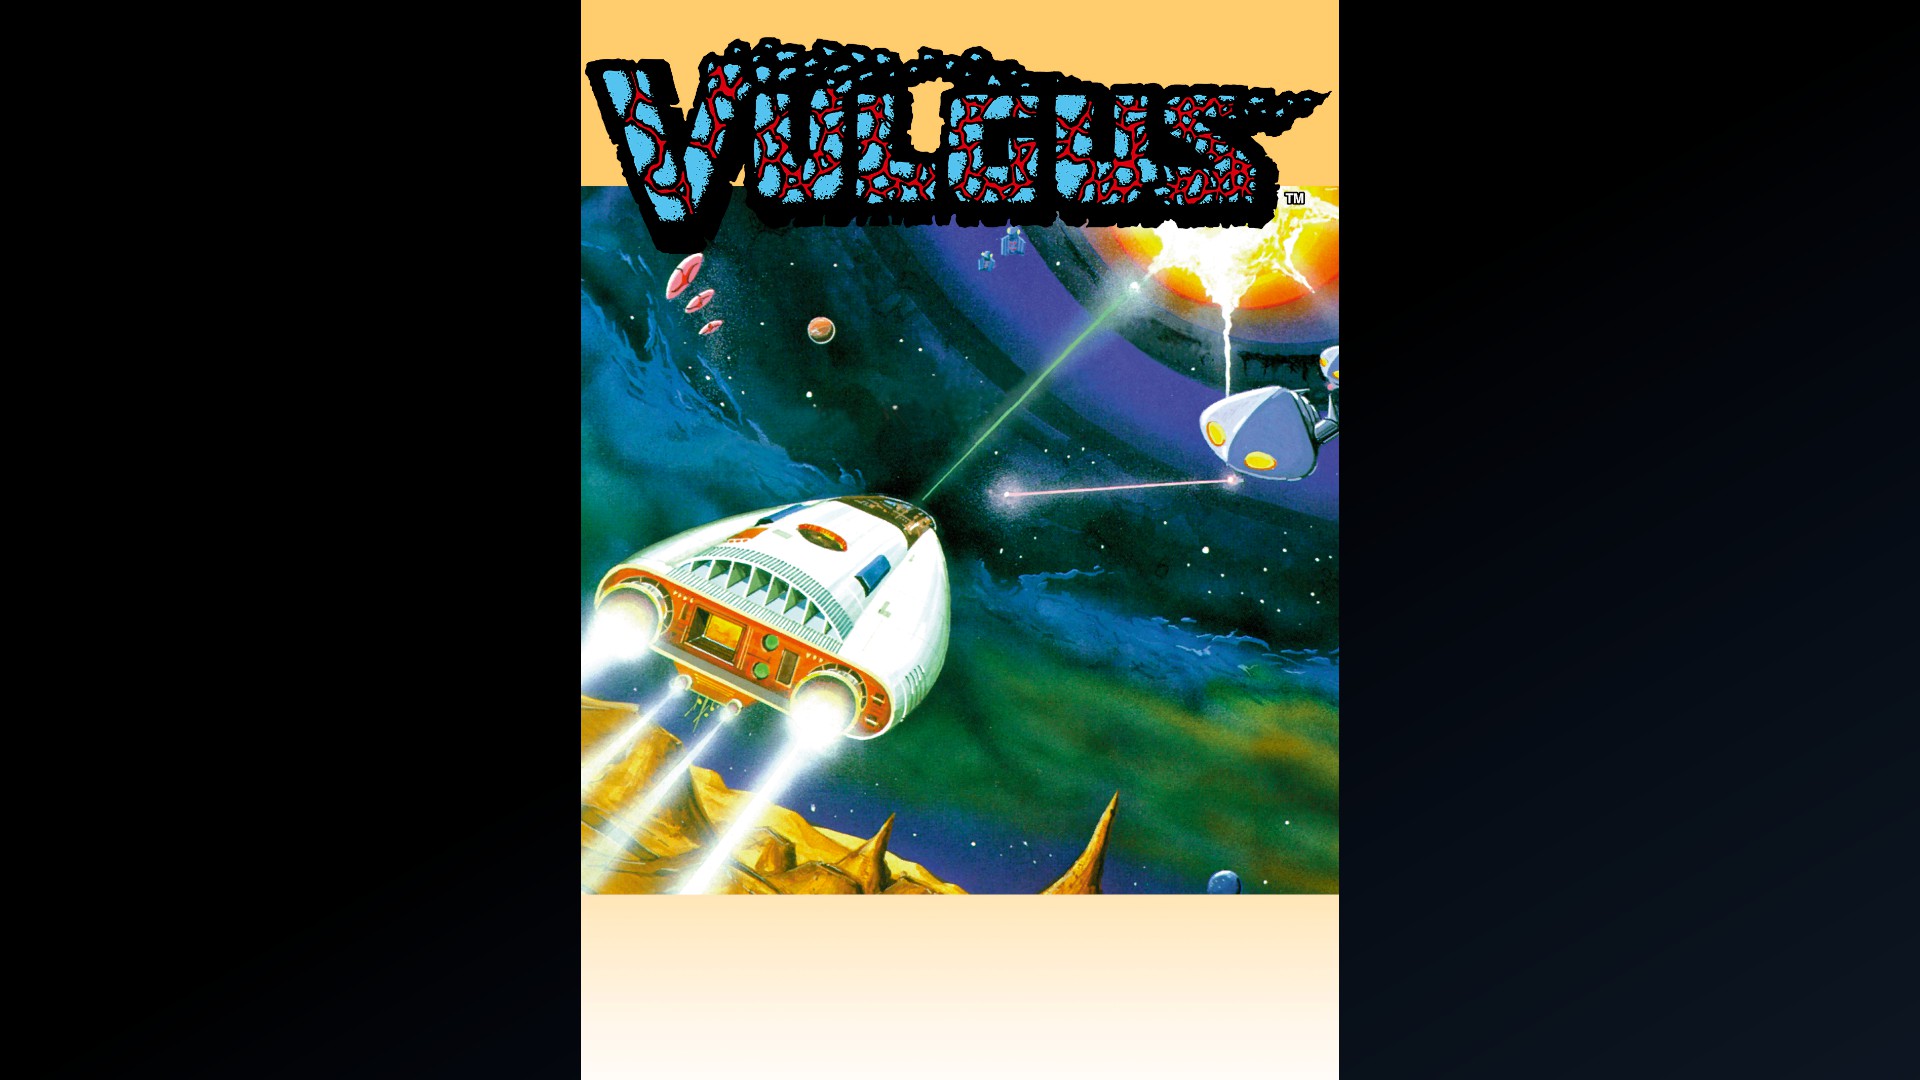
Vulgus
Daily
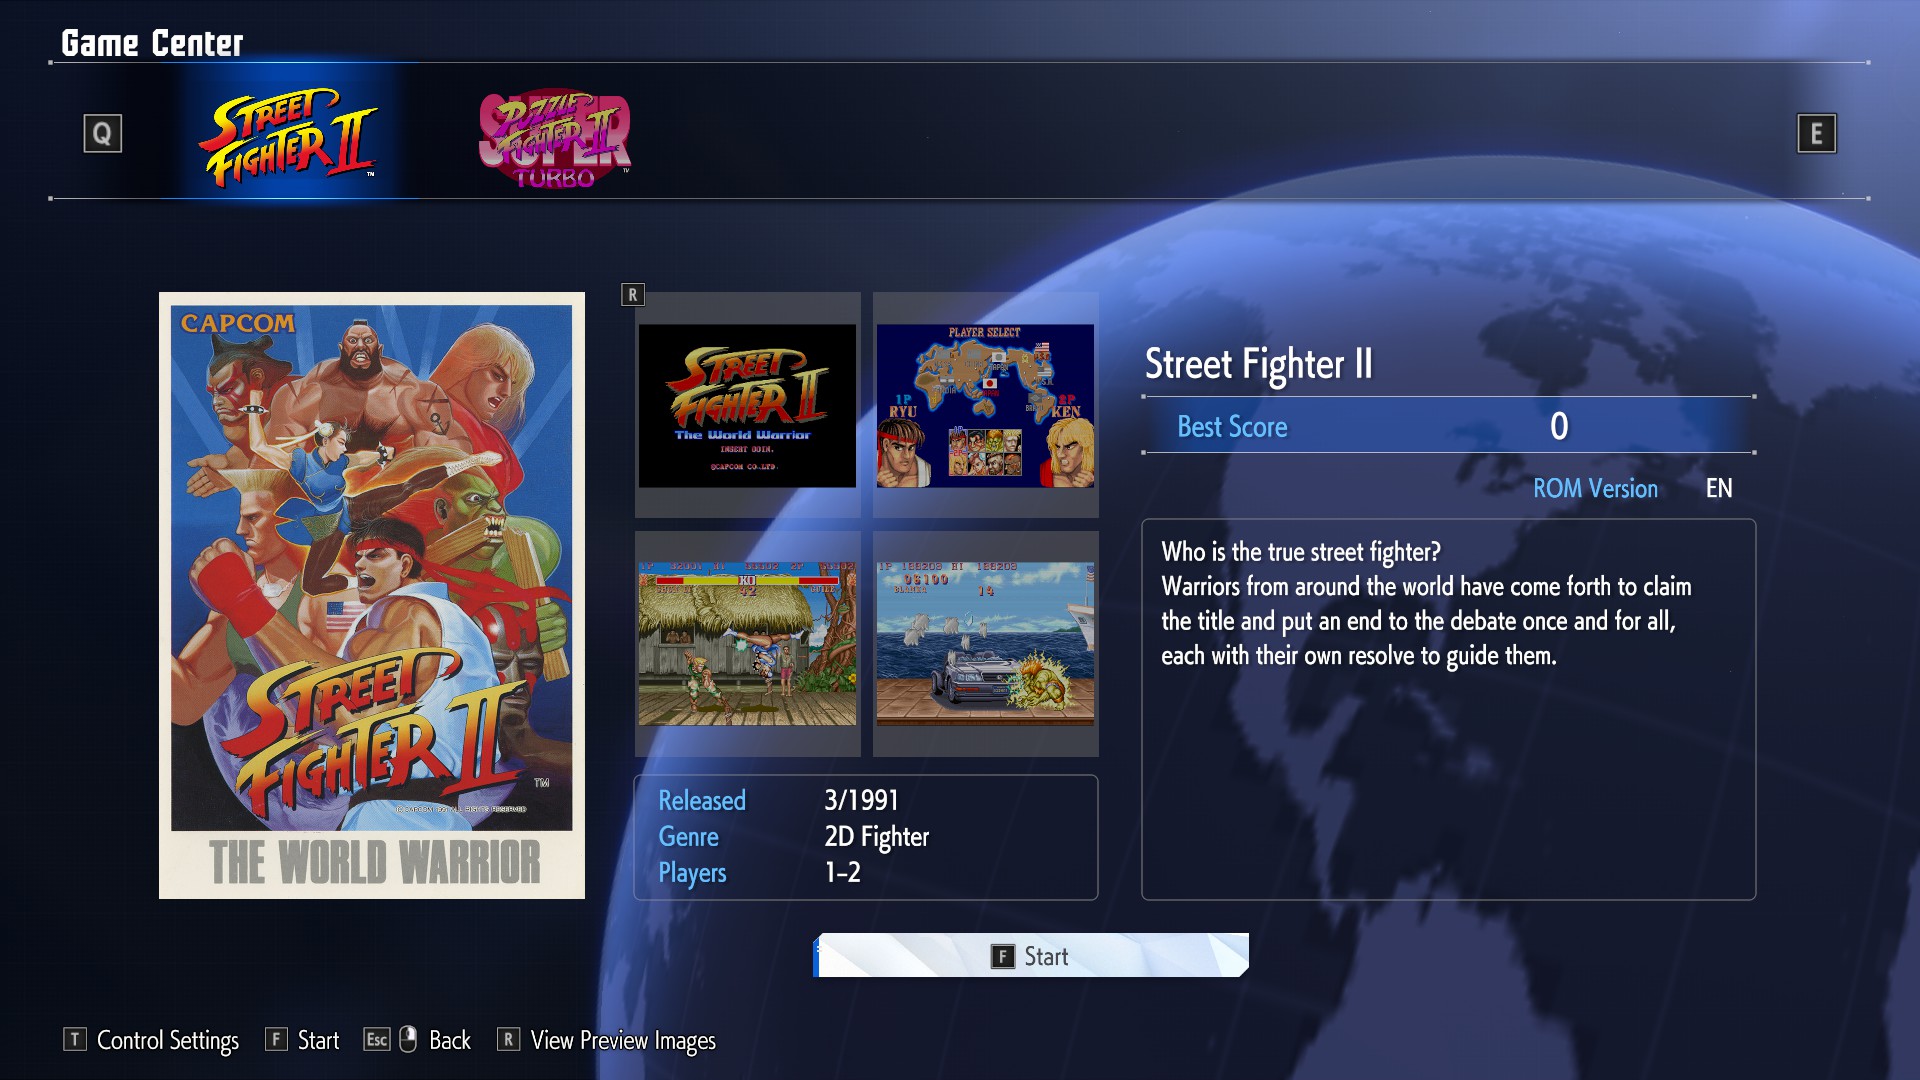
There is one additional method that can be used to unlock Battle Hub artwork. To do this, navigate to the Gallery from the multi-menu and select Game Center. From this section, you can play any arcade games that you've already unlocked:
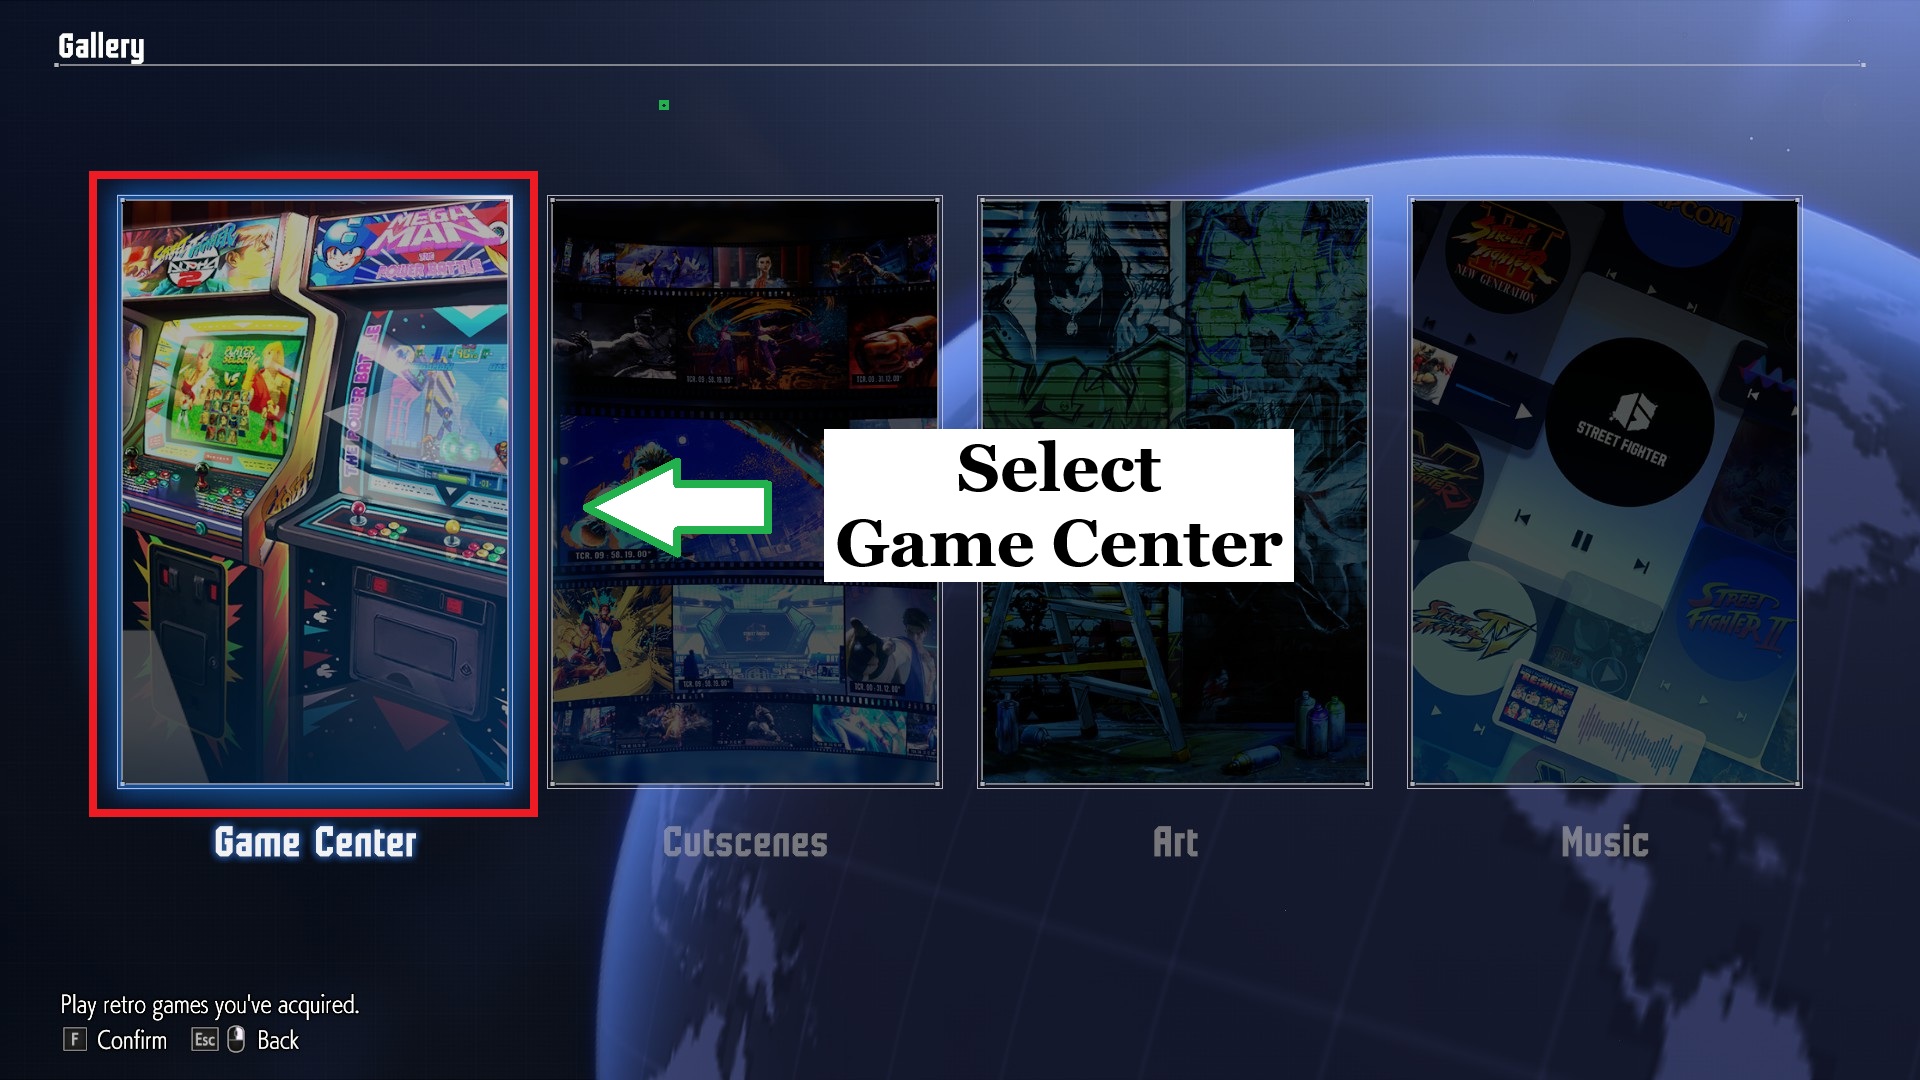
Now you might be wondering, "how do I unlock games for my private collection?" Well, you will first have to select Rewards from the multi-menu:

Once opened, you need to check the Premium Pass to see if there is/are a/some reward(s) with an image of an arcade cabinet (outlined in red in the image below):
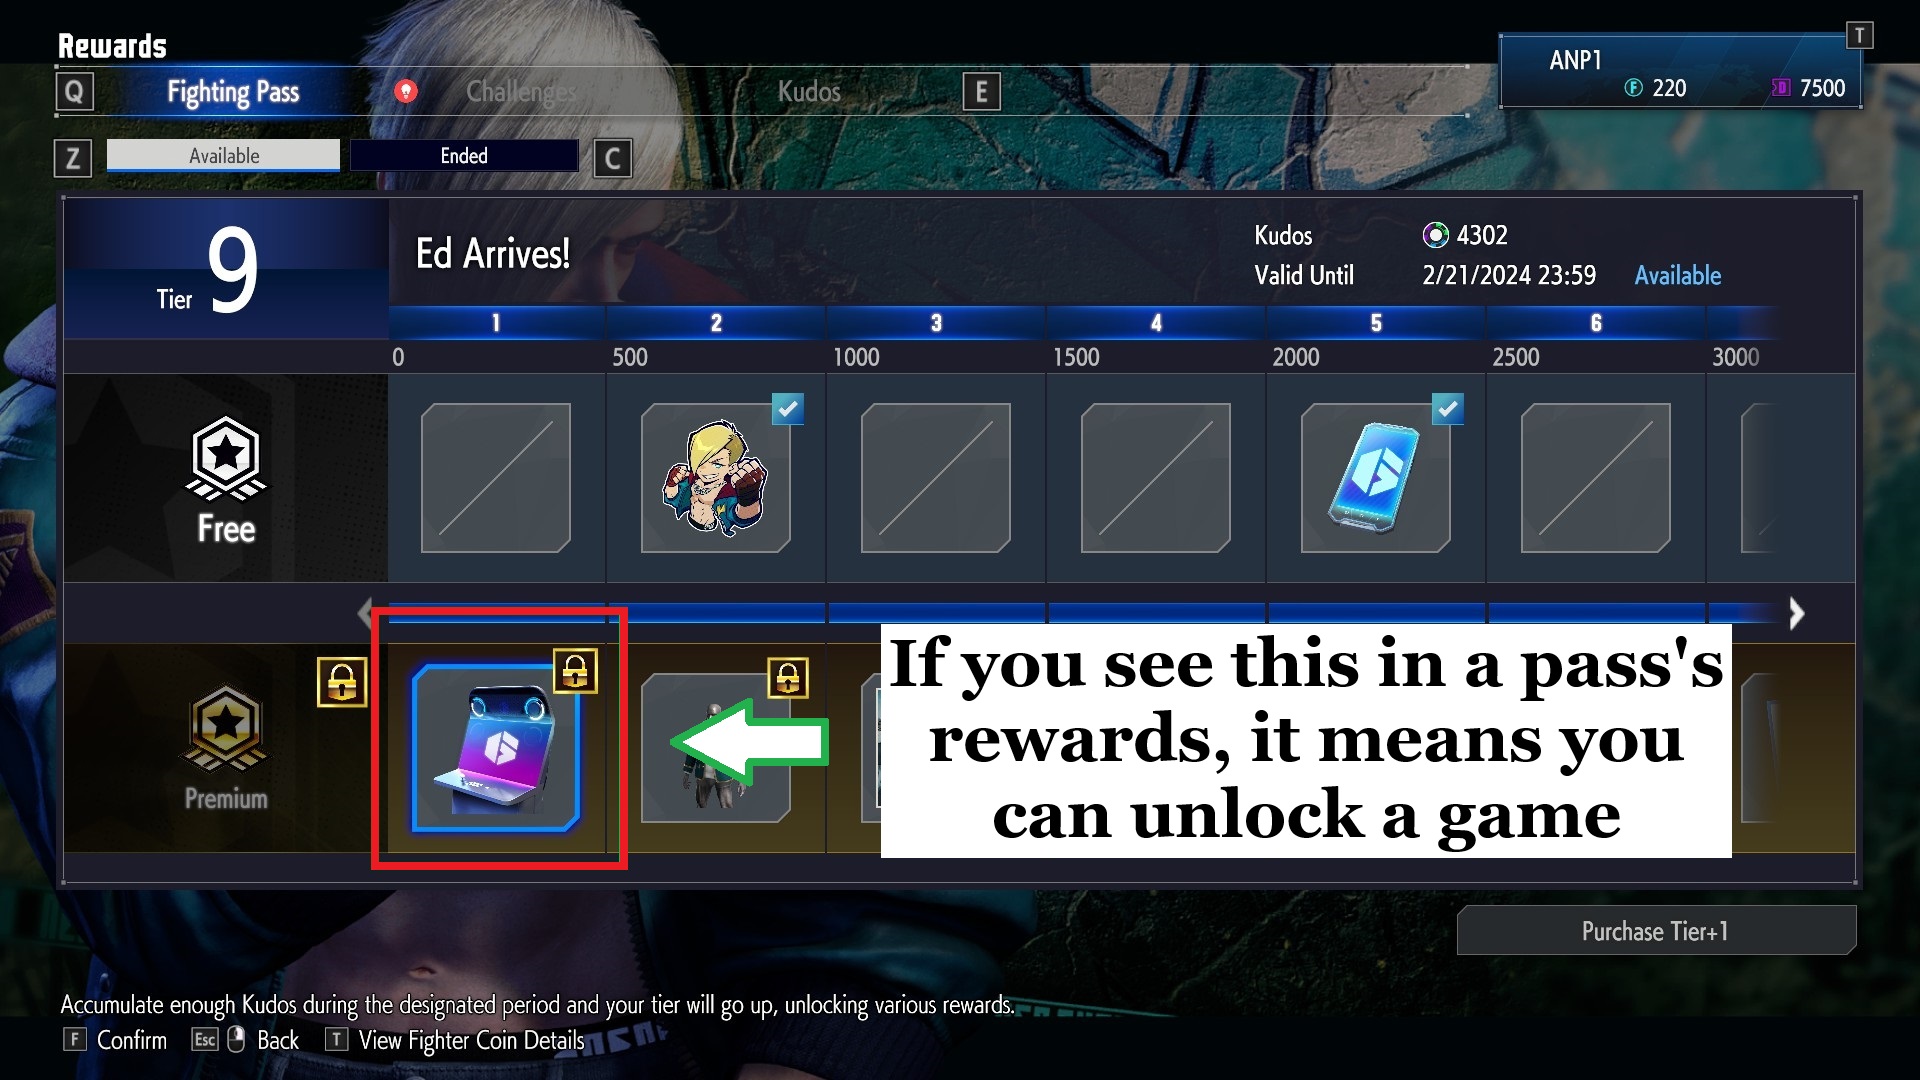
If there is, that means you can unlock an arcade game as one of the pass's rewards; however, there is a catch: Premium Passes cost fighter coins, which can be obtained by either purchasing them from the Steam store with real money or as Premium Pass rewards. Ultimately, it's up to you whether you would like to purchase Premium Passes to unlock exclusive games and their artwork.
While I can't confirm this beyond a shadow of a doubt, based on some information I've received from contributors, games obtained through Premium Passes are only available through said passes. In other words, you can't unlock them at a lobby's game center (although early on you could, and this was because early Premium Pass rewards were the same as the games playable at lobbies' arcade cabinets).
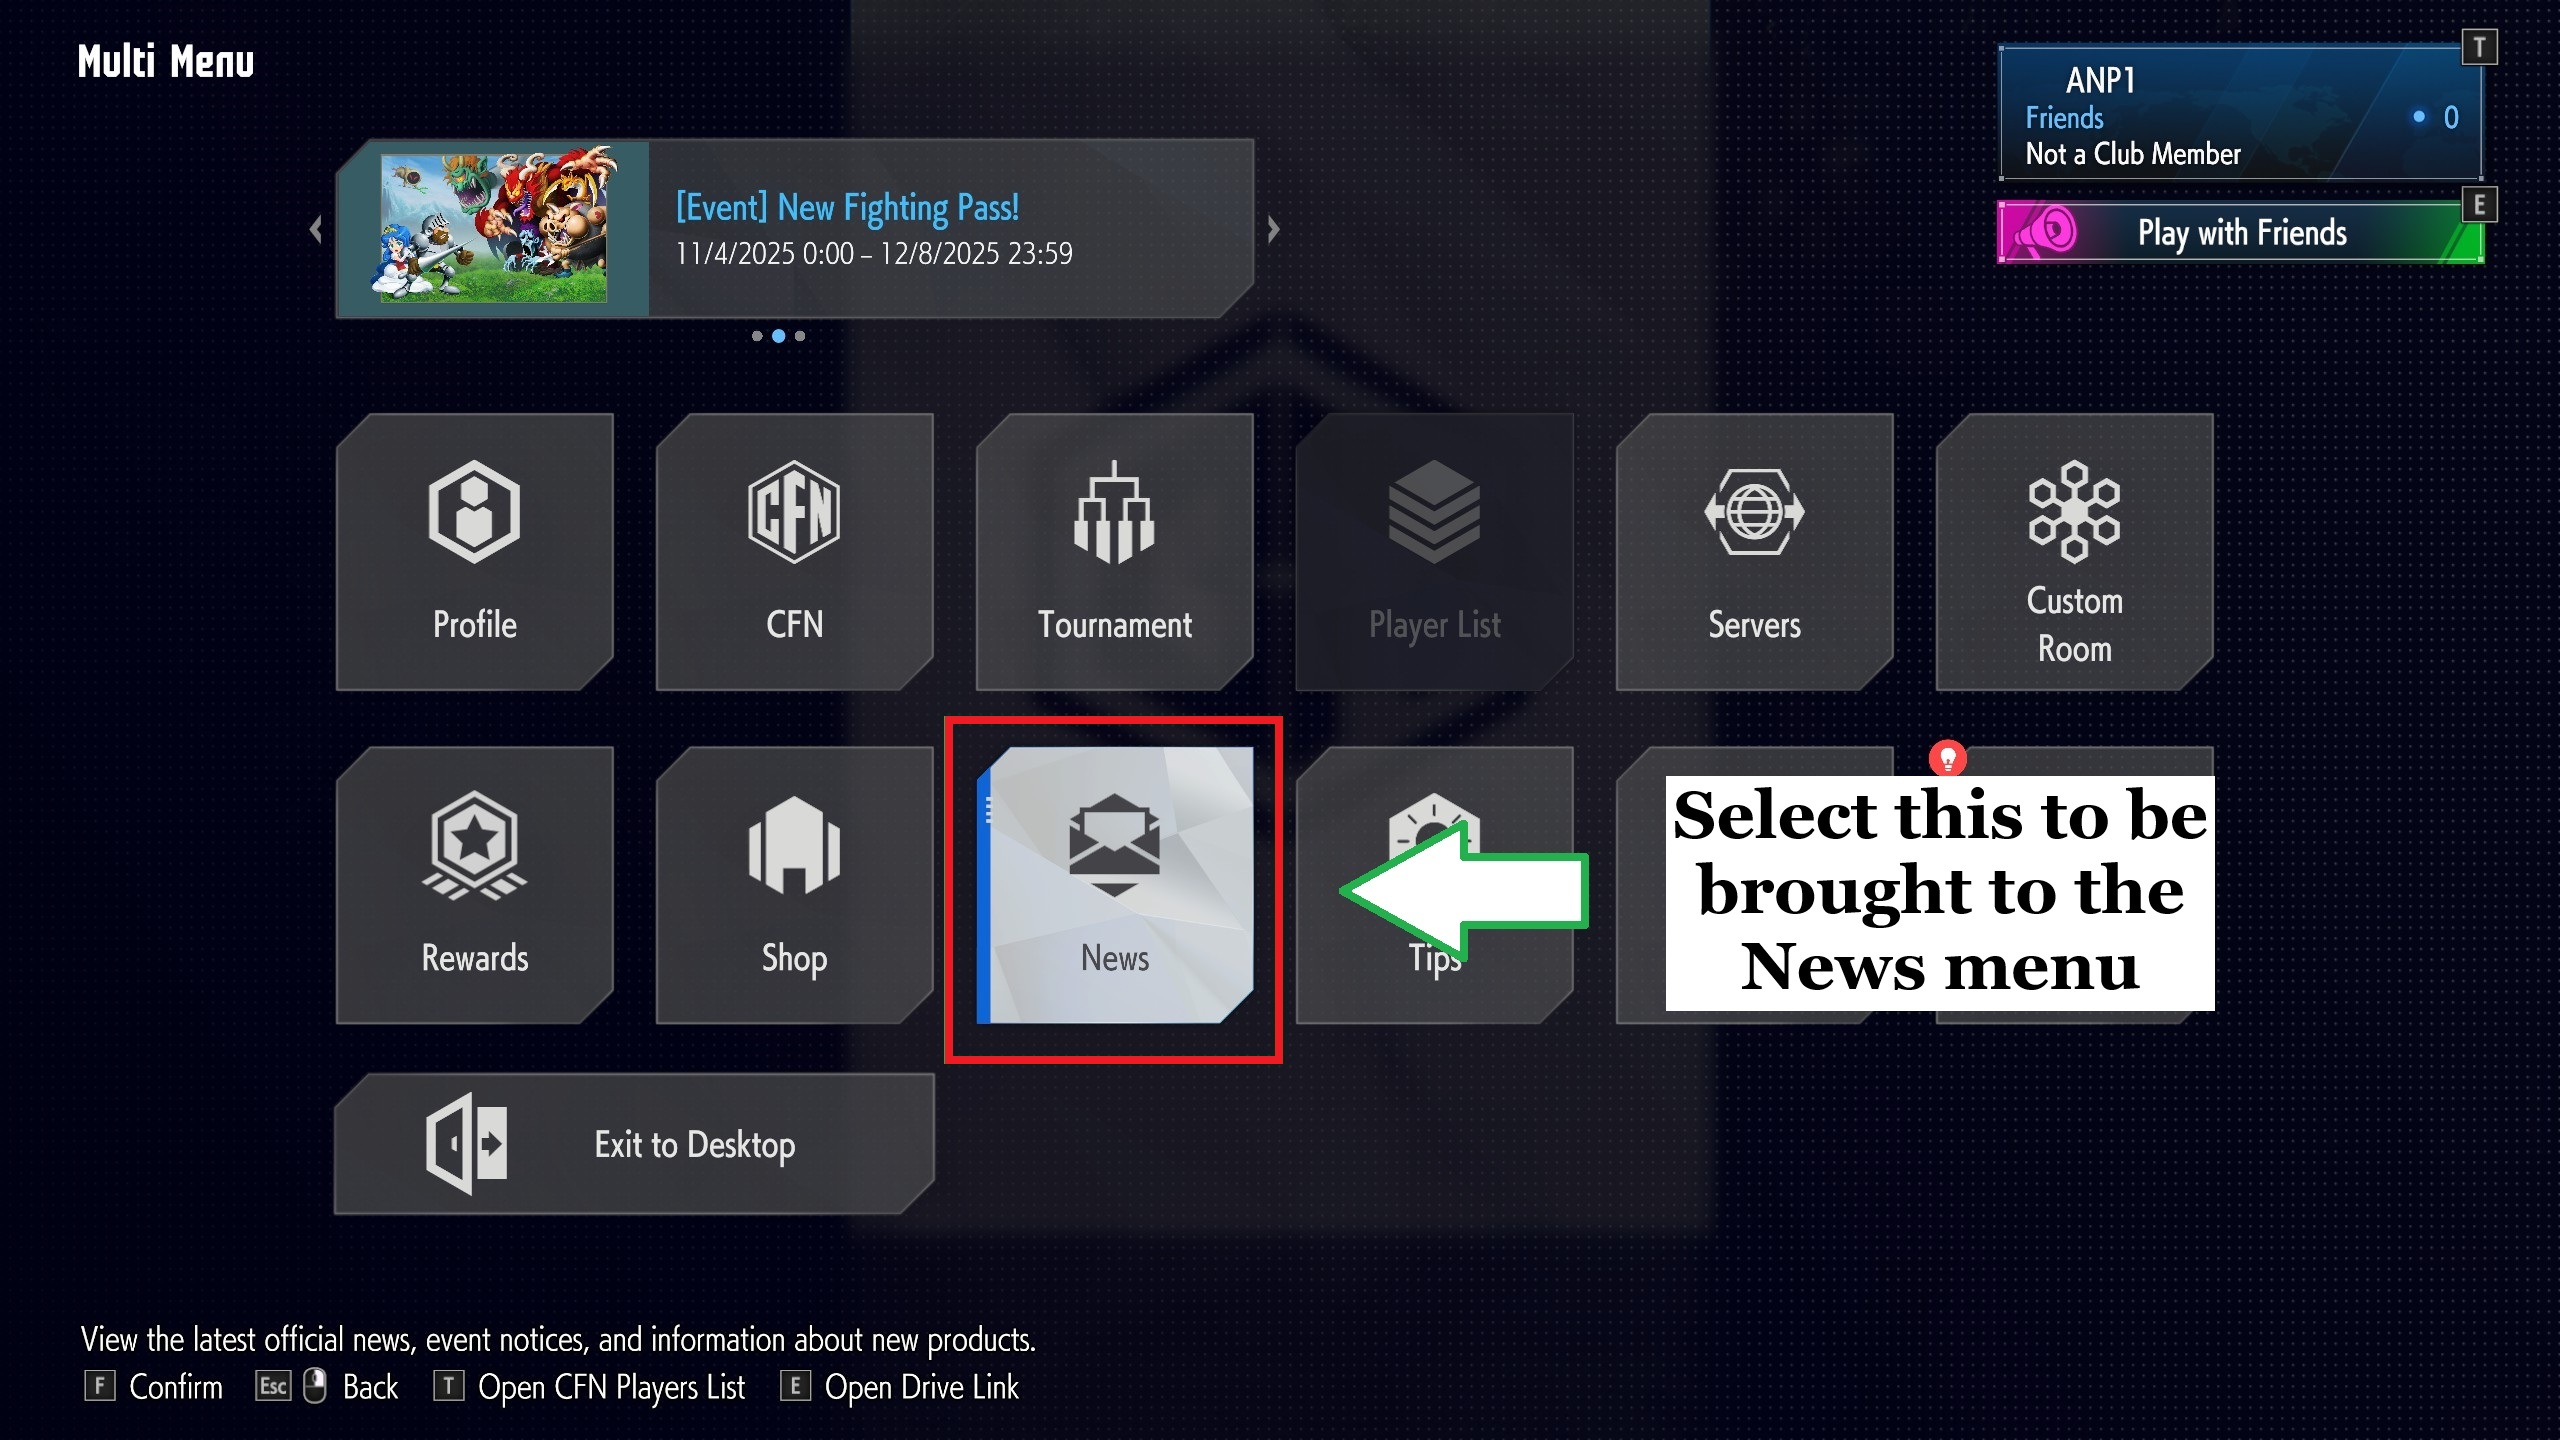
Before I wrap this up and move on to the images themselves, I am going to quickly cover how to access Notices.
Navigate to the screen where you can select World Tour, Battle Hub, or Fighting Ground, and then press the start/menu/options button (the name of the button depends on your controller). This will bring up the multi-menu, from which you'll want to select the option labeled News. By default, you'll be on the Notices tab:
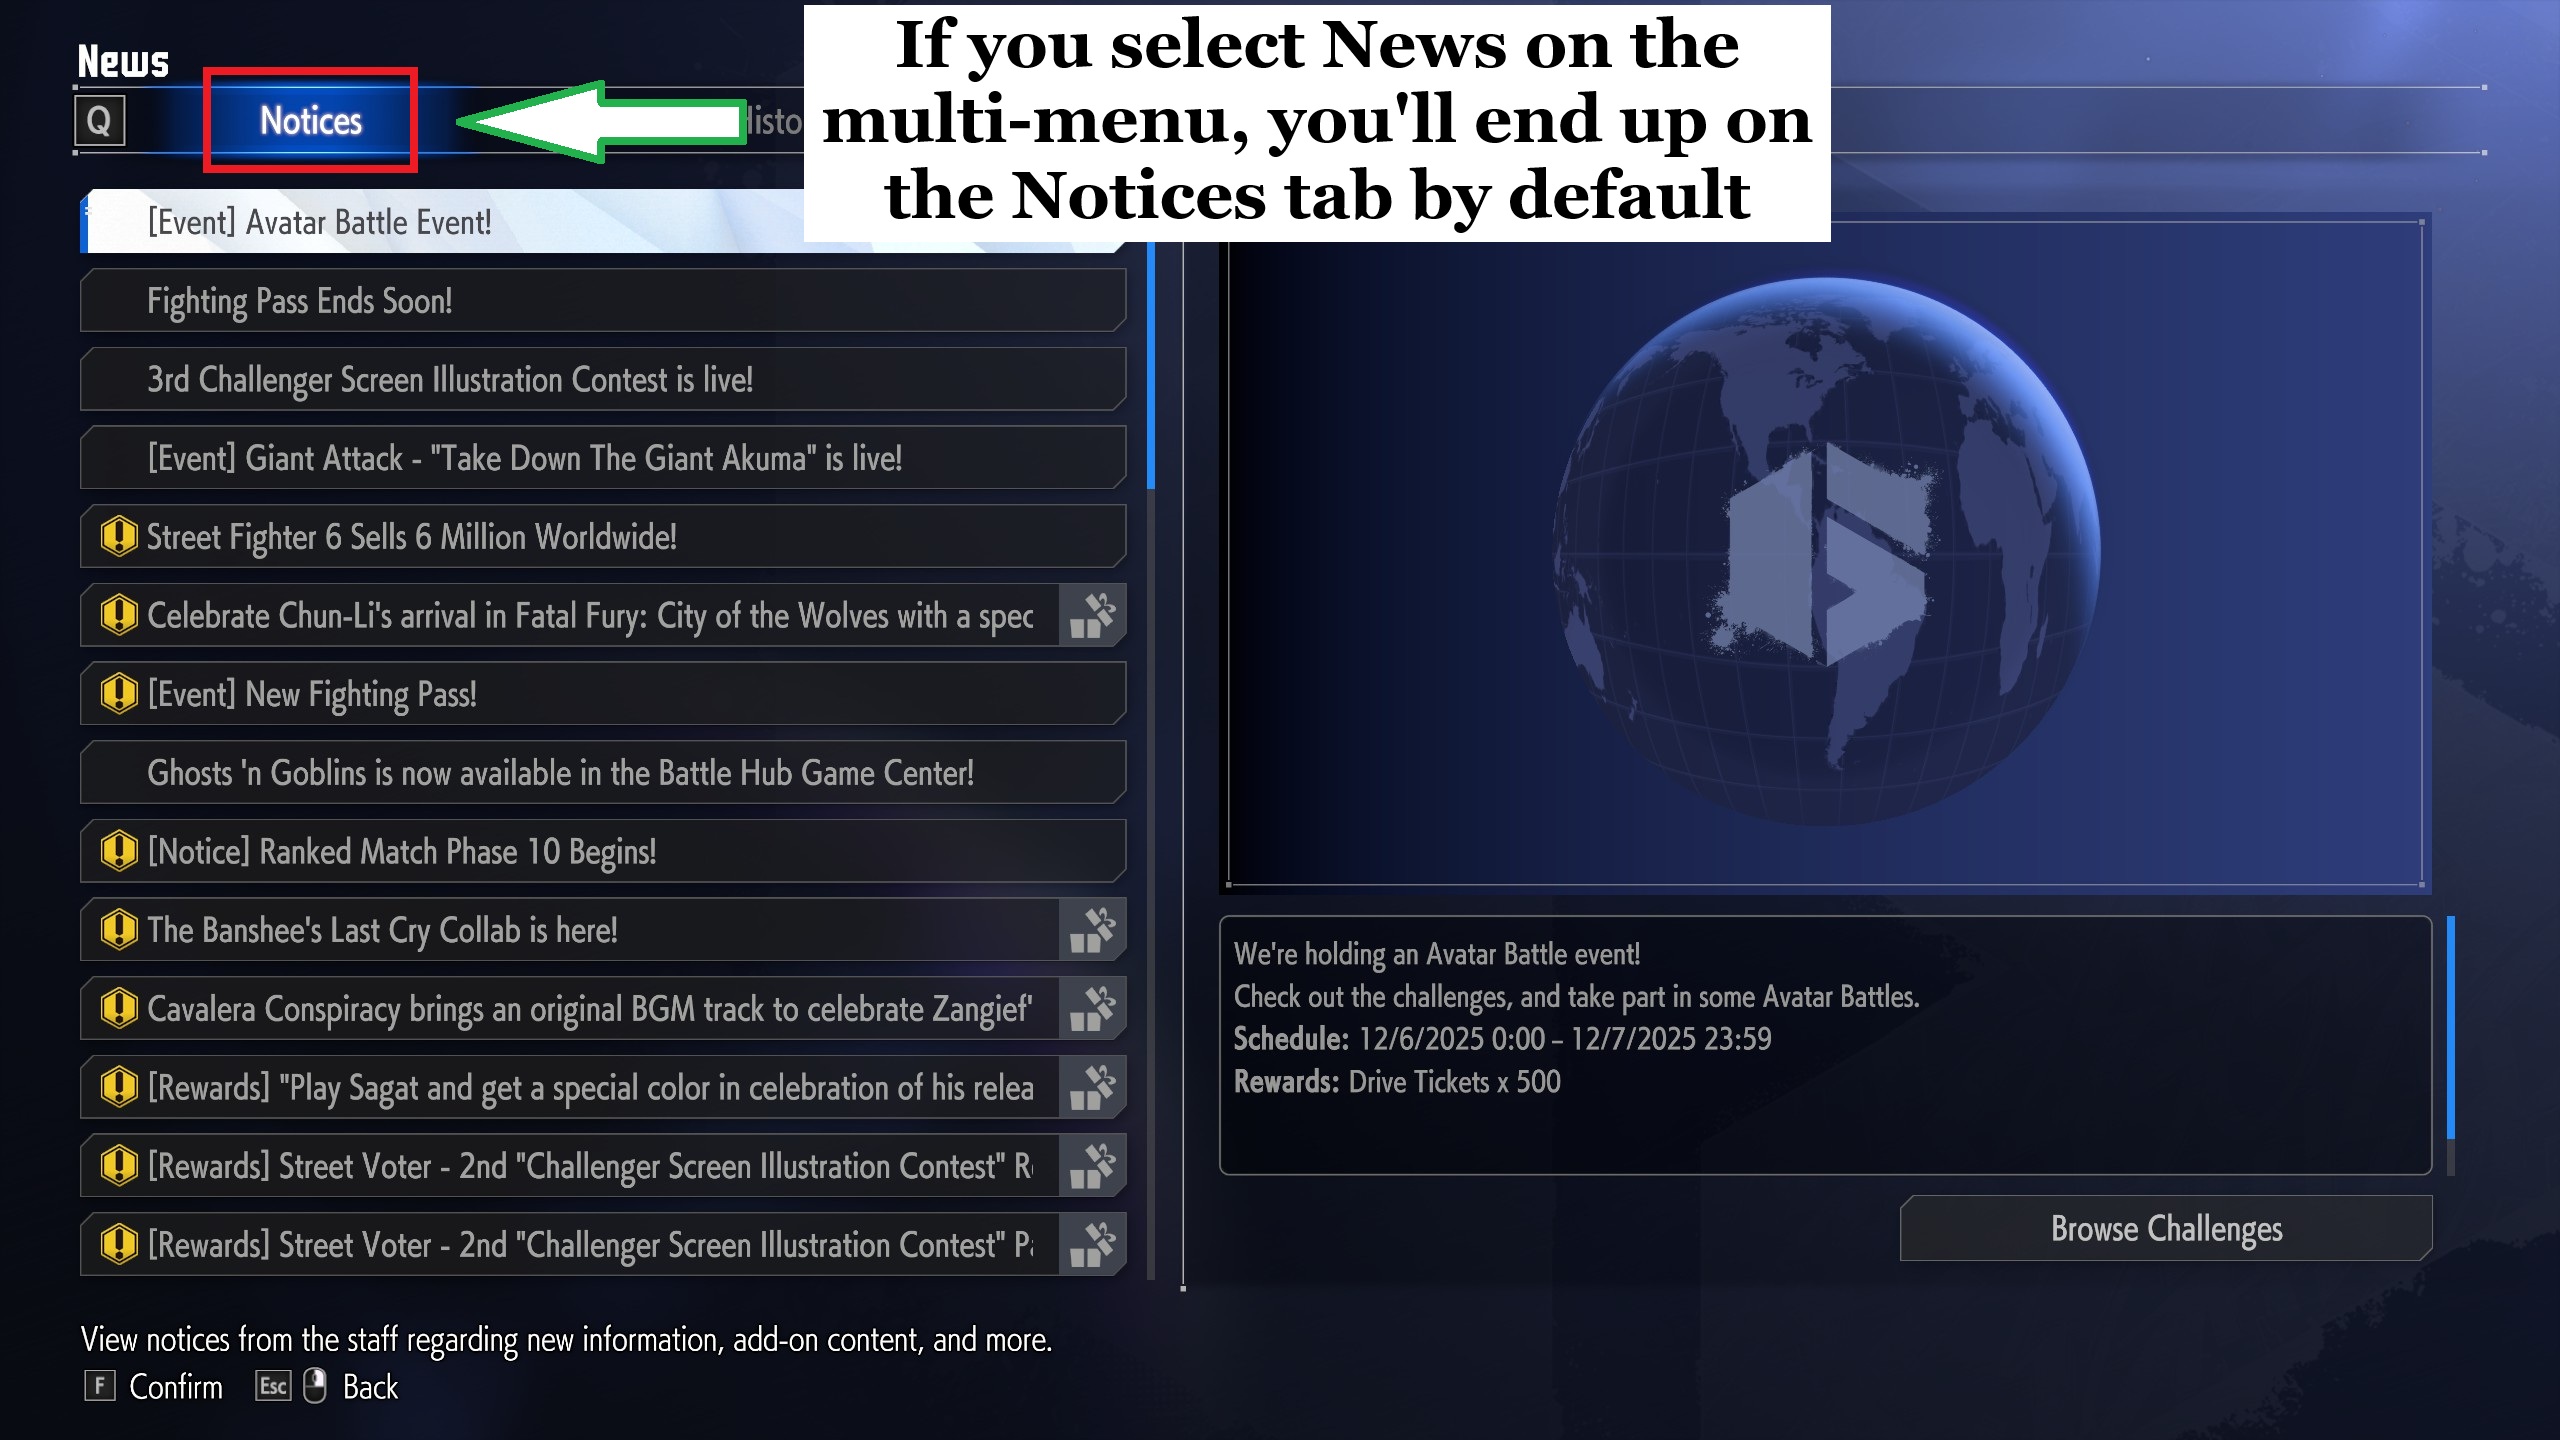
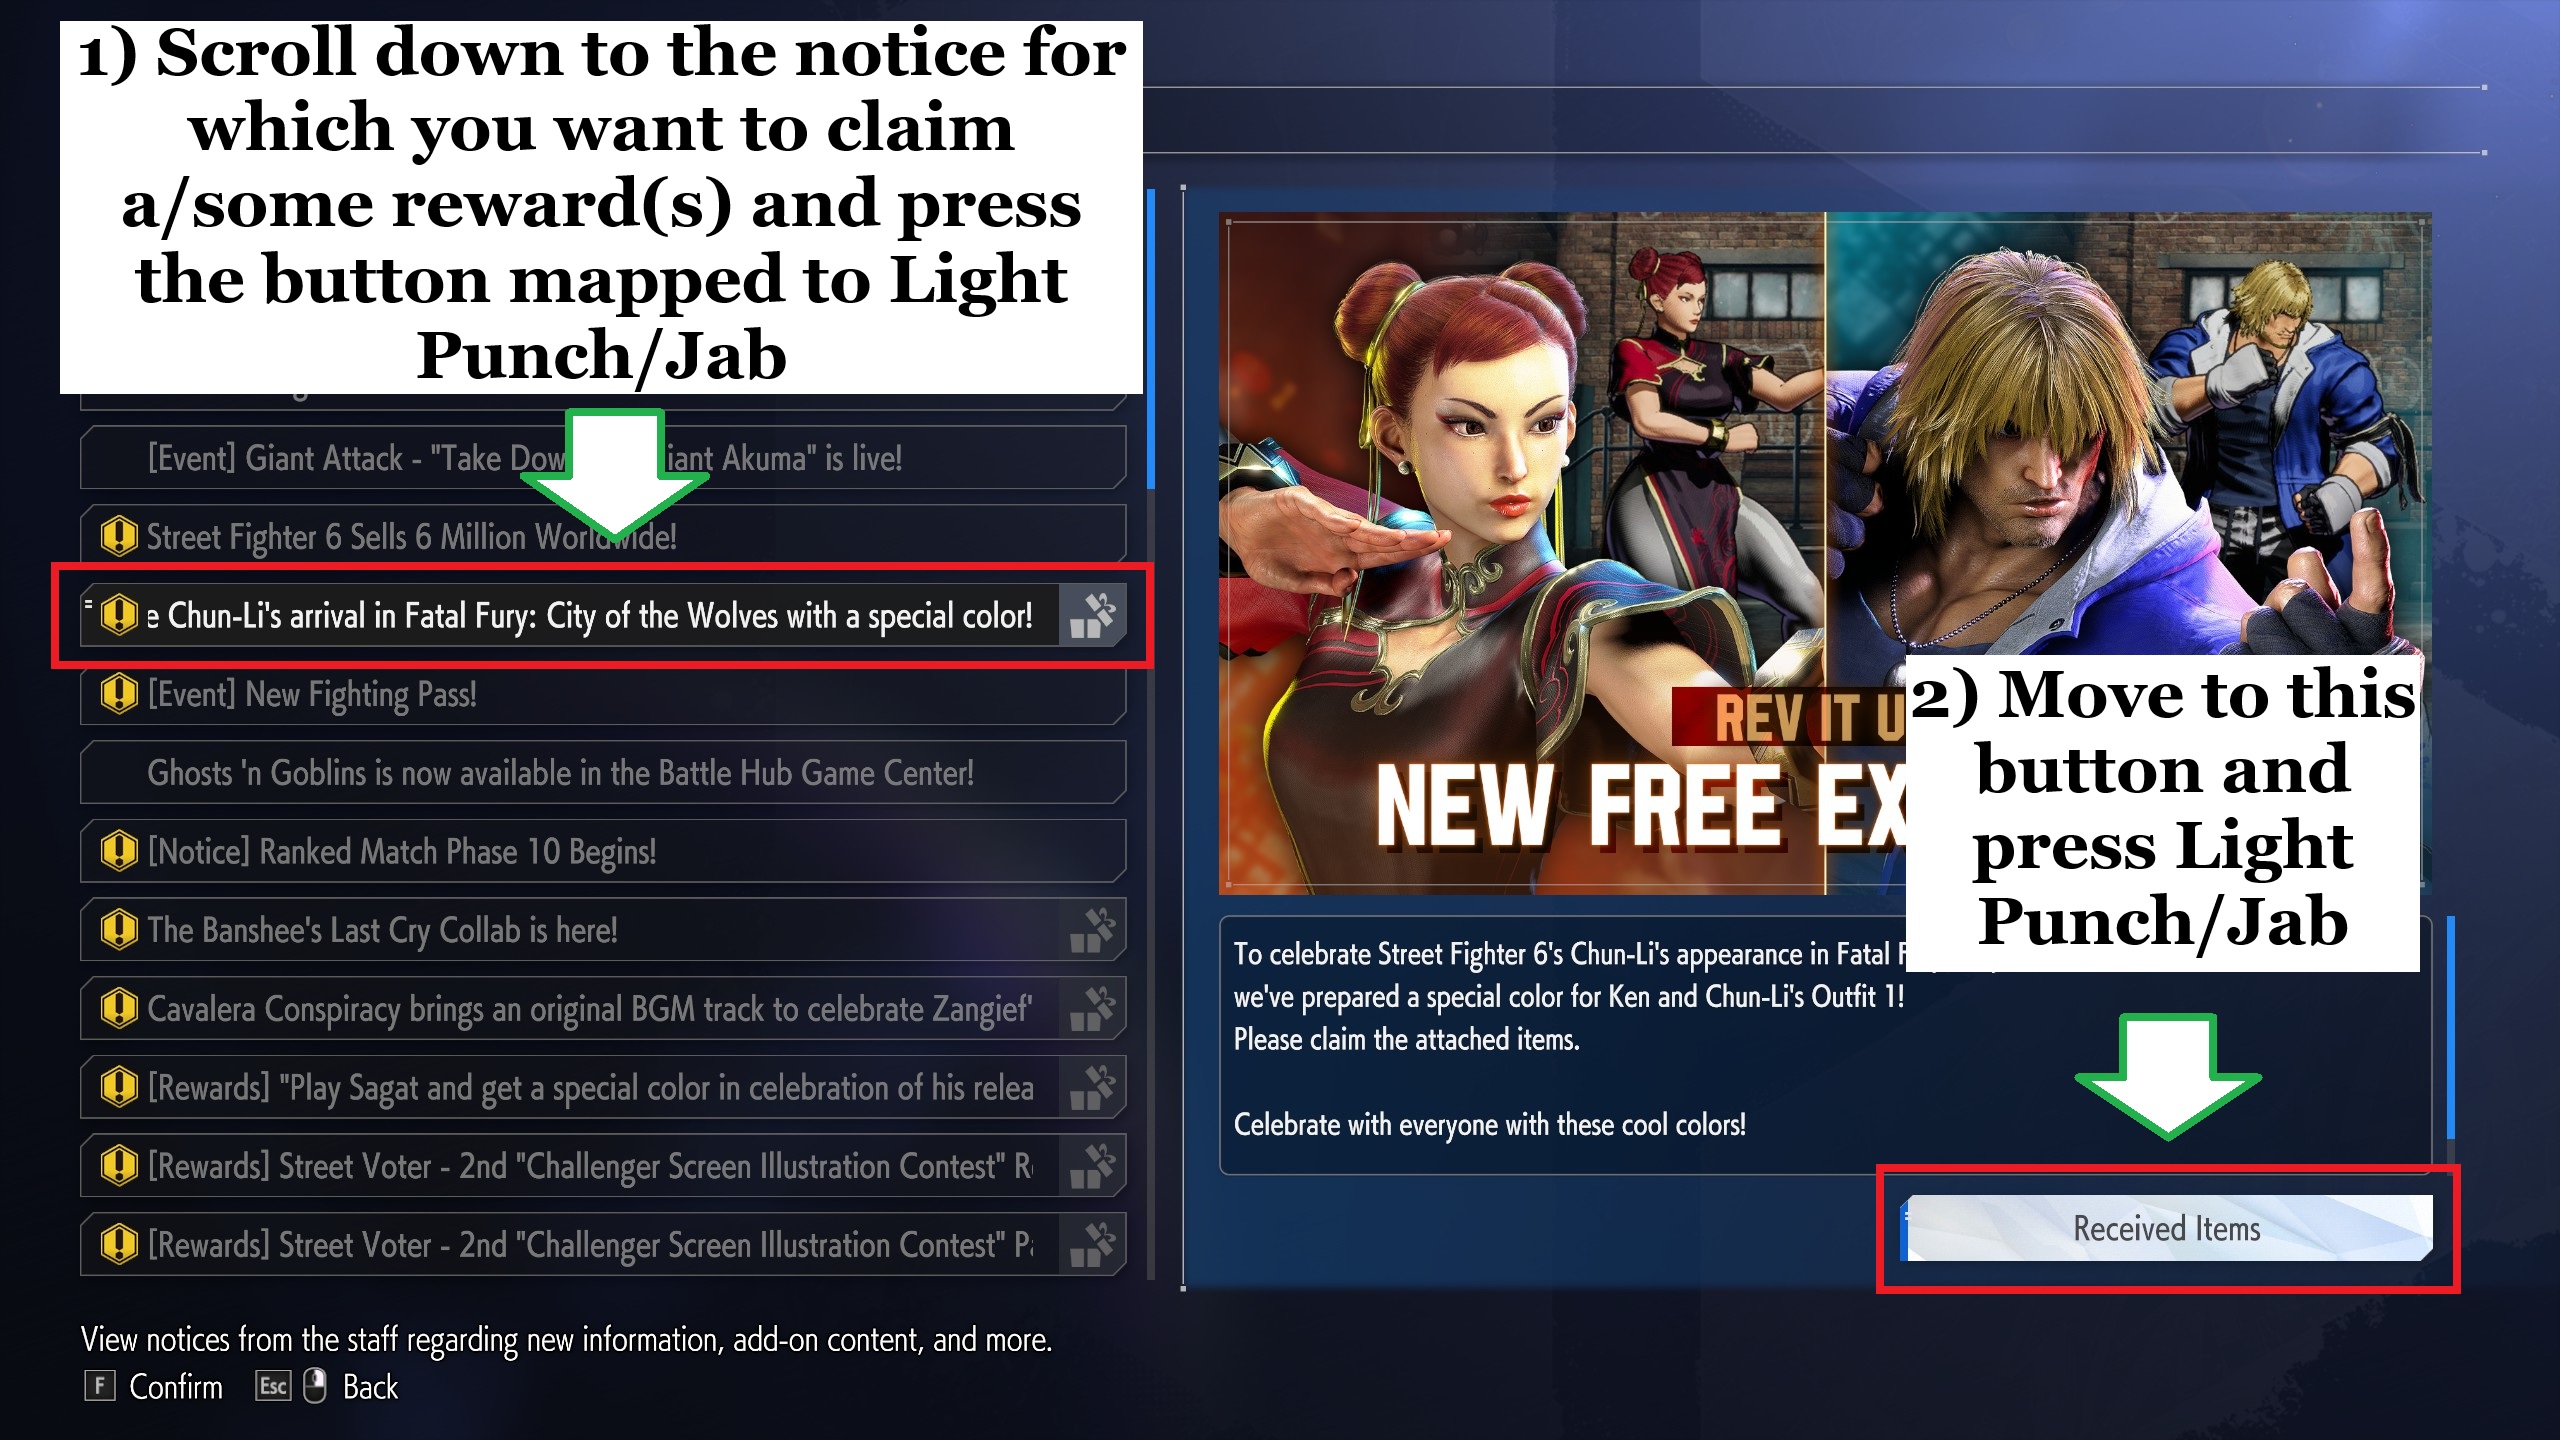
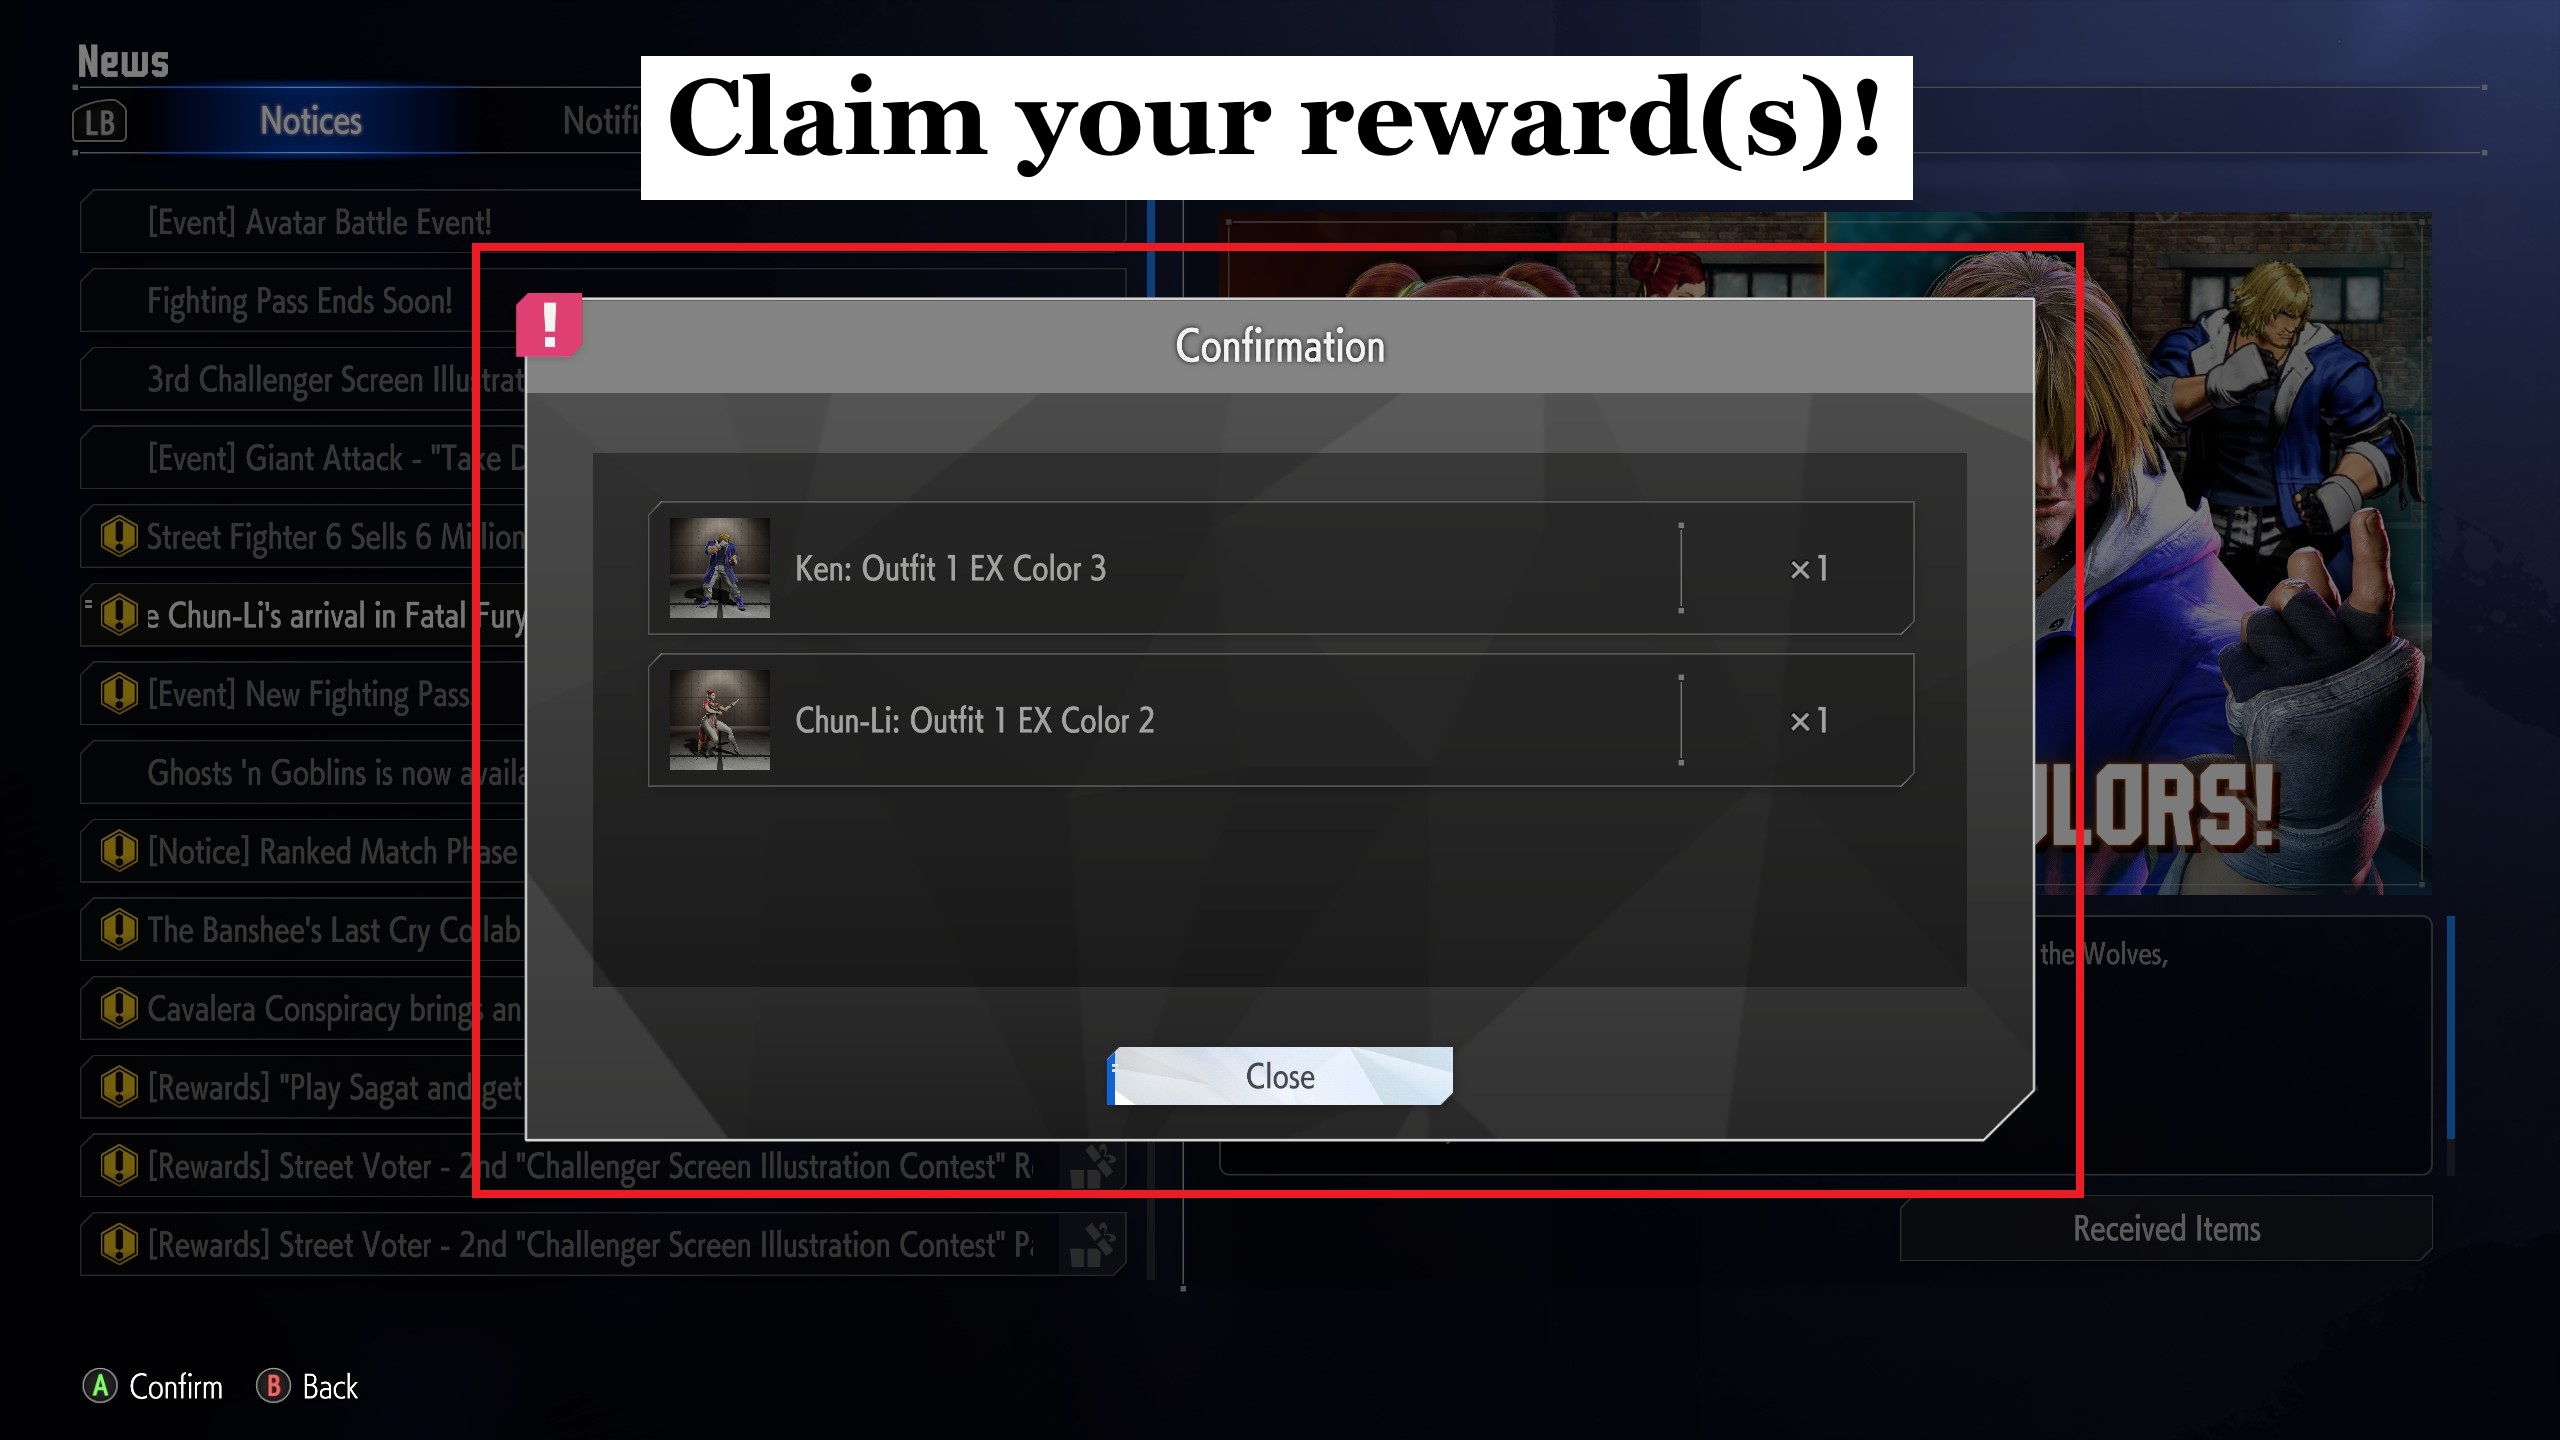
From here, you need to scroll through the notices and look for any that have an image of a present on the right side of the title (if you already claimed the reward(s), the icon will change from a closed present to an open one). To claim your reward, you'll have to select the notice (this is done by pressing whatever button is mapped to Light Punch/Jab) and then press the button below the notice (done by pressing Light Punch/Jab again):
There is one more thing I would like to mention before transitioning to the artwork, but I've reached the character limit for this section, so I'll have to do that in the next one.
Battle Hub - Game Center (Part 2)
Most rewards are not gallery artwork, but instead are usually something like titles, alternate colors etc. You may want to check Notices each time you log in to see if there's something for you to unlock. Not all rewards are only accessible for a limited time, but some are, so if you don't check semi-regularly, you might permanently miss out on some of the game's content.
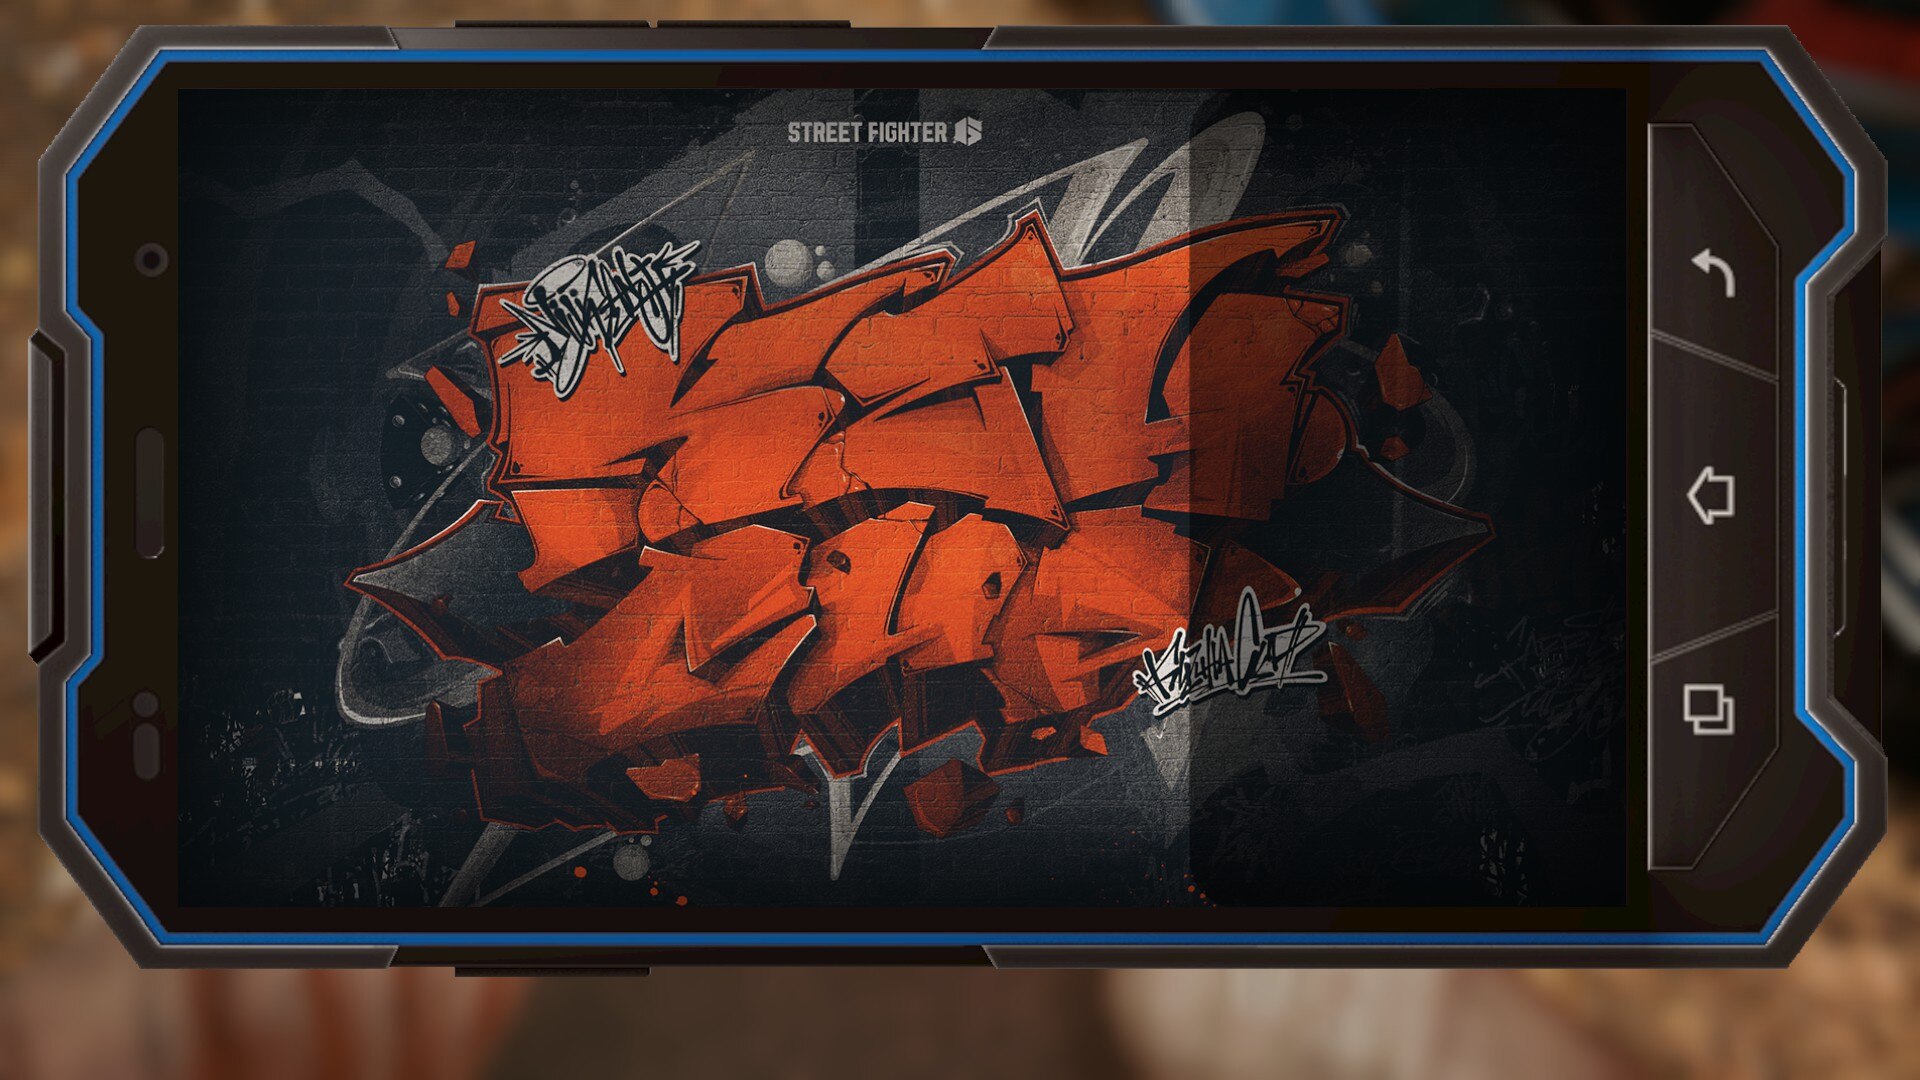
Hope all of the above was useful. Without further ado, here is the Game Center's artwork:


Hope all of the above was useful. Without further ado, here is the Game Center's artwork:
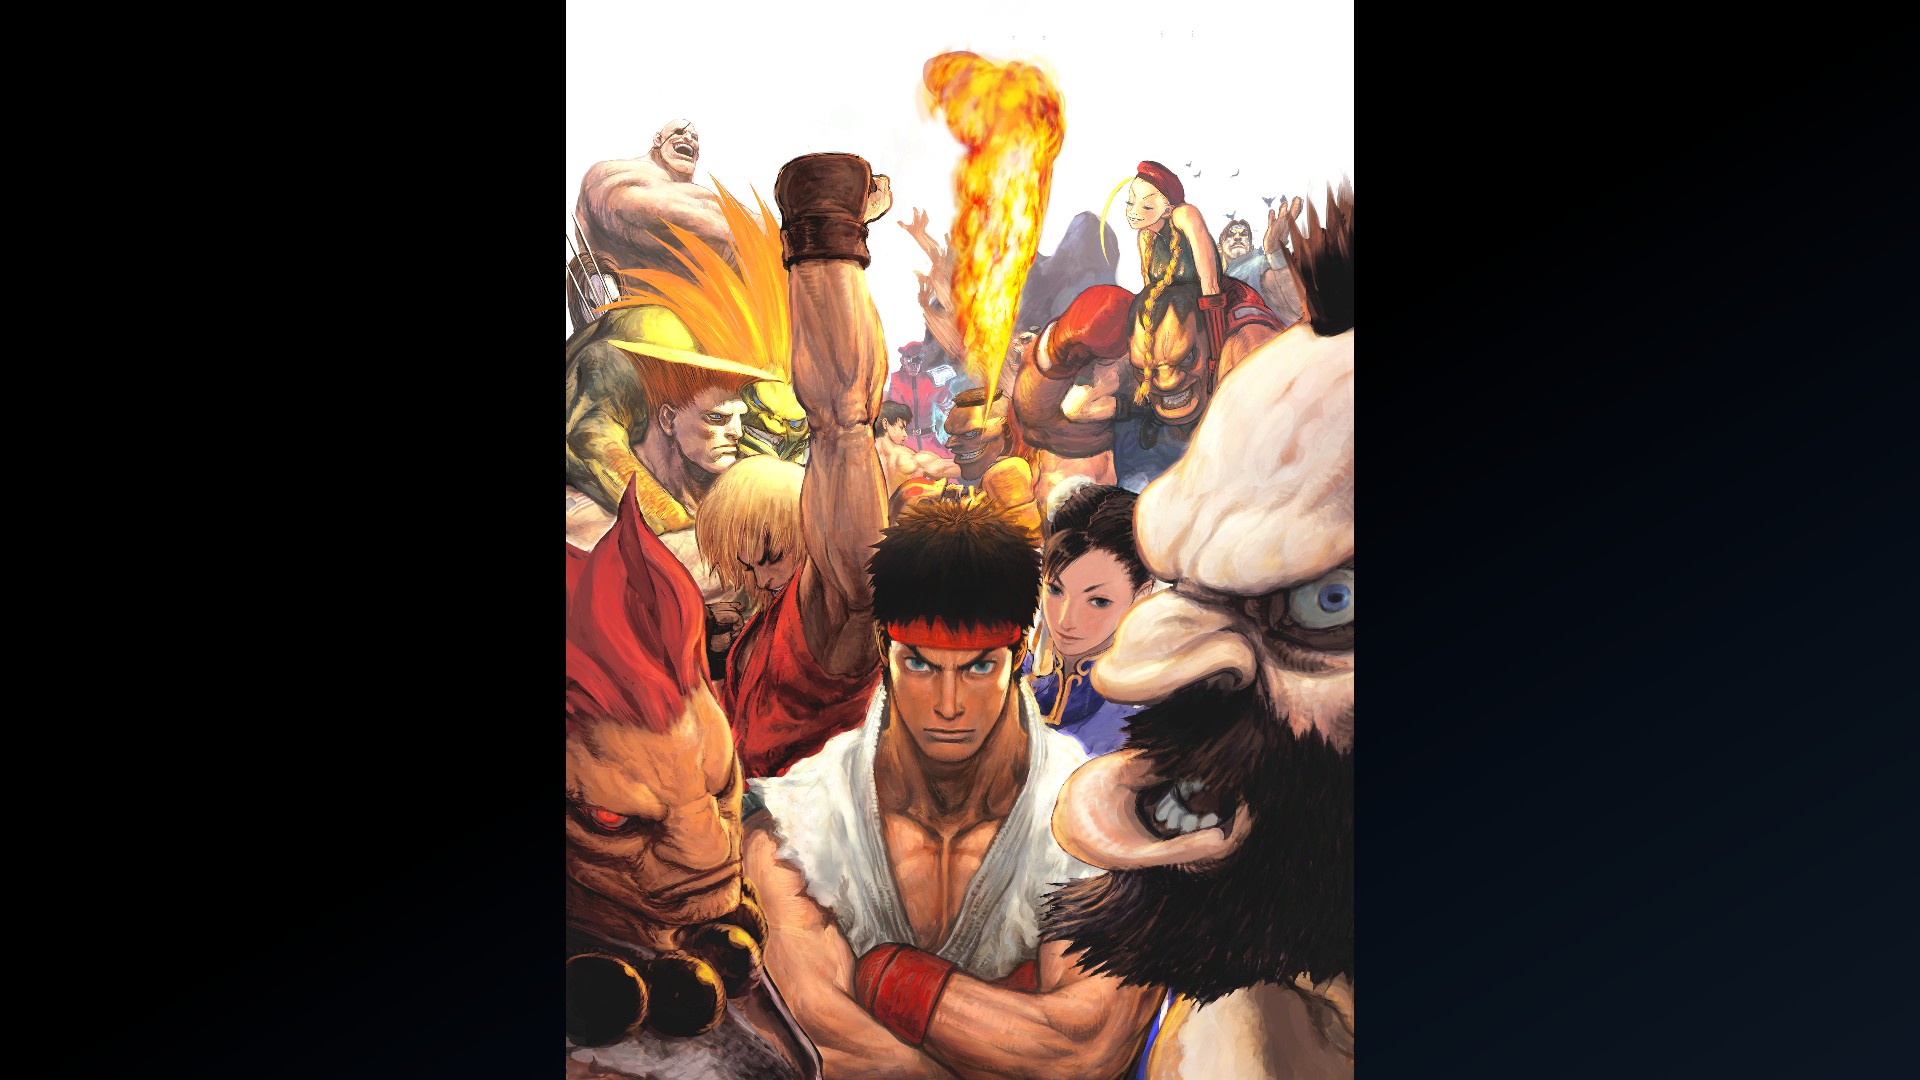
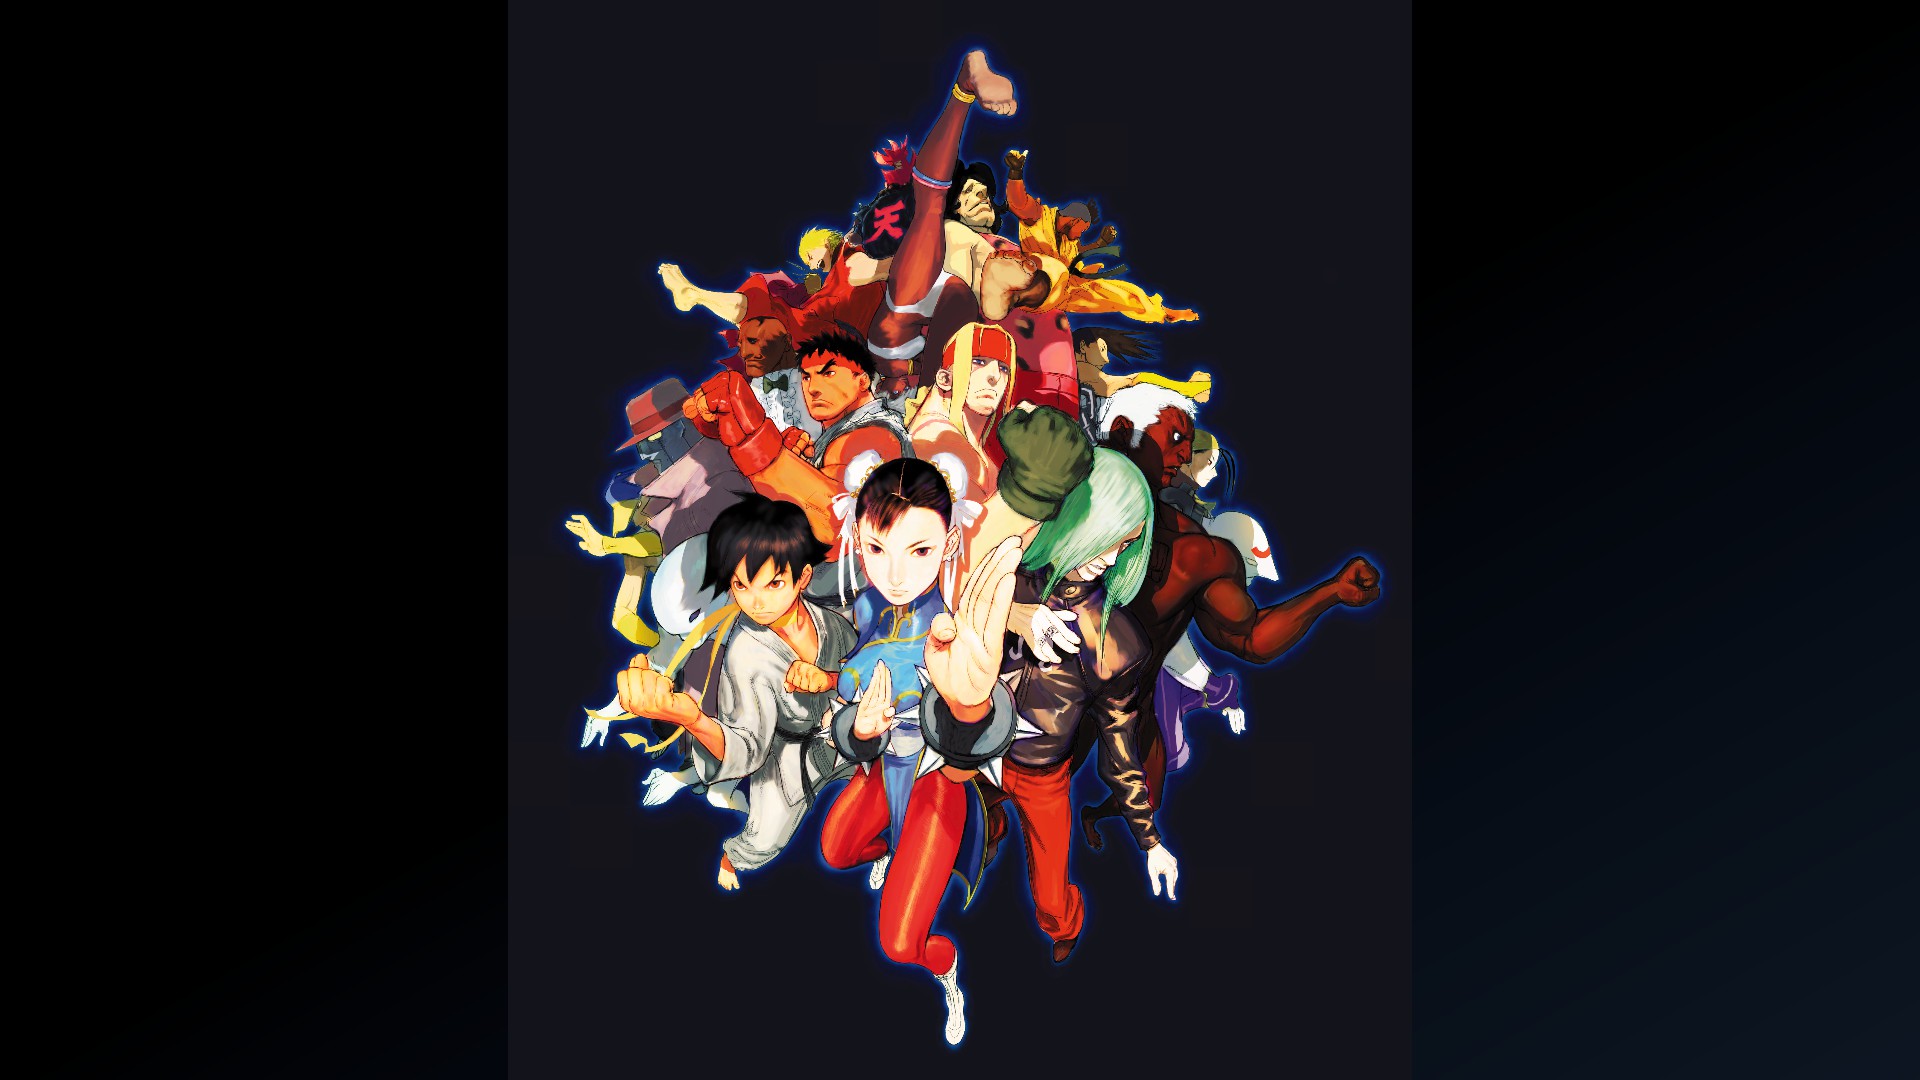
Street Fighter
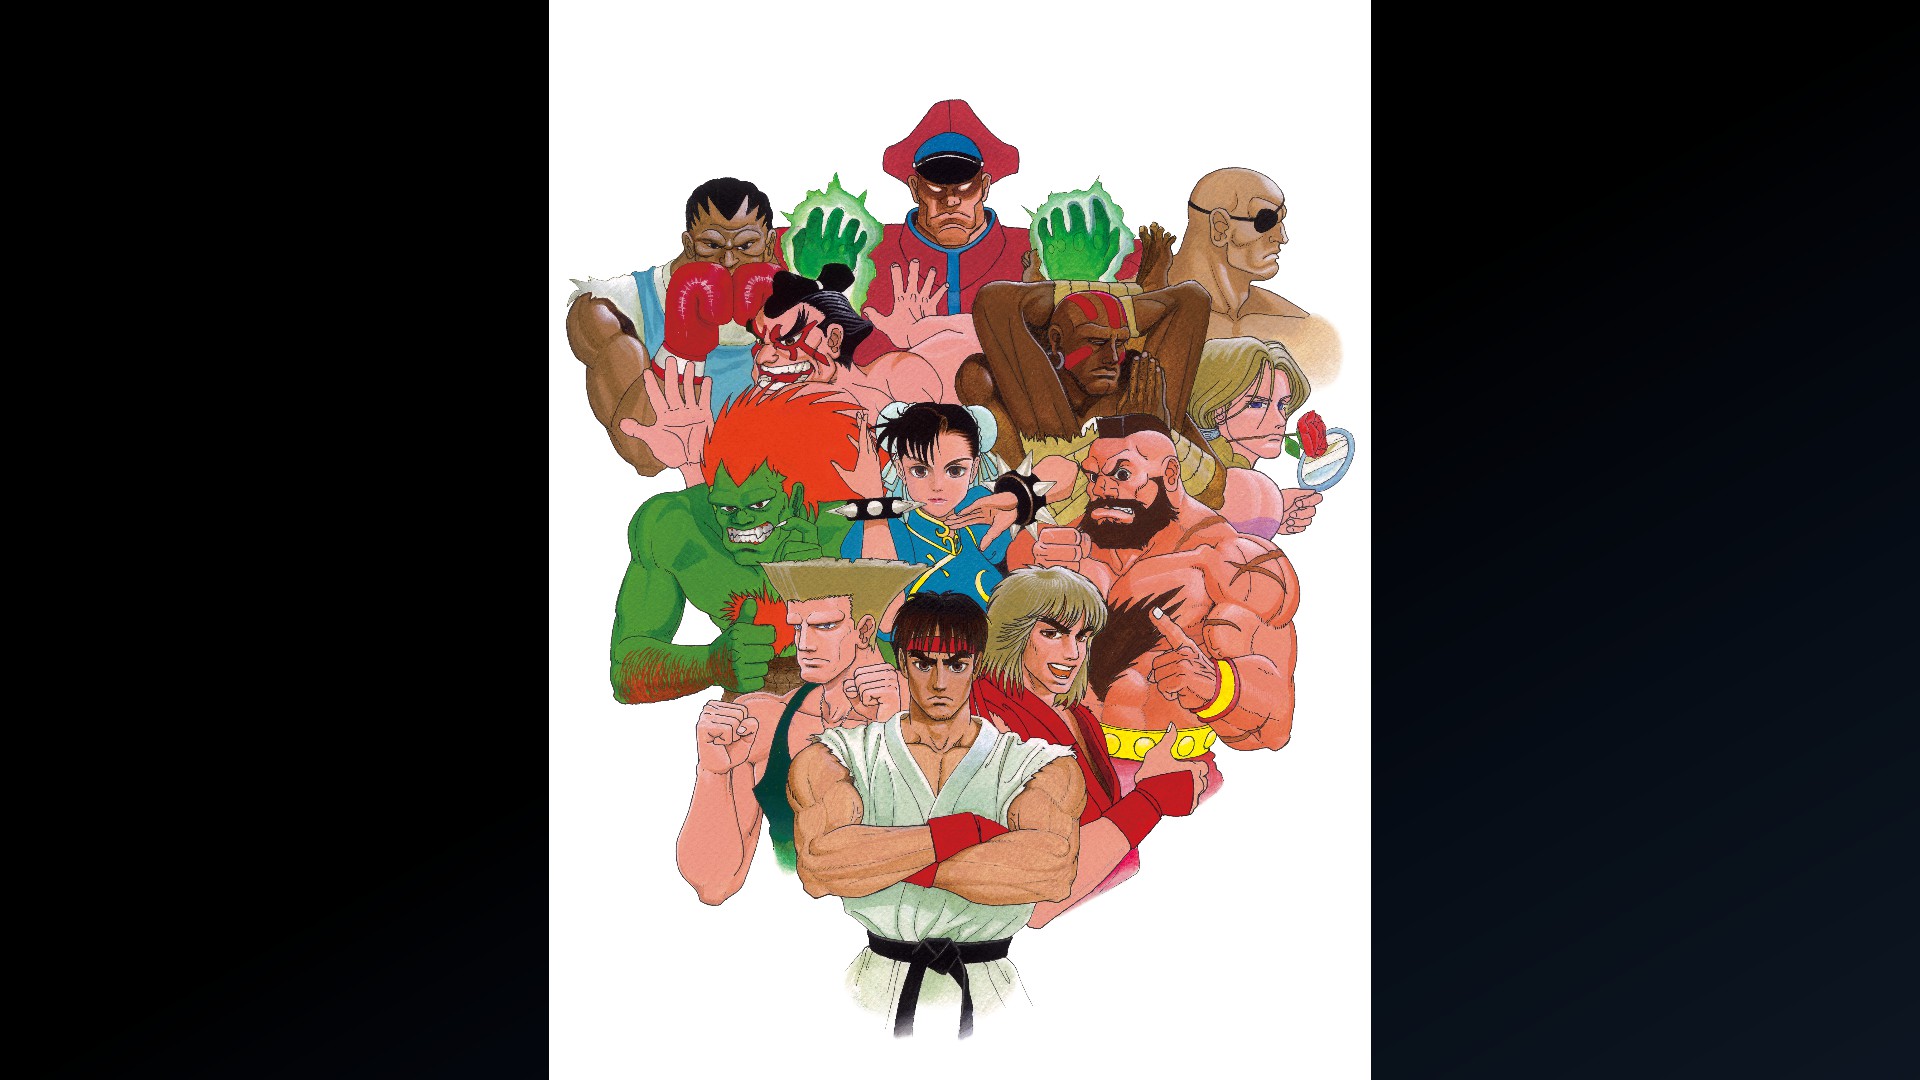
Street Fighter II: The World Warrior
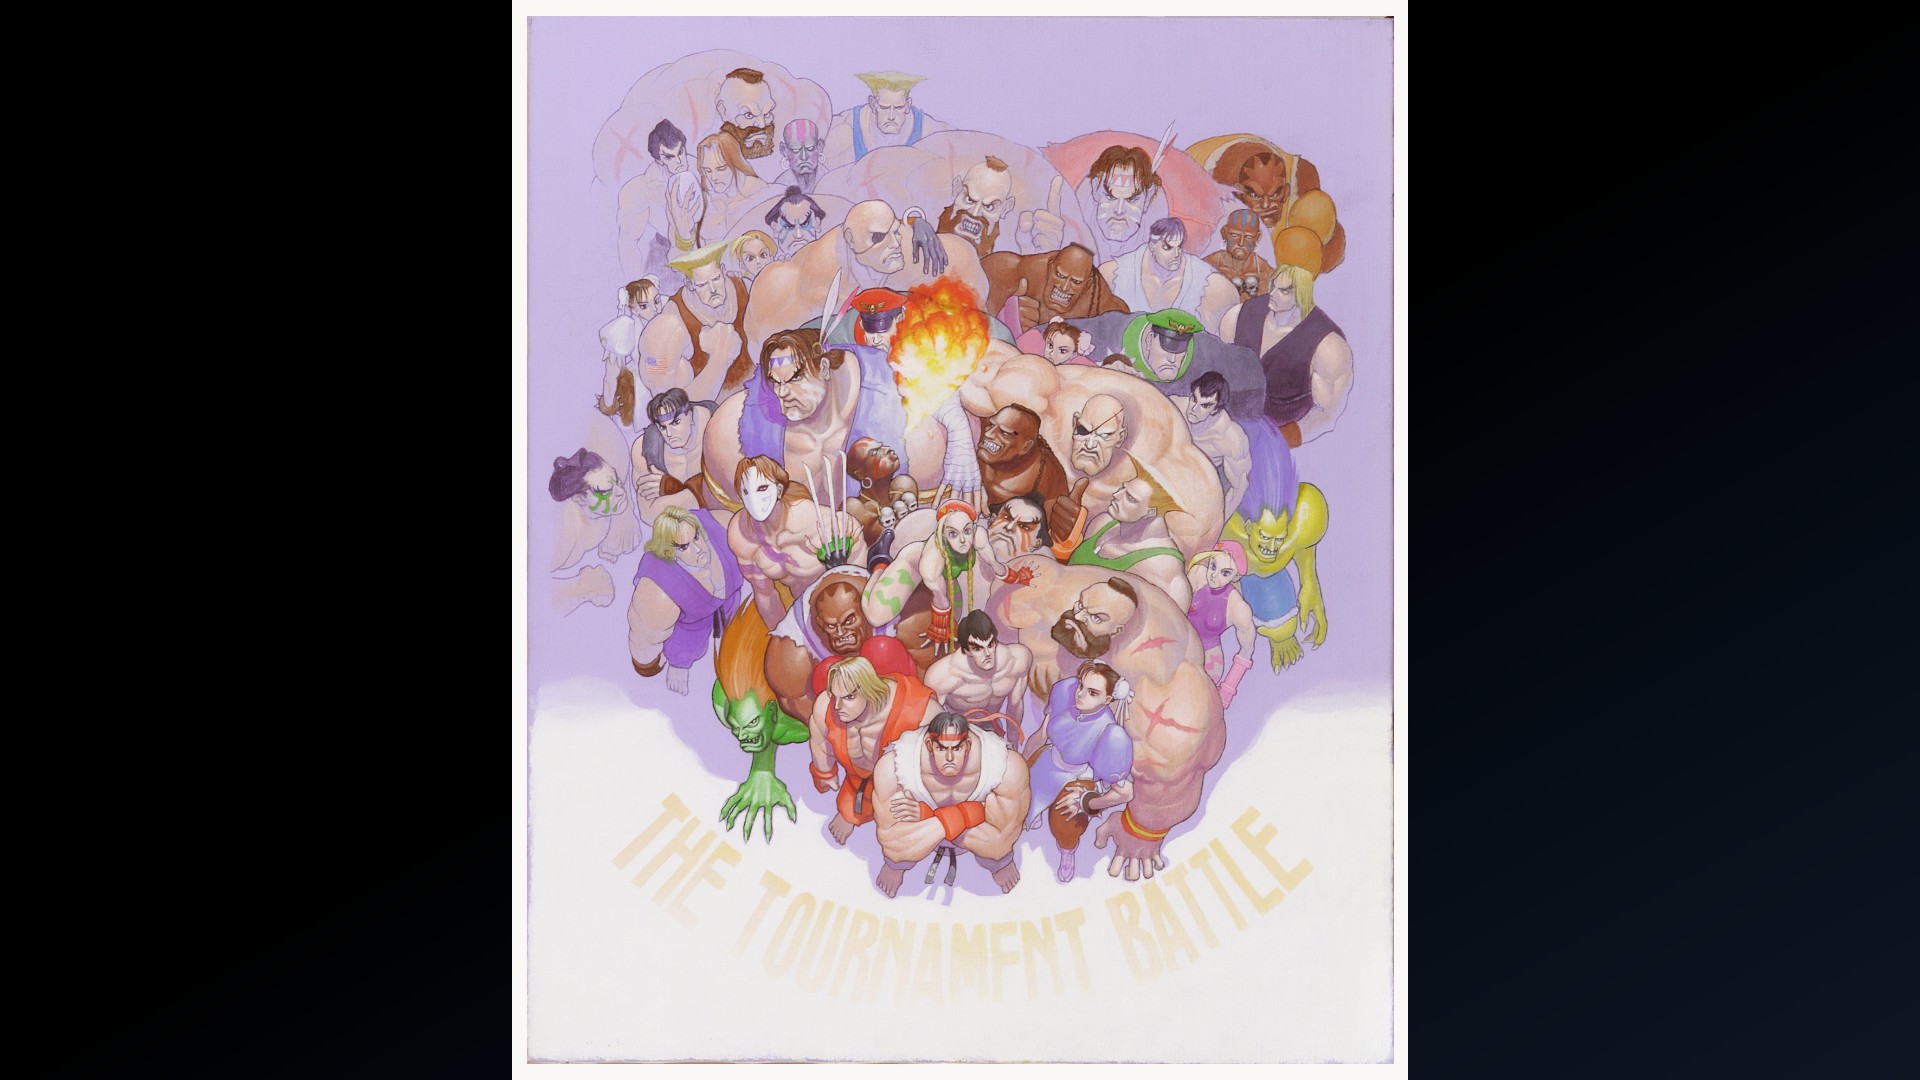
Street Fighter II': Hyper Fighting
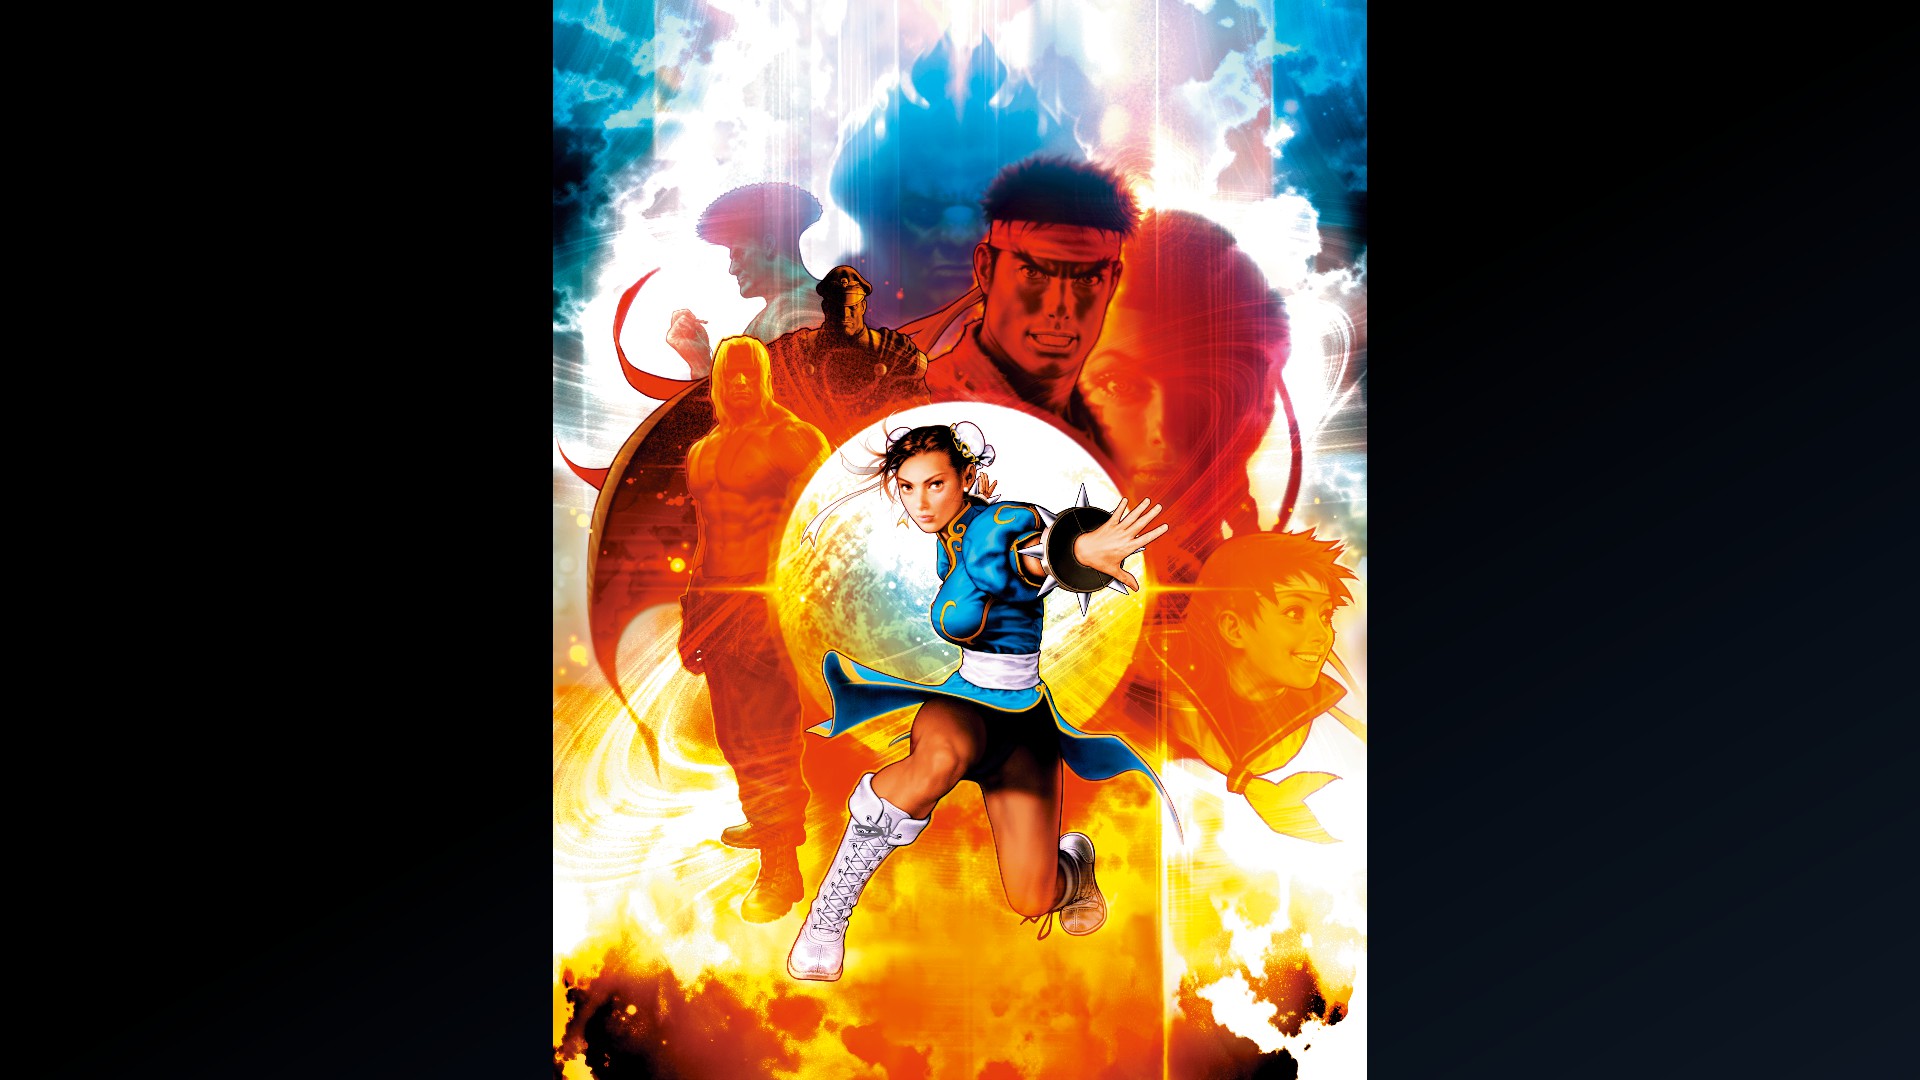
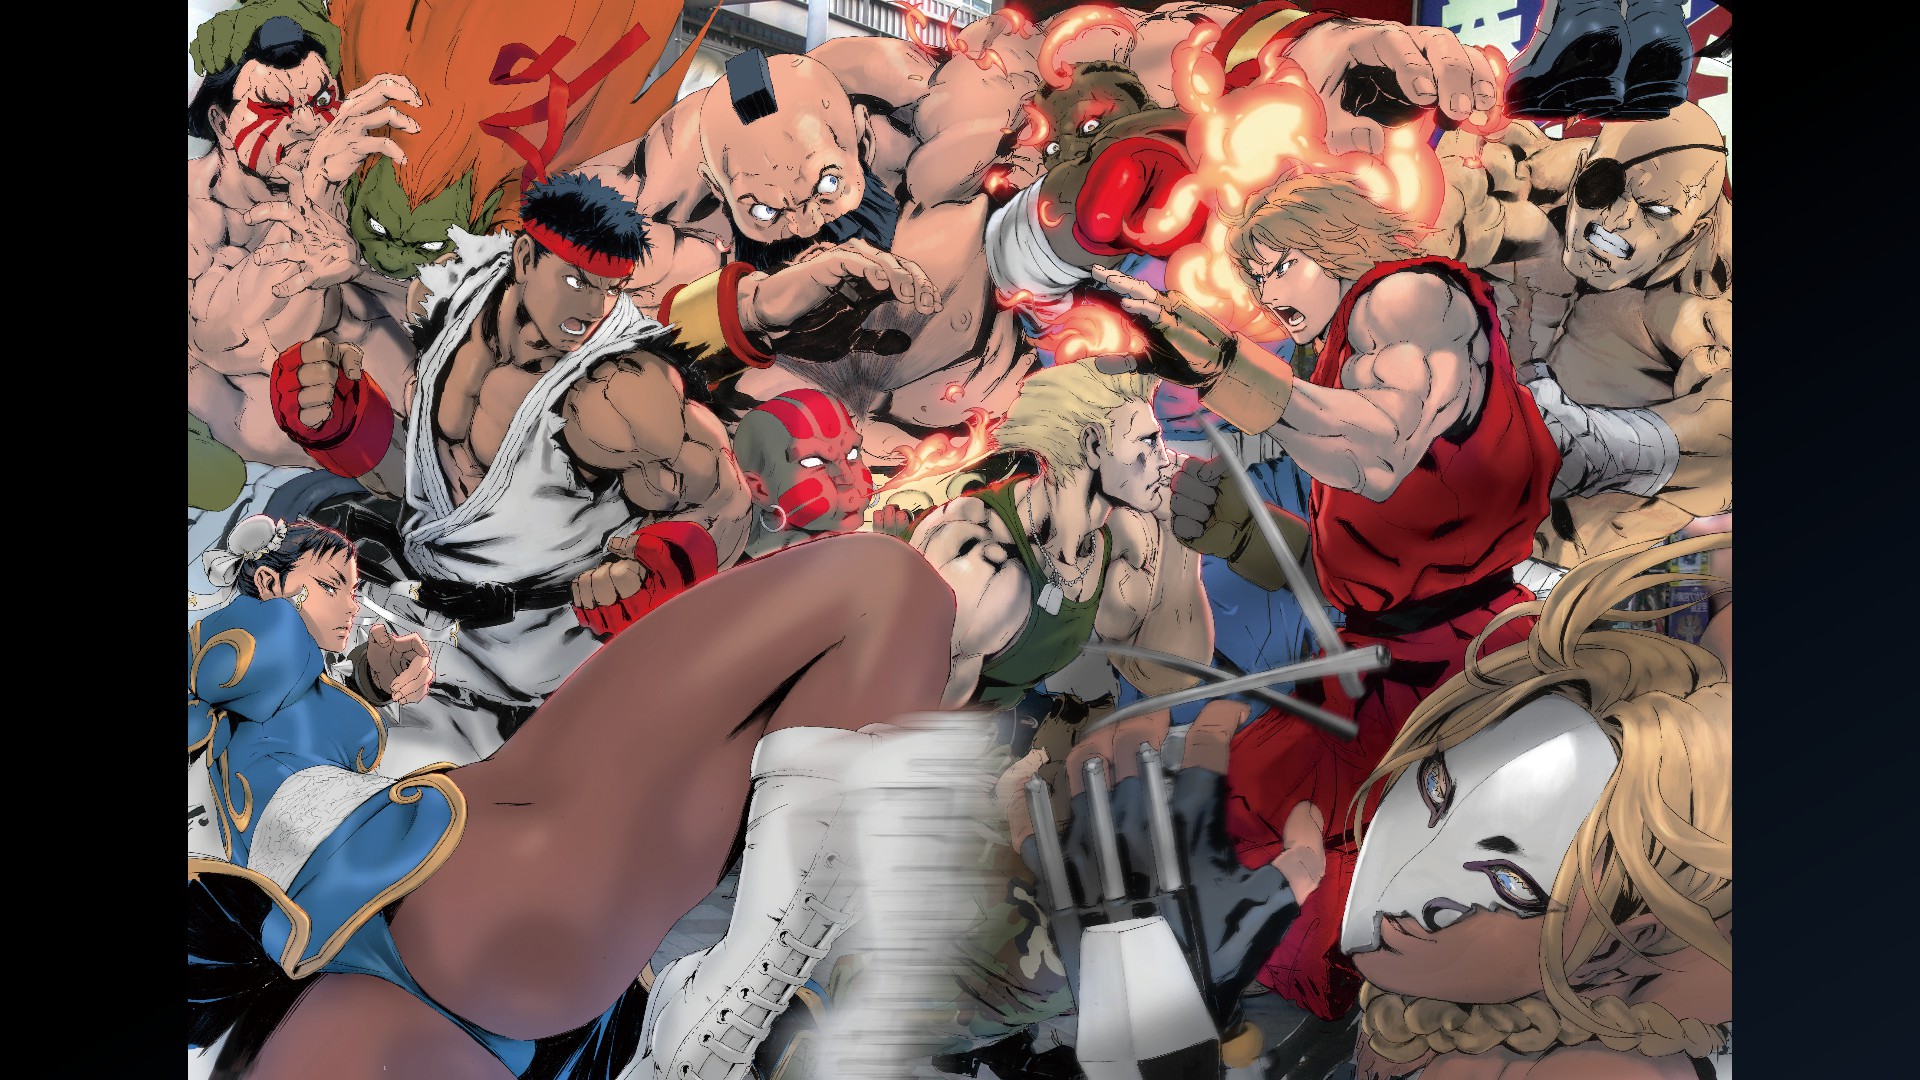
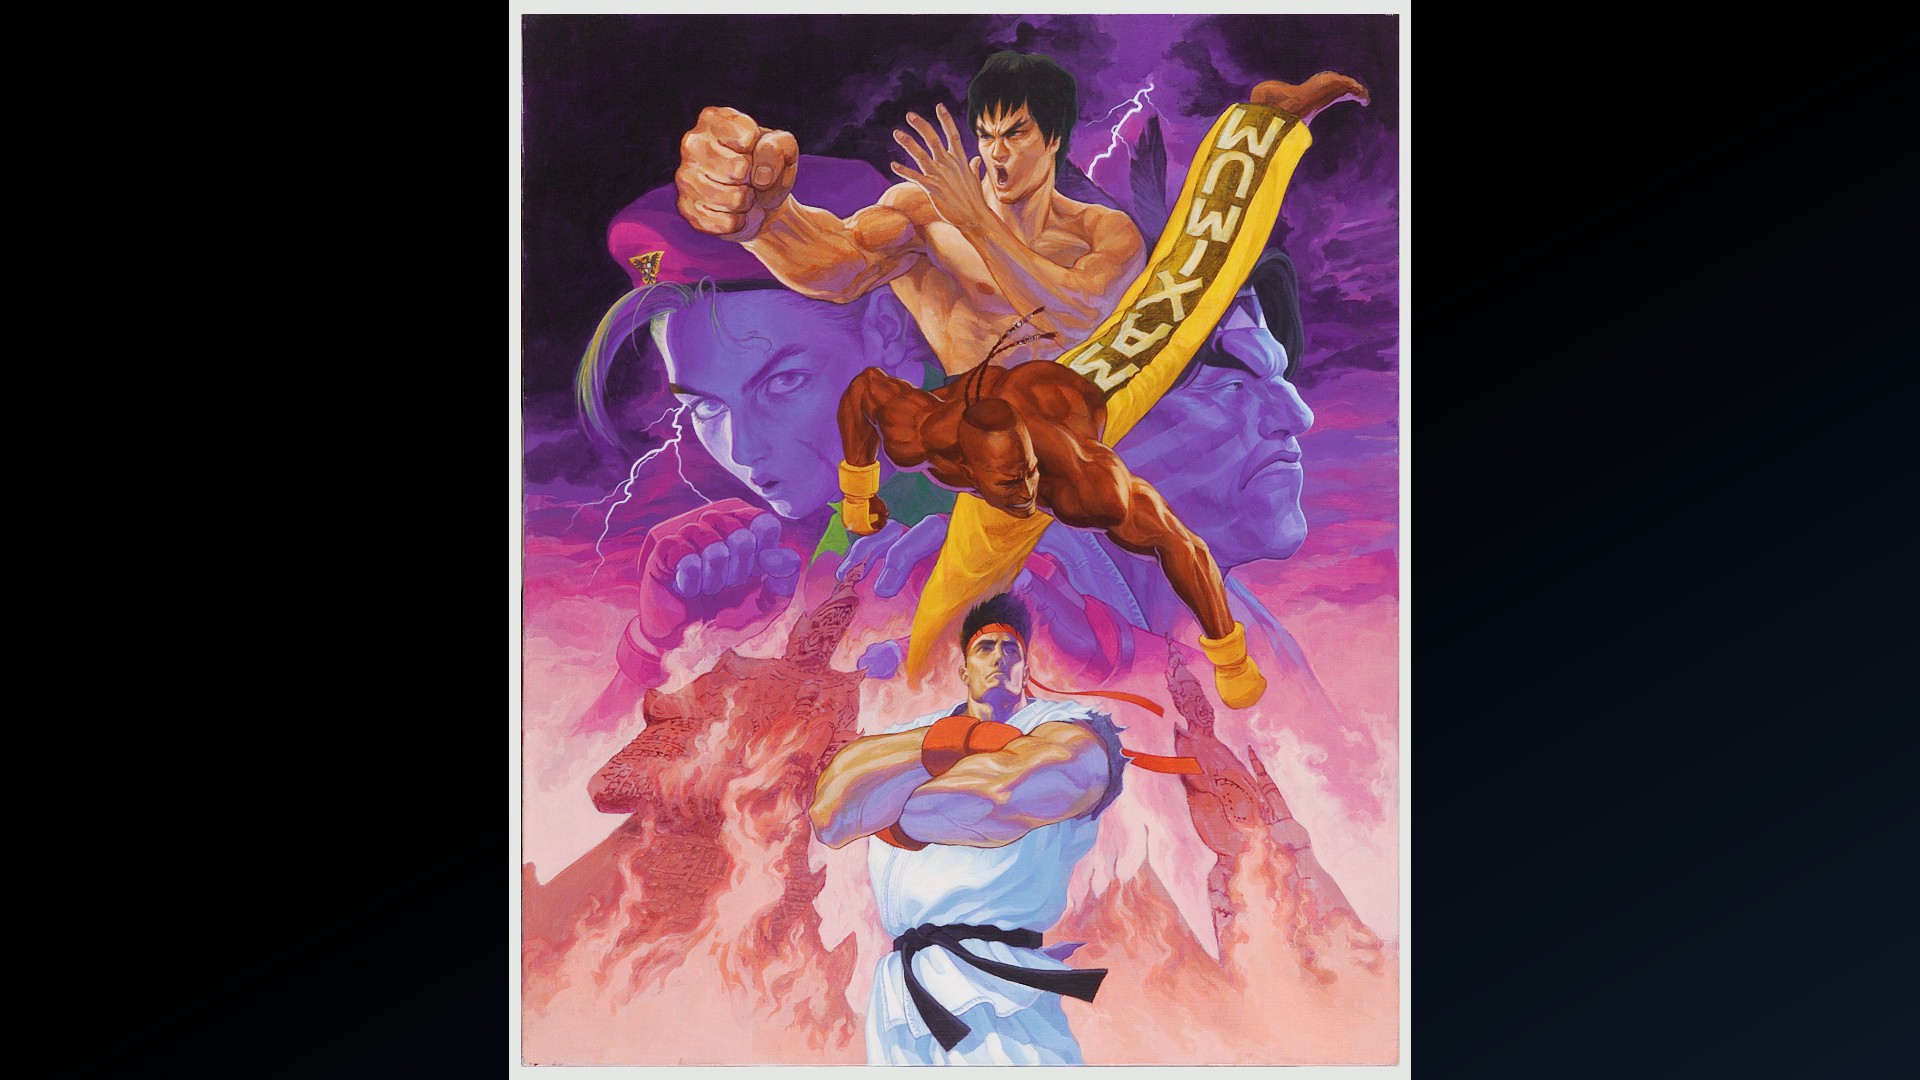
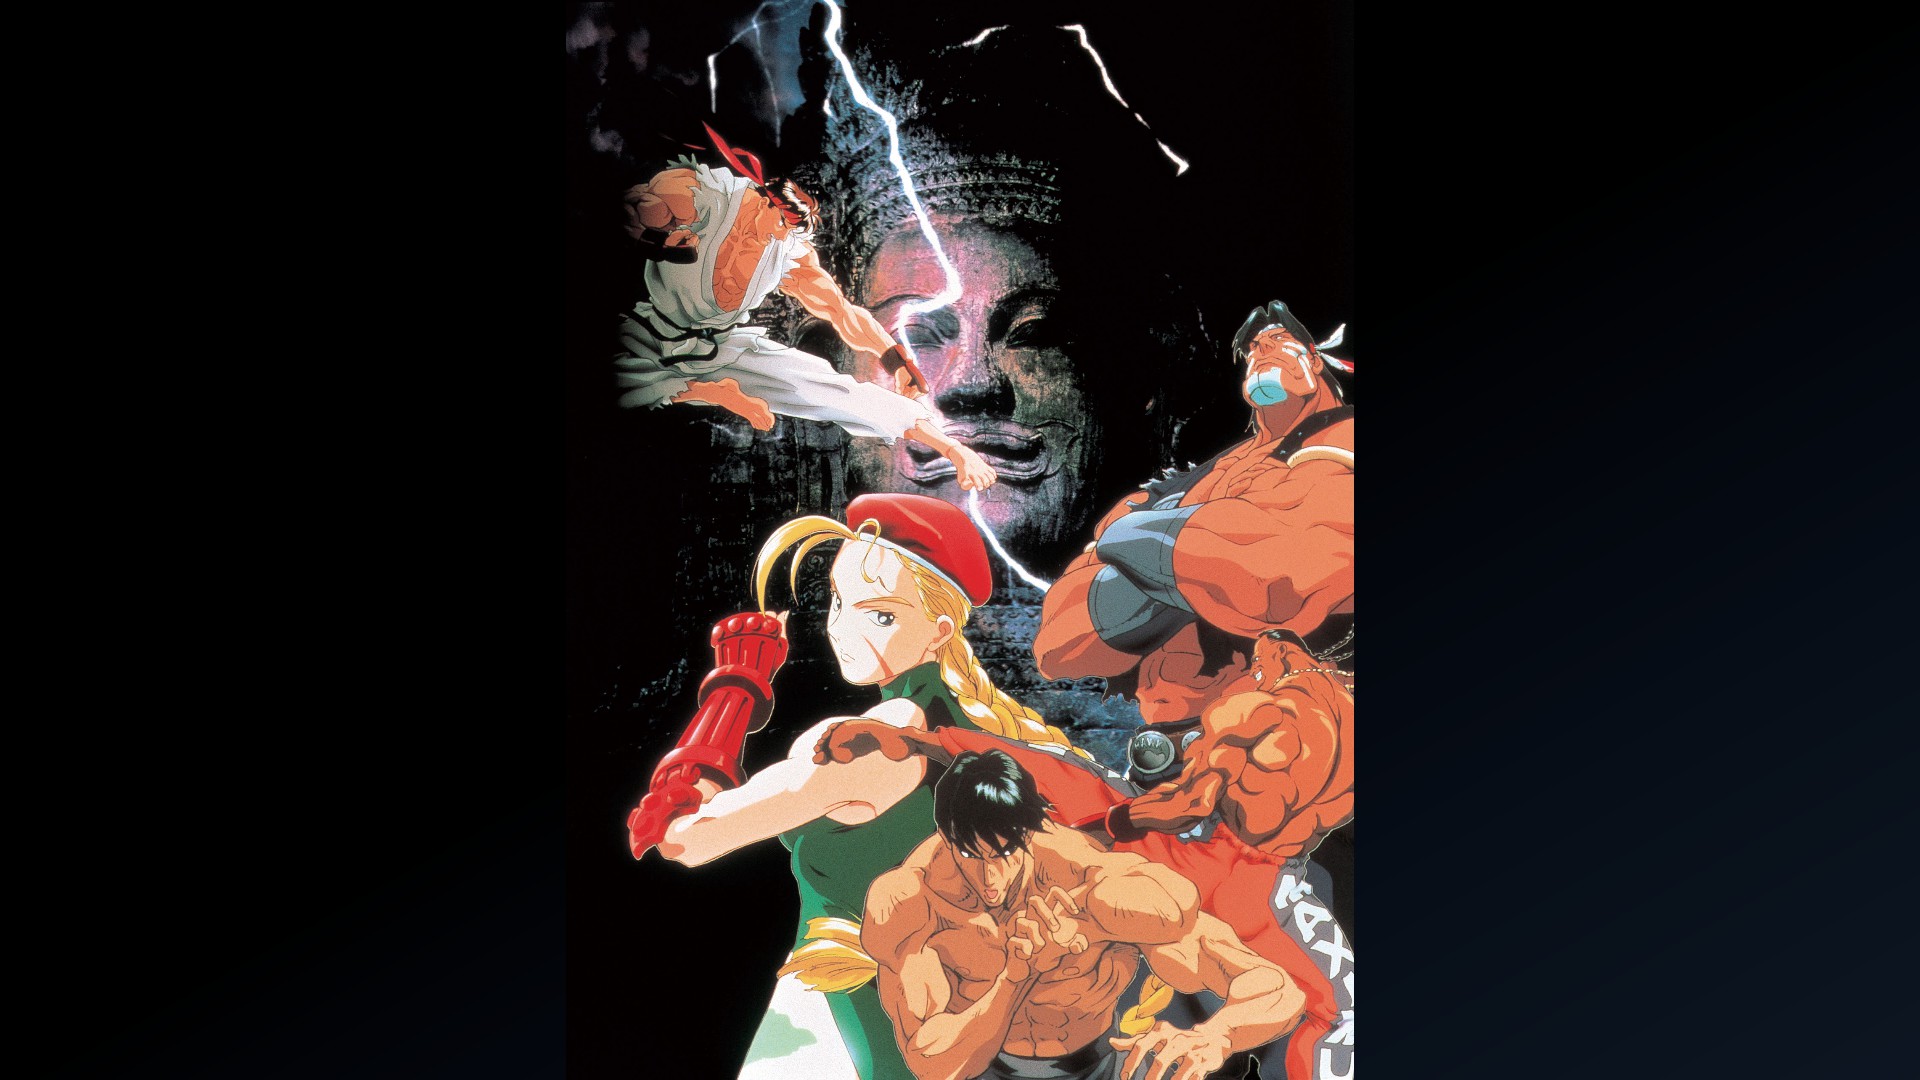
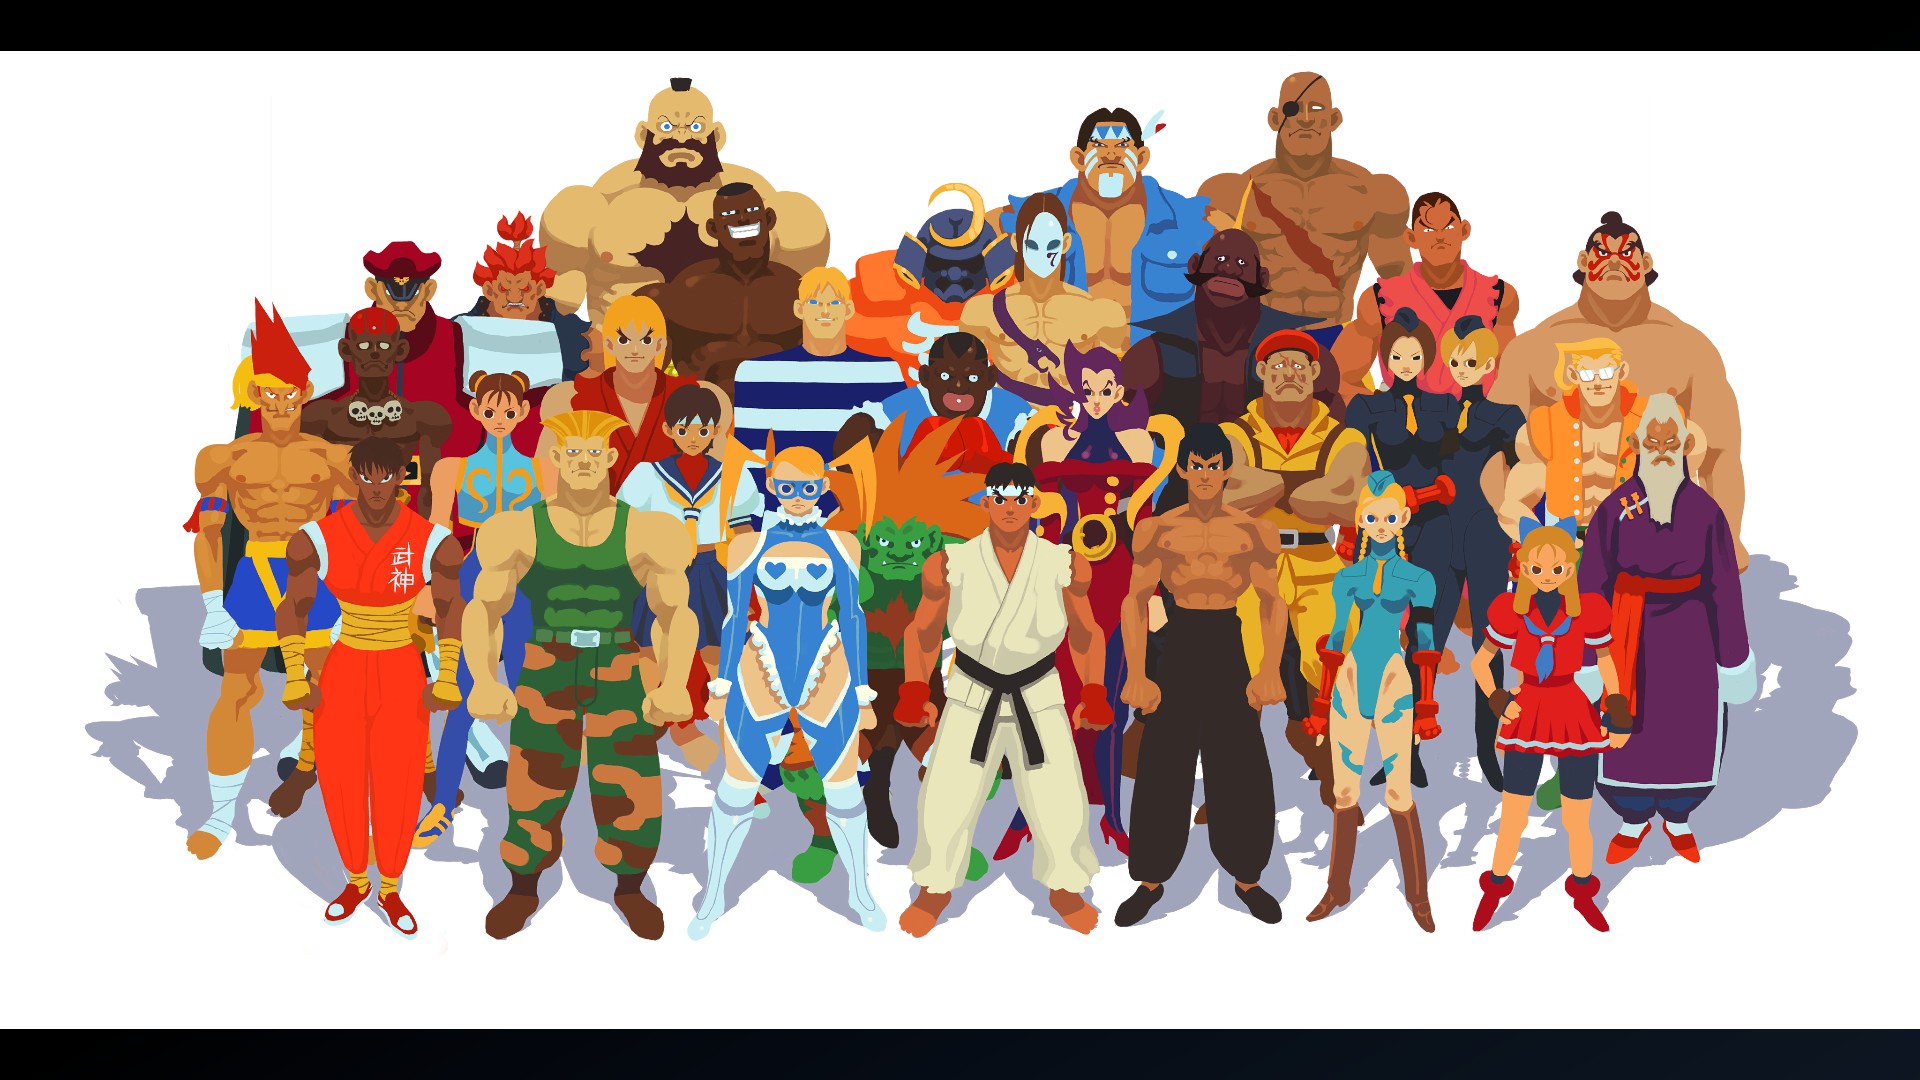
Super Street Fighter II Turbo
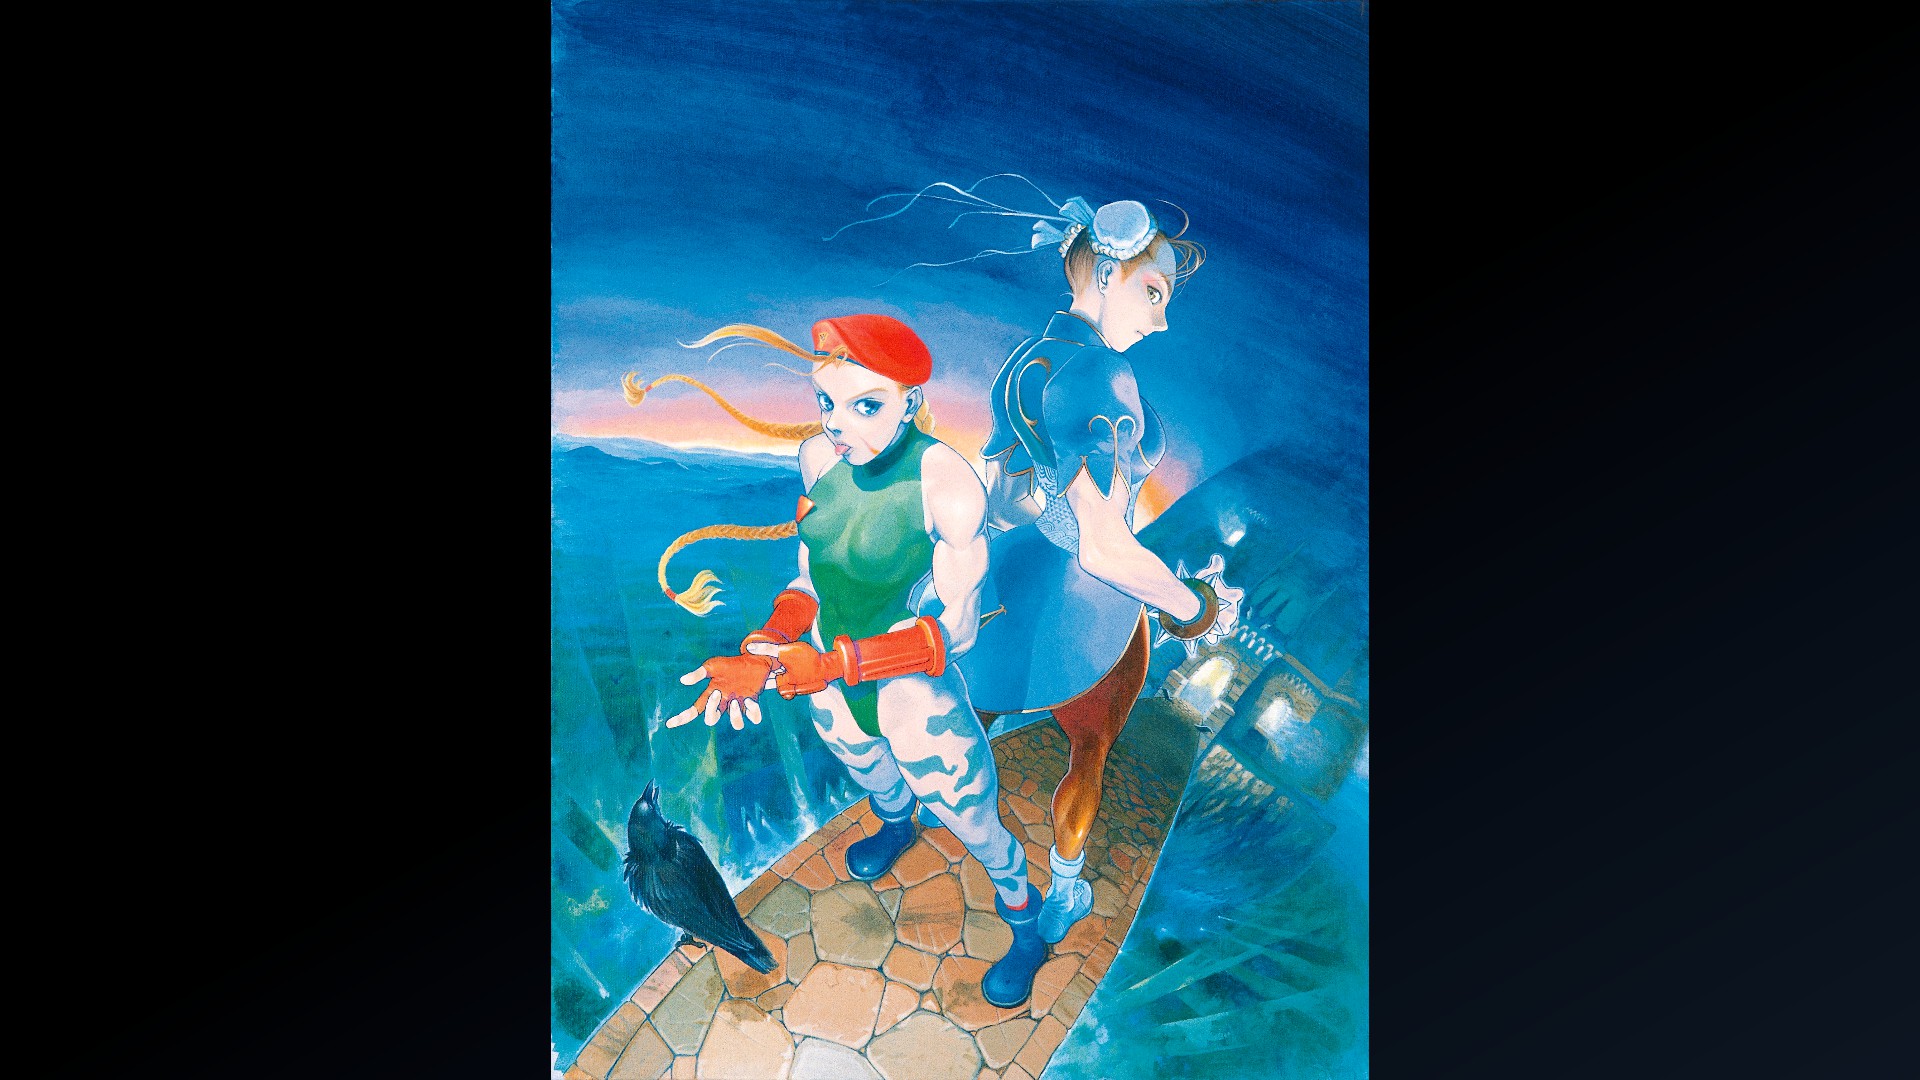
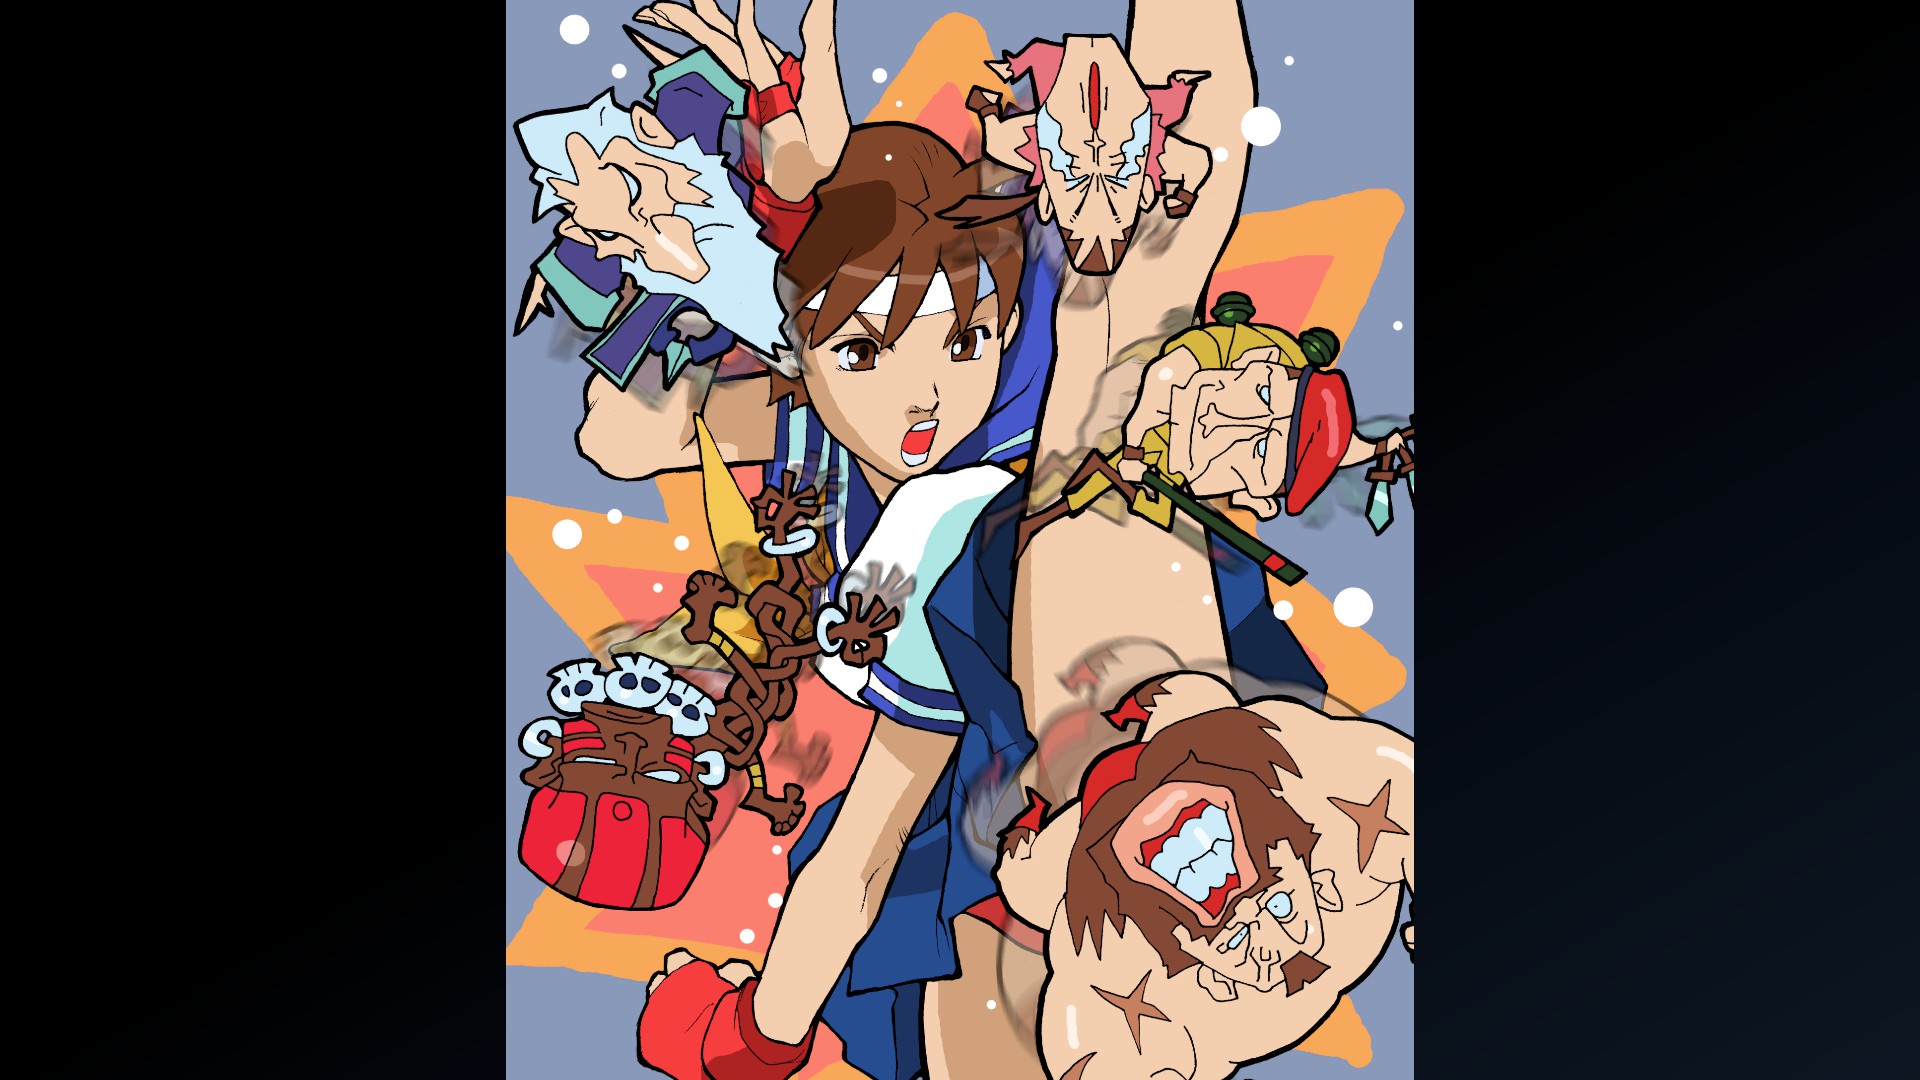
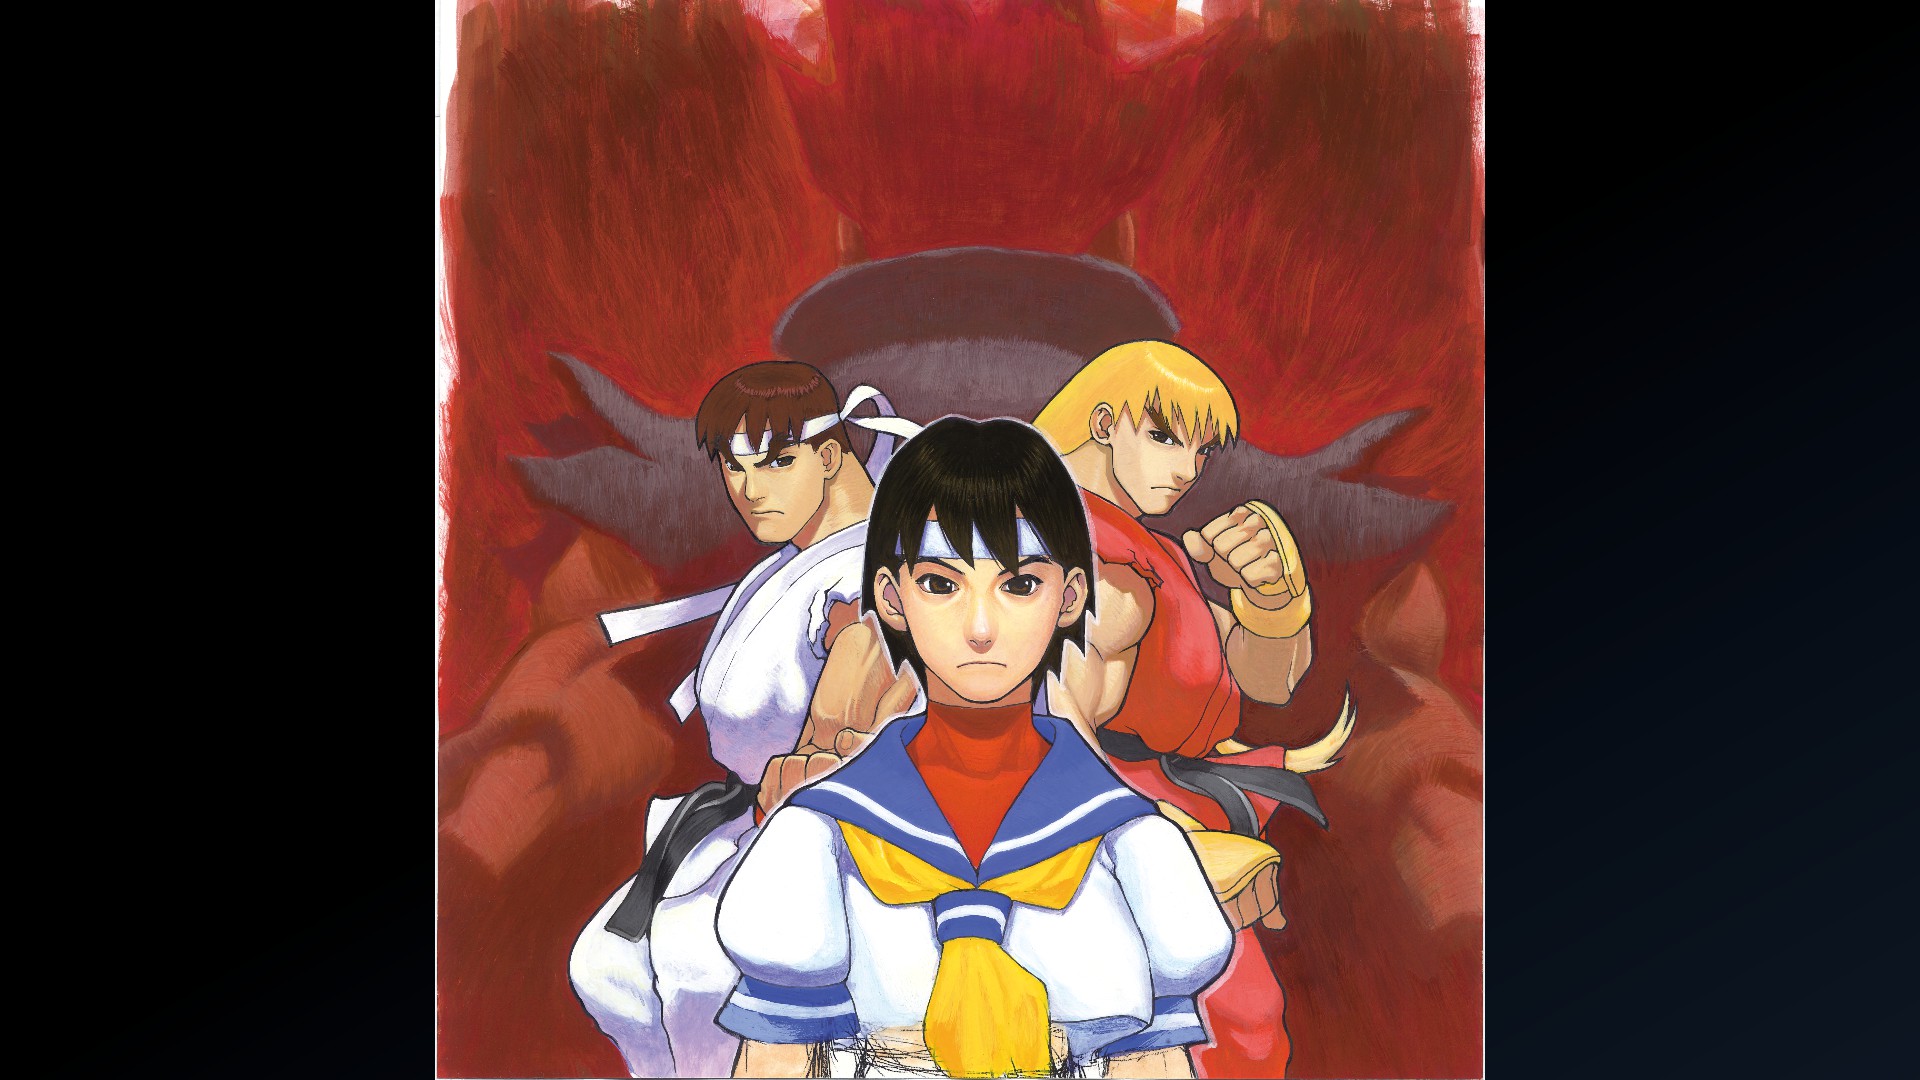
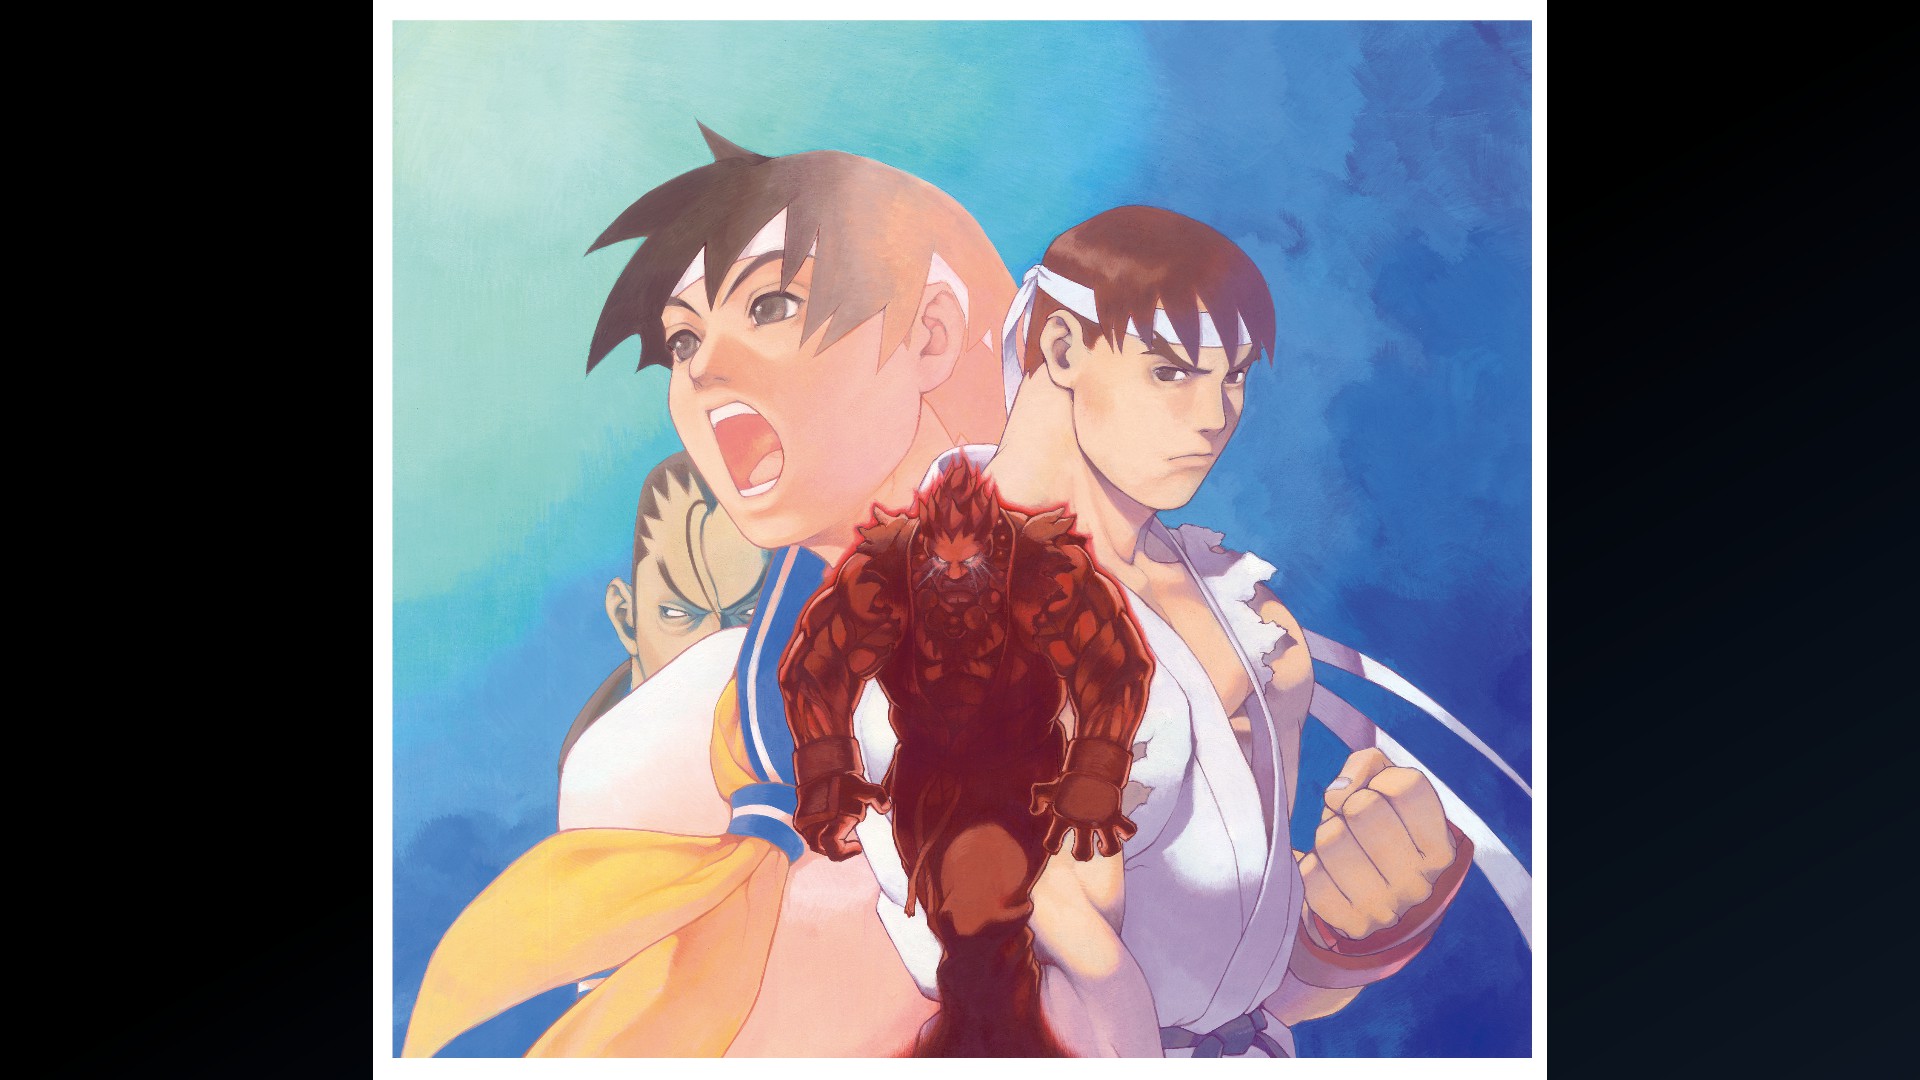
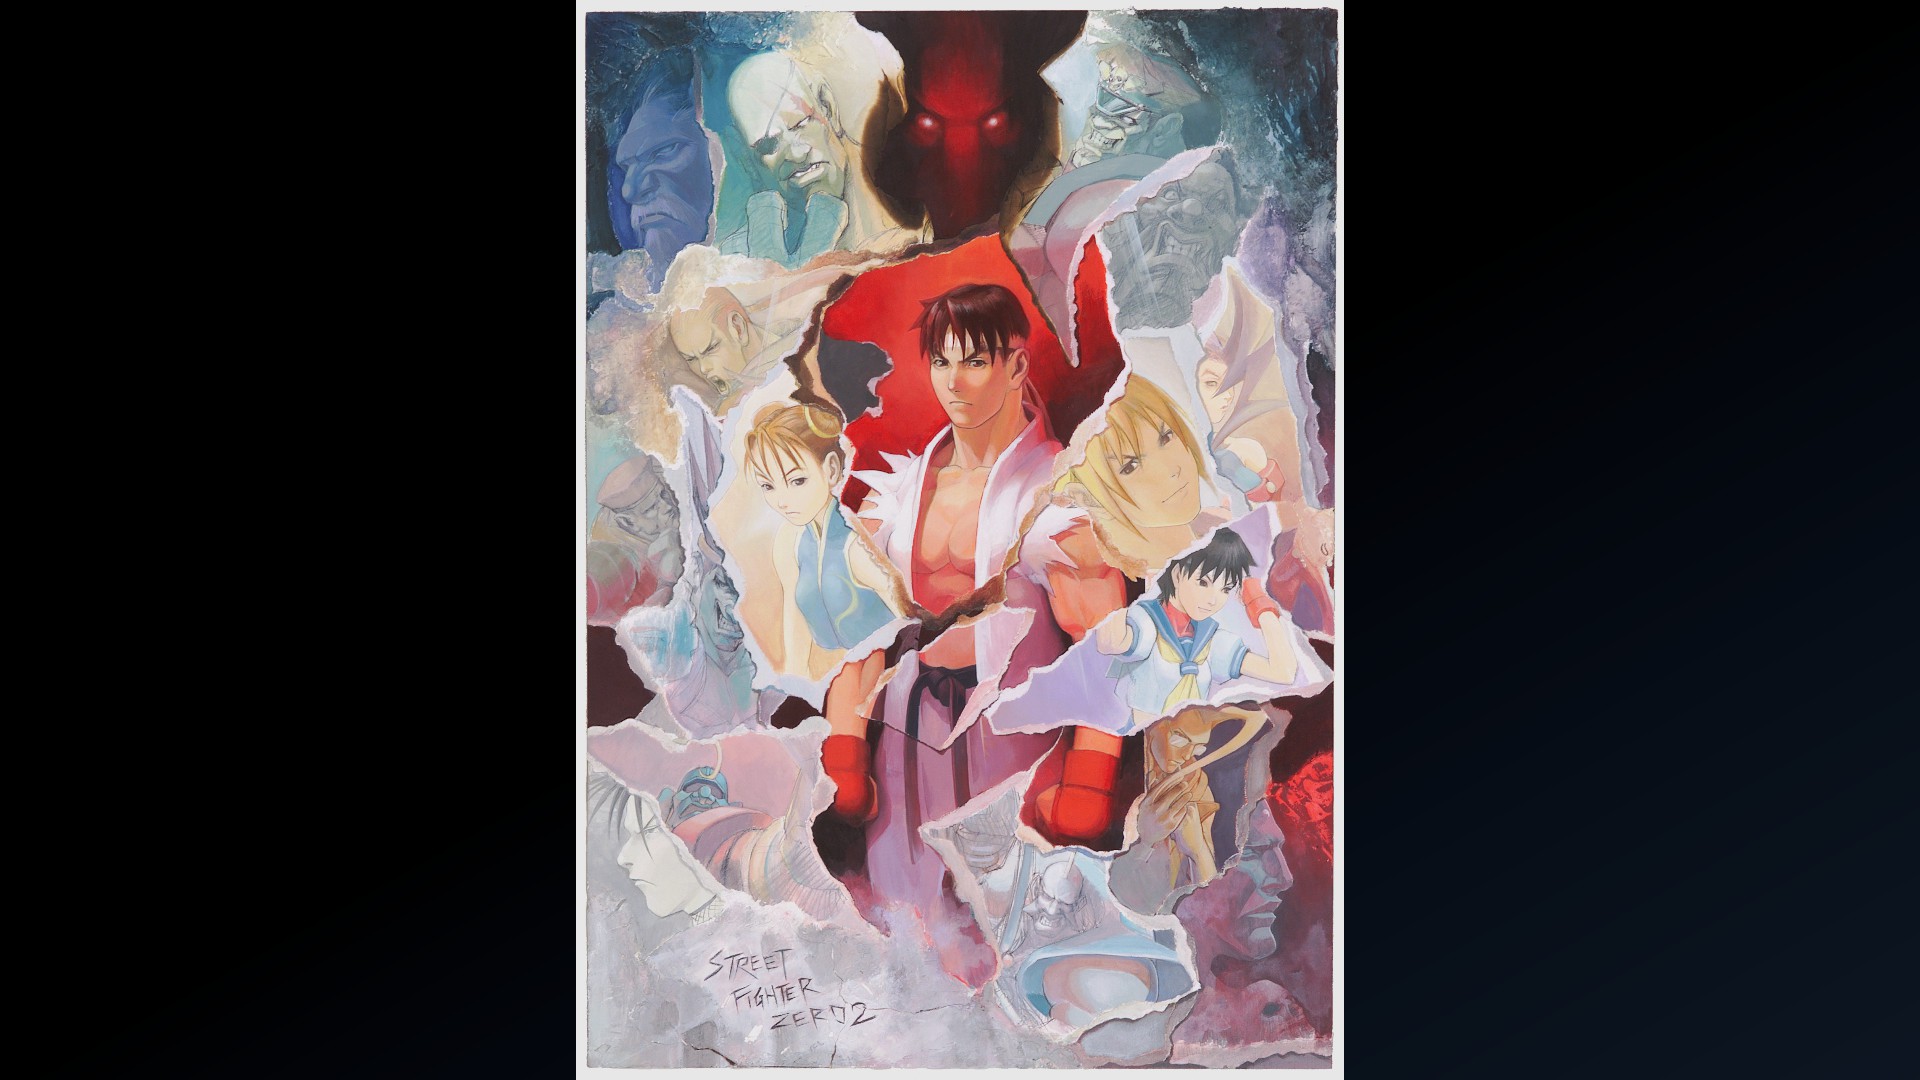
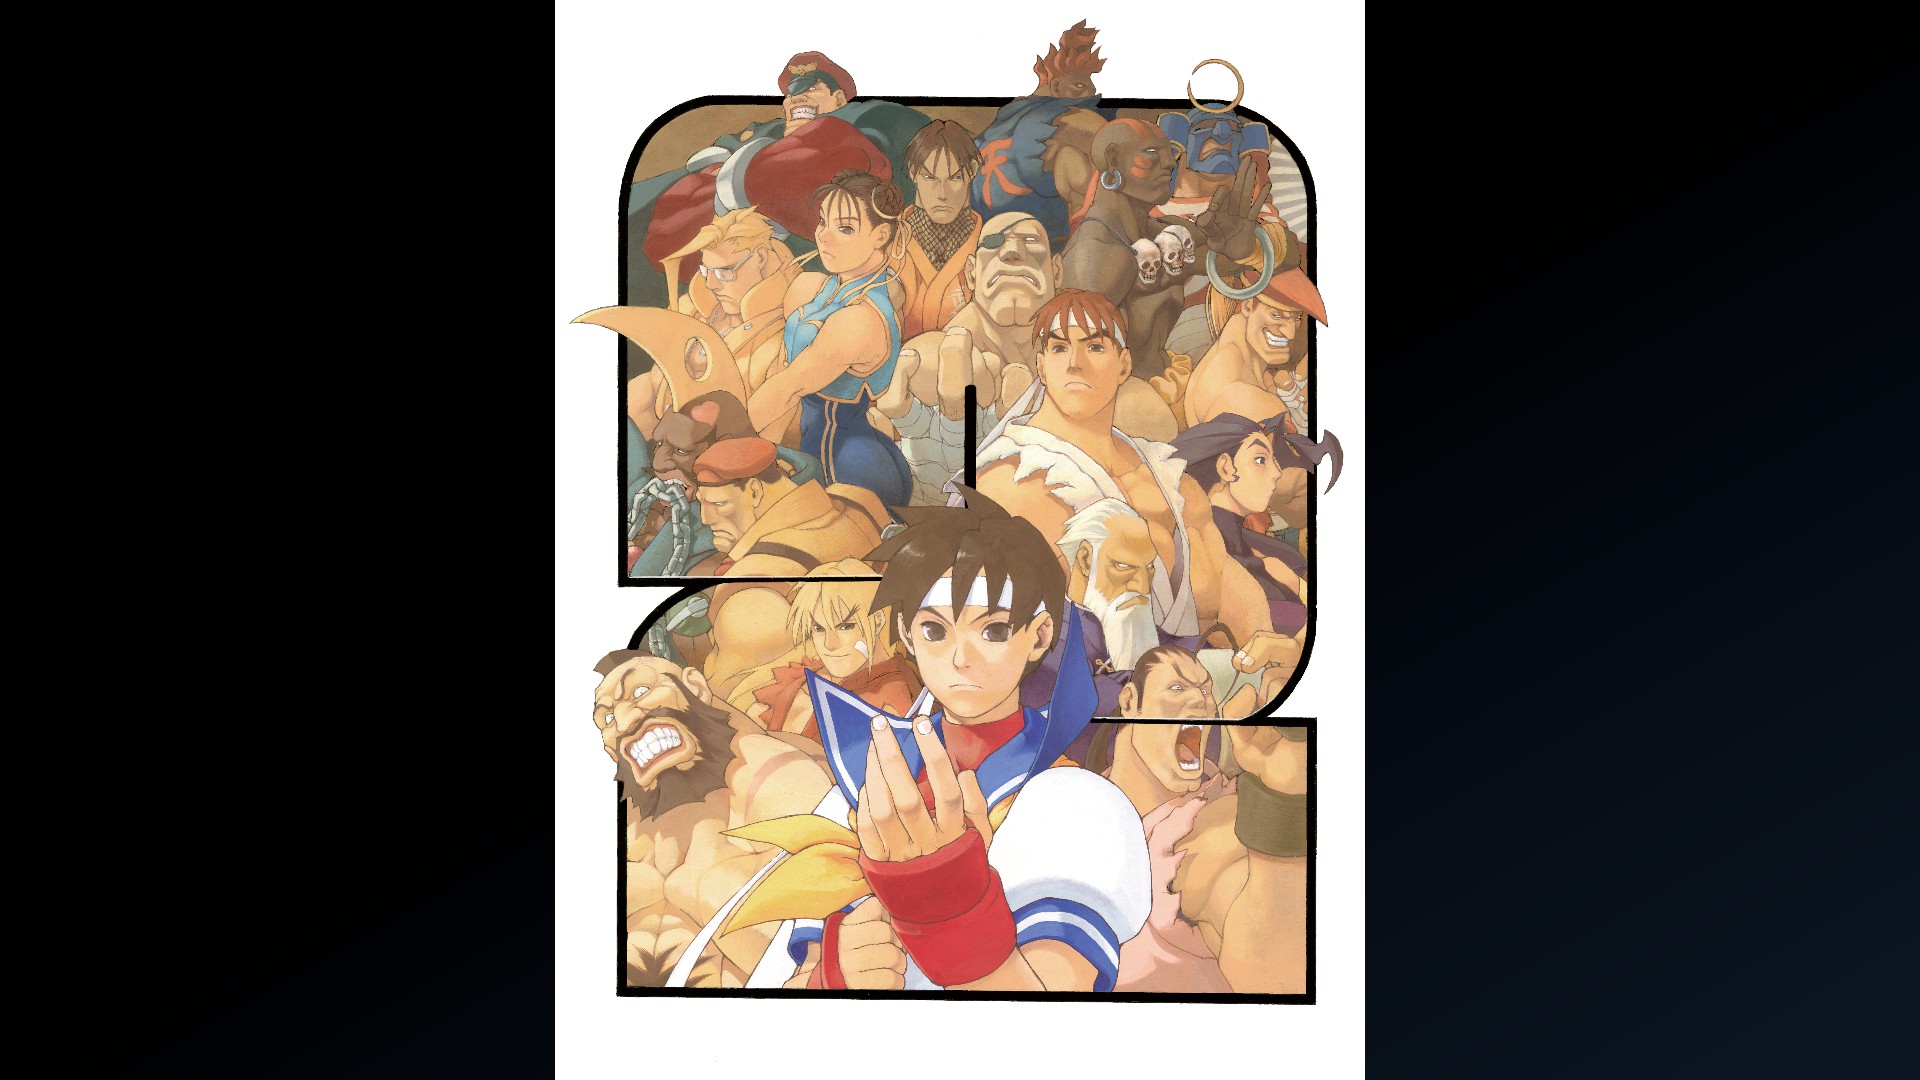
Street Fighter Alpha 2
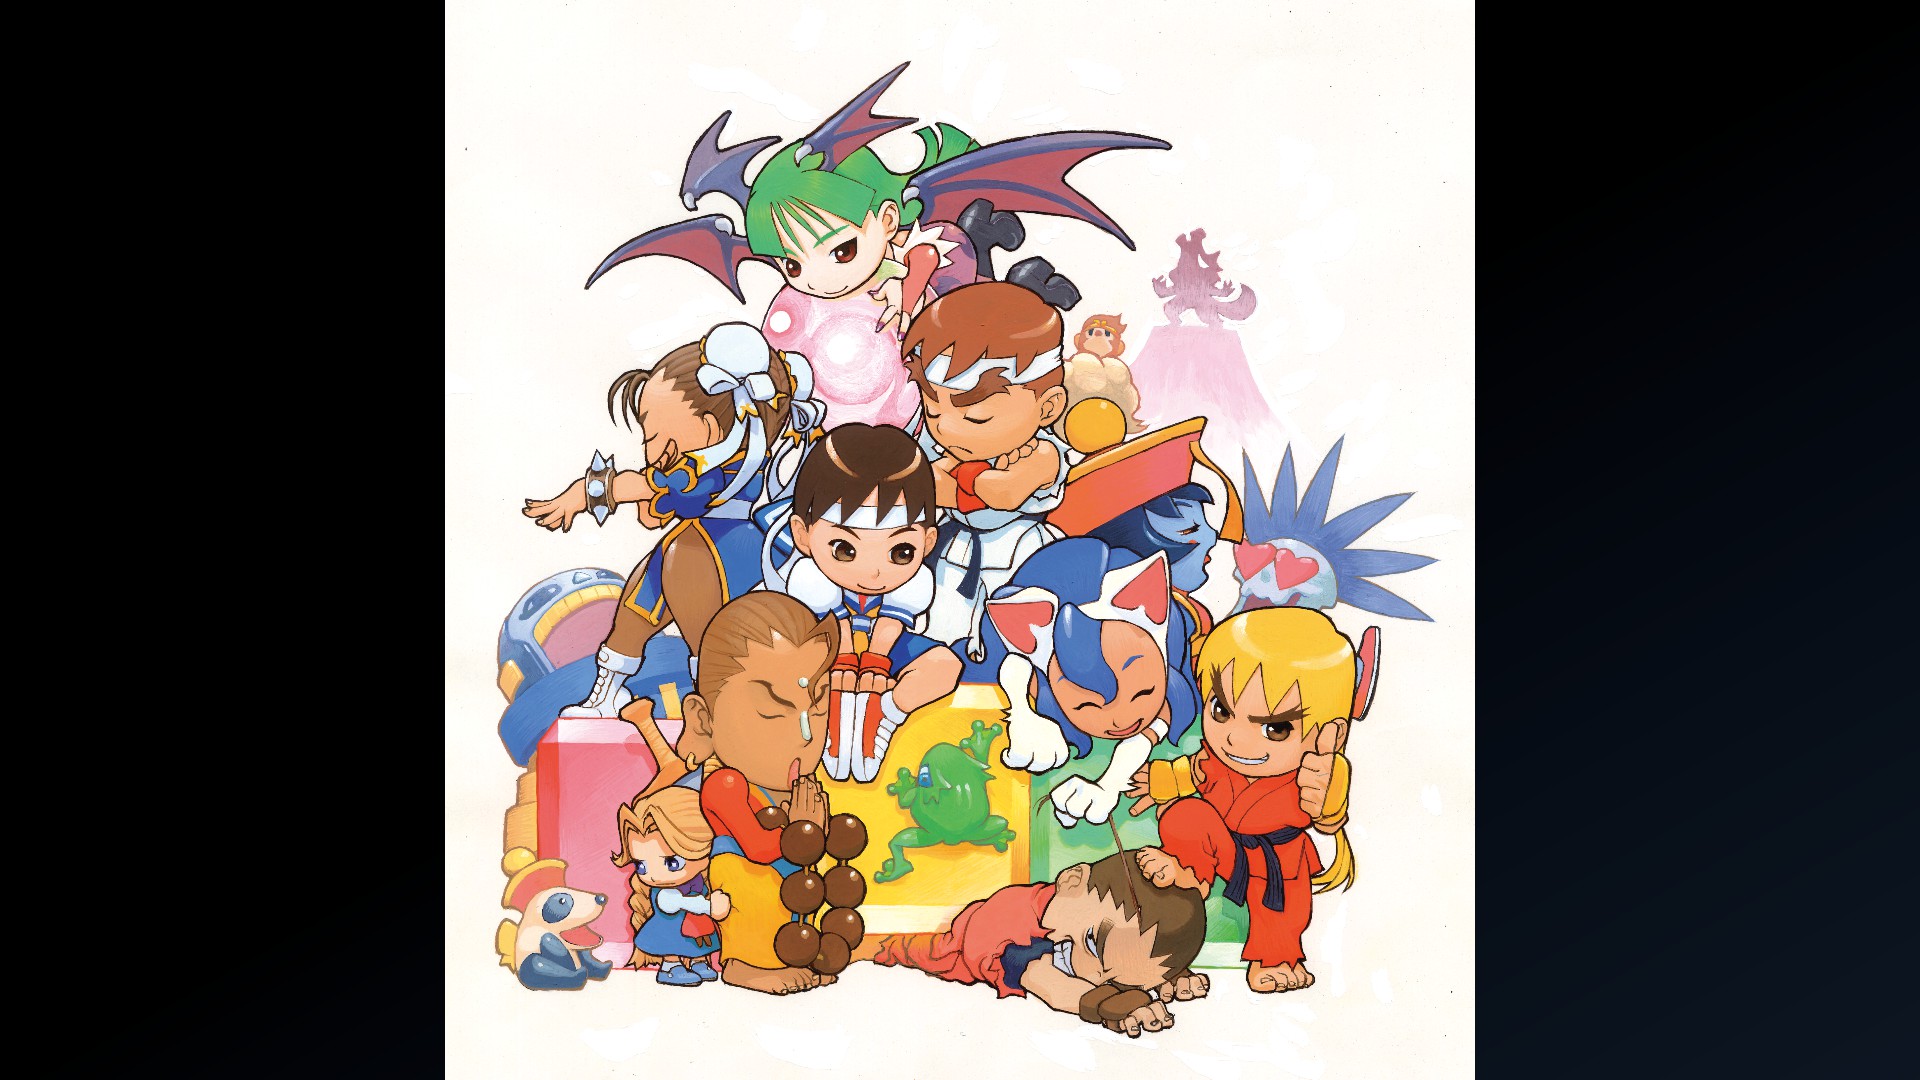
Super Puzzle Fighter II Turbo
Final Fight
Captain Commando
Magic Sword
SonSon
Mega Man: The Power Battle
Side Arms
Legendary Wings
Vulgus
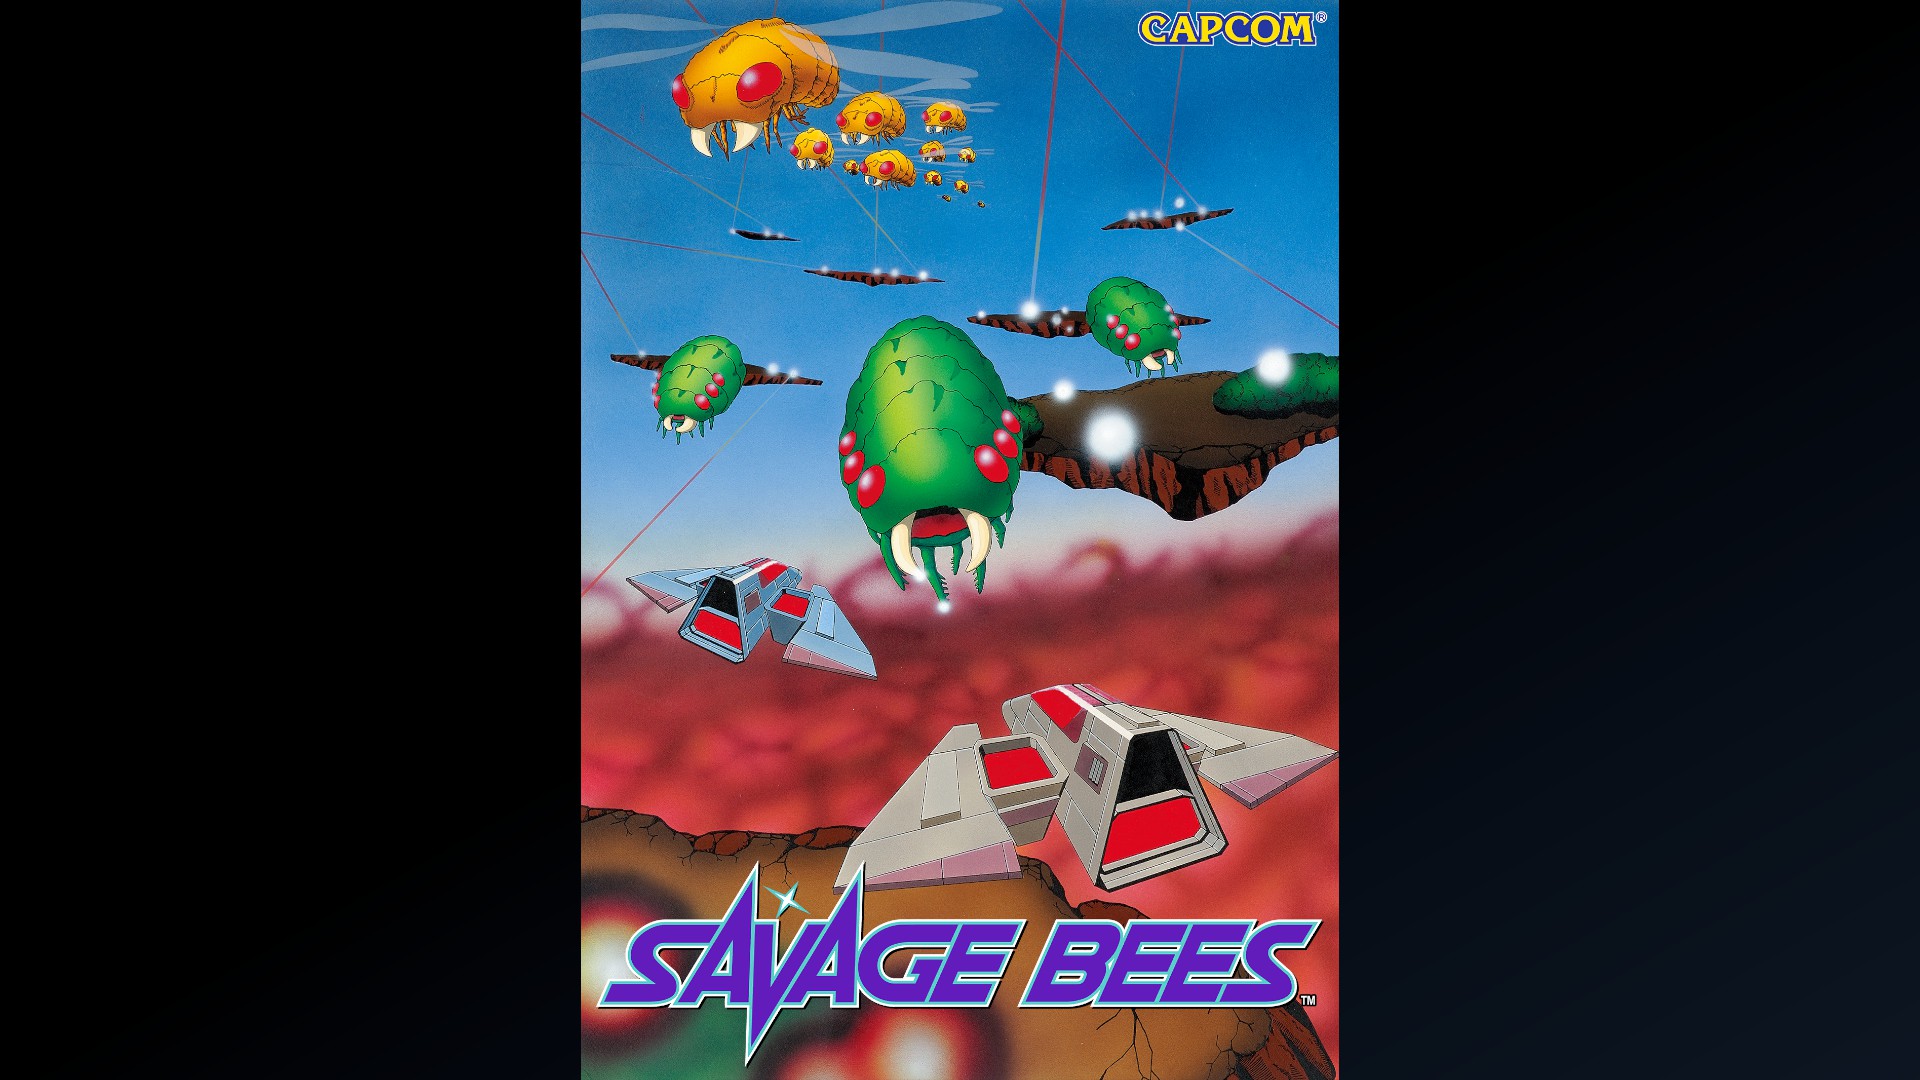
Savage Bees
Battle Circuit
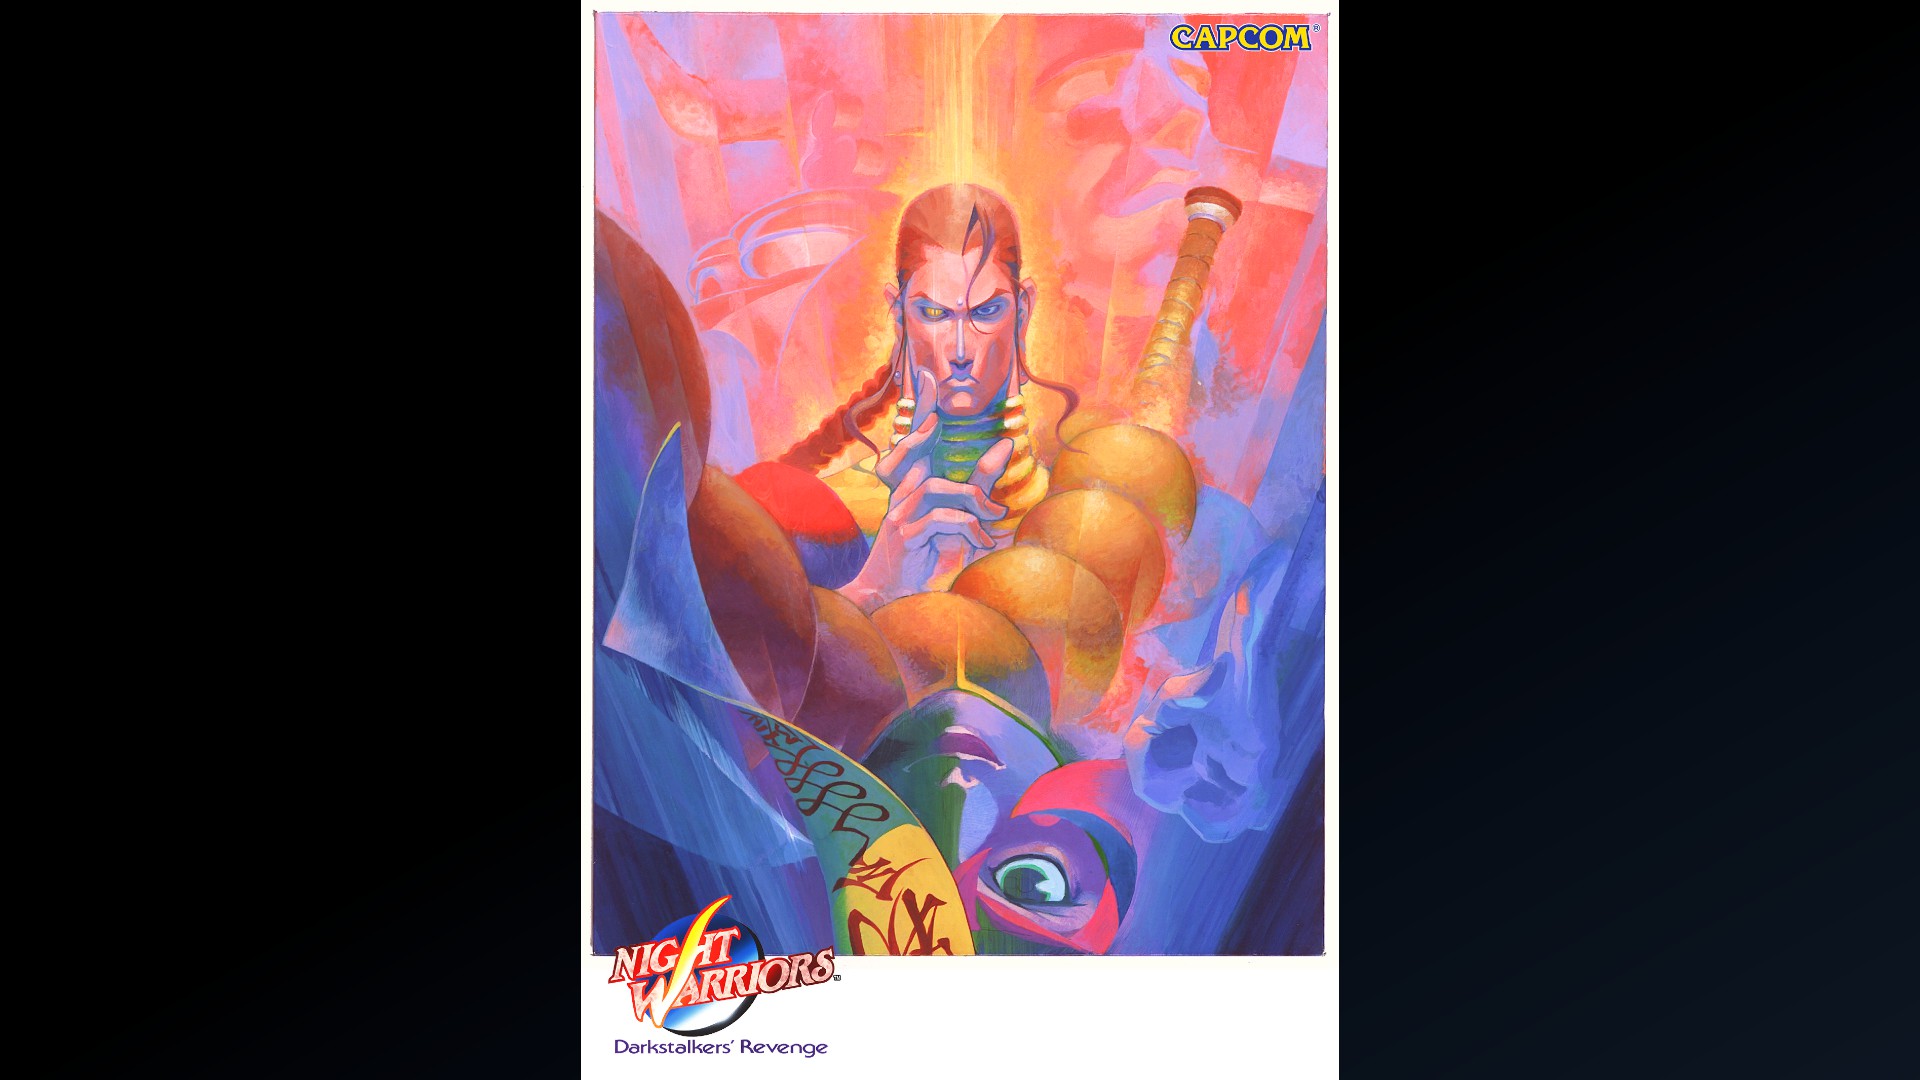
Night Warriors
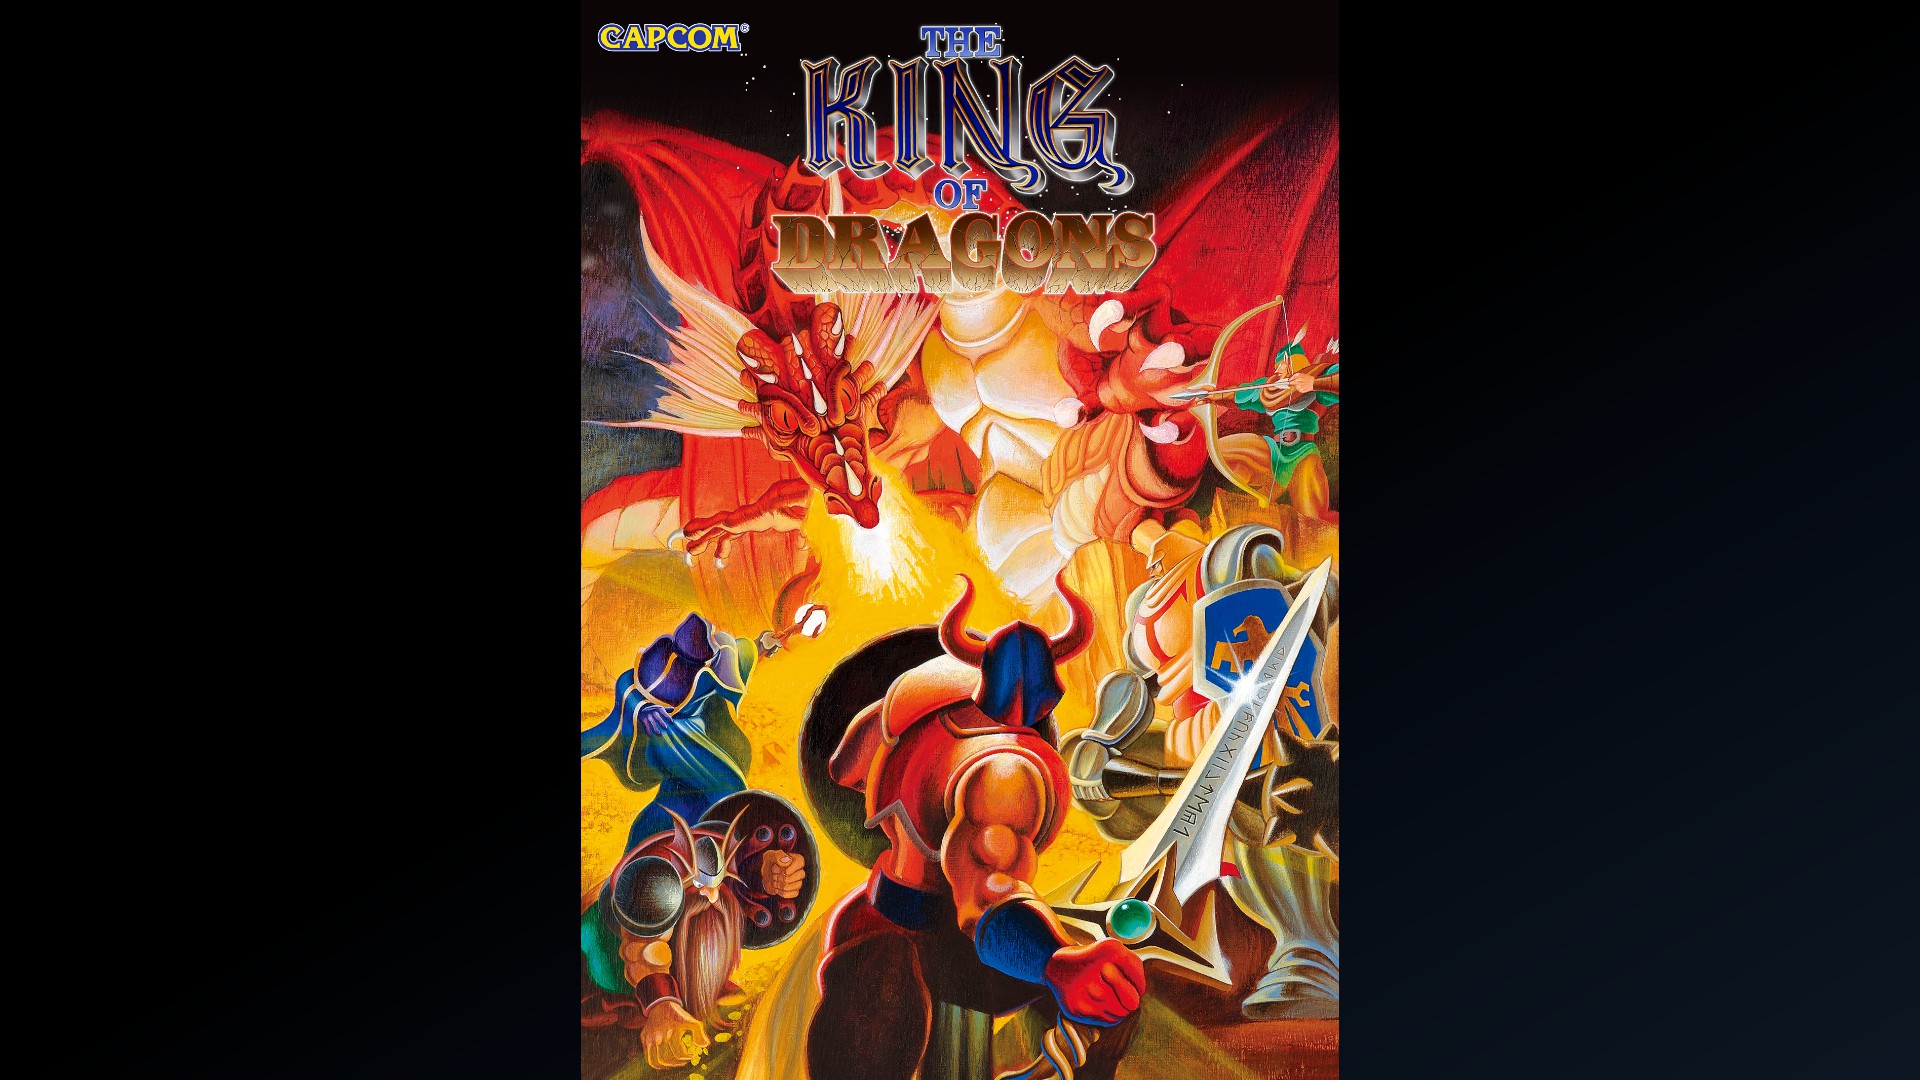
The King of Dragons
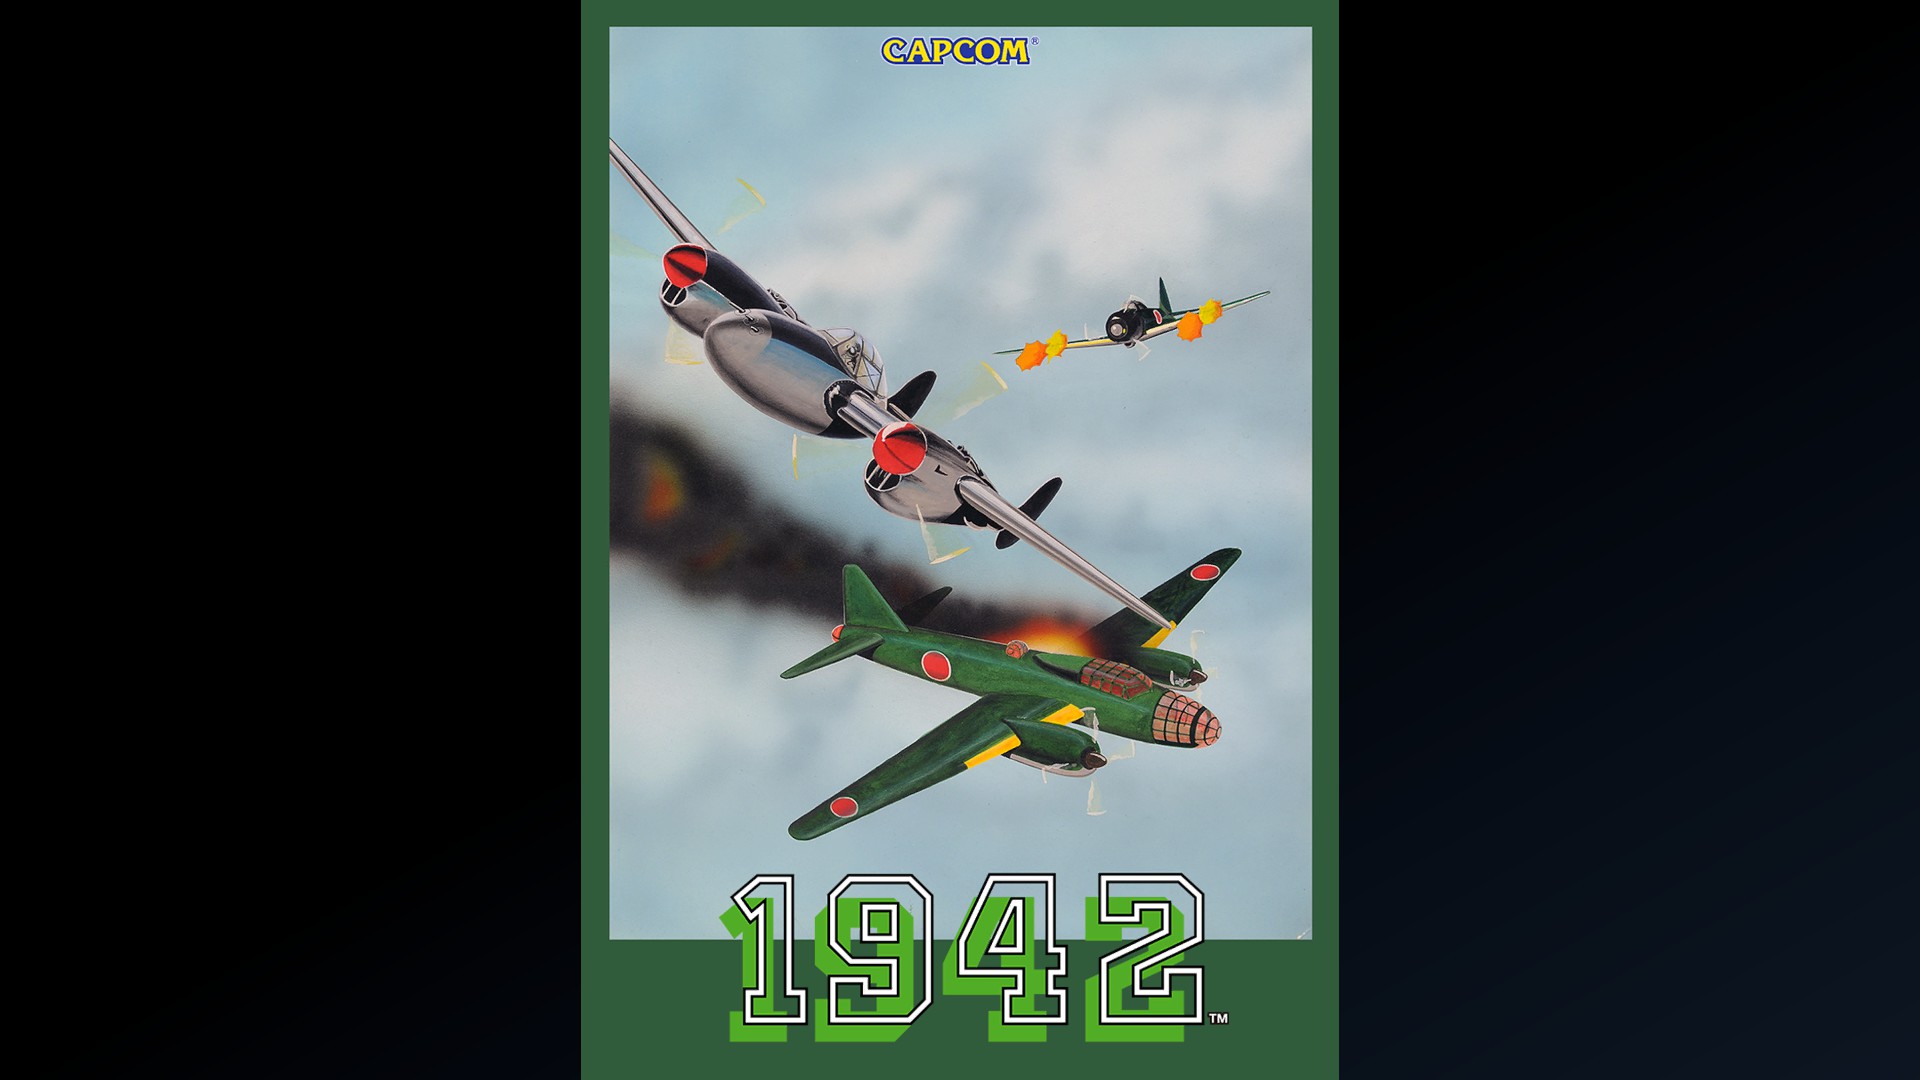
1942
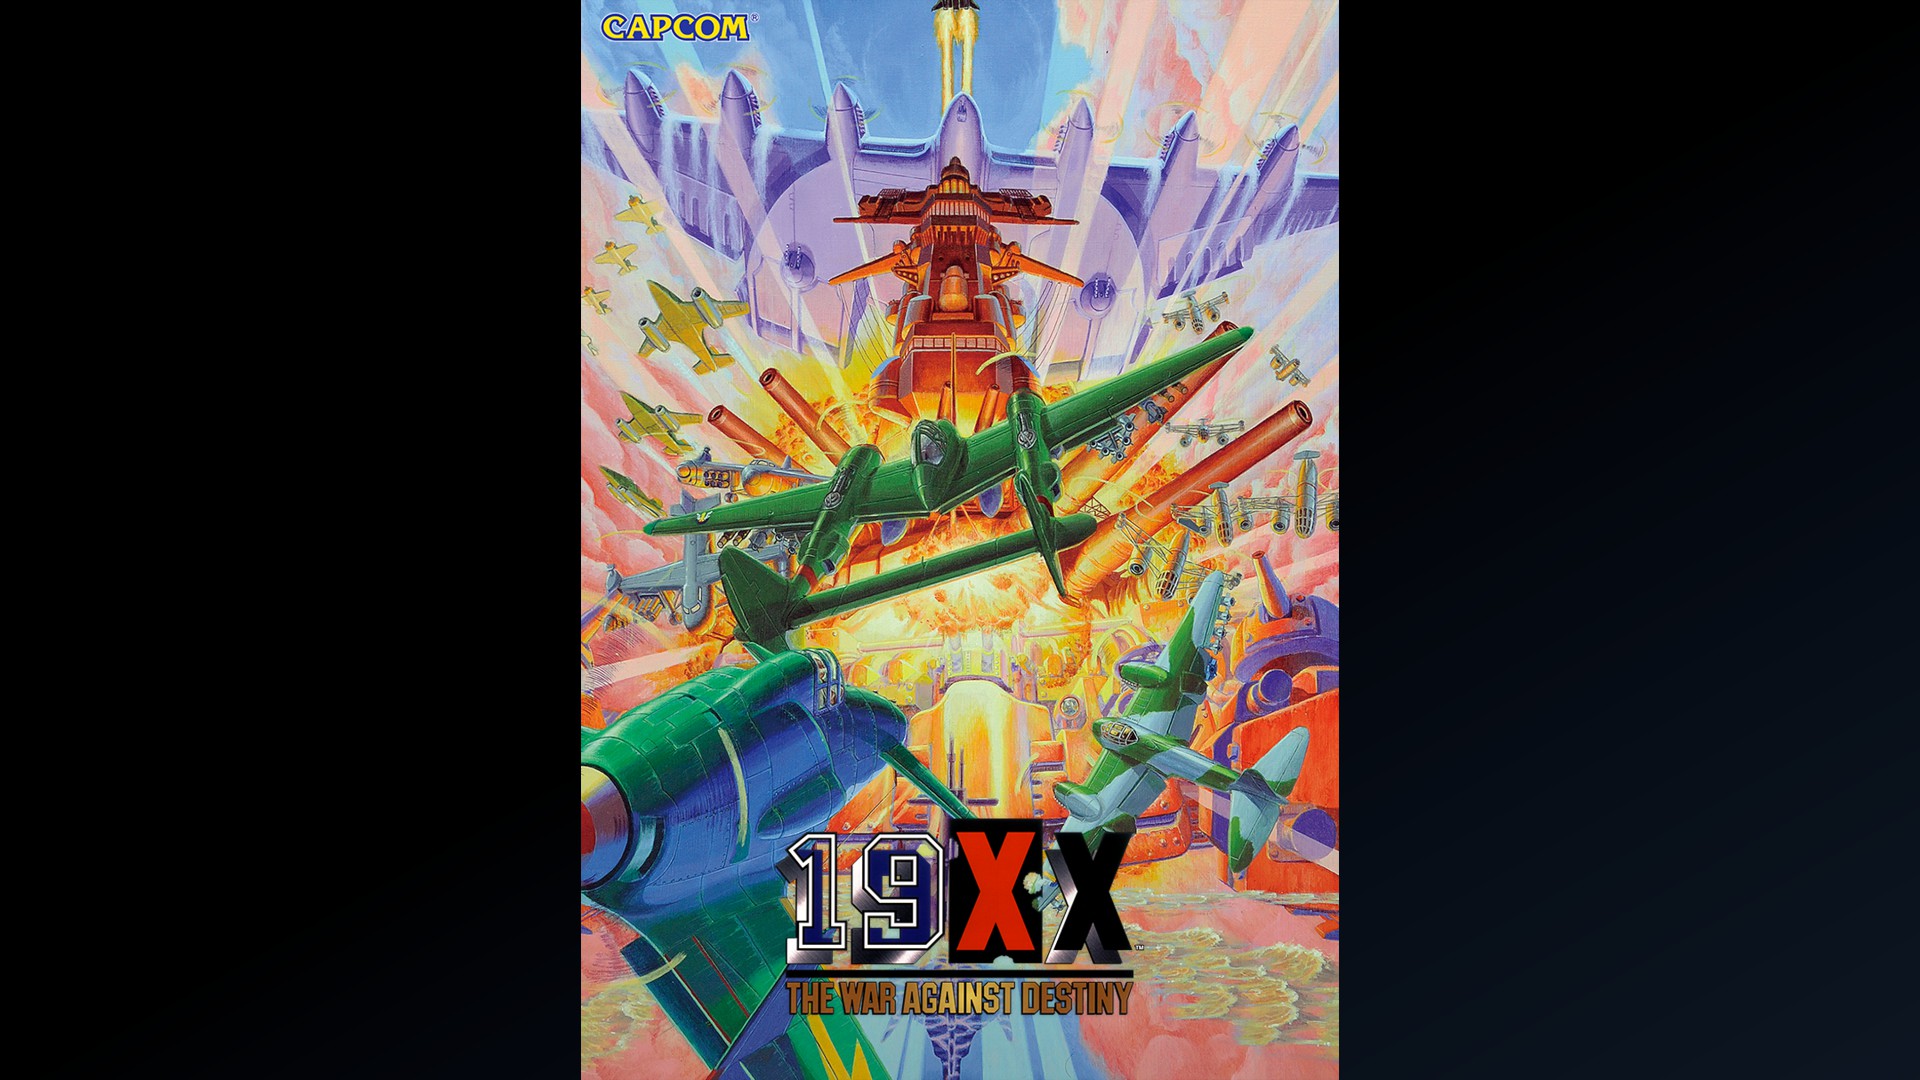
19XX - The War Against Destiny -
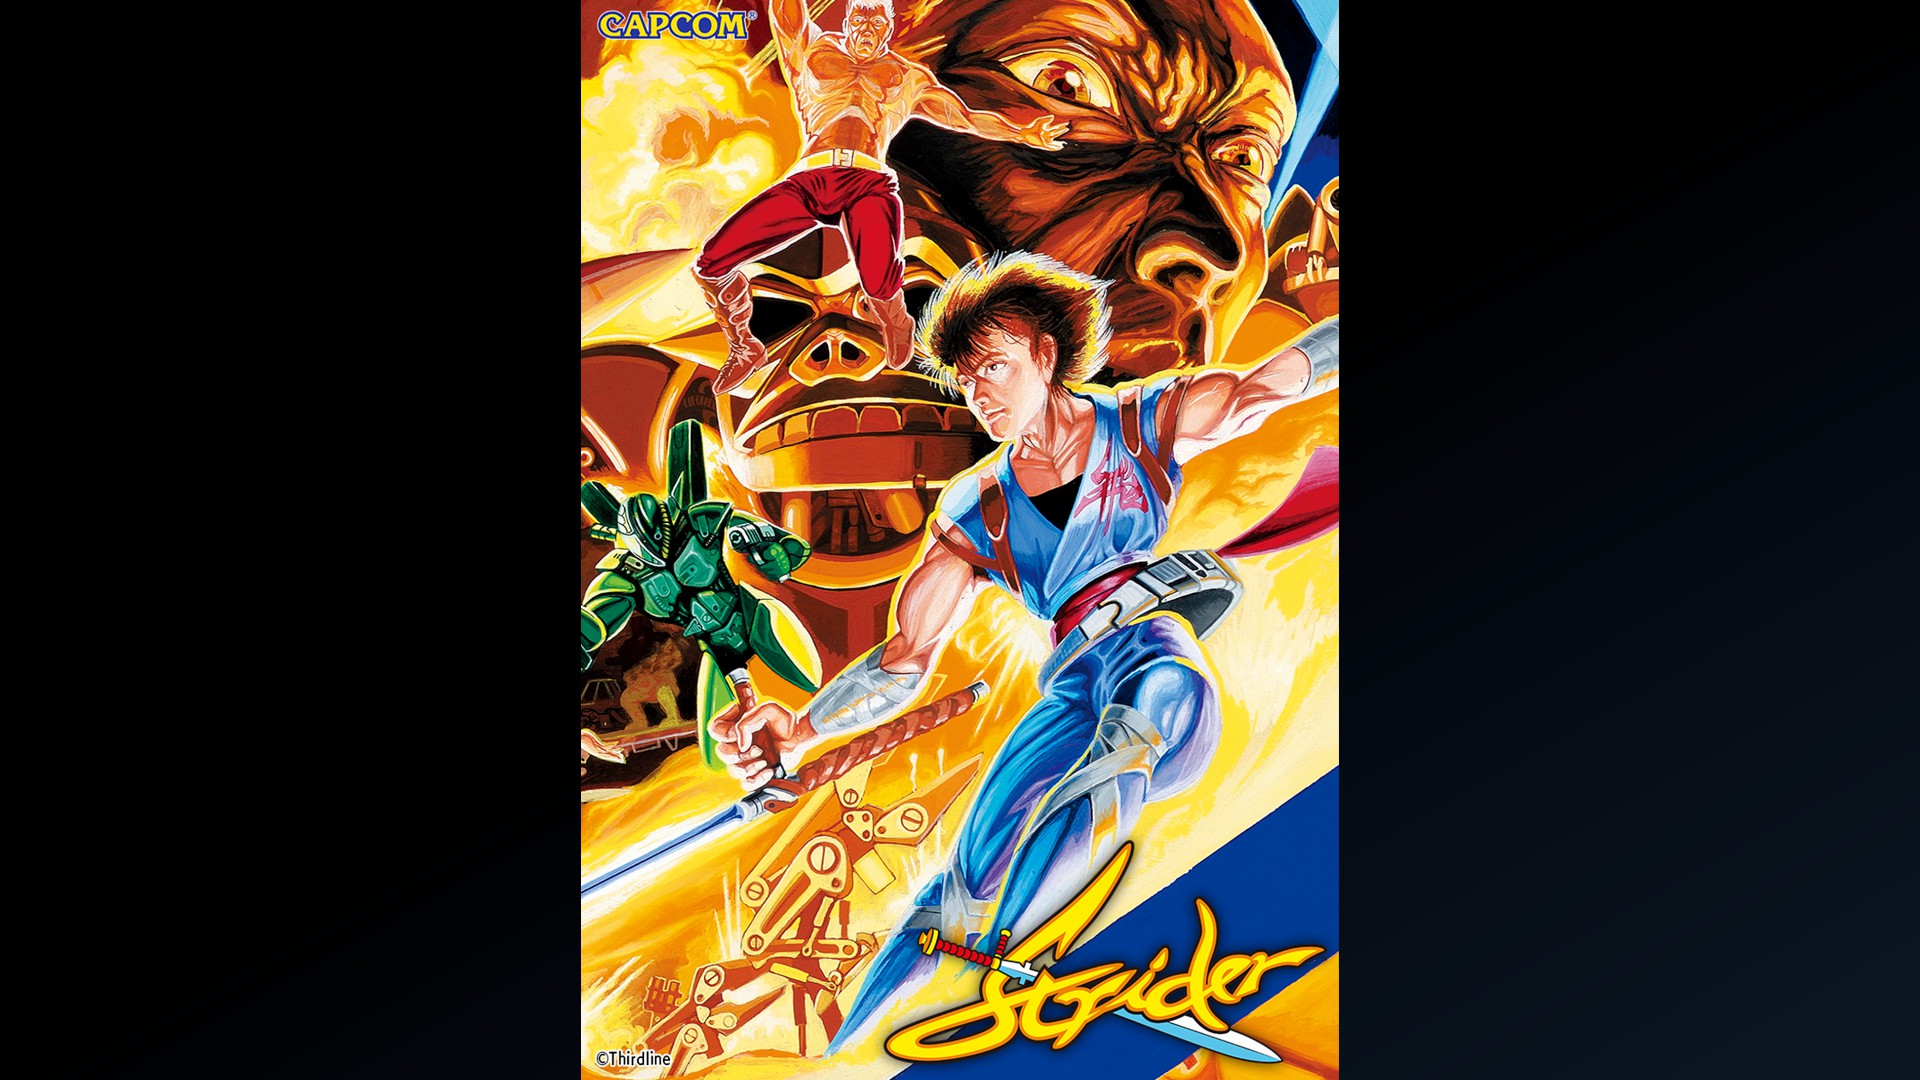
Strider
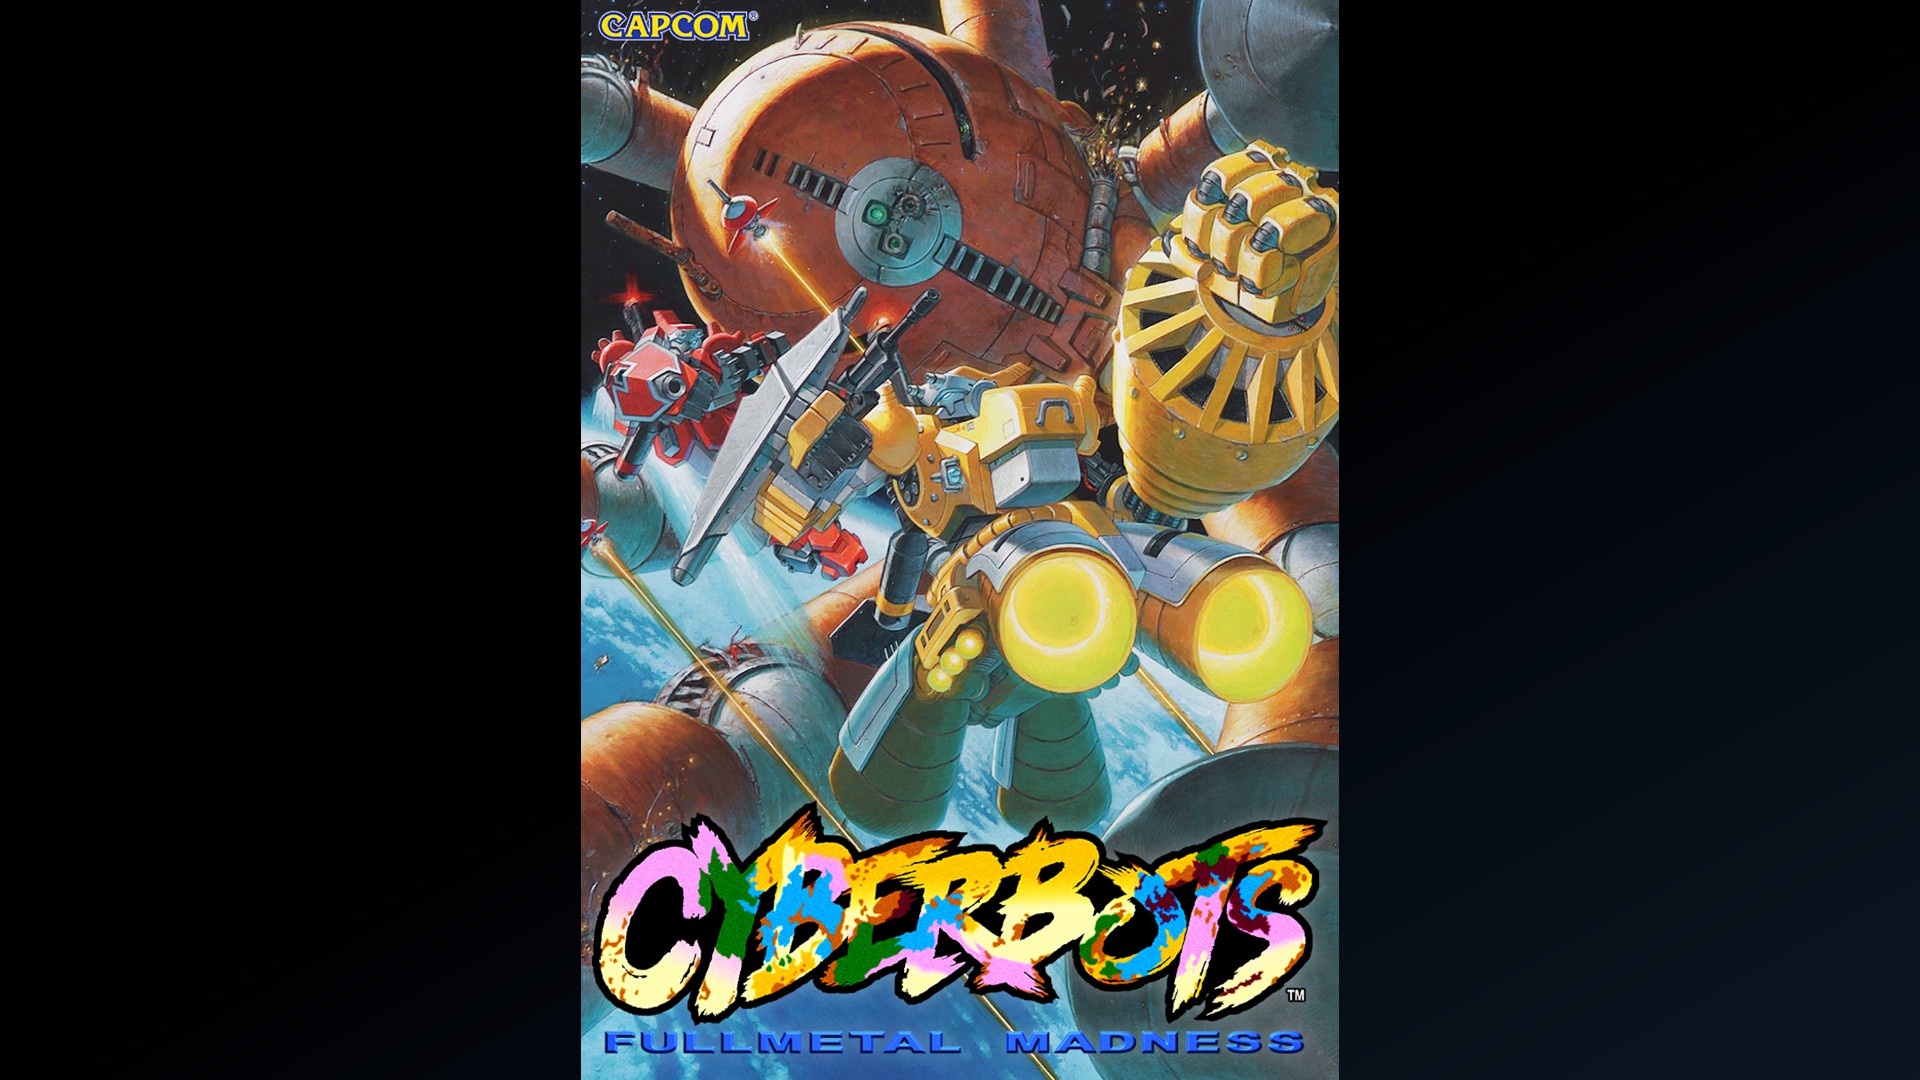
Cyberbots
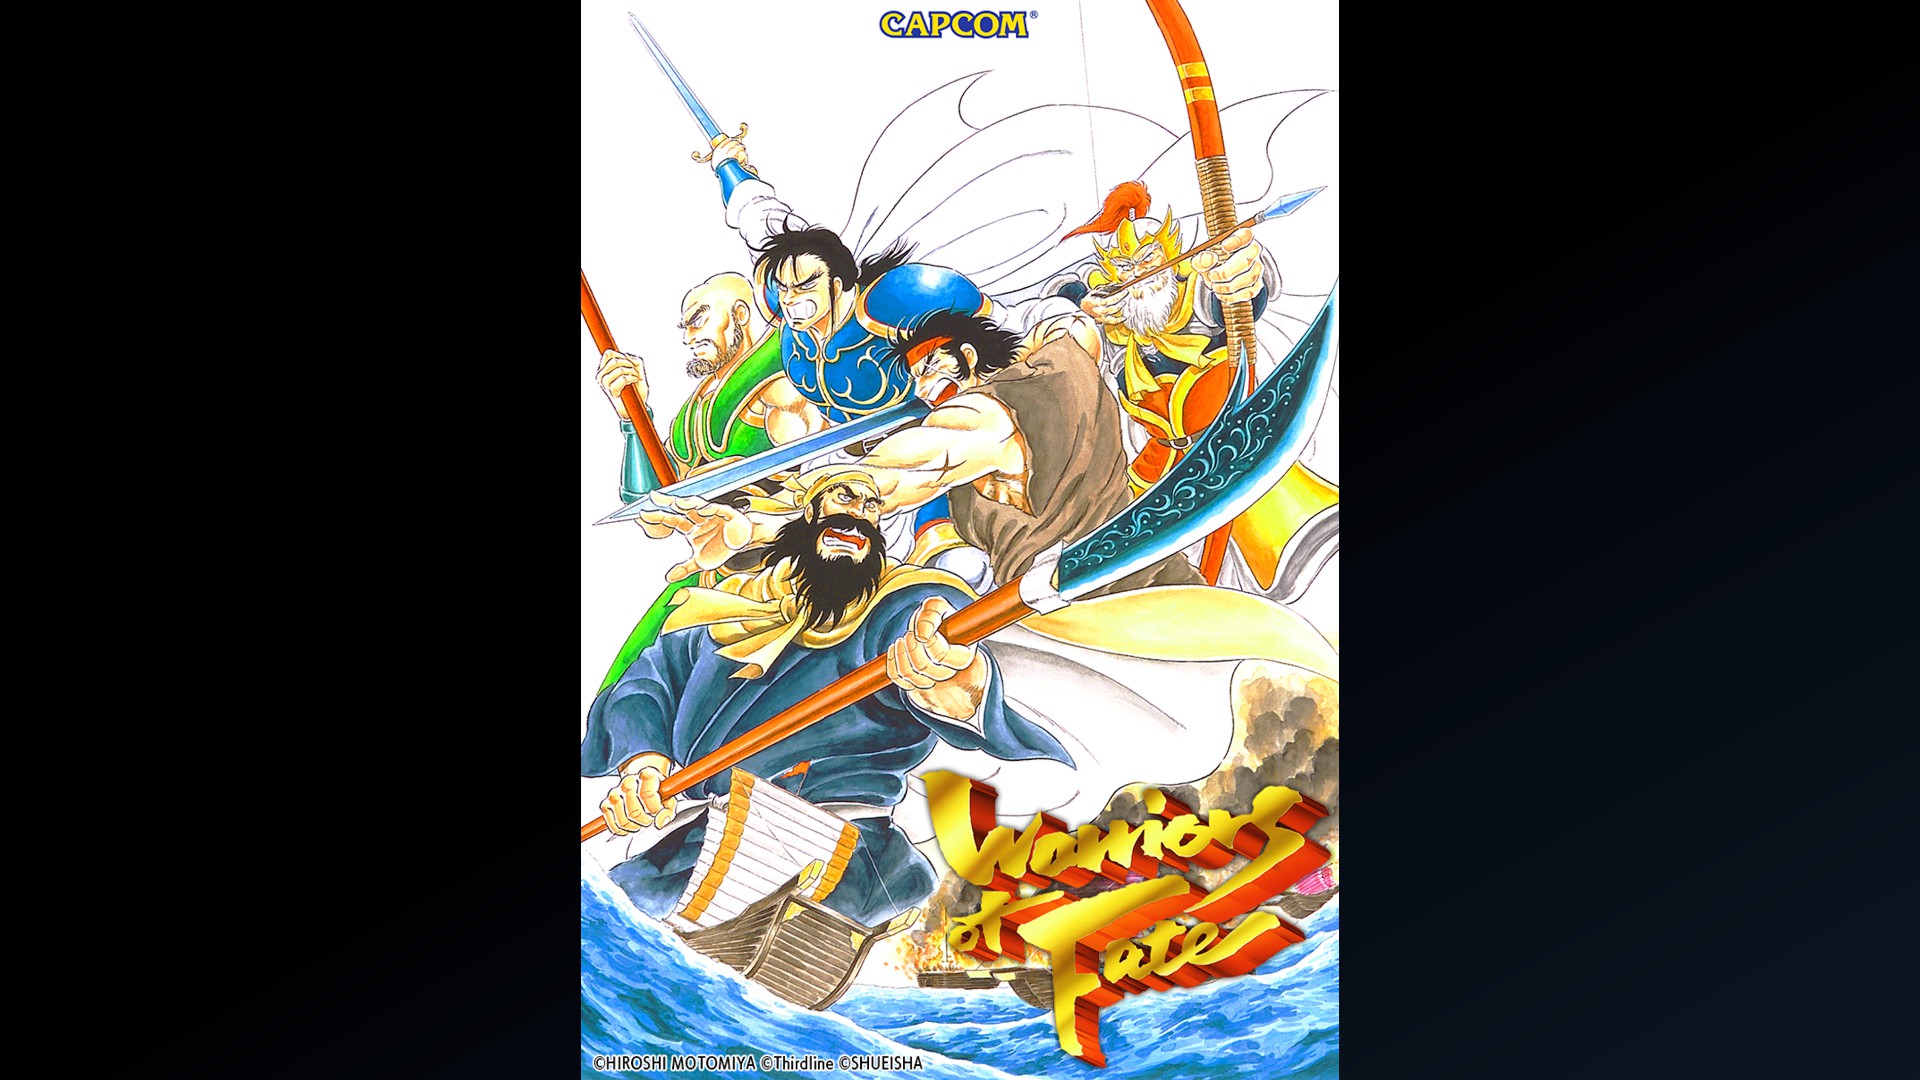
Warriors of Fate
GUN SMOKE
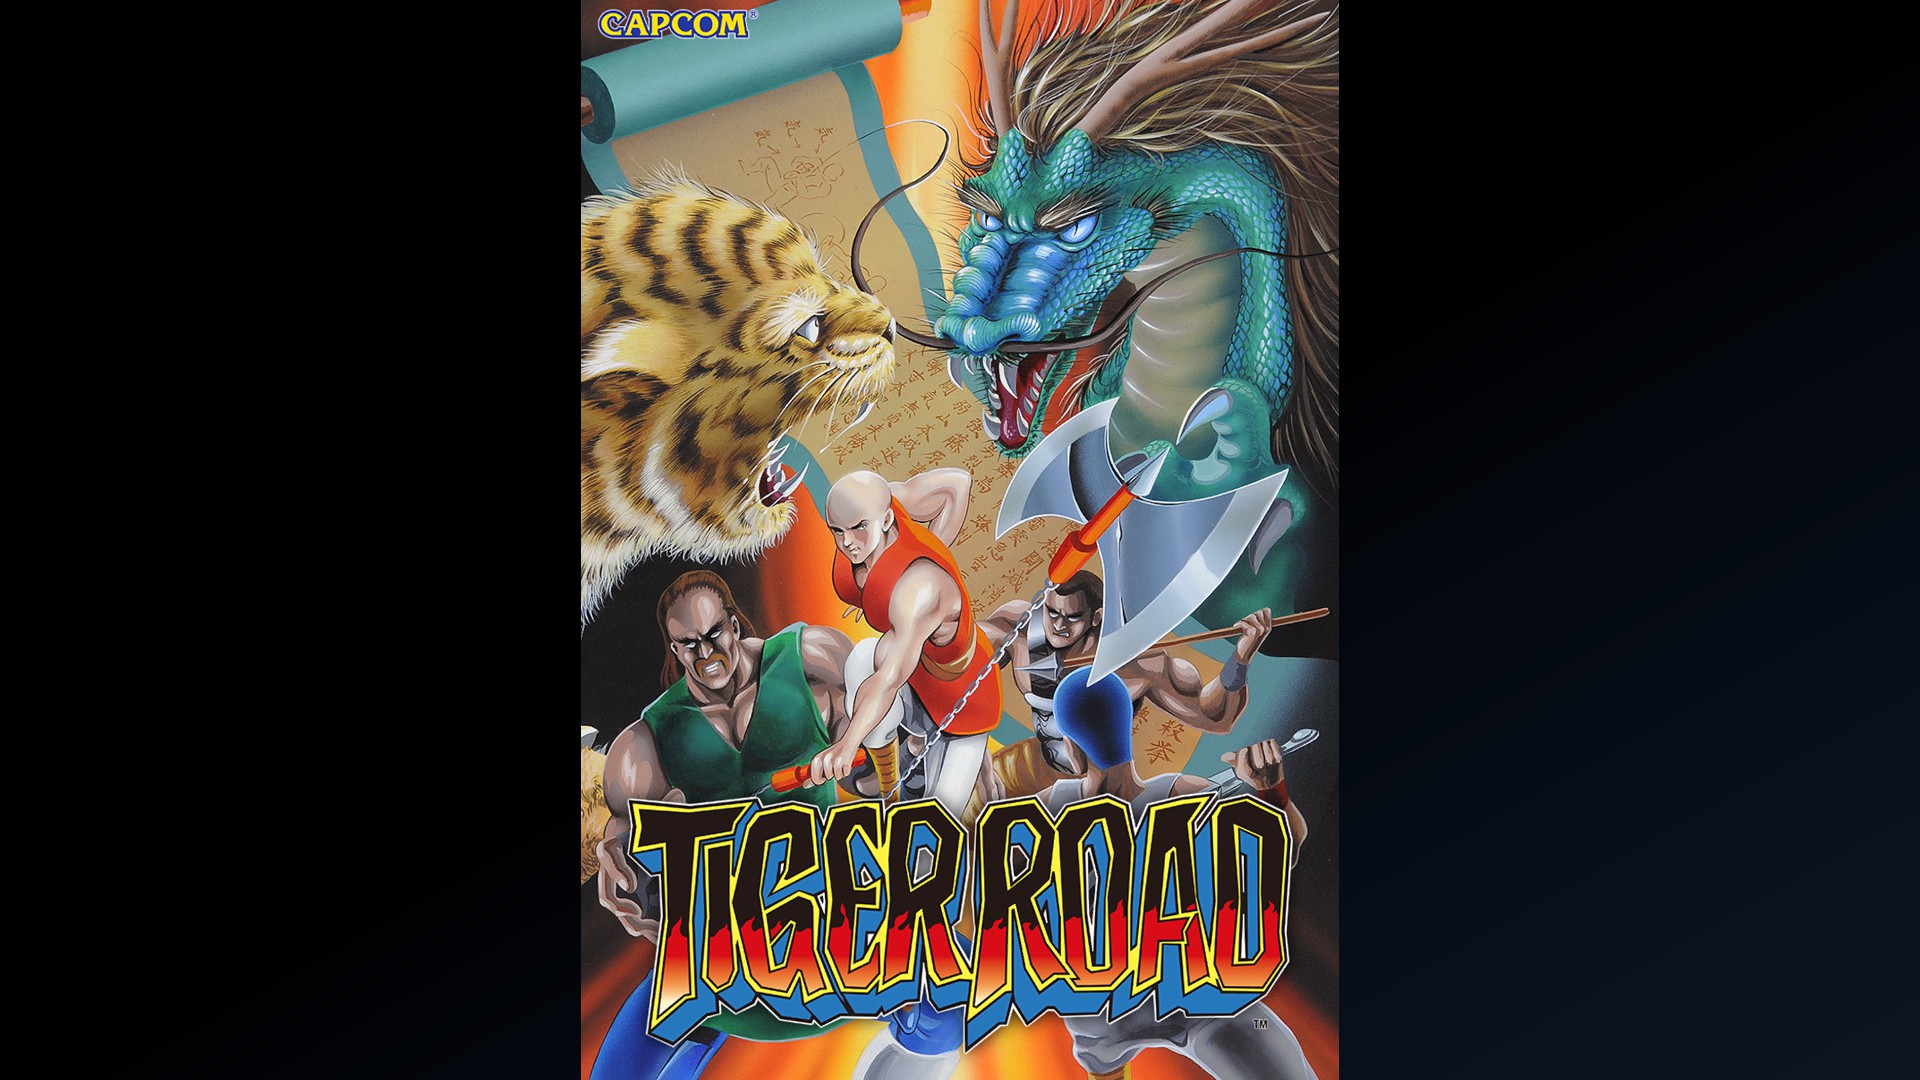
Tiger Road
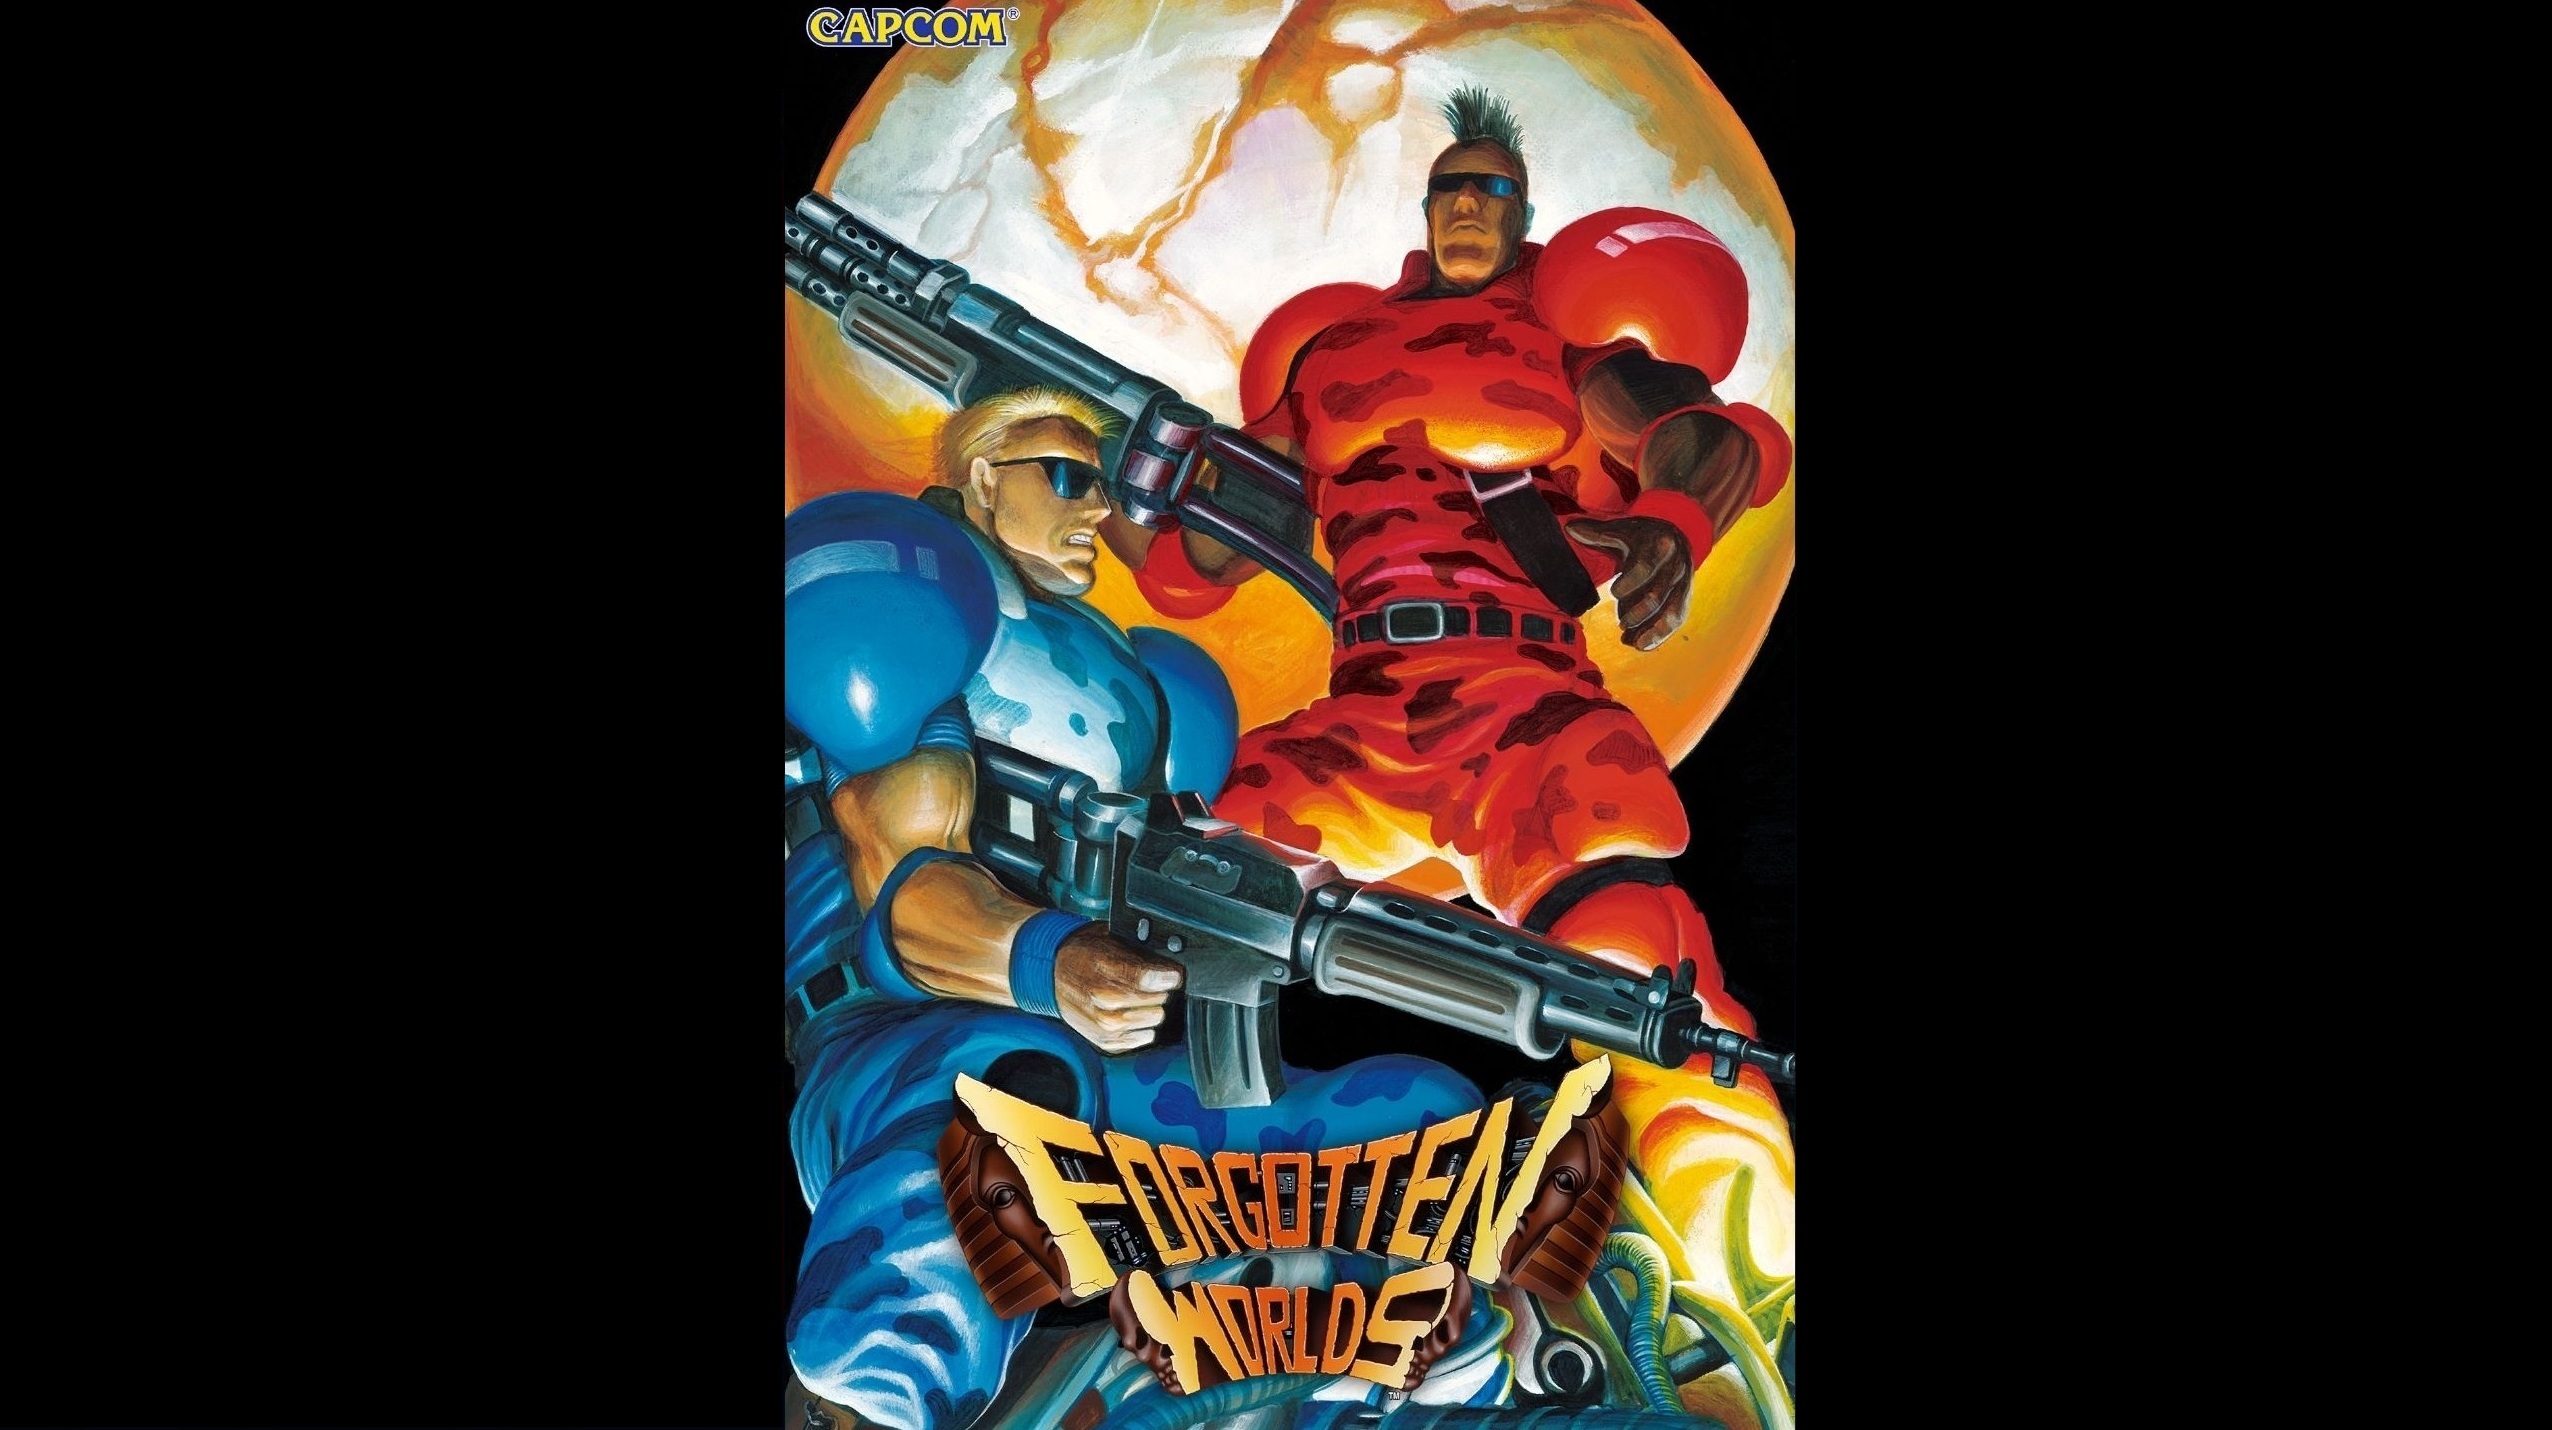
Forgotten Worlds
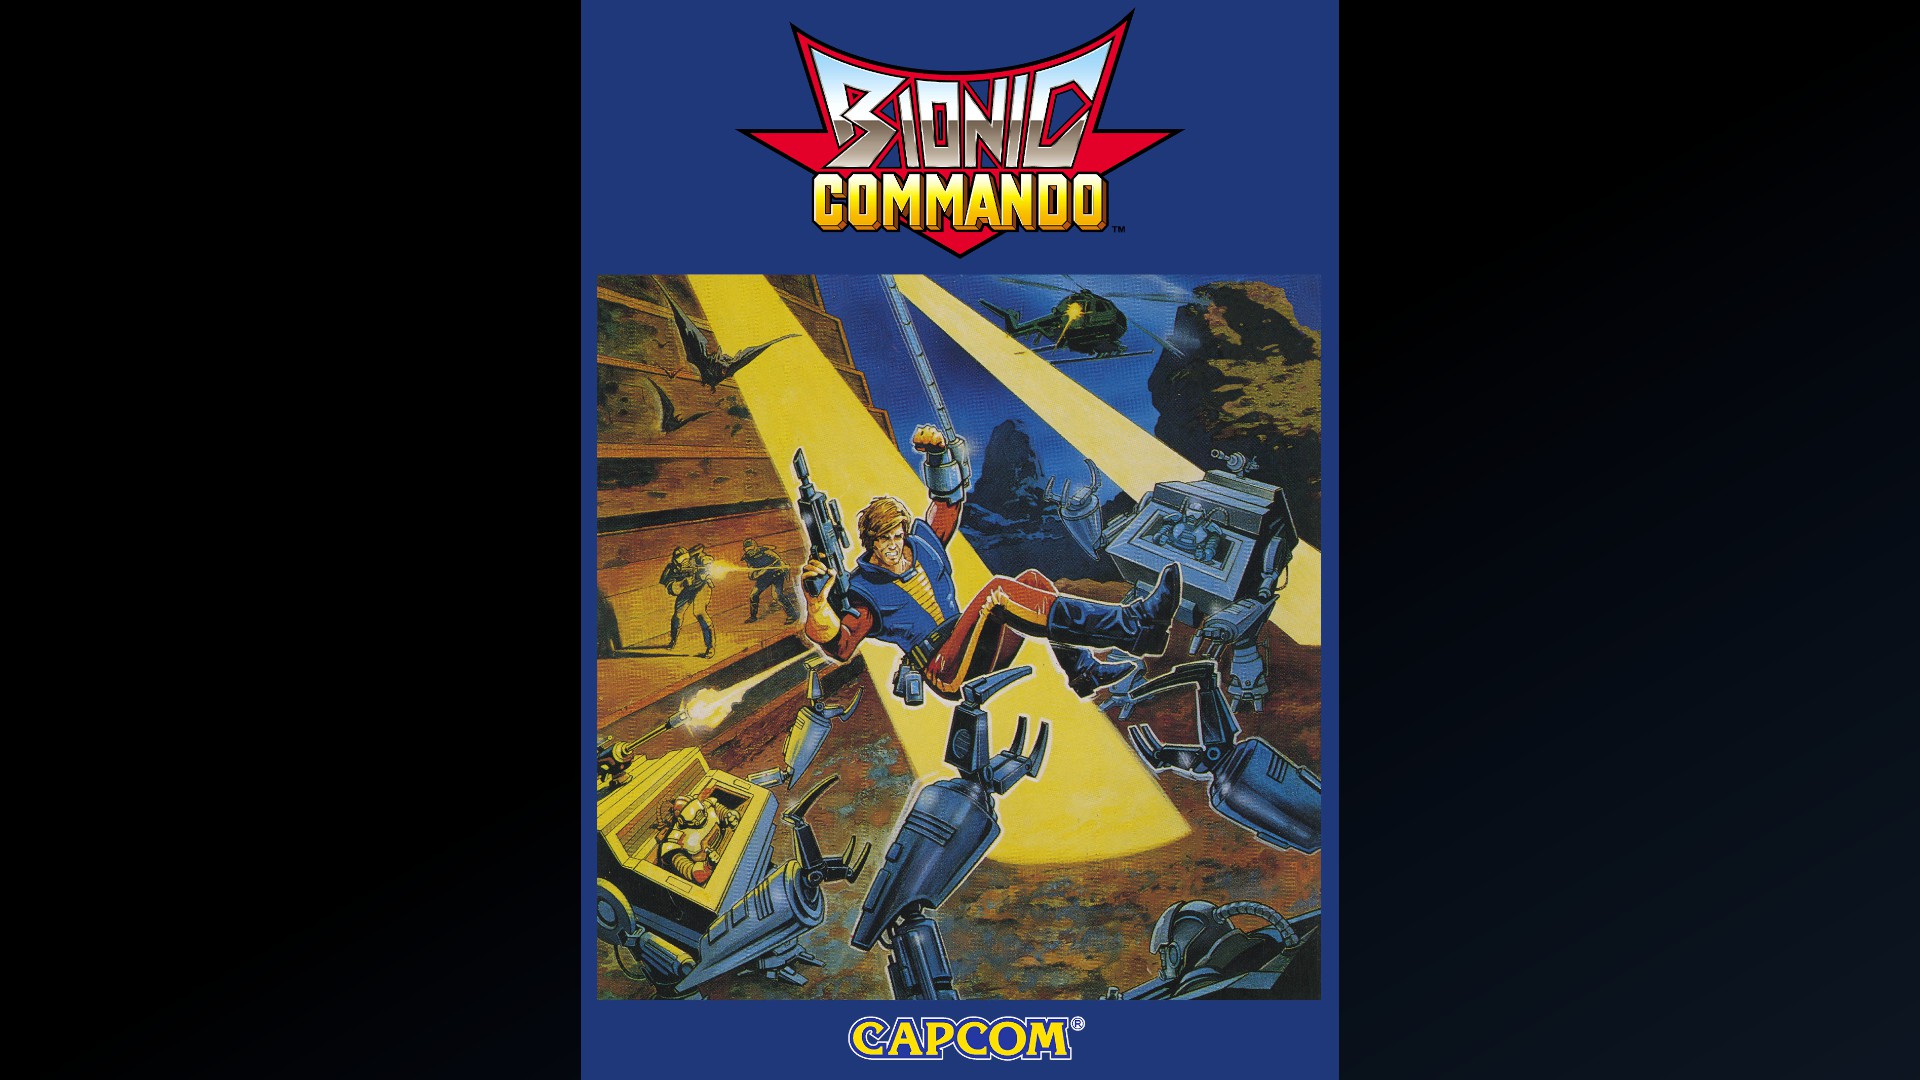
Bionic Commando
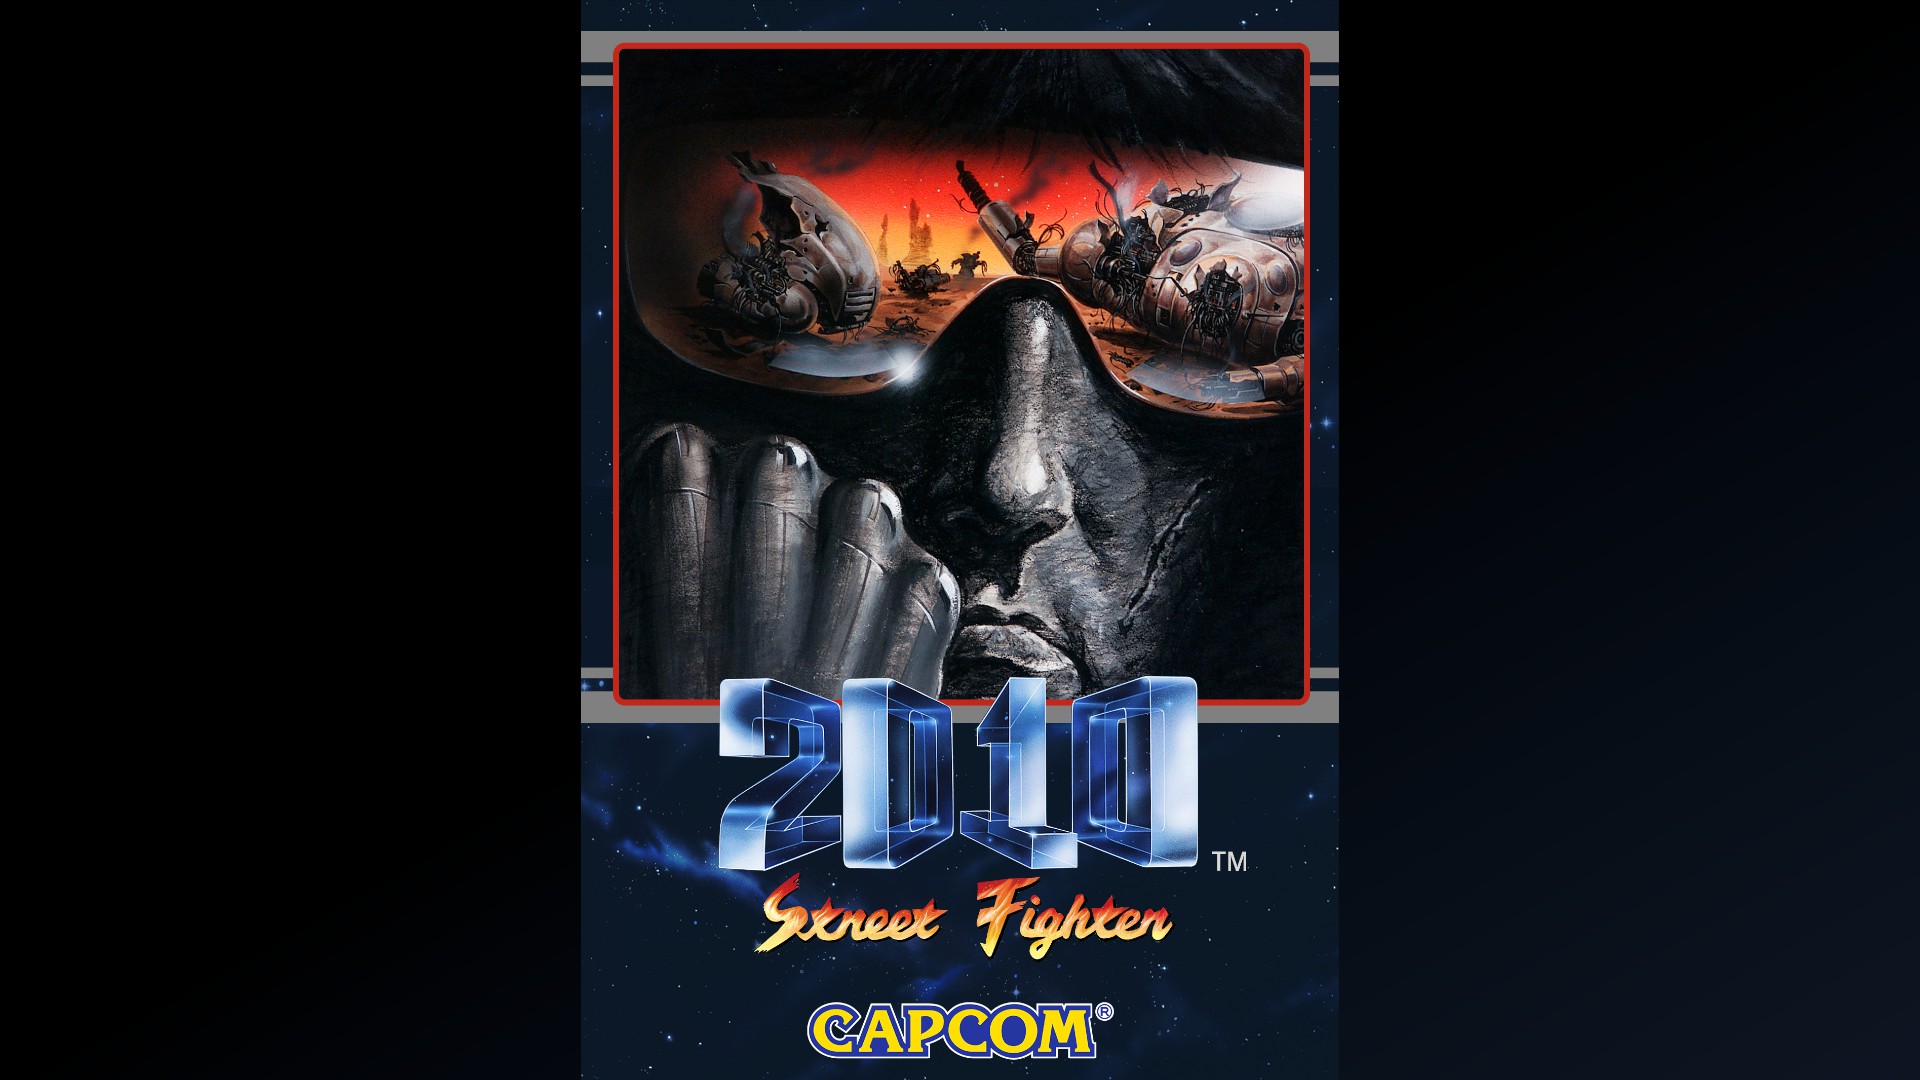
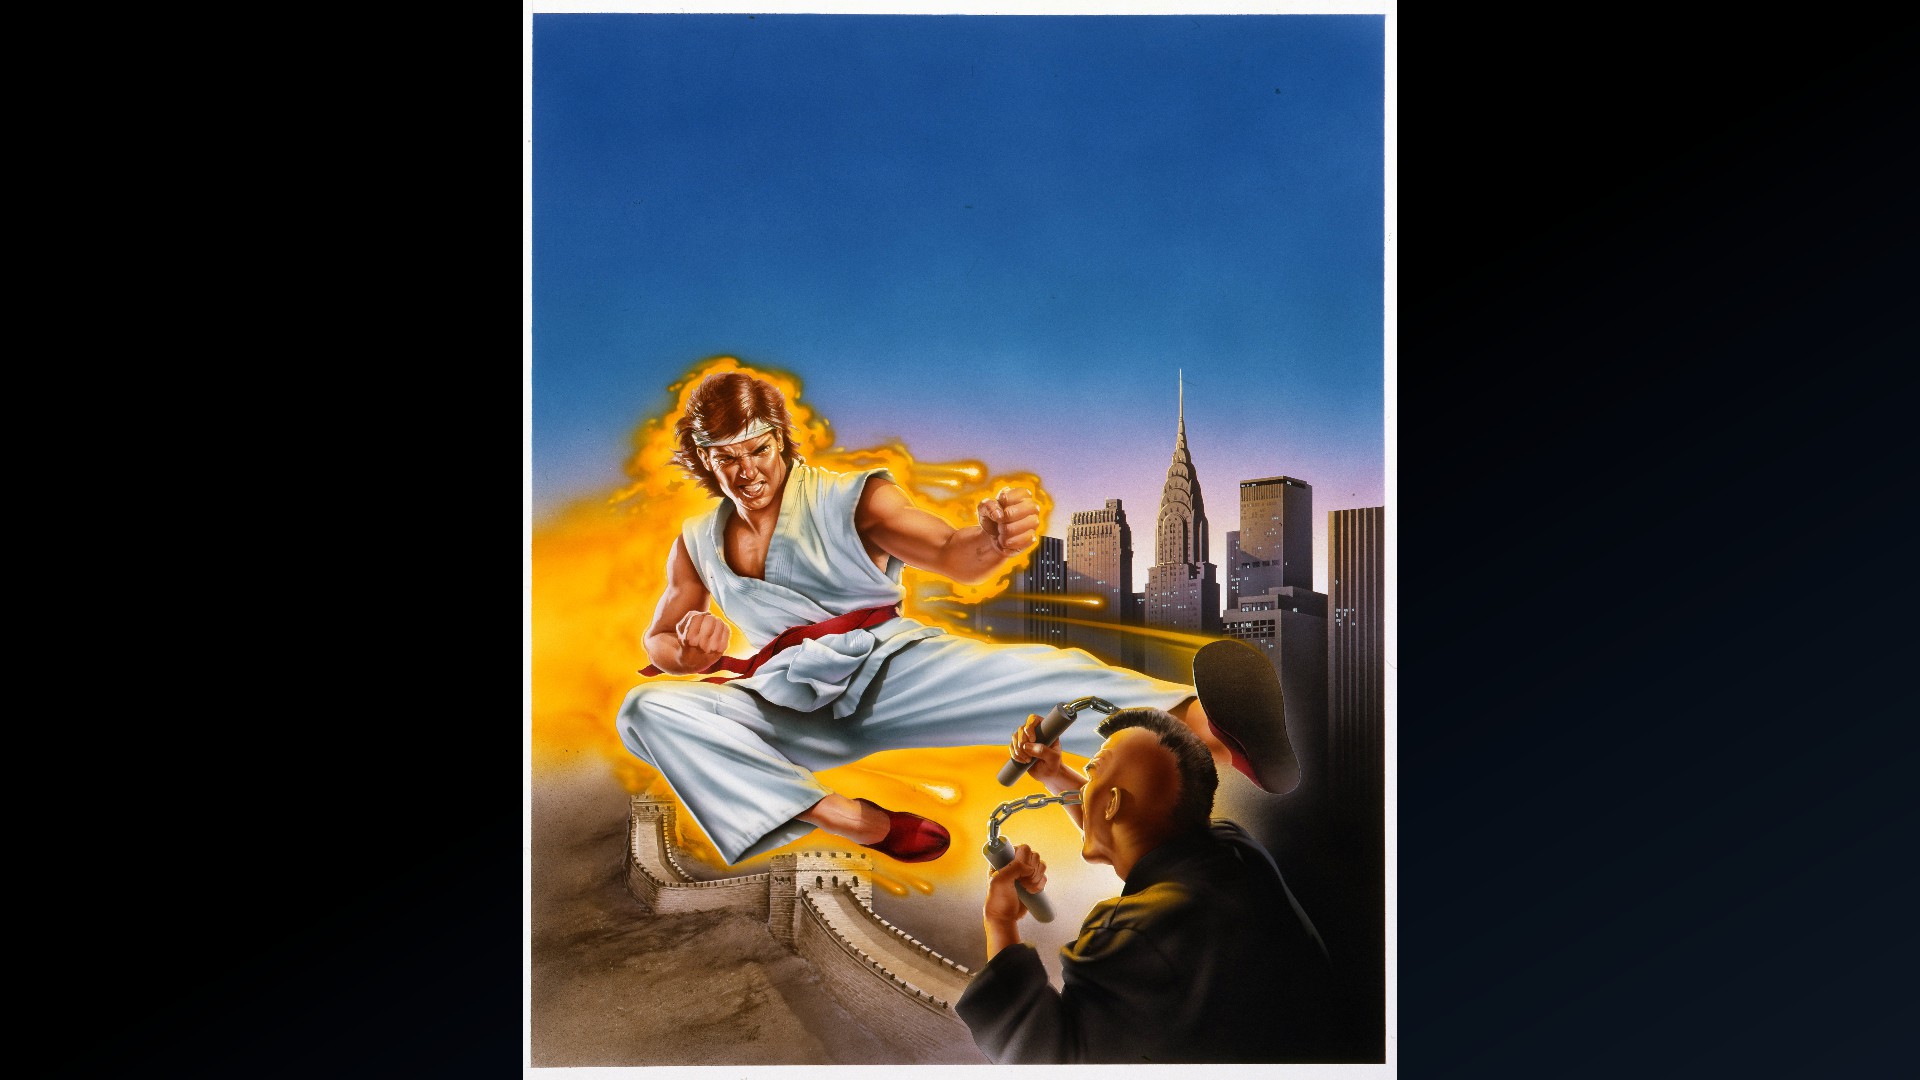
Street Fighter 2010
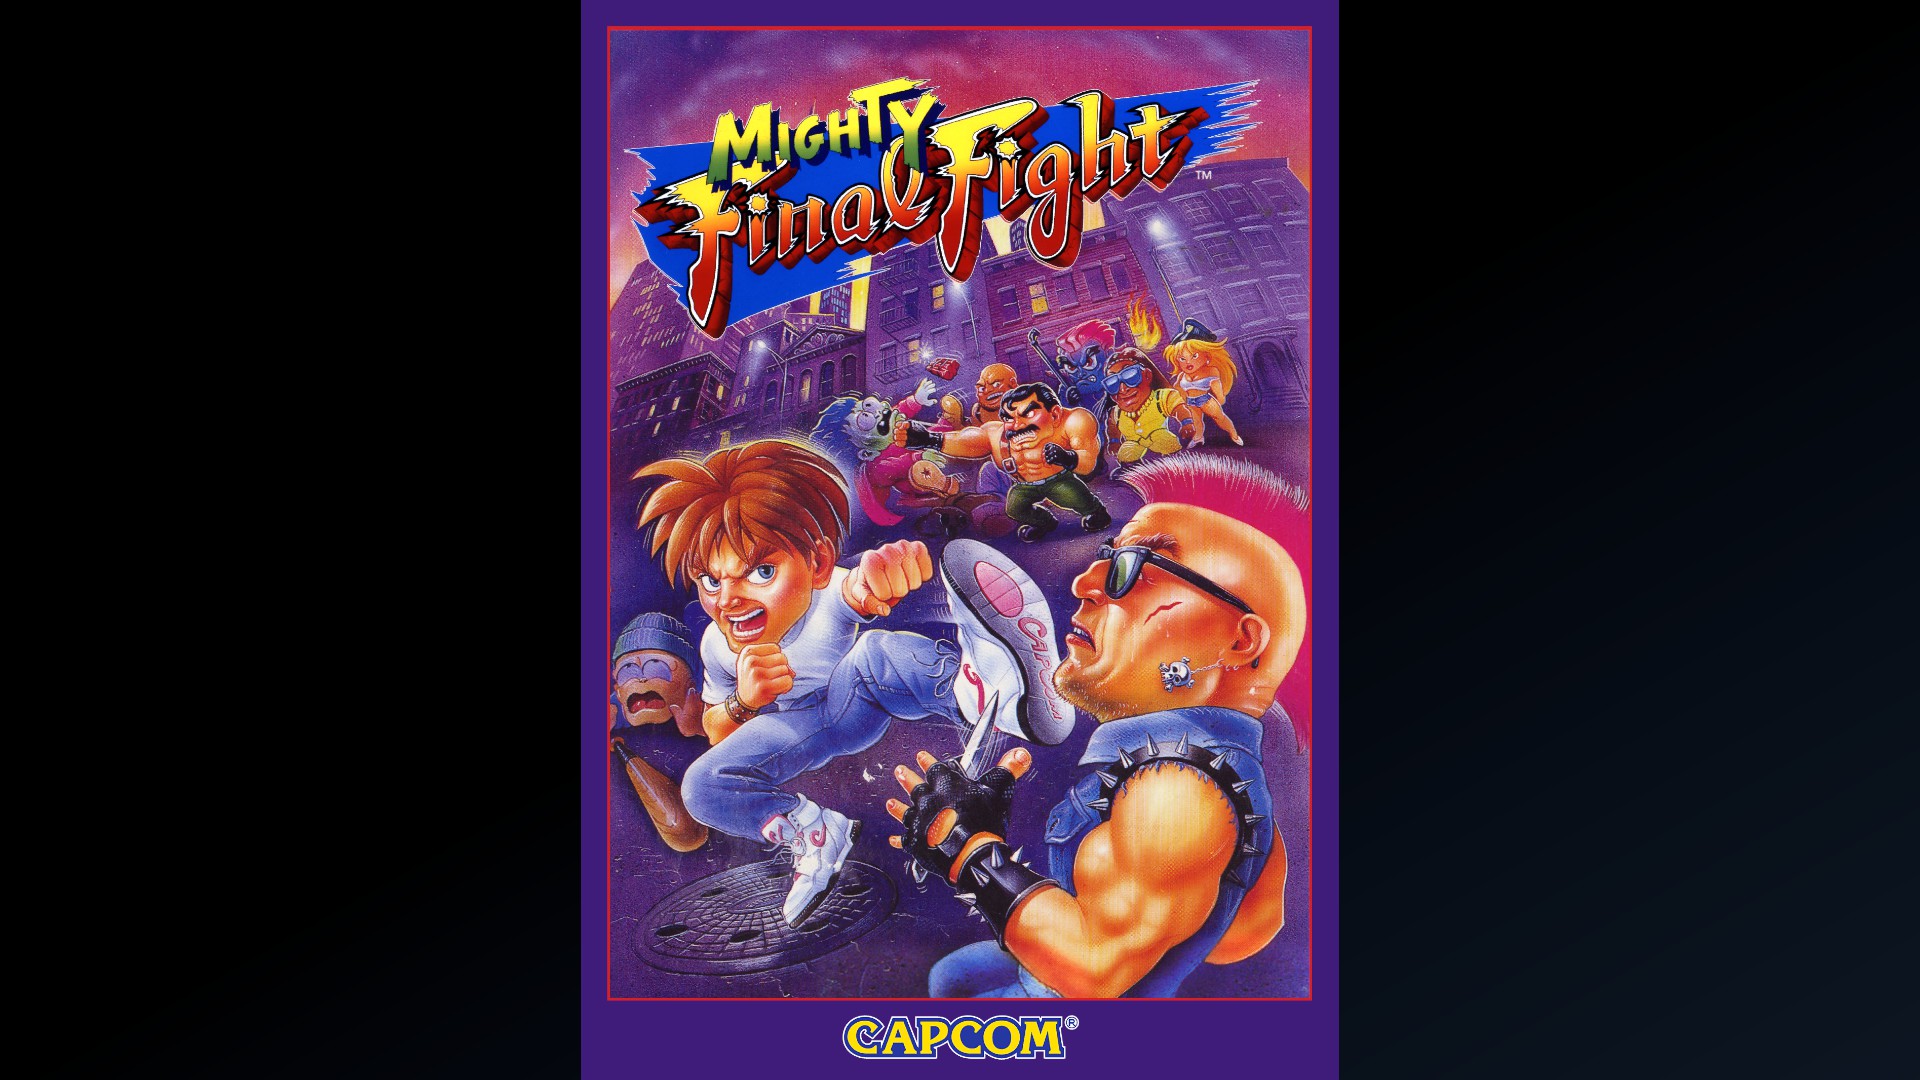
Mighty Final Fight
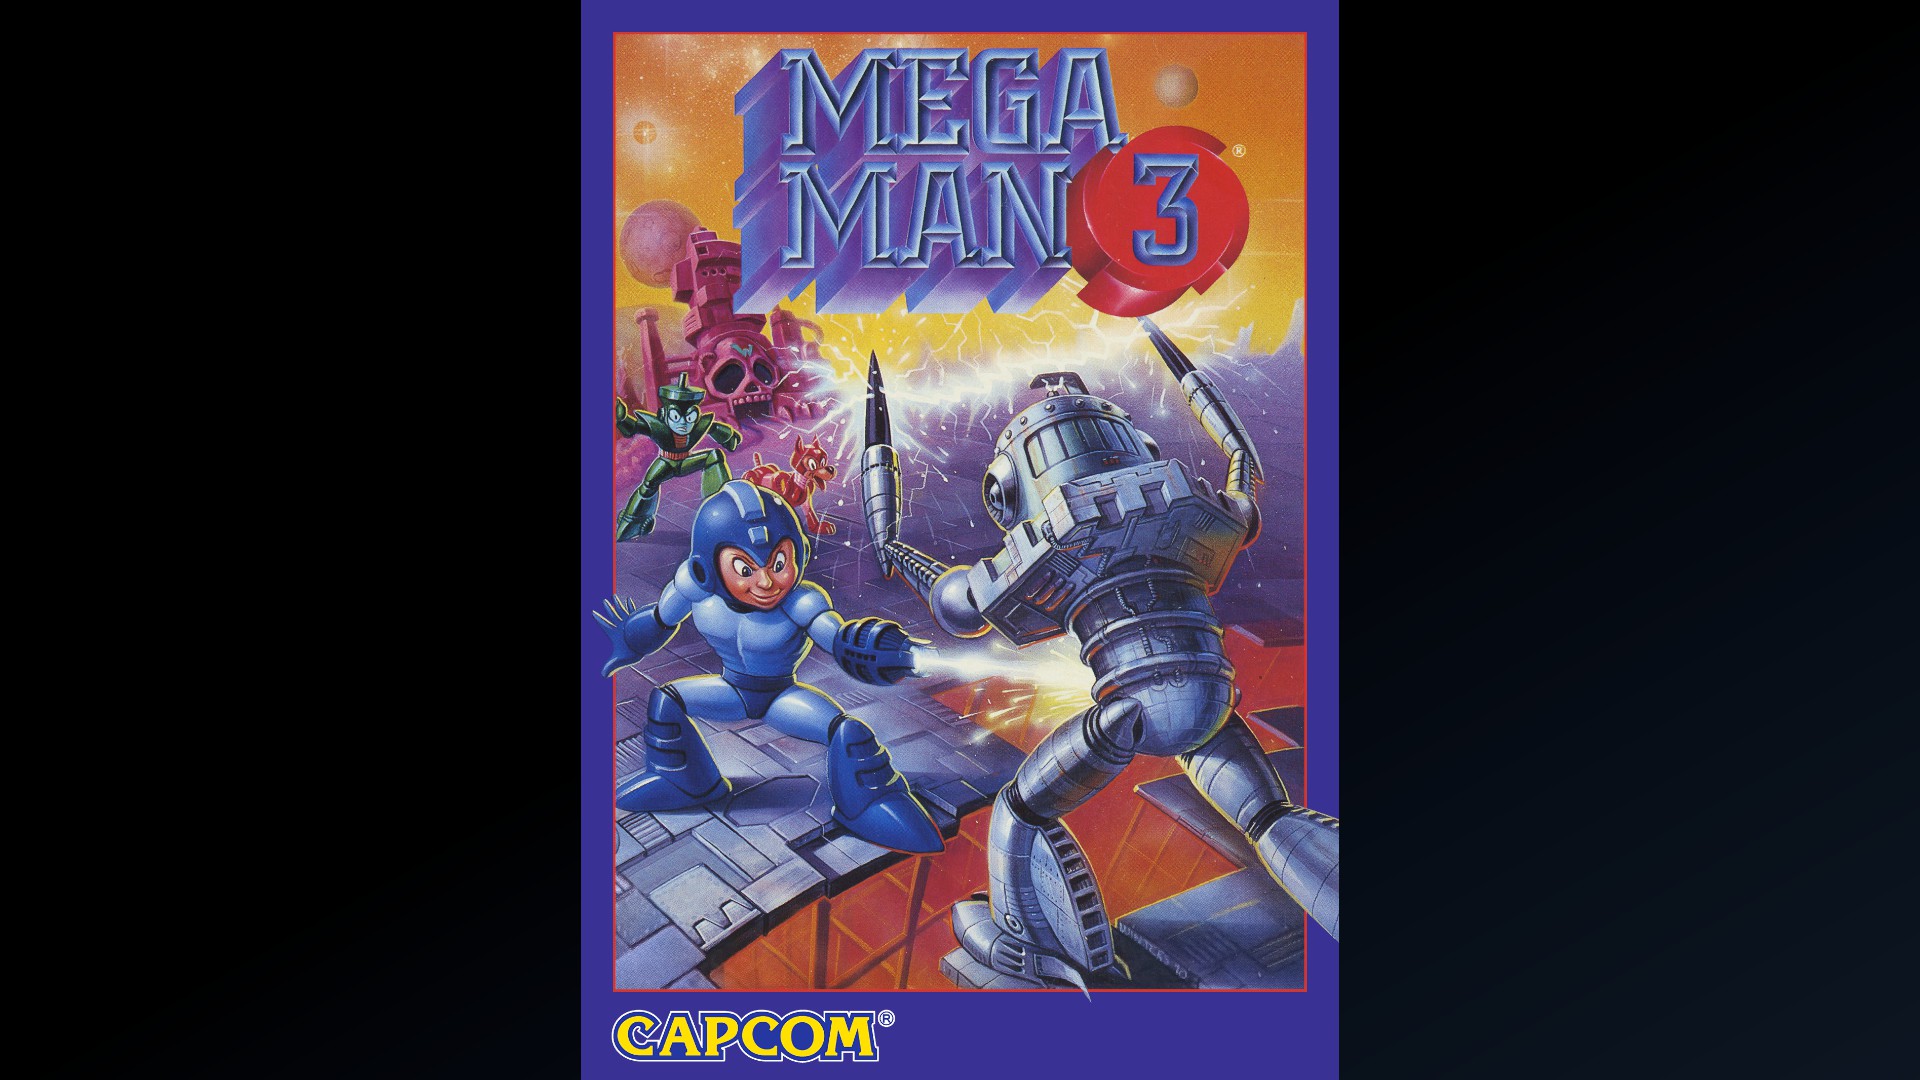
Mega Man 3
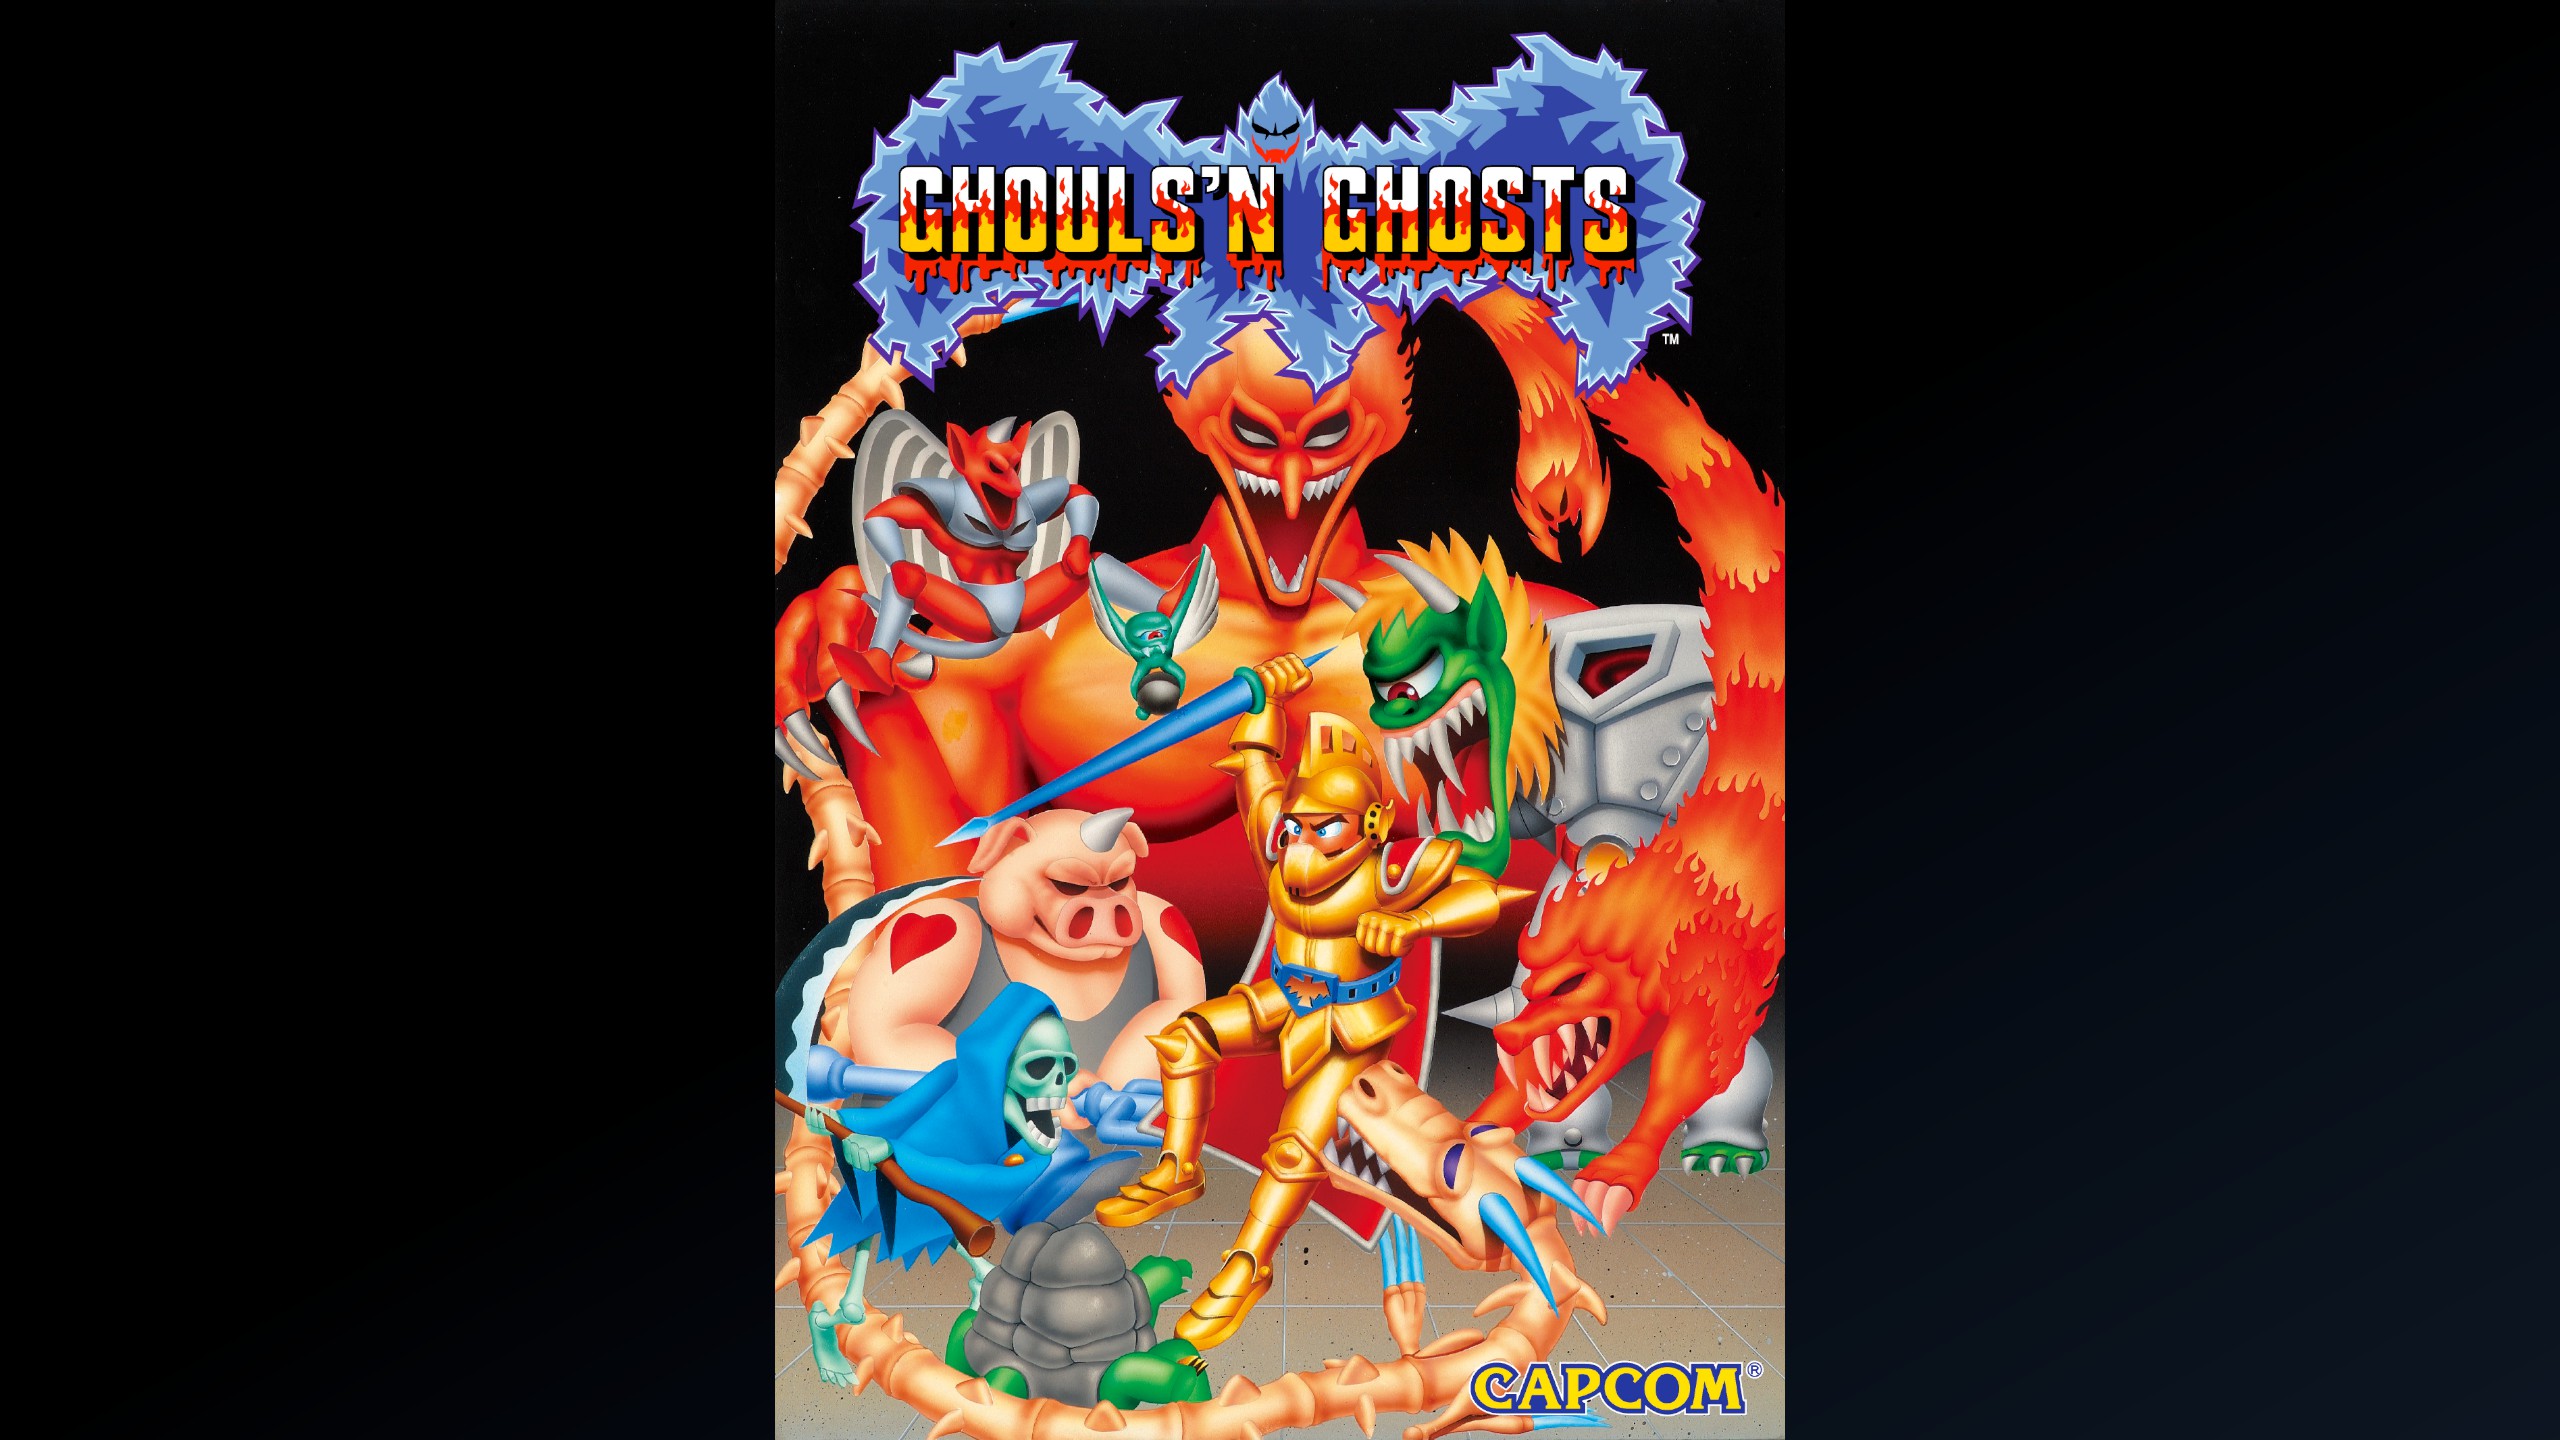
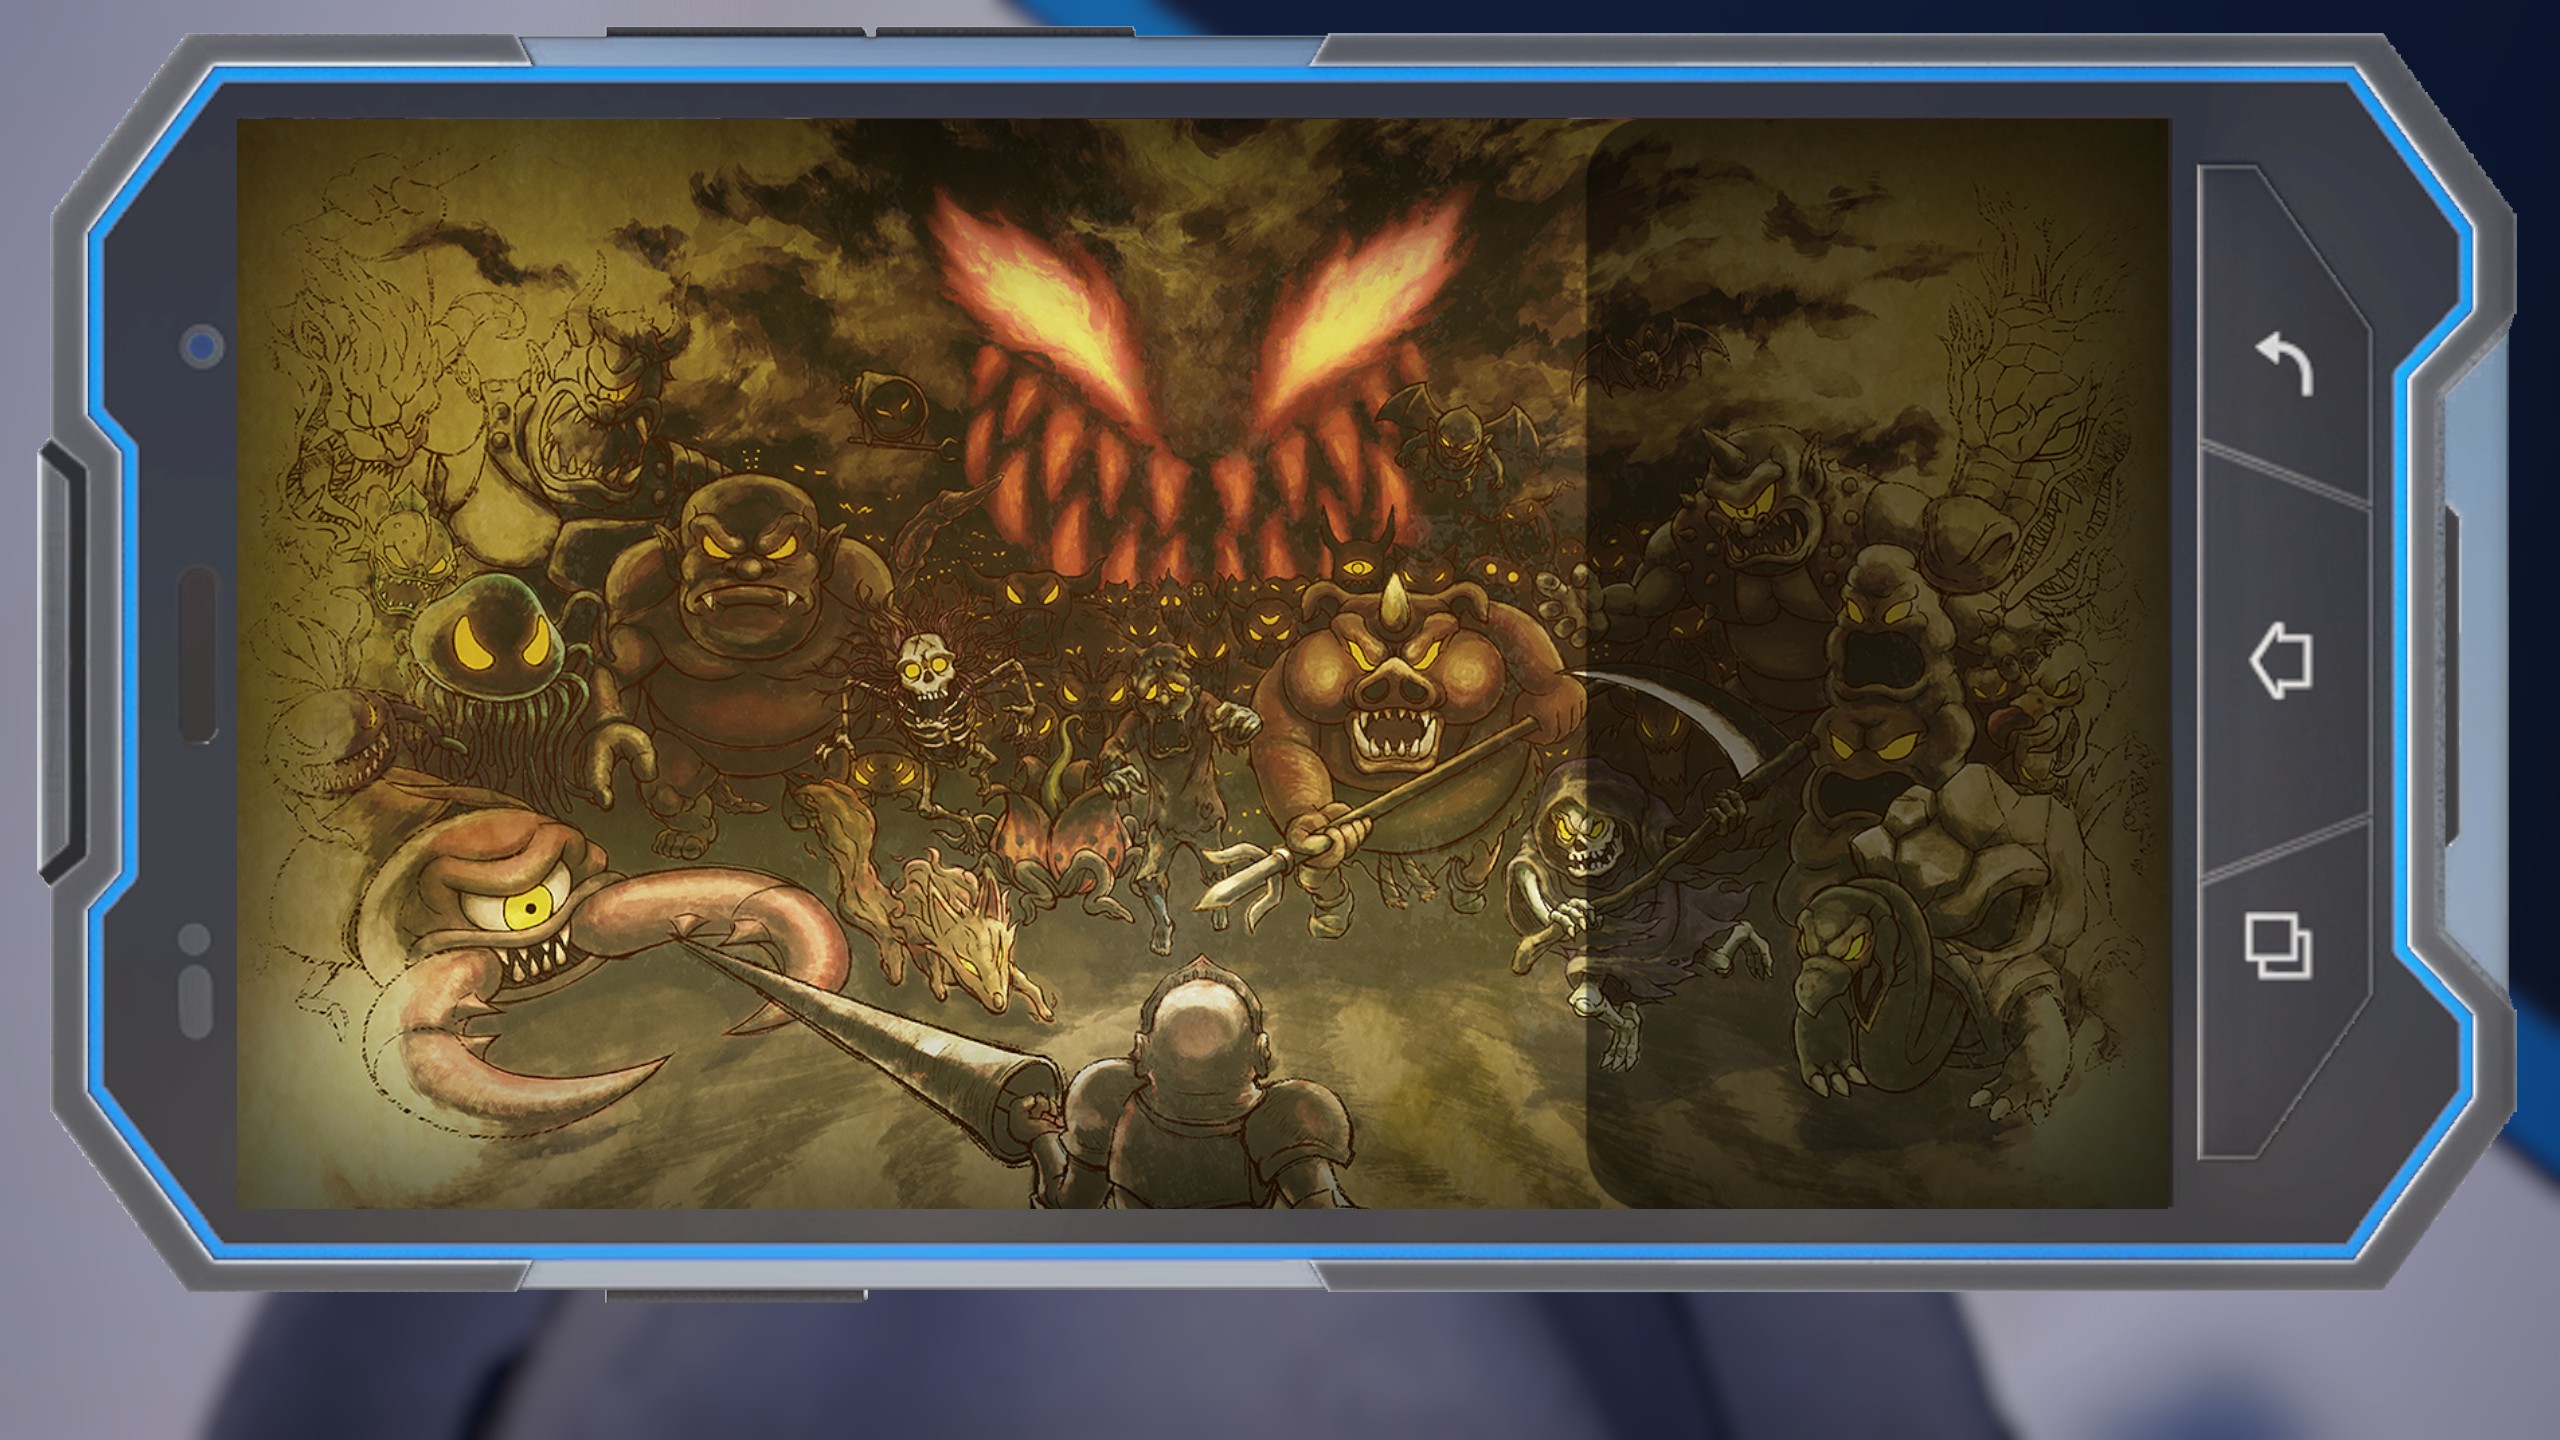
Ghouls 'n Ghosts
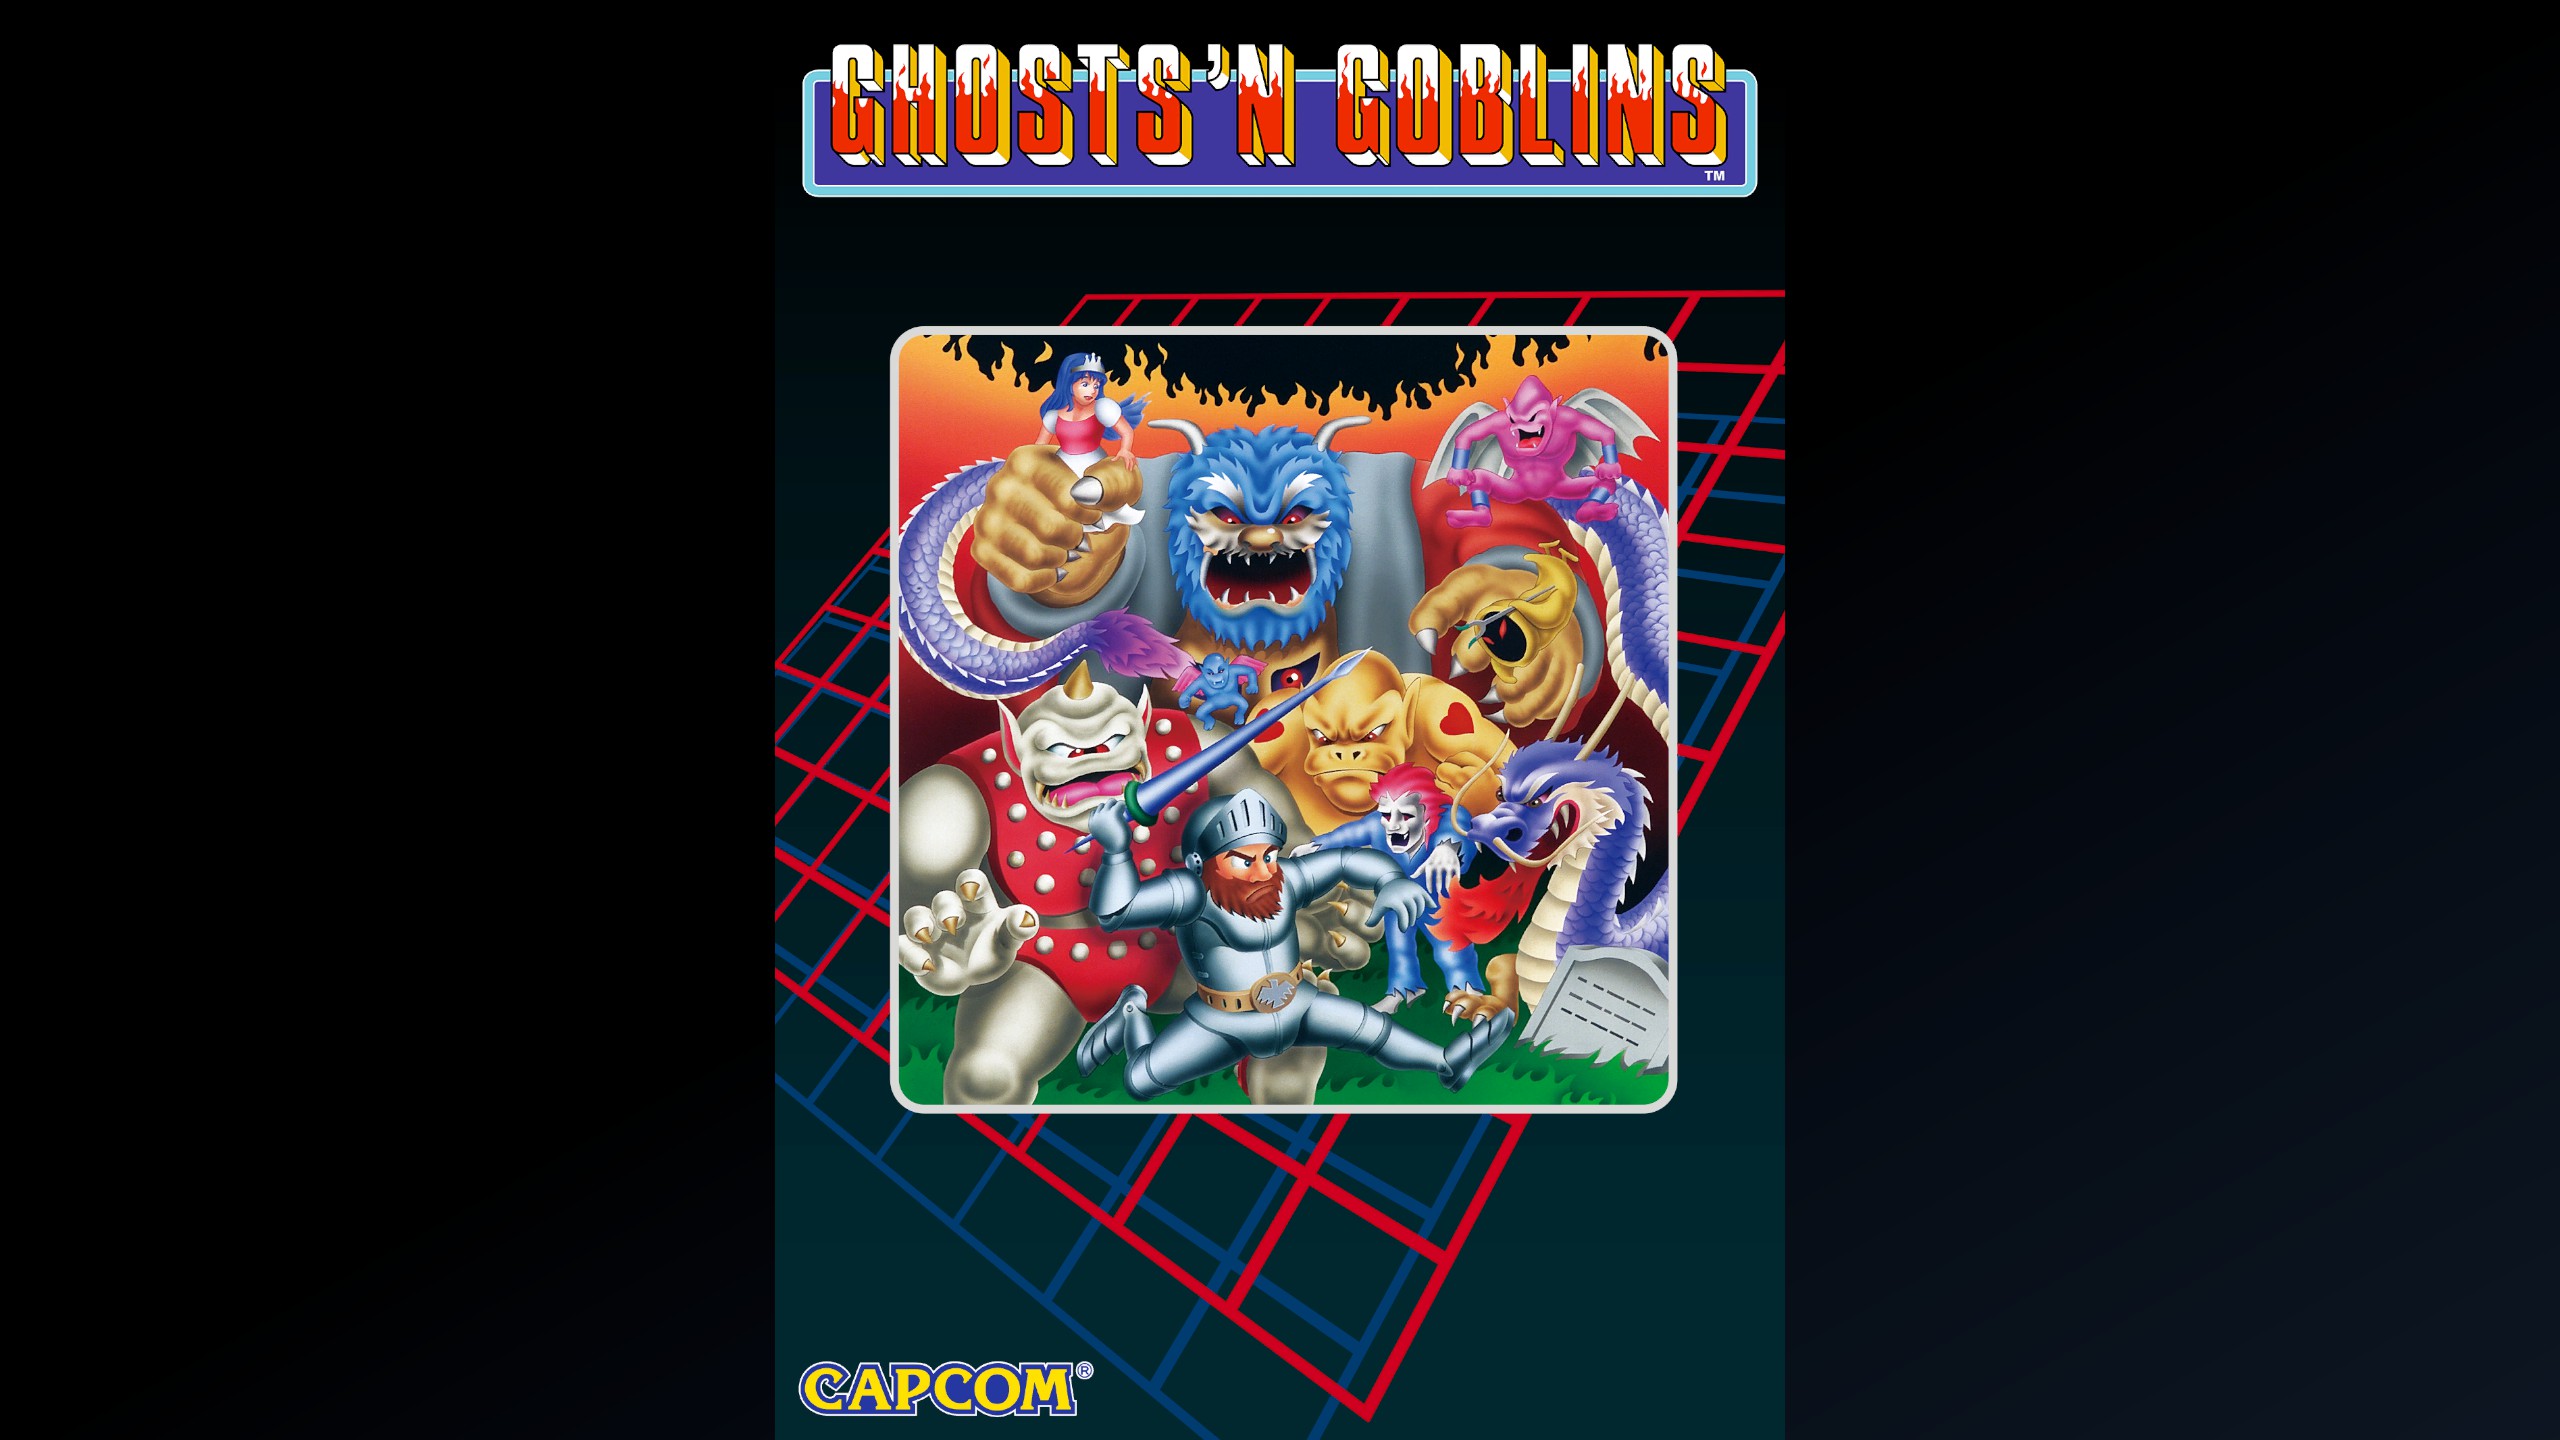
Ghosts 'n Goblins
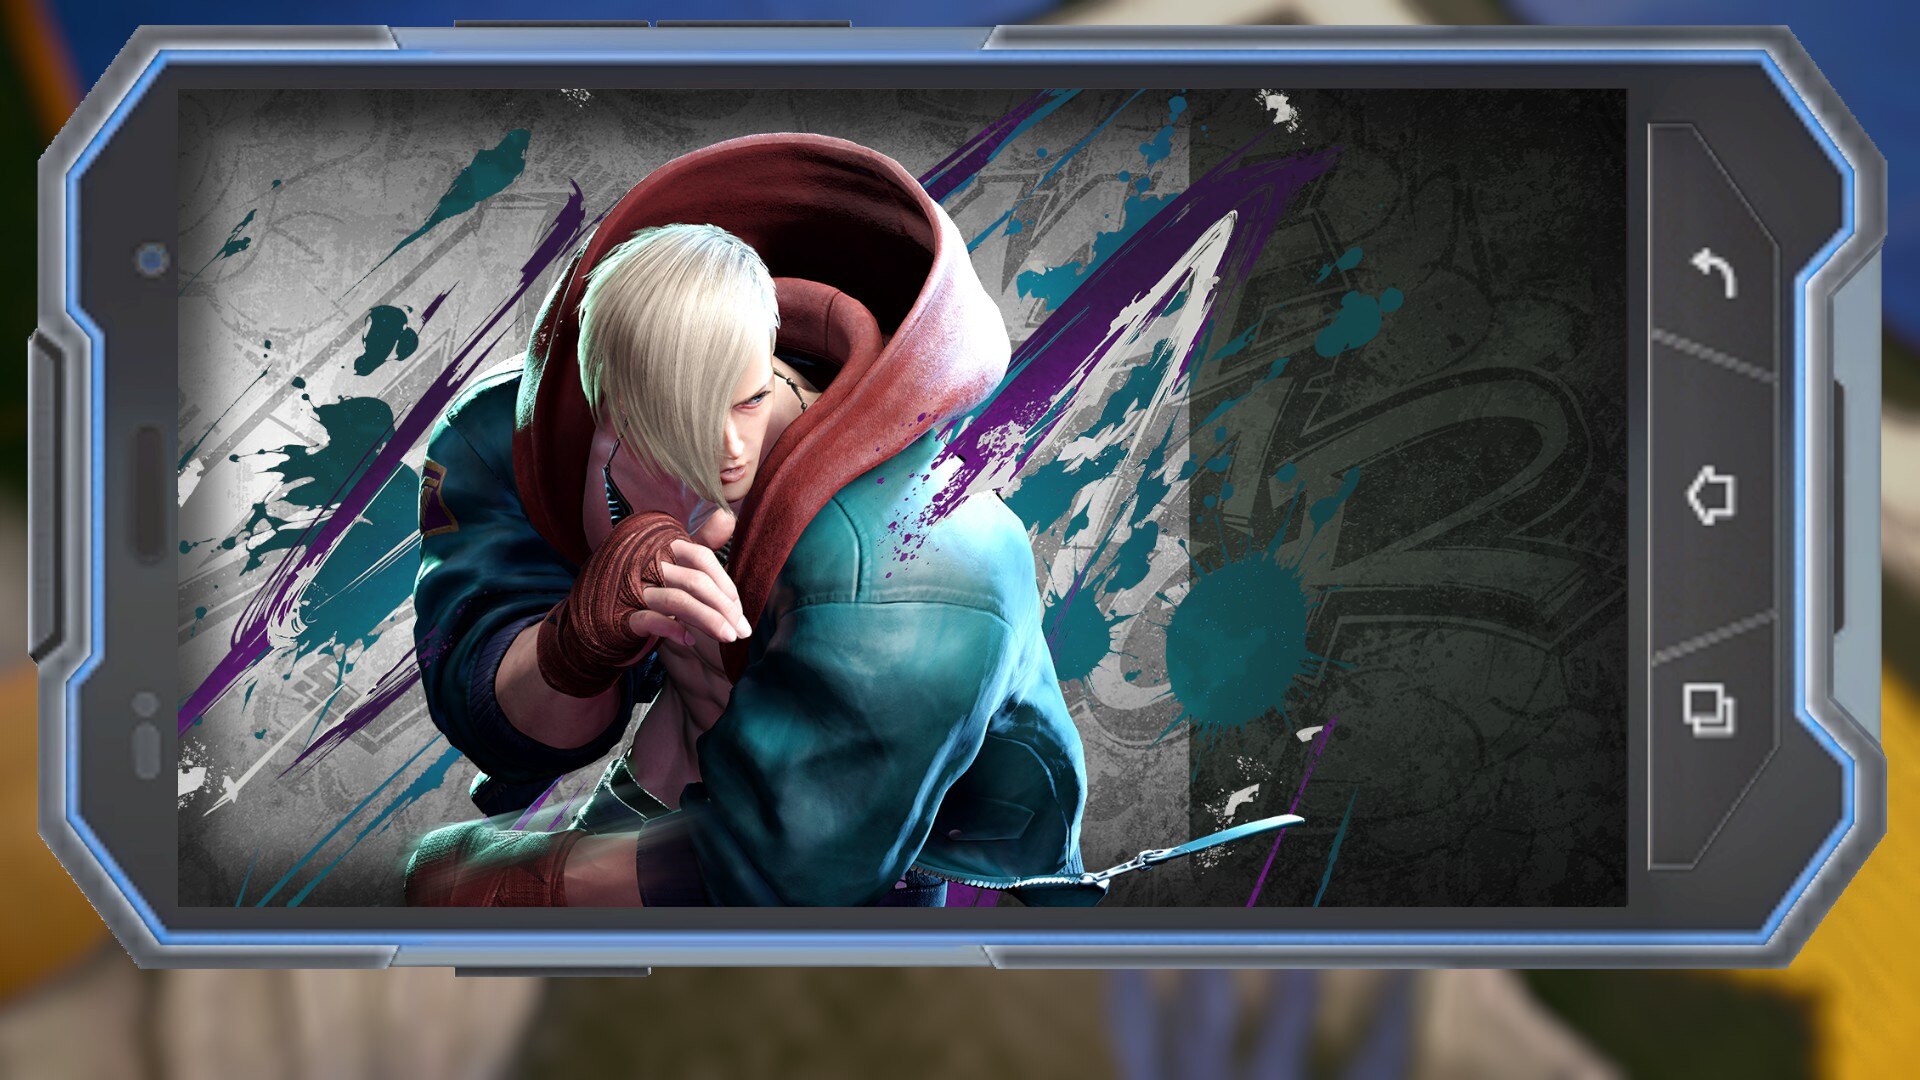
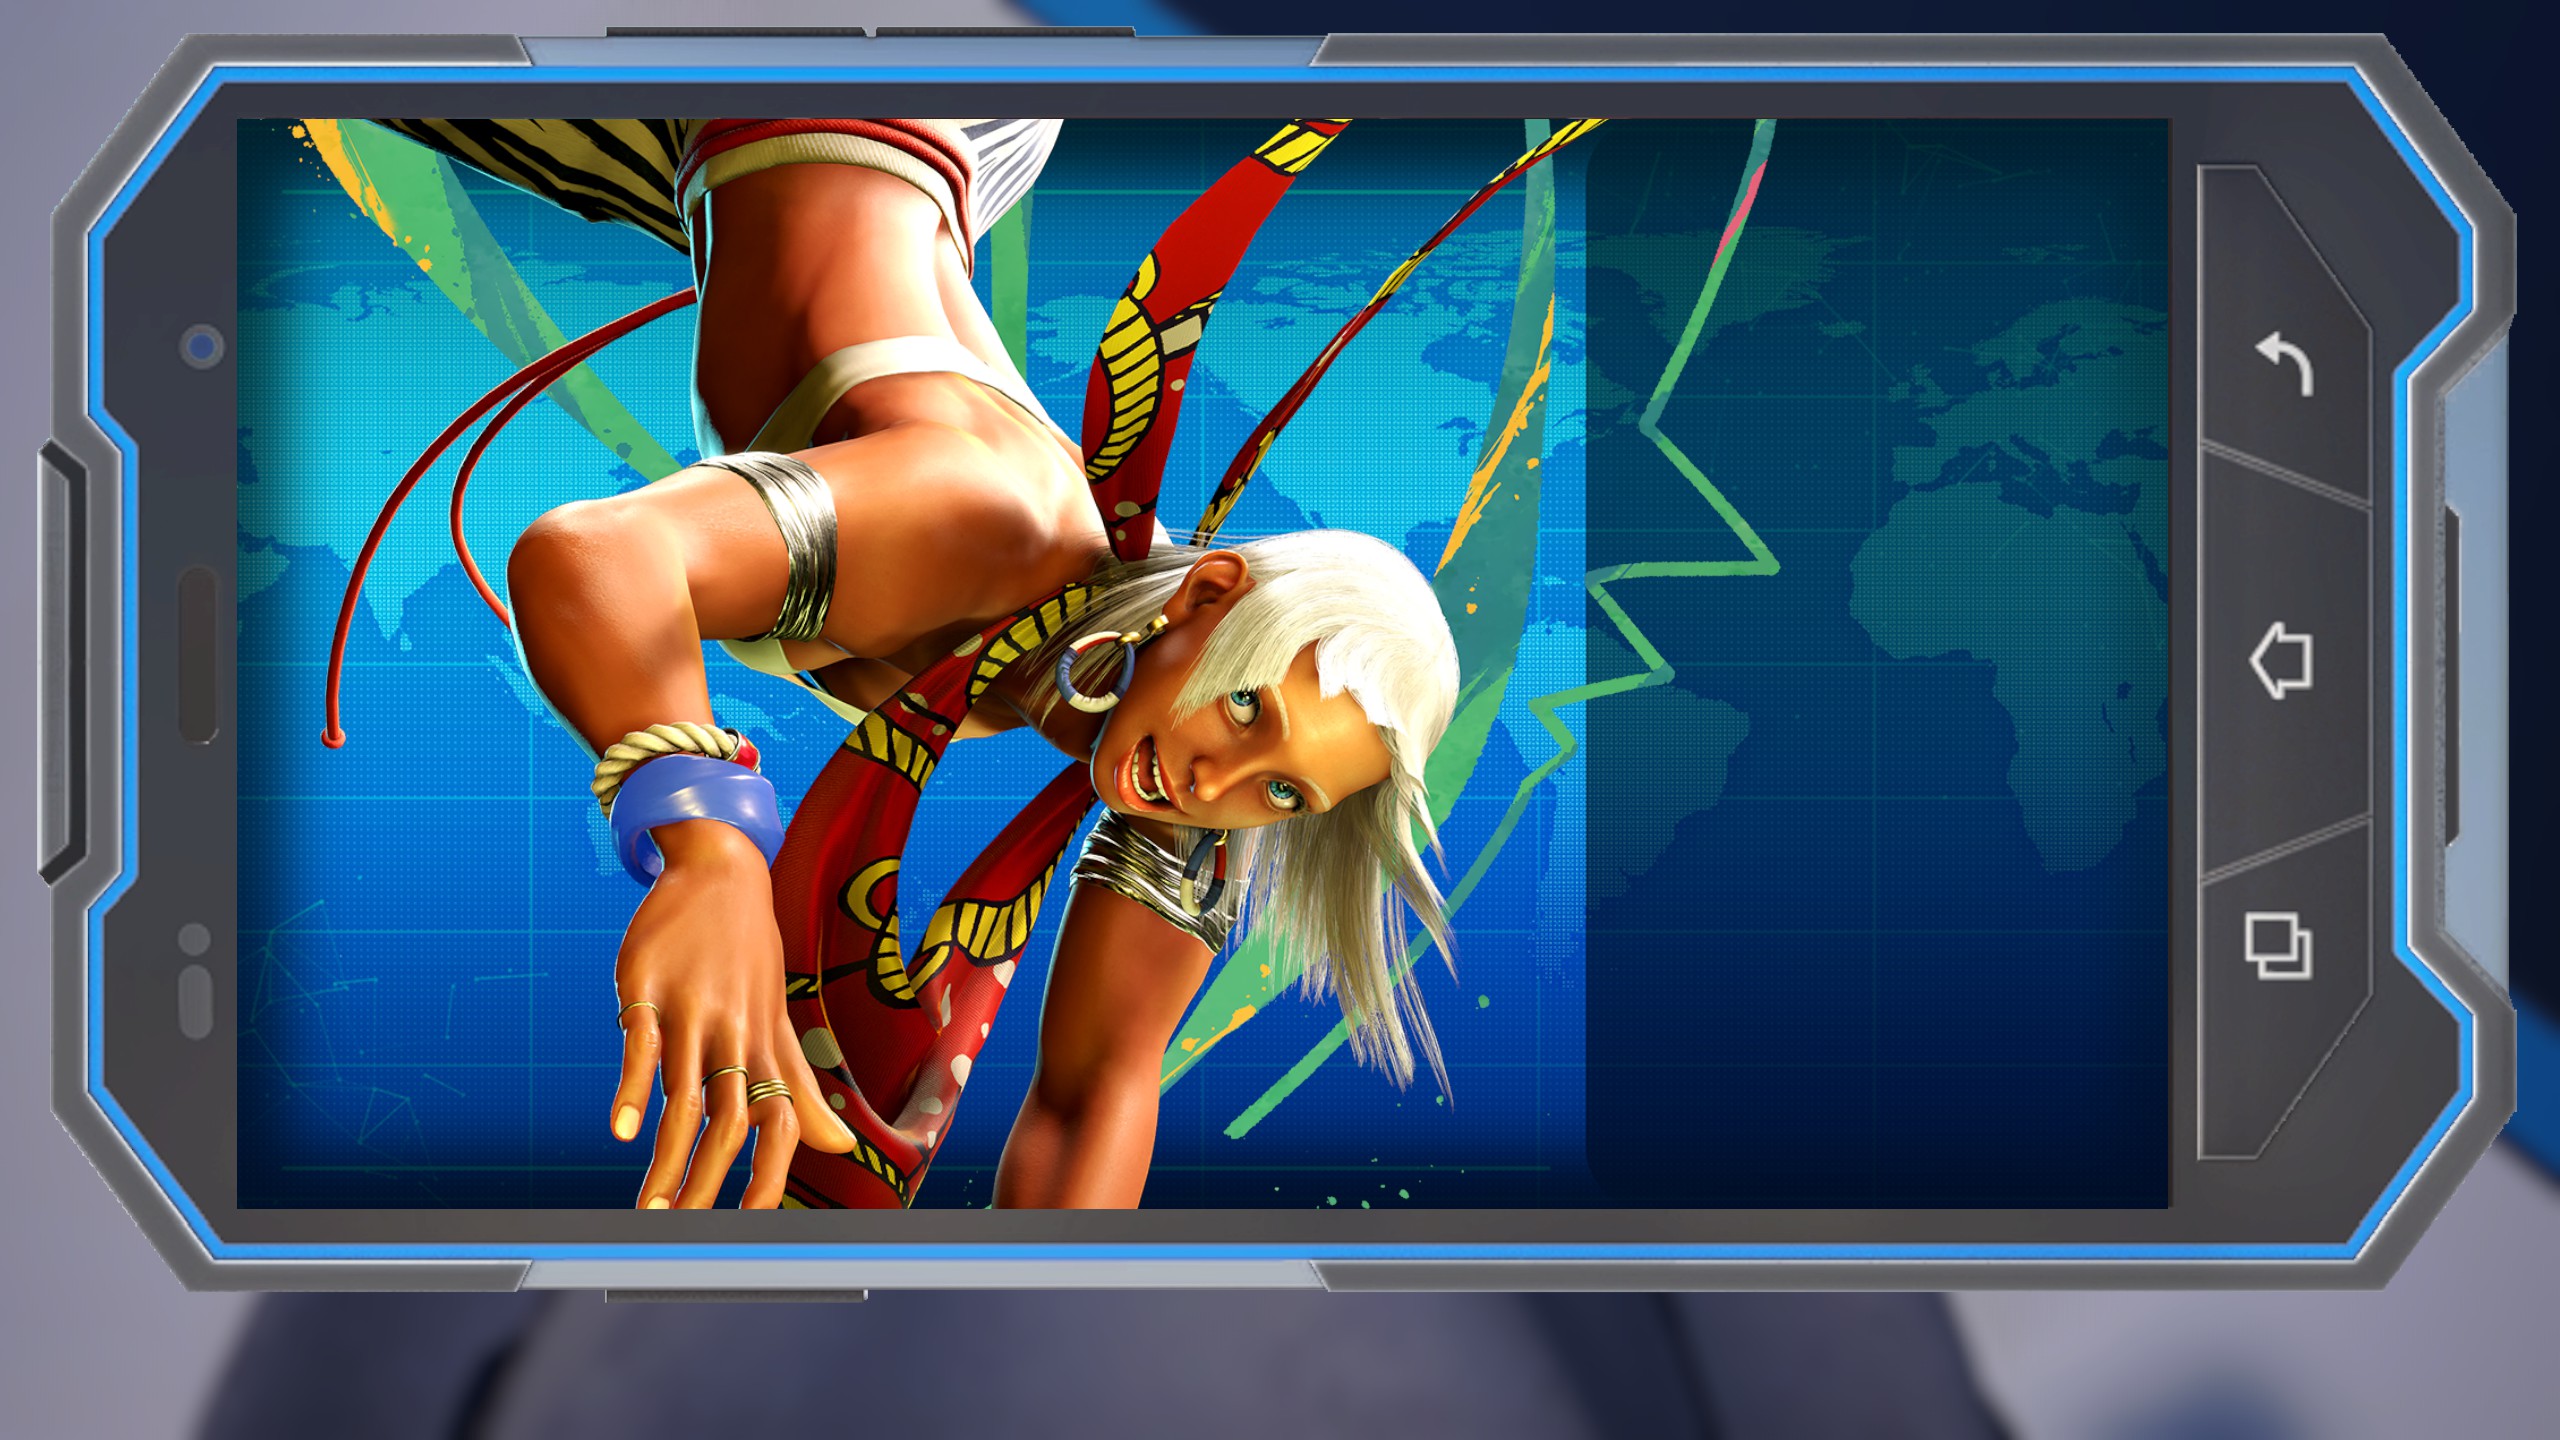
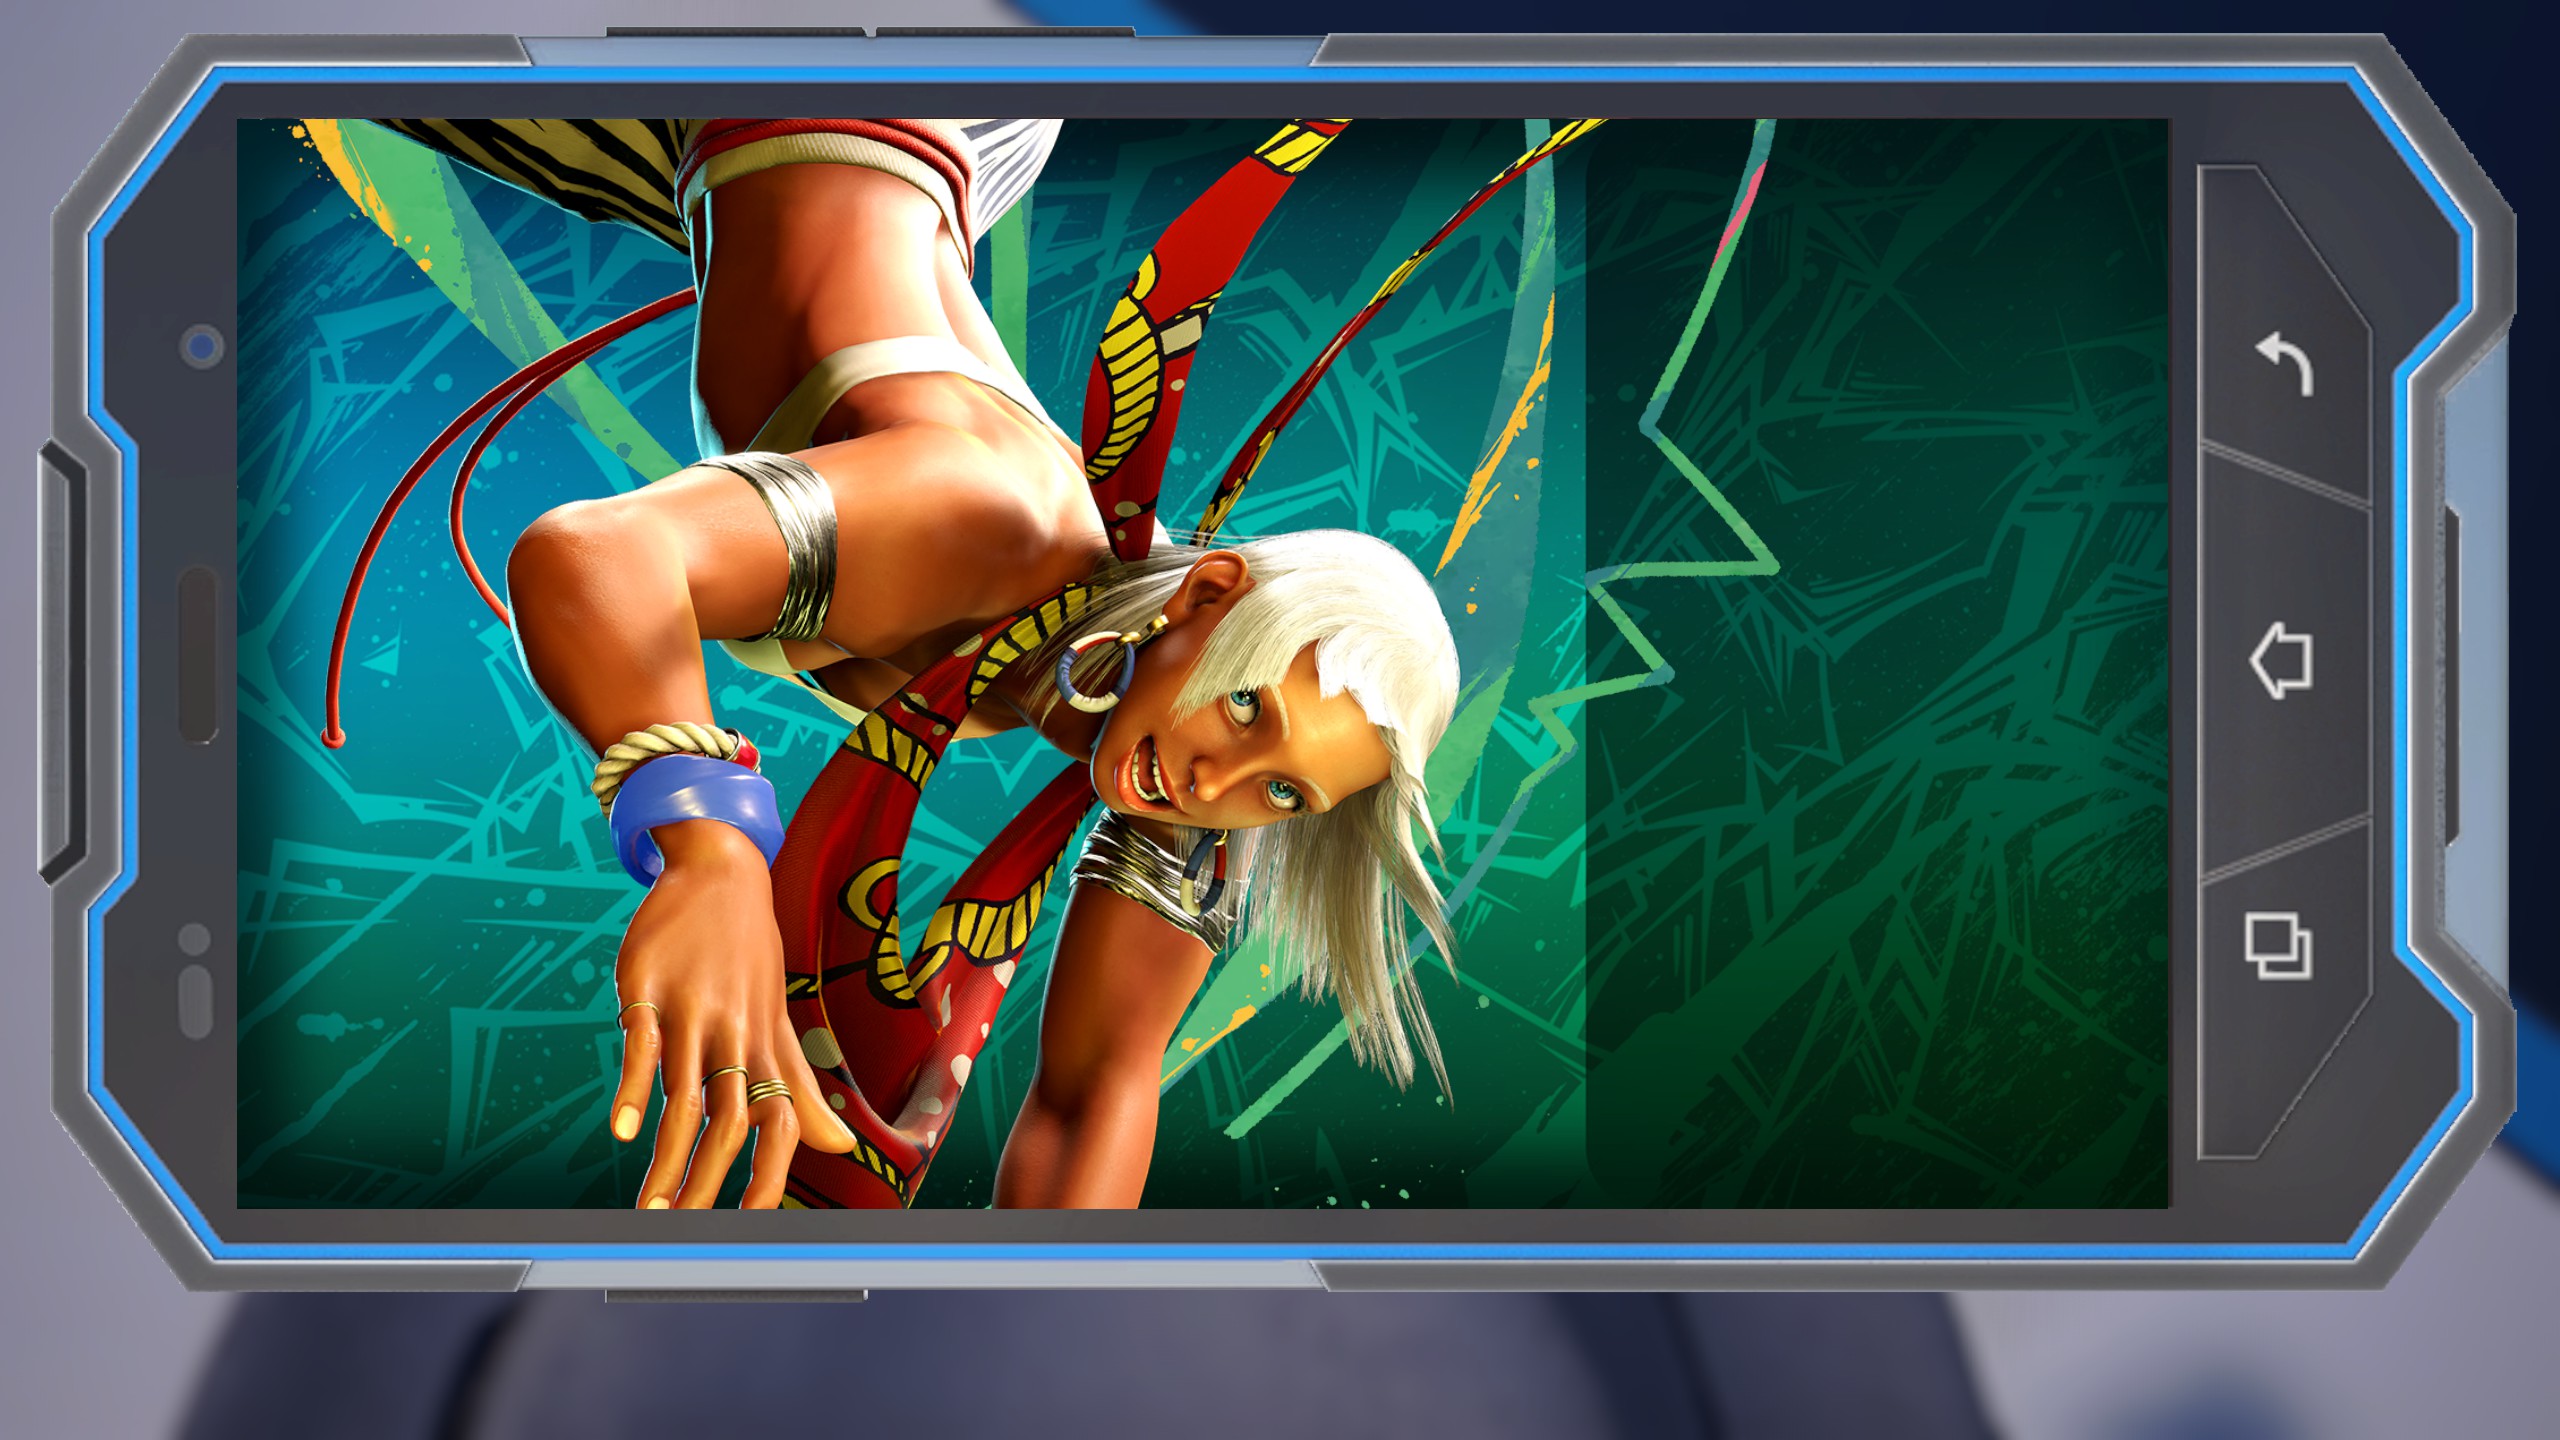
Battle Hub - V-Rival
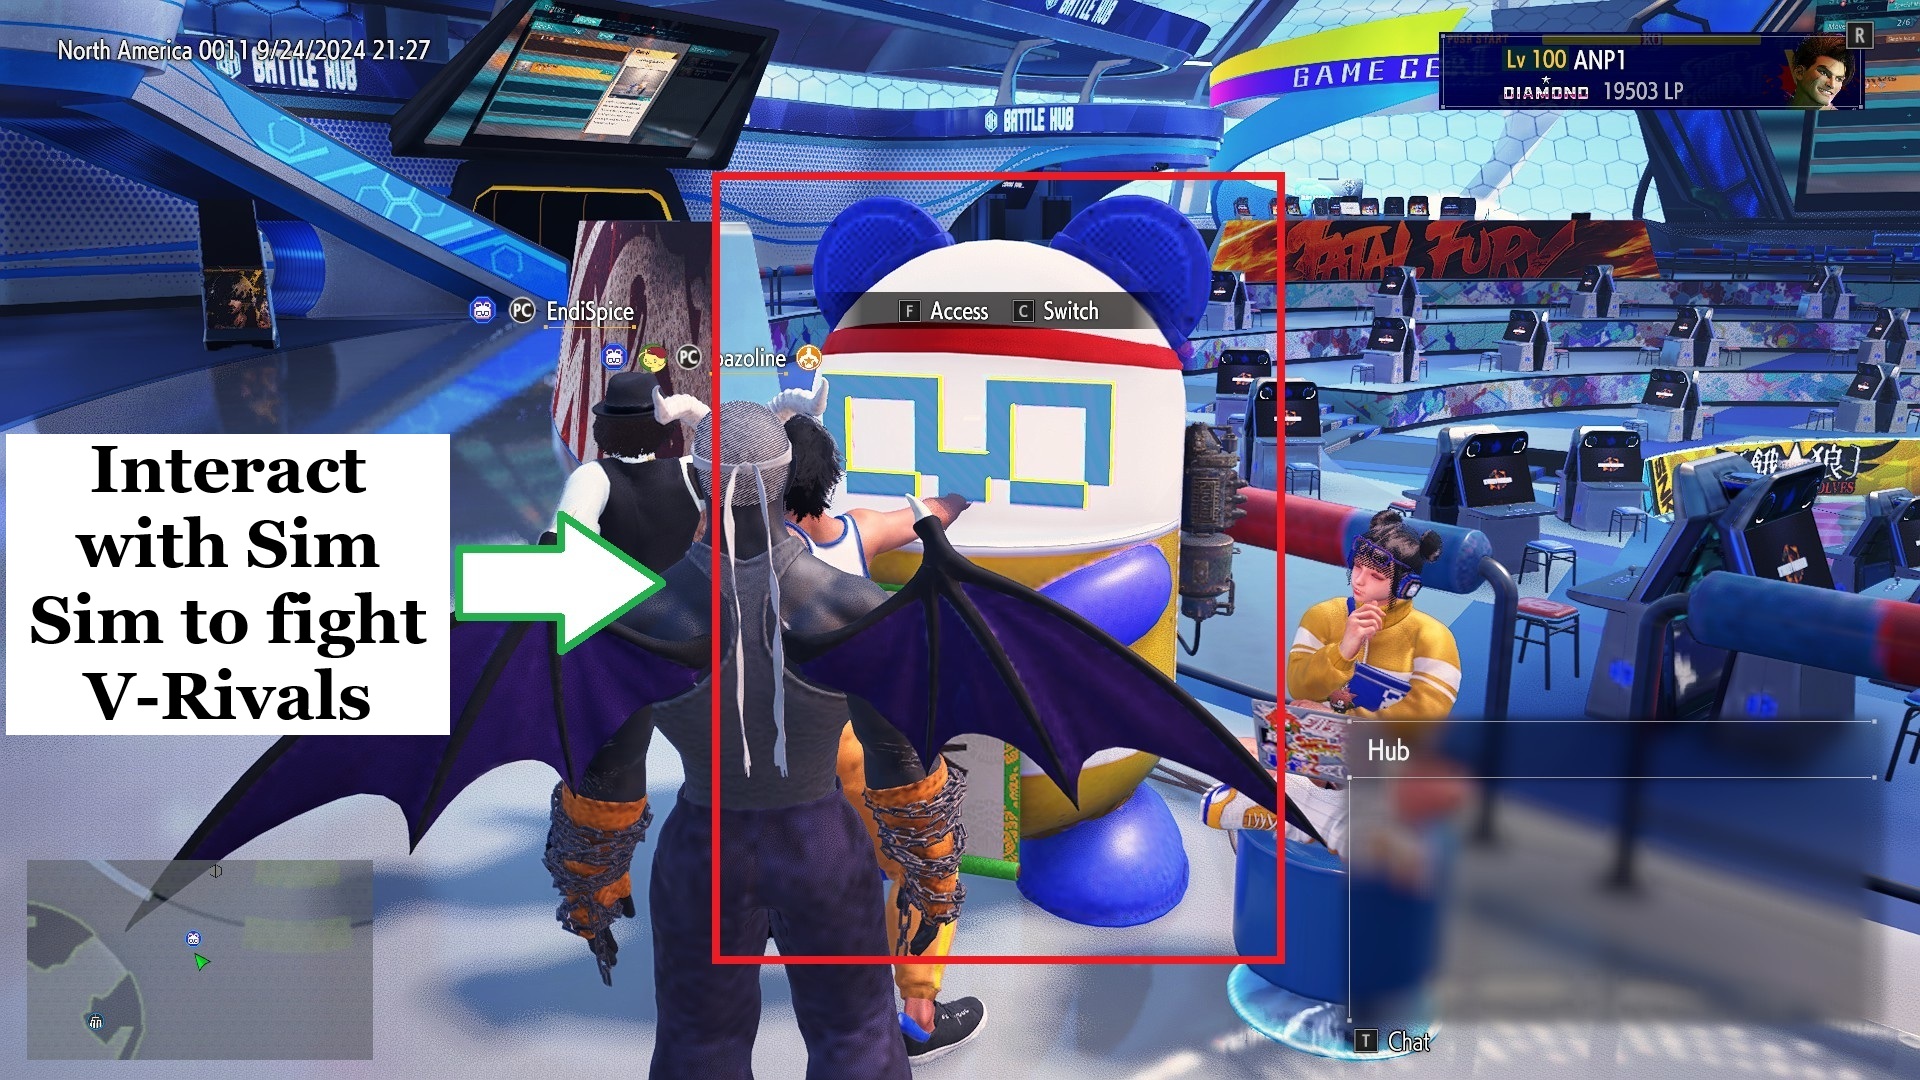
If you enter one of the Battle Hubs, you'll notice a panda-shaped machine to the right of the Event Counter.
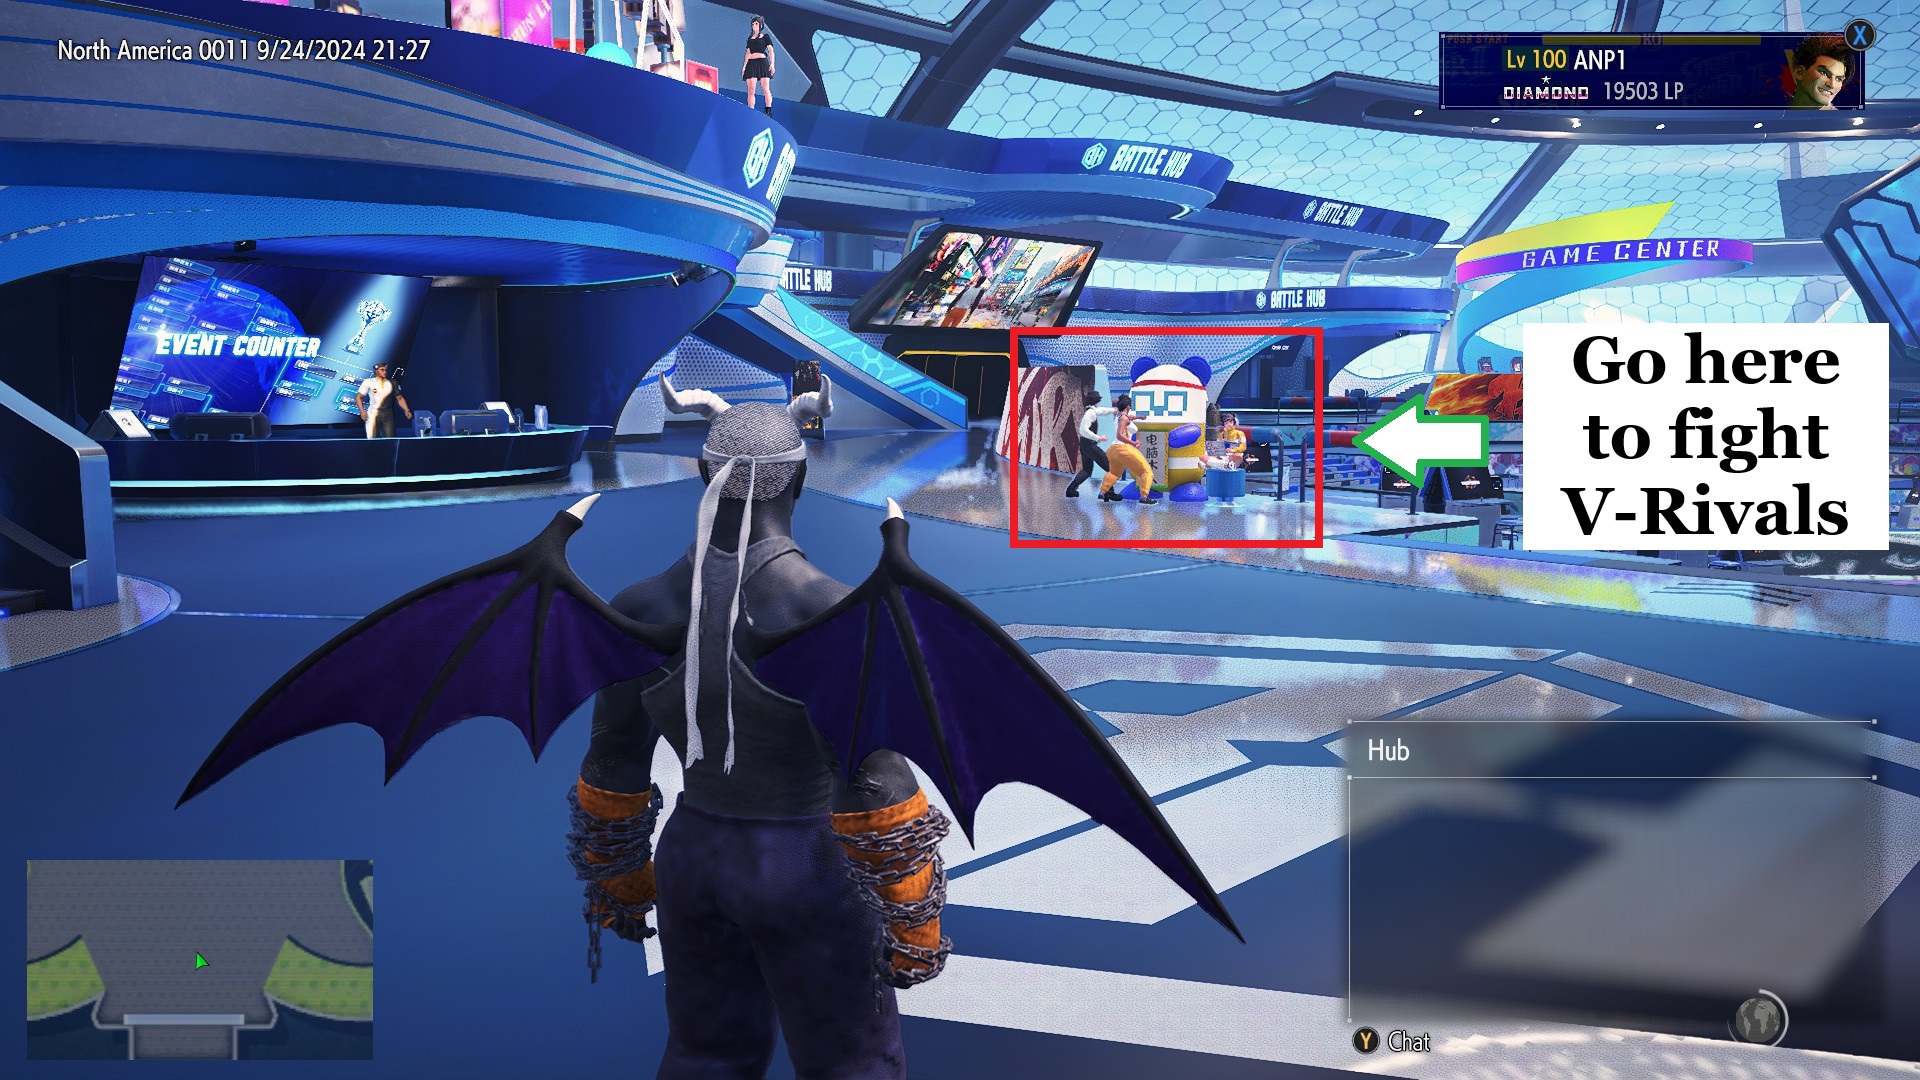
This machine is called Sim Sim, a unique device designed by none other than the genius hacker Li-Fen. If you interact with Sim Sim, you'll open up a menu that allows you to fight V-Rivals: AI fighters created through the analysis of online player matches. You can also fight your own V-Rival, which is created using data from your online matches. On top of that, you will at times be able to face a Special V-Rival, but these opponents are only available for a limited time. Facing off against V-Rivals unlocks unique rewards, like titles and stickers, and you even have the option of pitting V-Rivals against each other and watching them duke it out.
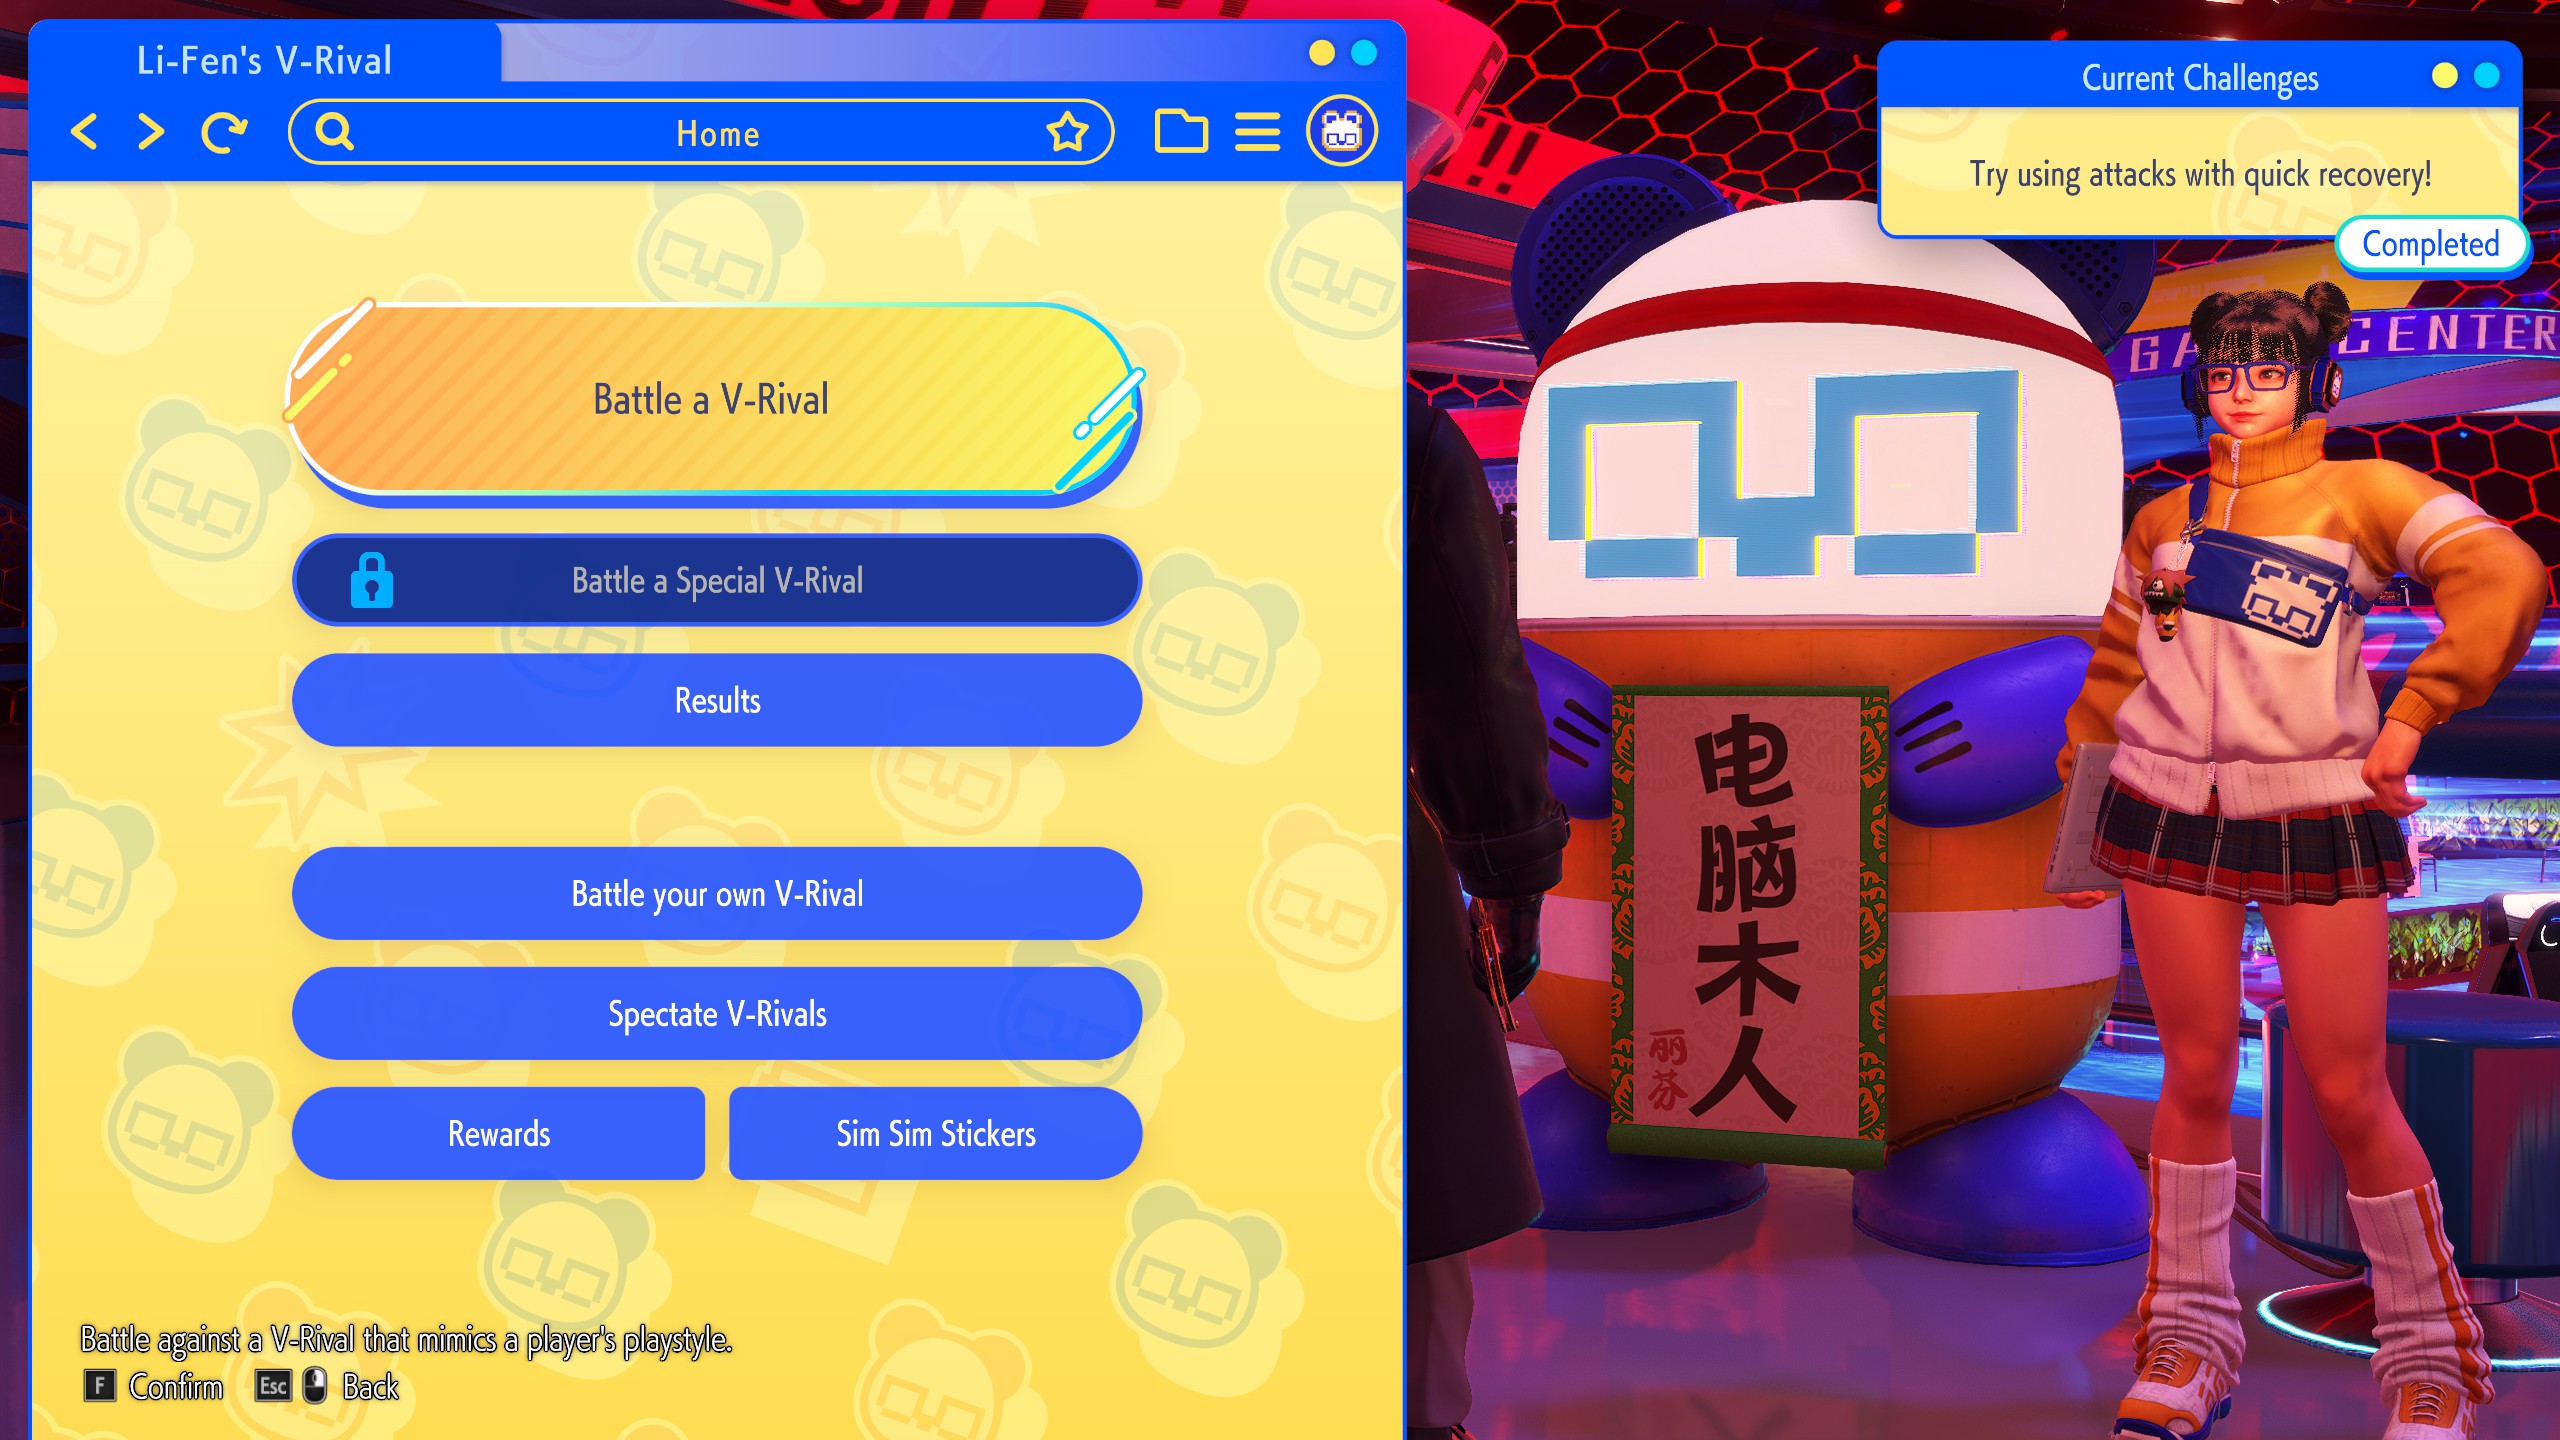
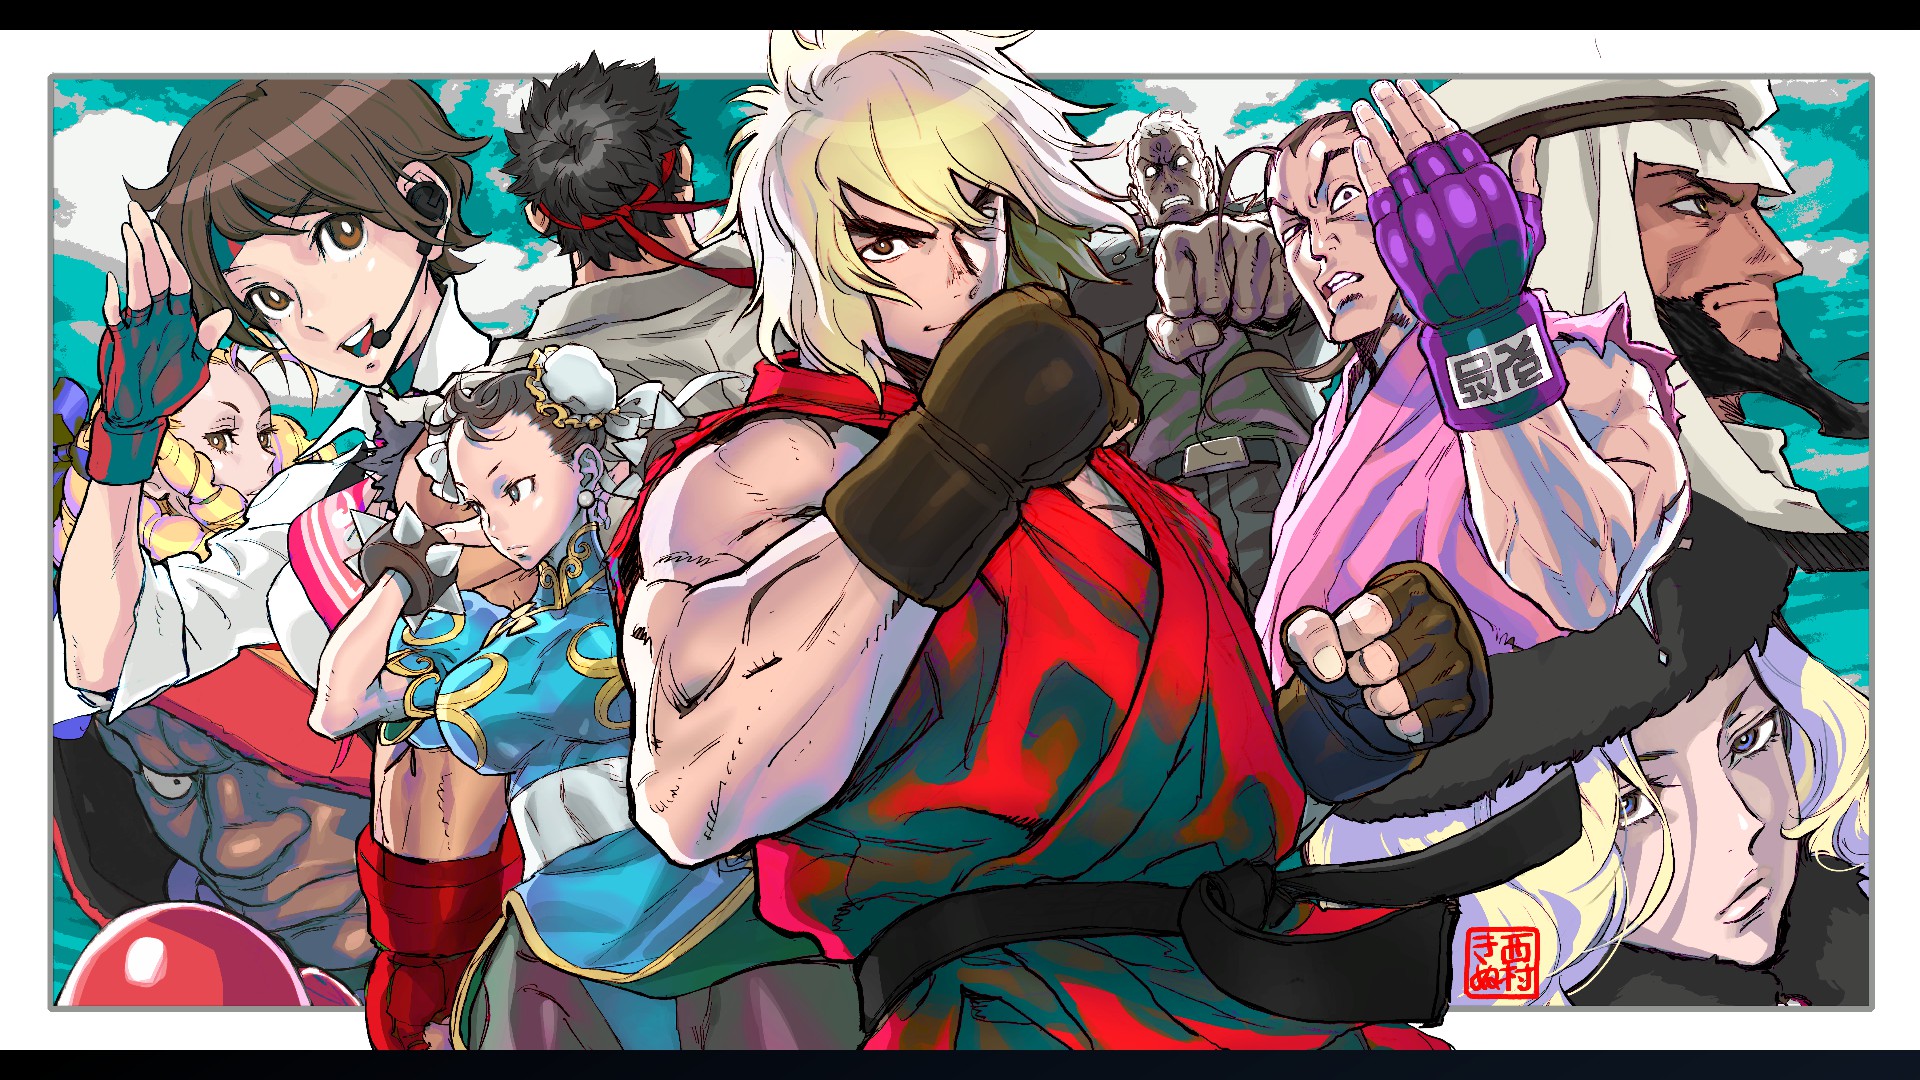
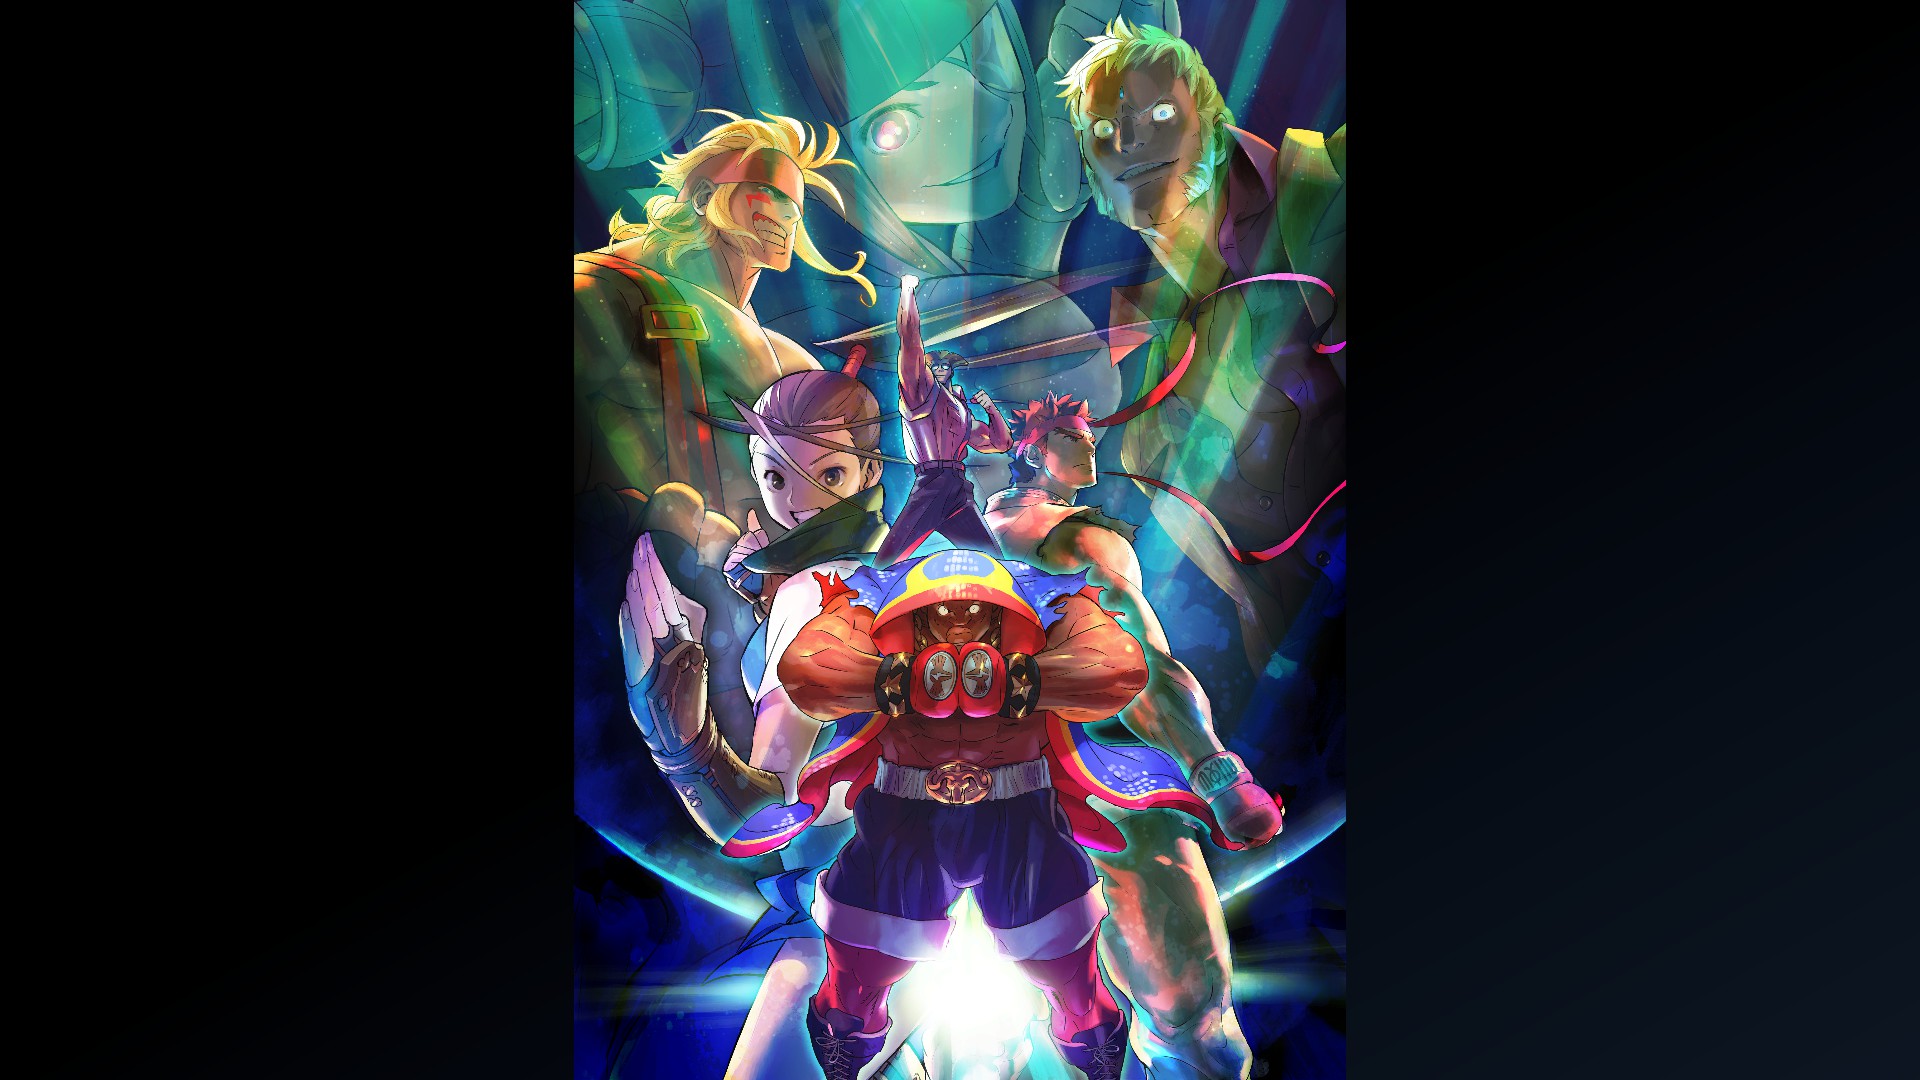
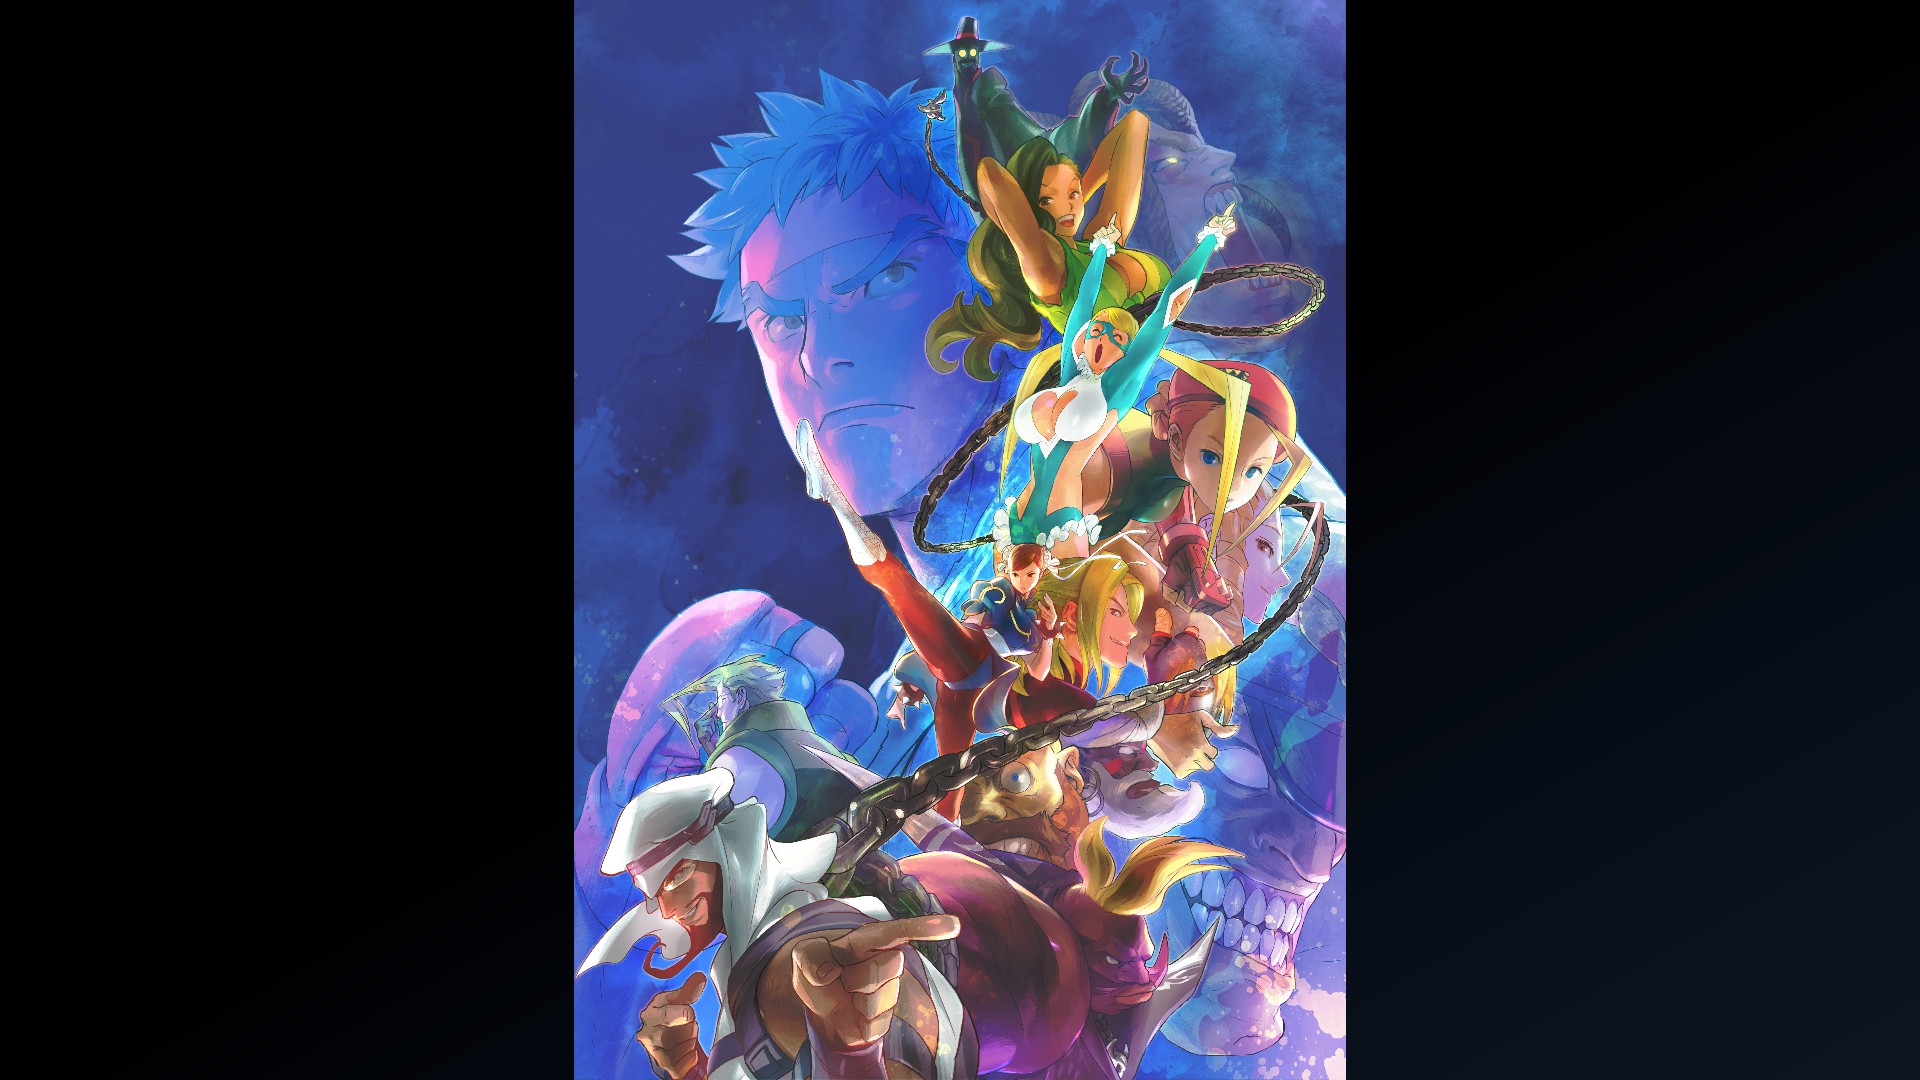
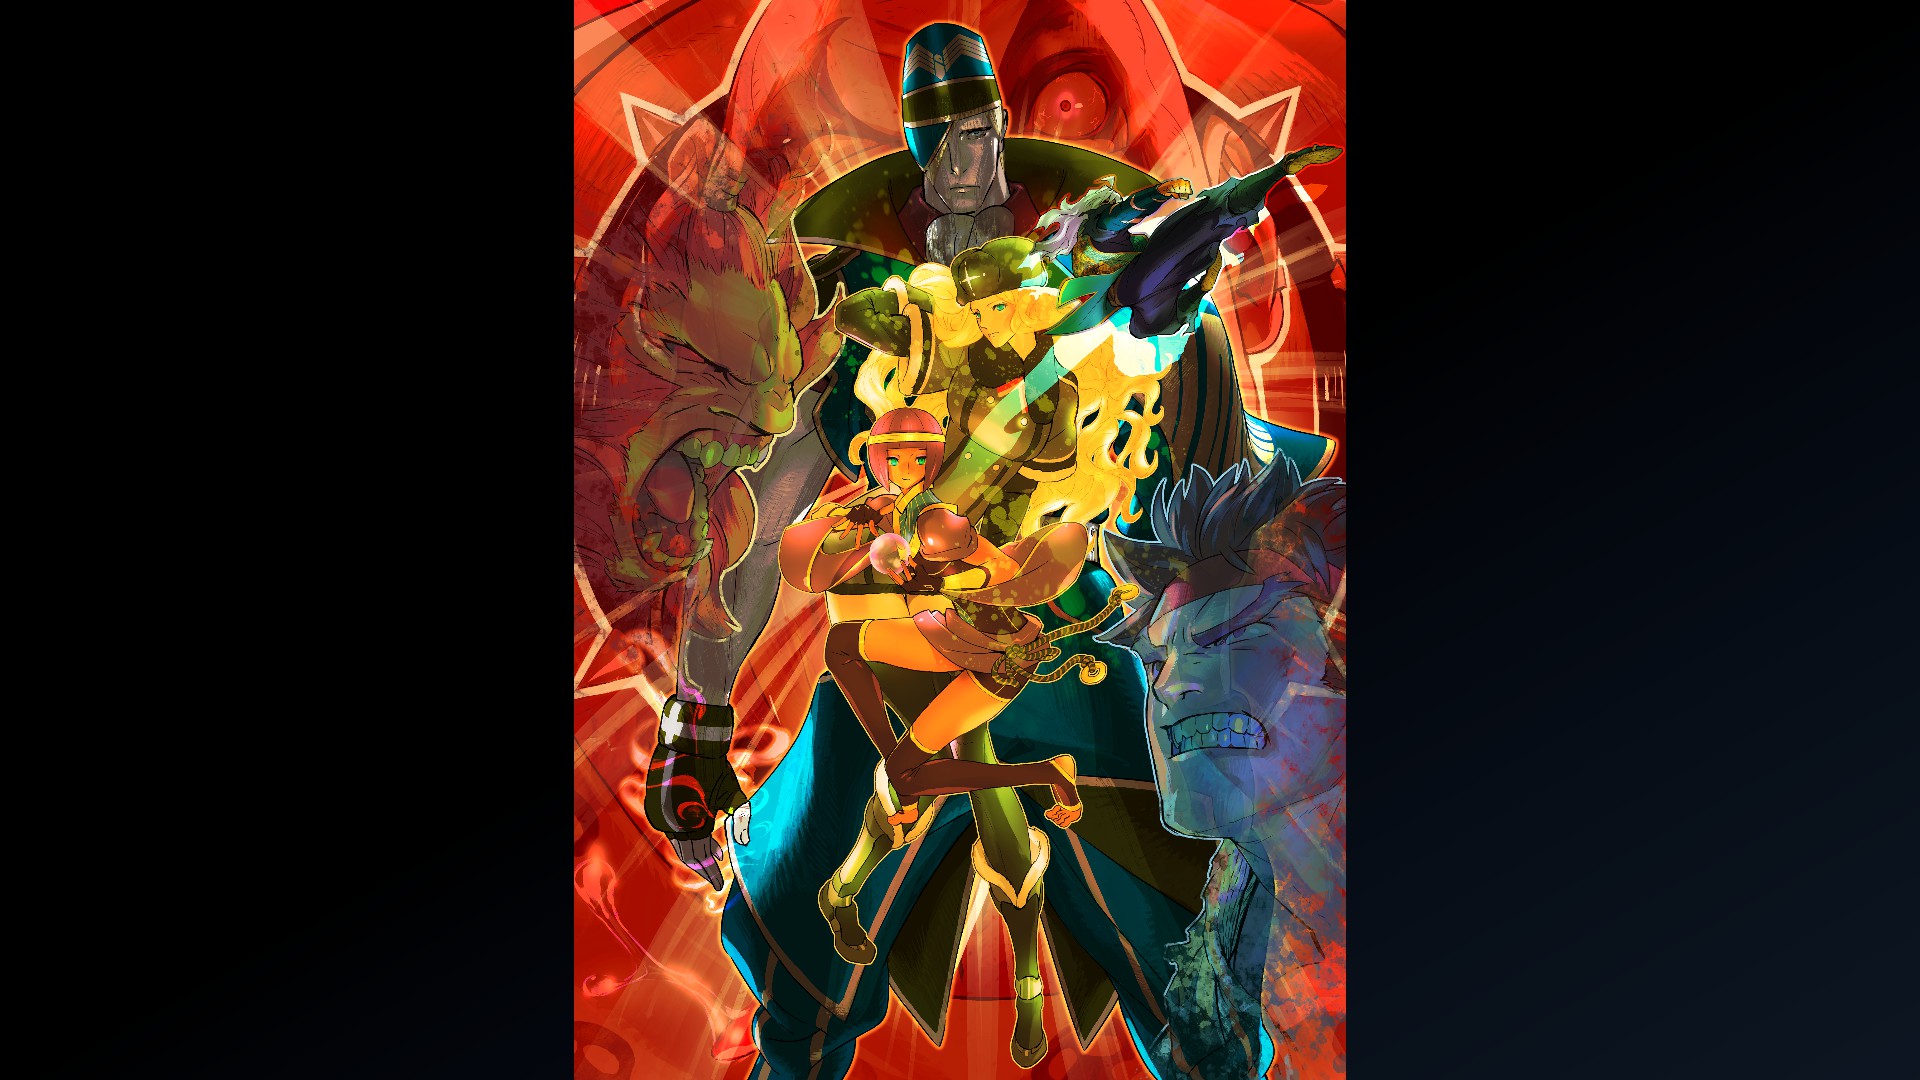
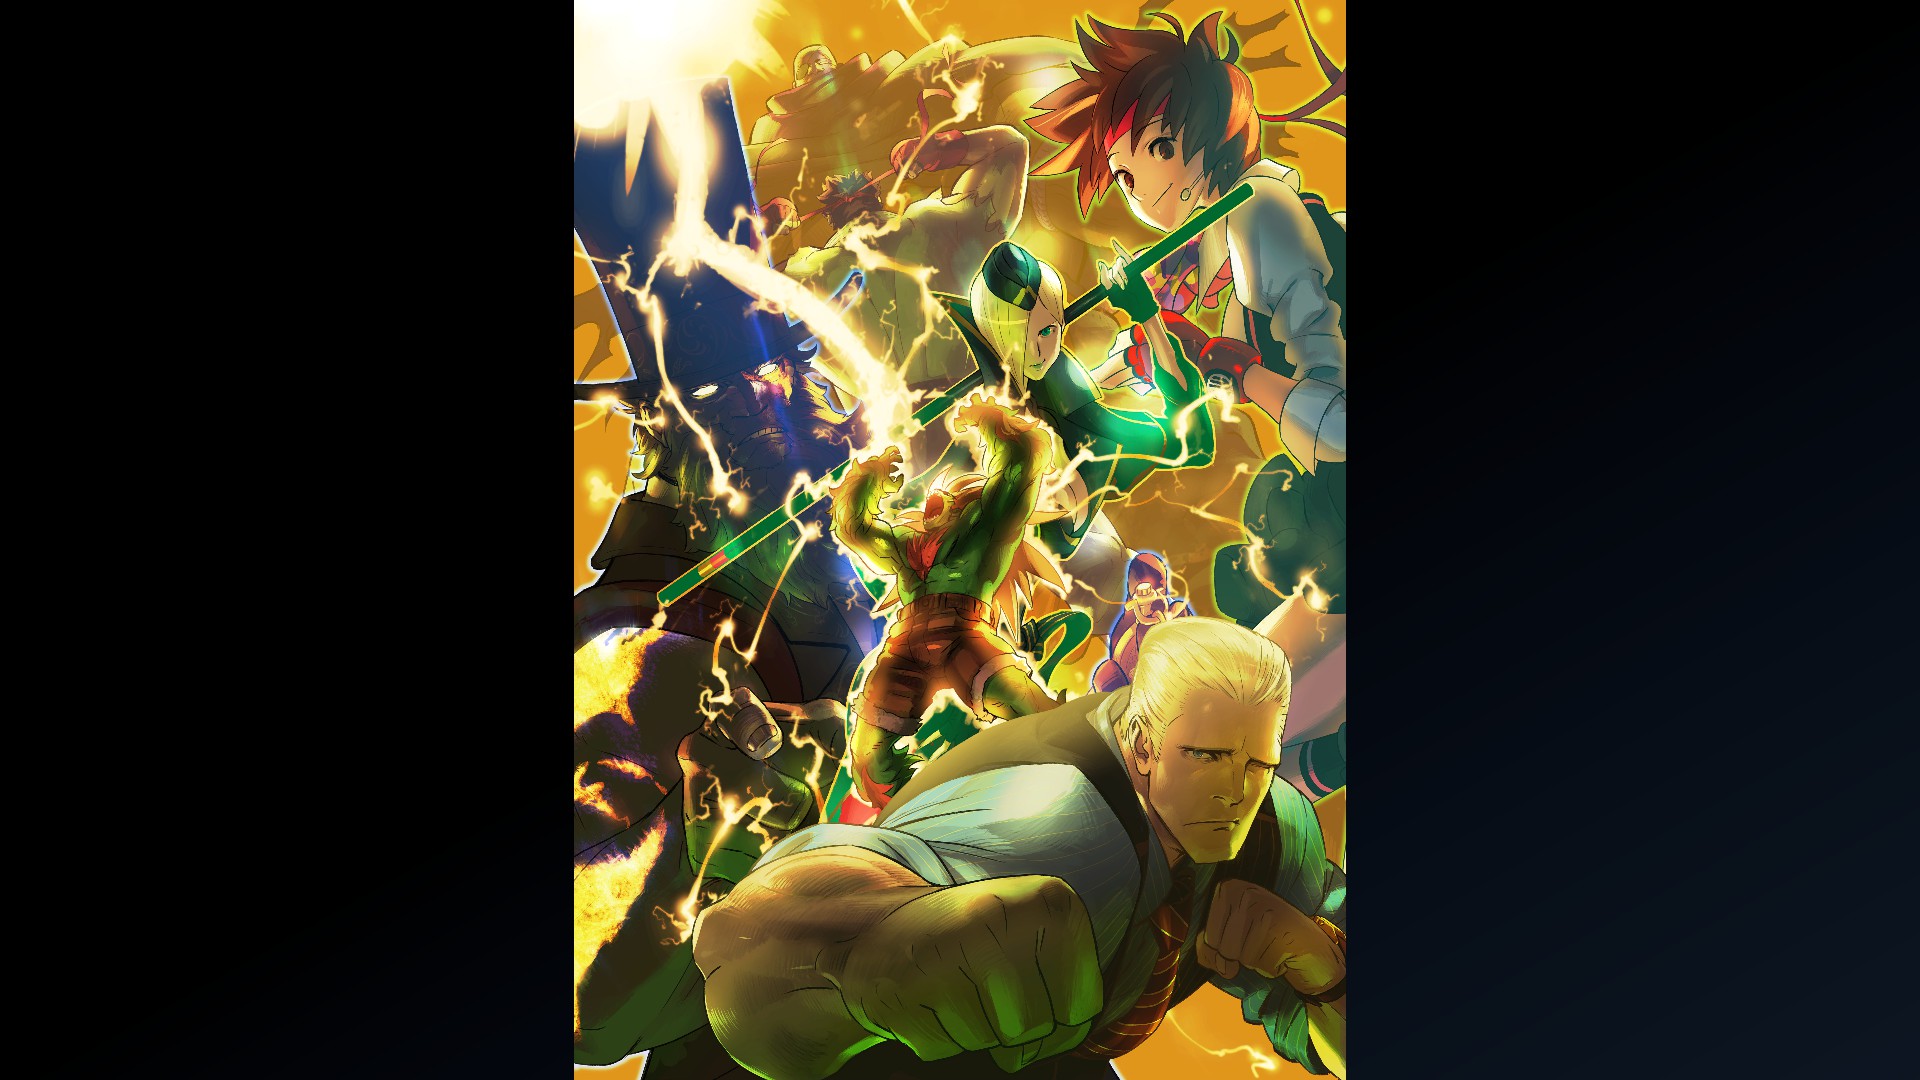
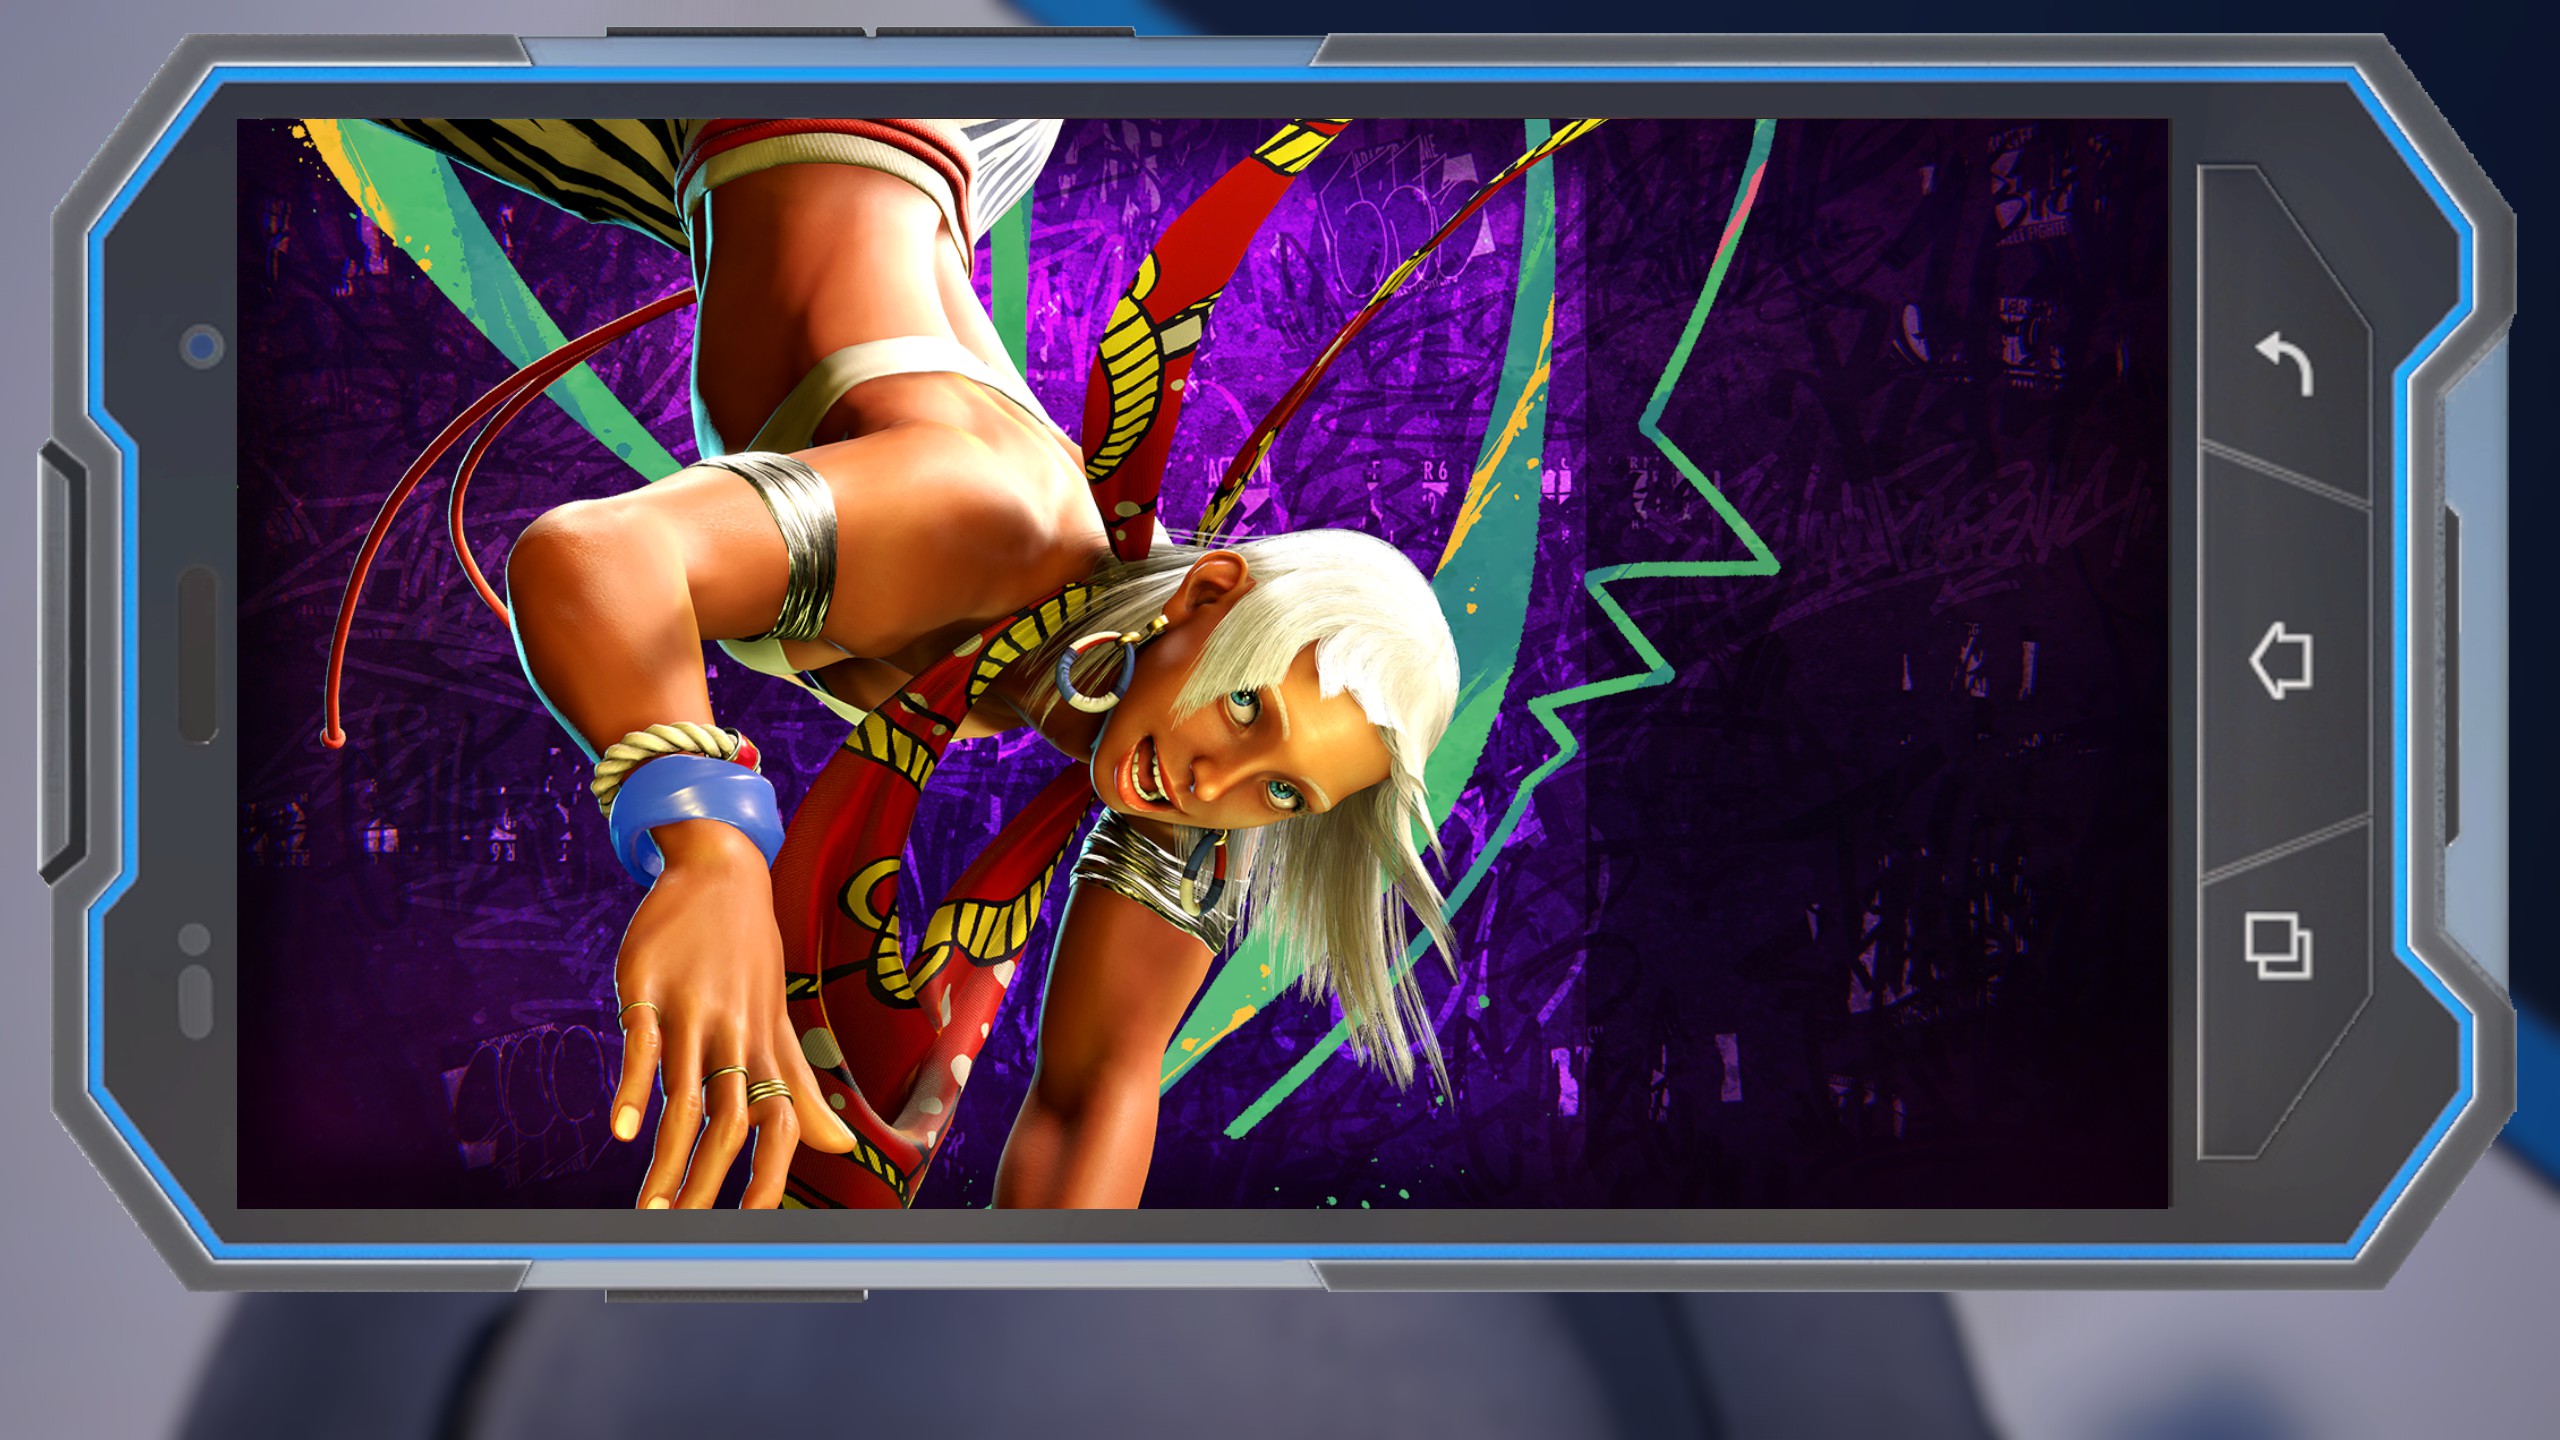
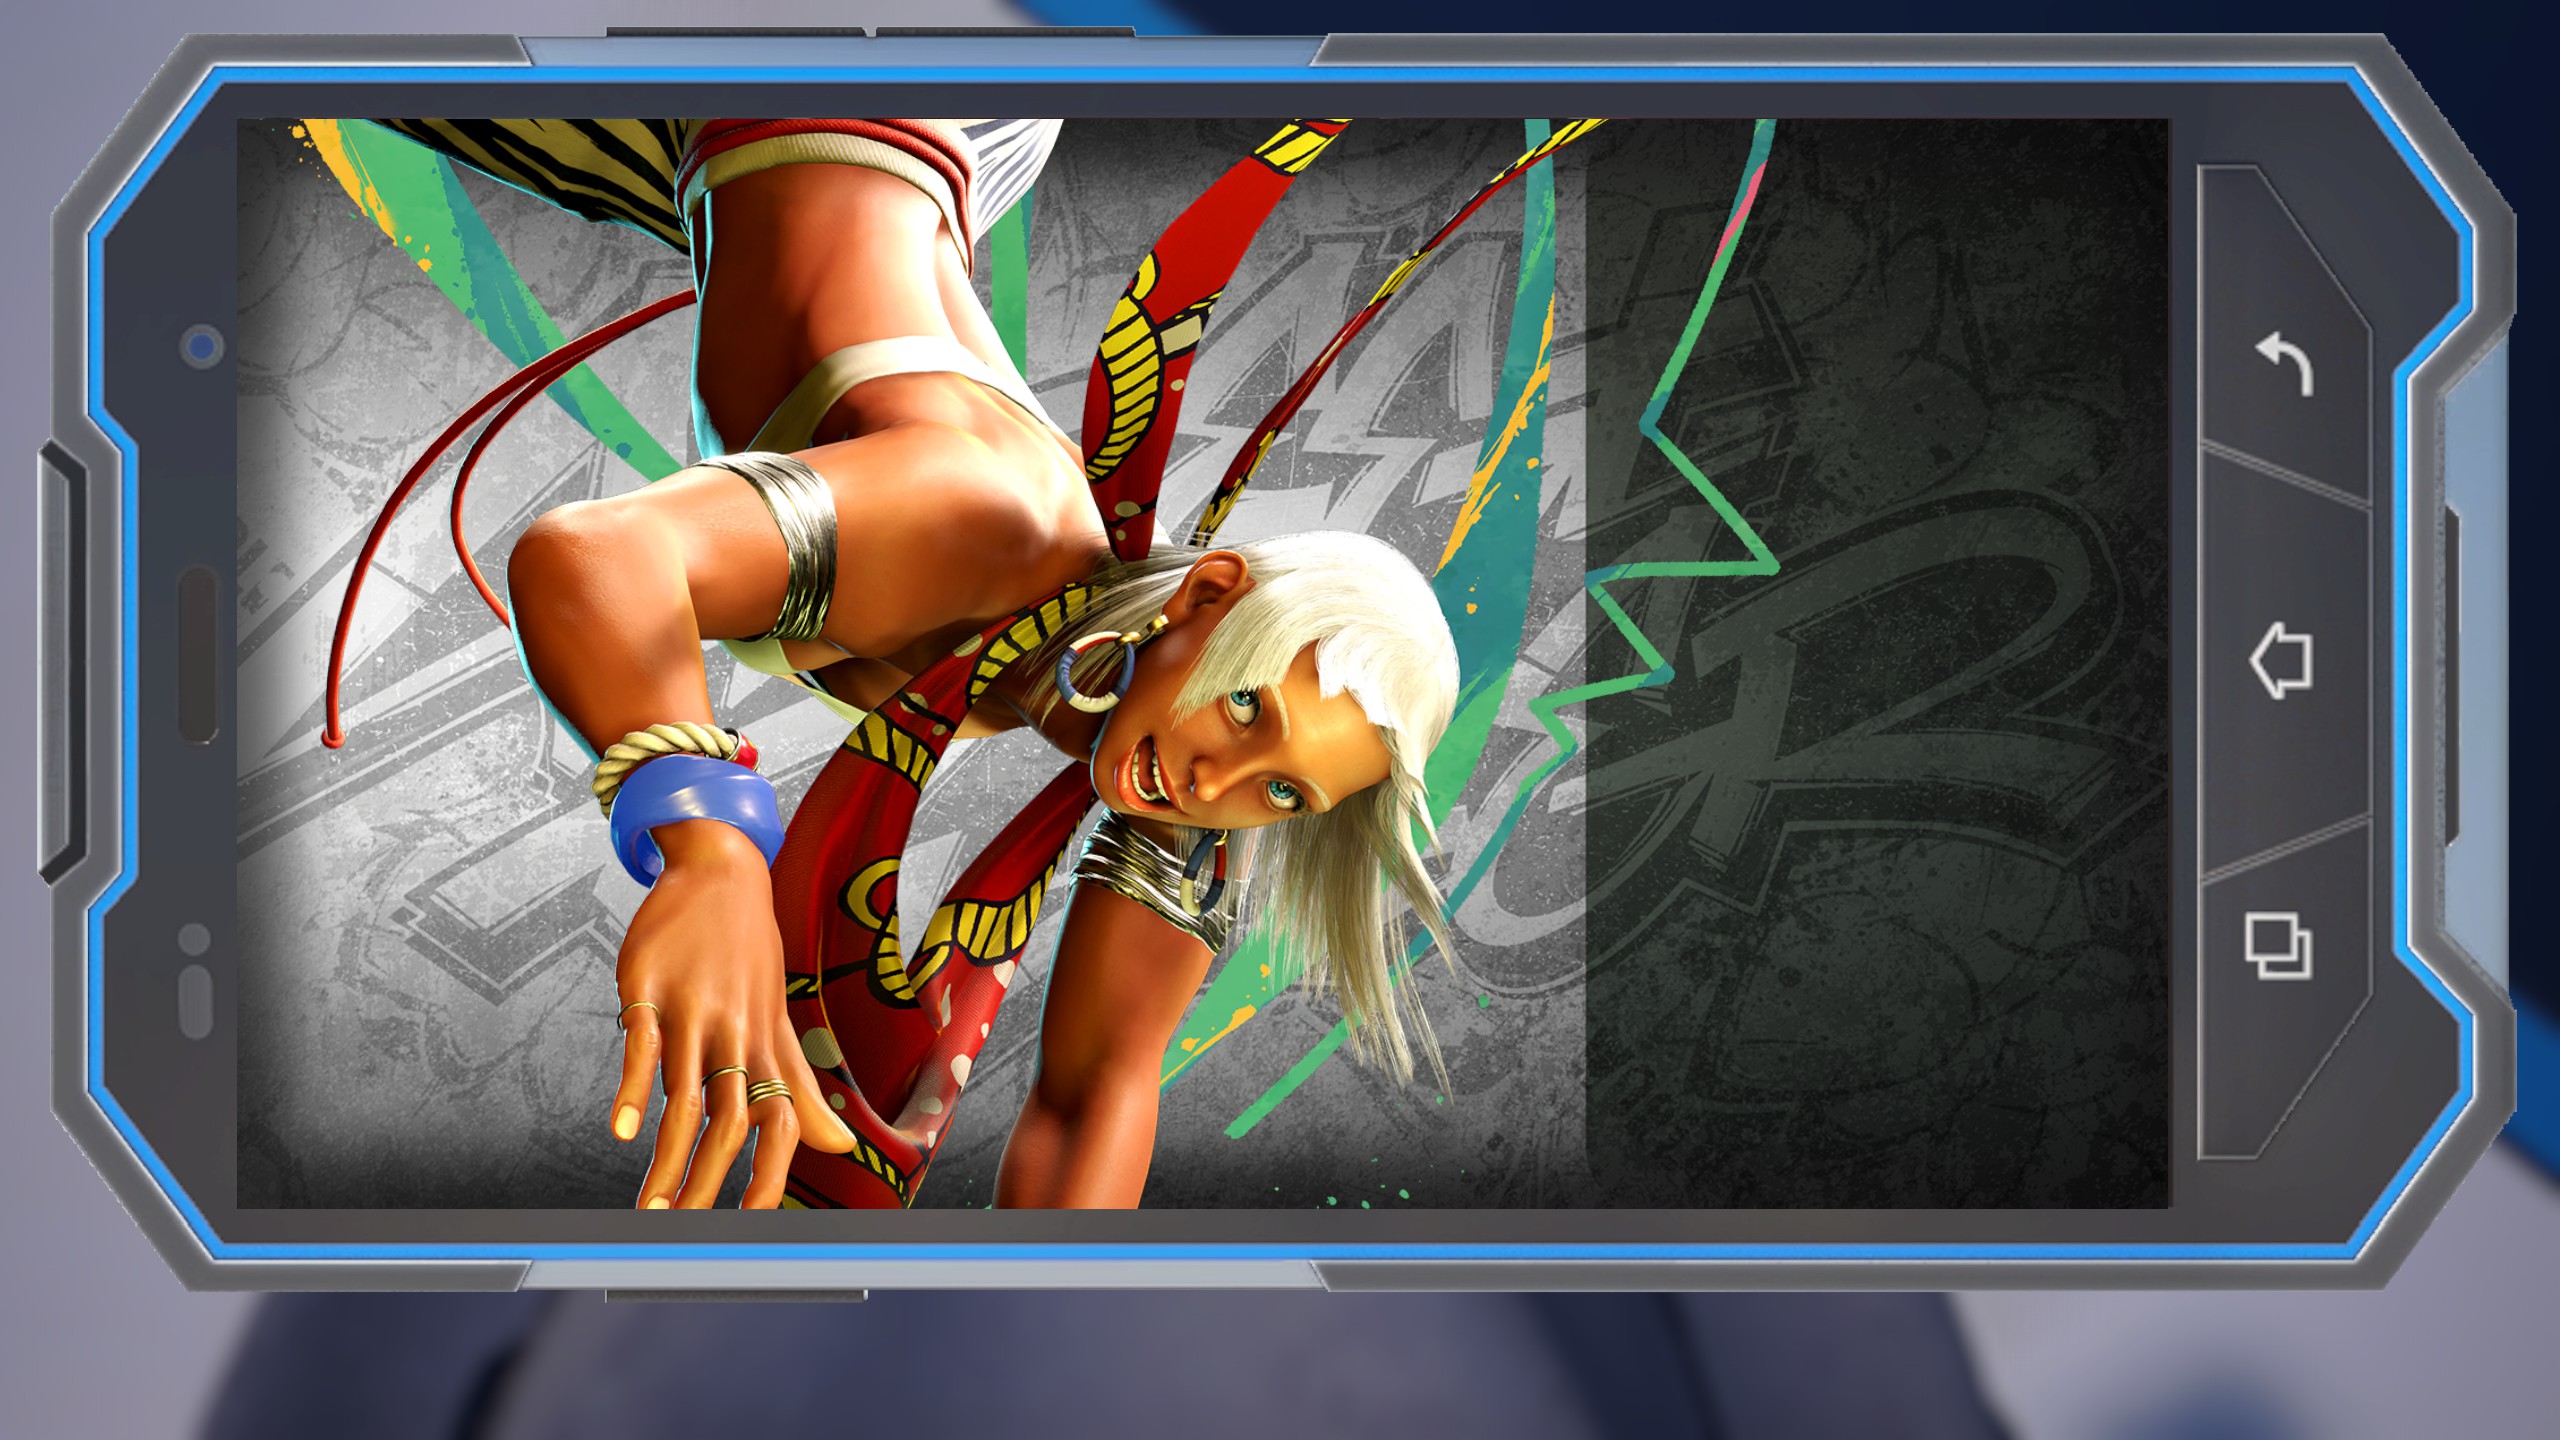
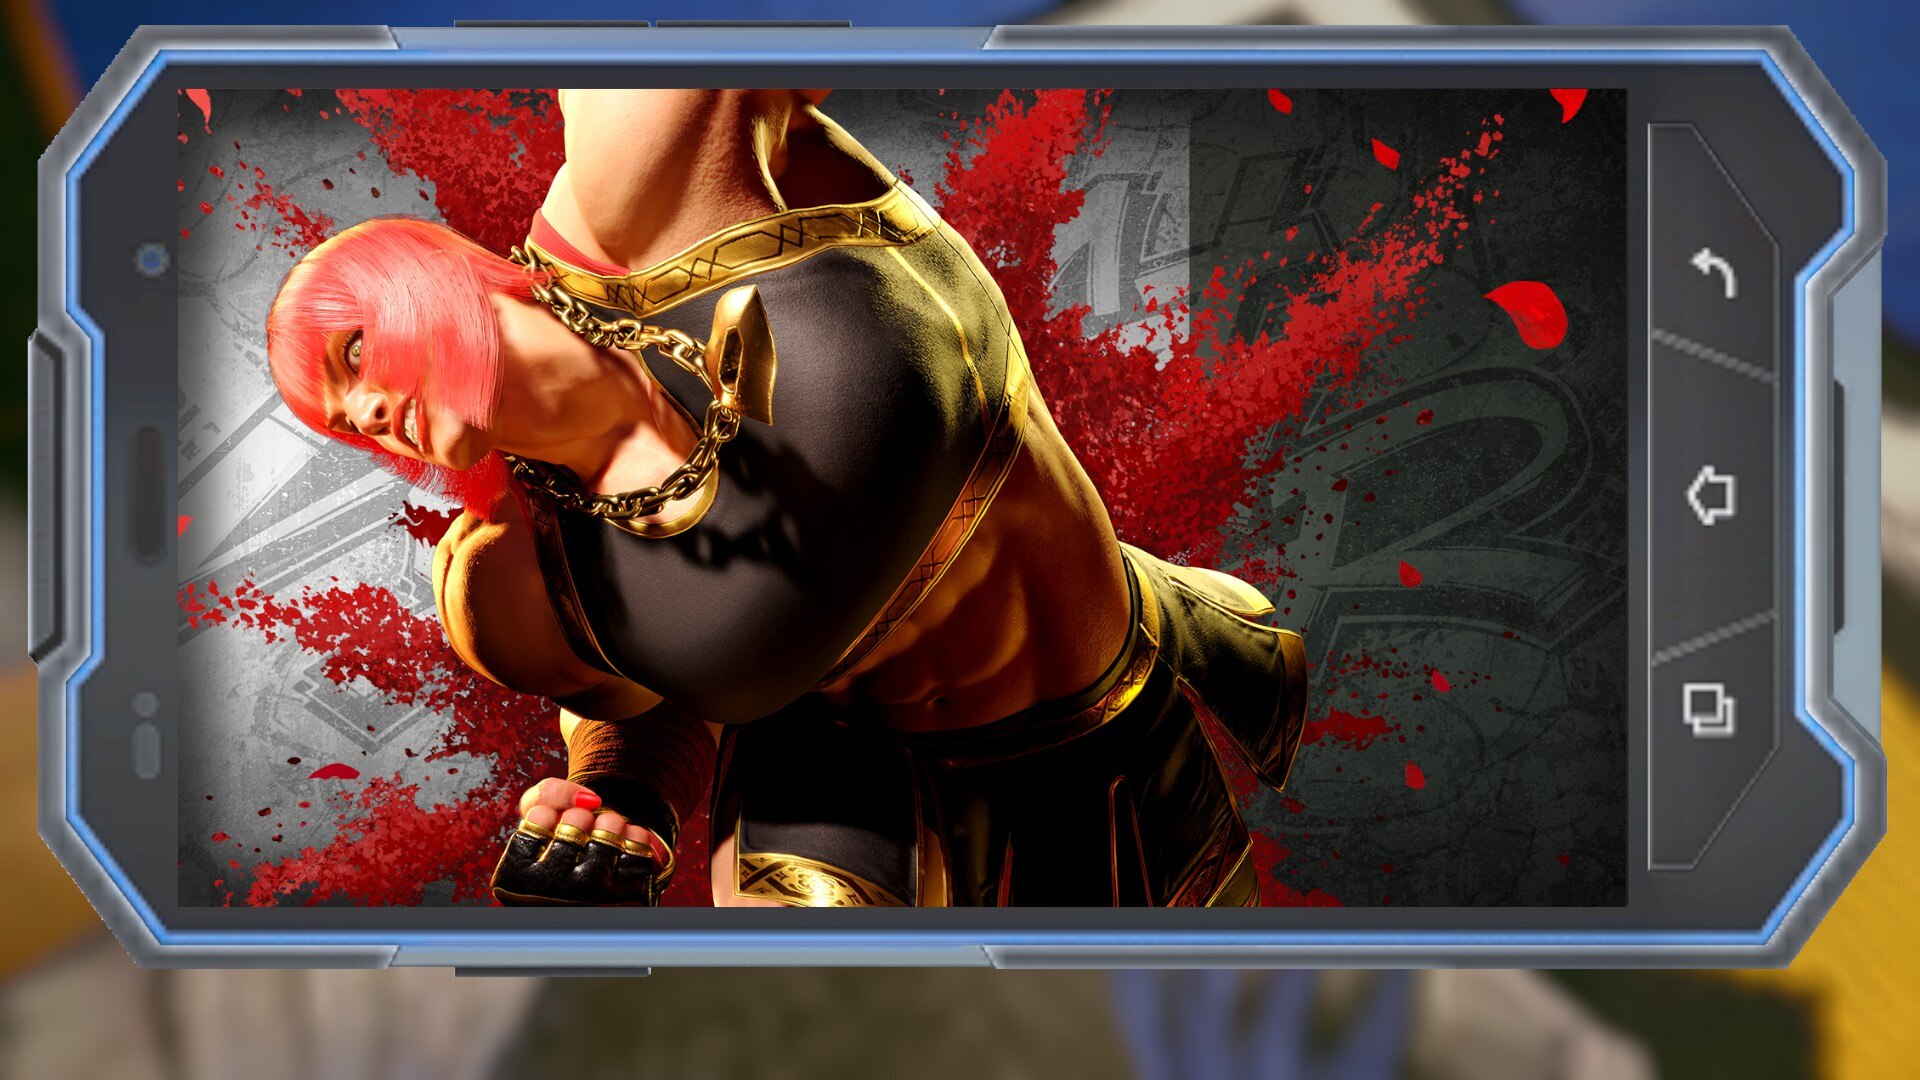
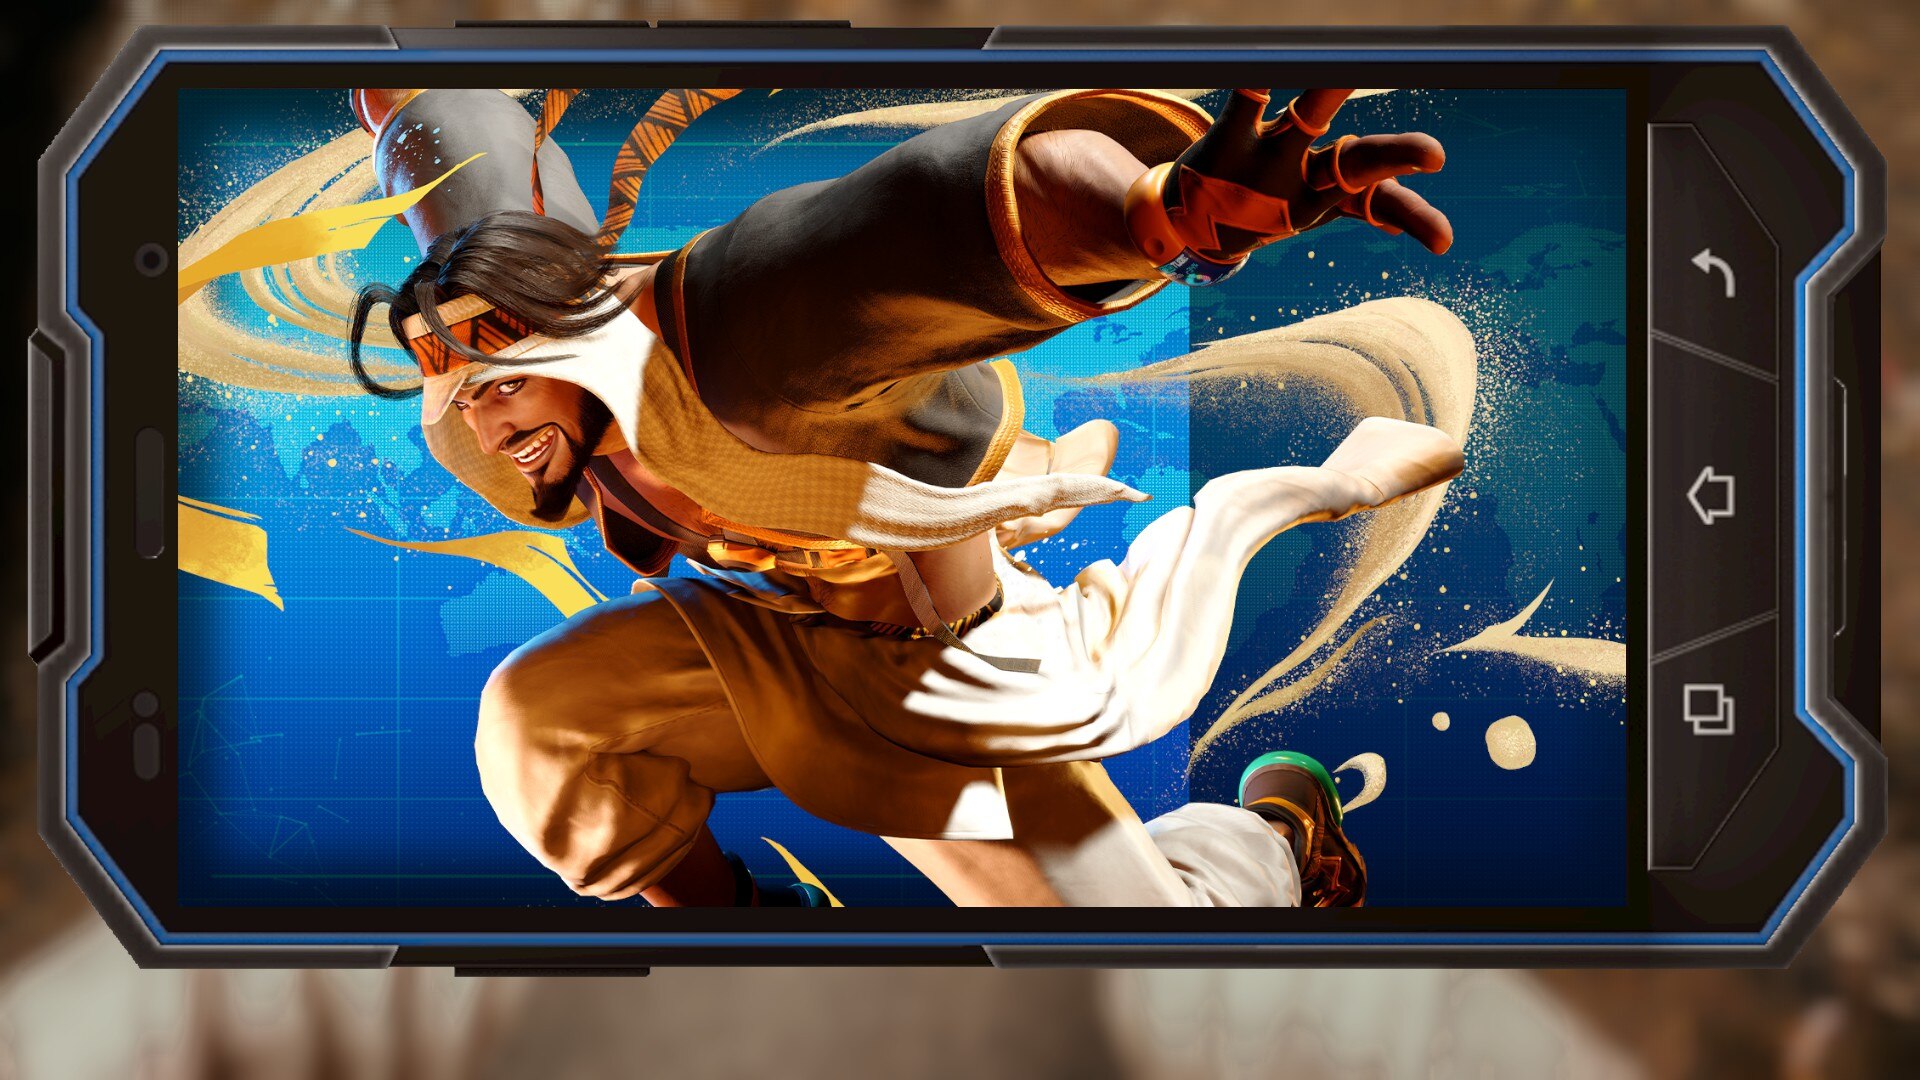
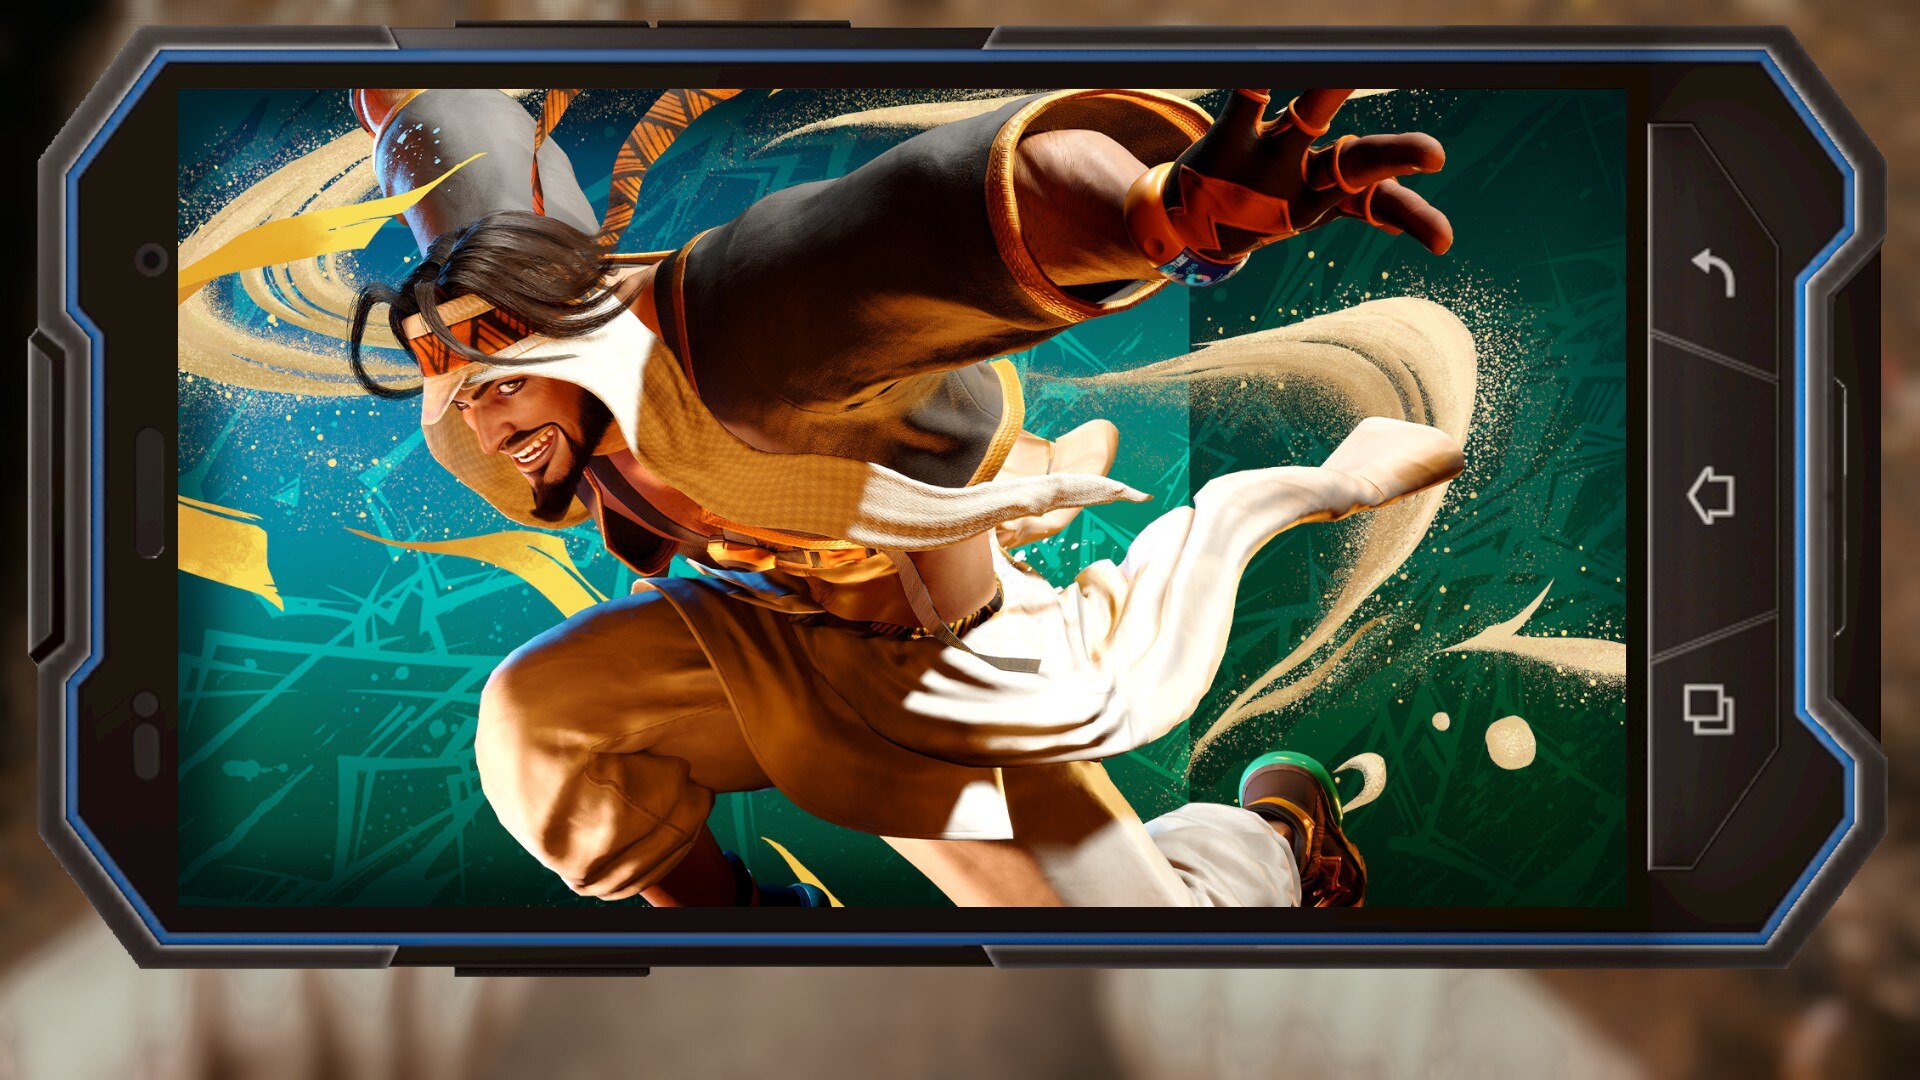
With the addition of V-Rivals is a new sub gallery called V-Rival. To unlock the first 11 images in the V-Rival gallery, all you need to do is play a V-Rival match! I can't say for certain, but I believe that images 12-16 also unlock after fighting just one V-Rival, but if that's not the case, please let me know. Anyway, below you'll find all of the current V-Rival artwork:
This machine is called Sim Sim, a unique device designed by none other than the genius hacker Li-Fen. If you interact with Sim Sim, you'll open up a menu that allows you to fight V-Rivals: AI fighters created through the analysis of online player matches. You can also fight your own V-Rival, which is created using data from your online matches. On top of that, you will at times be able to face a Special V-Rival, but these opponents are only available for a limited time. Facing off against V-Rivals unlocks unique rewards, like titles and stickers, and you even have the option of pitting V-Rivals against each other and watching them duke it out.
With the addition of V-Rivals is a new sub gallery called V-Rival. To unlock the first 11 images in the V-Rival gallery, all you need to do is play a V-Rival match! I can't say for certain, but I believe that images 12-16 also unlock after fighting just one V-Rival, but if that's not the case, please let me know. Anyway, below you'll find all of the current V-Rival artwork:
Fighting Ground - Character (Part 1)
Unlocking Character Artwork
This is pretty straightforward. To unlock all the artwork in this section, you will need to head to Fighting Ground: 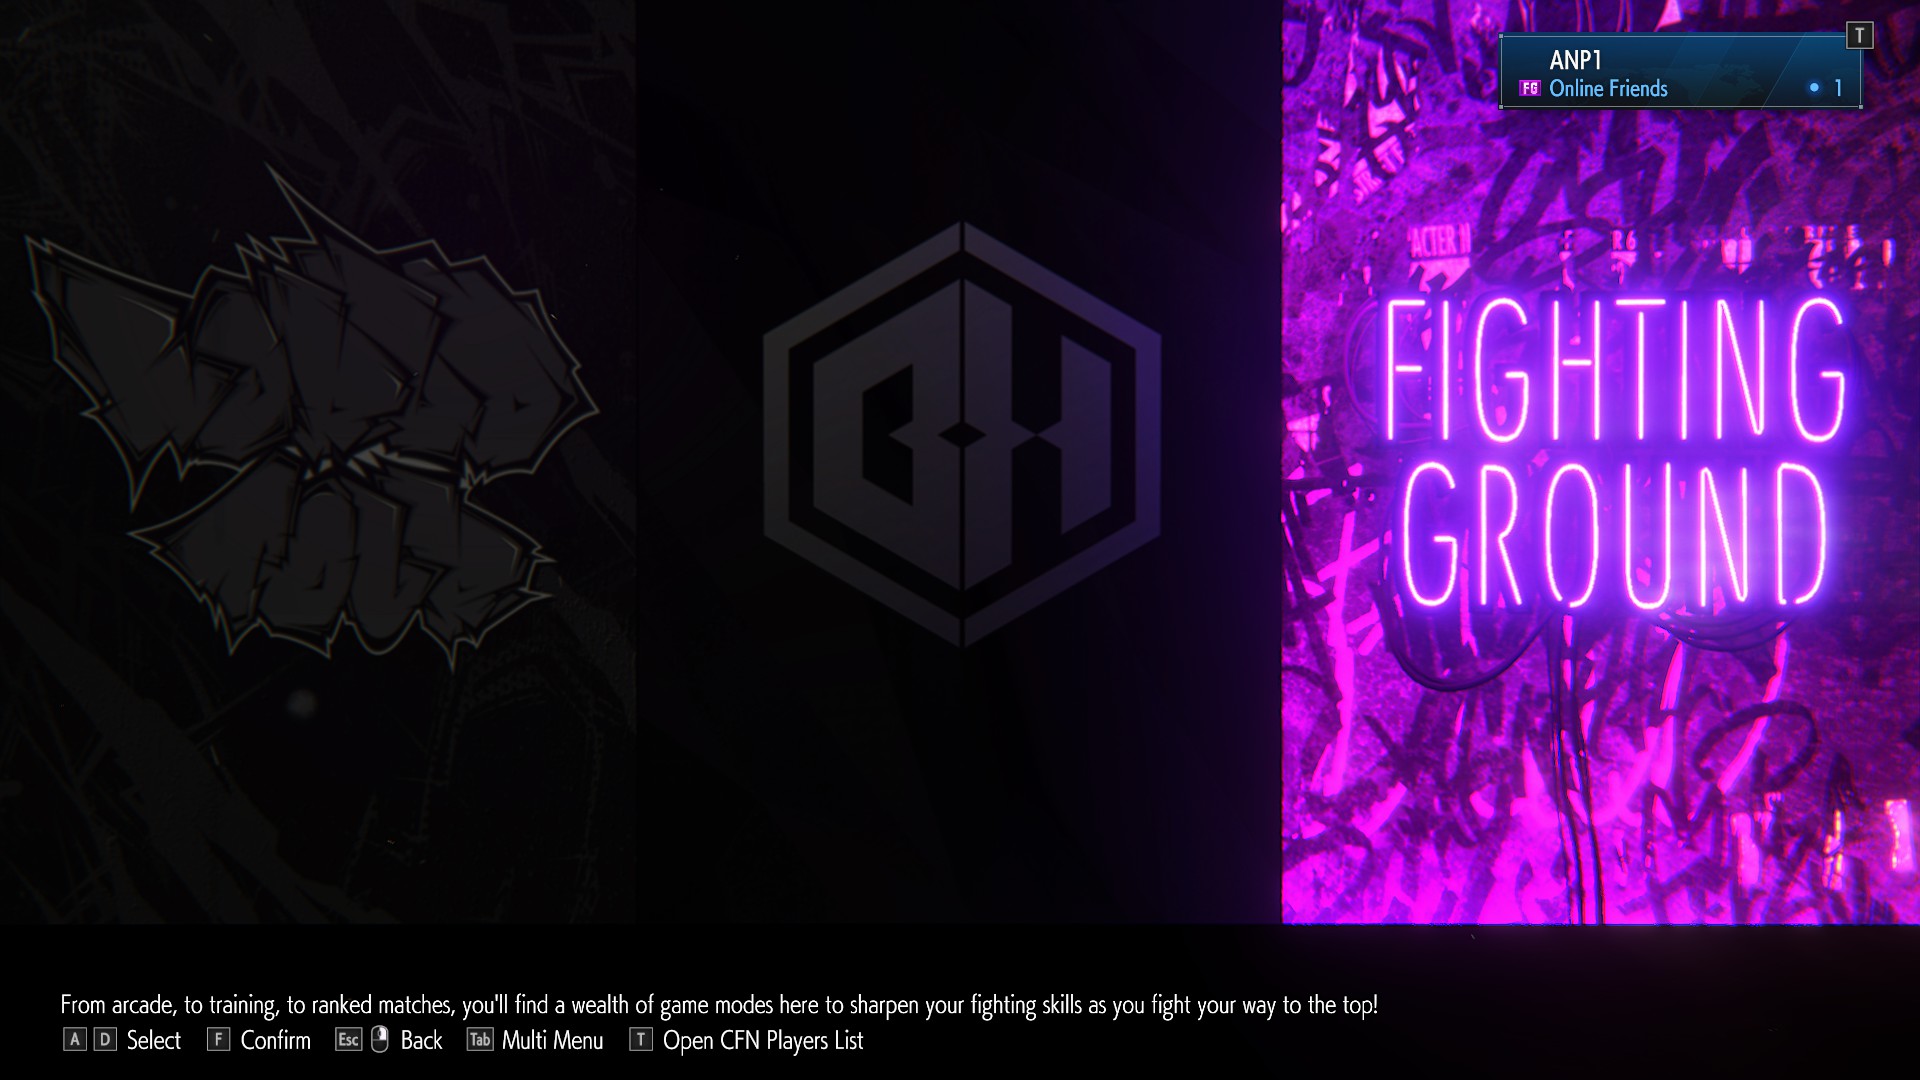
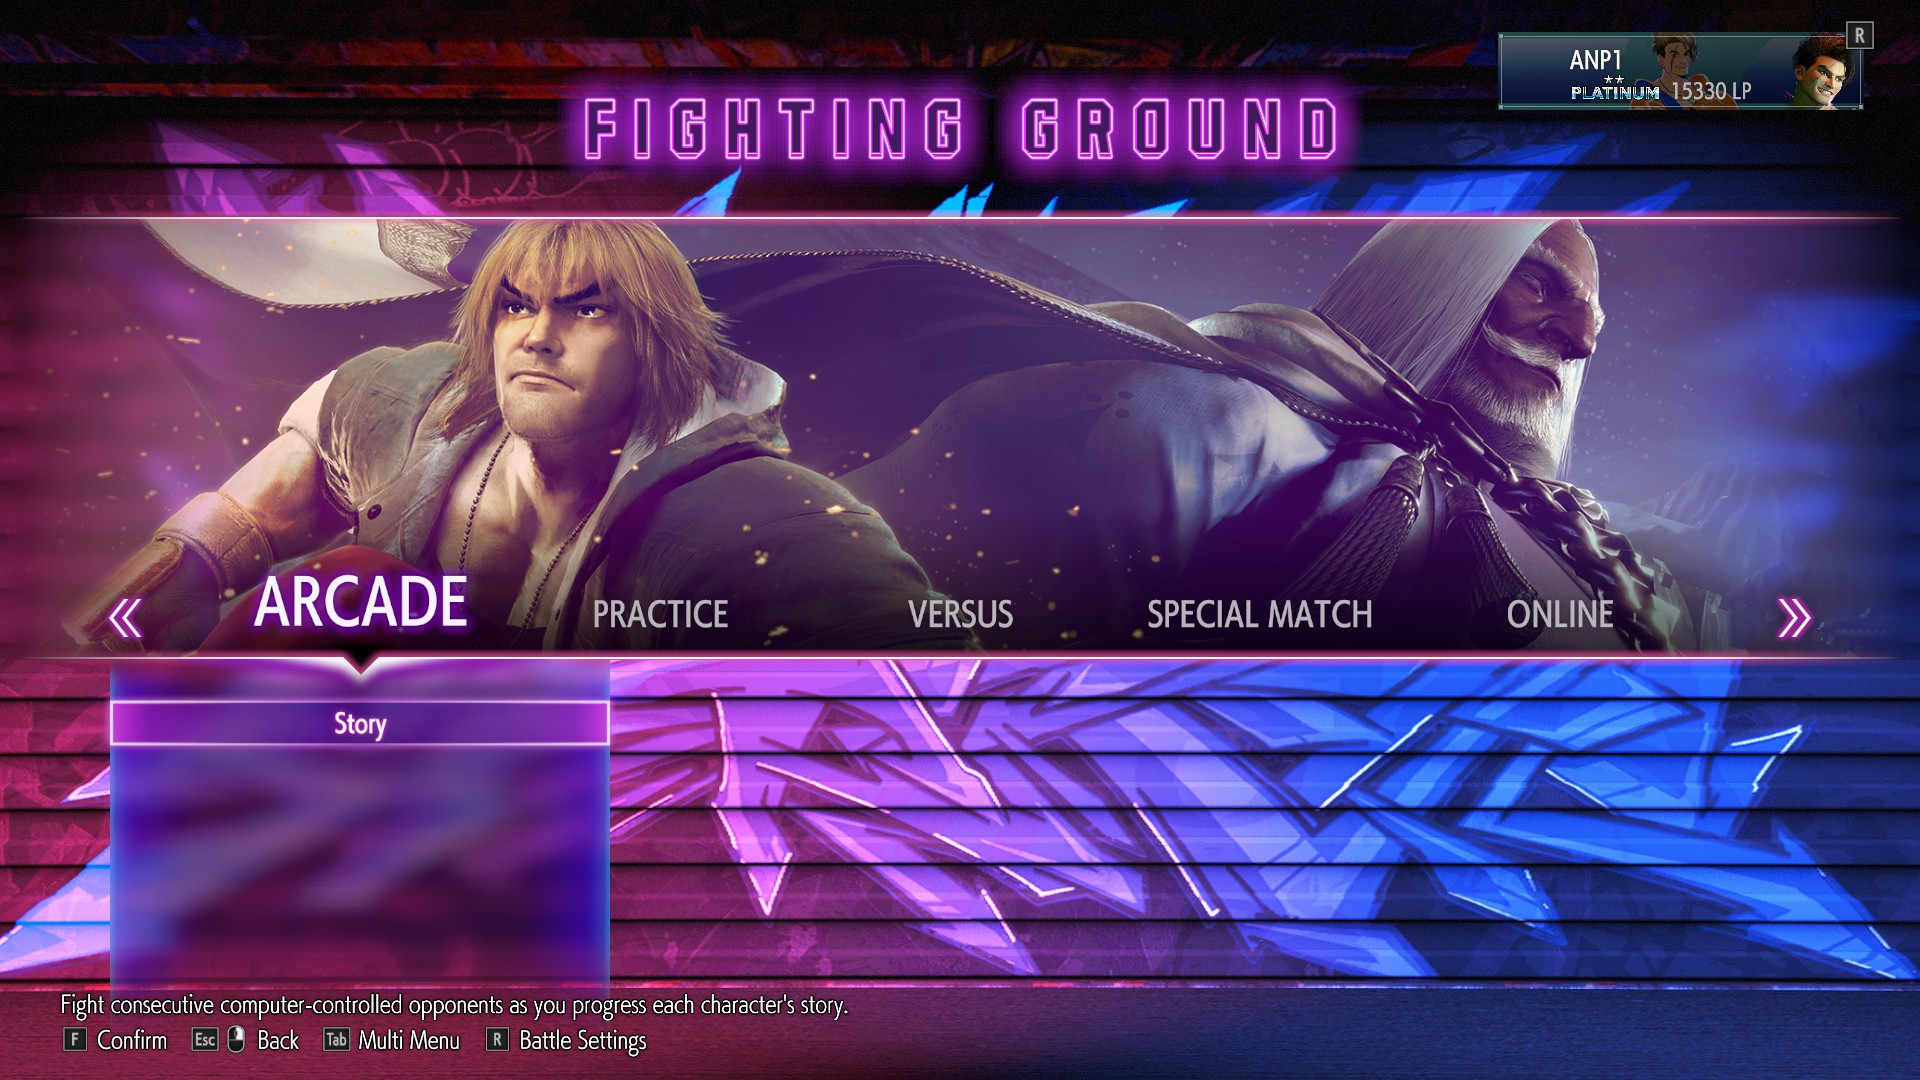
Next, you'll want to navigate to the left and select Story under Arcade:
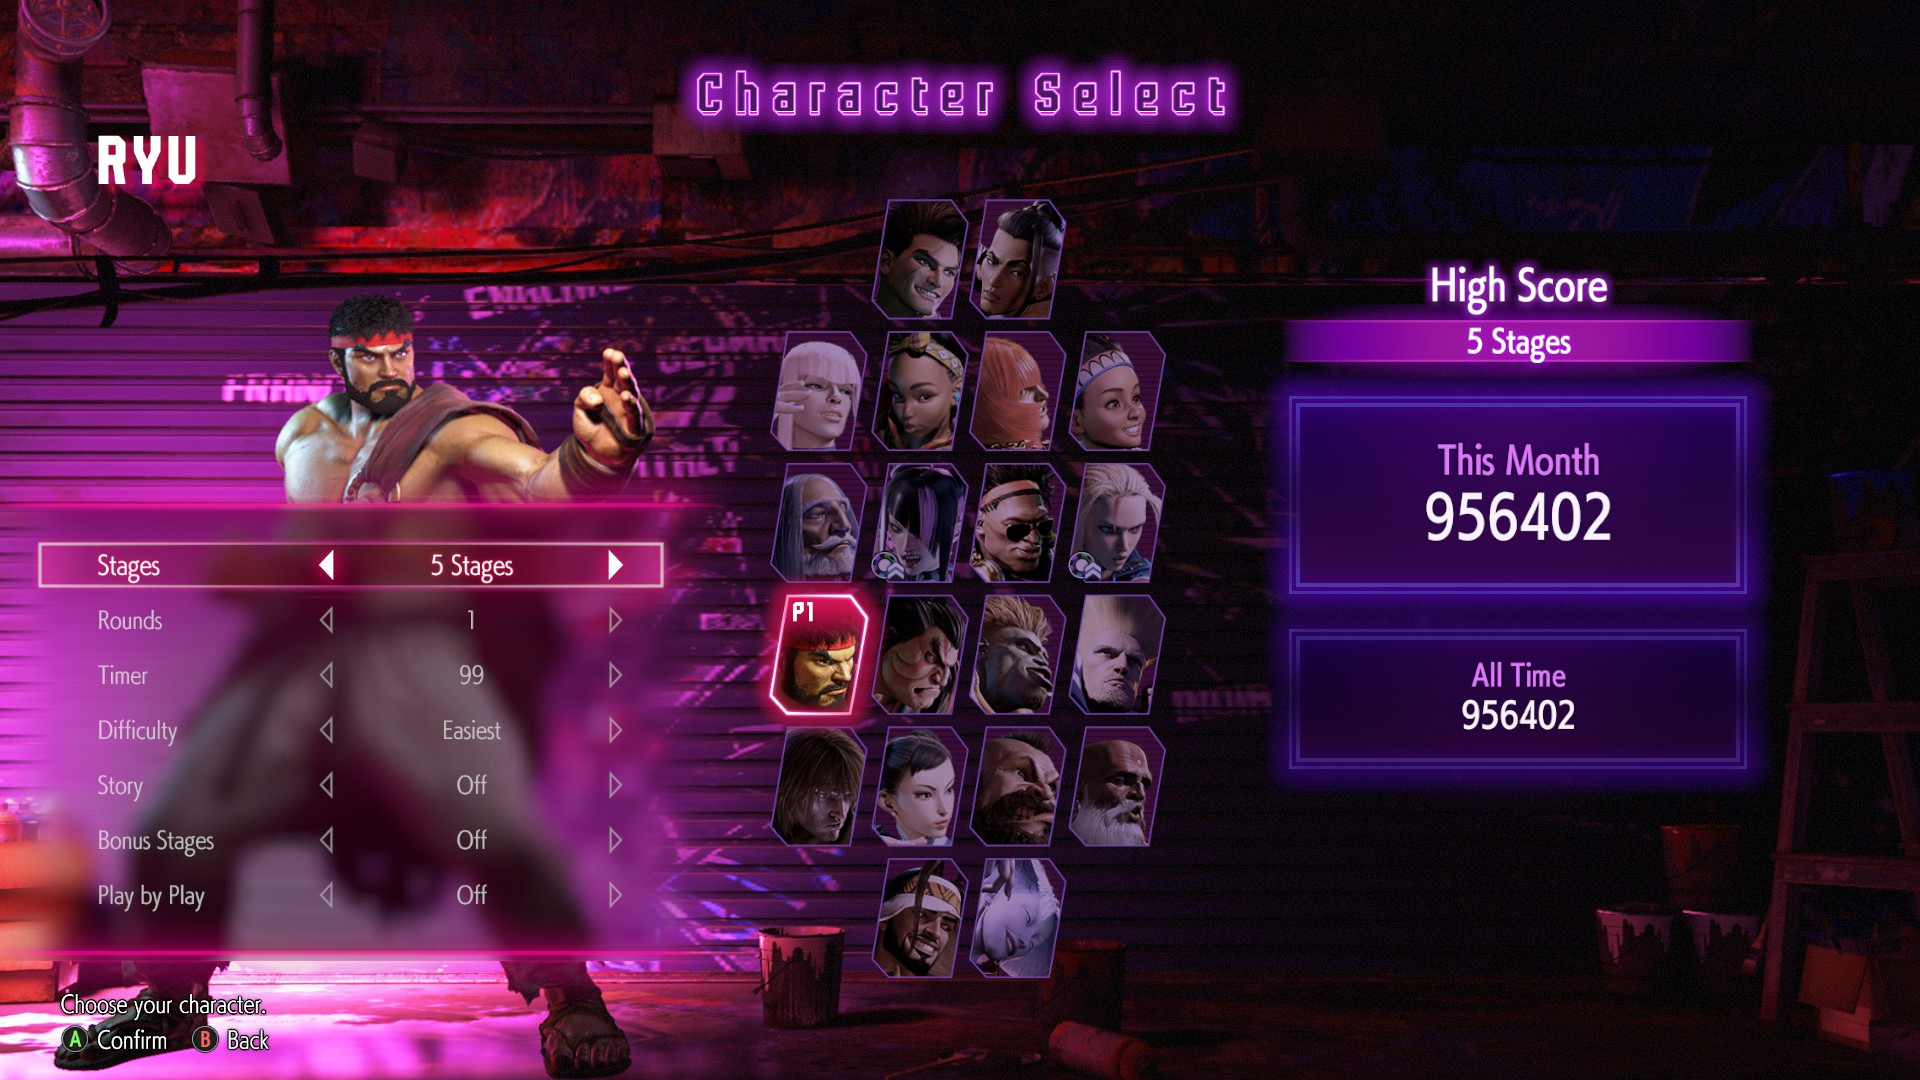
Once done, you will need to select a character and complete this mode a total of three times. This process then needs to be repeated for each character in the game.
If you want to save time, I recommend the following: reduce the number of stages to 5, set rounds to 1, and choose Easiest as your difficulty. What's more, after completing arcade with a character for the first time, you can disable both the cutscenes and bonus stage for the character during future playthroughs (although an additional fight will replace the bonus stage, so it's up to you to decide which of the two is faster). Note that cutscenes and the bonus stage can be disabled by toggling Story and Bonus Stages to "off", which can be done after selecting your character and costume:
Alright, on to the gallery!
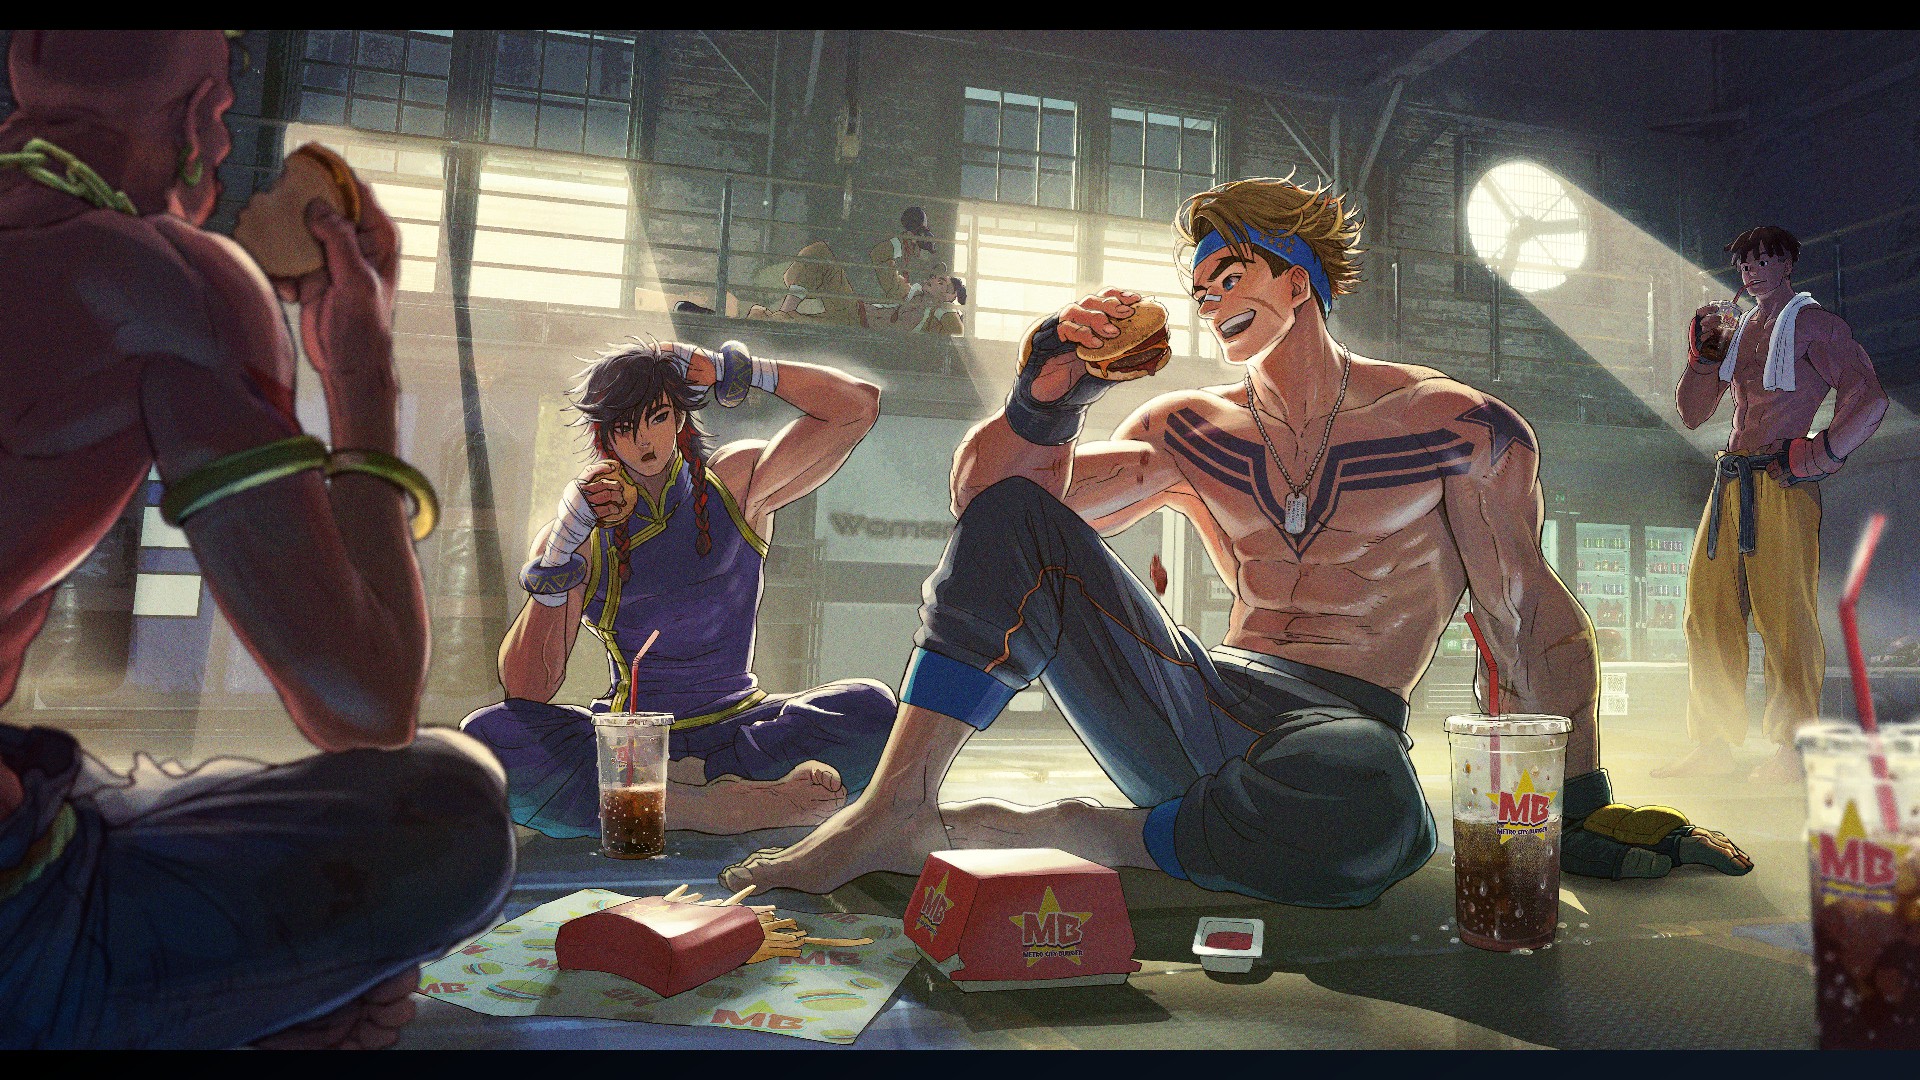
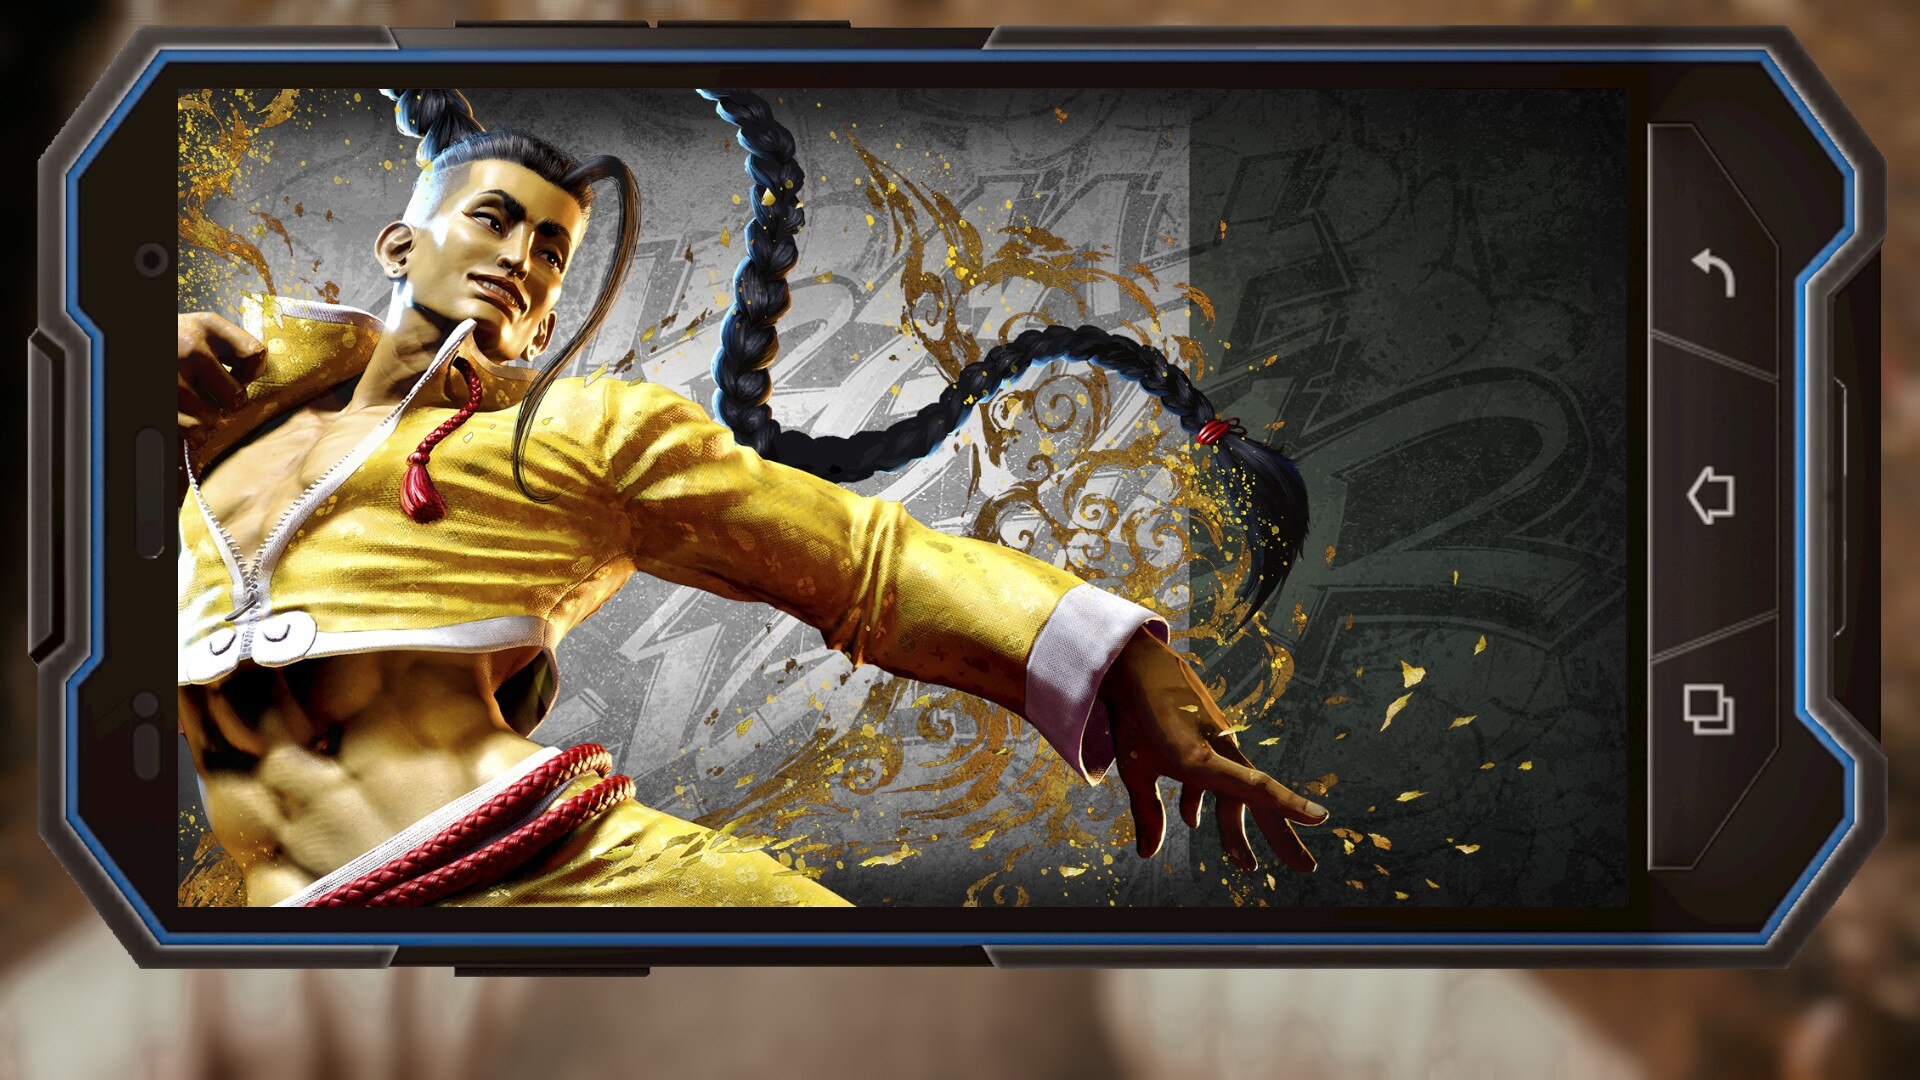
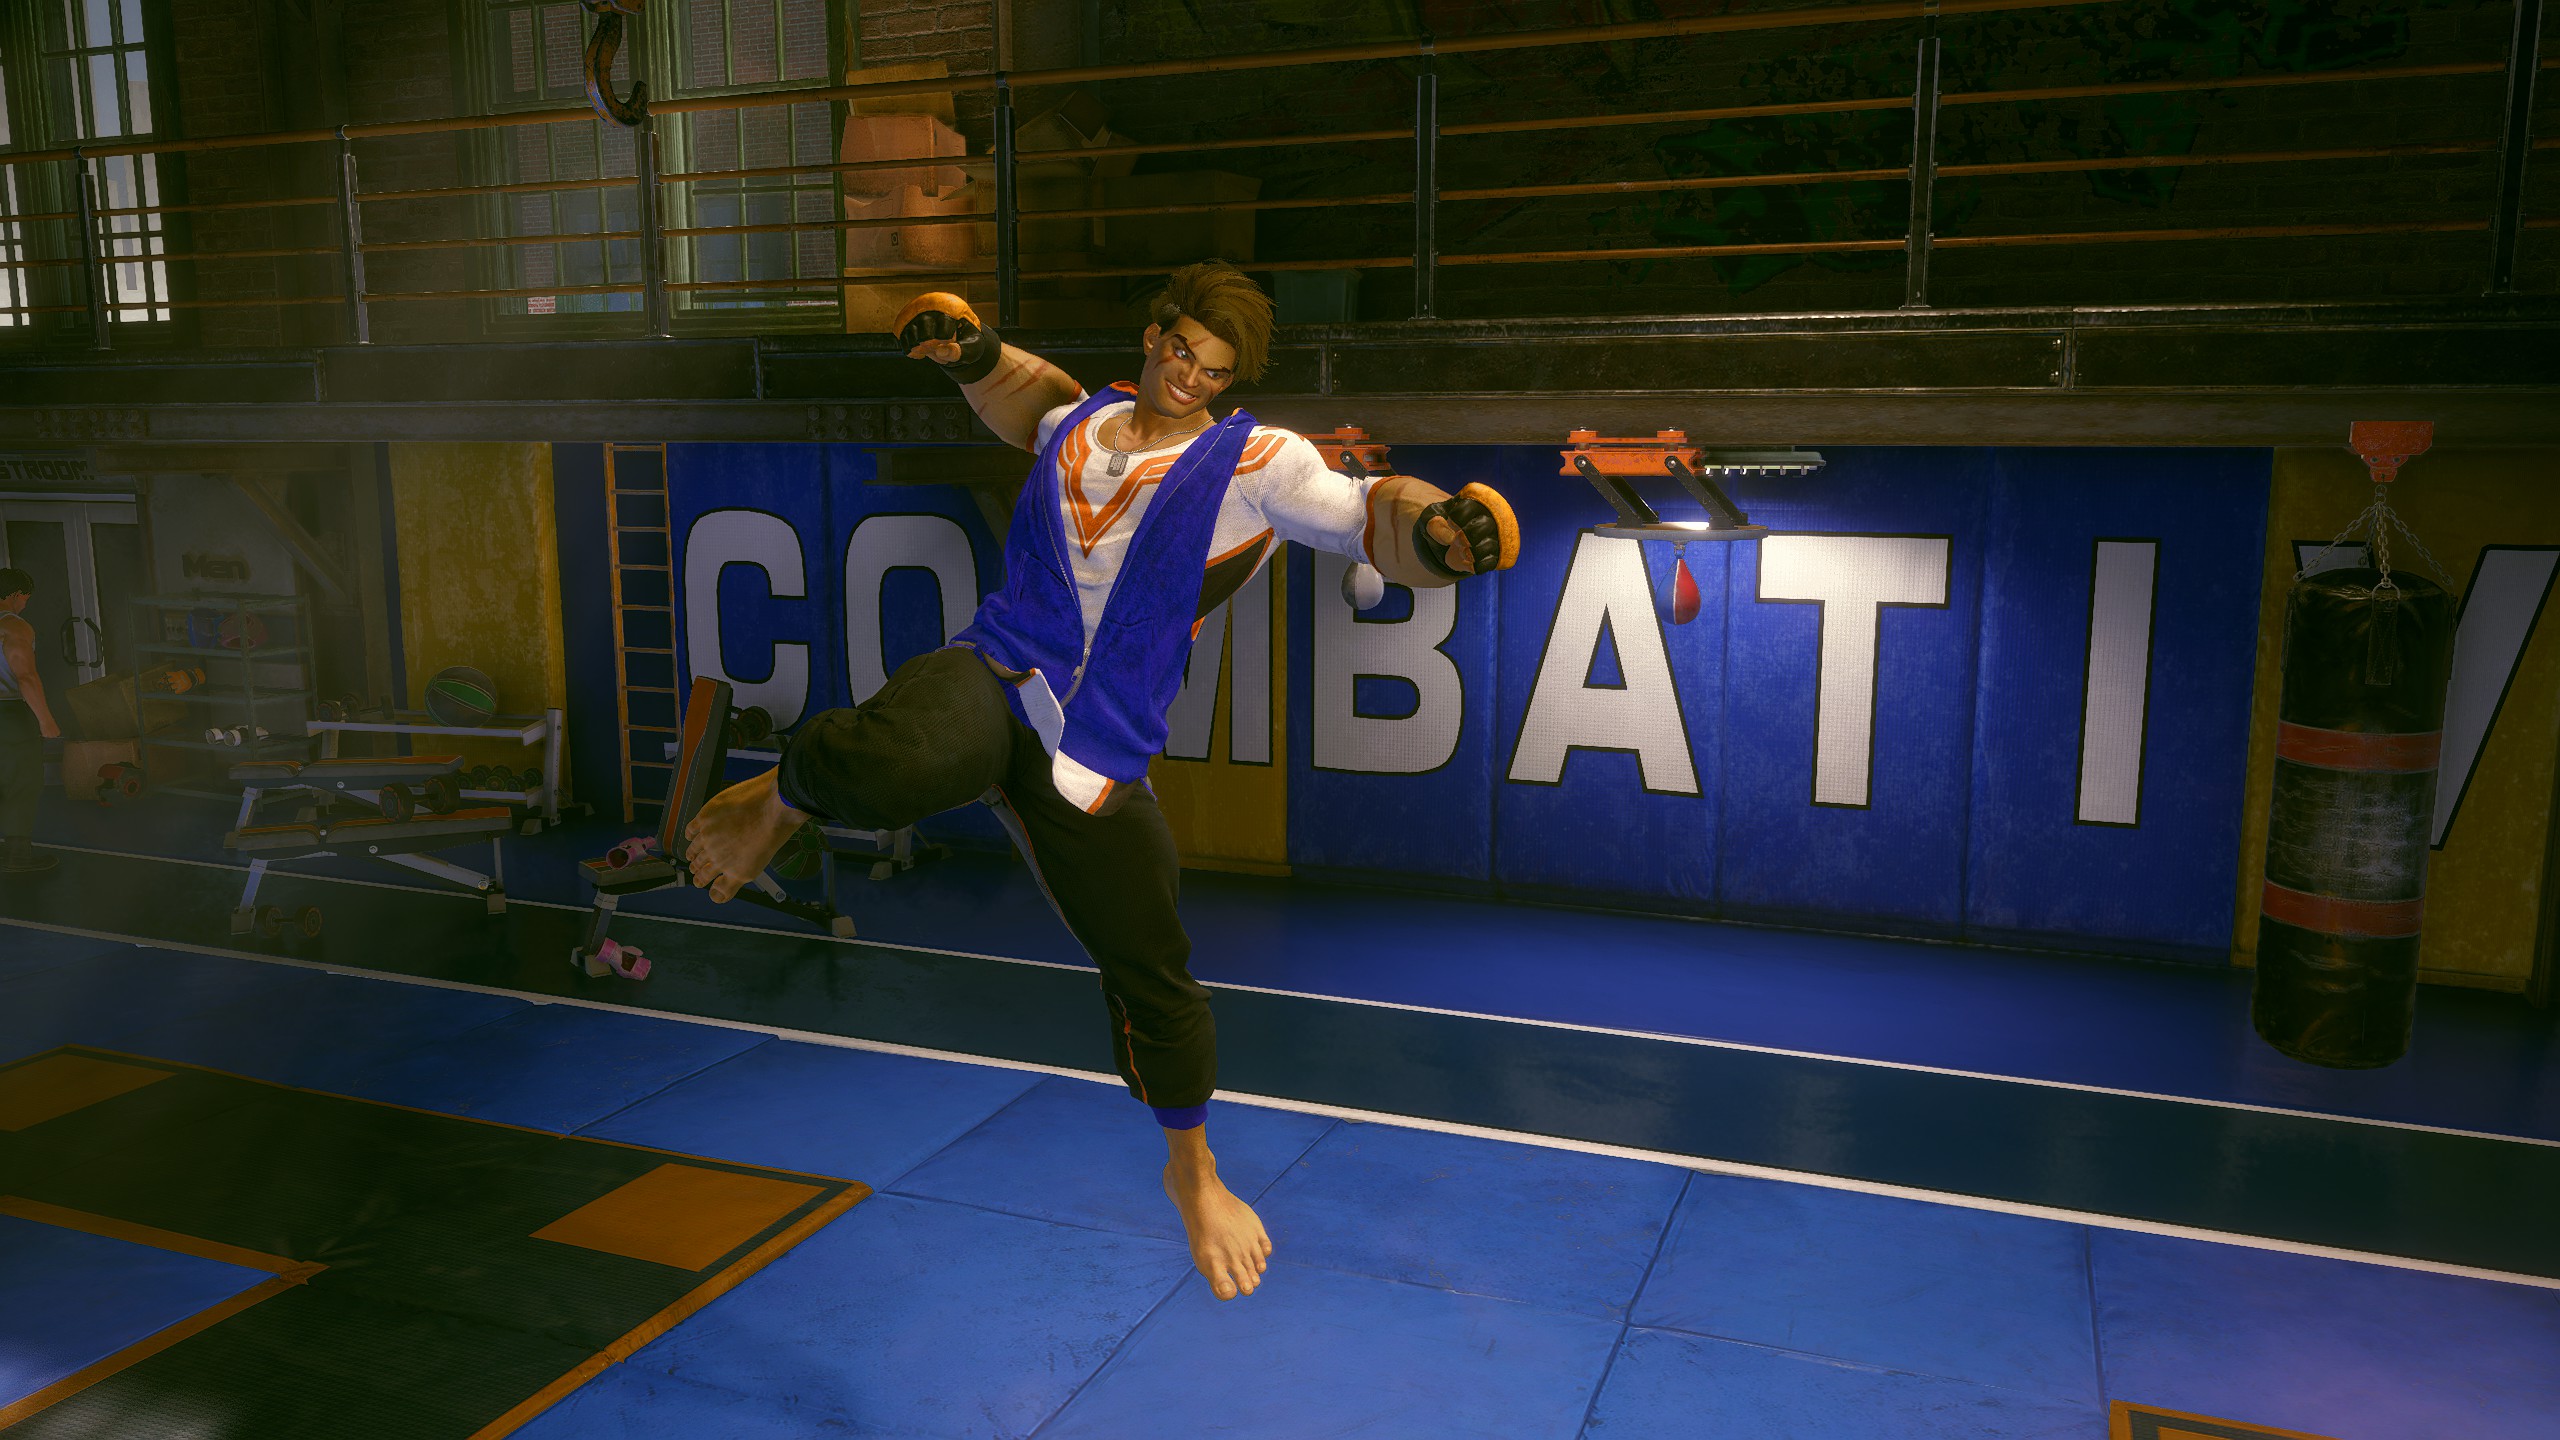
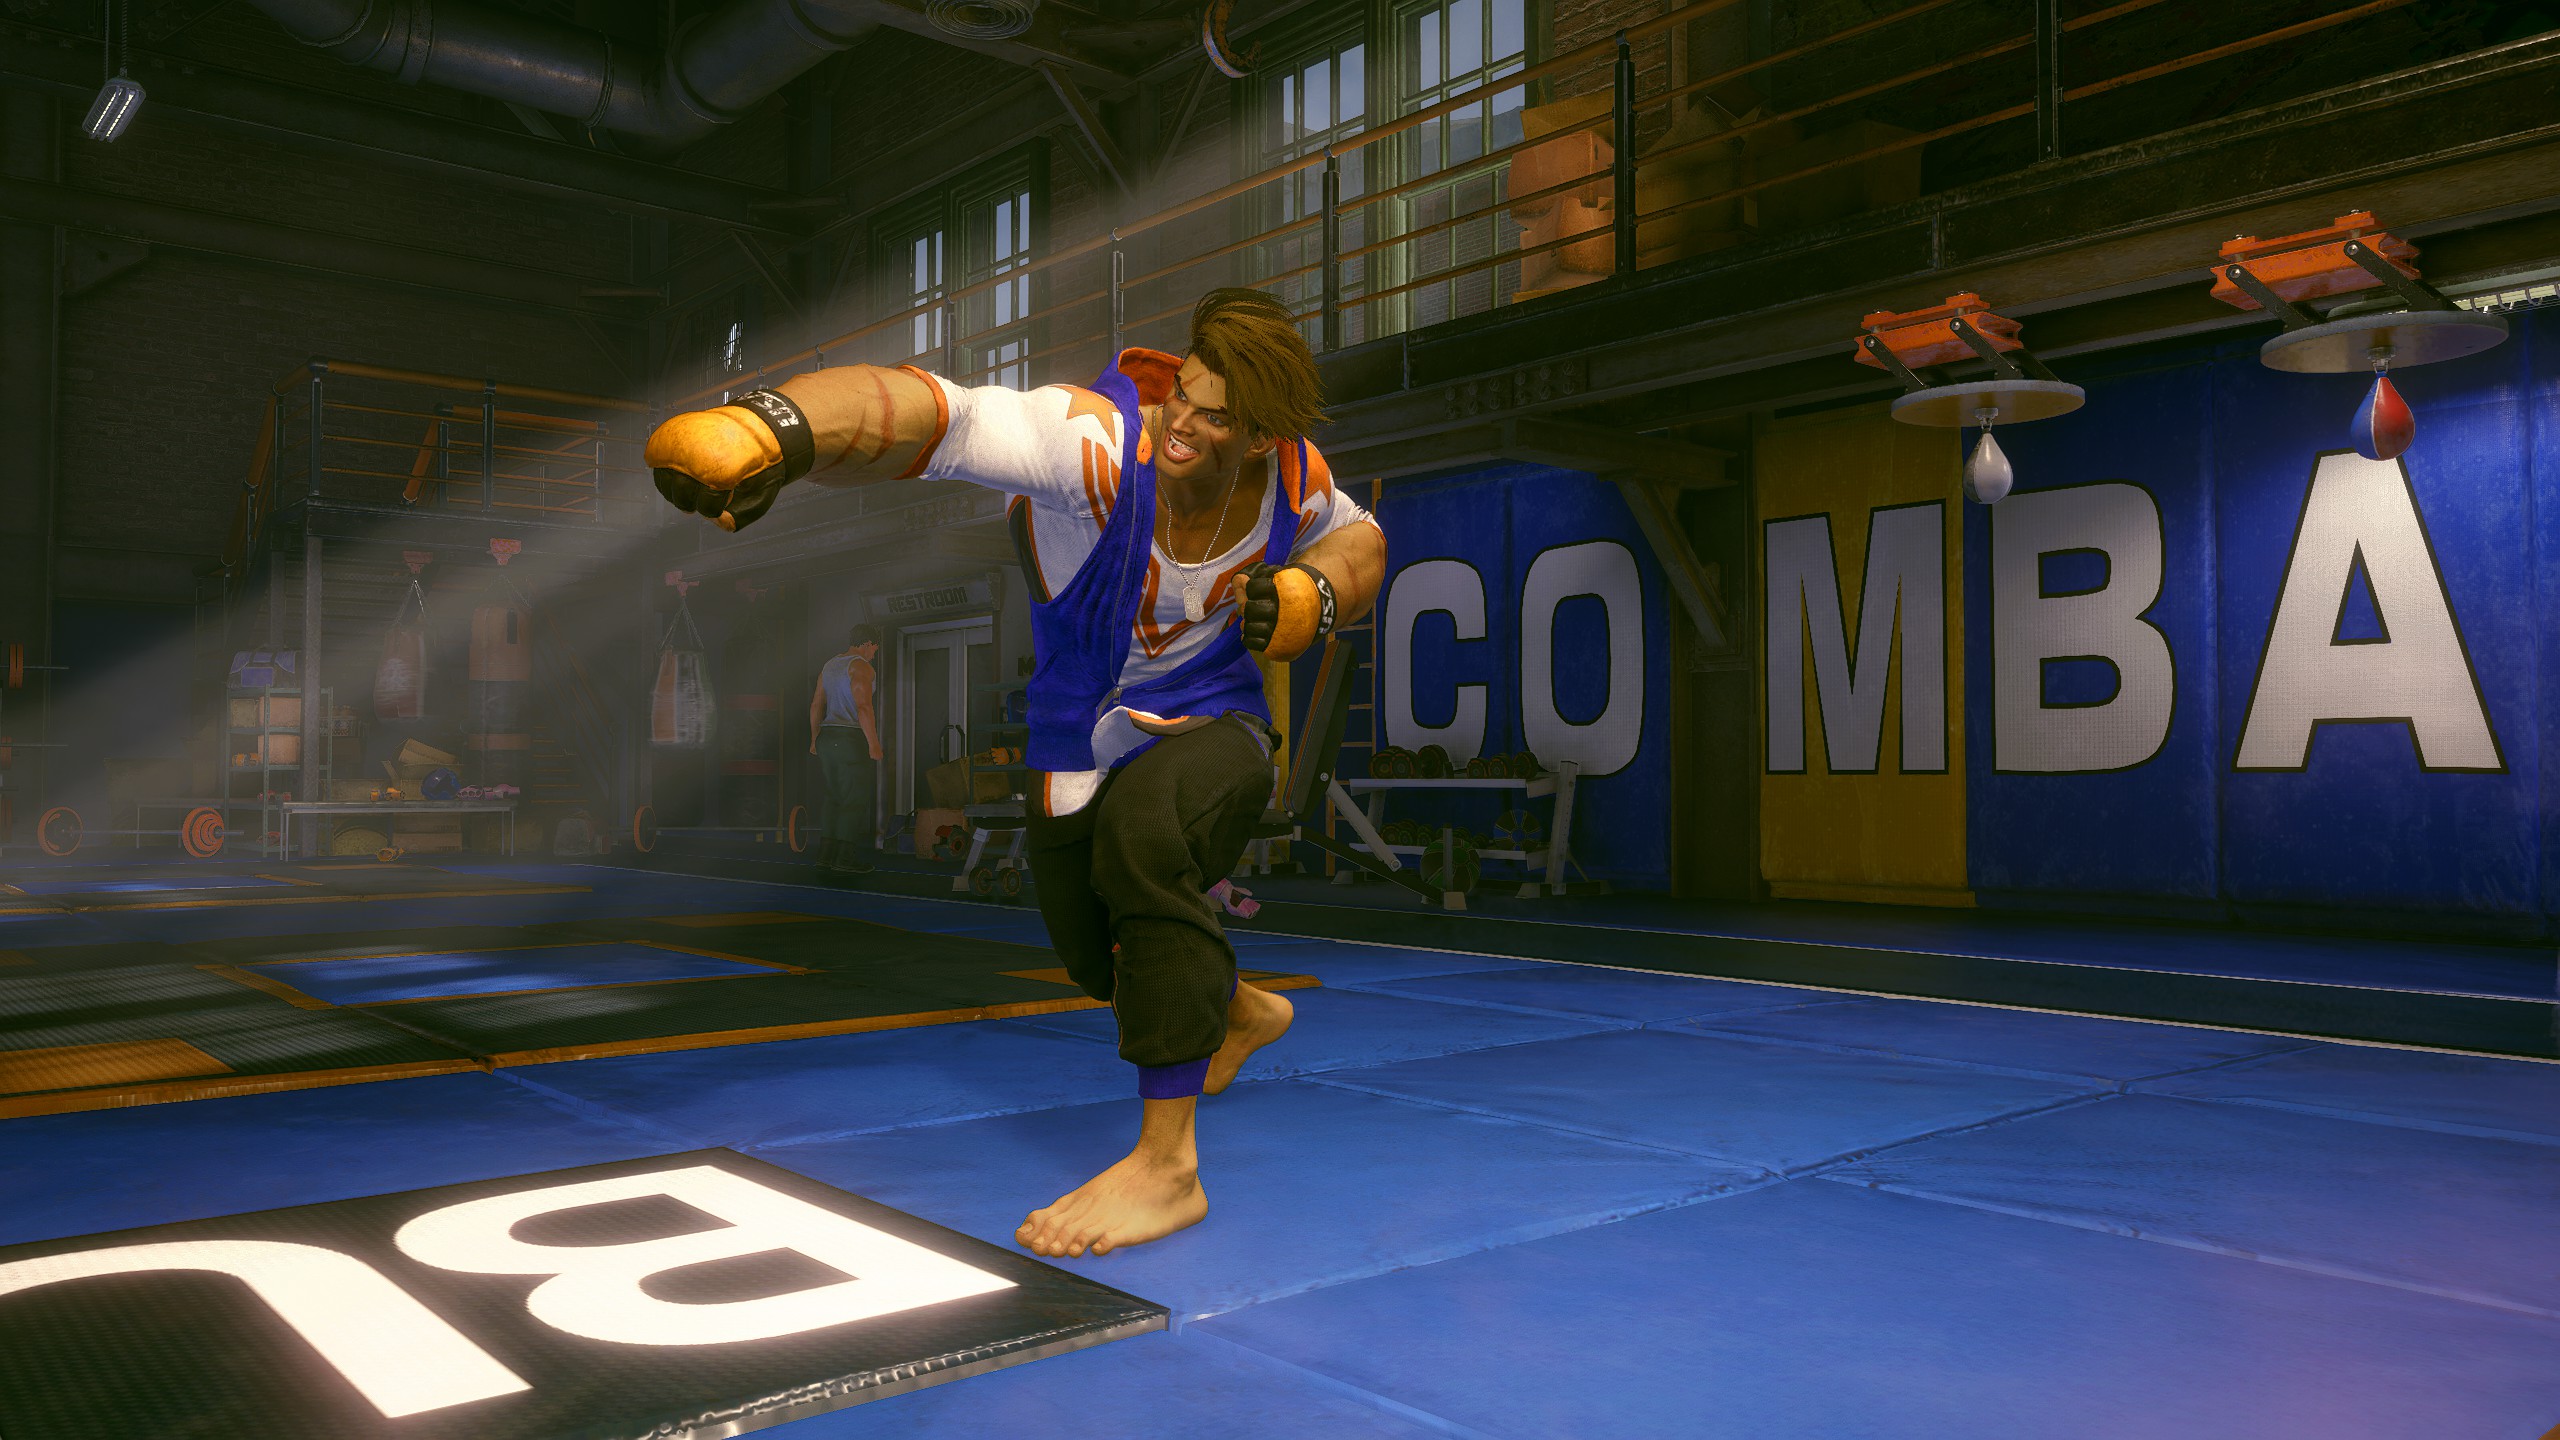
Luke - Special Artwork: Takeshi Ochi (Clear Arcade Once with Luke)
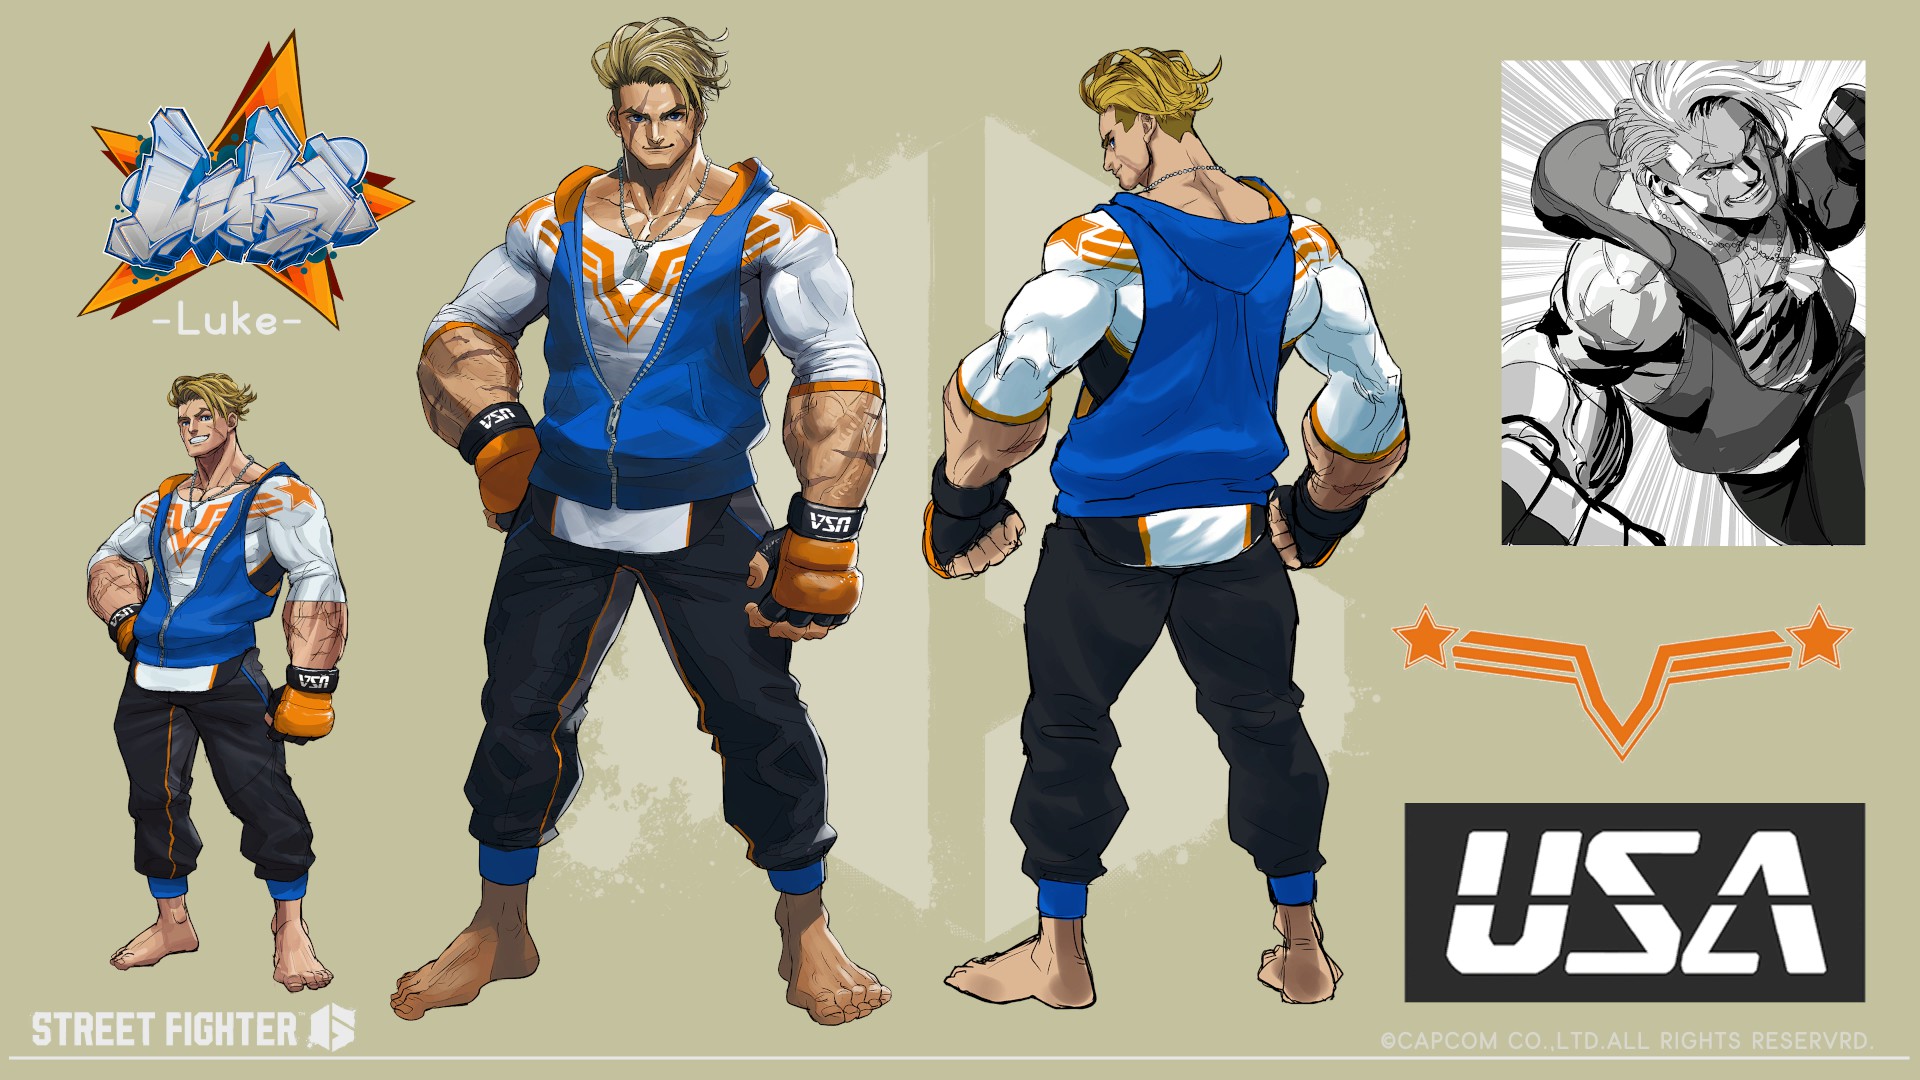
Character Design: Luke 1 (Clear Arcade Twice with Luke)
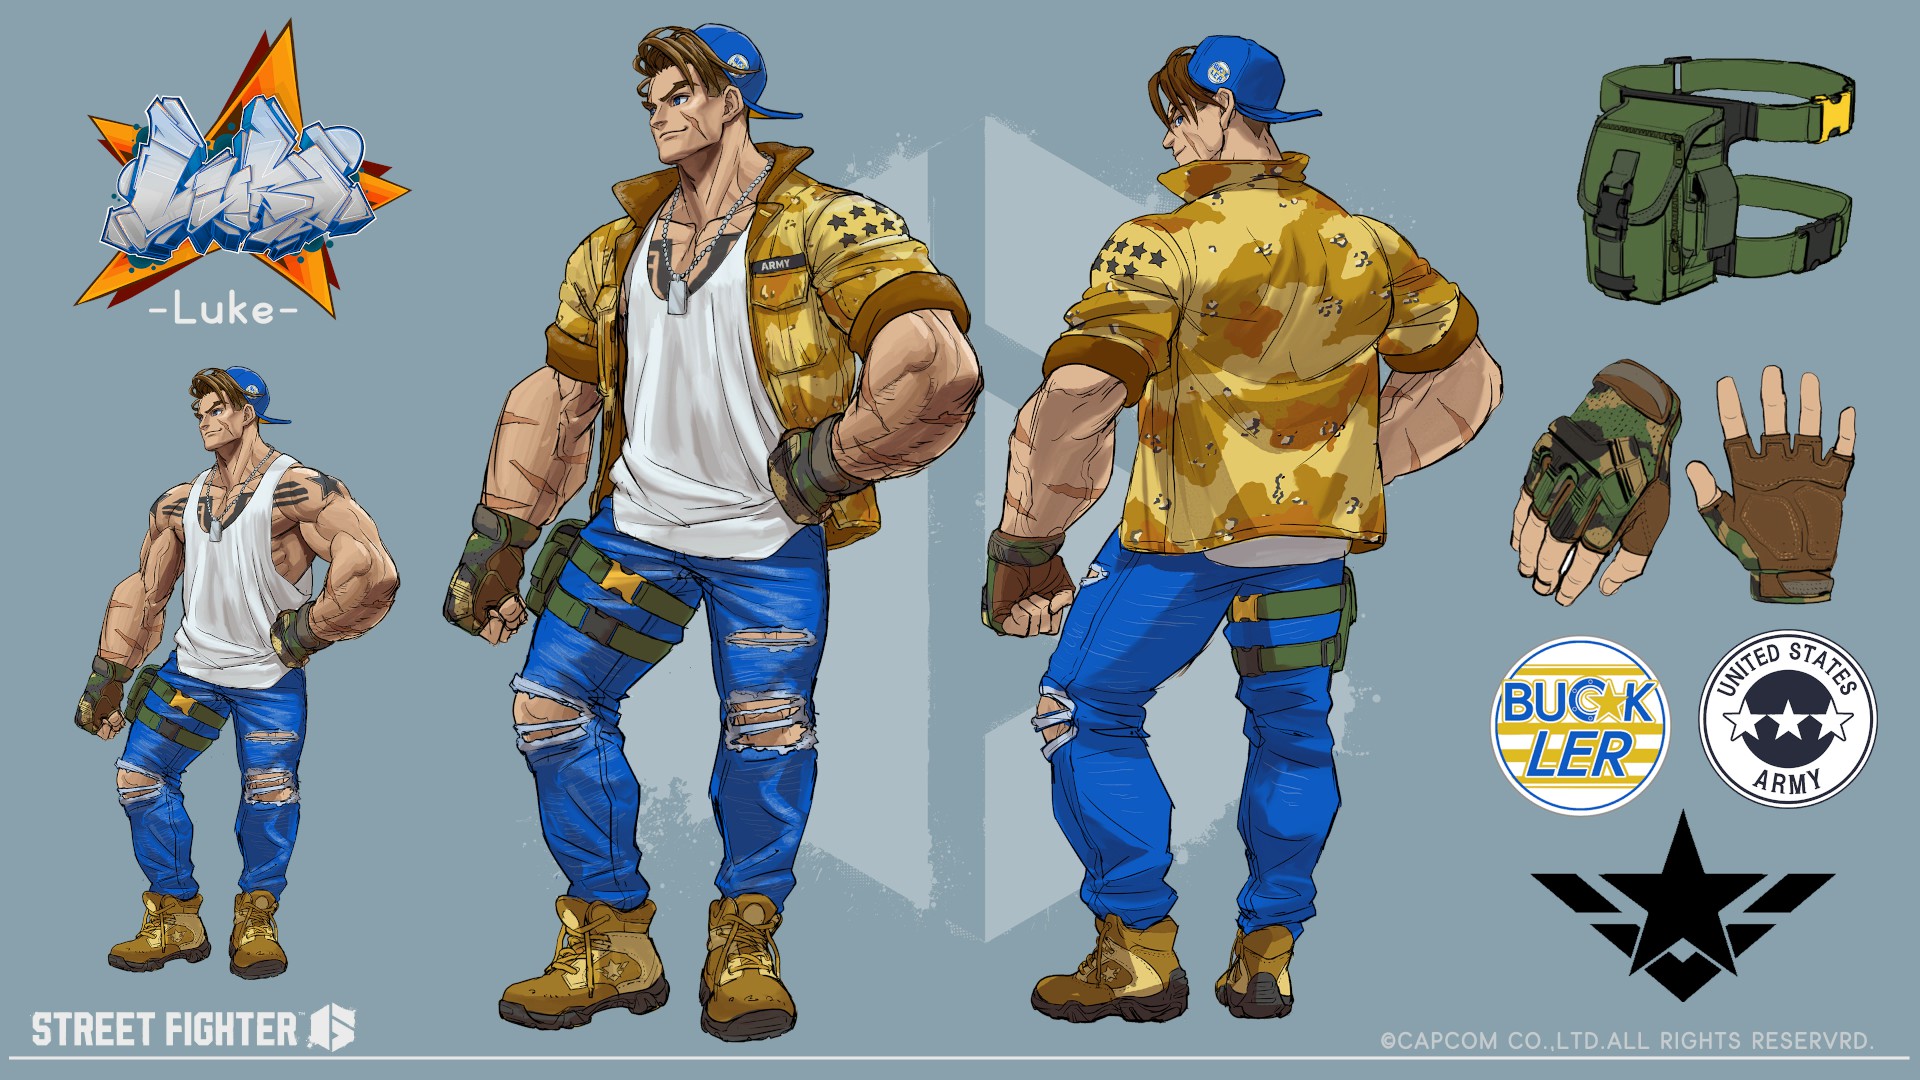
Character Design: Luke 2 (Clear Arcade Three Times with Luke)
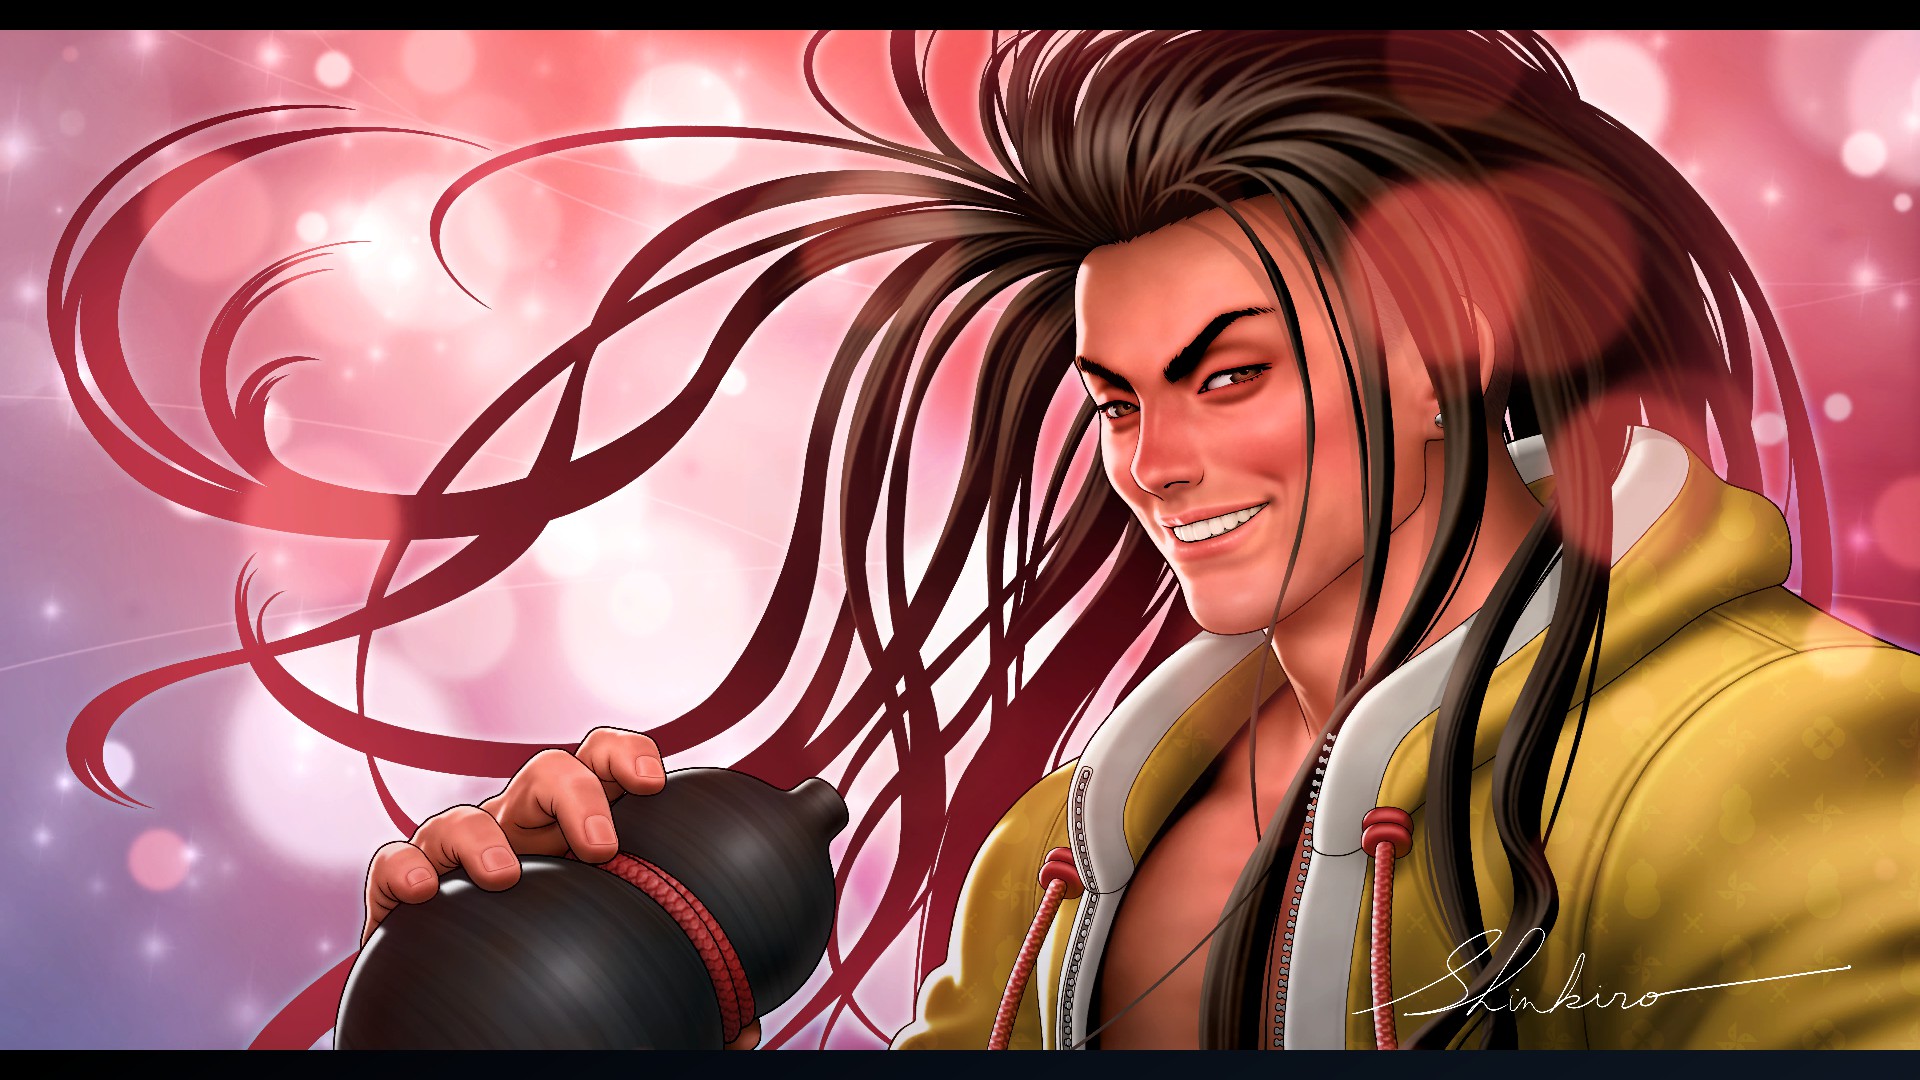
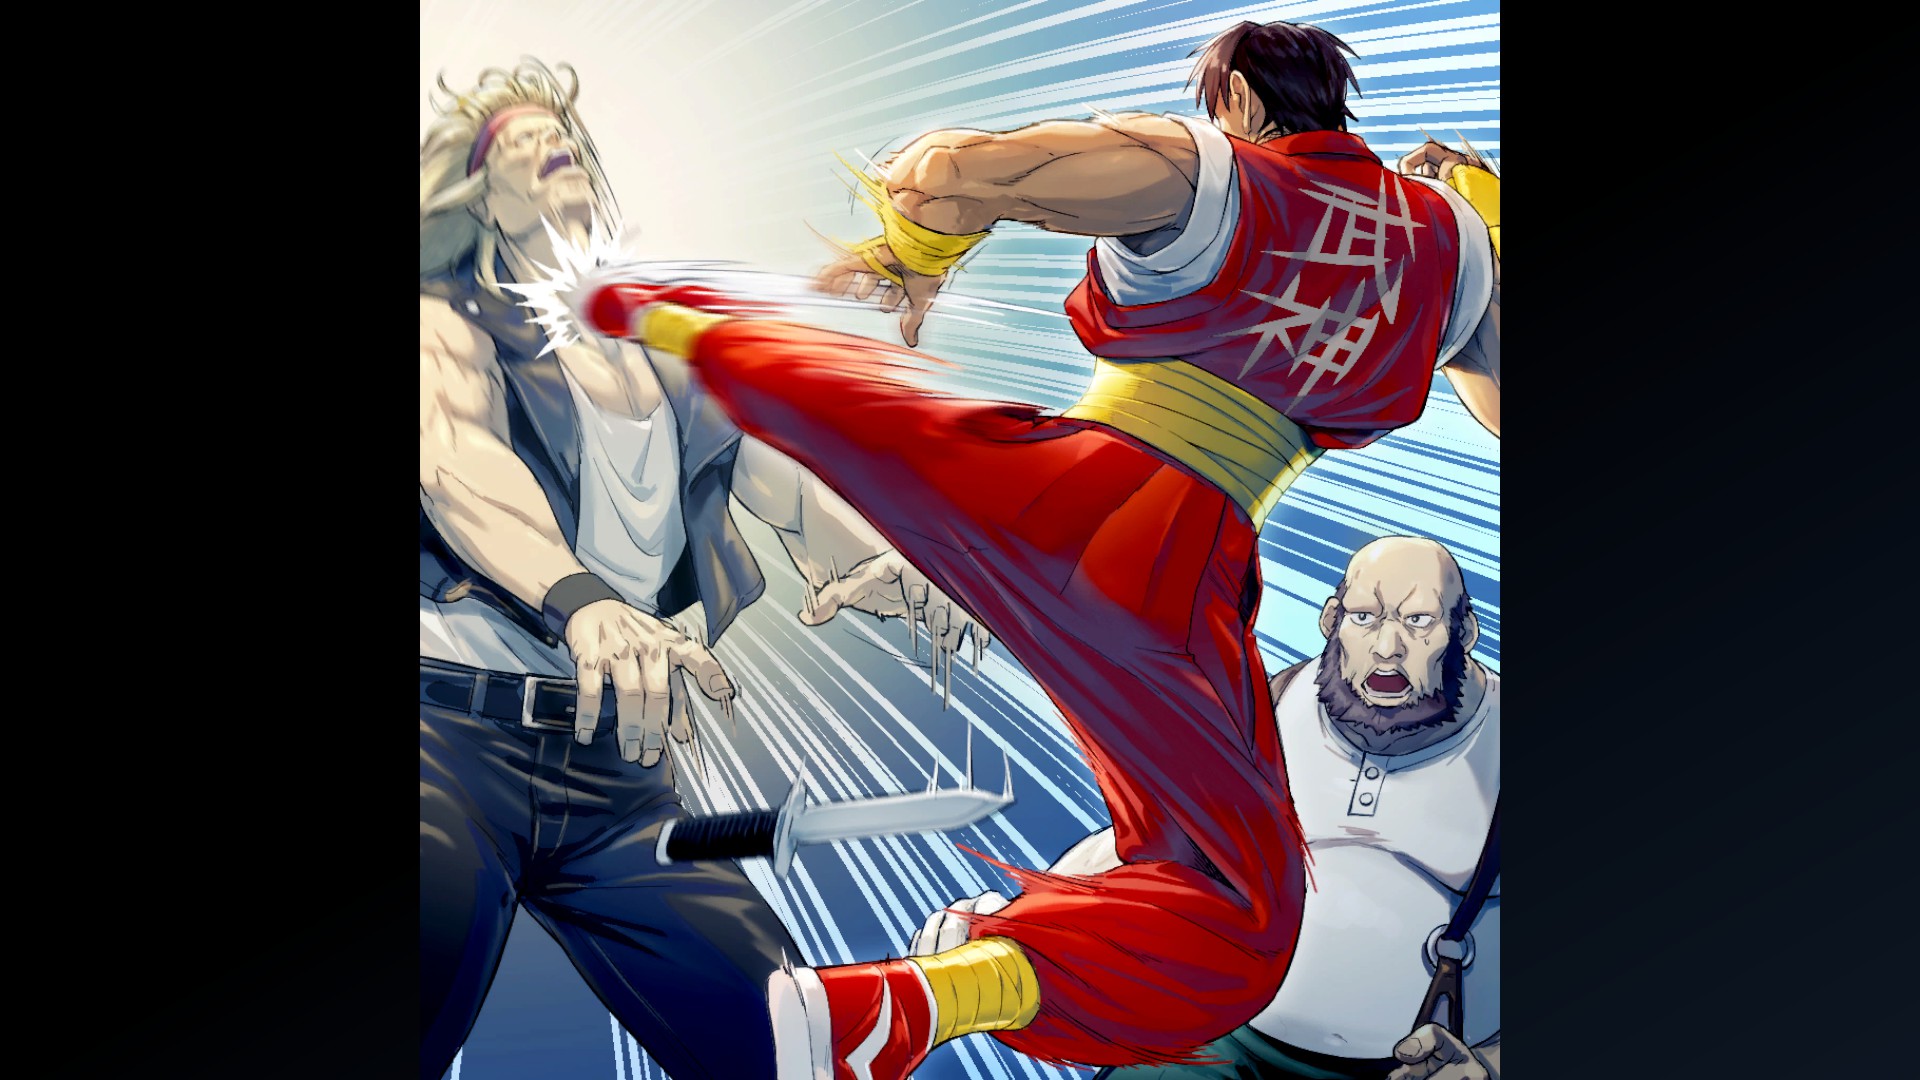
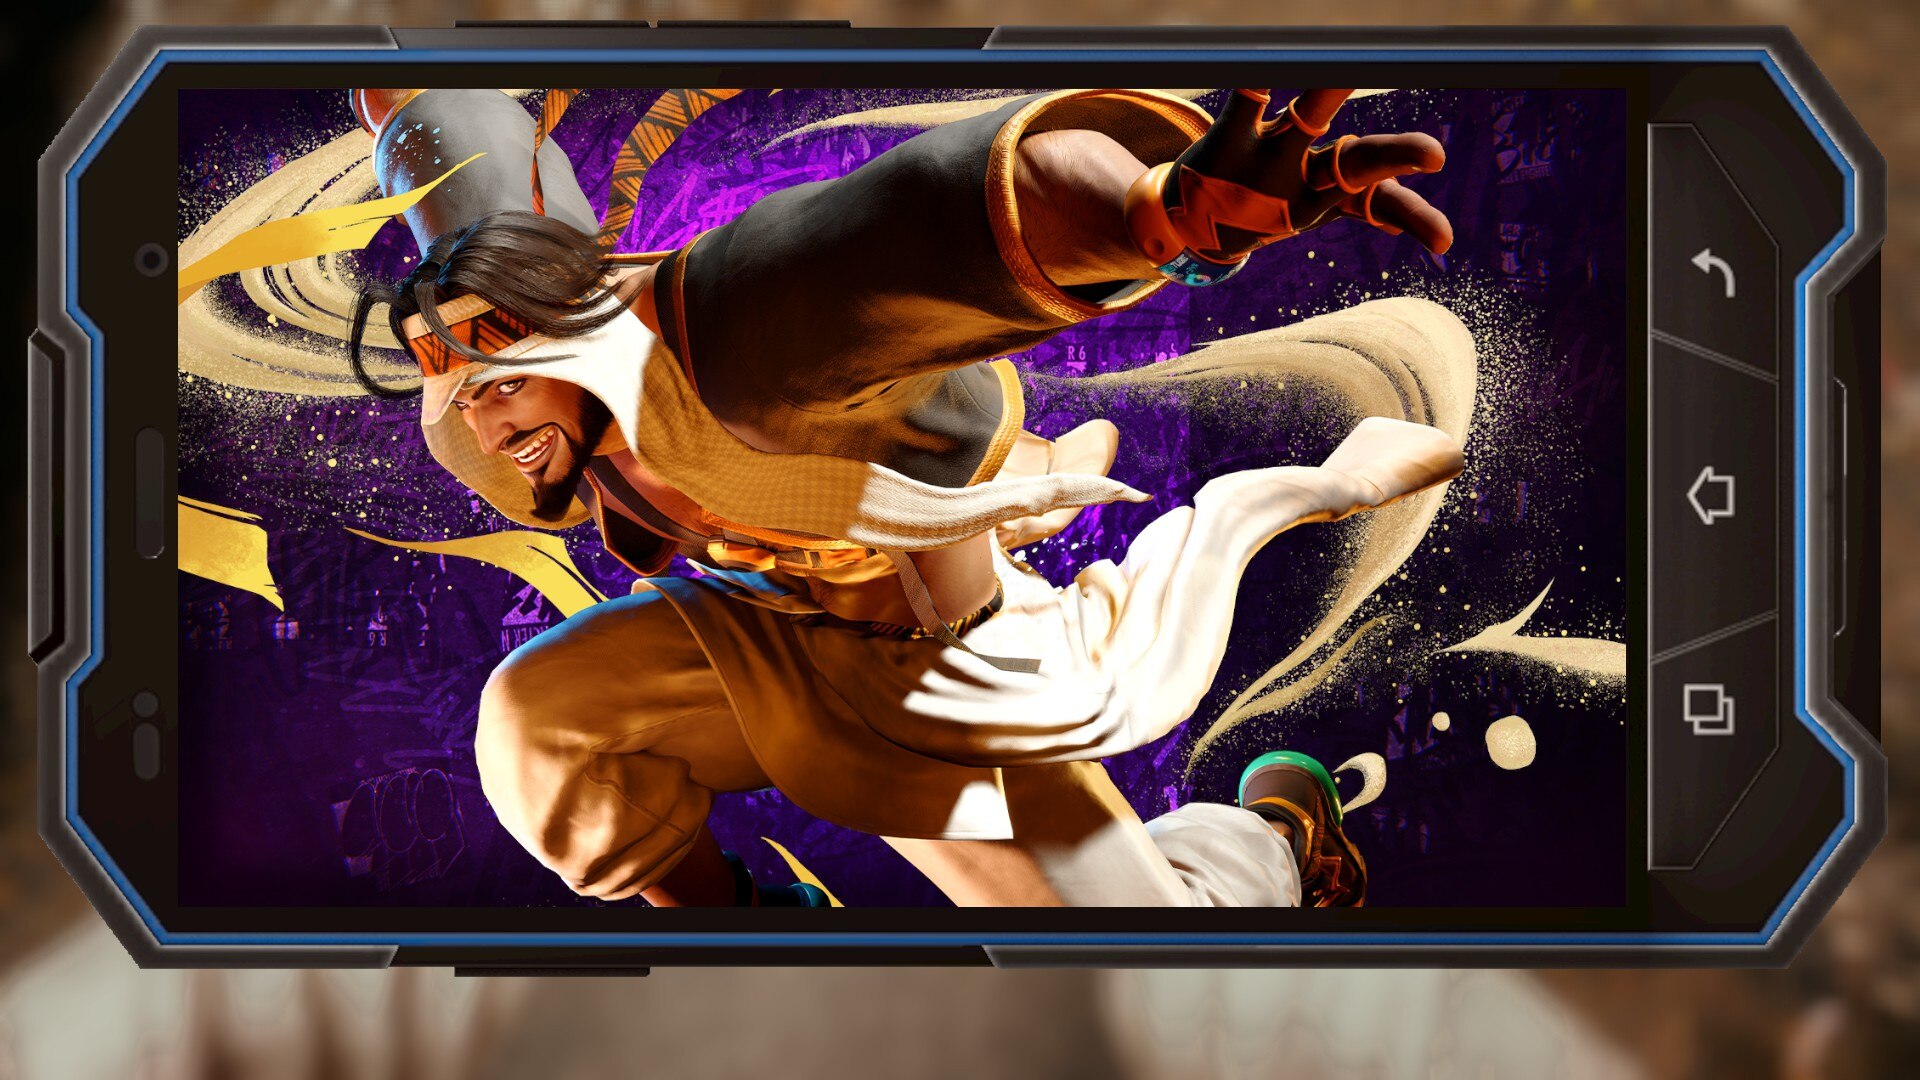
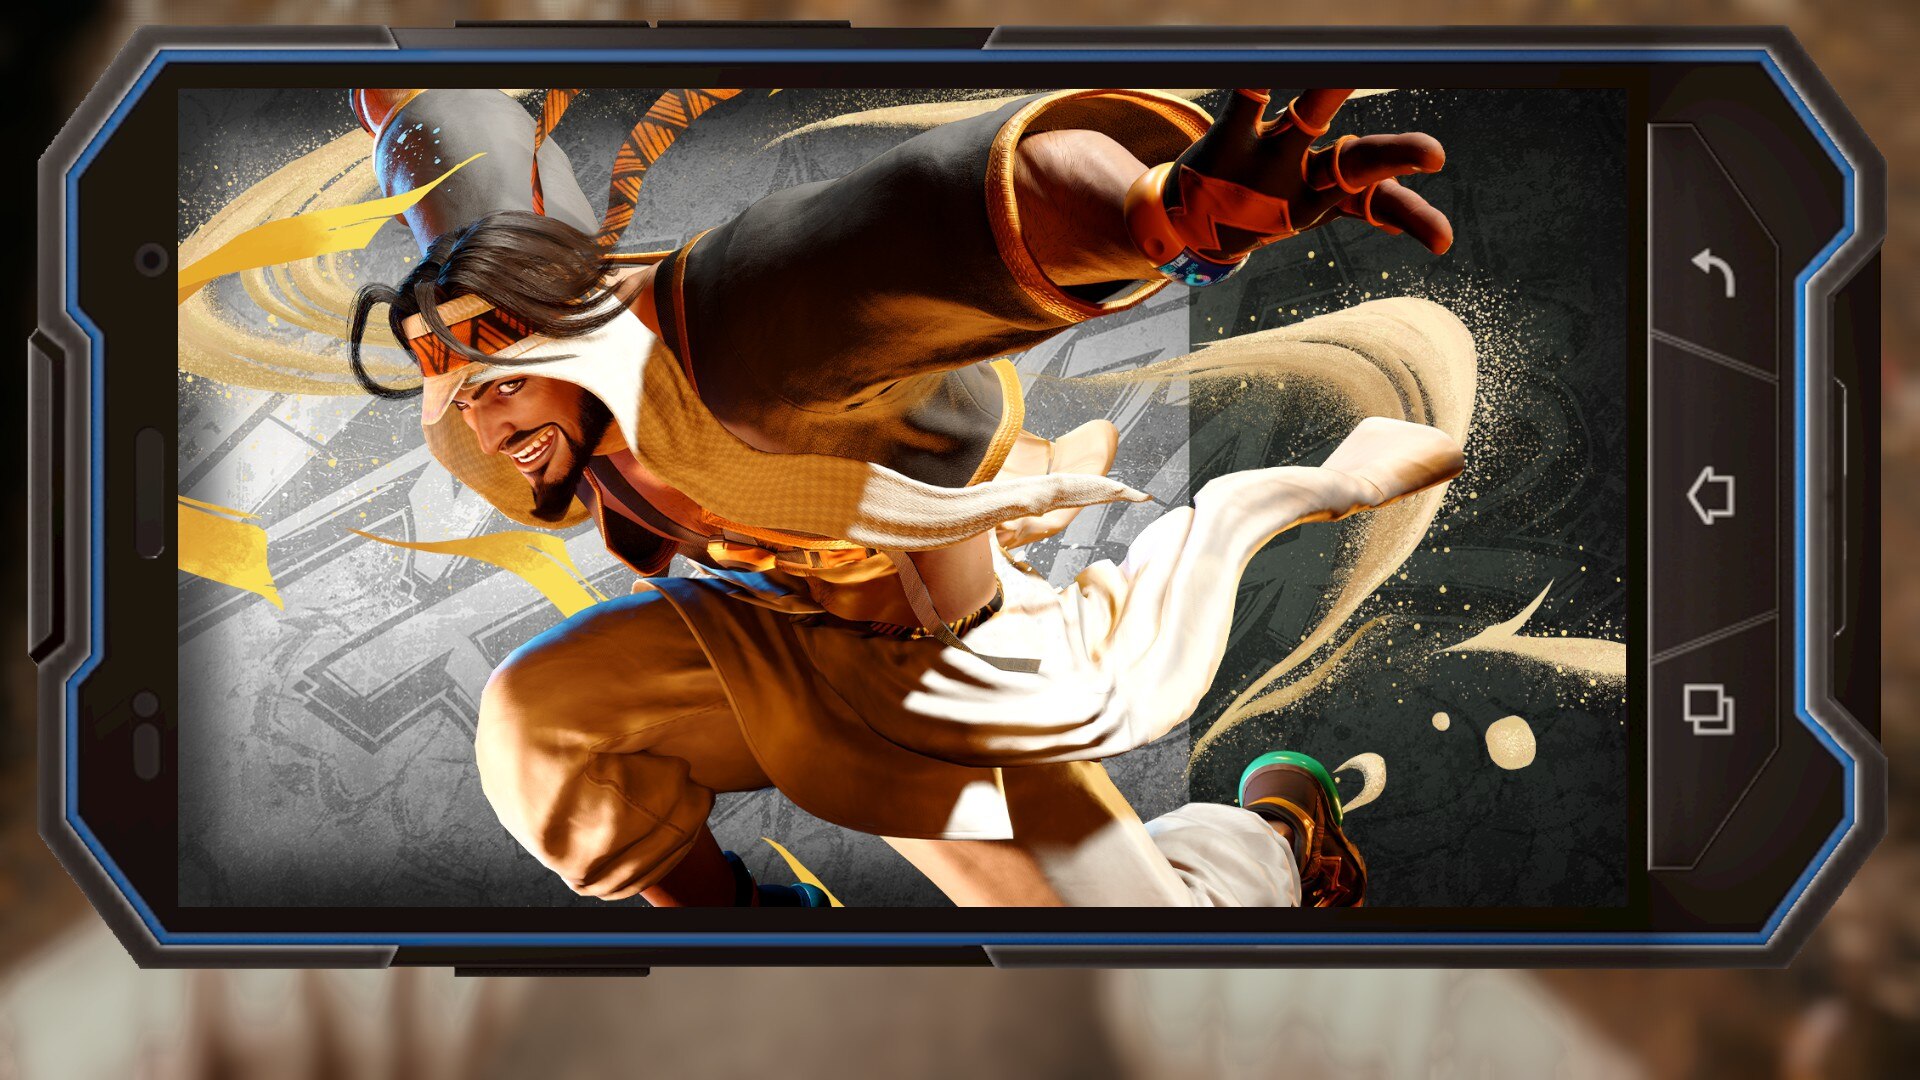
Jamie - Special Artwork: Shinkiro (Clear Arcade Once with Jamie)
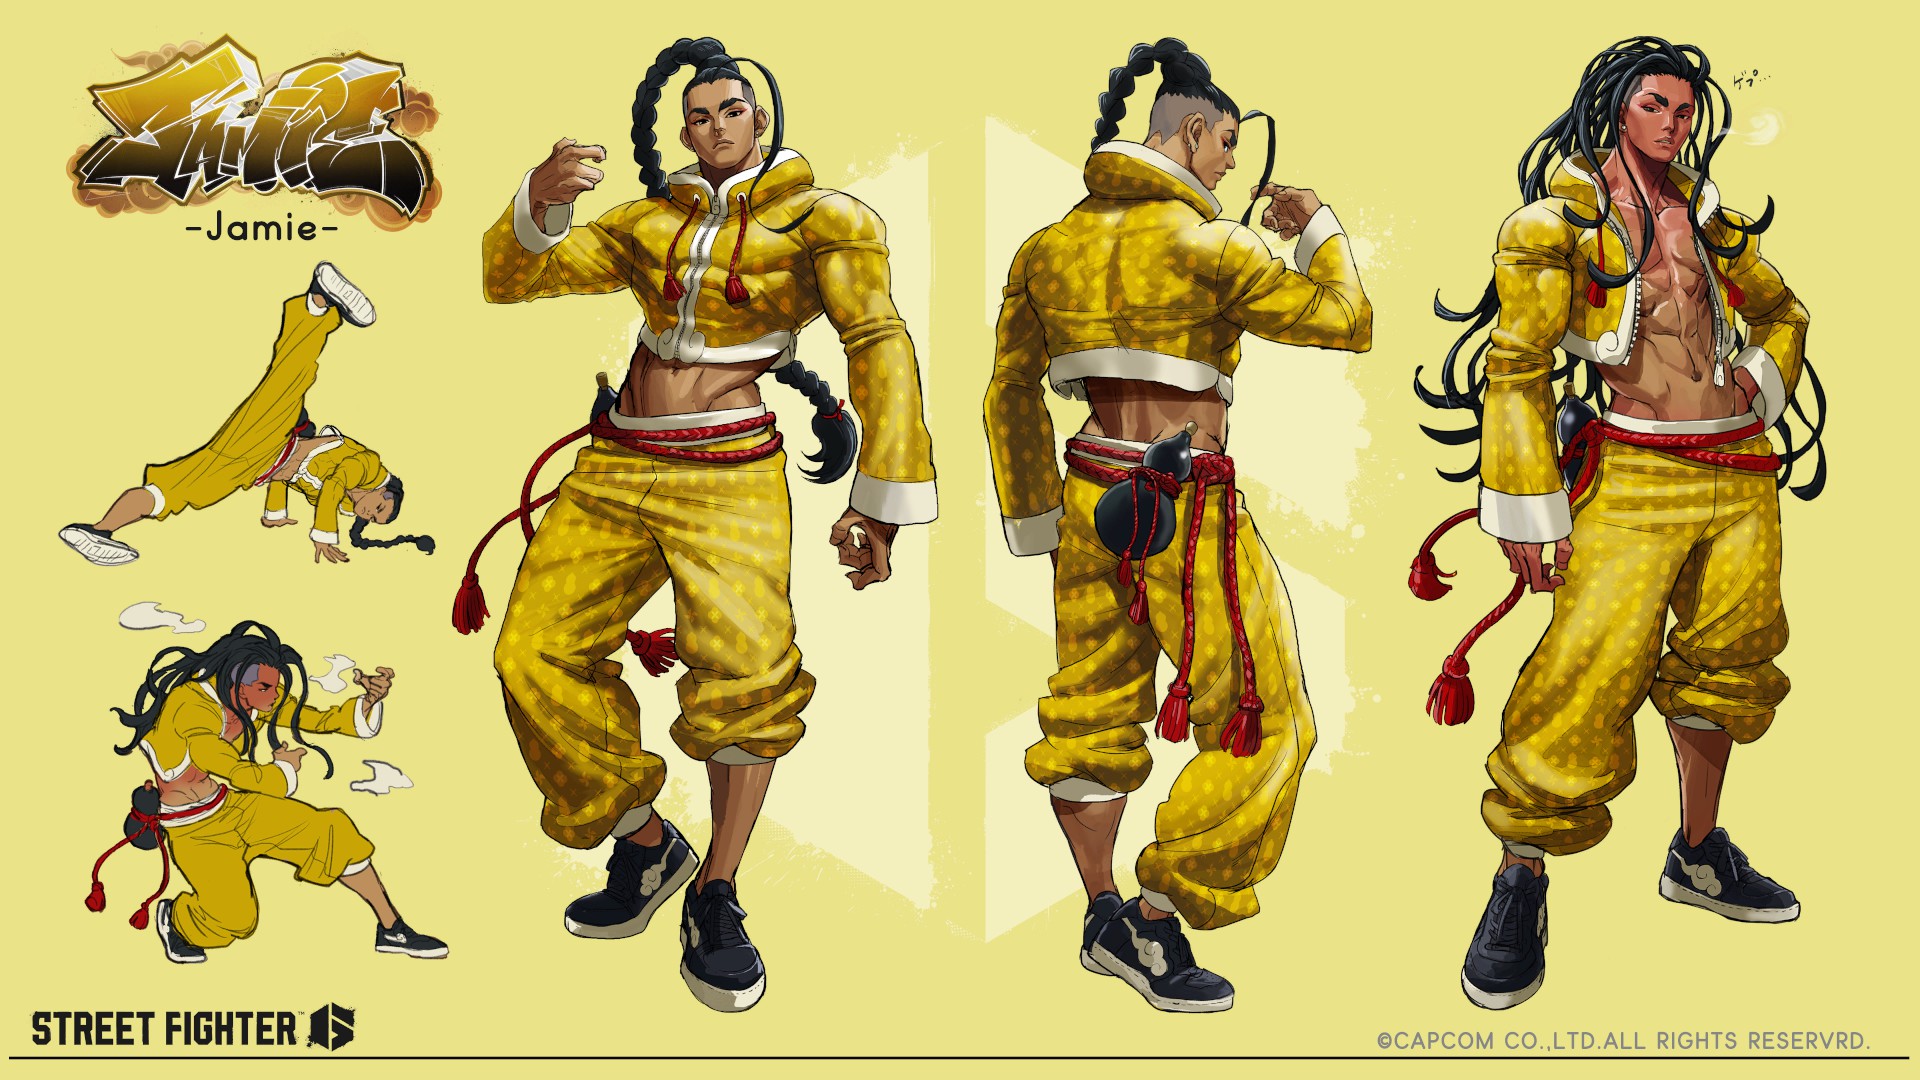
Character Design: Jamie 1 (Clear Arcade Twice with Jamie)
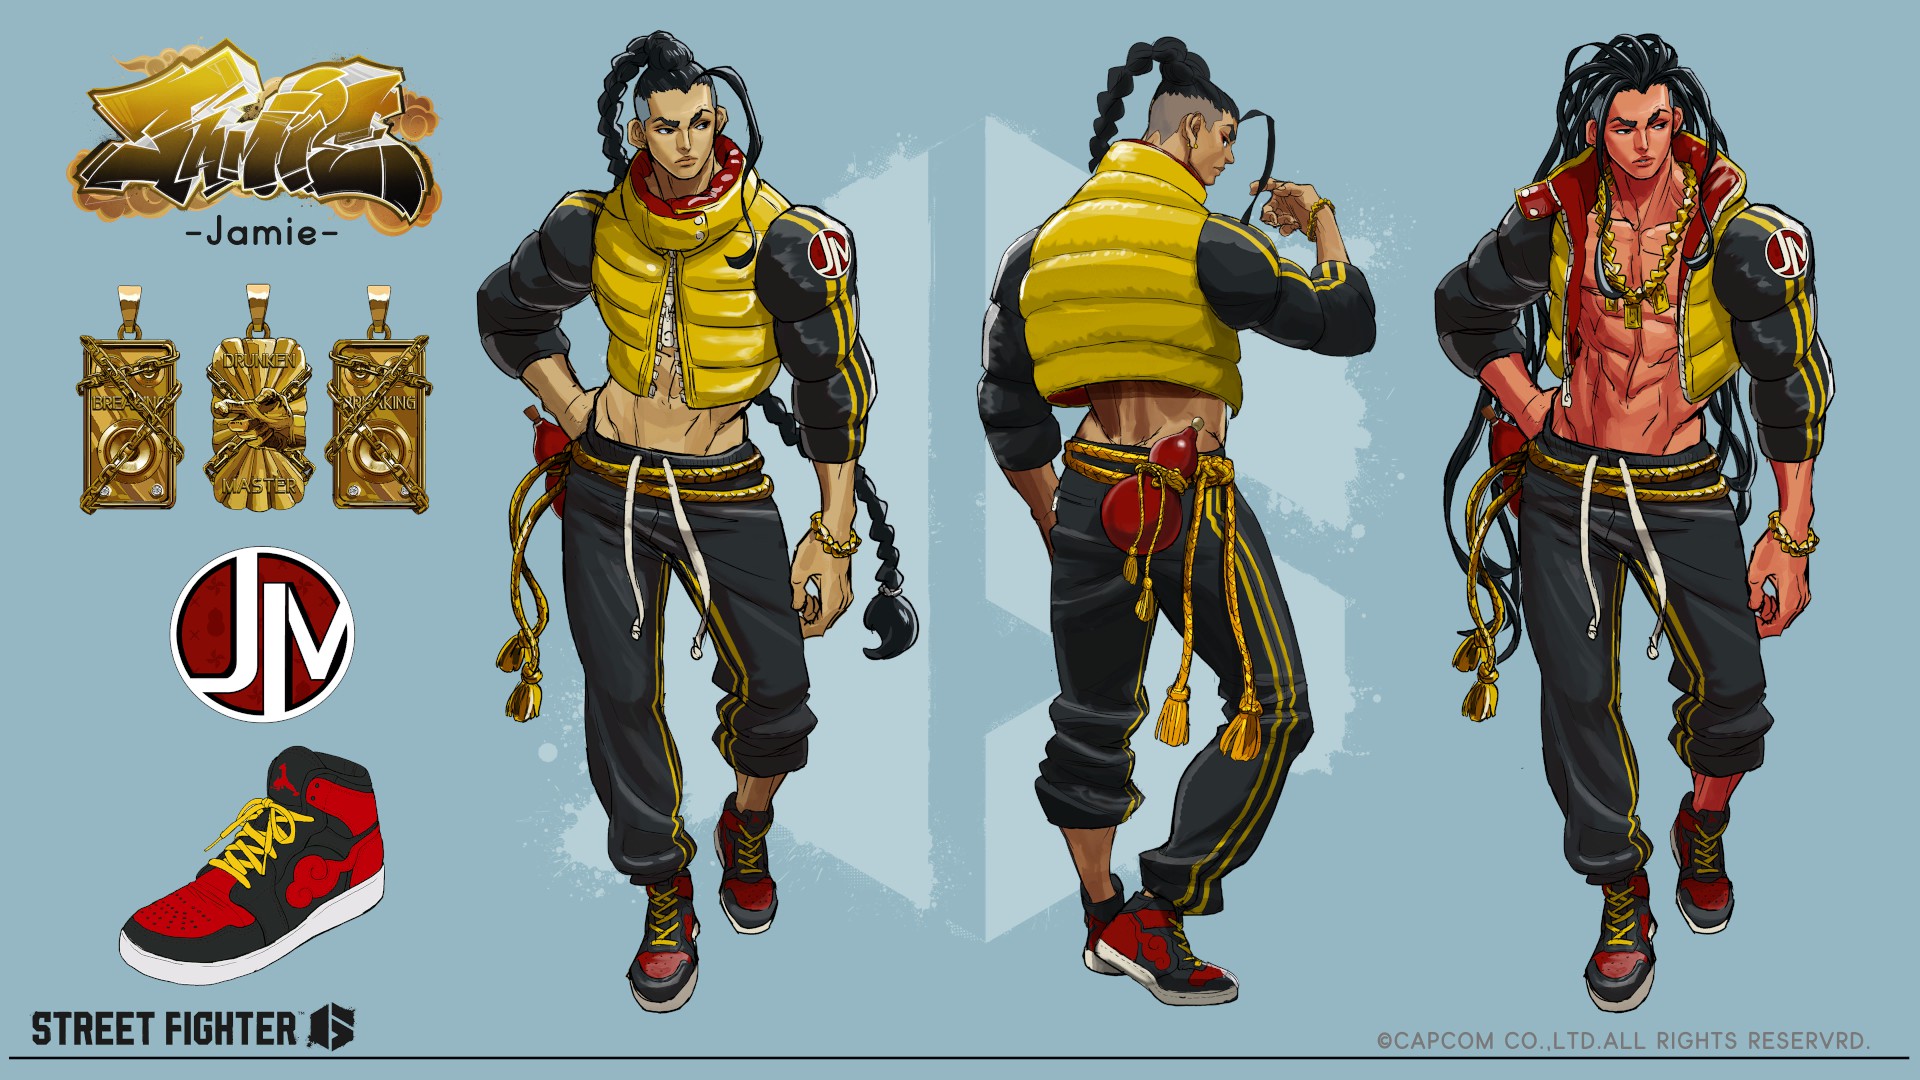
Character Design: Jamie 2 (Clear Arcade Three Times with Jamie)
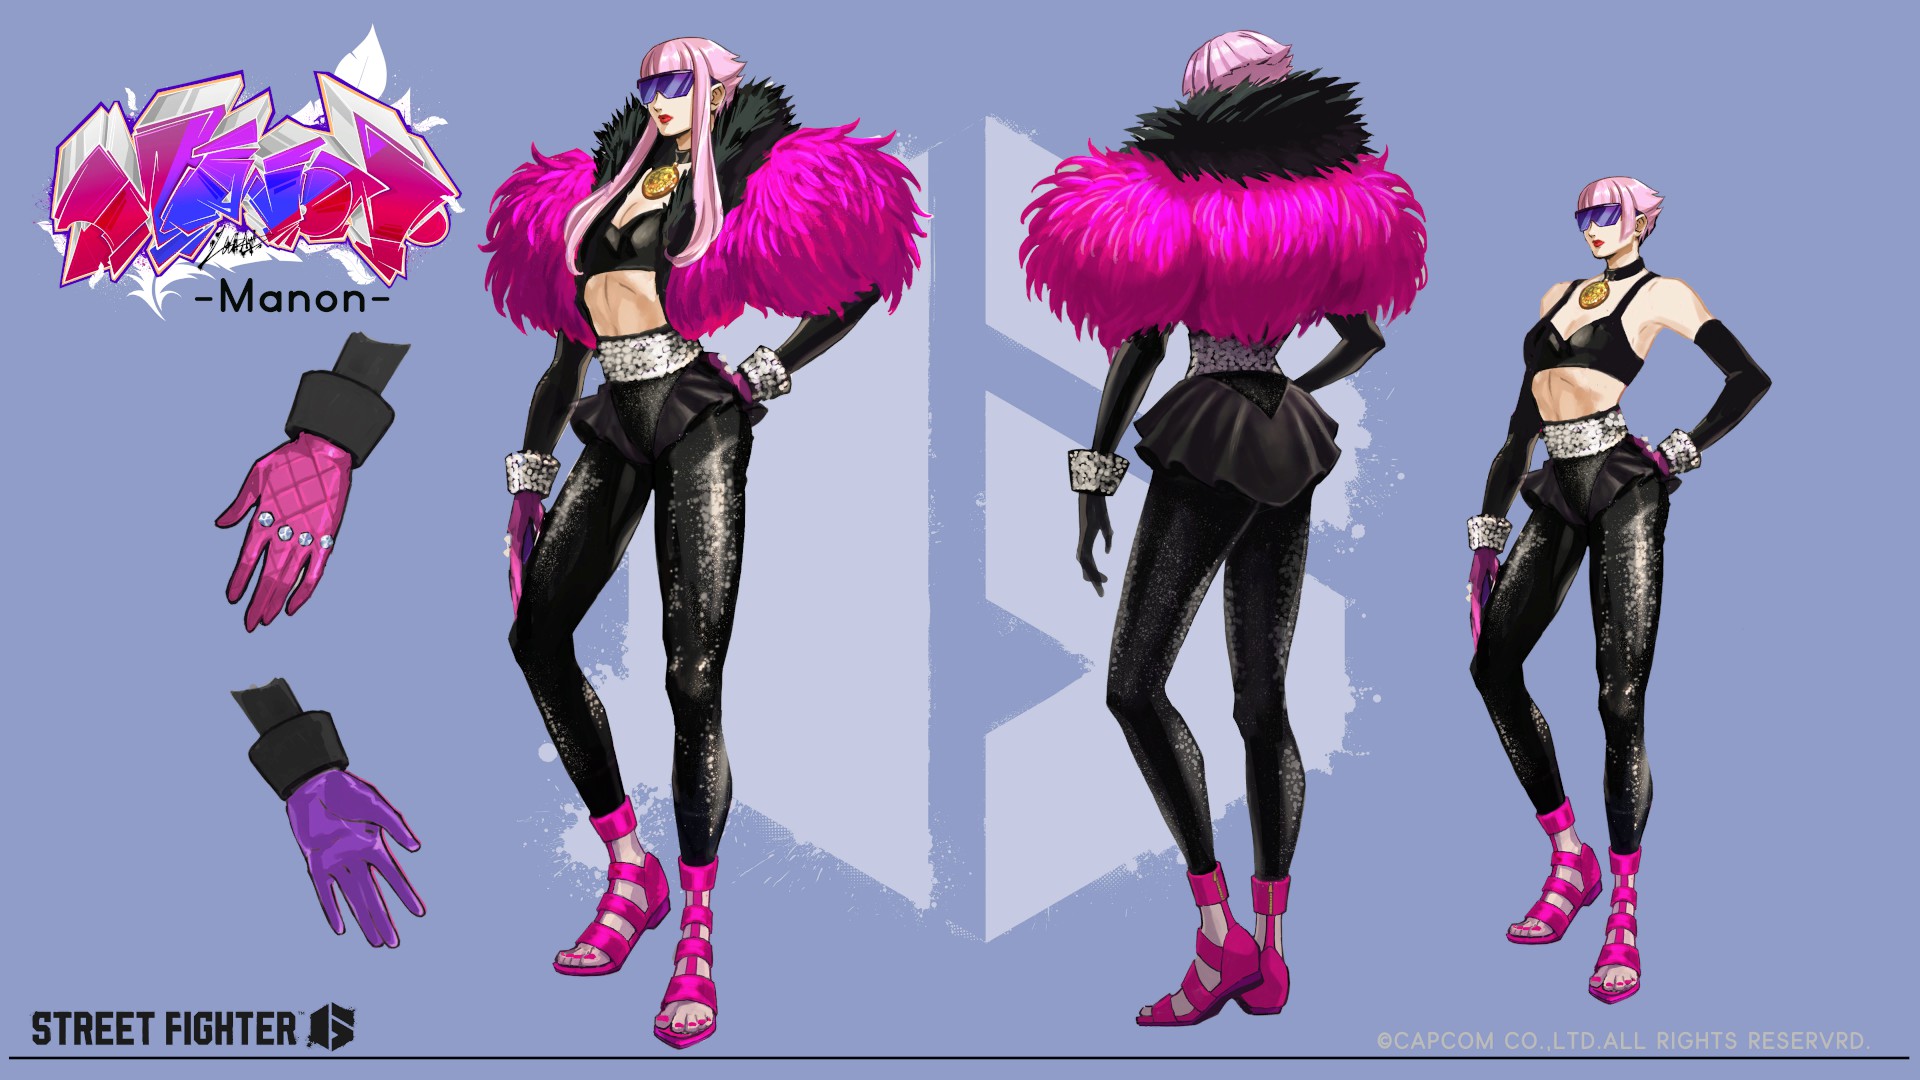
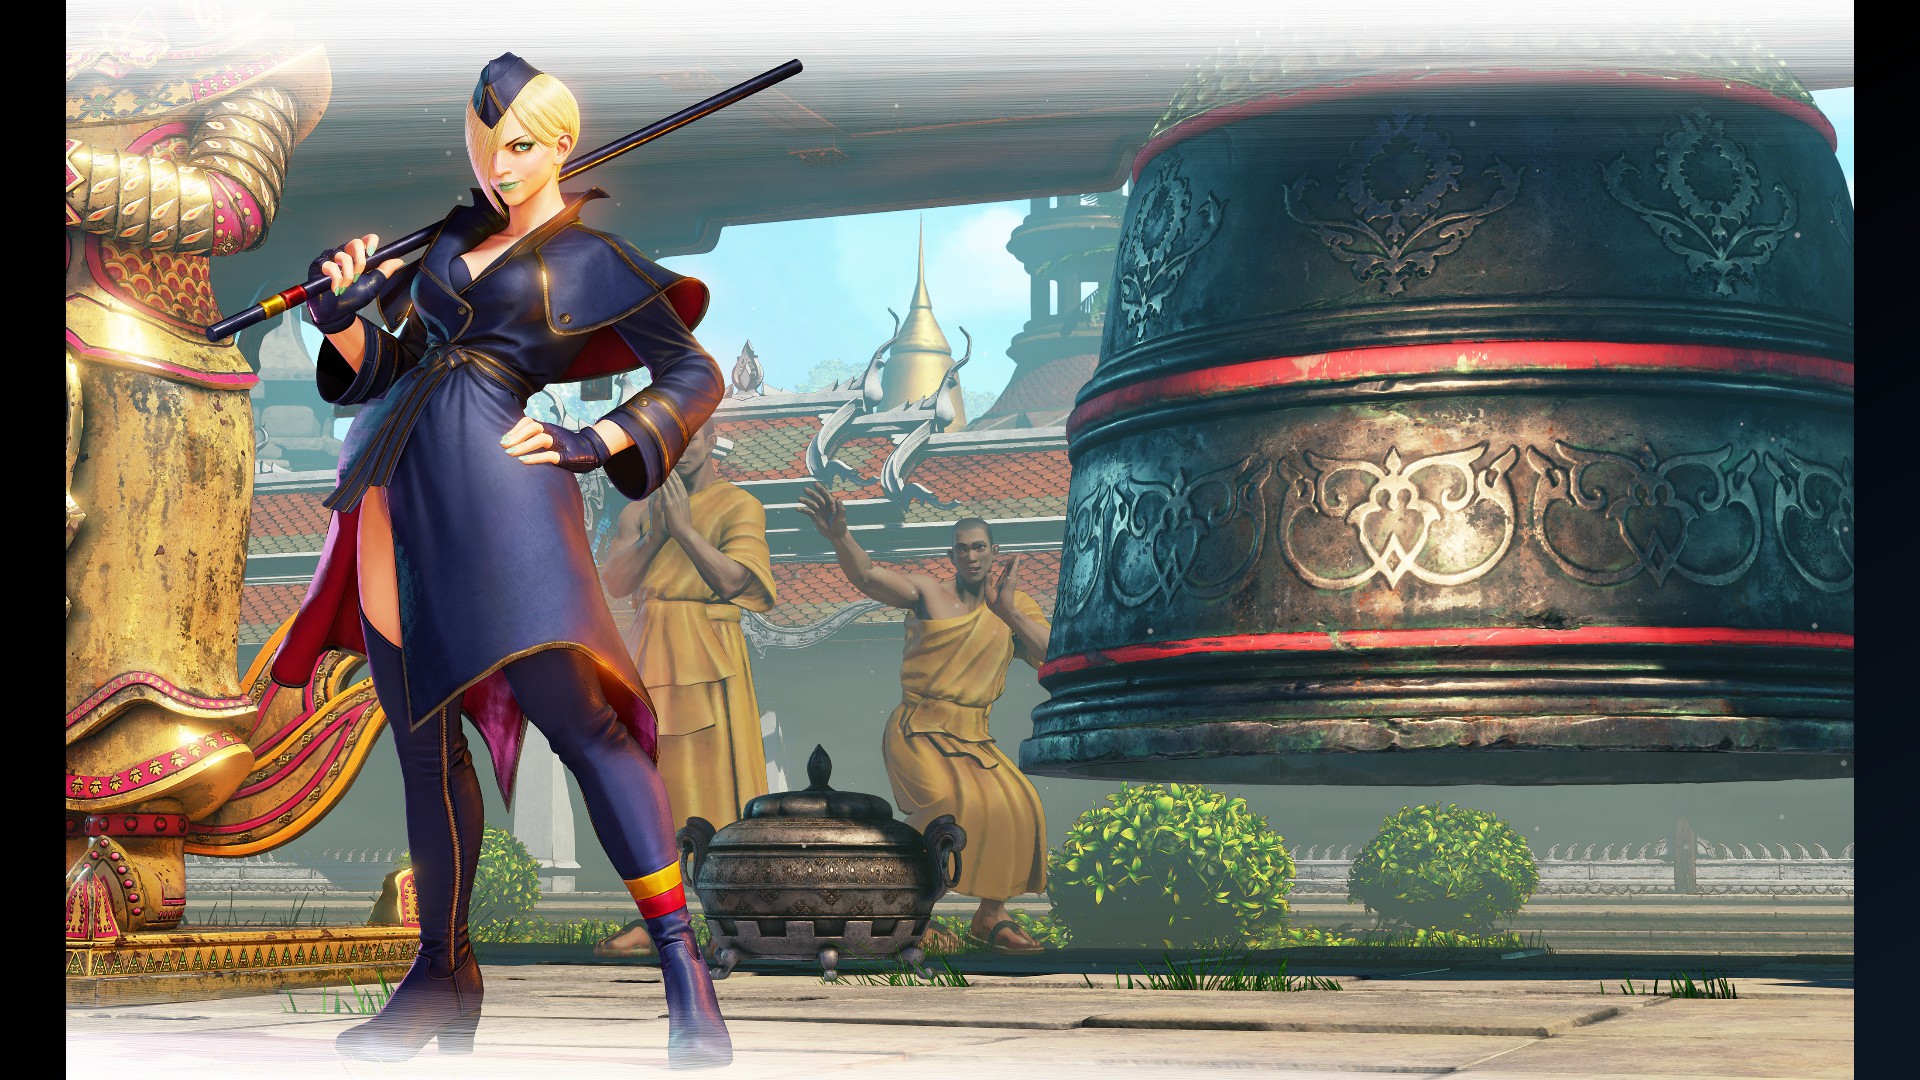
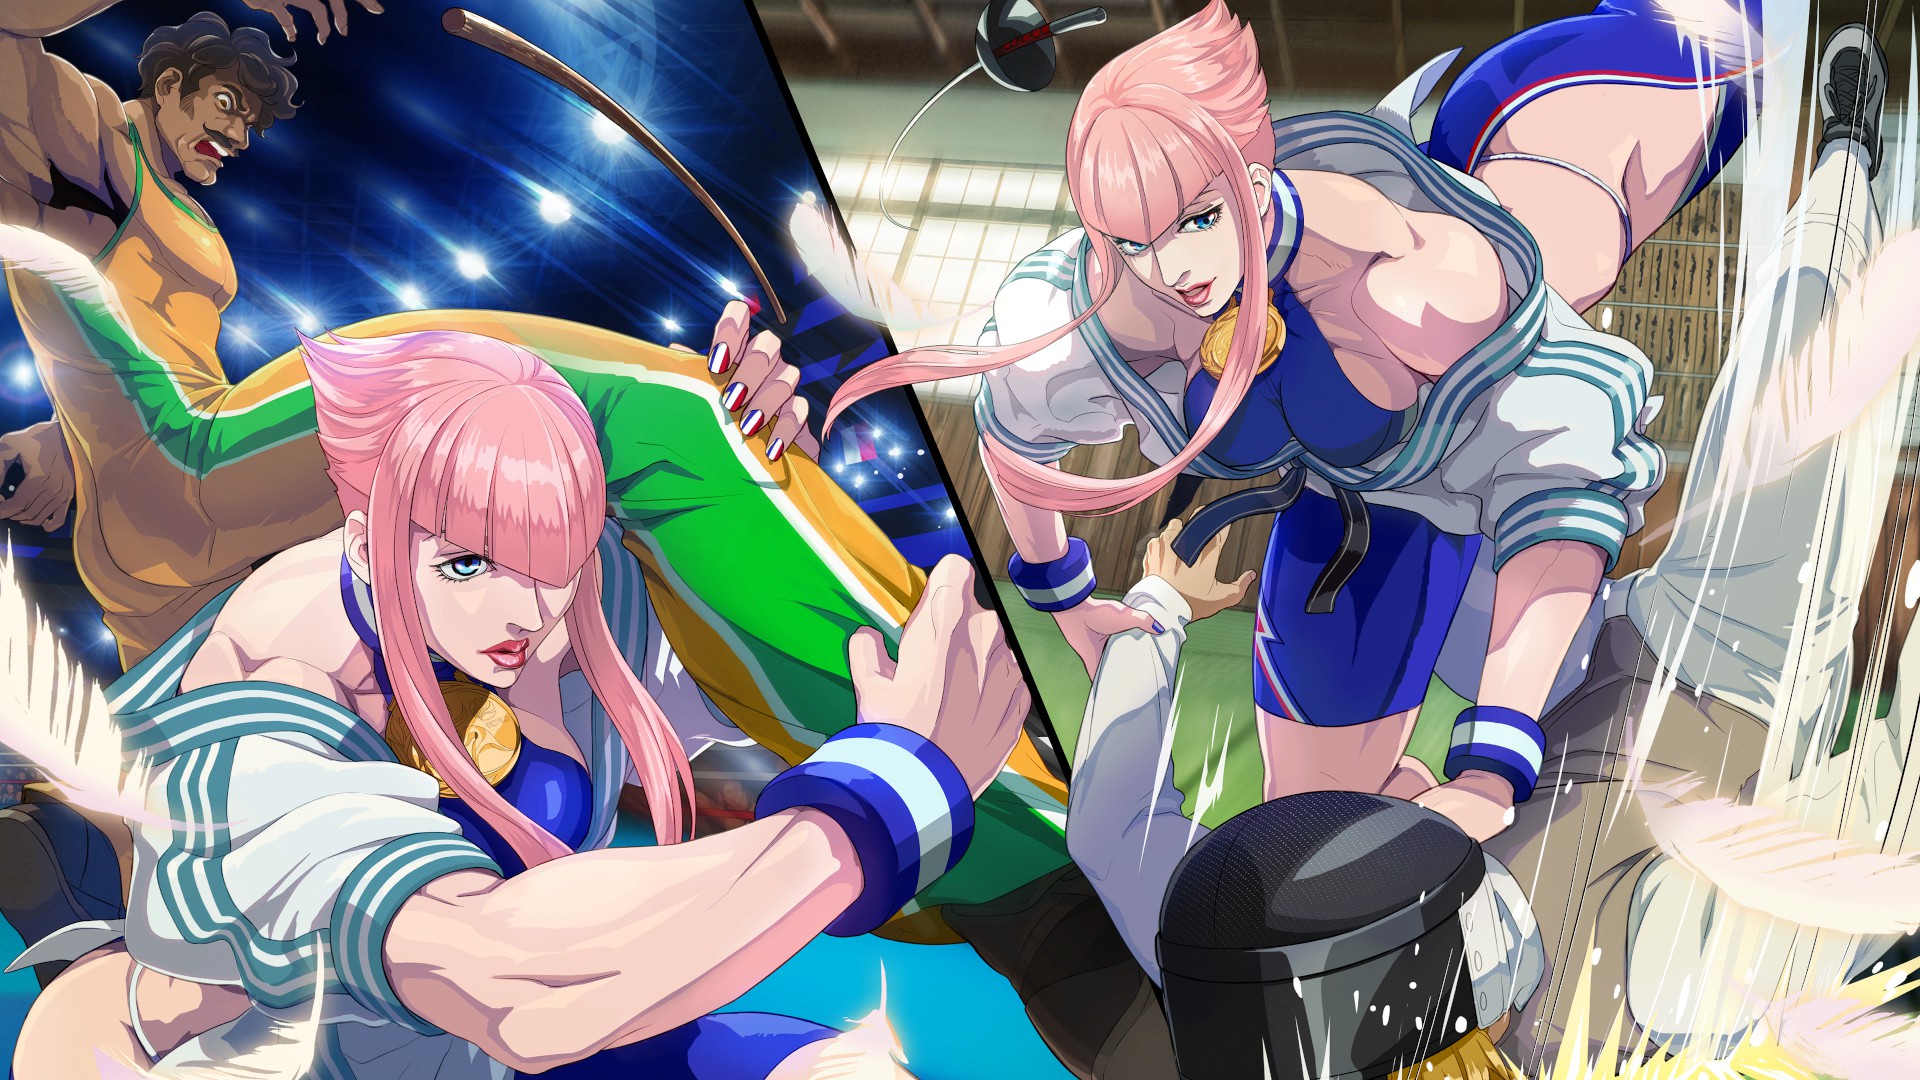
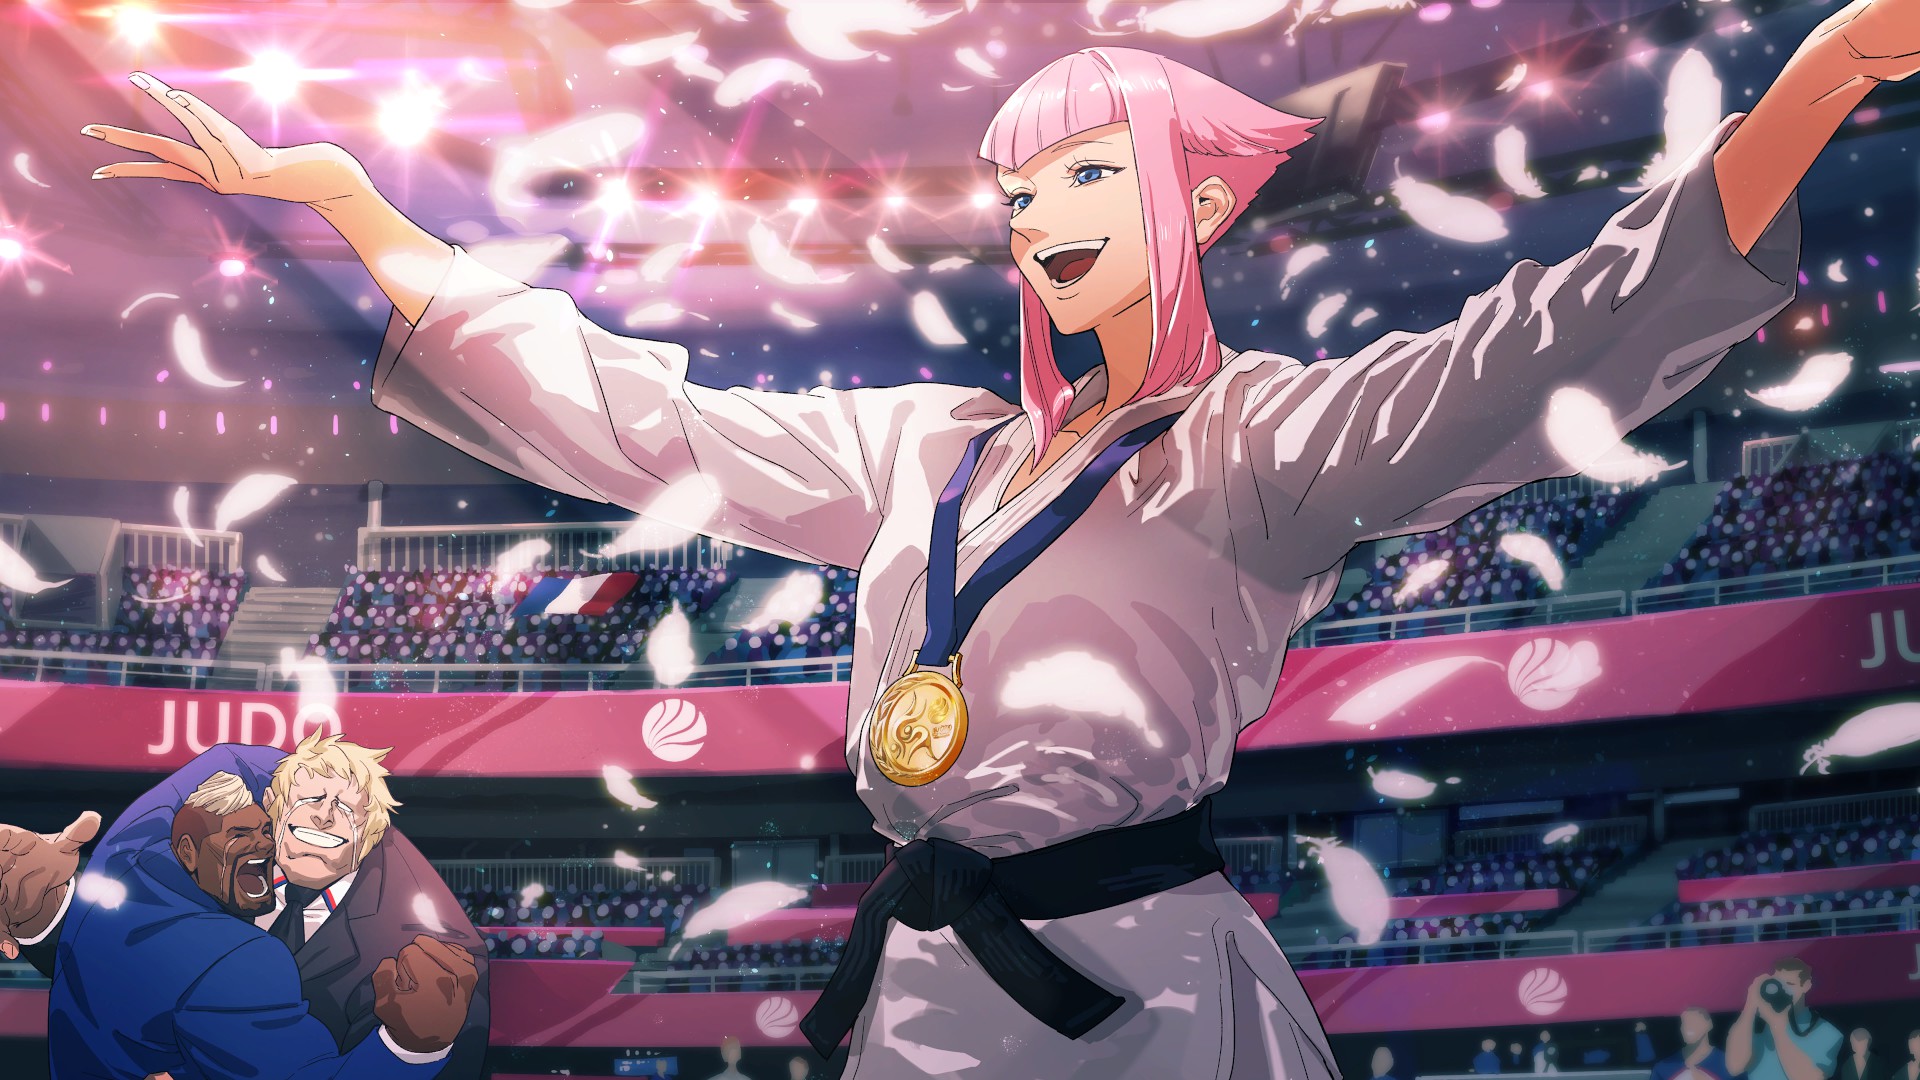
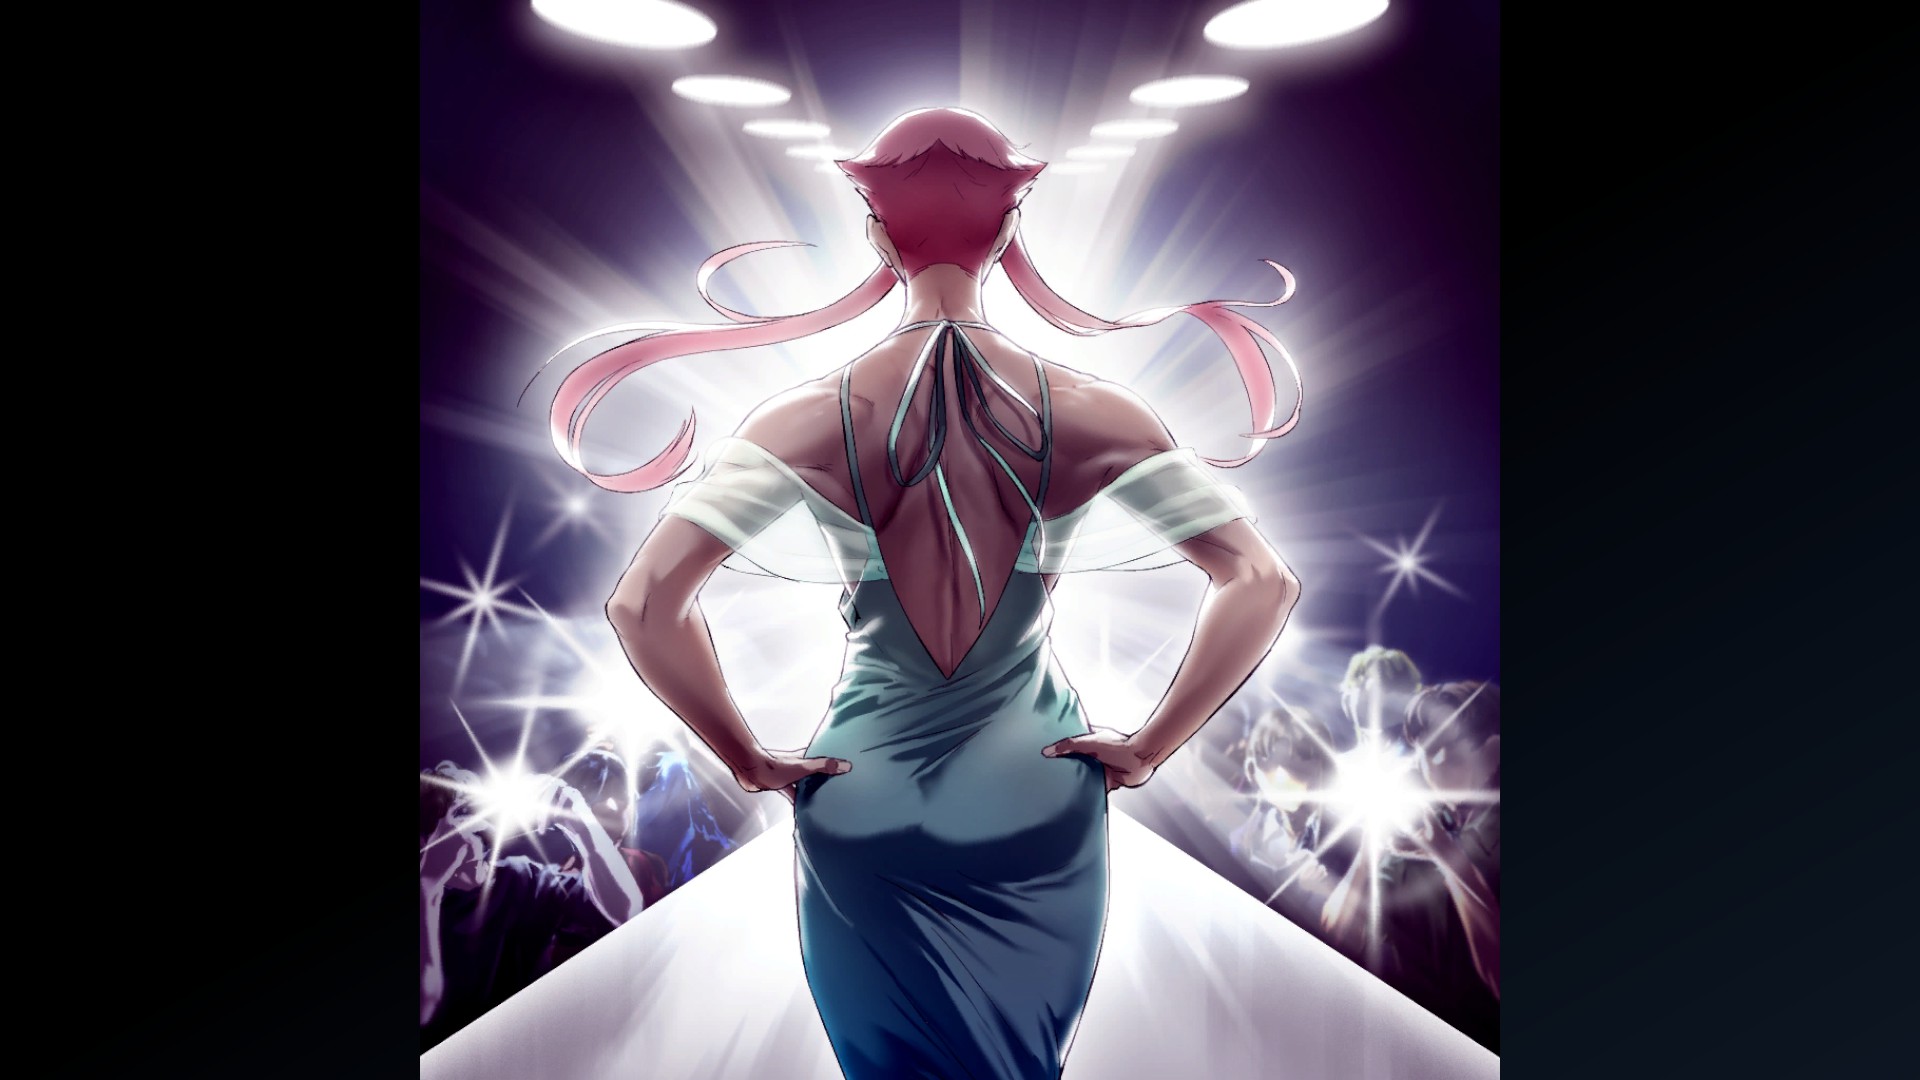
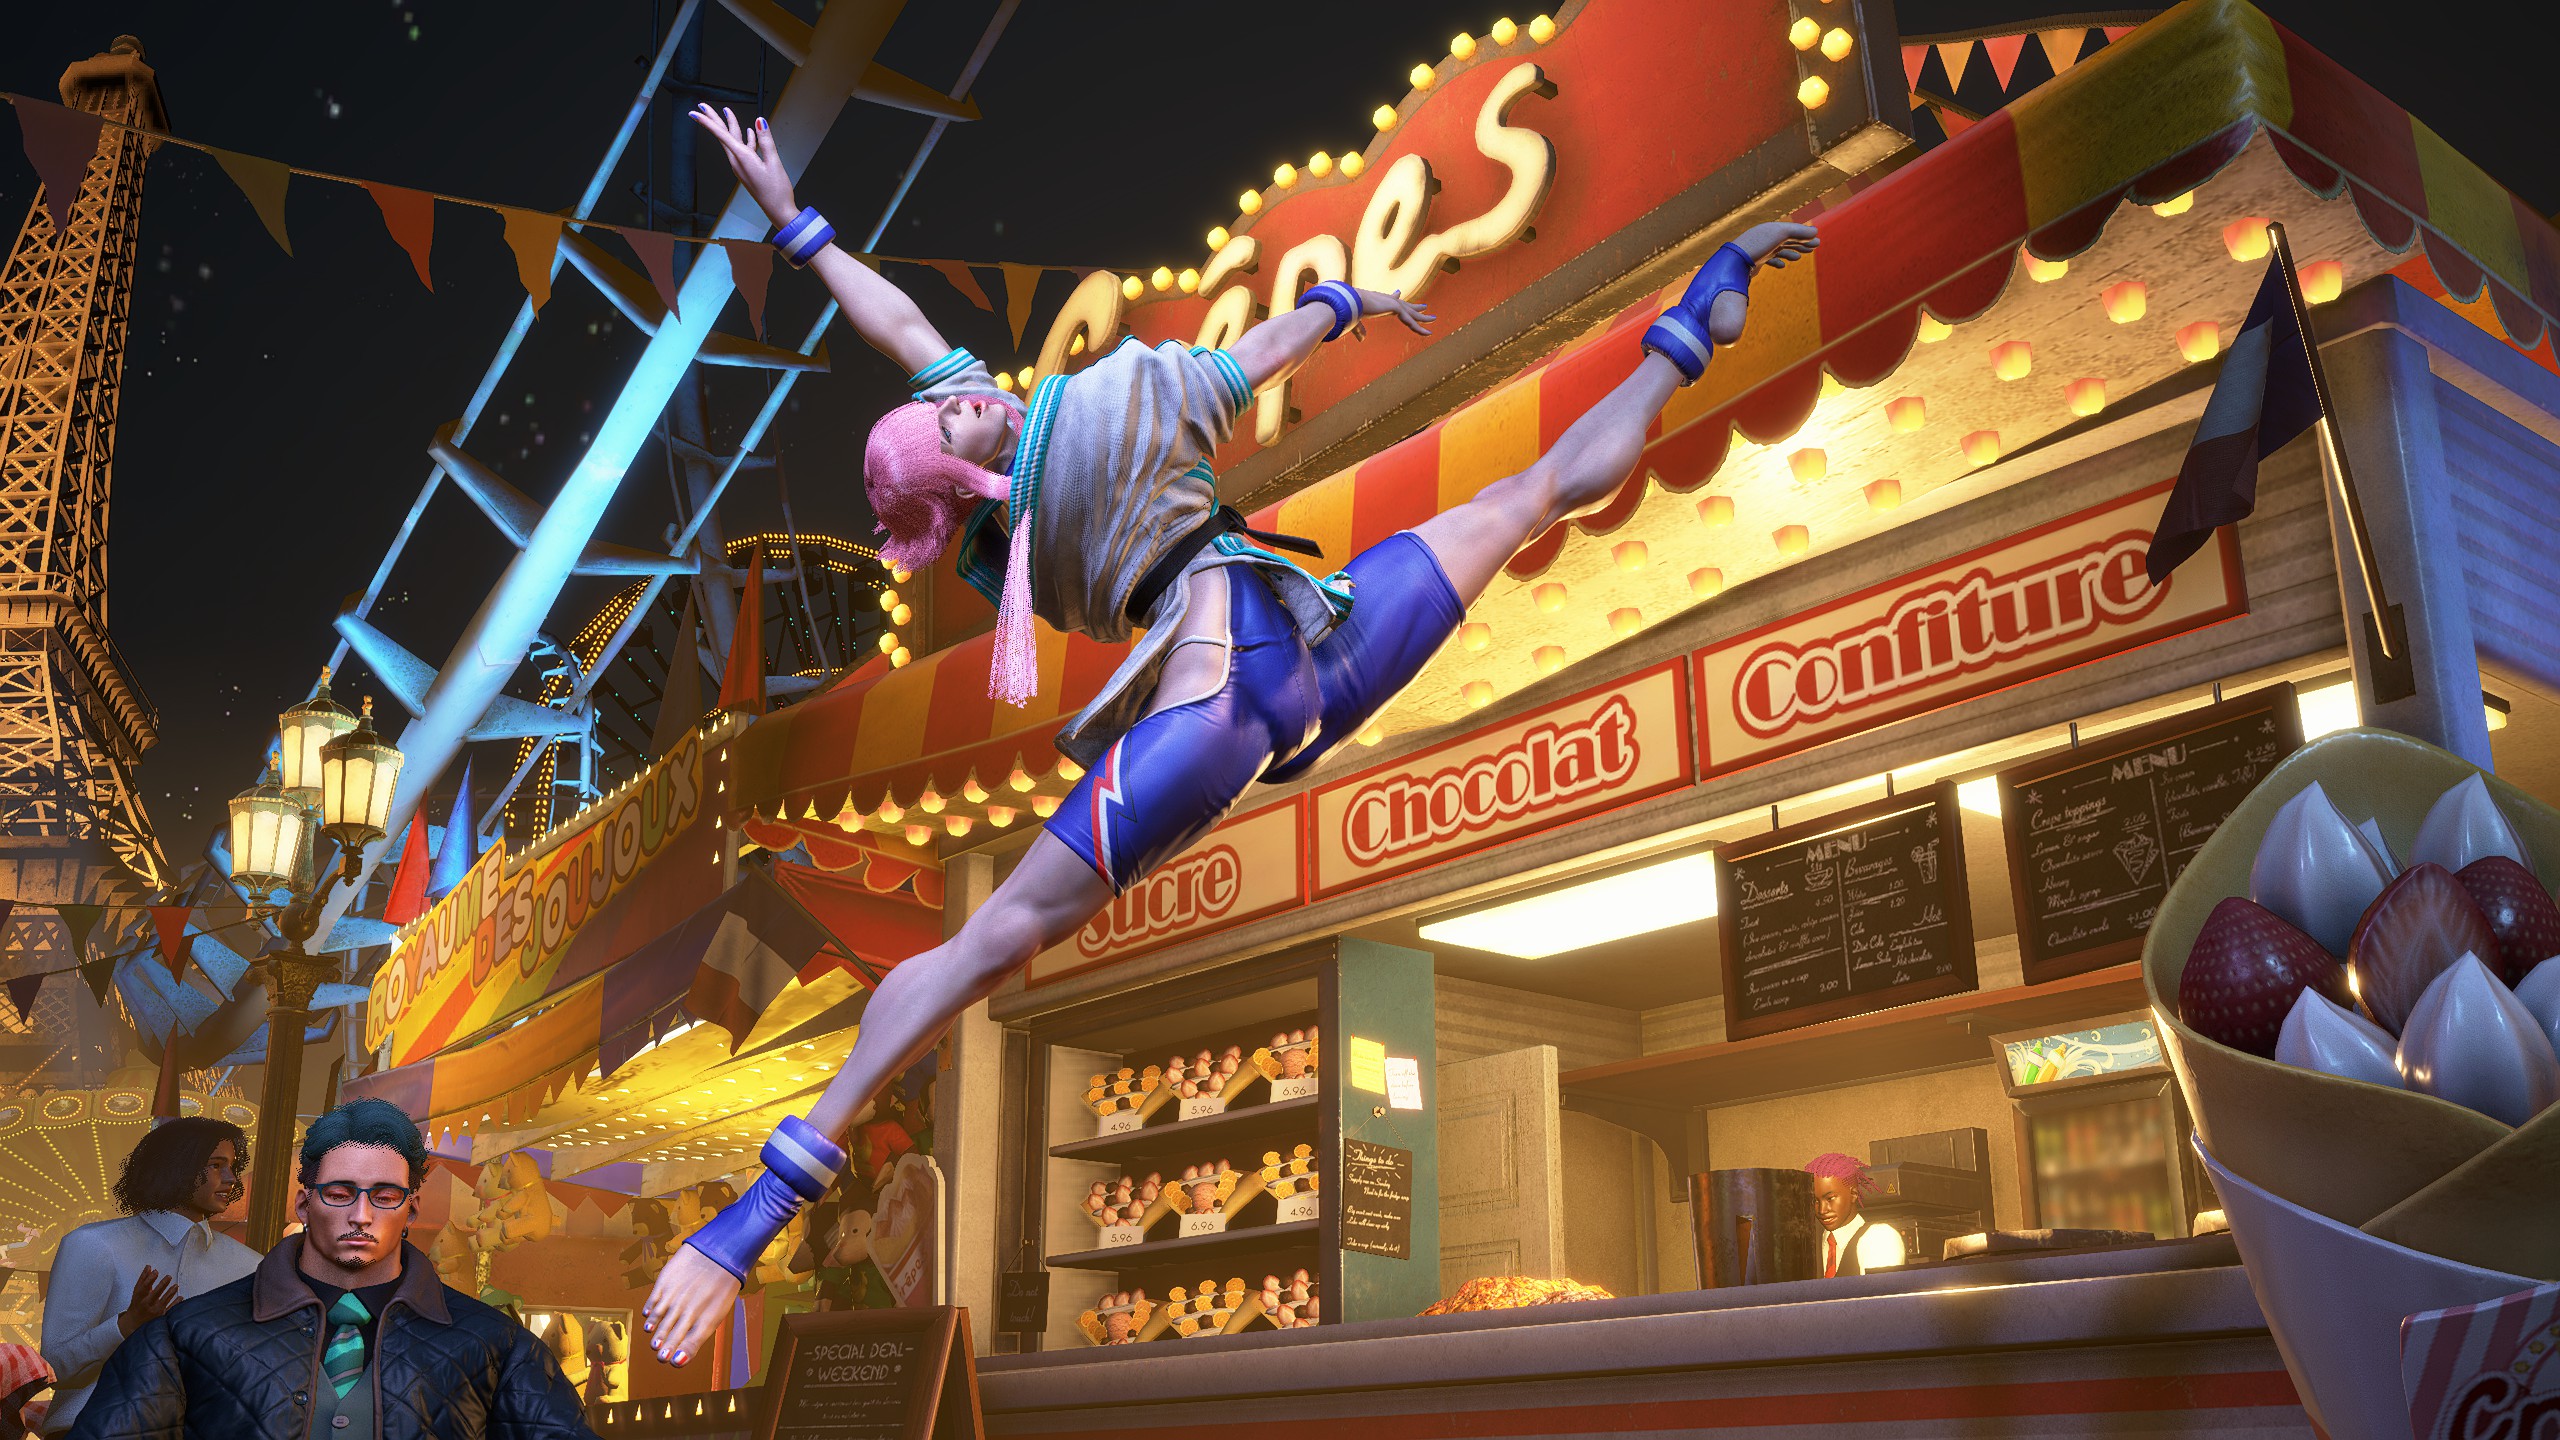
Manon - Special Artwork: Misawo Akutagawa
(Clear Arcade Once with Manon)
(Clear Arcade Once with Manon)
Character Design: Manon 1 (Clear Arcade Twice with Manon)
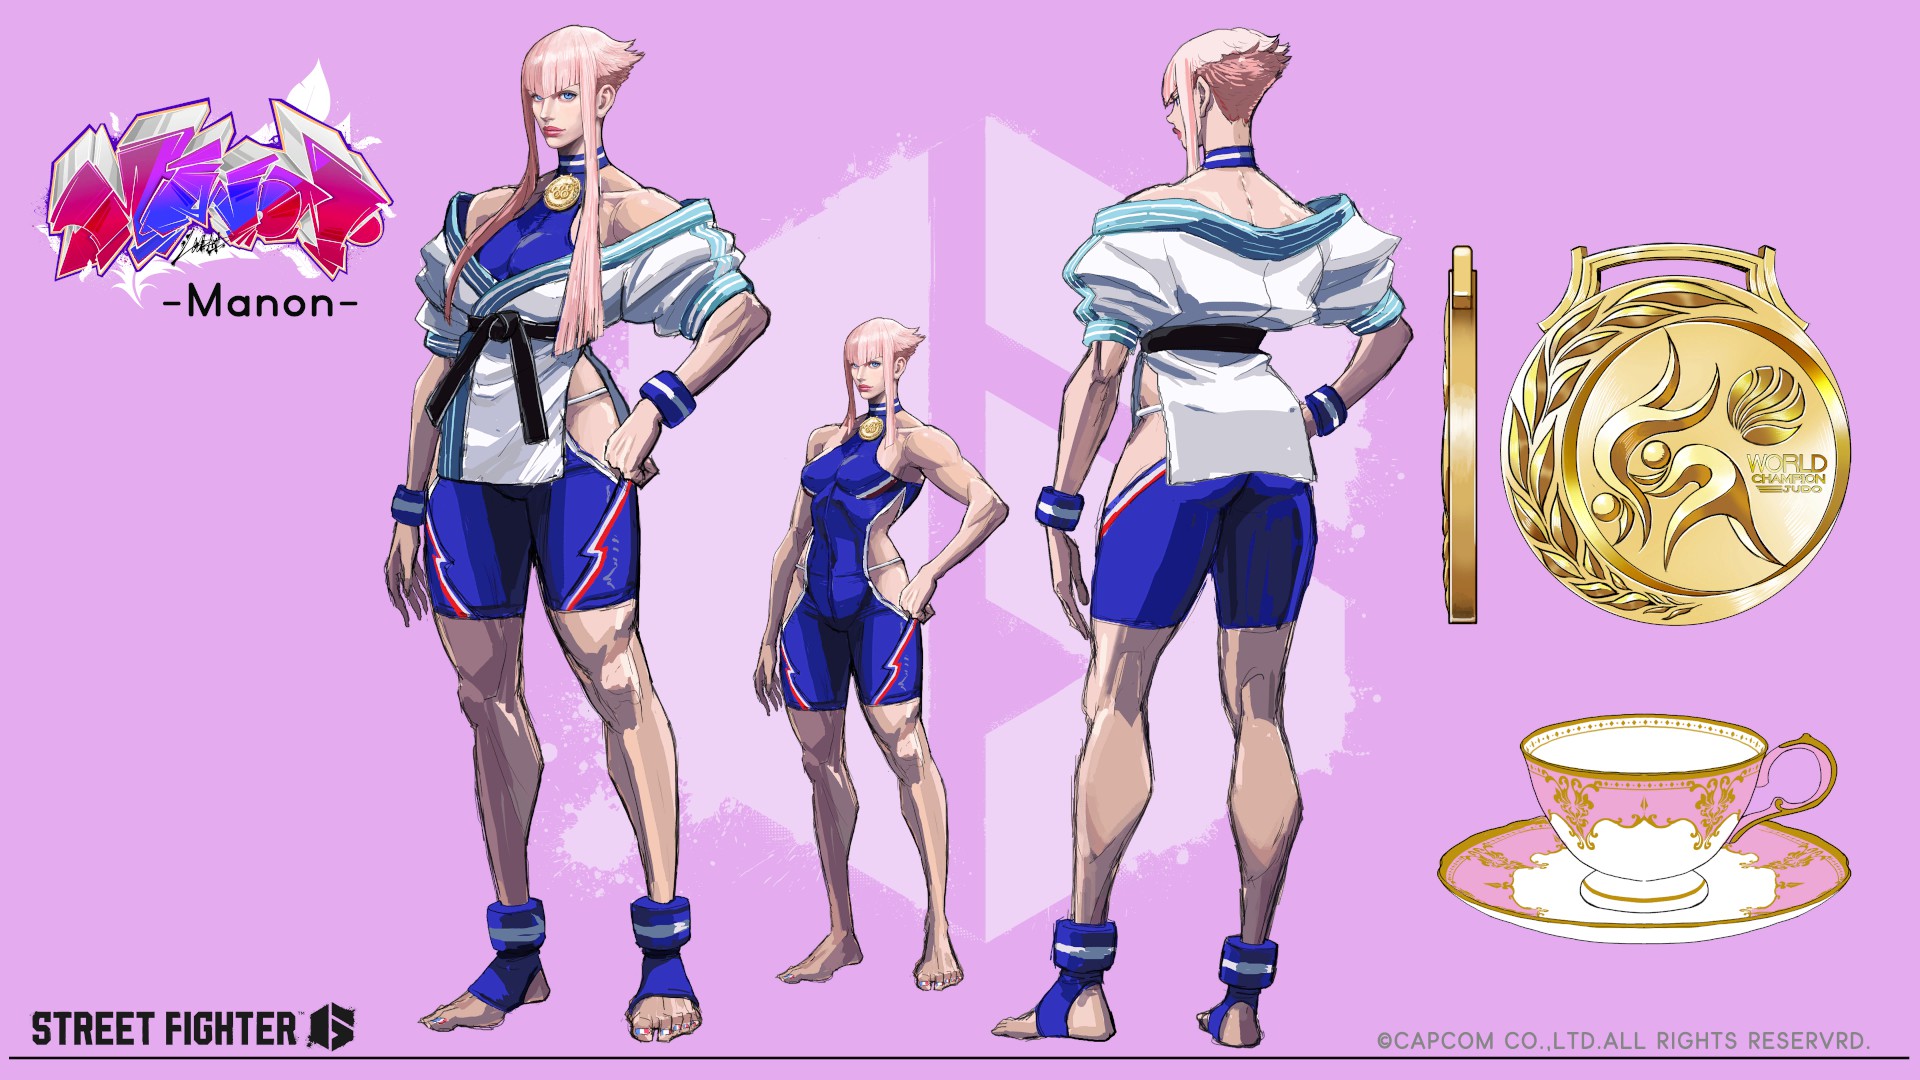
Character Design: Manon 2 (Clear Arcade Three Times with Manon)
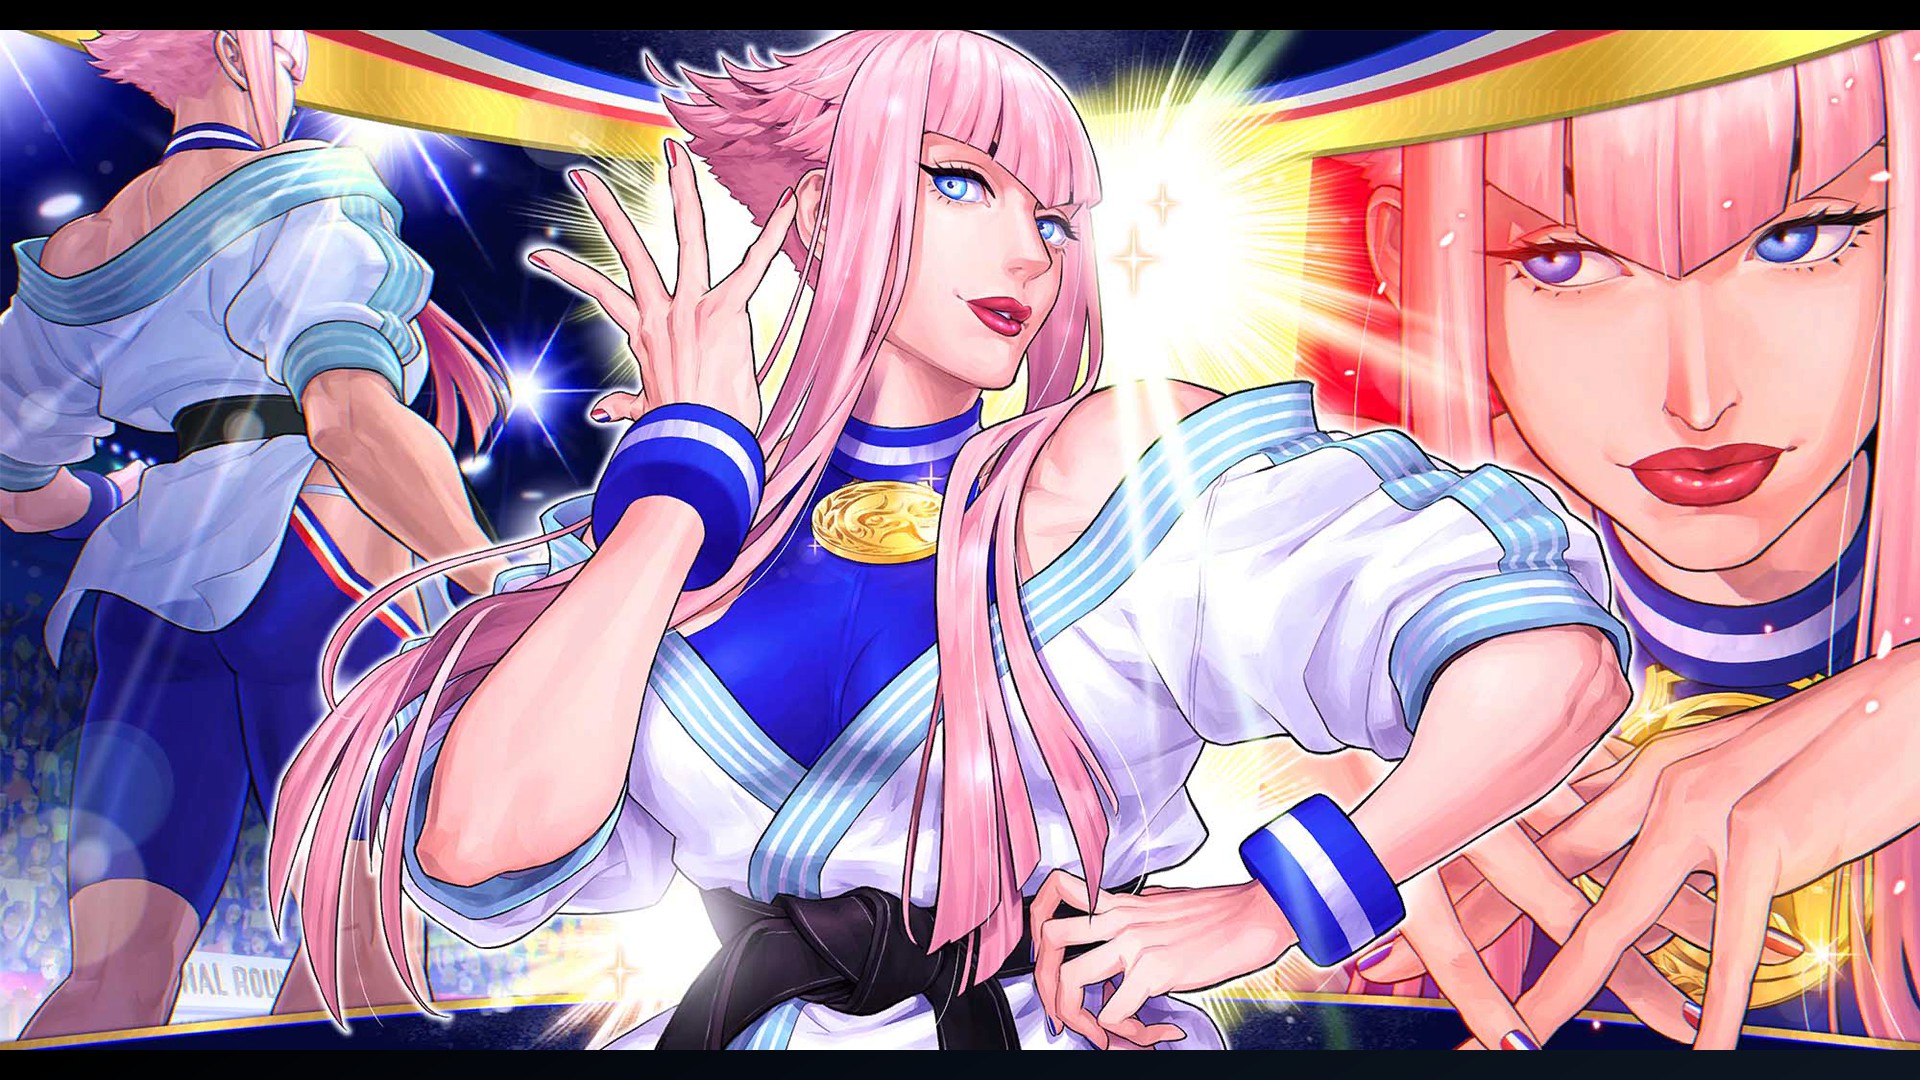
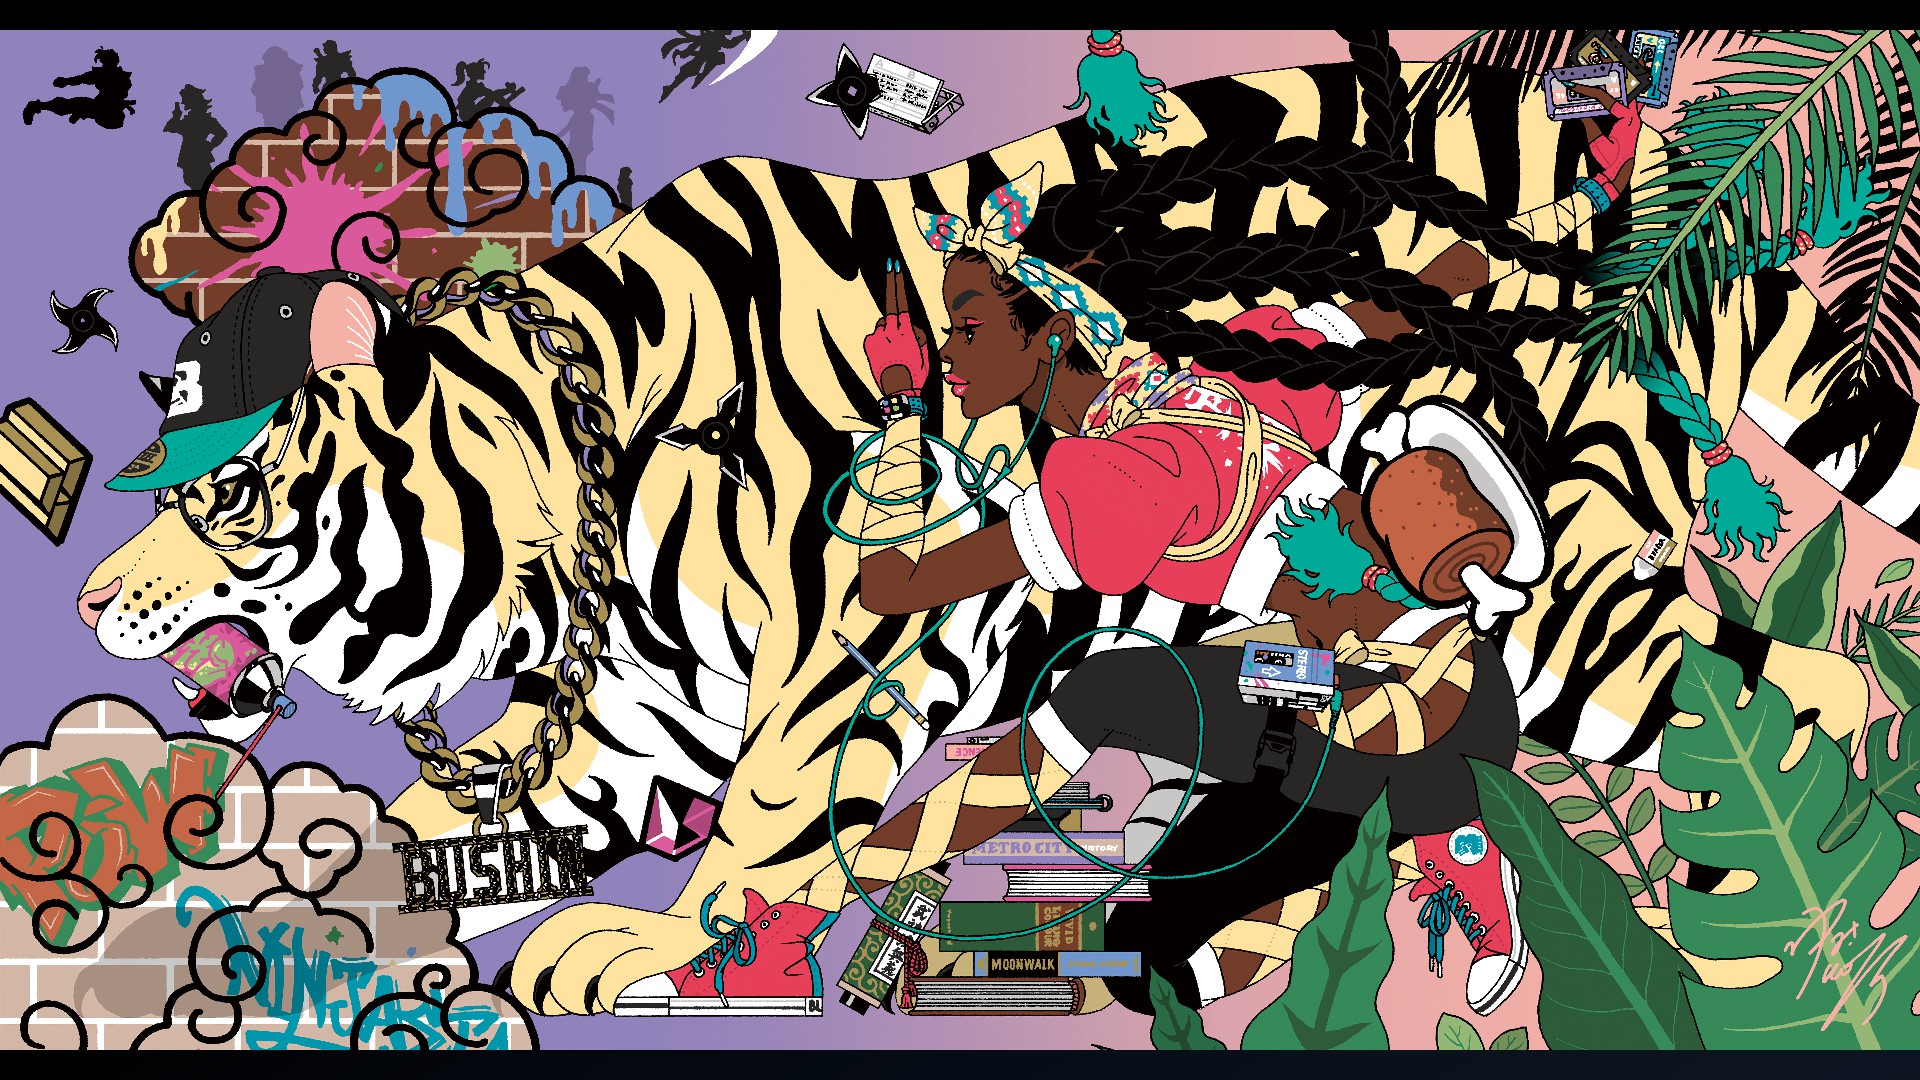
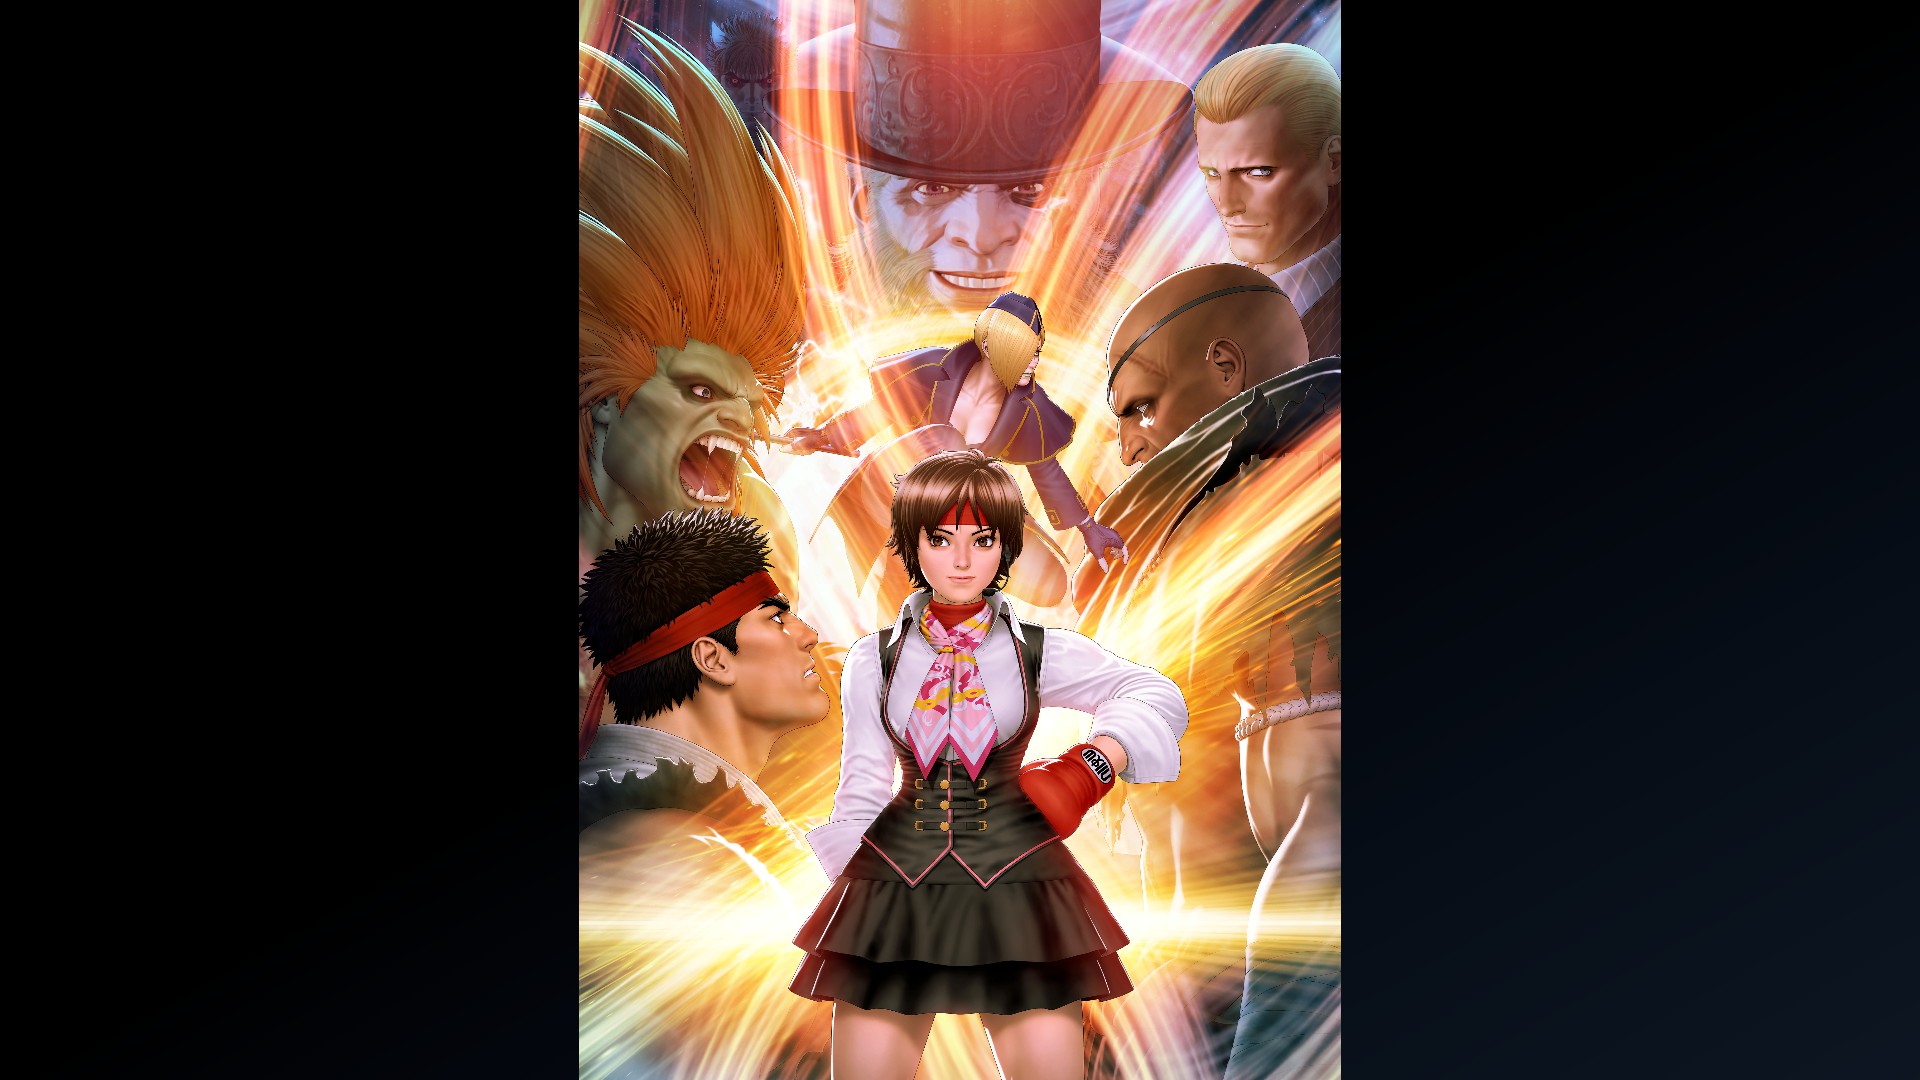
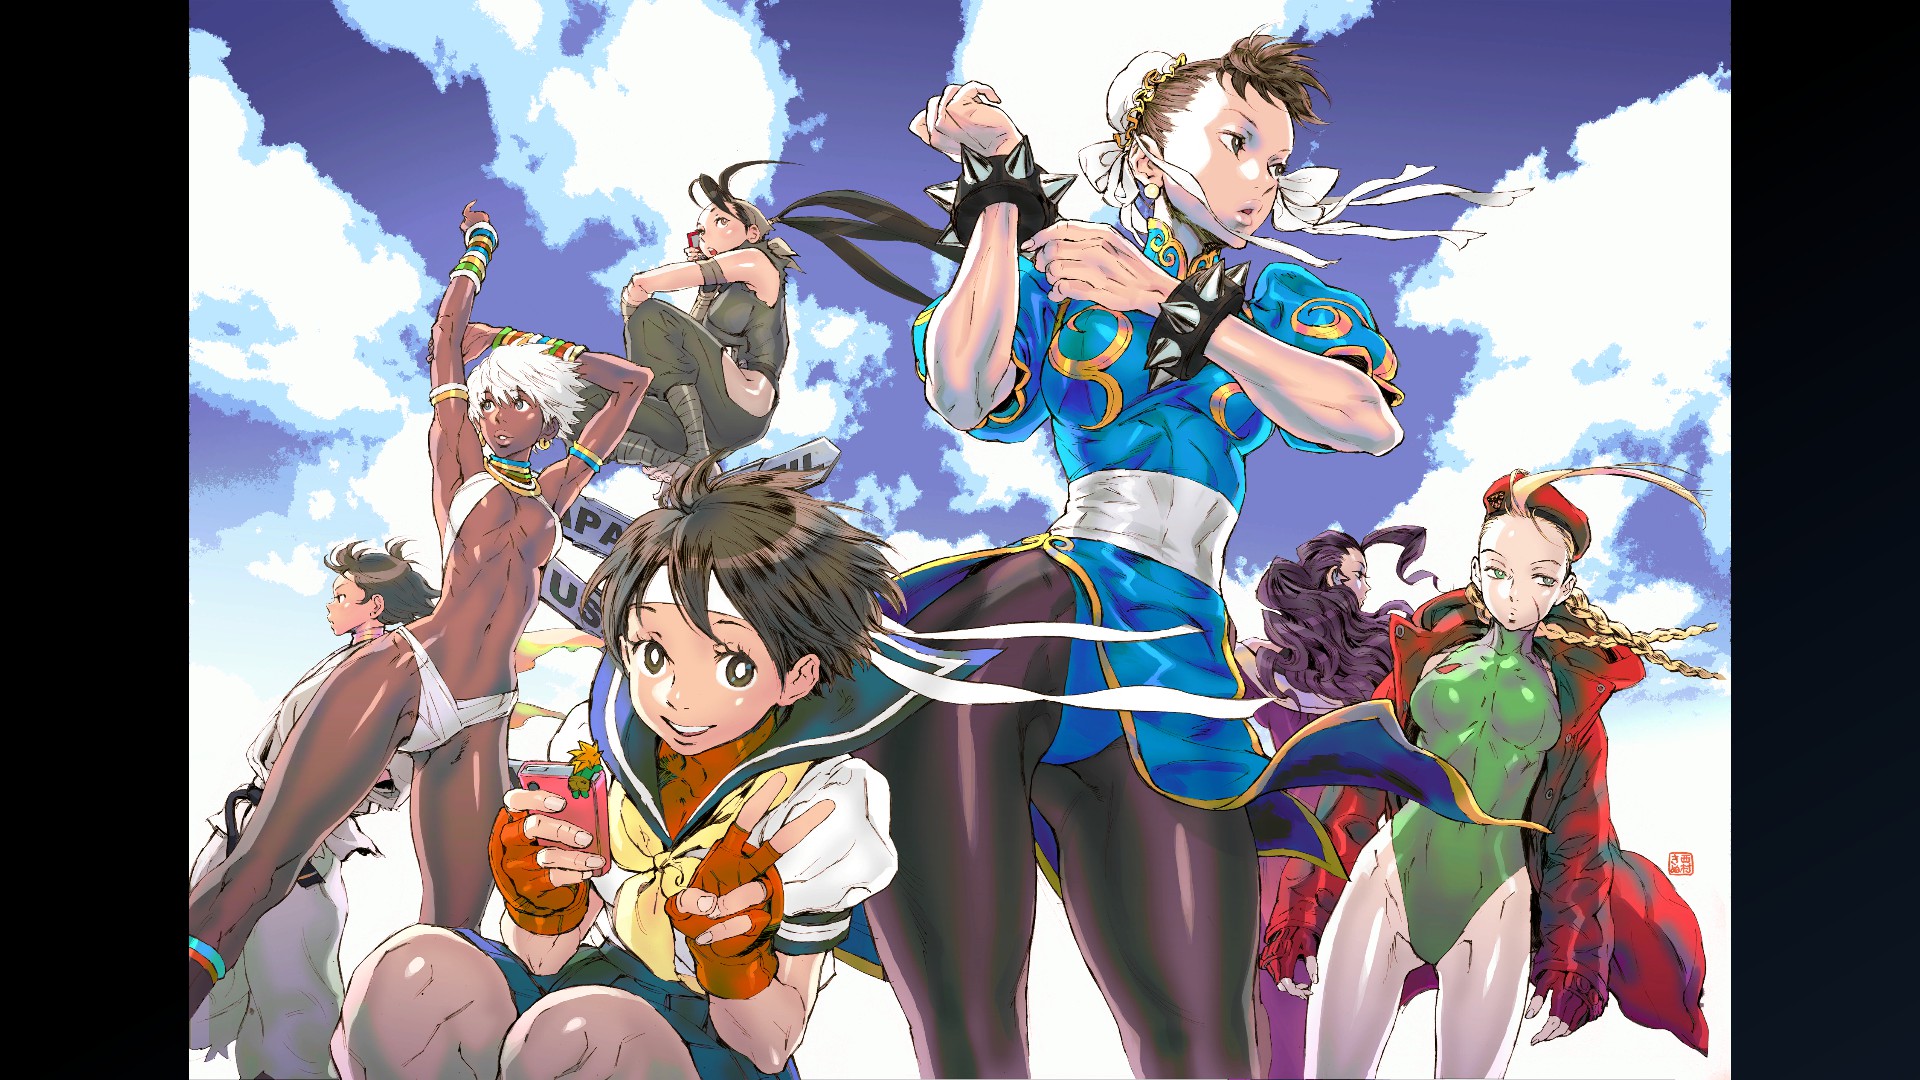
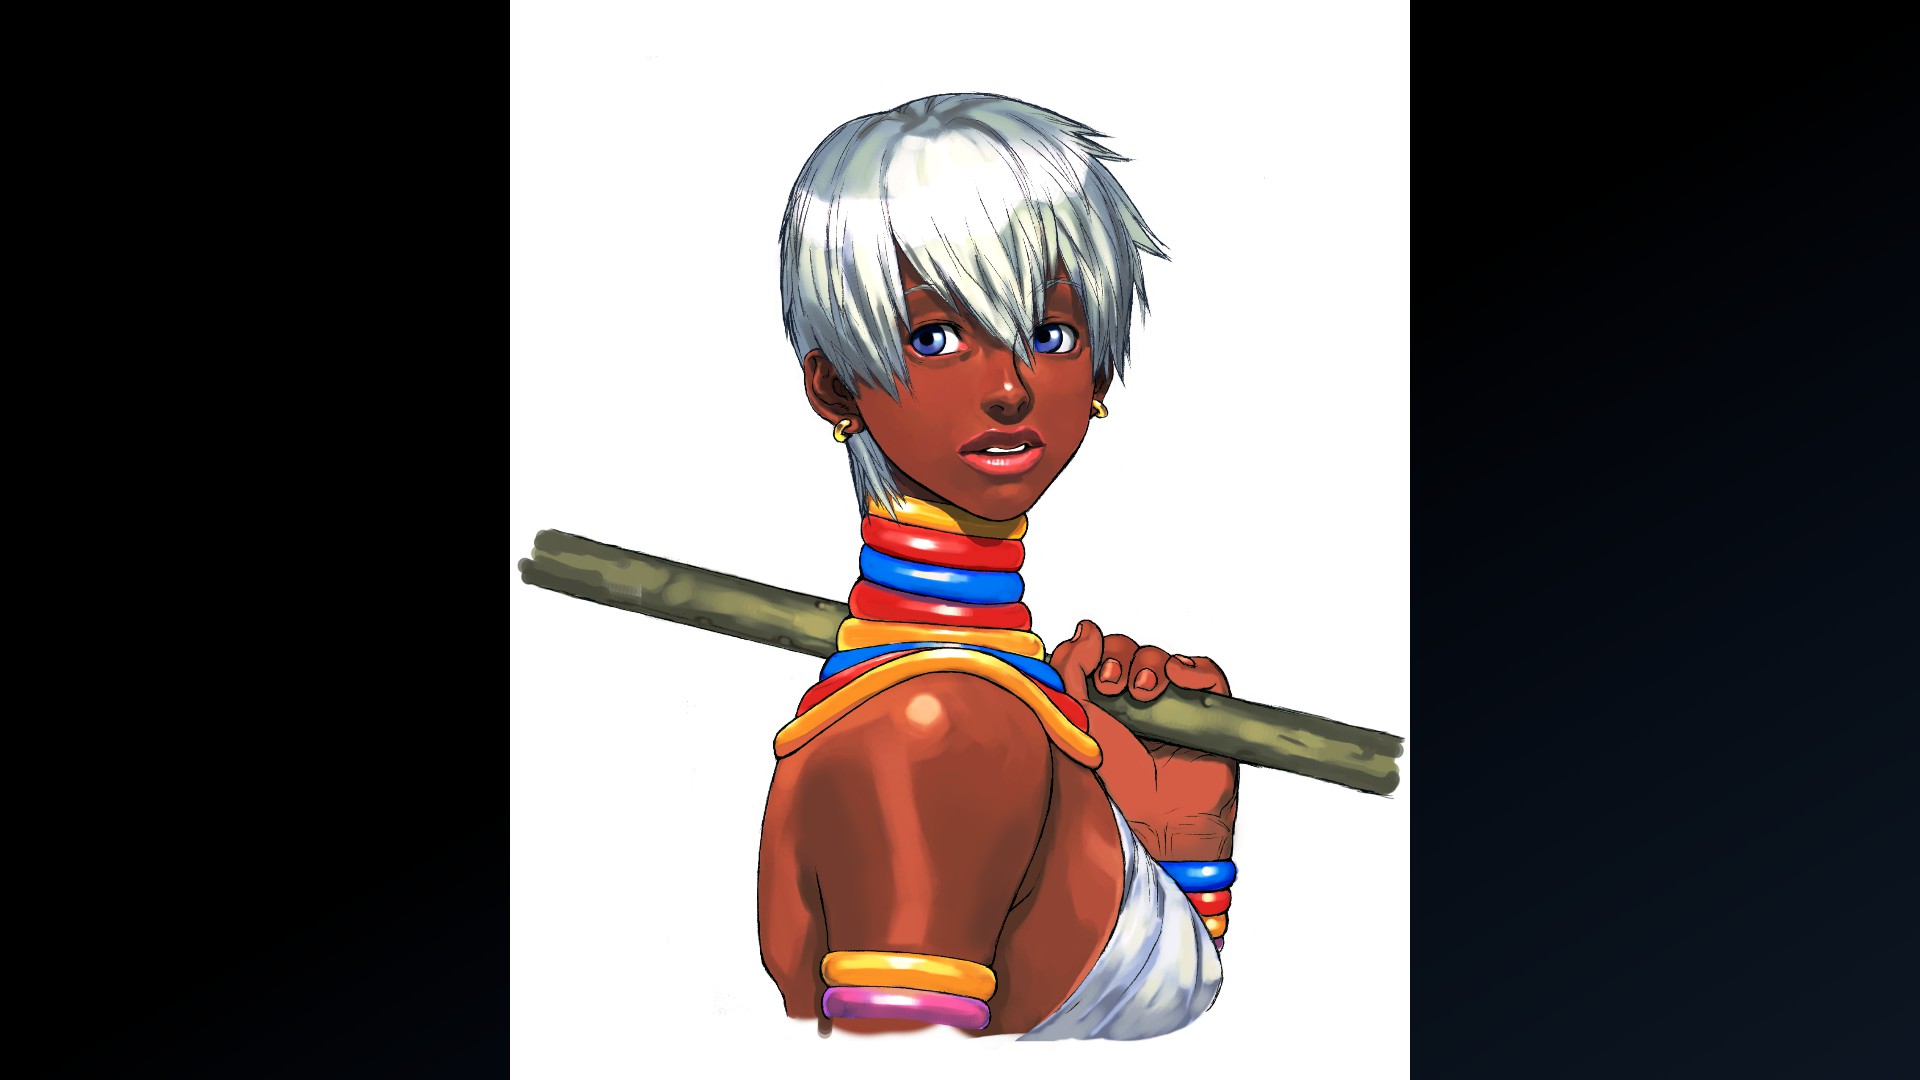
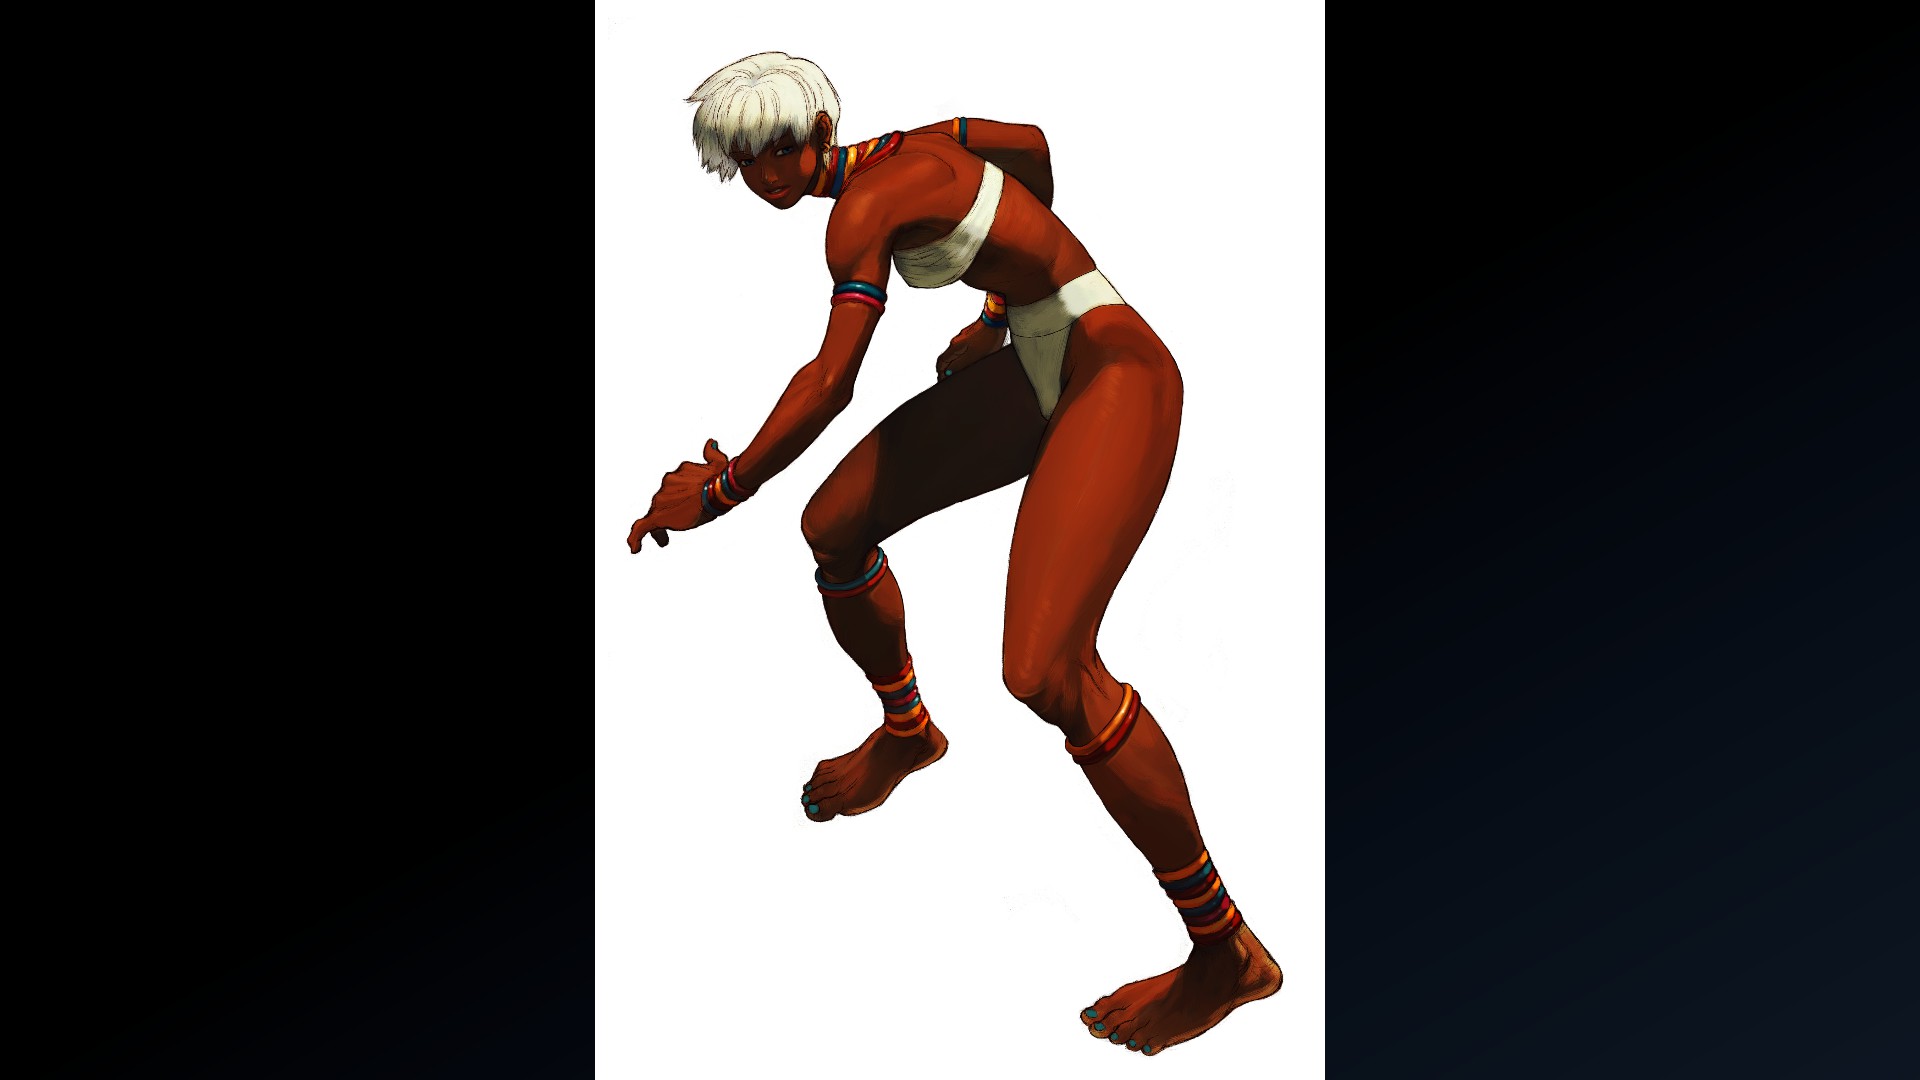
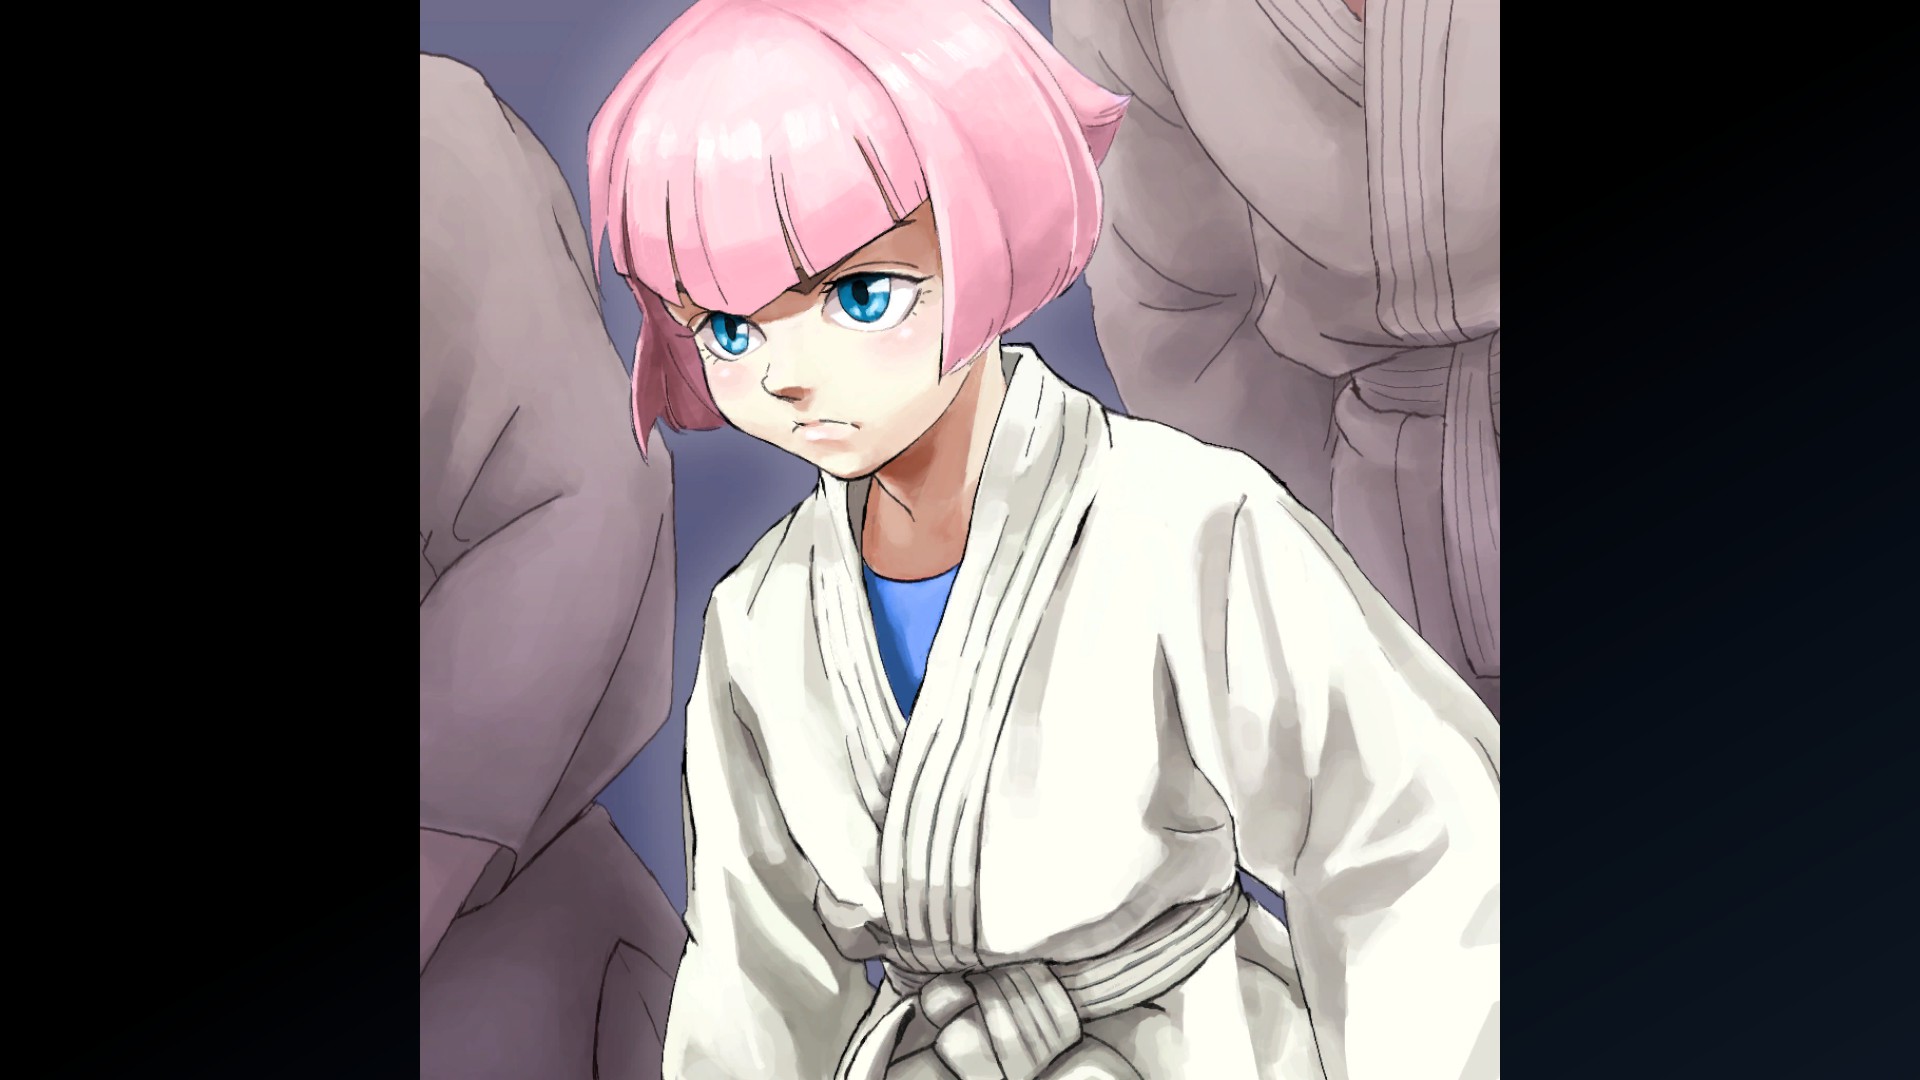
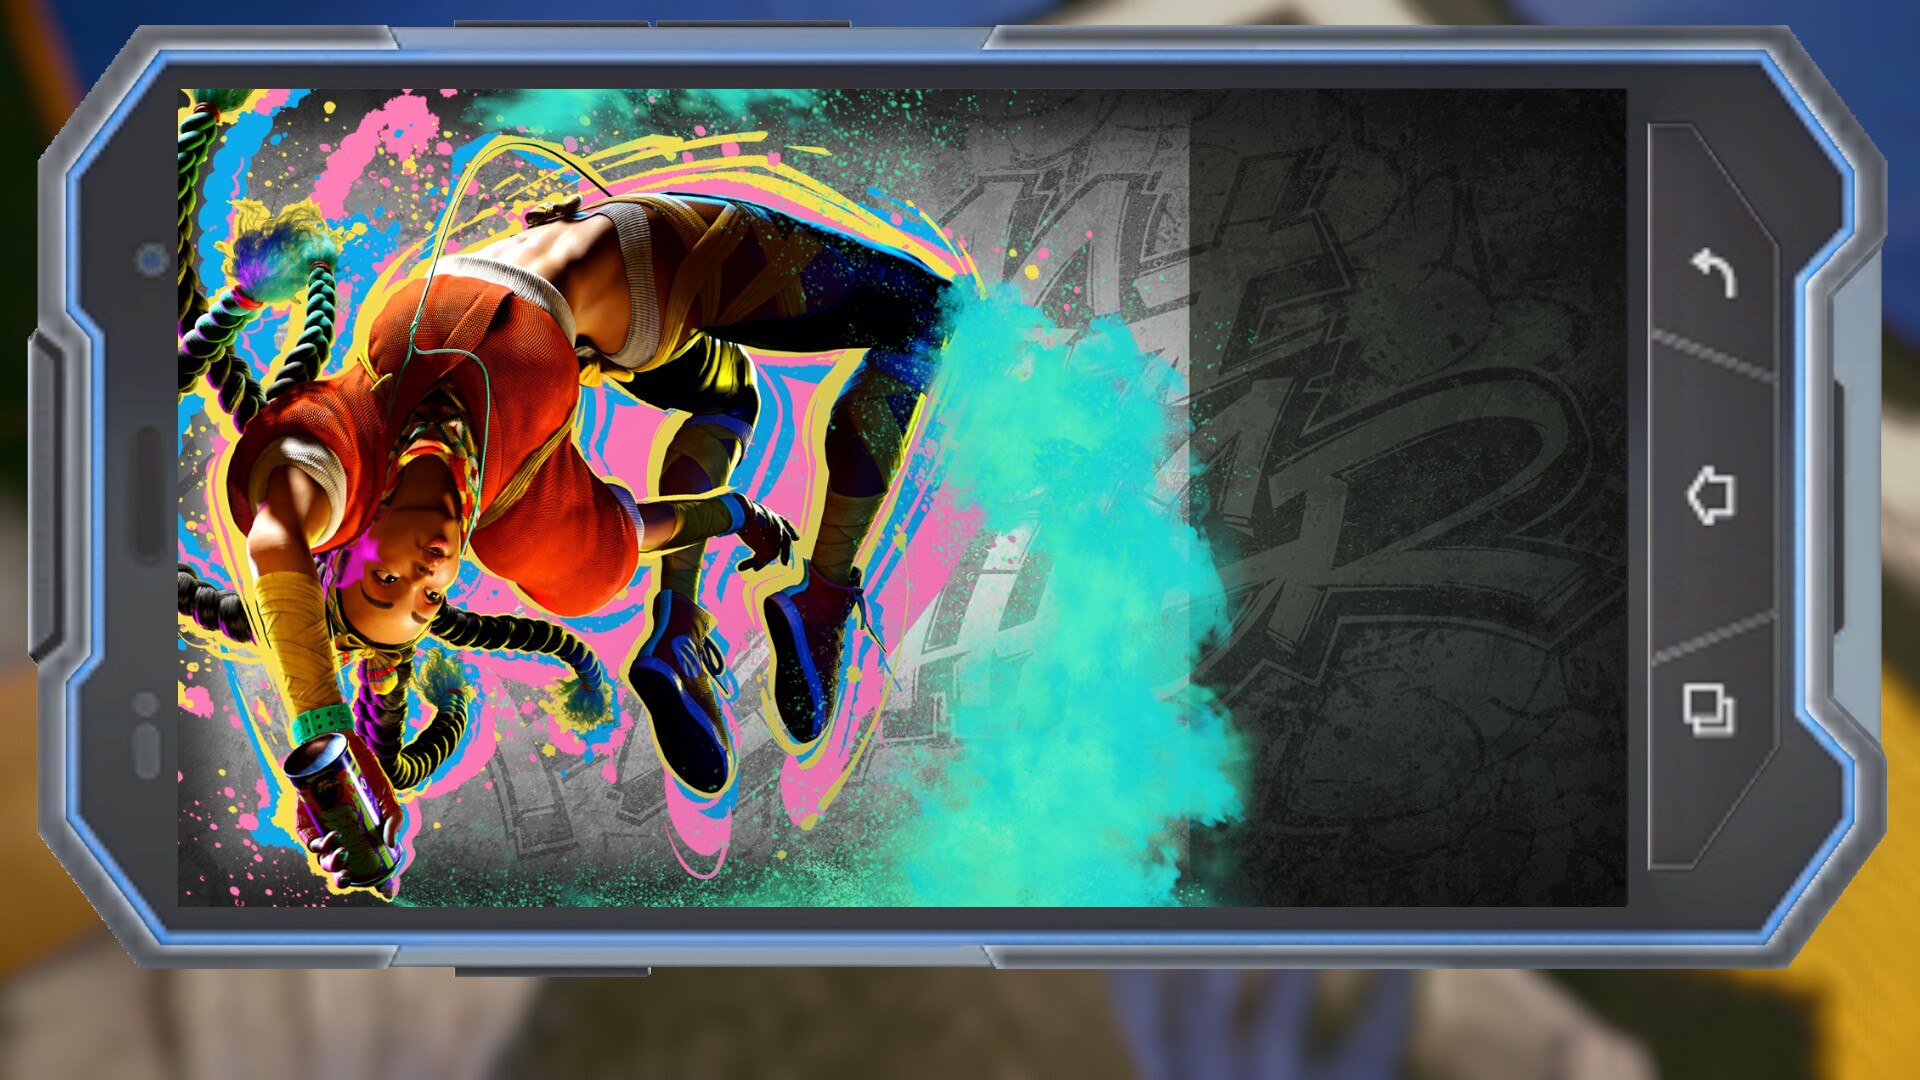
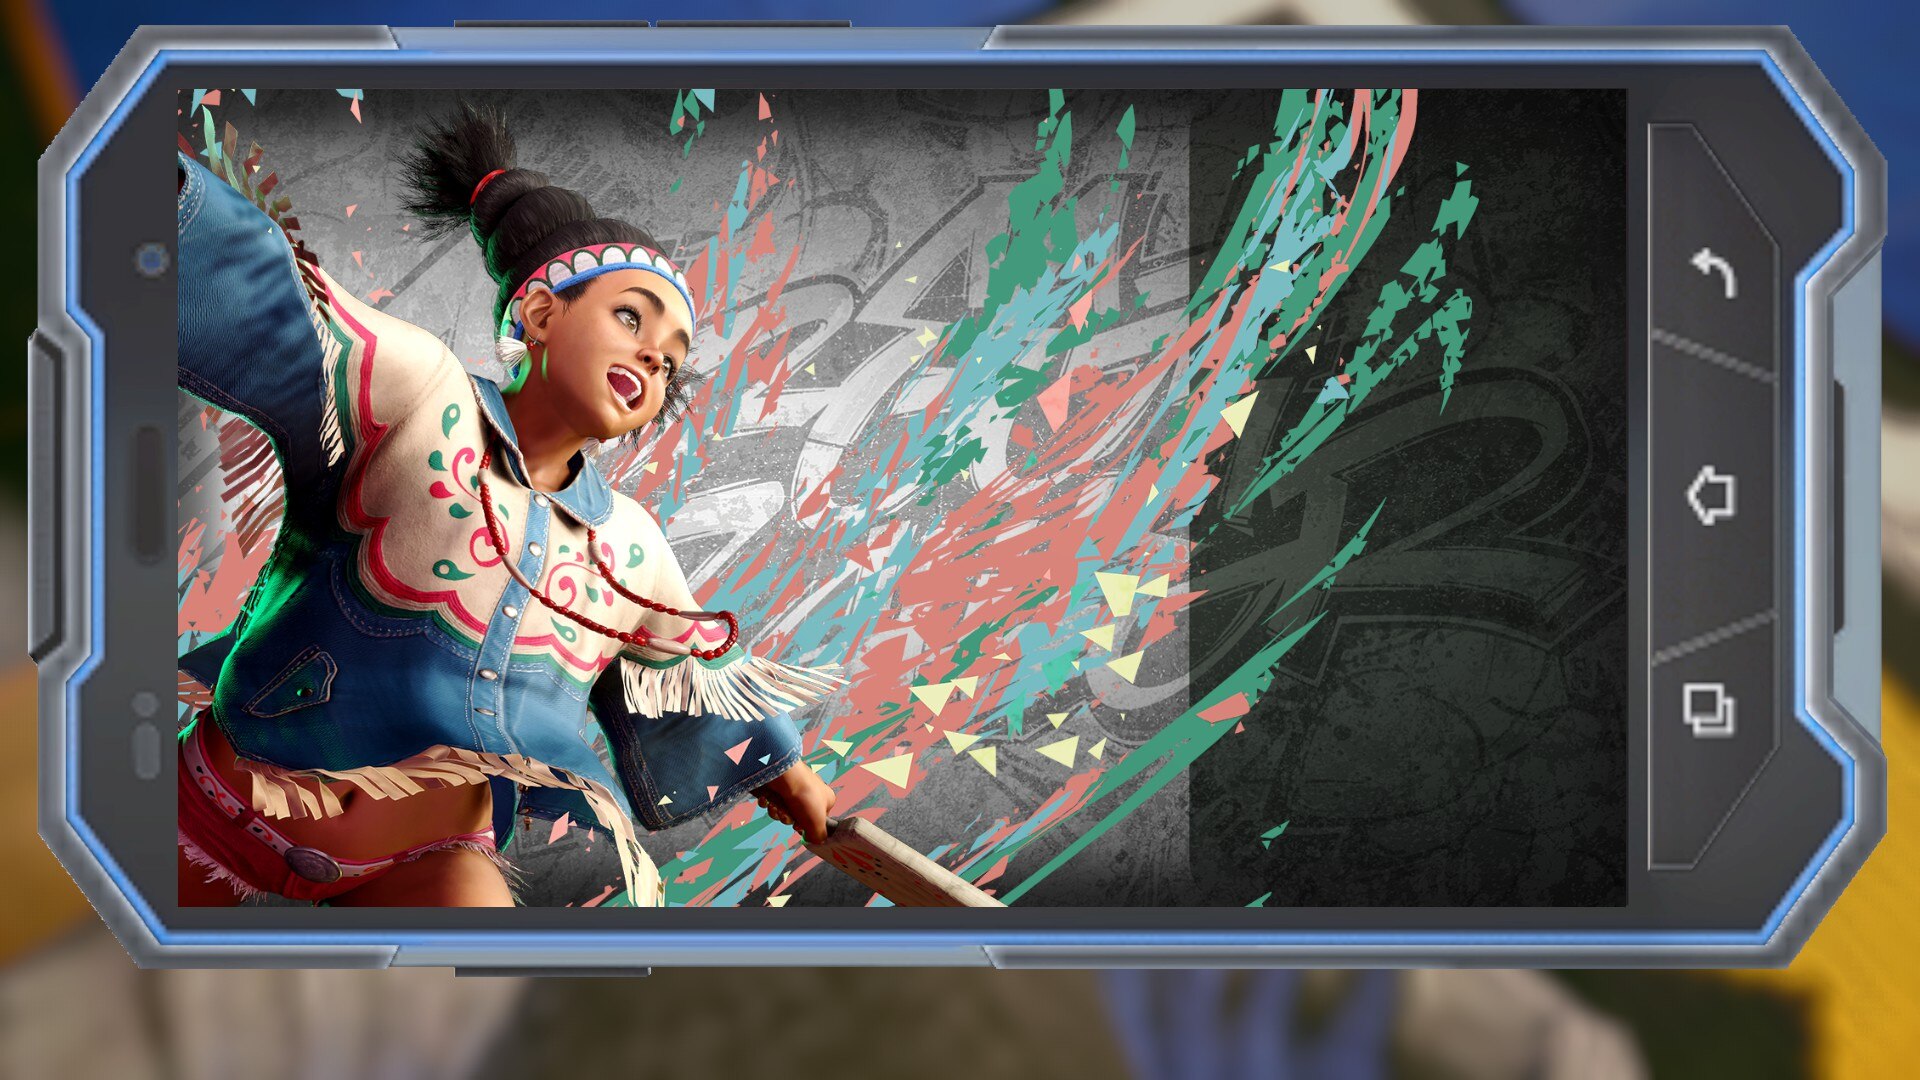
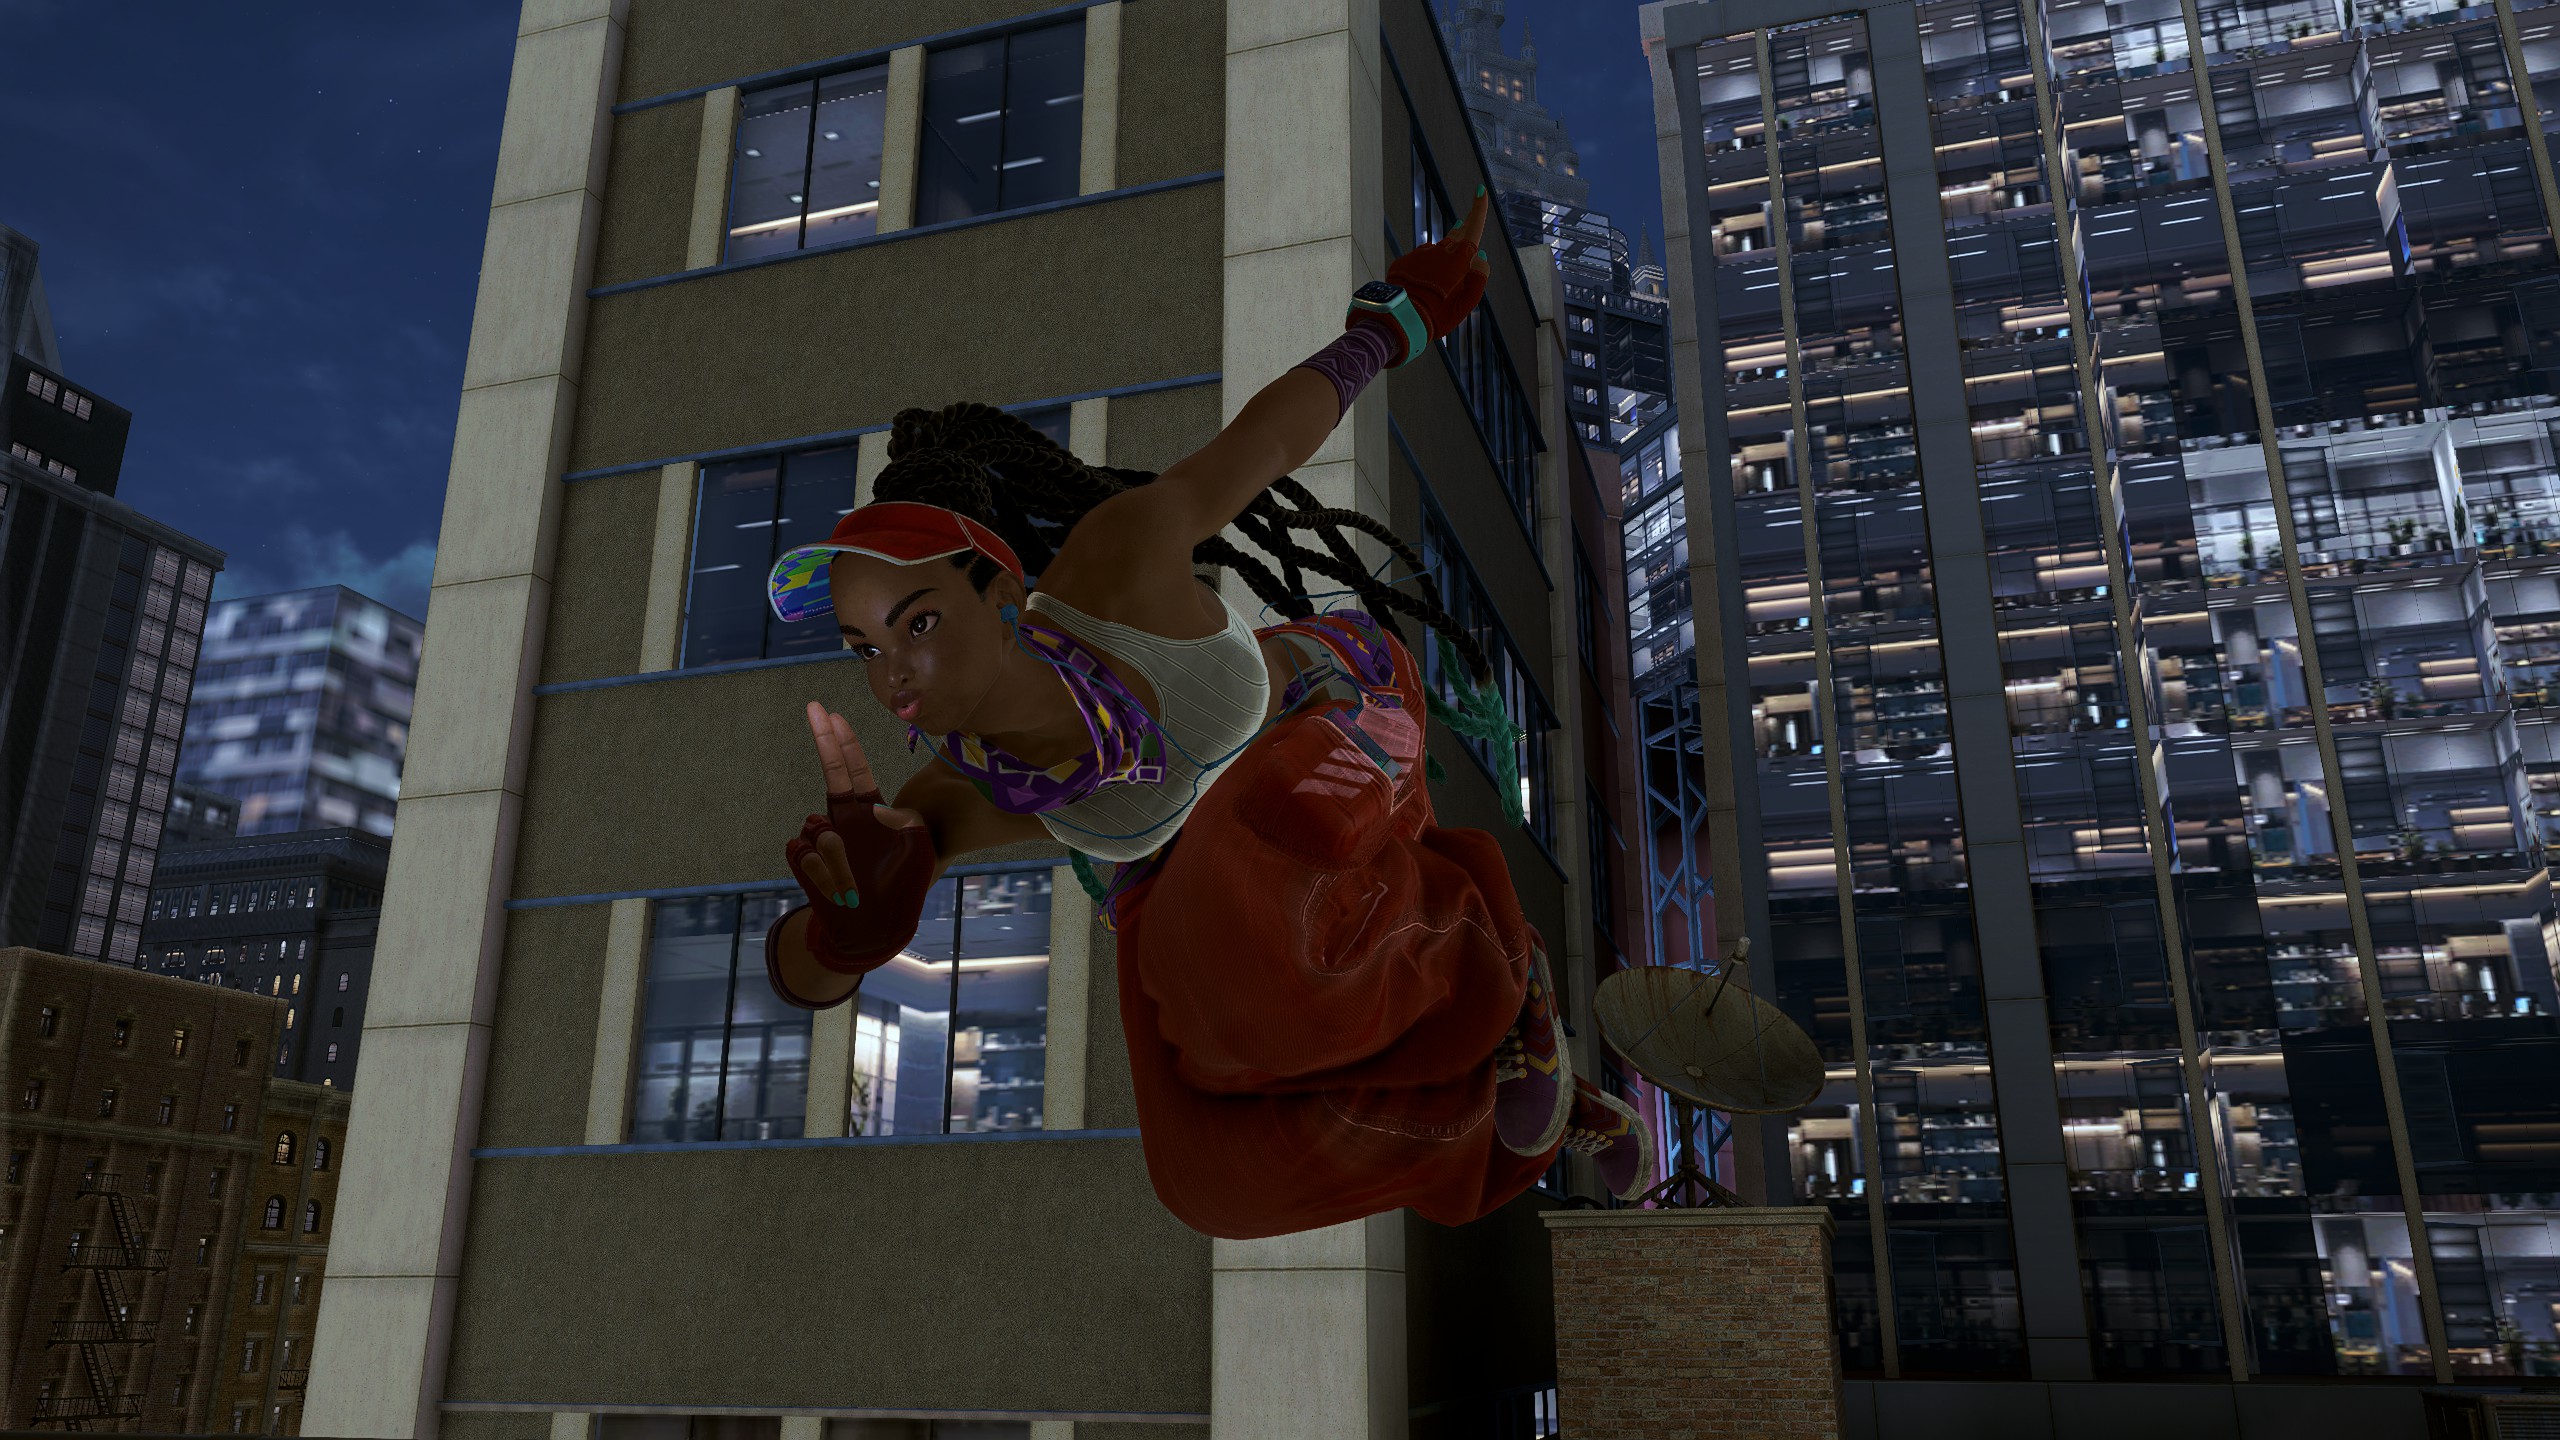
Kimberly - Special Artwork: Yusuke Nakamura
(Clear Arcade Once with Kimberly)
(Clear Arcade Once with Kimberly)
Character Design: Kimberly 1 (Clear Arcade Twice with Kimberly)
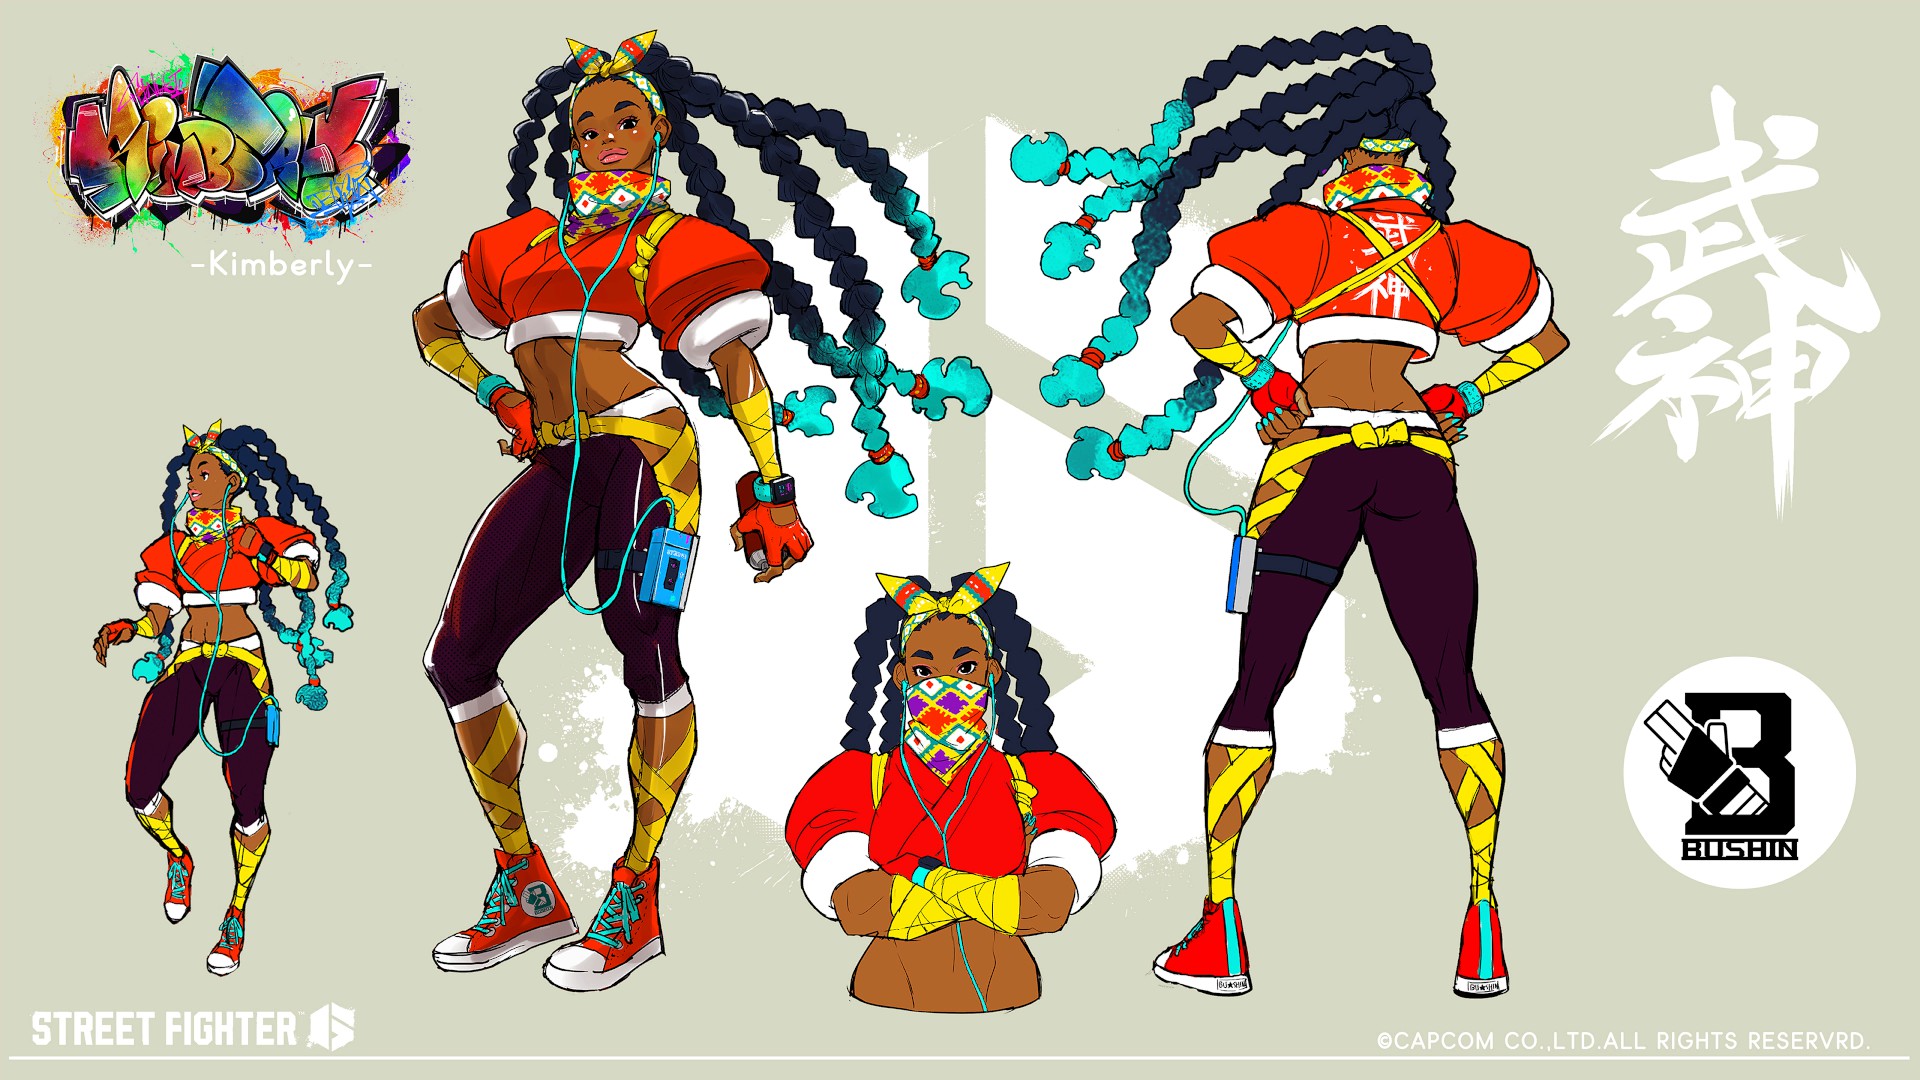
Character Design: Kimberly 2
(Clear Arcade Three Times with Kimberly)
(Clear Arcade Three Times with Kimberly)

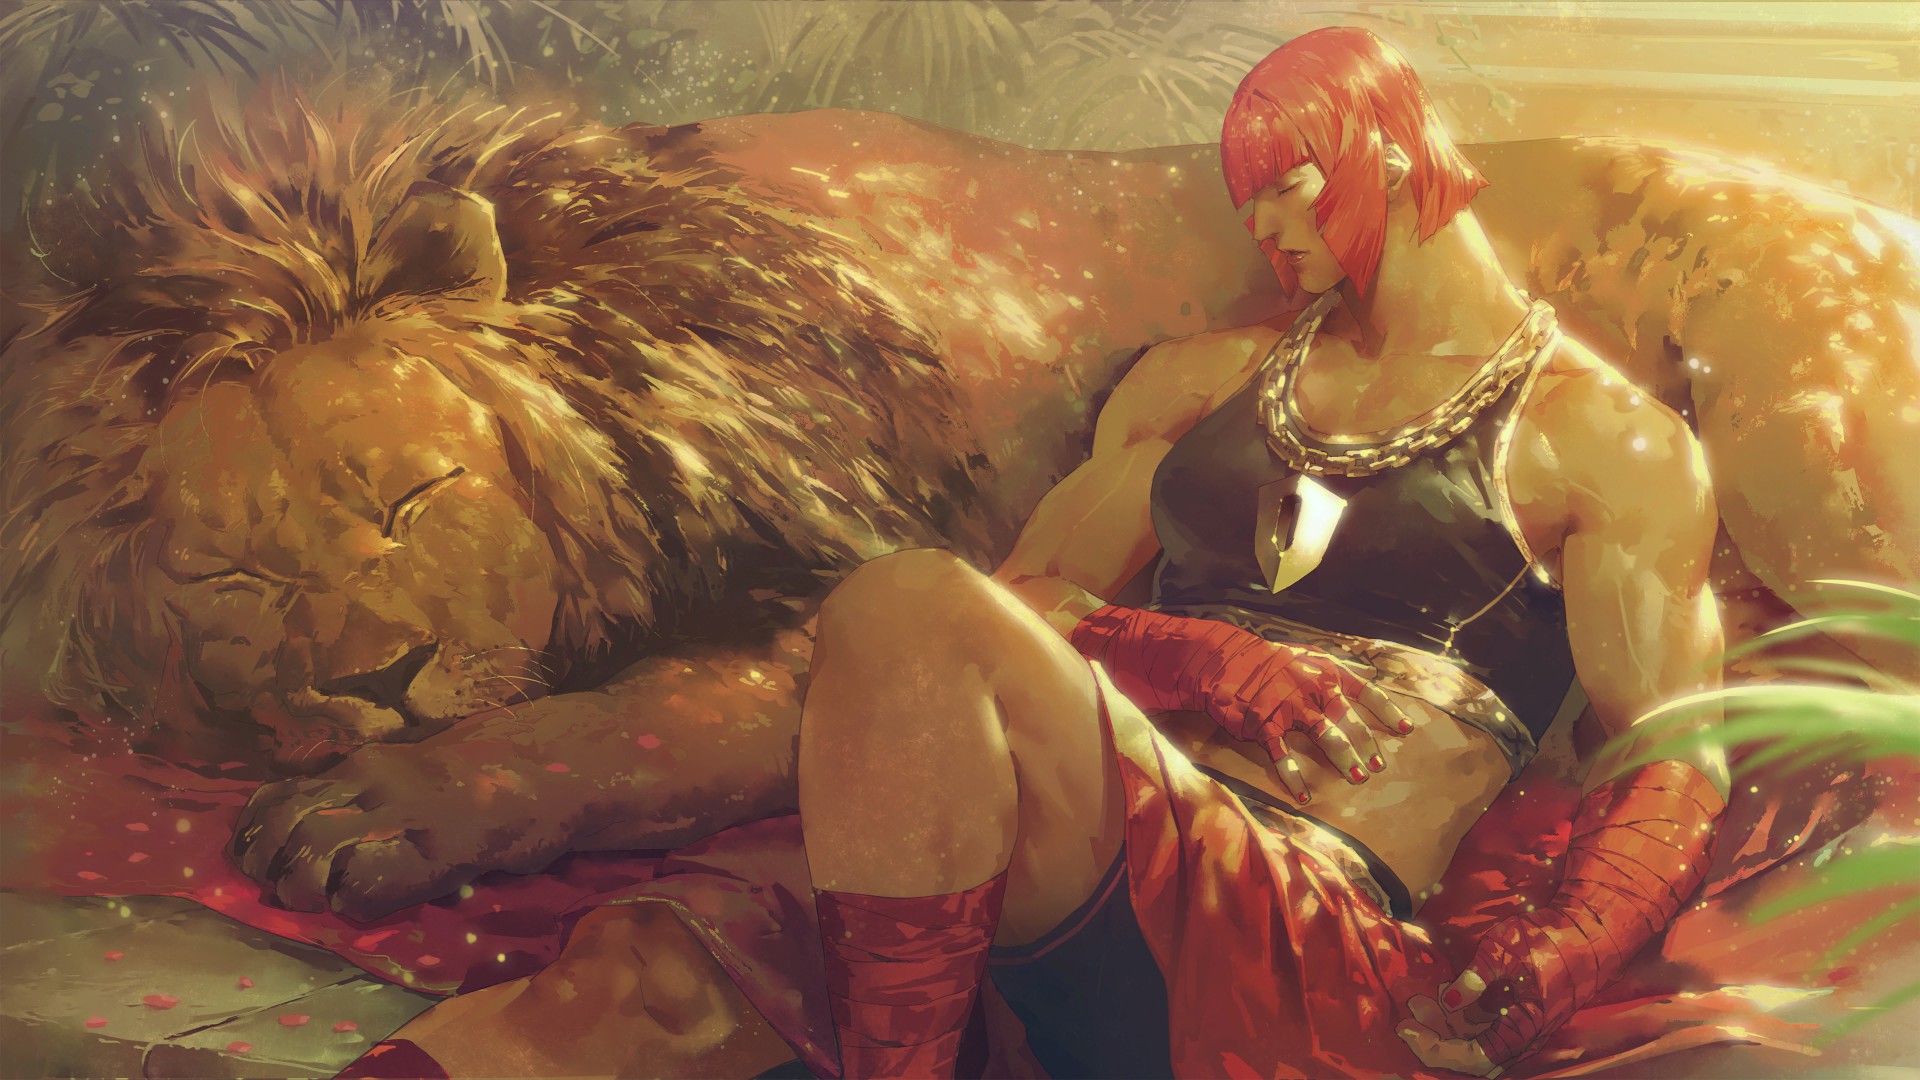
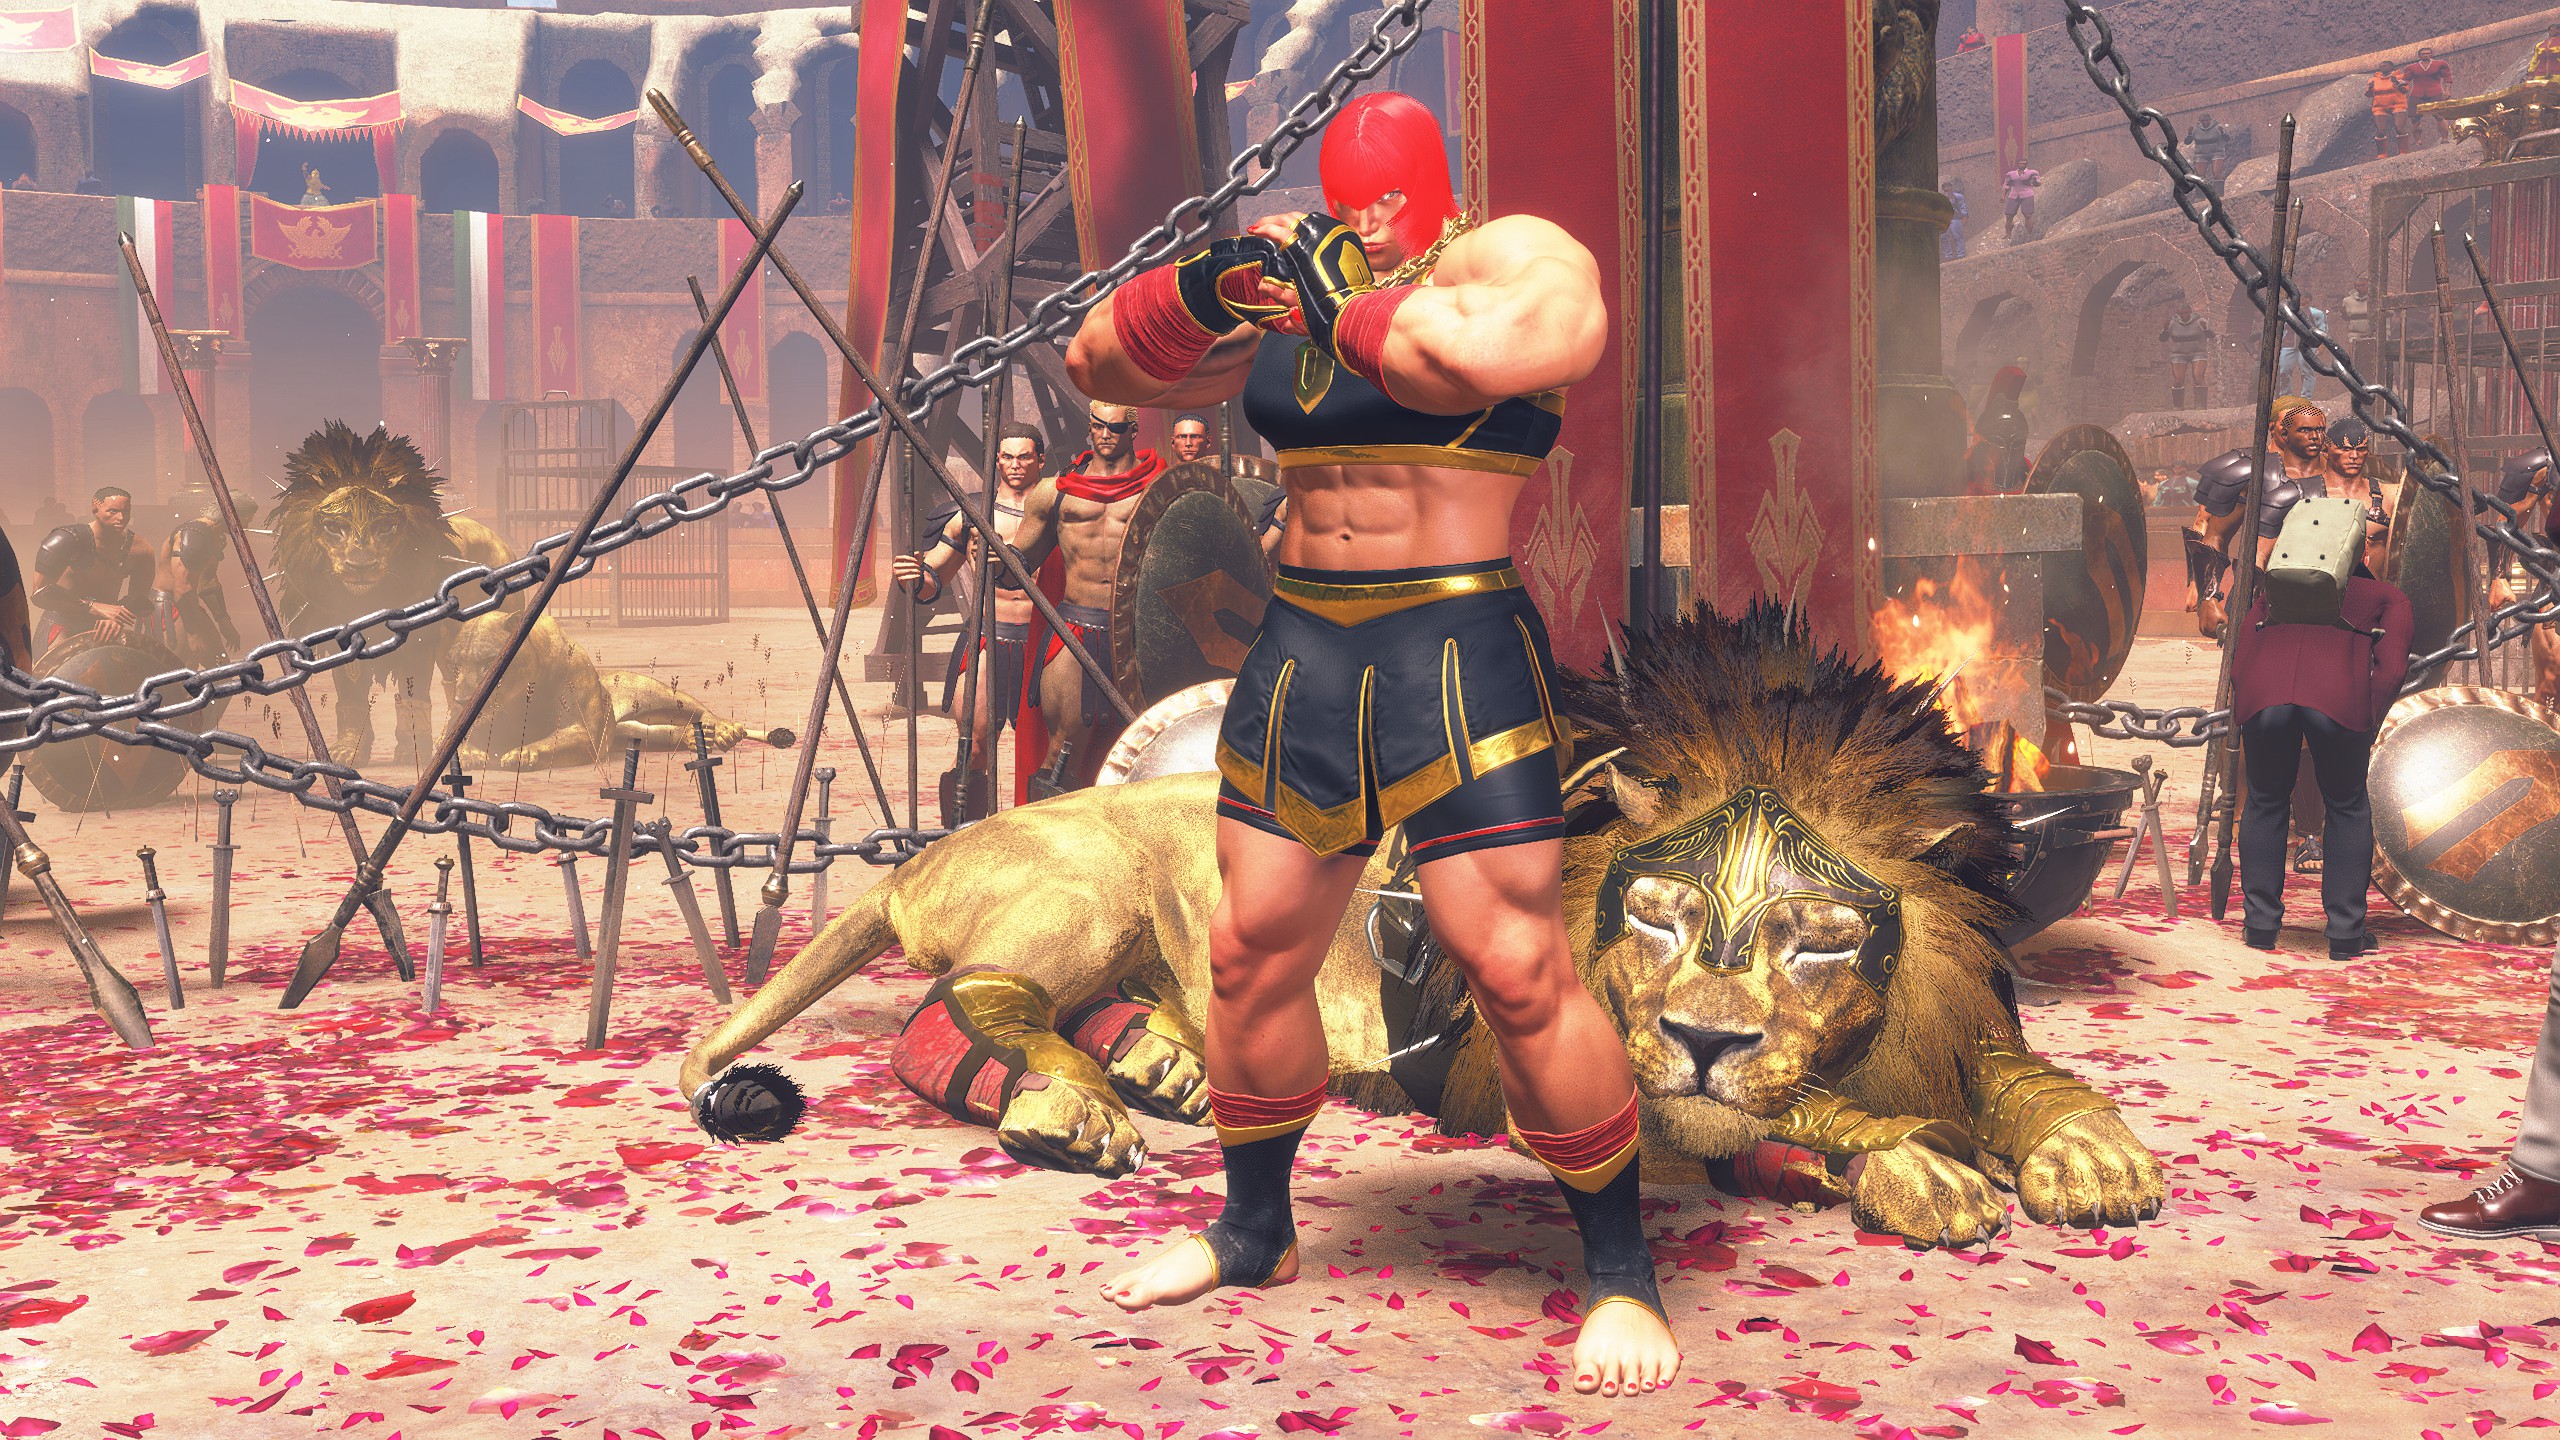
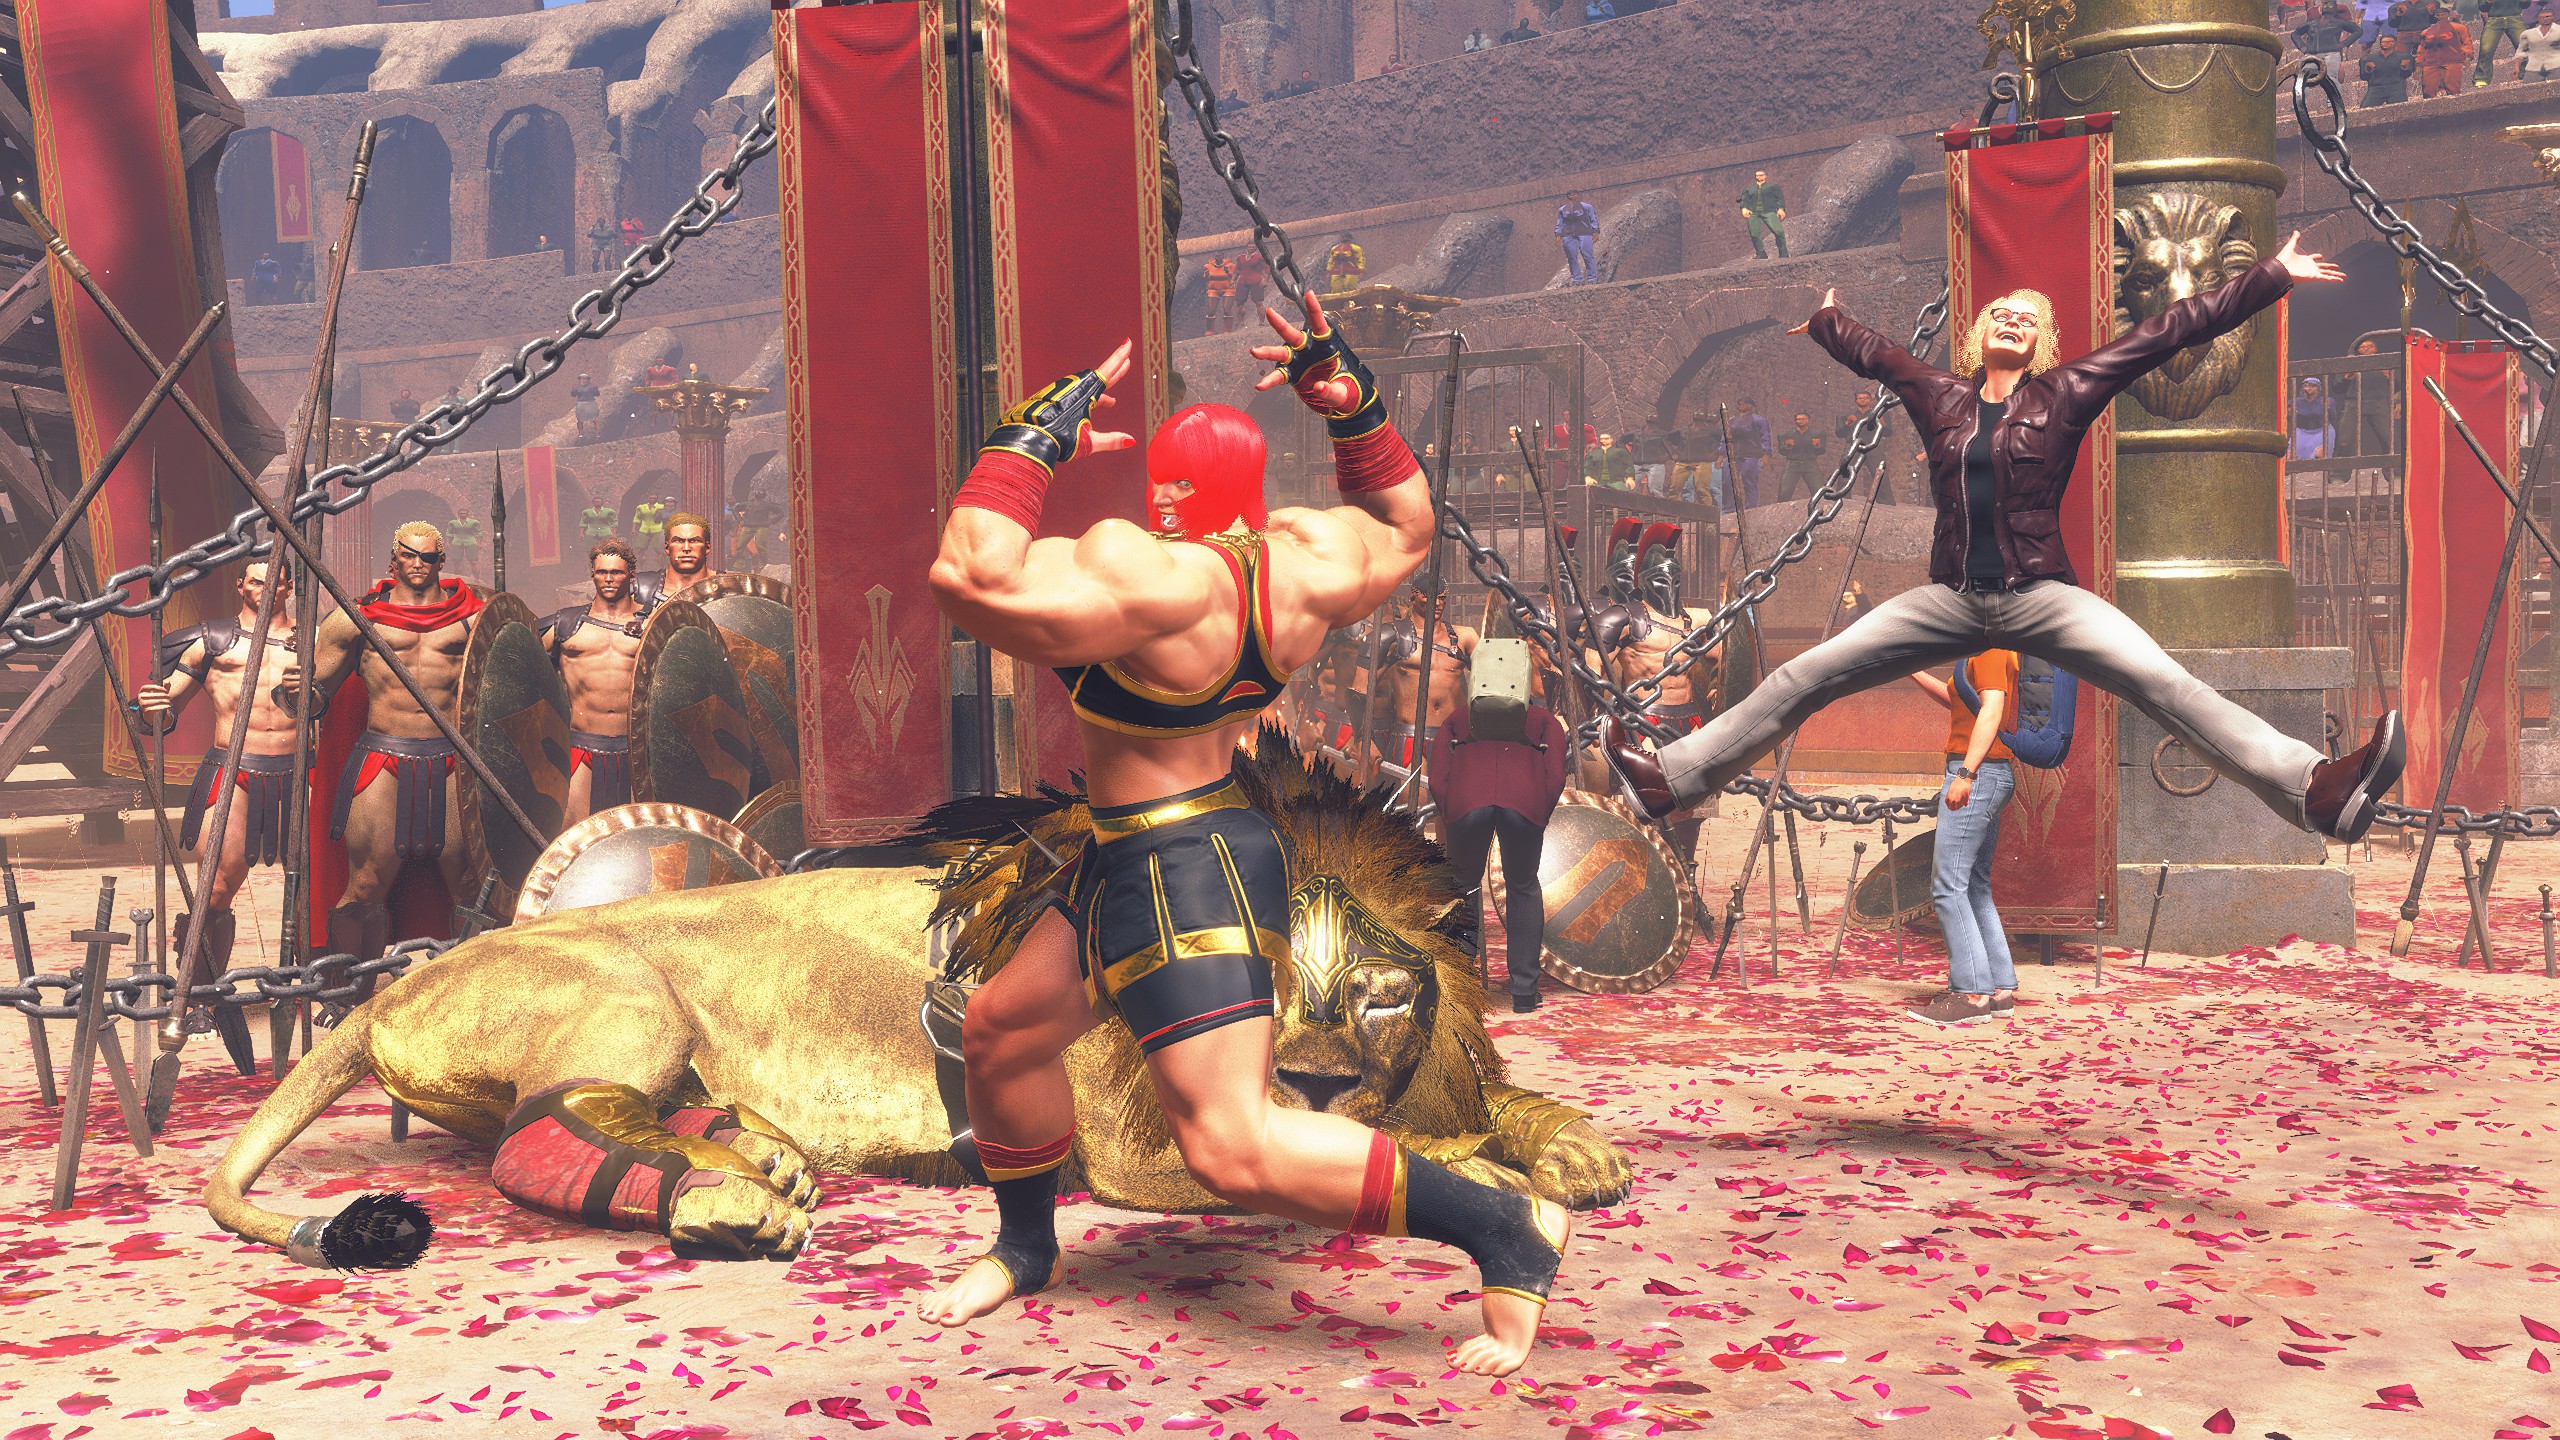
Marisa - Special Artwork: Yuki F u k u m o r i
(Clear Arcade Once with Marisa)
(Clear Arcade Once with Marisa)
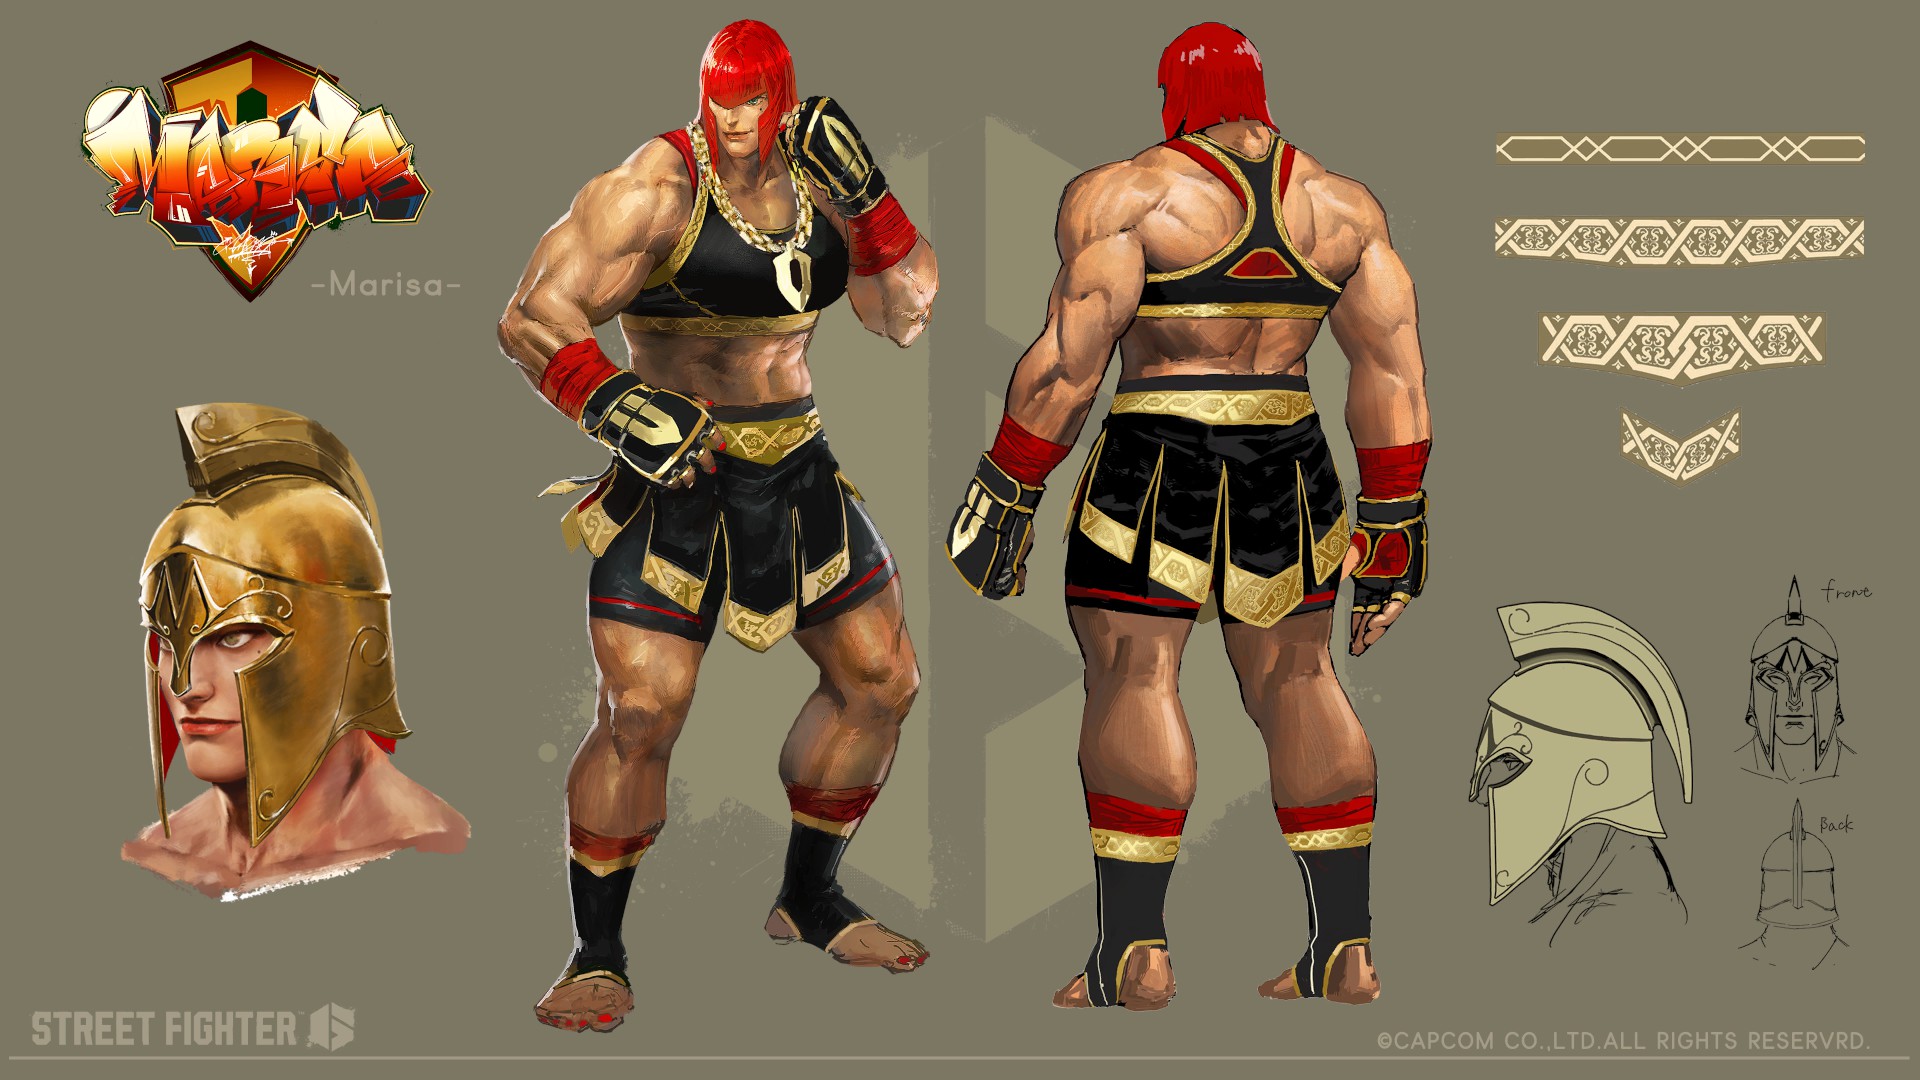
Character Design: Marisa 1 (Clear Arcade Twice with Marisa)
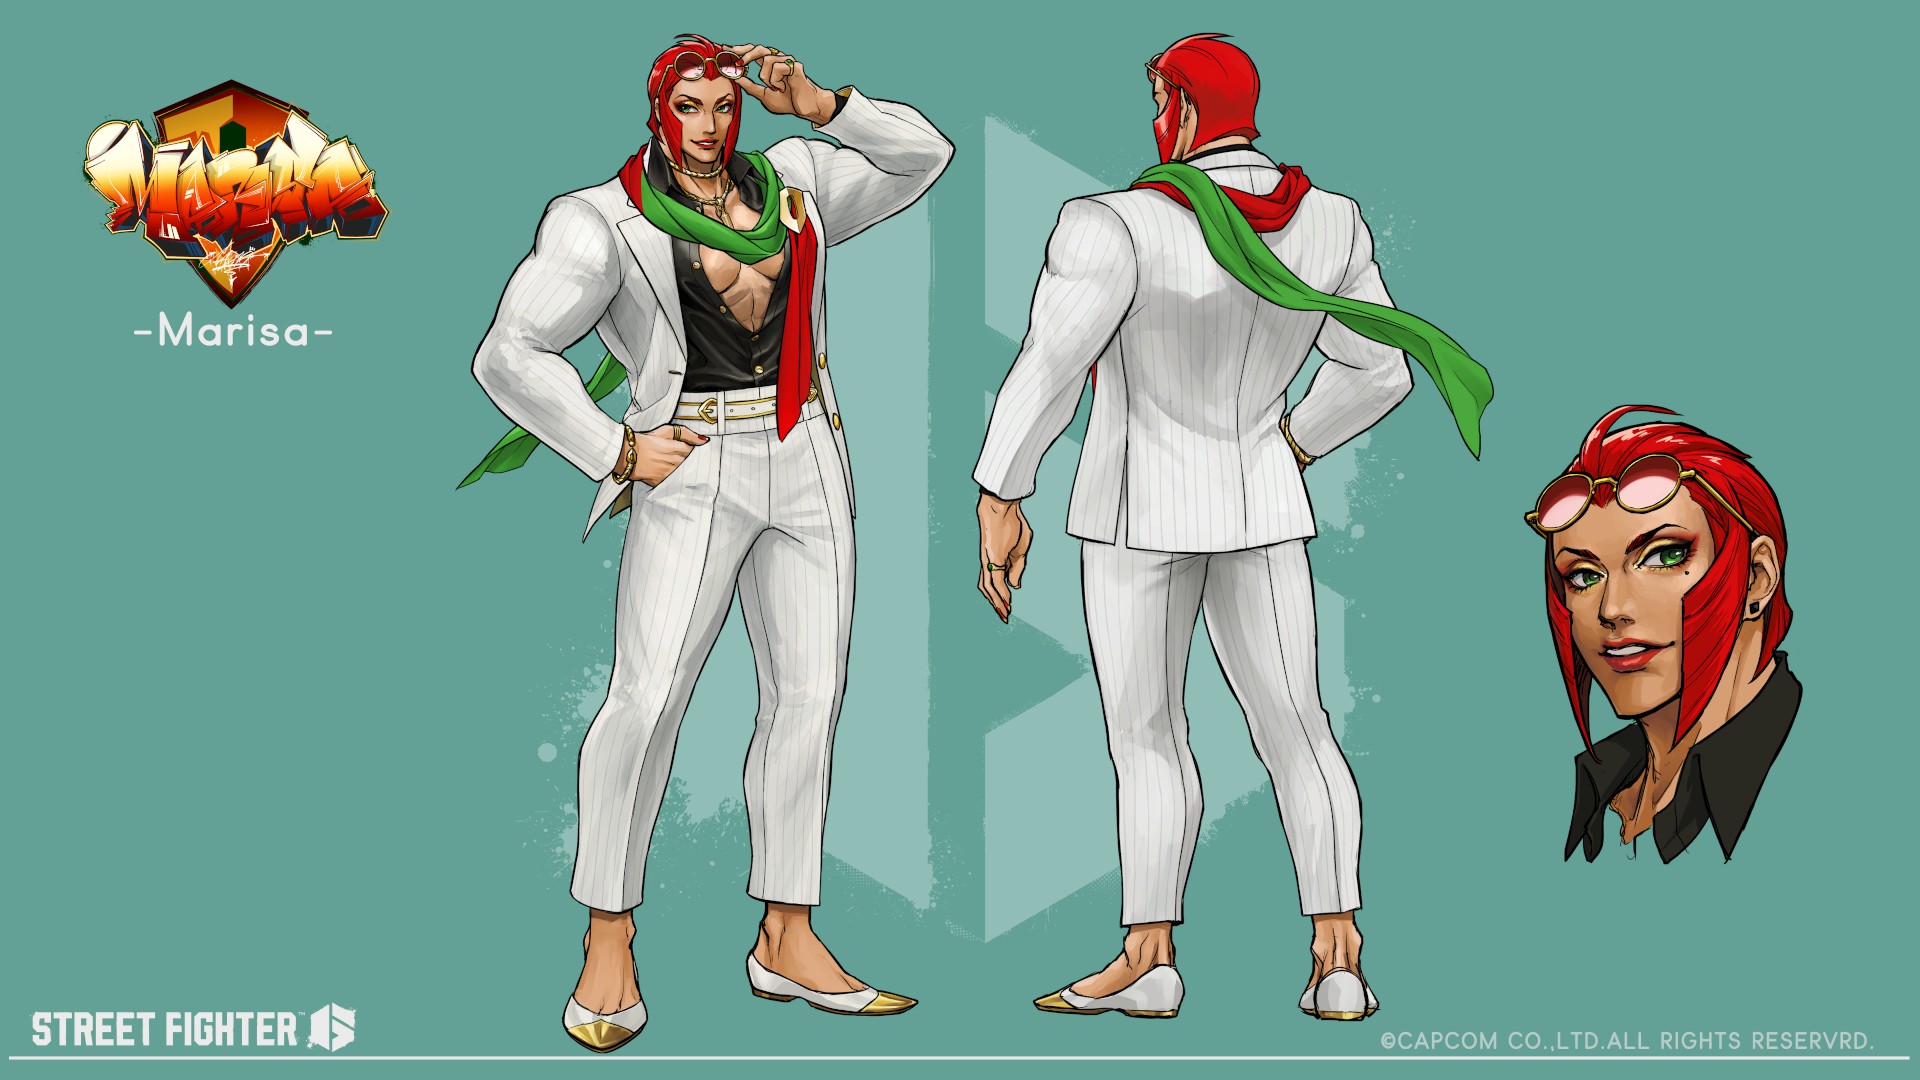
Character Design: Marisa 2 (Clear Arcade Three Times with Marisa)
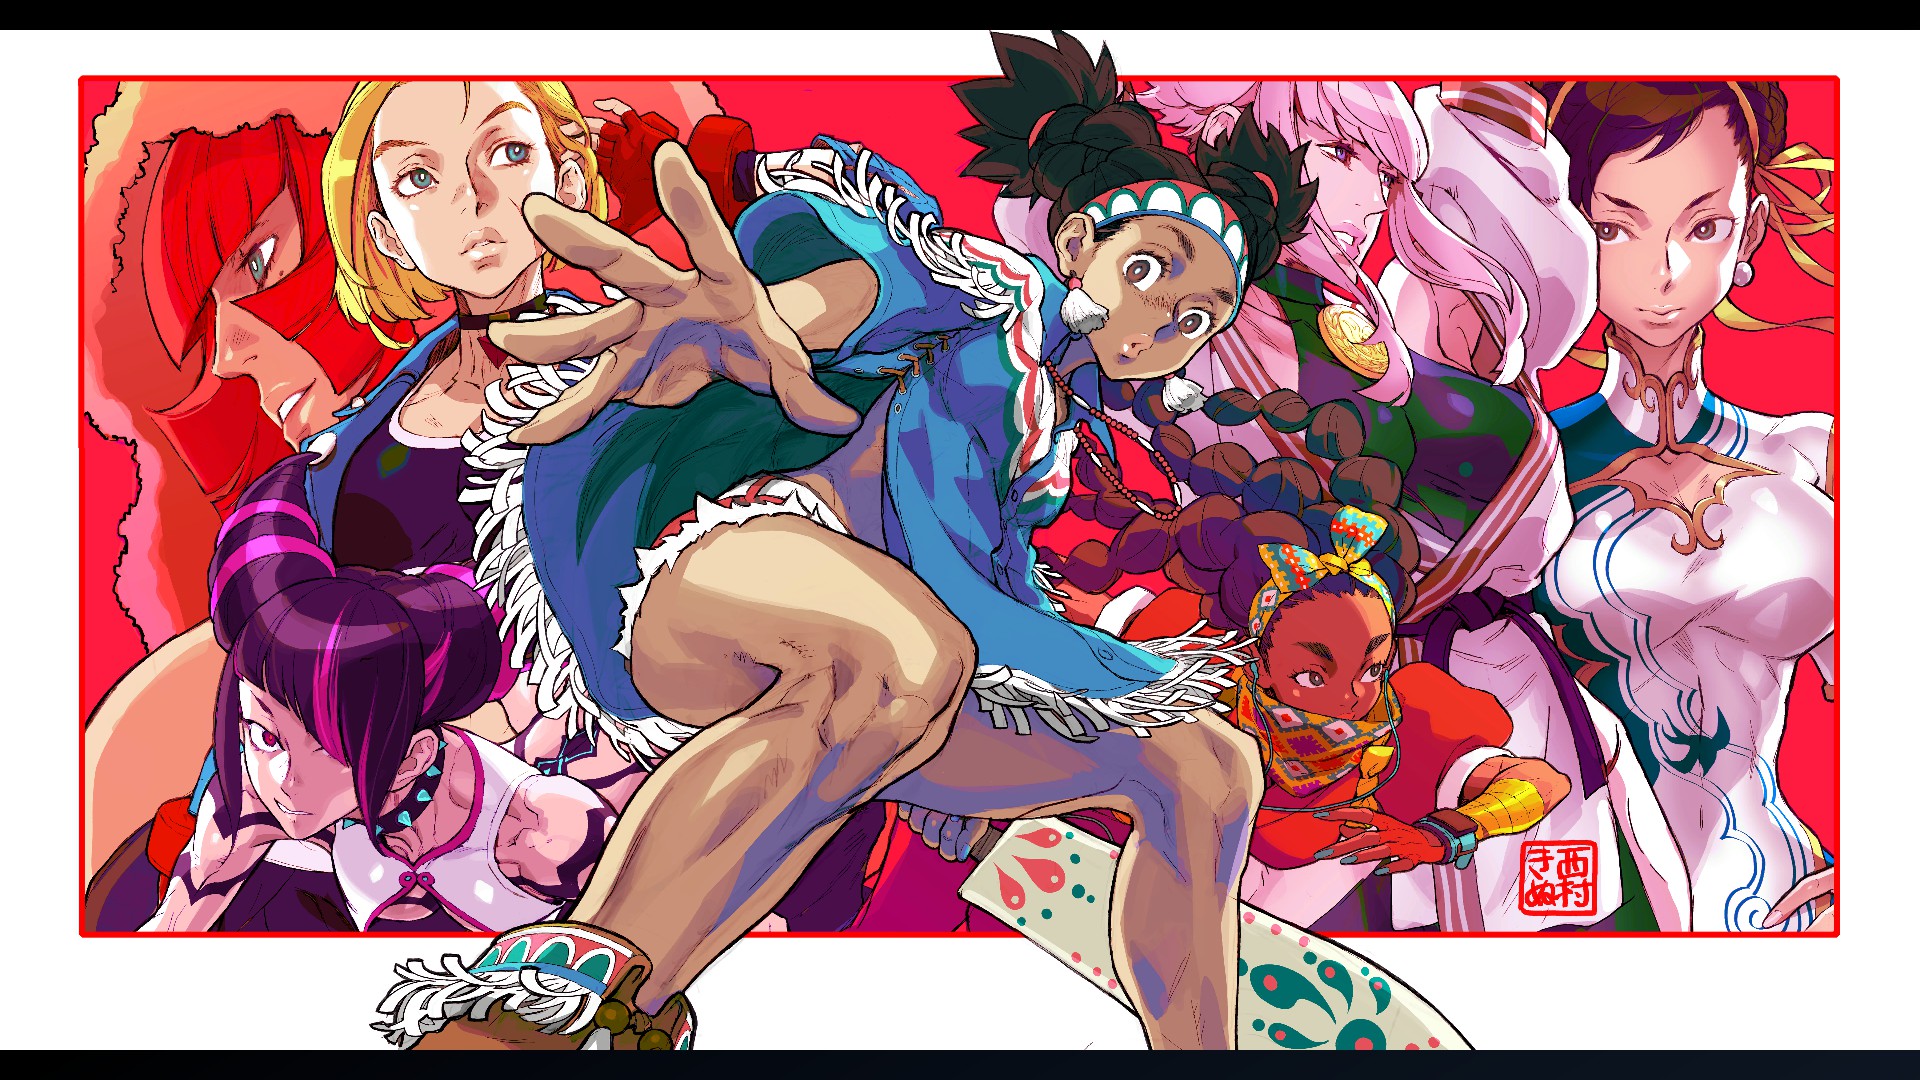
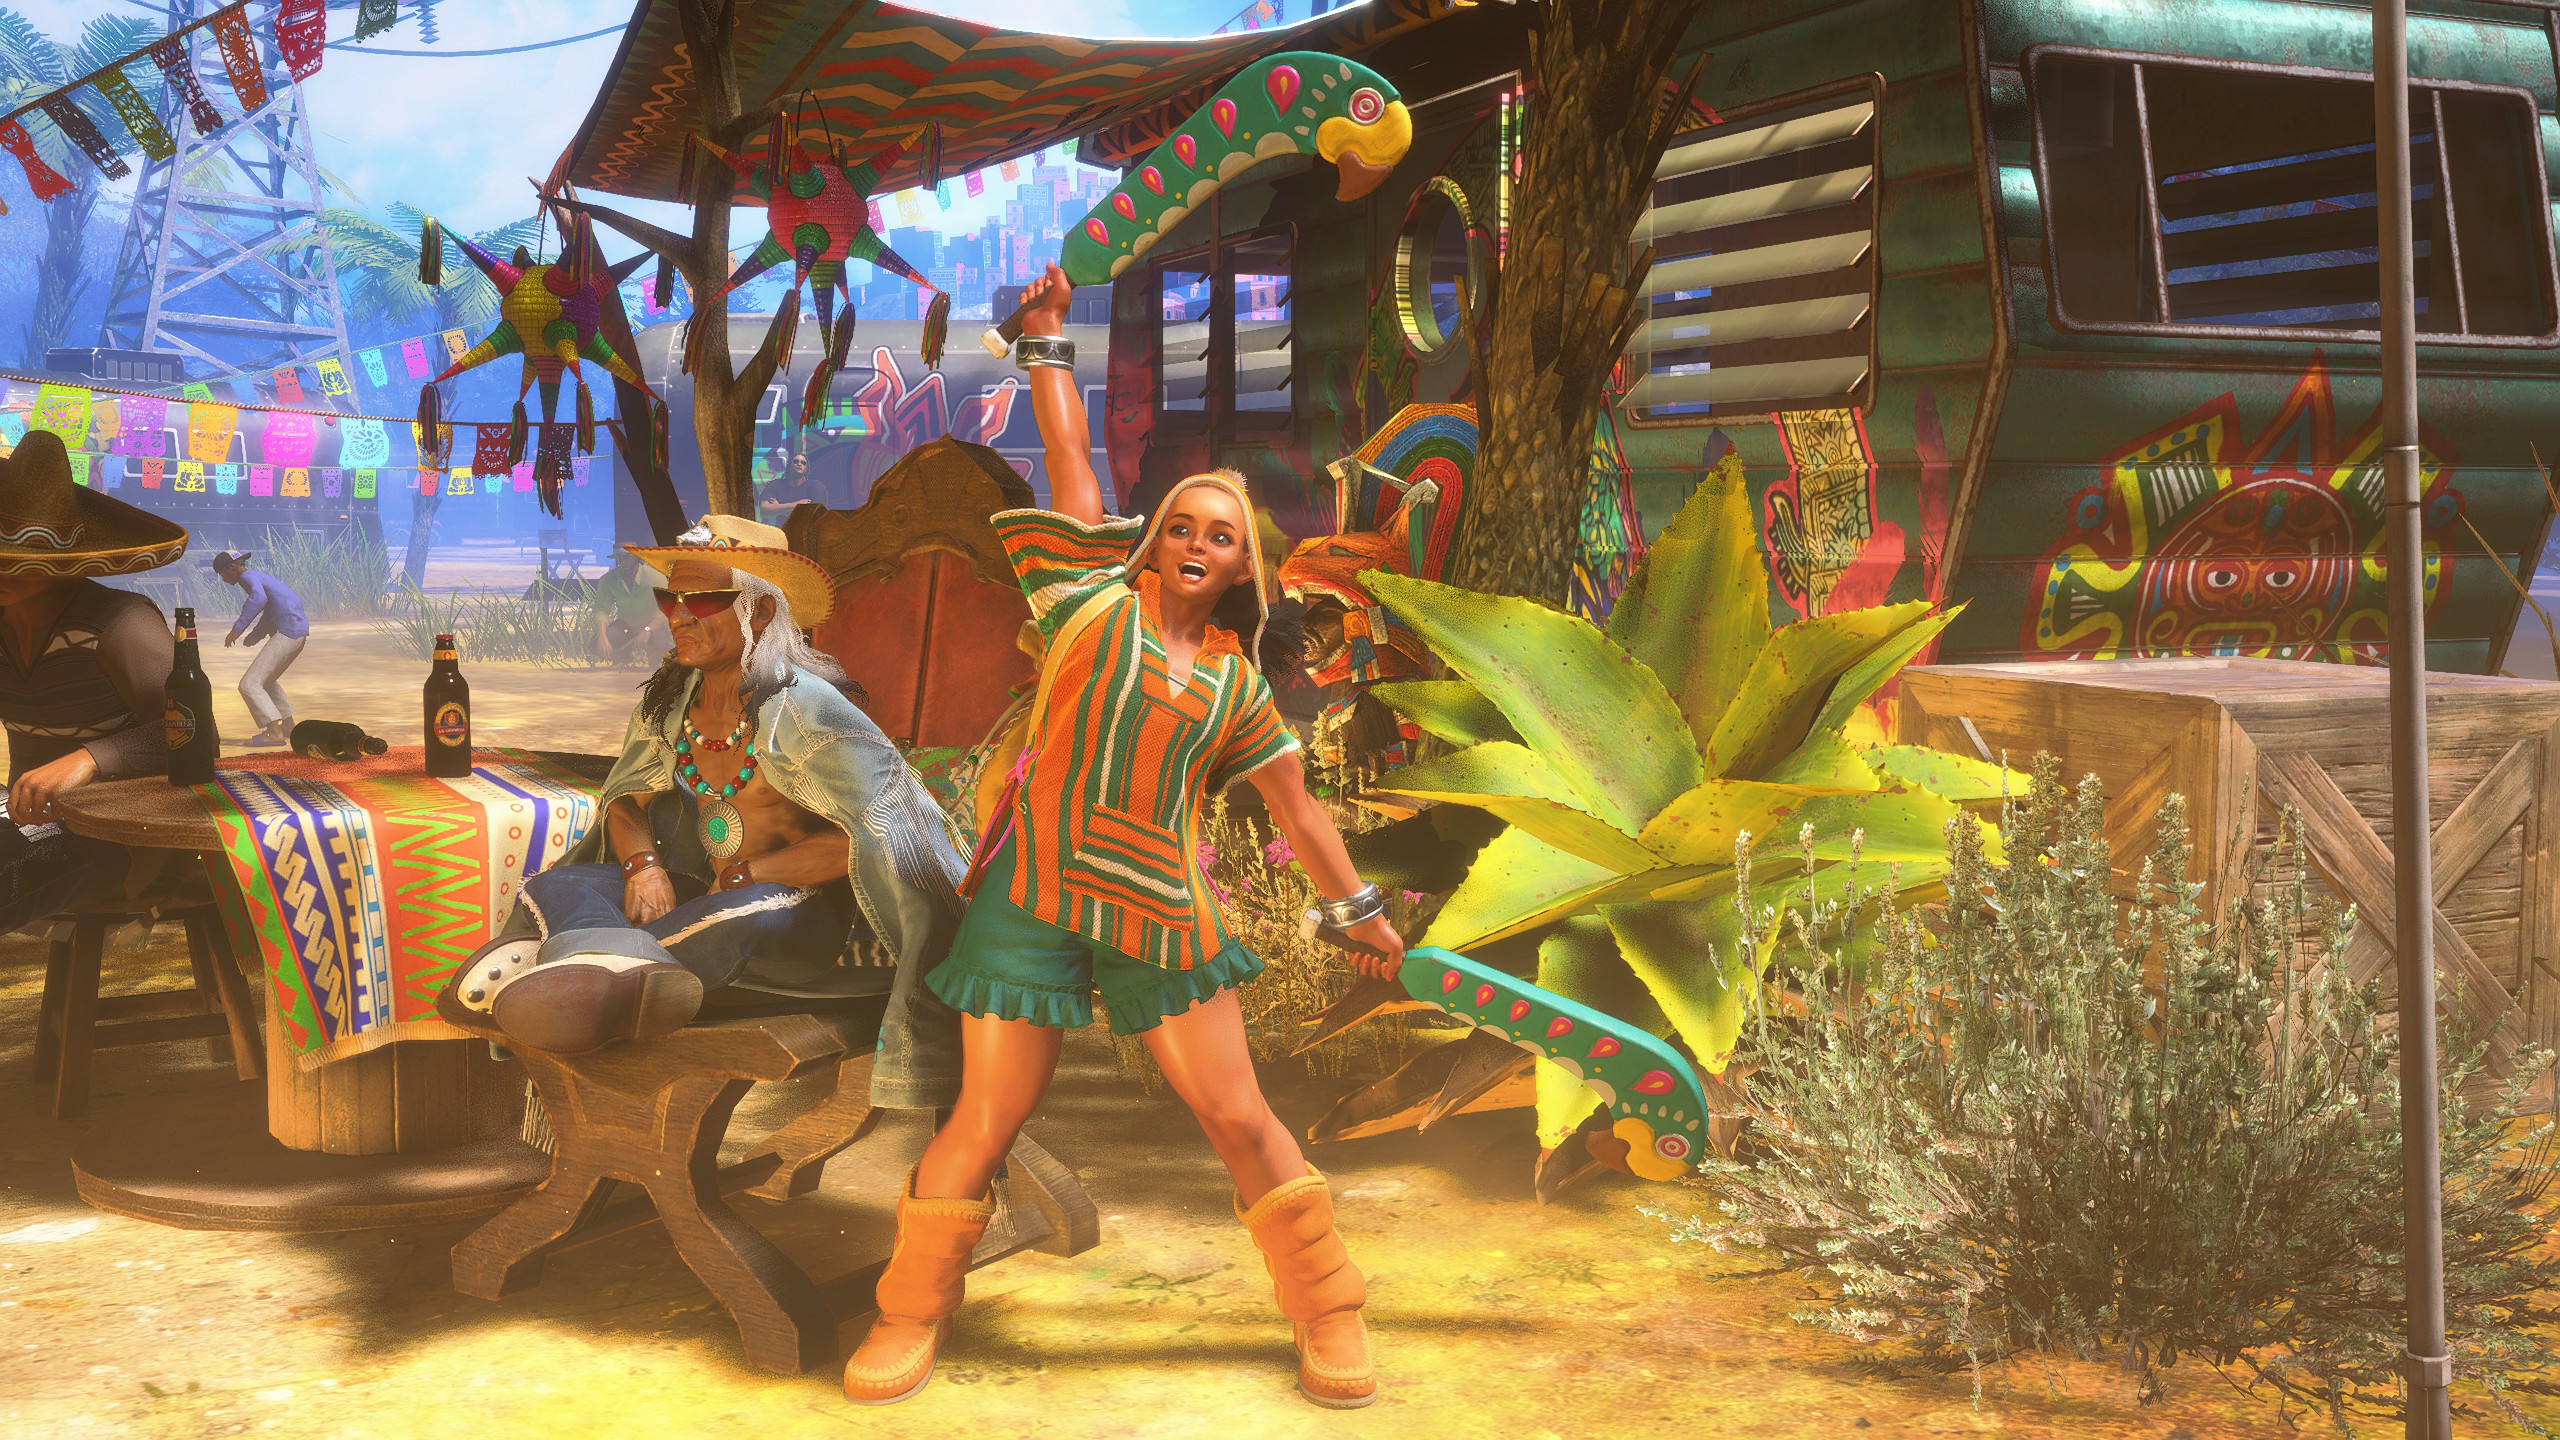
Lily - Special Artwork: Kinu Nishimura (Clear Arcade Once with Lily)
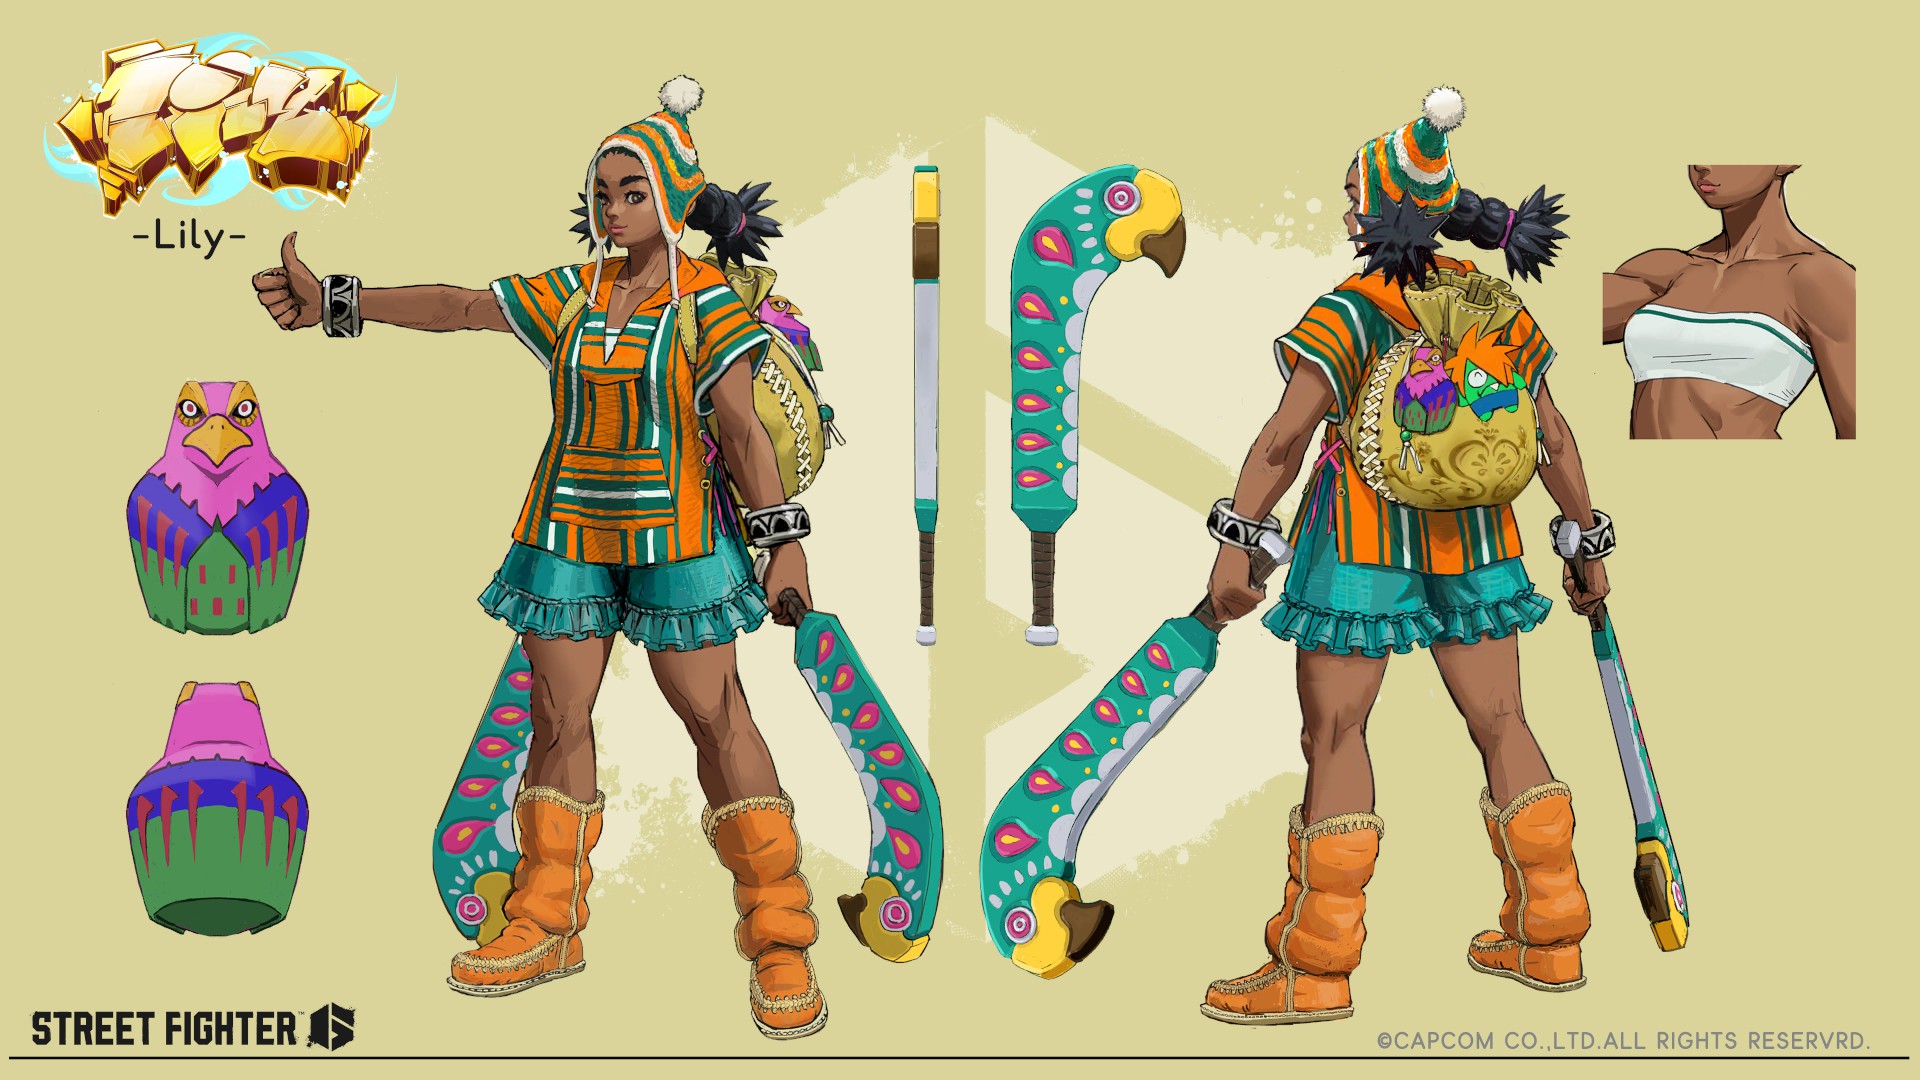
Character Design: Lily 1 (Clear Arcade Twice with Lily)
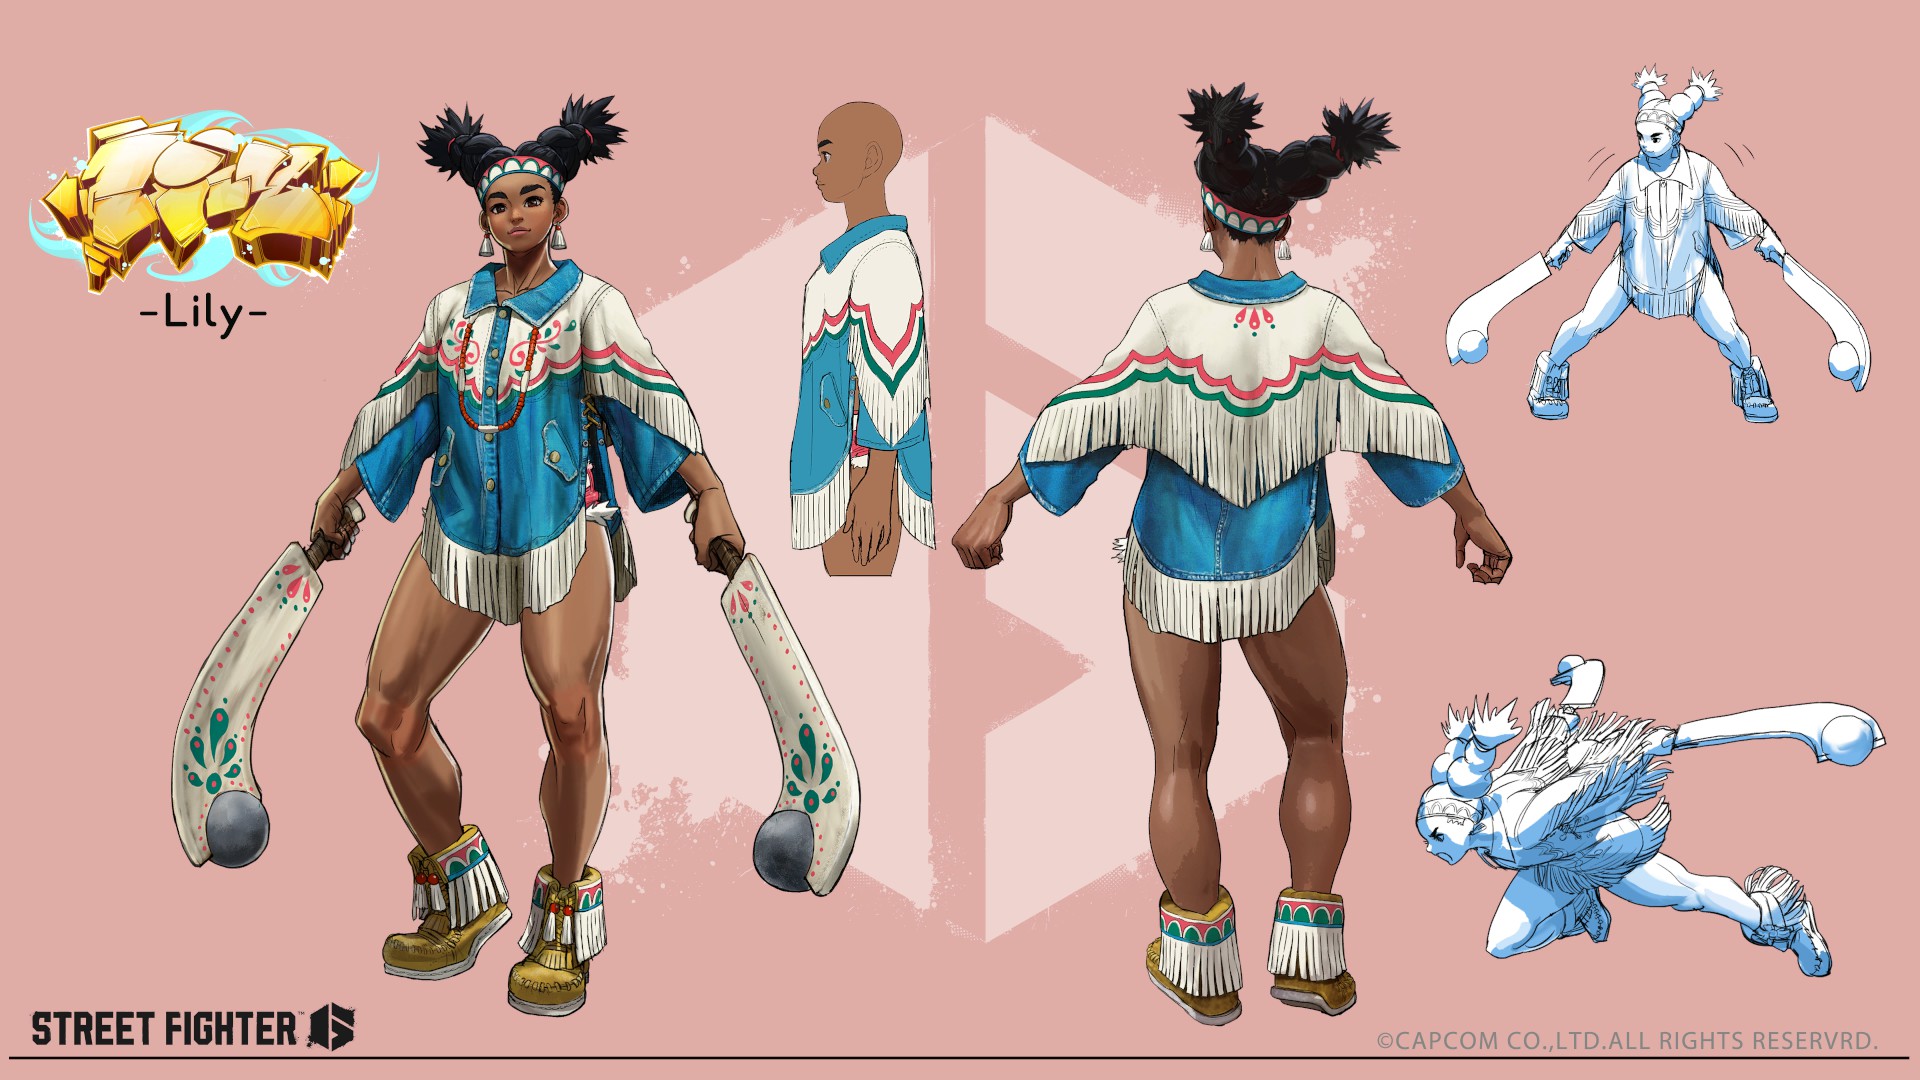
Character Design: Lily 2 (Clear Arcade Three Times with Lily)
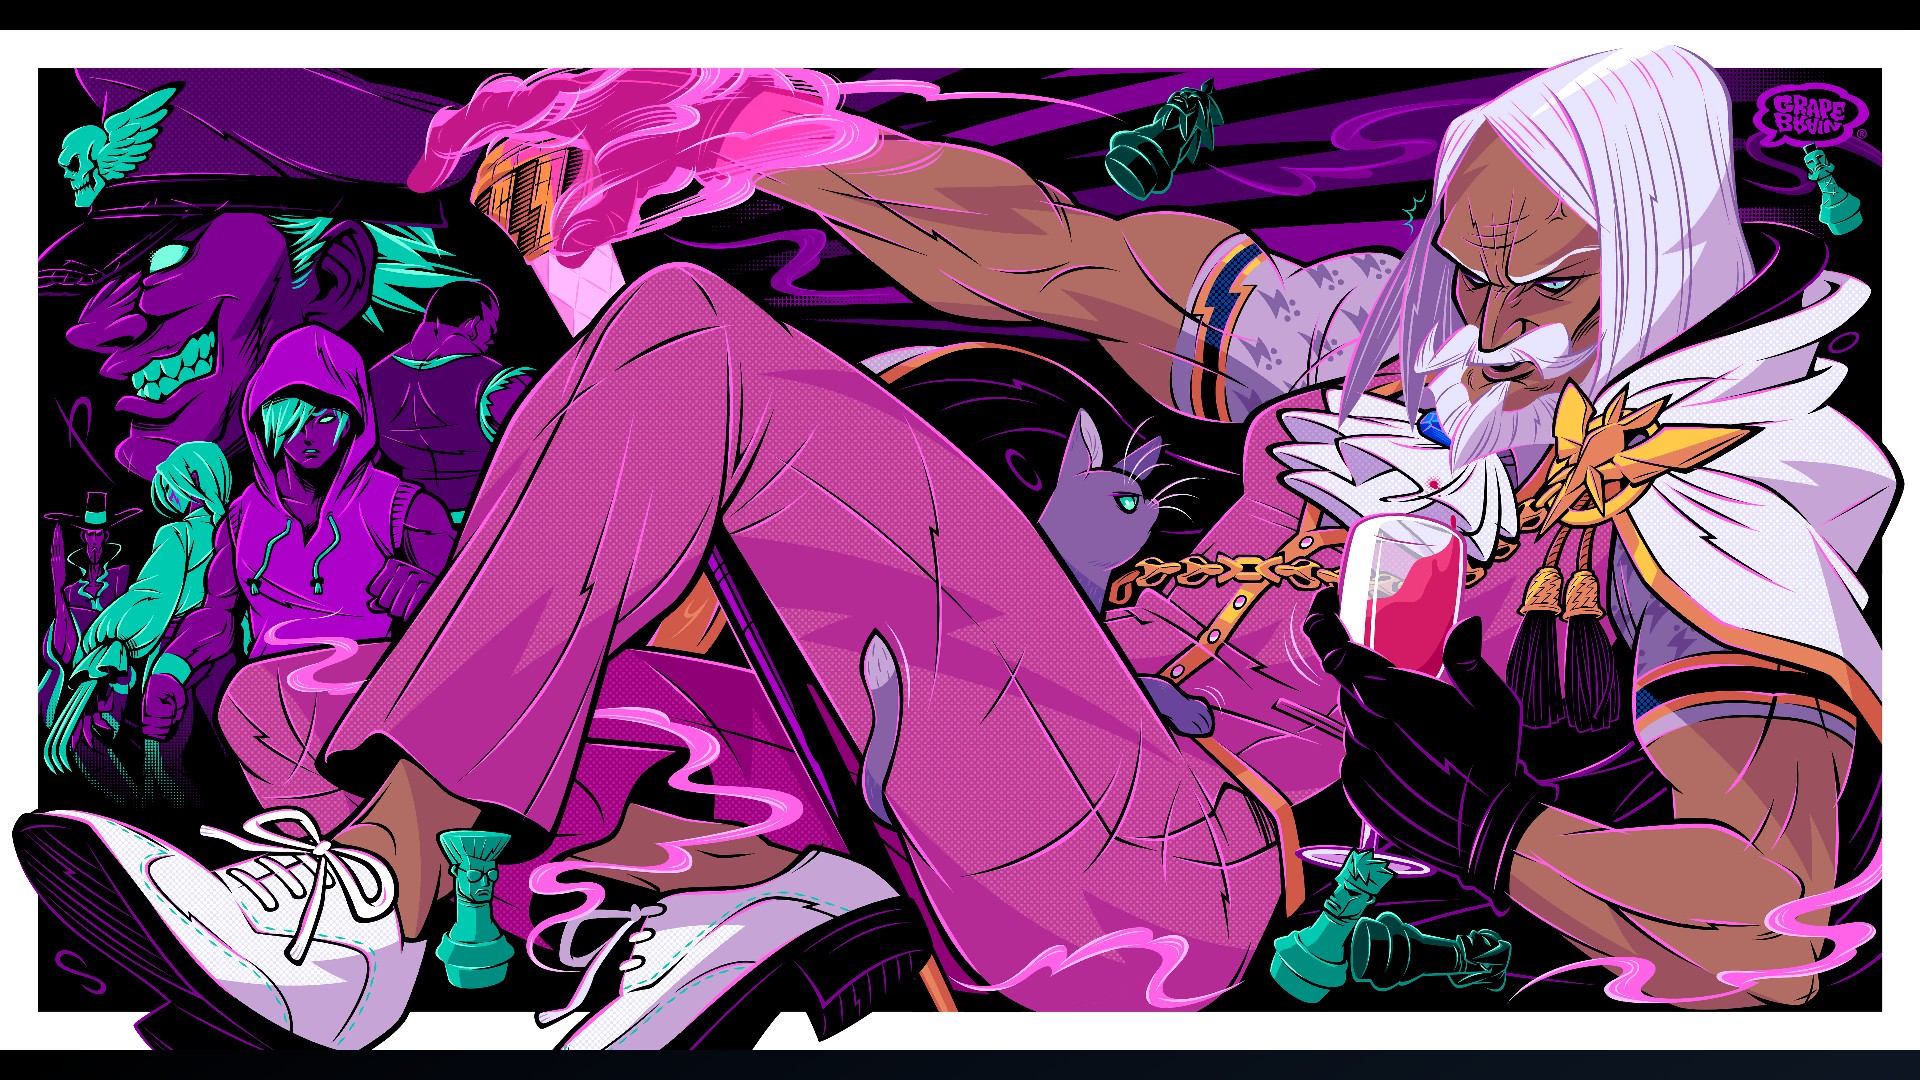
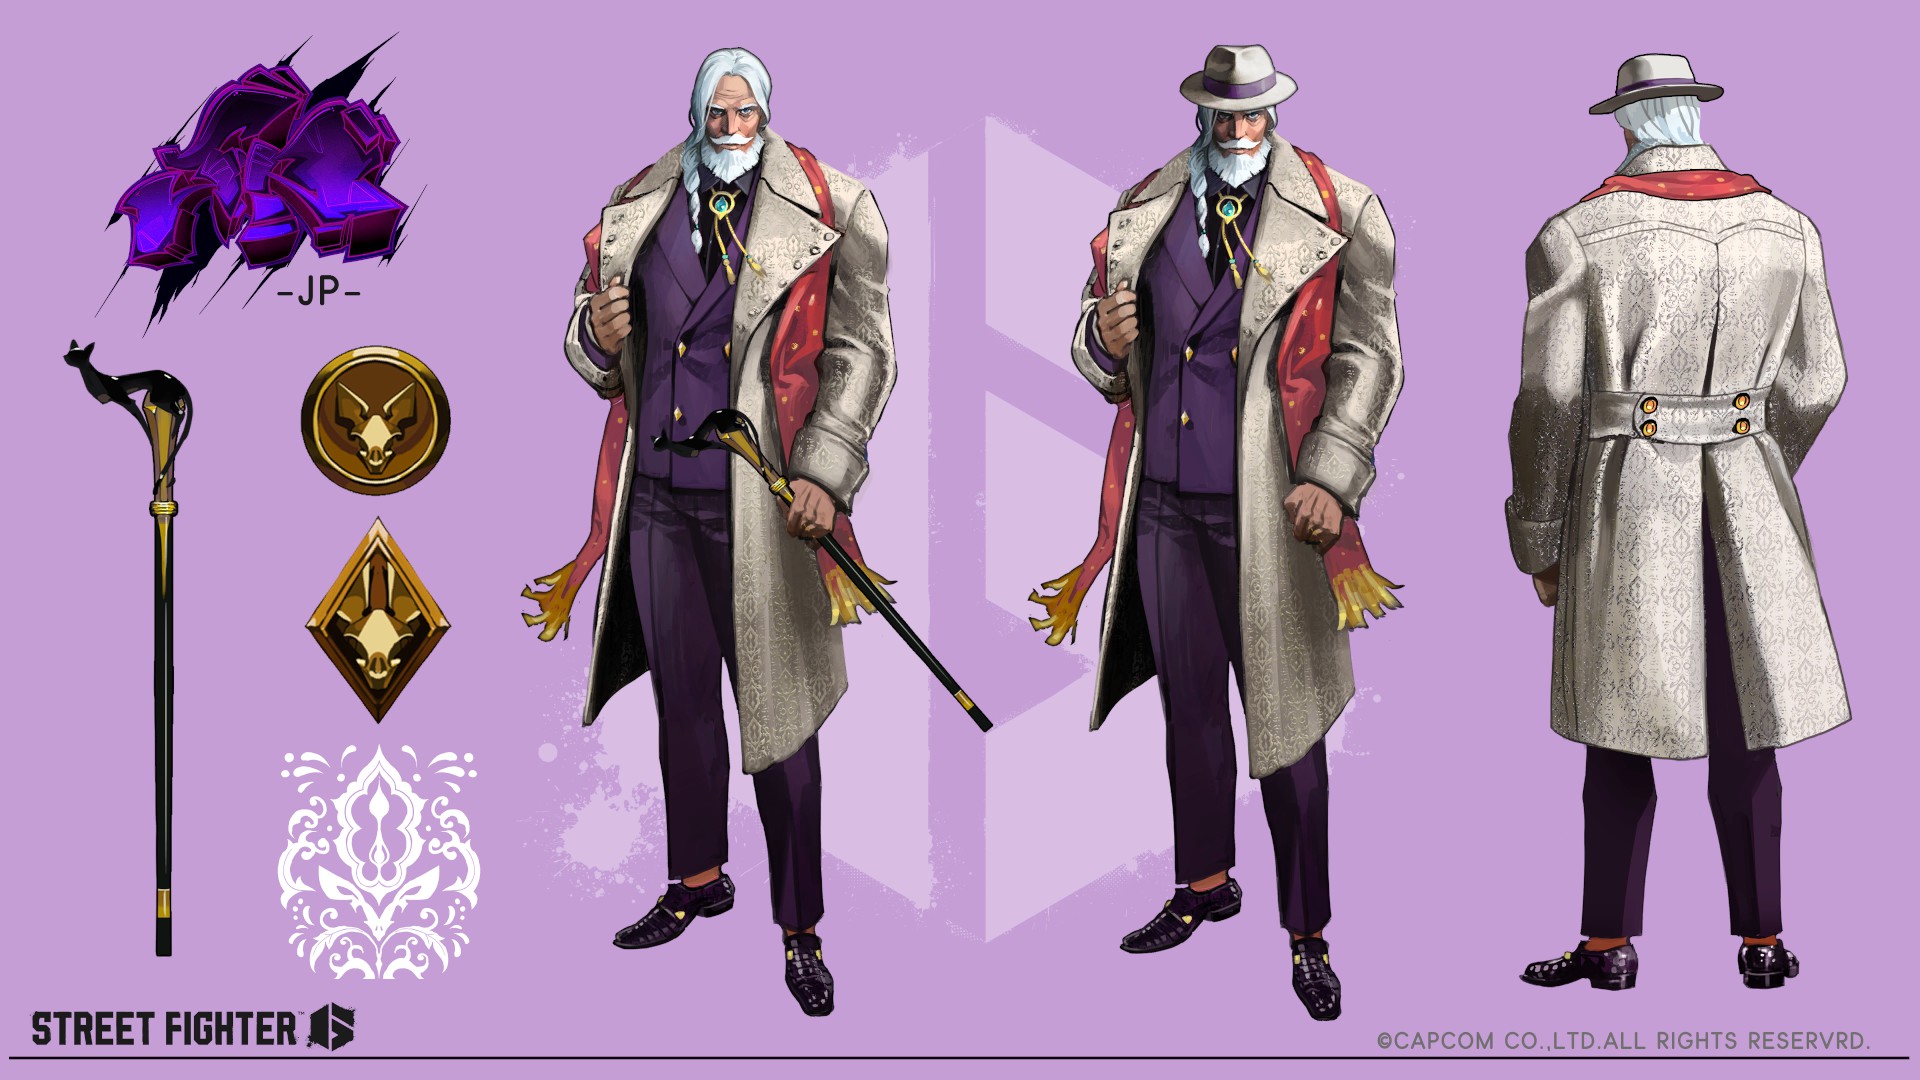
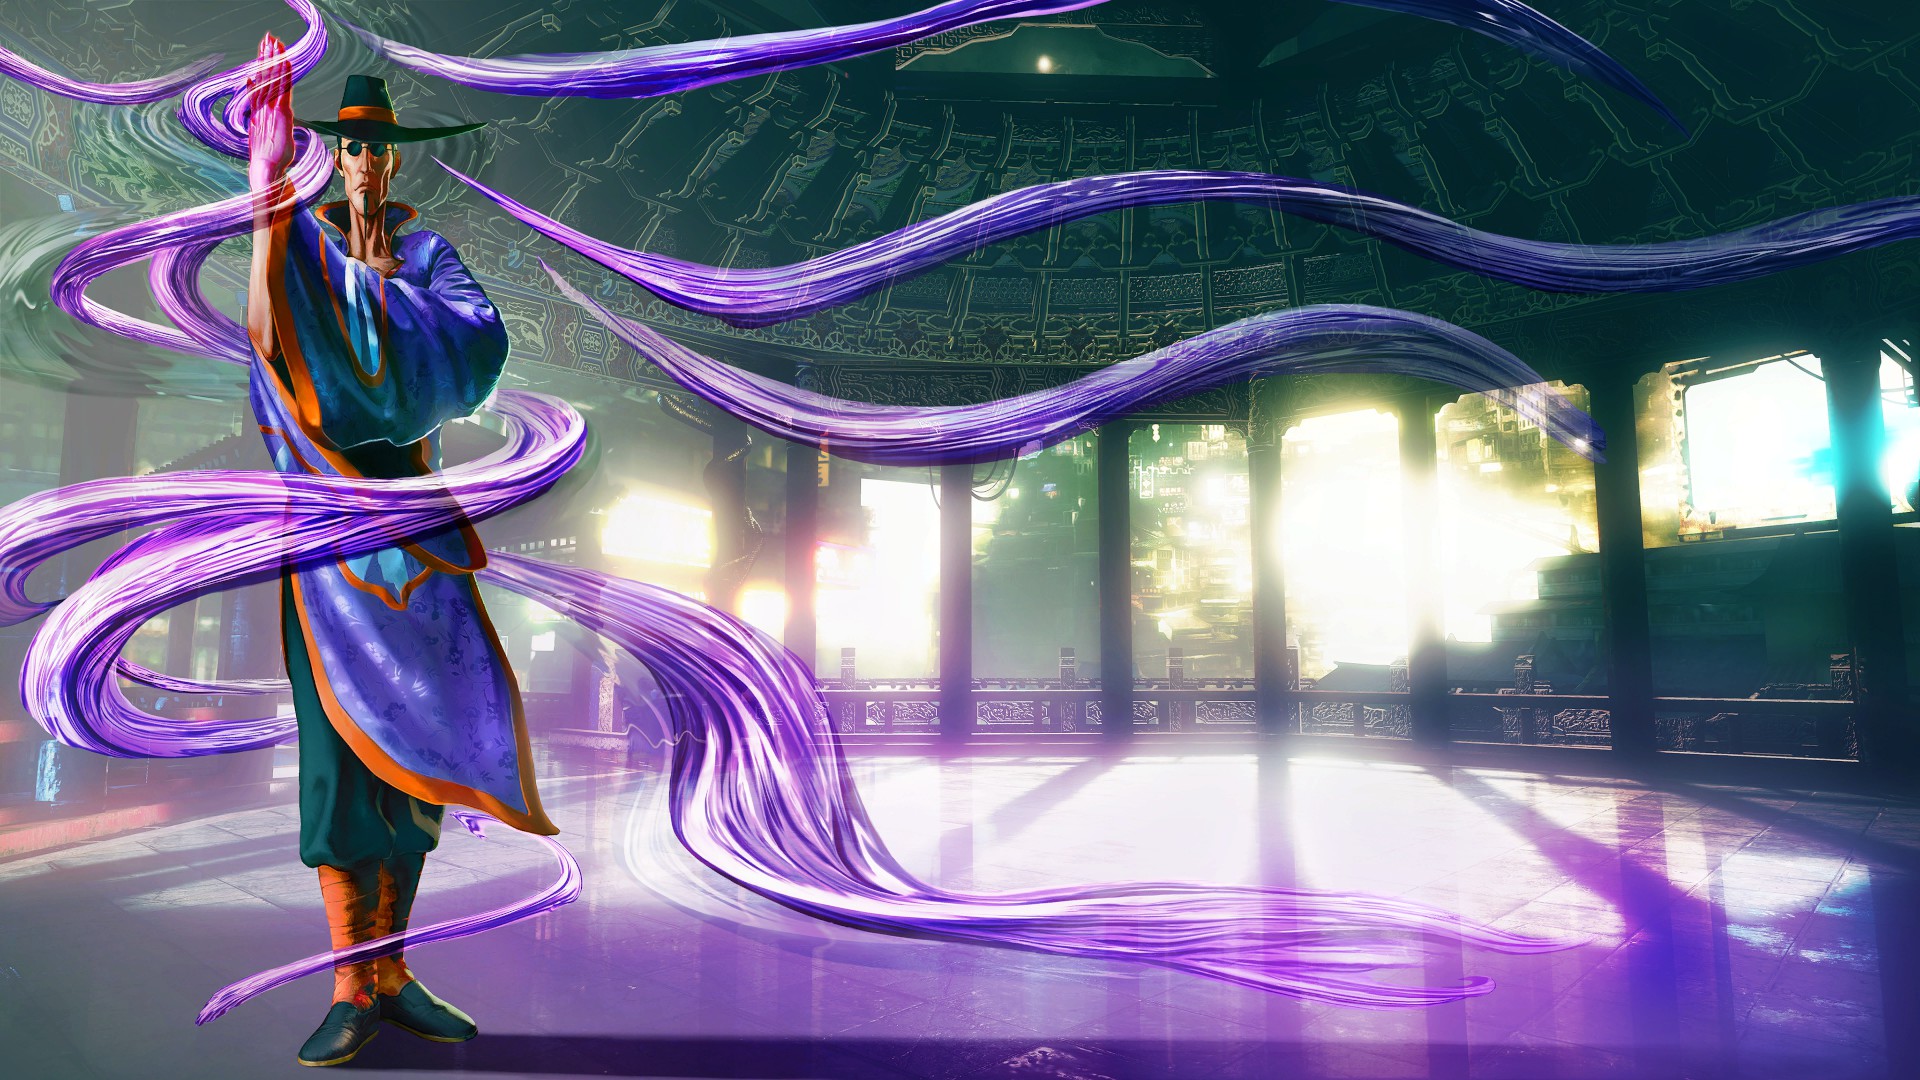
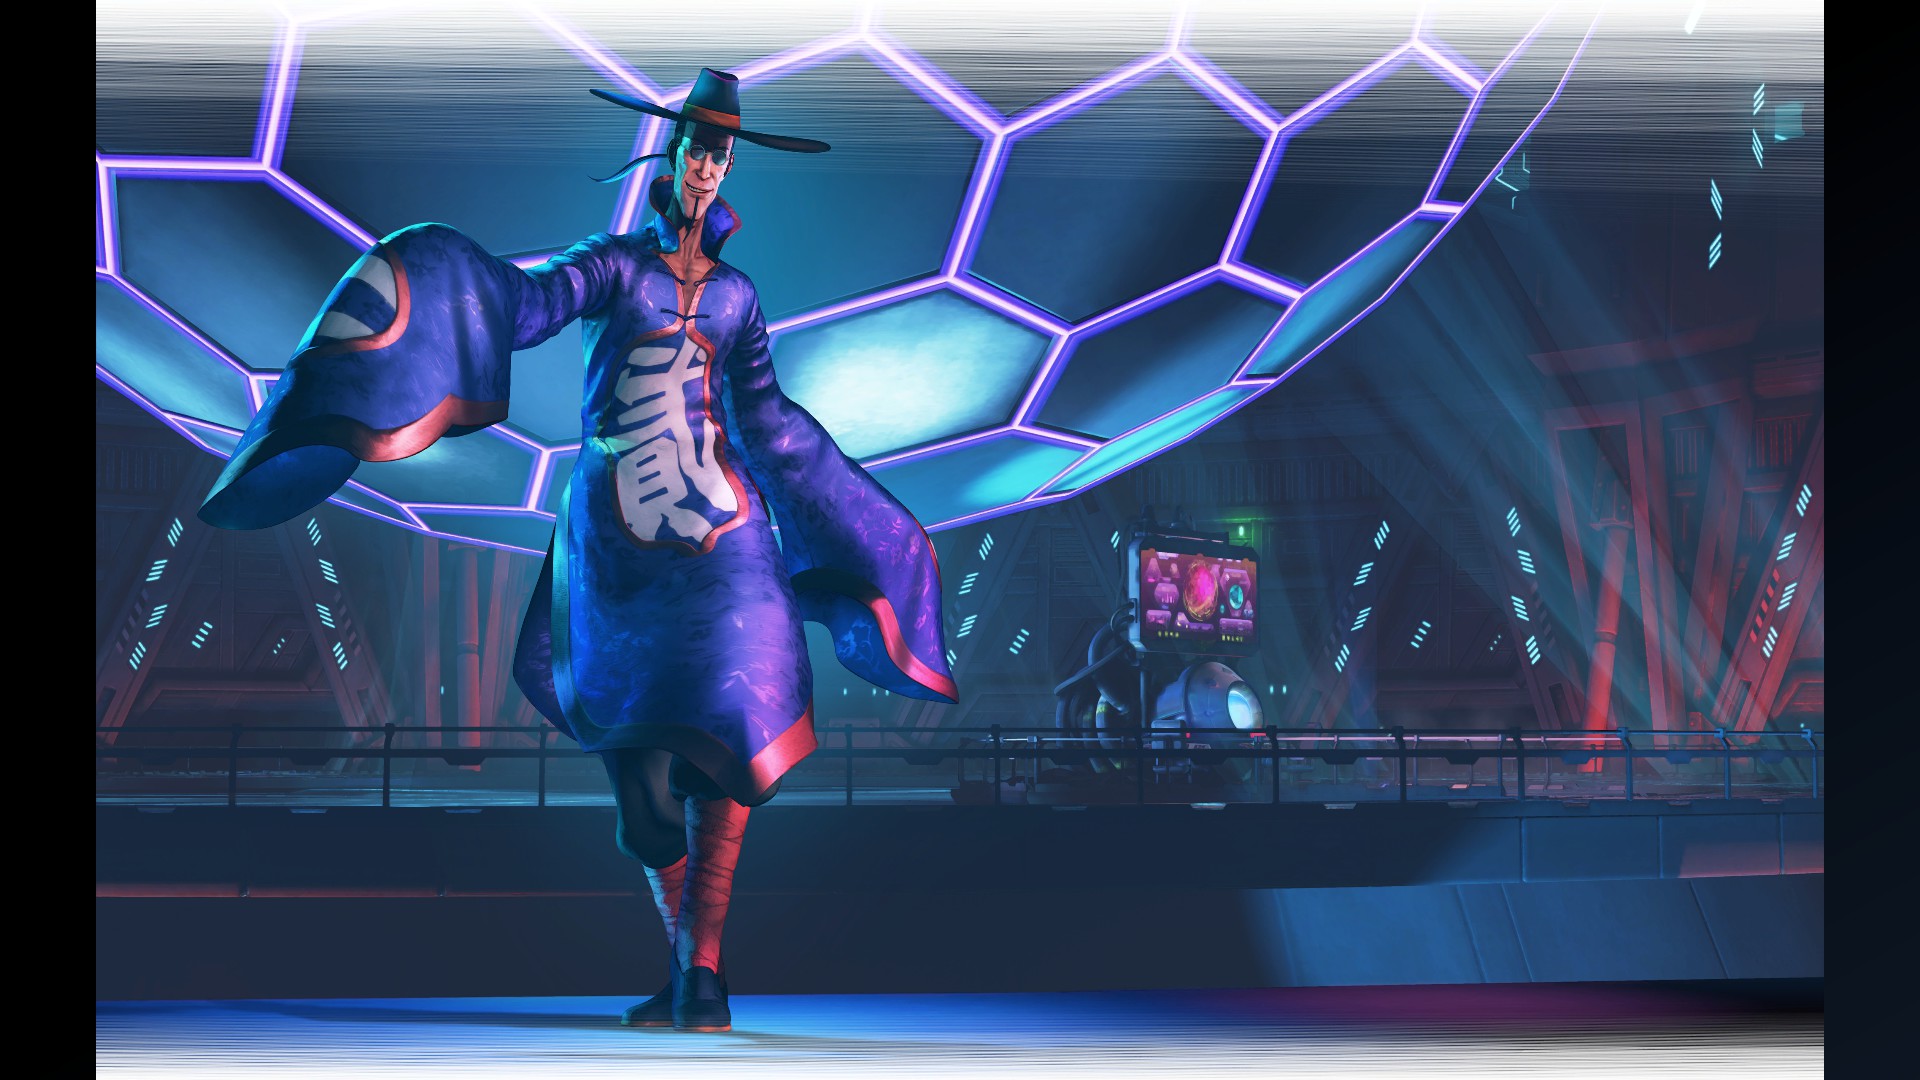
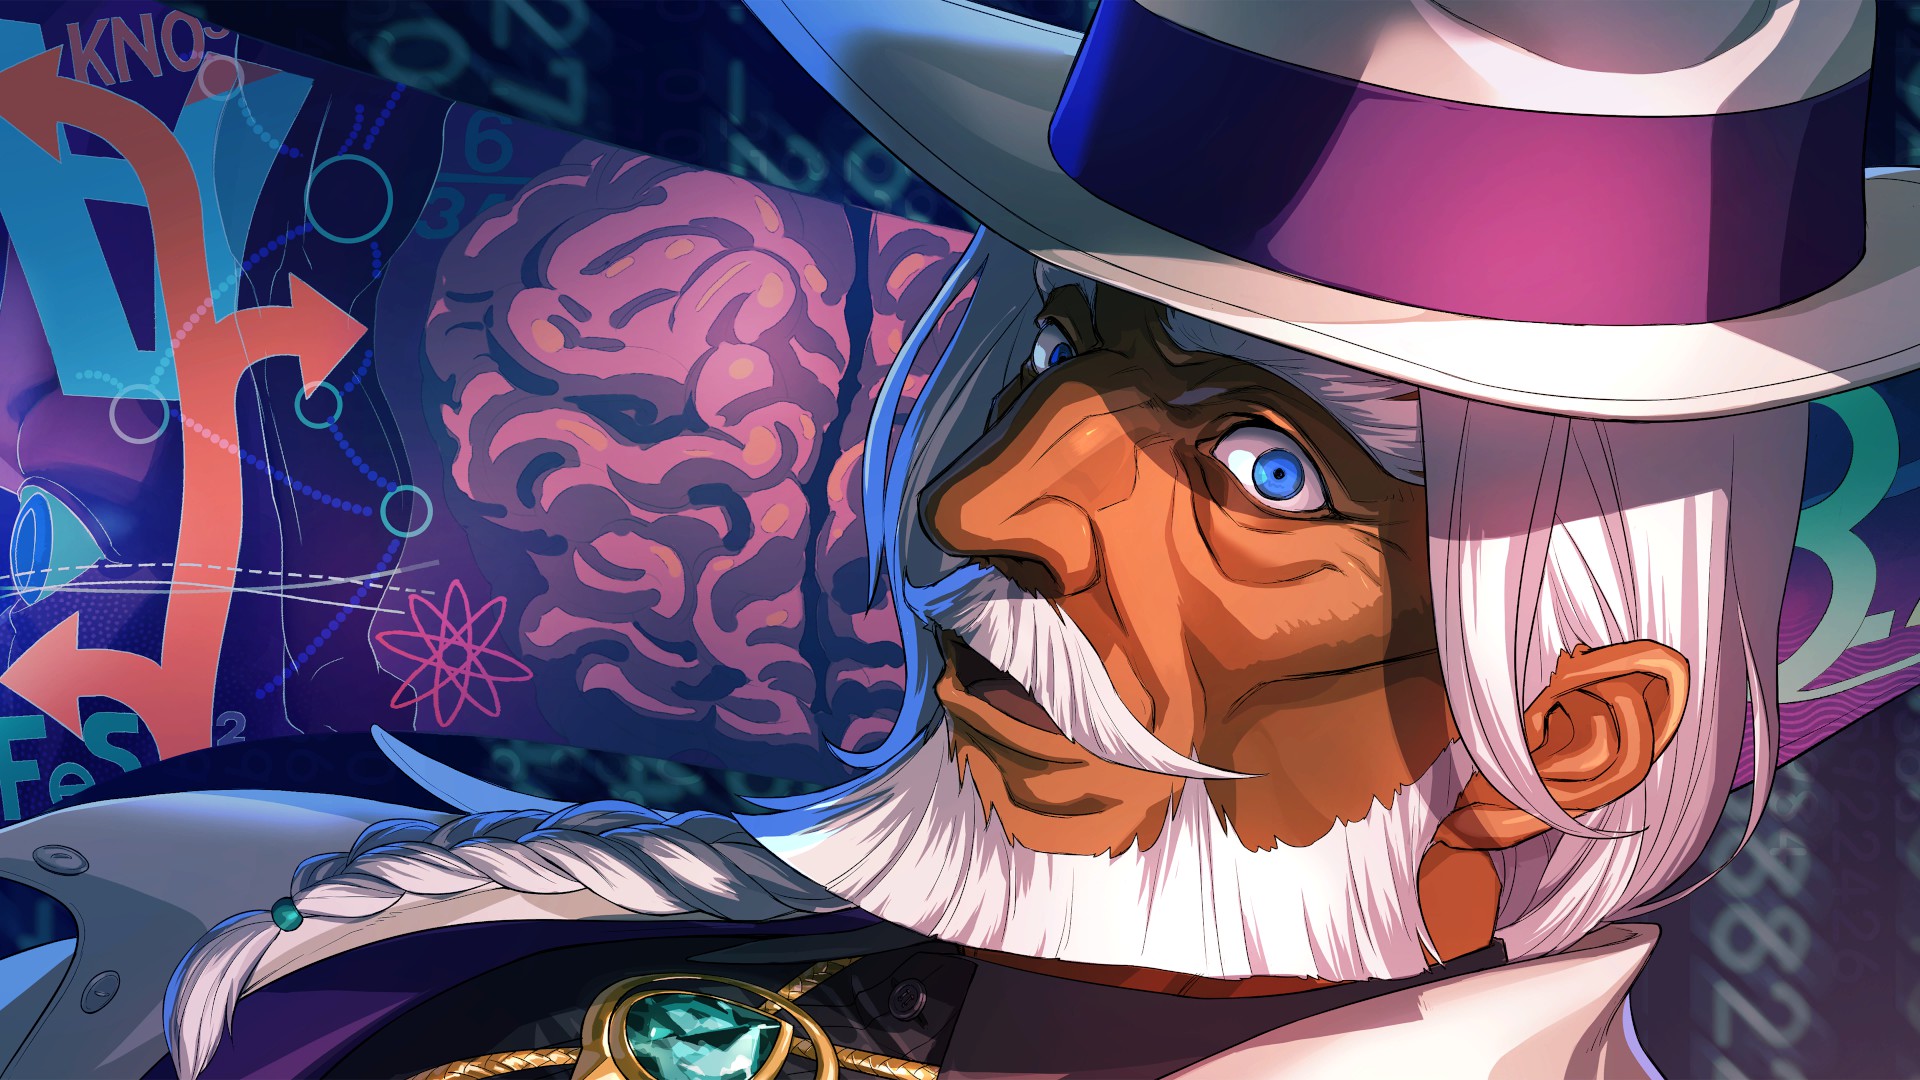
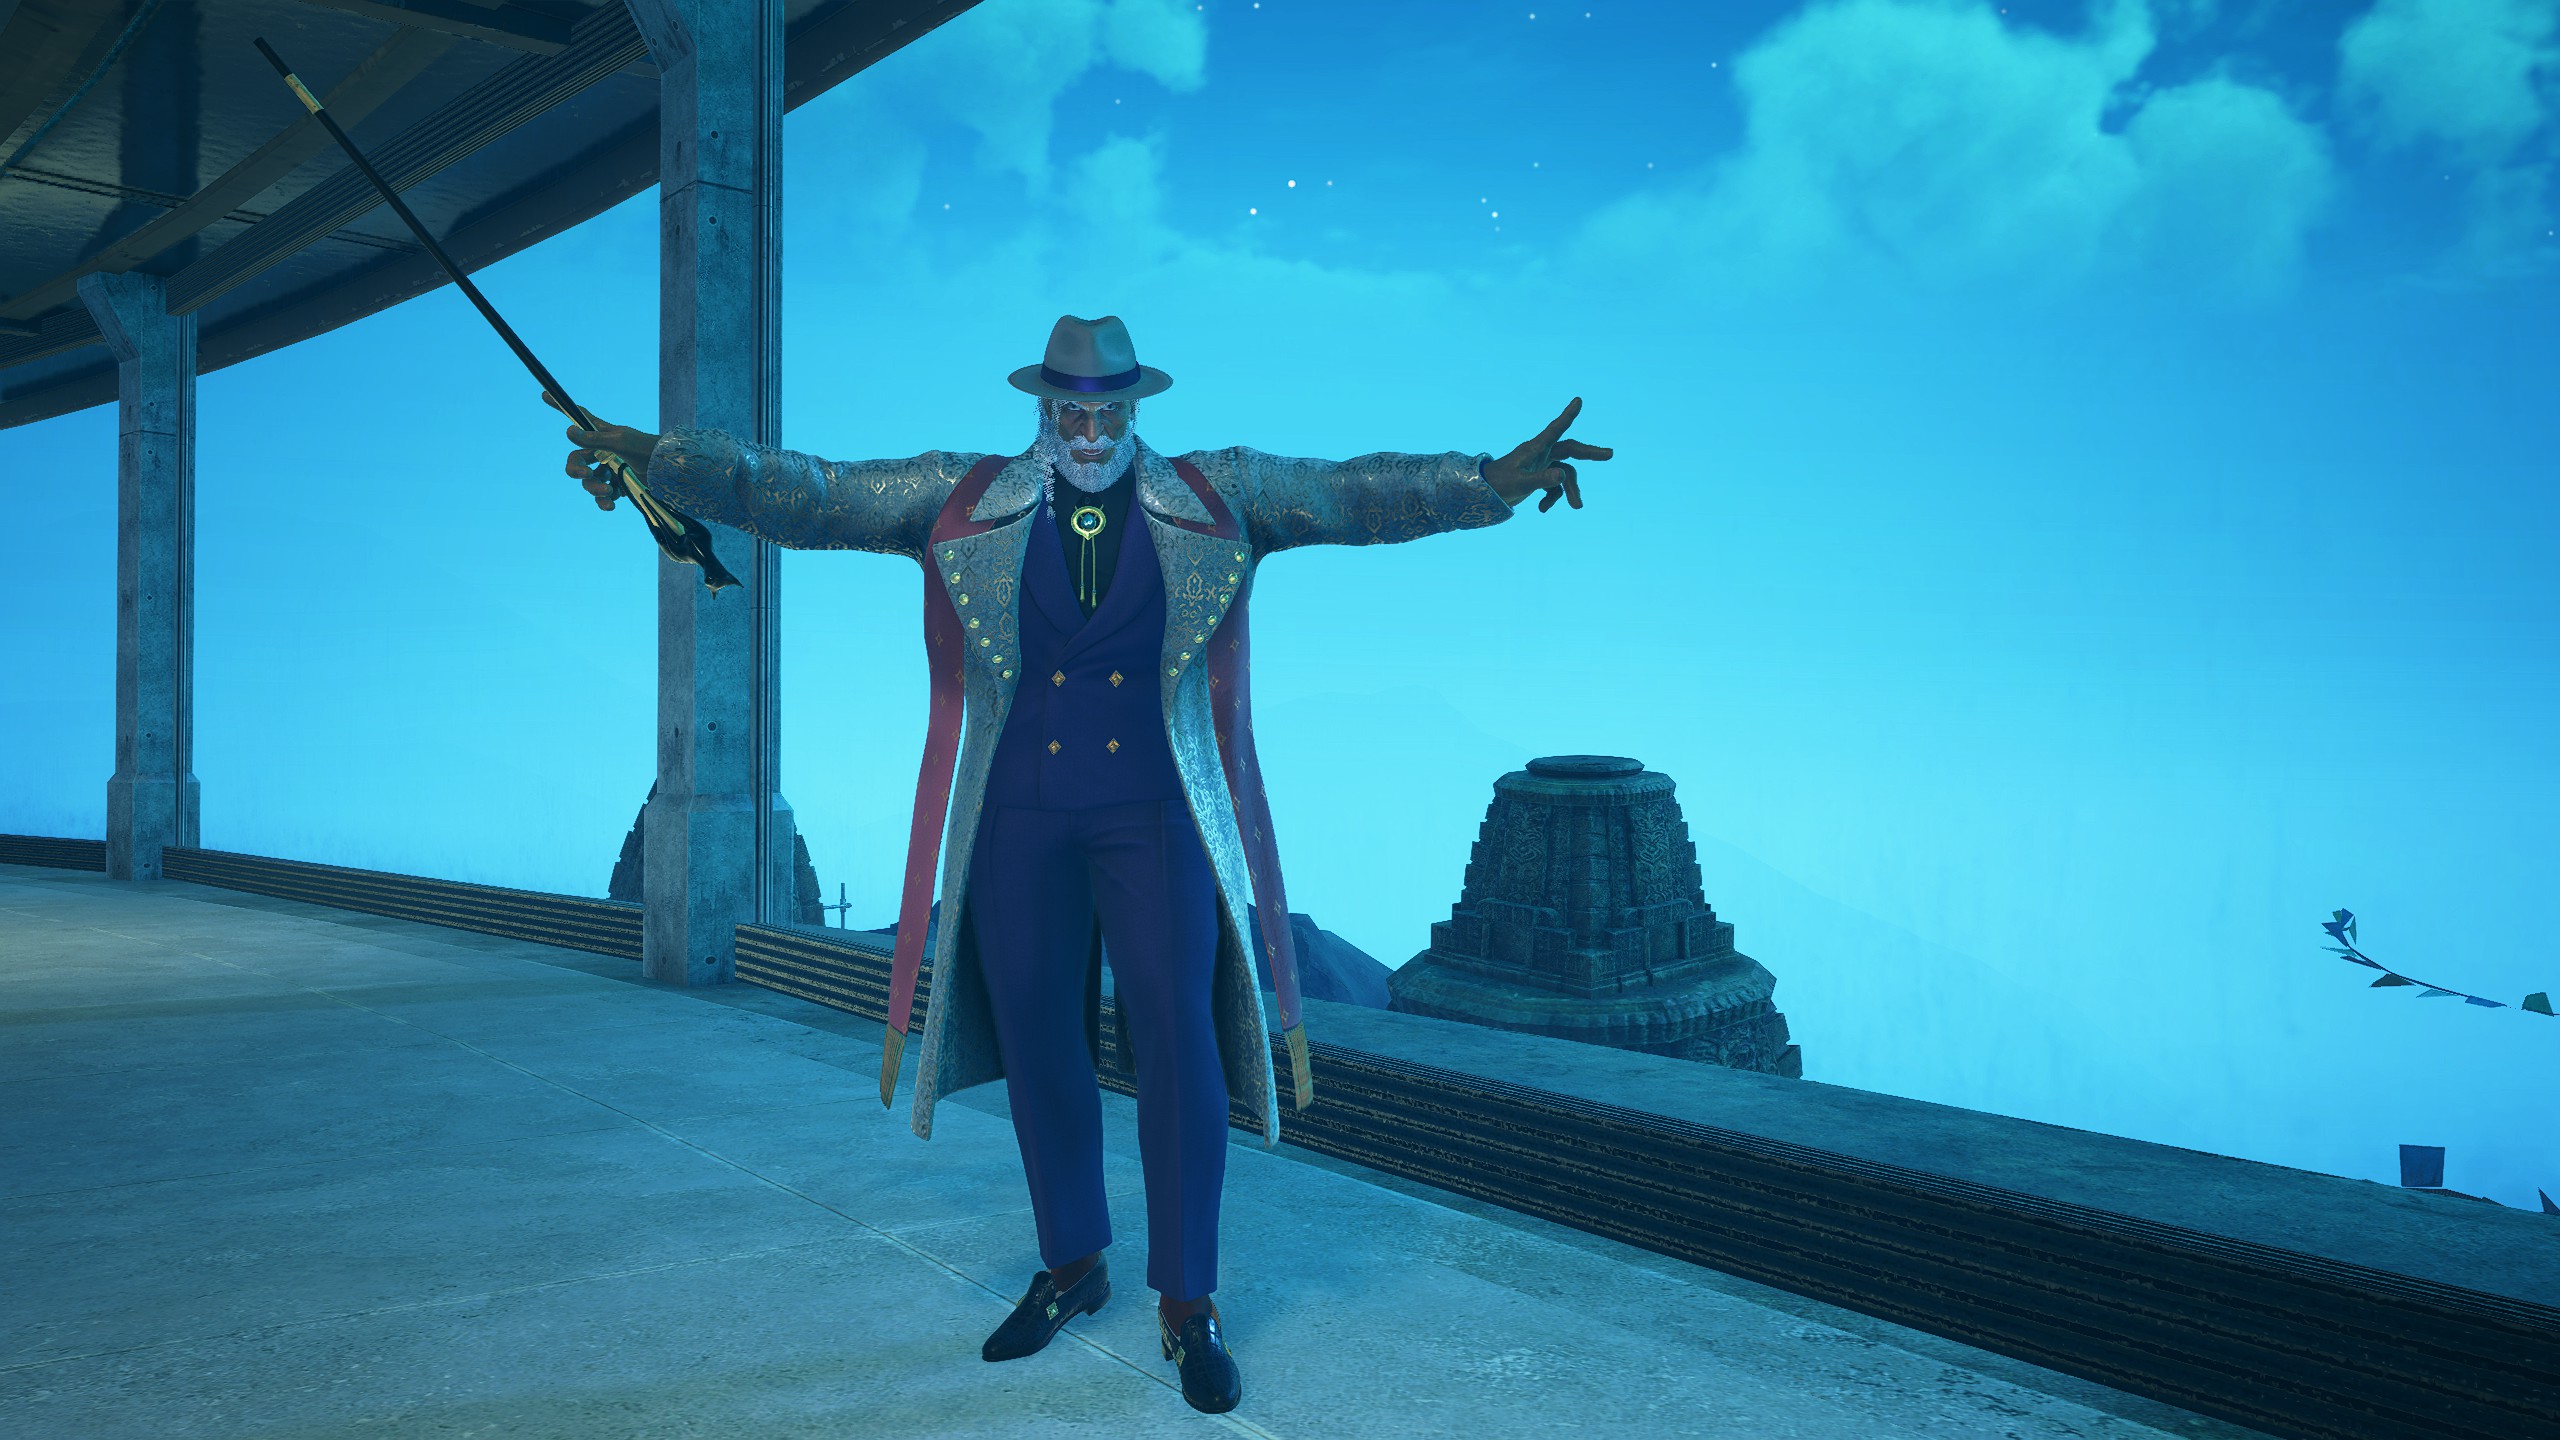
JP - Special Artwork: GRAPE BRAIN (Clear Arcade Once with JP)
Character Design: JP 1 (Clear Arcade Twice with JP)
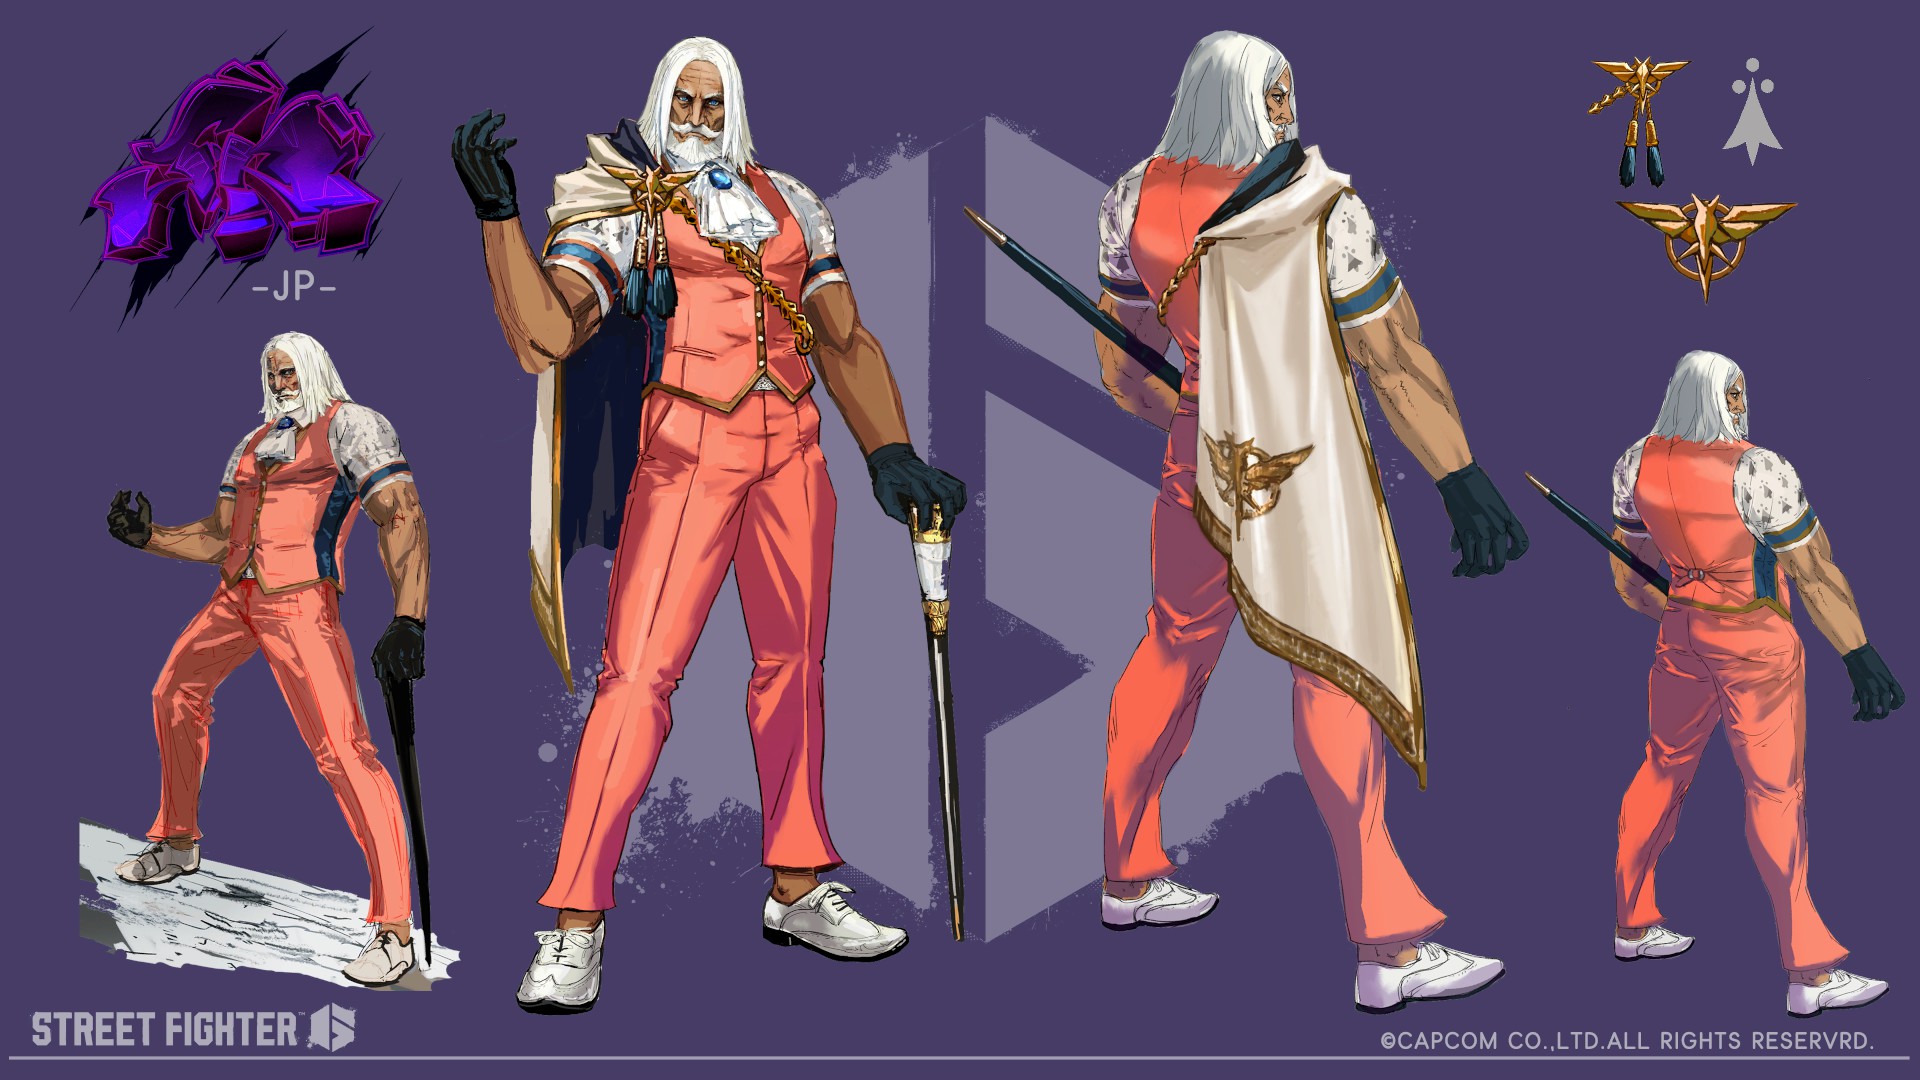
Character Design: JP 2 (Clear Arcade Three Times with JP)
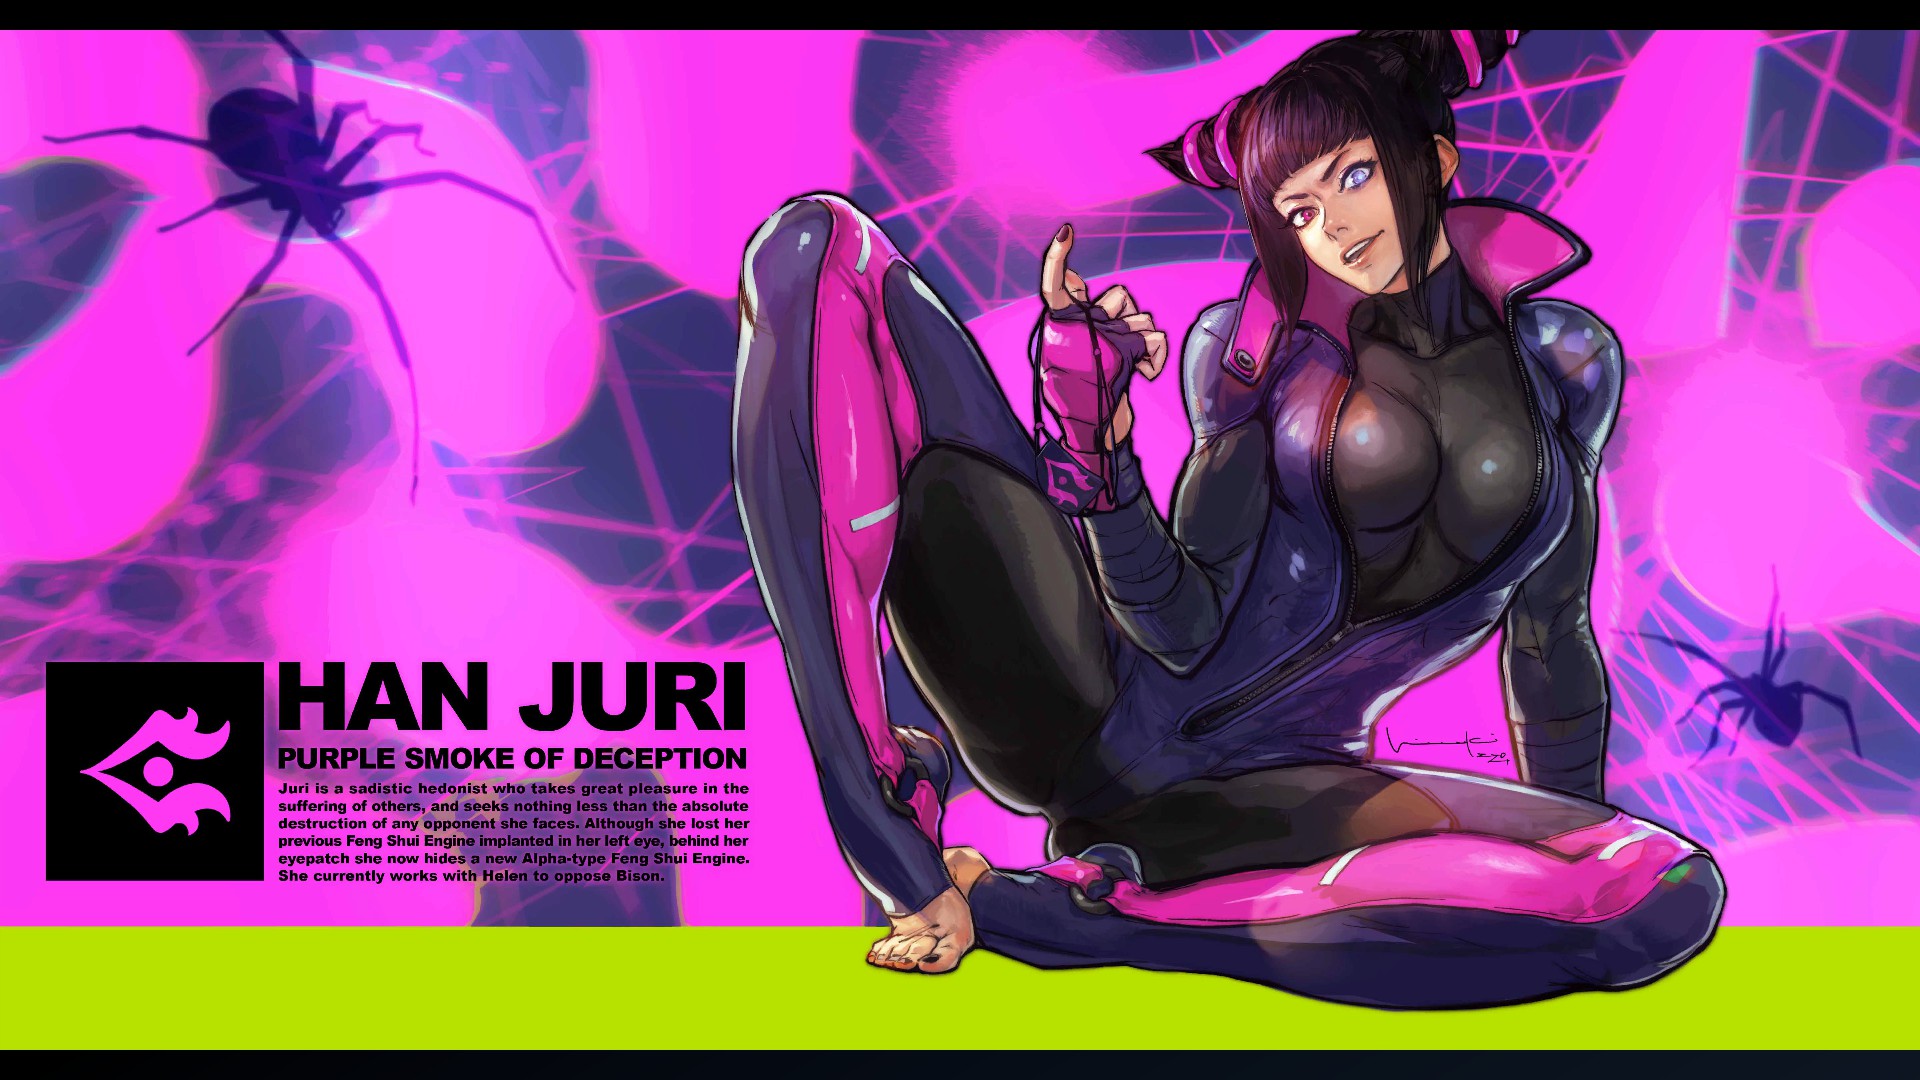
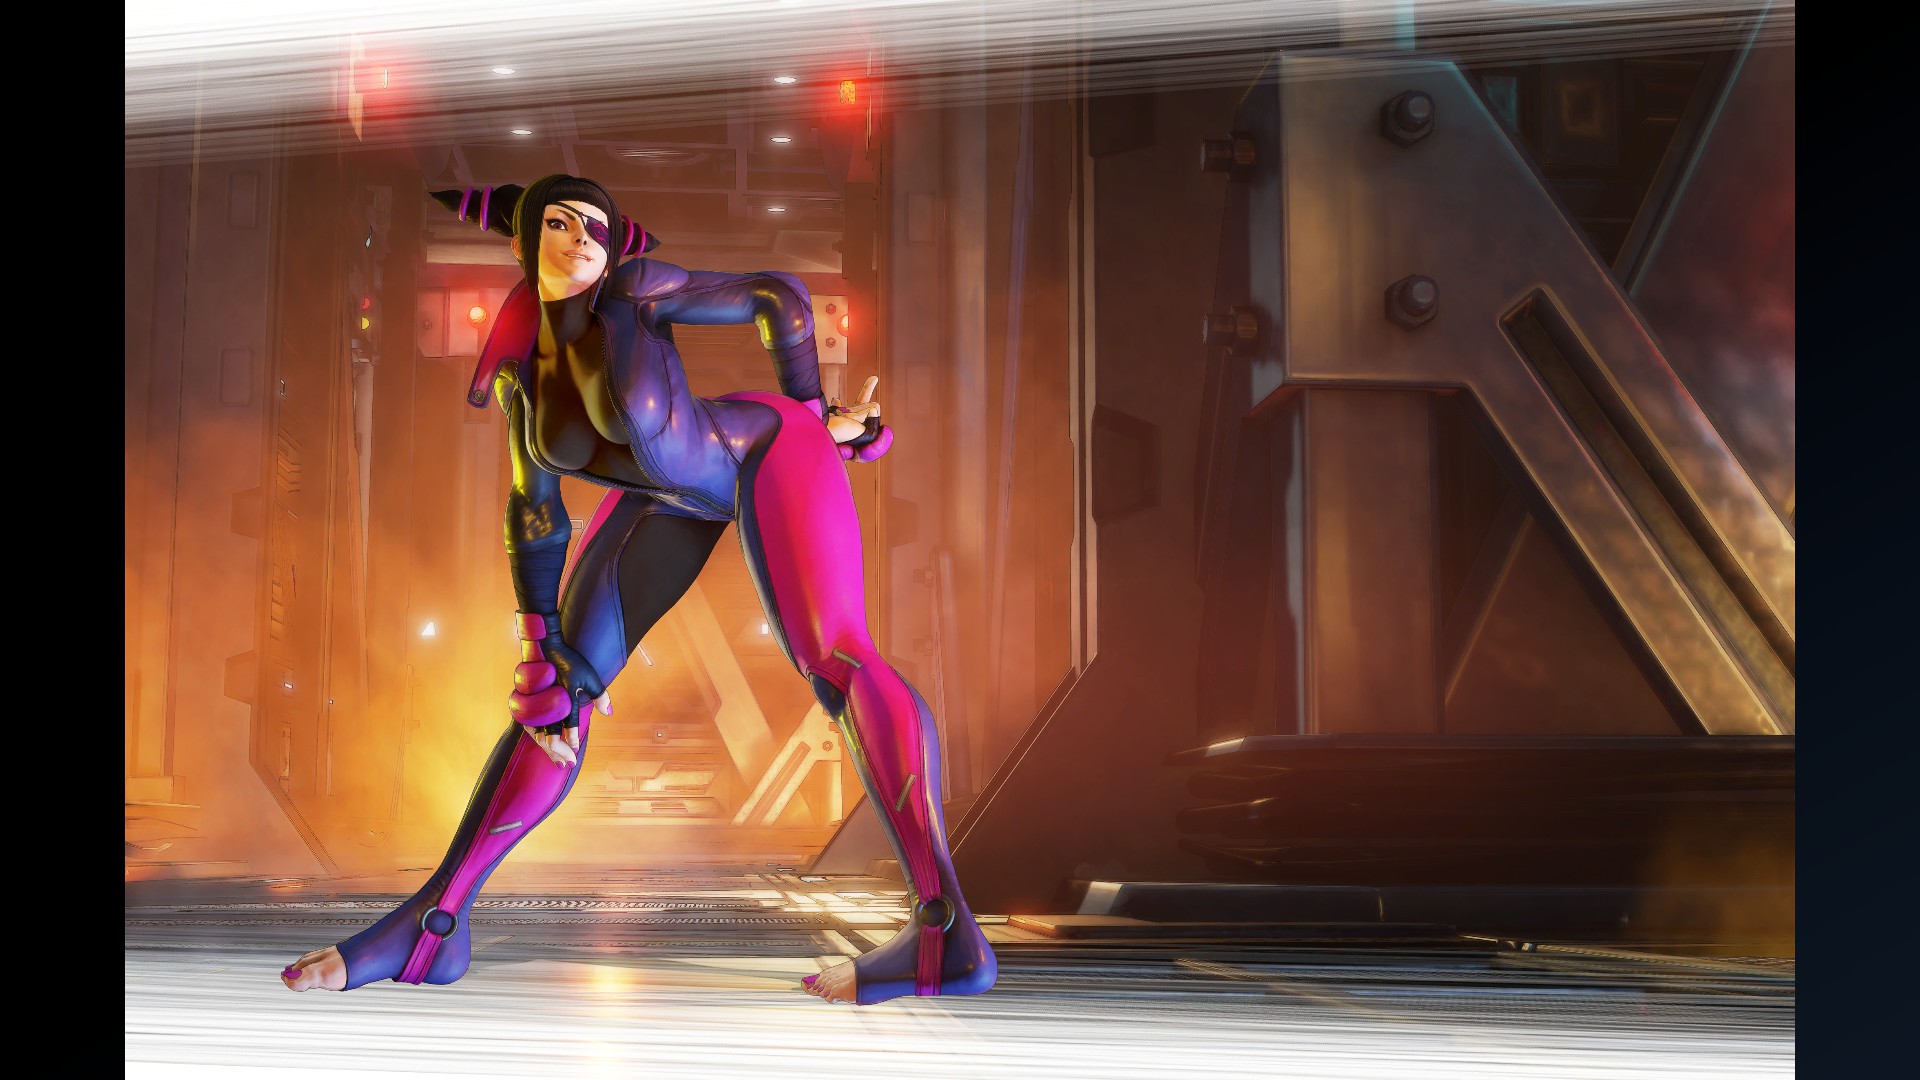
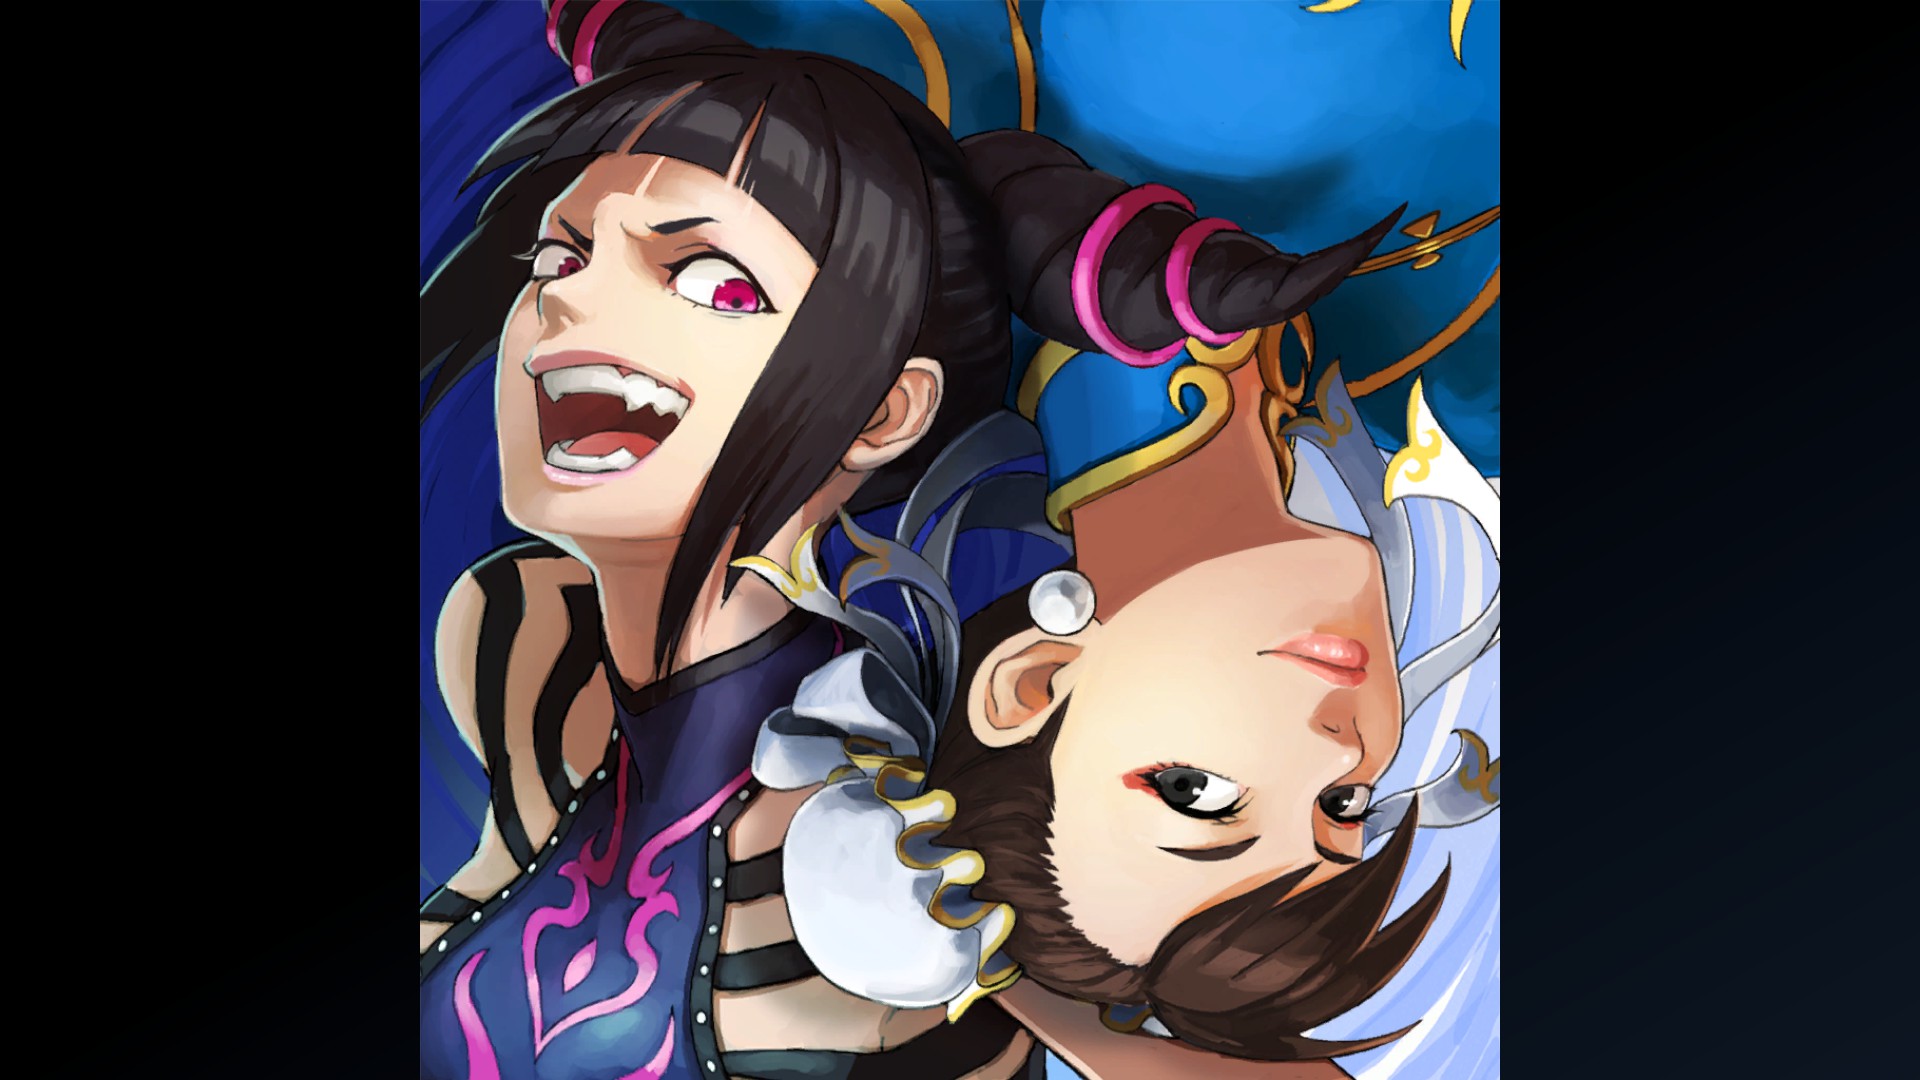
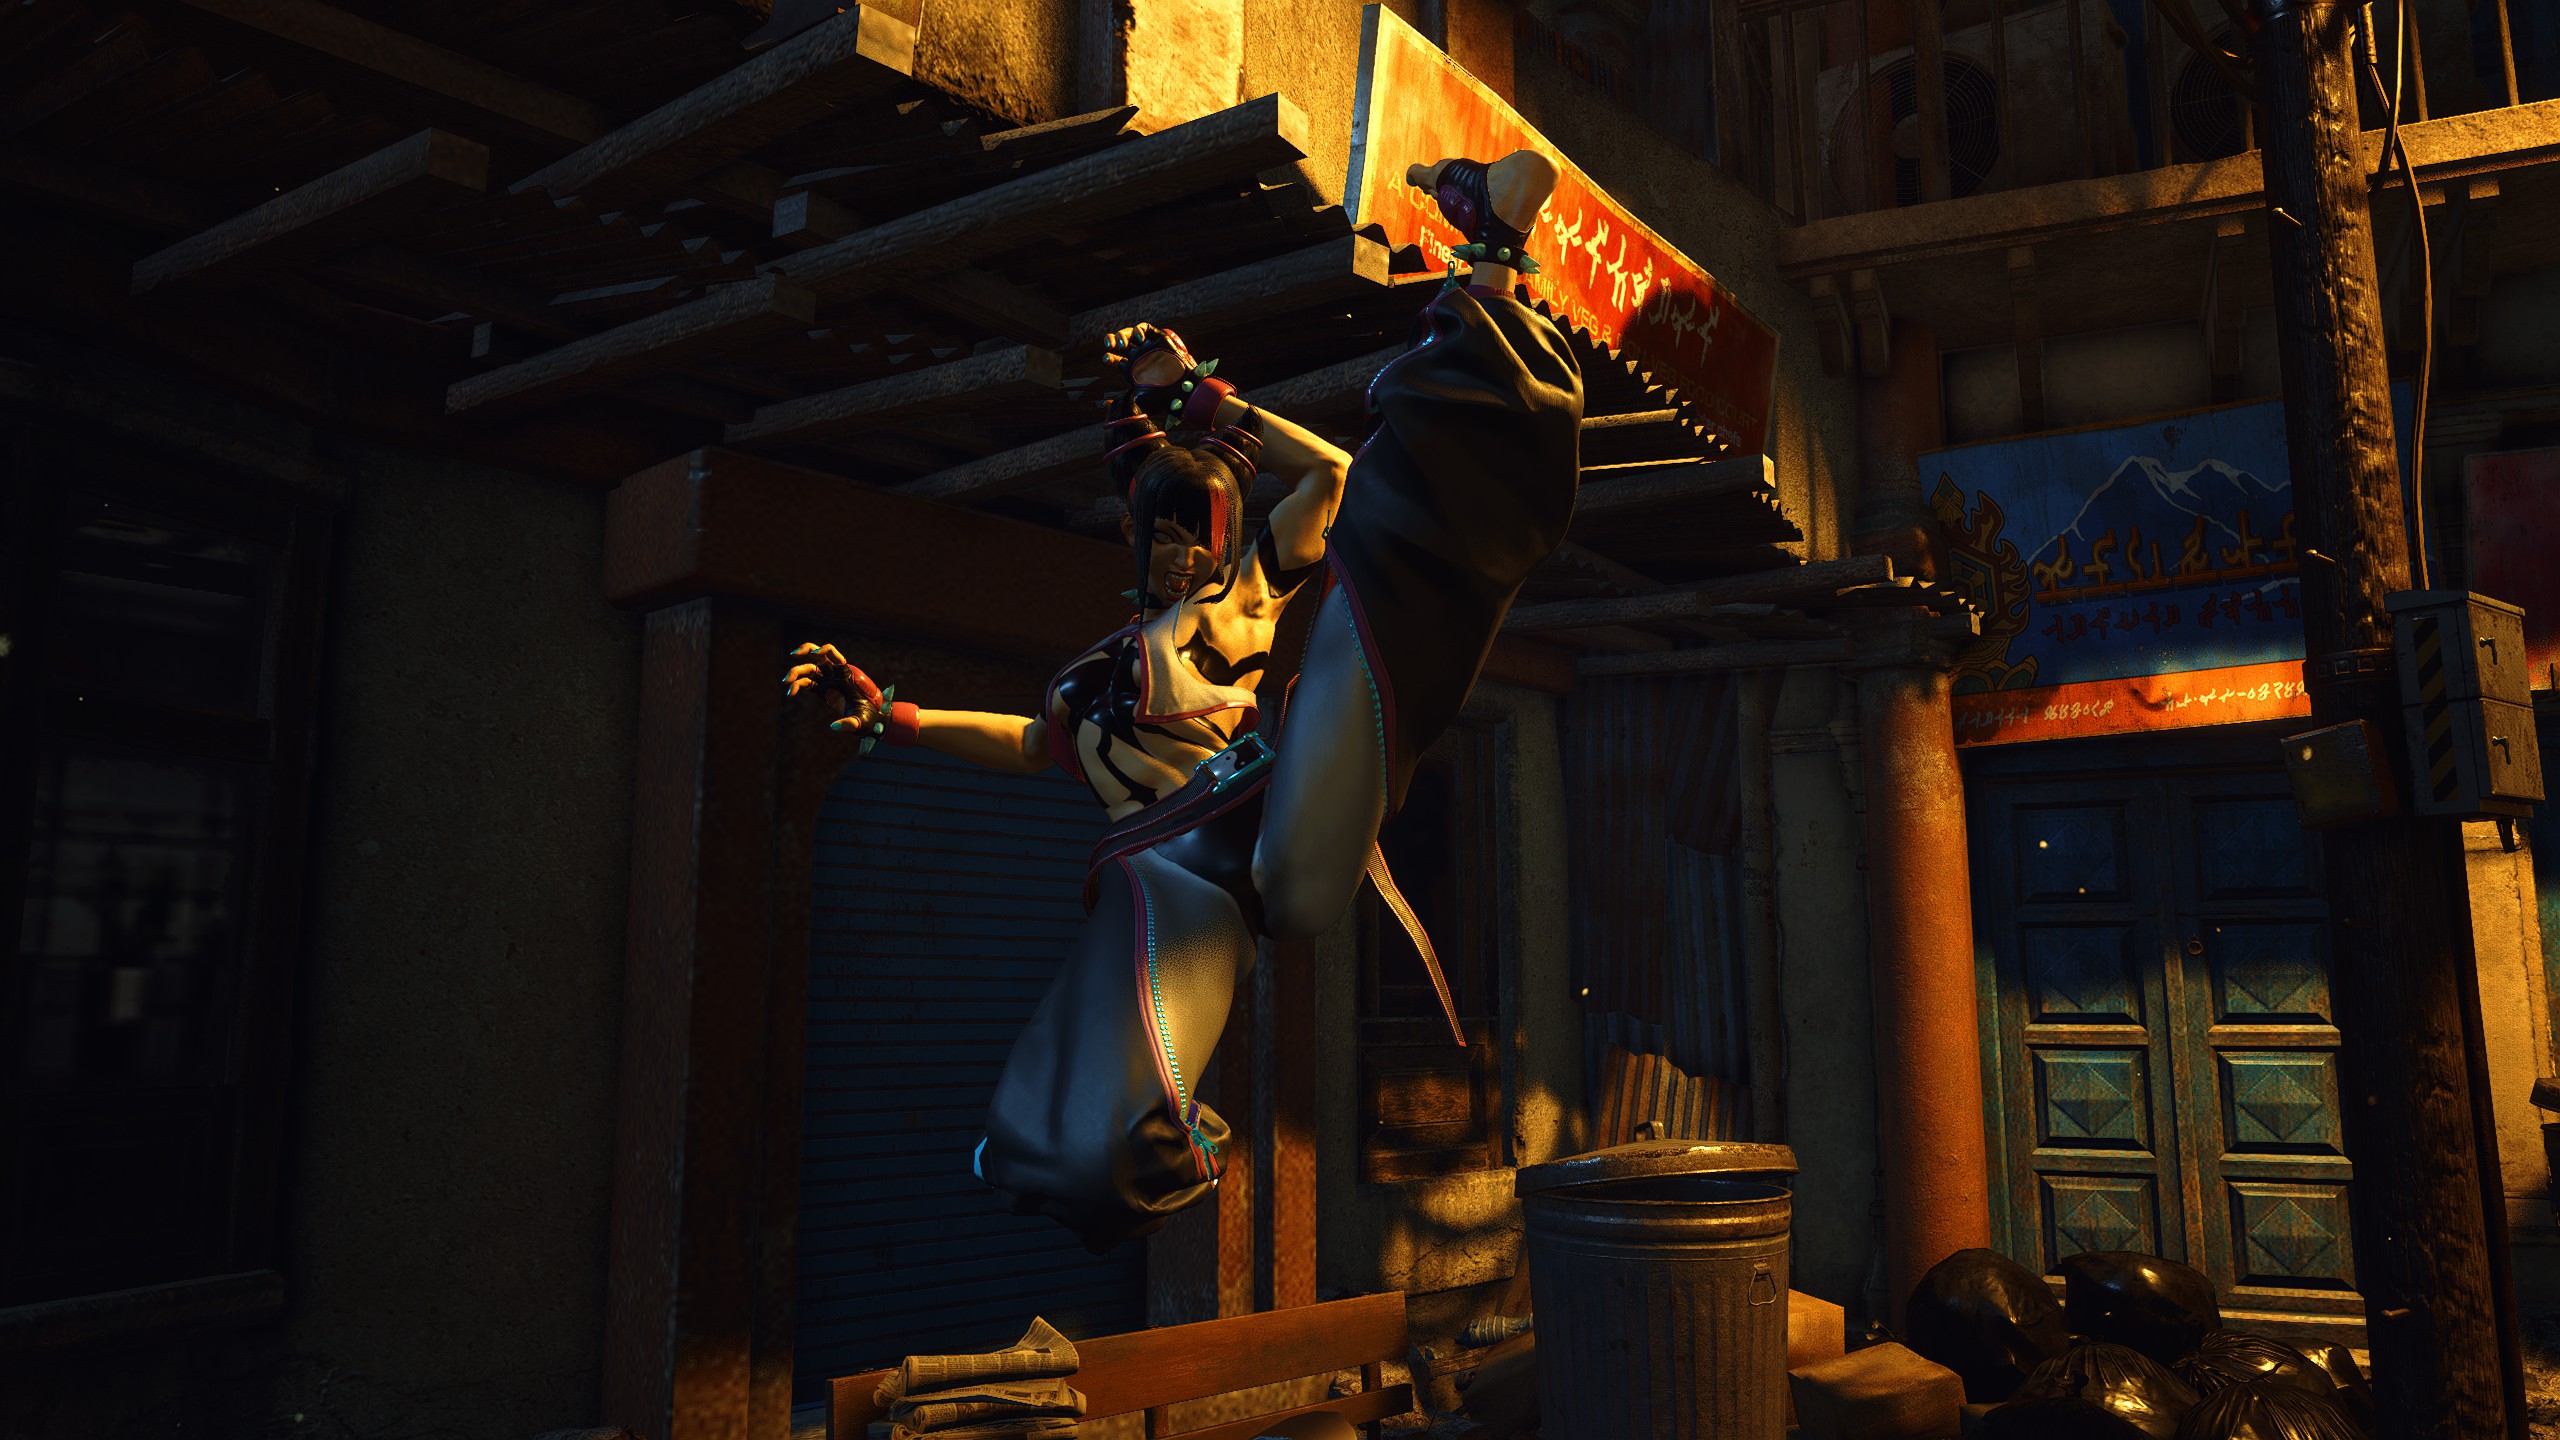
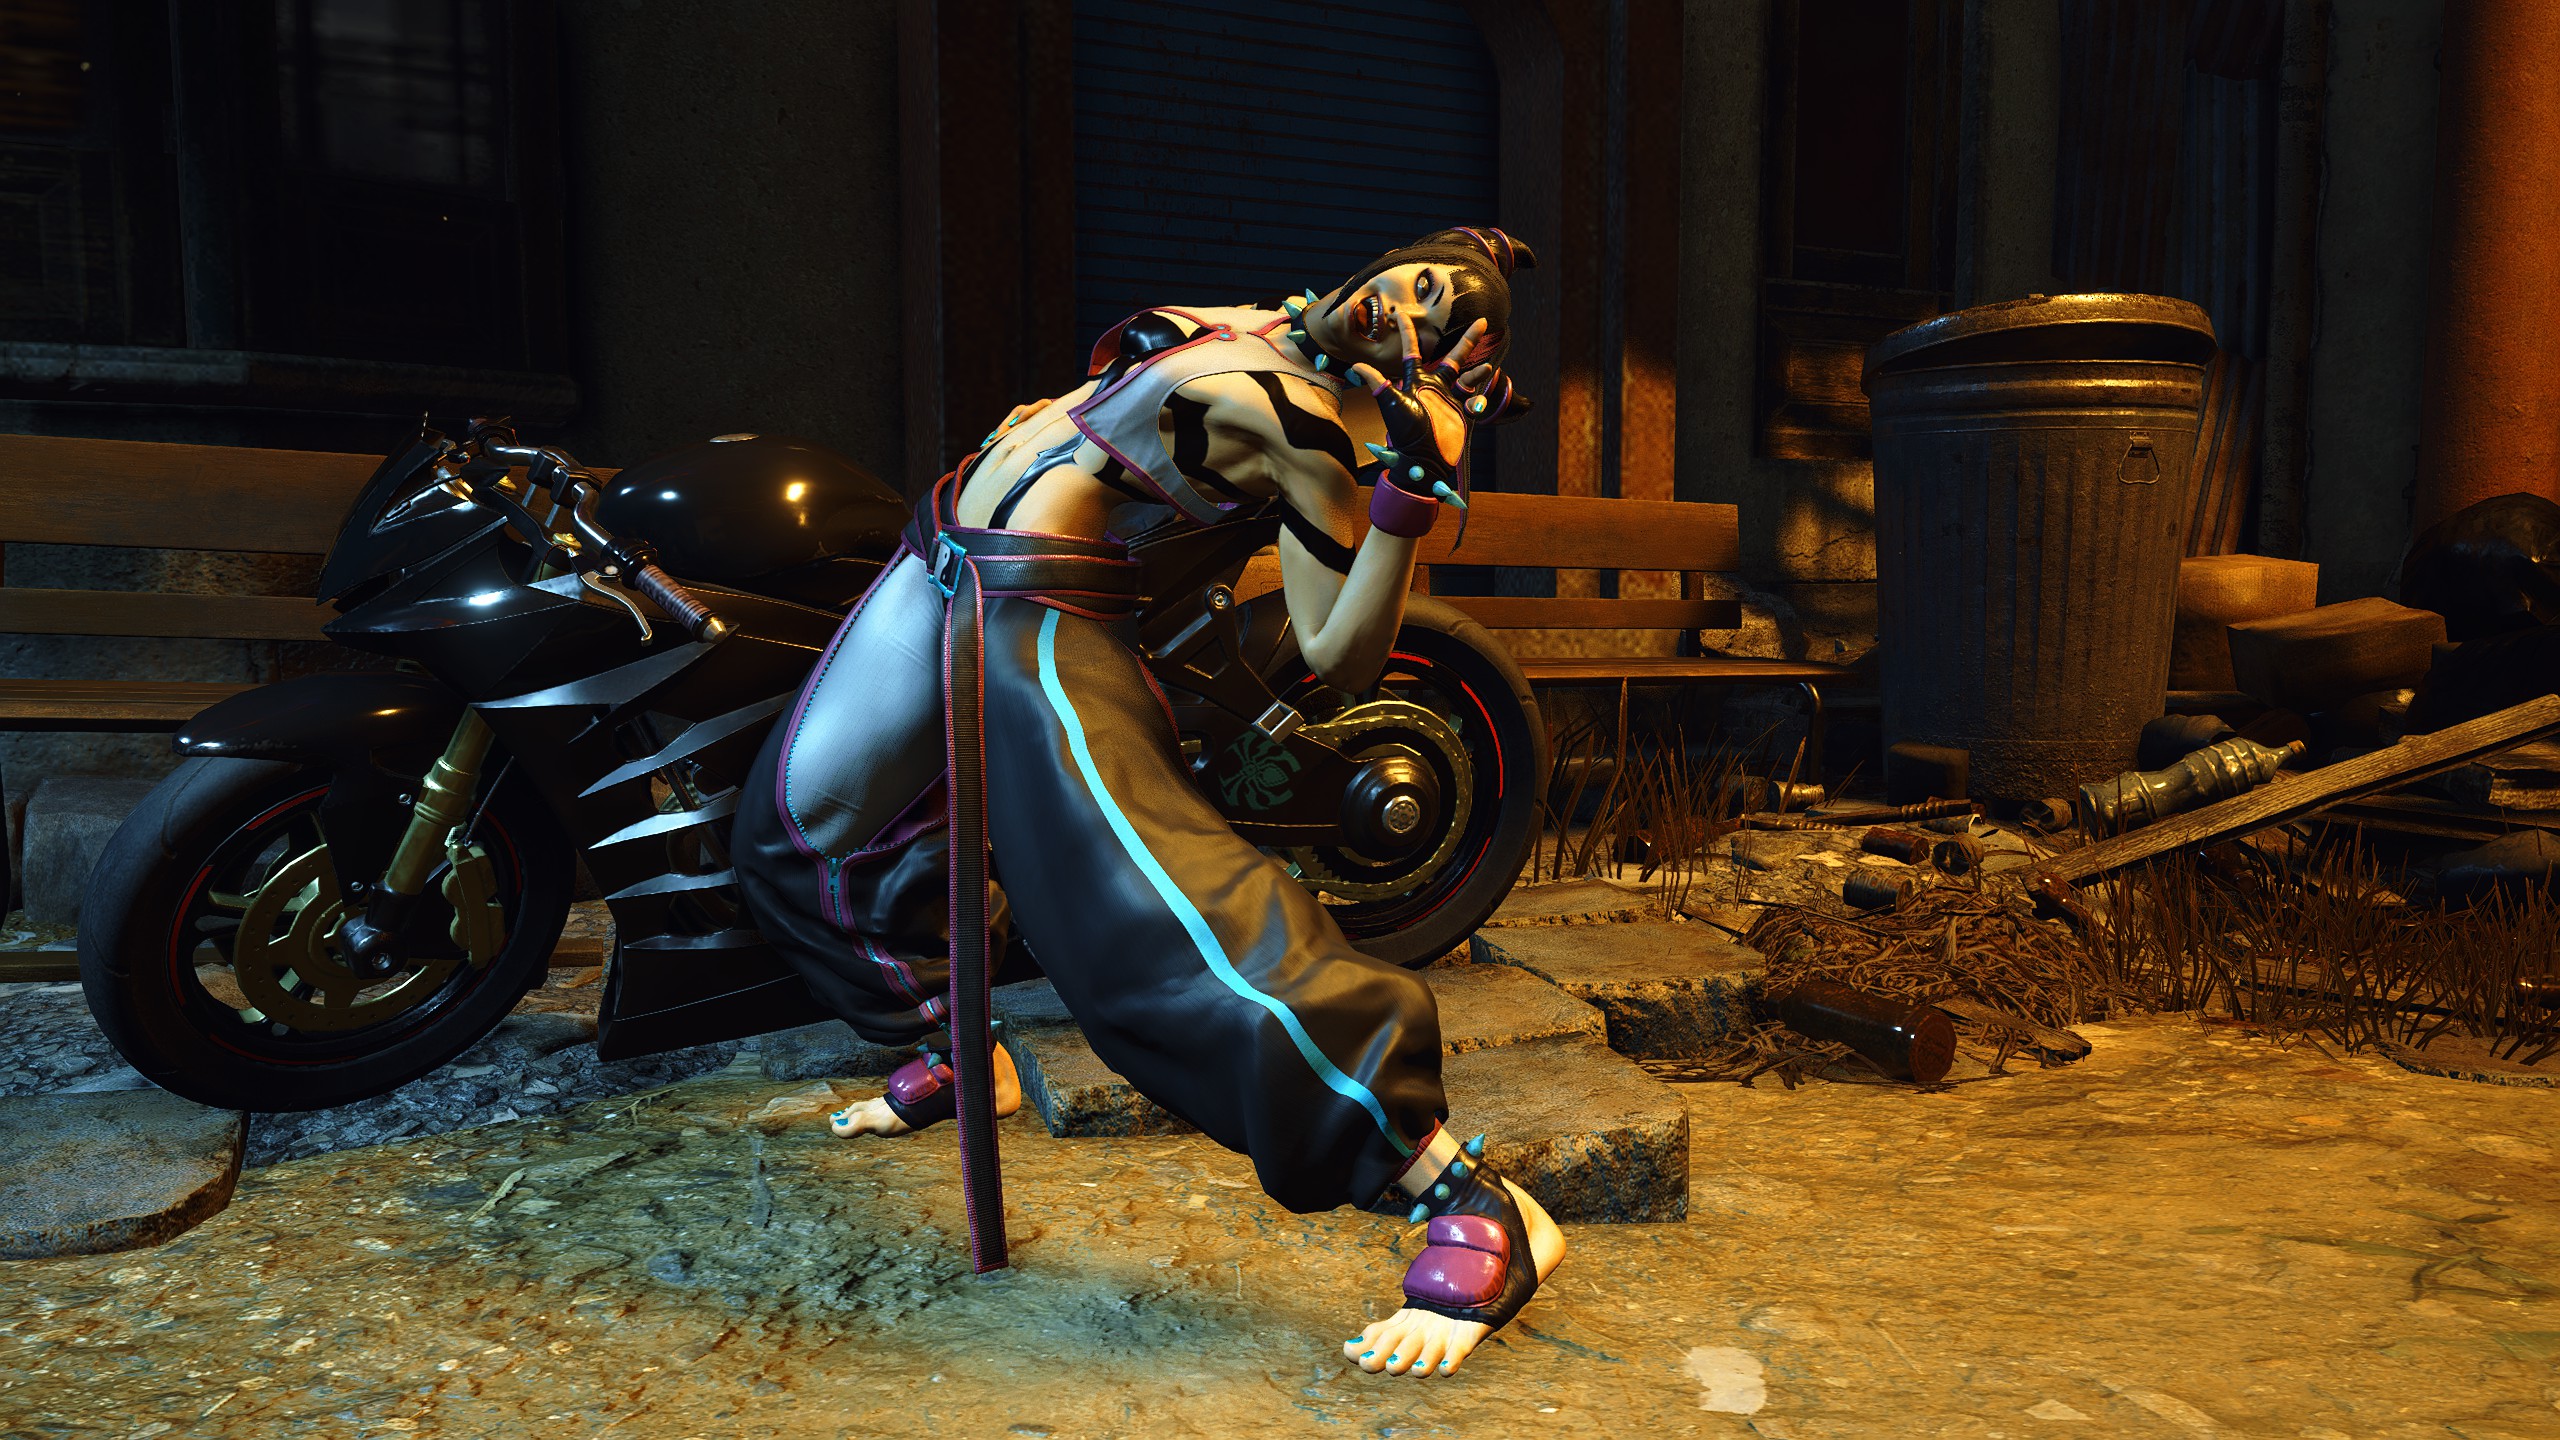
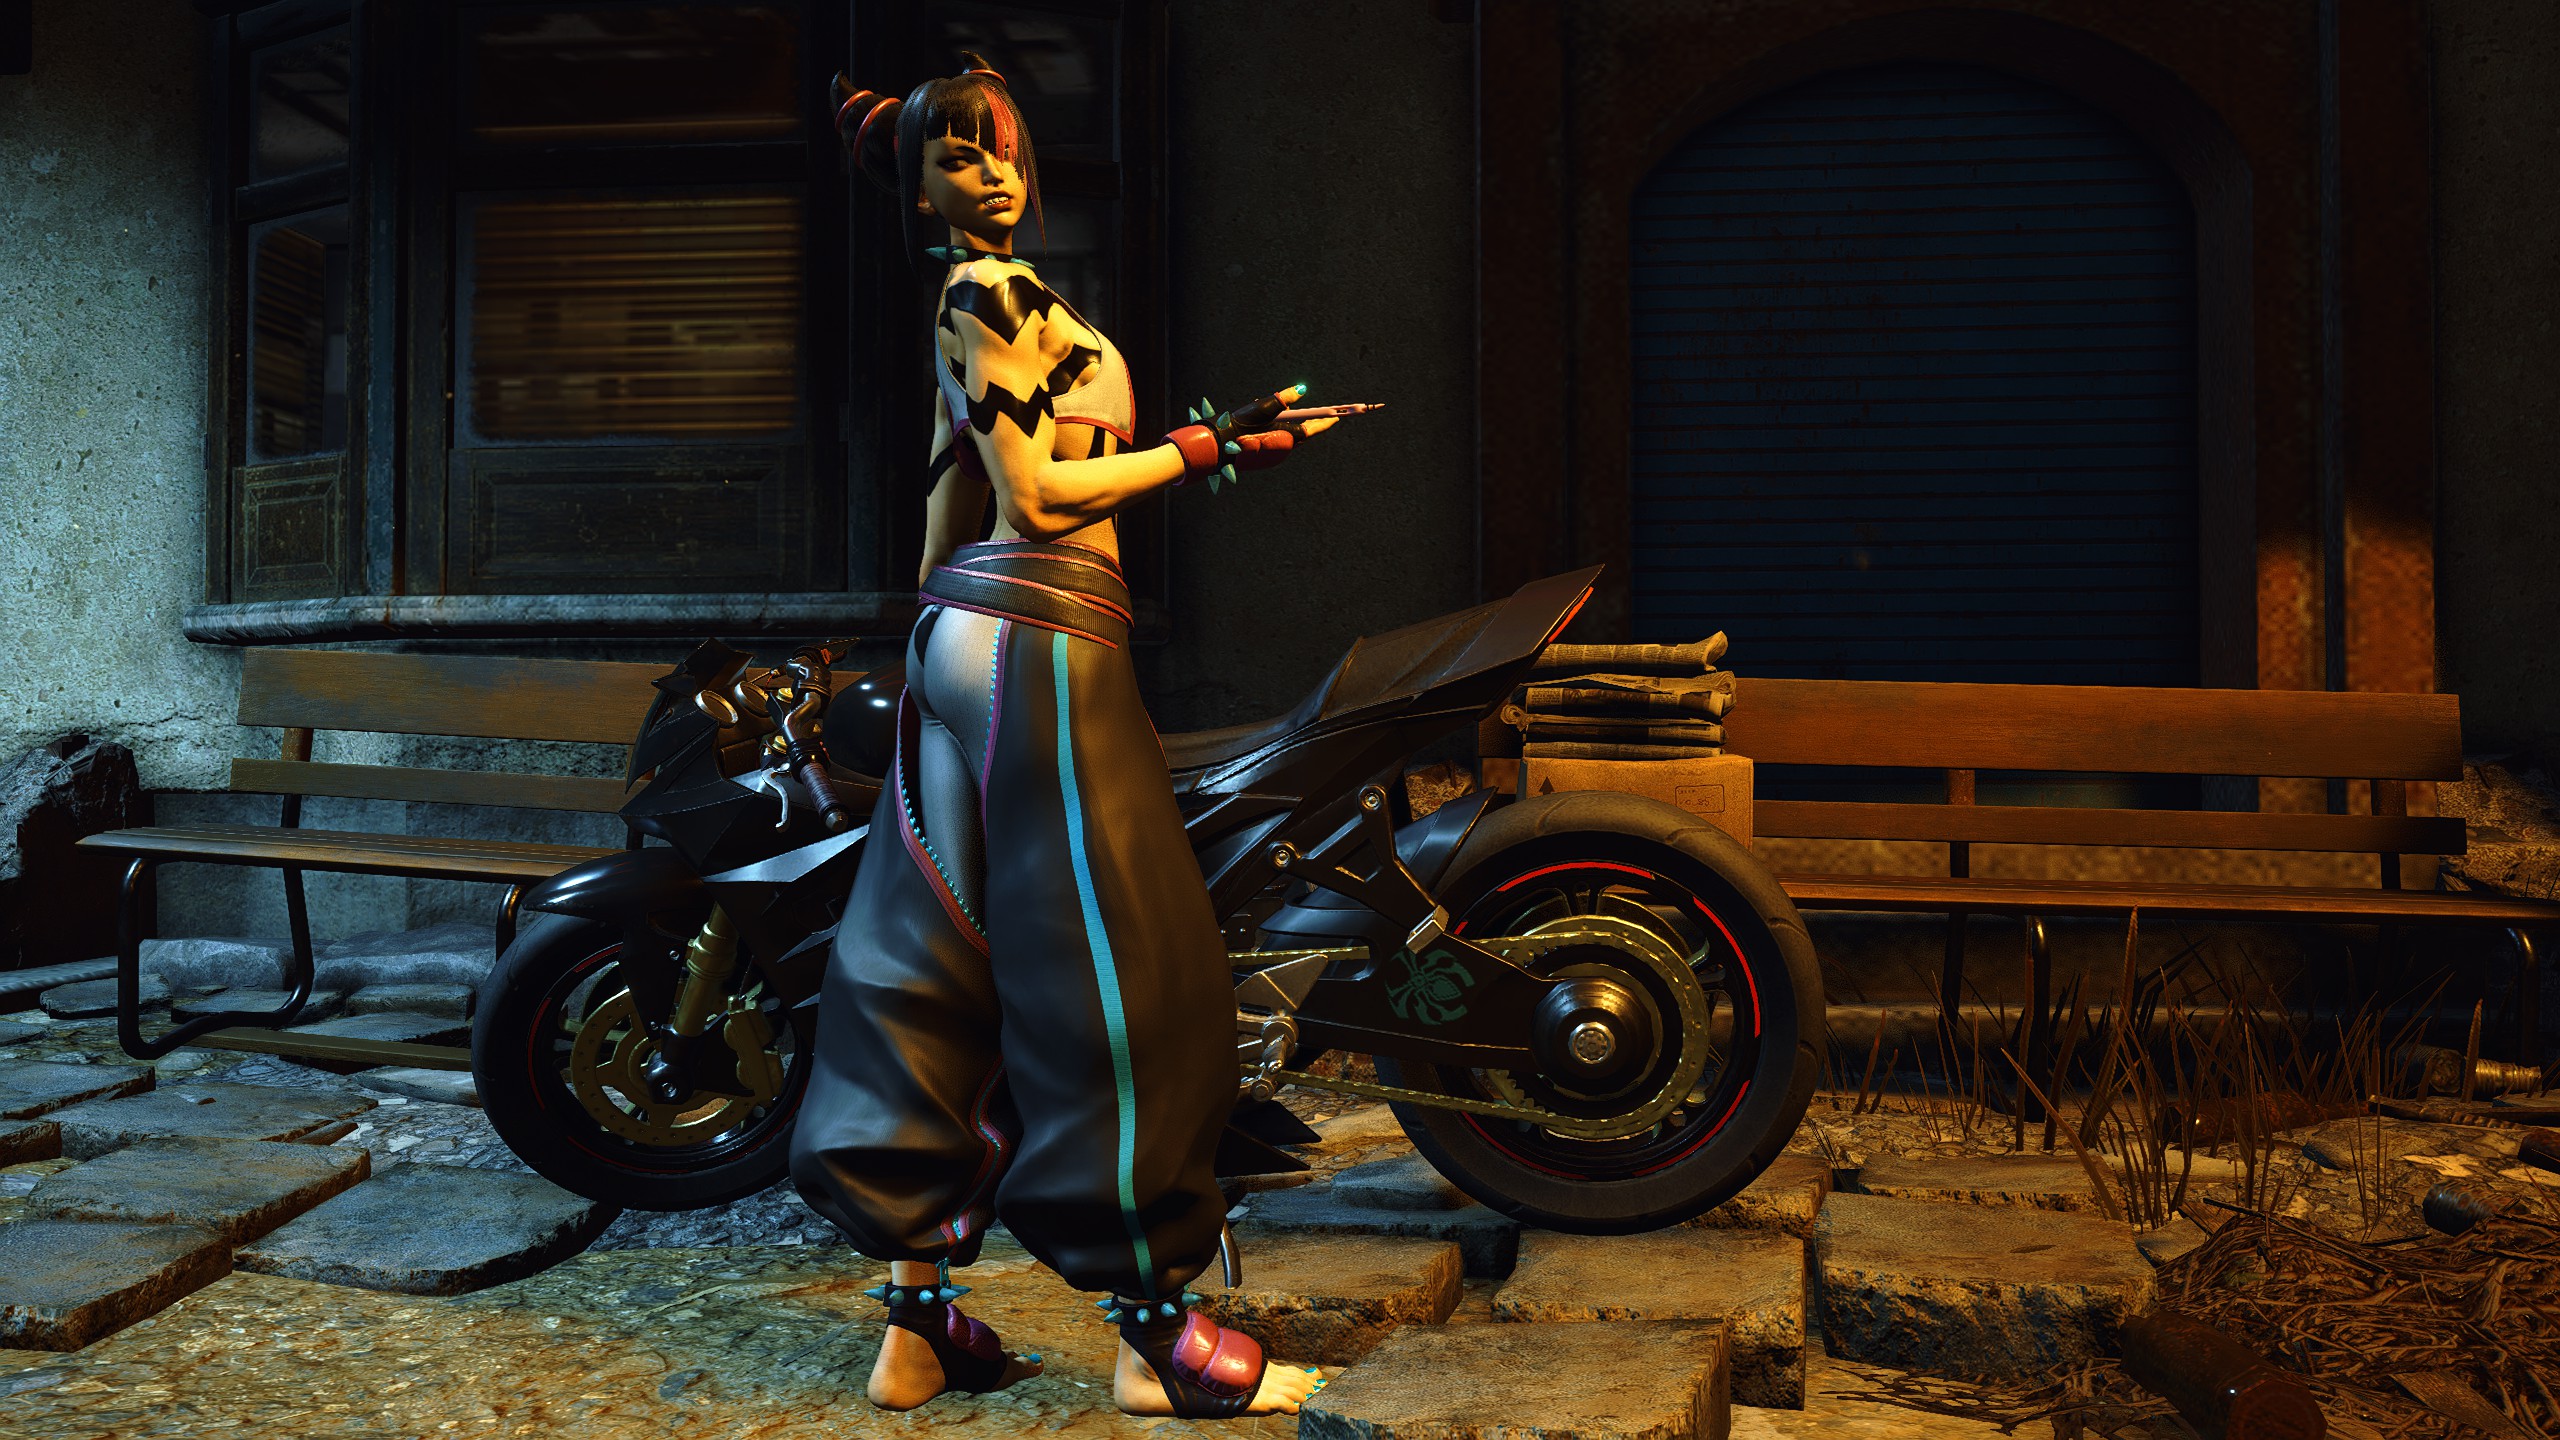
Juri - Special Artwork: Hiroaki (Clear Arcade Once with Juri)
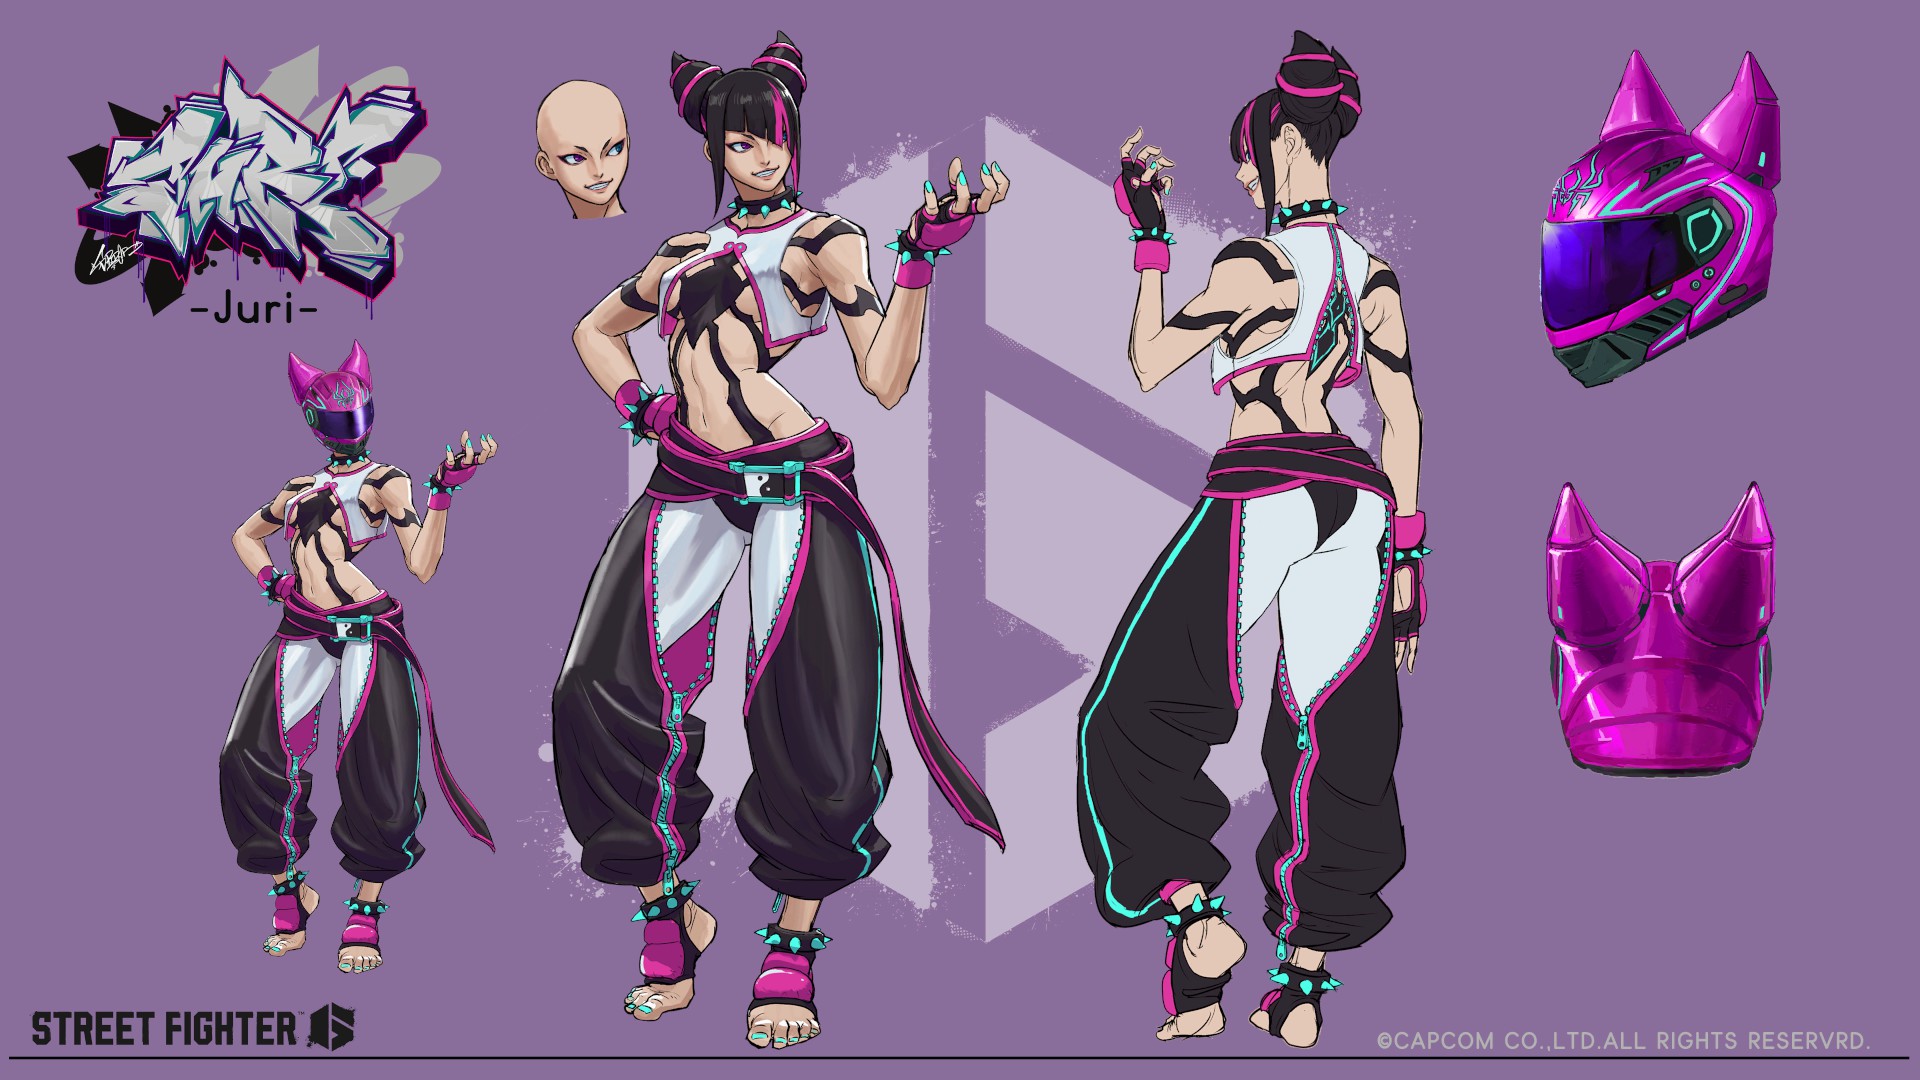
Character Design: Juri (Clear Arcade Twice with Juri)
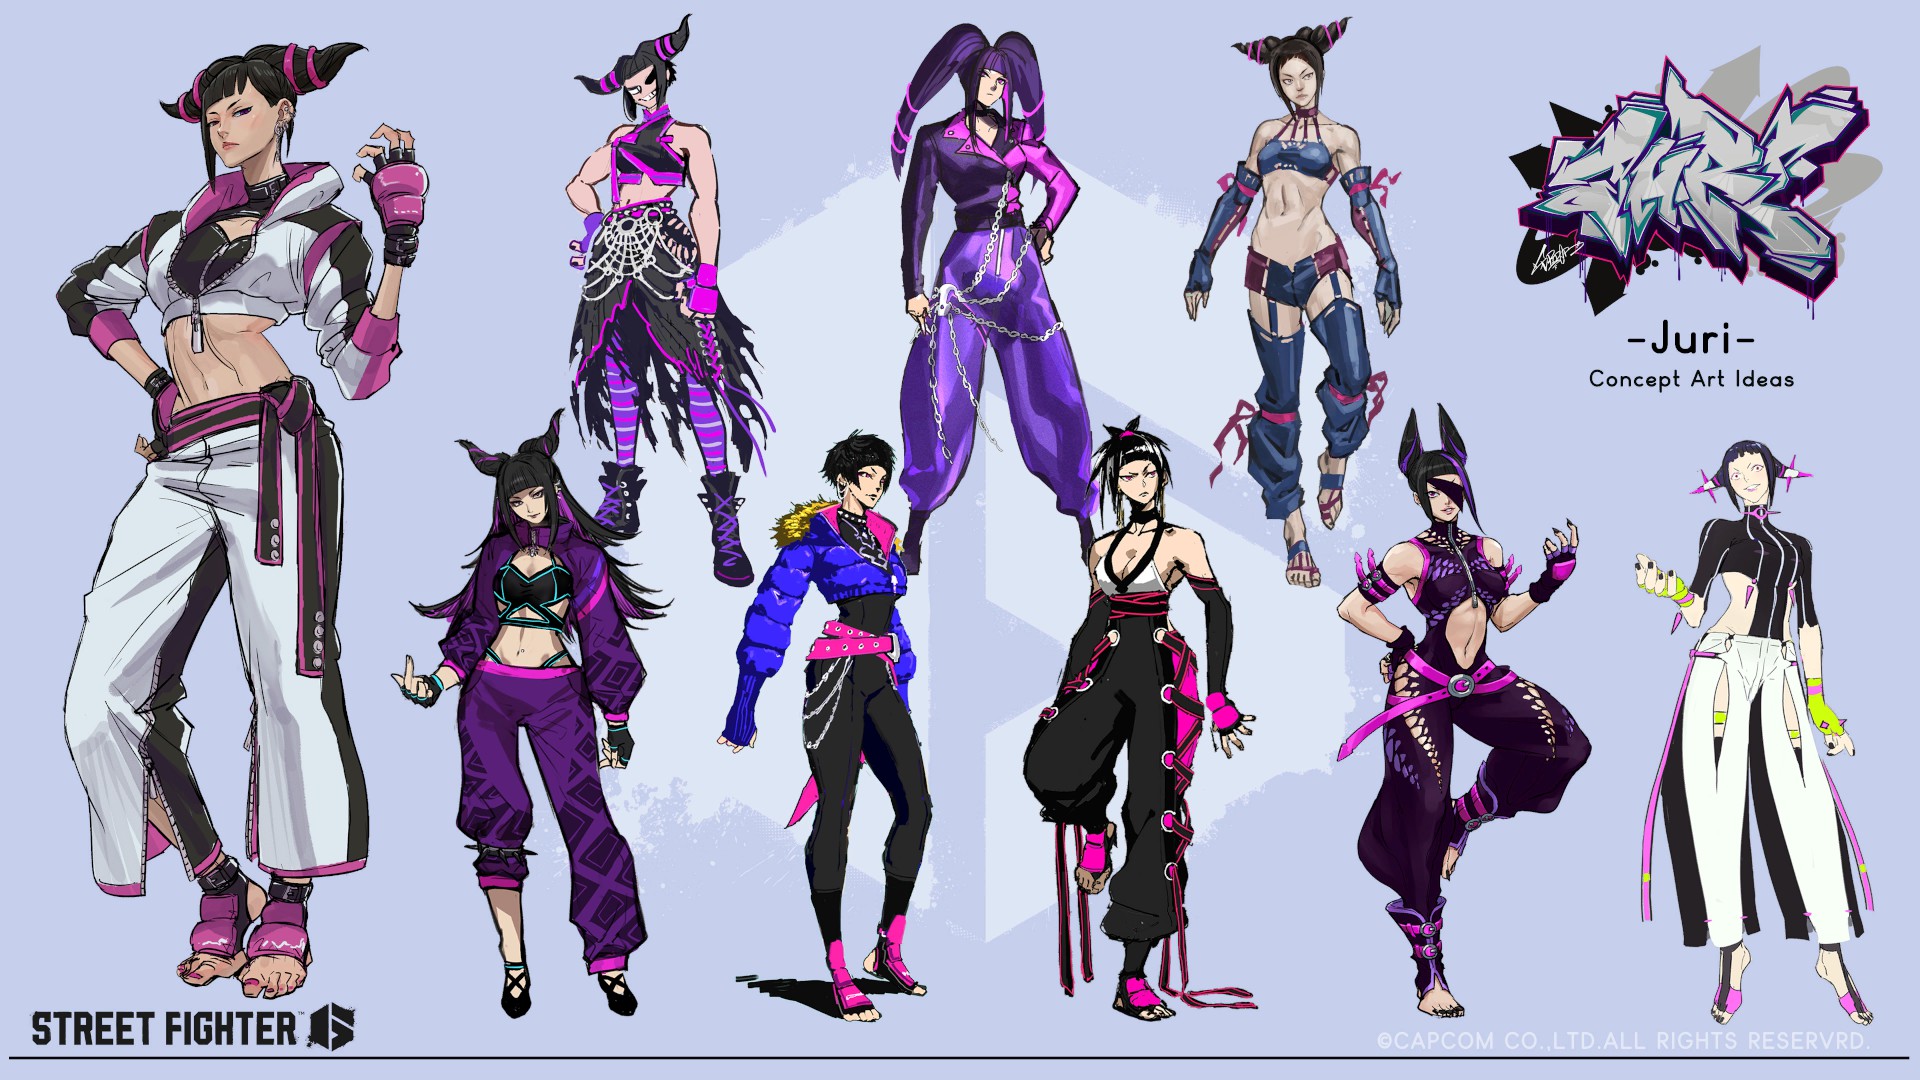
Unused Design: Juri (Clear Arcade Three Times with Juri)
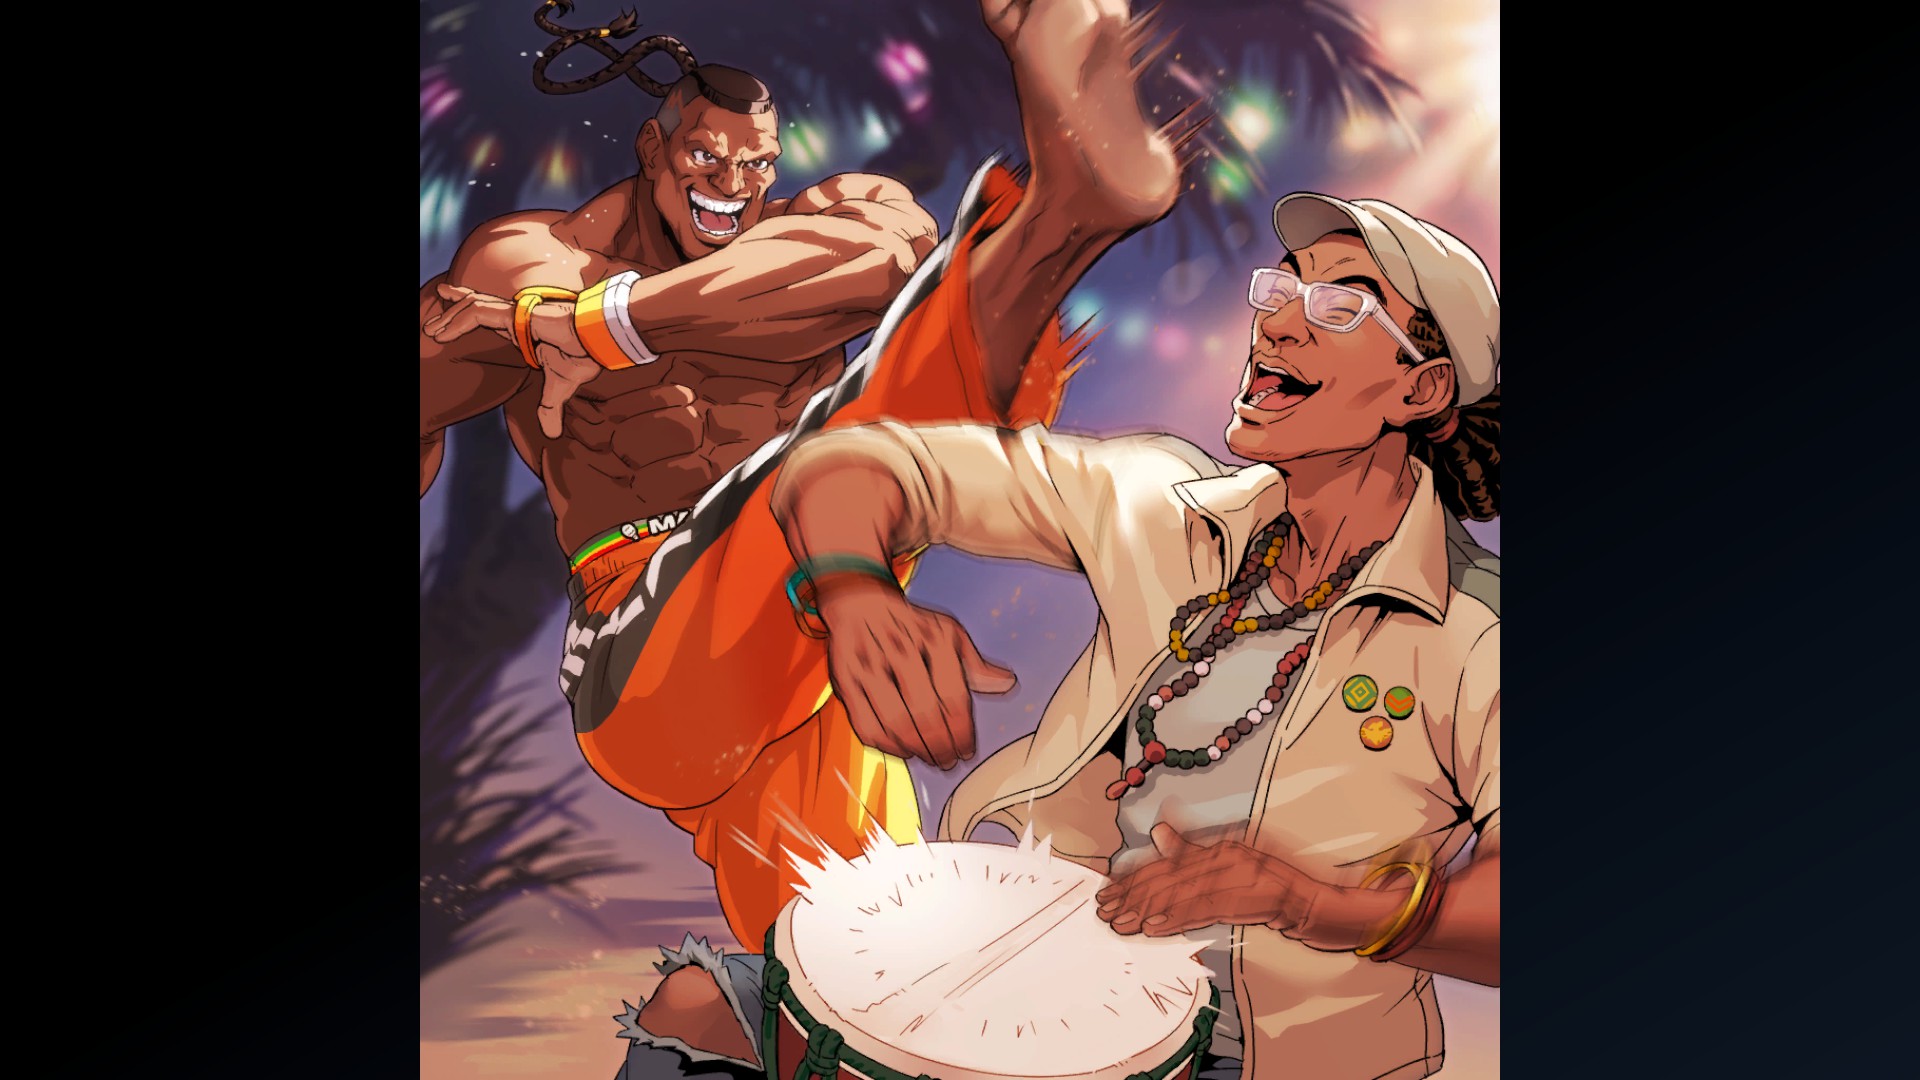
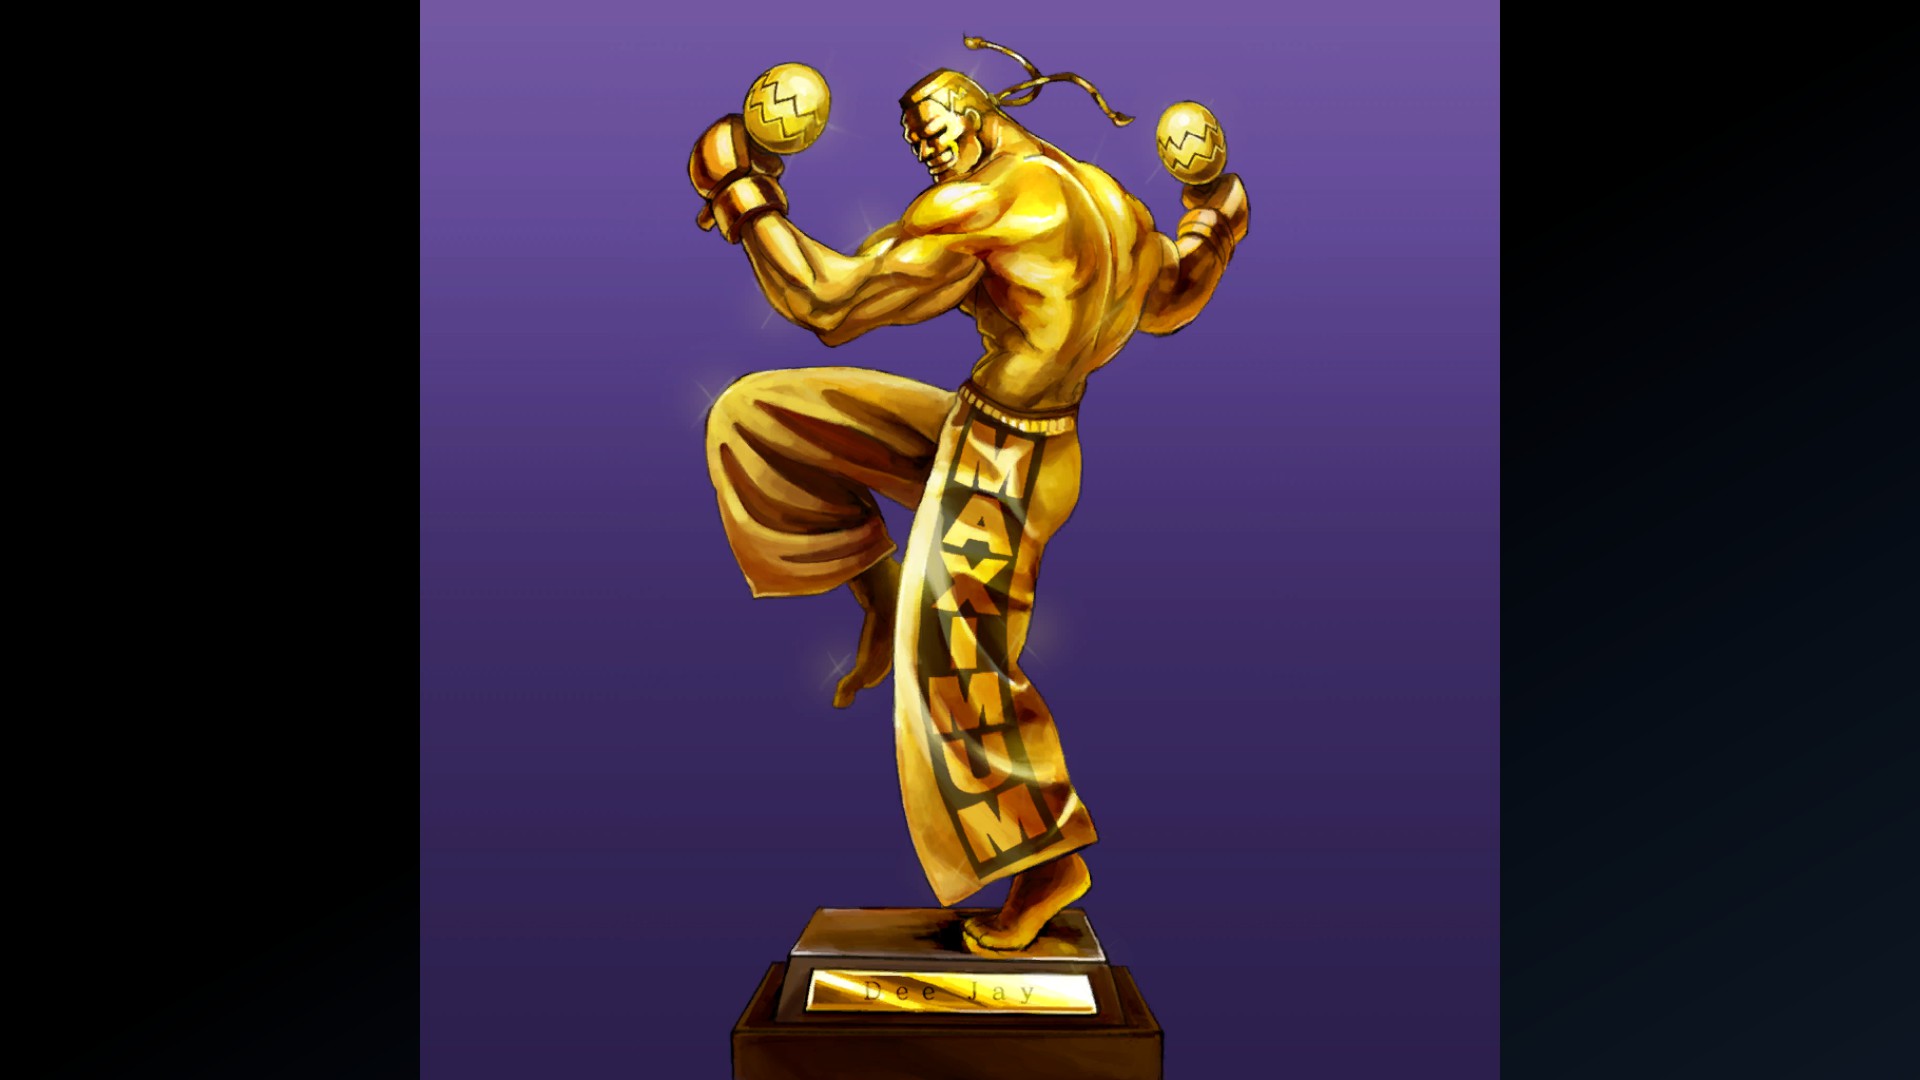
Dee Jay - Special Artwork: Tatsuya Yoshikawa
(Clear Arcade Once with Dee Jay)
(Clear Arcade Once with Dee Jay)
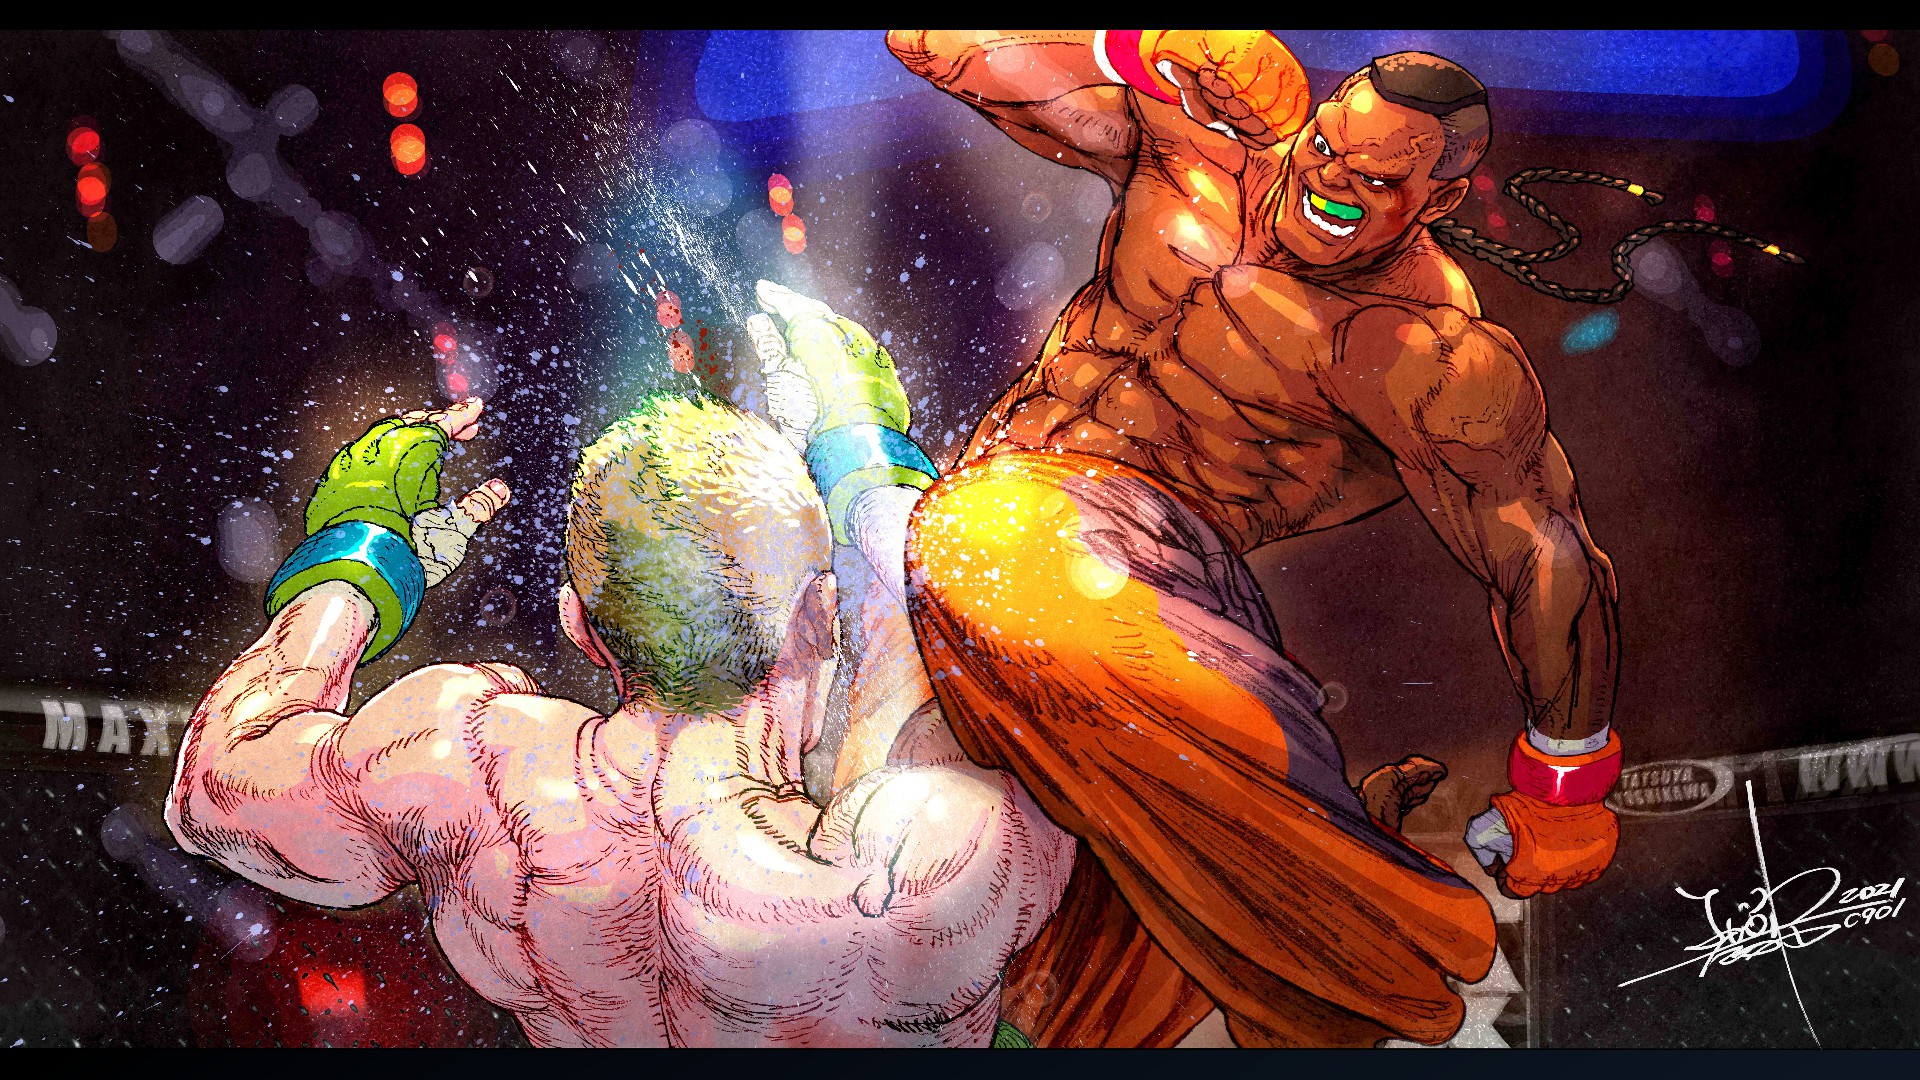
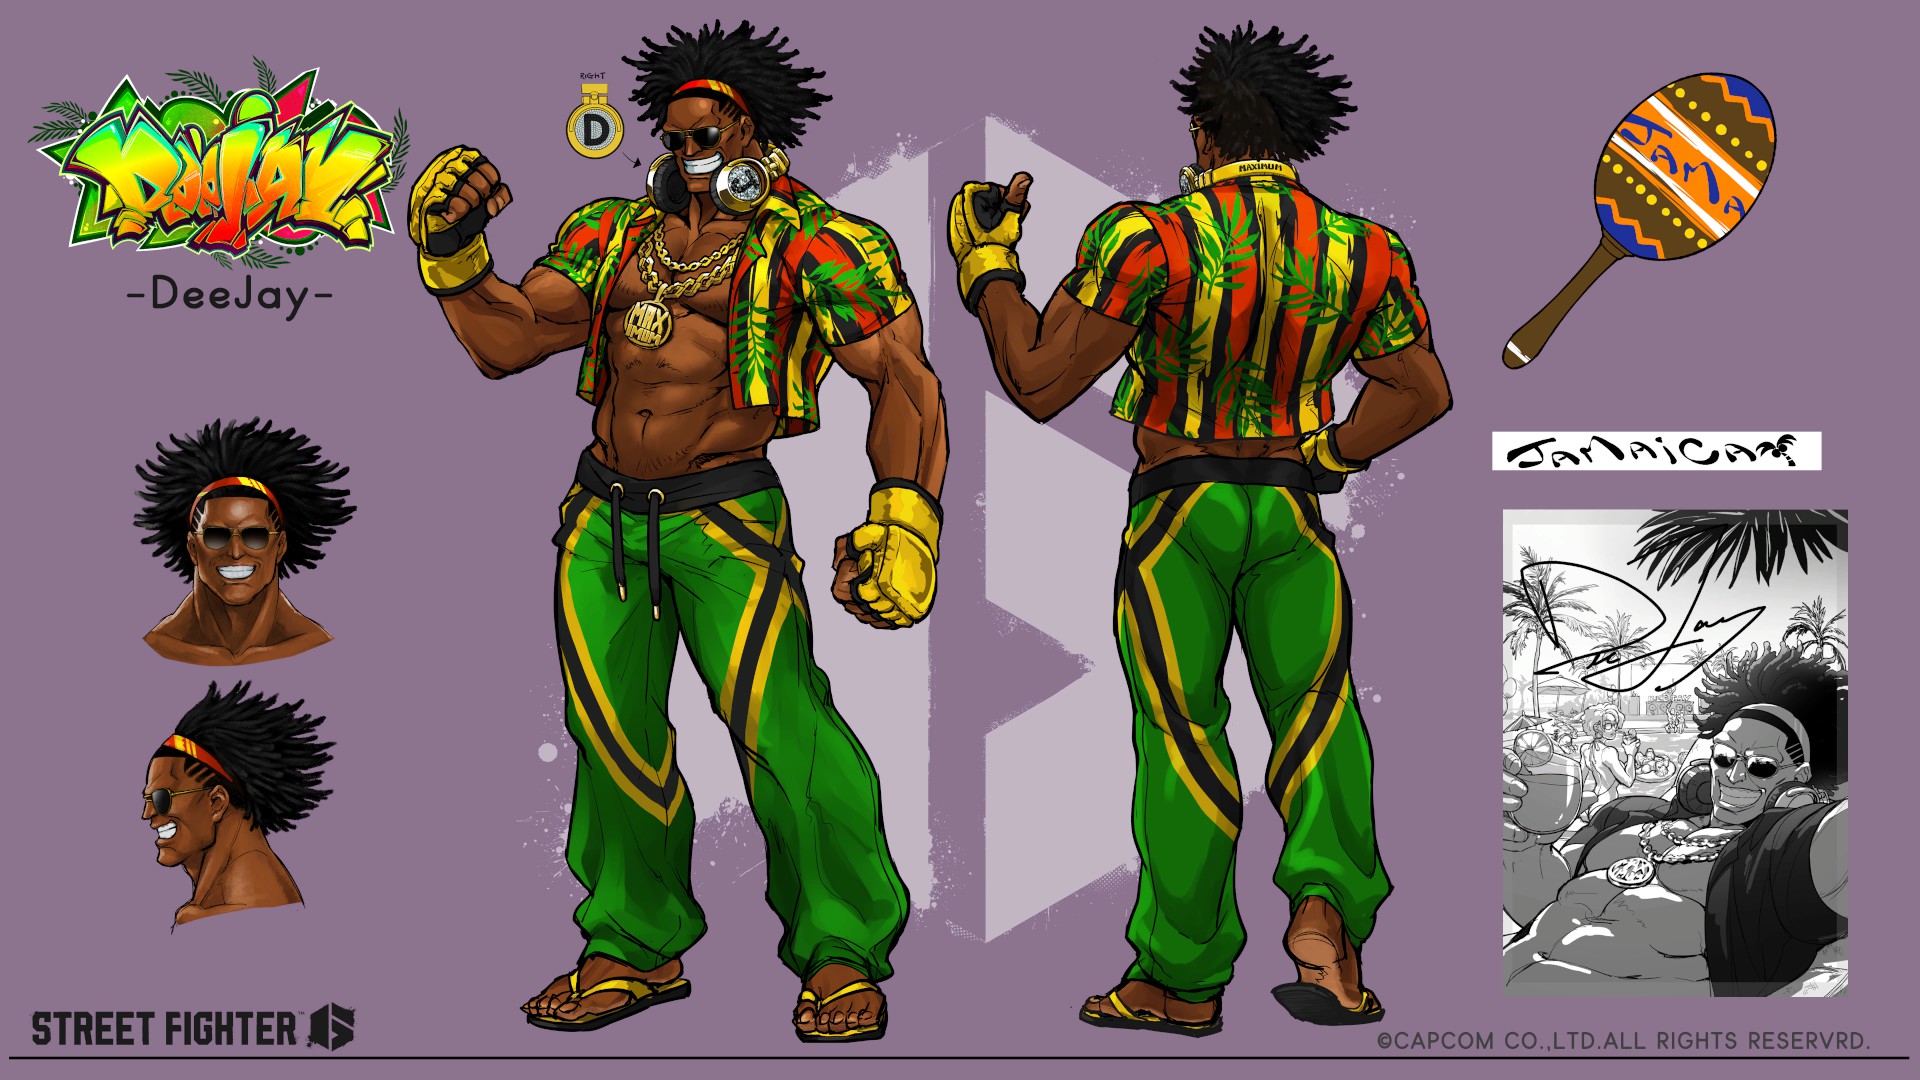
Character Design: Dee Jay (Clear Arcade Twice with Dee Jay)
Unused Design: Dee Jay (Clear Arcade Three Times with Dee Jay)

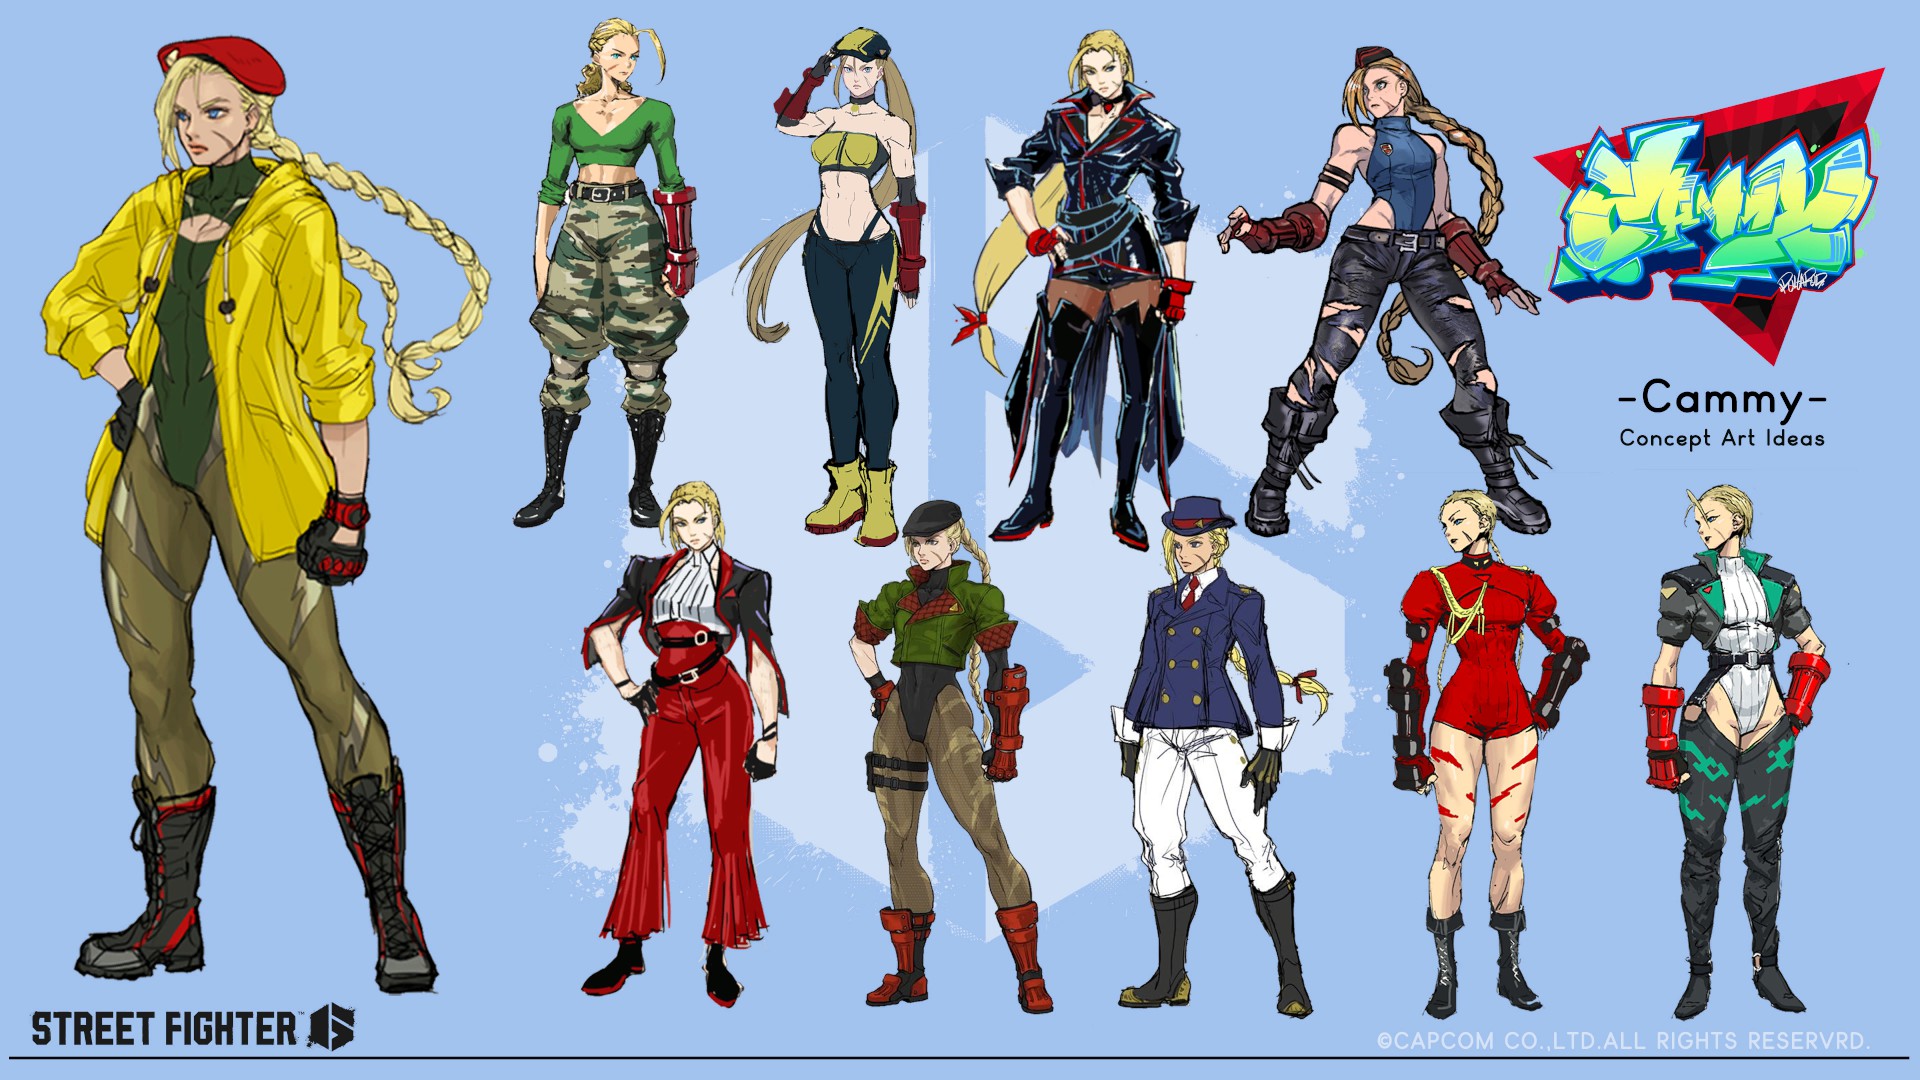
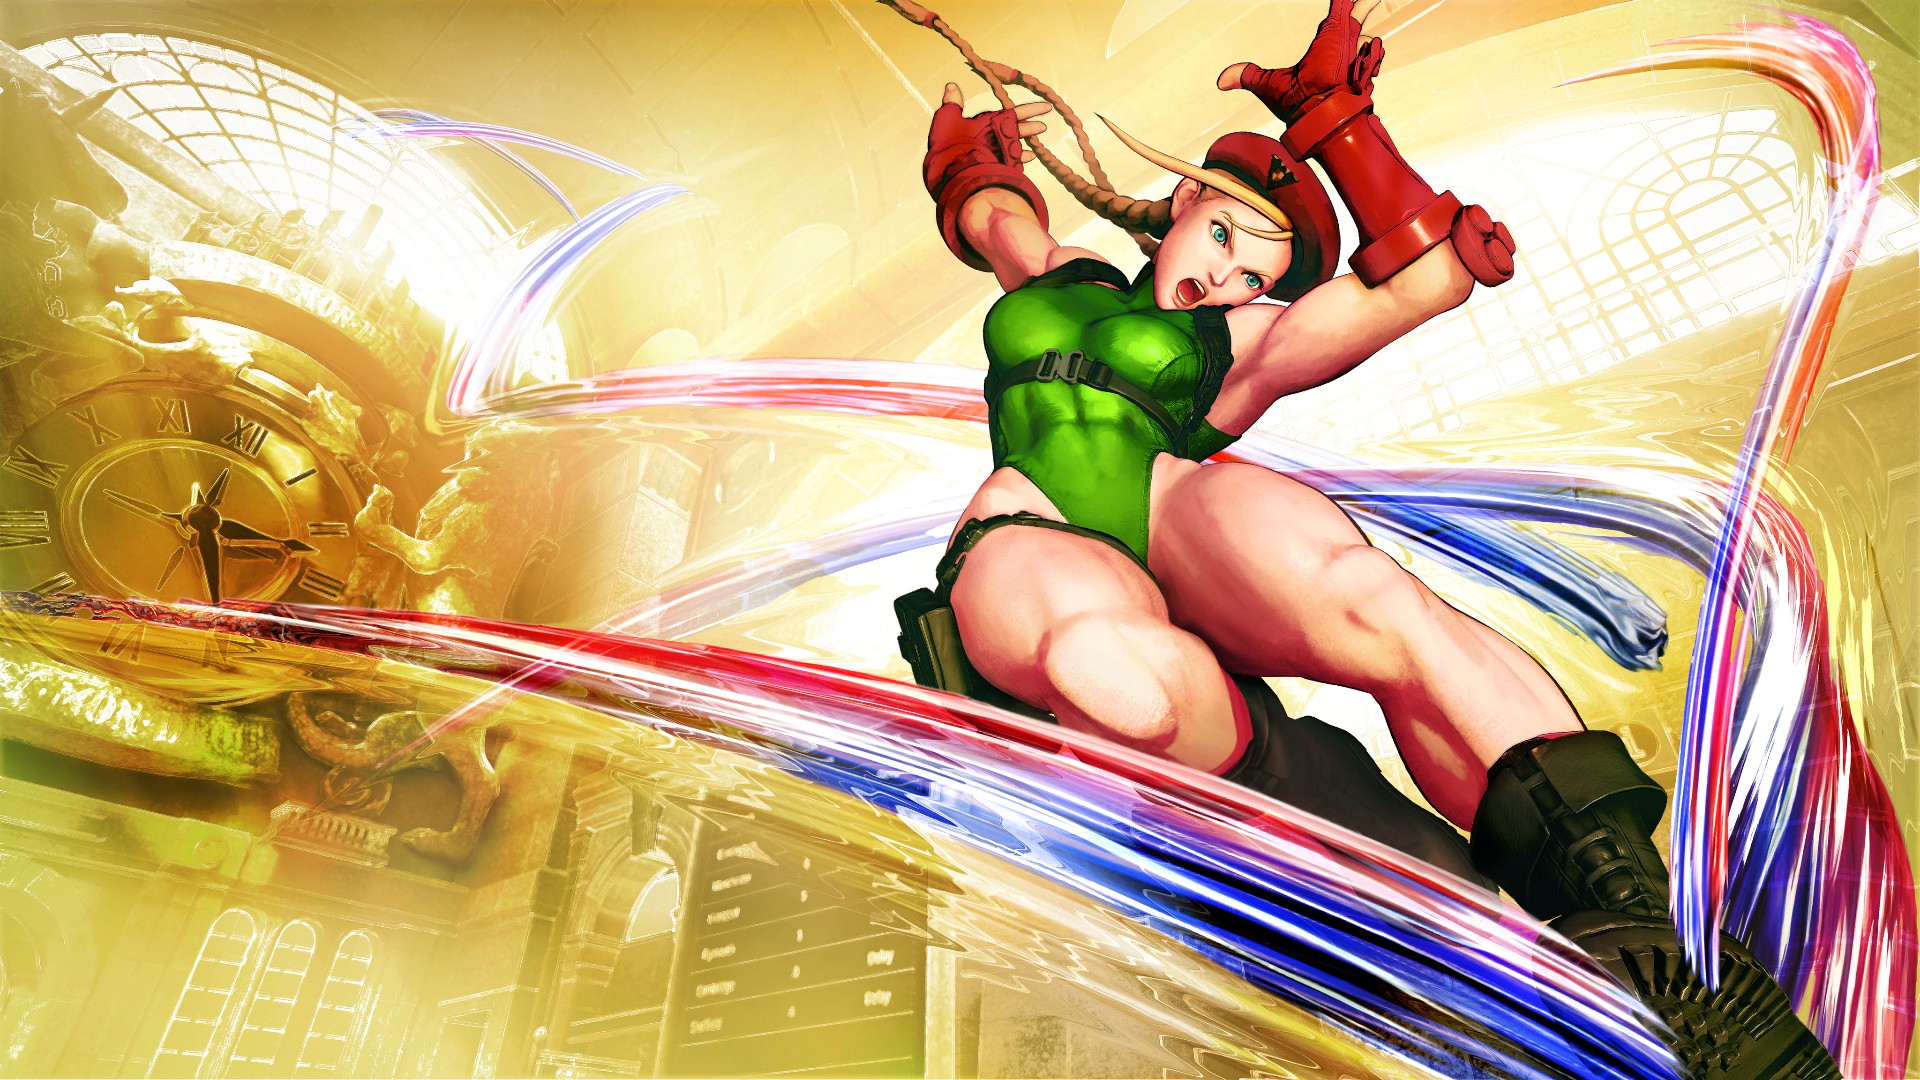
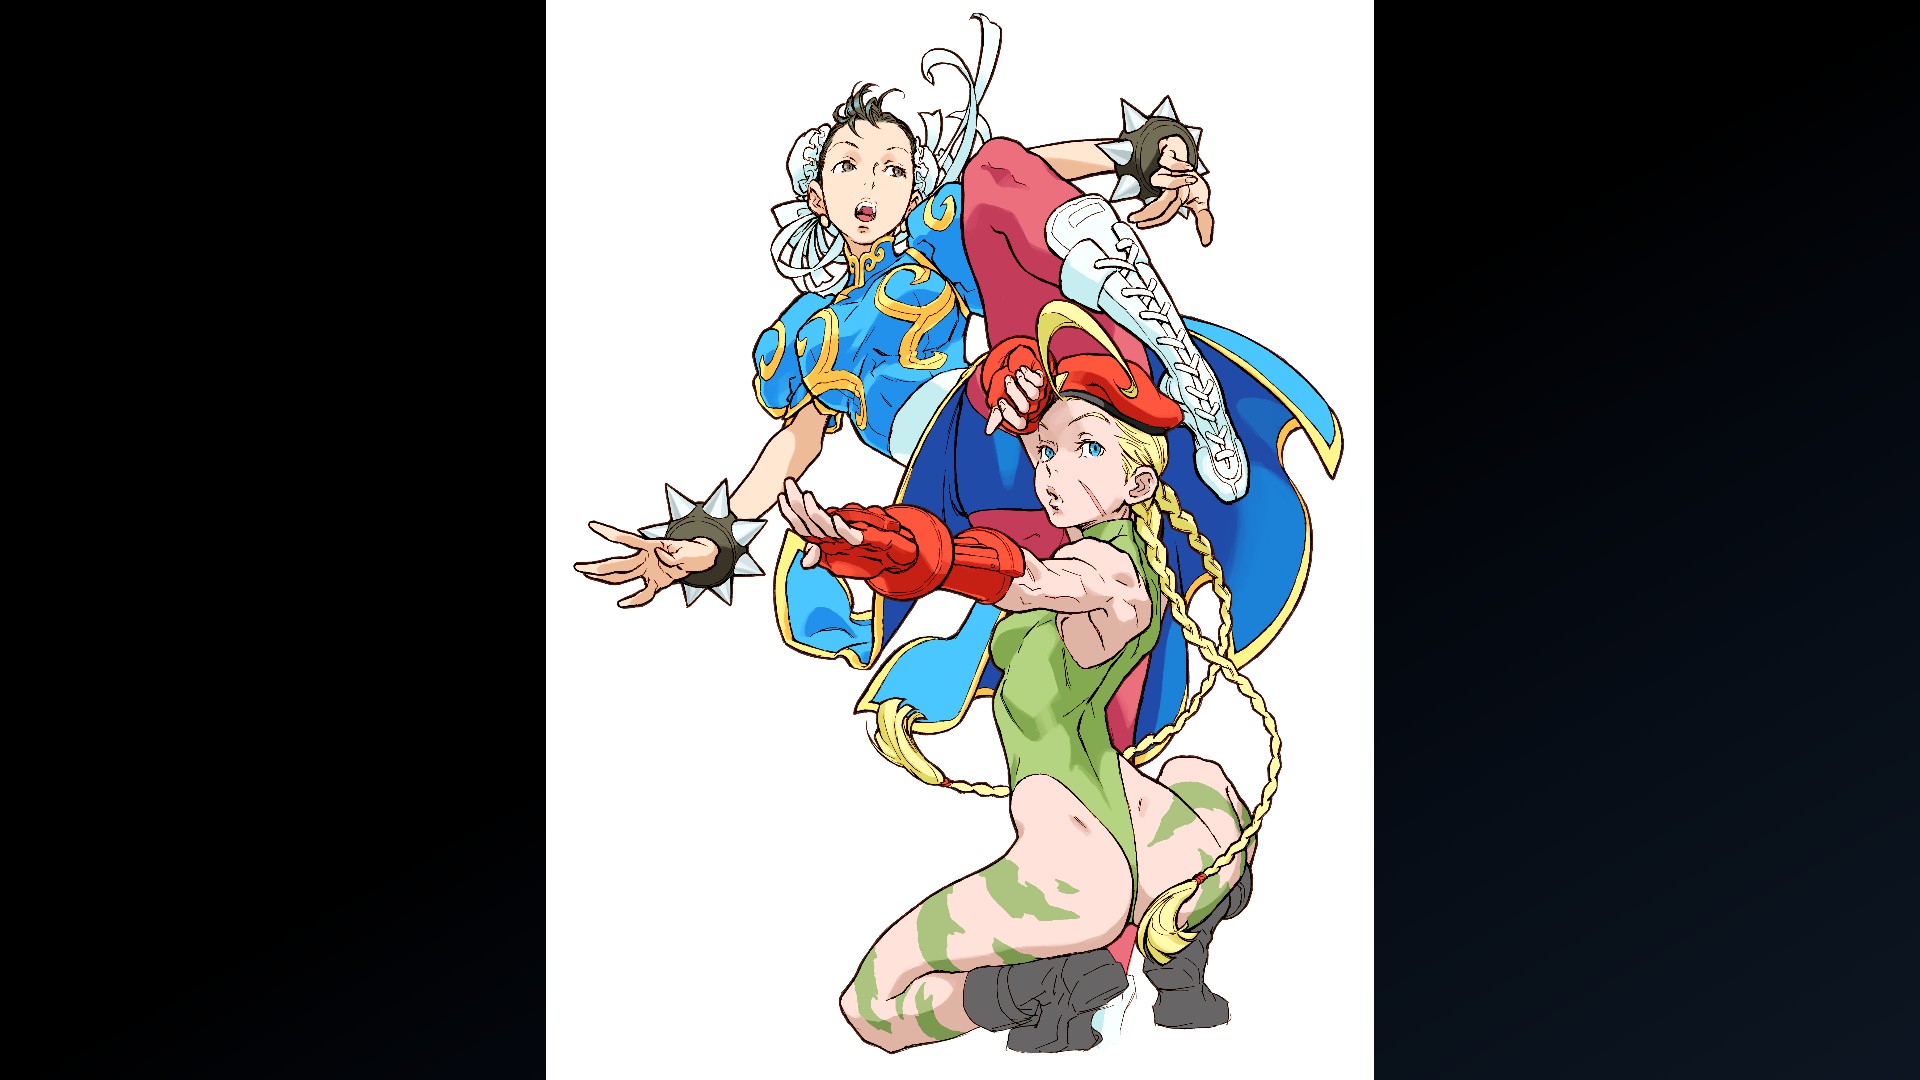
Cammy - Special Artwork: Rockin'Jelly Bean
(Clear Arcade Once with Cammy)
(Clear Arcade Once with Cammy)
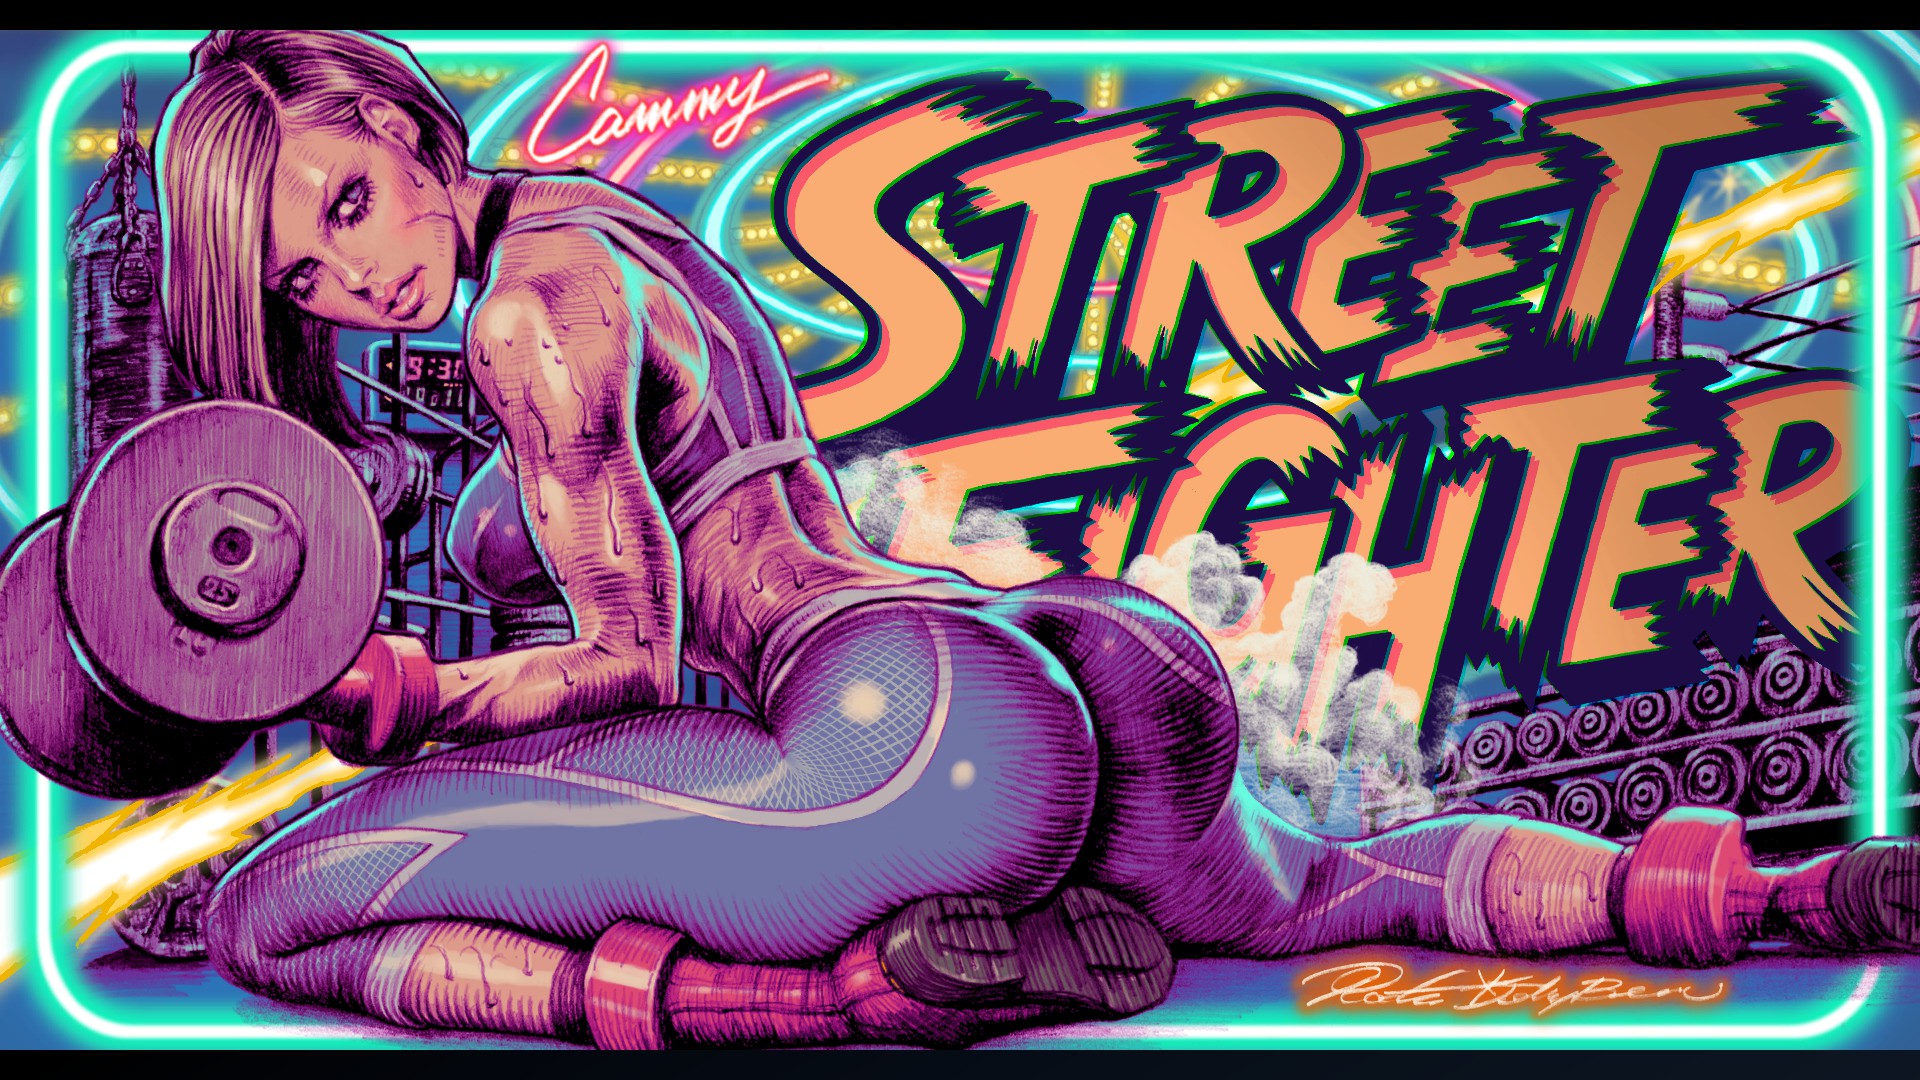
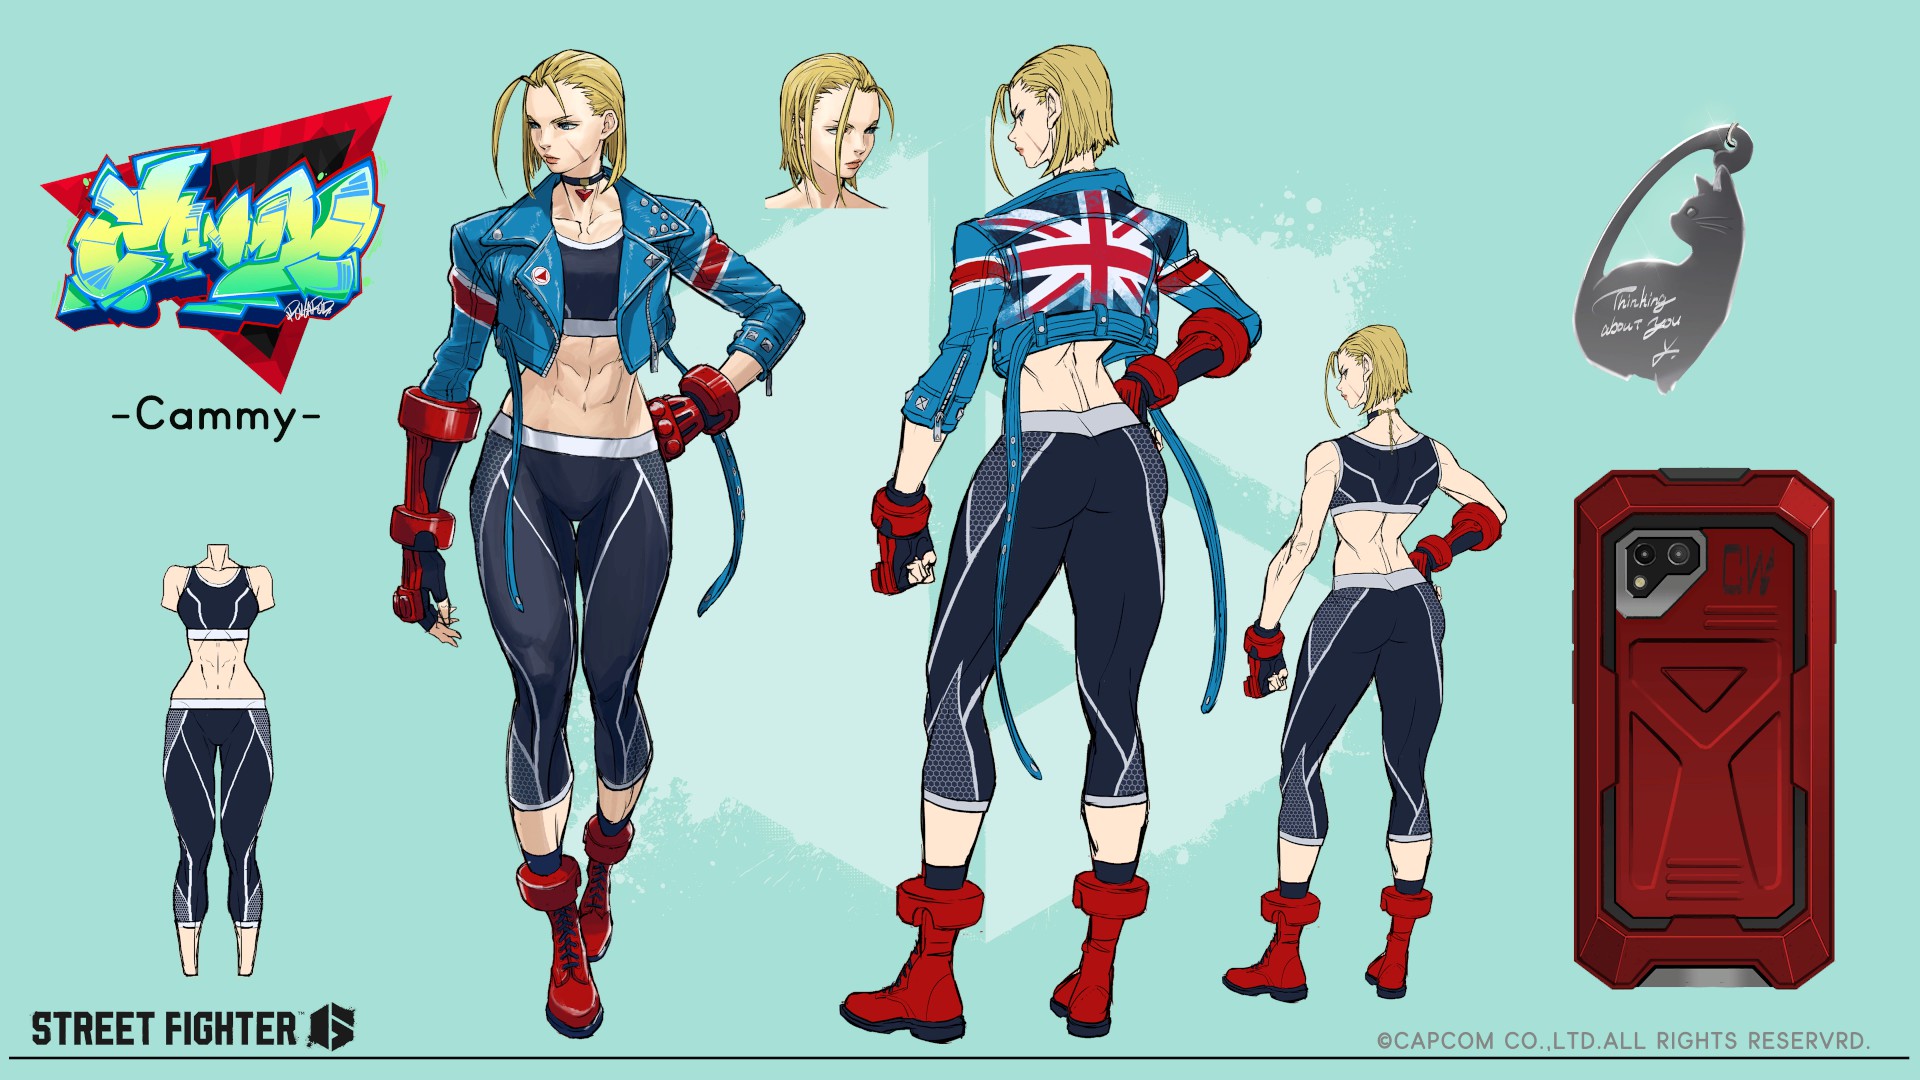
Character Design: Cammy (Clear Arcade Twice with Cammy)
Unused Design: Cammy (Clear Arcade Three Times with Cammy)
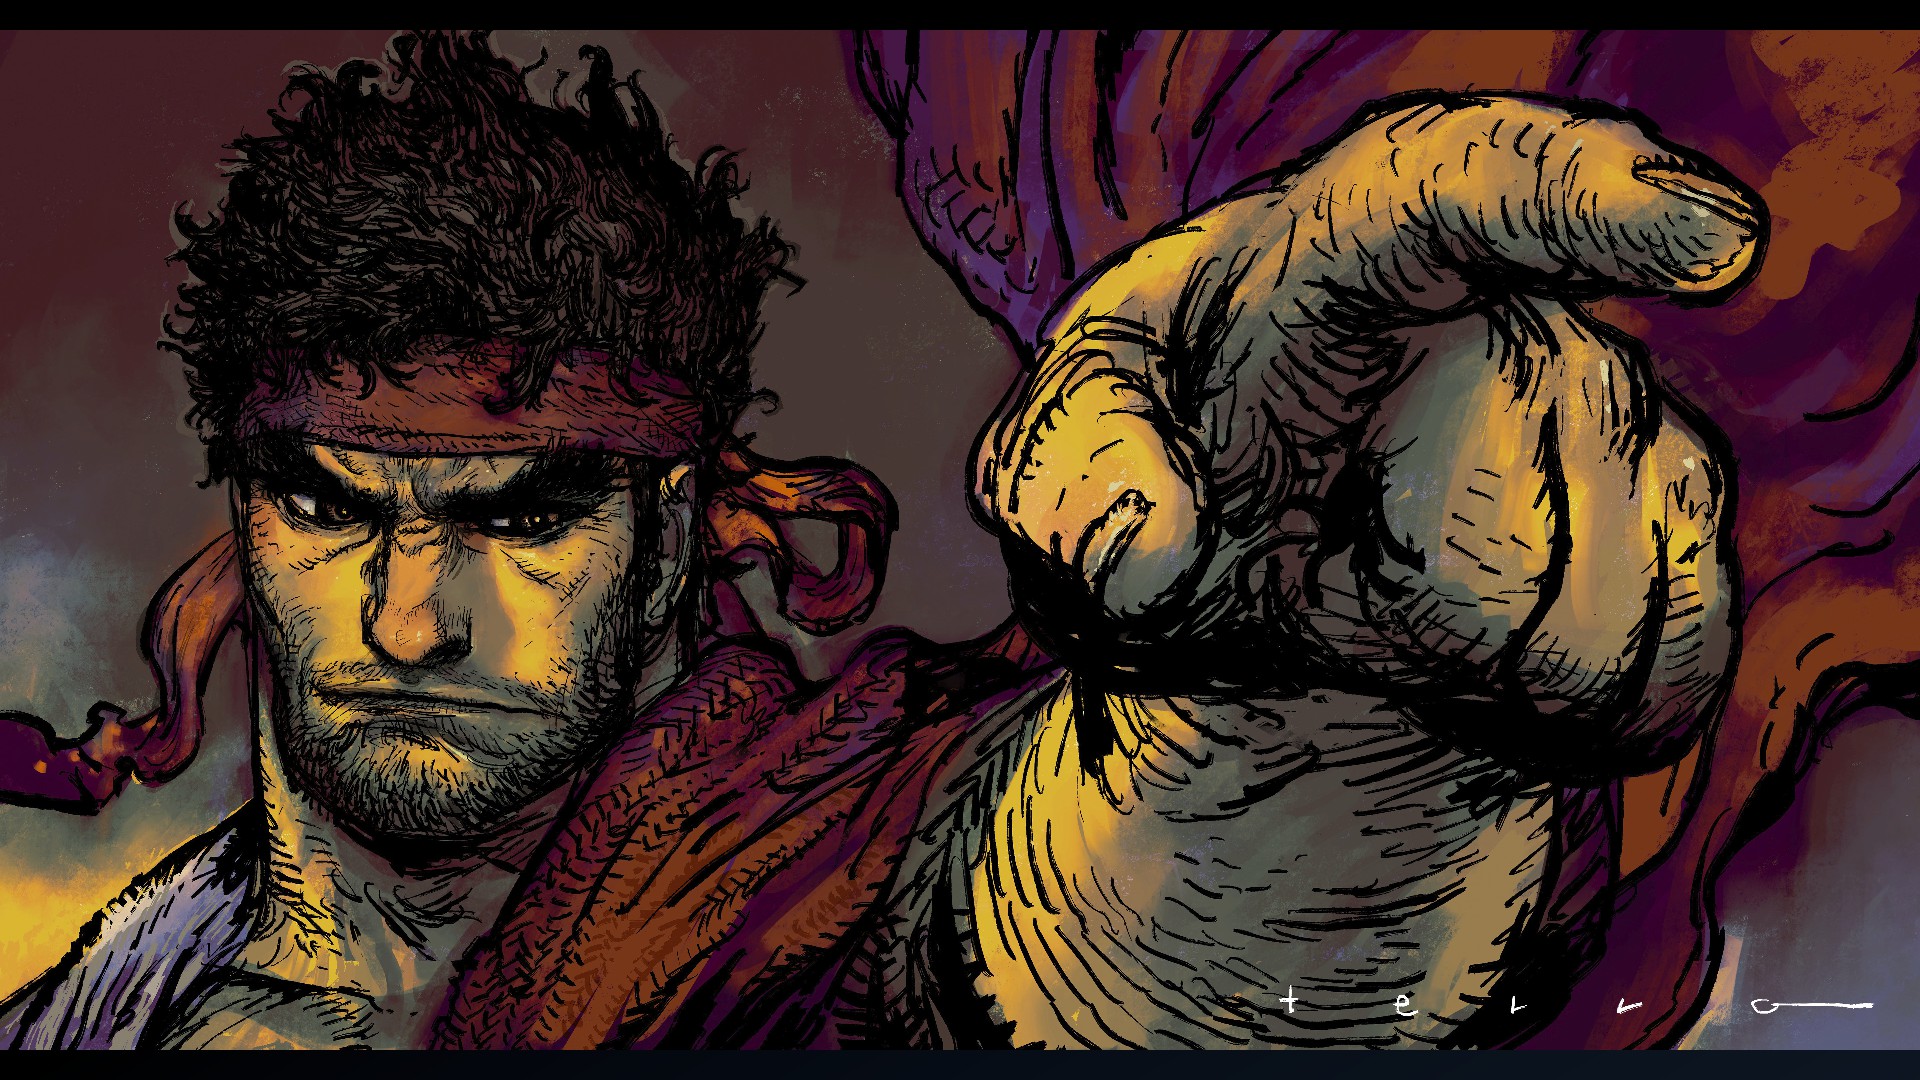
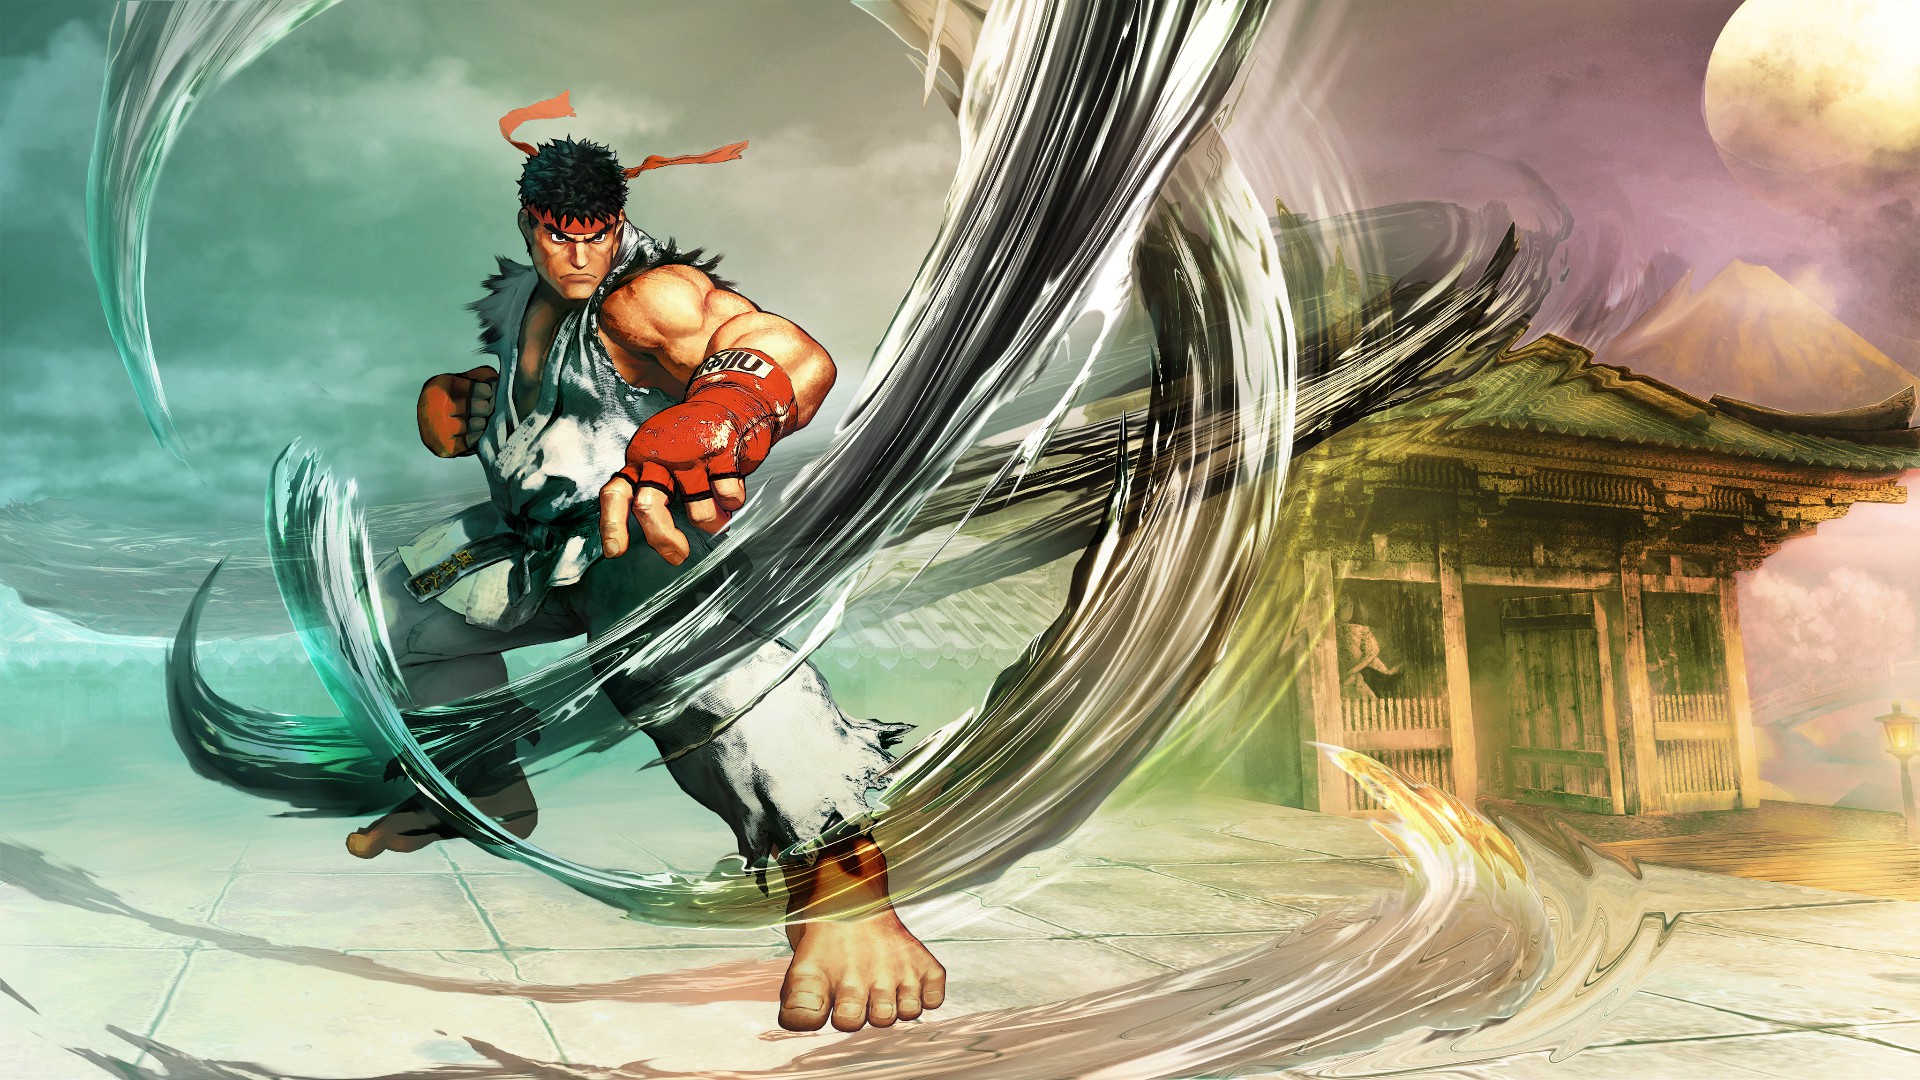
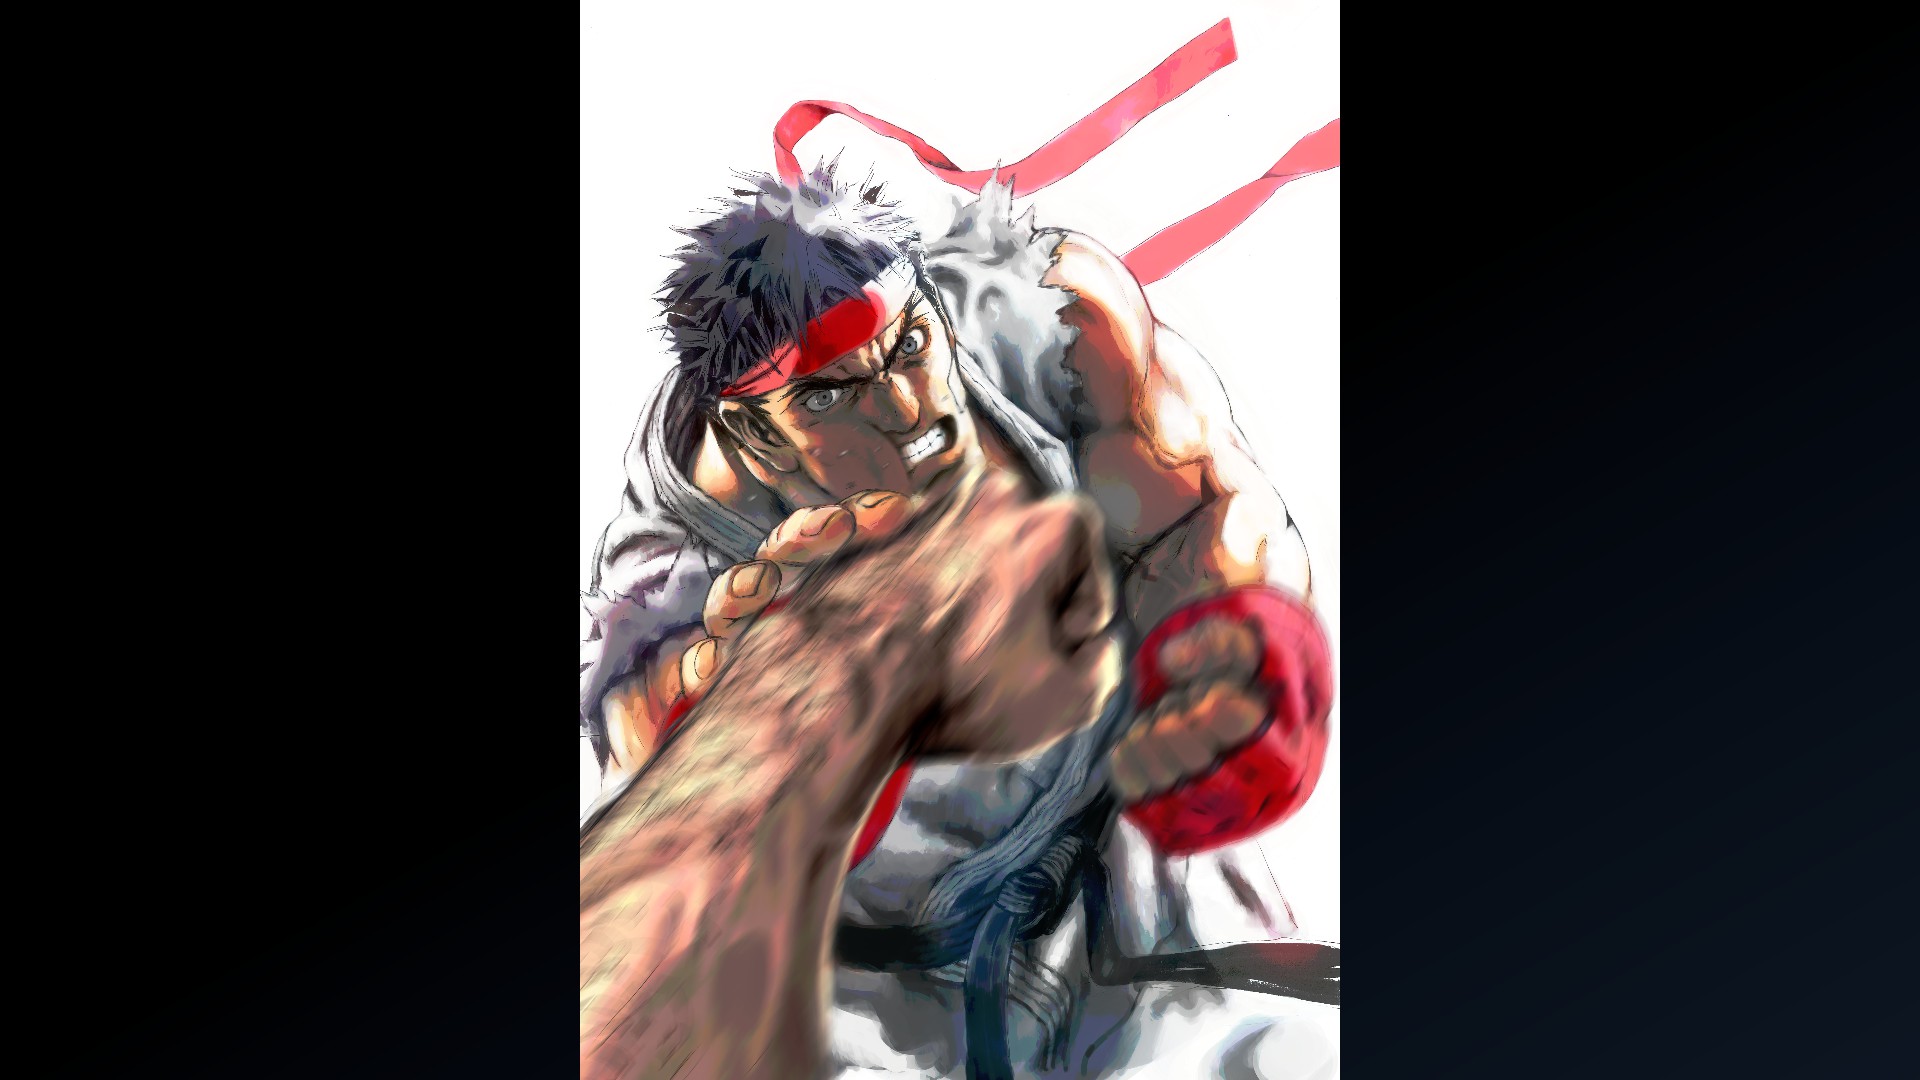
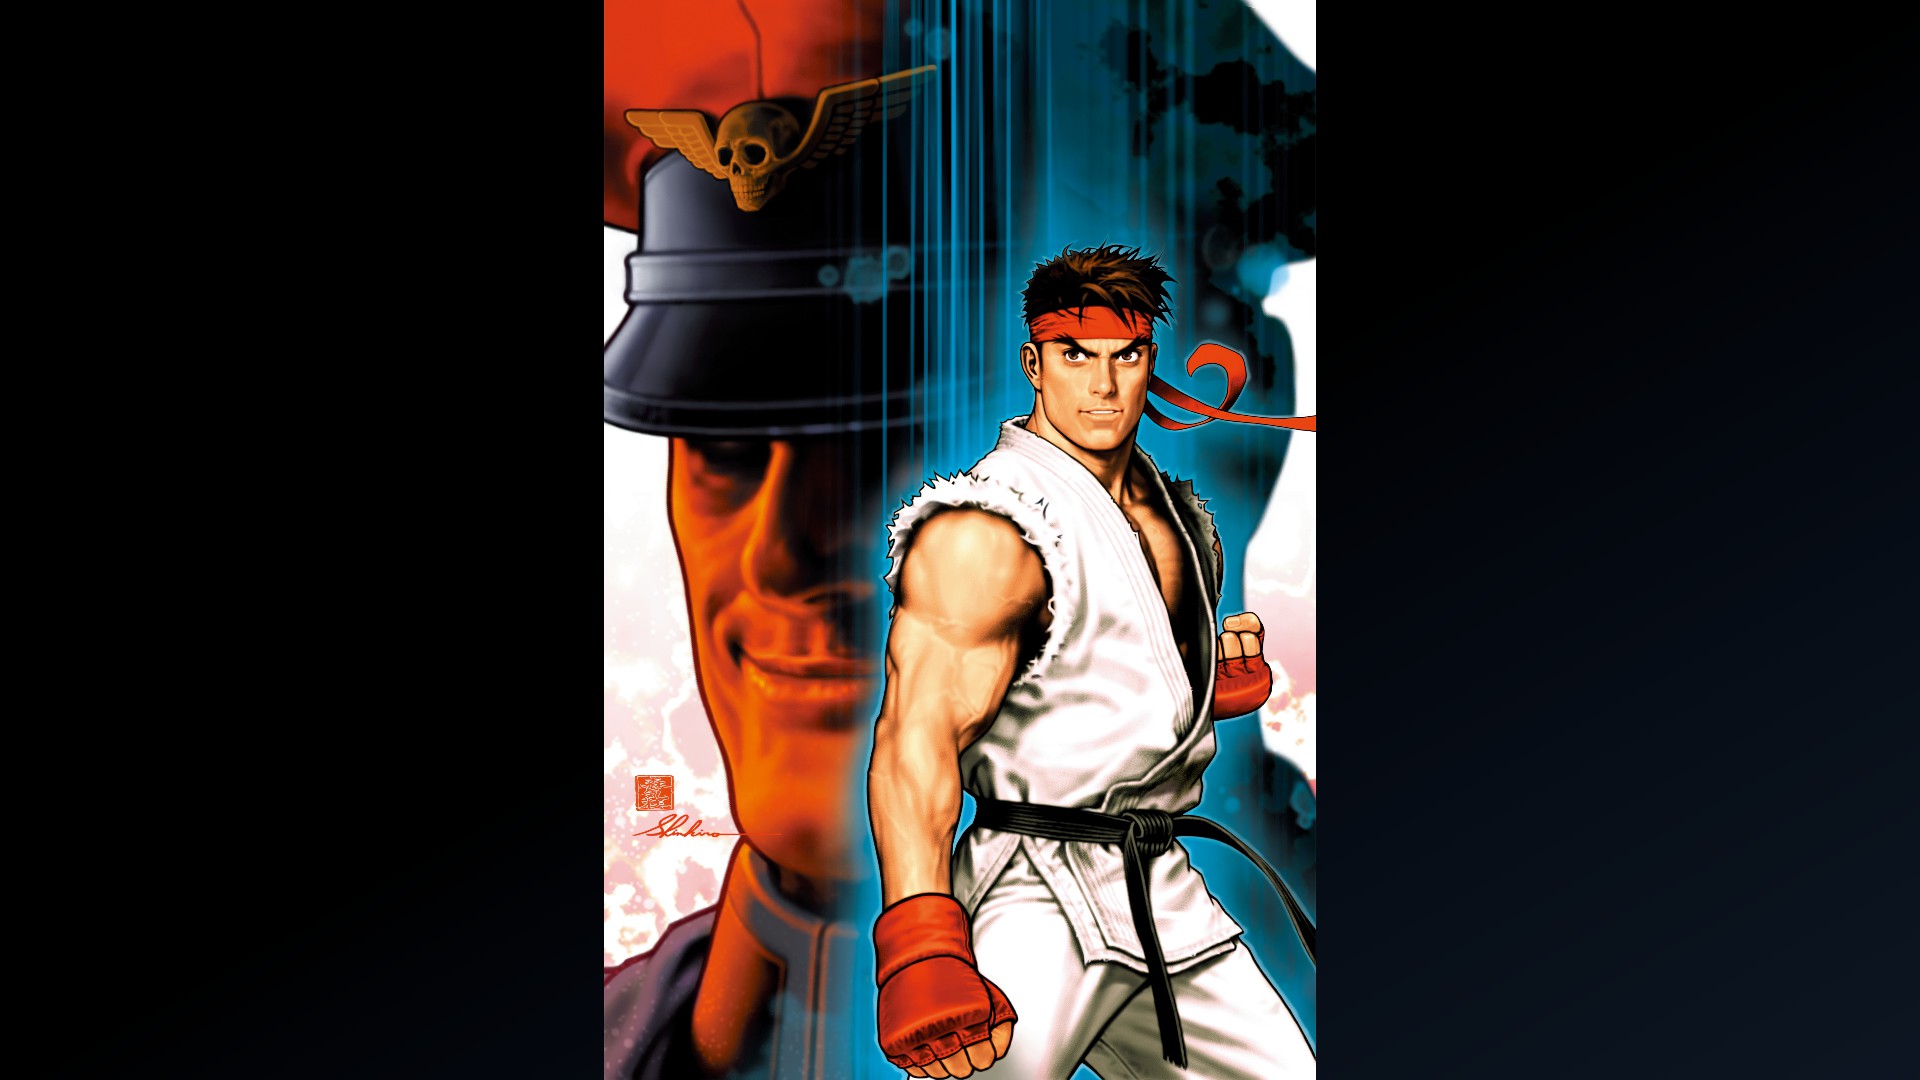
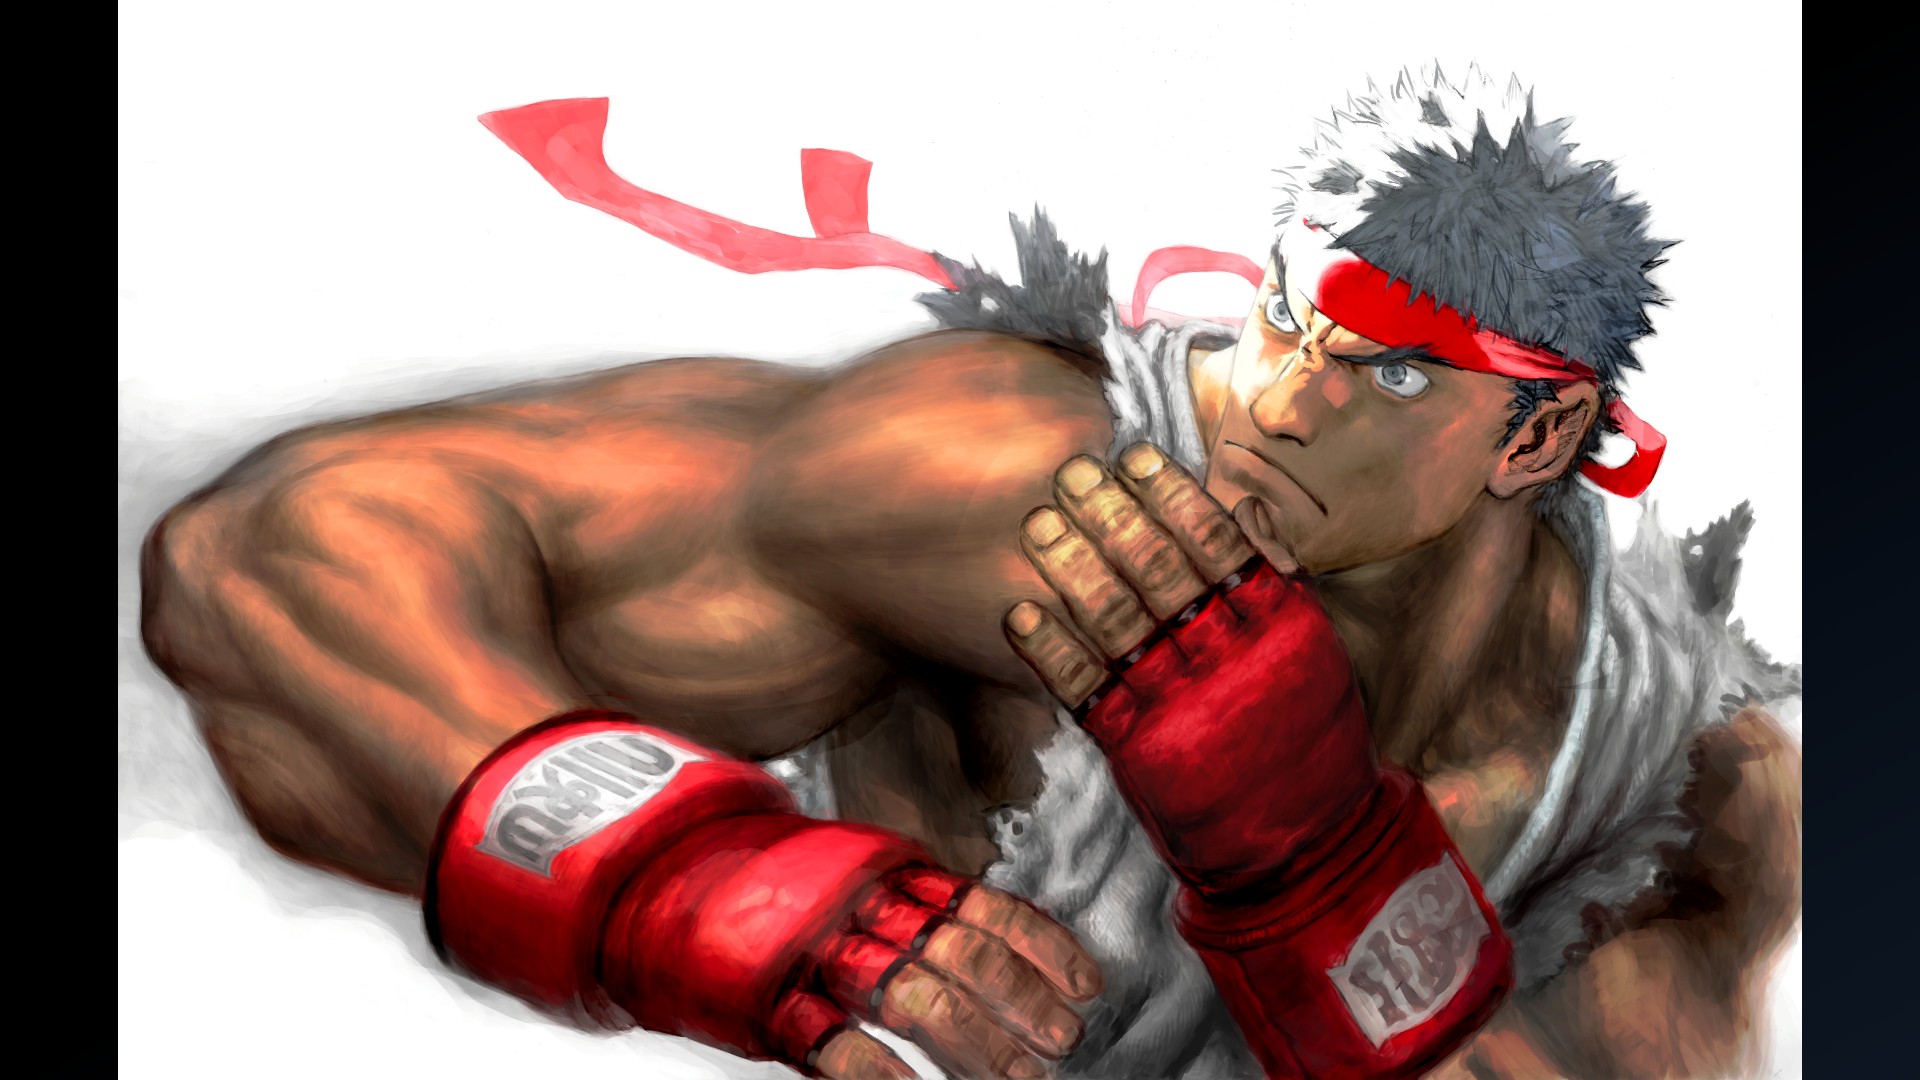
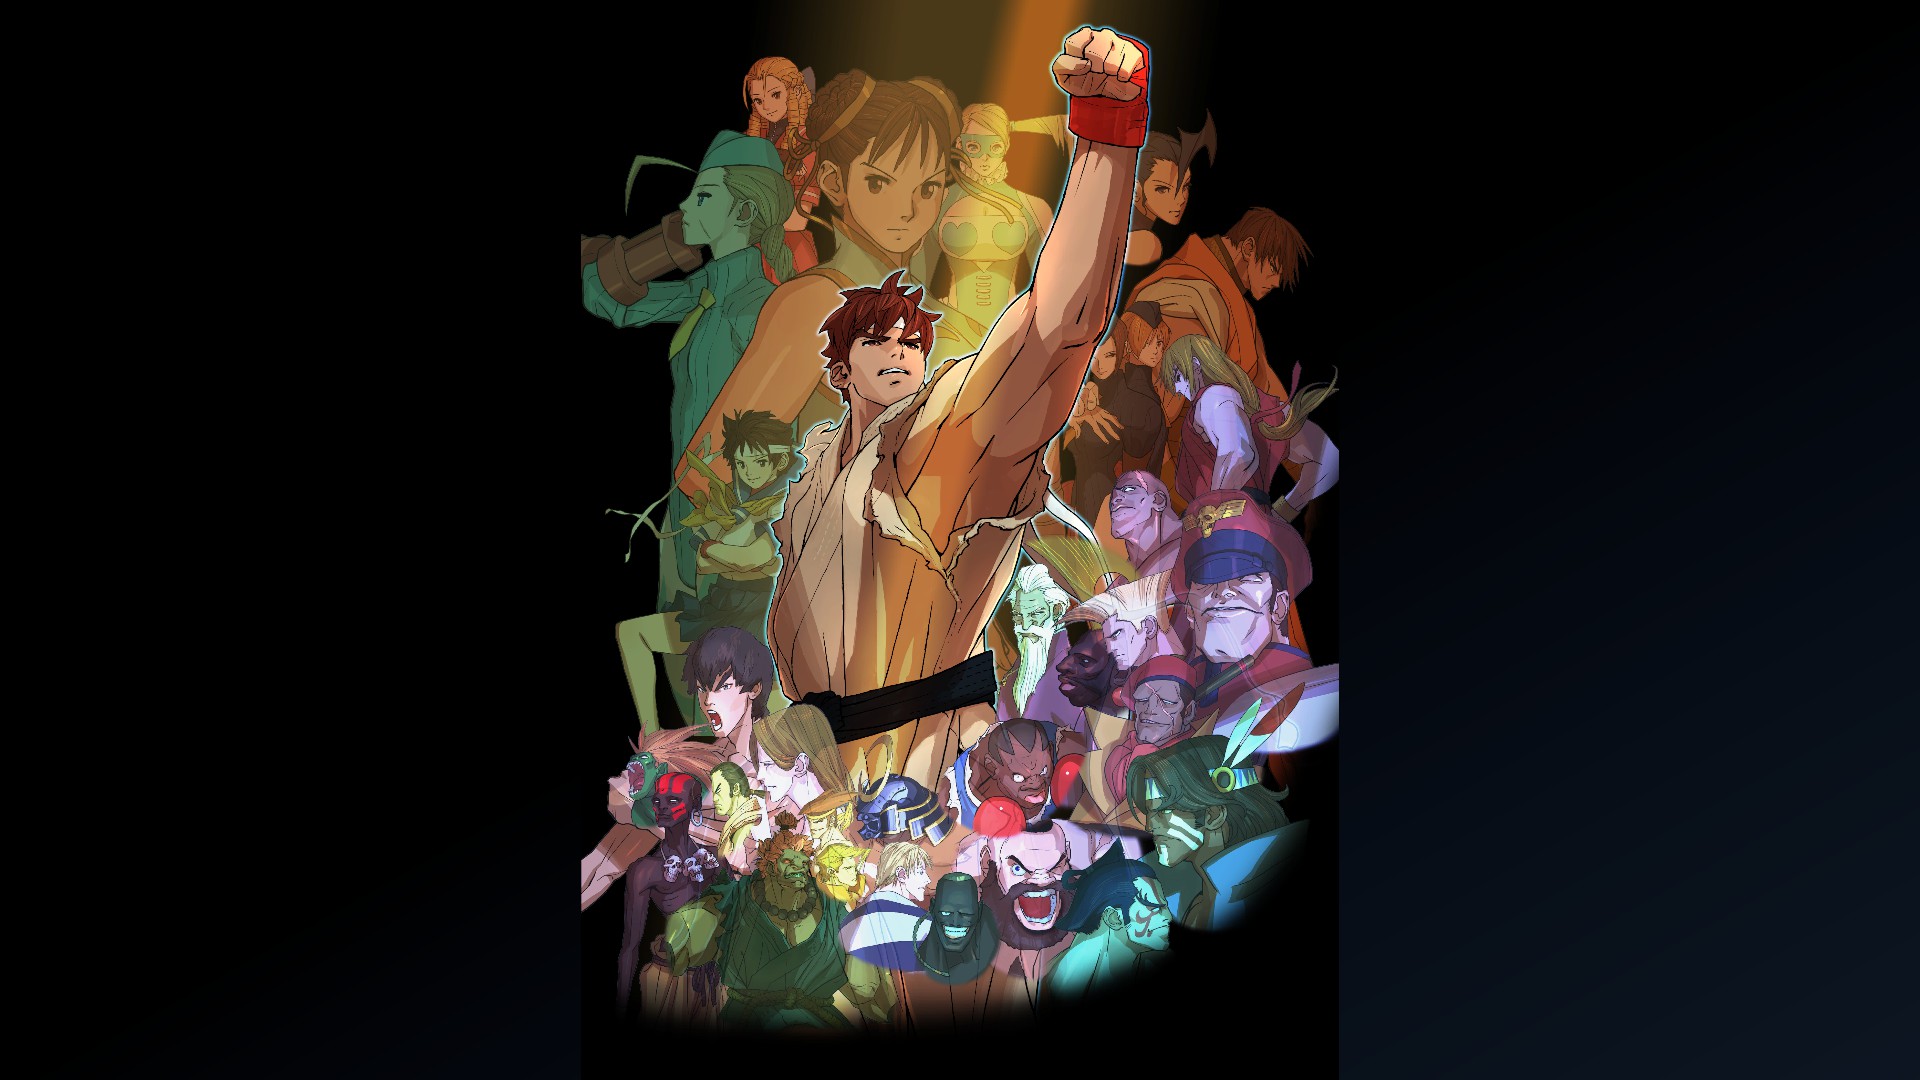
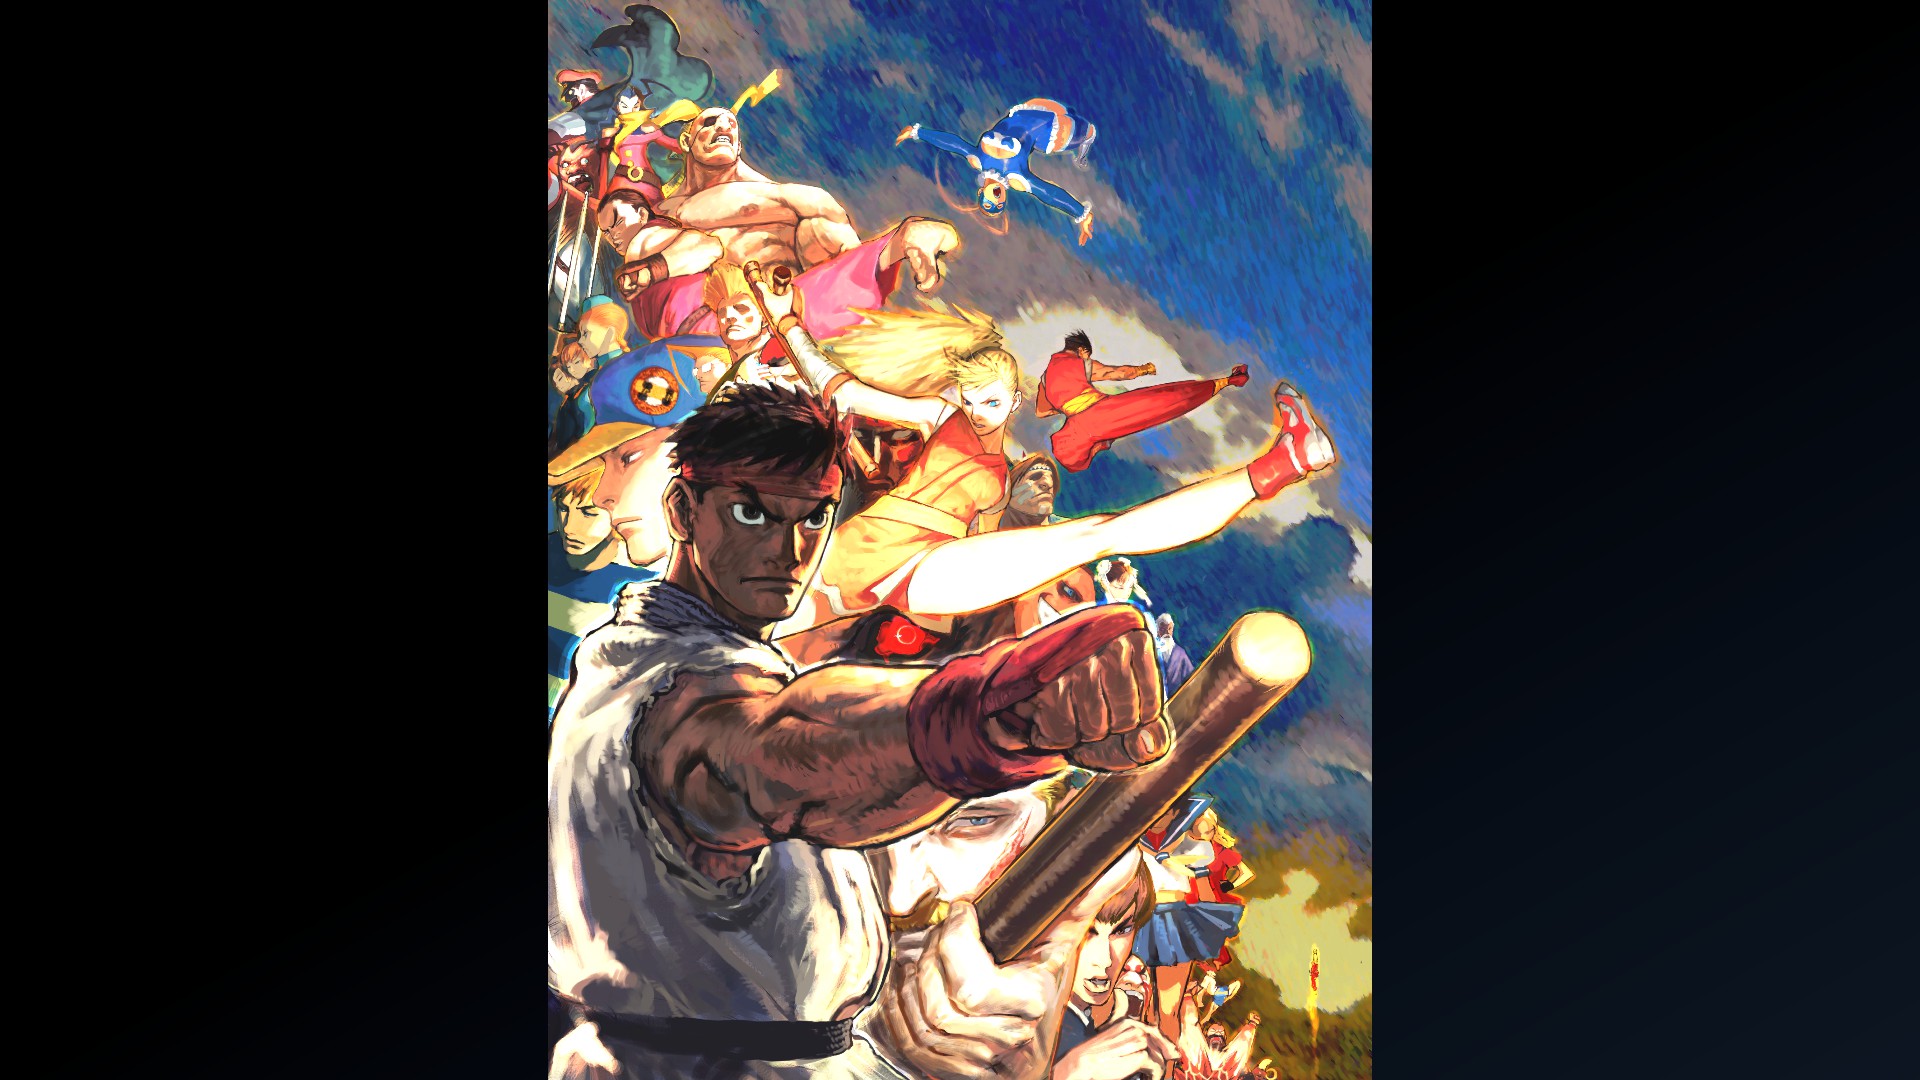
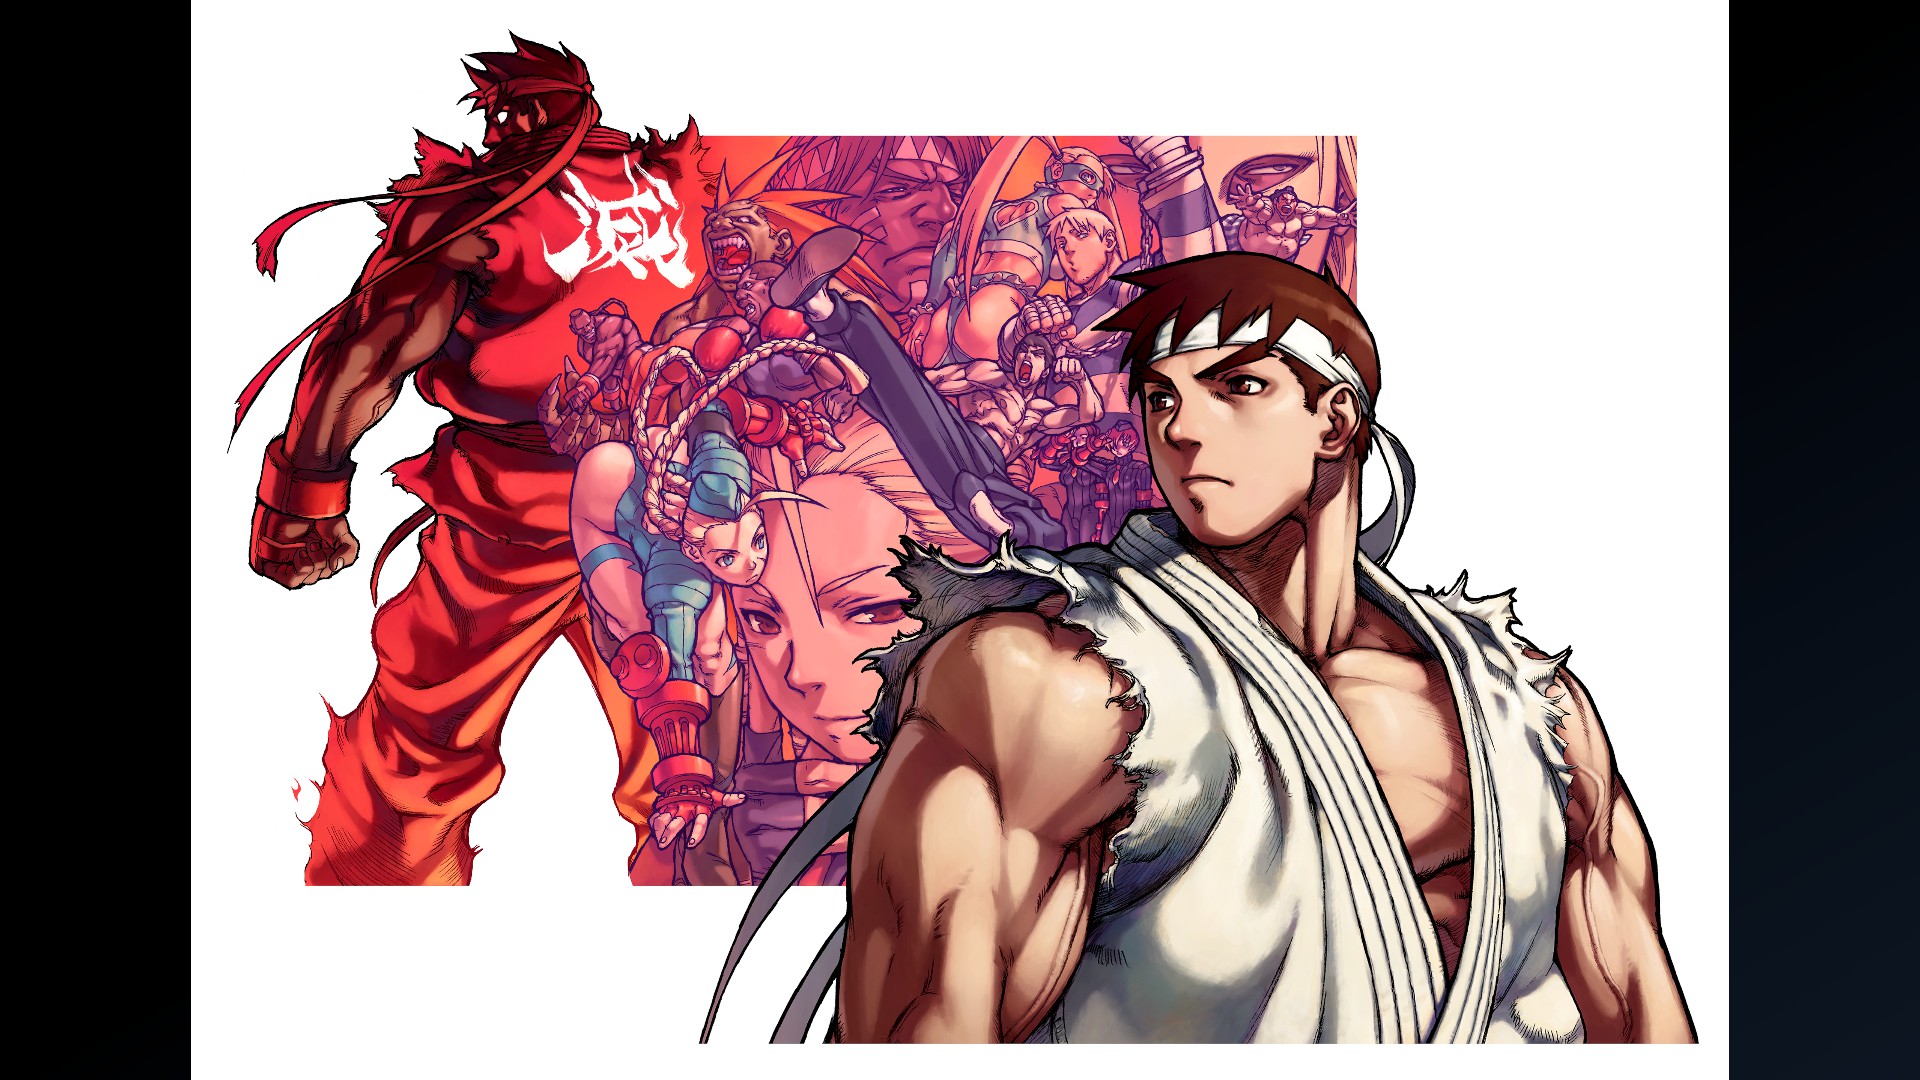
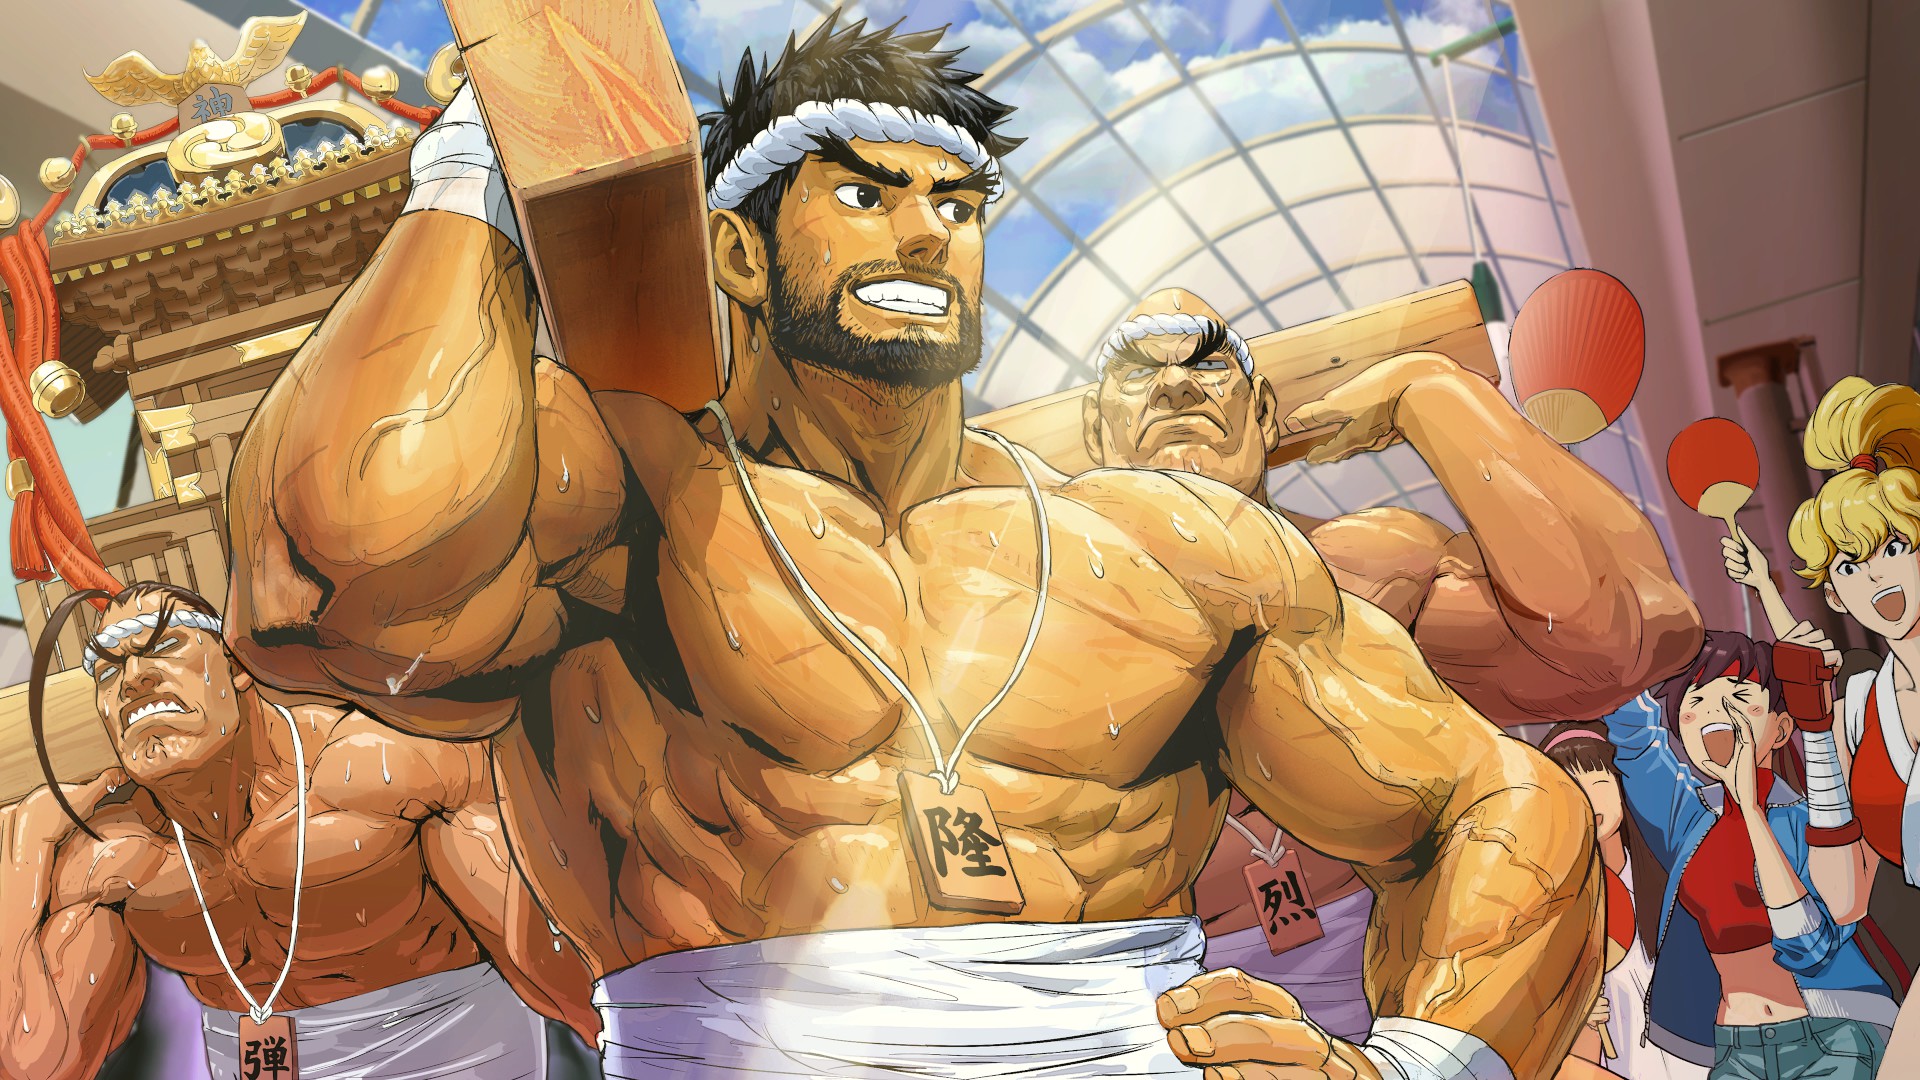
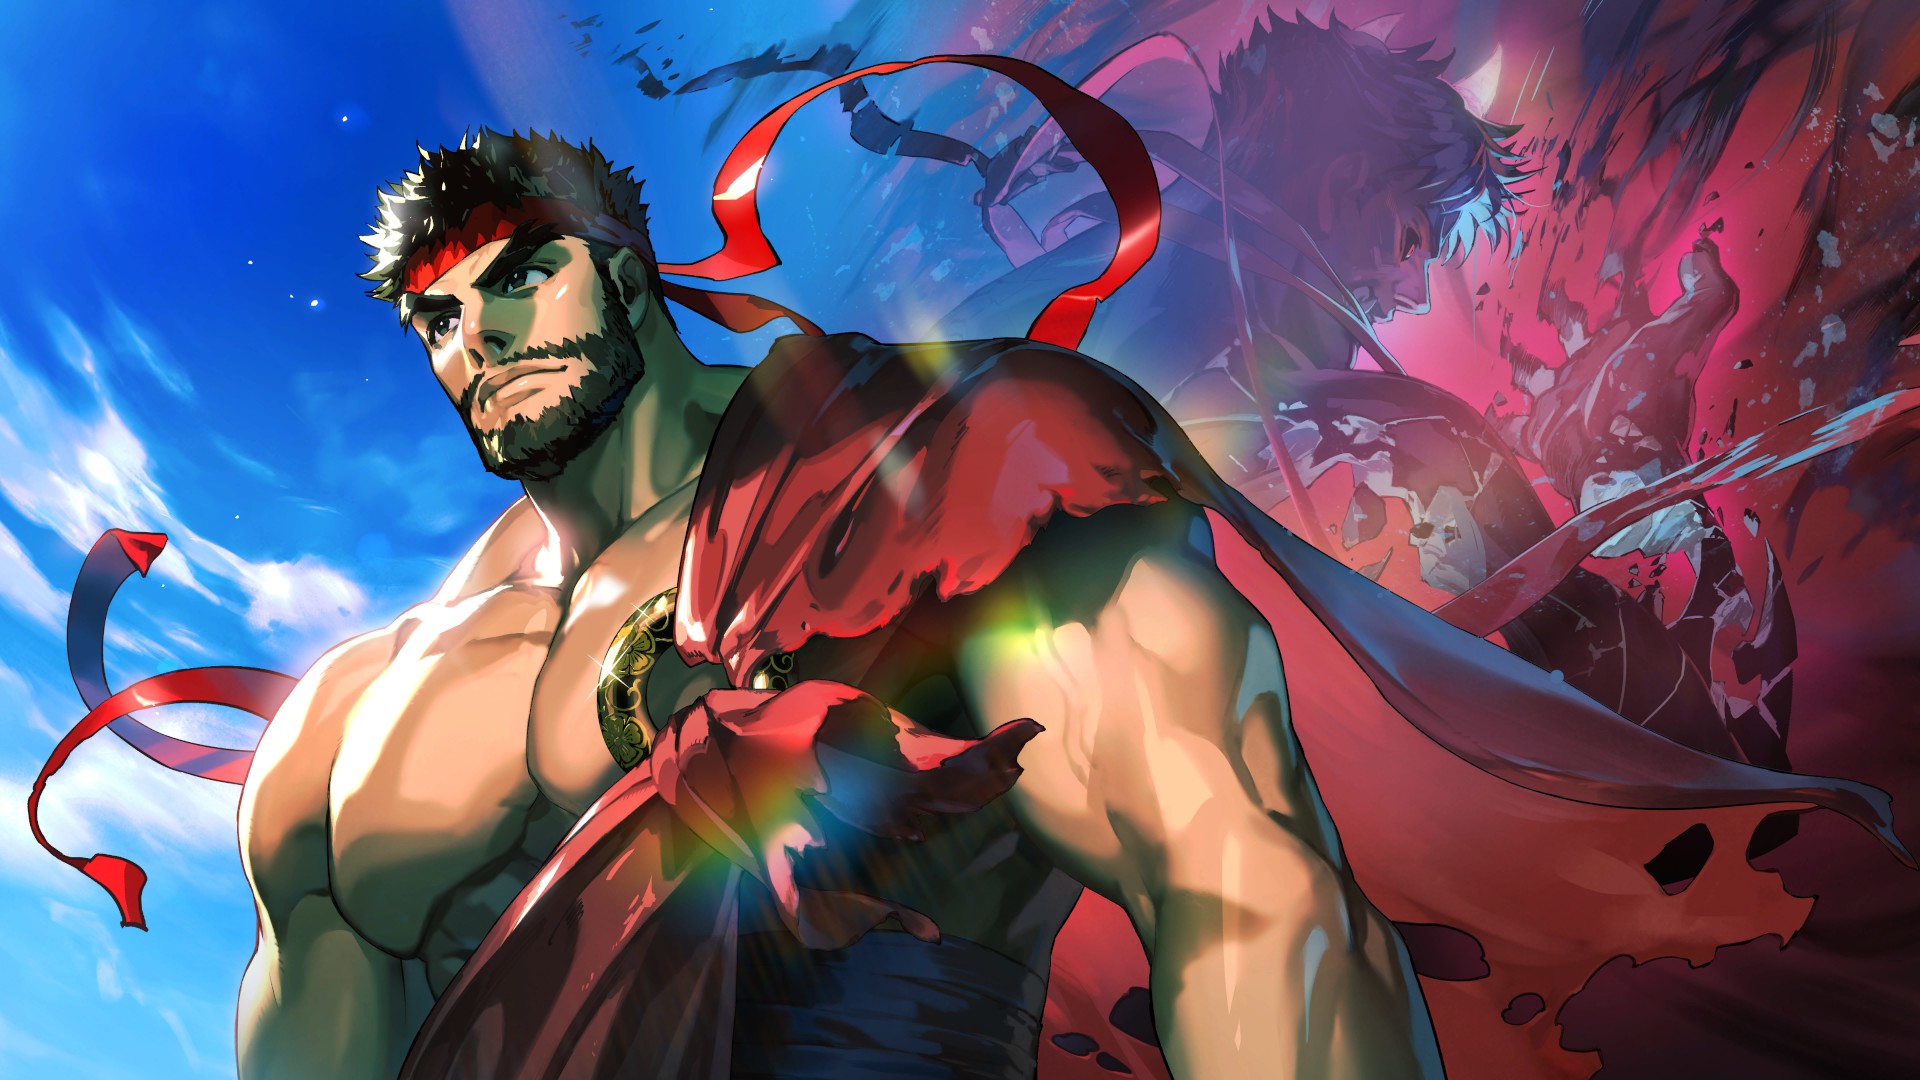
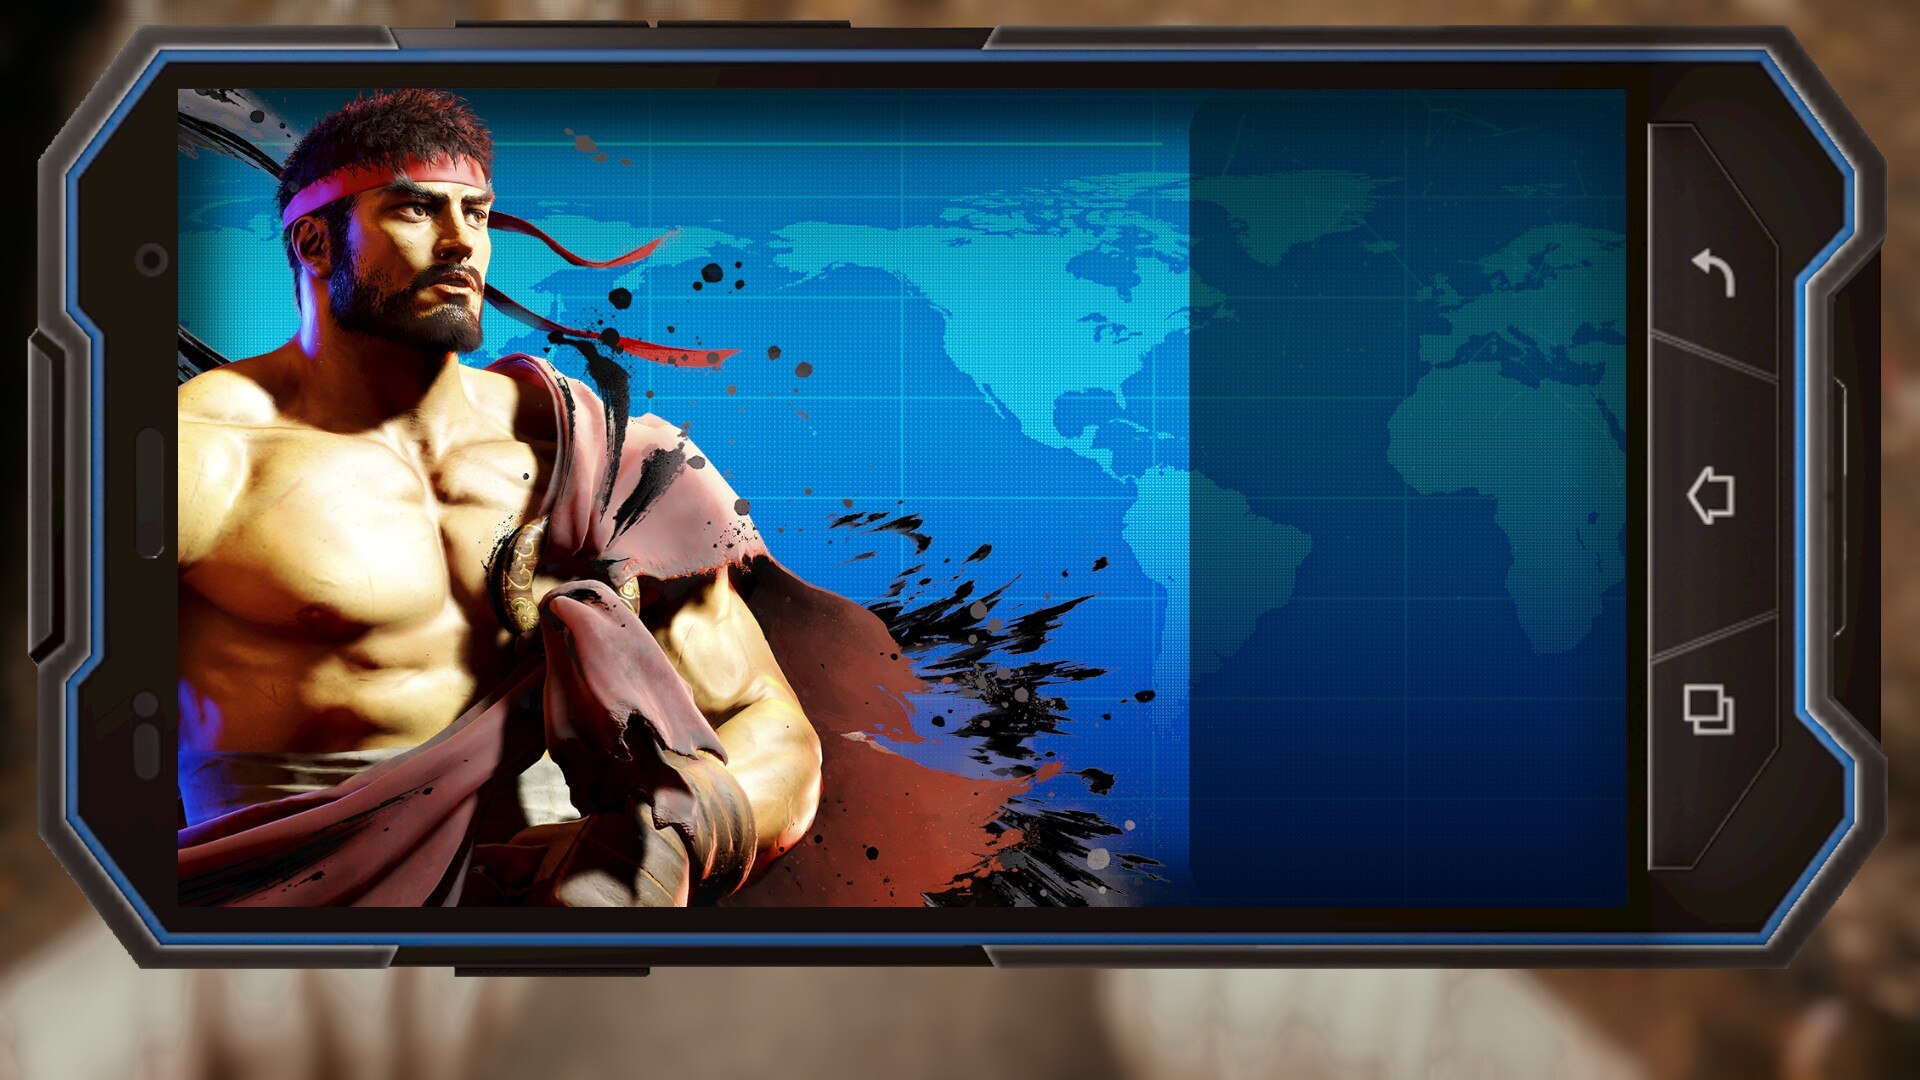
Ryu - Special Artwork: Katsuya Terada (Clear Arcade Once with Ryu)
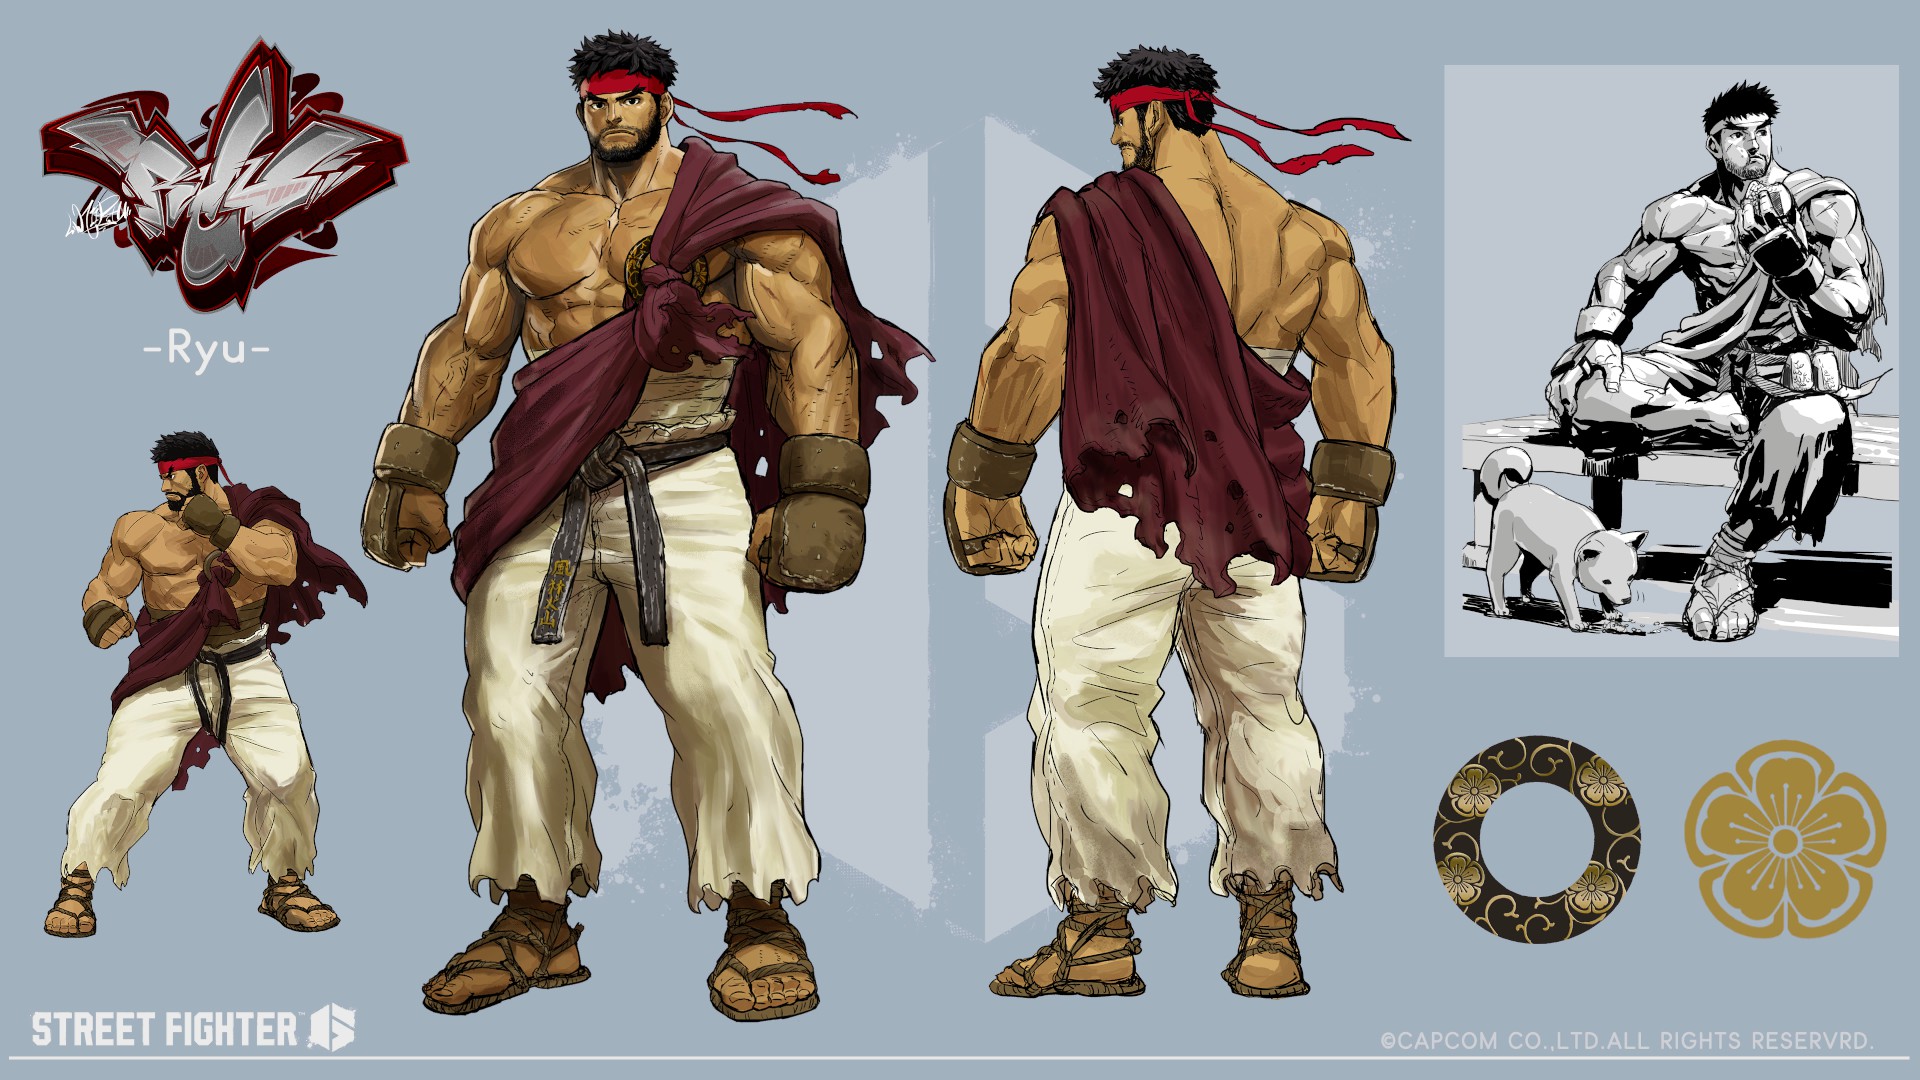
Character Design: Ryu (Clear Arcade Twice with Ryu)
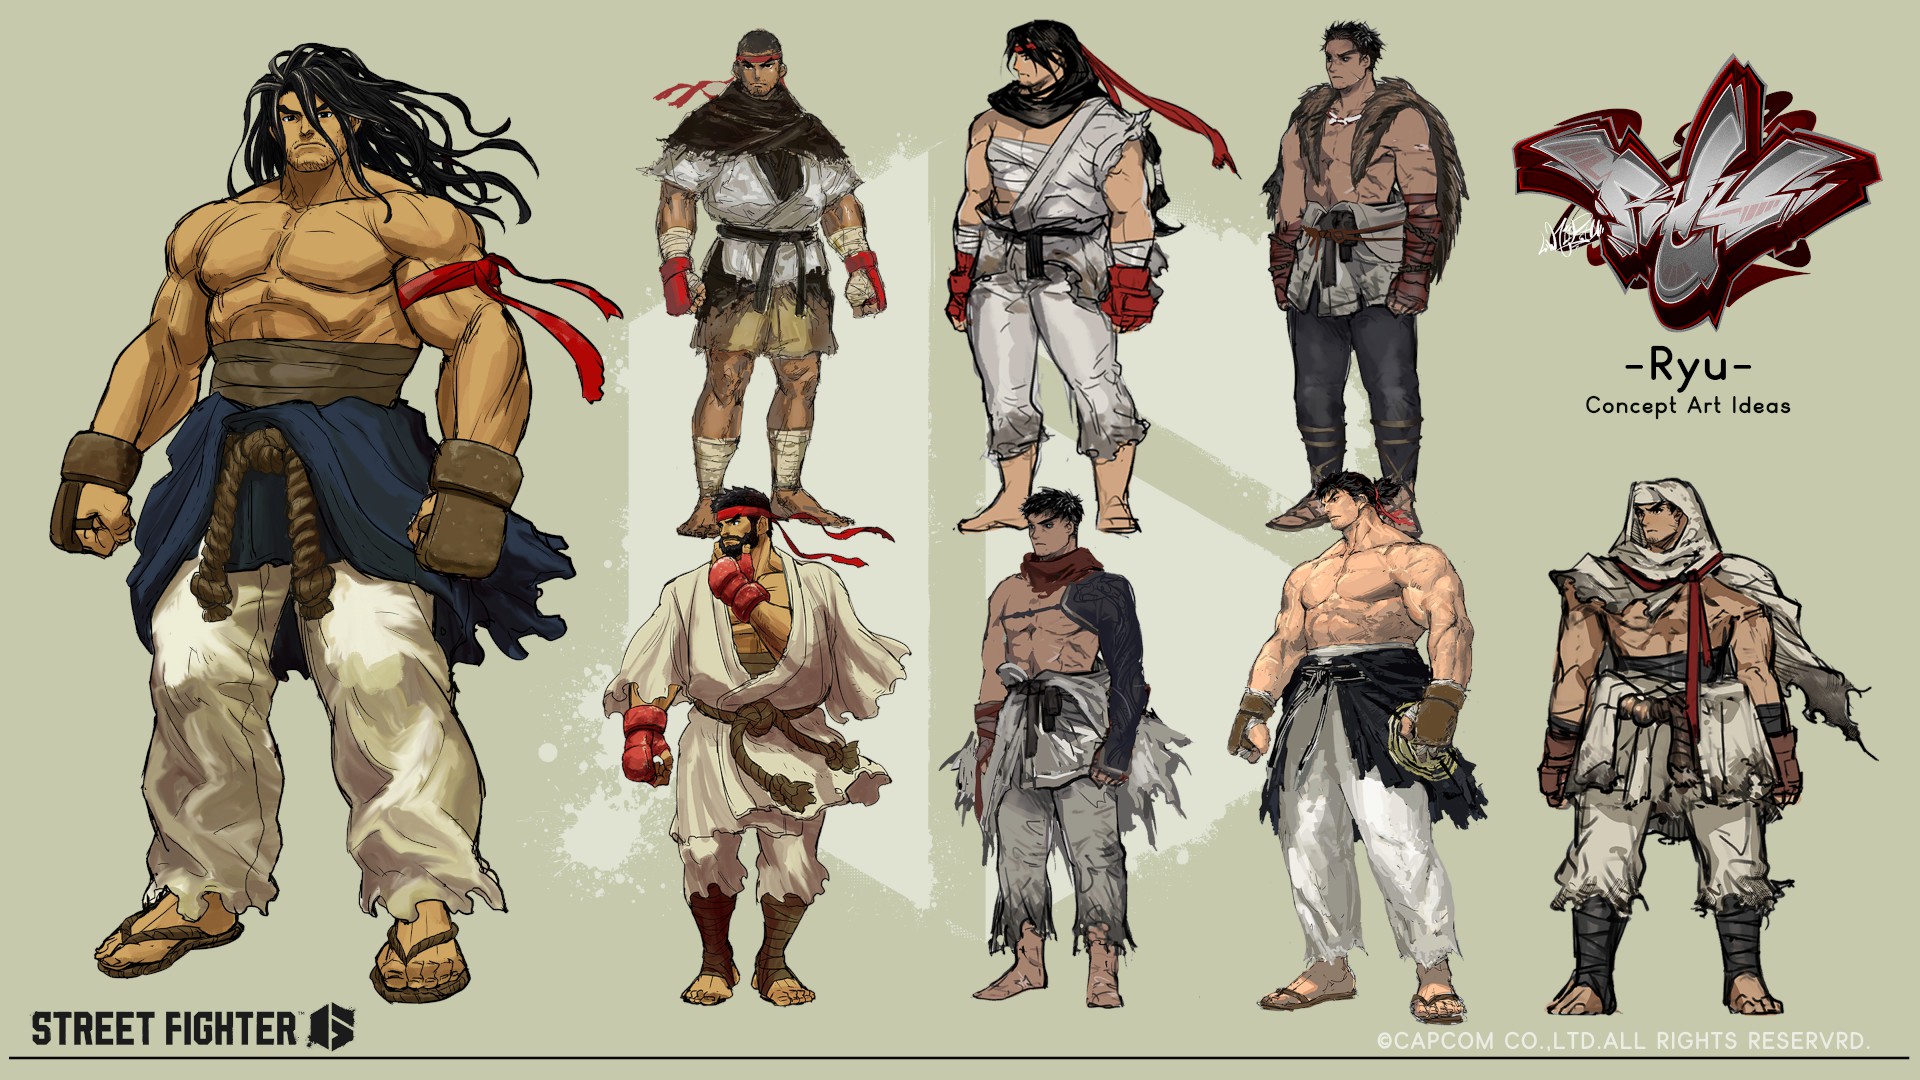
Unused Design: Ryu (Clear Arcade Three Times with Ryu)
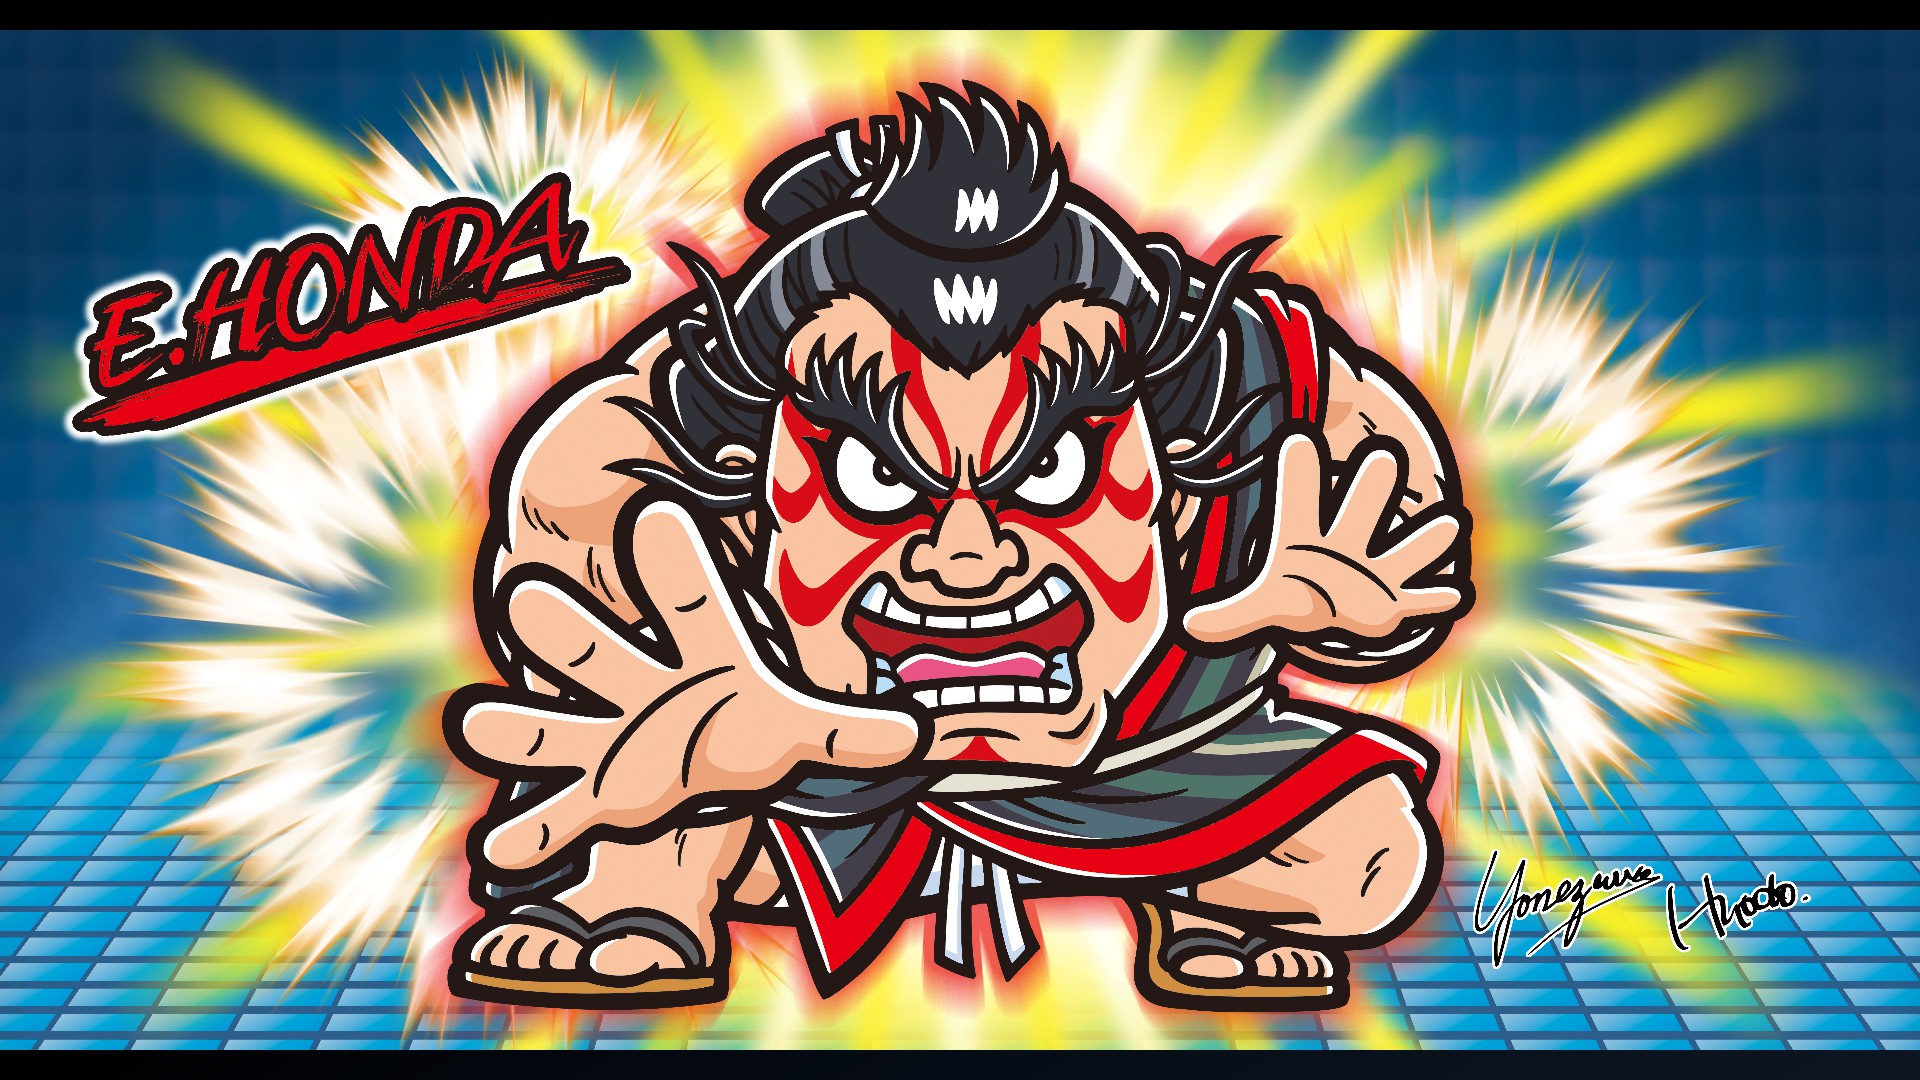
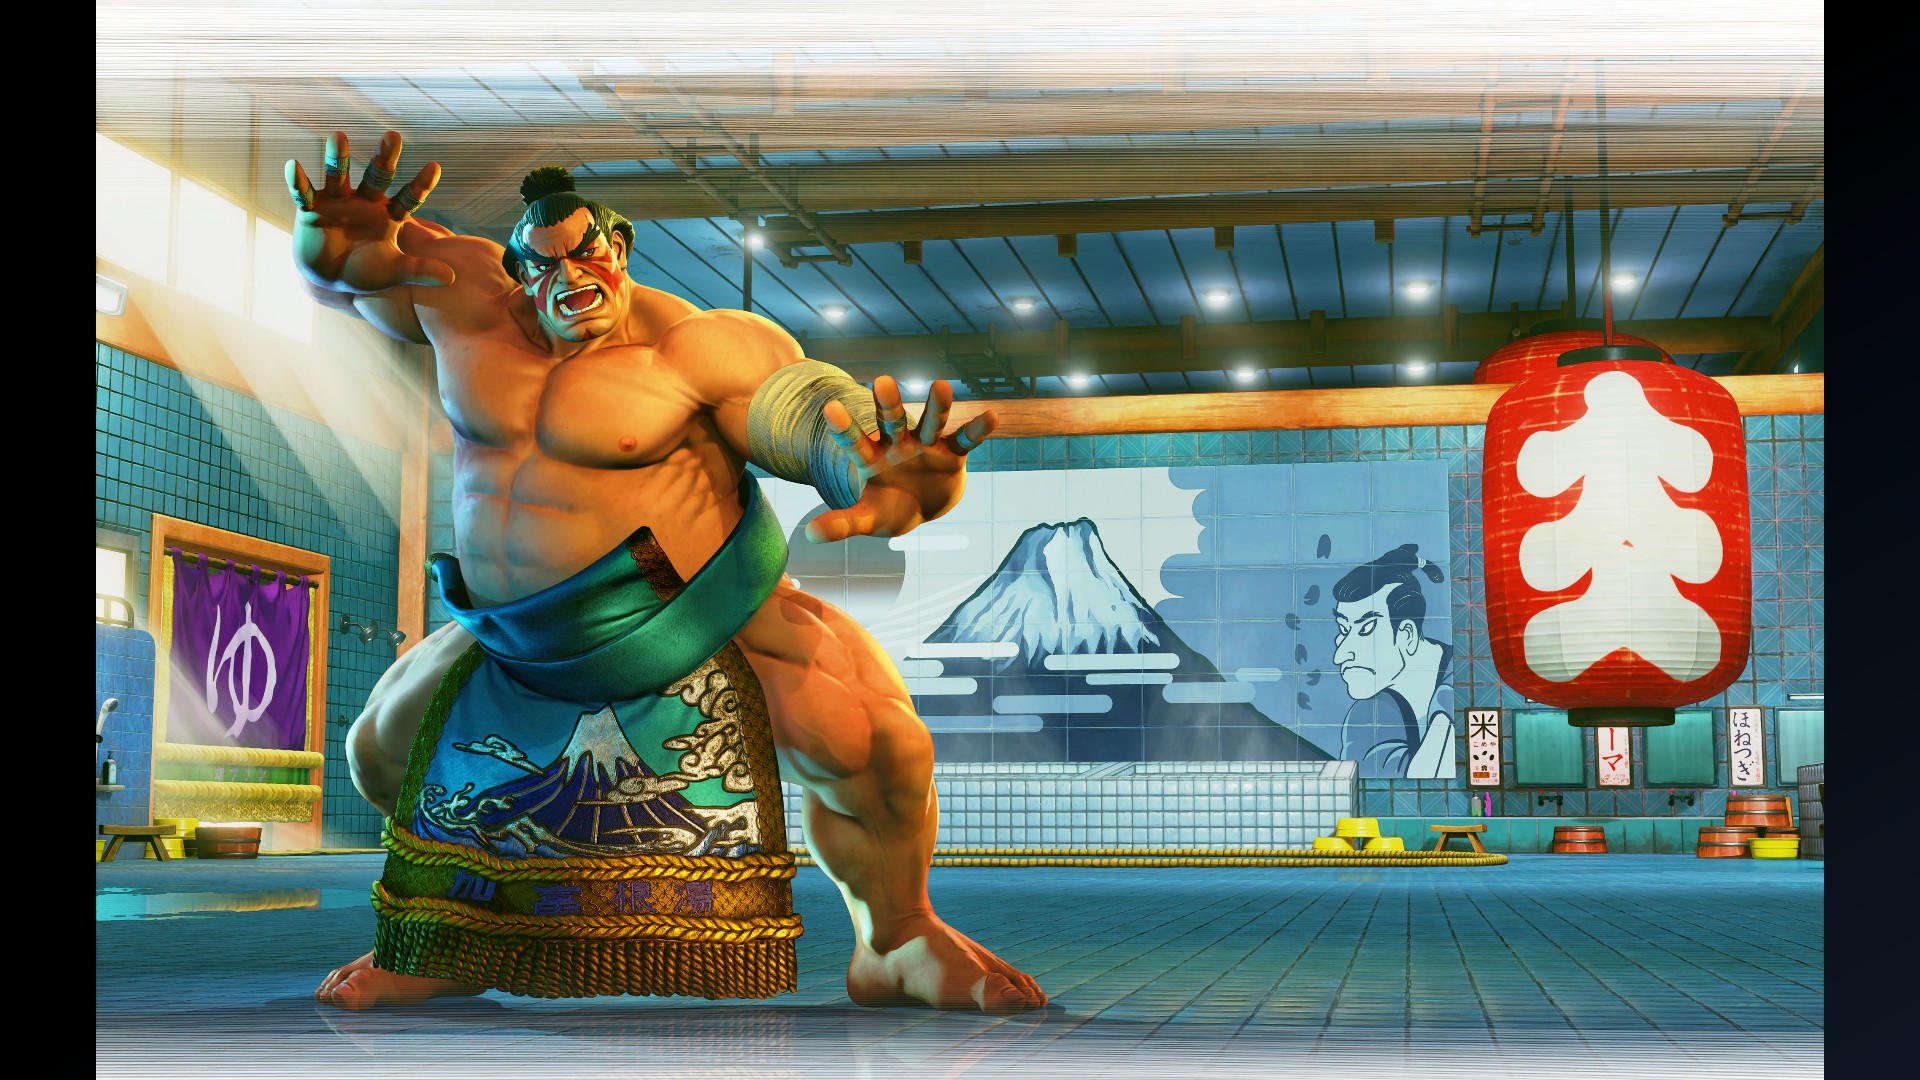
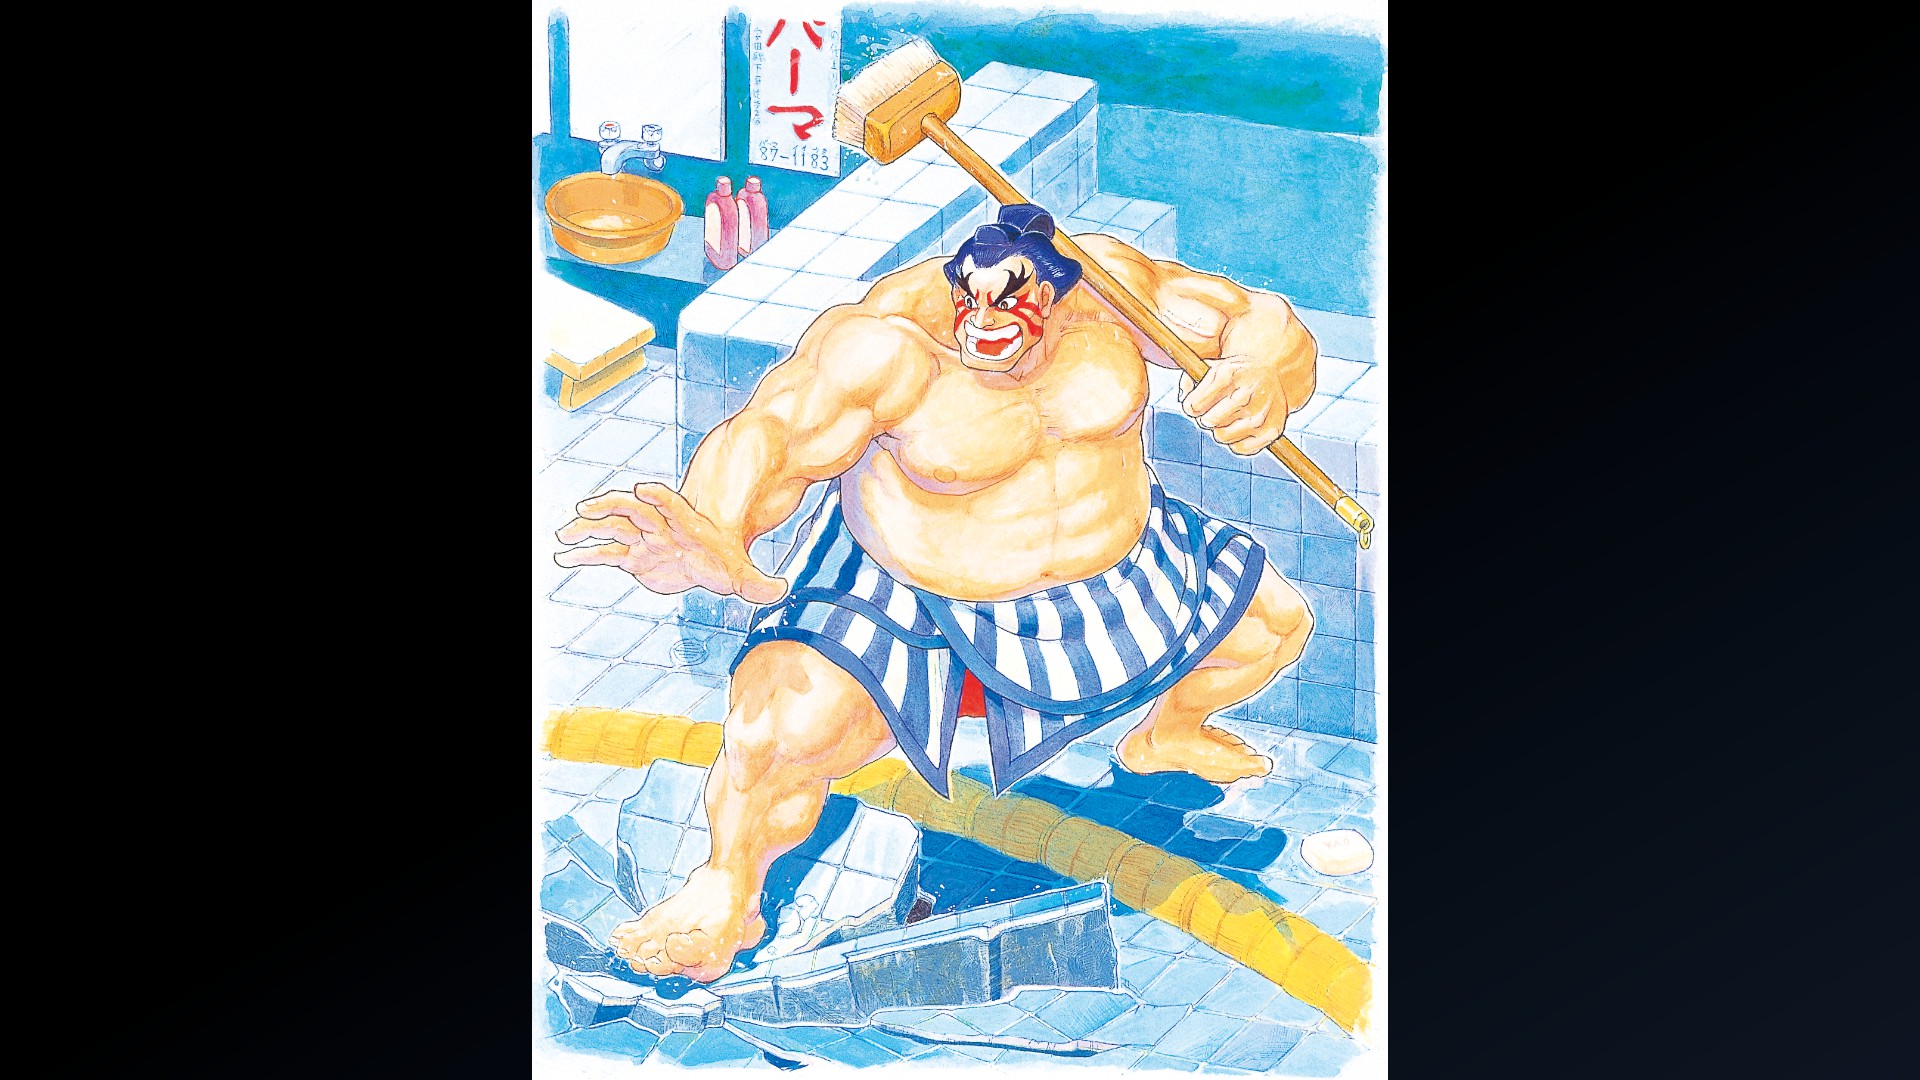
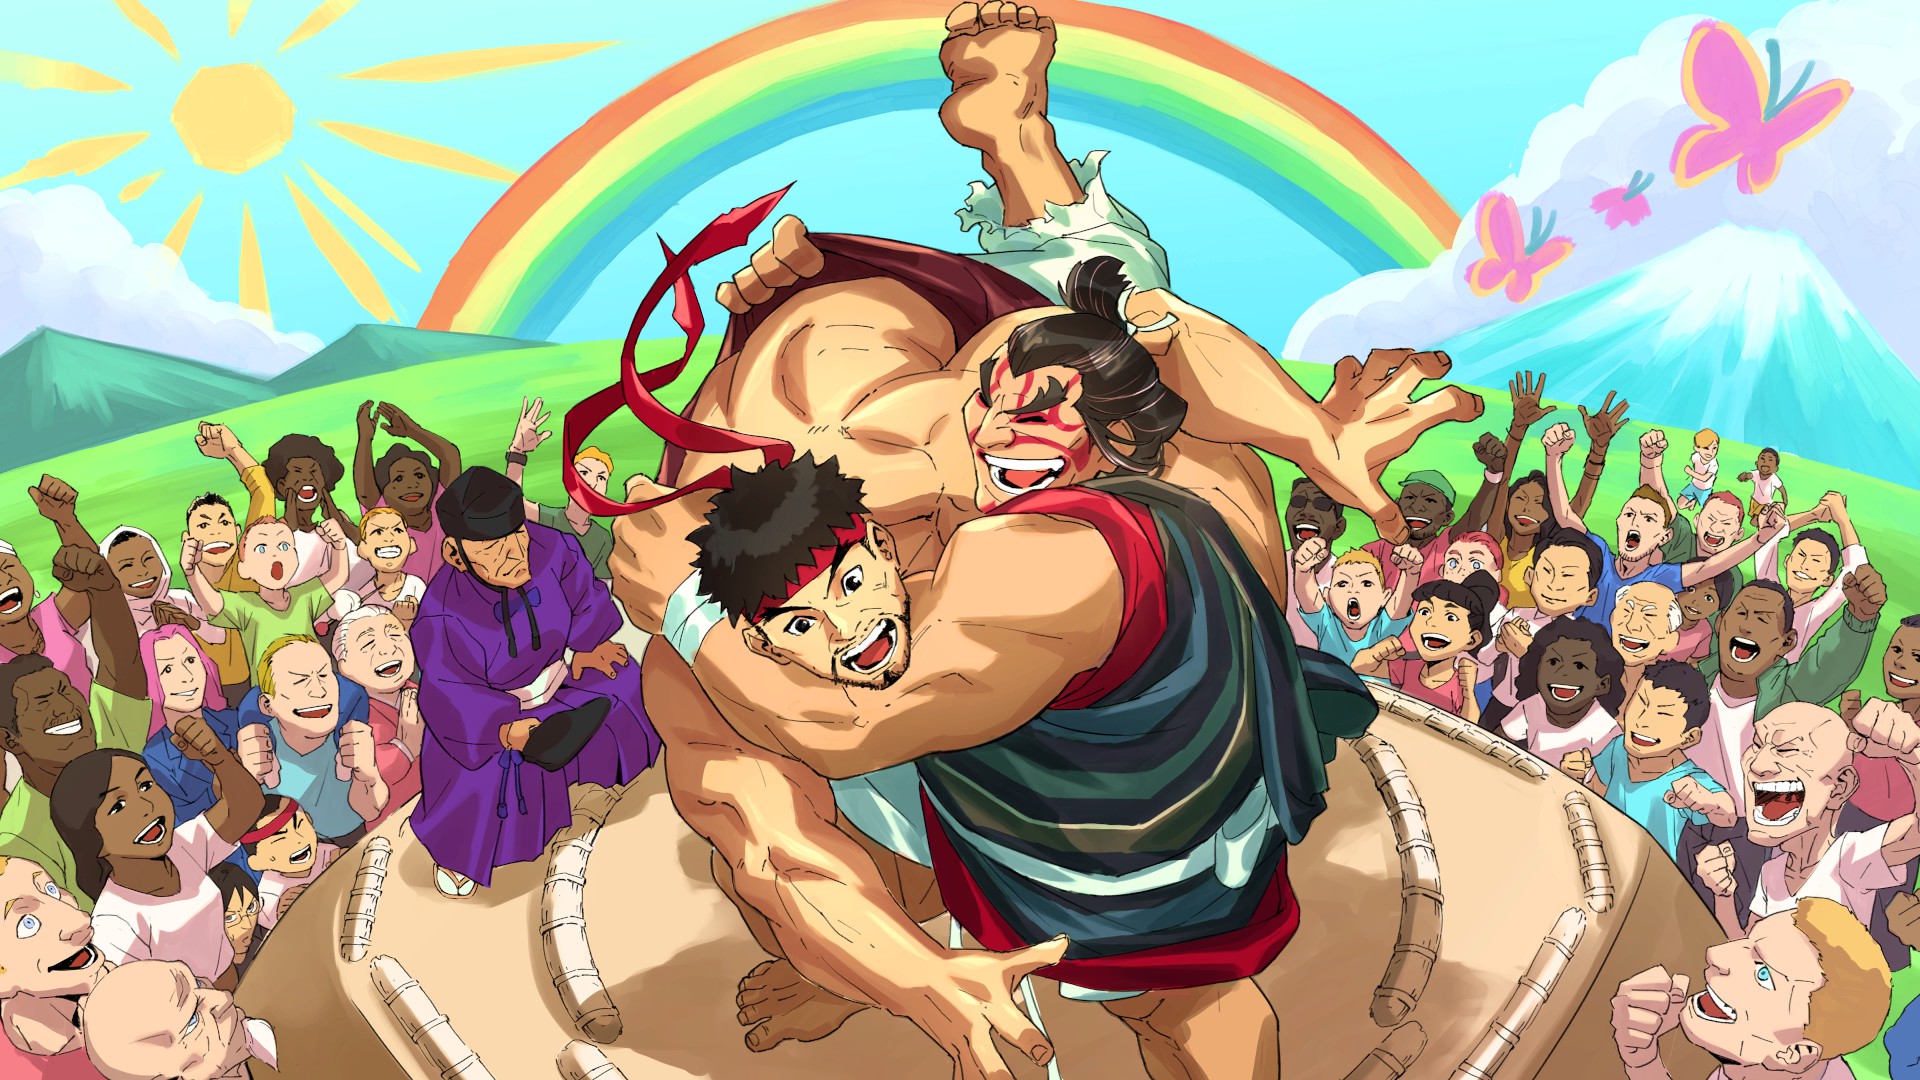
E. Honda - Special Artwork: Green House Yonezawa/Hyodo
(Clear Arcade Once with E. Honda)
(Clear Arcade Once with E. Honda)
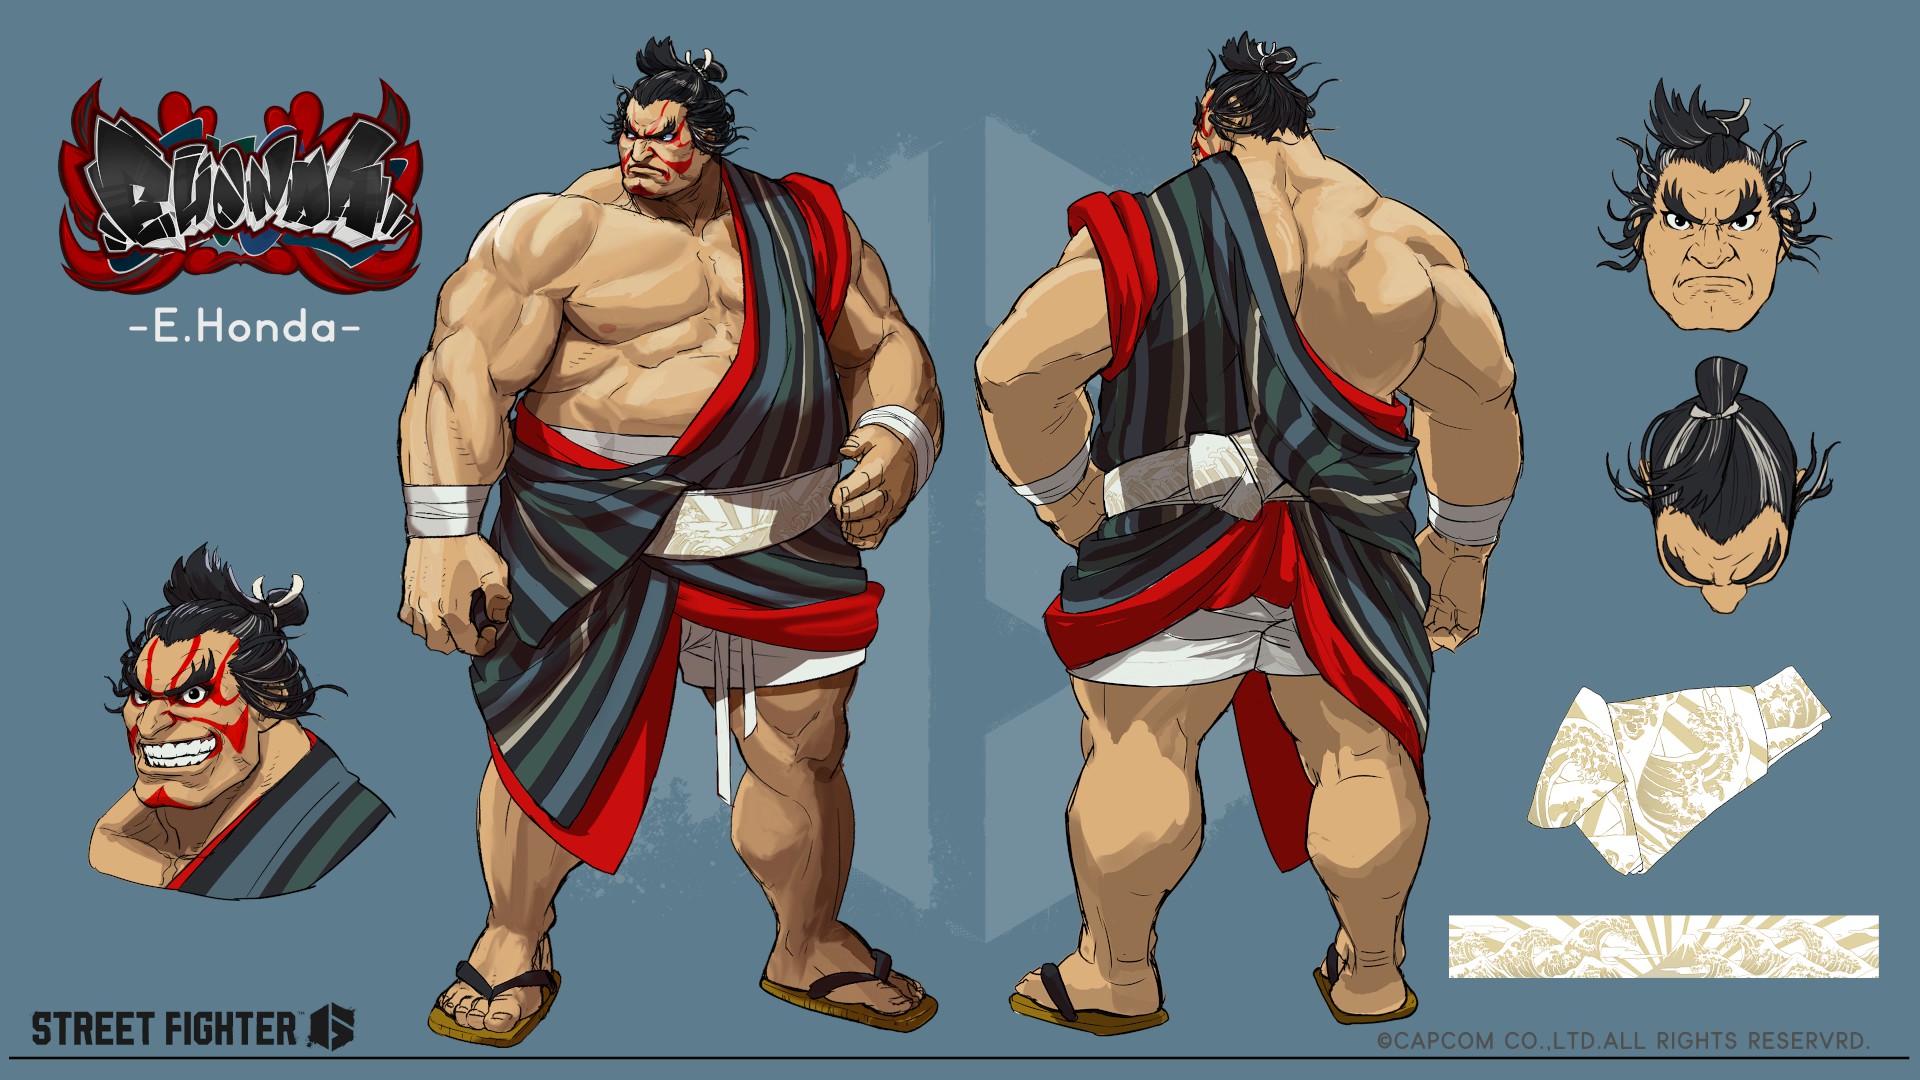
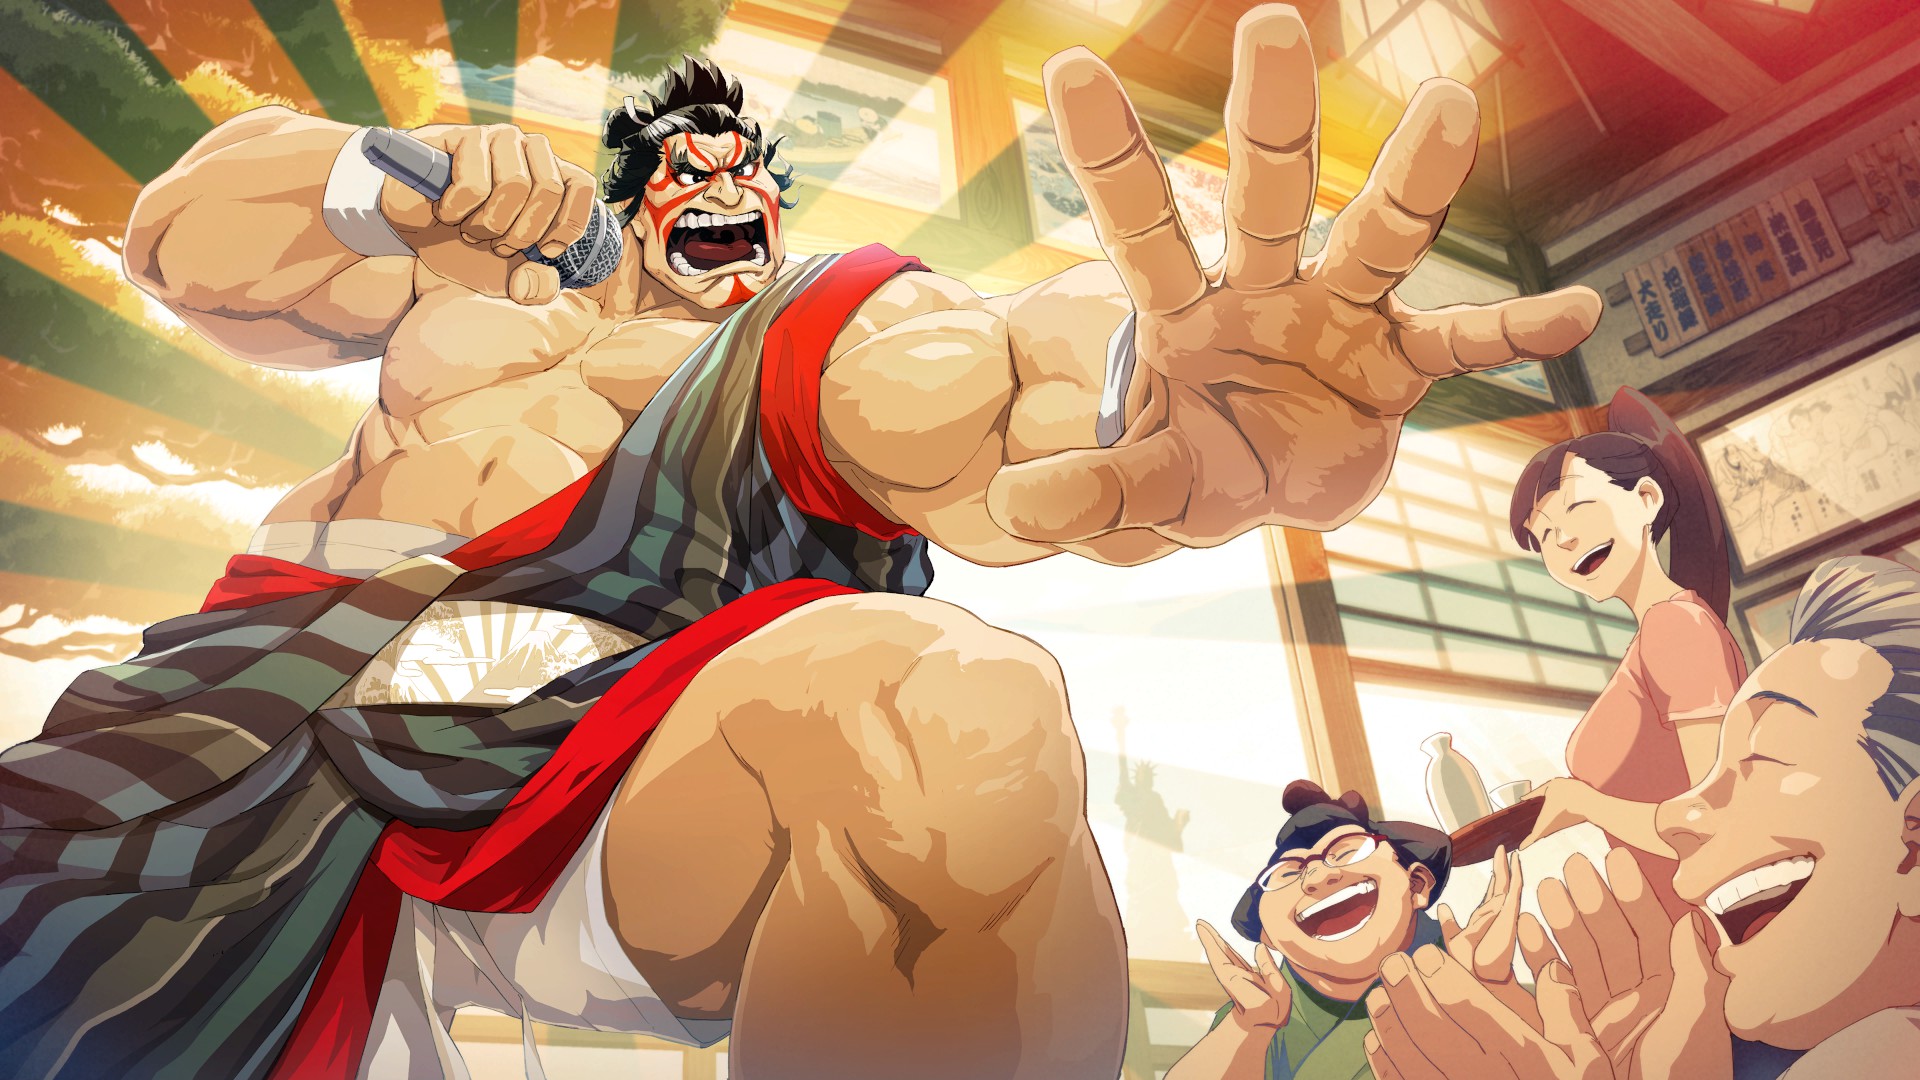
Character Design: E. Honda (Clear Arcade Twice with E. Honda)
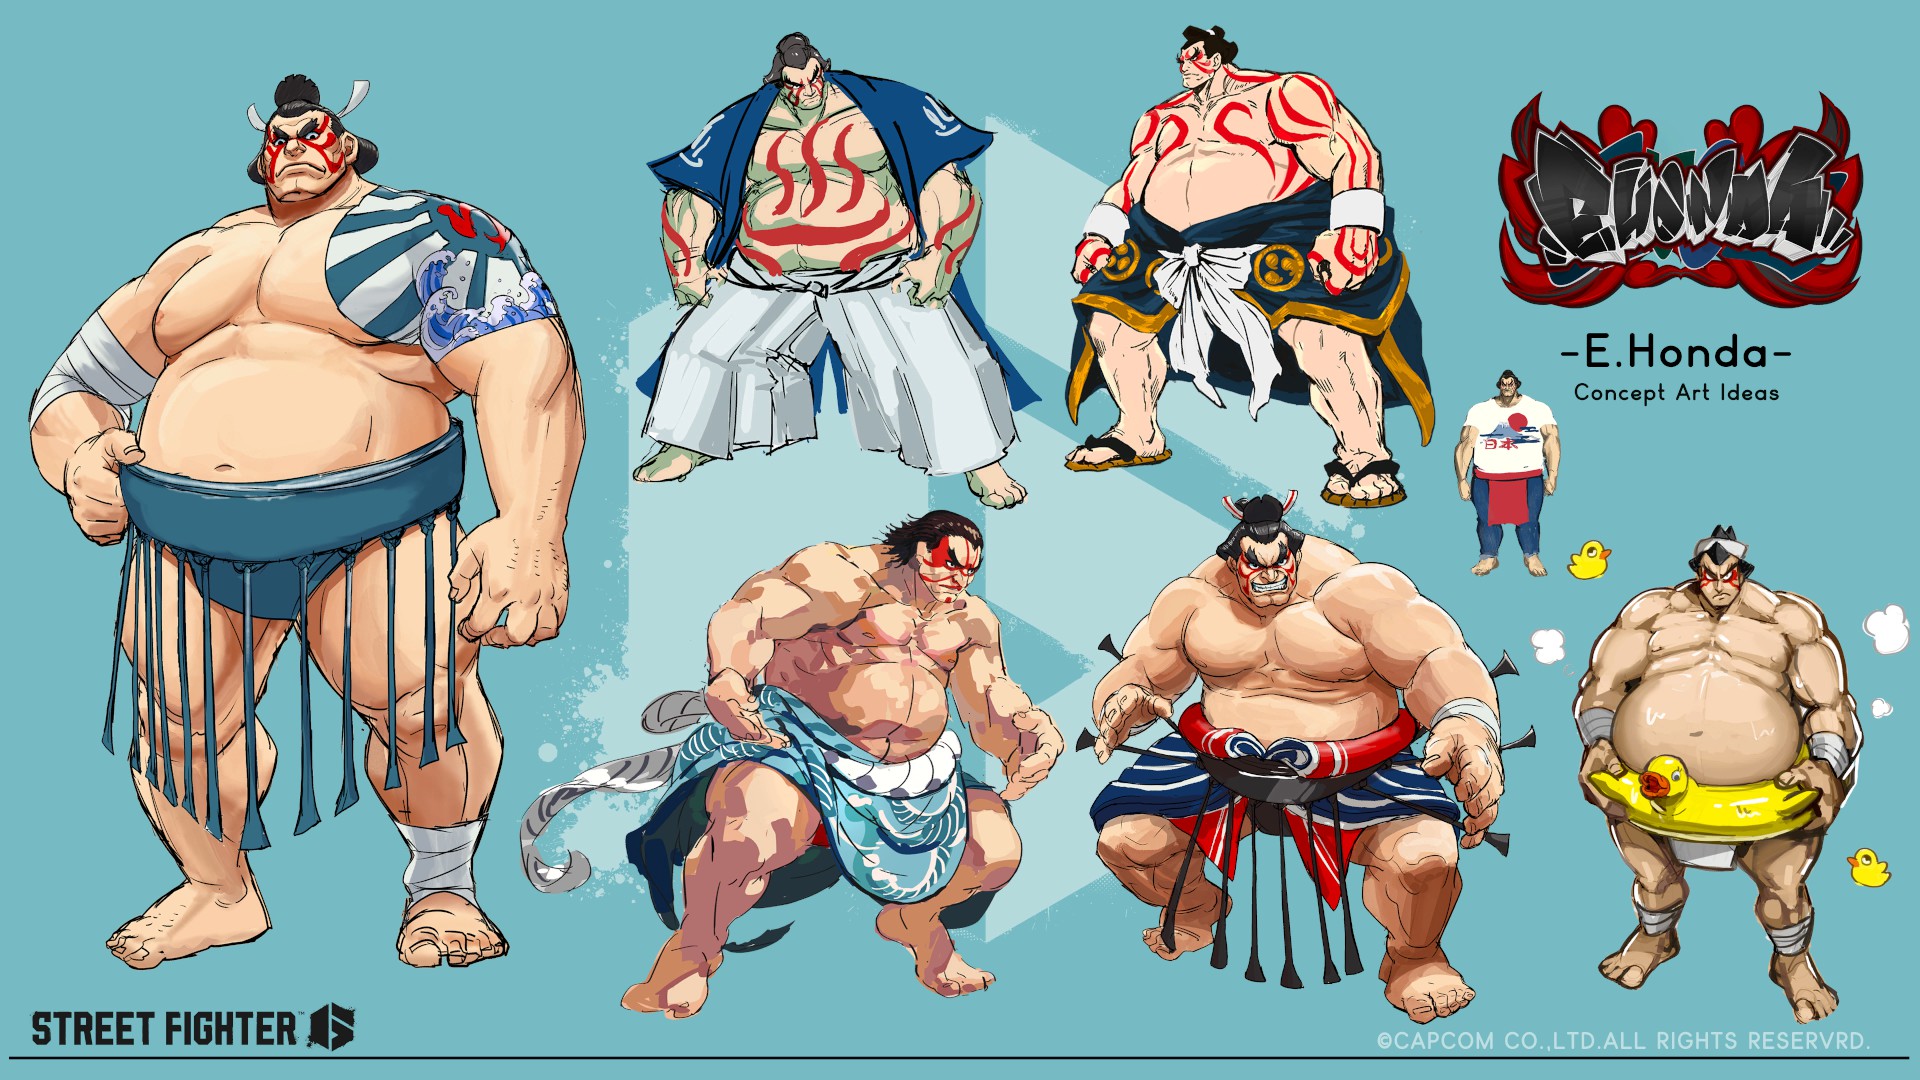
Unused Design: E. Honda (Clear Arcade Three Times with E. Honda)
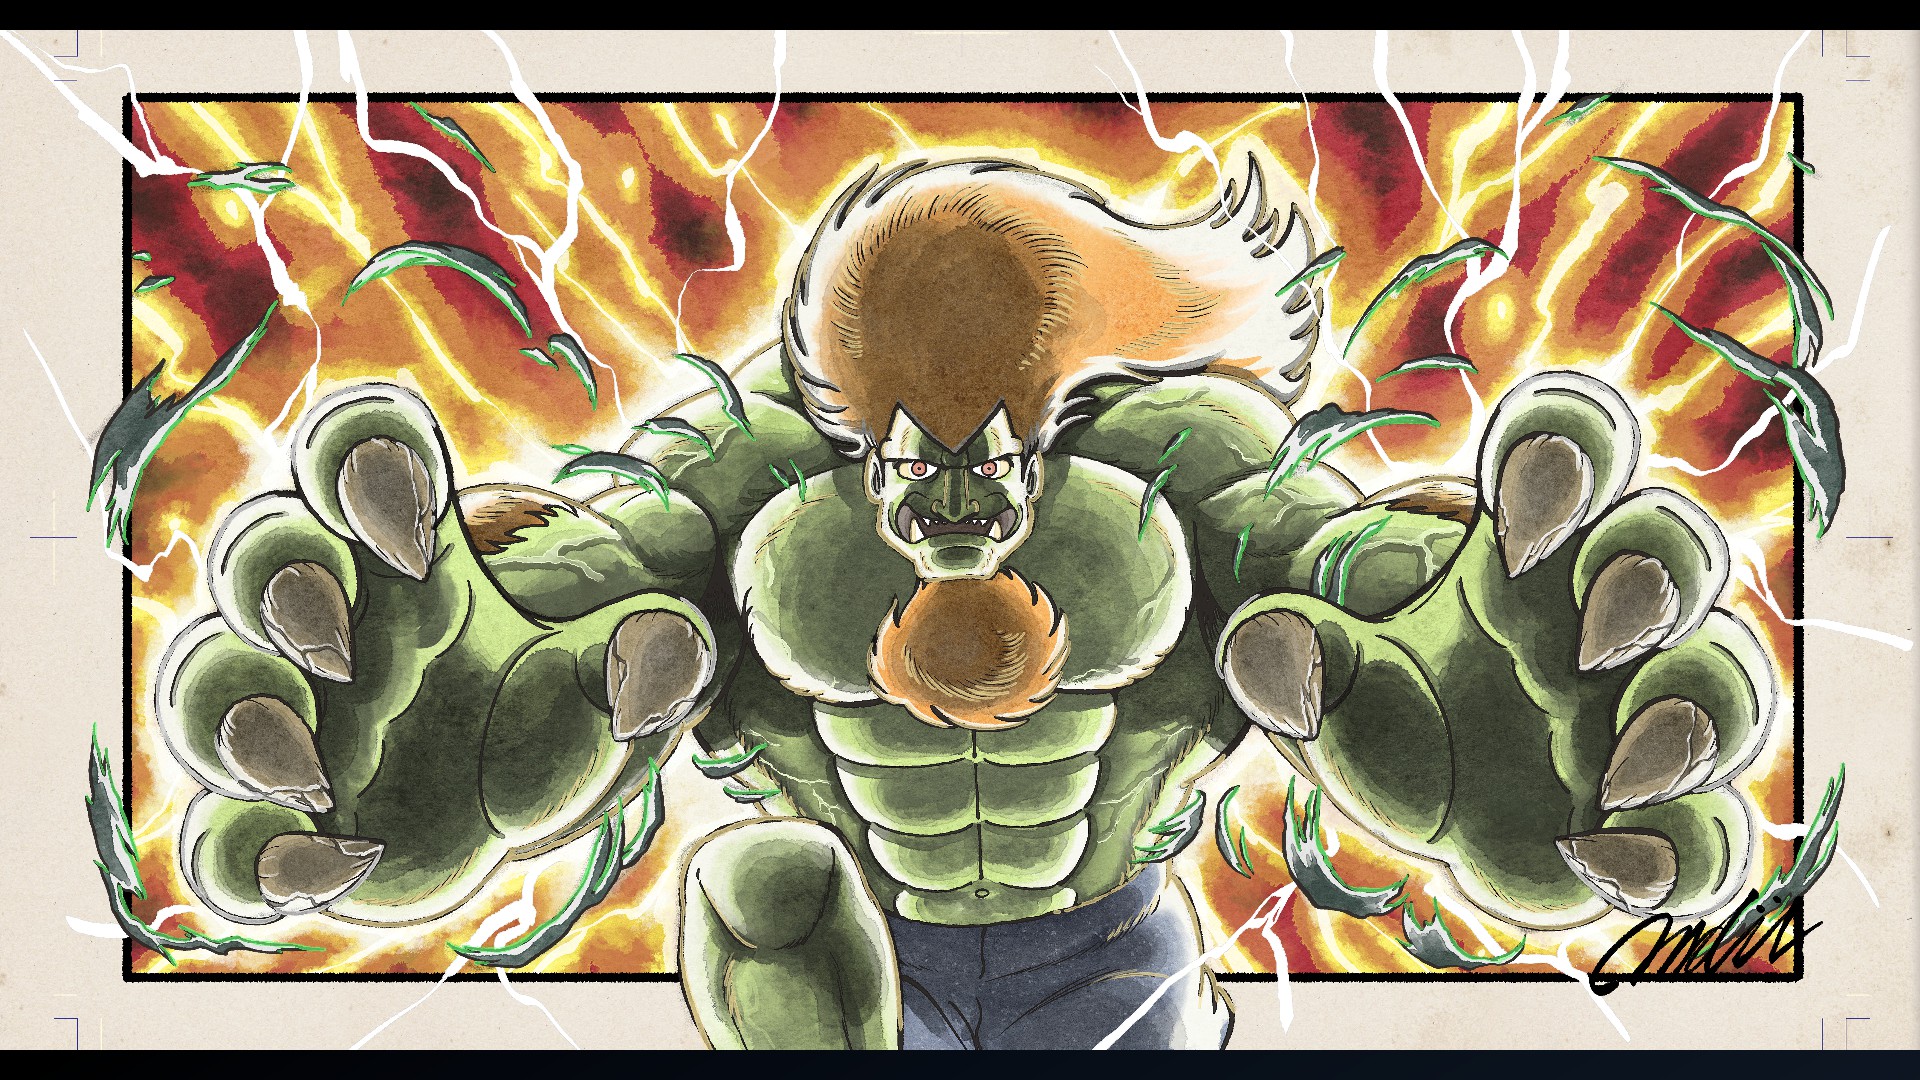
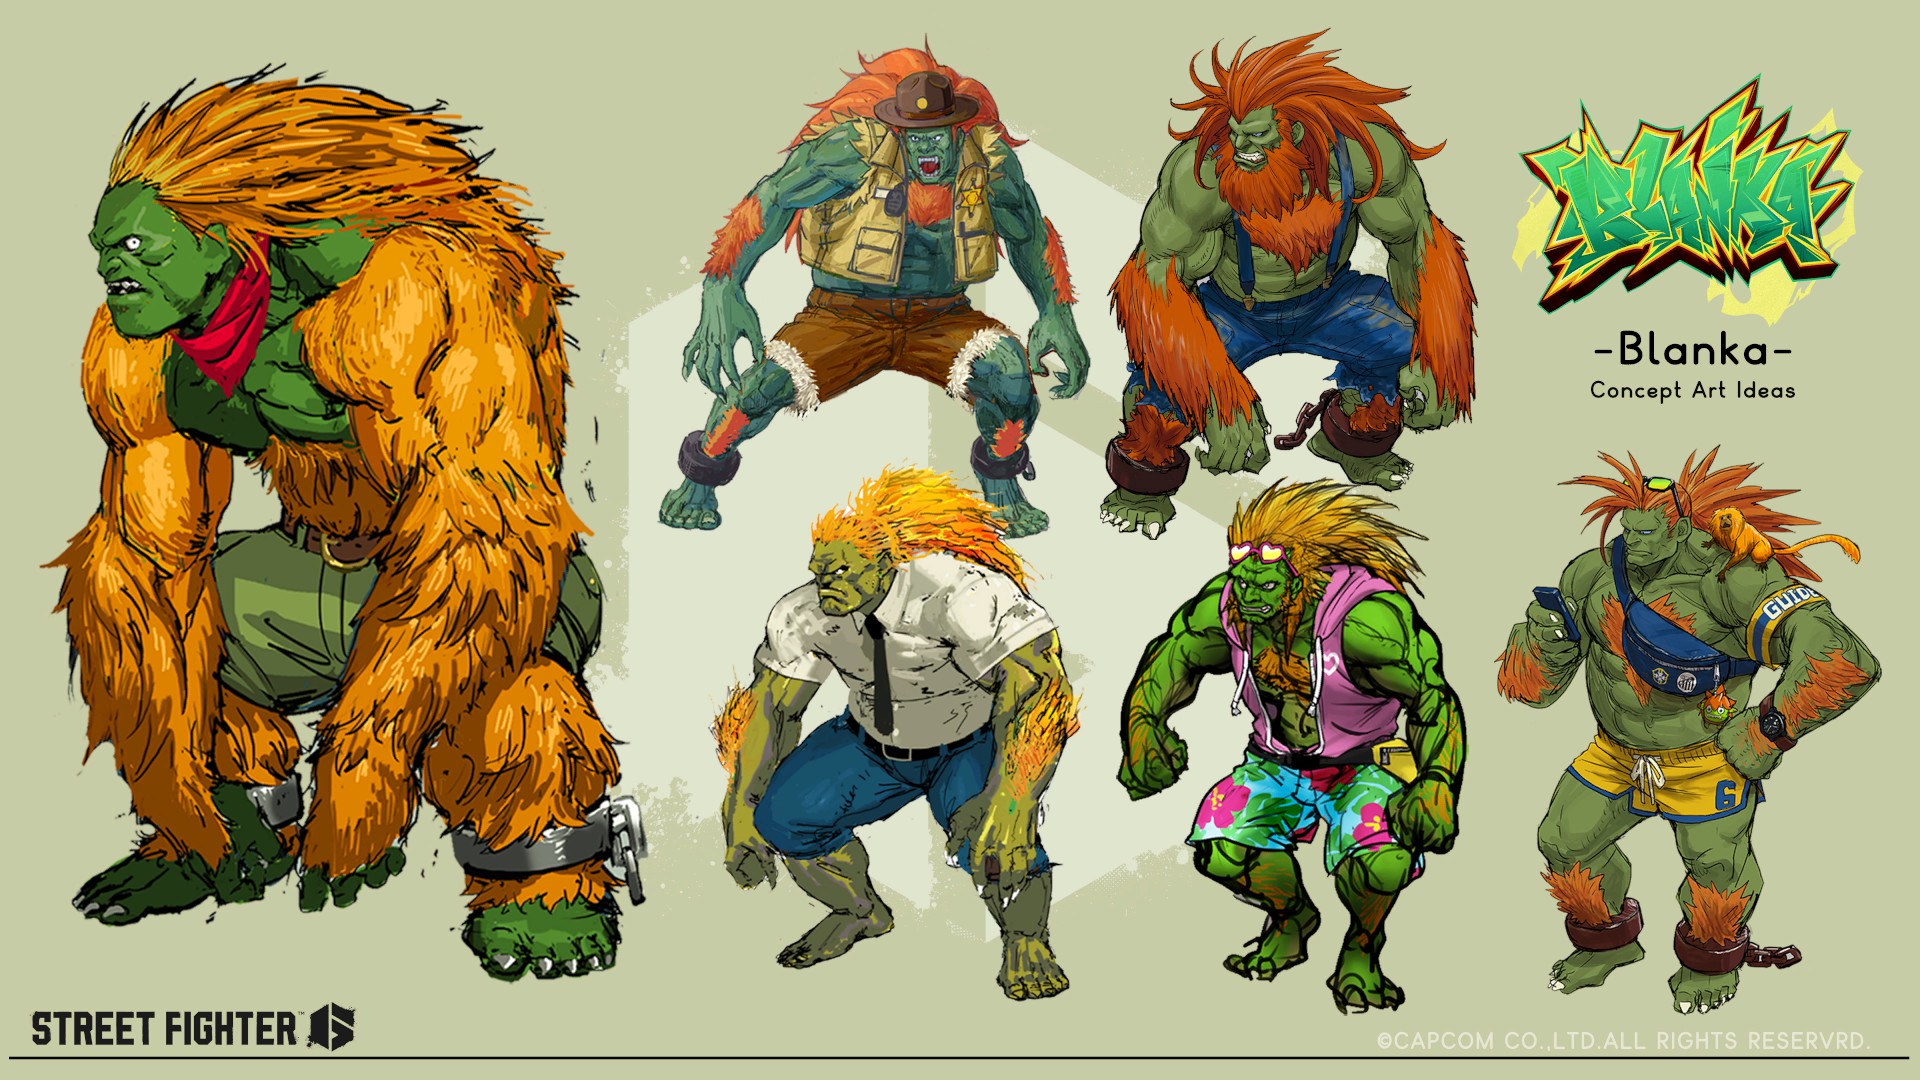
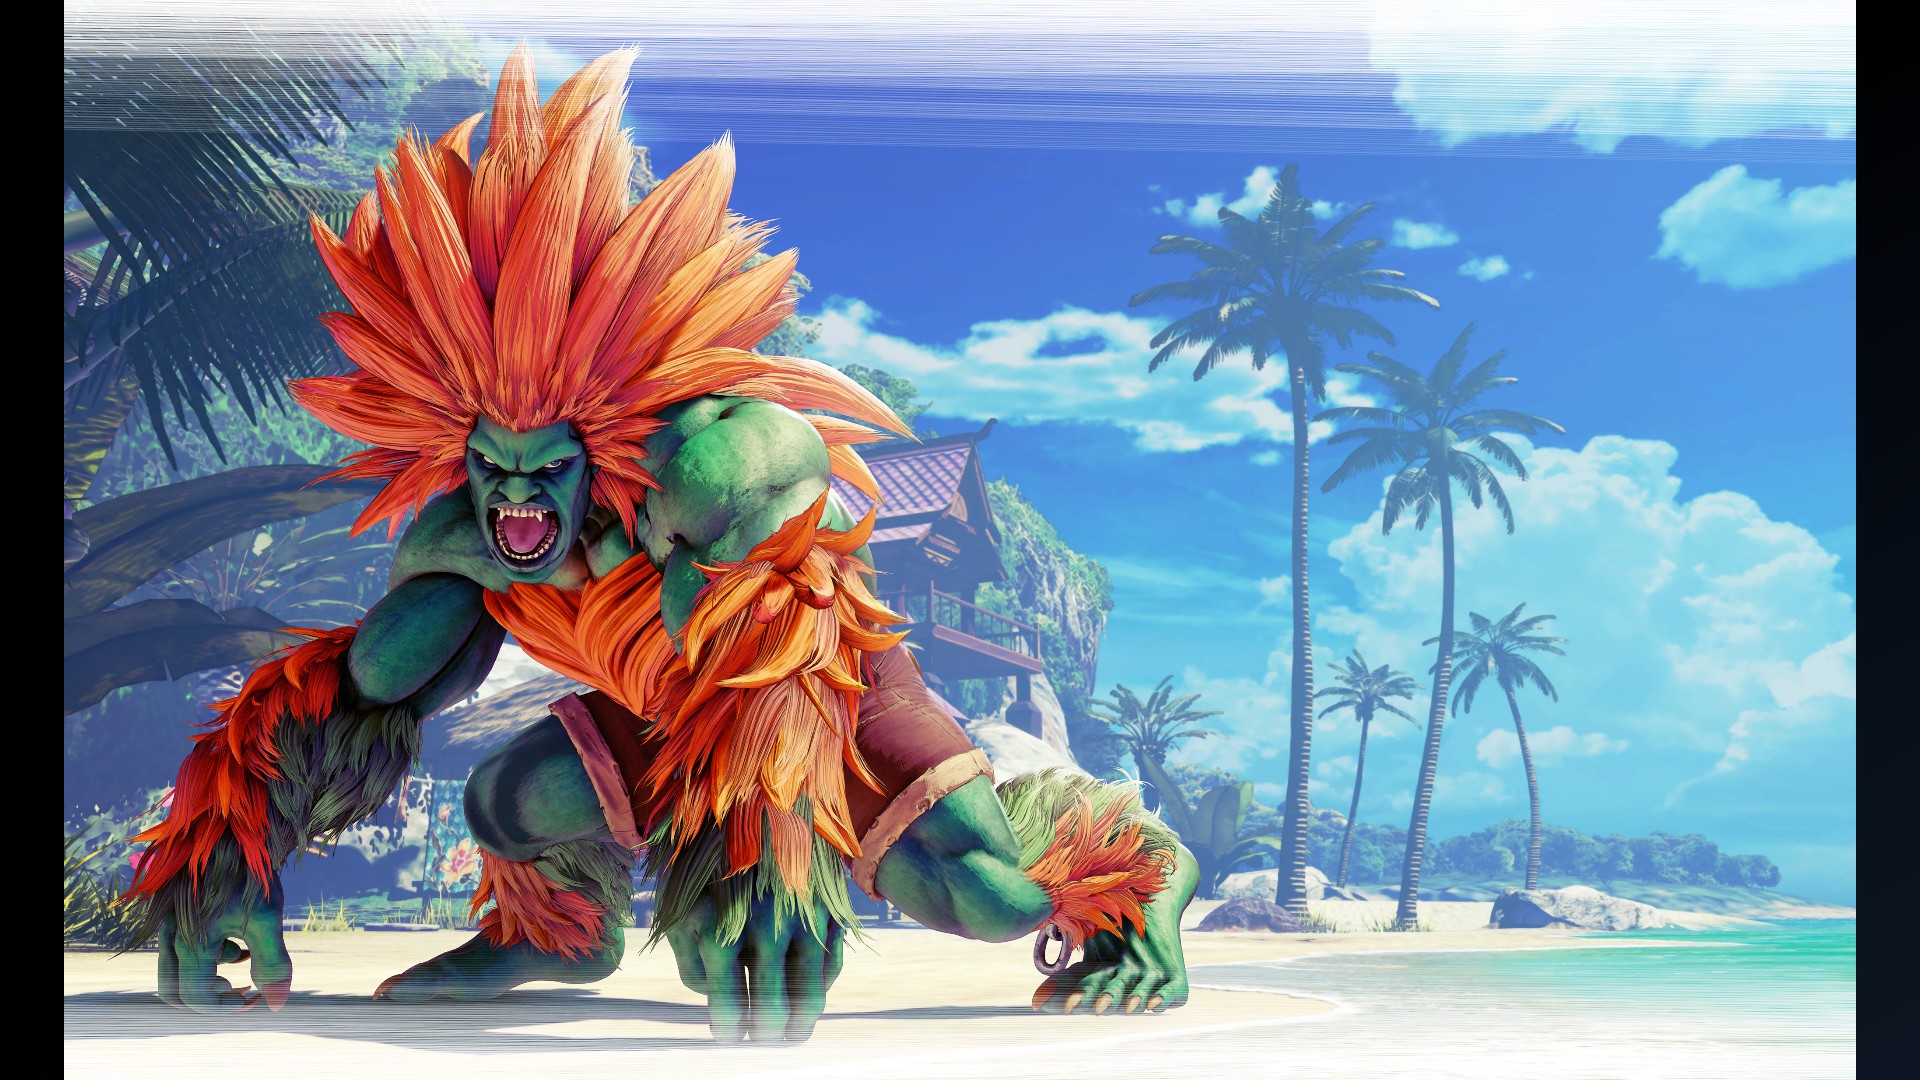
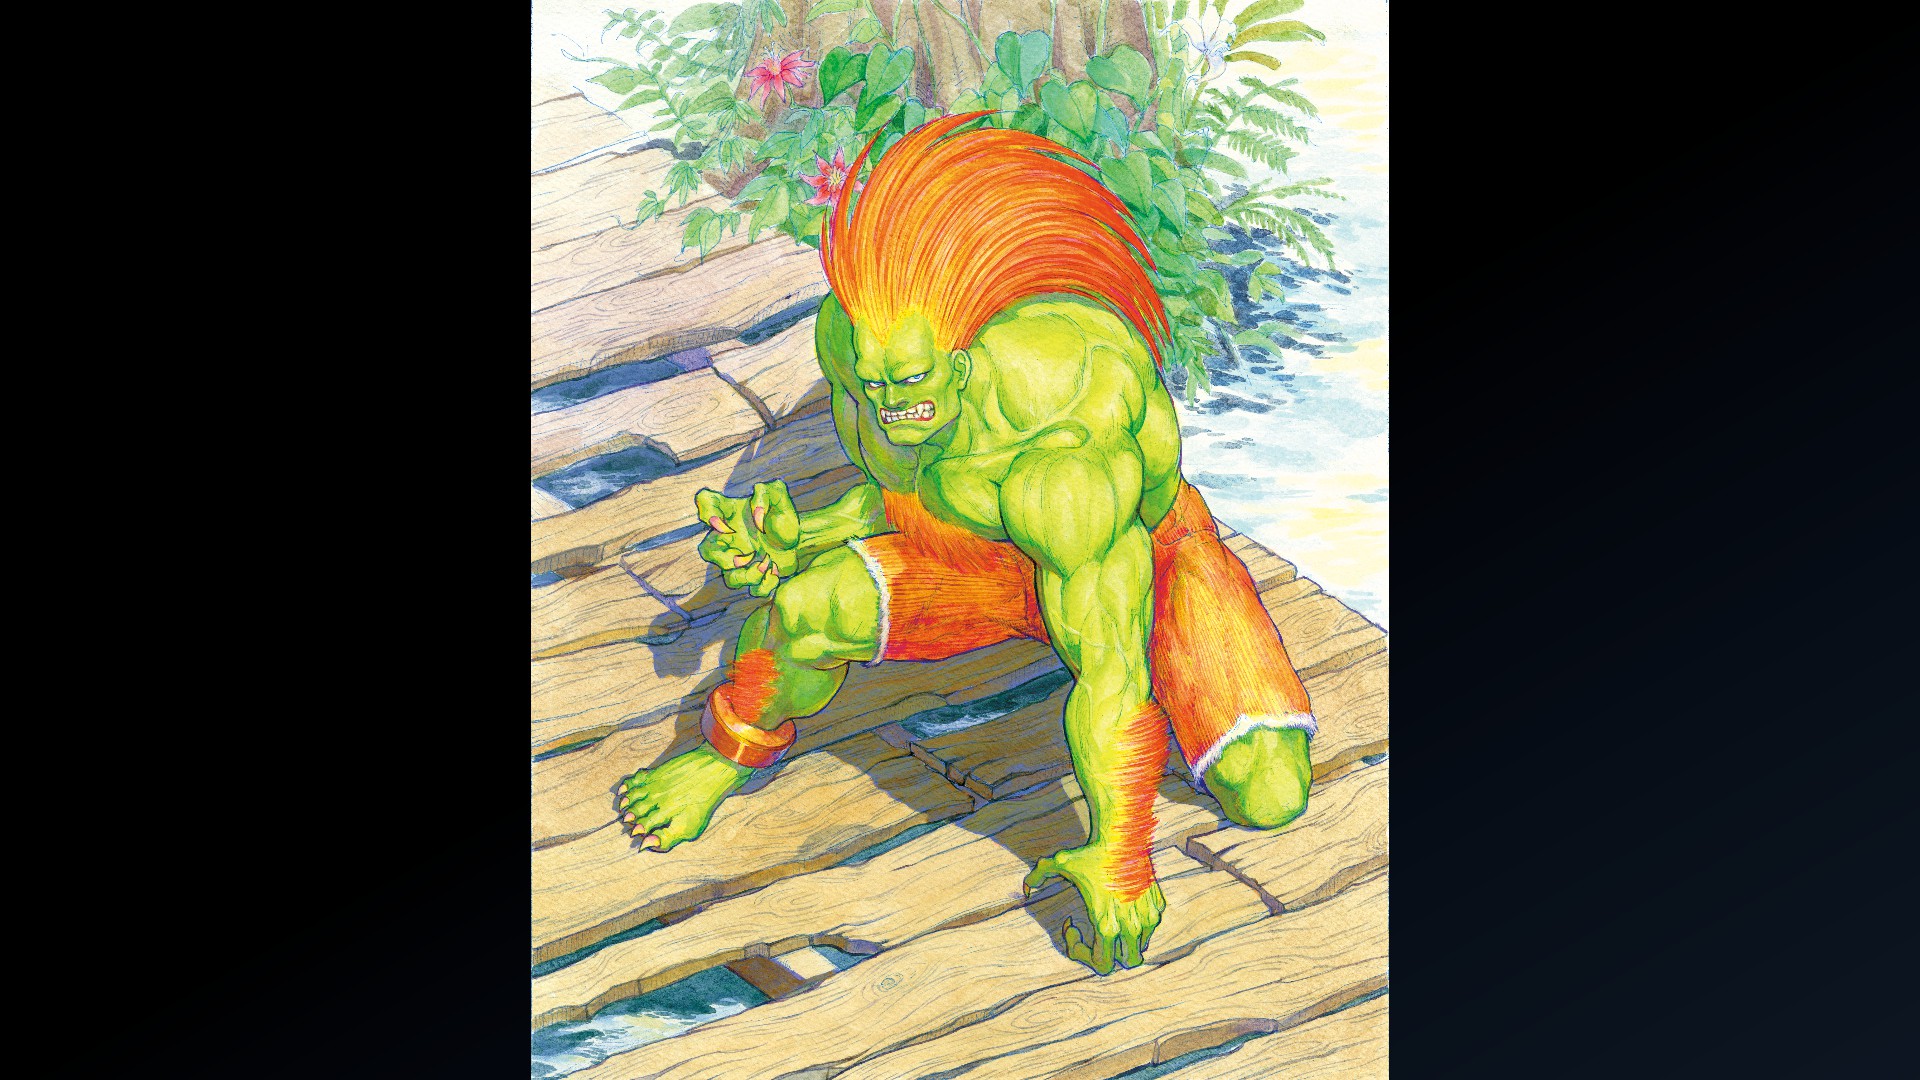
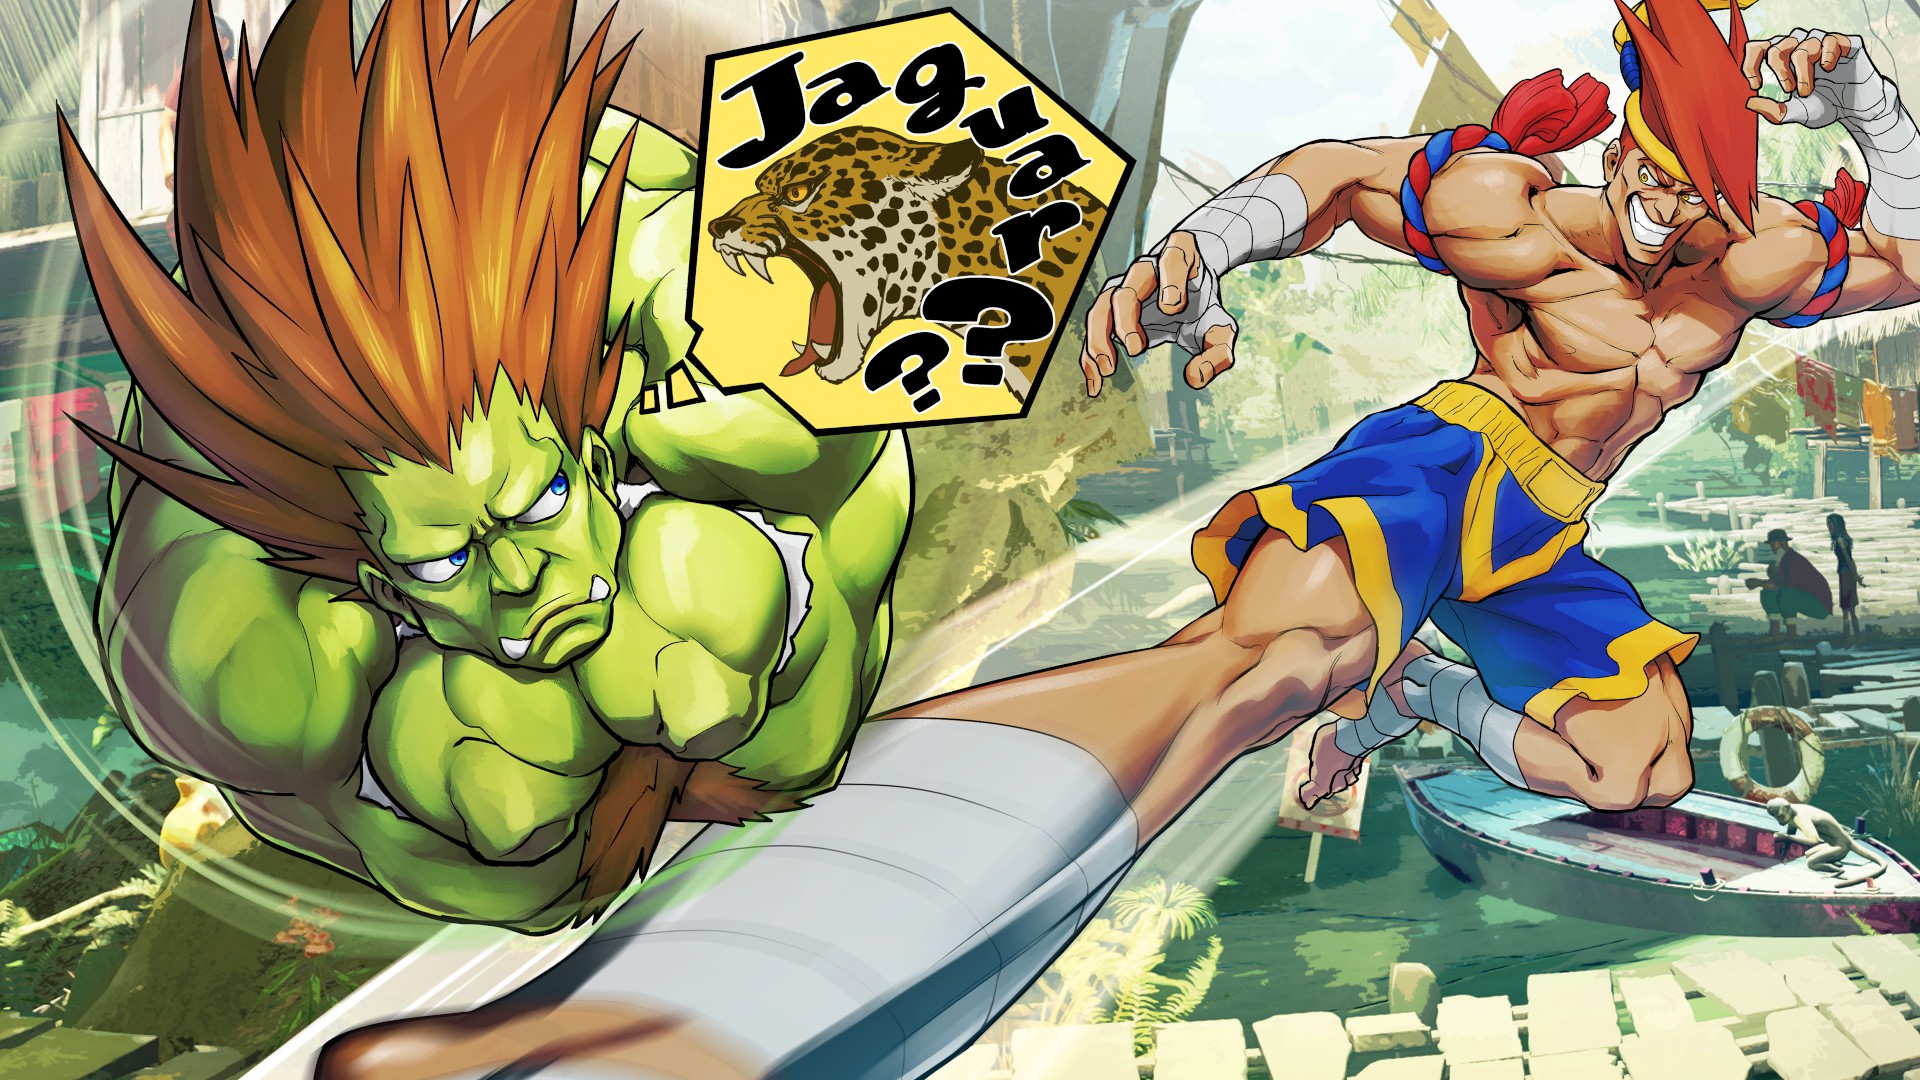
Blanka - Special Artwork: TSUNOGAI
(Clear Arcade Once with Blanka)
(Clear Arcade Once with Blanka)
Character Design: Blanka (Clear Arcade Twice with Blanka)

Unused Design: Blanka (Clear Arcade Three Times with Blanka)
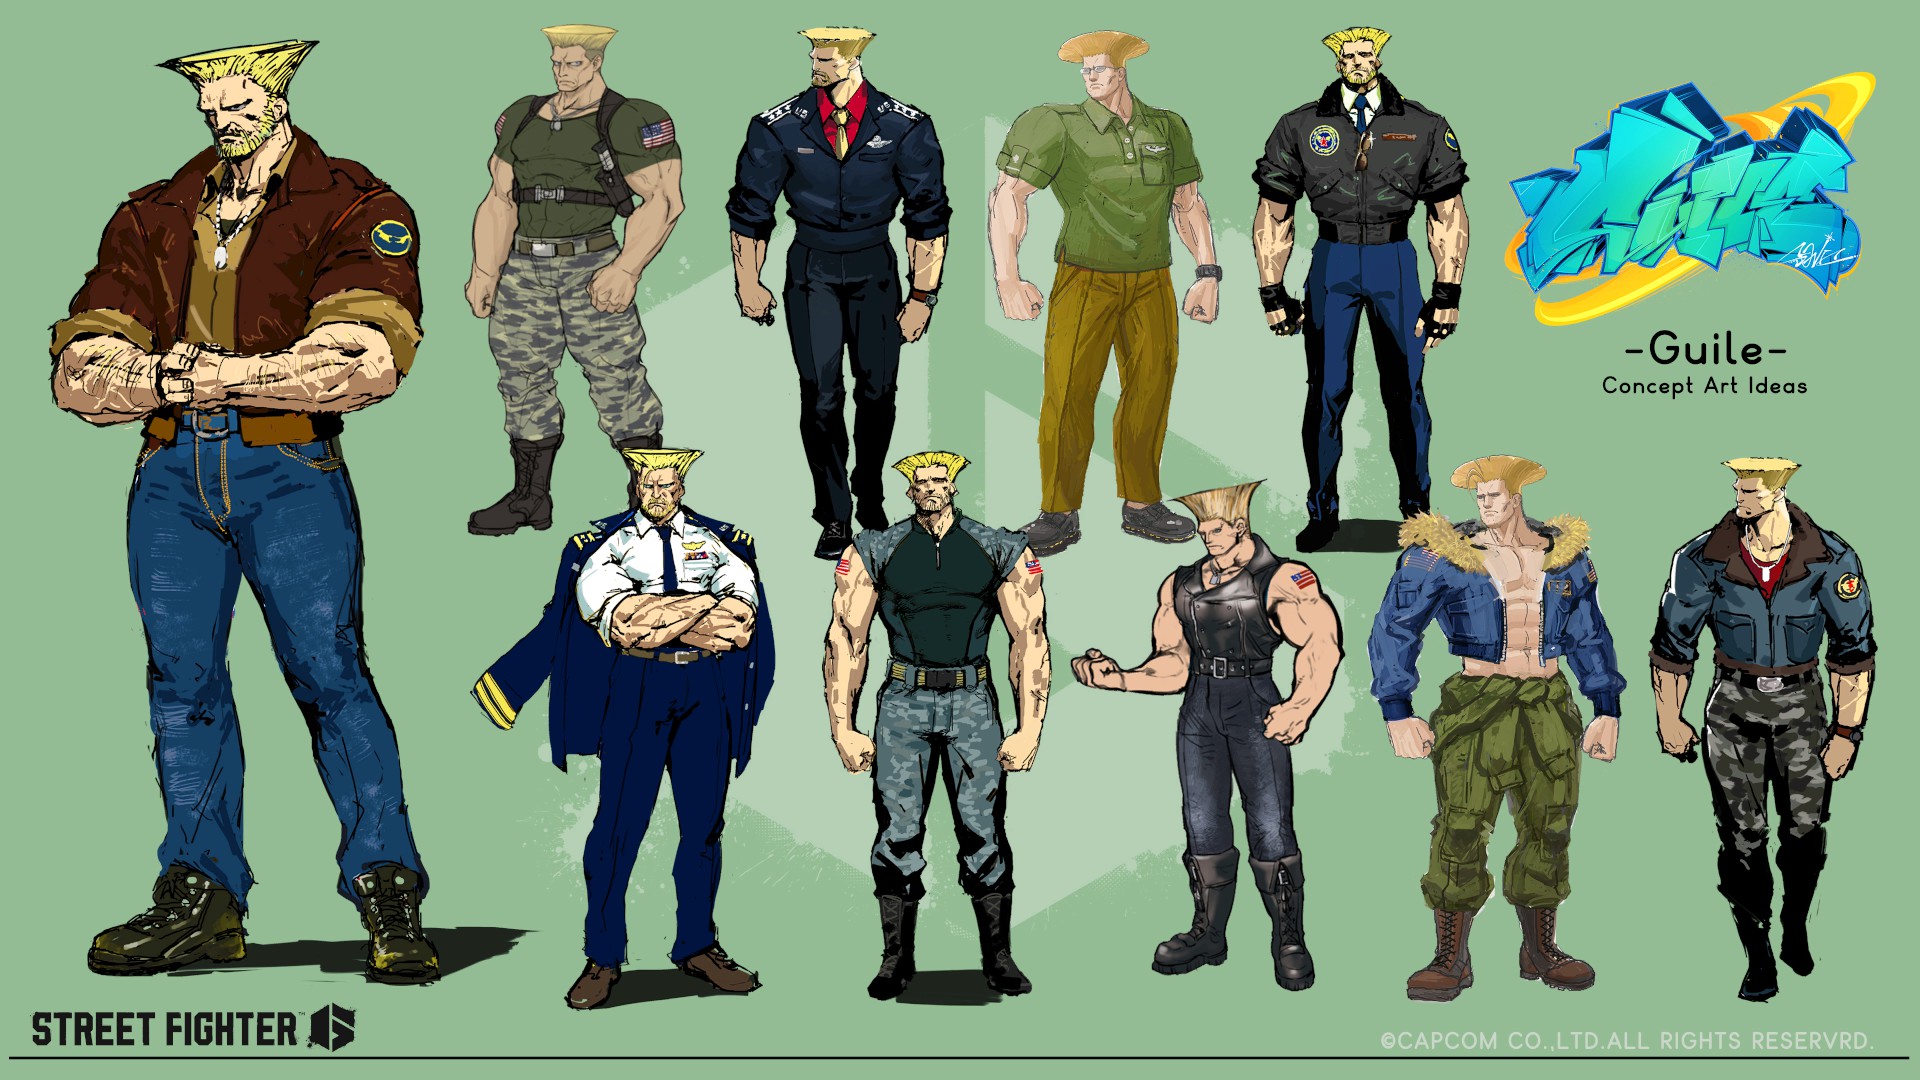
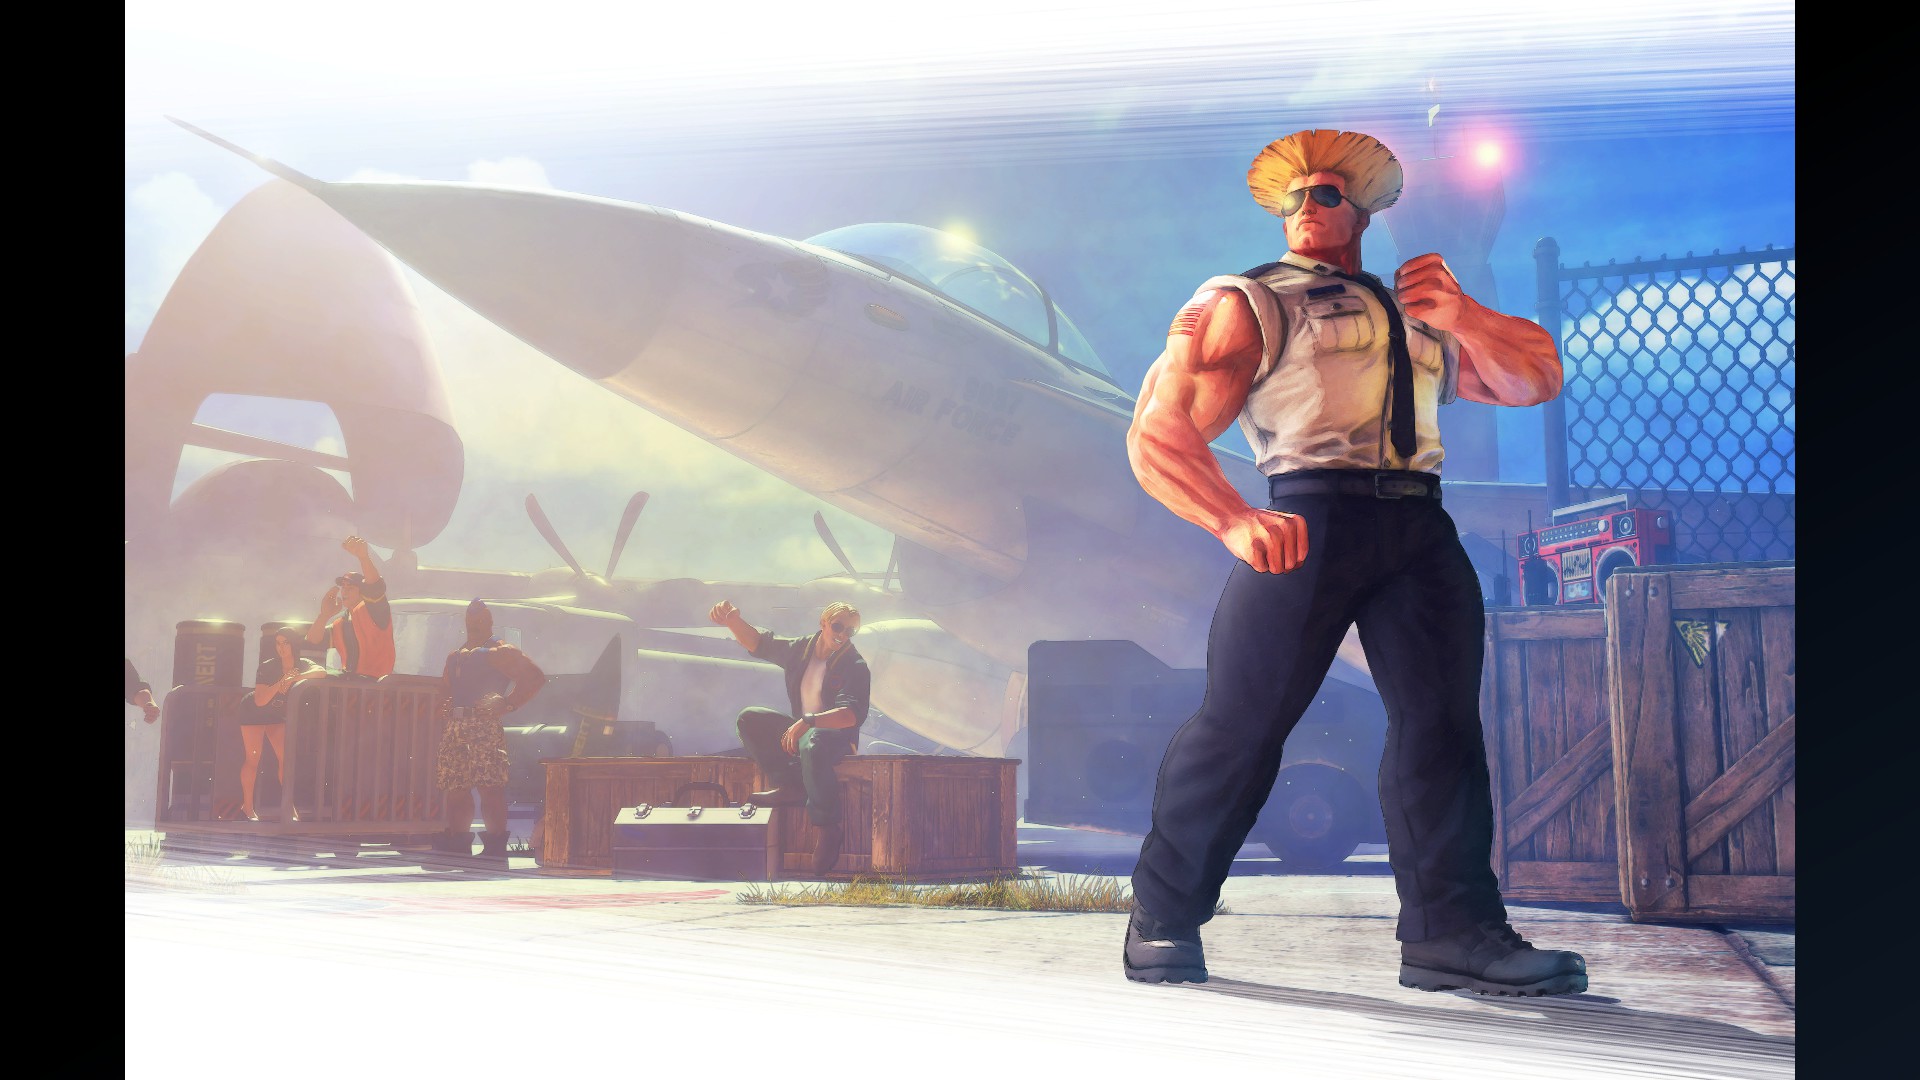
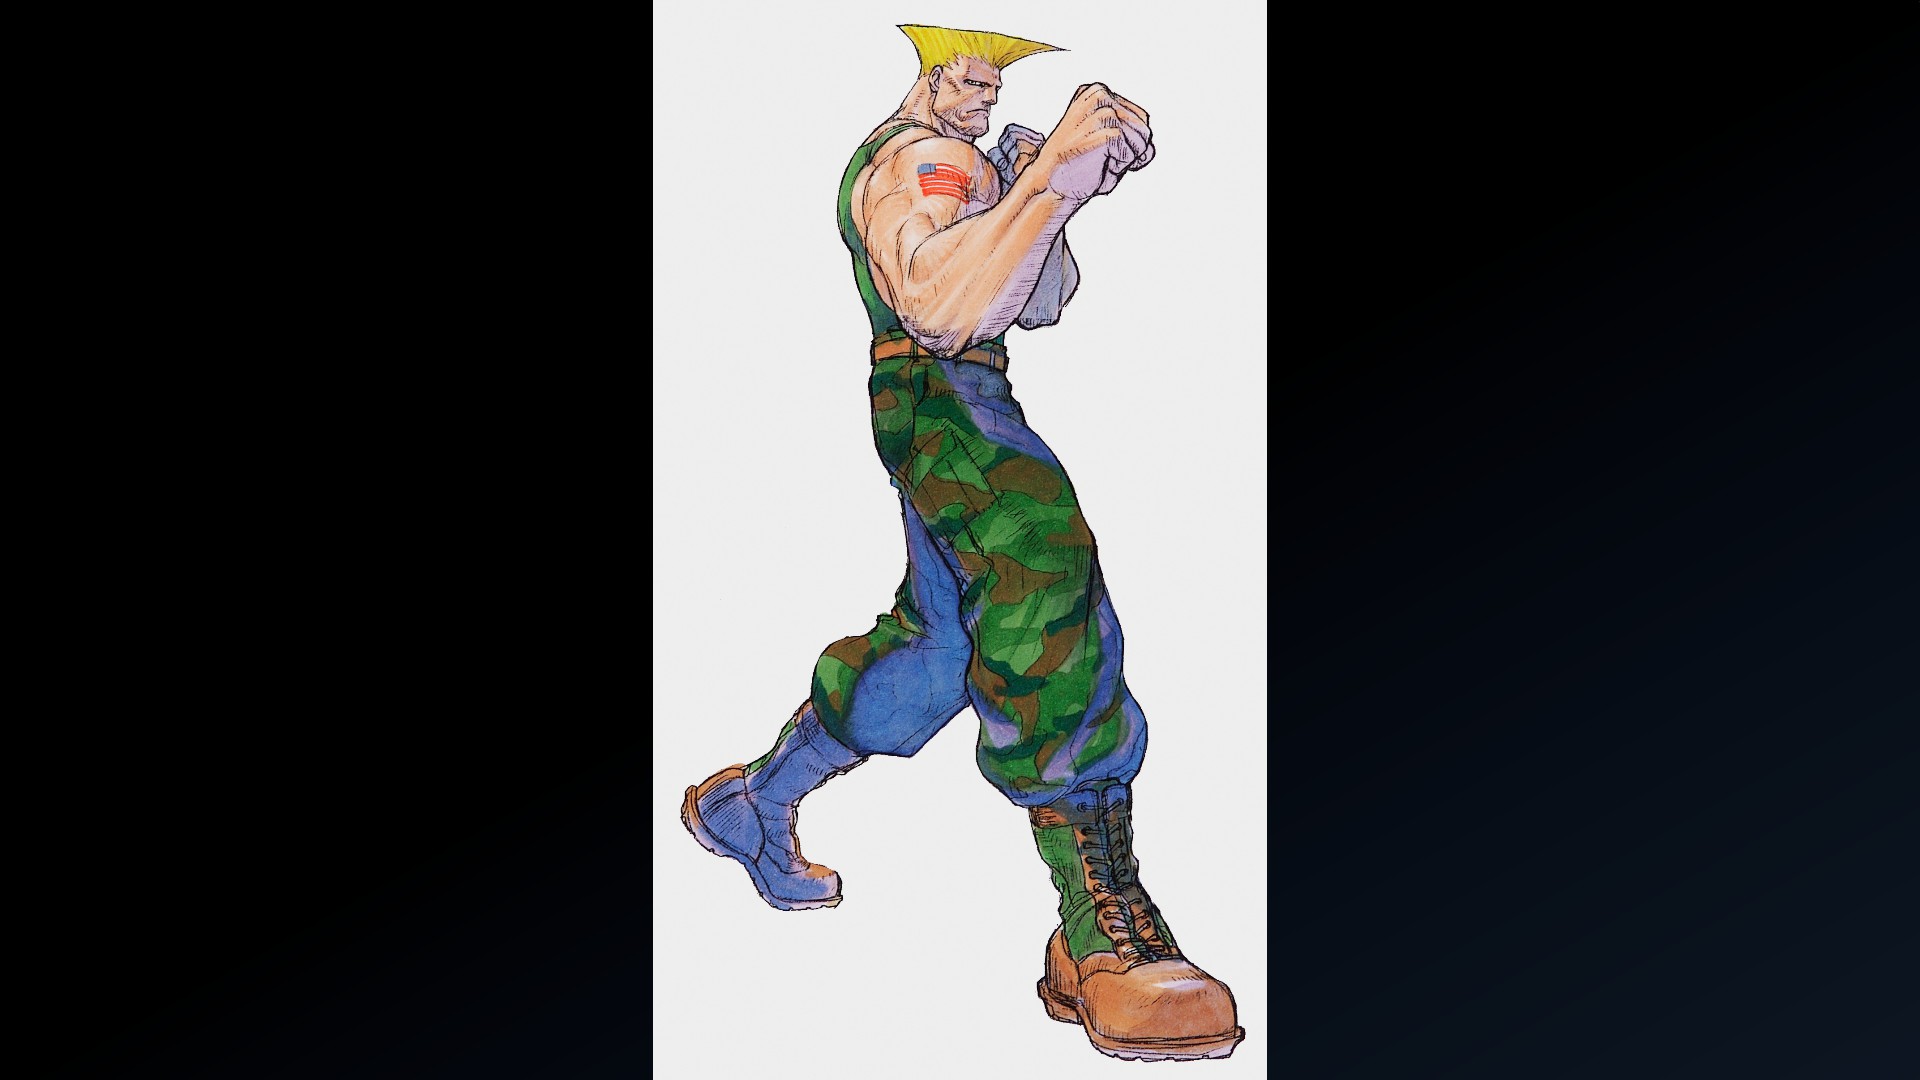
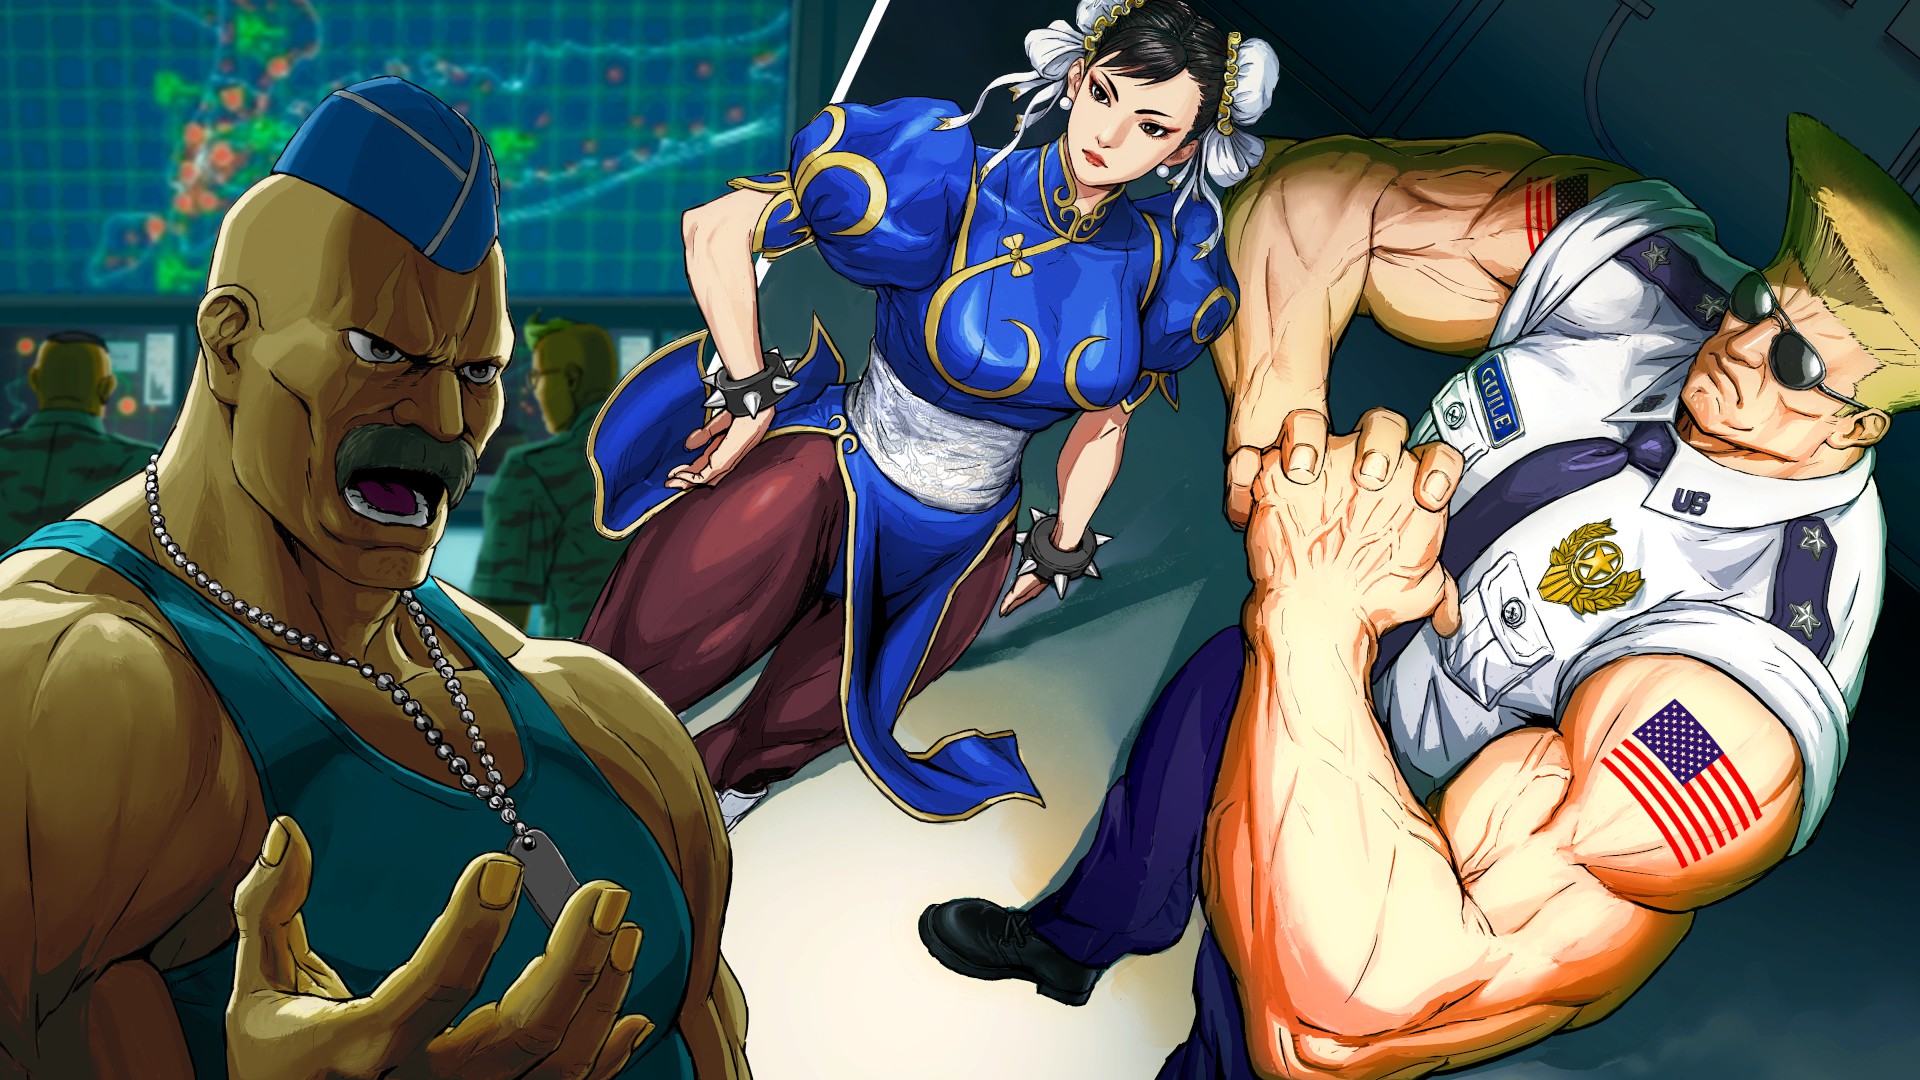
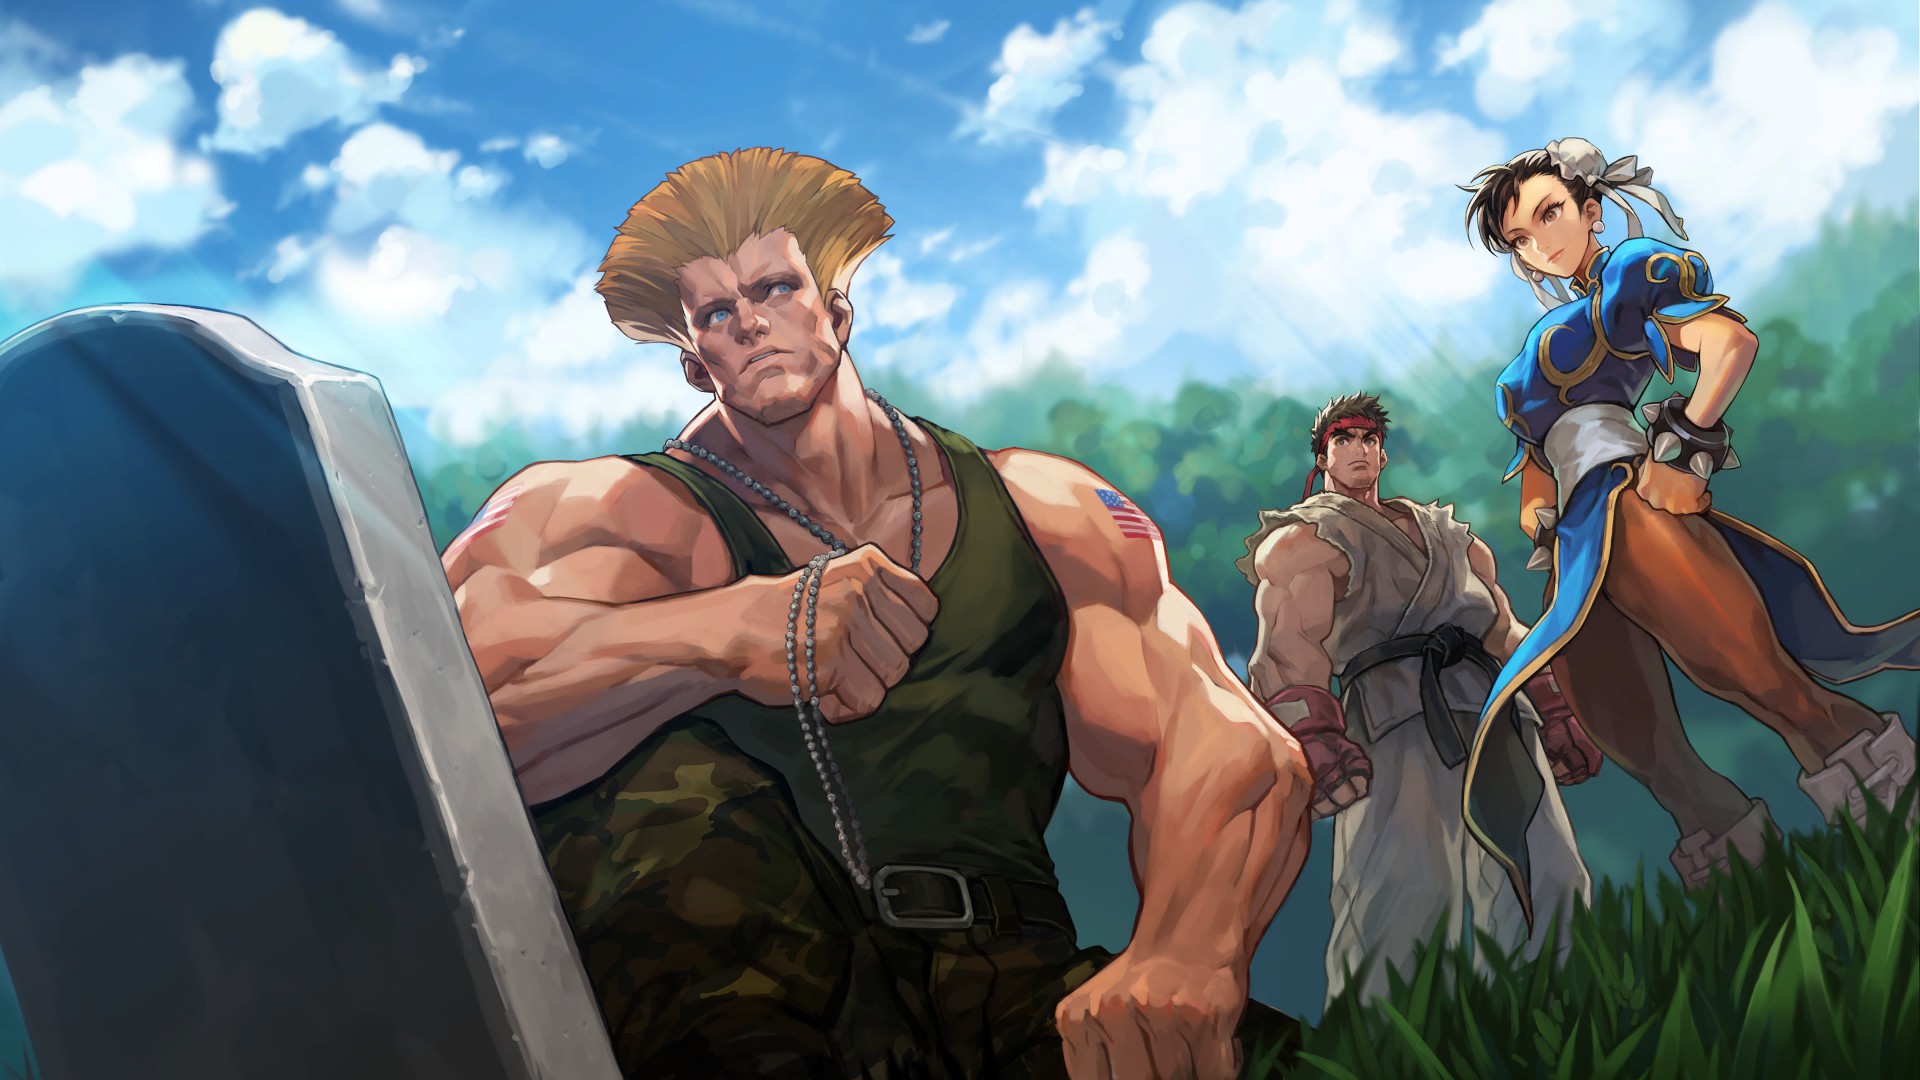
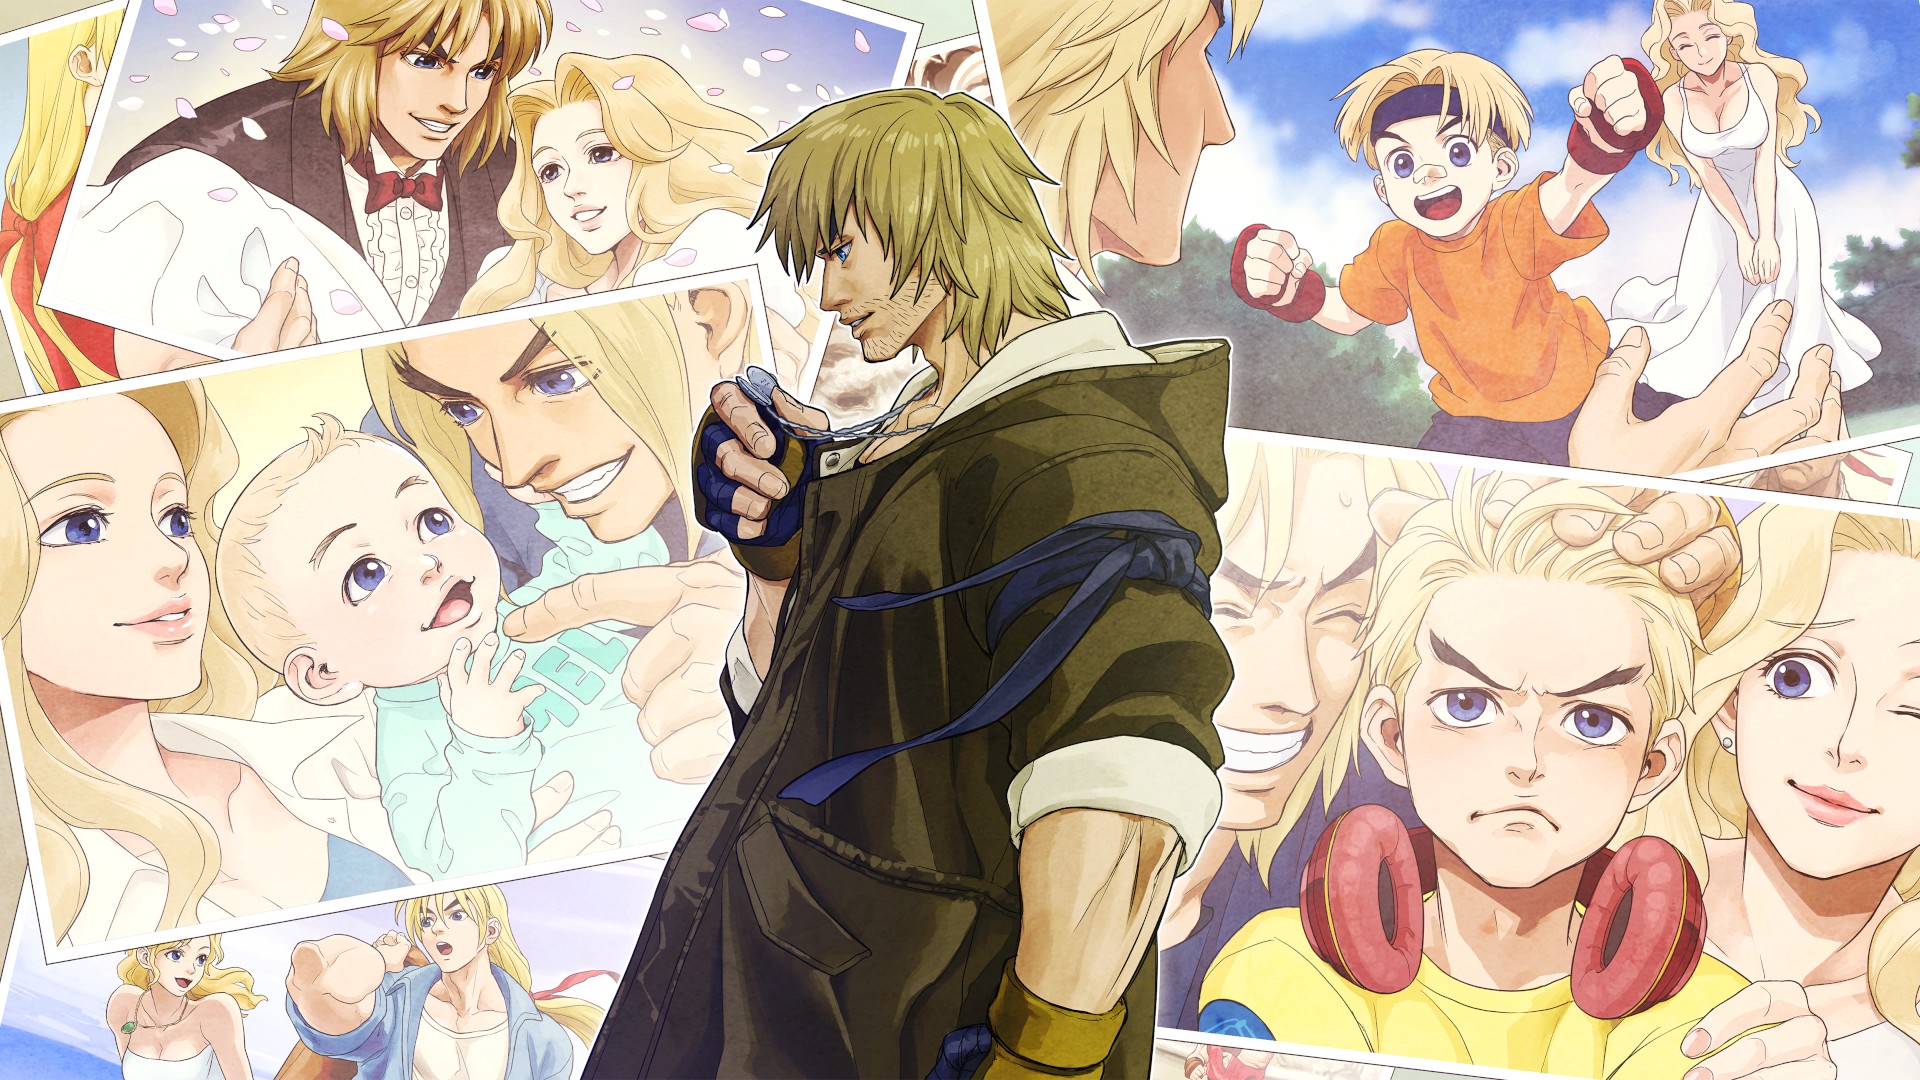
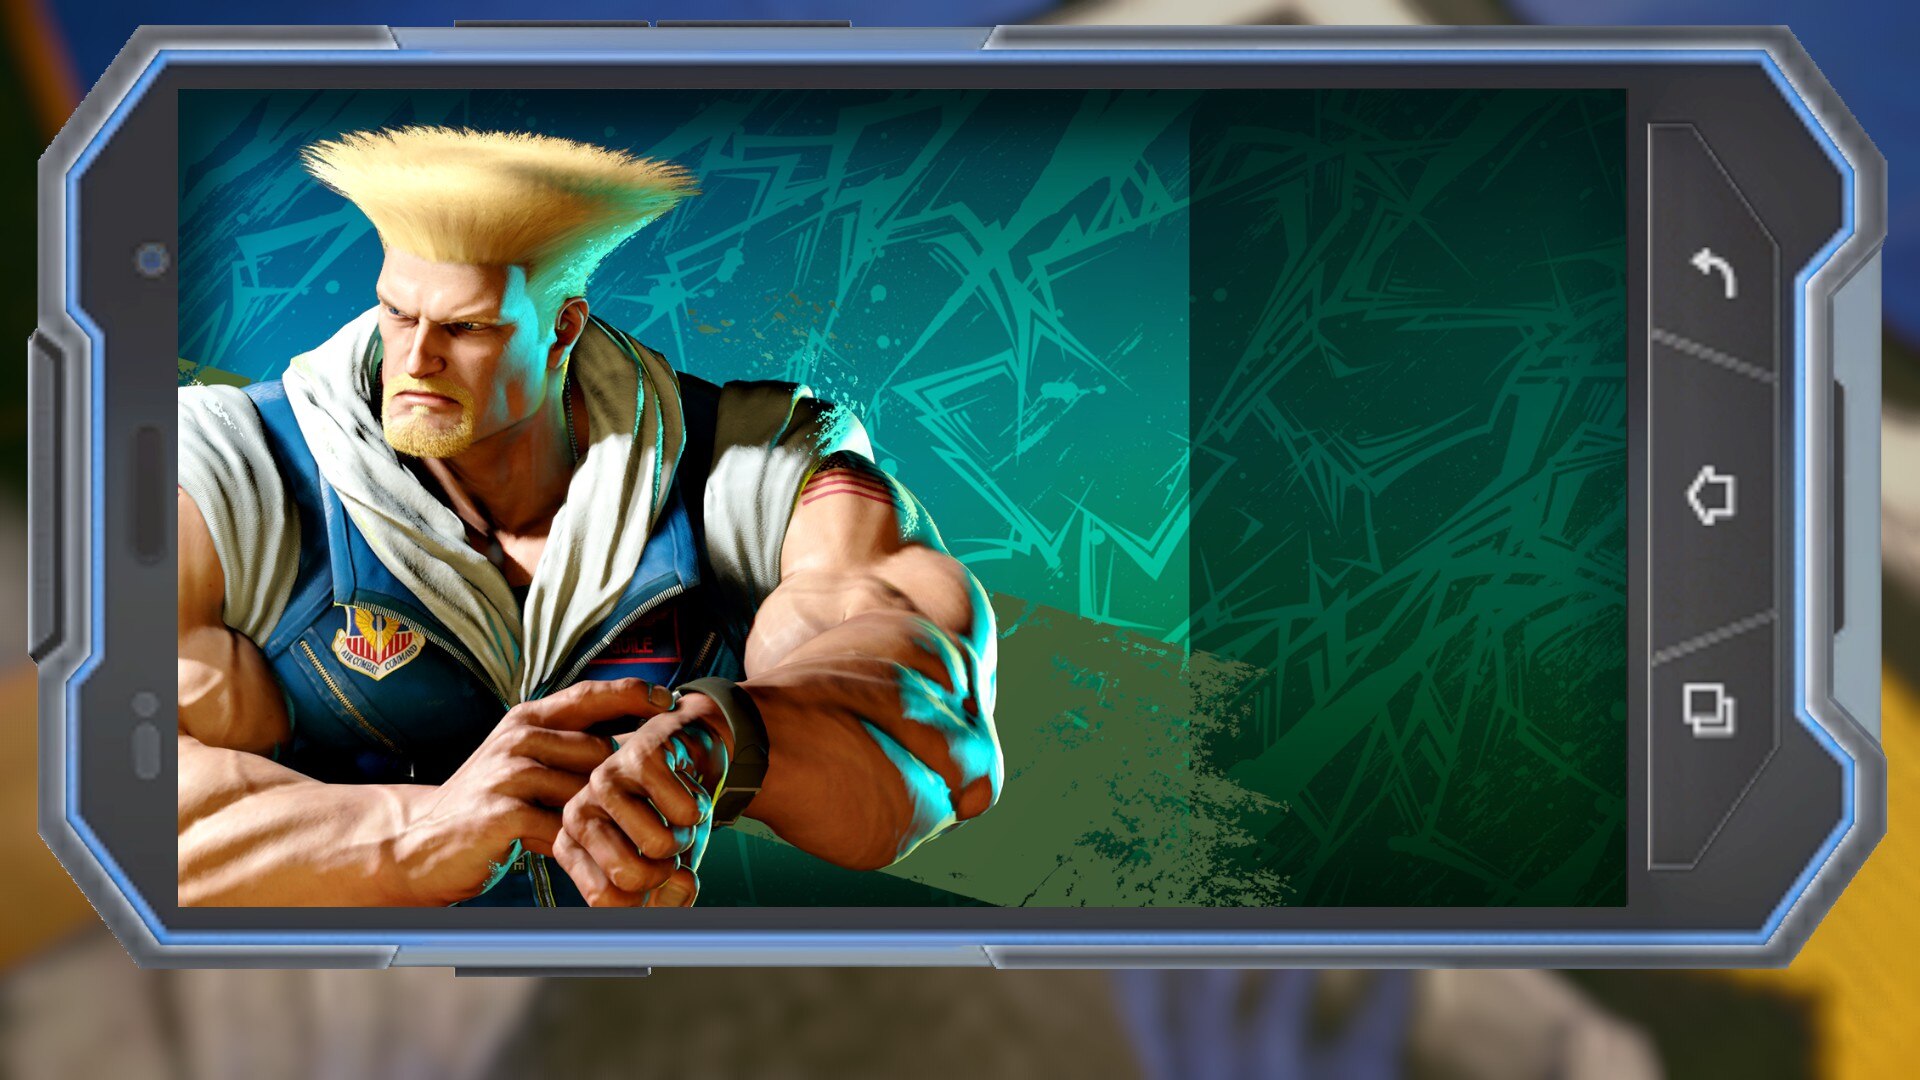
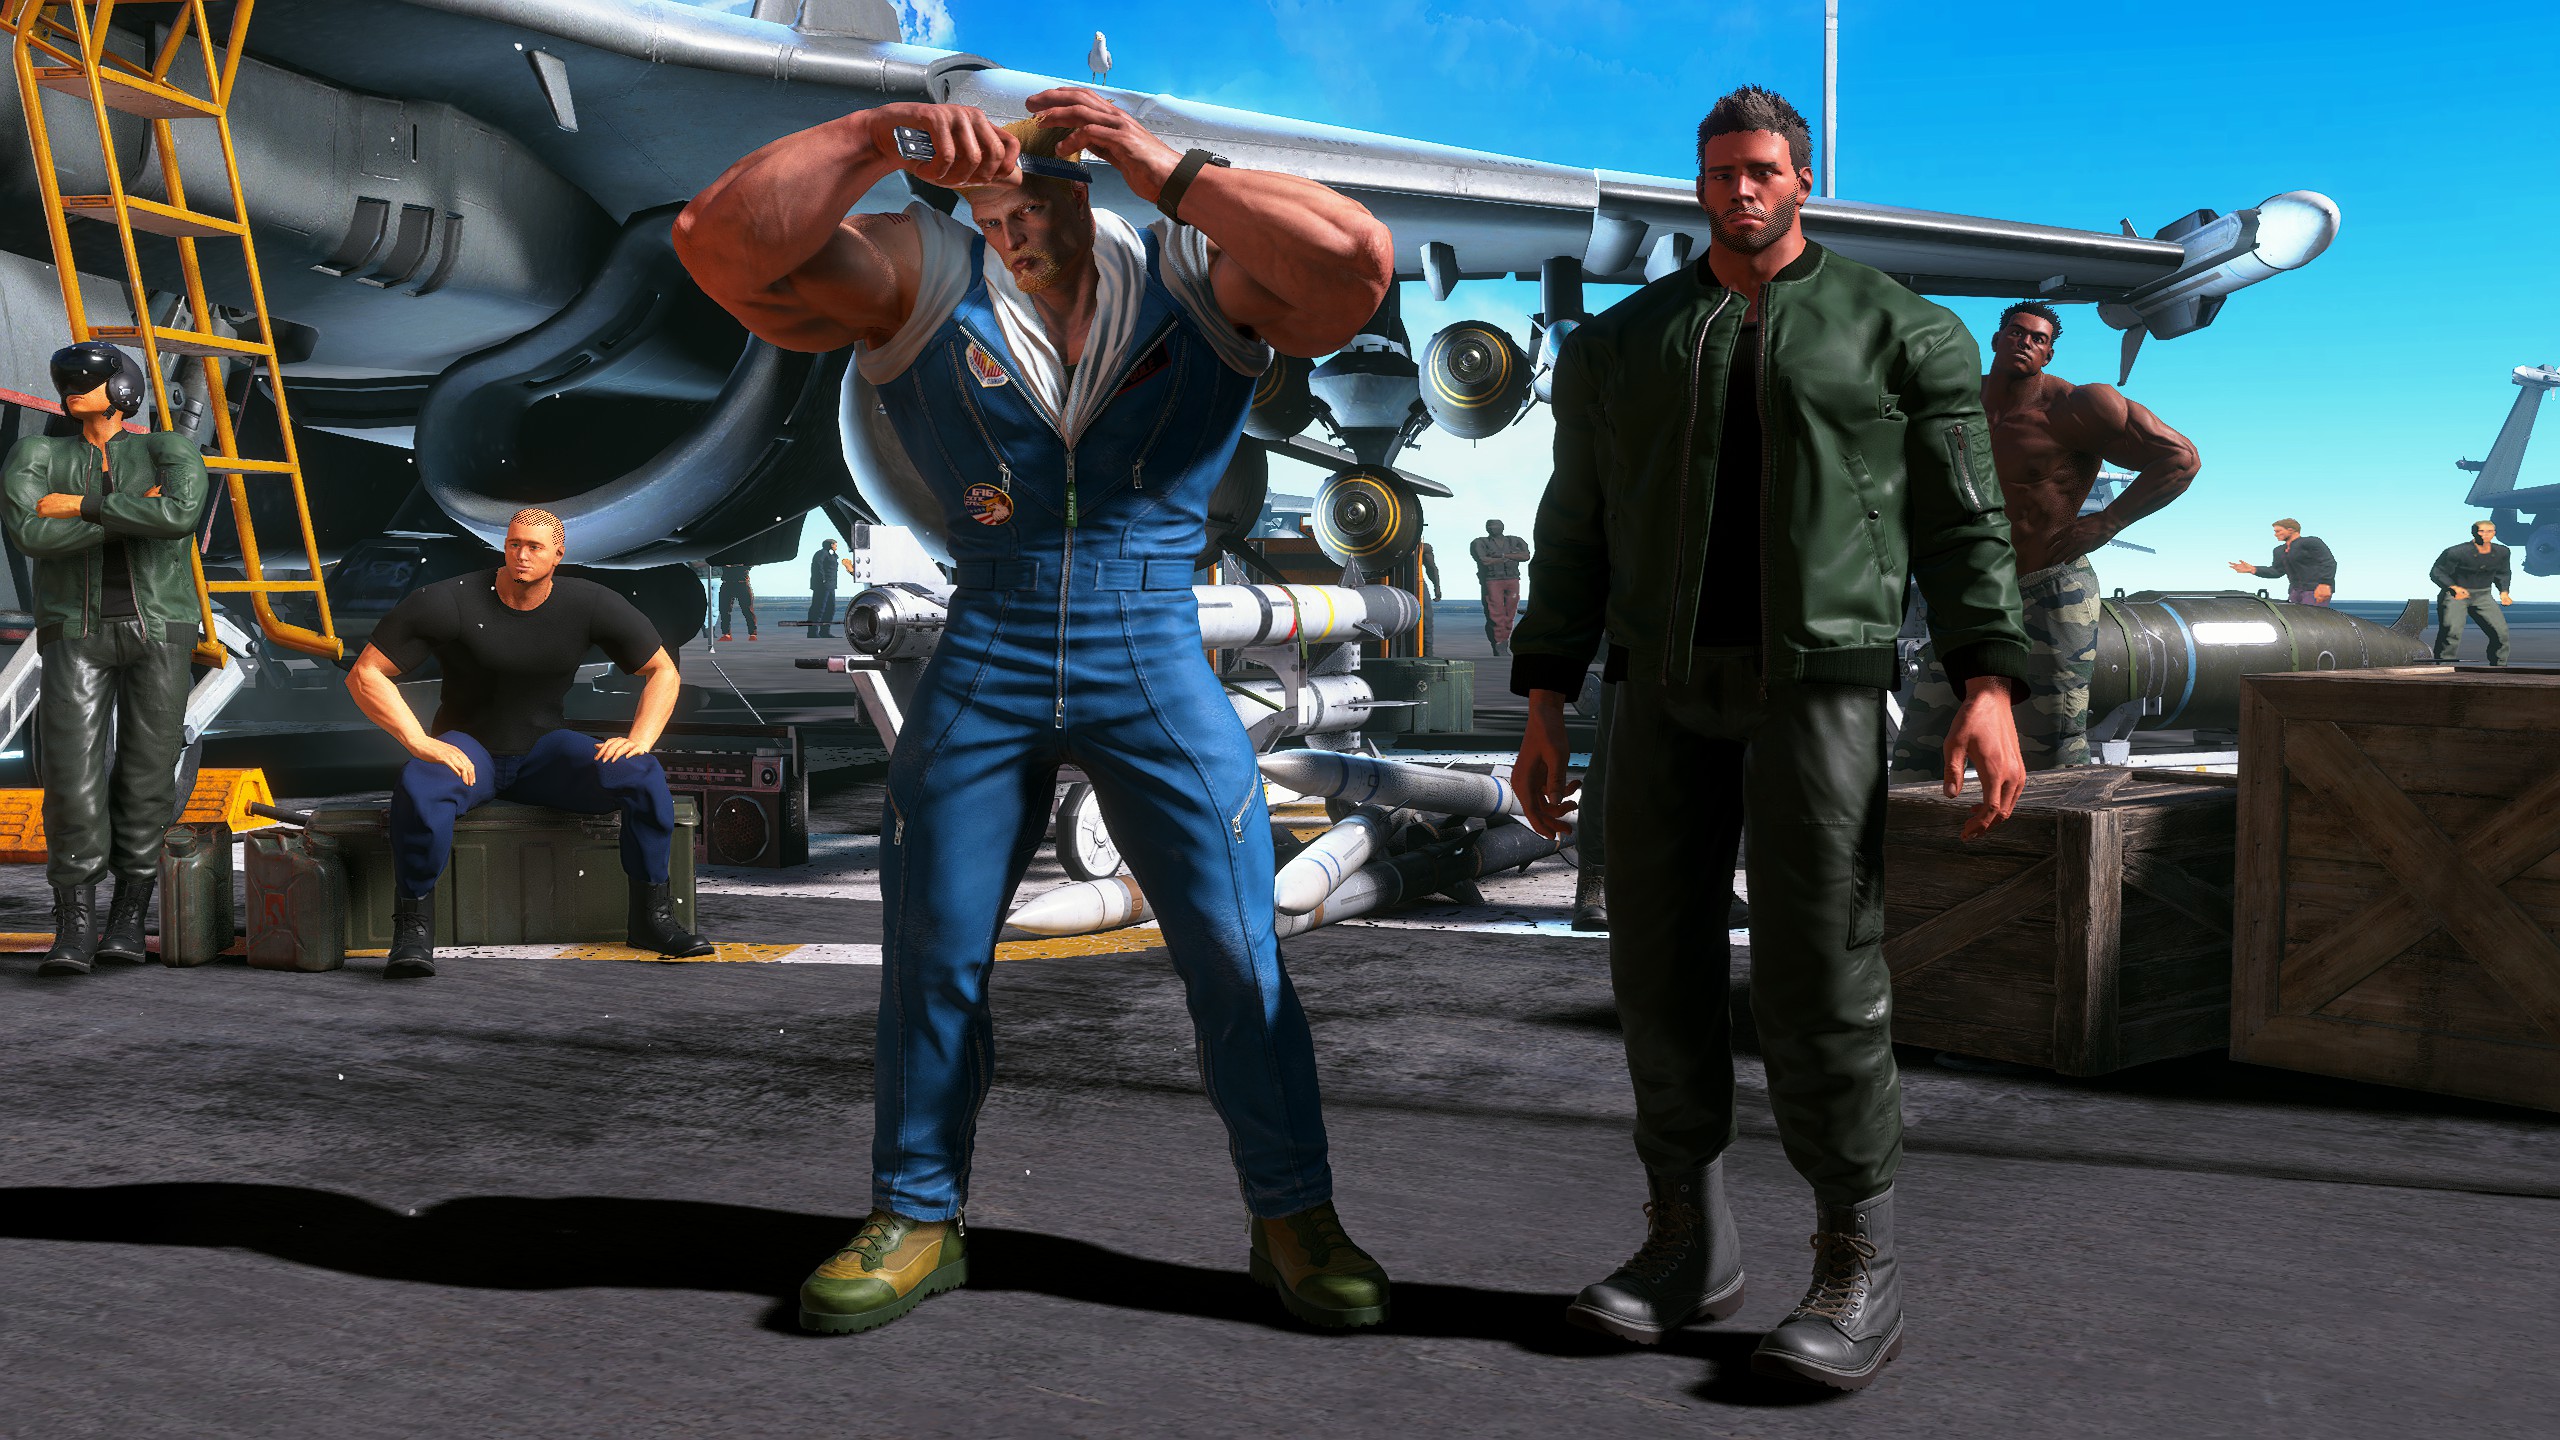
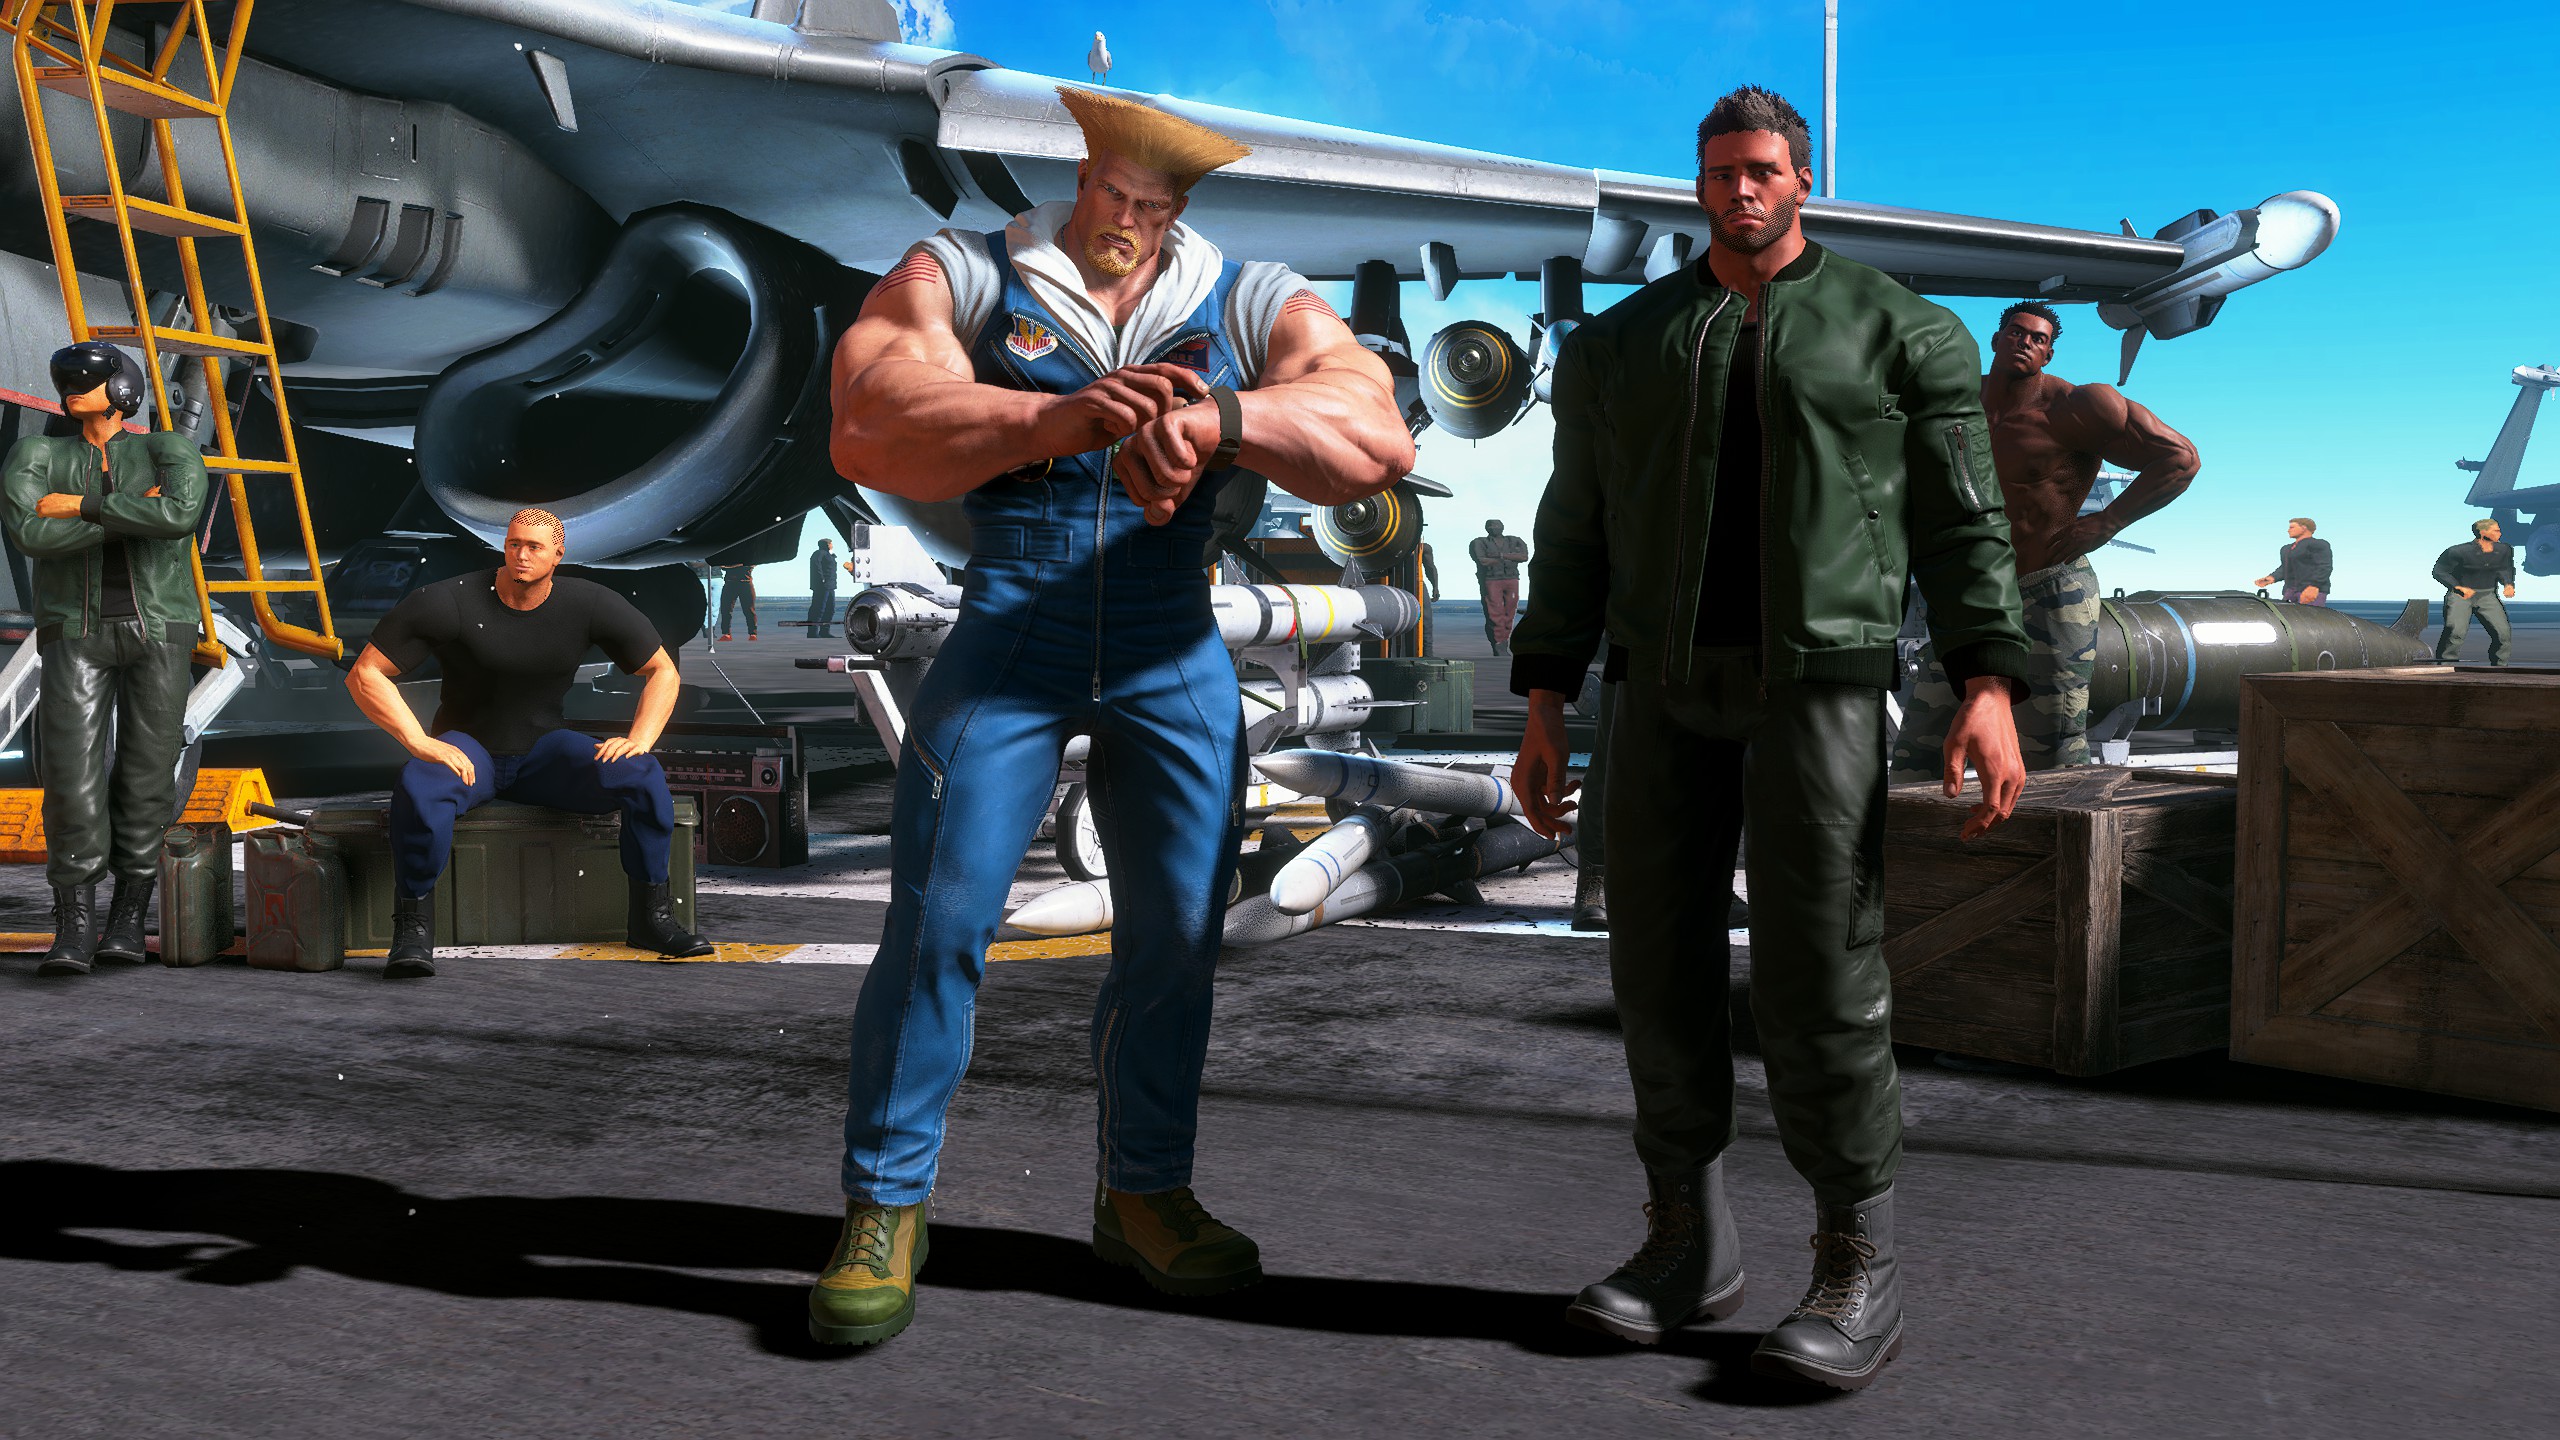
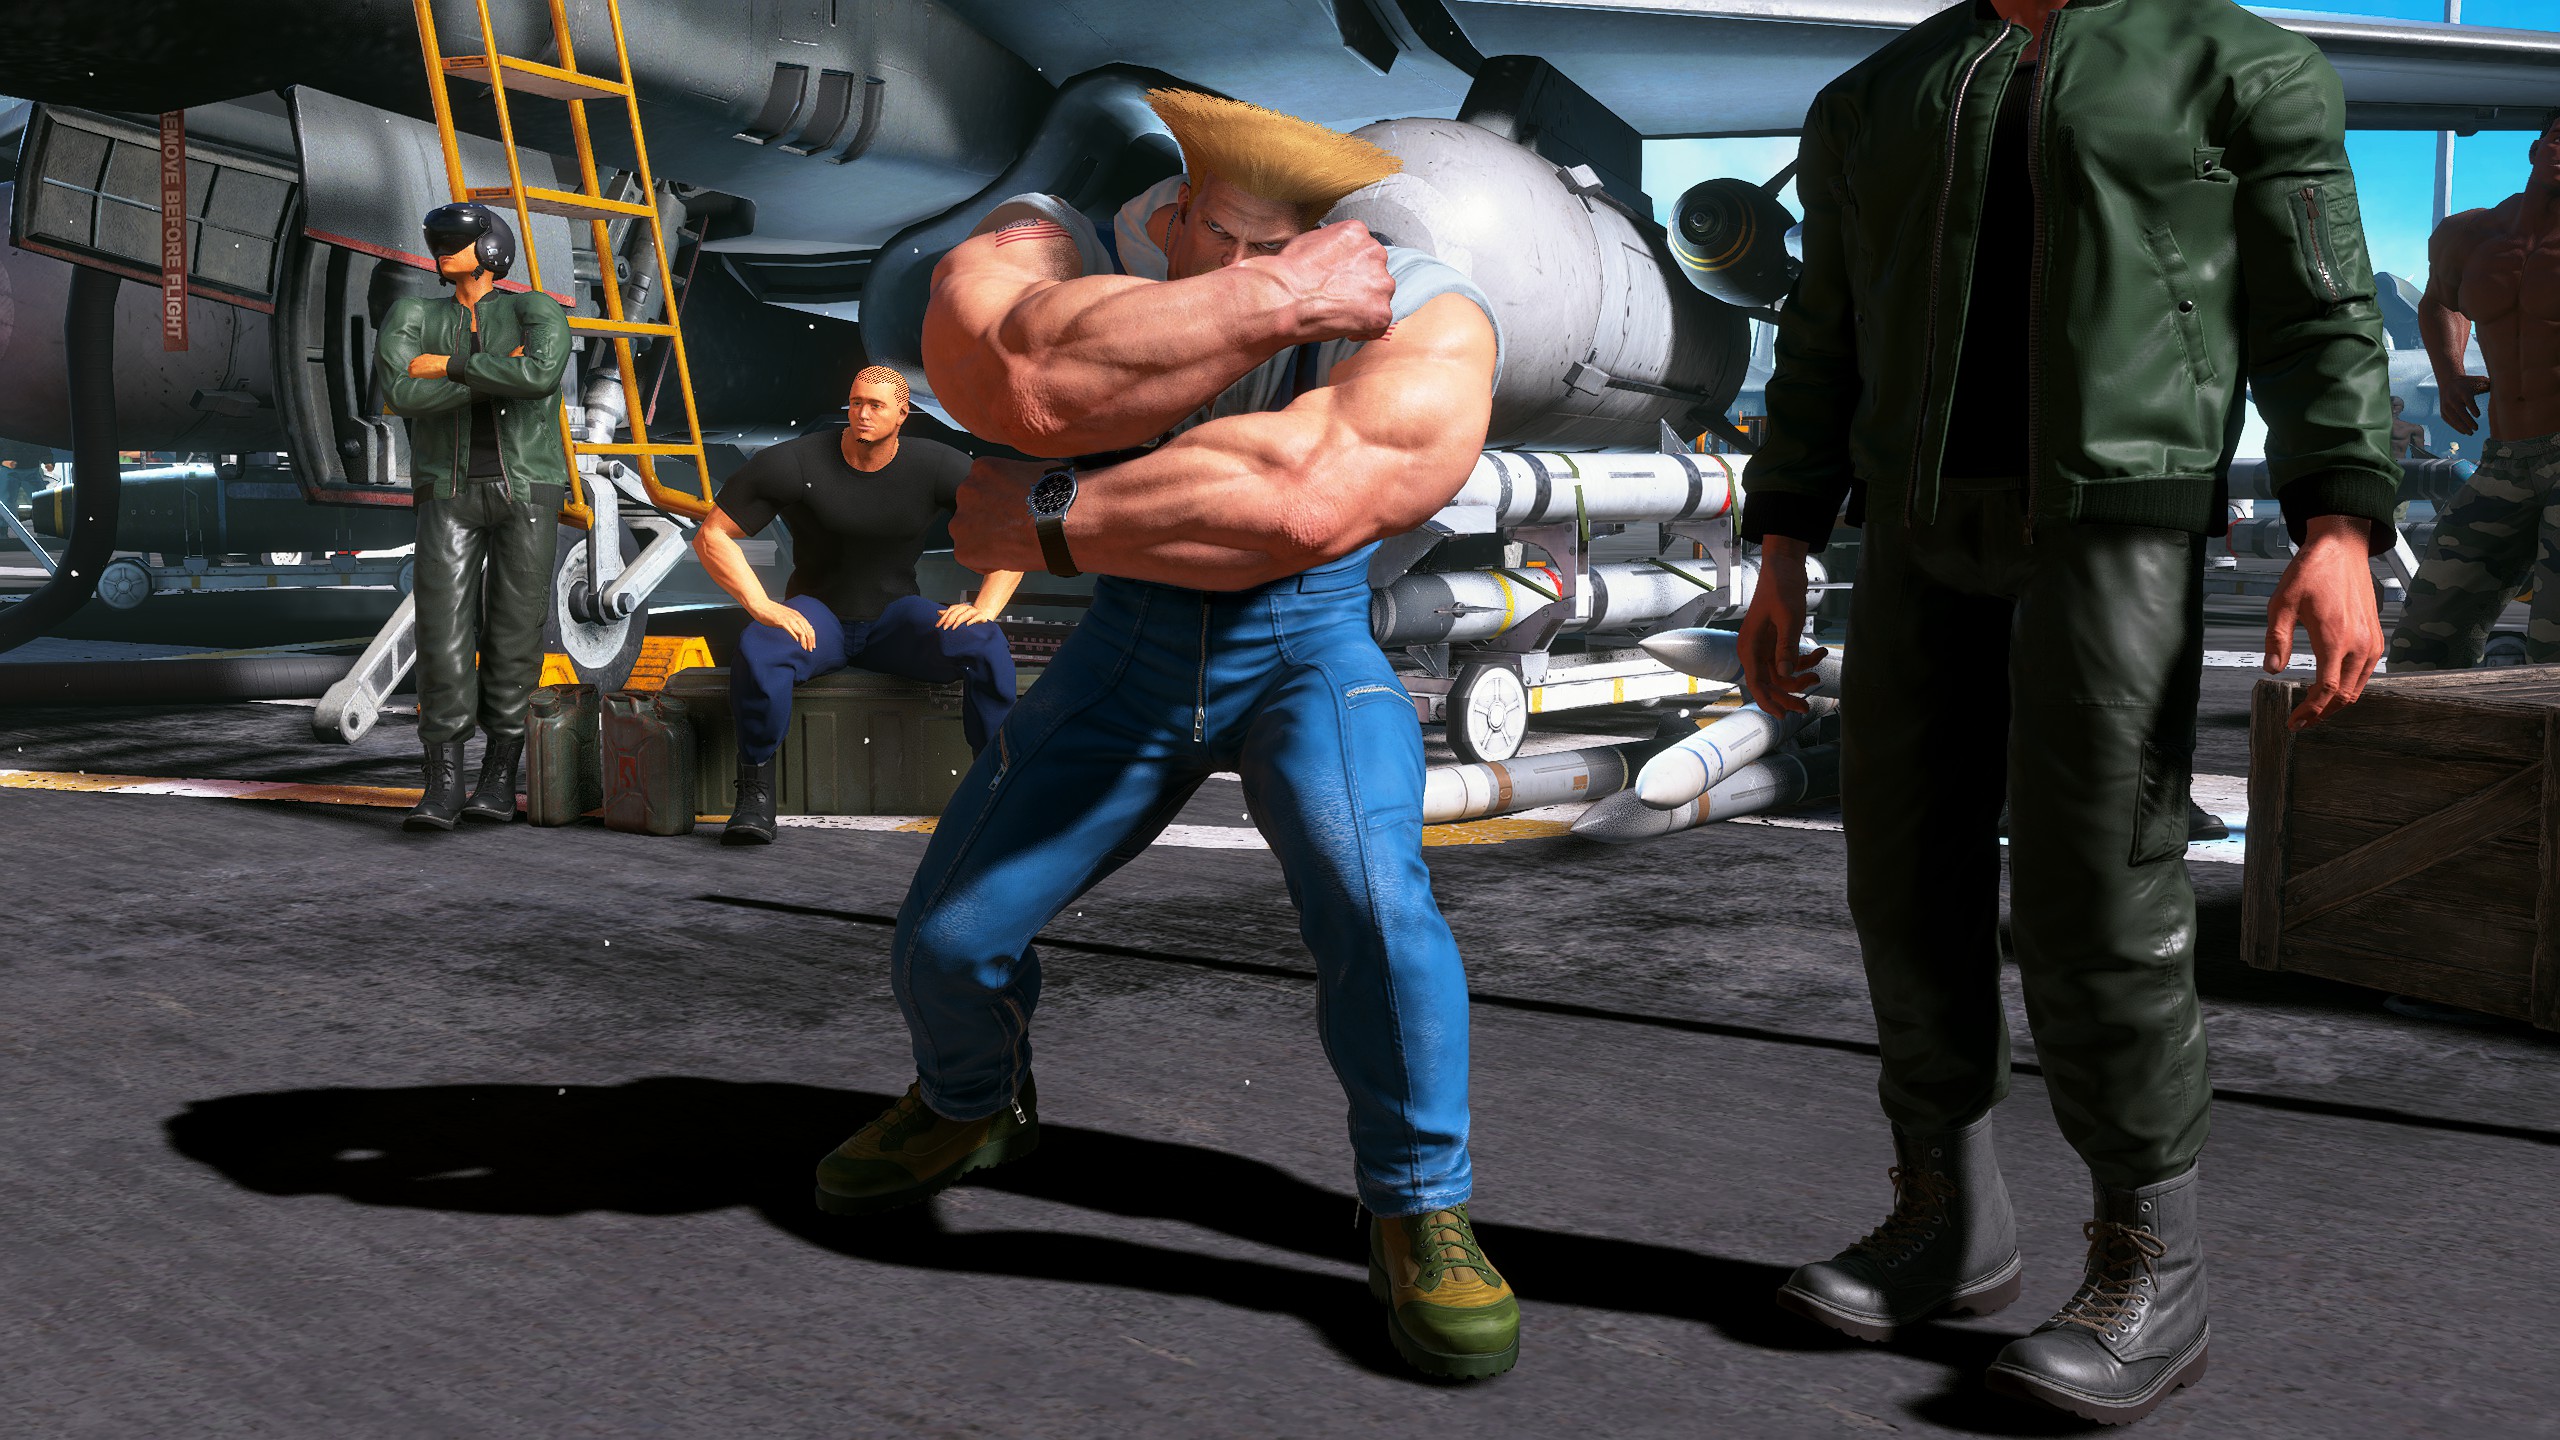
Guile - Special Artwork: Takeshi Ochi (Clear Arcade Once with Guile)
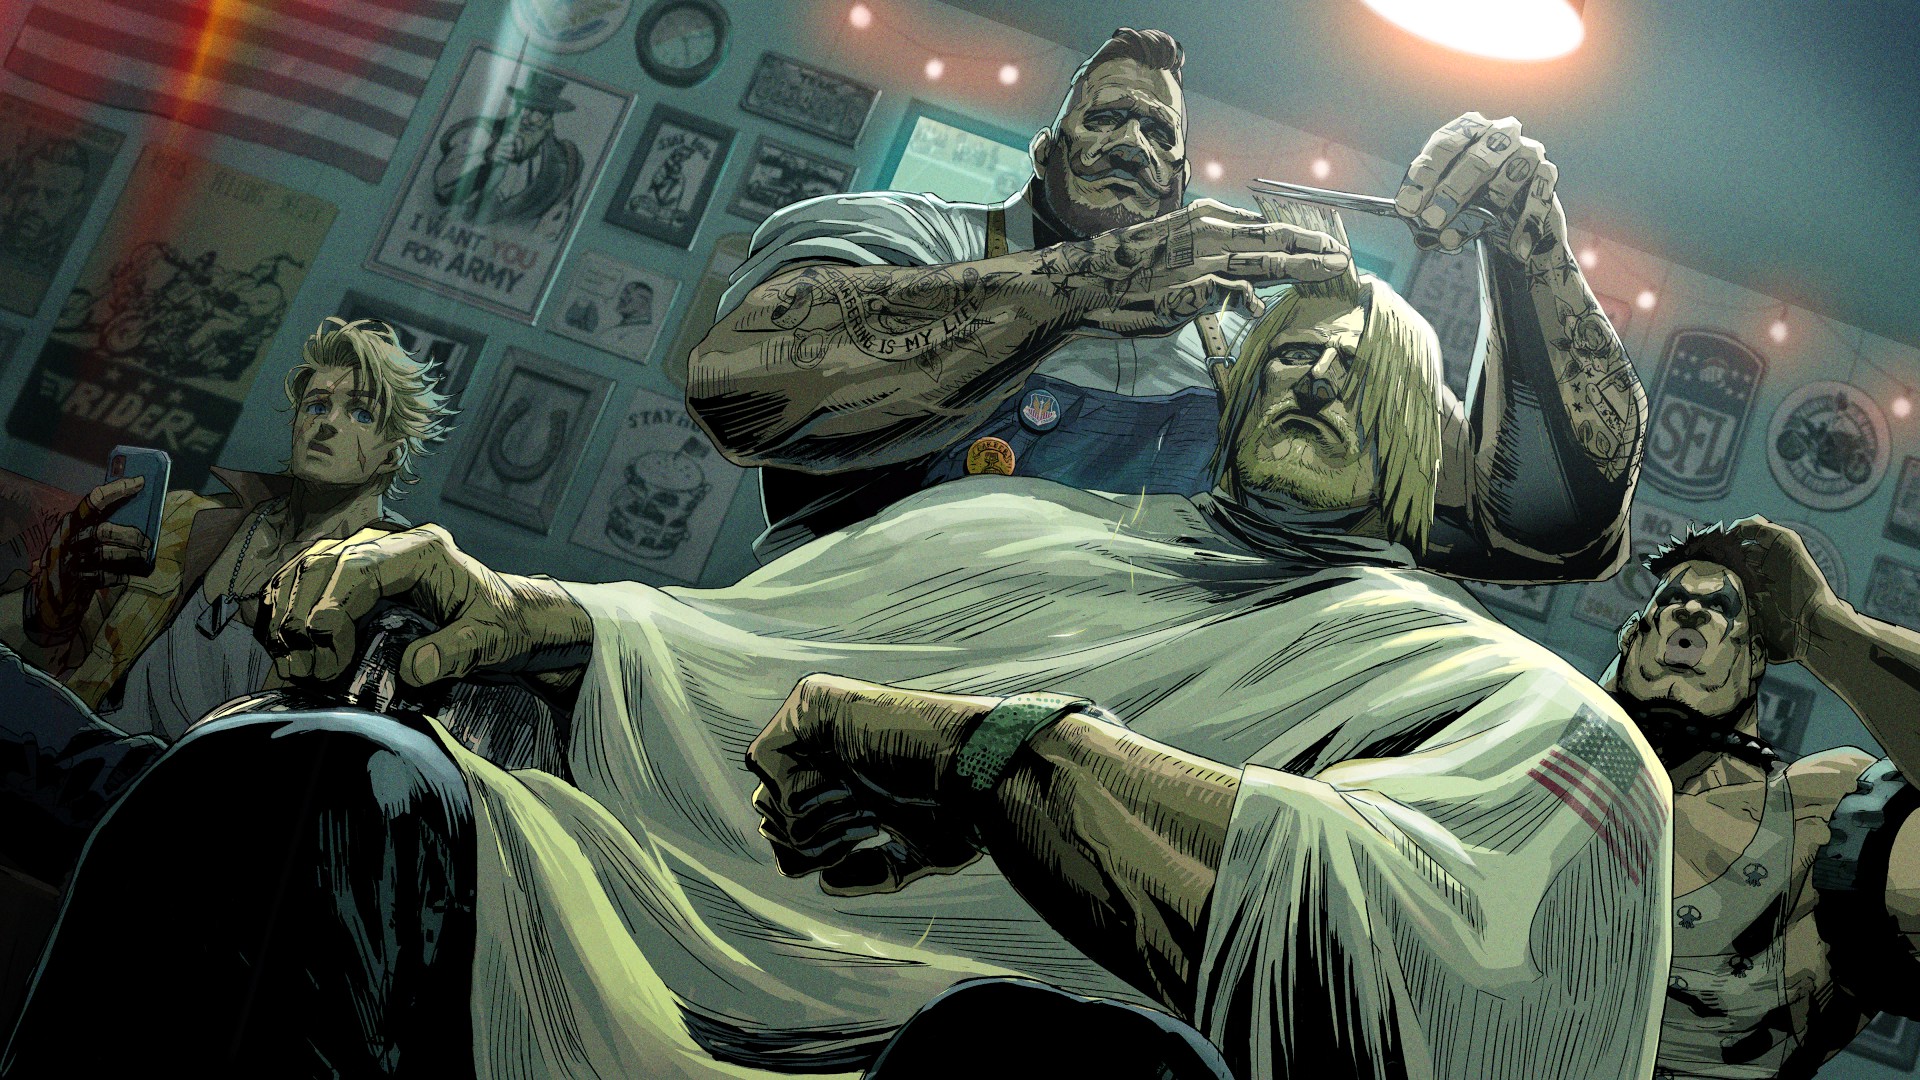
Character Design: Guile (Clear Arcade Twice with Guile)
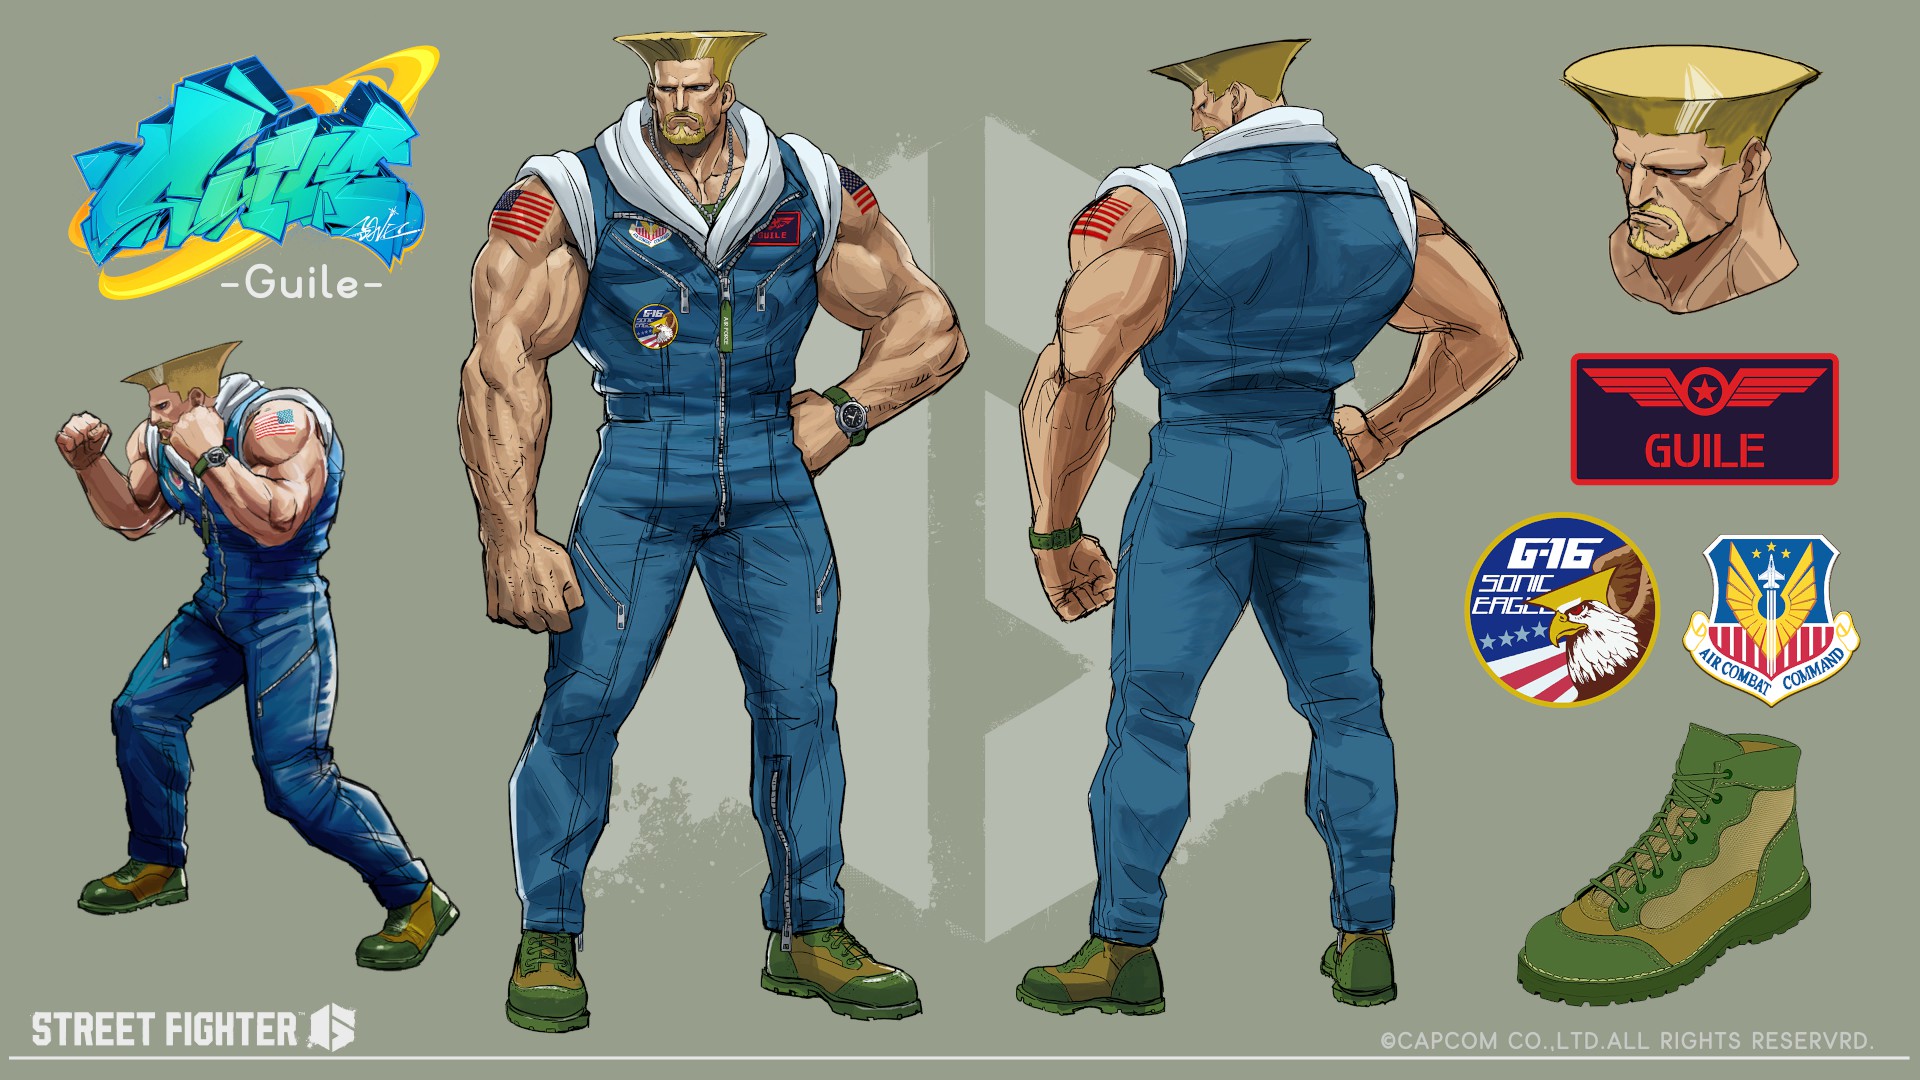
Unused Design: Guile (Clear Arcade Three Times with Guile)
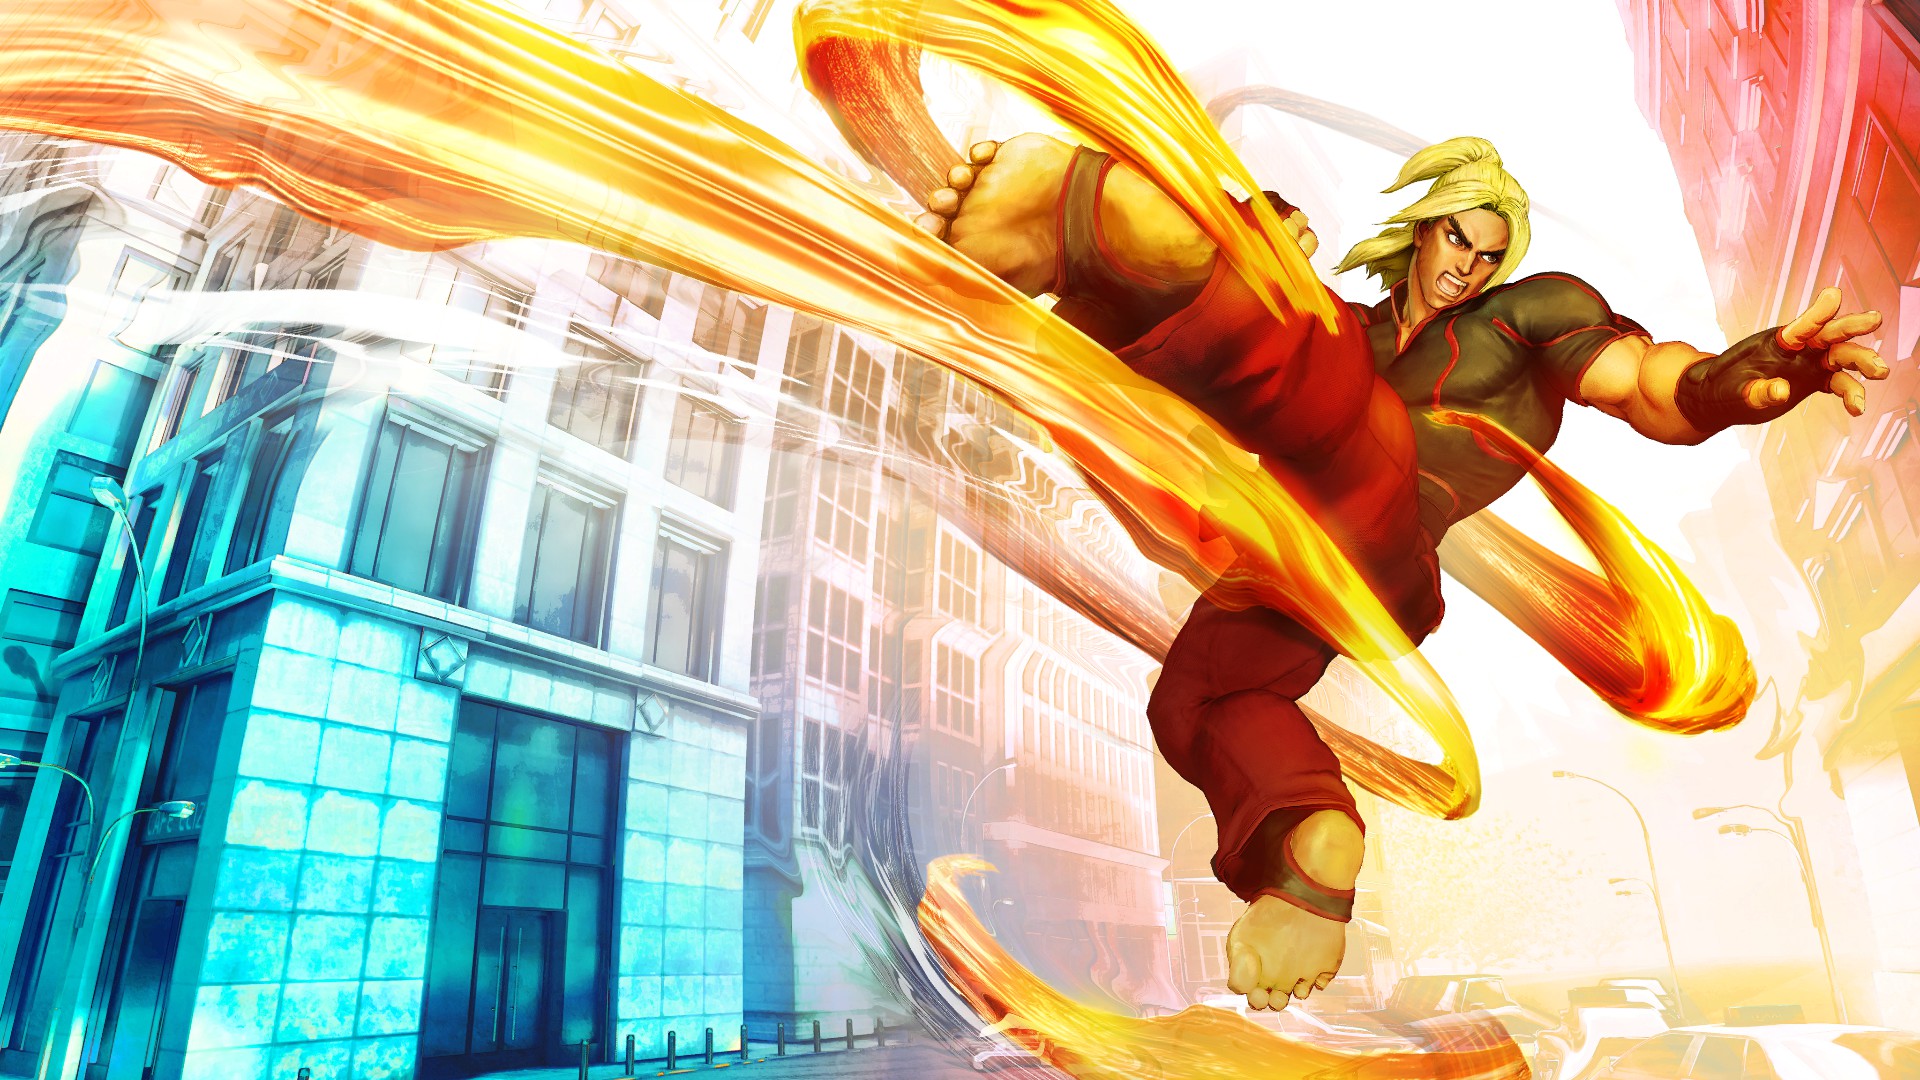
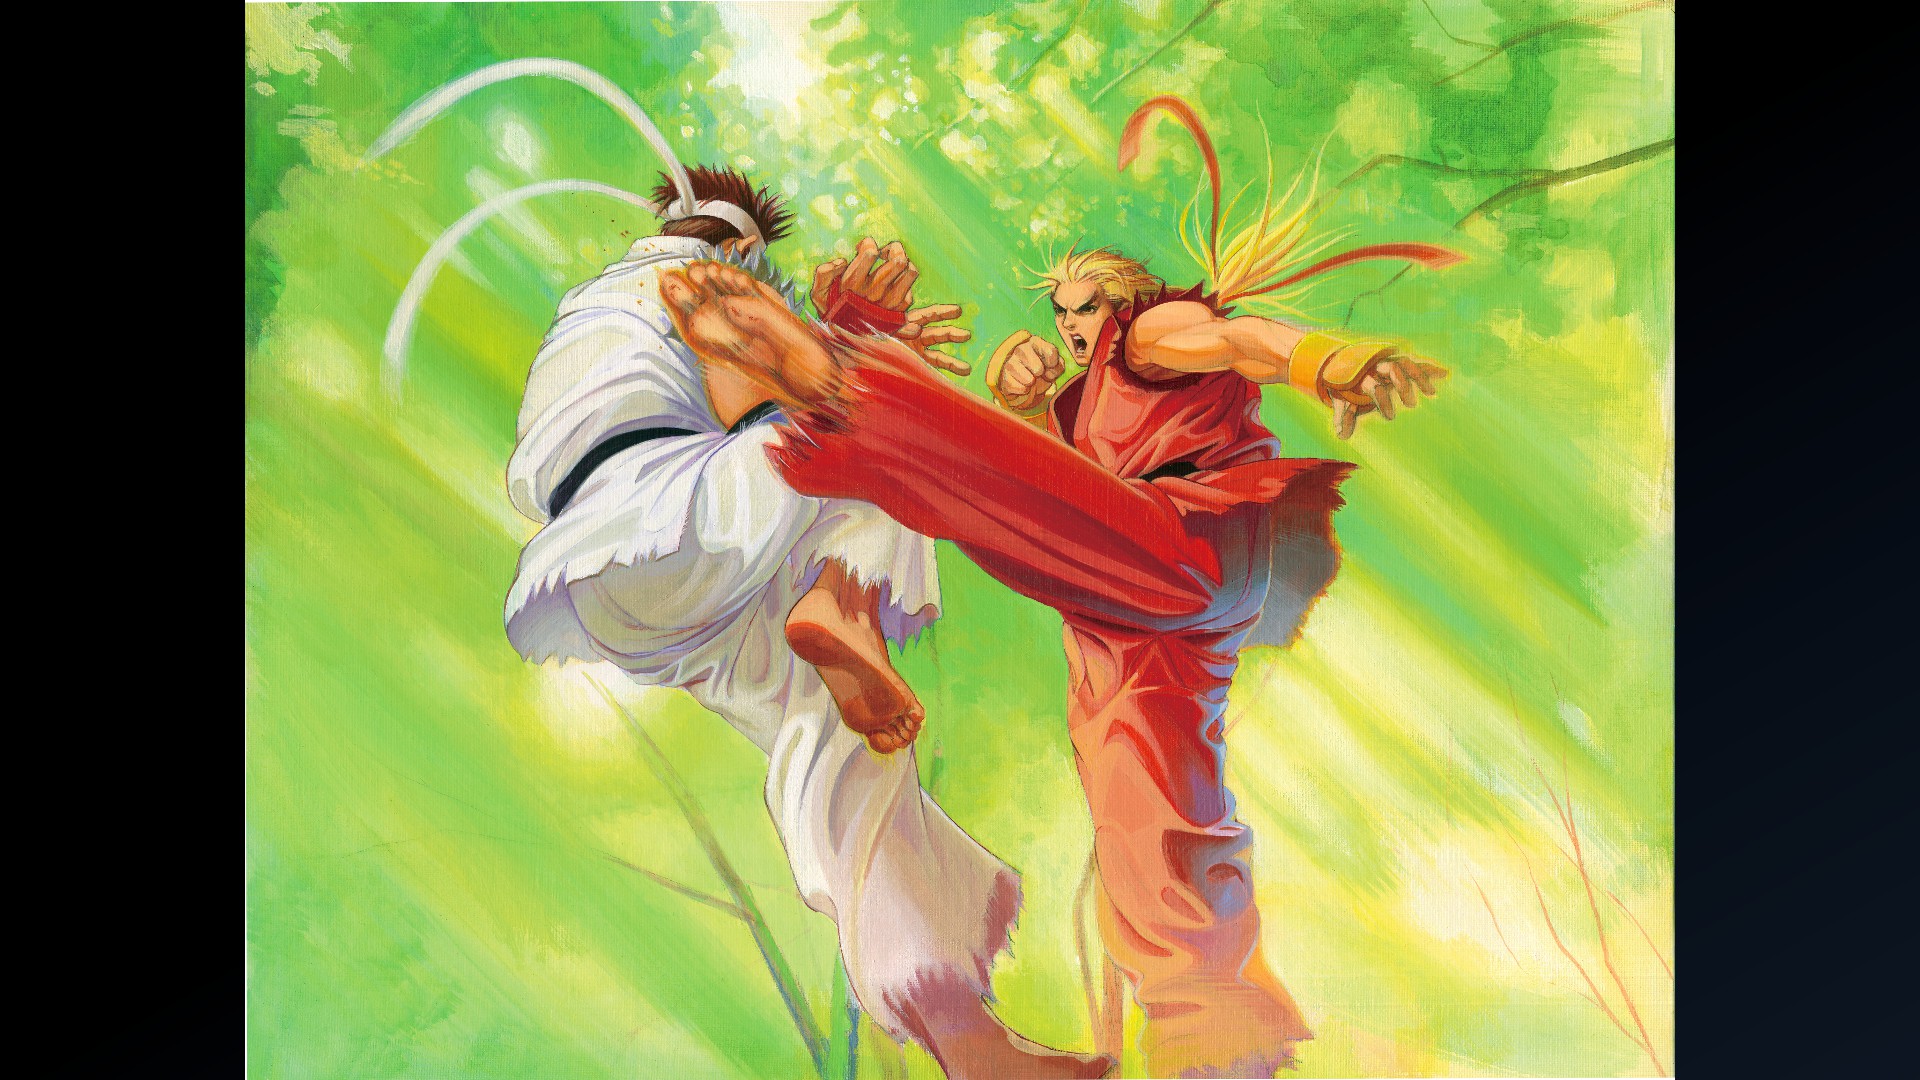
Ken - Special Artwork: Kinu Nishimura (Clear Arcade Once with Ken)
Character Design: Ken (Clear Arcade Twice with Ken)
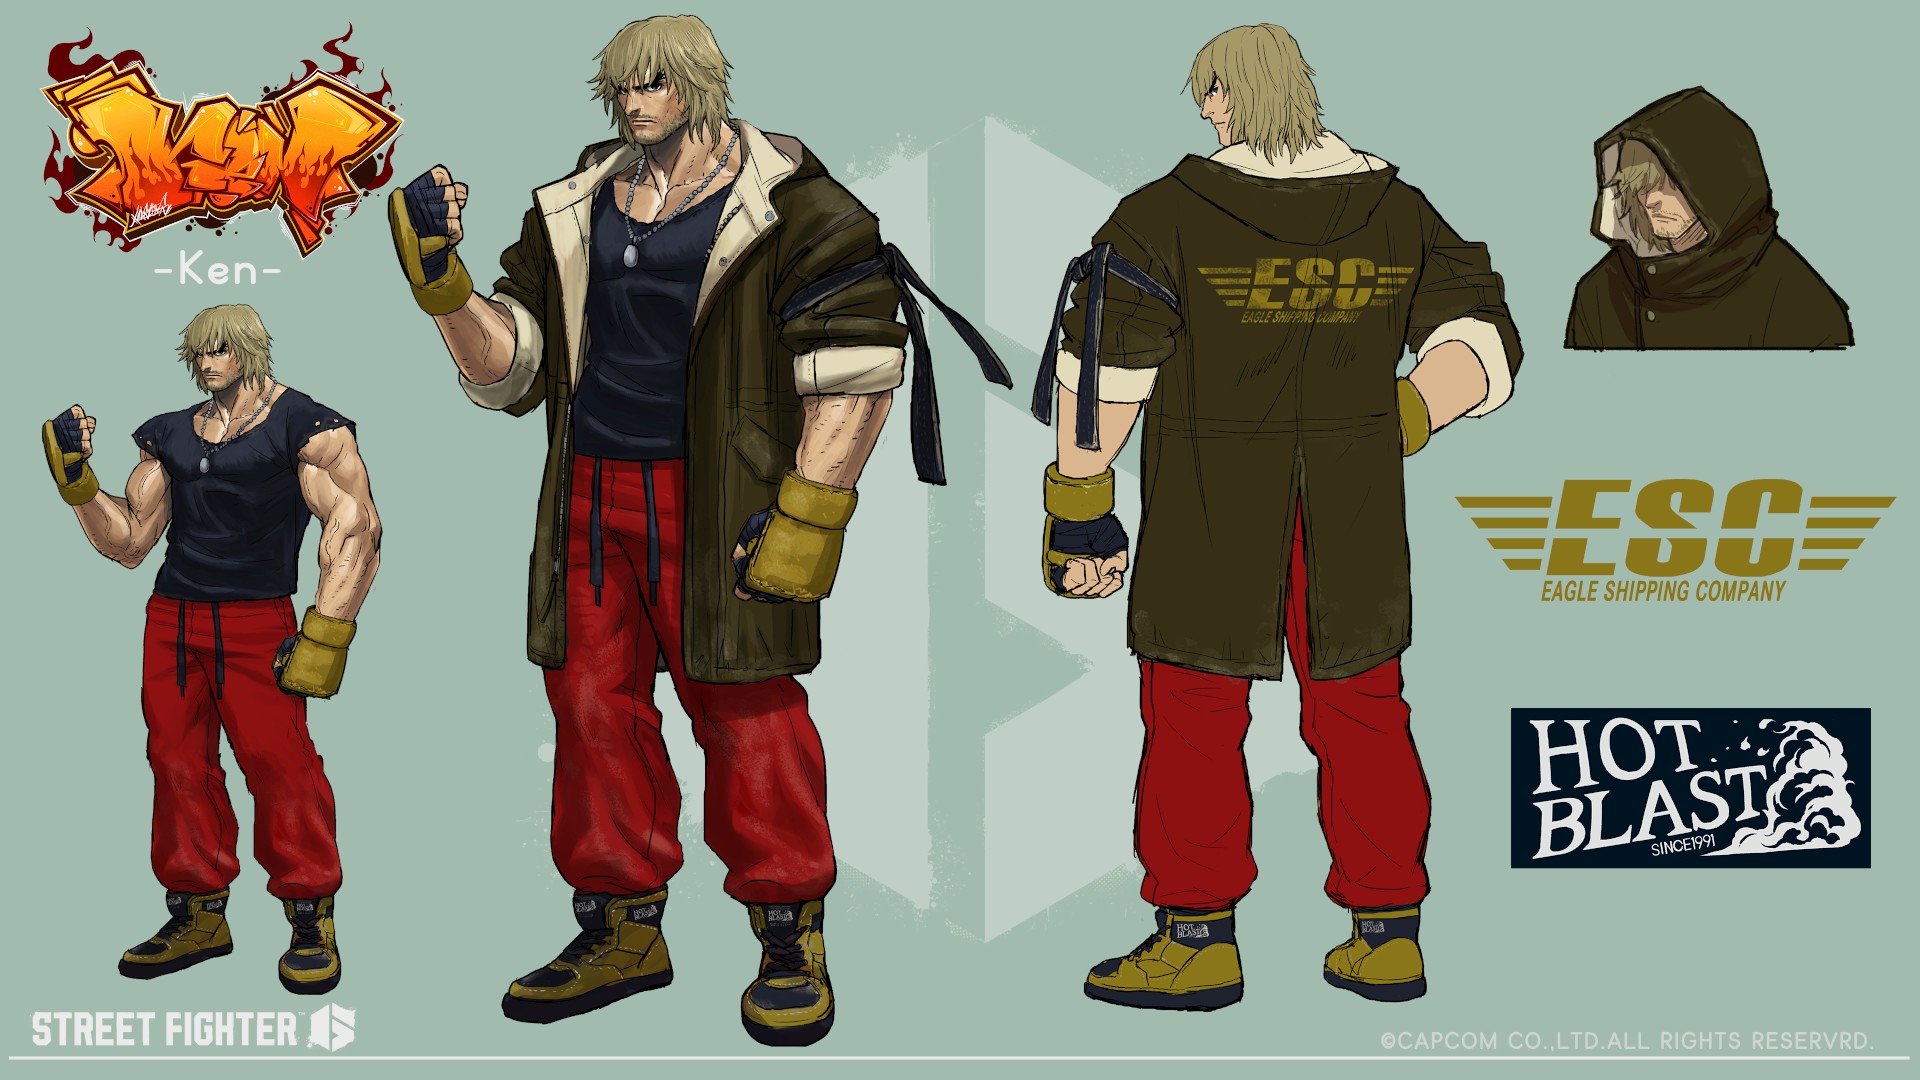
Unused Design: Ken (Clear Arcade Three Times with Ken)

Fighting Ground - Character (Part 2)
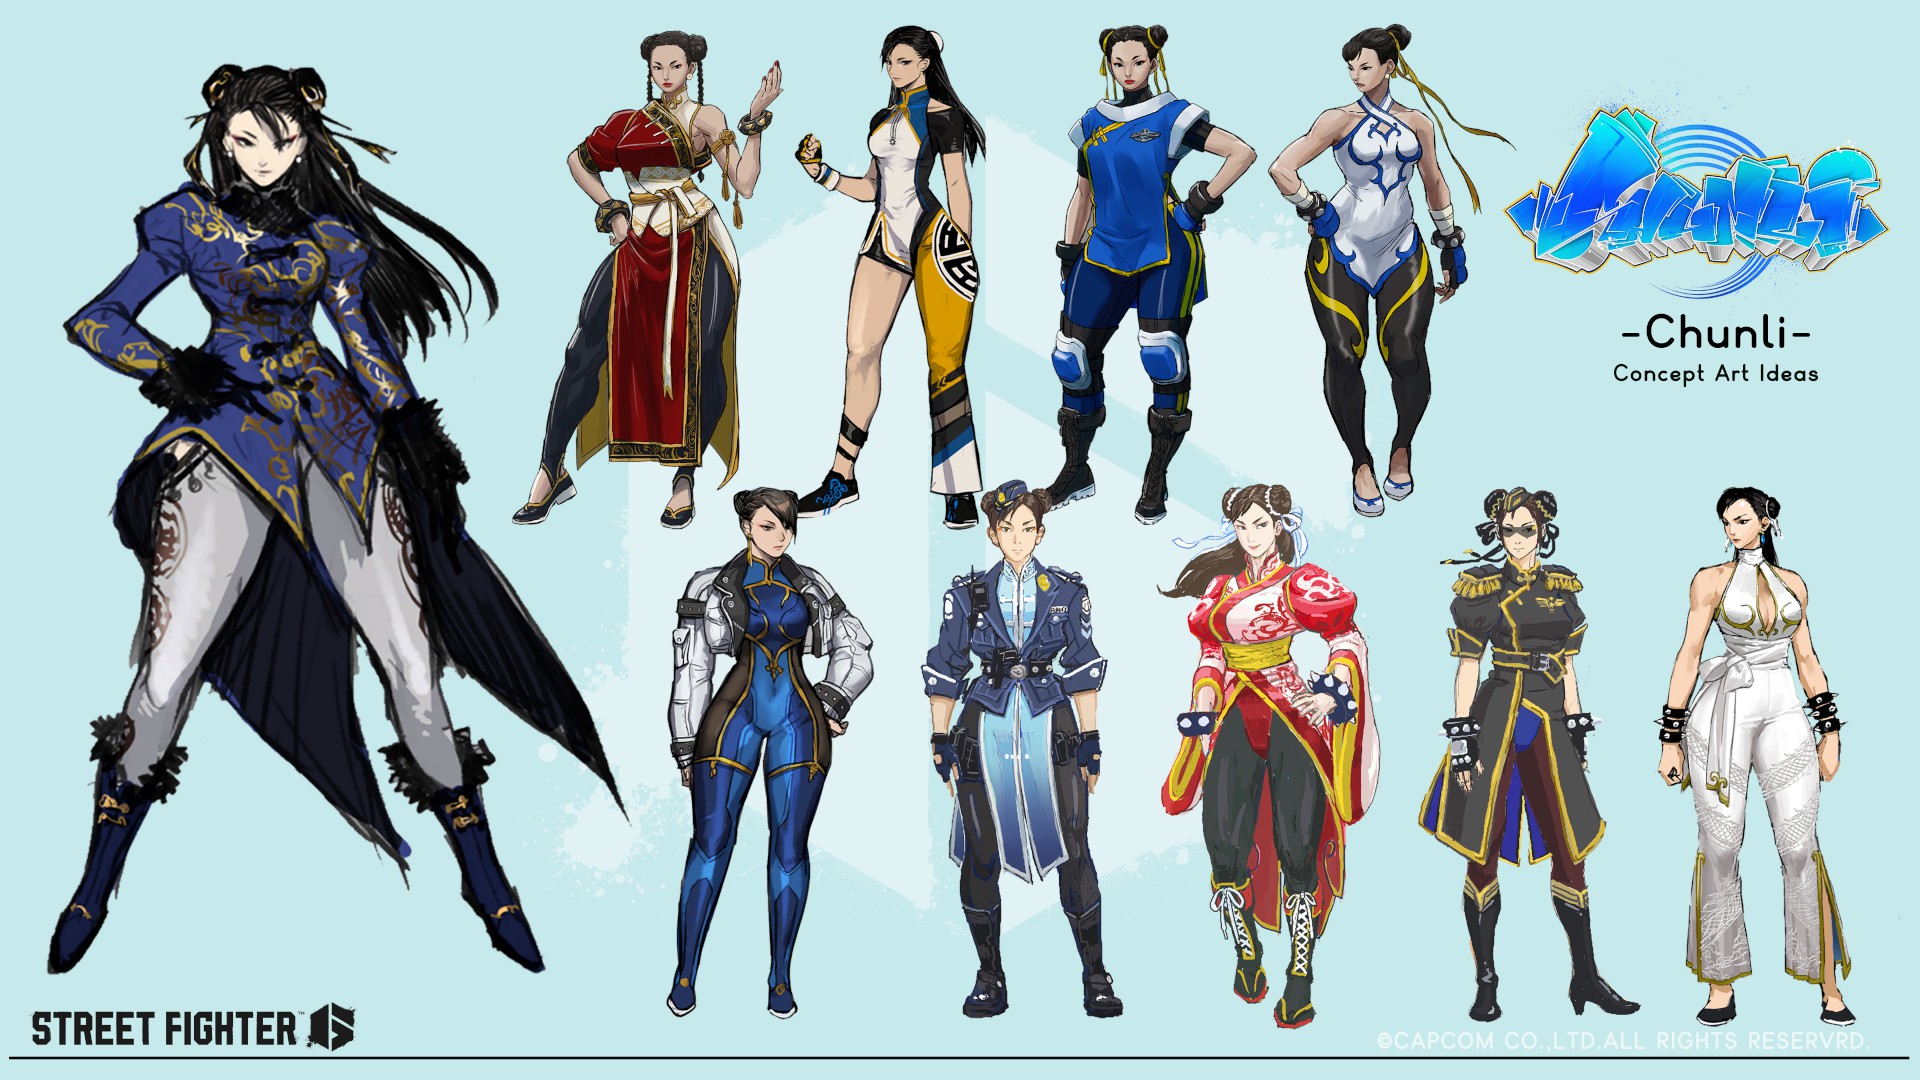
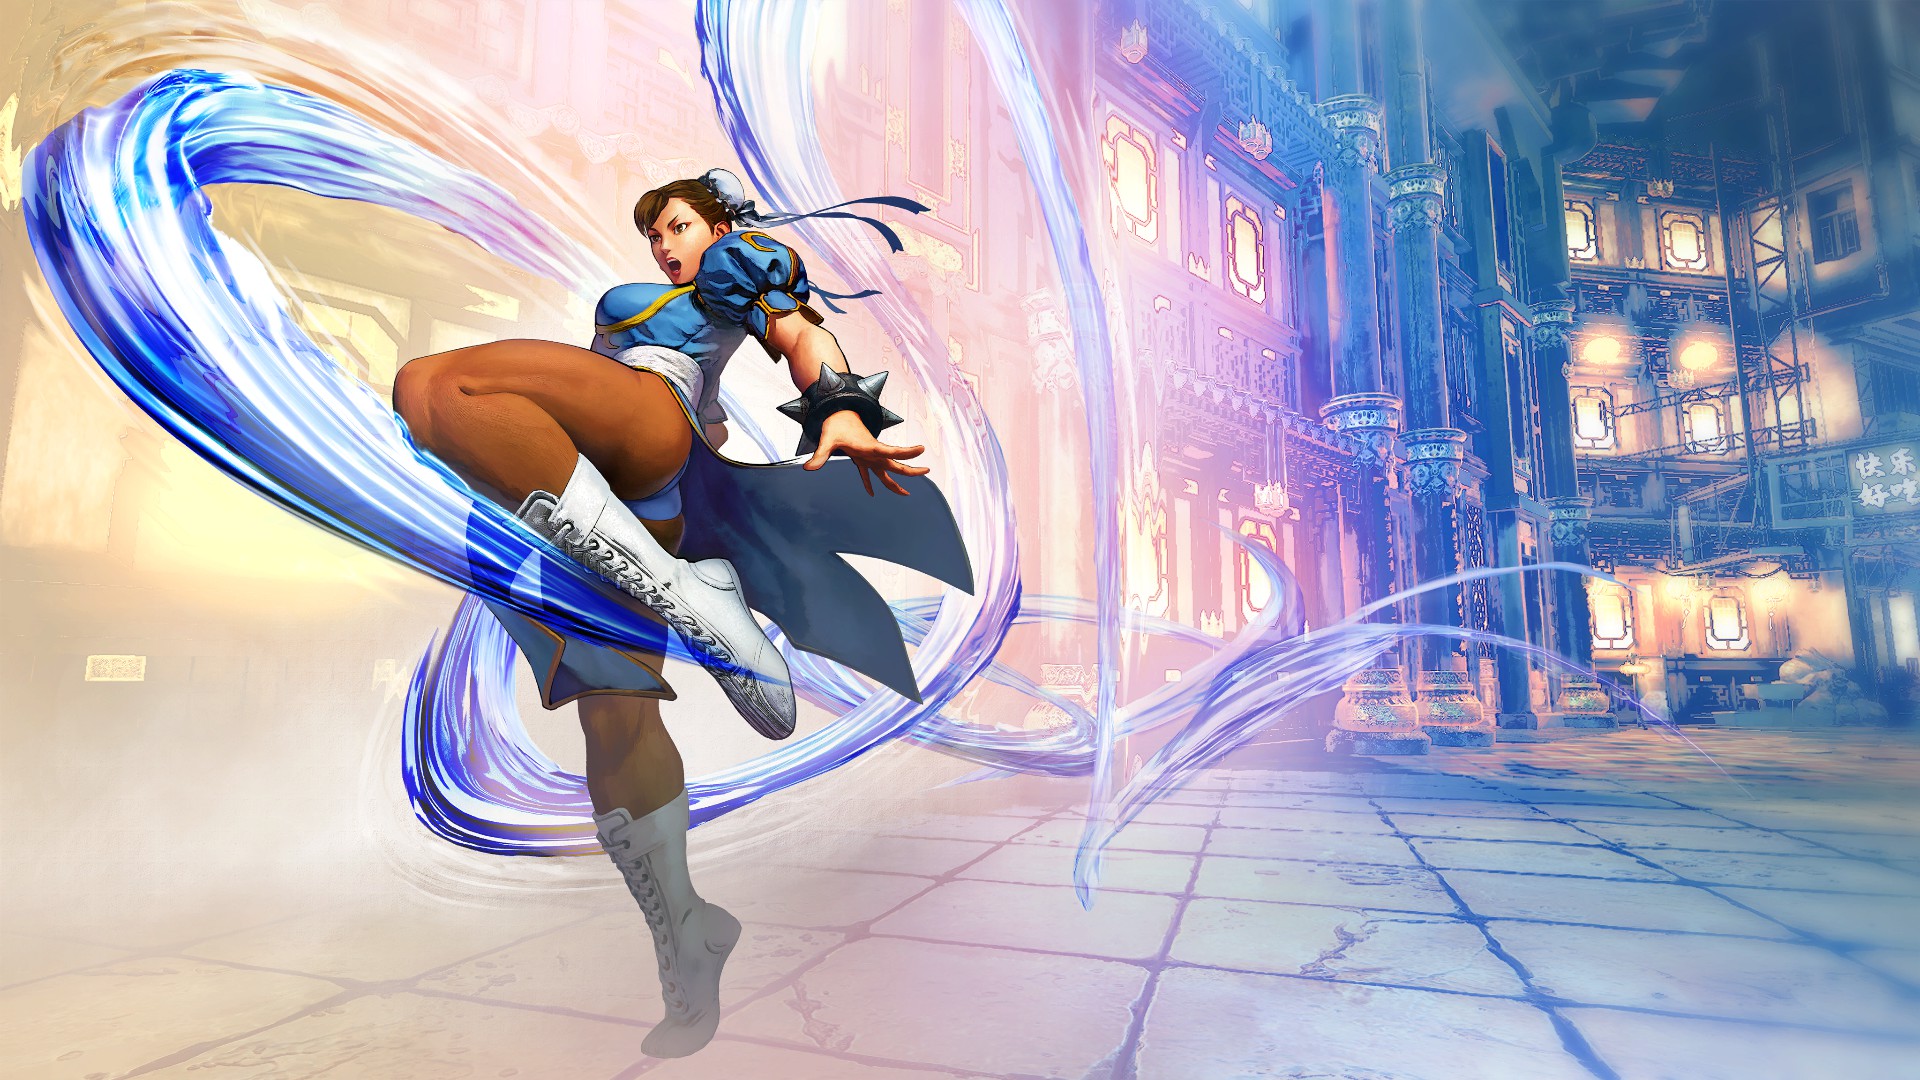
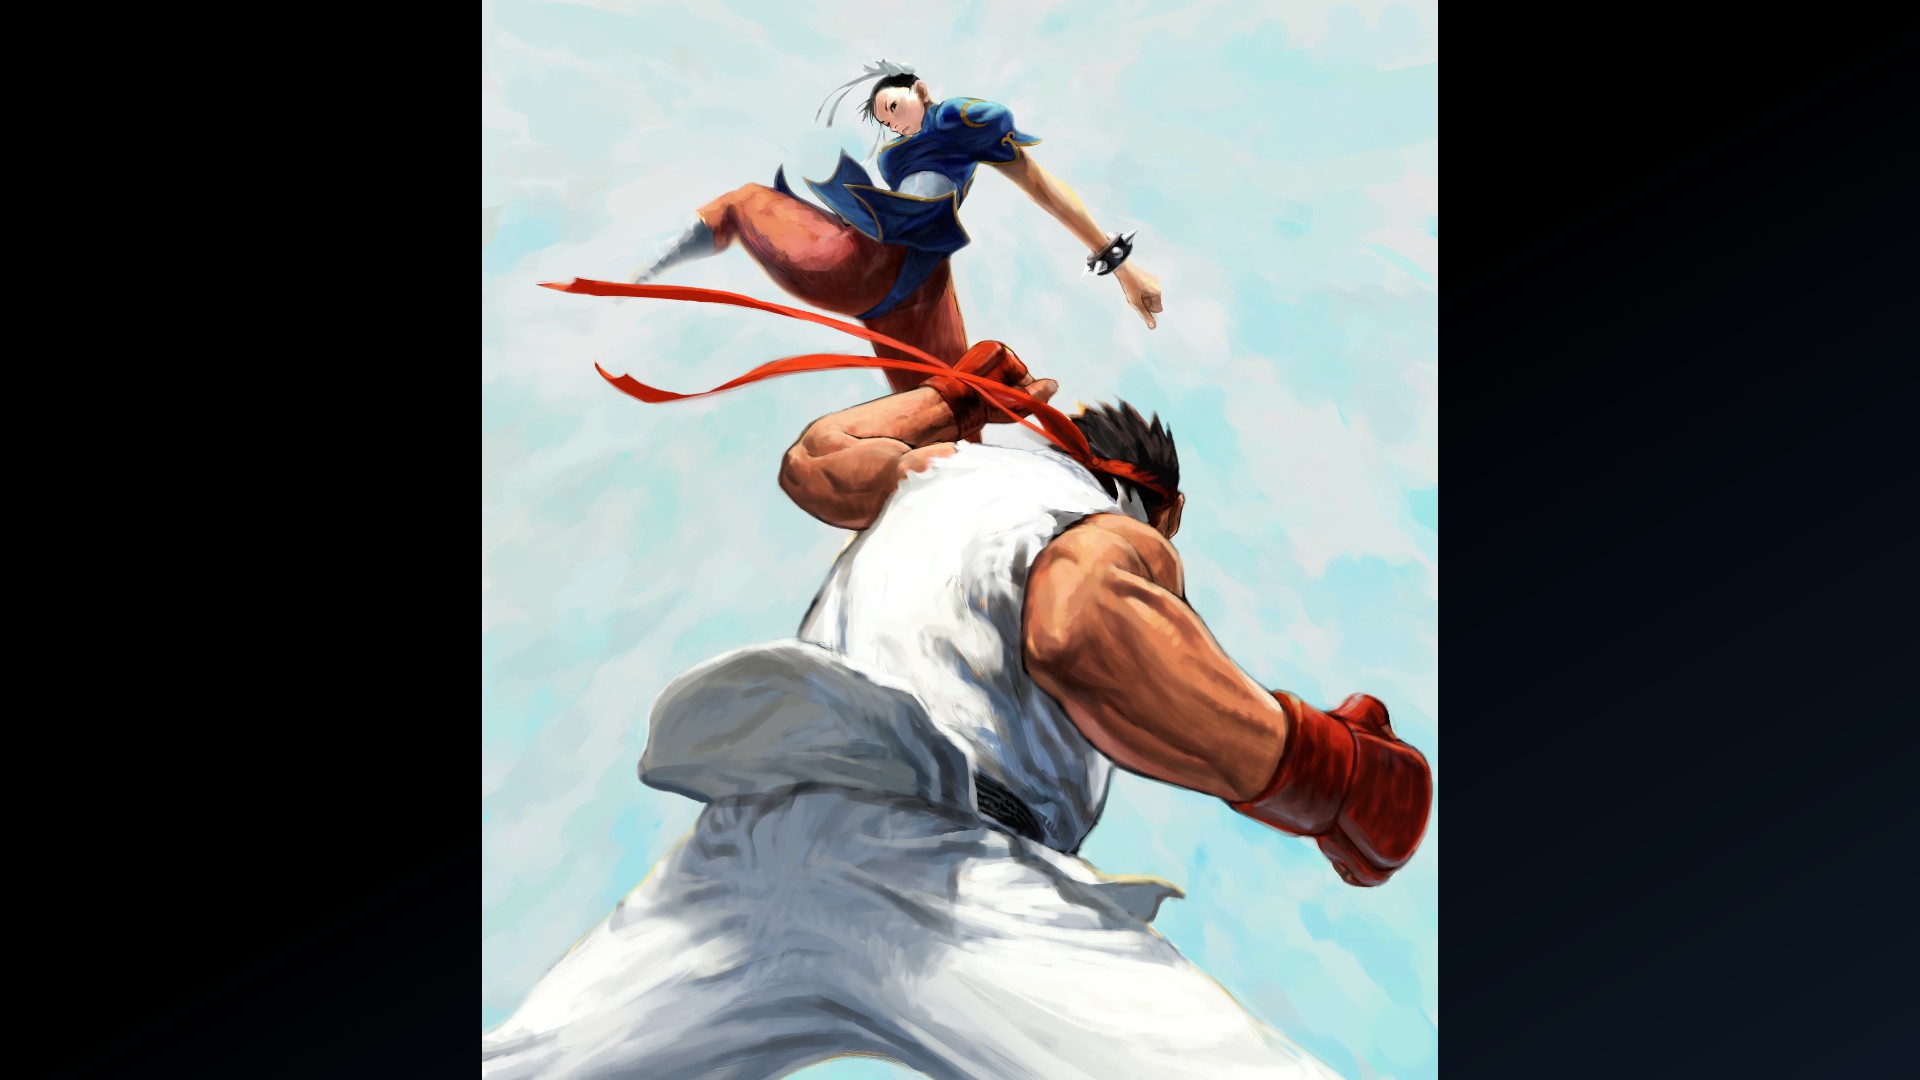
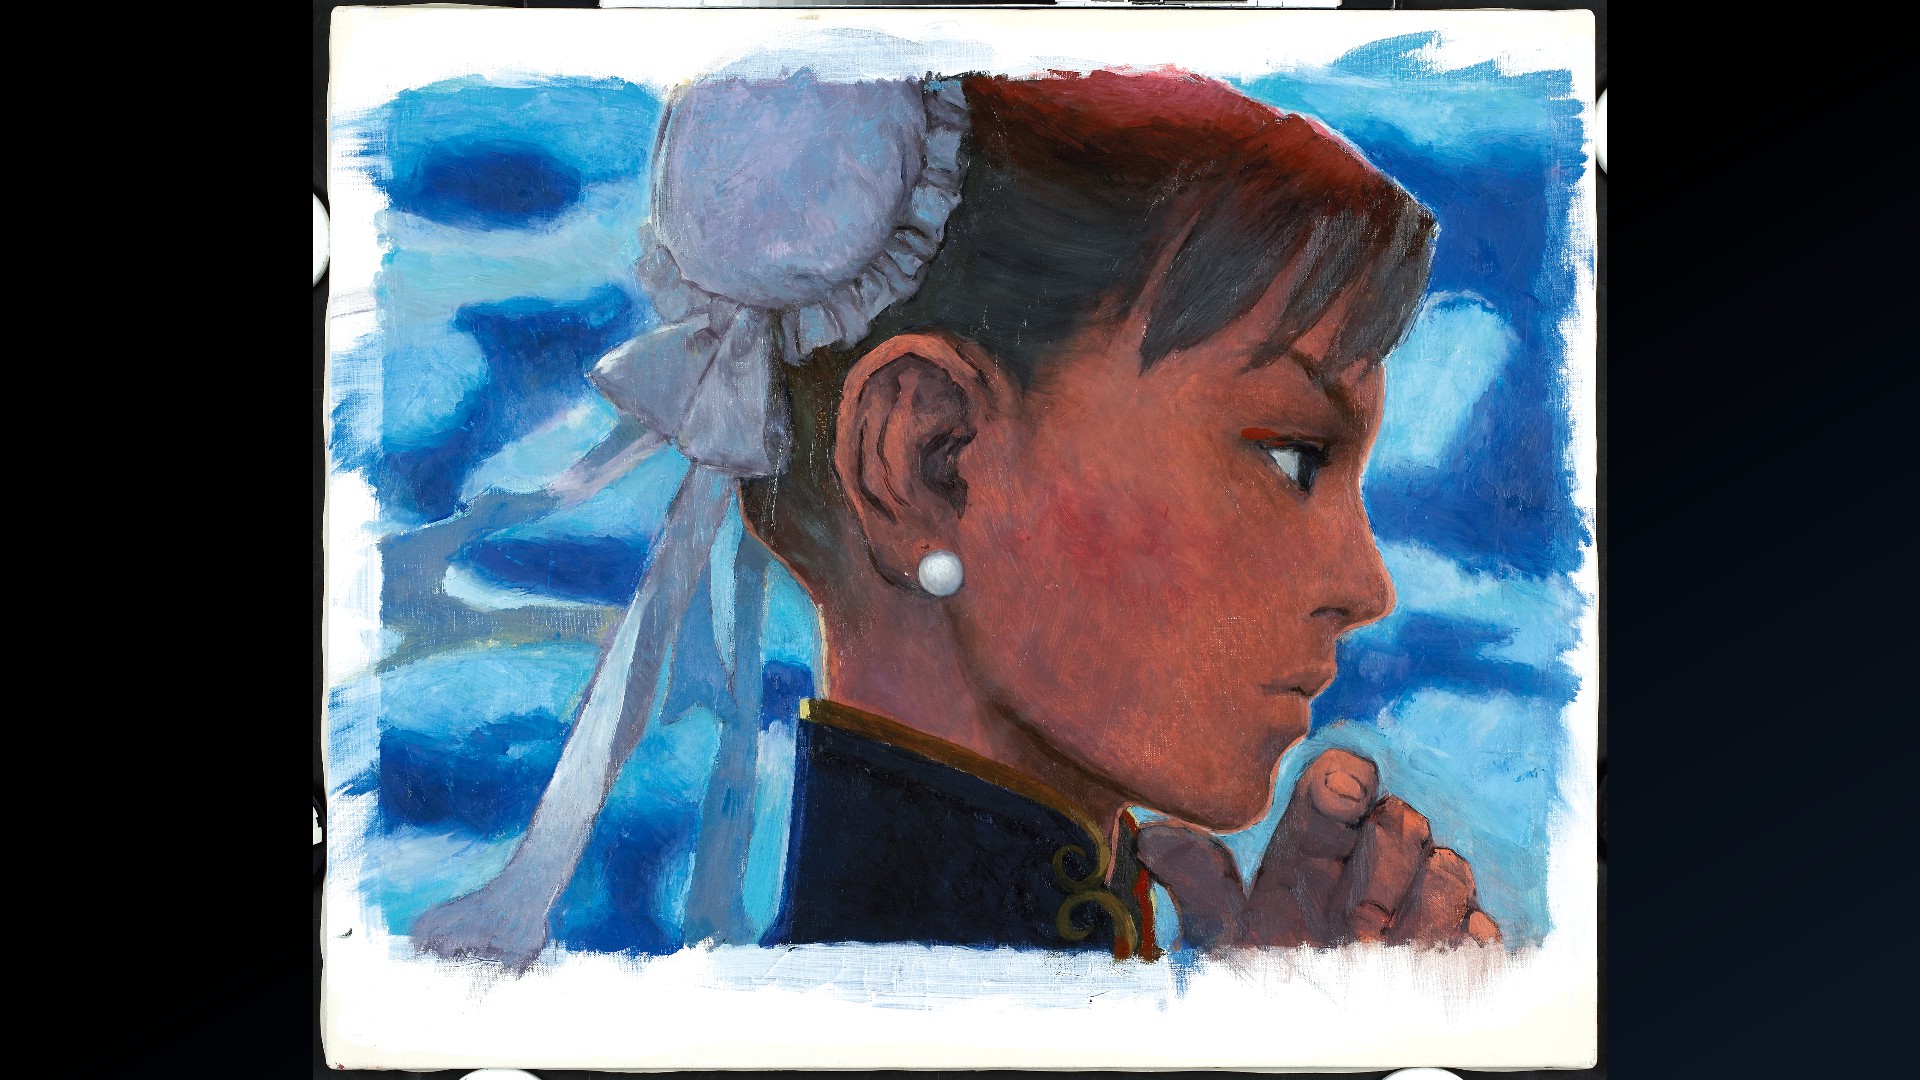
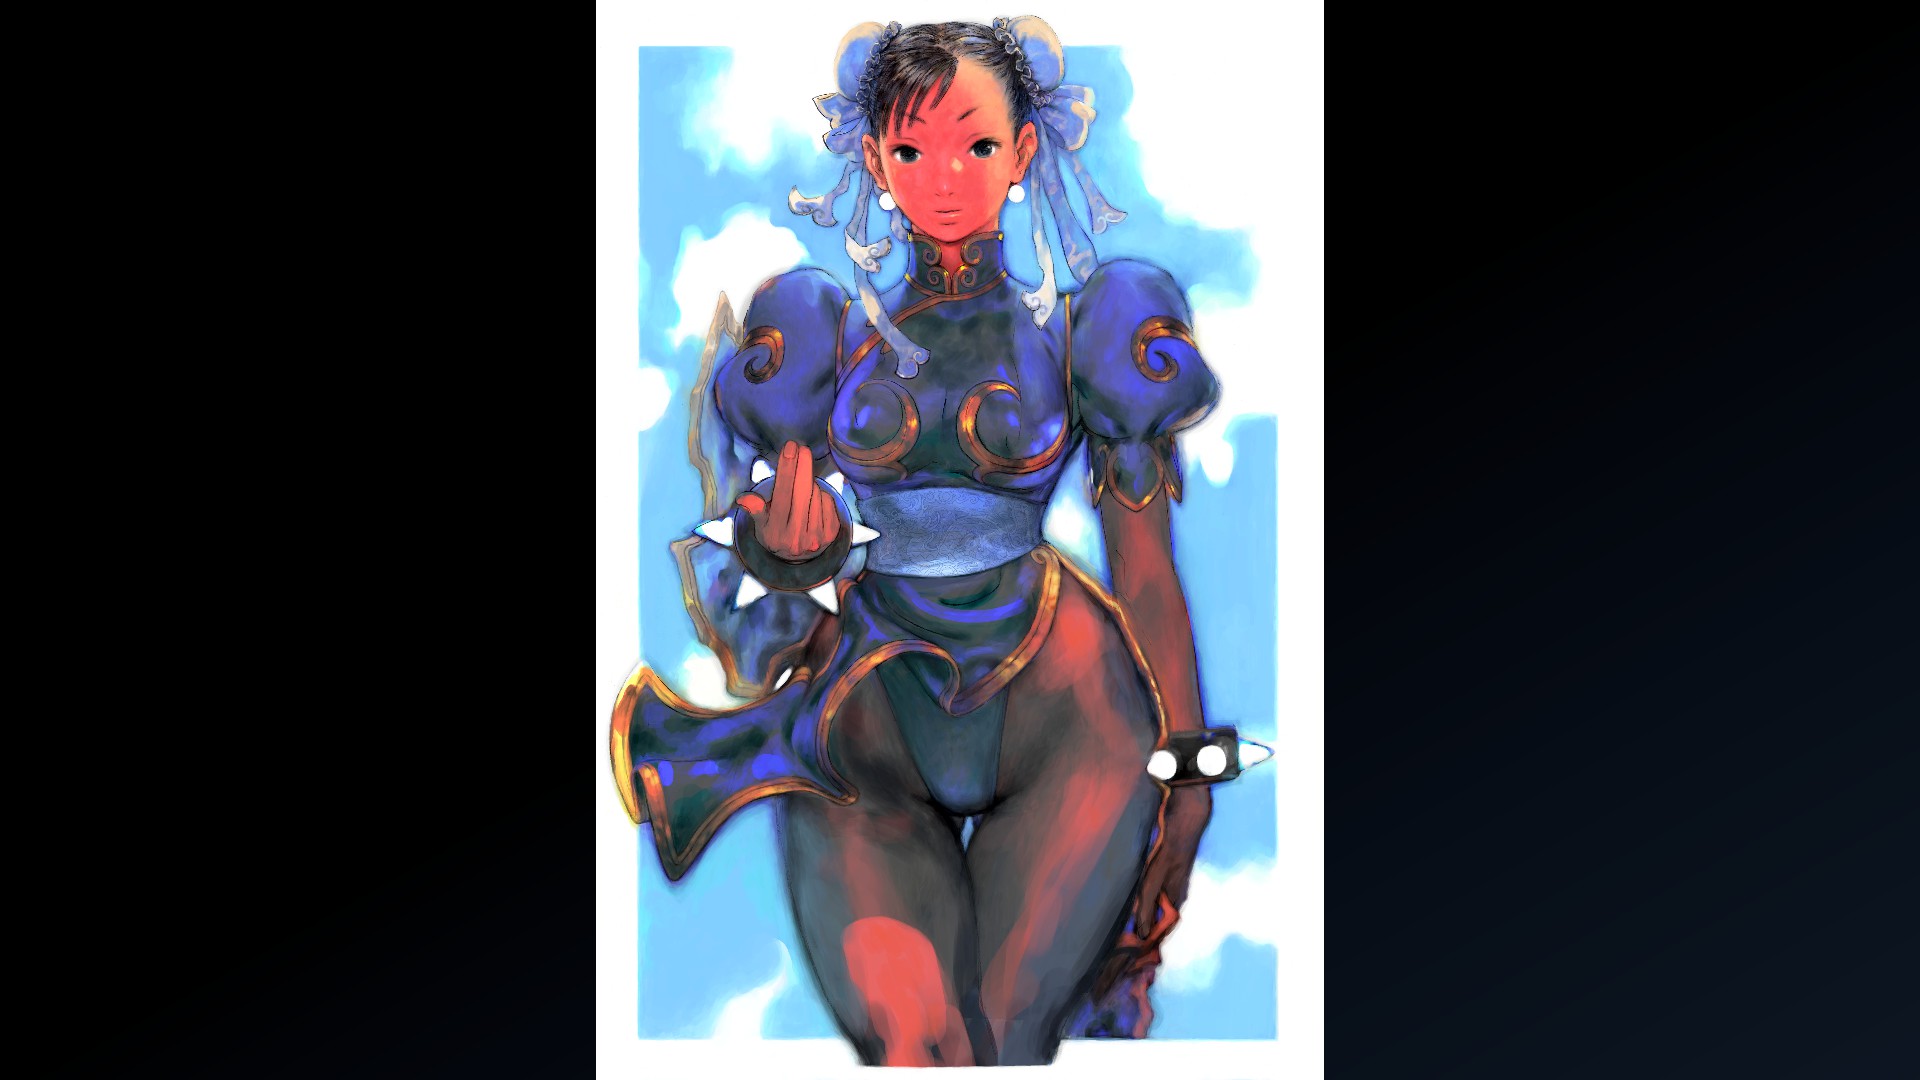
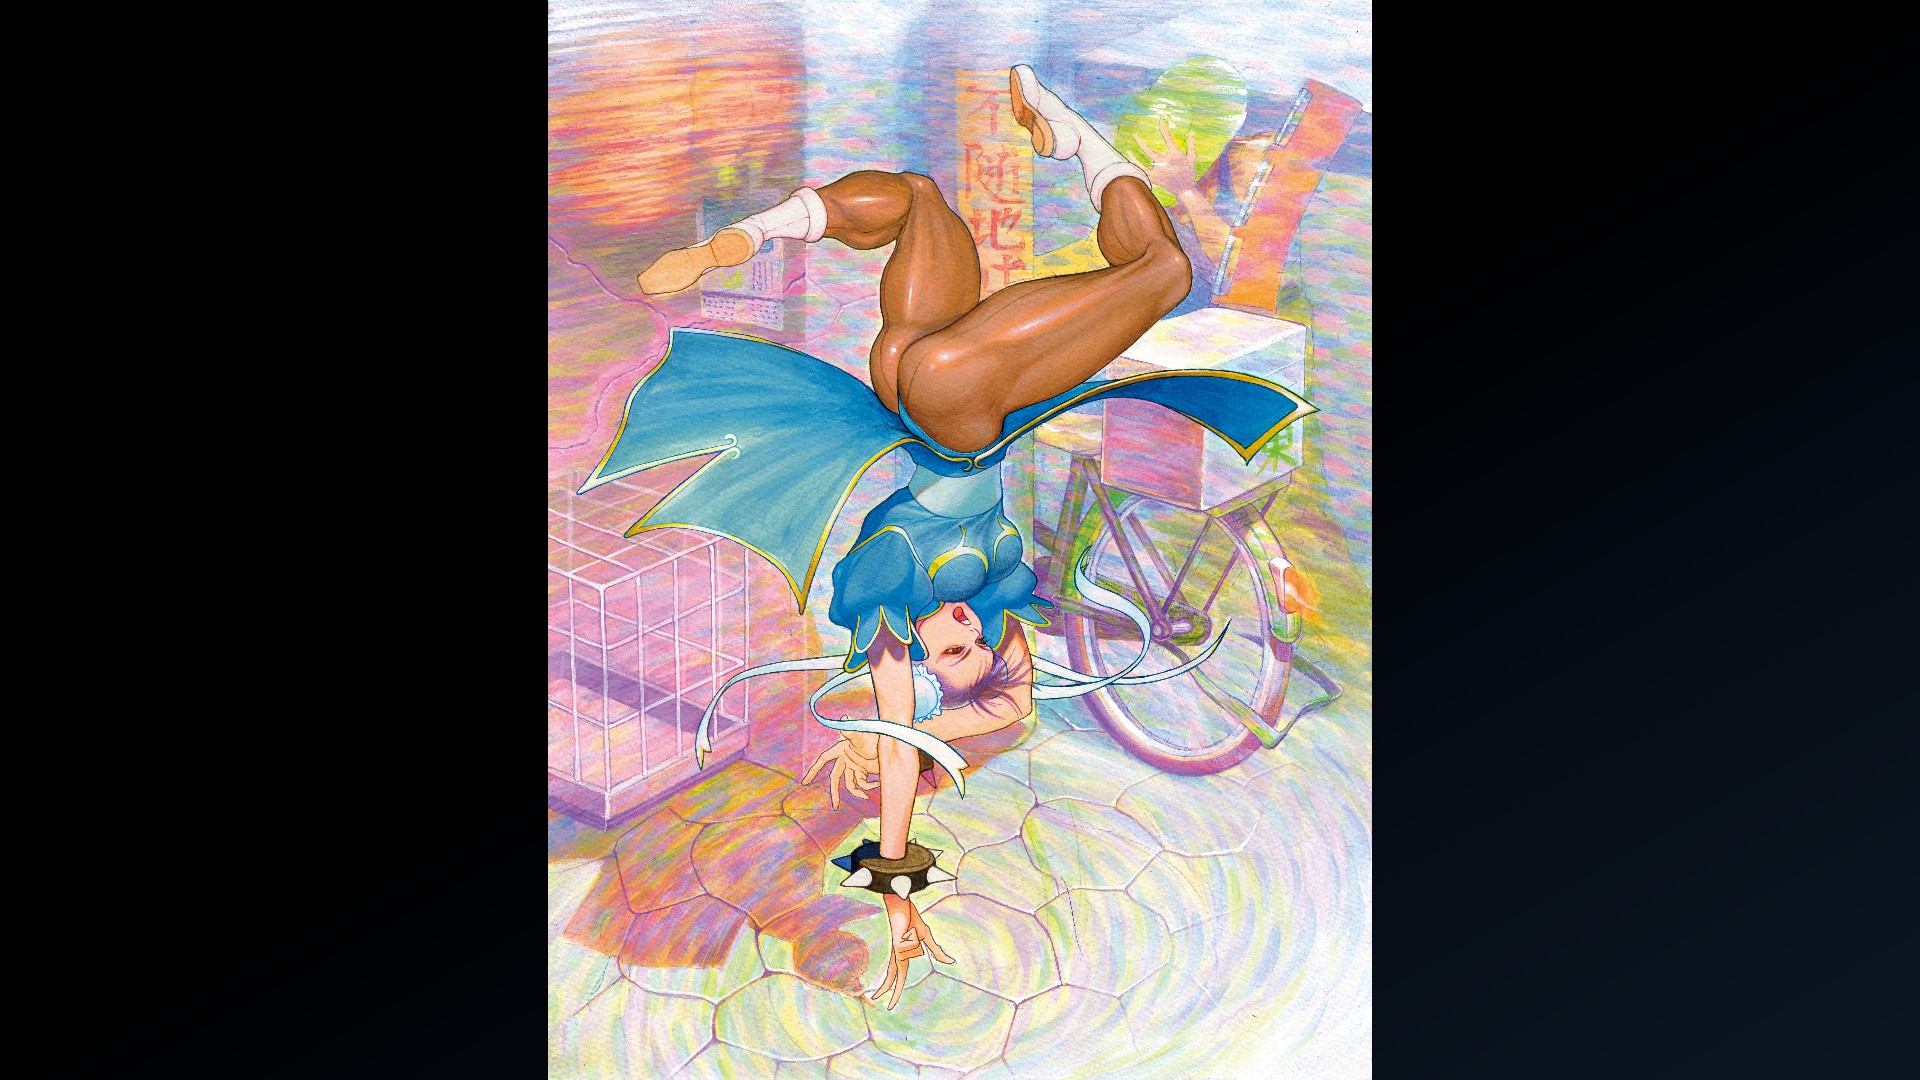
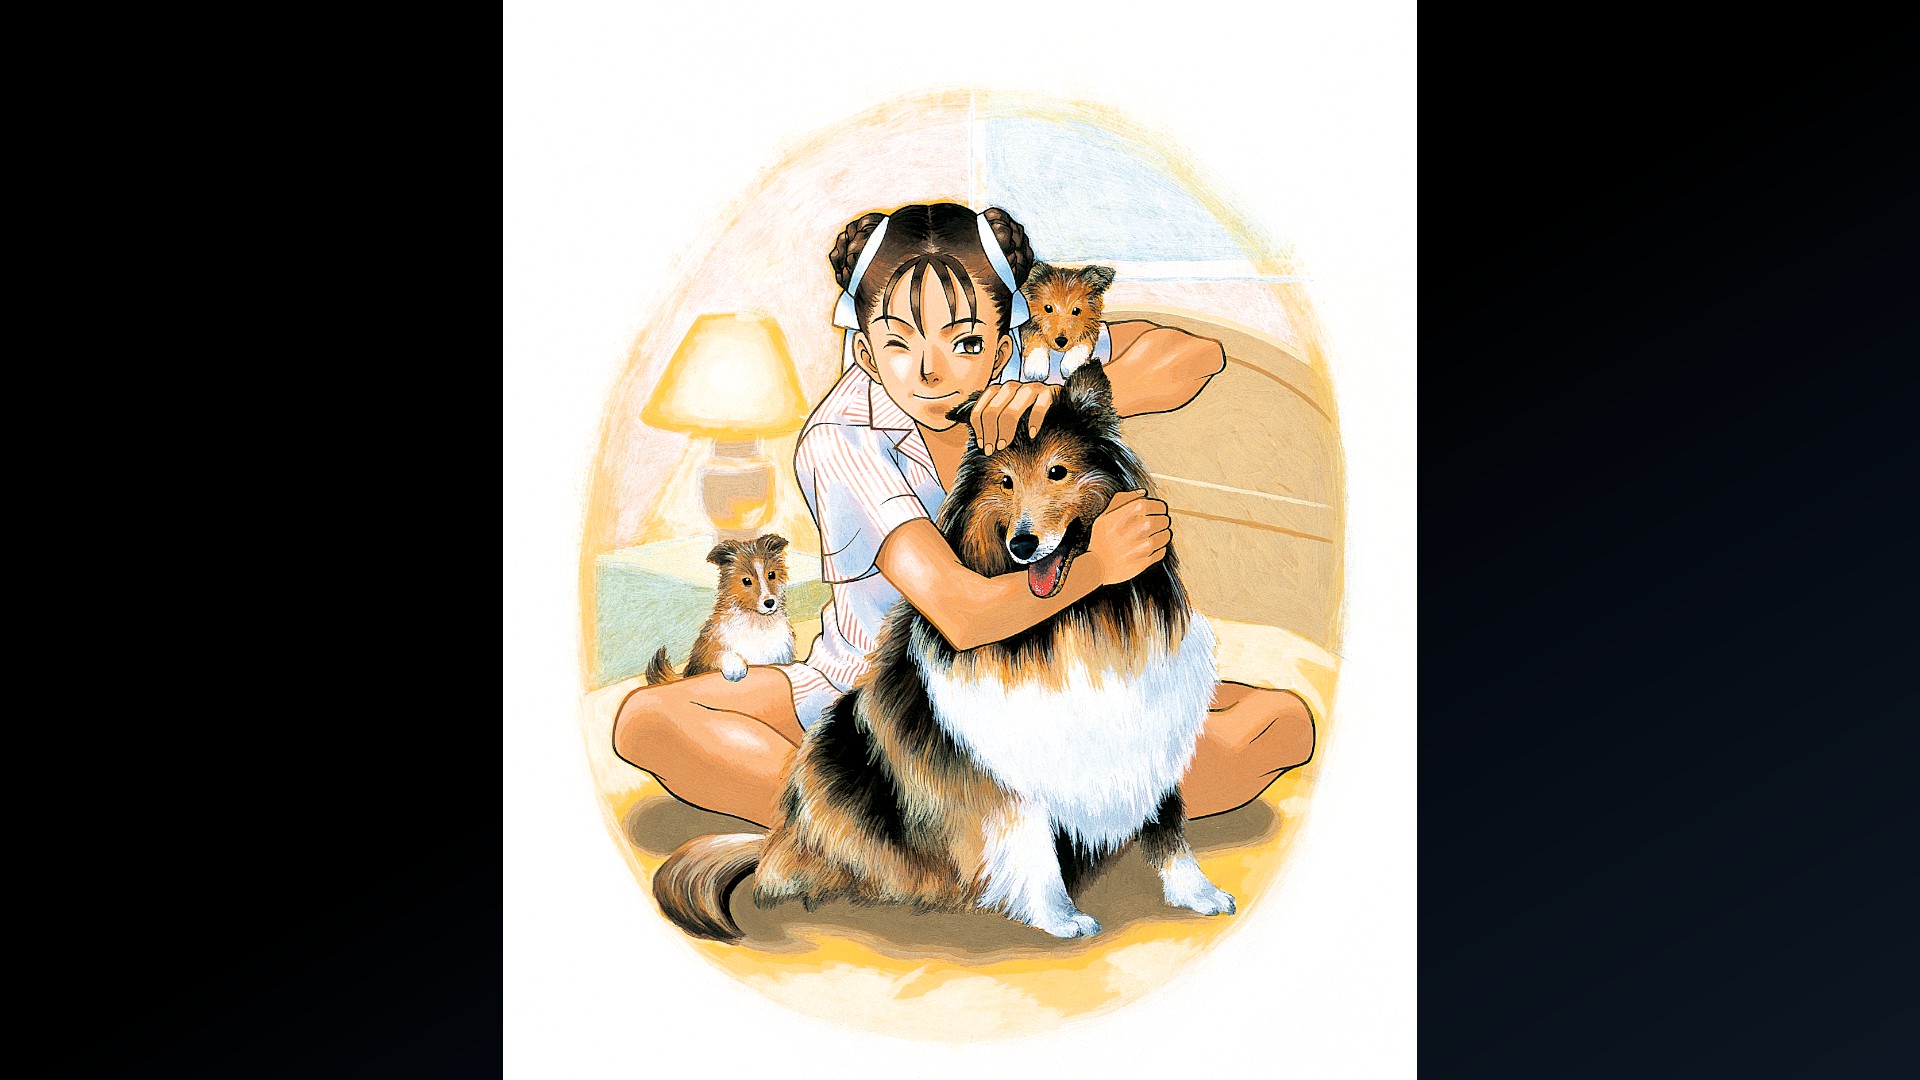
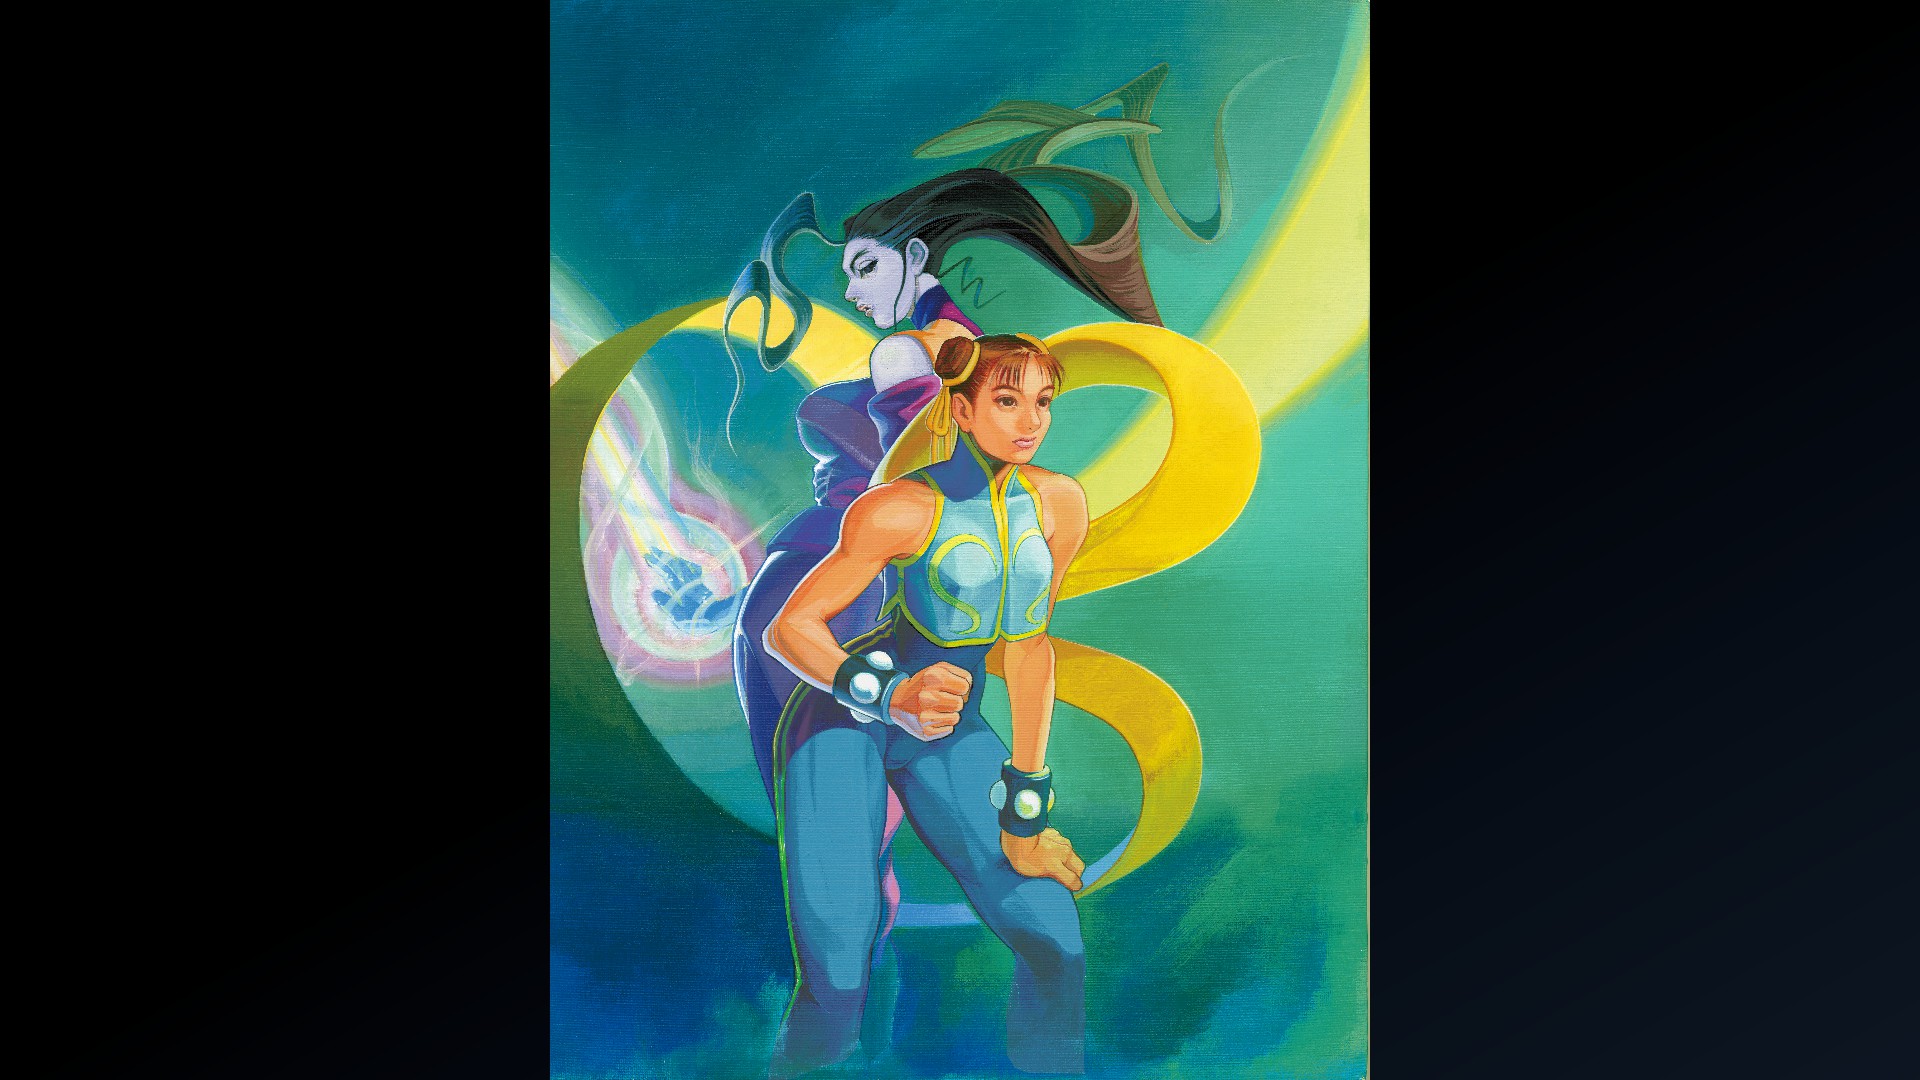
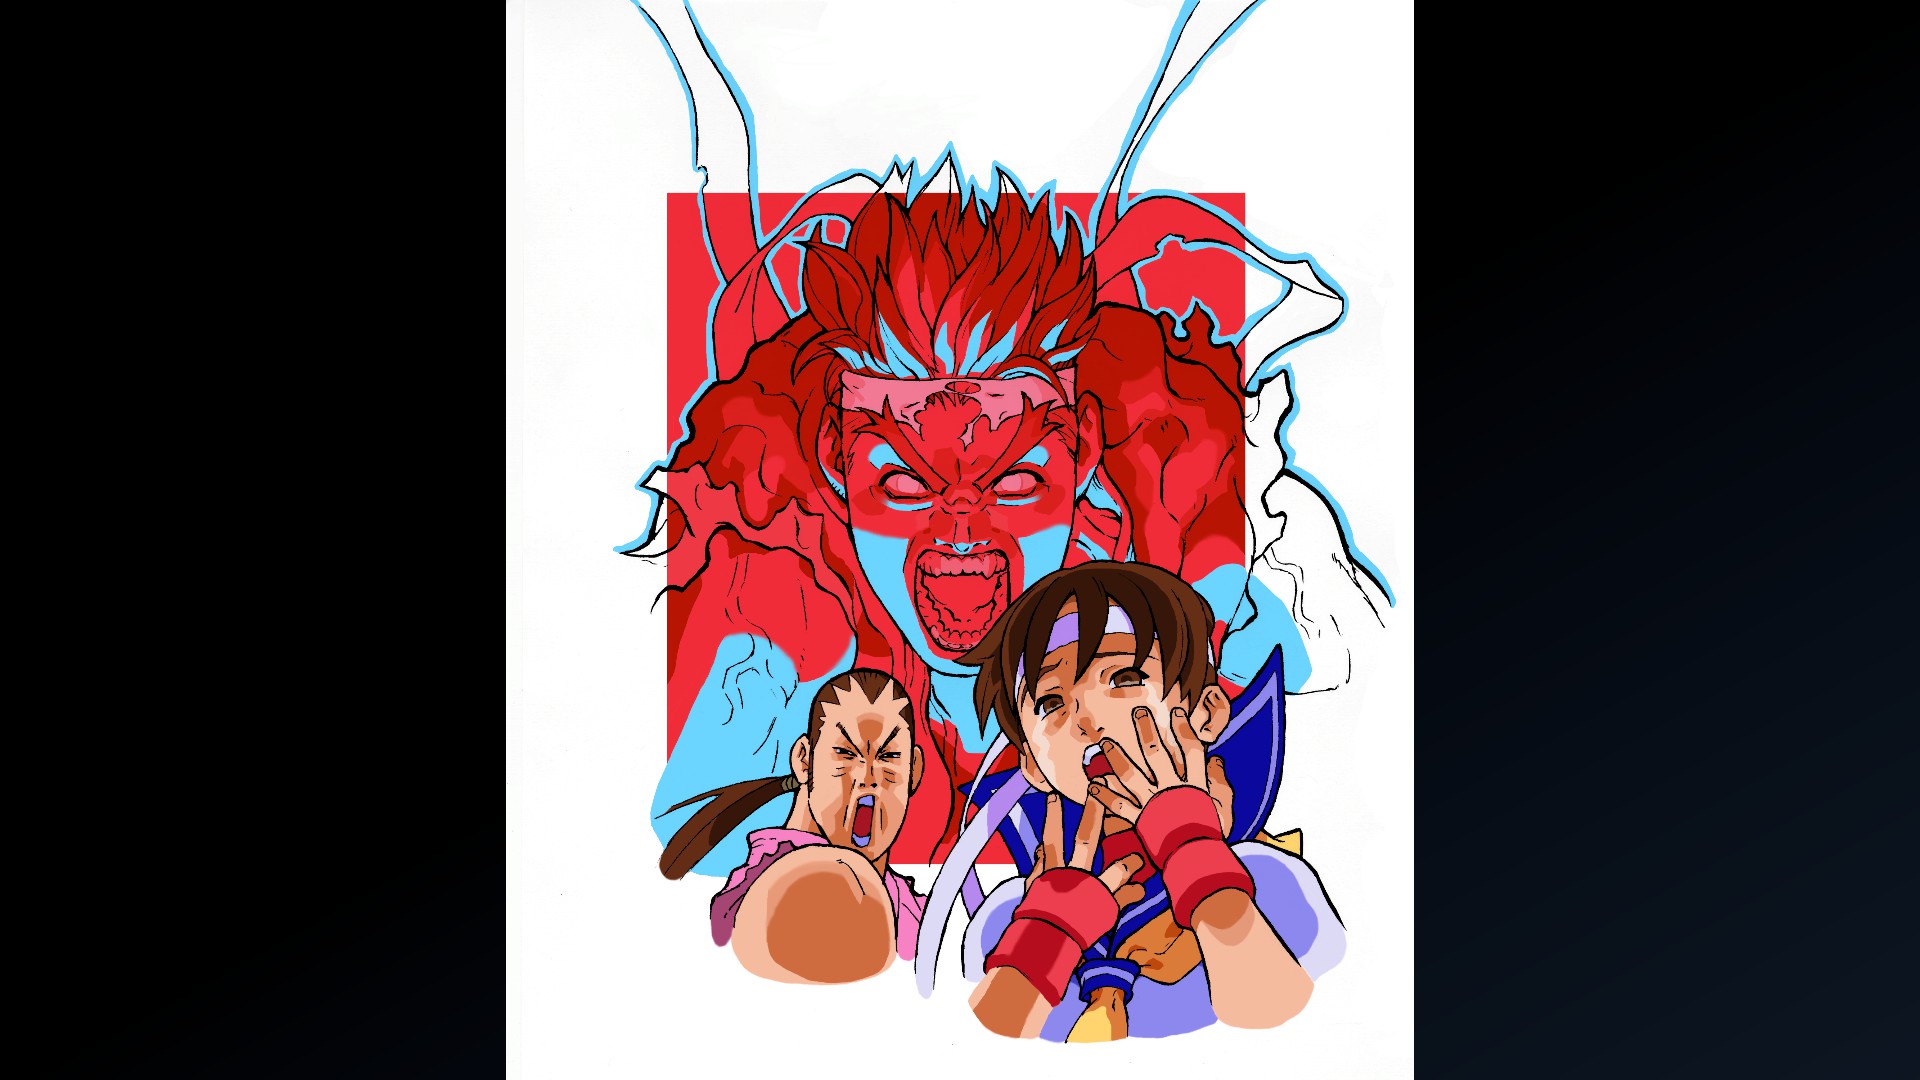
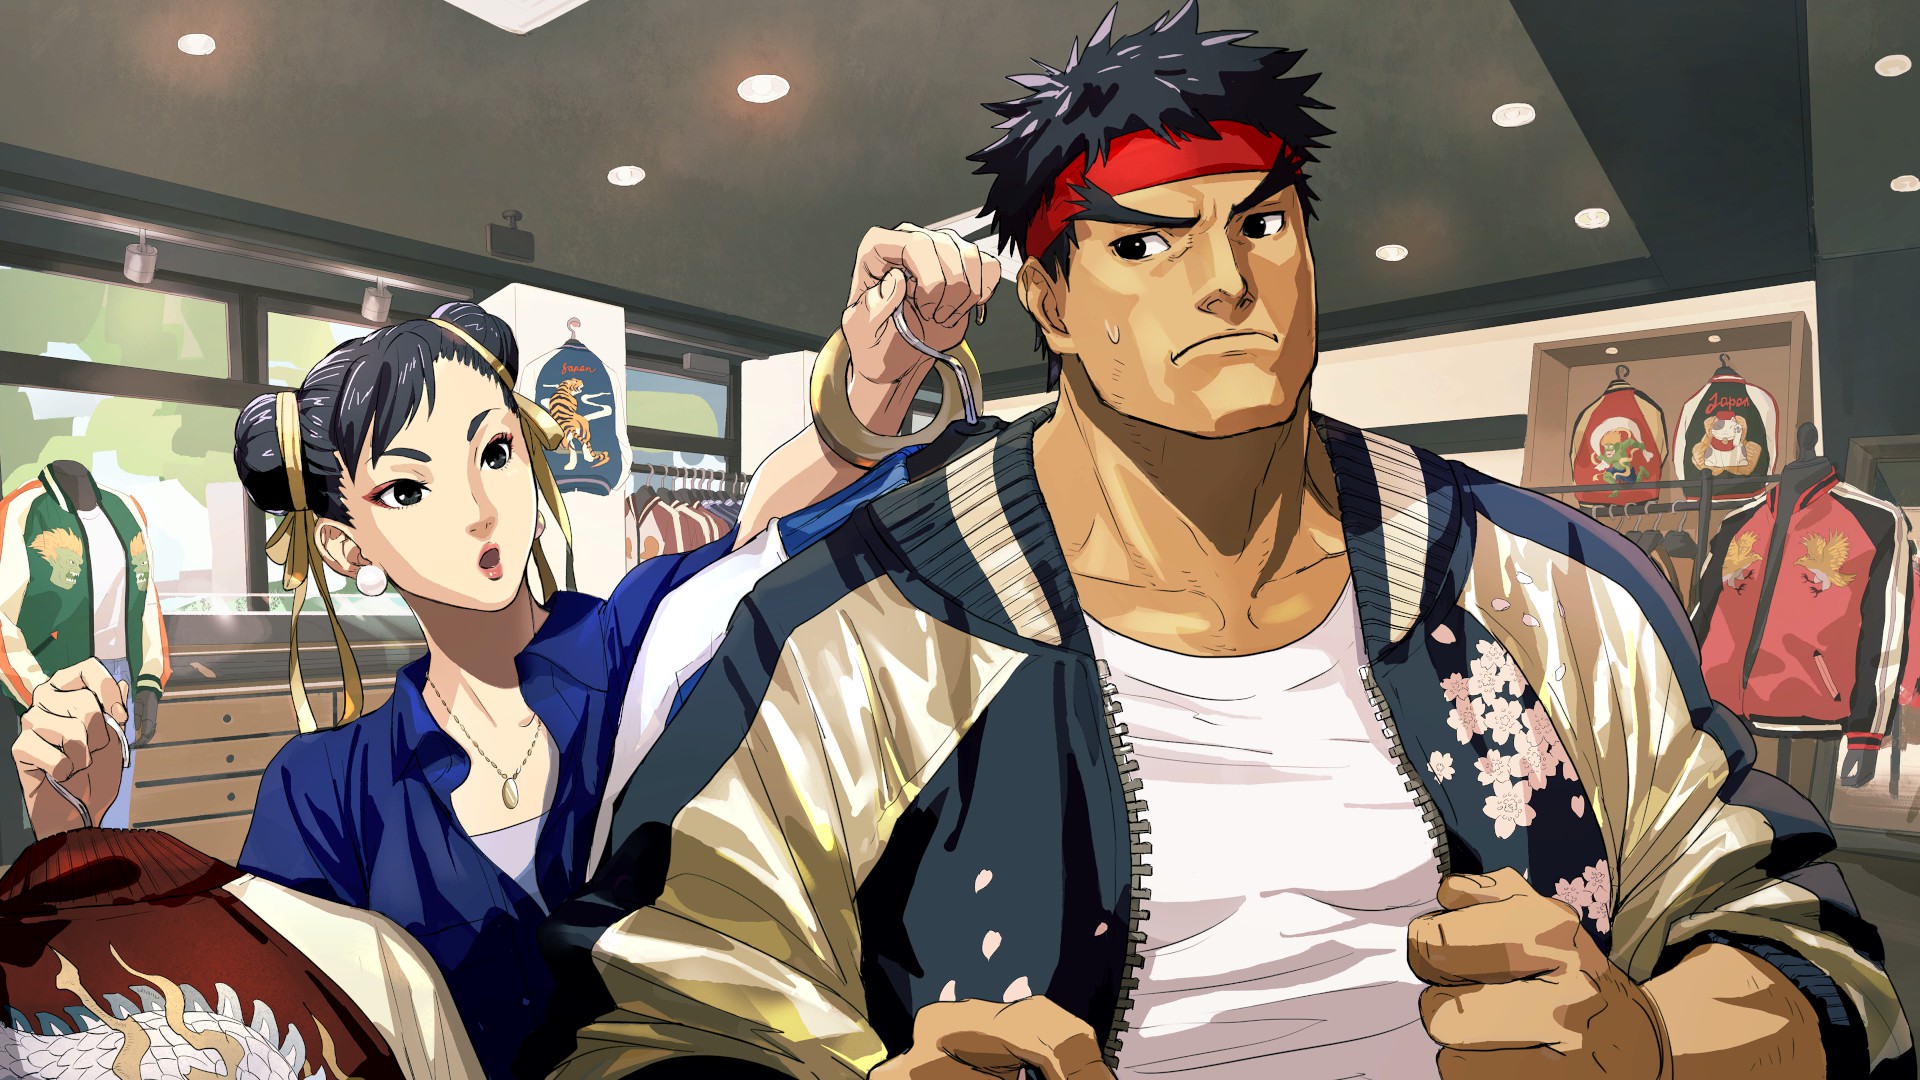
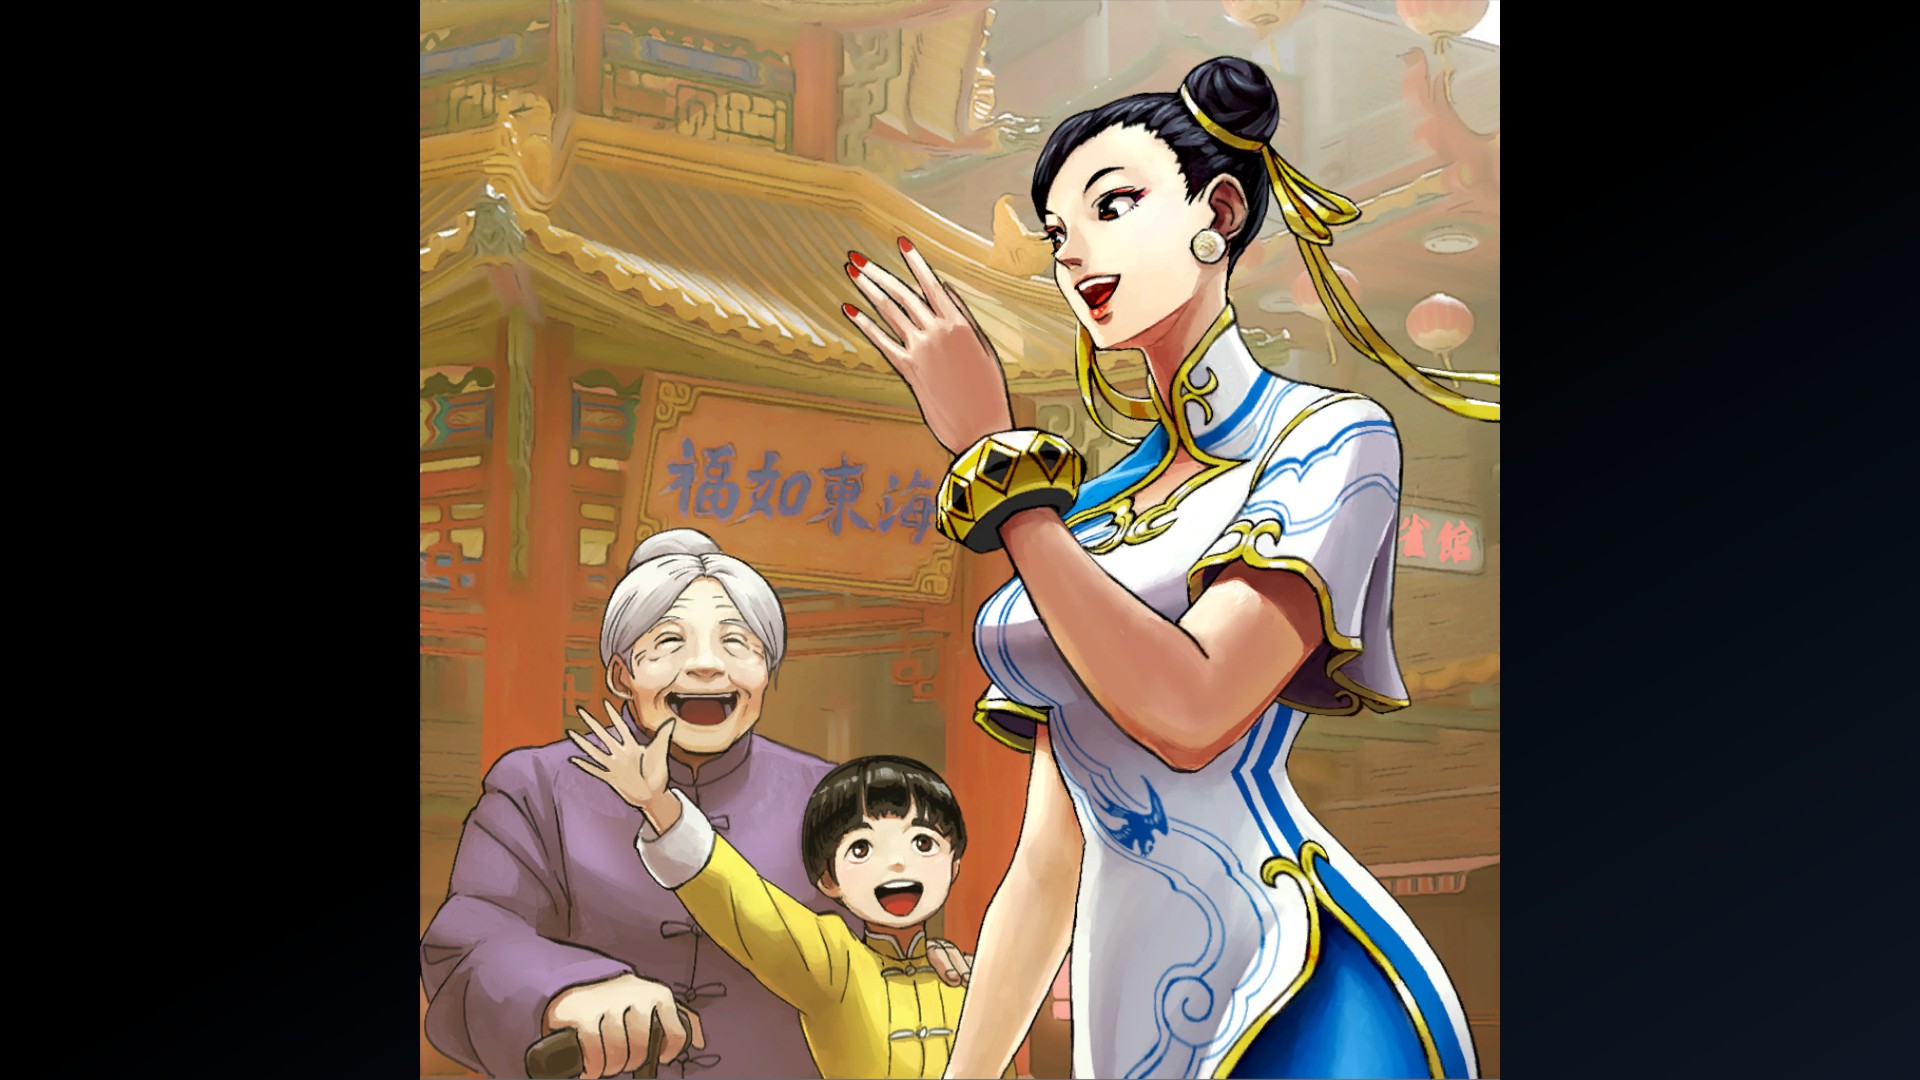
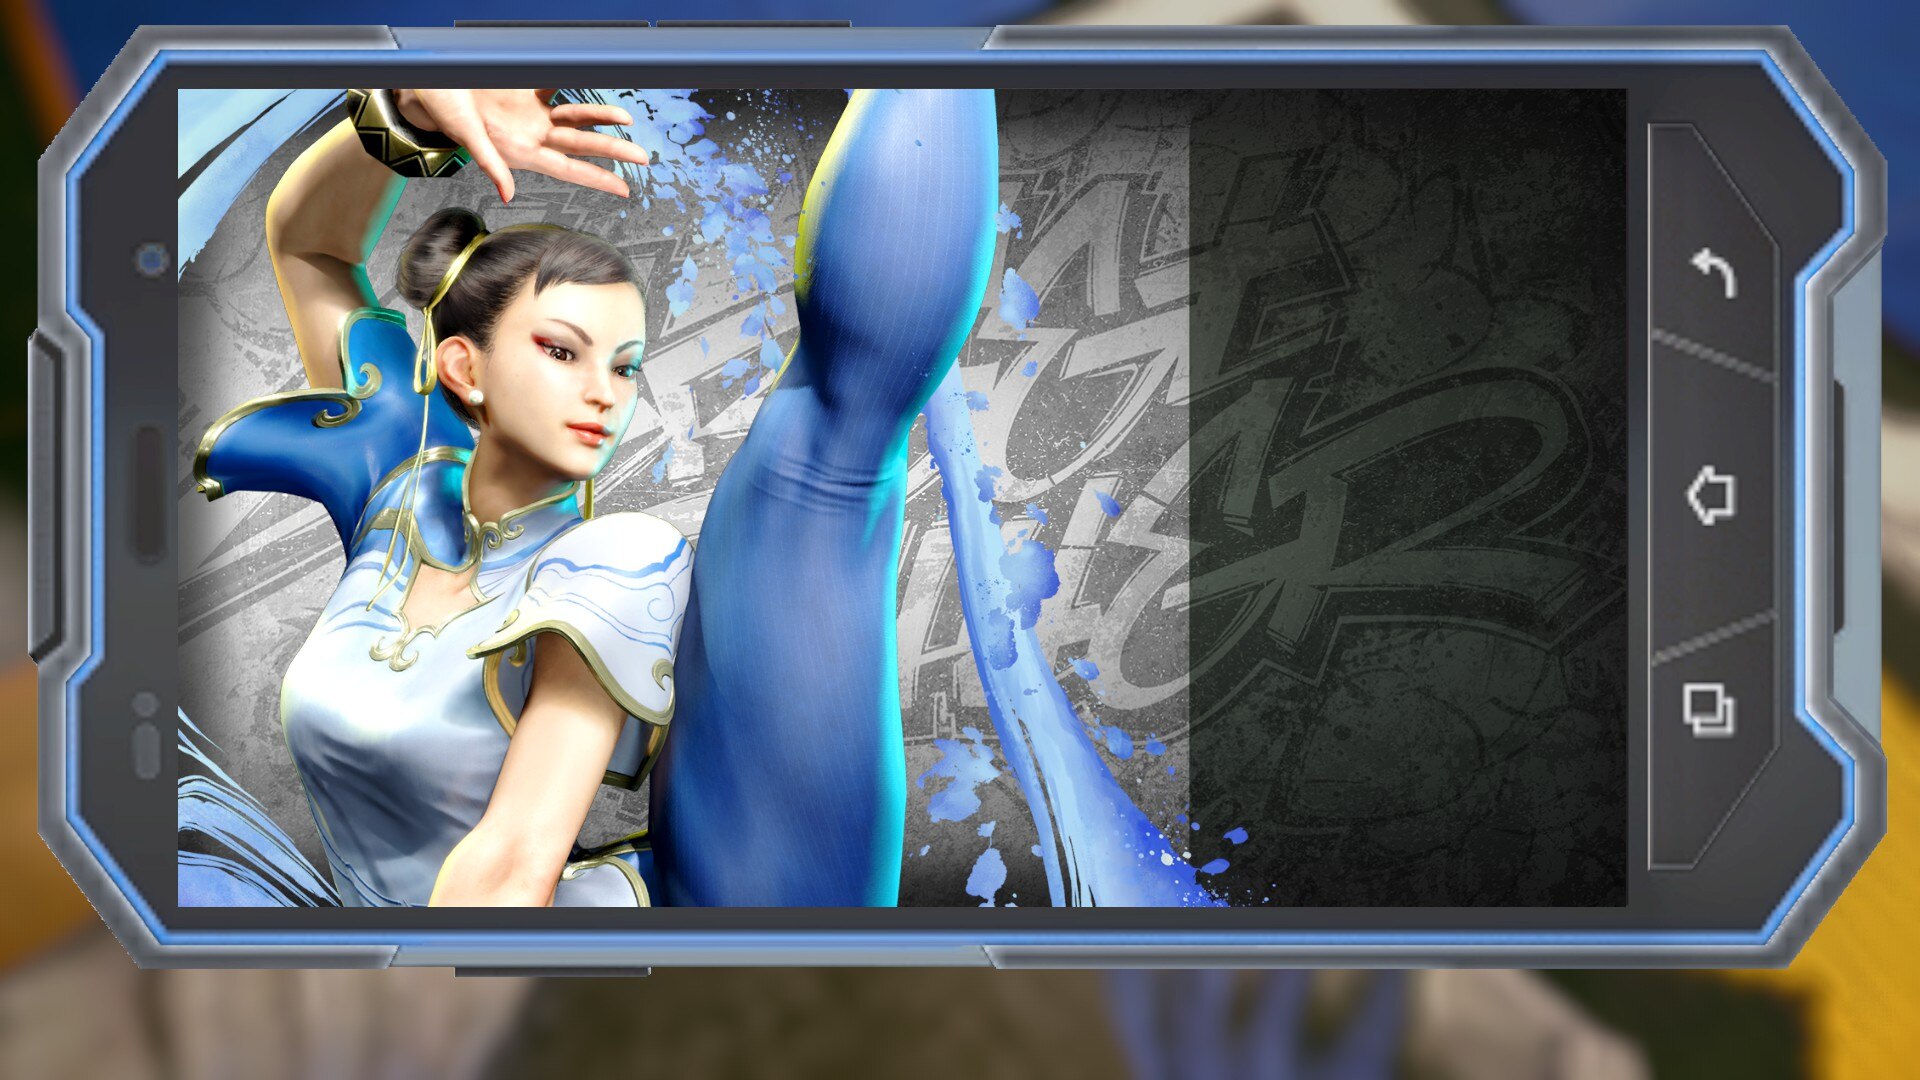
Chun-Li - Special Artwork: Taro Minoboshi
(Clear Arcade Once with Chun-Li)
(Clear Arcade Once with Chun-Li)
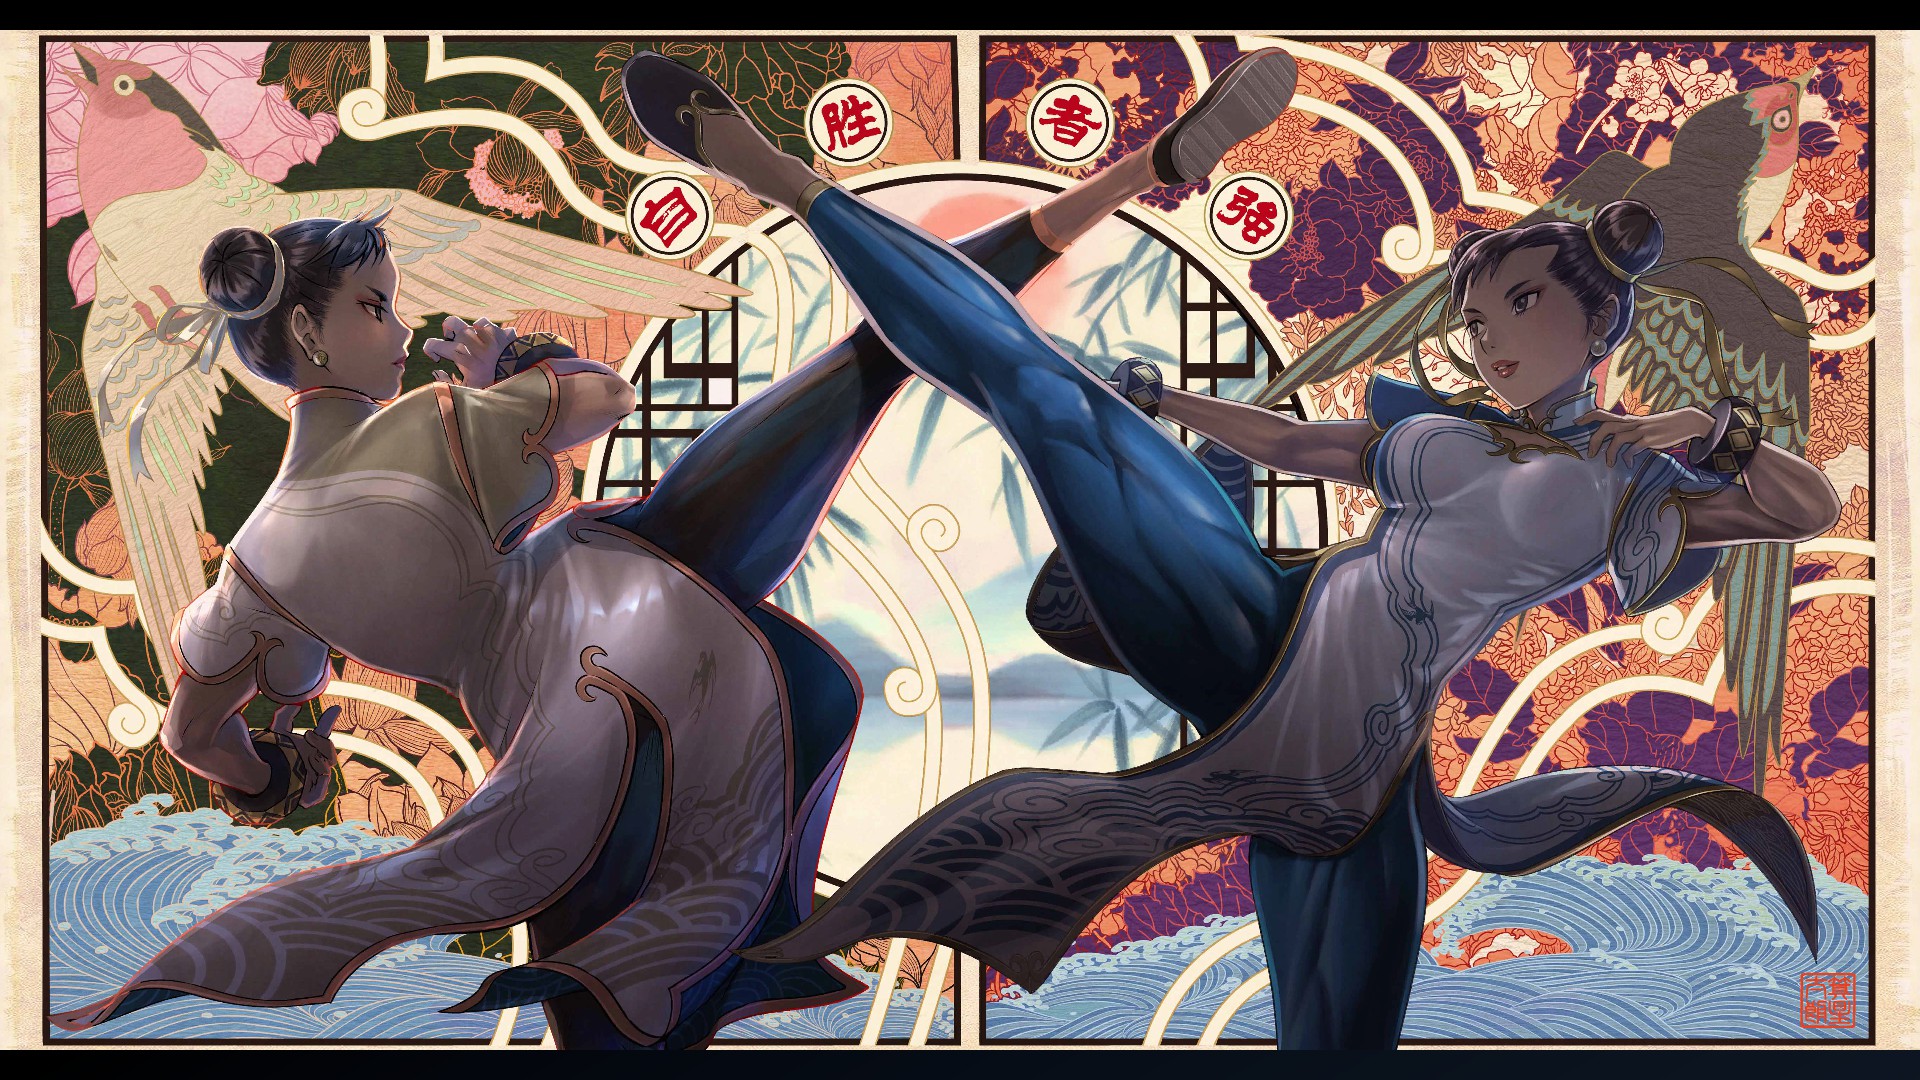
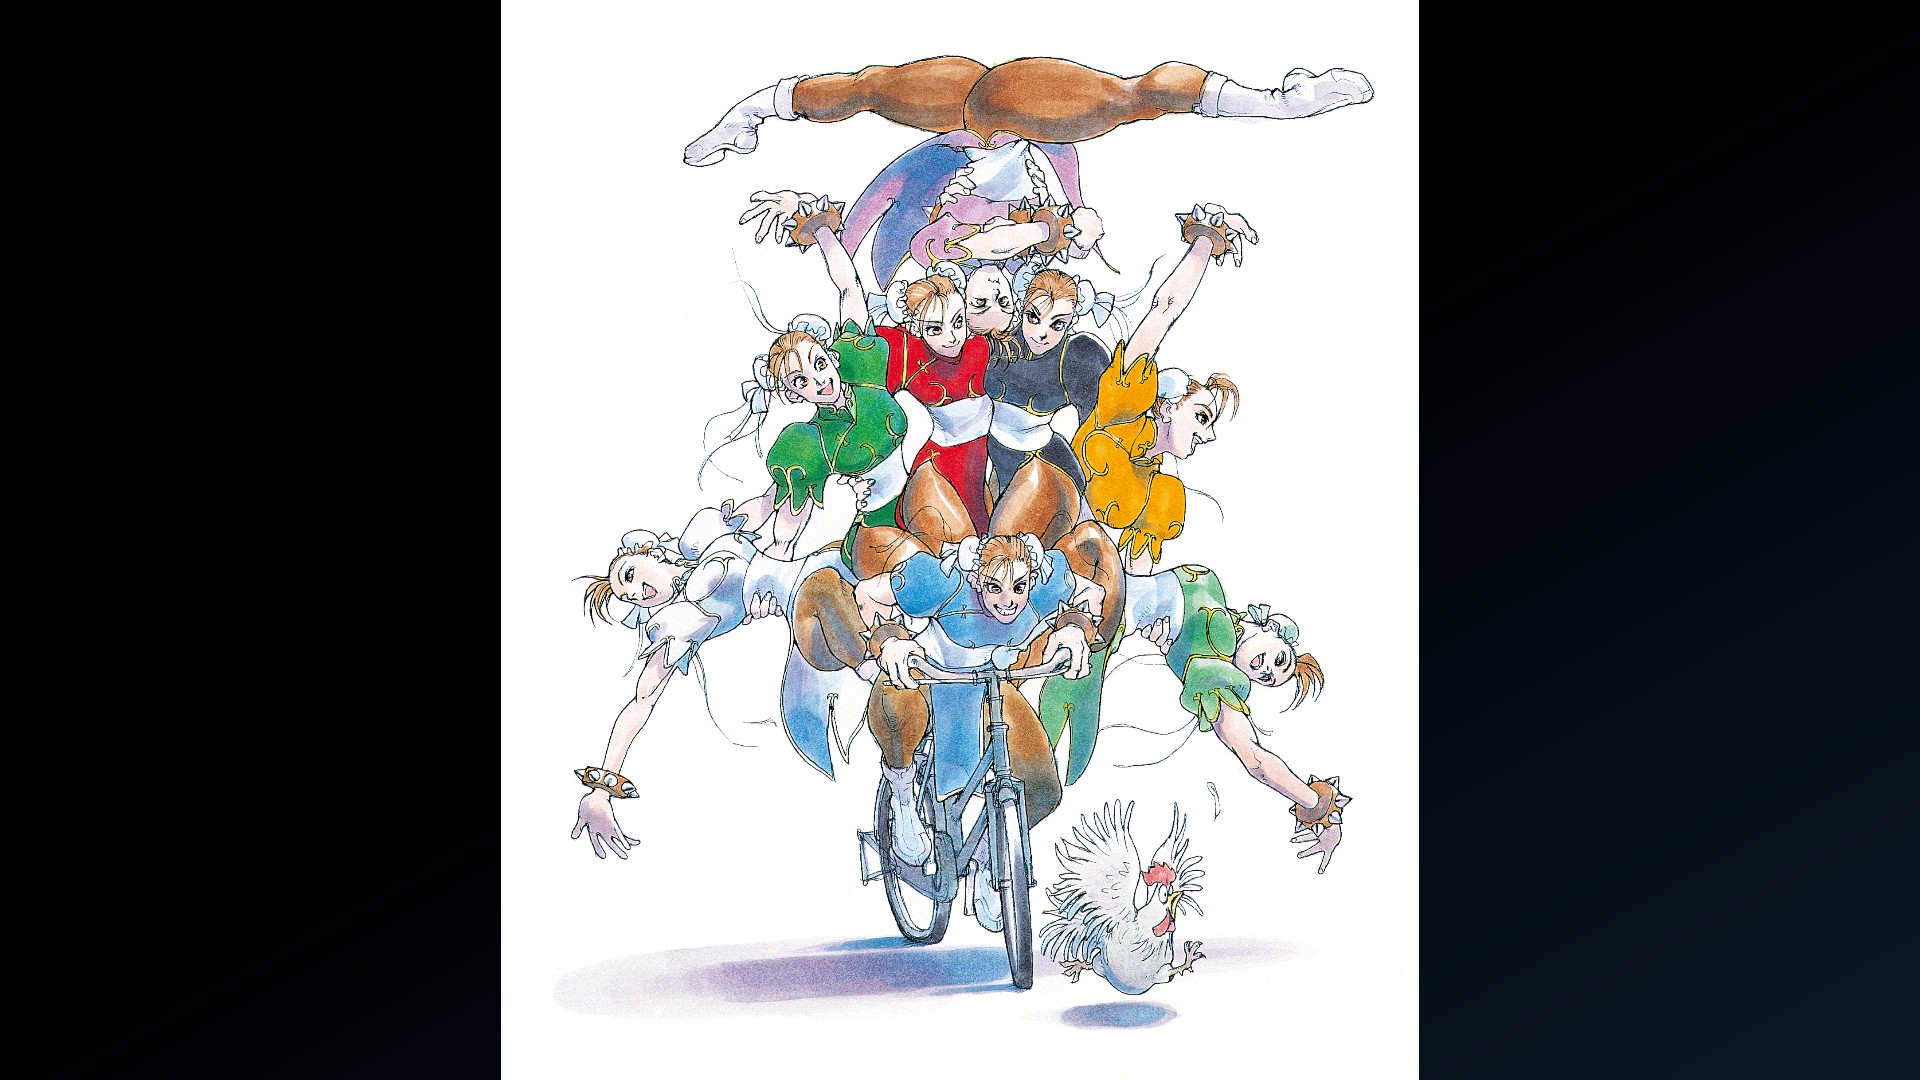
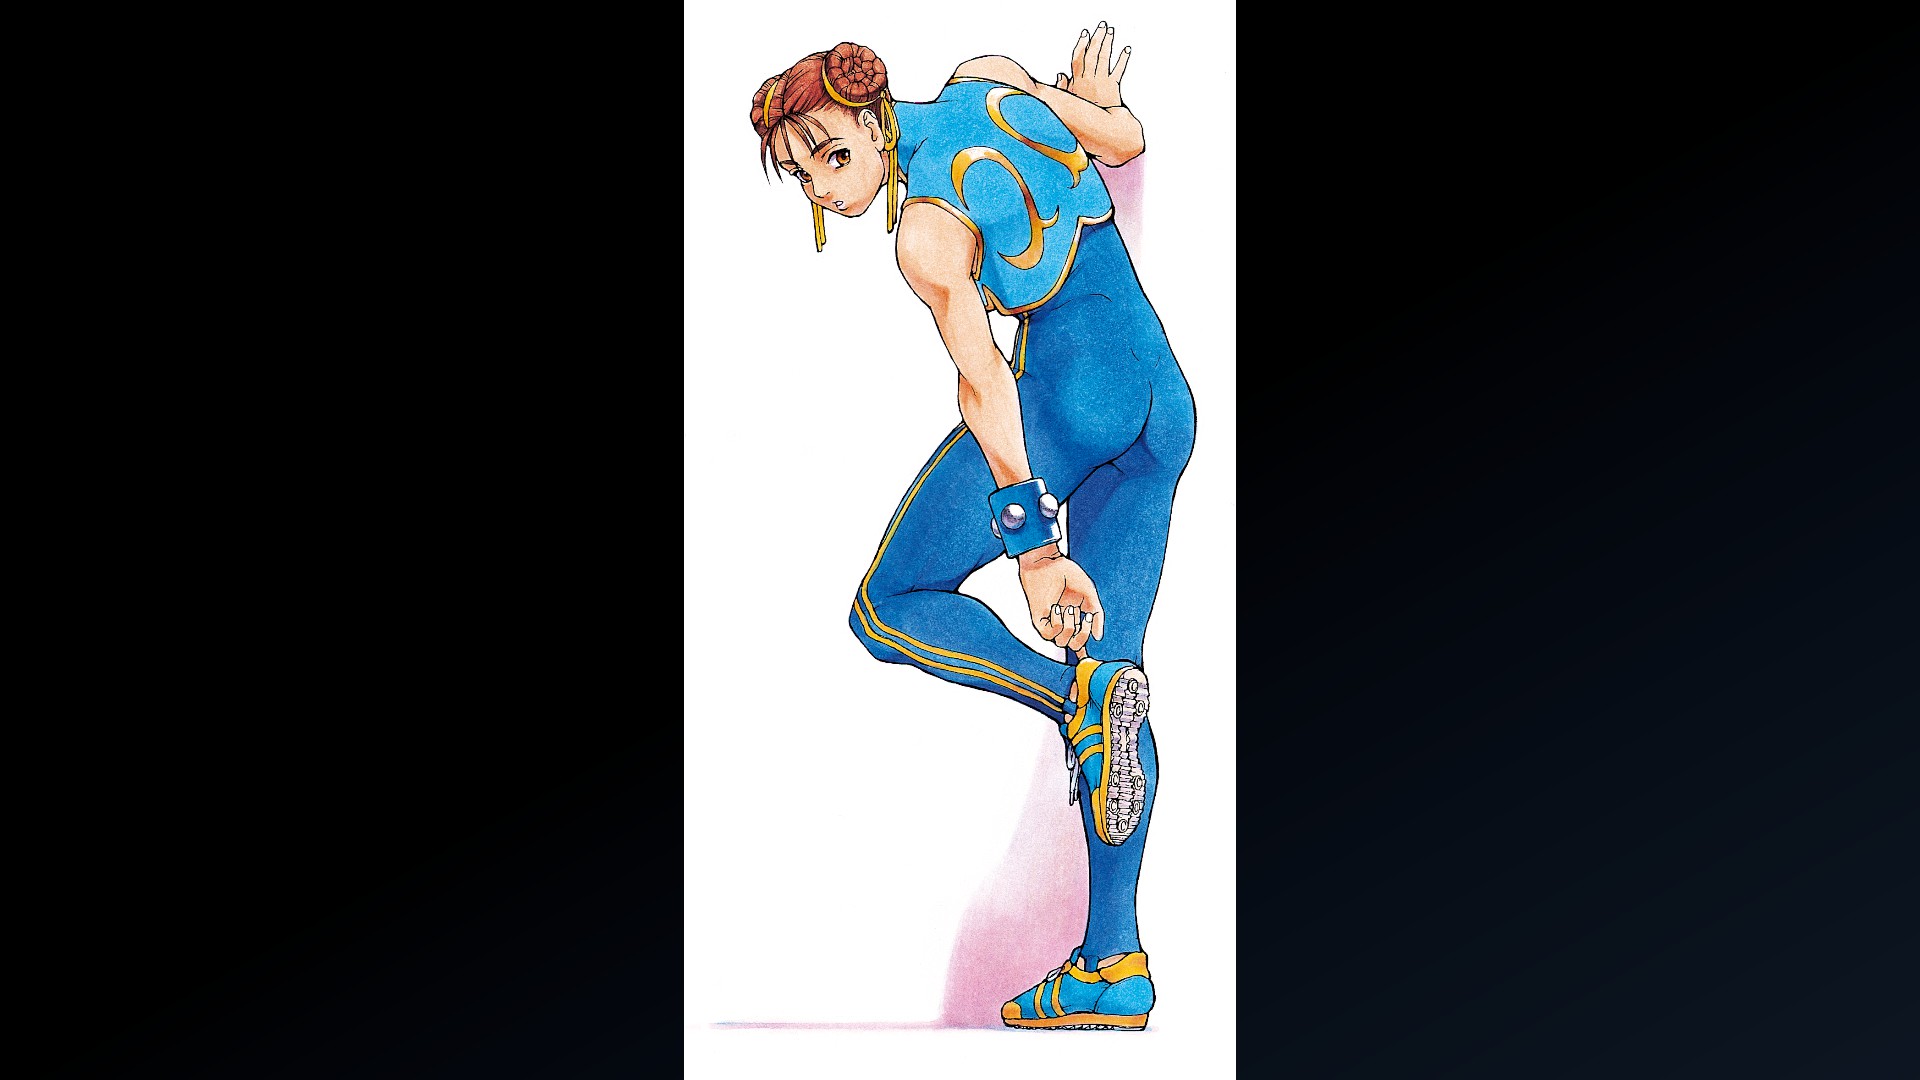
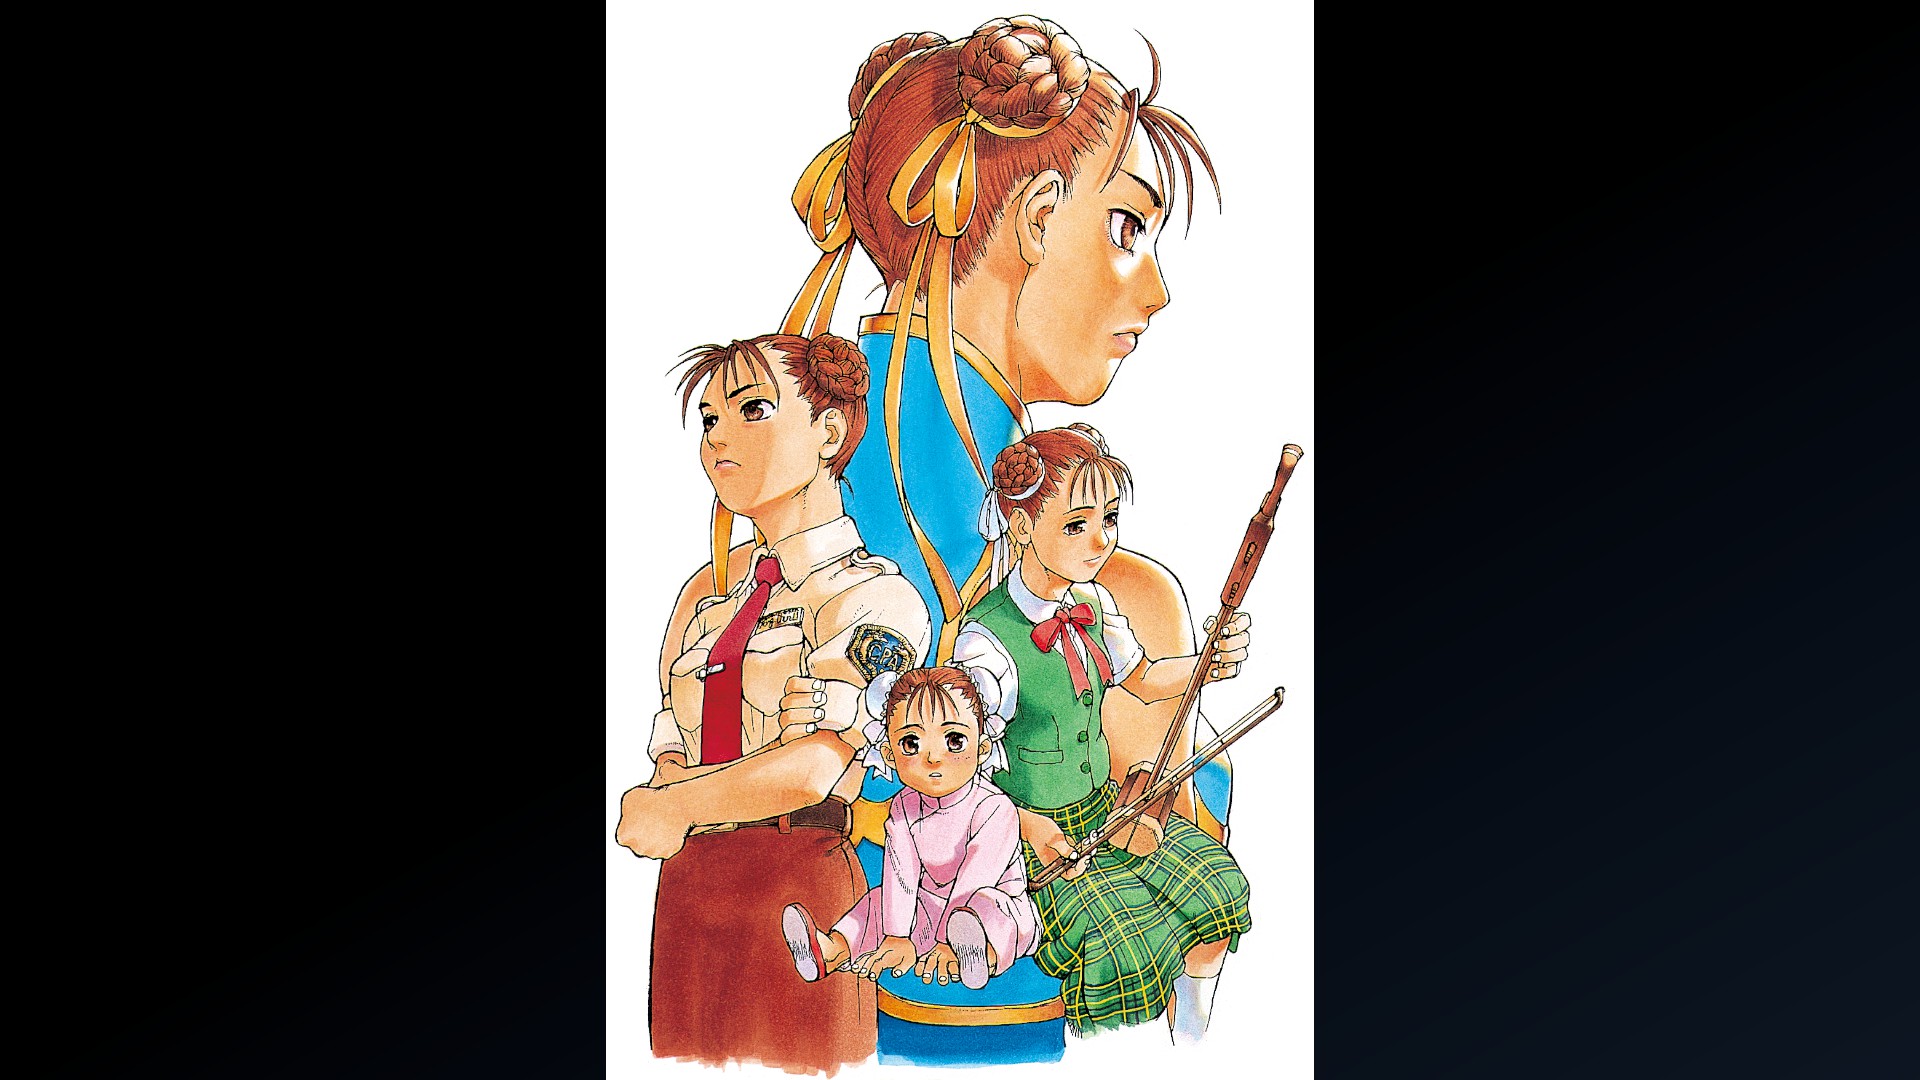
Character Design: Chun-Li (Clear Arcade Twice with Chun-Li)
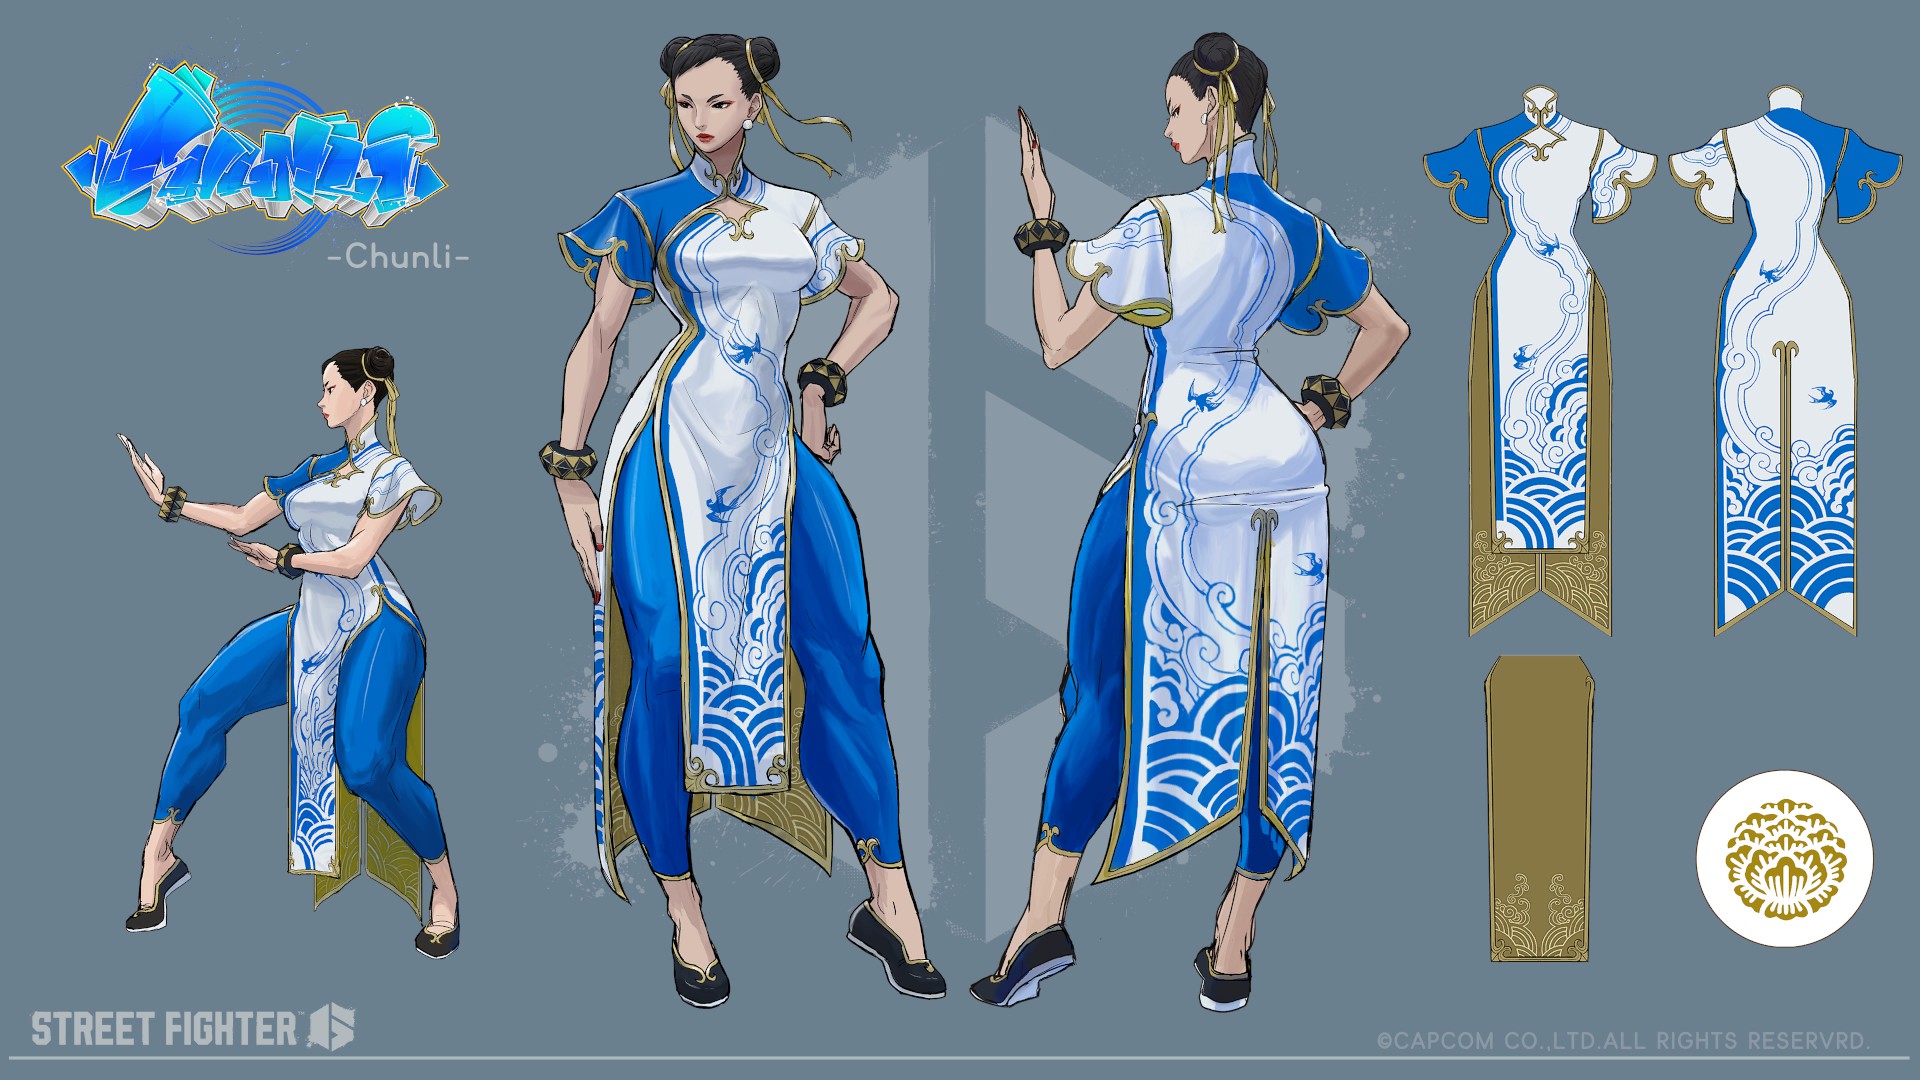
Unused Design: Chun-Li (Clear Arcade Three Times with Chun-Li)
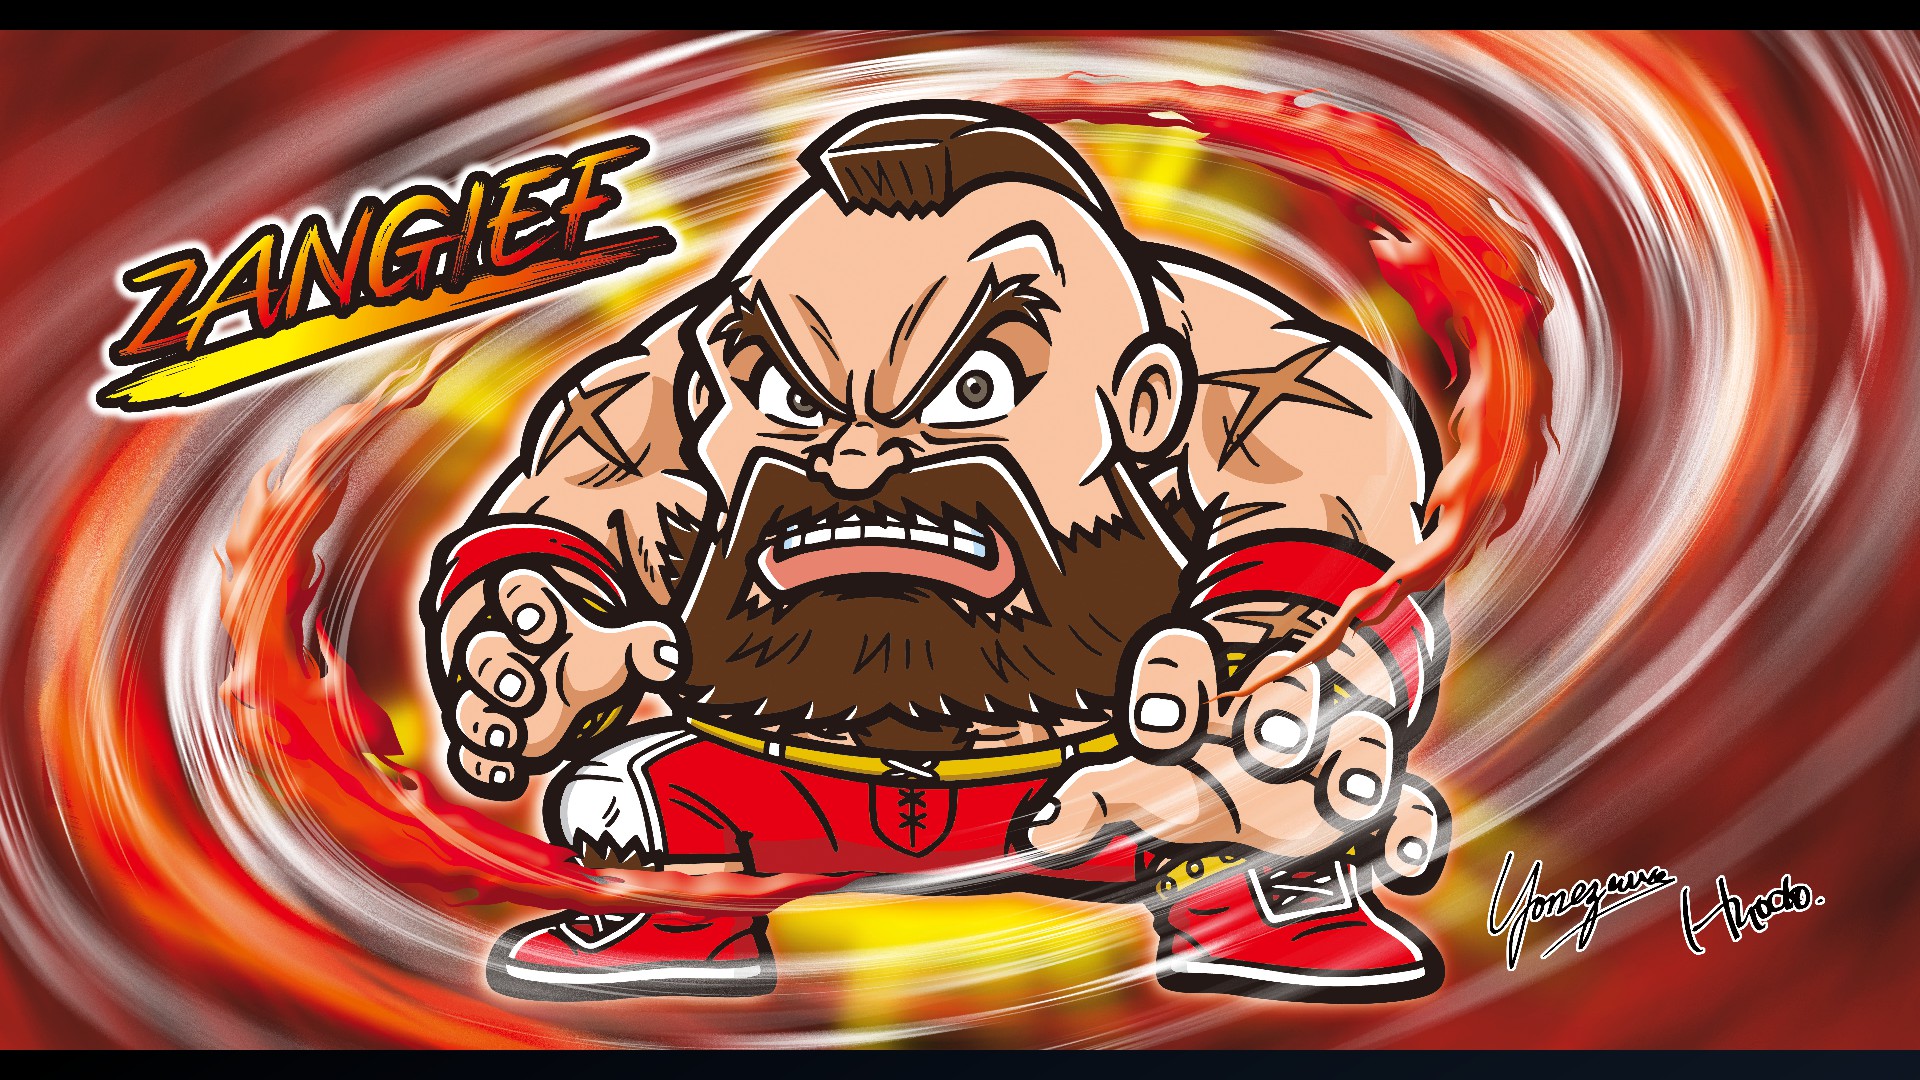
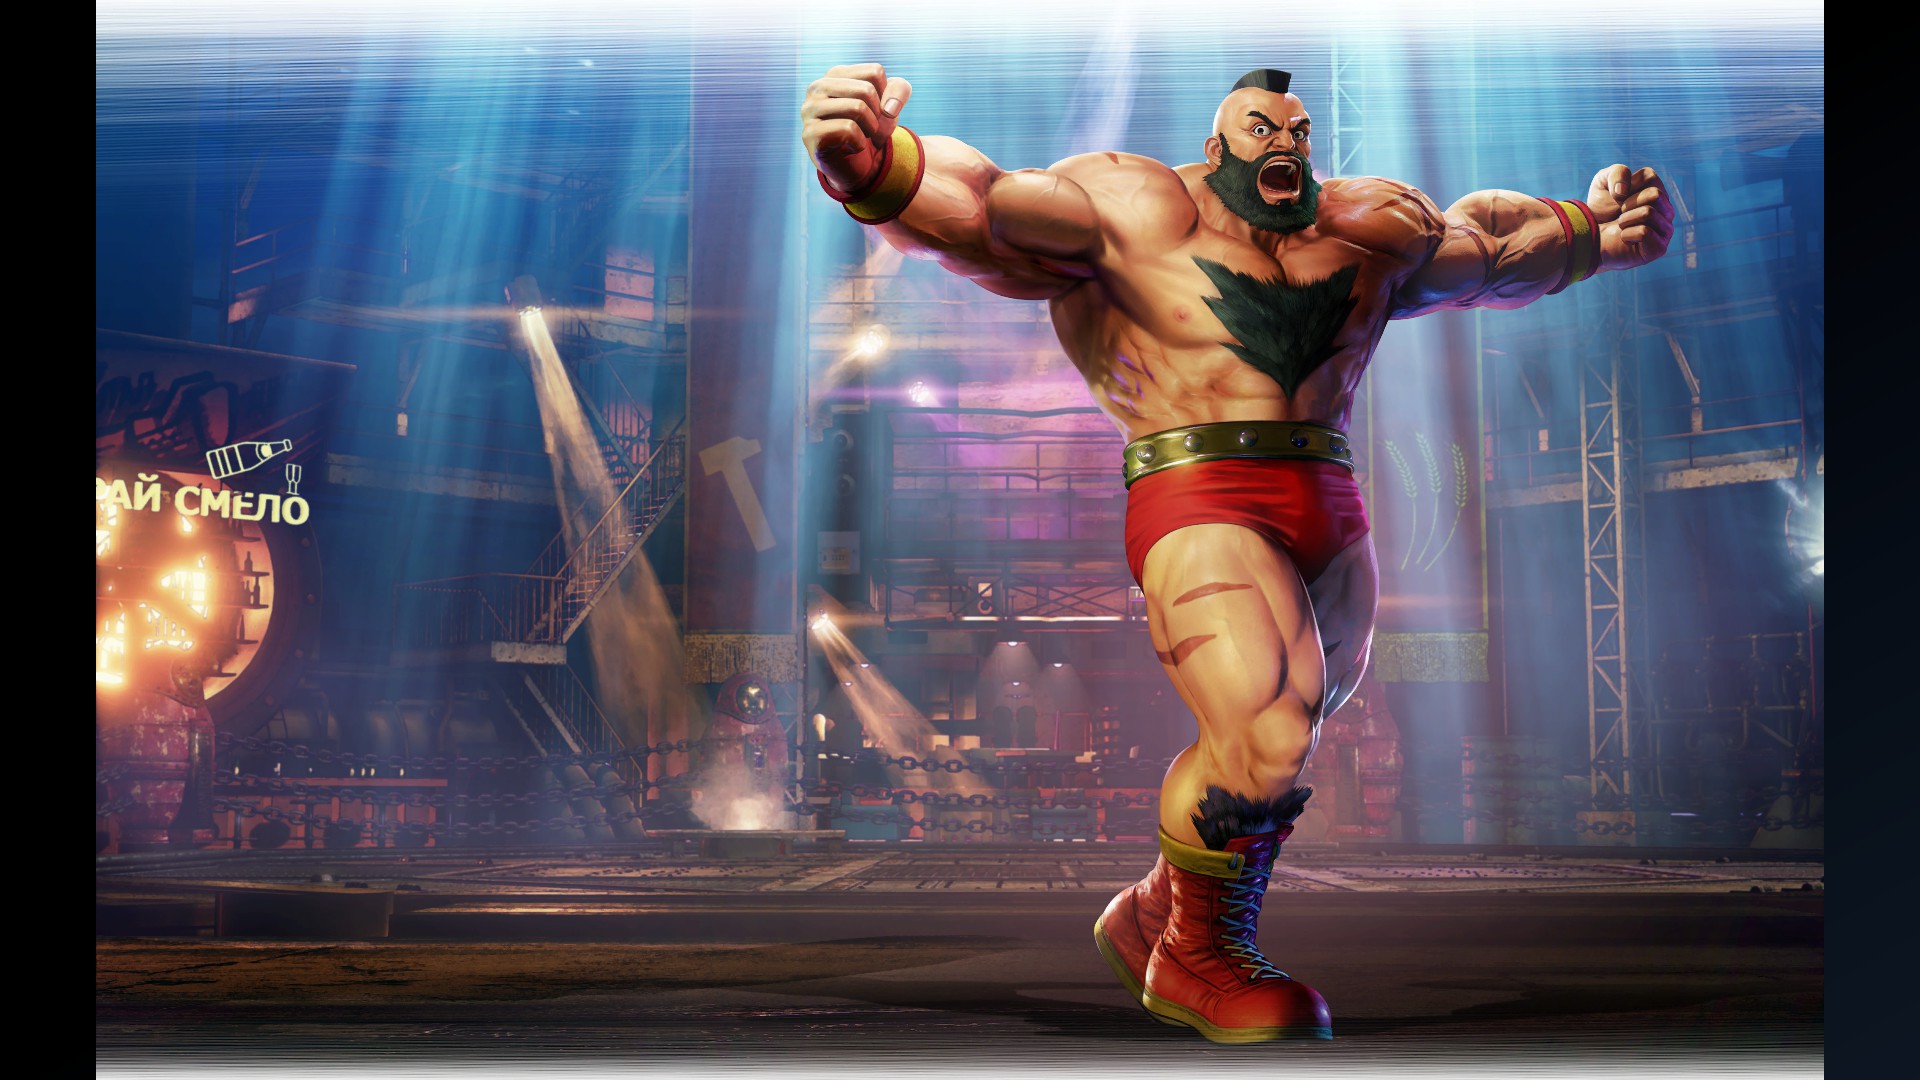
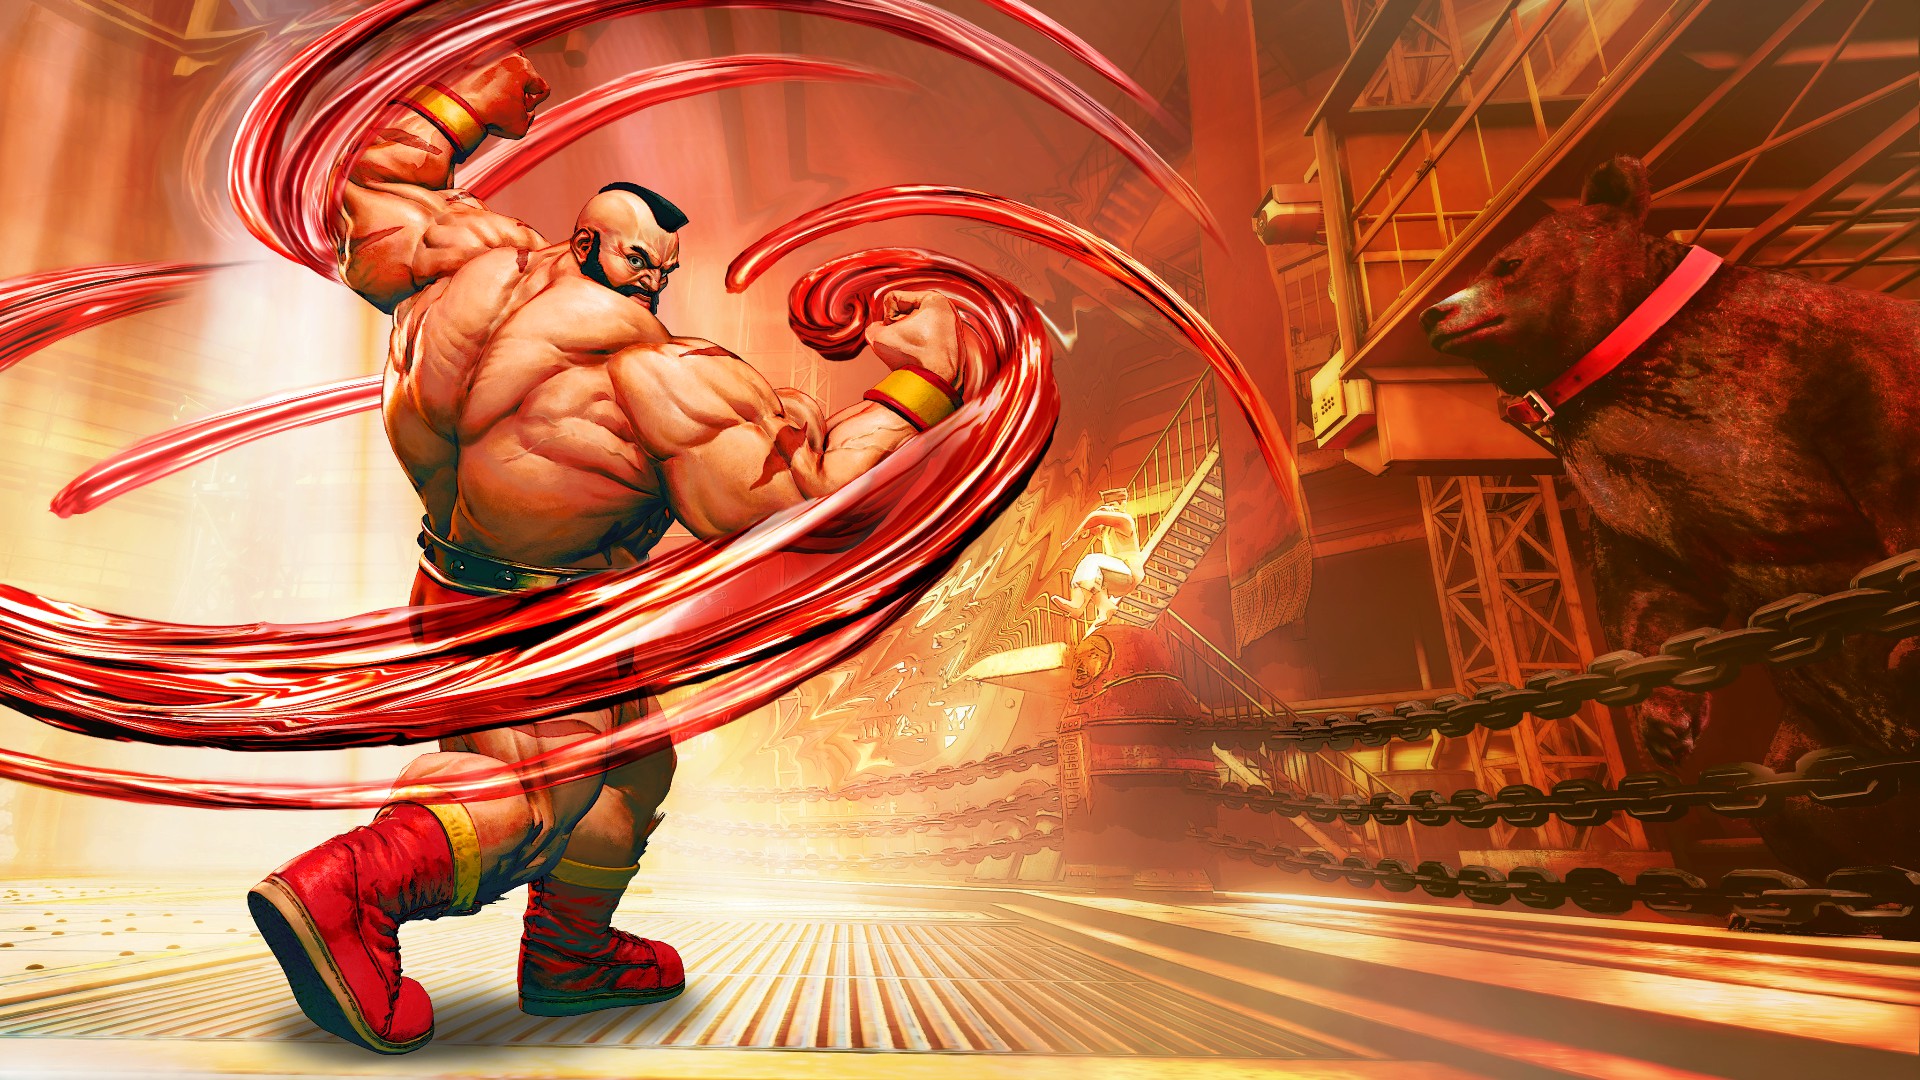
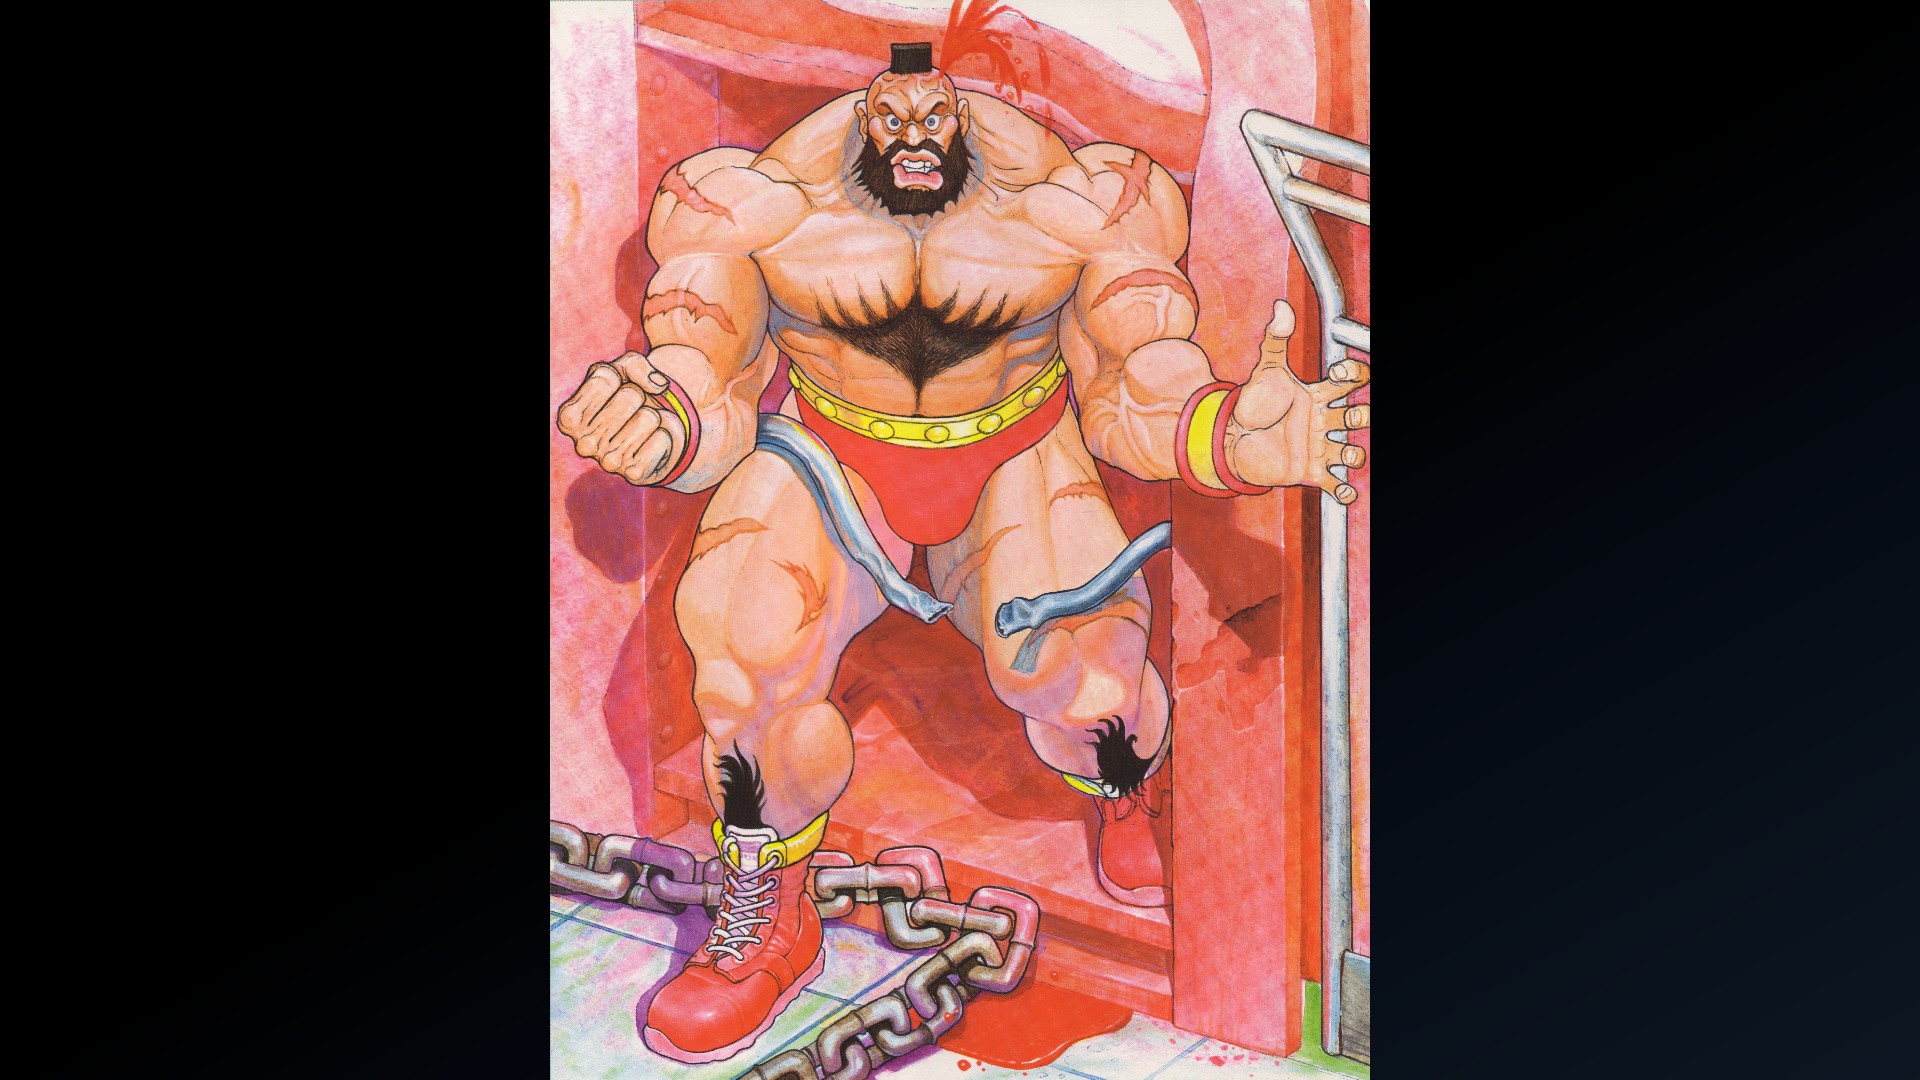
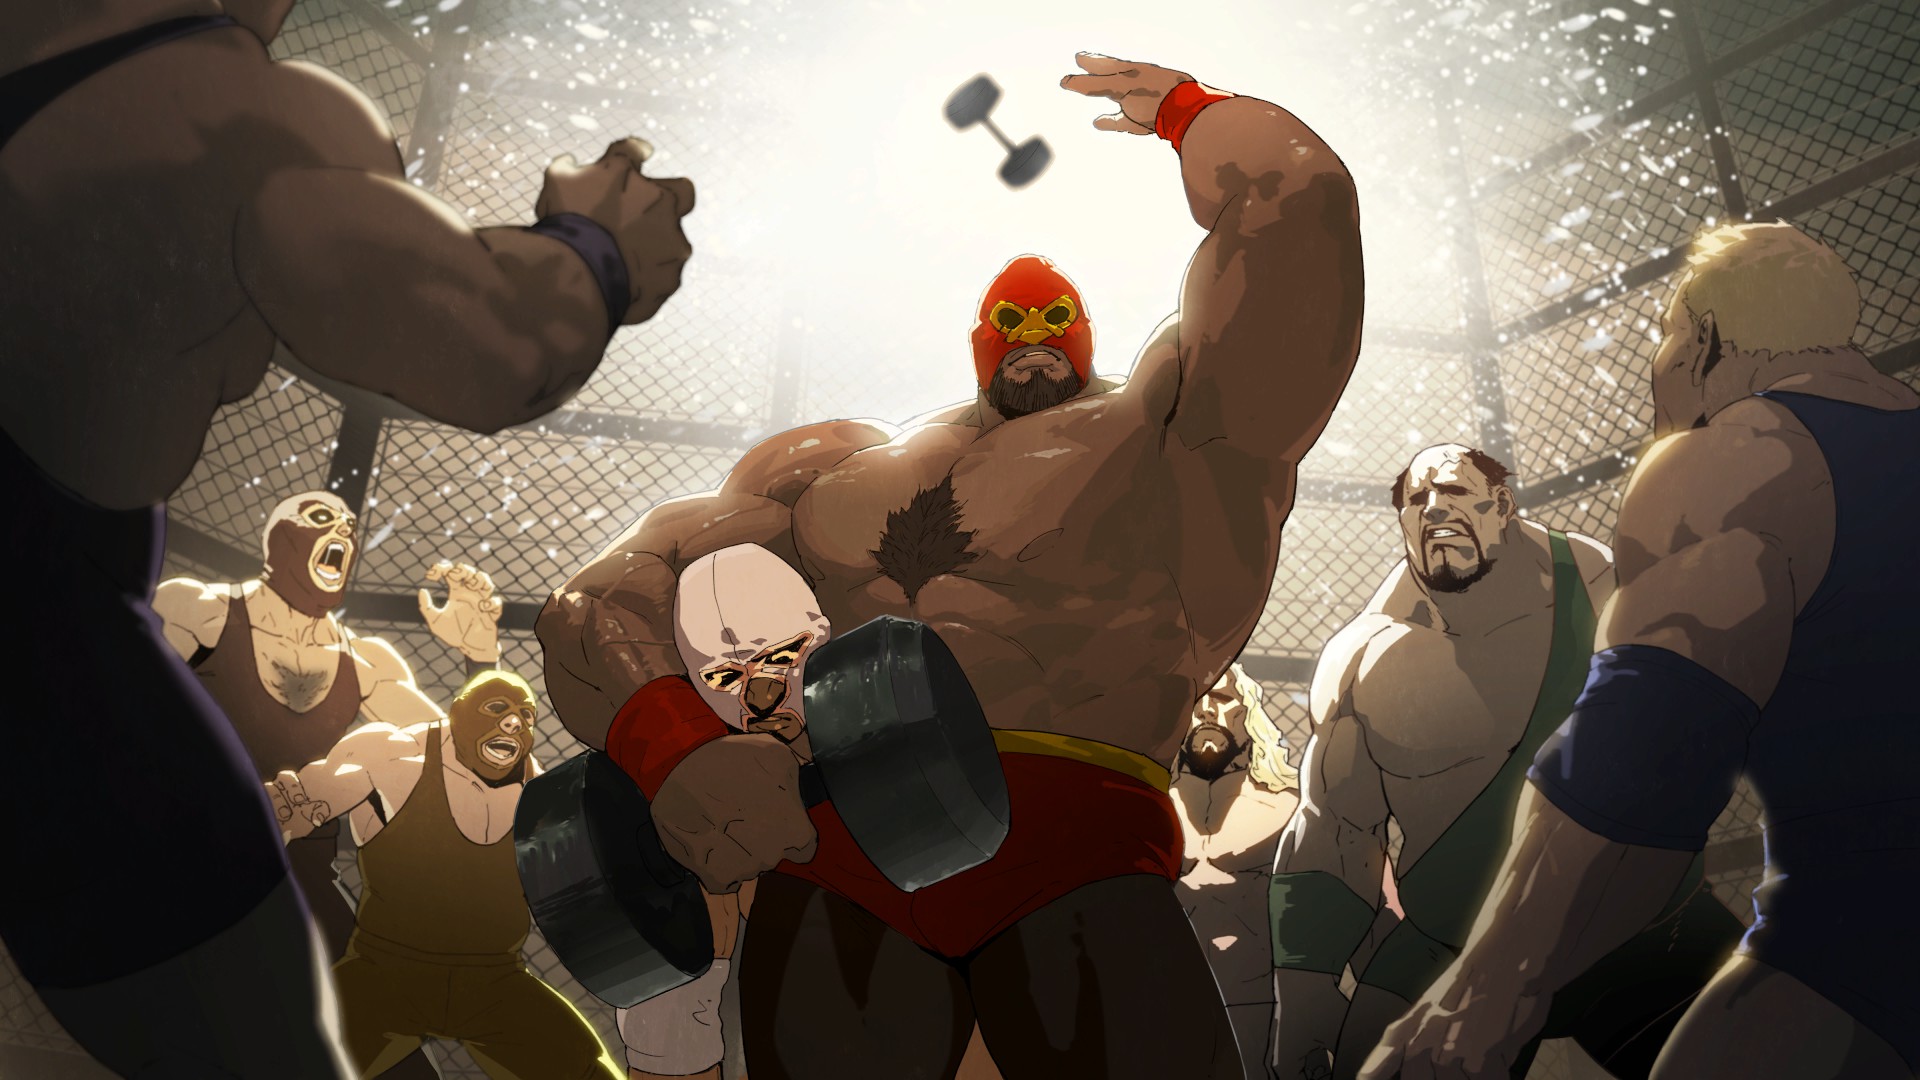
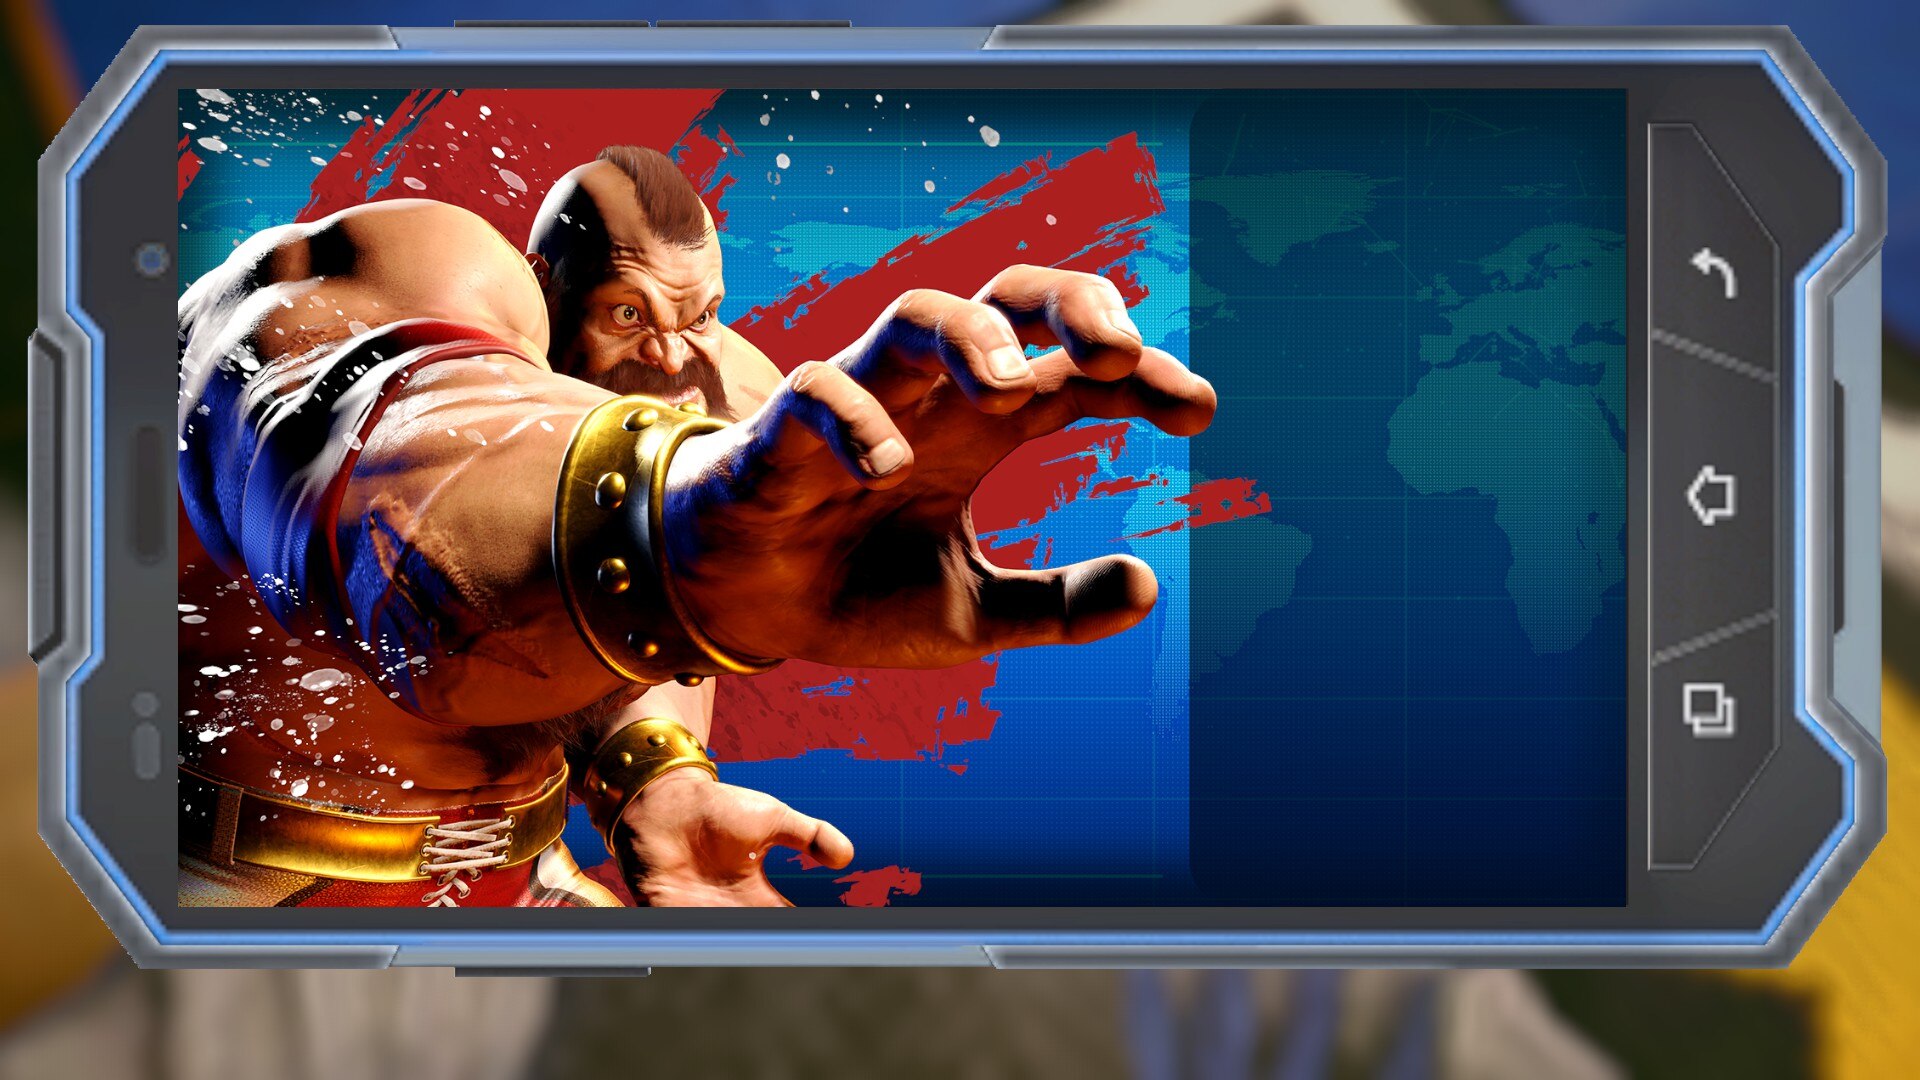
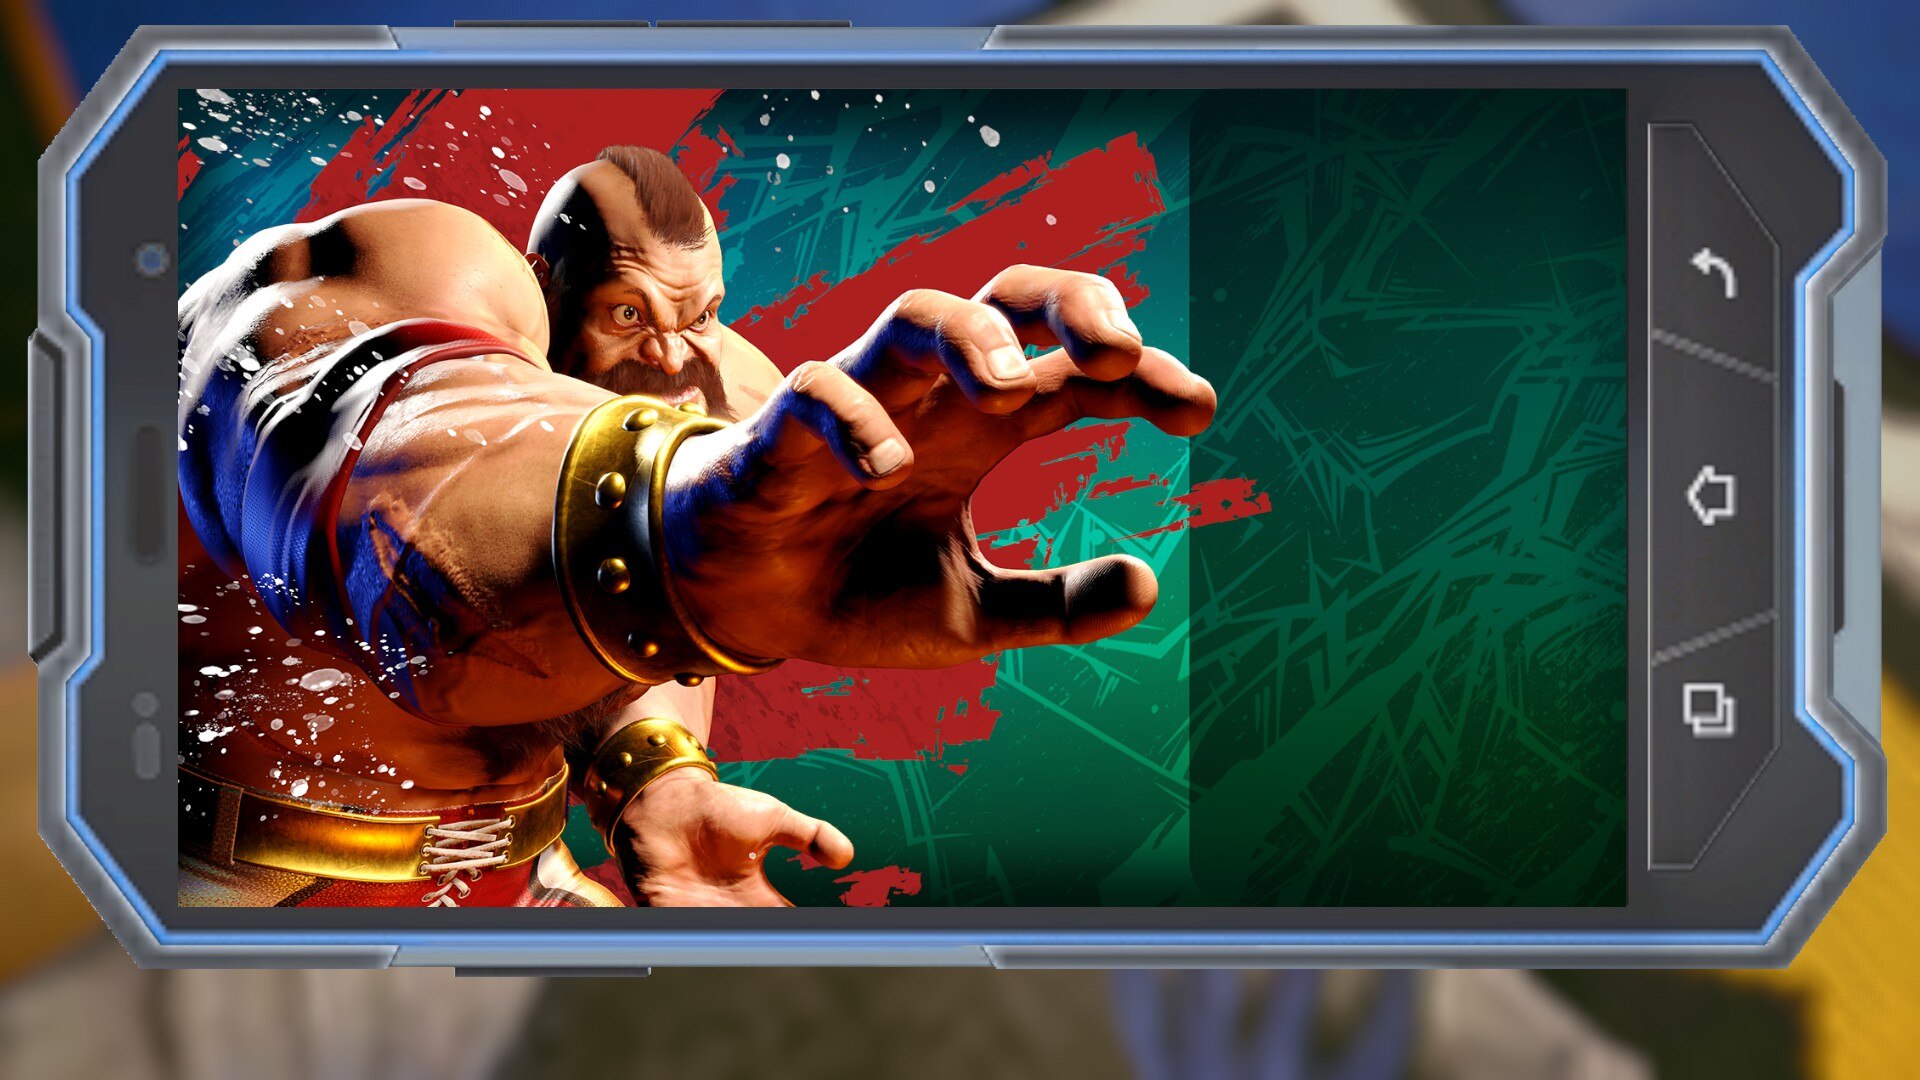
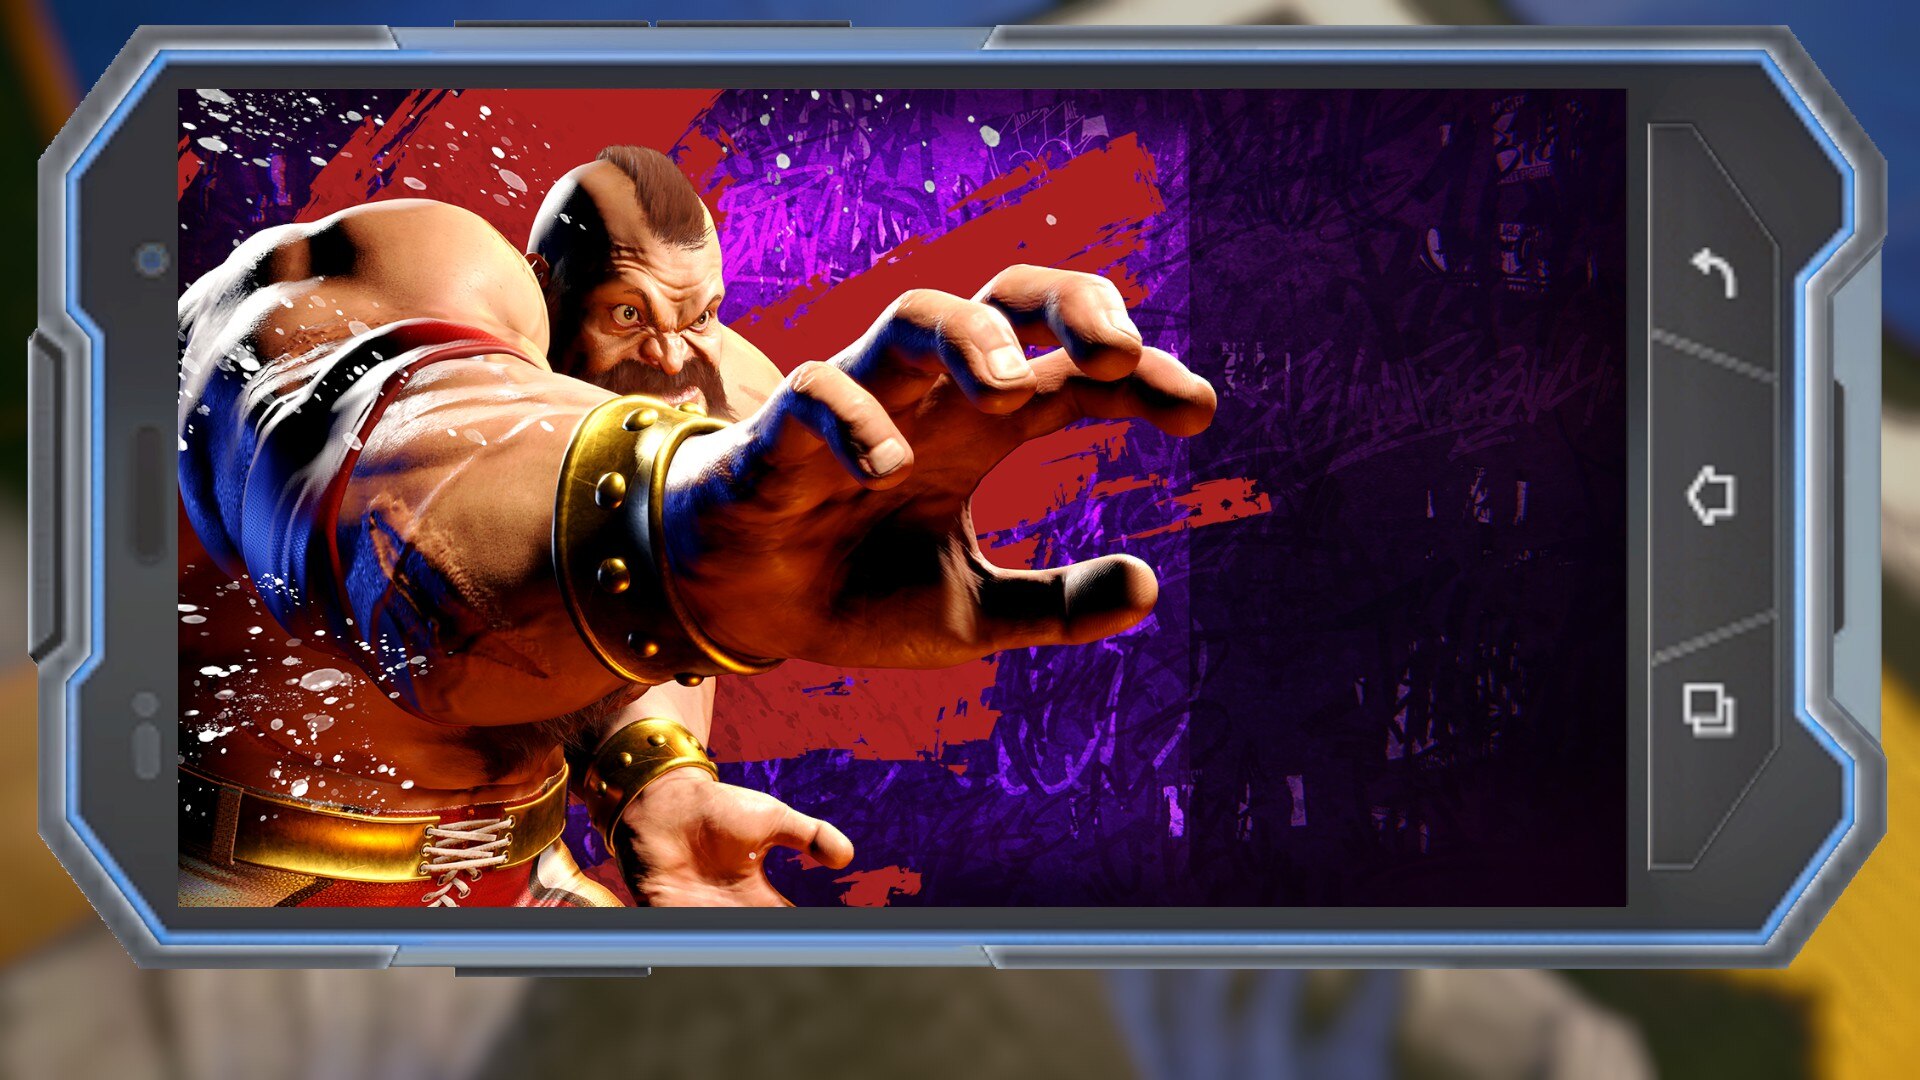
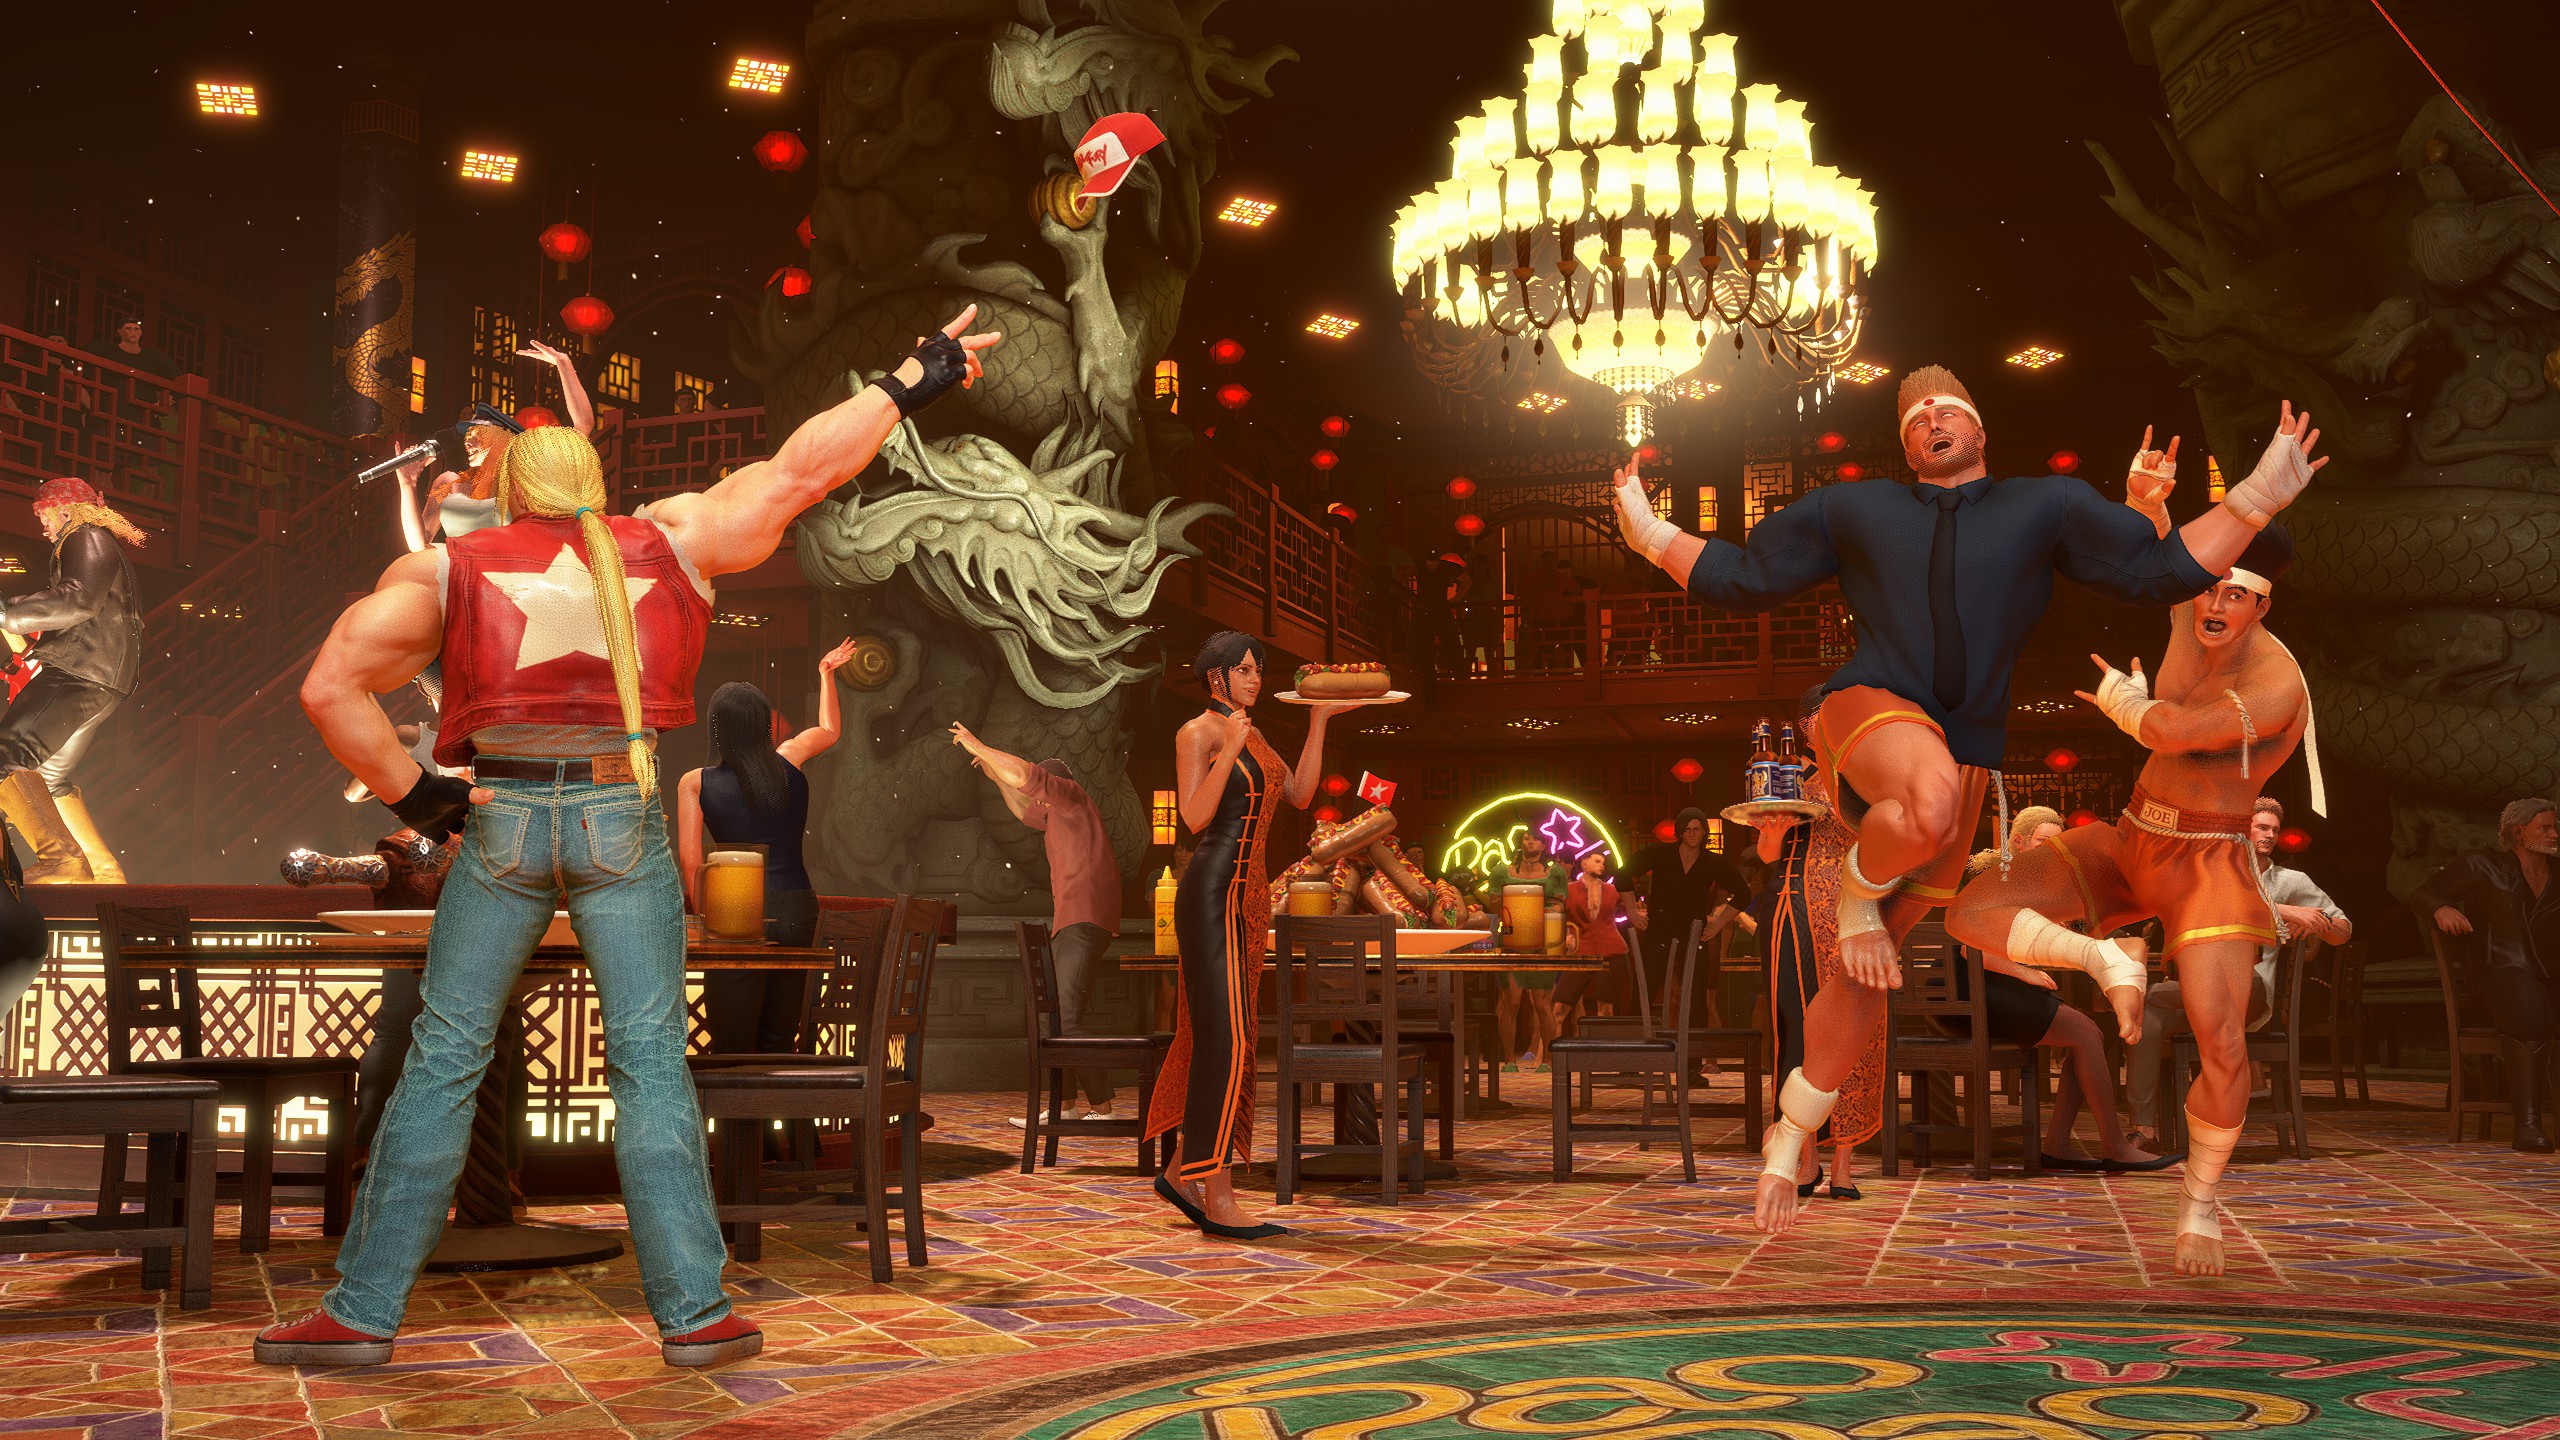
Zangief - Special Artwork: Green House Yonezawa/Hyodo
(Clear Arcade Once with Zangief)
(Clear Arcade Once with Zangief)
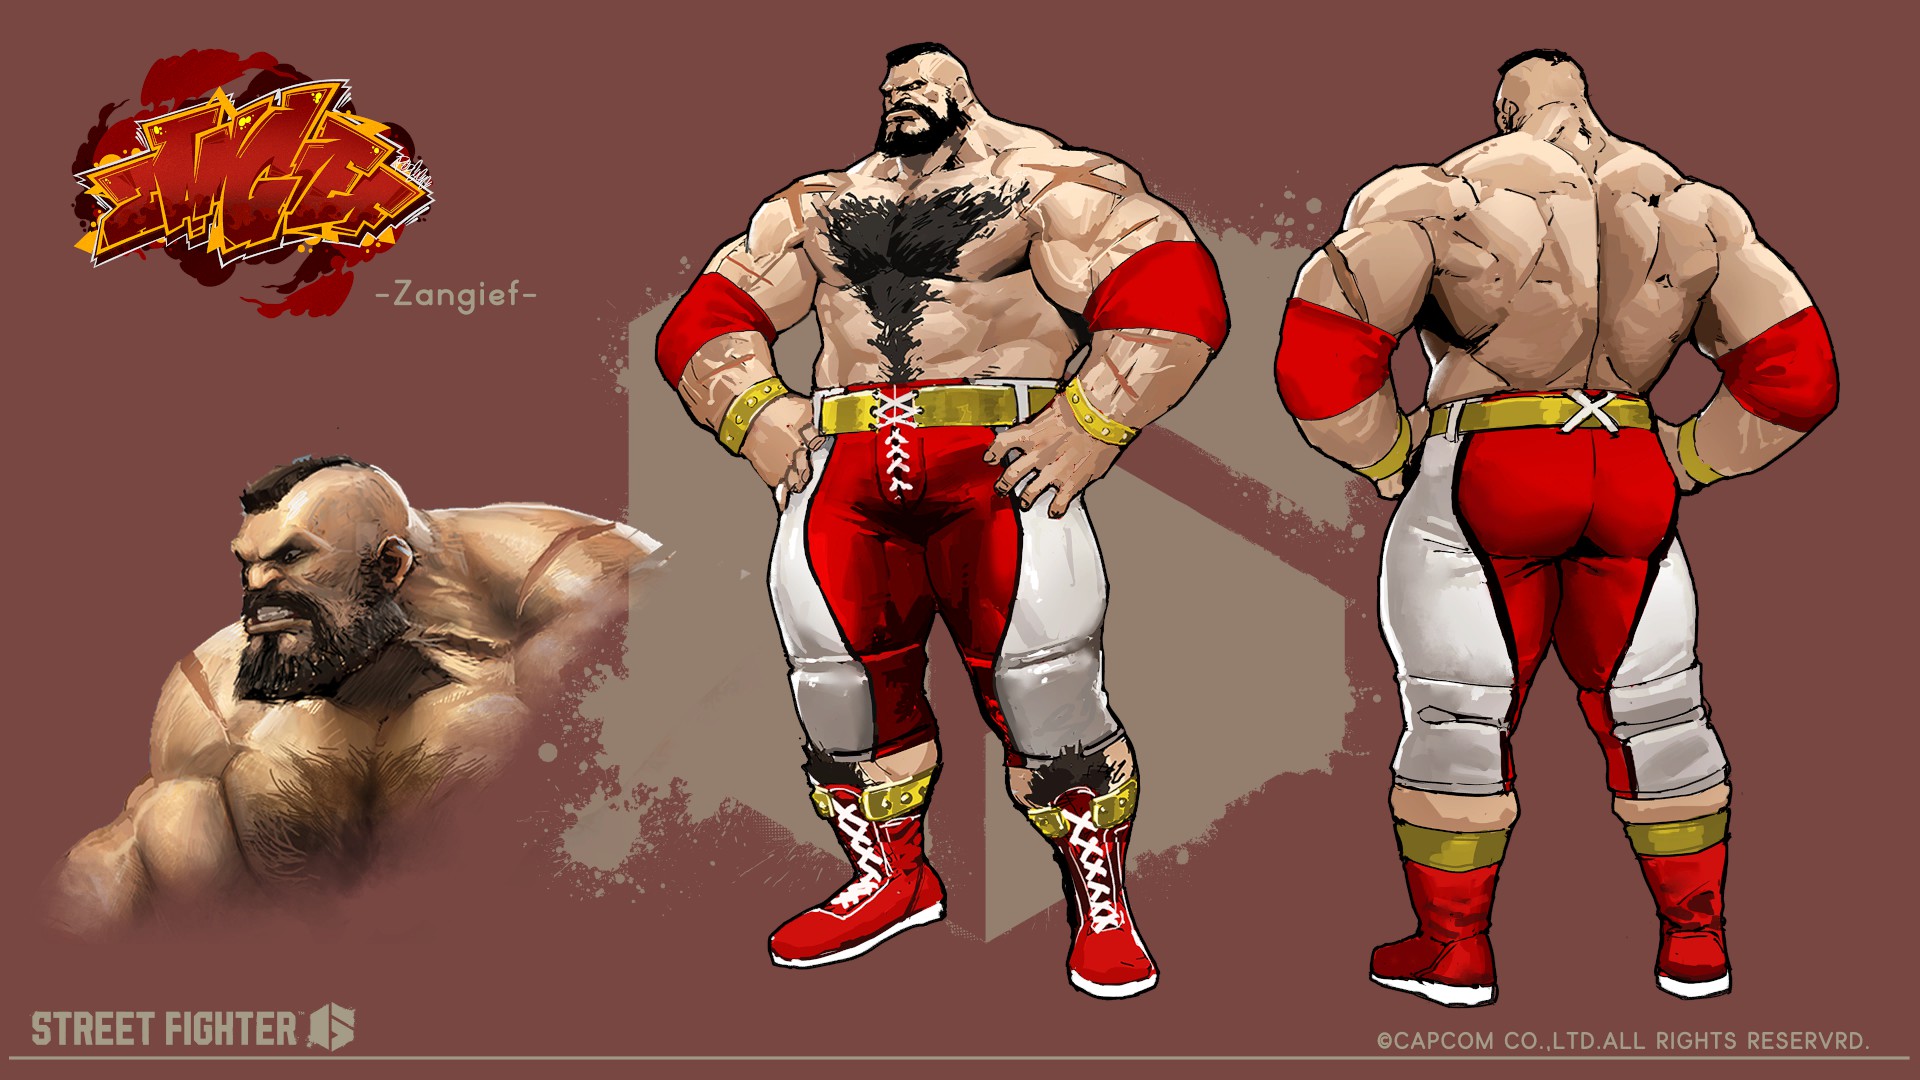
Character Design: Zangief (Clear Arcade Twice with Zangief)
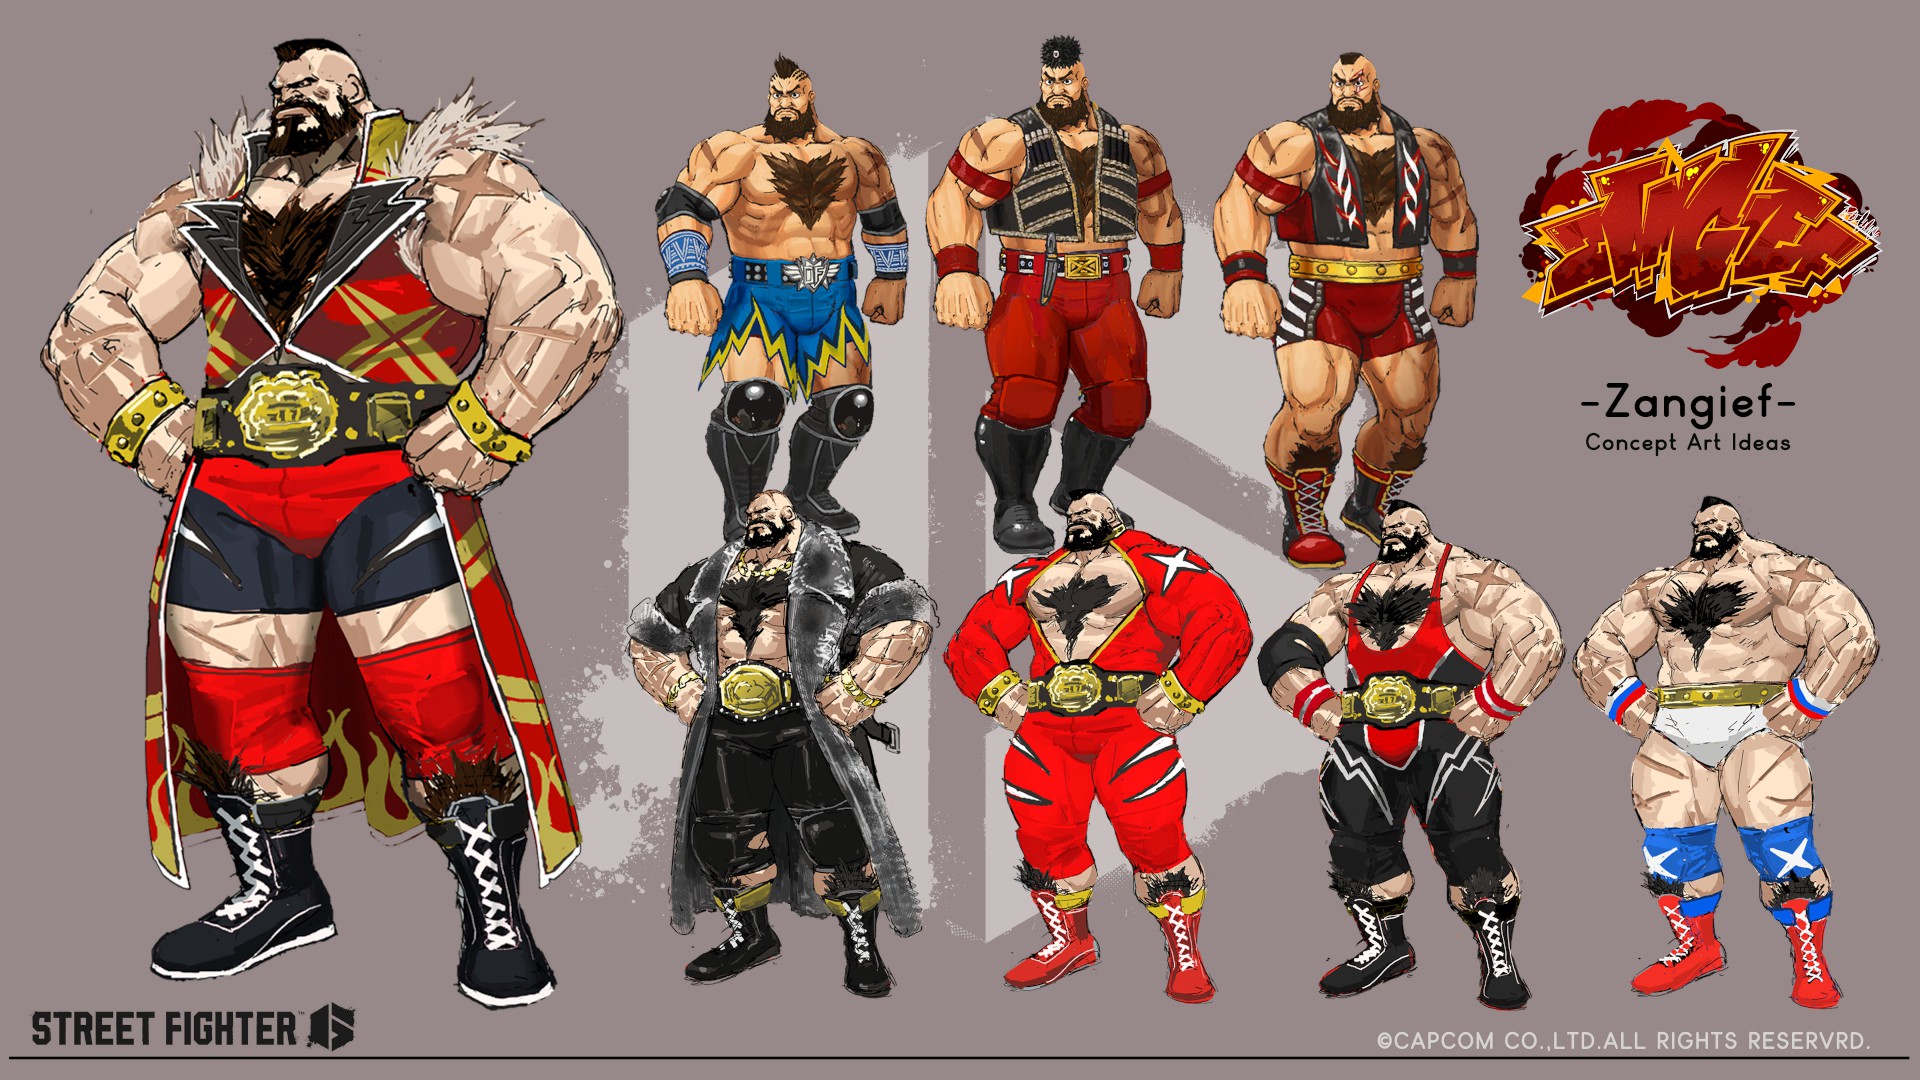
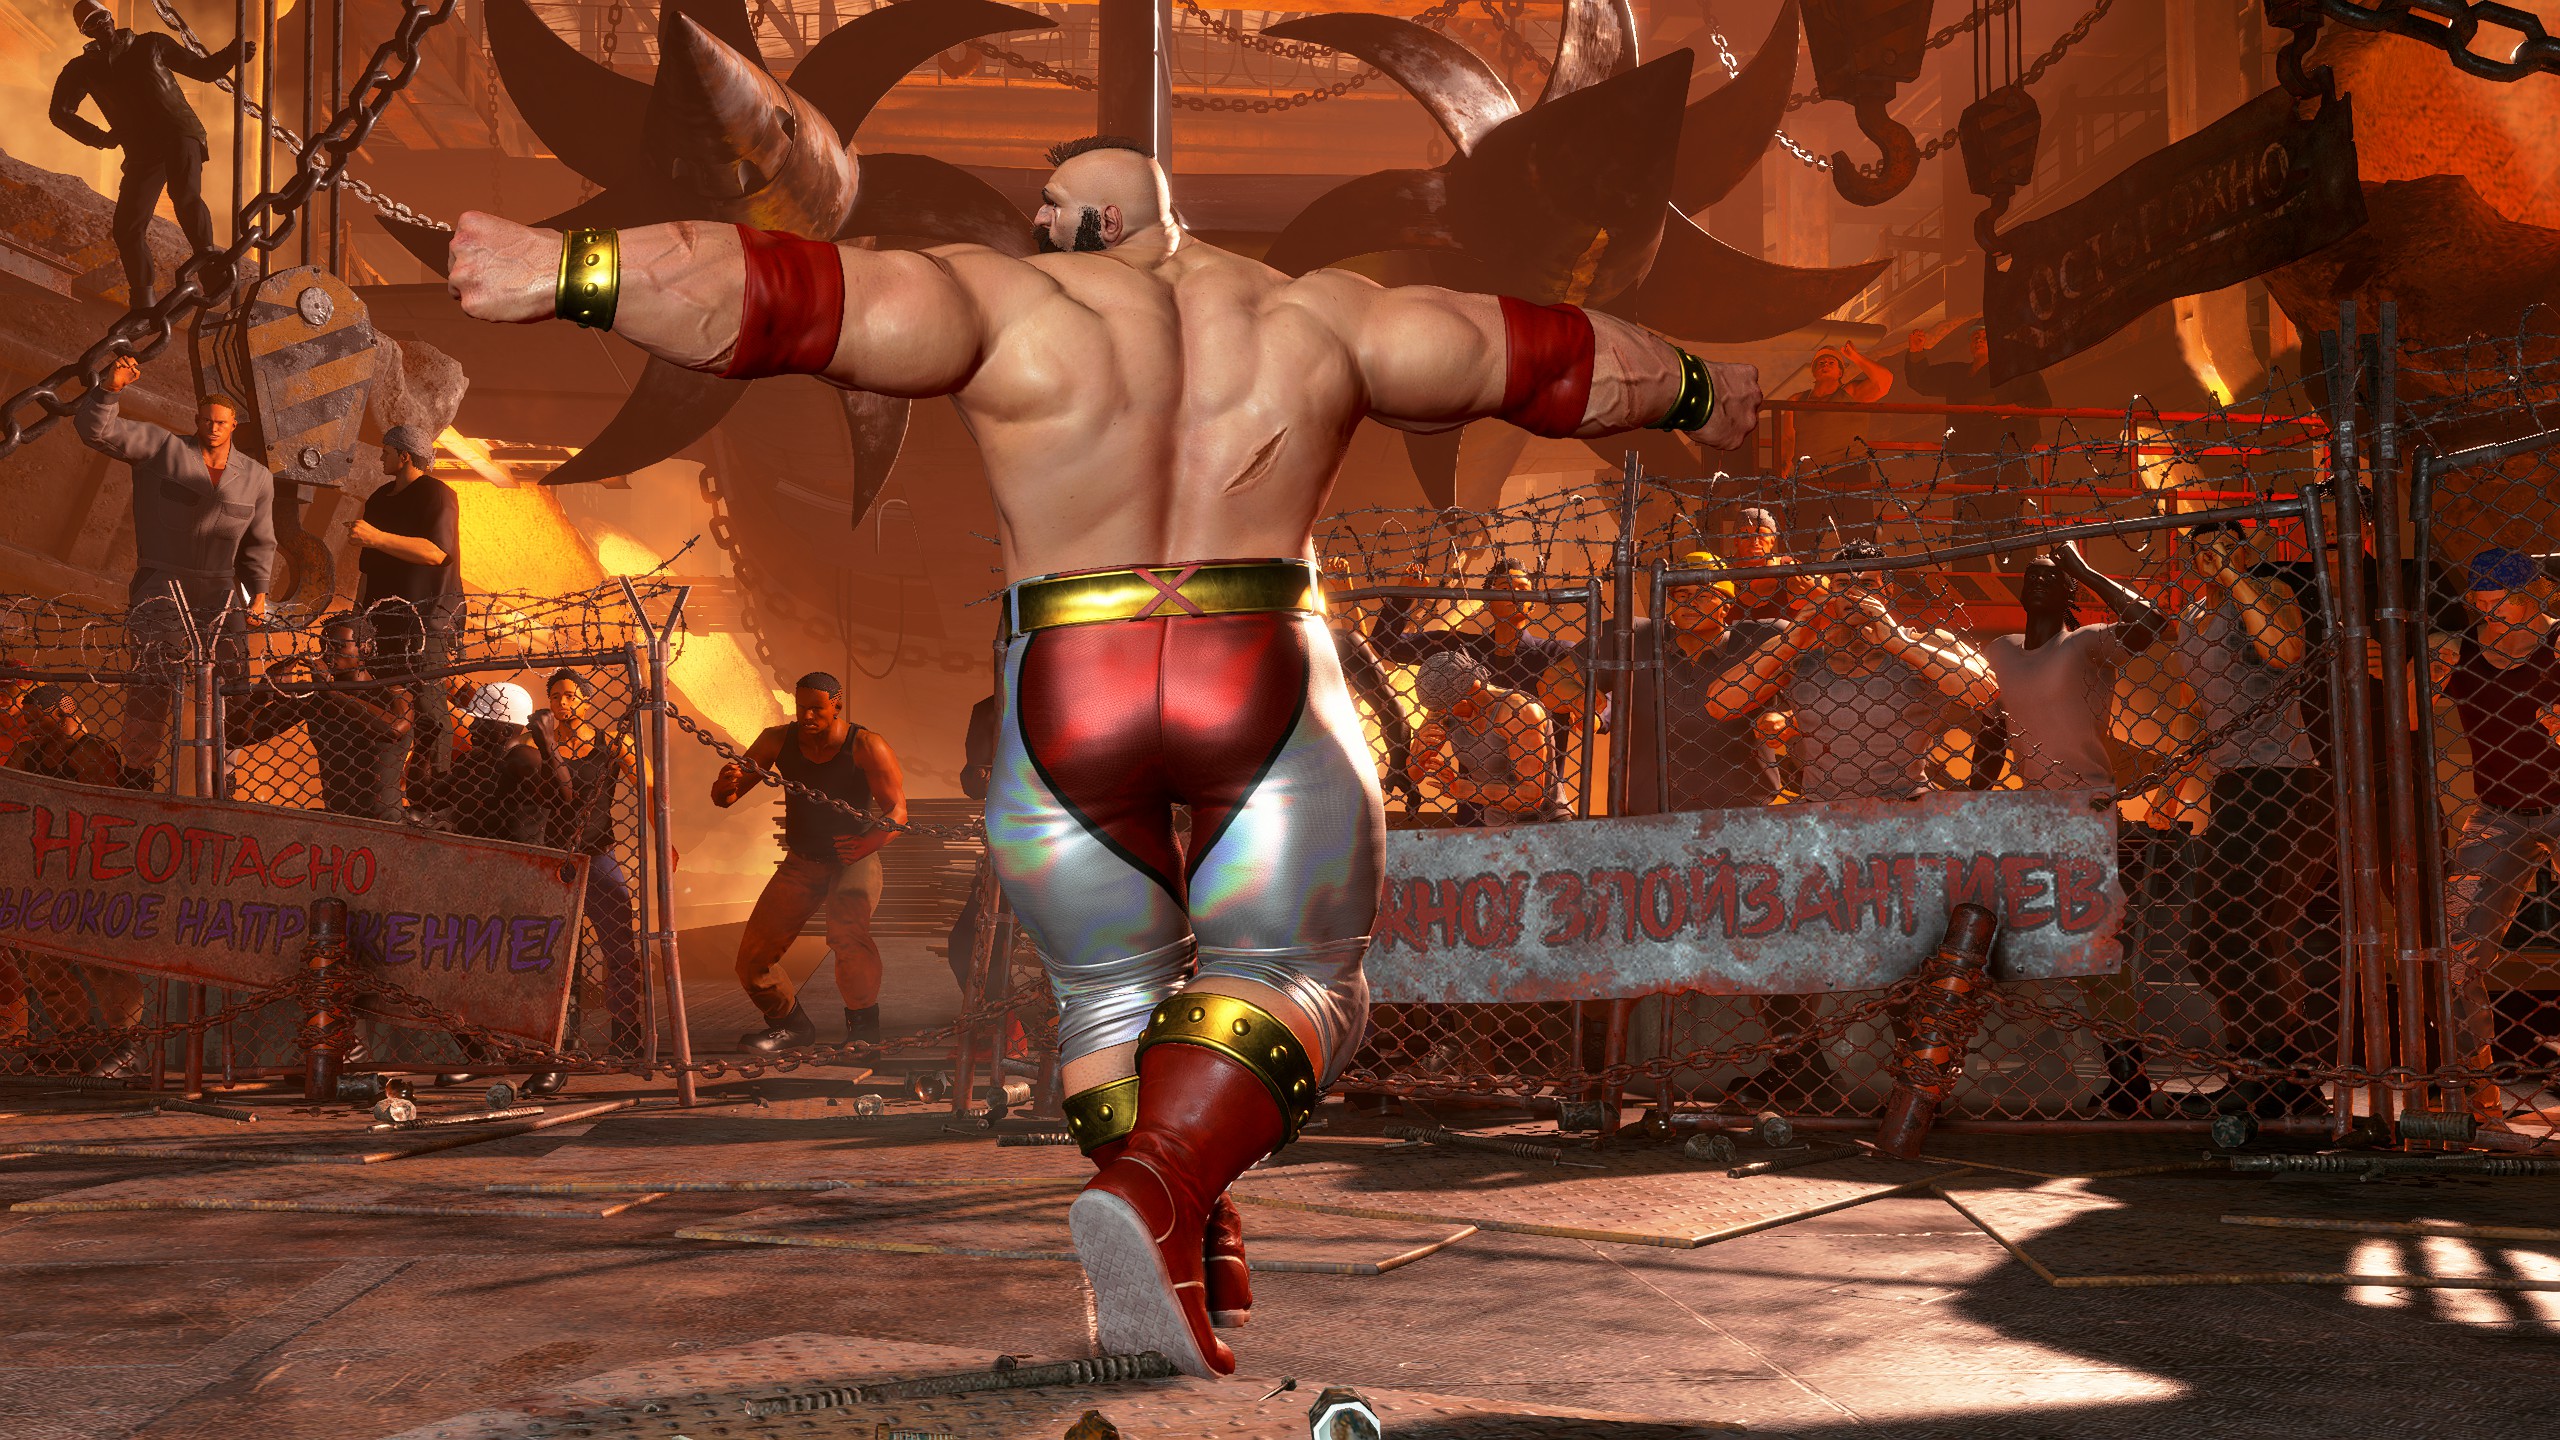
Unused Design: Zangief (Clear Arcade Three Times with Zangief)
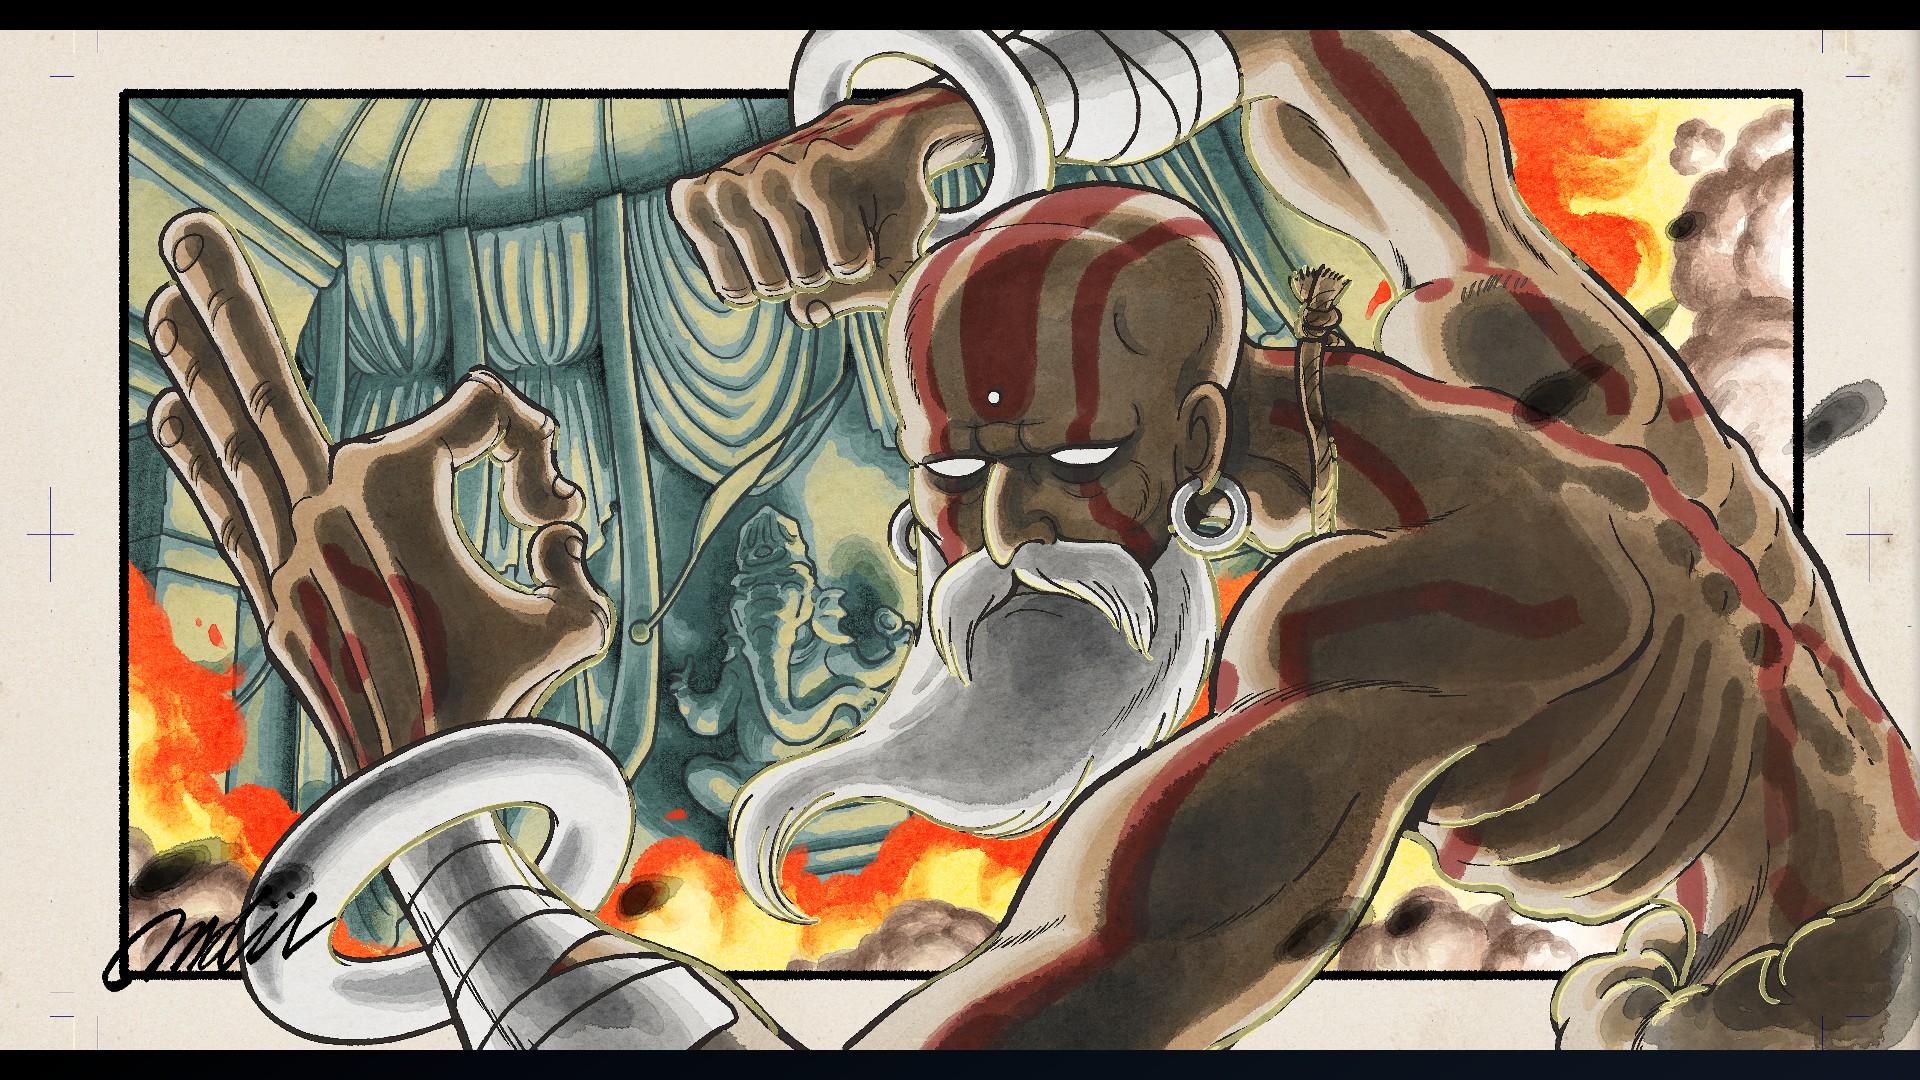
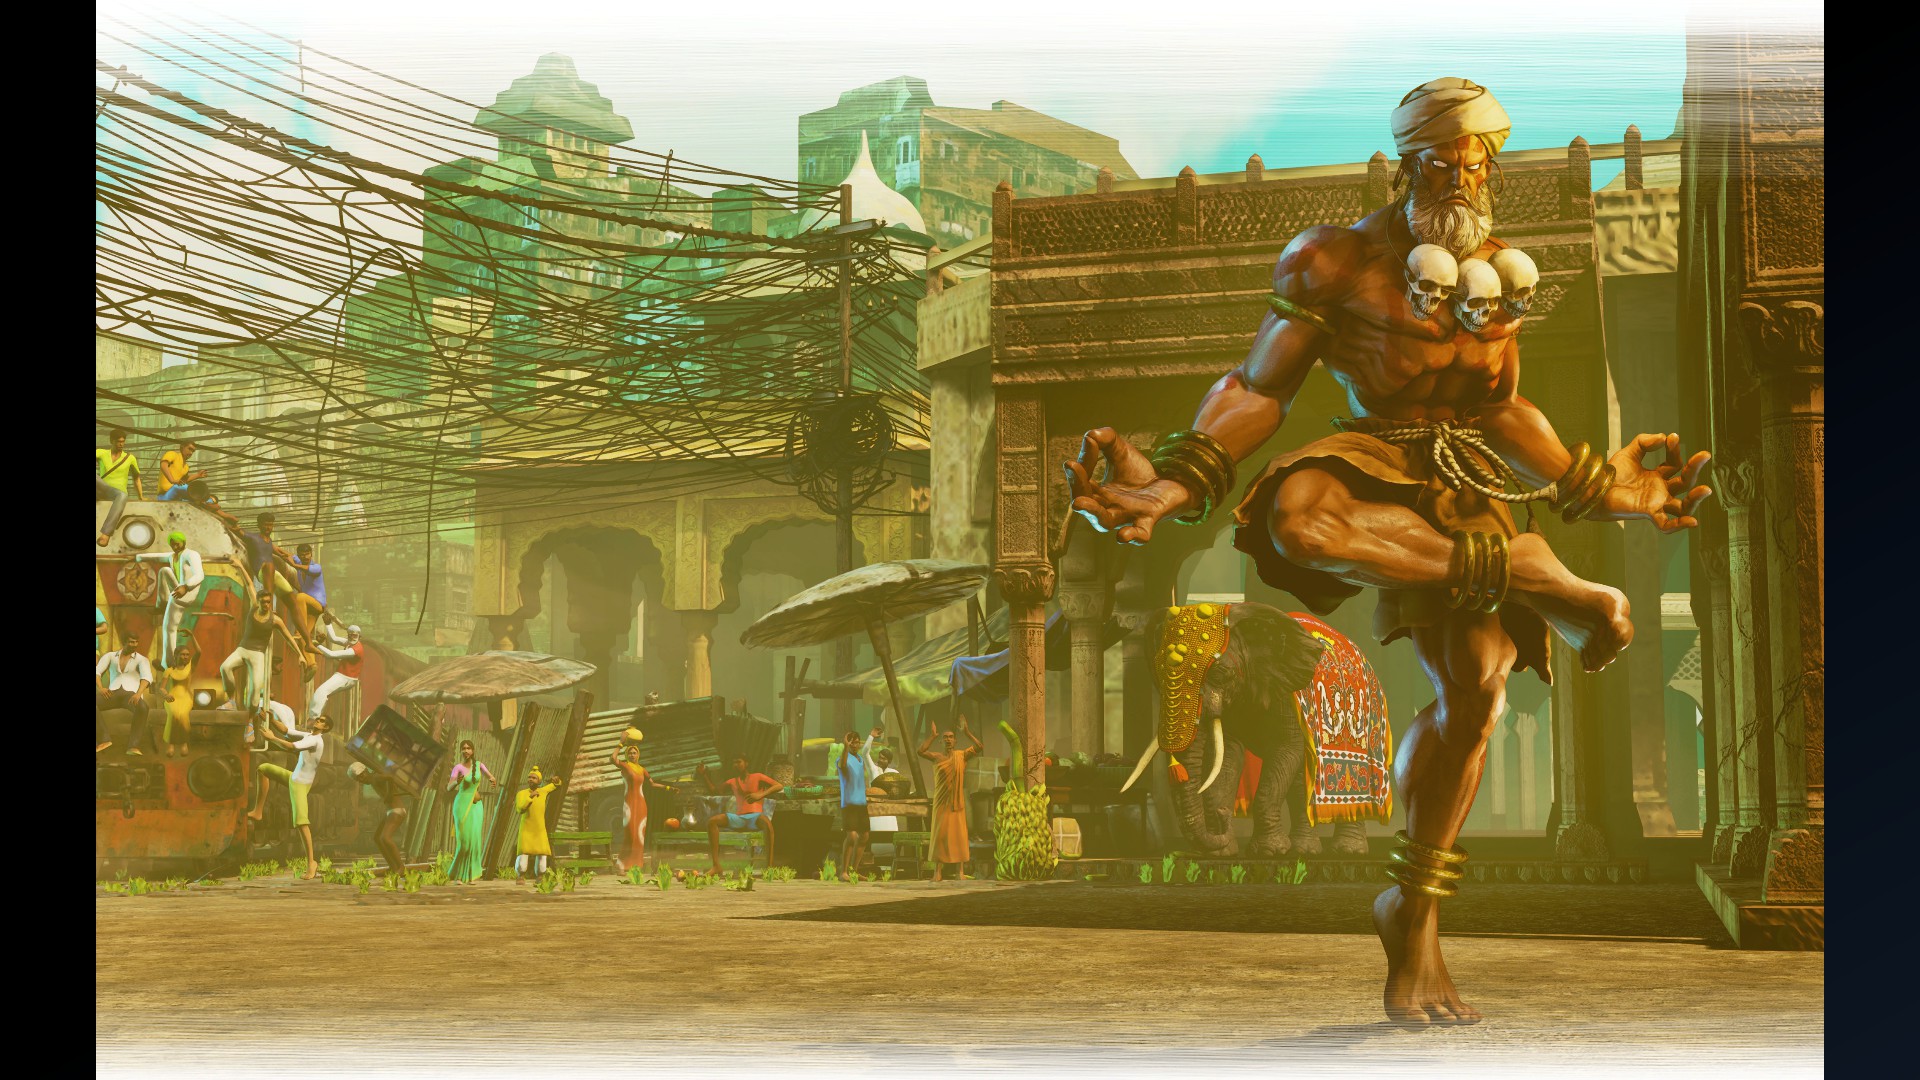
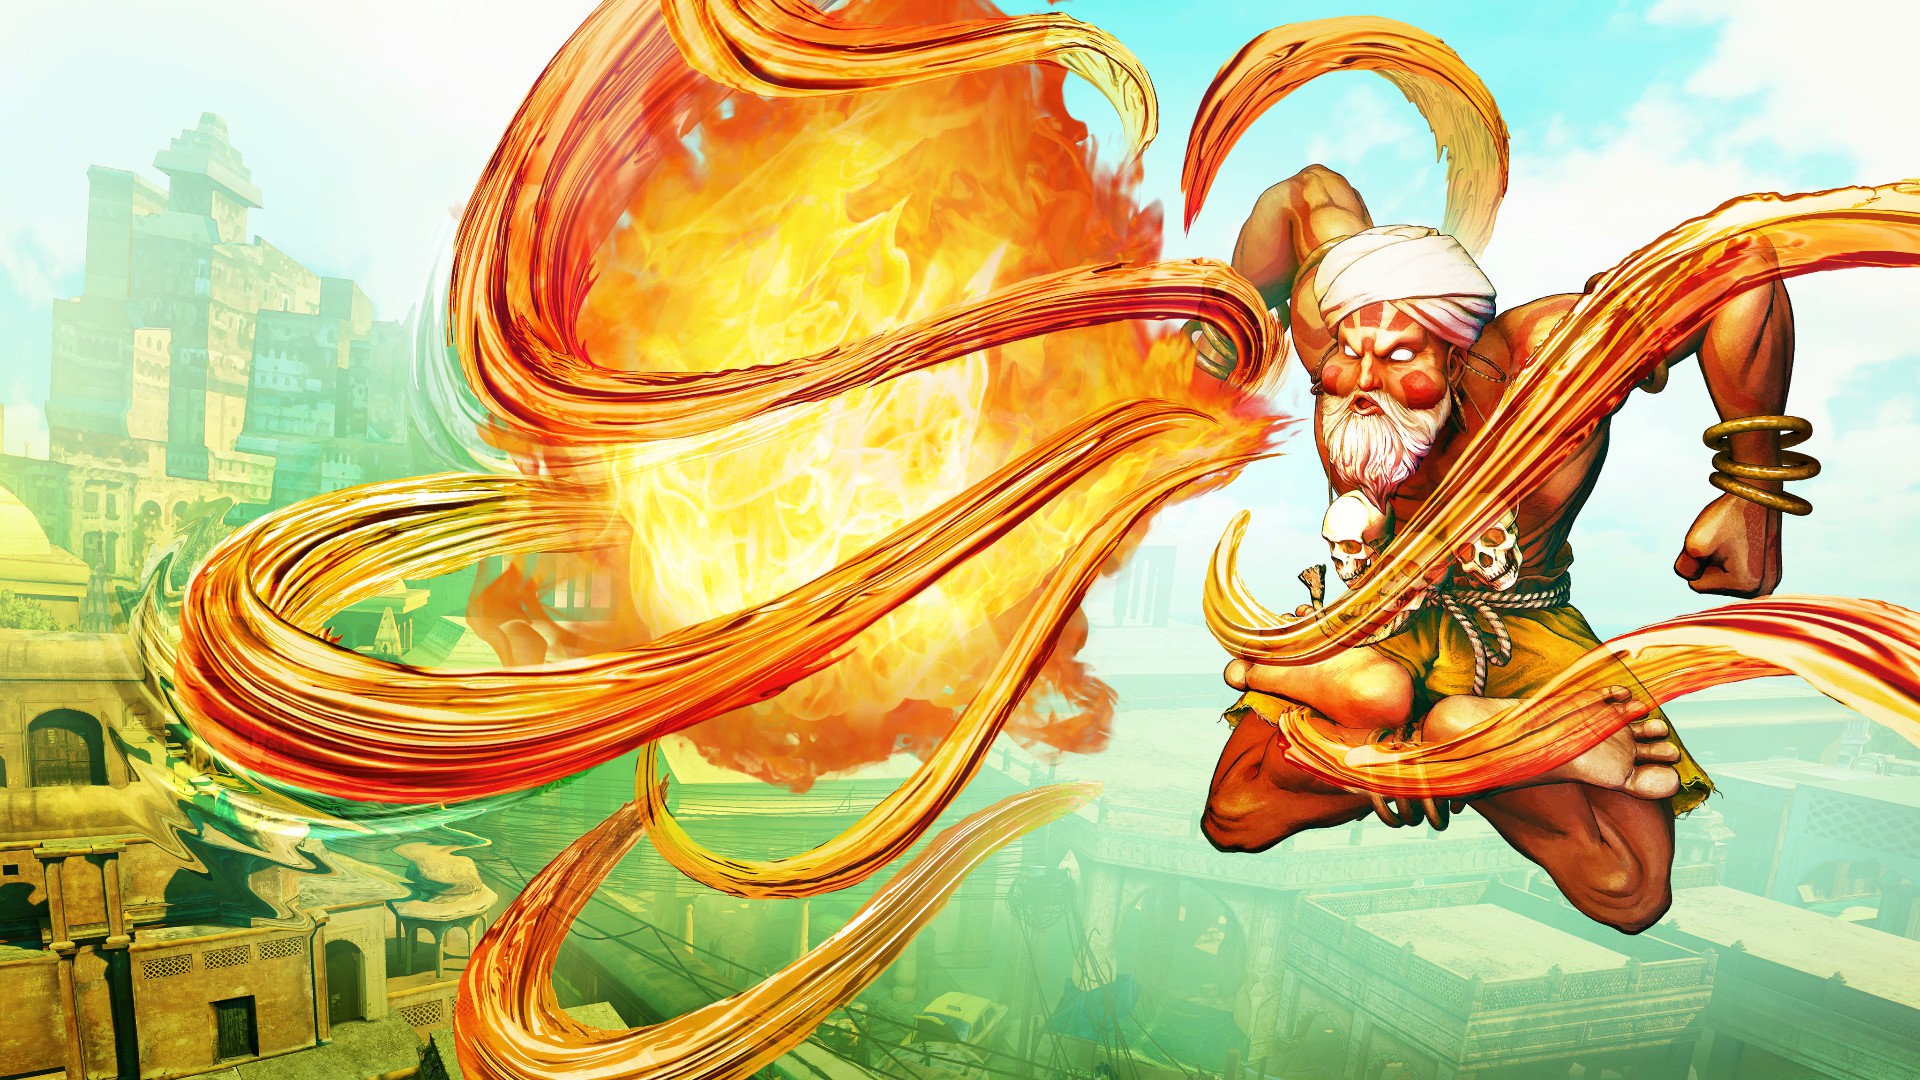
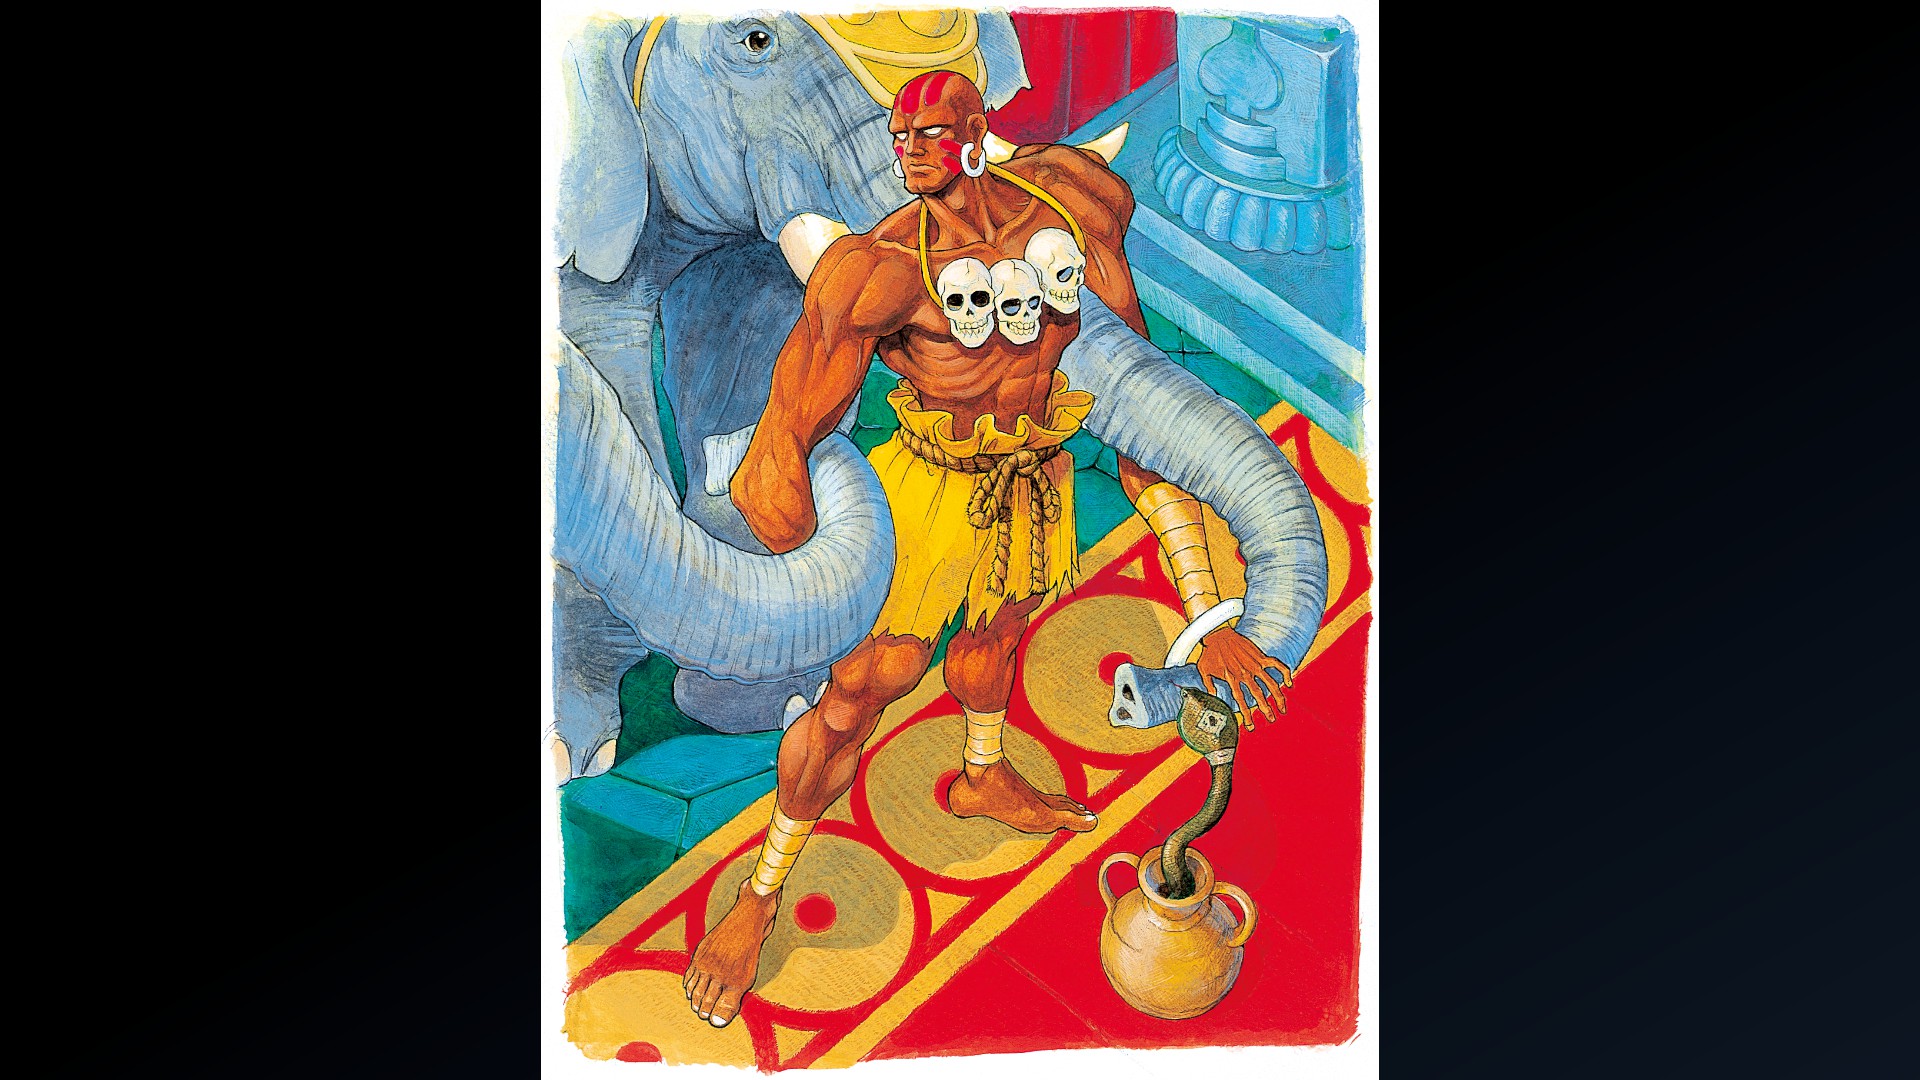
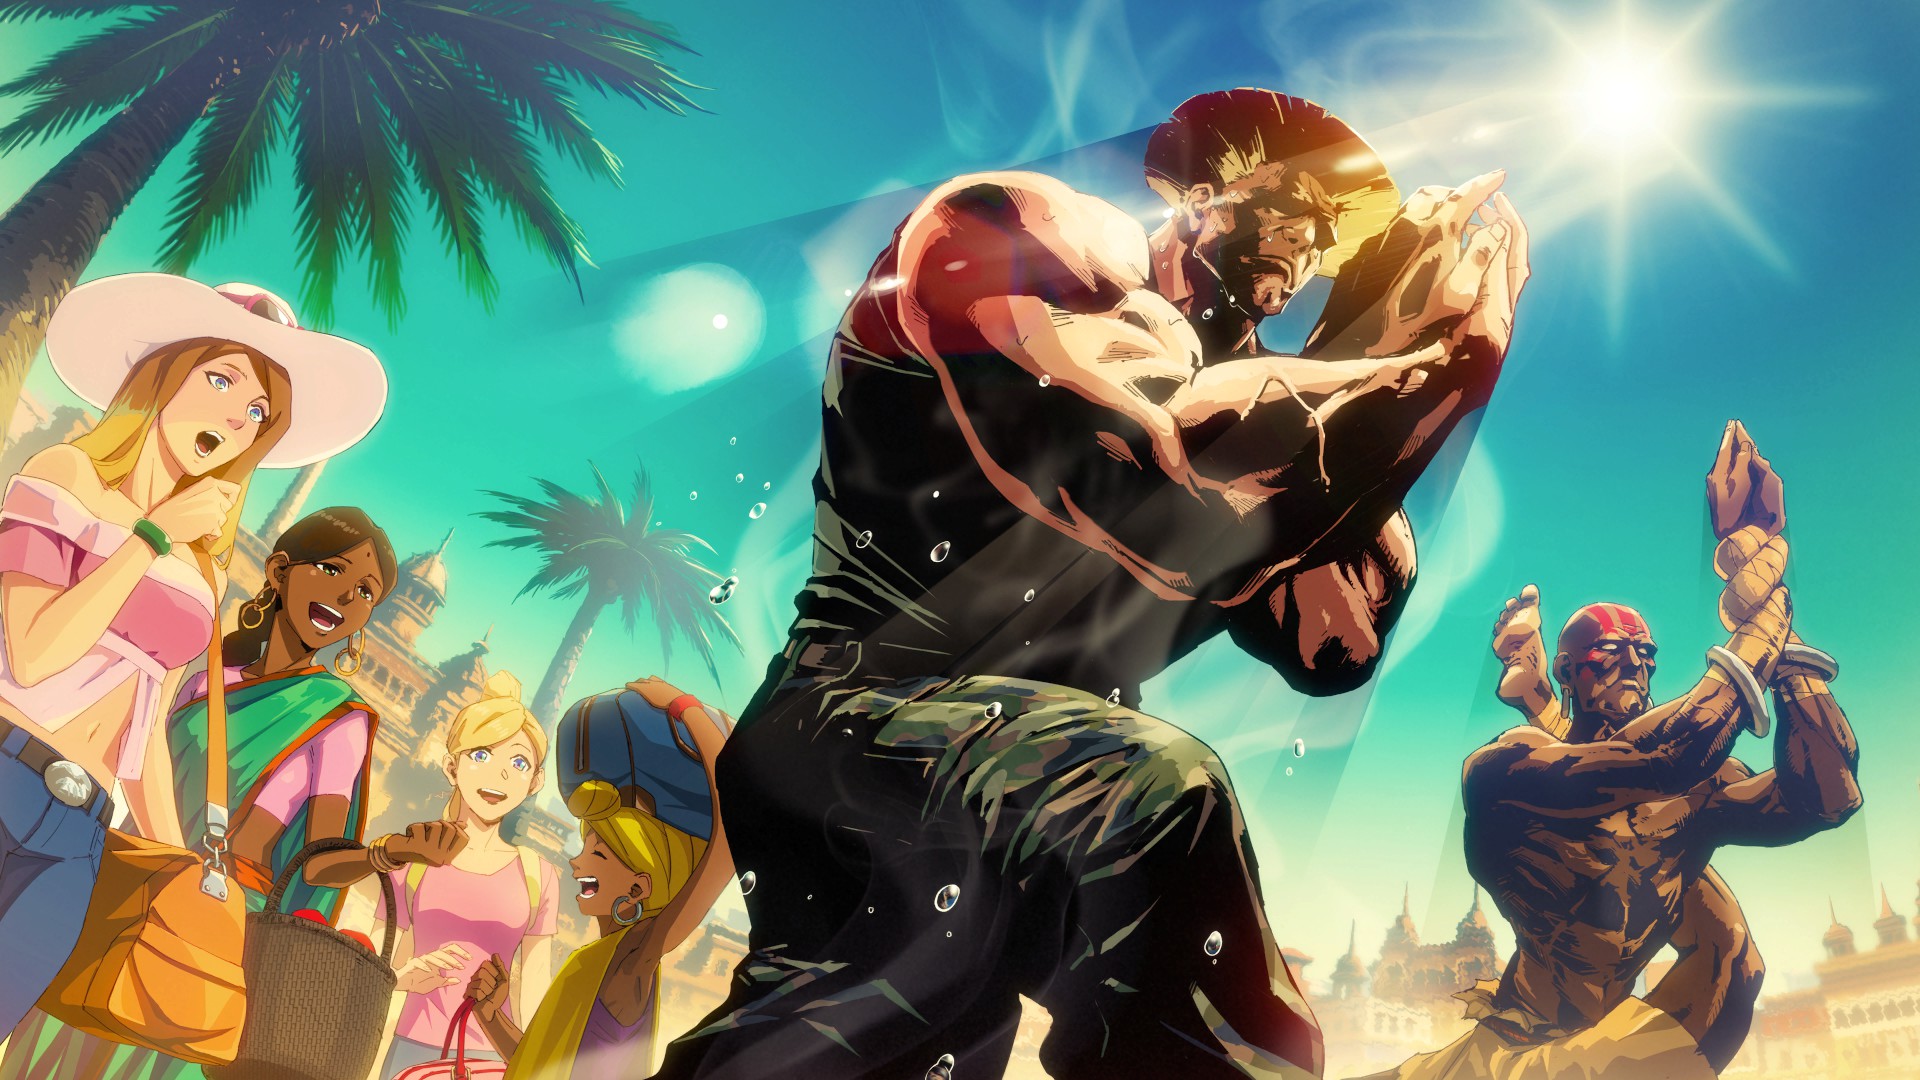
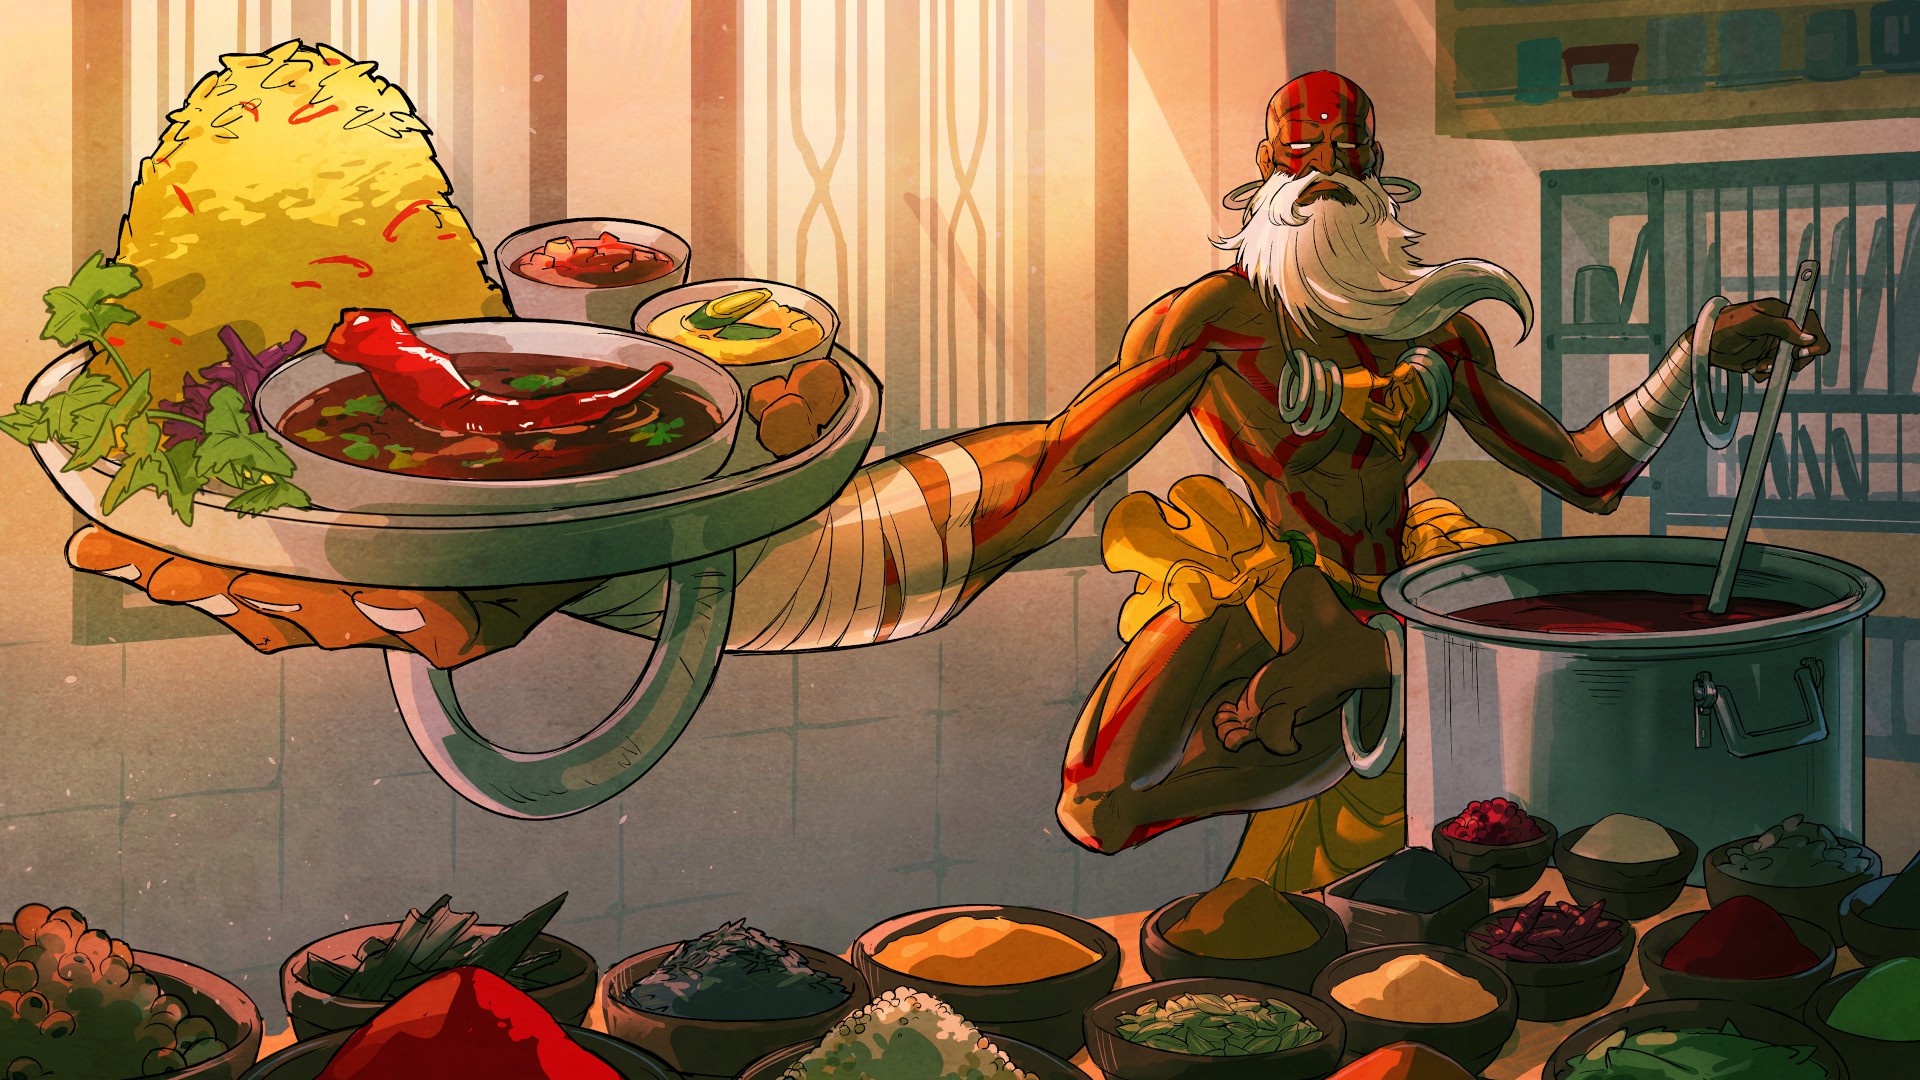
Dhalsim - Special Artwork: TSUNOGAI
(Clear Arcade Once with Dhalsim)
(Clear Arcade Once with Dhalsim)
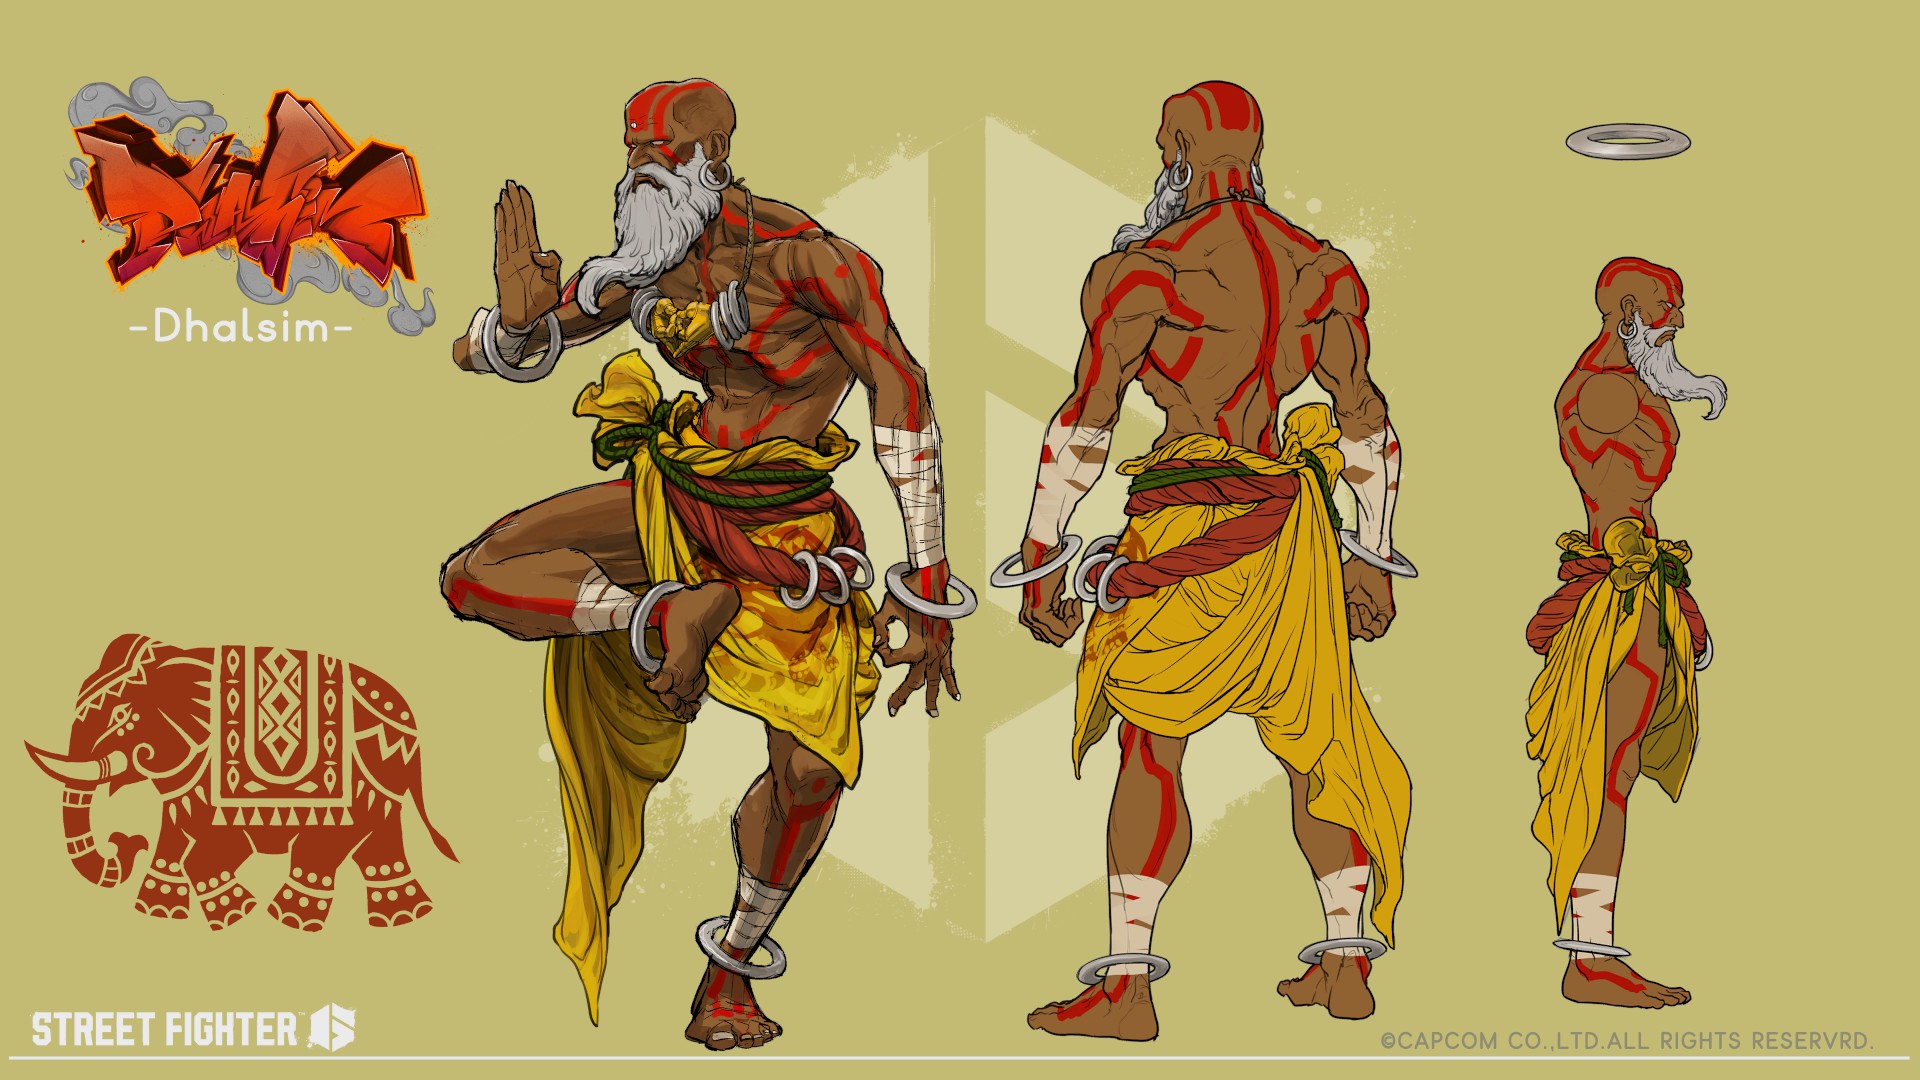
Character Design: Dhalsim (Clear Arcade Twice with Dhalsim)
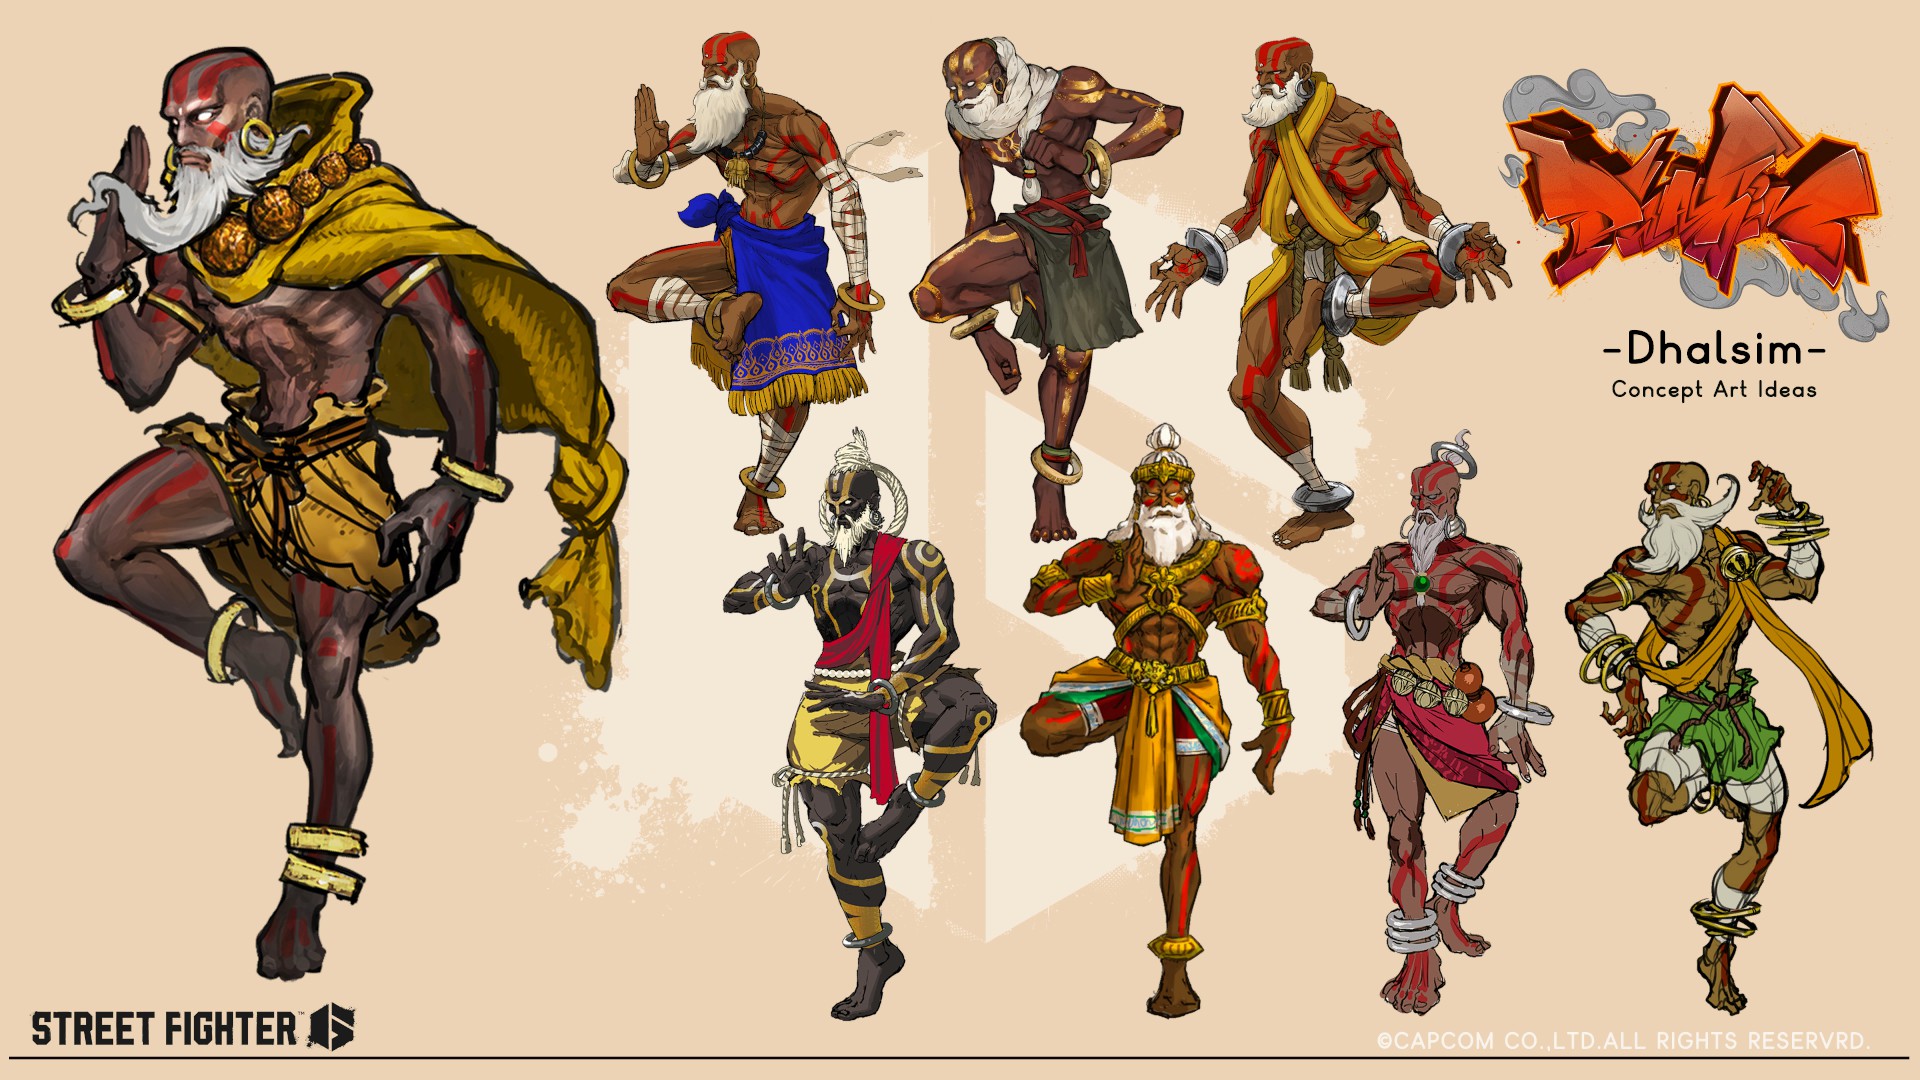
Unused Design: Dhalsim (Clear Arcade Three Times with Dhalsim)
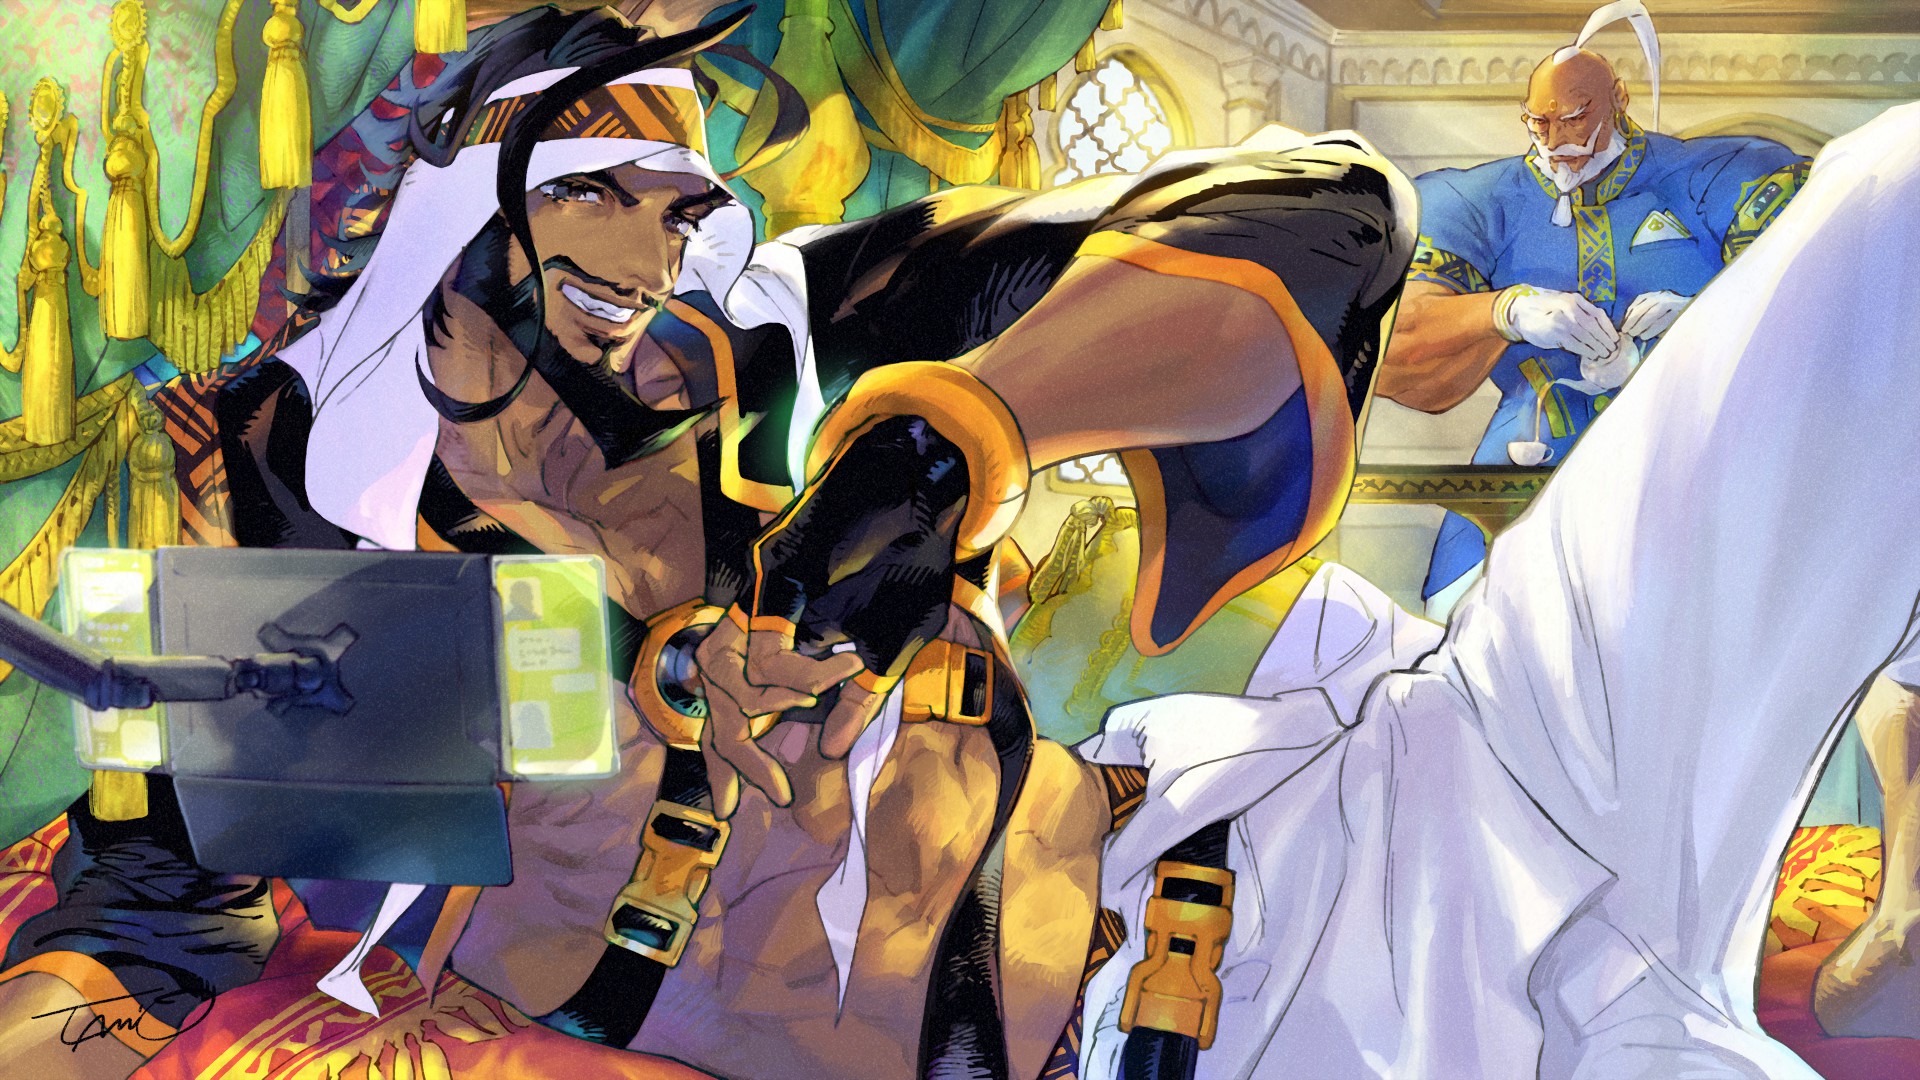
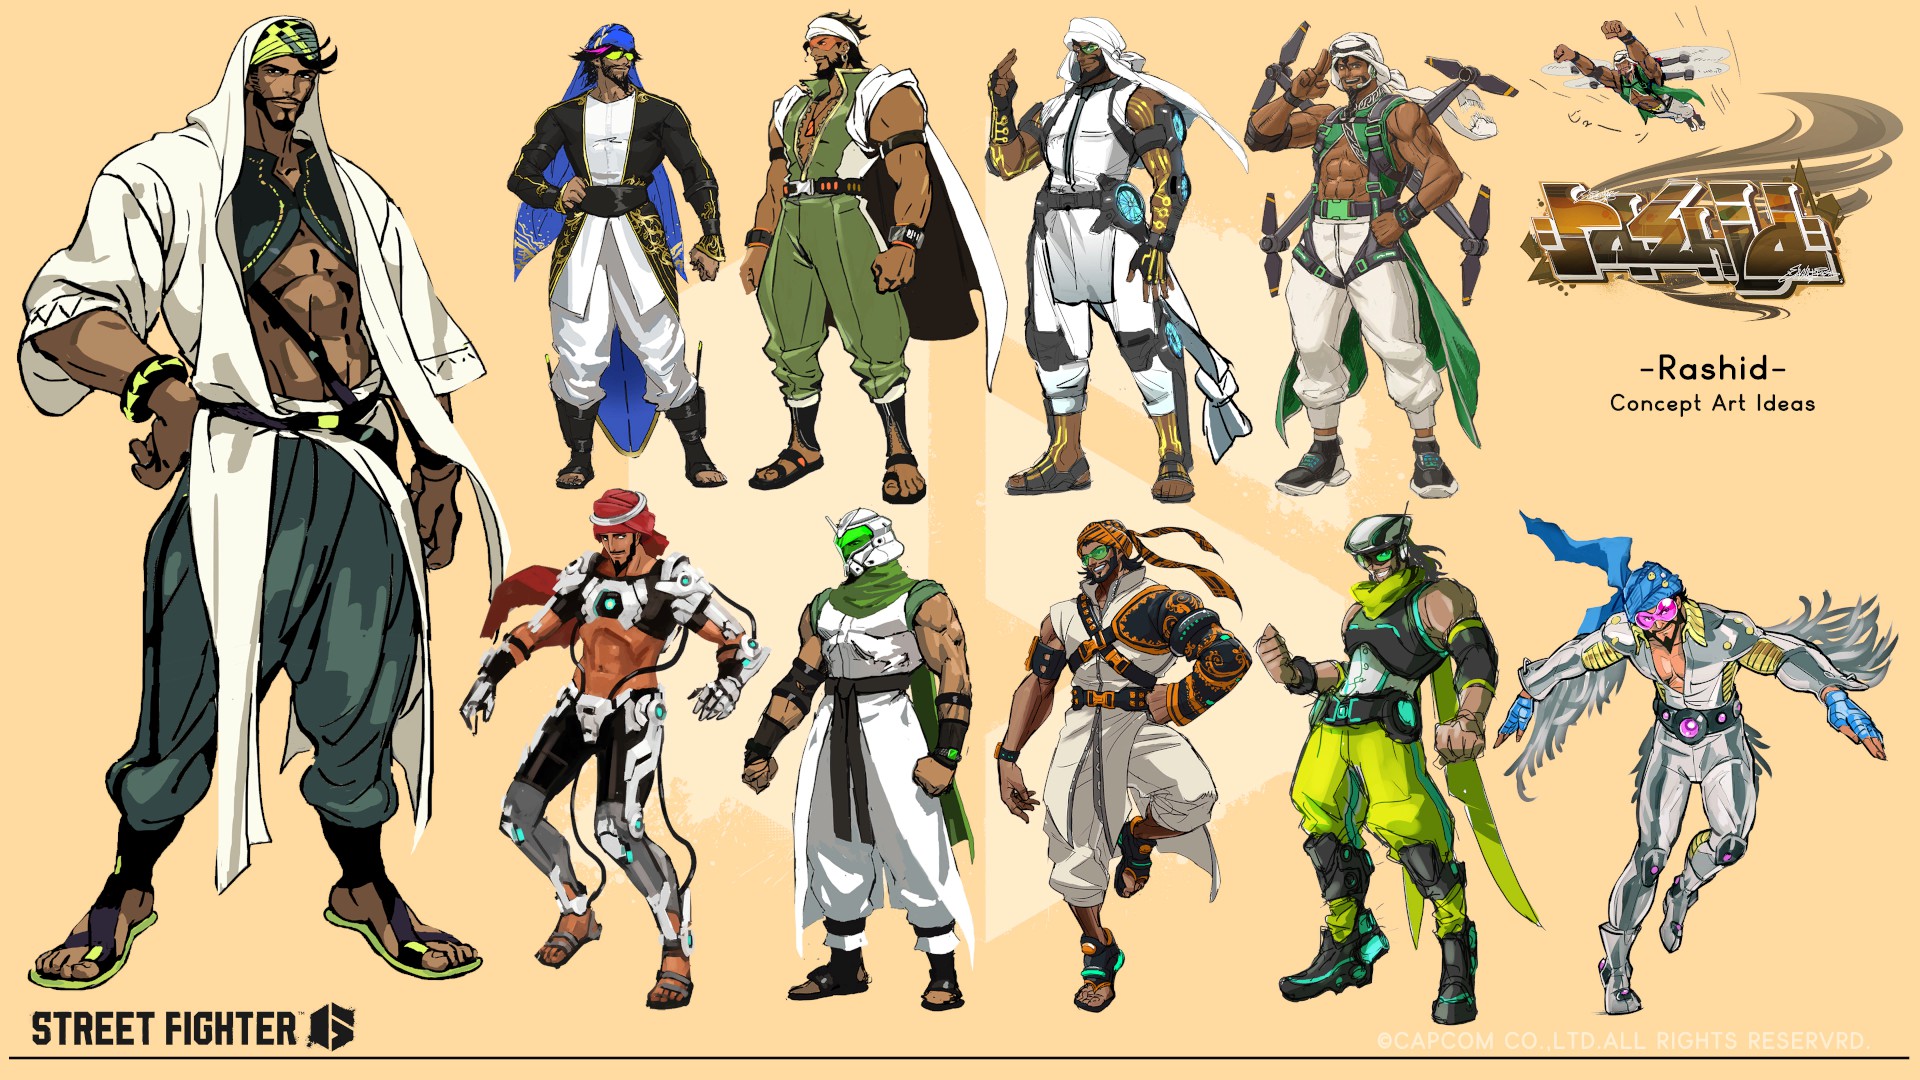
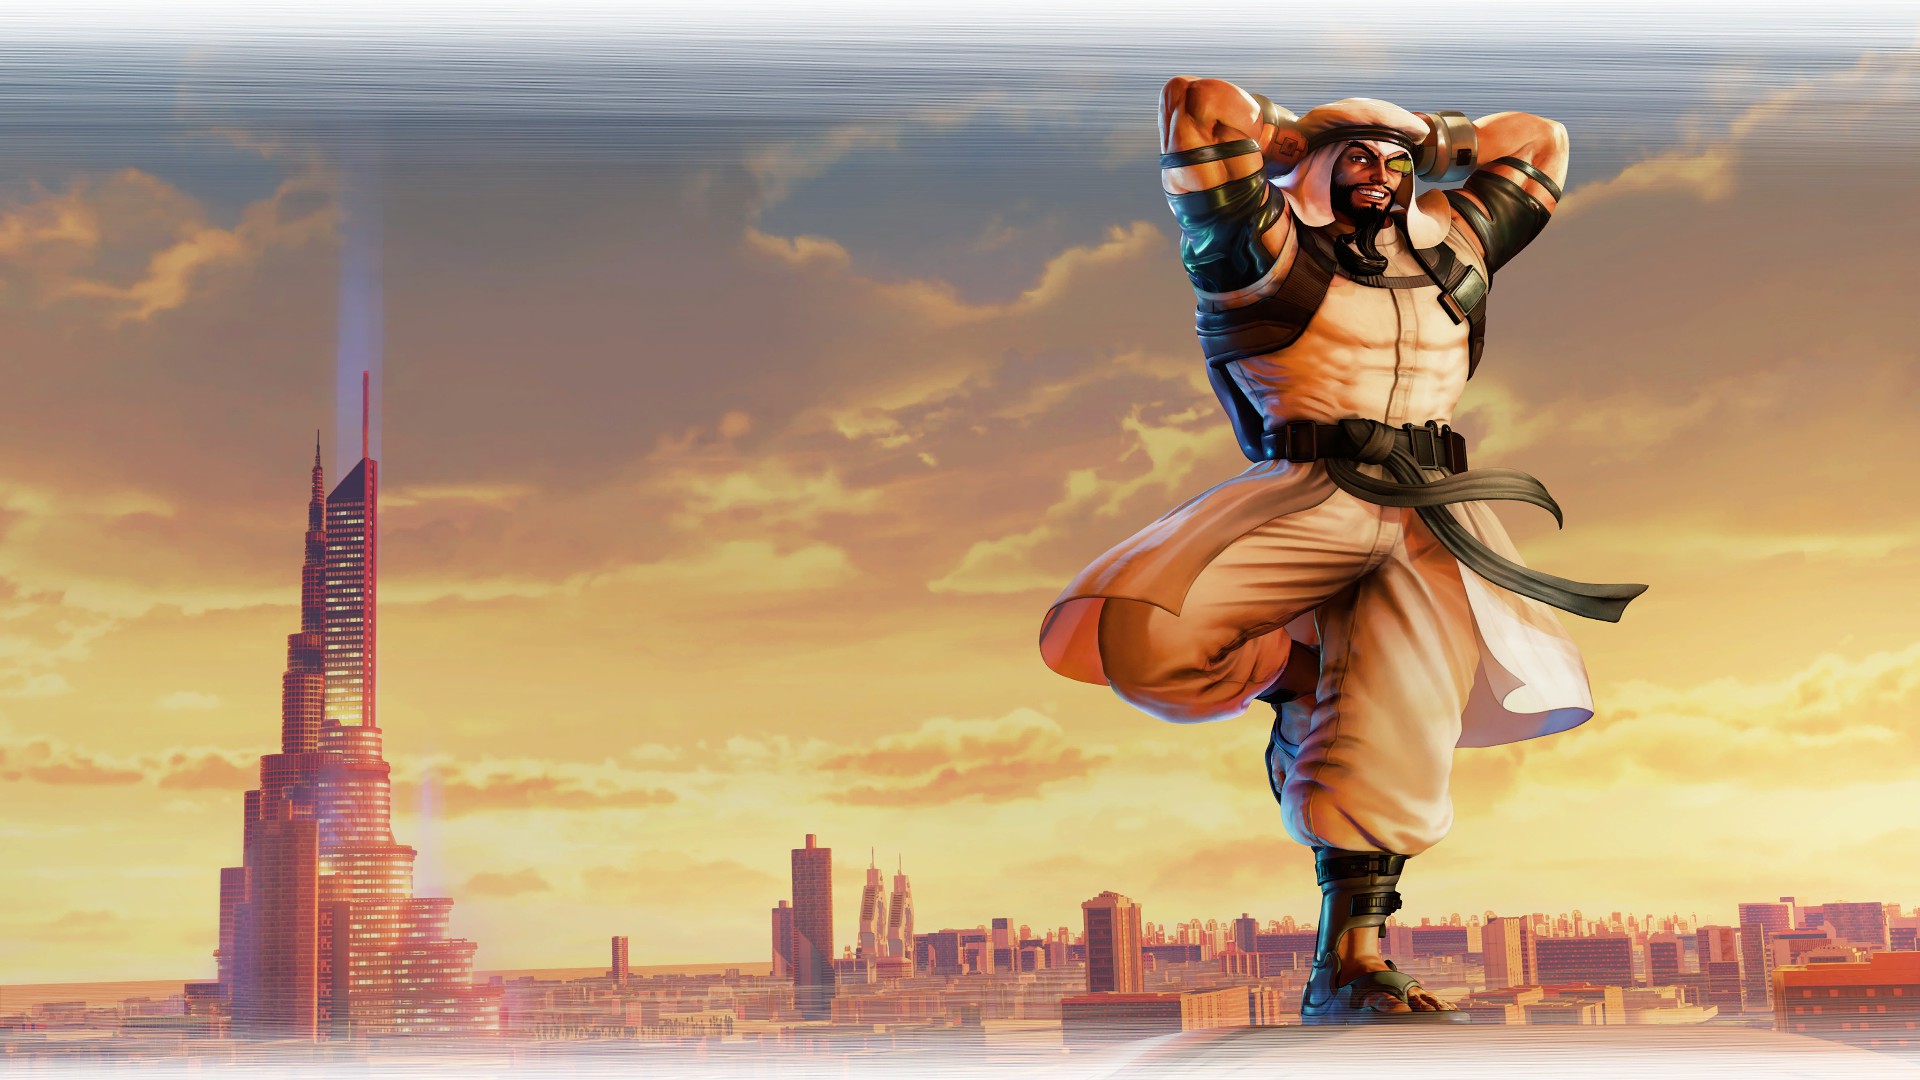
Rashid - Special Artwork: Tamio (Clear Arcade Once with Rashid)
Character Design: Rashid (Clear Arcade Twice with Rashid)
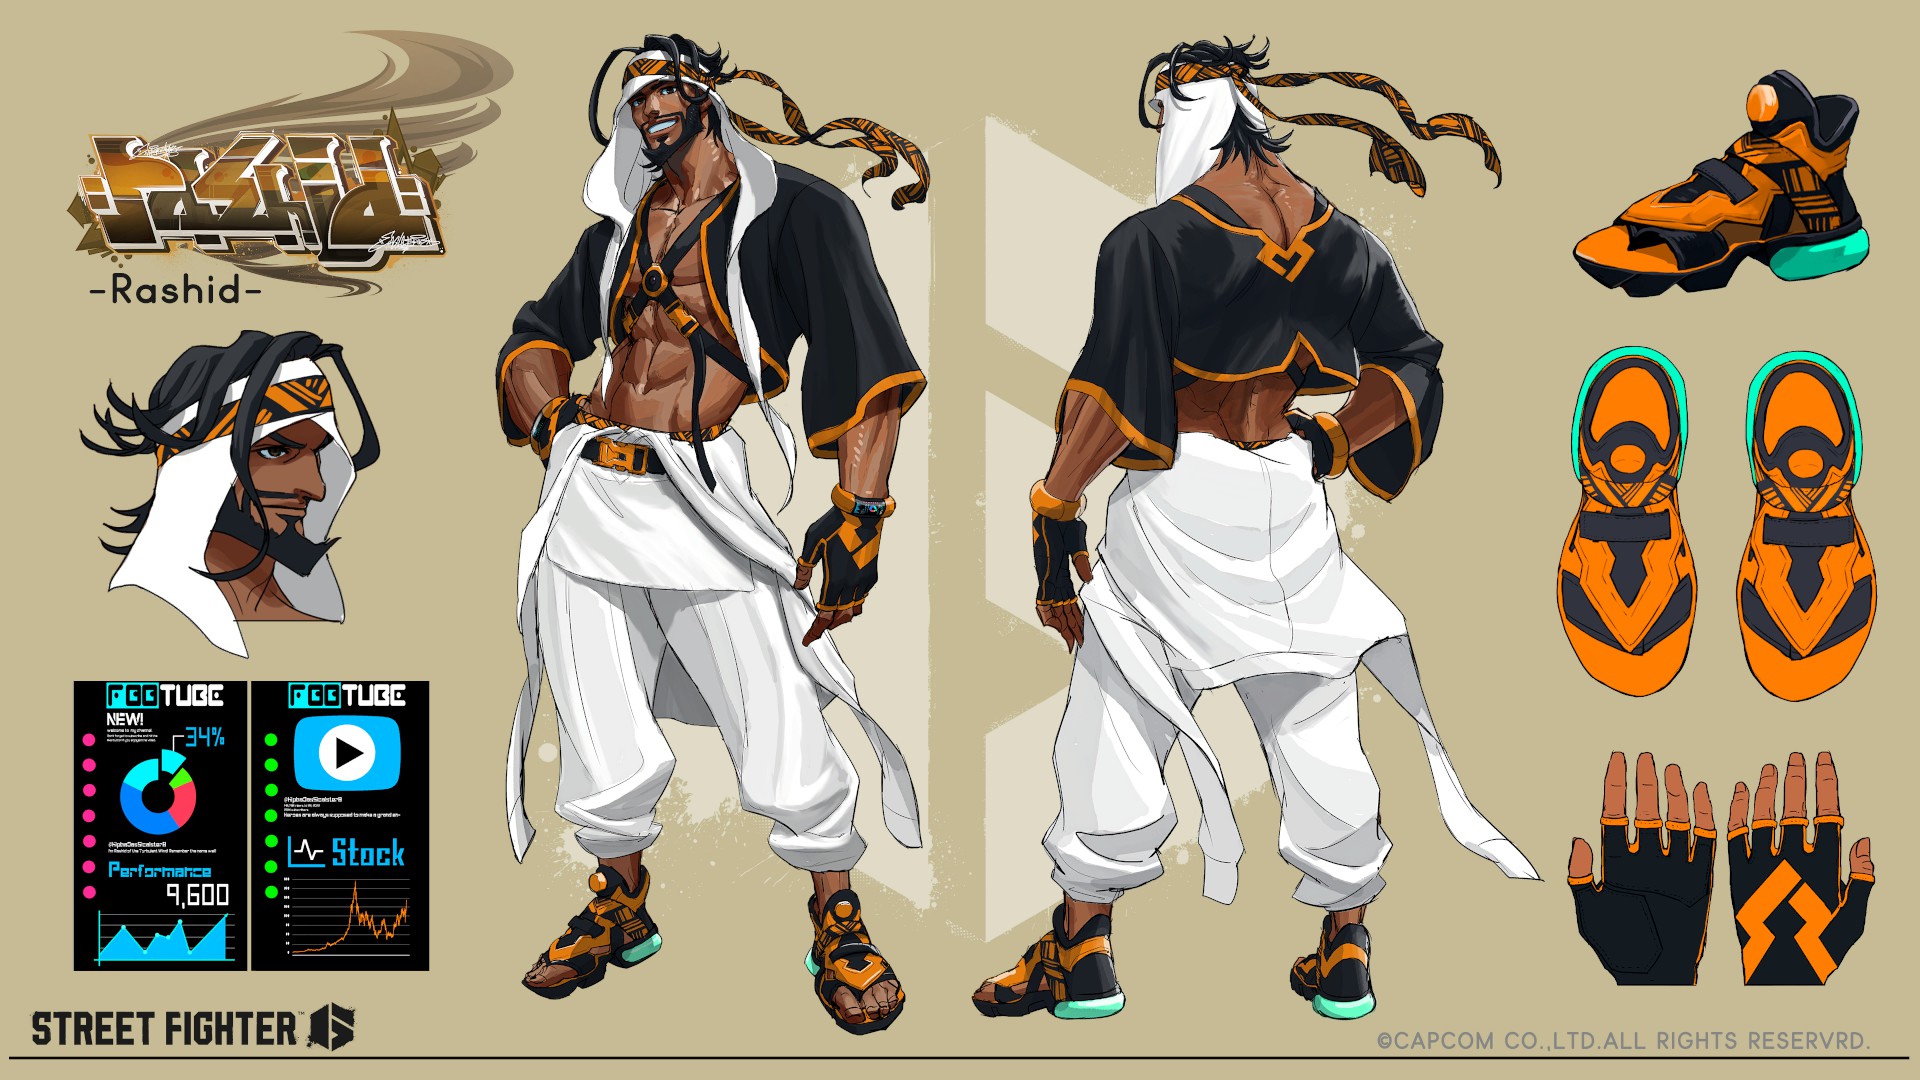
Unused Design: Rashid (Clear Arcade Three Times with Rashid)
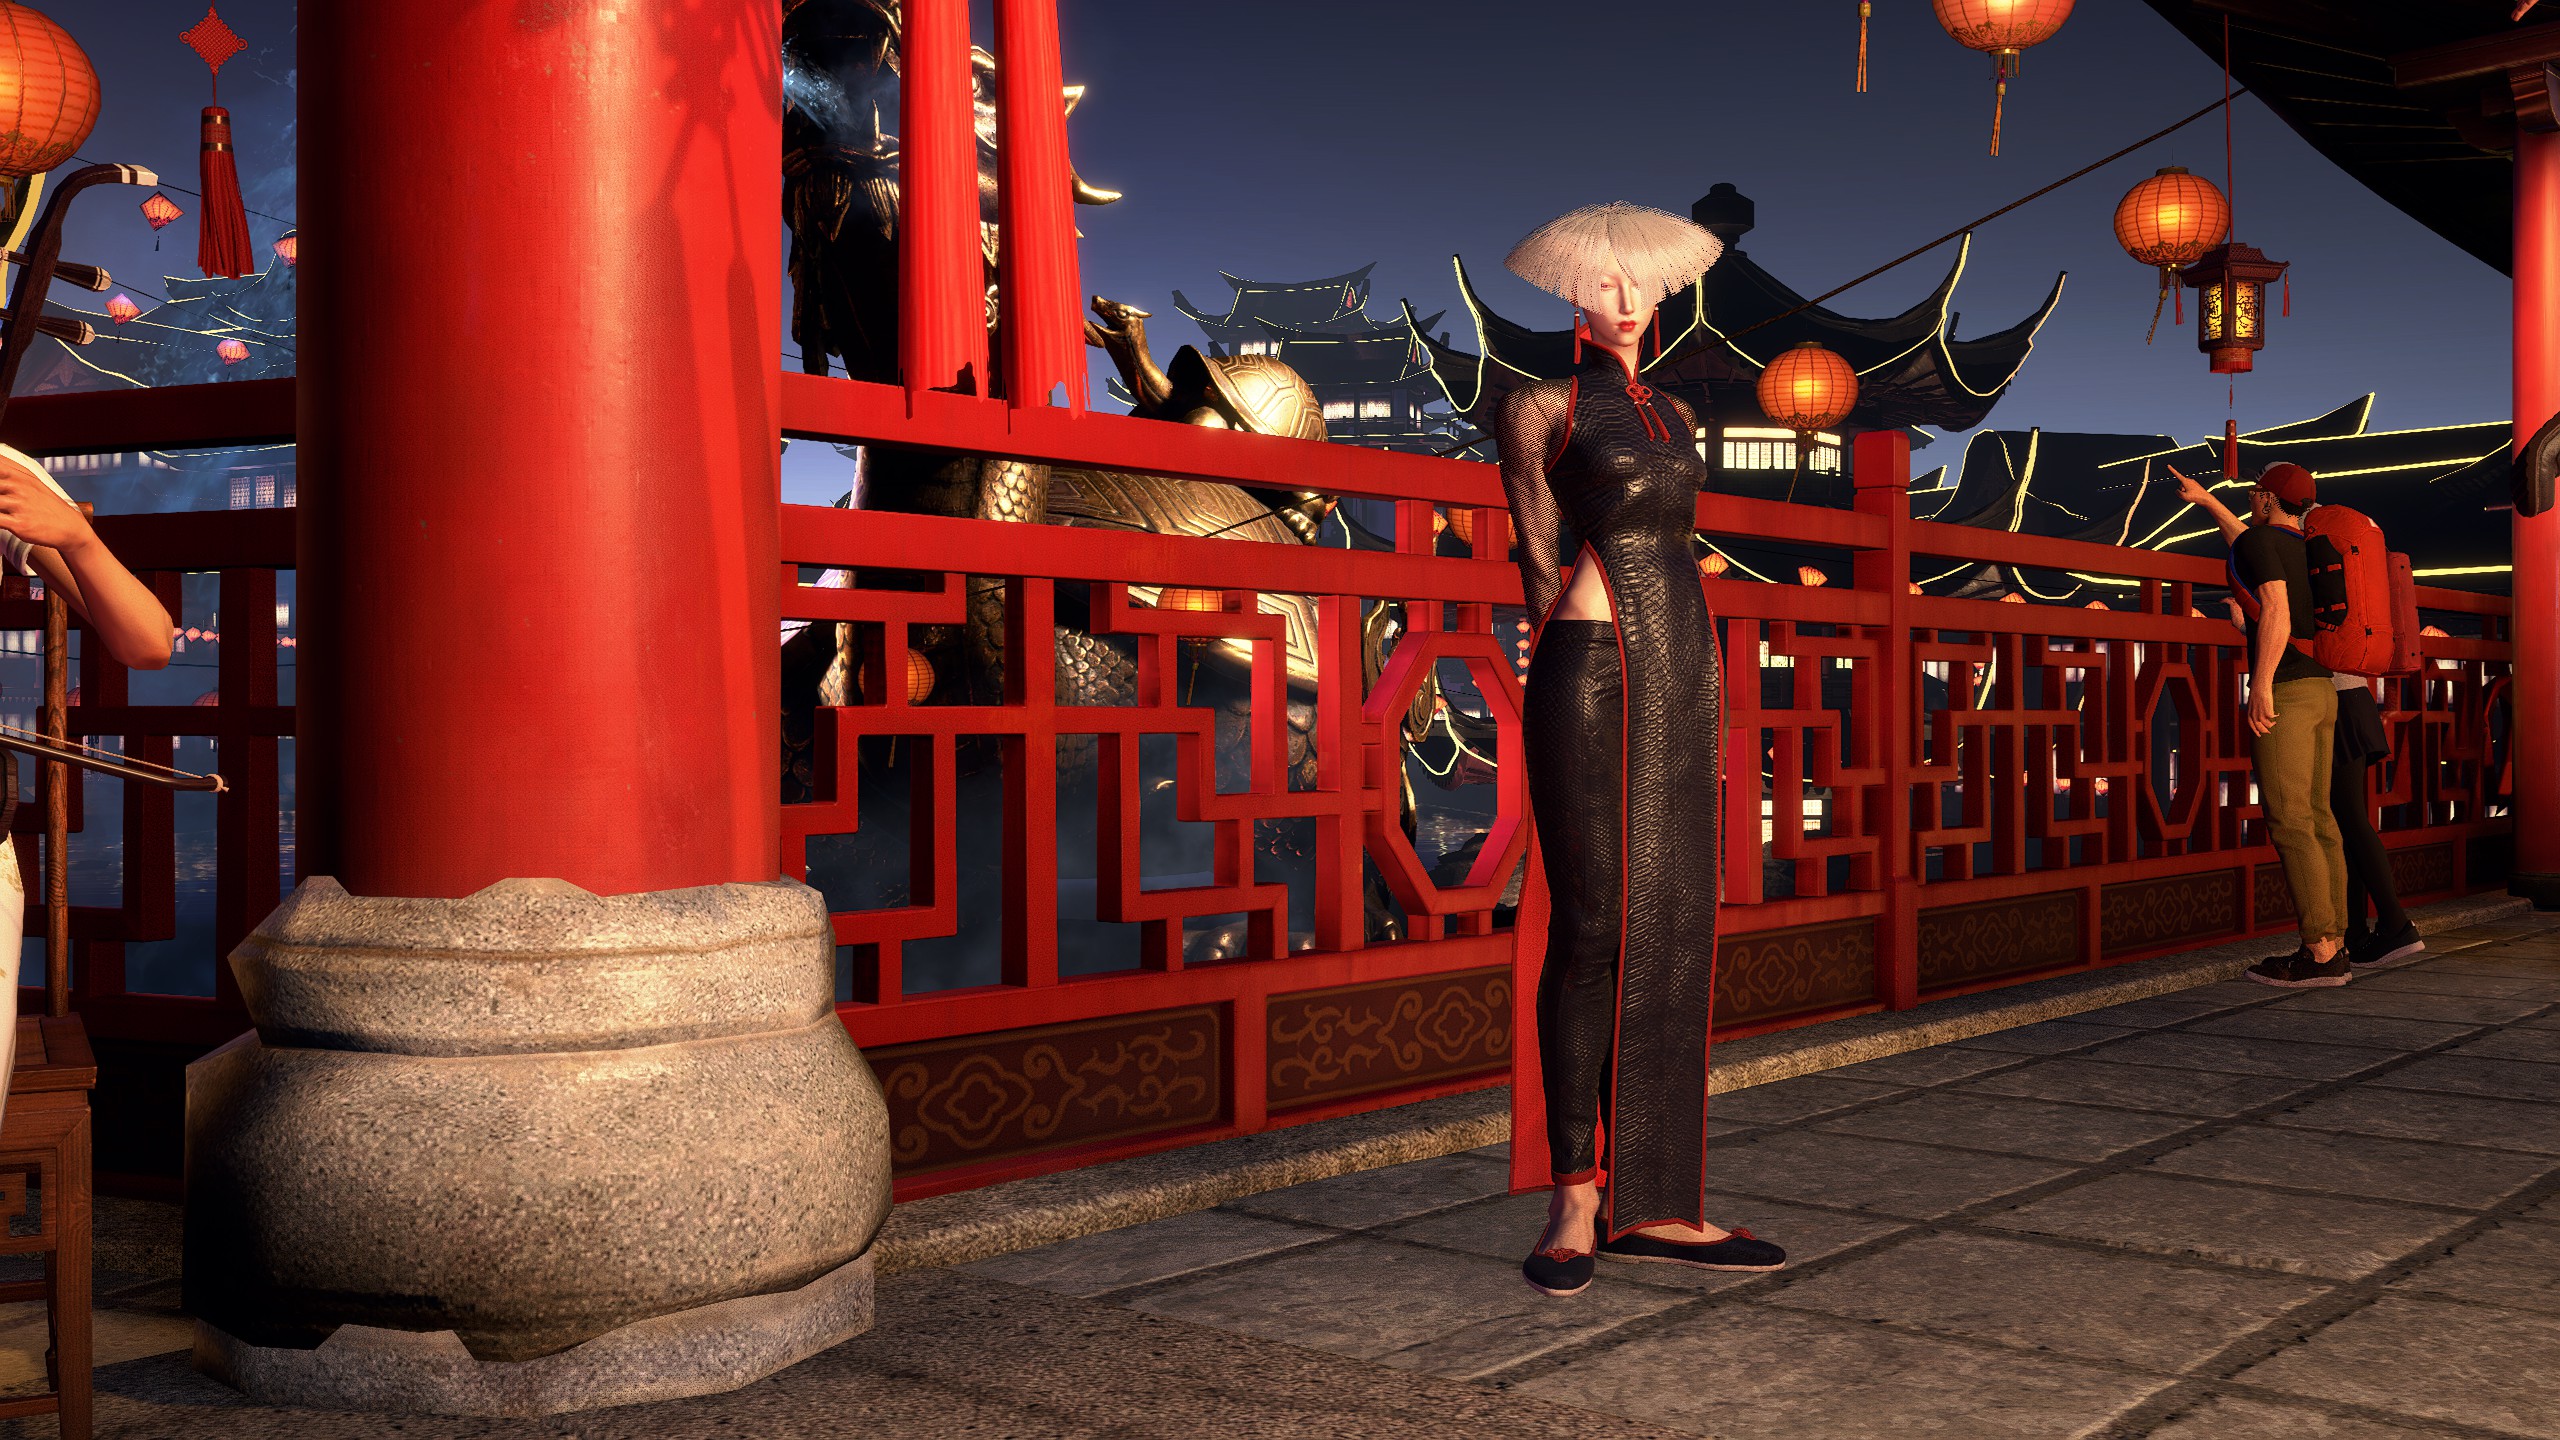
A.K.I. - Special Artwork: Takeshi Ochi
(Clear Arcade Once with A.K.I.)
(Clear Arcade Once with A.K.I.)
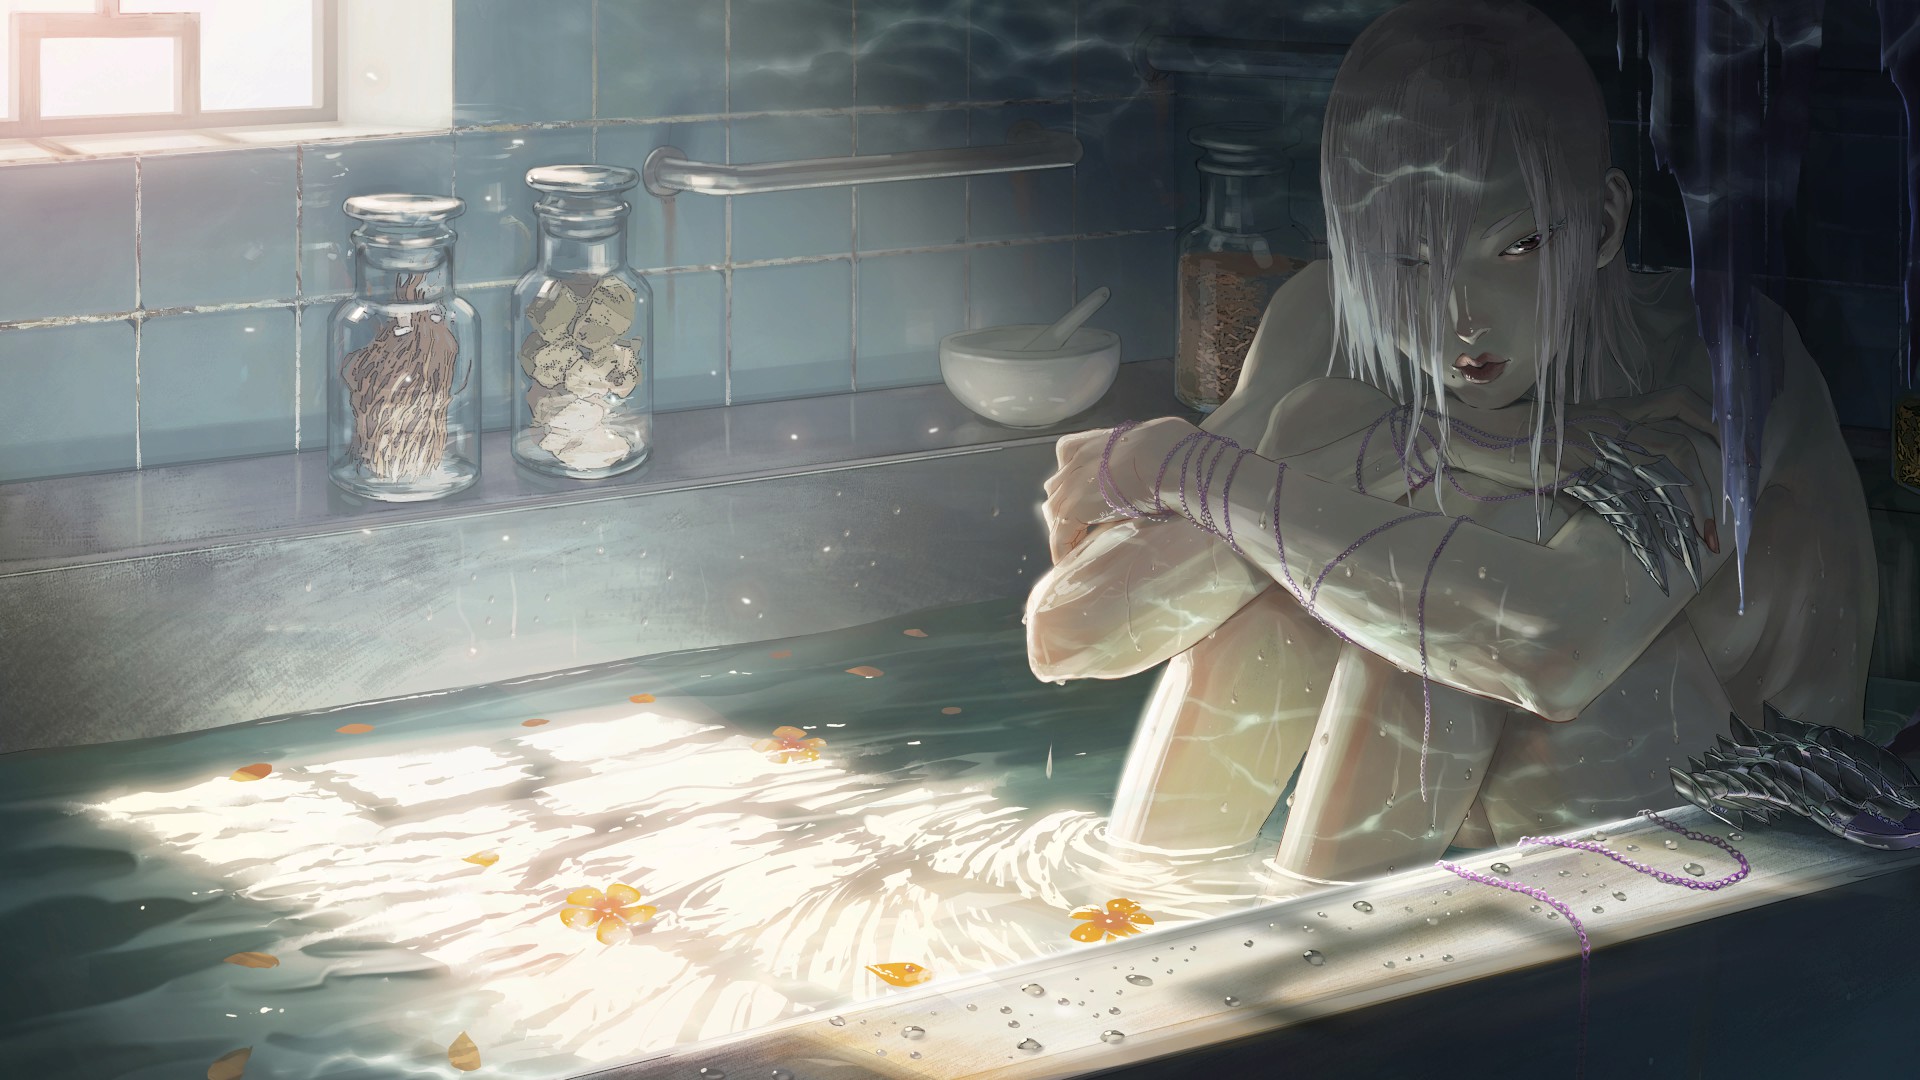
Character Design: A.K.I. 1 (Clear Arcade Twice with A.K.I.)
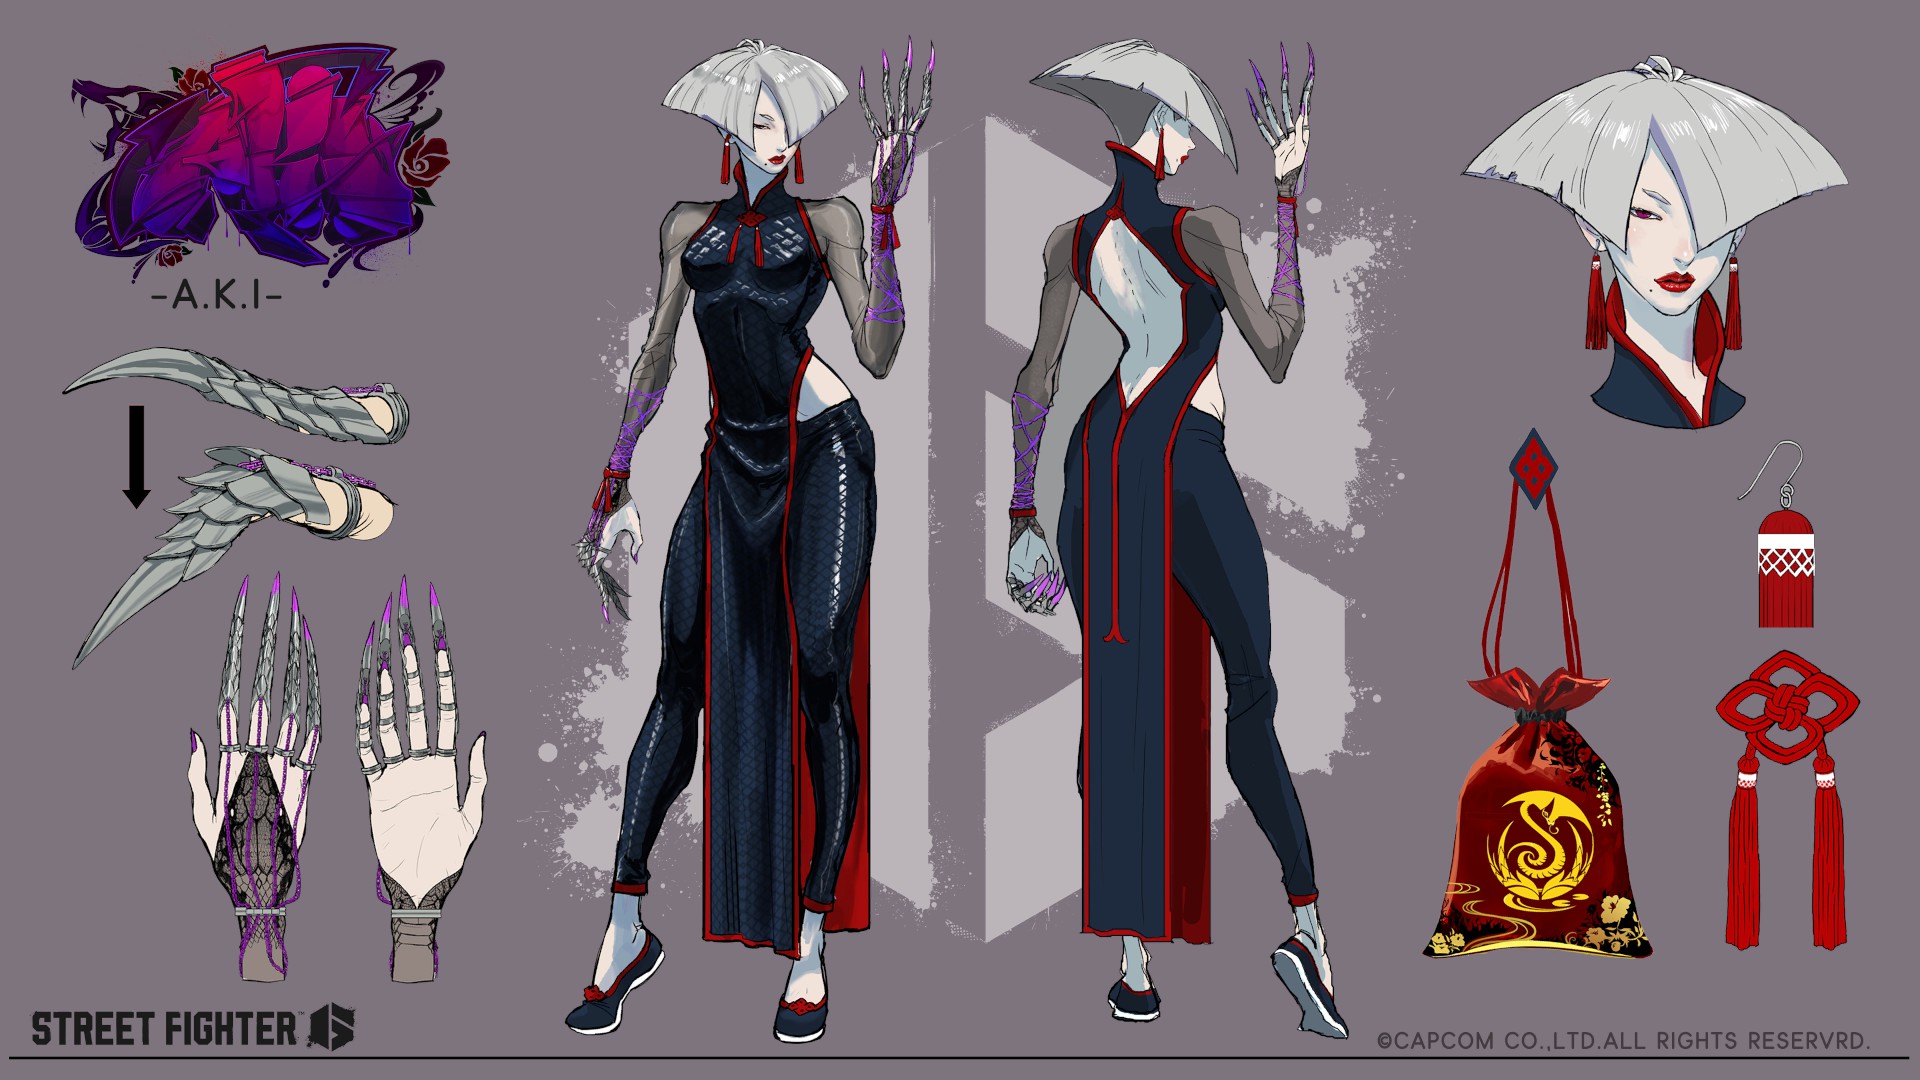
Unused Design: A.K.I. 2 (Clear Arcade Three Times with A.K.I.)

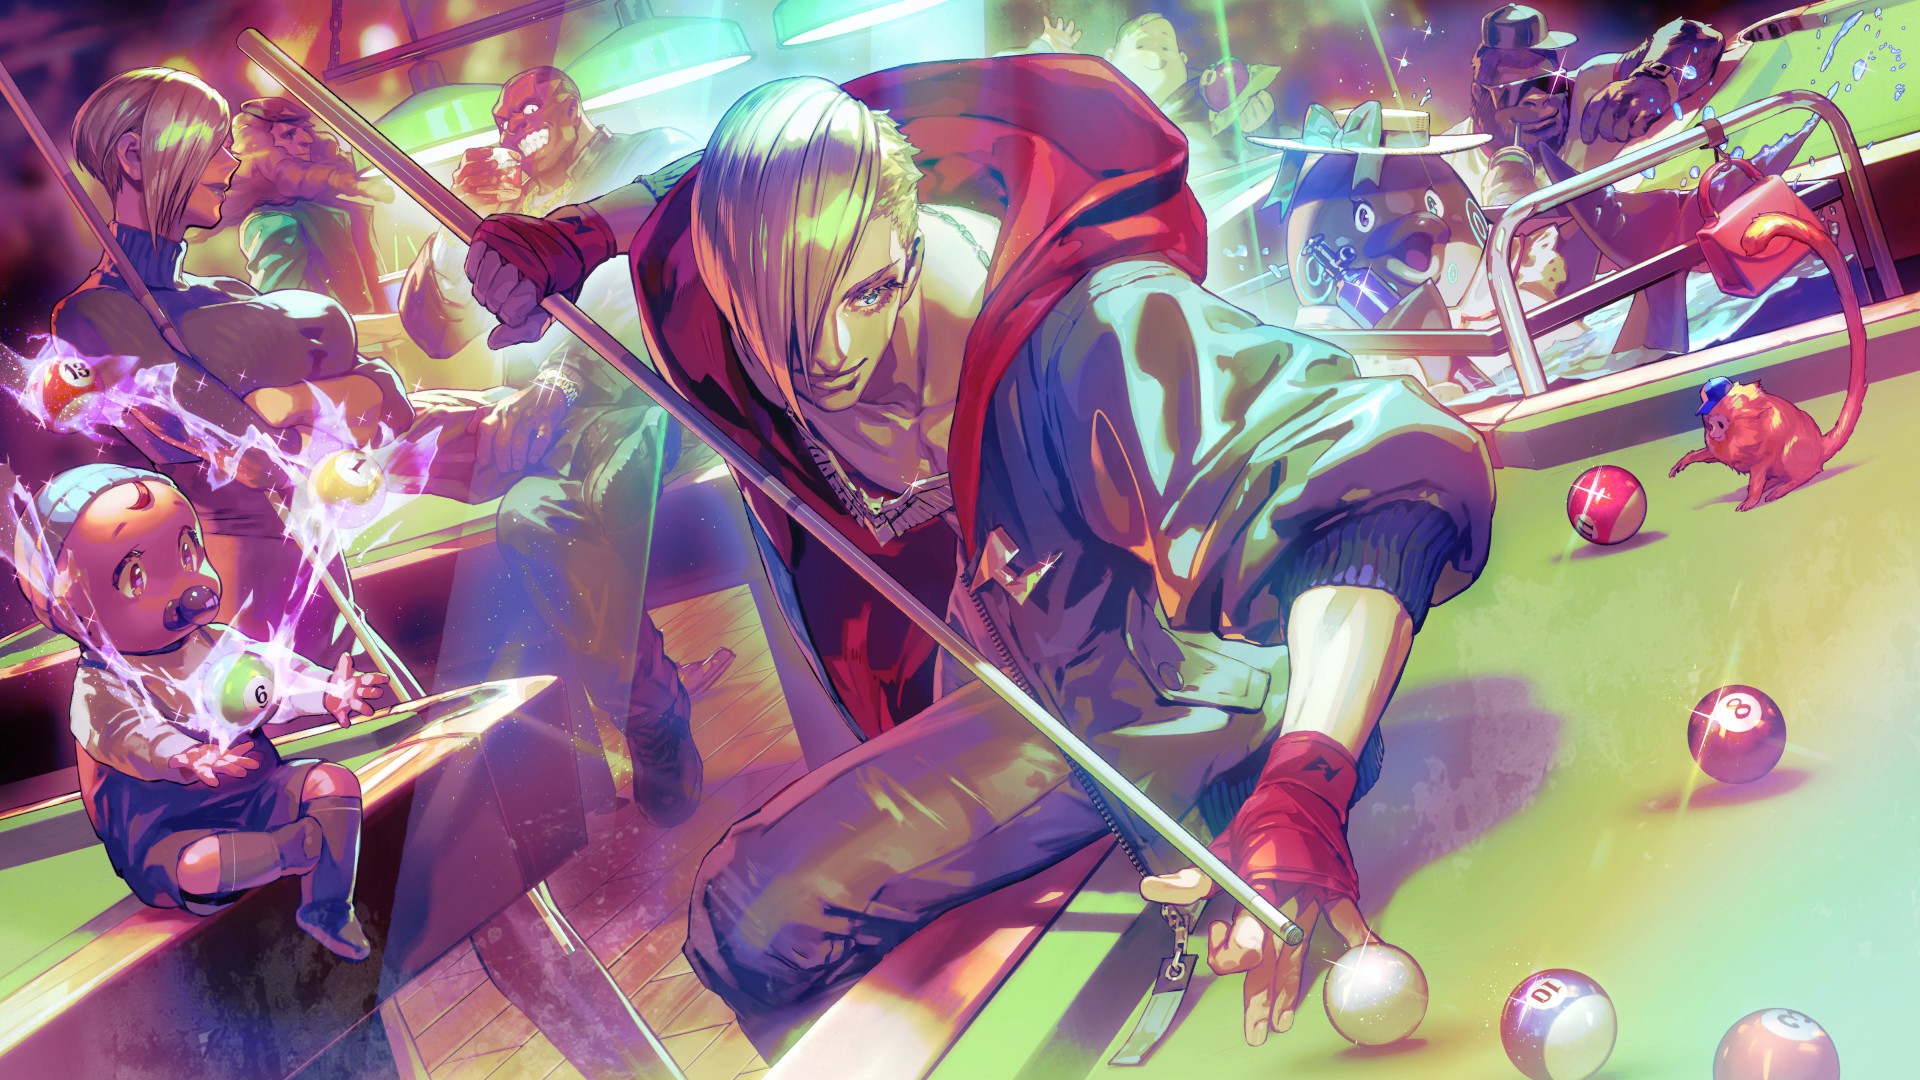
Ed - Special Artwork: Chisato Mita (Clear Arcade Once with Ed)
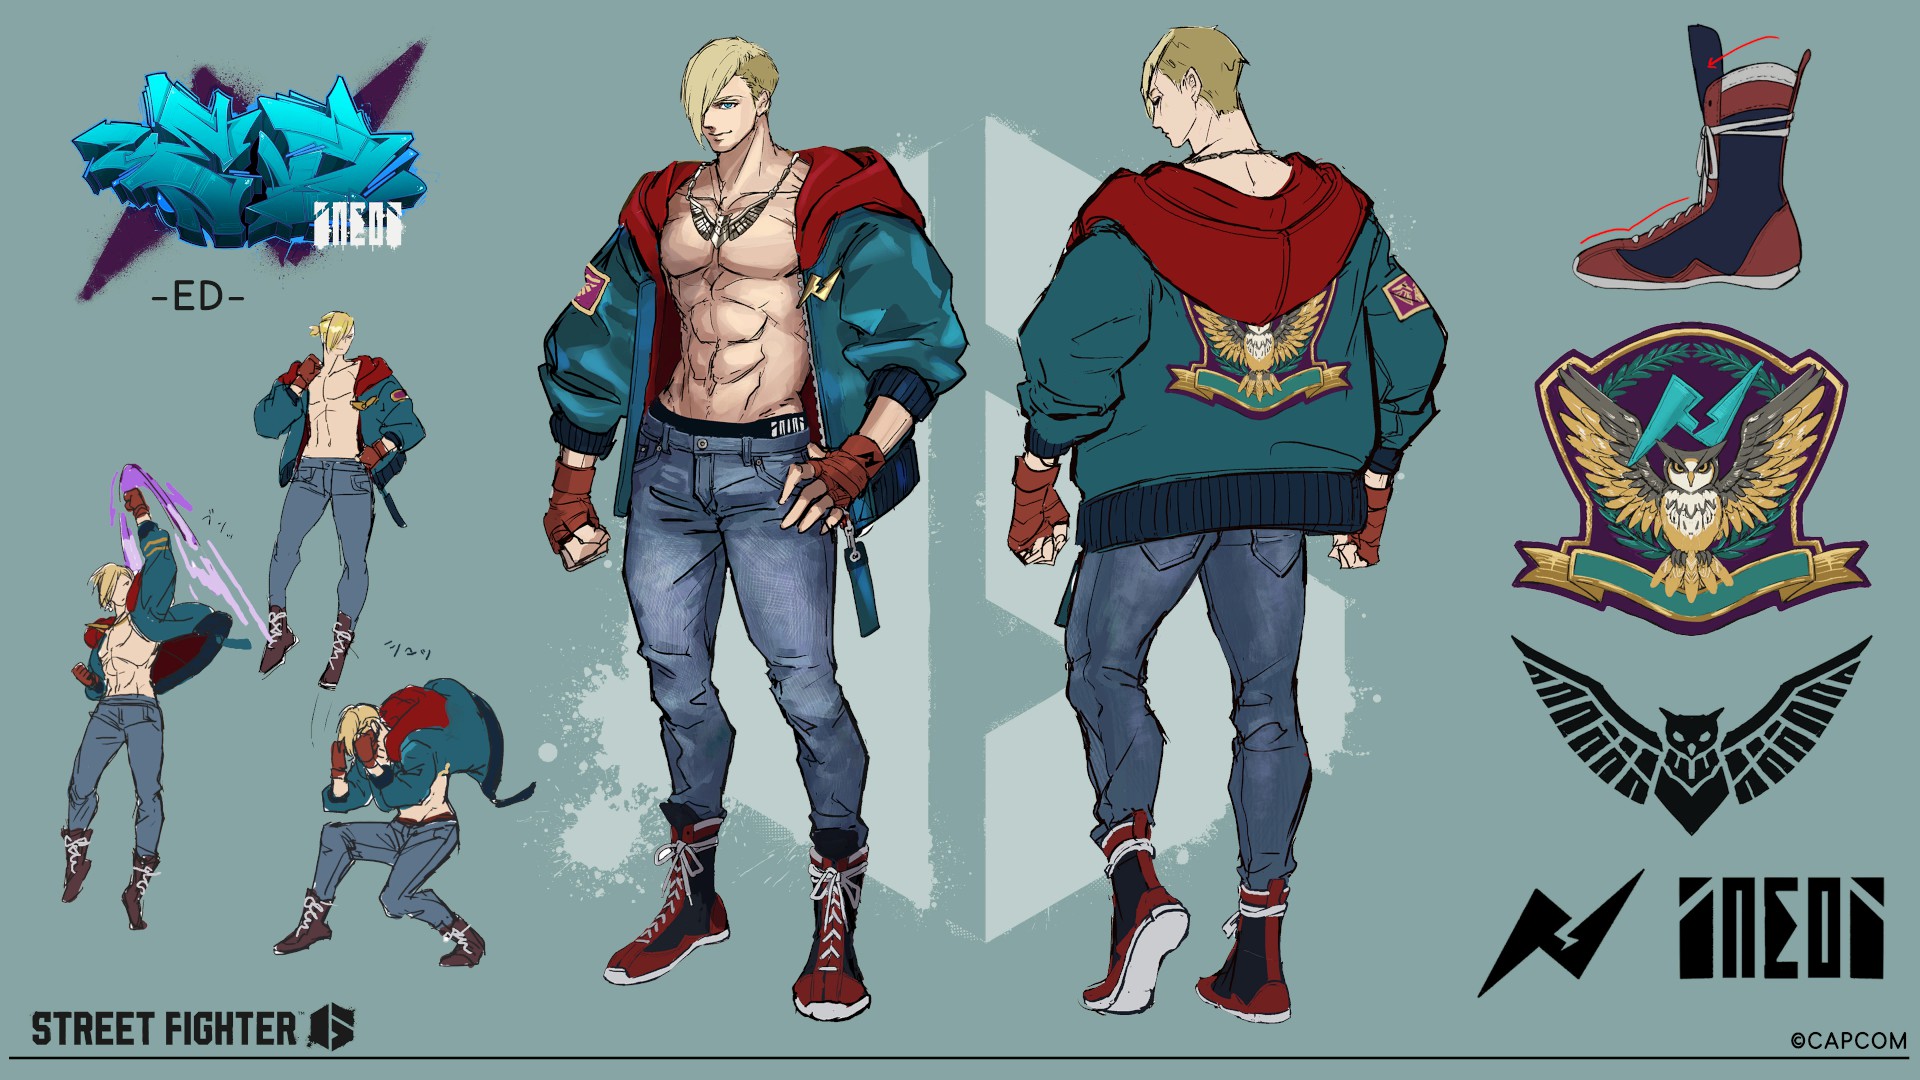
Character Design: Ed (Clear Arcade Twice with Ed)
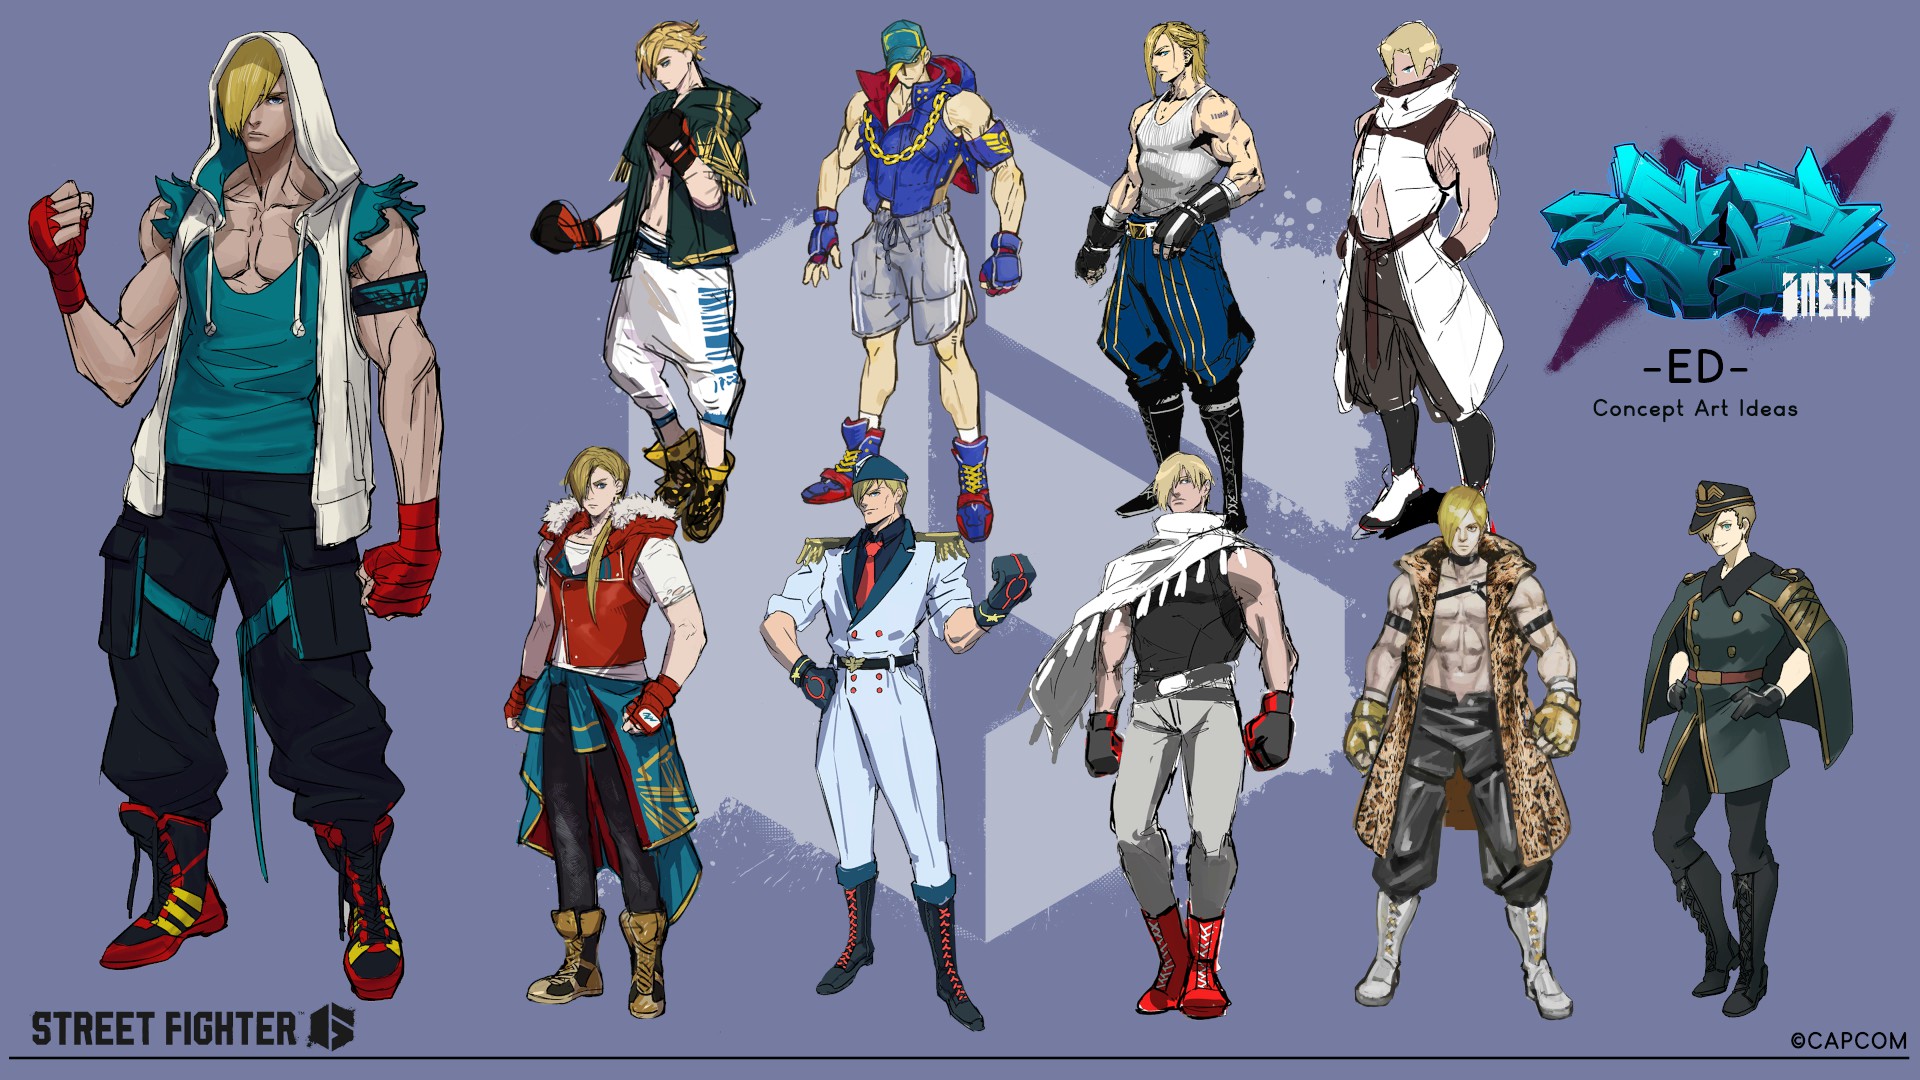
Unused Design: Ed (Clear Arcade Three Times with Ed)
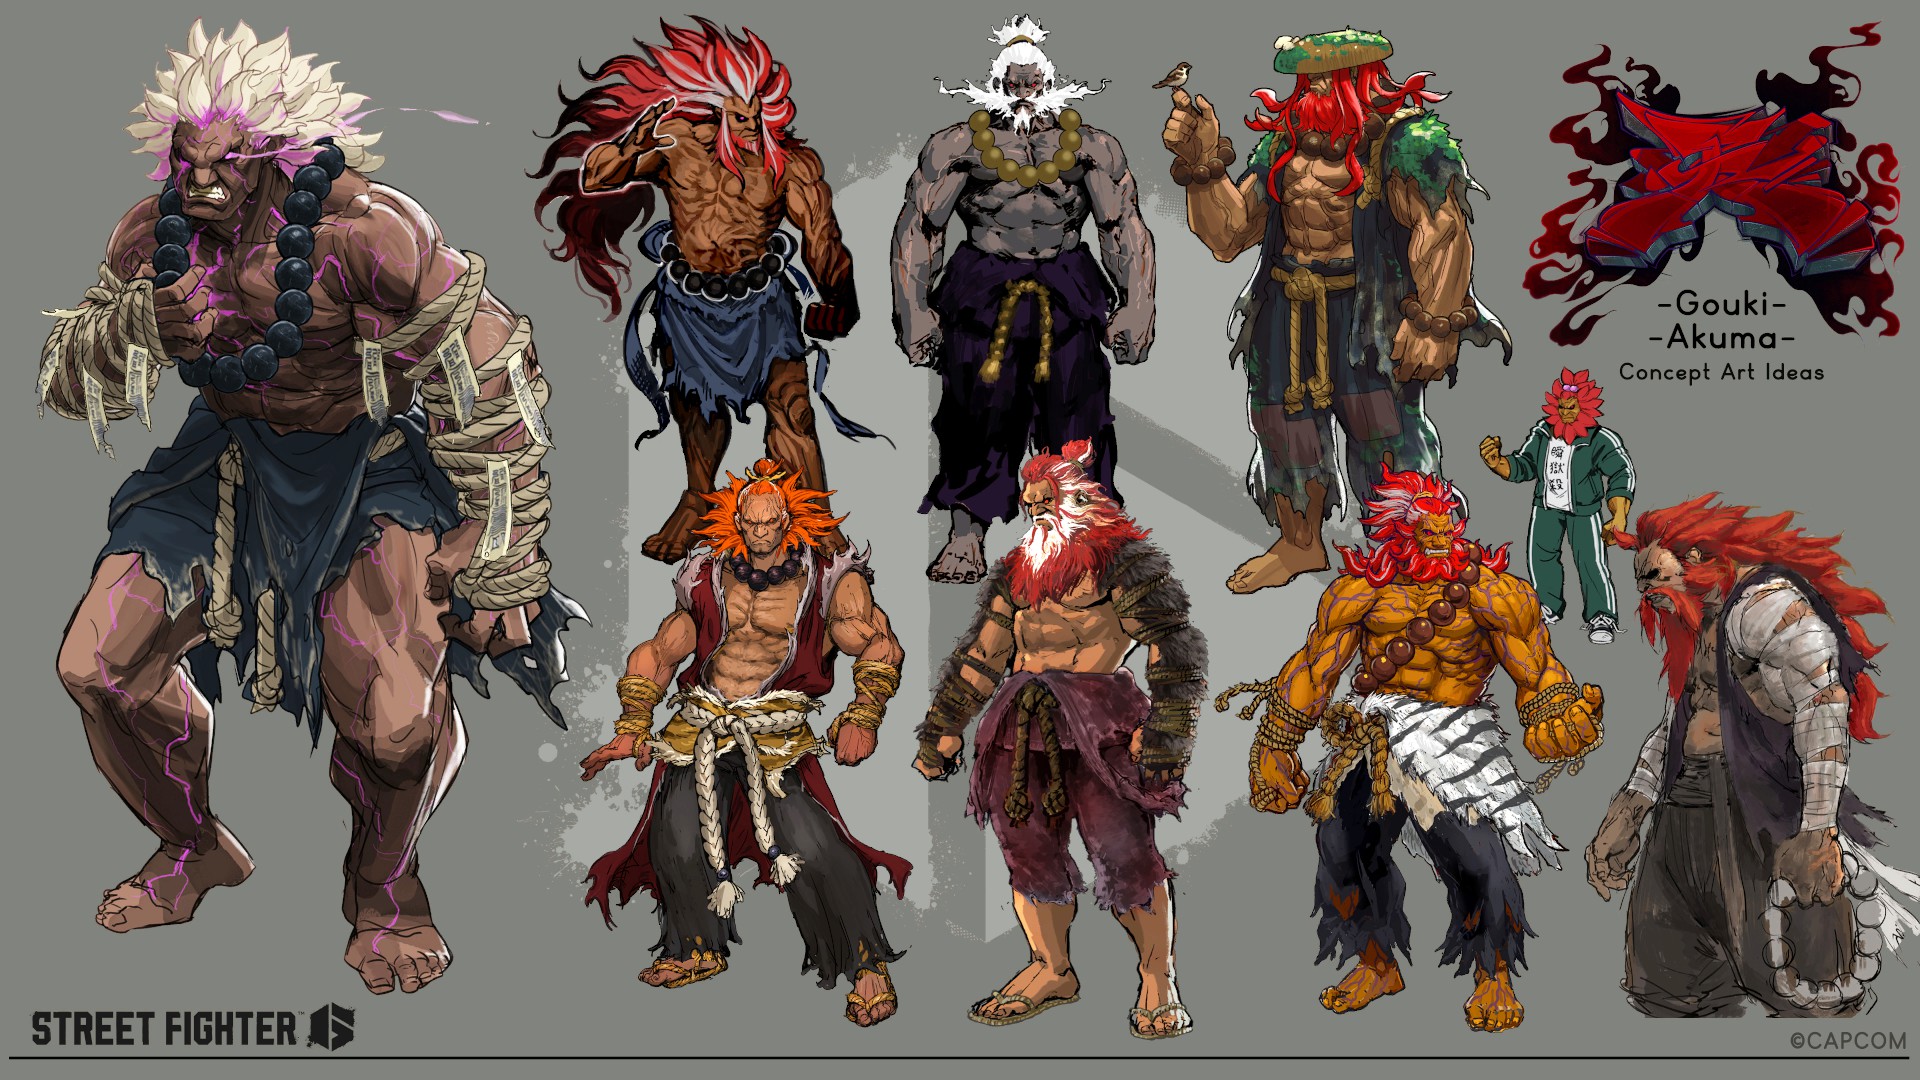
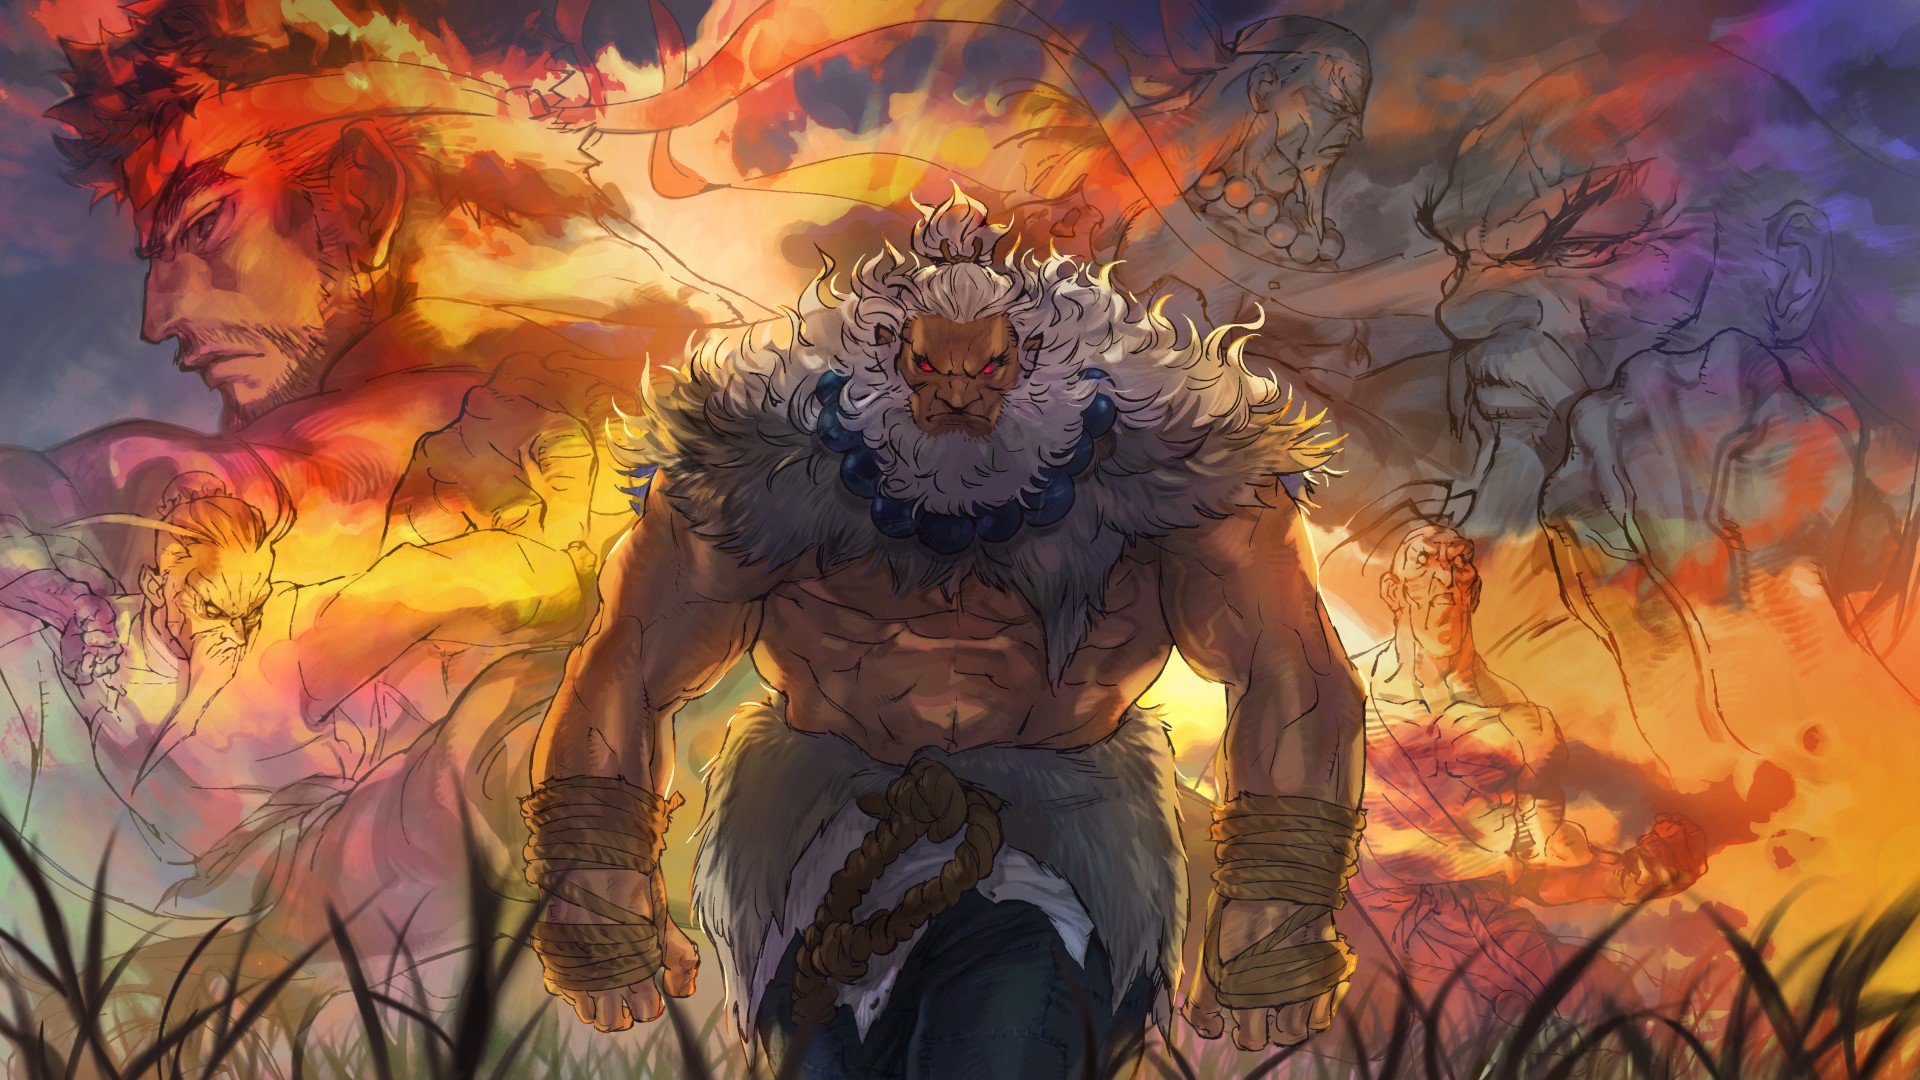
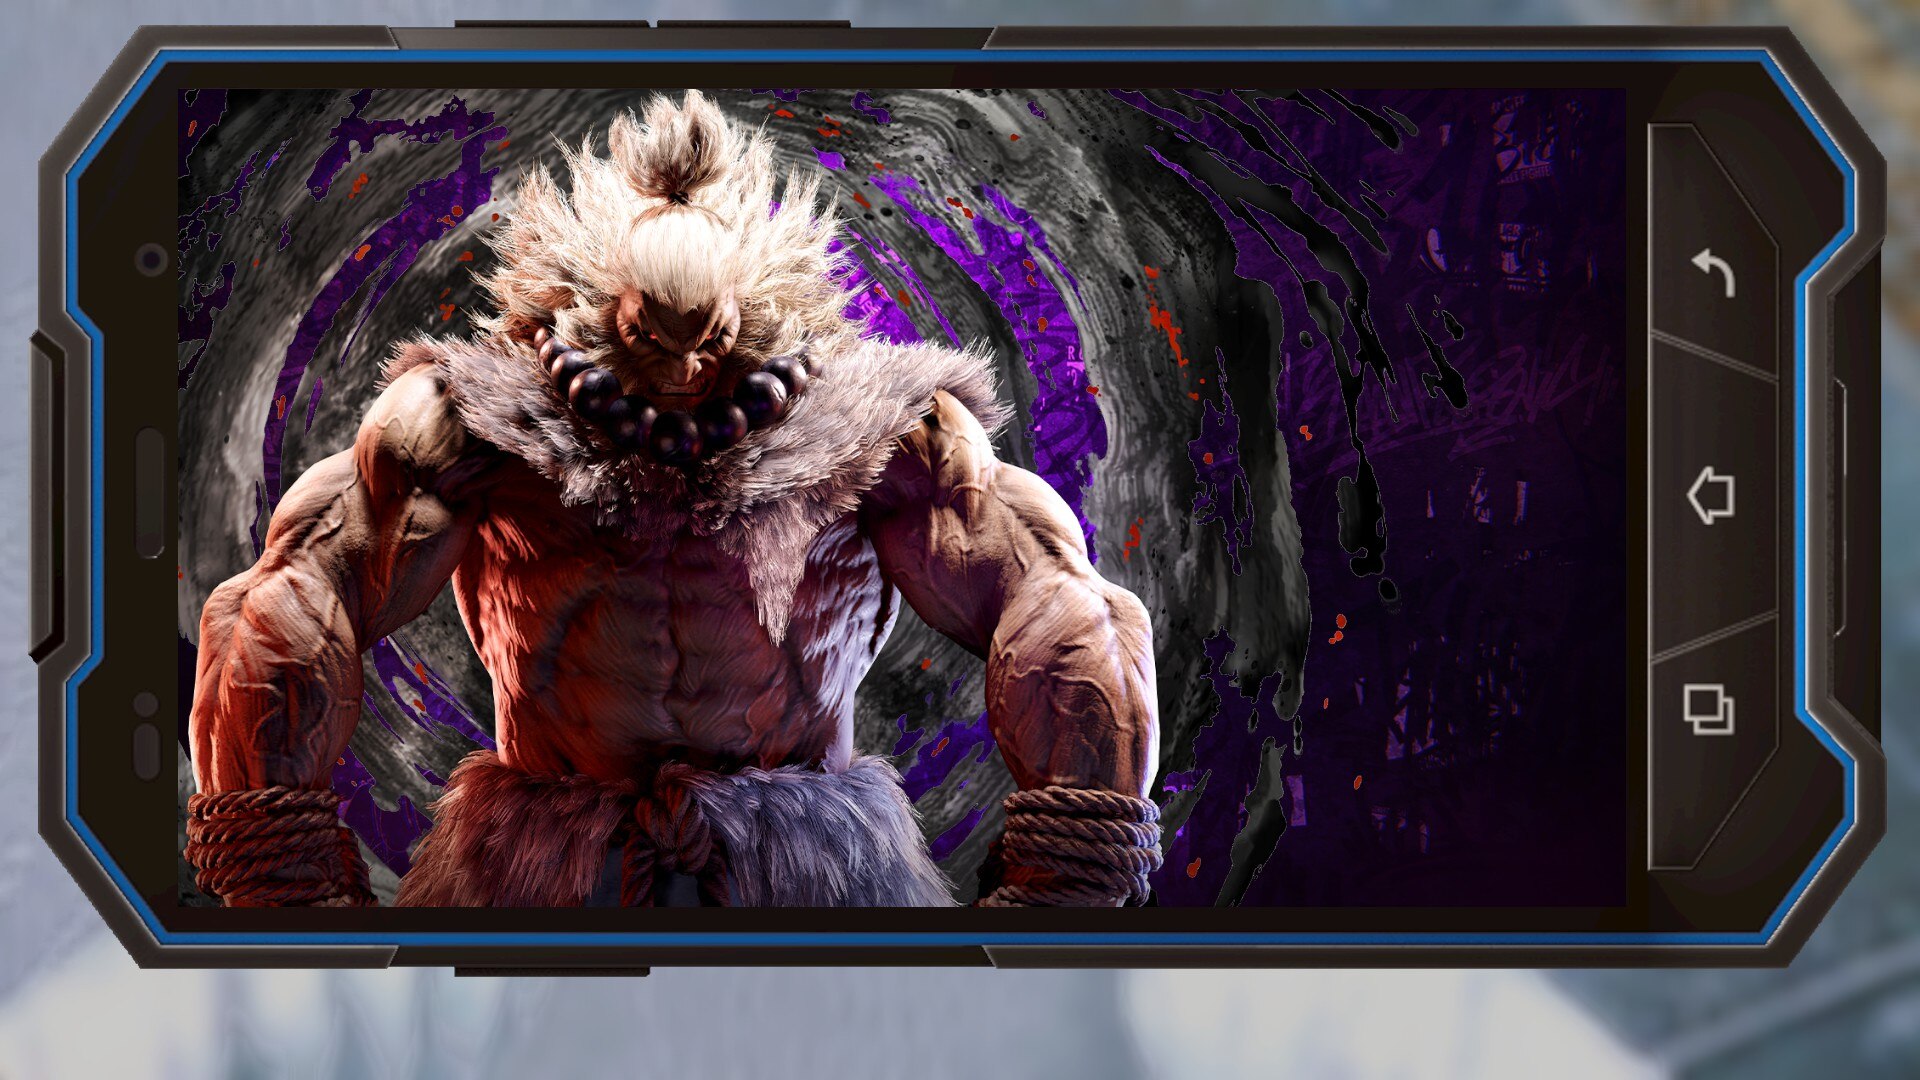
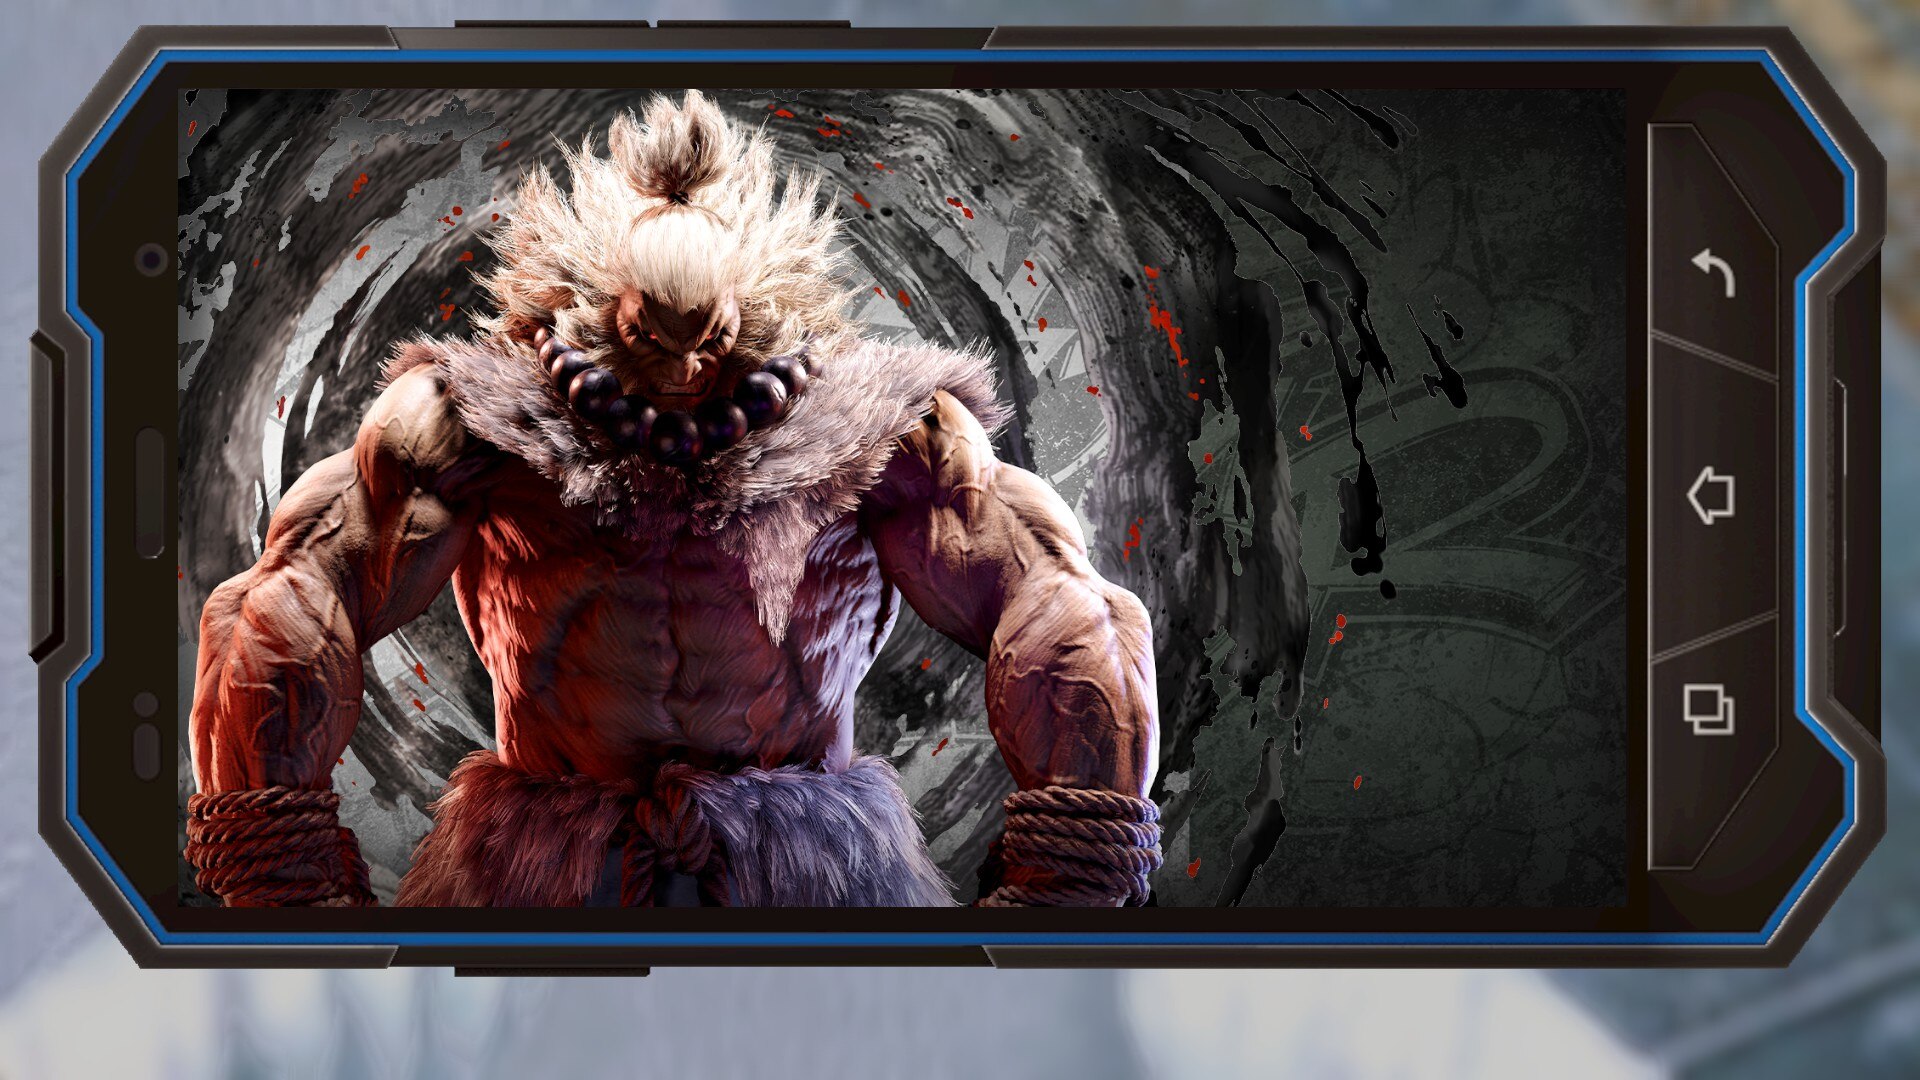
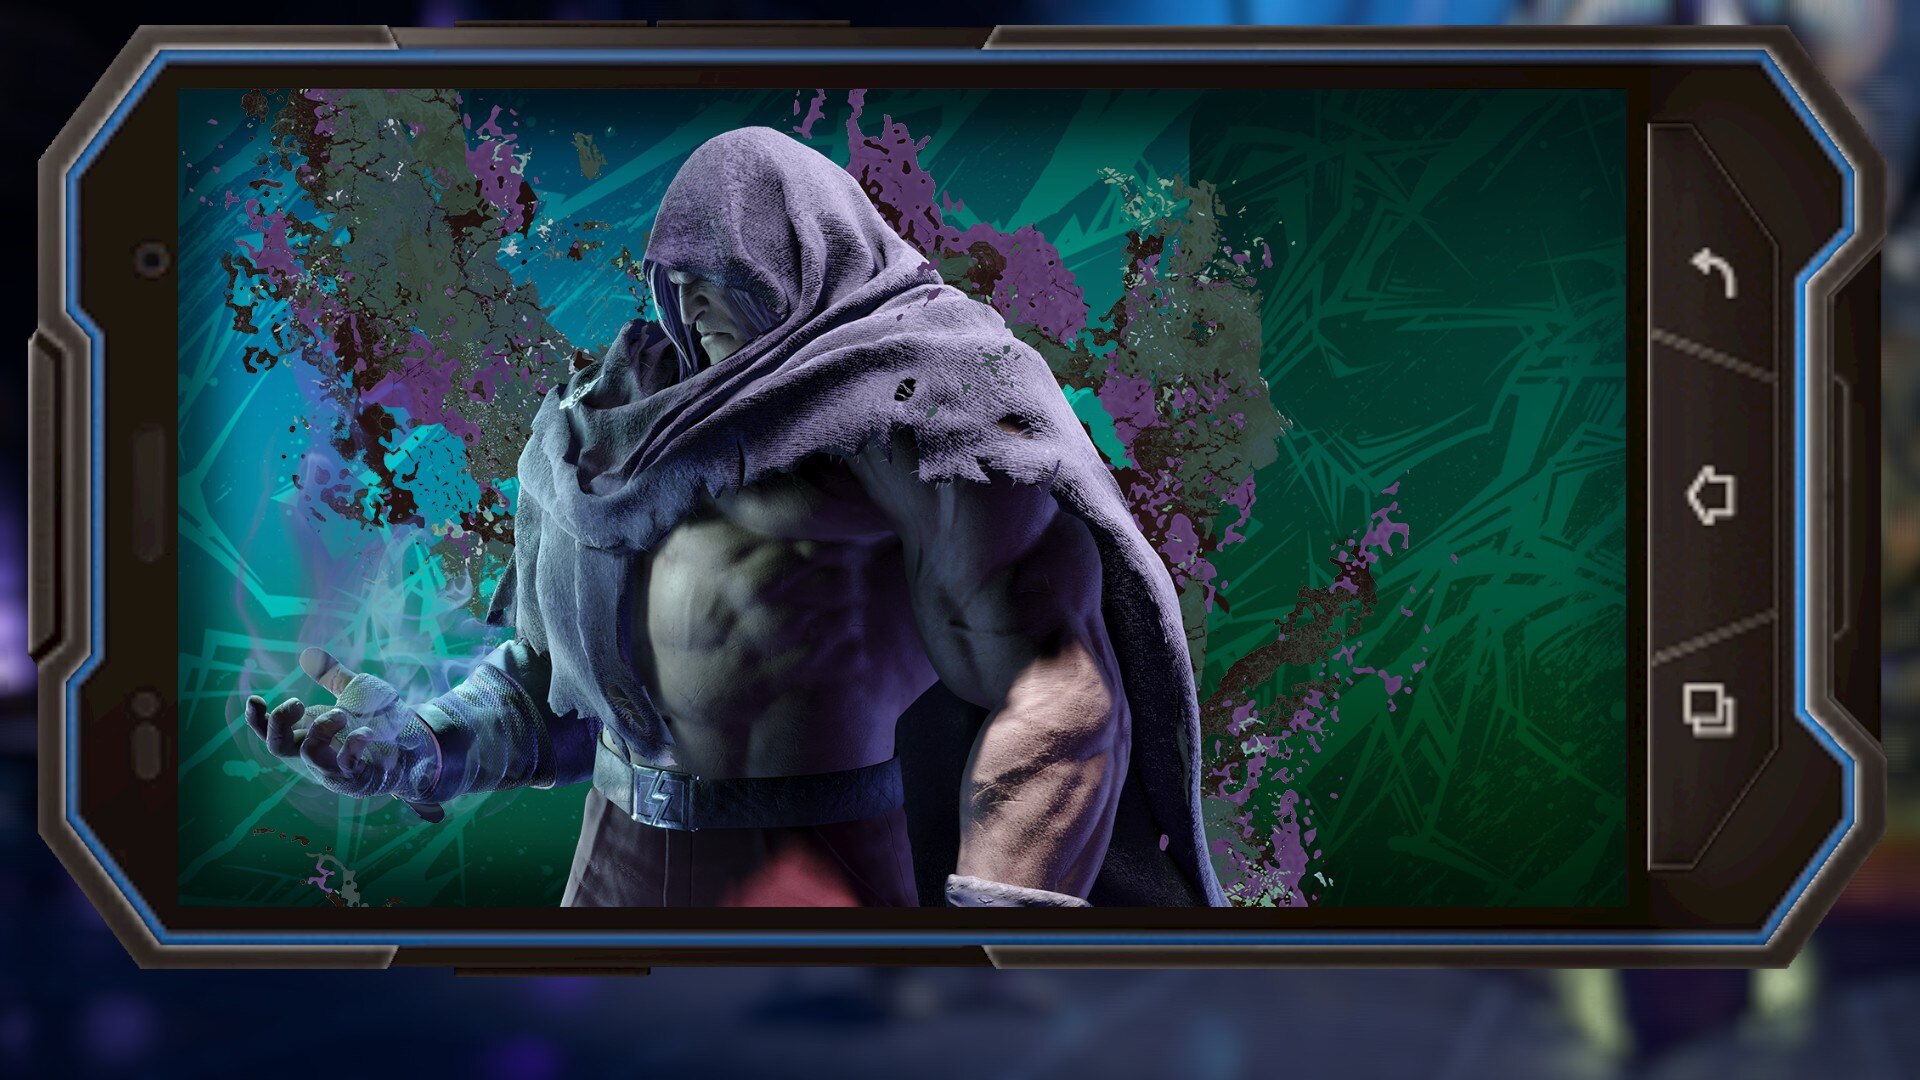
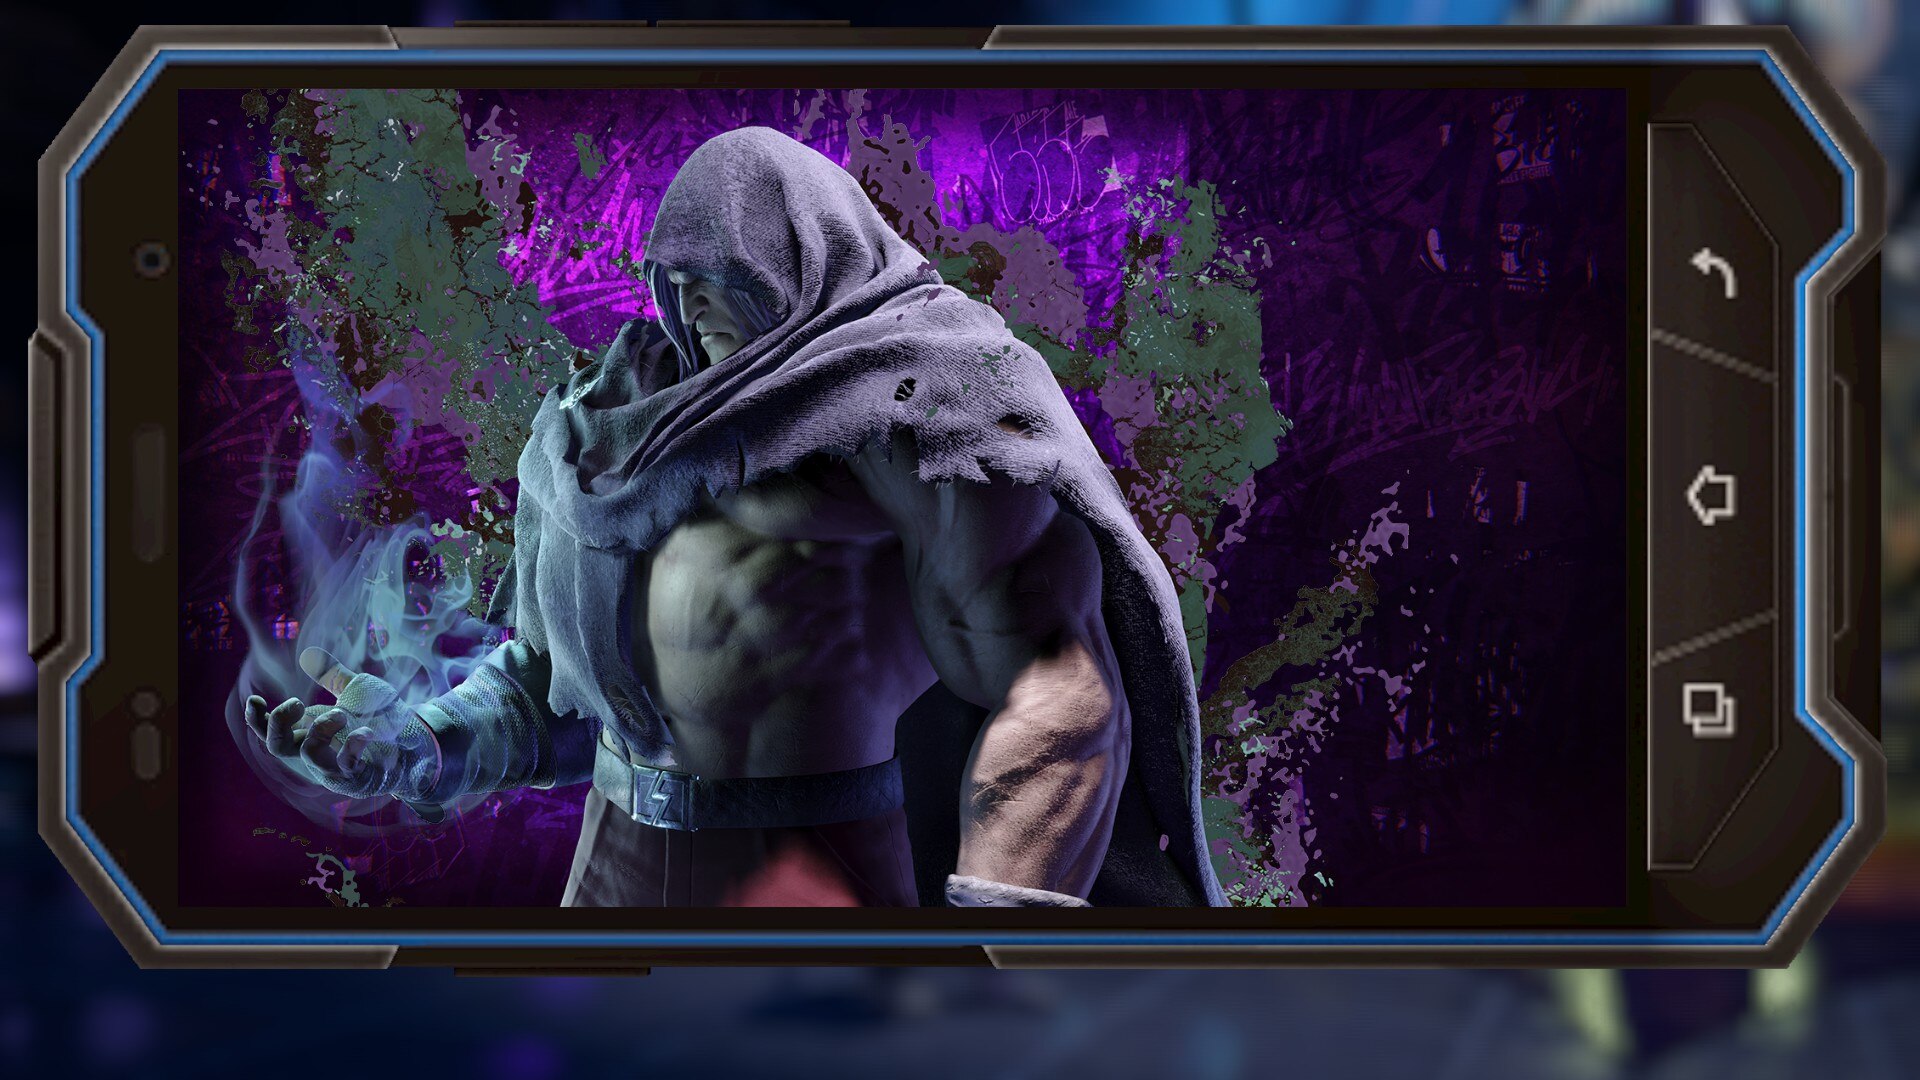
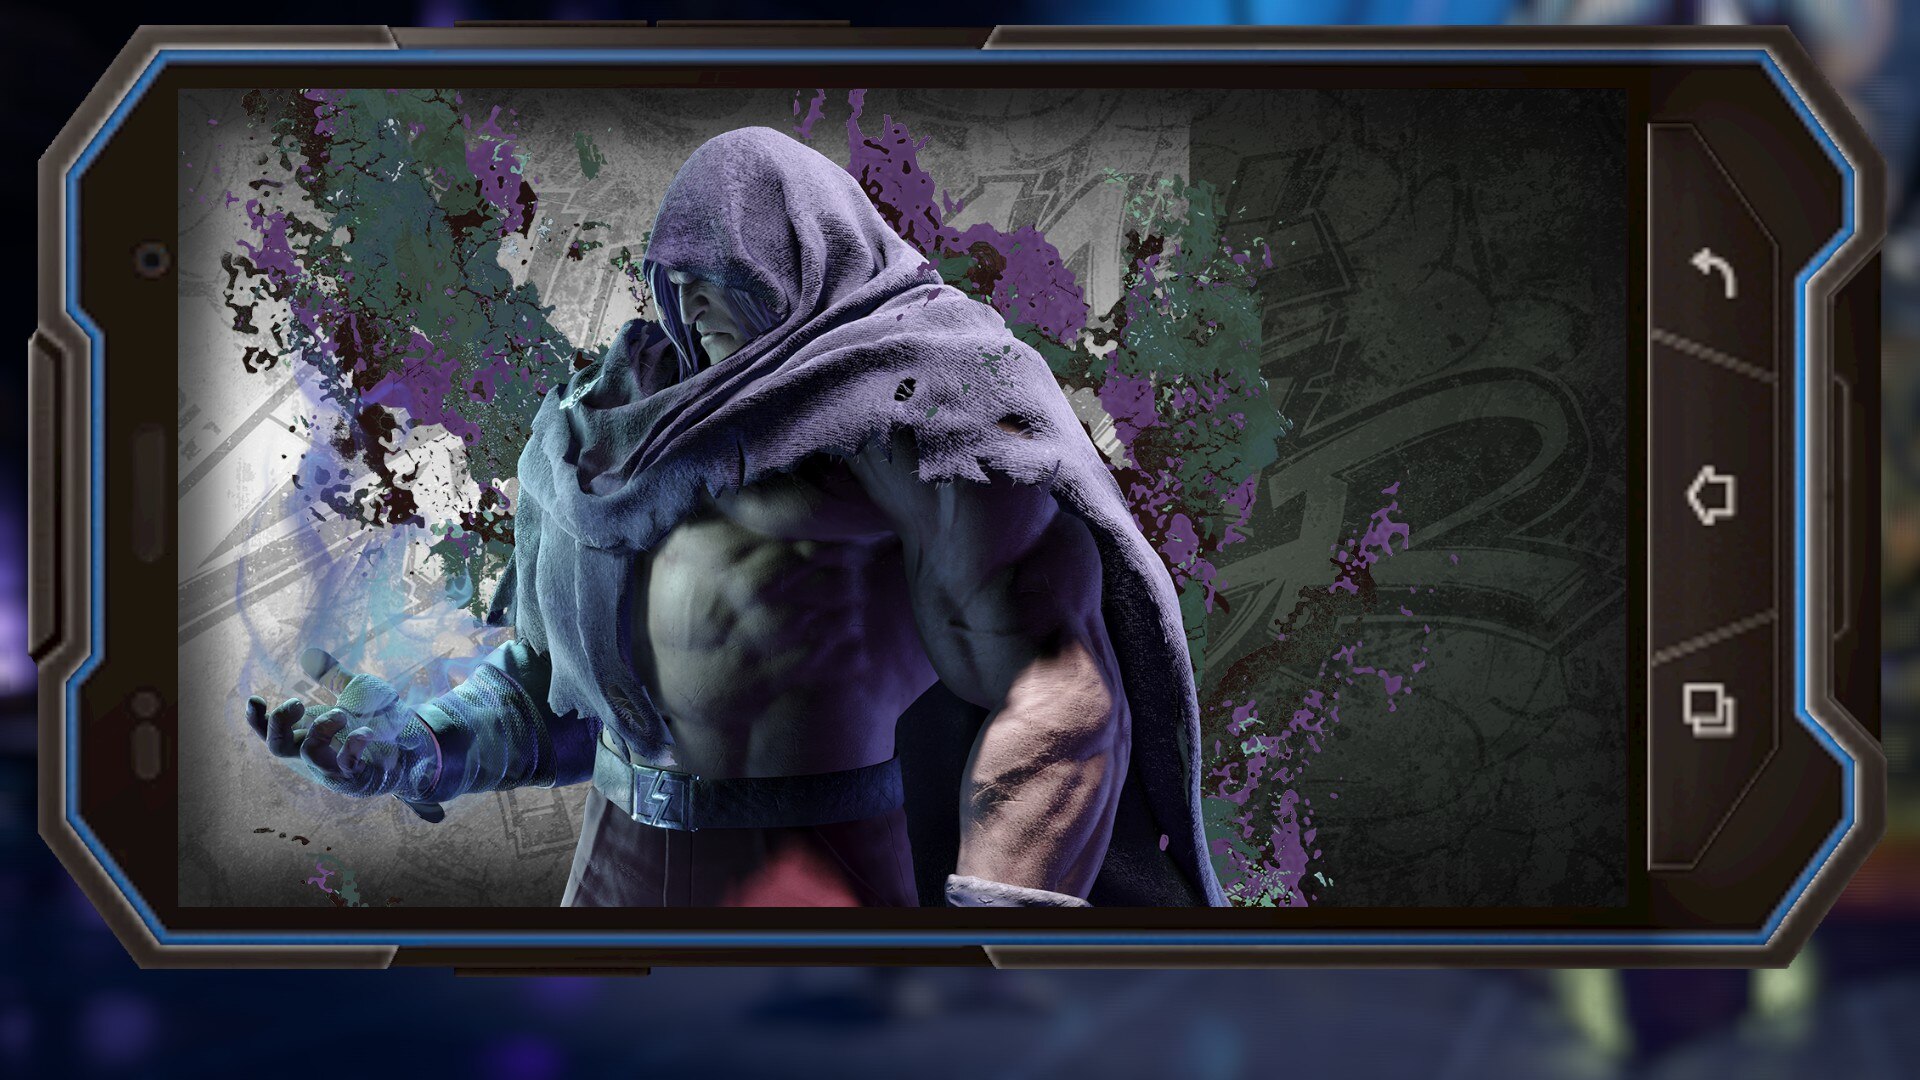
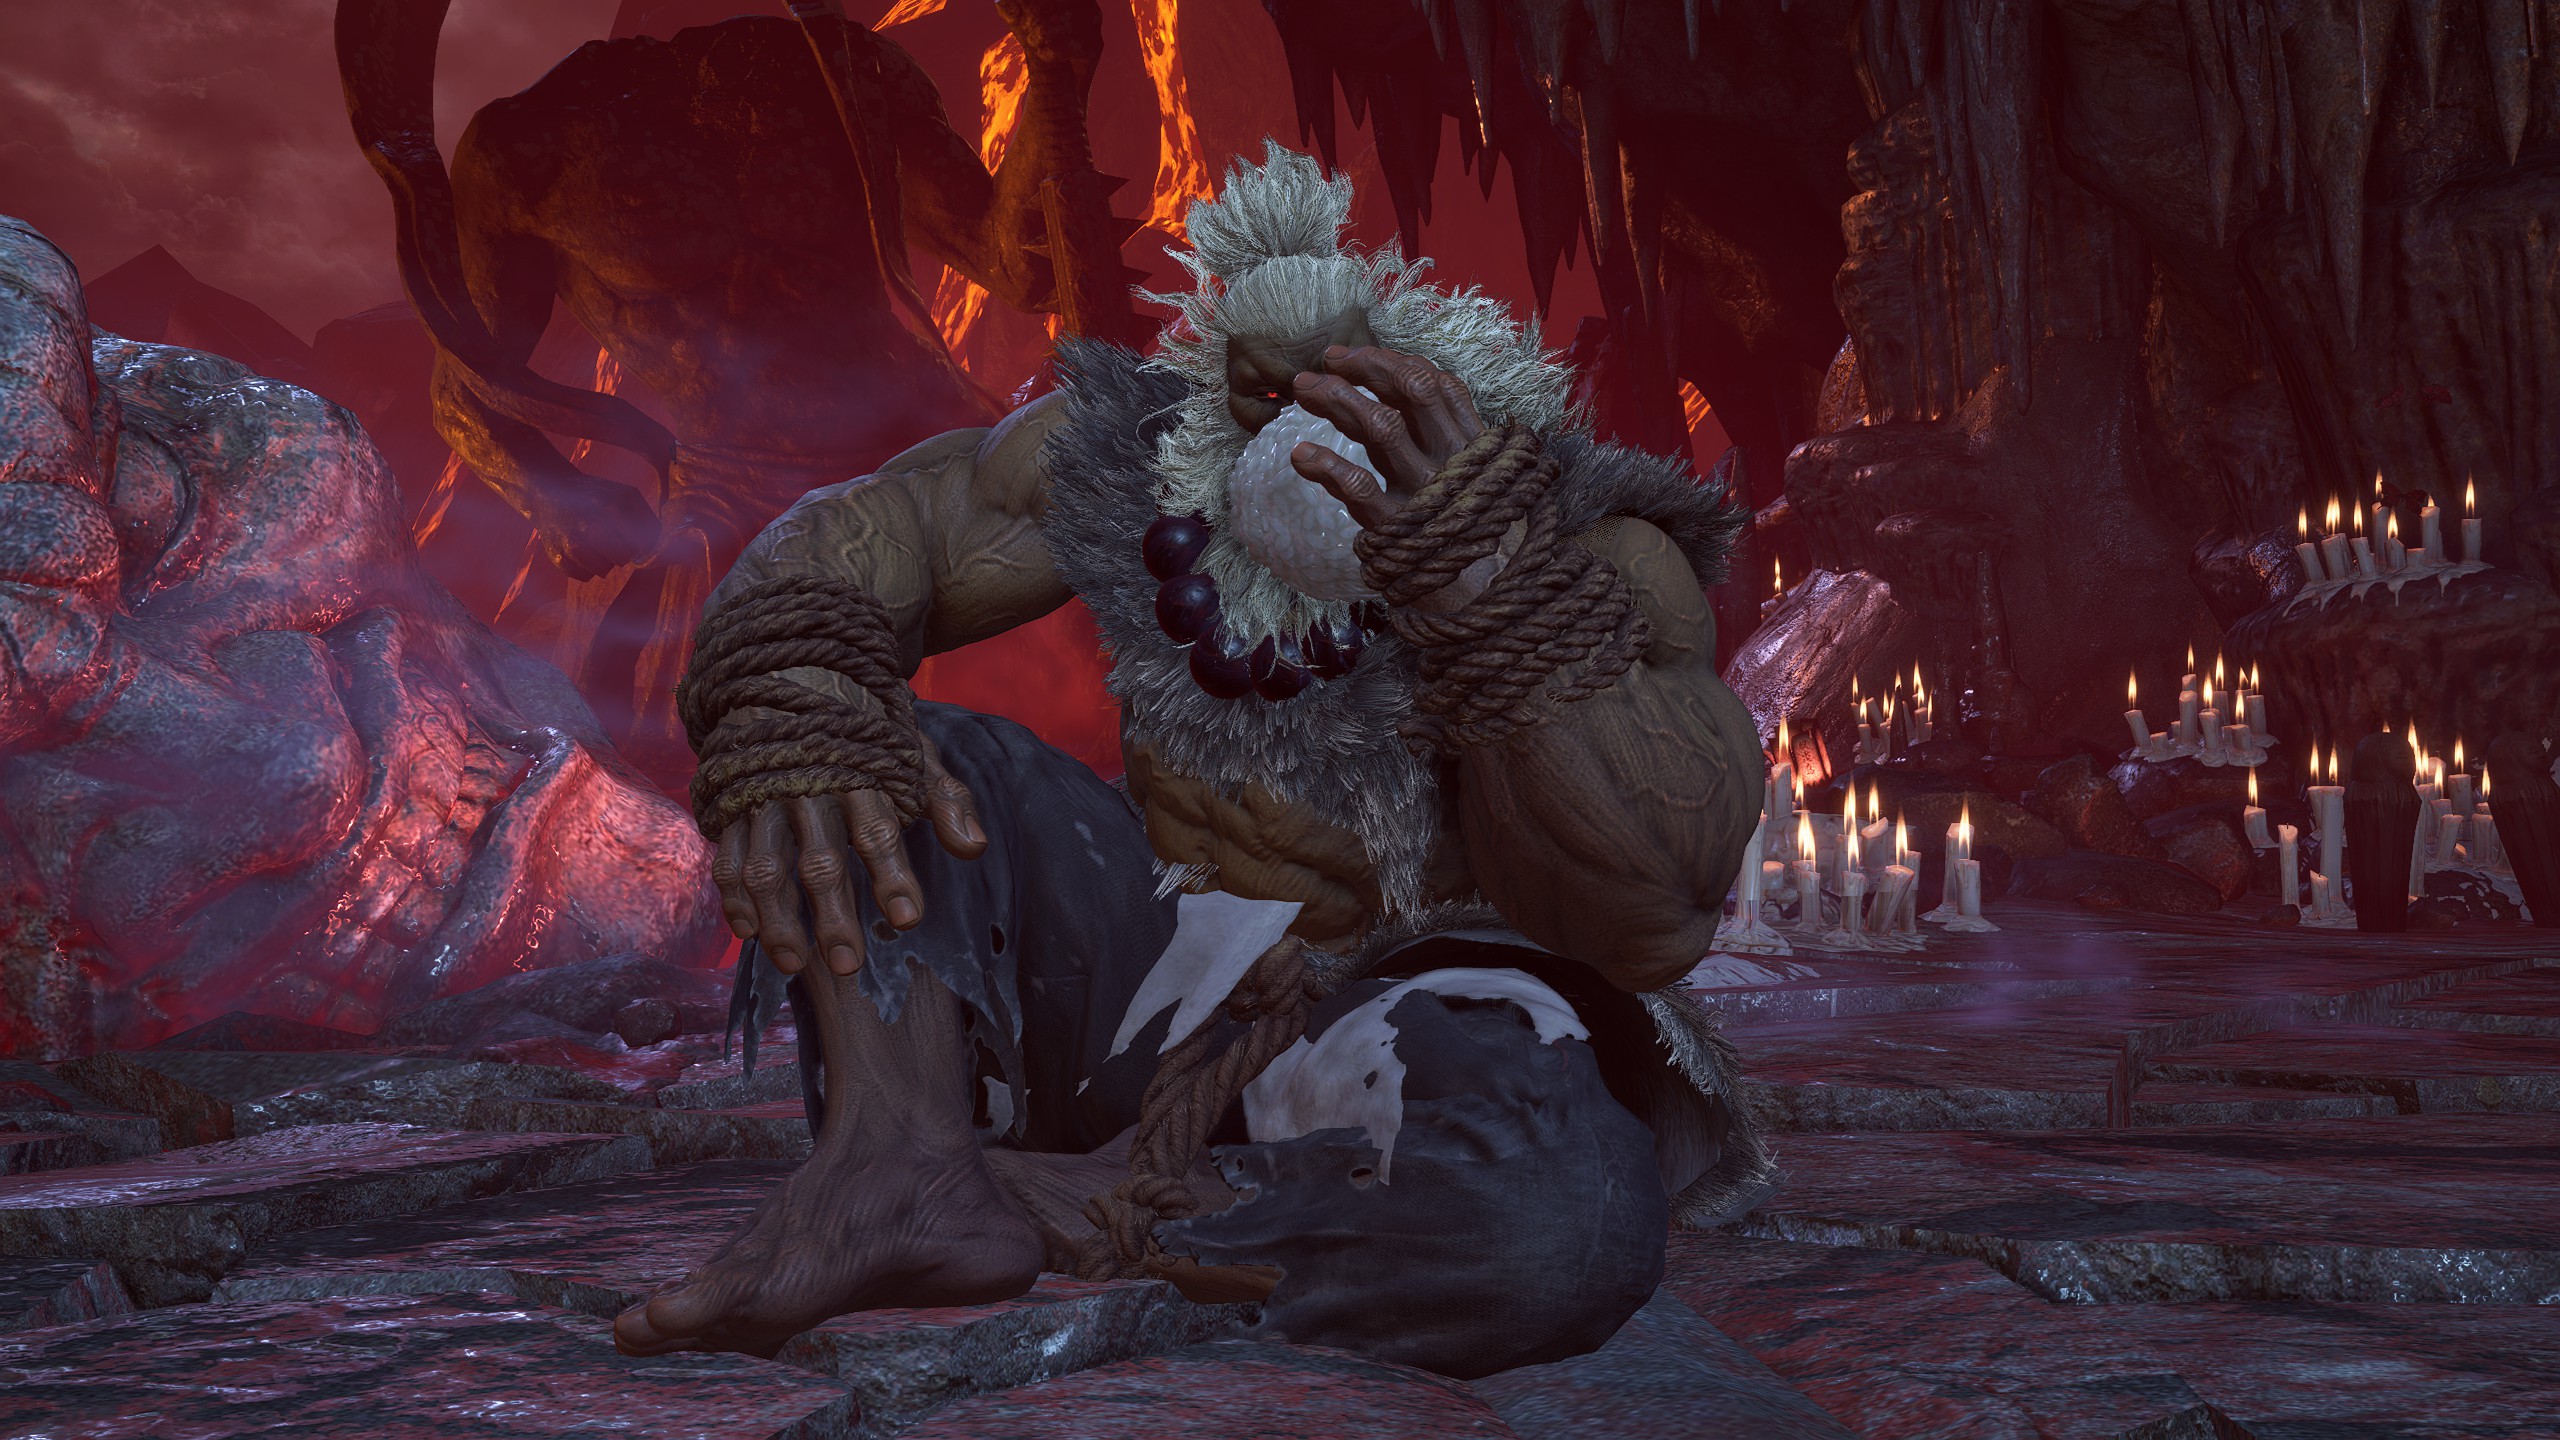
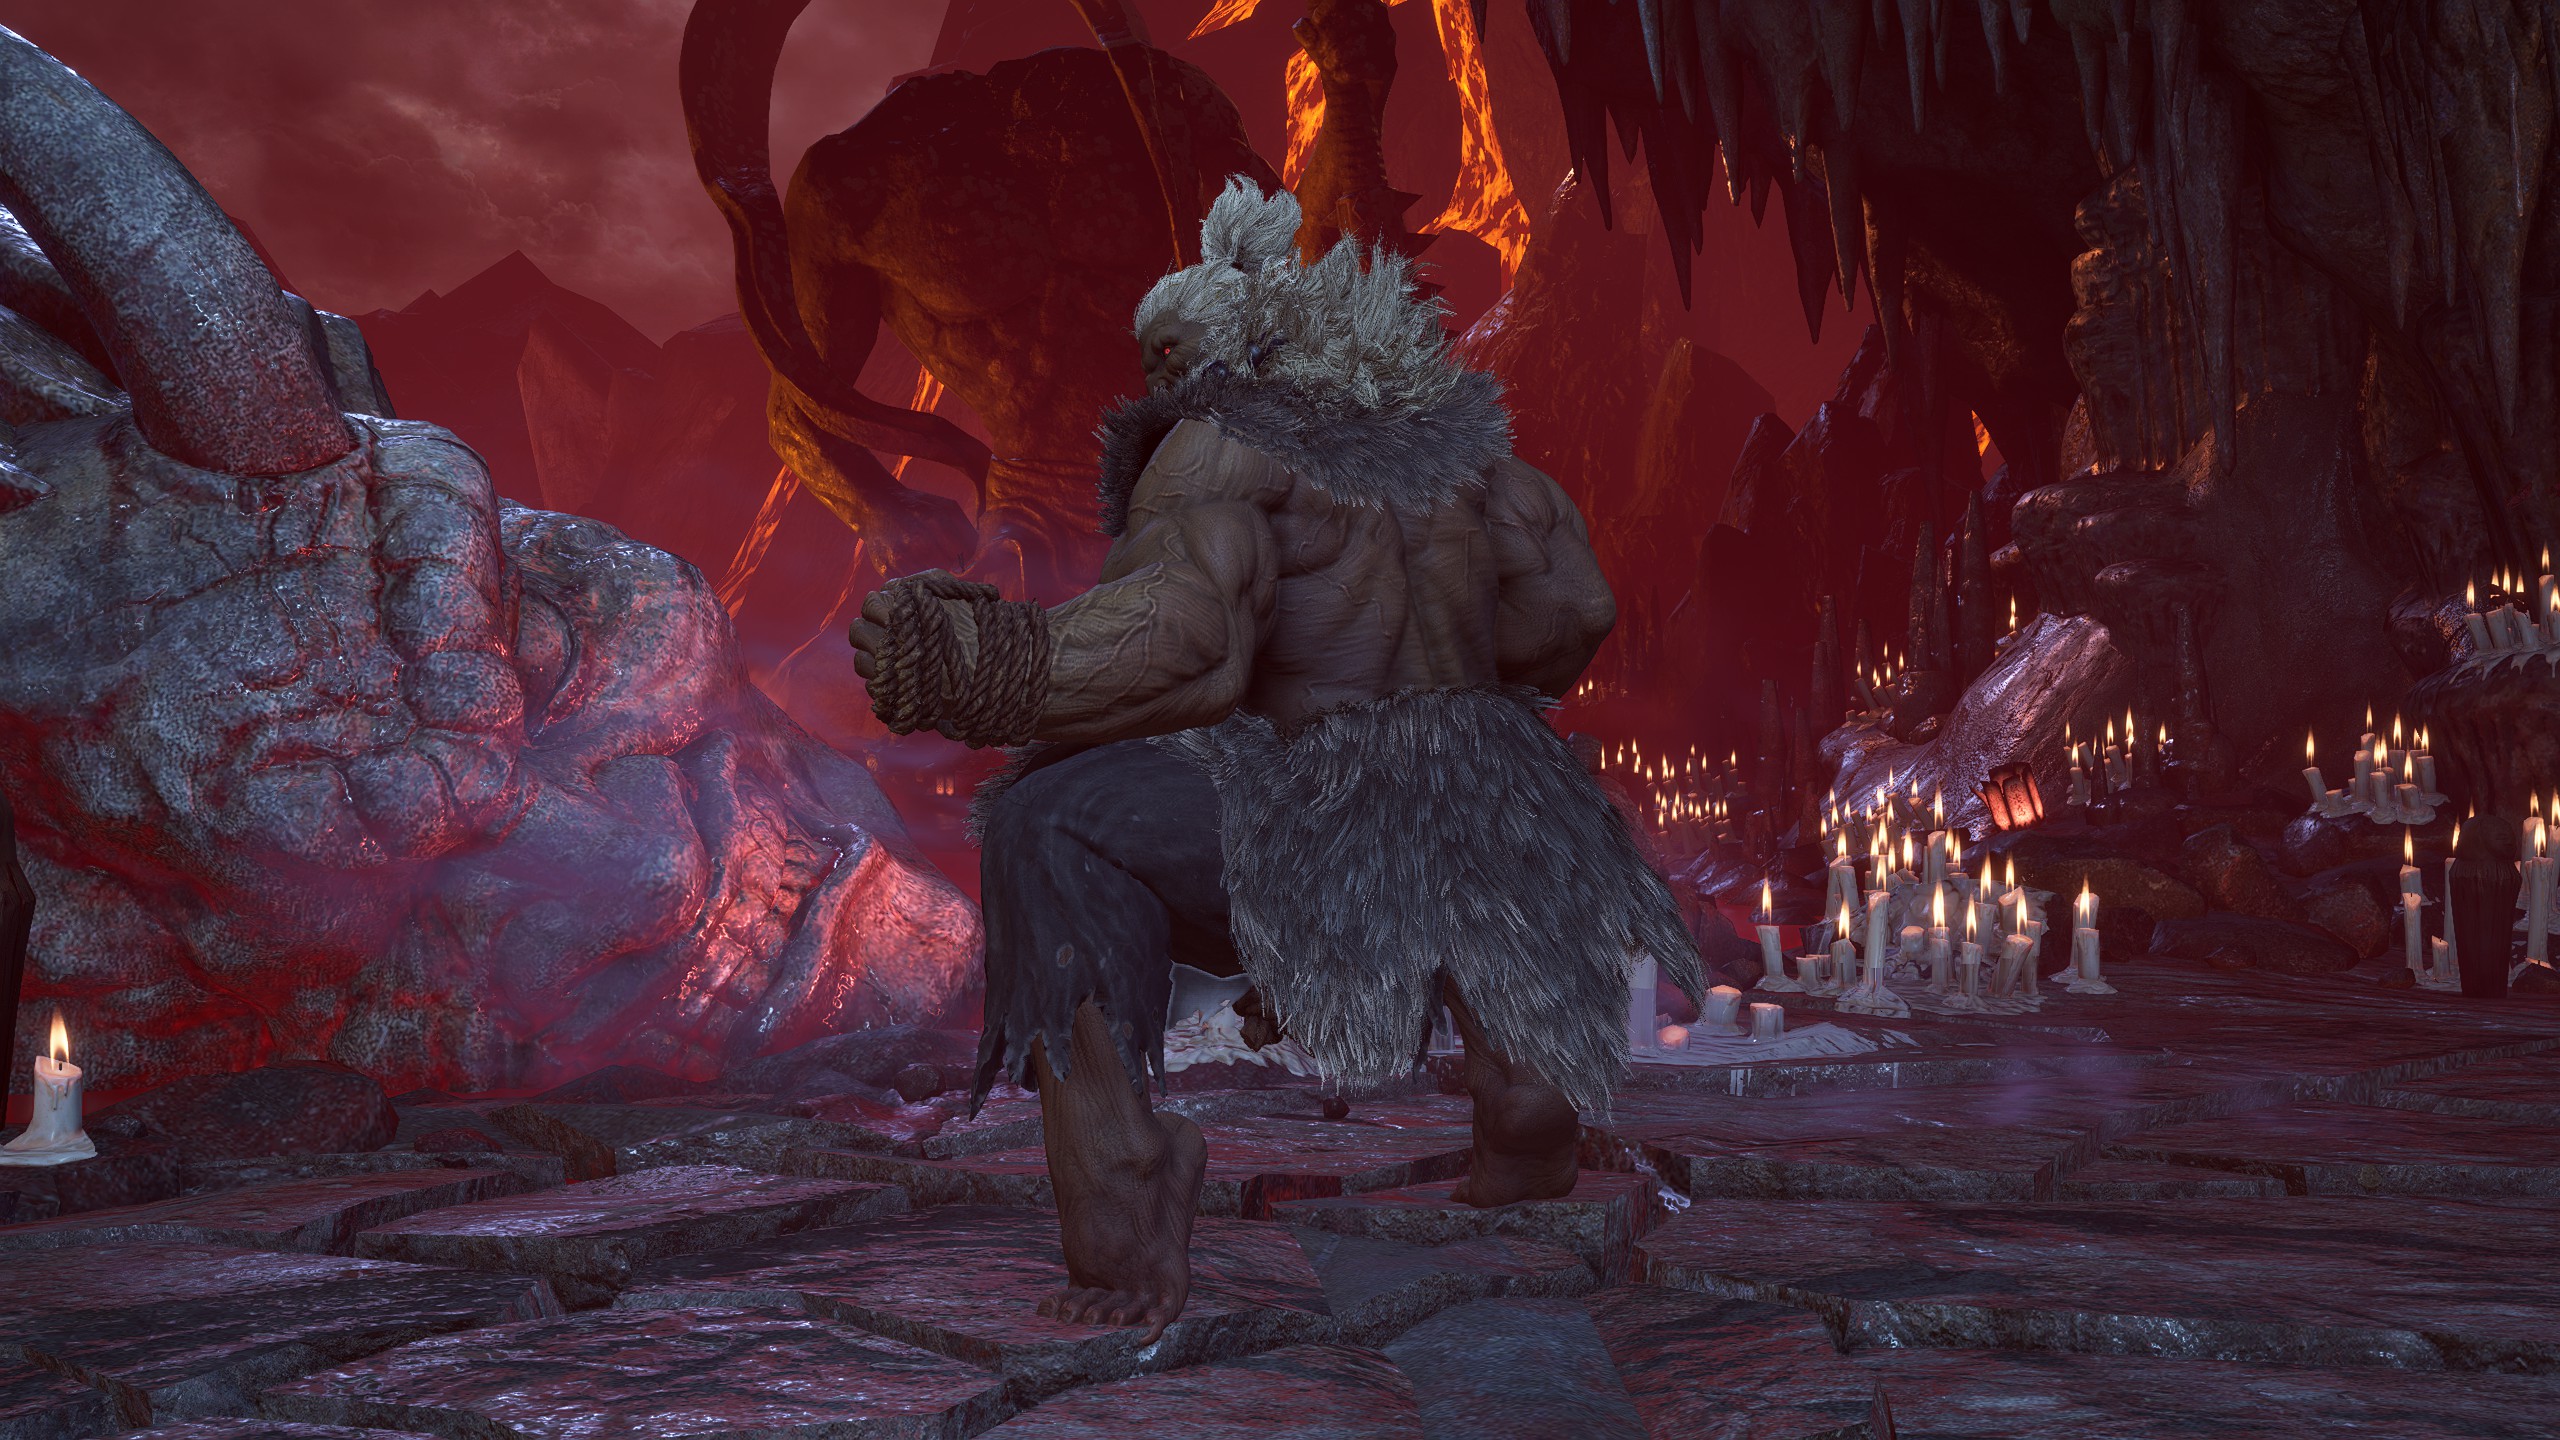
Akuma - Special Artwork: Tamio (Clear Arcade Once with Akuma)
Akuma - Character Design: Akuma (Clear Arcade Twice with Akuma)
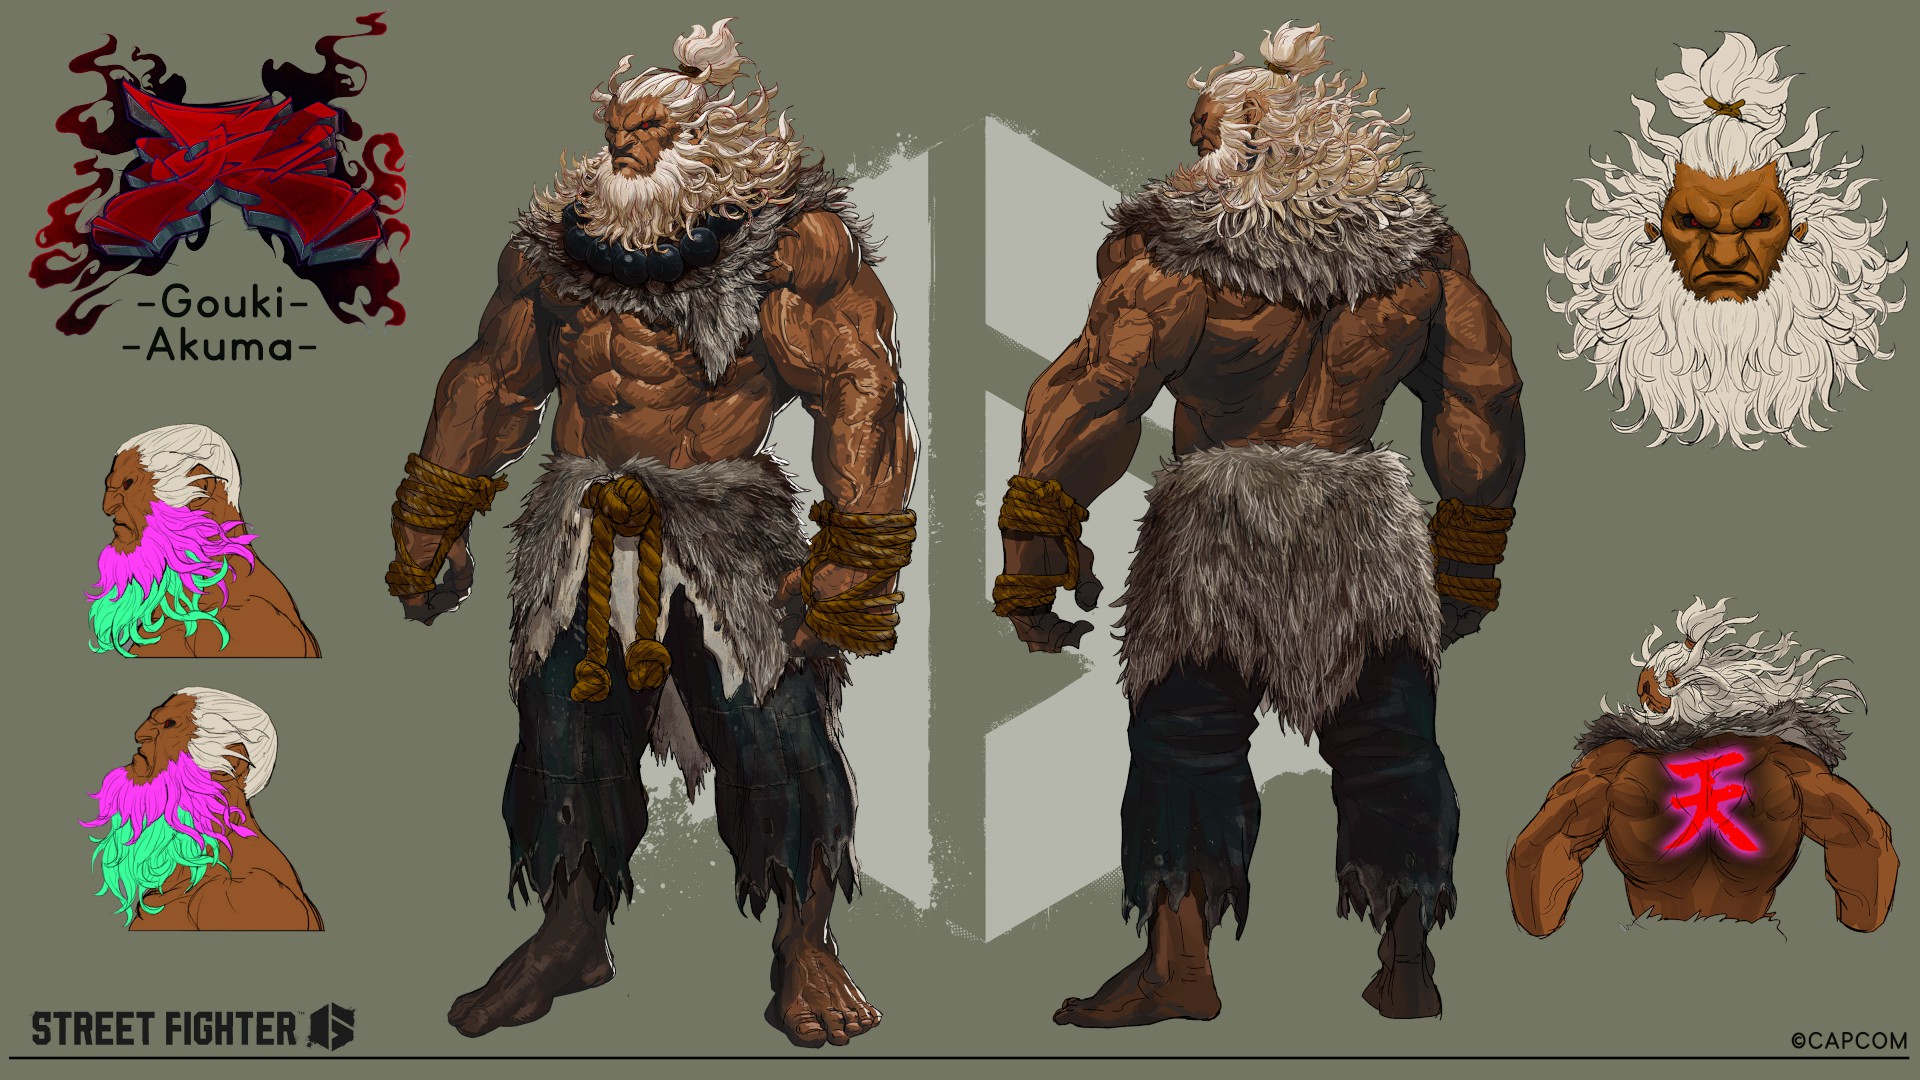
Akuma - Unused Design: Akuma (Clear Arcade Three Times with Akuma)
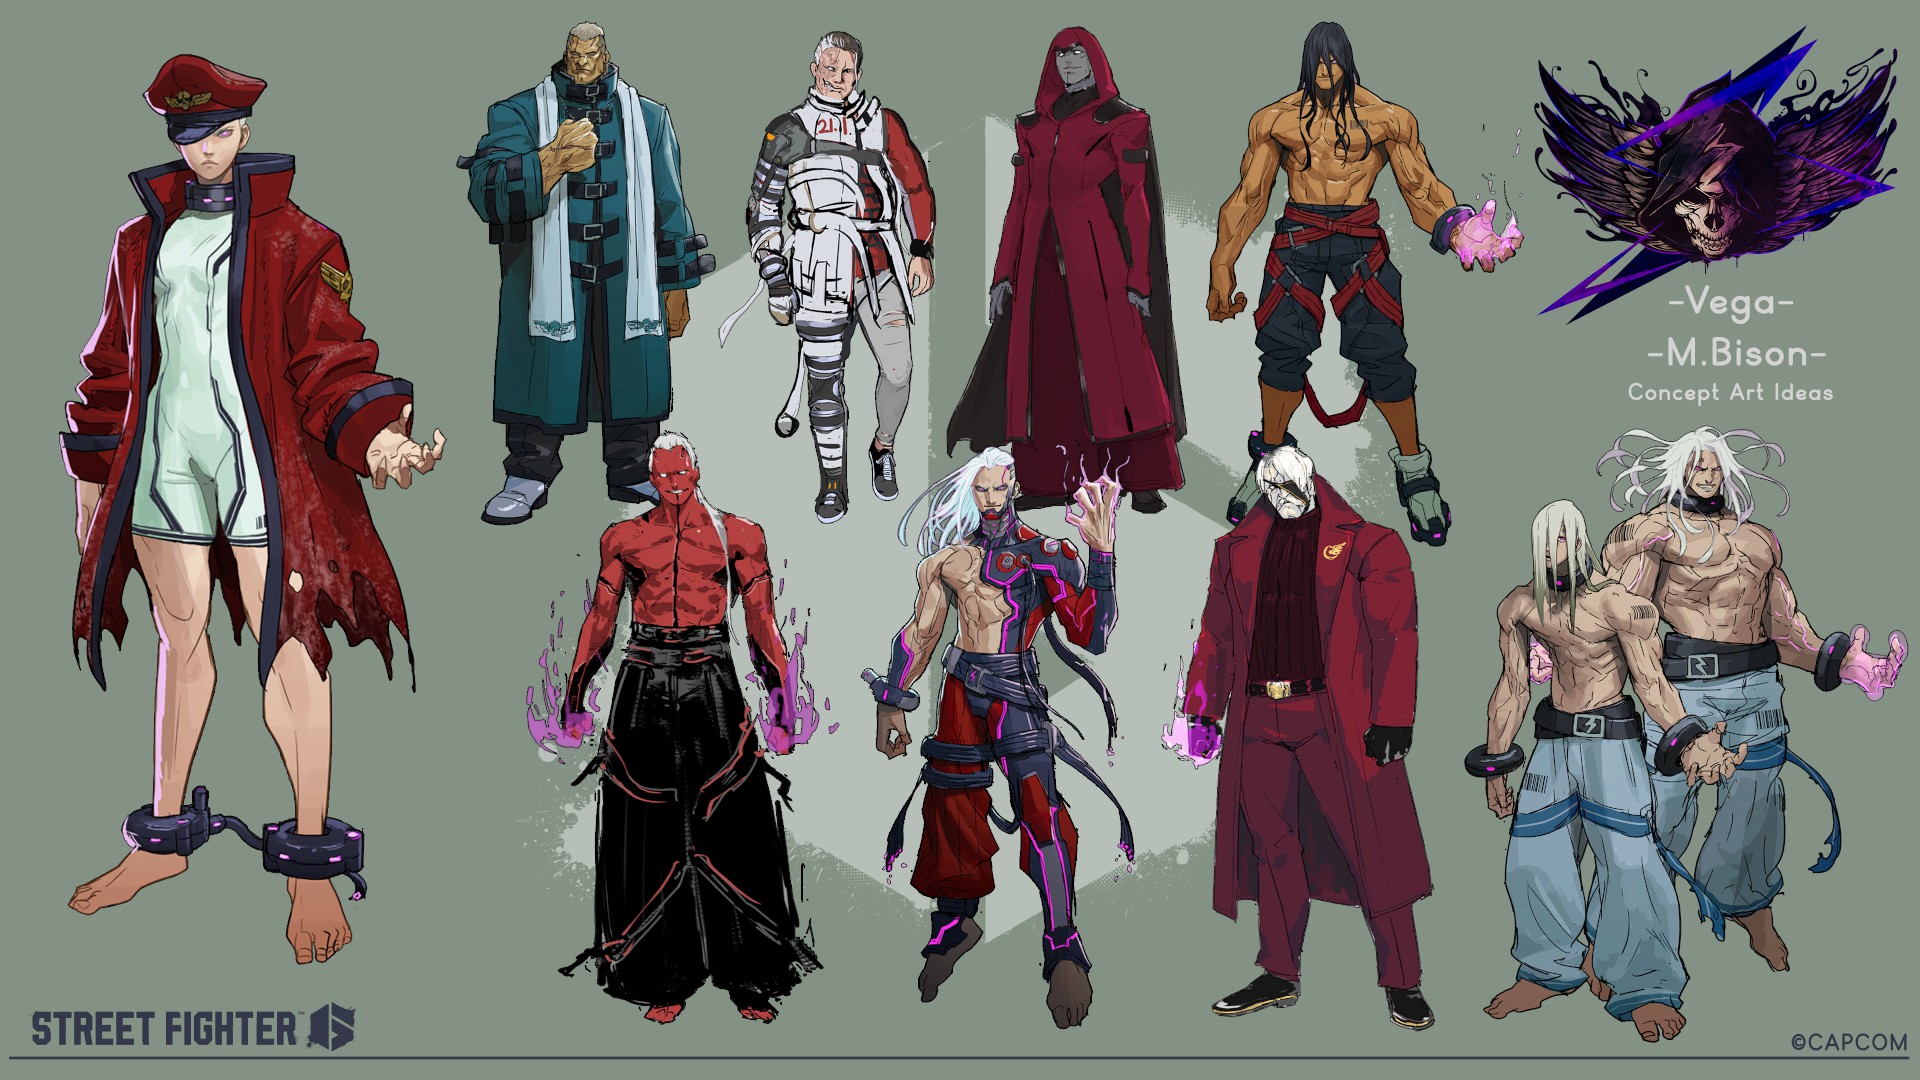
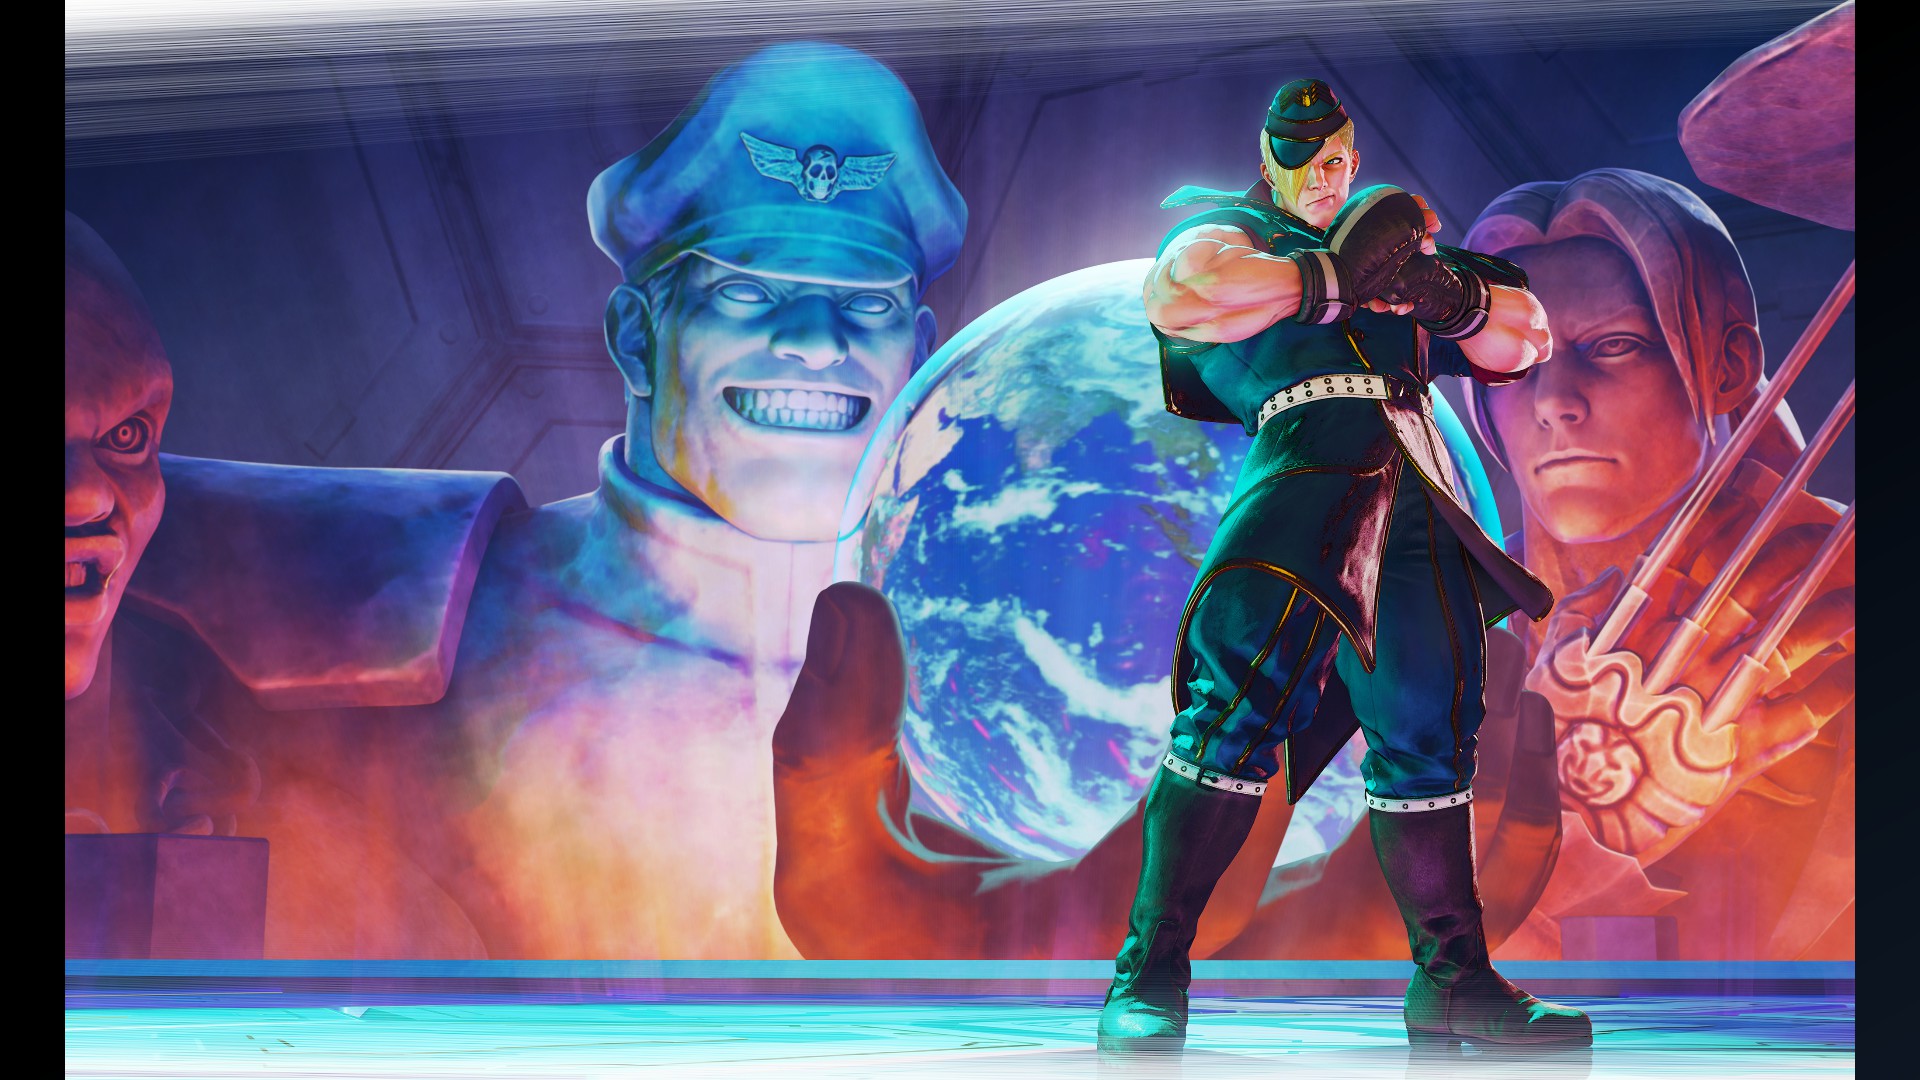
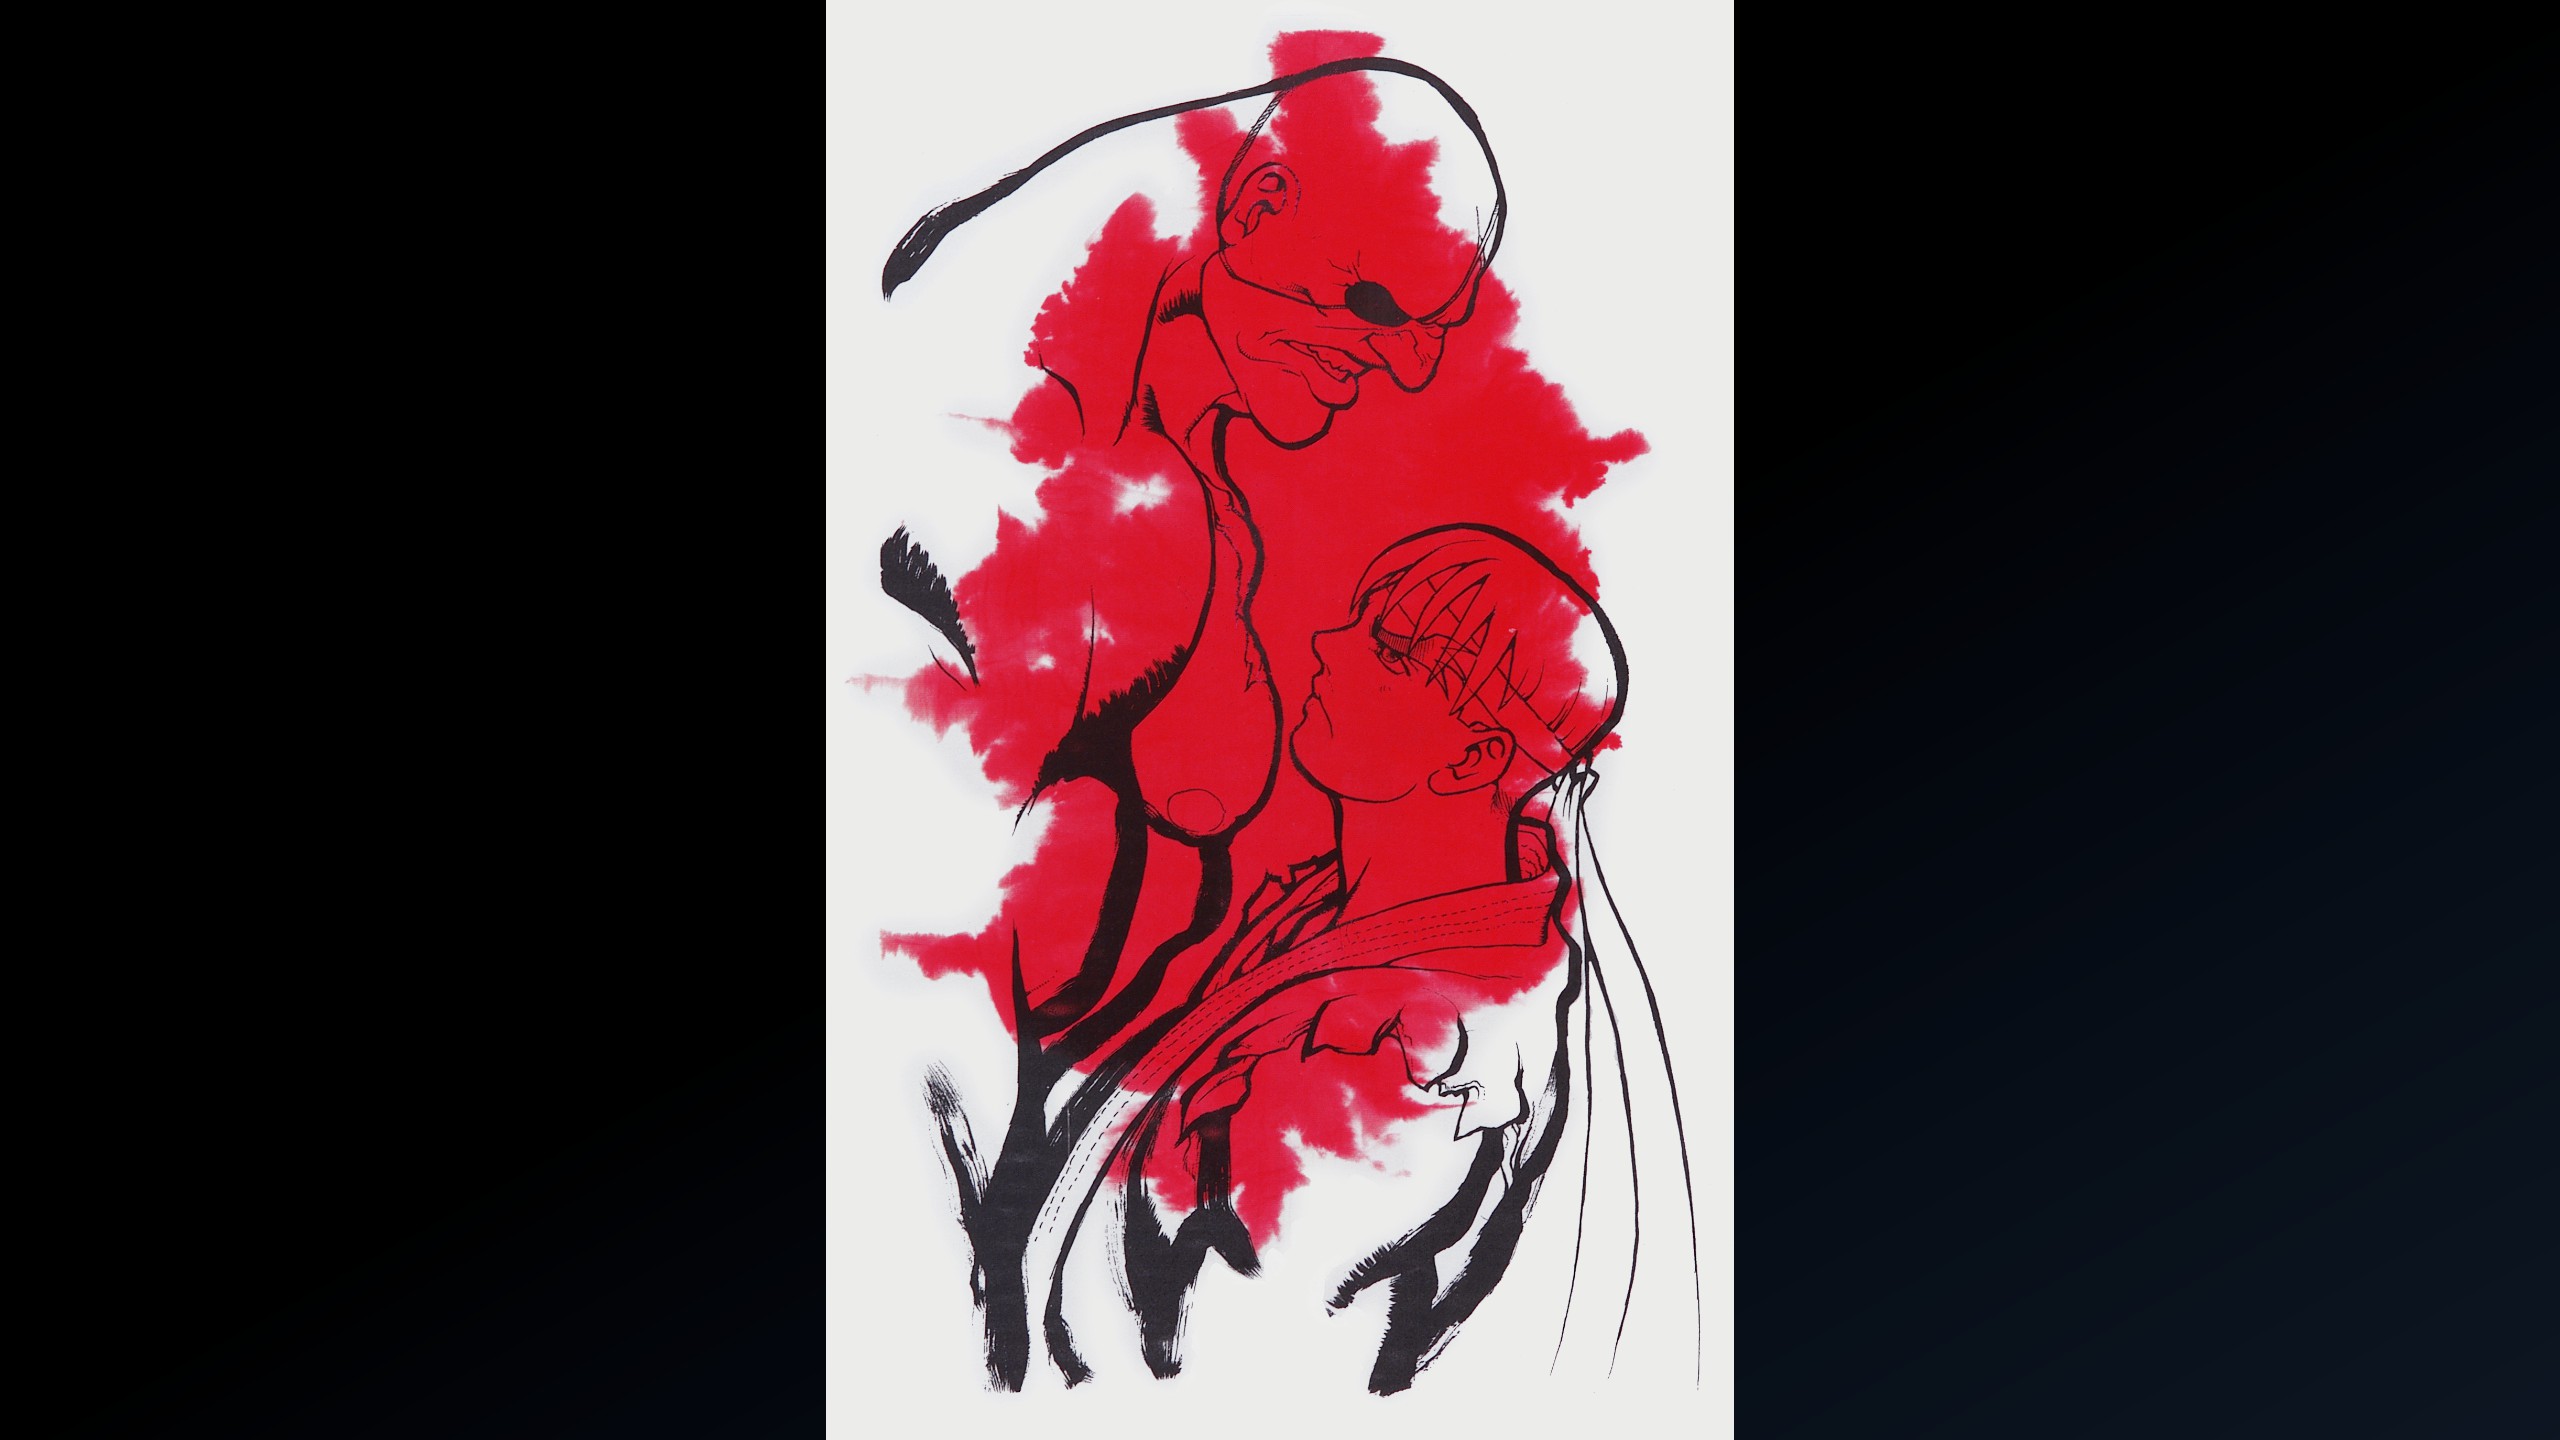
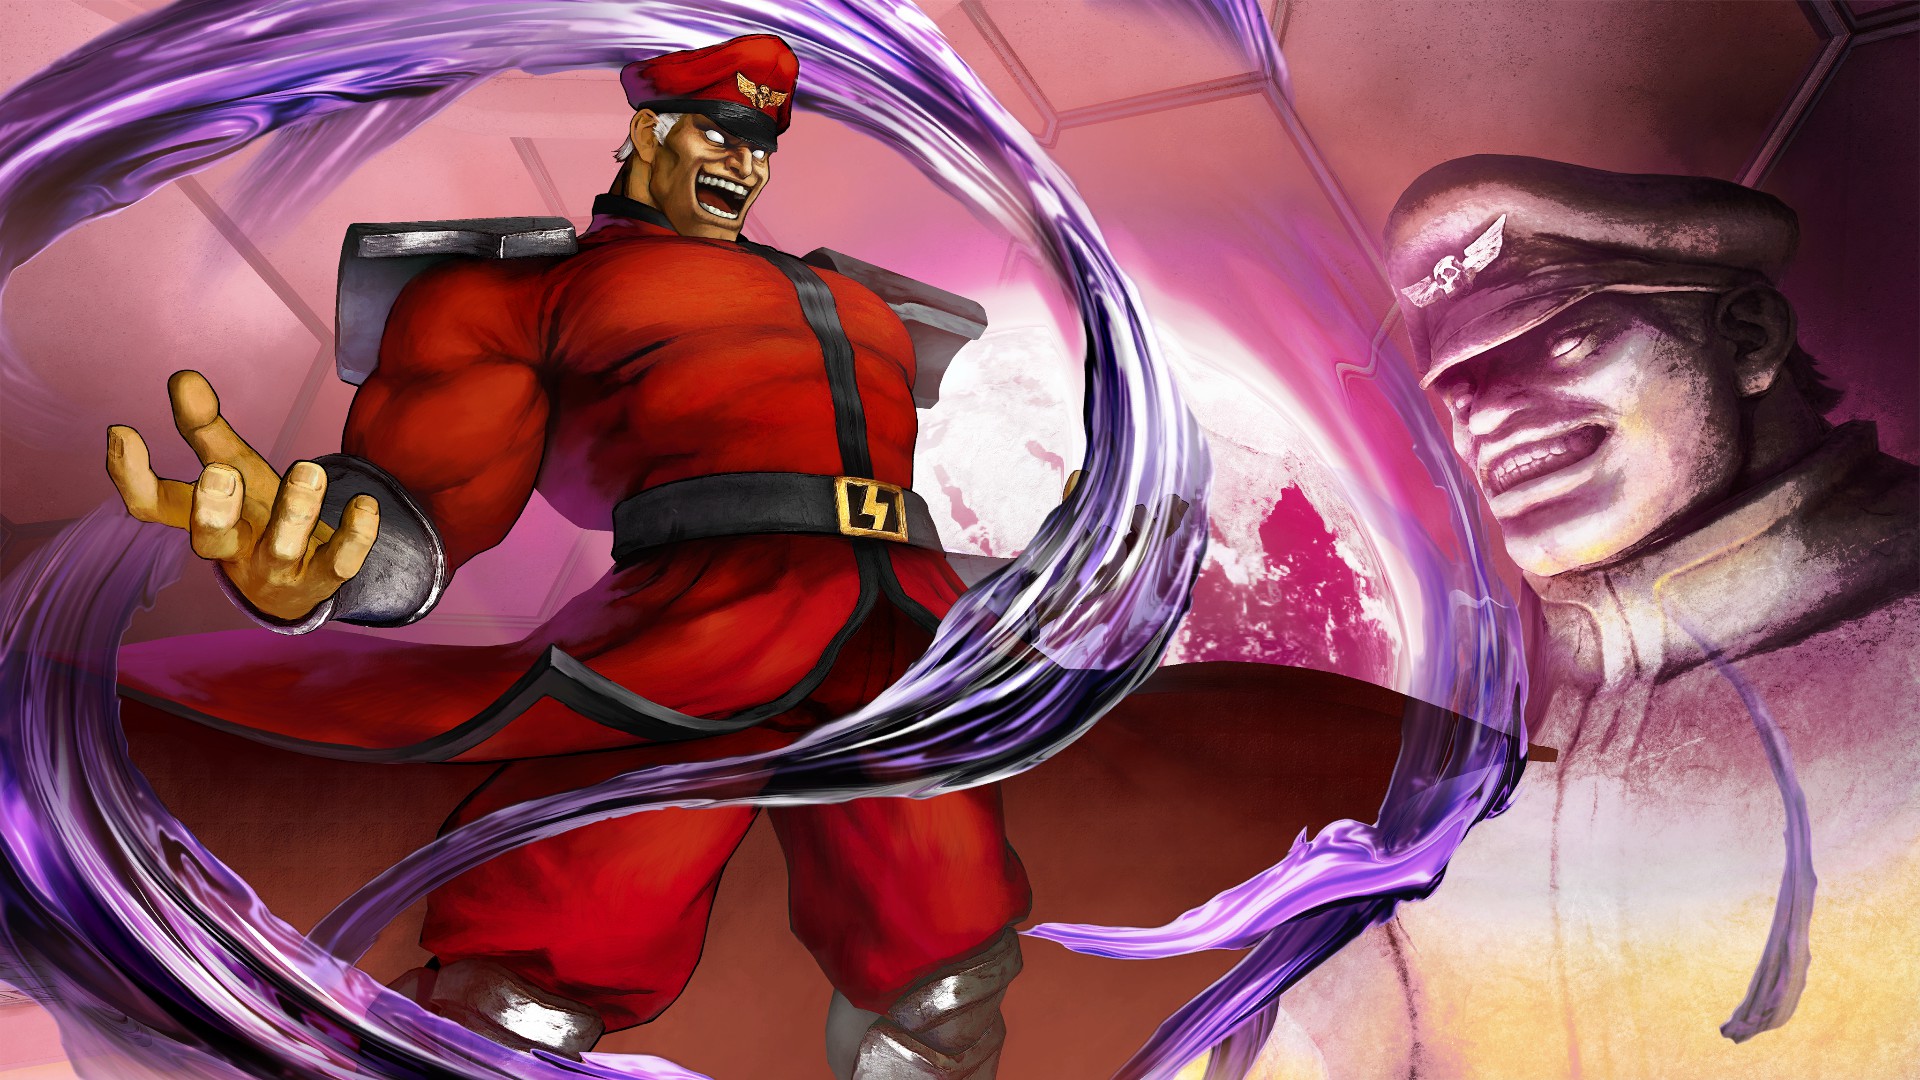
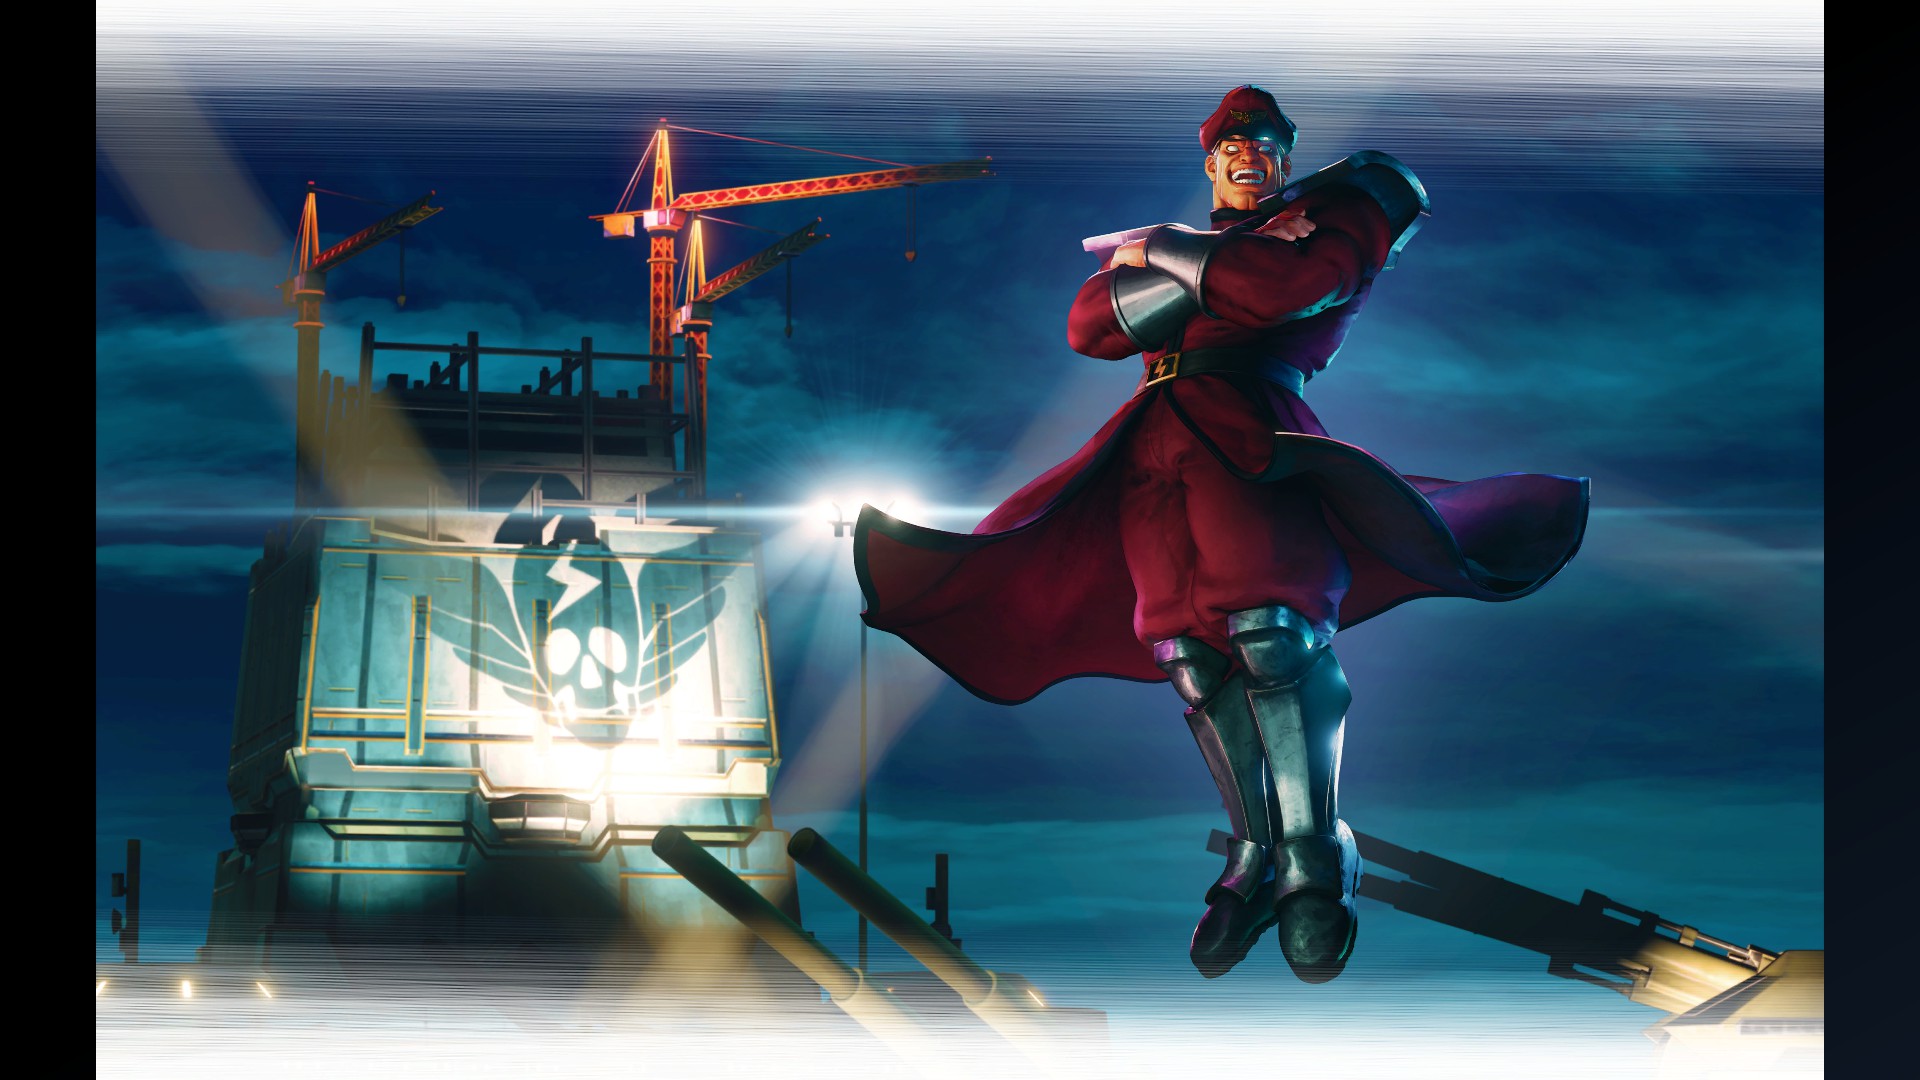
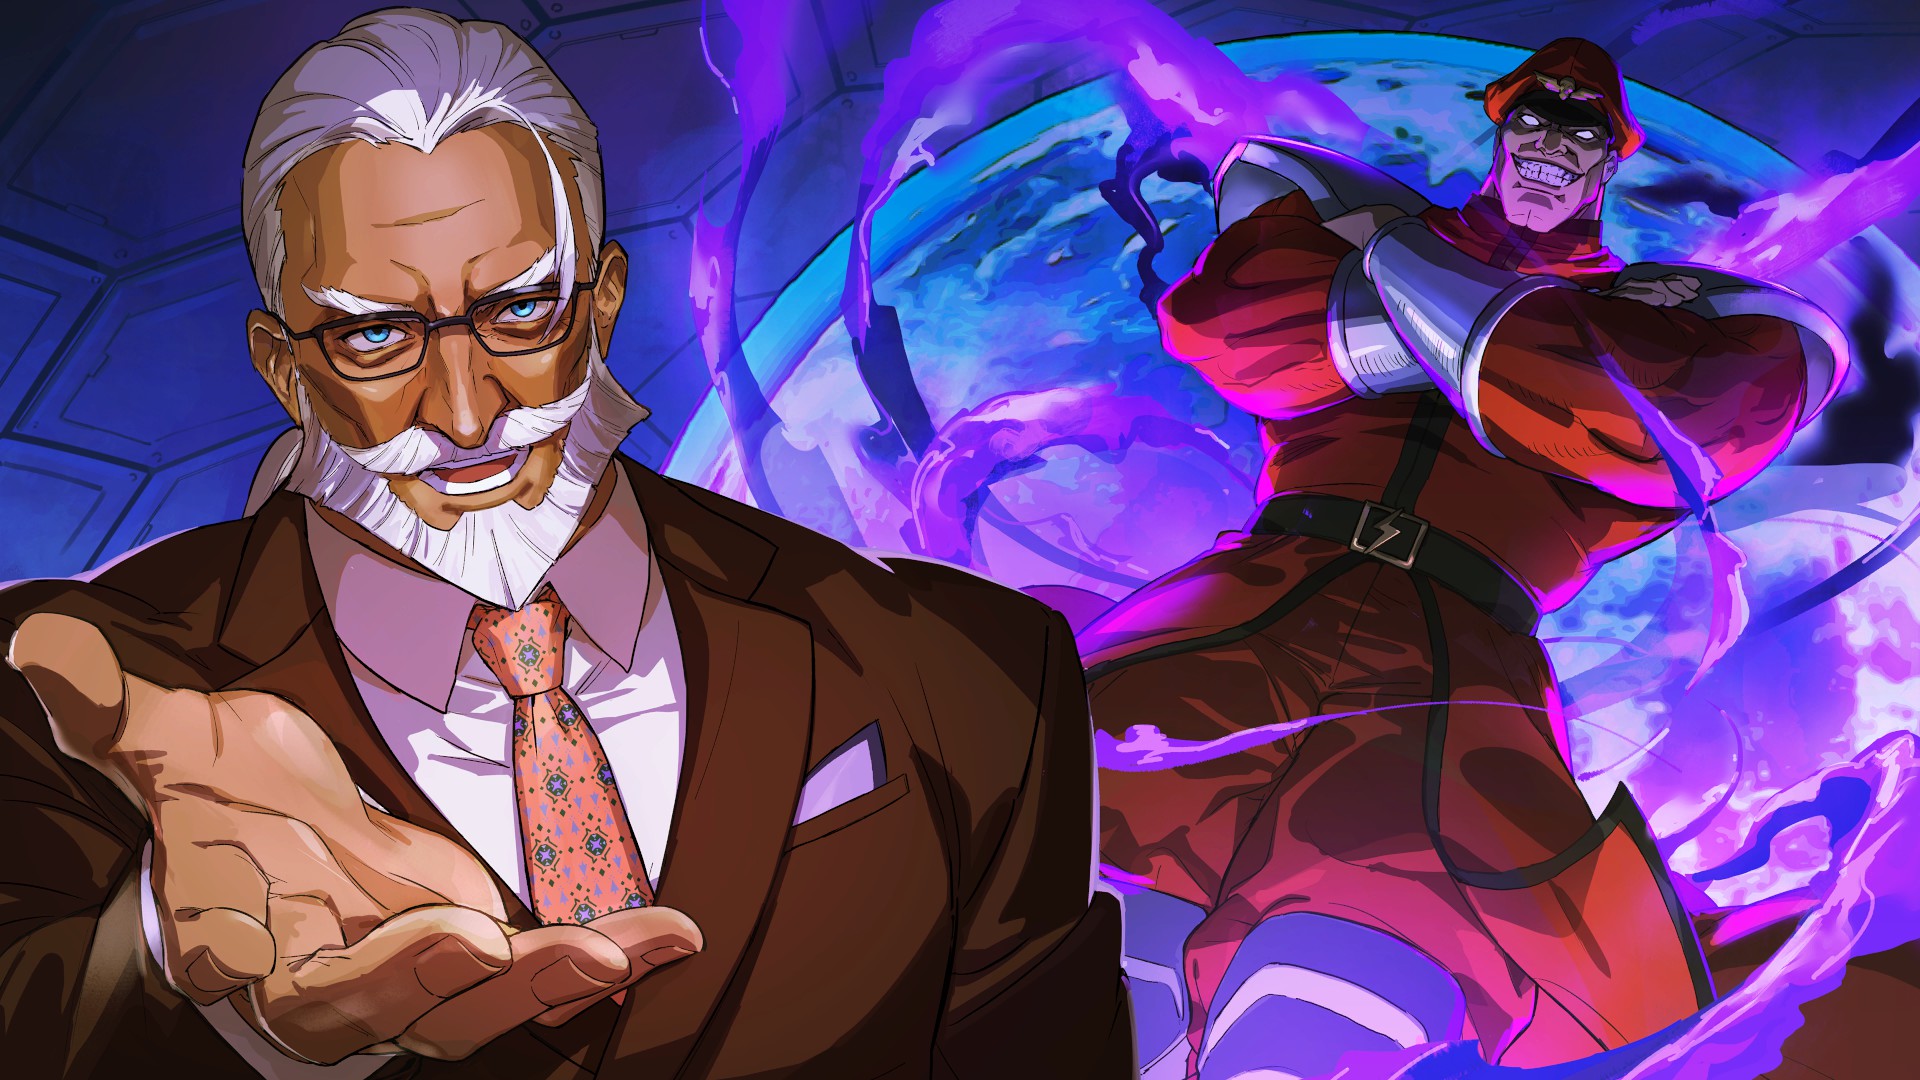
M. Bison - Special Artwork: Takeshi Ochi (Clear Arcade Once with M. Bison)
M. Bison - Character Design: M. Bison (Clear Arcade Twice with M. Bison)
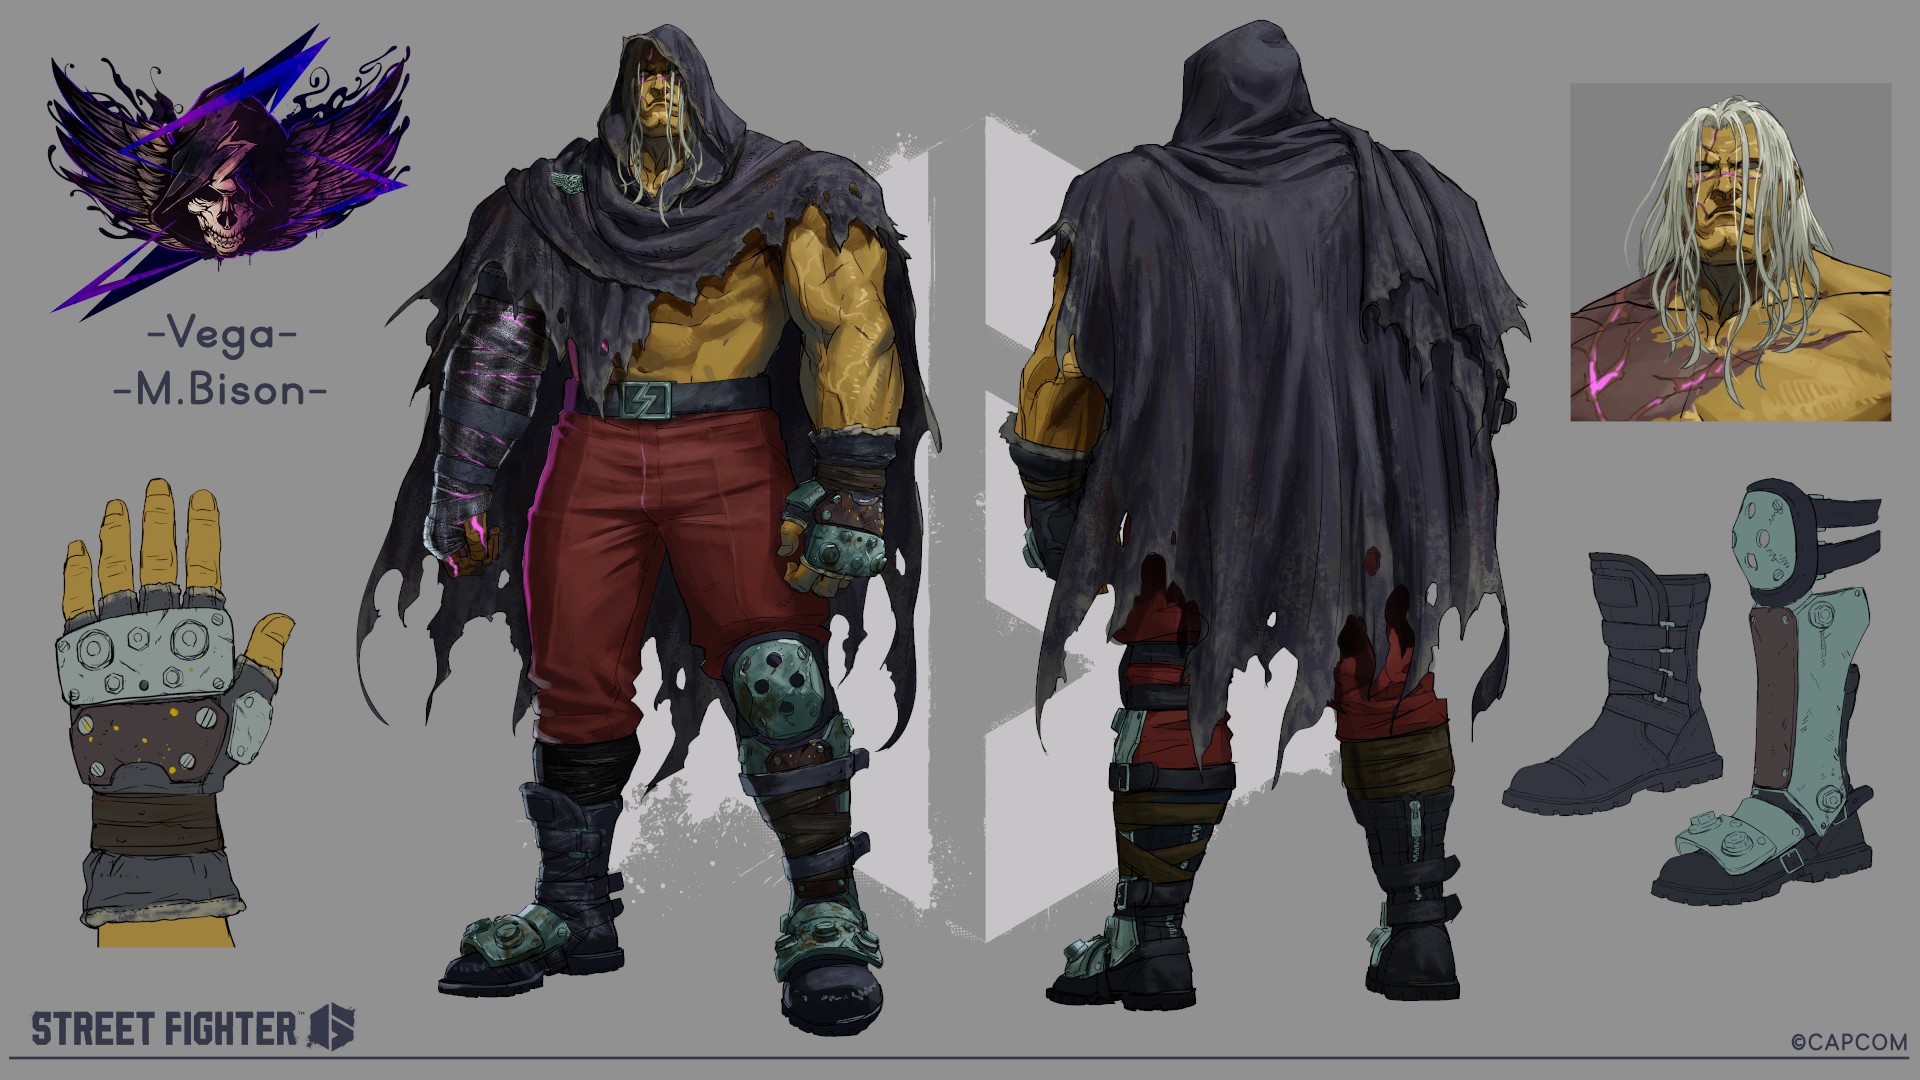
M. Bison - Unused Design: M. Bison (Clear Arcade Three Times with M. Bison)
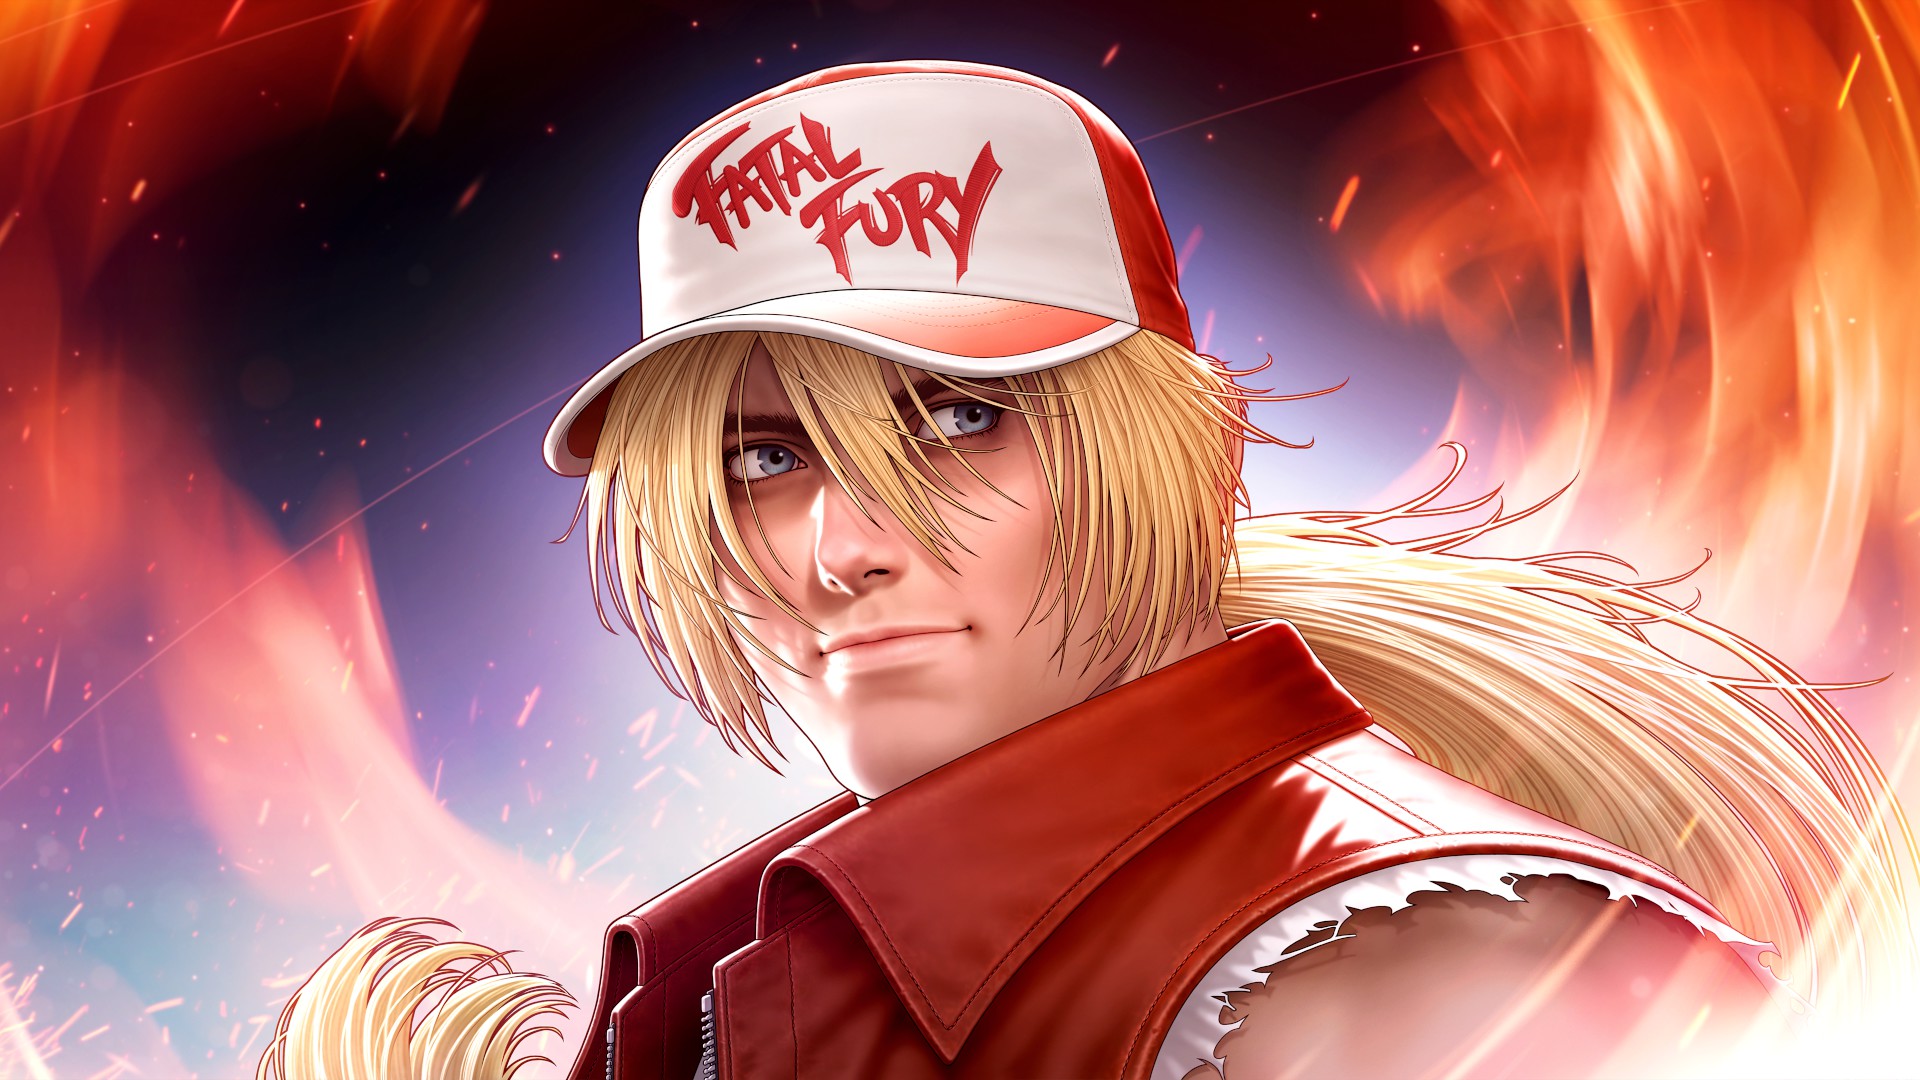
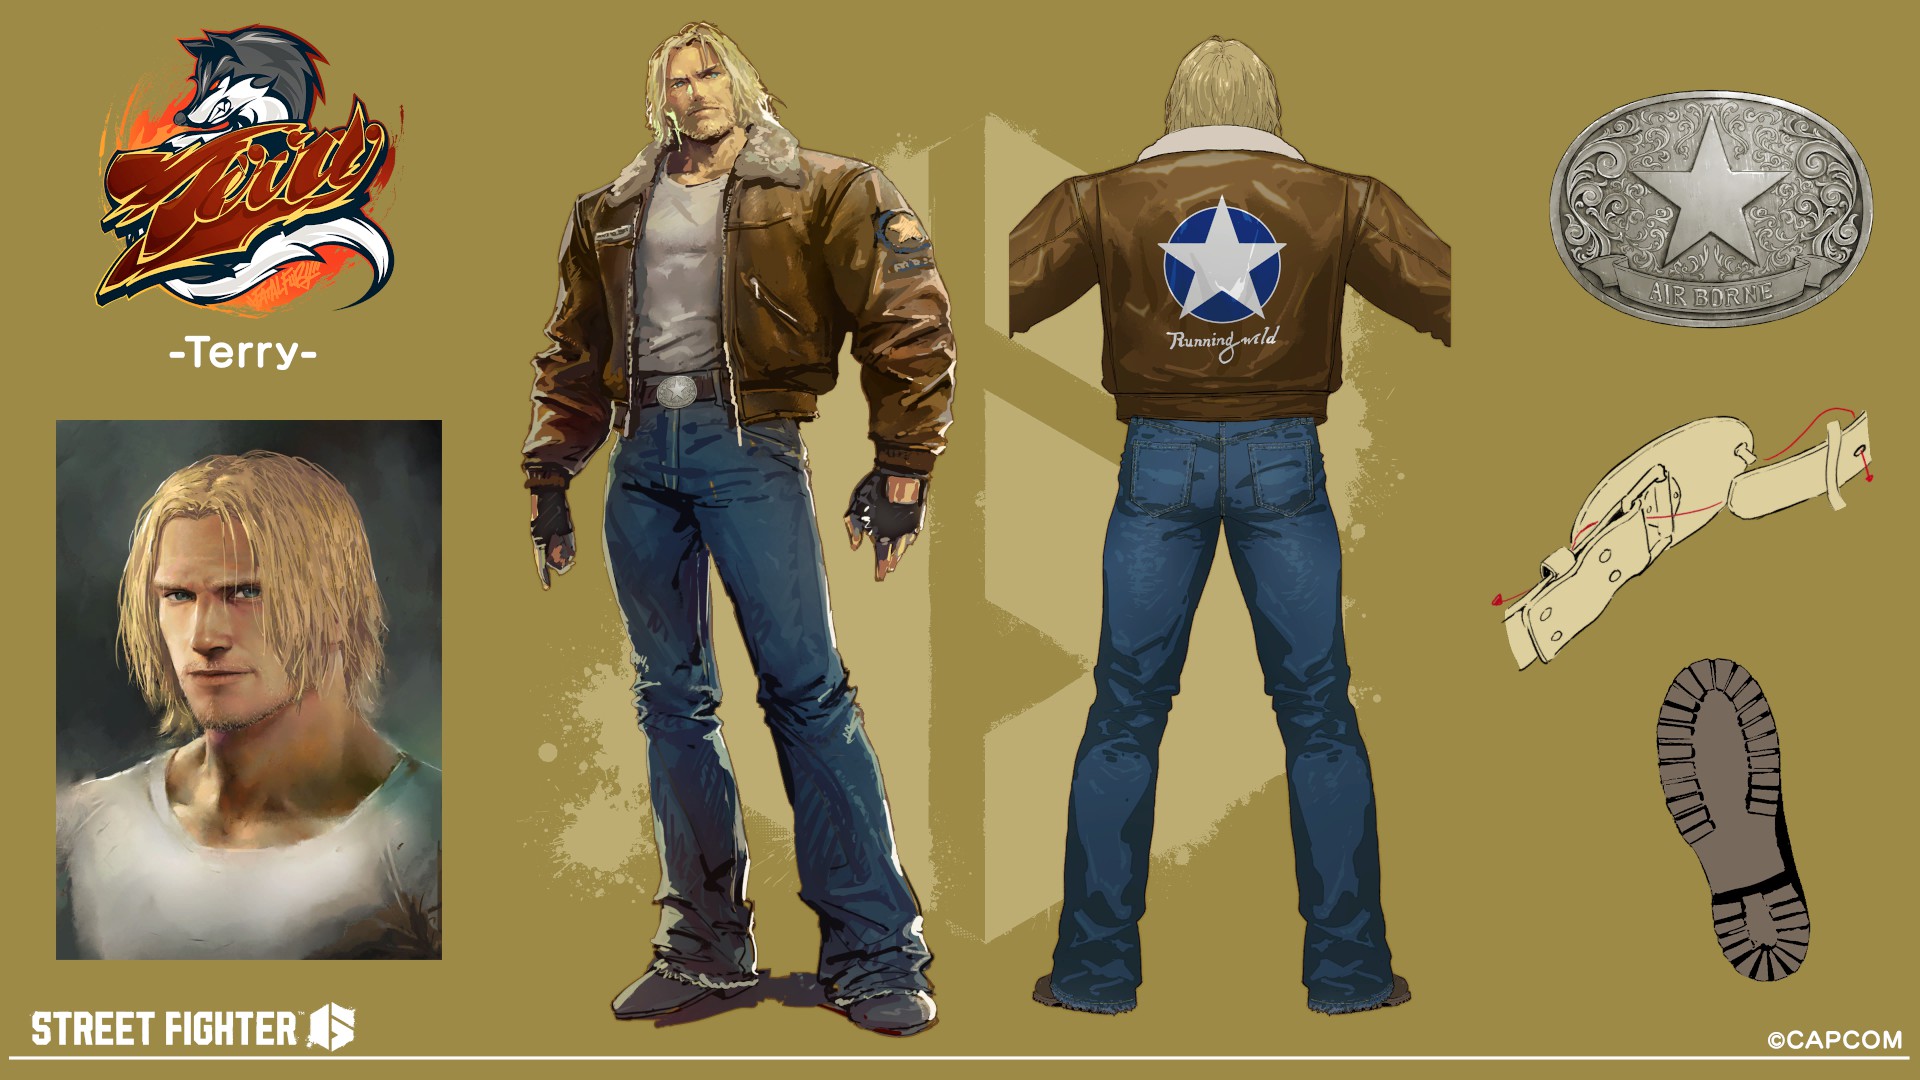
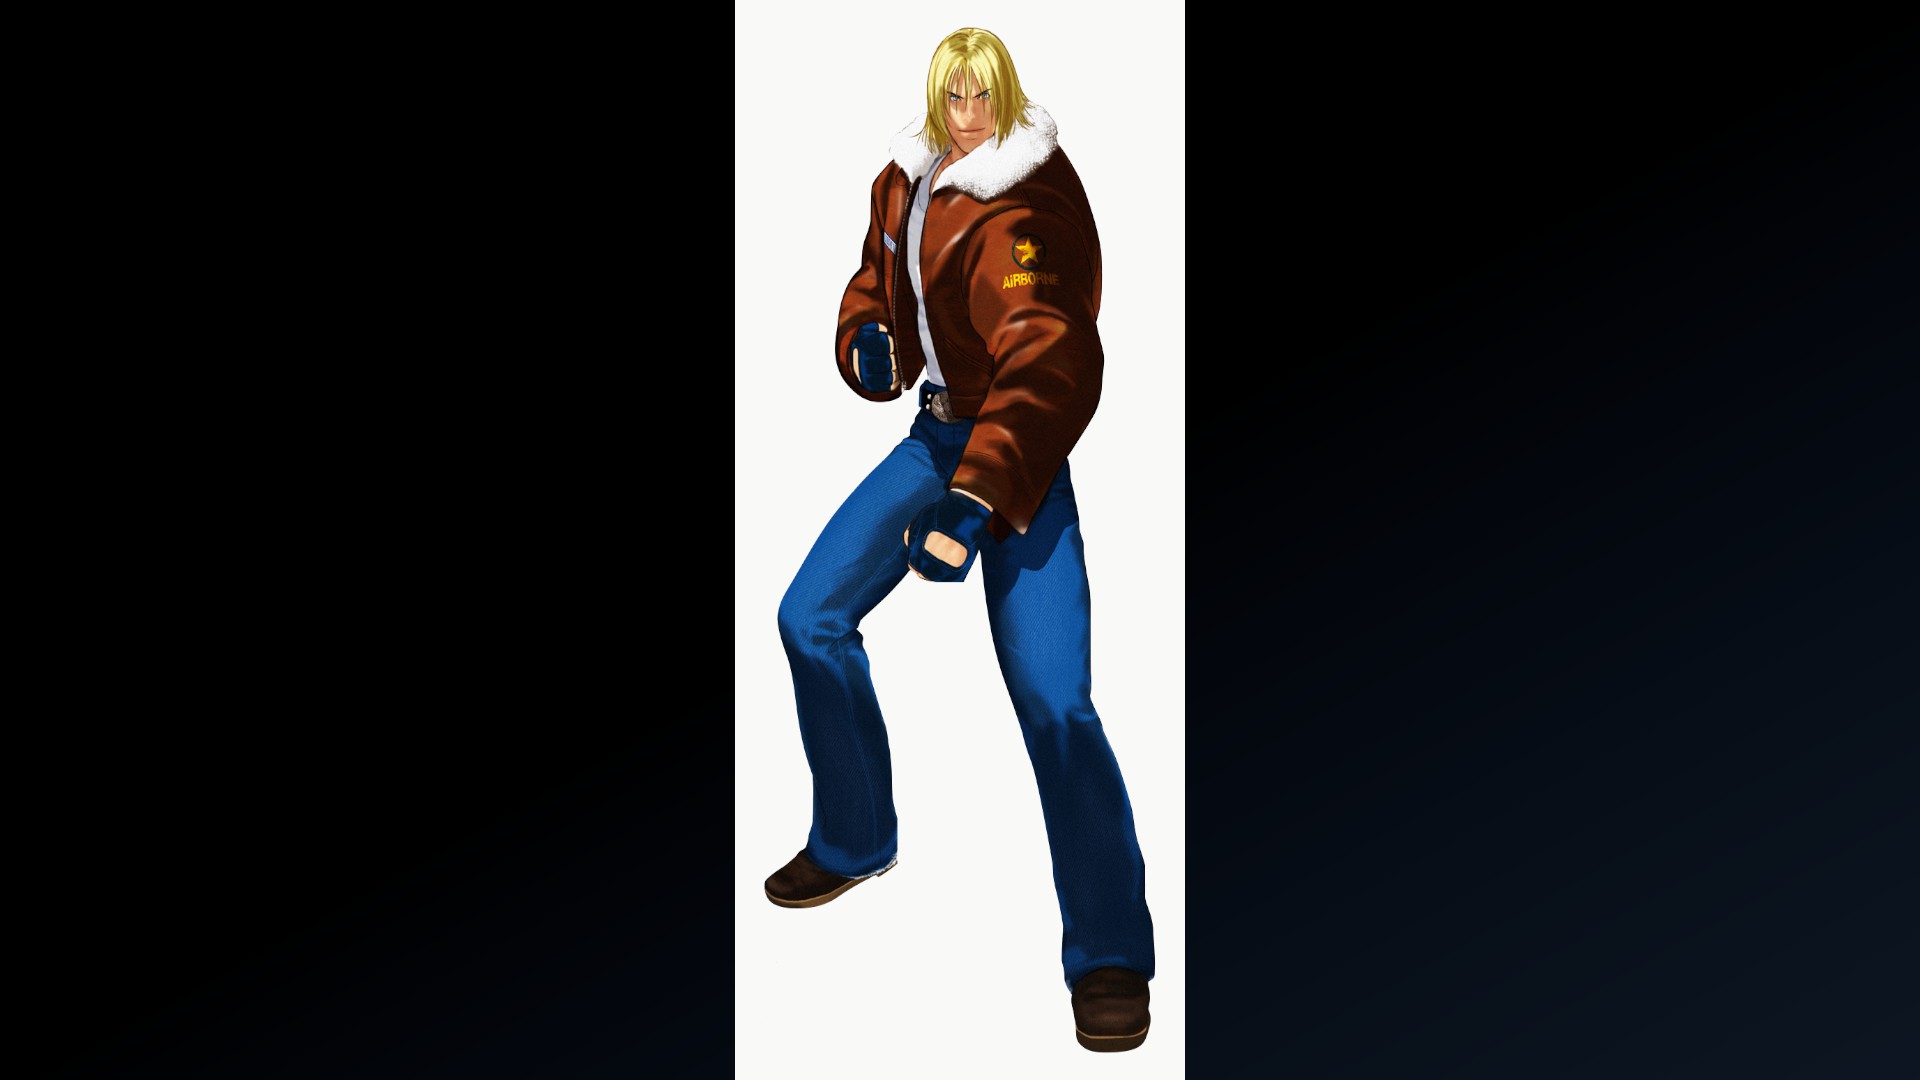
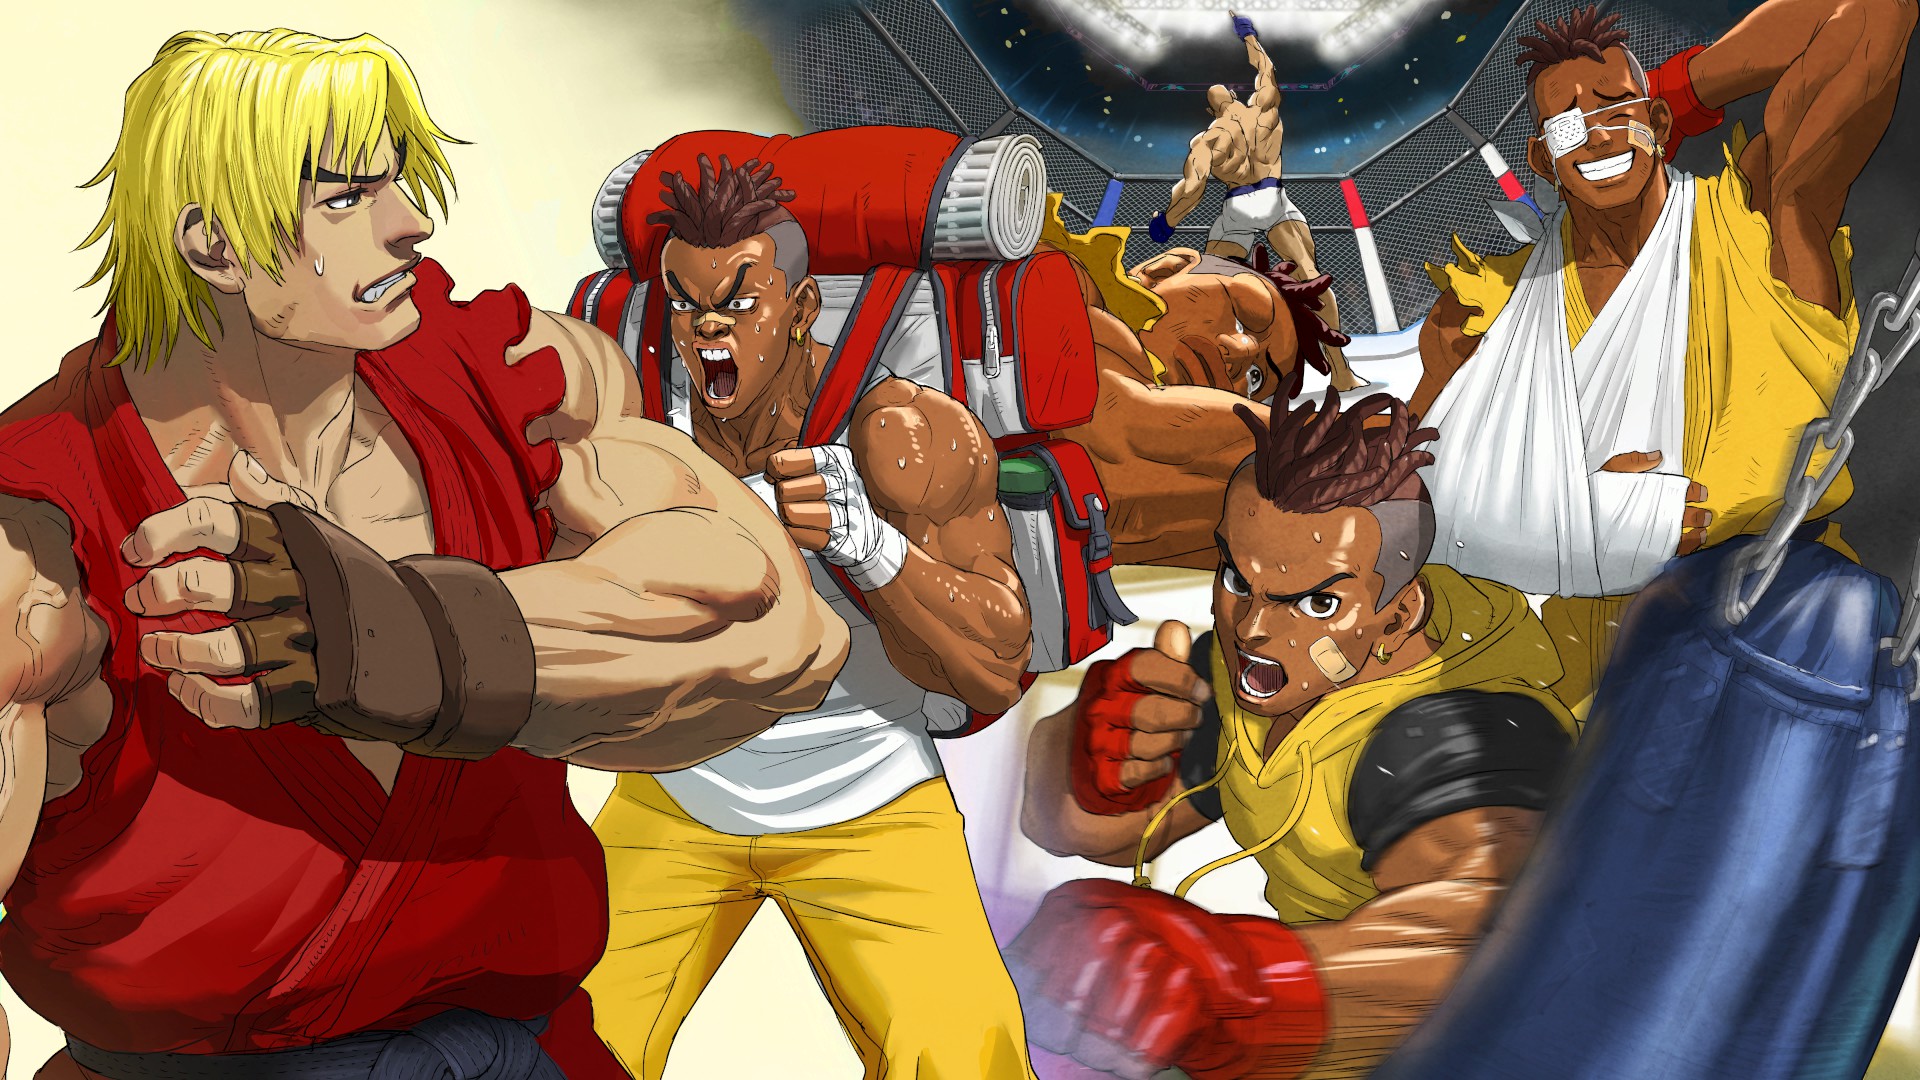
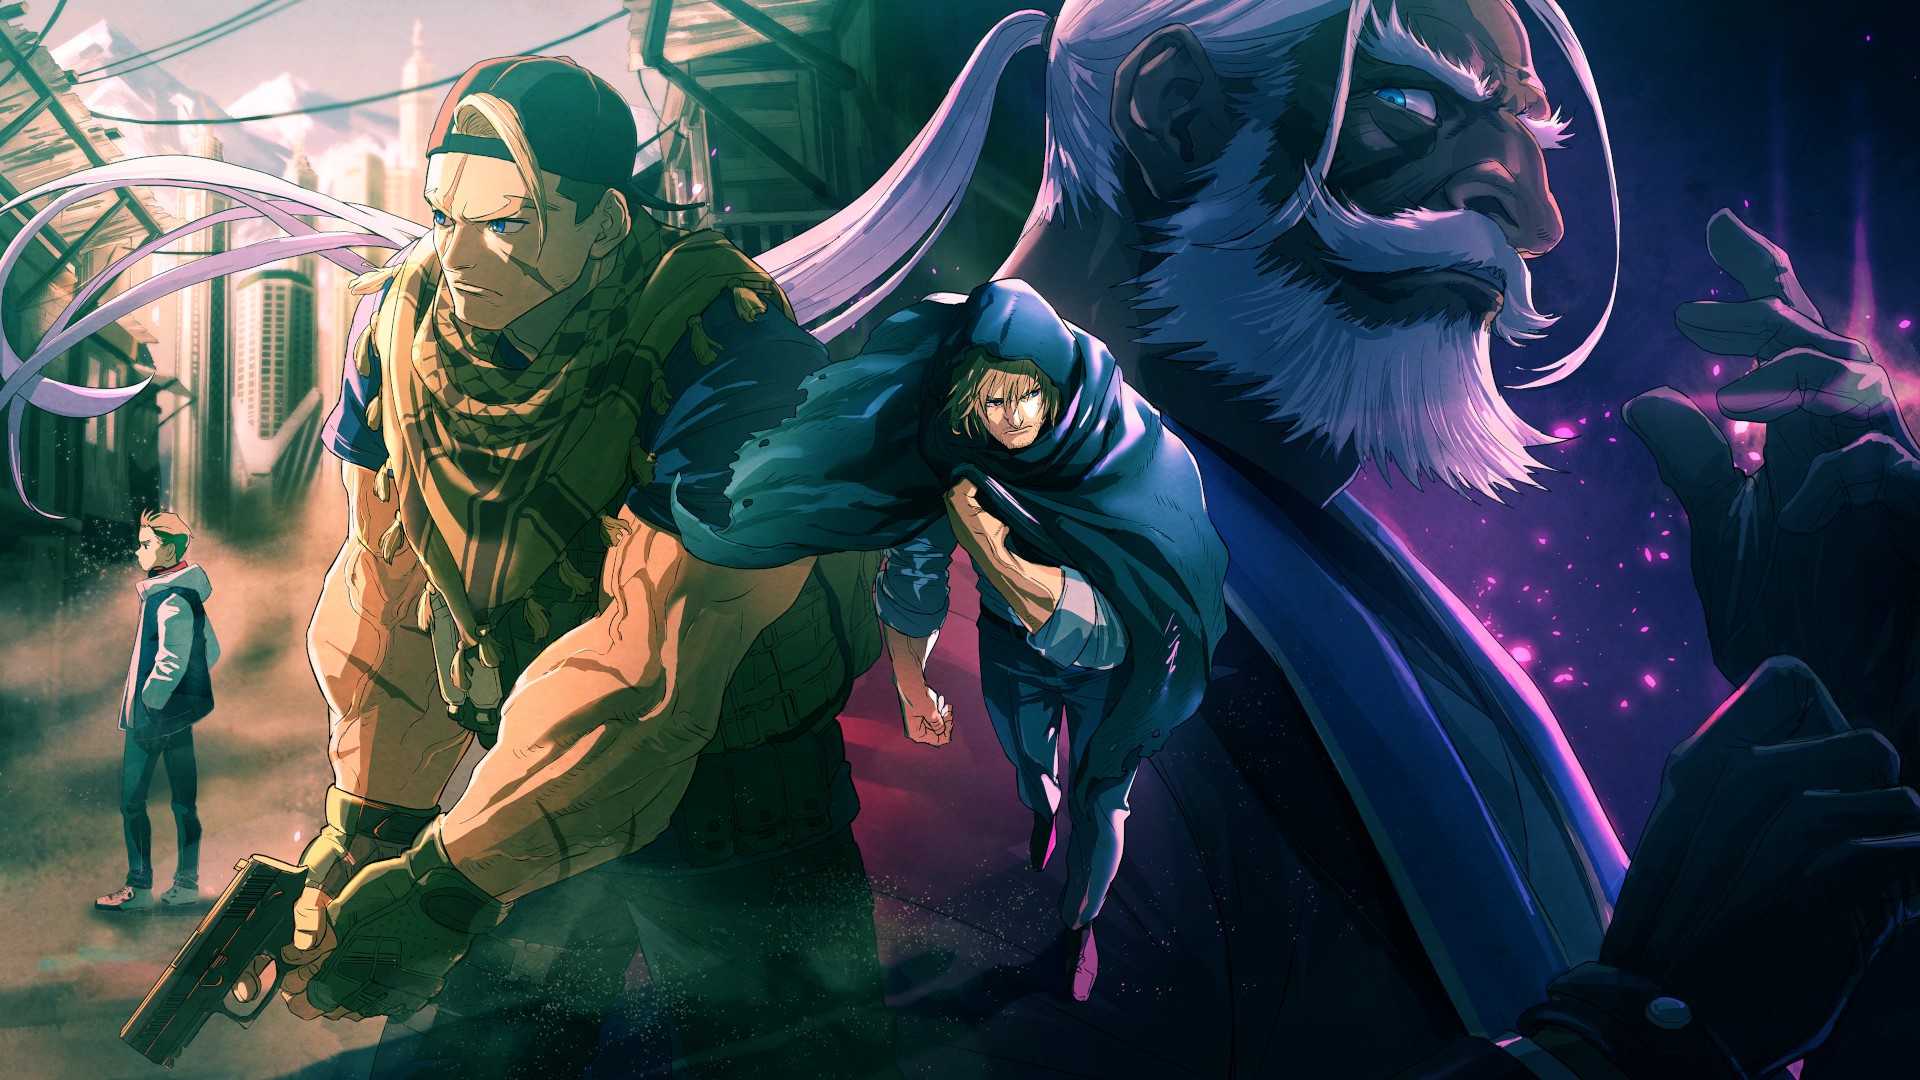
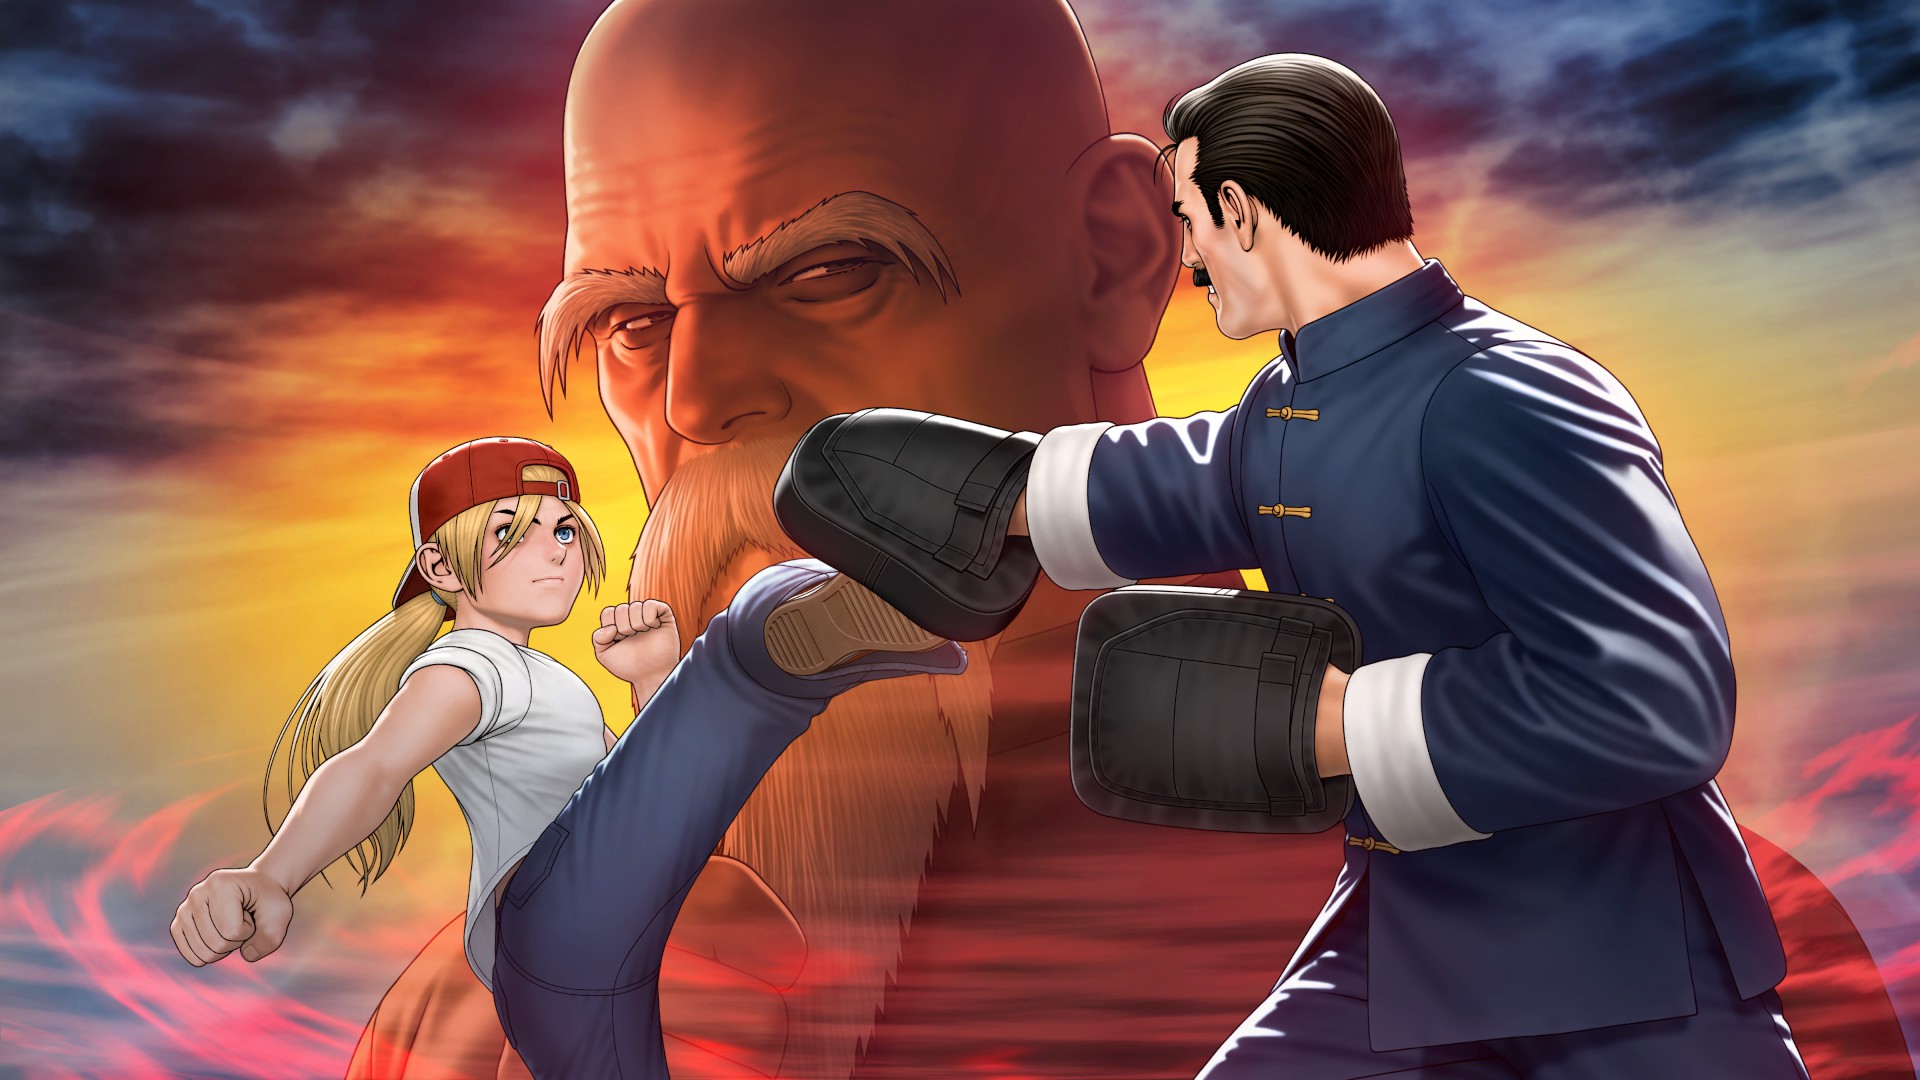
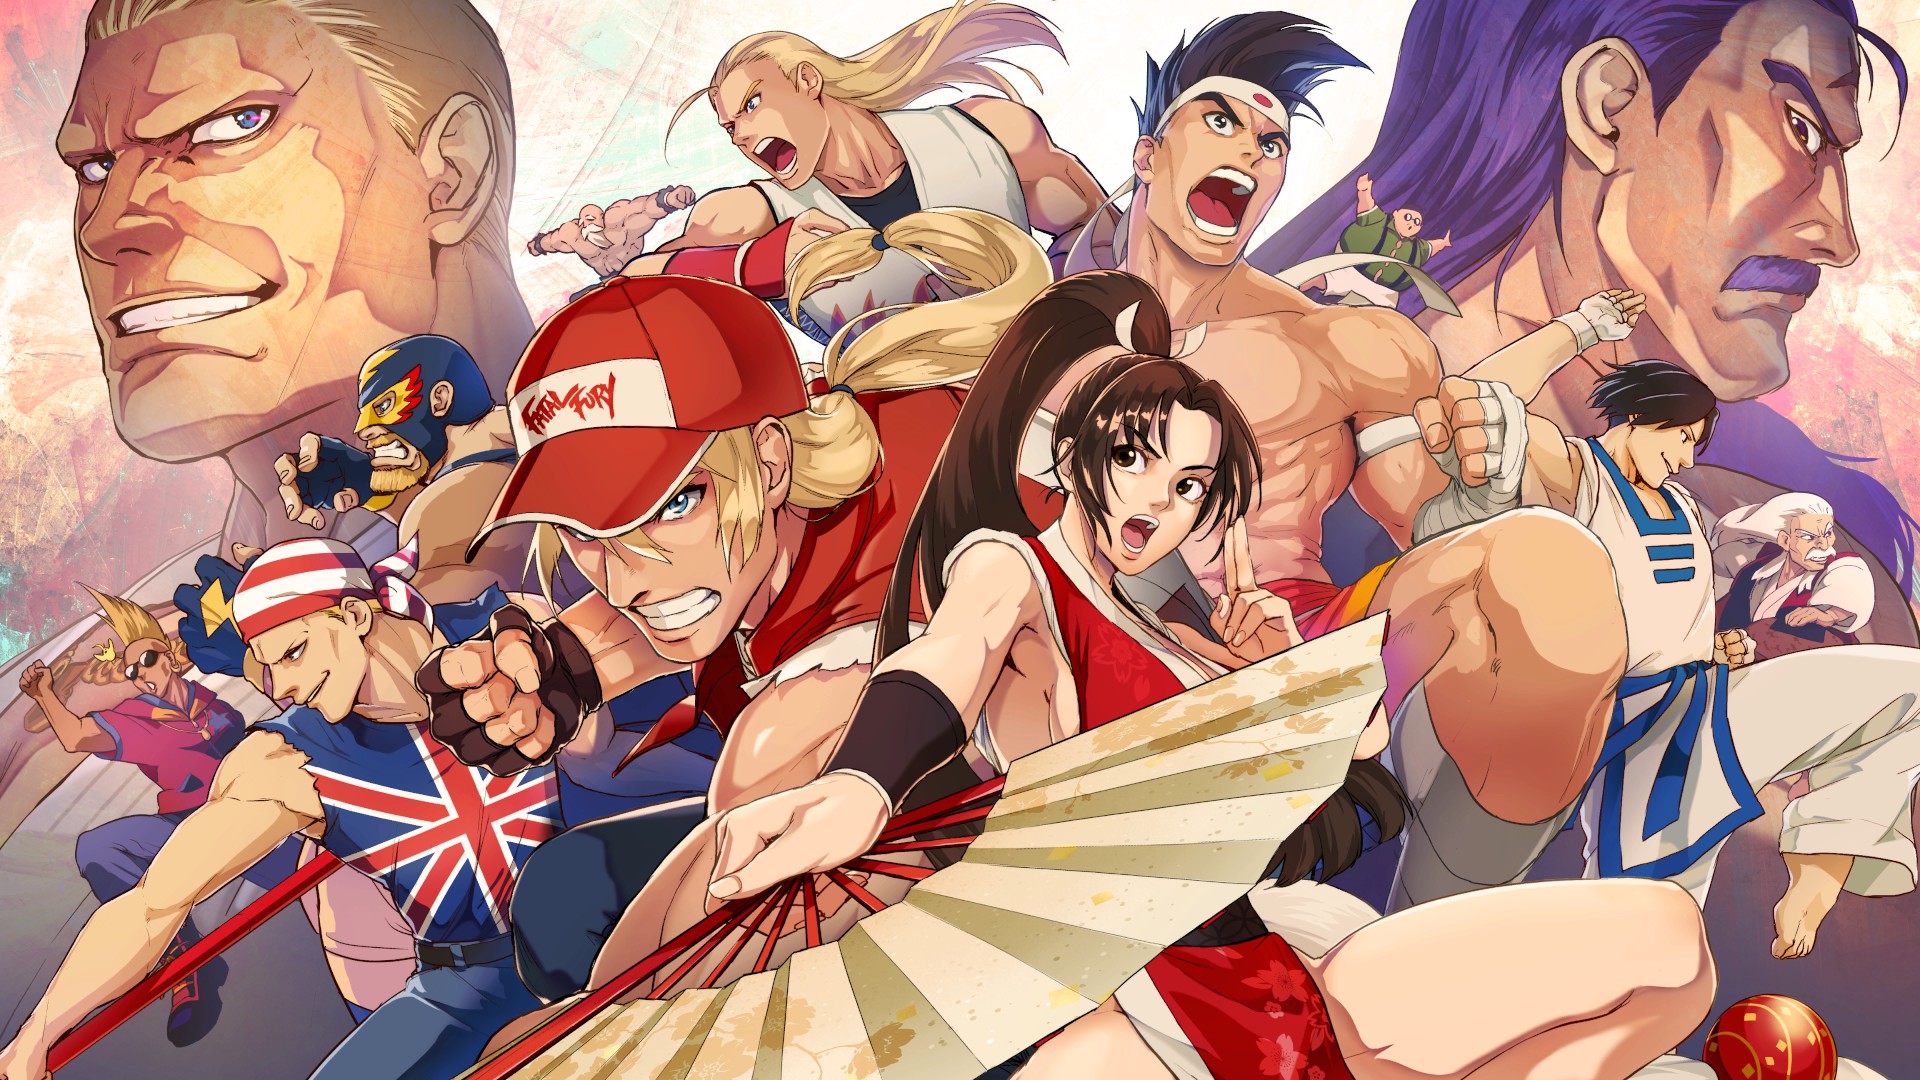
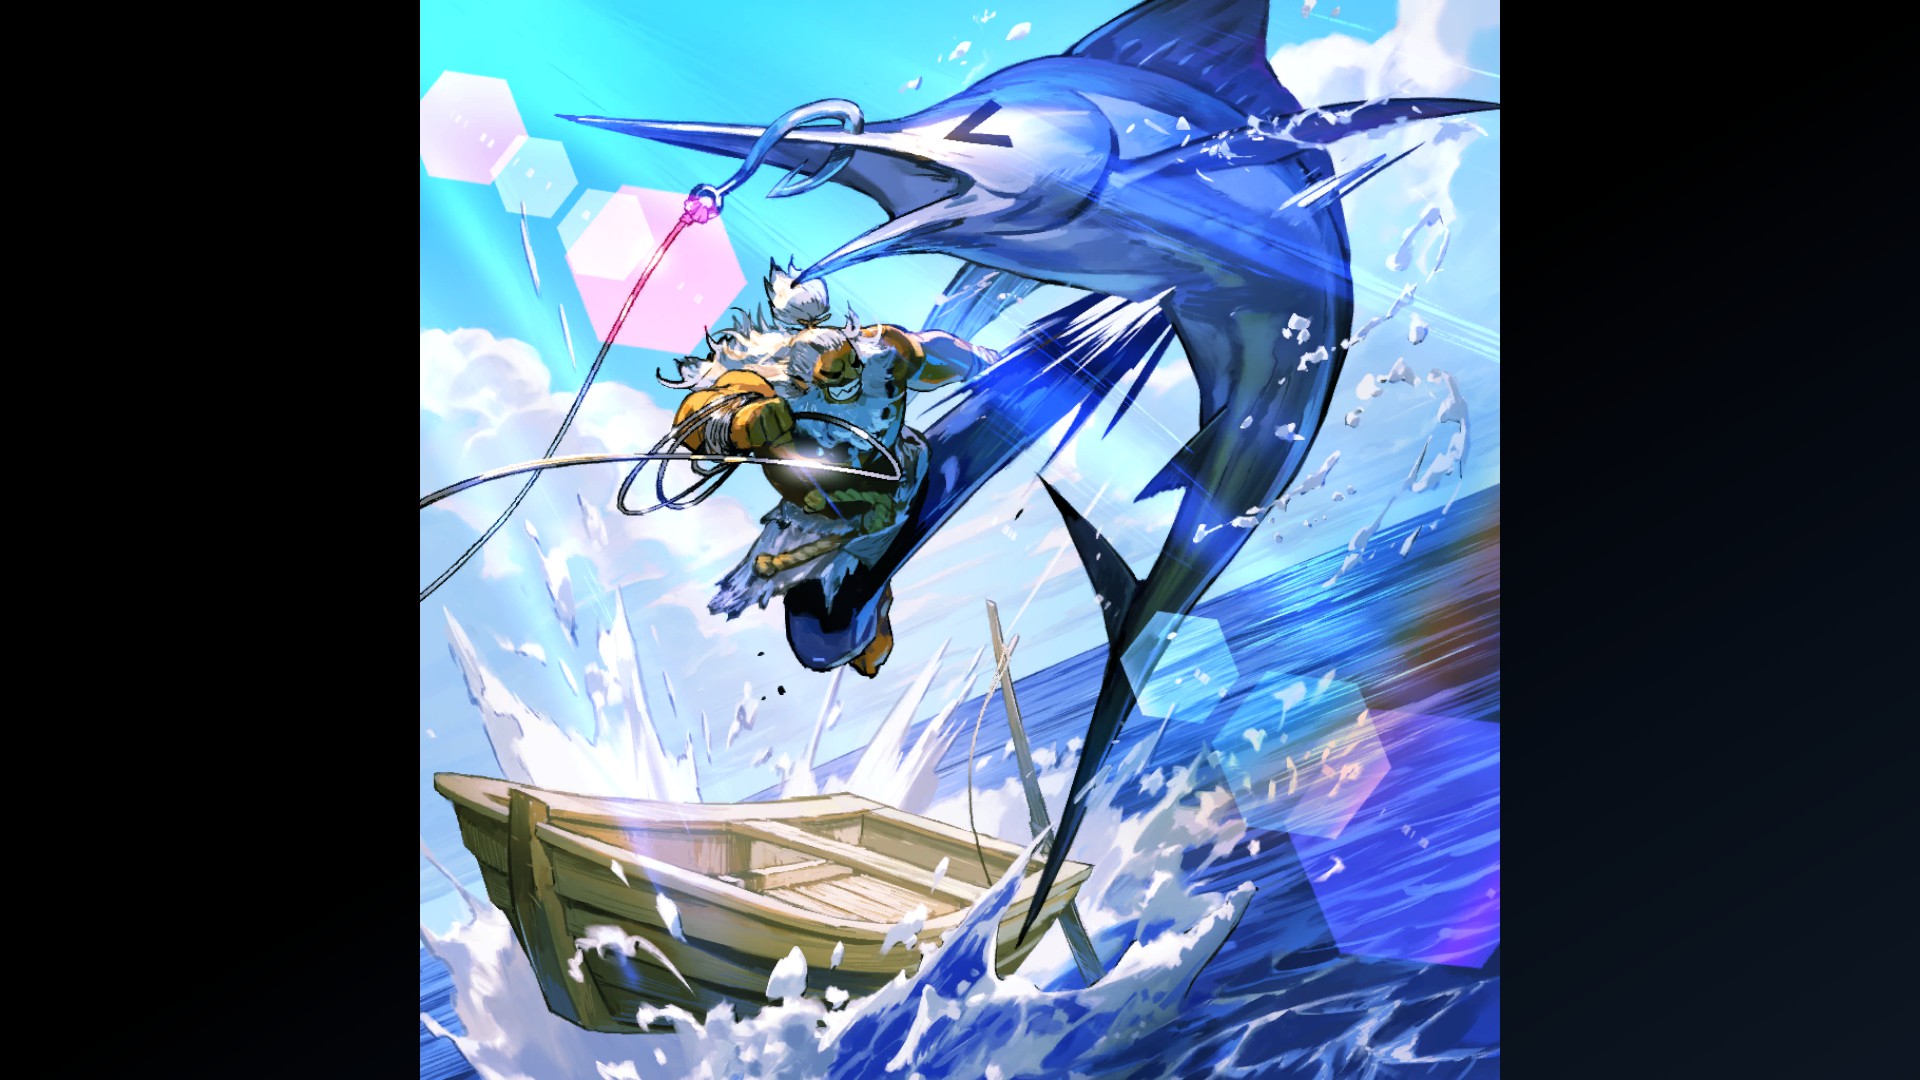
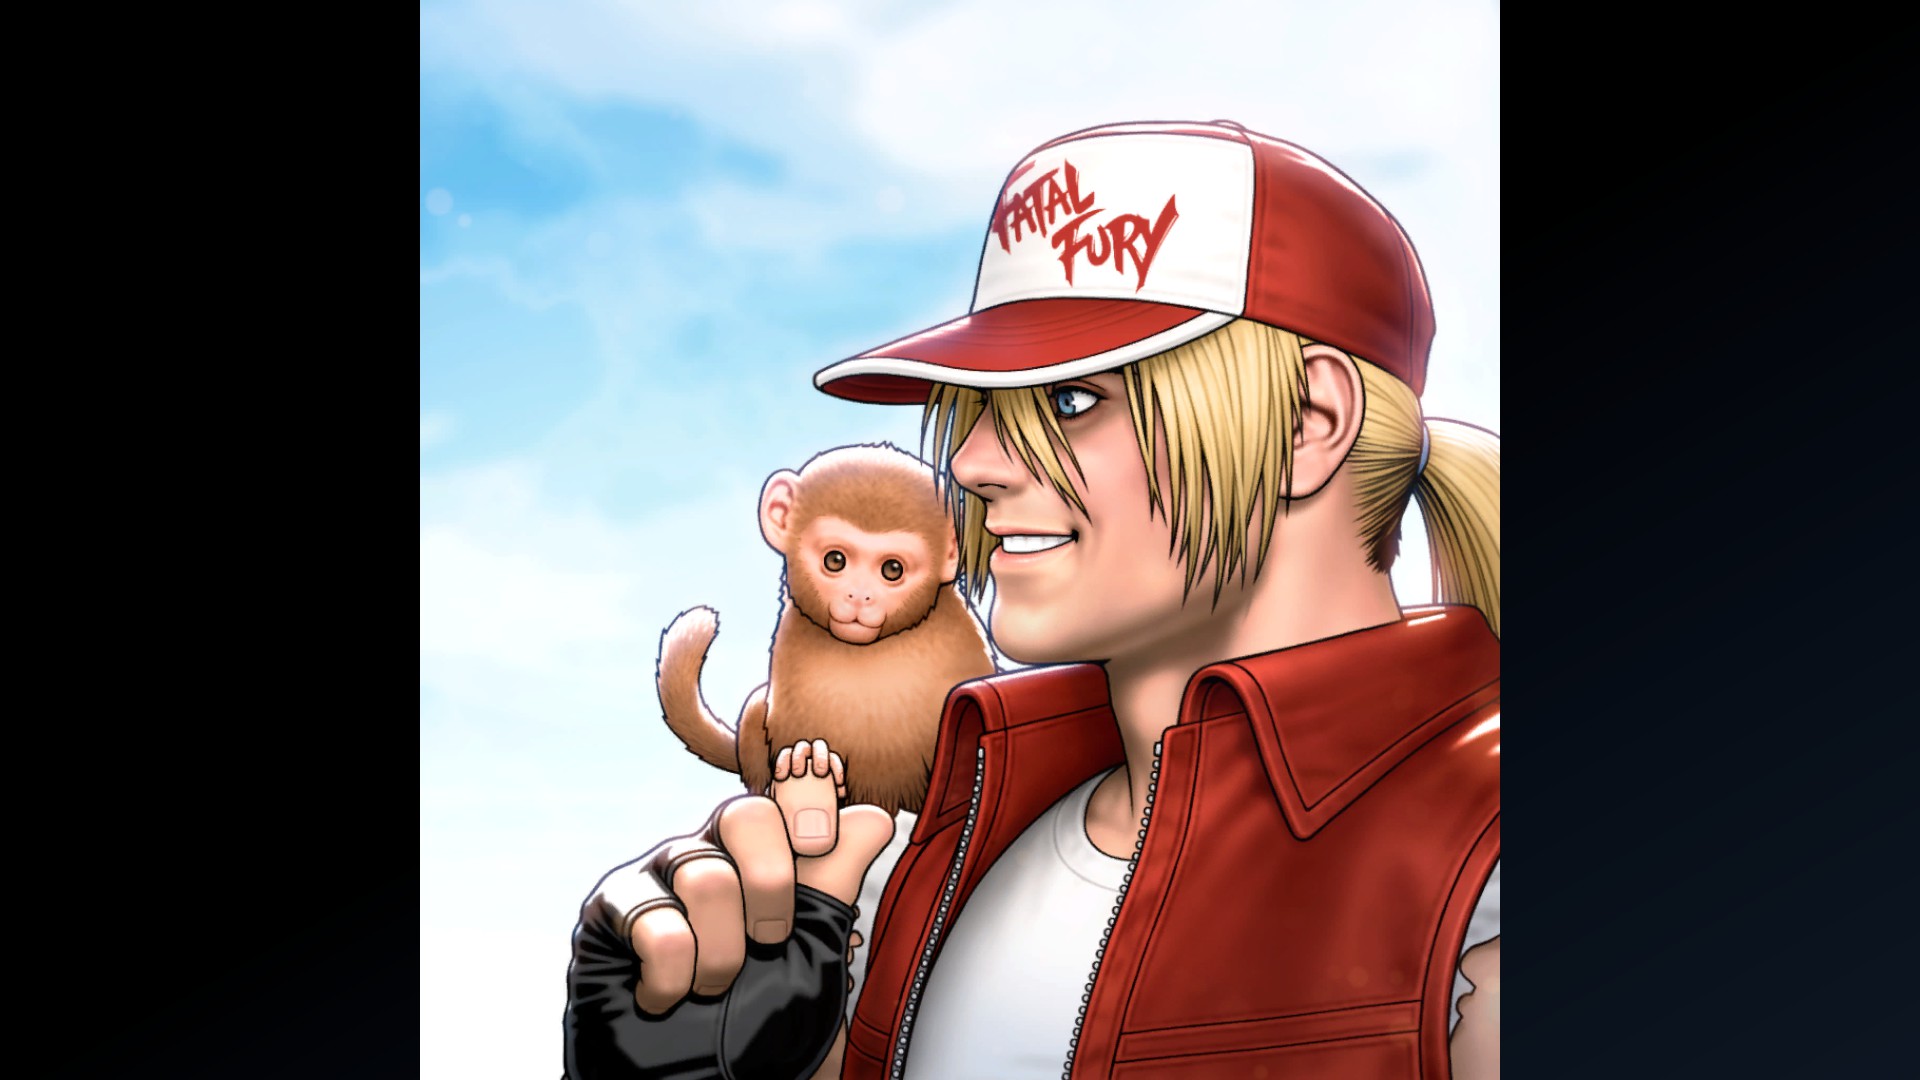
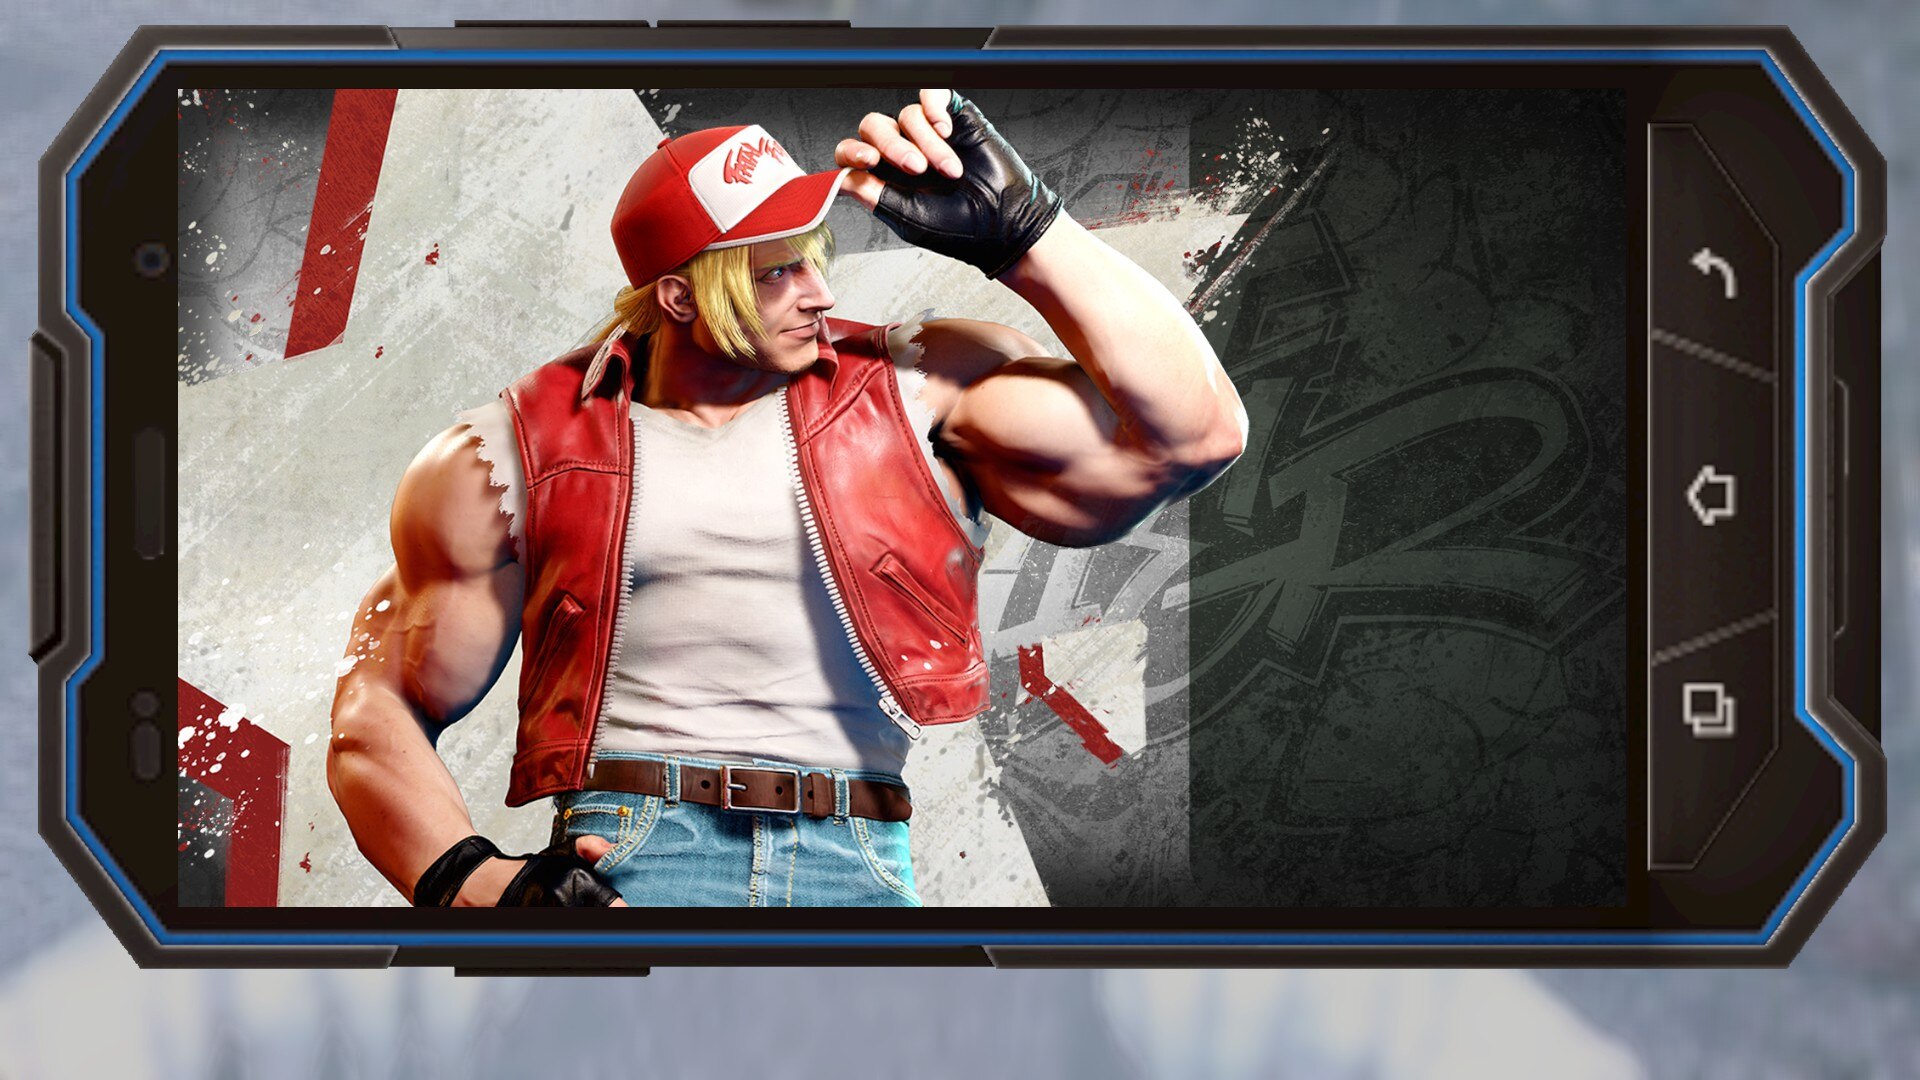
Terry - Special Artwork: Shinkiro (Clear Arcade Once with Terry)
Terry - Character Design: Terry 1 (Clear Arcade Twice with Terry)
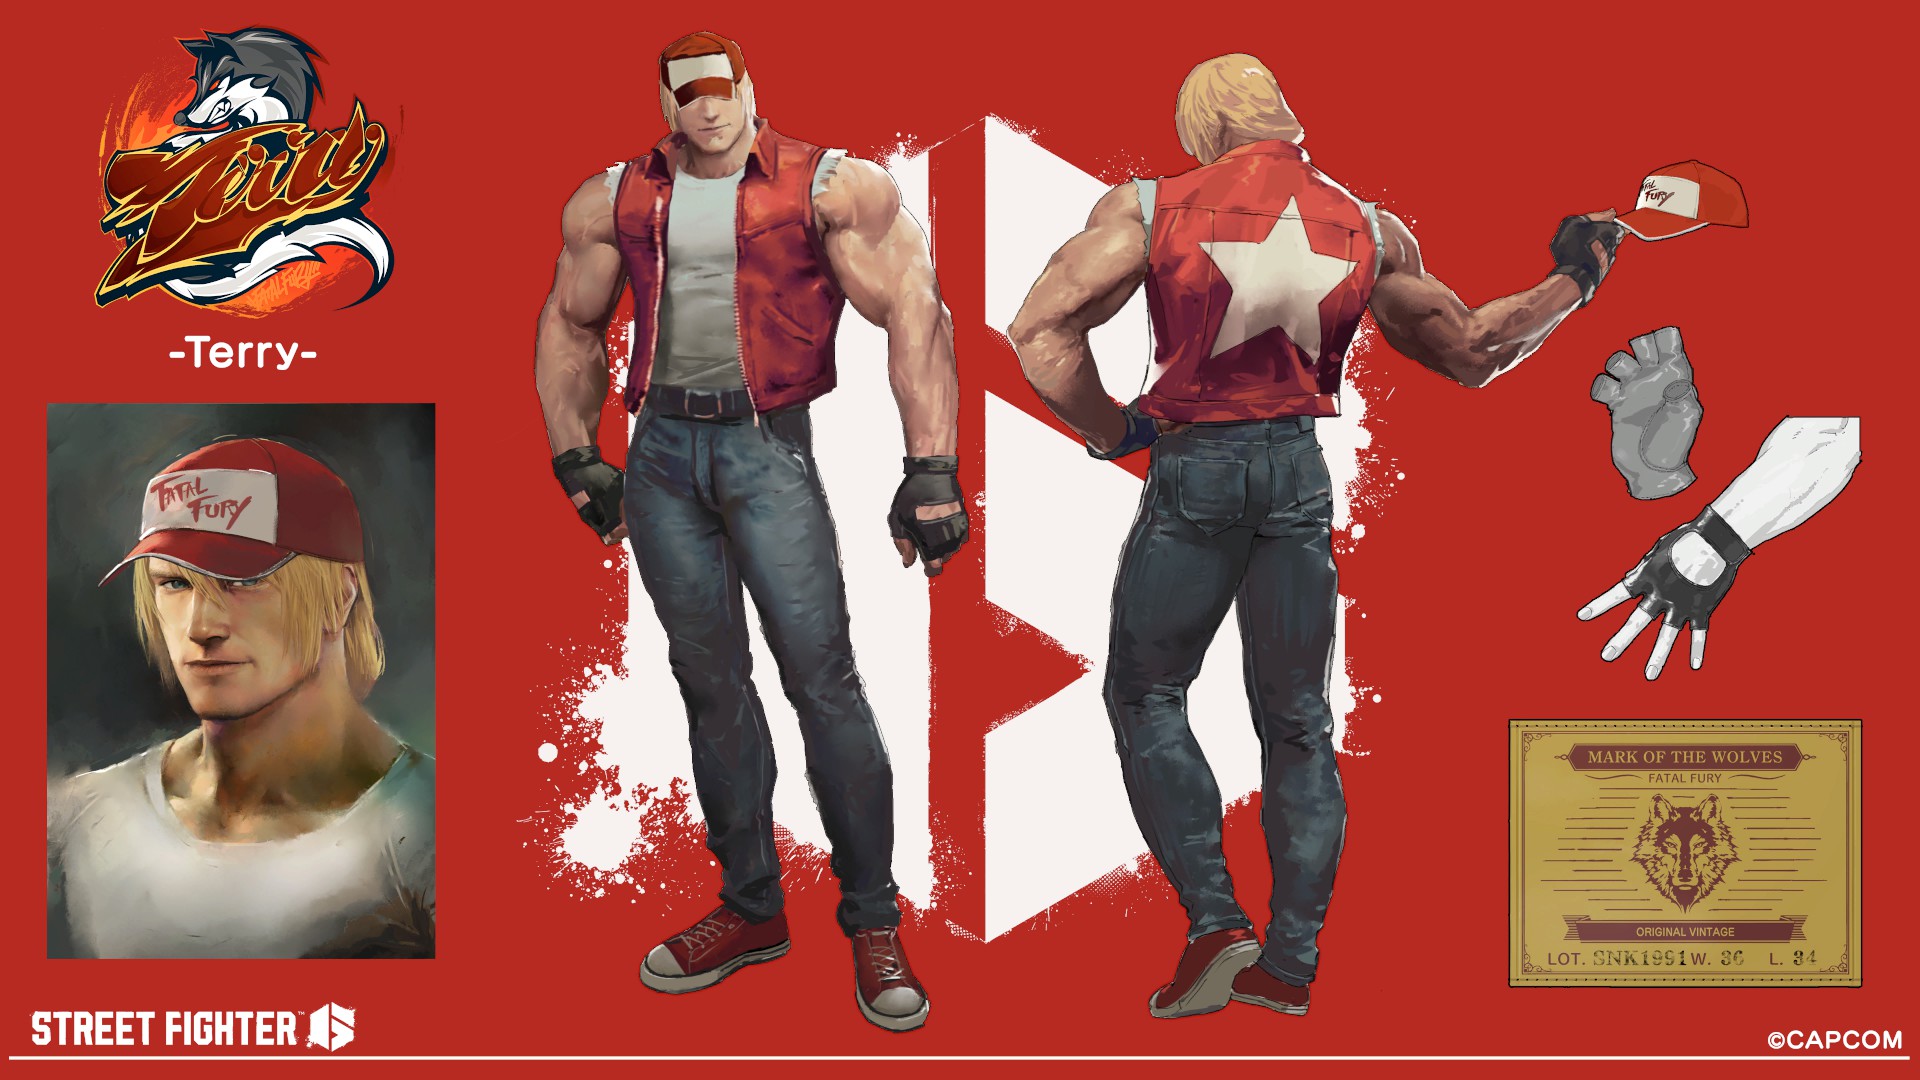
Terry - Character Design: Terry 2 (Clear Arcade Three Times with Terry)
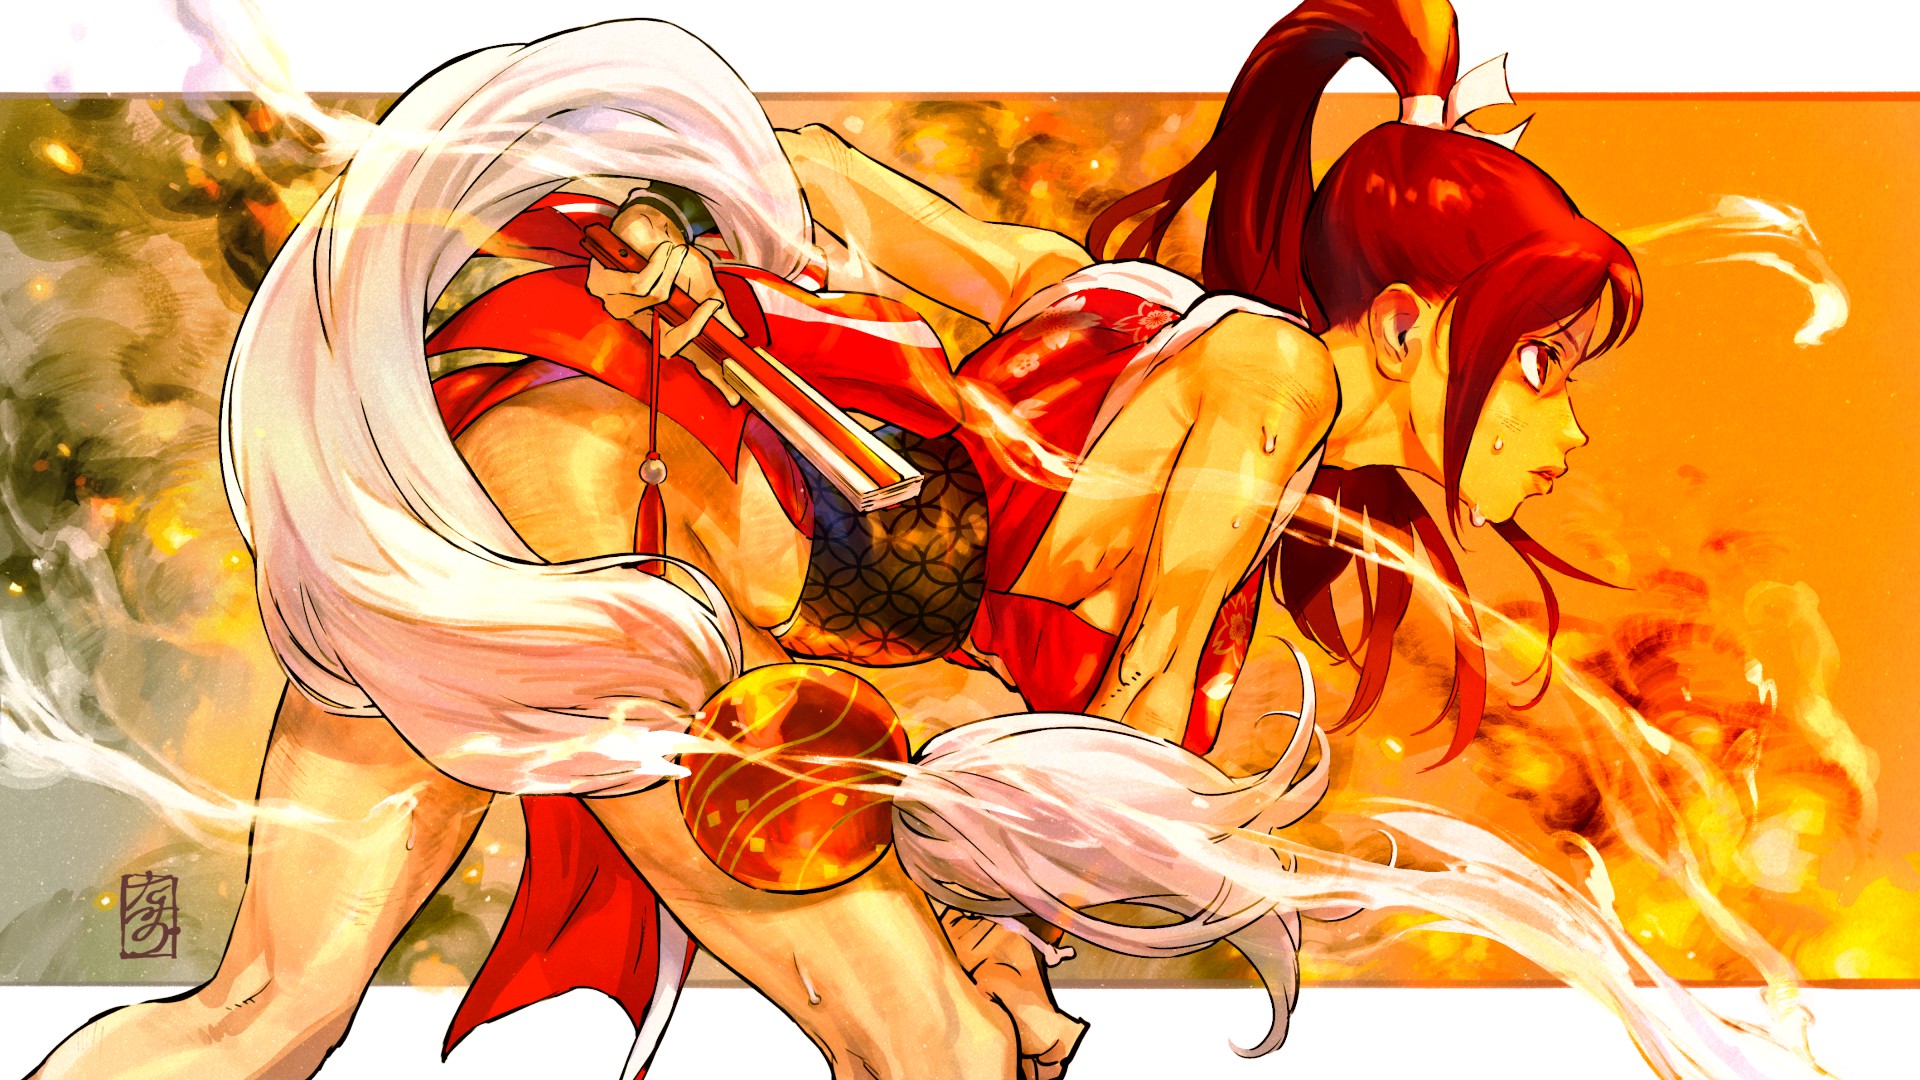
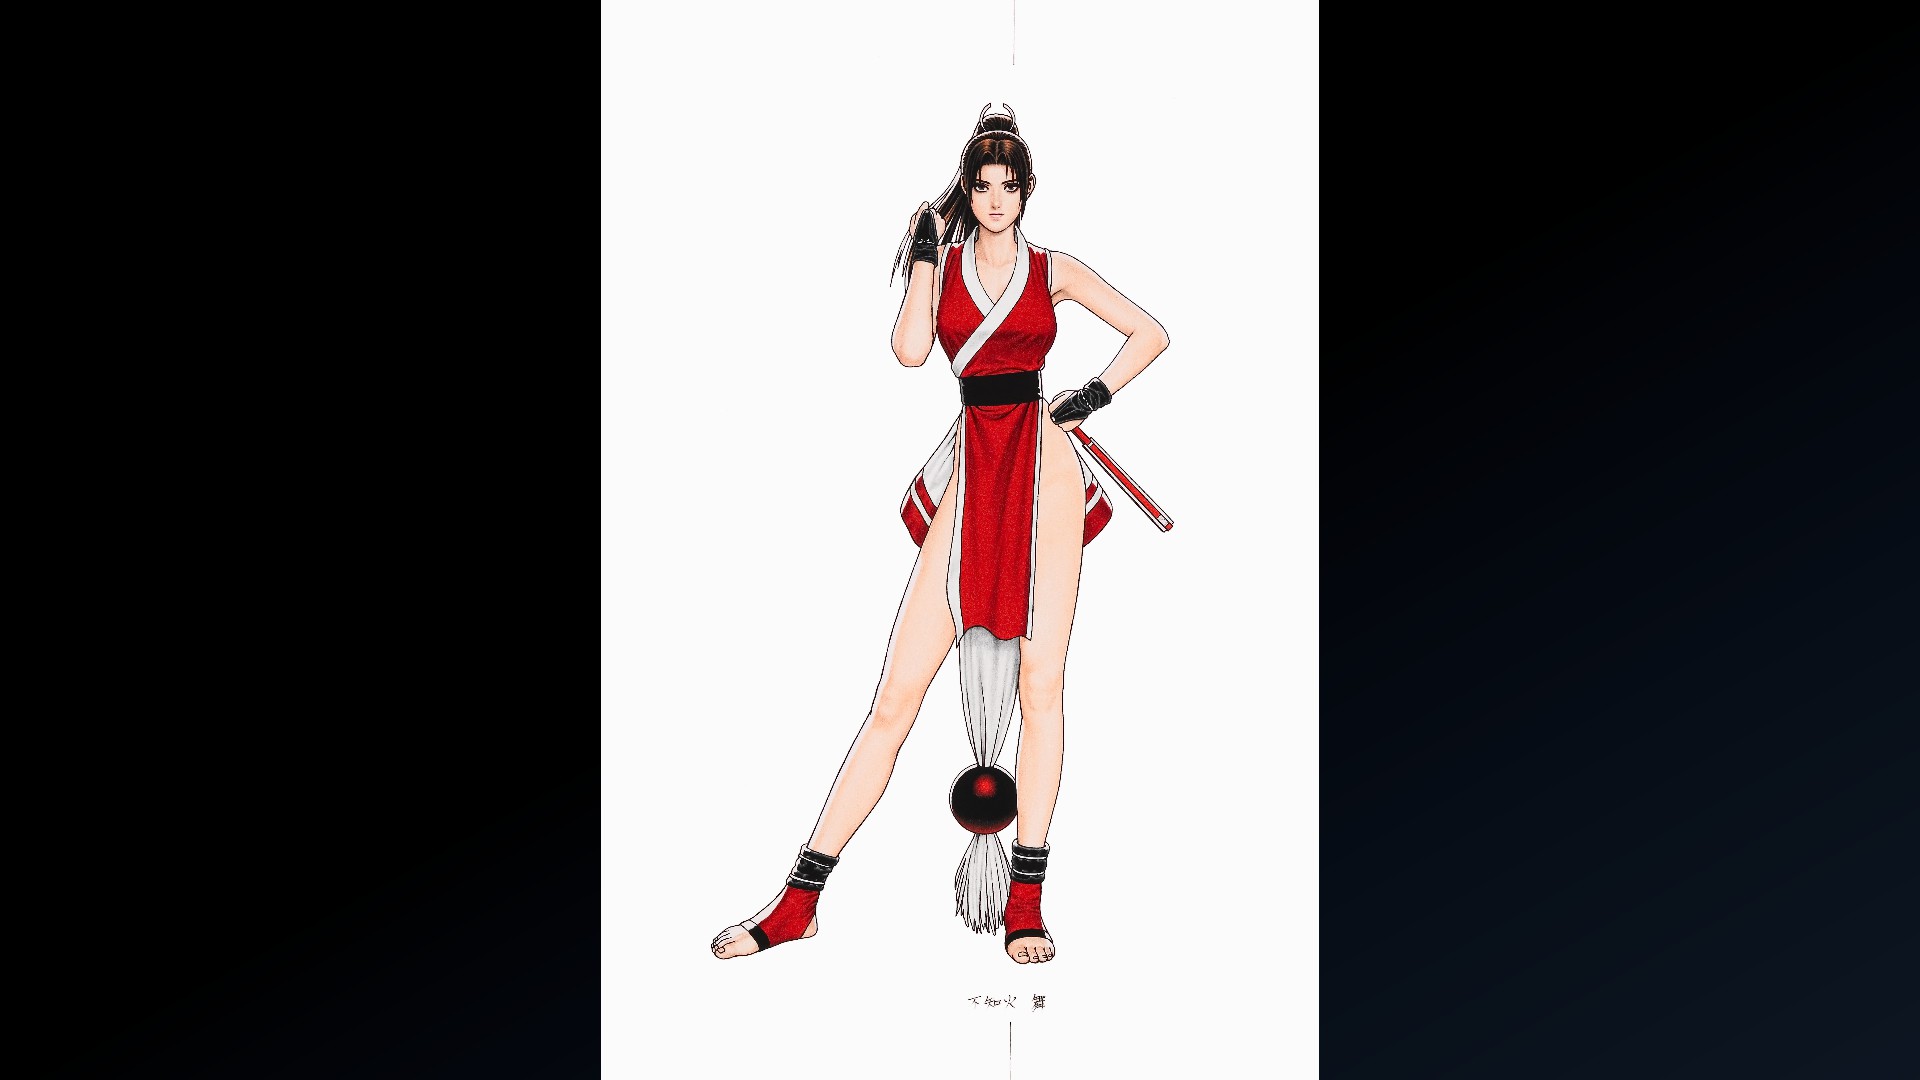
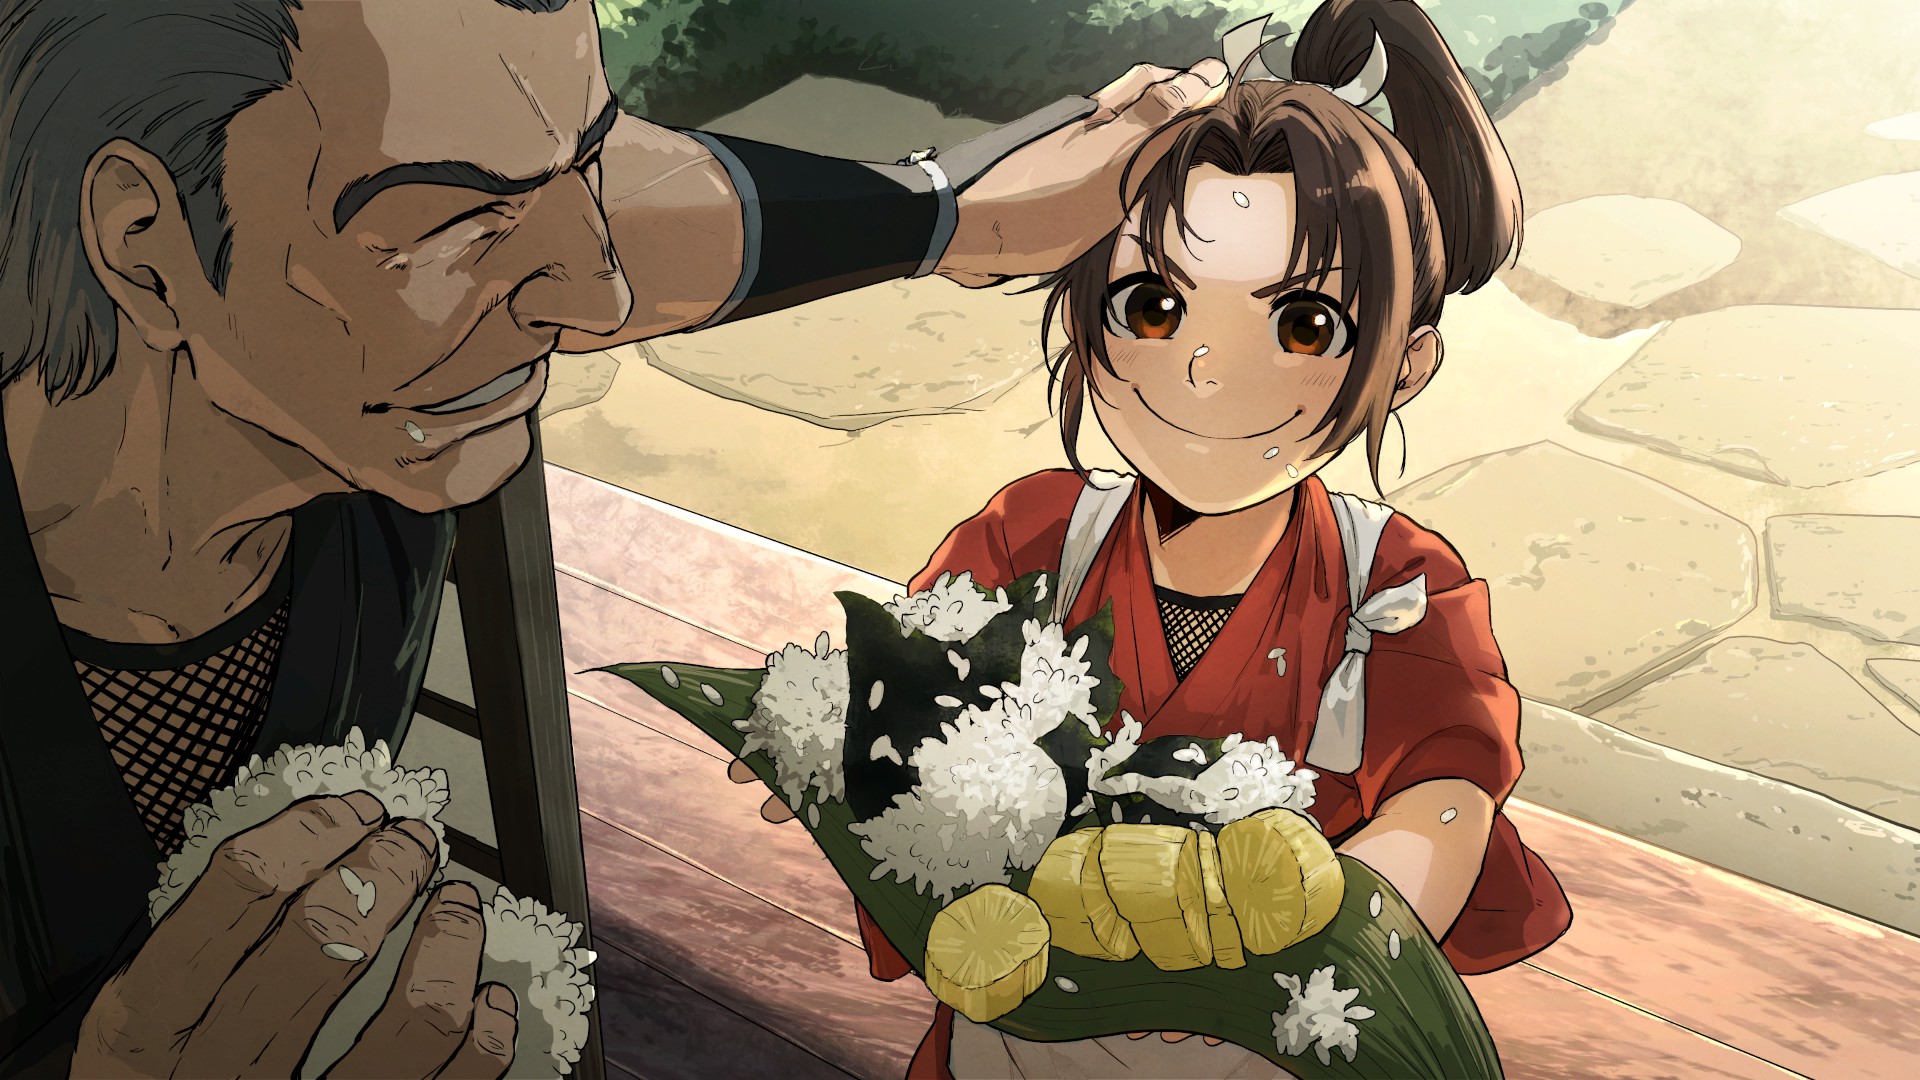
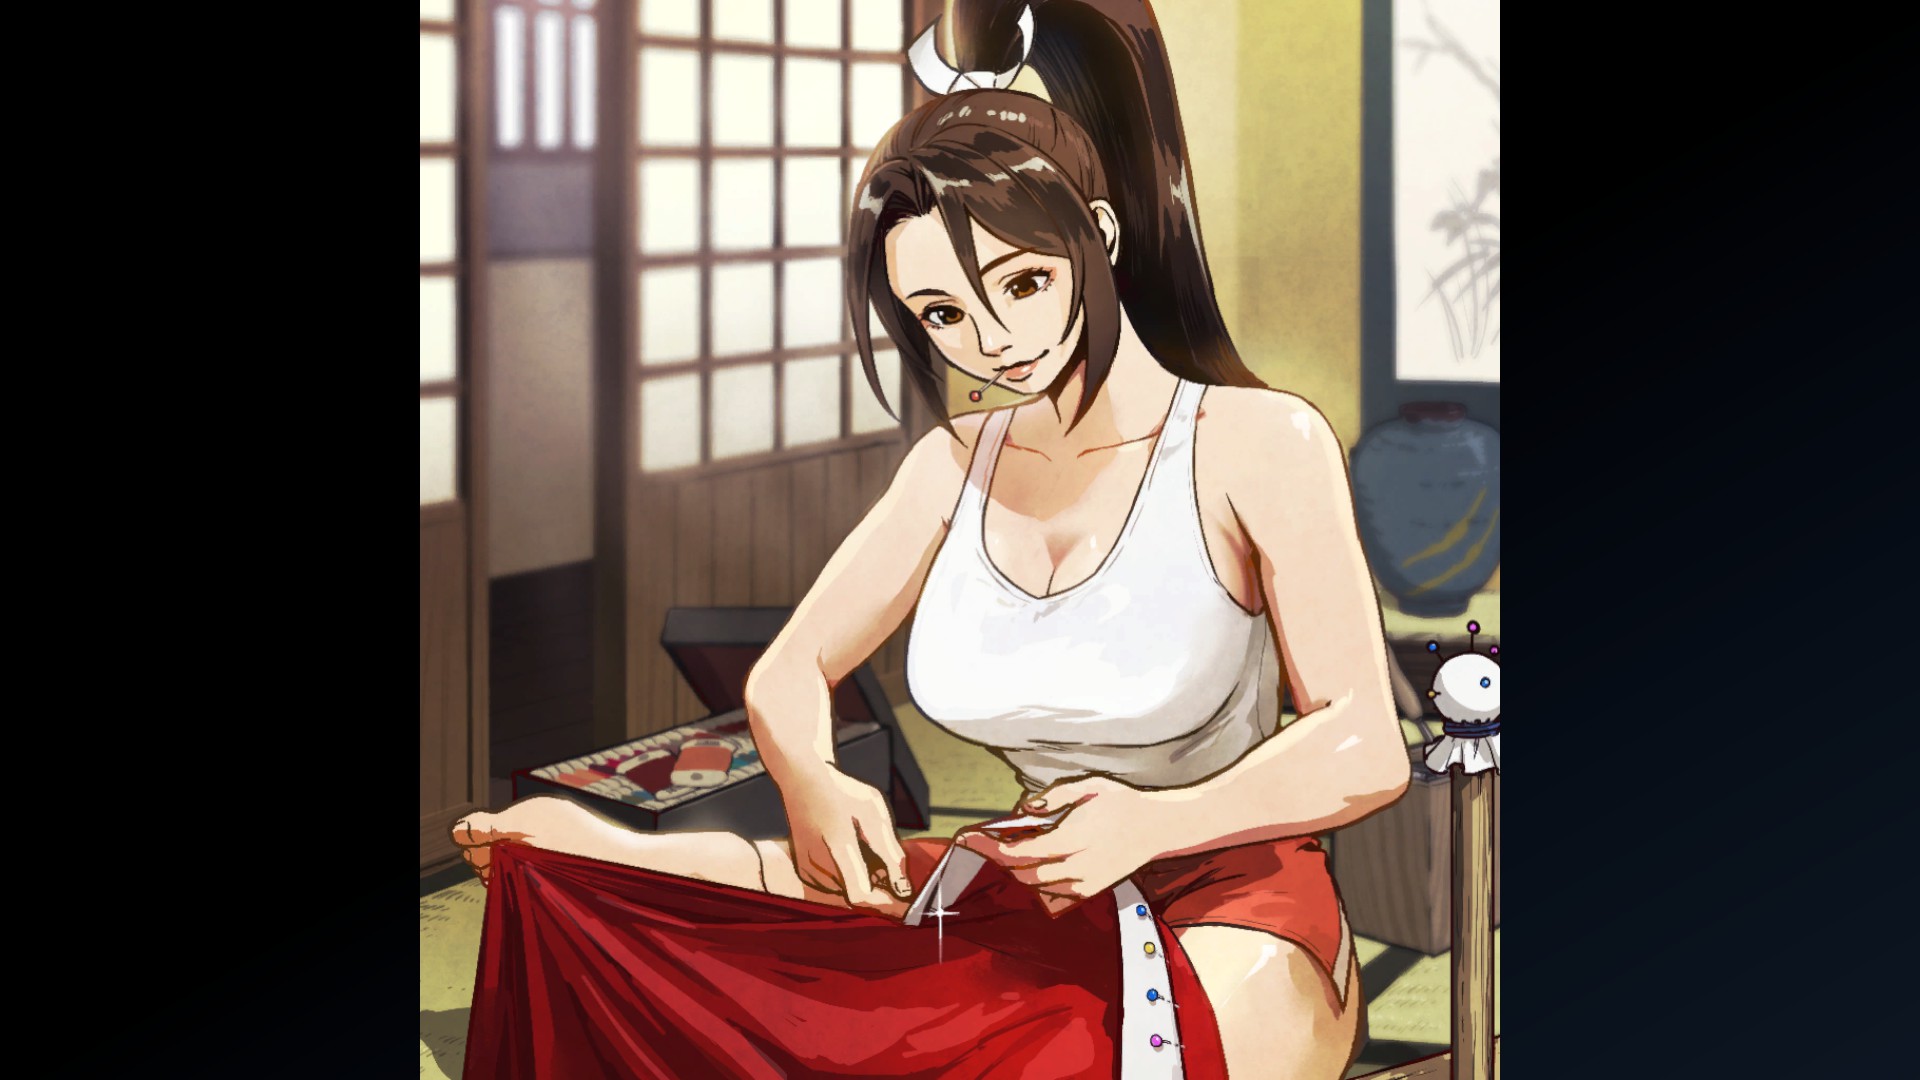
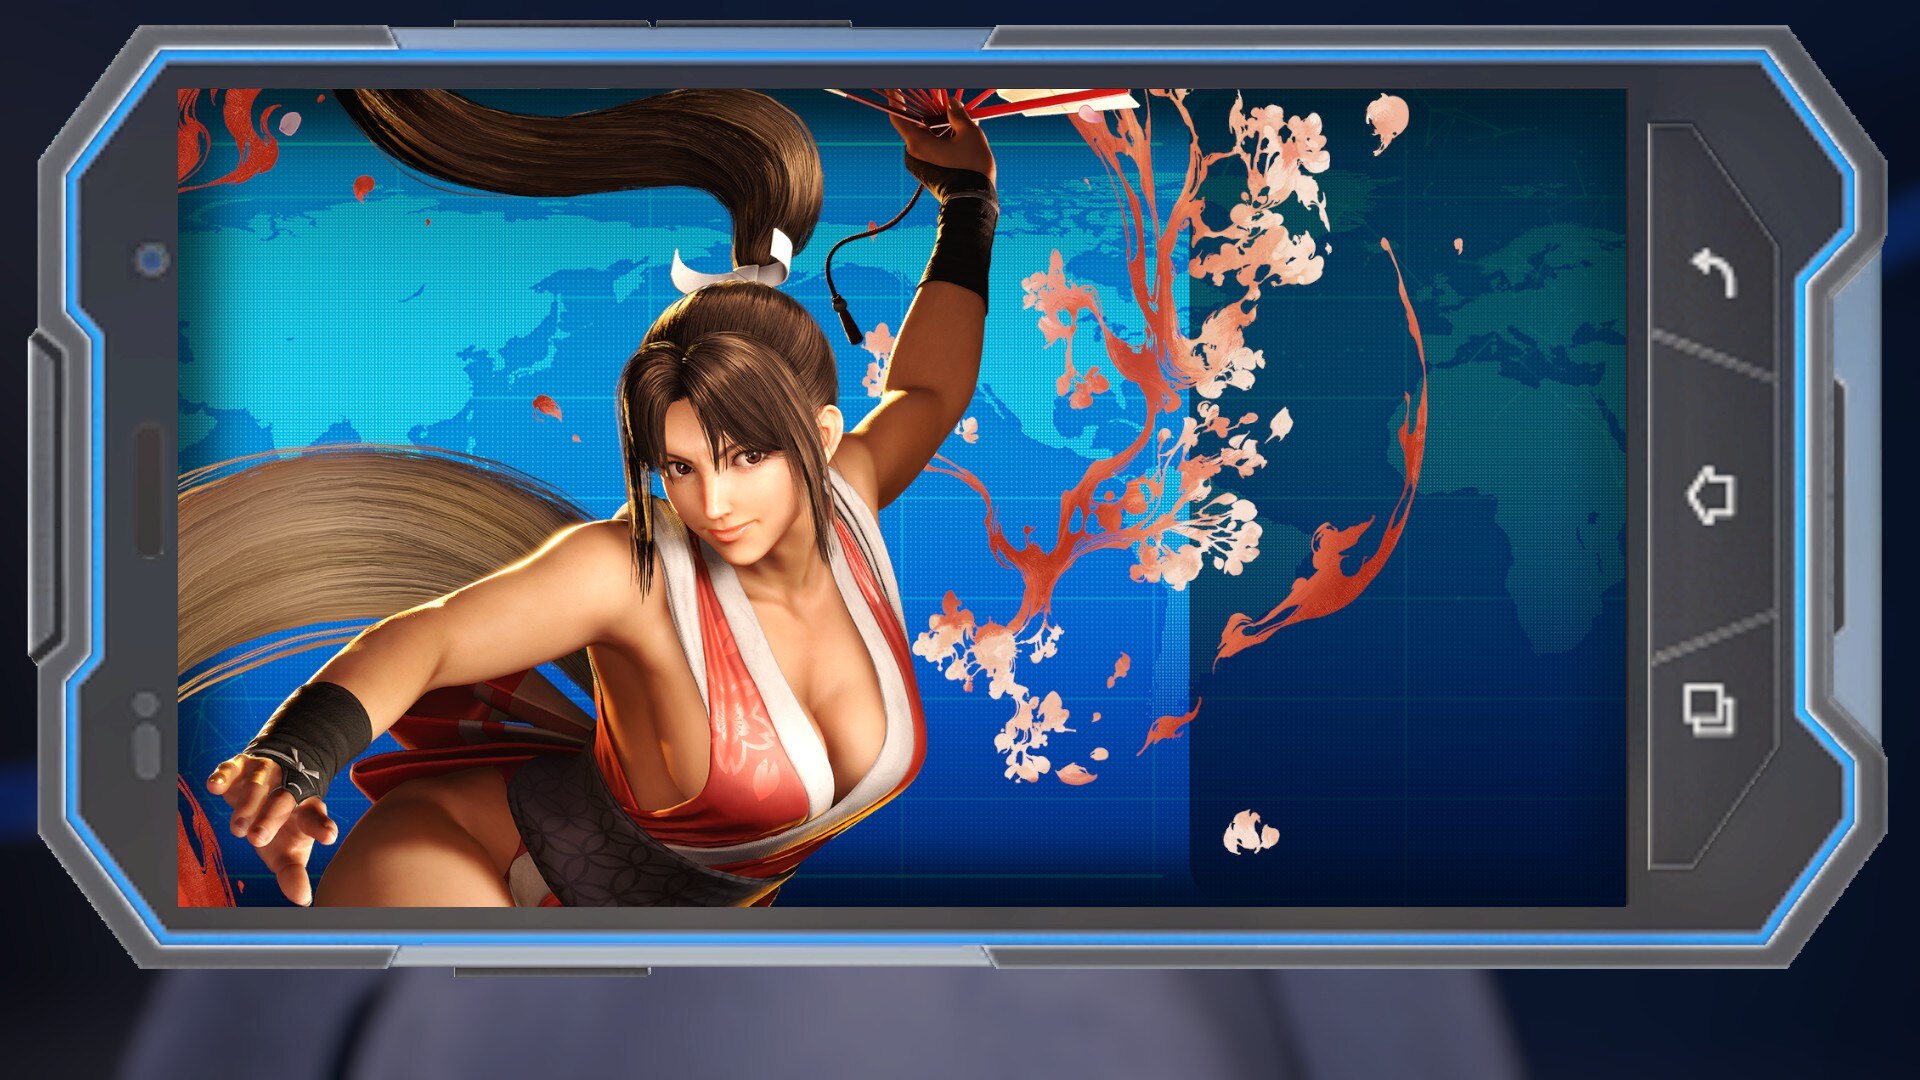
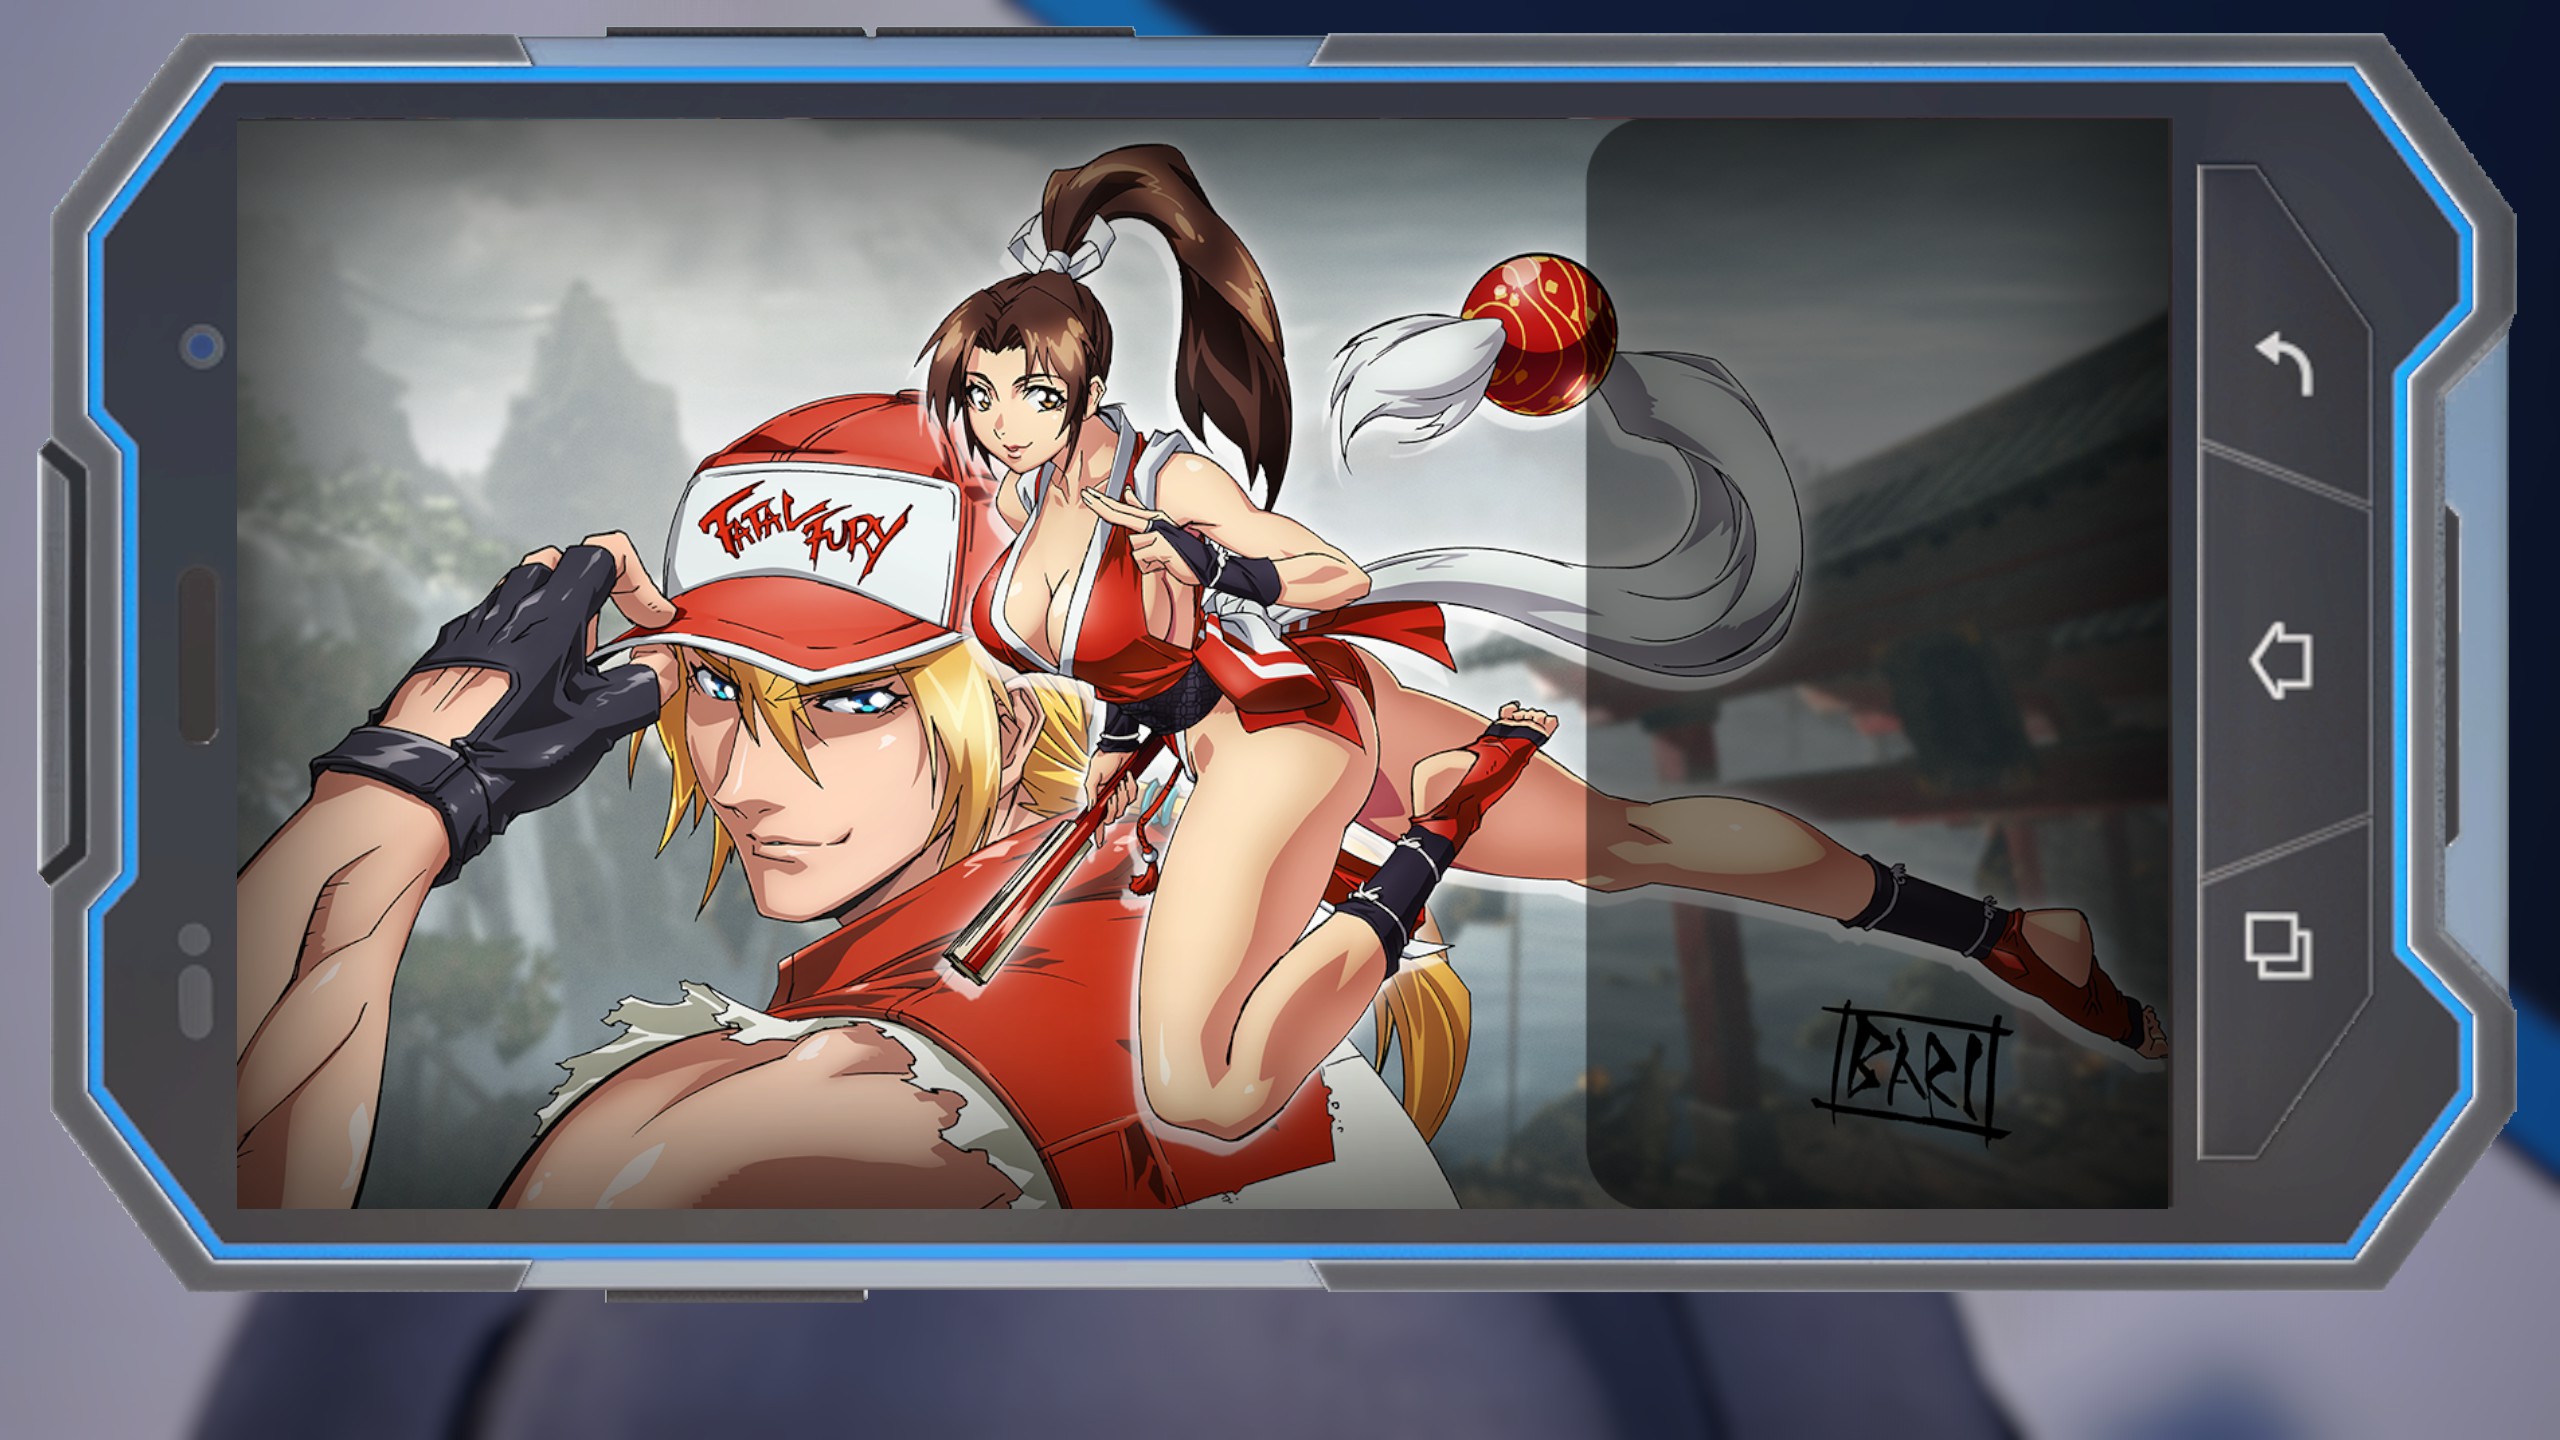
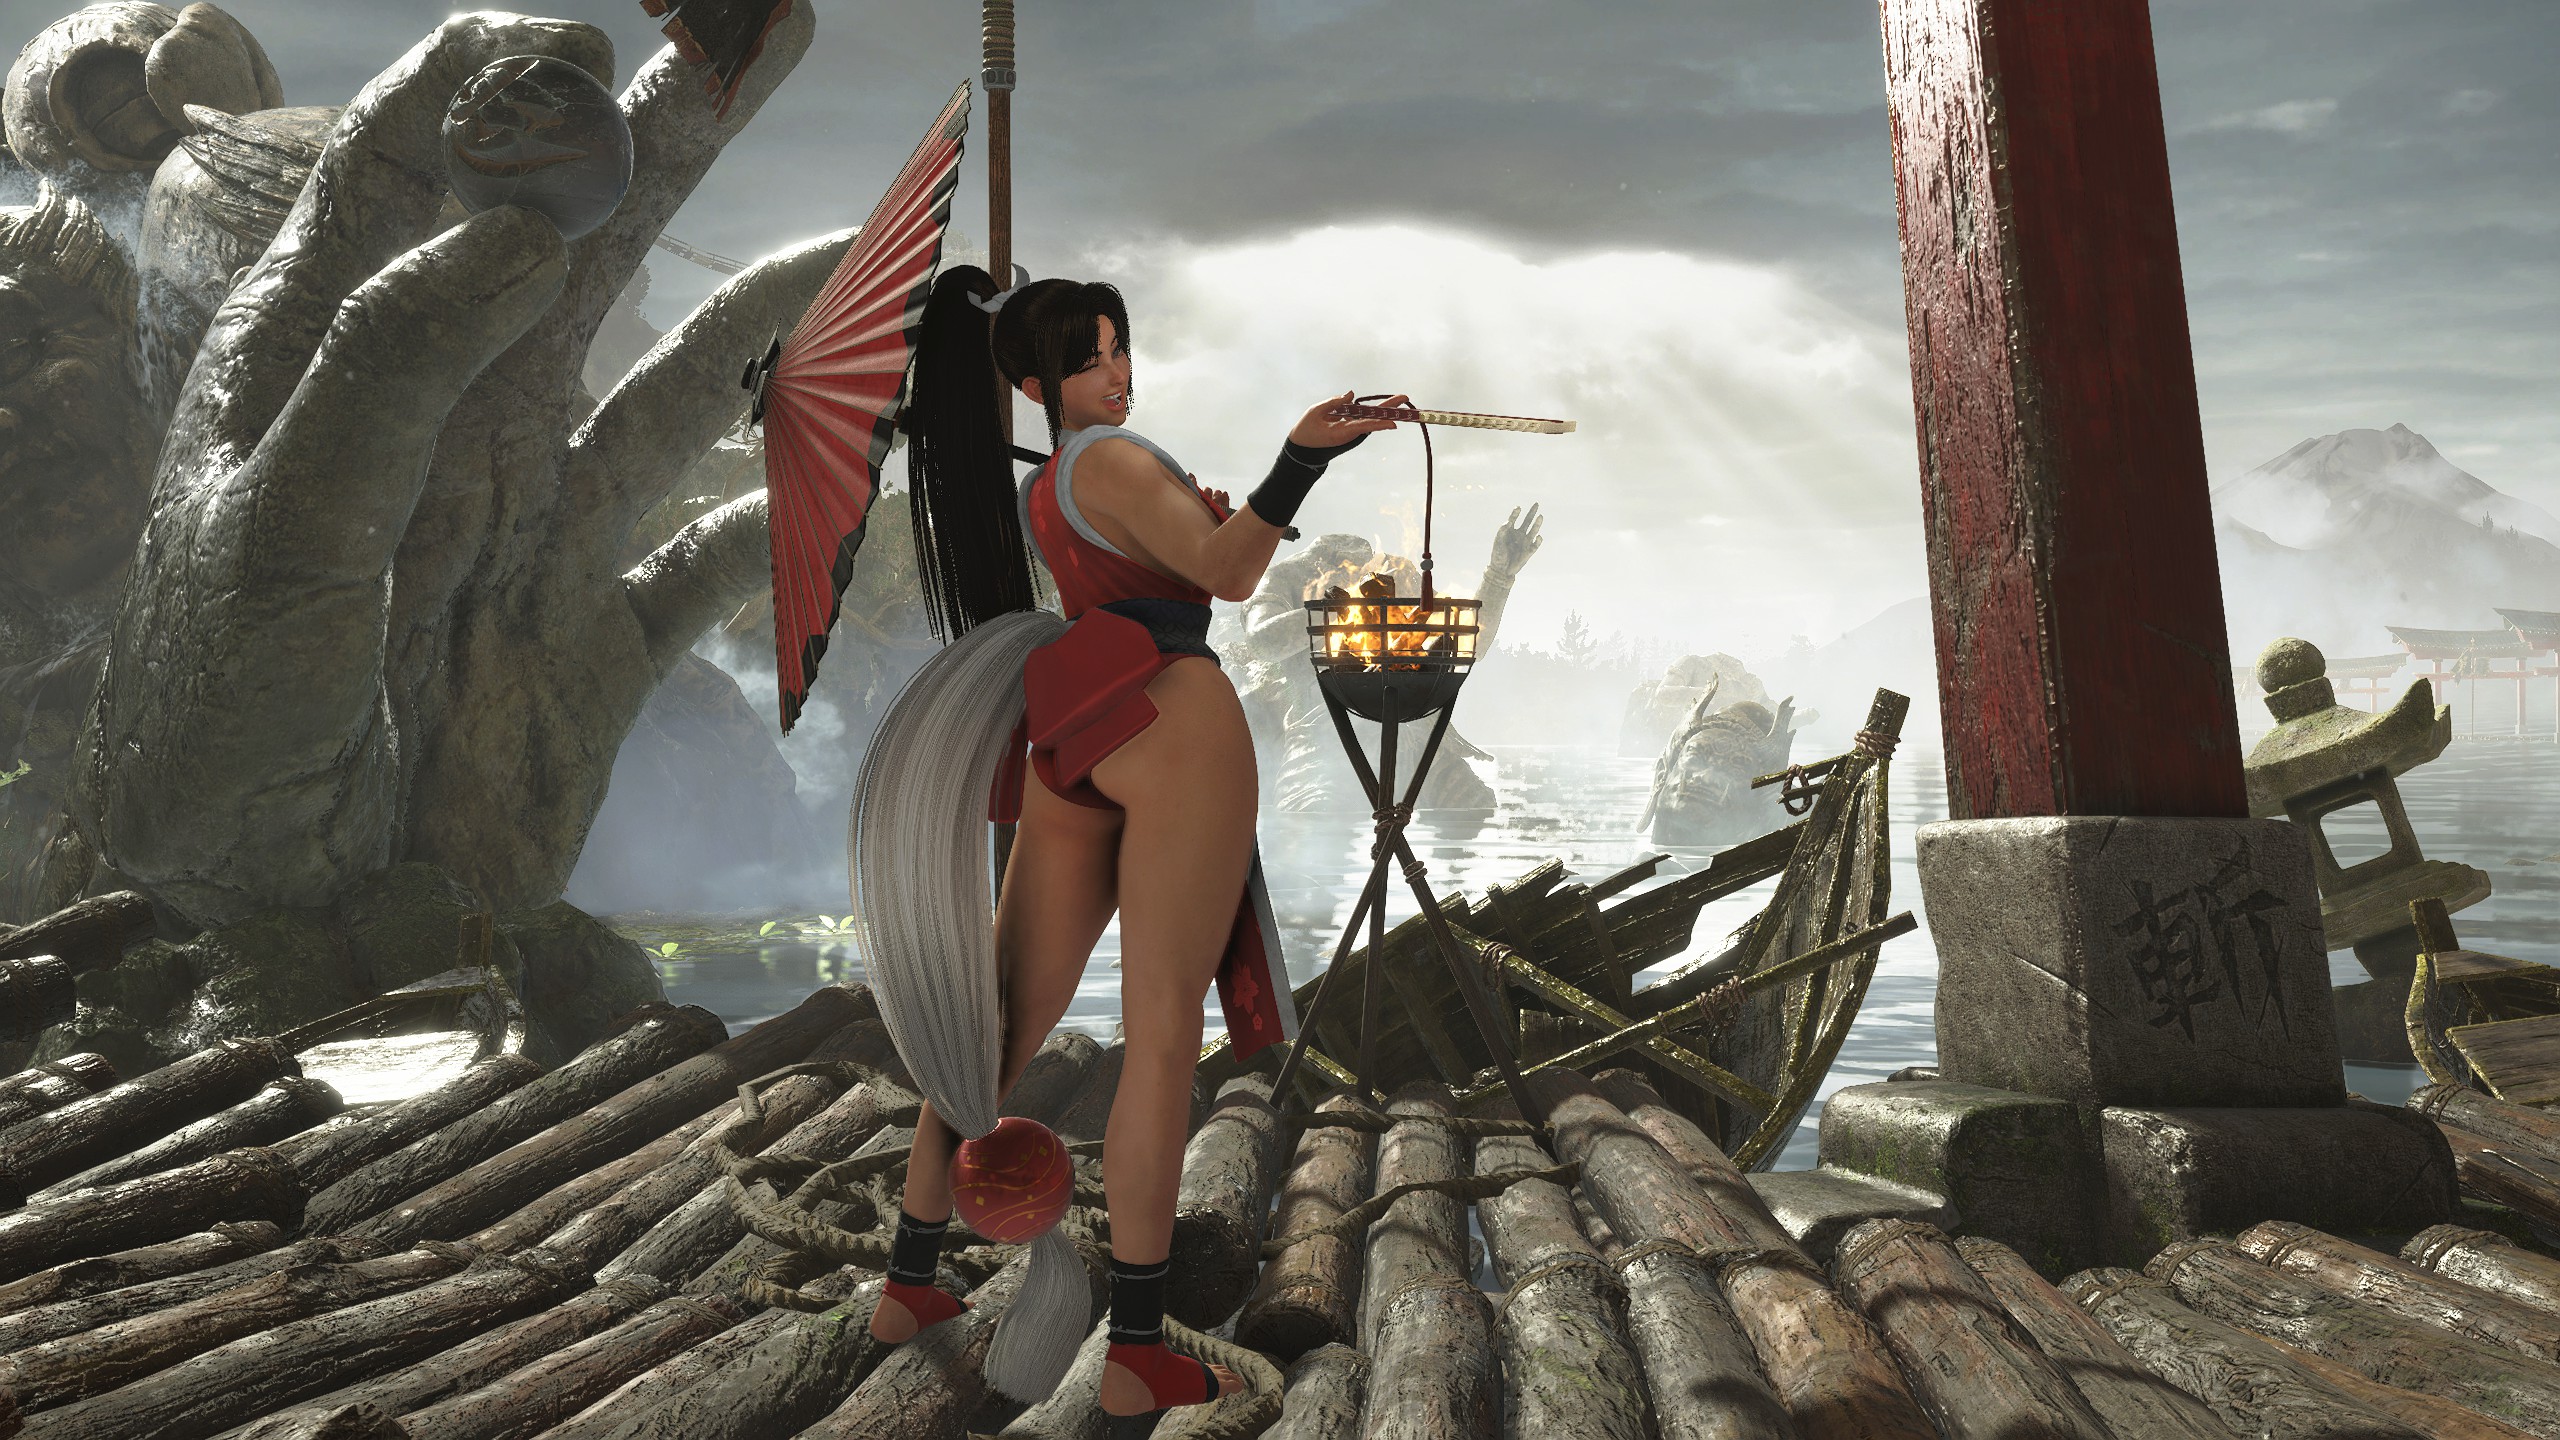
Mai - Special Artwork: Tamio (Clear Arcade Once with Mai)
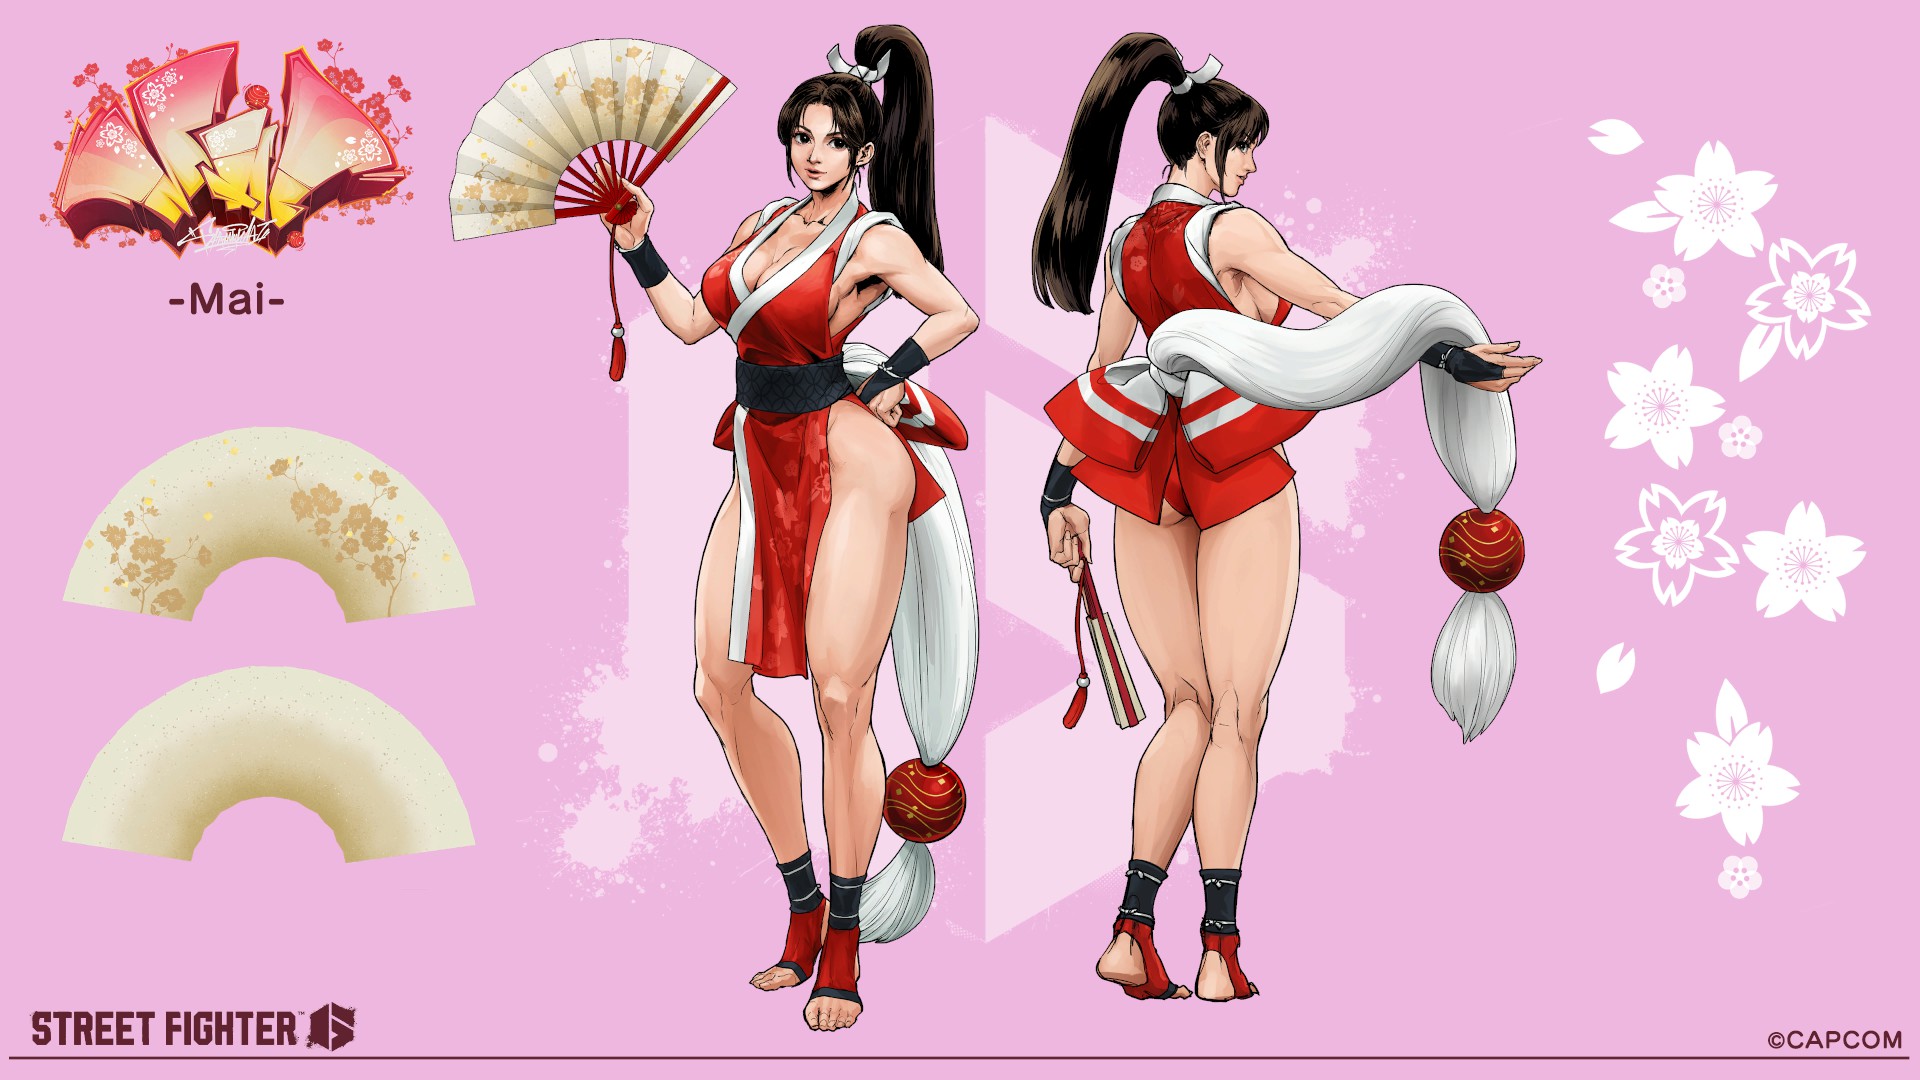
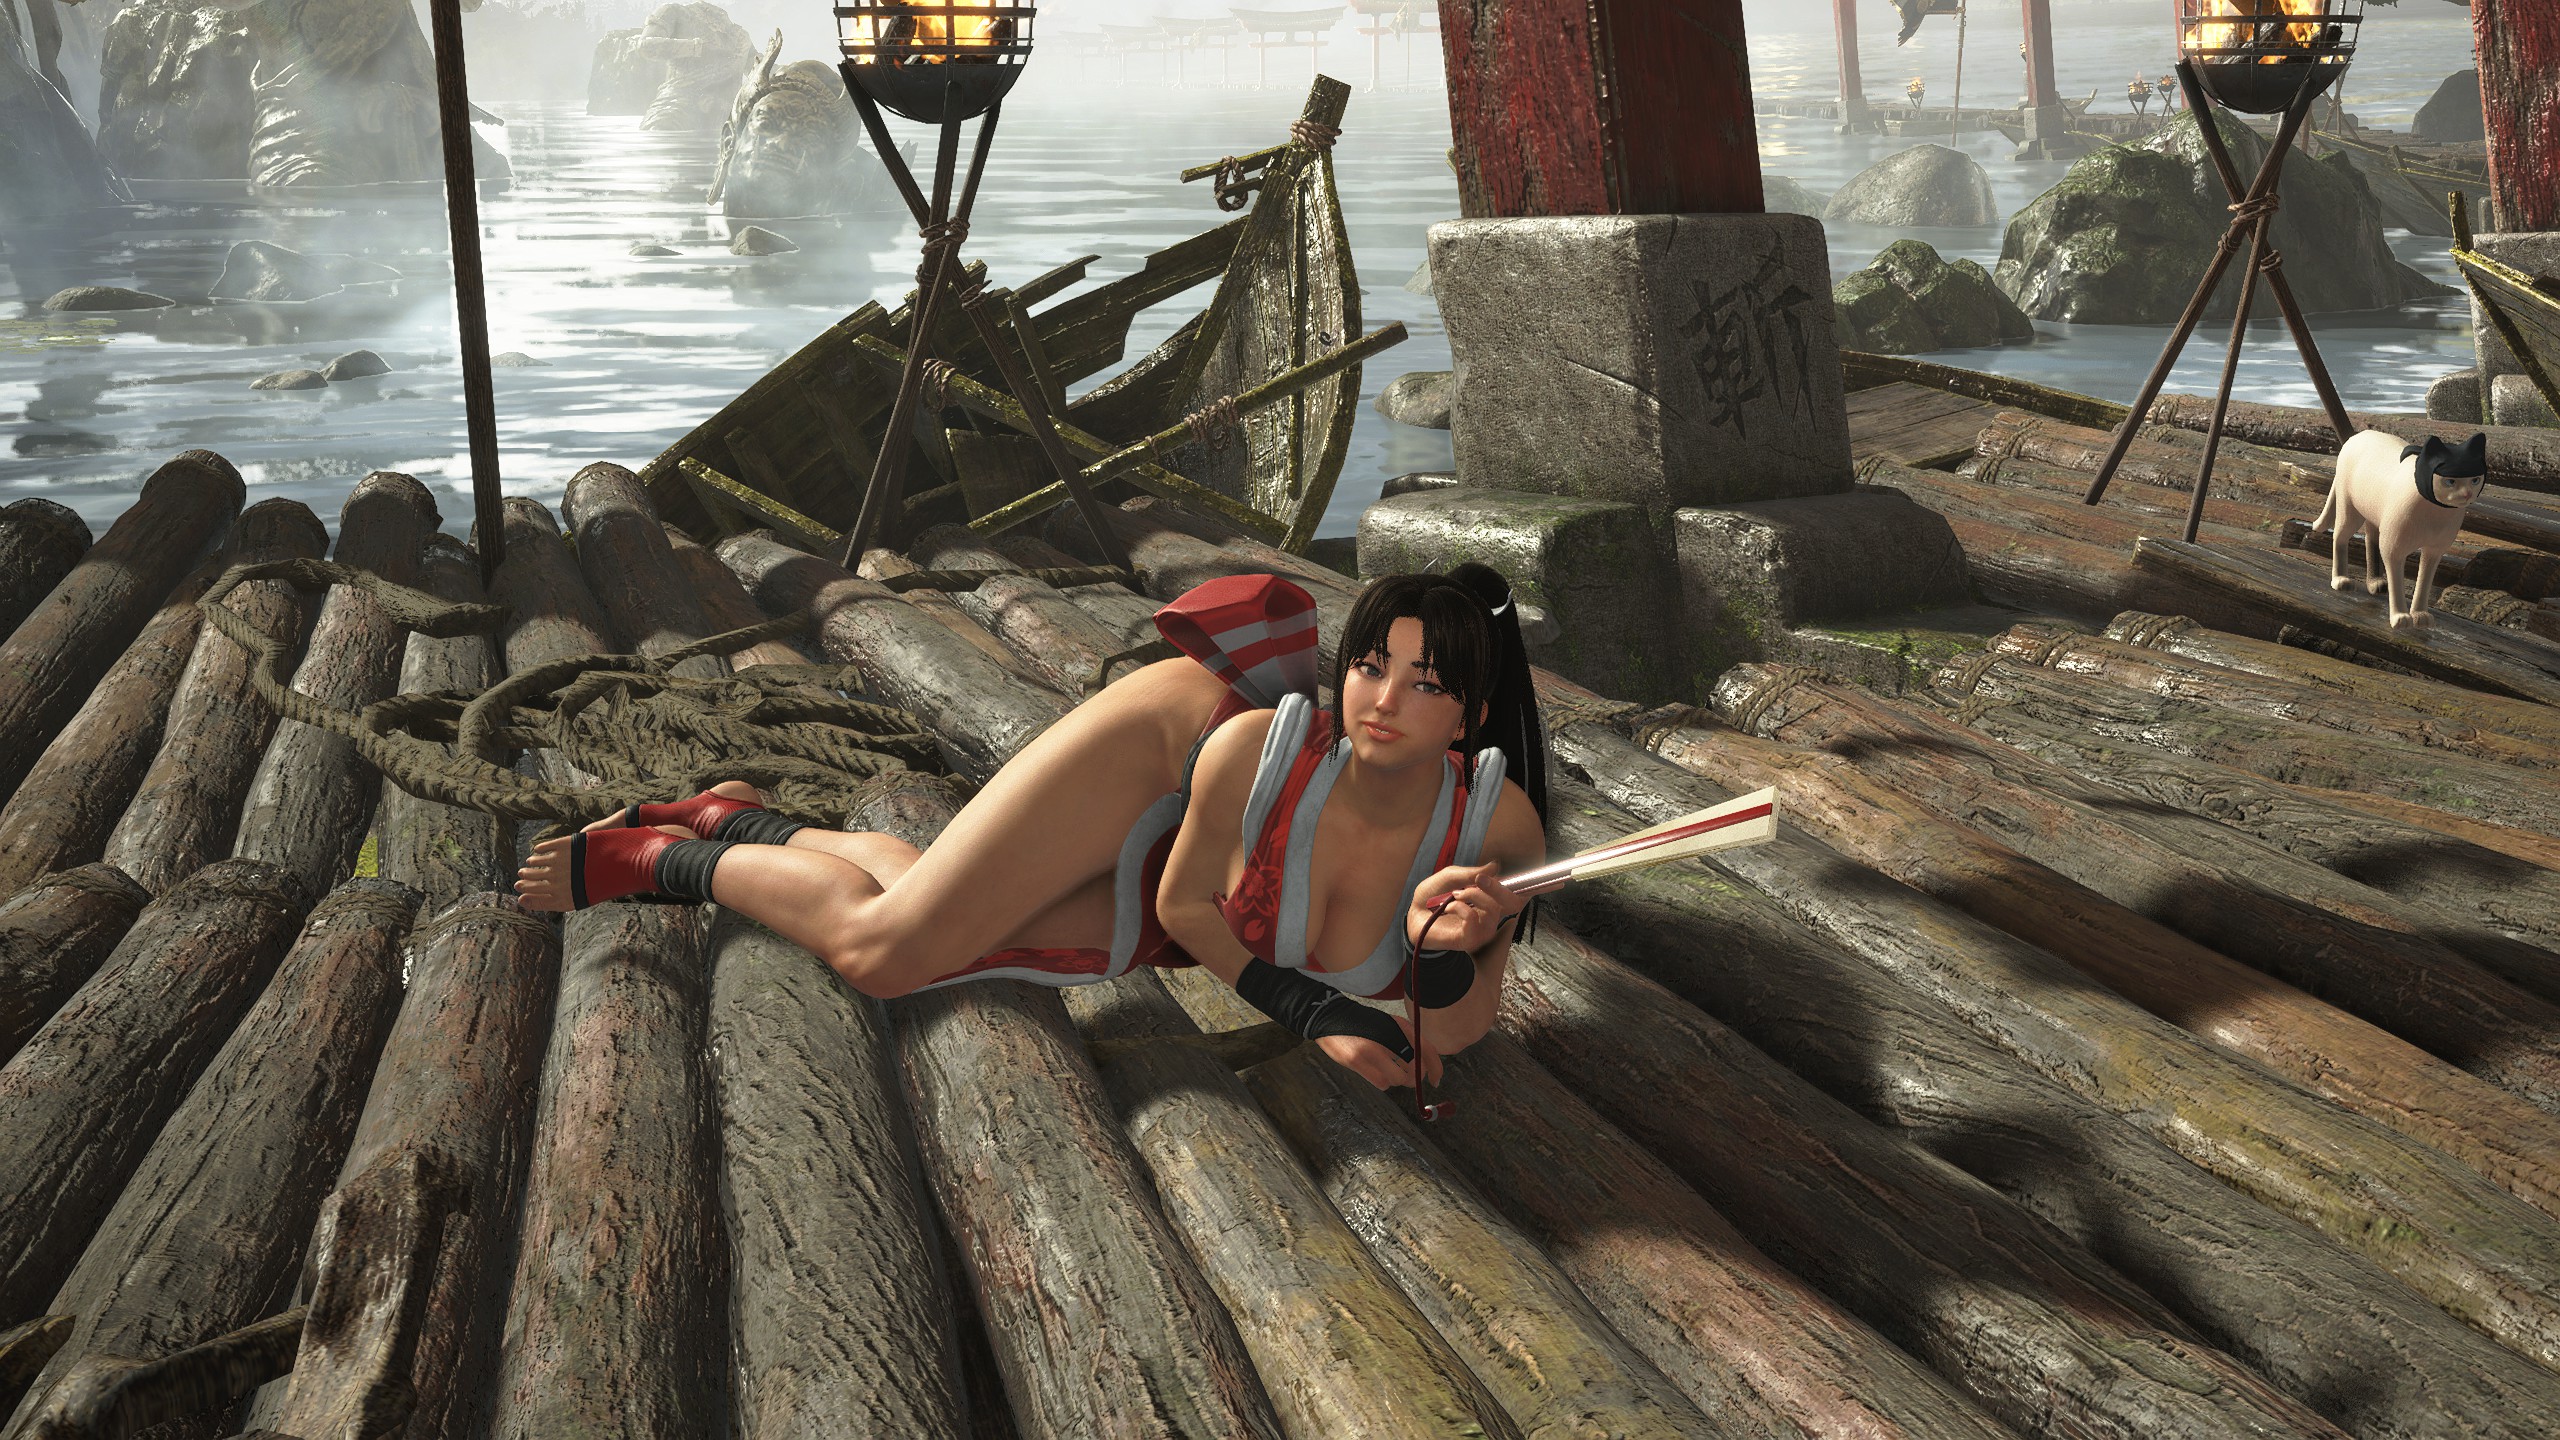
Mai - Character Design: Mai 1 (Clear Arcade Twice with Mai)
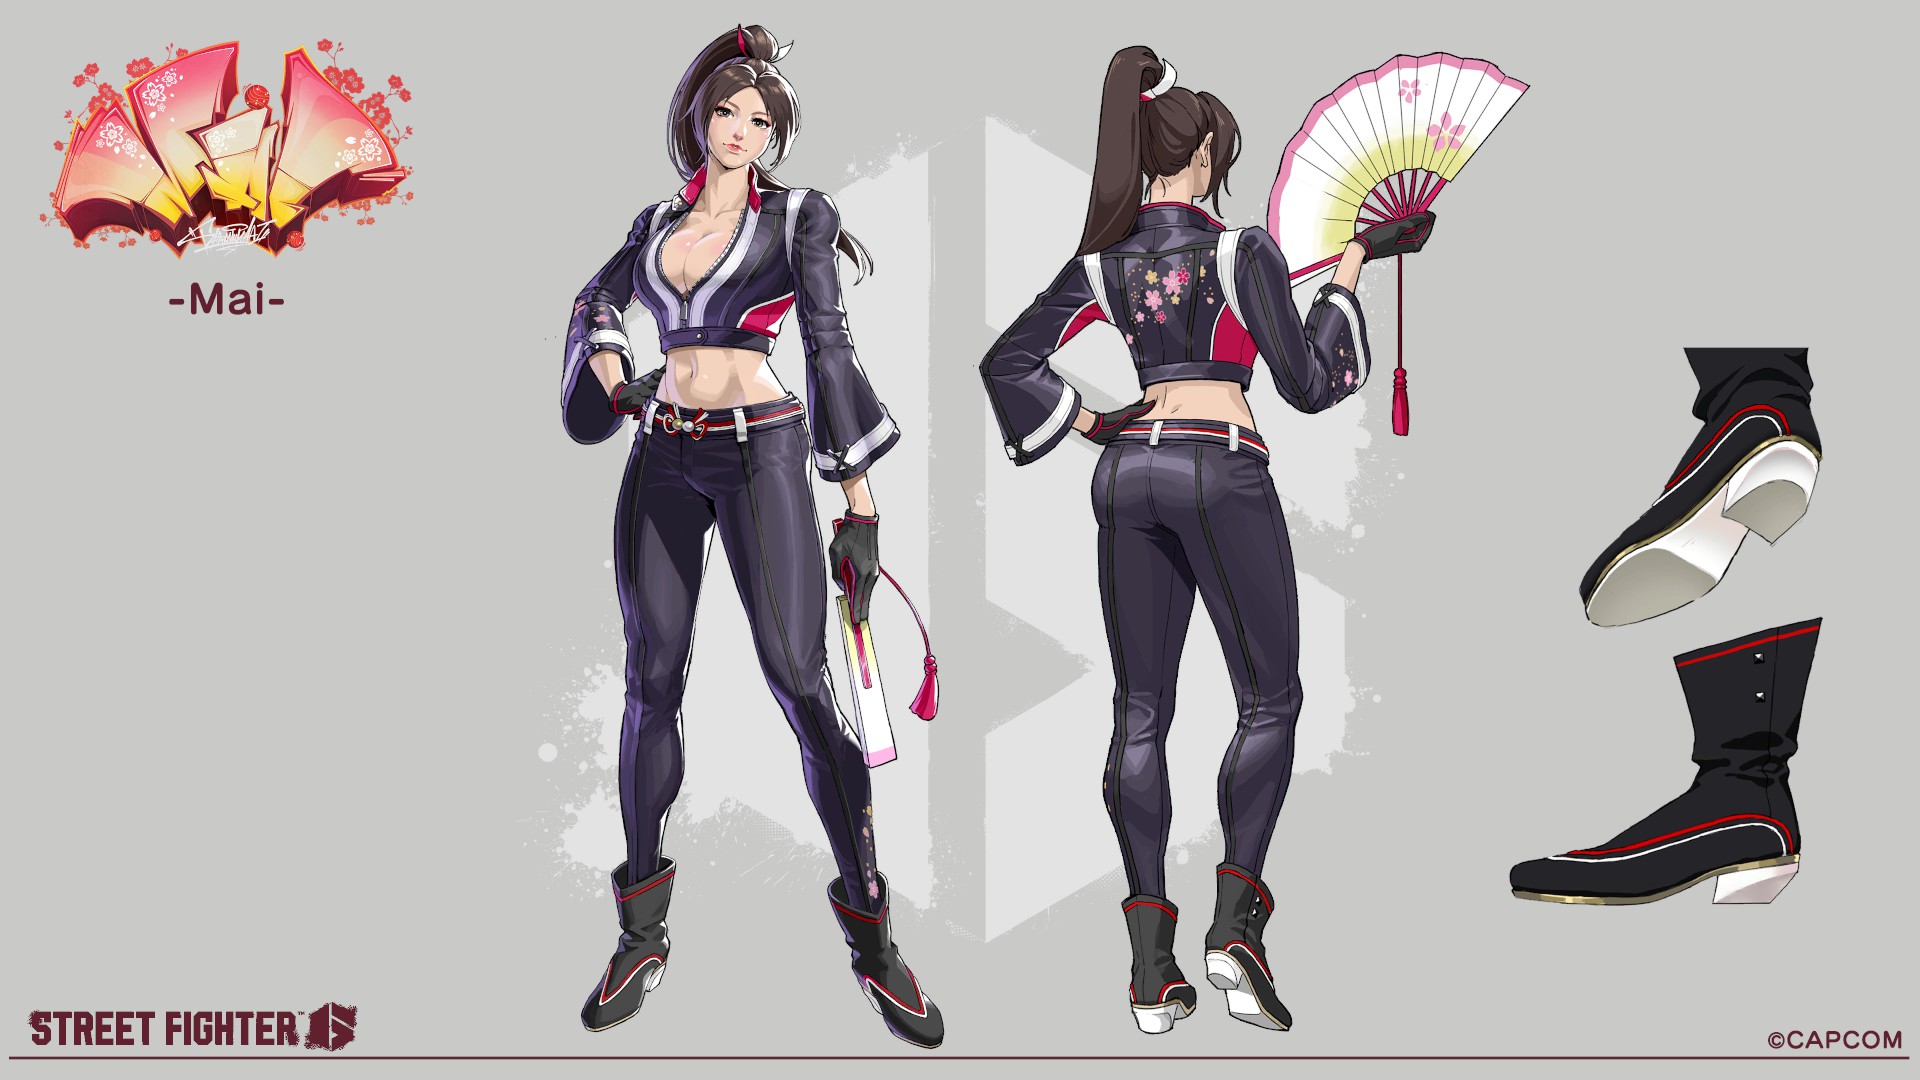
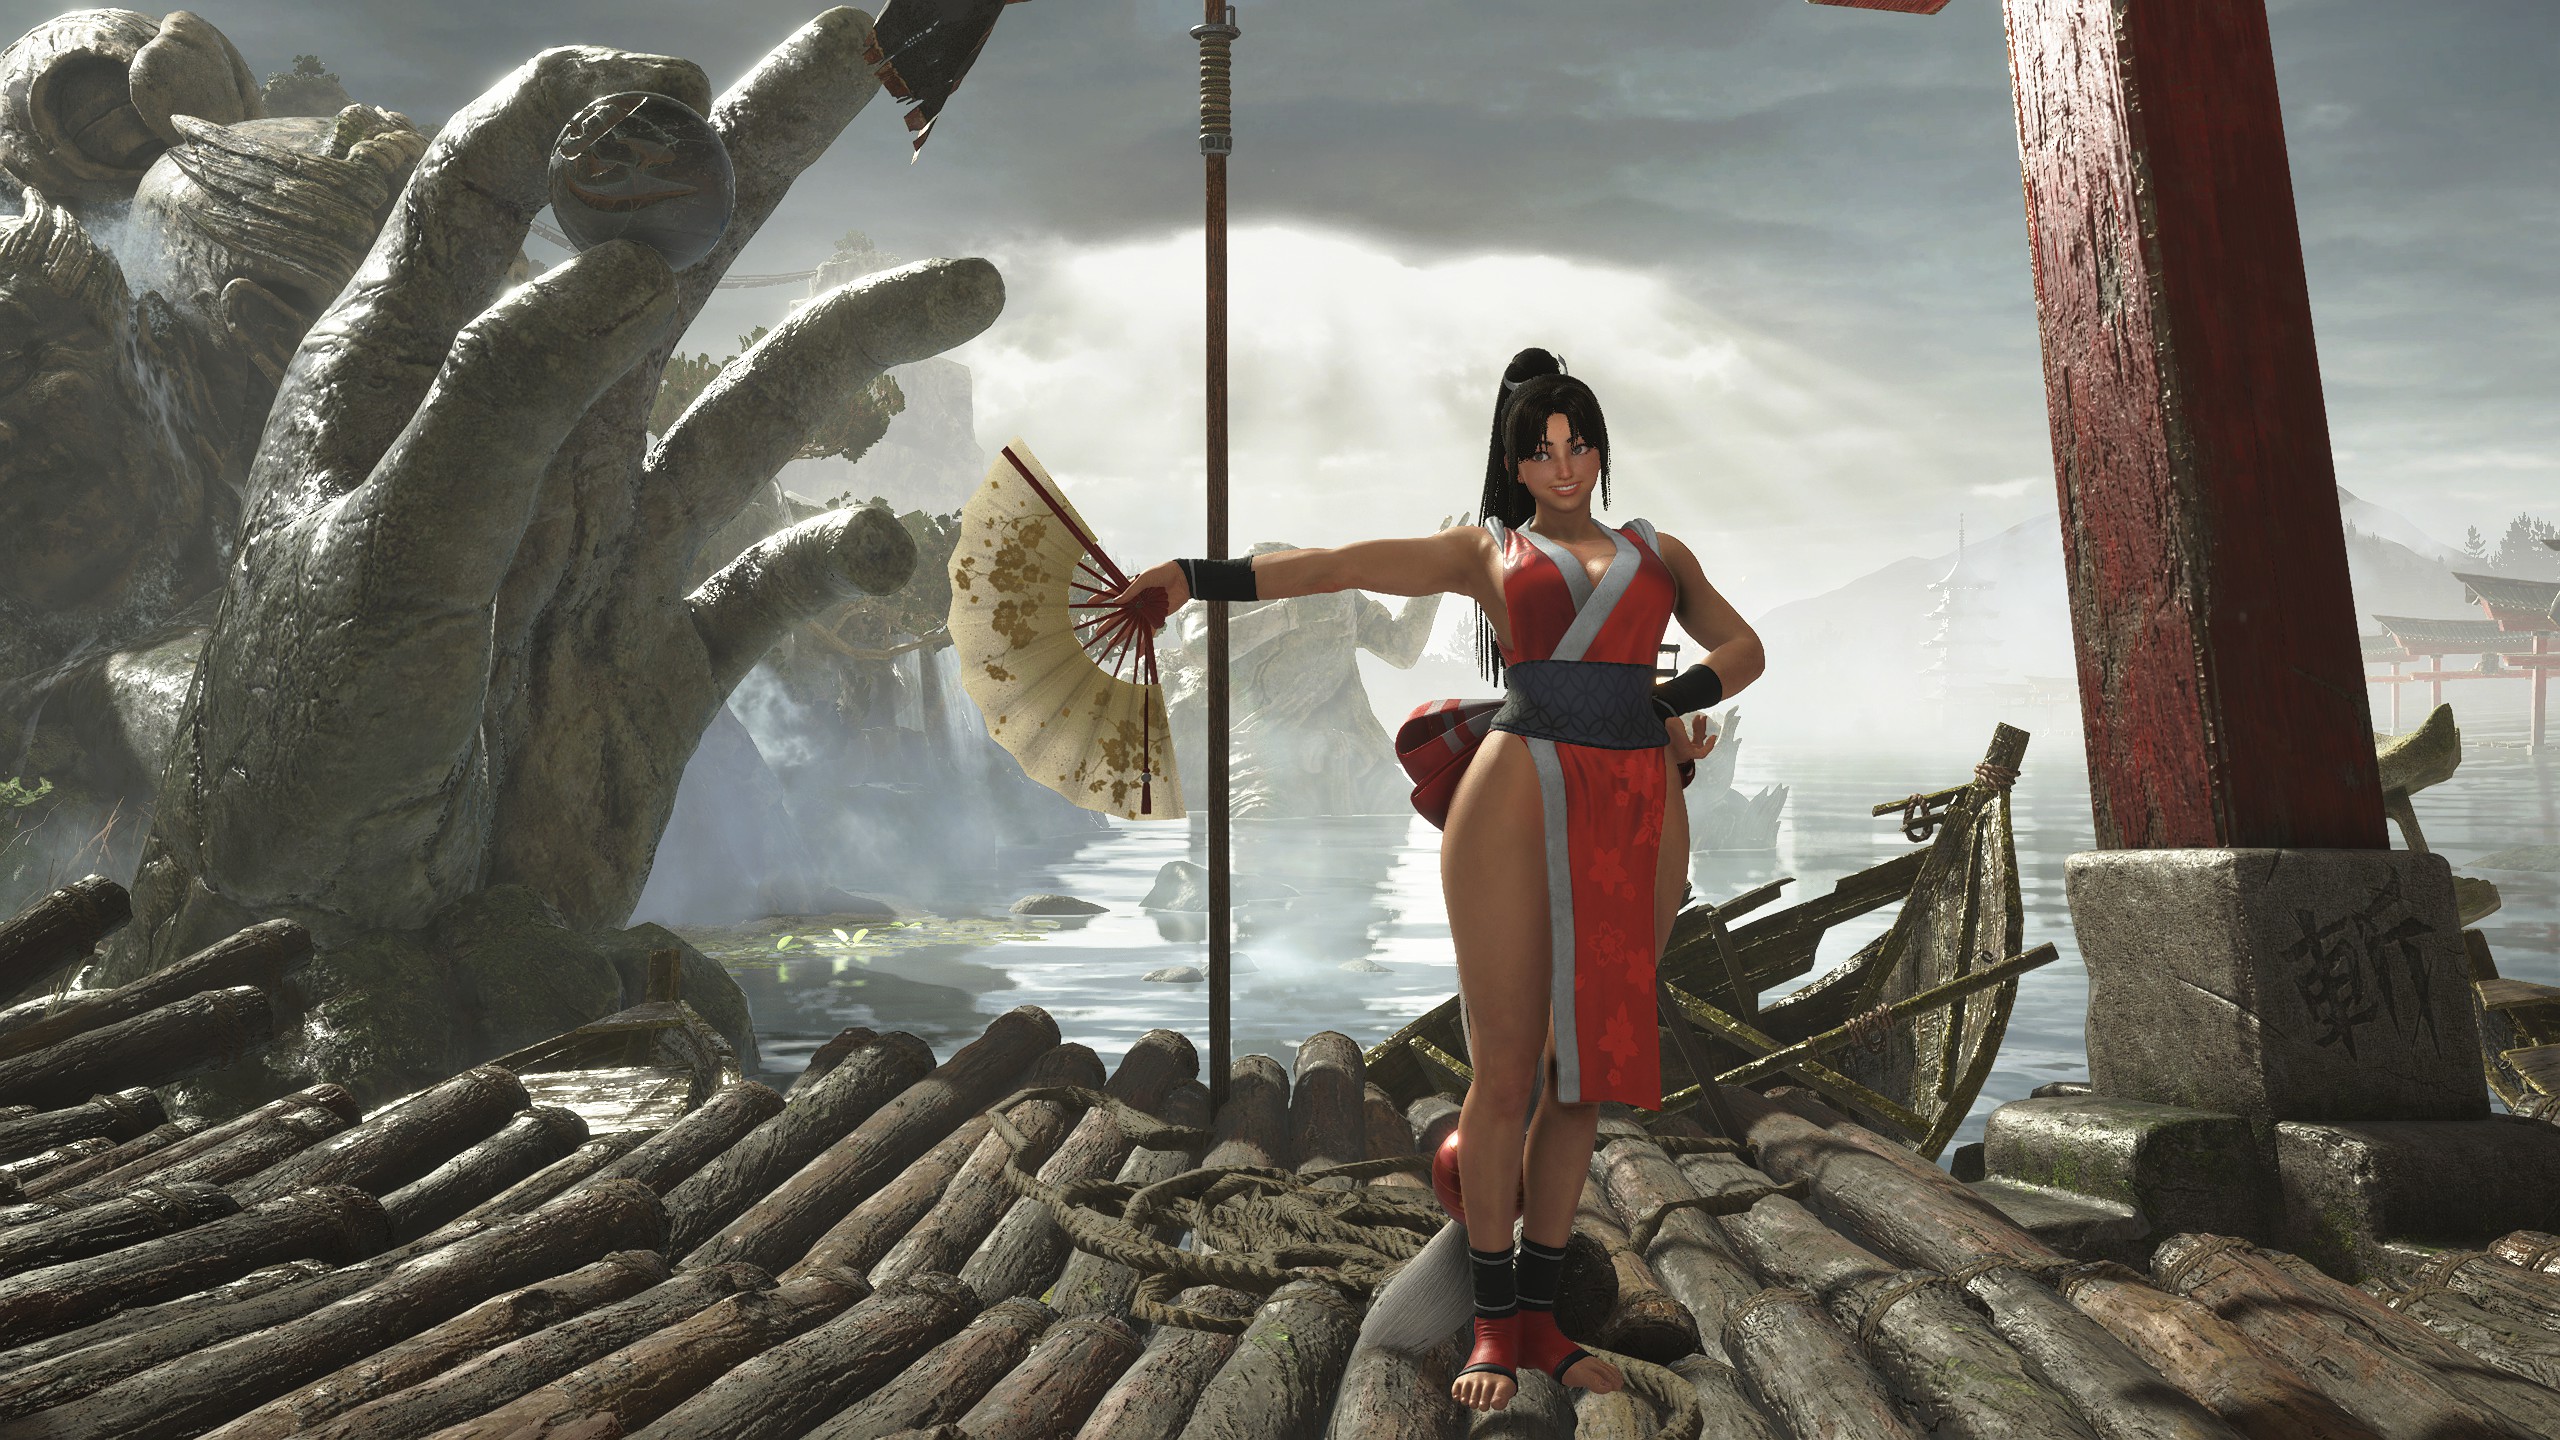
Mai - Character Design: Mai 2 (Clear Arcade Three Times with Mai)
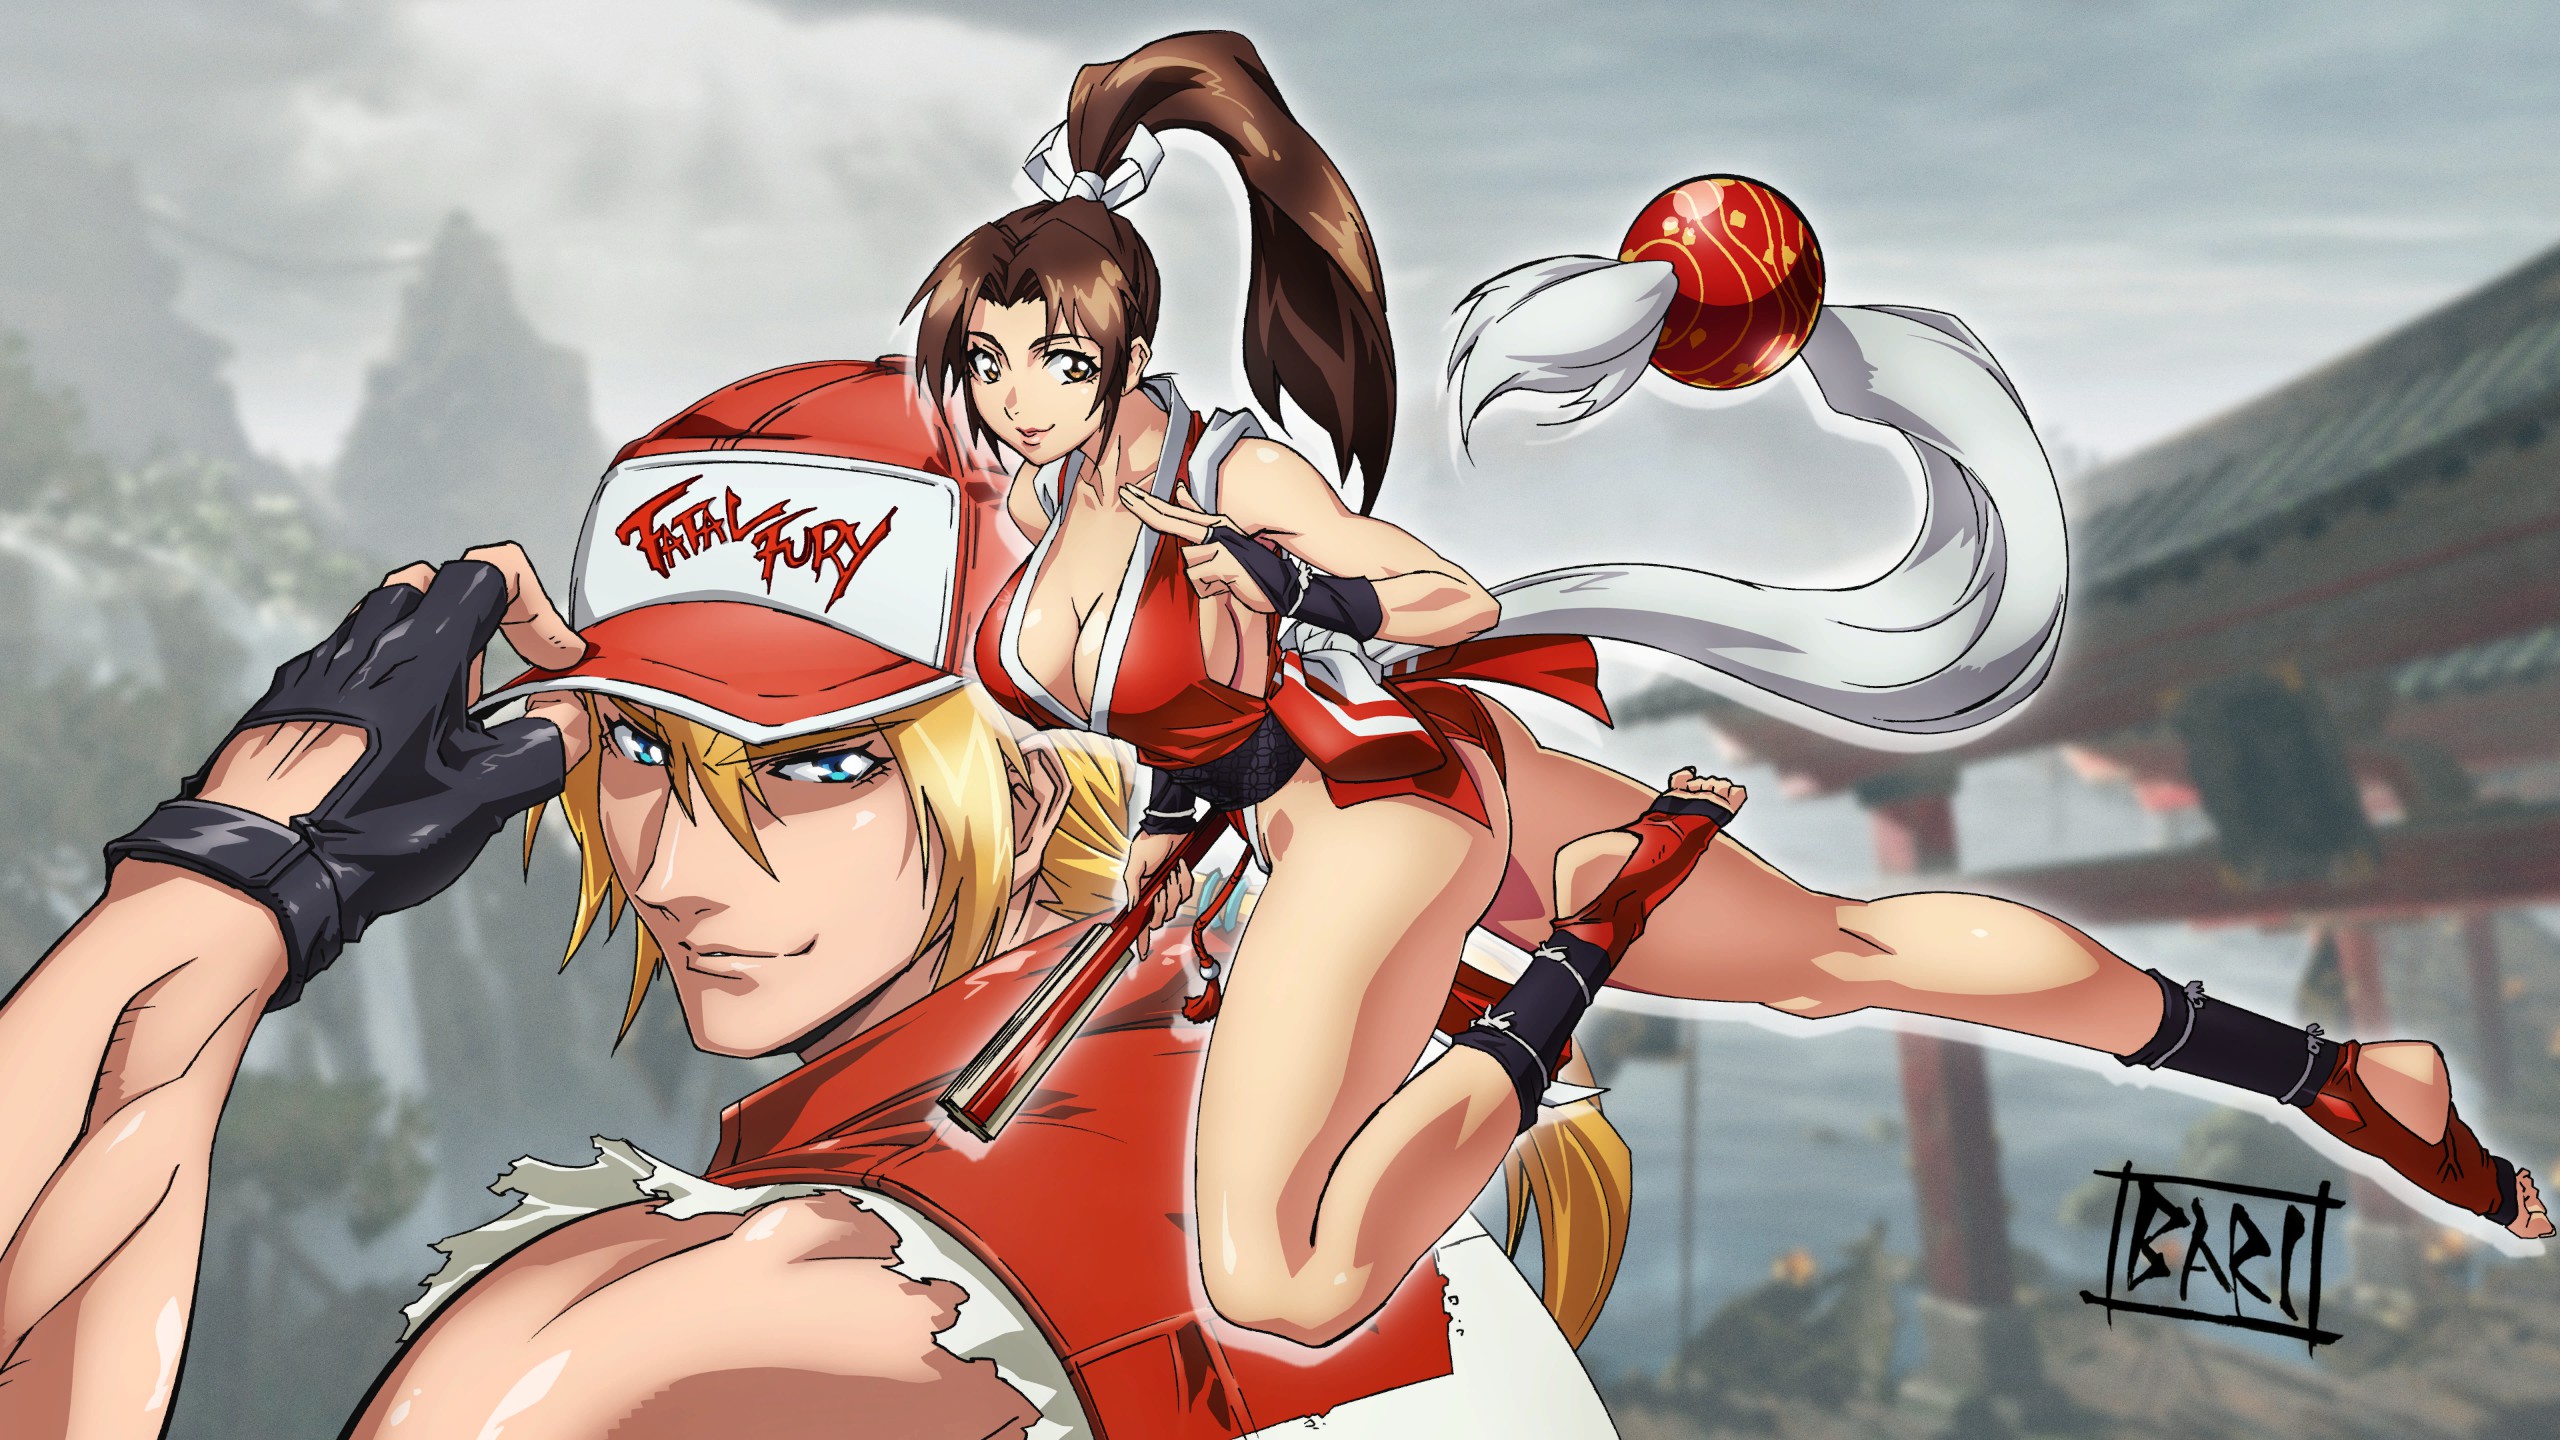
Special Artwork: Masami Obari (Unlocked as a login bonus to celebrate Ken's addition to the roster of COTW, but it needs to be claimed between 08/05/2025 02:00 and 12/31/2025 20:59)
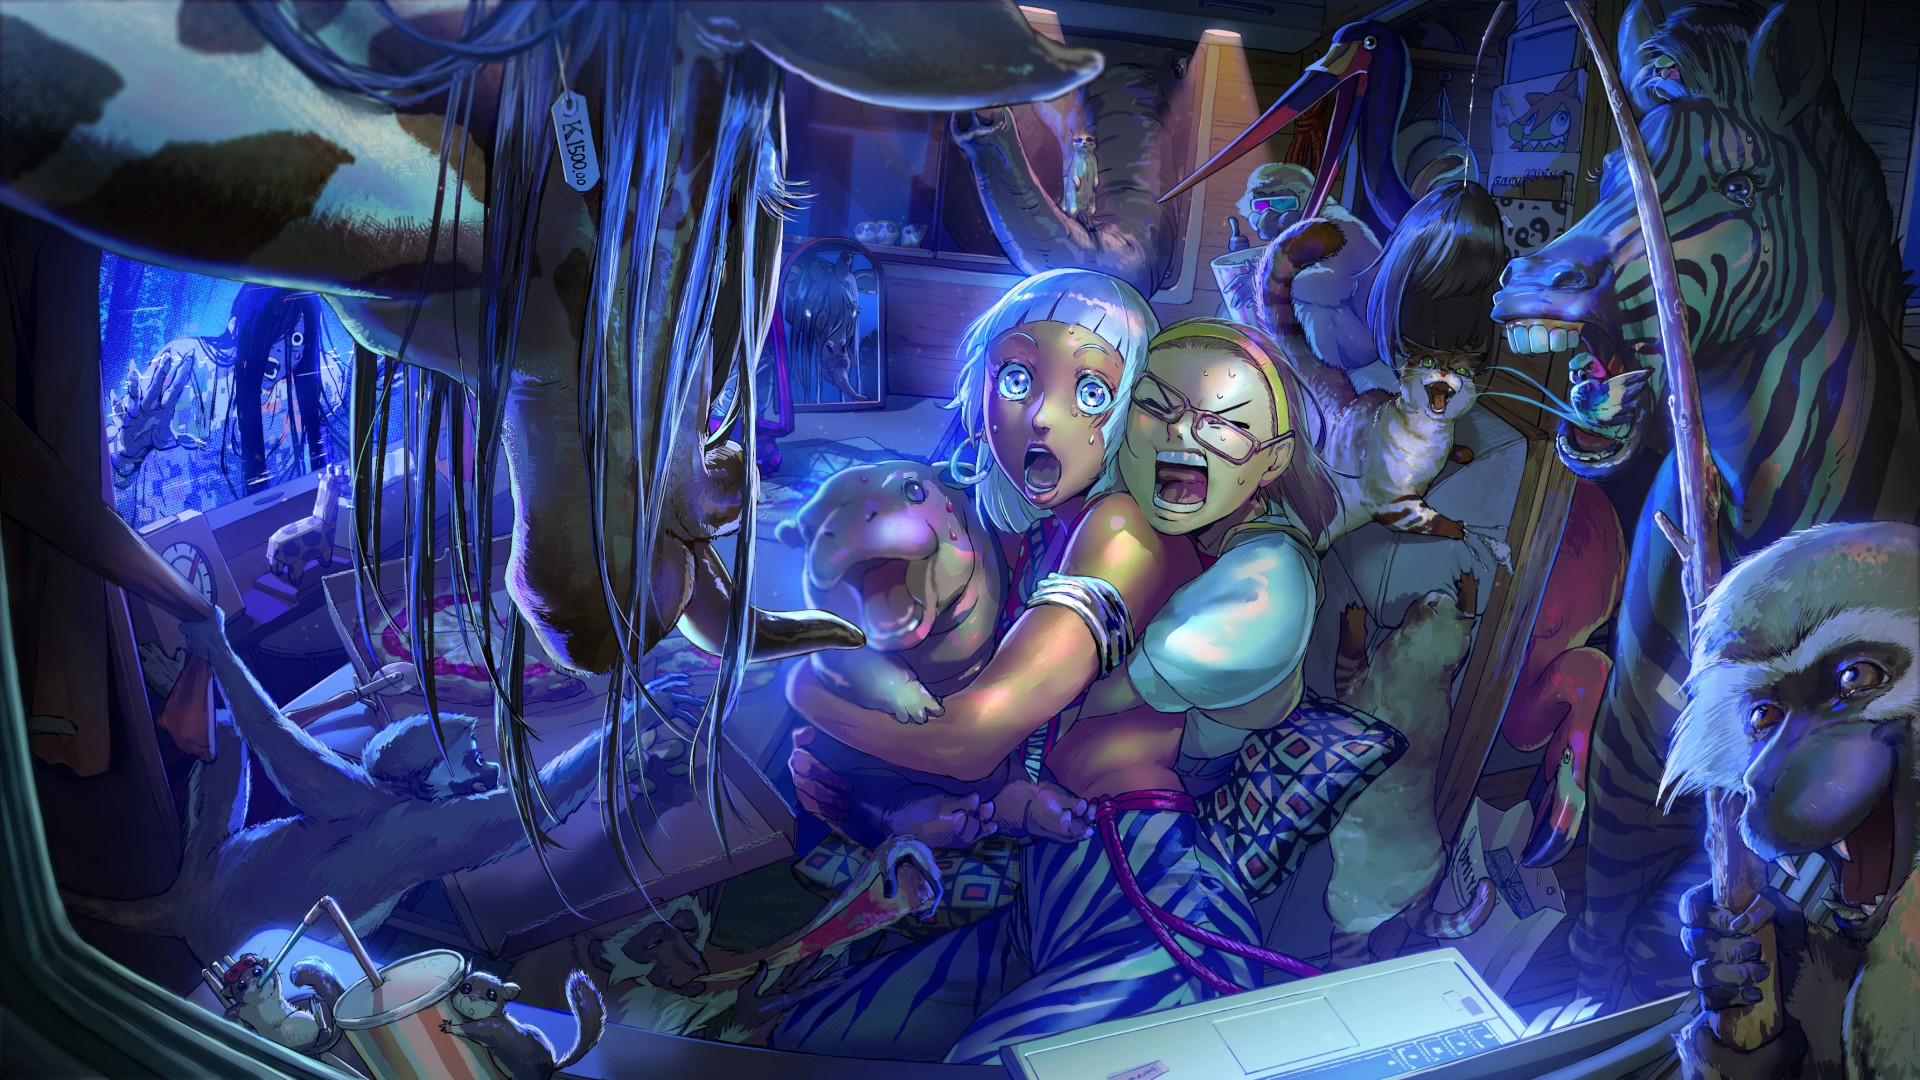
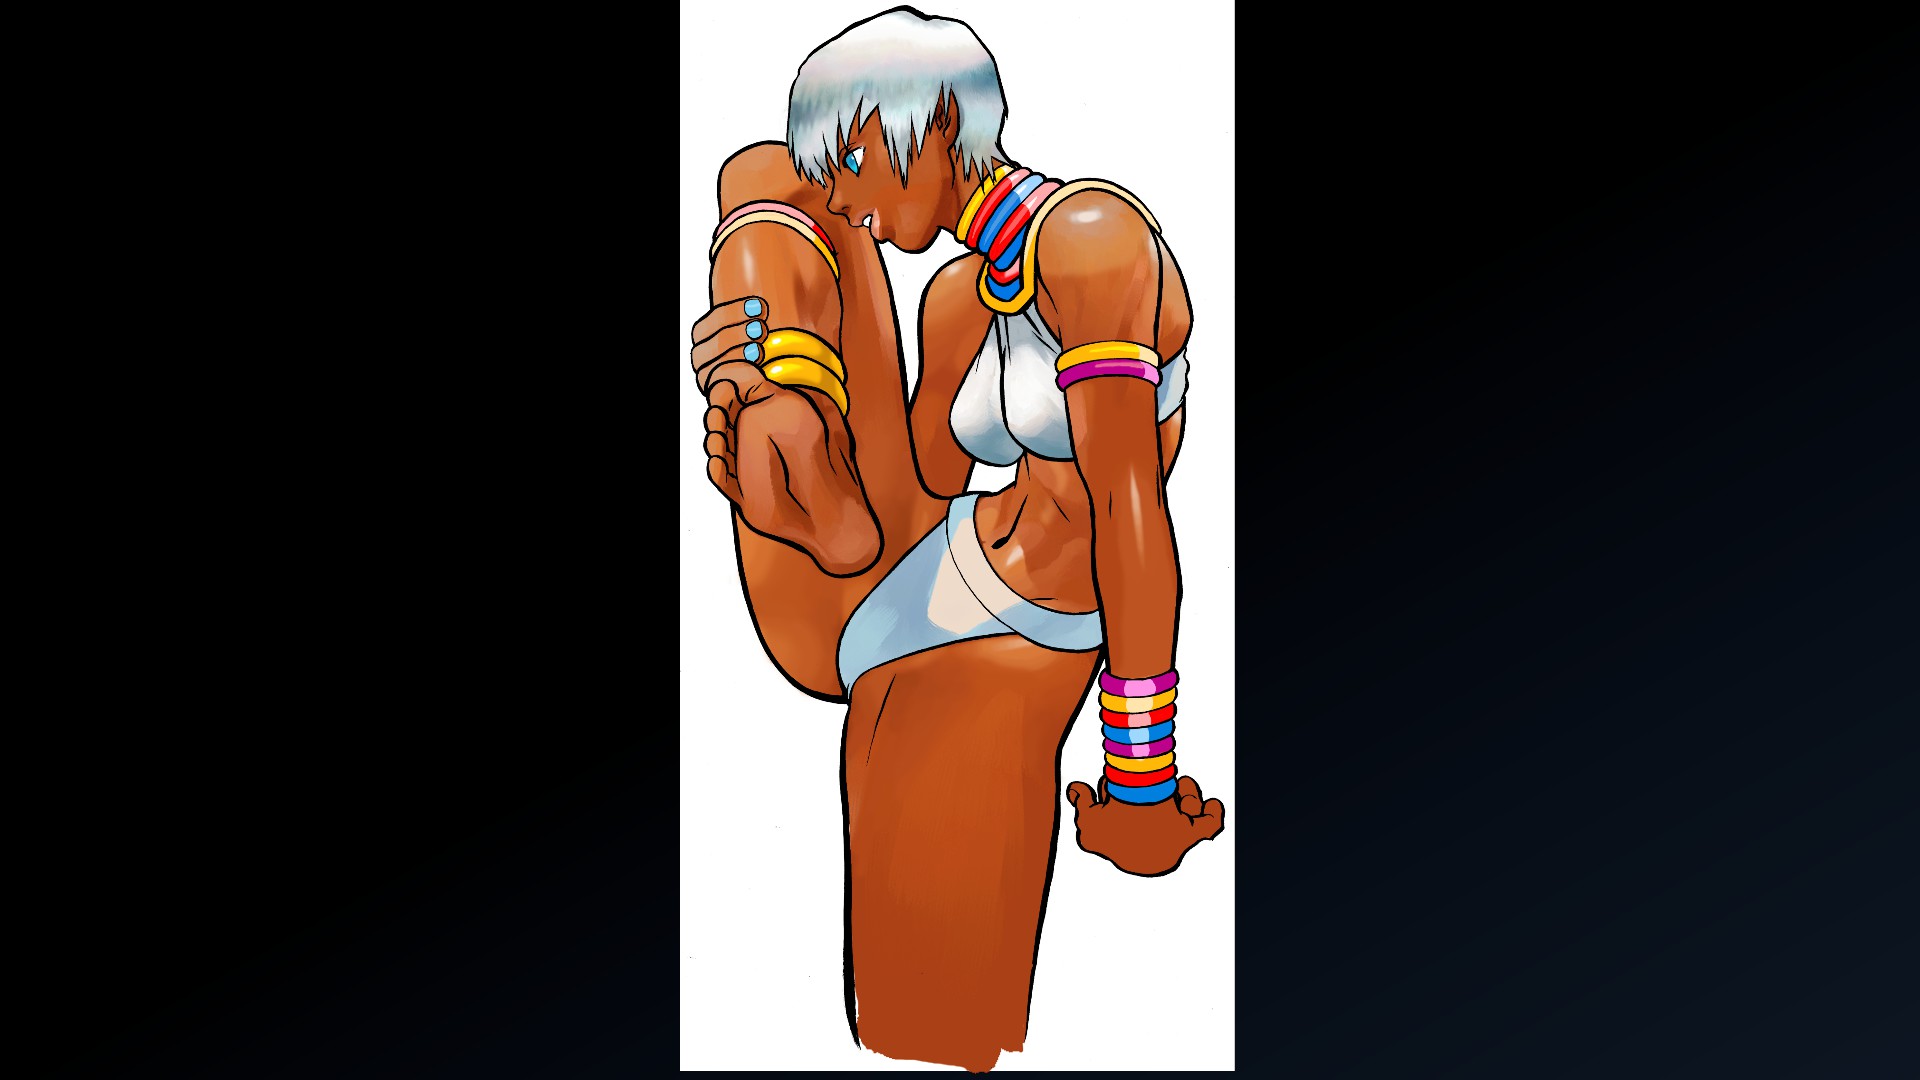
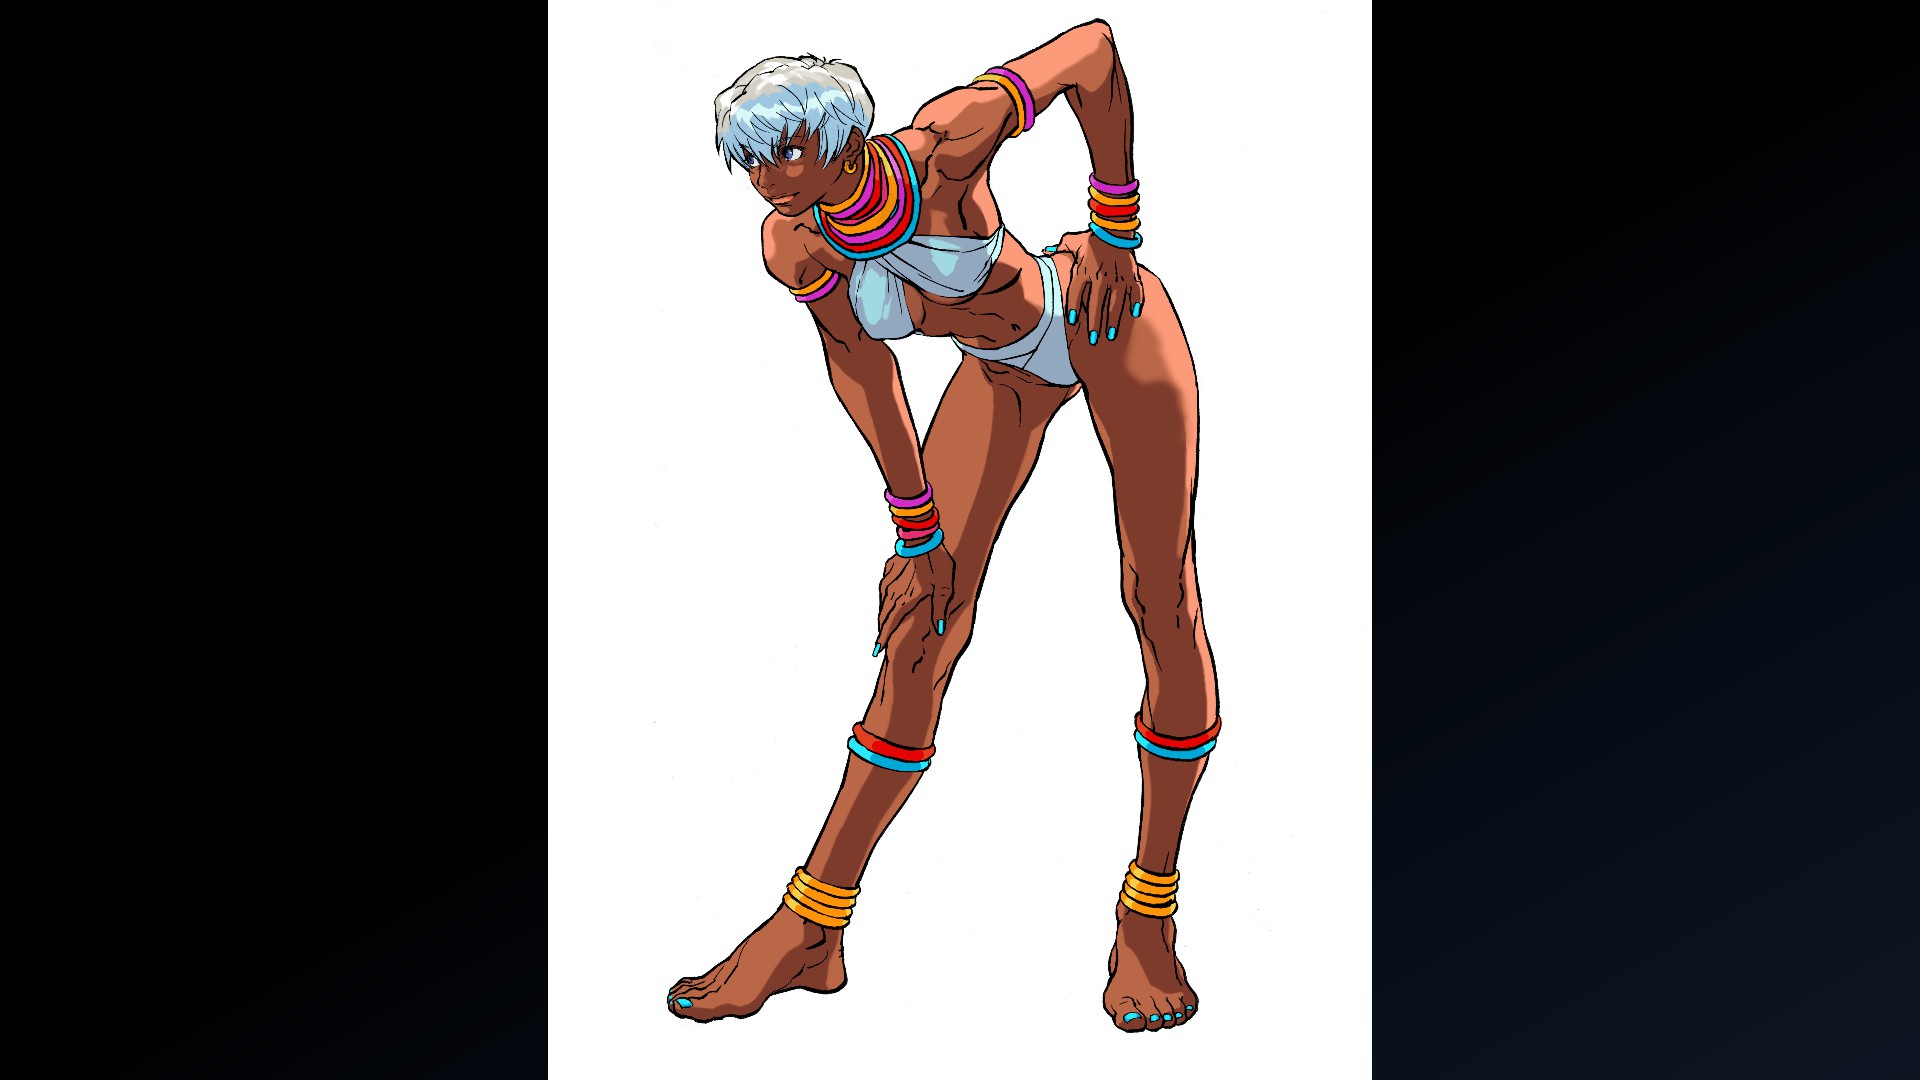
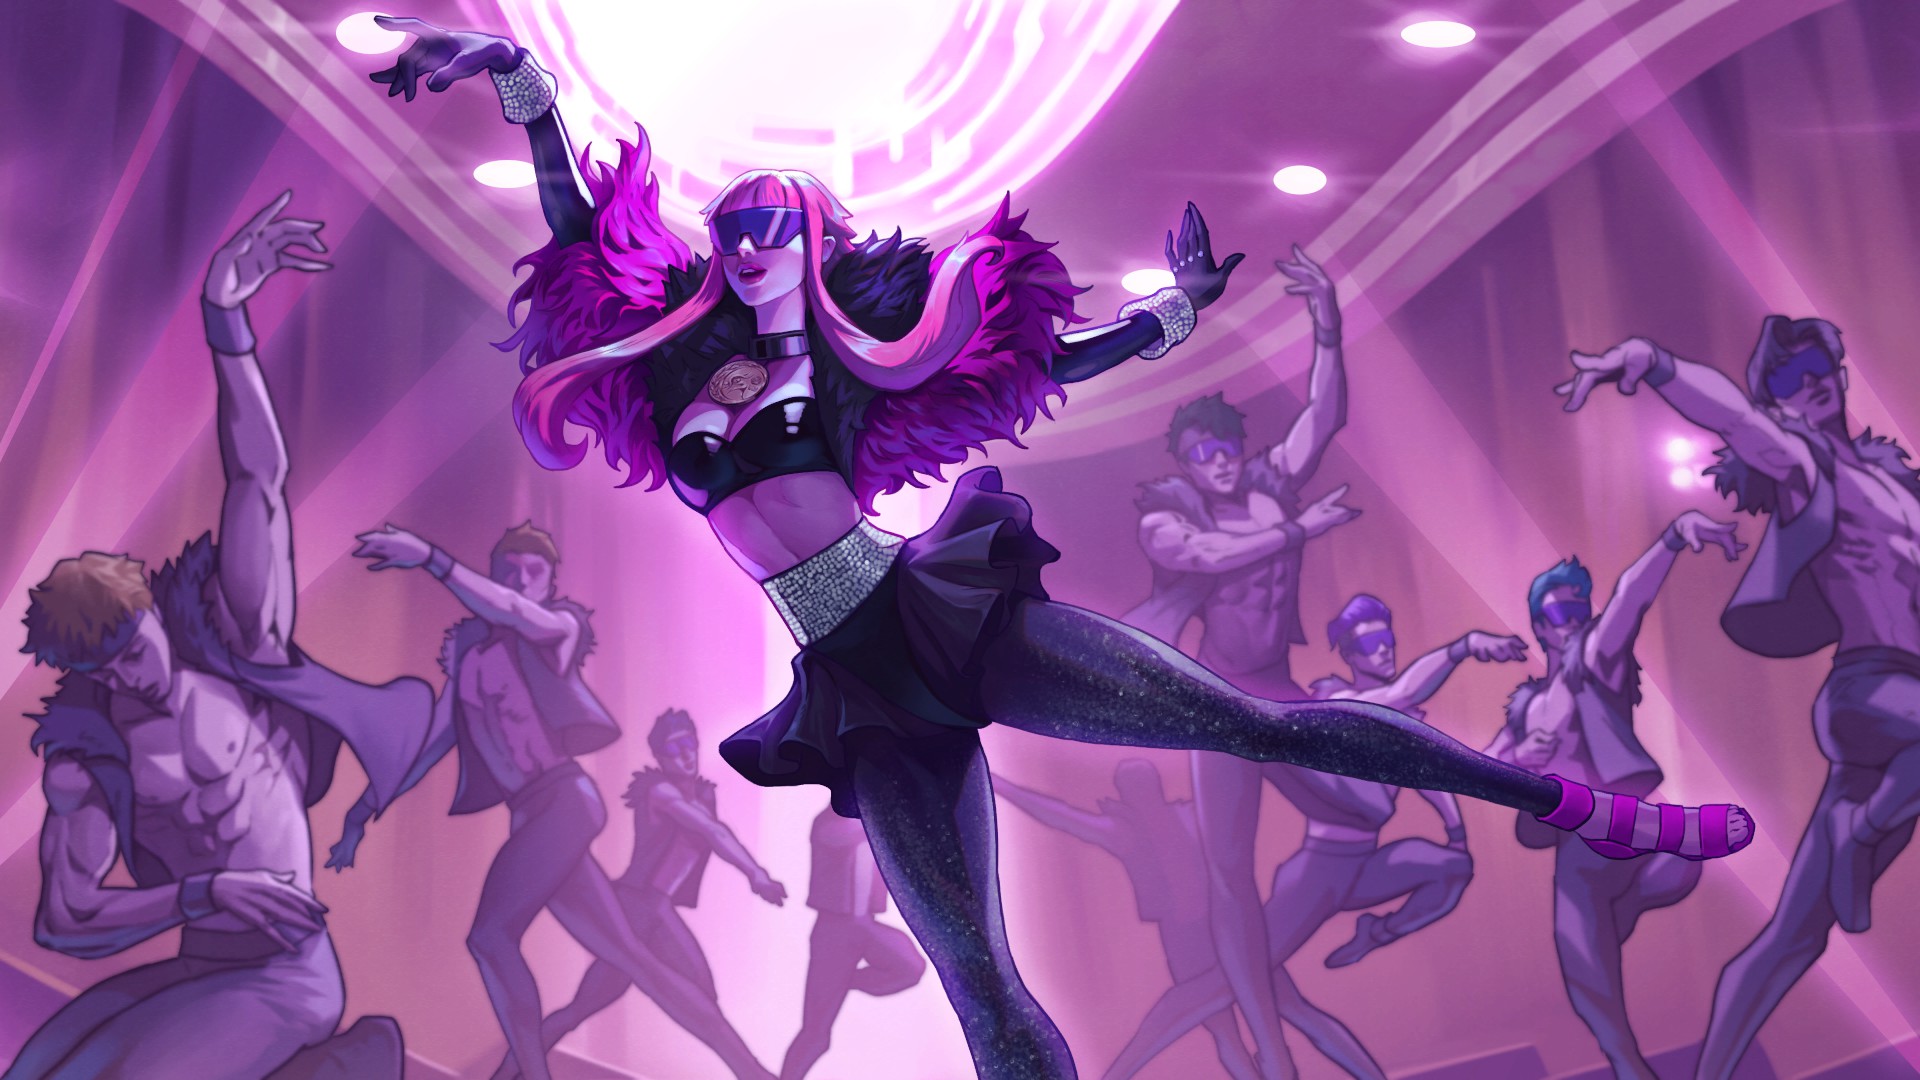
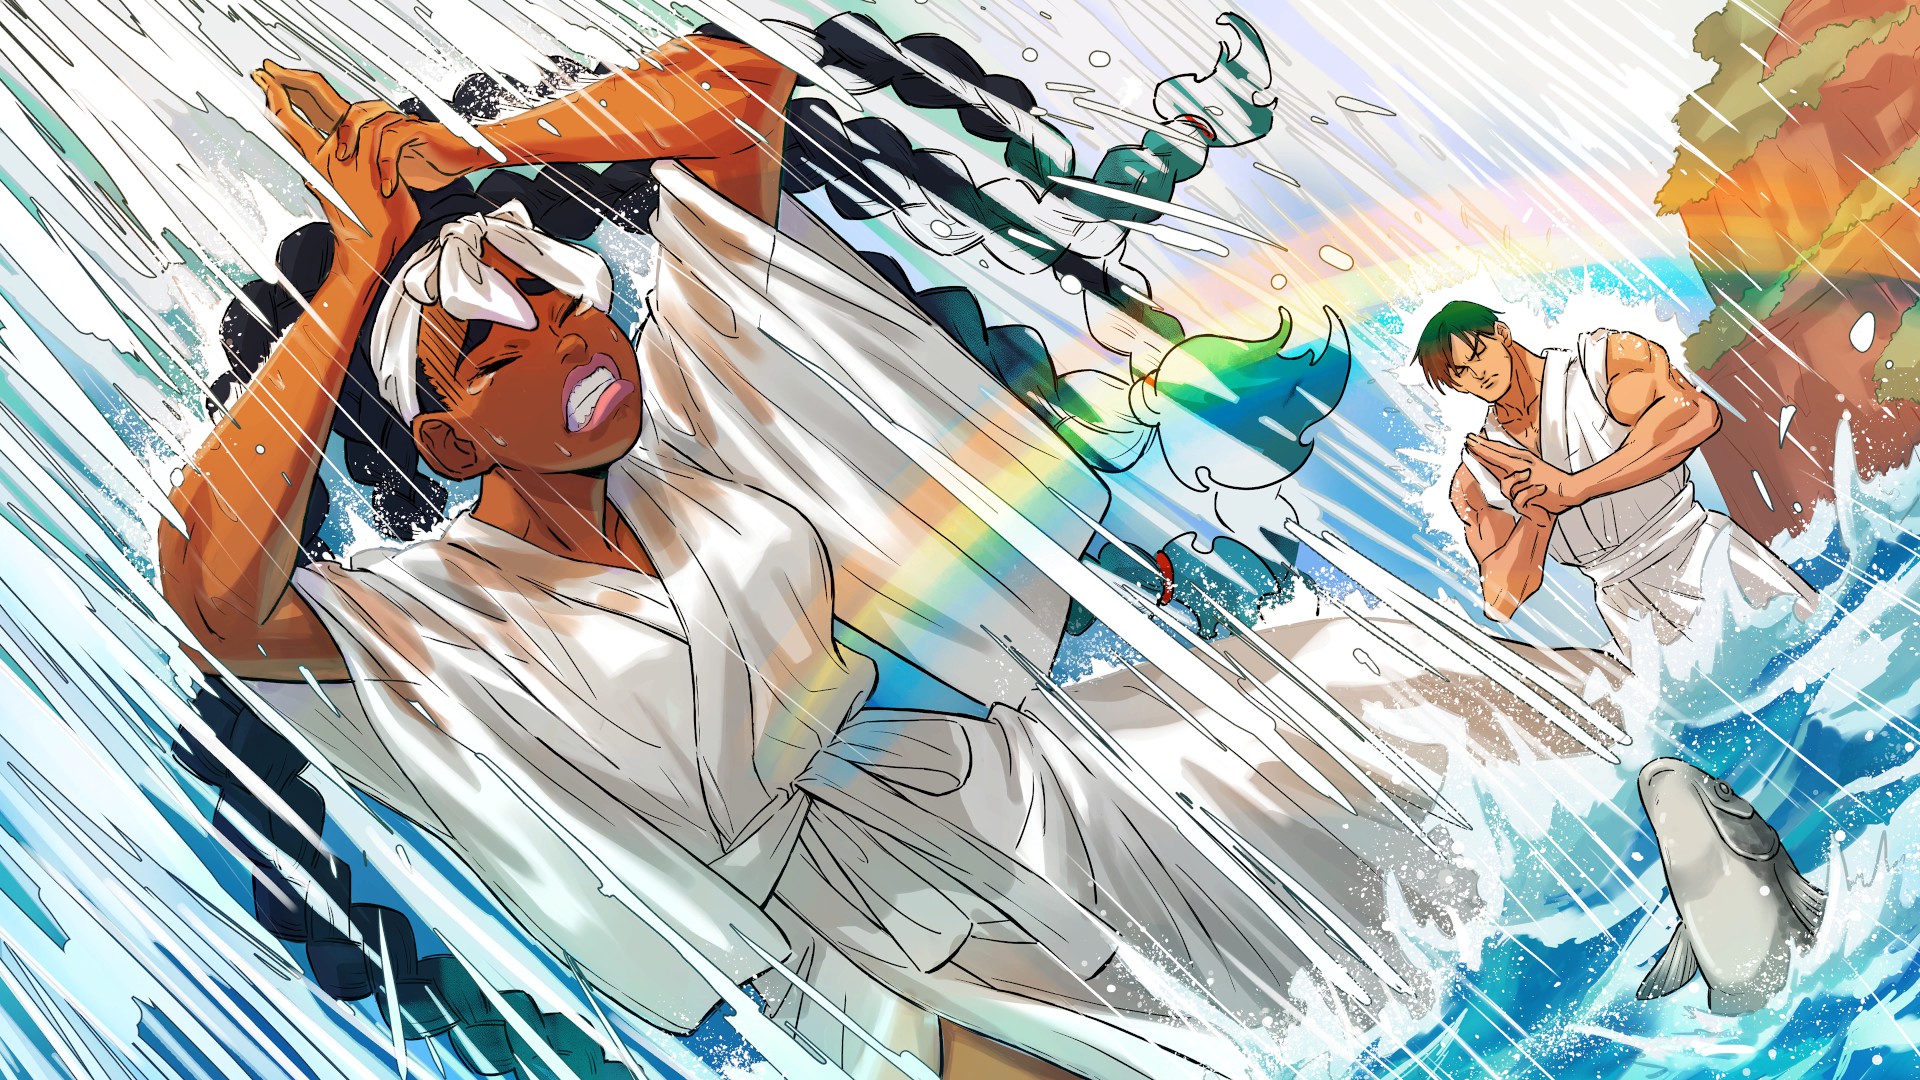
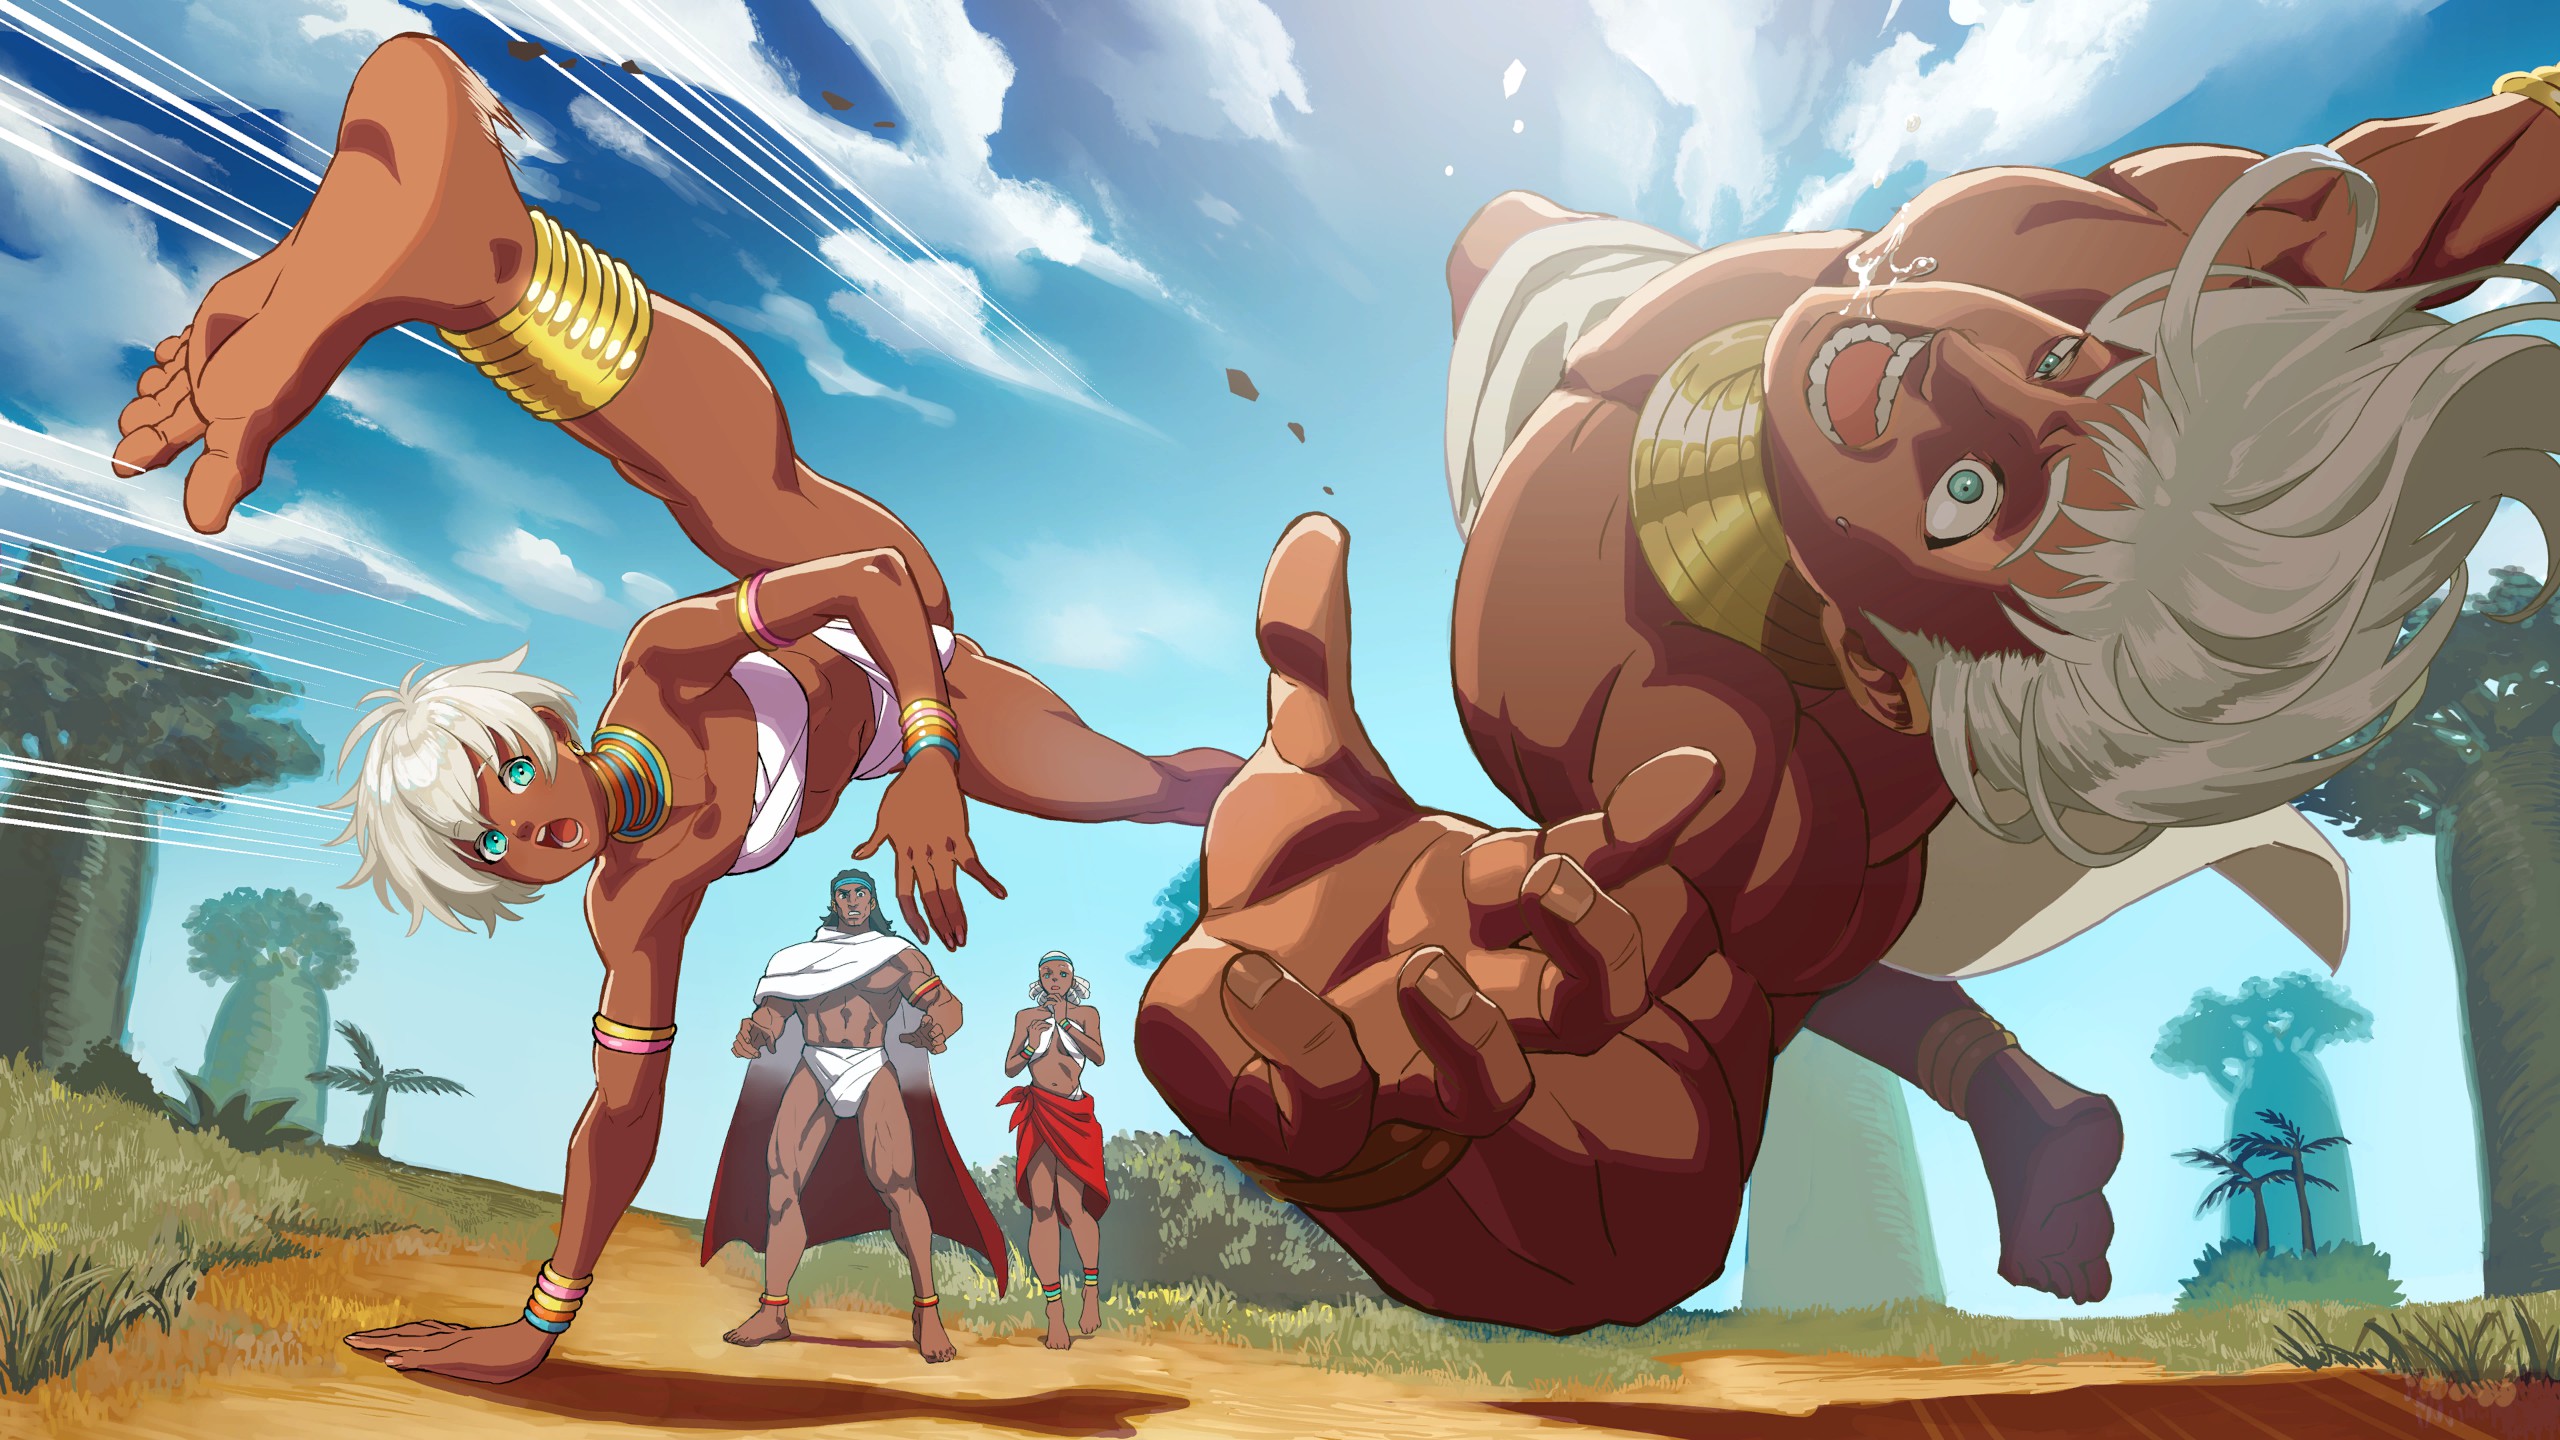
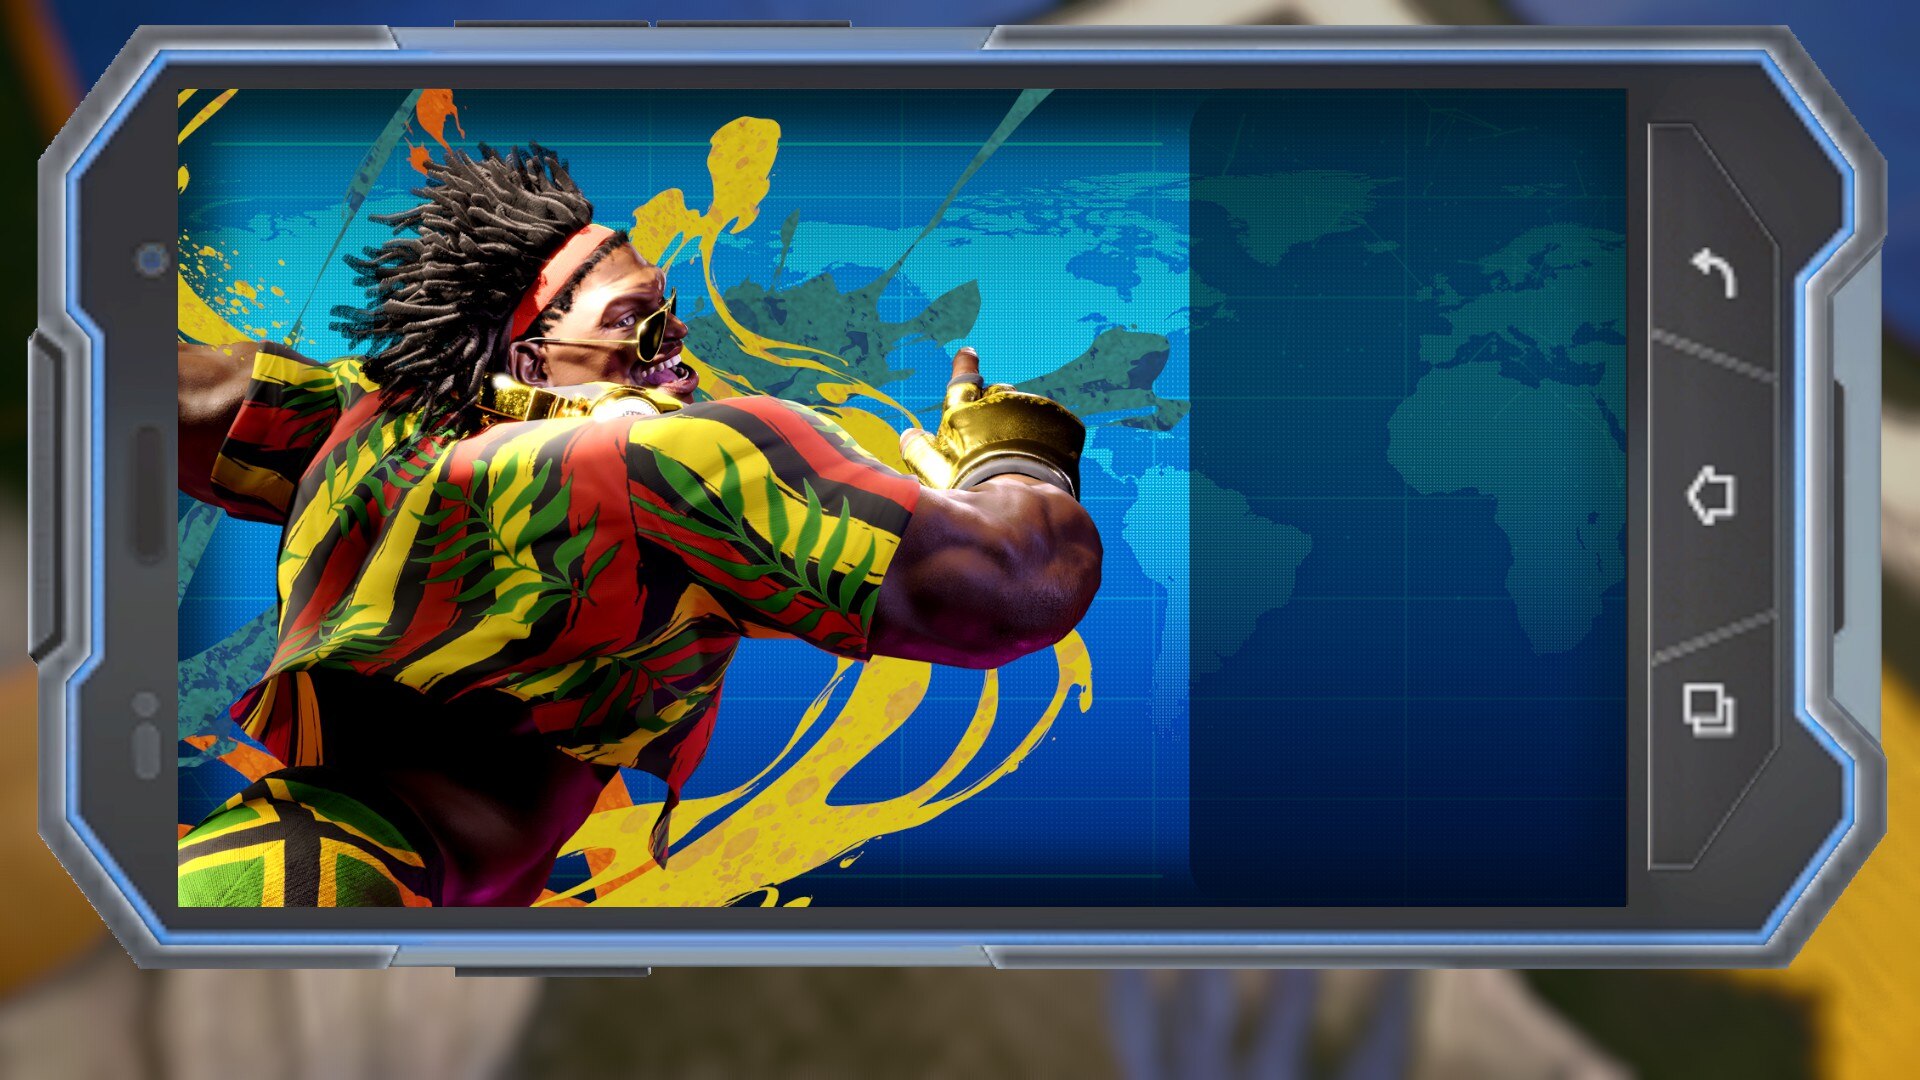
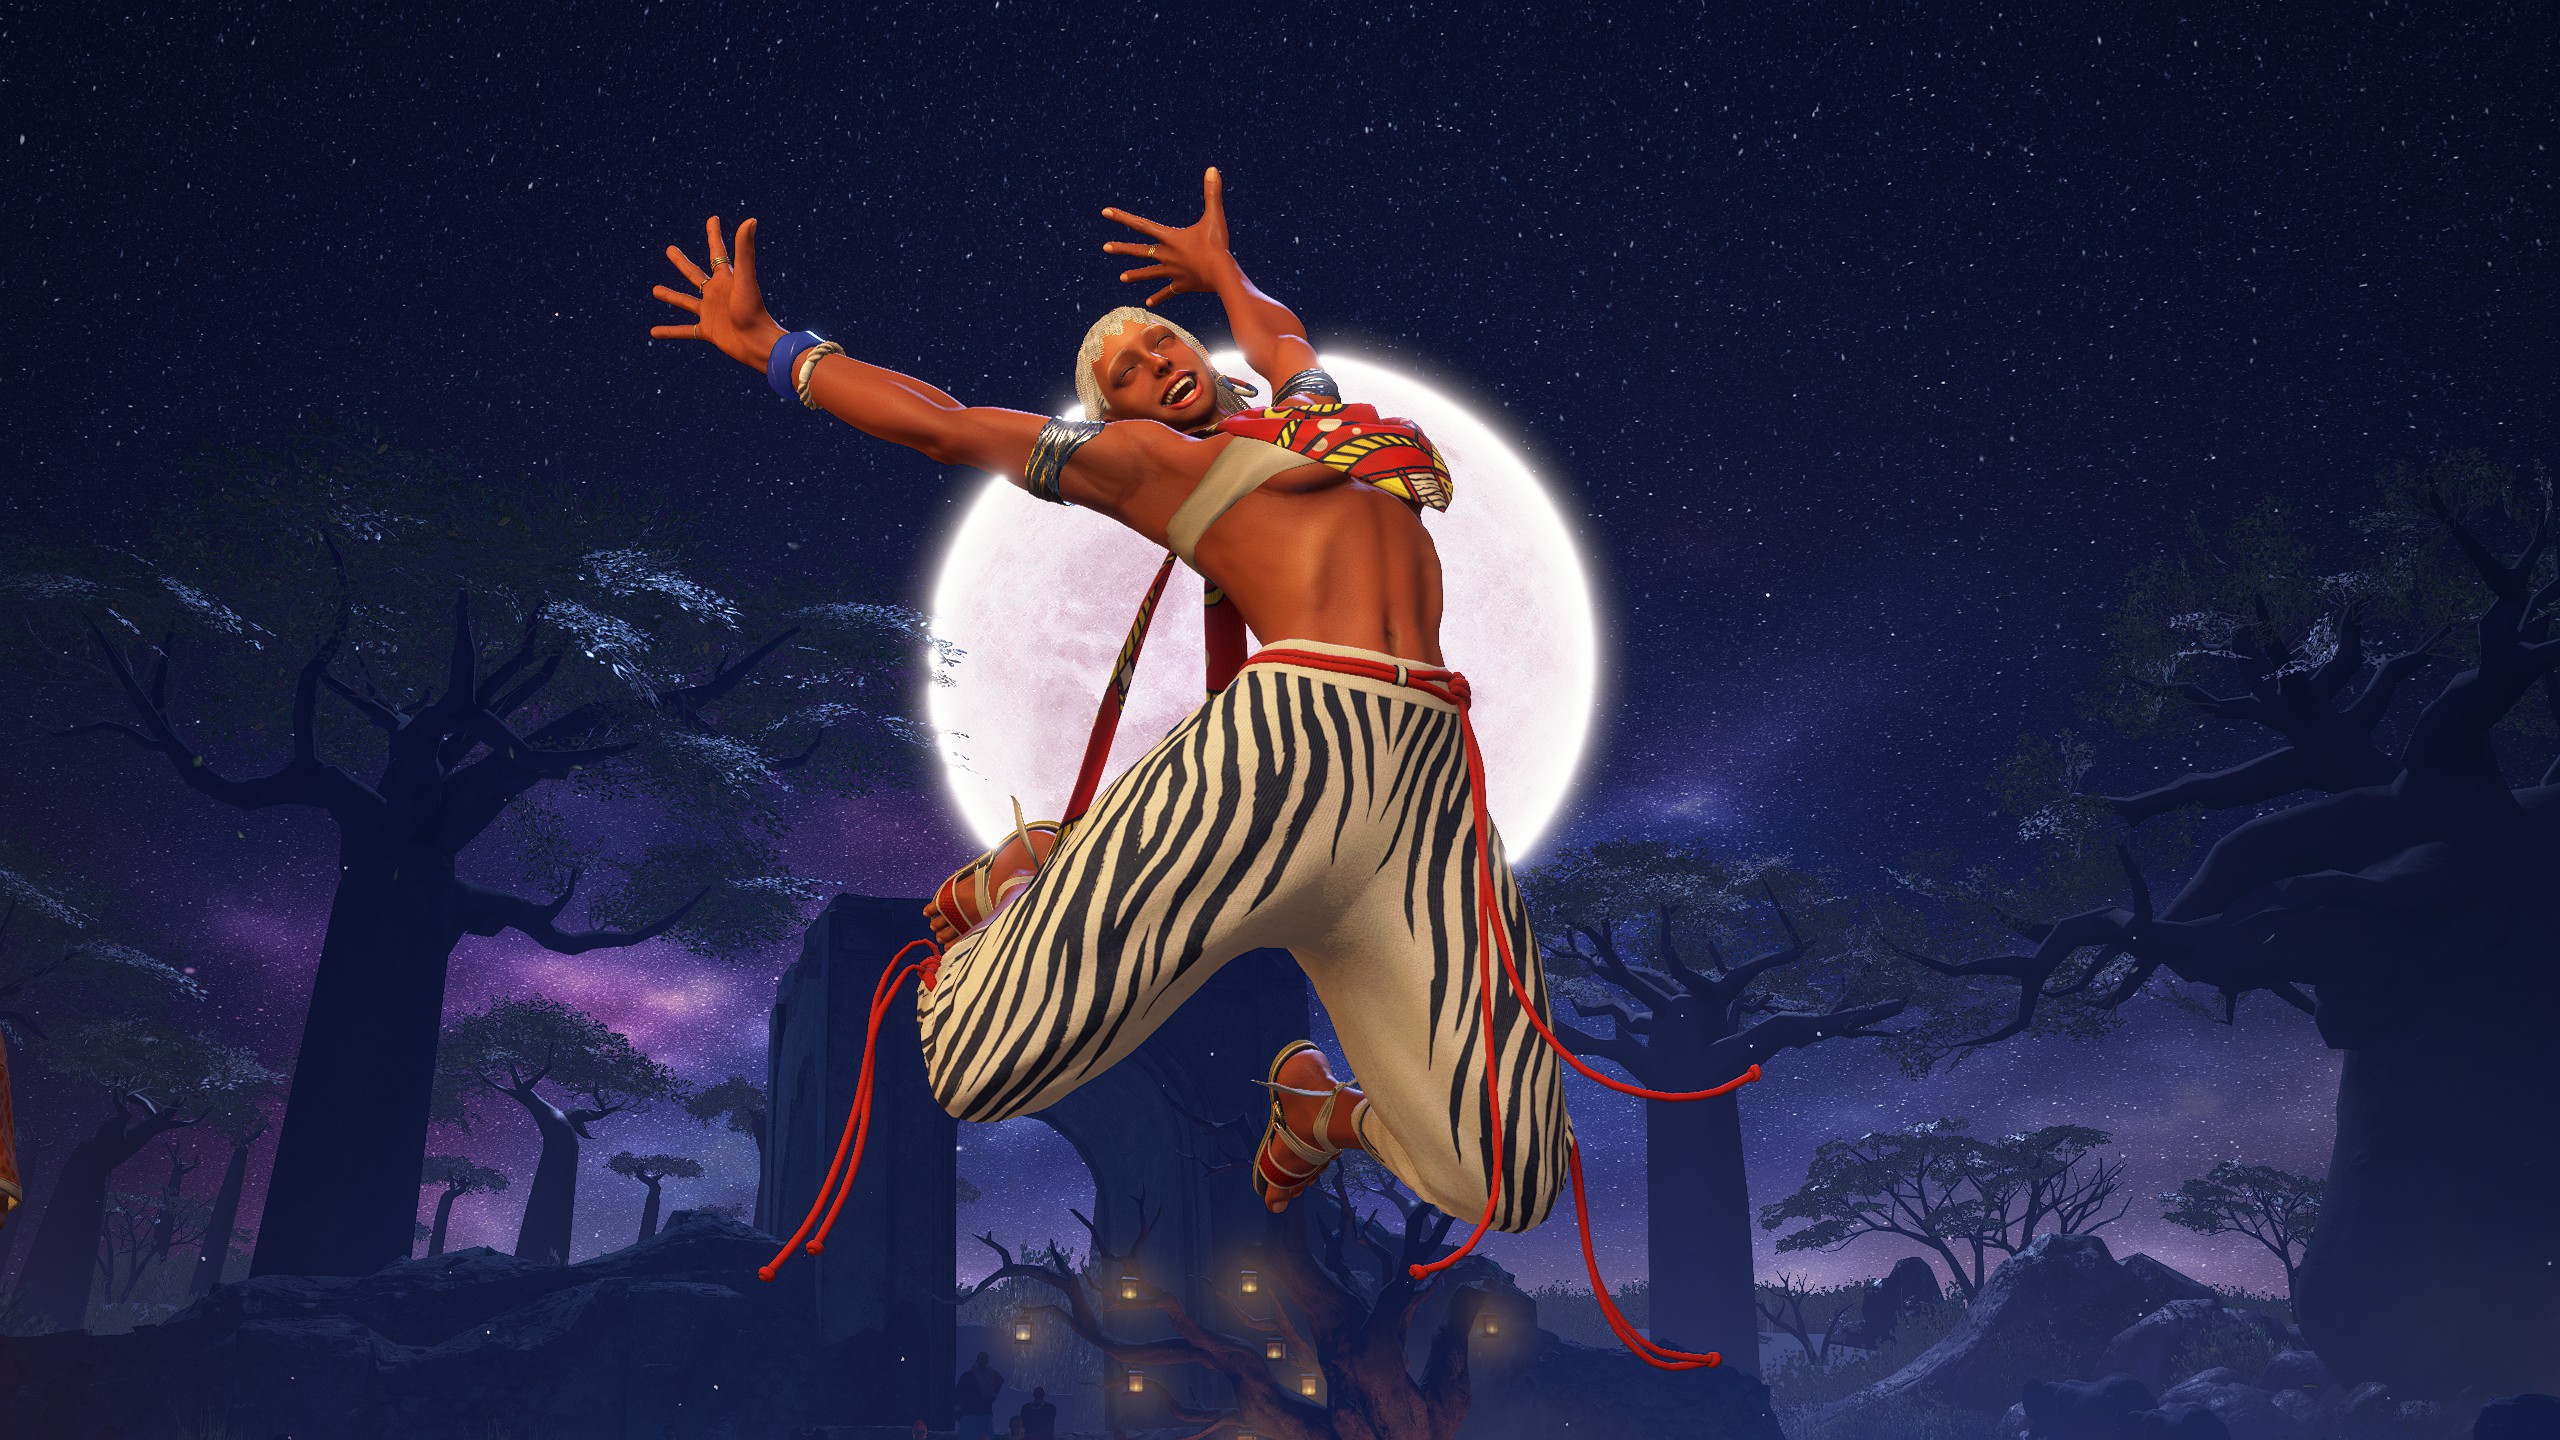
Elena - Special Artwork: Sakutamo (Clear Arcade Once with Elena)
Elena - Character Design: Elena (Clear Arcade Twice with Elena)
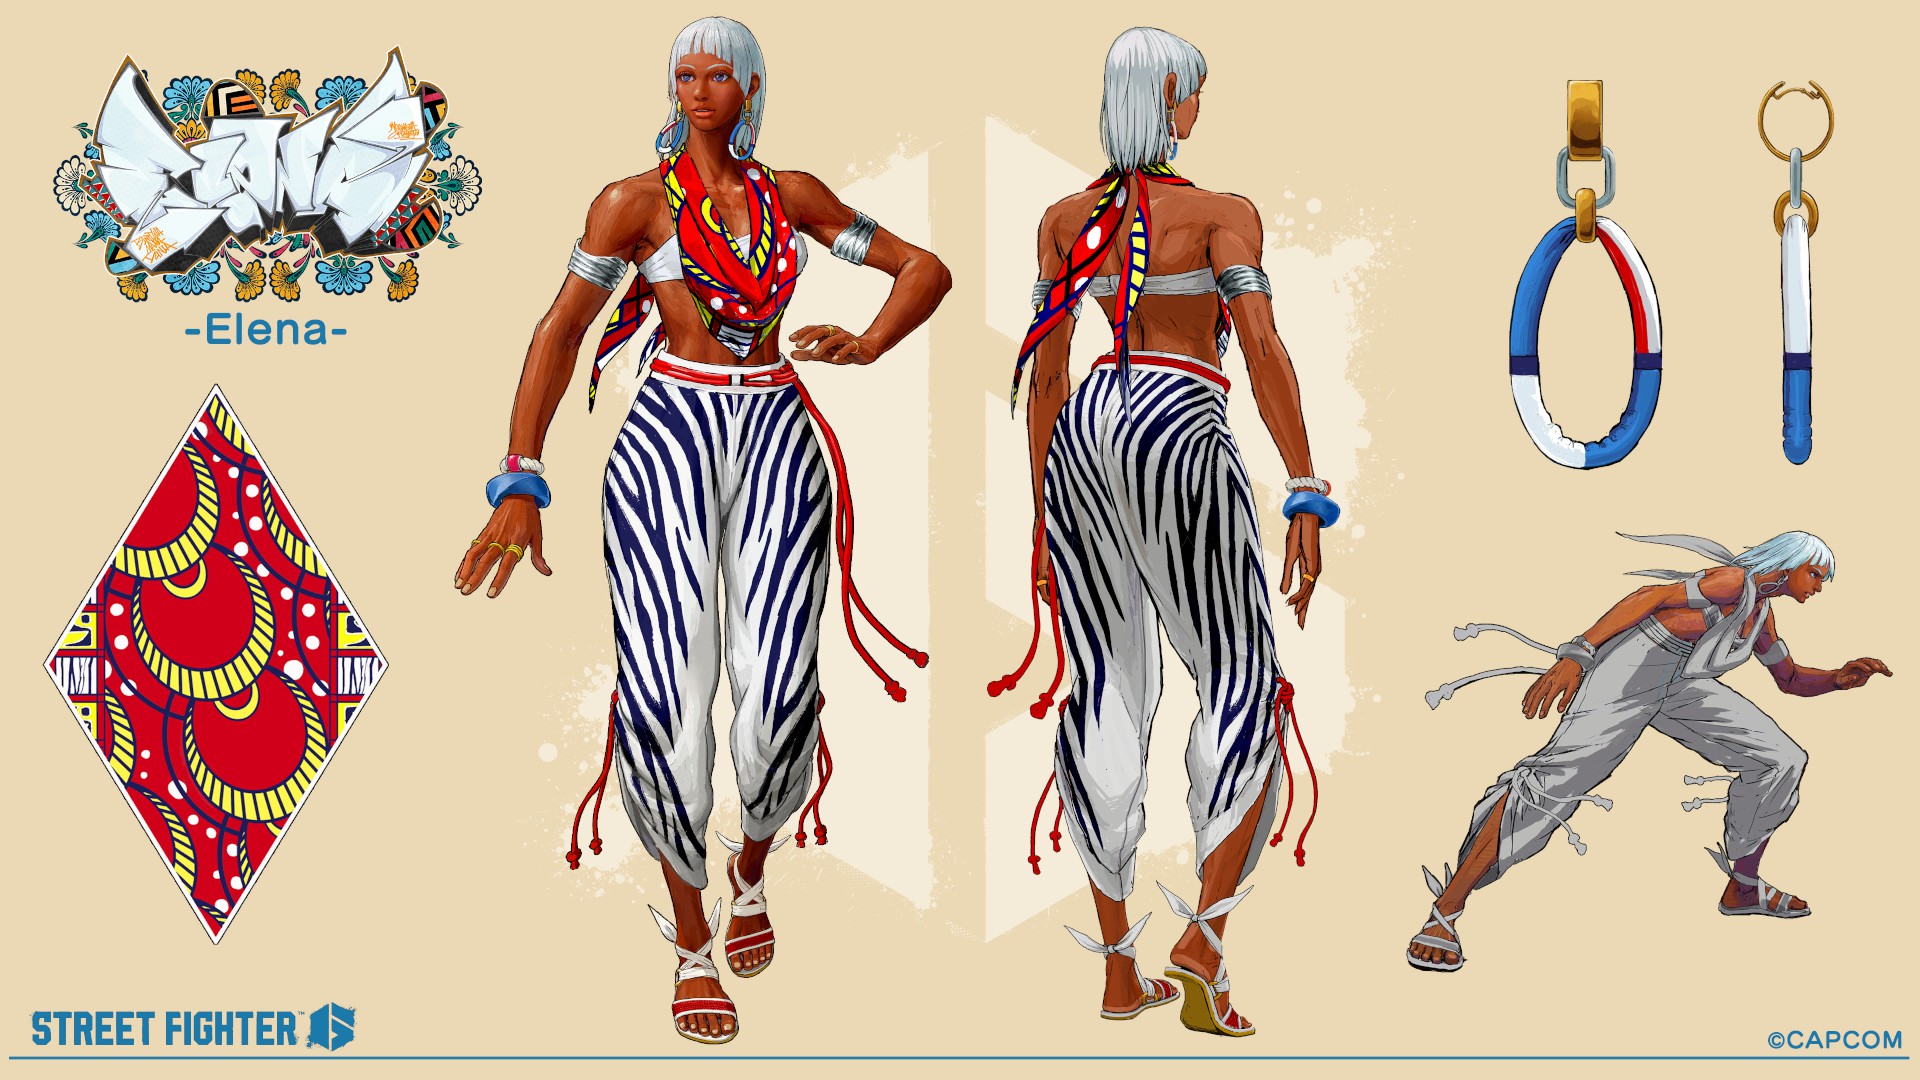
Elena - Unused Design: Elena (Clear Arcade Three Times with Elena)

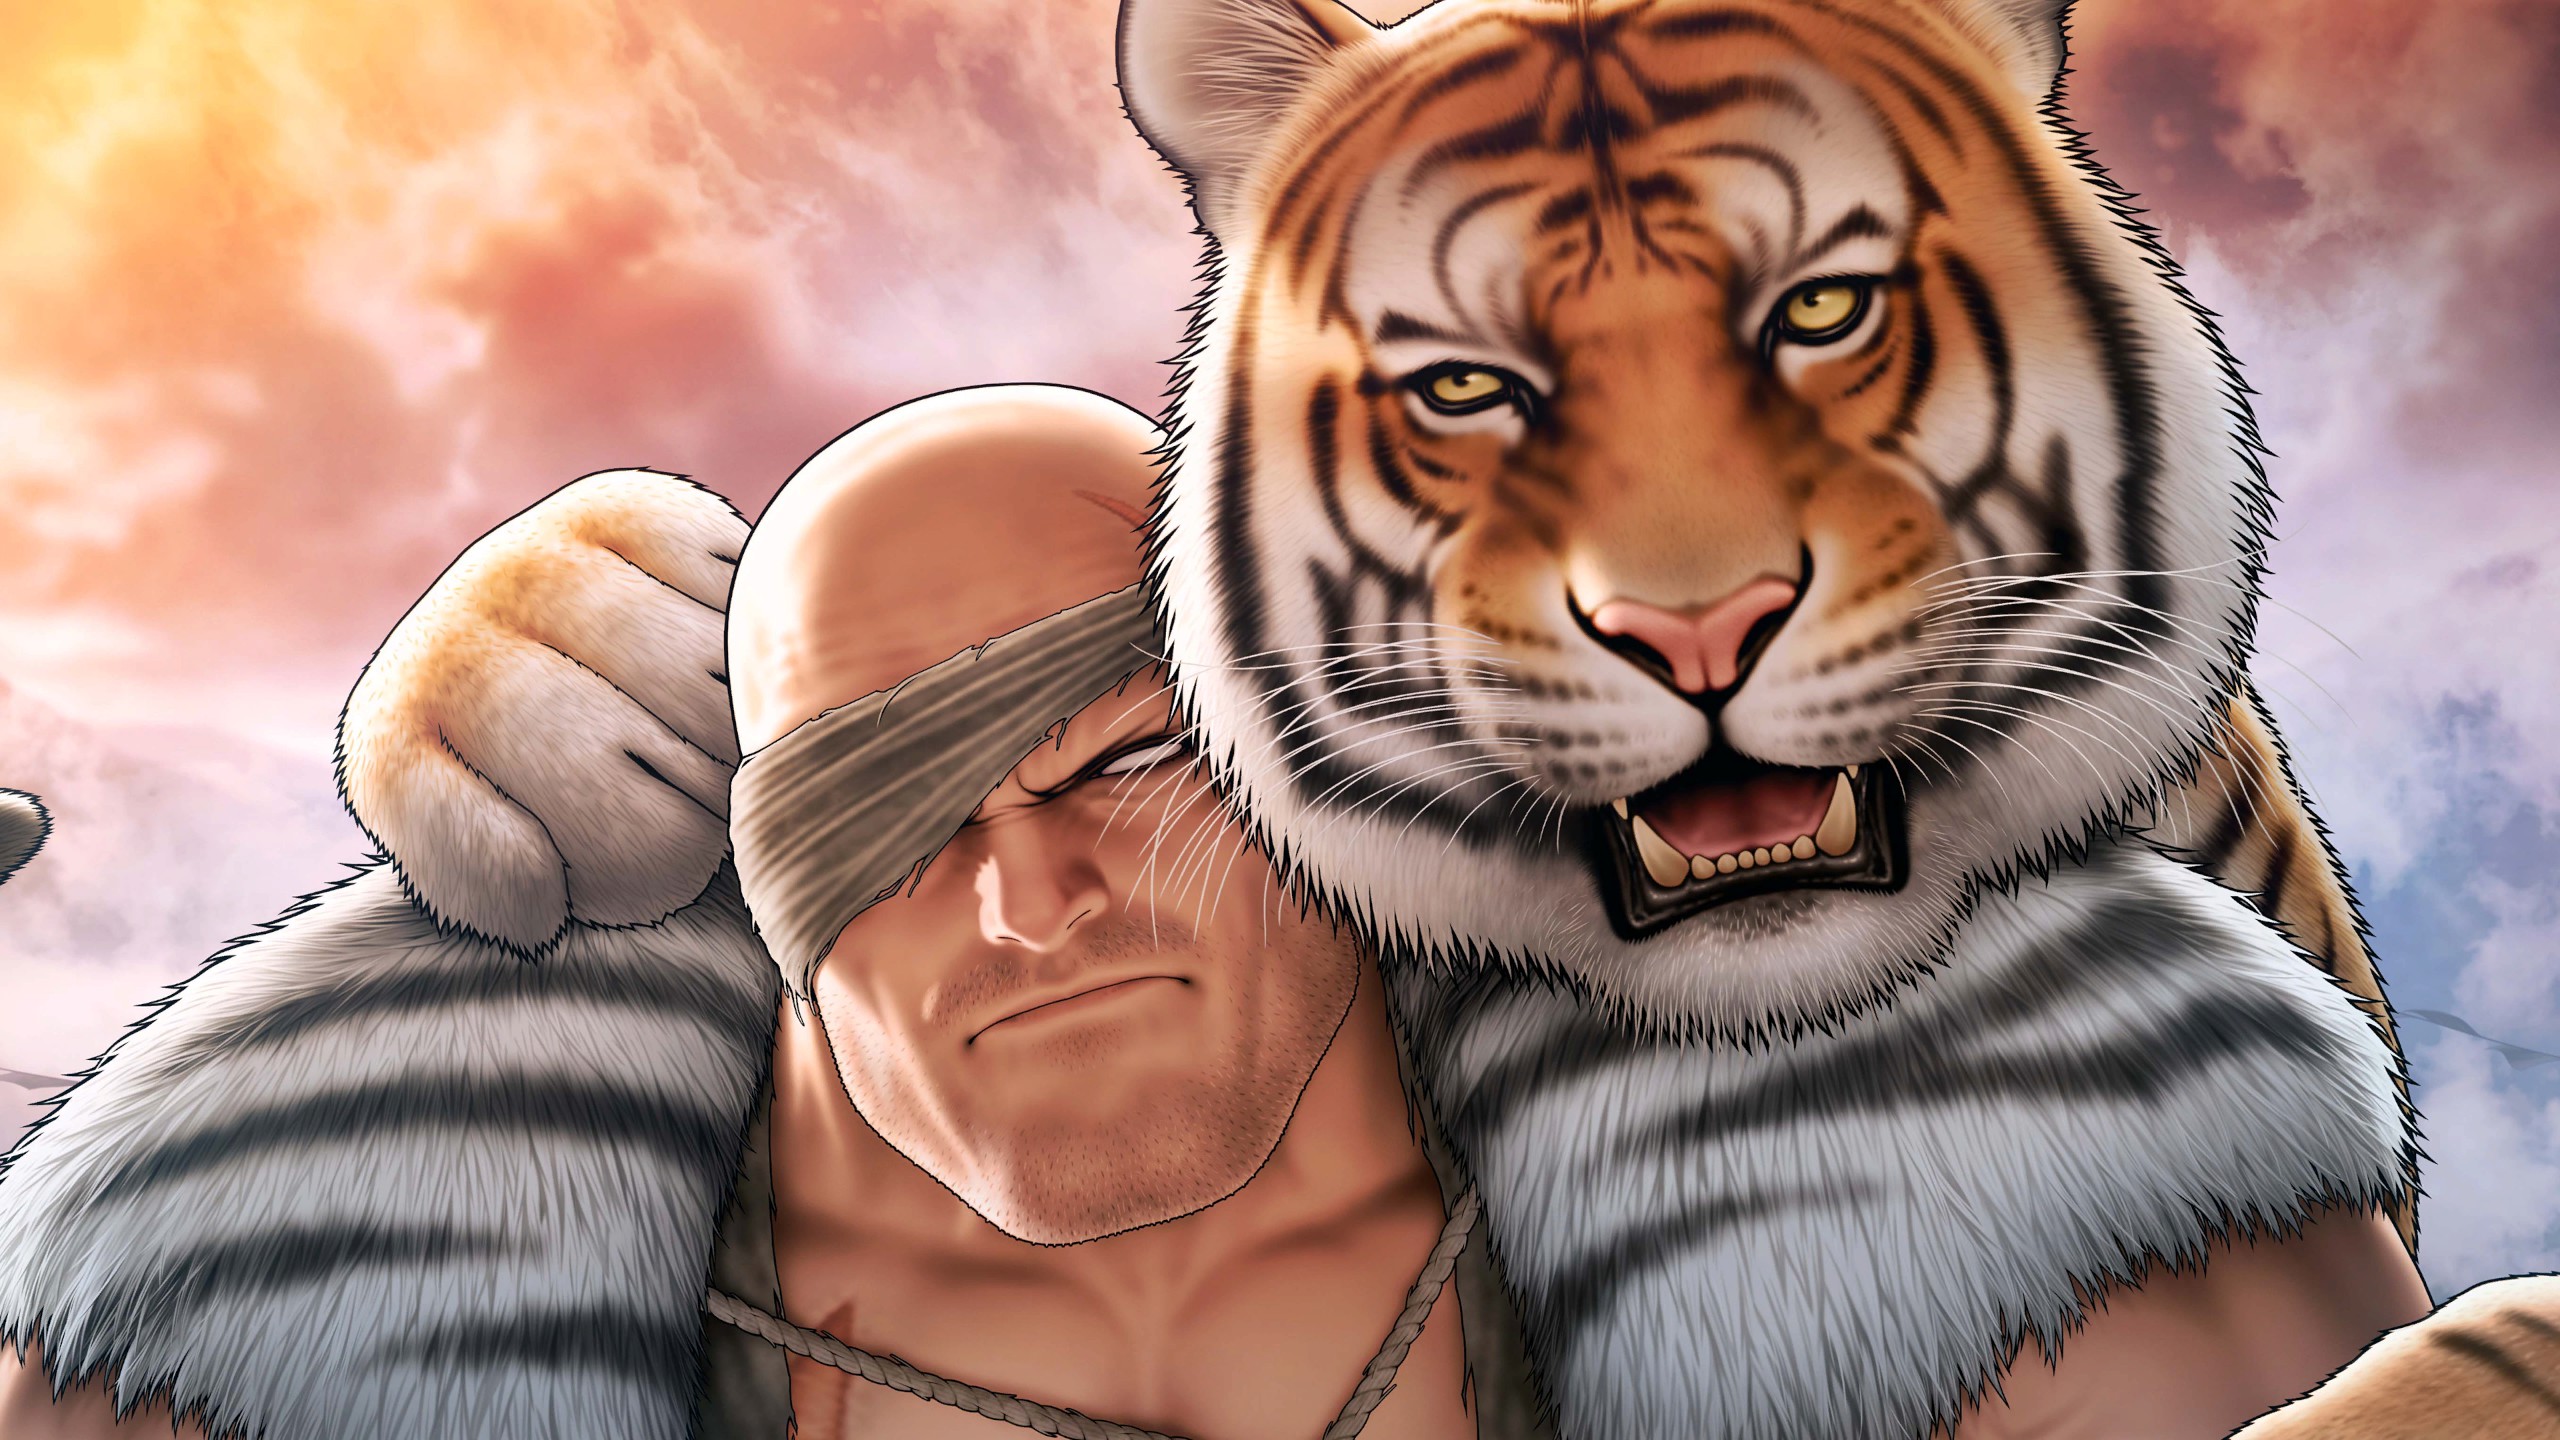
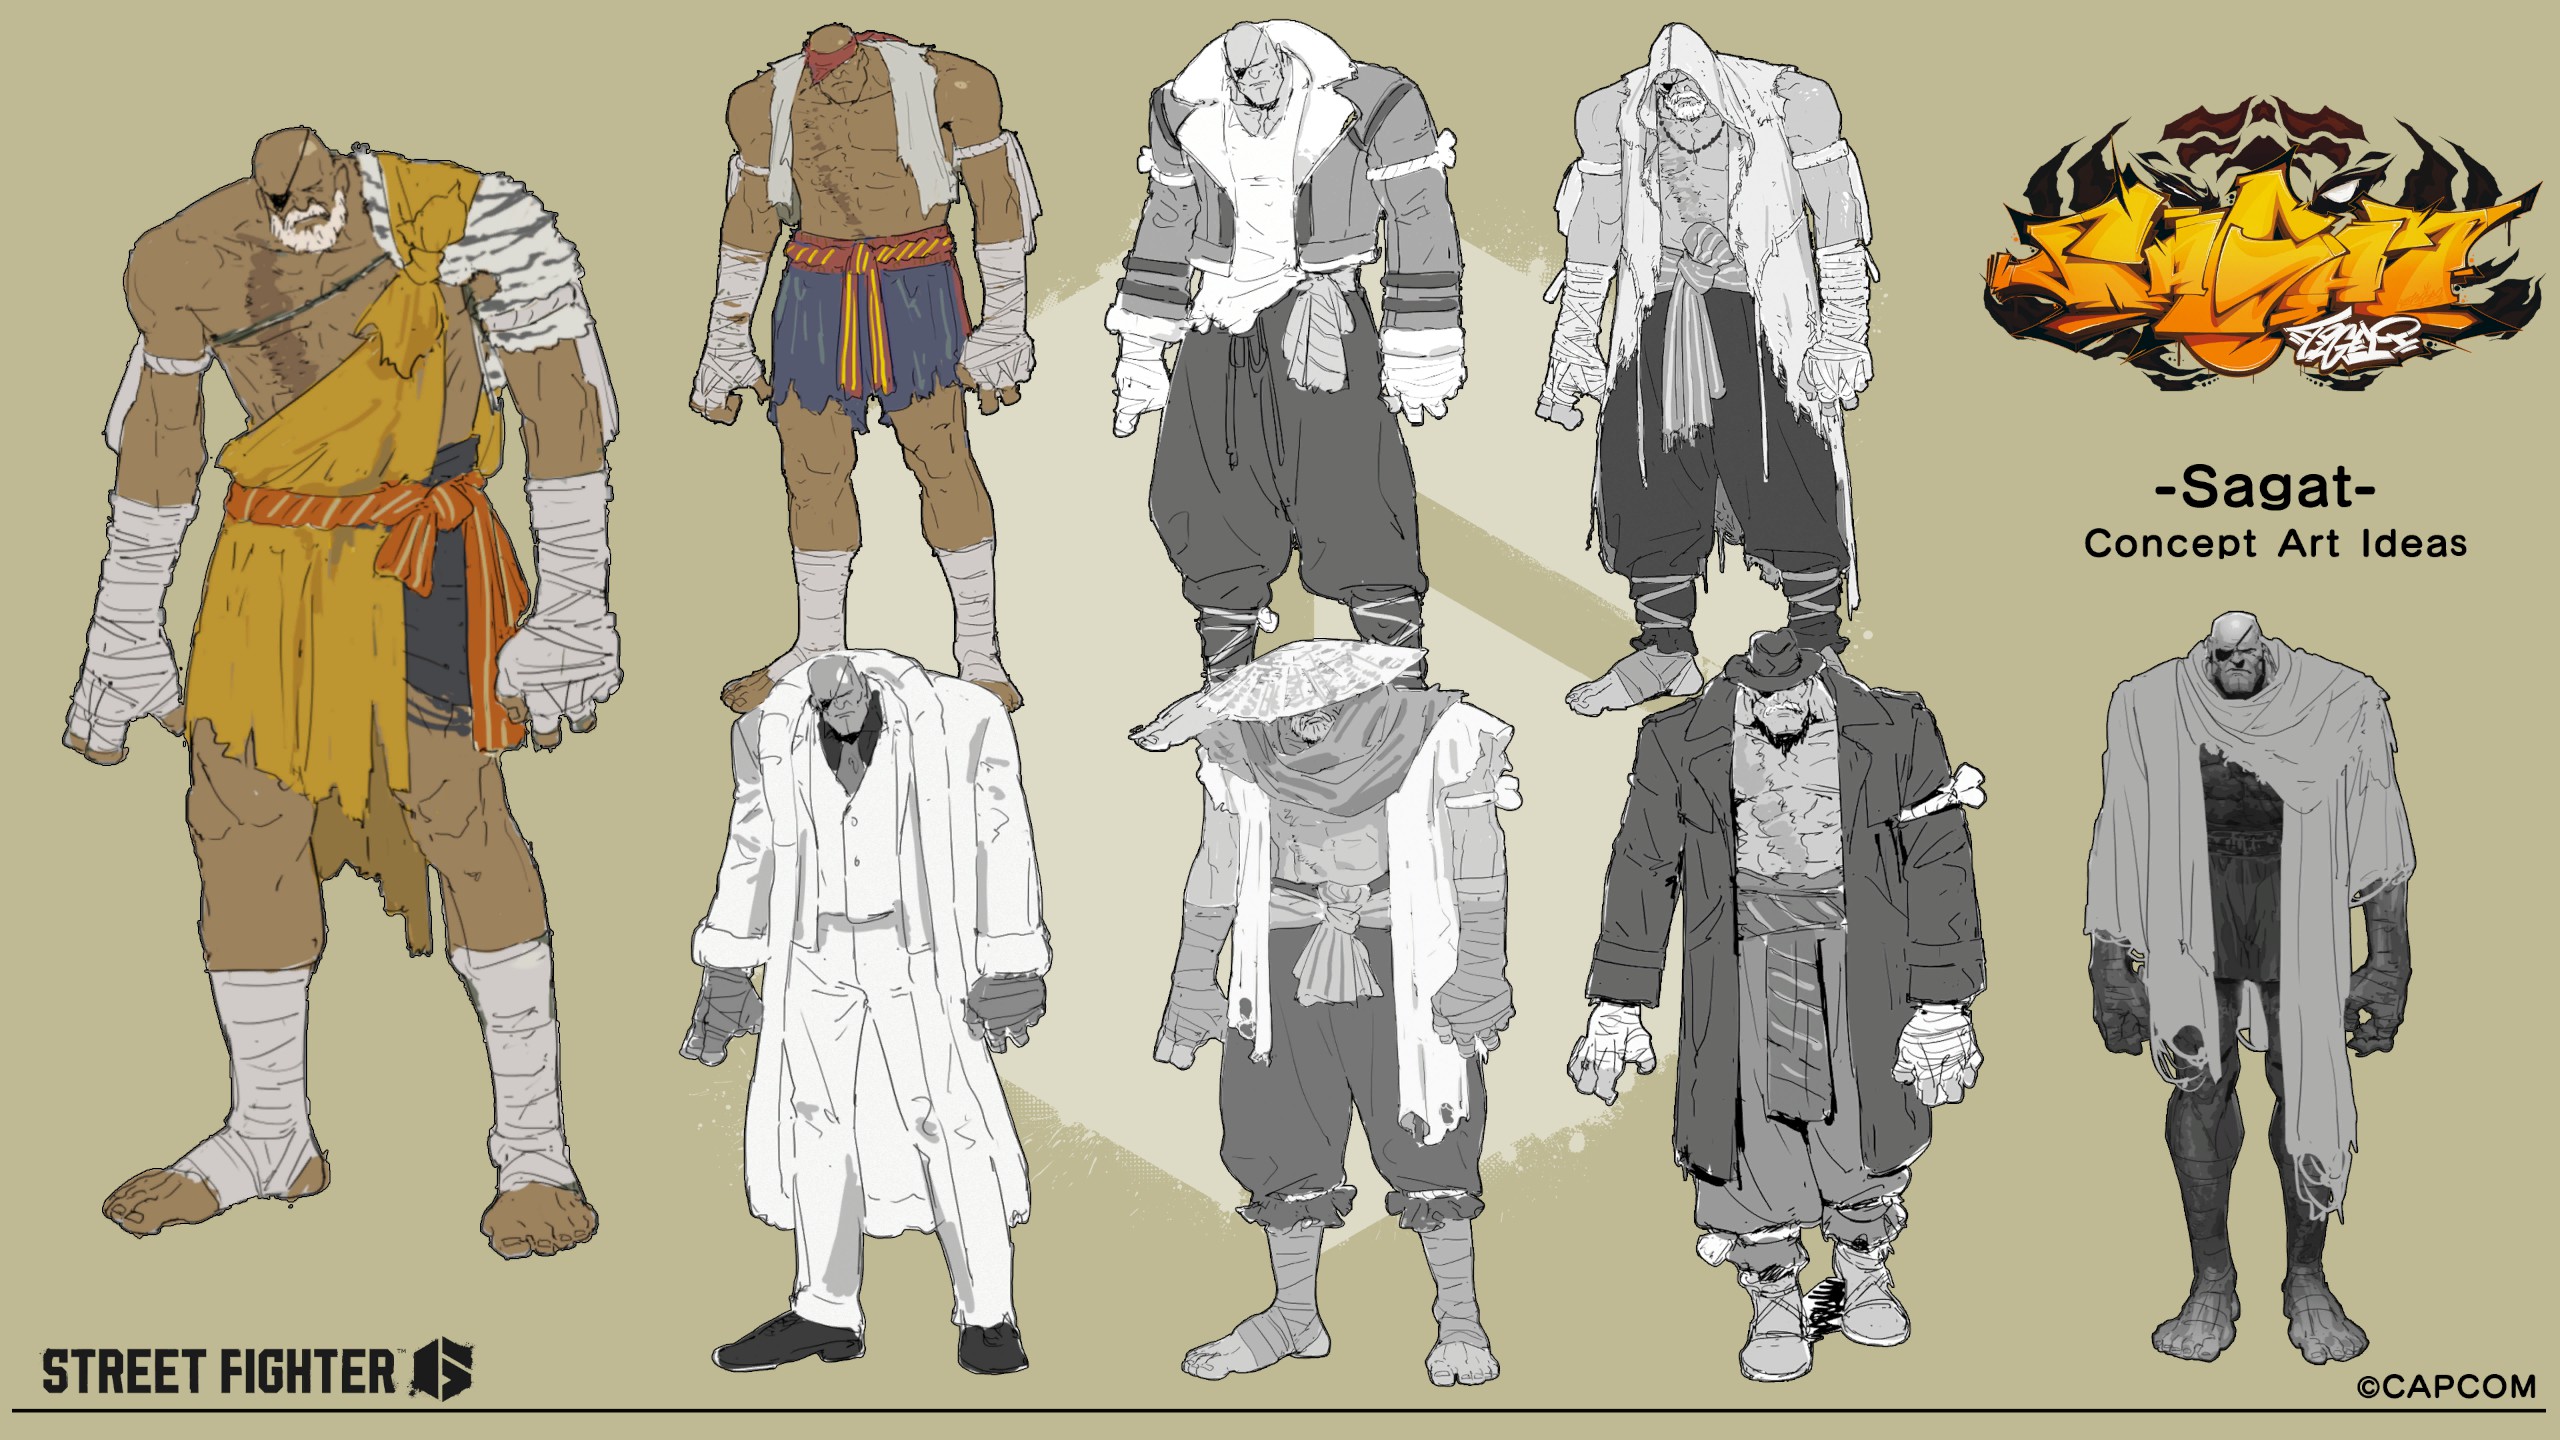
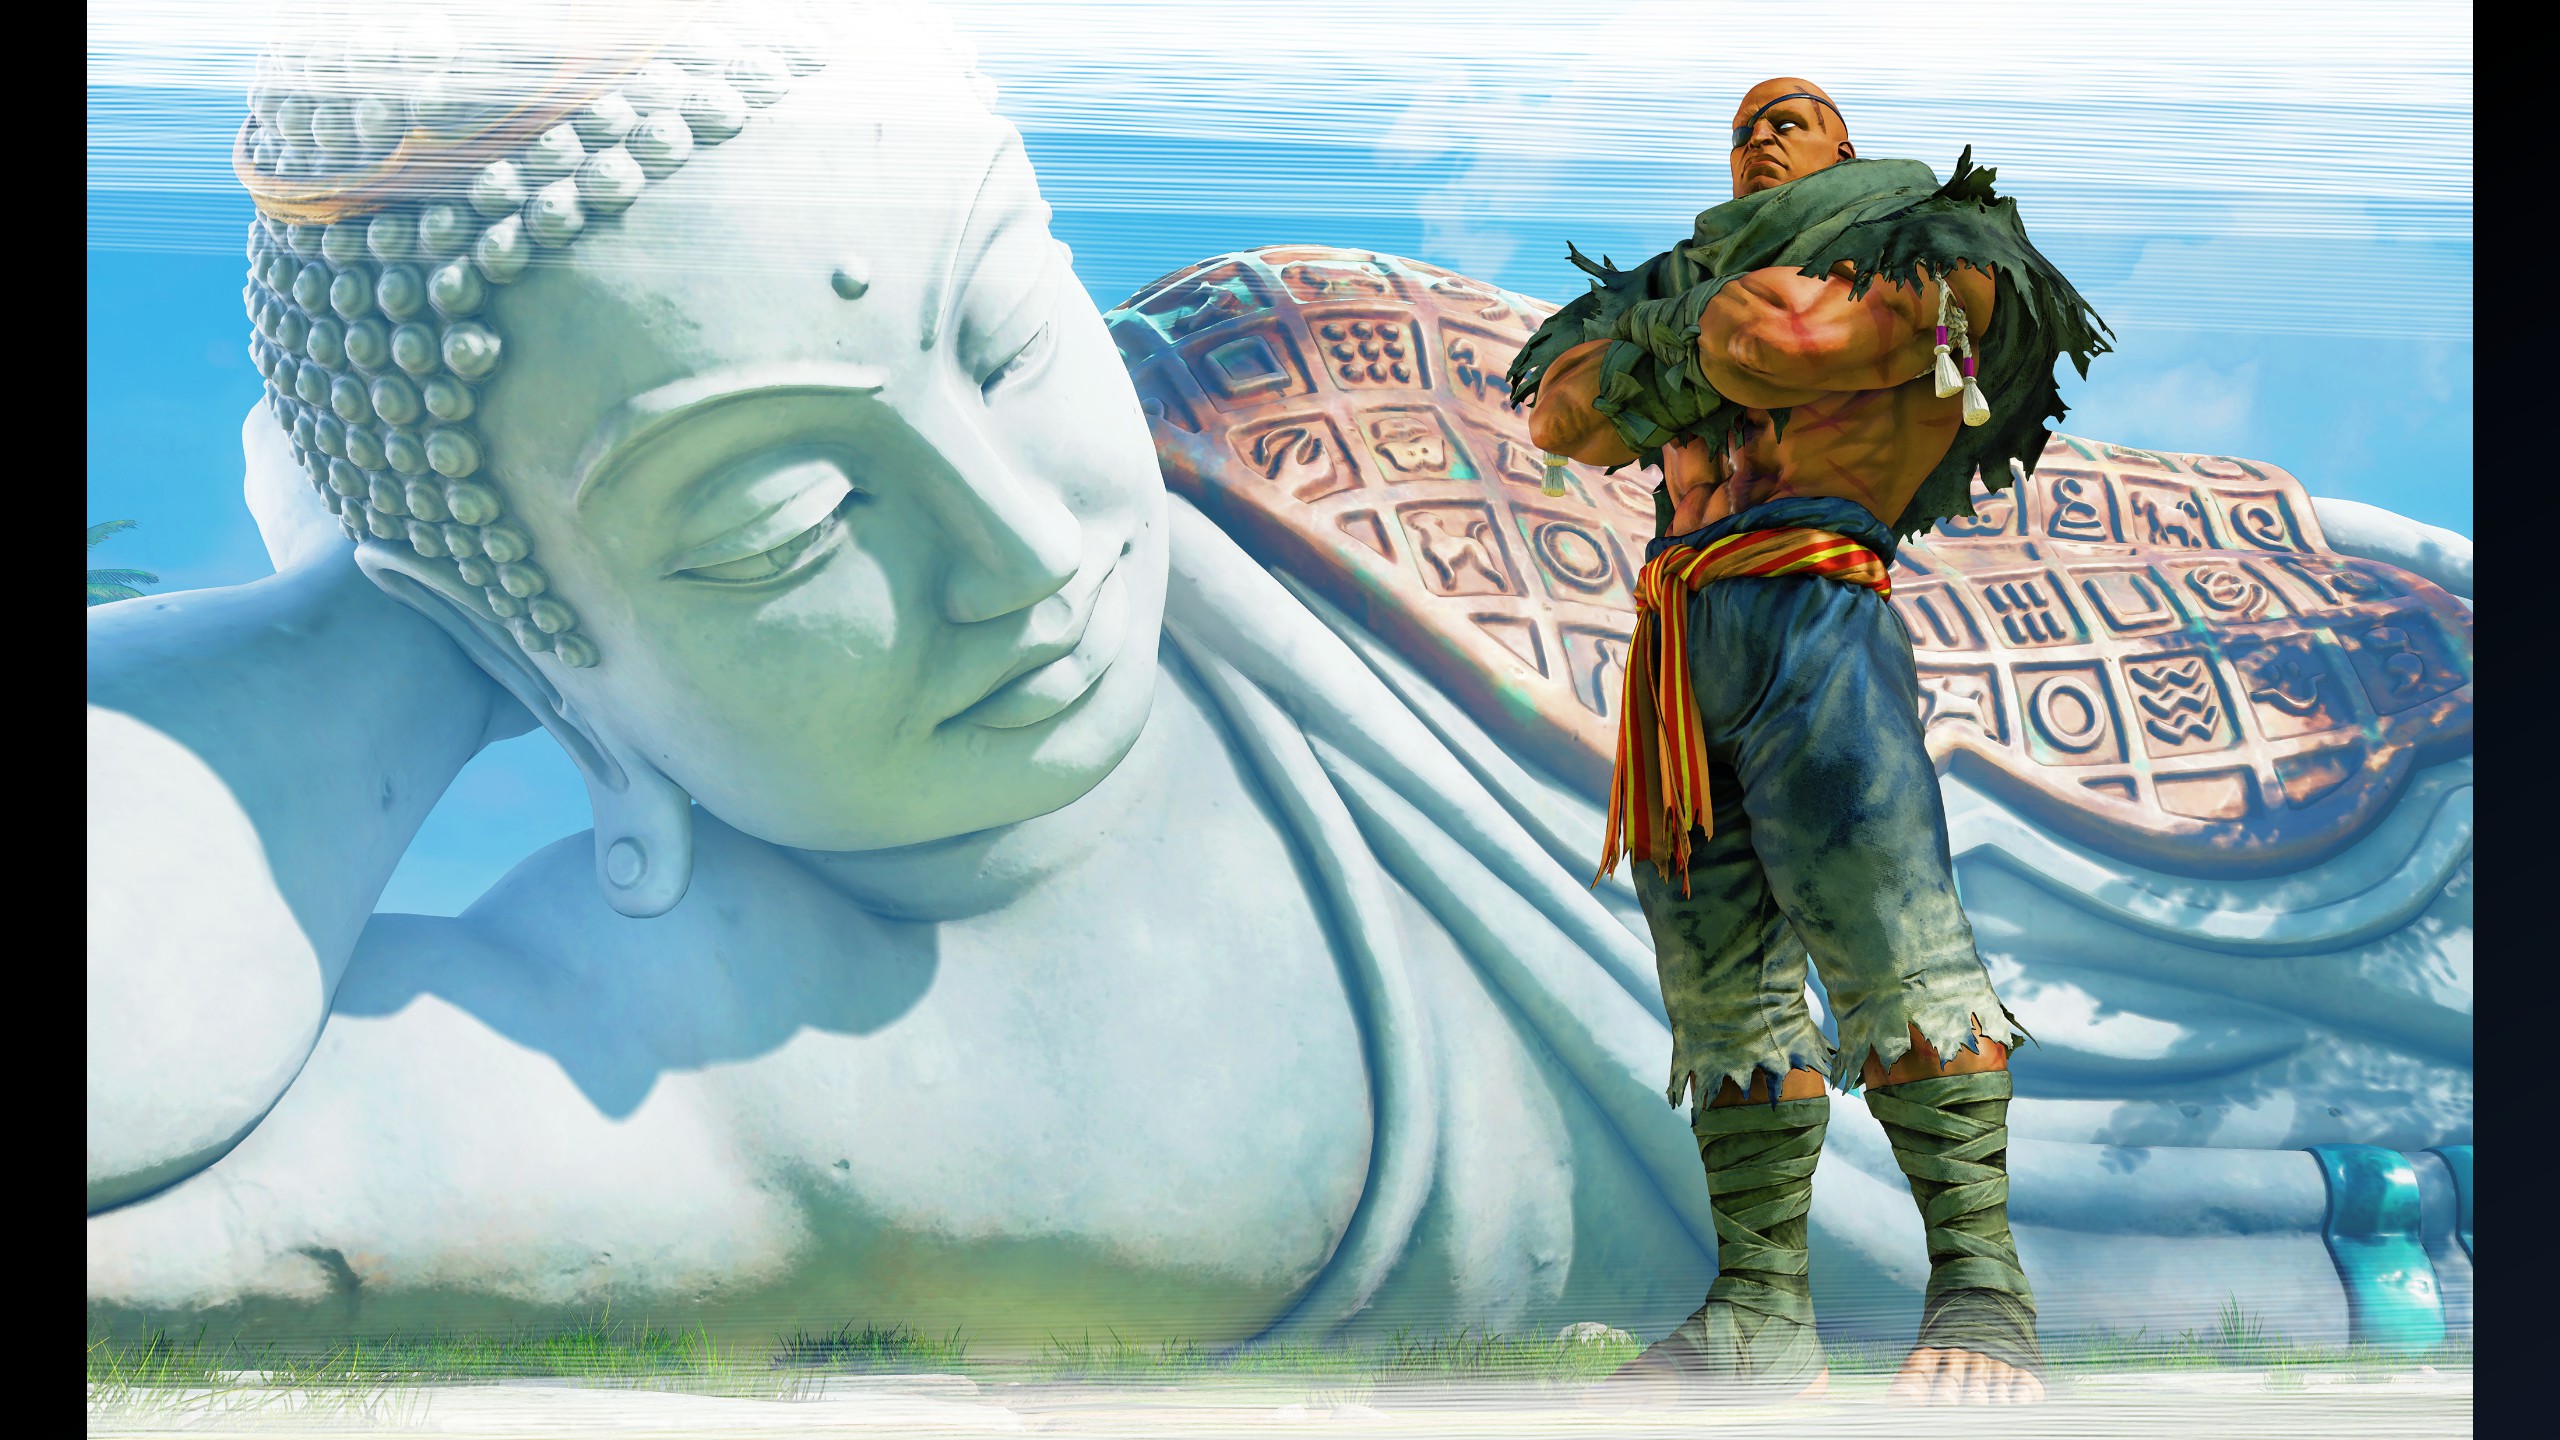
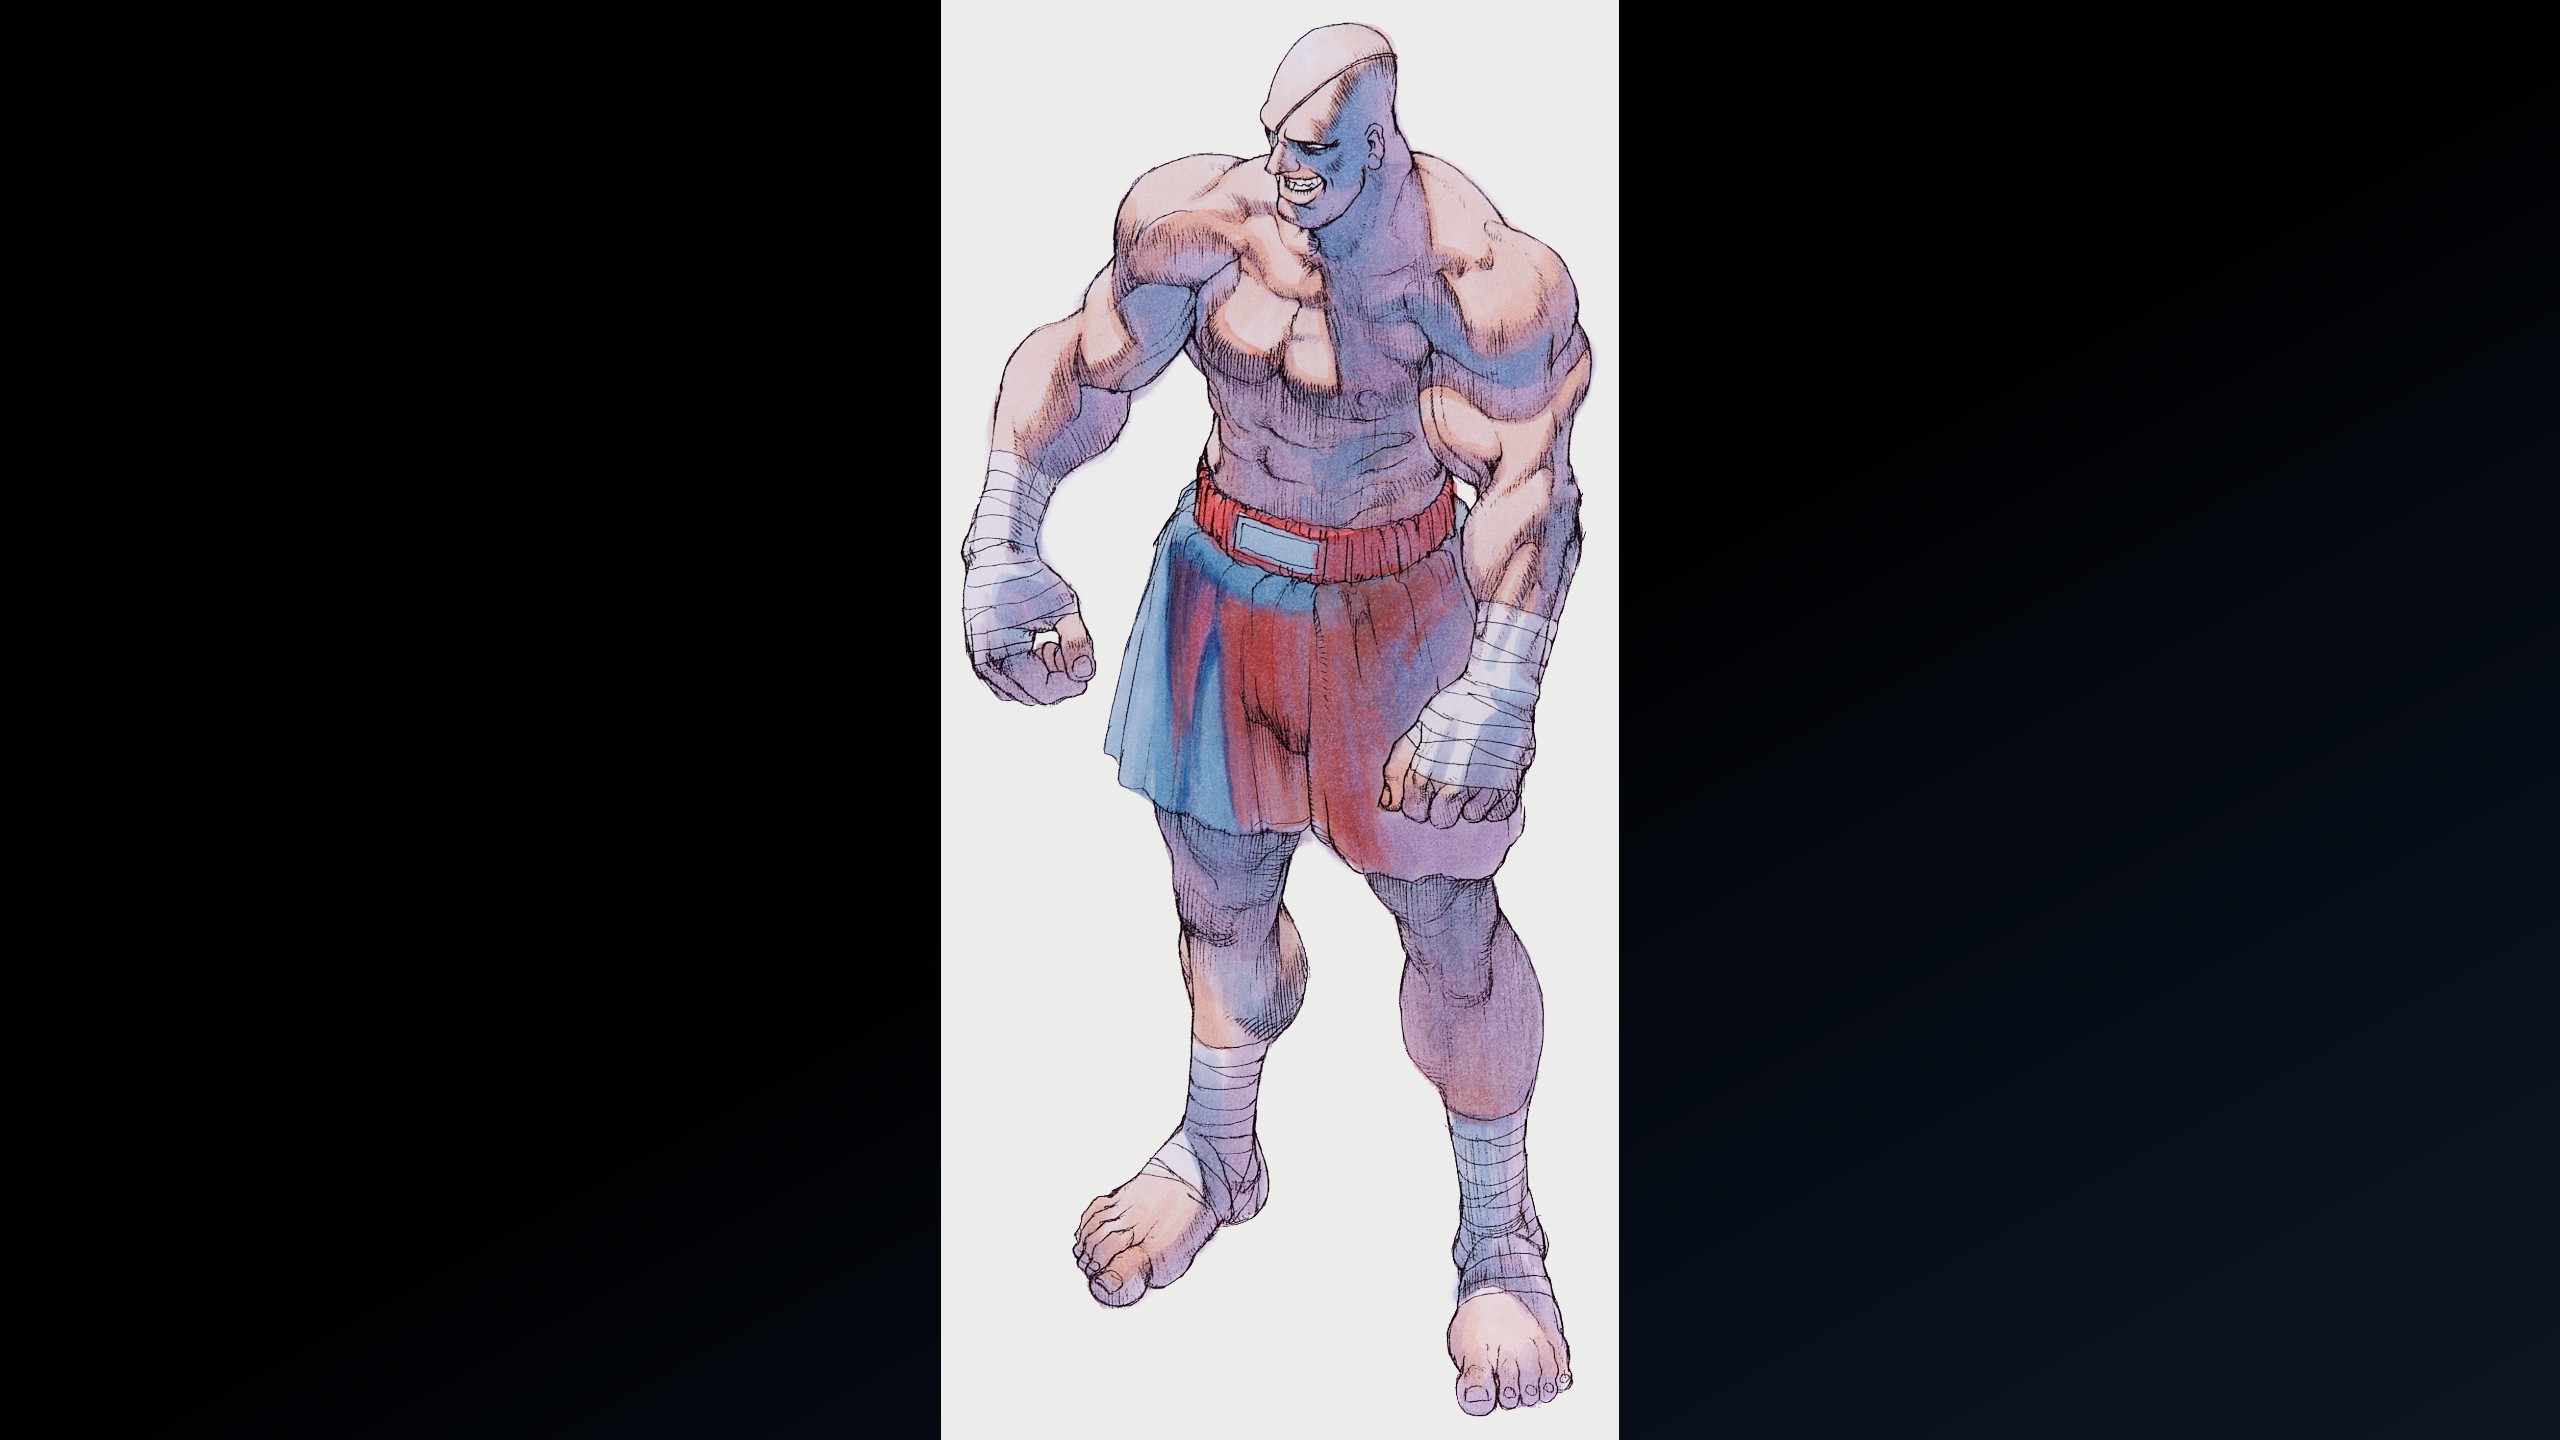
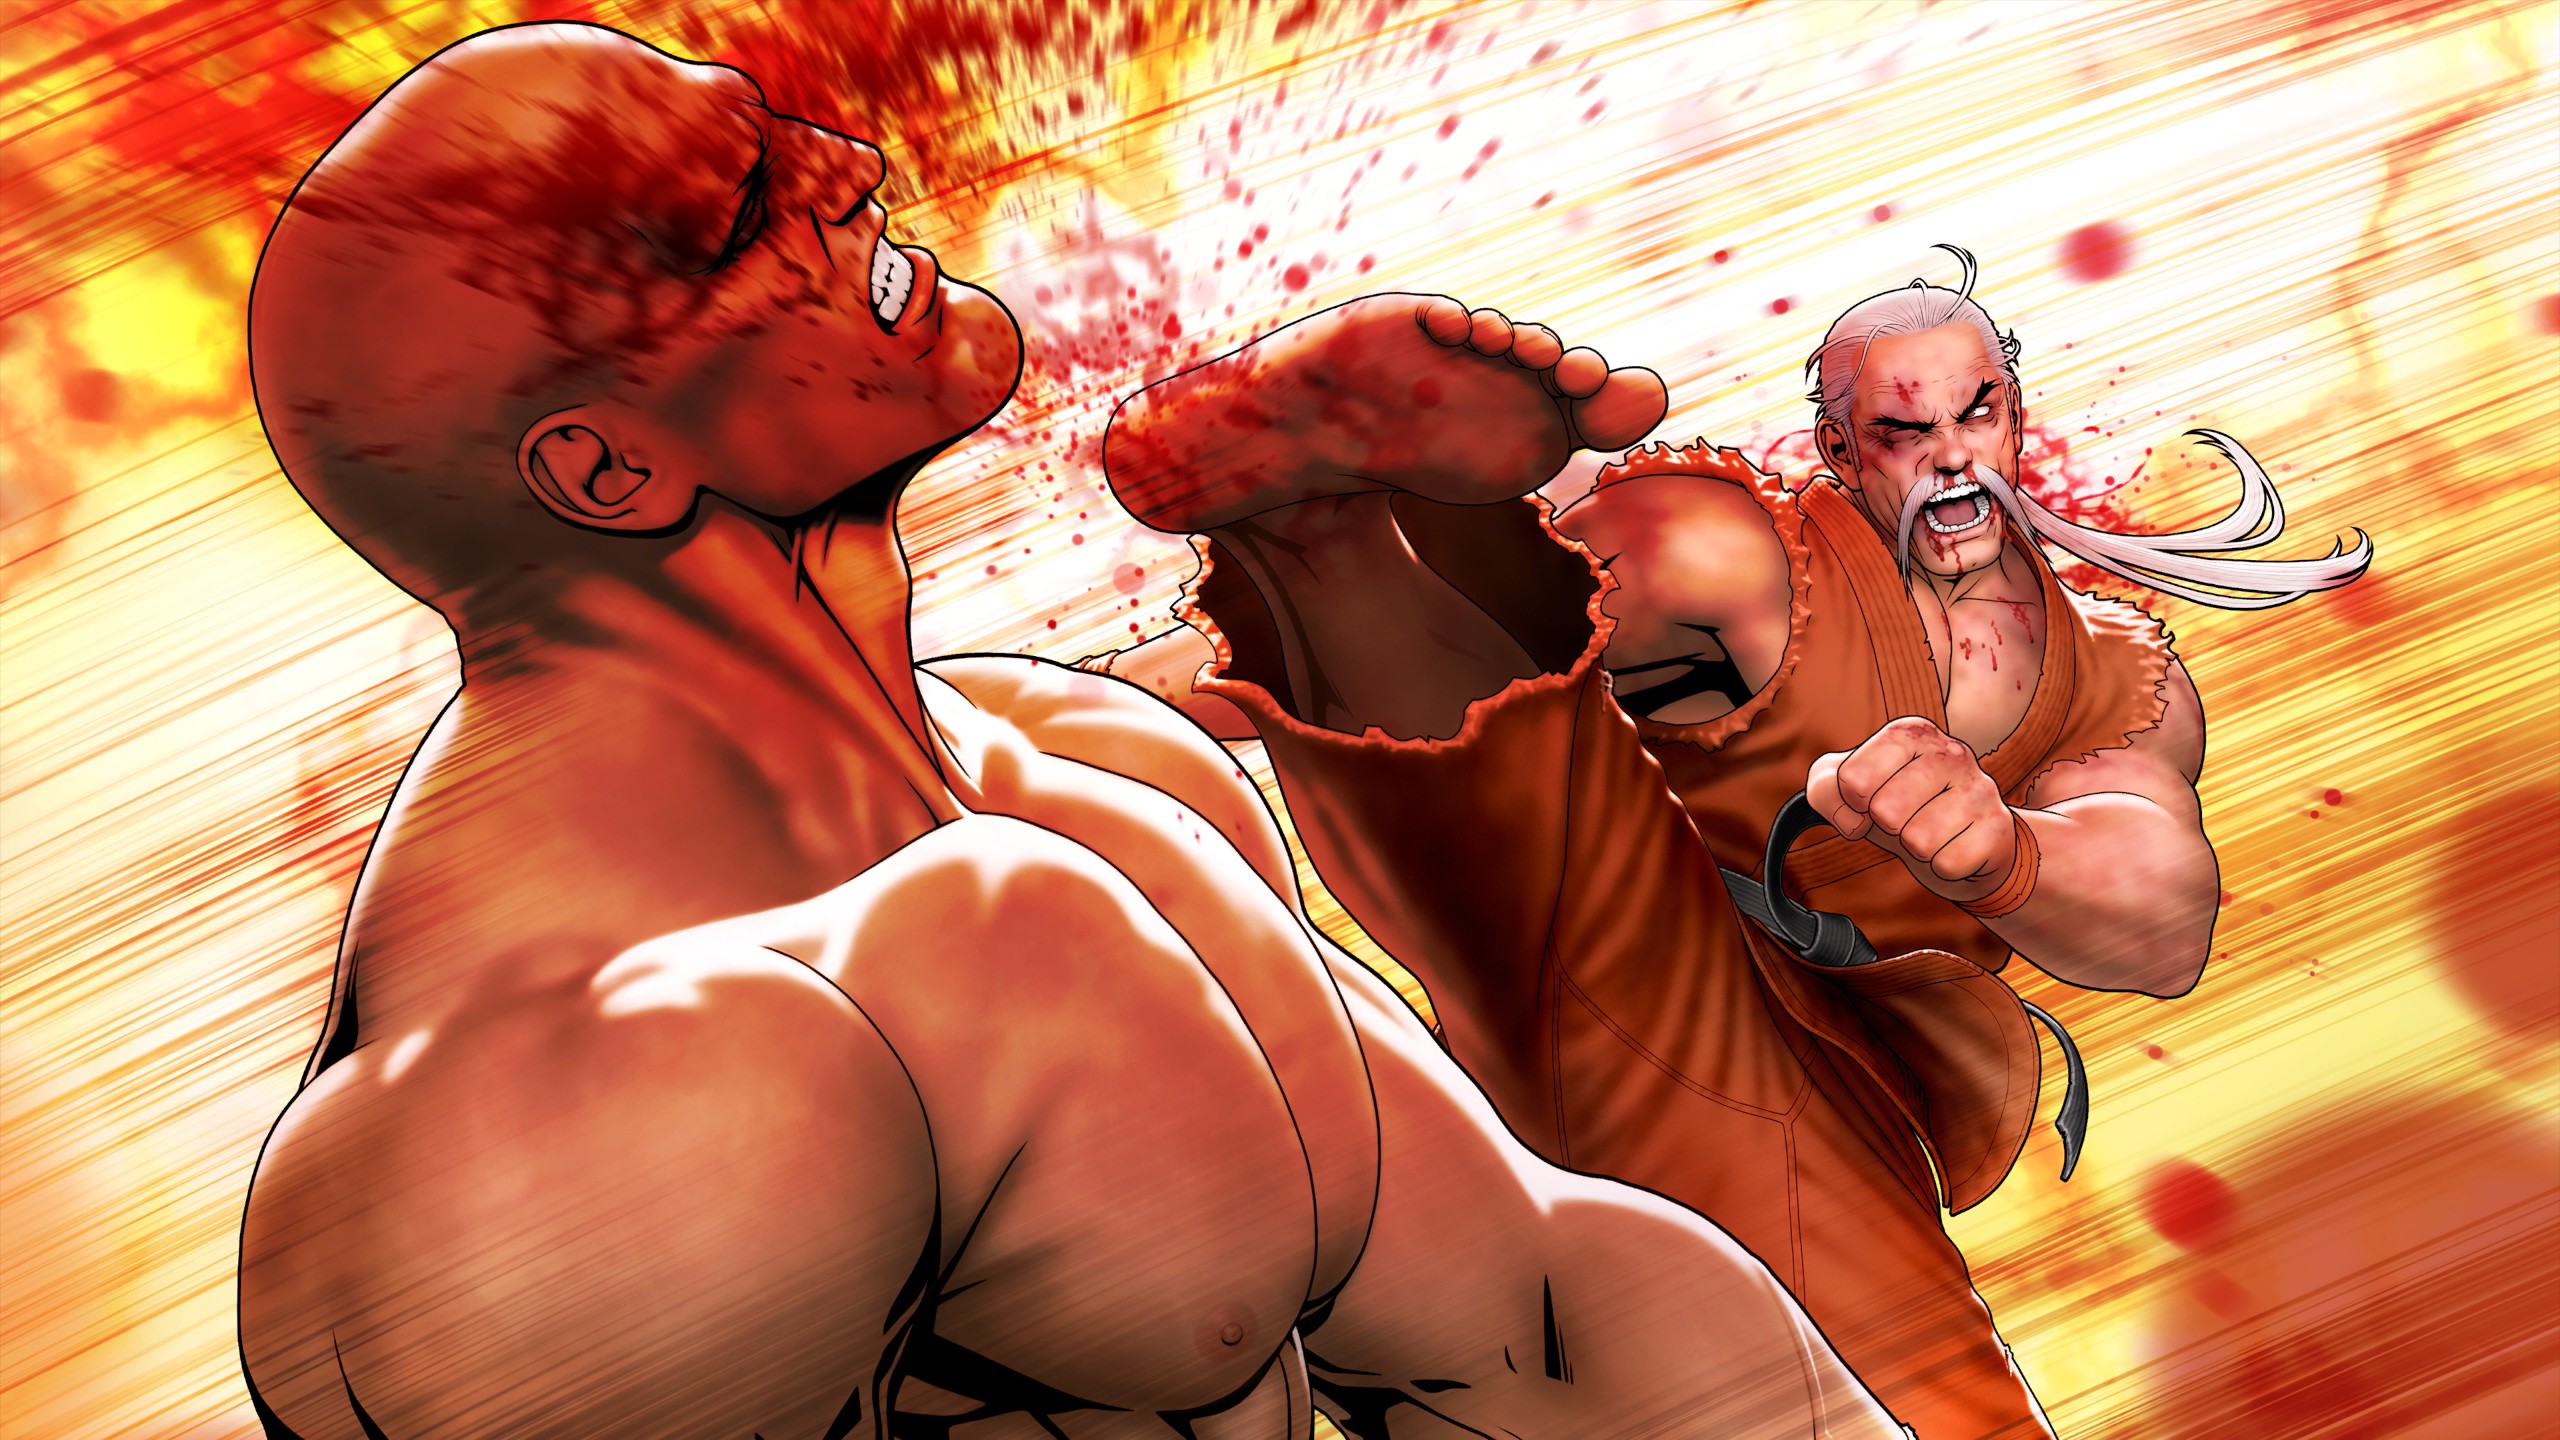
Sagat - Special Artwork: Shinkiro (Clear Arcade Once with Sagat)
Sagat - Character Design: Sagat (Clear Arcade Twice with Sagat)
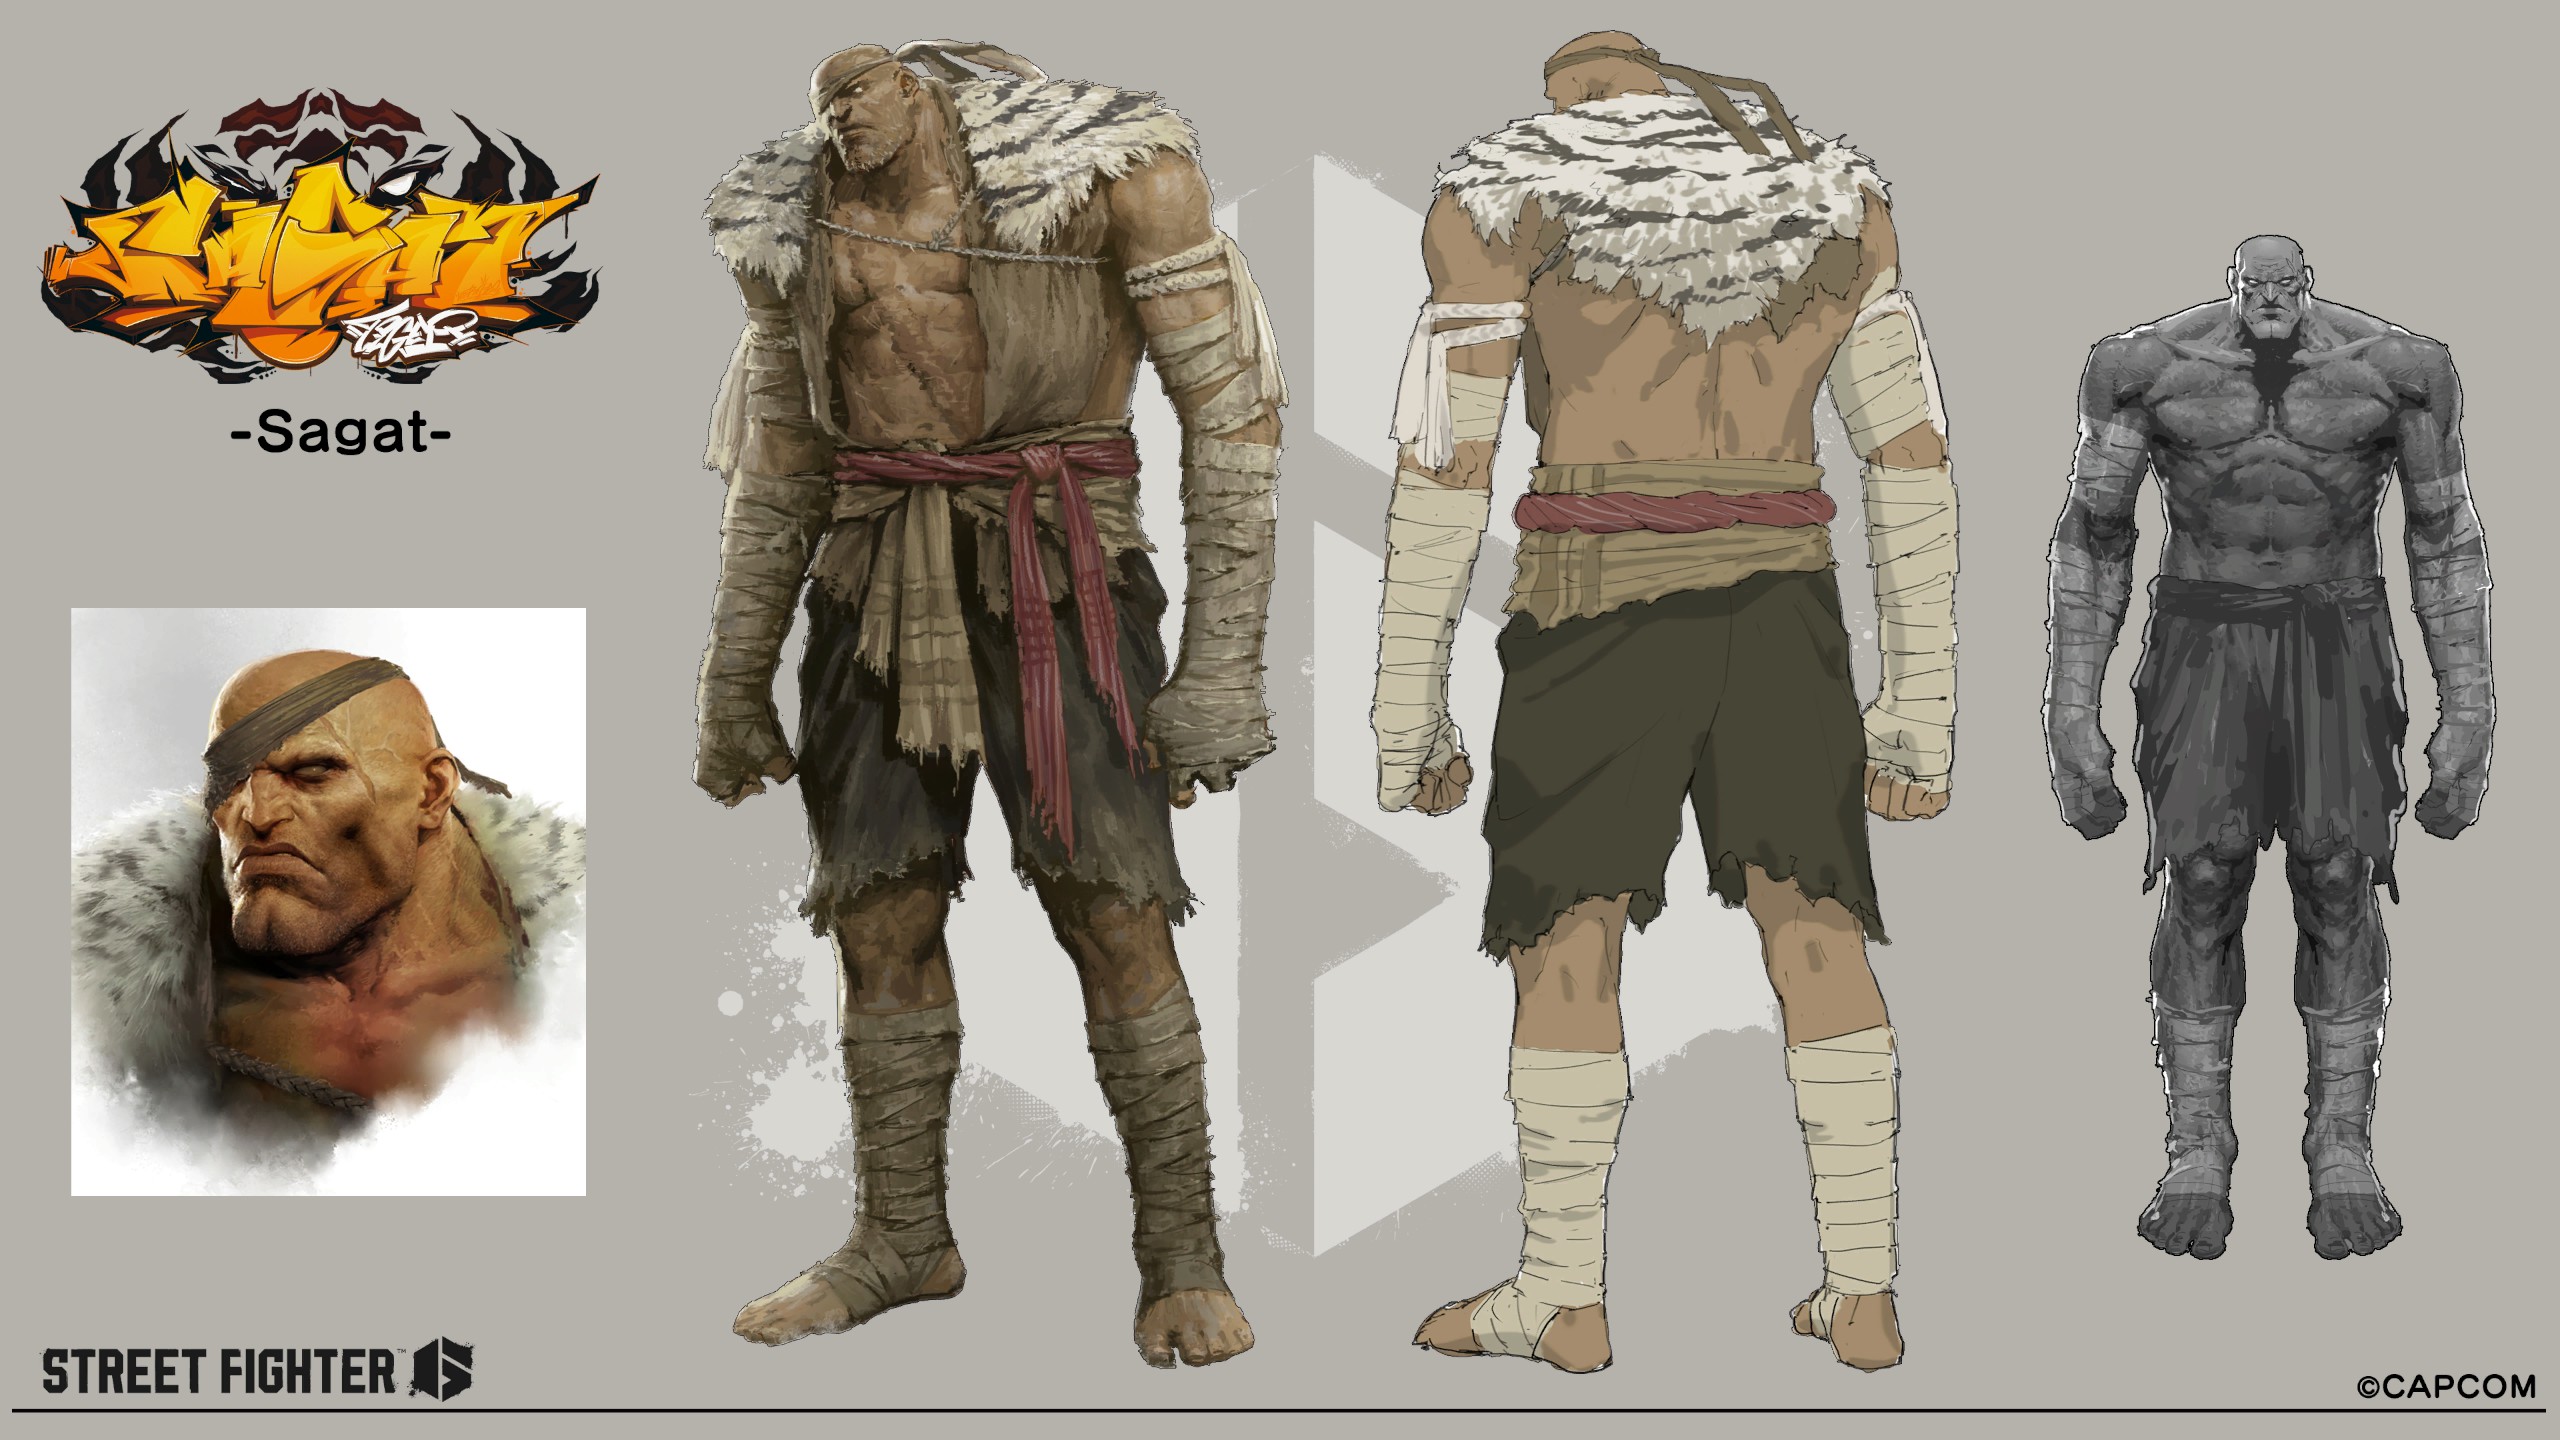
Sagat - Unused Design: Sagat (Clear Arcade Three Times with Sagat)
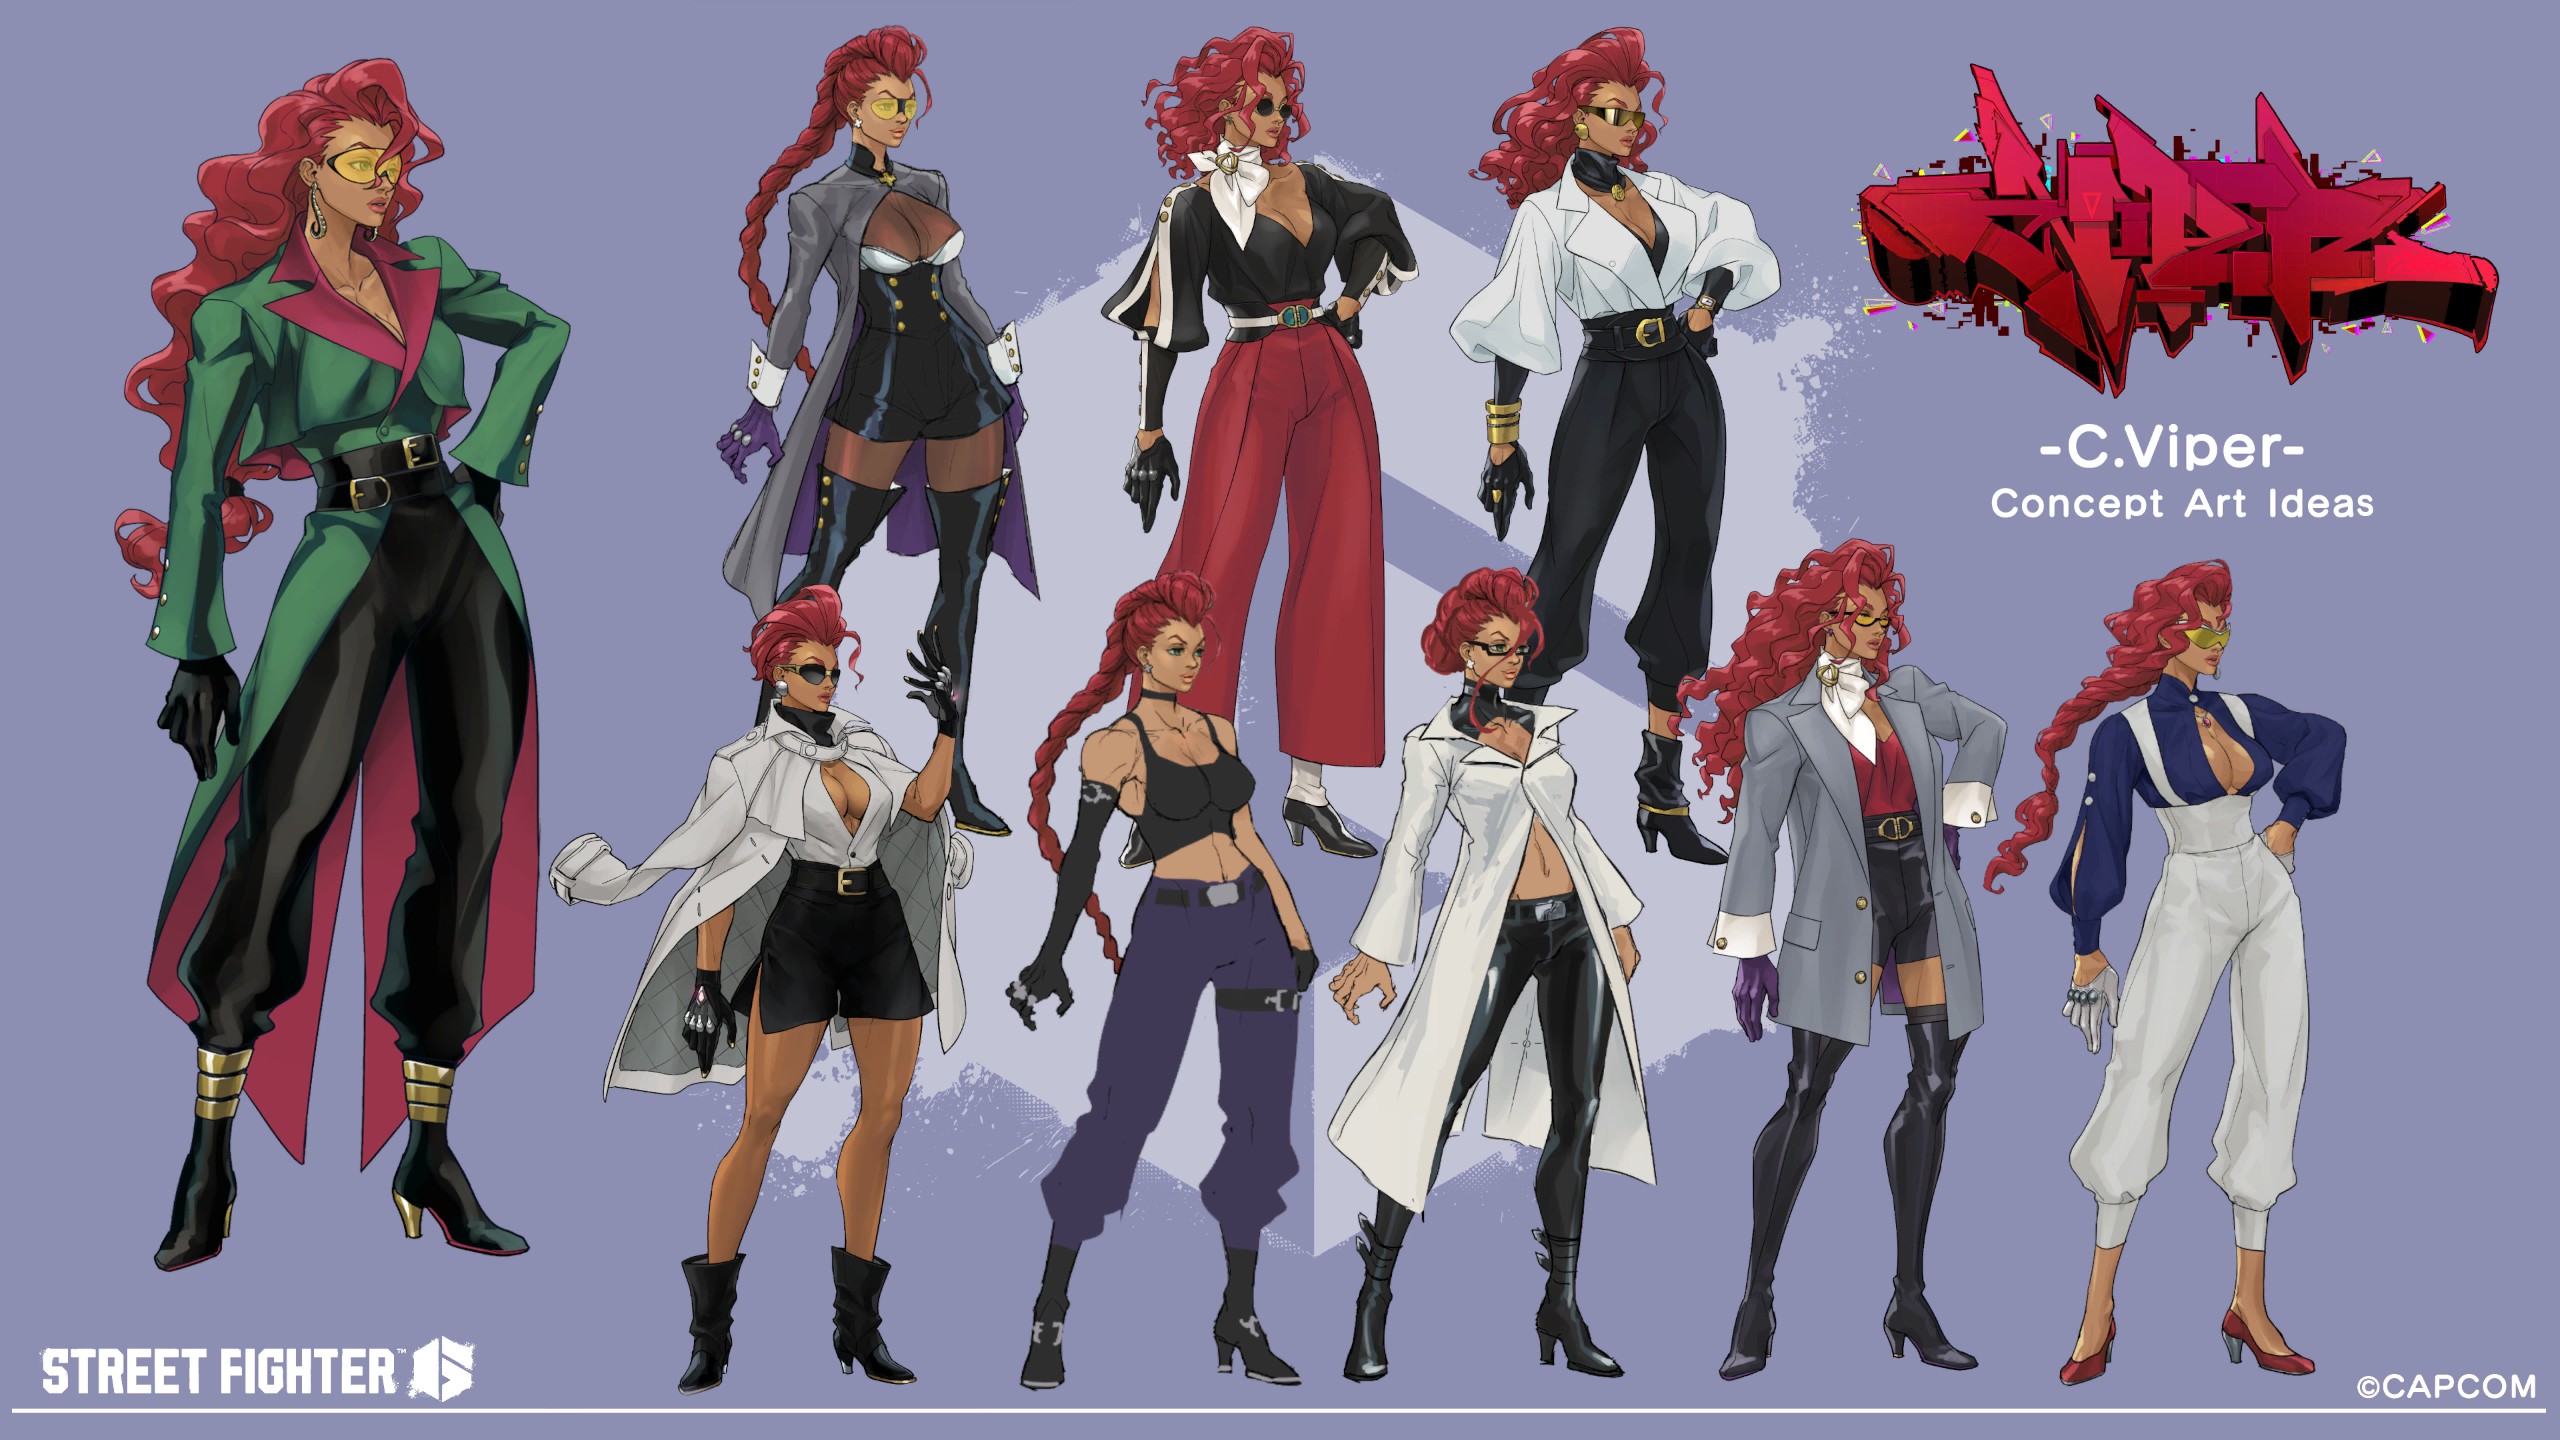
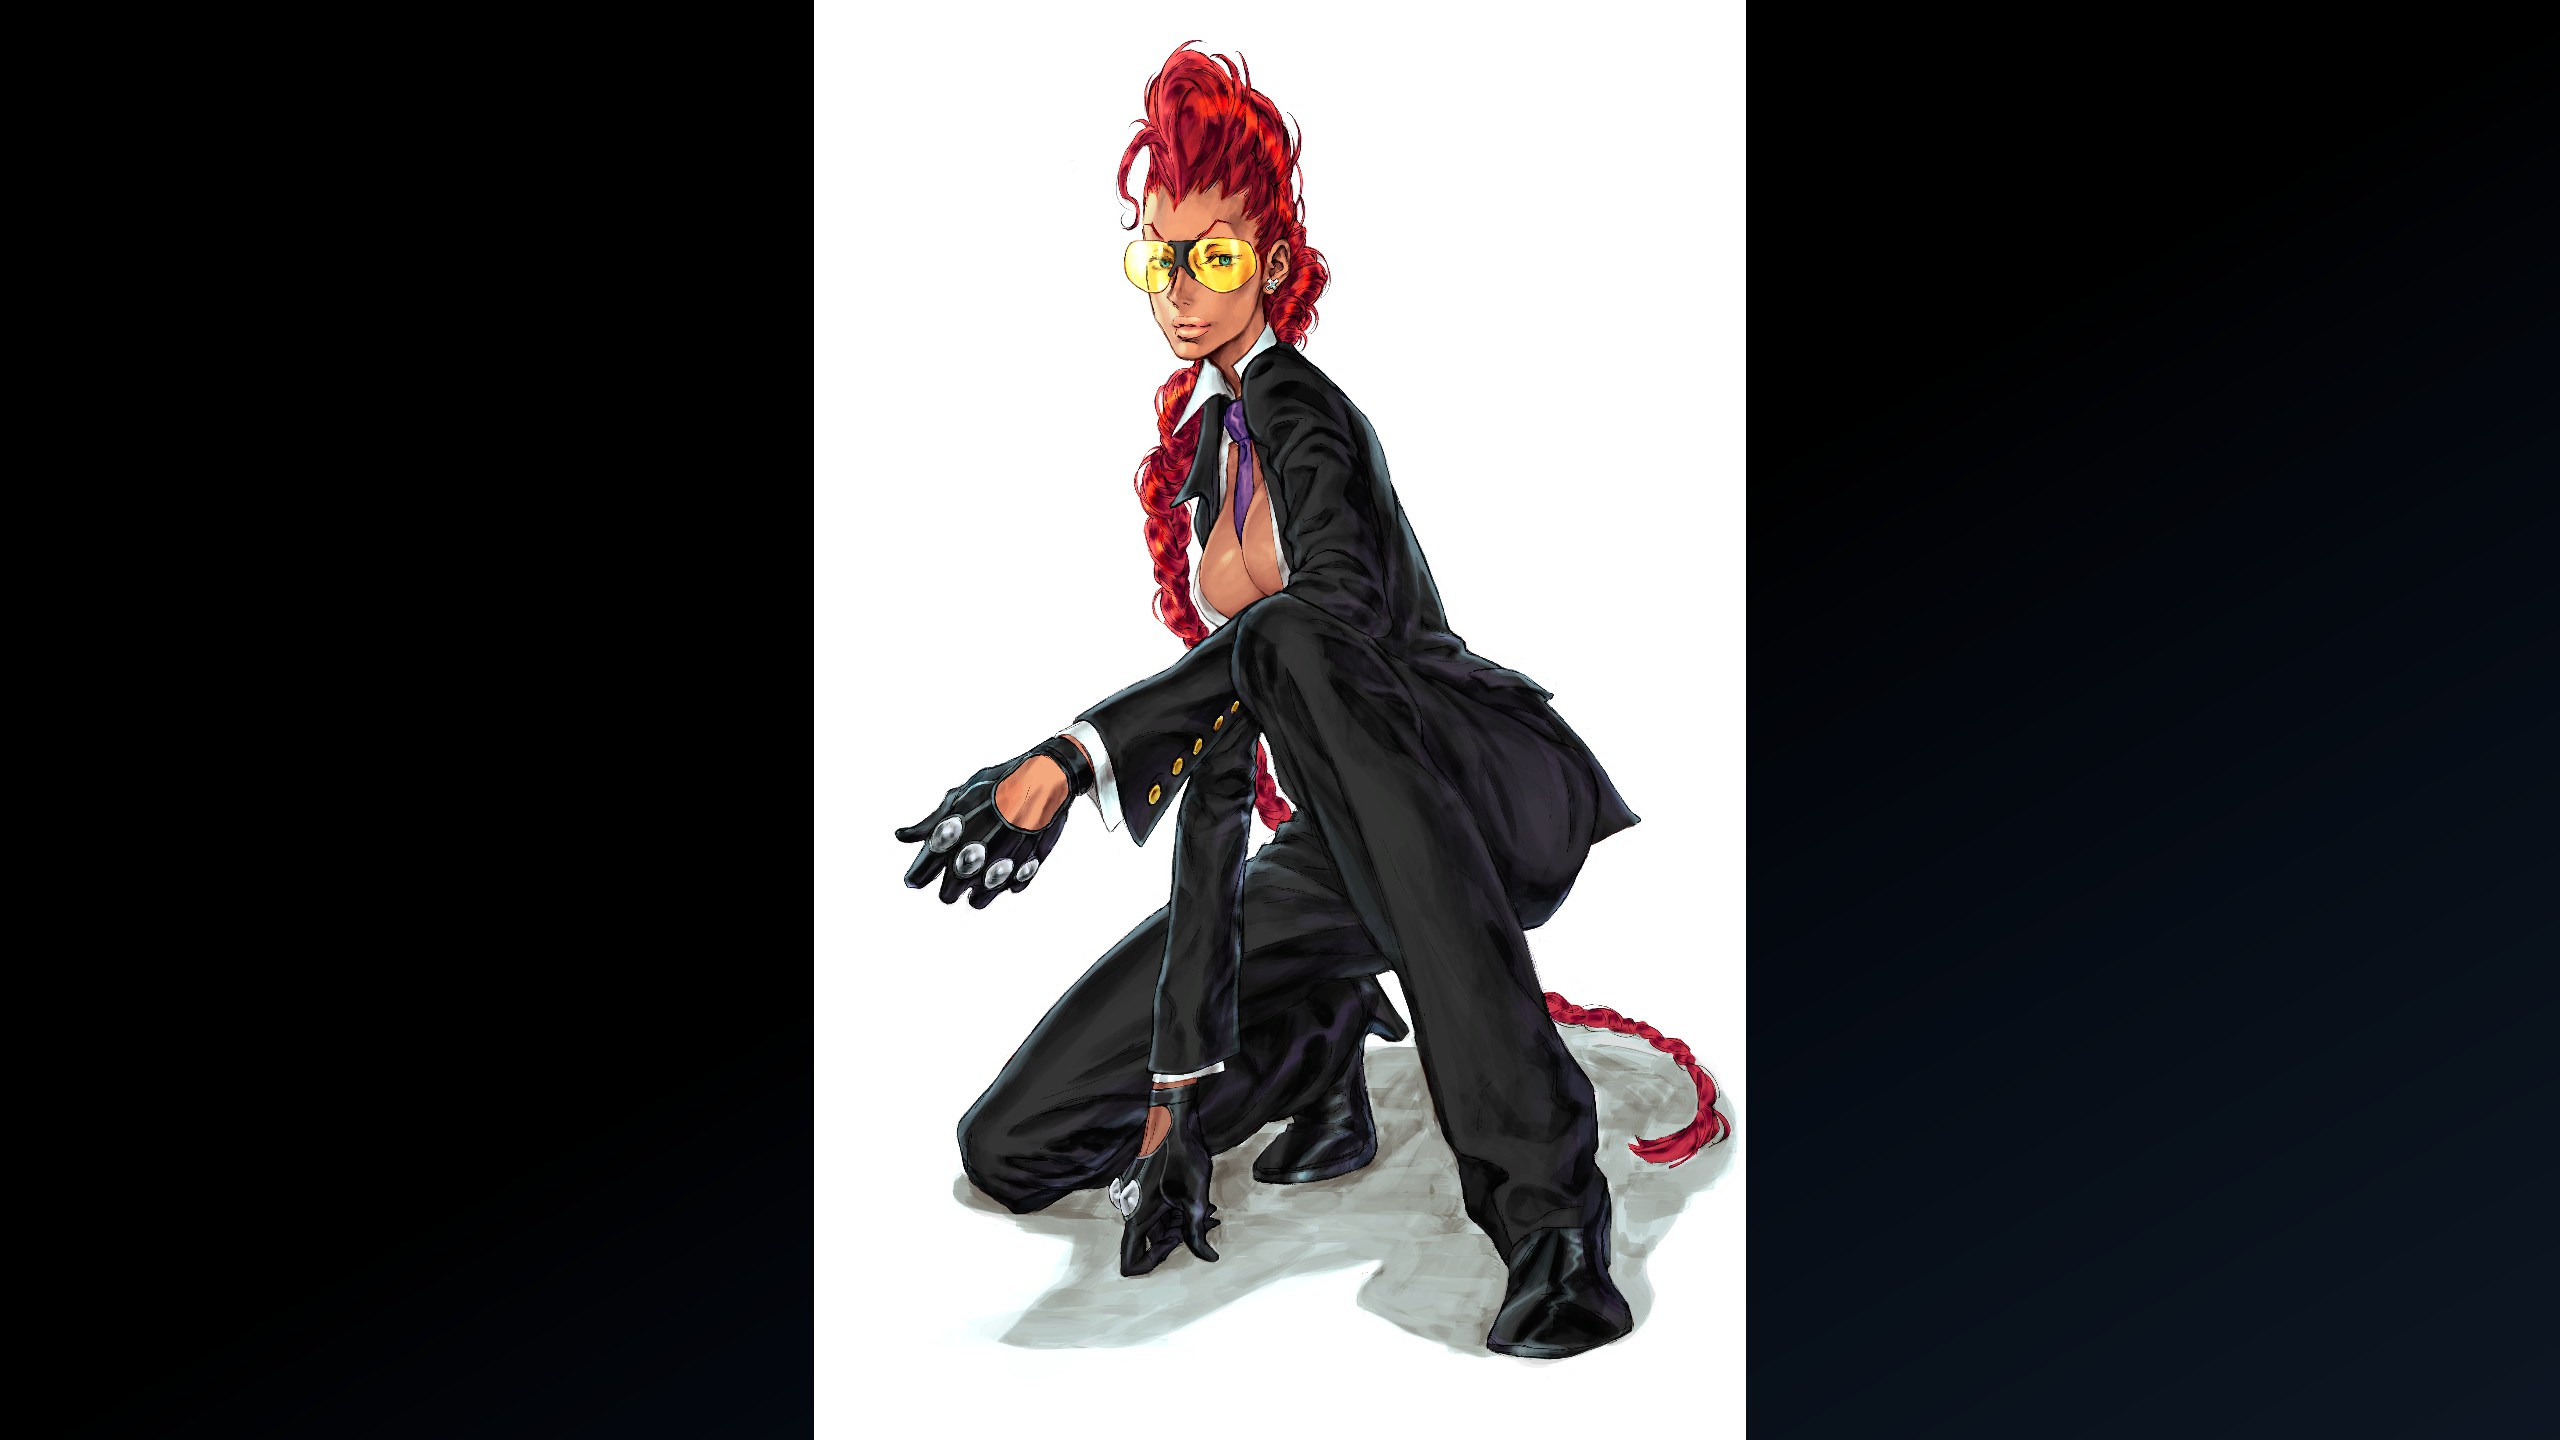
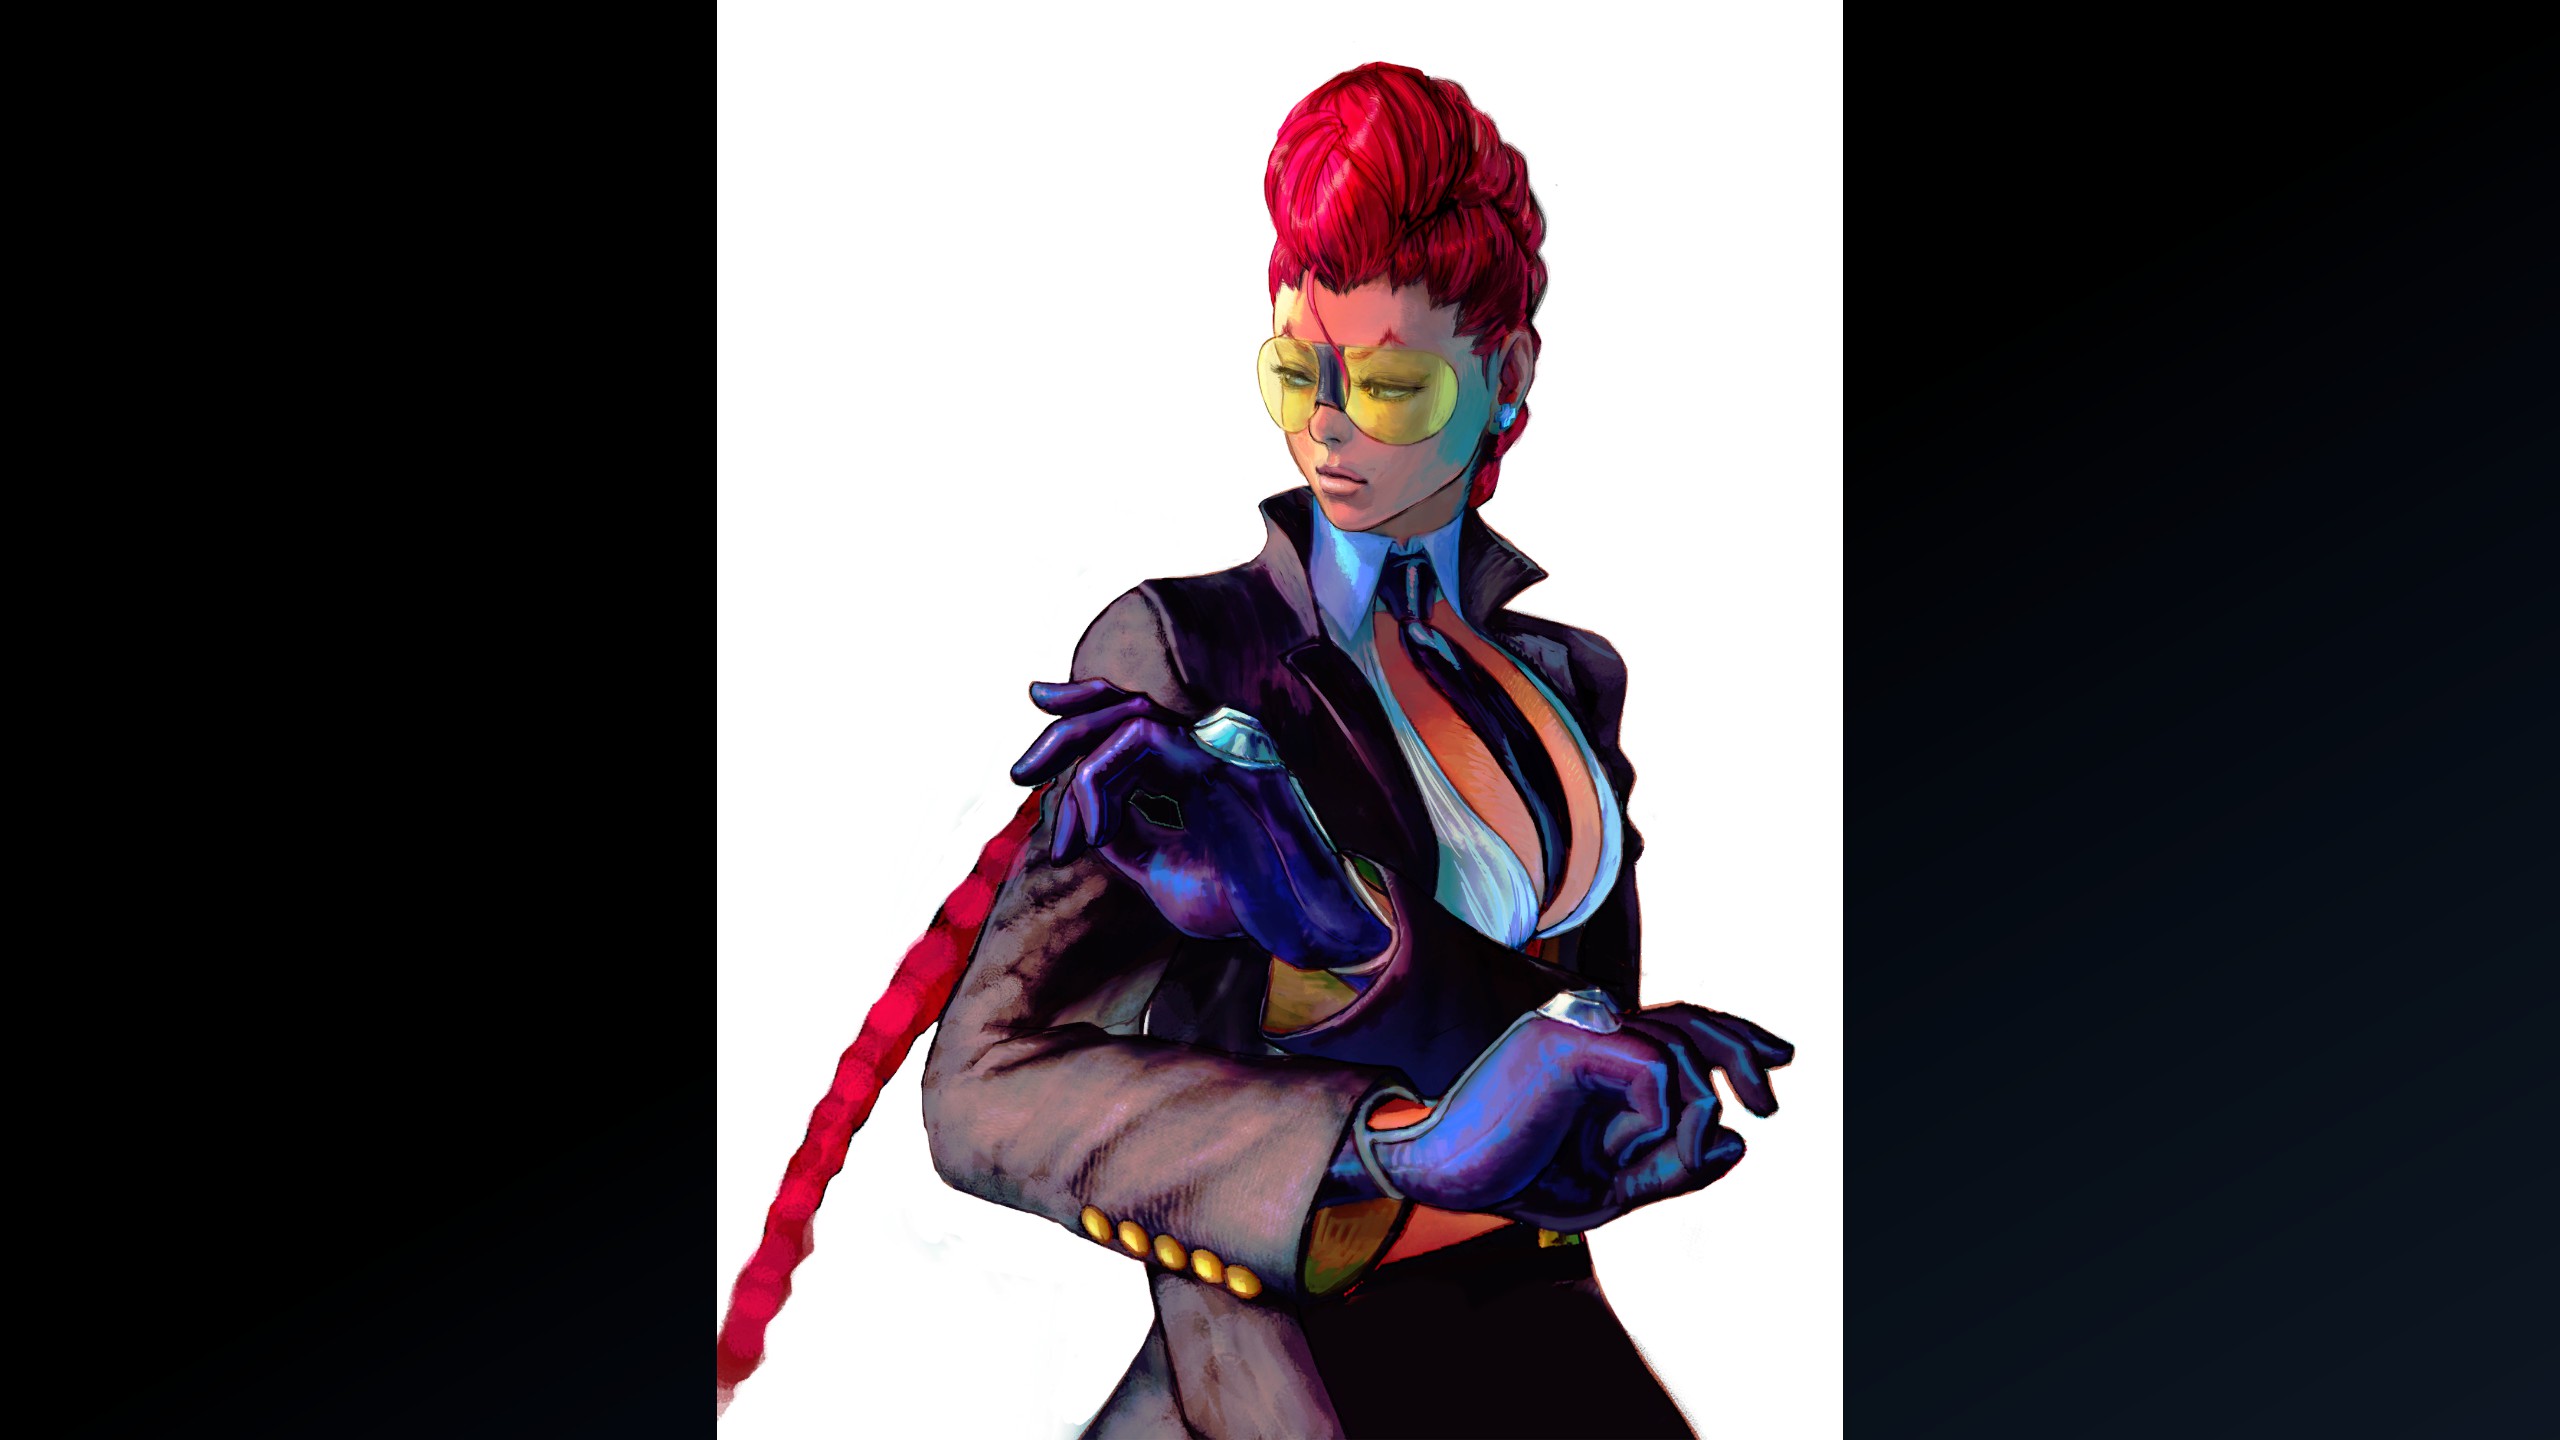
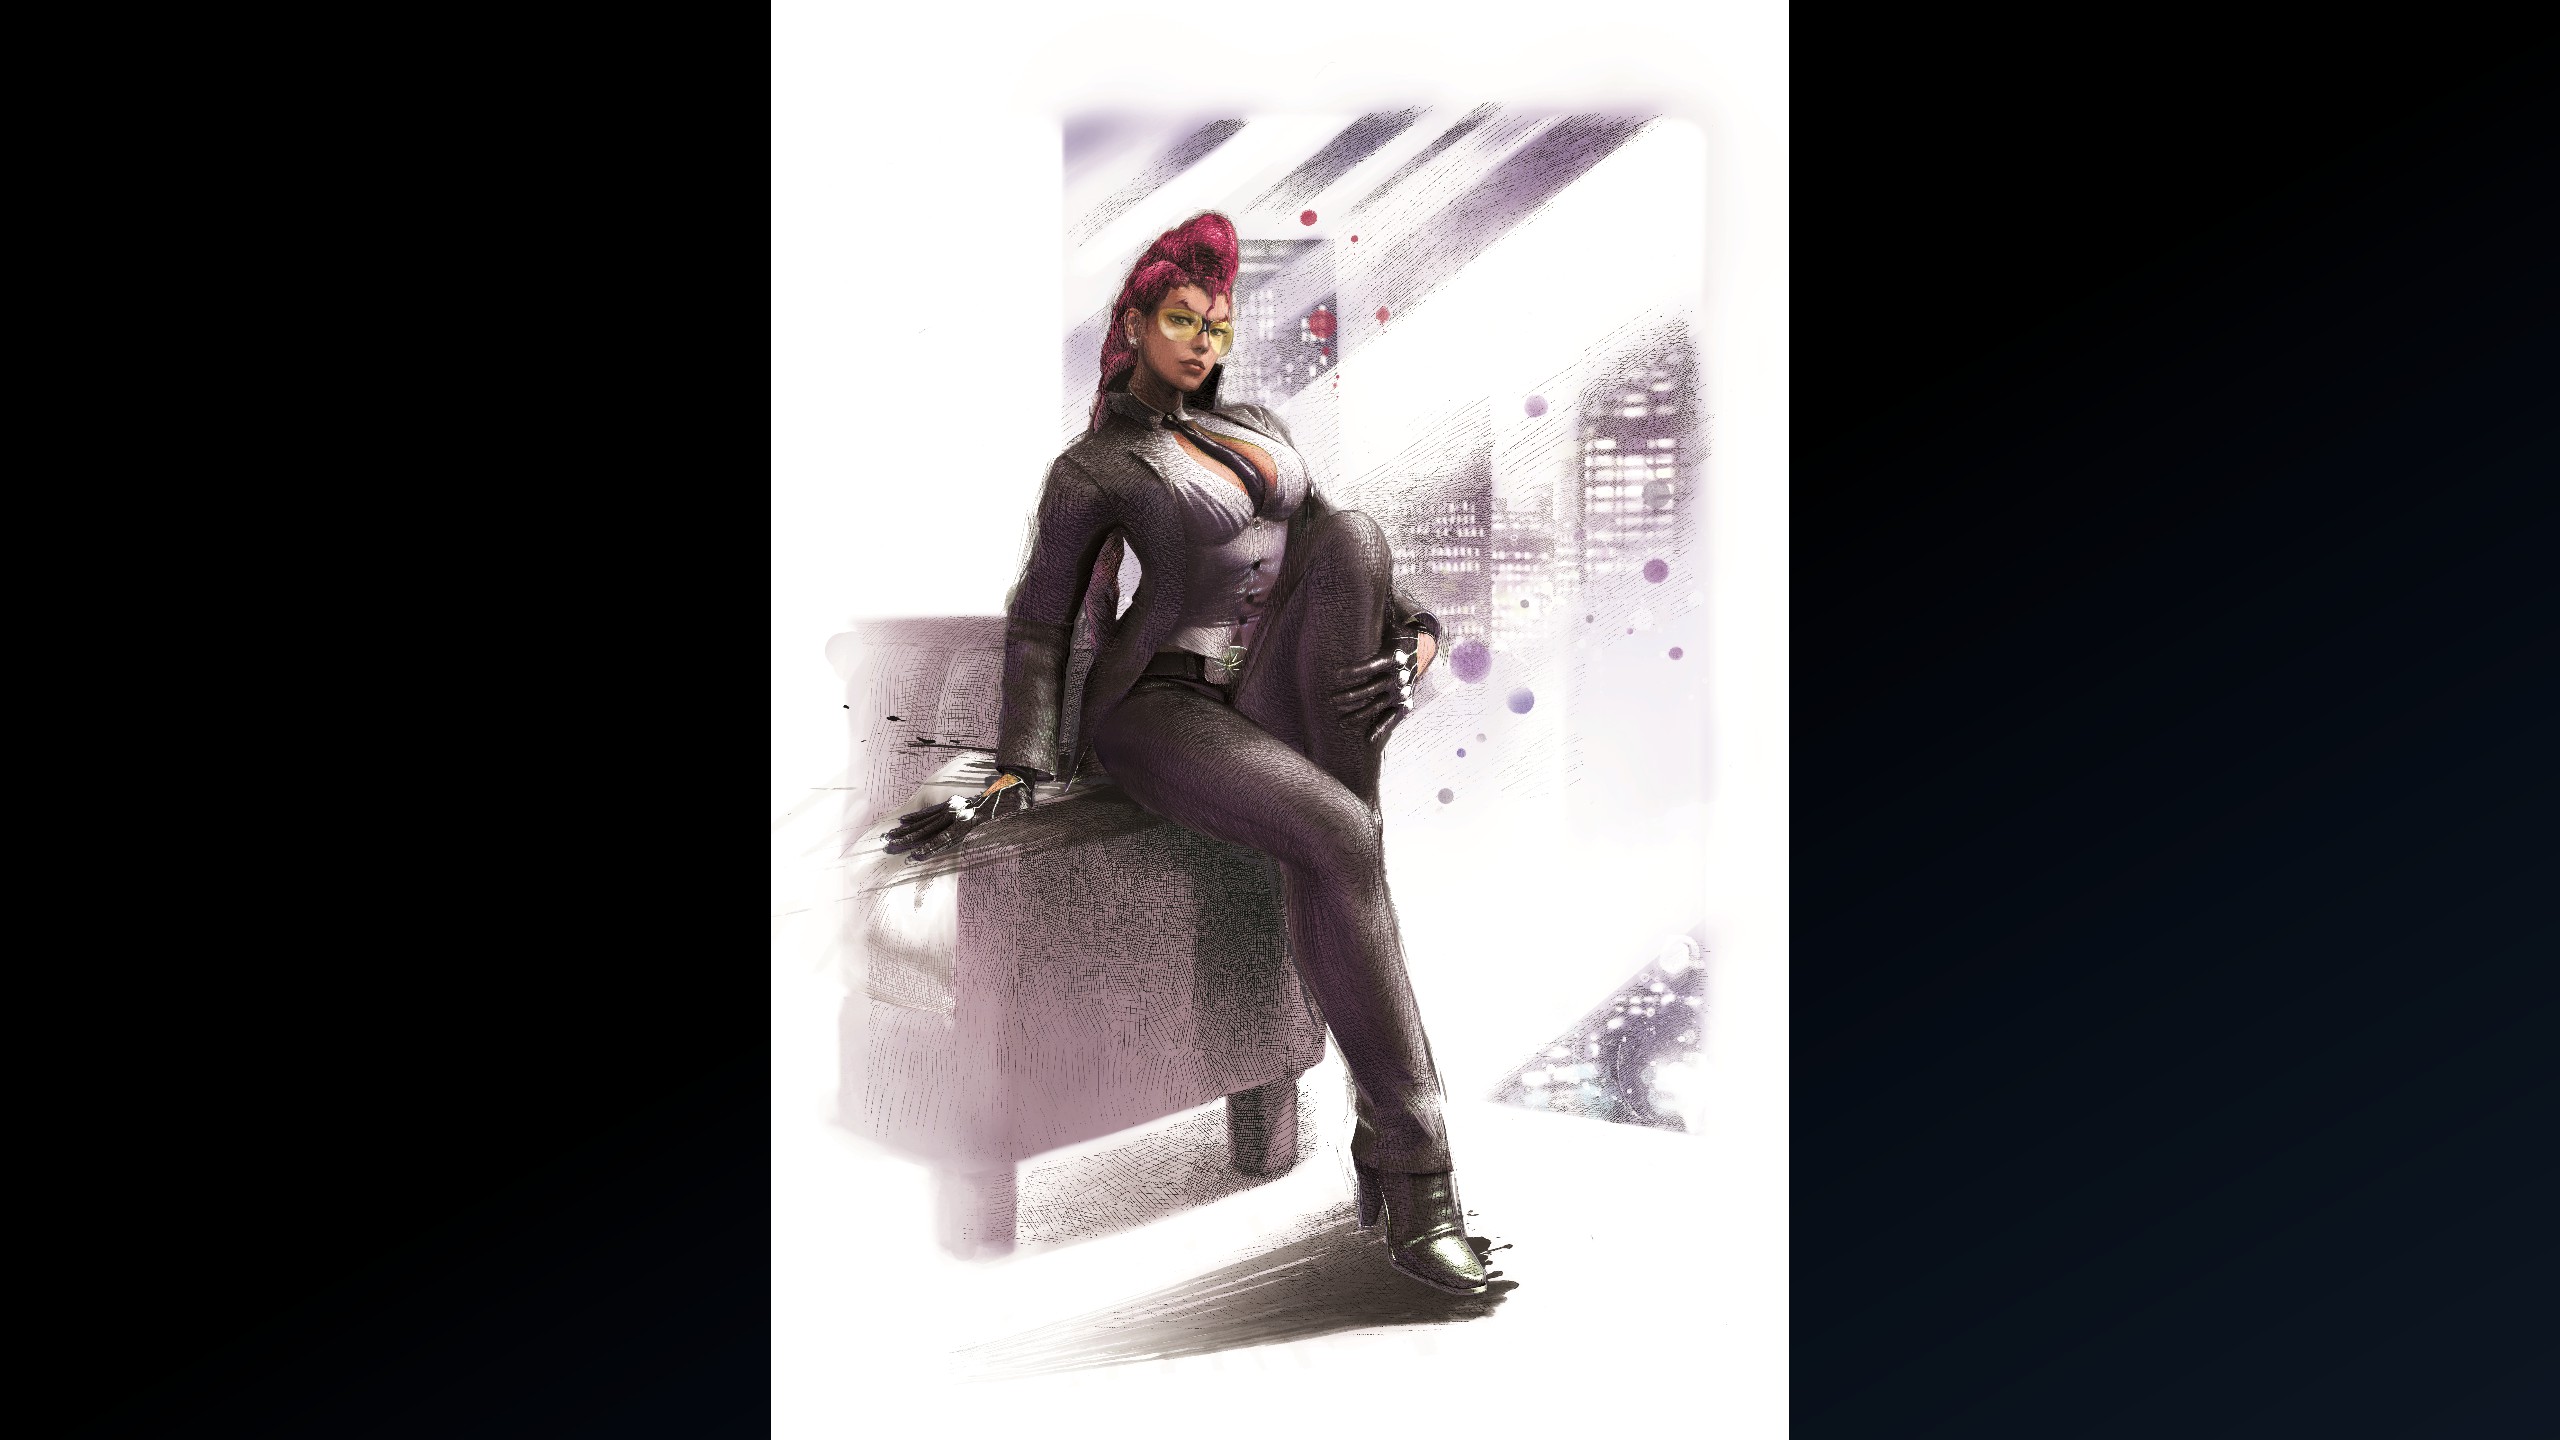
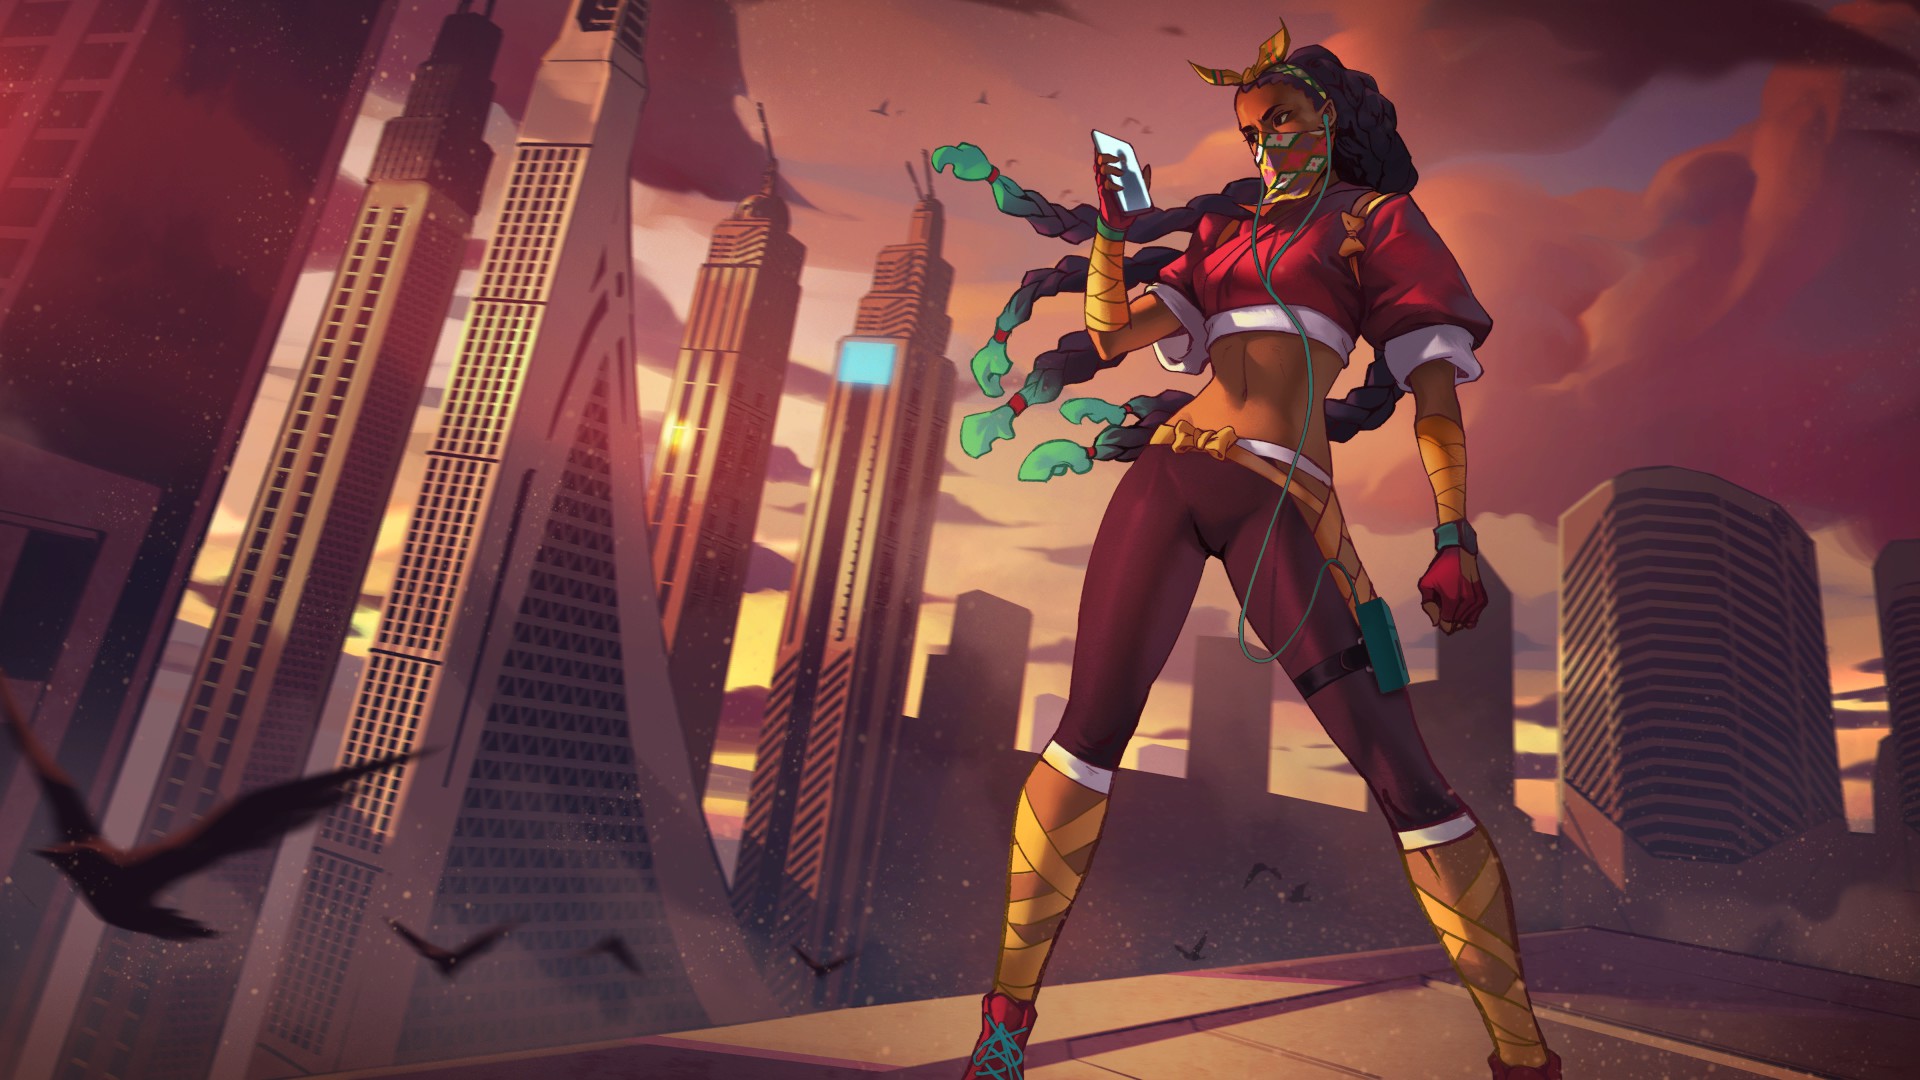
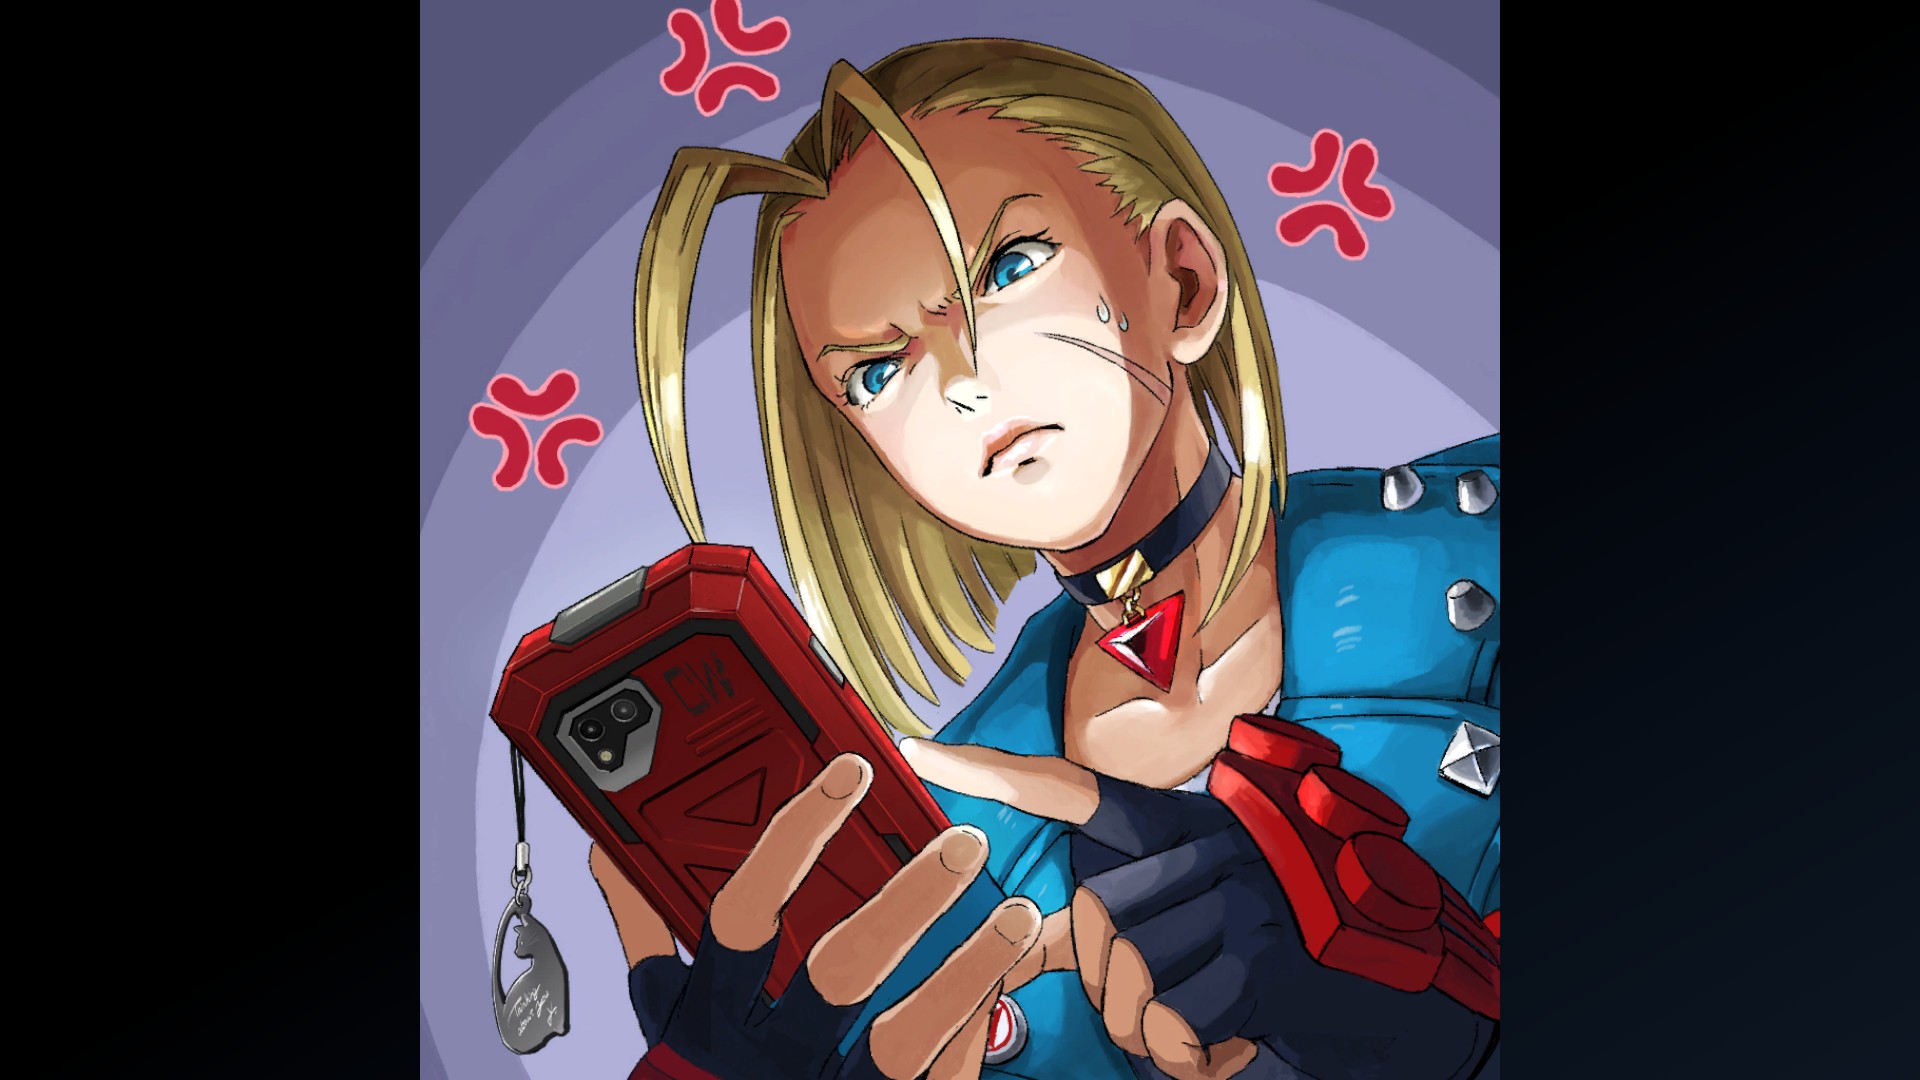
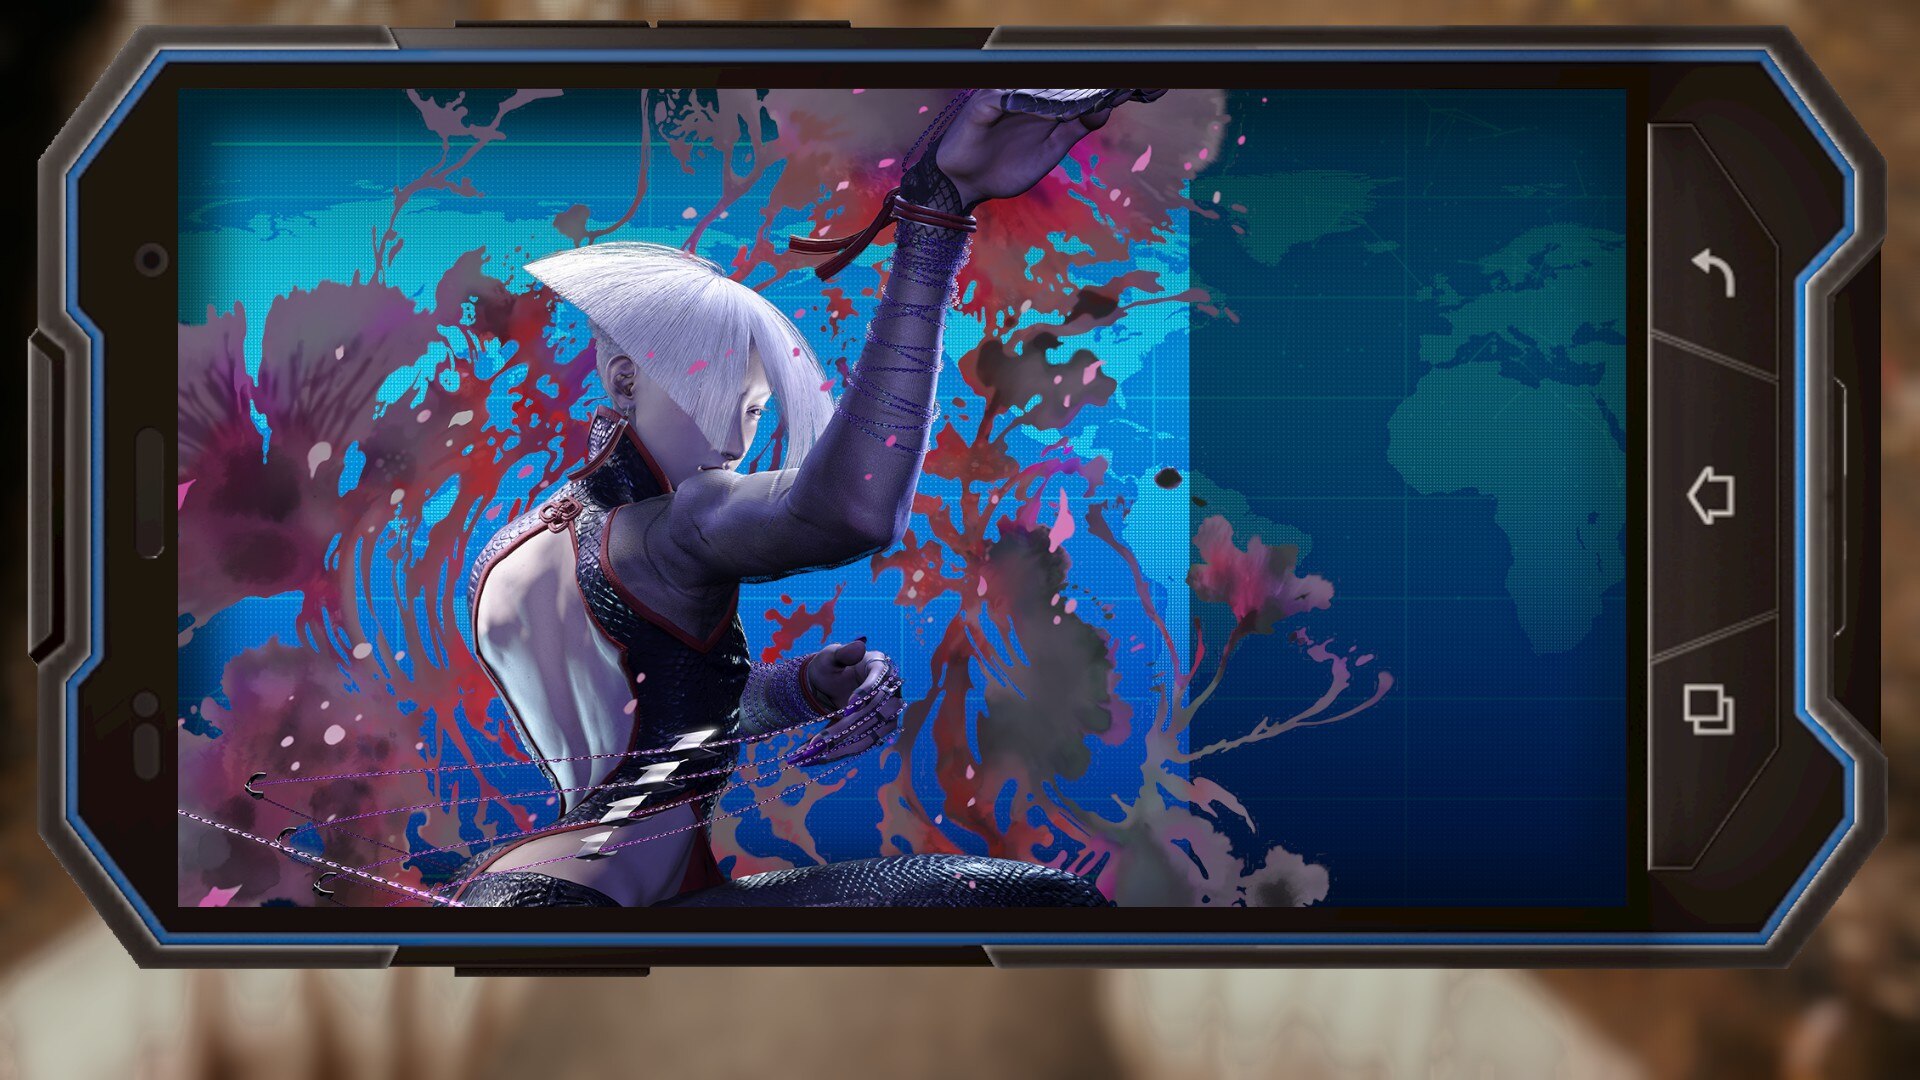
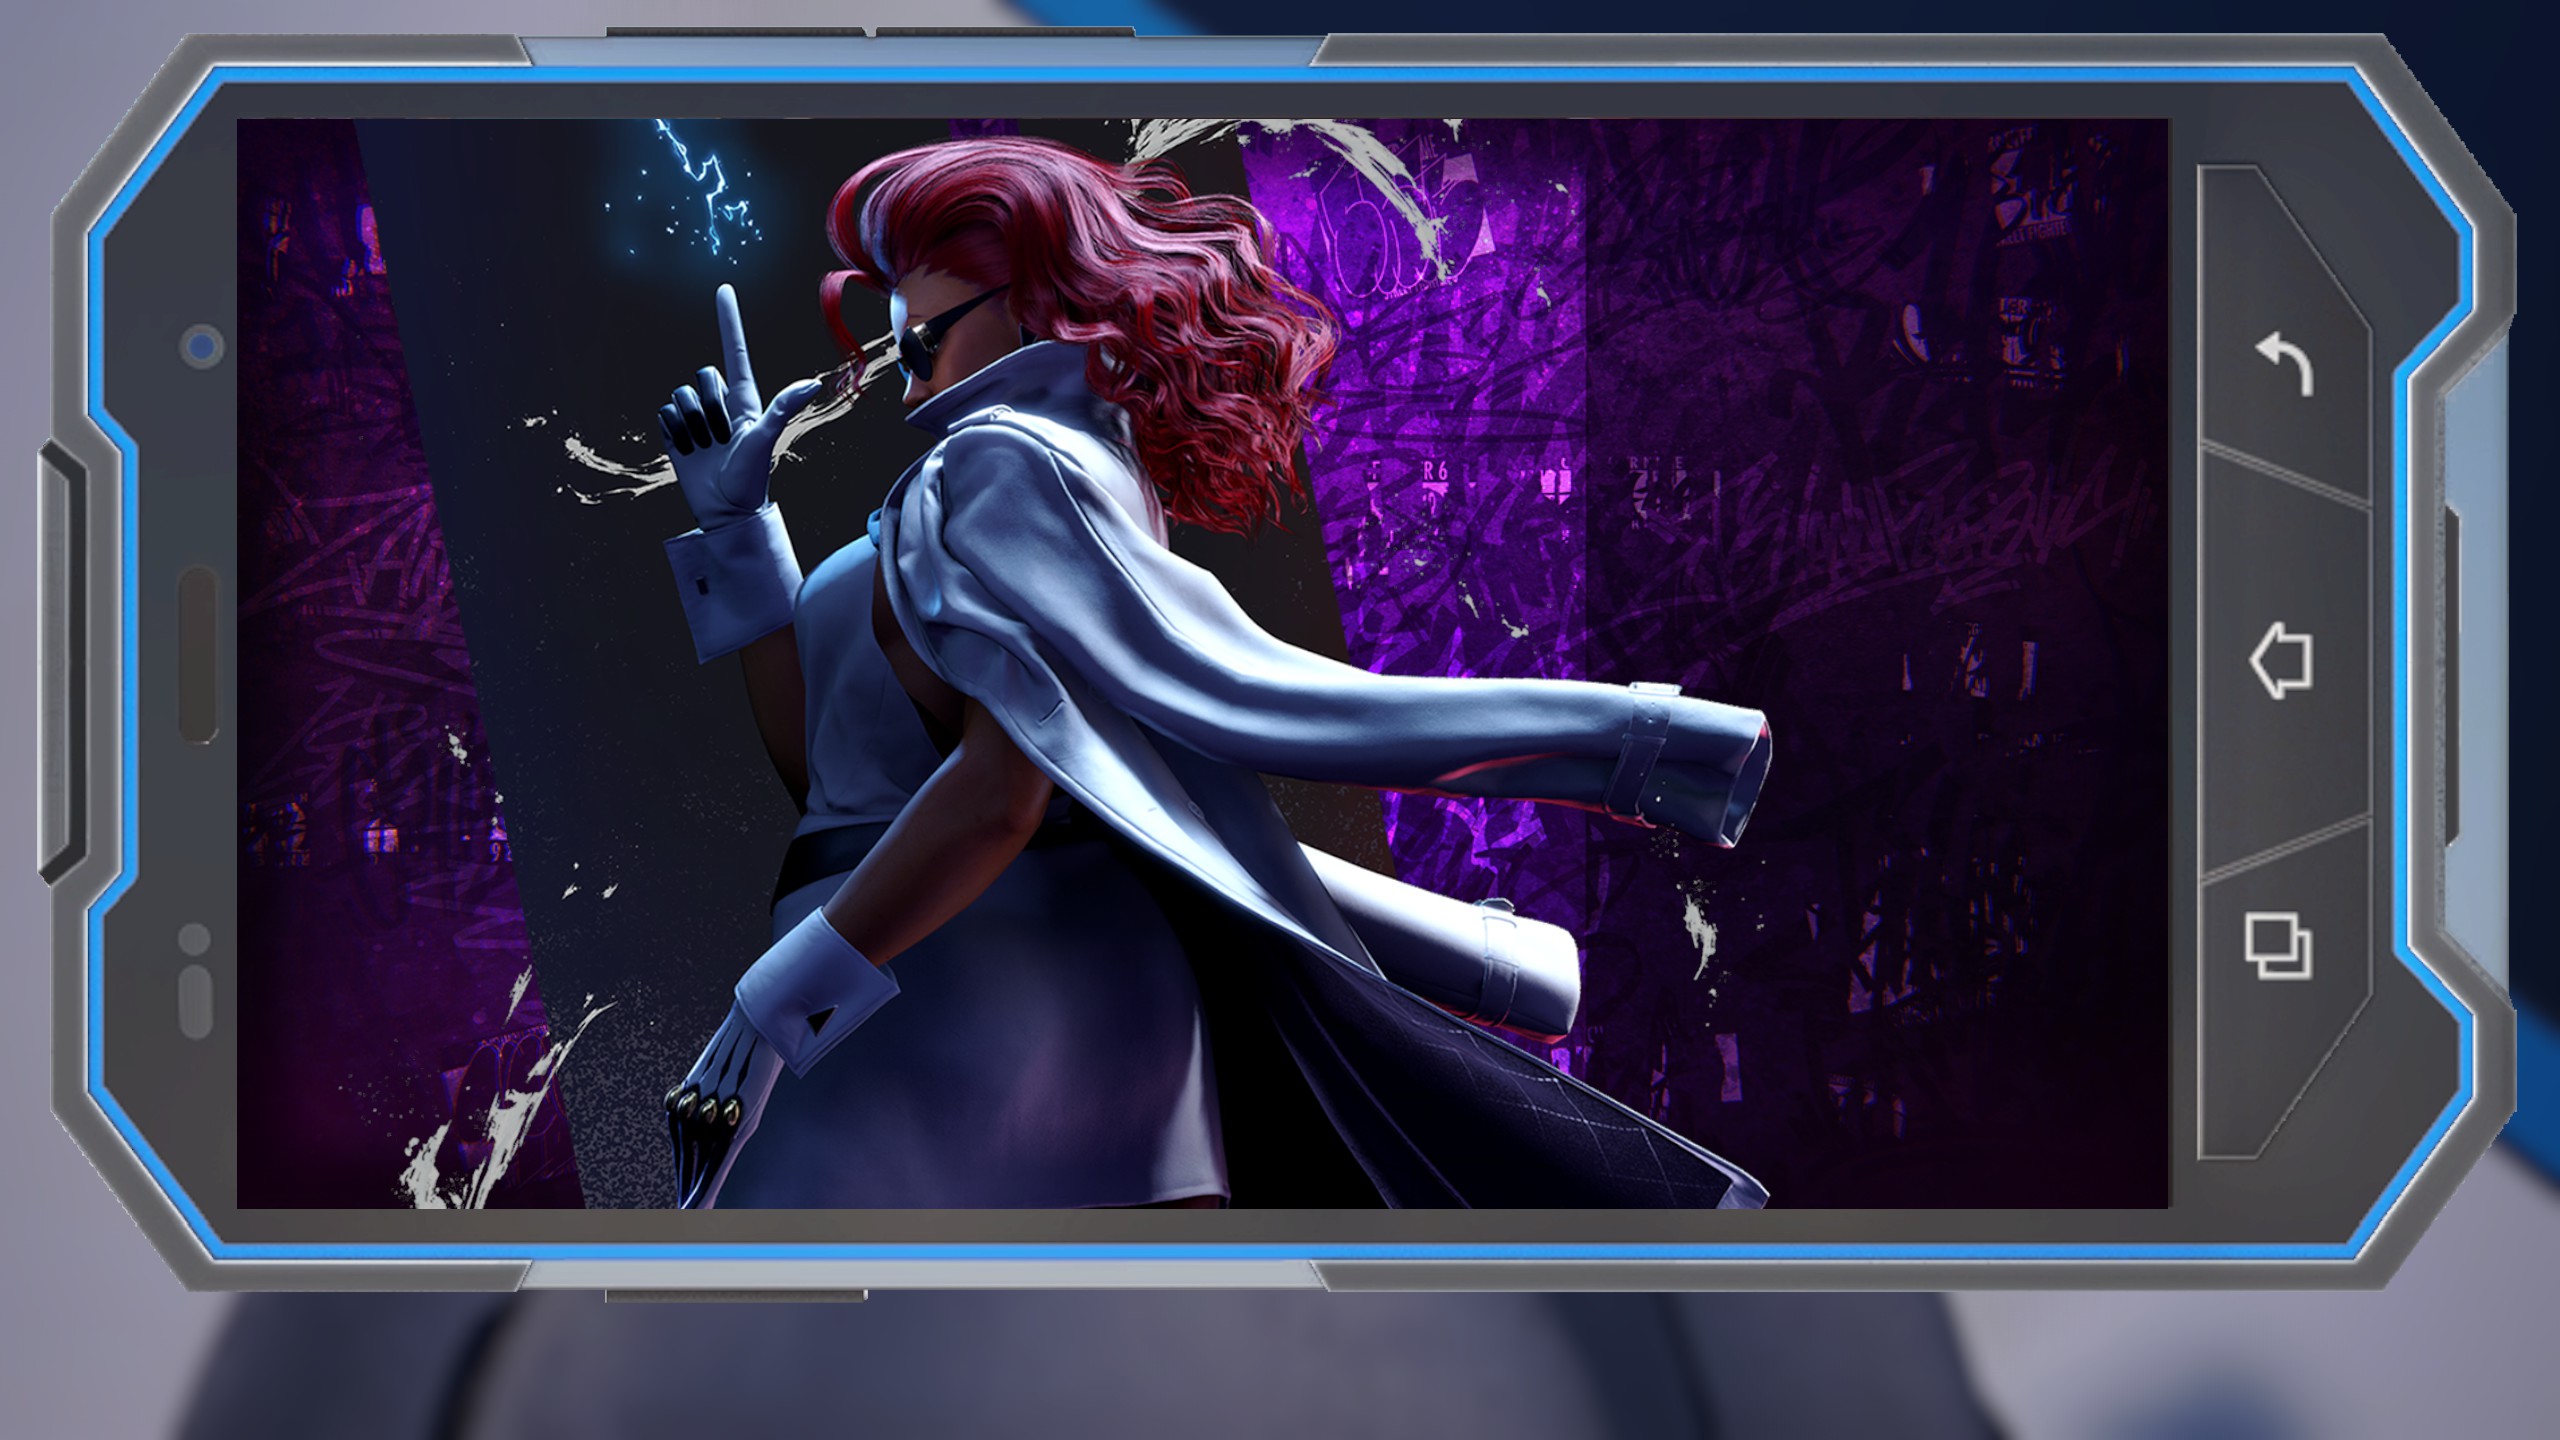
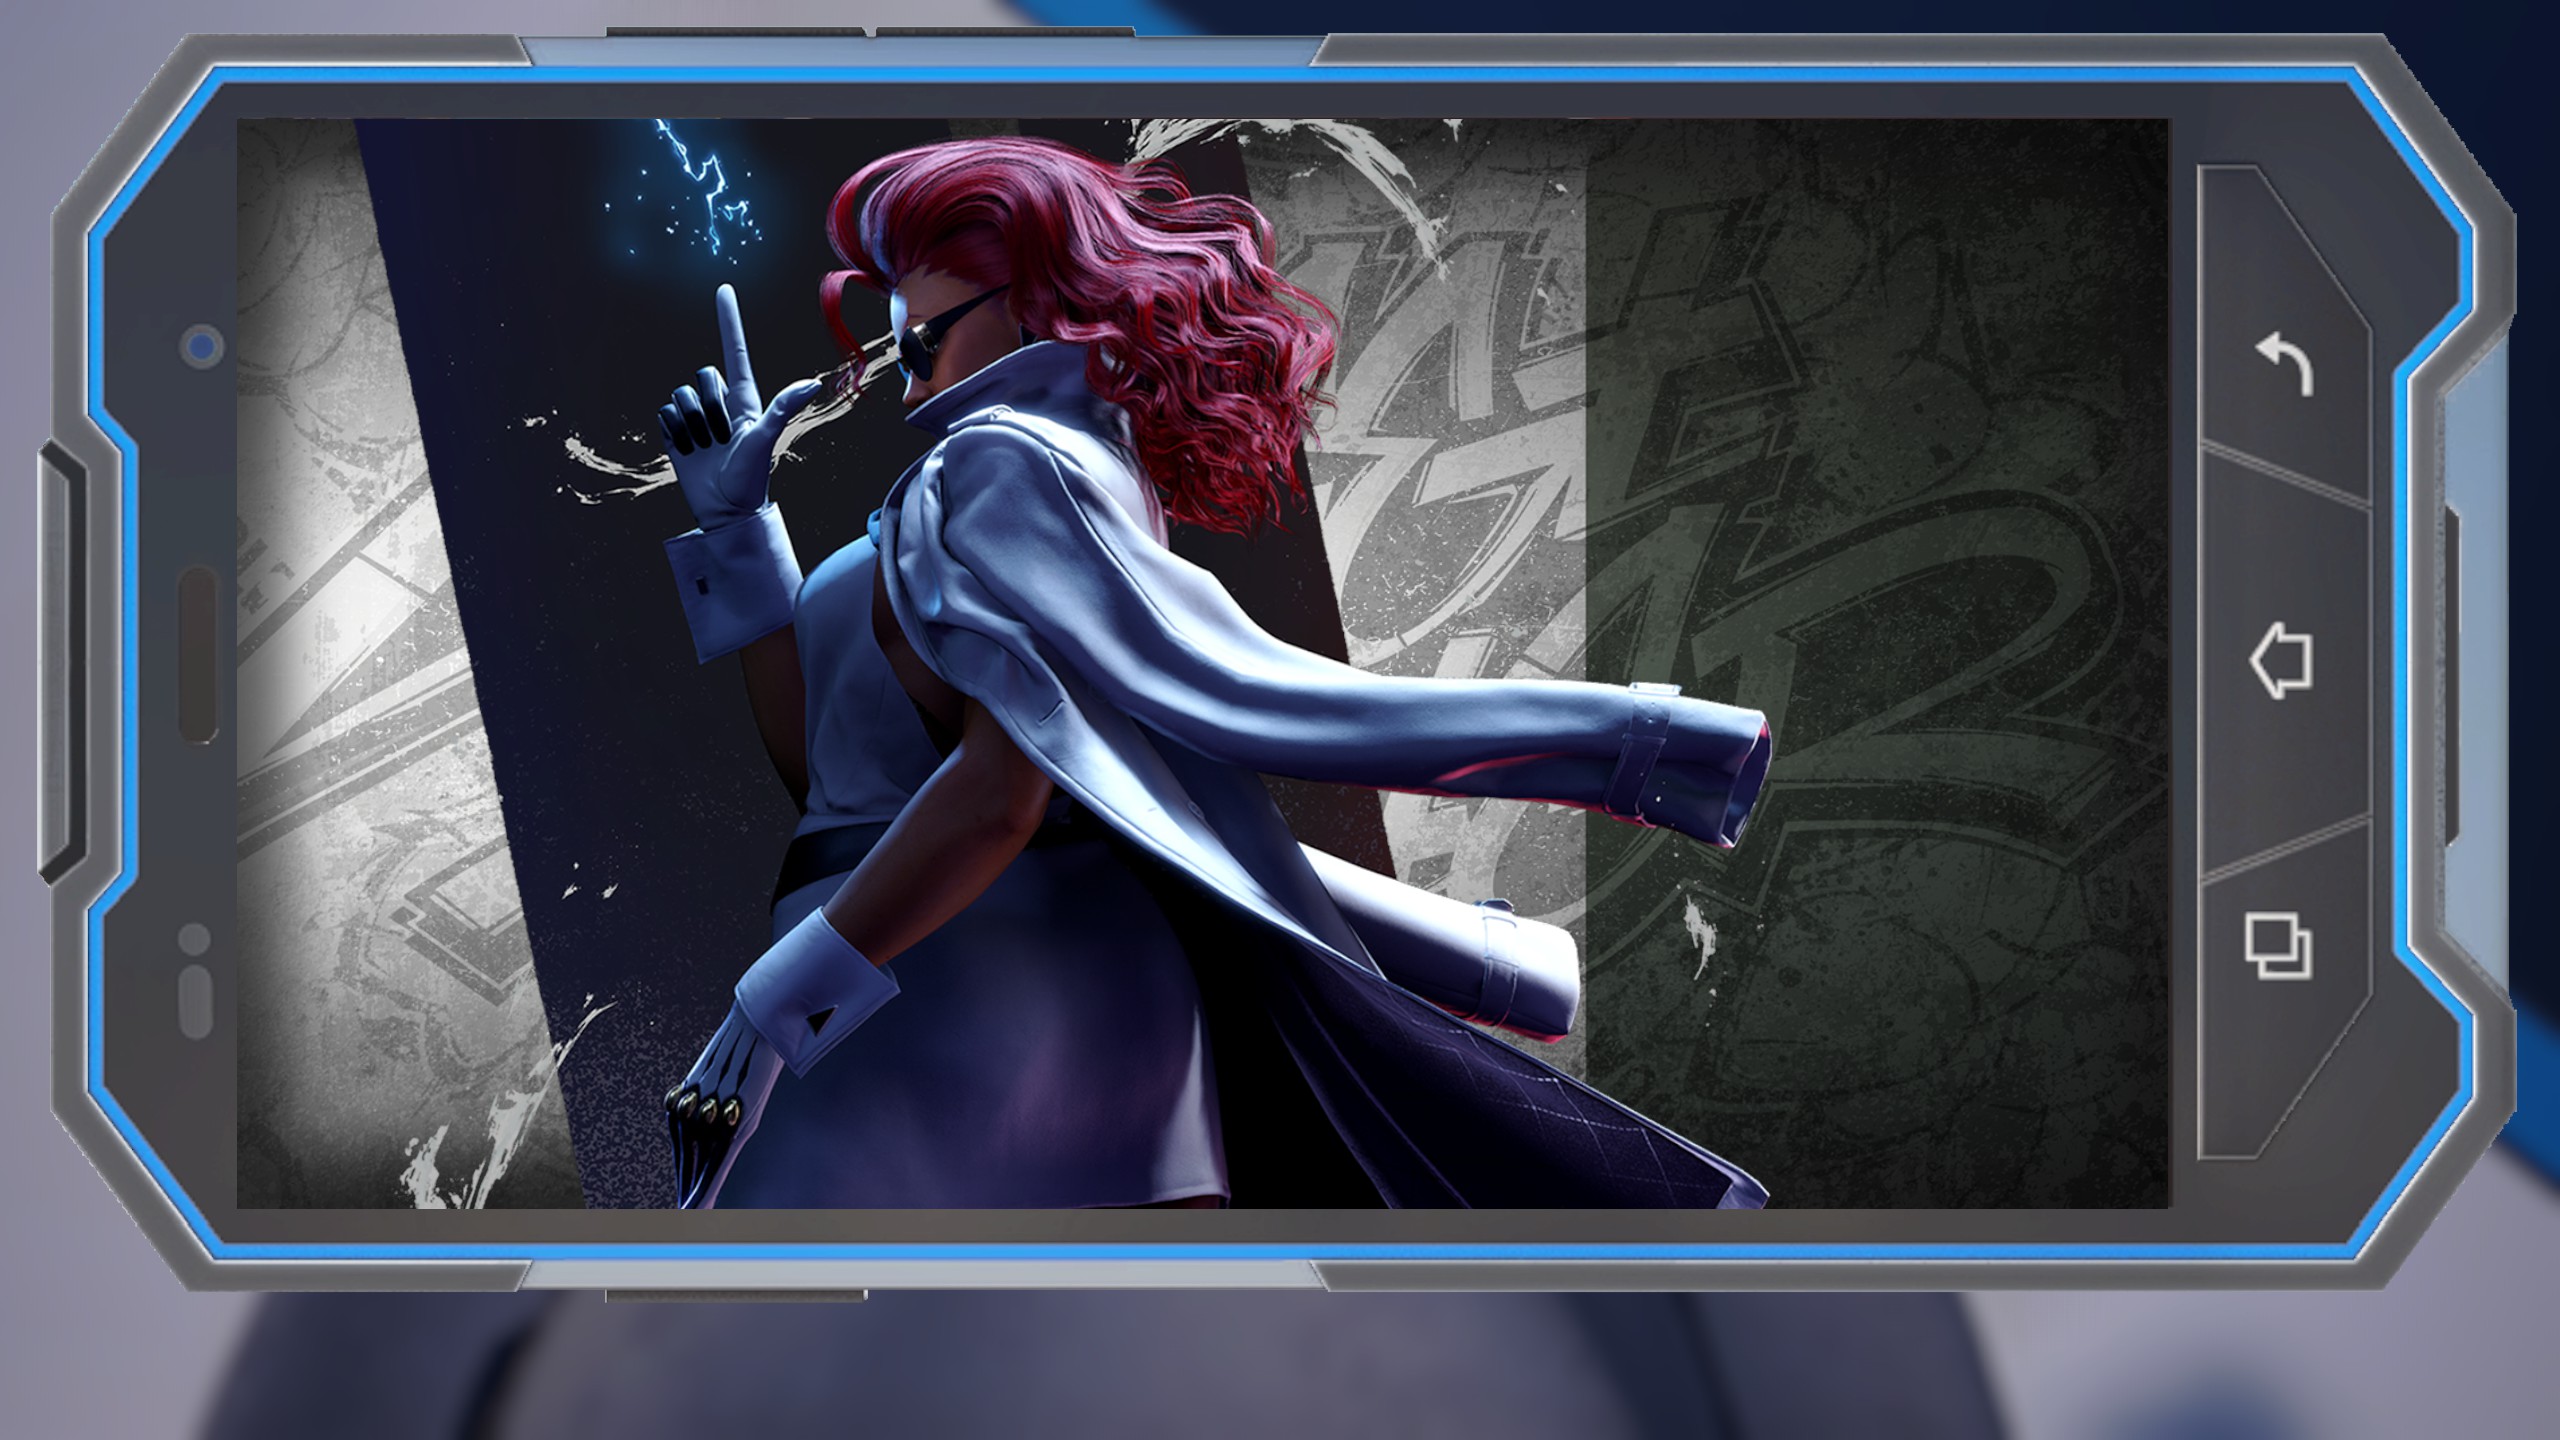
Crimson Viper - Special Artwork: Sakutamo (Clear Arcade Once with Crimson Viper)
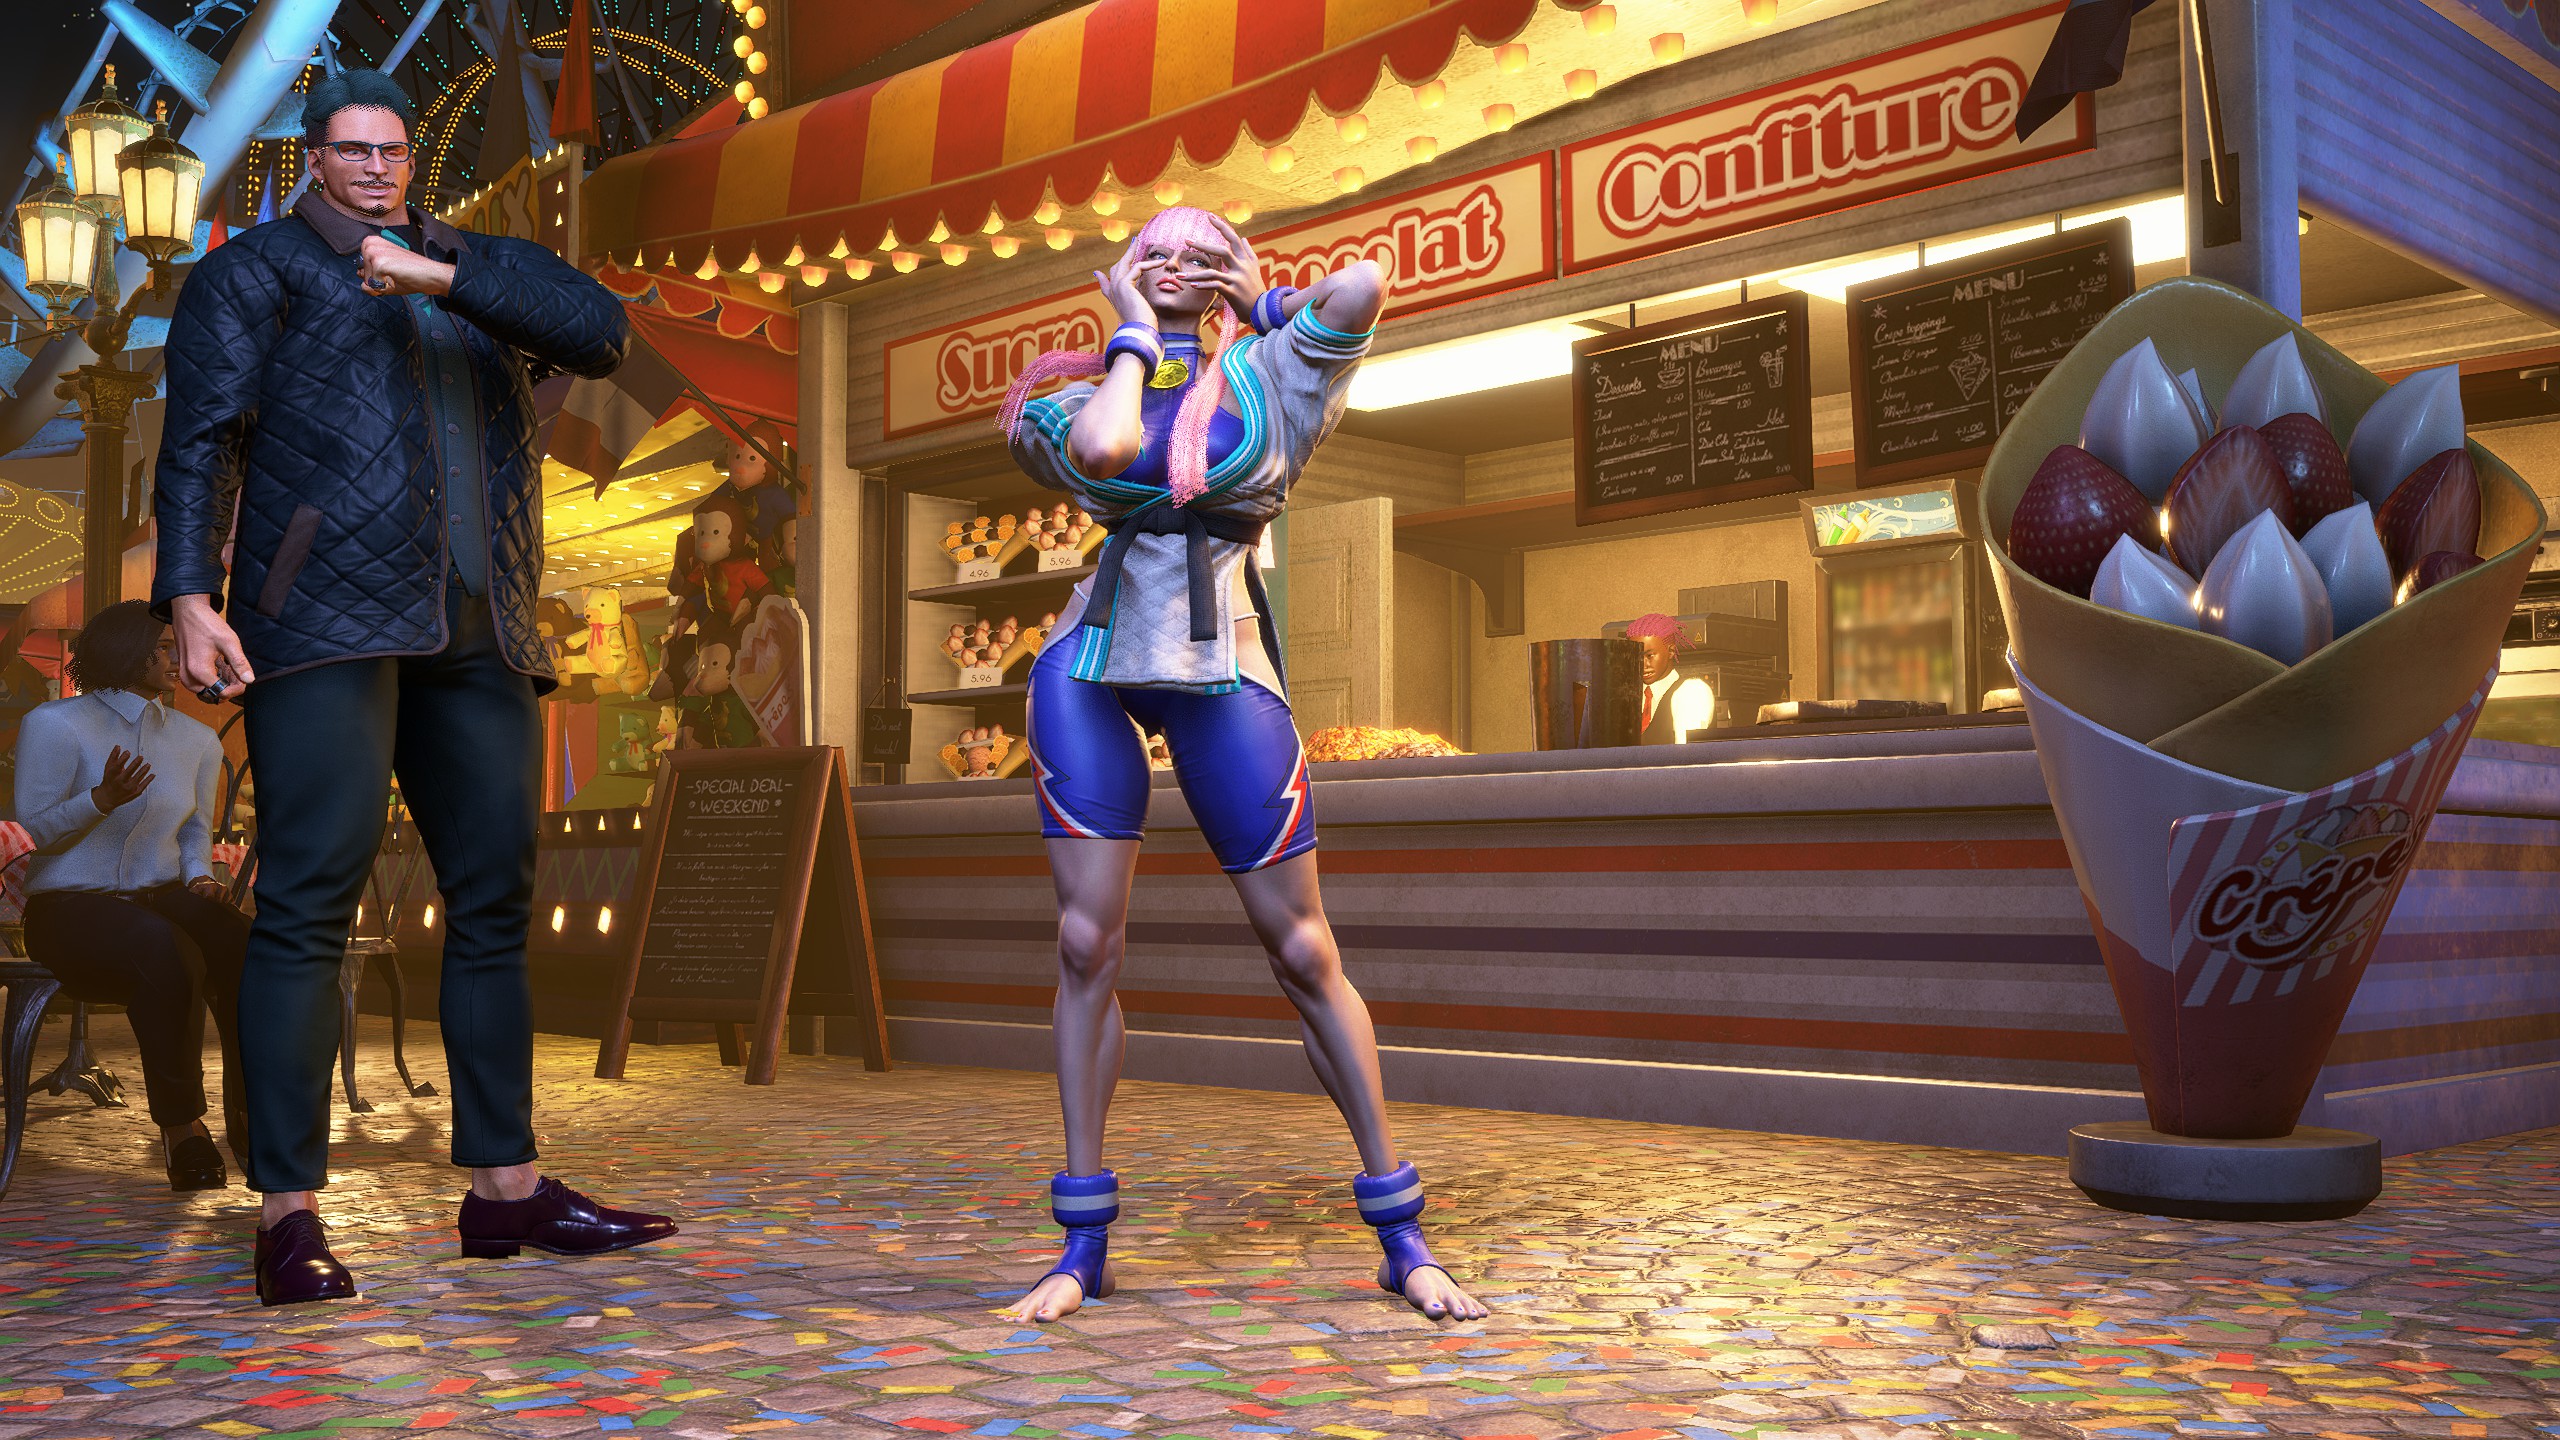
Crimson Viper - Character Design: C. Viper (Clear Arcade Twice with Crimson Viper)
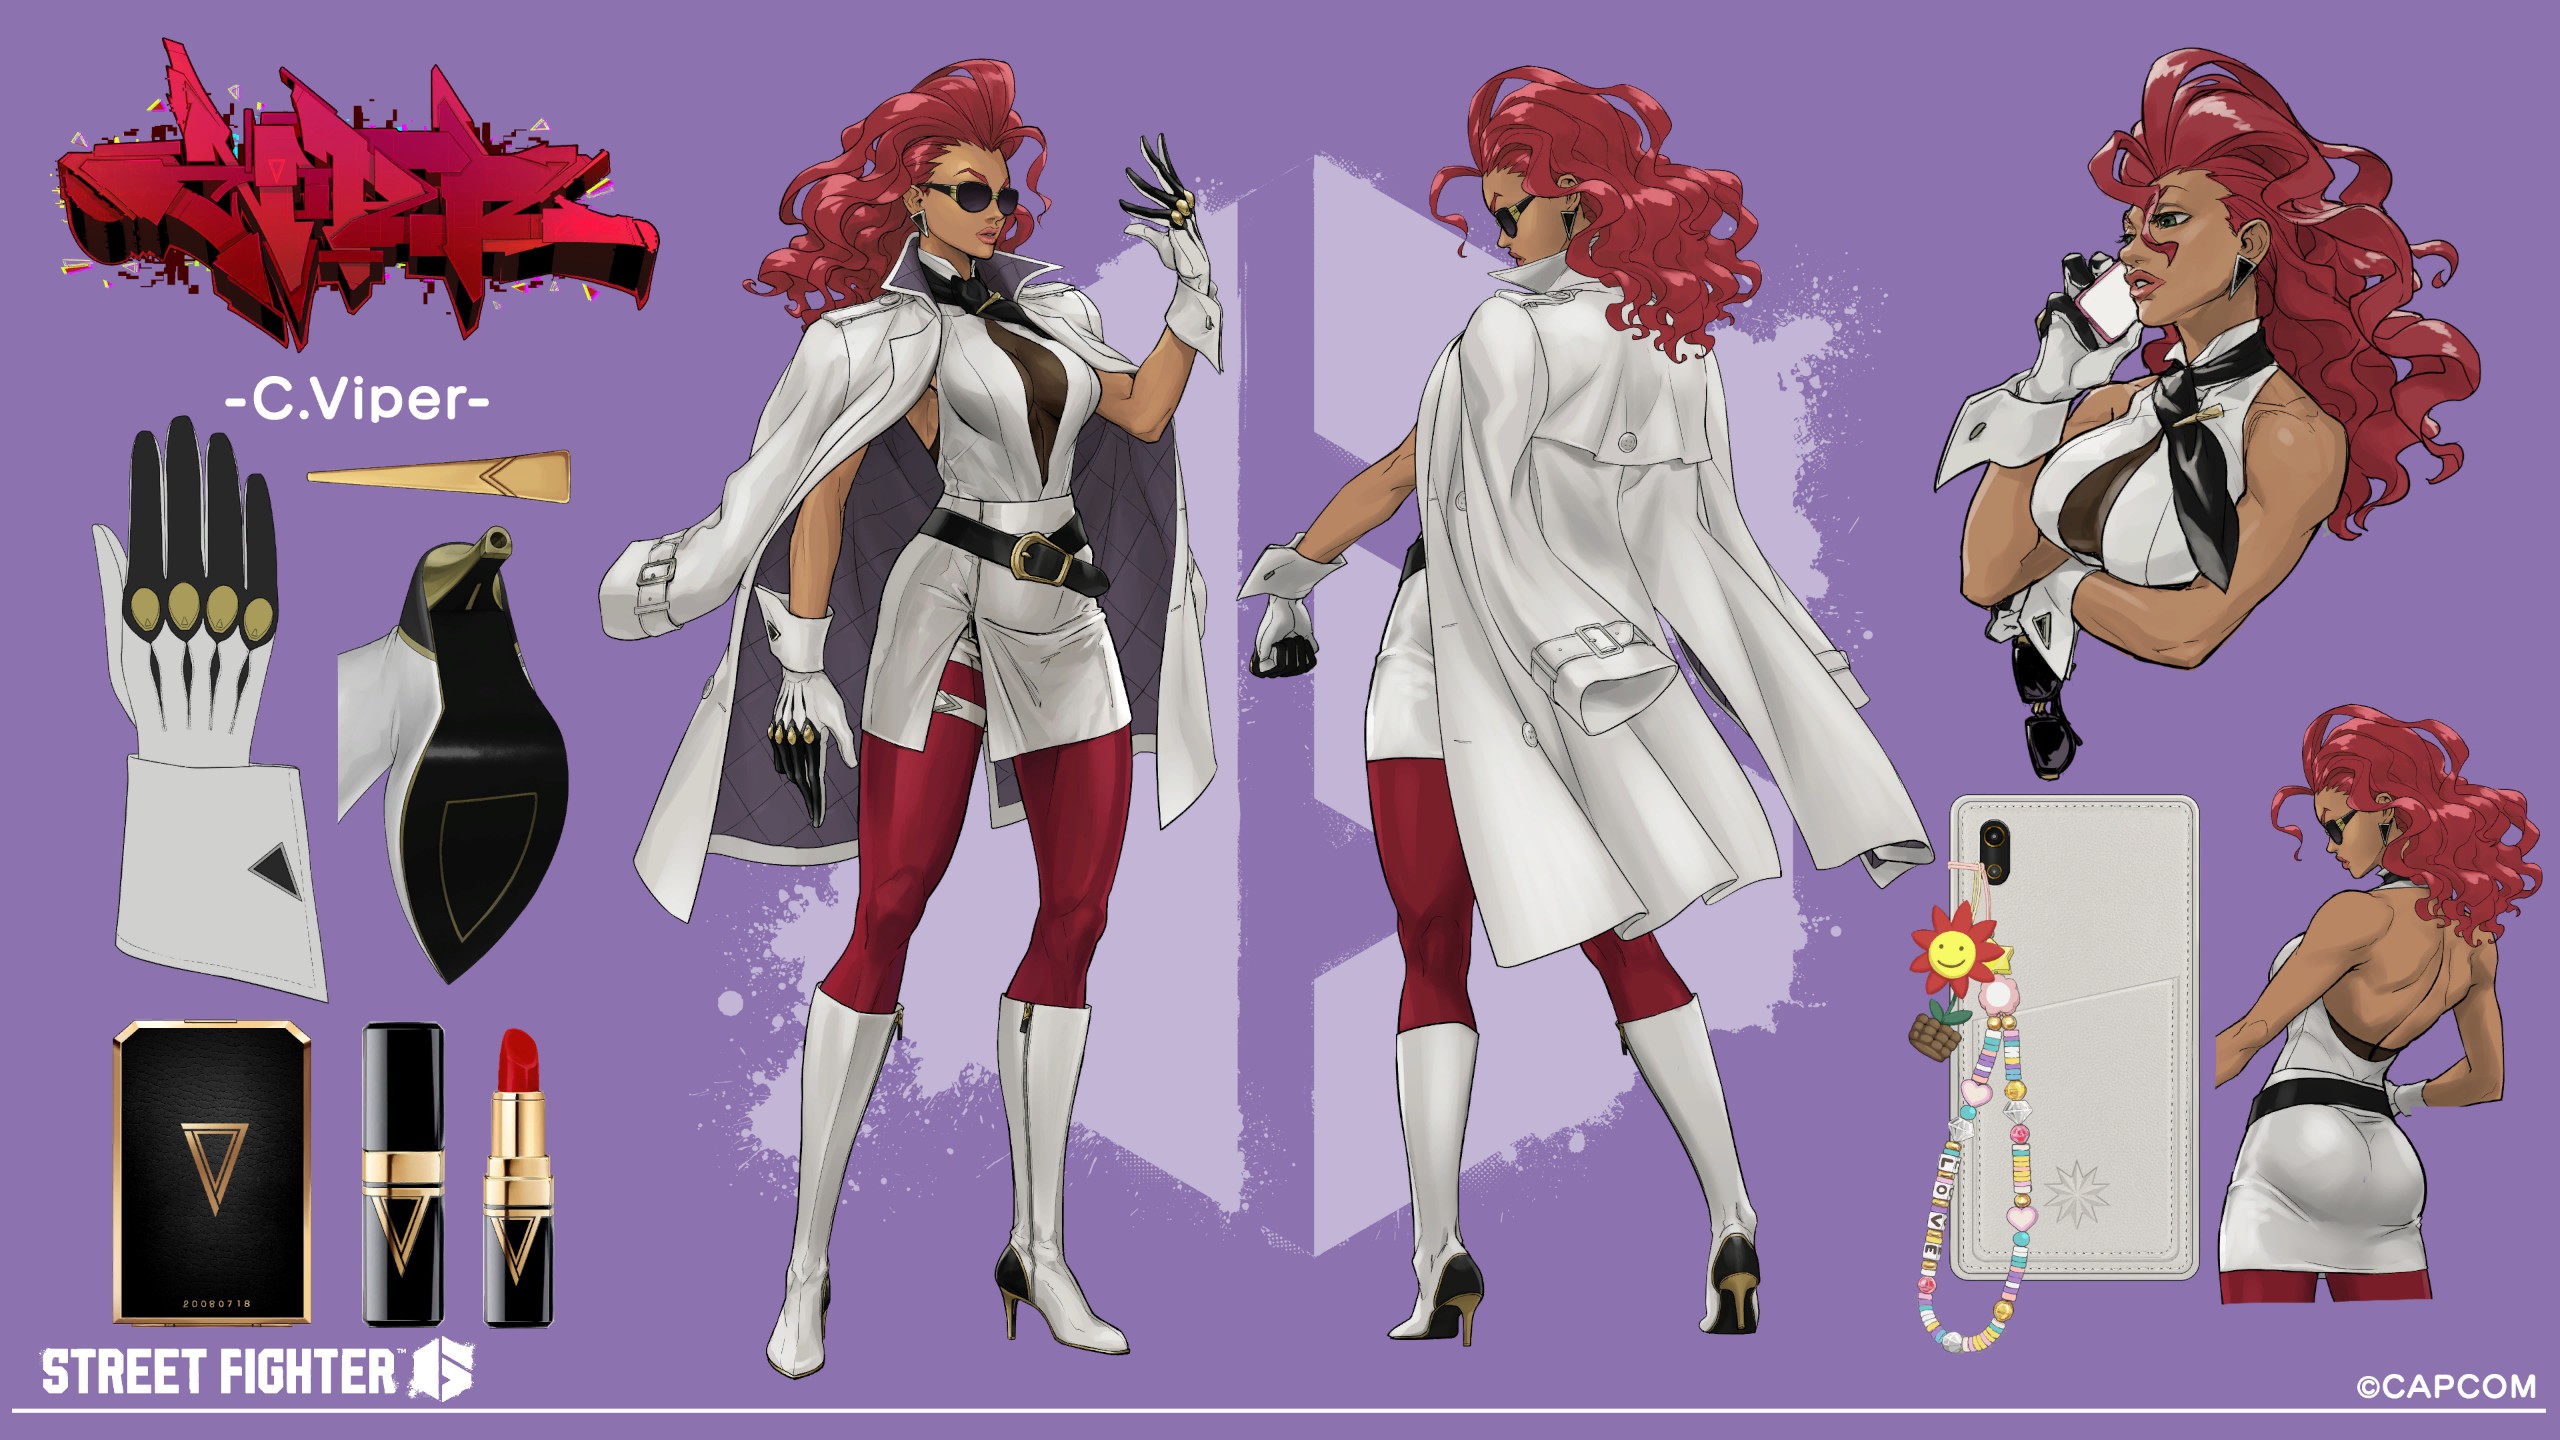
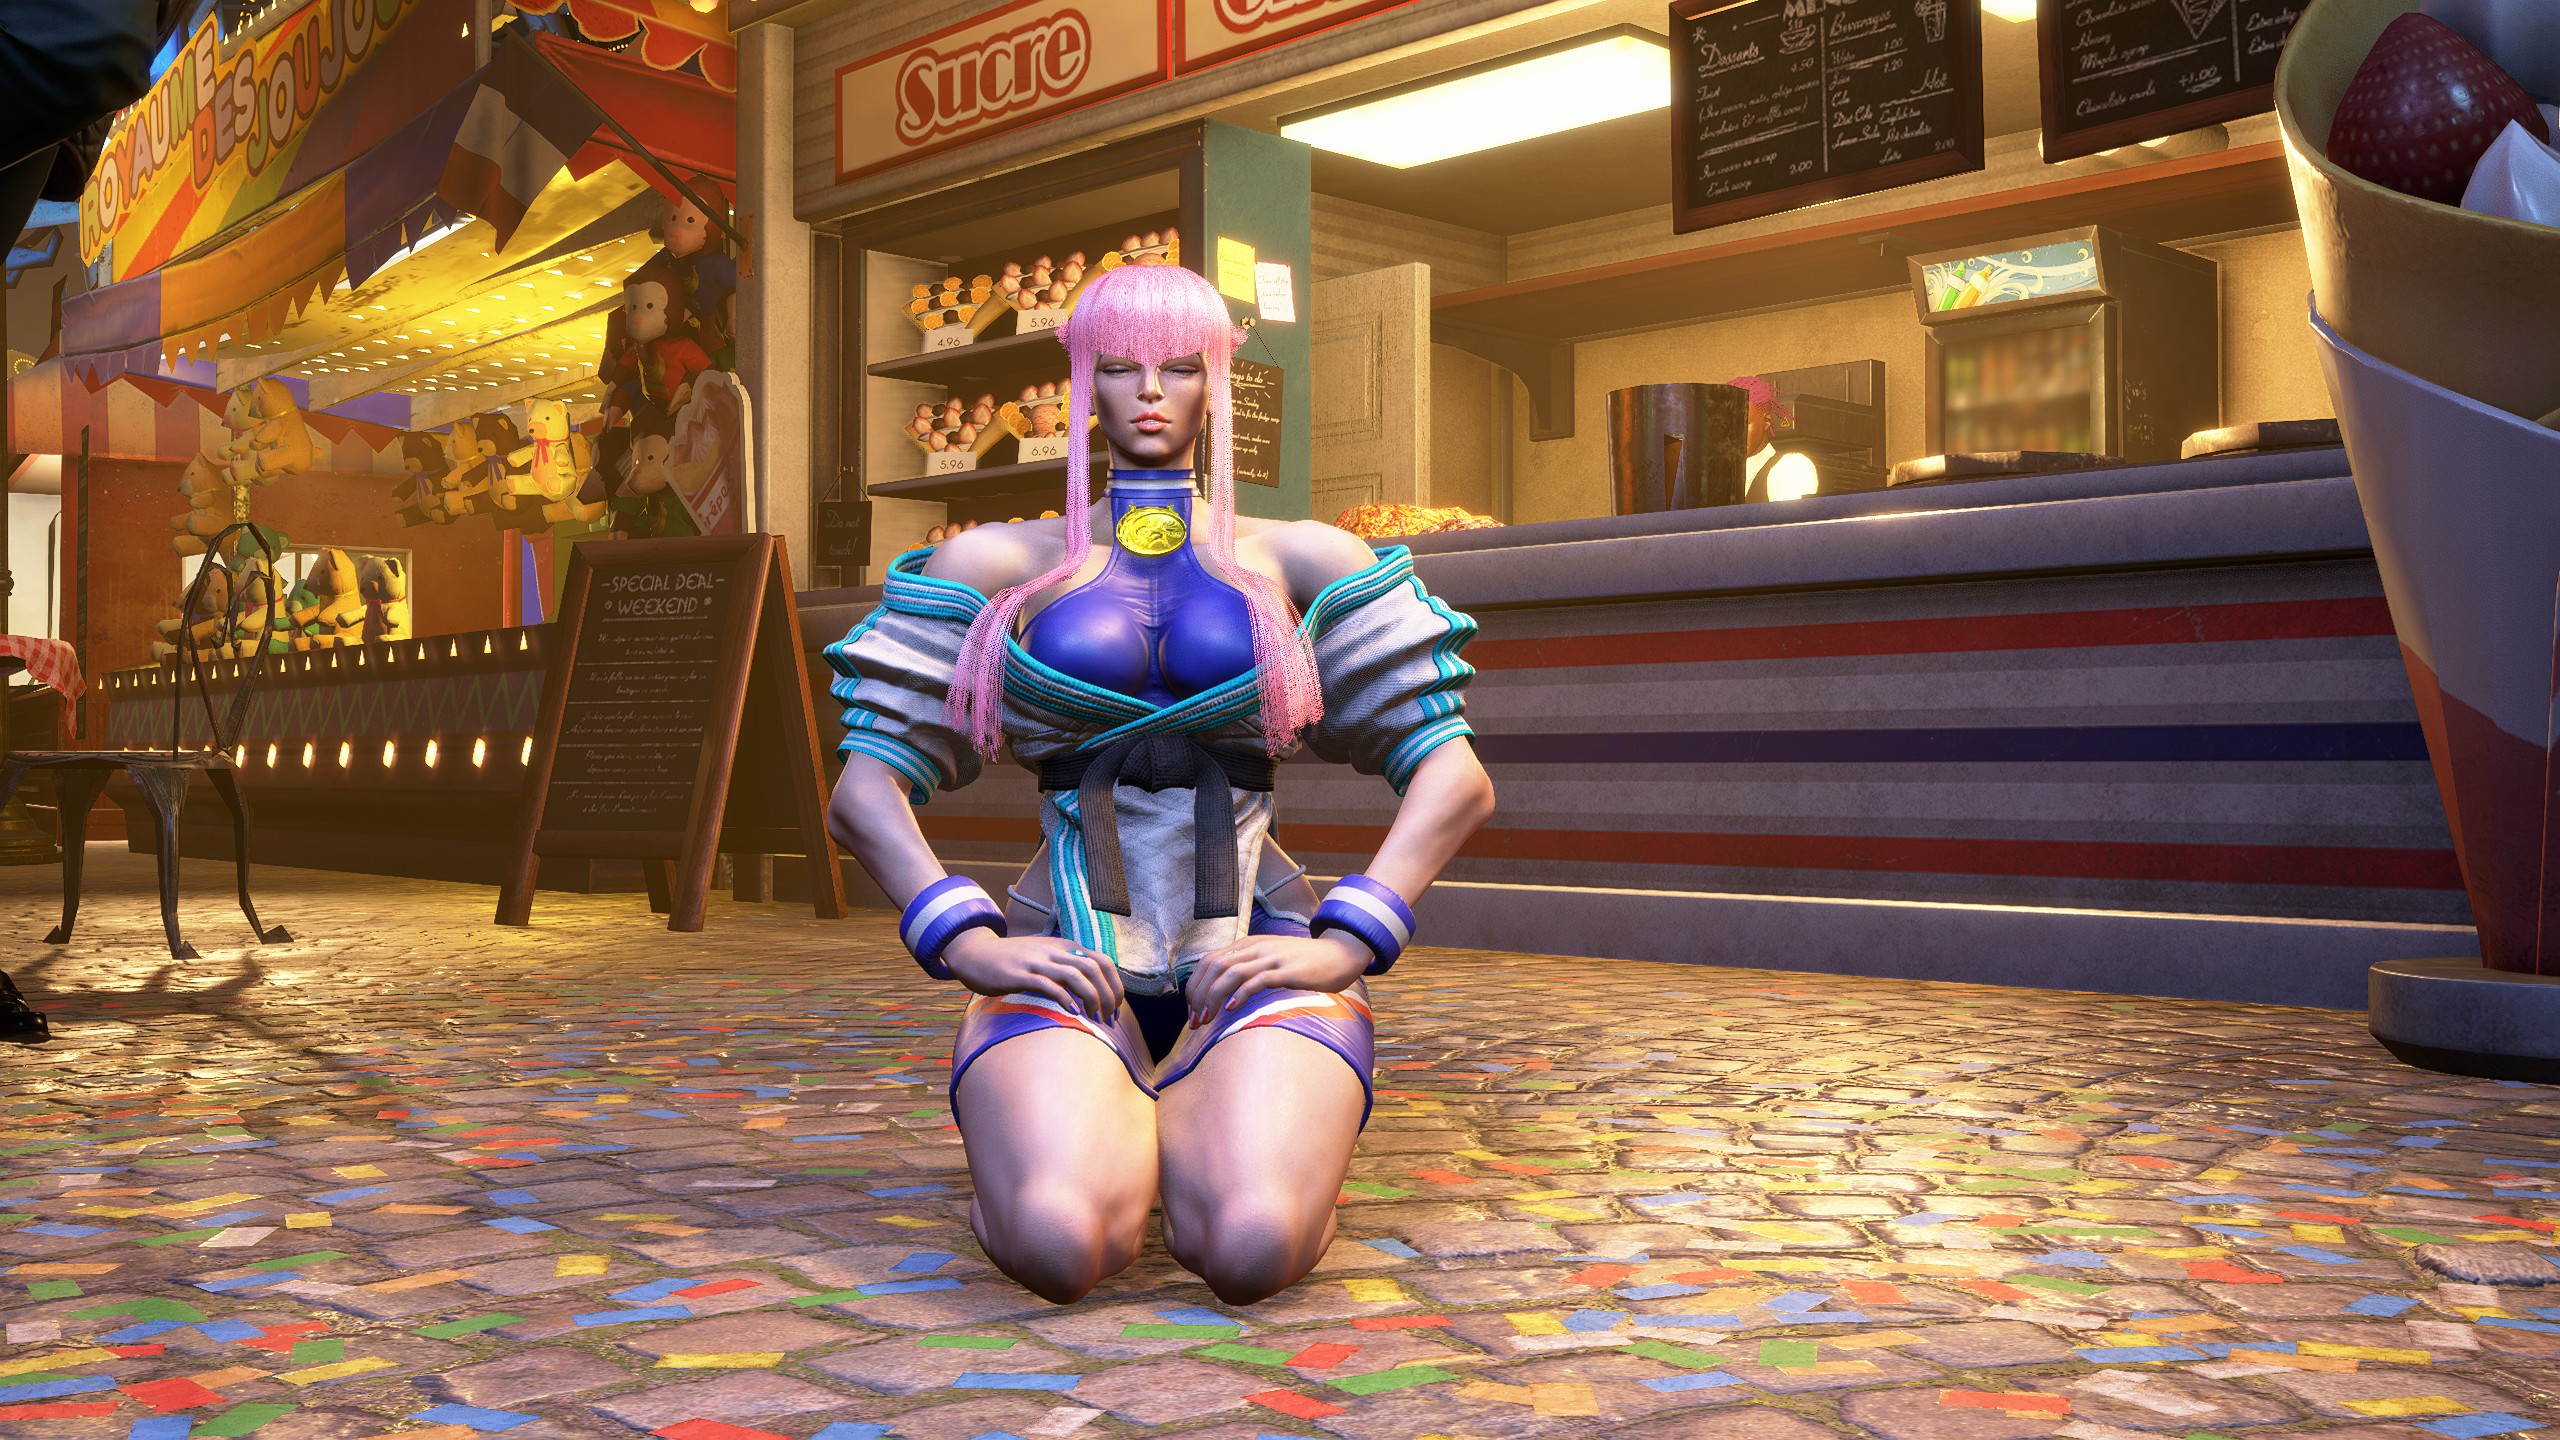
Crimson Viper - Unused Design: C. Viper (Clear Arcade Three Times with Crimson Viper)
Fighting Ground - Trophies (Part 1)
Like the character artwork, these "trophies" are unlocked by playing arcade mode in Fighting Ground; however, instead of "play arcade X times with character Y," you will need to complete specific criteria--such as drive parrying attacks, getting perfect KOs, playing arcade mode cumulatively for a certain amount of time, etc.--in order to obtain these pictures.
In this guide, these unlocks will follow the formula "perform action X times," with X being the upper limit for that specific unlock criteria (for example, "throw 30 times"). I have excluded all the lower values (e.g. "throw 20 times", "throw 10 times" etc.) since you will inevitably reach them as you work toward the maximum value.
Without further ado, here are the Fighting Ground trophies:
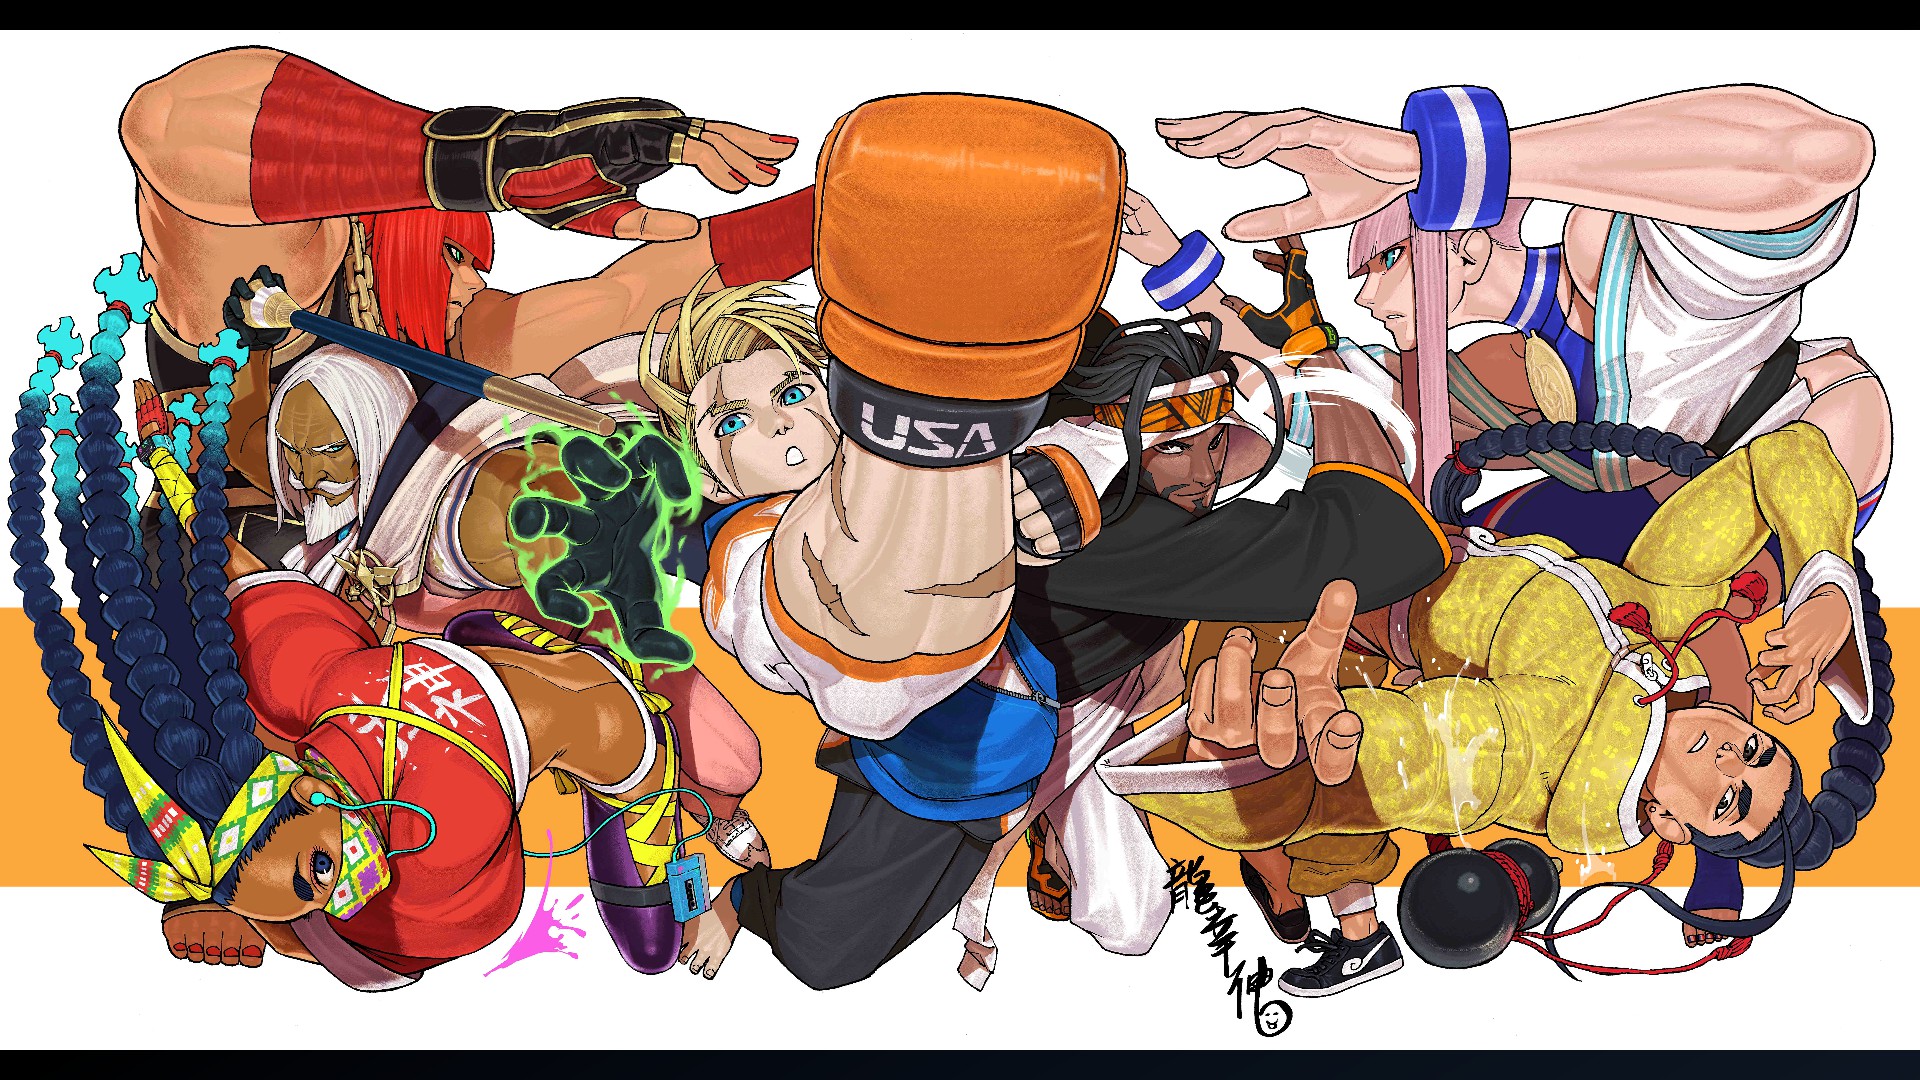
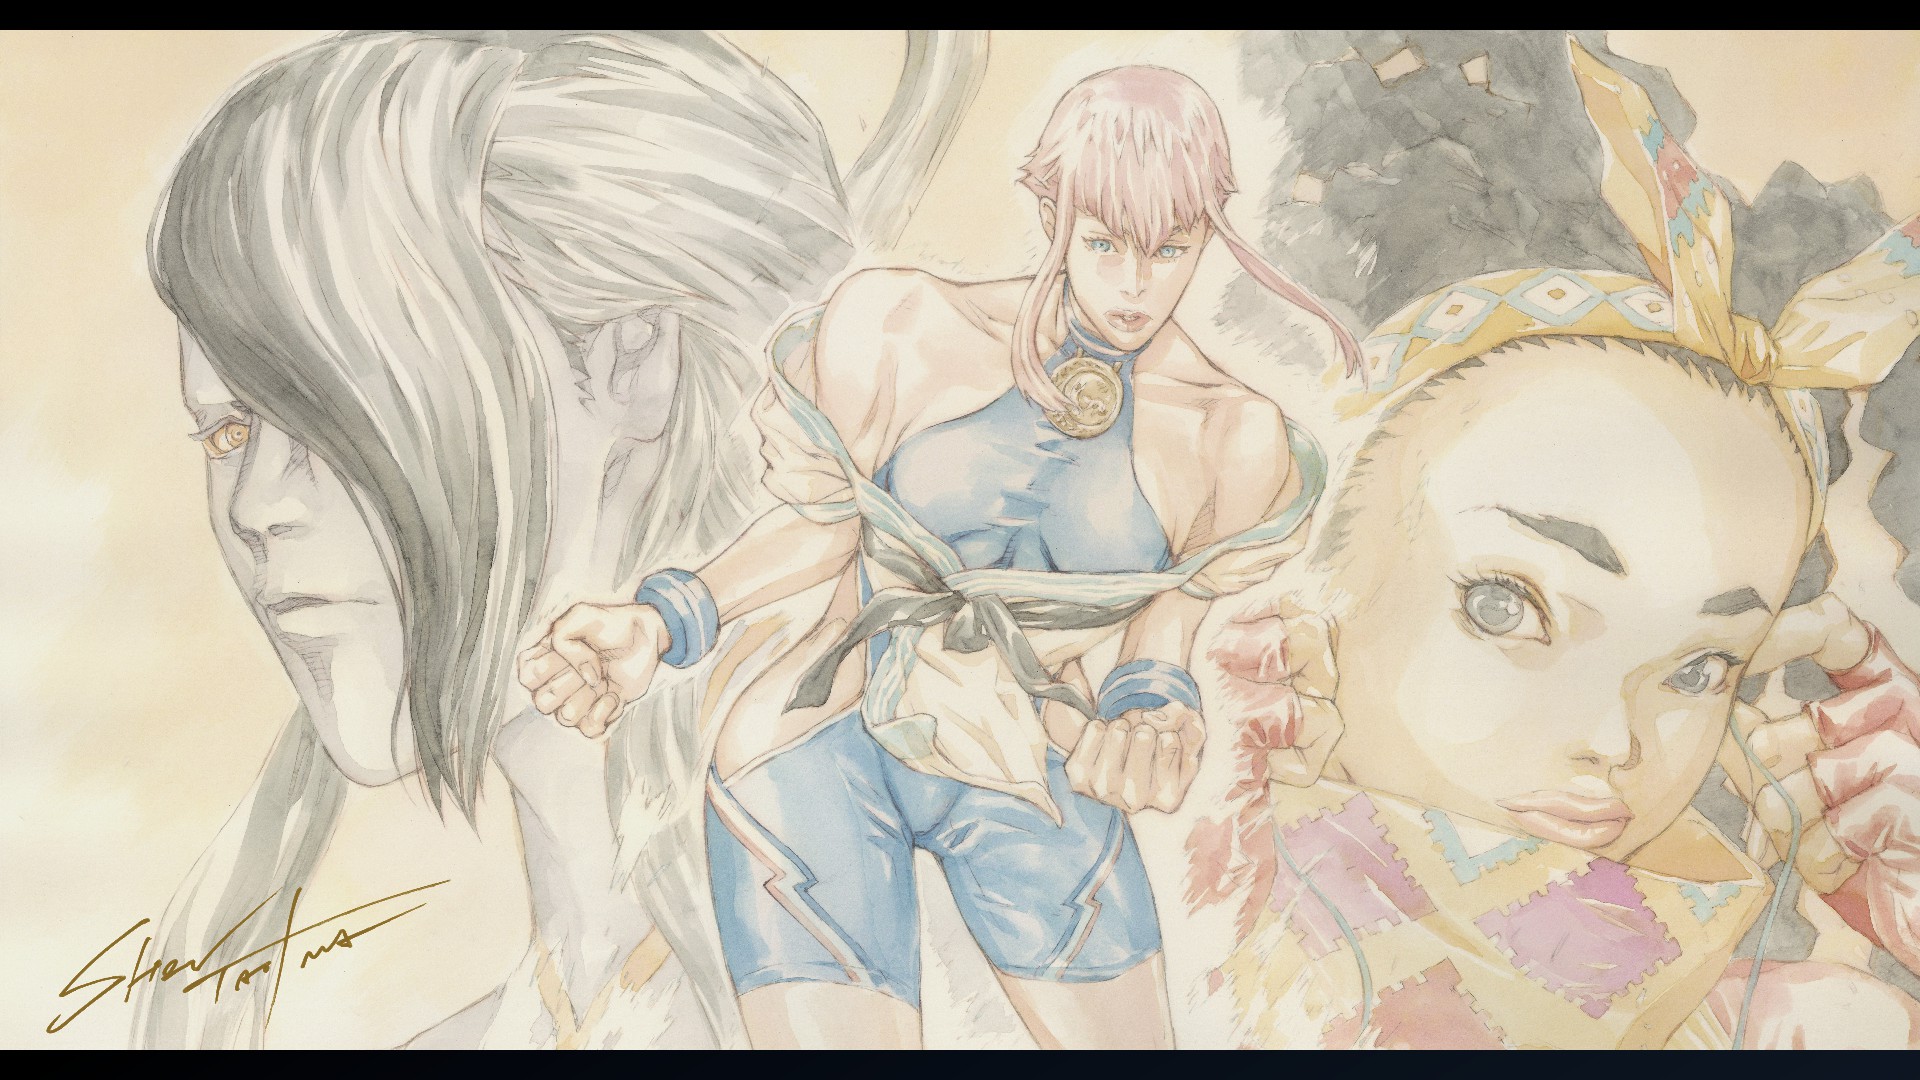
Special Artwork: SHO-U TAJIMA
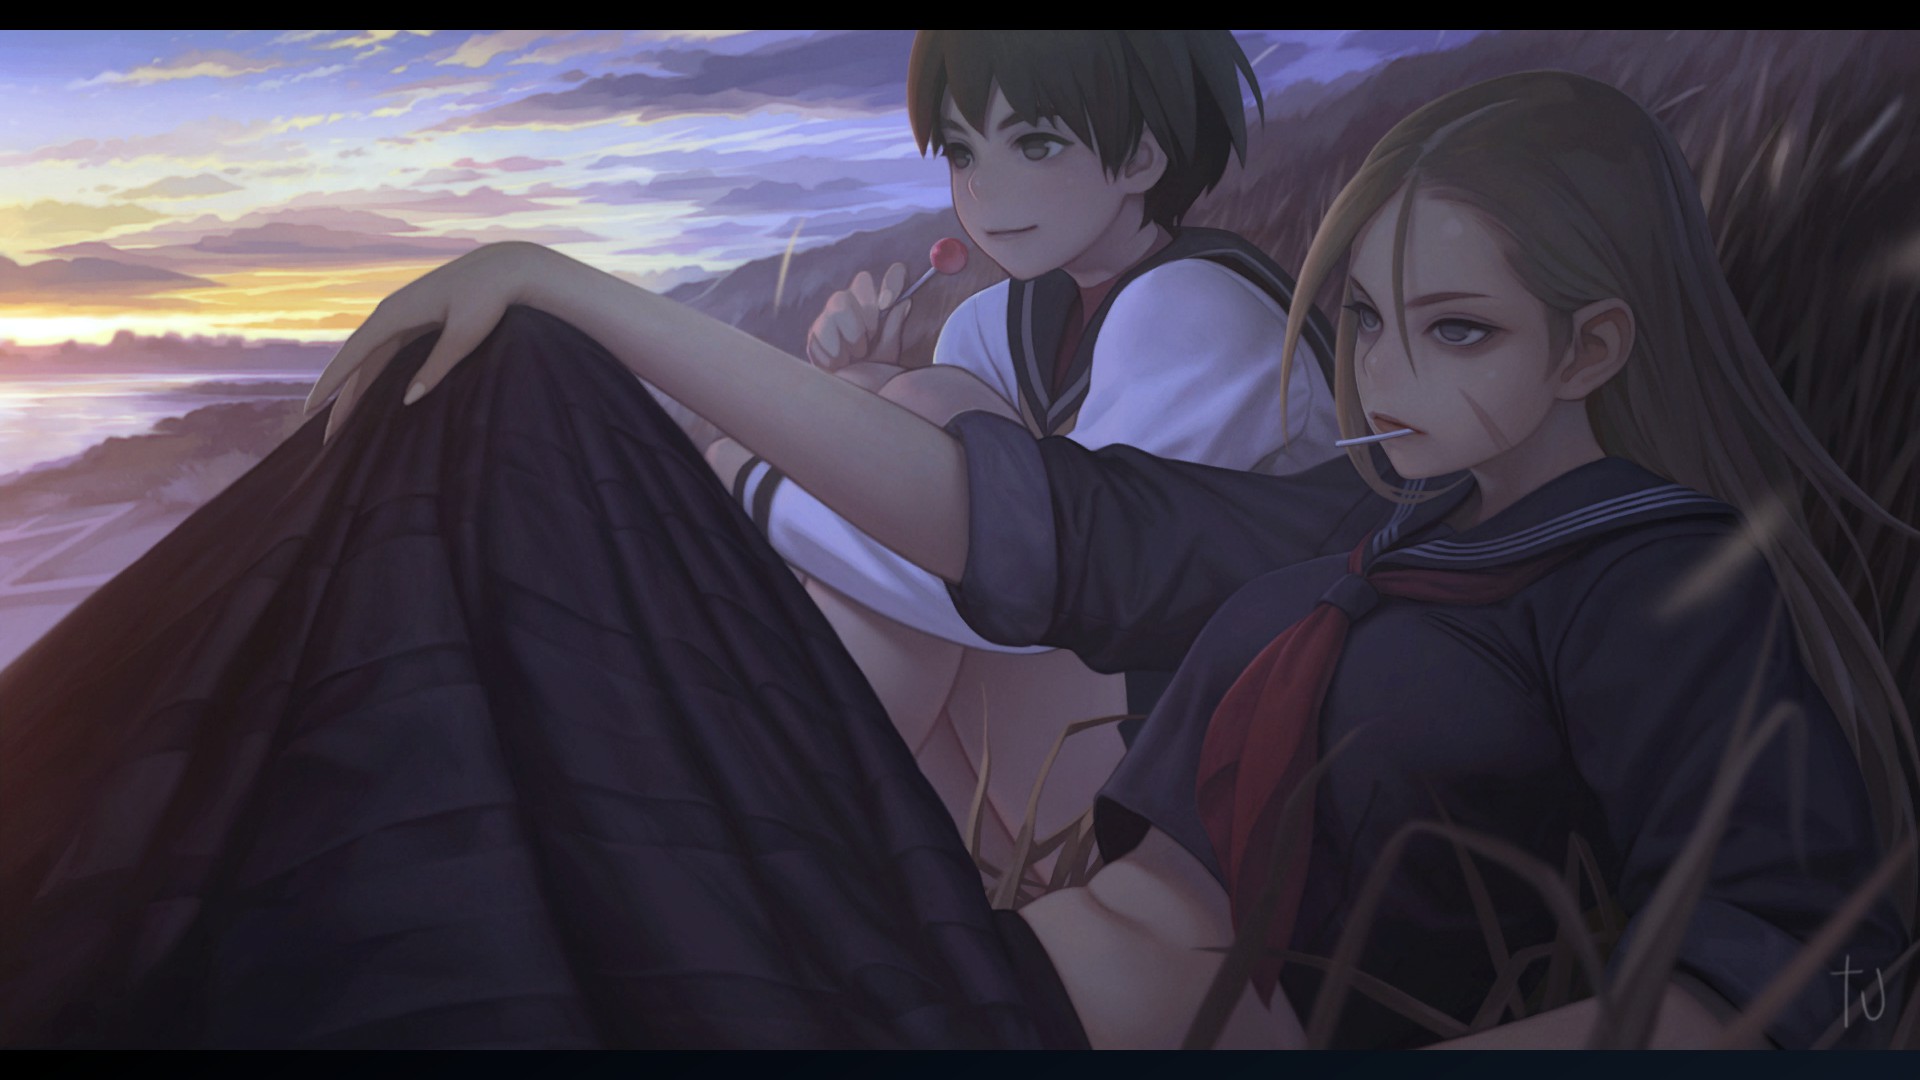
Special Artwork: Jiro Tsuda
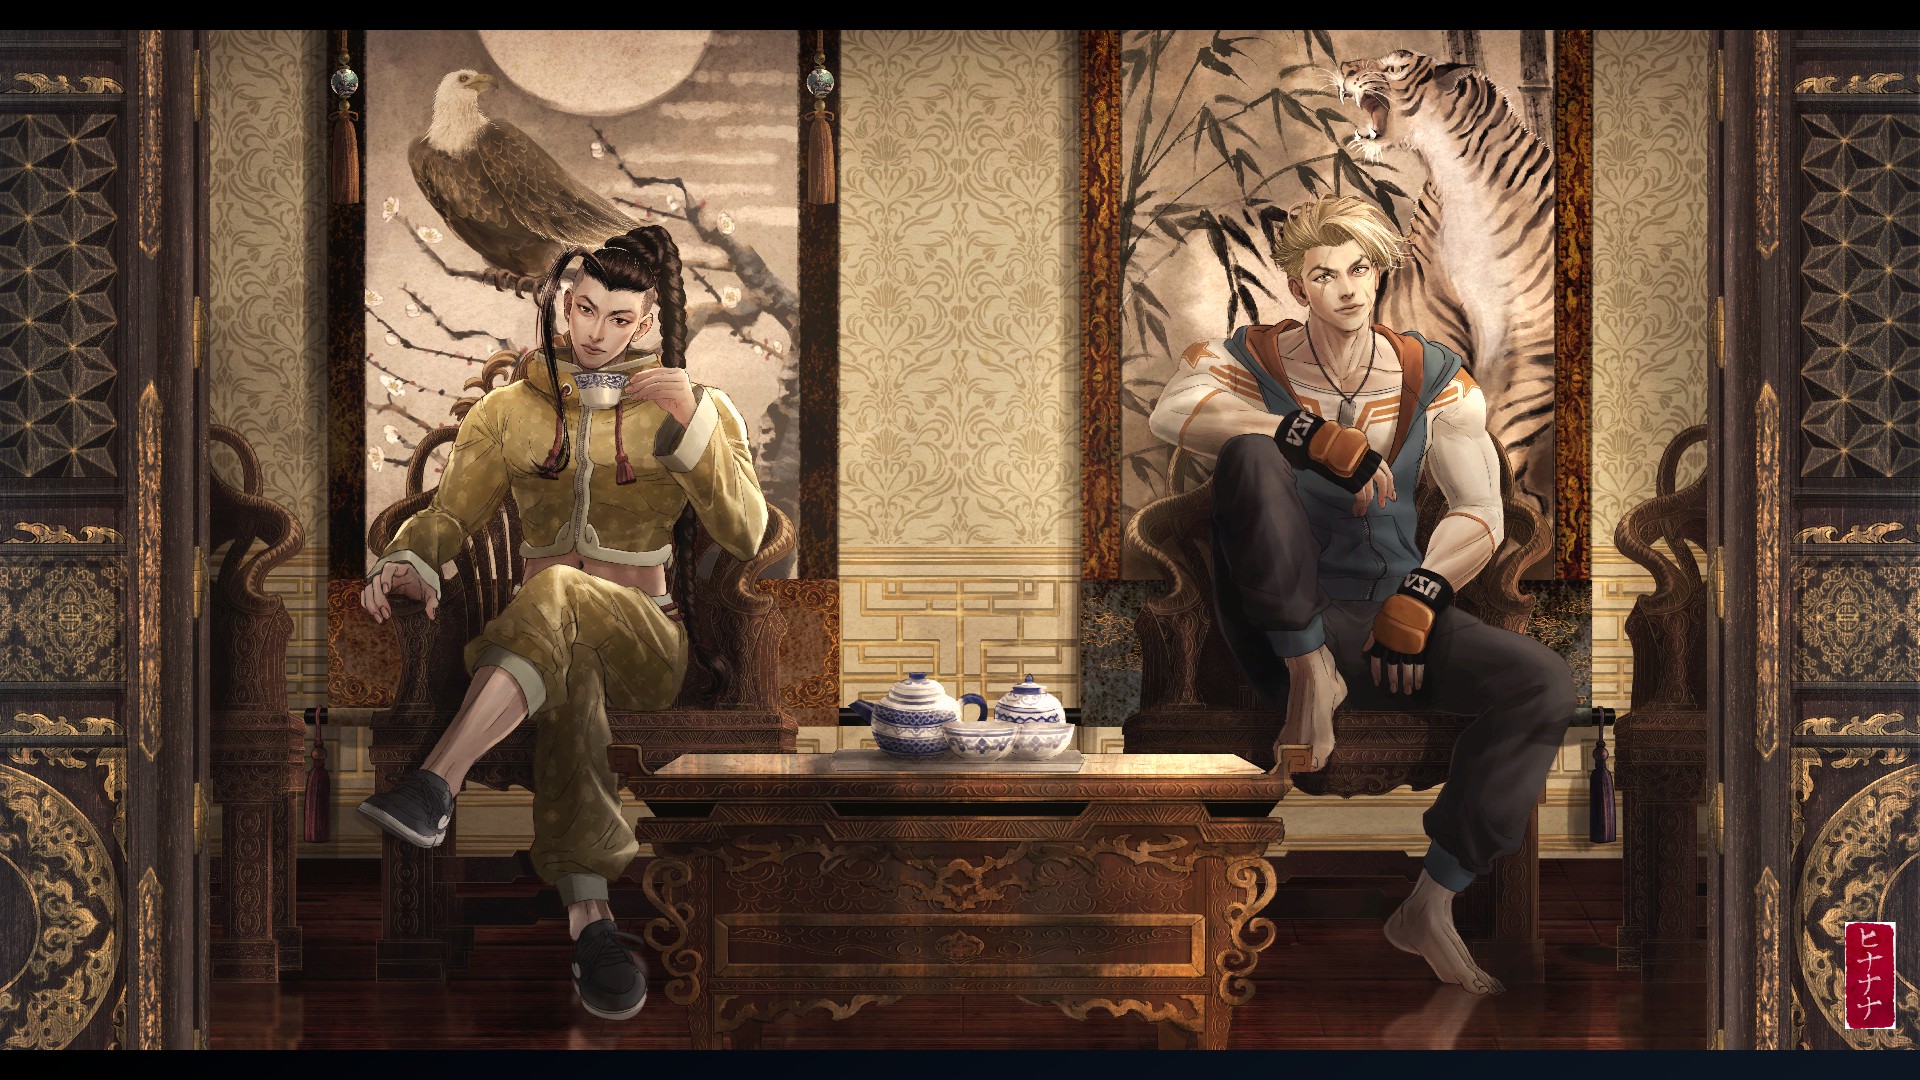
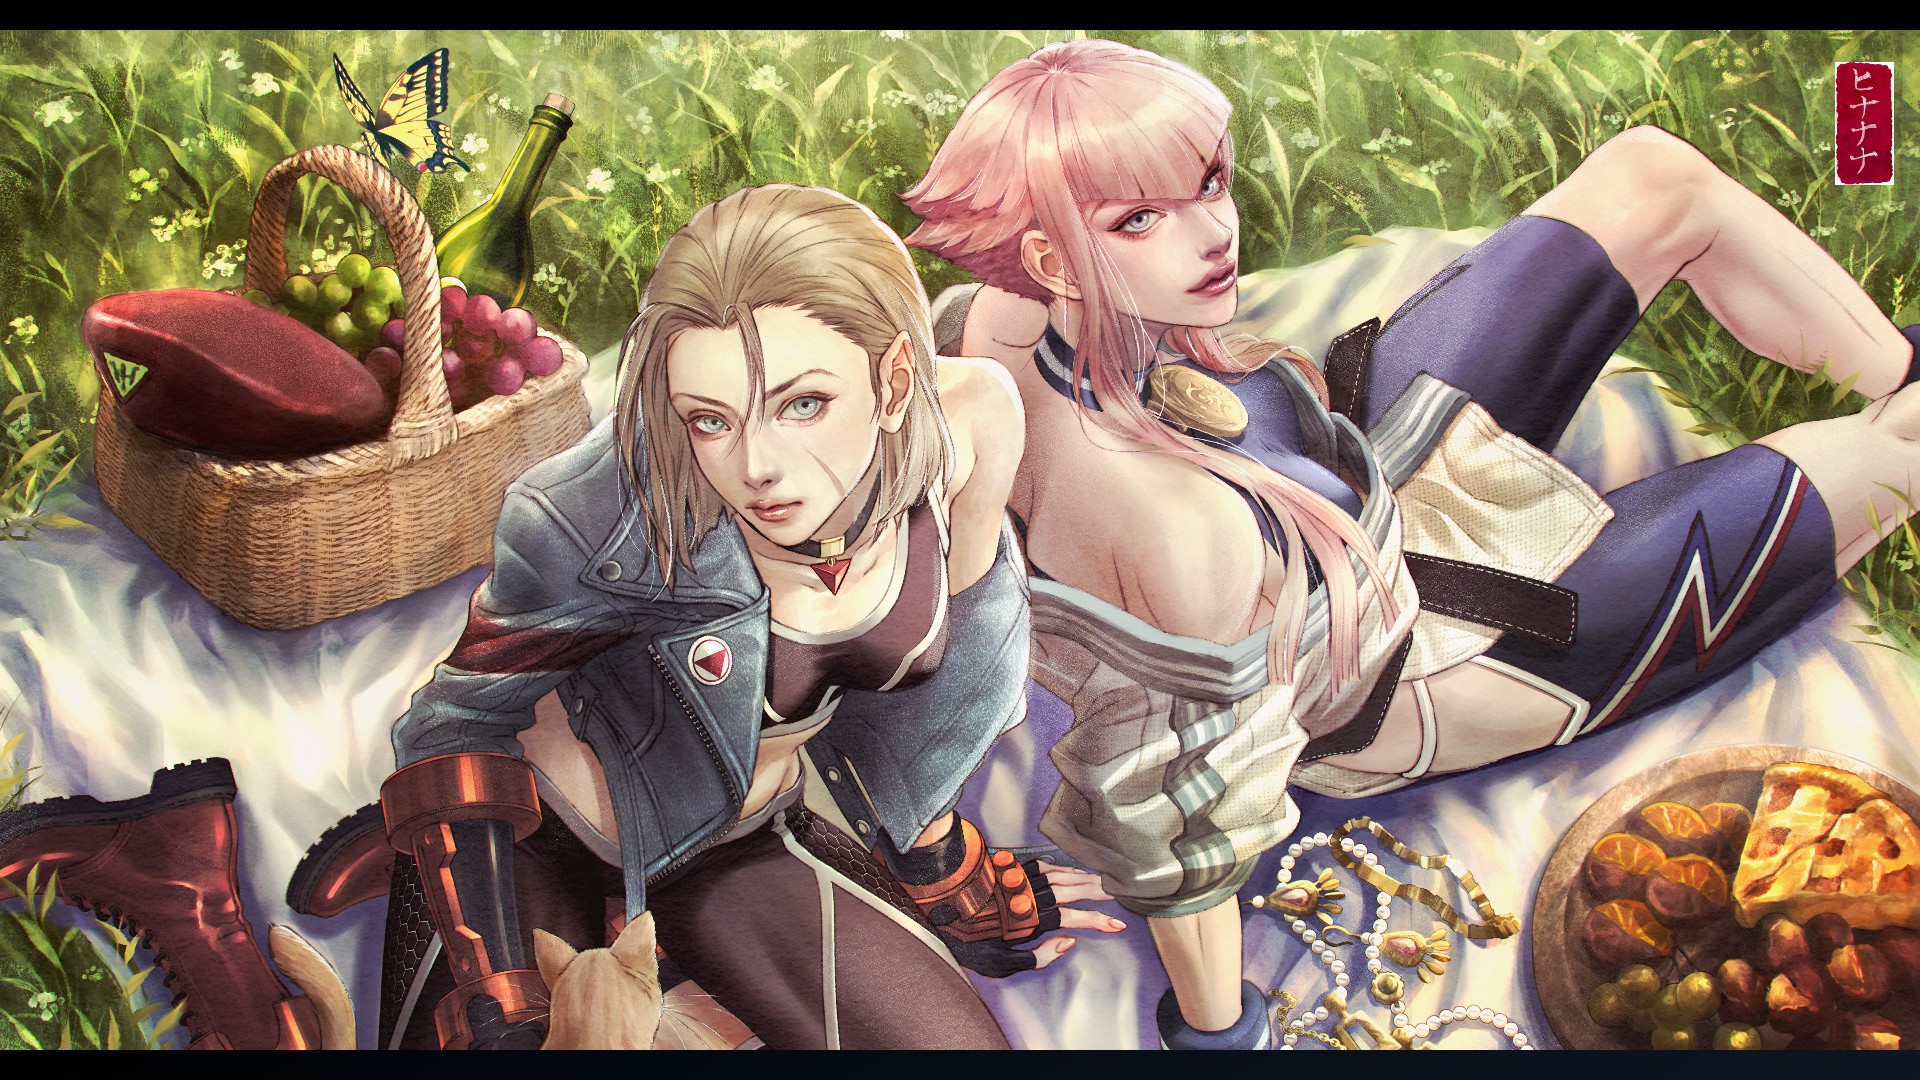
Special Artwork: Hinanana
Special Artwork: Rink
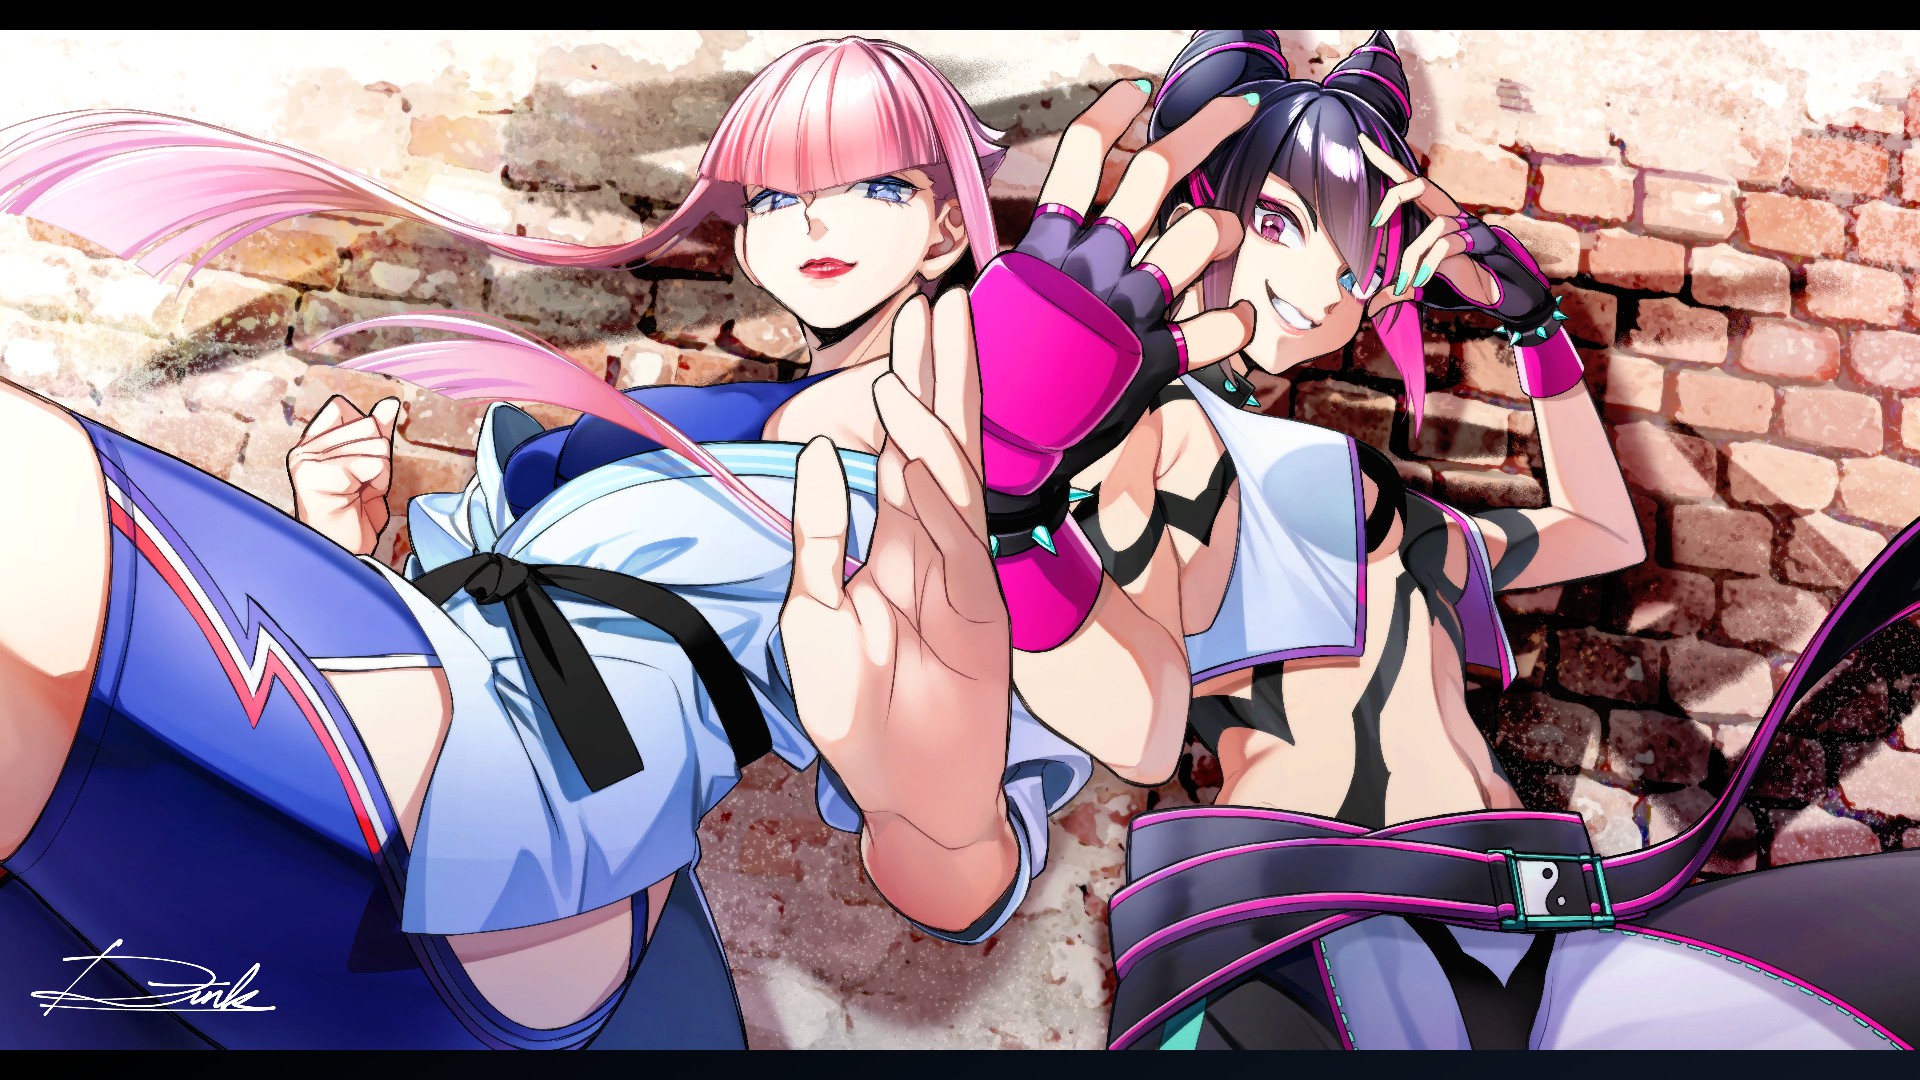
Special Artwork: Pin
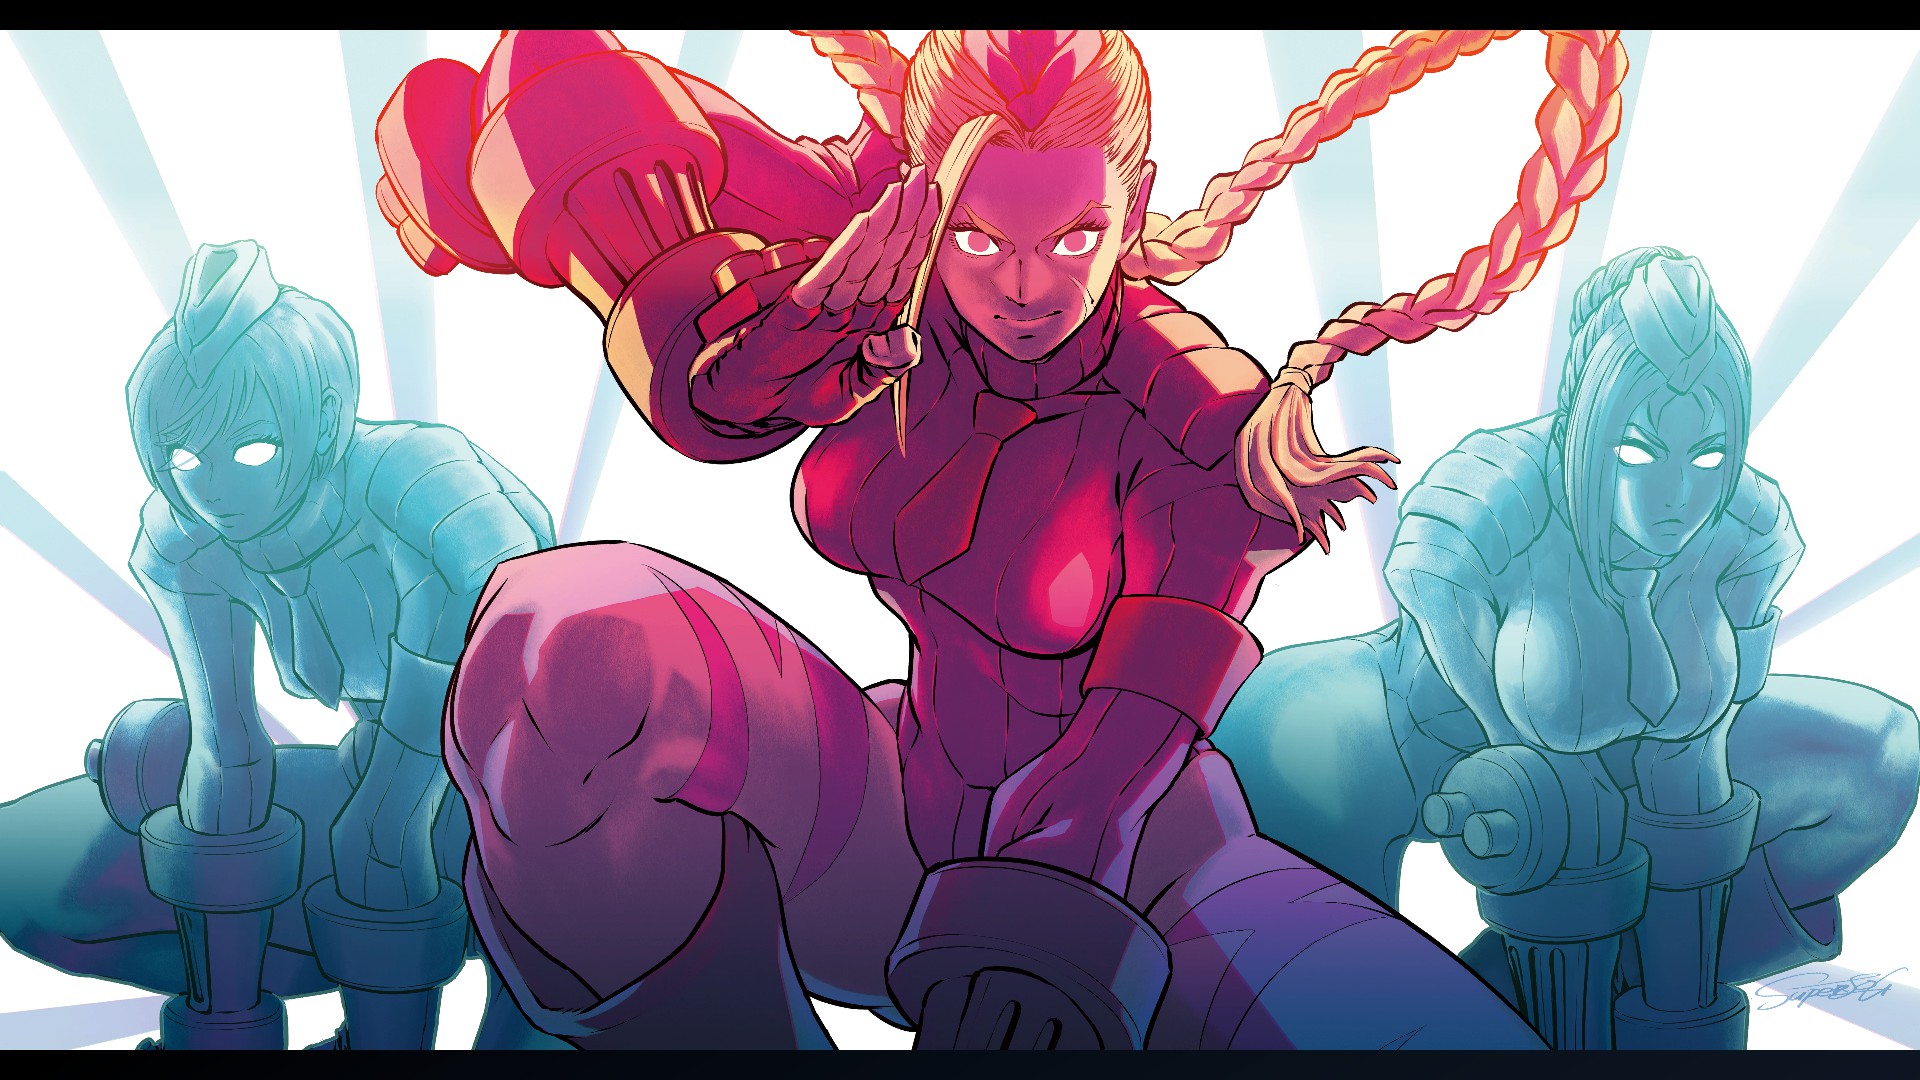
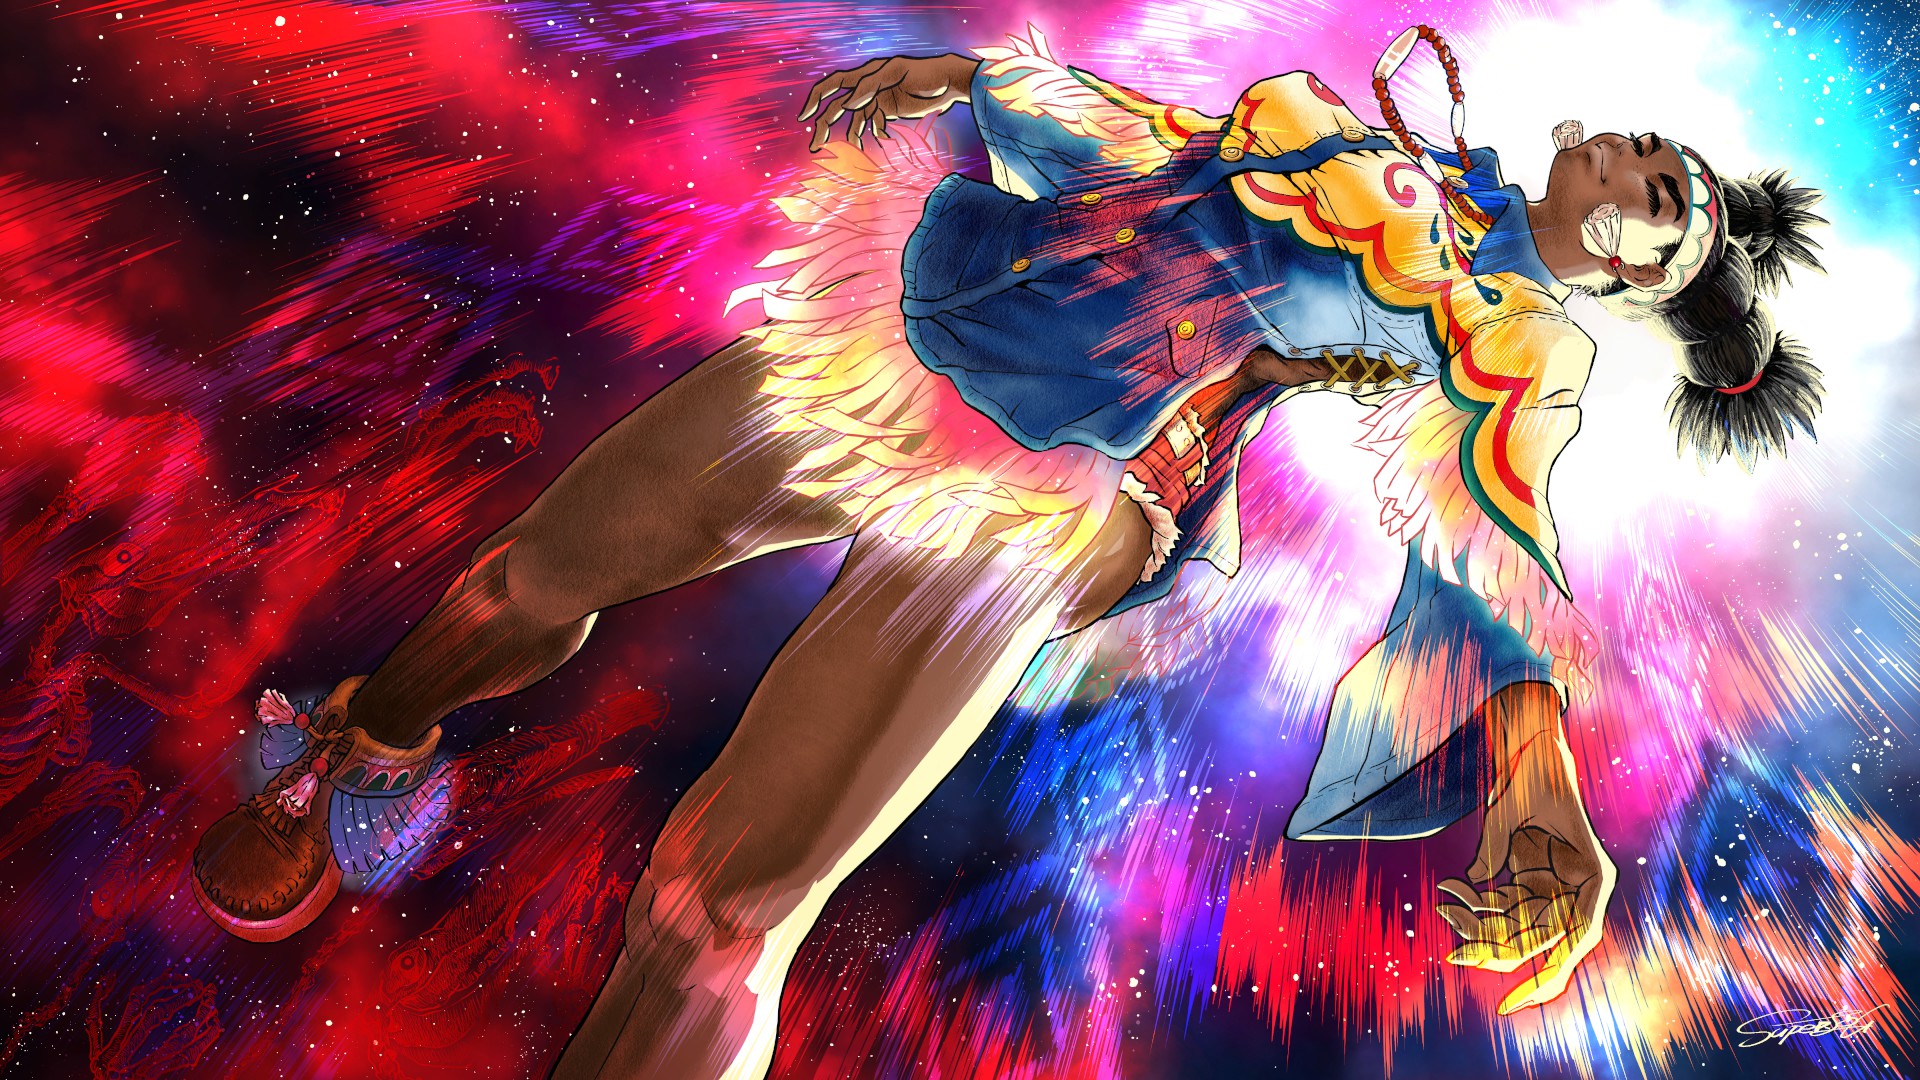
Special Artwork: superLOG
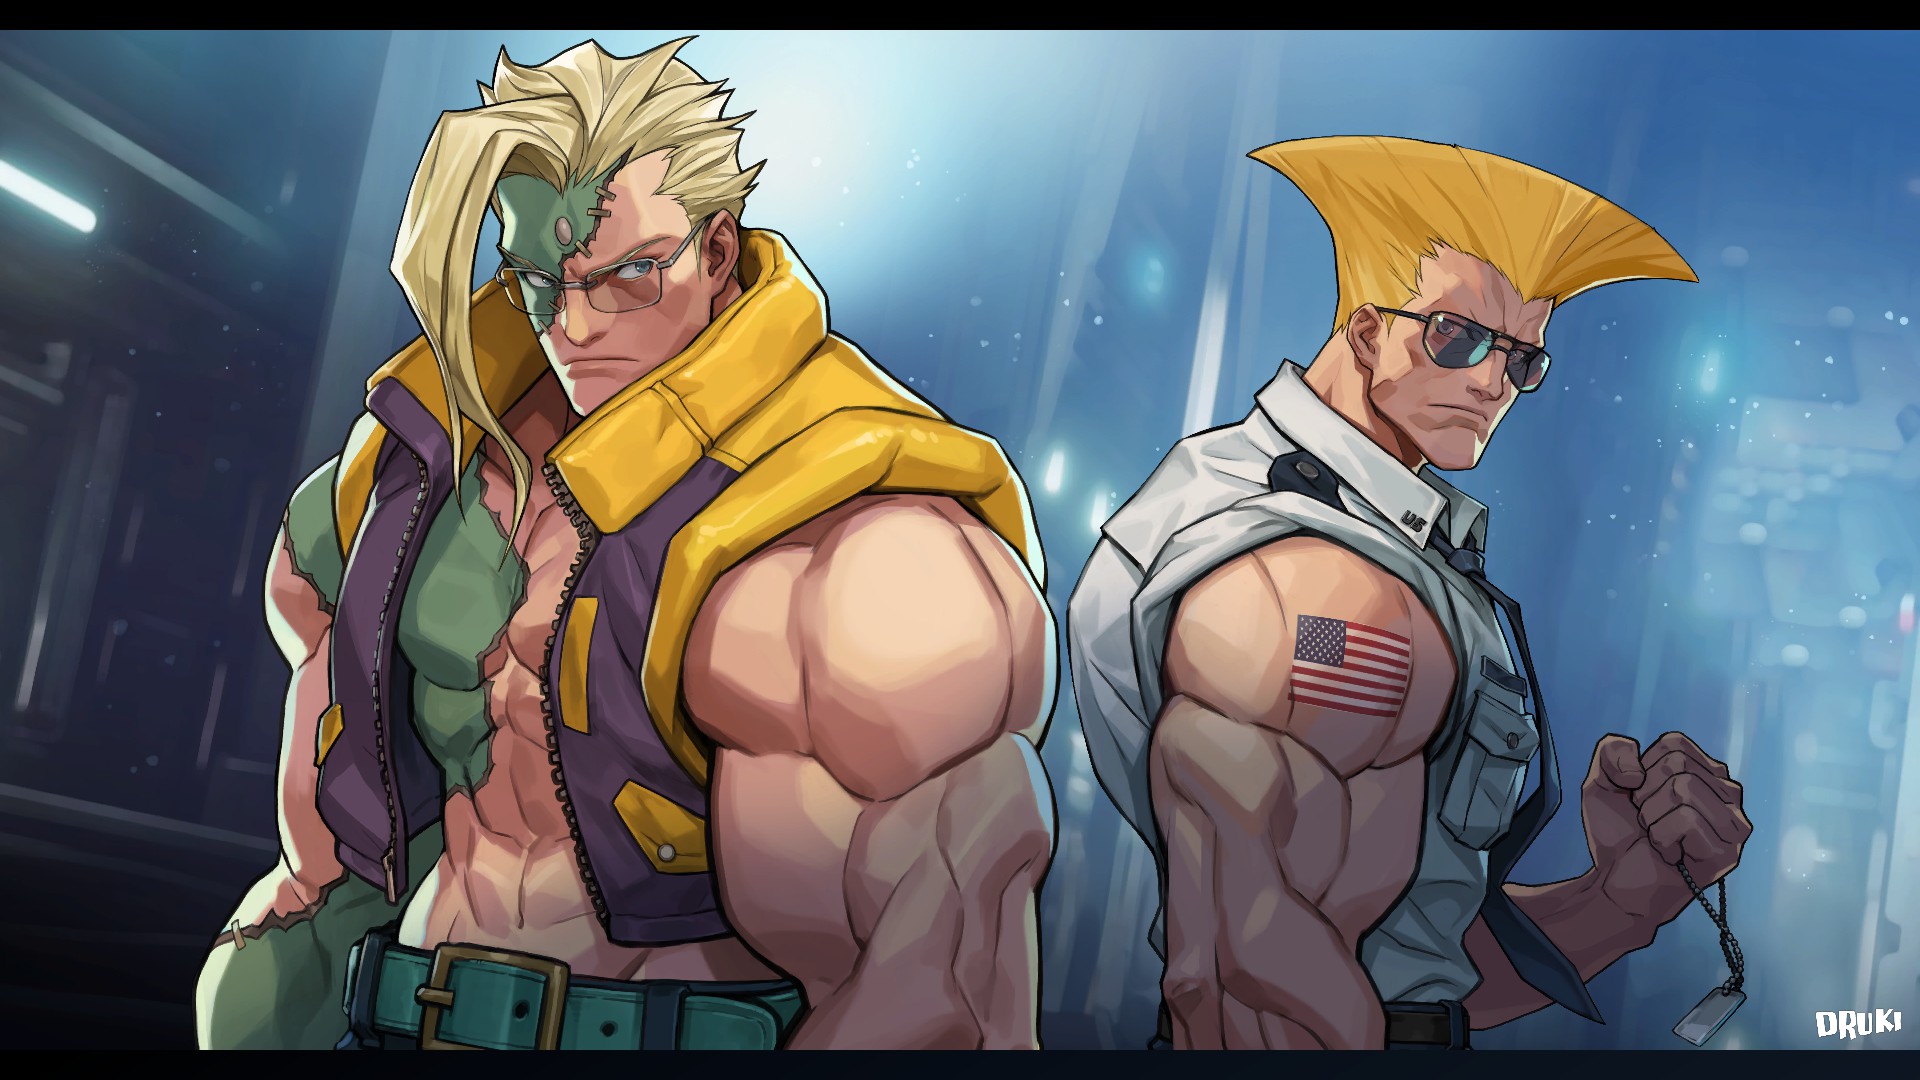
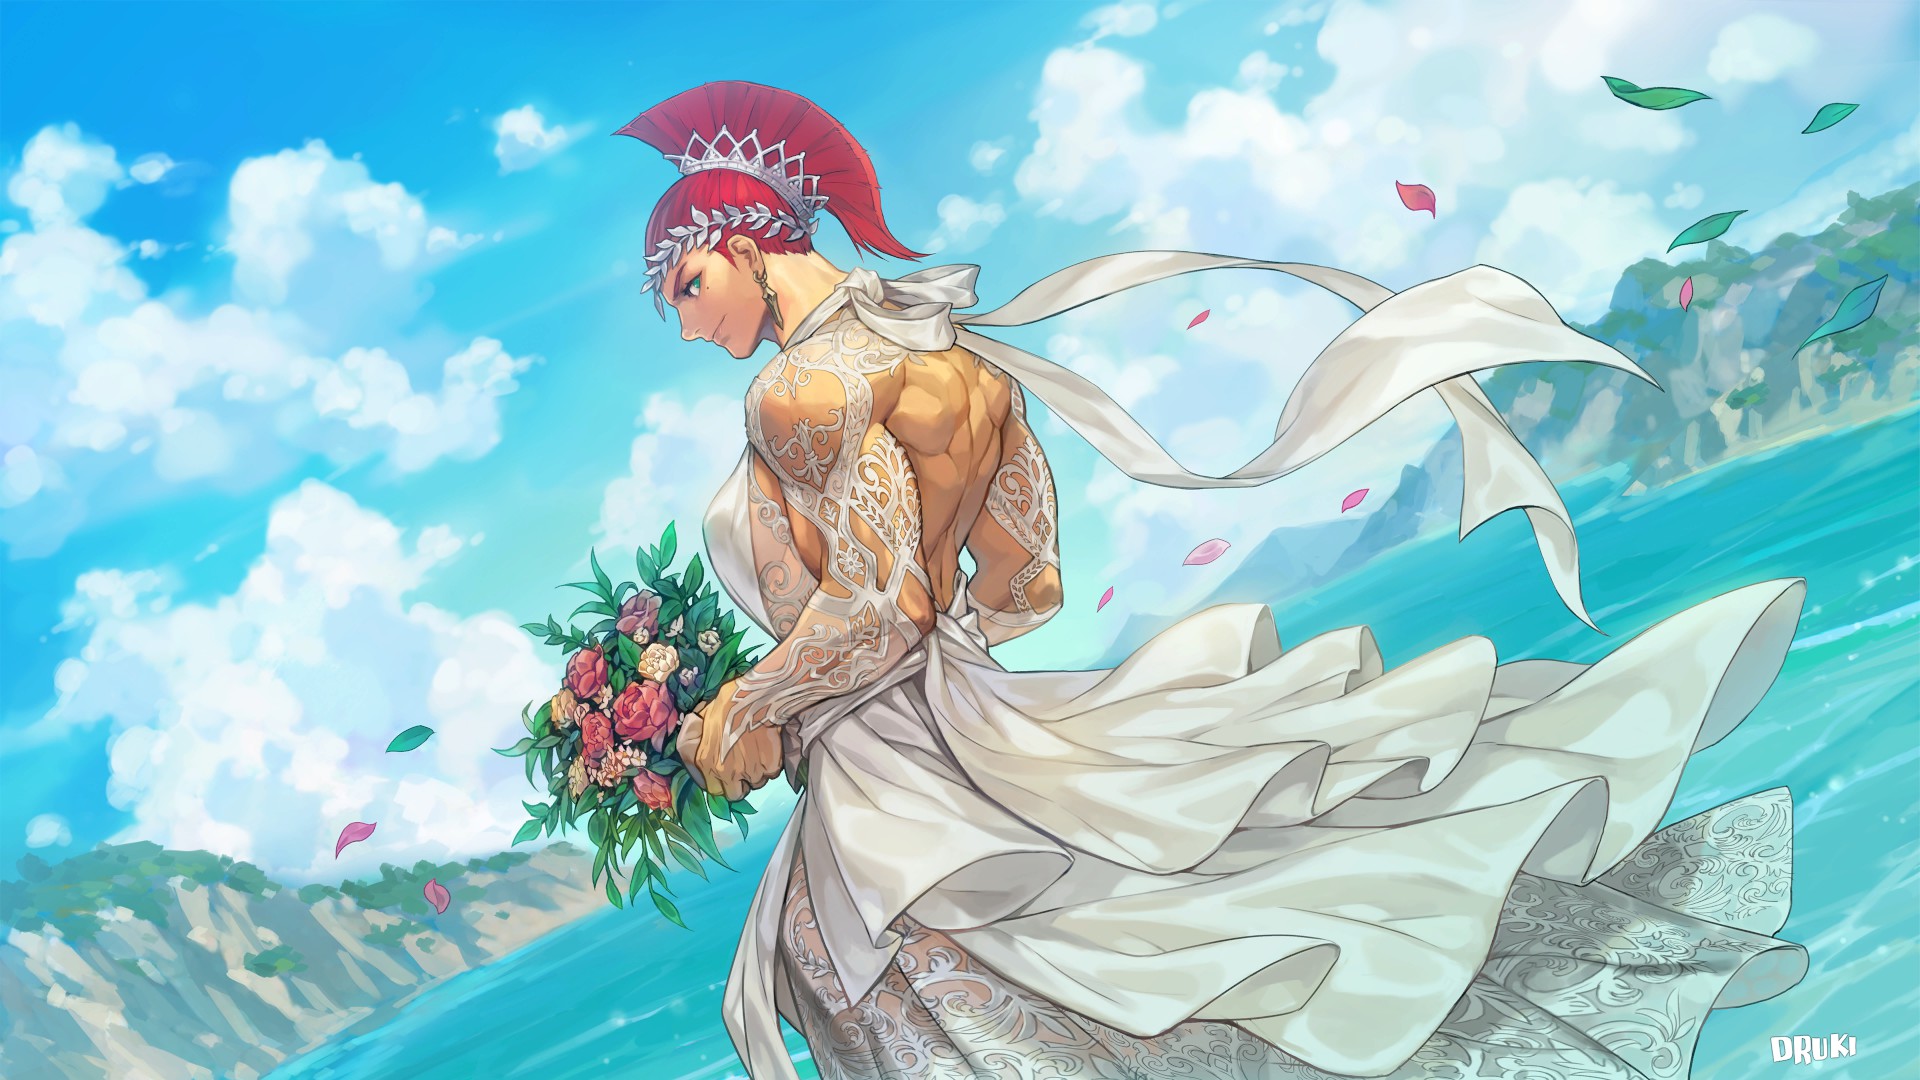
Special Artwork: Druki
Special Artwork: Hinanana
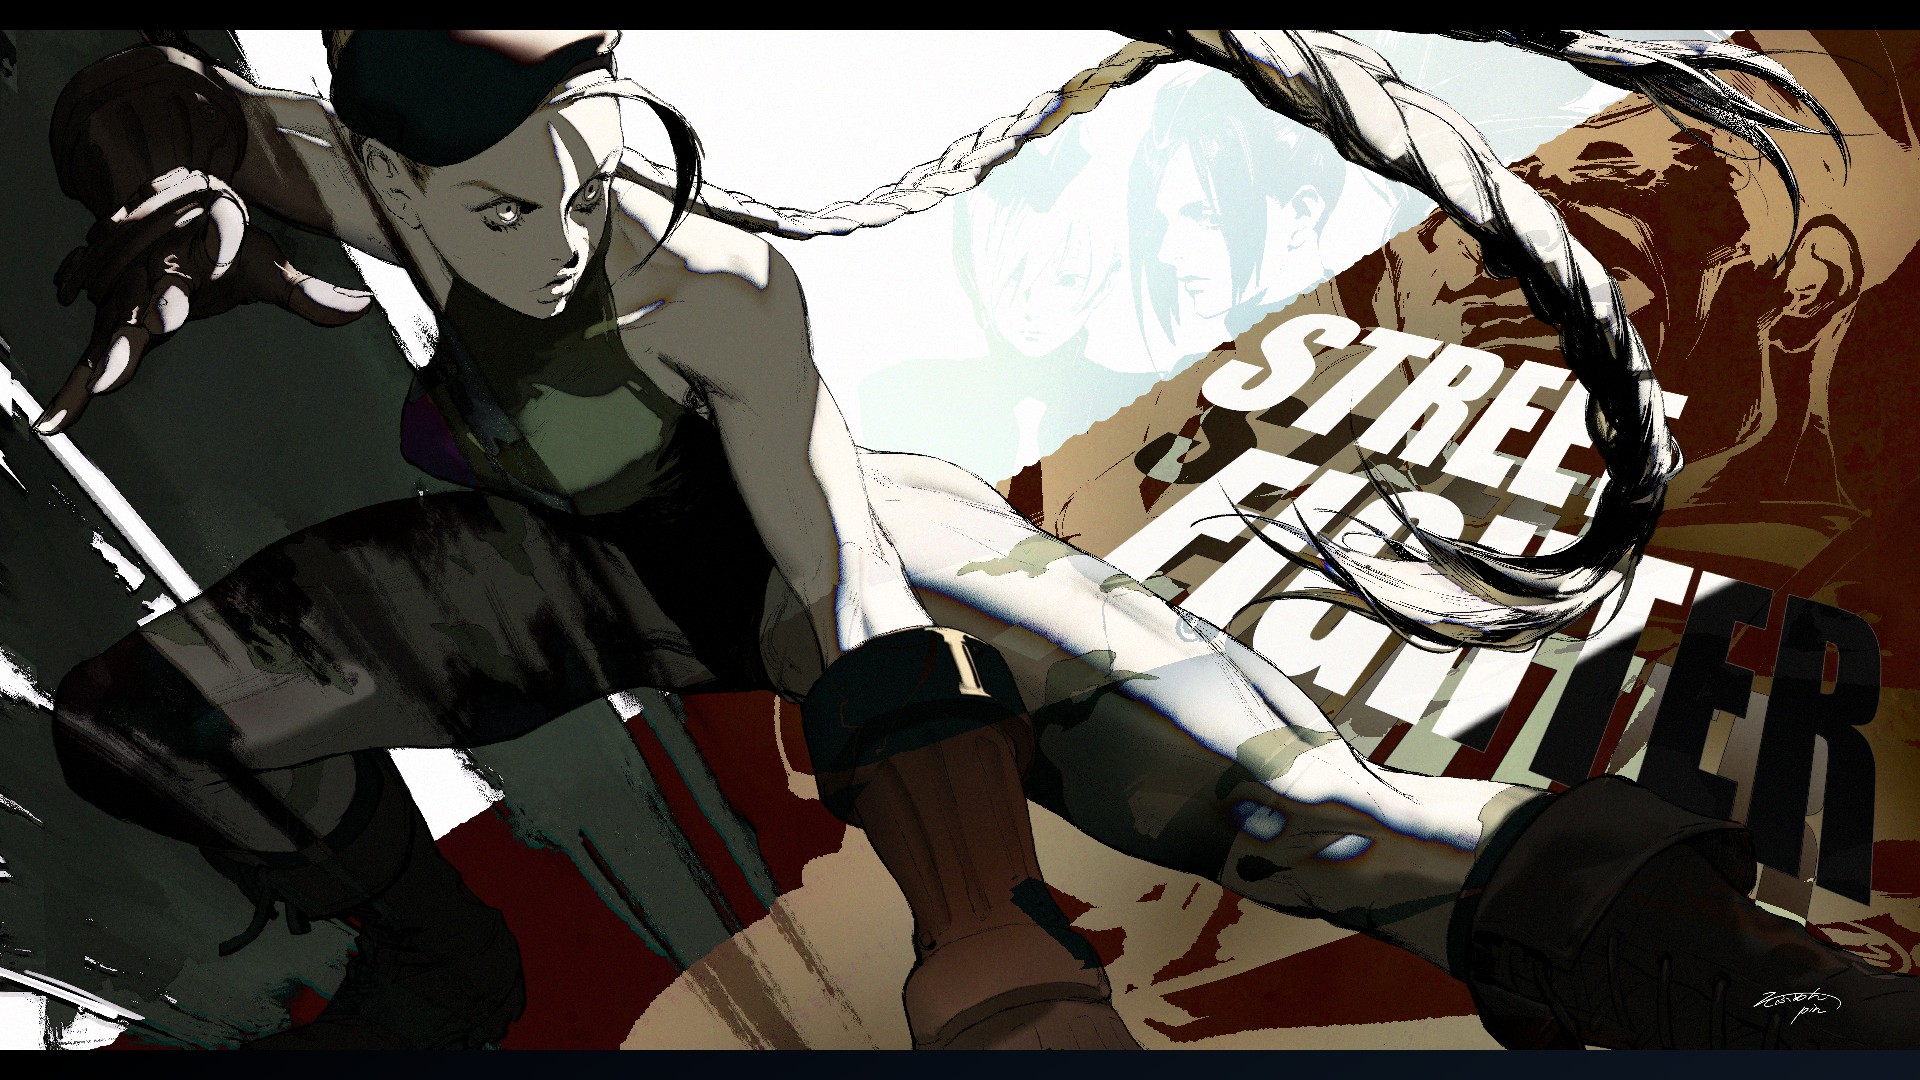
Special Artwork: Areku Nishiki

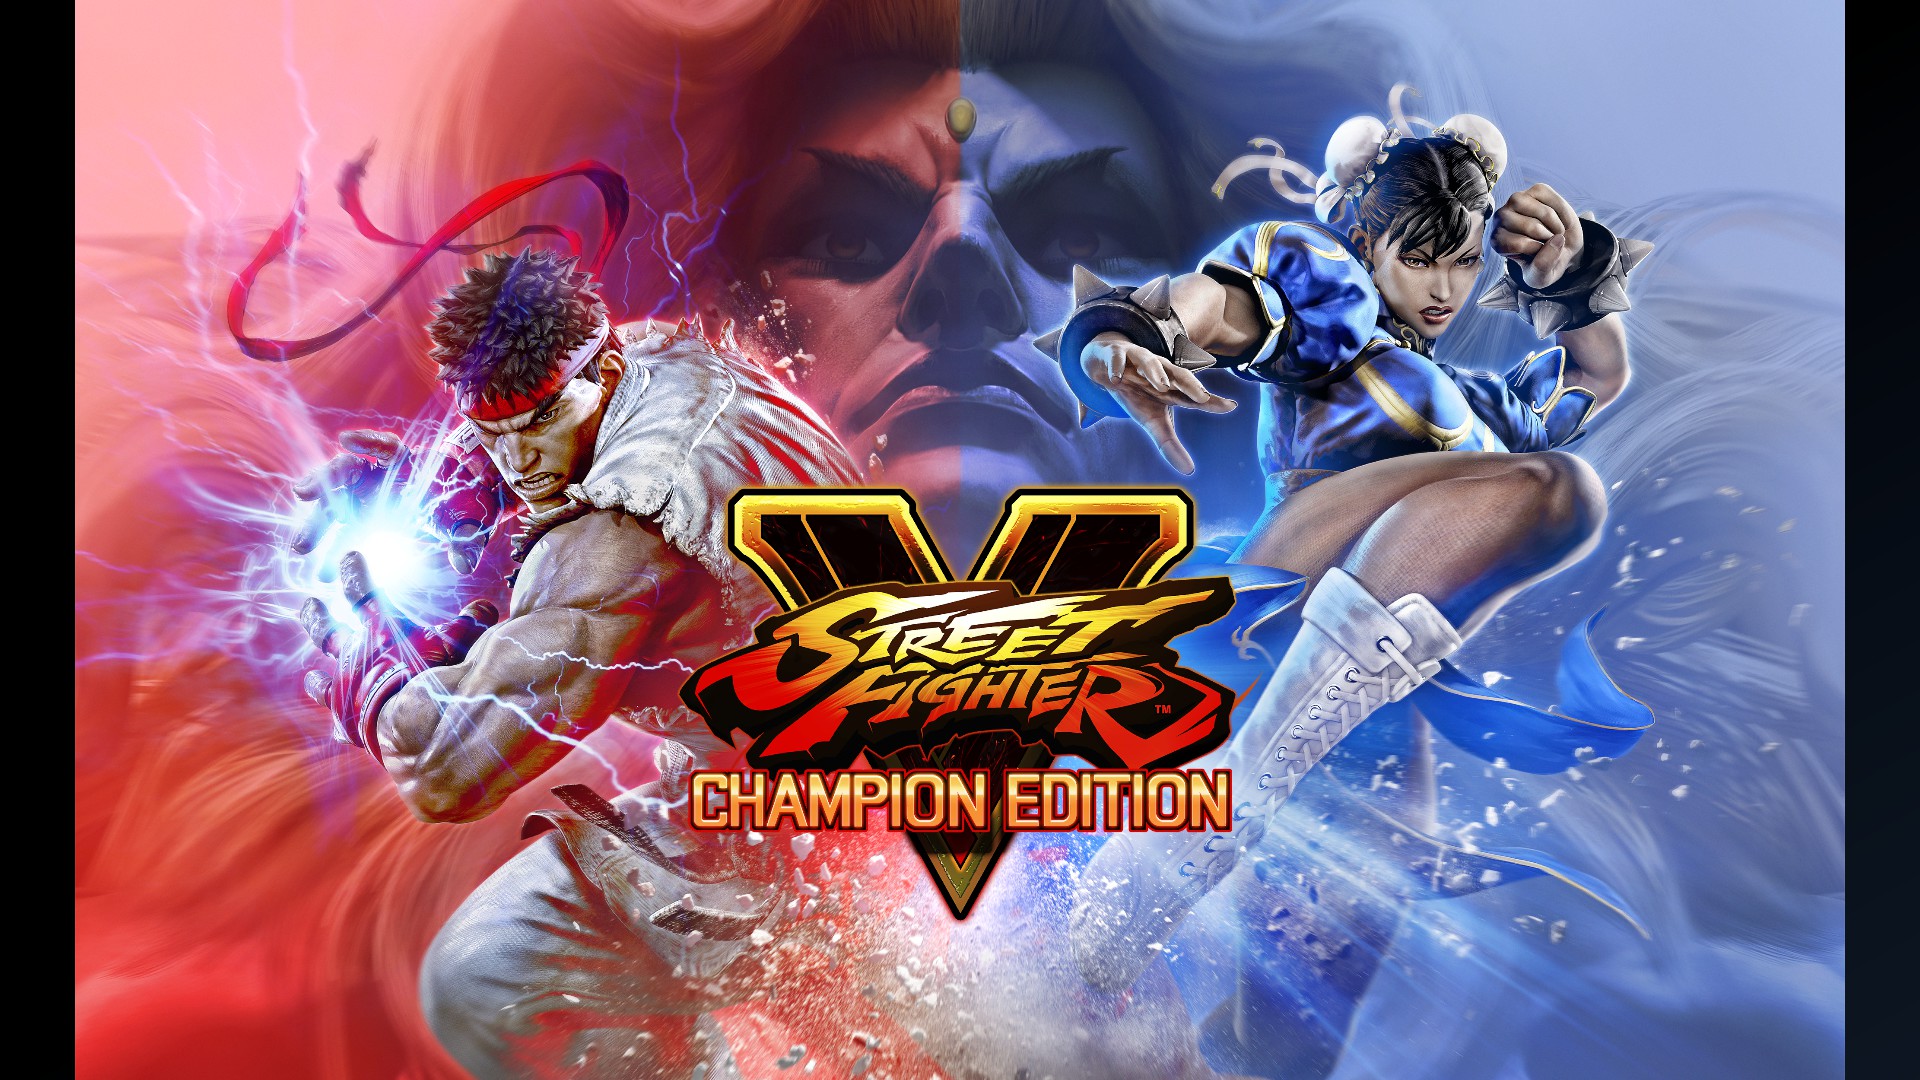
SF Legacy: Street Fighter V

SF Legacy: Street Fighter V
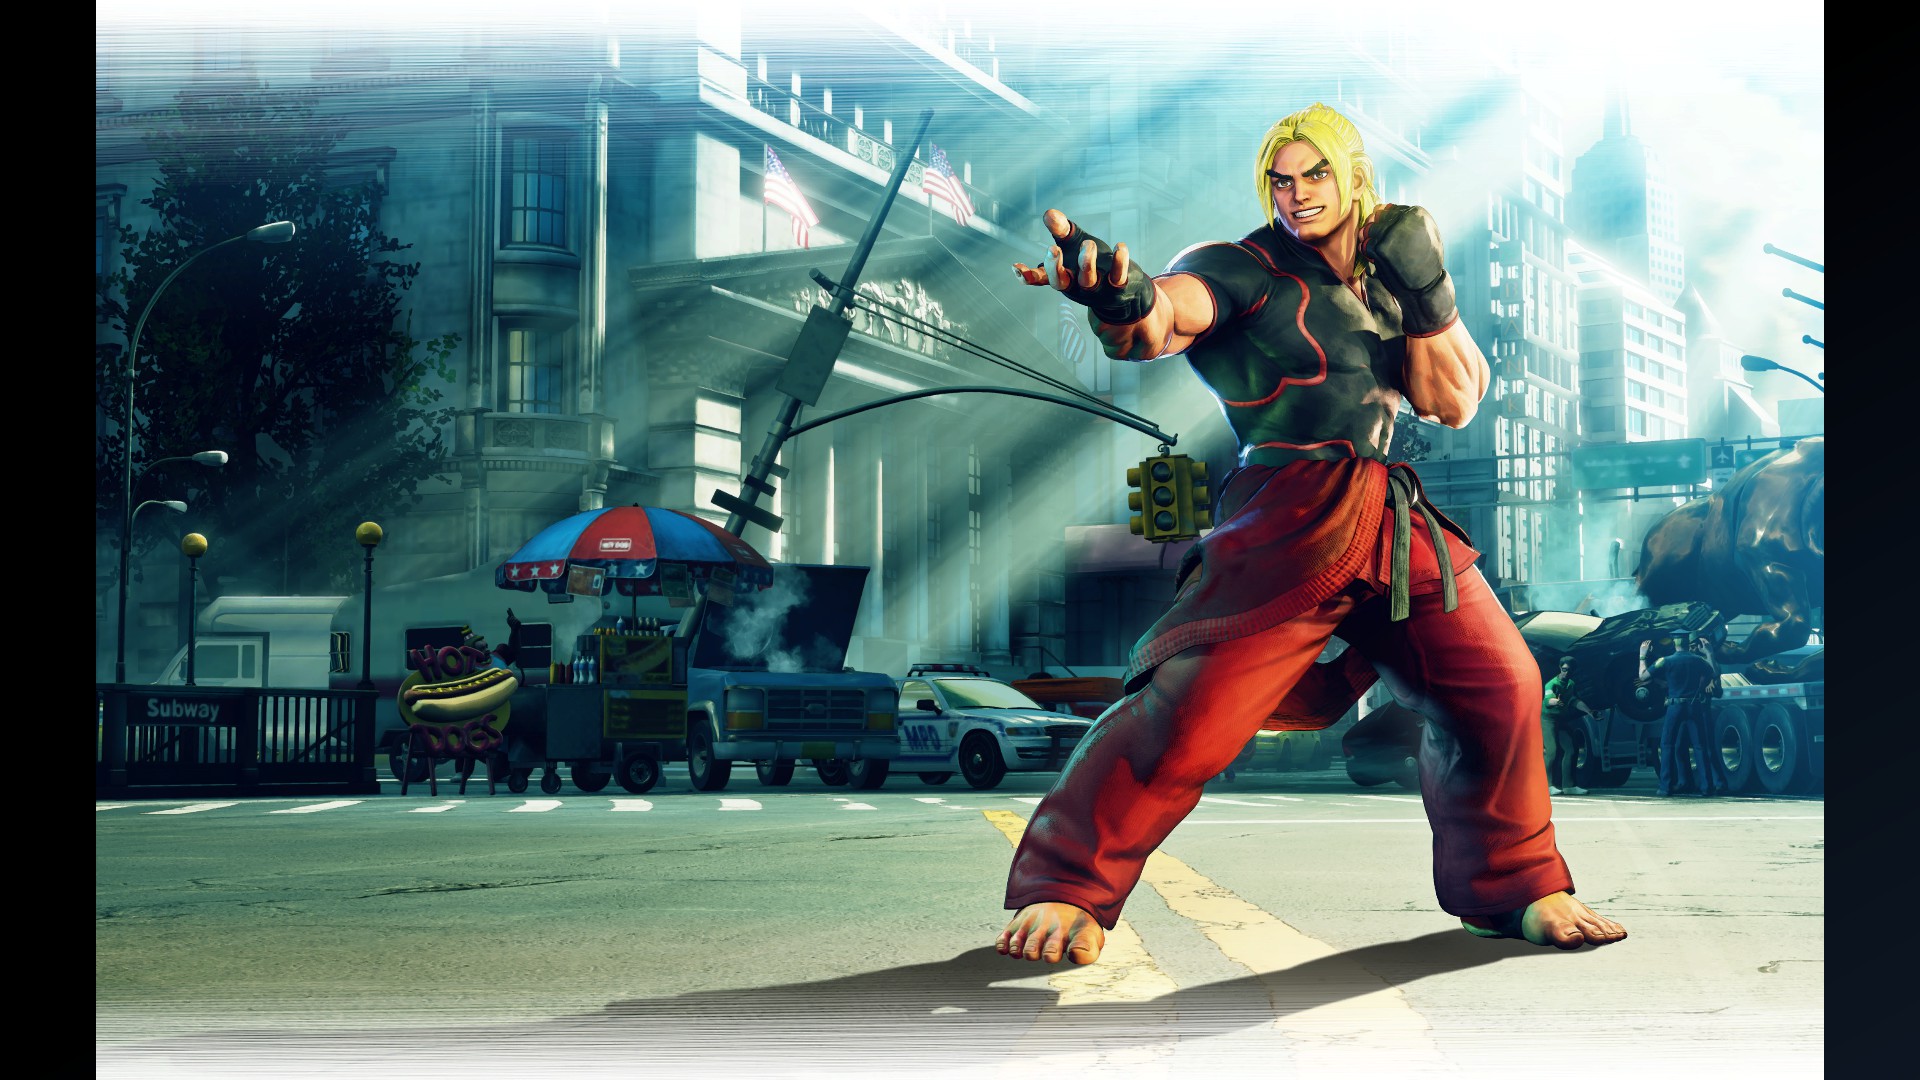
SF Legacy: Street Fighter V

SF Legacy: Street Fighter V

SF Legacy: Street Fighter V
SF Legacy: Kinu Nishimura
SF Legacy: Street Fighter V
SF Legacy: Street Fighter V
SF Legacy: Street Fighter V
SF Legacy: Street Fighter V
SF Legacy: Street Fighter V
SF Legacy: Ikeno

SF Legacy: Street Fighter V
SF Legacy: Street Fighter V
SF Legacy: Street Fighter V
SF Legacy: Street Fighter V
Fatal Fury 2
SF Legacy: Super Street Fighter IV
SF Legacy: Street Fighter V
SF Legacy: Street Fighter V
SF Legacy: Street Fighter V
SF Legacy: Street Fighter V
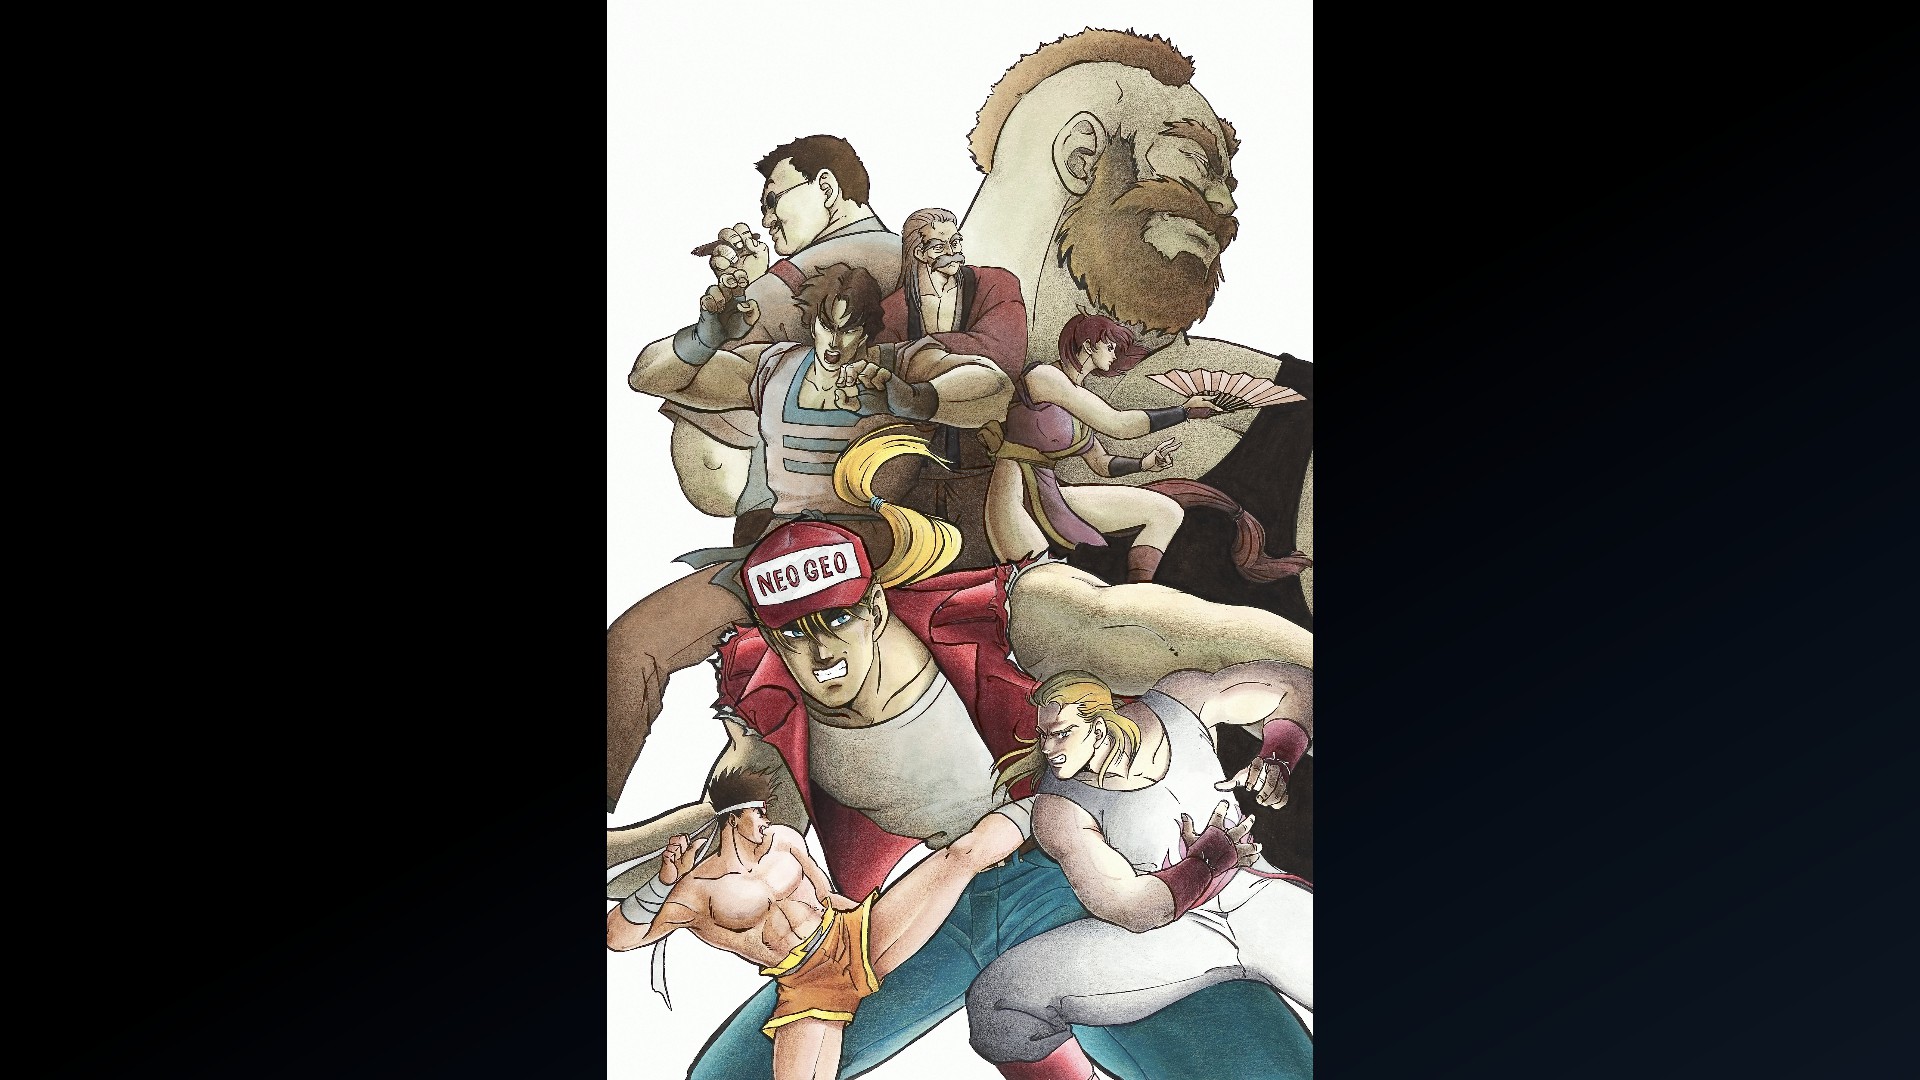
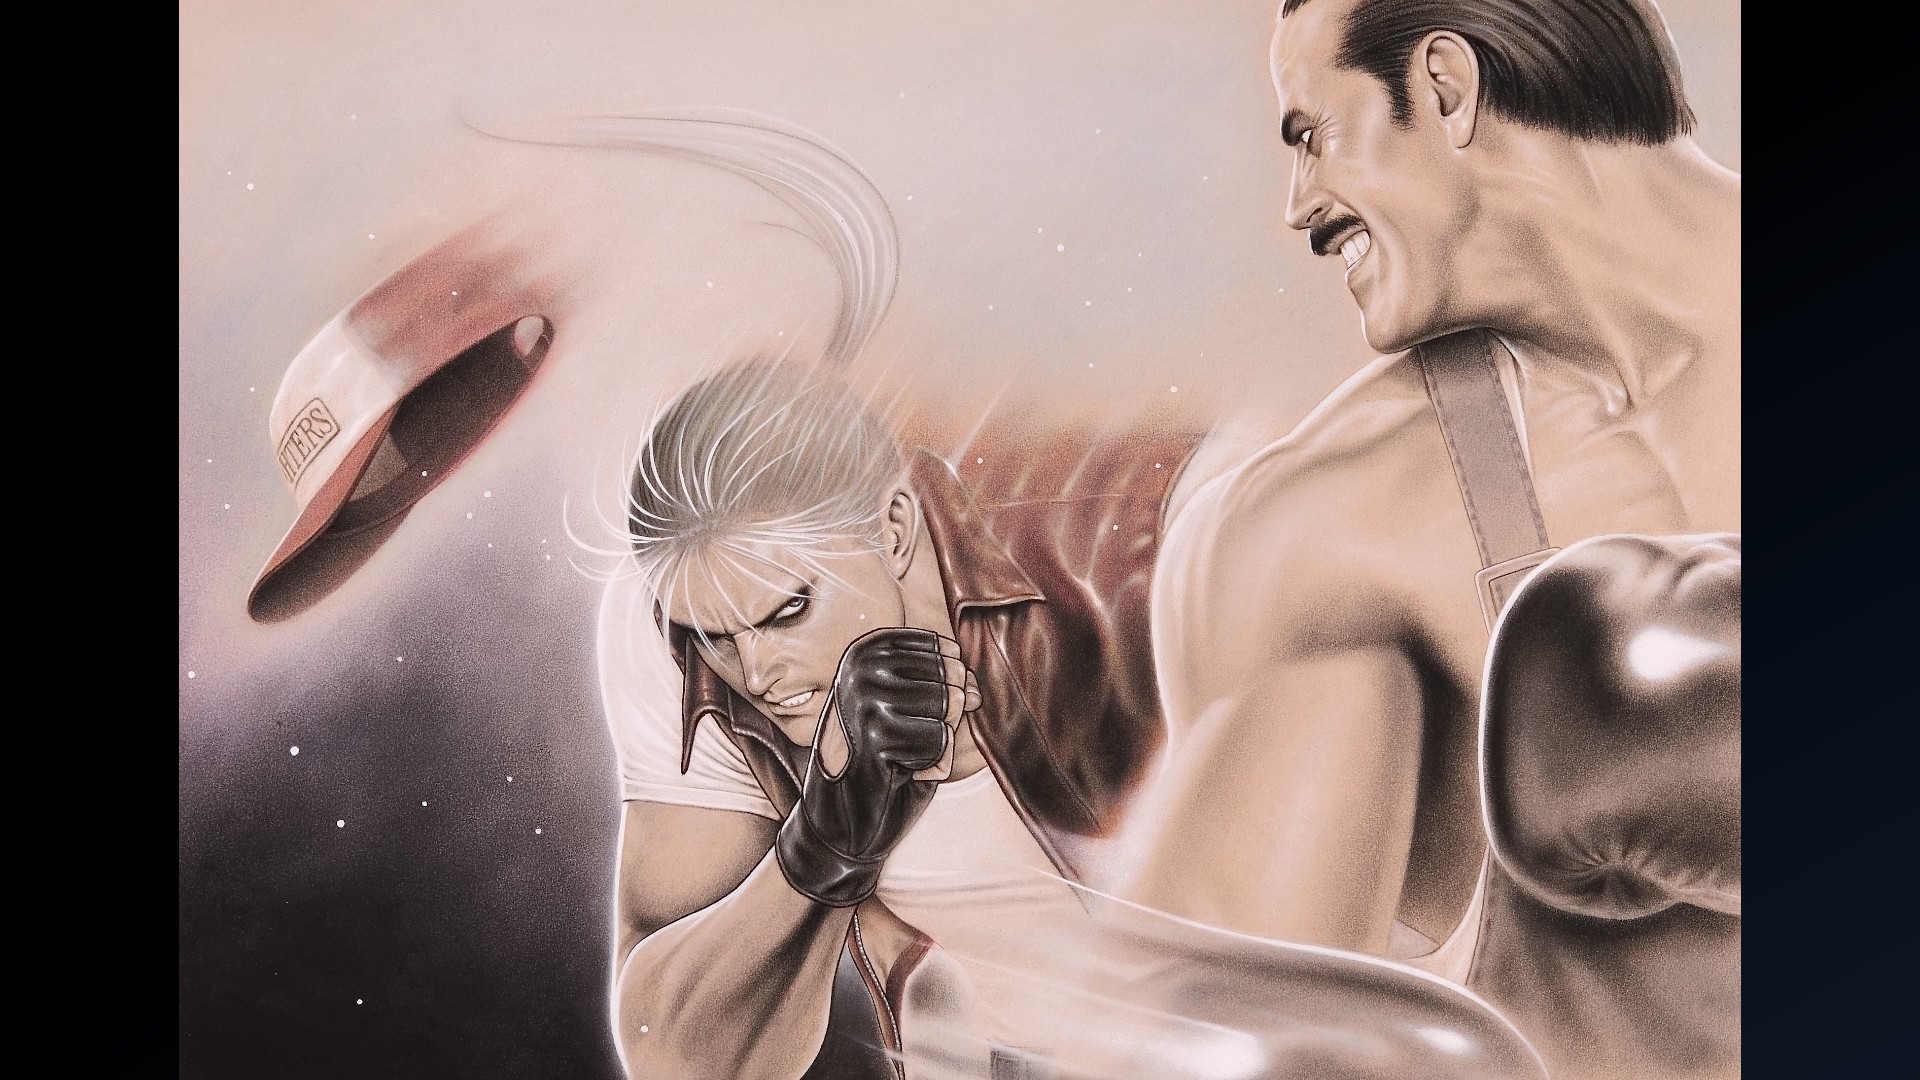
Real Bout Fatal Fury Special
SF Legacy: Shinkiro
SF Legacy: Ikeno
SF Legacy: akiman
SF Legacy: Street Fighter V
SF Legacy: BENGUS
SF Legacy: Ikeno
SF Legacy: Kinu Nishimura
SF Legacy: Shinkiro
SF Legacy: Street Fighter V
SF Legacy: akiman
SF Legacy: Kinu Nishimura
SF Legacy: Shinkiro
SF Legacy: Shinkiro

SF Legacy: BENGUS

SF Legacy: Kinu Nishimura
In this guide, these unlocks will follow the formula "perform action X times," with X being the upper limit for that specific unlock criteria (for example, "throw 30 times"). I have excluded all the lower values (e.g. "throw 20 times", "throw 10 times" etc.) since you will inevitably reach them as you work toward the maximum value.
Without further ado, here are the Fighting Ground trophies:
Complete 10 Arcade Stories
Special Artwork: Yukinobu TatsuSpecial Artwork: SHO-U TAJIMA
Special Artwork: Jiro Tsuda
Special Artwork: Hinanana
Special Artwork: Rink
Special Artwork: Pin
Special Artwork: superLOG
Special Artwork: Druki
Special Artwork: Hinanana
Special Artwork: Areku Nishiki
Complete a Bonus Stage 20 Times
SF Legacy: BENGUSSF Legacy: Street Fighter V
SF Legacy: Street Fighter V
SF Legacy: Street Fighter V
SF Legacy: Street Fighter V
SF Legacy: Street Fighter V
SF Legacy: Kinu Nishimura
Get 15 Perfect KOs
SF Legacy: Street Fighter VSF Legacy: Street Fighter V
SF Legacy: Street Fighter V
SF Legacy: Street Fighter V
SF Legacy: Street Fighter V
SF Legacy: Street Fighter V
SF Legacy: Ikeno
Get 50 Overdrive (OD) Finishes
SF Legacy: Street Fighter VSF Legacy: Street Fighter V
SF Legacy: Street Fighter V
SF Legacy: Street Fighter V
SF Legacy: Street Fighter V
Fatal Fury 2
SF Legacy: Super Street Fighter IV
Get 30 Super Art (SA) Finishes
SF Legacy: Street Fighter VSF Legacy: Street Fighter V
SF Legacy: Street Fighter V
SF Legacy: Street Fighter V
SF Legacy: Street Fighter V
Real Bout Fatal Fury Special
Get 15 Critical Art (CA) Finishes
SF Legacy: Street Fighter VSF Legacy: Shinkiro
SF Legacy: Ikeno
SF Legacy: akiman
SF Legacy: Street Fighter V
SF Legacy: BENGUS
Drive Parry 50 Attacks
SF Legacy: IkenoSF Legacy: Ikeno
SF Legacy: Kinu Nishimura
SF Legacy: Shinkiro
SF Legacy: Street Fighter V
SF Legacy: akiman
Perfect Parry 15 Attacks
SF Legacy: BENGUSSF Legacy: Kinu Nishimura
SF Legacy: Shinkiro
SF Legacy: Shinkiro
SF Legacy: BENGUS
SF Legacy: Kinu Nishimura
Fighting Ground - Trophies (Part 2)
Perform 30 Throws
SF Legacy: Shinkiro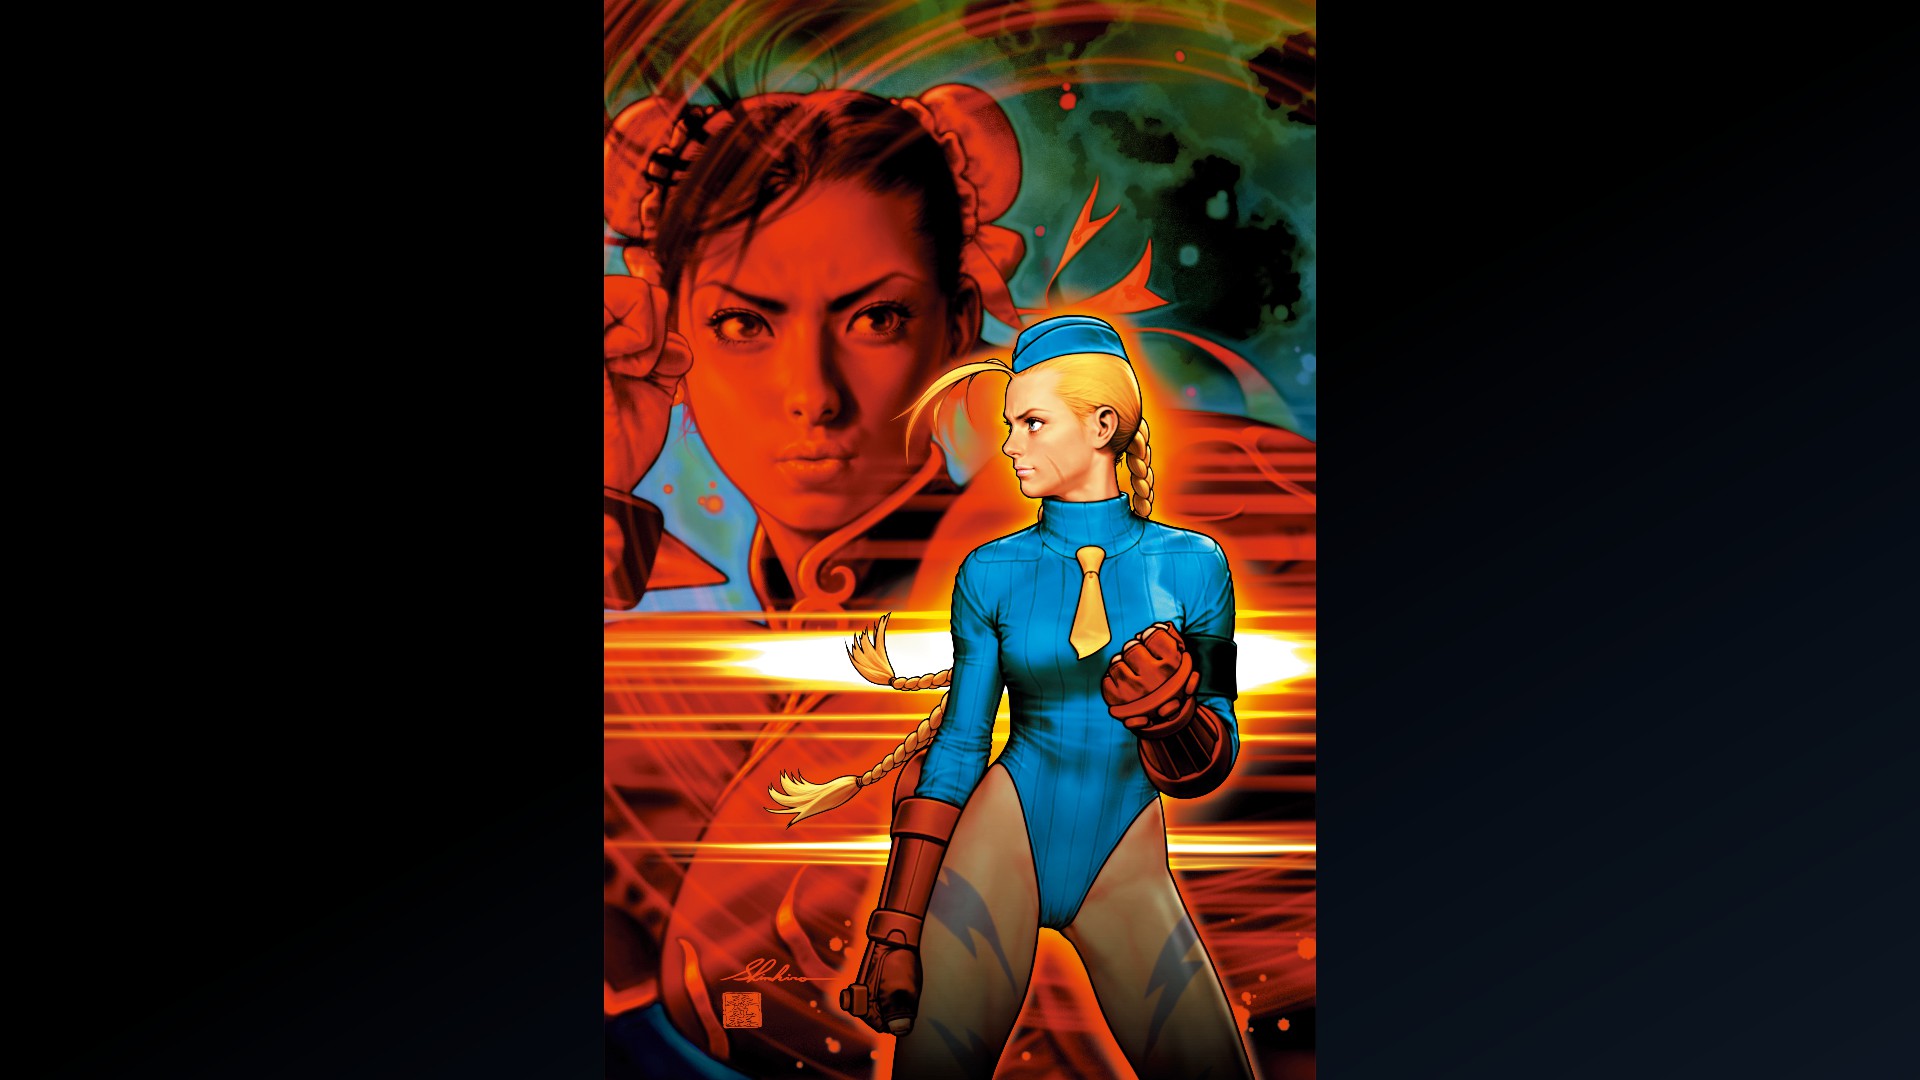
SF Legacy: Shinkiro
SF Legacy: akiman
SF Legacy: Kinu Nishimura
SF Legacy: Street Fighter V
SF Legacy: Ikeno
Land 30 Drive Impacts
SF Legacy: Hiroaki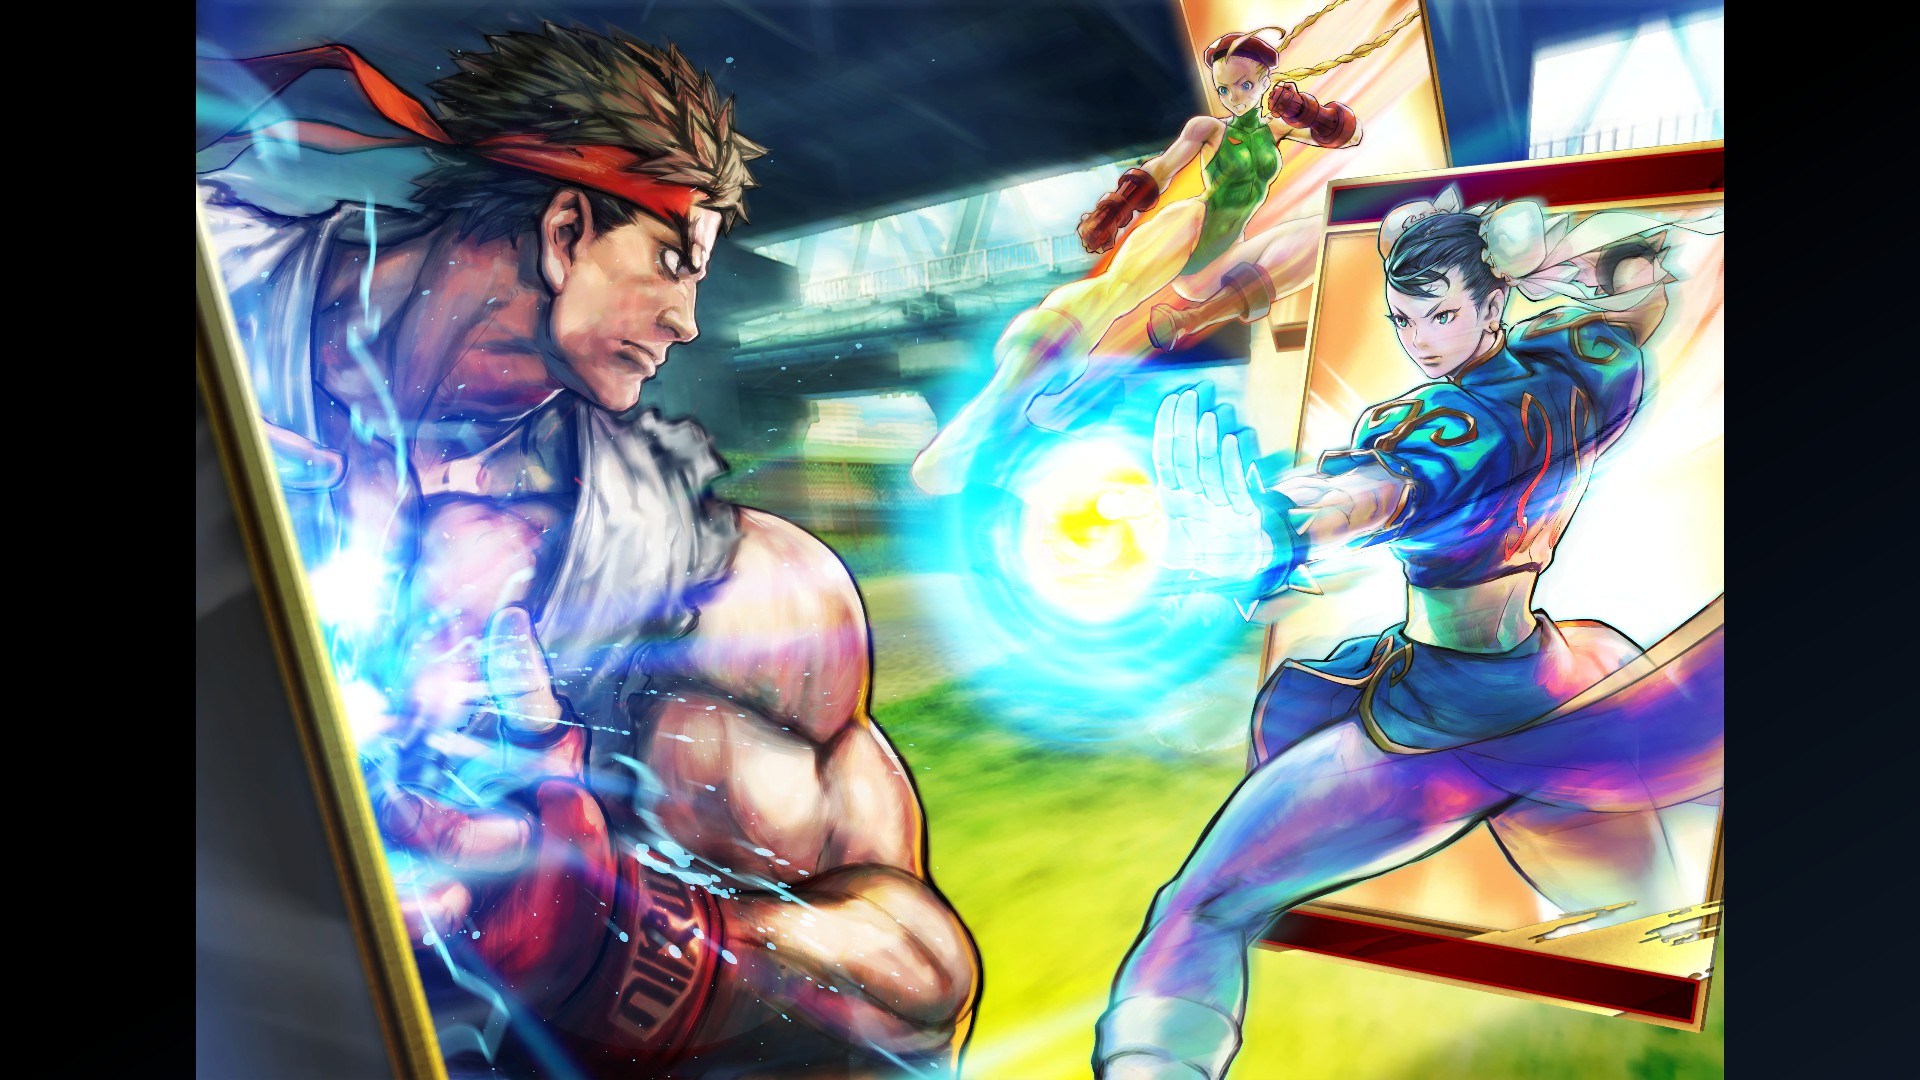
SF Legacy: BENGUS
SF Legacy: Shinkiro
SF Legacy: Ikeno
SF Legacy: Street Fighter V
SF Legacy: BENGUS
Land 30 Punish Counters
SF Legacy: akiman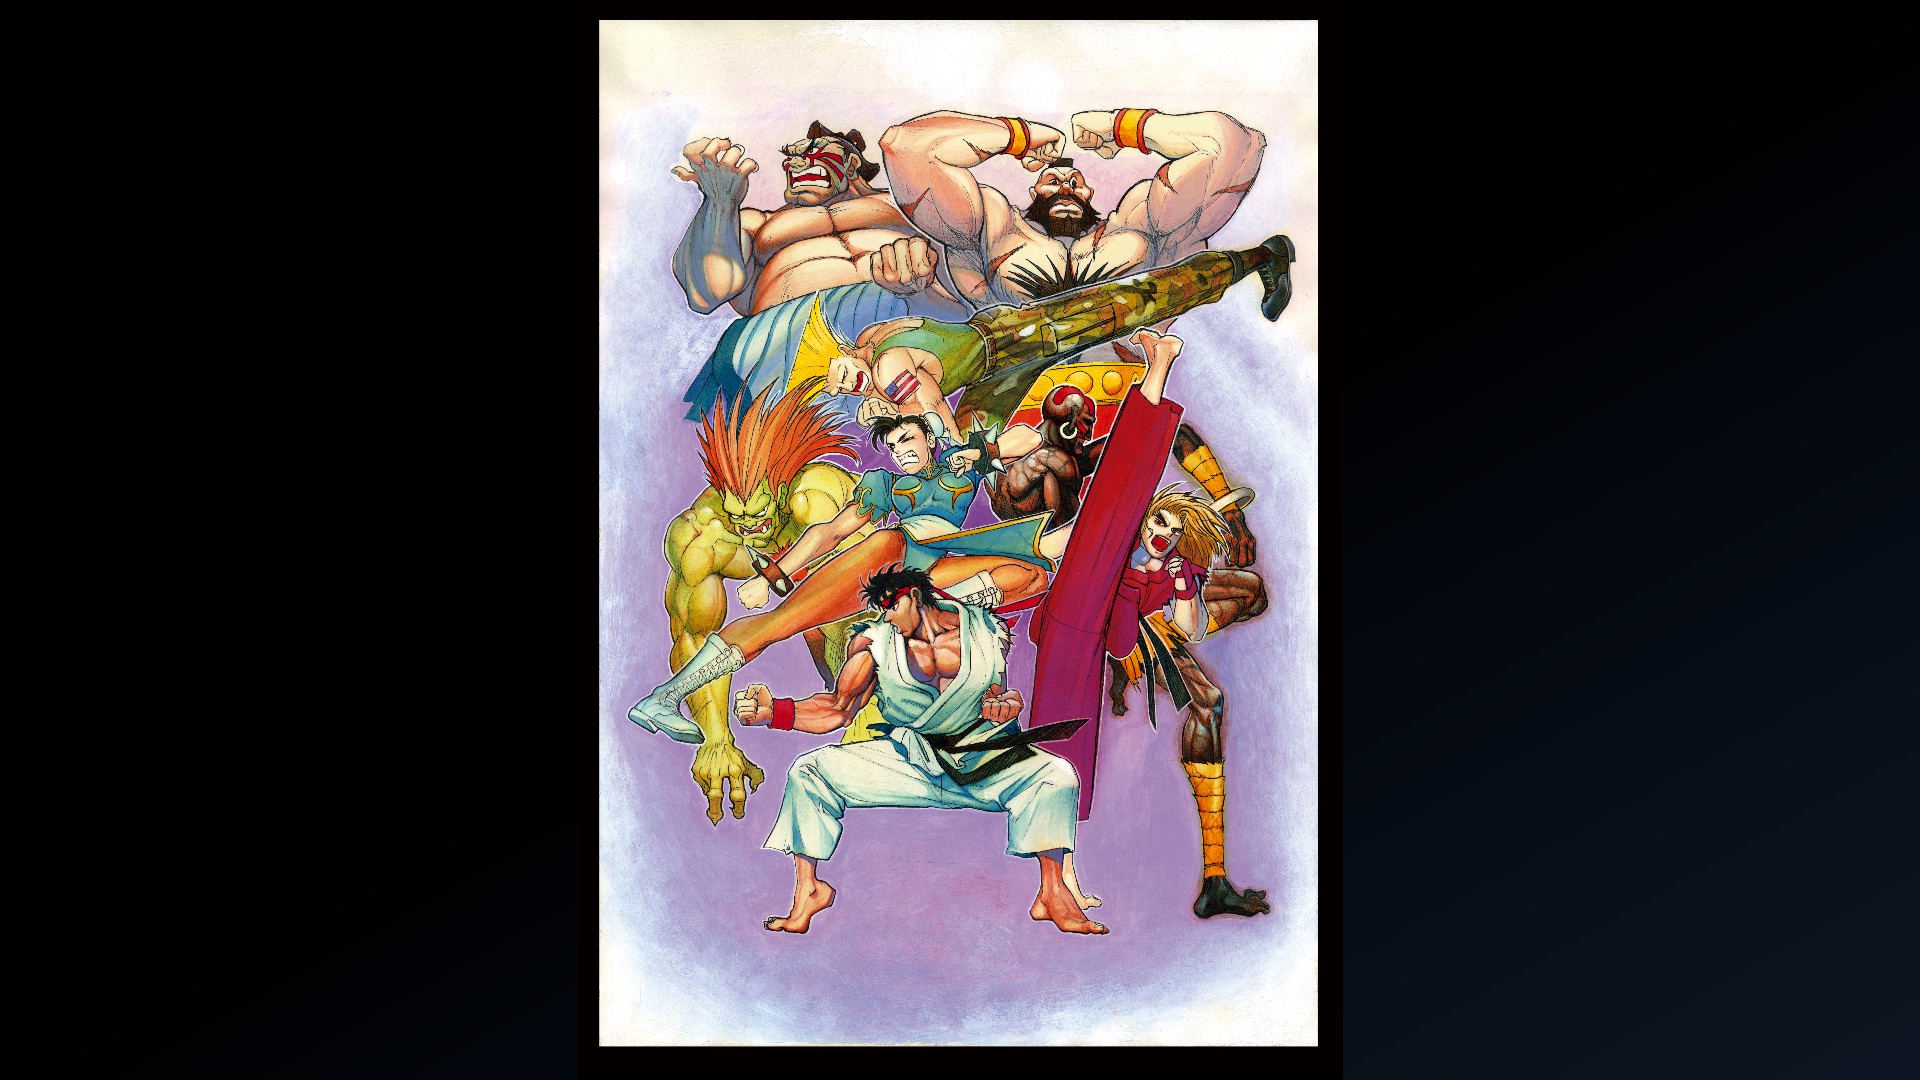
SF Legacy: akiman
SF Legacy: Ikeno

SF Legacy: akiman
Fatal Fury 3
SF Legacy: Ikeno
Land 20 Drive Reversals
SF Legacy: akiman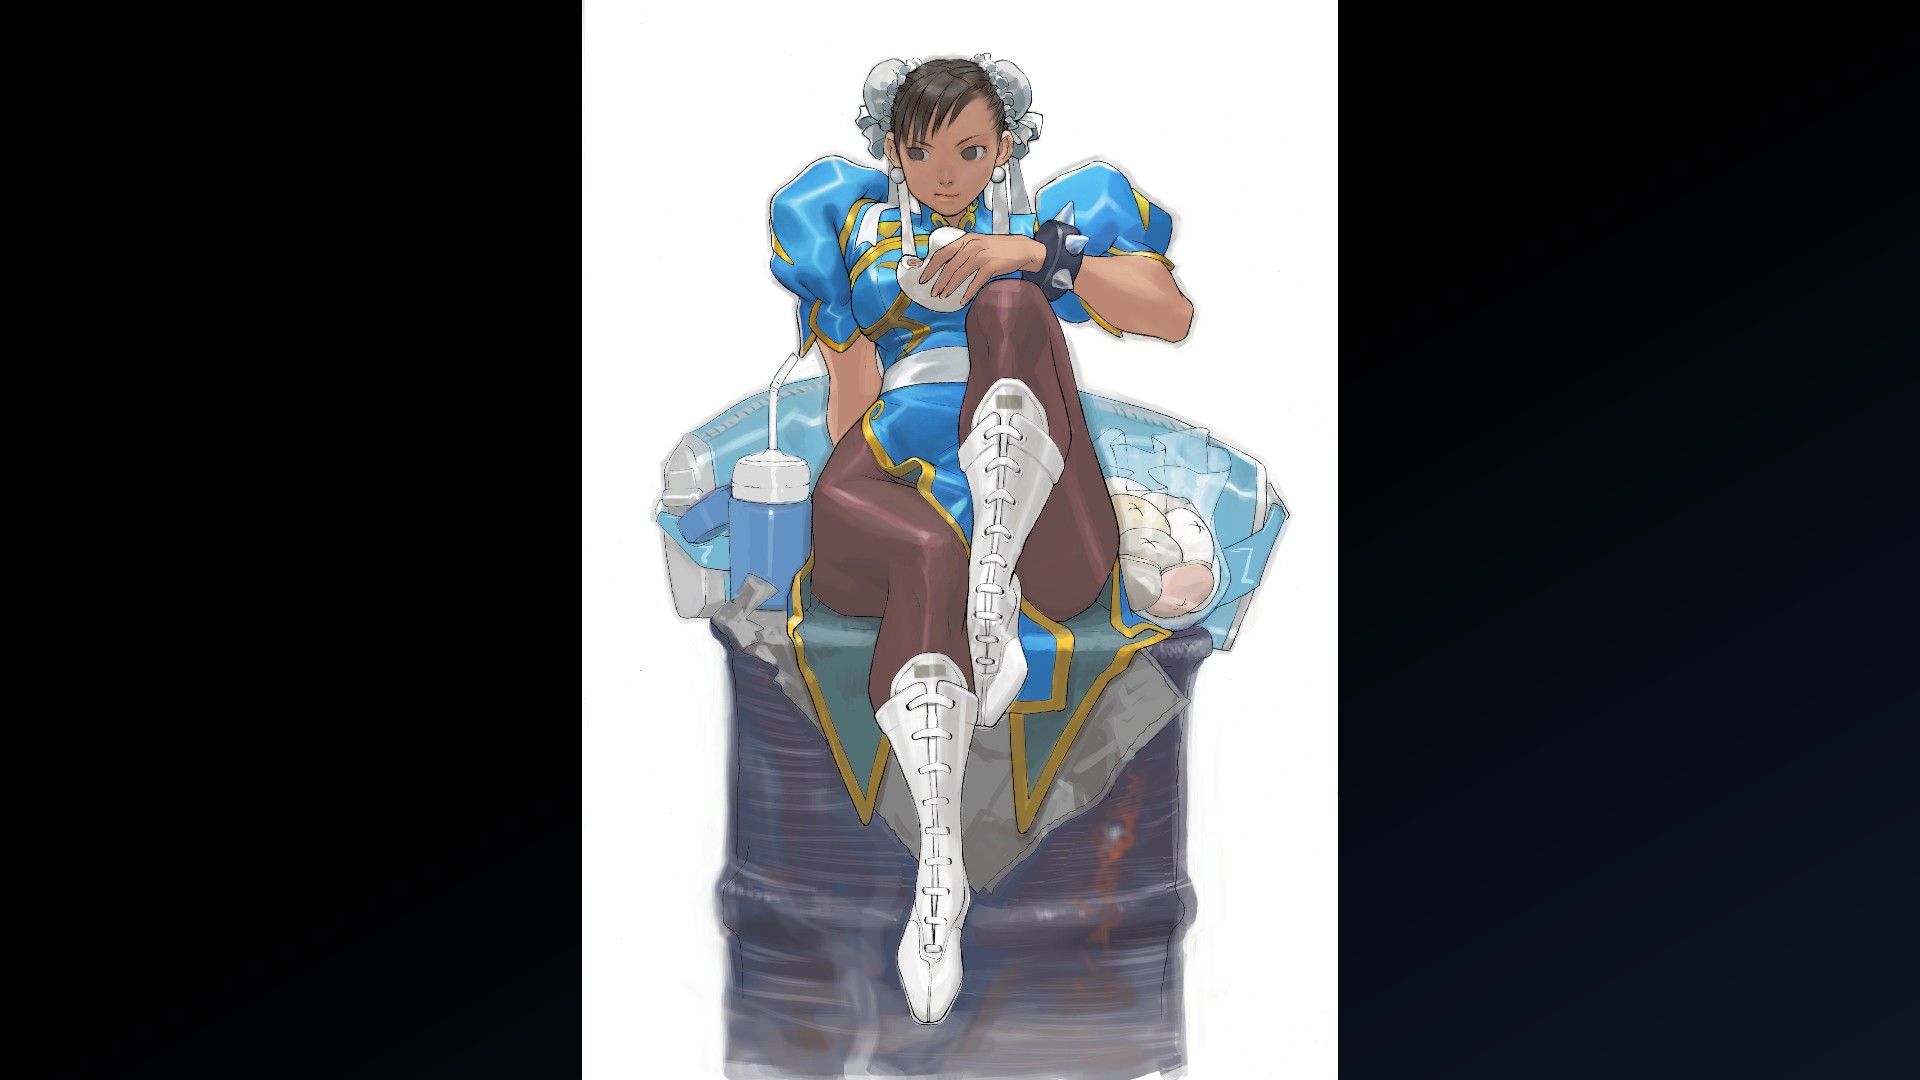
SF Legacy: Edayan
SF Legacy: Edayan
SF Legacy: akiman
GAROU: MARK OF THE WOLVES
SF Legacy: BENGUS

Play Arcade Stories for 2 Hours
SF Legacy: BENGUS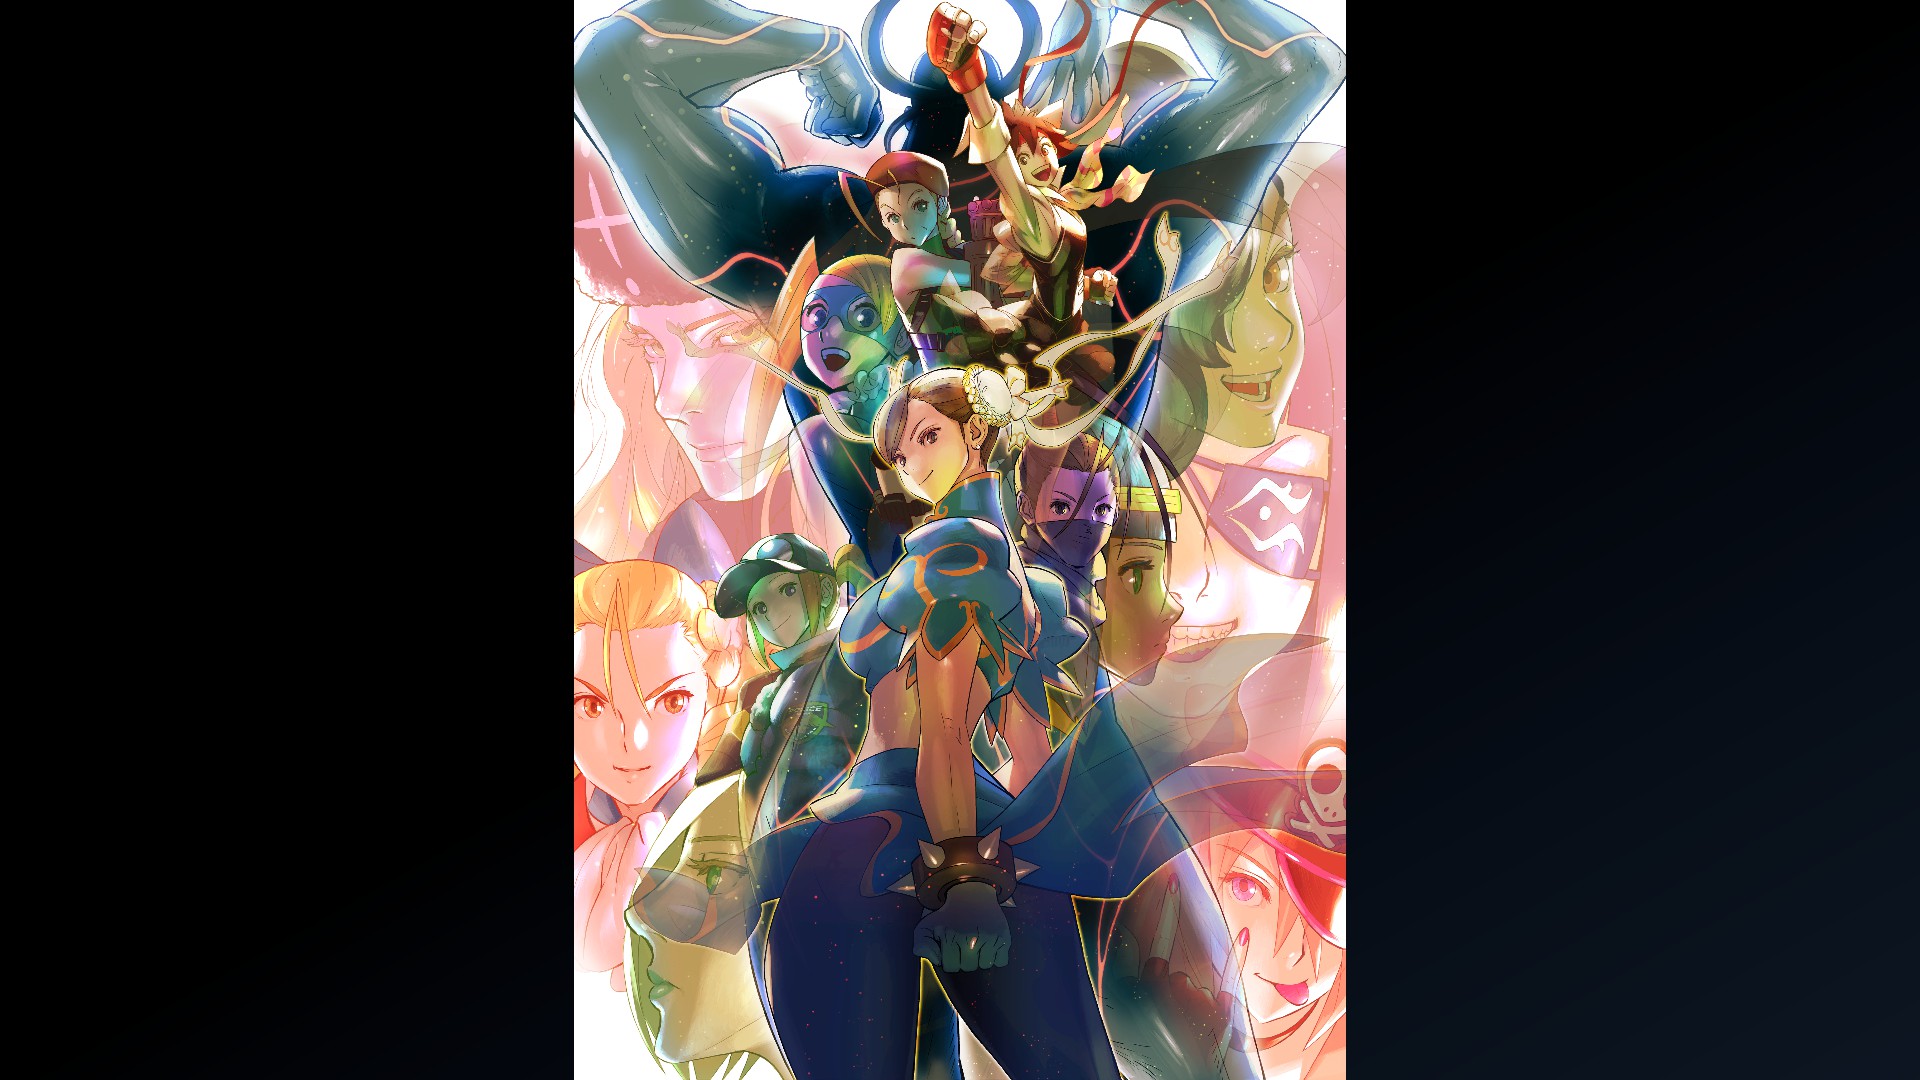
SF Legacy: BENGUS
SF Legacy: BENGUS
SF Legacy: Street Fighter V
Play Arcade Stories 46 Times
SF Legacy: SHOEI
SF Legacy: Daichan
SF Legacy: BENGUS
SF Legacy: Kinu Nishimura
SF Legacy: BENGUS
SF Legacy: Street Fighter II
SF Legacy: Ikeno
SF Legacy: akiman
SF Legacy: SHOEI
SF Legacy: SHOEI
SF Legacy: akiman
SF Legacy: Ikeno
SF Legacy: SENSEI
SF Legacy: SENSEI
SF Legacy: Kinu Nishimura
SF Legacy: akiman
SF Legacy: Daichan
SF Legacy: BENGUS
SF Legacy: Shima Maeda
SF Legacy: Edayan

SF Legacy: BENGUS
SF Legacy: Daichan
SF Legacy: BENGUS
SF Legacy: BENGUS
SF Legacy: Ikeno
SF Legacy: Edayan
SF Legacy: Daichan
SF Legacy: Edayan
SF Legacy: Ikeno
SF Legacy: Togachi
SF Legacy: Ikeno
SF Legacy: Ikeno
SF Legacy: Edayan
SF Legacy: Kinu Nishimura
SF Legacy: Ikeno
SF Legacy: Ikeno
SF Legacy: Street Fighter
SF Legacy: Street Fighter IV
SF Legacy: Super Street Fighter IV
SF Legacy: Ultra Street Fighter IV
SF Legacy: Ultra Street Fighter IV
SF Legacy: Ikeno
Fighting Ground - Trophies (Part 3)
SF Legacy: Street Fighter V
SF Legacy: BENGUS
SF Legacy: BENGUS
SF Legacy: BENGUS
SF Legacy: BENGUS
SF Legacy: BENGUS
SF Legacy: BENGUS
World Tour - Master (Part 1)
As you play through World Tour mode, you will occasionally encounter characters from Street Fighter 6's roster, such as Ryu, Cammy, Juri, etc. By interacting with these characters, your avatar can take them on as masters and learn their special and super moves. But that's not all. In addition to master-specific missions, there are two different level types associated with these characters: bond and style. Clearing these special missions and gaining bond/style levels will unlock cutscenes and artwork. Do all that you can with these masters--making sure to speak with them whenever new conversations are available--and you will complete both the Master and Other sections of the art gallery.
Let me elaborate a bit more on levels. Style starts at level 1 and maxes out at 20. This can be accomplished by equipping your masters' styles and defeating opponents with them. While it is a bit of a grind, there are items available that boost style experience for a short period of time. What's more, if you fight opponents that use styles you have already unlocked, you will get additional experience for those styles once you defeat them. I recommend checking out Zanza's Guide for some details on how to farm style experience.
If at any point you feel Zanza's grinding spots just aren't cutting it anymore, you may want to check out a few choice spots I found that aren't mentioned in the guide. Keep in mind though that these areas have higher level enemies and are only available toward the end of World Tour.
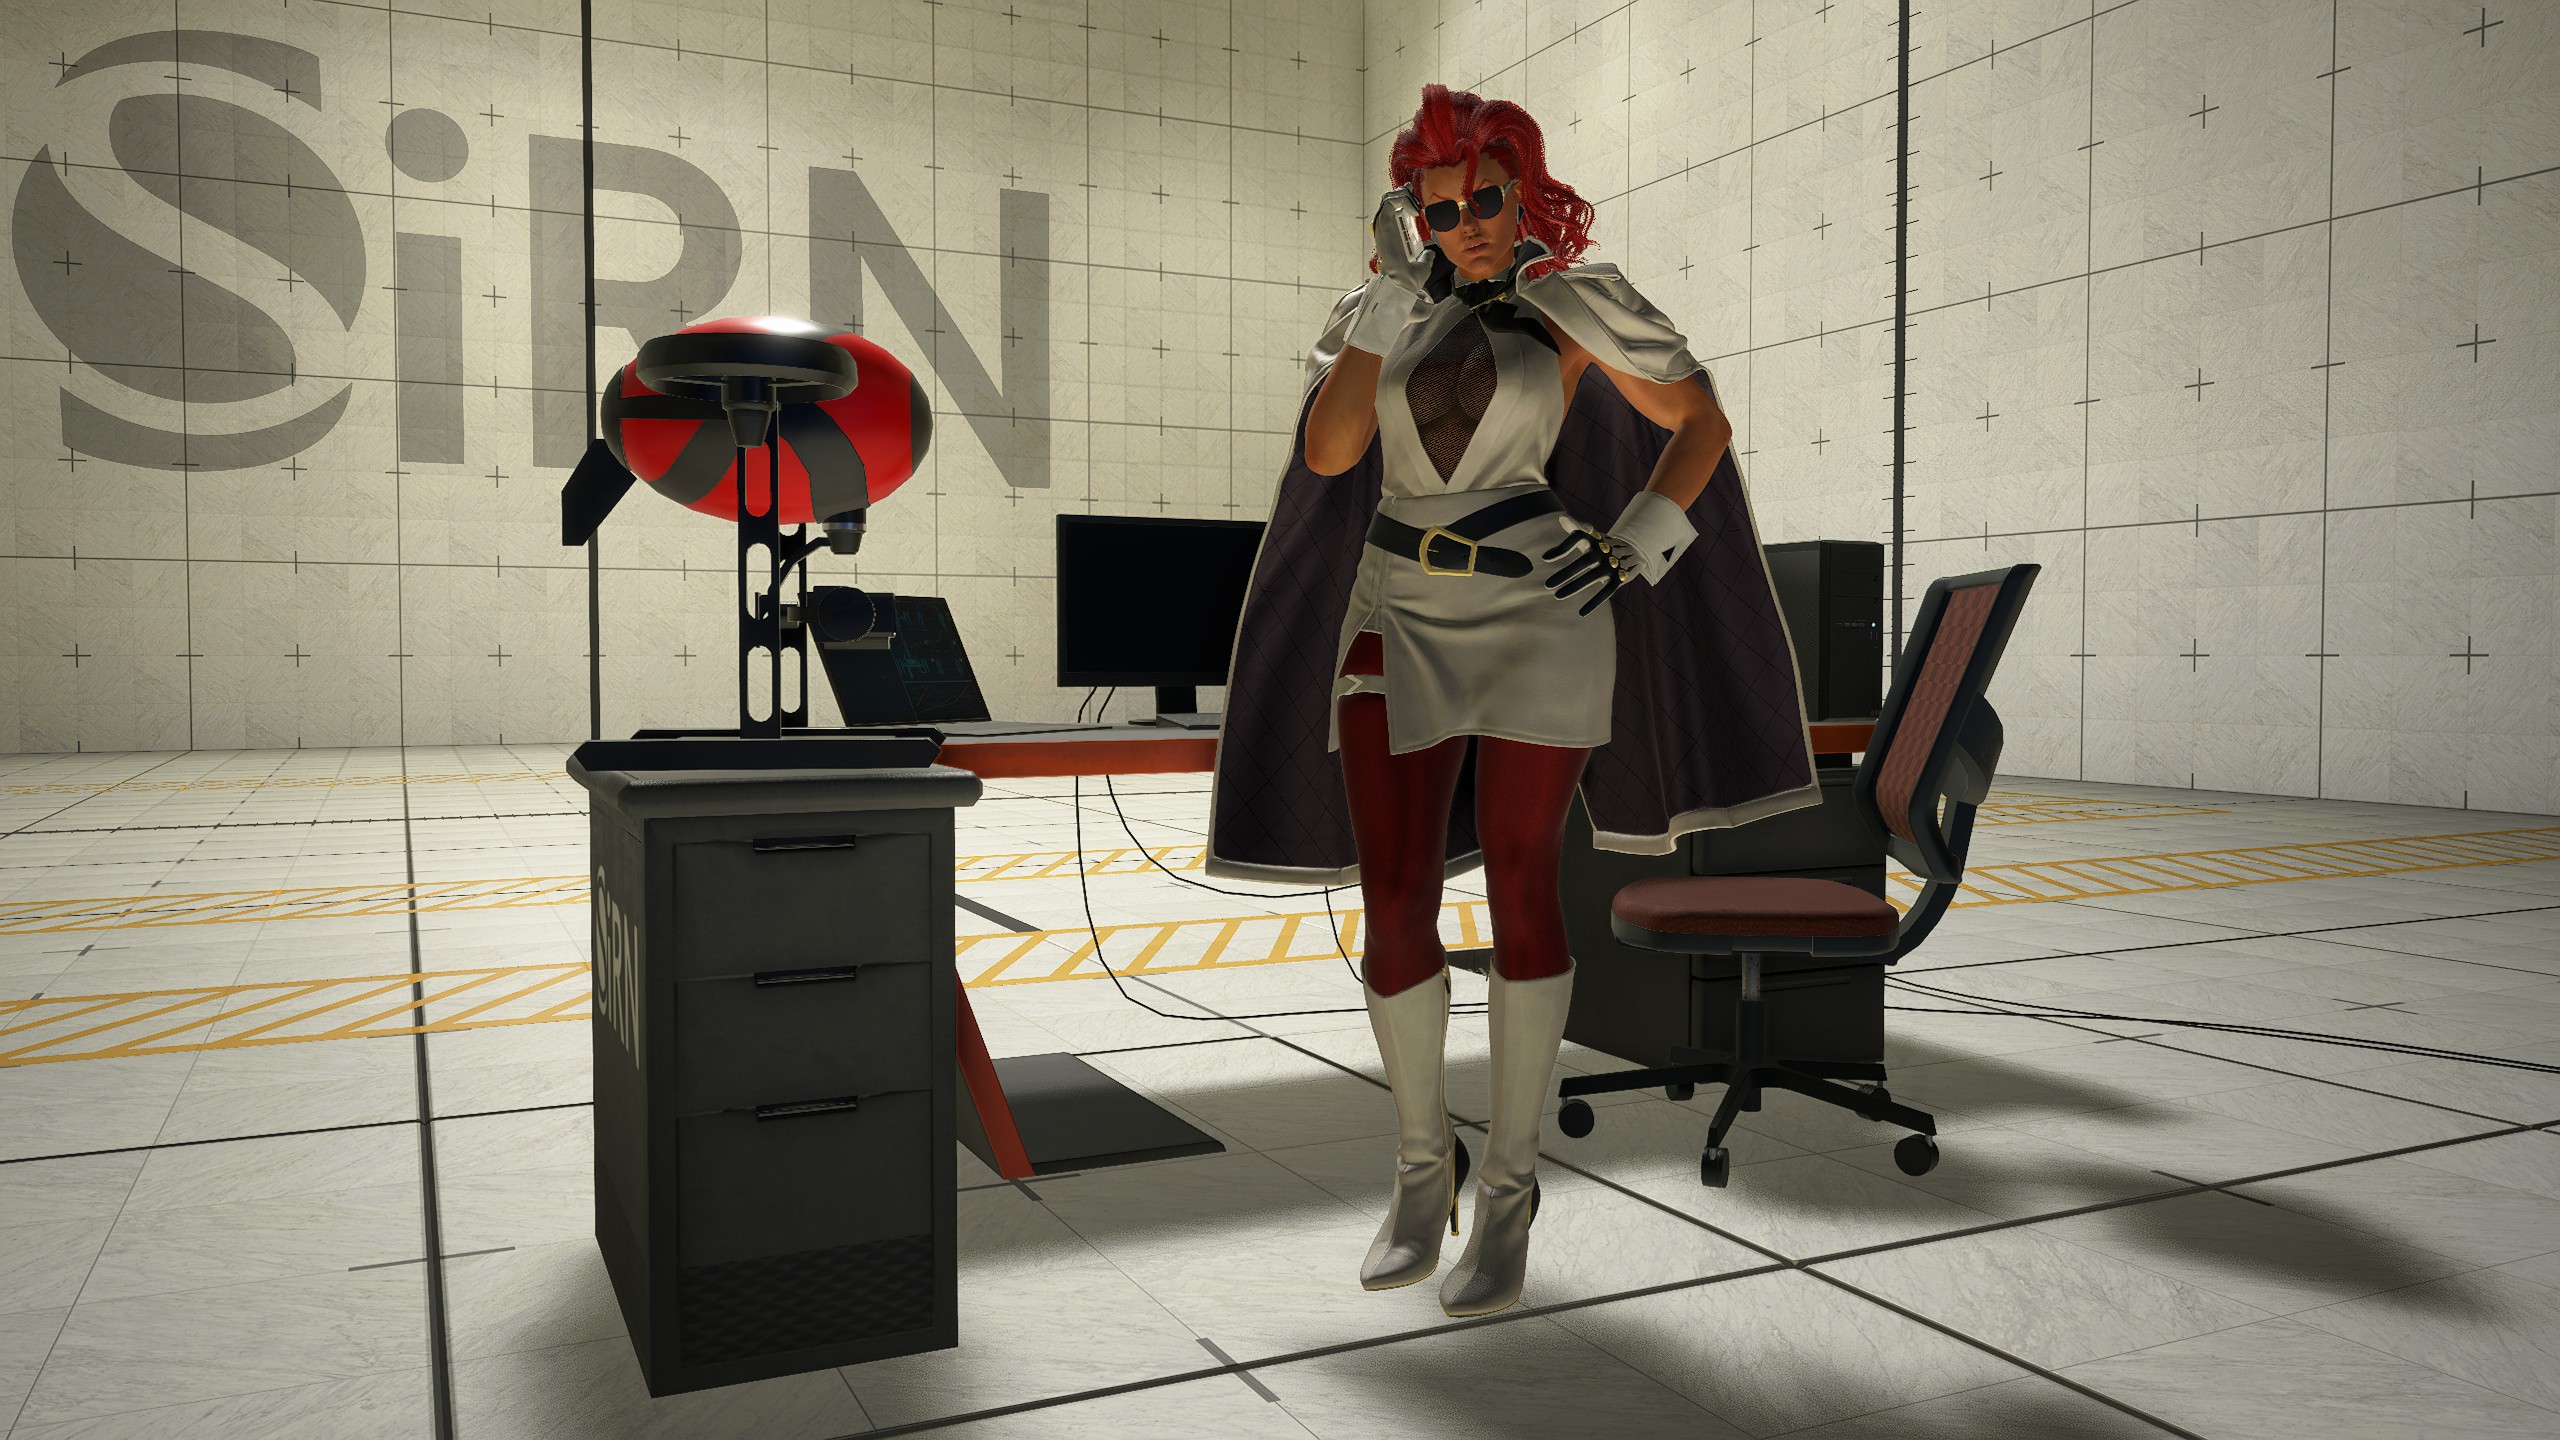
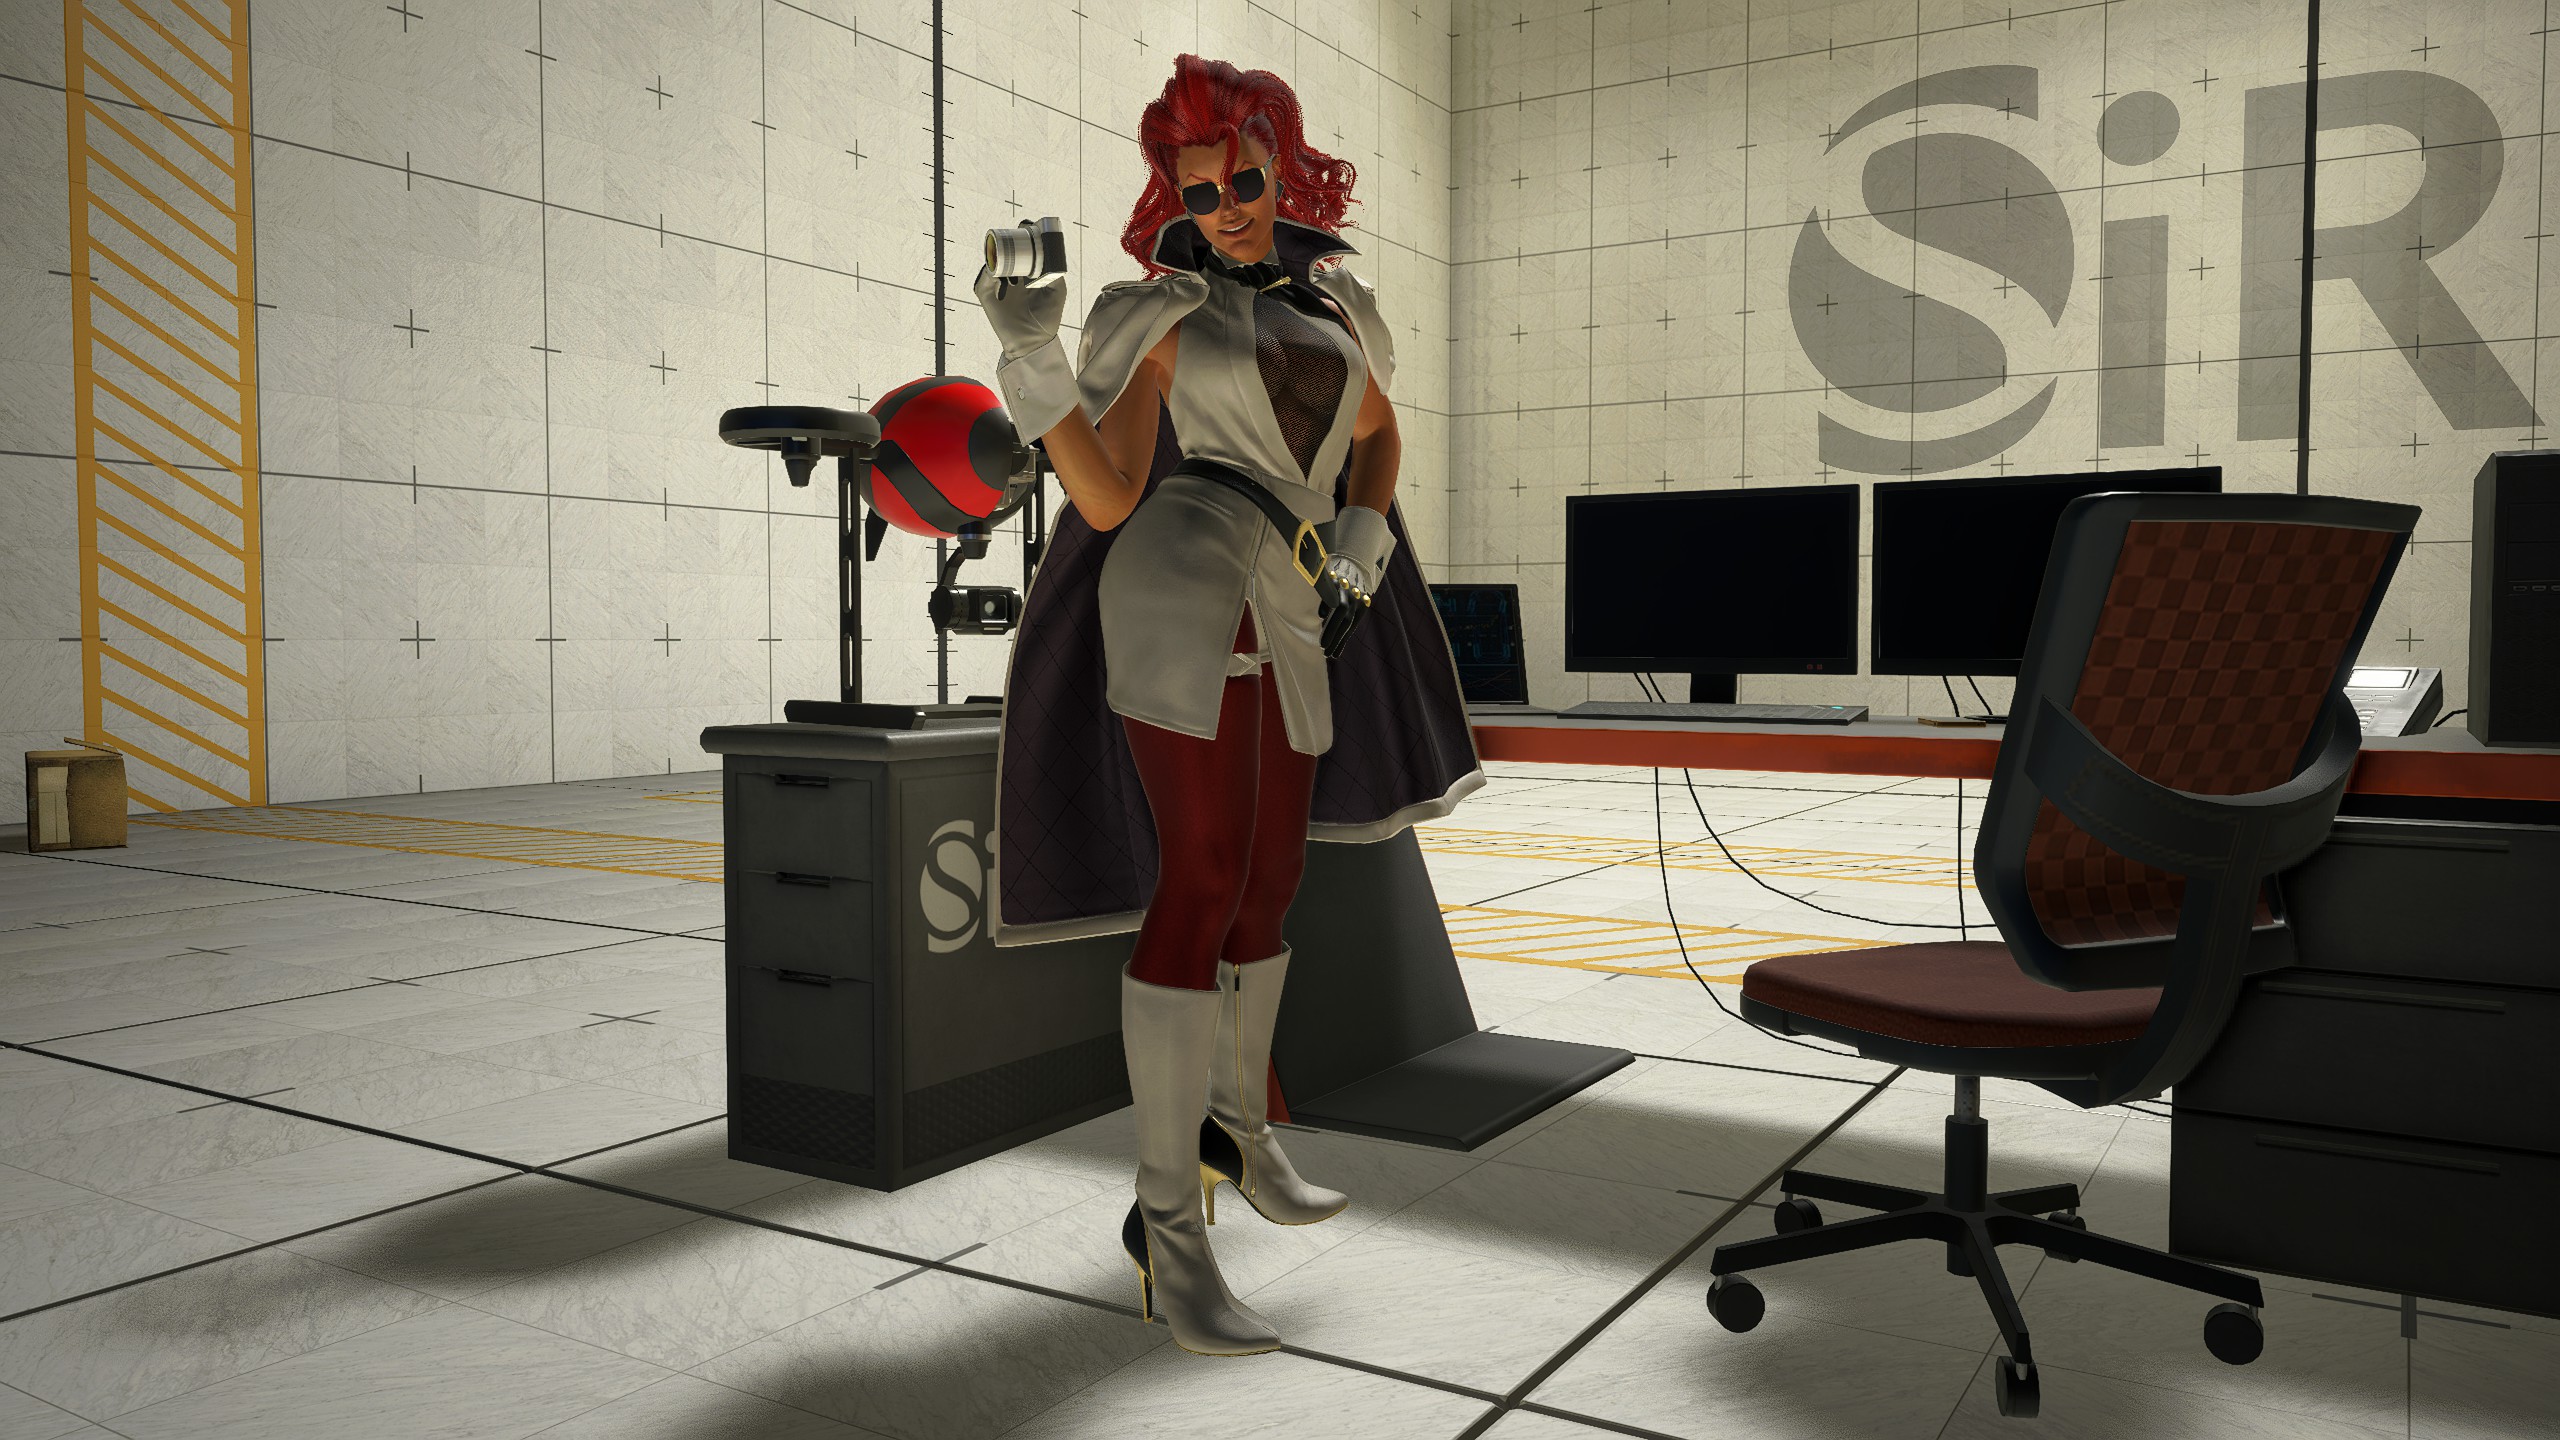
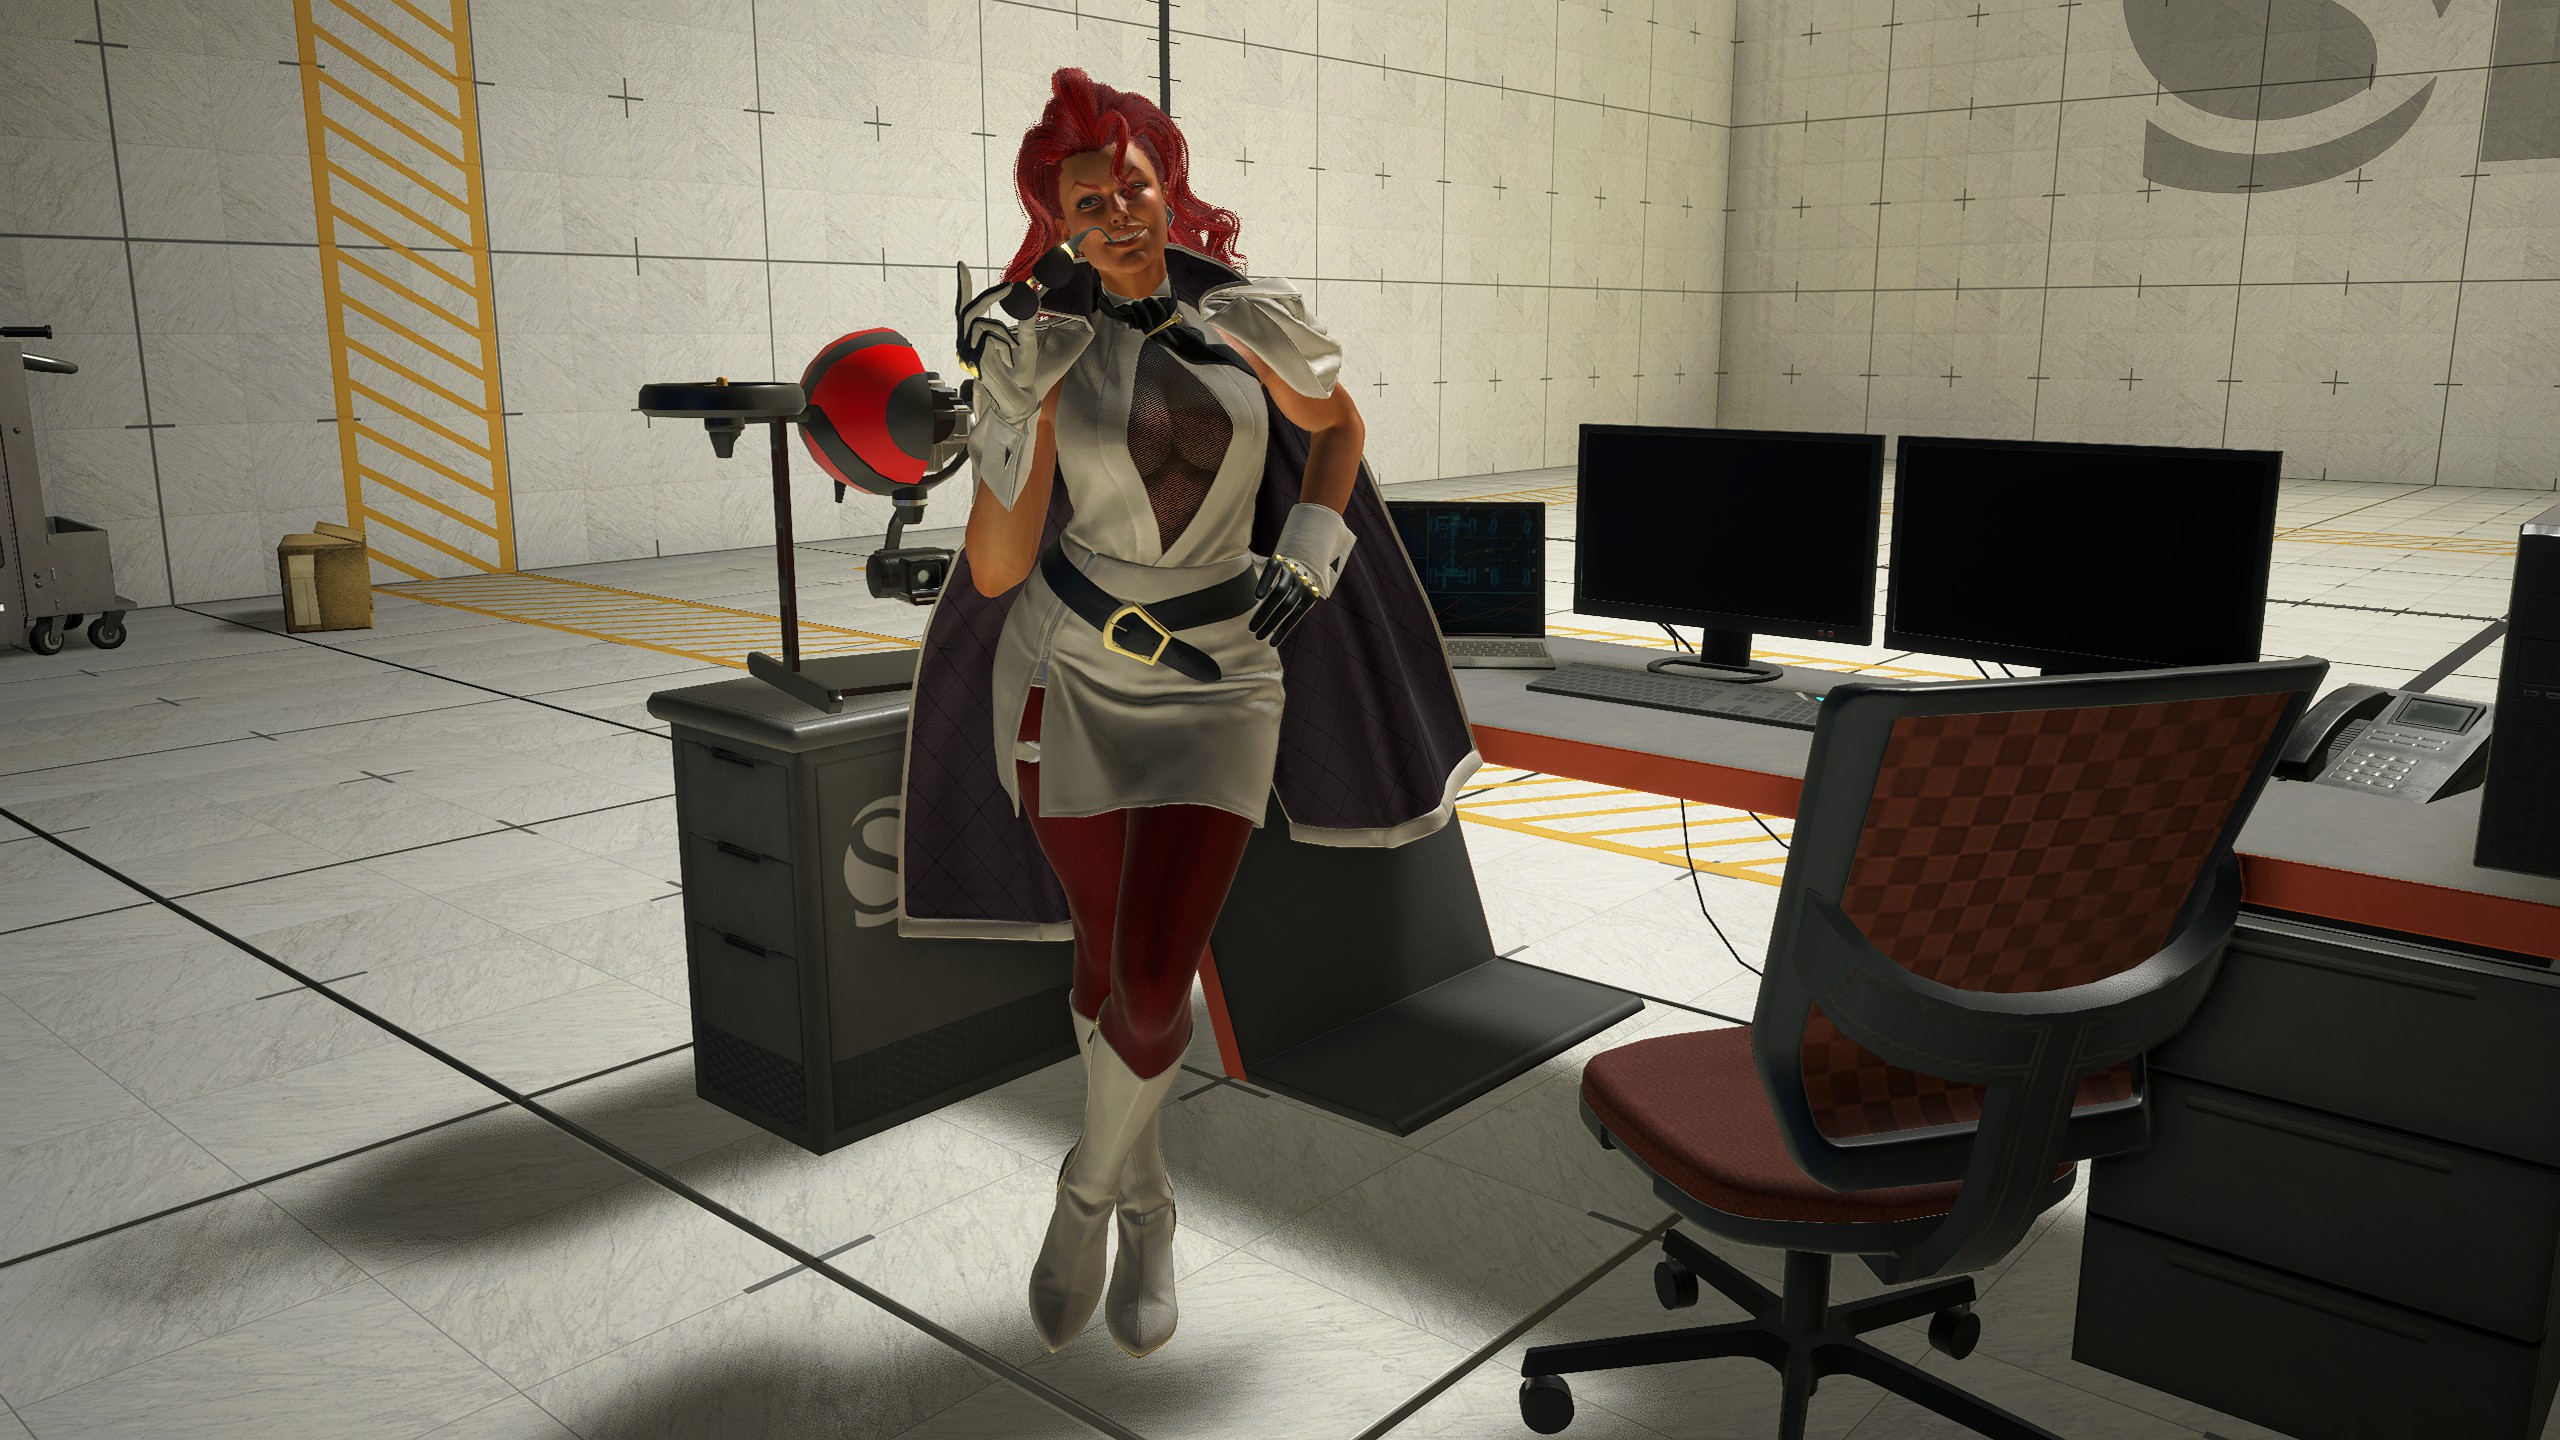
1) The SiRN Building (only accessible during the day)
Late in the game, you will be able to do a sidequest called The Secret Sentient Sidekick, which gives you access to a new part of the SiRN Building in Metro City:

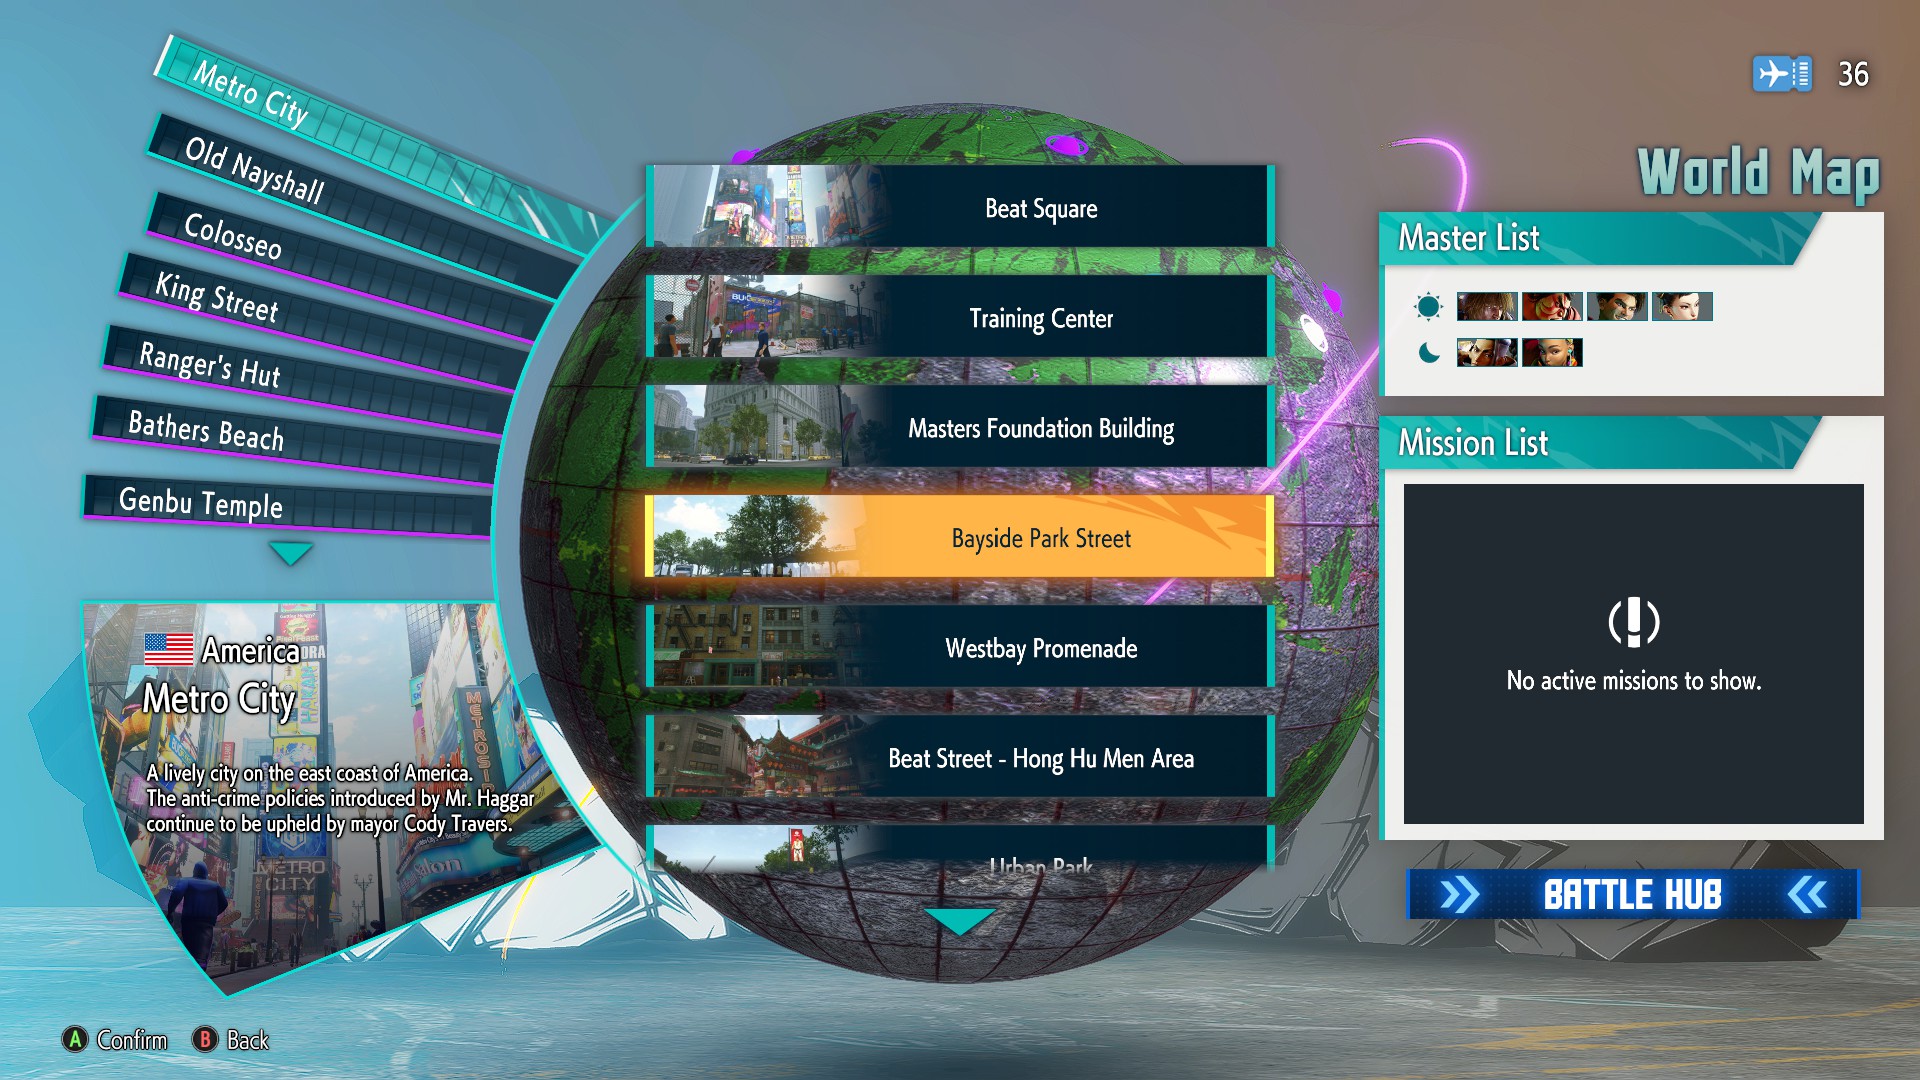
The nearest fast travel point is Bayside Park Street:
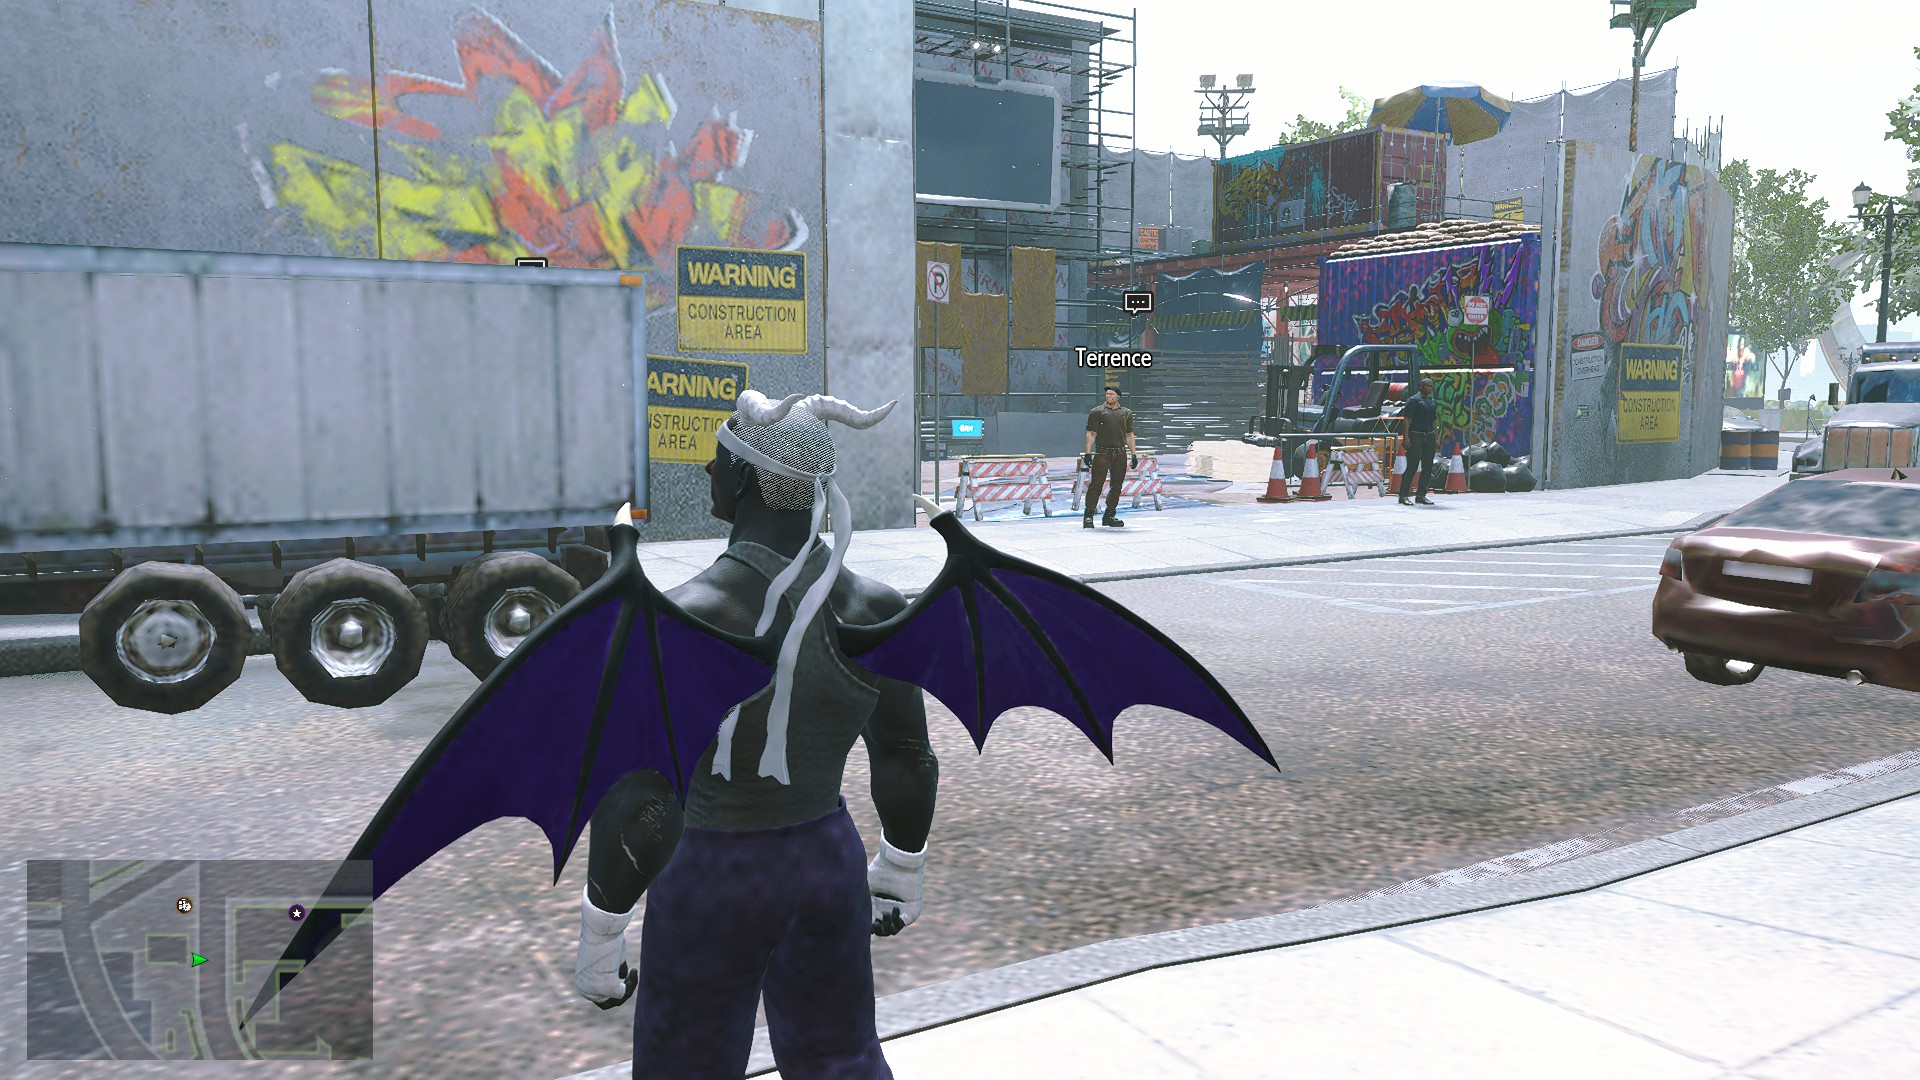
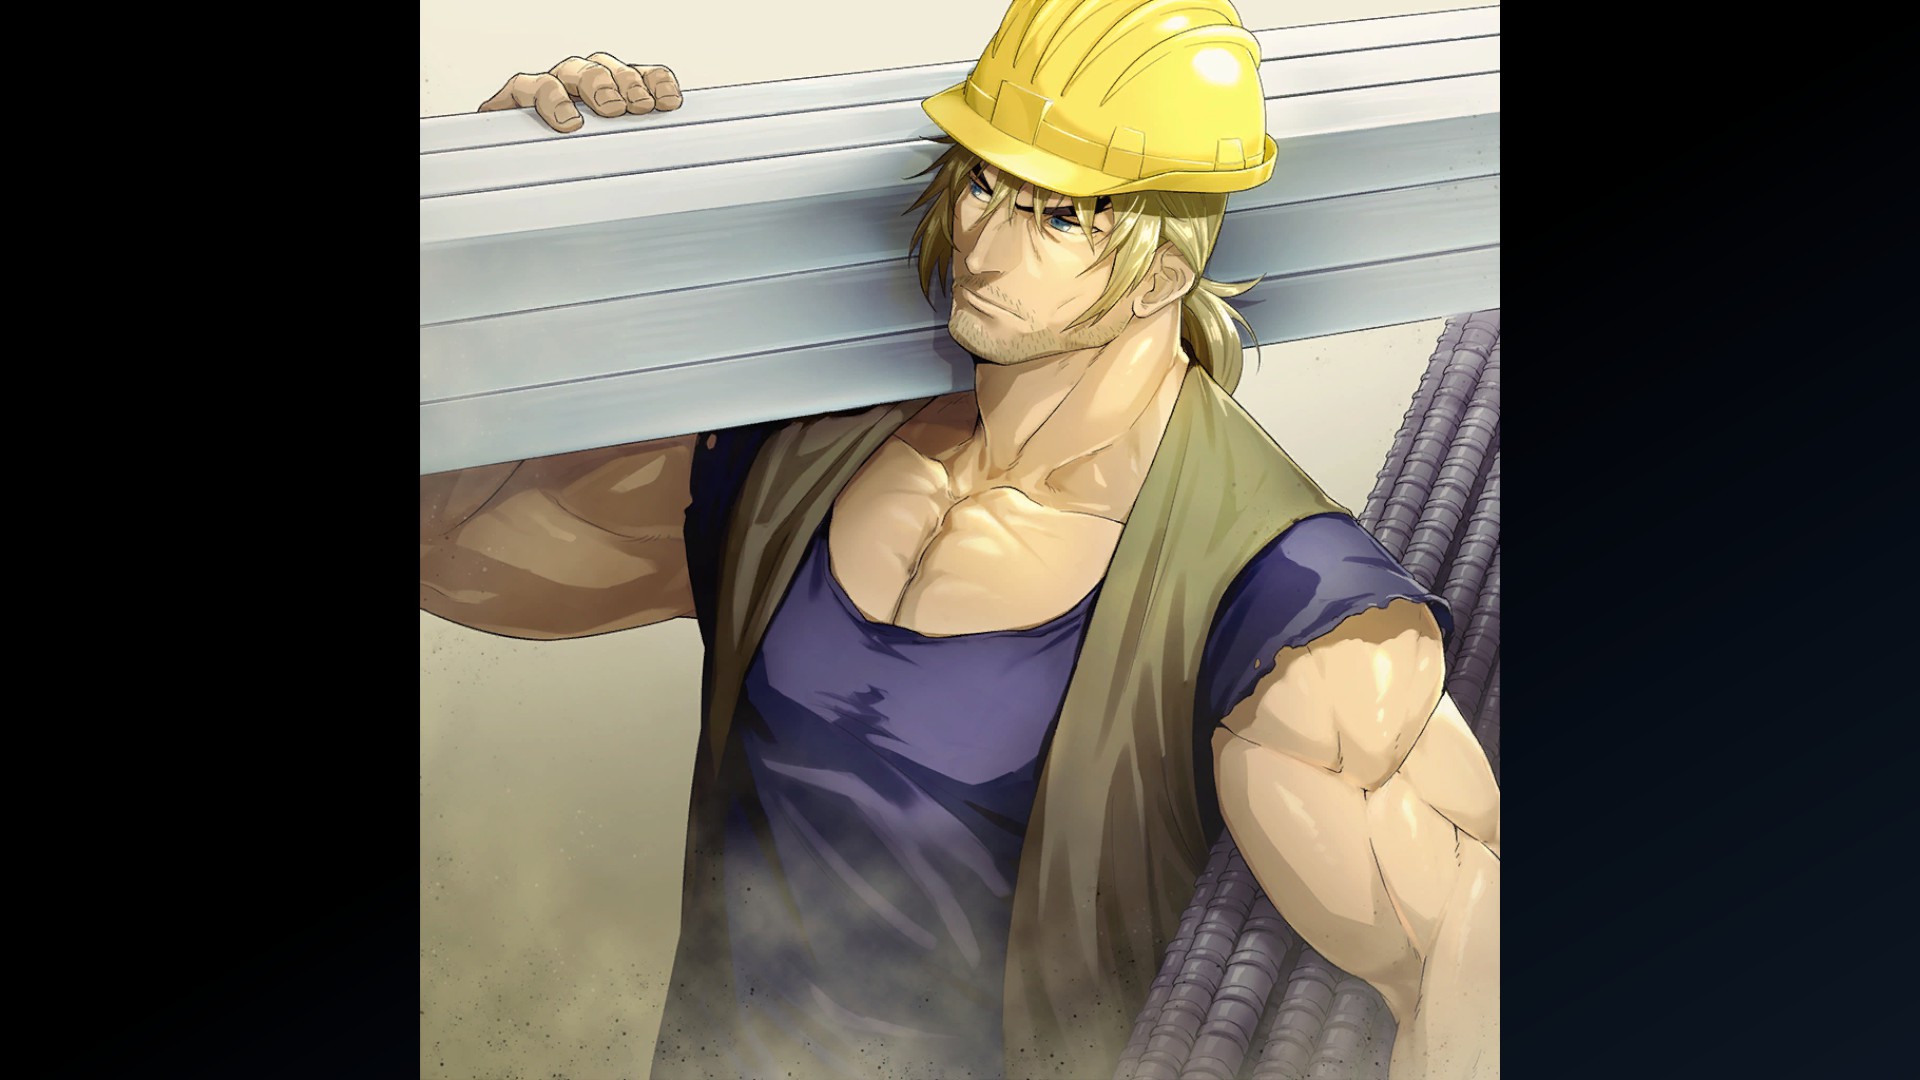
Pass between the two guards pictured above, then head to the right once you're inside. You'll know you're in the right place if there's a construction worker named Steven nearby:
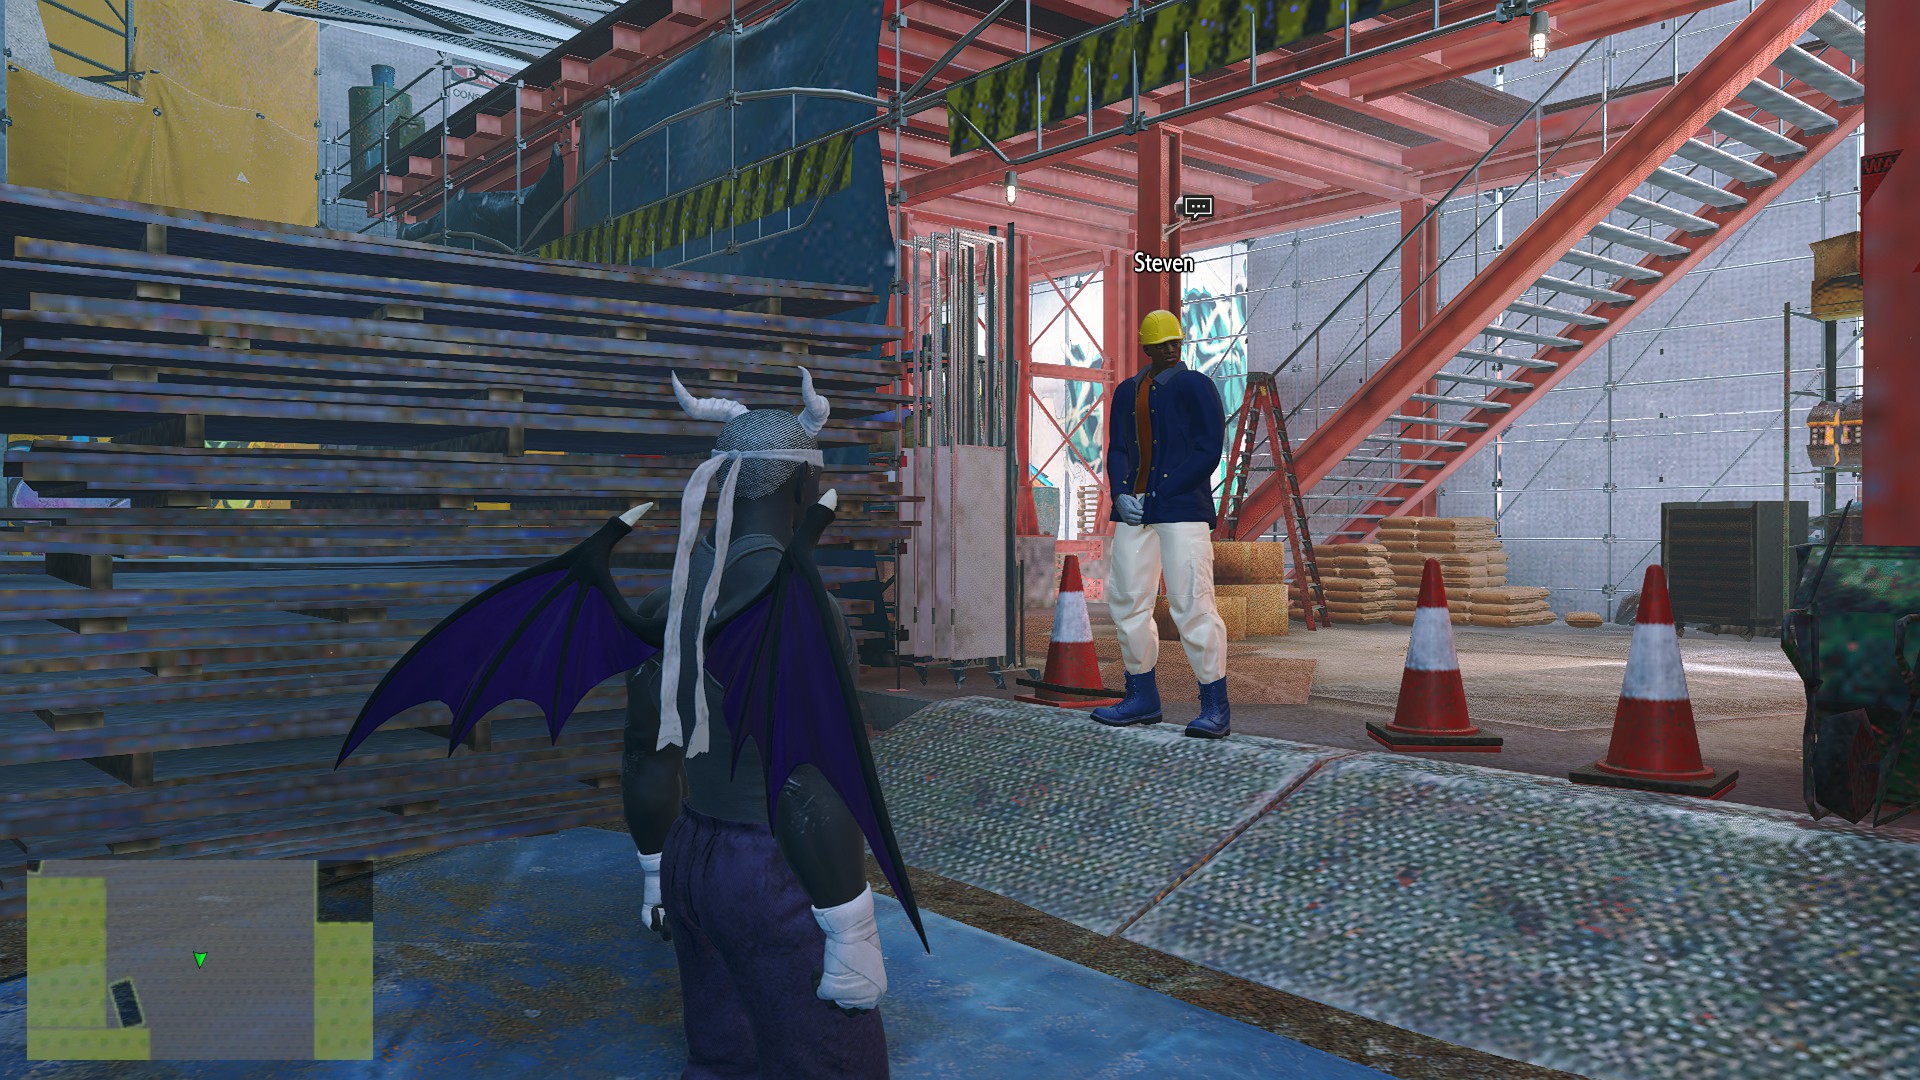
Speak to him and he'll transport you to the SiRN Building. Head inside the door in front of you and speak to Old Man Lloyd to start your quest. During this mission, you will be chasing a robot all over the building, fighting it multiple times. More importantly, you will encounter high-level enemies called Copy Fighters, which always fight with some type of master style:
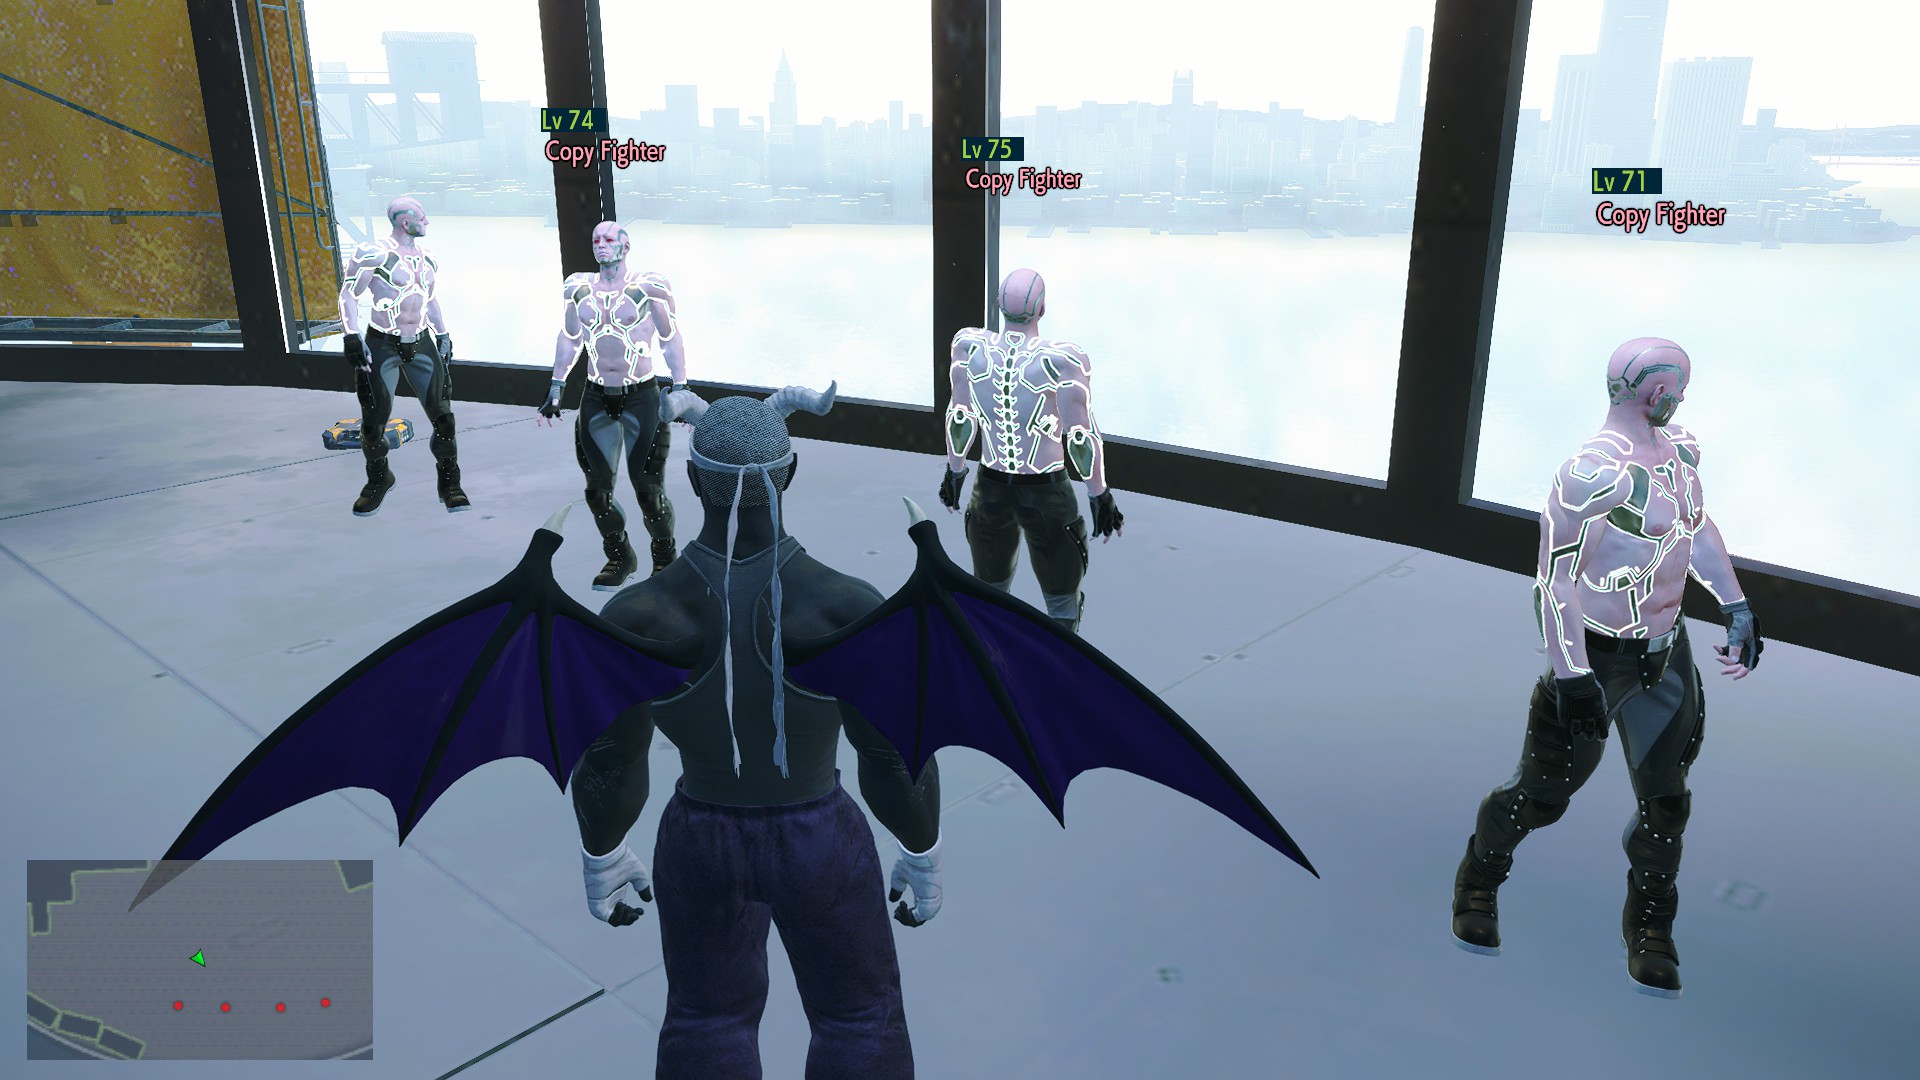
You will find them on the floors above where you met Lloyd and also on some of the lower floors (the latter accessible via a nearby elevator). Make sure that you have a style equipped on your character that isn't yet maxed out, drink a blueberry smoothie via the drone delivery app to boost your style exp, and then clear out all the Copy Fighters in this area (there's also a sumo somewhere that fights using E. Honda's style). Once defeated, it'll take some in-game time until they respawn, but this area is great for farming style points!
The next spot I'd like to mention is...
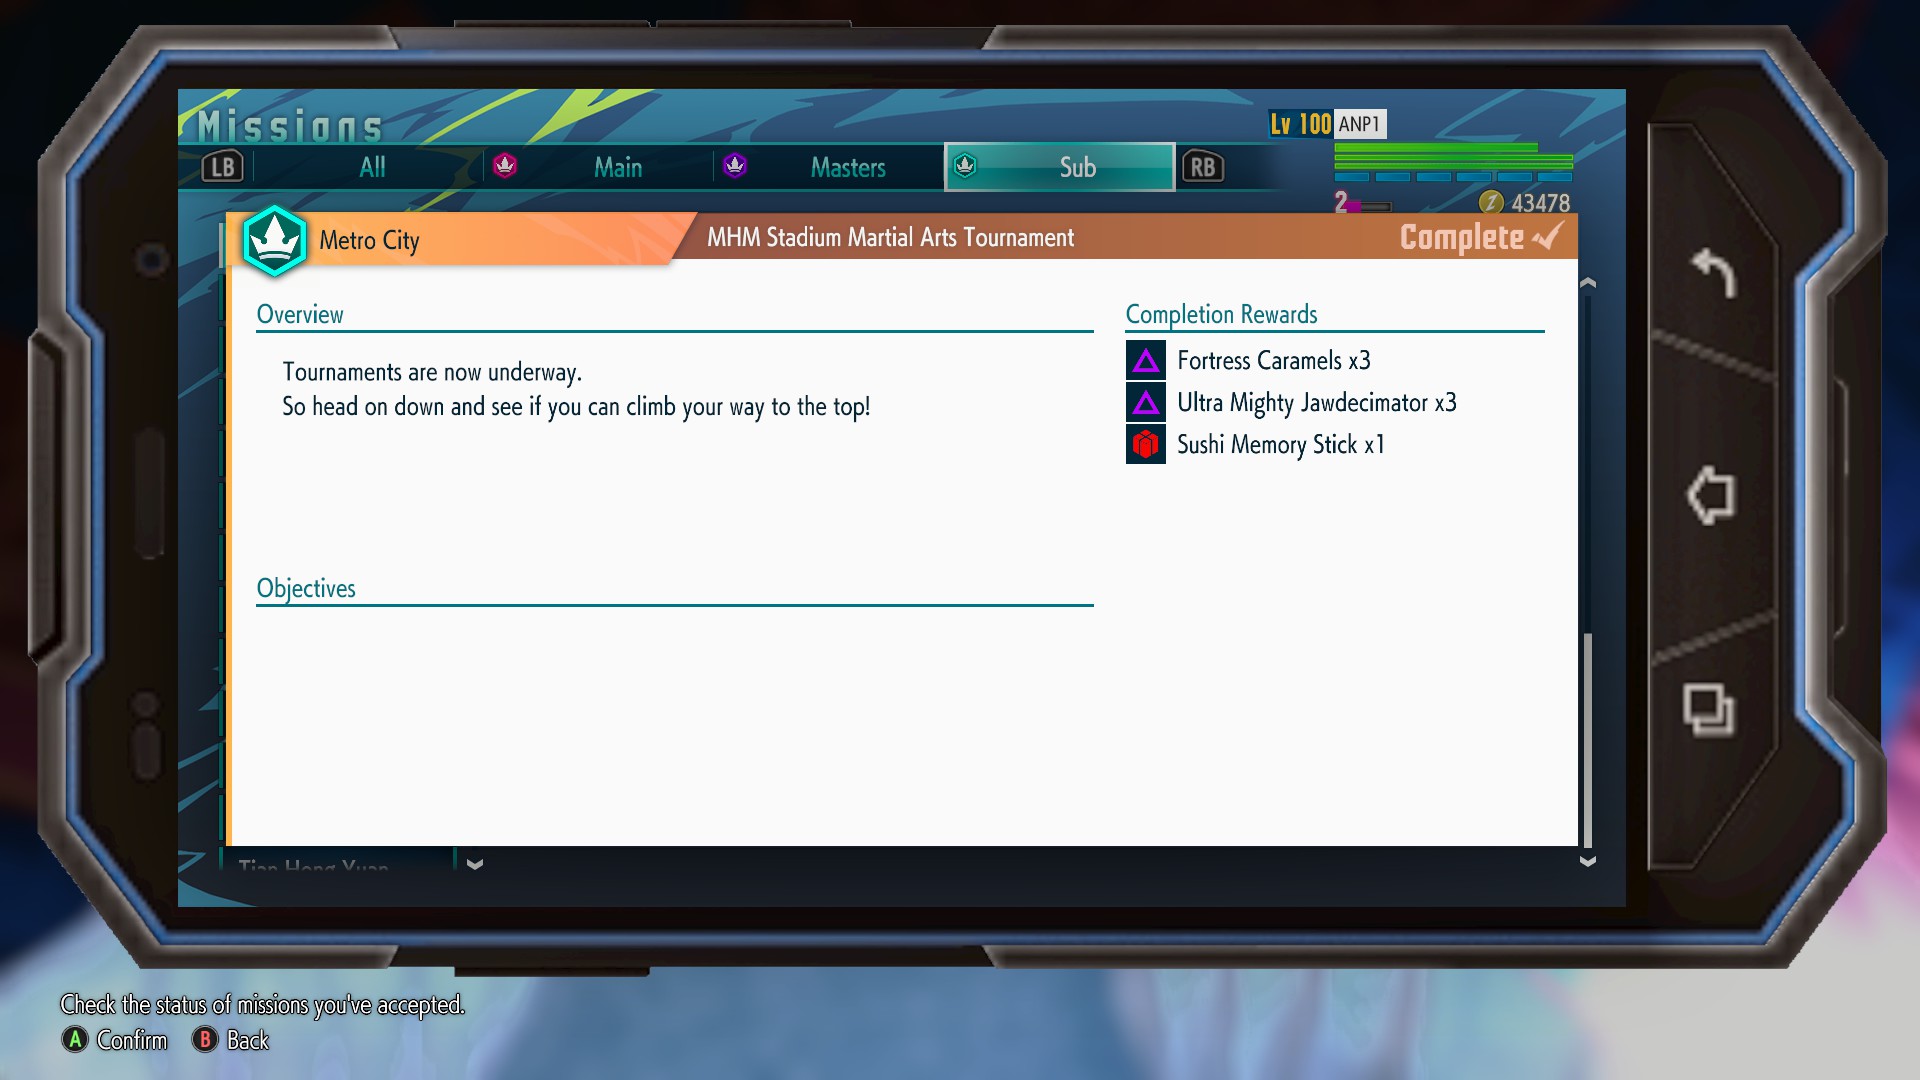
2) Haggar Stadium (Tournaments; only accessible during the day)
In order to gain access to the stadium's tournaments, you will first need to unlock the sidequest MHM Stadium Martial Arts Tournament. With this mission unlocked, fast travel to Metro City's Urban Park:
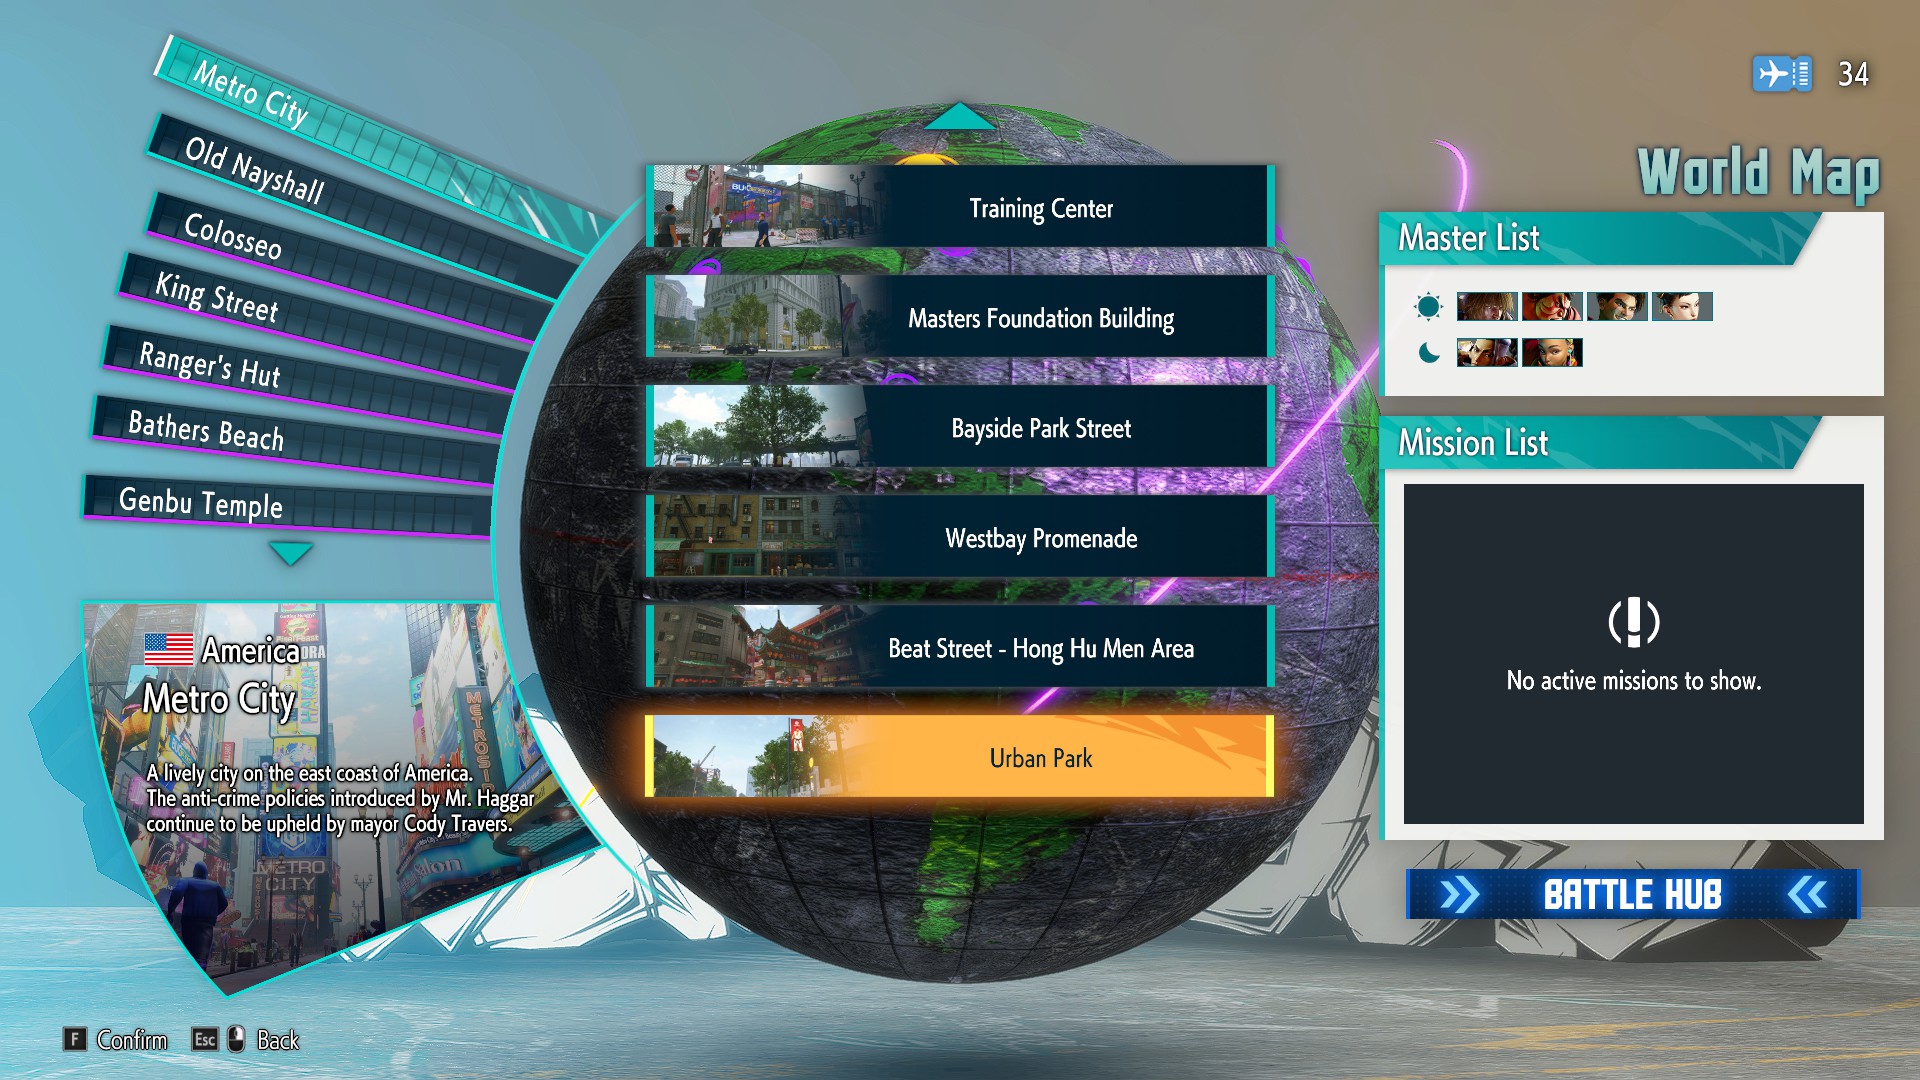
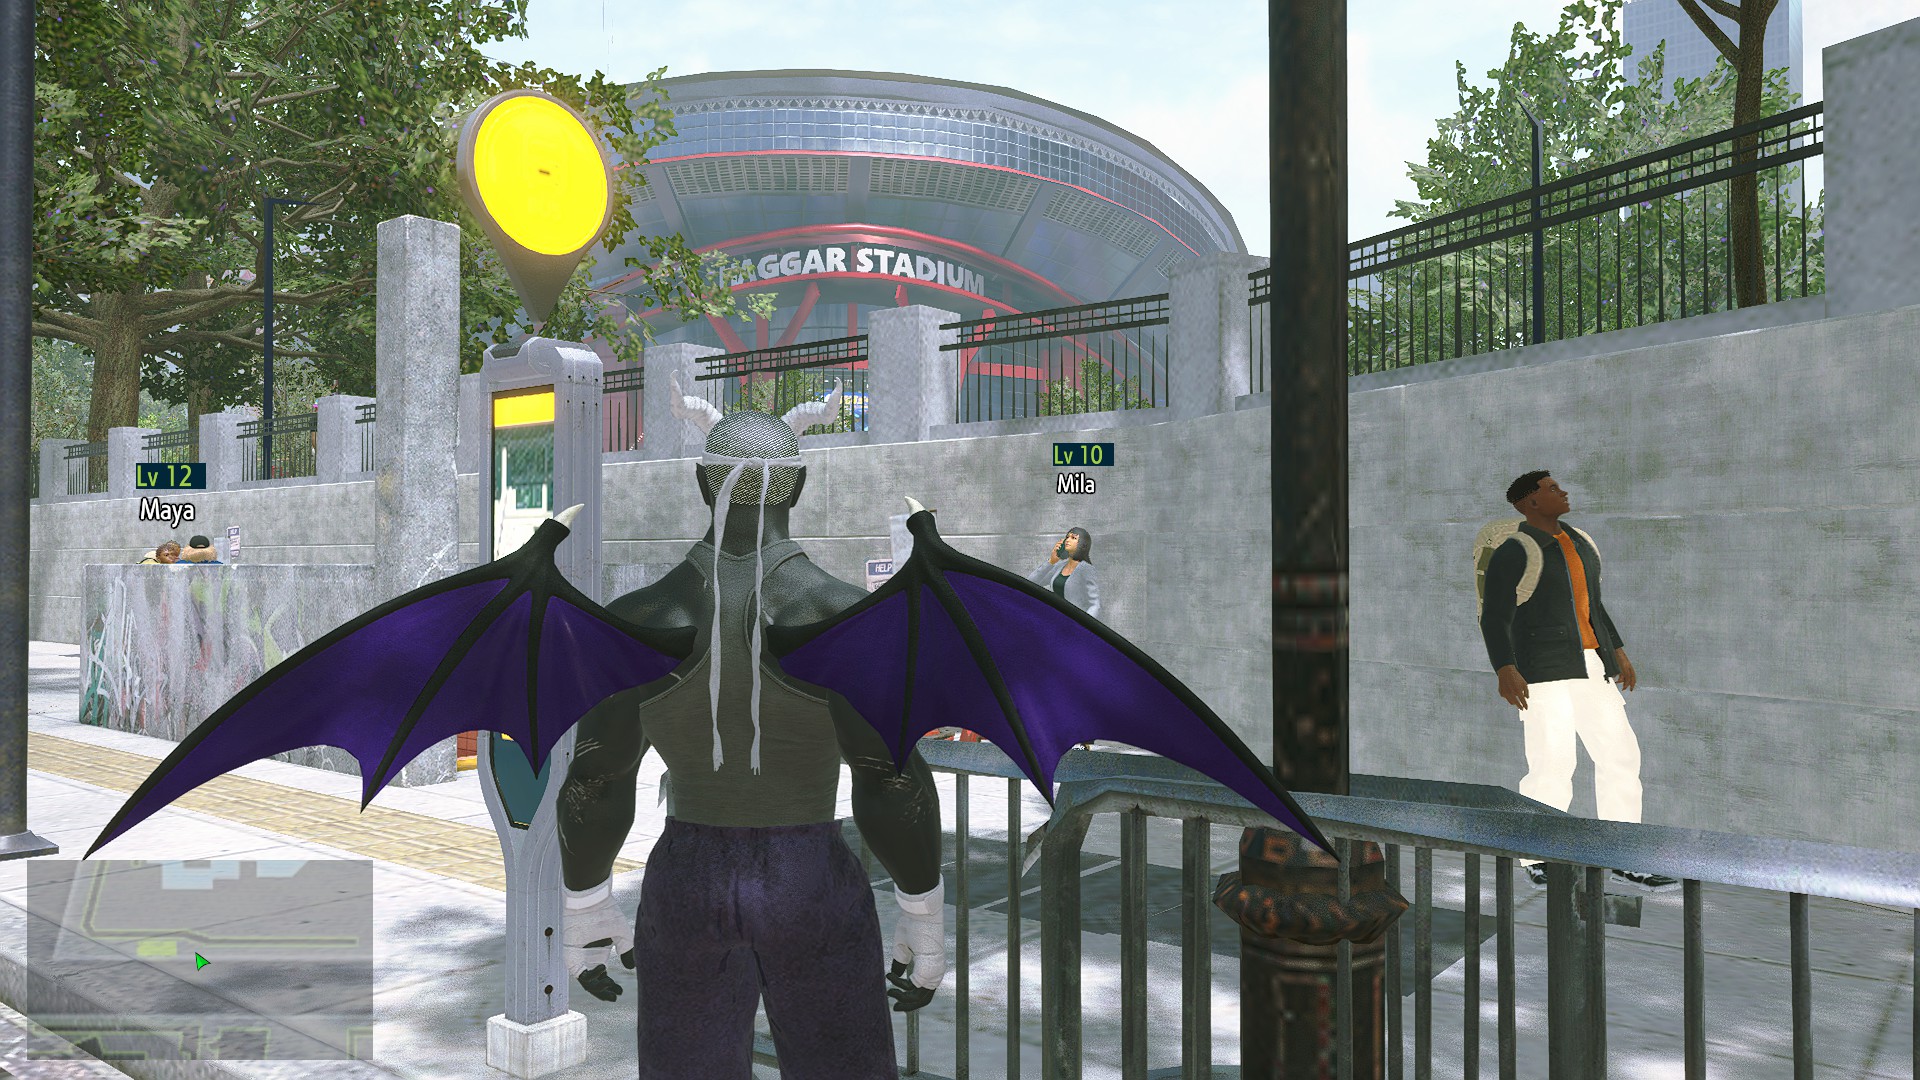
Once you've arrived, turn around and you'll notice the stadium looming in the background:
Head inside and you will find a receptionist named Cathy standing behind a counter:
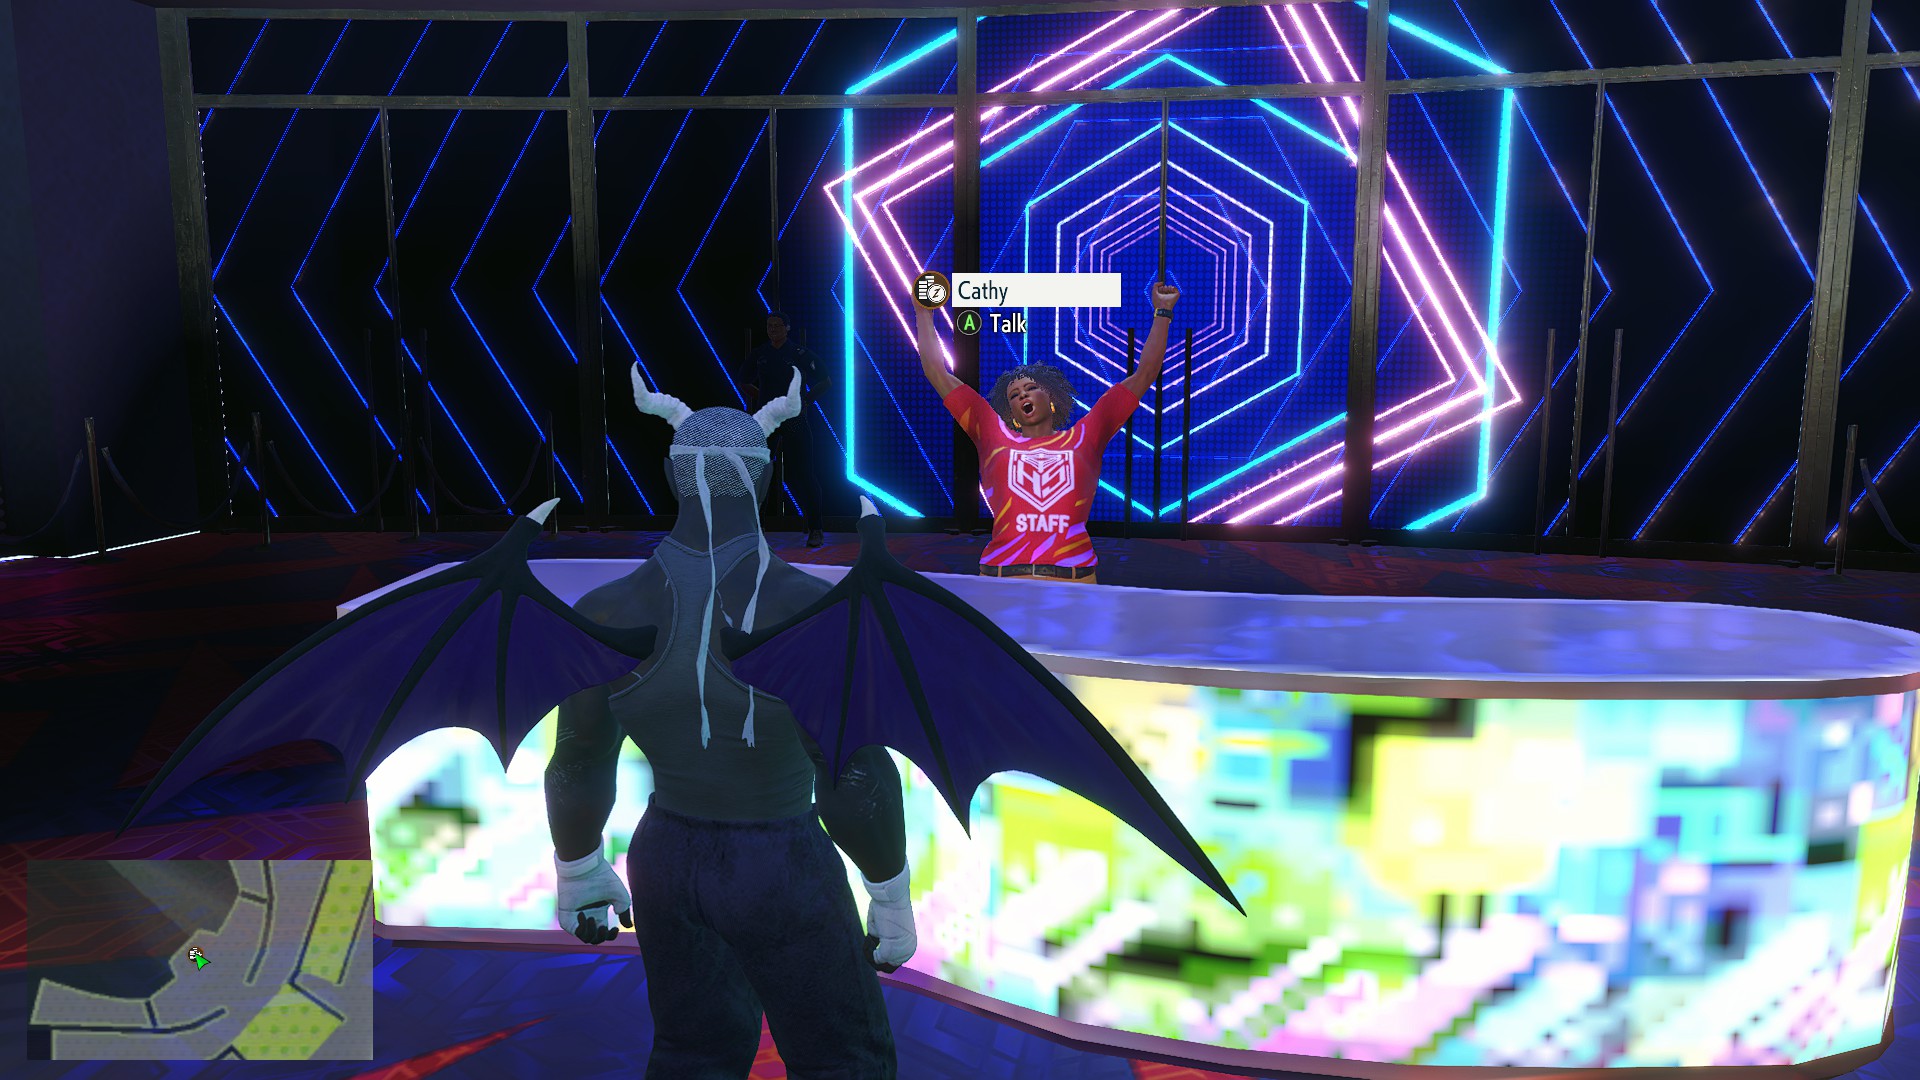
Talk to her to gain access to two different types of tournaments: normal and daily. Both of these tournaments feature high-level opponents who often fight using different masters' styles (FYI daily tournaments can only be completed once per day):

You know the drill: drink a blueberry smoothie and farm some style experience. As an aside, these tournaments are great for farming experience for your avatar's level as well (make sure to eat the L experience boost purchased from the vendor in Fête Foraine if you decide to do so).
"What about bond levels," you ask? Well, you start at level 1 and max out at 100. To gain bond experience, you need to clear missions given to you by your master, defeat them when they offer to spar with you, or give them gifts. You are given chances to spar with your master as you increase your style level. As for gifts, any one of them will increase a master's bond level, but the amount it increases by depends on what kind of item was given. Check out Mahkloompah's guide for more information about gifts.
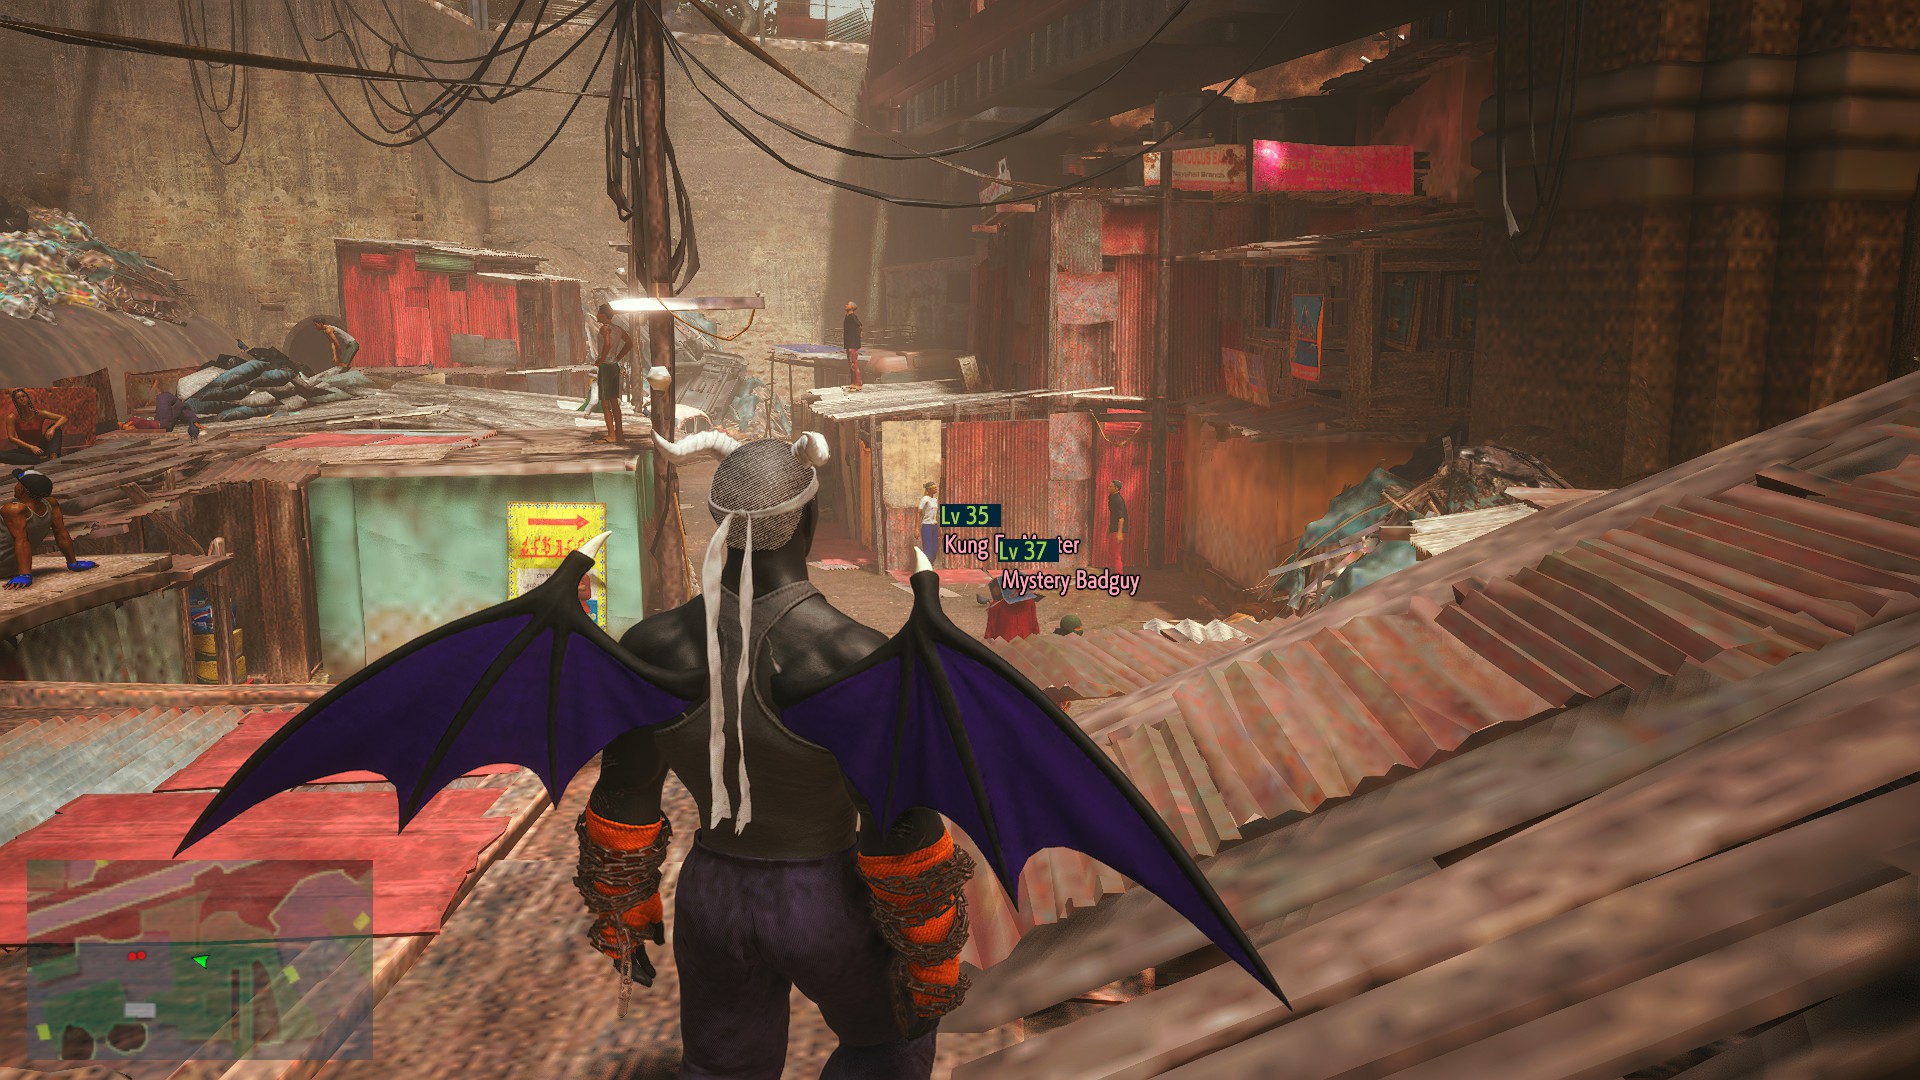
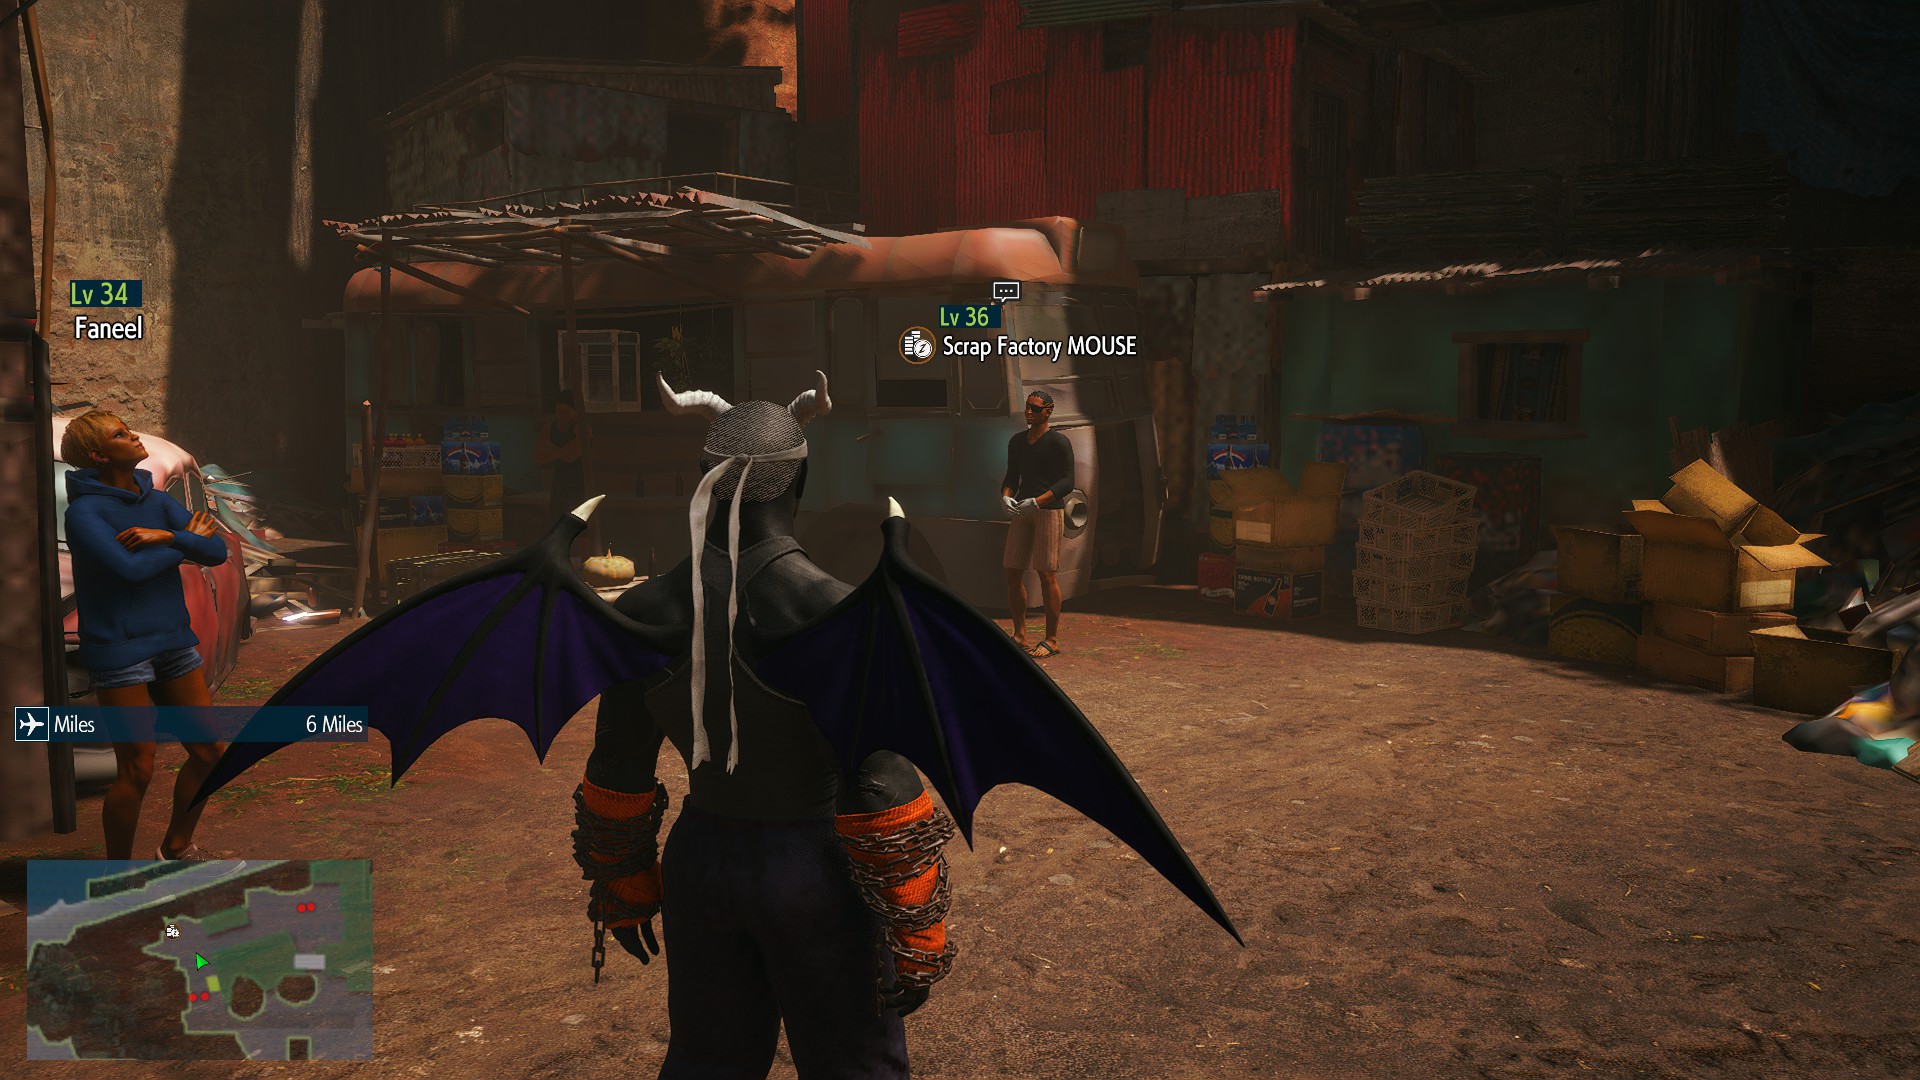
If you're low on zenny, I recommend doing the part-time job Scrap Heap 2 on its hard setting. Scrap Heap 2 can be found near The Lowlands - Commerce Plaza bus stop, which is in Nayshall. Once you've quick traveled to this stop, turn around and head toward the orange banner with a sun on it. Next, run underneath the banner until you are on top of some shanty rooftops, then turn right. Drop off the rooftops and head straight until you find an NPC named Scrap Factory MOUSE, who, when spoken to, will give you the option to play Scrap Heap 2 (FYI, he'll only appear in the daytime). Use the screenshots below to help you locate MOUSE:

Feel free to clear this however you'd like, but if you're looking for an easy and effective way to clear Scrap Heap 2 on hard, I recommend the following. First, make sure that you have Ryu's style equipped. Second, learn his Level 1 Super Art (Luke's Level 1 SA also works) and equip it. Third, make sure you've unlocked Zangief's Double Lariat and equip that as well. Once you've made the necessary preparations, try out this method: once you gain control of your character, walk up to the right tuk tuk and hit it with Double Lariat, then do Ryu's High Double Strike target combo (standing heavy punch into heavy kick) two times, following that up with standing medium kick to destroy the vehicle. Now walk a little to the left and then jump toward the left tuk tuk and hit it with a heavy kick while airborne. Once you've landed, use Double Lariat followed by High Double Strike again, walk a tiny bit to the left, and use another High Double Strike, followed up with Whirlwind Kick (forward + heavy kick), which will destroy this car. Next, walk a bit to the right, jump and hit the next tuk tuk with an airborne heavy kick, and once again use Double Lariat on the ground. This time around, you'll have plenty of meter, so use Shinku Hadoken twice to destroy your target. From here on, you should have enough meter to repeat the same two processes you used to destroy the last two tuk tuks over and over again. Also, don't forget that using Super Arts freezes the timer, so once you're almost out of time, burn whatever meter you have left for a few extra points. Lastly, there's an item in the drone delivery menu called Nayshalli Bread, which boosts money made from part-time jobs, so consume this in advance to maximize your profit.
Let me elaborate a bit more on levels. Style starts at level 1 and maxes out at 20. This can be accomplished by equipping your masters' styles and defeating opponents with them. While it is a bit of a grind, there are items available that boost style experience for a short period of time. What's more, if you fight opponents that use styles you have already unlocked, you will get additional experience for those styles once you defeat them. I recommend checking out Zanza's Guide for some details on how to farm style experience.
If at any point you feel Zanza's grinding spots just aren't cutting it anymore, you may want to check out a few choice spots I found that aren't mentioned in the guide. Keep in mind though that these areas have higher level enemies and are only available toward the end of World Tour.
1) The SiRN Building (only accessible during the day)
Late in the game, you will be able to do a sidequest called The Secret Sentient Sidekick, which gives you access to a new part of the SiRN Building in Metro City:
The nearest fast travel point is Bayside Park Street:
Pass between the two guards pictured above, then head to the right once you're inside. You'll know you're in the right place if there's a construction worker named Steven nearby:
Speak to him and he'll transport you to the SiRN Building. Head inside the door in front of you and speak to Old Man Lloyd to start your quest. During this mission, you will be chasing a robot all over the building, fighting it multiple times. More importantly, you will encounter high-level enemies called Copy Fighters, which always fight with some type of master style:
You will find them on the floors above where you met Lloyd and also on some of the lower floors (the latter accessible via a nearby elevator). Make sure that you have a style equipped on your character that isn't yet maxed out, drink a blueberry smoothie via the drone delivery app to boost your style exp, and then clear out all the Copy Fighters in this area (there's also a sumo somewhere that fights using E. Honda's style). Once defeated, it'll take some in-game time until they respawn, but this area is great for farming style points!
The next spot I'd like to mention is...
2) Haggar Stadium (Tournaments; only accessible during the day)
In order to gain access to the stadium's tournaments, you will first need to unlock the sidequest MHM Stadium Martial Arts Tournament. With this mission unlocked, fast travel to Metro City's Urban Park:
Once you've arrived, turn around and you'll notice the stadium looming in the background:
Head inside and you will find a receptionist named Cathy standing behind a counter:
Talk to her to gain access to two different types of tournaments: normal and daily. Both of these tournaments feature high-level opponents who often fight using different masters' styles (FYI daily tournaments can only be completed once per day):
You know the drill: drink a blueberry smoothie and farm some style experience. As an aside, these tournaments are great for farming experience for your avatar's level as well (make sure to eat the L experience boost purchased from the vendor in Fête Foraine if you decide to do so).
"What about bond levels," you ask? Well, you start at level 1 and max out at 100. To gain bond experience, you need to clear missions given to you by your master, defeat them when they offer to spar with you, or give them gifts. You are given chances to spar with your master as you increase your style level. As for gifts, any one of them will increase a master's bond level, but the amount it increases by depends on what kind of item was given. Check out Mahkloompah's guide for more information about gifts.
If you're low on zenny, I recommend doing the part-time job Scrap Heap 2 on its hard setting. Scrap Heap 2 can be found near The Lowlands - Commerce Plaza bus stop, which is in Nayshall. Once you've quick traveled to this stop, turn around and head toward the orange banner with a sun on it. Next, run underneath the banner until you are on top of some shanty rooftops, then turn right. Drop off the rooftops and head straight until you find an NPC named Scrap Factory MOUSE, who, when spoken to, will give you the option to play Scrap Heap 2 (FYI, he'll only appear in the daytime). Use the screenshots below to help you locate MOUSE:
Feel free to clear this however you'd like, but if you're looking for an easy and effective way to clear Scrap Heap 2 on hard, I recommend the following. First, make sure that you have Ryu's style equipped. Second, learn his Level 1 Super Art (Luke's Level 1 SA also works) and equip it. Third, make sure you've unlocked Zangief's Double Lariat and equip that as well. Once you've made the necessary preparations, try out this method: once you gain control of your character, walk up to the right tuk tuk and hit it with Double Lariat, then do Ryu's High Double Strike target combo (standing heavy punch into heavy kick) two times, following that up with standing medium kick to destroy the vehicle. Now walk a little to the left and then jump toward the left tuk tuk and hit it with a heavy kick while airborne. Once you've landed, use Double Lariat followed by High Double Strike again, walk a tiny bit to the left, and use another High Double Strike, followed up with Whirlwind Kick (forward + heavy kick), which will destroy this car. Next, walk a bit to the right, jump and hit the next tuk tuk with an airborne heavy kick, and once again use Double Lariat on the ground. This time around, you'll have plenty of meter, so use Shinku Hadoken twice to destroy your target. From here on, you should have enough meter to repeat the same two processes you used to destroy the last two tuk tuks over and over again. Also, don't forget that using Super Arts freezes the timer, so once you're almost out of time, burn whatever meter you have left for a few extra points. Lastly, there's an item in the drone delivery menu called Nayshalli Bread, which boosts money made from part-time jobs, so consume this in advance to maximize your profit.
World Tour - Master (Part 2)
With all that out of the way, let's jump into the first gallery section of World Tour's artwork, Master:


A Bond with Luke: 1
A Bond with Luke: 2
A Bond with Luke: 3
A Bond with Luke: 4
A Bond with Jamie: 1
A Bond with Jamie: 2
A Bond with Jamie: 3
A Bond with Jamie: 4
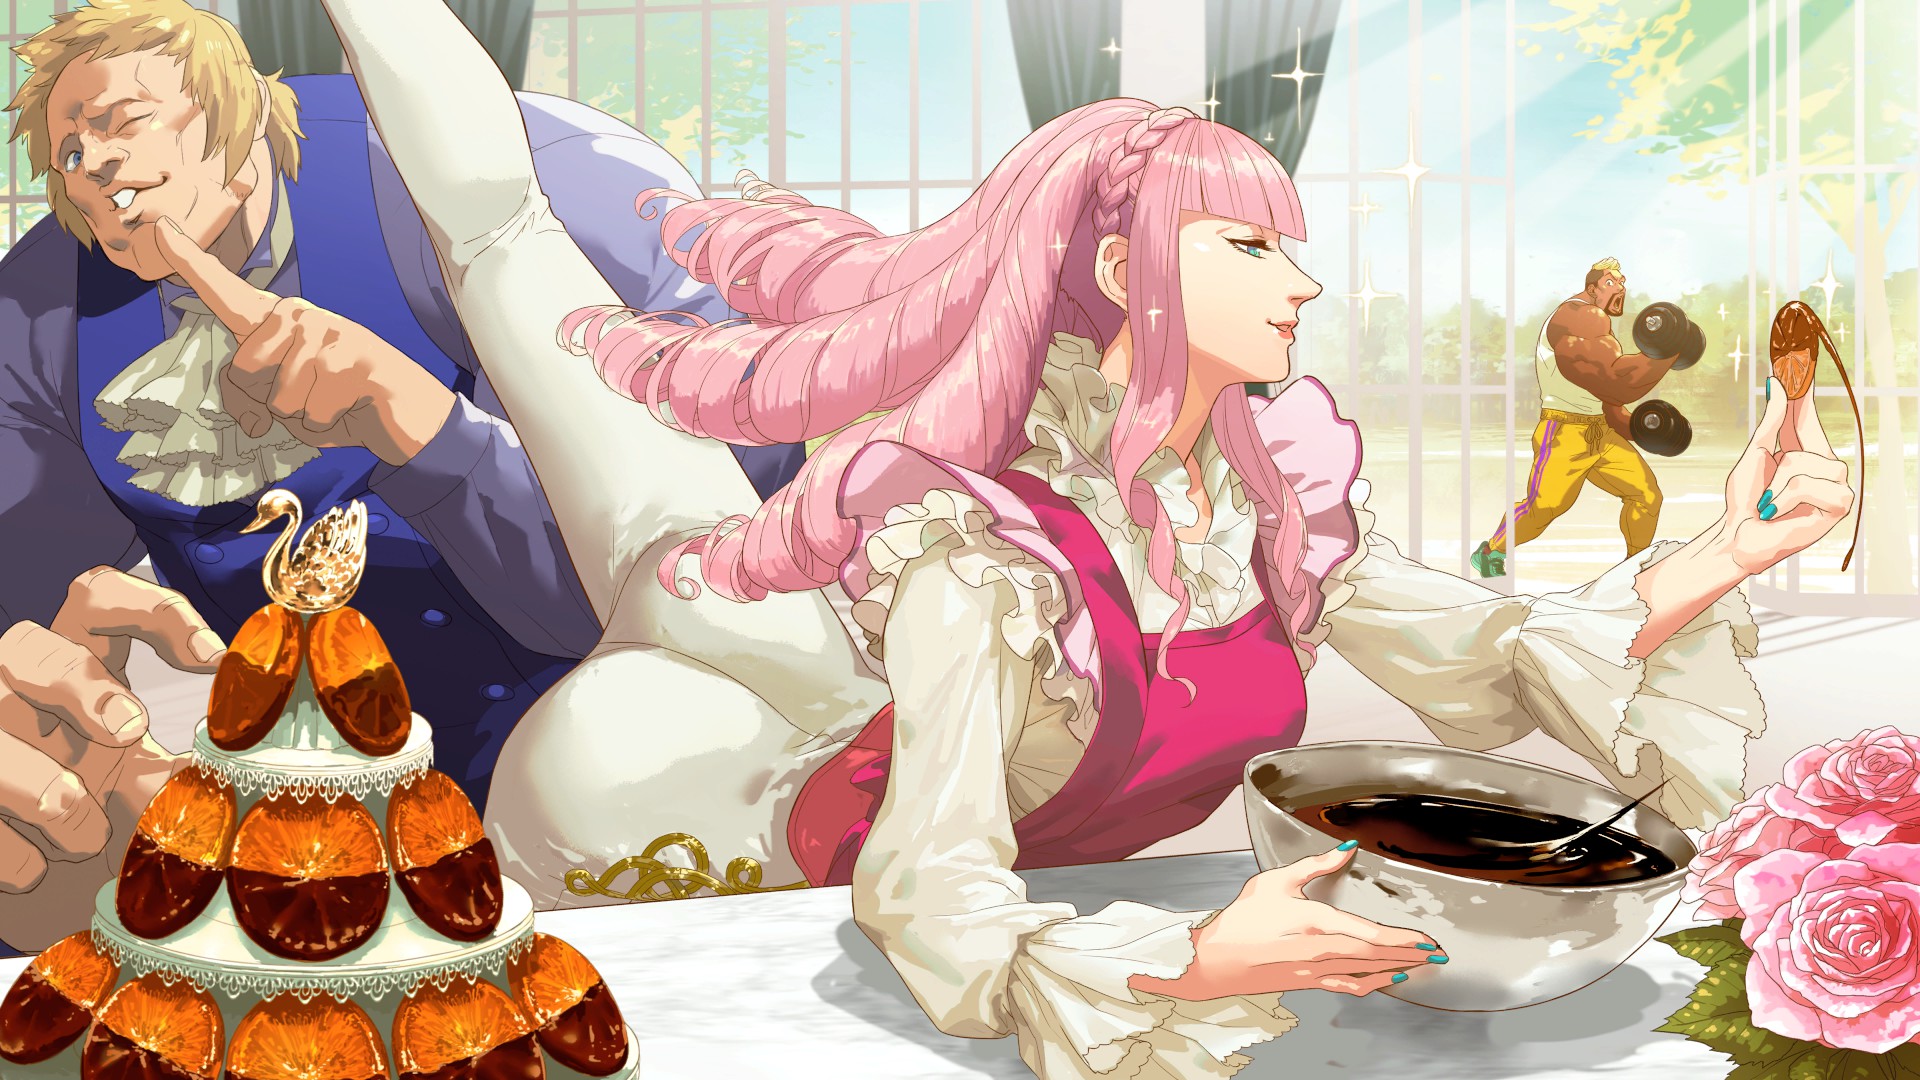
A Bond with Manon: 1
A Bond with Manon: 2
A Bond with Manon: 3
A Bond with Manon: 4
A Bond with Kimberly: 1
A Bond with Kimberly: 2
A Bond with Kimberly: 3
A Bond with Kimberly: 4
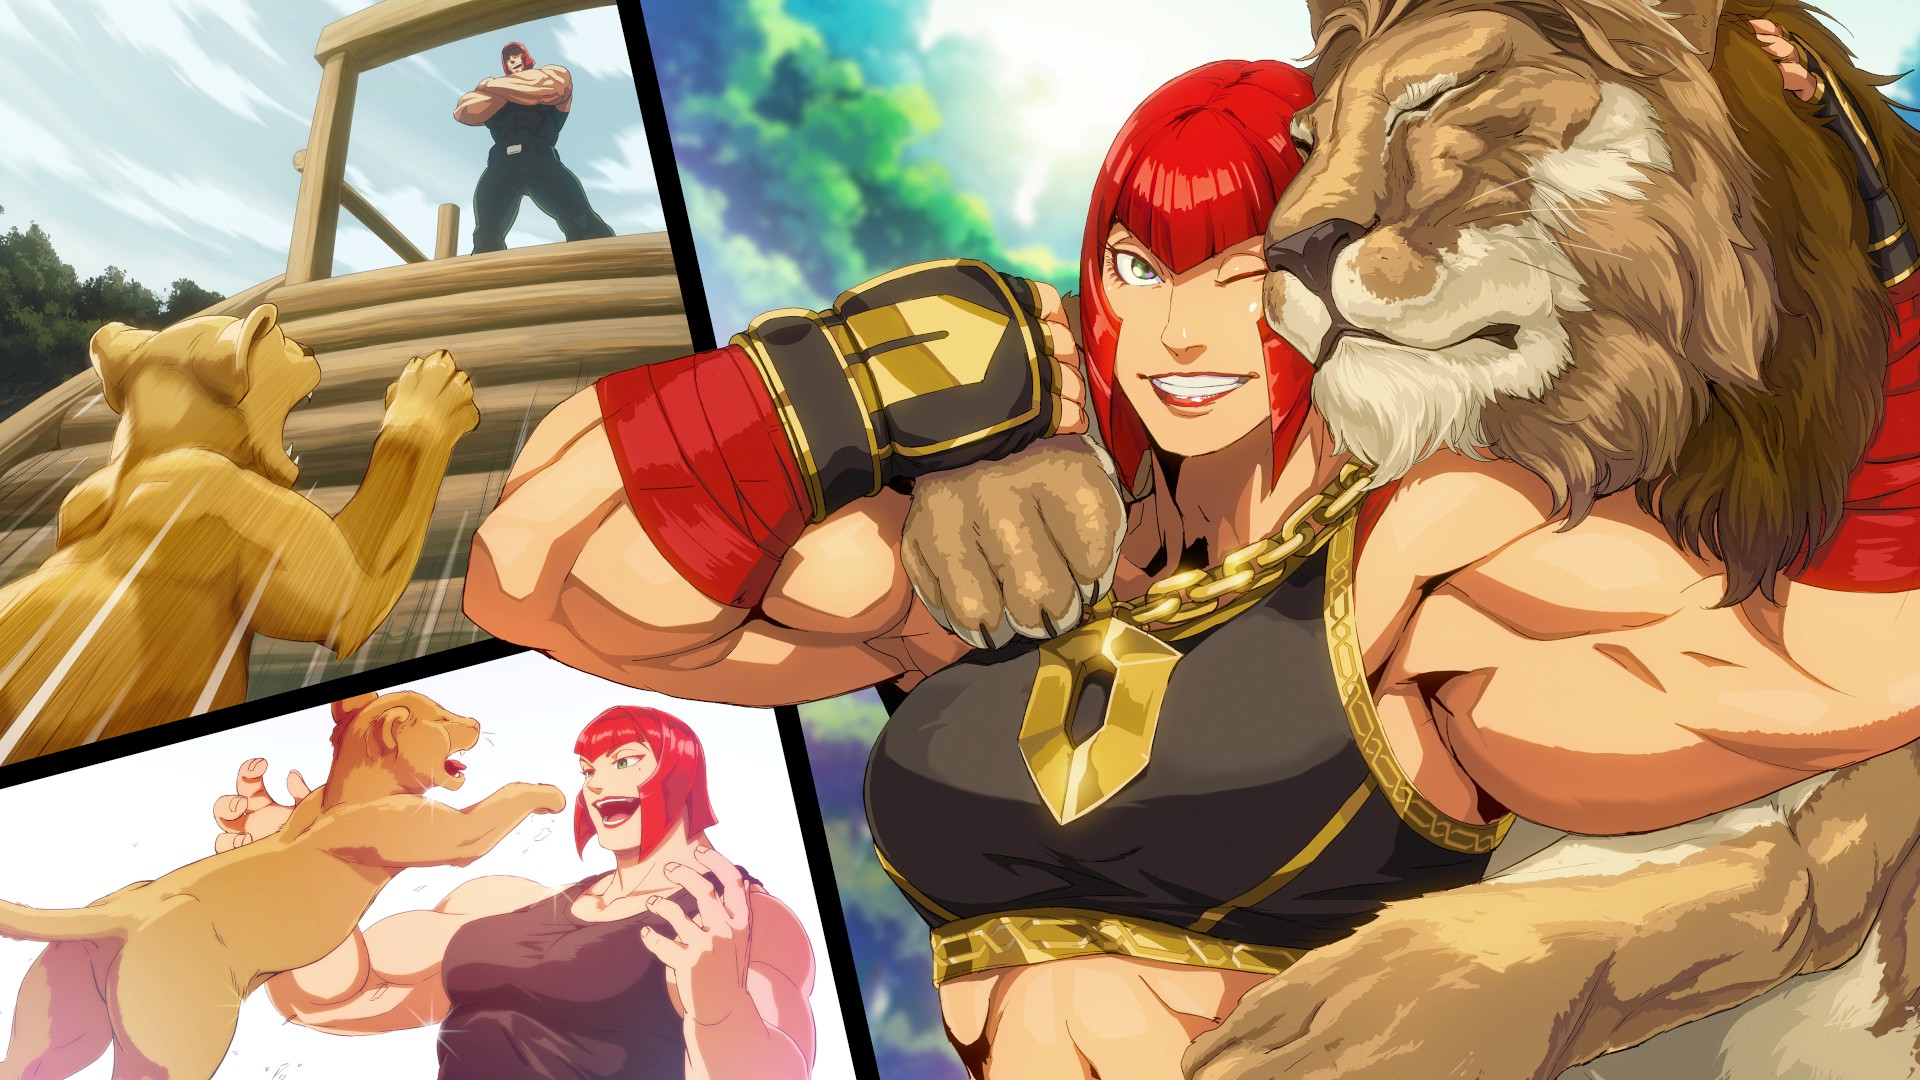
A Bond with Marisa: 1
A Bond with Marisa: 2
A Bond with Marisa: 3
A Bond with Marisa: 4
A Bond with Lily: 1
A Bond with Lily: 2
A Bond with Lily: 3
A Bond with Lily: 4
A Bond with JP: 1
A Bond with JP: 2
A Bond with JP: 3
A Bond with JP: 4
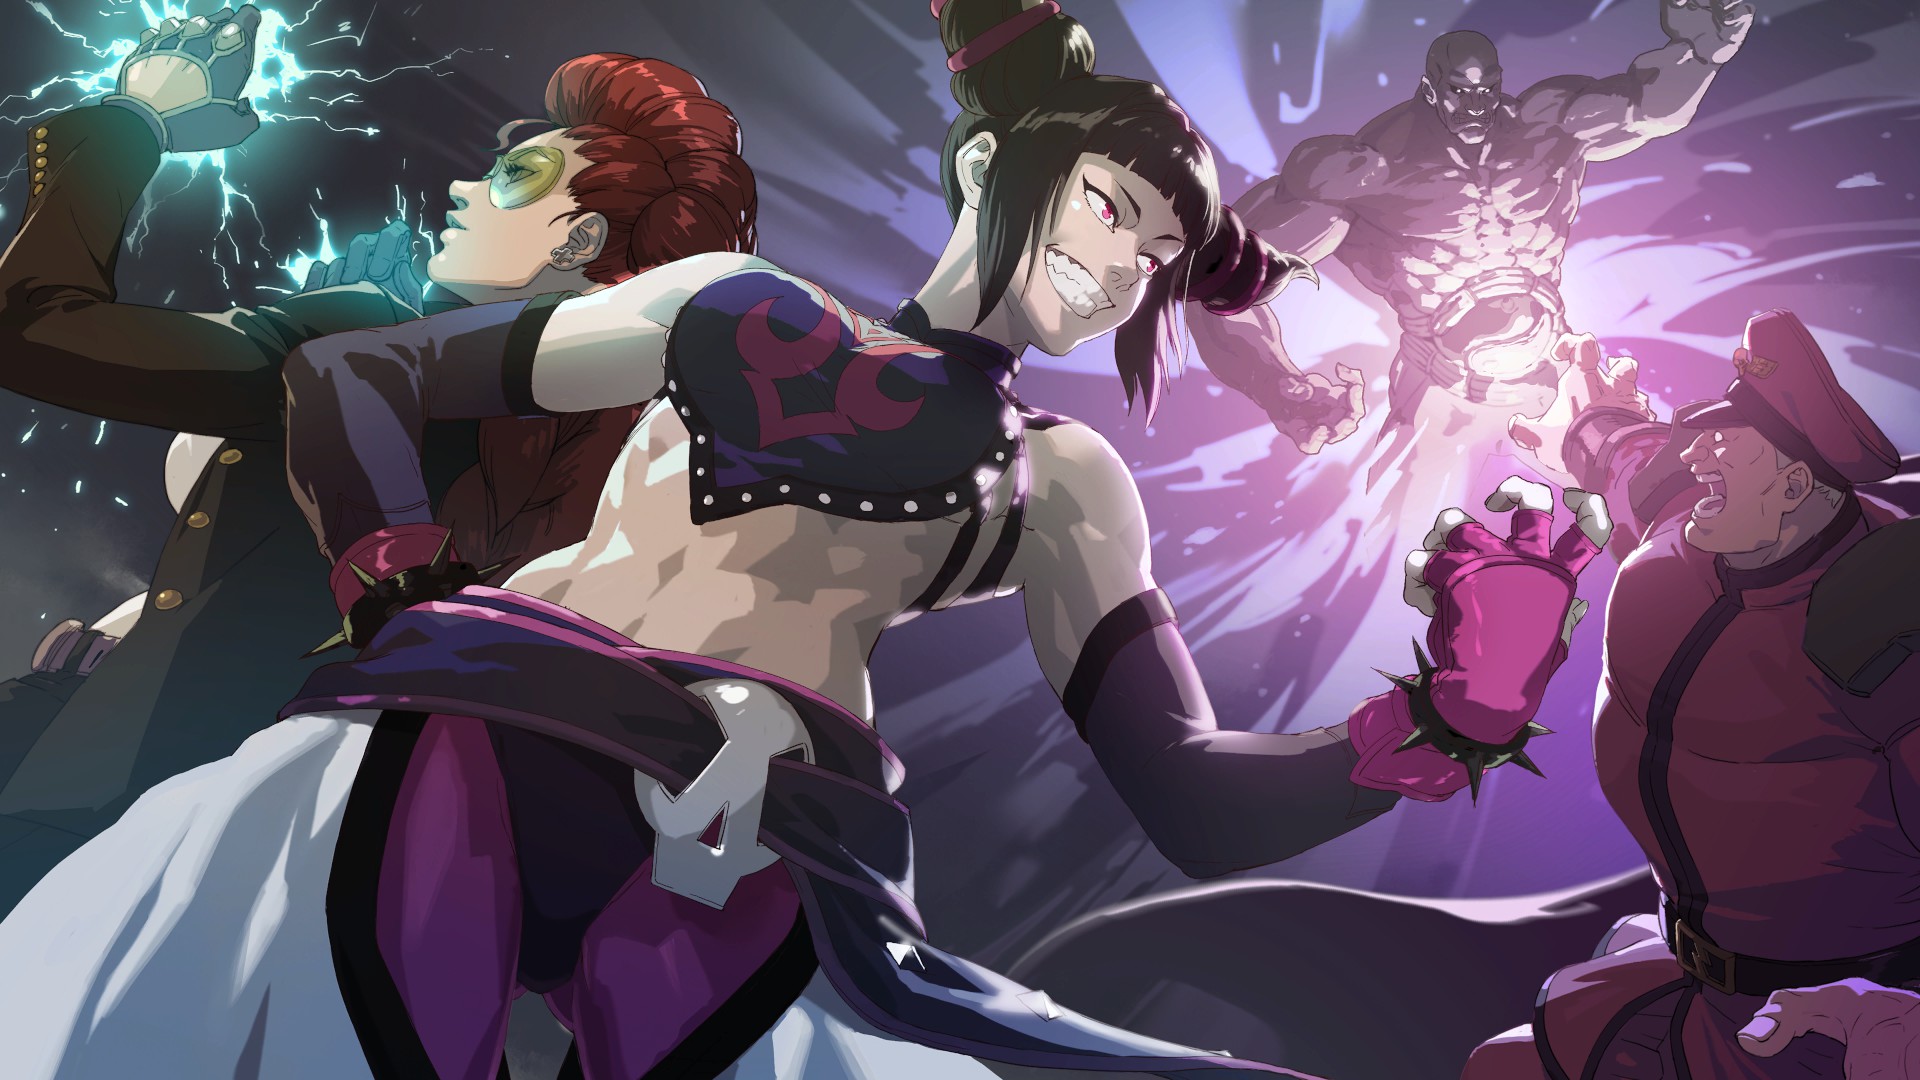
A Bond with Juri: 1
A Bond with Juri: 2
A Bond with Juri: 3
A Bond with Juri: 4
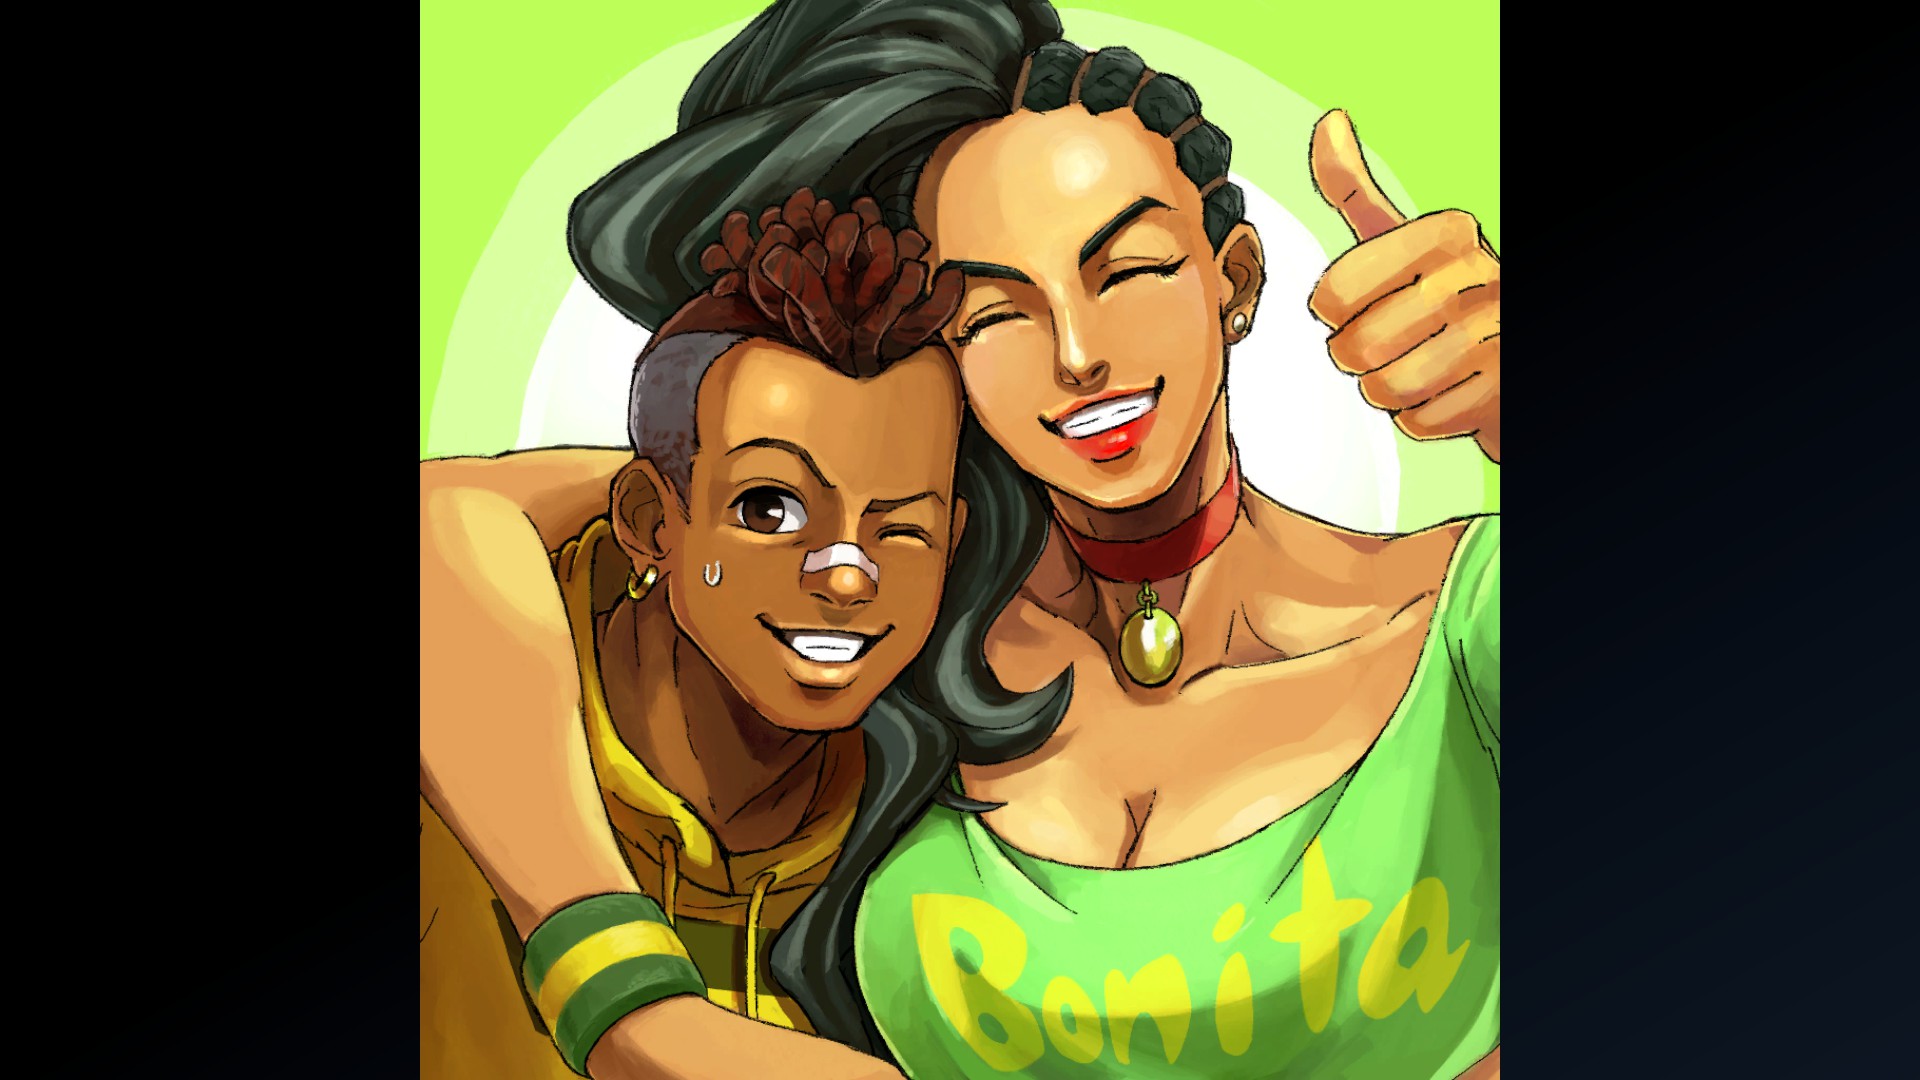
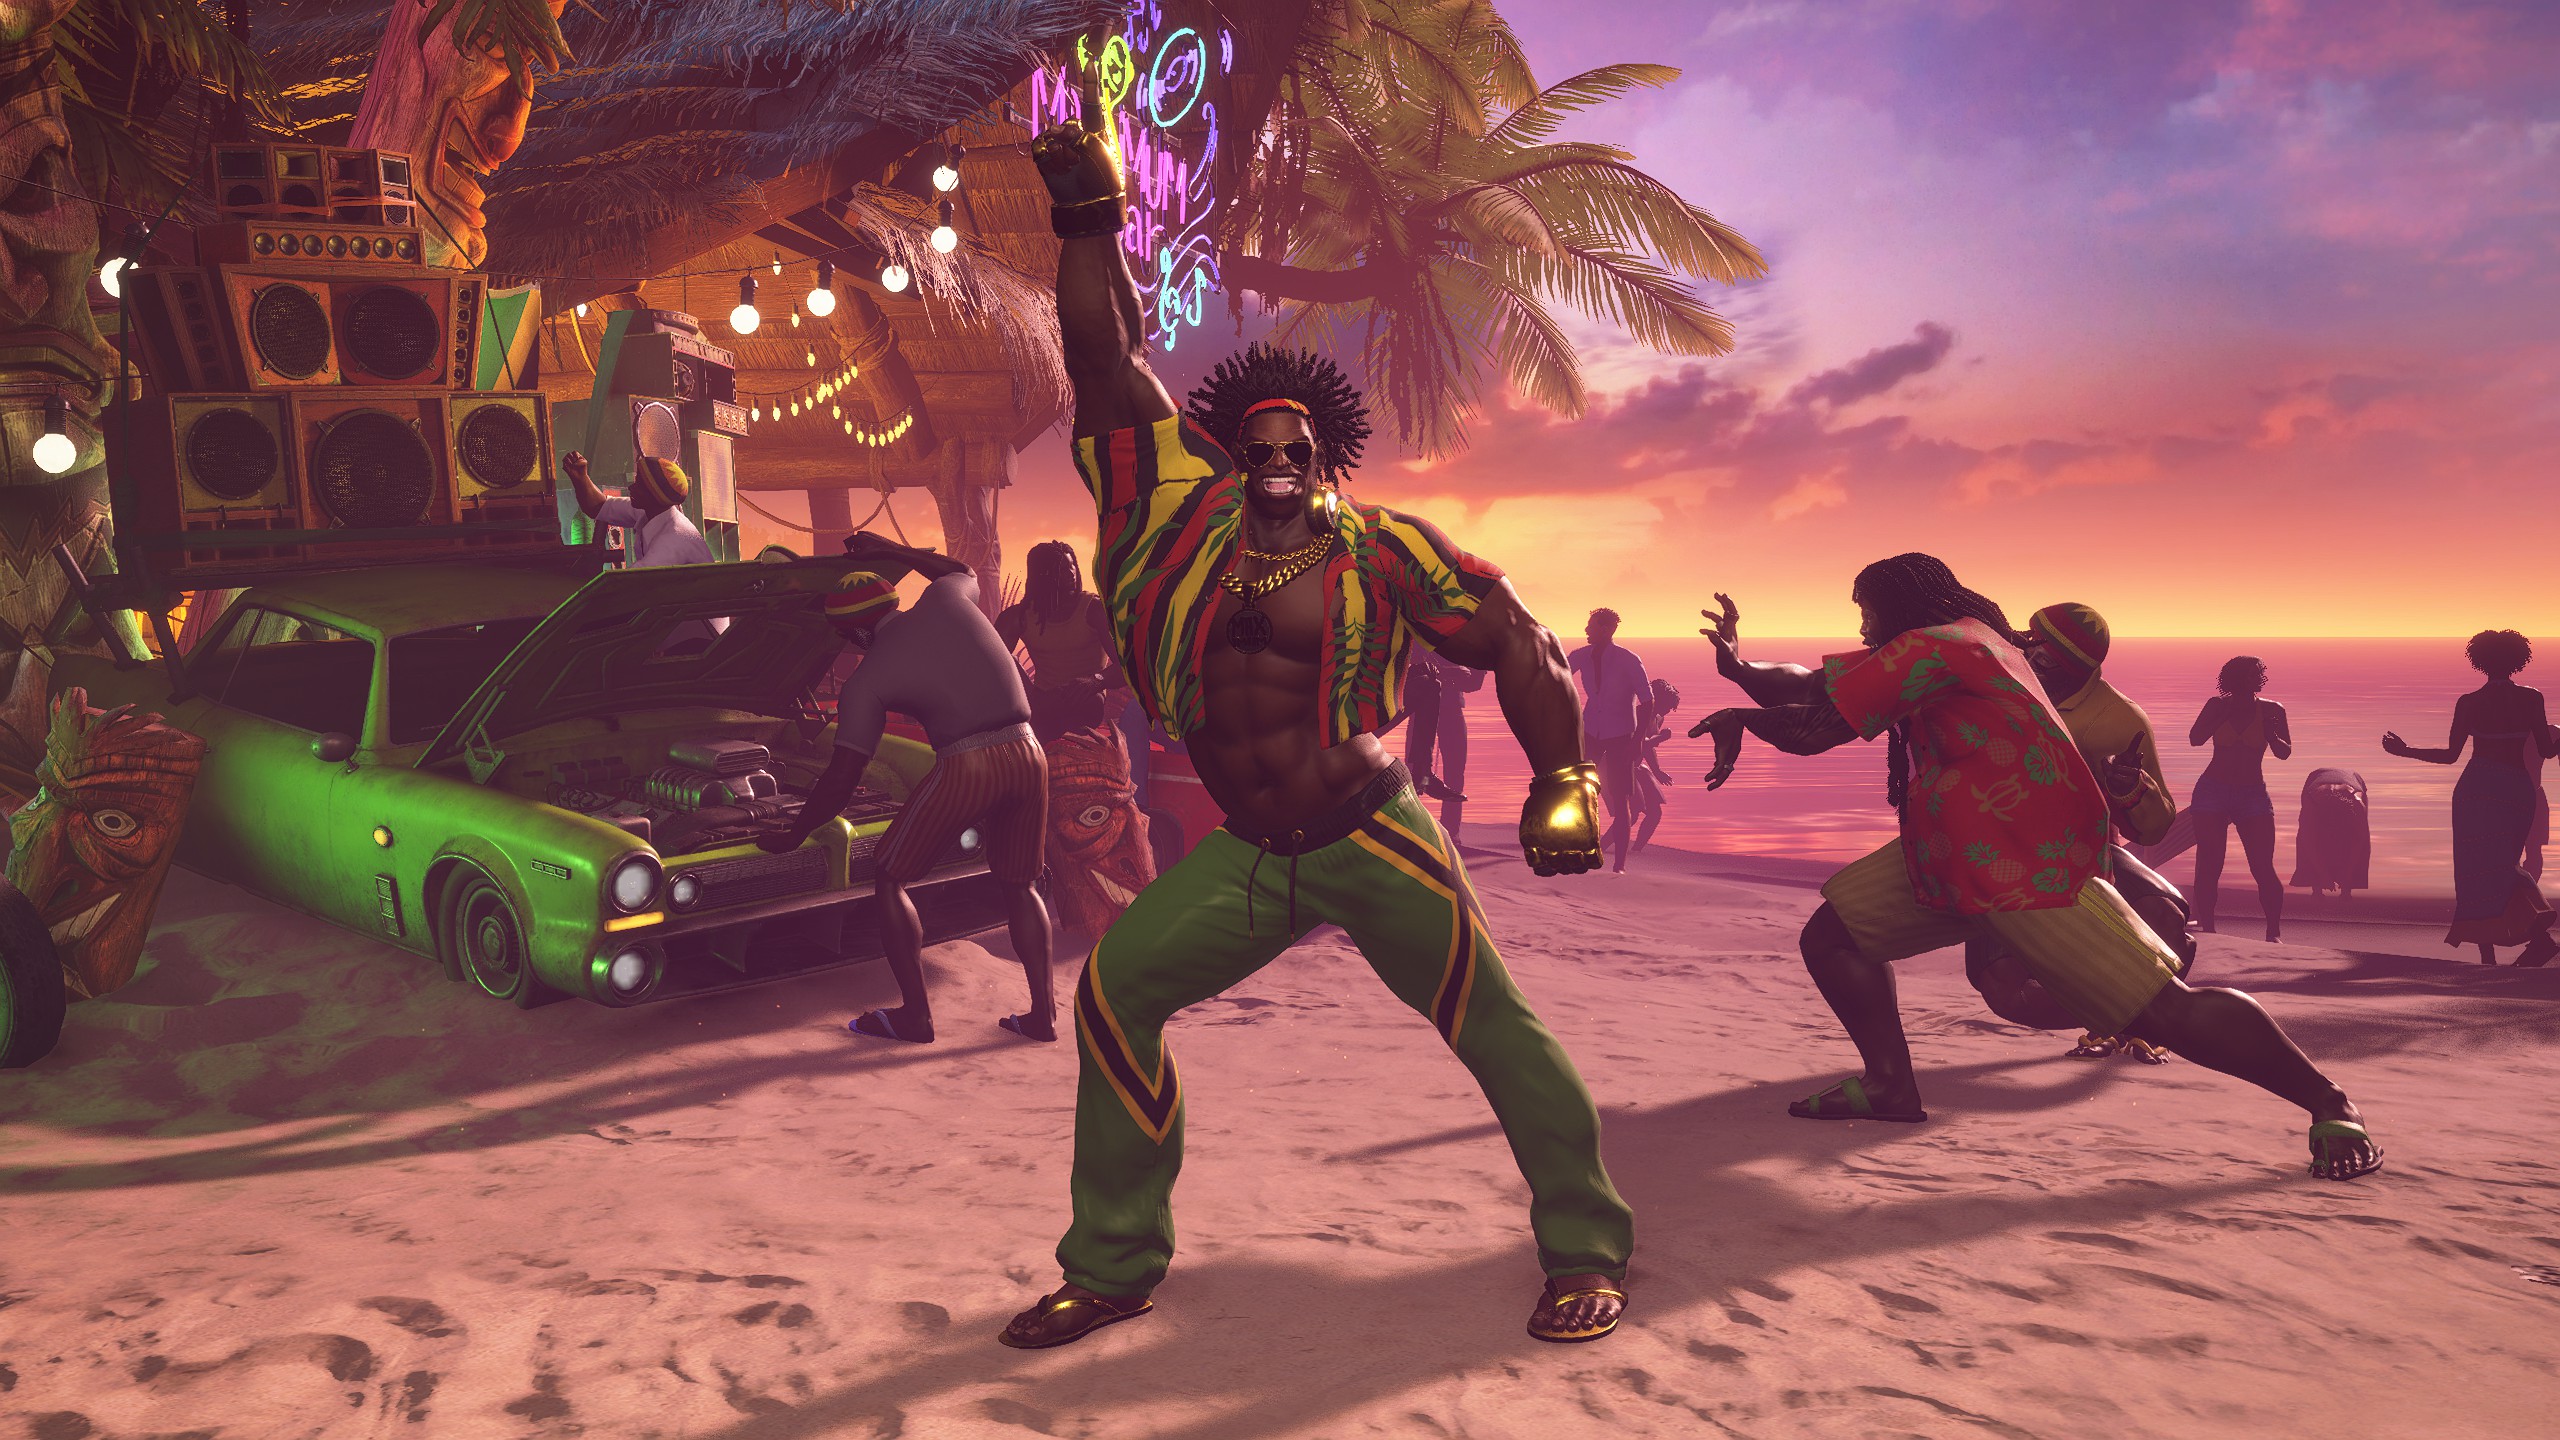
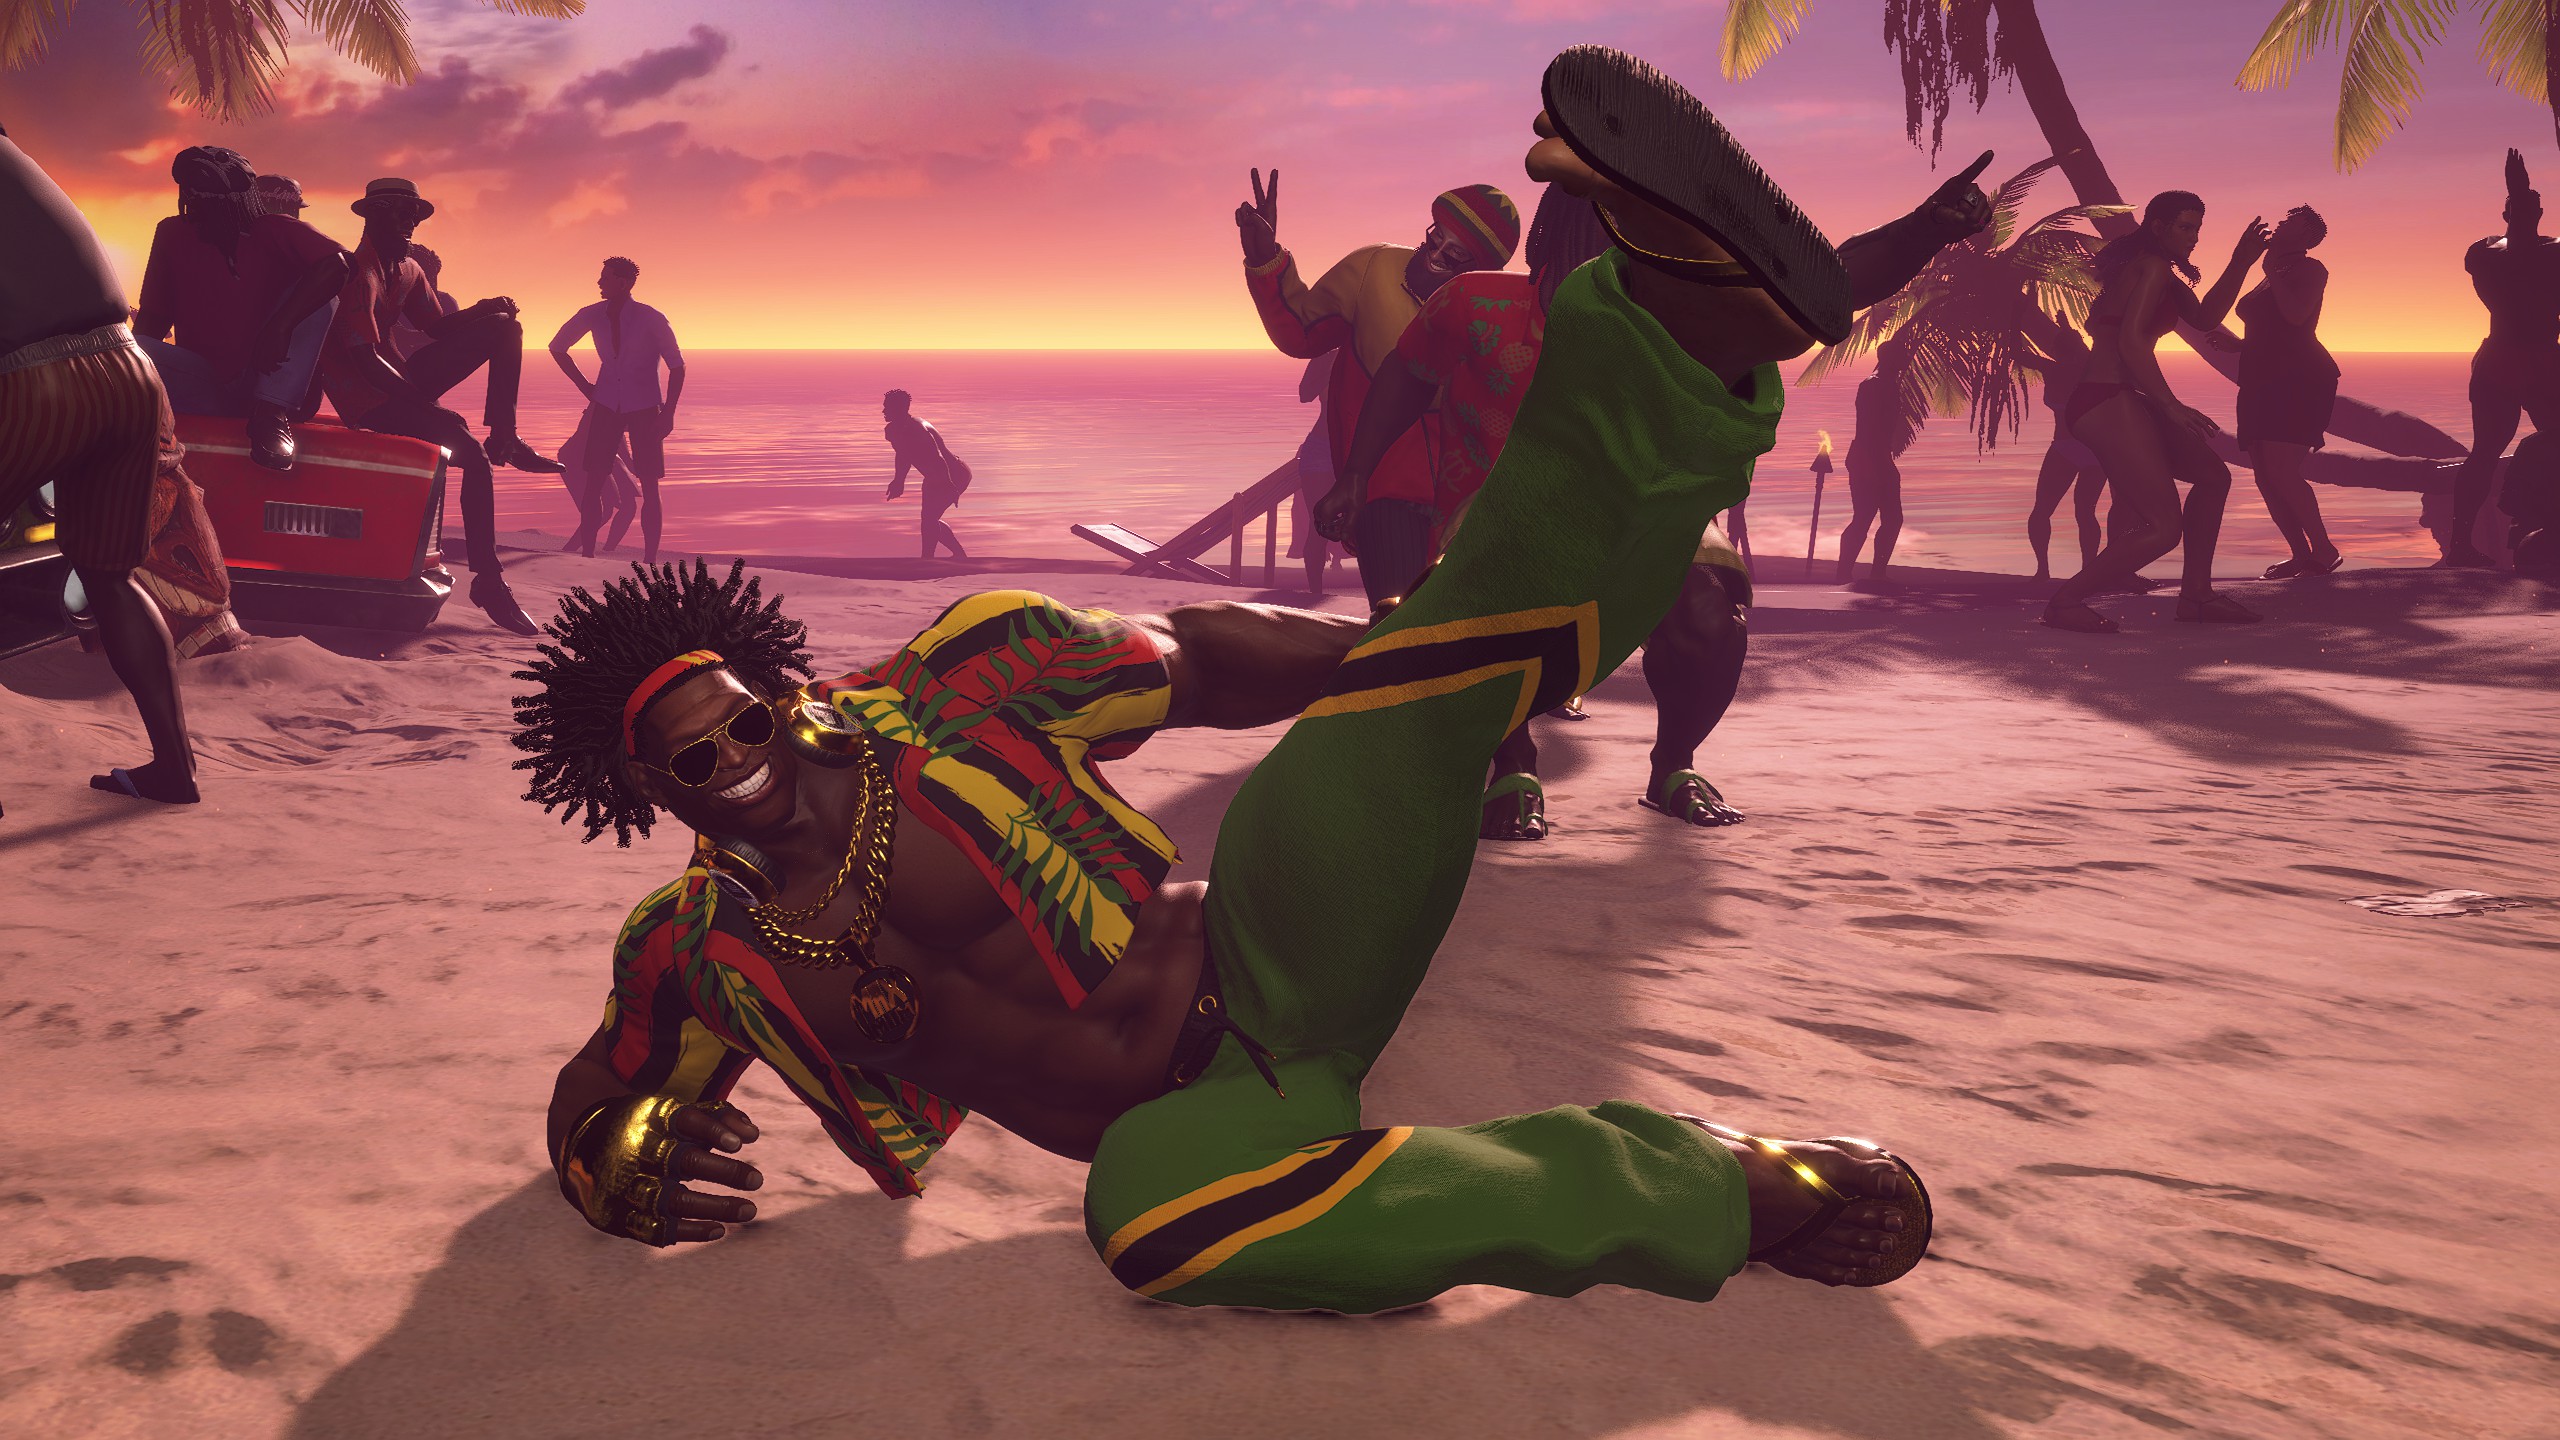
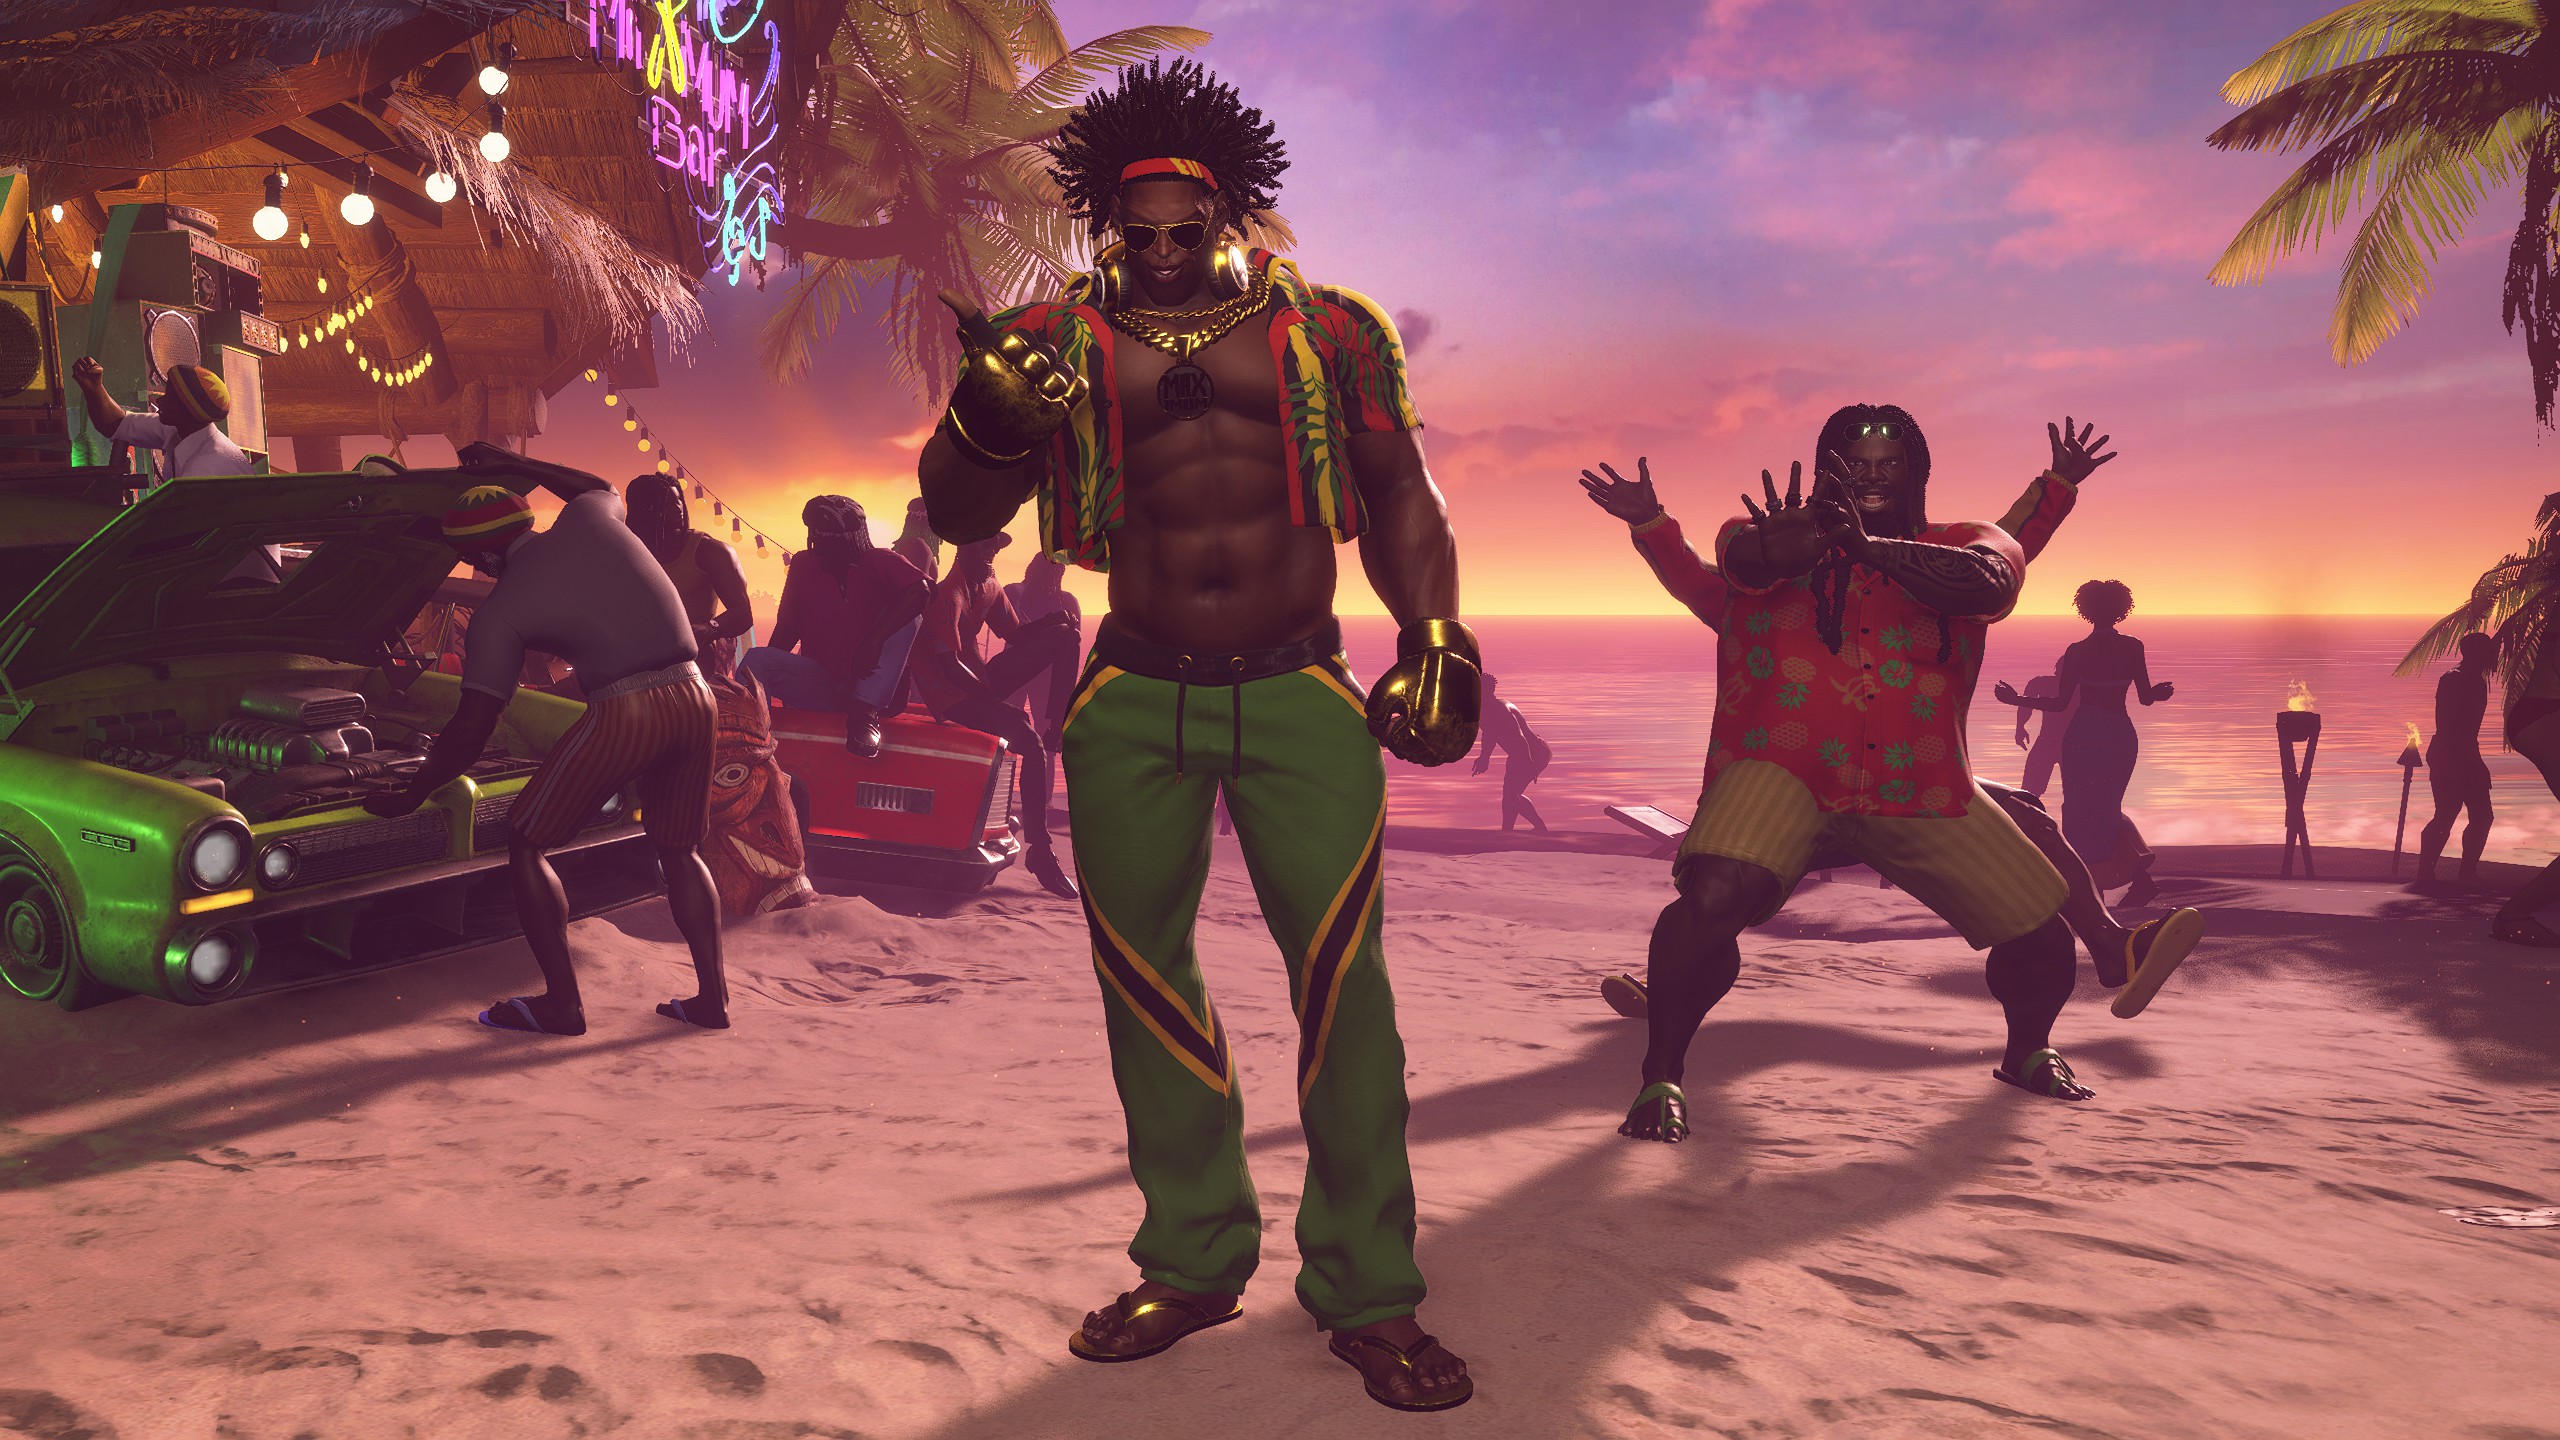
A Bond with Dee Jay: 1
A Bond with Dee Jay: 2
A Bond with Dee Jay: 3
A Bond with Dee Jay: 4
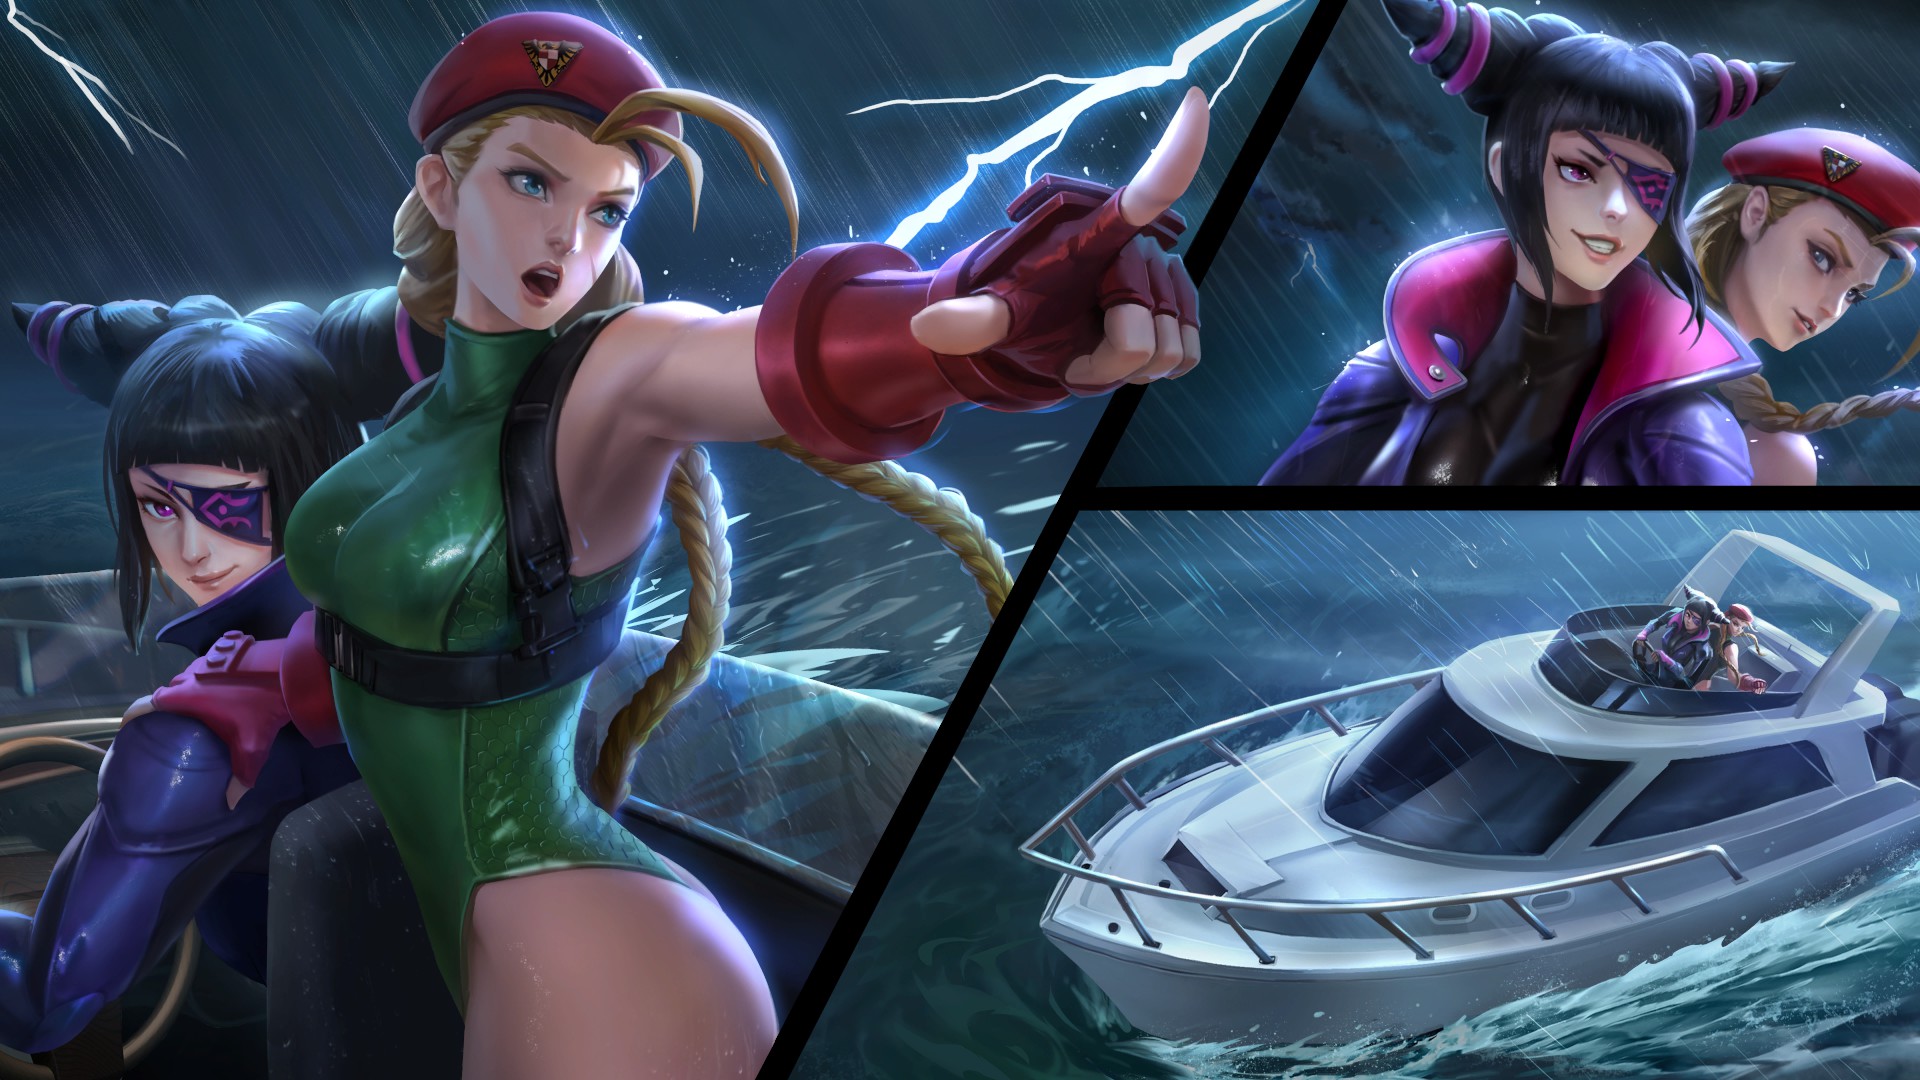
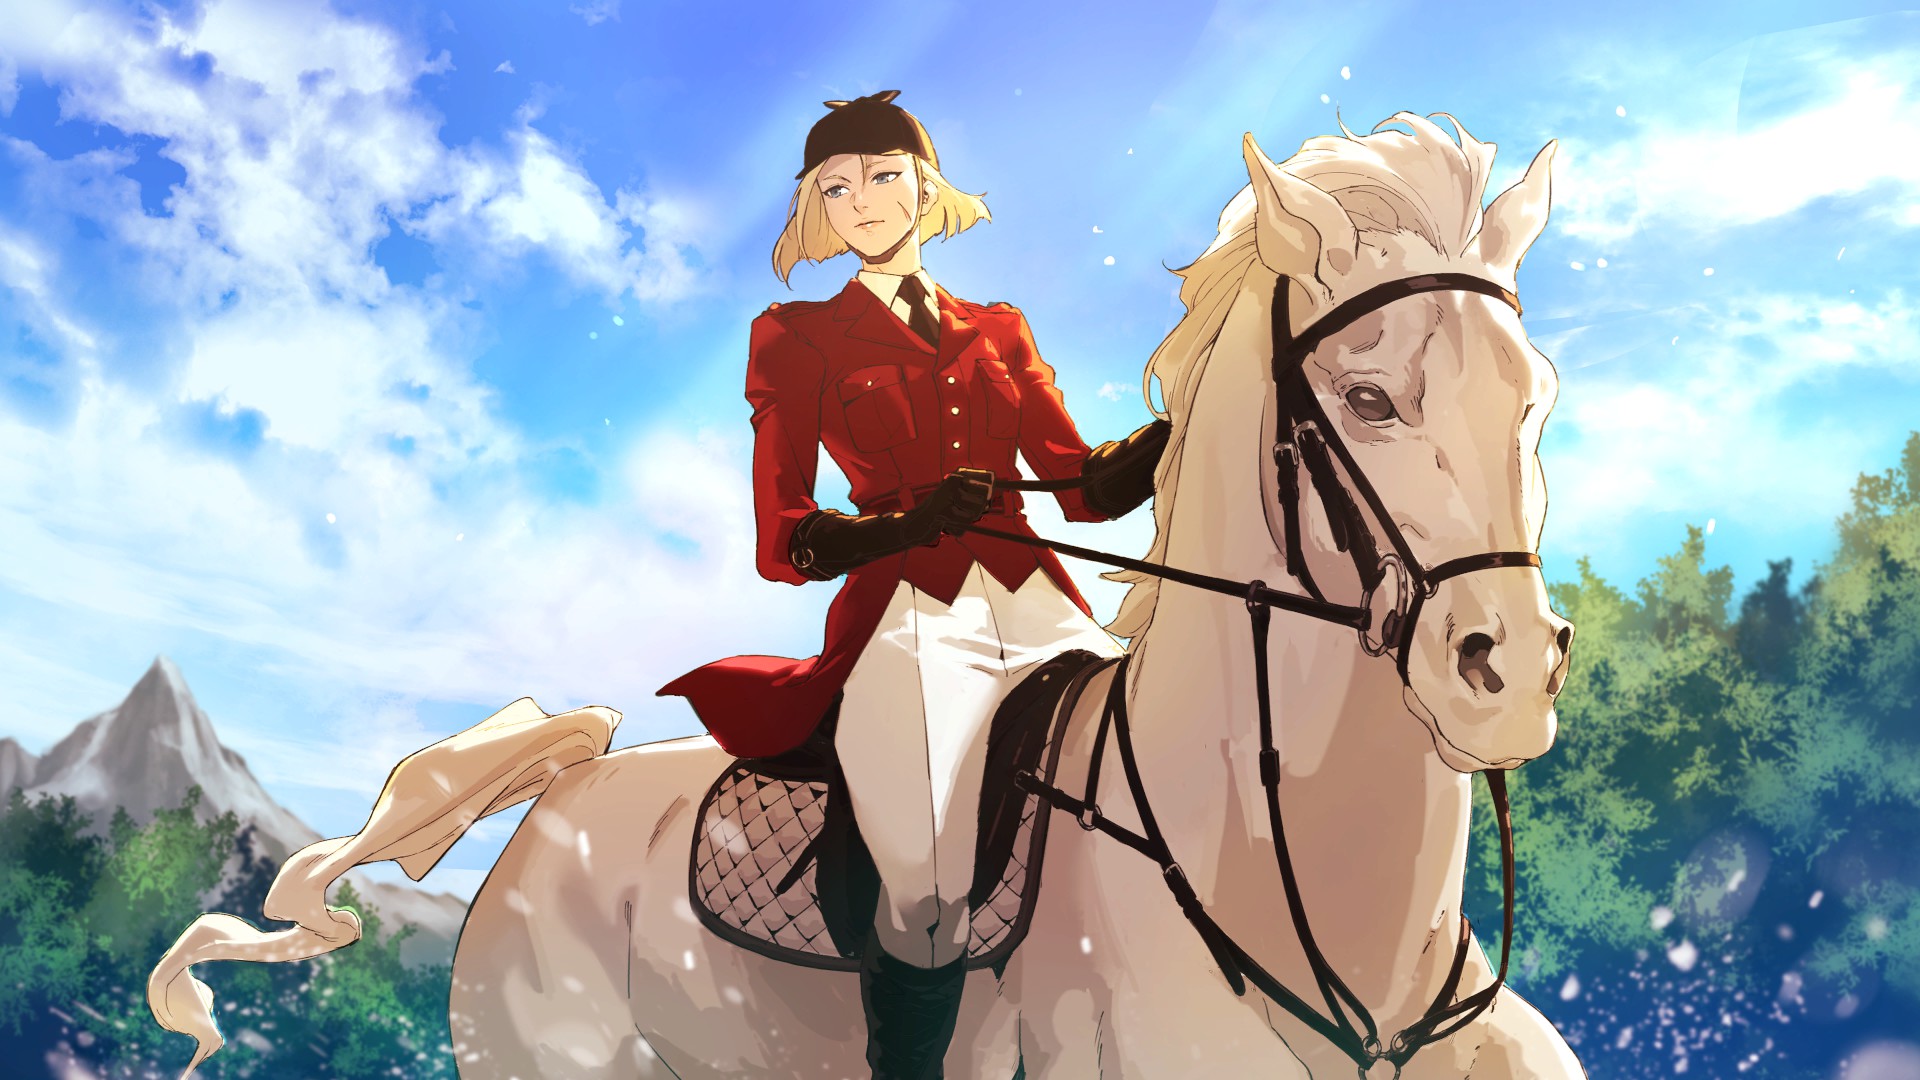
A Bond with Cammy: 1
A Bond with Cammy: 2
A Bond with Cammy: 3
A Bond with Cammy: 4
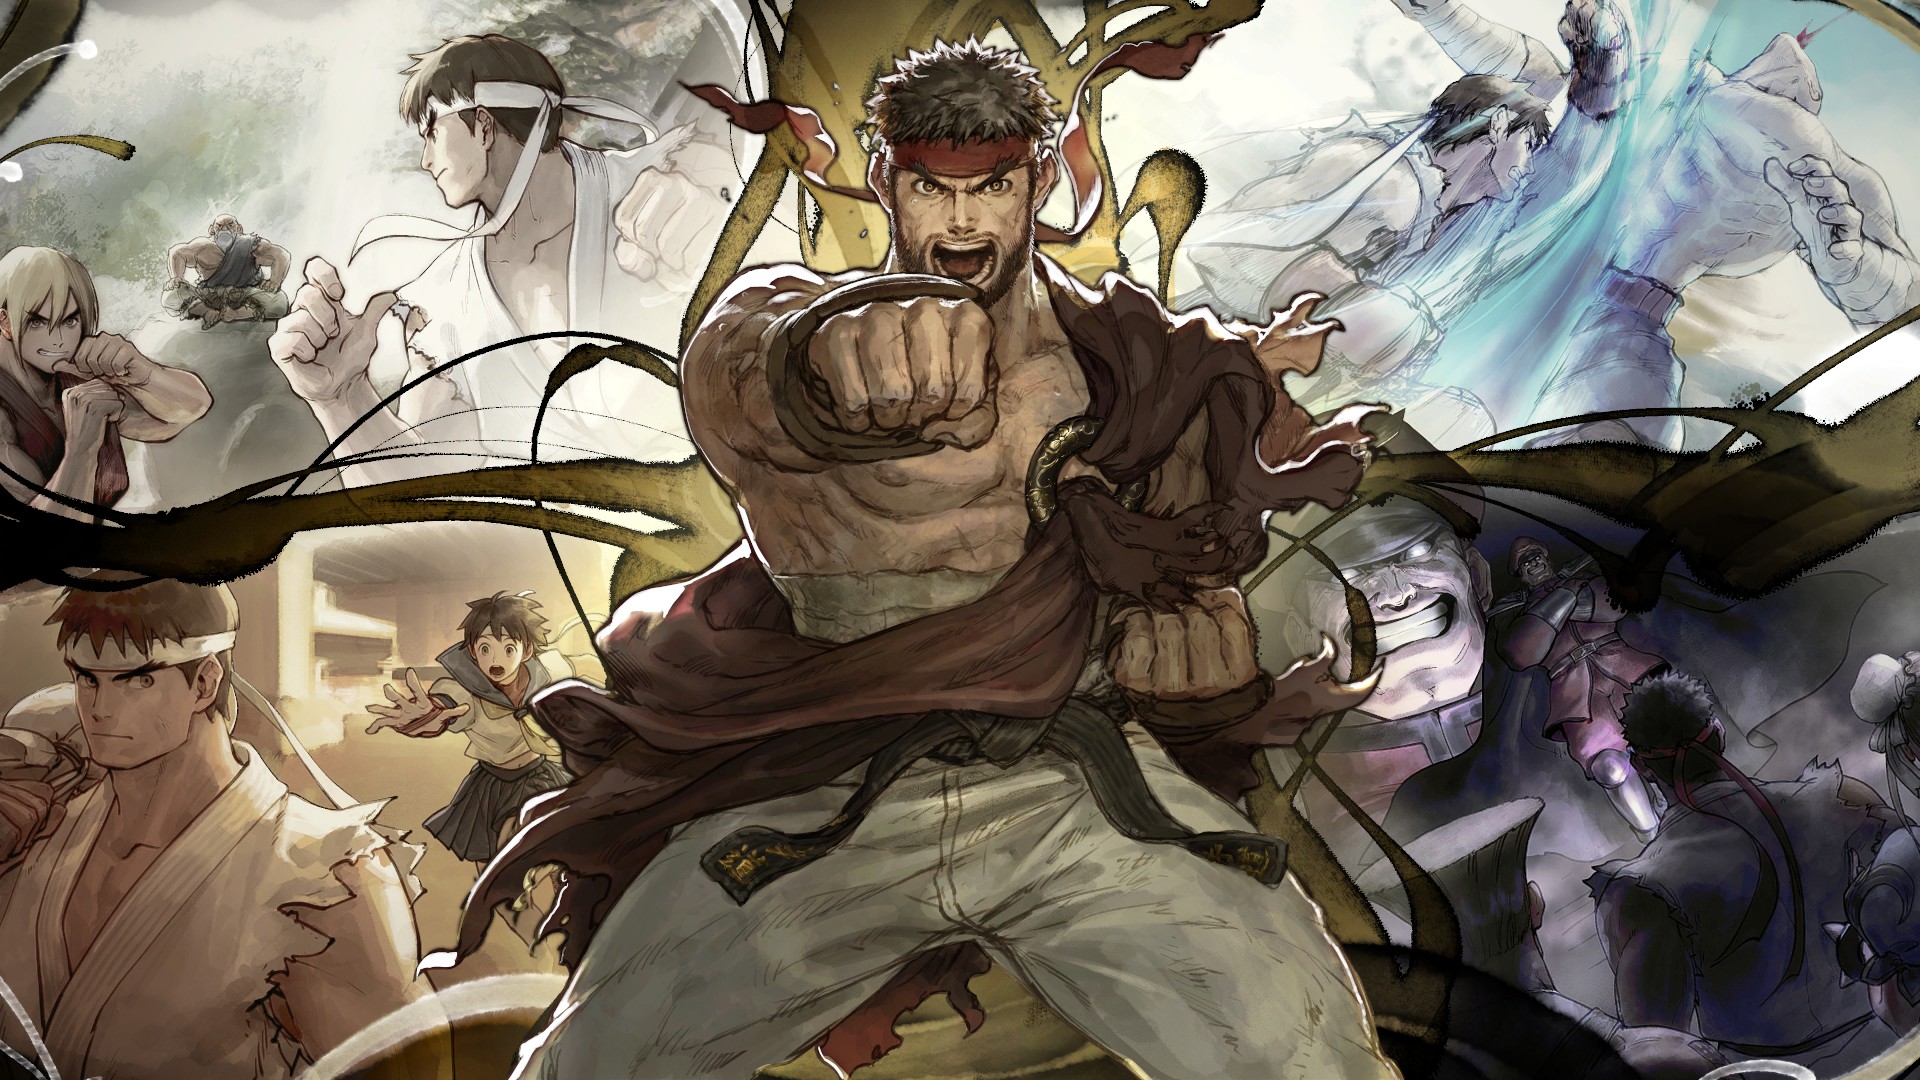
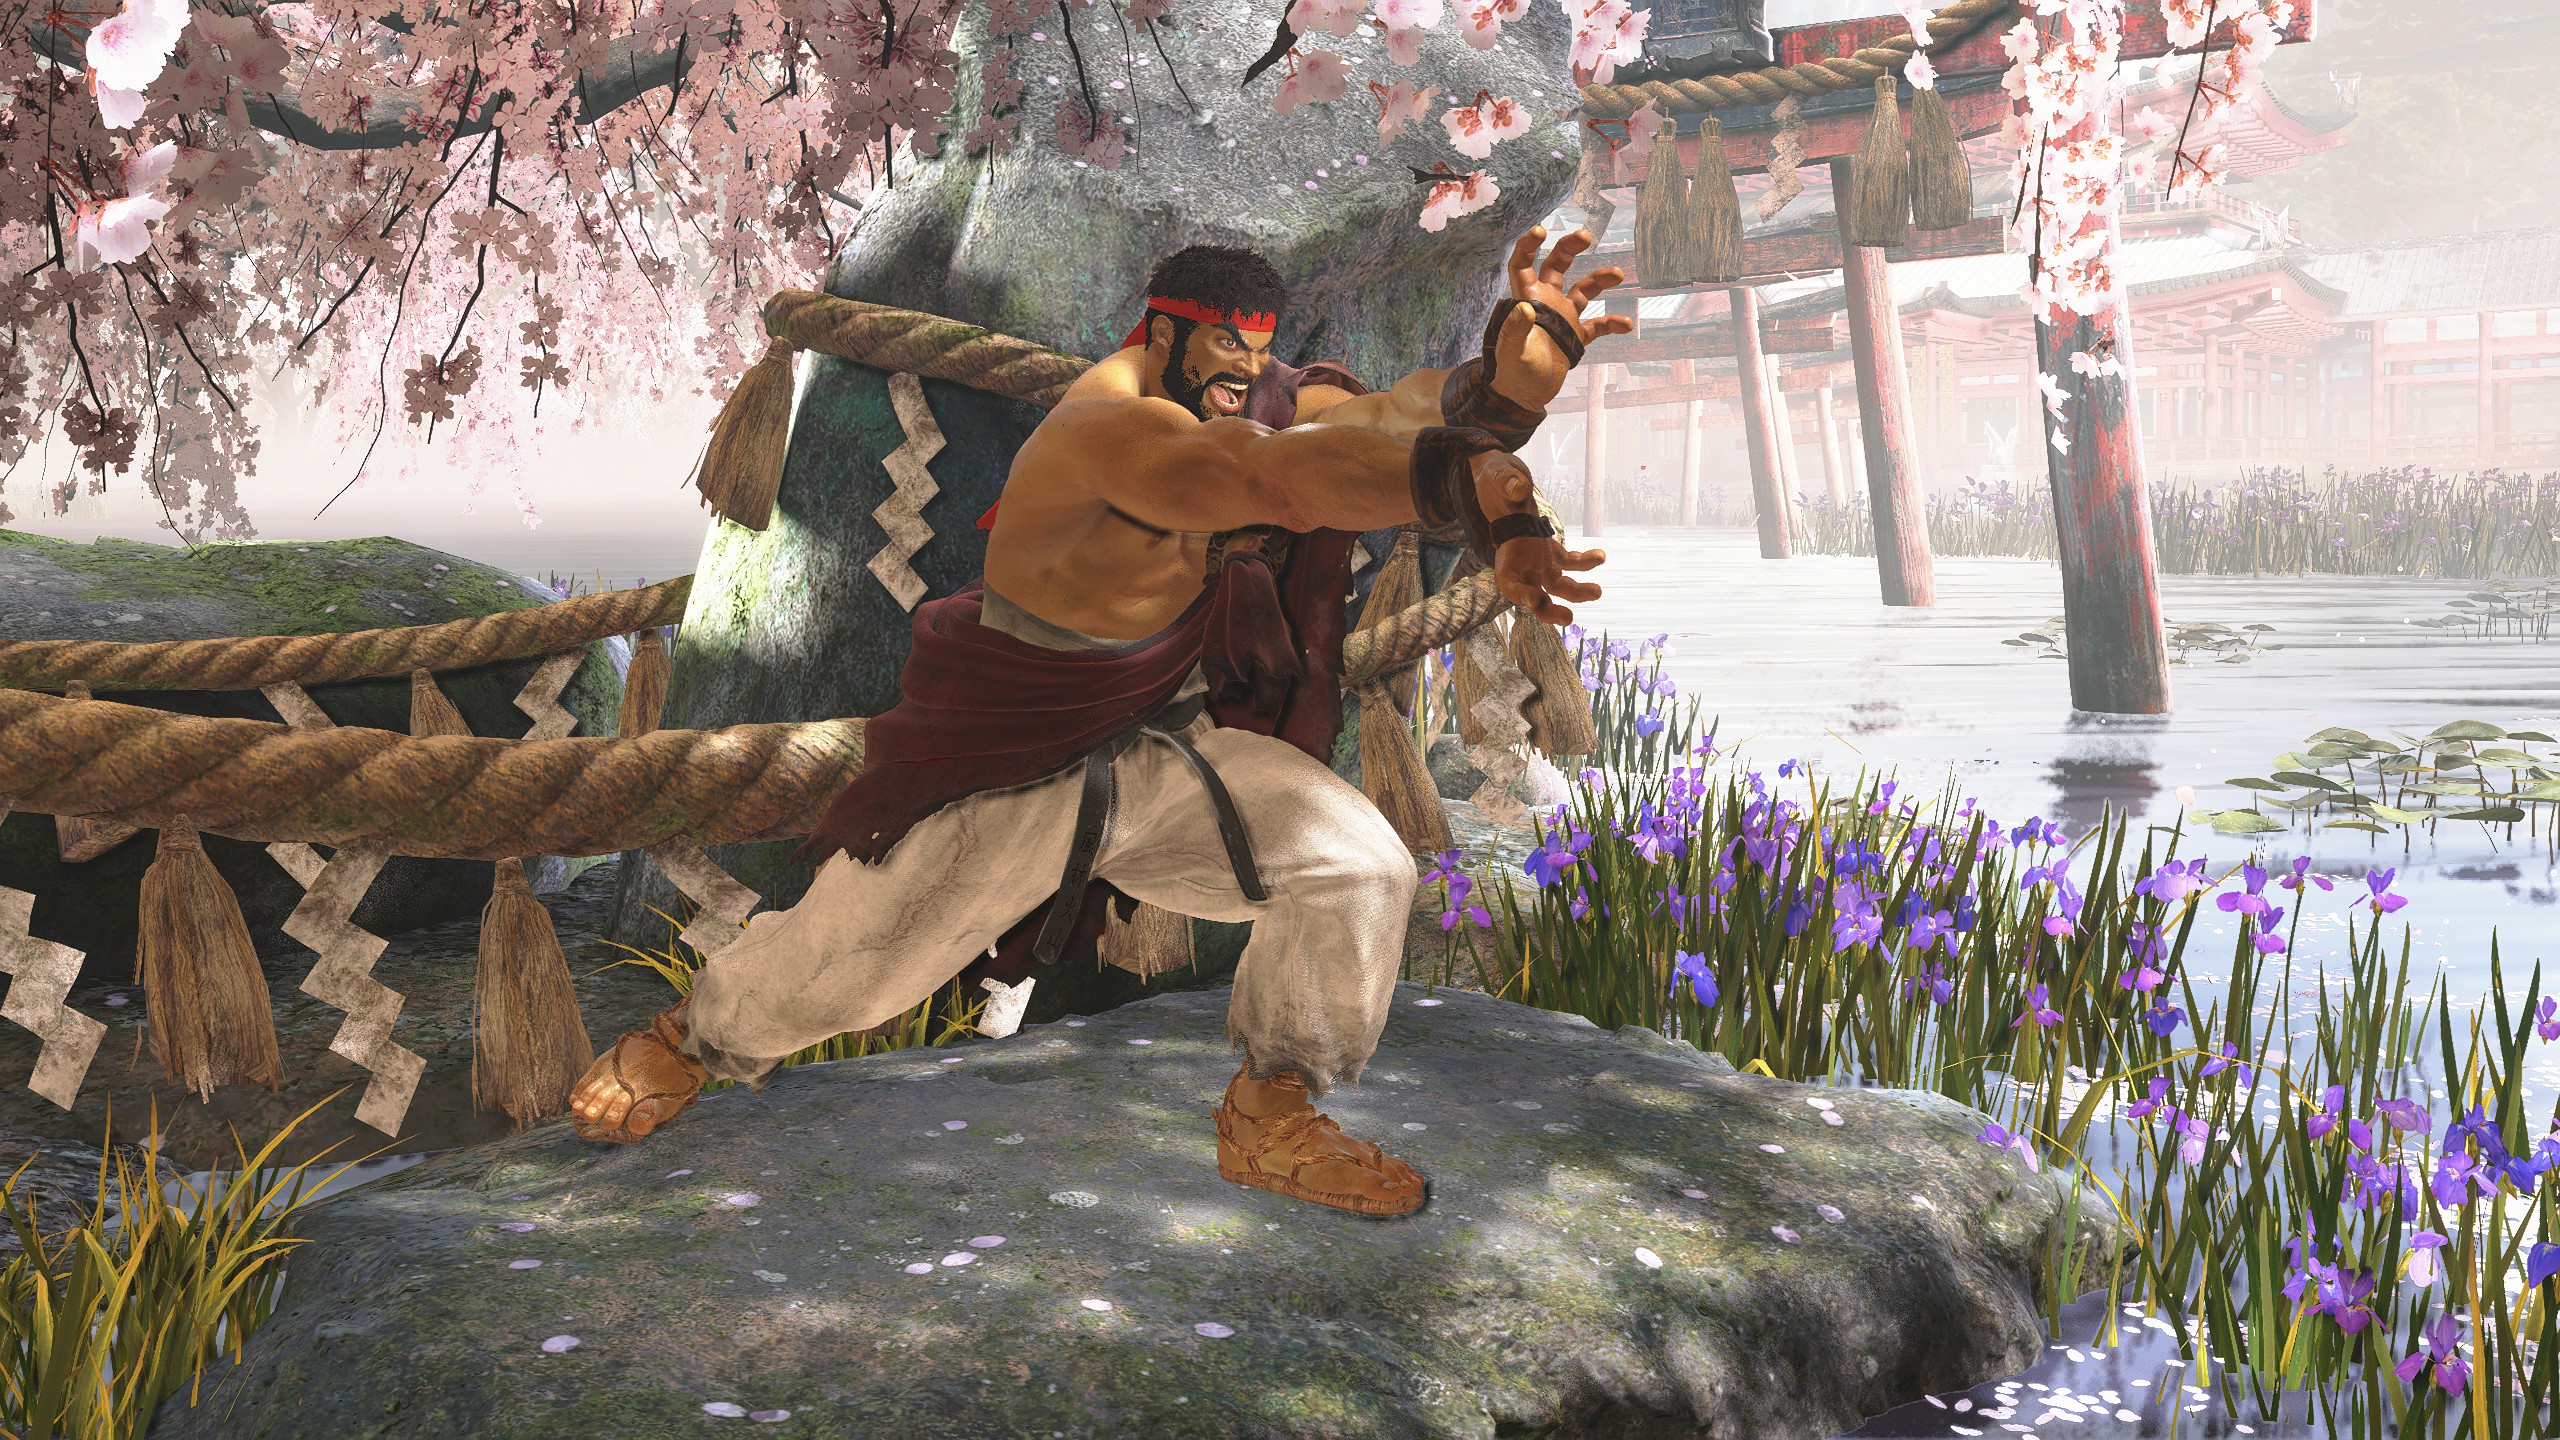
A Bond with Ryu: 1
A Bond with Ryu: 2
A Bond with Ryu: 3
A Bond with Ryu: 4
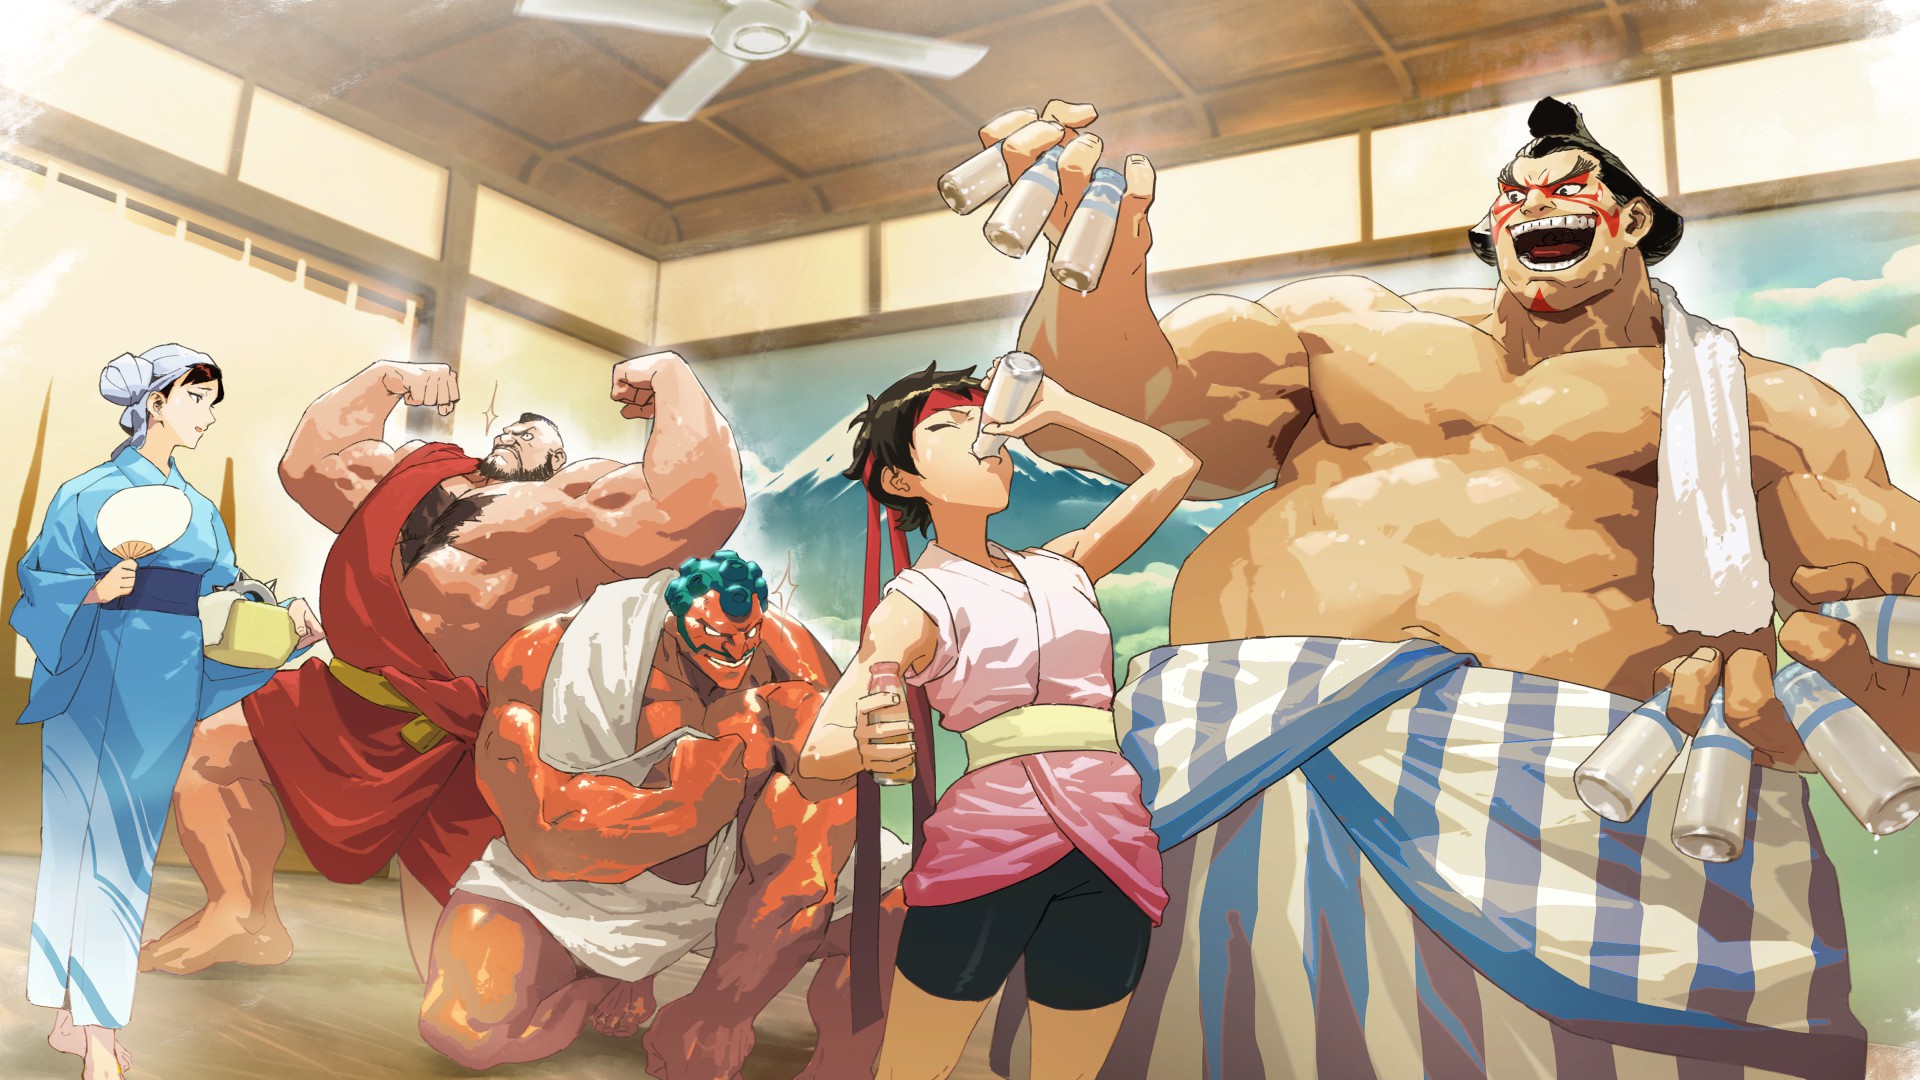
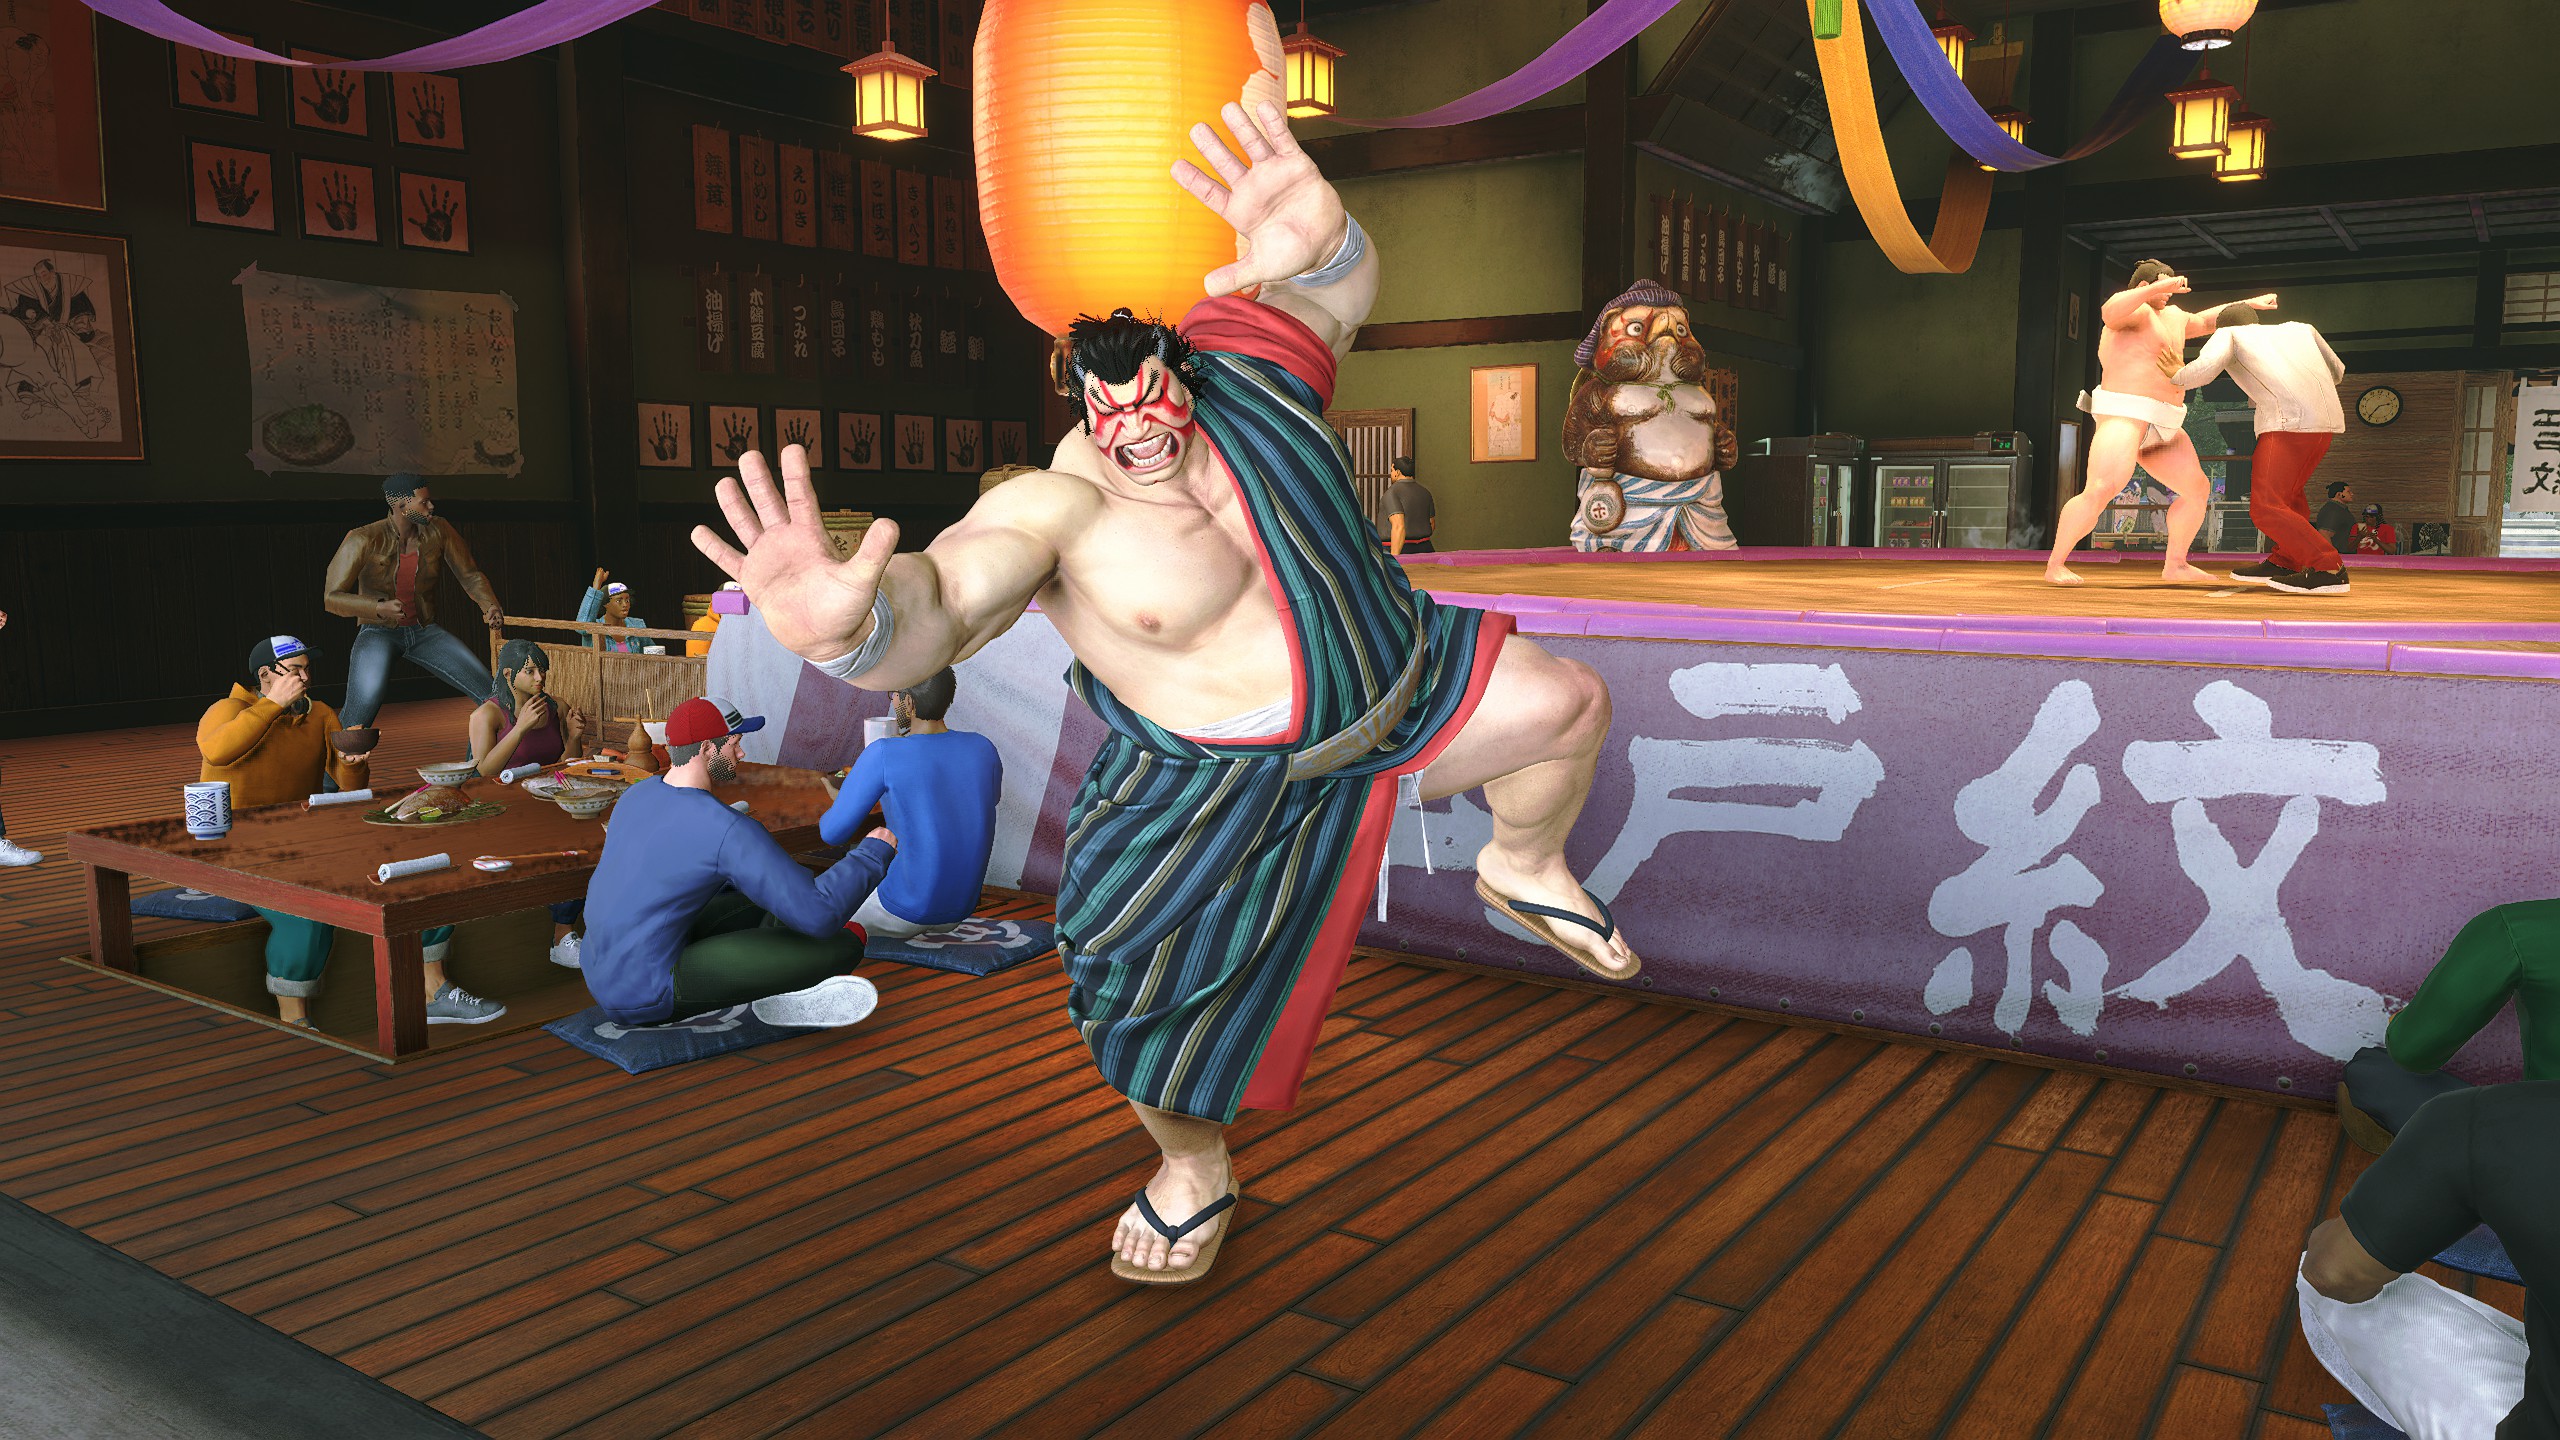
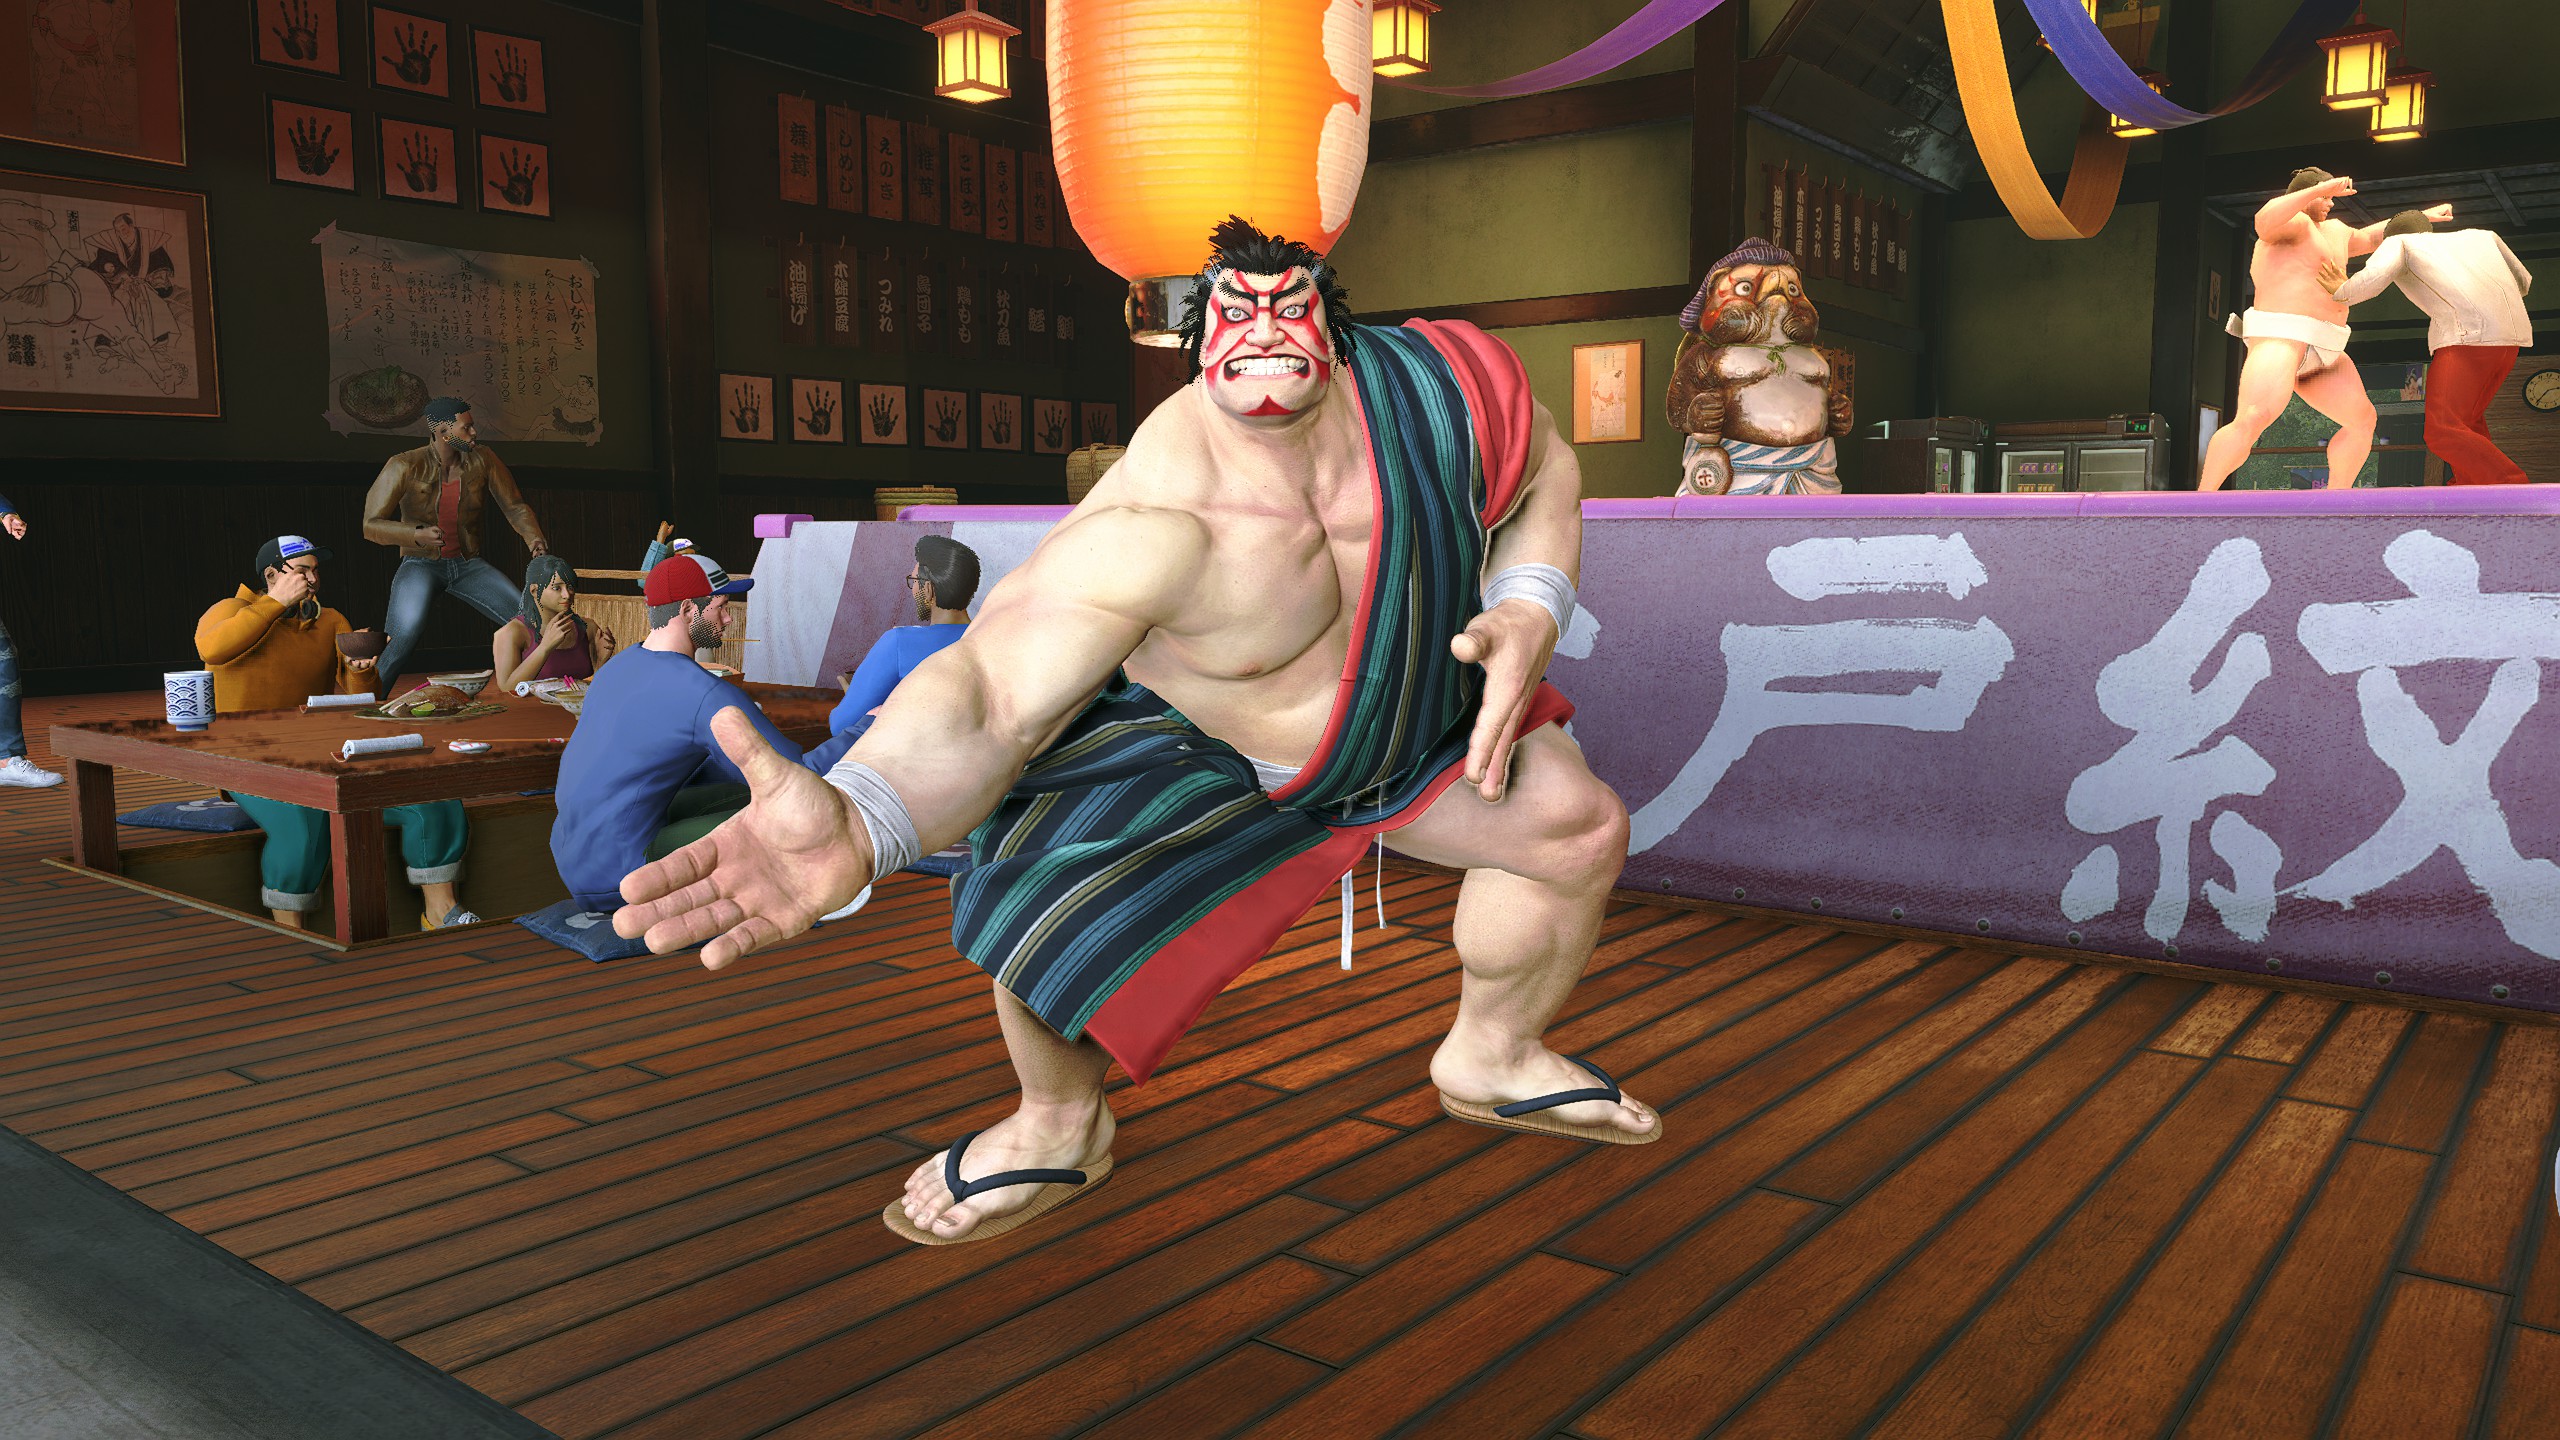
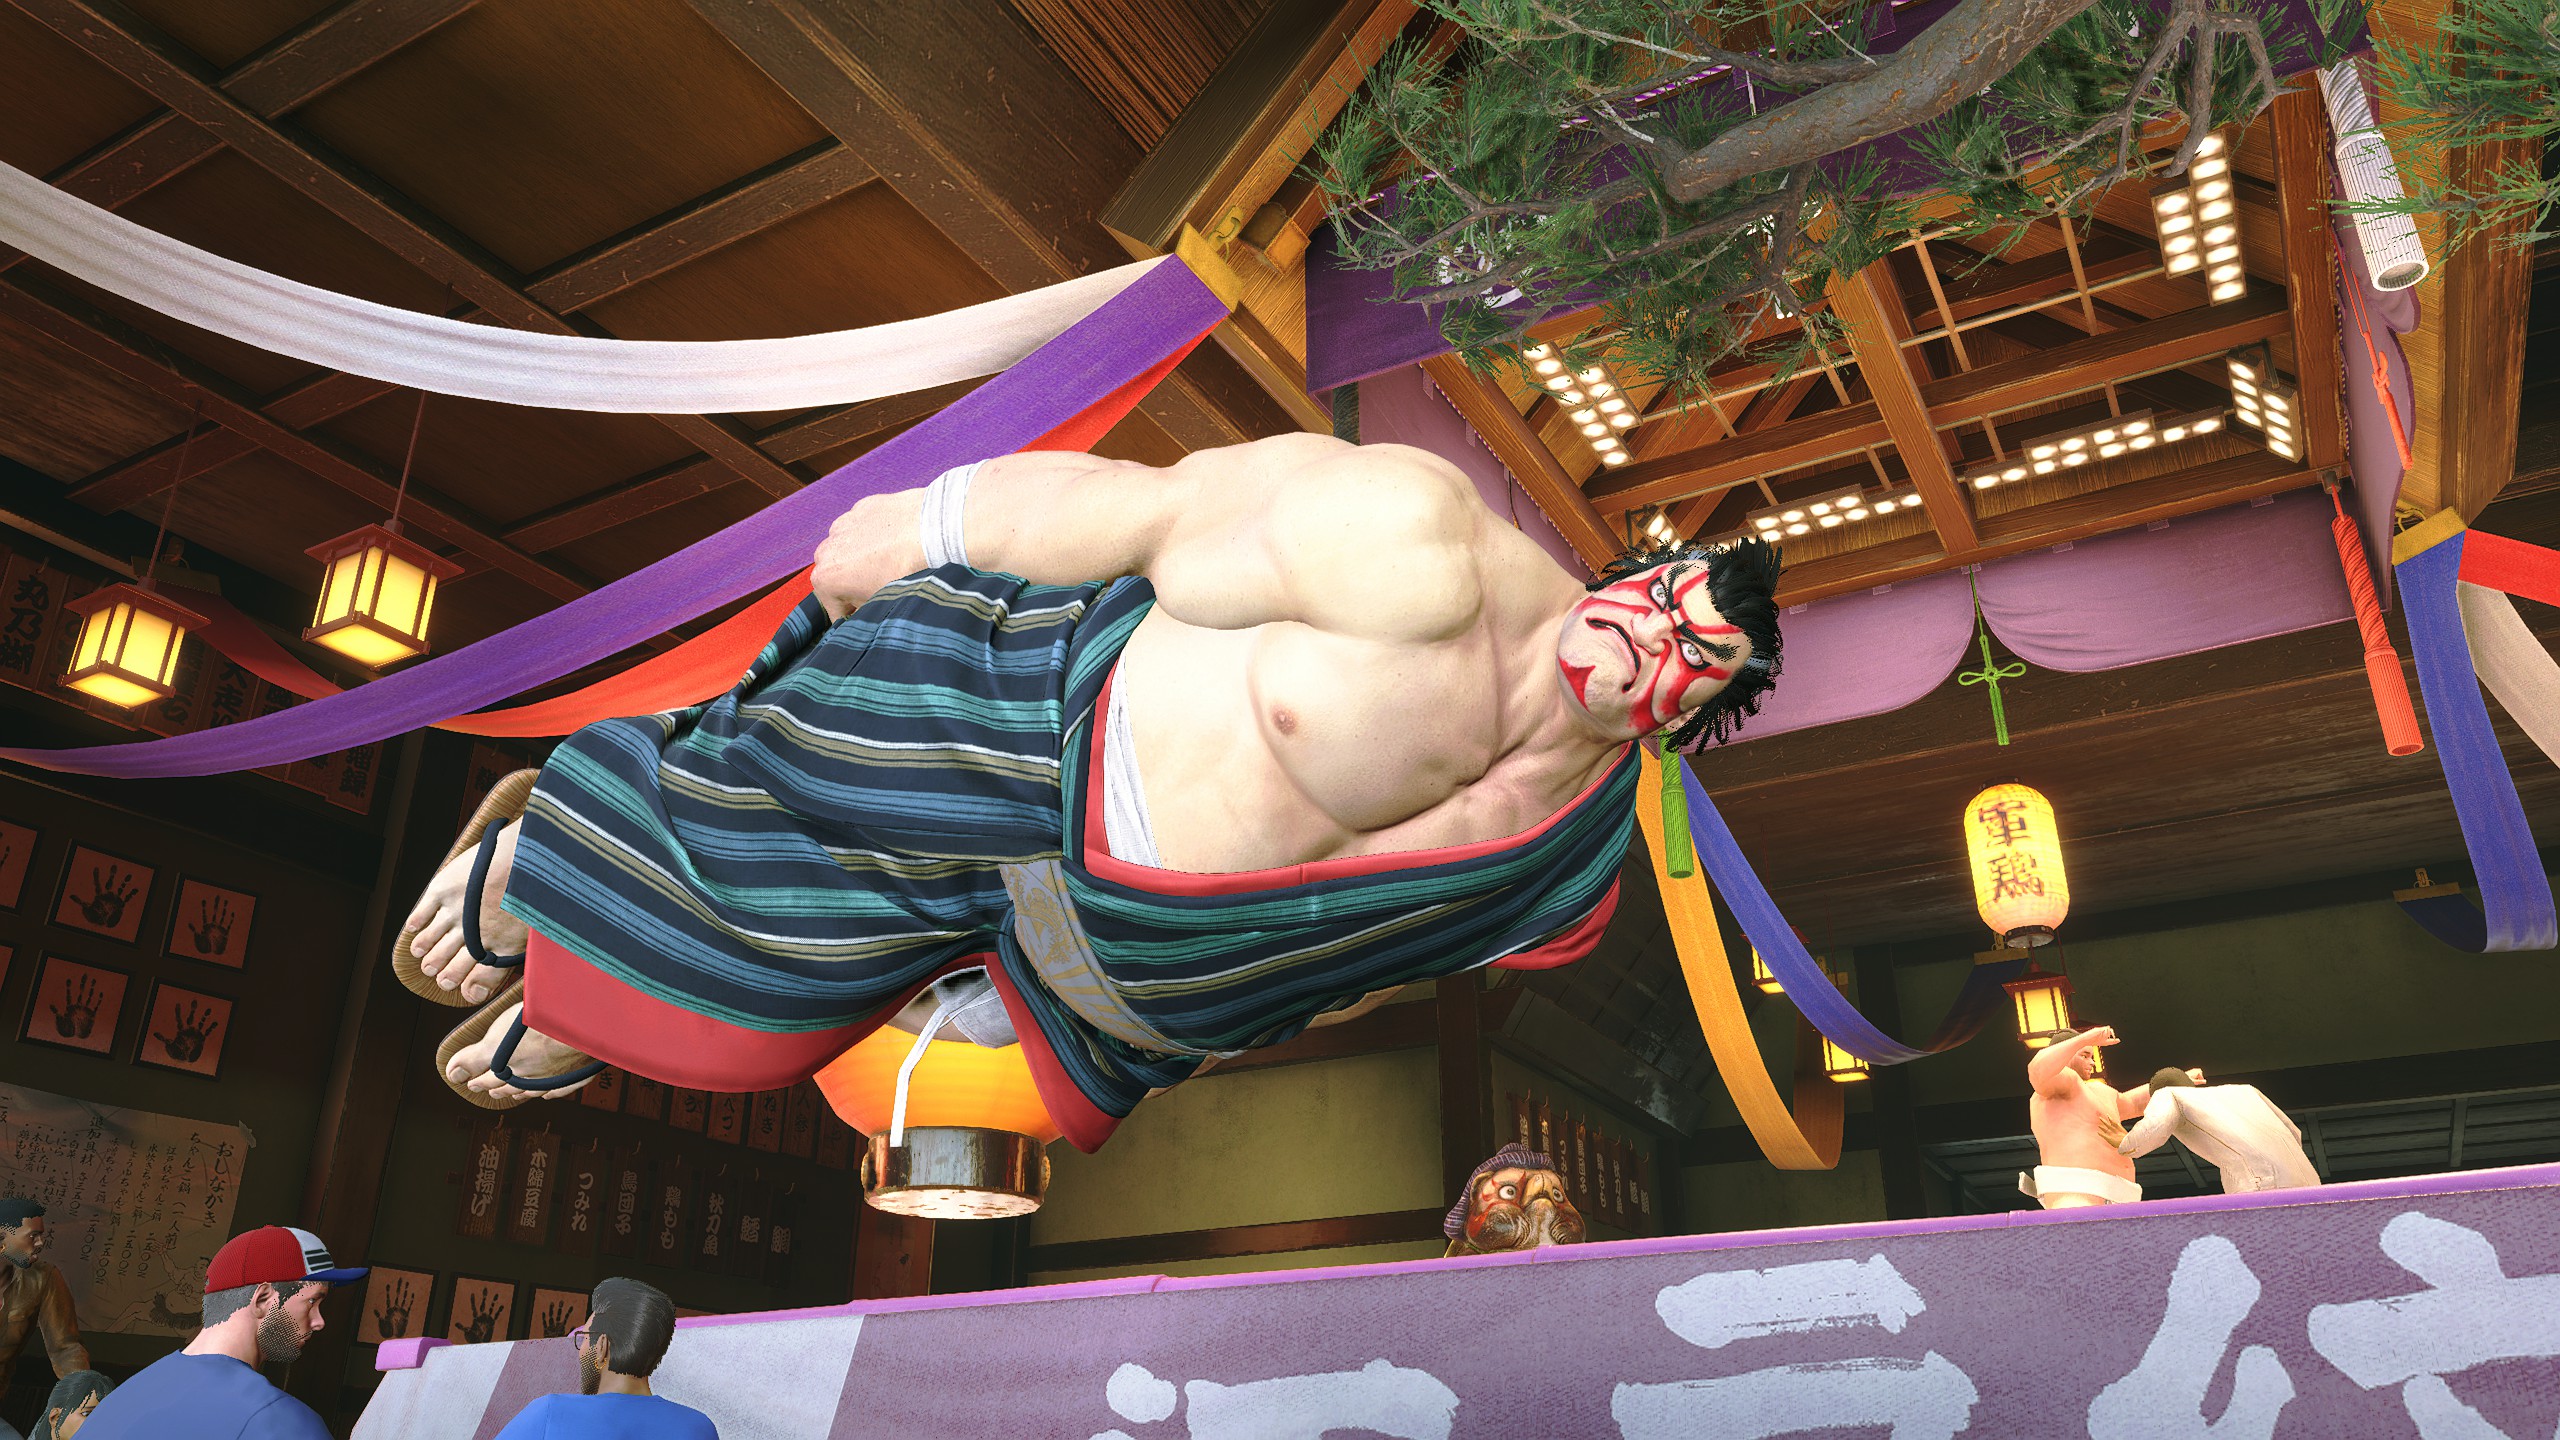
A Bond with E. Honda: 1
A Bond with E. Honda: 2
A Bond with E. Honda: 3
A Bond with E. Honda: 4
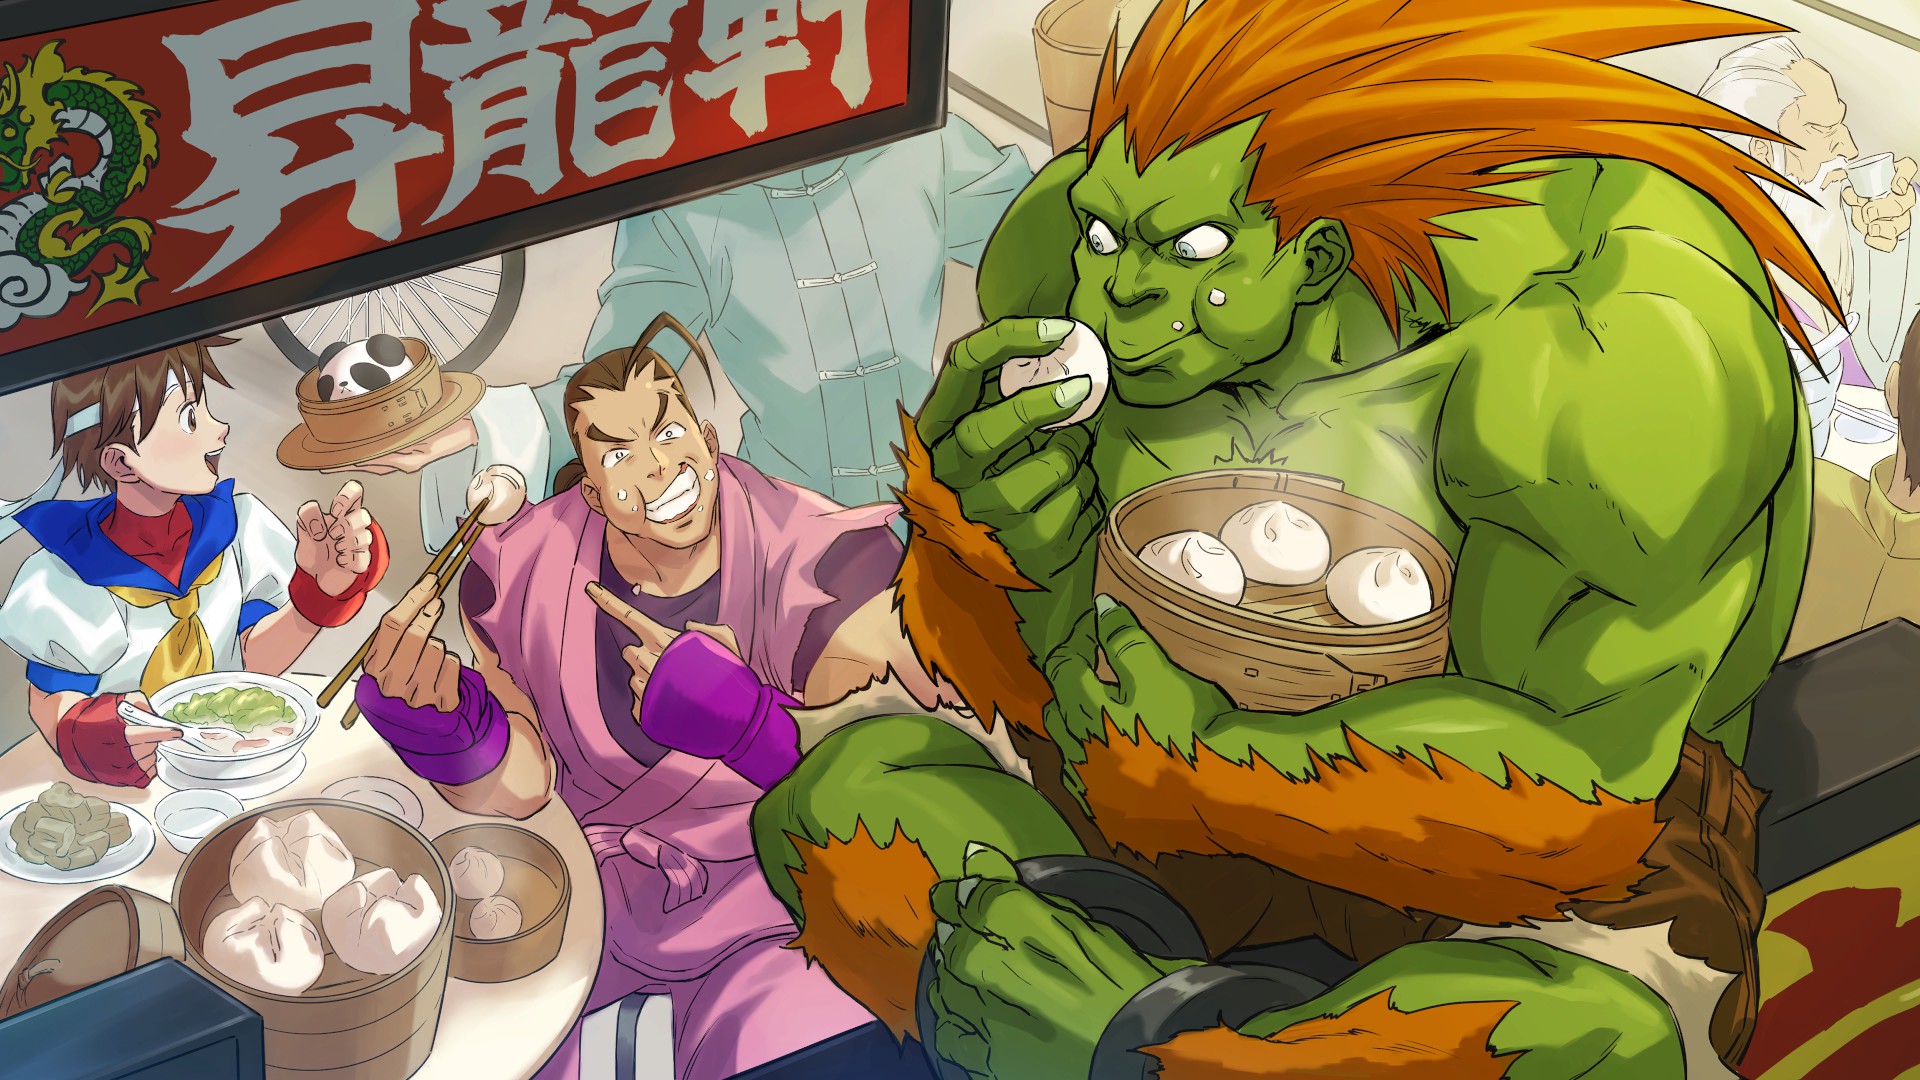
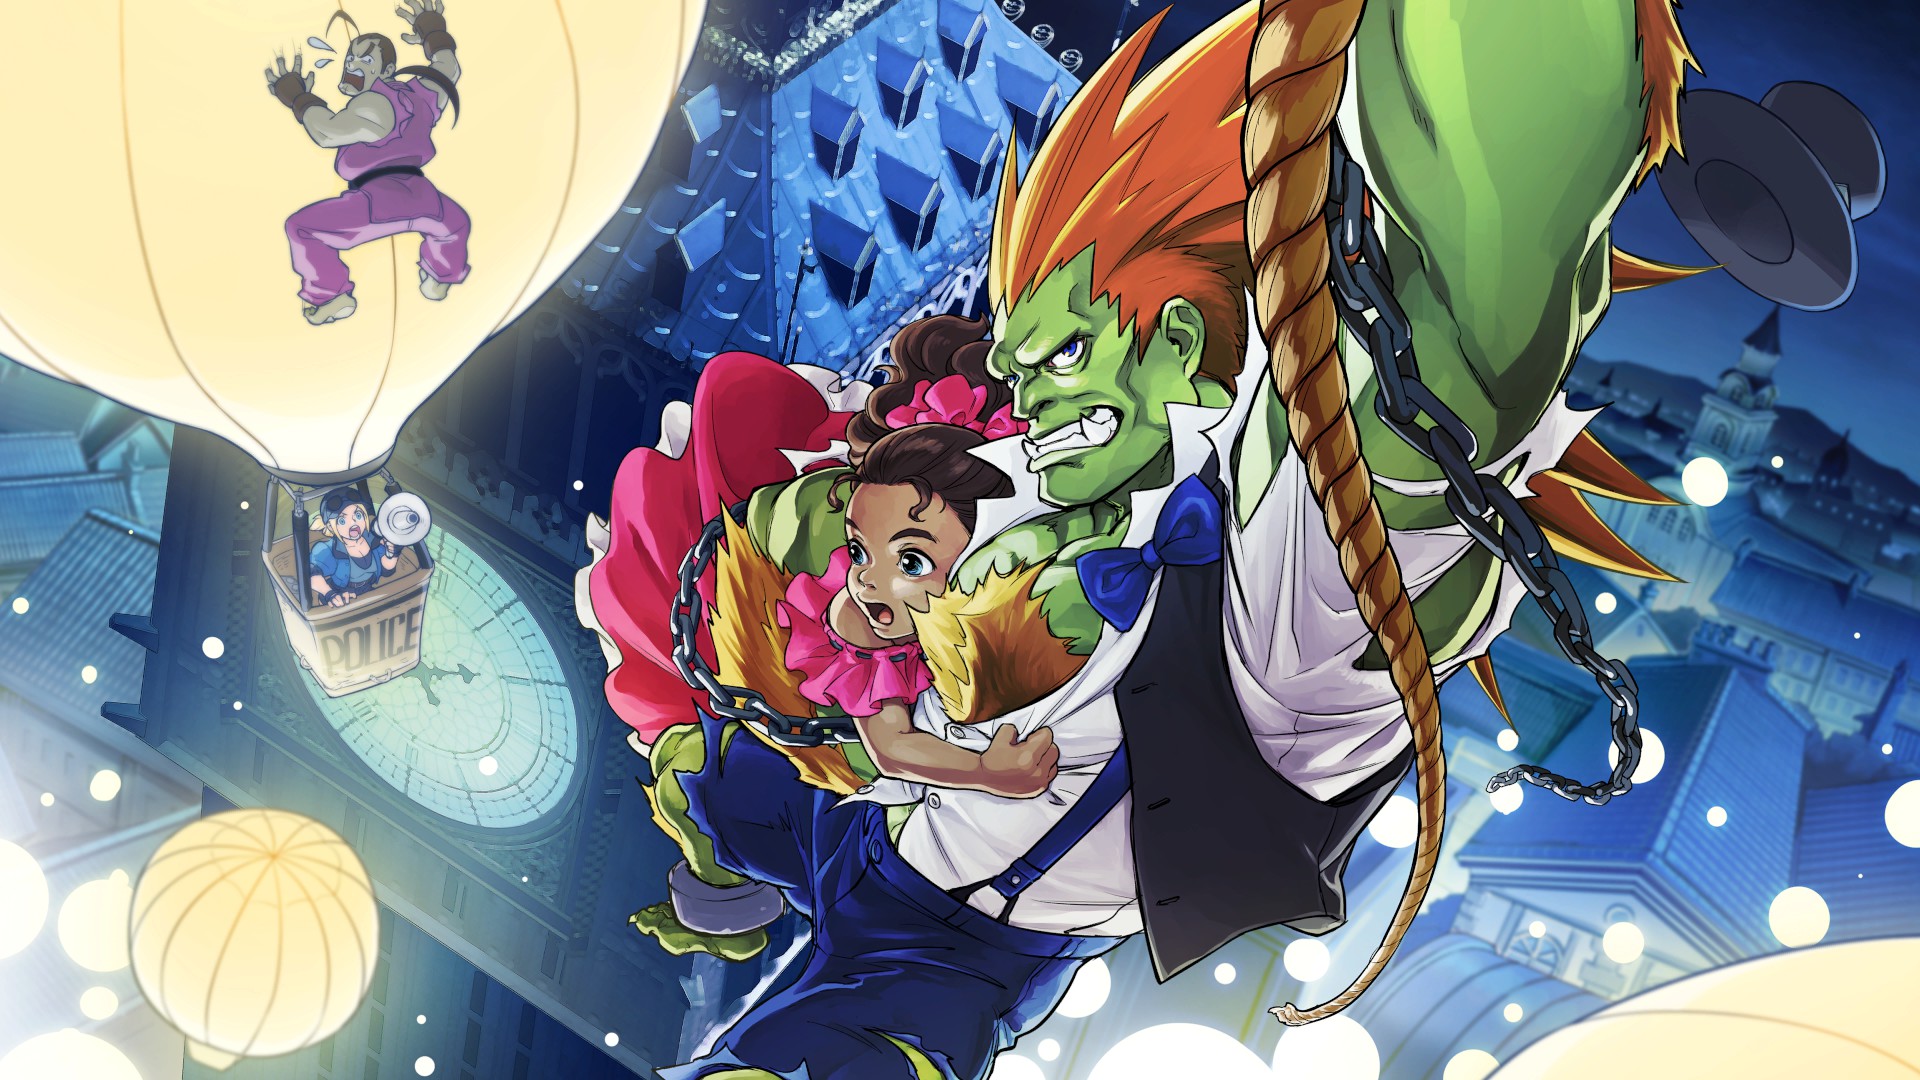
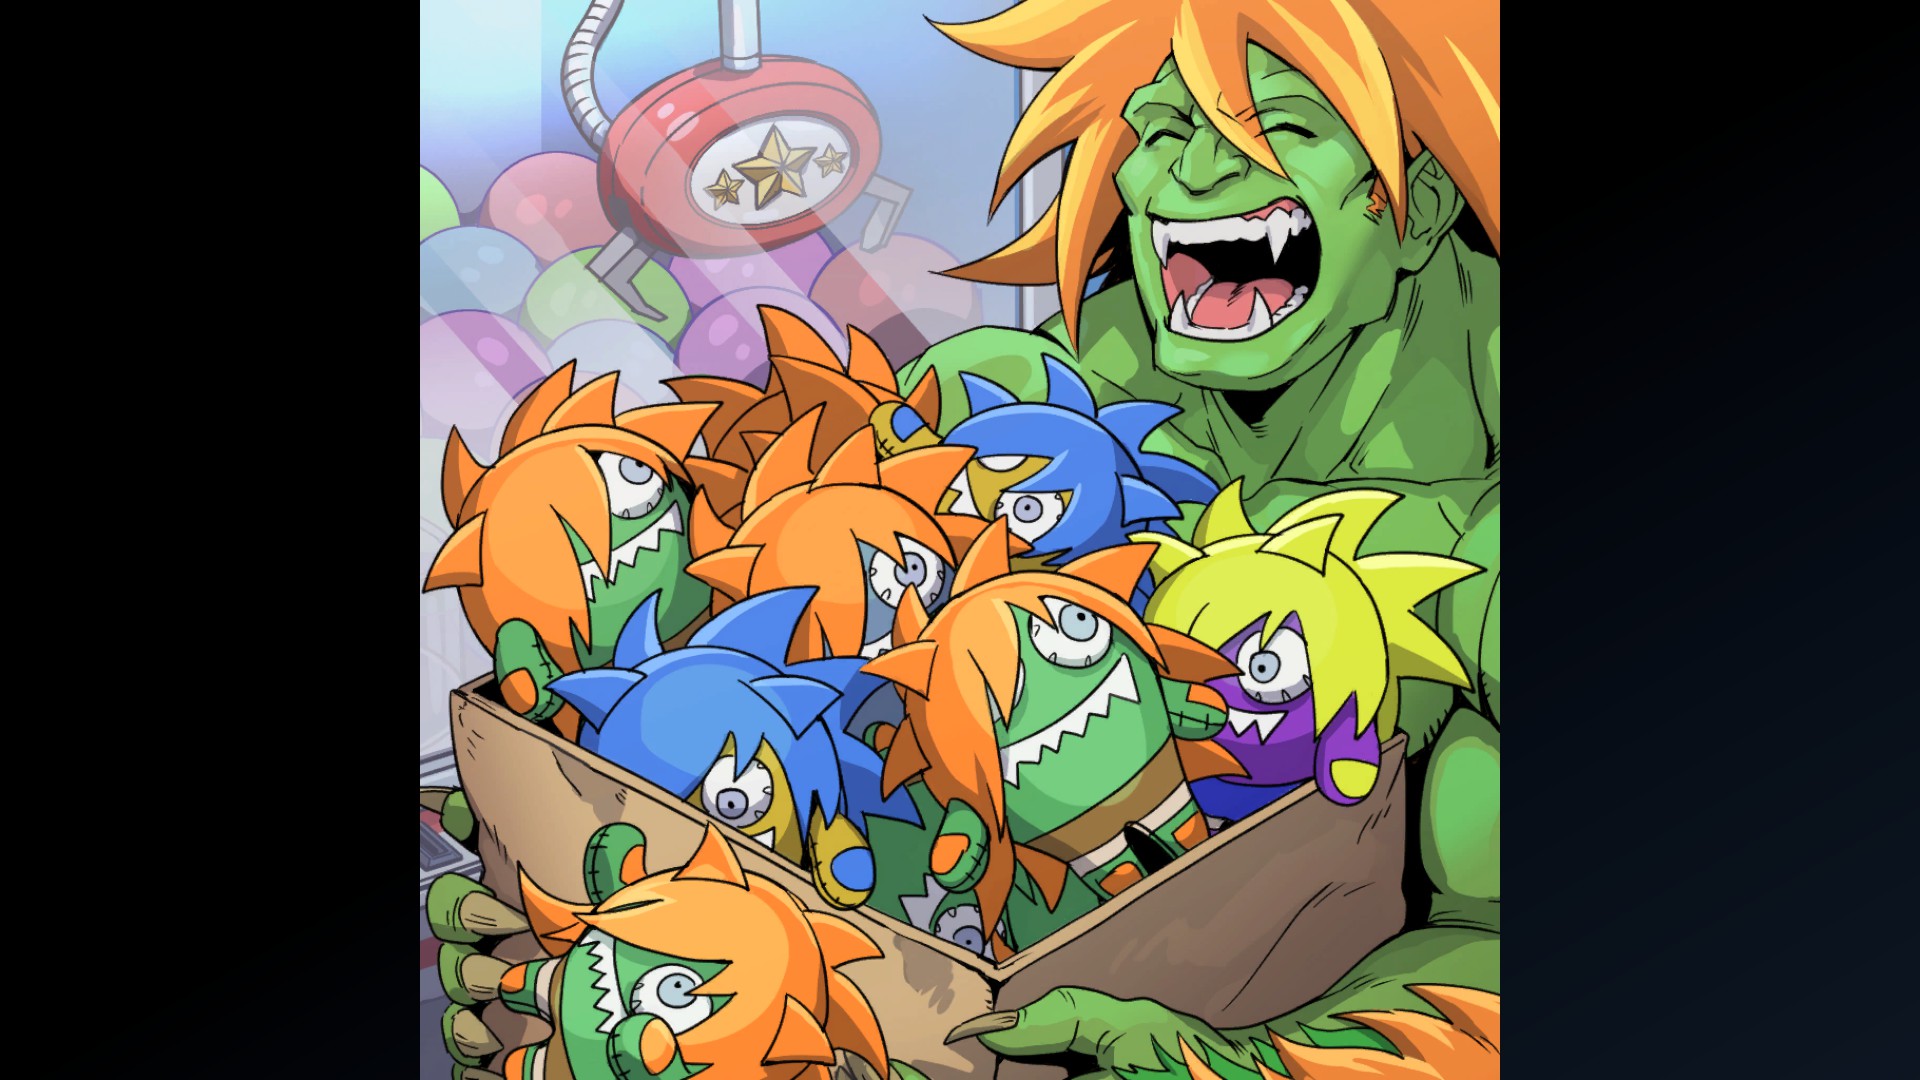
A Bond with Blanka: 1
A Bond with Blanka: 2
A Bond with Blanka: 3
A Bond with Blanka: 4
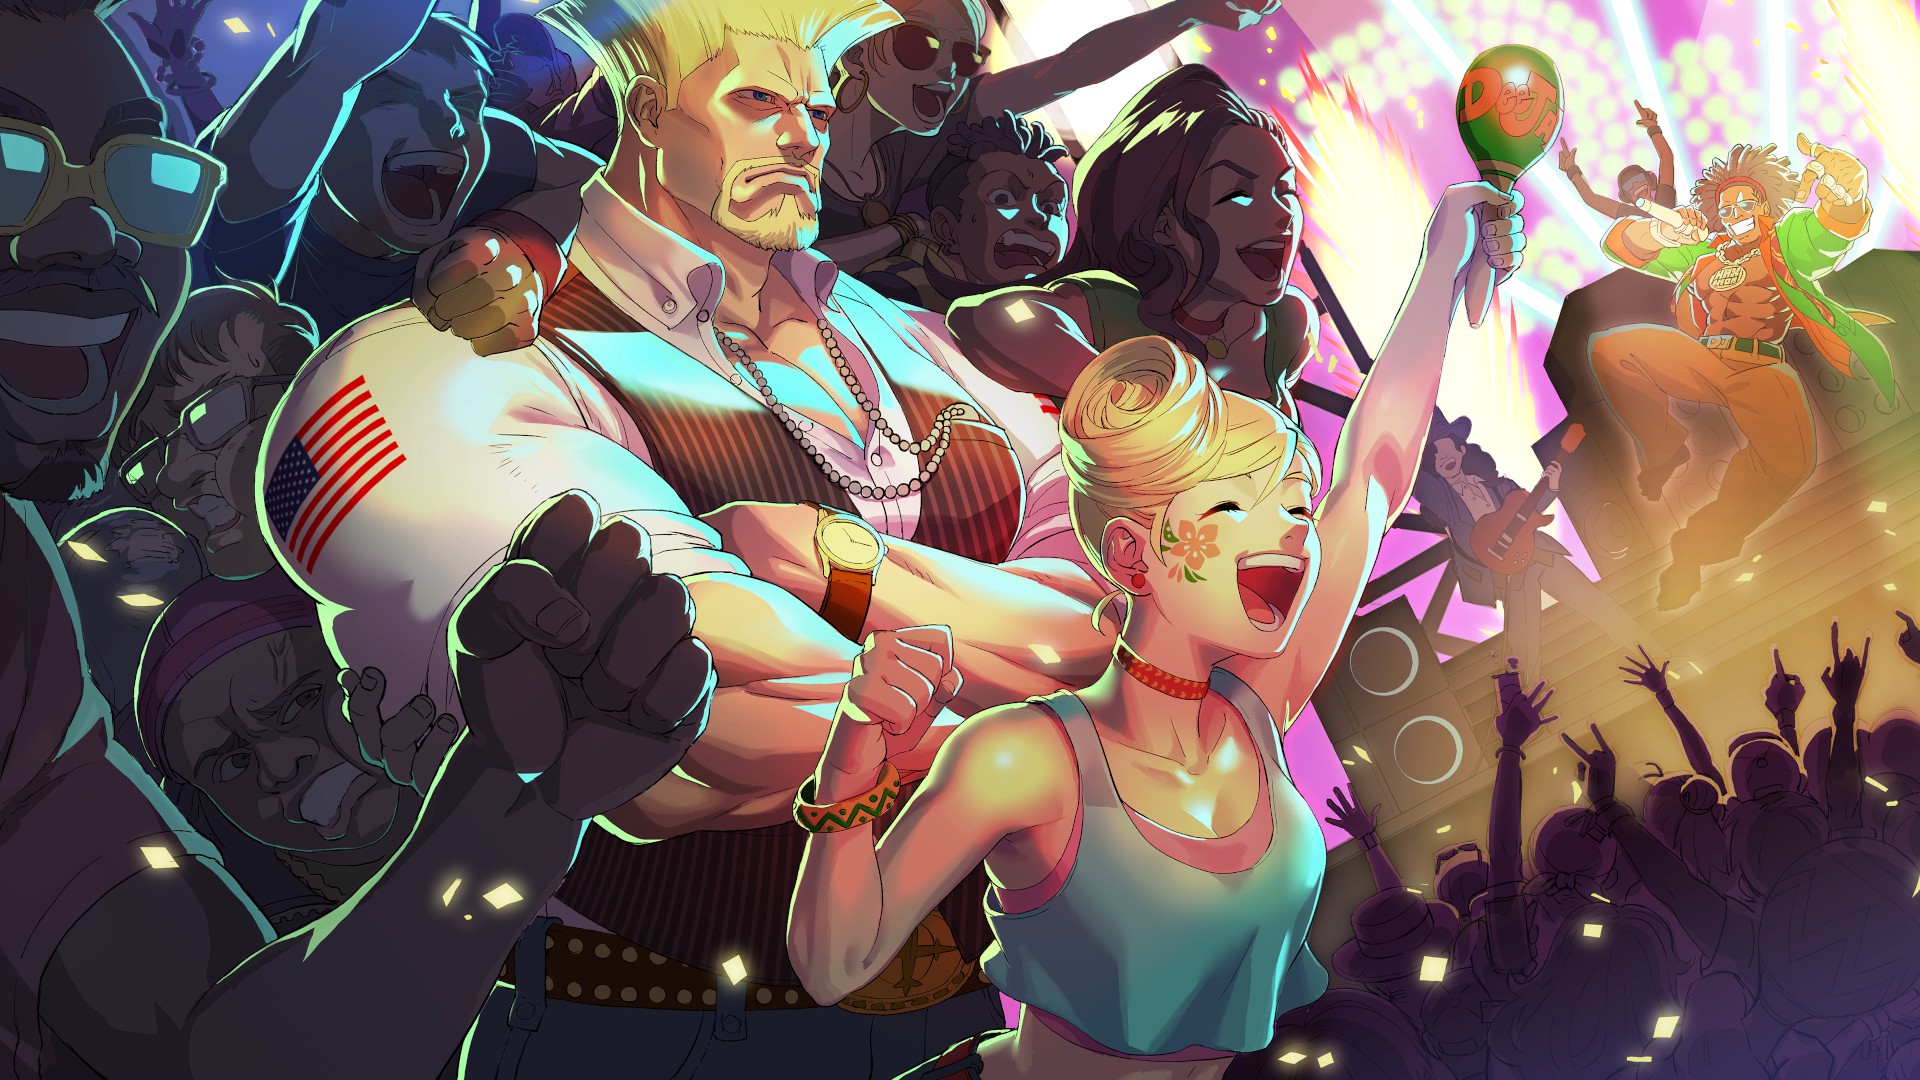
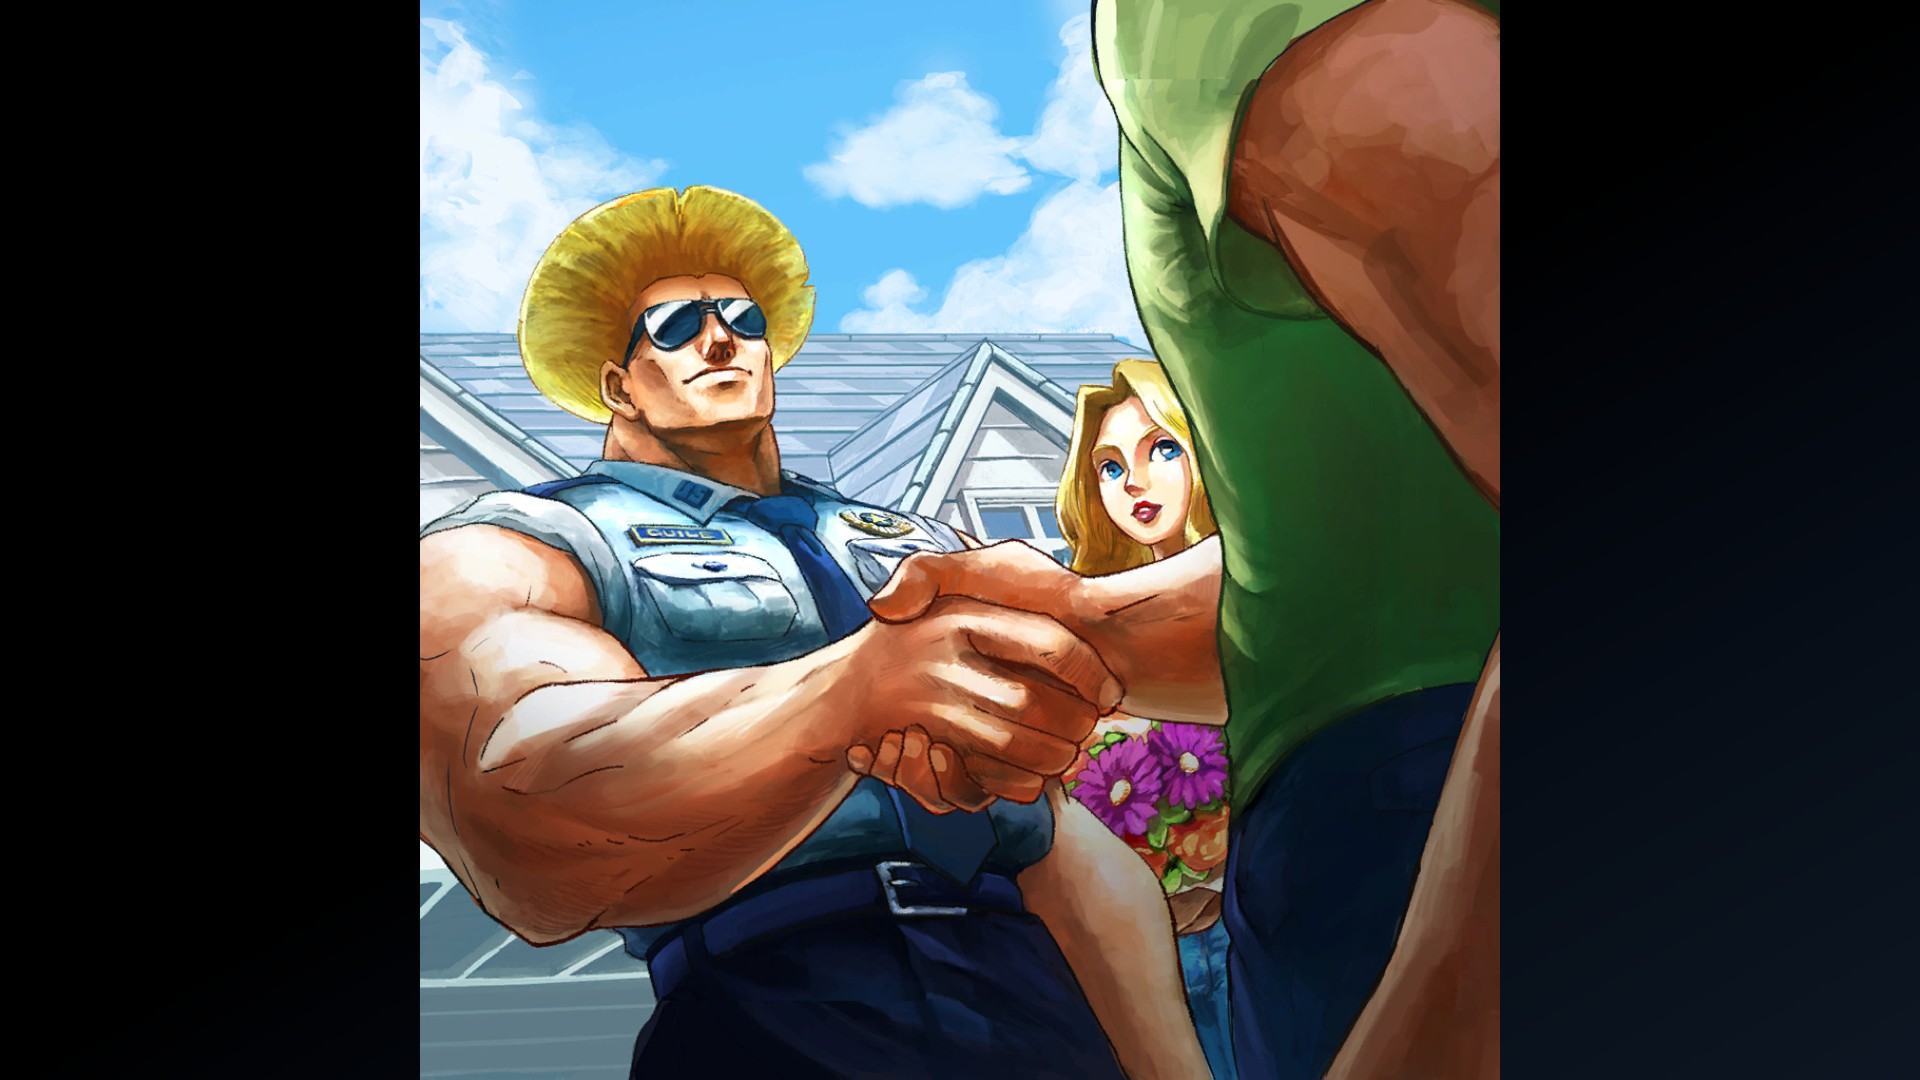
A Bond with Guile: 1
A Bond with Guile: 2
A Bond with Guile: 3
A Bond with Guile: 4
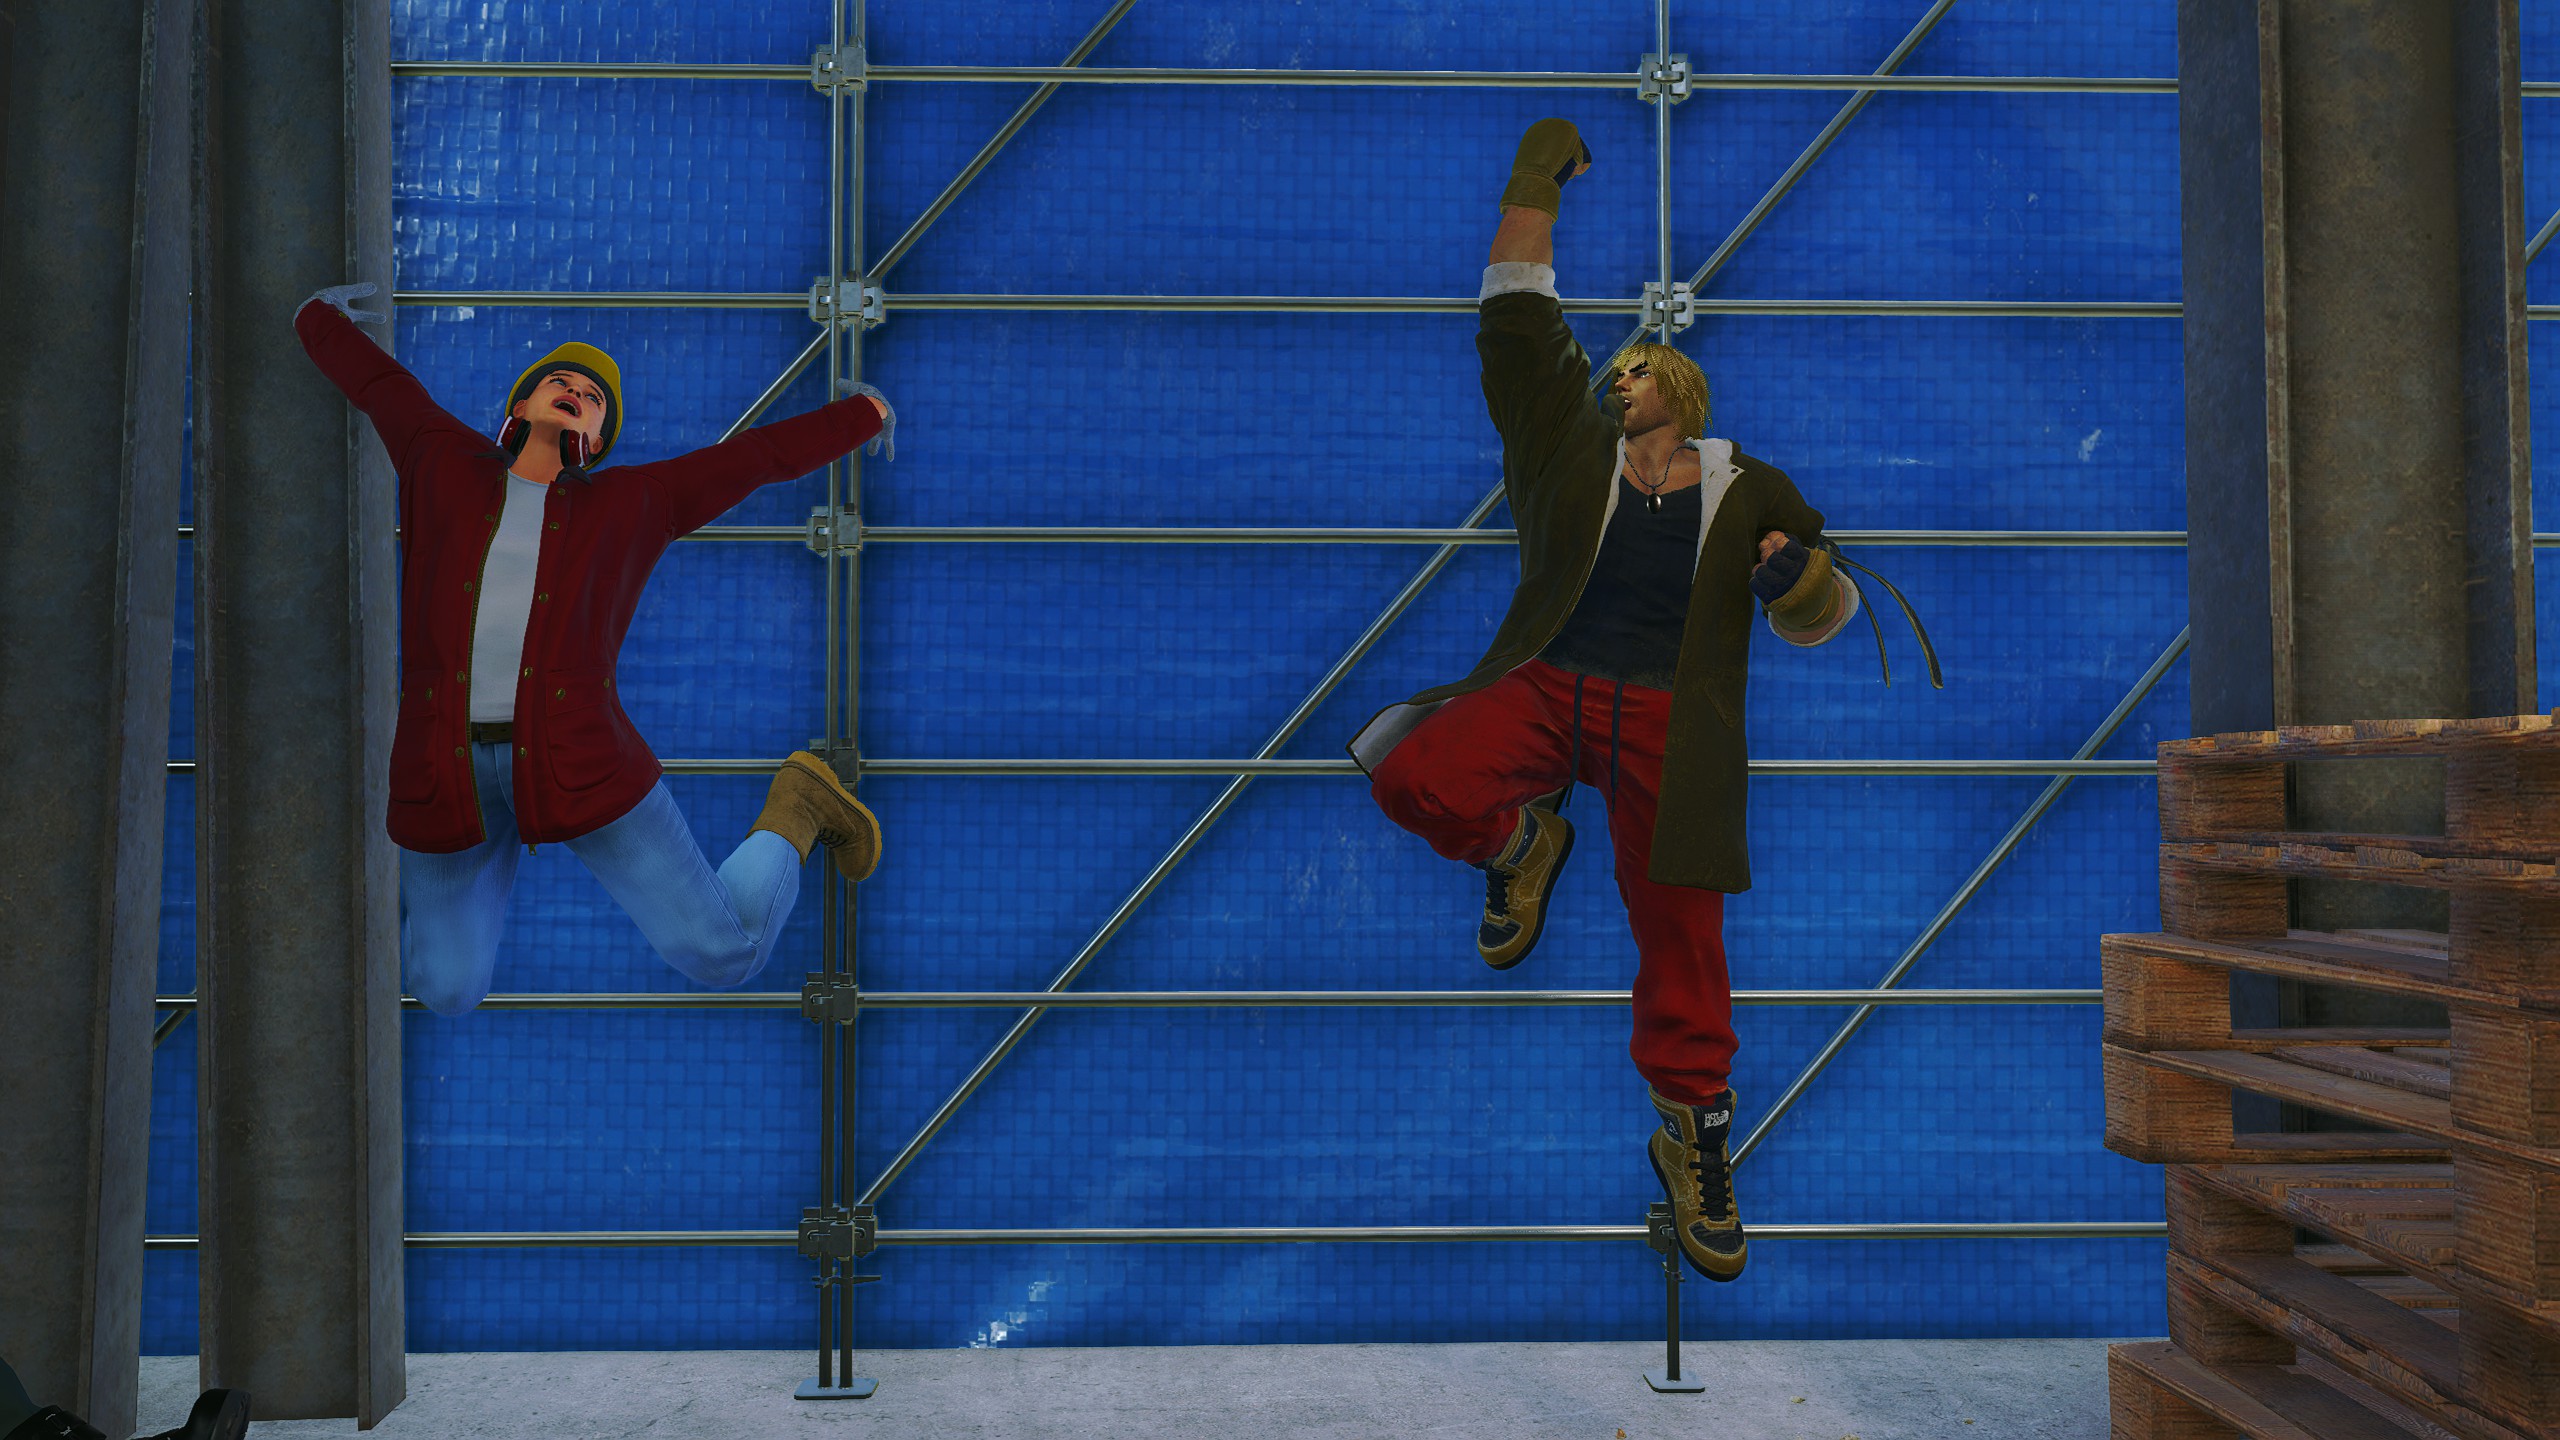
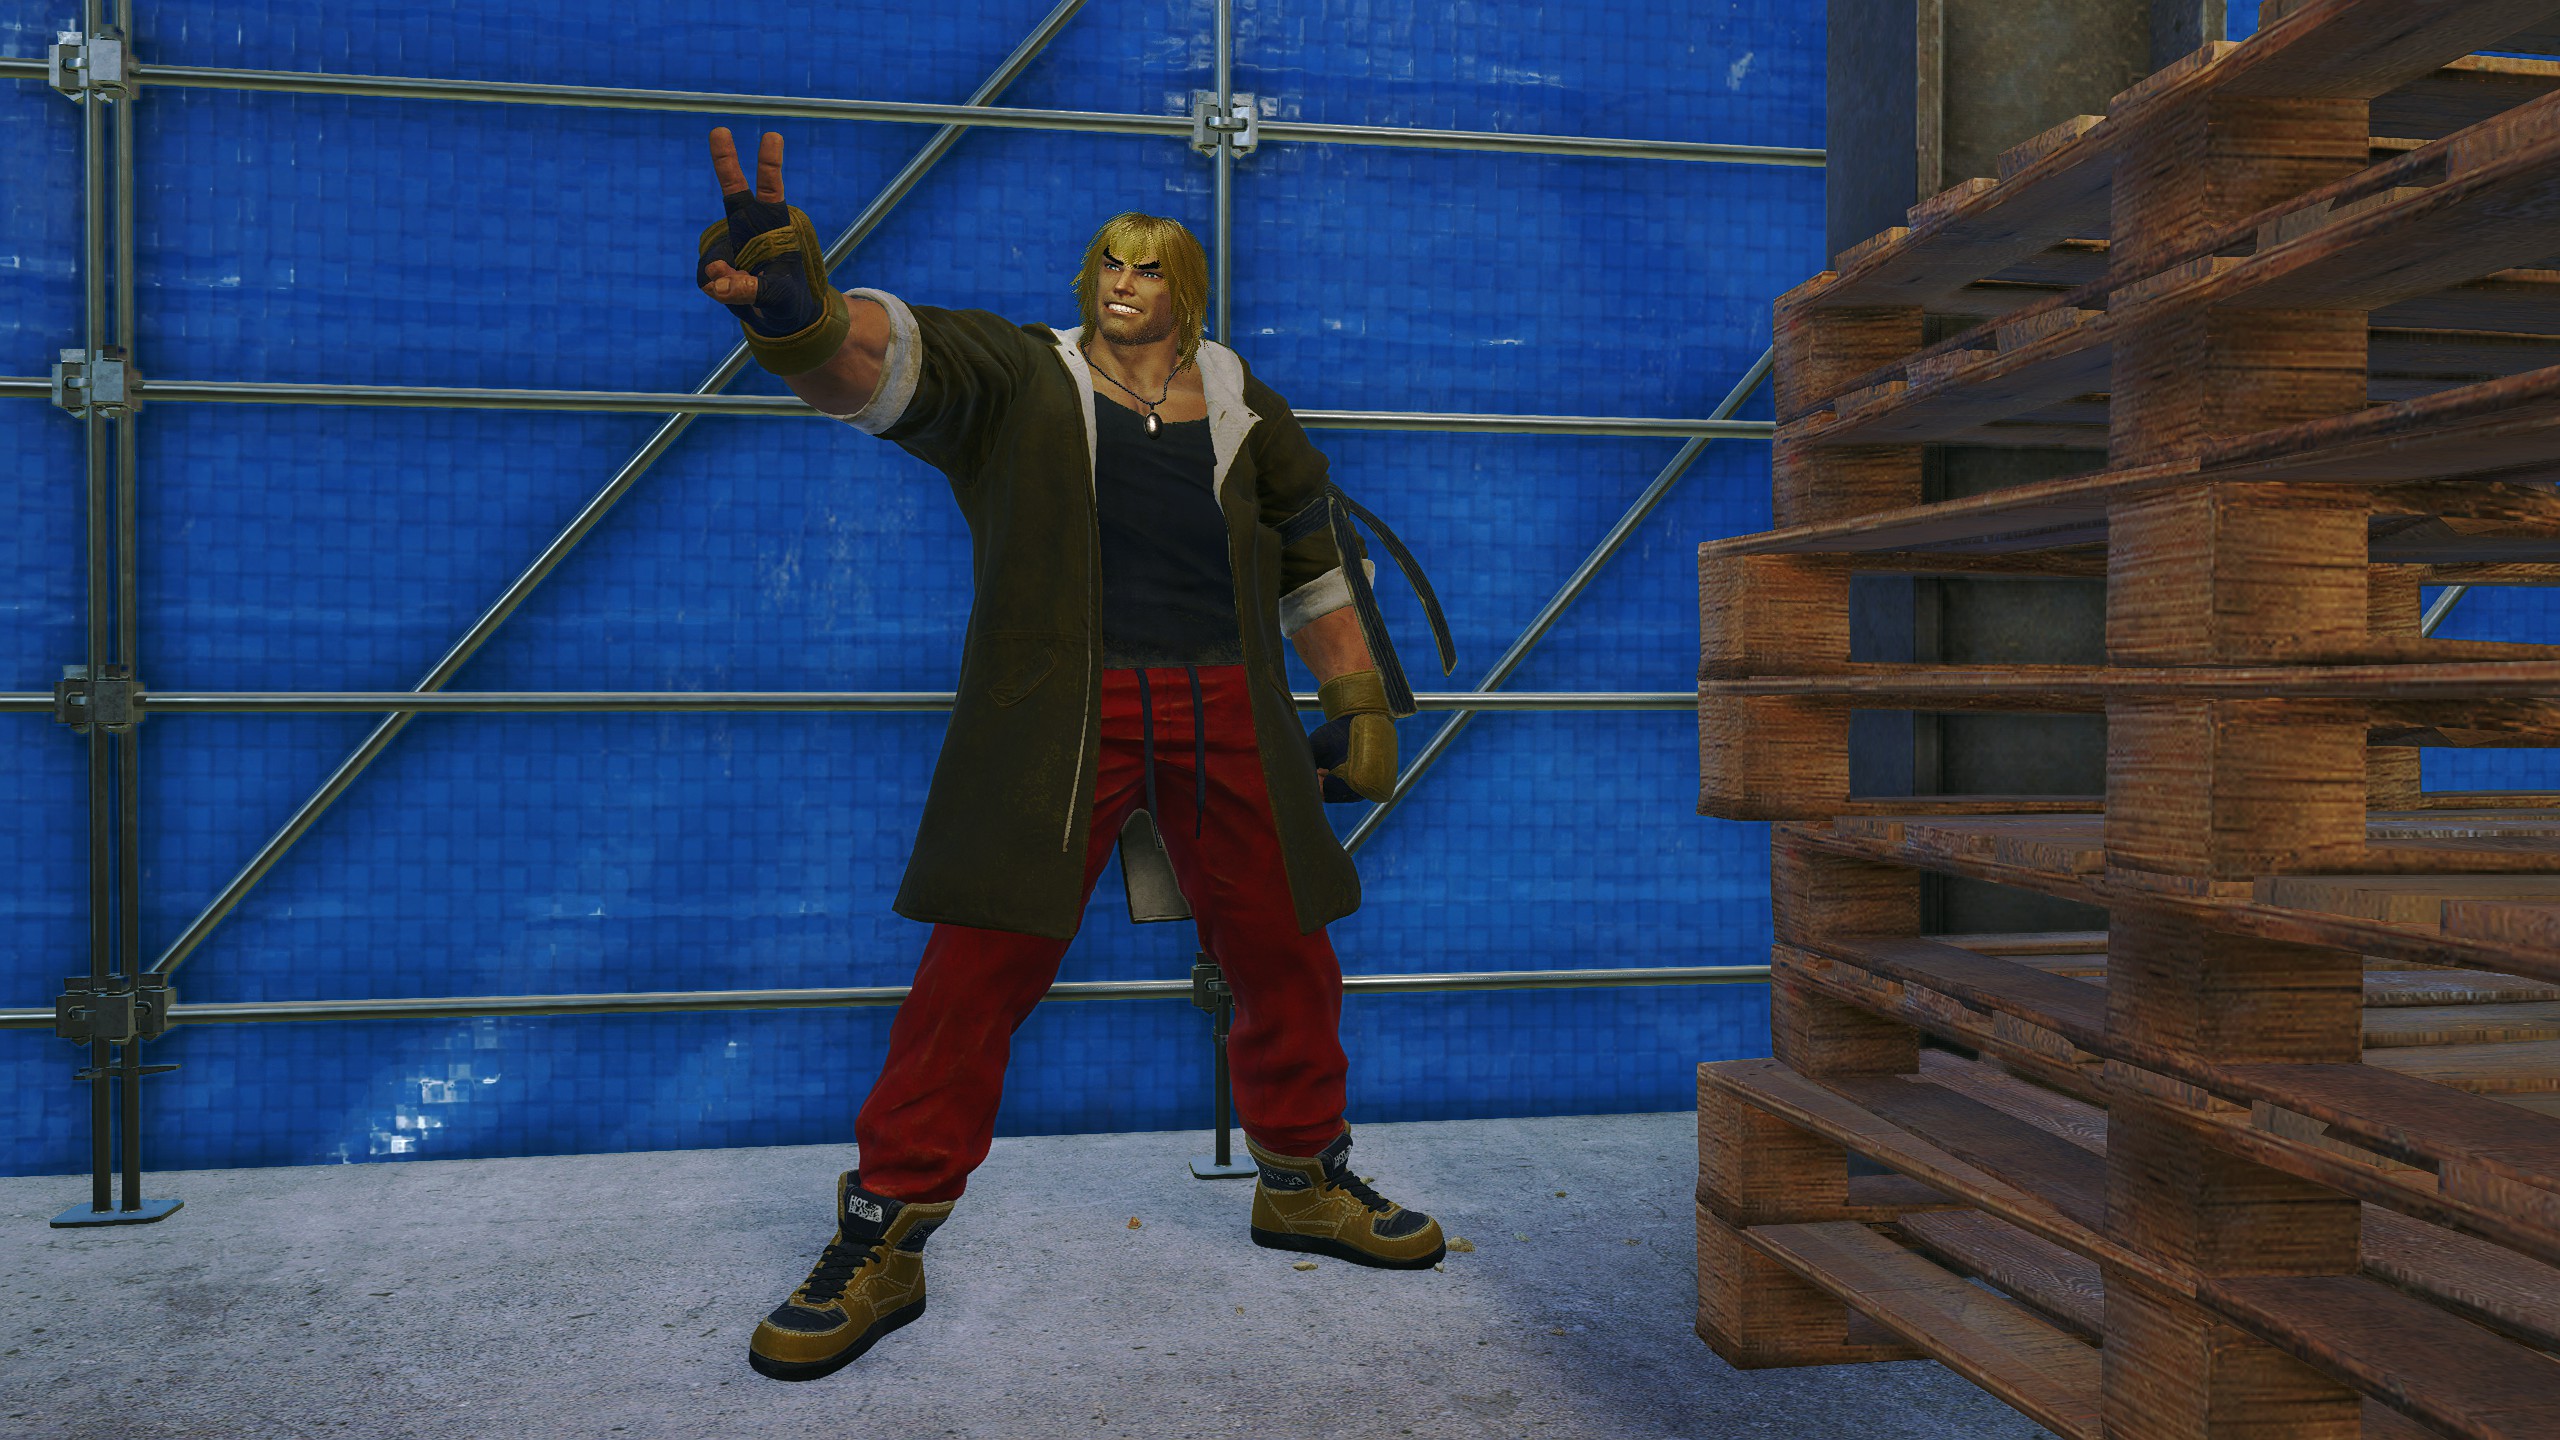
A Bond with Ken: 1
A Bond with Ken: 2
A Bond with Ken: 3
A Bond with Ken: 4
A Bond with Chun-Li: 1
A Bond with Chun-Li: 2
A Bond with Chun-Li: 3
A Bond with Chun-Li: 4
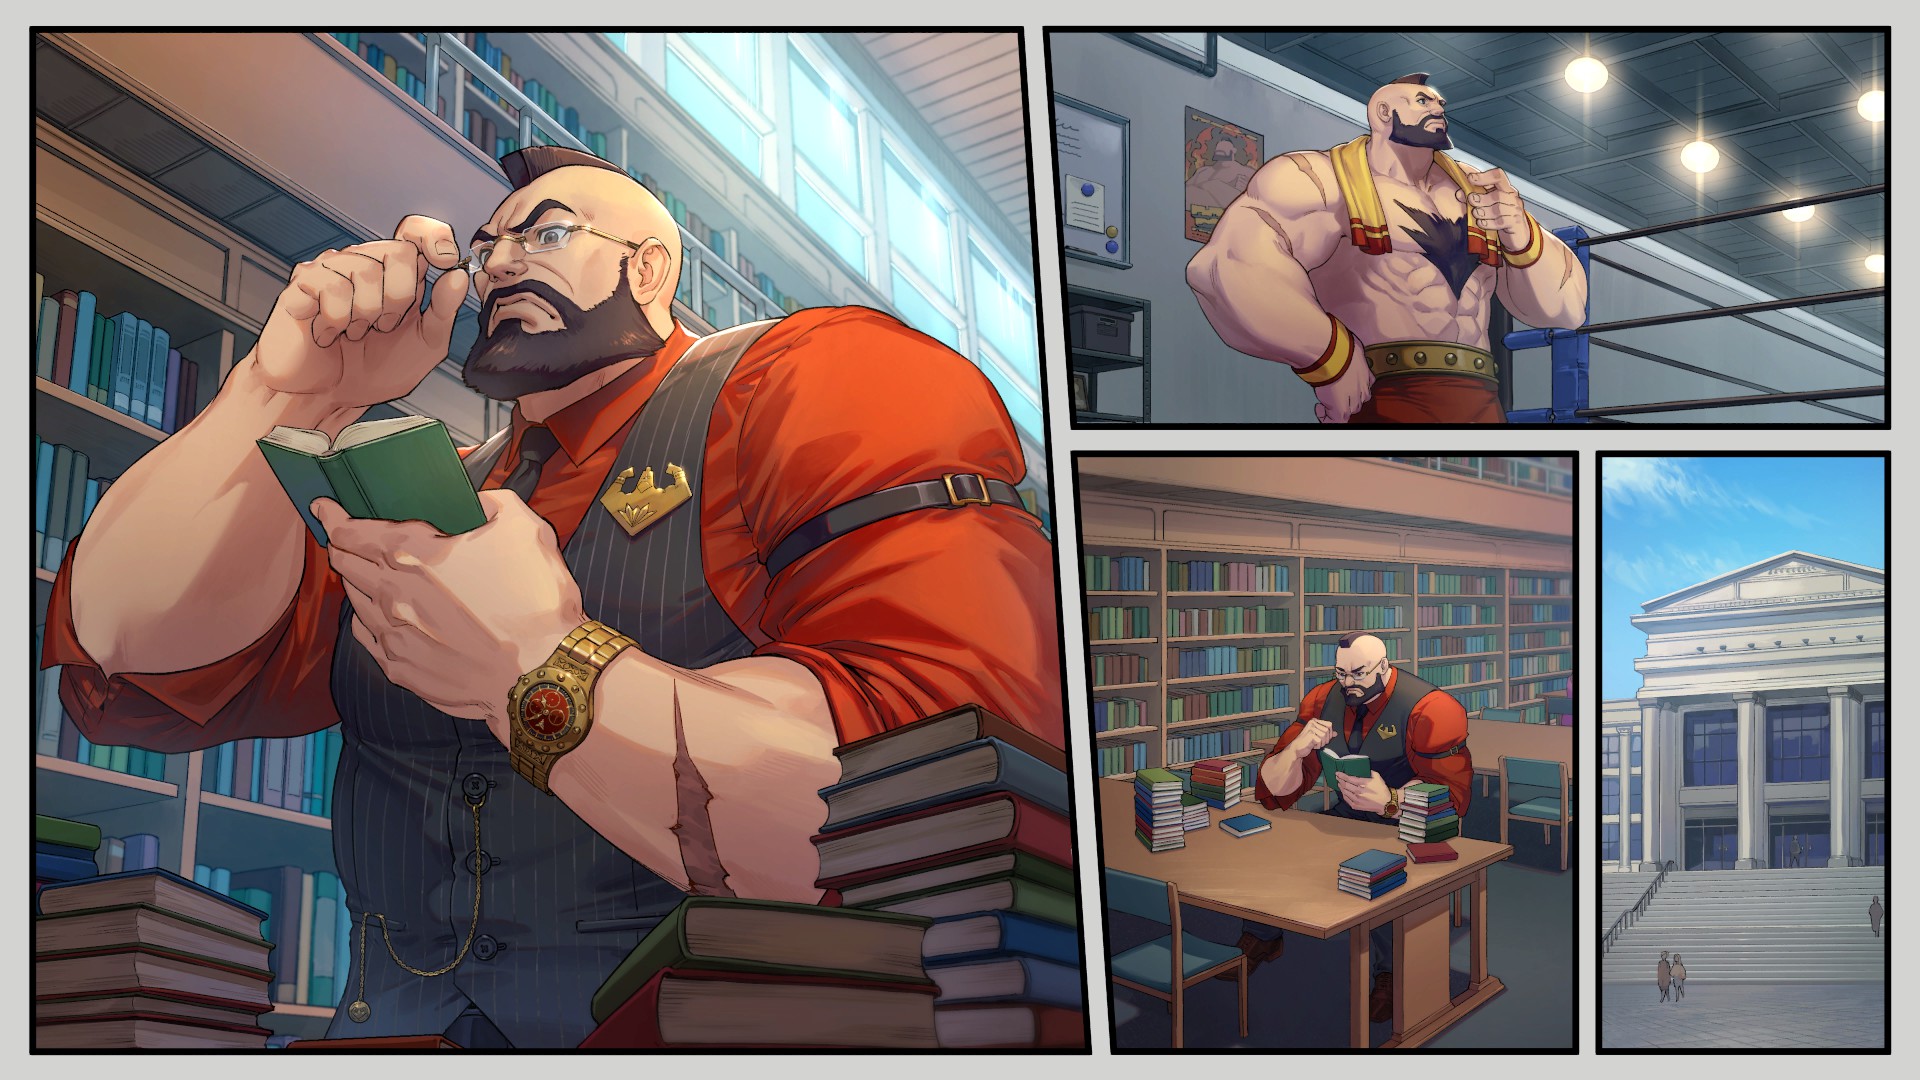
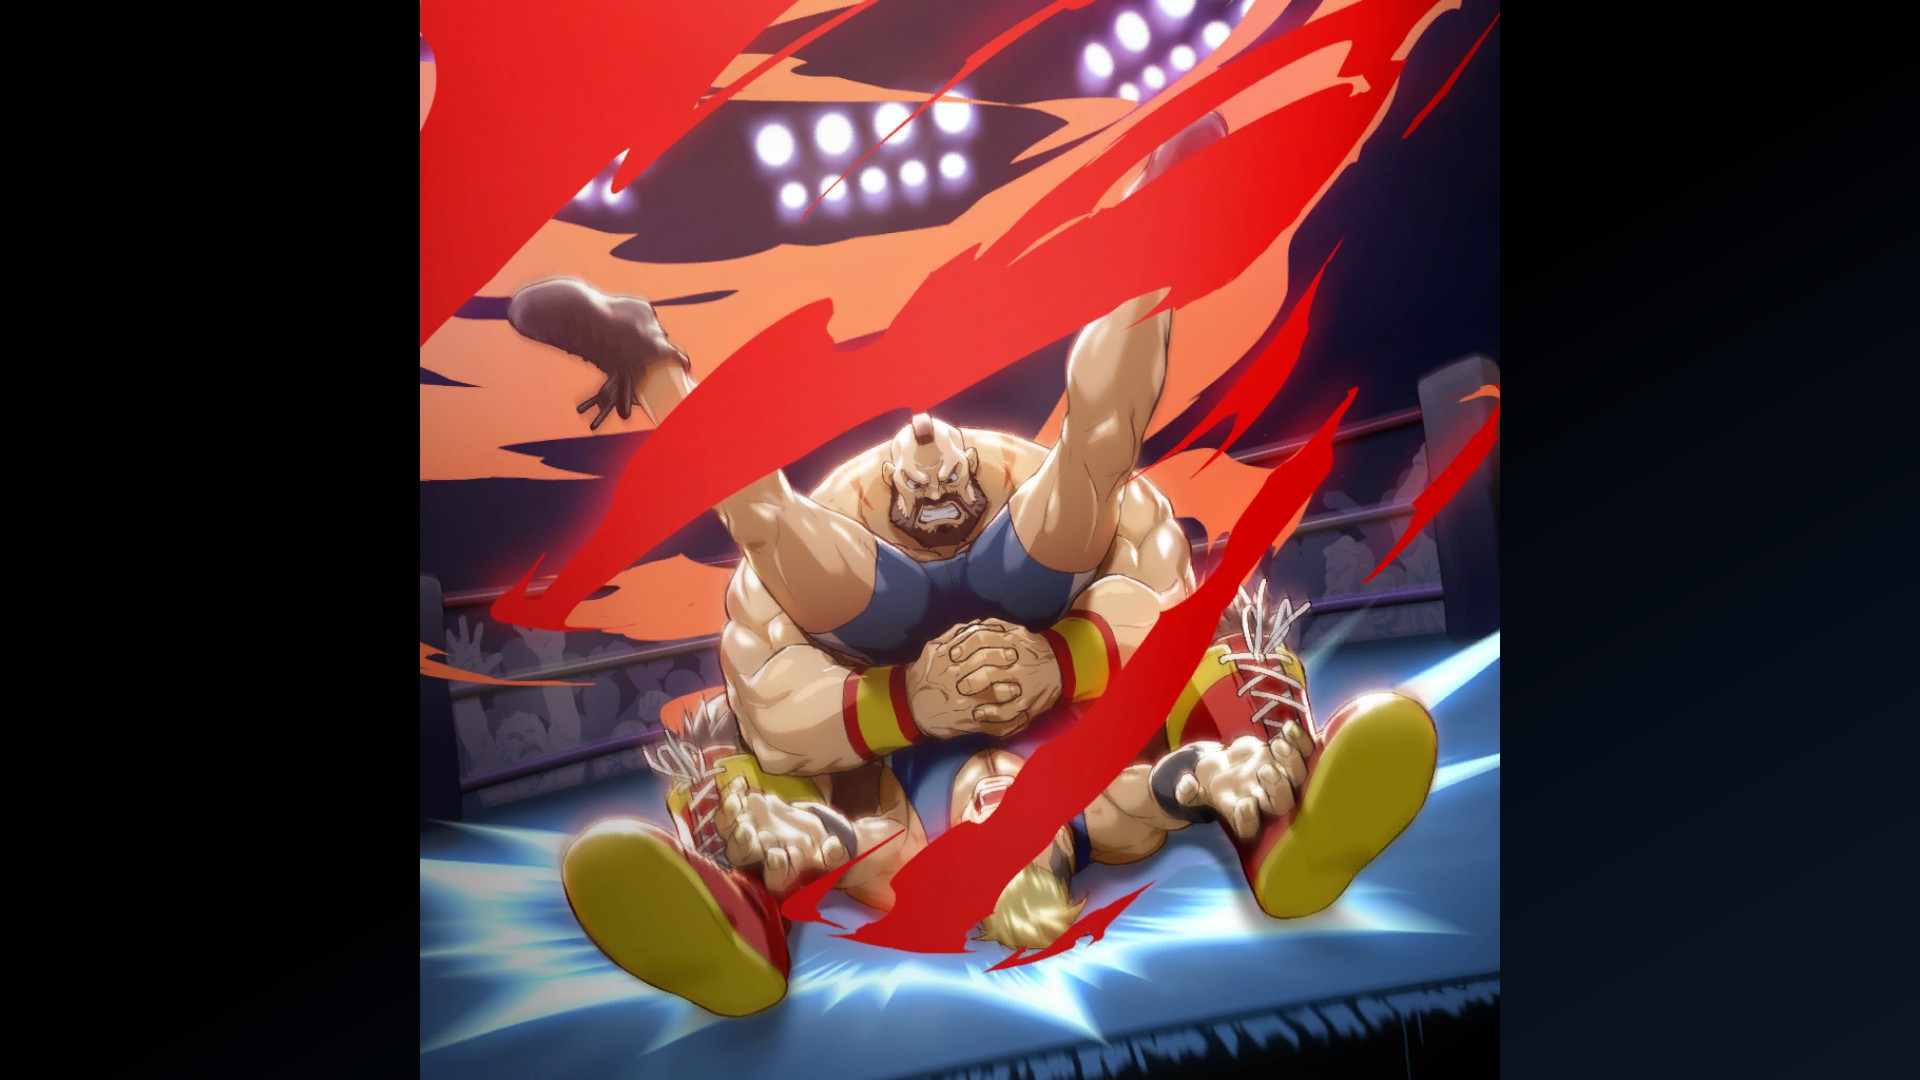
A Bond with Zangief: 1
A Bond with Zangief: 2
A Bond with Zangief: 3
A Bond with Zangief: 4
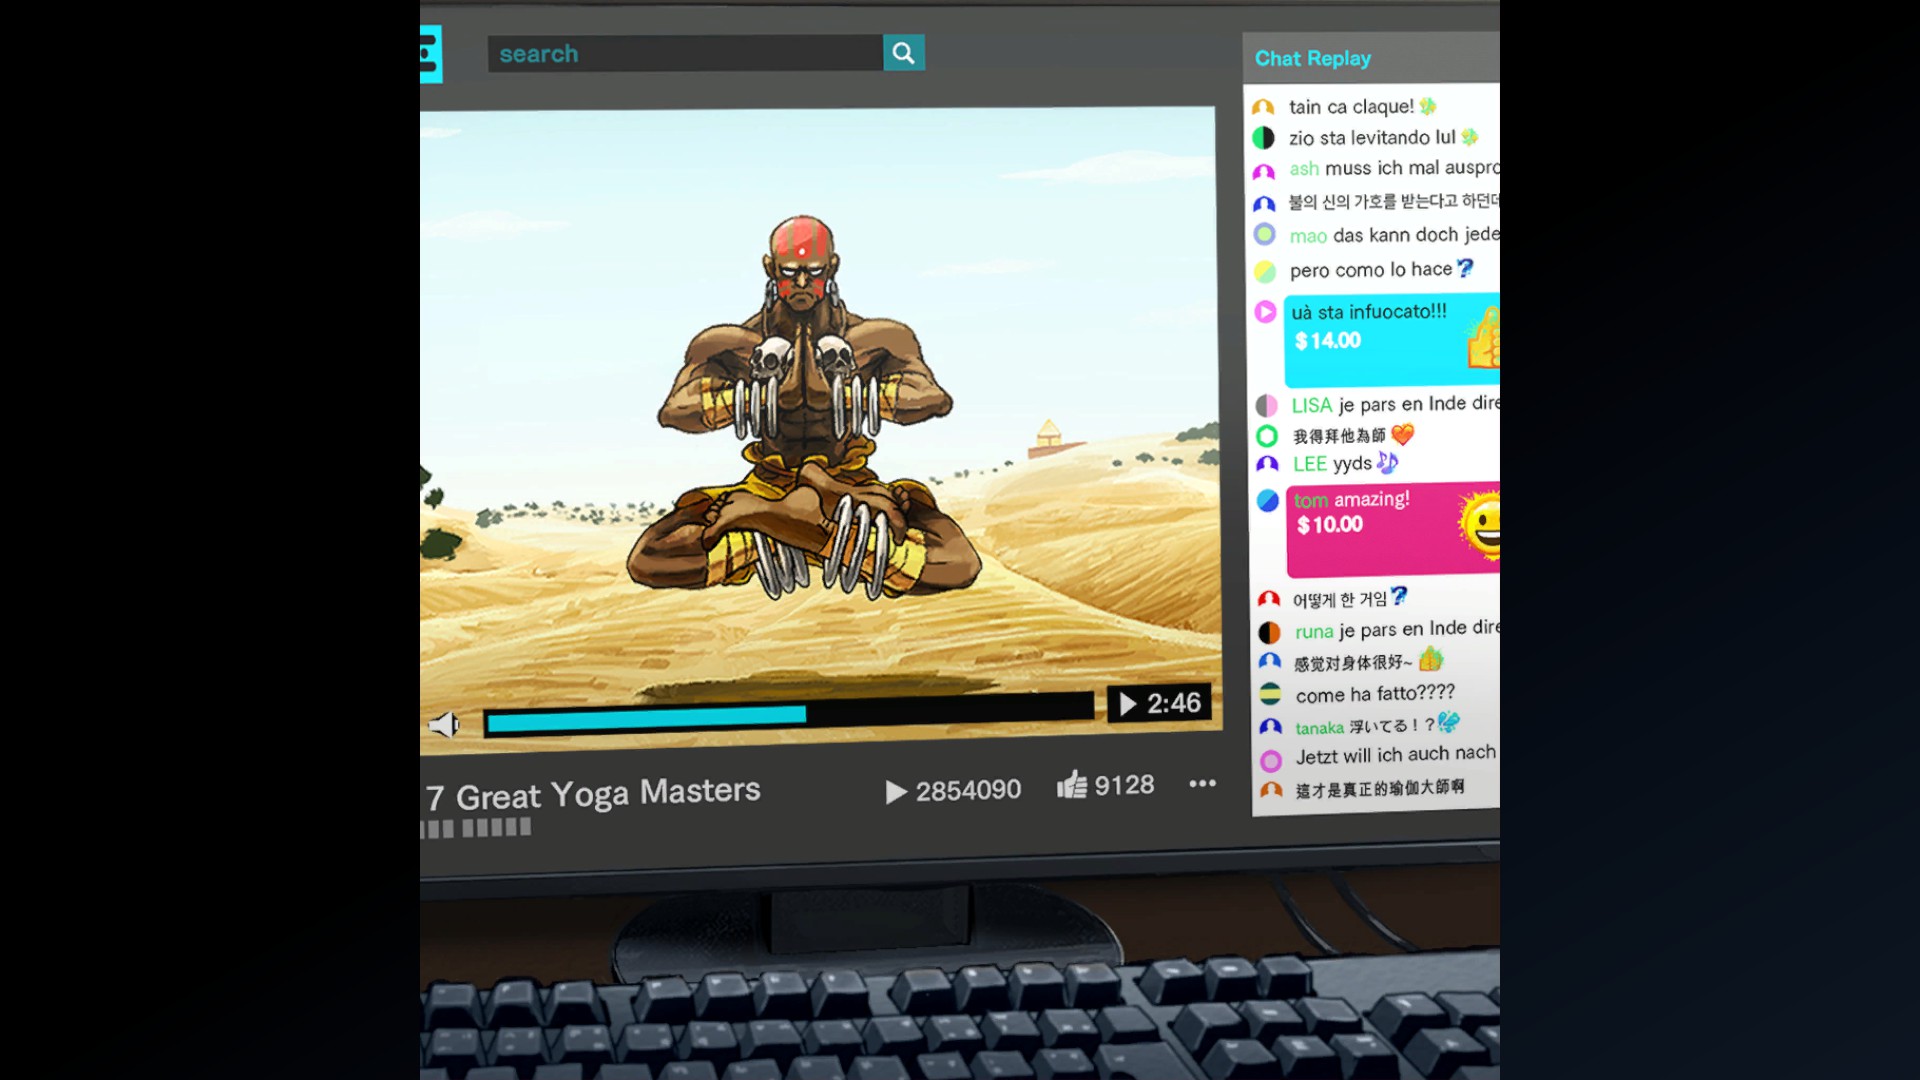
A Bond with Dhalsim: 1
A Bond with Dhalsim: 2
A Bond with Dhalsim: 3
A Bond with Dhalsim: 4
World Tour - Master (Part 3)
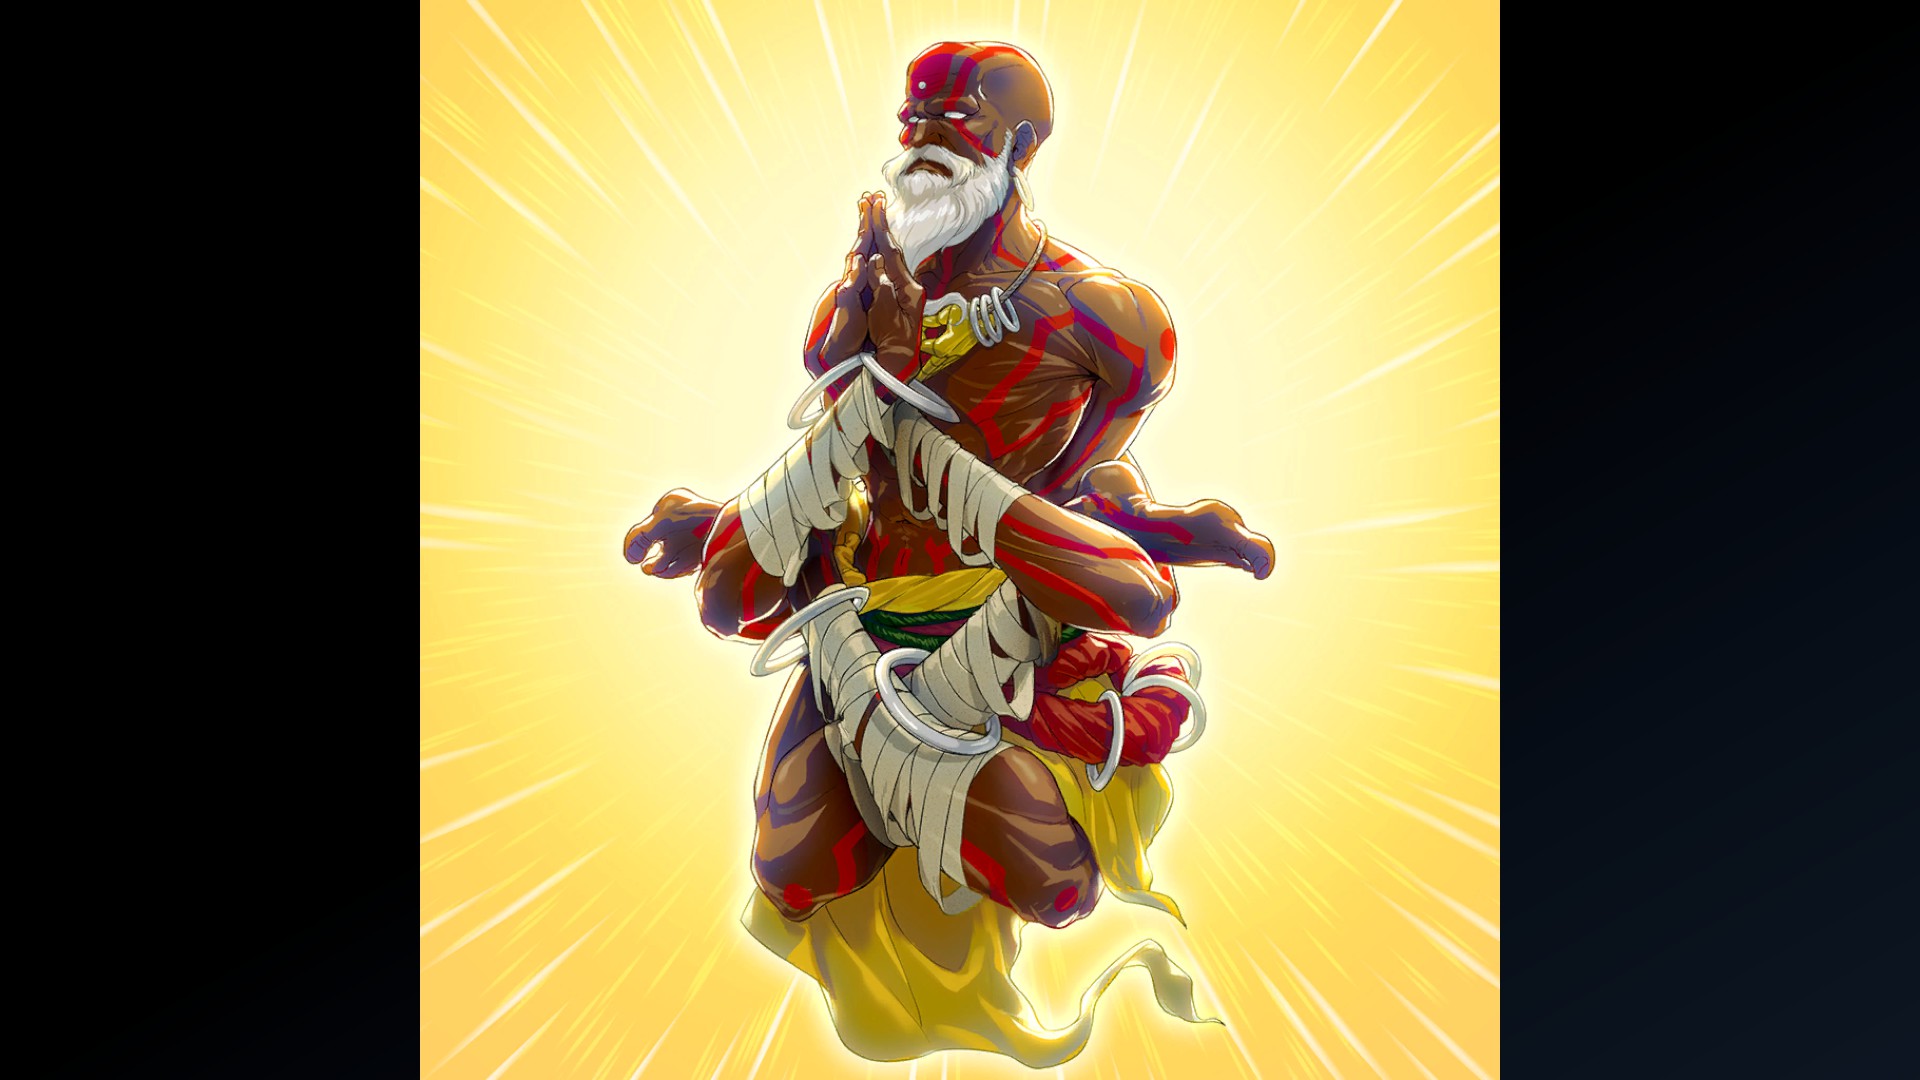
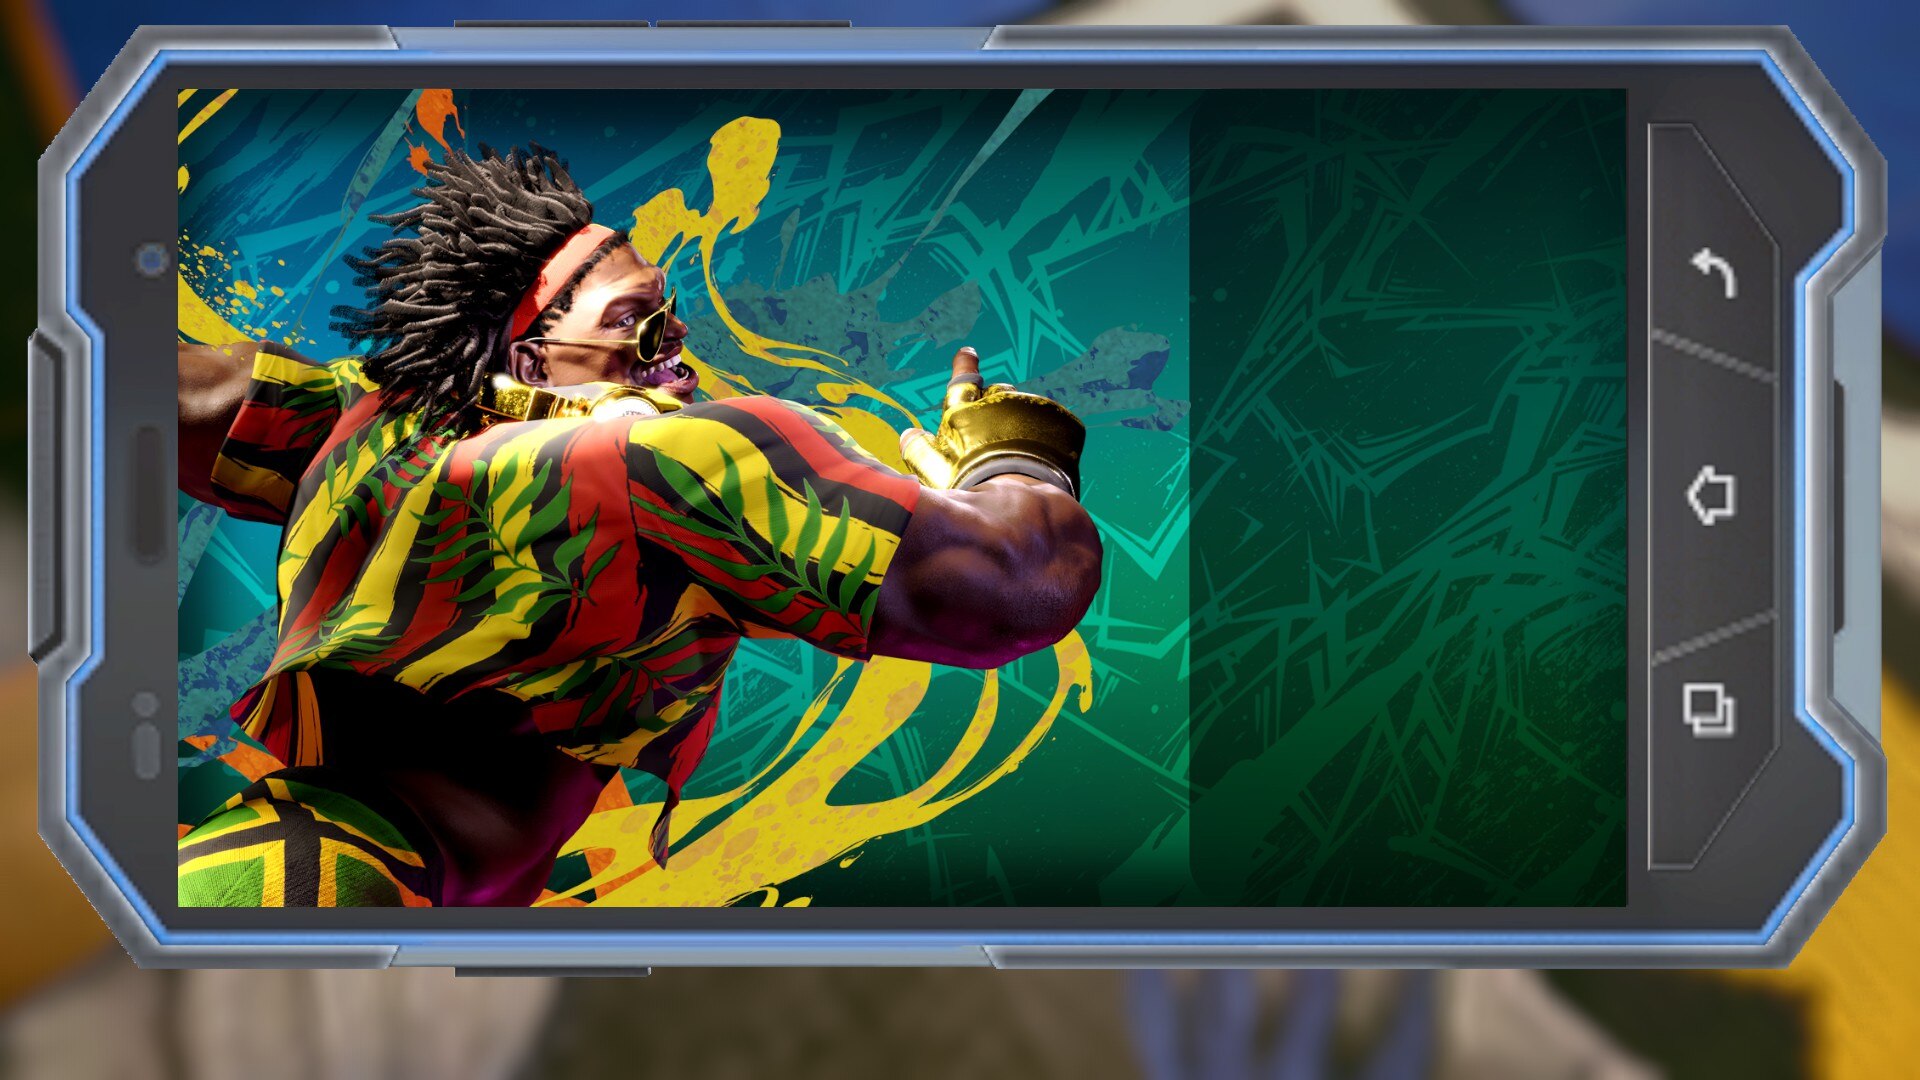
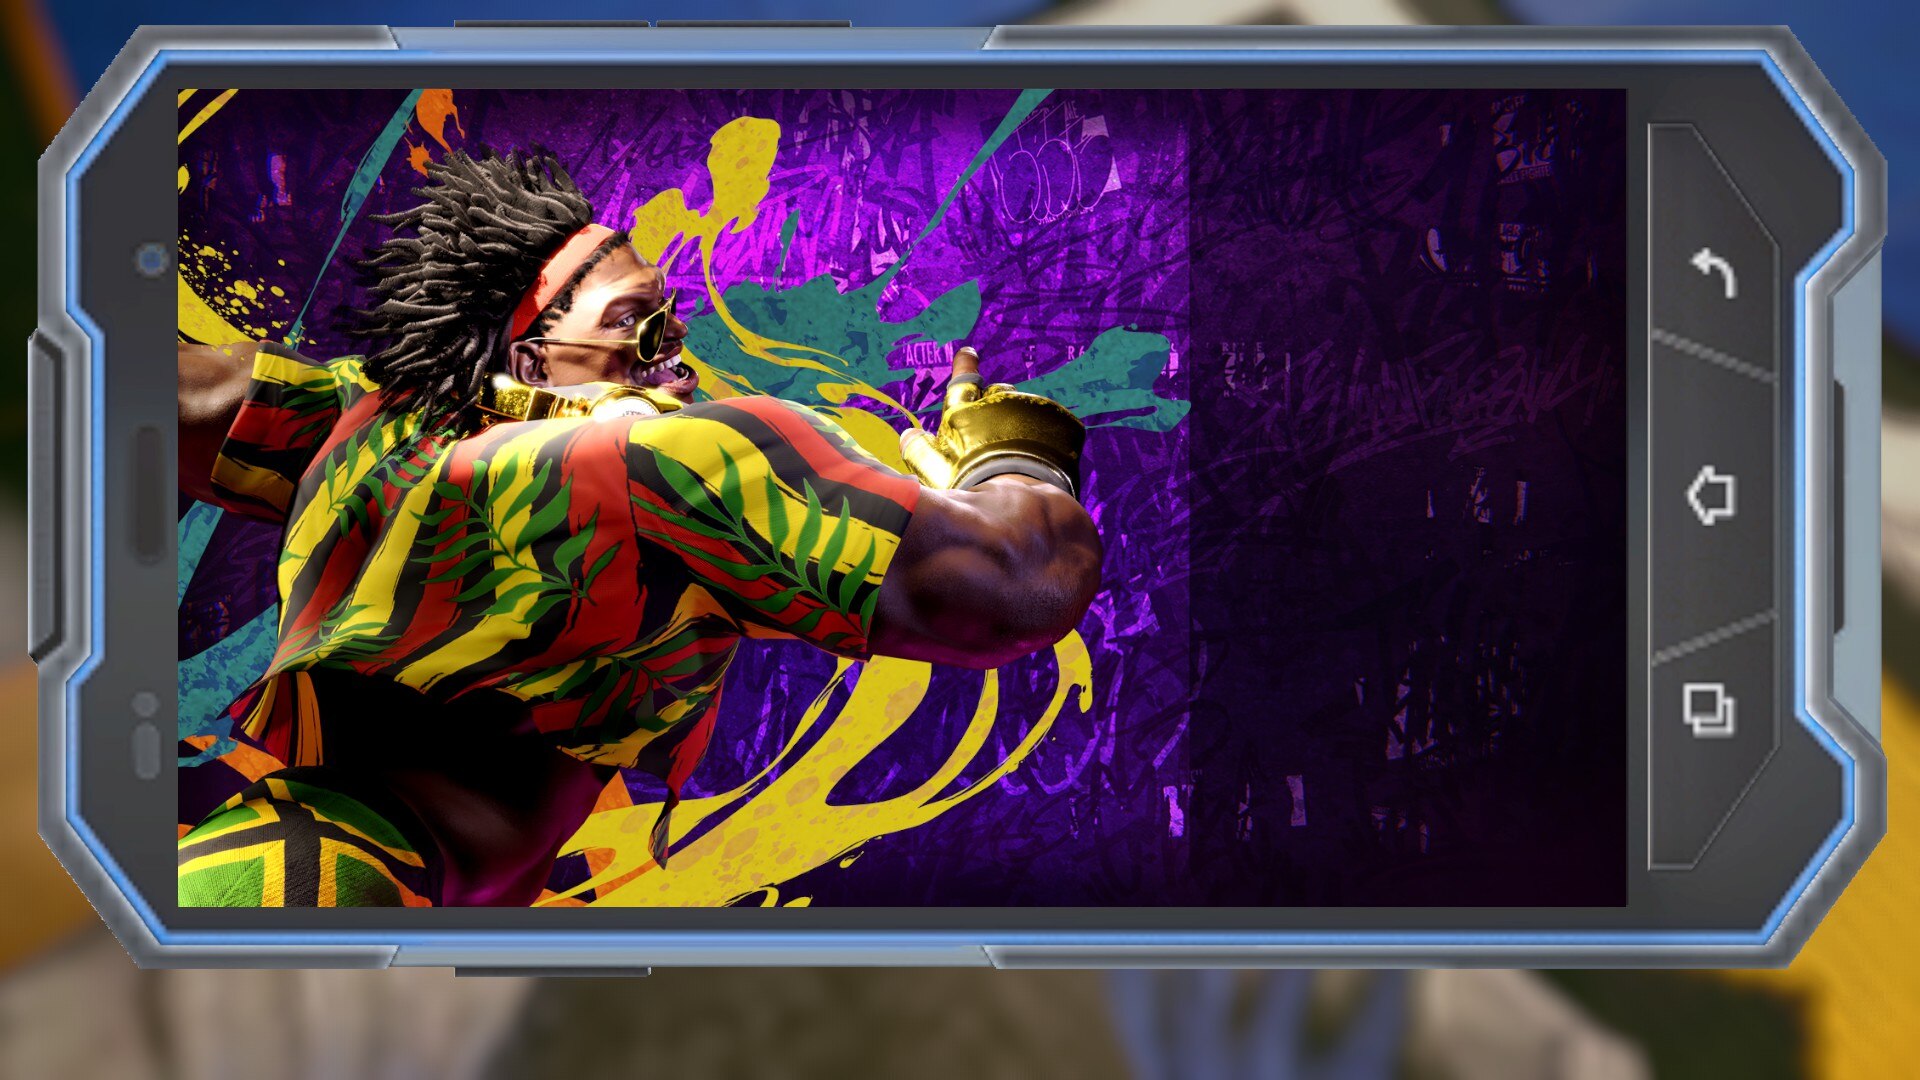
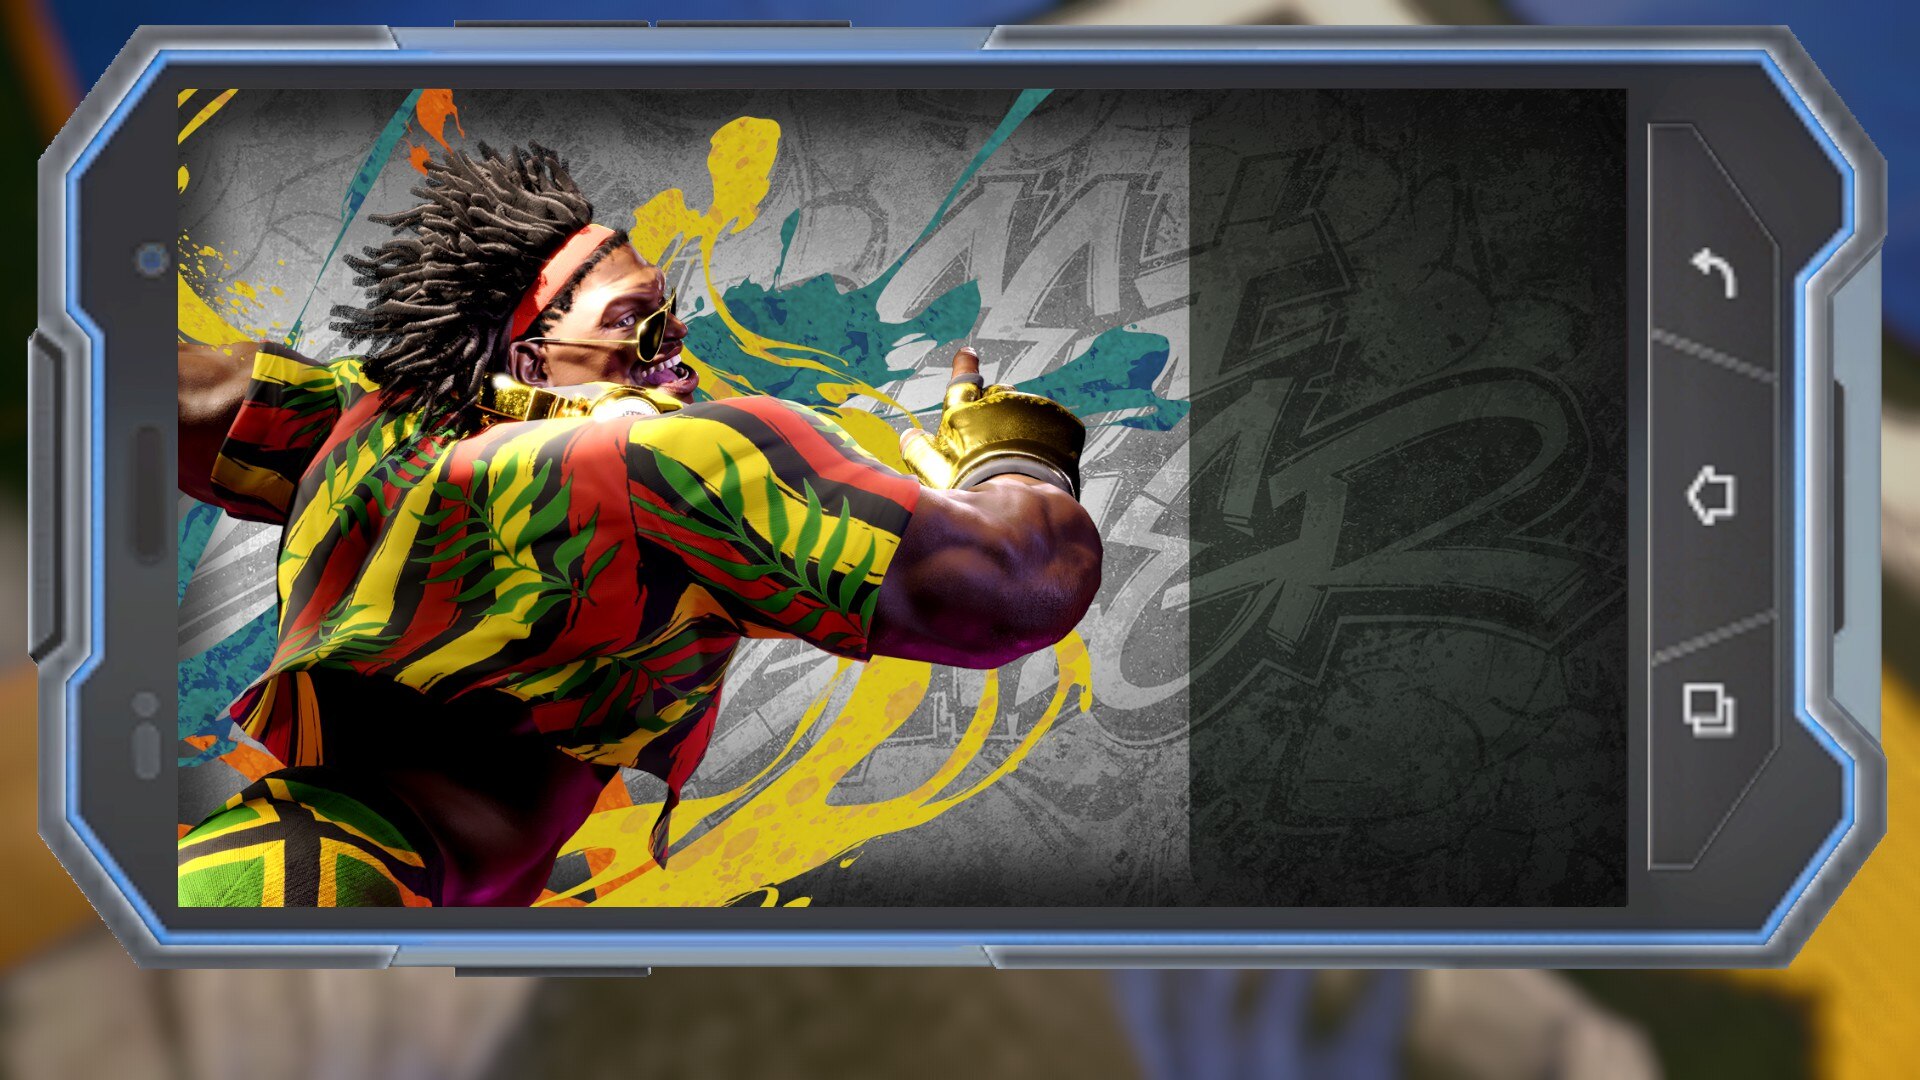
A Bond with Rashid: 1
A Bond with Rashid: 2
A Bond with Rashid: 3
A Bond with Rashid: 4
A Bond with A.K.I.: 1
A Bond with A.K.I.: 2
A Bond with A.K.I.: 3
A Bond with A.K.I.: 4
A Bond with Ed: 1
A Bond with Ed: 2
A Bond with Ed: 3
A Bond with Ed: 4
A Bond with Akuma: 1

A Bond with Akuma: 2
A Bond with Akuma: 3
A Bond with Akuma: 4
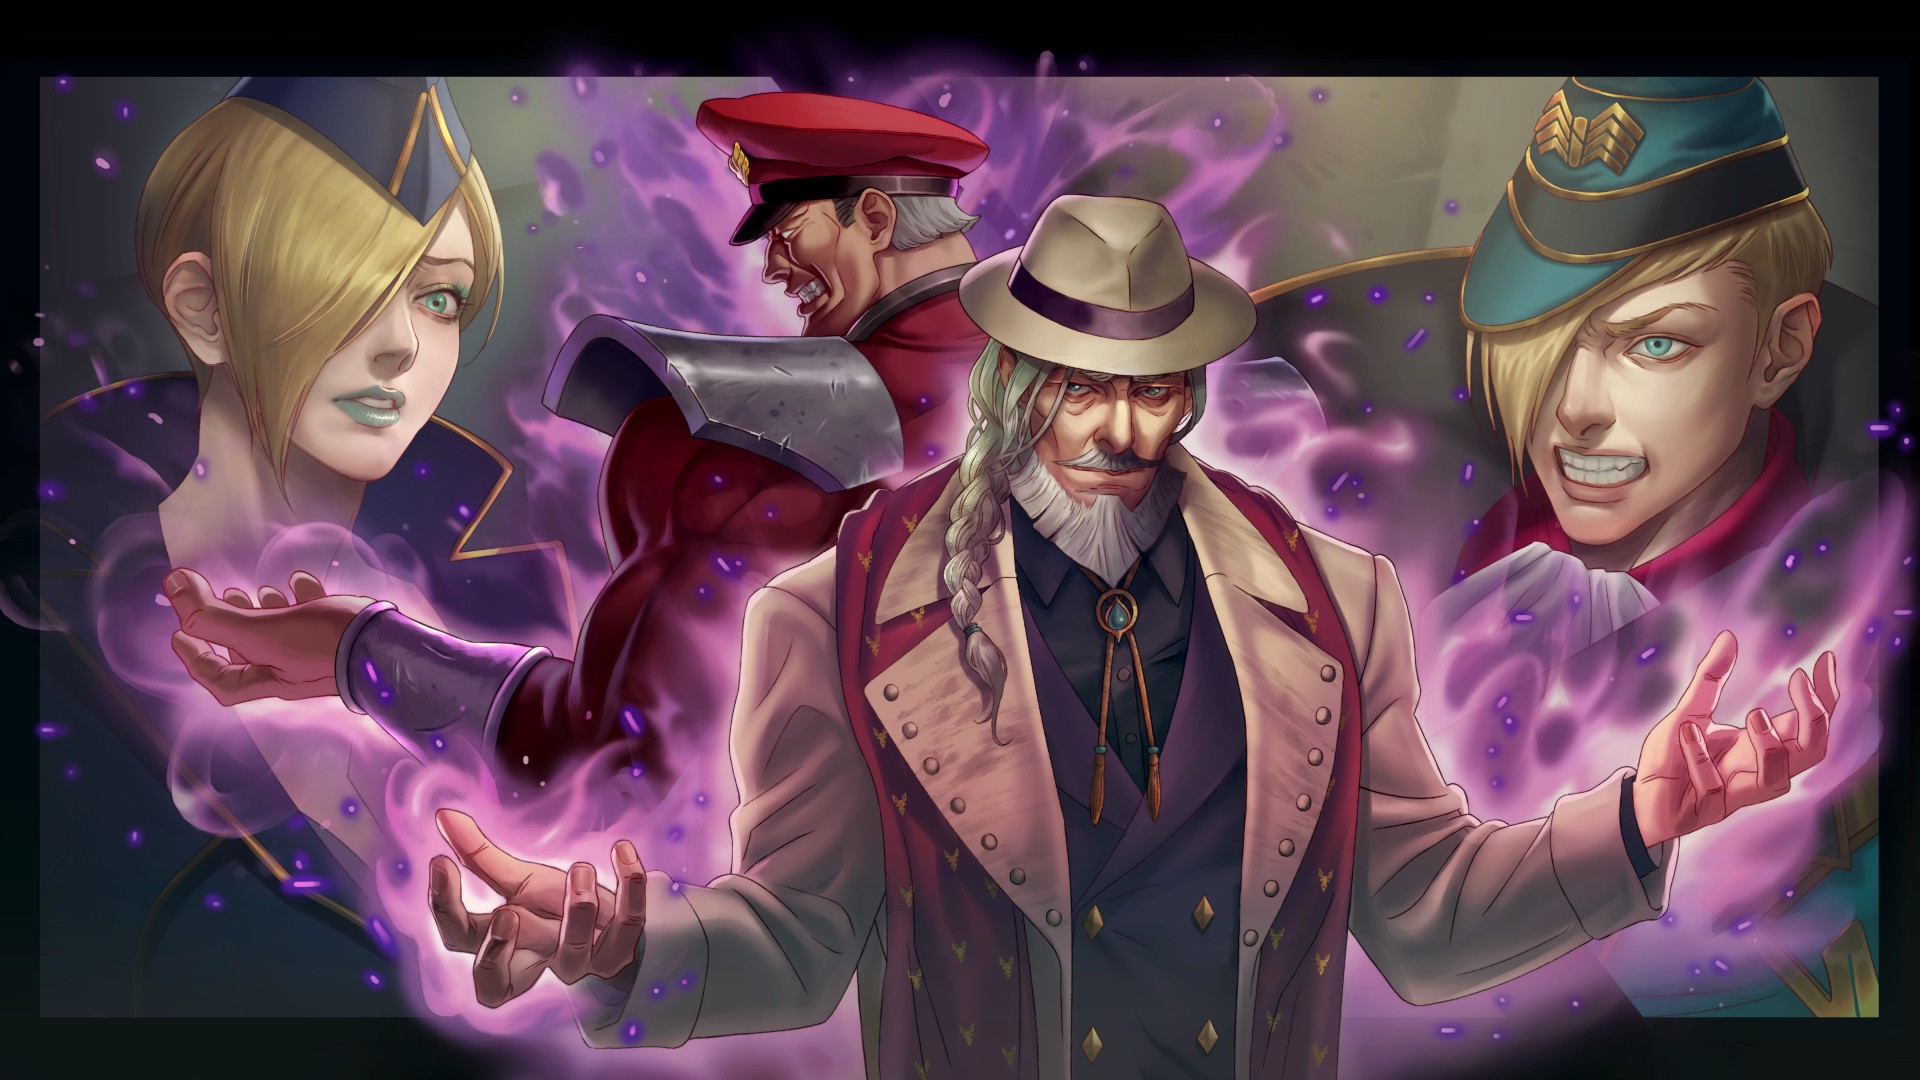
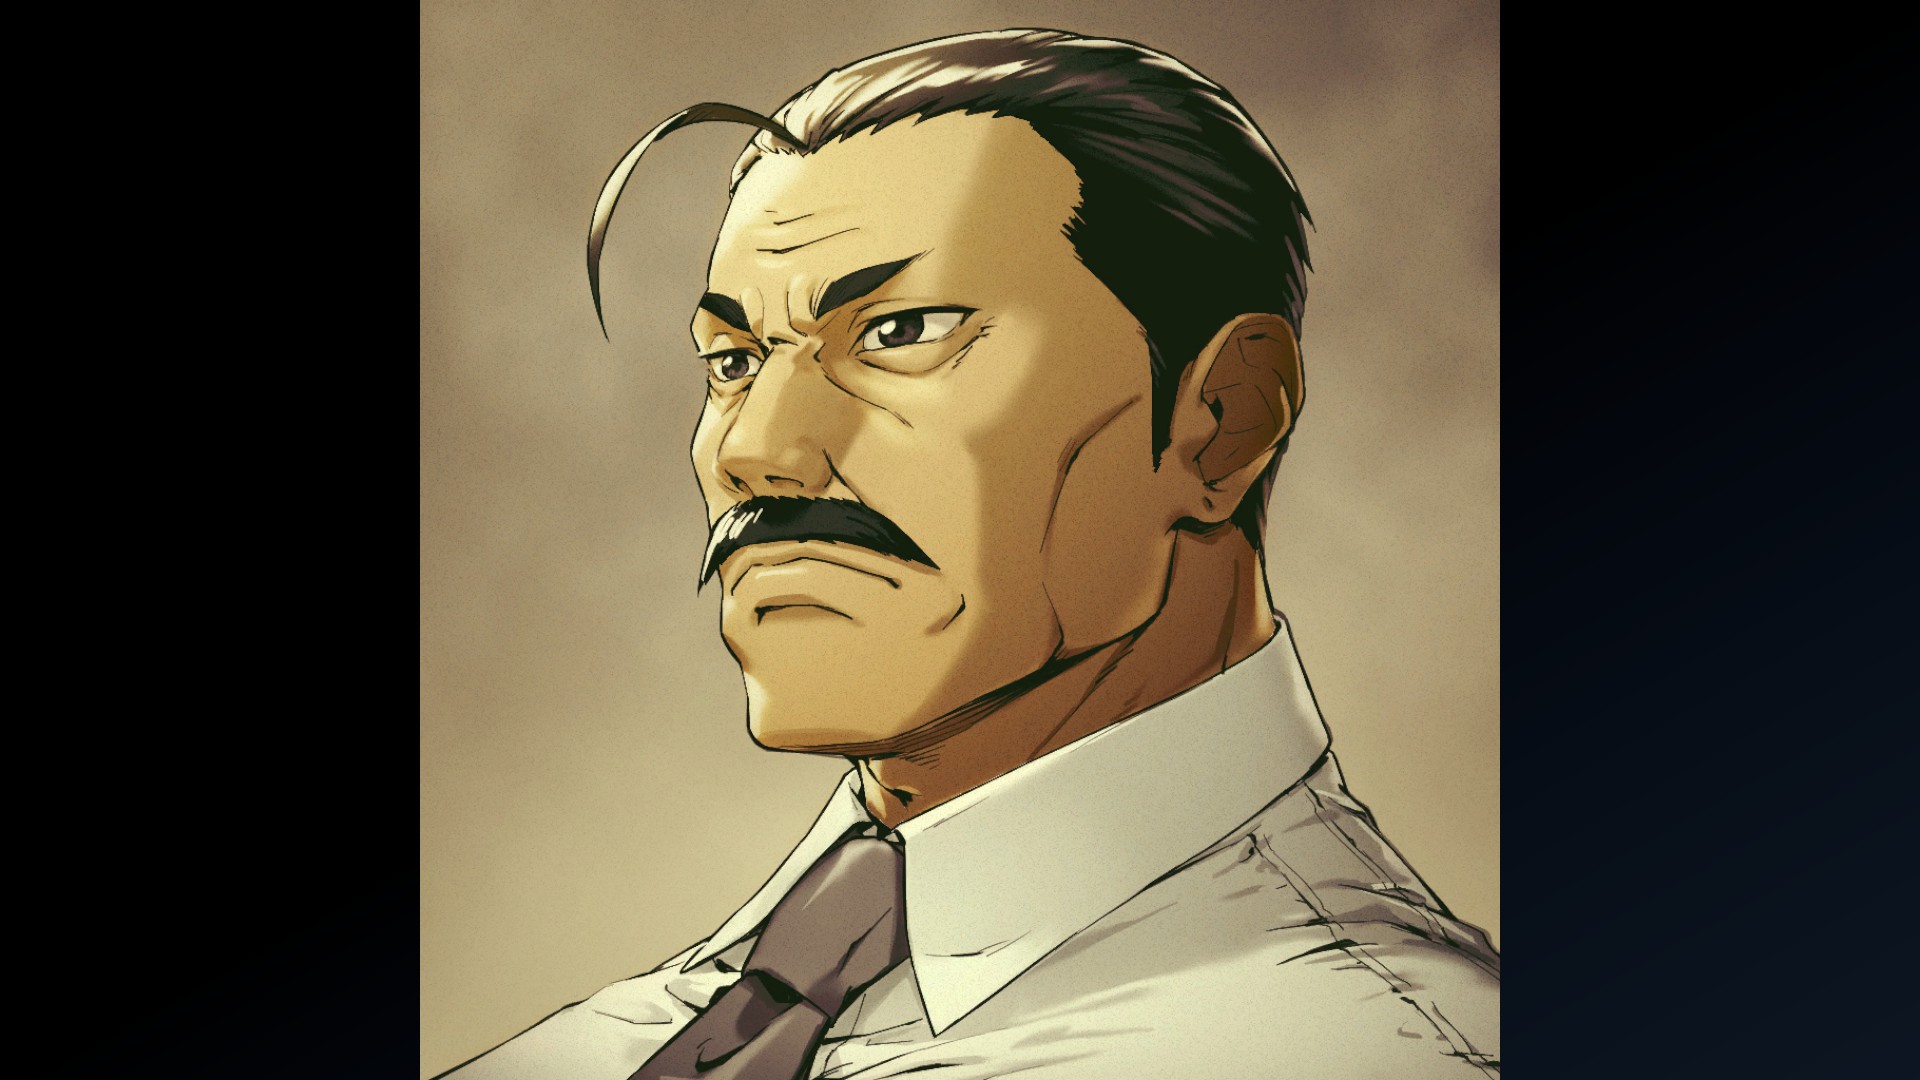
A Bond with M. Bison: 1
A Bond with M. Bison: 2
A Bond with M. Bison: 3

A Bond with M. Bison: 4

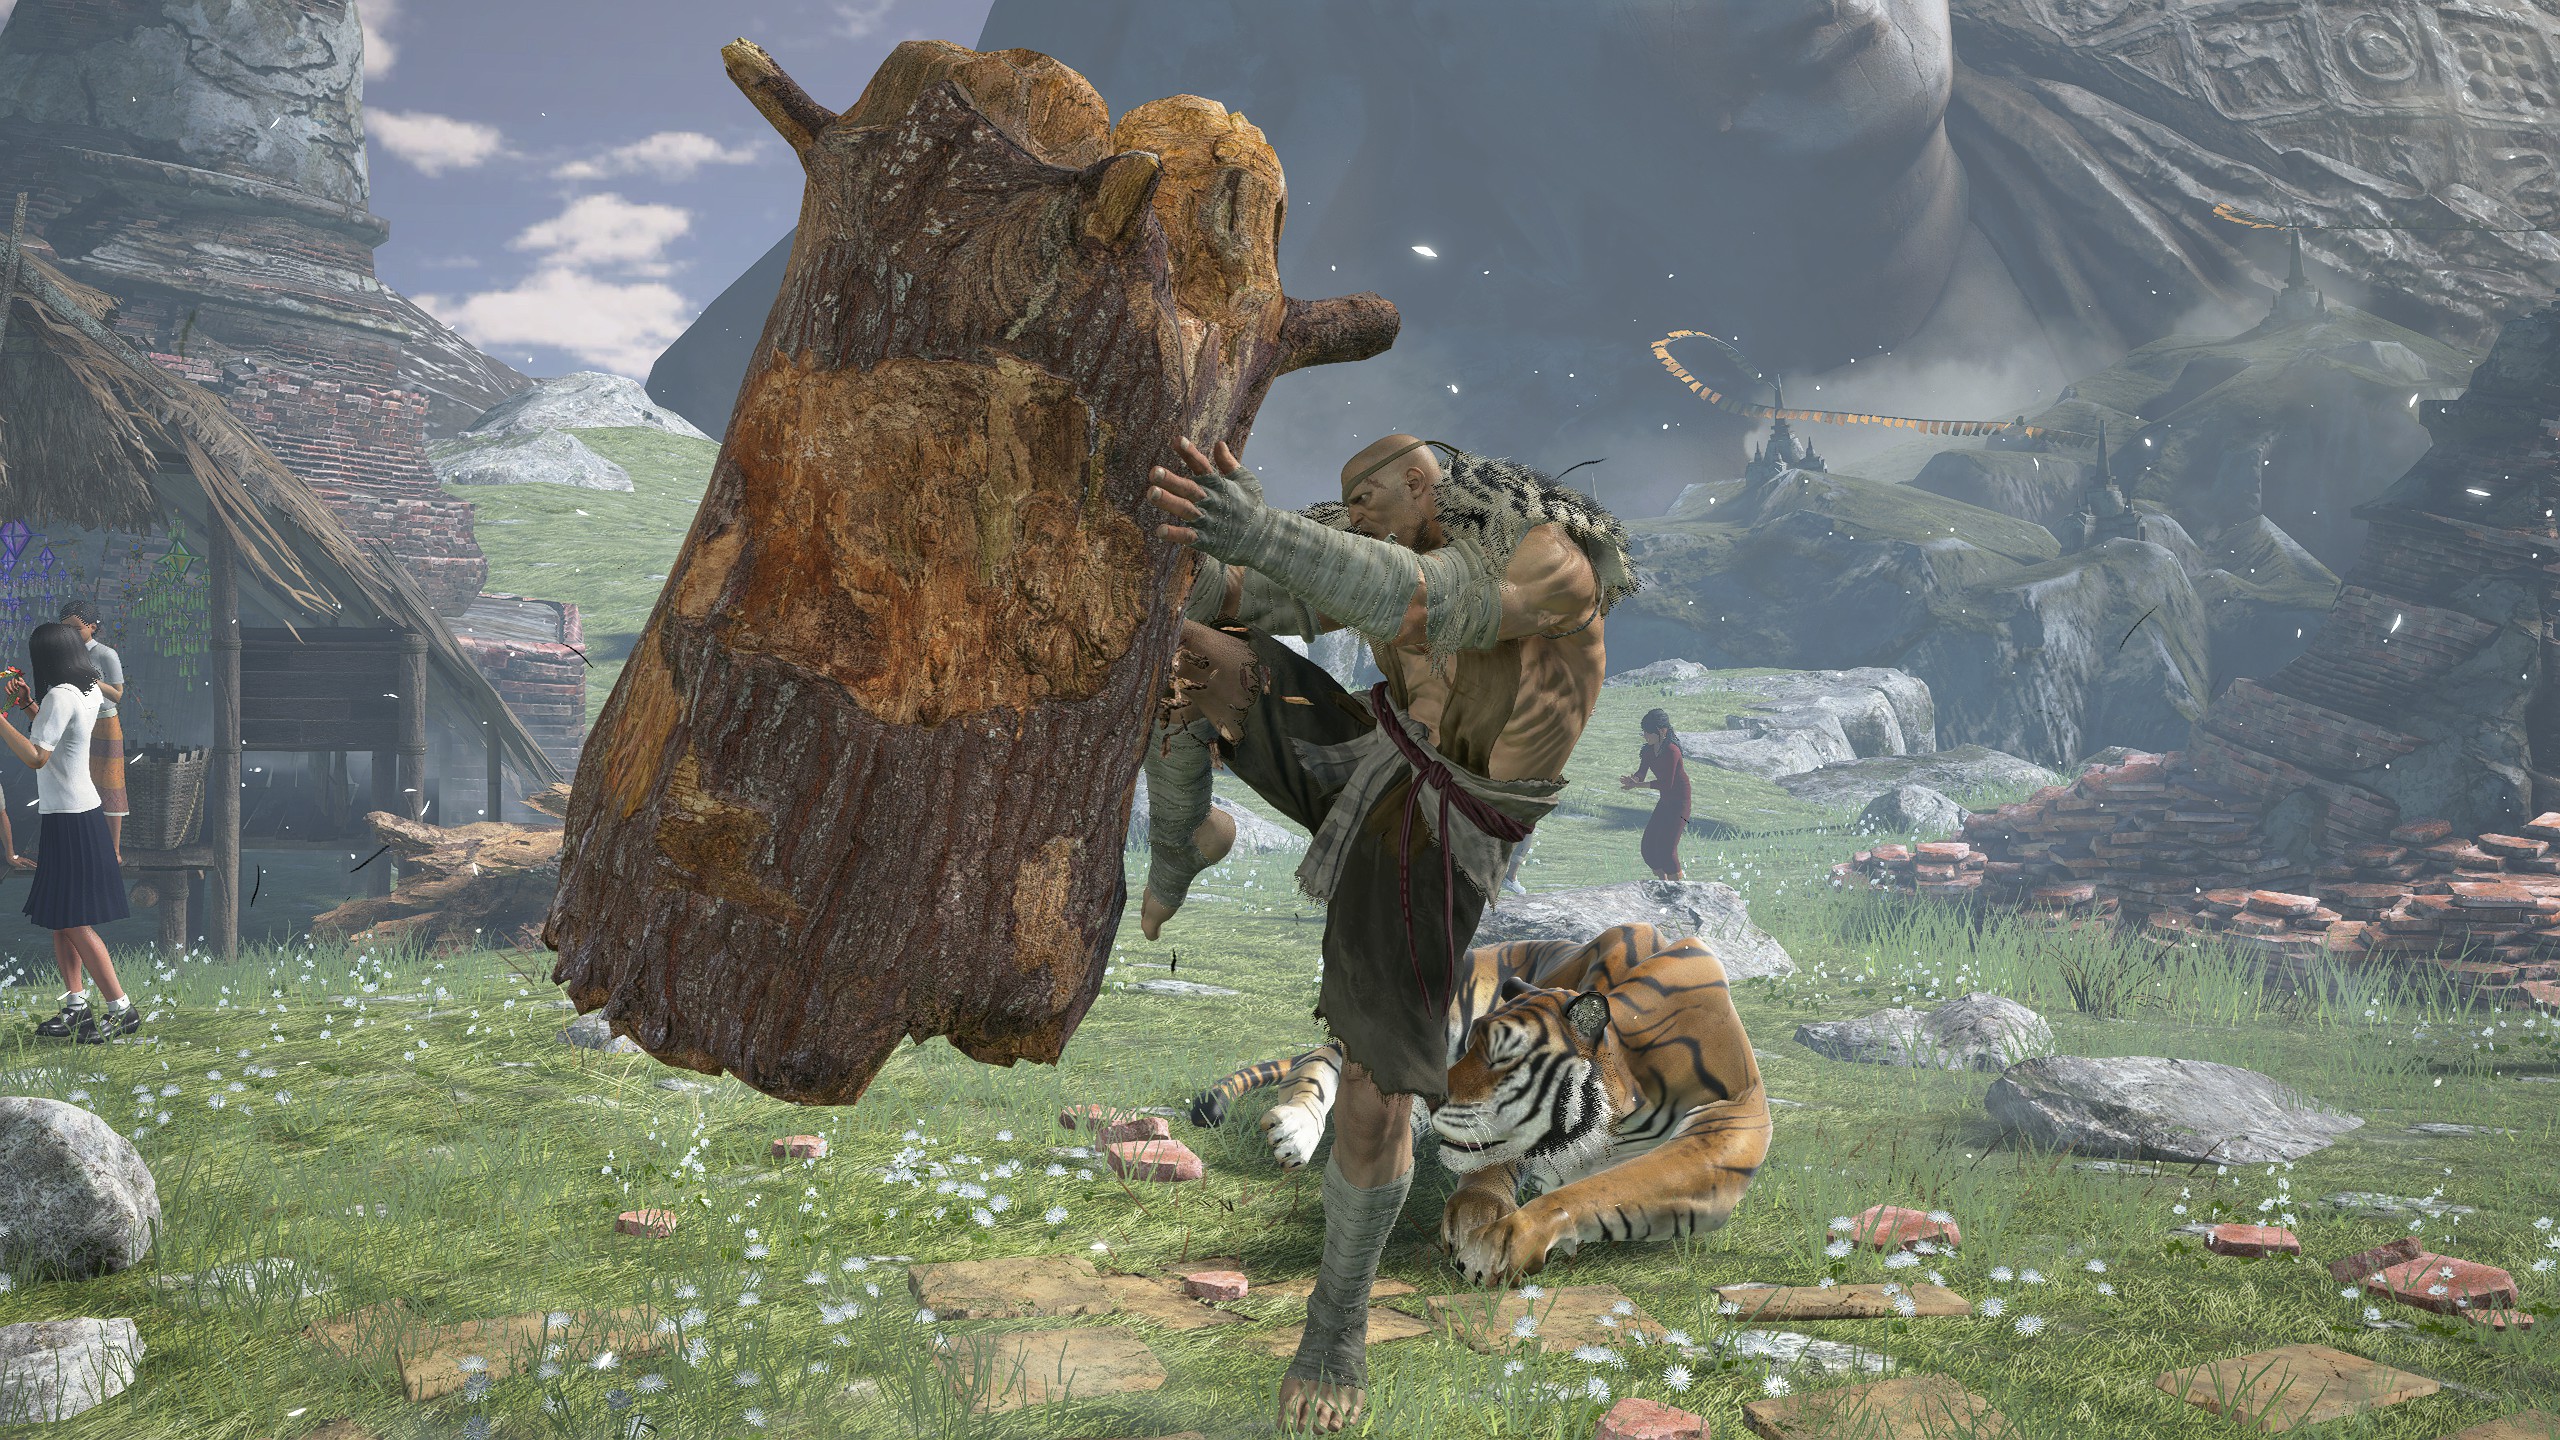
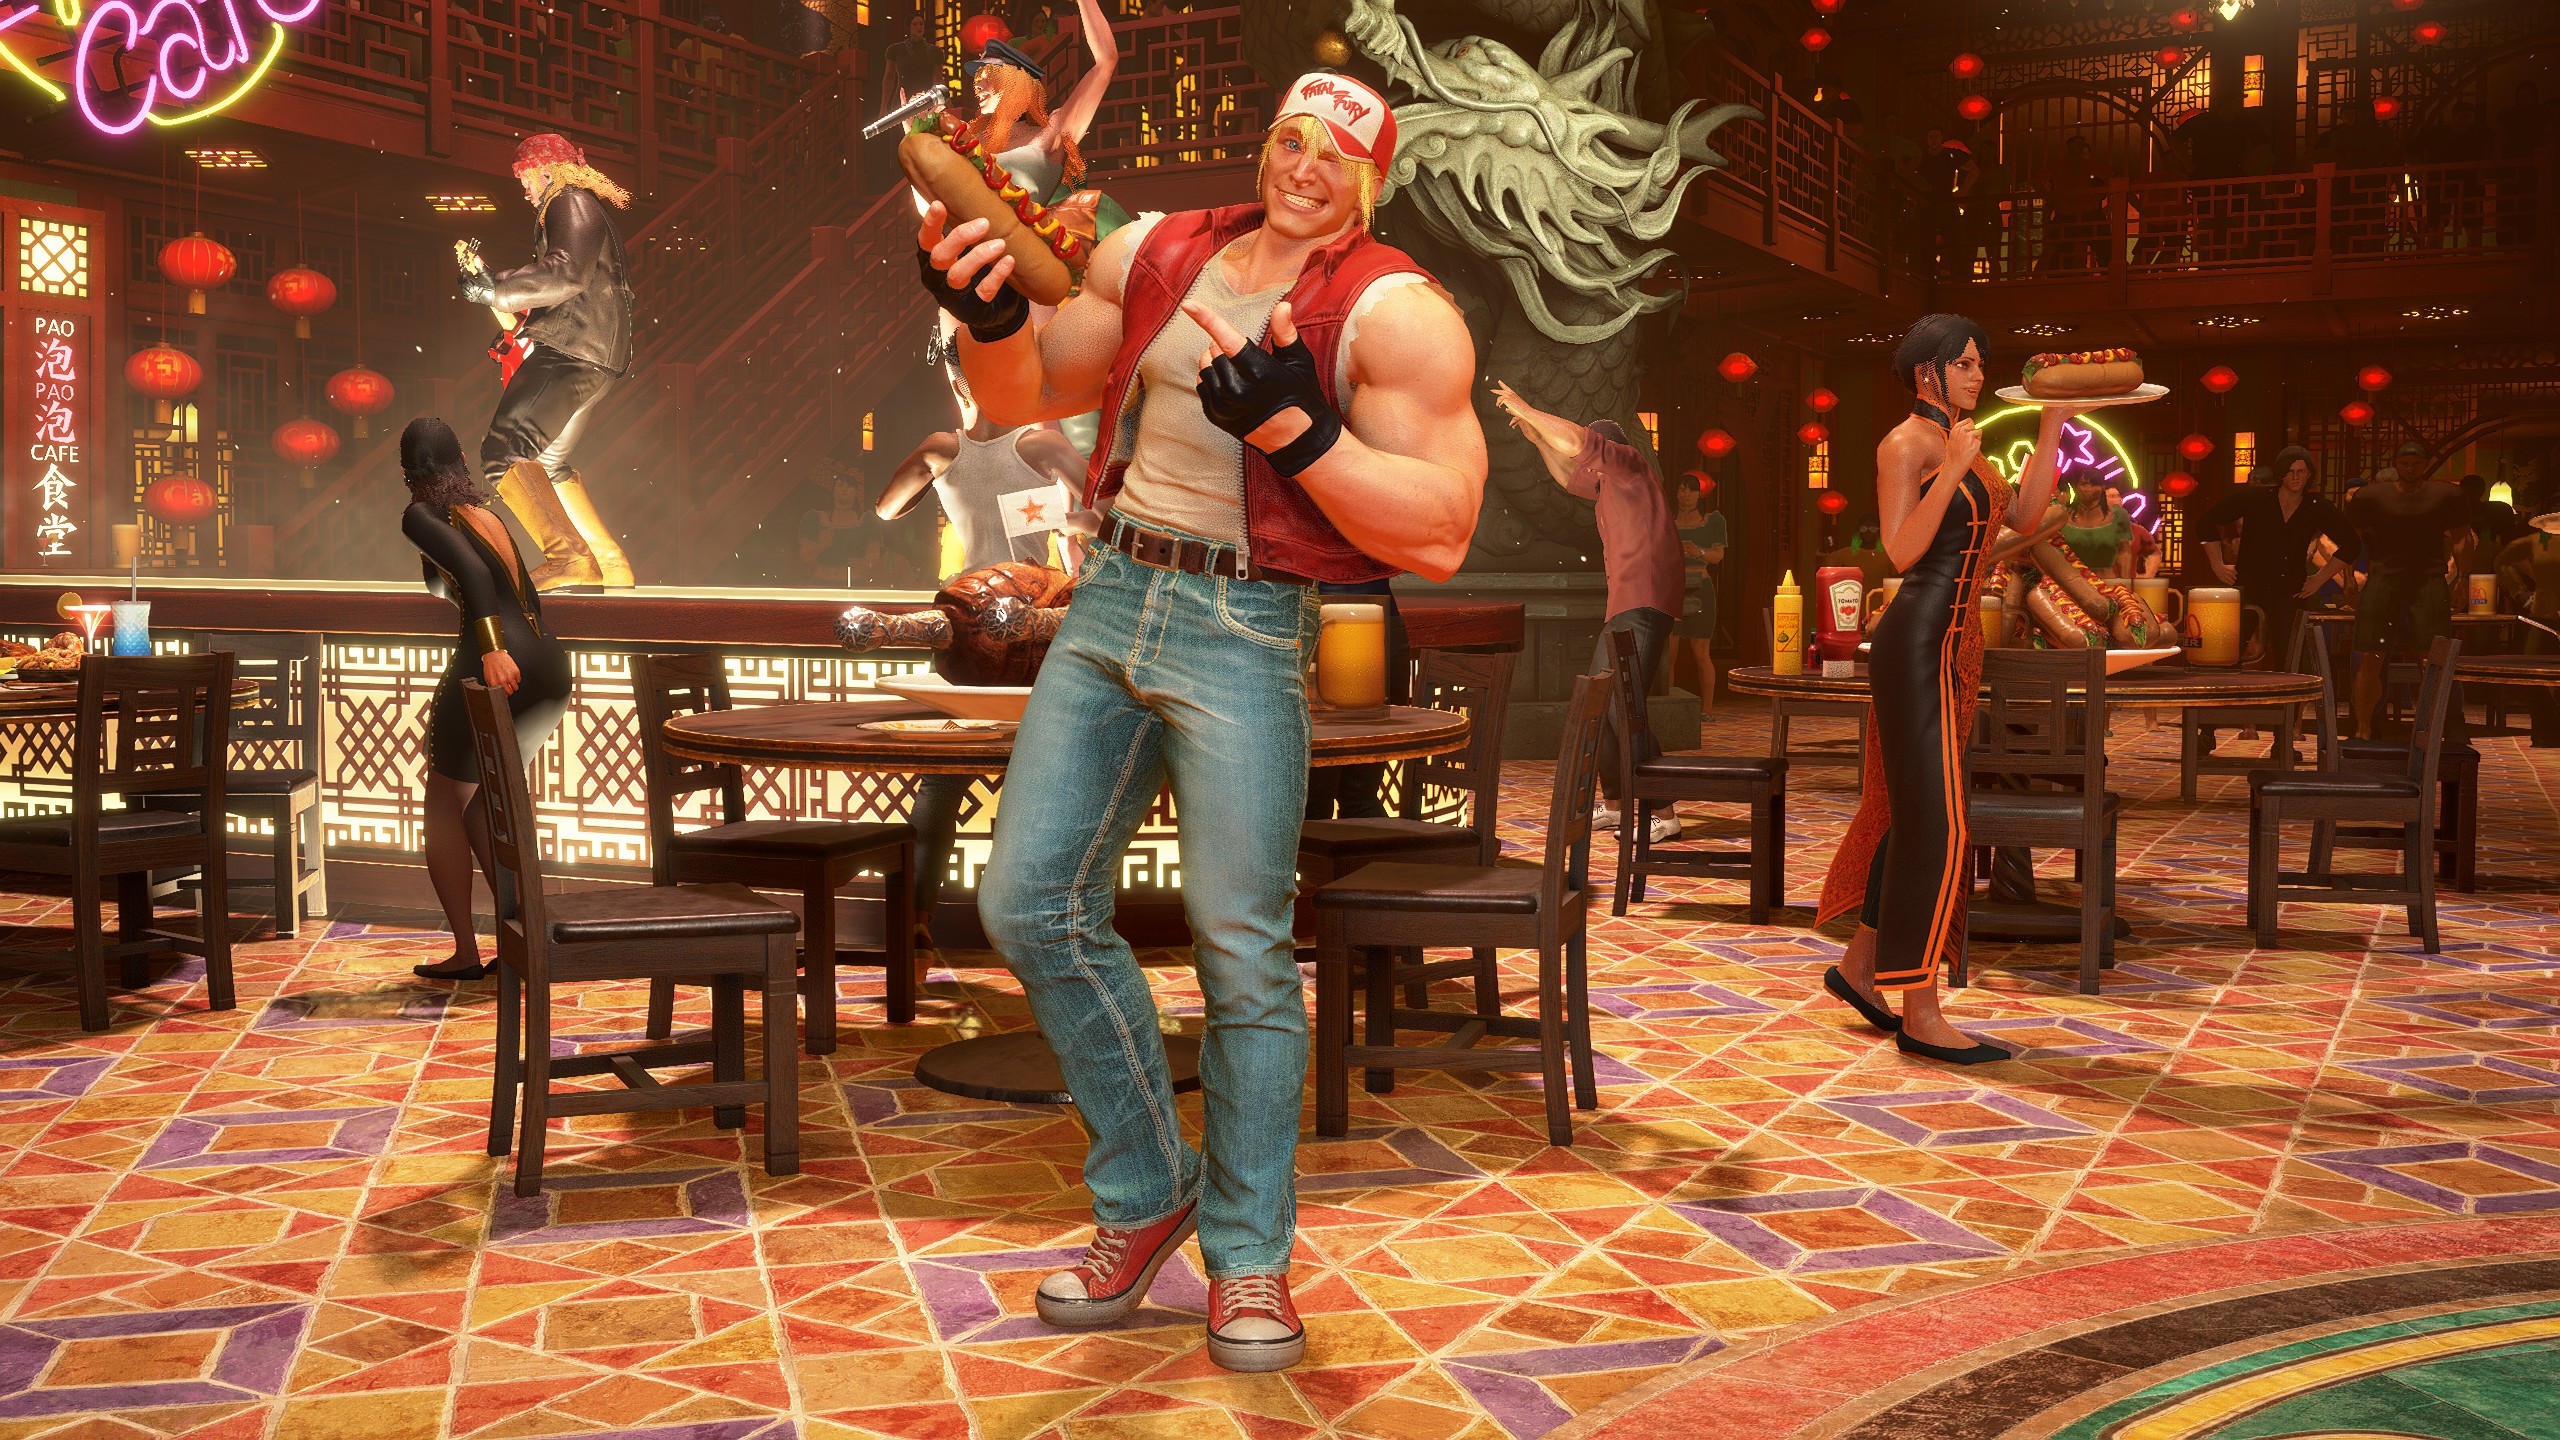
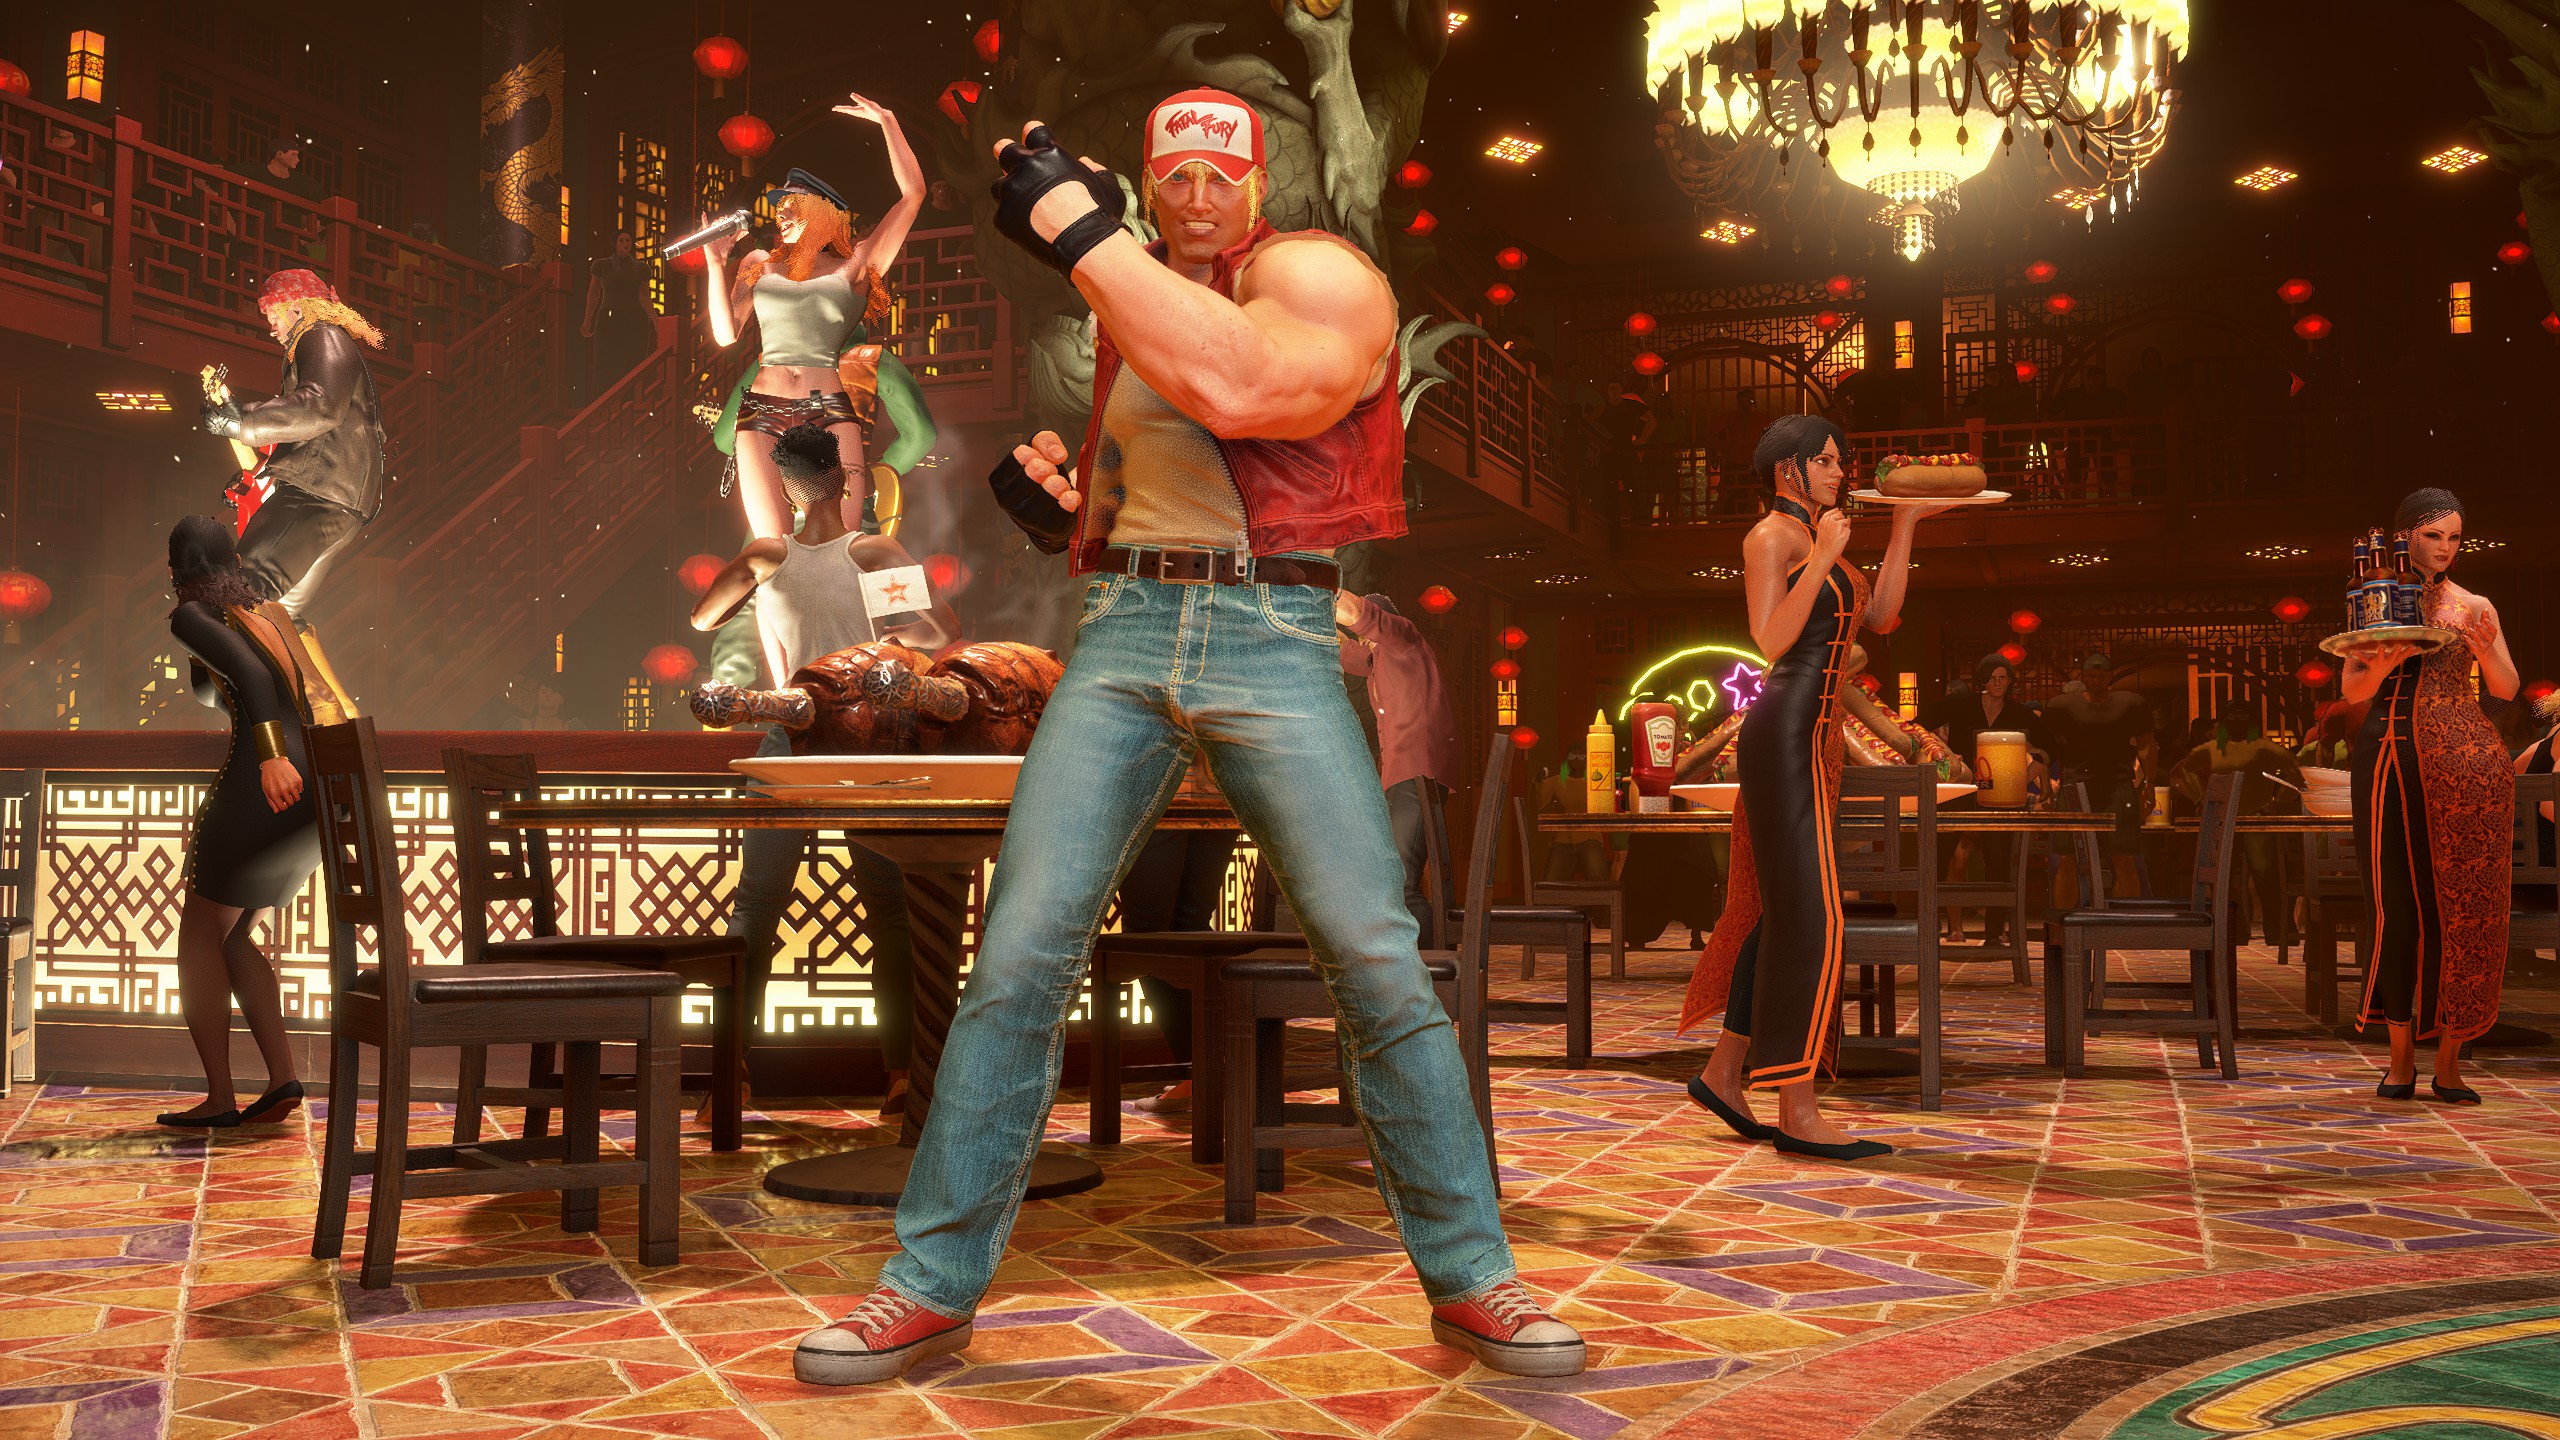
A Bond with Terry: 1
A Bond with Terry: 2
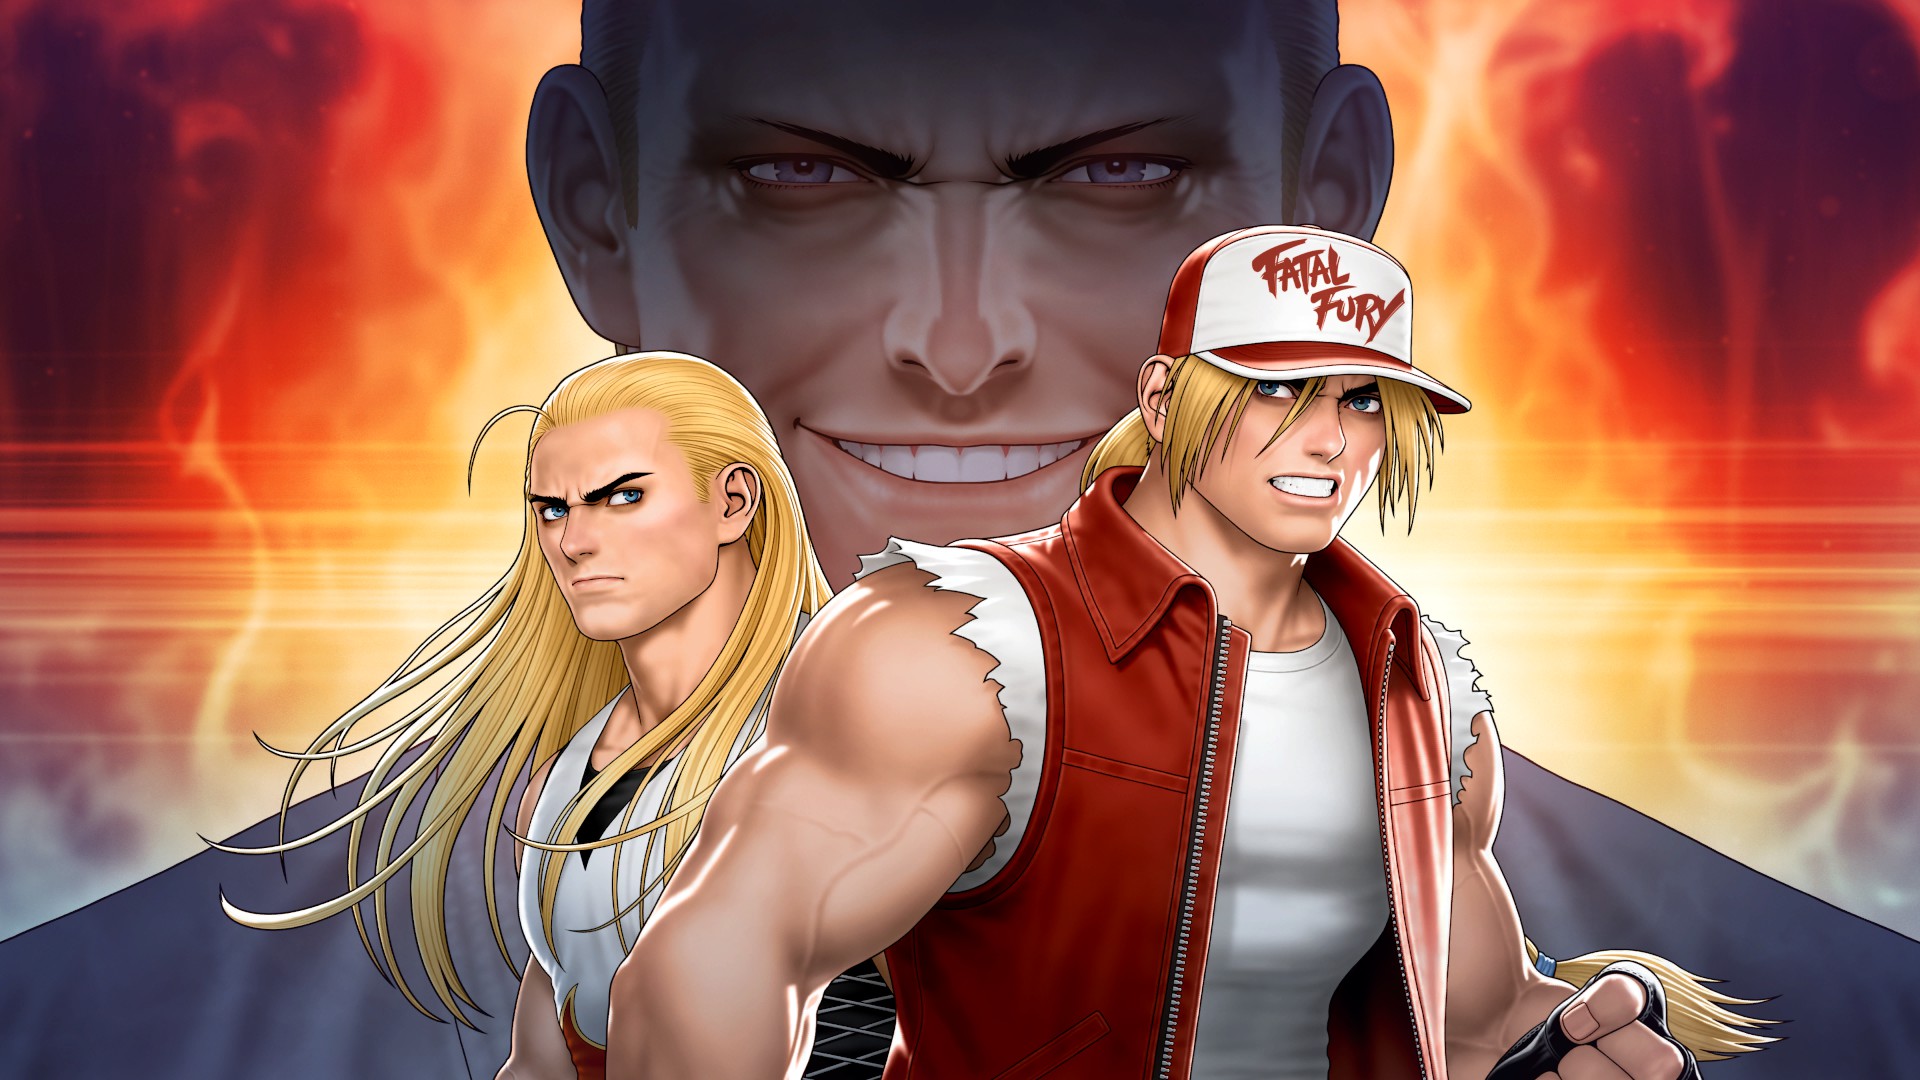
A Bond with Terry: 3
A Bond with Terry: 4

A Bond with Mai: 1
A Bond with Mai: 2
A Bond with Mai: 3
A Bond with Mai: 4
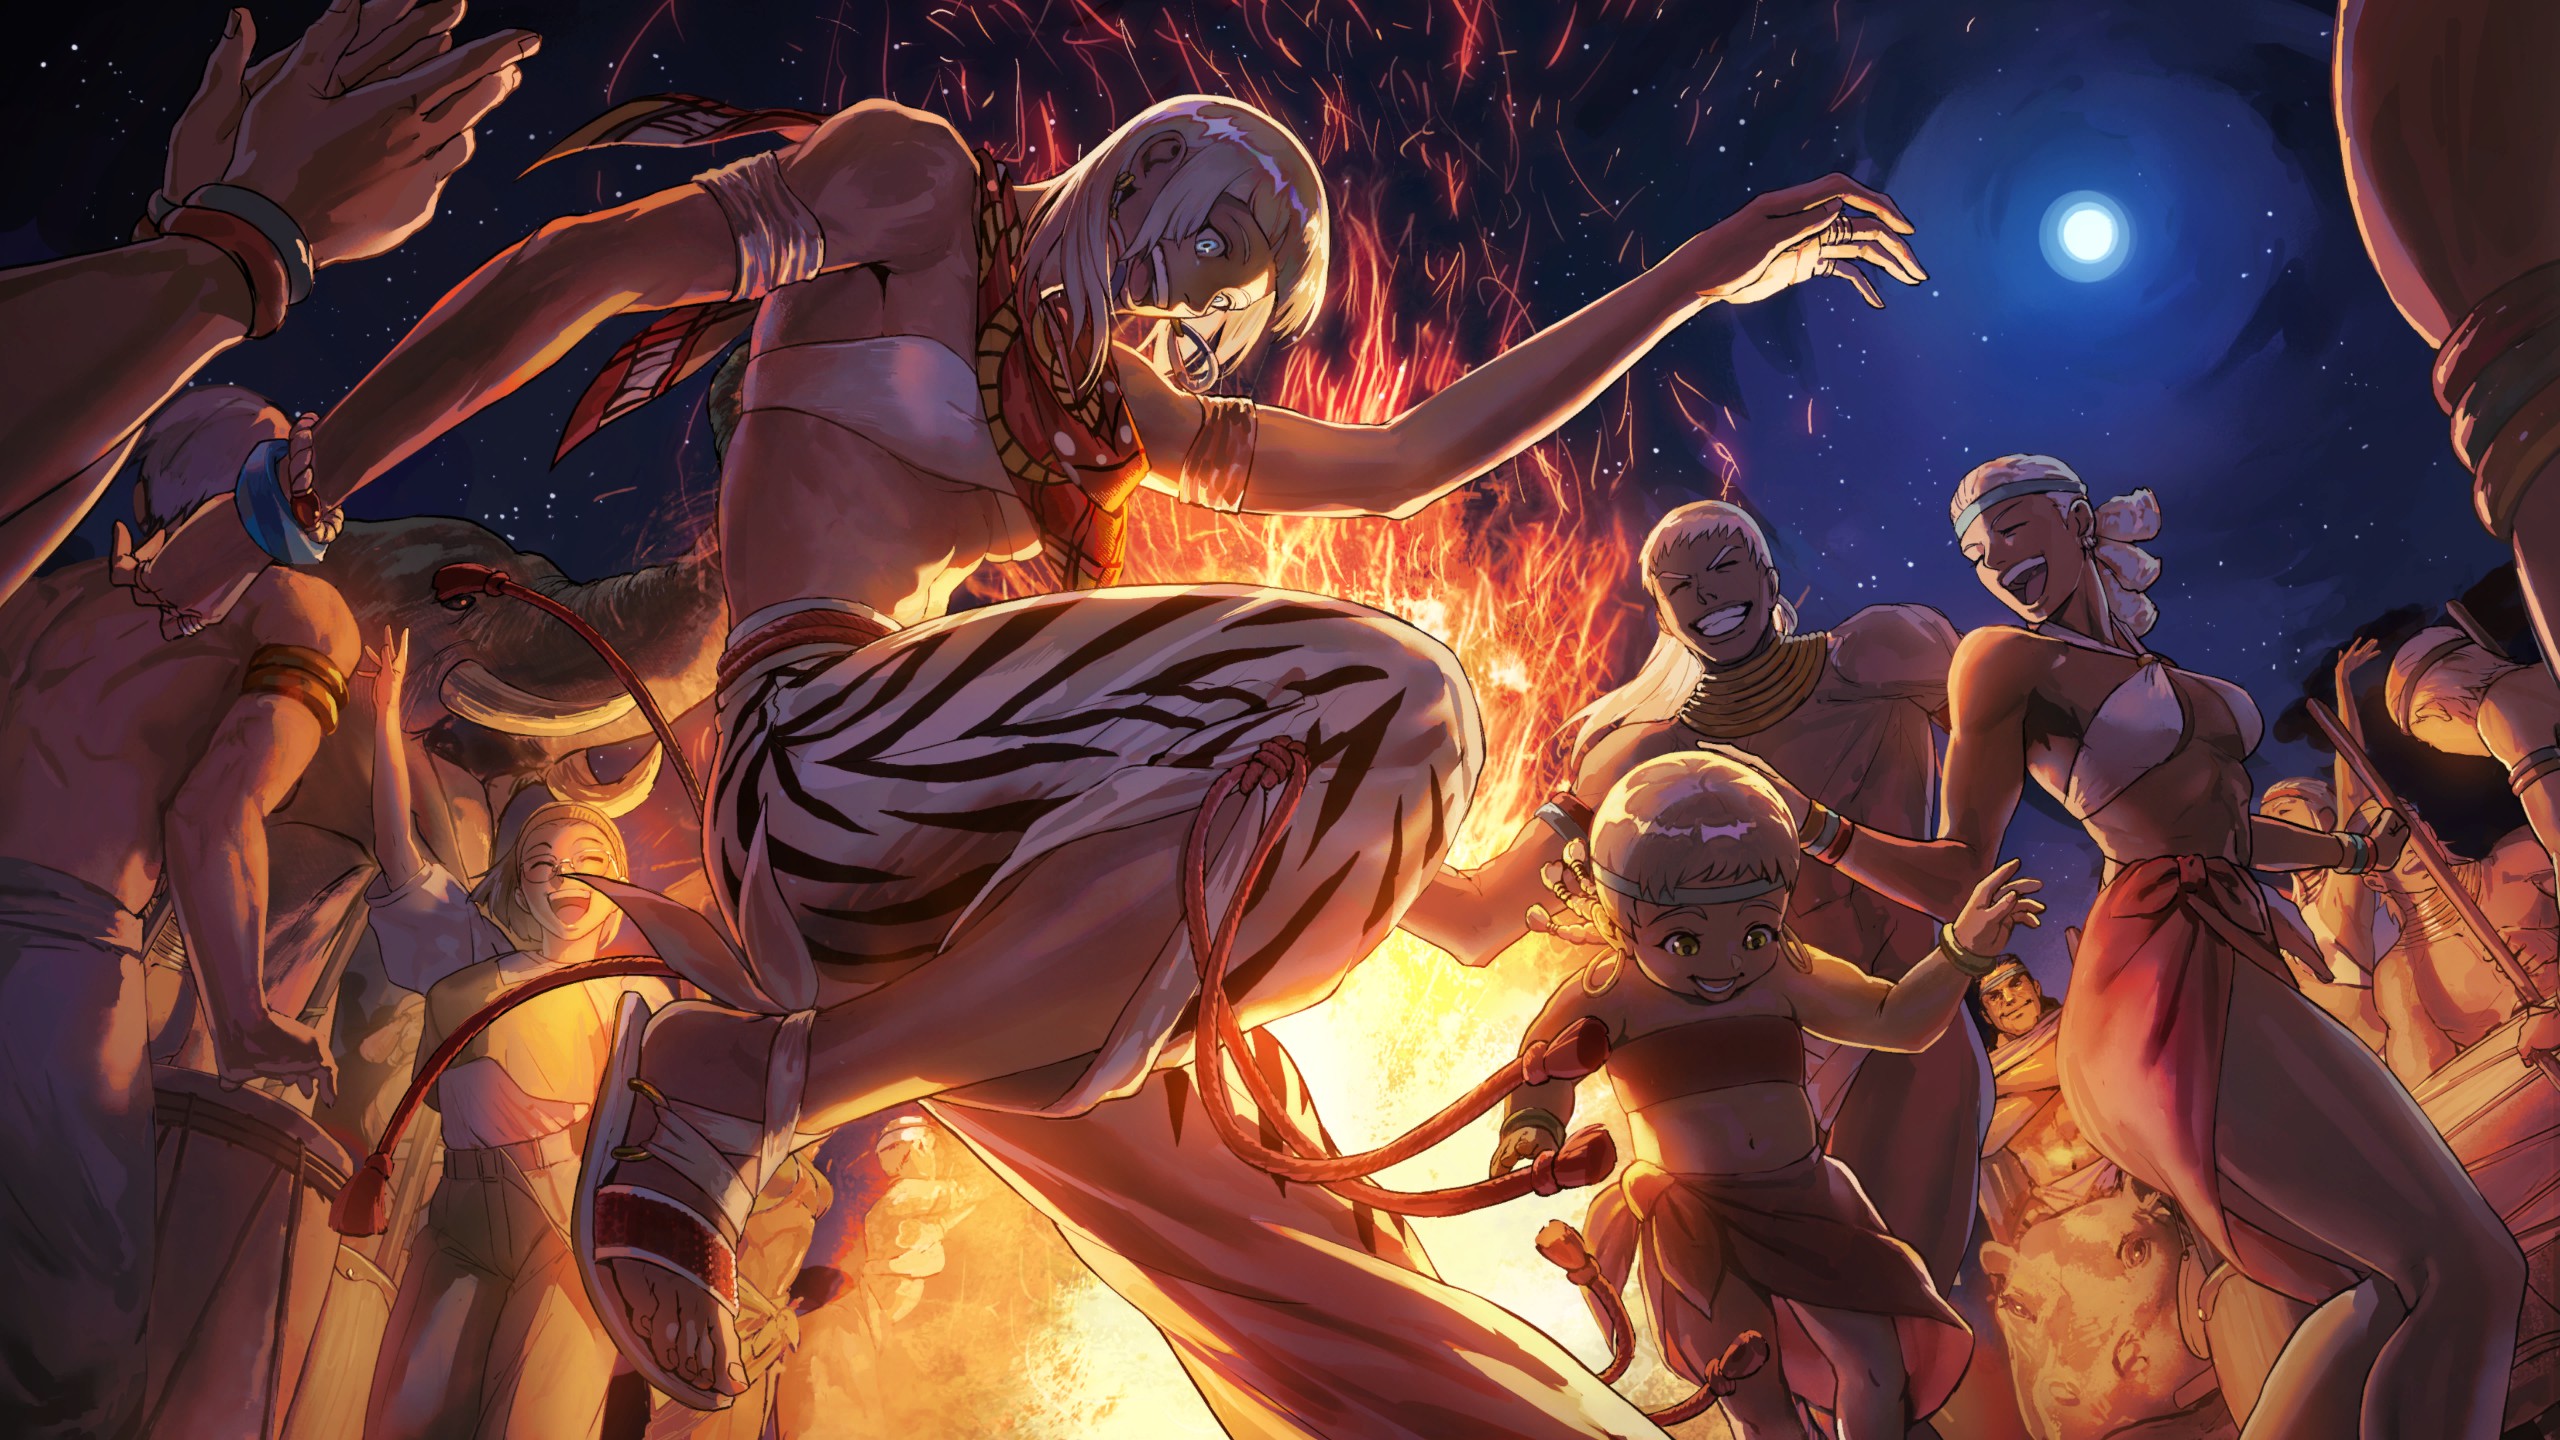
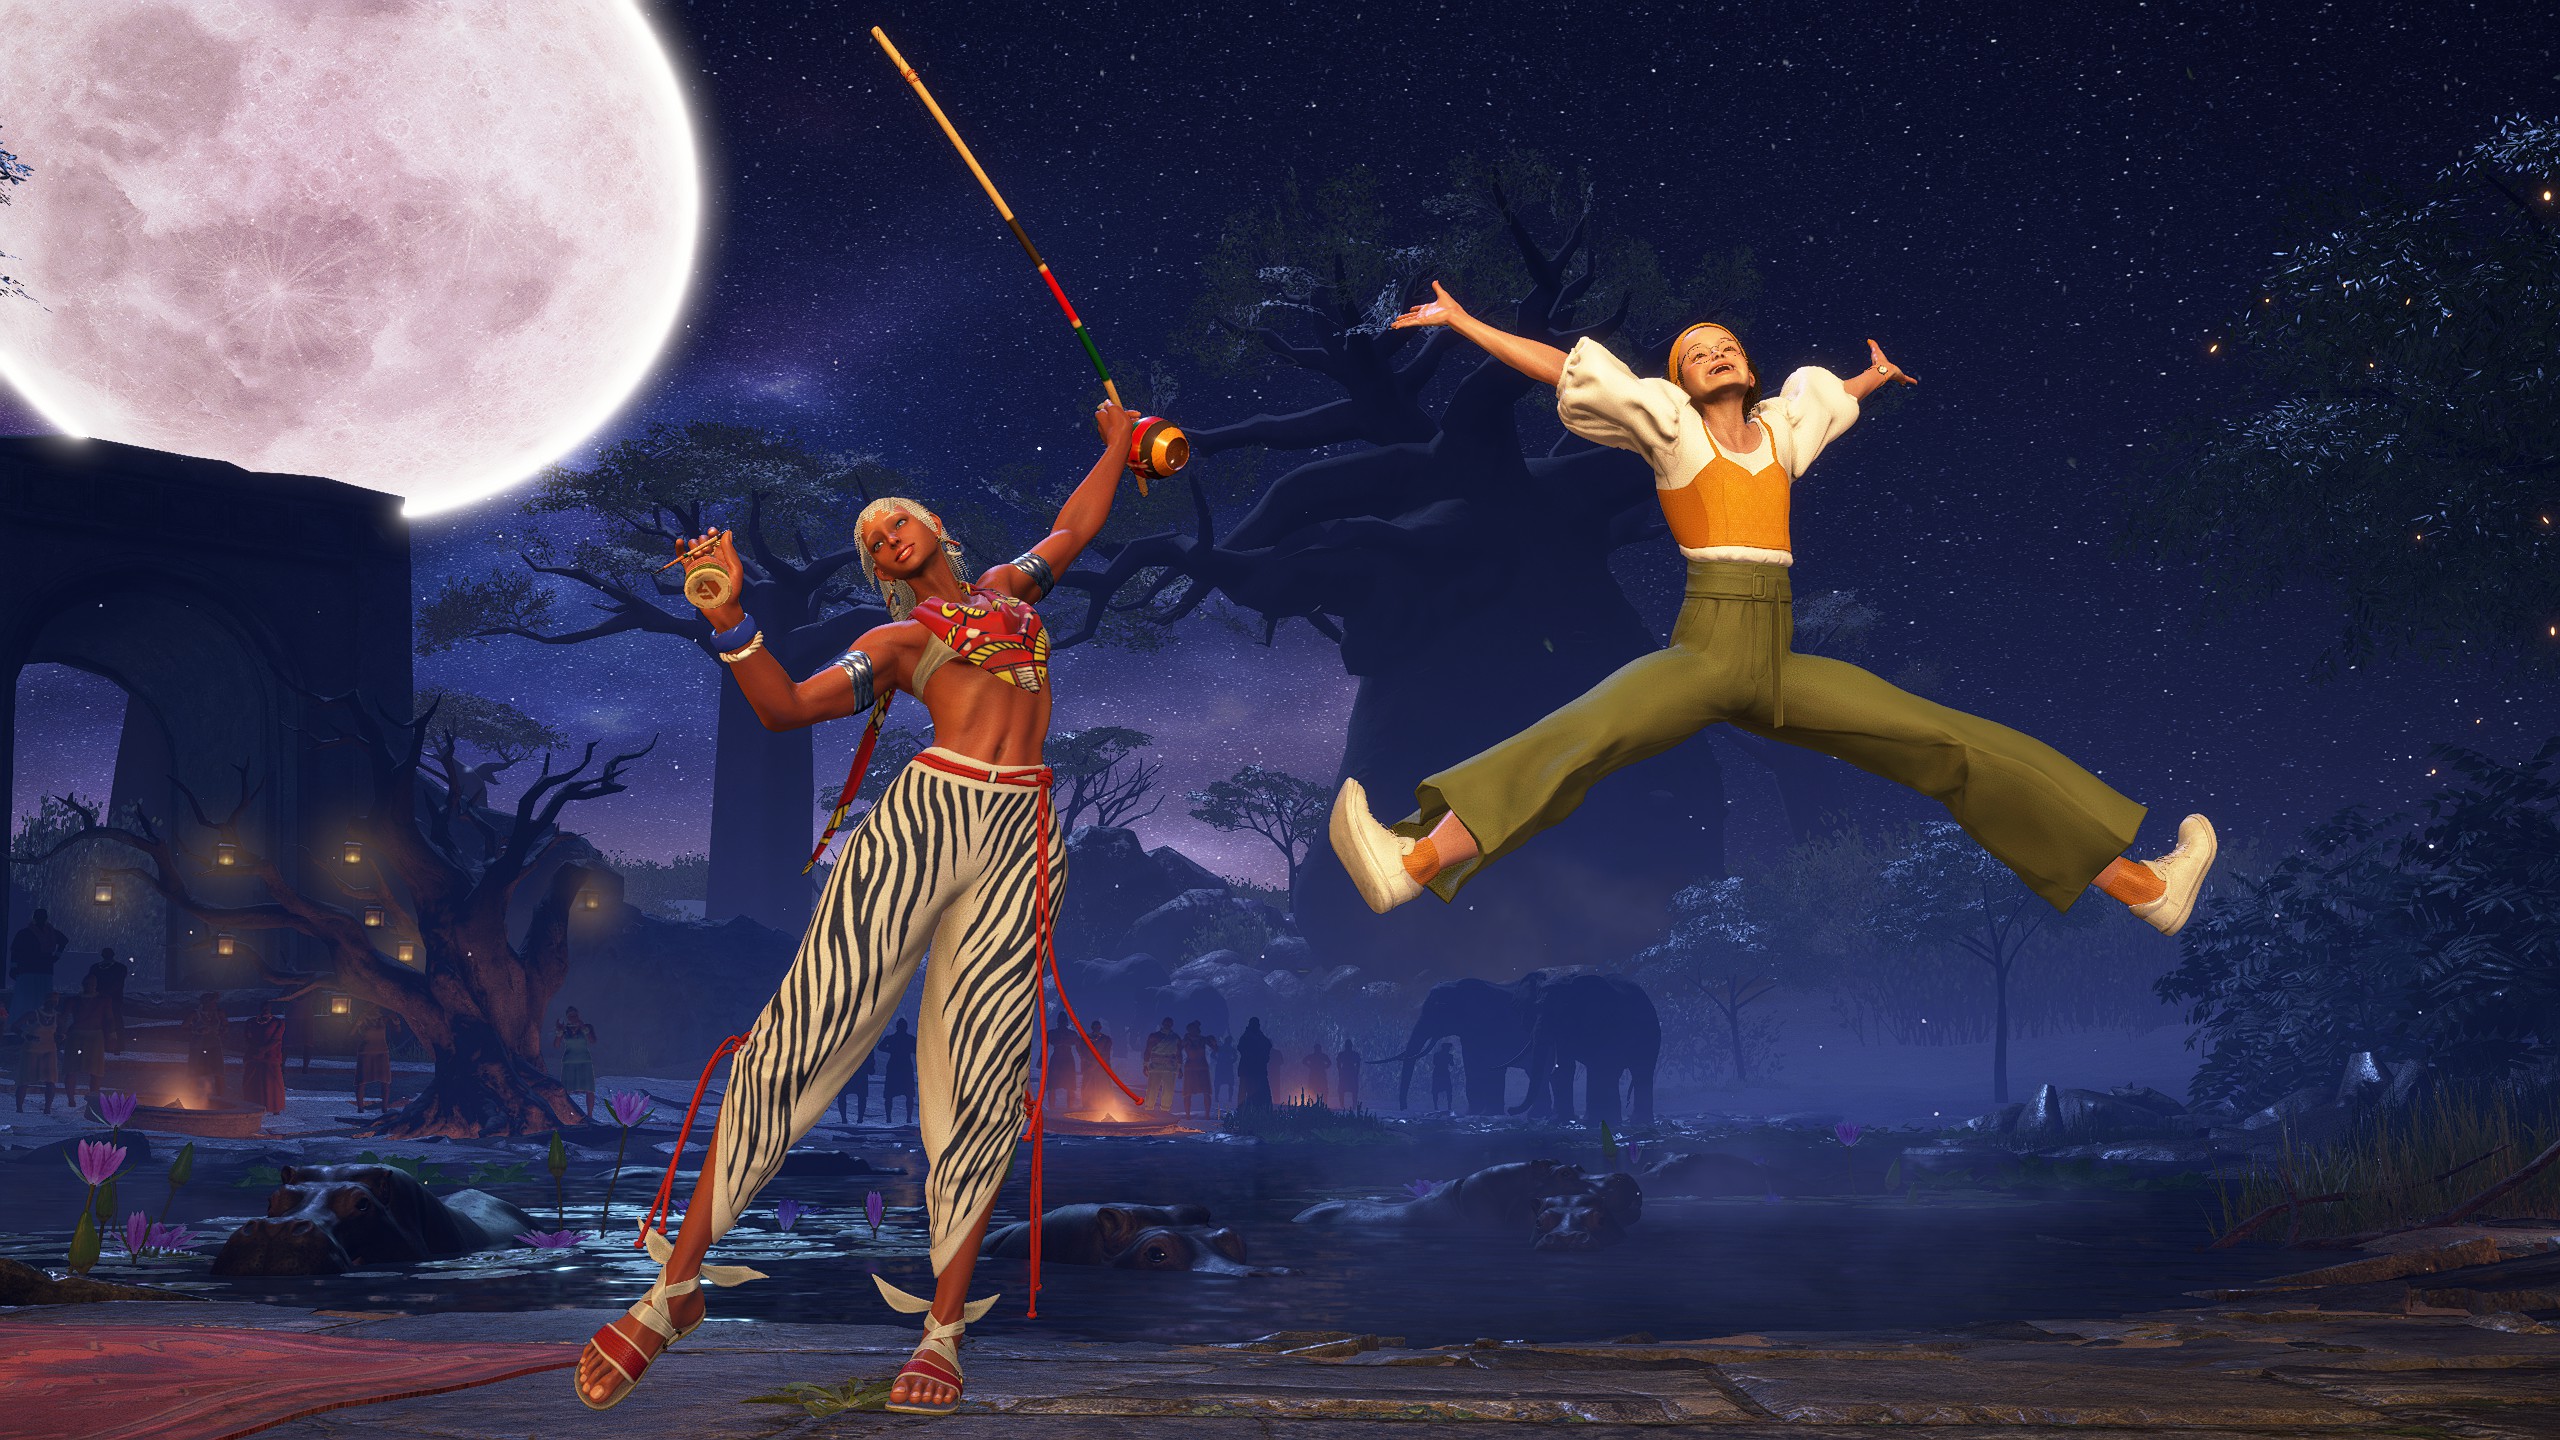
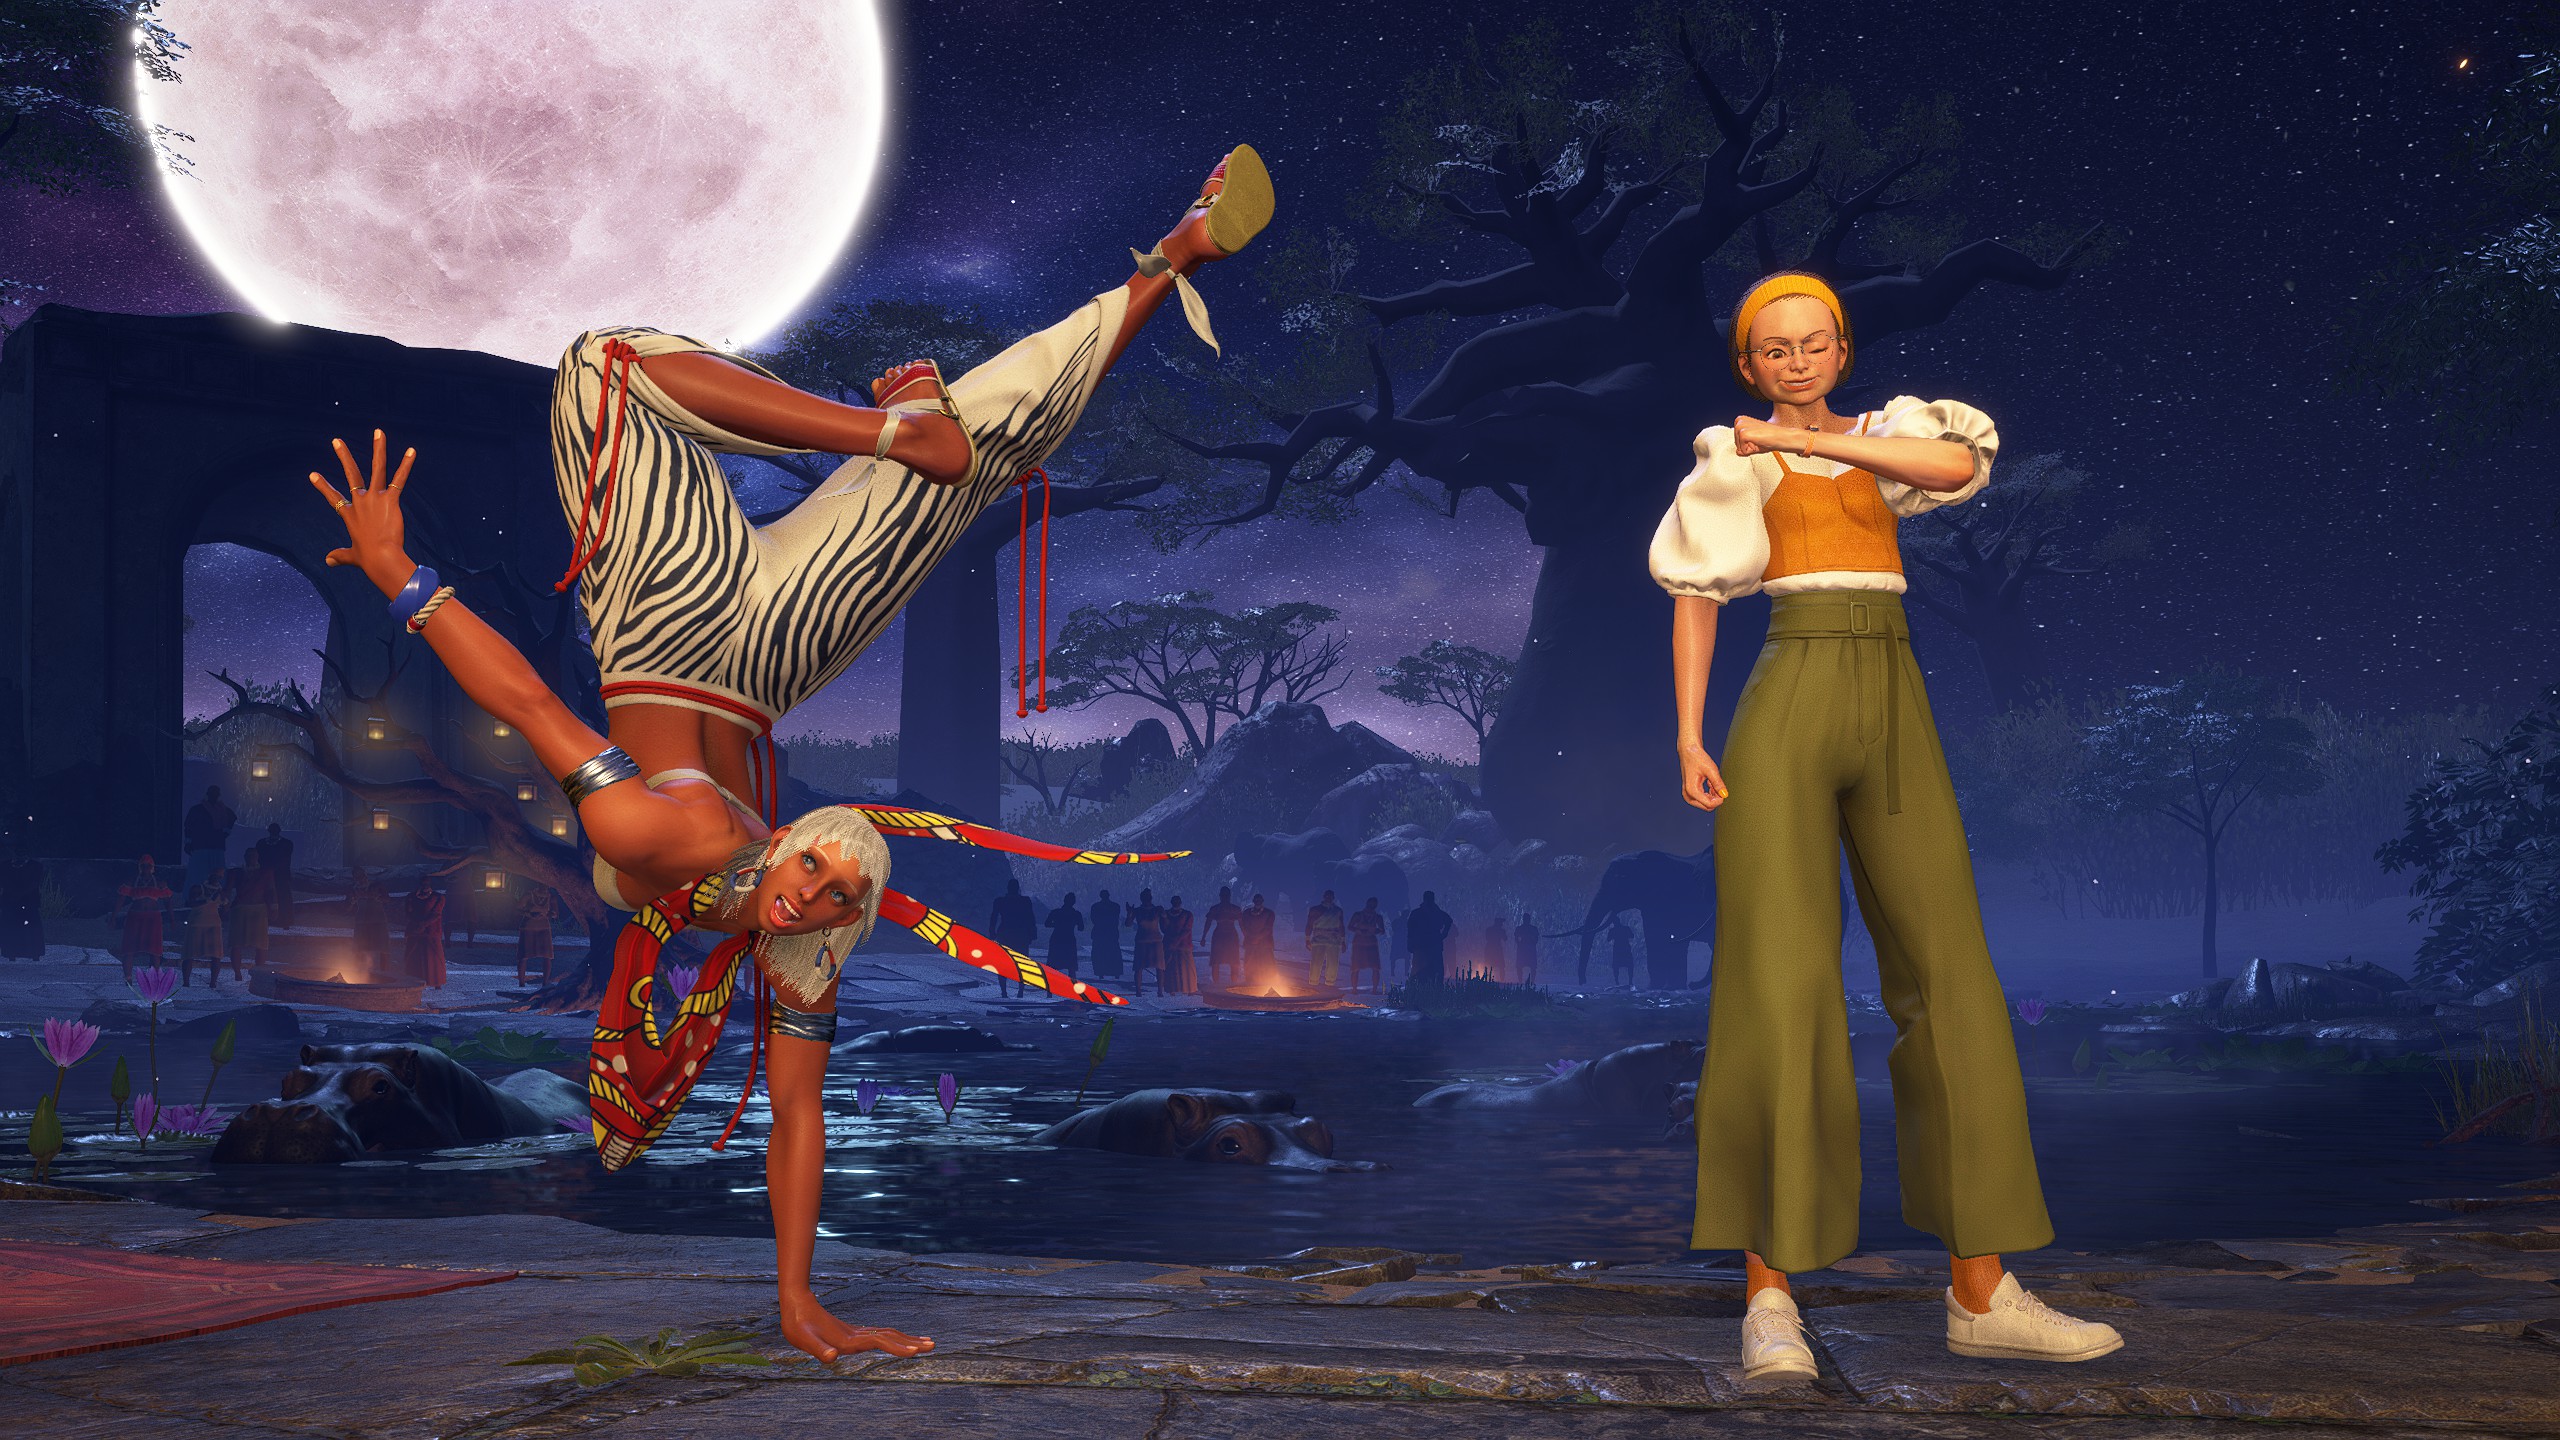
A Bond with Elena: 1
A Bond with Elena: 2
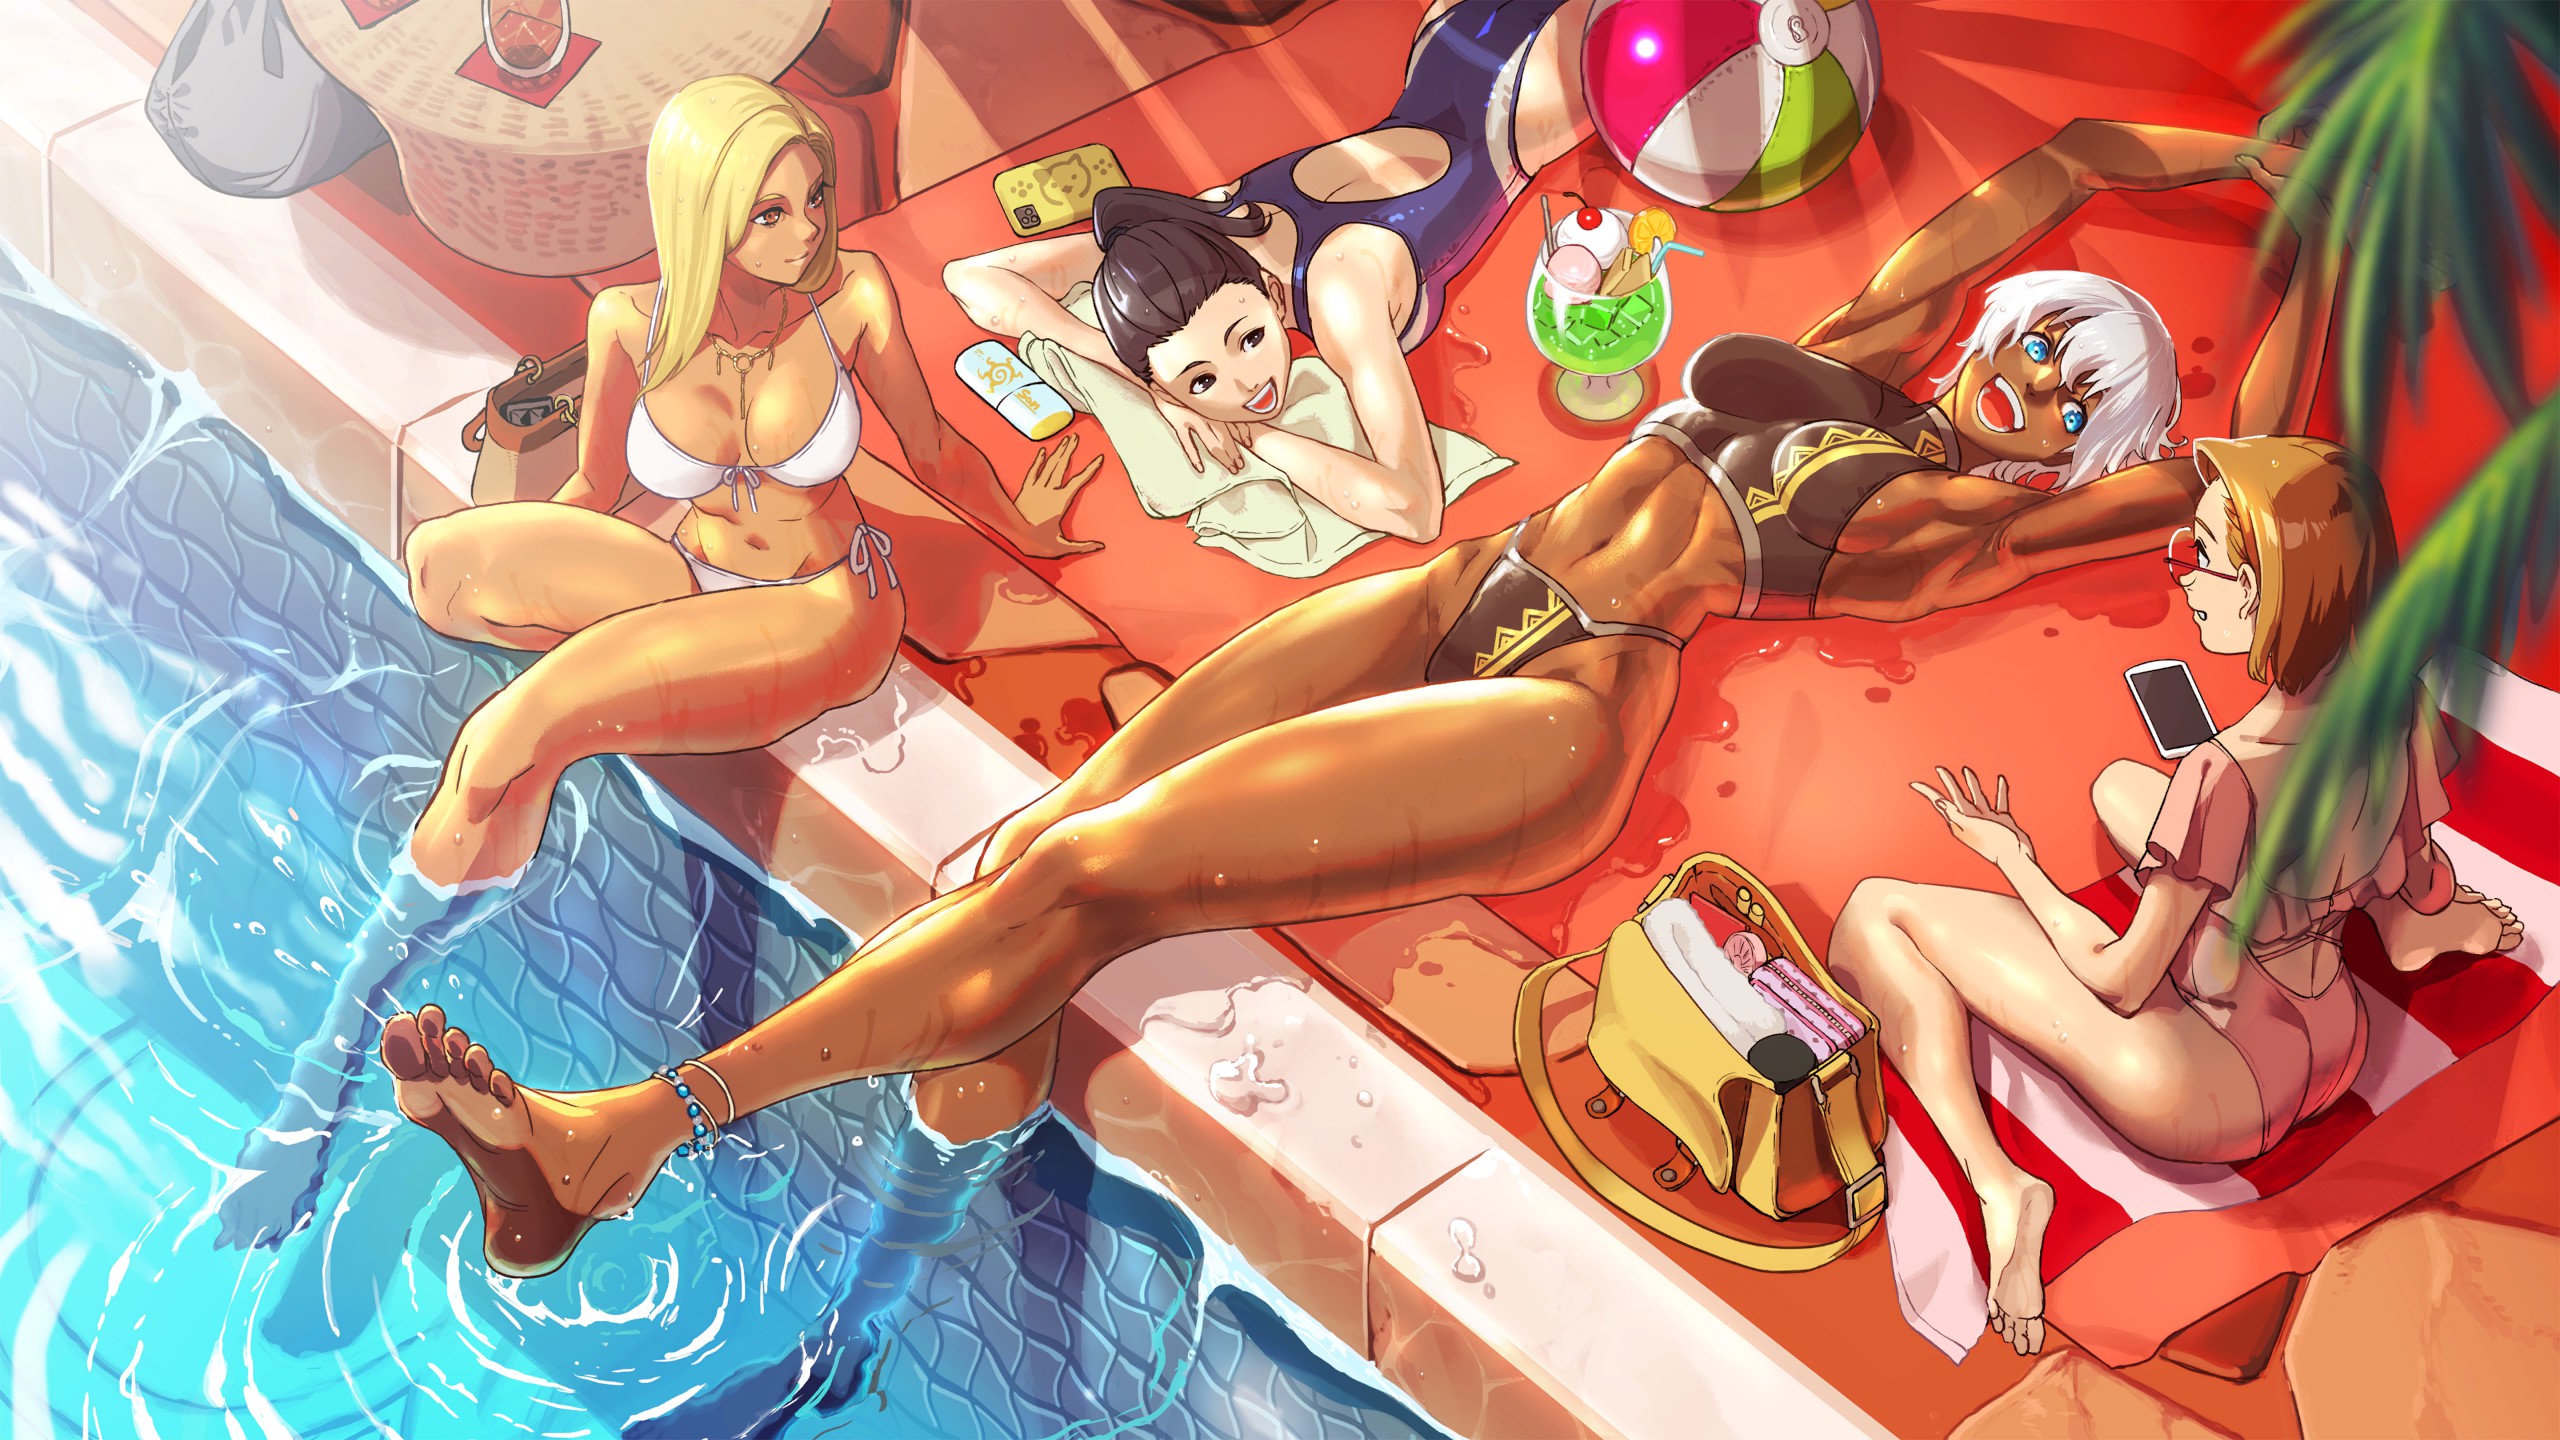
A Bond with Elena: 3
A Bond with Elena: 4
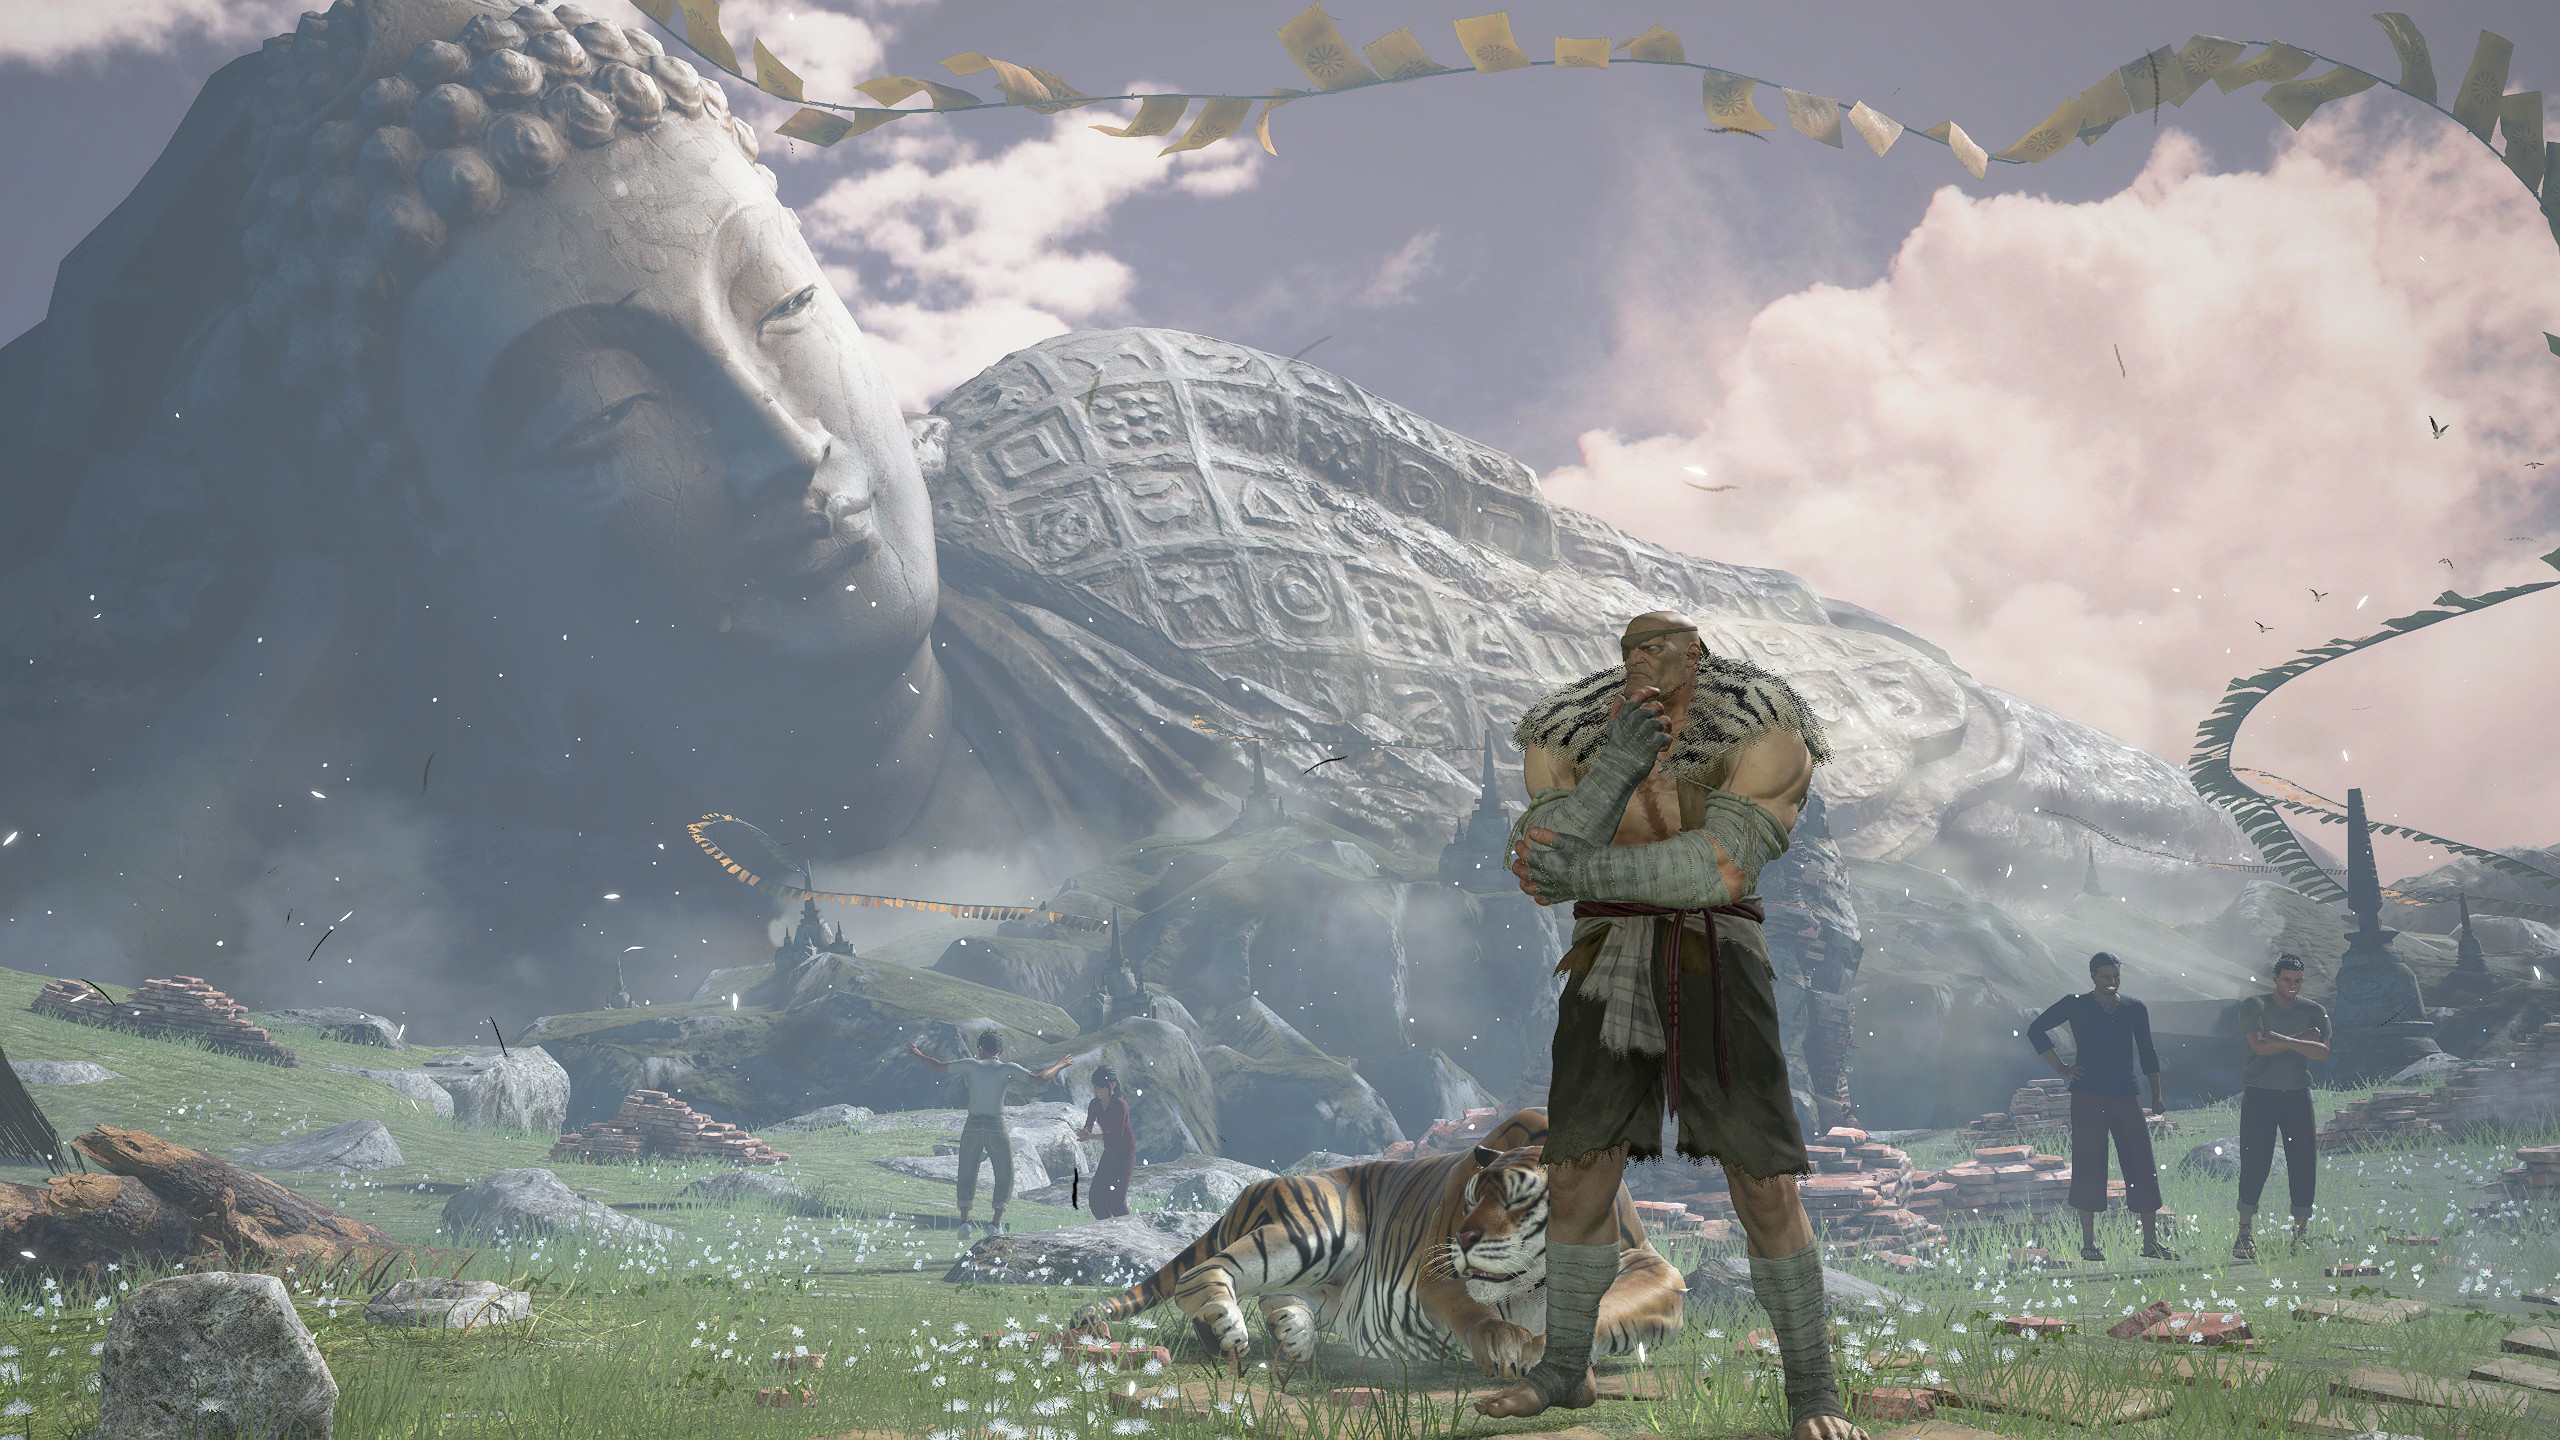
A Bond with Sagat: 1

A Bond with Sagat: 2
A Bond with Sagat: 3
A Bond with Sagat: 4
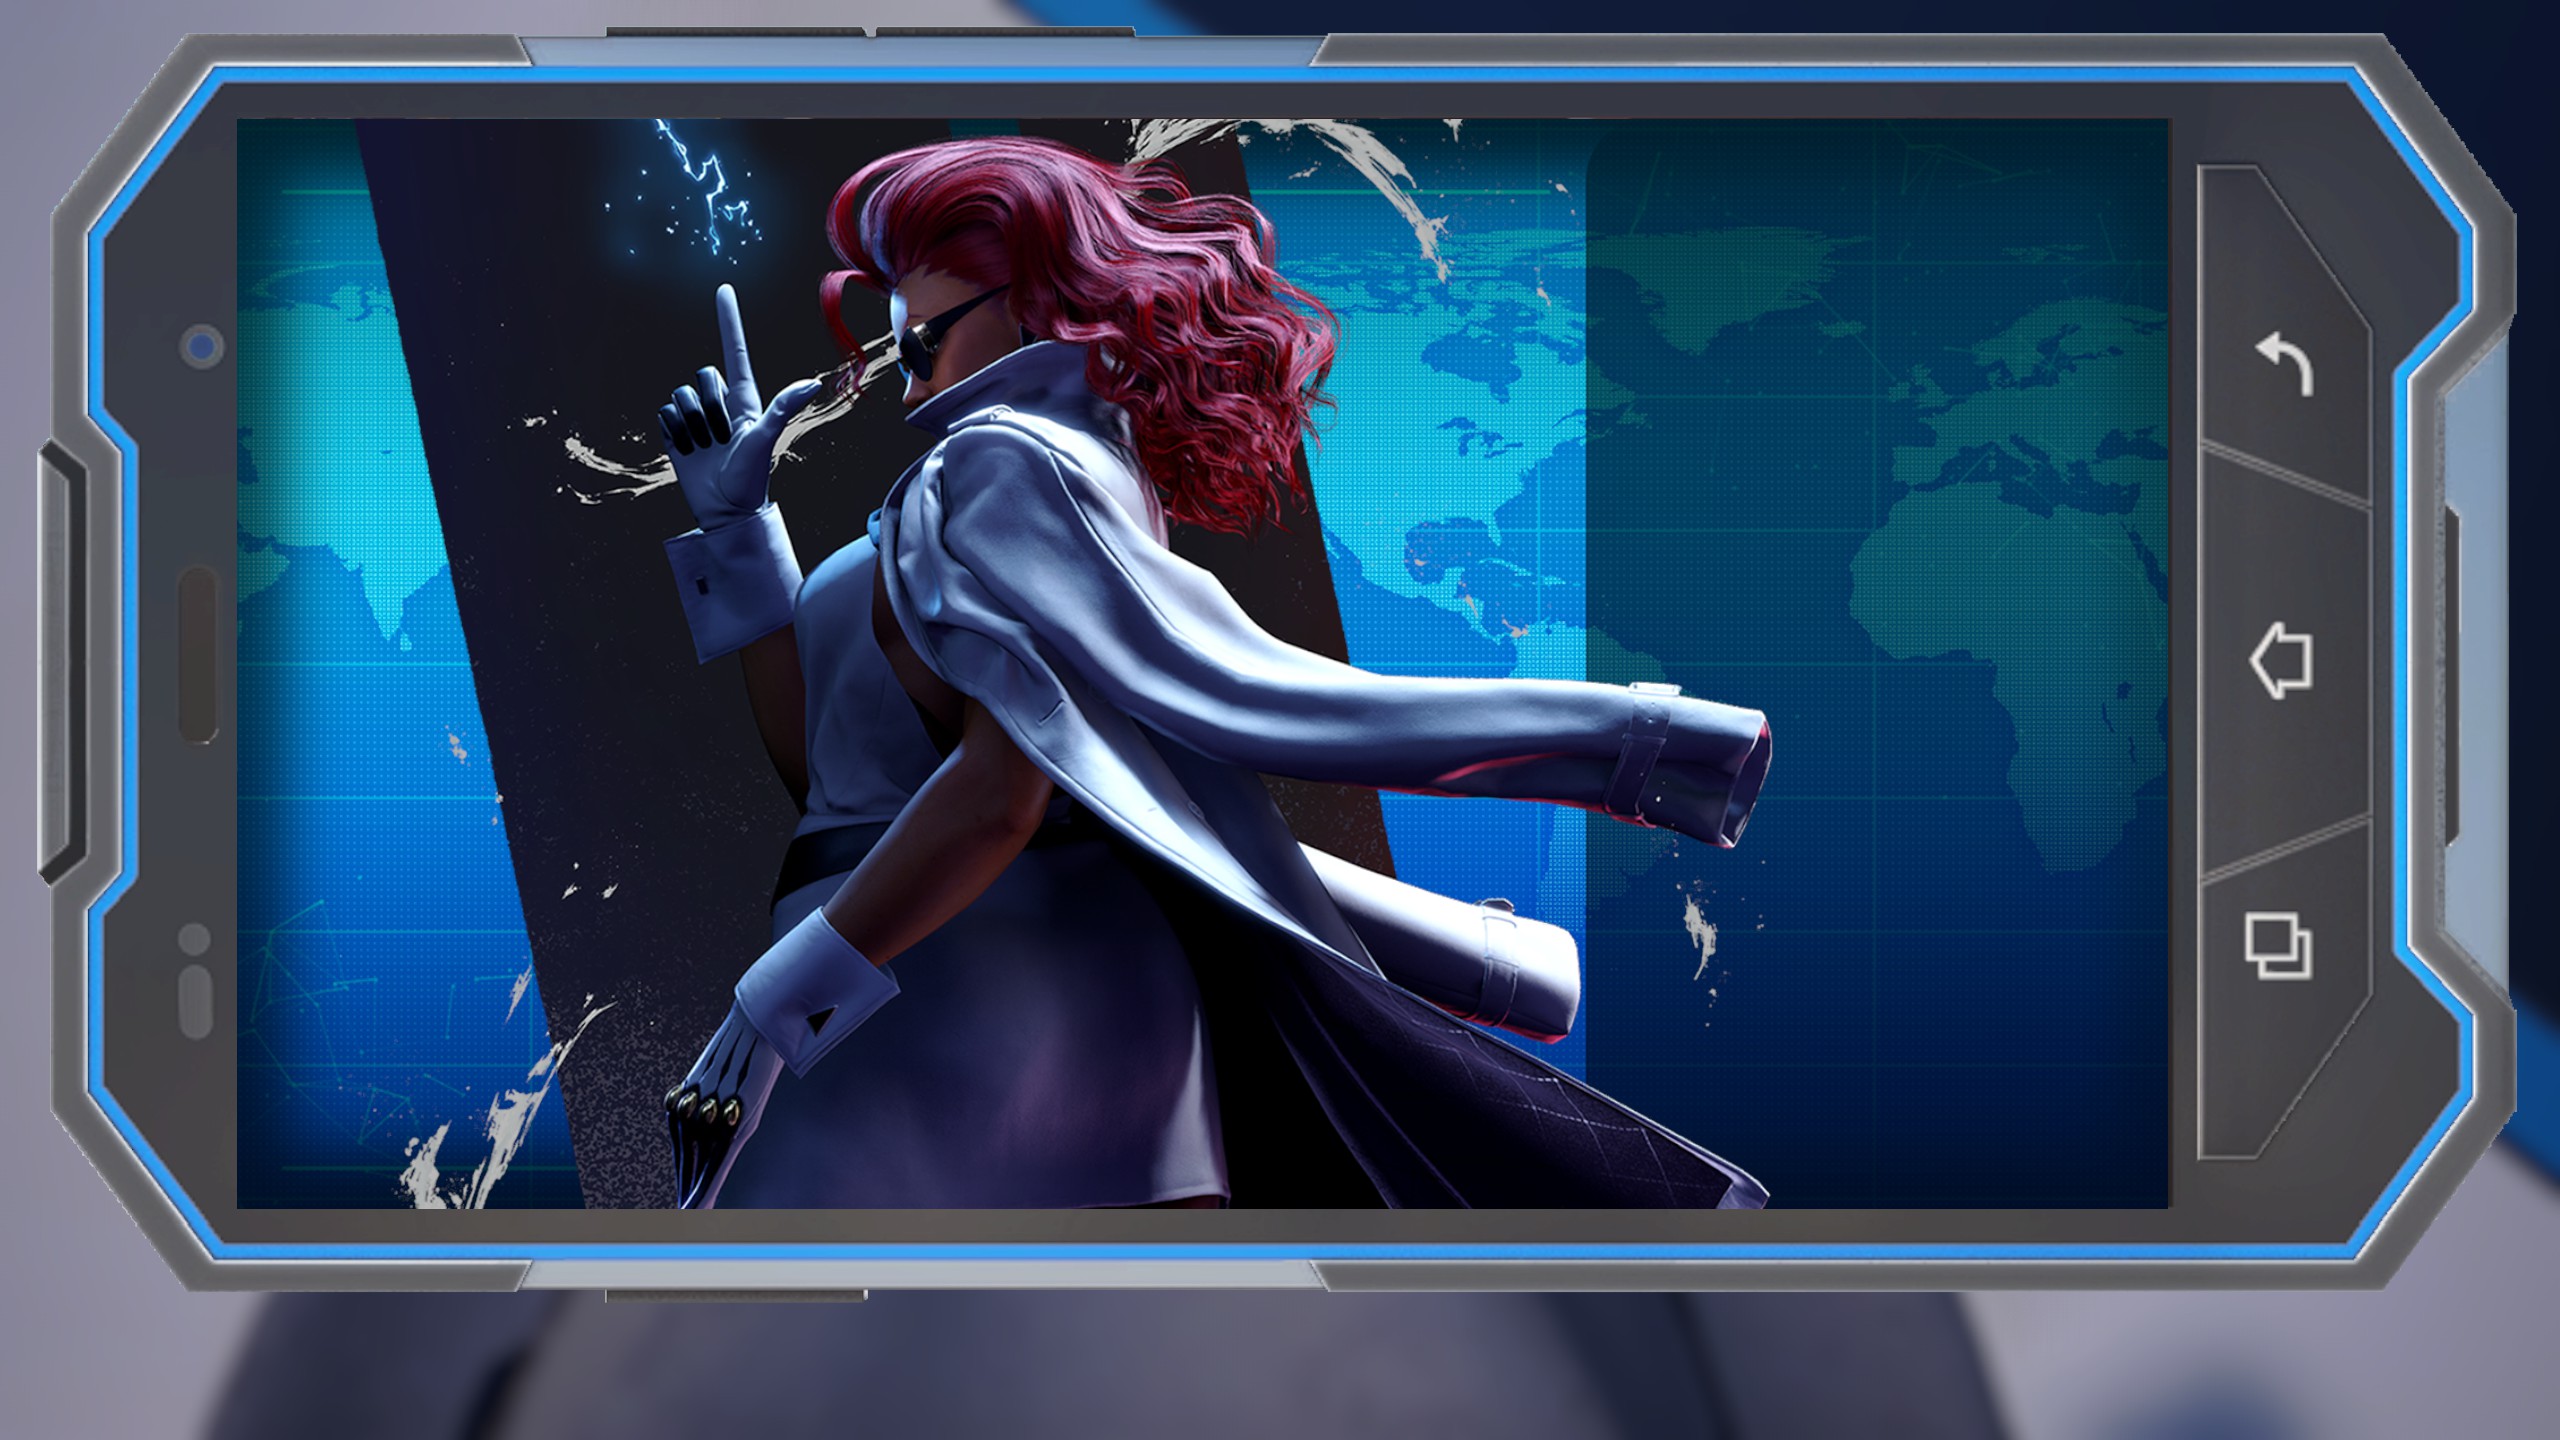
A Bond with C. Viper: 1
A Bond with C. Viper: 2
A Bond with C. Viper: 3
A Bond with C. Viper: 4
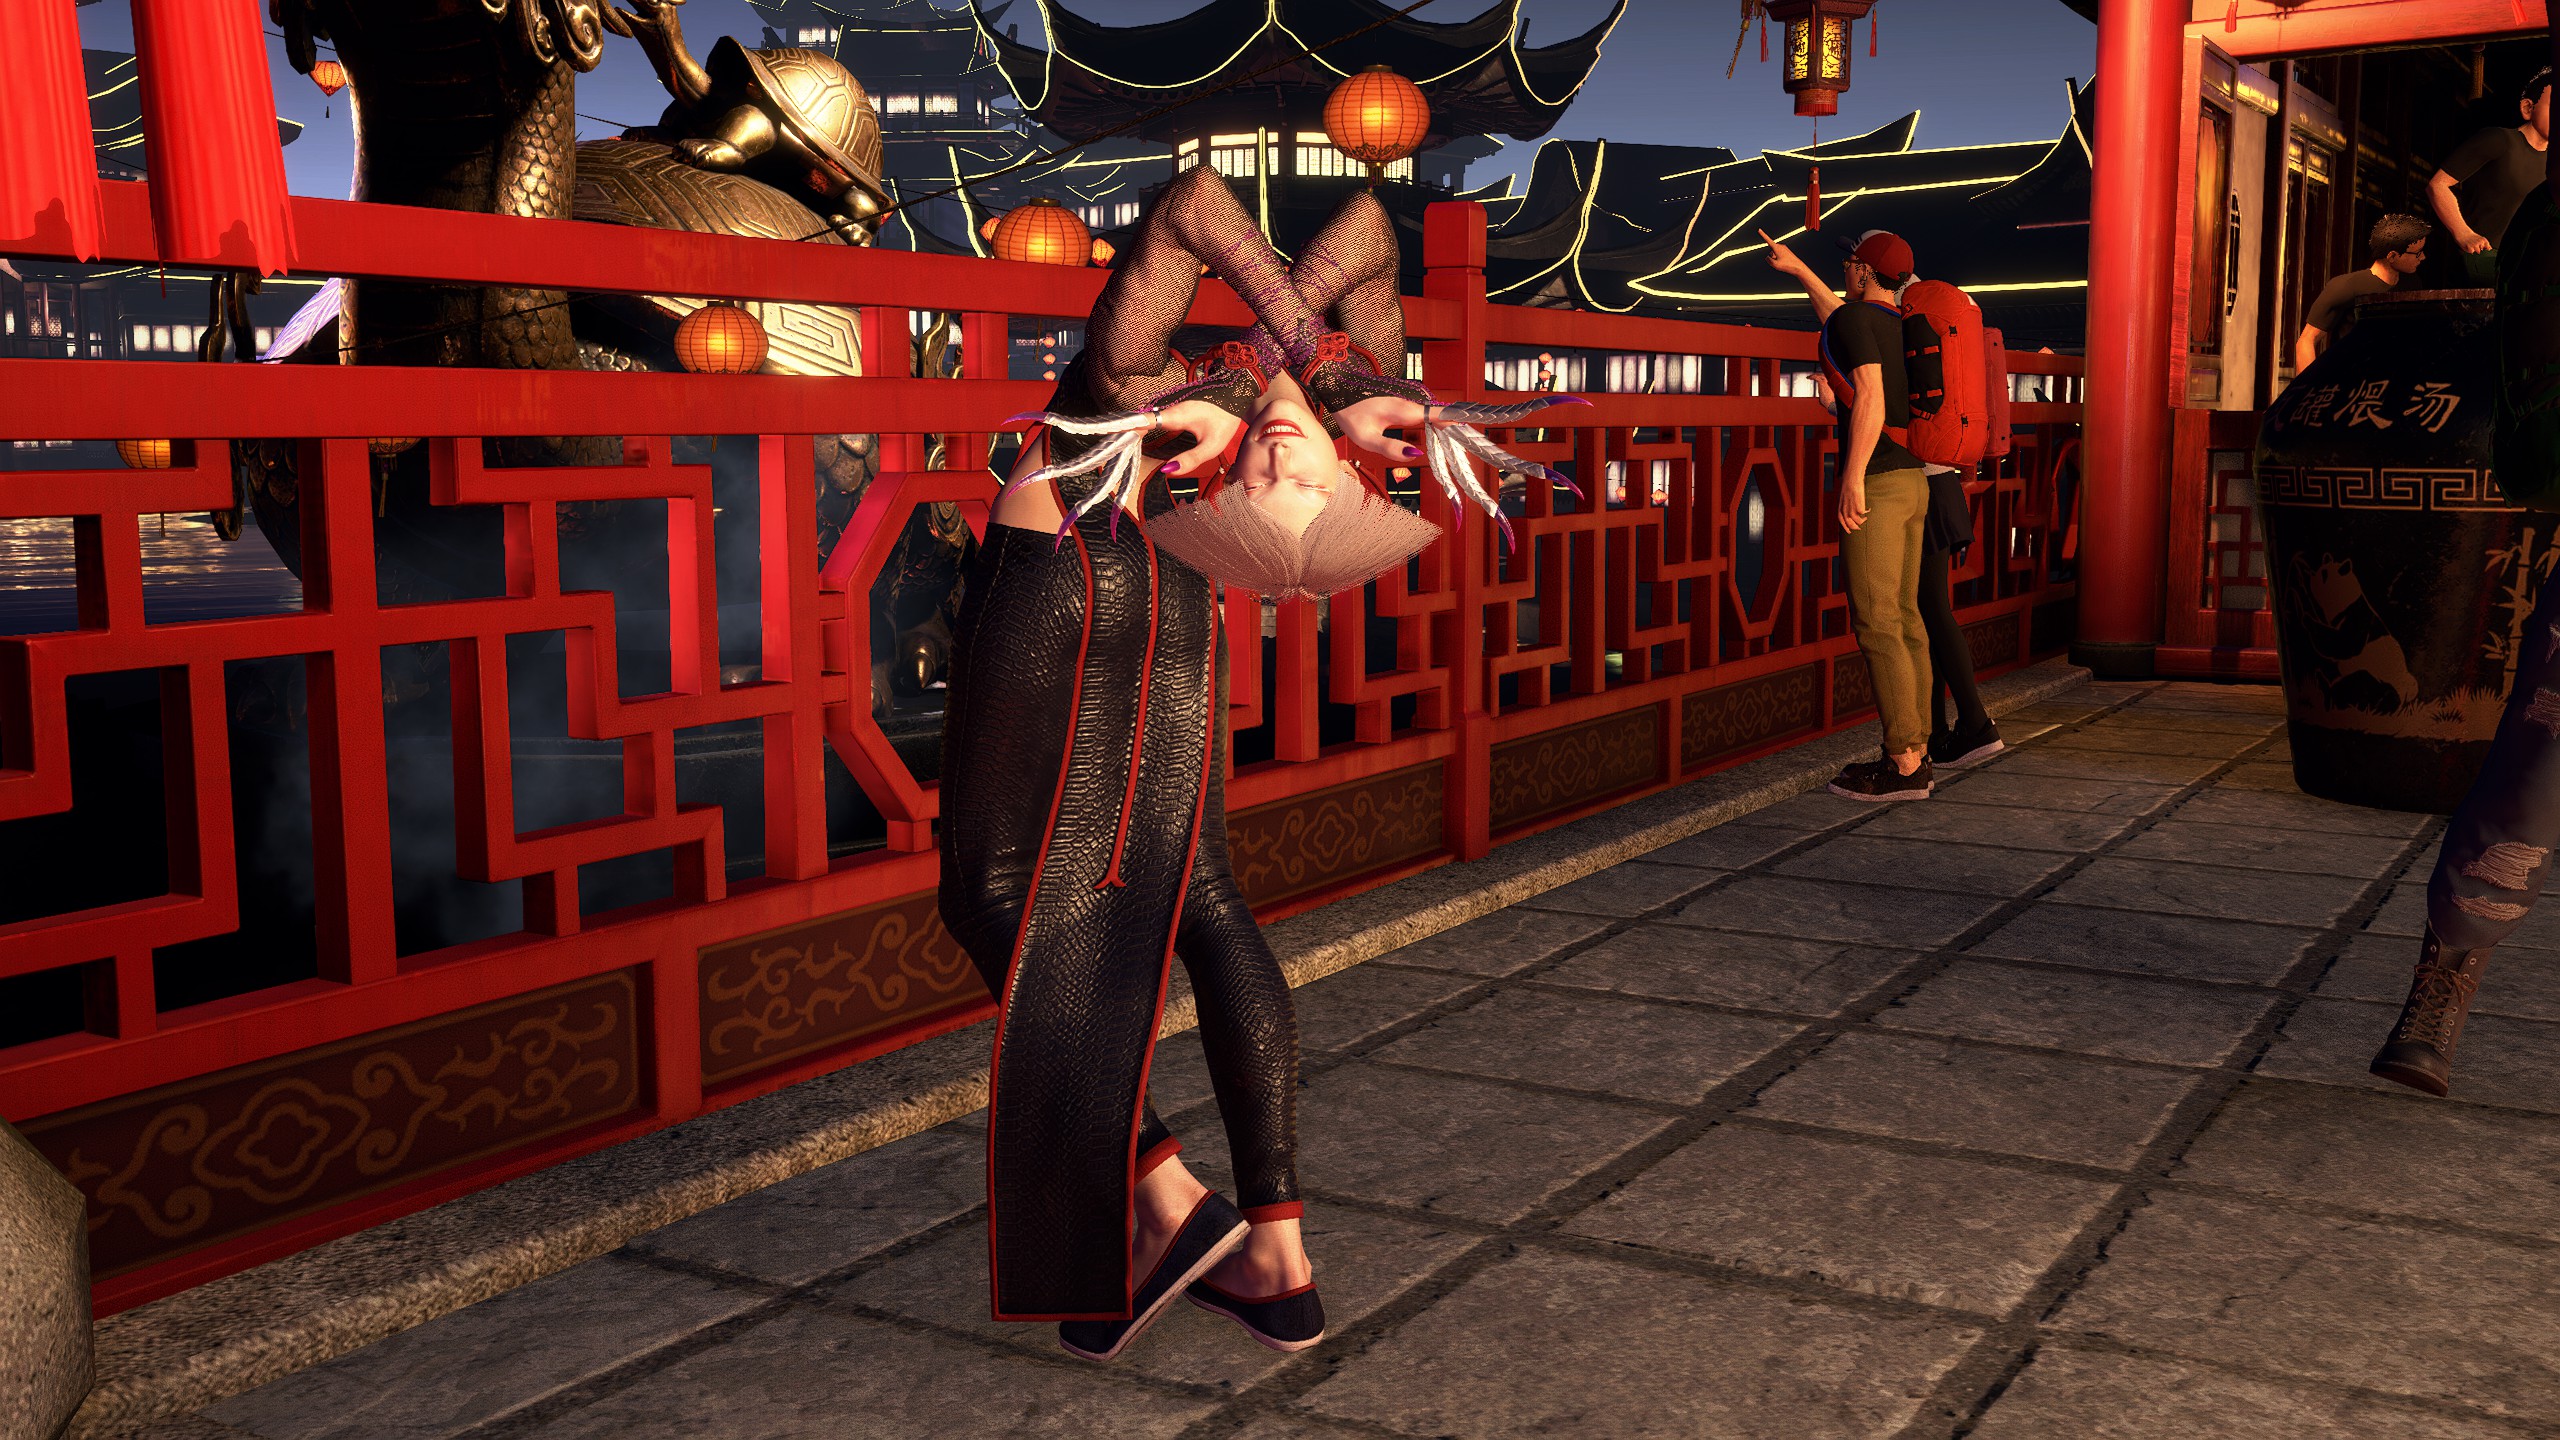
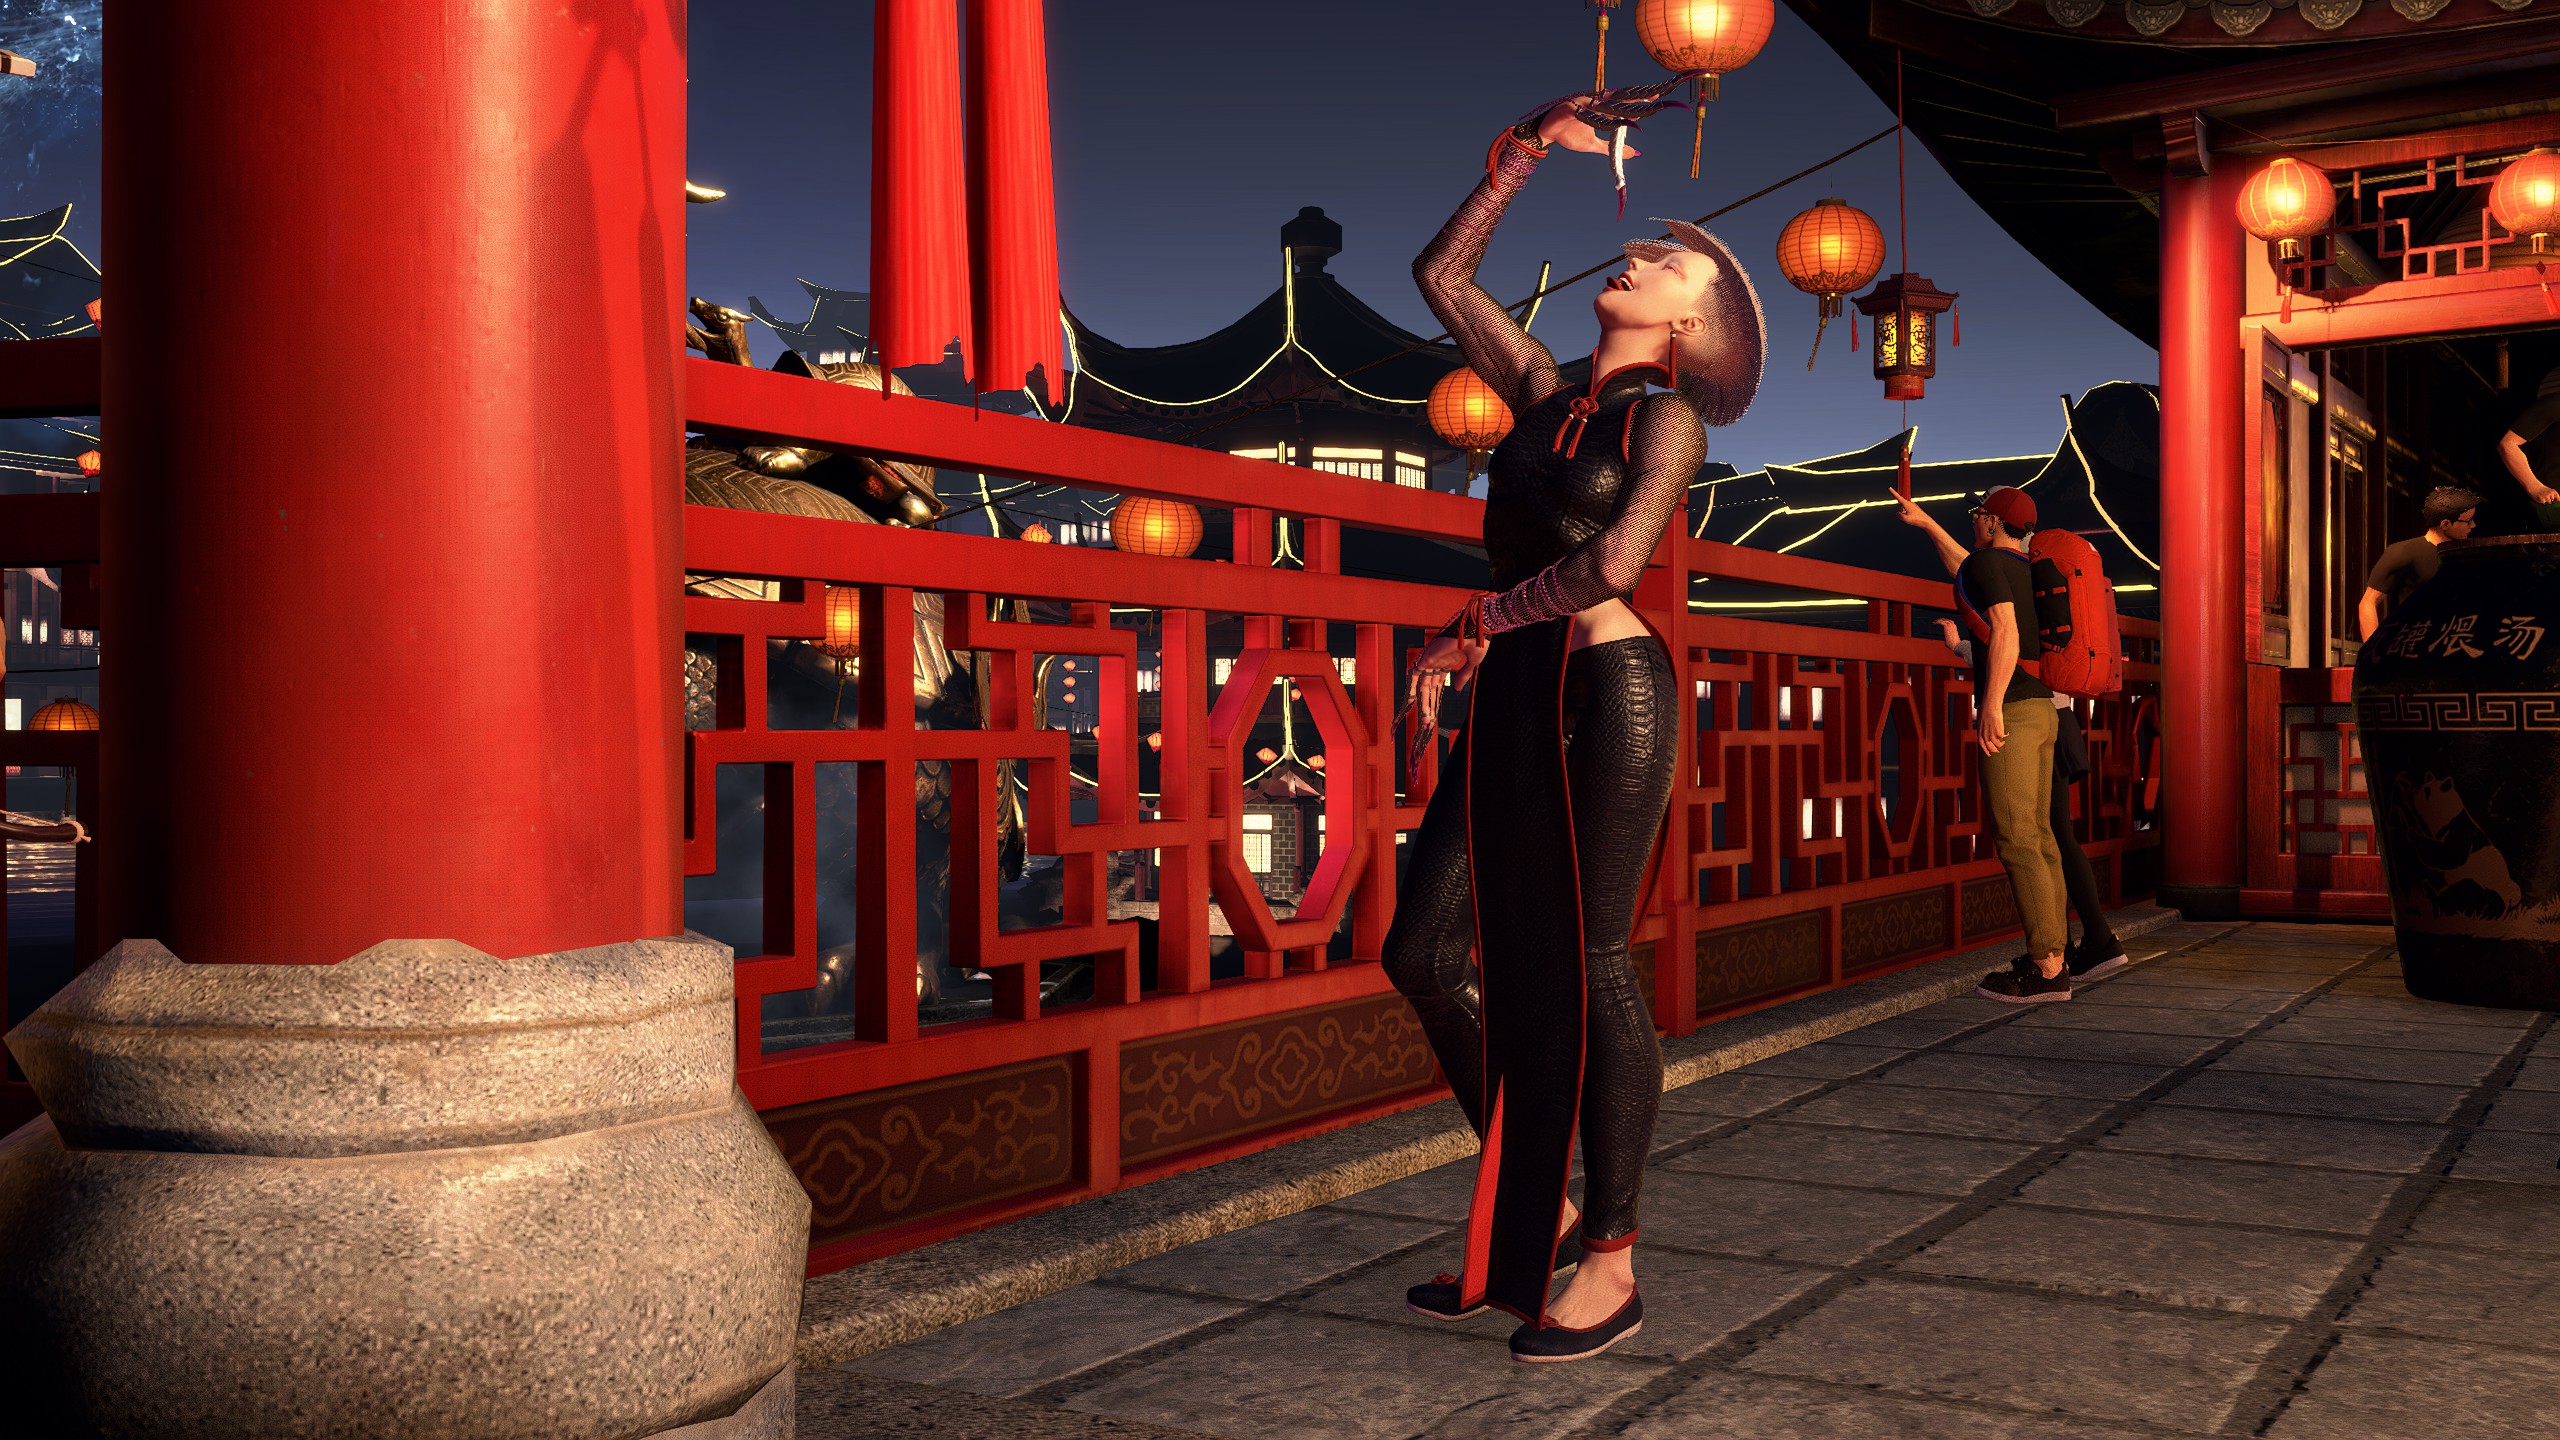
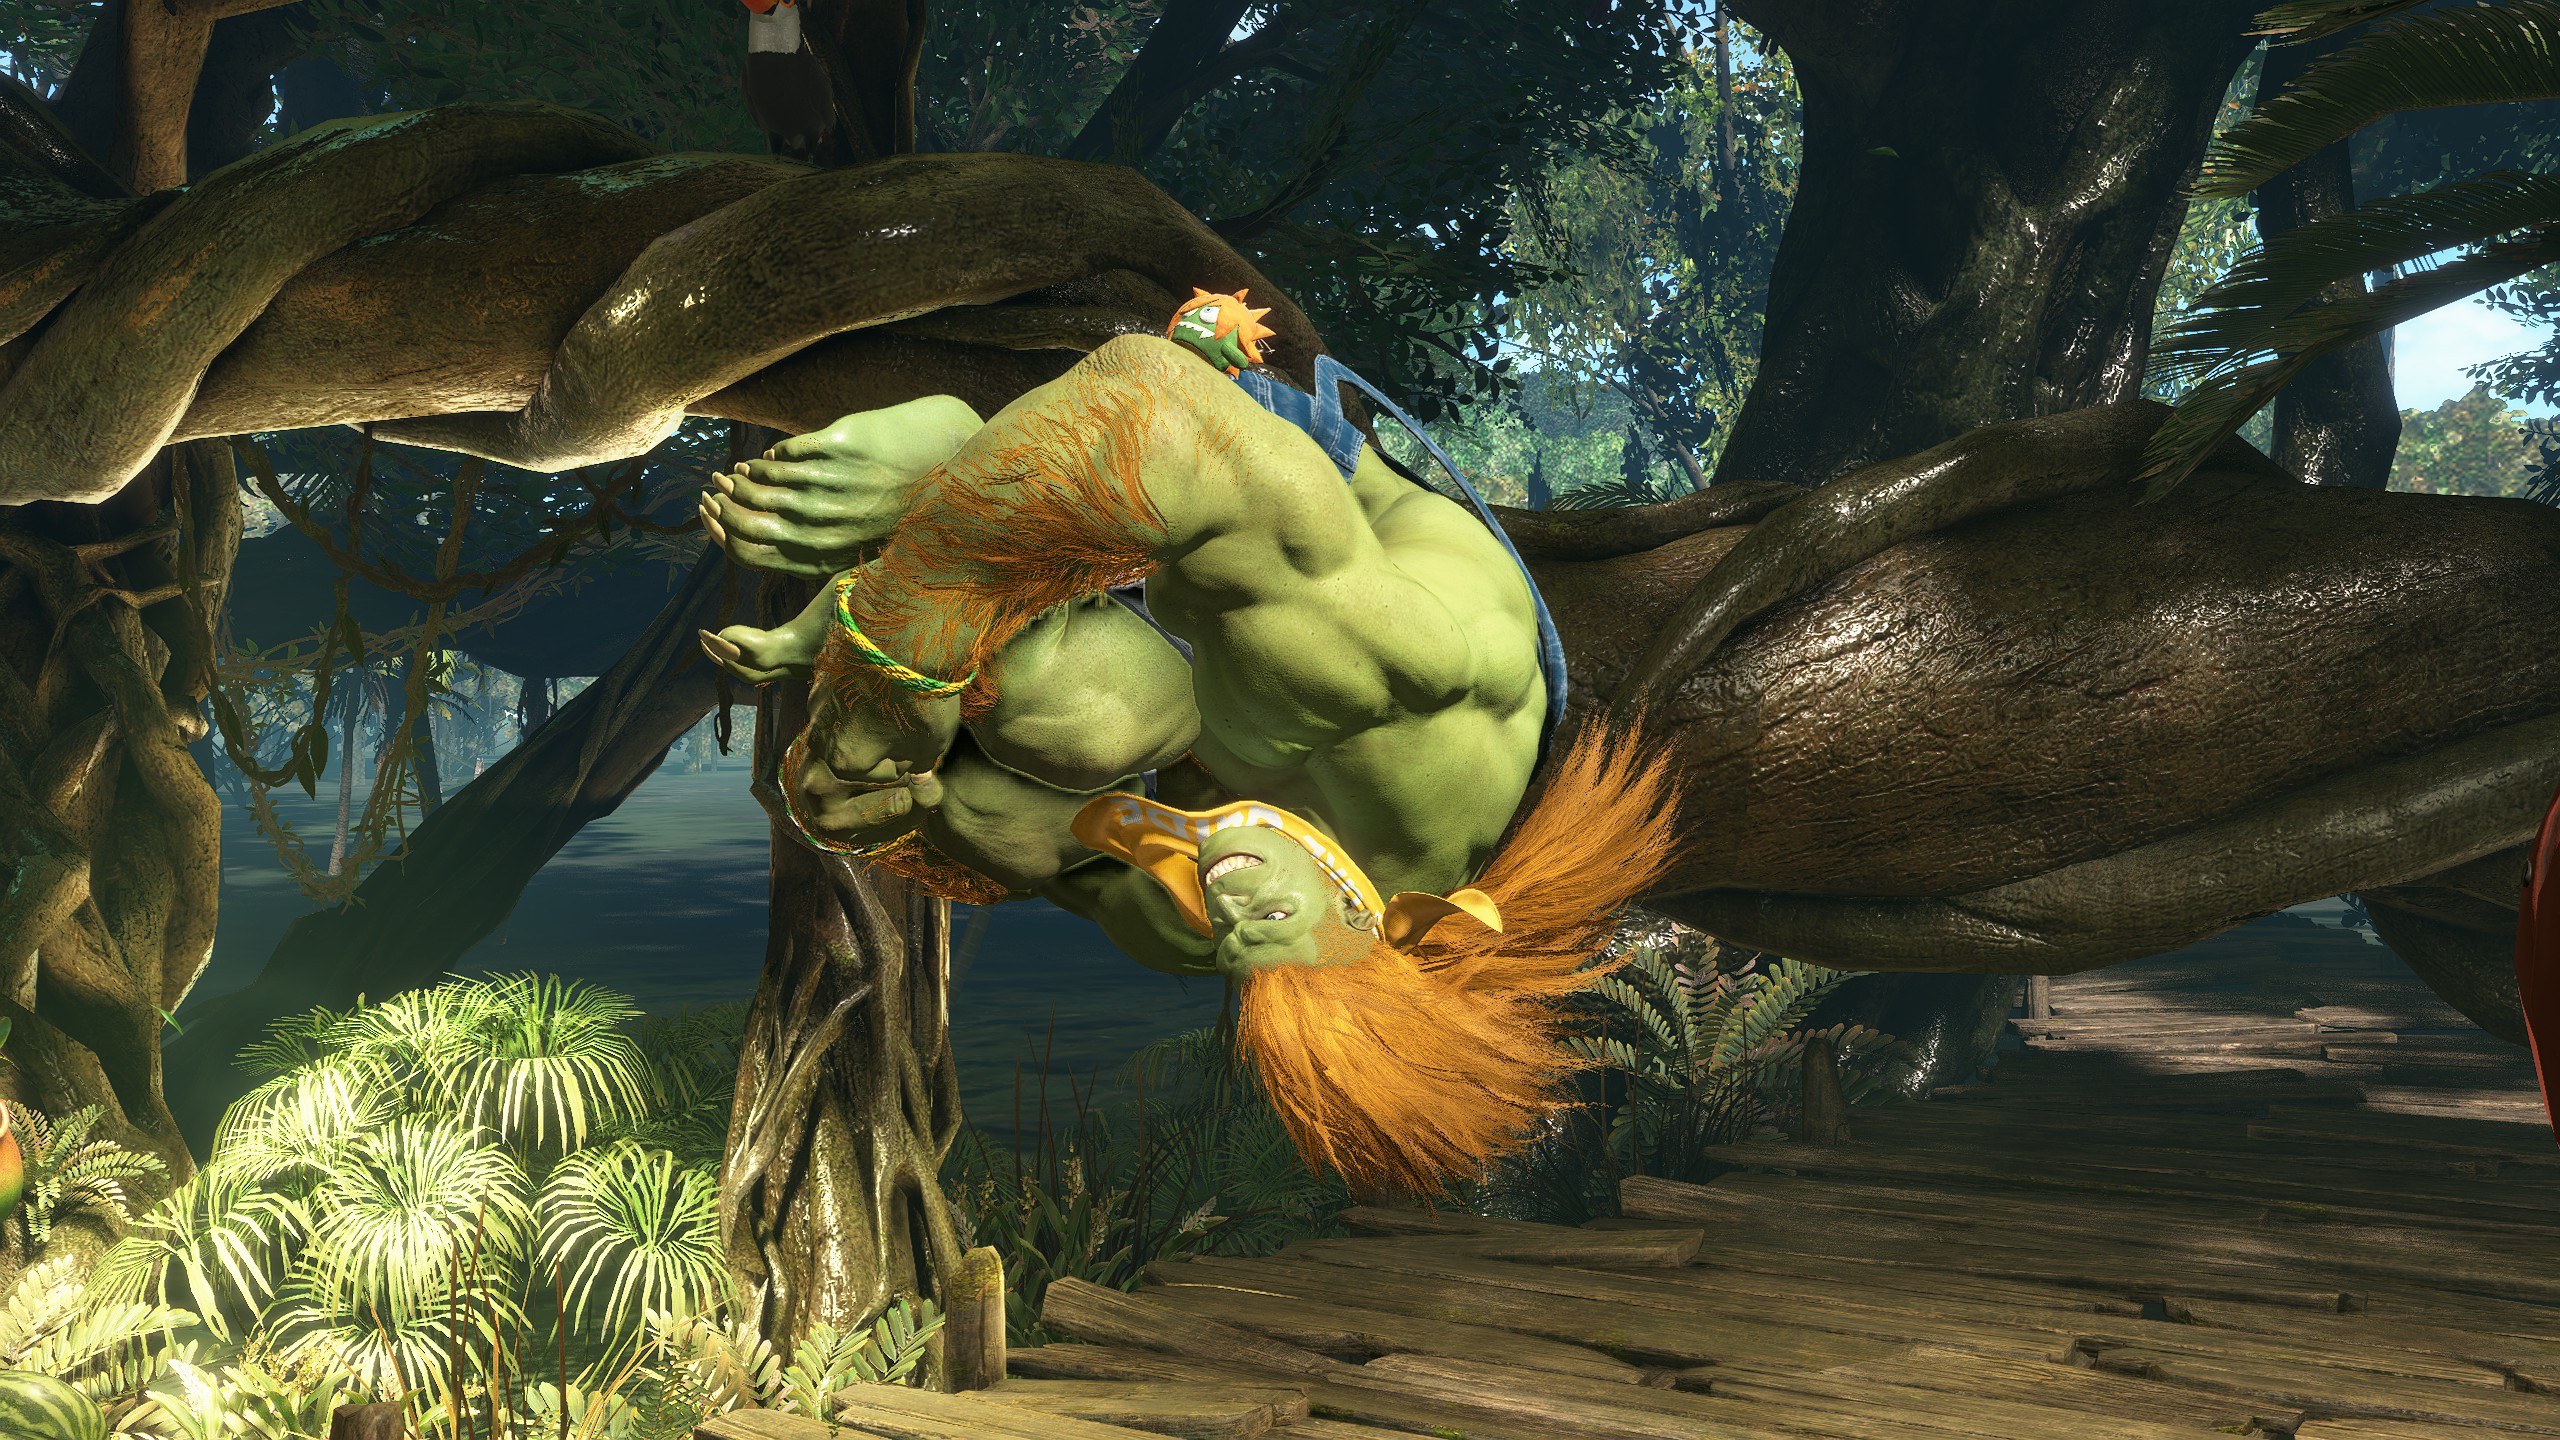
World Tour - Other
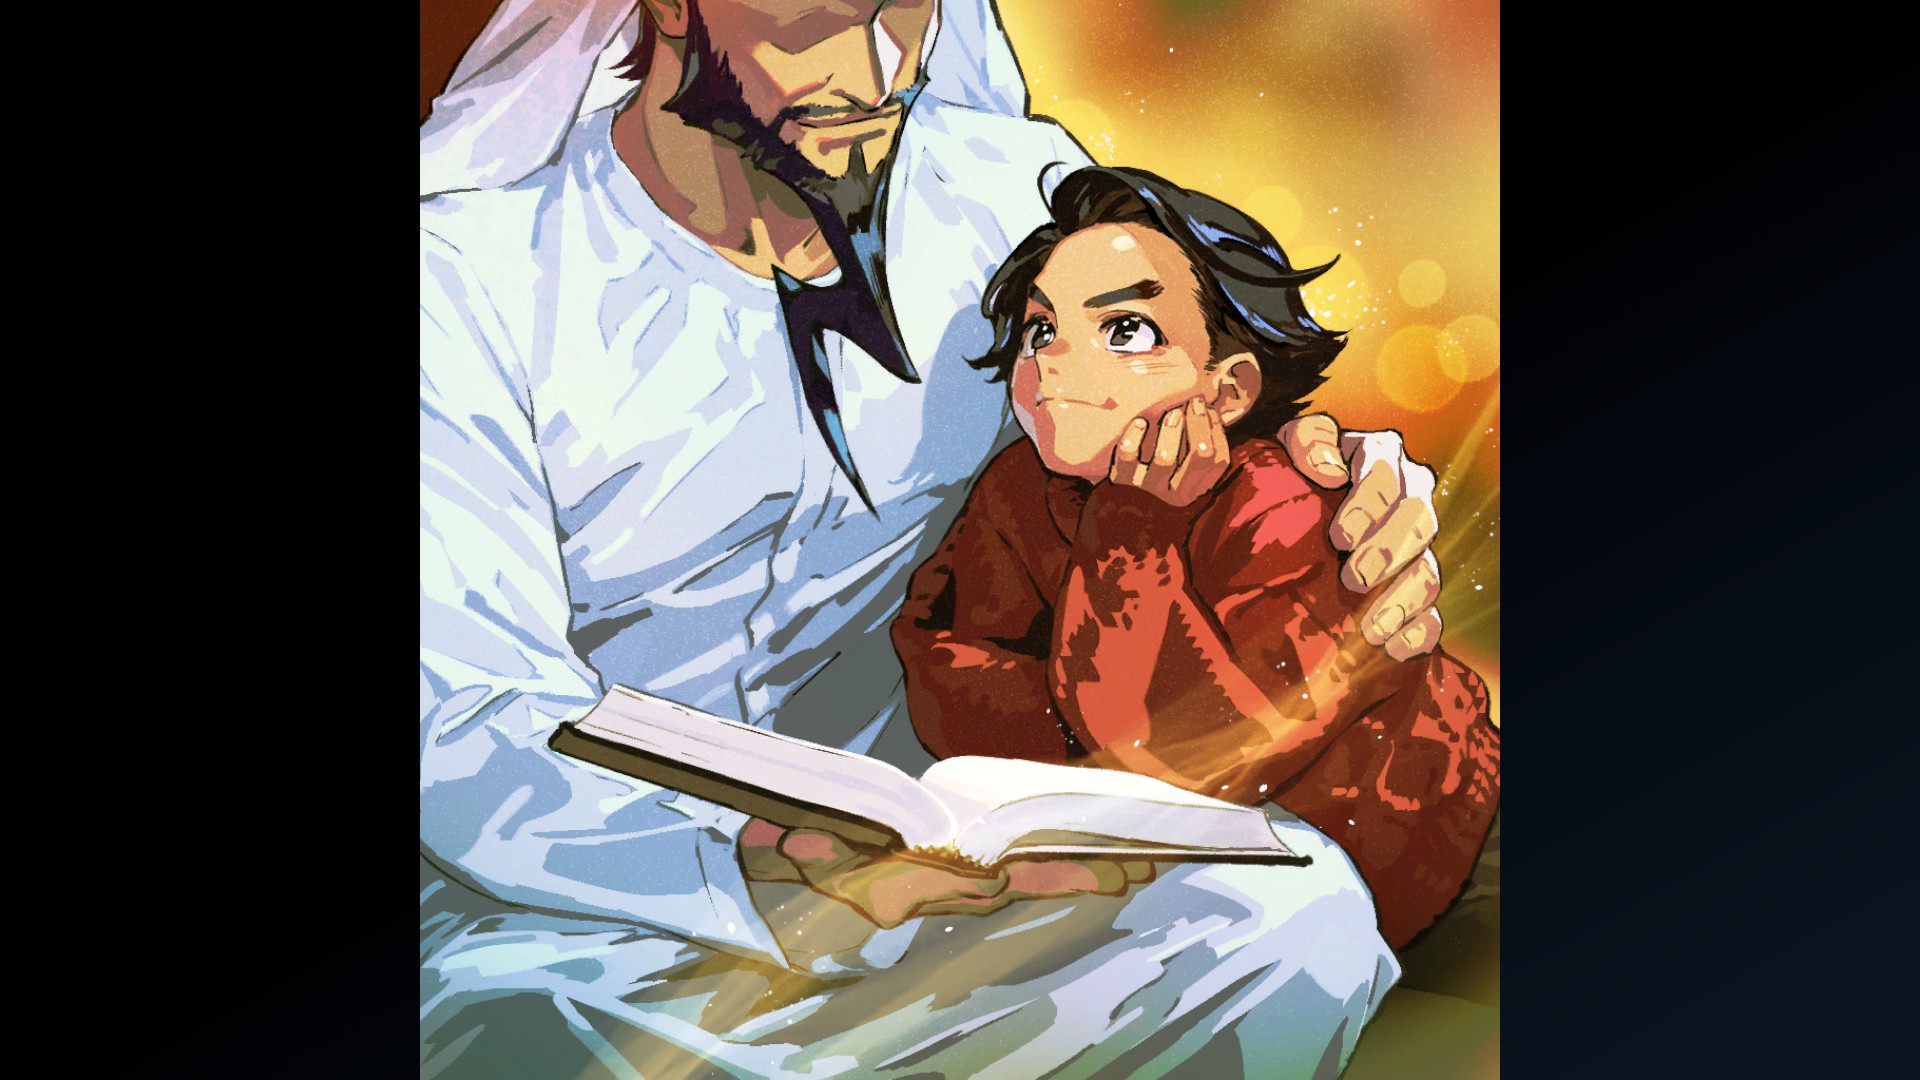
A Memory of Luke: 1
A Memory of Luke: 2
A Memory of Jamie: 1
A Memory of Jamie: 2

A Memory of Manon: 1
A Memory of Manon: 2
A Memory of Kimberly: 1
A Memory of Kimberly: 2
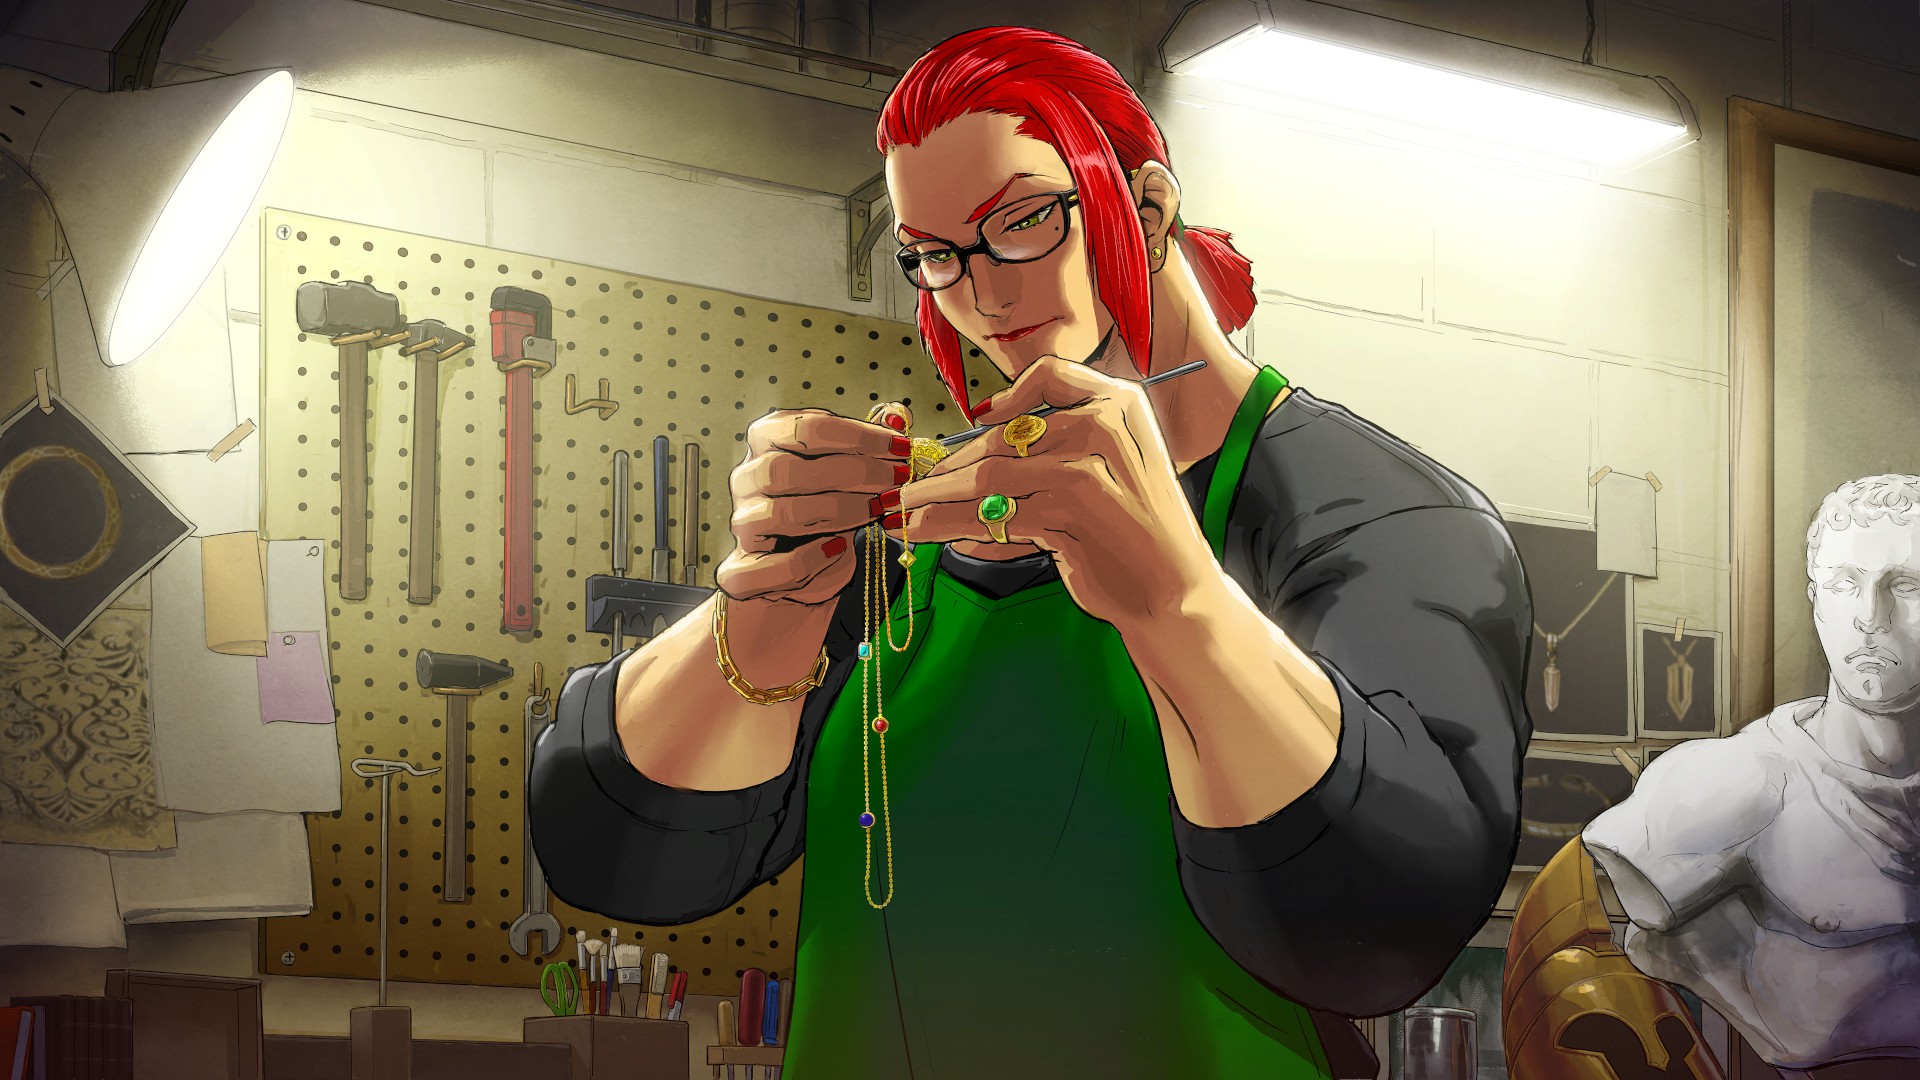
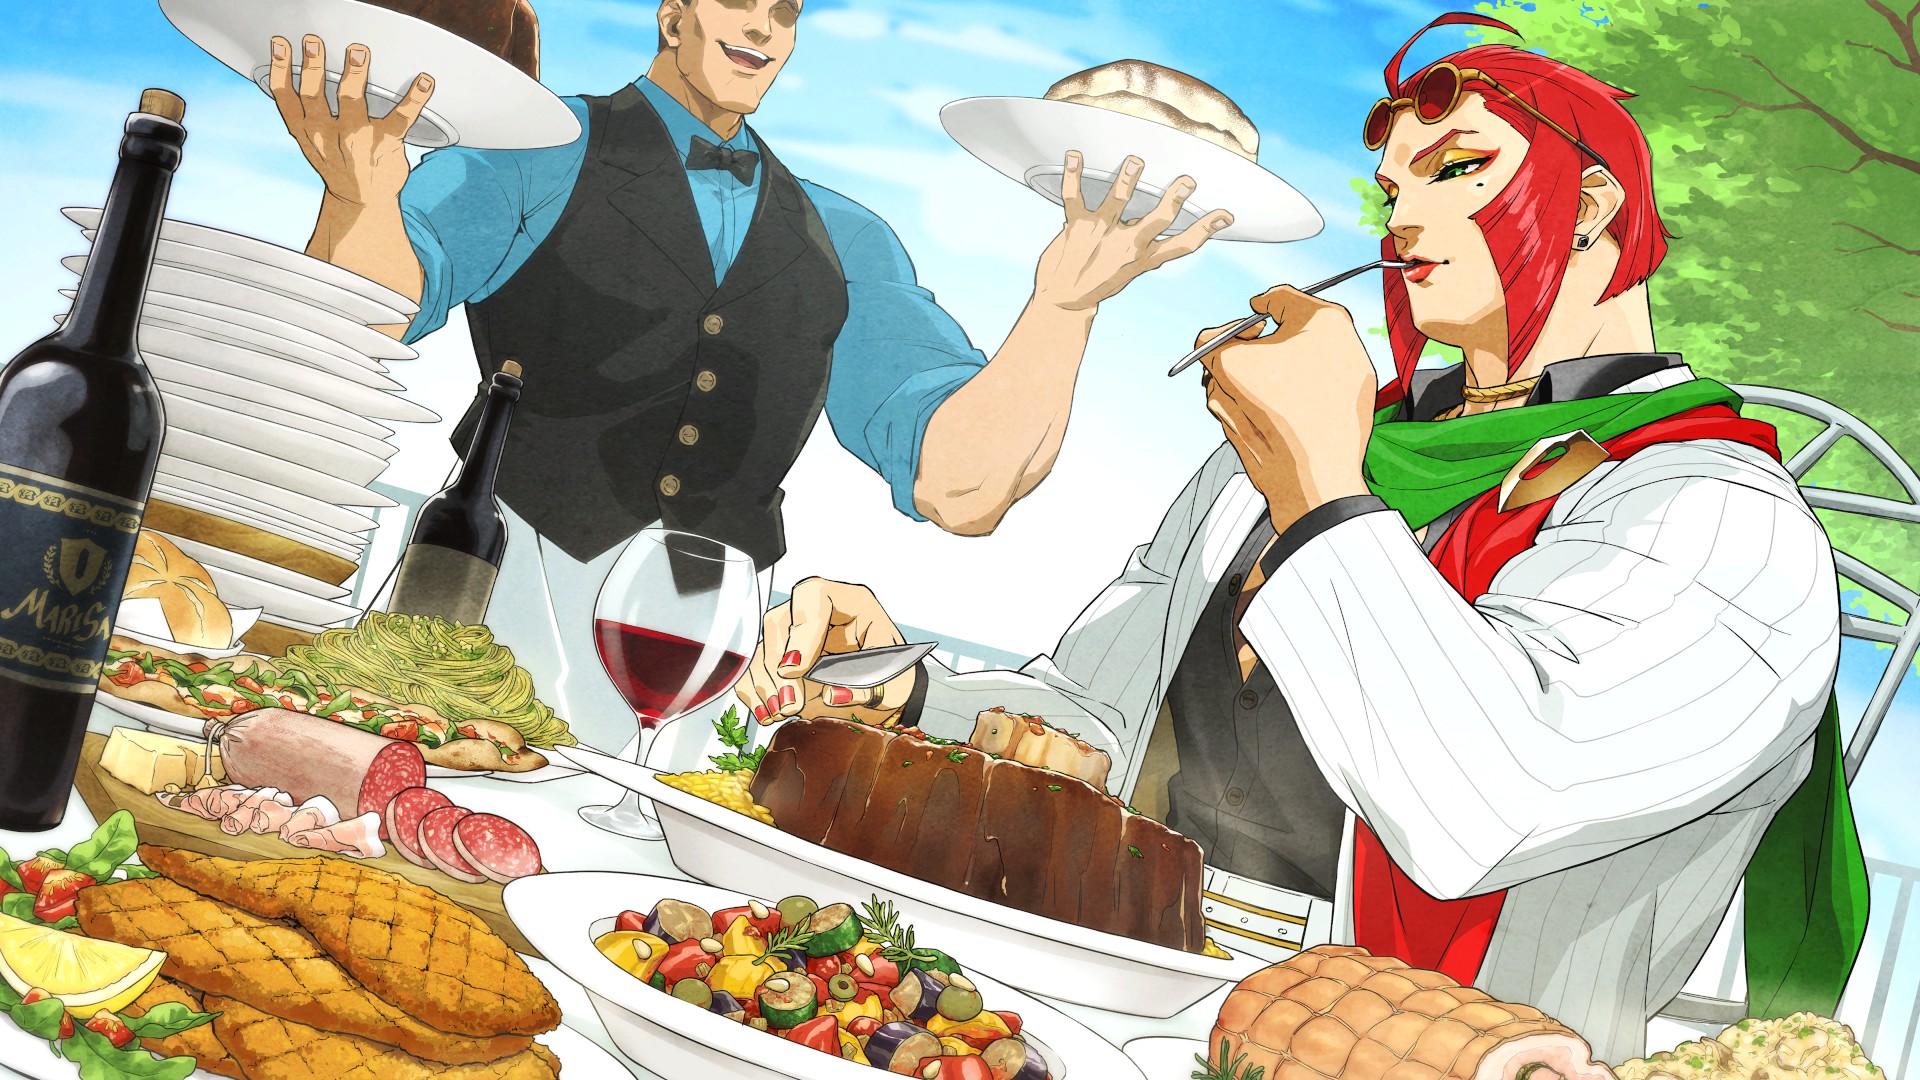
A Memory of Marisa: 1
A Memory of Marisa: 2
A Memory of Lily: 1
A Memory of Lily: 2
A Memory of JP: 1
A Memory of JP: 2
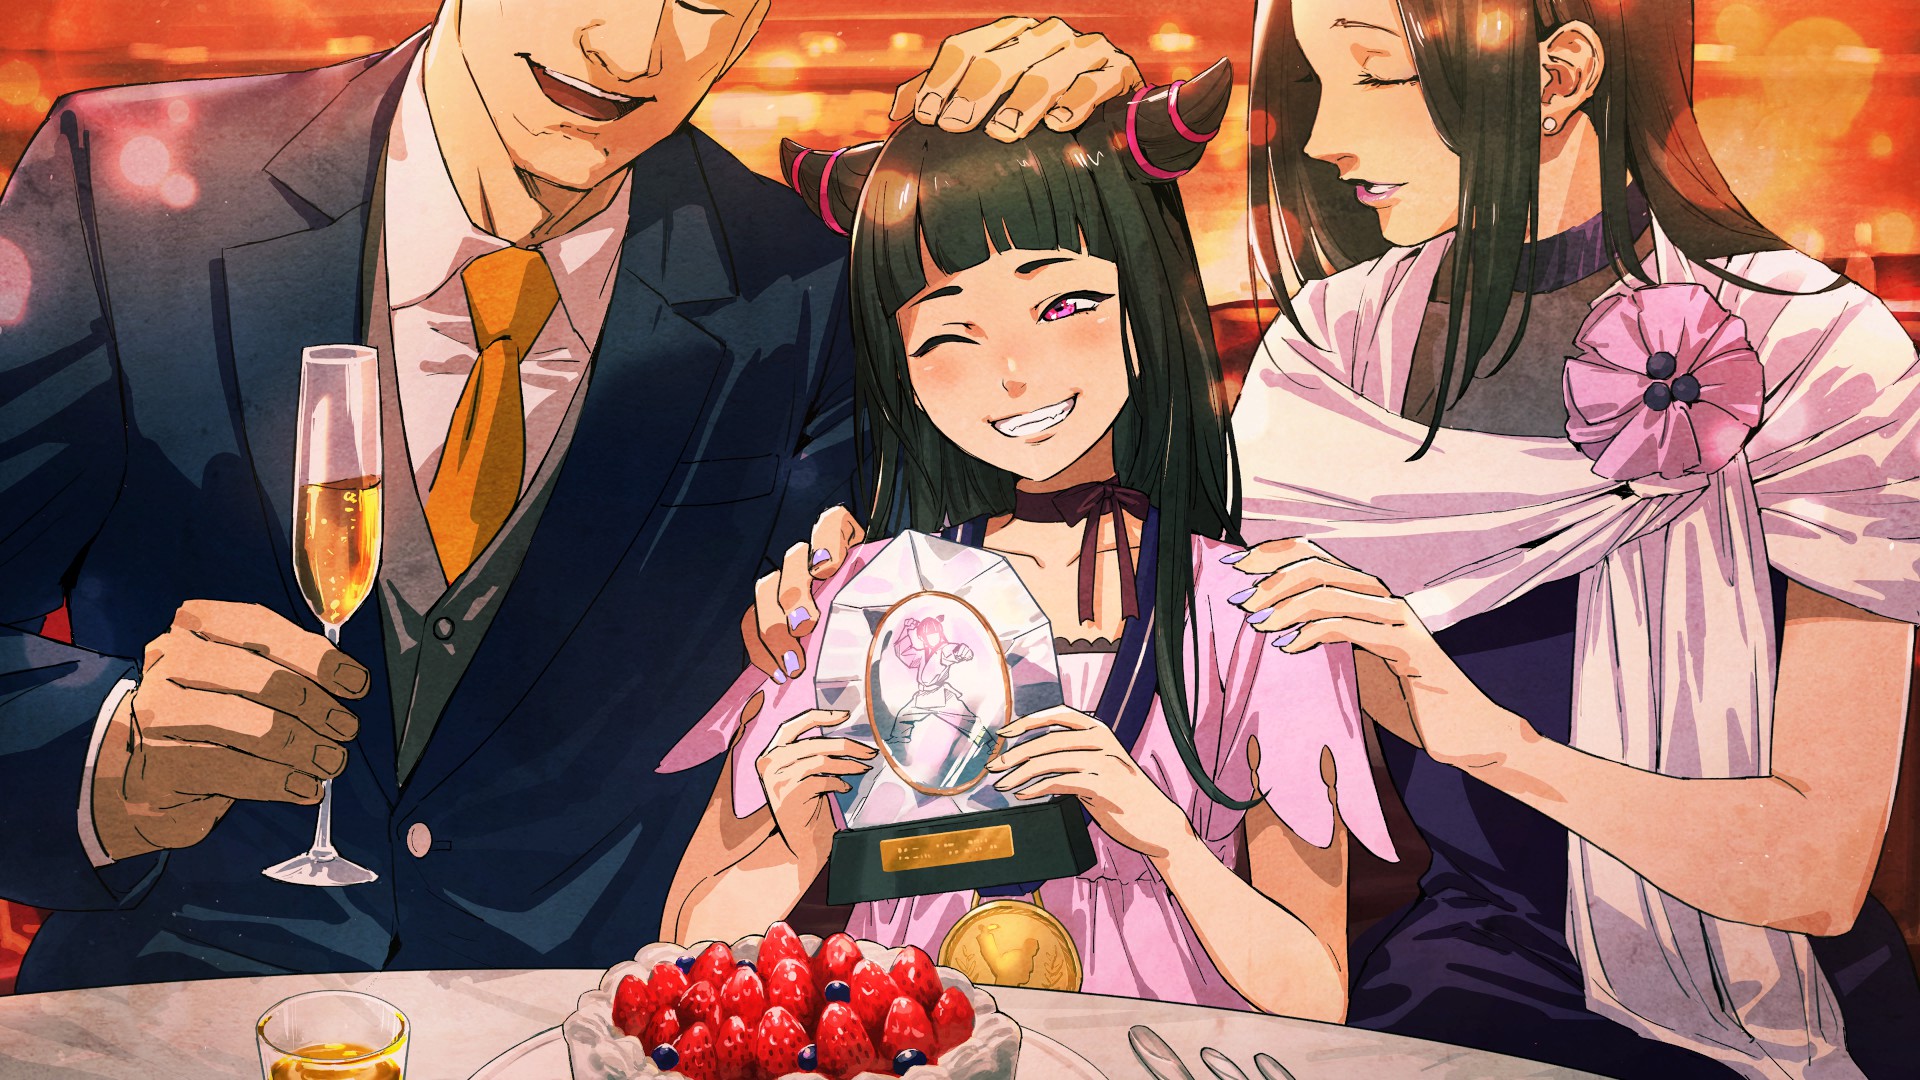
A Memory of Juri: 1
A Memory of Juri: 2
A Memory of Dee Jay: 1
A Memory of Dee Jay: 2
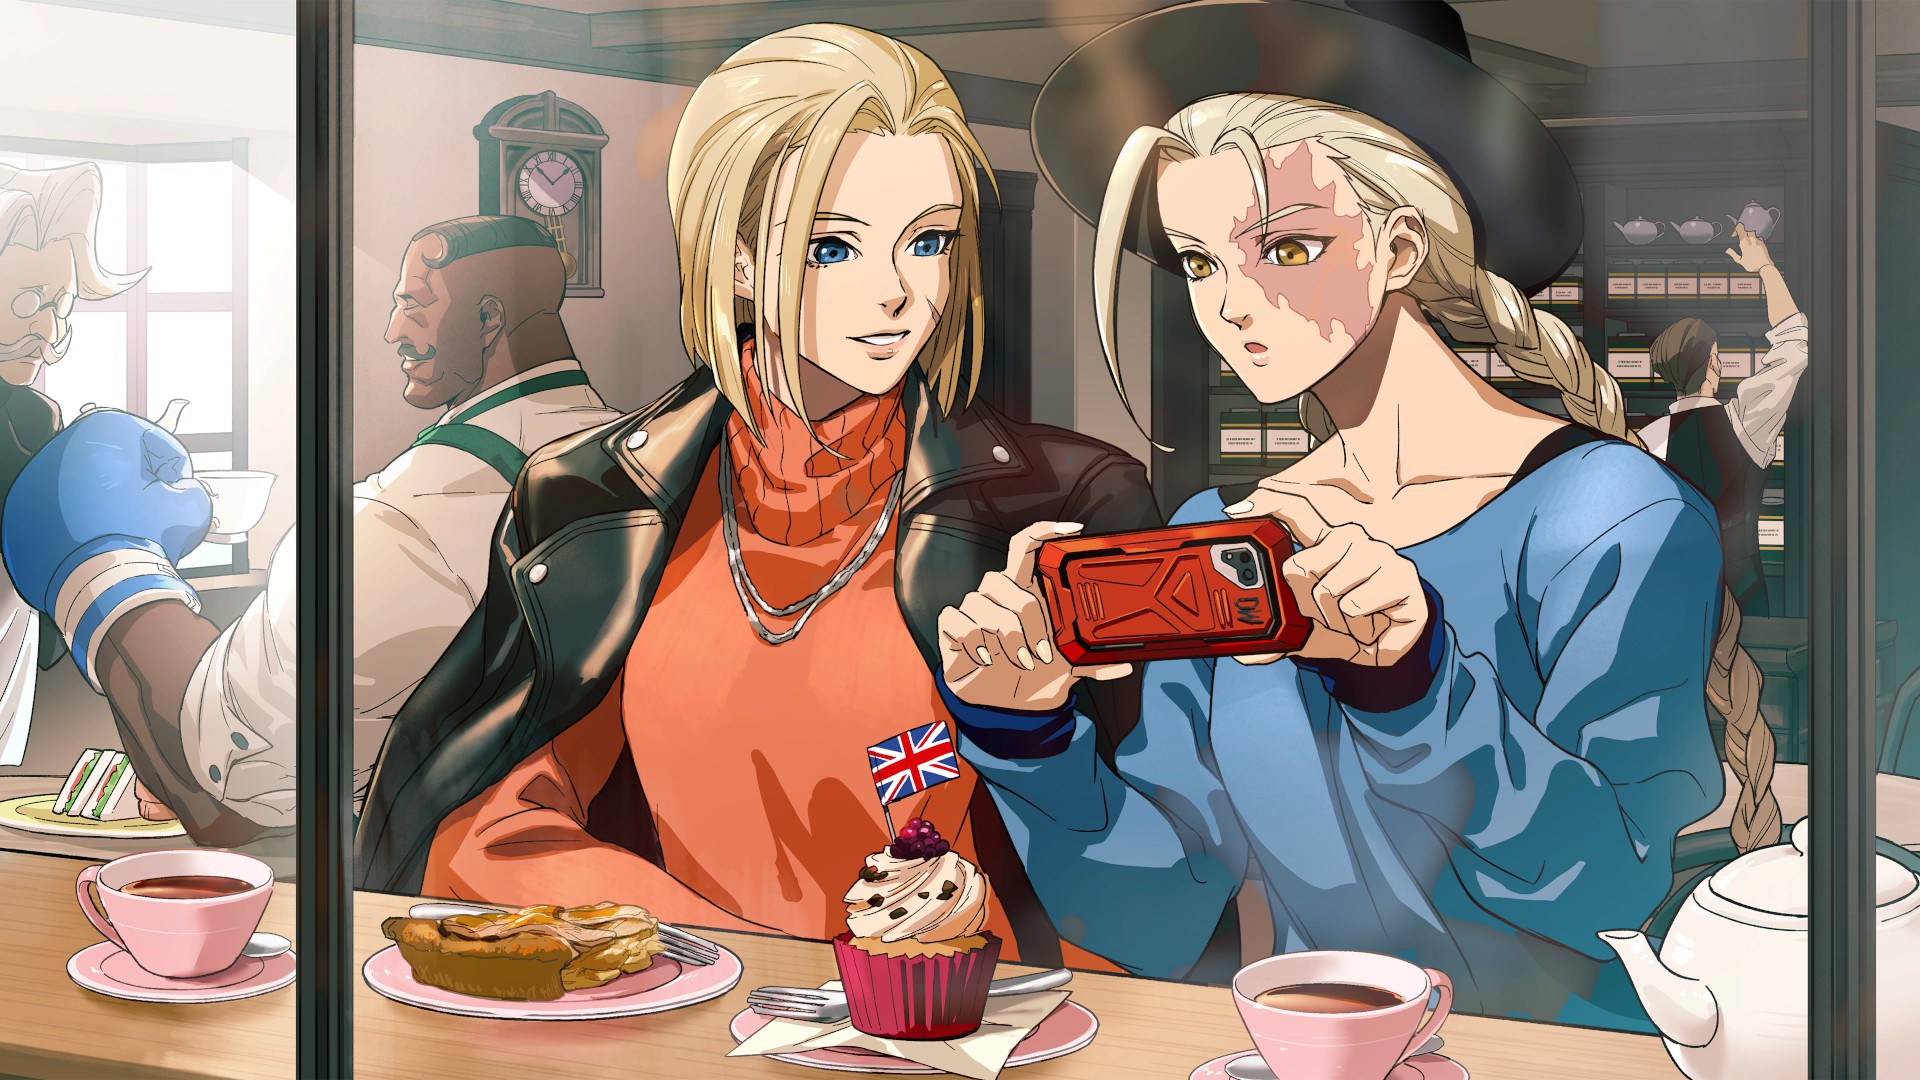
A Memory of Cammy: 1
A Memory of Cammy: 2
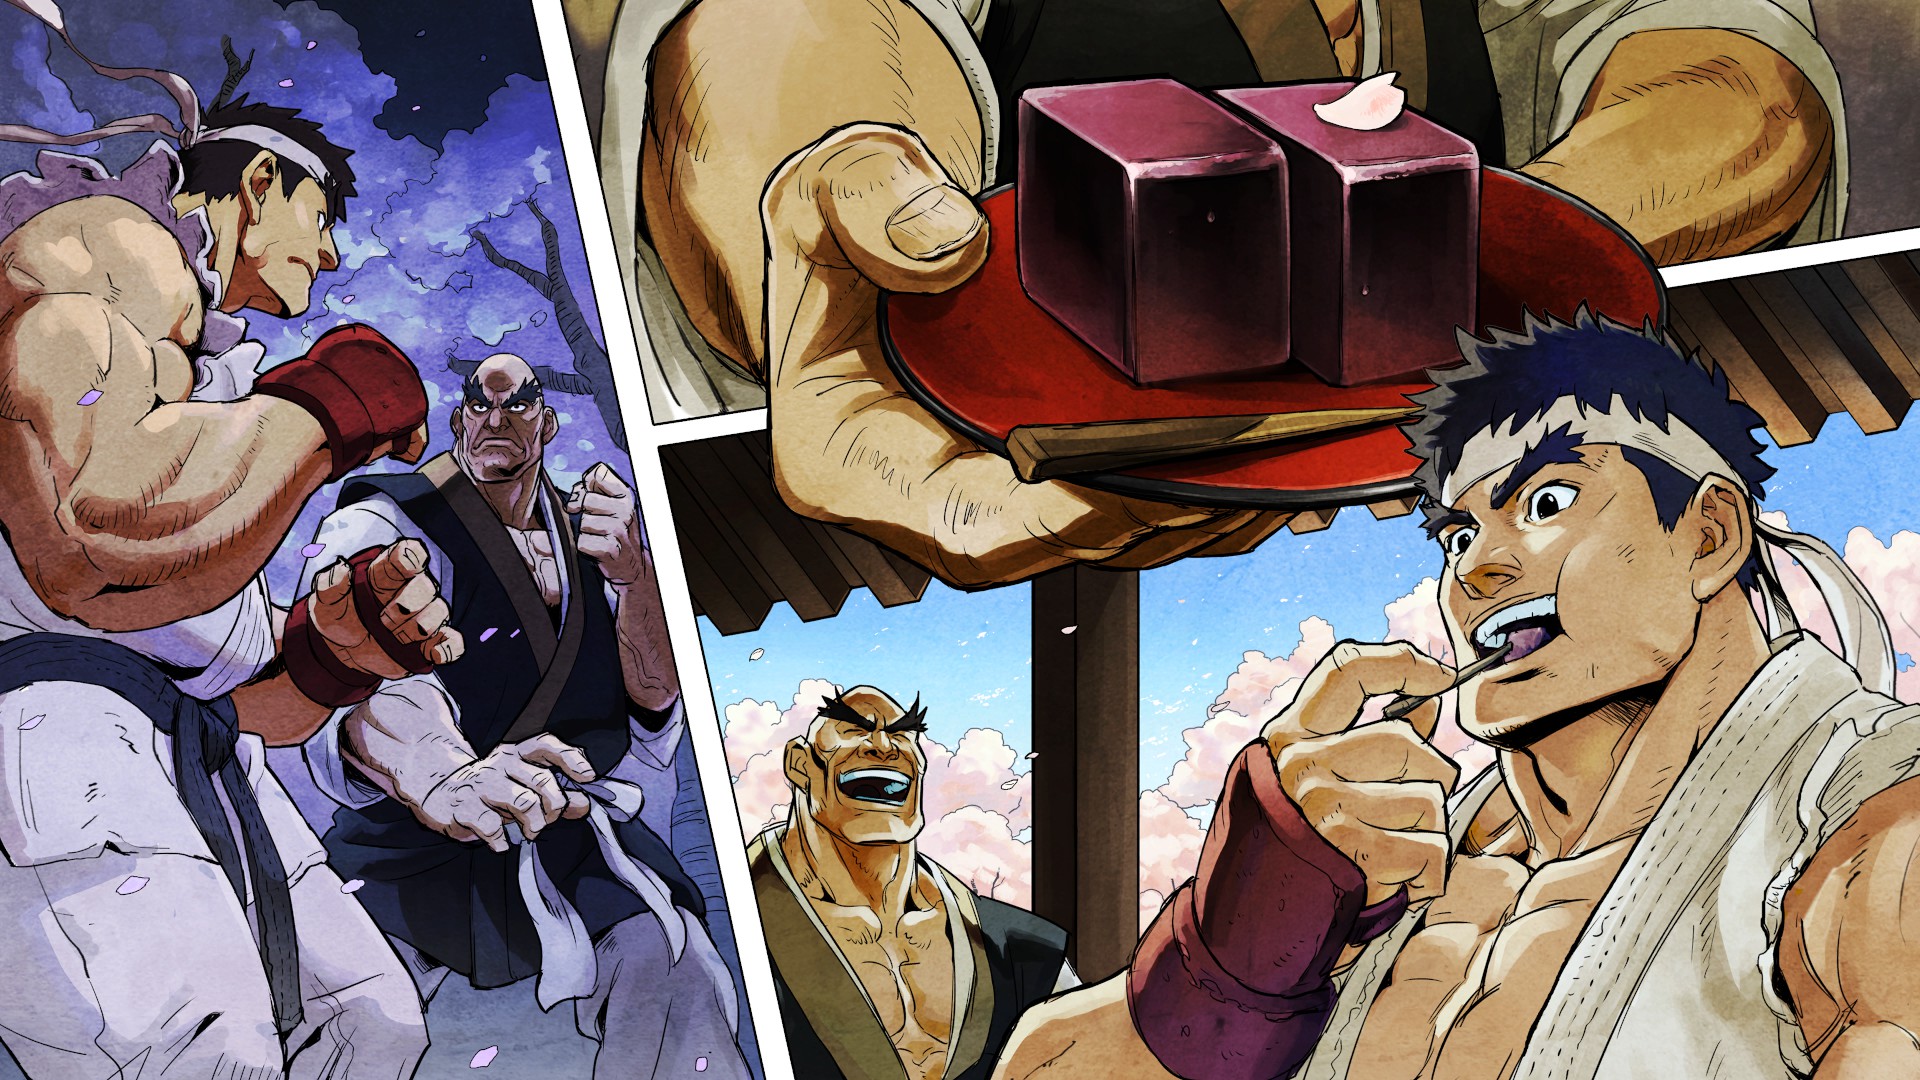
A Memory of Ryu: 1
A Memory of Ryu: 2
A Memory of E. Honda: 1
A Memory of E. Honda: 2
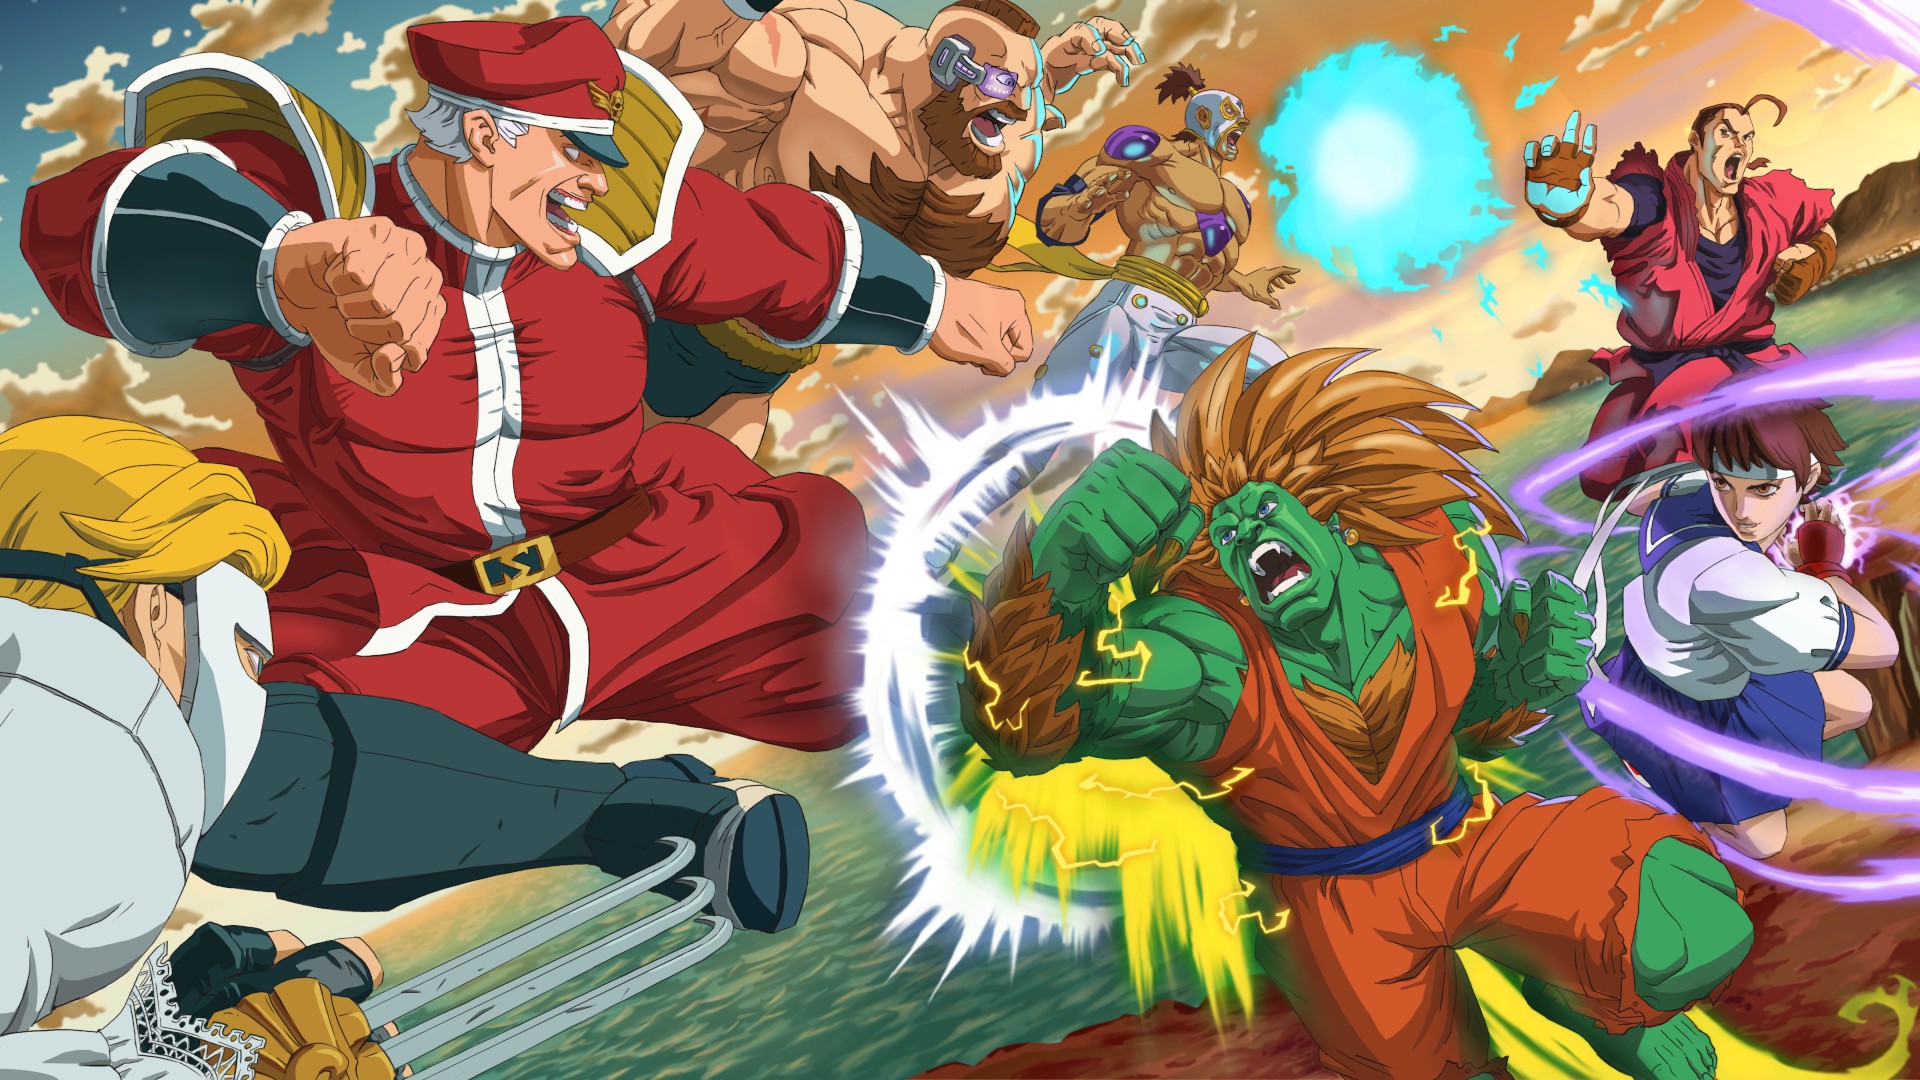
A Memory of Blanka: 1
A Memory of Blanka: 2
A Memory of Guile: 1
A Memory of Guile: 2
A Memory of Ken: 1
A Memory of Ken: 2
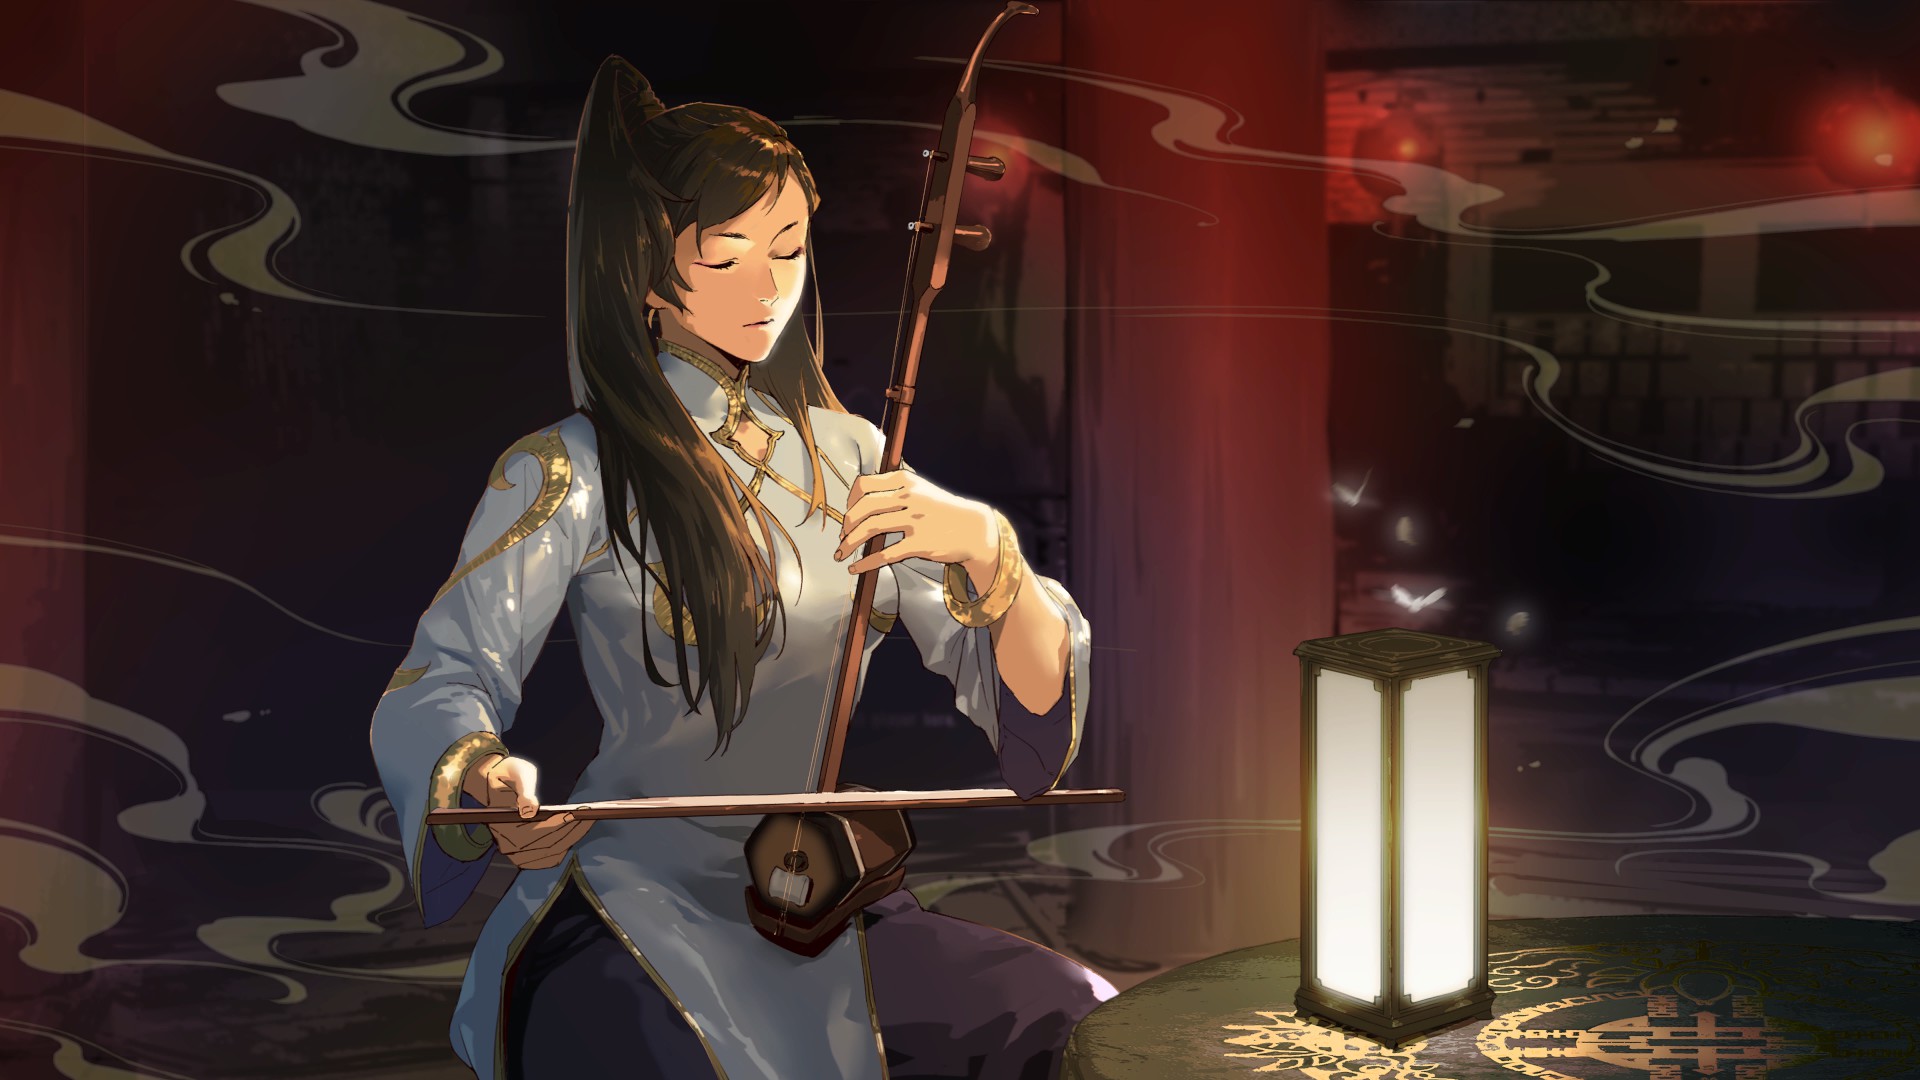
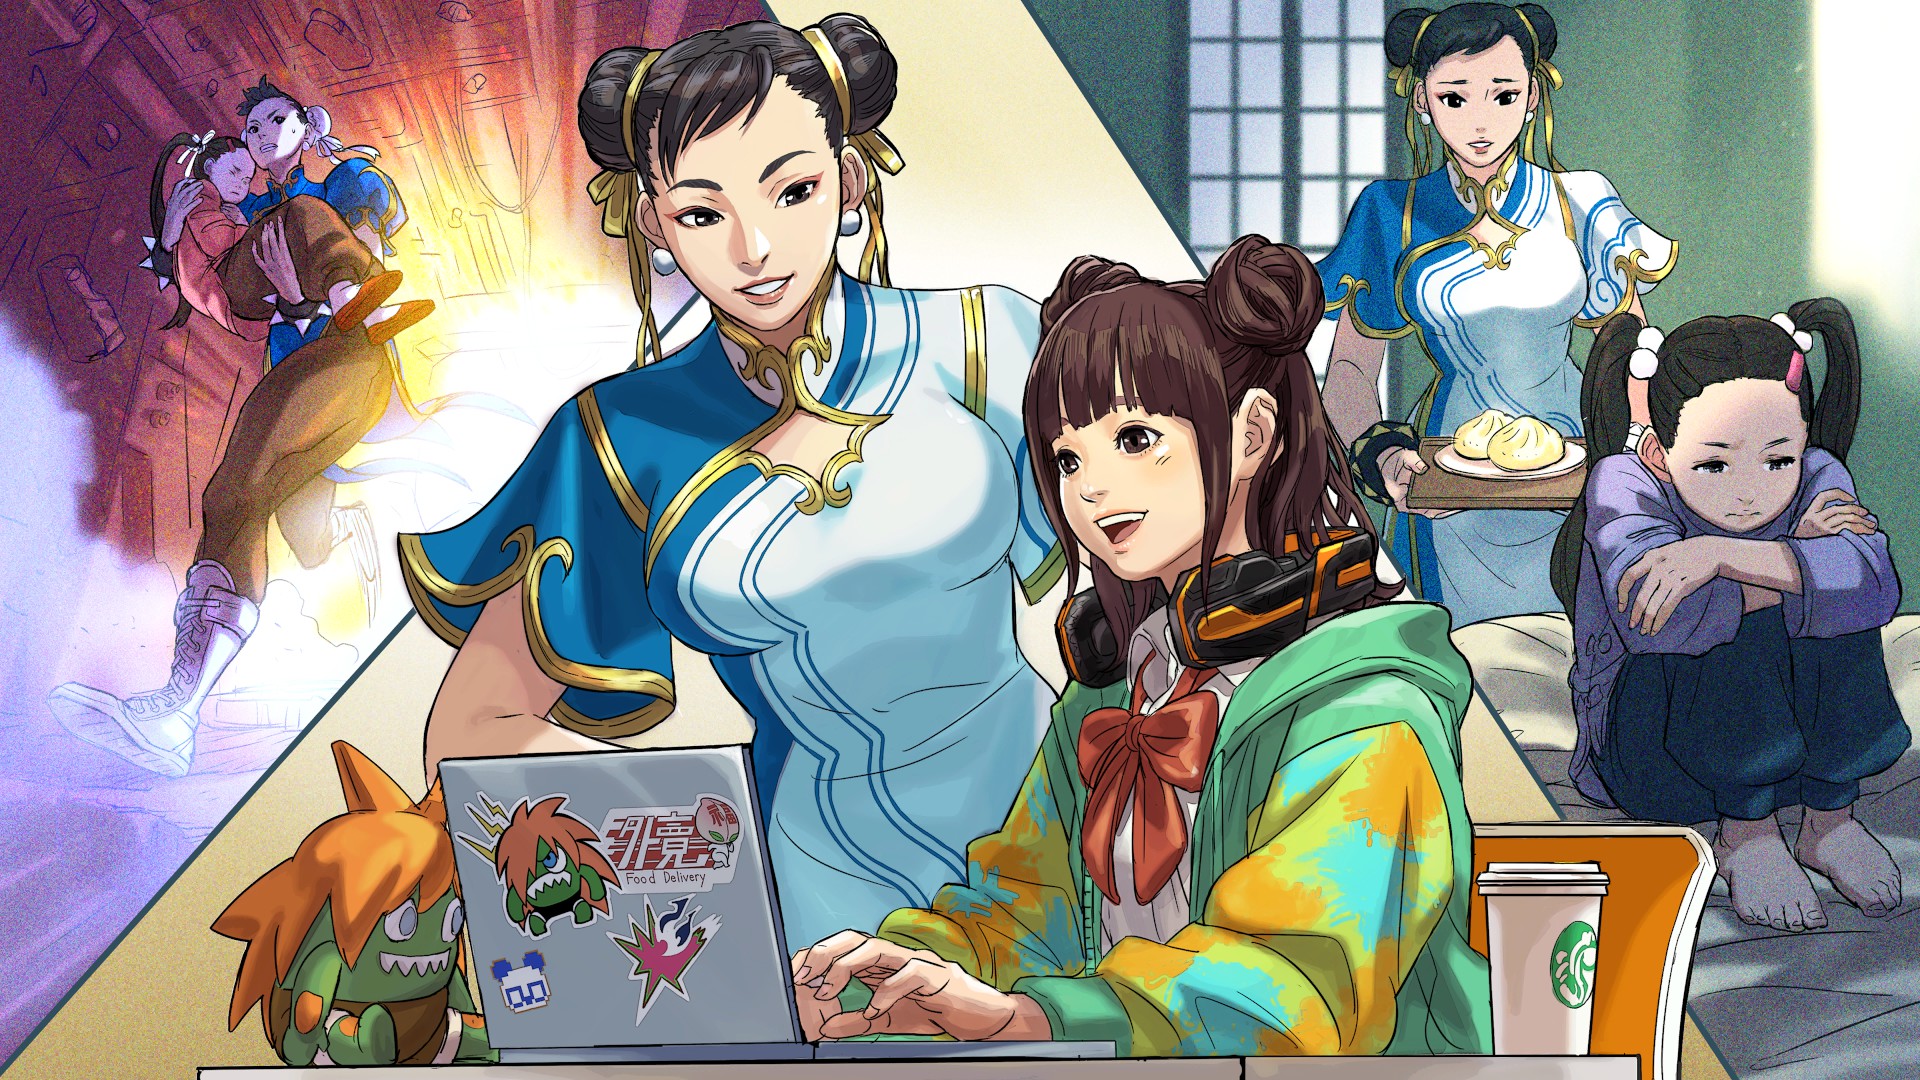
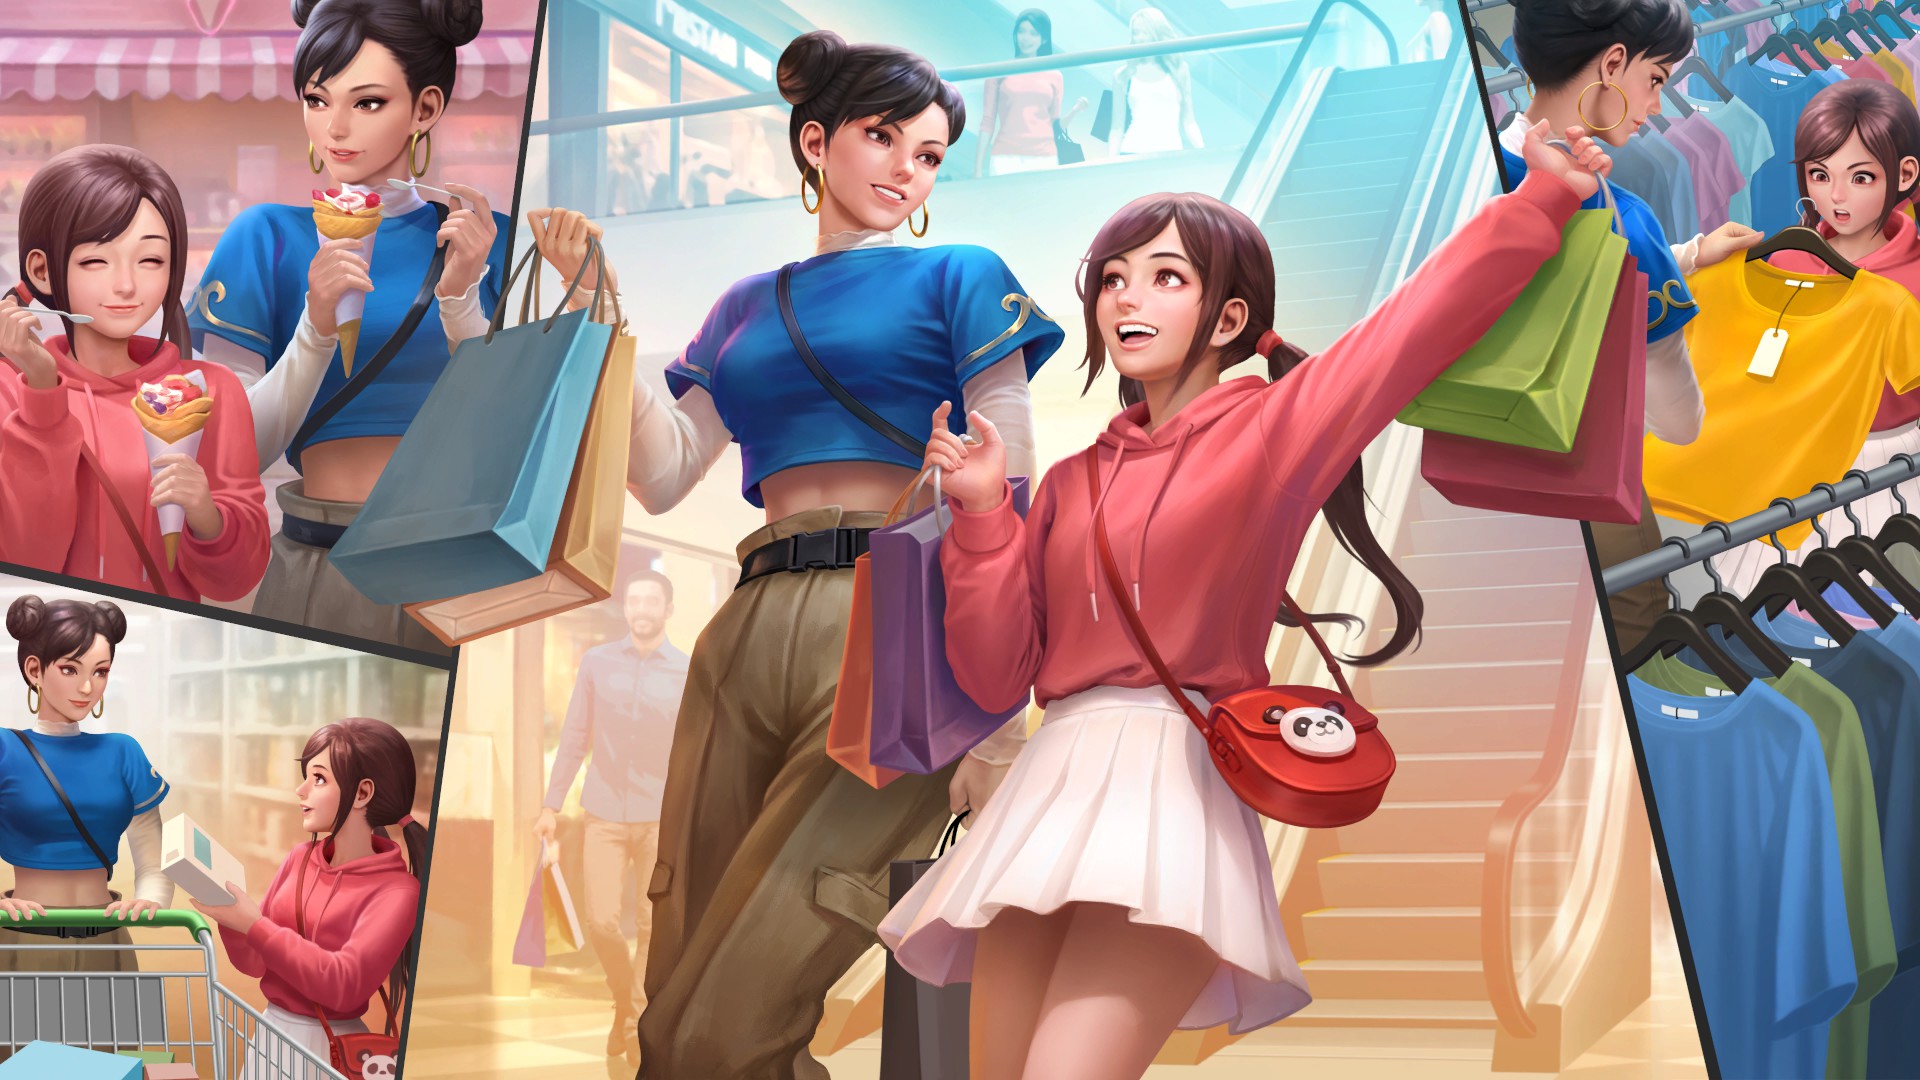
A Memory of Chun-Li: 1
A Memory of Chun-Li: 2
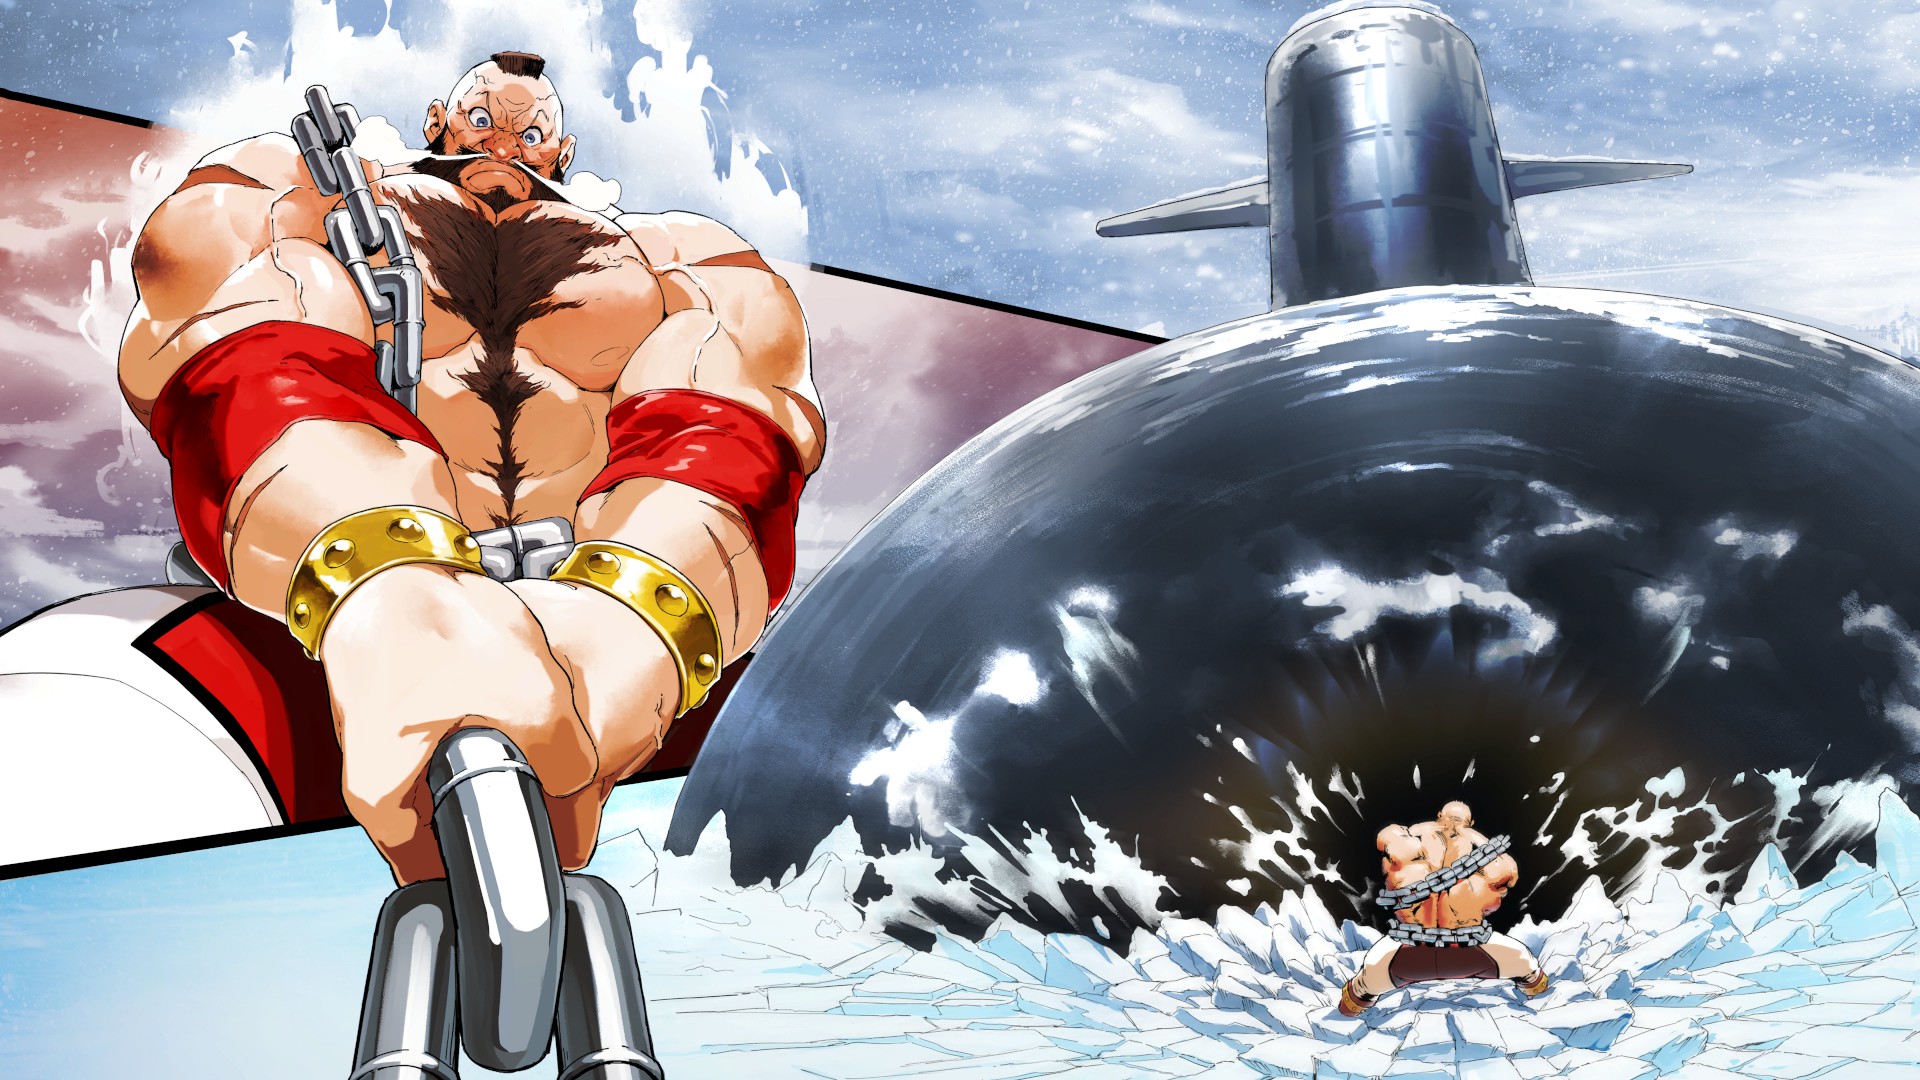
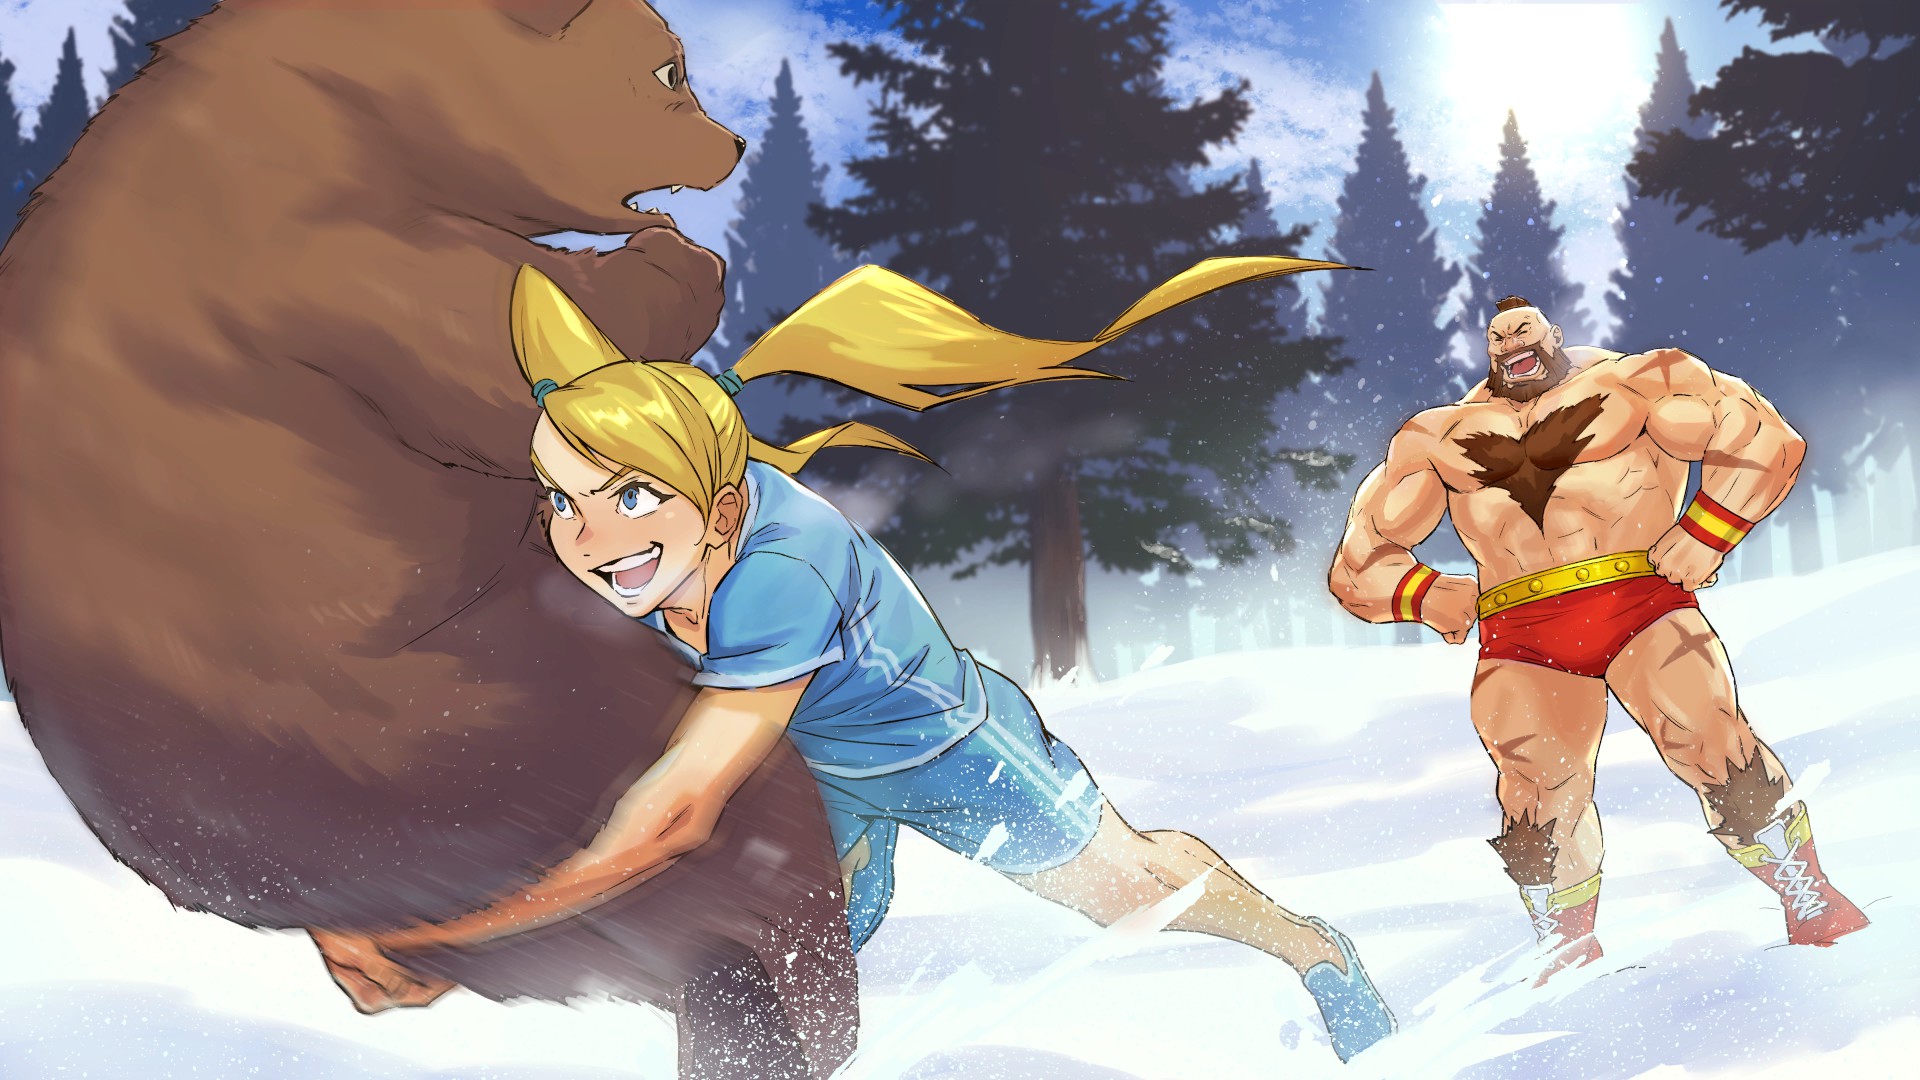
A Memory of Zangief: 1
A Memory of Zangief: 2
A Memory of Dhalsim: 1
A Memory of Dhalsim: 2
A Memory of Rashid: 1
A Memory of Rashid: 2
A Memory of A.K.I.: 1
A Memory of A.K.I.: 2
A Memory of Ed: 1
A Memory of Ed: 2
A Memory of Akuma: 1
A Memory of Akuma: 2
A Memory of M. Bison: 1
A Memory of M. Bison: 2

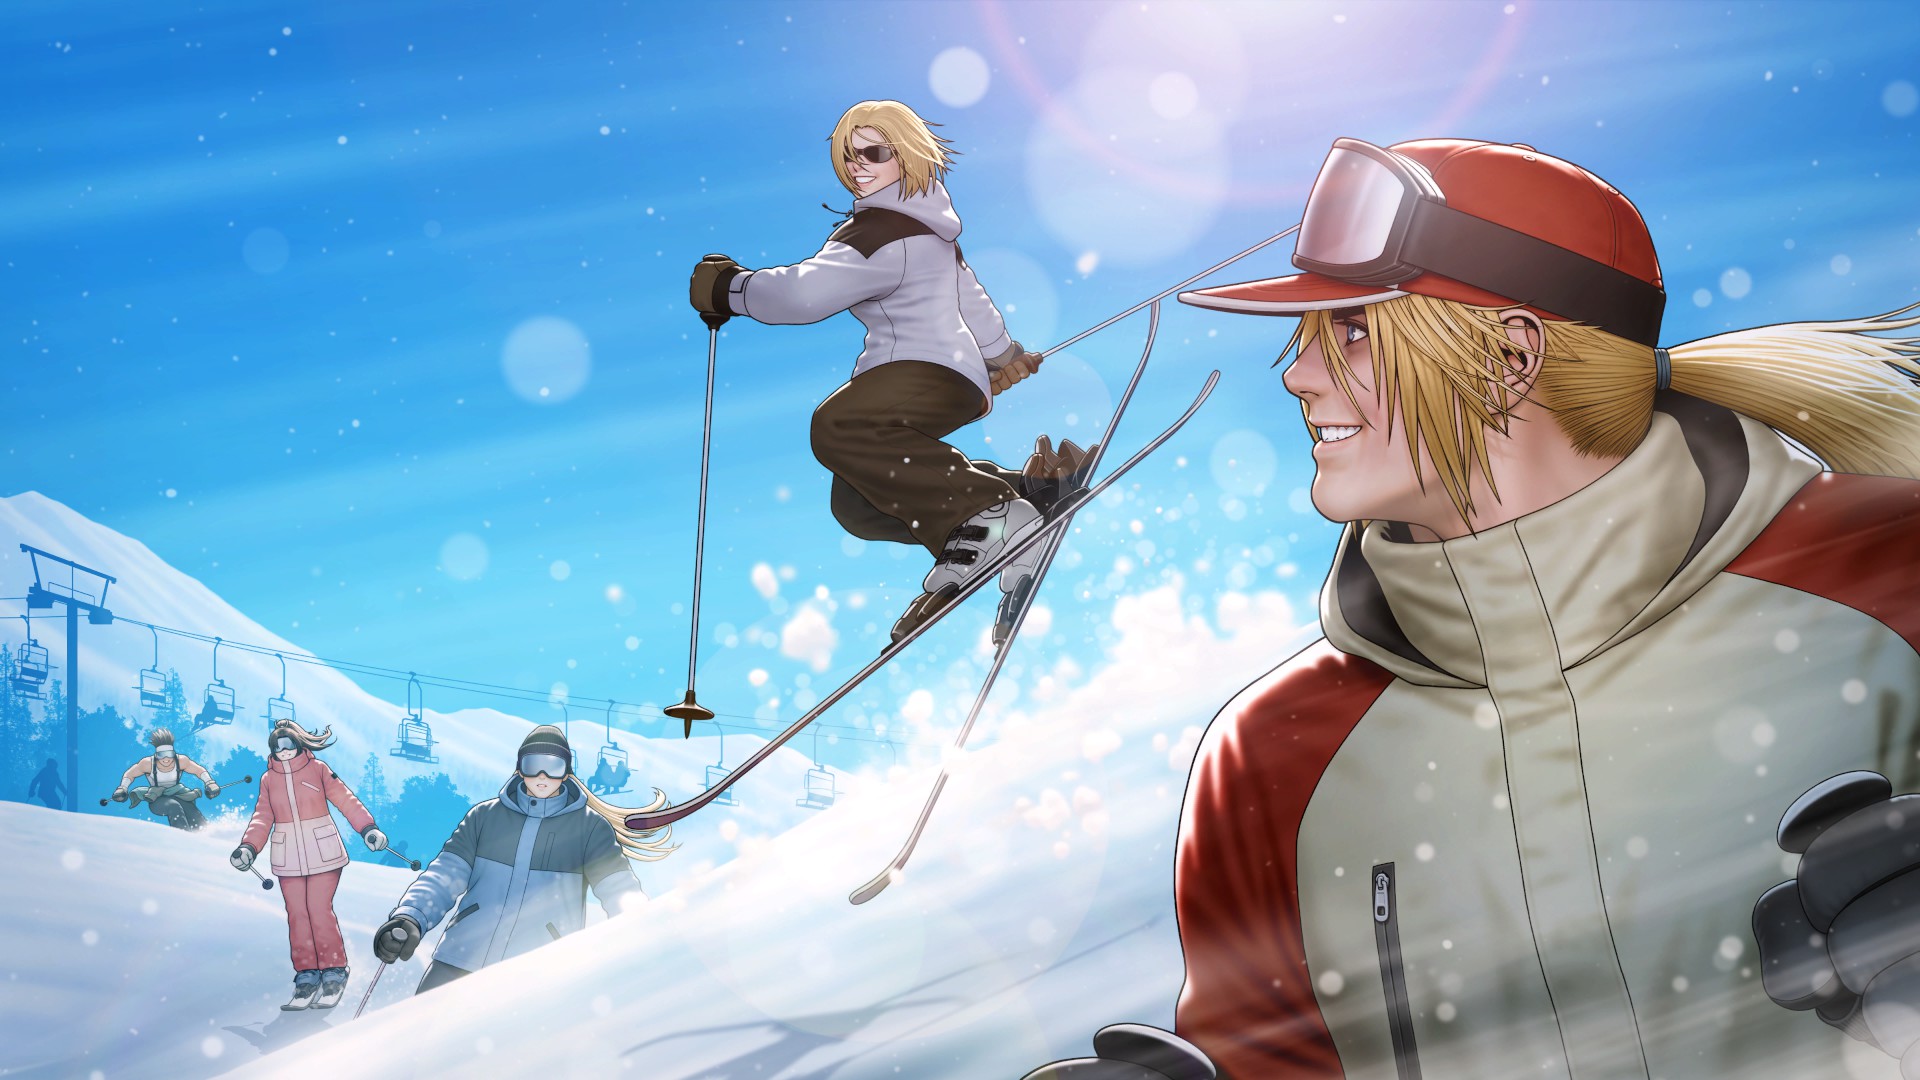
A Memory of Terry: 1
A Memory of Terry: 2
A Memory of Mai: 1
A Memory of Mai: 2
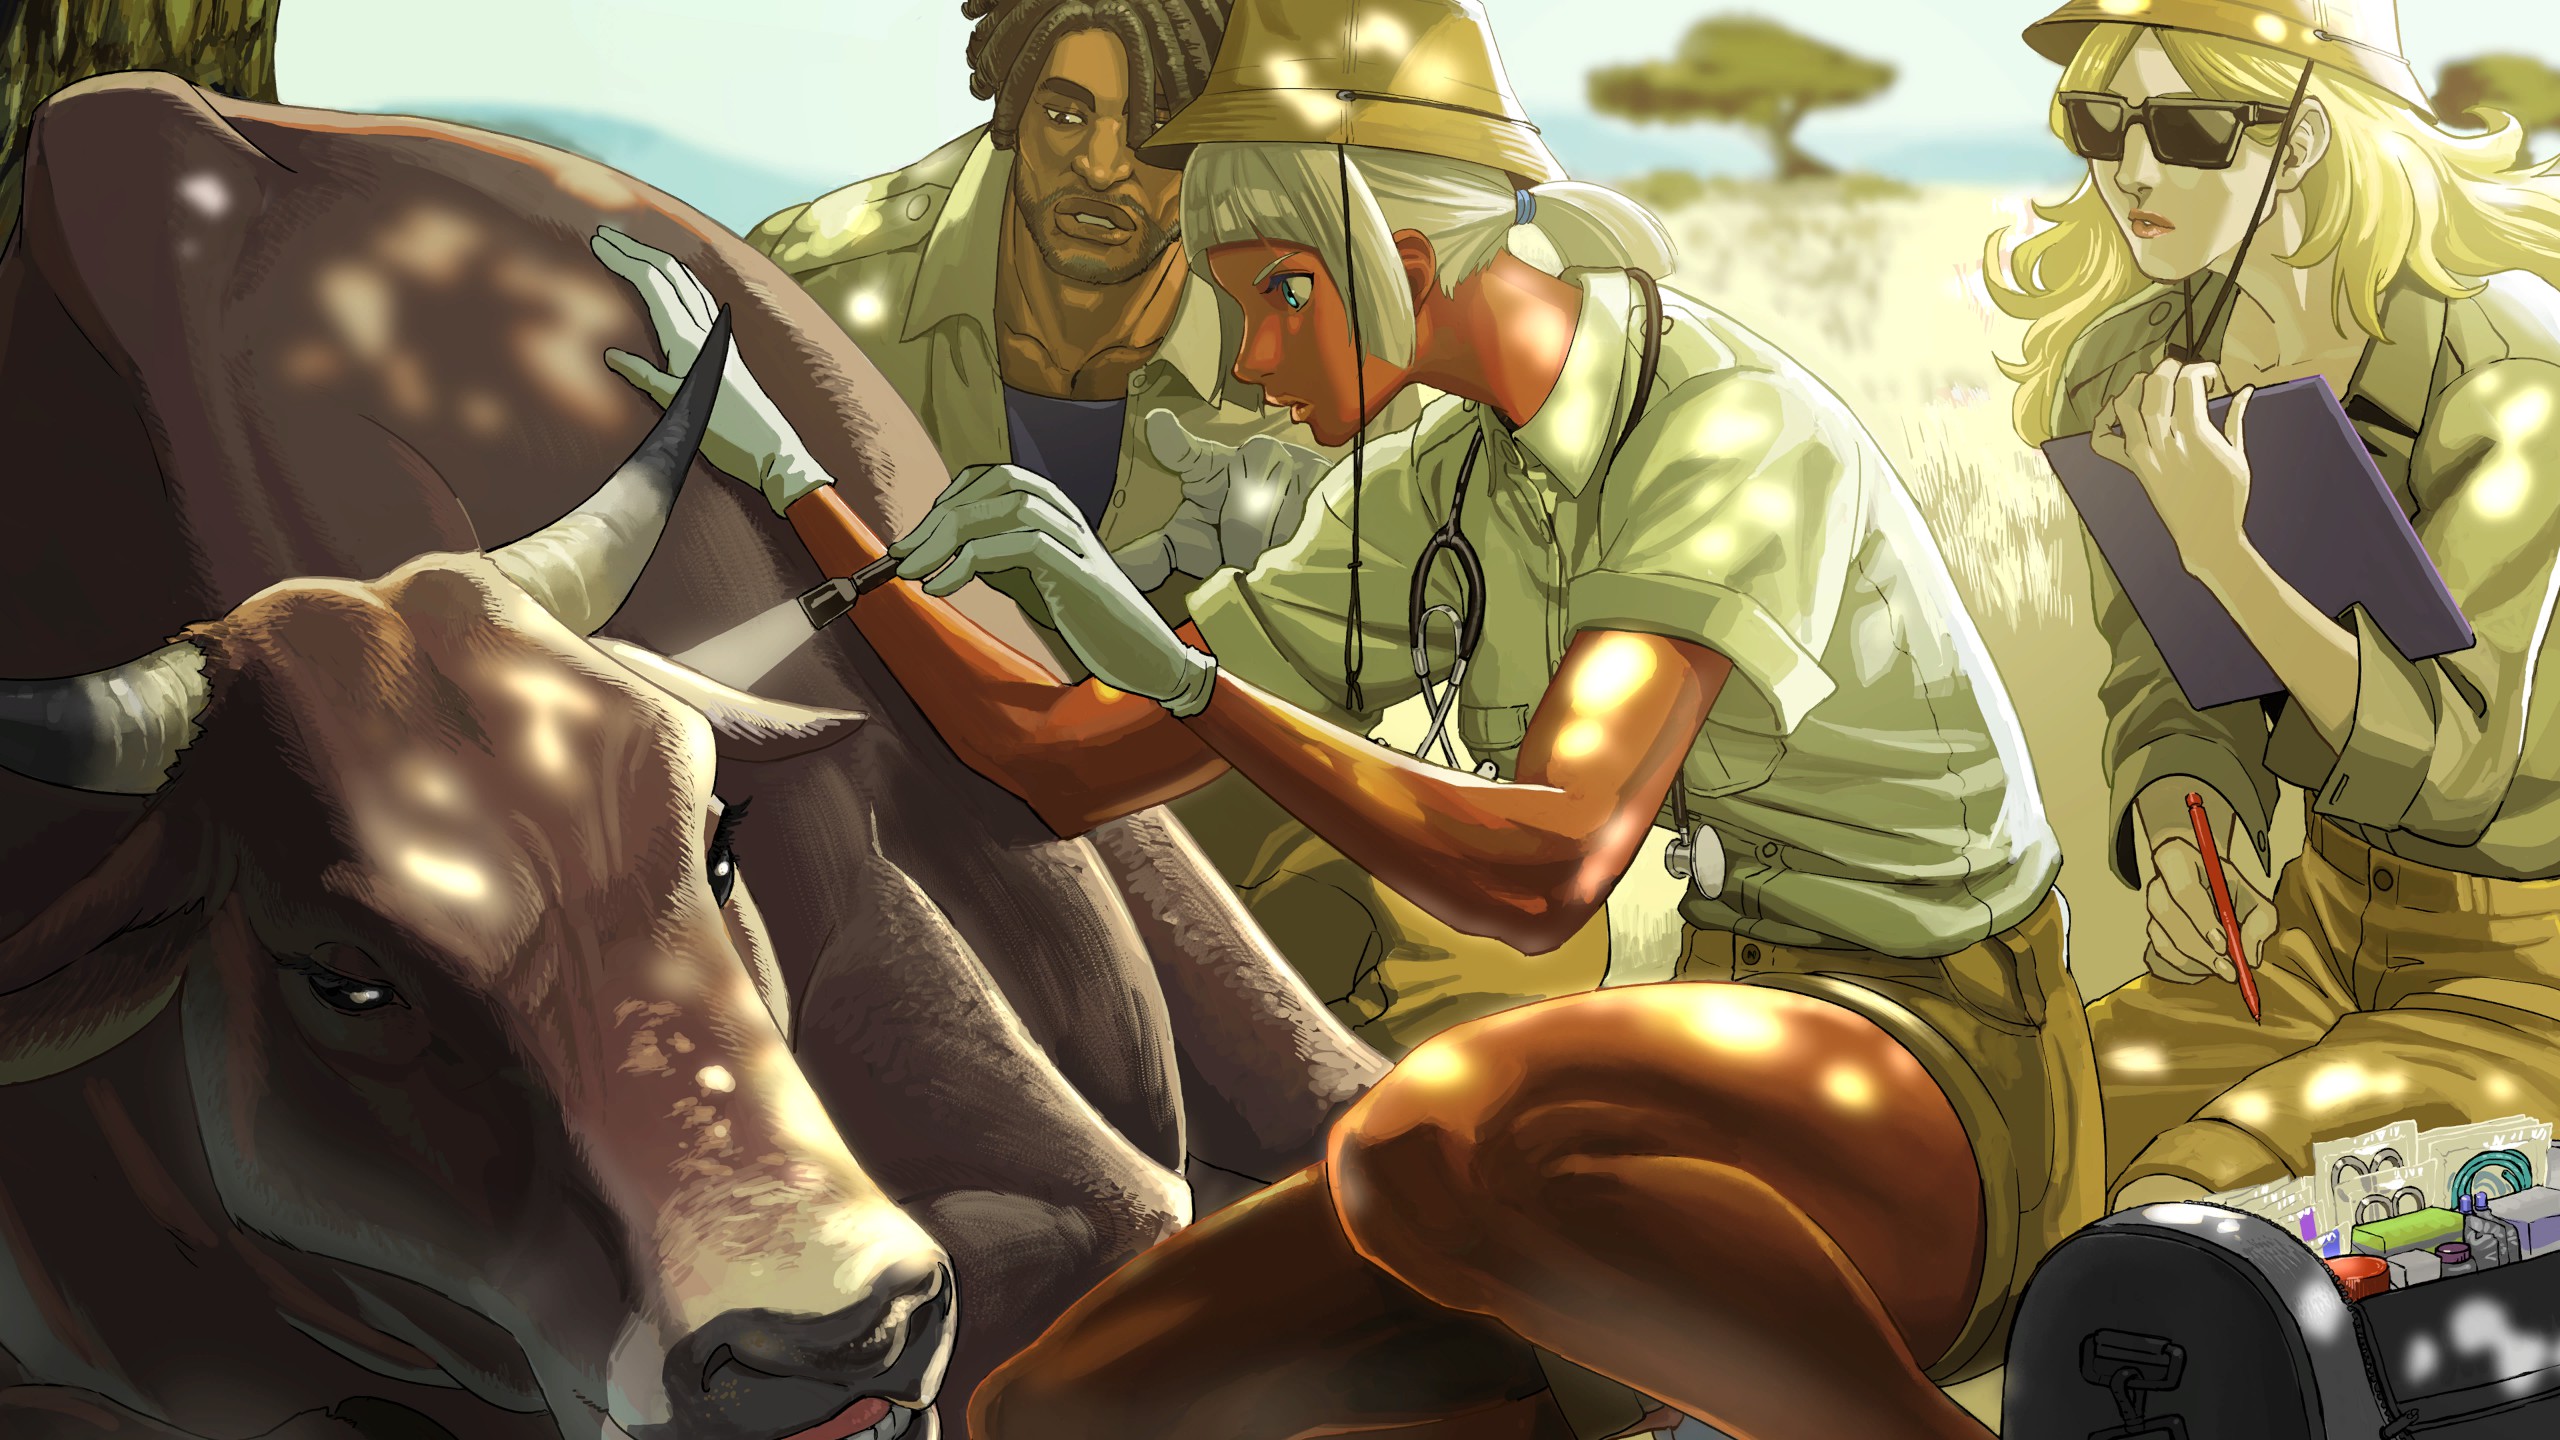
A Memory of Elena: 1
A Memory of Elena: 2
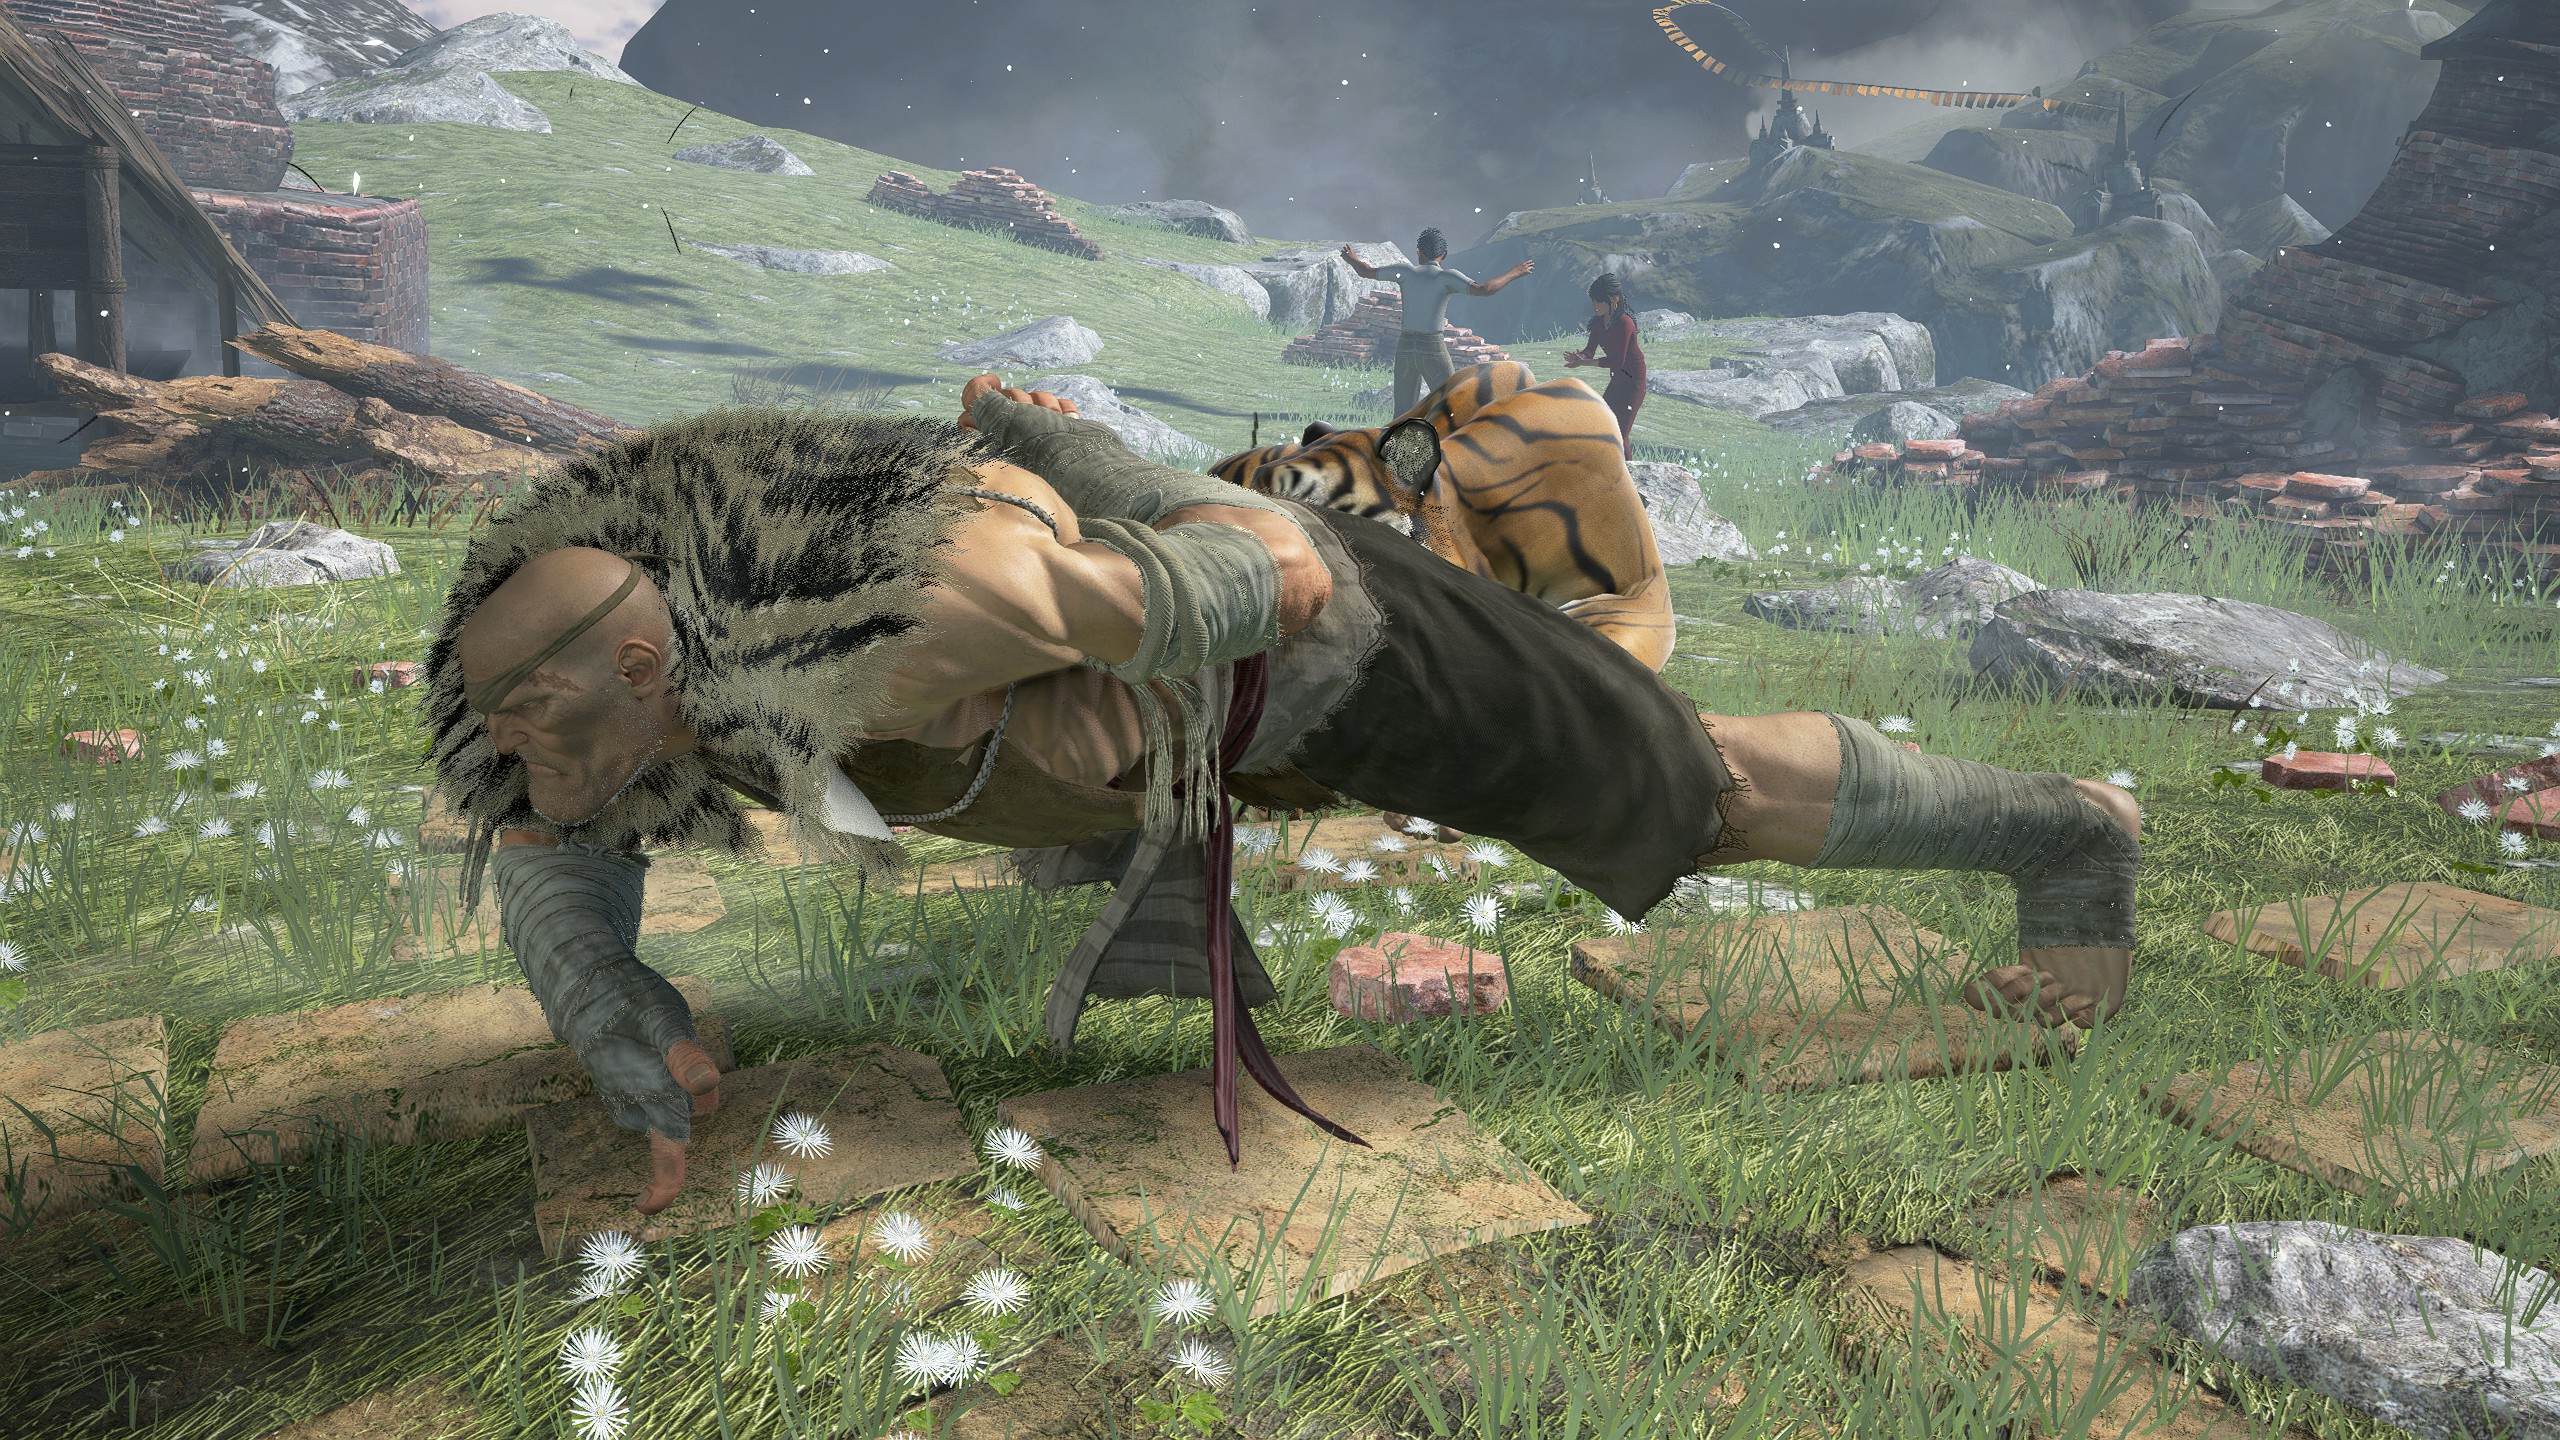
A Memory of Sagat: 1
A Memory of Sagat: 2
A Memory of C. Viper: 1
A Memory of C. Viper: 2
World Tour - Comics [from the Cutscenes Gallery] (Part 1)
At this point of writing, there are a total of six videos that can be unlocked in the cutscenes gallery under the World Tour section's Comics category. While they are technically videos, I have decided to include them here since they are basically slideshows with dialogue. The same can be said for the comic videos found in the Fighting Ground section, but I have already published that content in another guide. If you're interested, please check it out! Anyway, to unlock these videos, you will need to do the following:
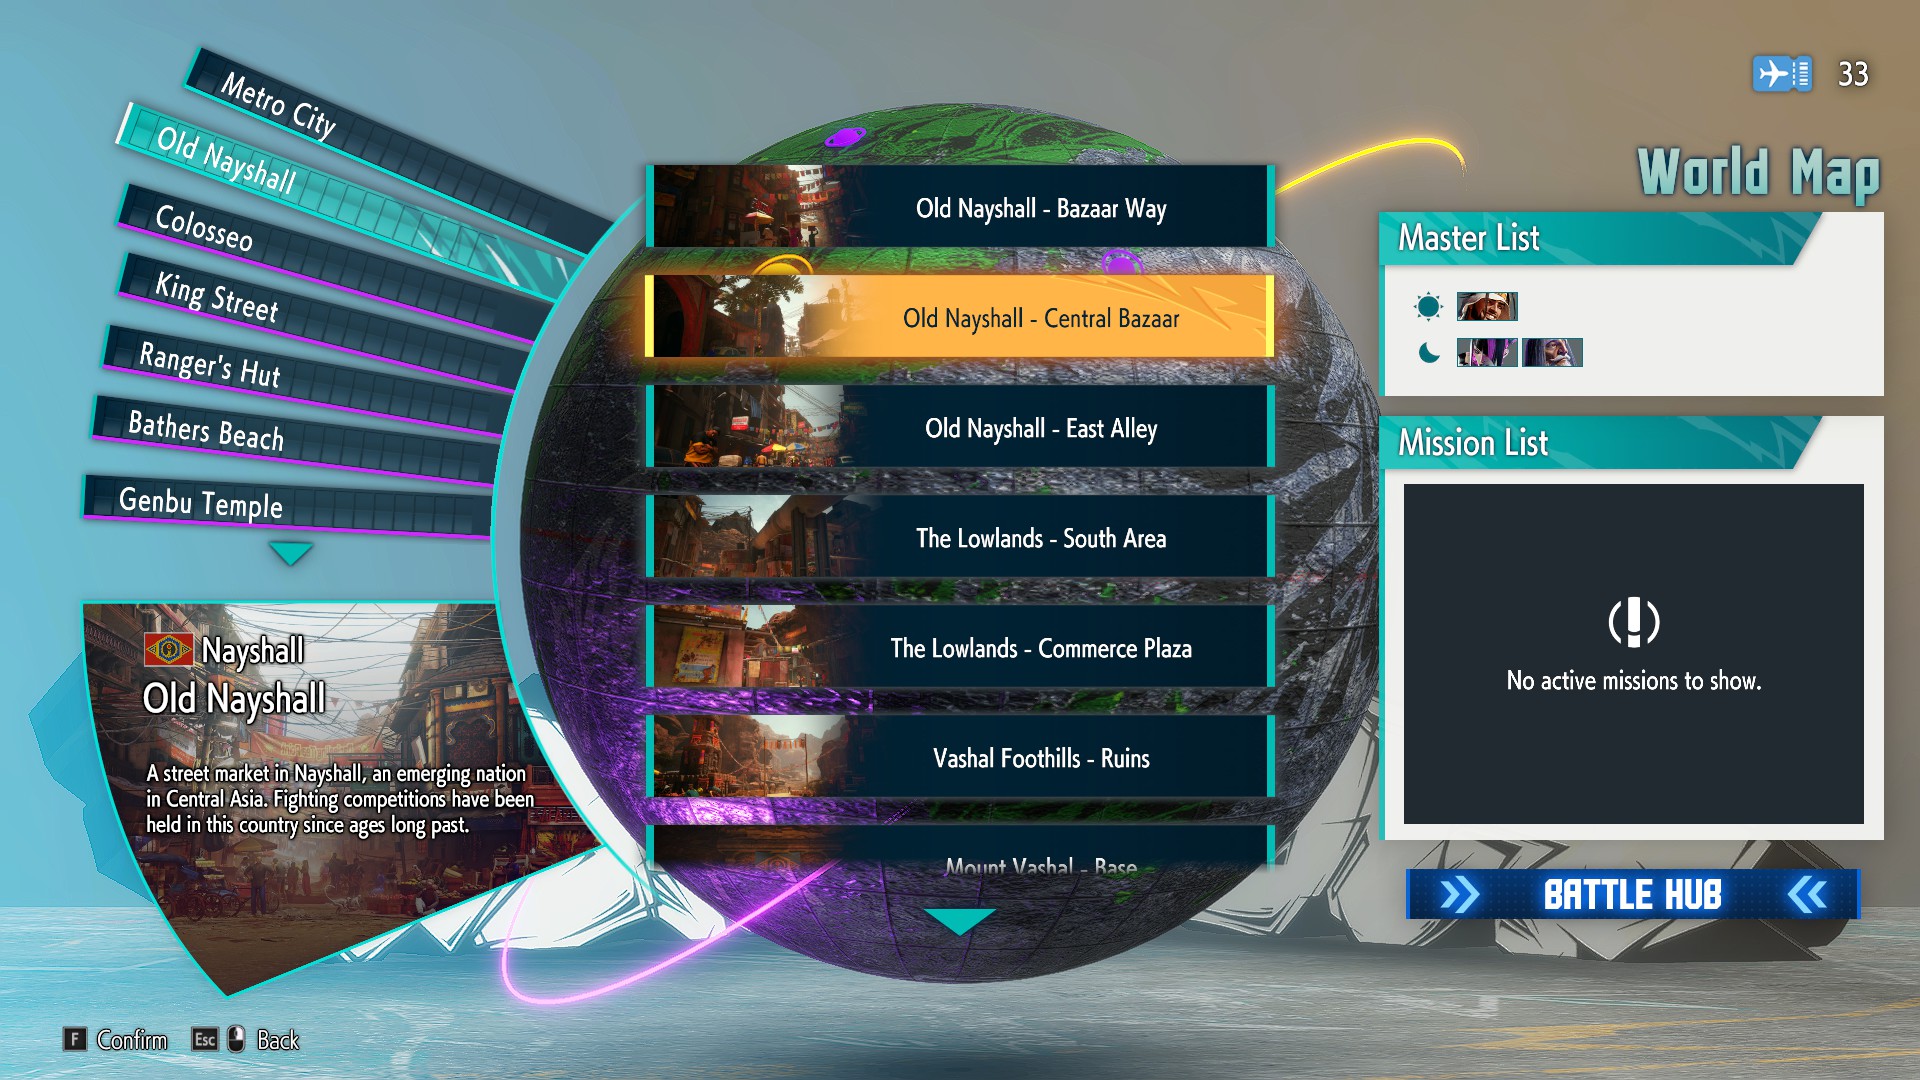
First, to unlock the comic Rashid's Mission you will have to find Rashid in World Tour mode. To figure out his whereabouts, you'll need to locate a certain someone in Nayshall and complete the mission In Search of Talent (you might have to make more in-game progress for this mission to be available). More specifically, you'll want to travel to Nayshall's Central Bazaar:
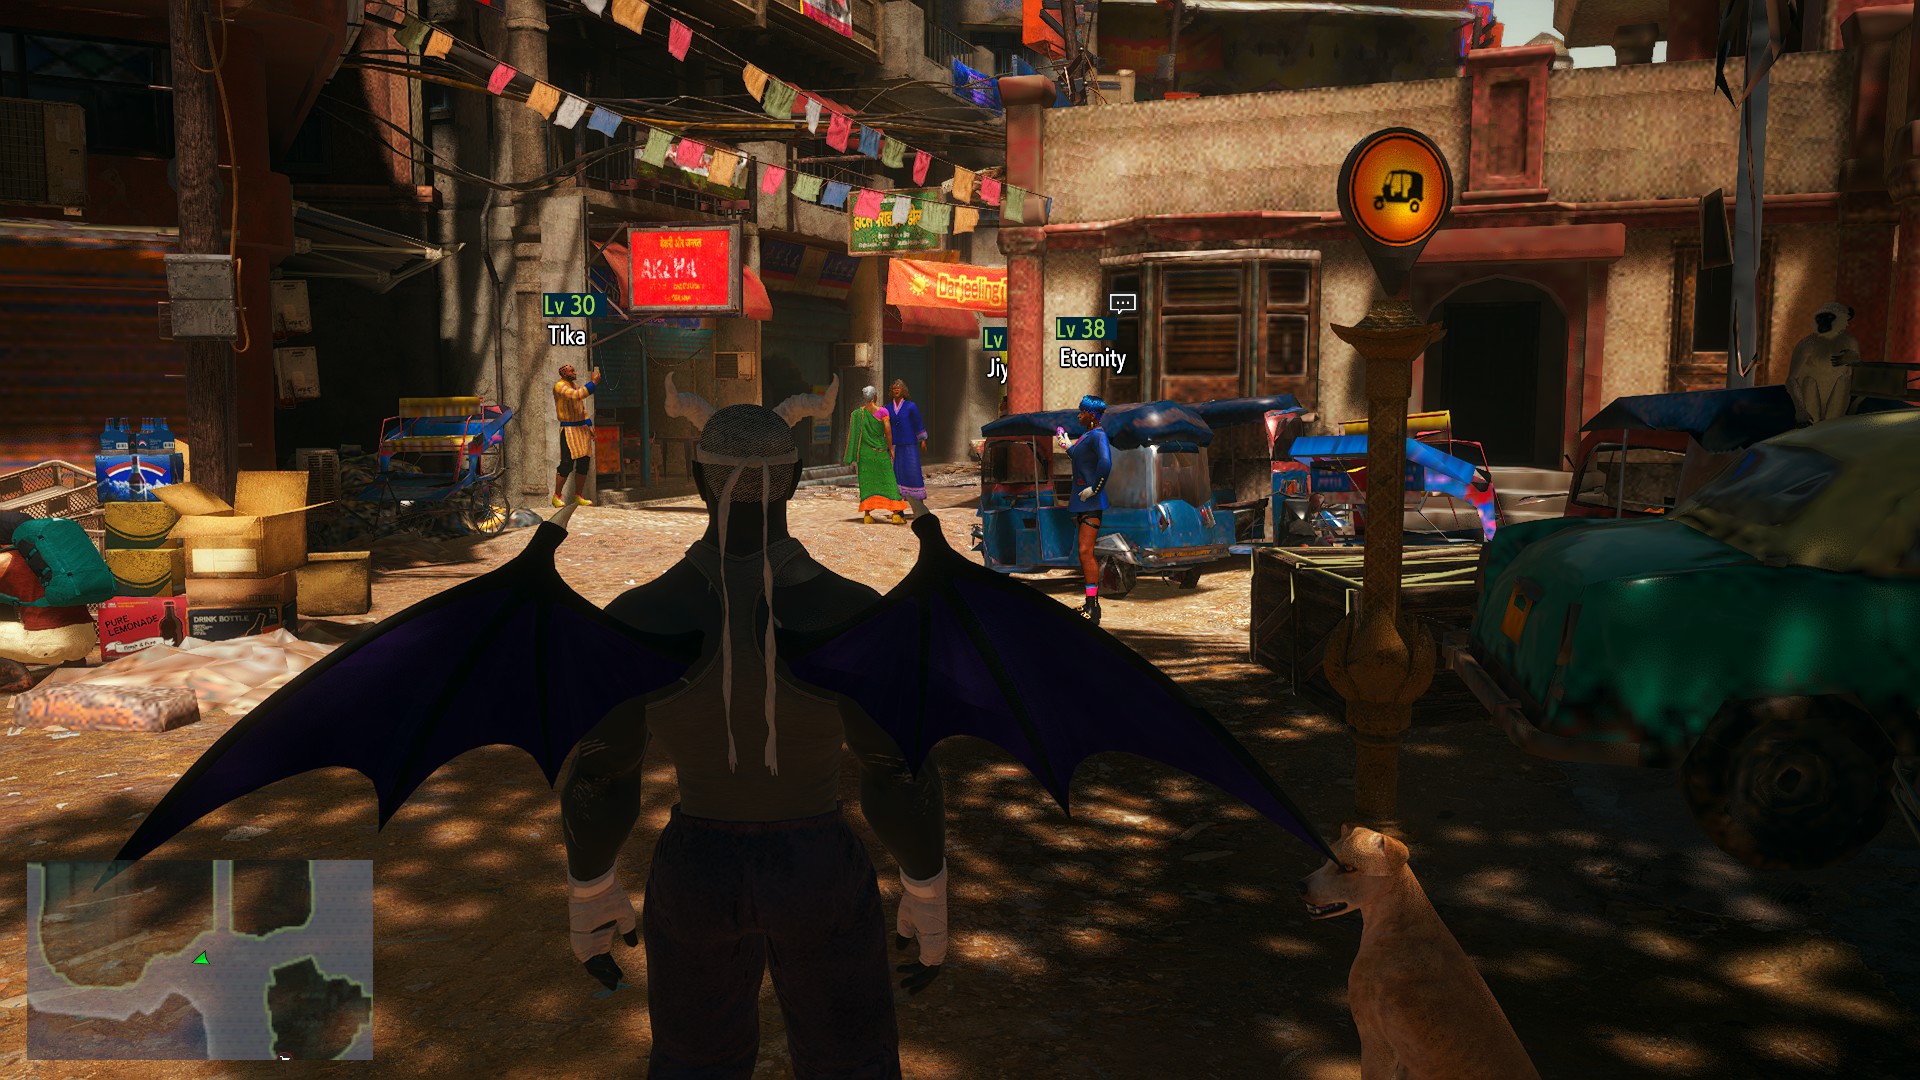
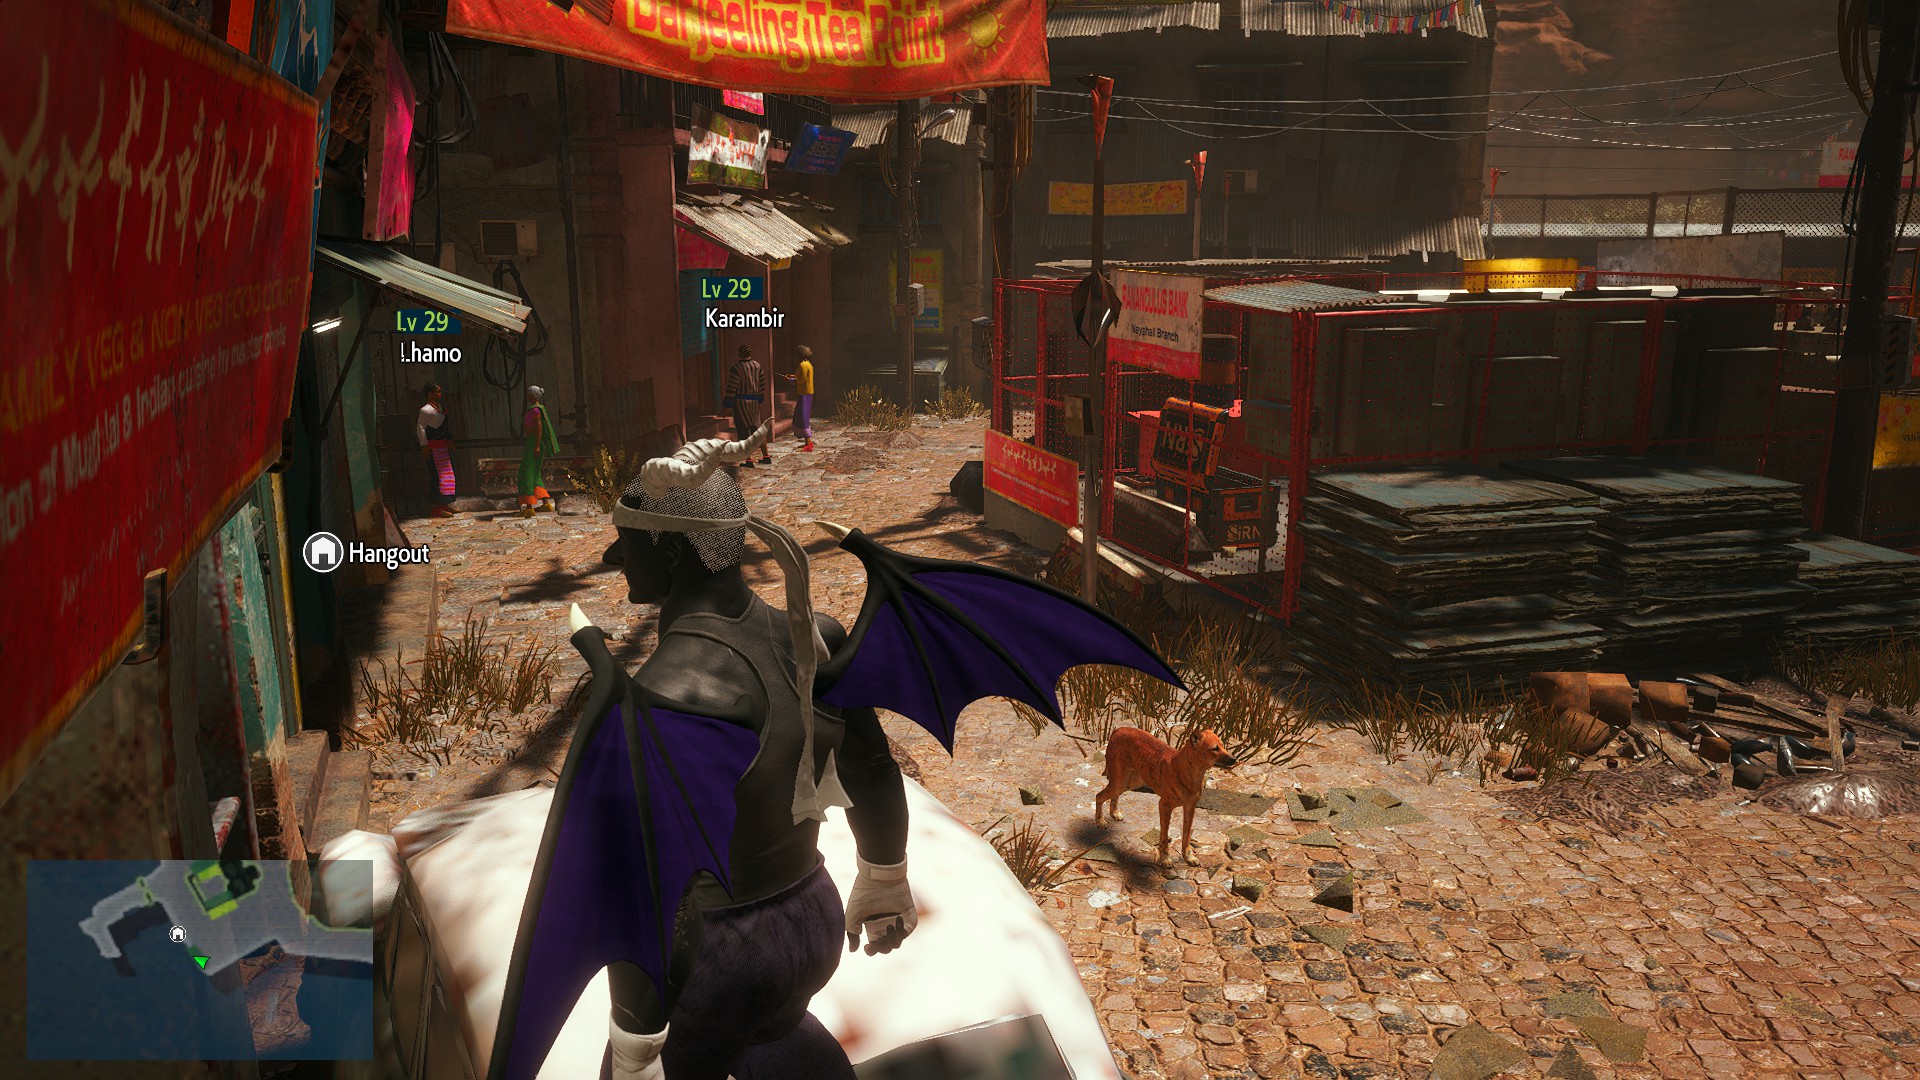
Rotate your camera until you're facing toward the NPC Eternity's left side, then proceed down the alleyway in front of you. This conveniently leads to your hangout, so make sure to enter and switch to night if it's still daytime. Once done, head forward between your hangout and the red structure on the right to find the NPC whose mission will ultimately lead you to Rashid (note that the screenshot below is during the day with no one there, but that's because I finished the mission and the quest giver moved to a different location):
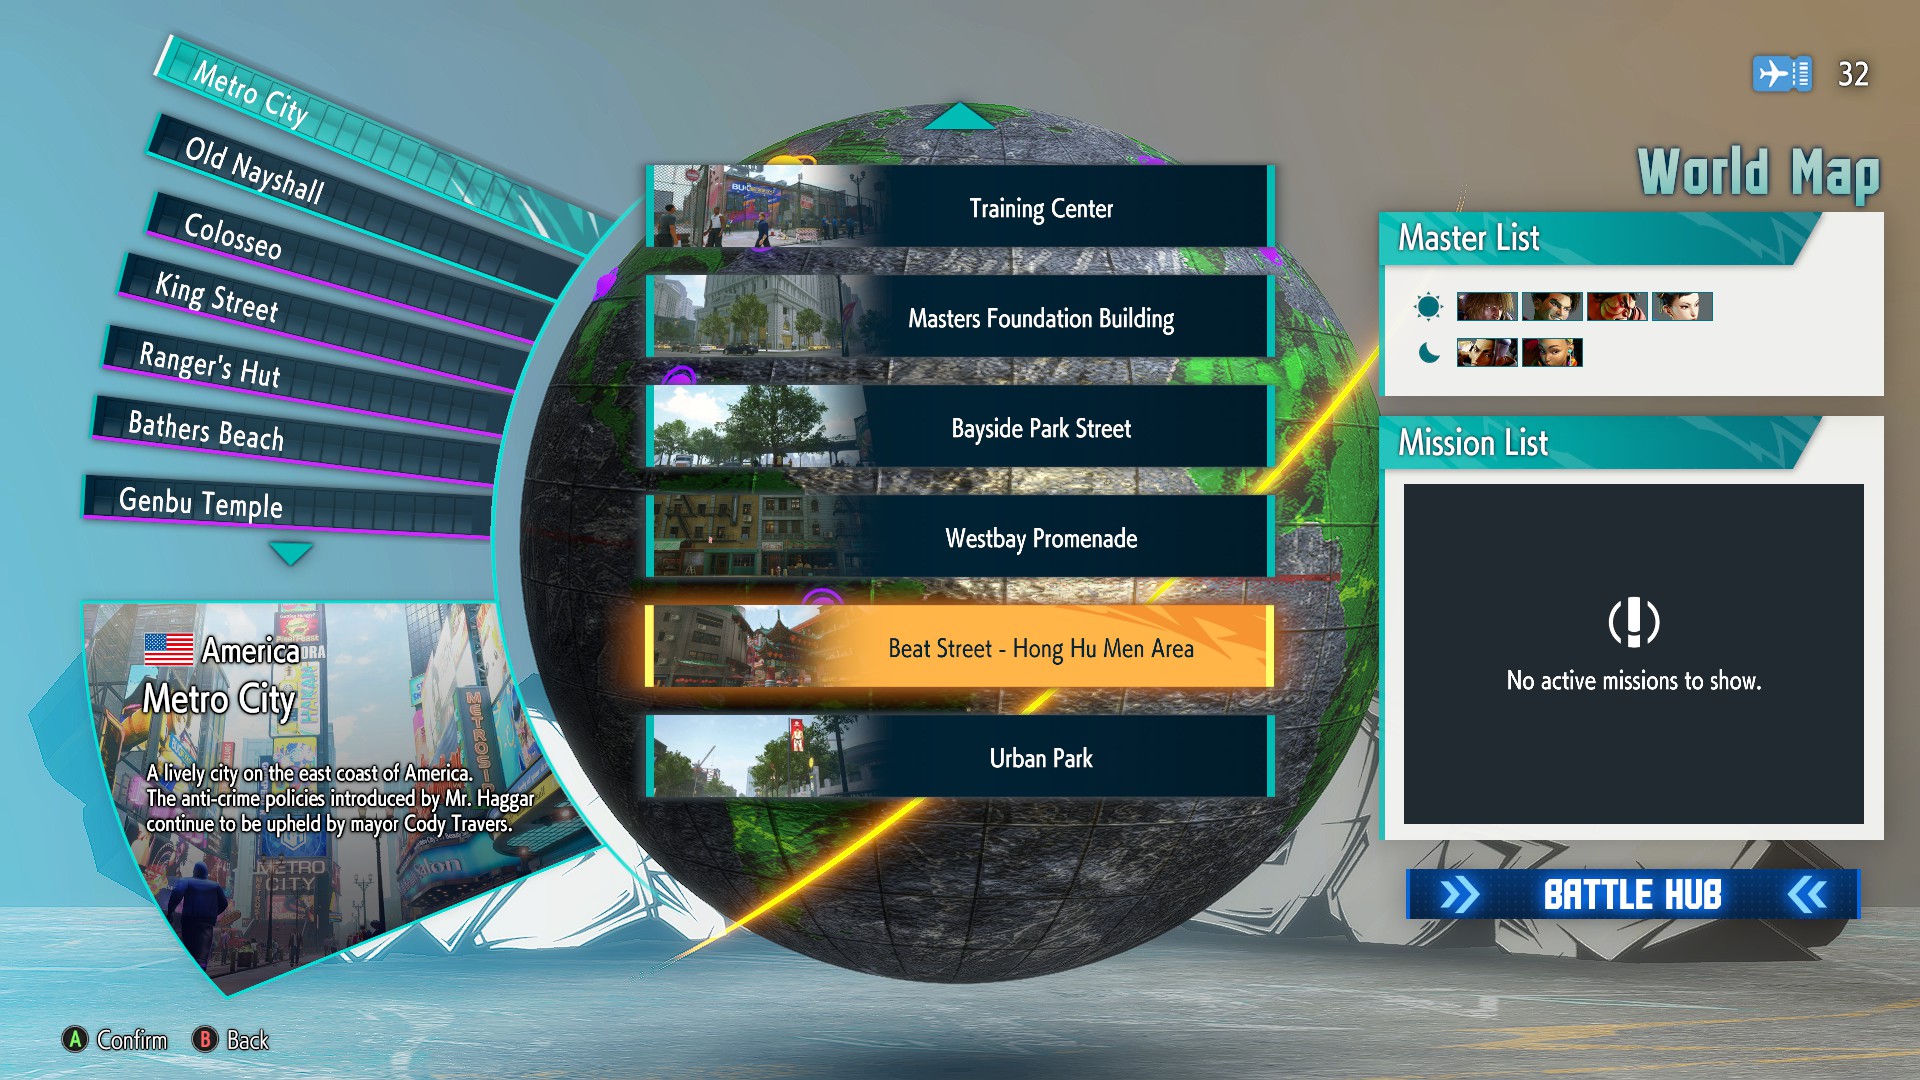
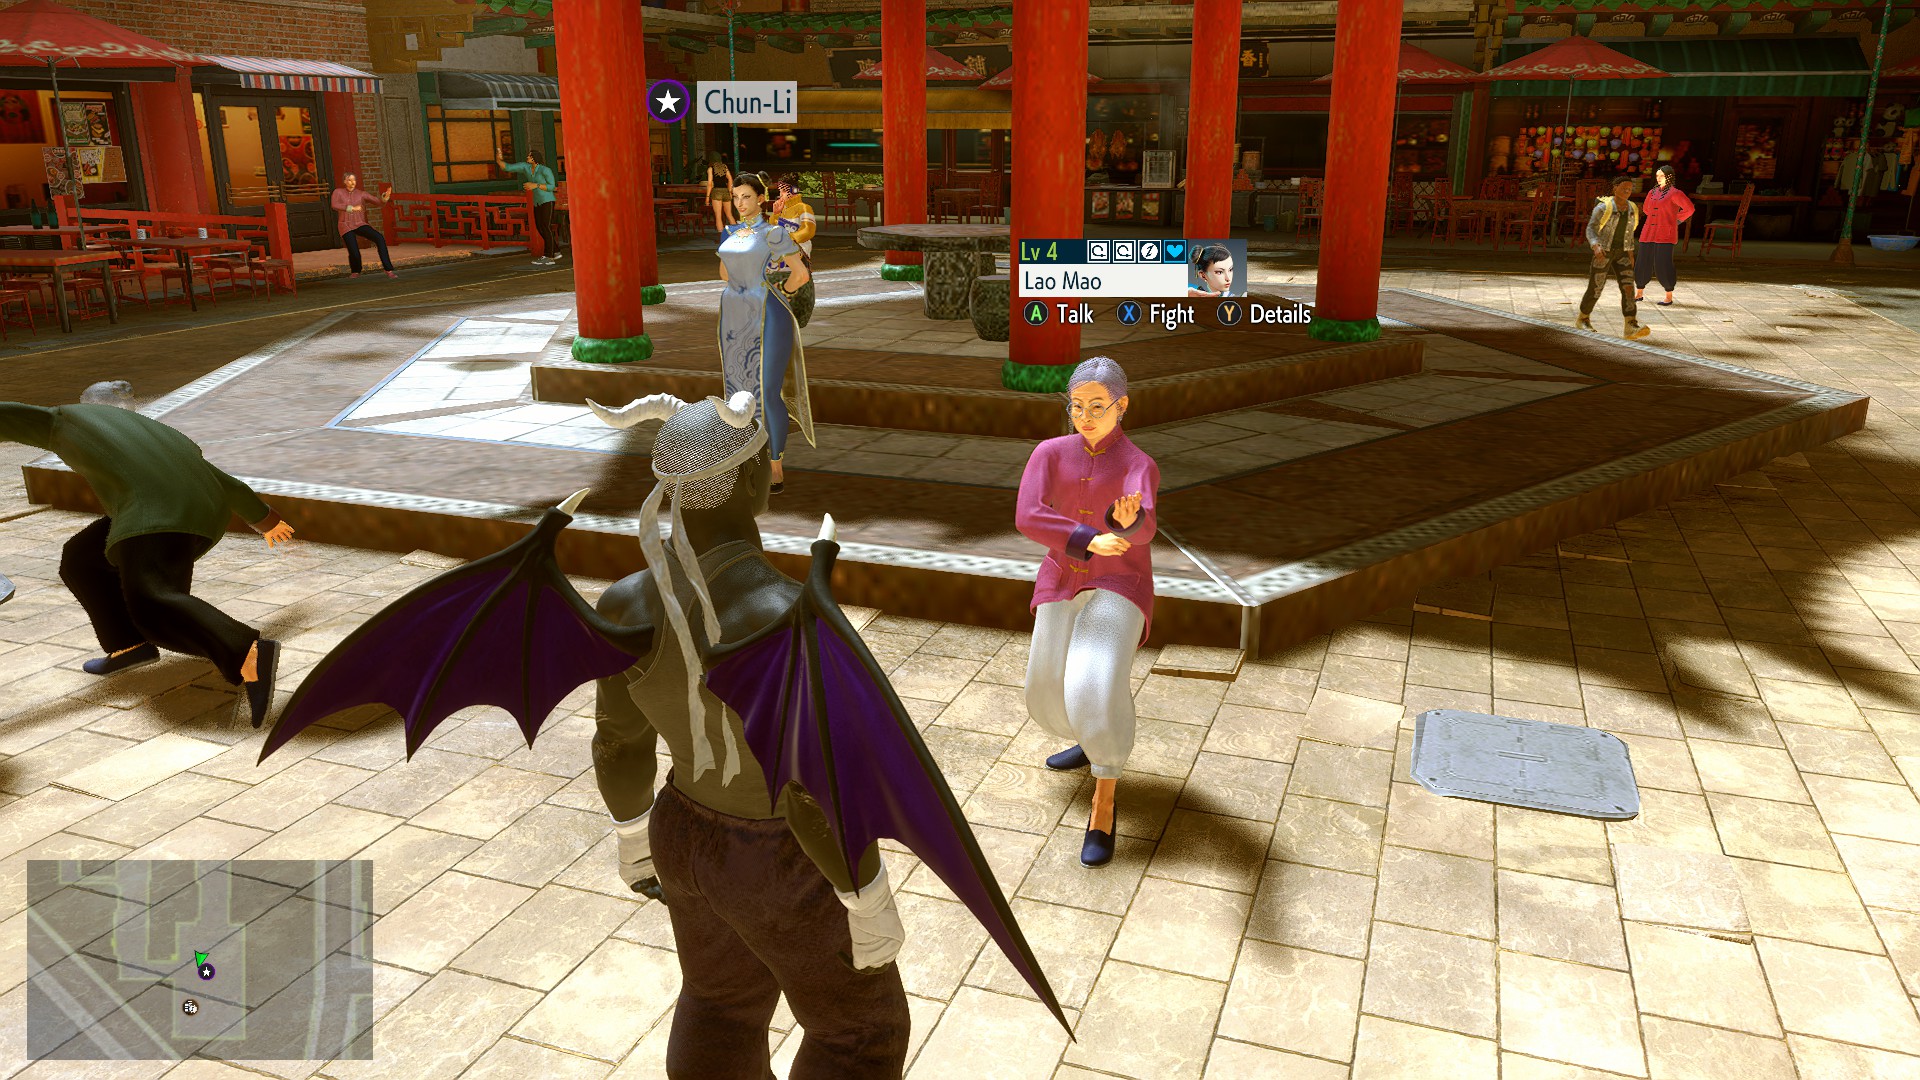
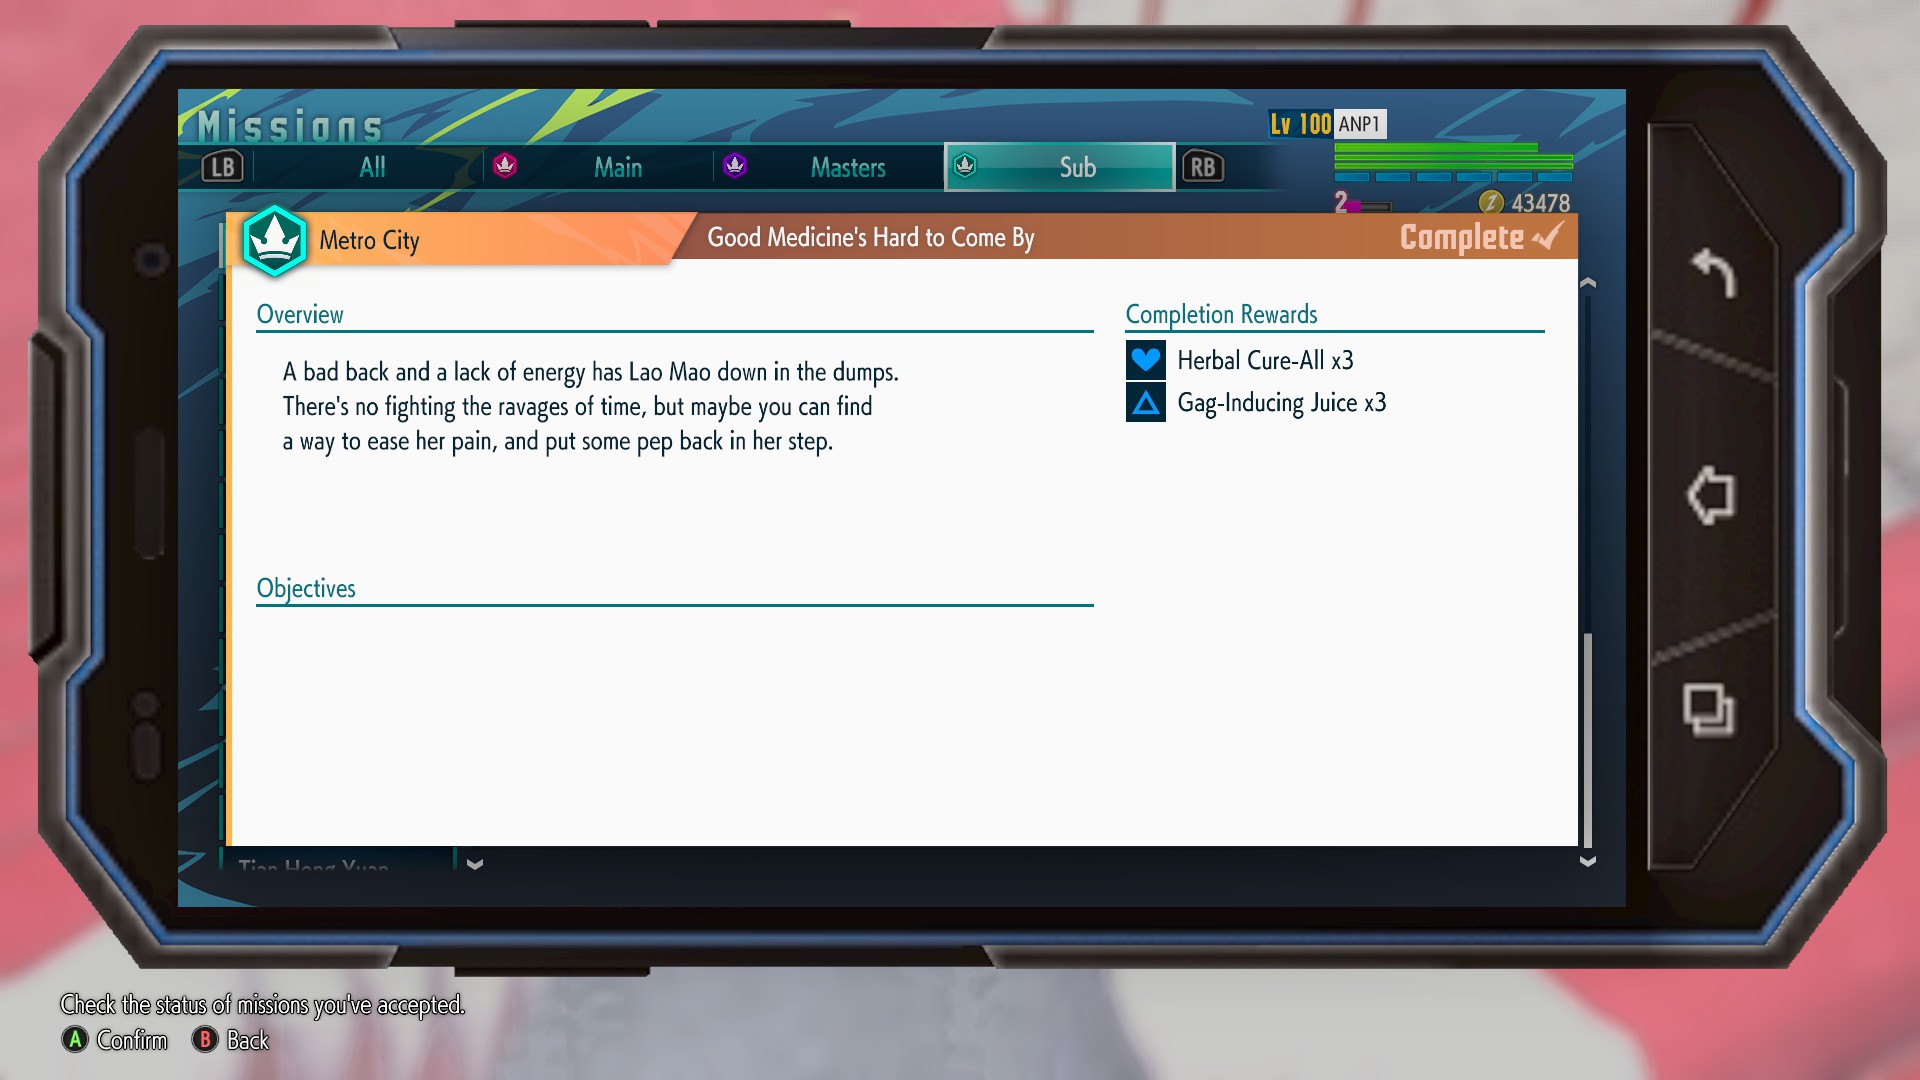
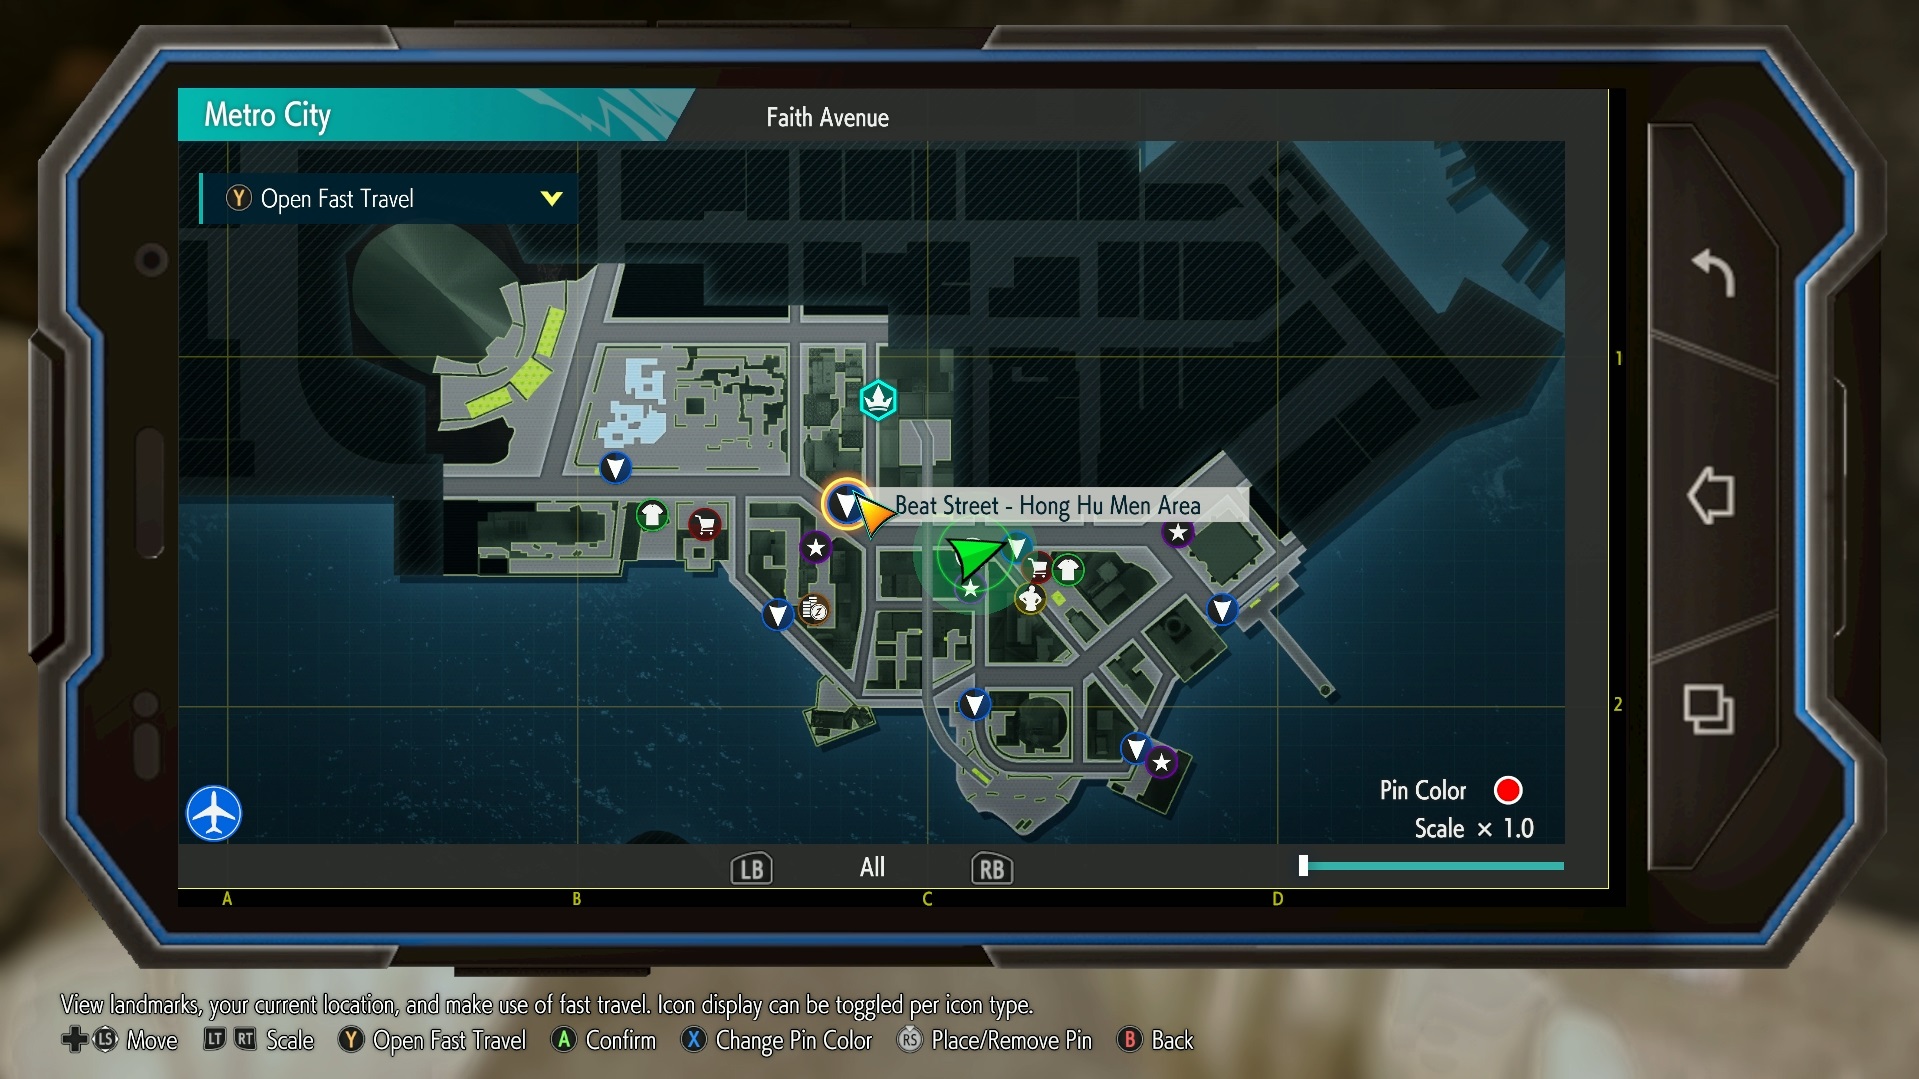
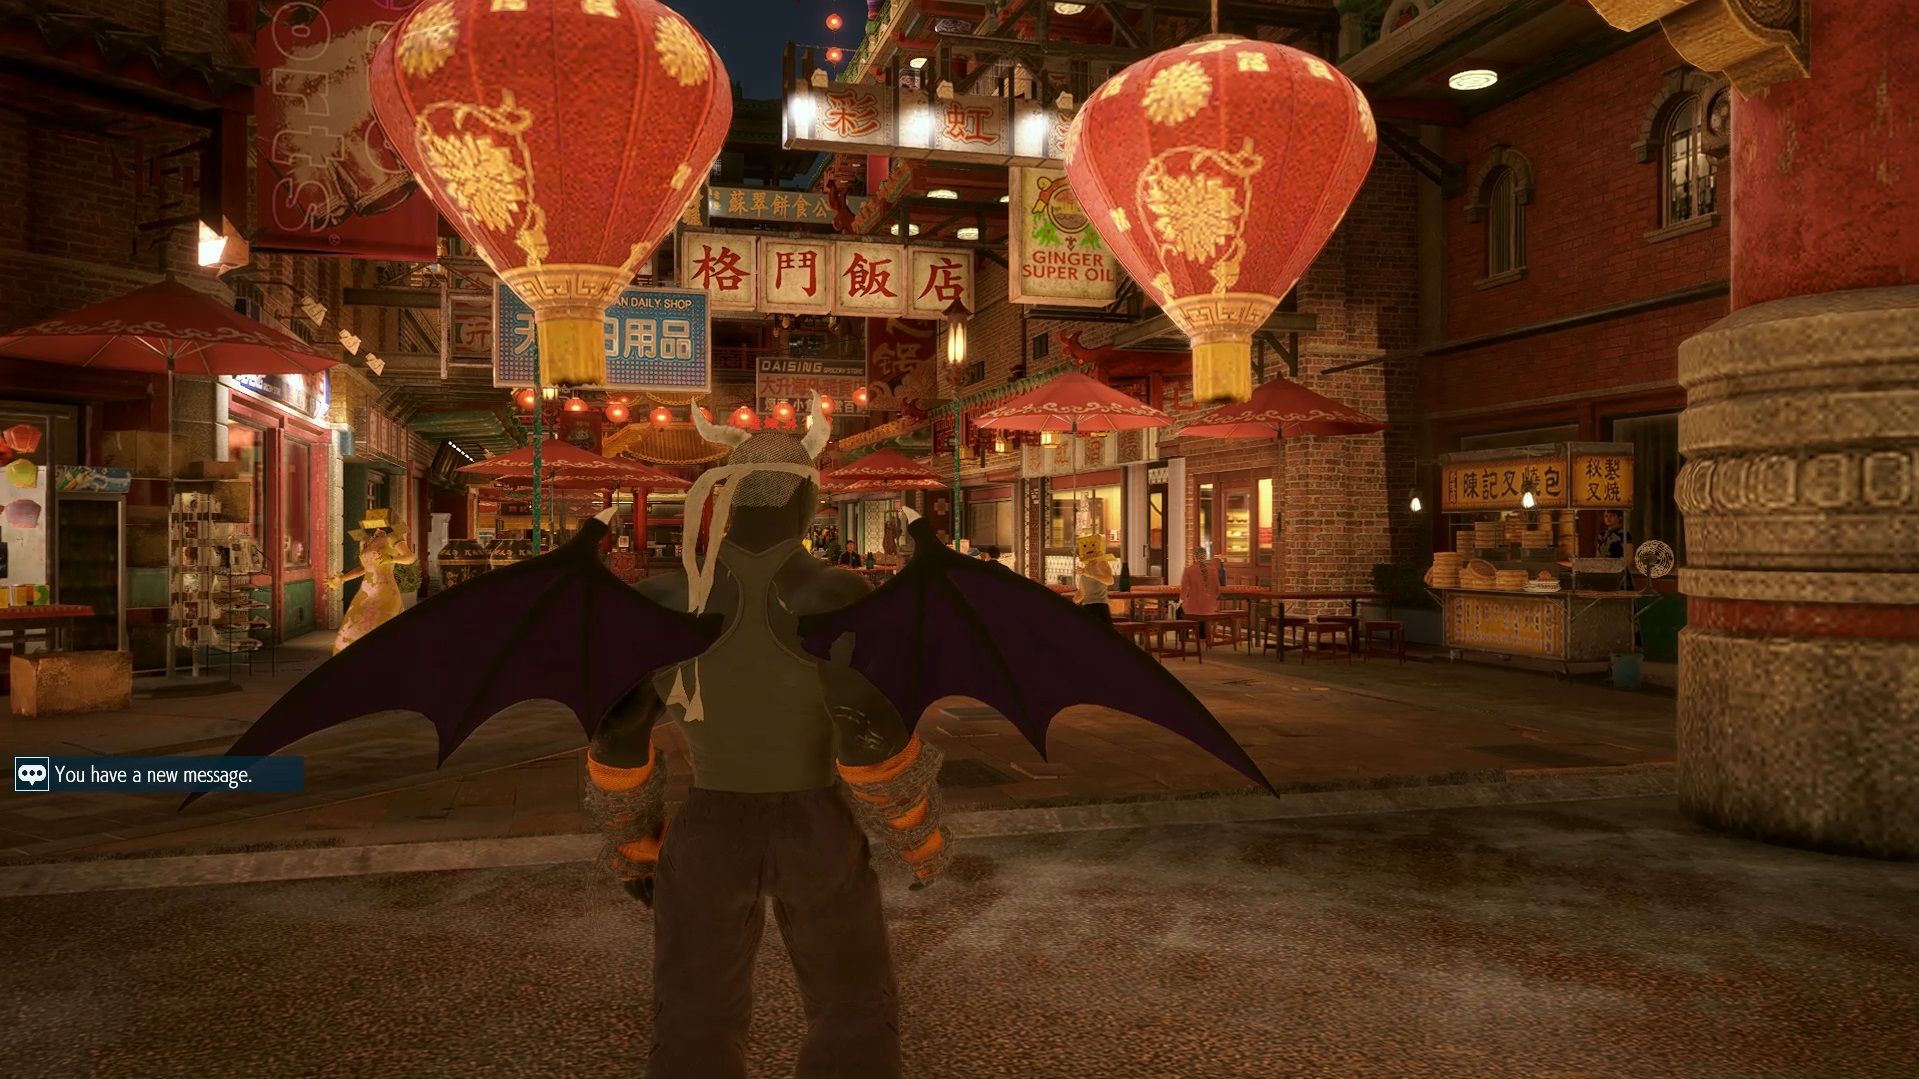
Next up is A.K.I. You will need to locate her and finish all of her Master Missions to unlock the comics A.K.I.'s Mission 1 and A.K.I.'s Mission 2. How? Well, At some point in World Tour, the NPC Lao Mao will have a misson for your avatar called Good Medicine's Hard to Come By. You can find her in Metro City's Chinatown but only during the day. Use the Beat Street - Hong Hu Men Area travel point to reach her:
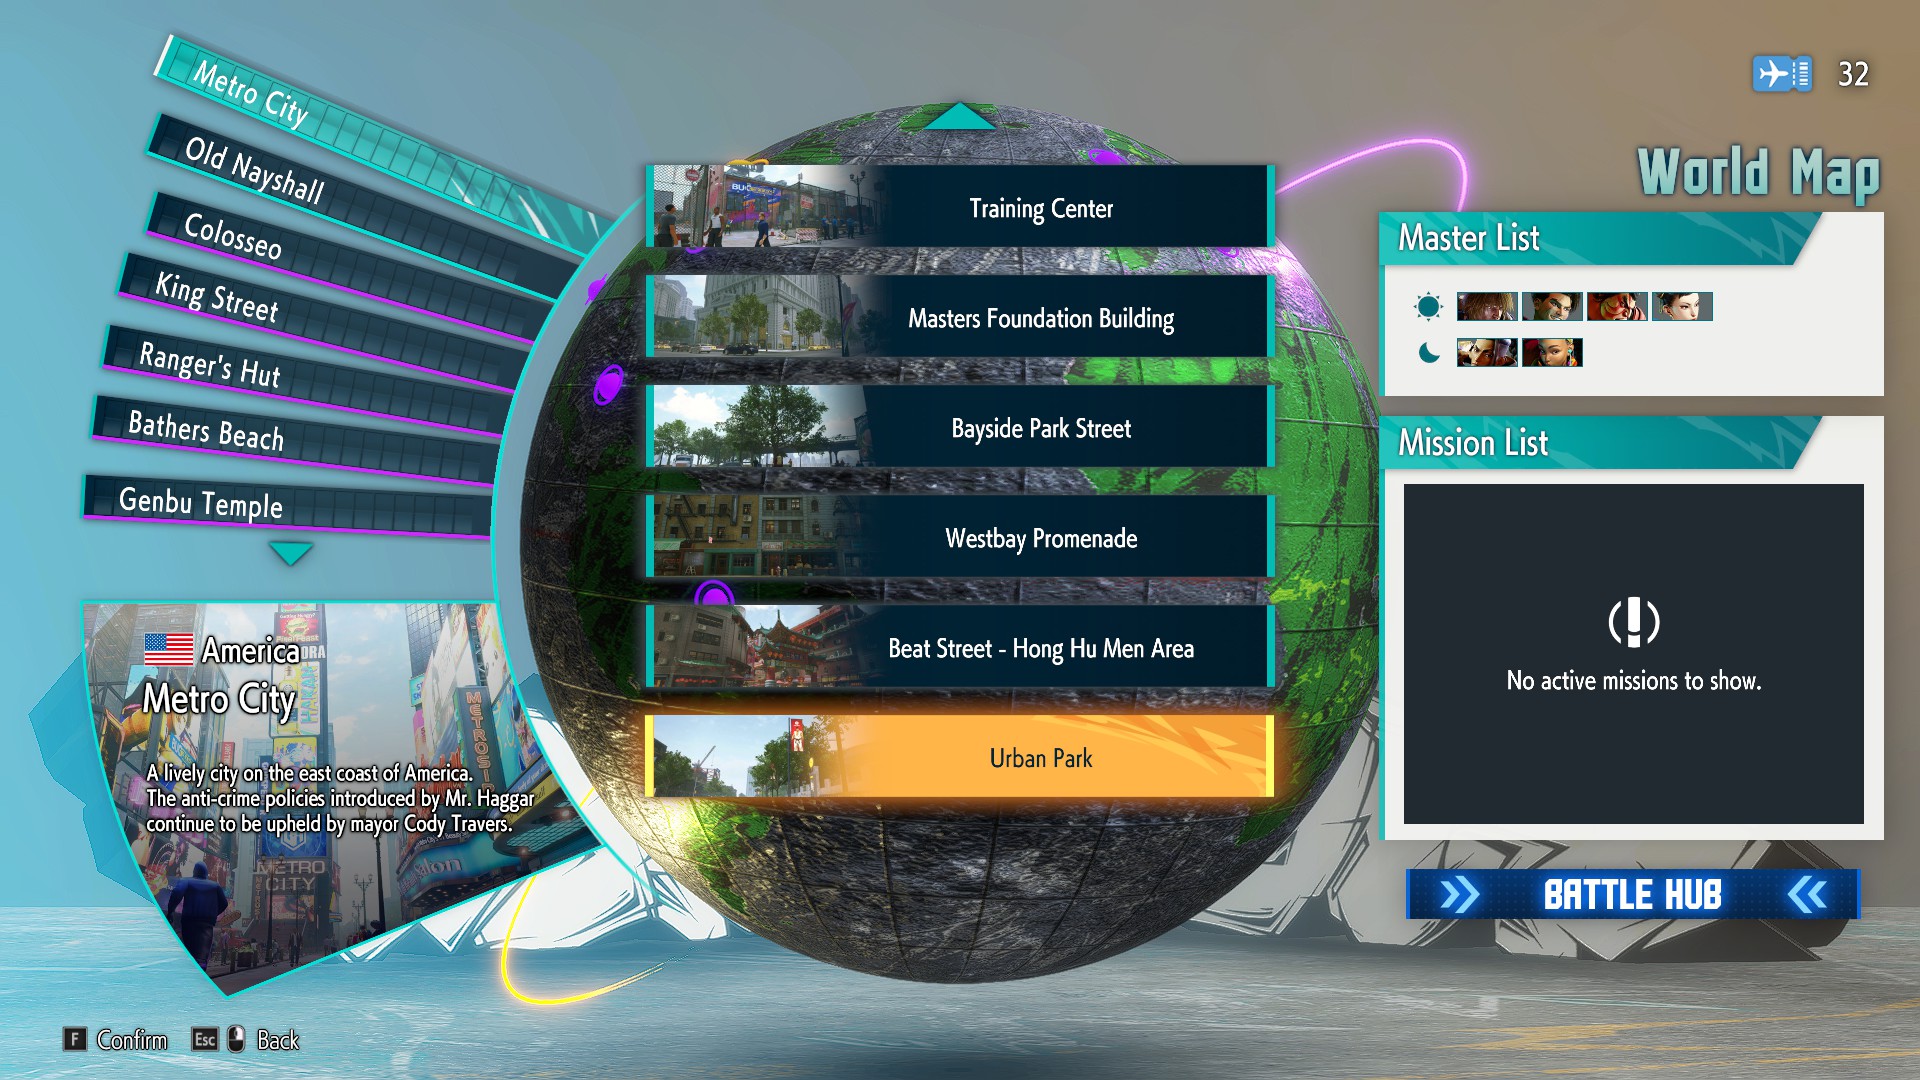
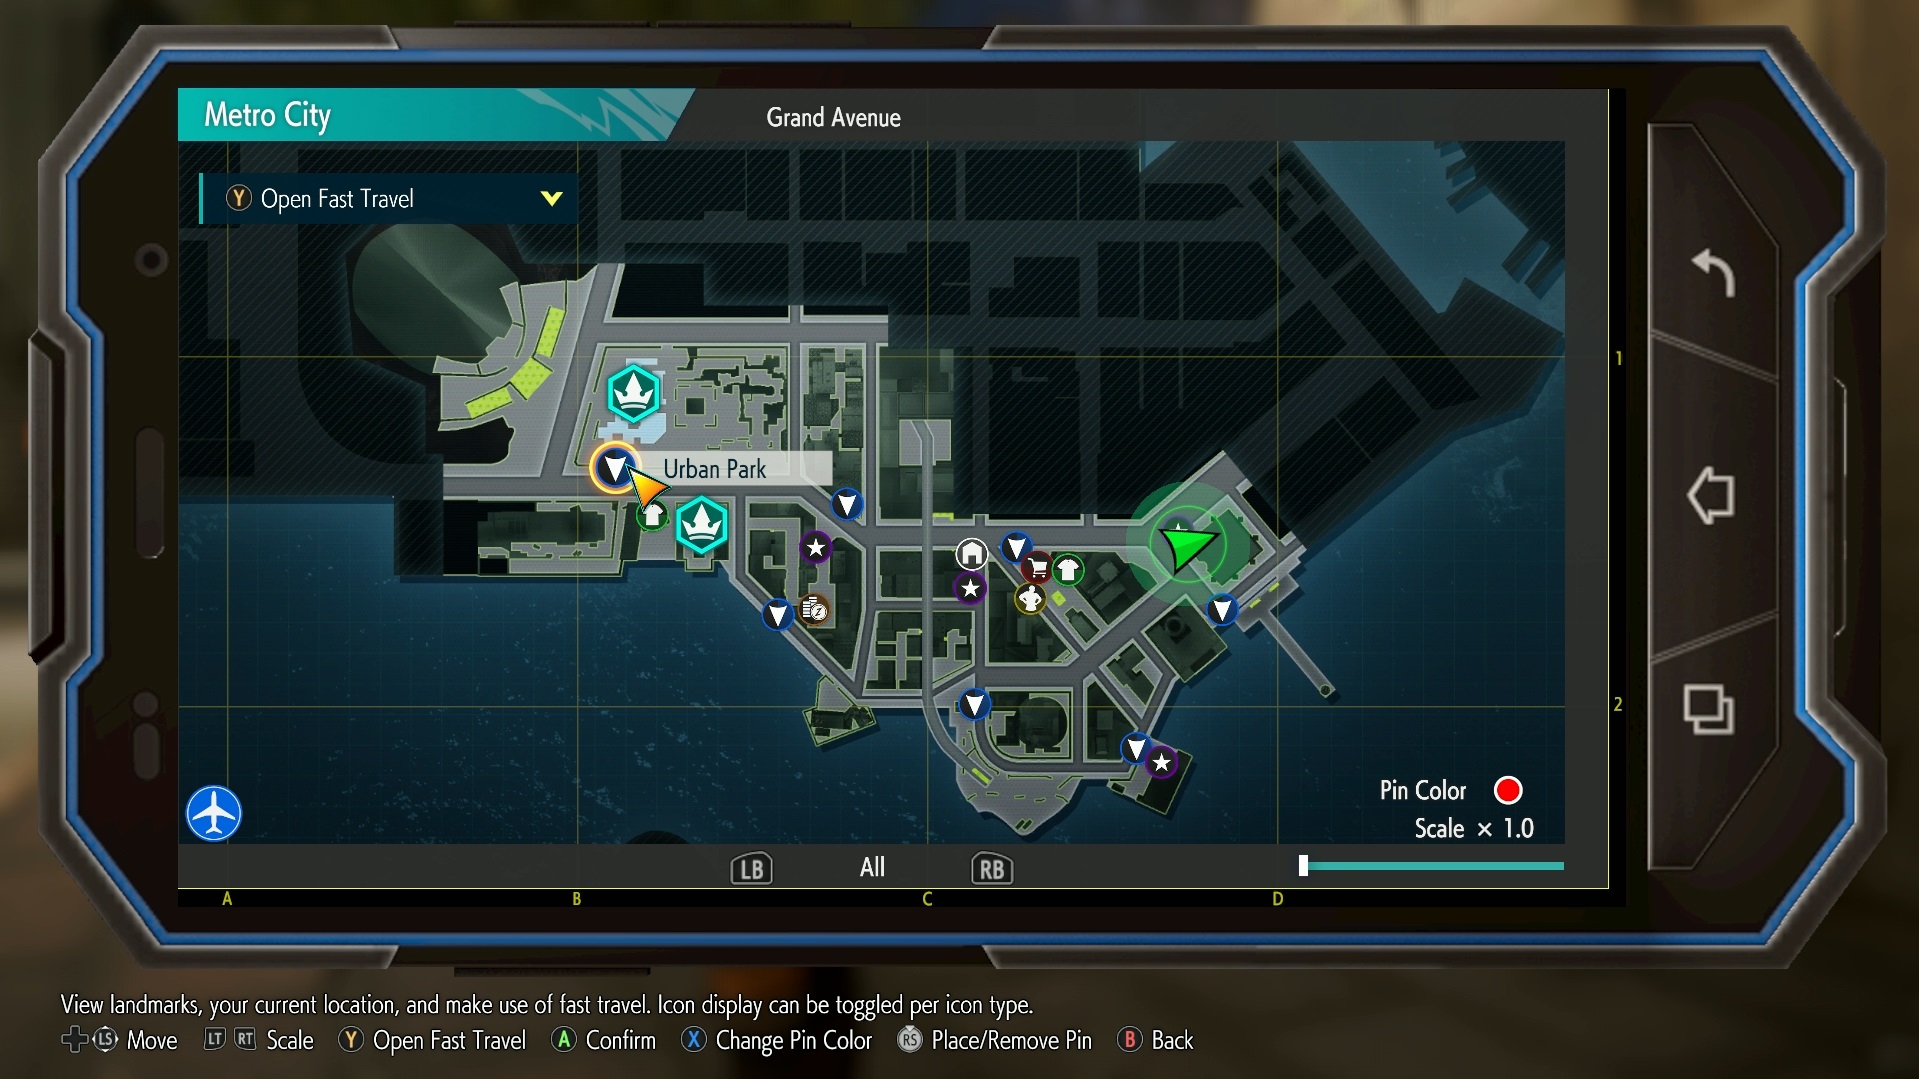
As the mission's name suggests, she wants you to find some medicine. So open up your fast travel menu and head to Urban Park (make sure it's still daytime):
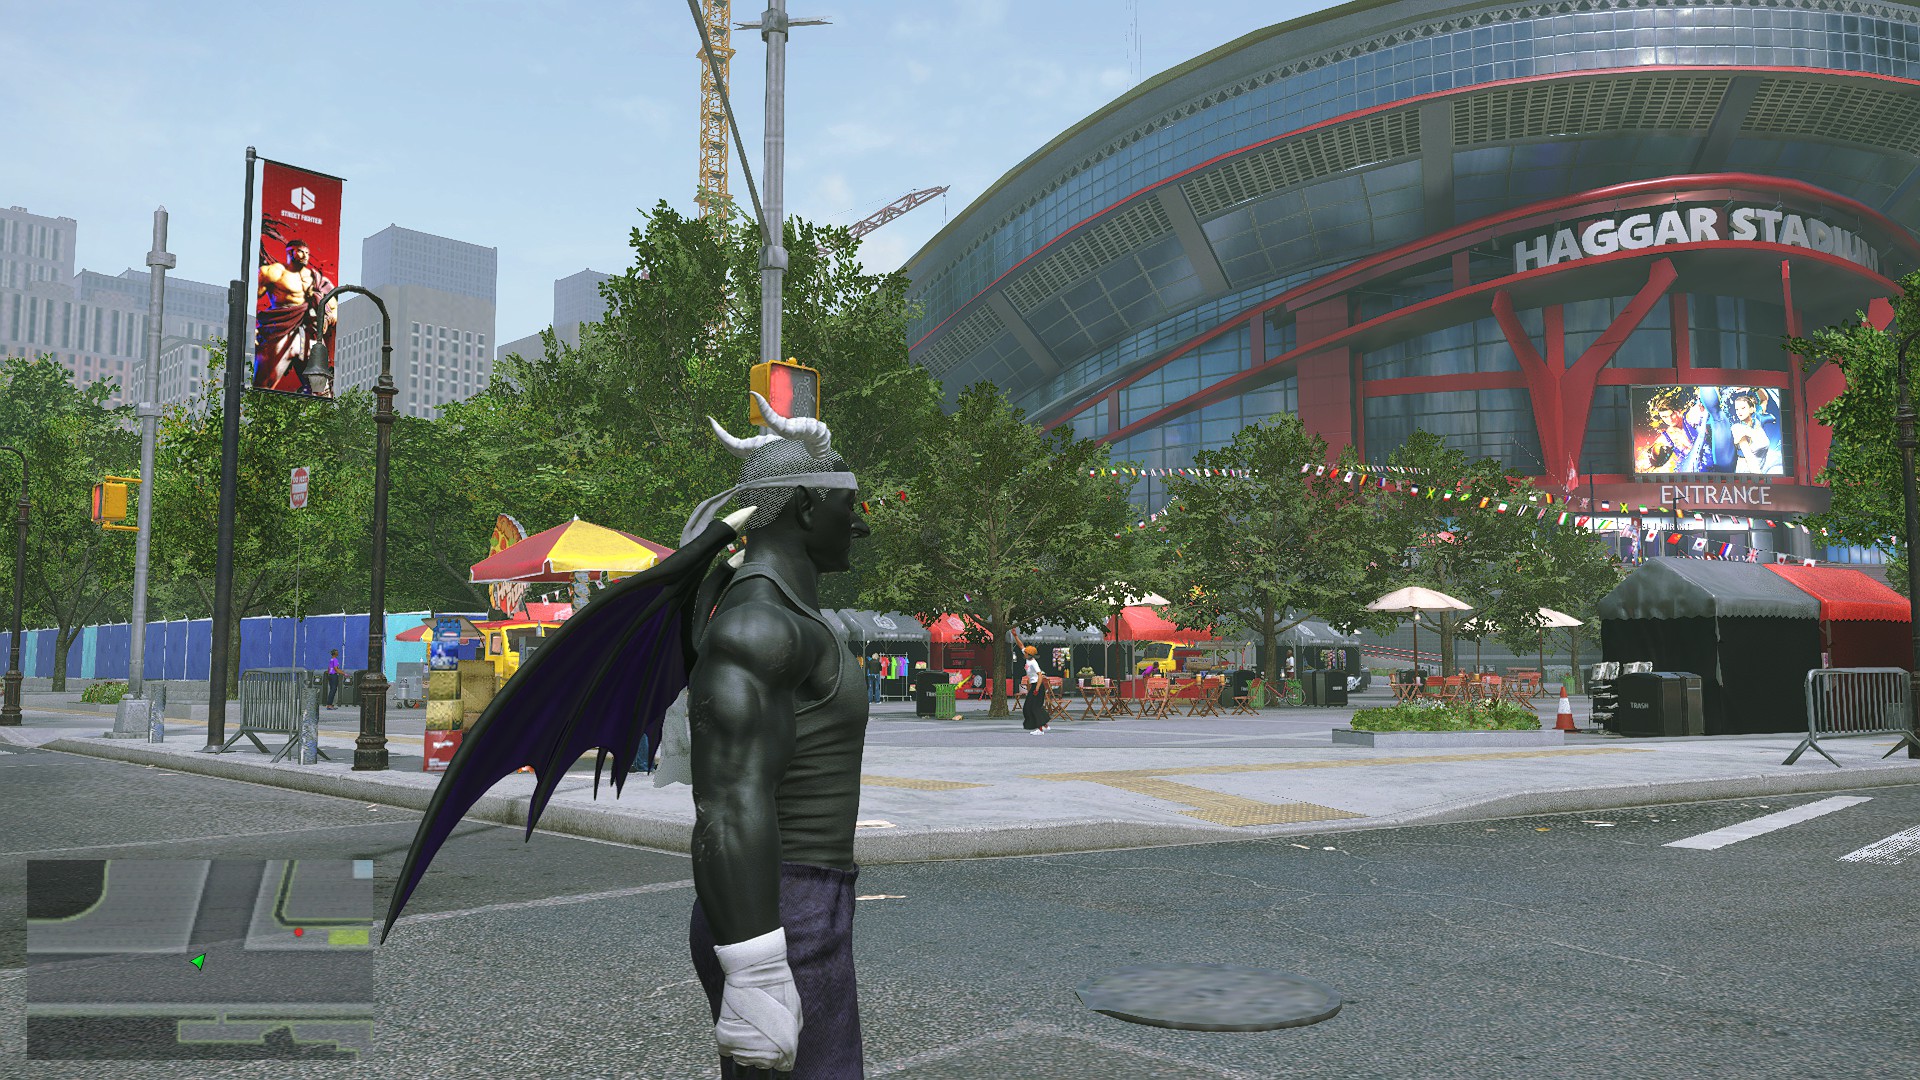
If you read through one of the earlier sections of this guide, you may remember that this point relocates you very close to Haggar Stadium. To the left of the stadium is a row of black and red stalls:
Run over to these stalls to find a Hado Pizza truck. To the right of it is a path sandwiched between the truck and another stall:

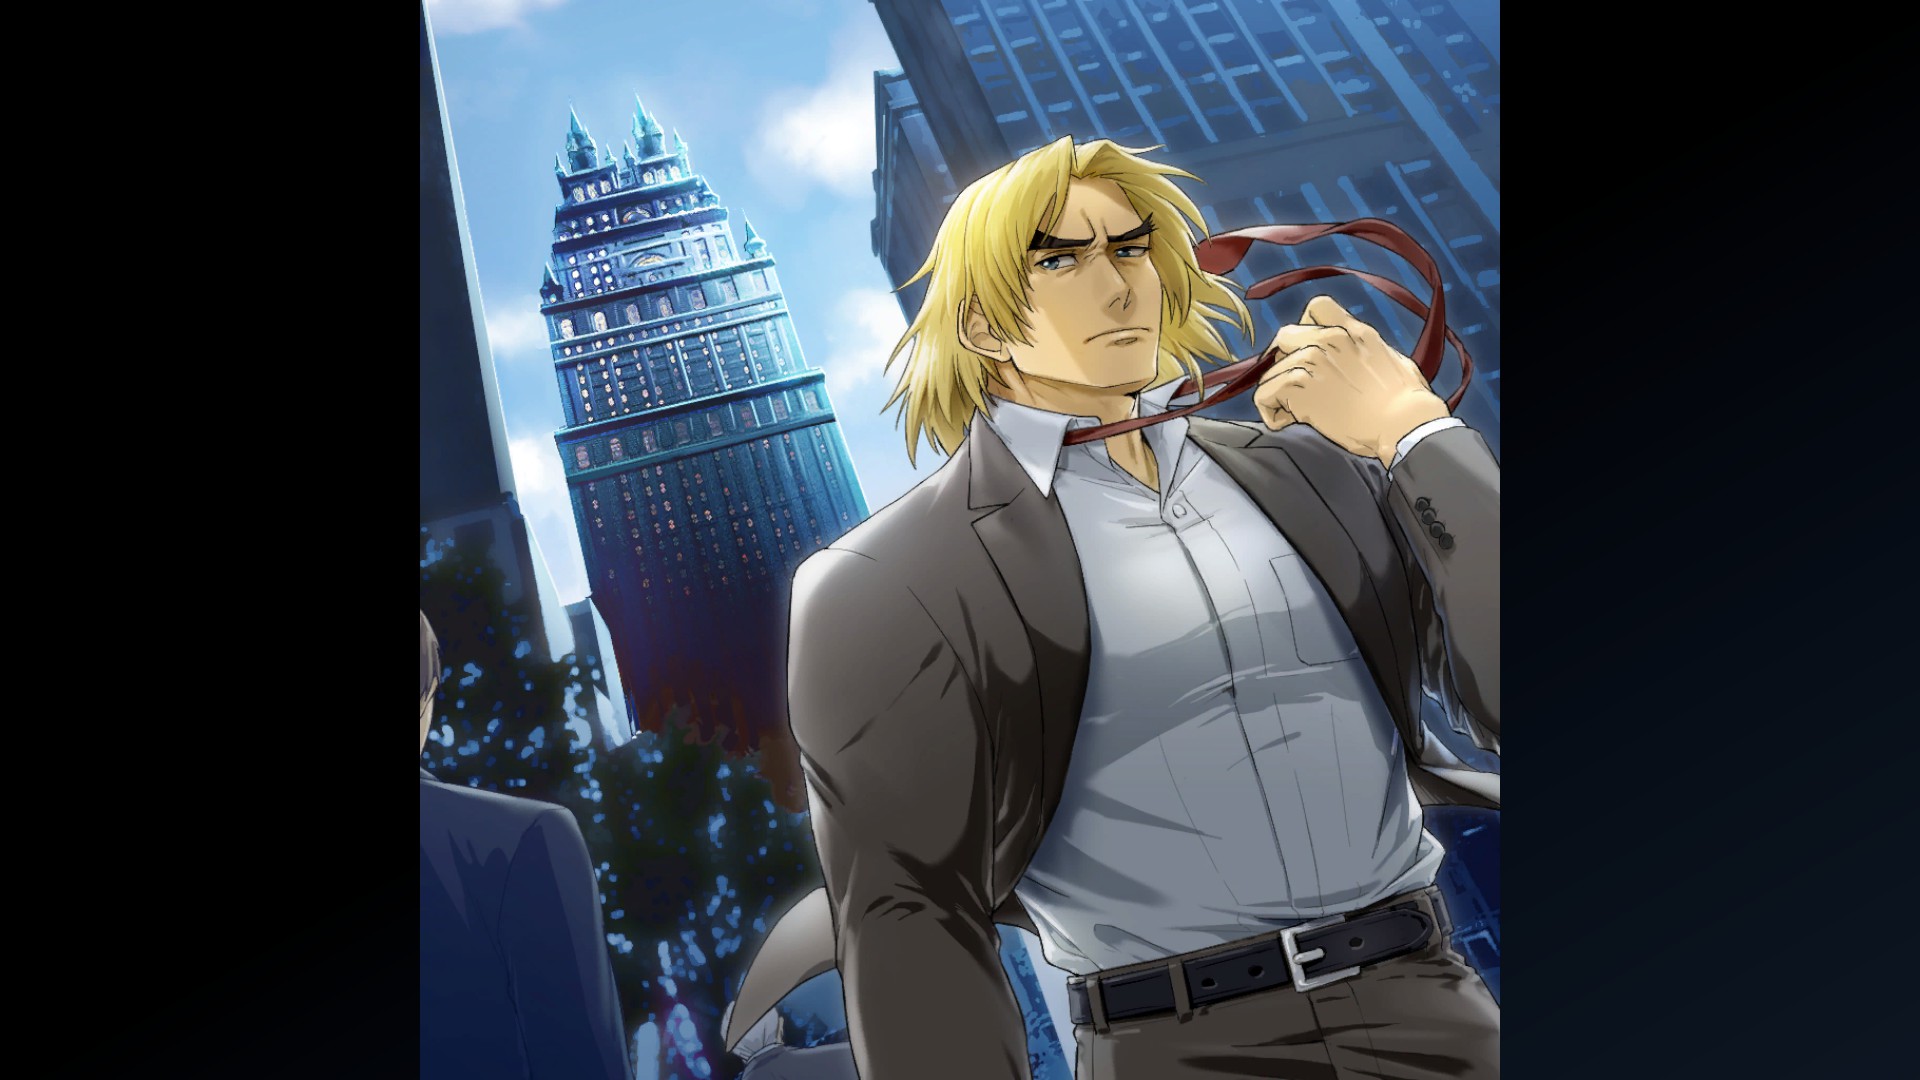
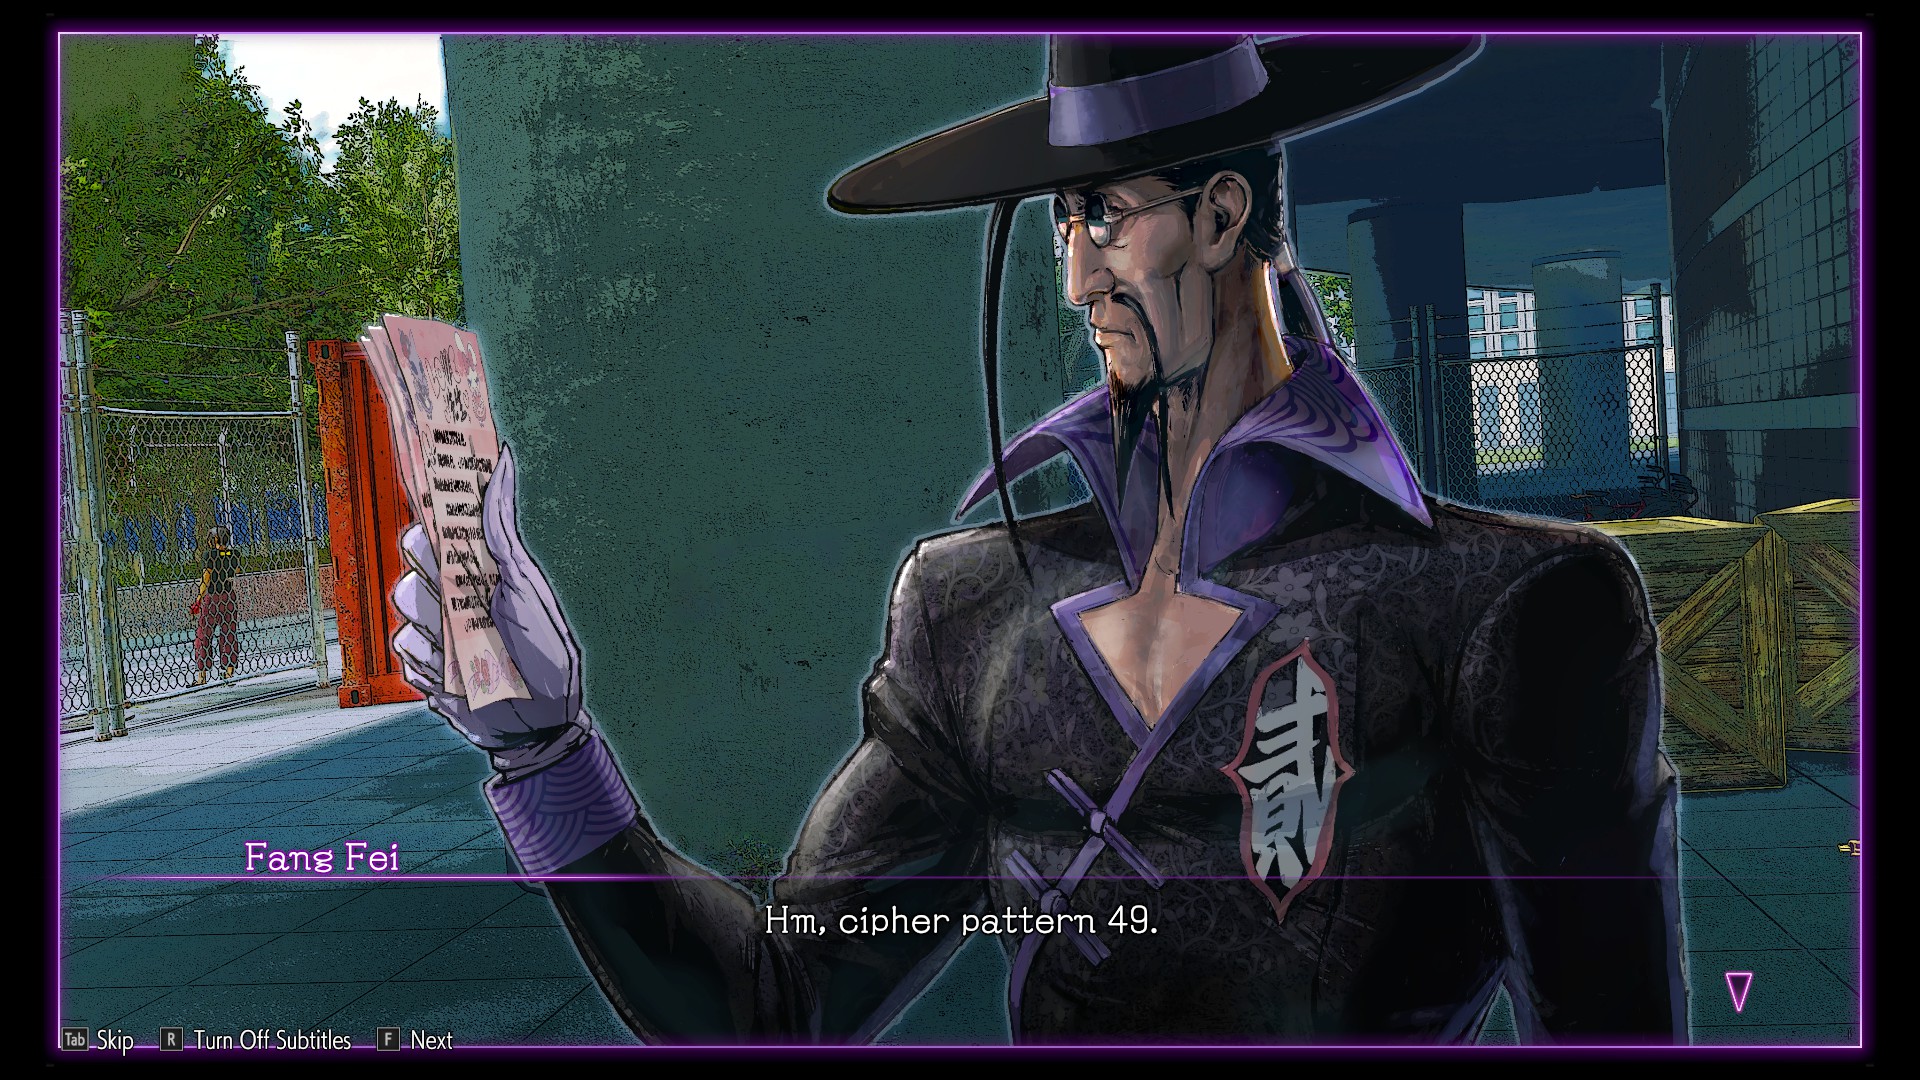
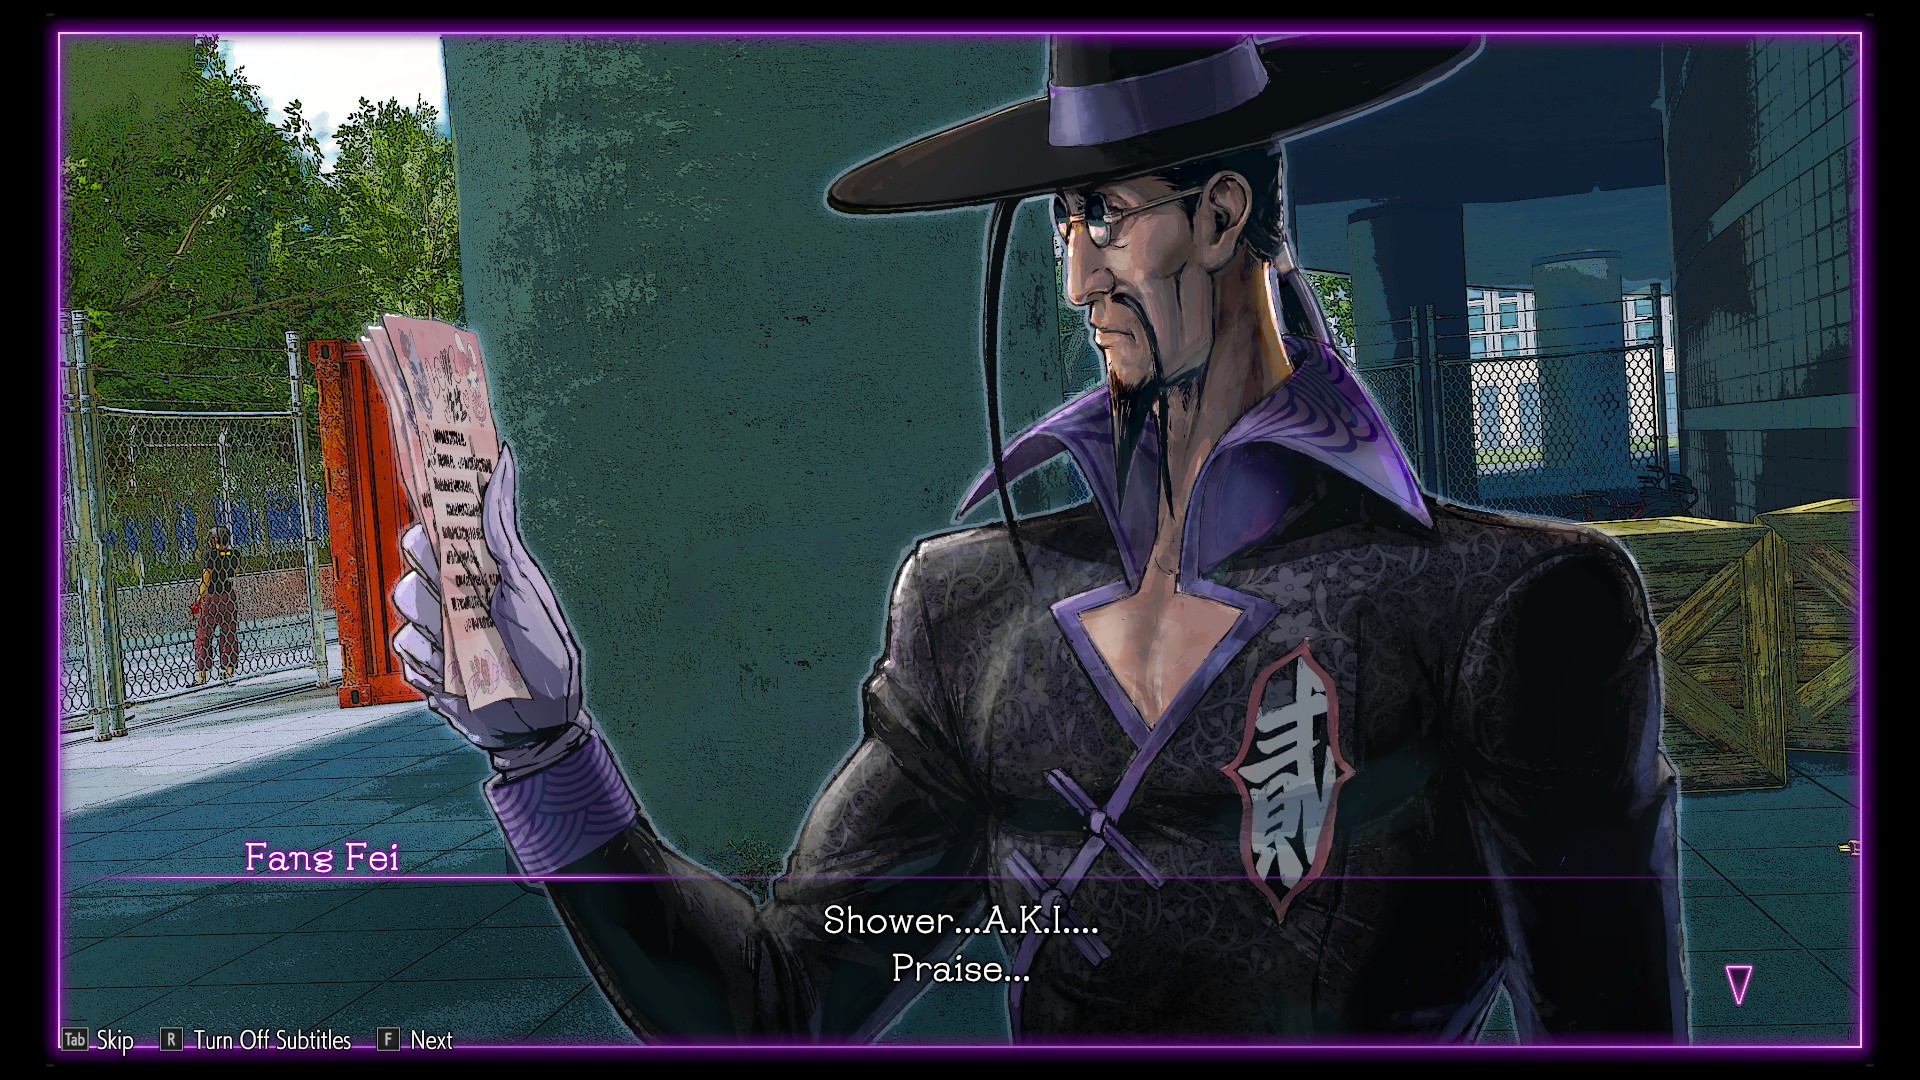
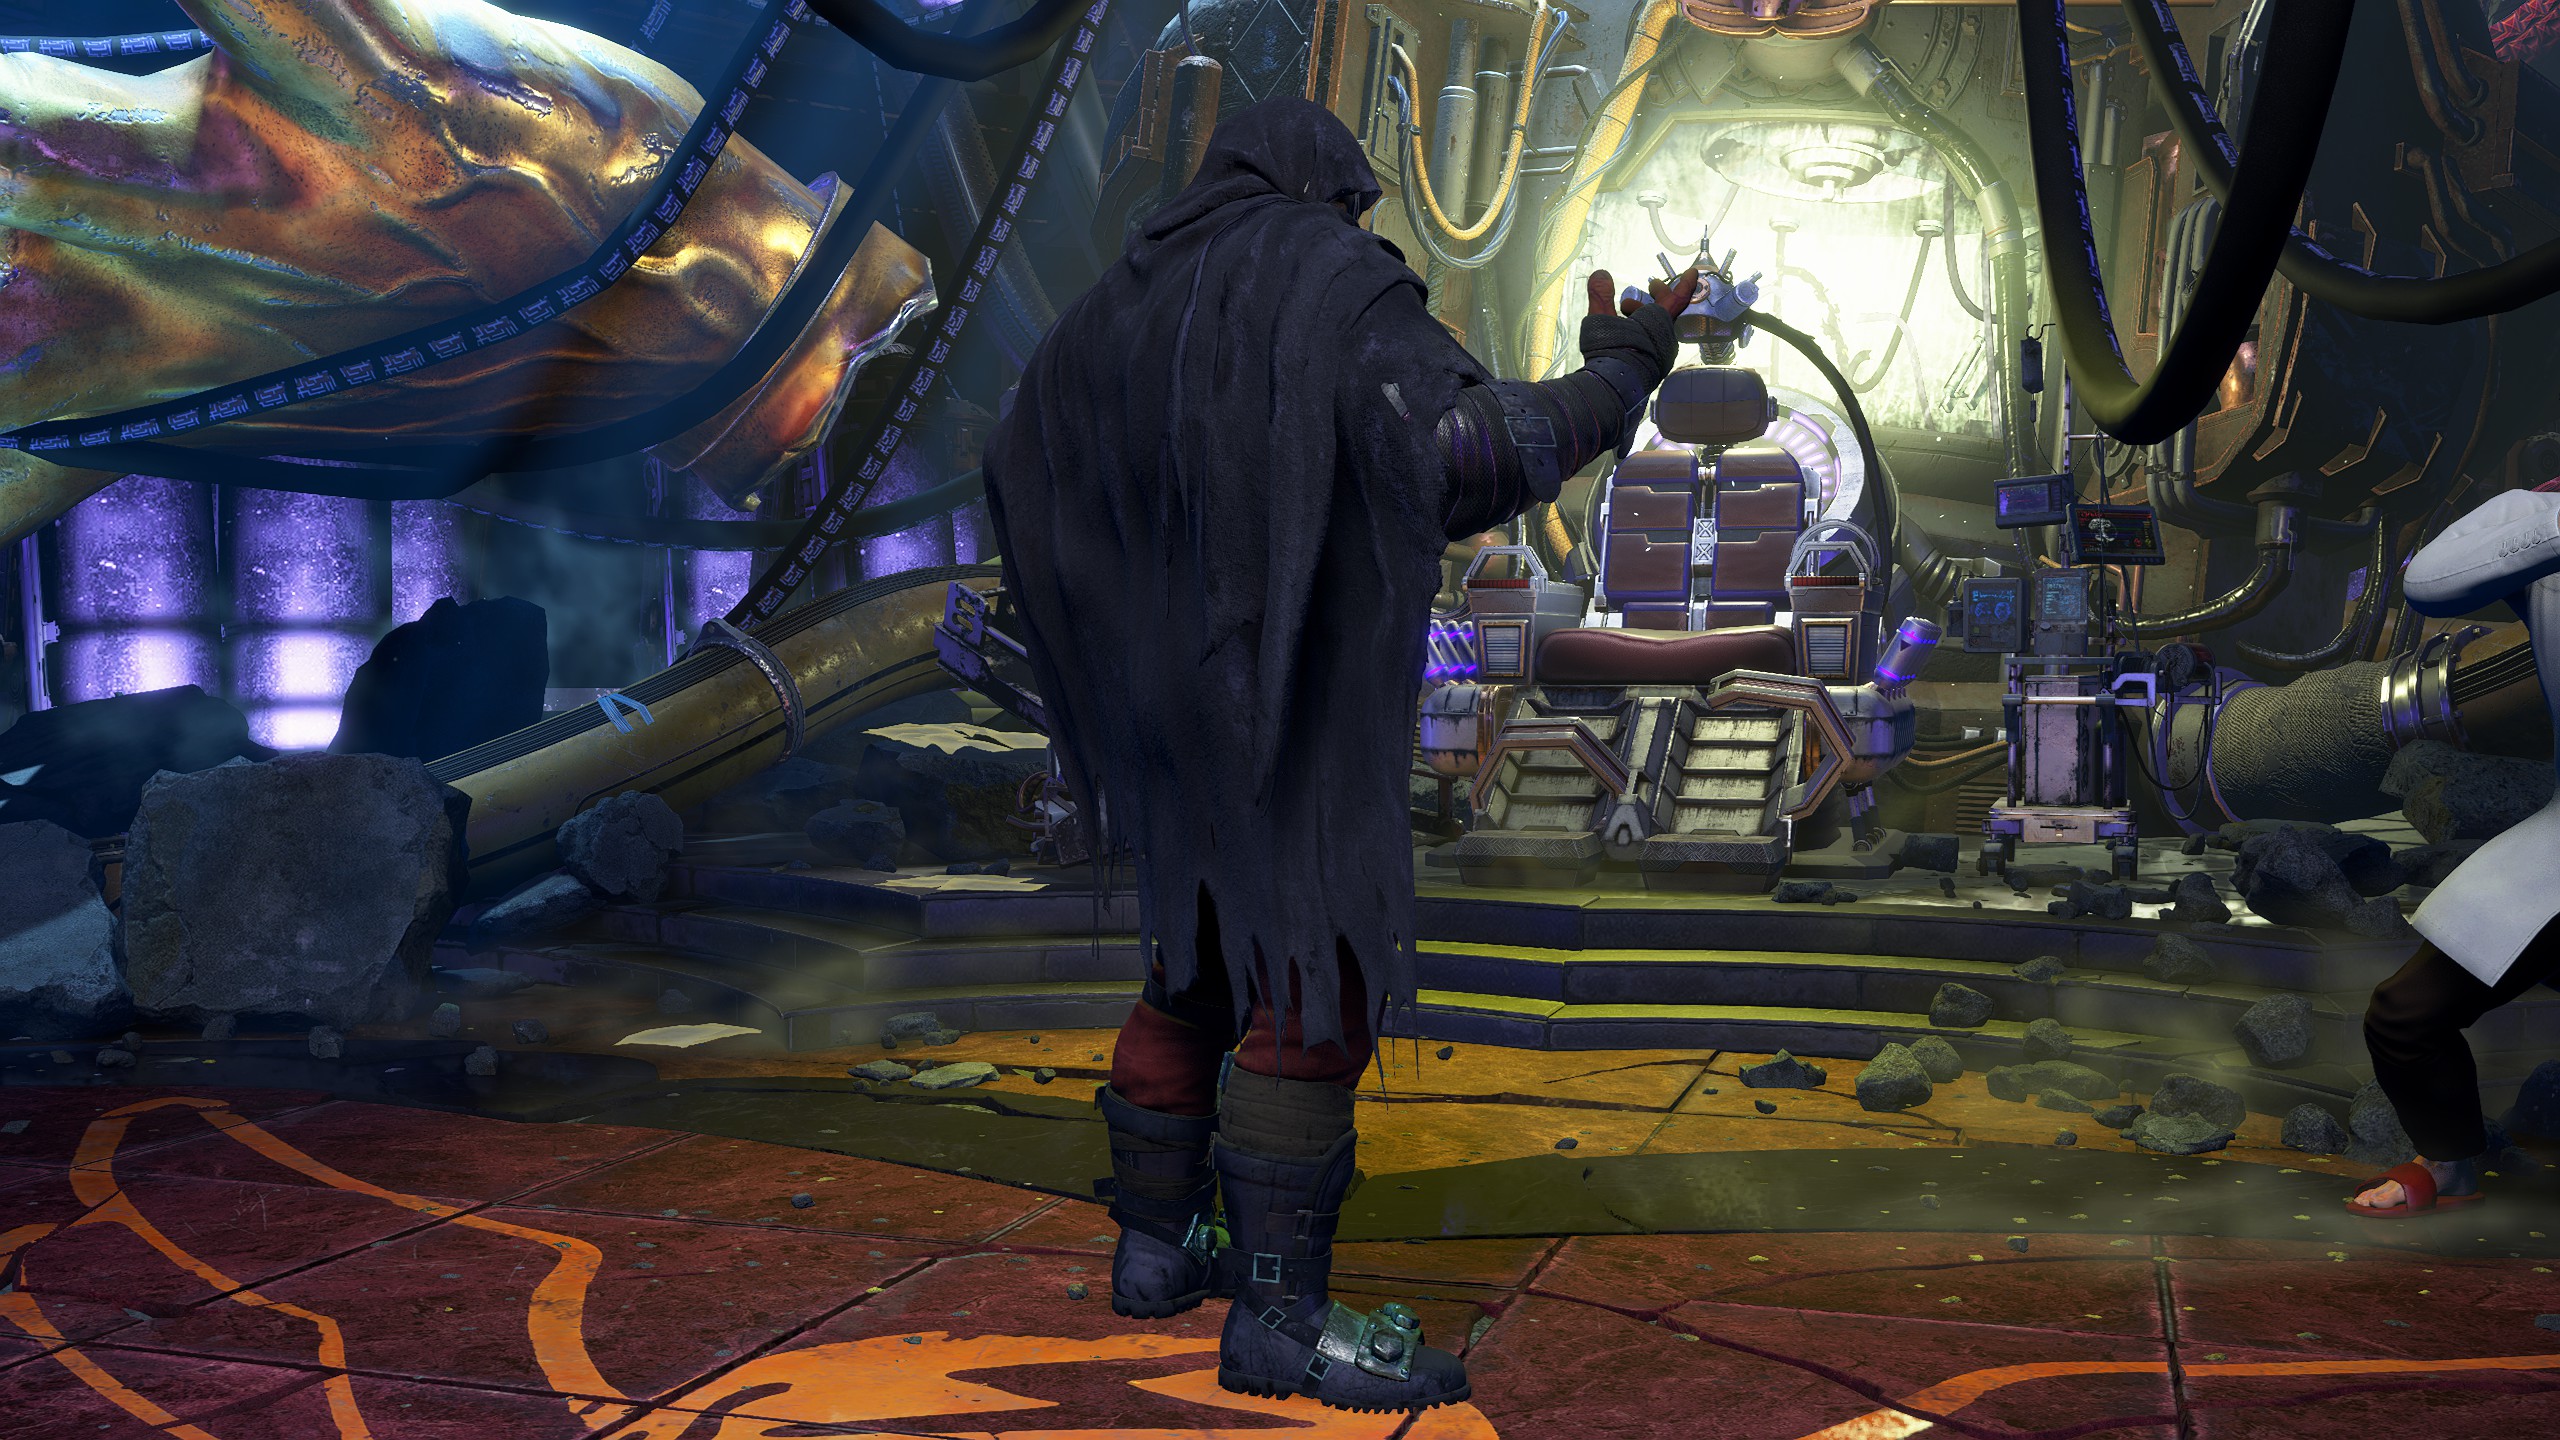
This linear path will lead you to a familiar face standing in front of a large pillar:
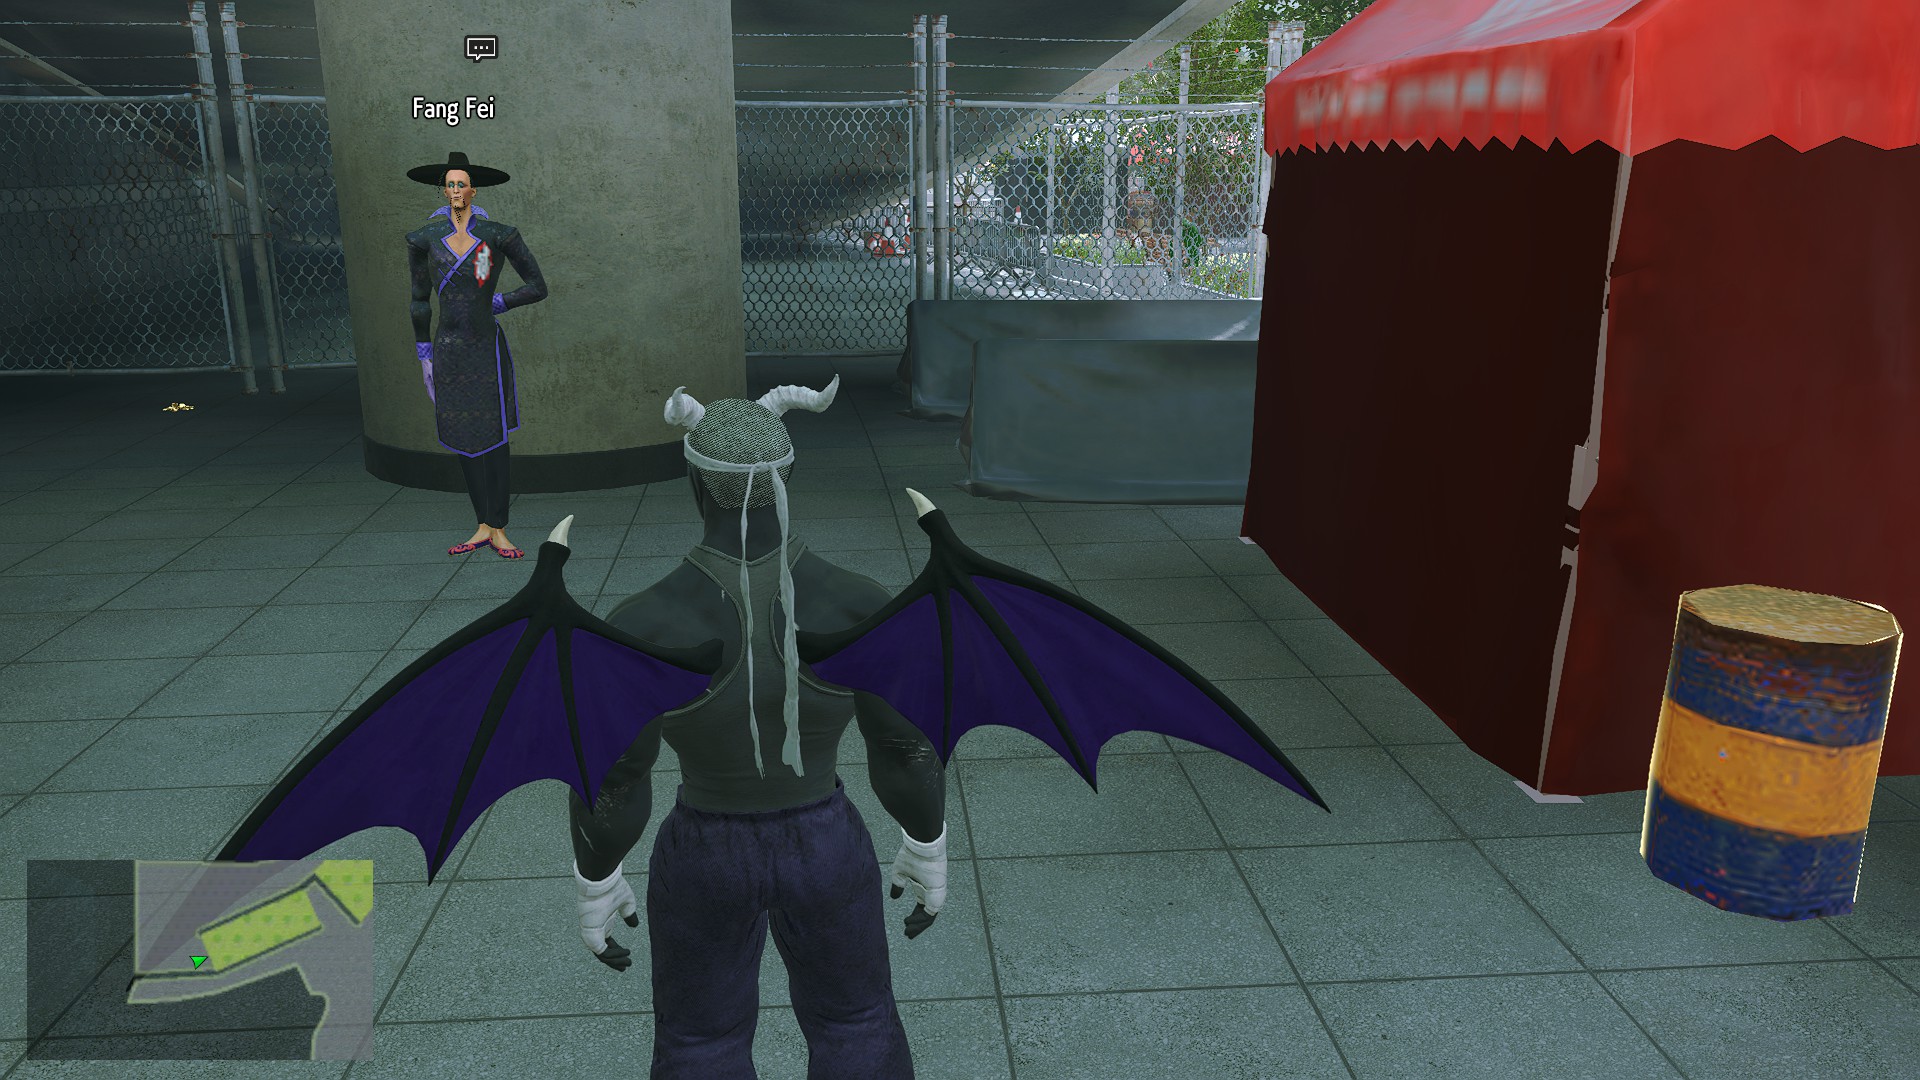
Speak to him to continue this mission and discover where A.K.I. is located. Once she's been found, complete her missions to unlock all of her comics.
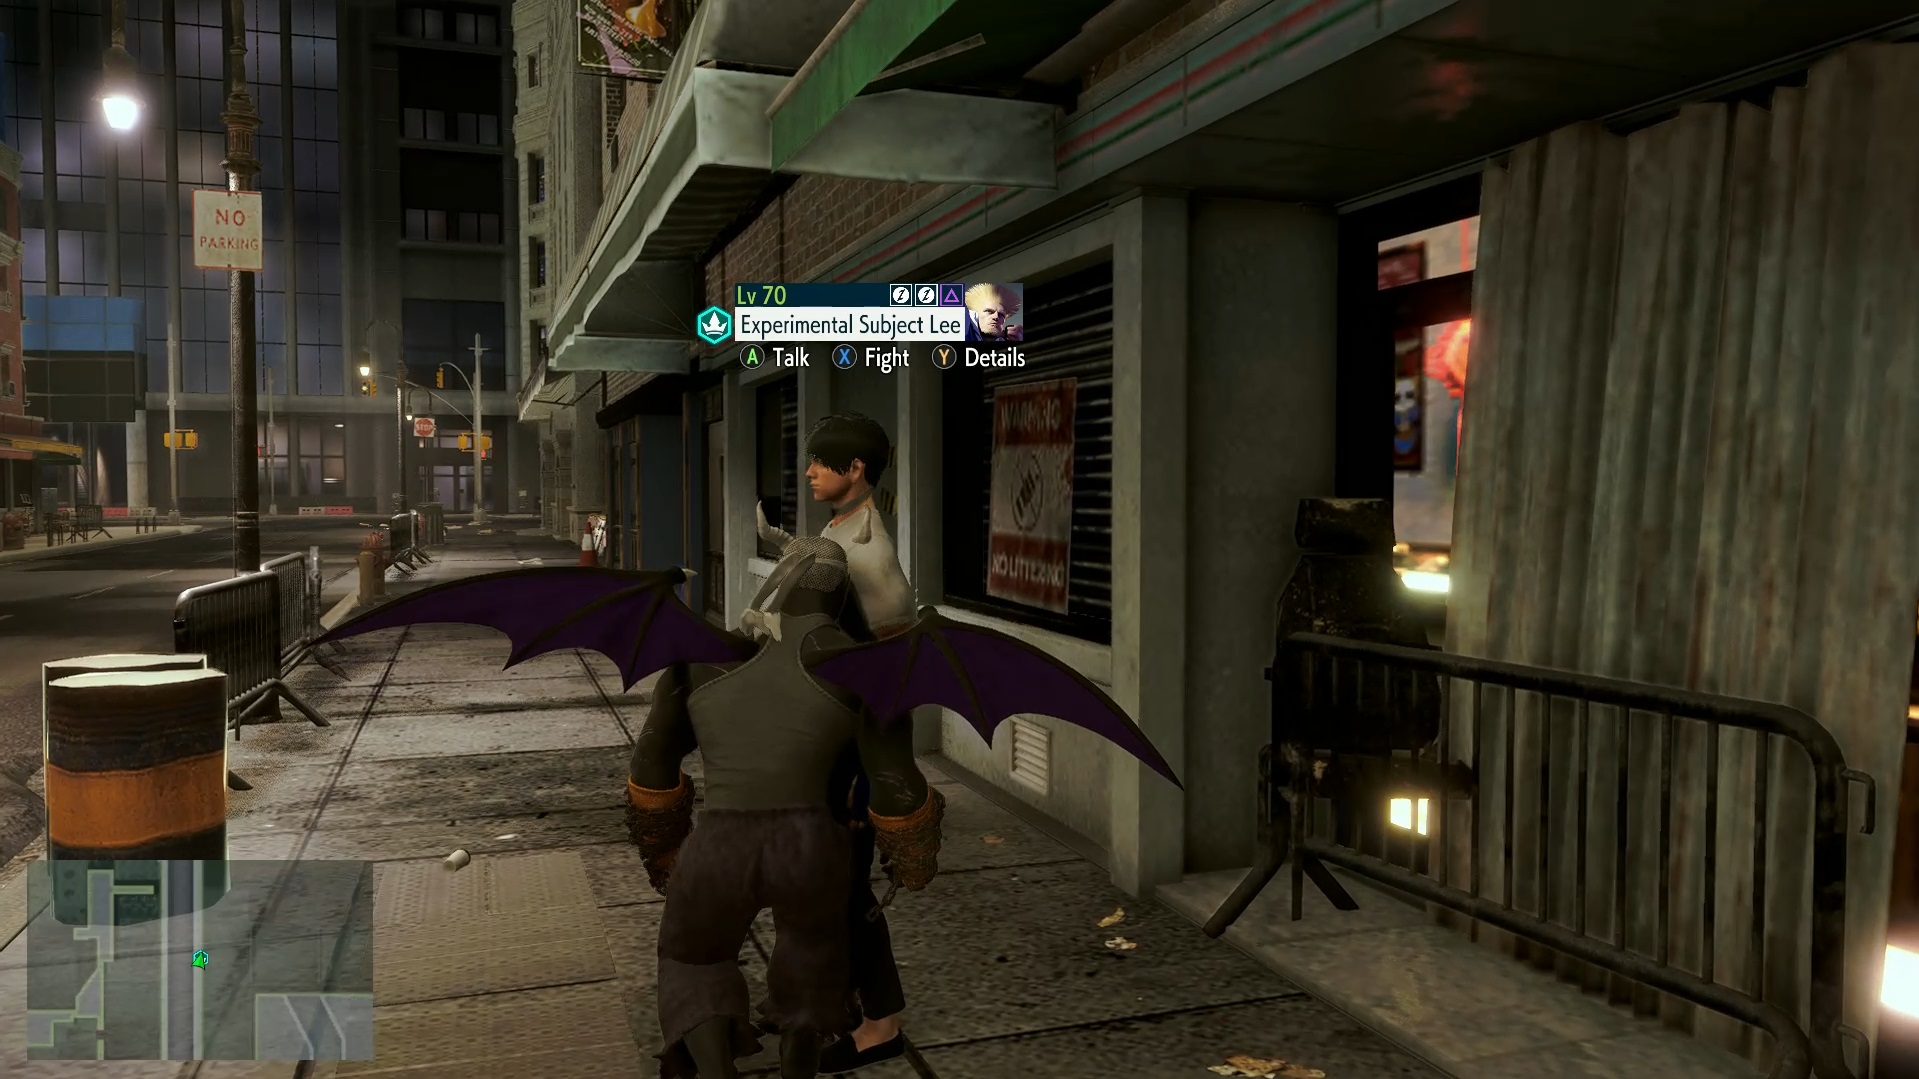
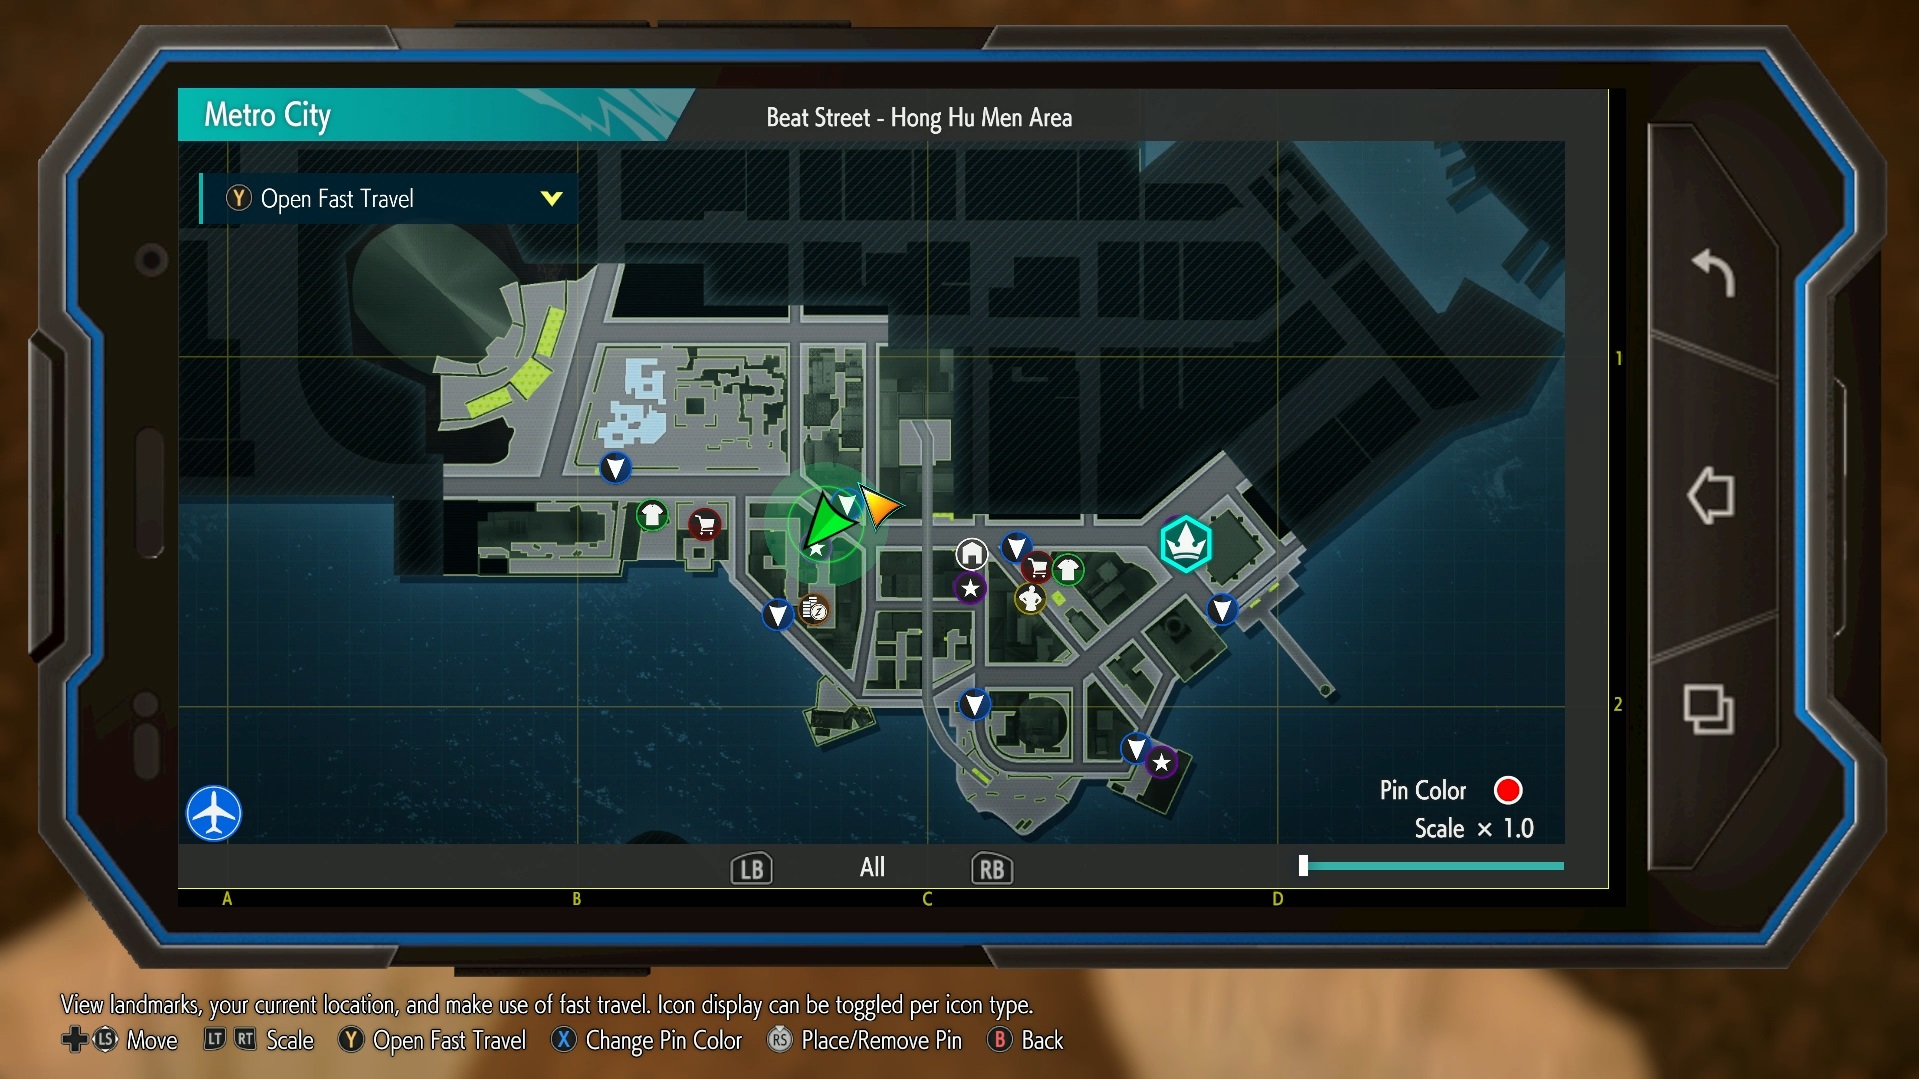
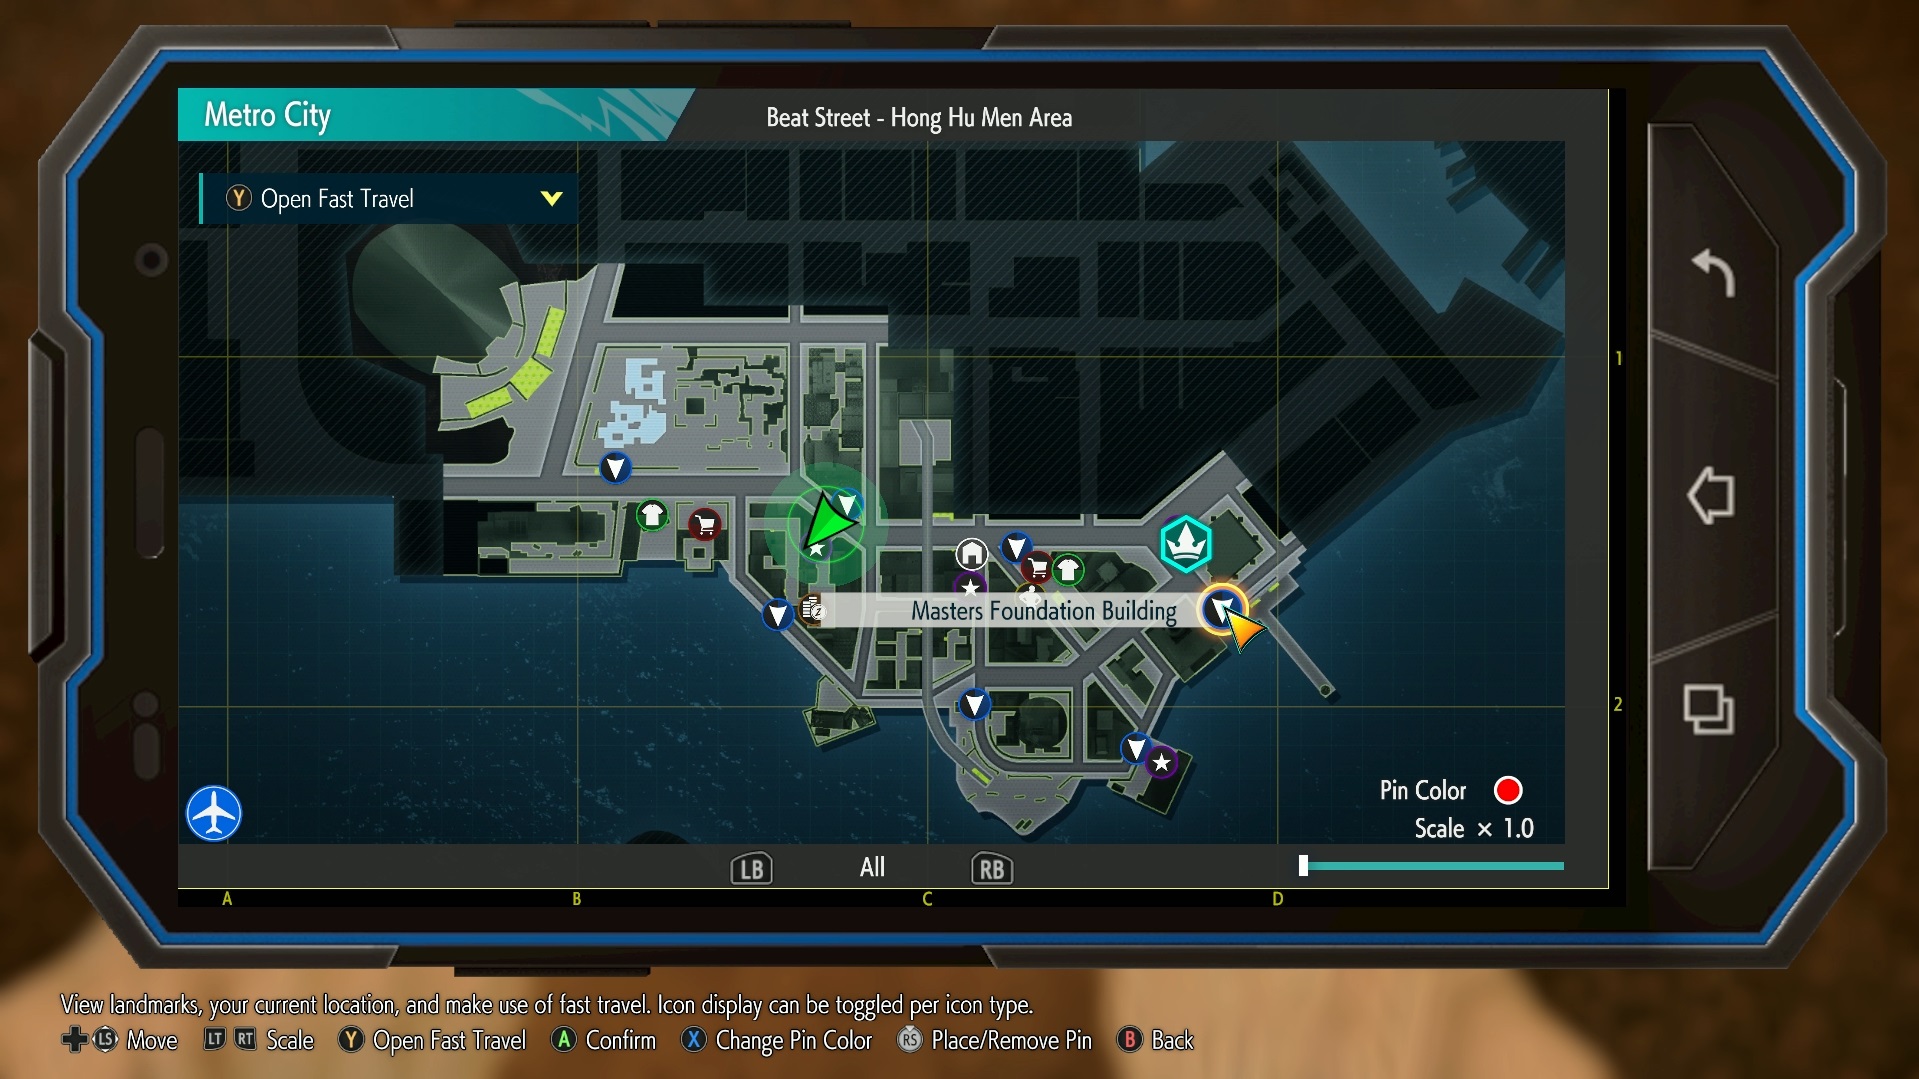
You should now have three comics unlocked. For the fourth, you will want to make enough progress in World Tour so that a quest giver name Experimental Subject Lee appears near the Beat Street - Hong Hu Men Area bus stop in Metro City (make sure that it is nighttime):
Speak with him to initiate the quest and then head over to Chinatown's main gate to trigger some text messages:
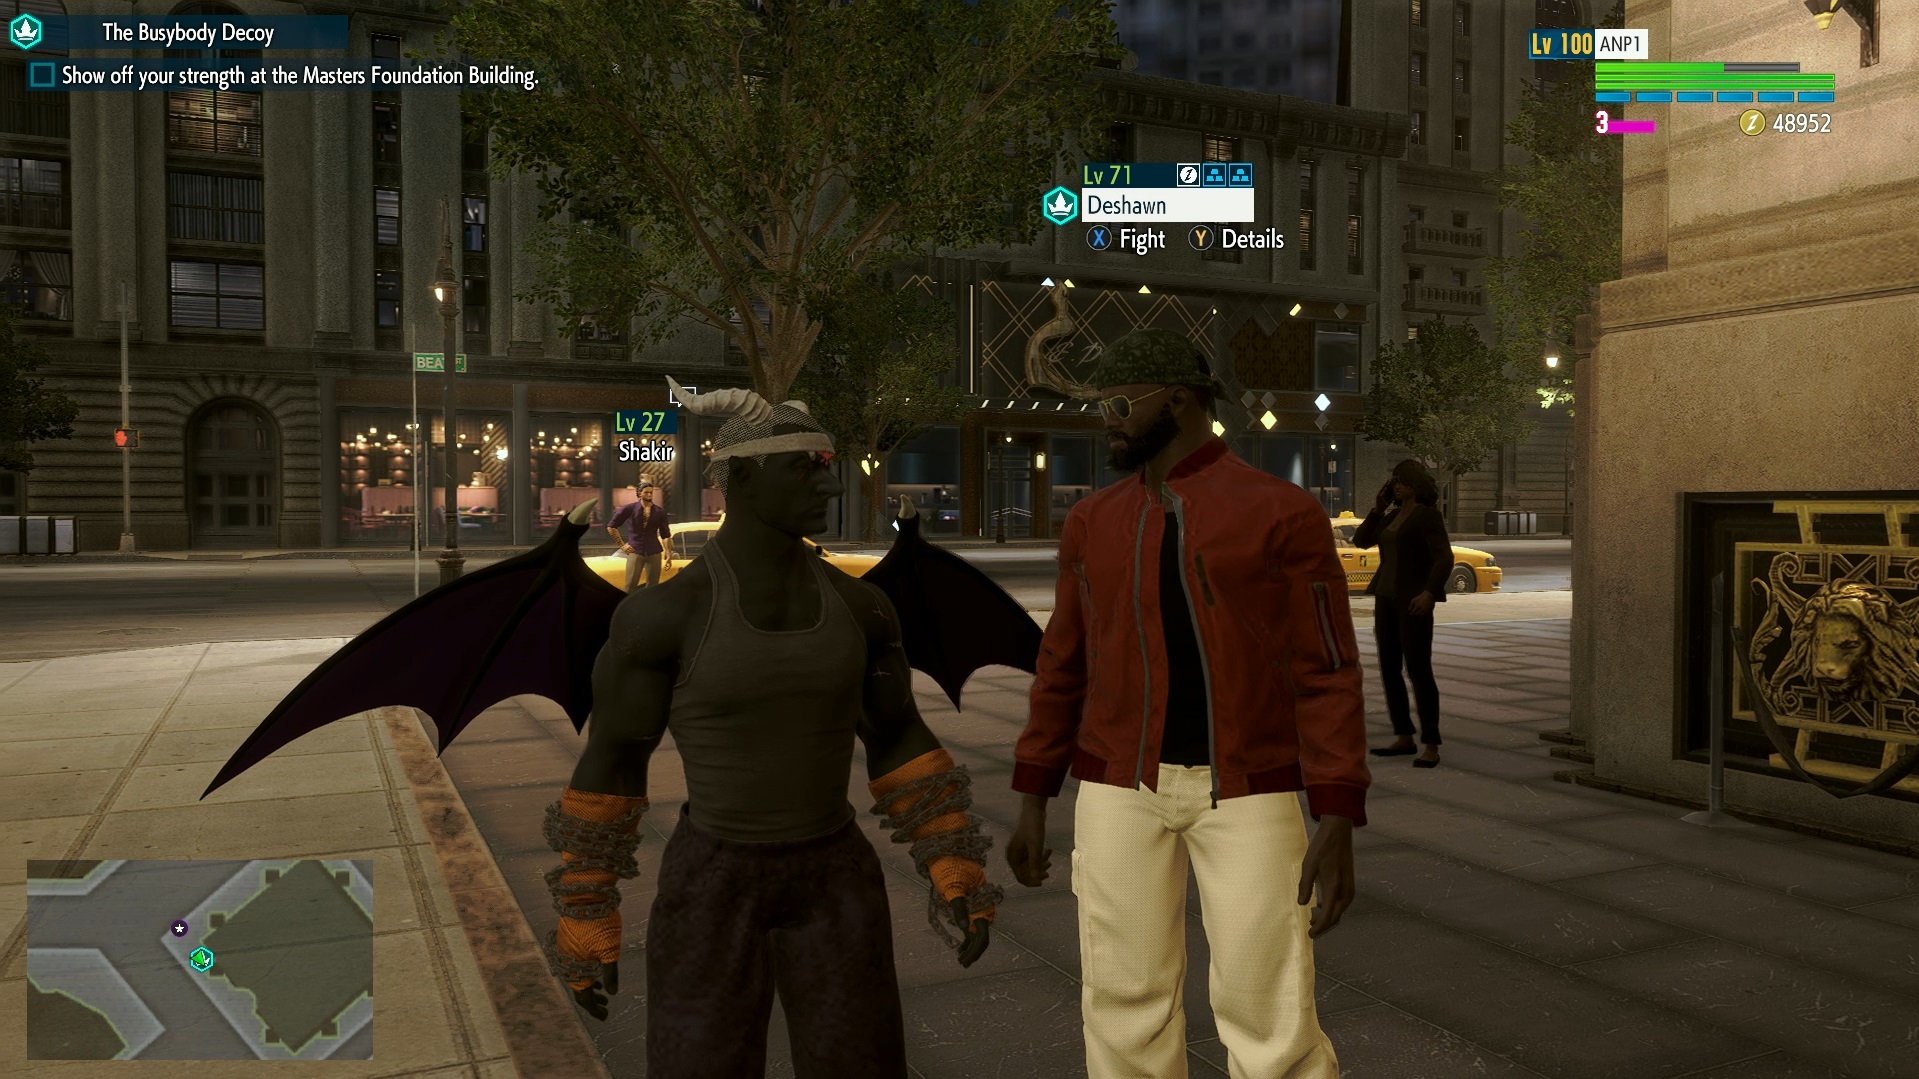
With that step completed, you'll now need to head to the quest marker near the Masters Foundation Building bus stop and fight an NPC named Deshawn there:
Once you've wiped the floor with him, you'll receive some more texts telling you to go to either Urban Park or Edomon. Feel free to do whichever you like, but since I chose Urban Park, that's what I am going to refer to in this guide. Either way, you'll want to use the Urban Park bus stop to quick travel. If you do chose to go to Urban Park, you'll encounter an NPC named Corsome. Take him out to trigger the next step of this quest:
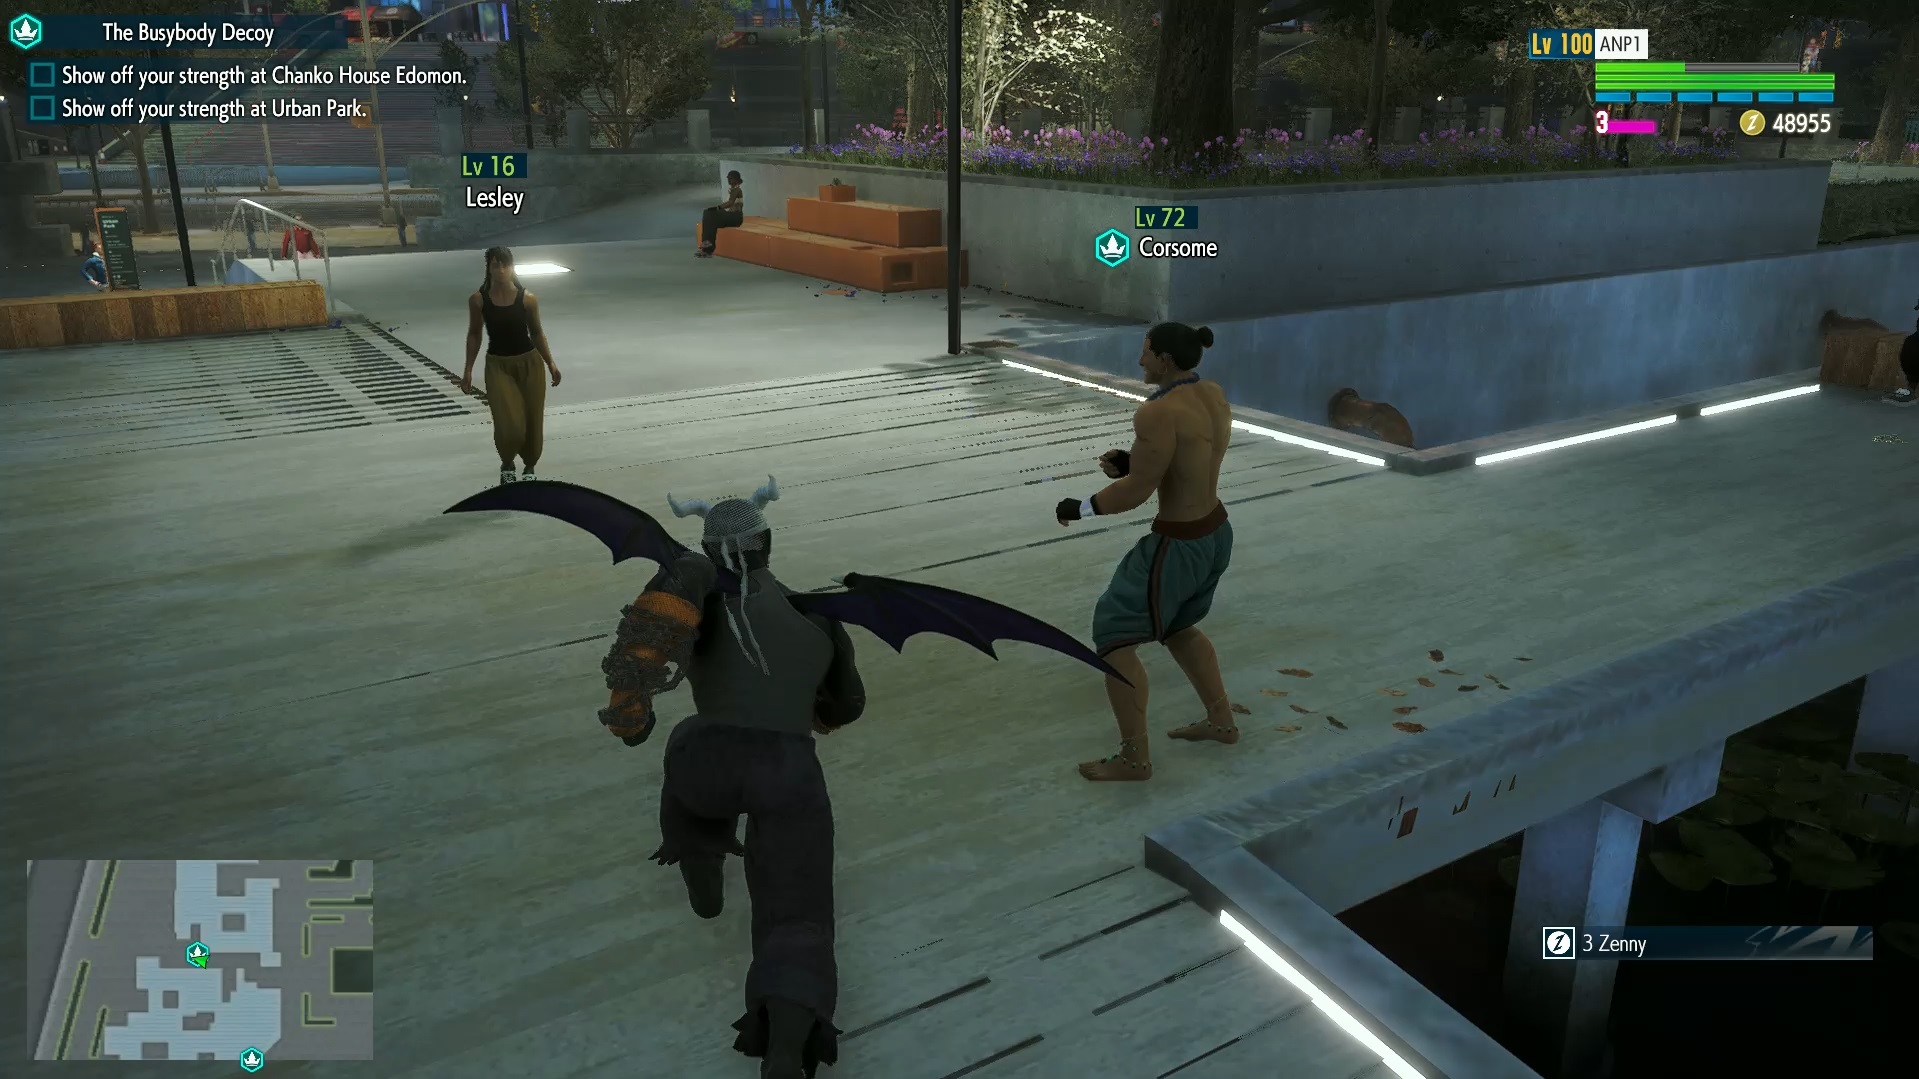
With Corsome defeated, you'll get some more texts asking you to head over to Mike Haggar Memorial Stadium, so leave the park via the nearest exit and make your way toward the stadium's large stairway where Isaiah, your next opponent, awaits:
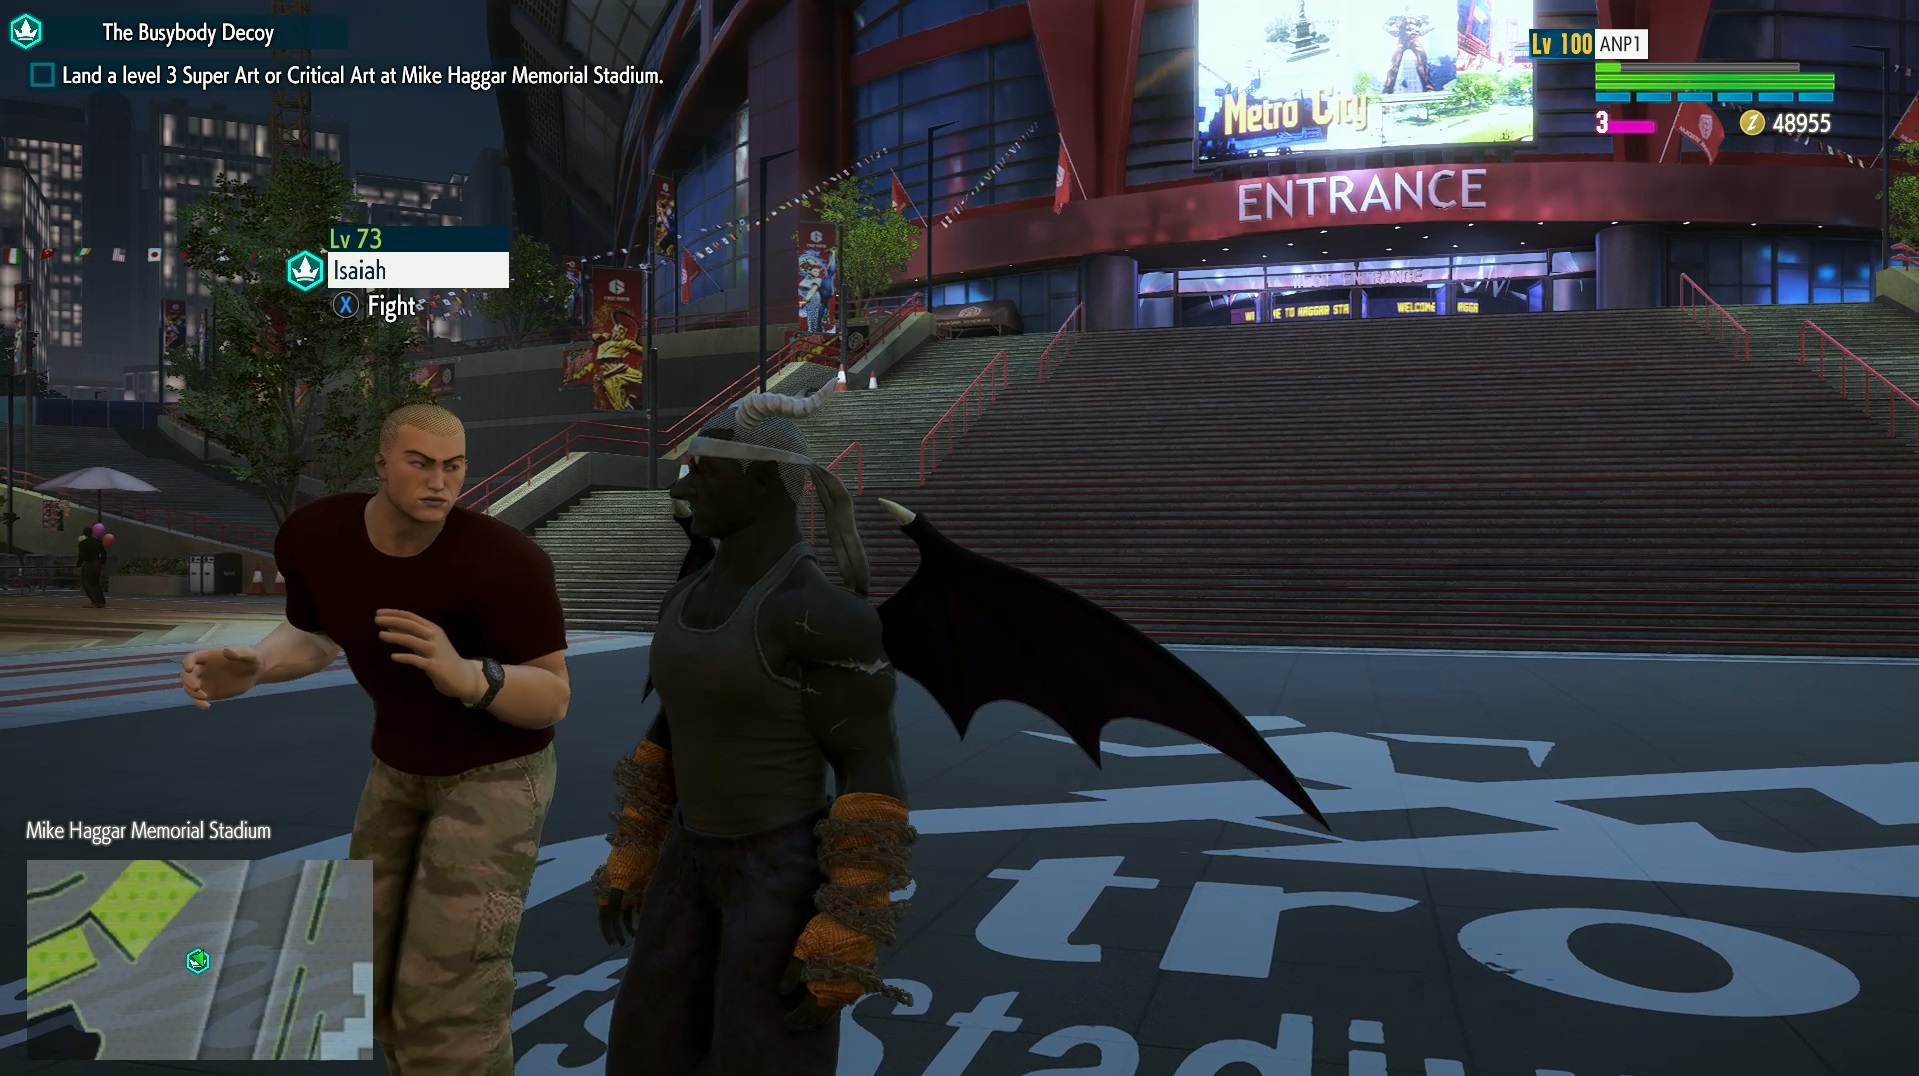
Thankfully, this time you won't have to seek out your next opponent since the Neo Shadaloo member will spawn right next to where you fought Isaiah. You know what to do, so trounce him:
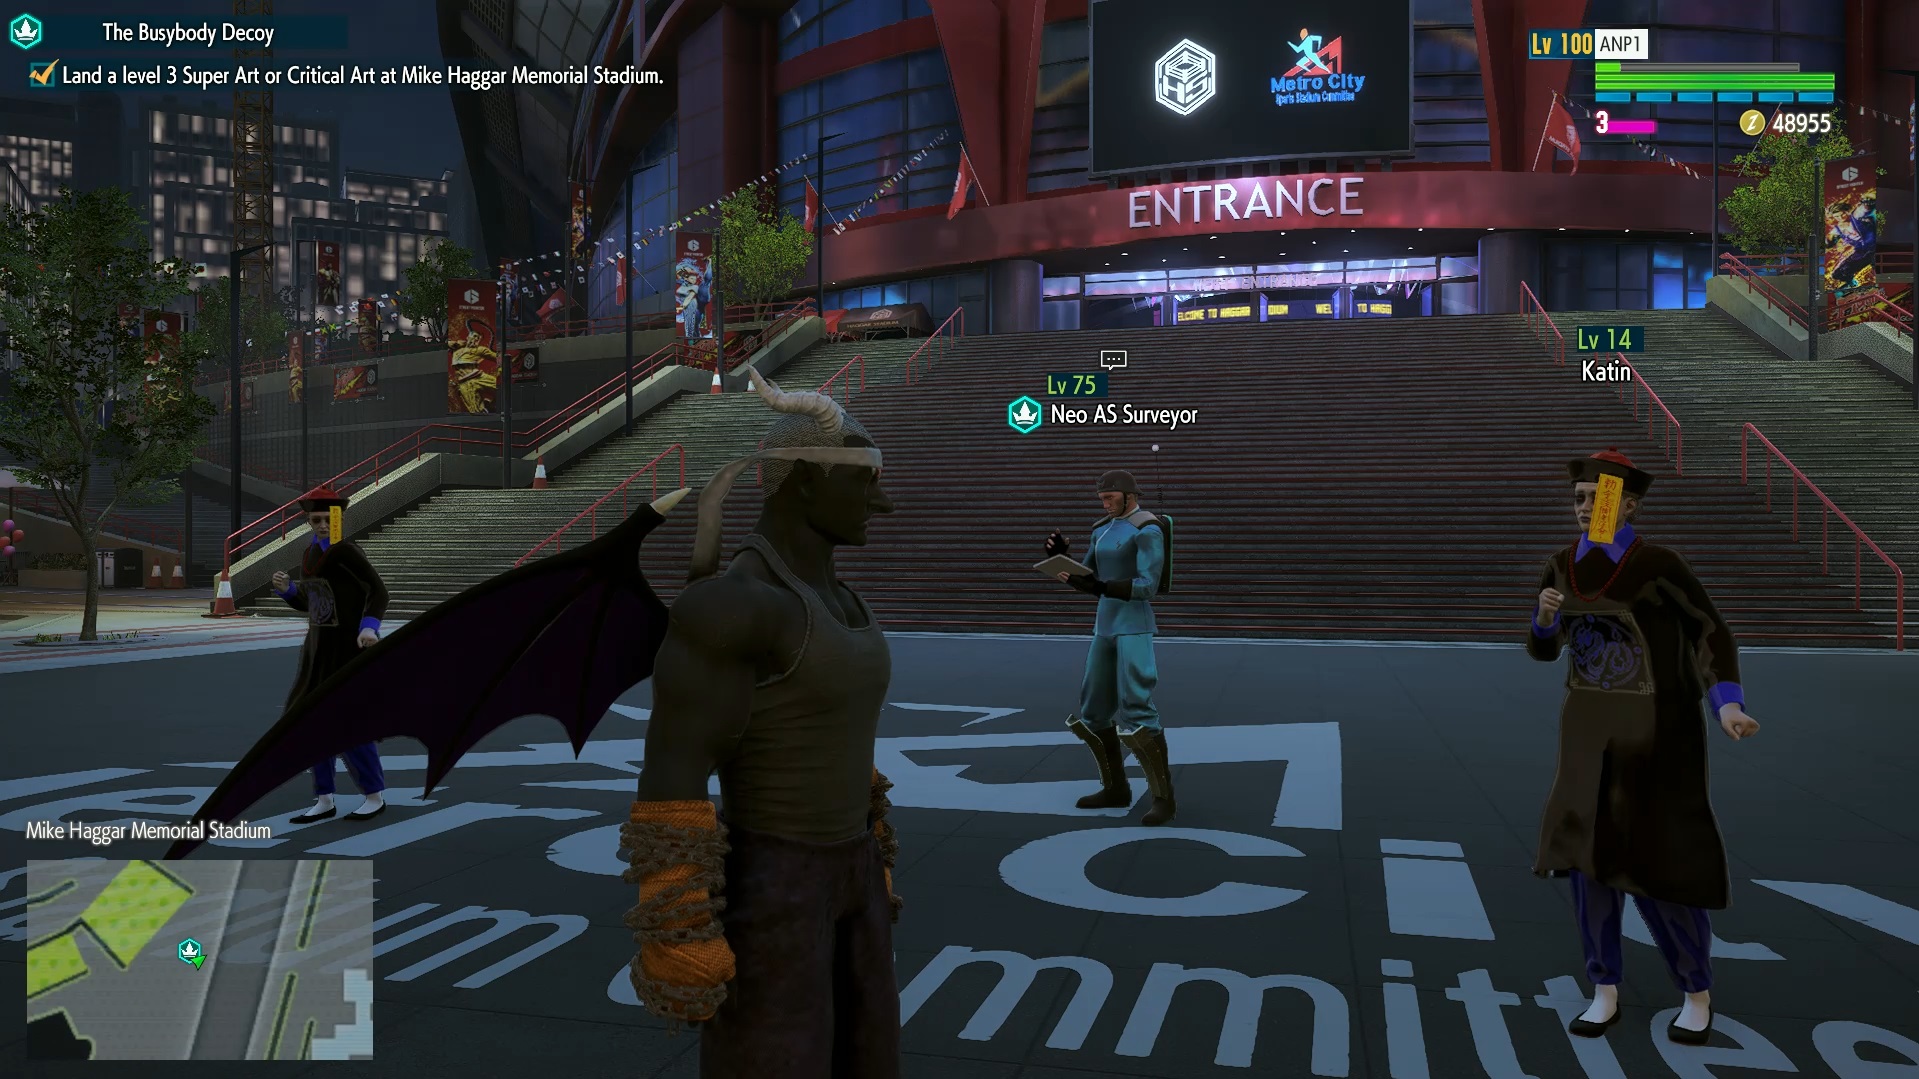
Well done. Now head back to Experimental Subject Lee (remember, the Beat Street - Hong Hu Men Area bus stop is the closest quick travel point) and let him know you're ready to go. This will transport you to another location and unlock the Comic Infiltrating the Lab.
UPDATE! Since my World Tour file is basically at 100% each time a new character and the related content drops, it's difficult for me to keep track of all the prerequisites required to unlock additional comics. Why? Well, the new content is automatically available once I load up my save, so I don't have any way of identifying the unlock conditions on my own. Because of this, I have decided to no longer give detailed explanations on how to unlock the comics. I will continue to give a basic rundown of what to do, but it's up to you to fill in the blanks and look up the necessary information on your own. Sorry about this, but hopefully the information provided gives you a decent starting point.
With that out of the way, let me give a quick explanation of what you need to do to unlock the next two comics. Your ultimate goal is to complete The Shadaloo Officers, which is M. Bison's second master mission. Now this is second-hand information, so I can't attest to its veracity, but according to this web page[gamerant.com], you will need to complete the following five missions: Neo Shadaloo's Leader?, The Busybody Decoy, Into the Shadows of Shadaloo, A Strange Creature, and The Psycho Power Experiment. The first mission is required to enroll under Ed, the second and third missions are needed to get the fourth comic (both of which are covered above), the fourth can be found in Old Nayshall at some point, and the fifth in Metro City.
Once you've completed these five missions, you should be enrolled as M. Bison's pupil. Now boost your style level with Bison until he gives you Destined Enemies, his first master mission. With that out of the way, he'll give you the aforementioned The Shadaloo Officers. Finishing this mission will unlock the fifth and sixth comics in your gallery.
First, to unlock the comic Rashid's Mission you will have to find Rashid in World Tour mode. To figure out his whereabouts, you'll need to locate a certain someone in Nayshall and complete the mission In Search of Talent (you might have to make more in-game progress for this mission to be available). More specifically, you'll want to travel to Nayshall's Central Bazaar:
Rotate your camera until you're facing toward the NPC Eternity's left side, then proceed down the alleyway in front of you. This conveniently leads to your hangout, so make sure to enter and switch to night if it's still daytime. Once done, head forward between your hangout and the red structure on the right to find the NPC whose mission will ultimately lead you to Rashid (note that the screenshot below is during the day with no one there, but that's because I finished the mission and the quest giver moved to a different location):
Next up is A.K.I. You will need to locate her and finish all of her Master Missions to unlock the comics A.K.I.'s Mission 1 and A.K.I.'s Mission 2. How? Well, At some point in World Tour, the NPC Lao Mao will have a misson for your avatar called Good Medicine's Hard to Come By. You can find her in Metro City's Chinatown but only during the day. Use the Beat Street - Hong Hu Men Area travel point to reach her:
As the mission's name suggests, she wants you to find some medicine. So open up your fast travel menu and head to Urban Park (make sure it's still daytime):
If you read through one of the earlier sections of this guide, you may remember that this point relocates you very close to Haggar Stadium. To the left of the stadium is a row of black and red stalls:
Run over to these stalls to find a Hado Pizza truck. To the right of it is a path sandwiched between the truck and another stall:
This linear path will lead you to a familiar face standing in front of a large pillar:
Speak to him to continue this mission and discover where A.K.I. is located. Once she's been found, complete her missions to unlock all of her comics.
You should now have three comics unlocked. For the fourth, you will want to make enough progress in World Tour so that a quest giver name Experimental Subject Lee appears near the Beat Street - Hong Hu Men Area bus stop in Metro City (make sure that it is nighttime):
Speak with him to initiate the quest and then head over to Chinatown's main gate to trigger some text messages:
With that step completed, you'll now need to head to the quest marker near the Masters Foundation Building bus stop and fight an NPC named Deshawn there:
Once you've wiped the floor with him, you'll receive some more texts telling you to go to either Urban Park or Edomon. Feel free to do whichever you like, but since I chose Urban Park, that's what I am going to refer to in this guide. Either way, you'll want to use the Urban Park bus stop to quick travel. If you do chose to go to Urban Park, you'll encounter an NPC named Corsome. Take him out to trigger the next step of this quest:
With Corsome defeated, you'll get some more texts asking you to head over to Mike Haggar Memorial Stadium, so leave the park via the nearest exit and make your way toward the stadium's large stairway where Isaiah, your next opponent, awaits:
Thankfully, this time you won't have to seek out your next opponent since the Neo Shadaloo member will spawn right next to where you fought Isaiah. You know what to do, so trounce him:
Well done. Now head back to Experimental Subject Lee (remember, the Beat Street - Hong Hu Men Area bus stop is the closest quick travel point) and let him know you're ready to go. This will transport you to another location and unlock the Comic Infiltrating the Lab.
UPDATE! Since my World Tour file is basically at 100% each time a new character and the related content drops, it's difficult for me to keep track of all the prerequisites required to unlock additional comics. Why? Well, the new content is automatically available once I load up my save, so I don't have any way of identifying the unlock conditions on my own. Because of this, I have decided to no longer give detailed explanations on how to unlock the comics. I will continue to give a basic rundown of what to do, but it's up to you to fill in the blanks and look up the necessary information on your own. Sorry about this, but hopefully the information provided gives you a decent starting point.
With that out of the way, let me give a quick explanation of what you need to do to unlock the next two comics. Your ultimate goal is to complete The Shadaloo Officers, which is M. Bison's second master mission. Now this is second-hand information, so I can't attest to its veracity, but according to this web page[gamerant.com], you will need to complete the following five missions: Neo Shadaloo's Leader?, The Busybody Decoy, Into the Shadows of Shadaloo, A Strange Creature, and The Psycho Power Experiment. The first mission is required to enroll under Ed, the second and third missions are needed to get the fourth comic (both of which are covered above), the fourth can be found in Old Nayshall at some point, and the fifth in Metro City.
Once you've completed these five missions, you should be enrolled as M. Bison's pupil. Now boost your style level with Bison until he gives you Destined Enemies, his first master mission. With that out of the way, he'll give you the aforementioned The Shadaloo Officers. Finishing this mission will unlock the fifth and sixth comics in your gallery.
World Tour - Comics [from the Cutscenes Gallery] (Part 2)
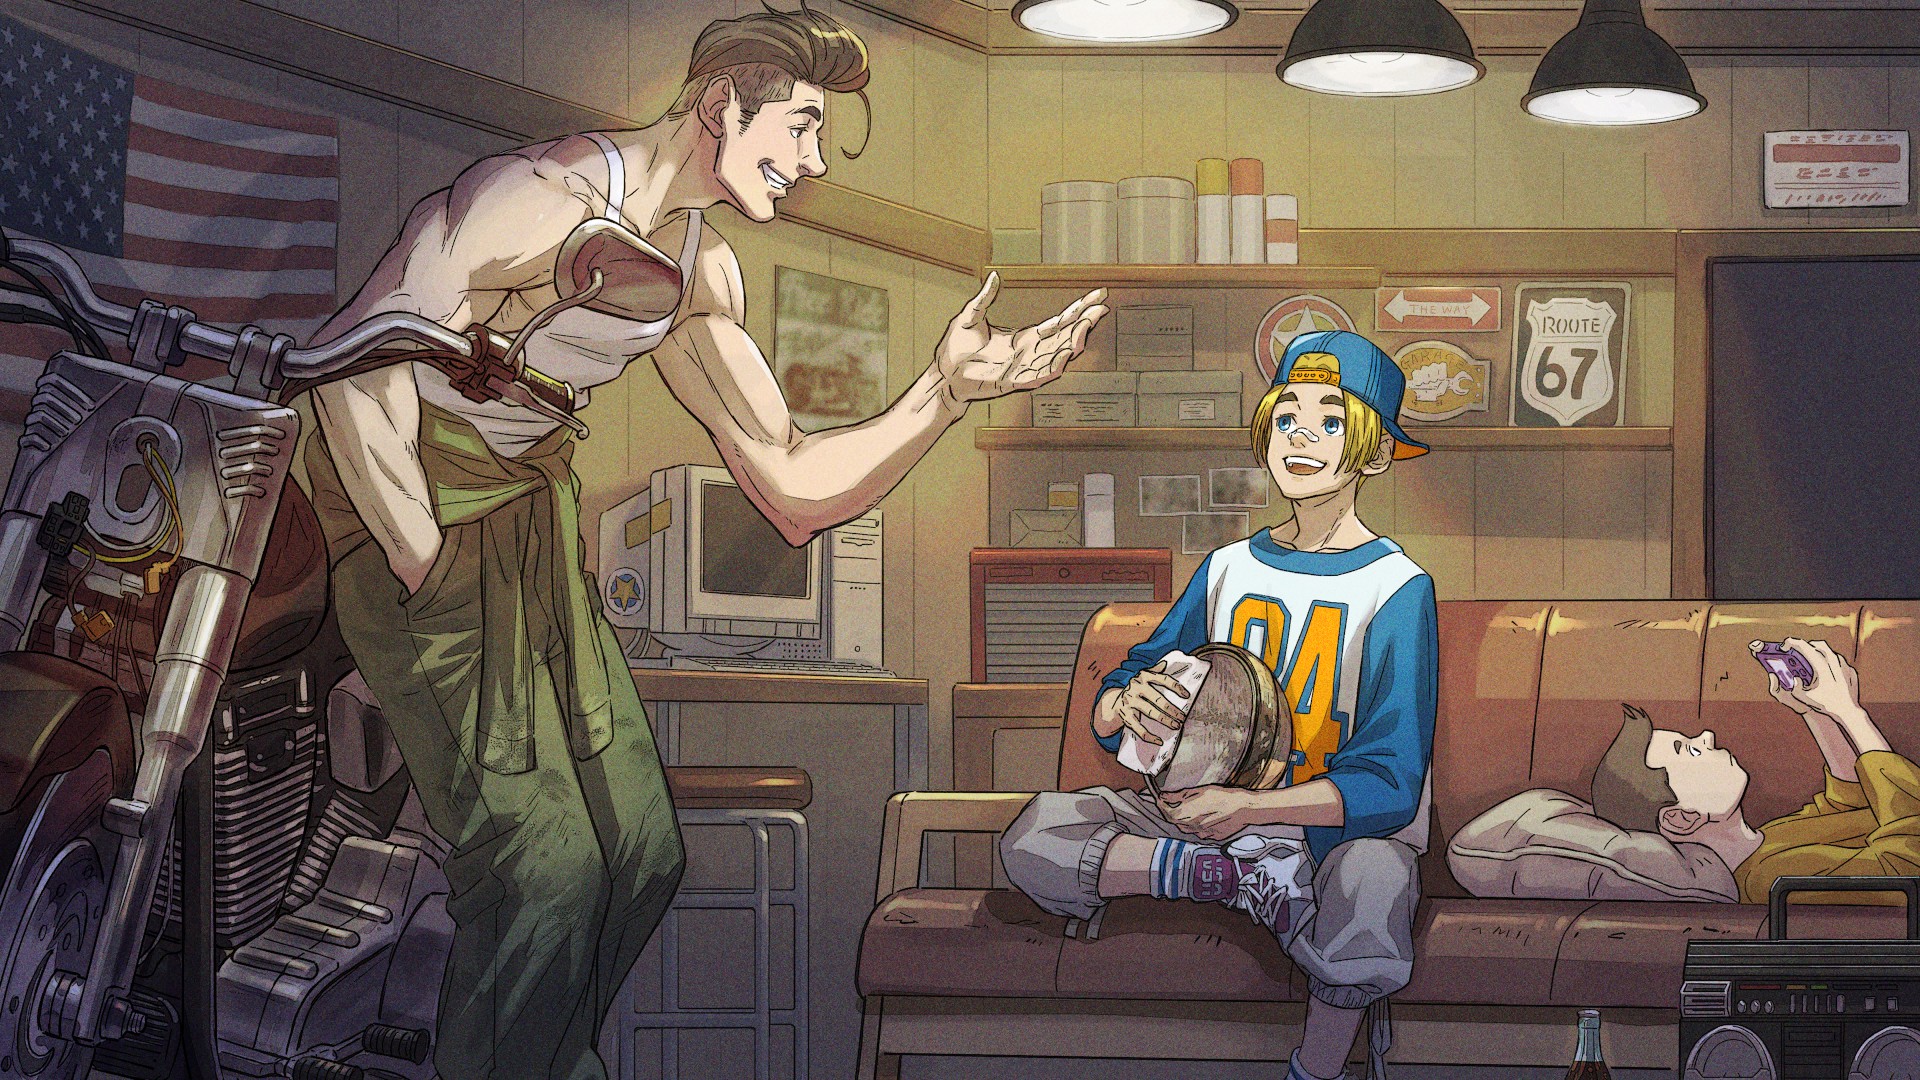
Alright, let's jump into the comics!
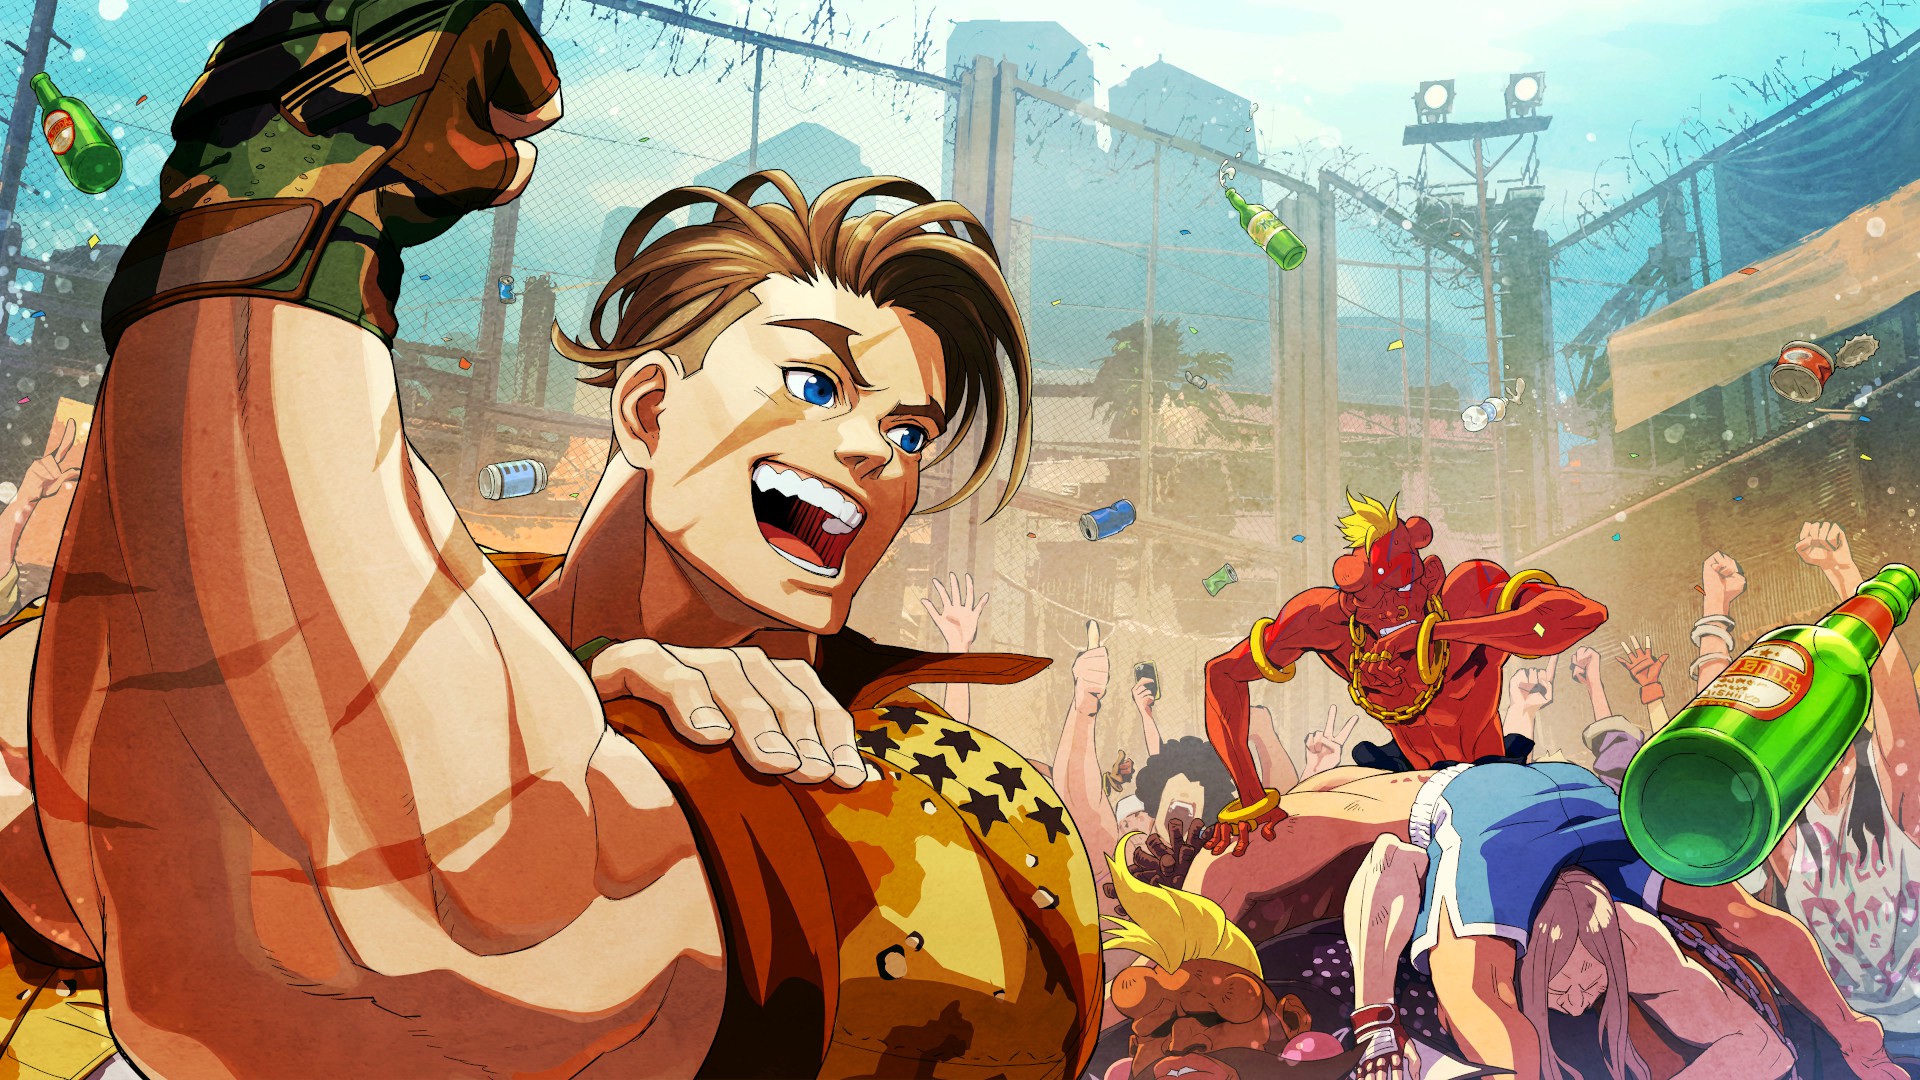
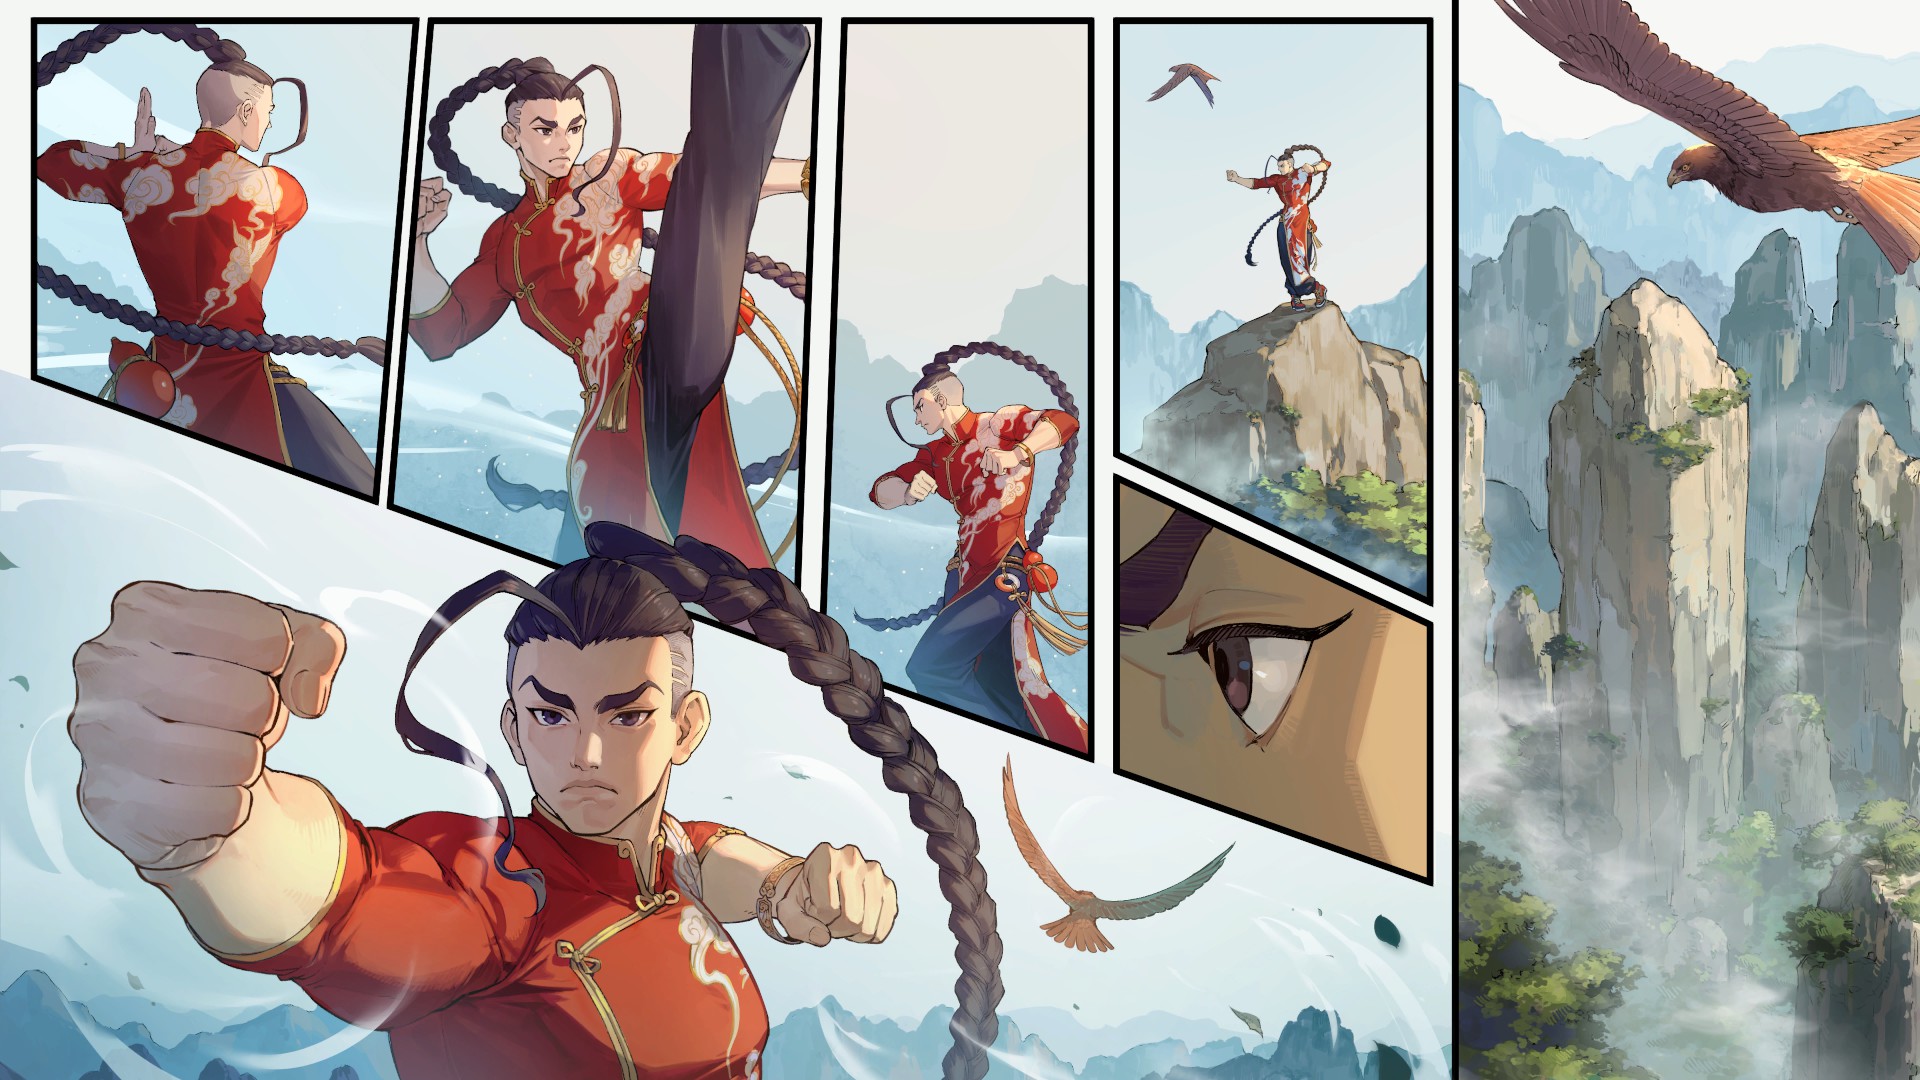
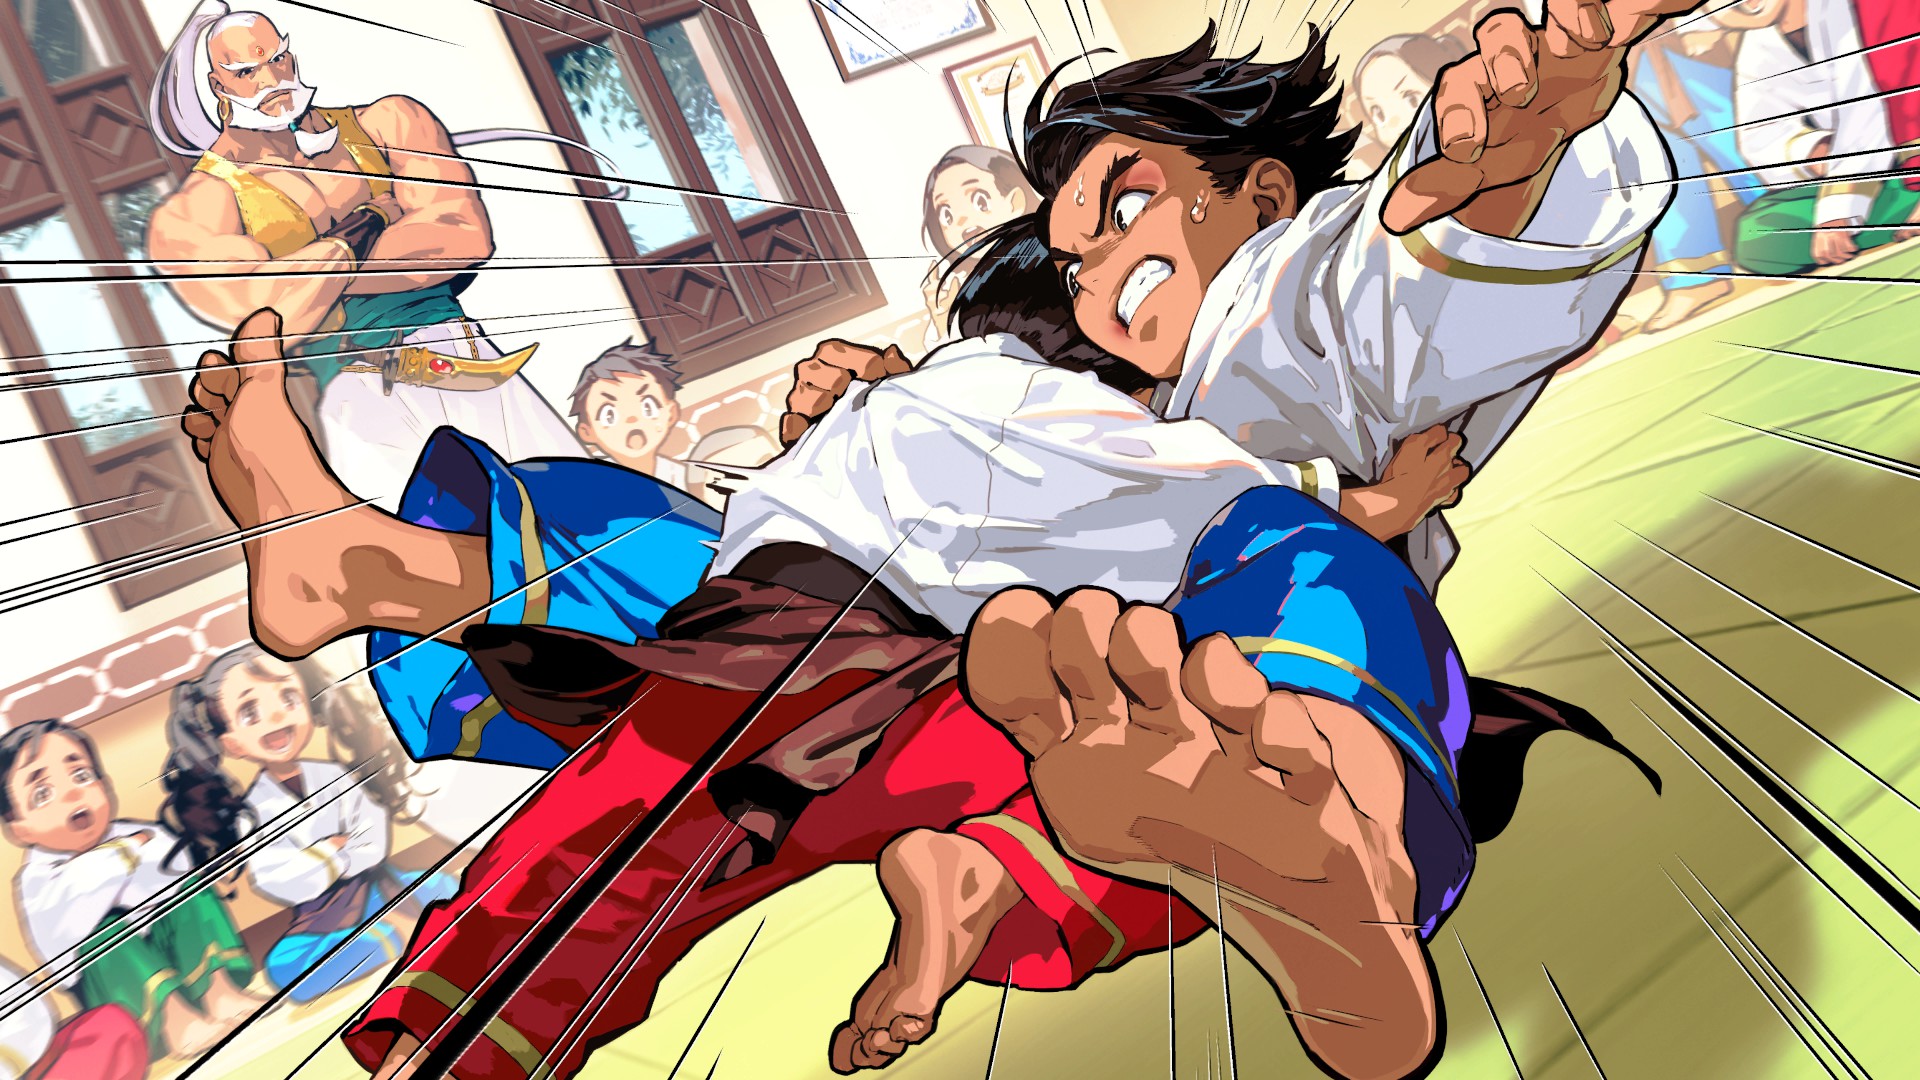
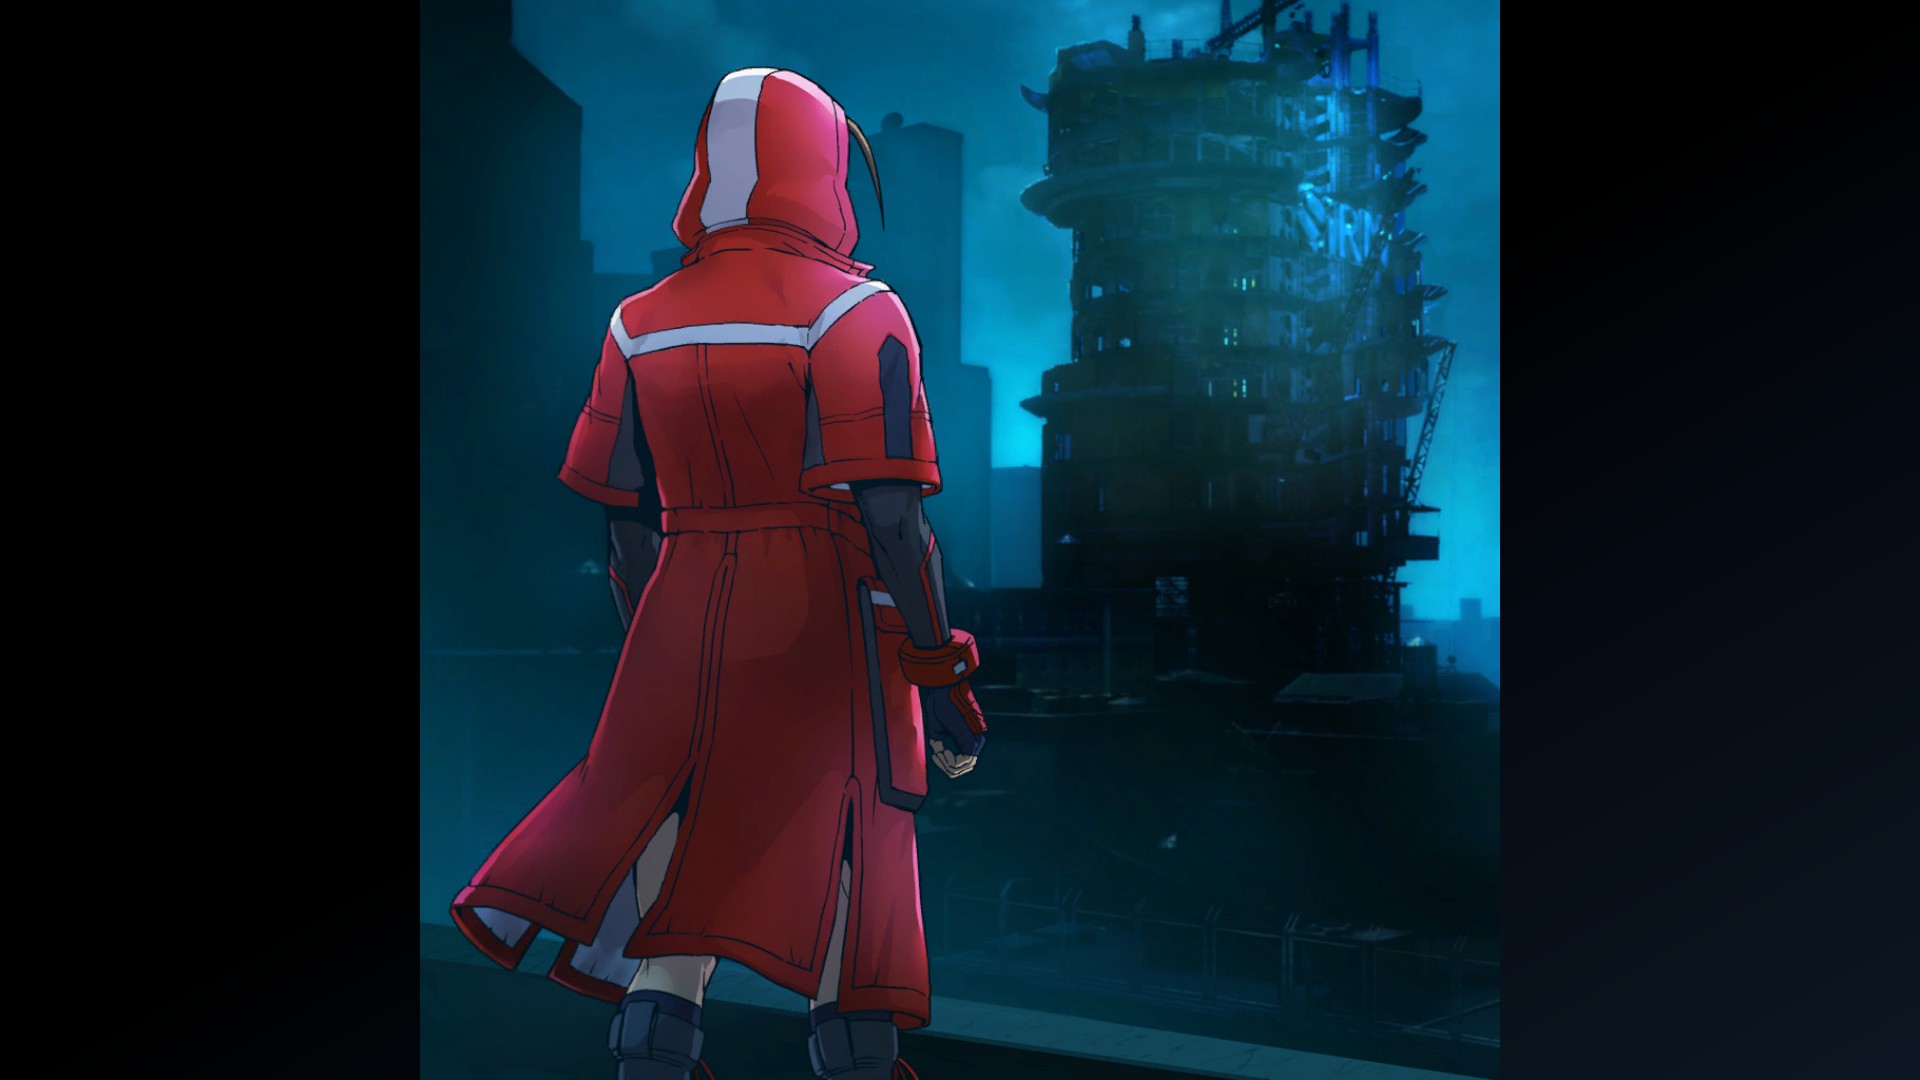
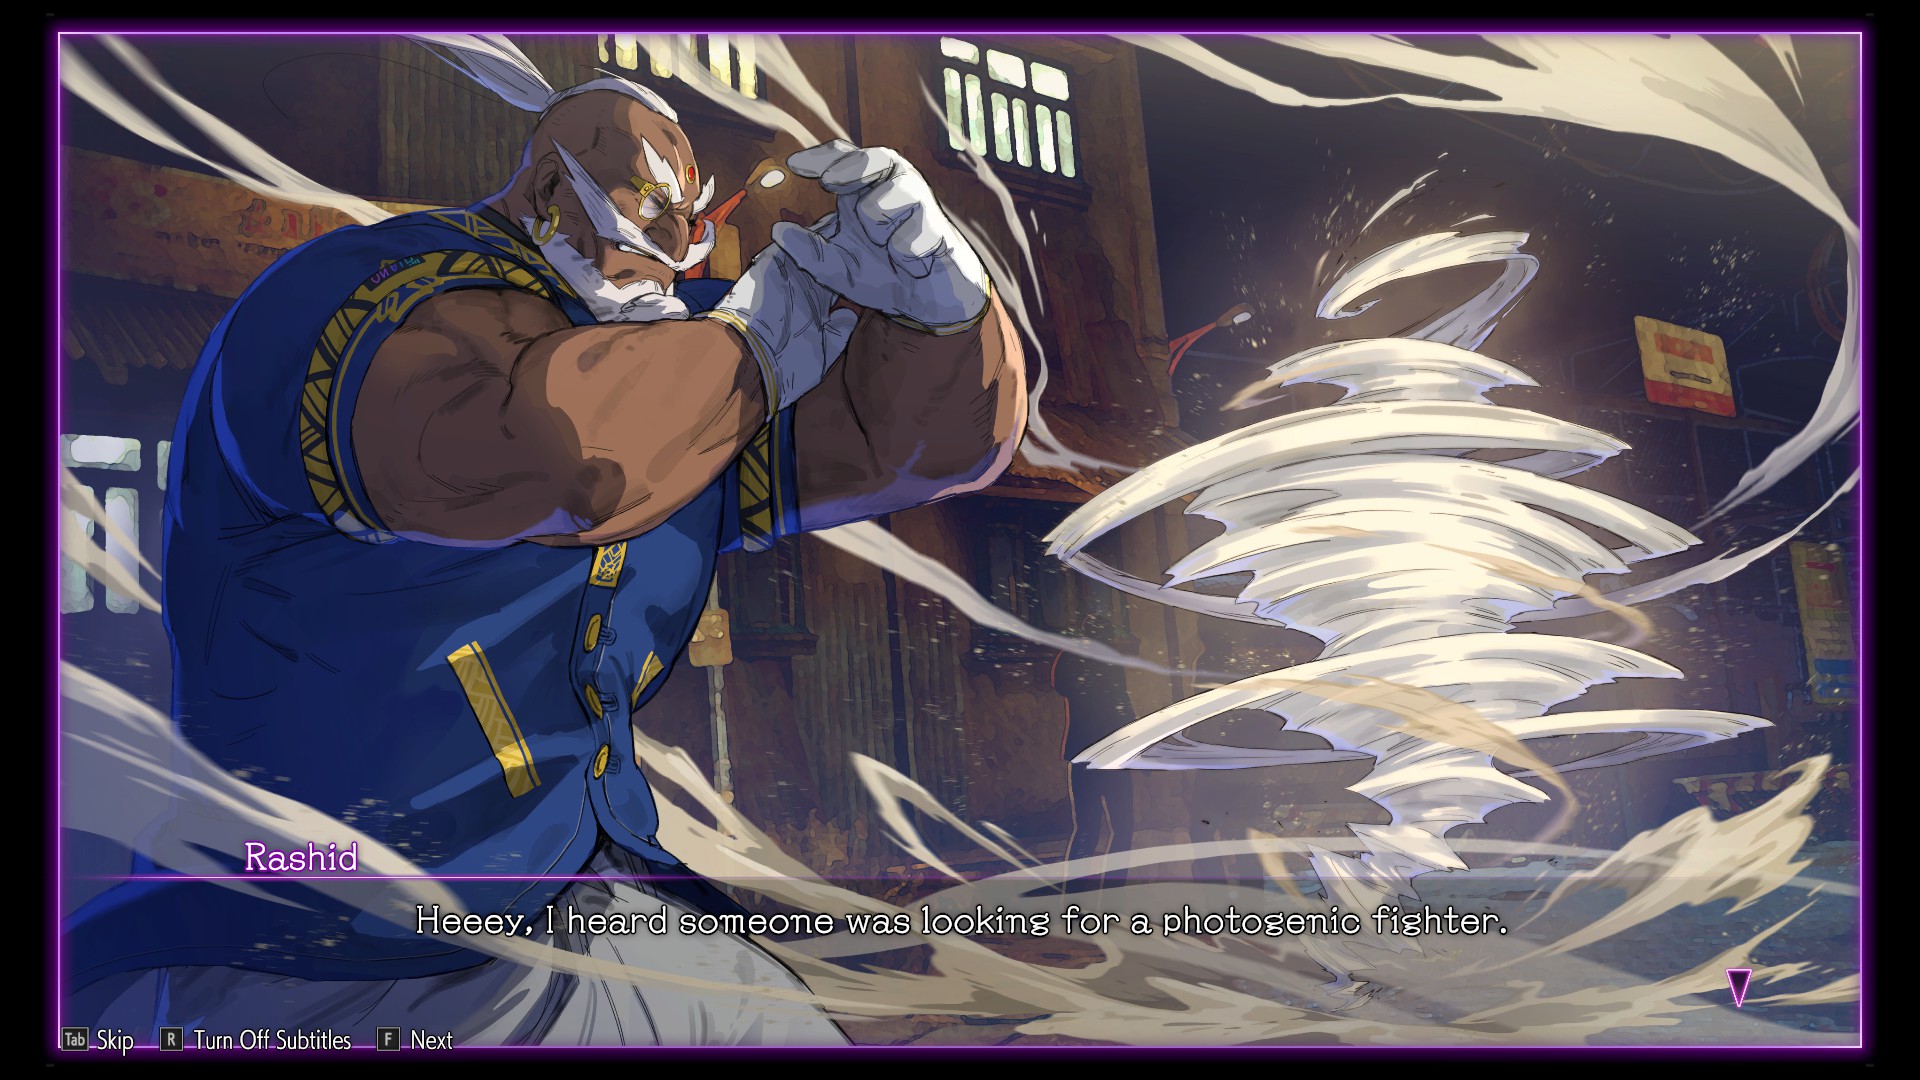
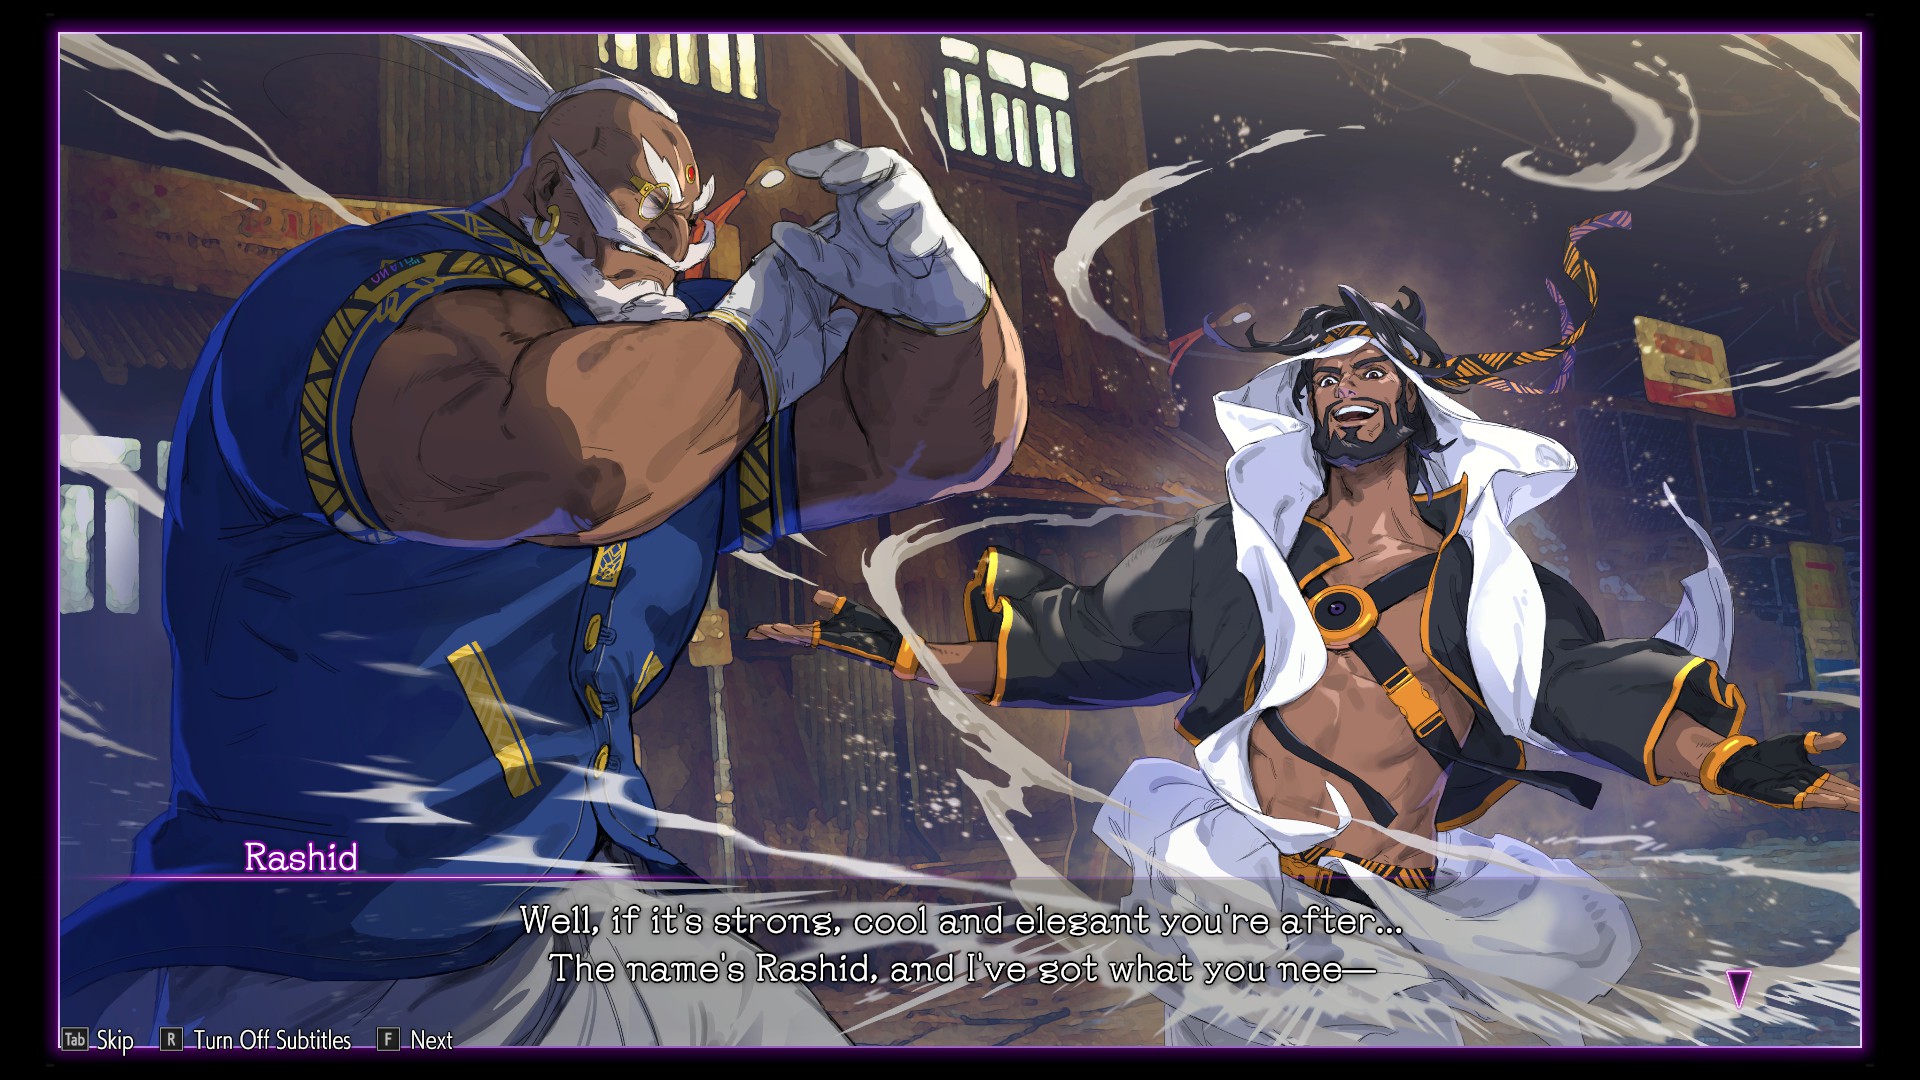
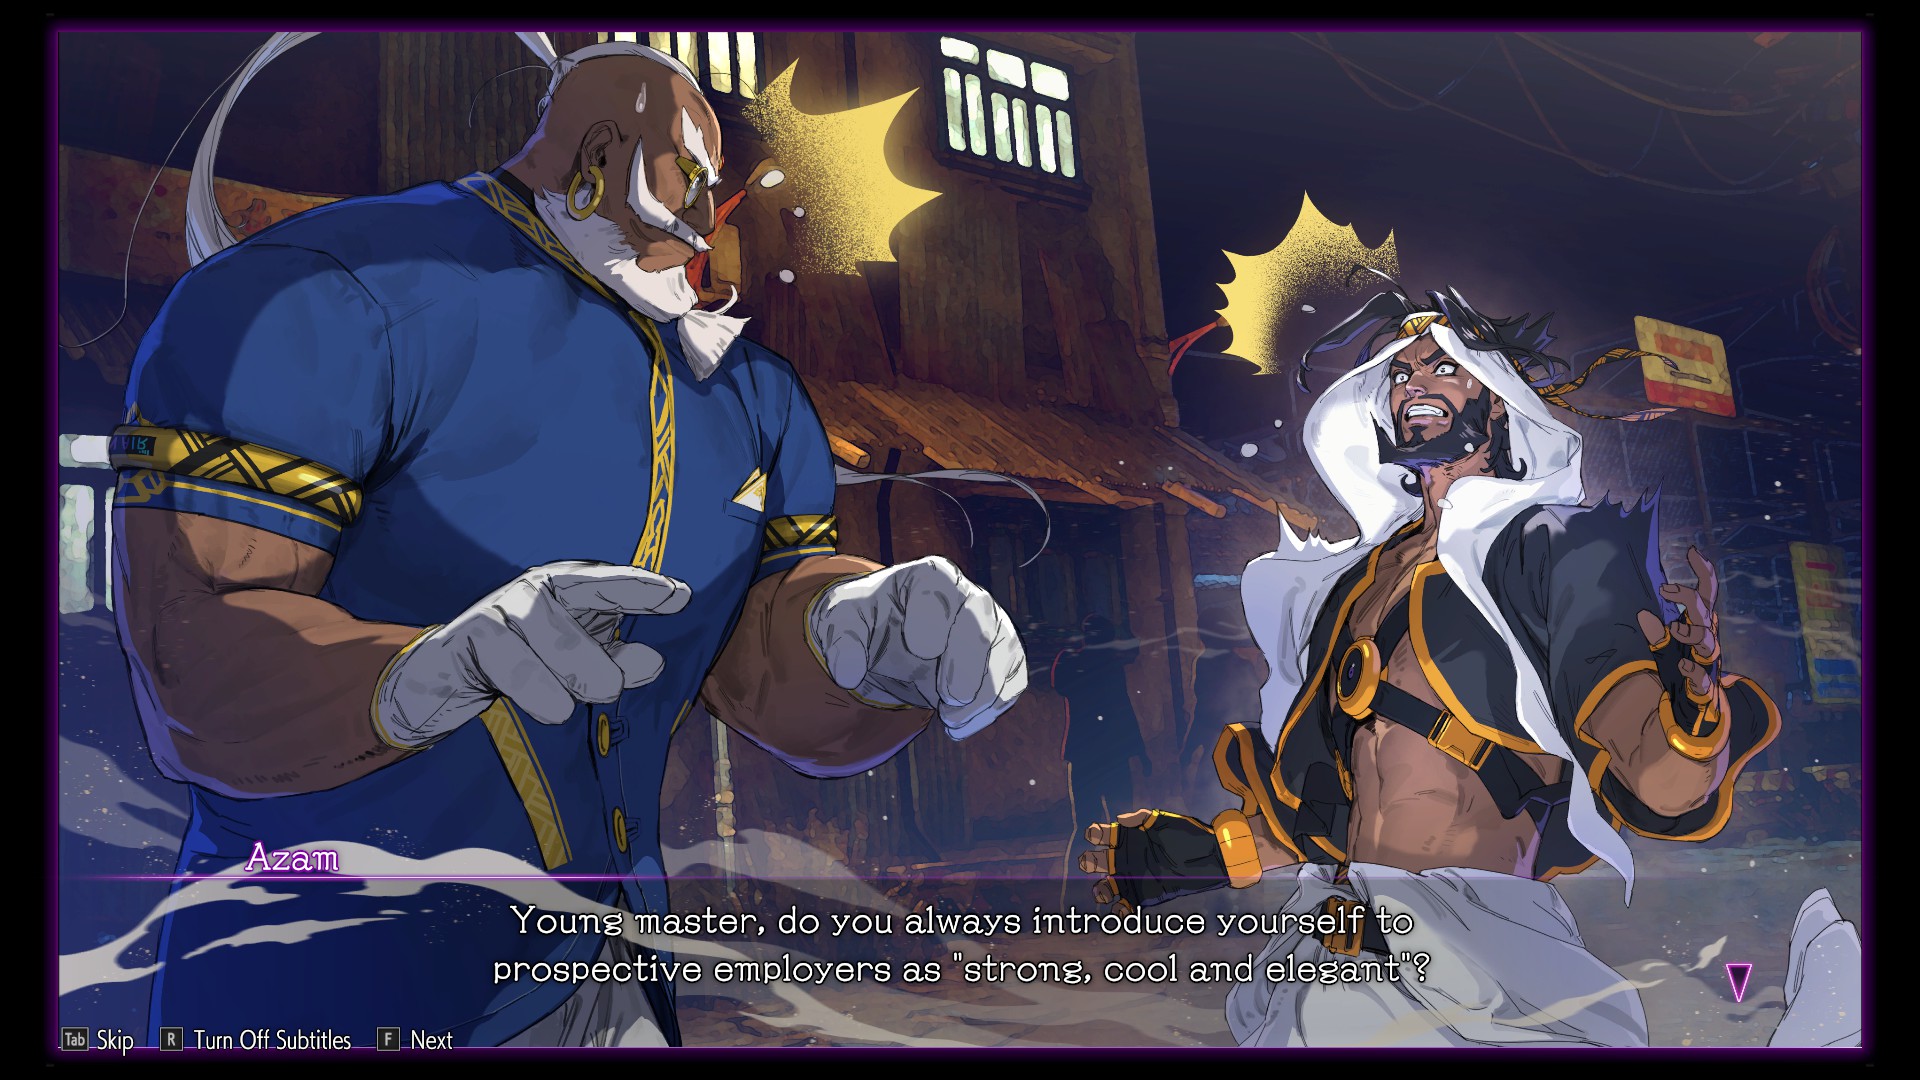
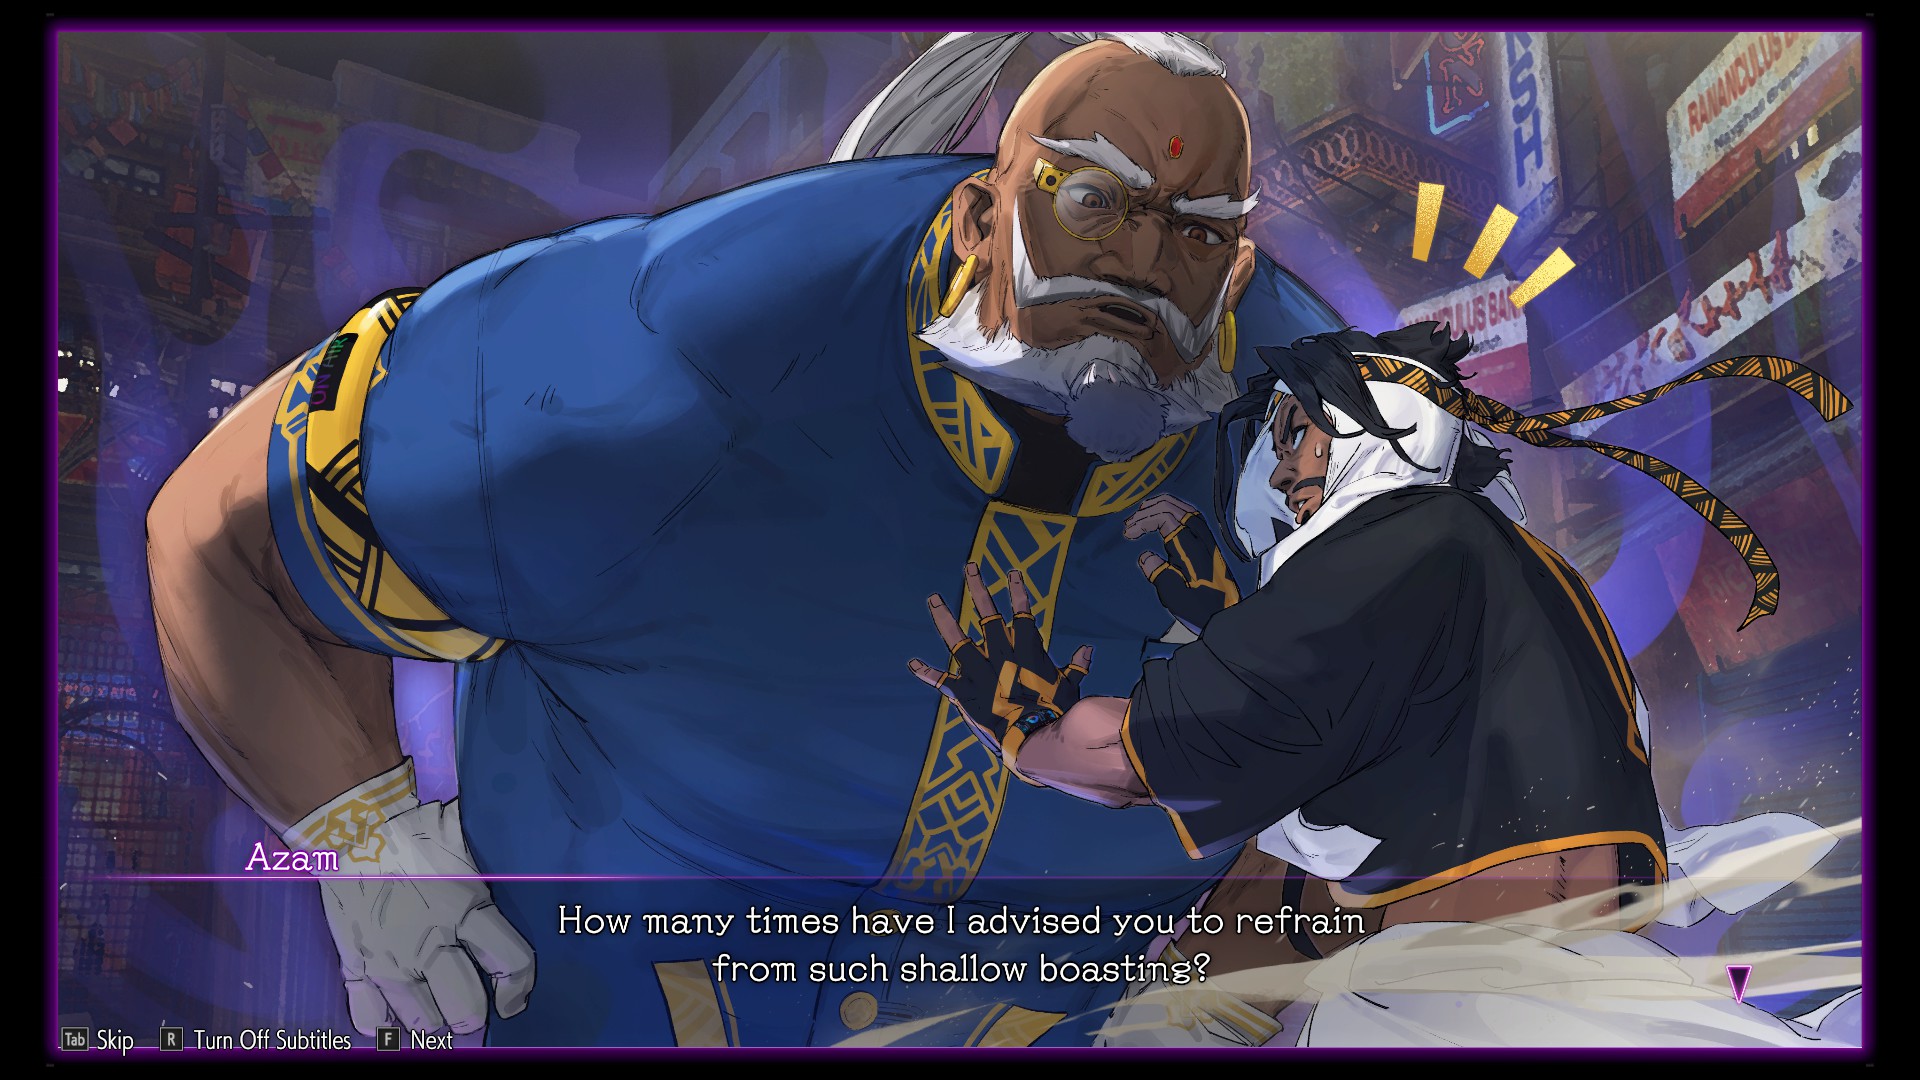
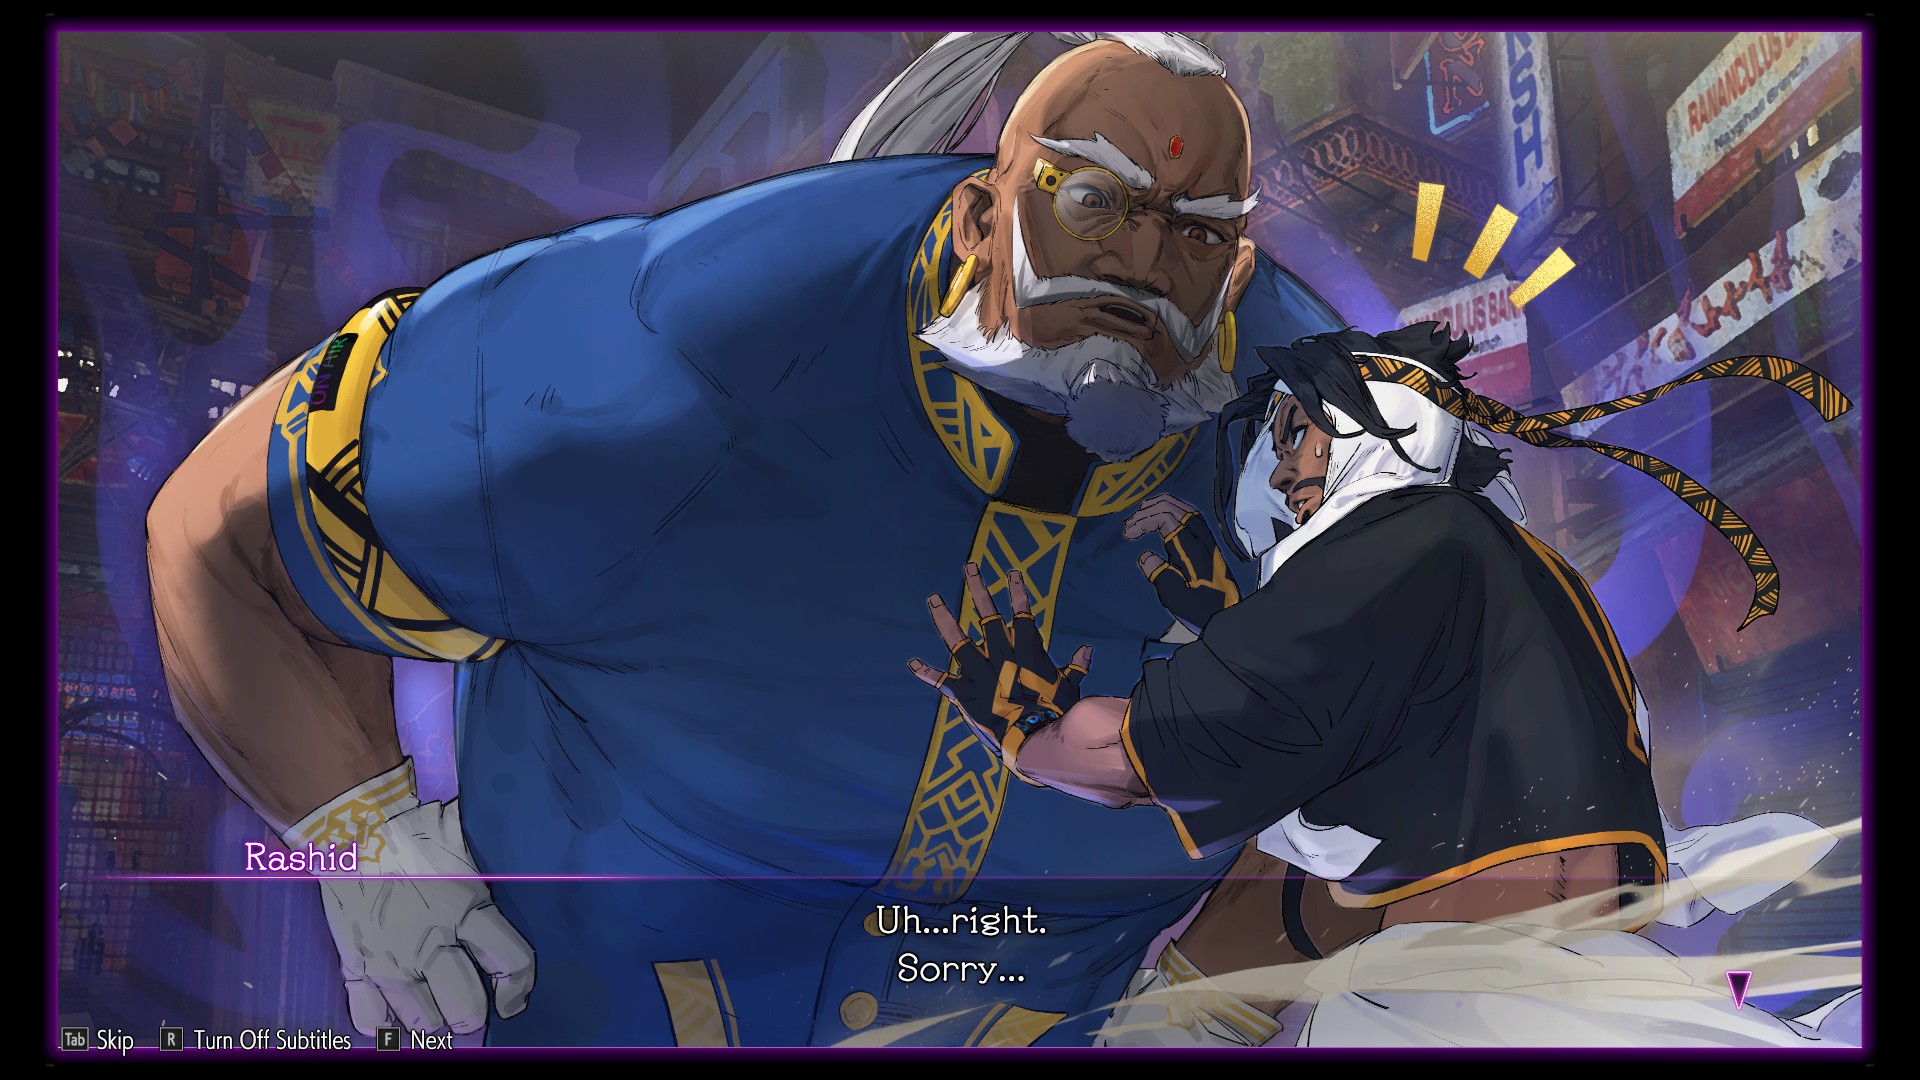
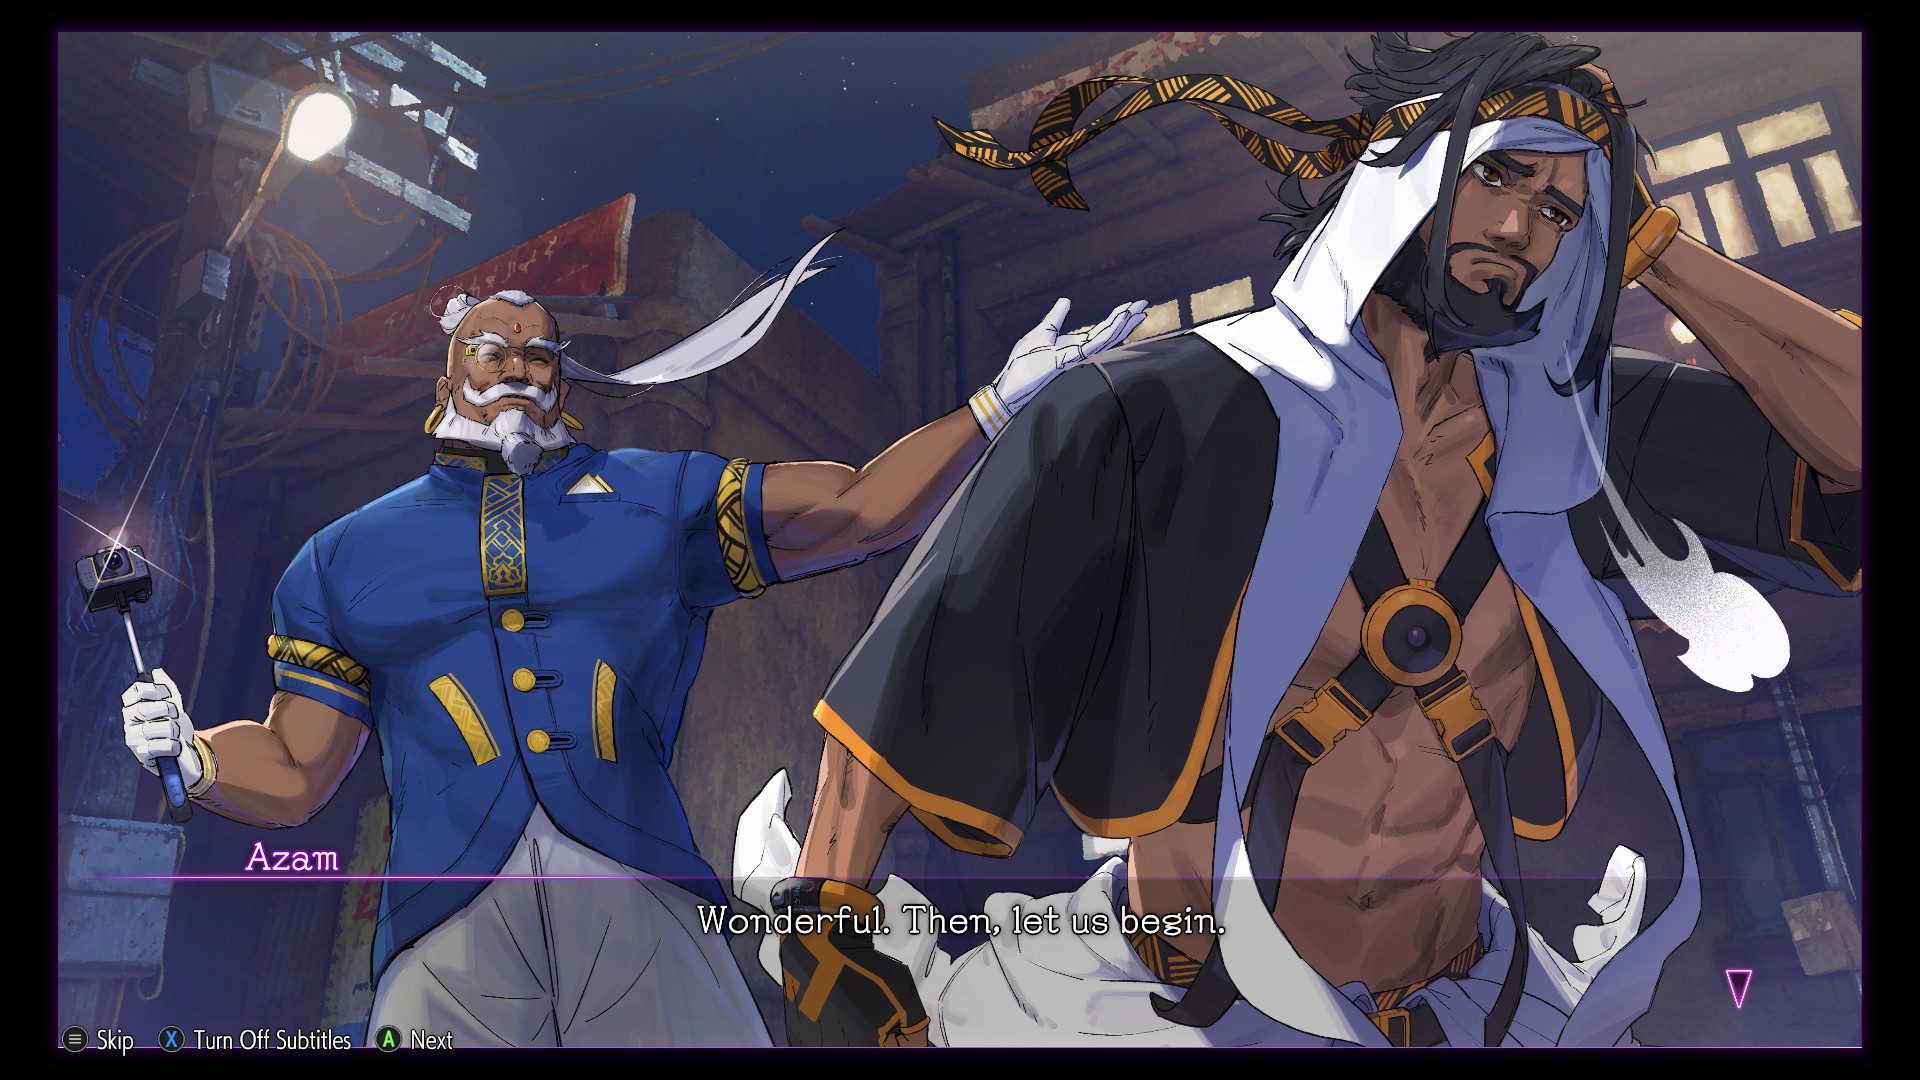
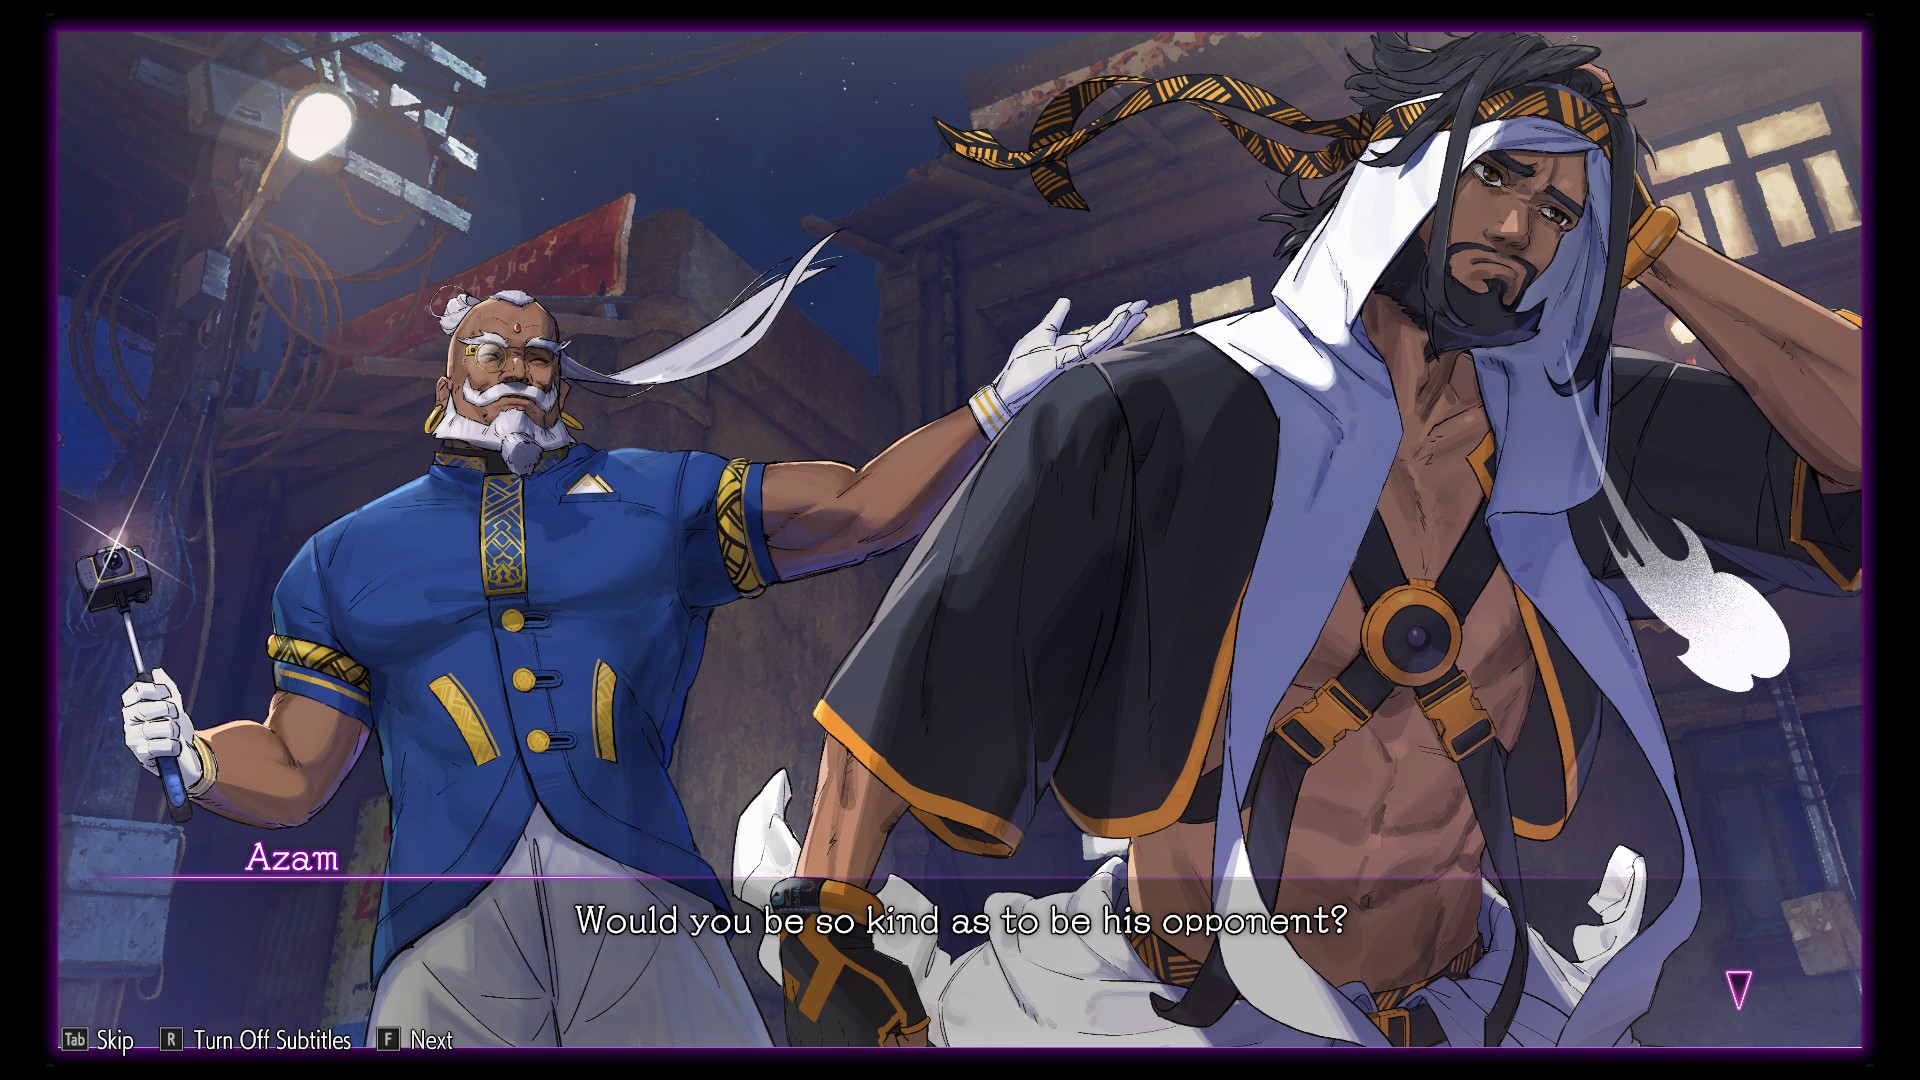
First up is Rashid's:


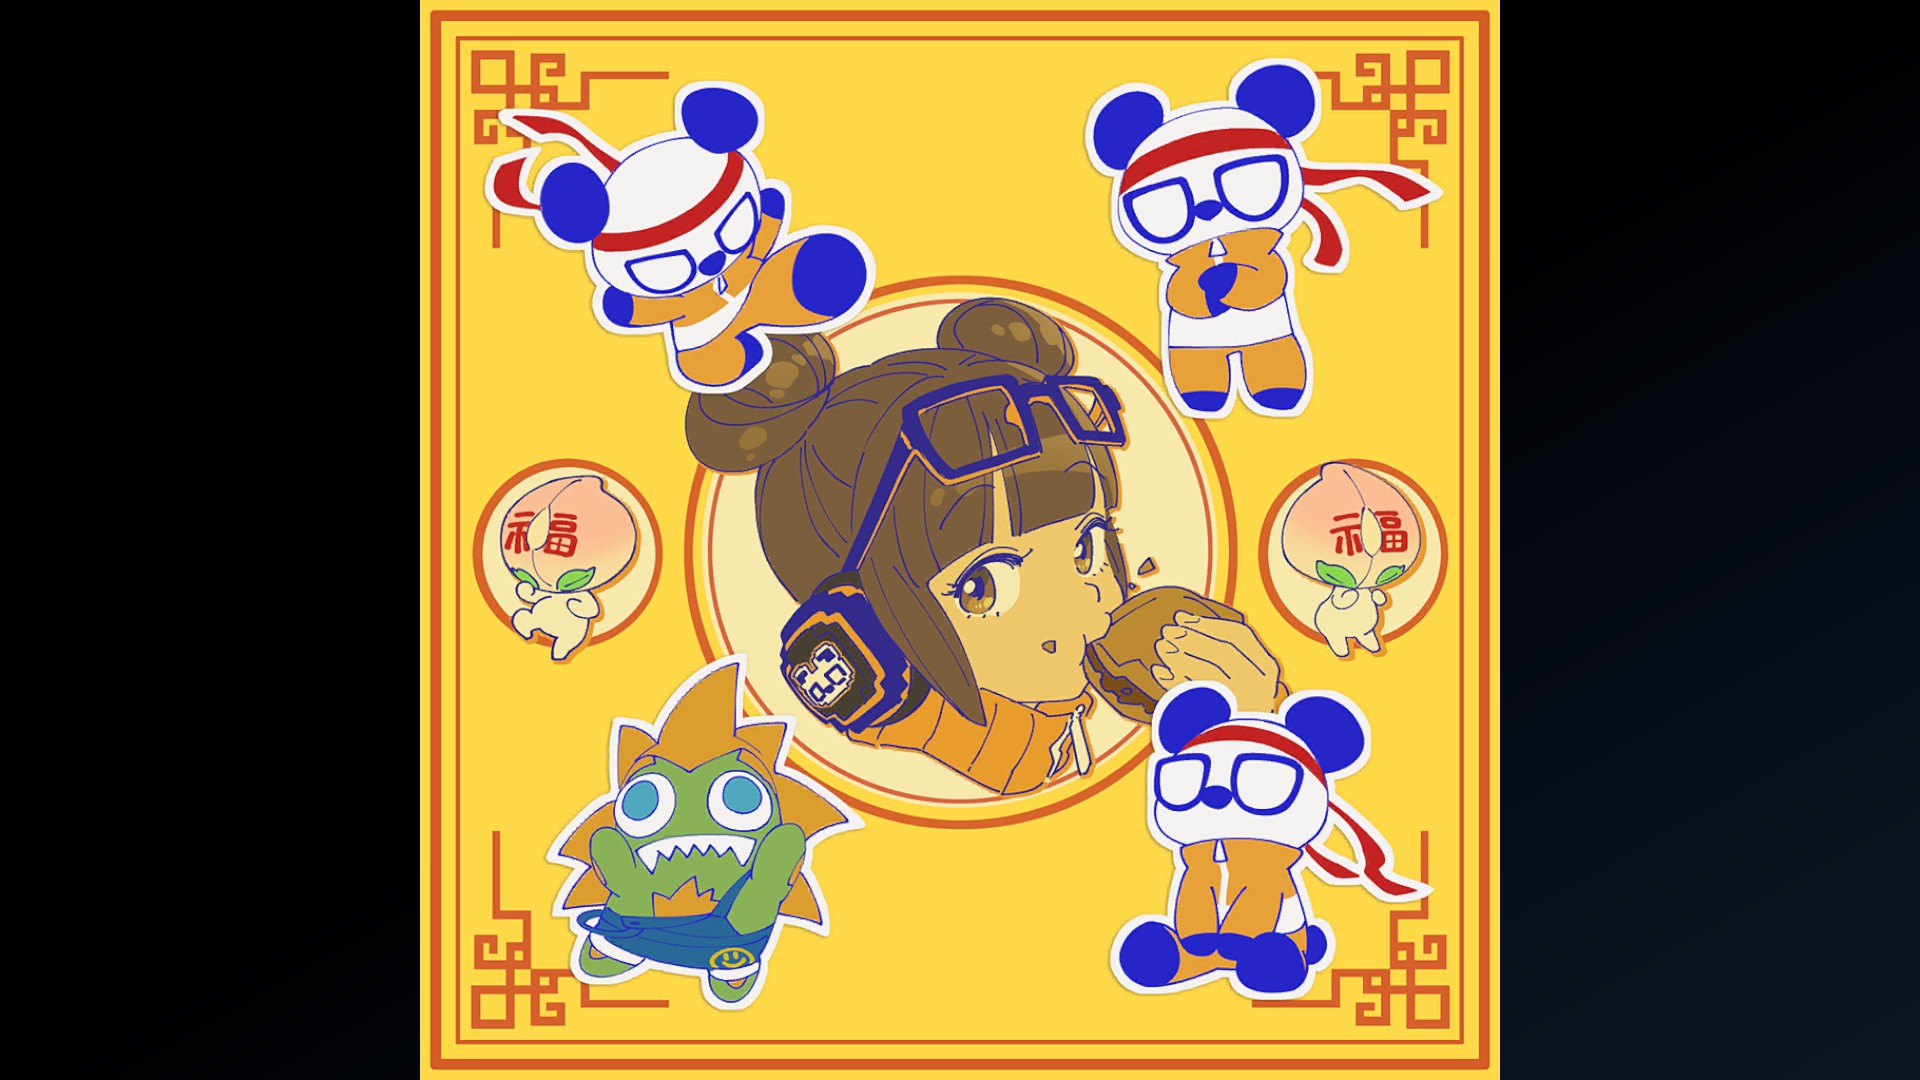
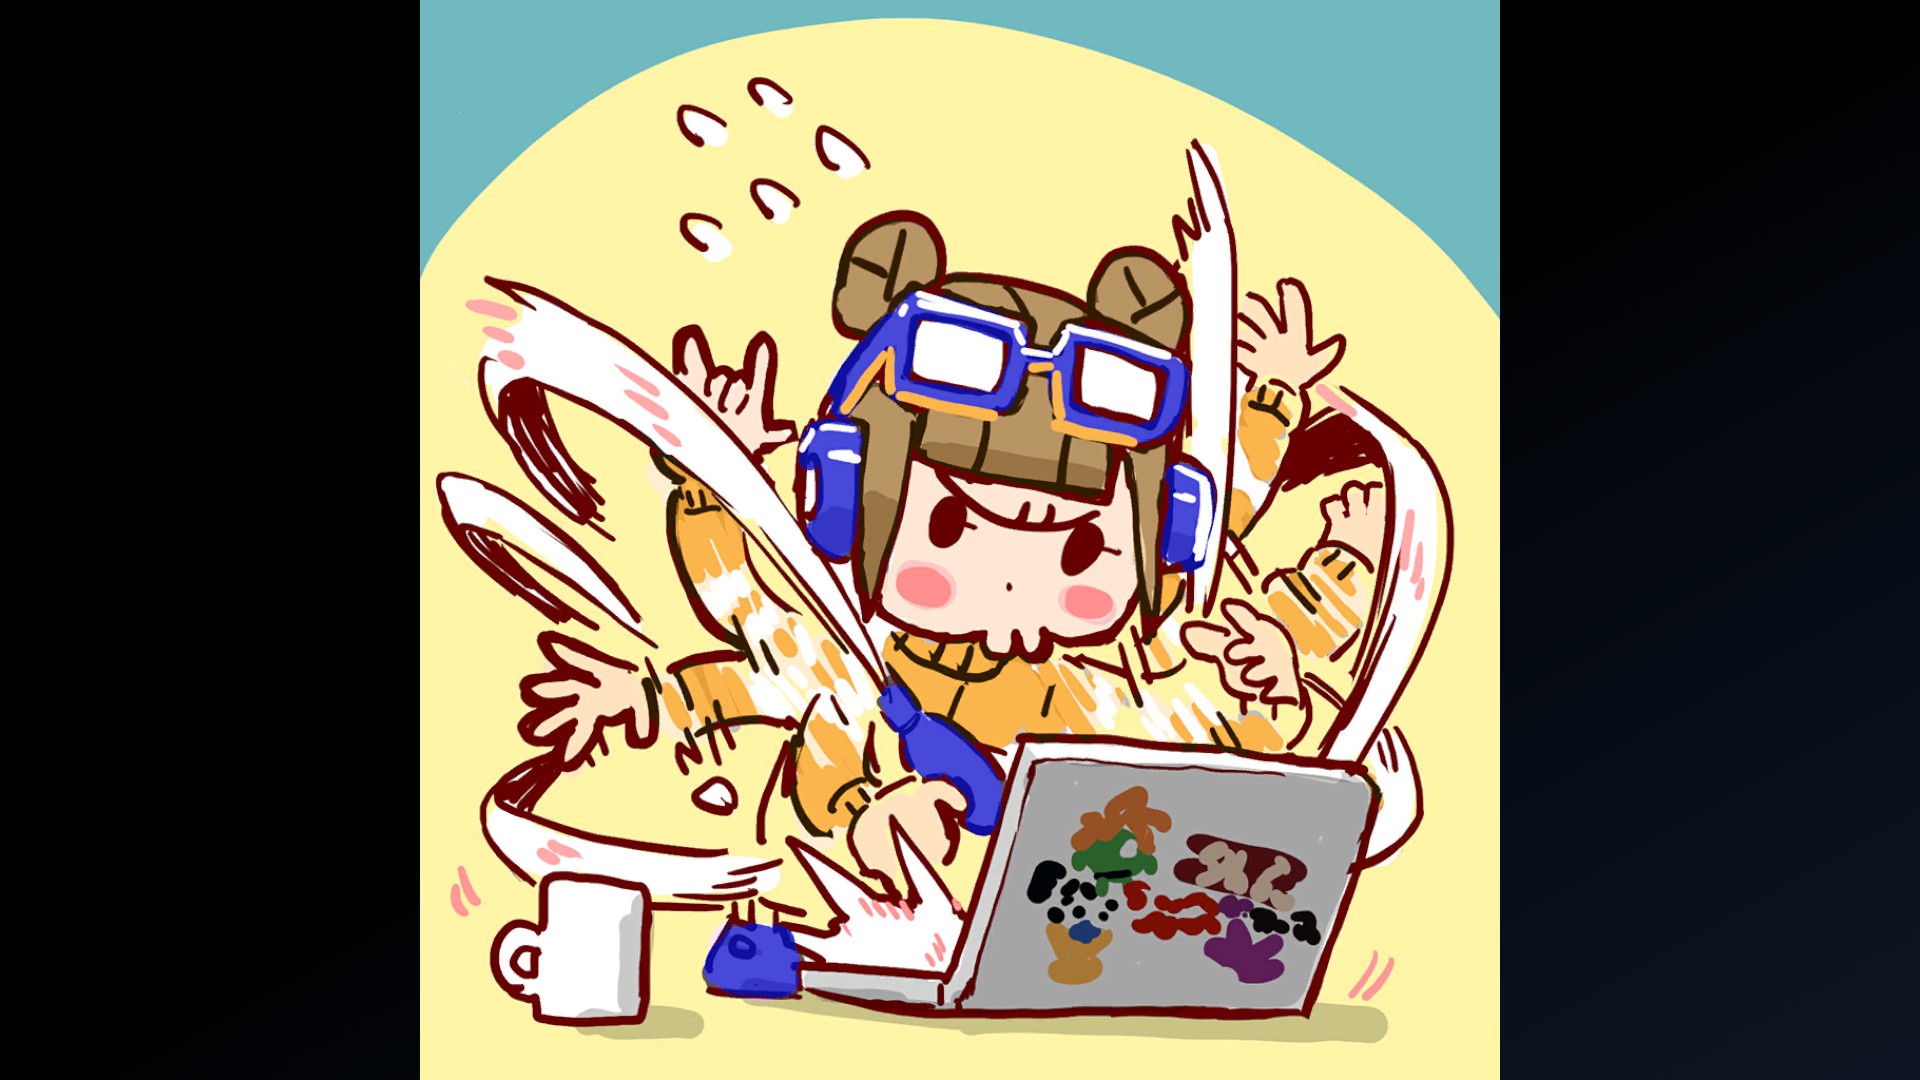
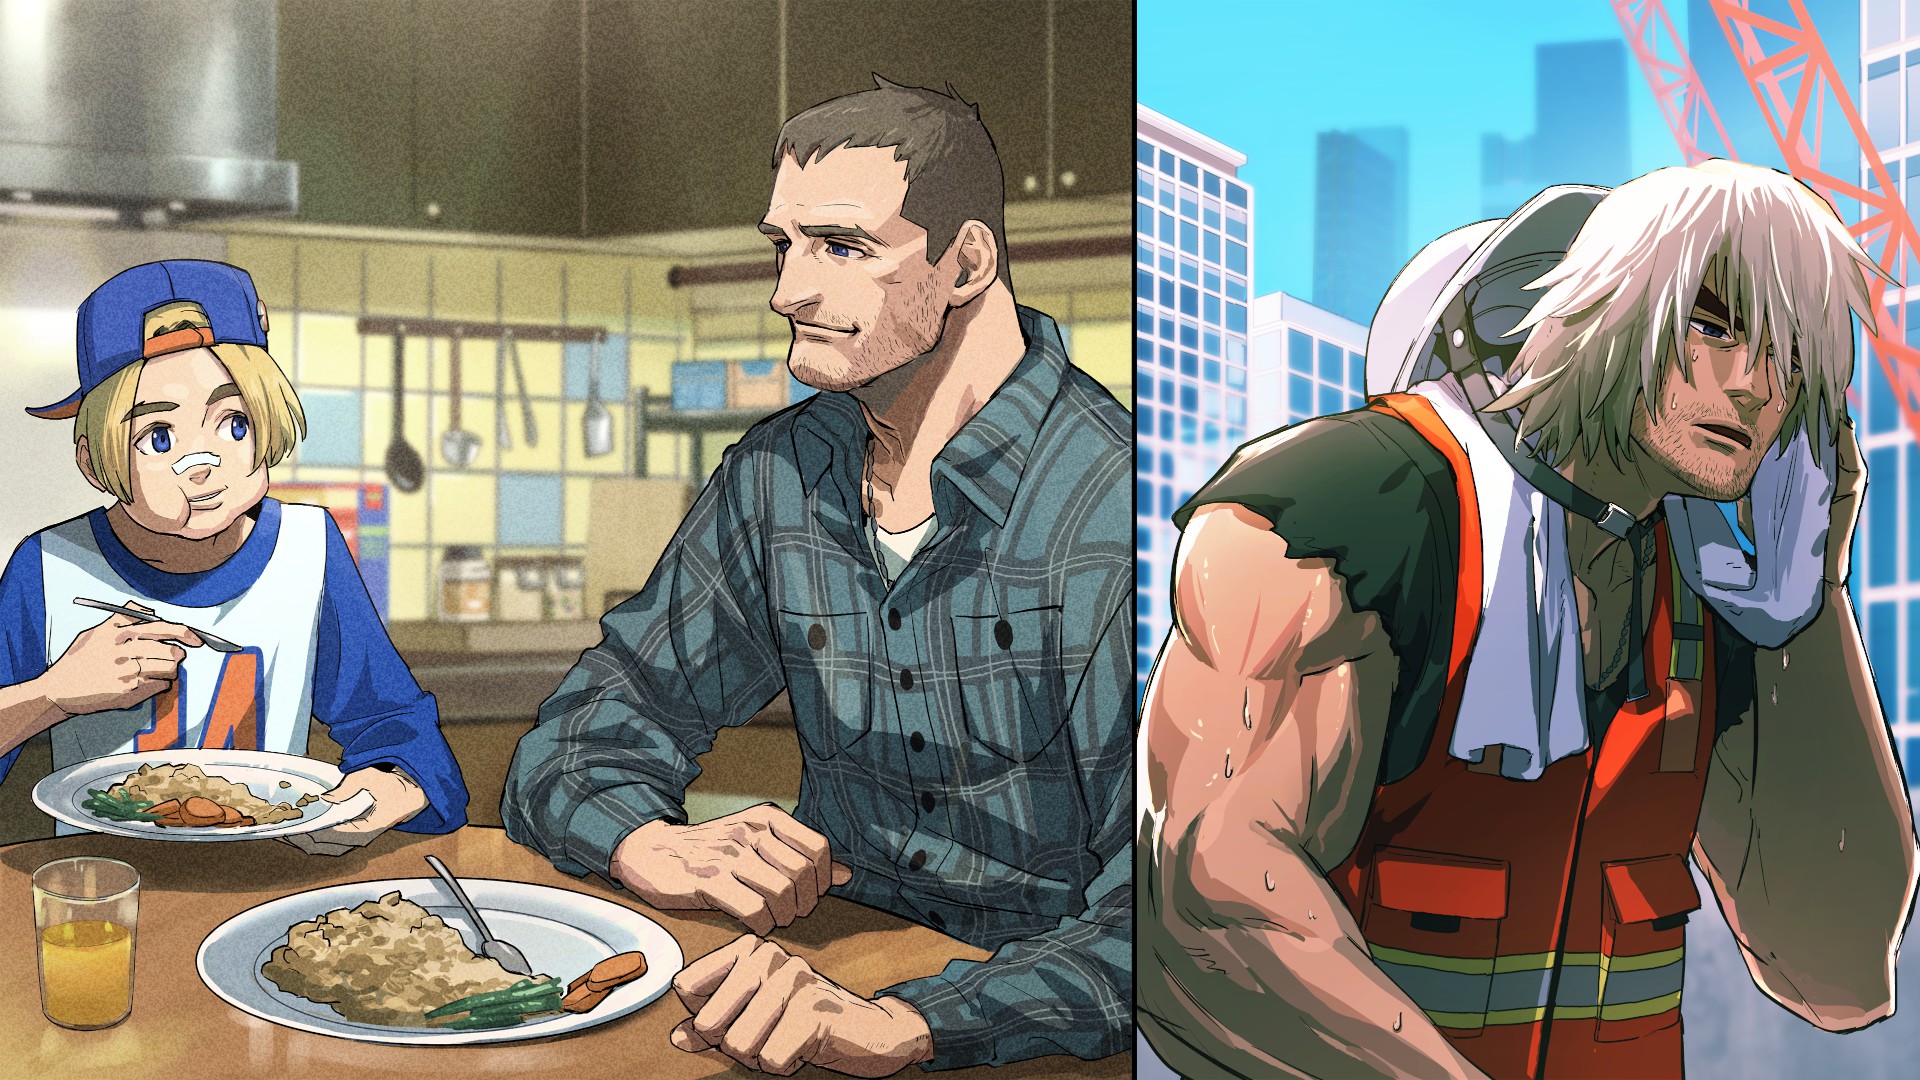
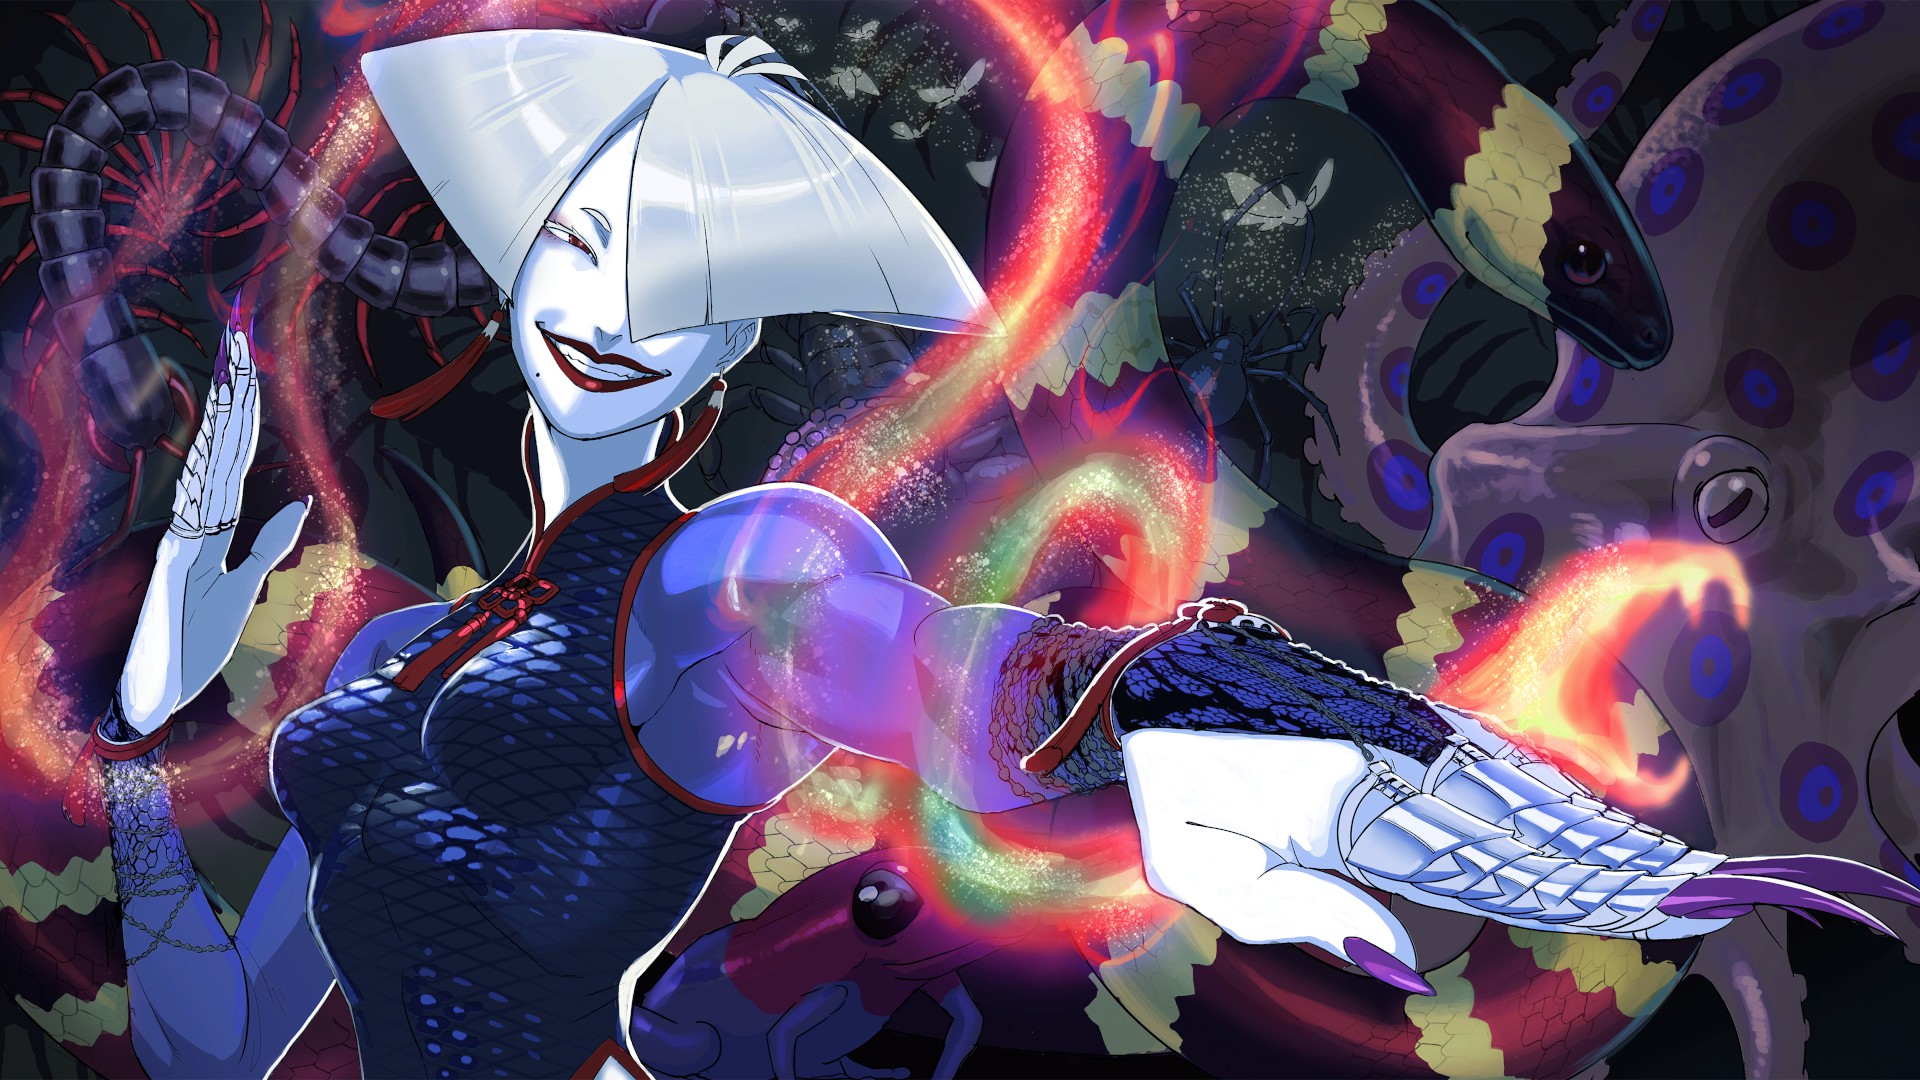
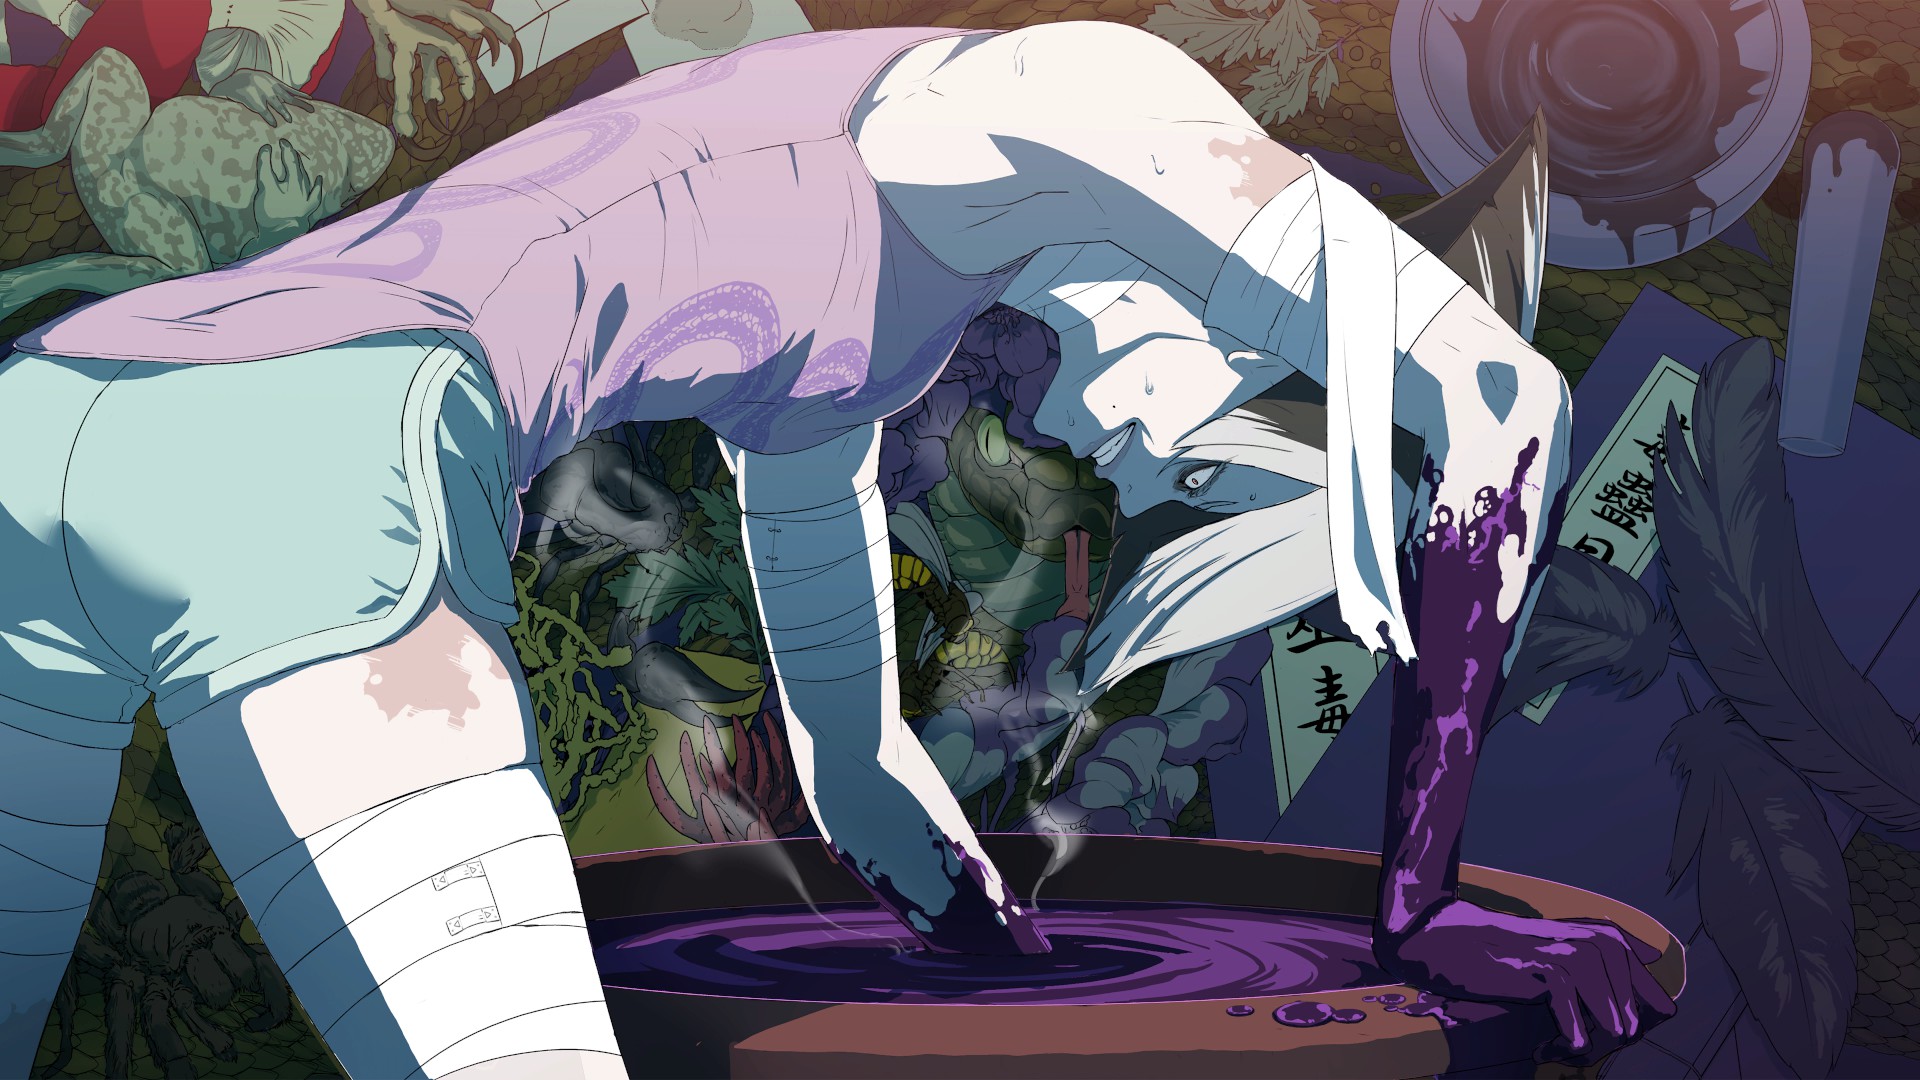
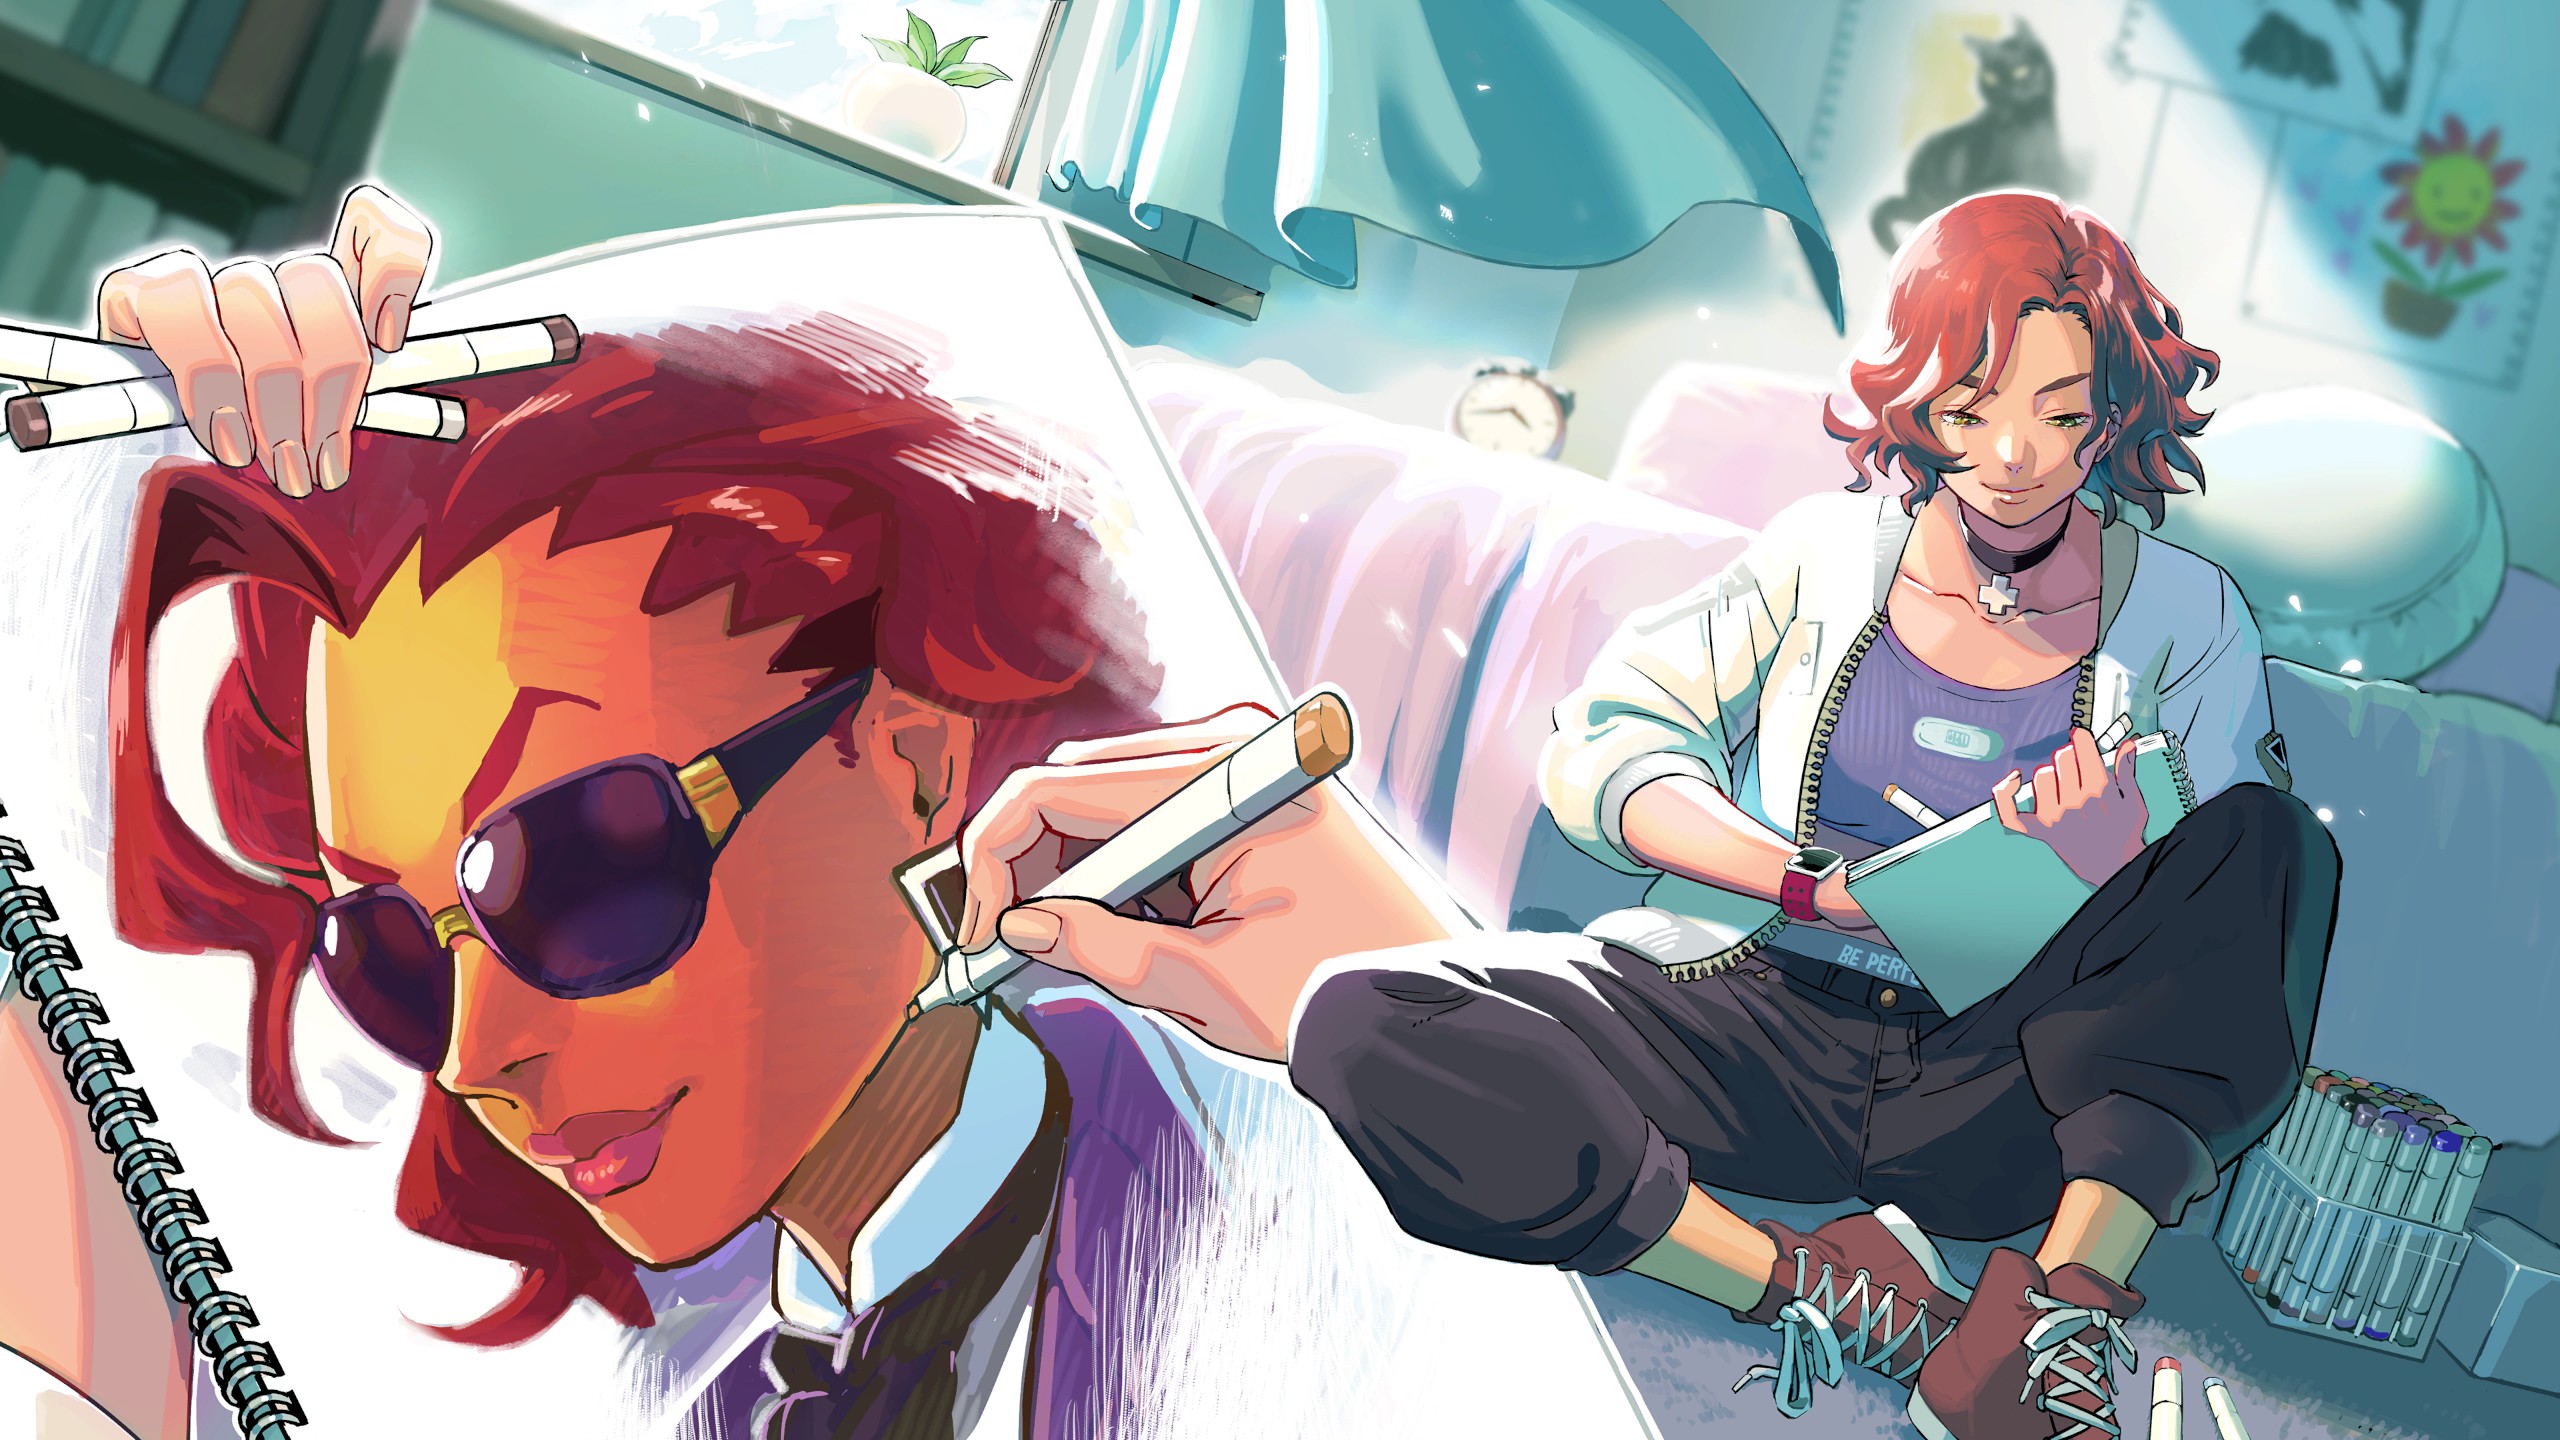
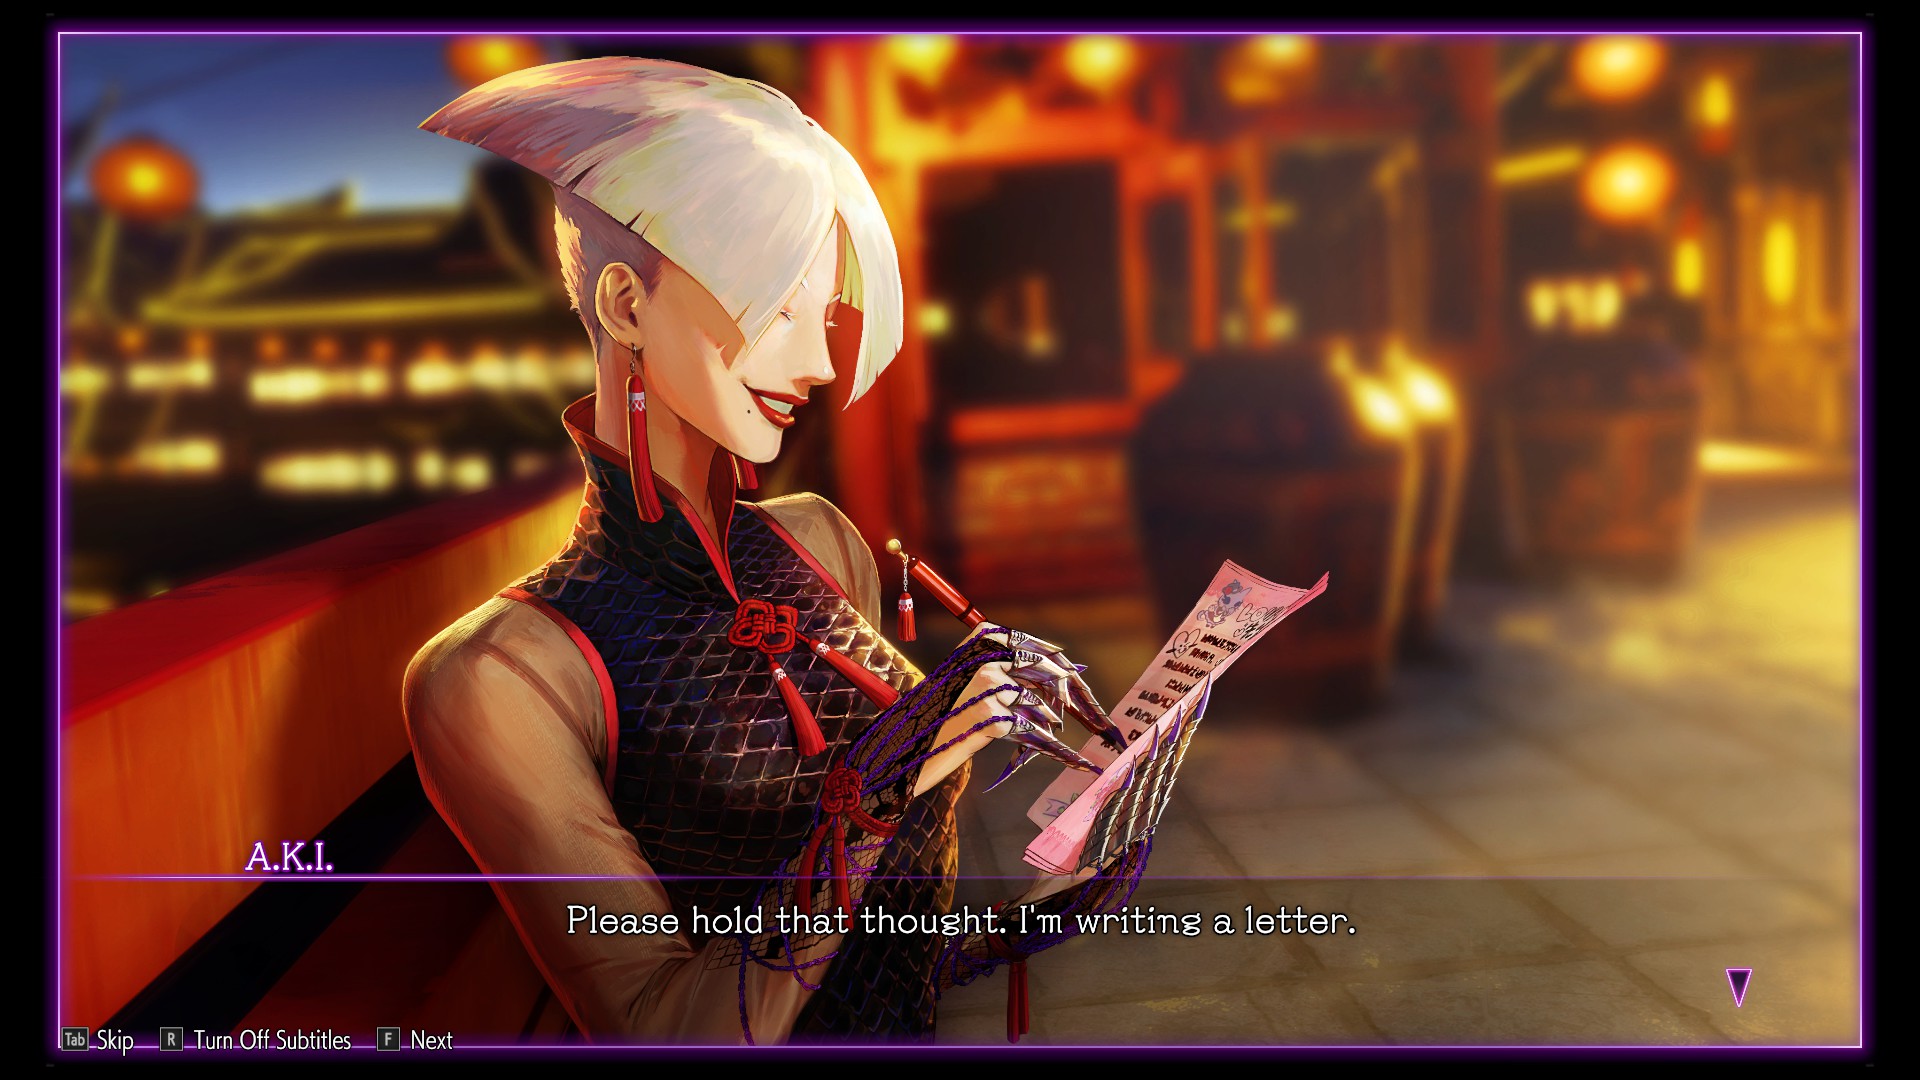
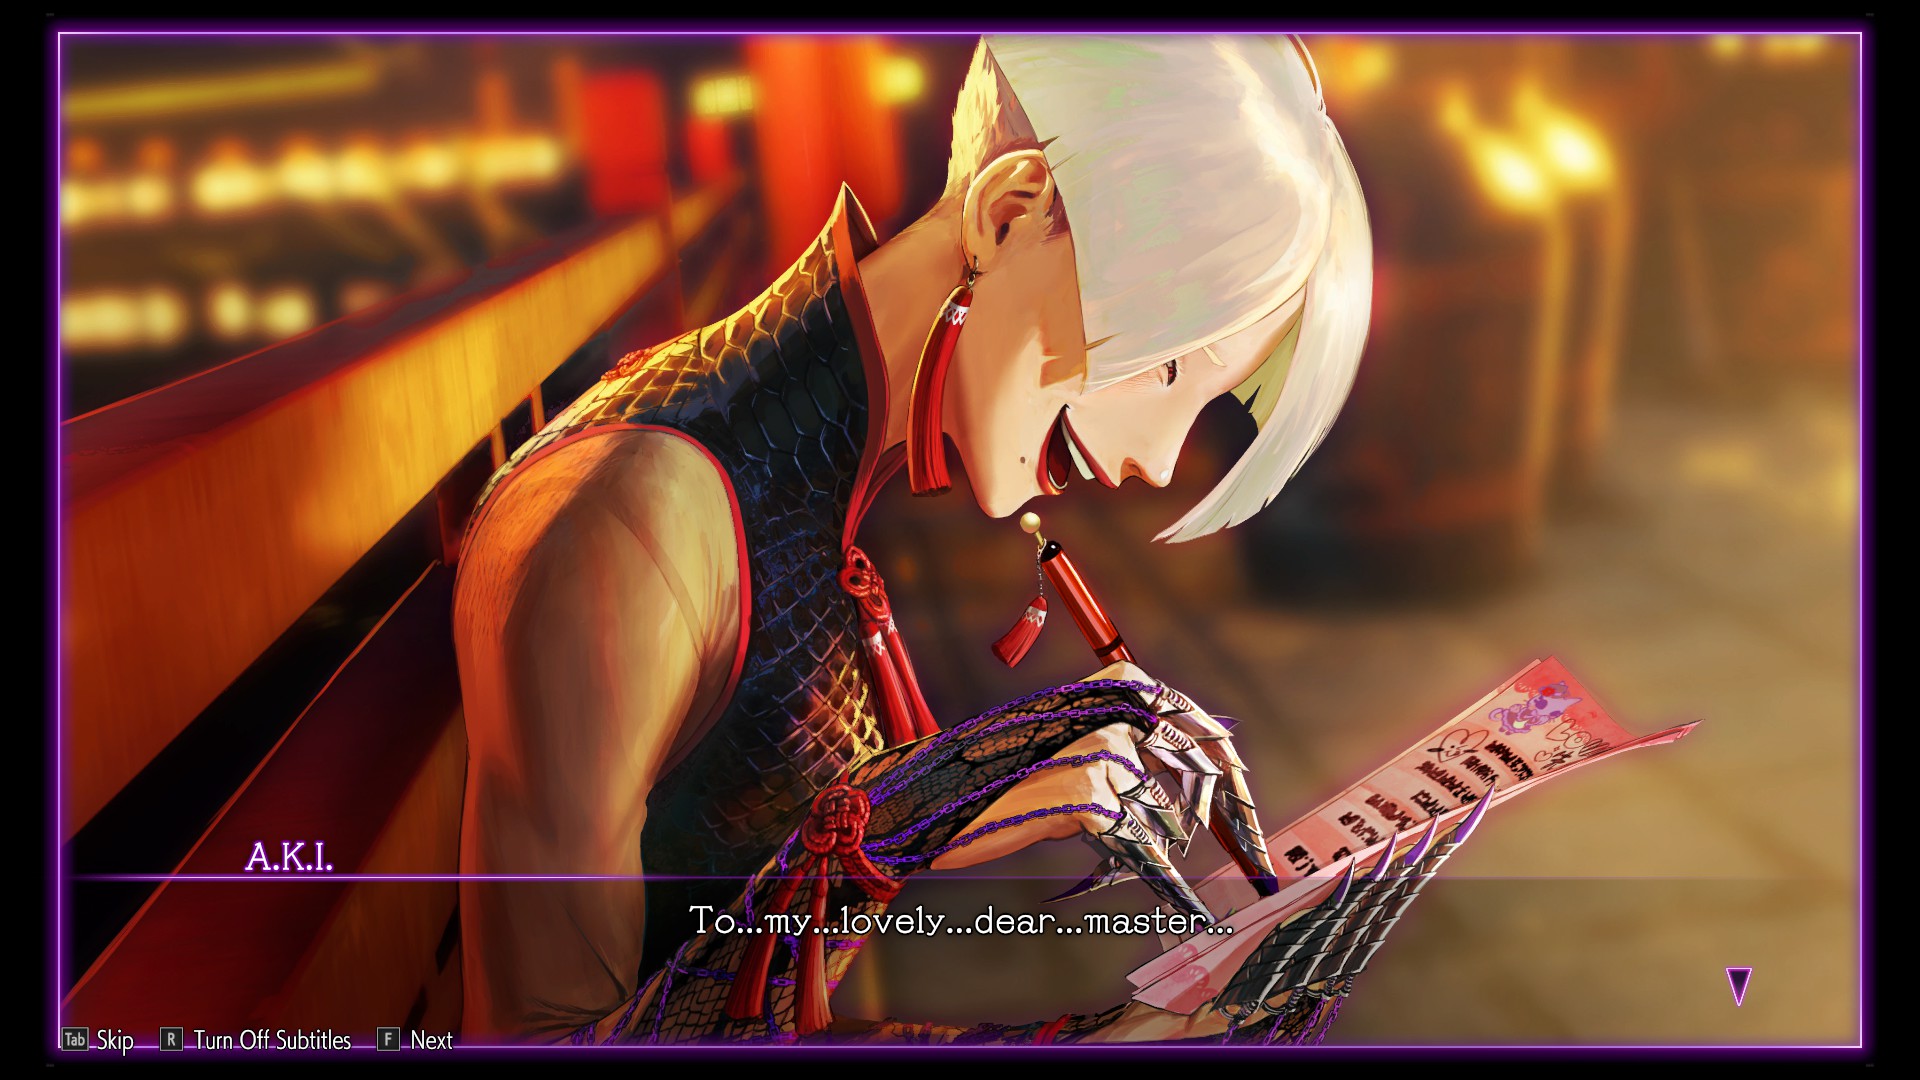
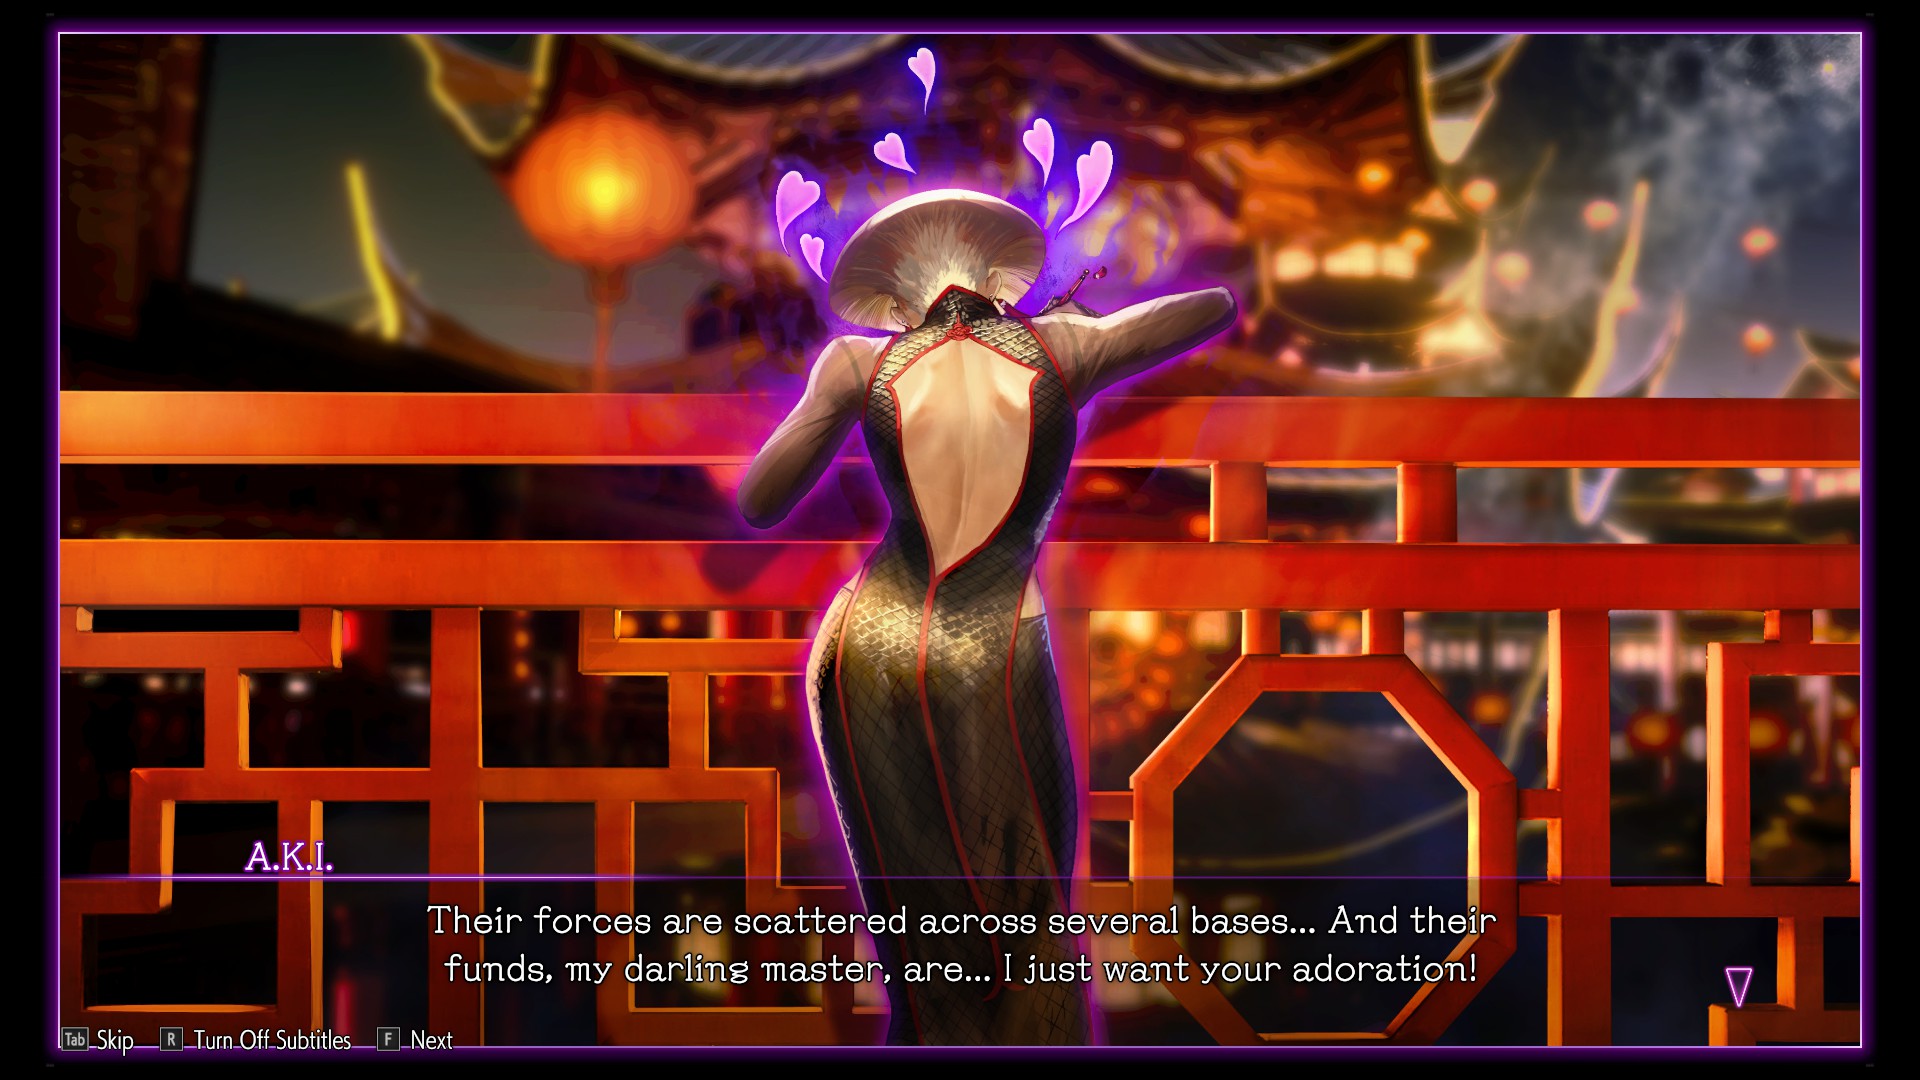
Moving on, here are A.K.I.'s comics:


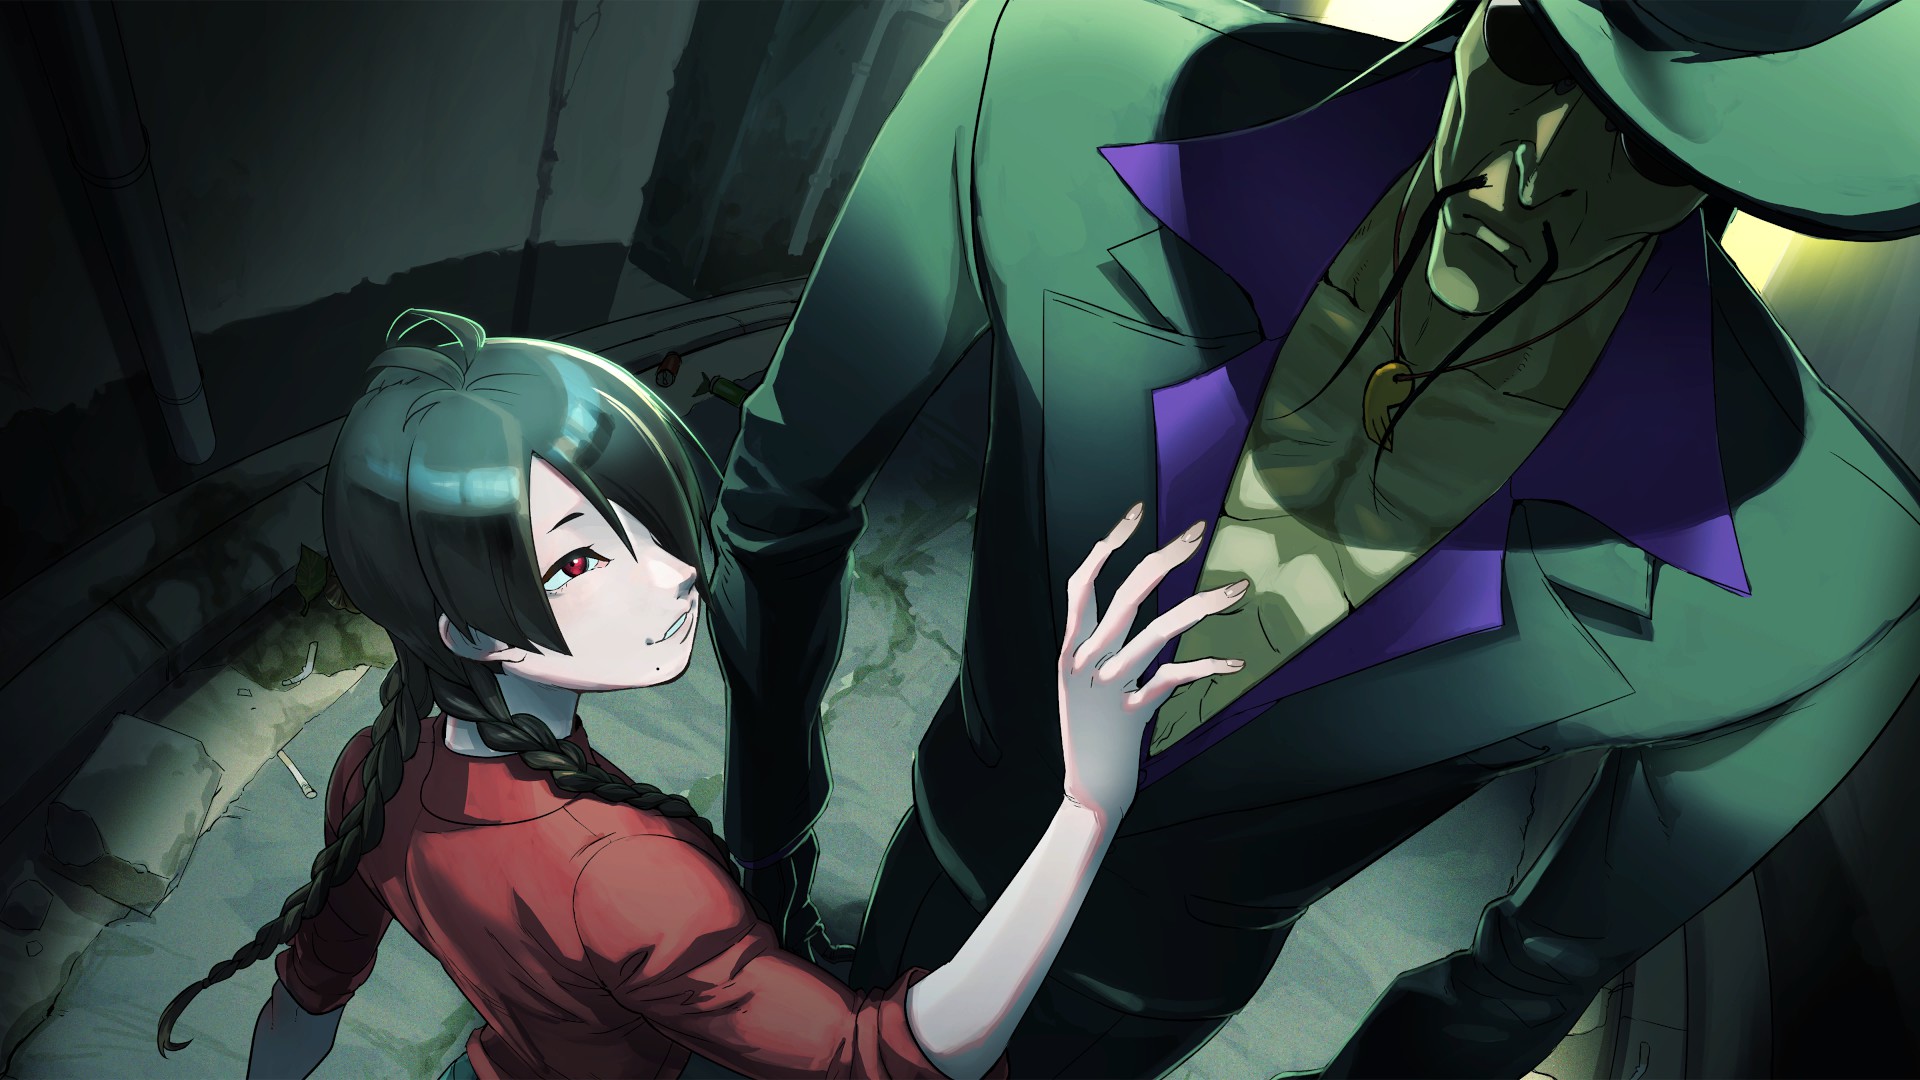
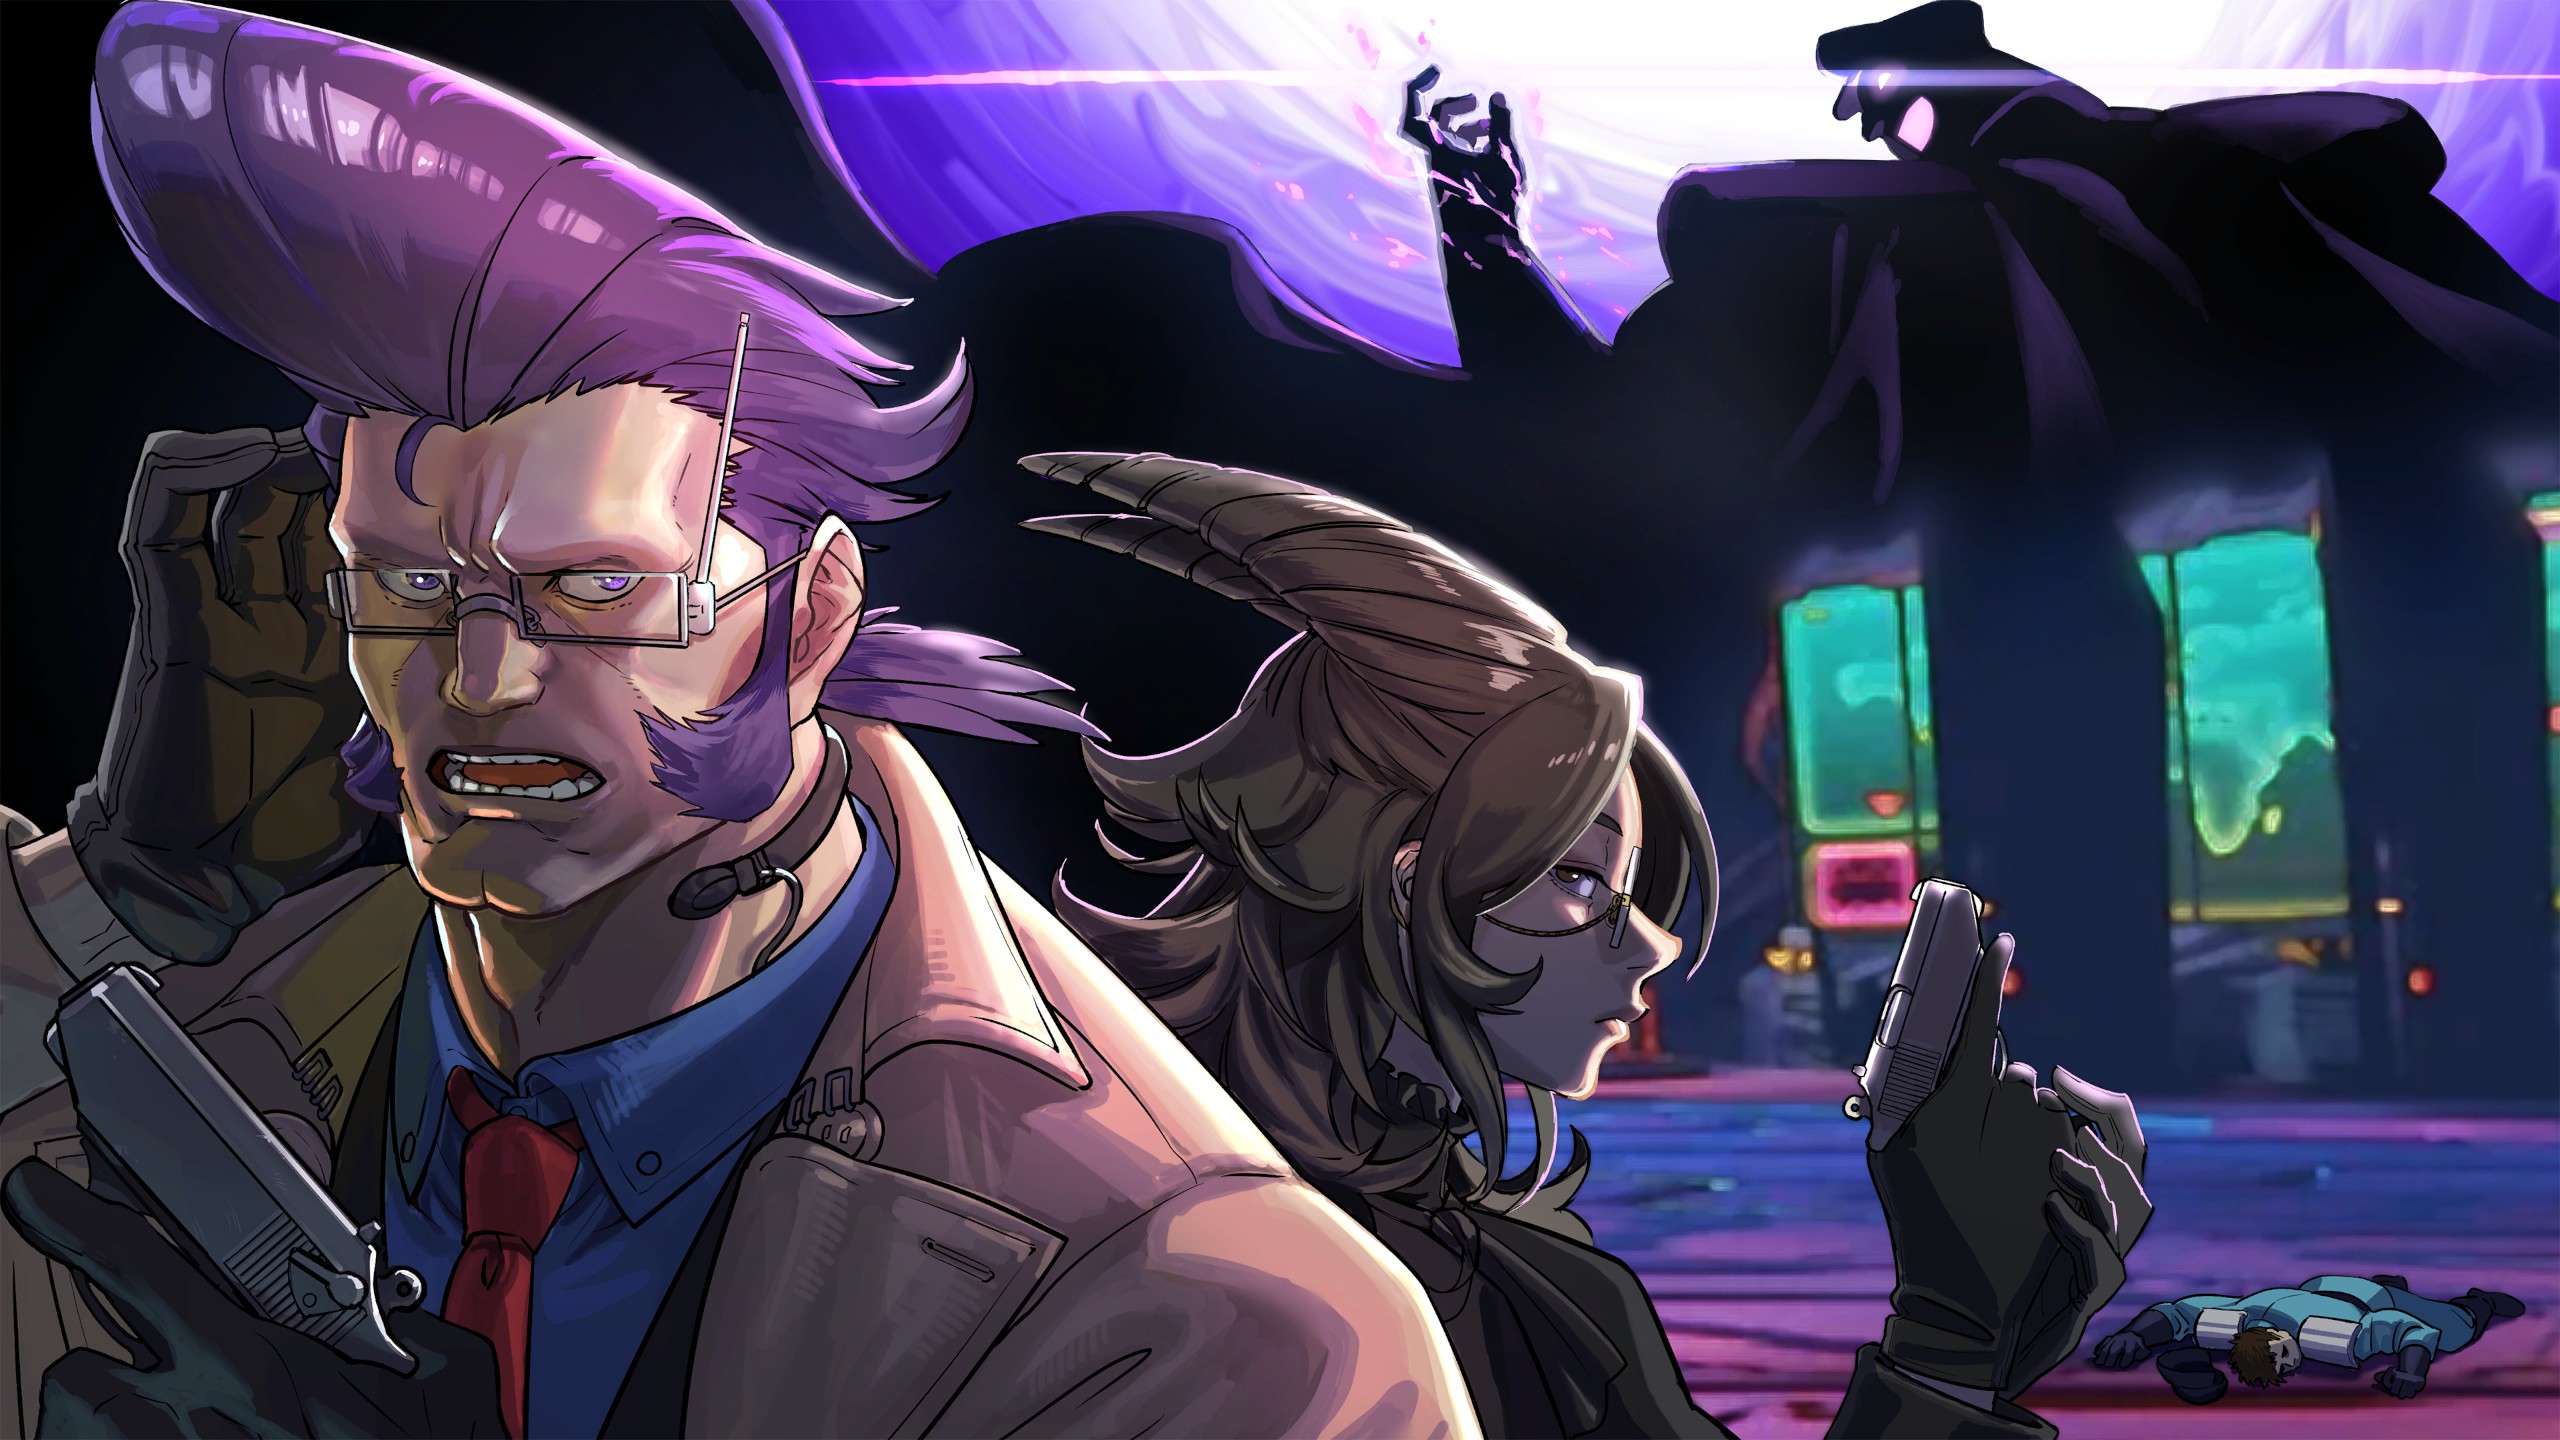
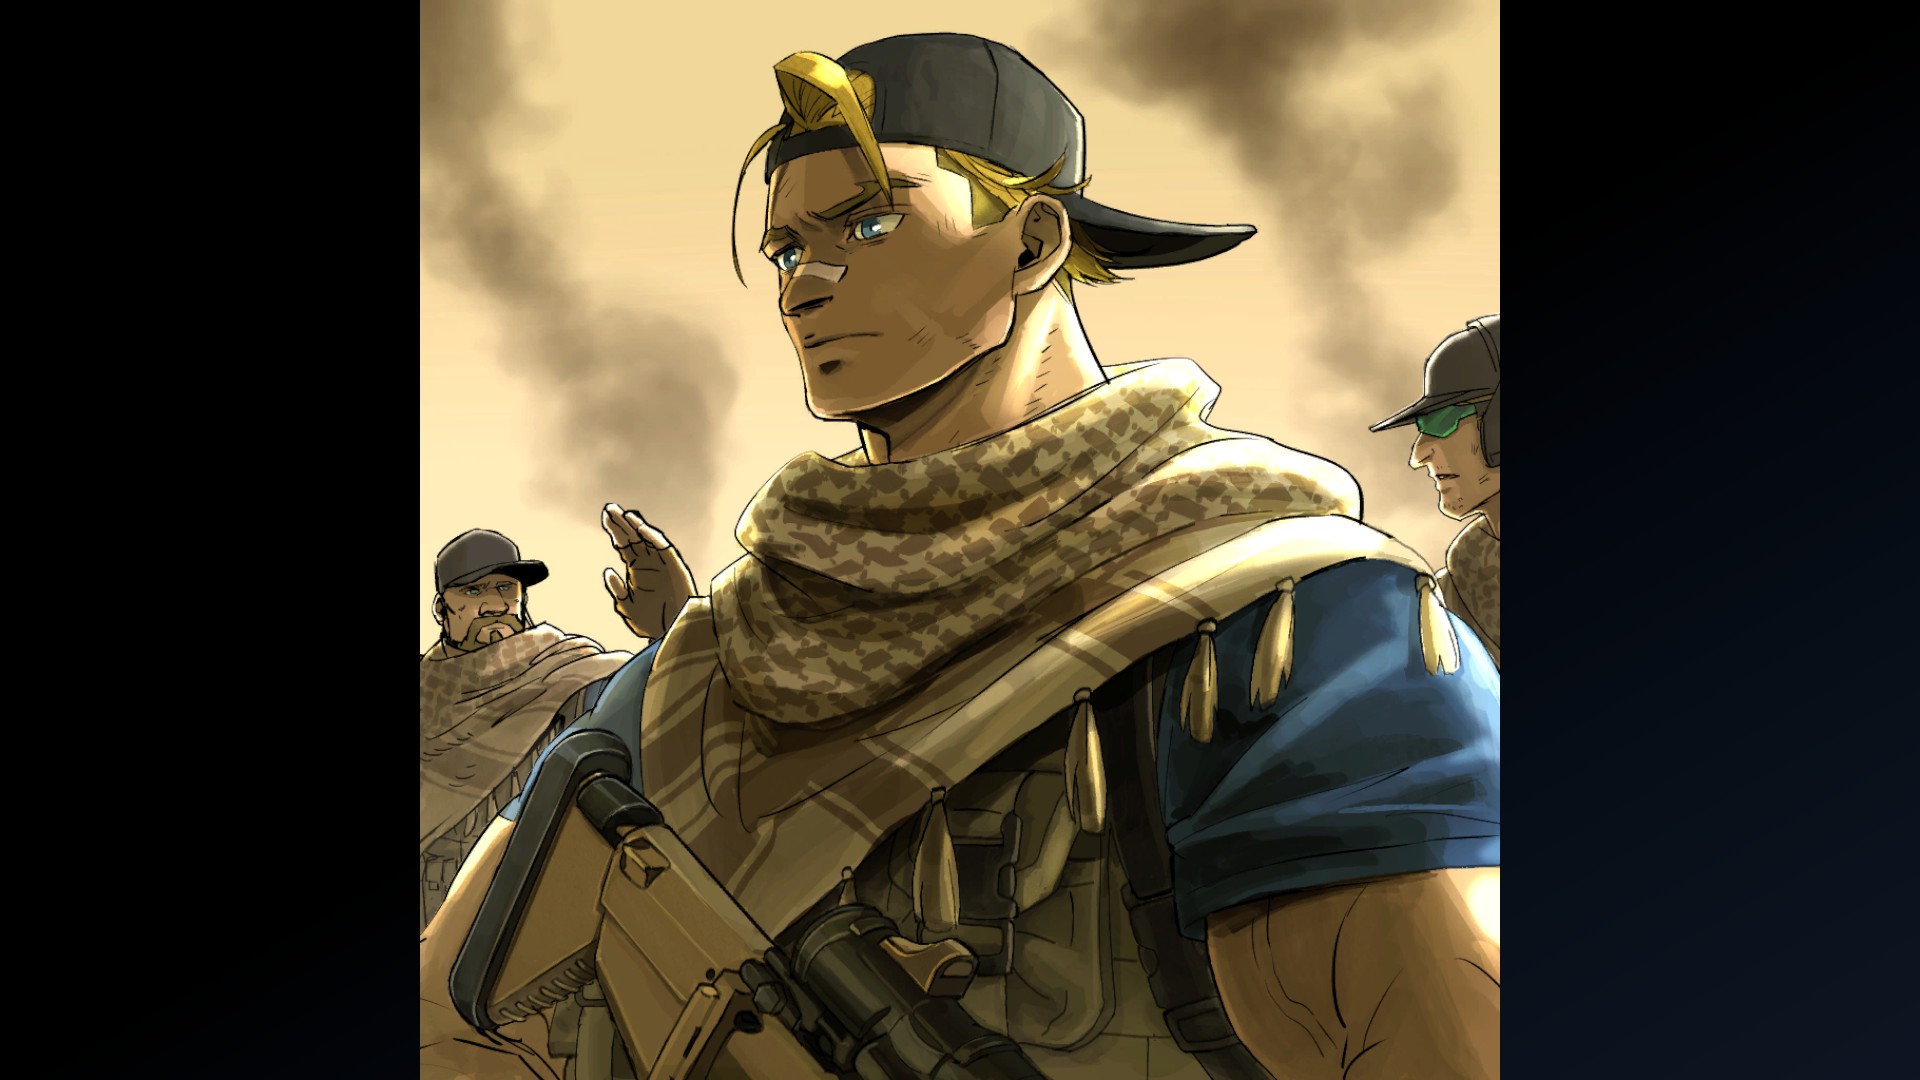
Next up is Infiltrating the Lab:


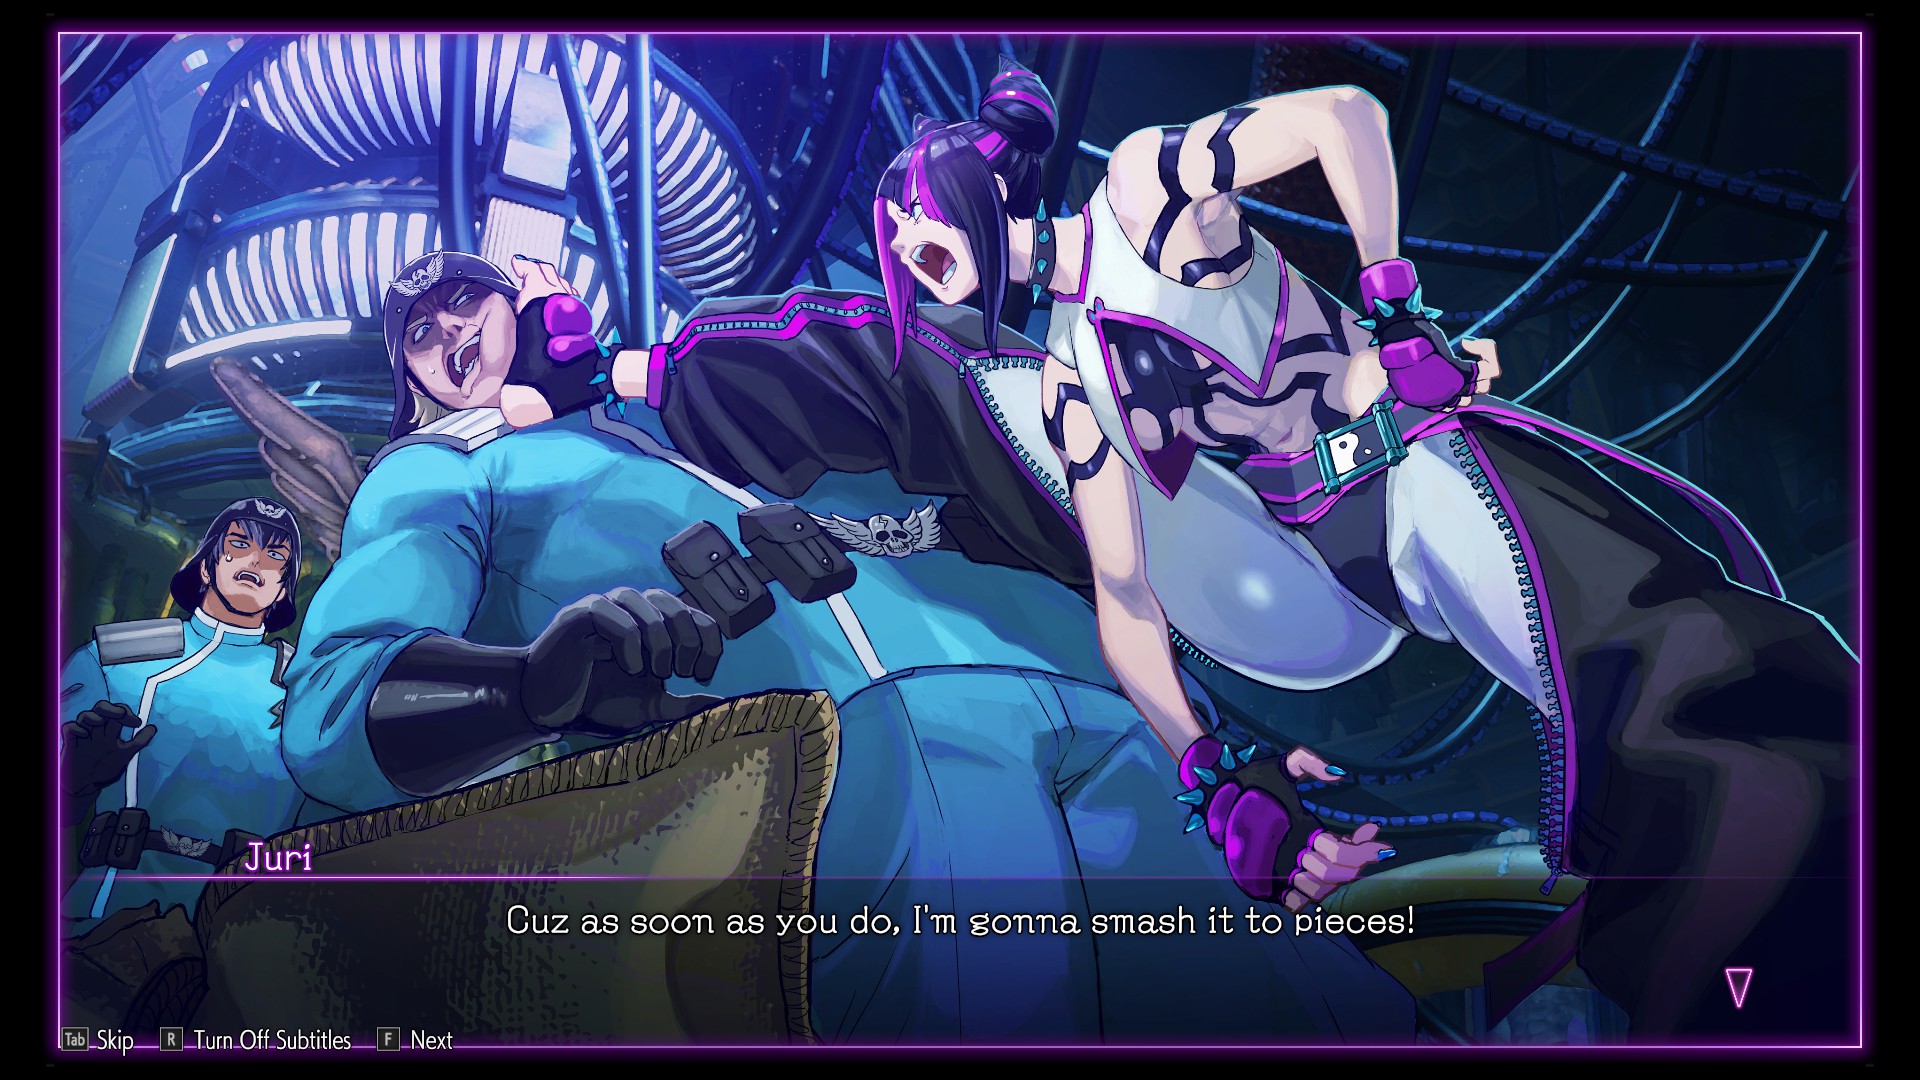

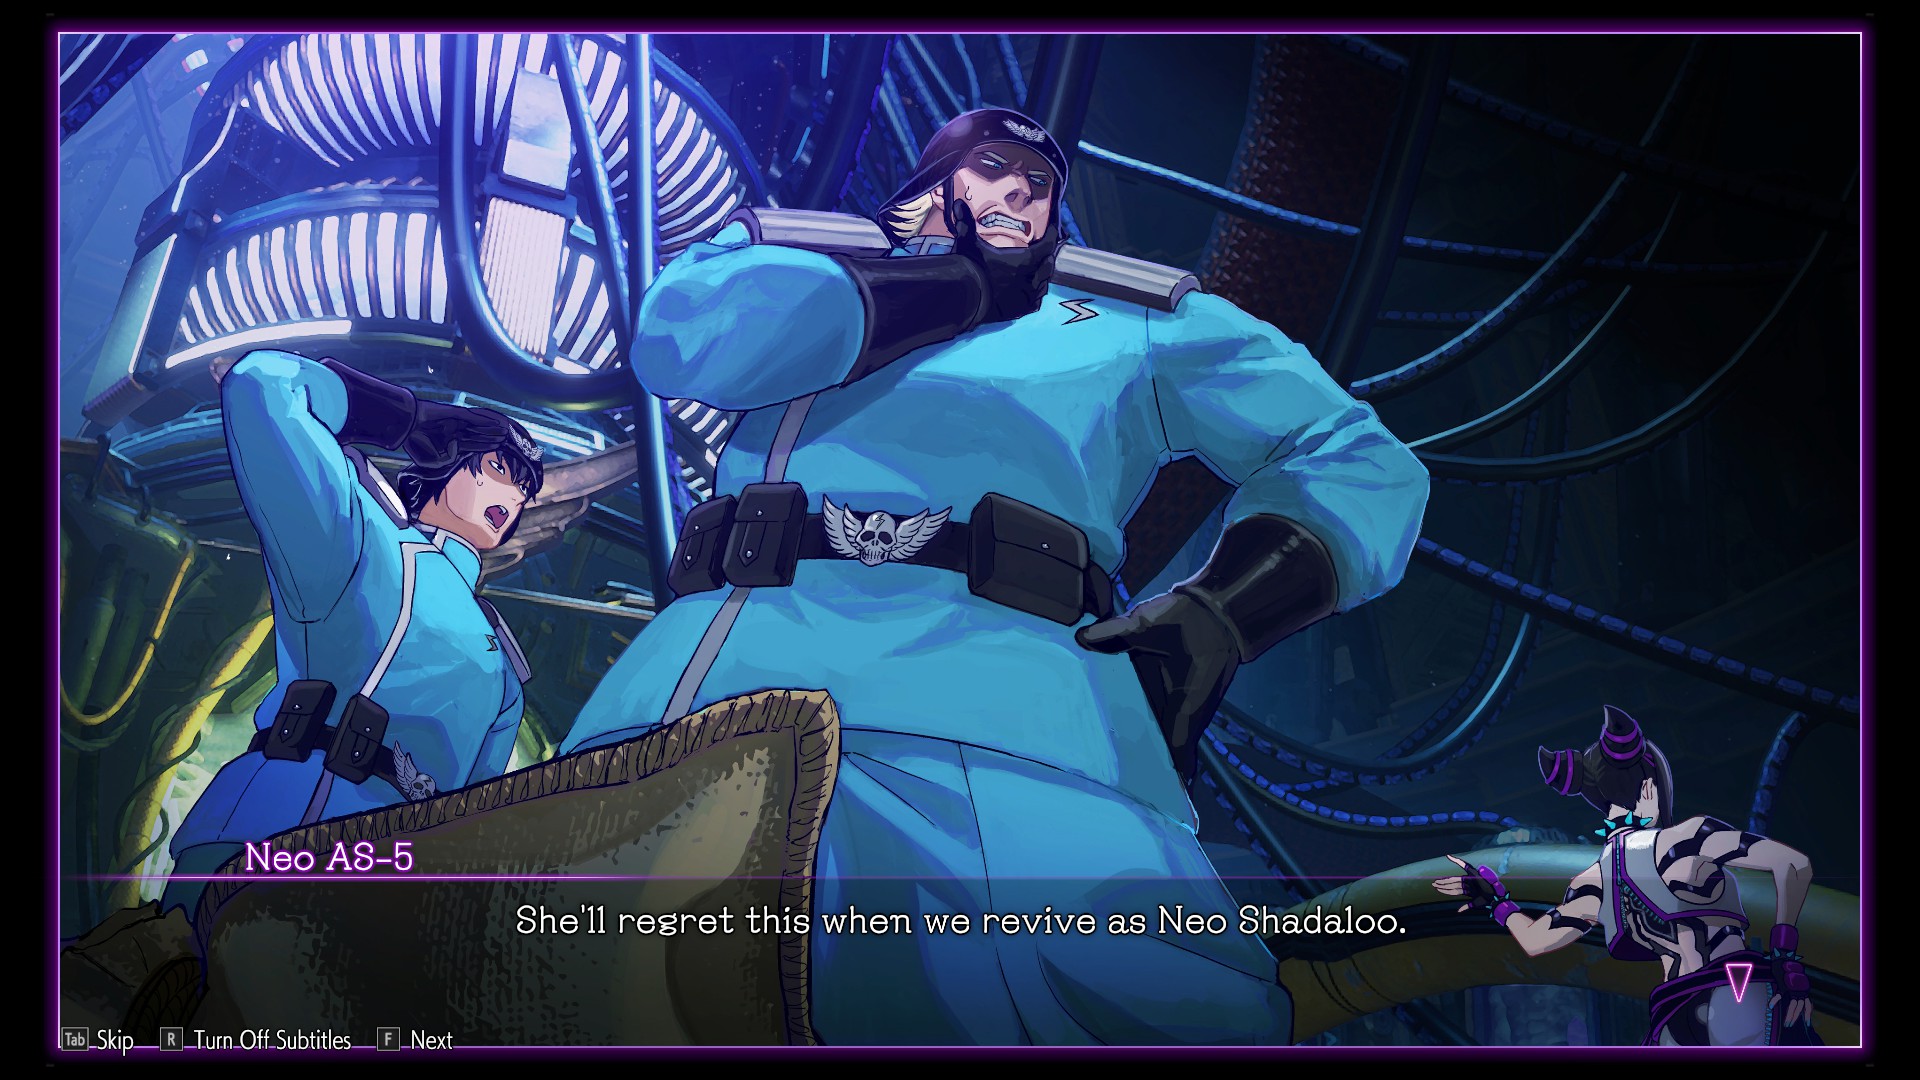

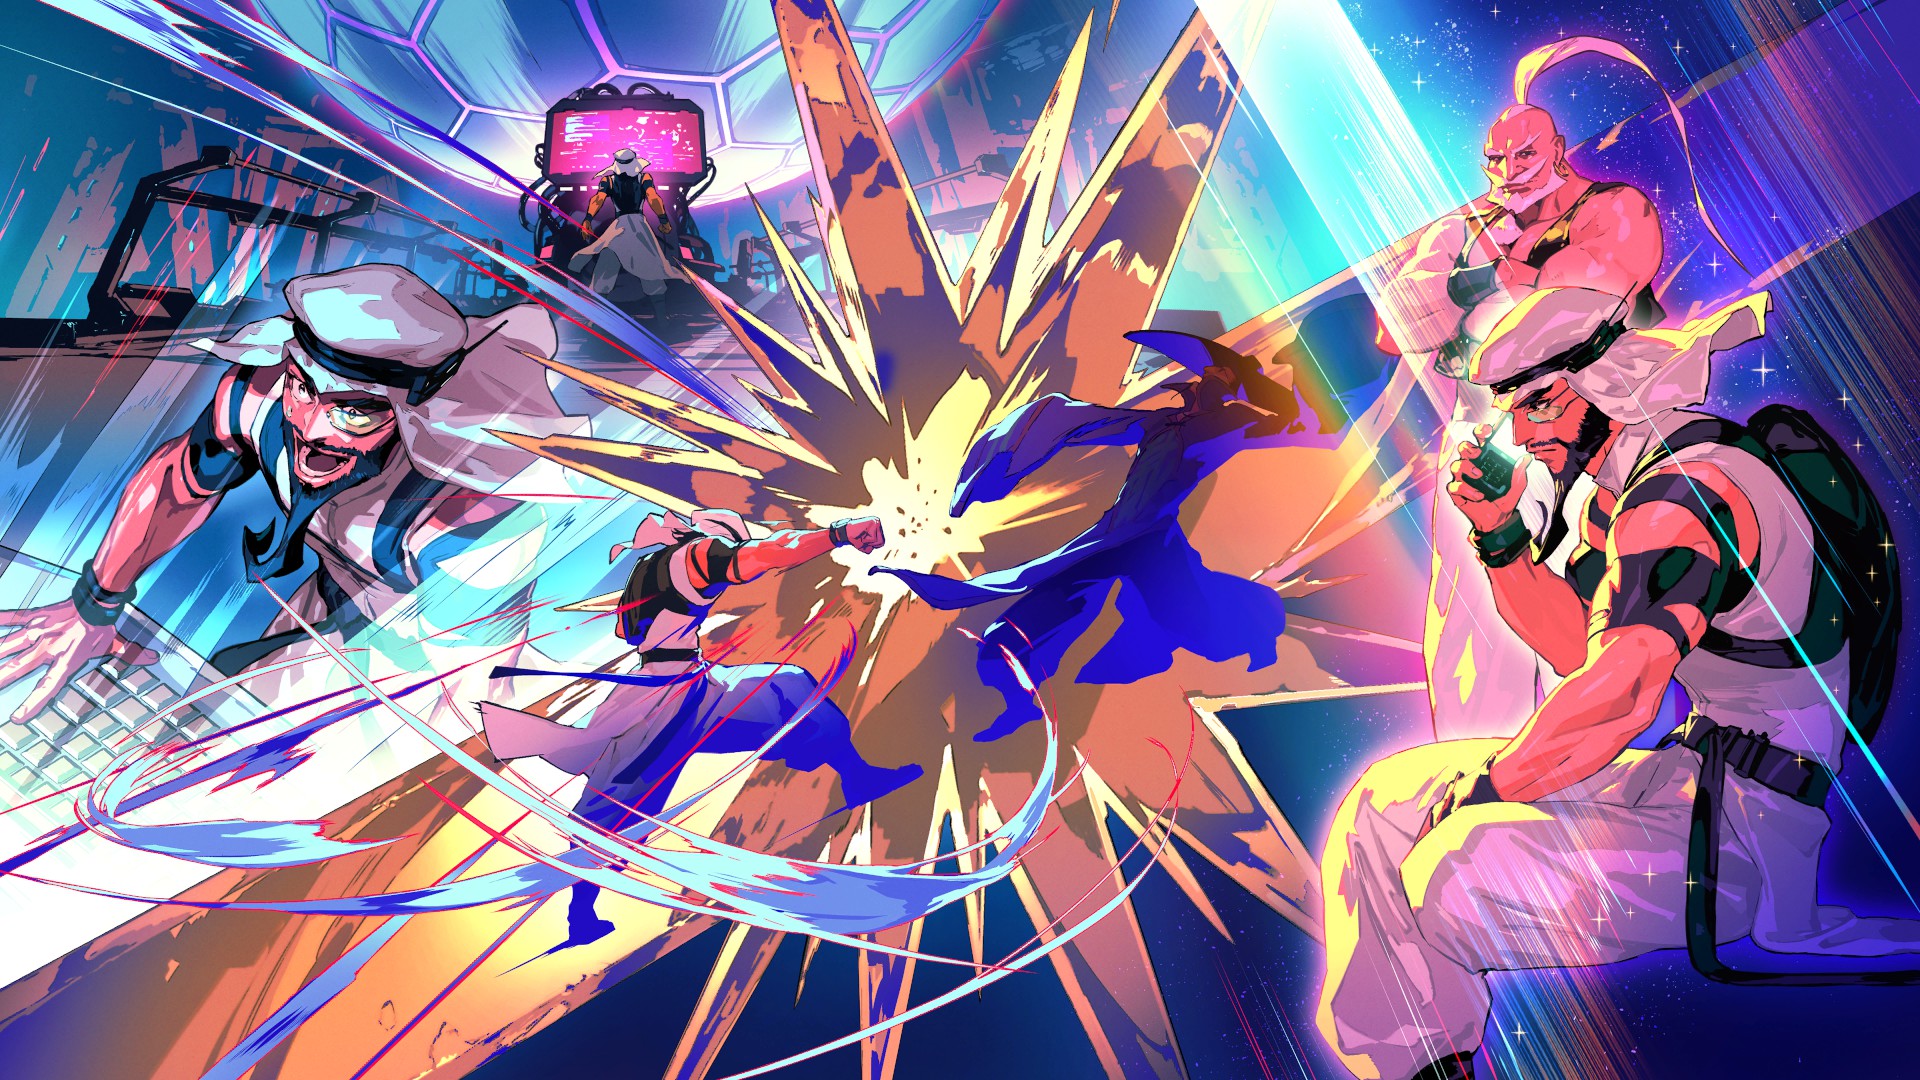
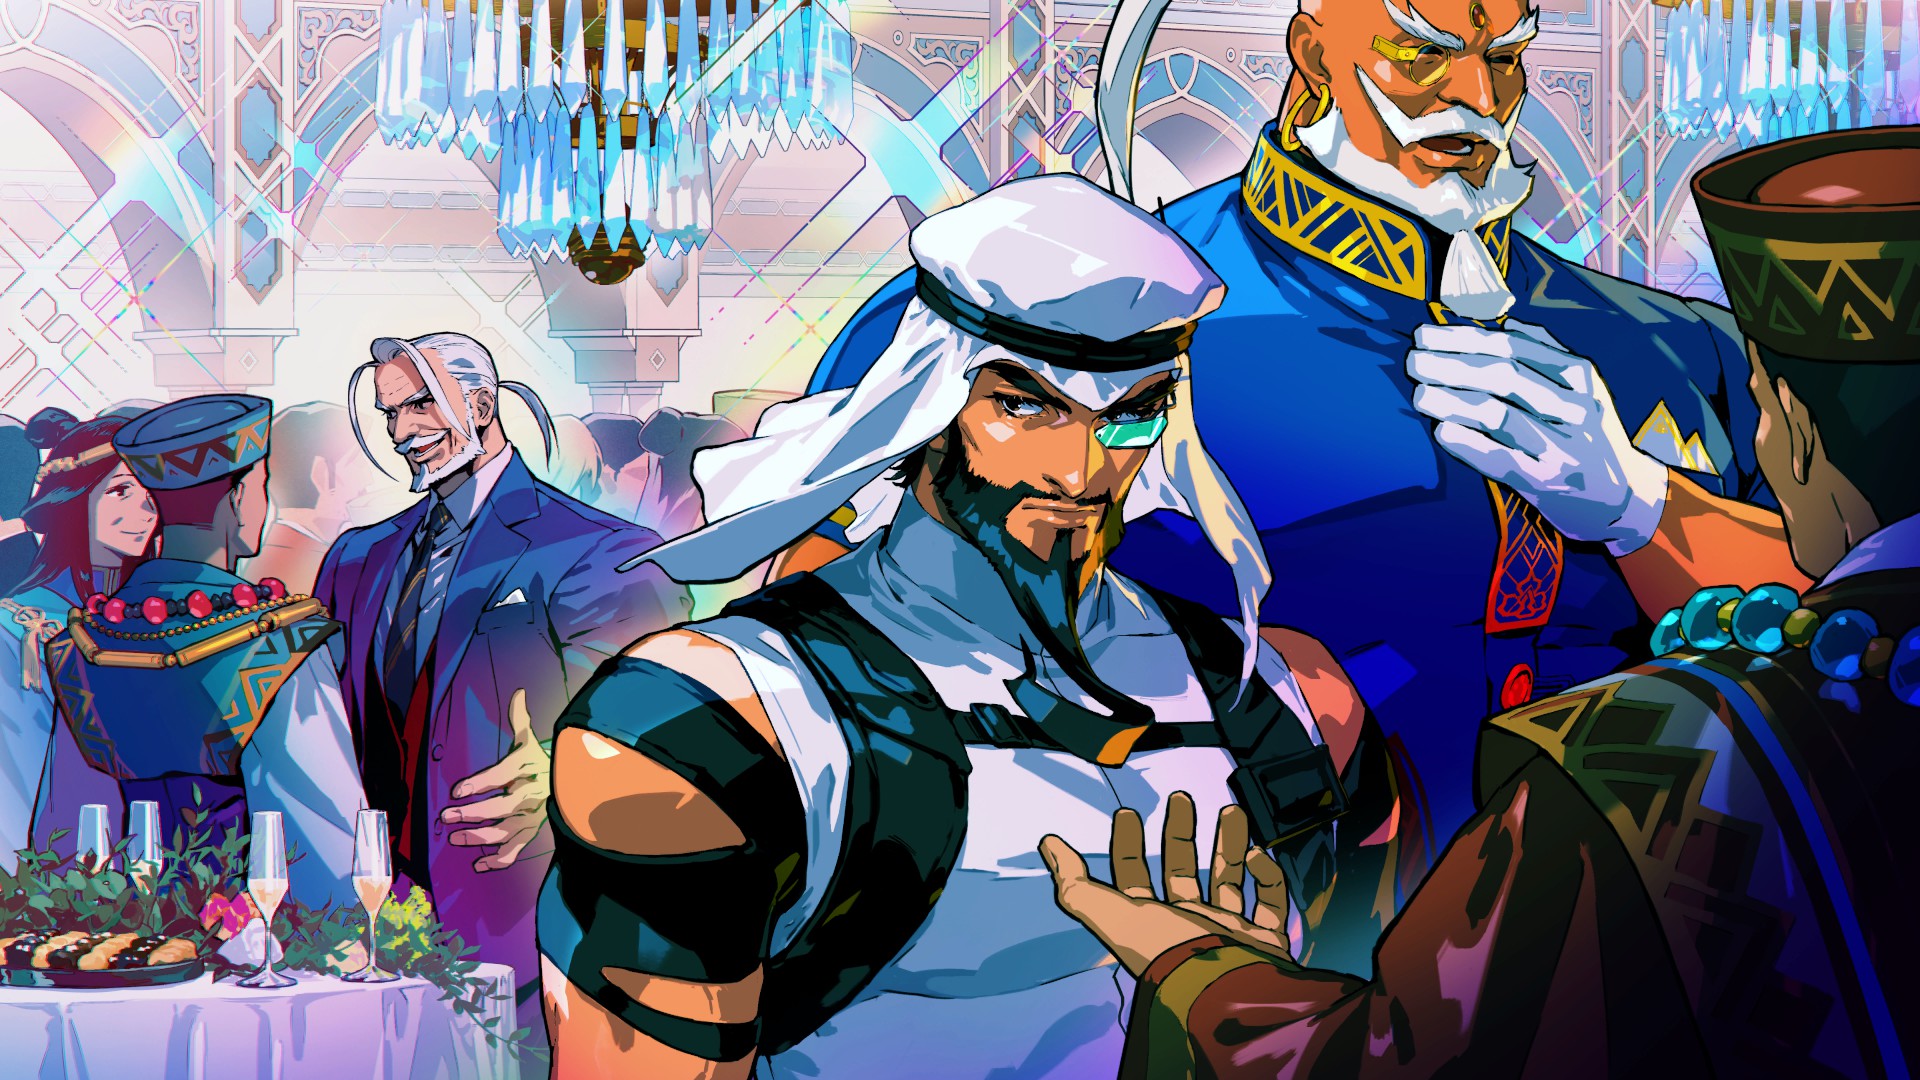
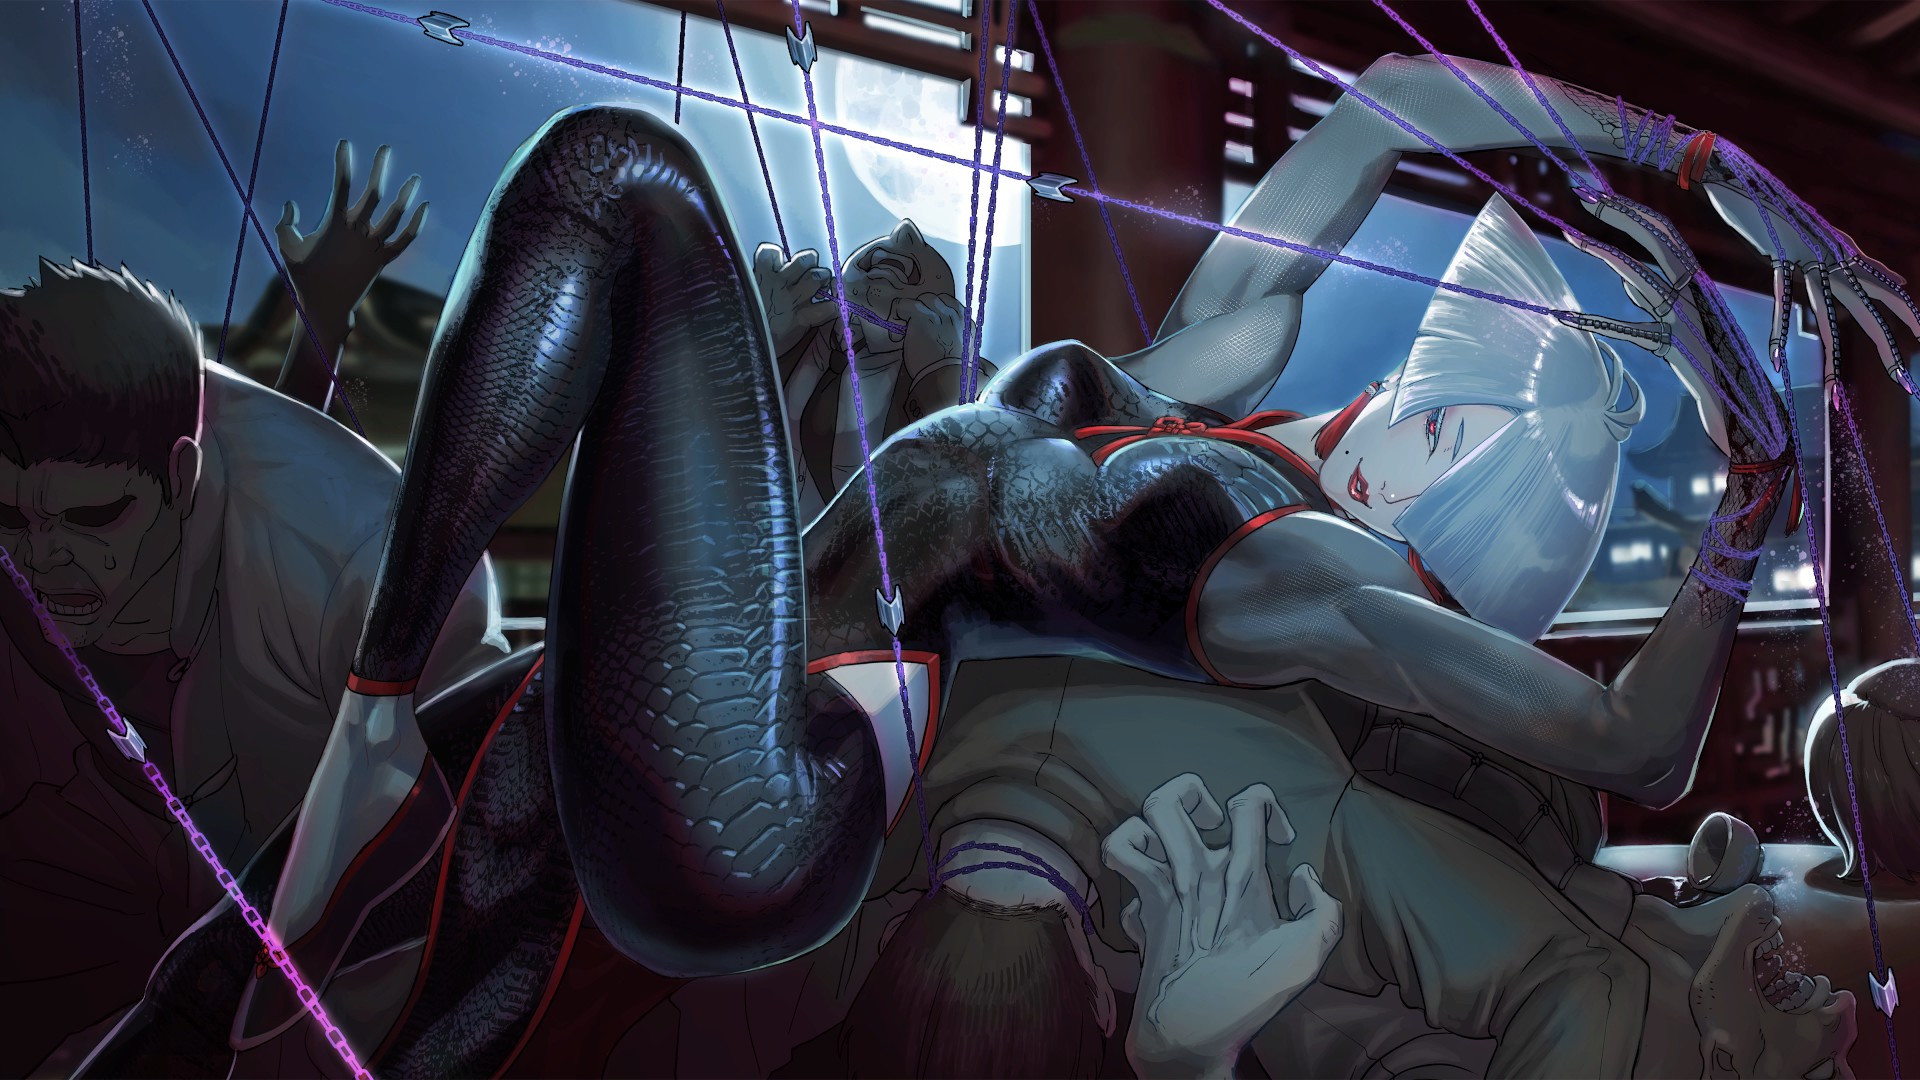
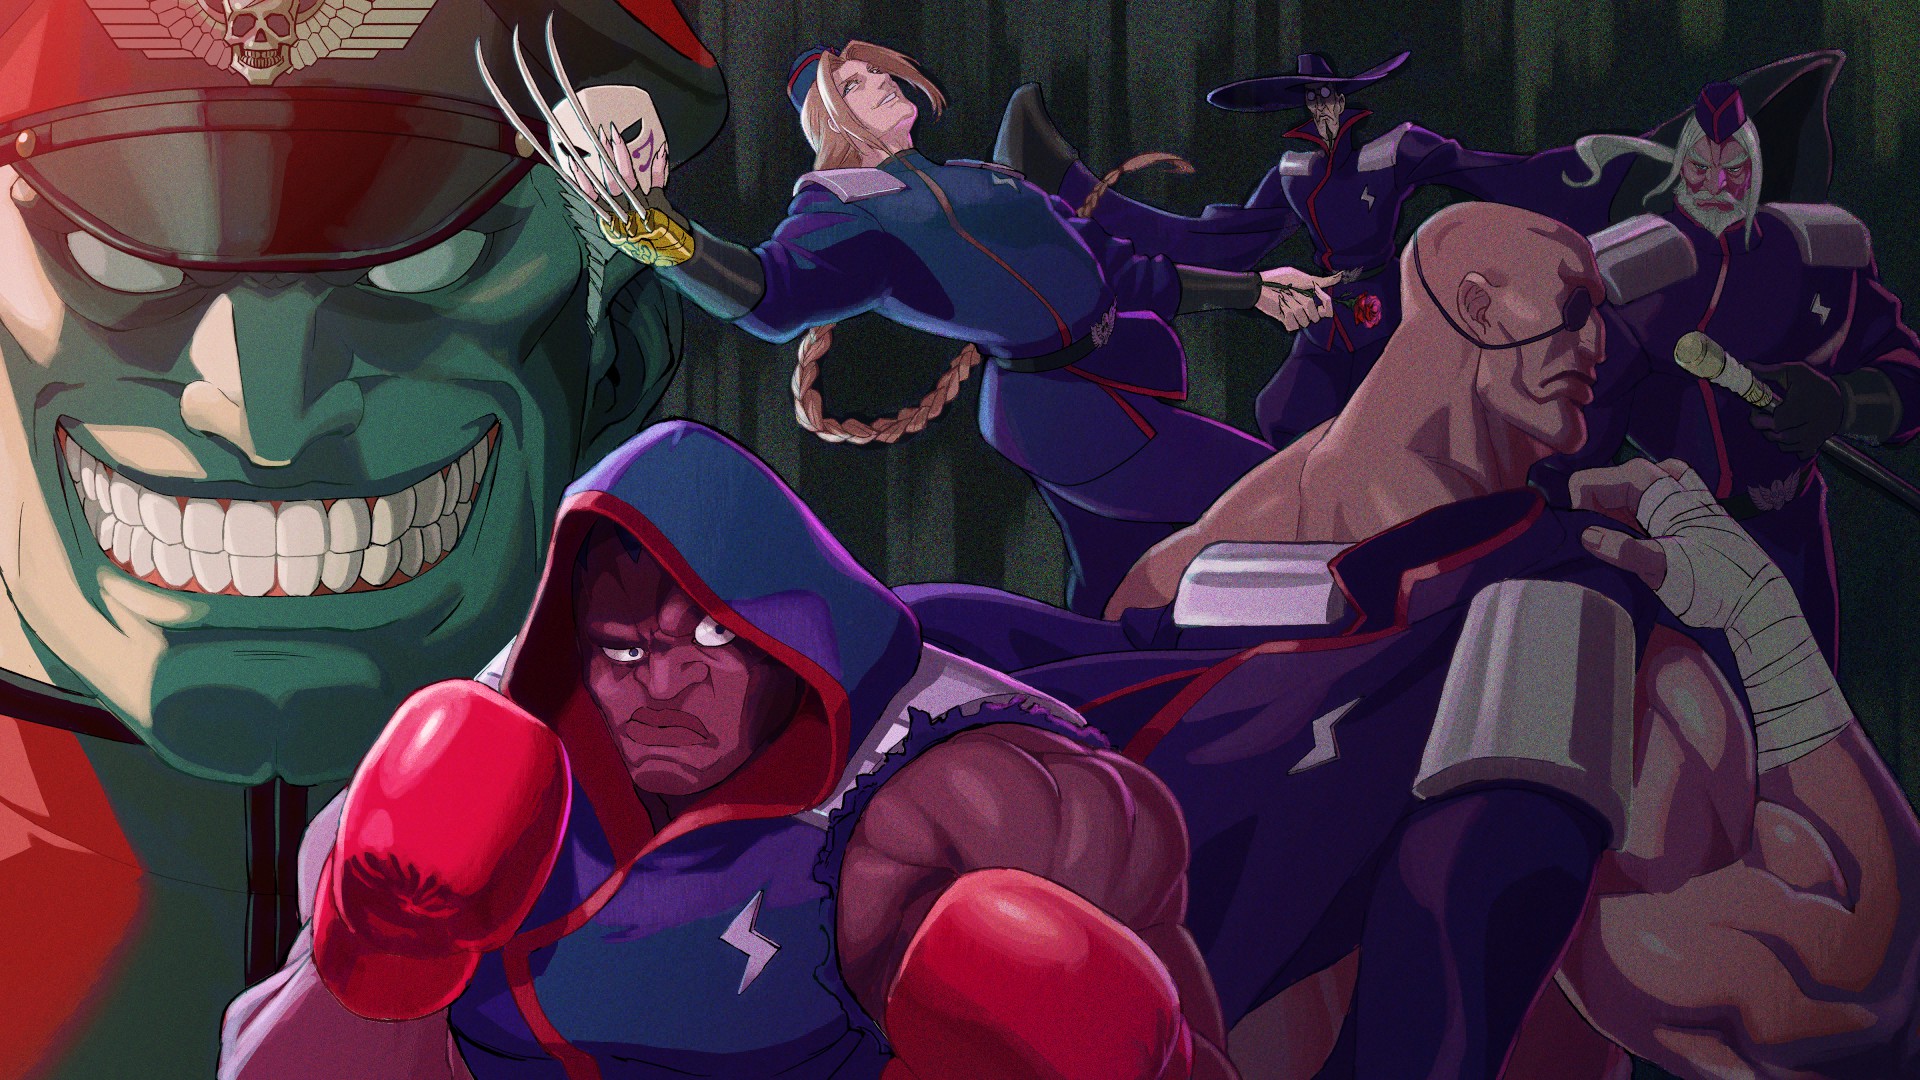
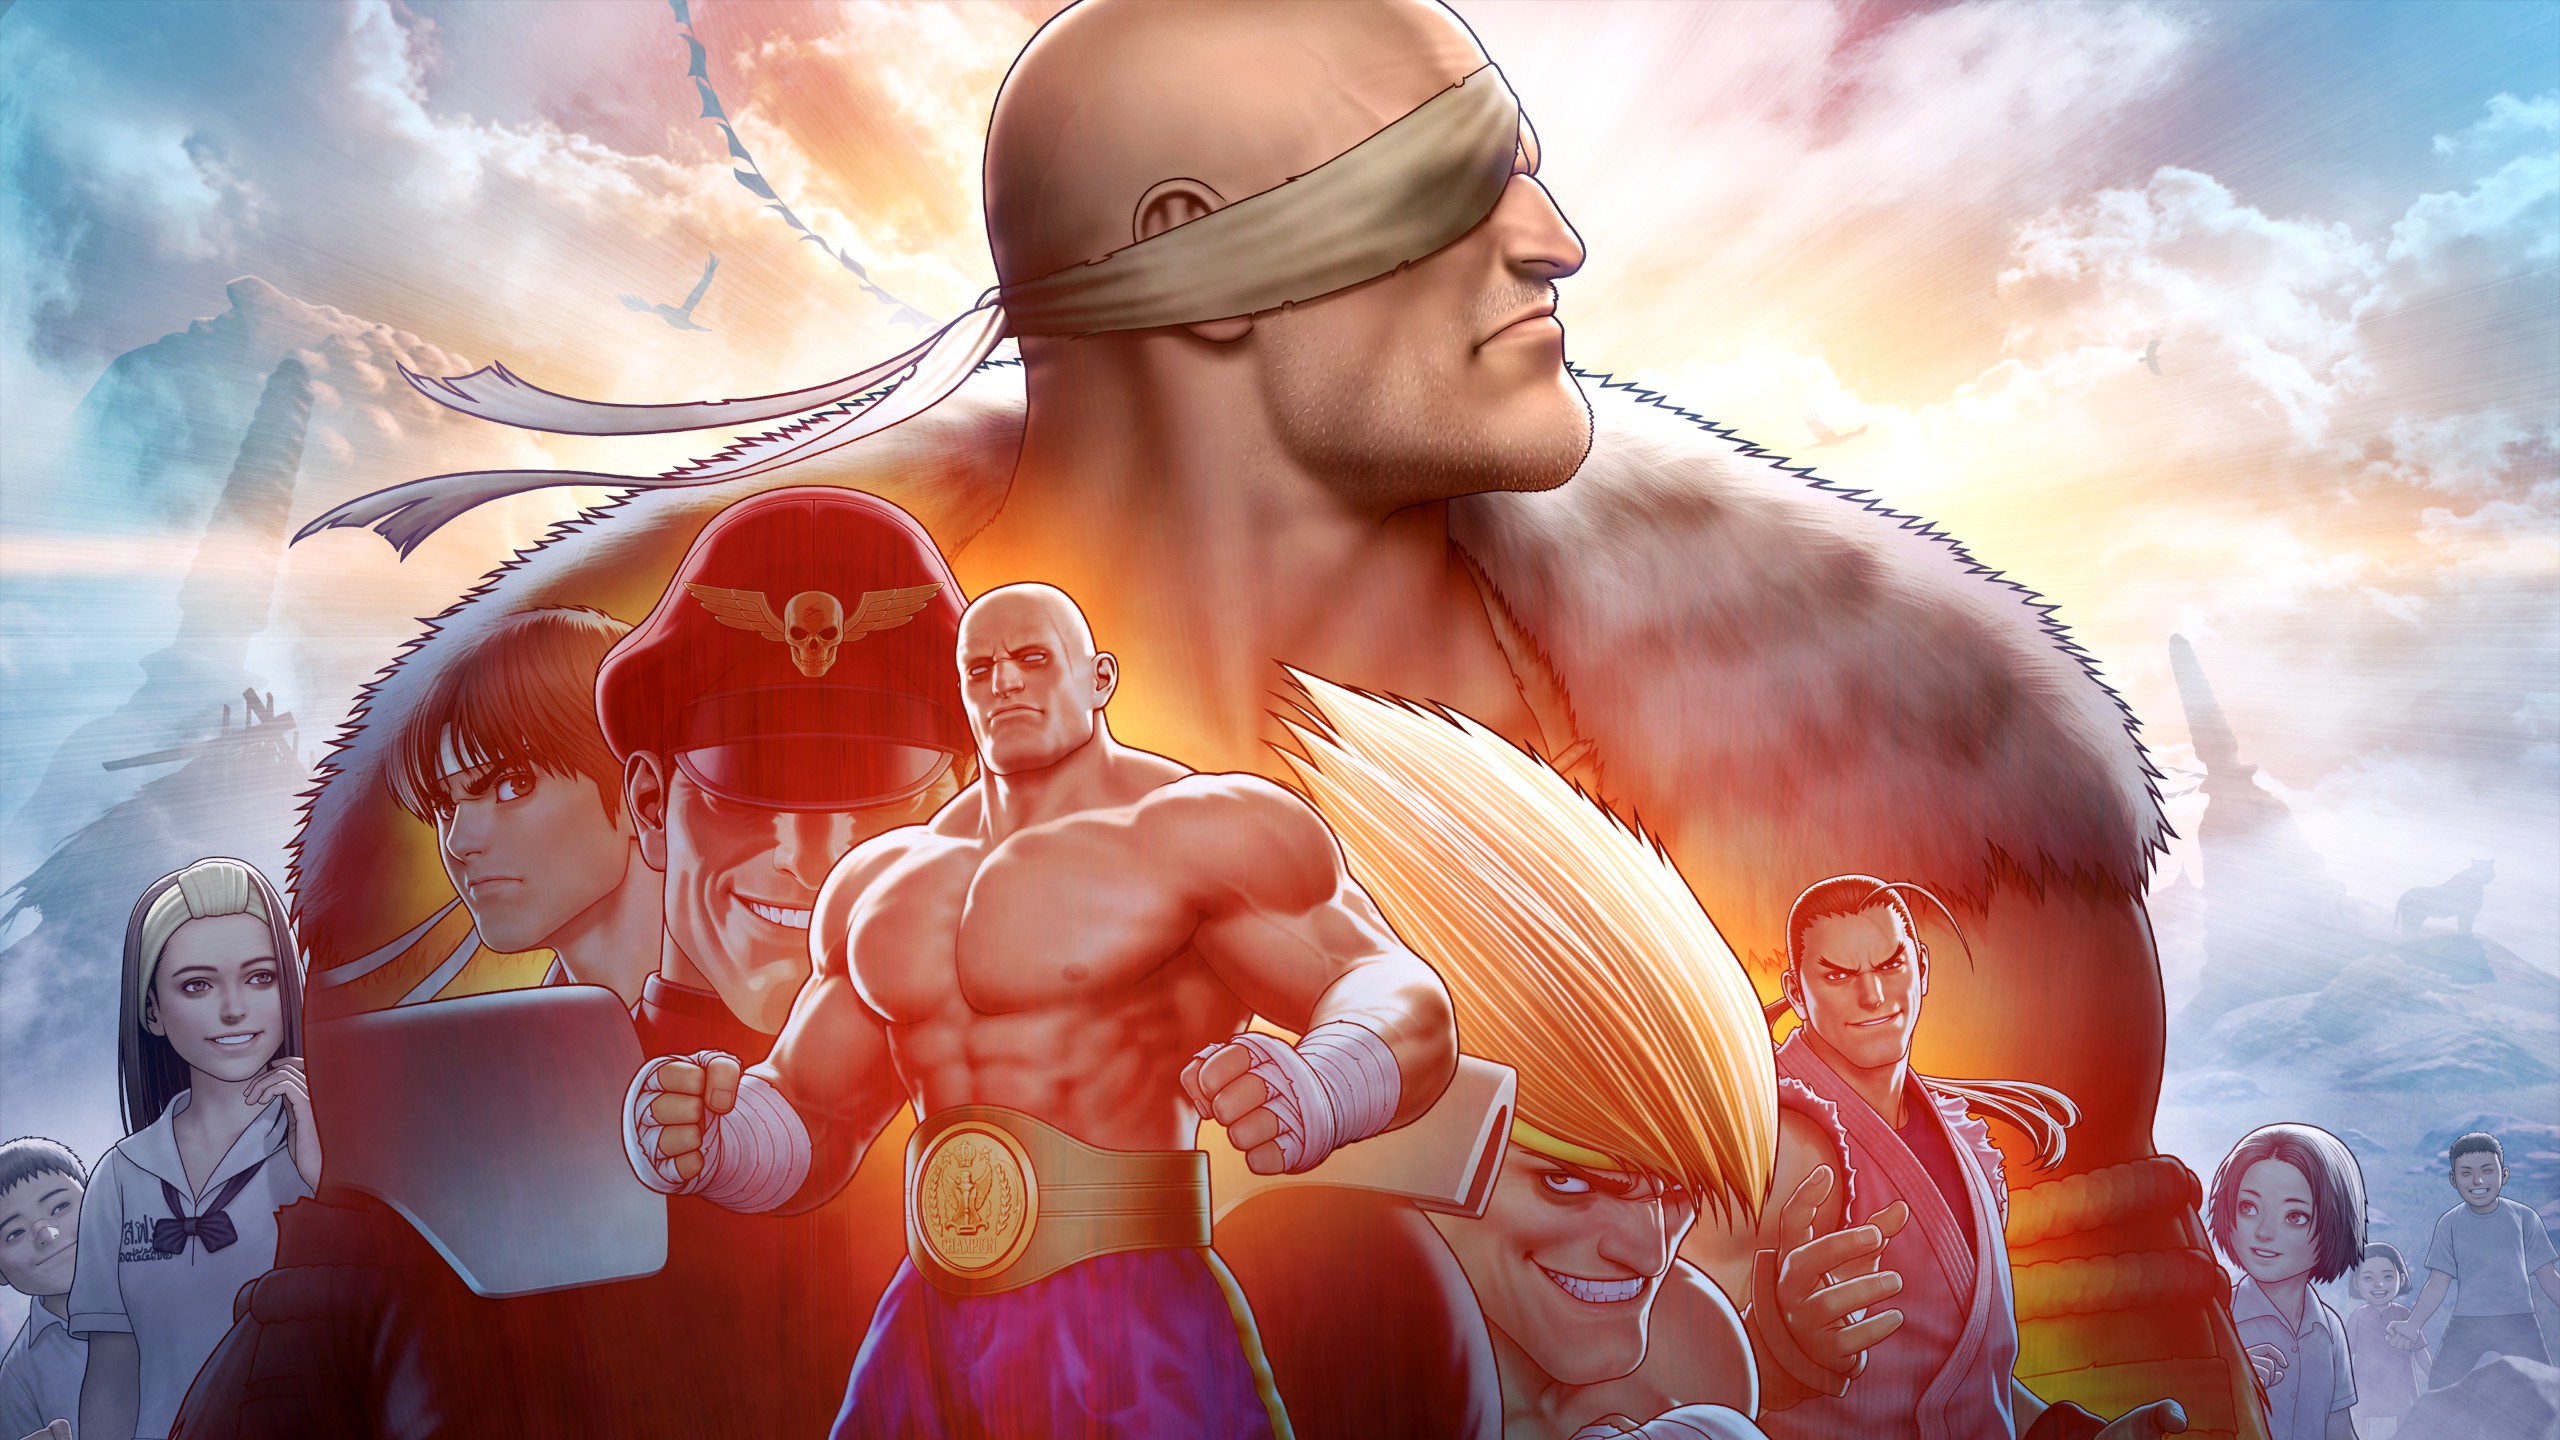
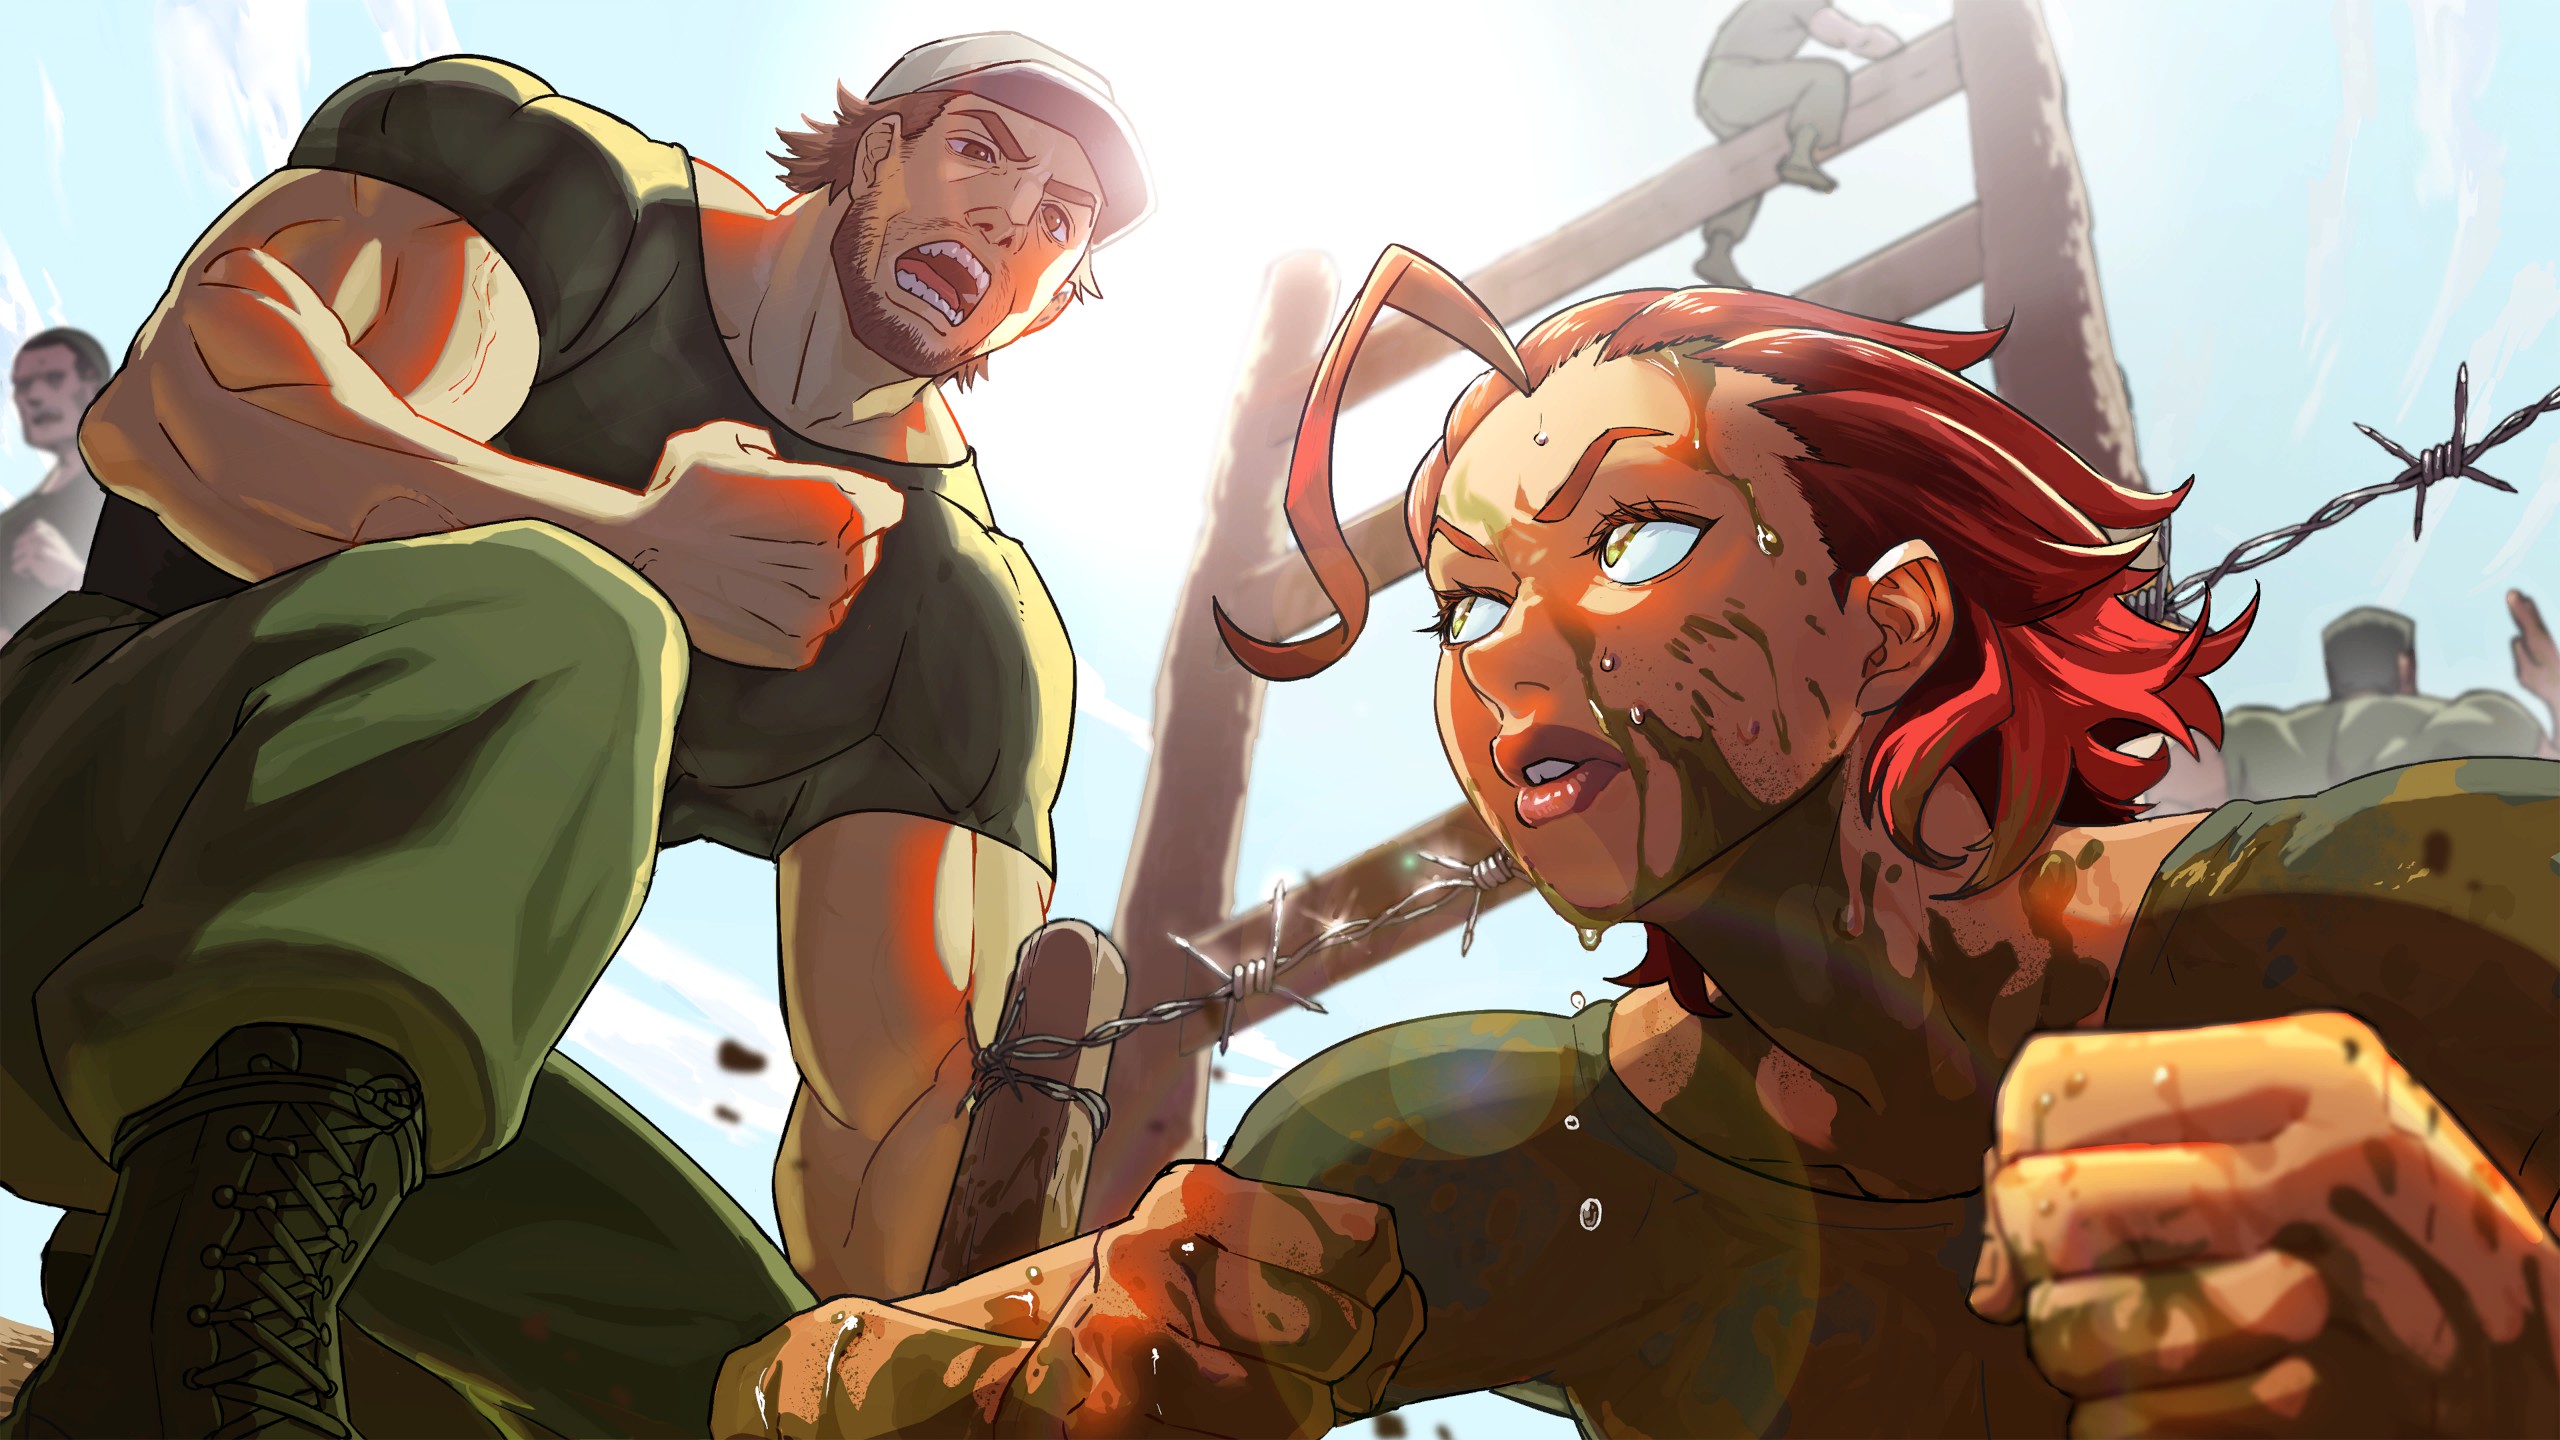
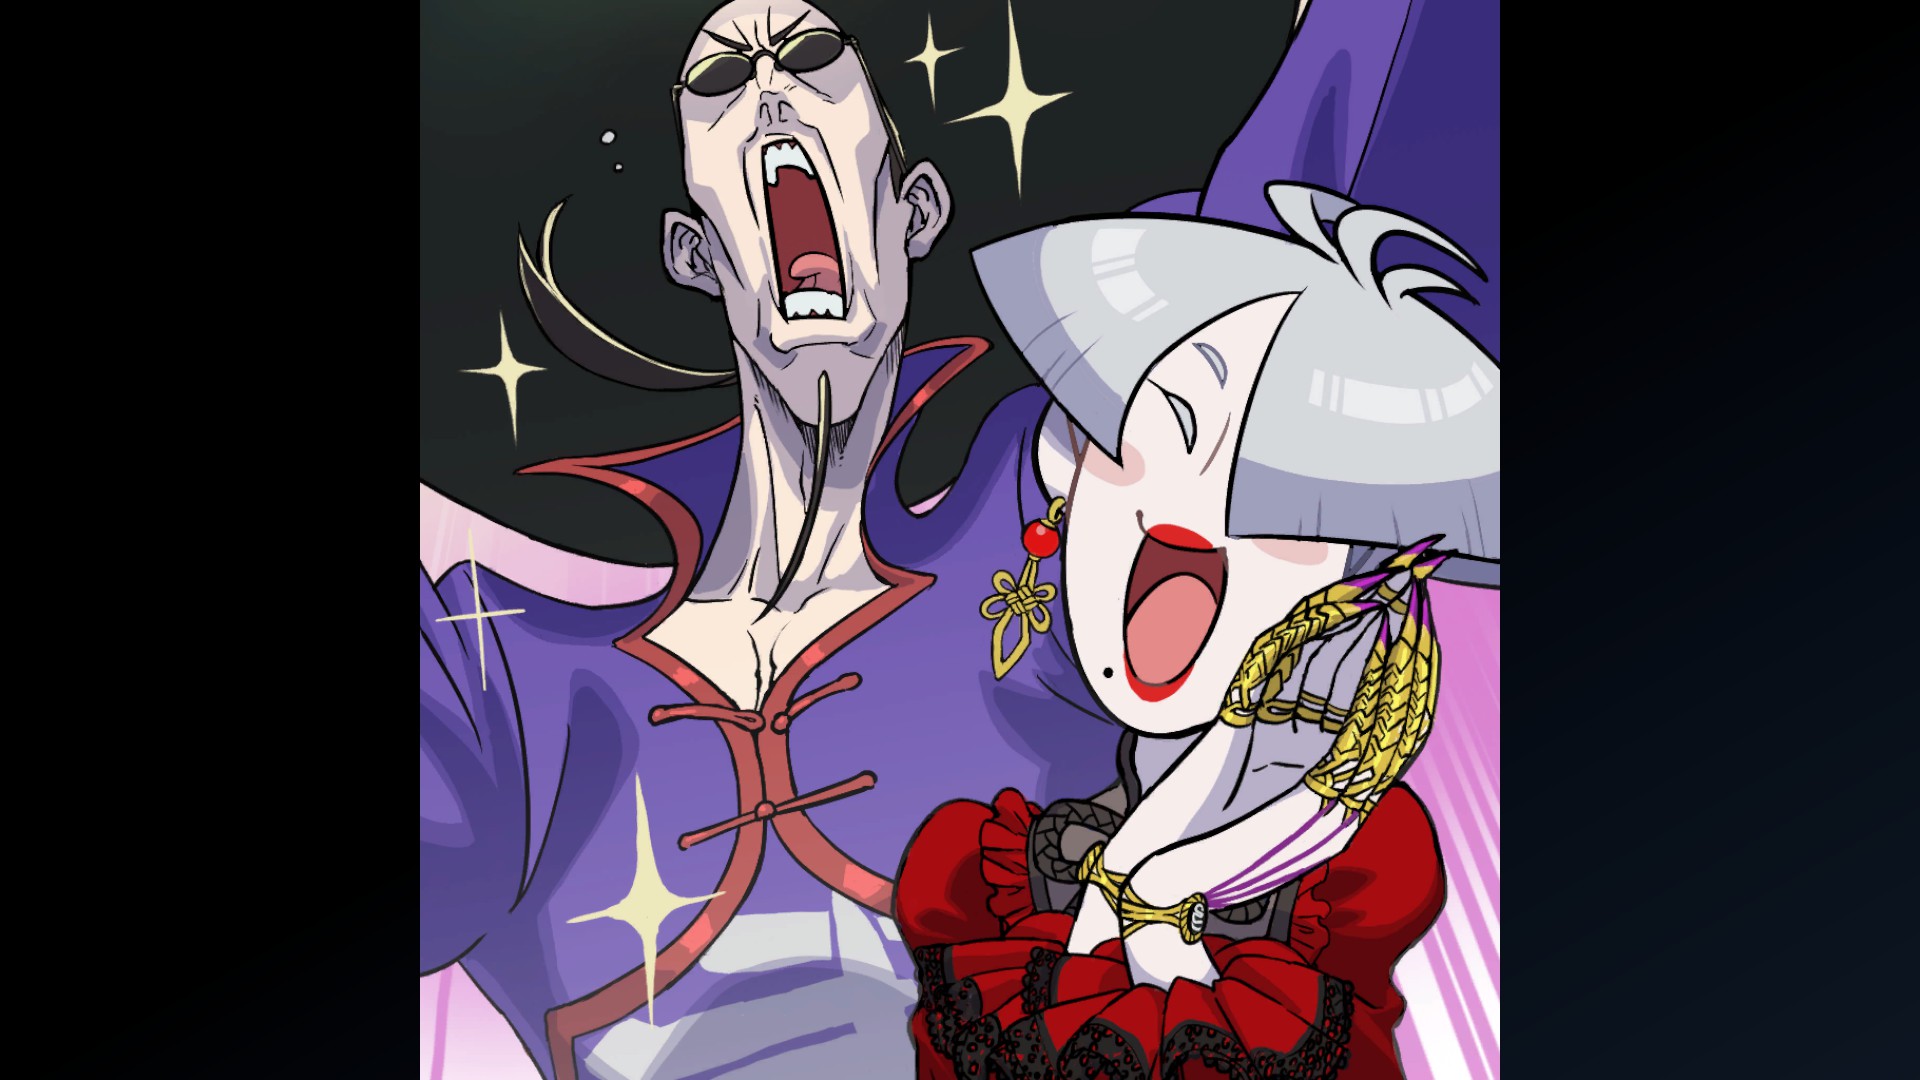
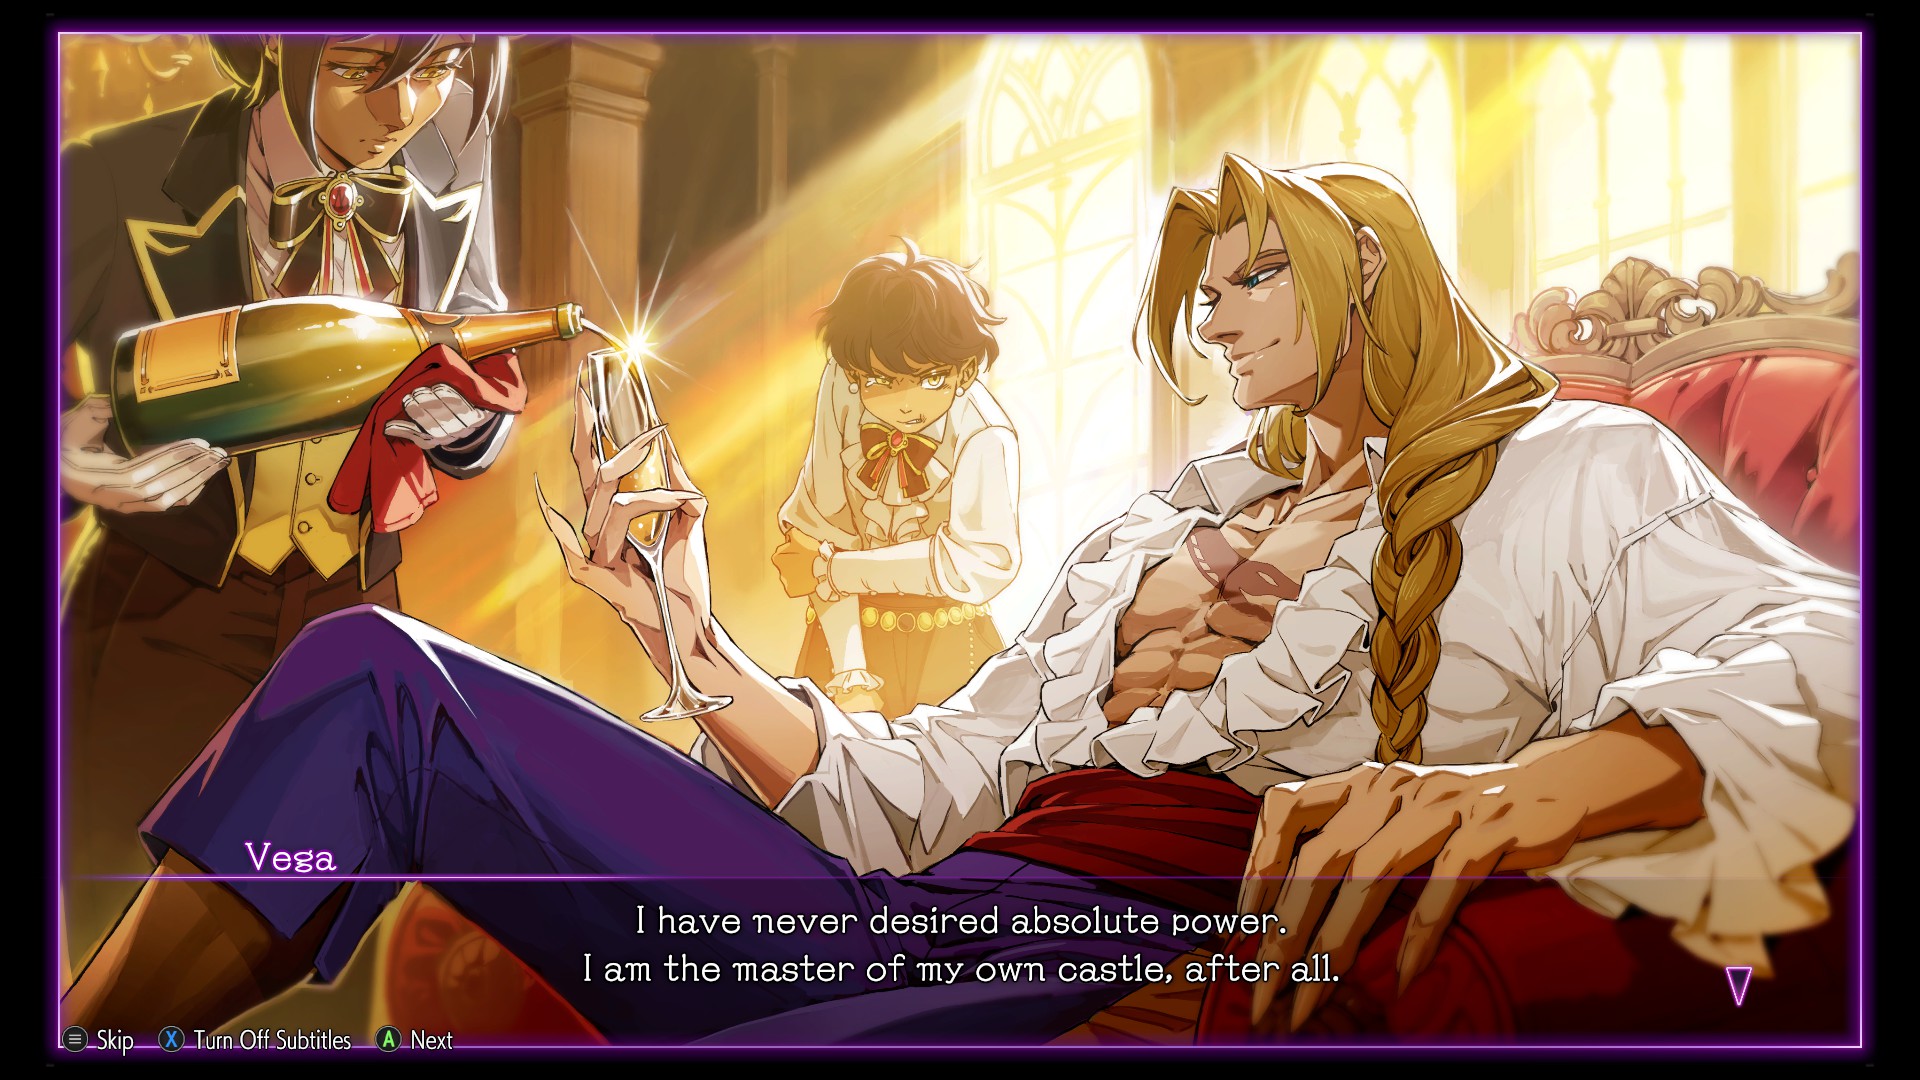
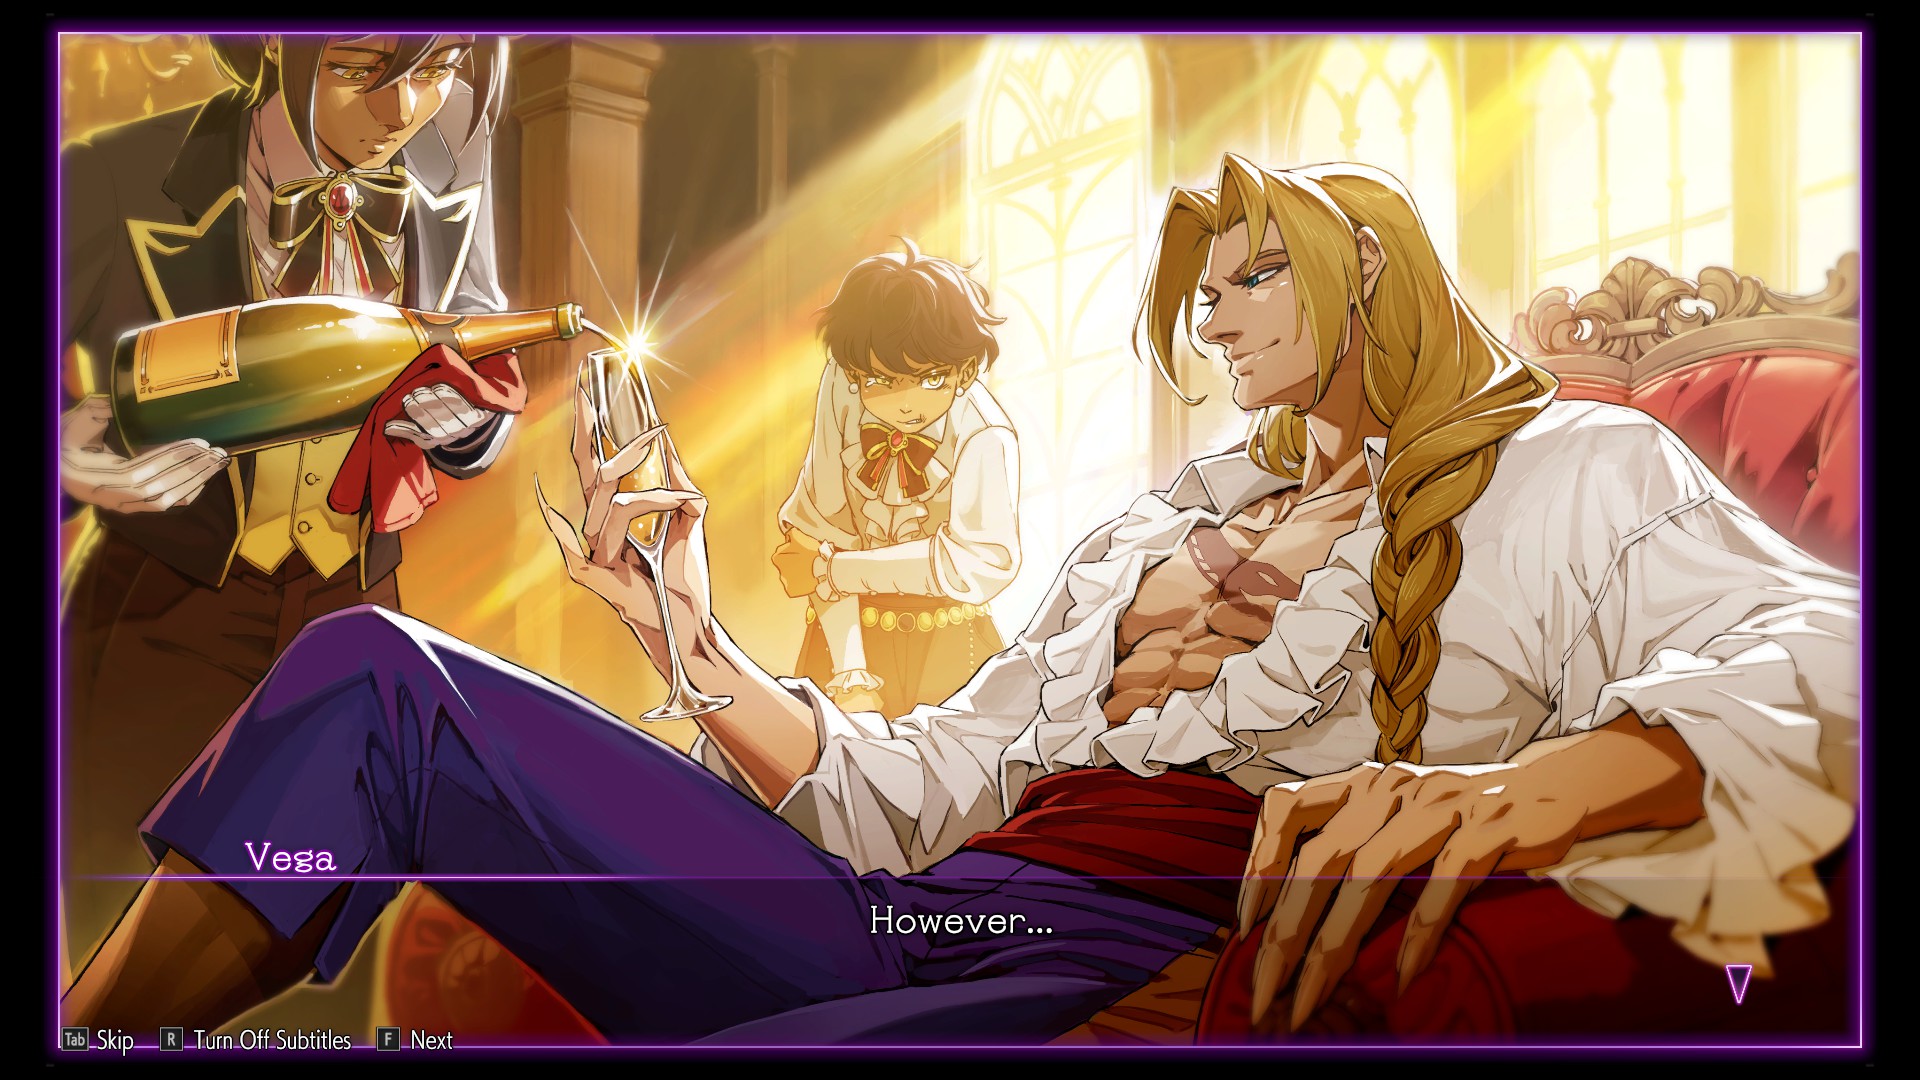
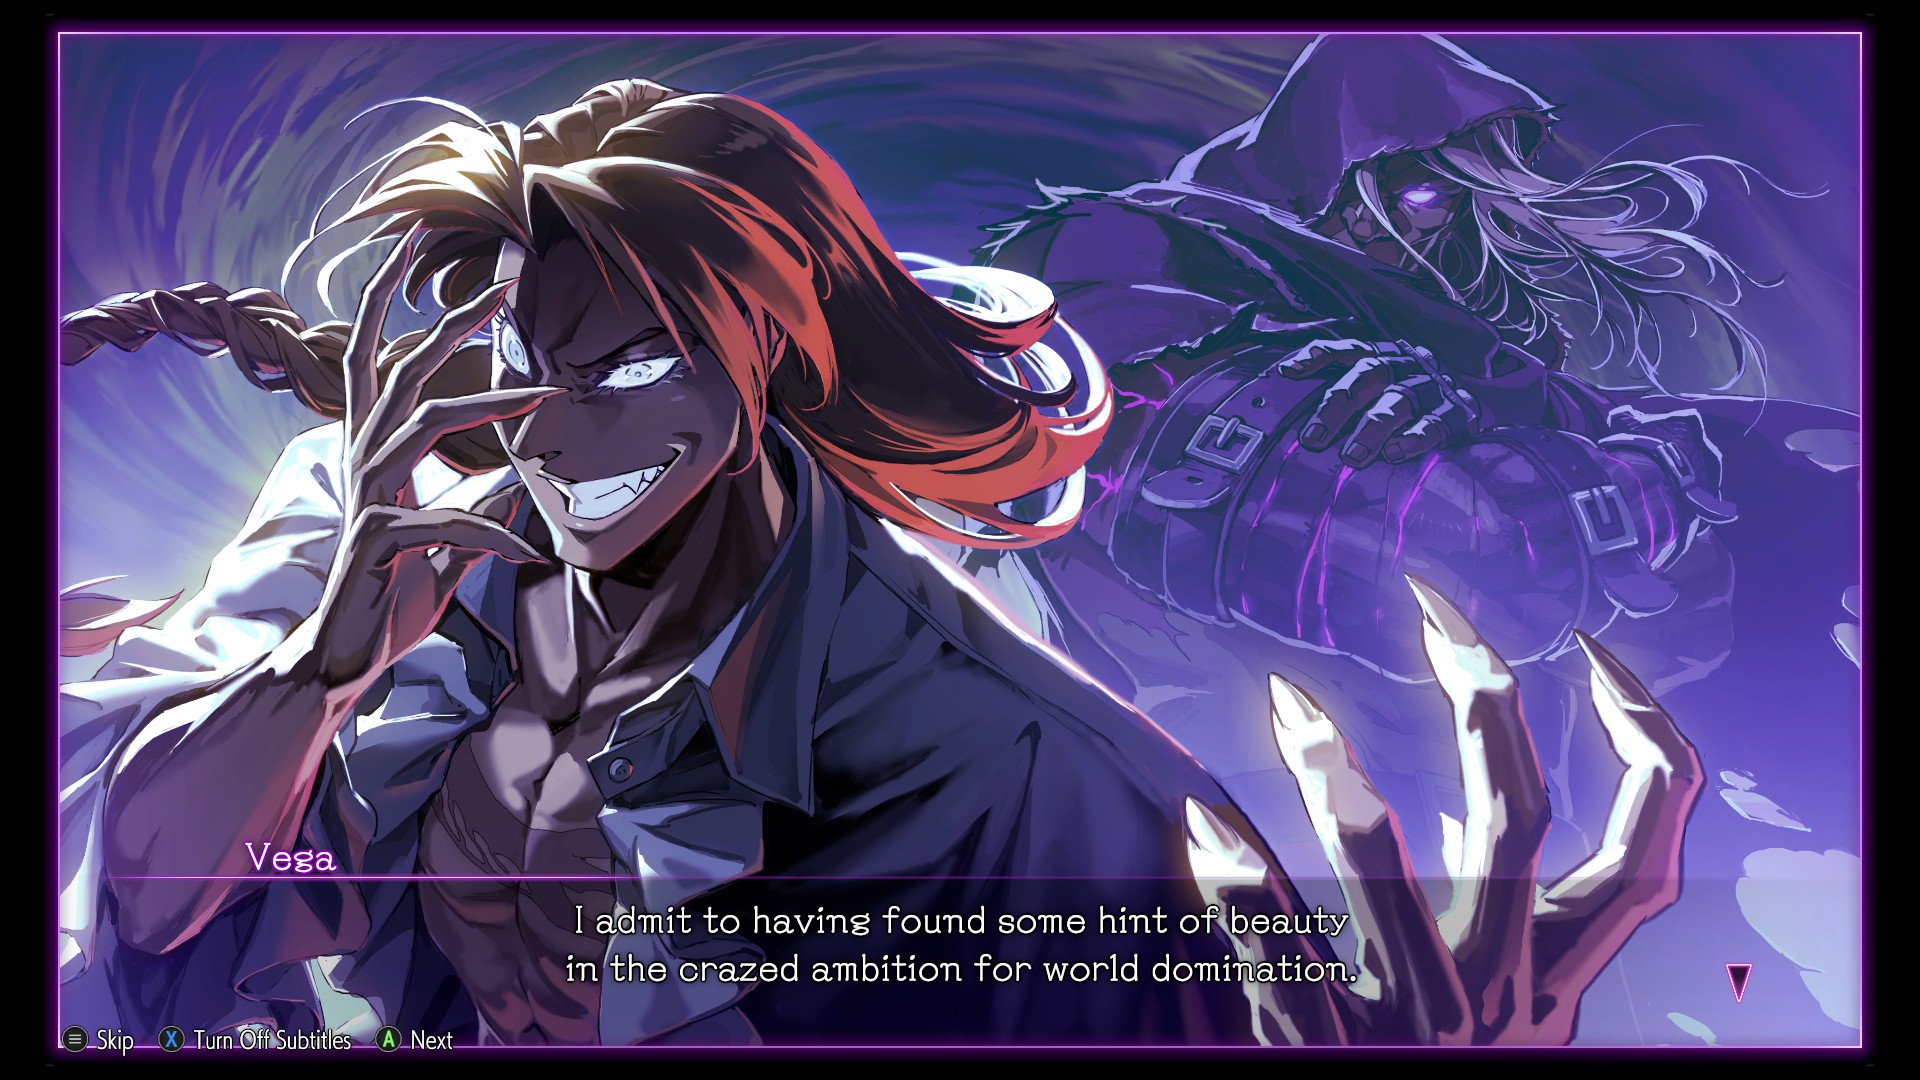
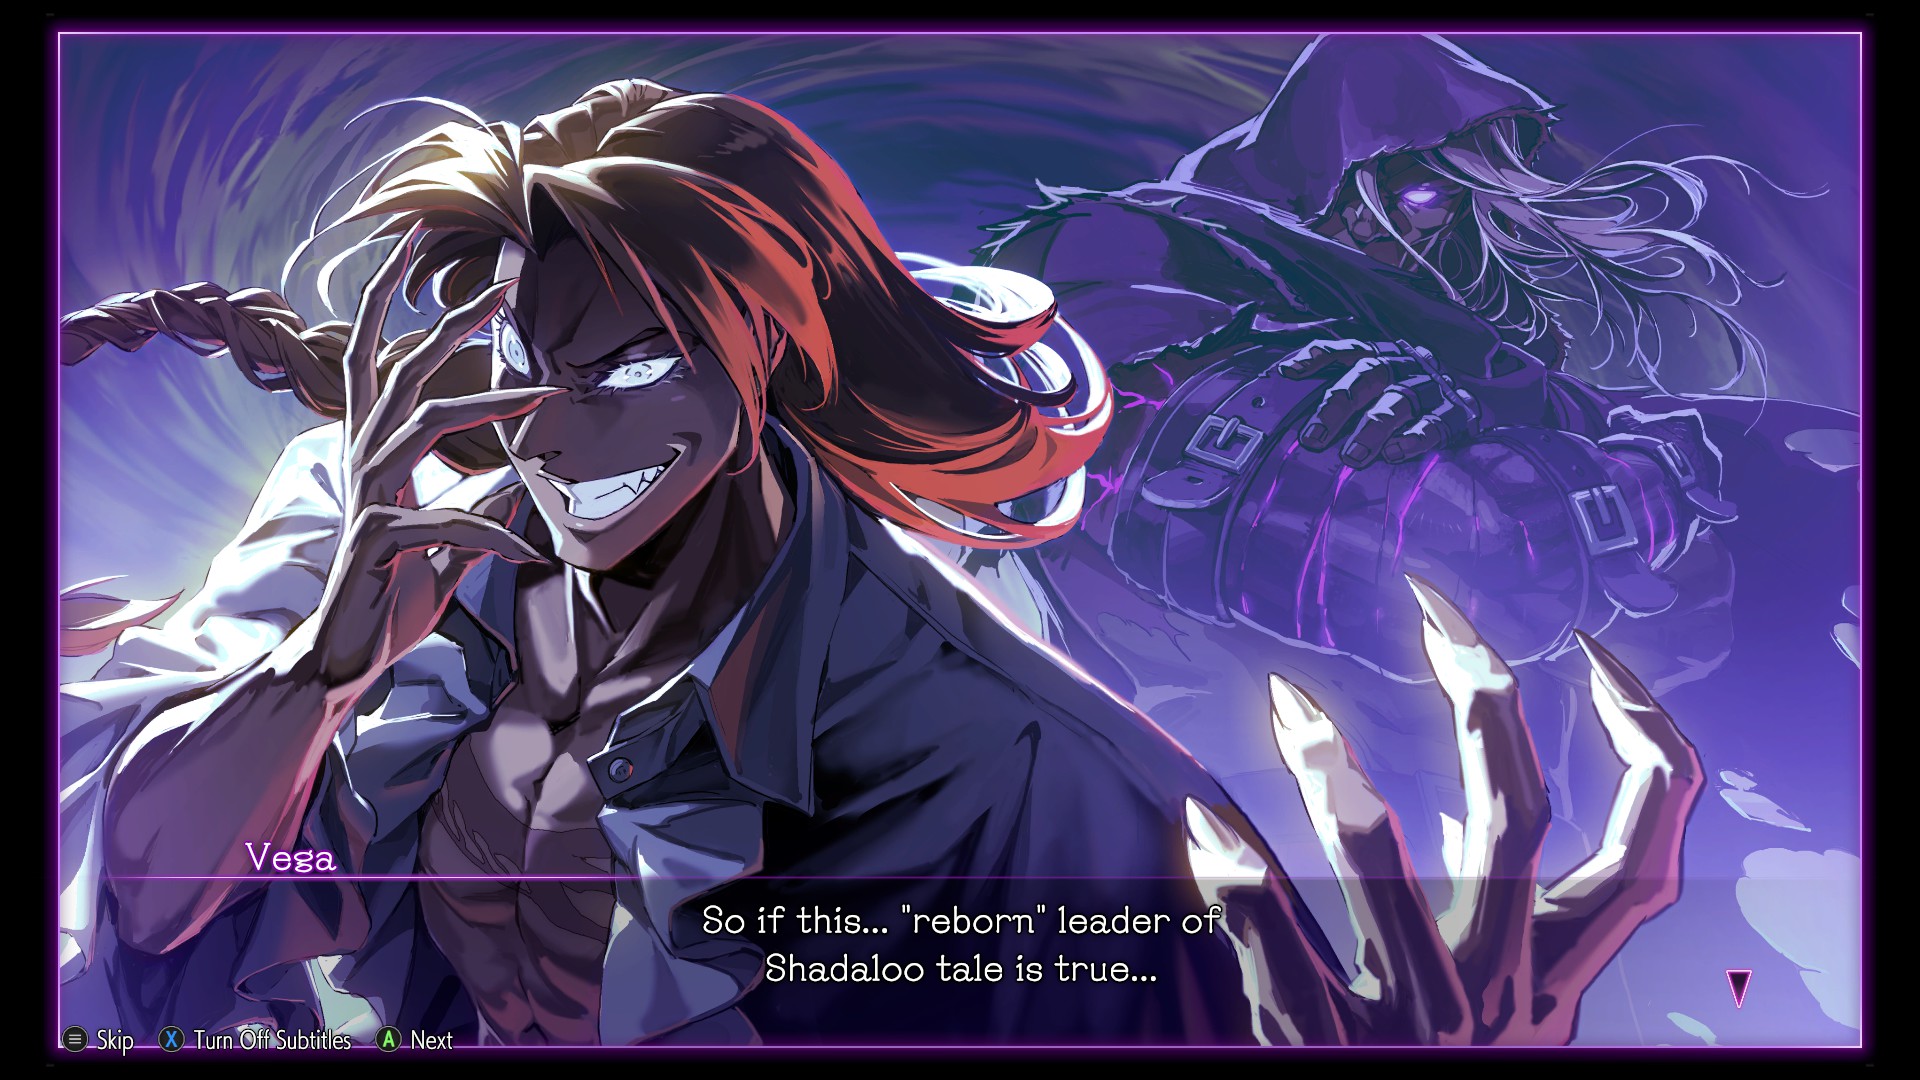
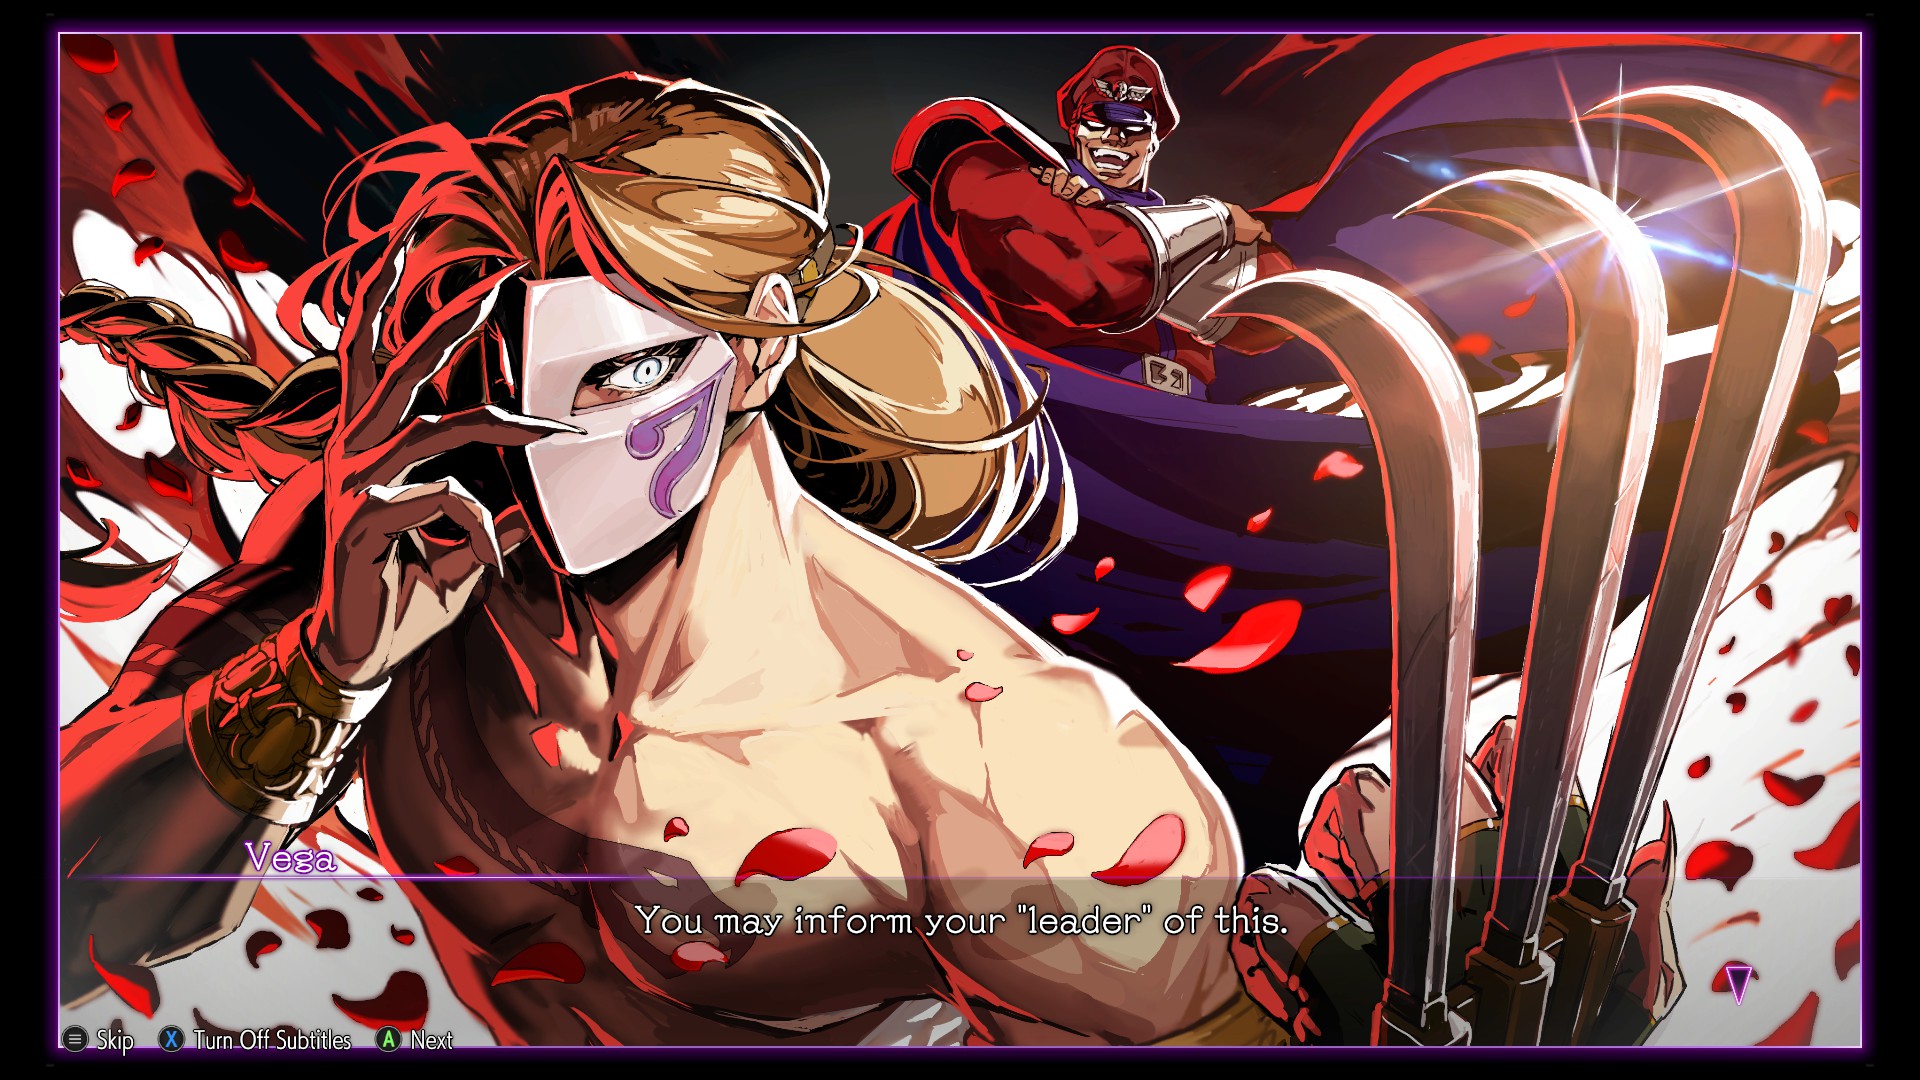
The fifth comic gives us a glimpse of everyone's favorite Spanish ninja:


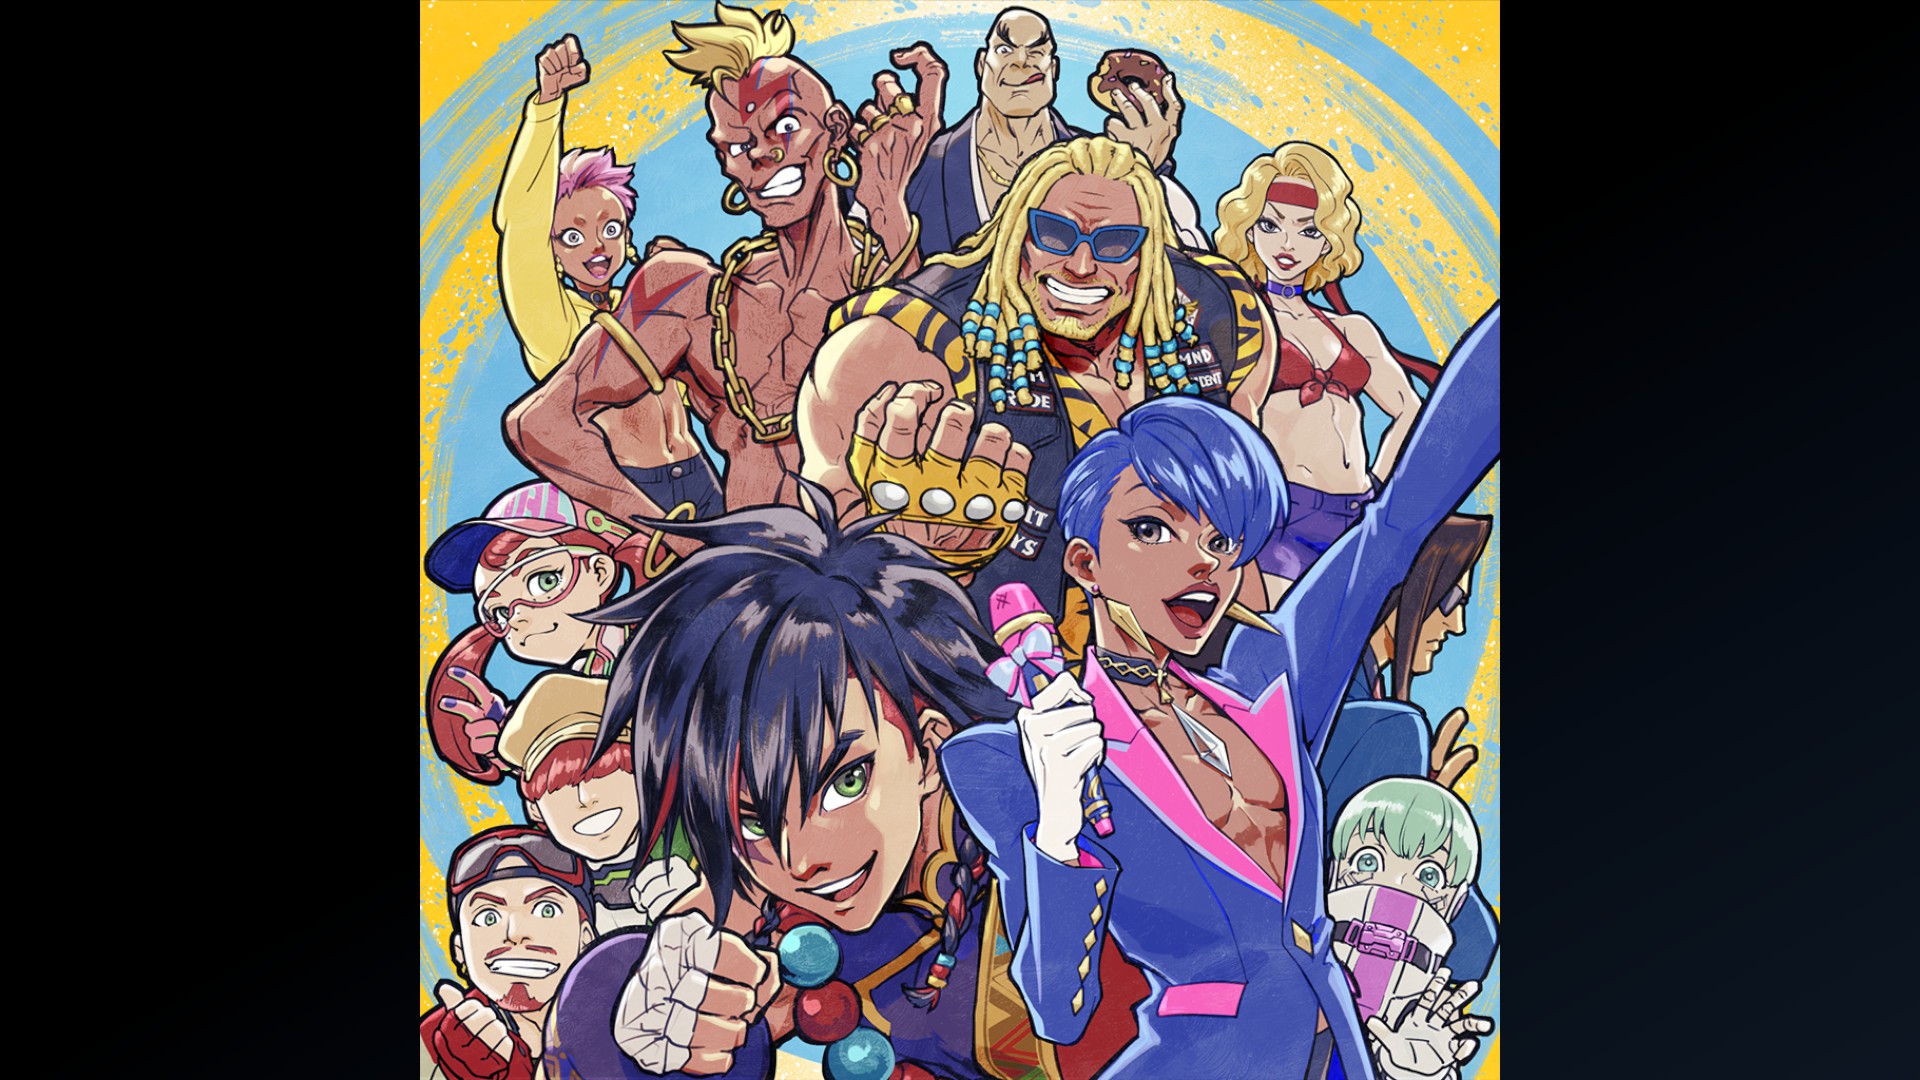
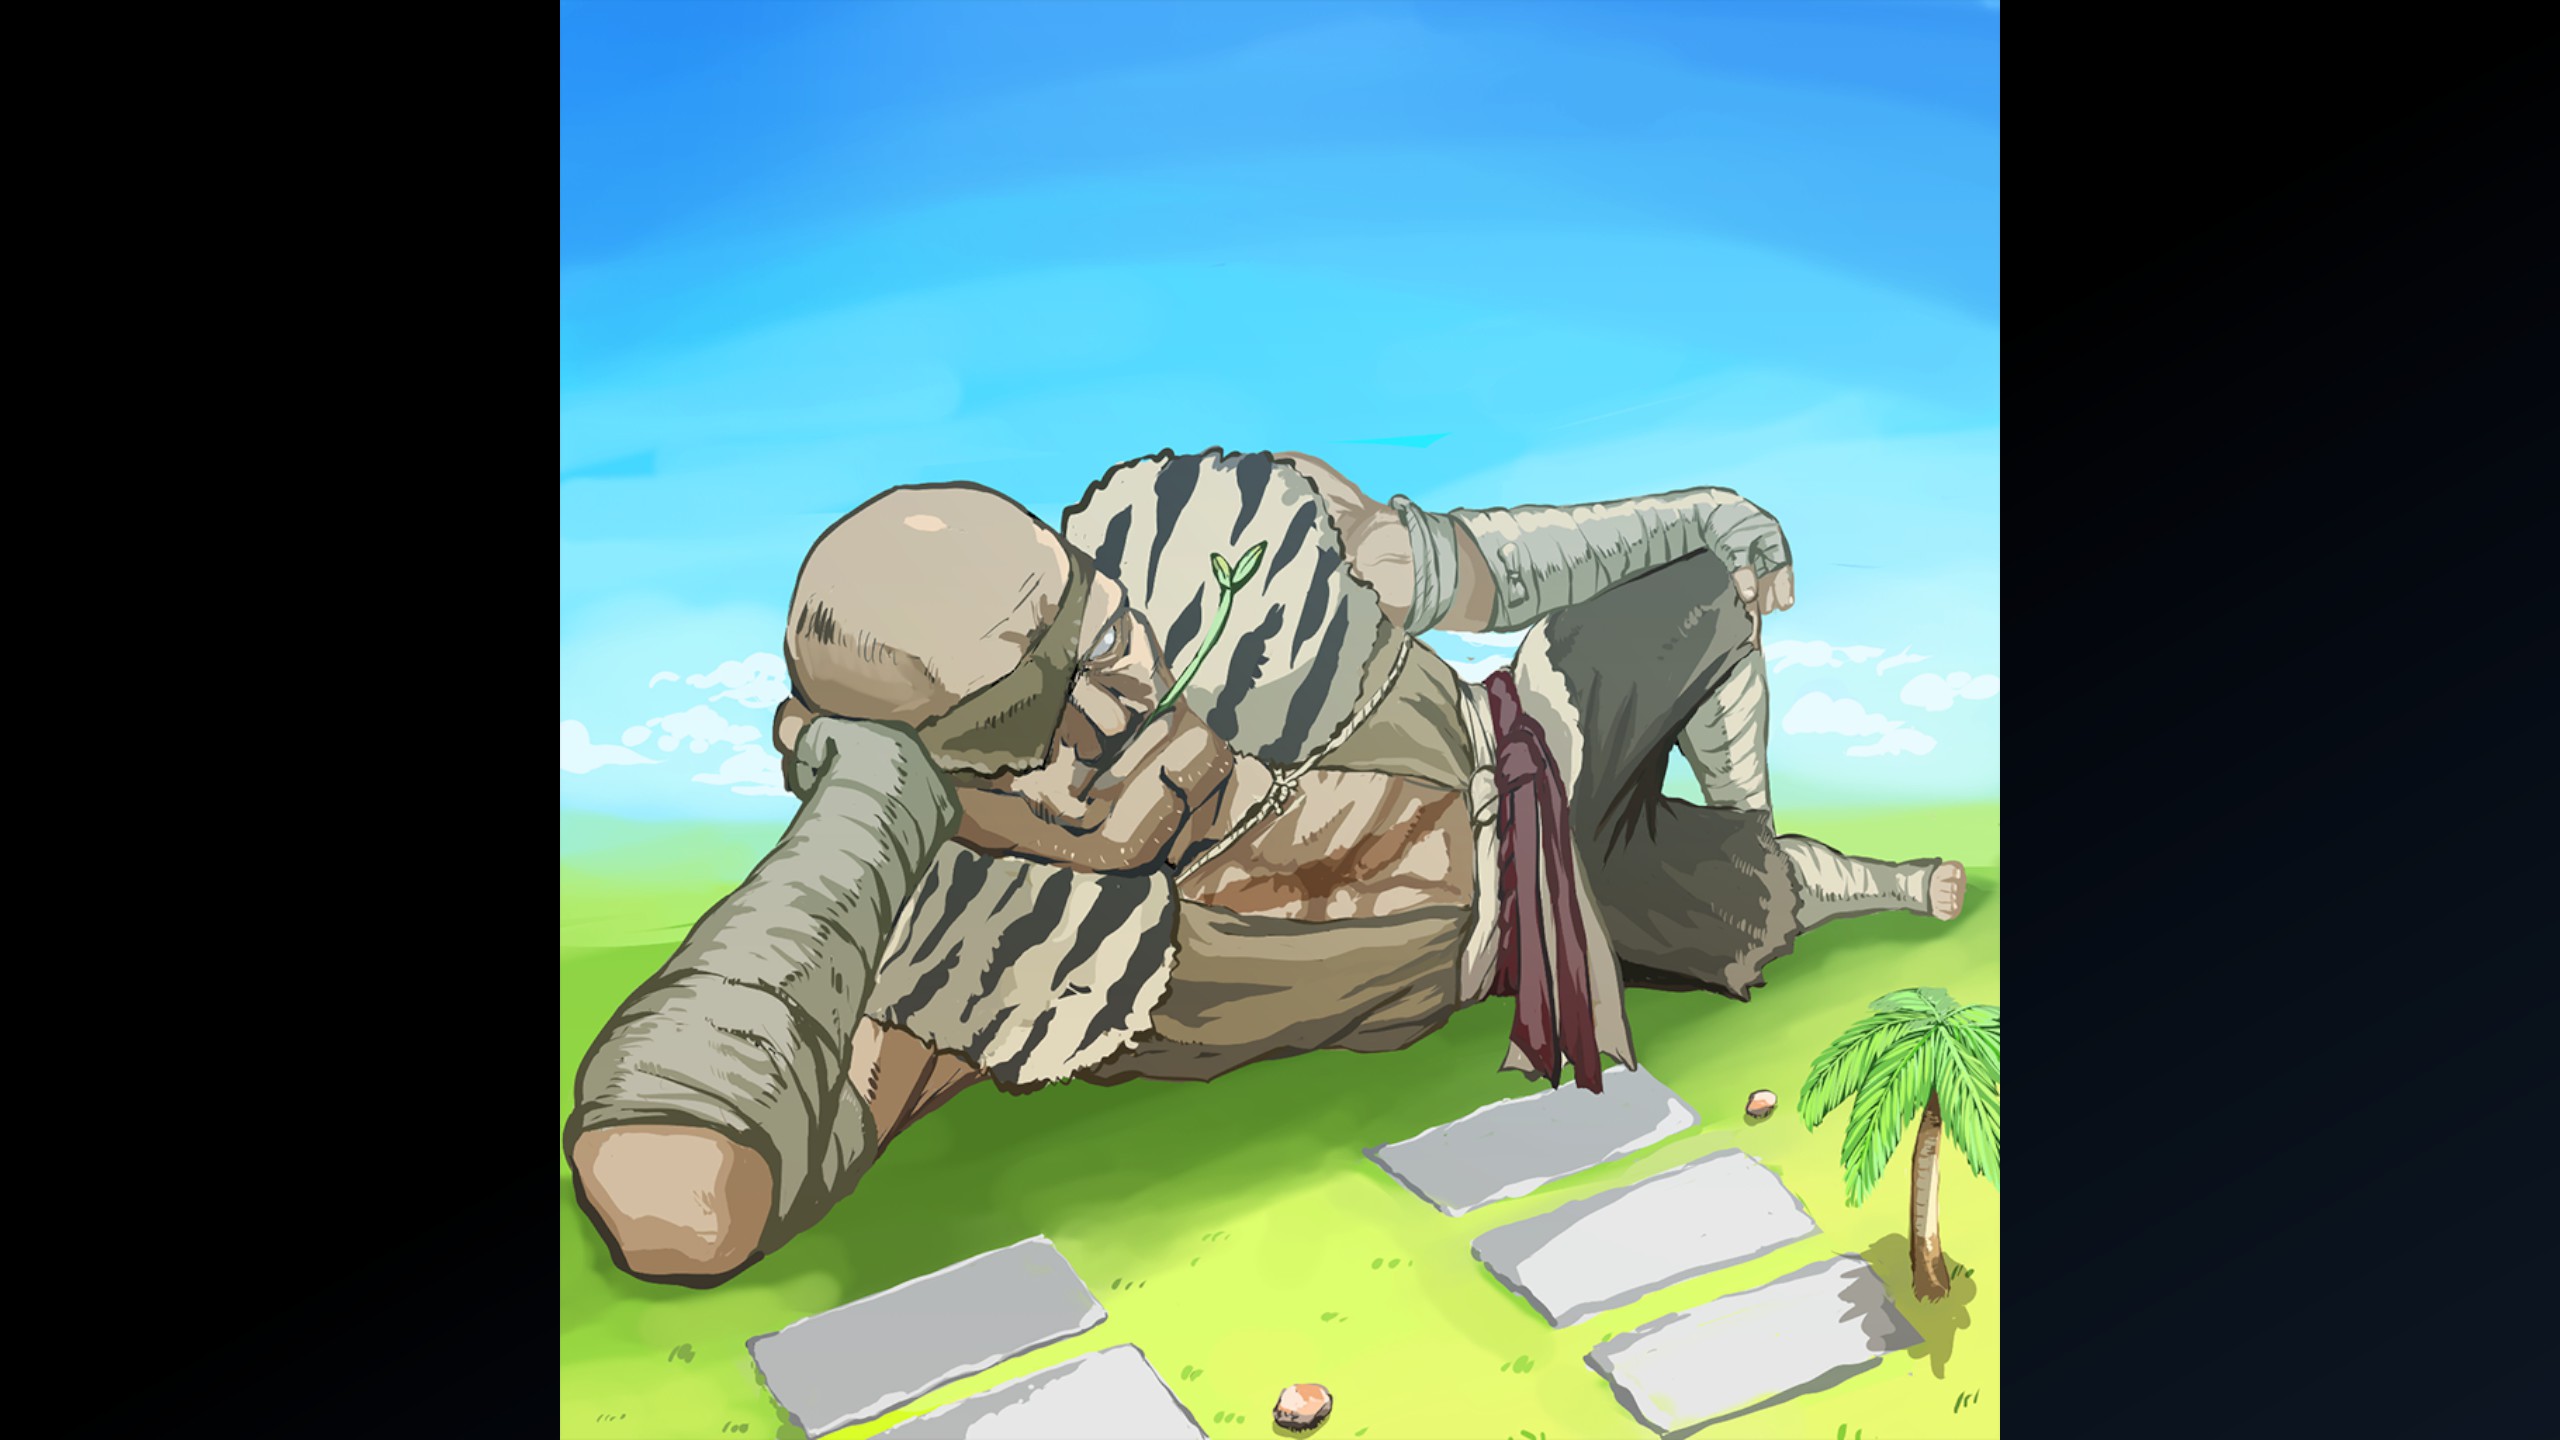
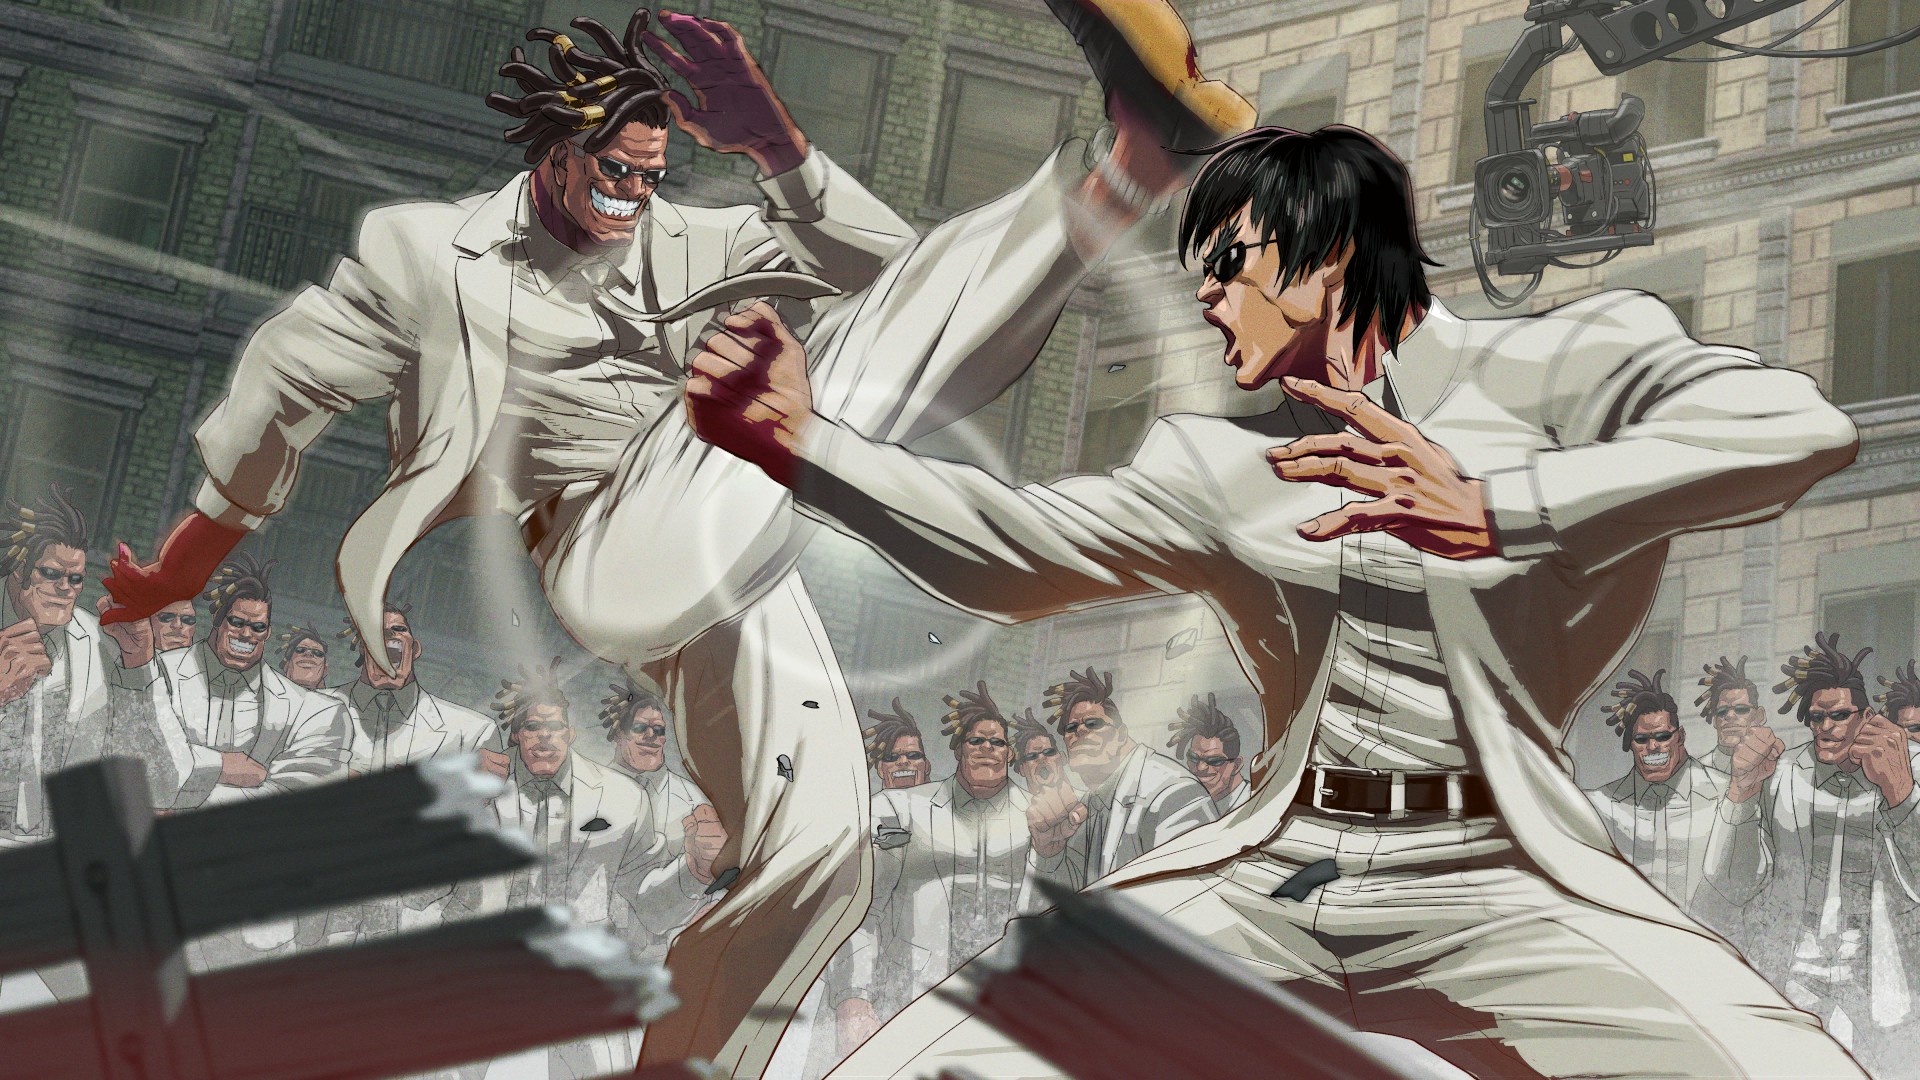
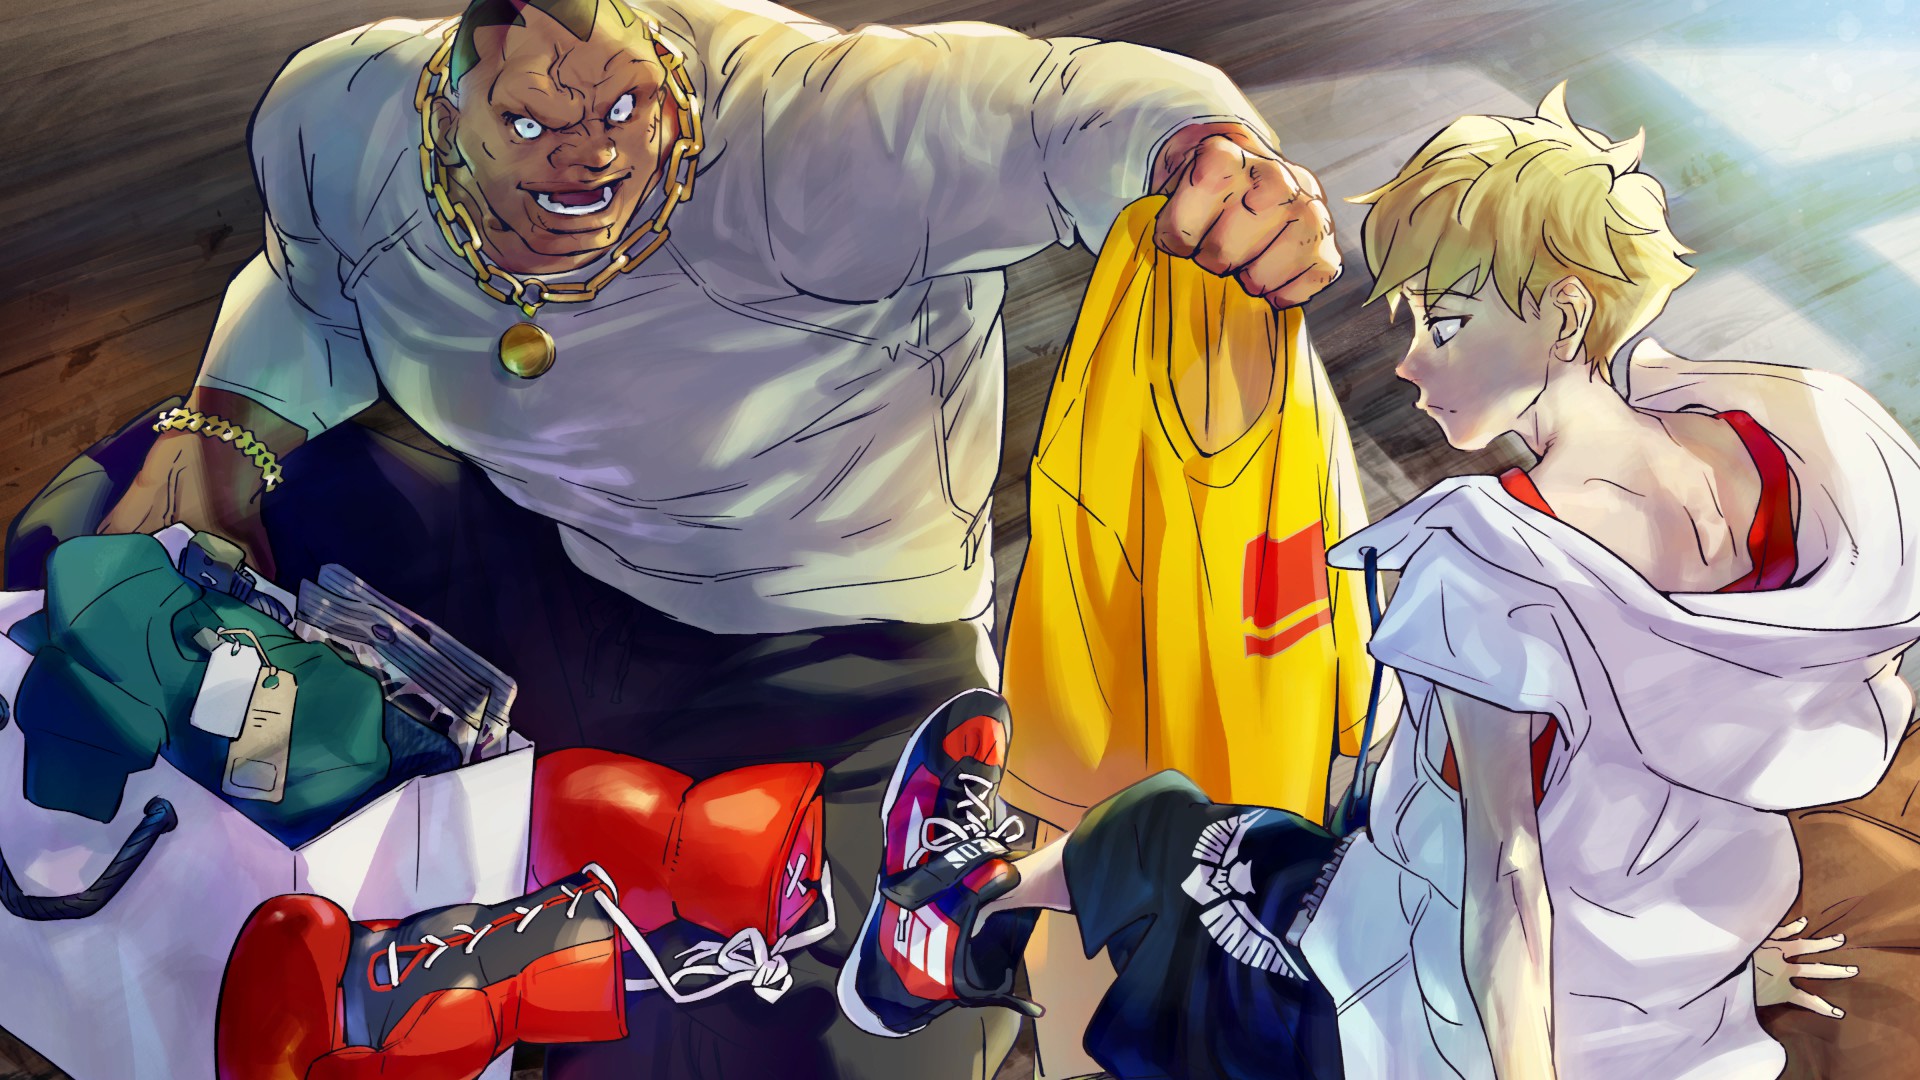
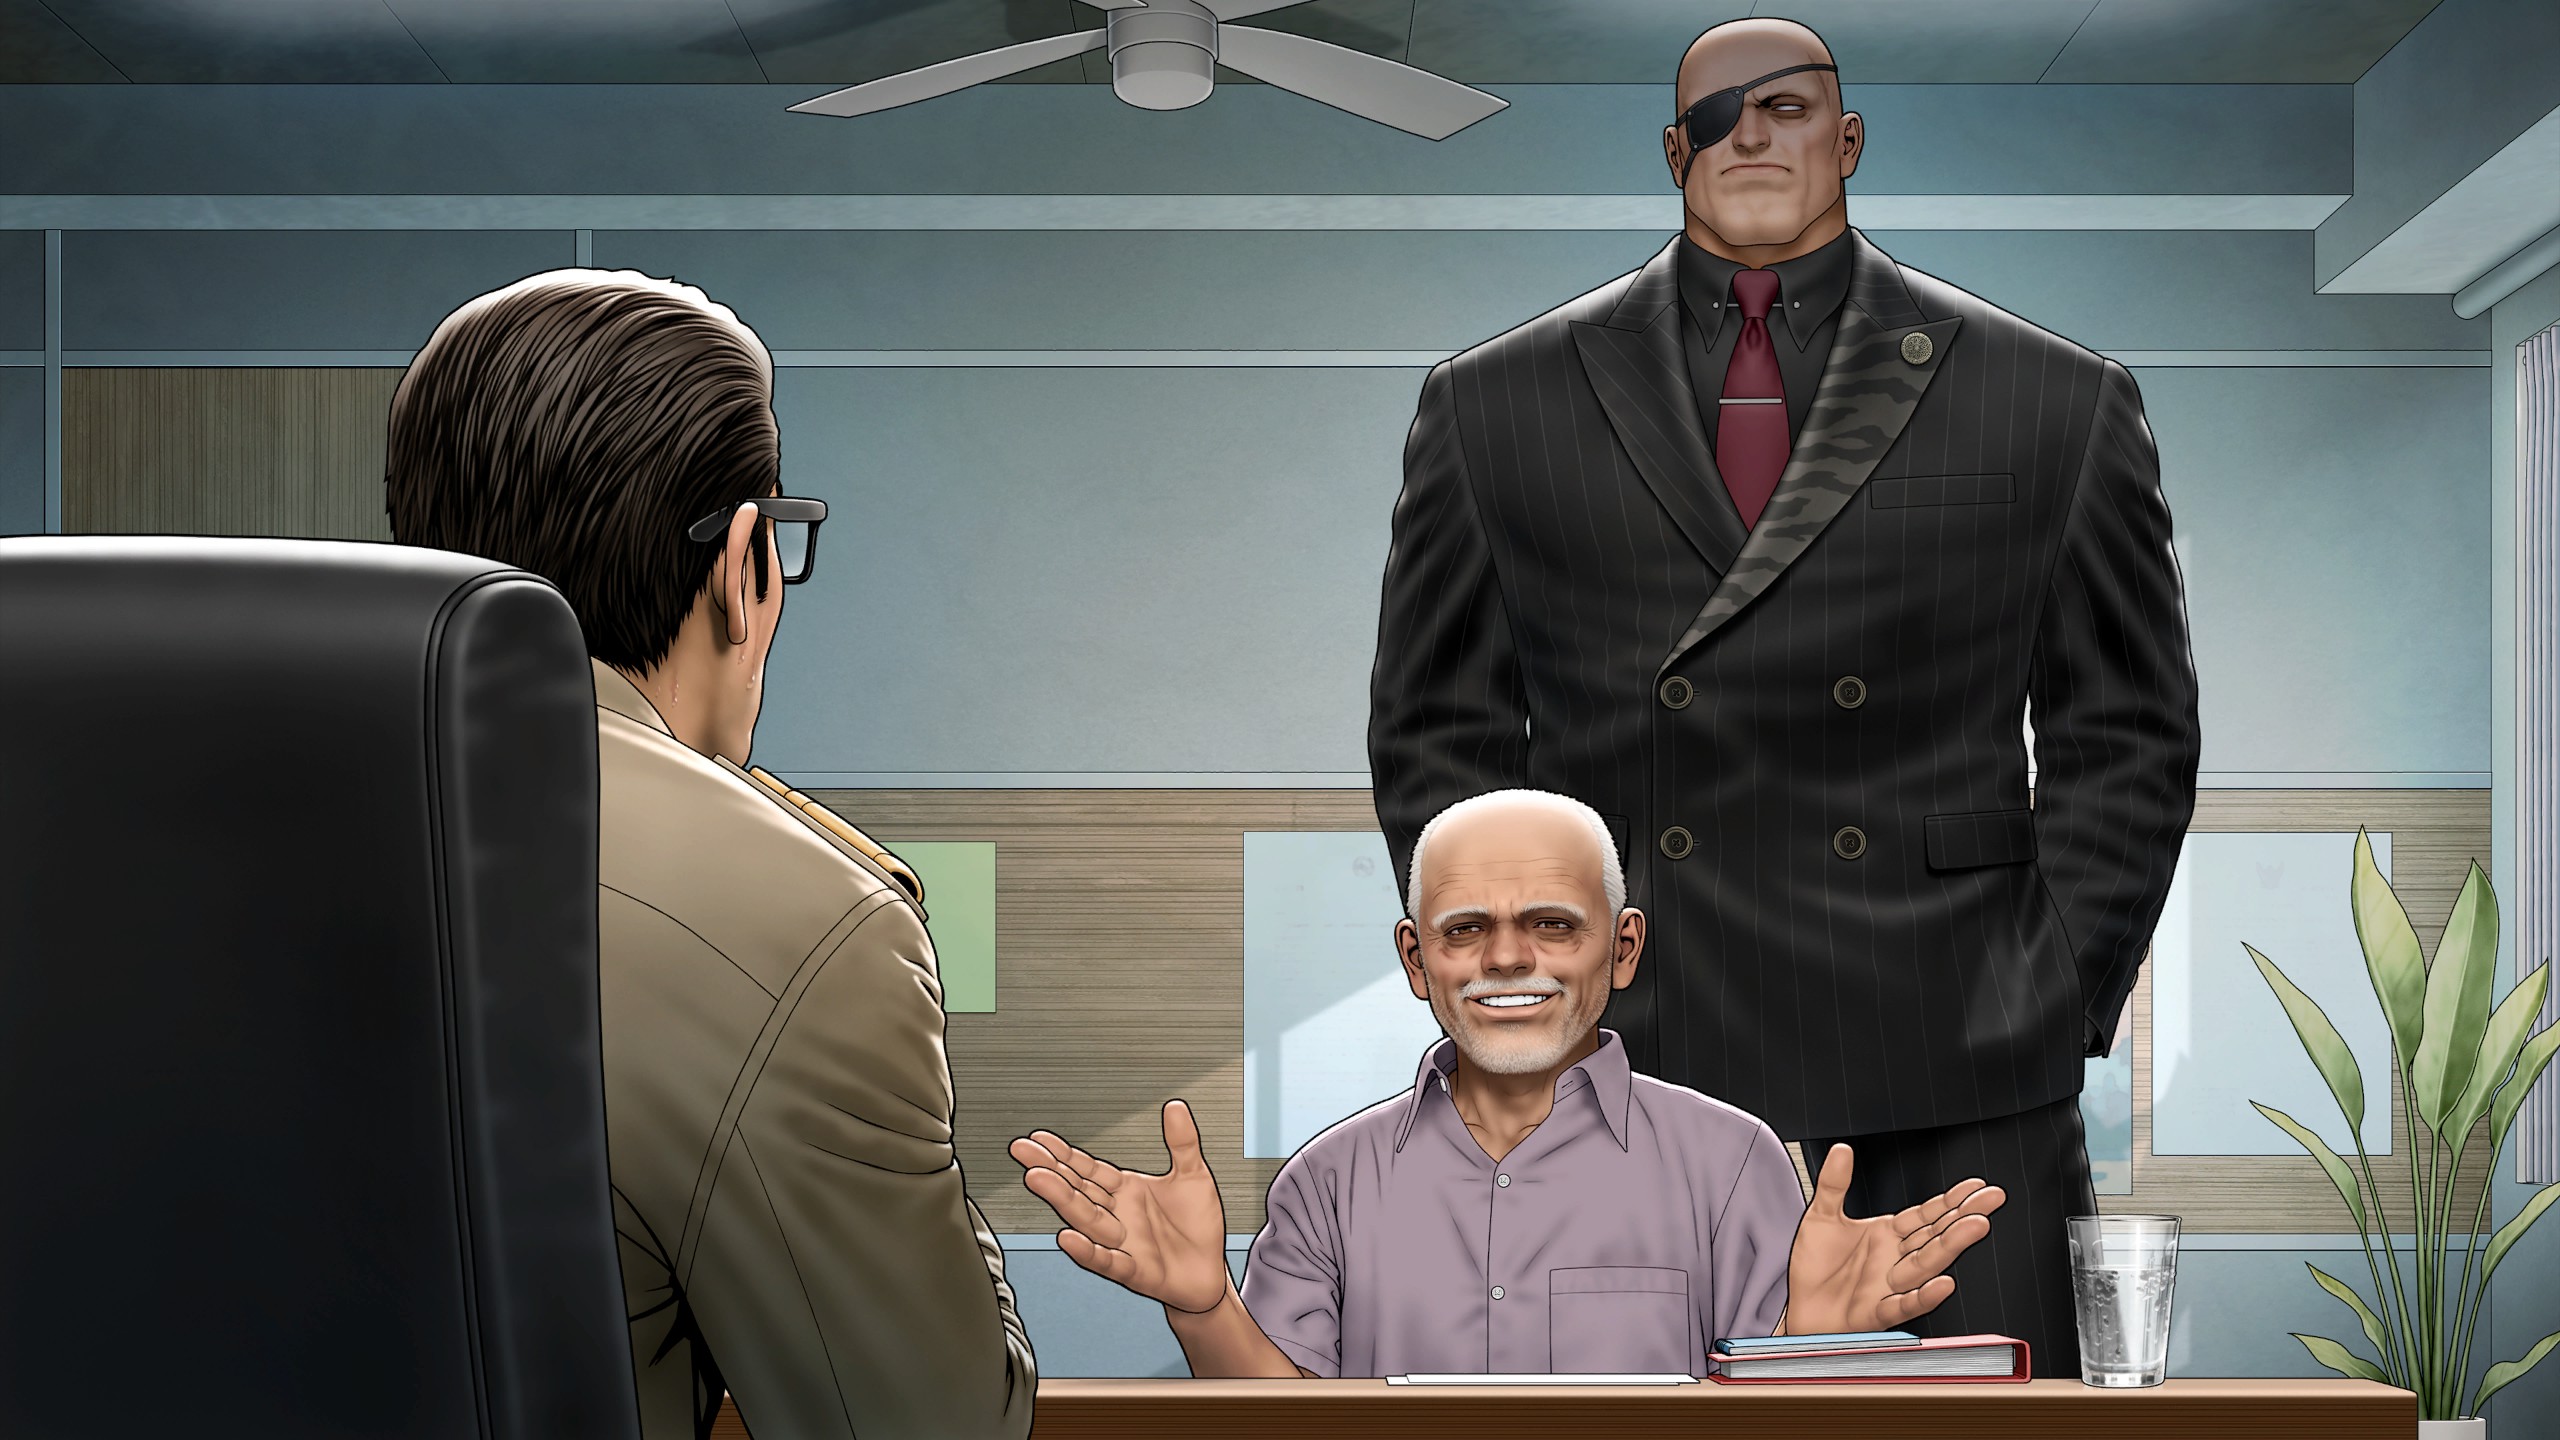
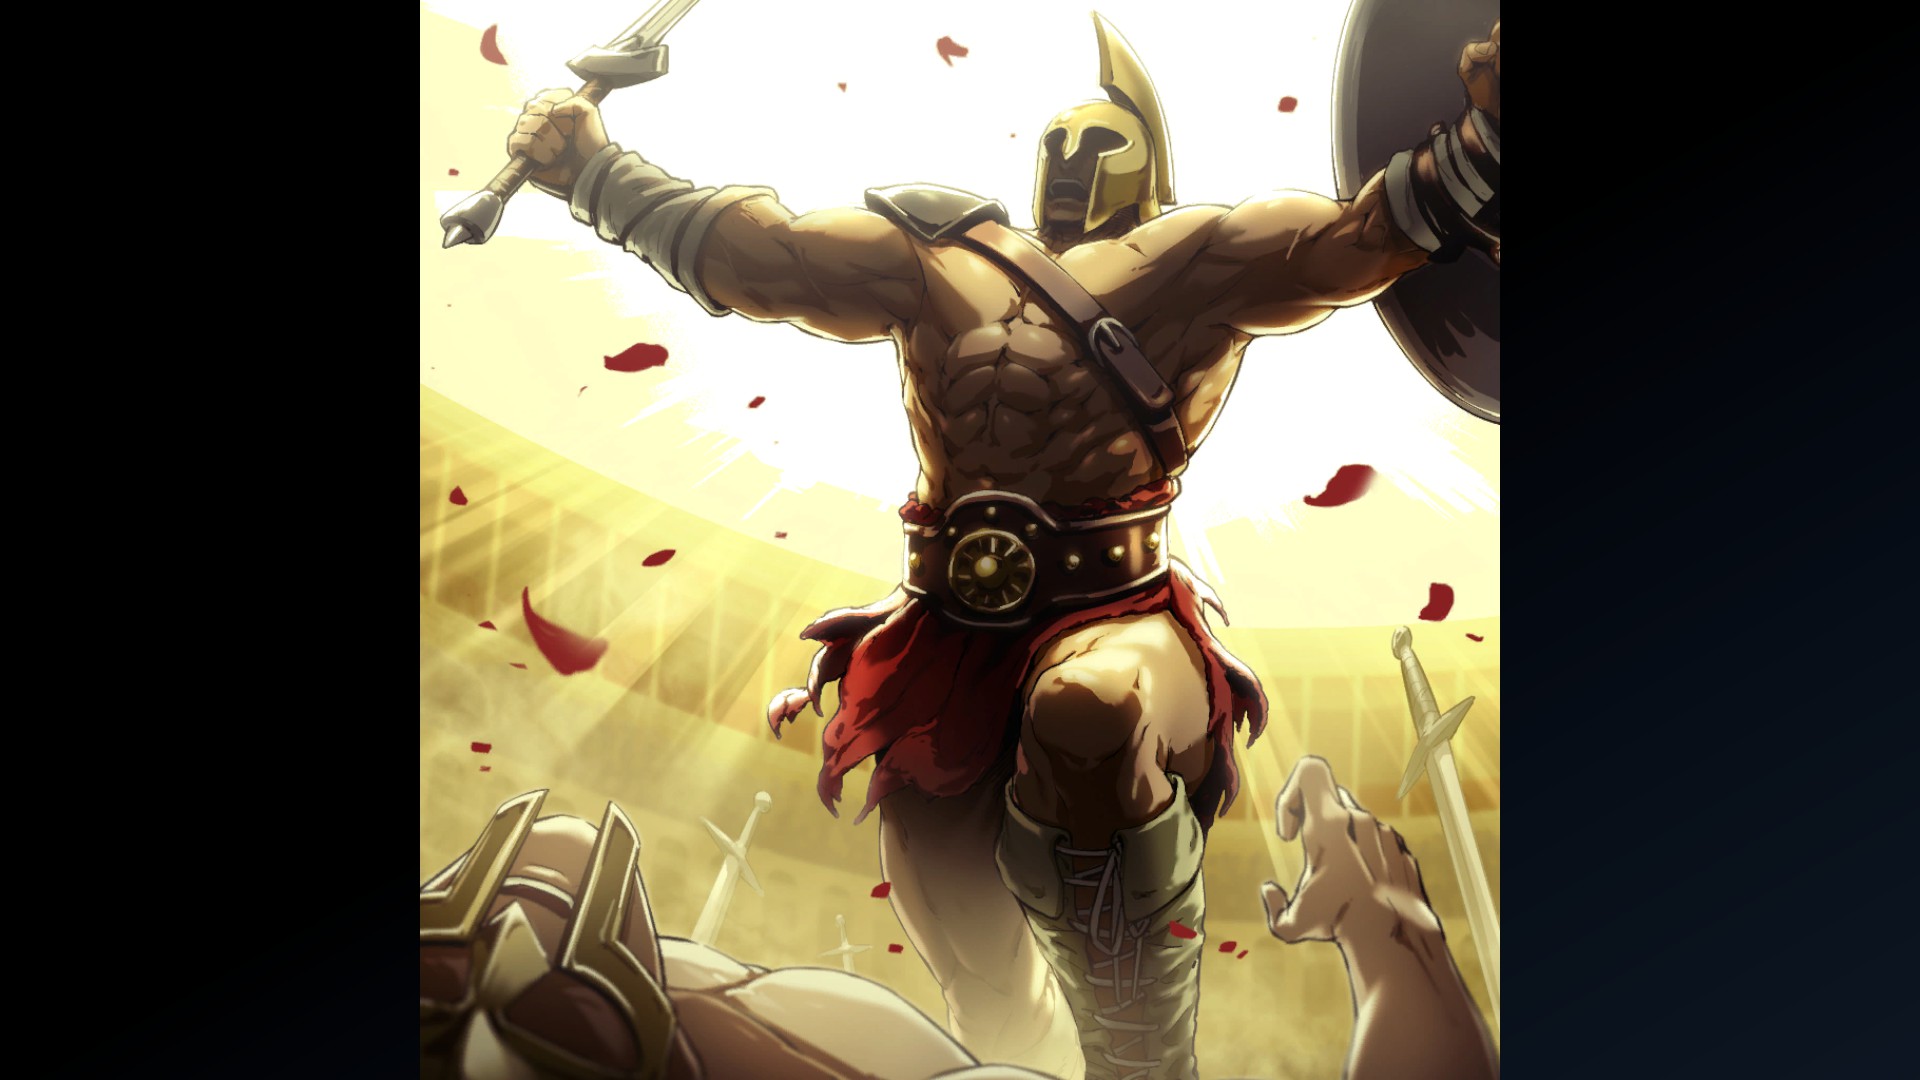
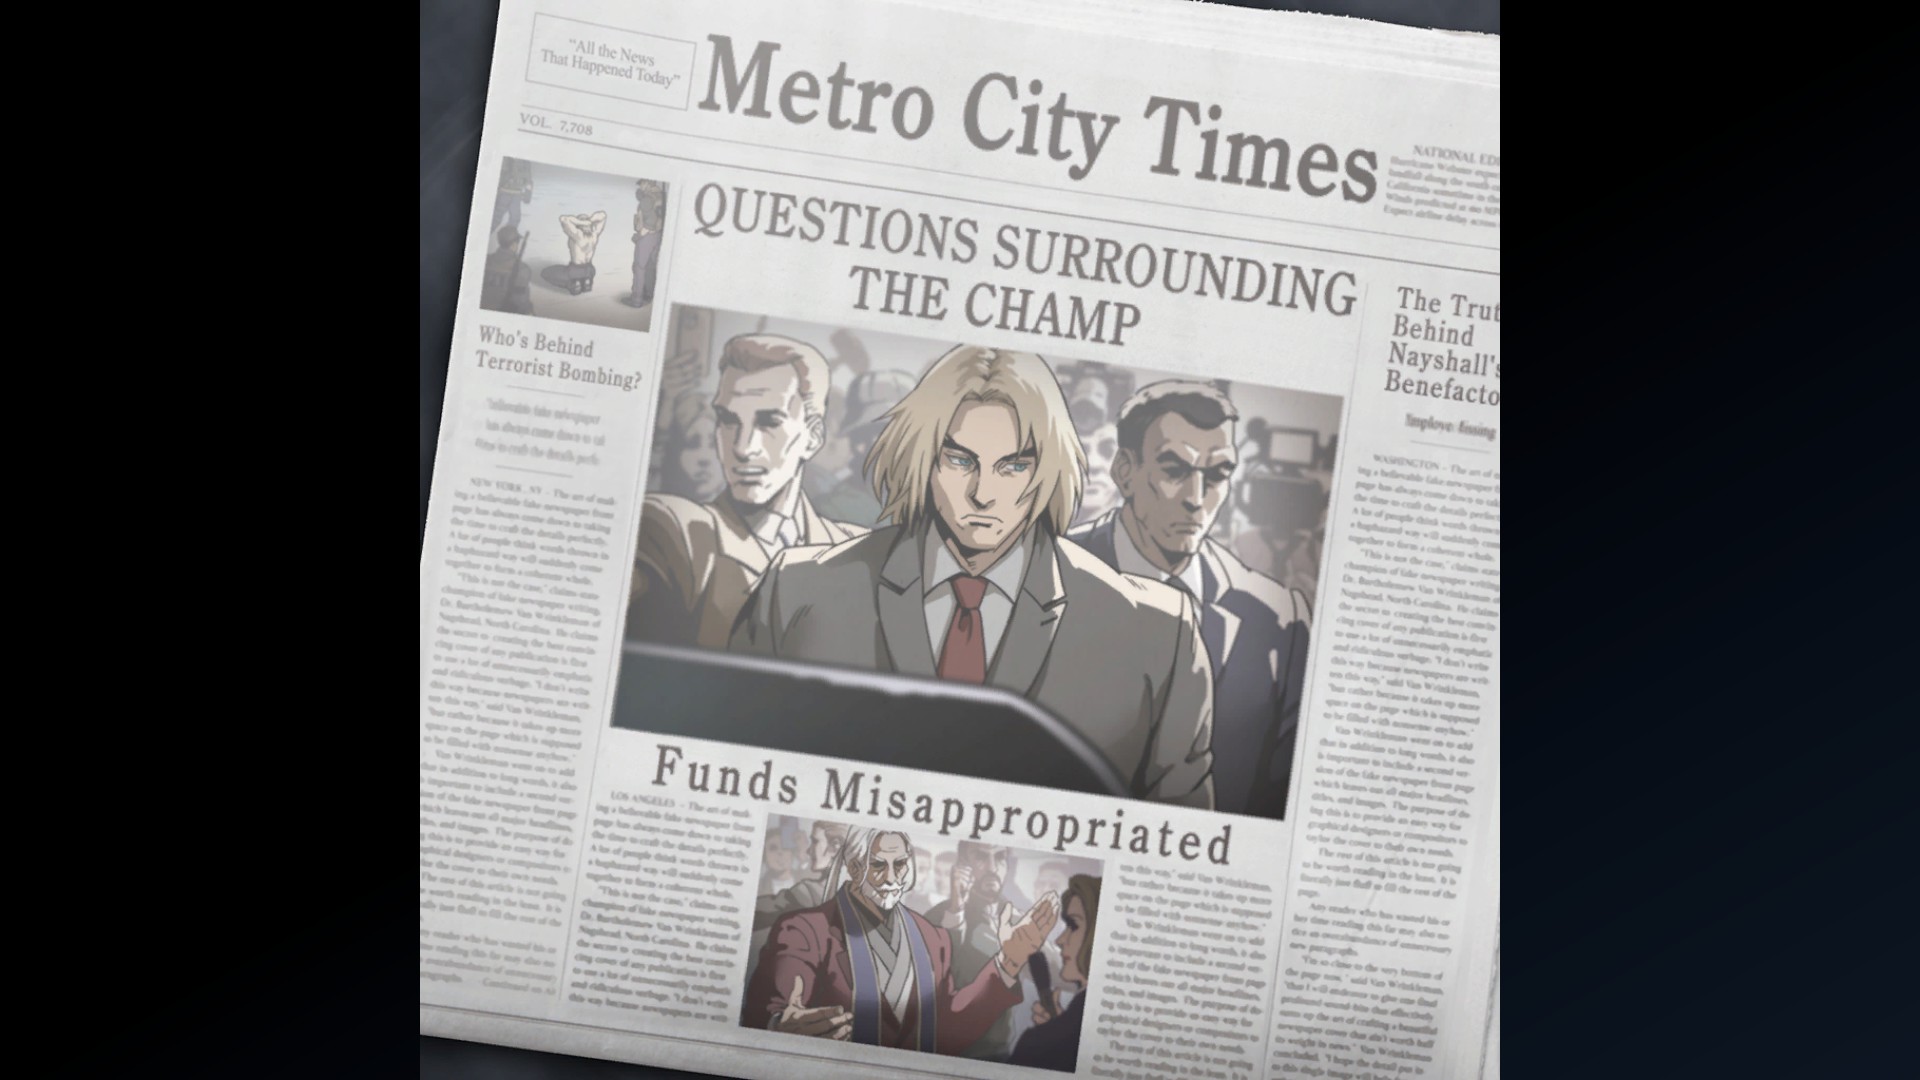
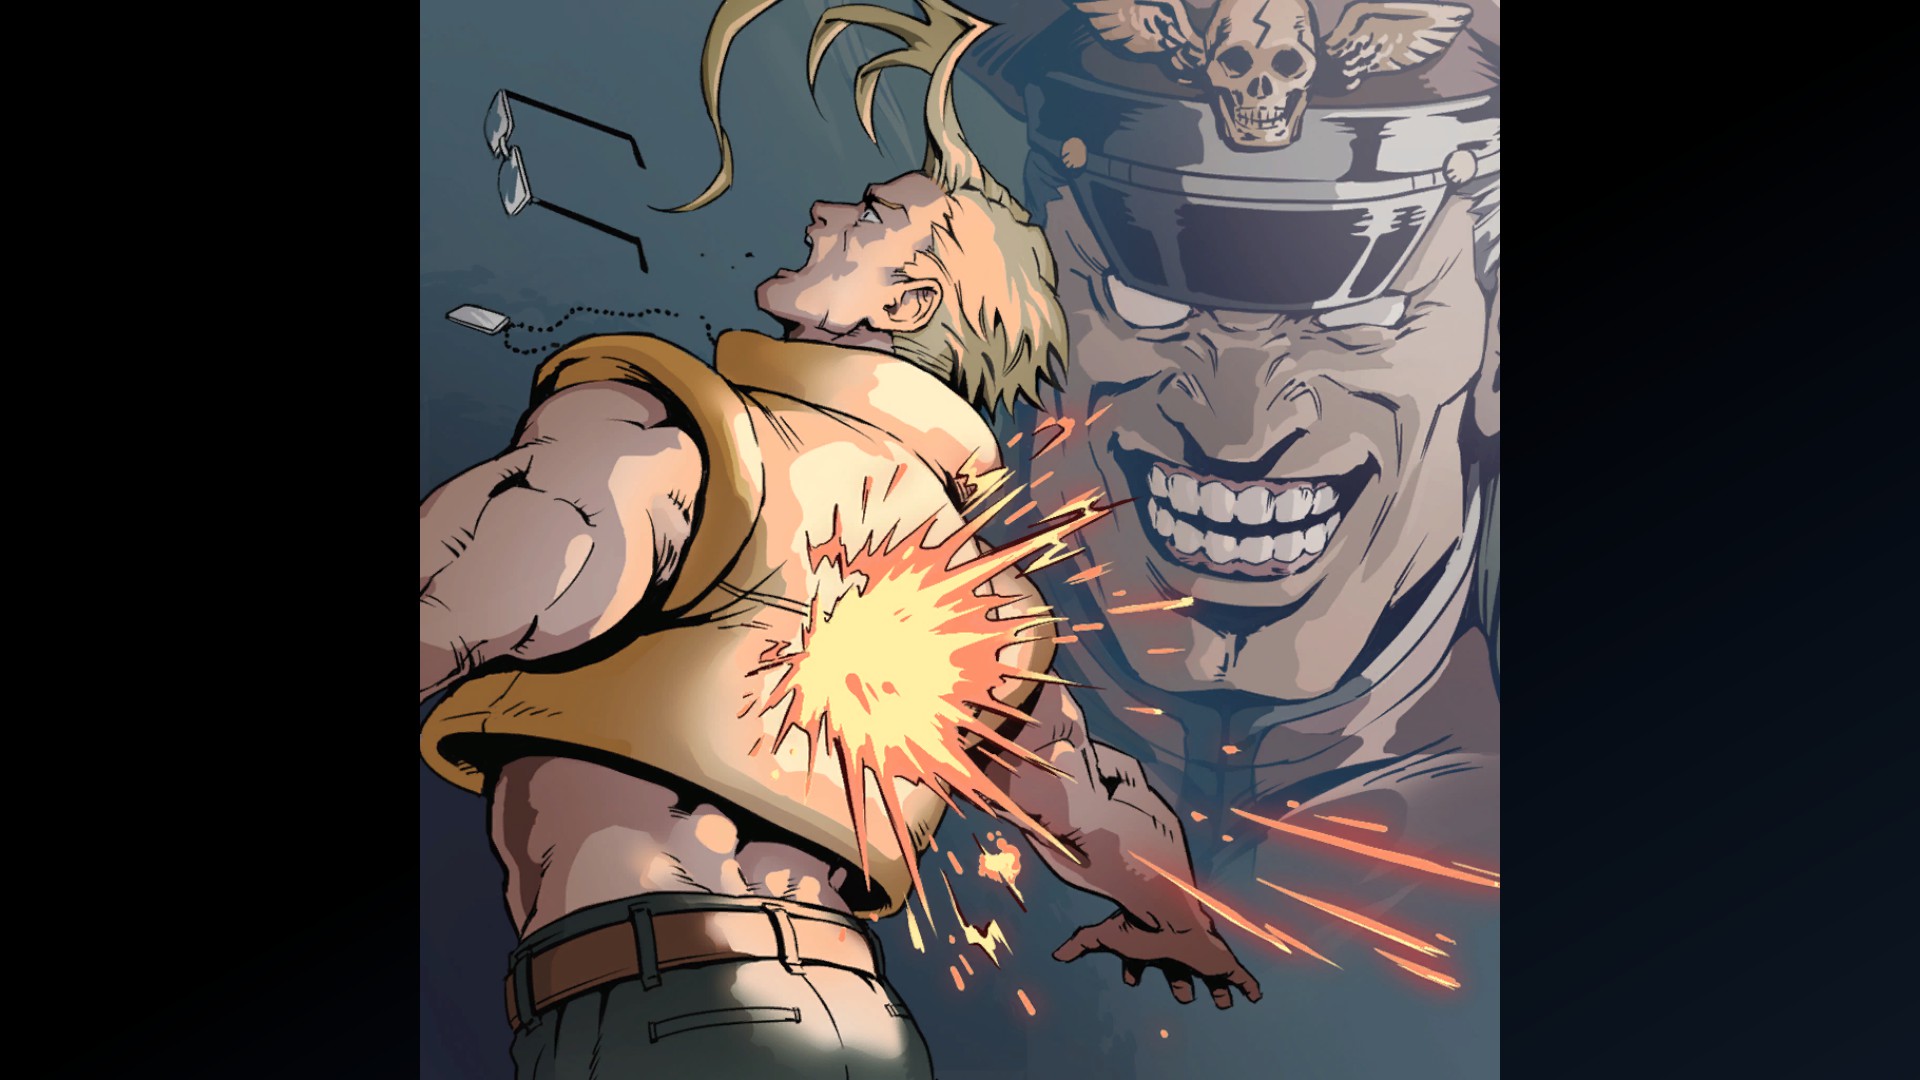
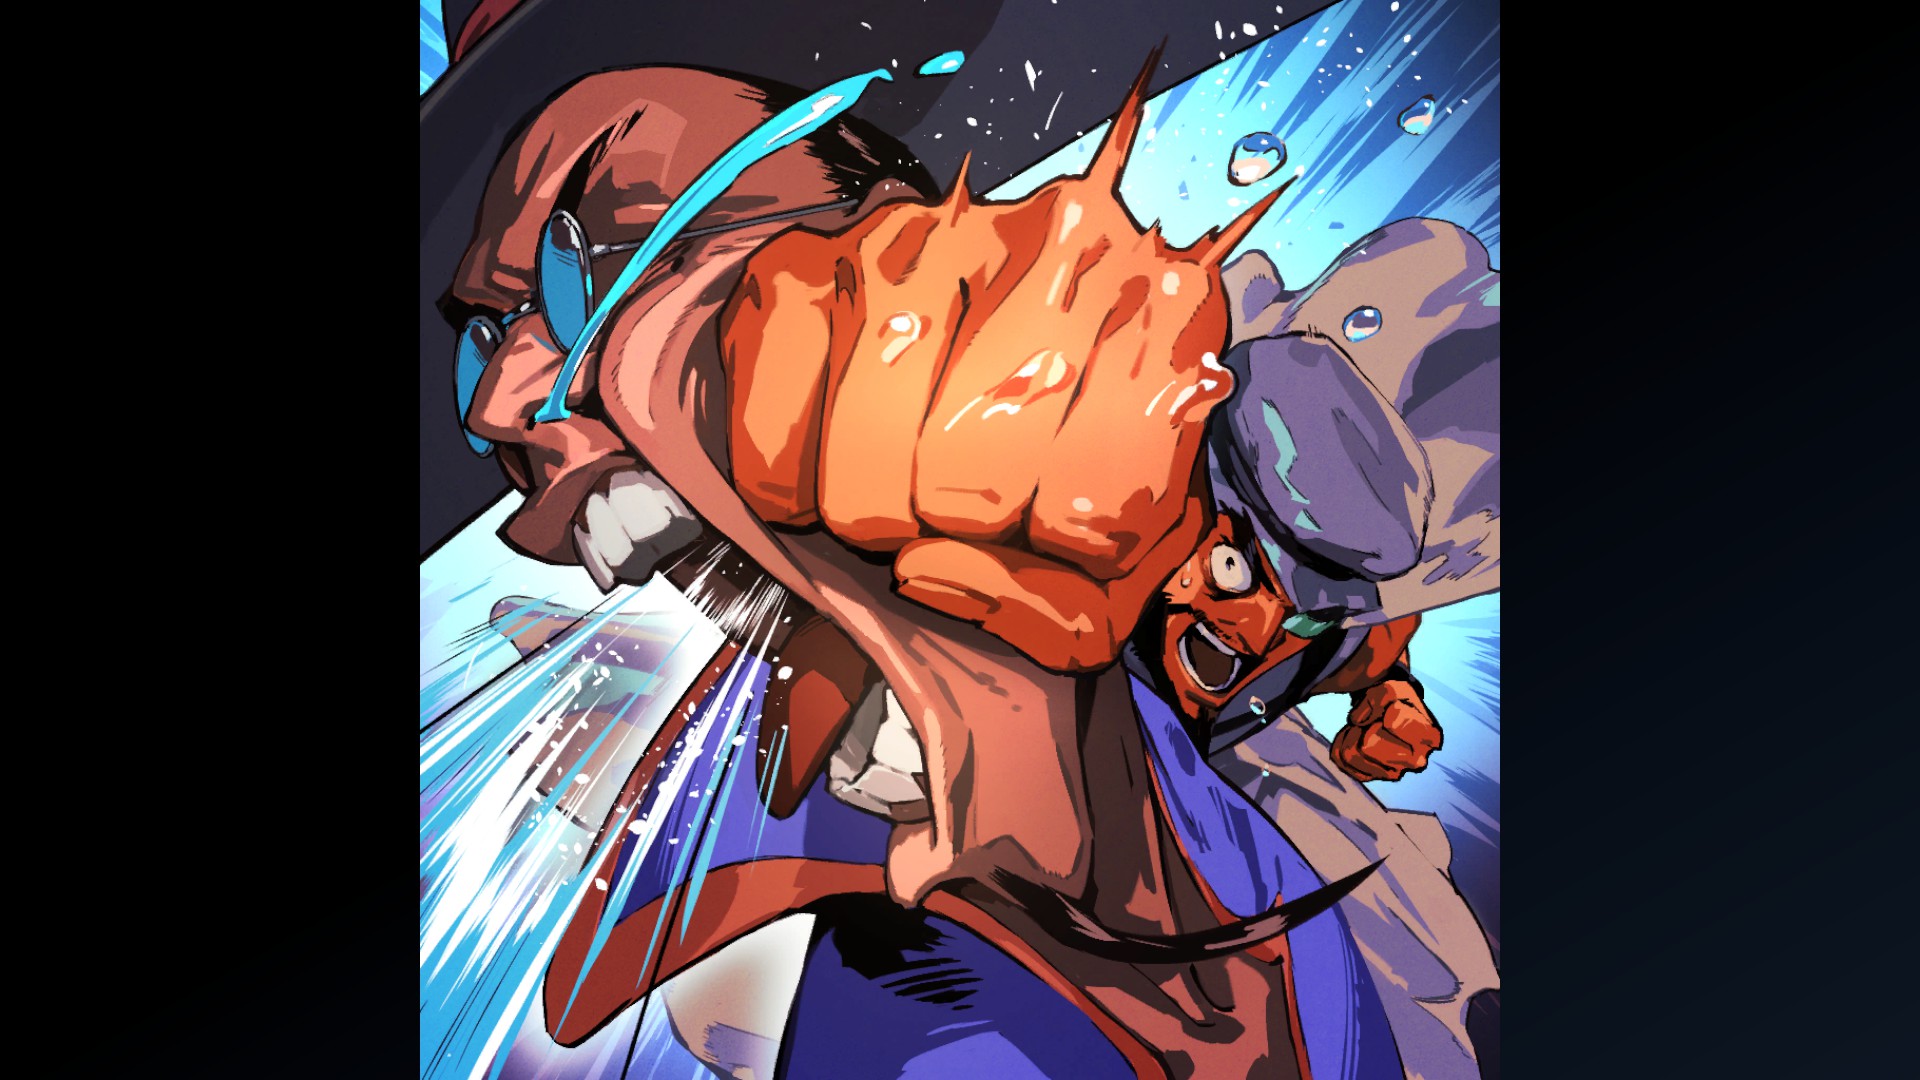
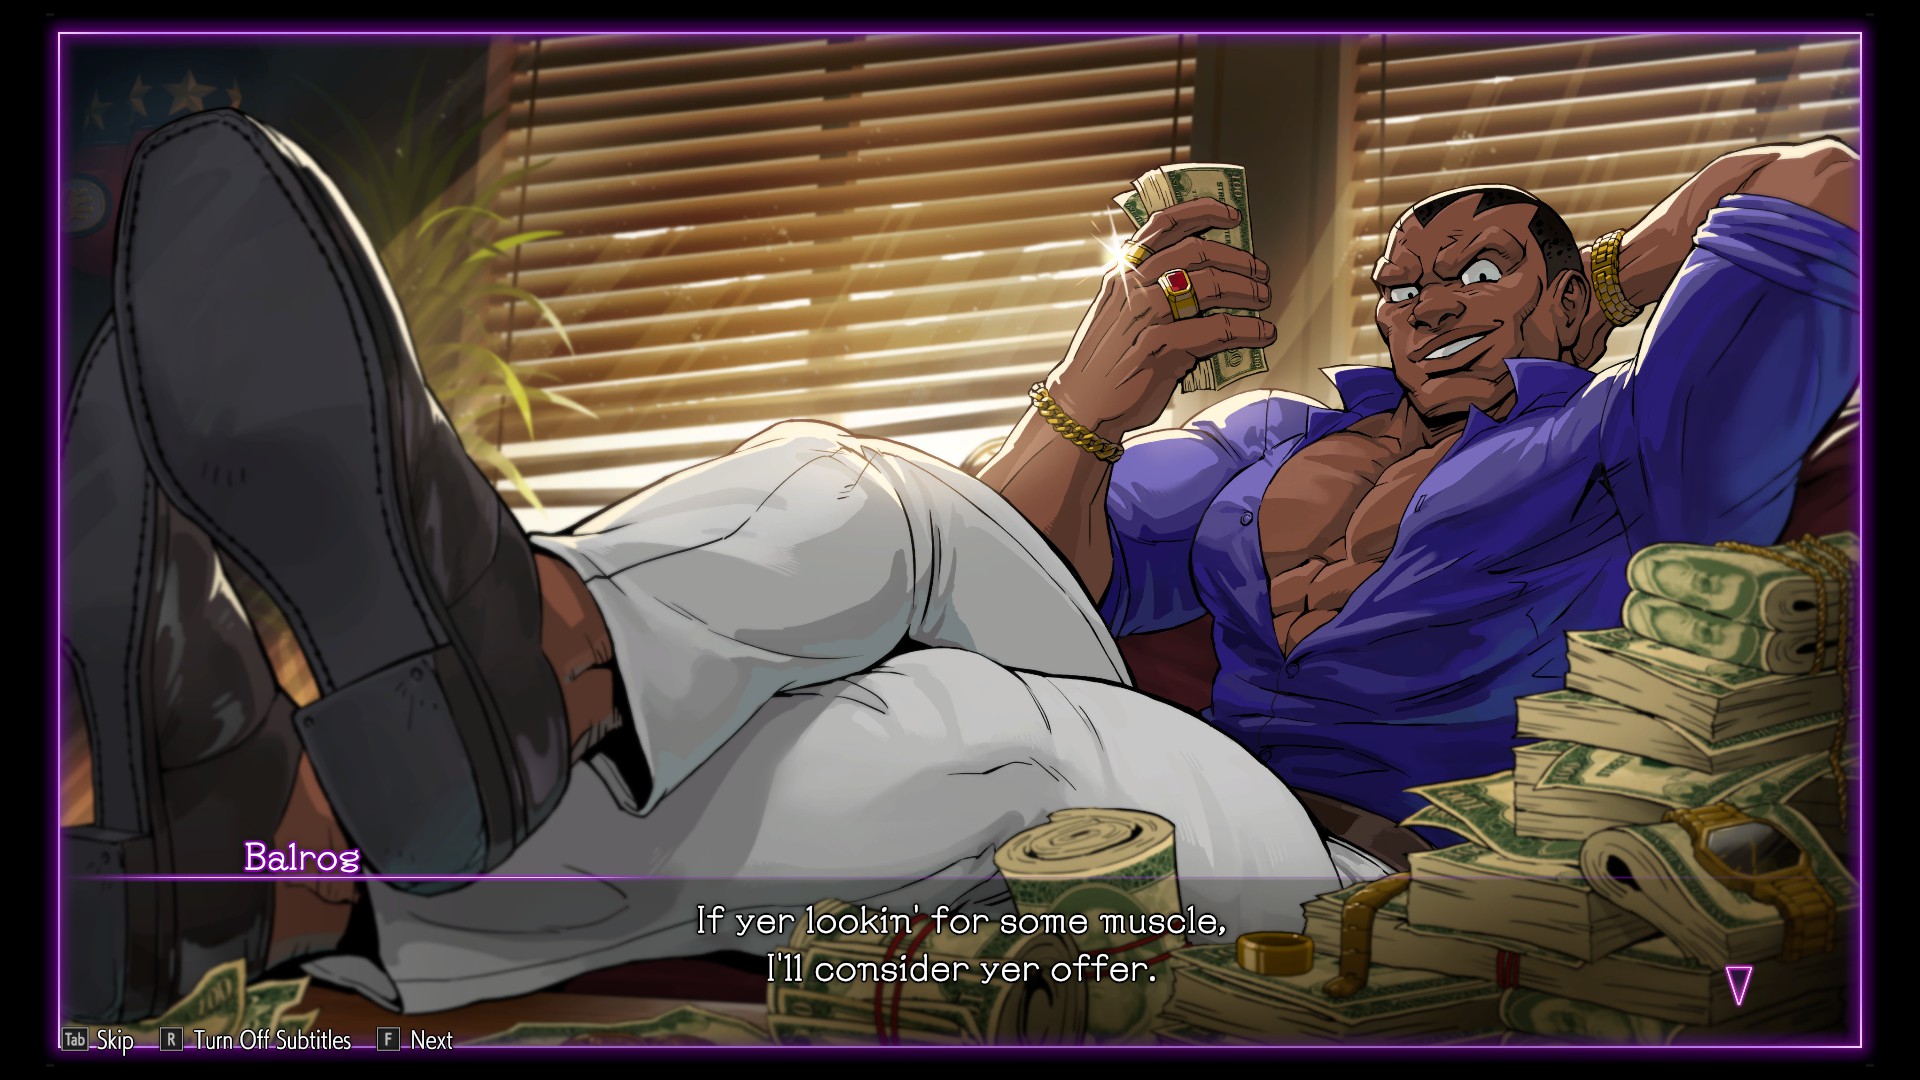
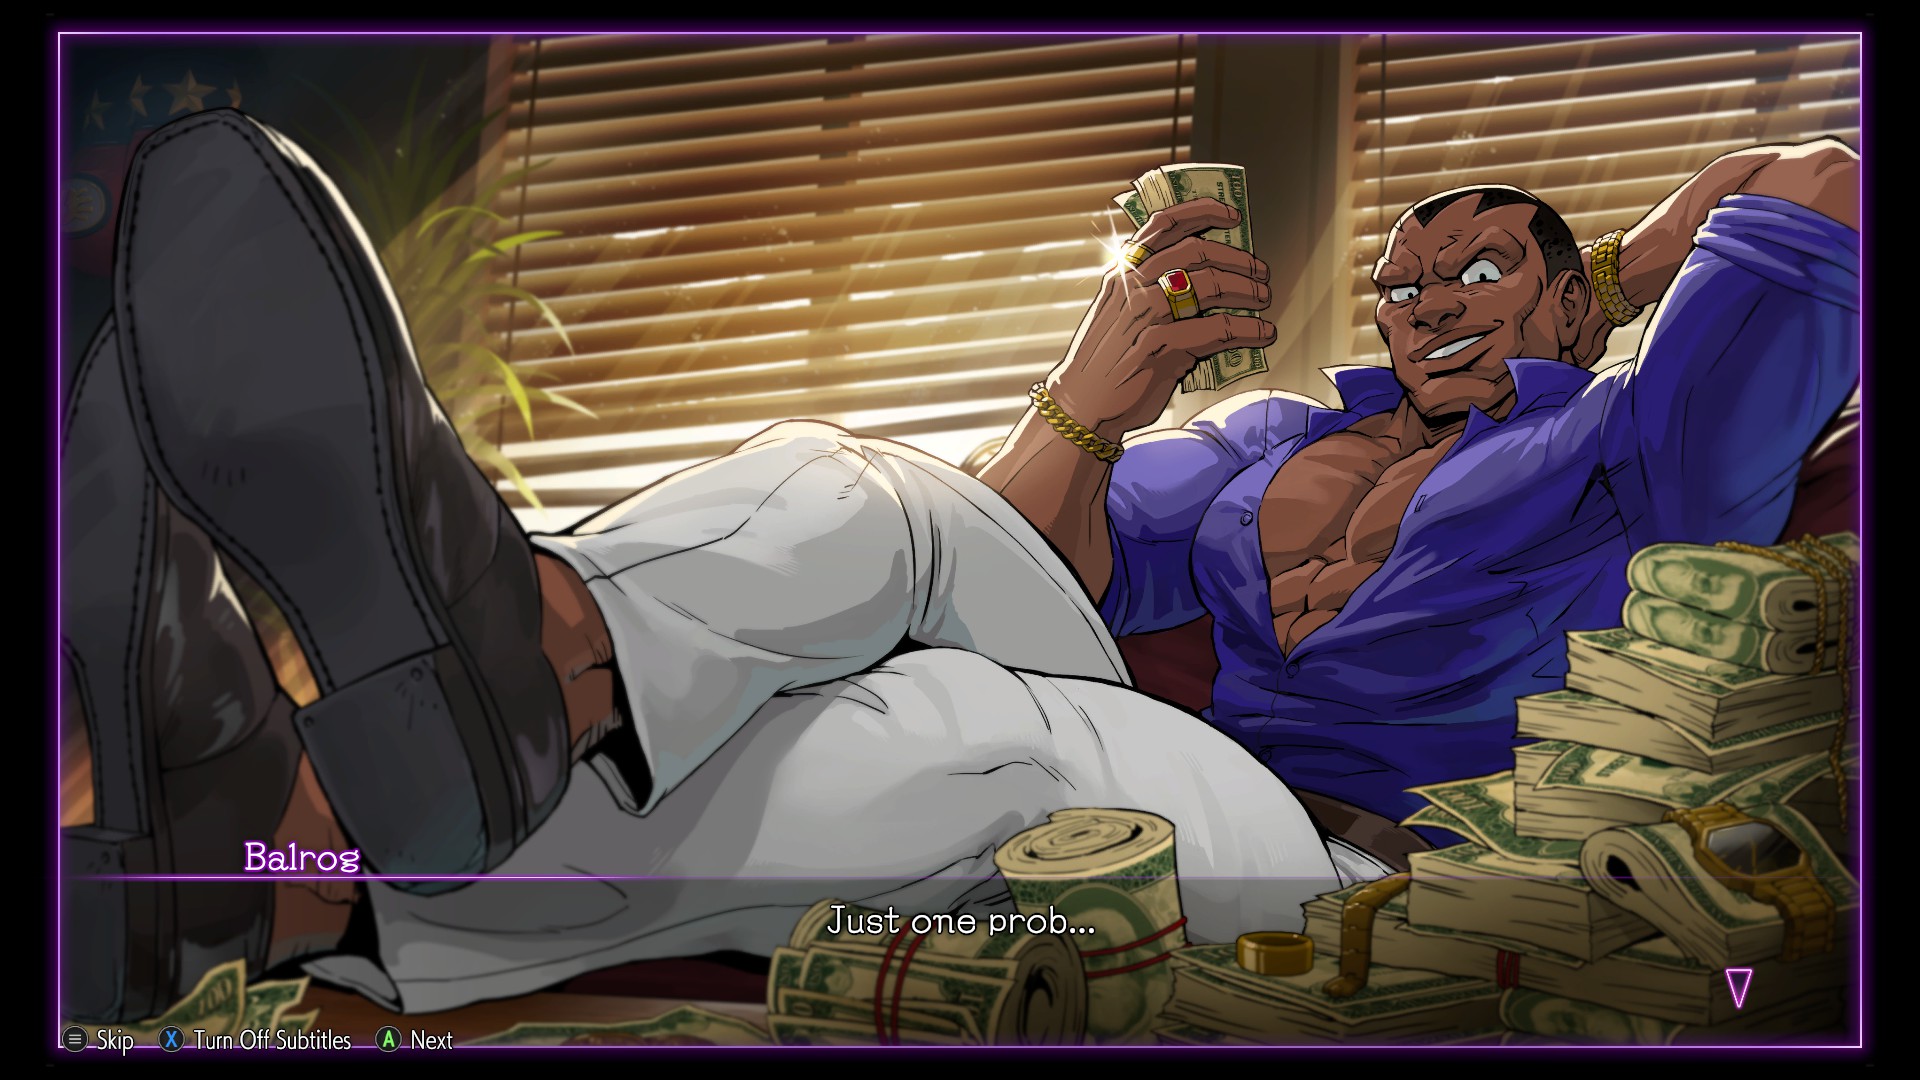
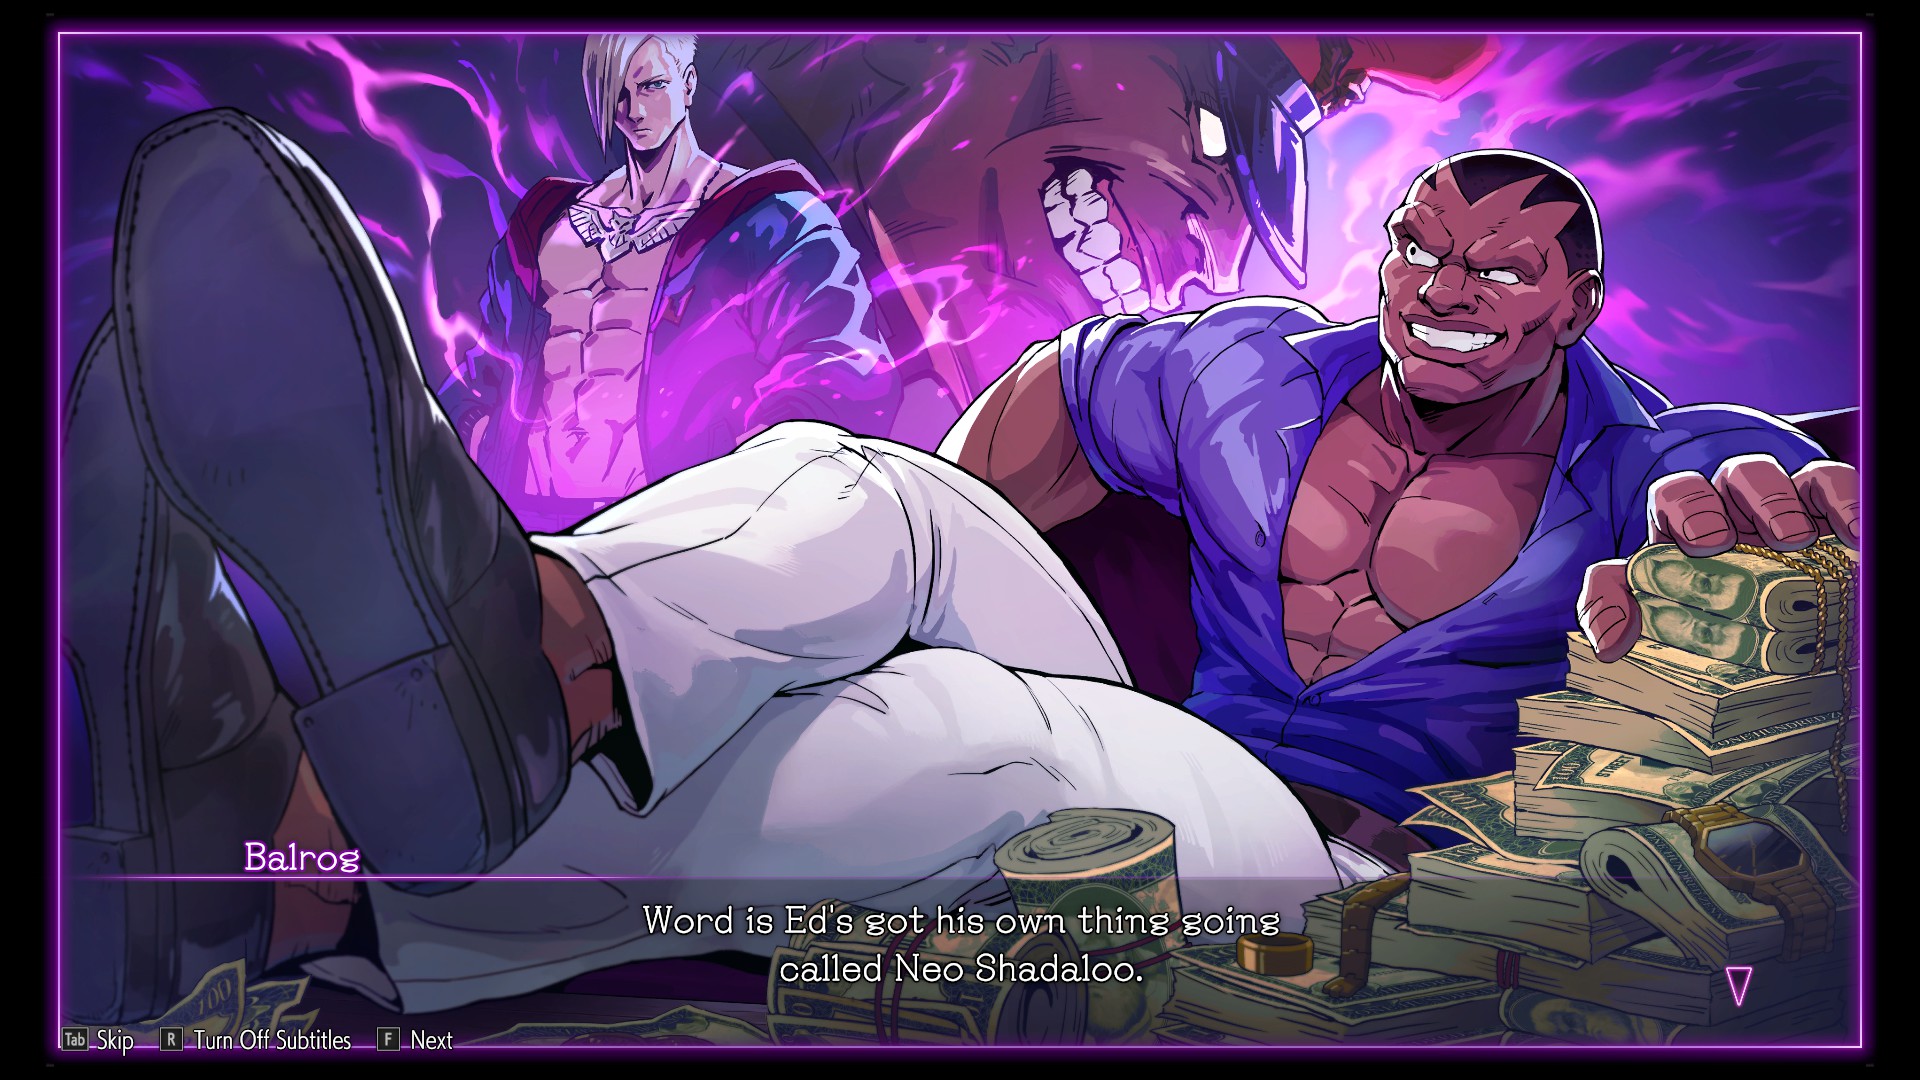
Comic #6 features the pugnacious pugilist Balrog:


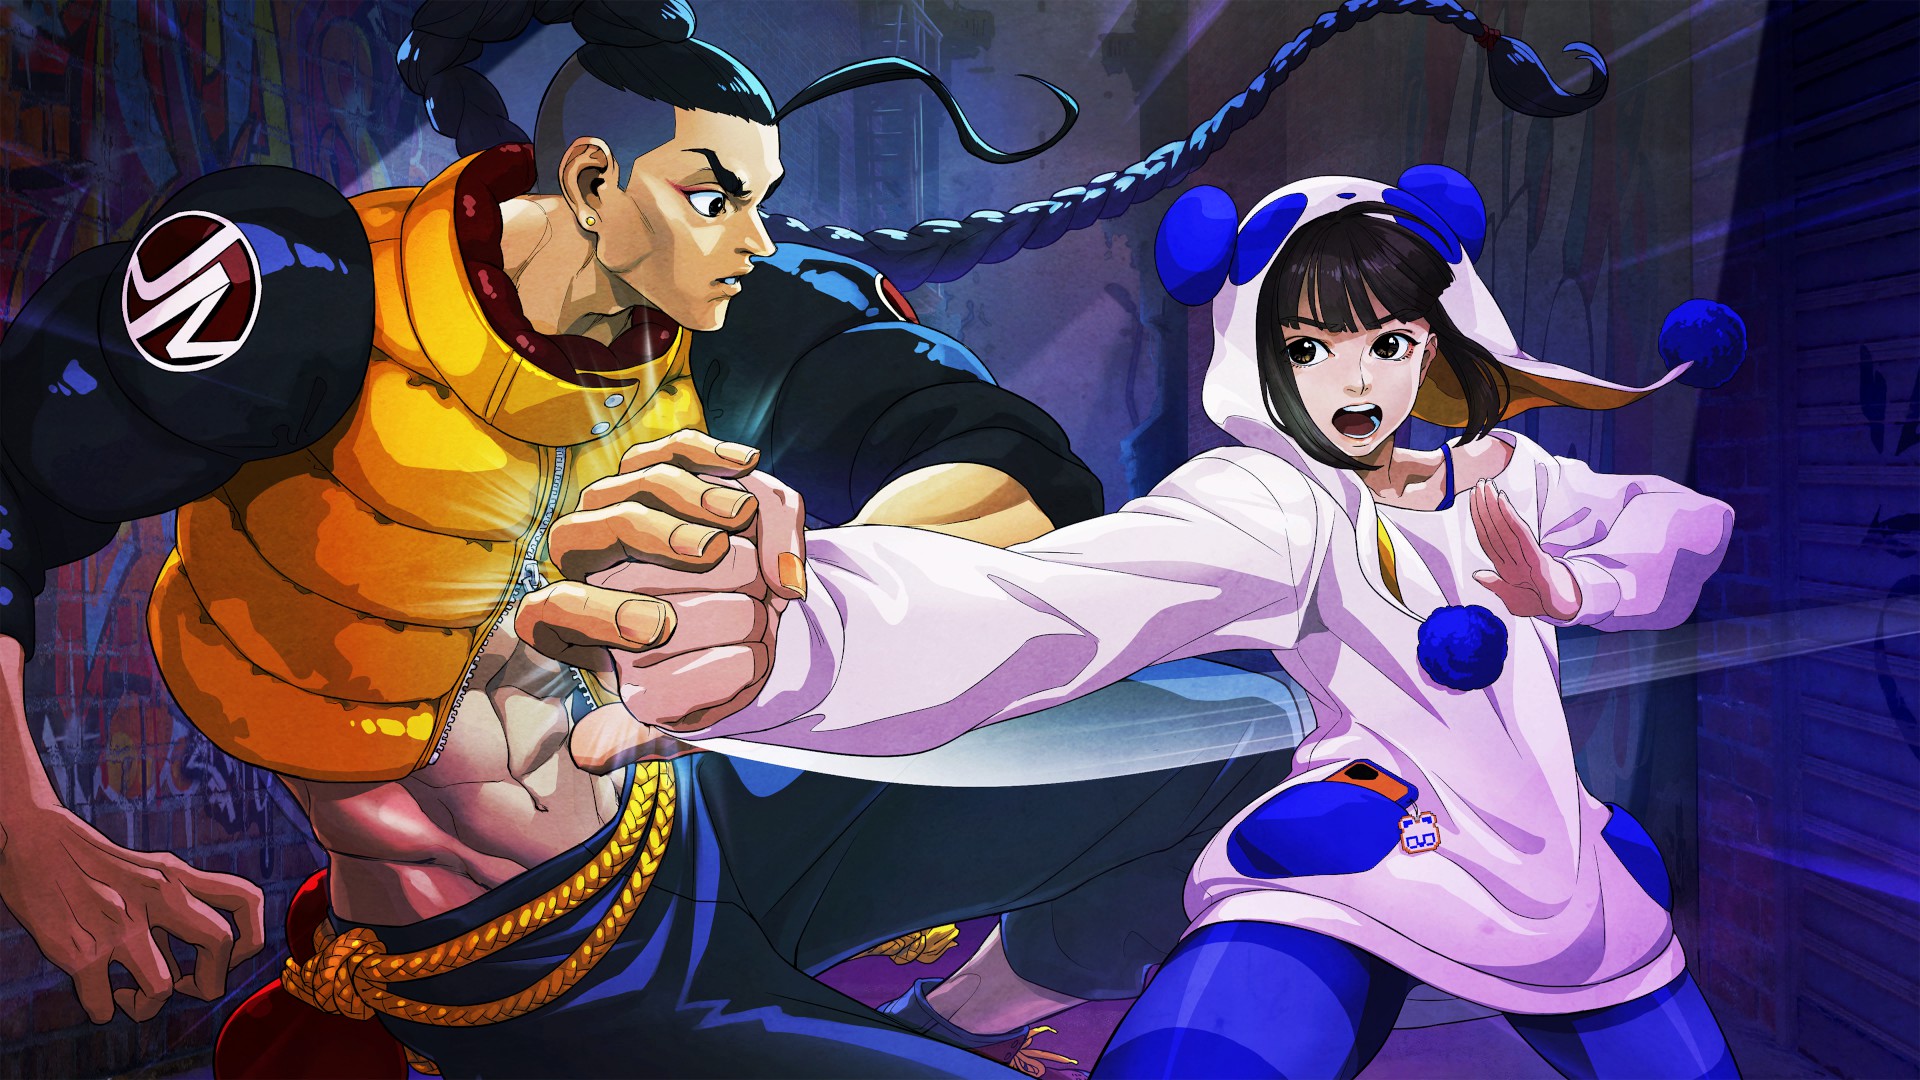
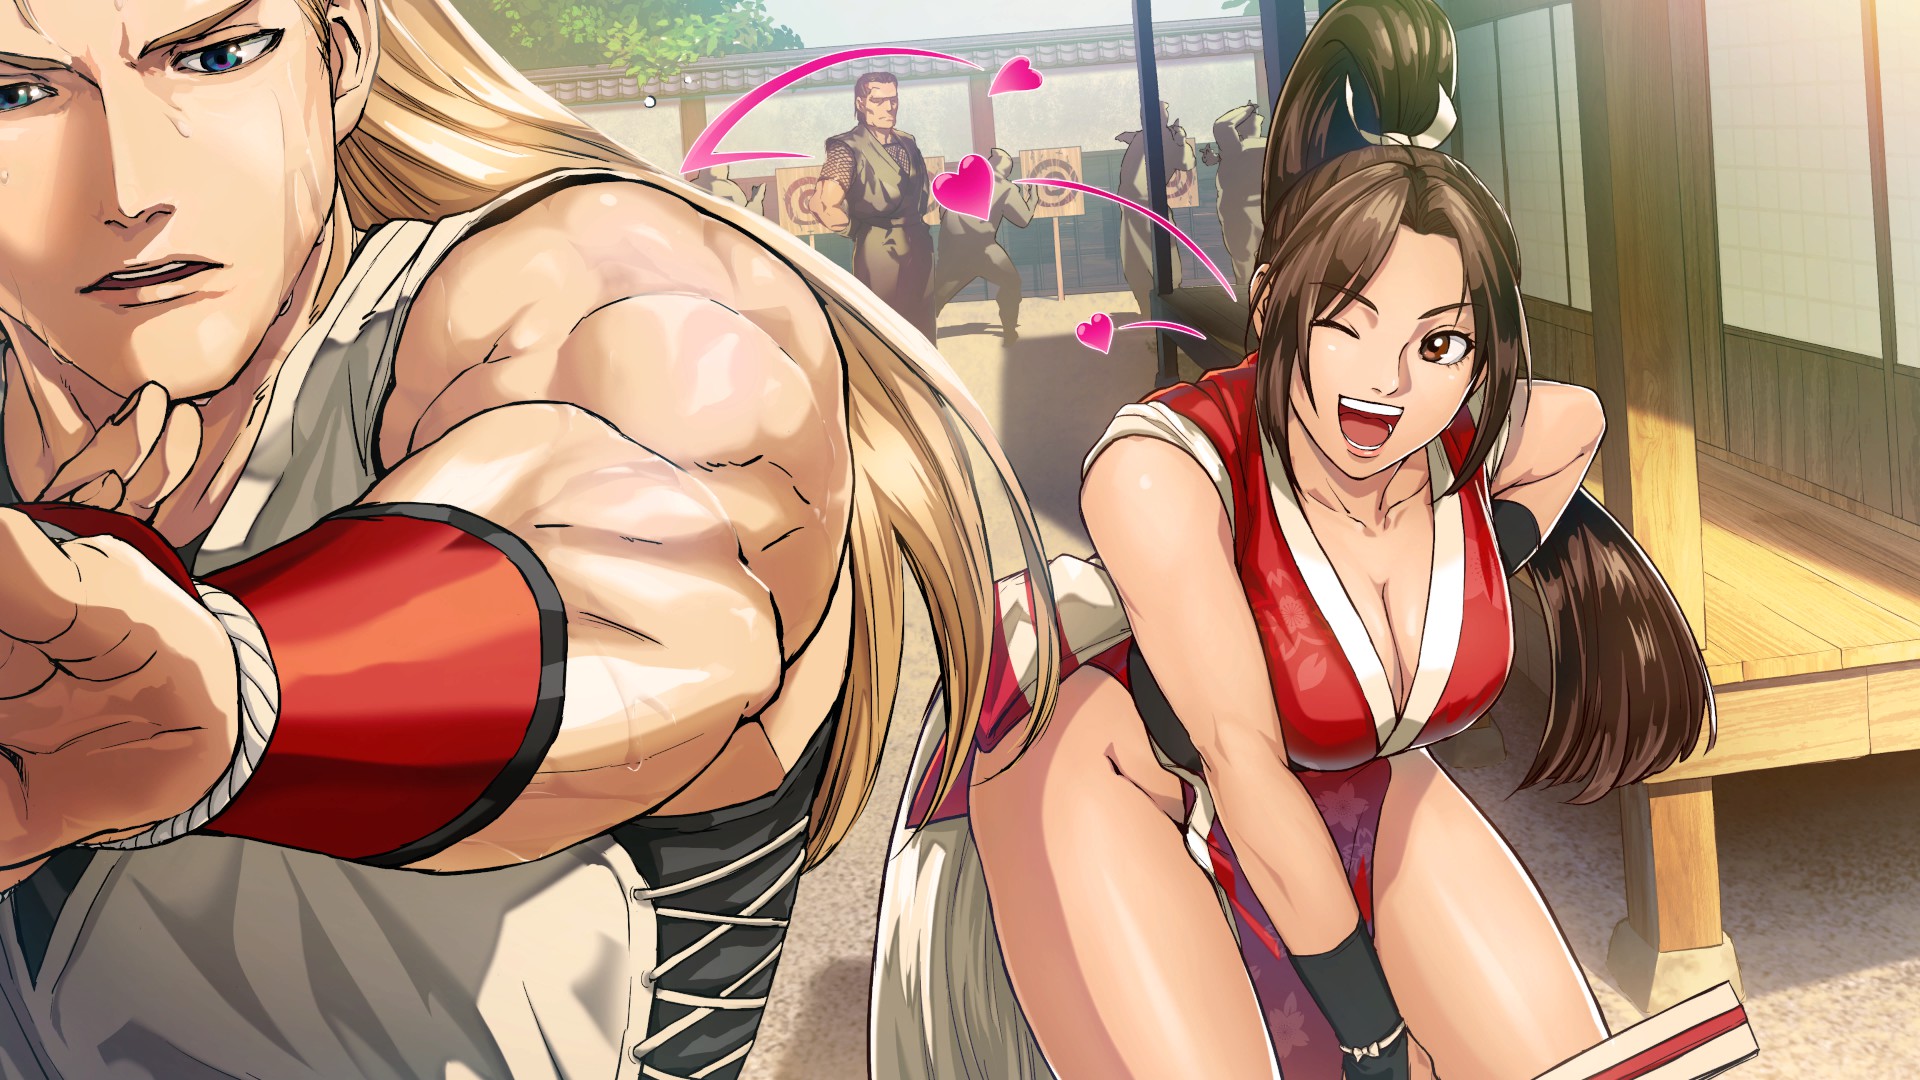
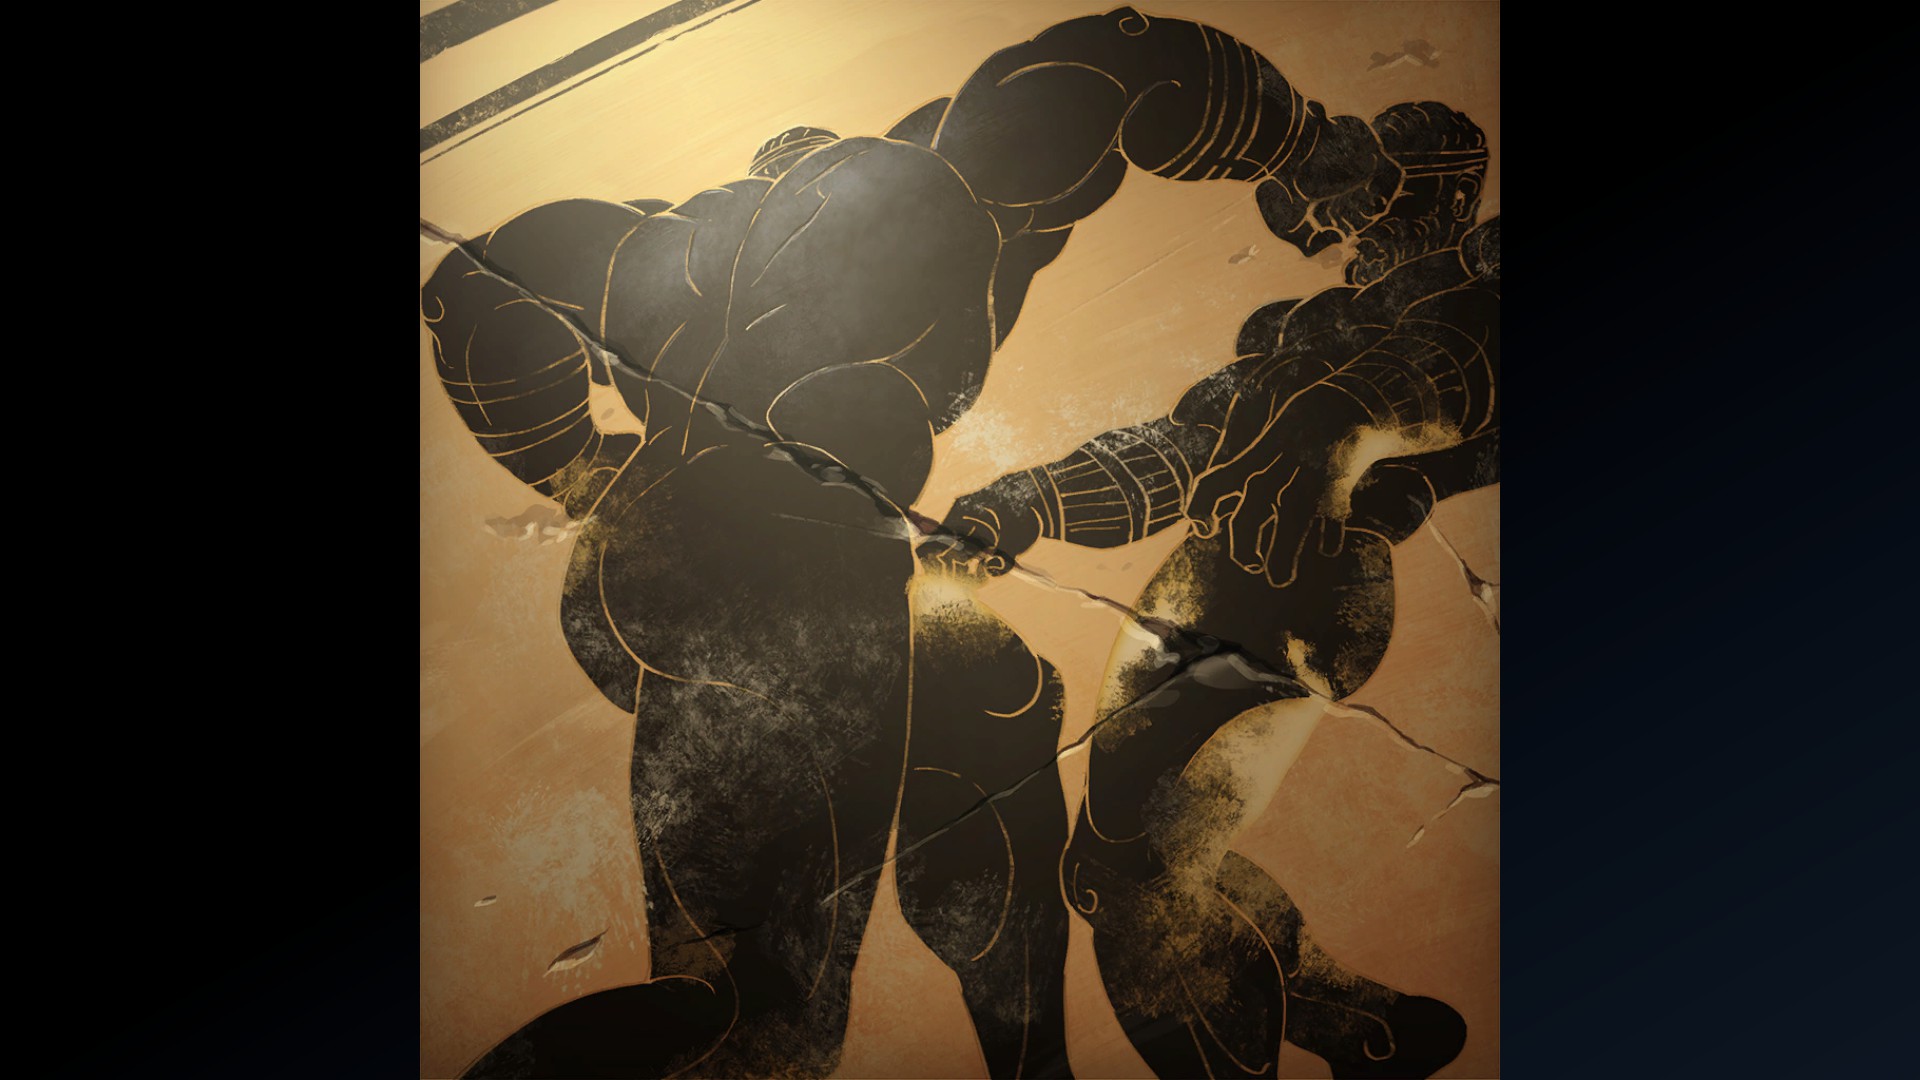
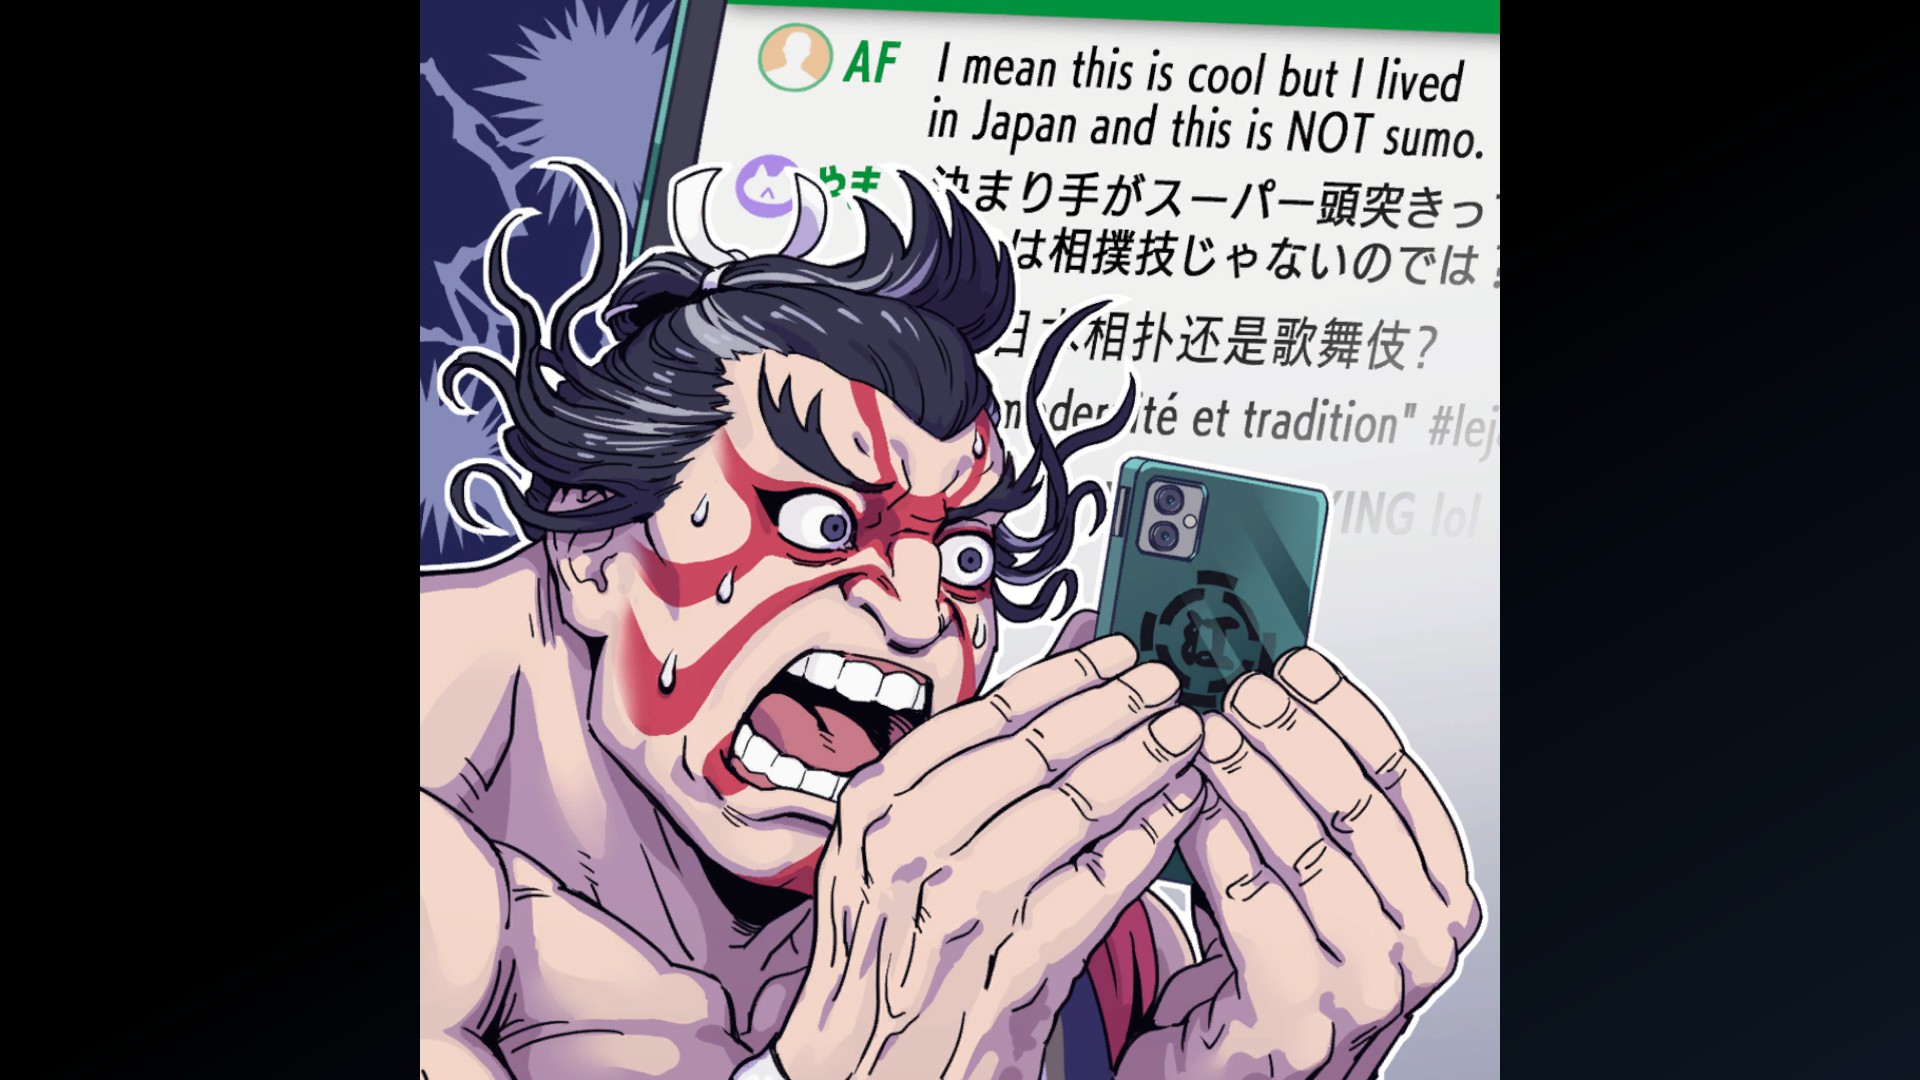
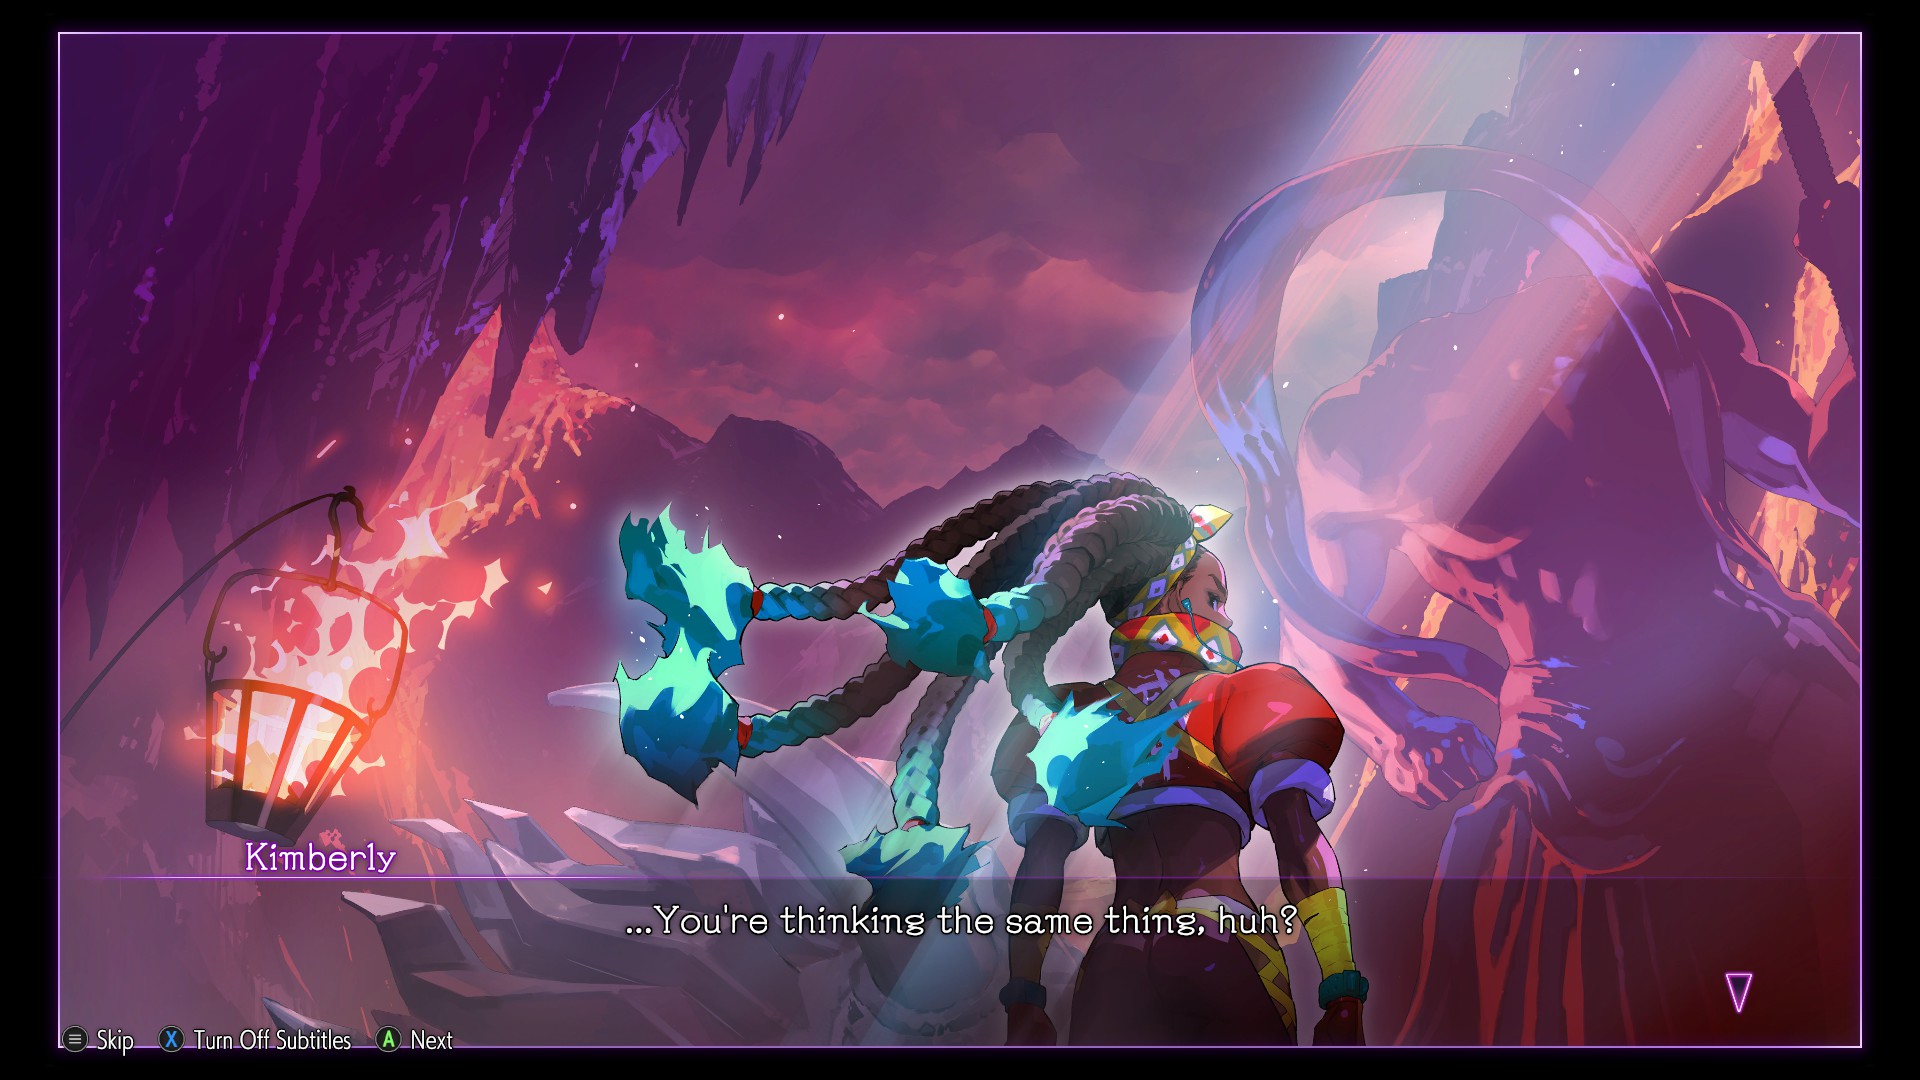
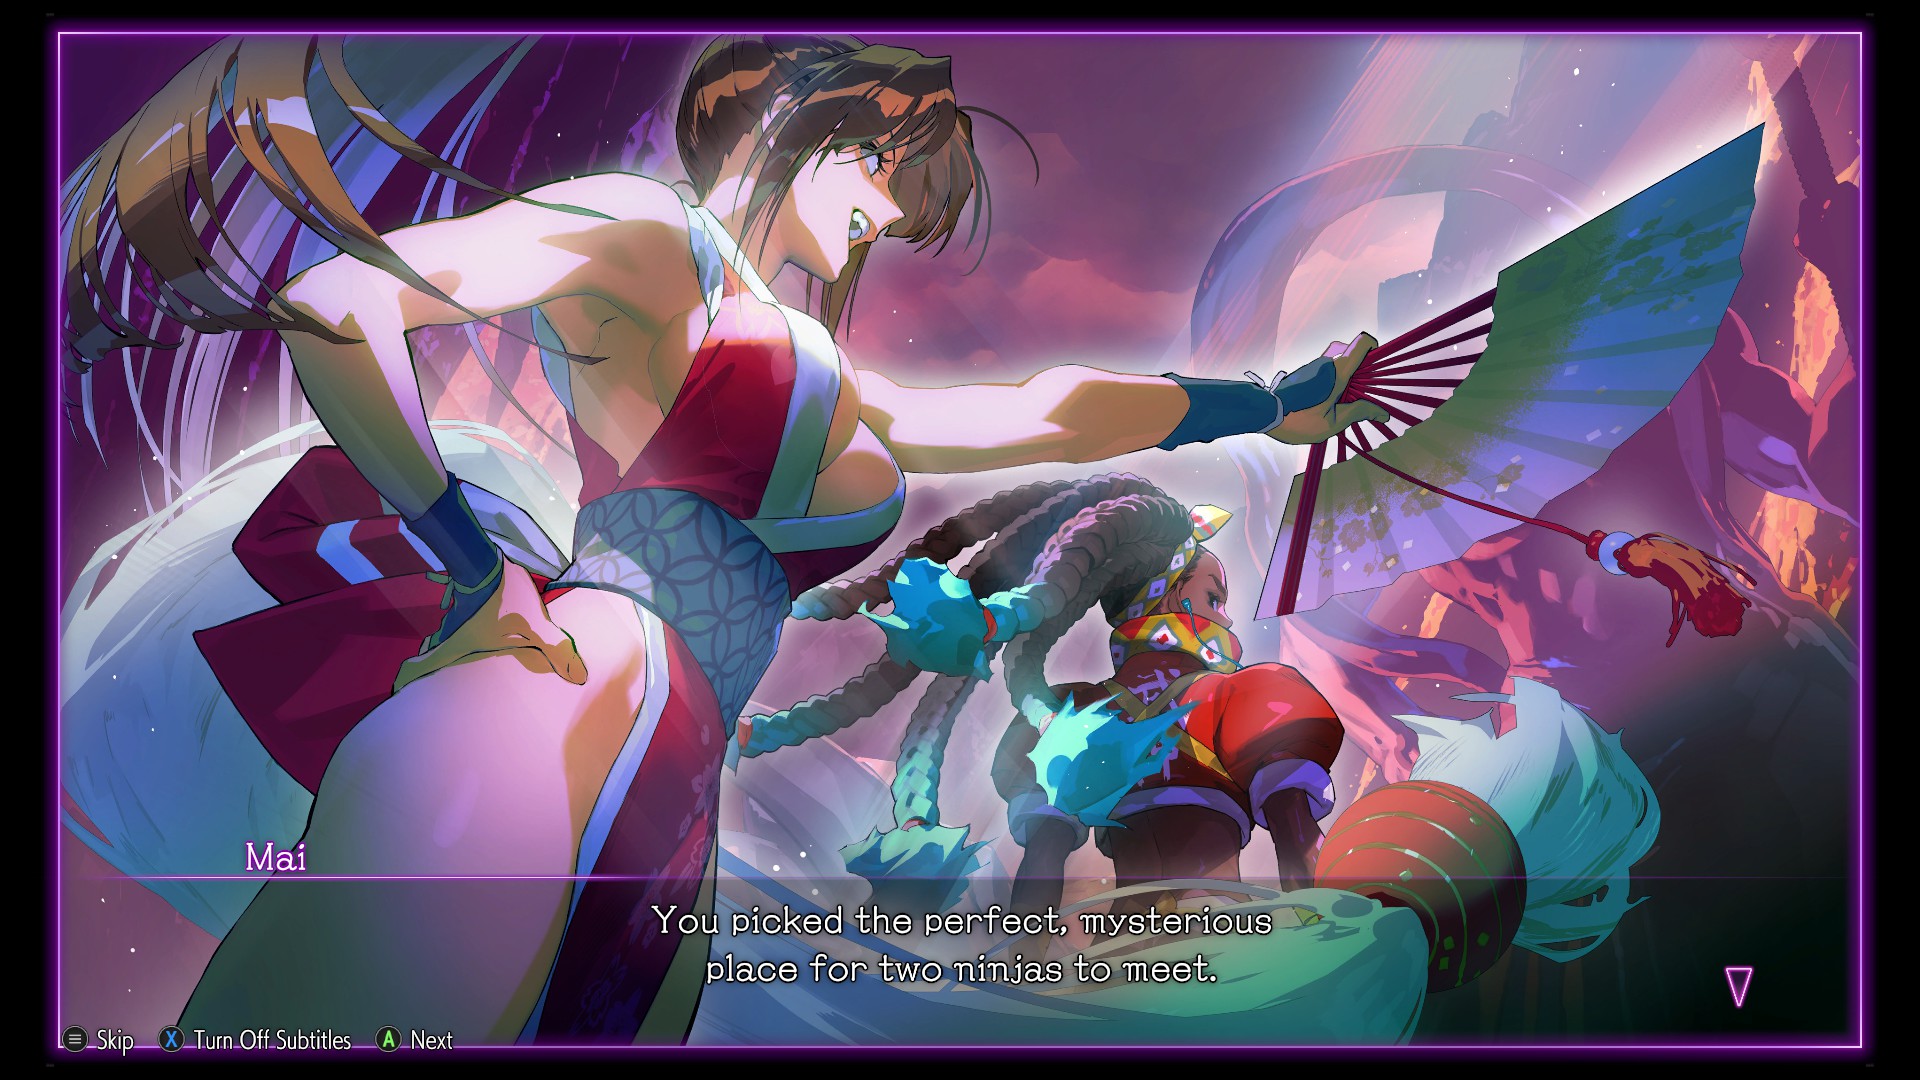
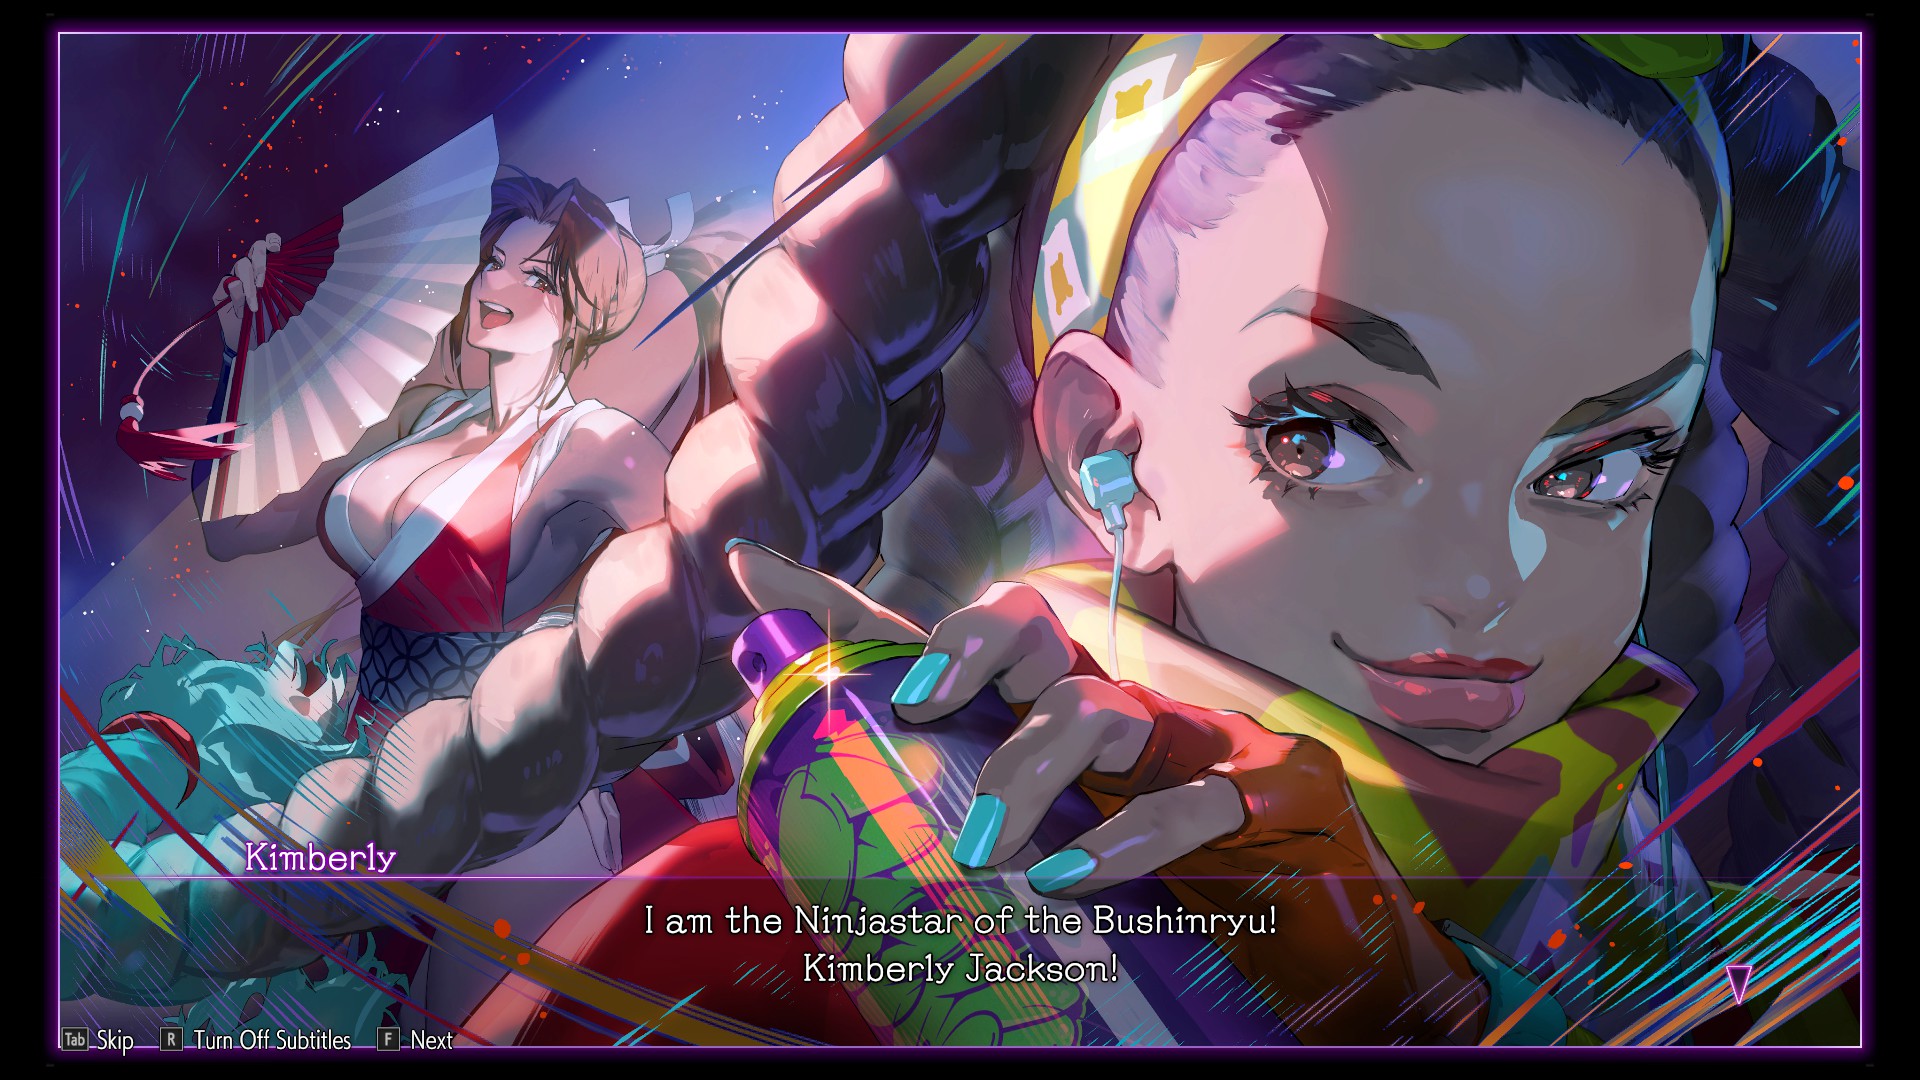
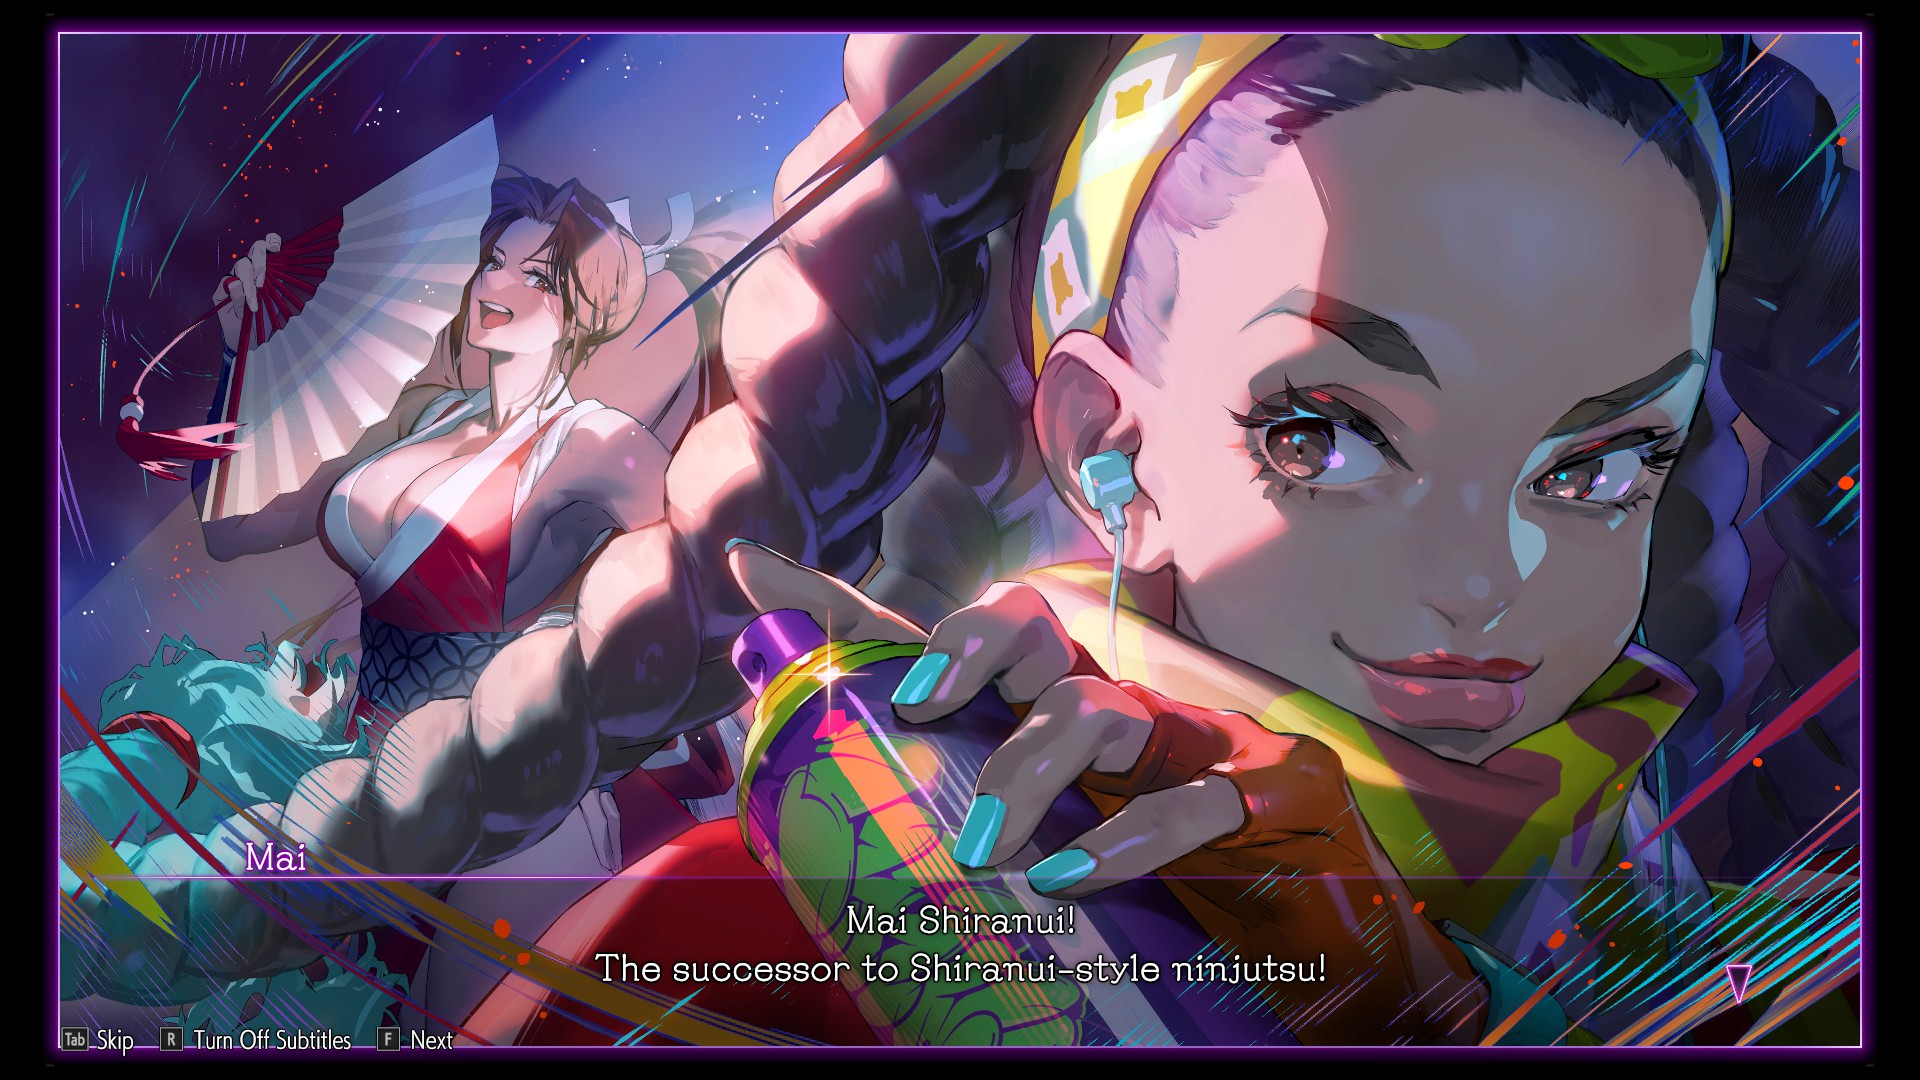
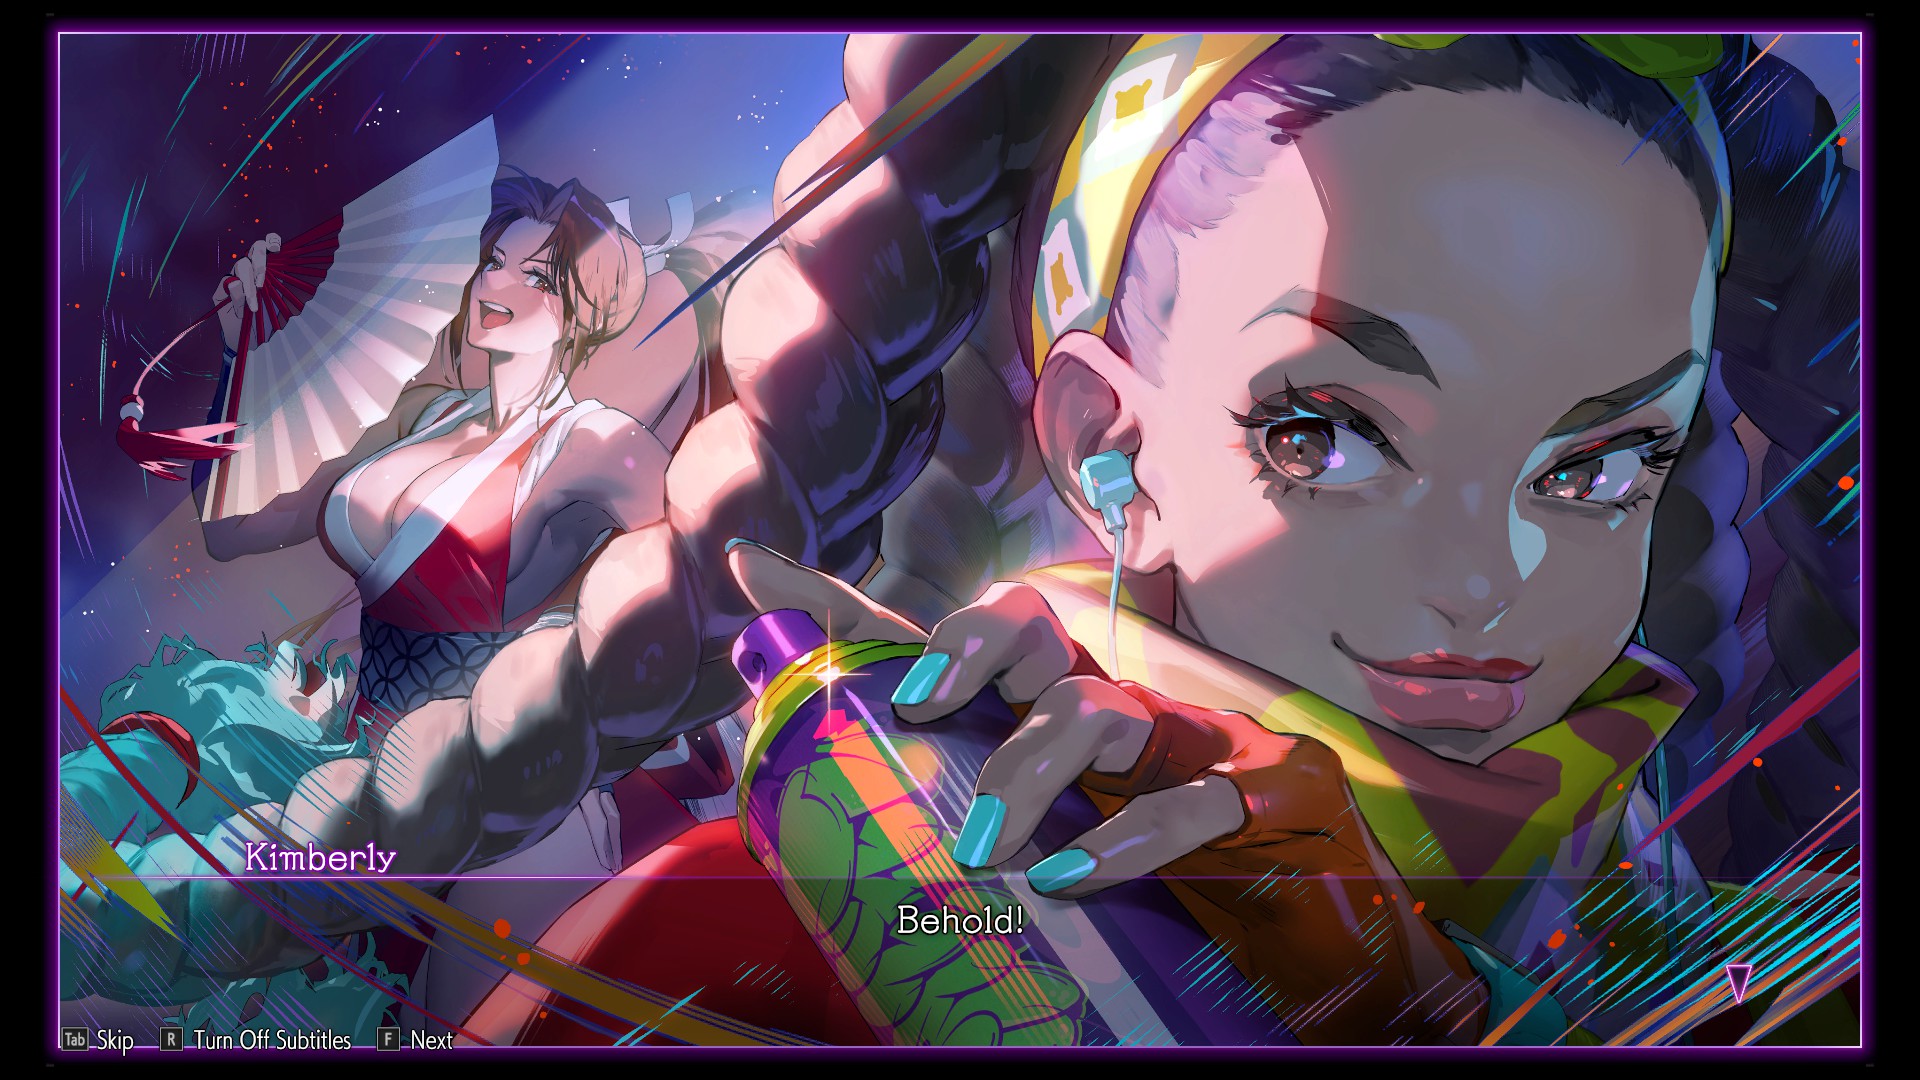
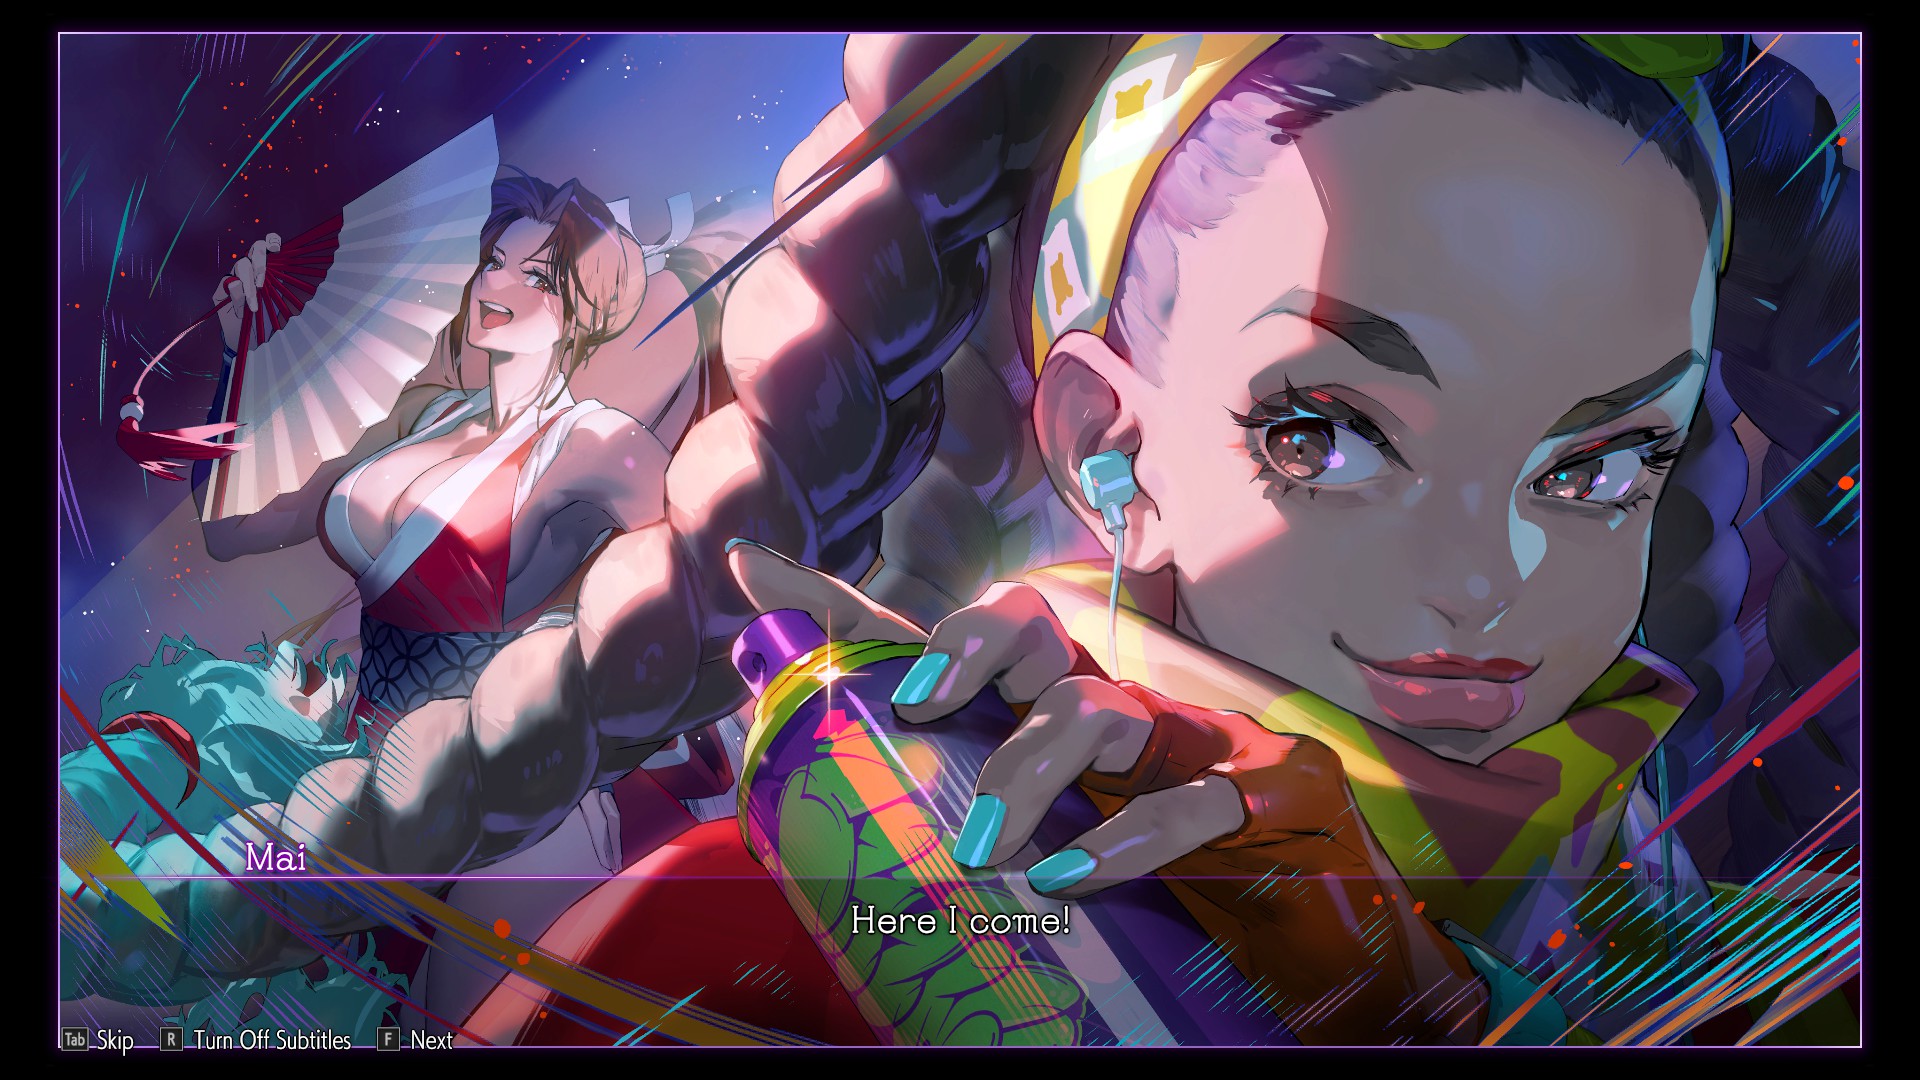
The seventh comic was added with the Mai update:


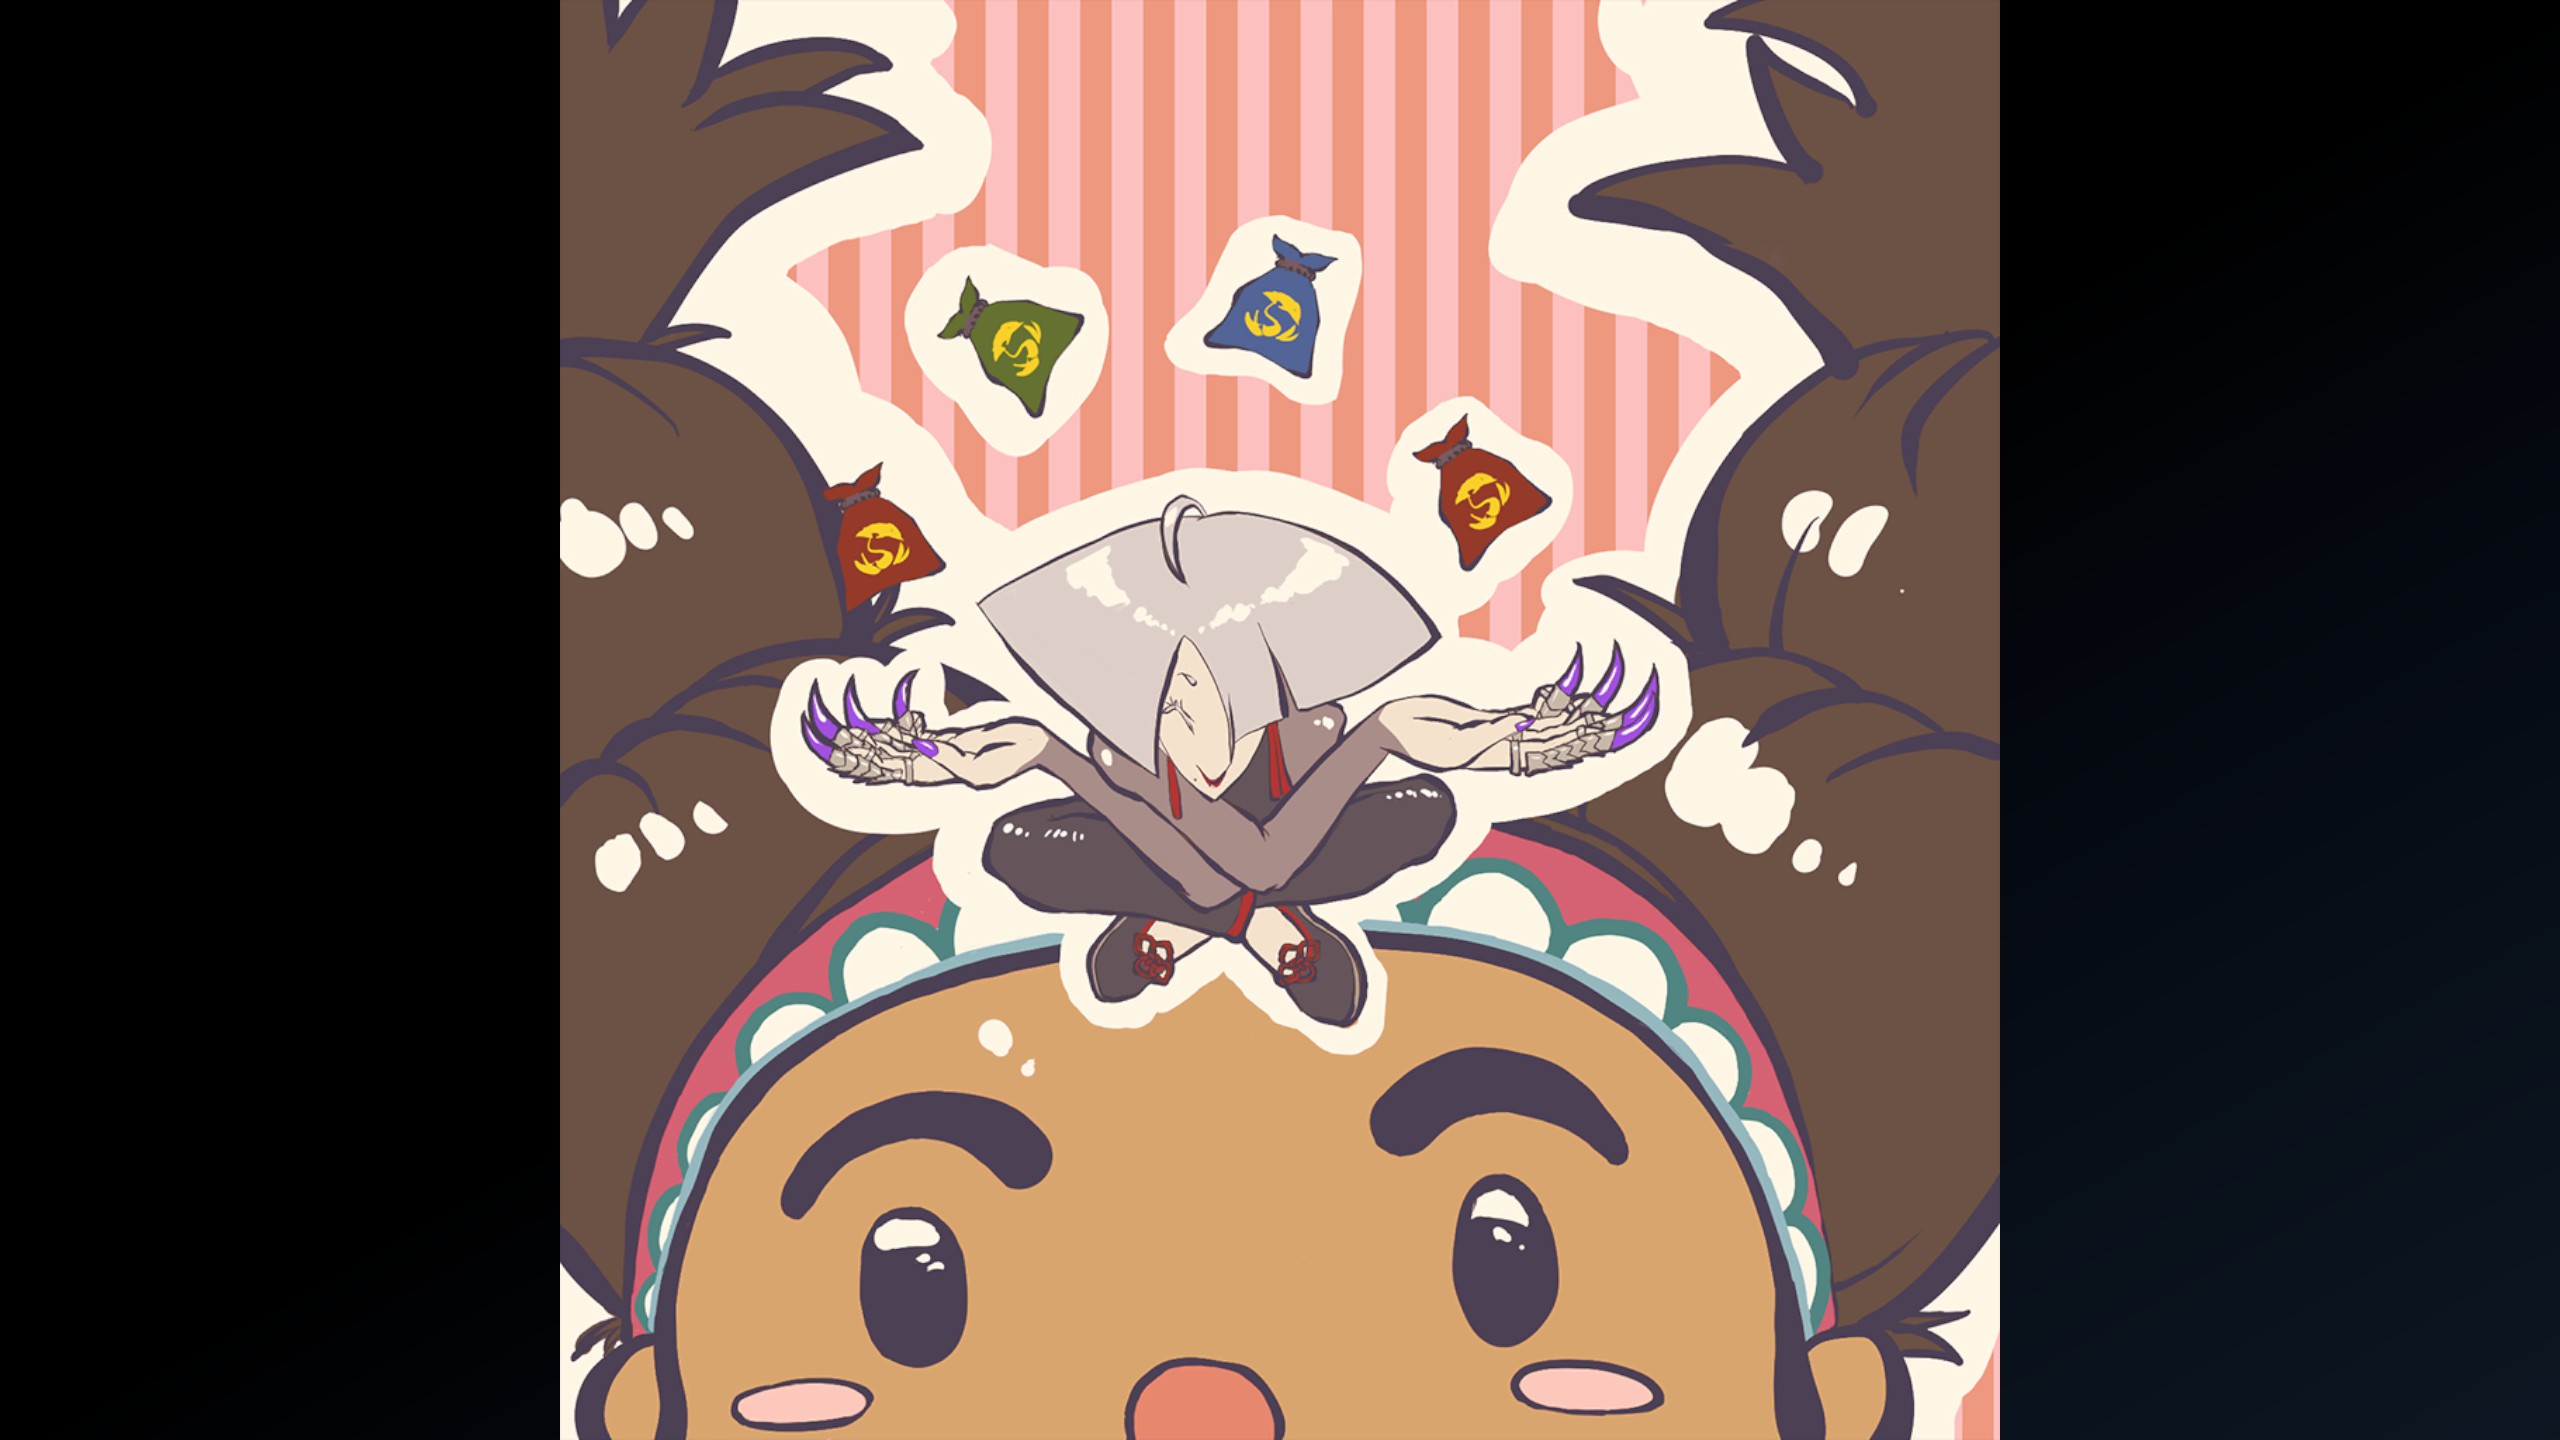
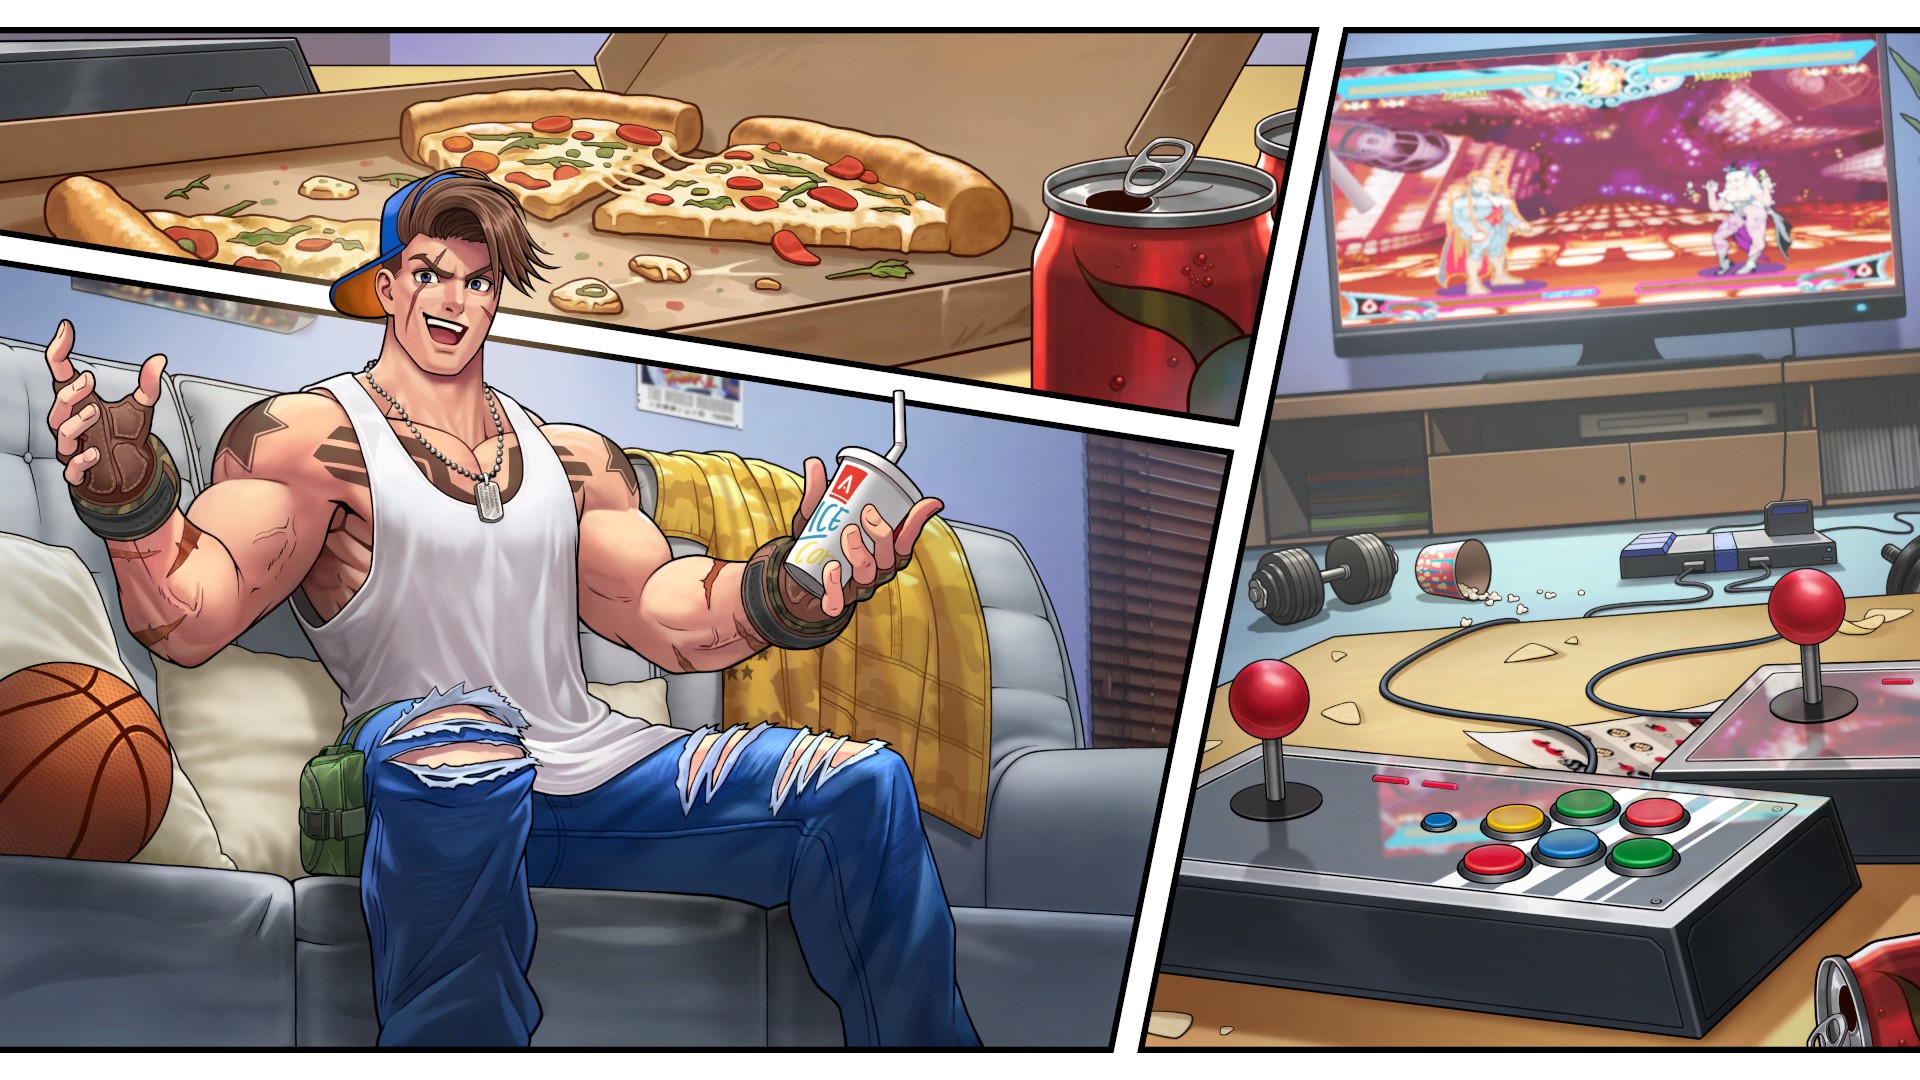
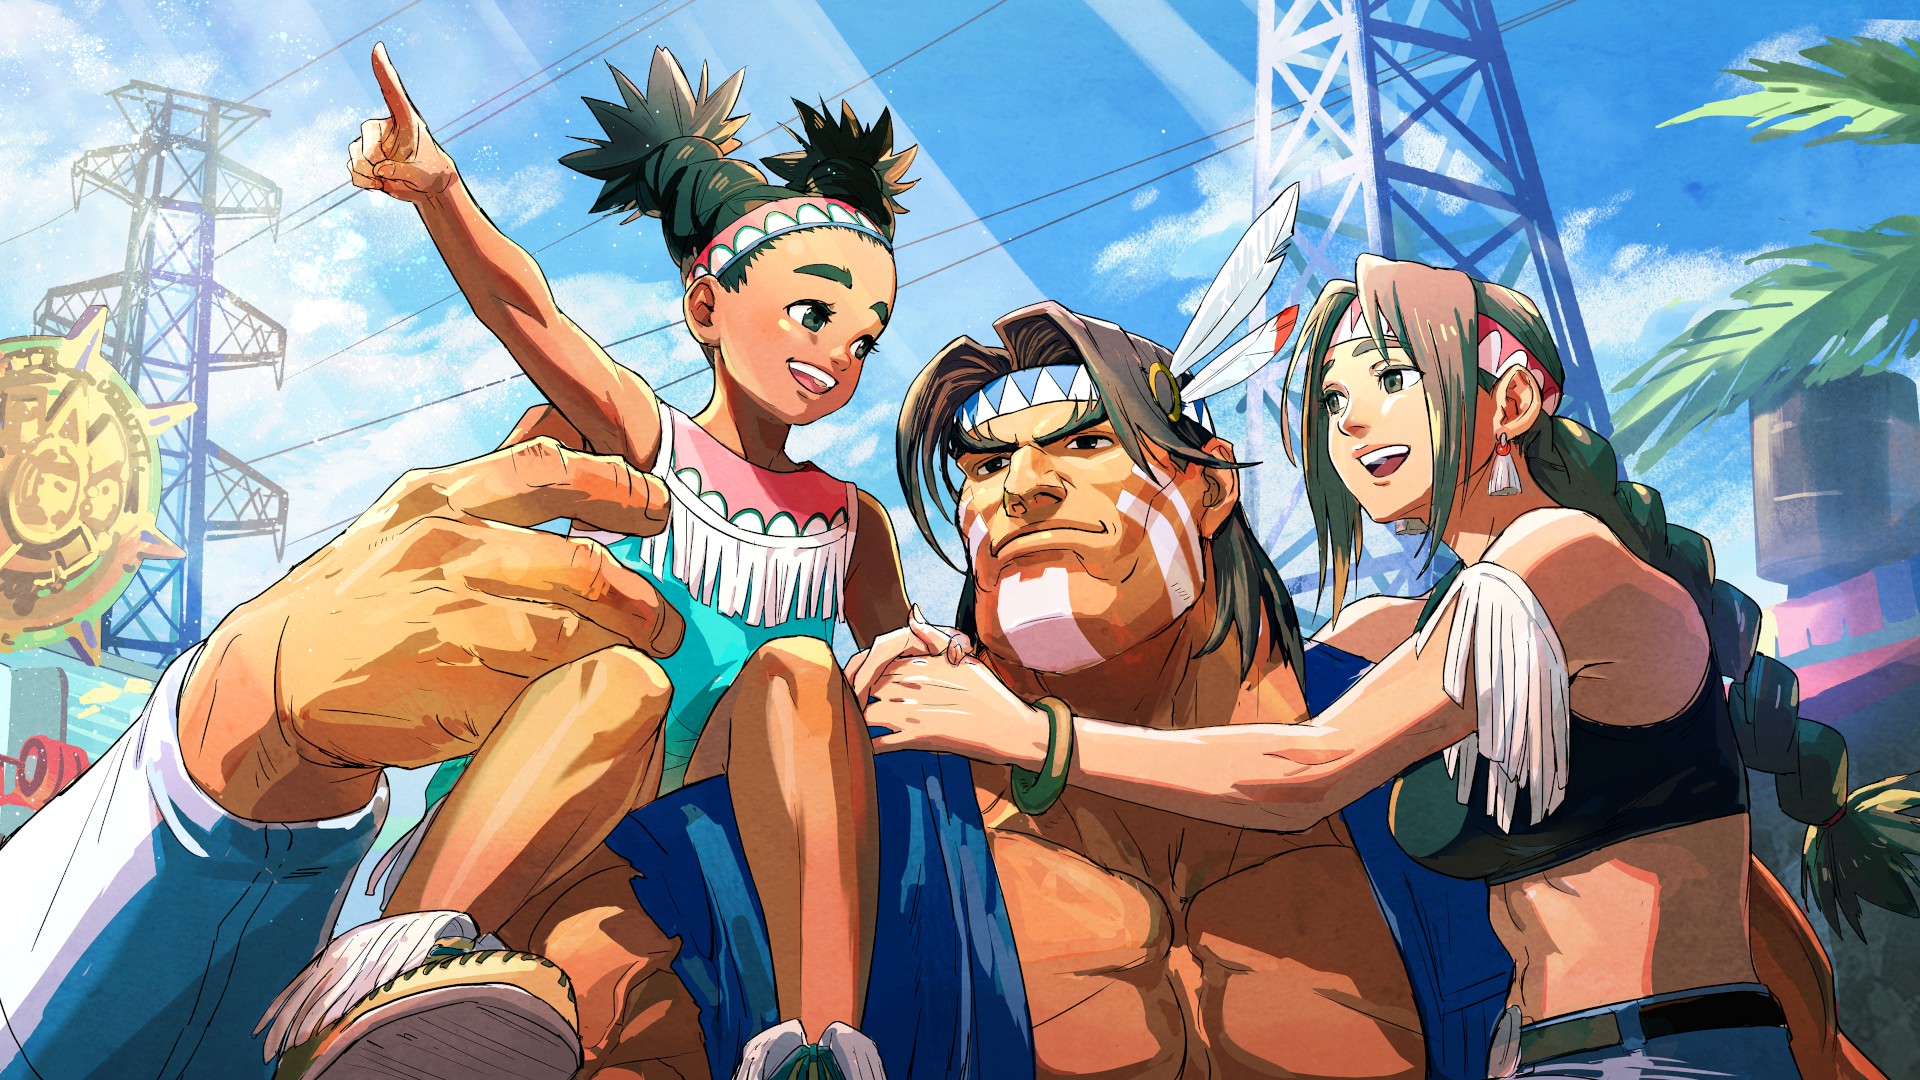
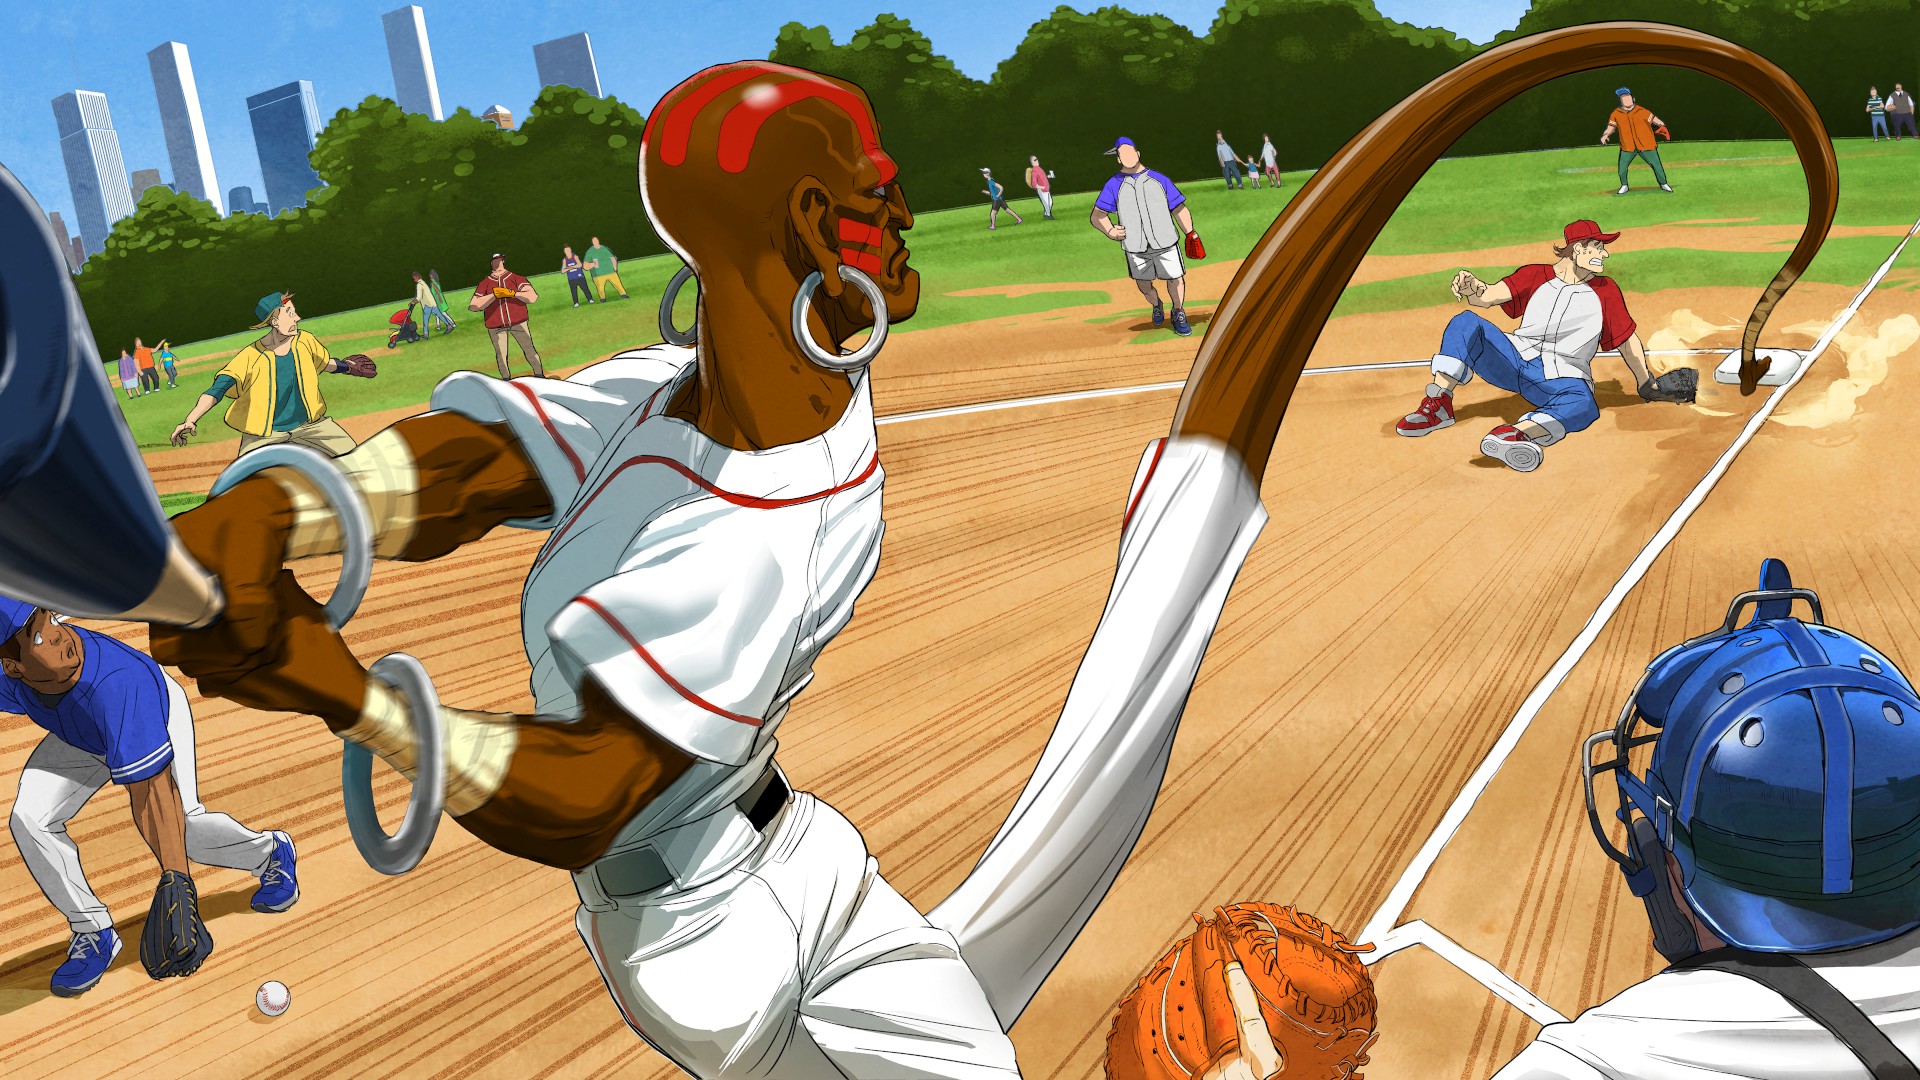
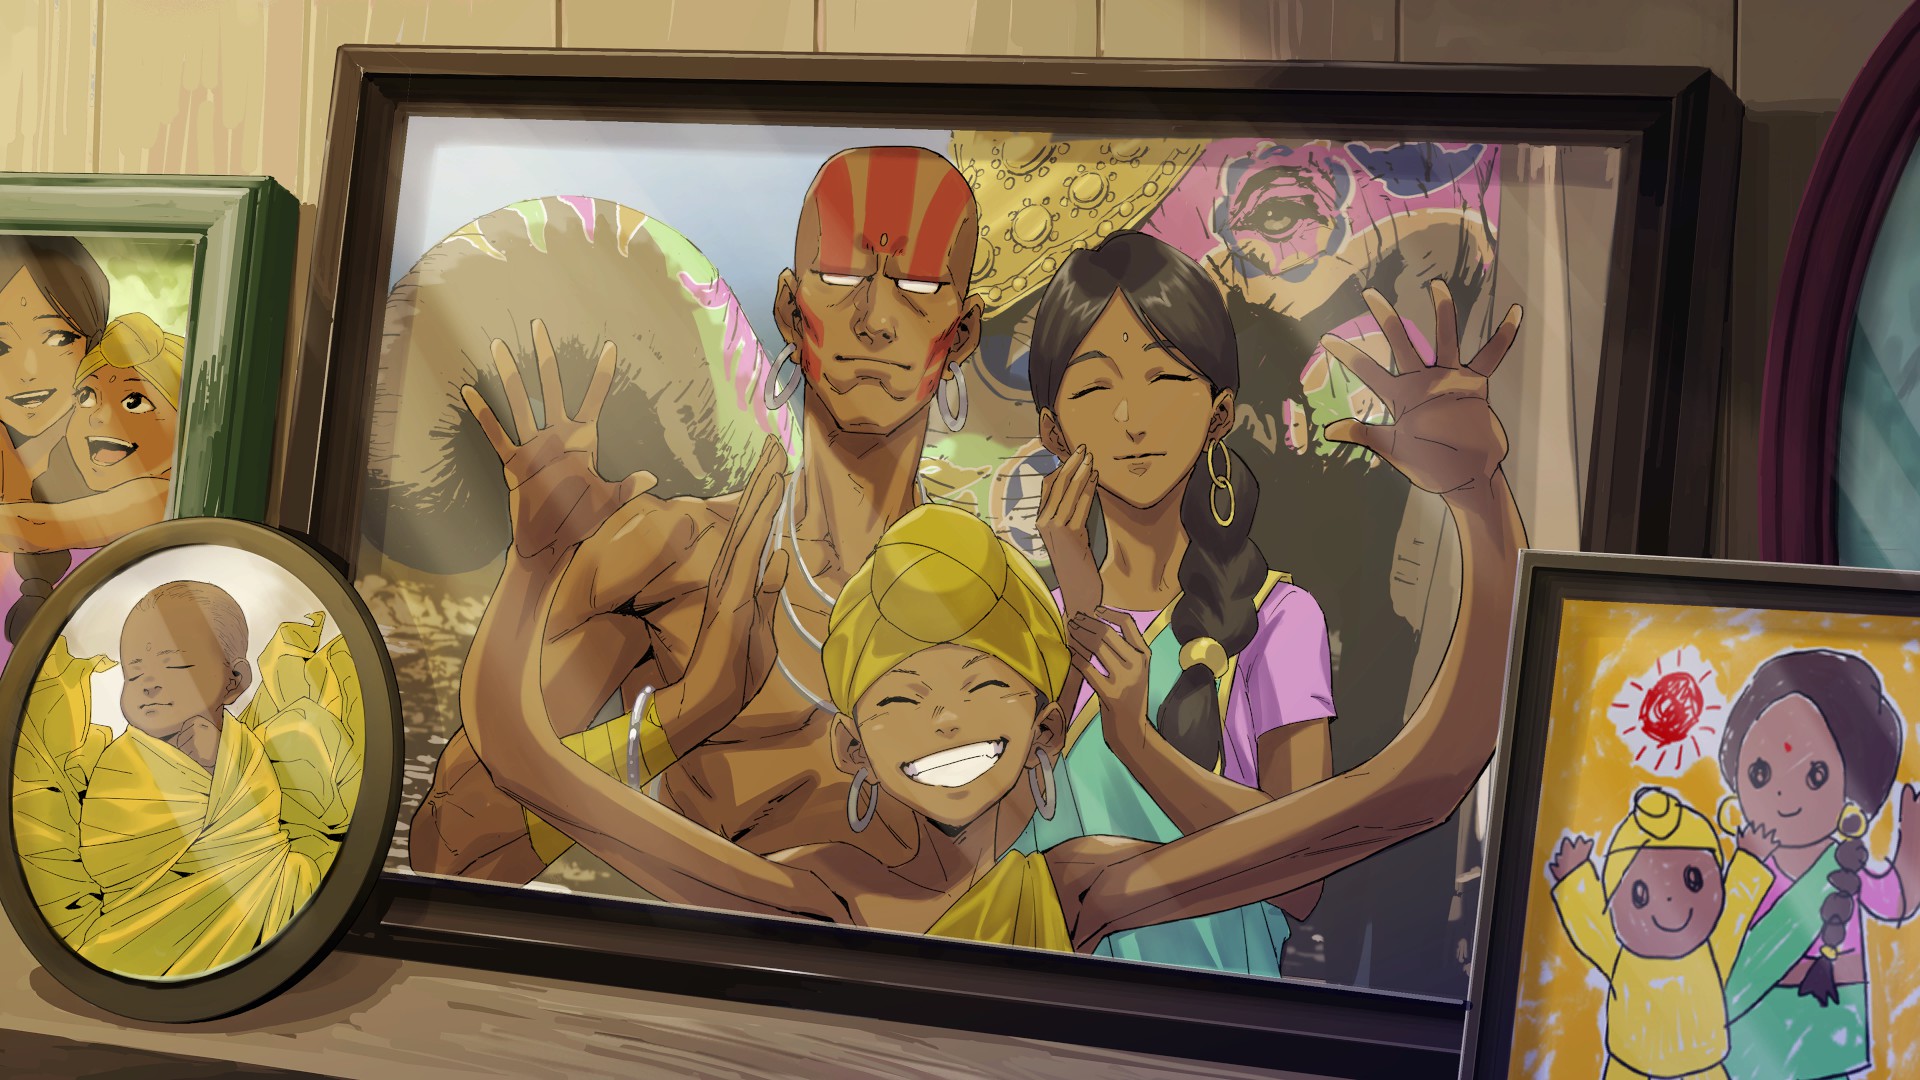
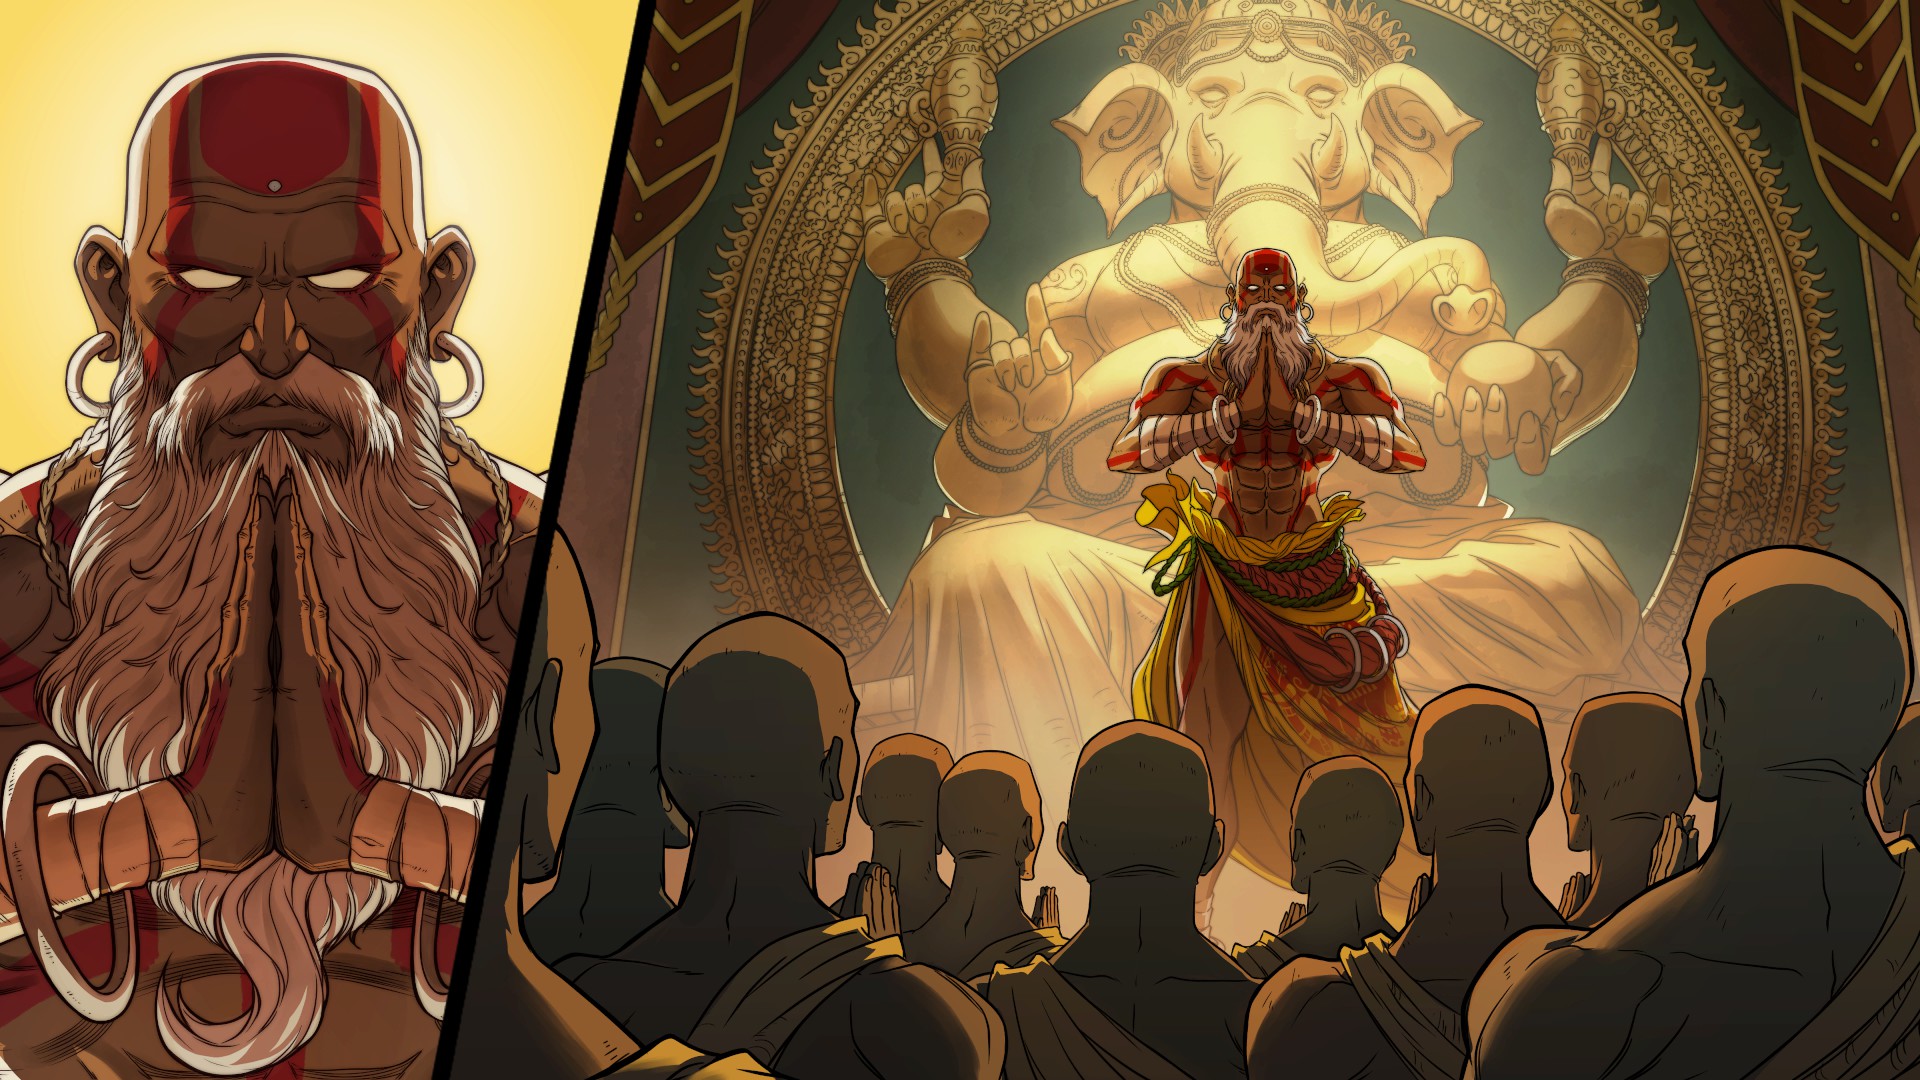
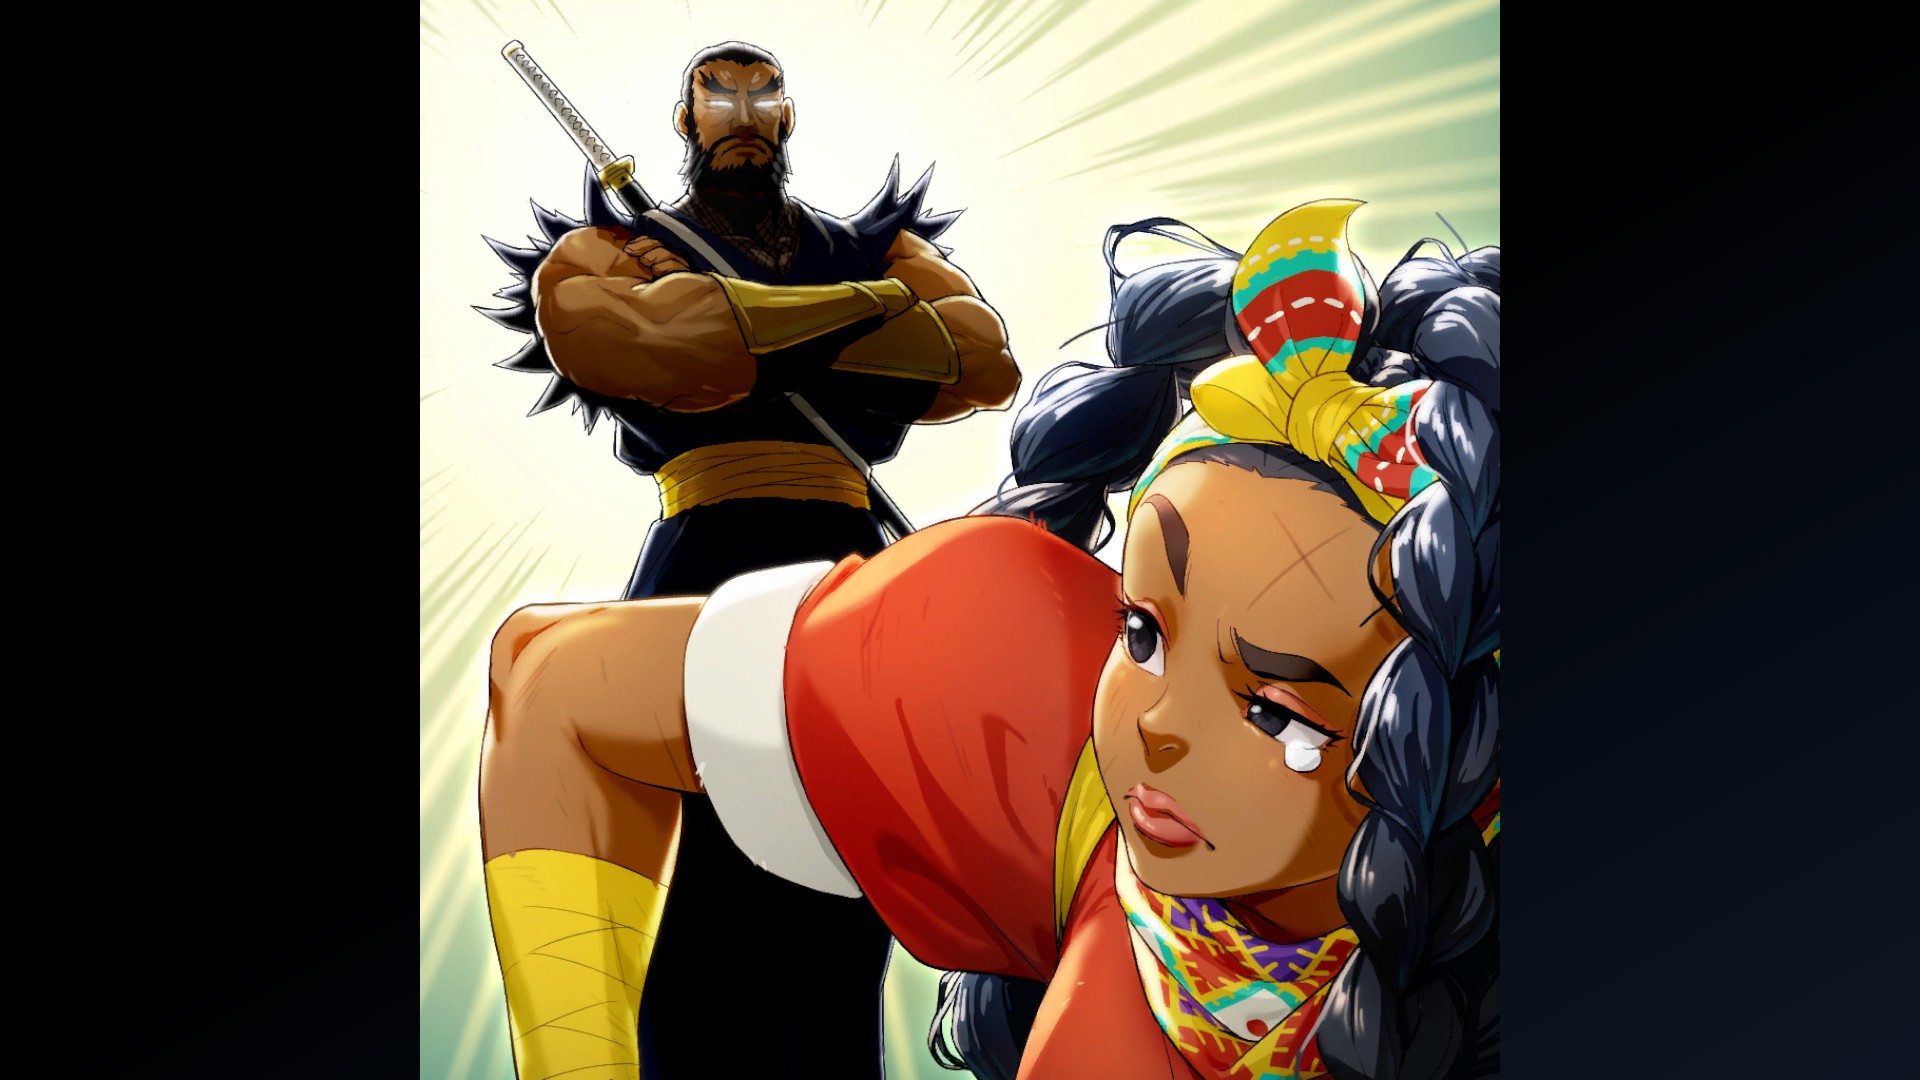
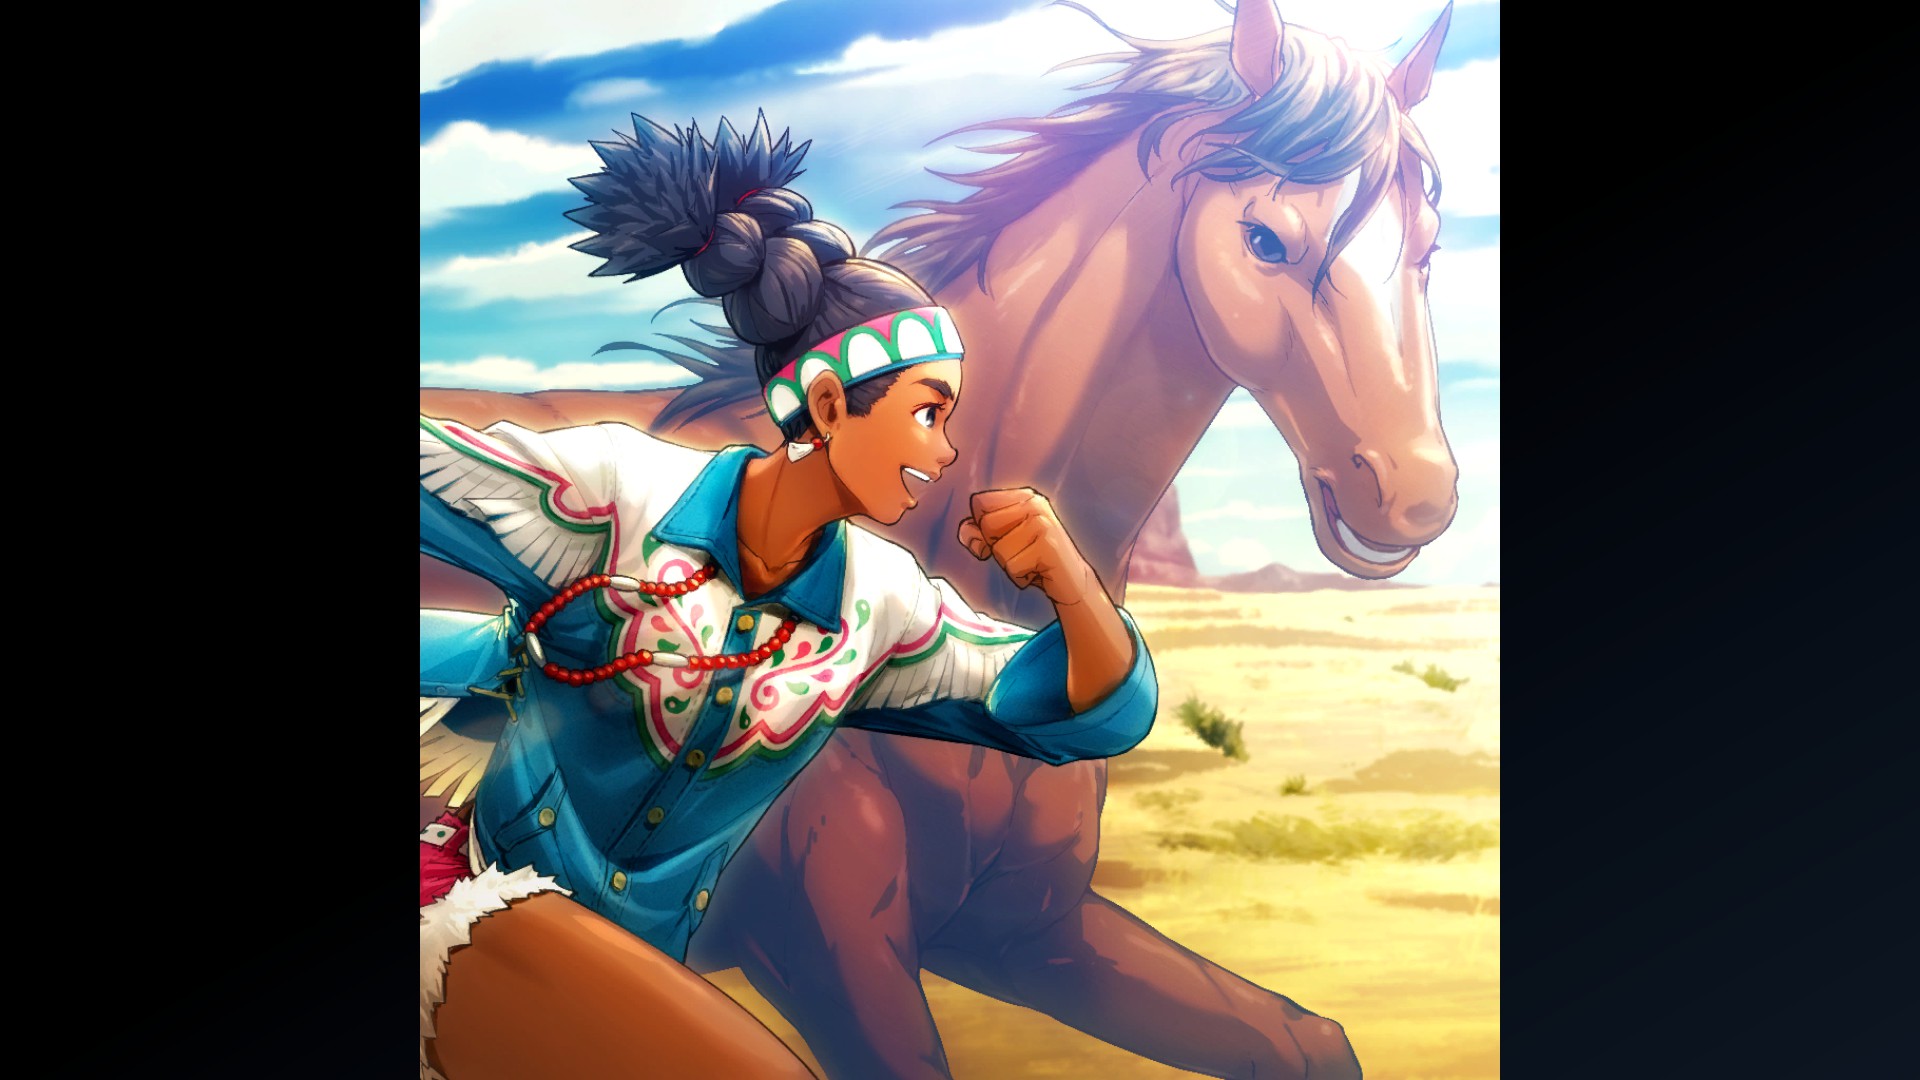
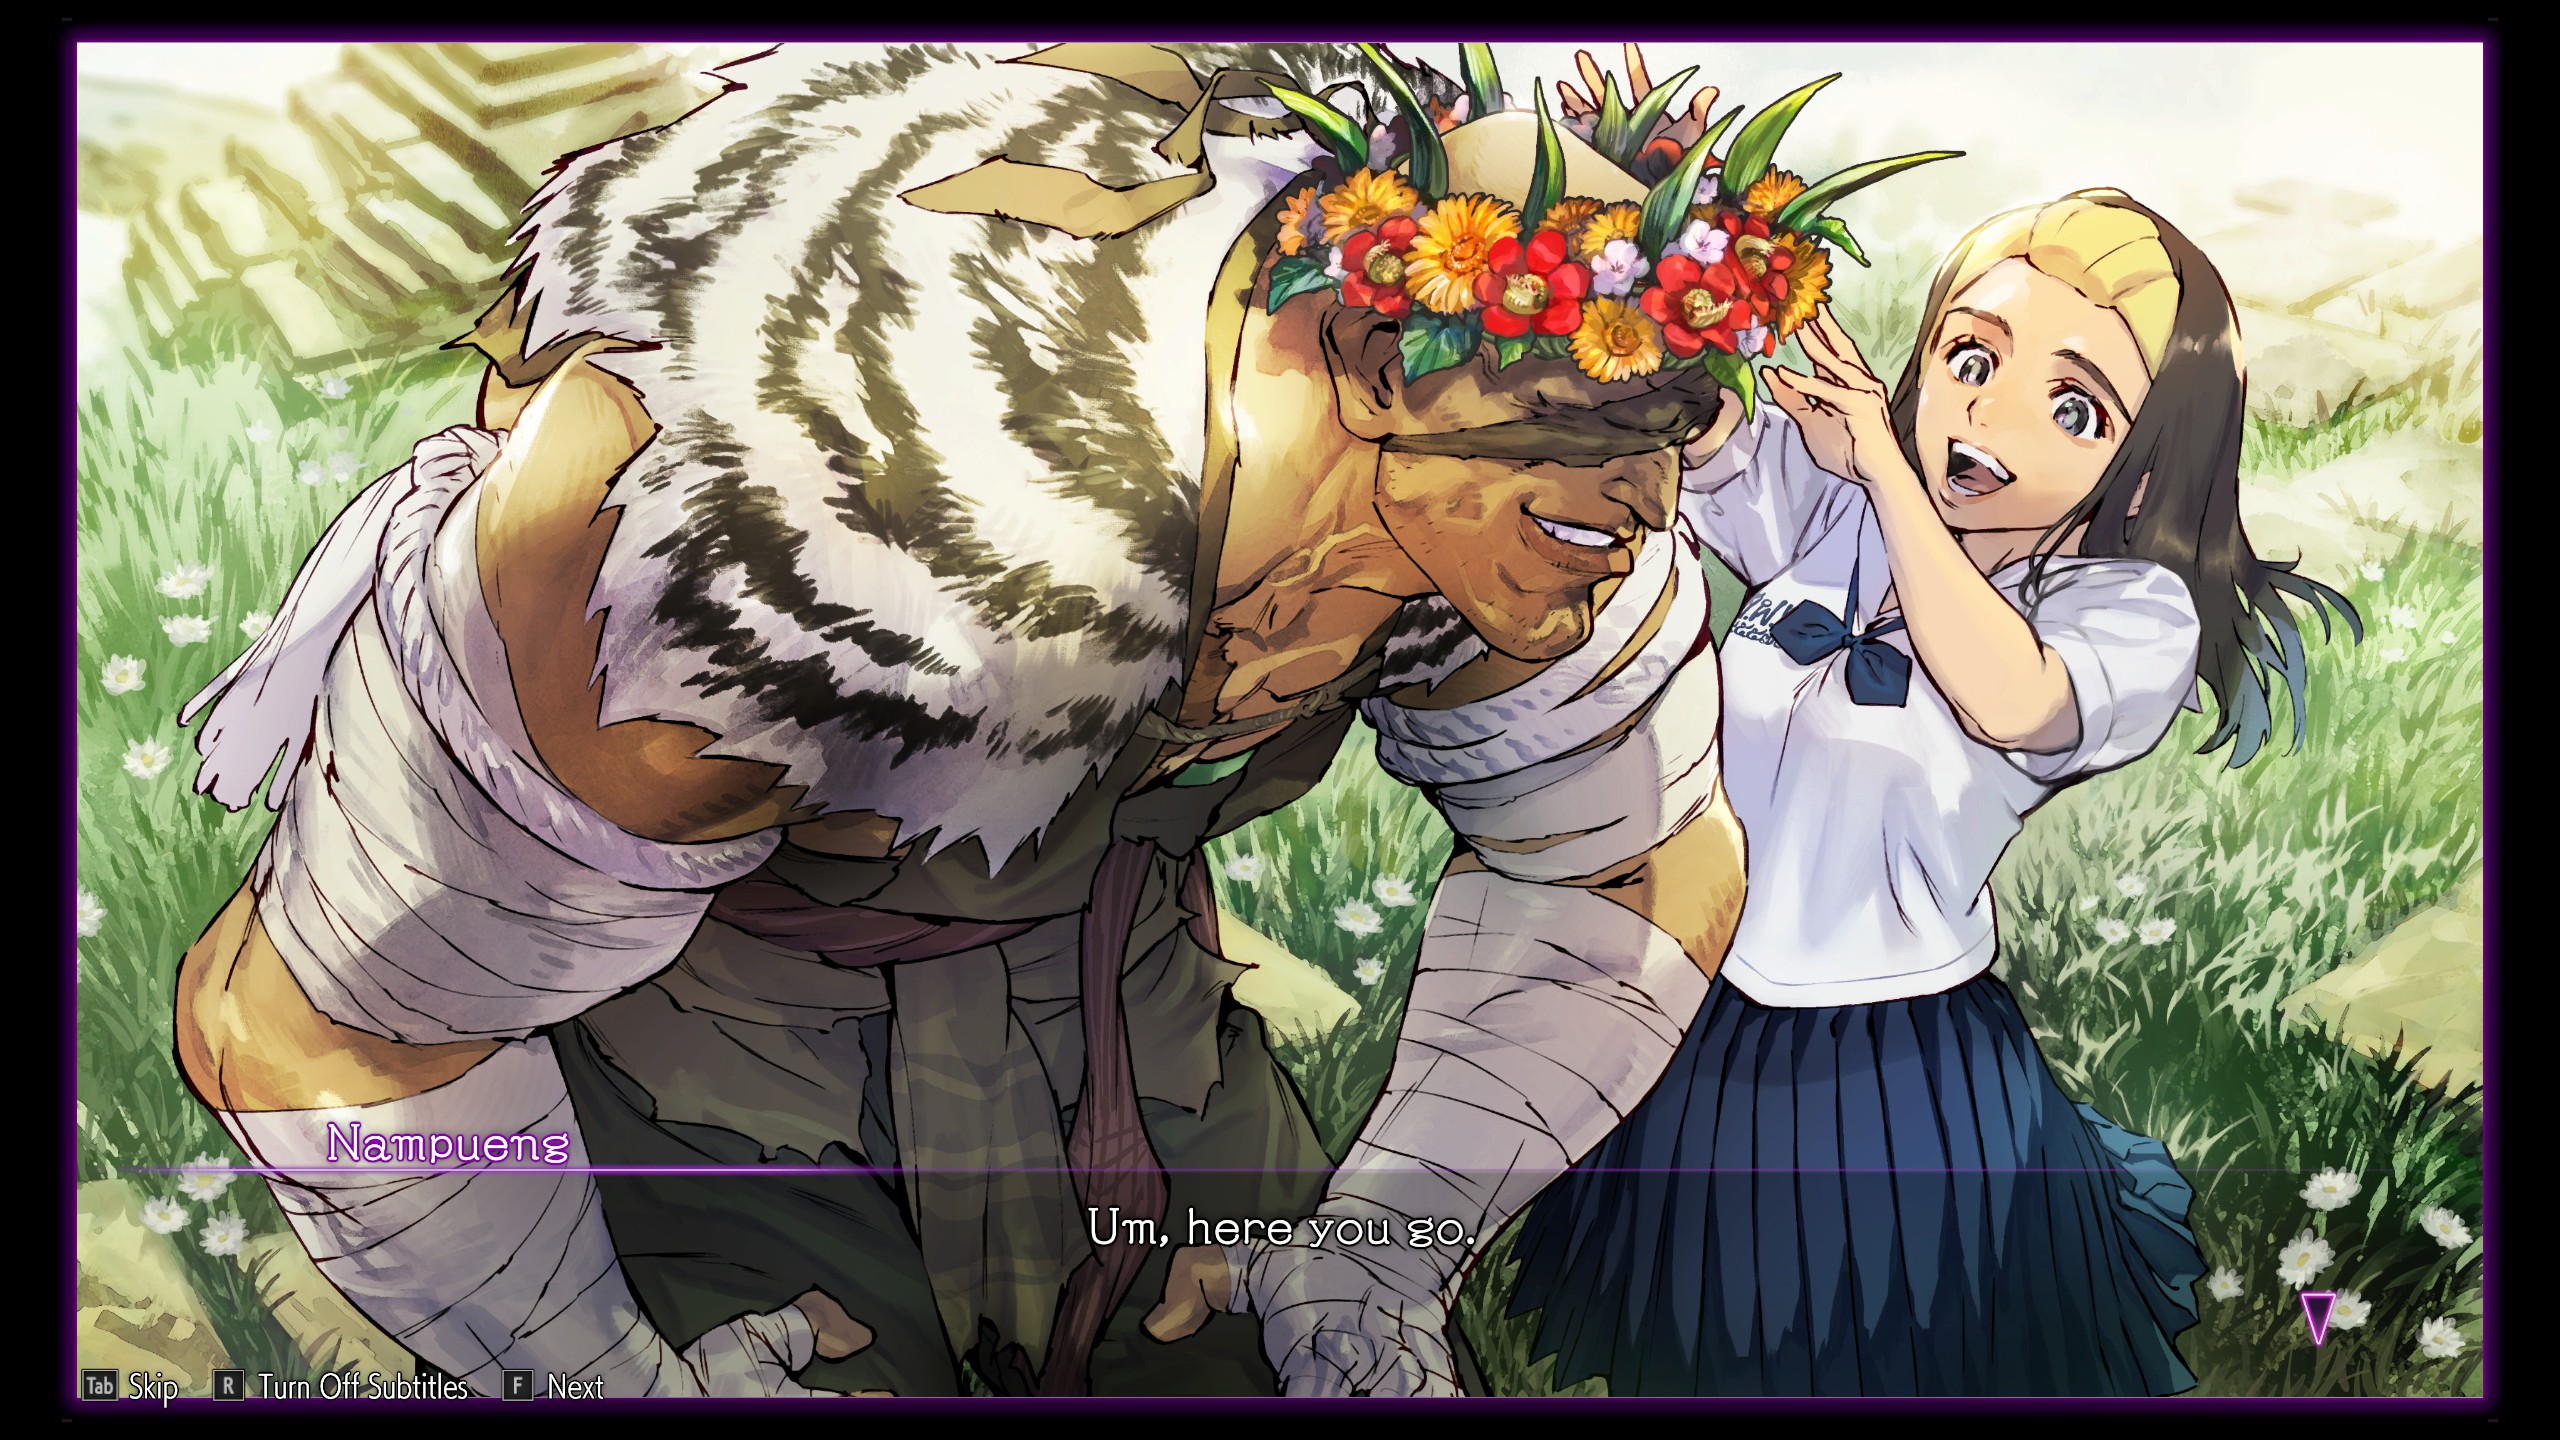
Moving on to number 8, we have Nampueng's Gift:


First up is Rashid's:
Rashid's Mission
Moving on, here are A.K.I.'s comics:
A.K.I.'s Mission 1
A.K.I.'s Mission 2
Next up is Infiltrating the Lab:
Infiltrating the Lab
The fifth comic gives us a glimpse of everyone's favorite Spanish ninja:
The Former Shadaloo Officers 1
Comic #6 features the pugnacious pugilist Balrog:
The Former Shadaloo Officers 2
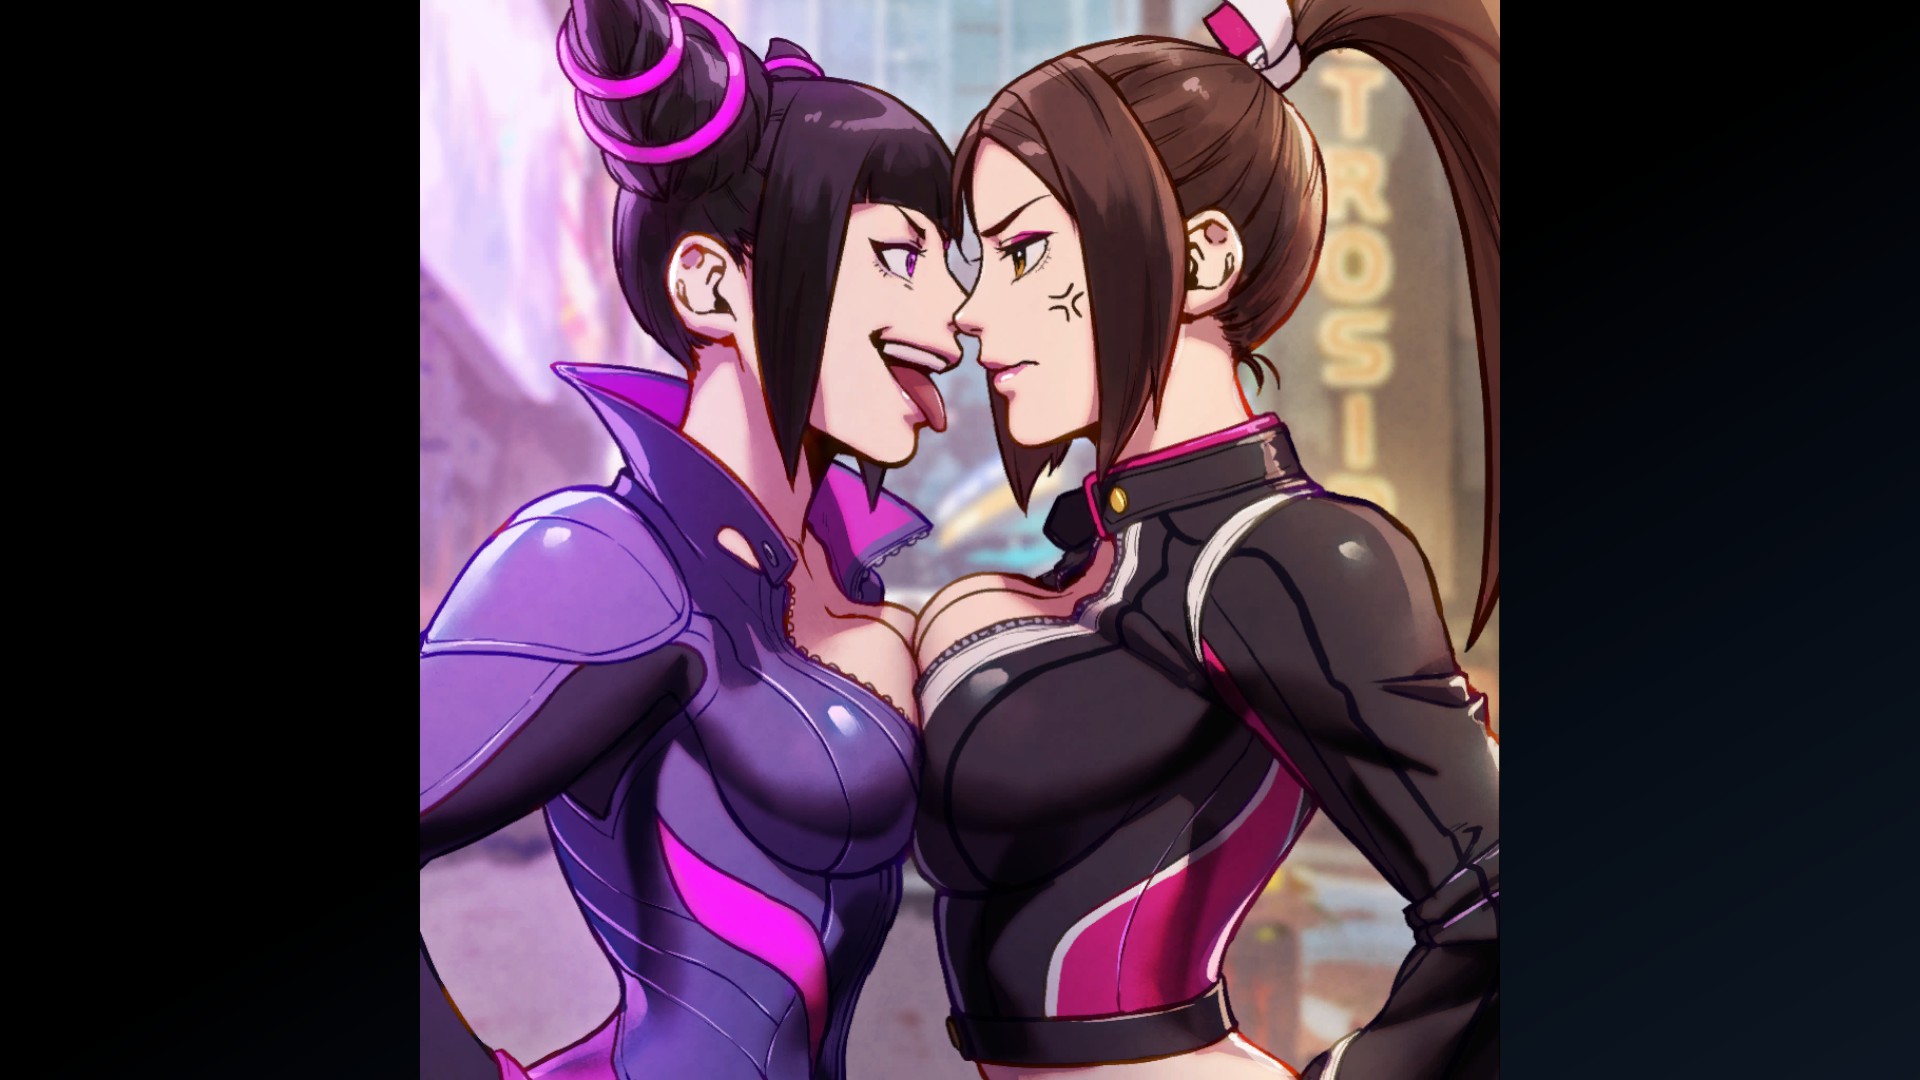
The seventh comic was added with the Mai update:
The Battle Between Ninjas
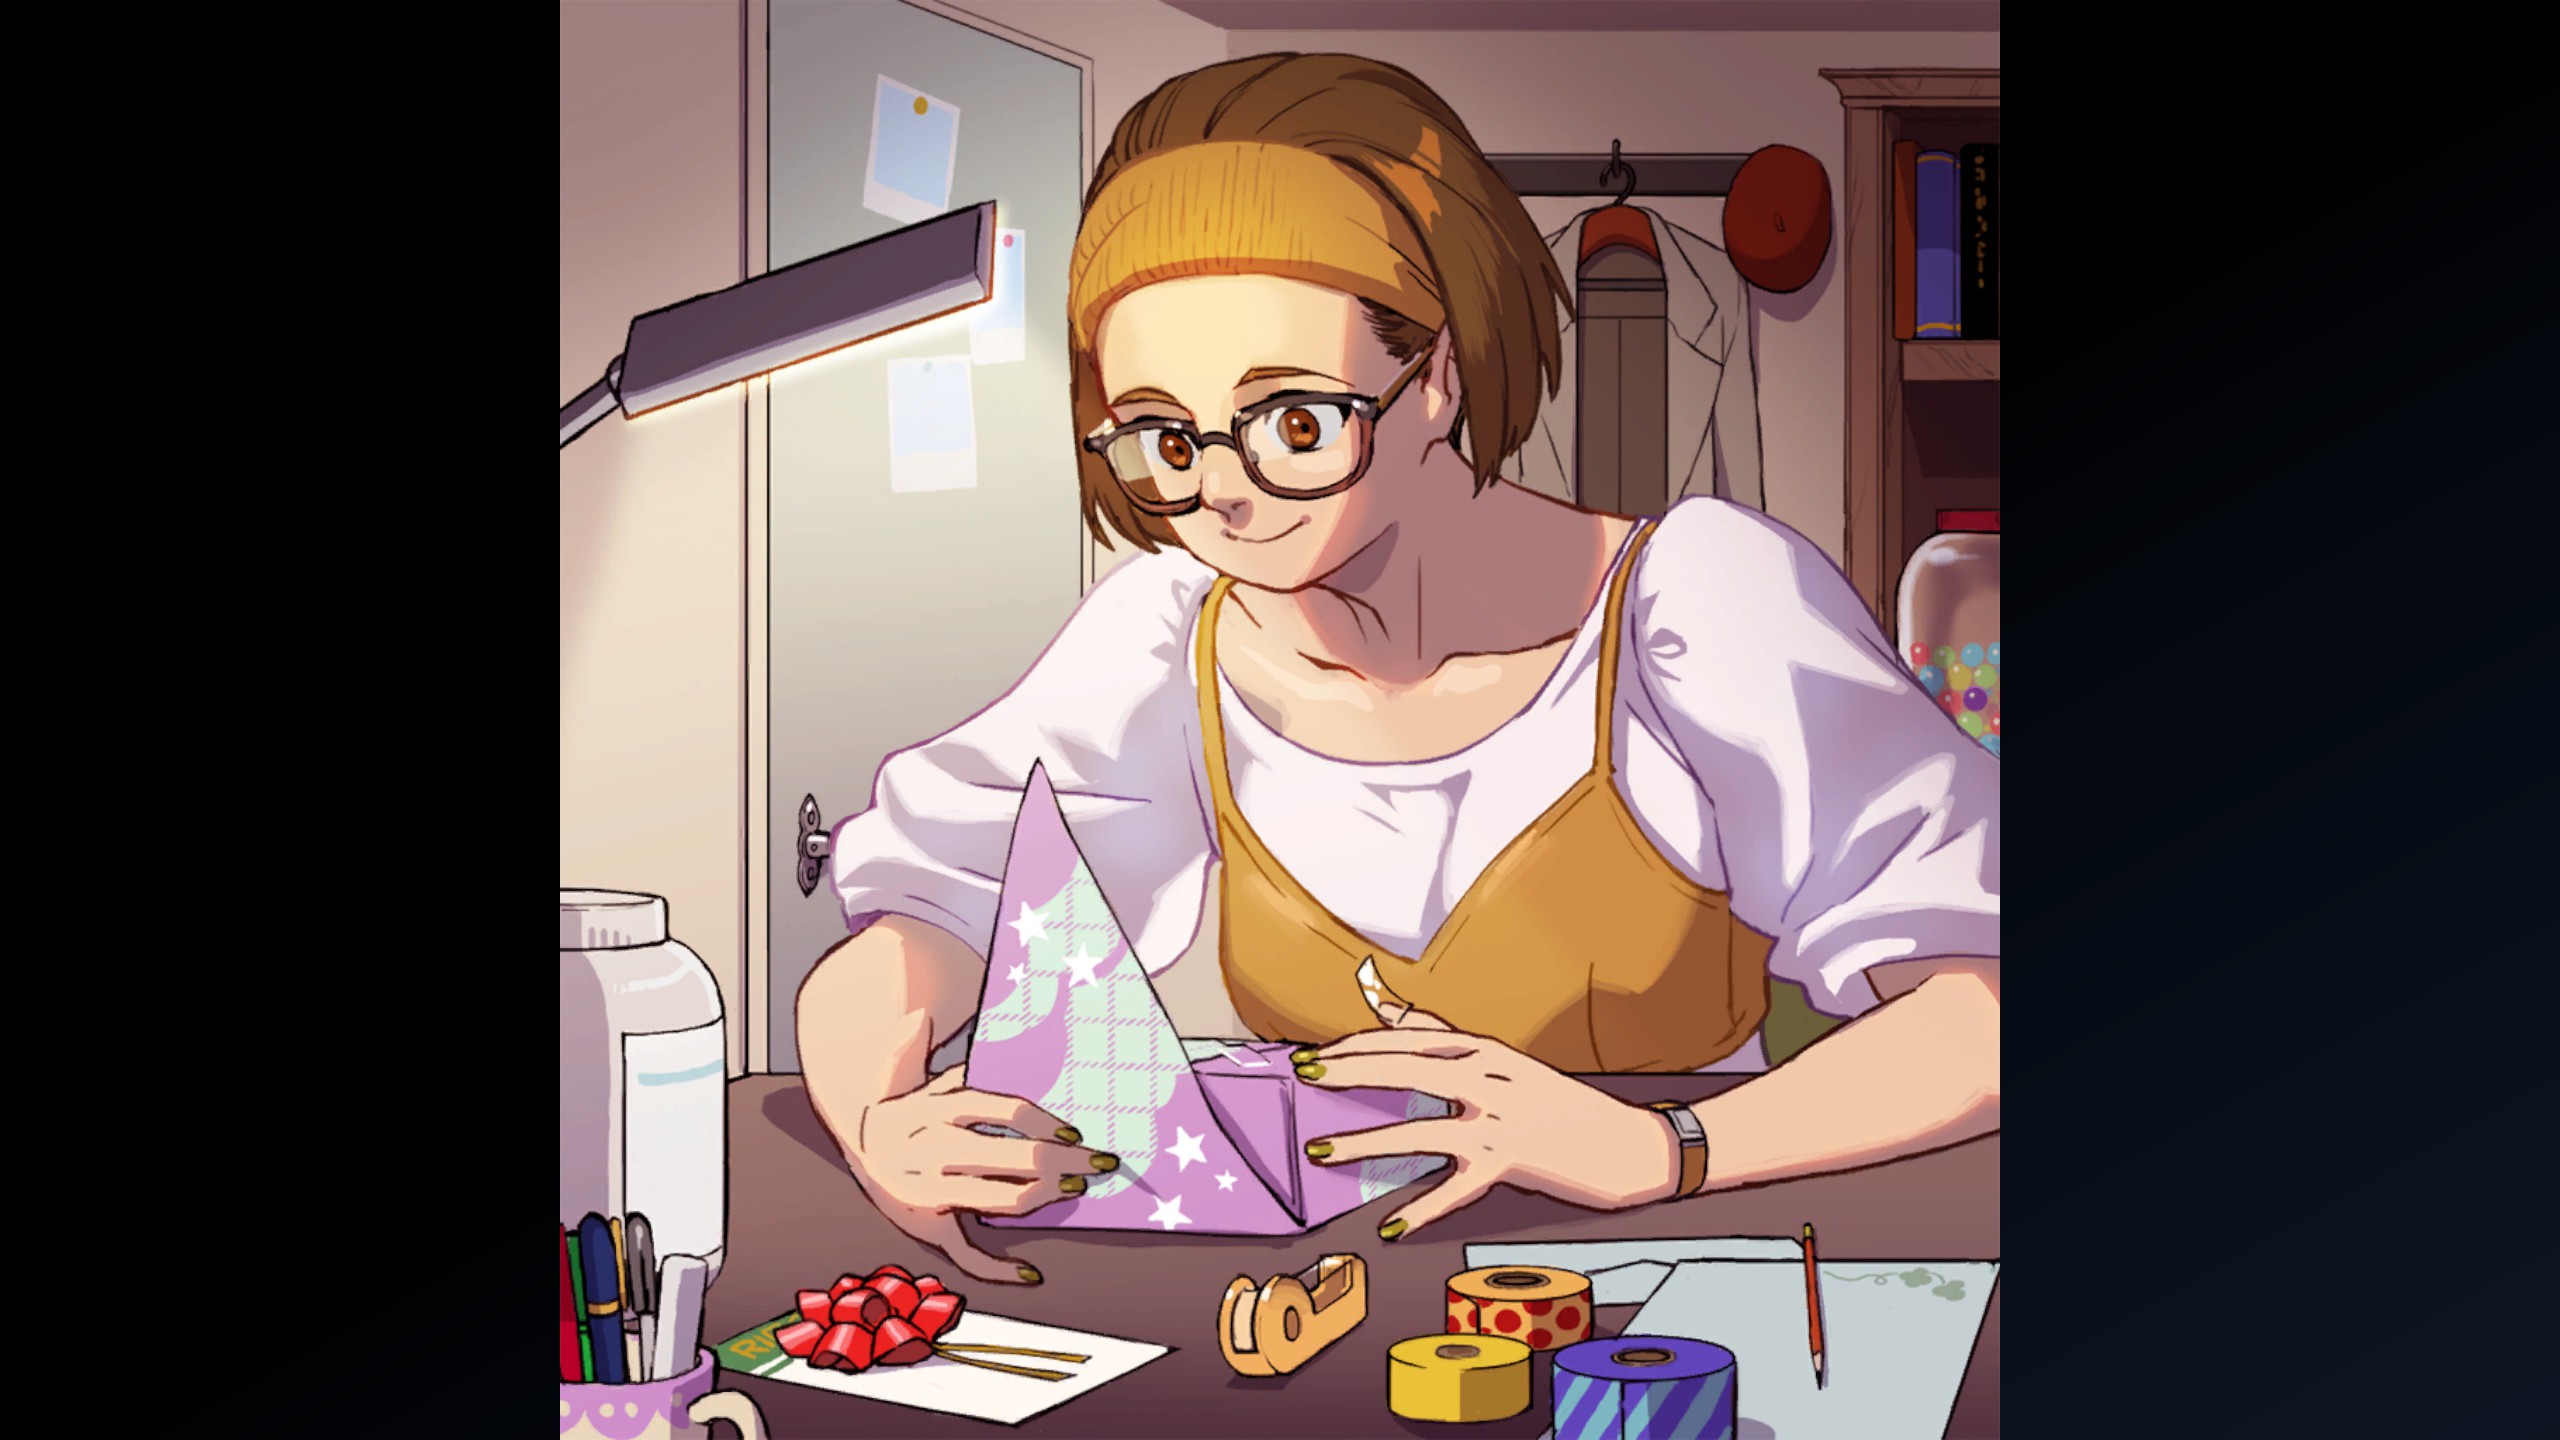
Moving on to number 8, we have Nampueng's Gift:
Nampueng's Gift
World Tour - Comics [from the Cutscenes Gallery] (Part 3)
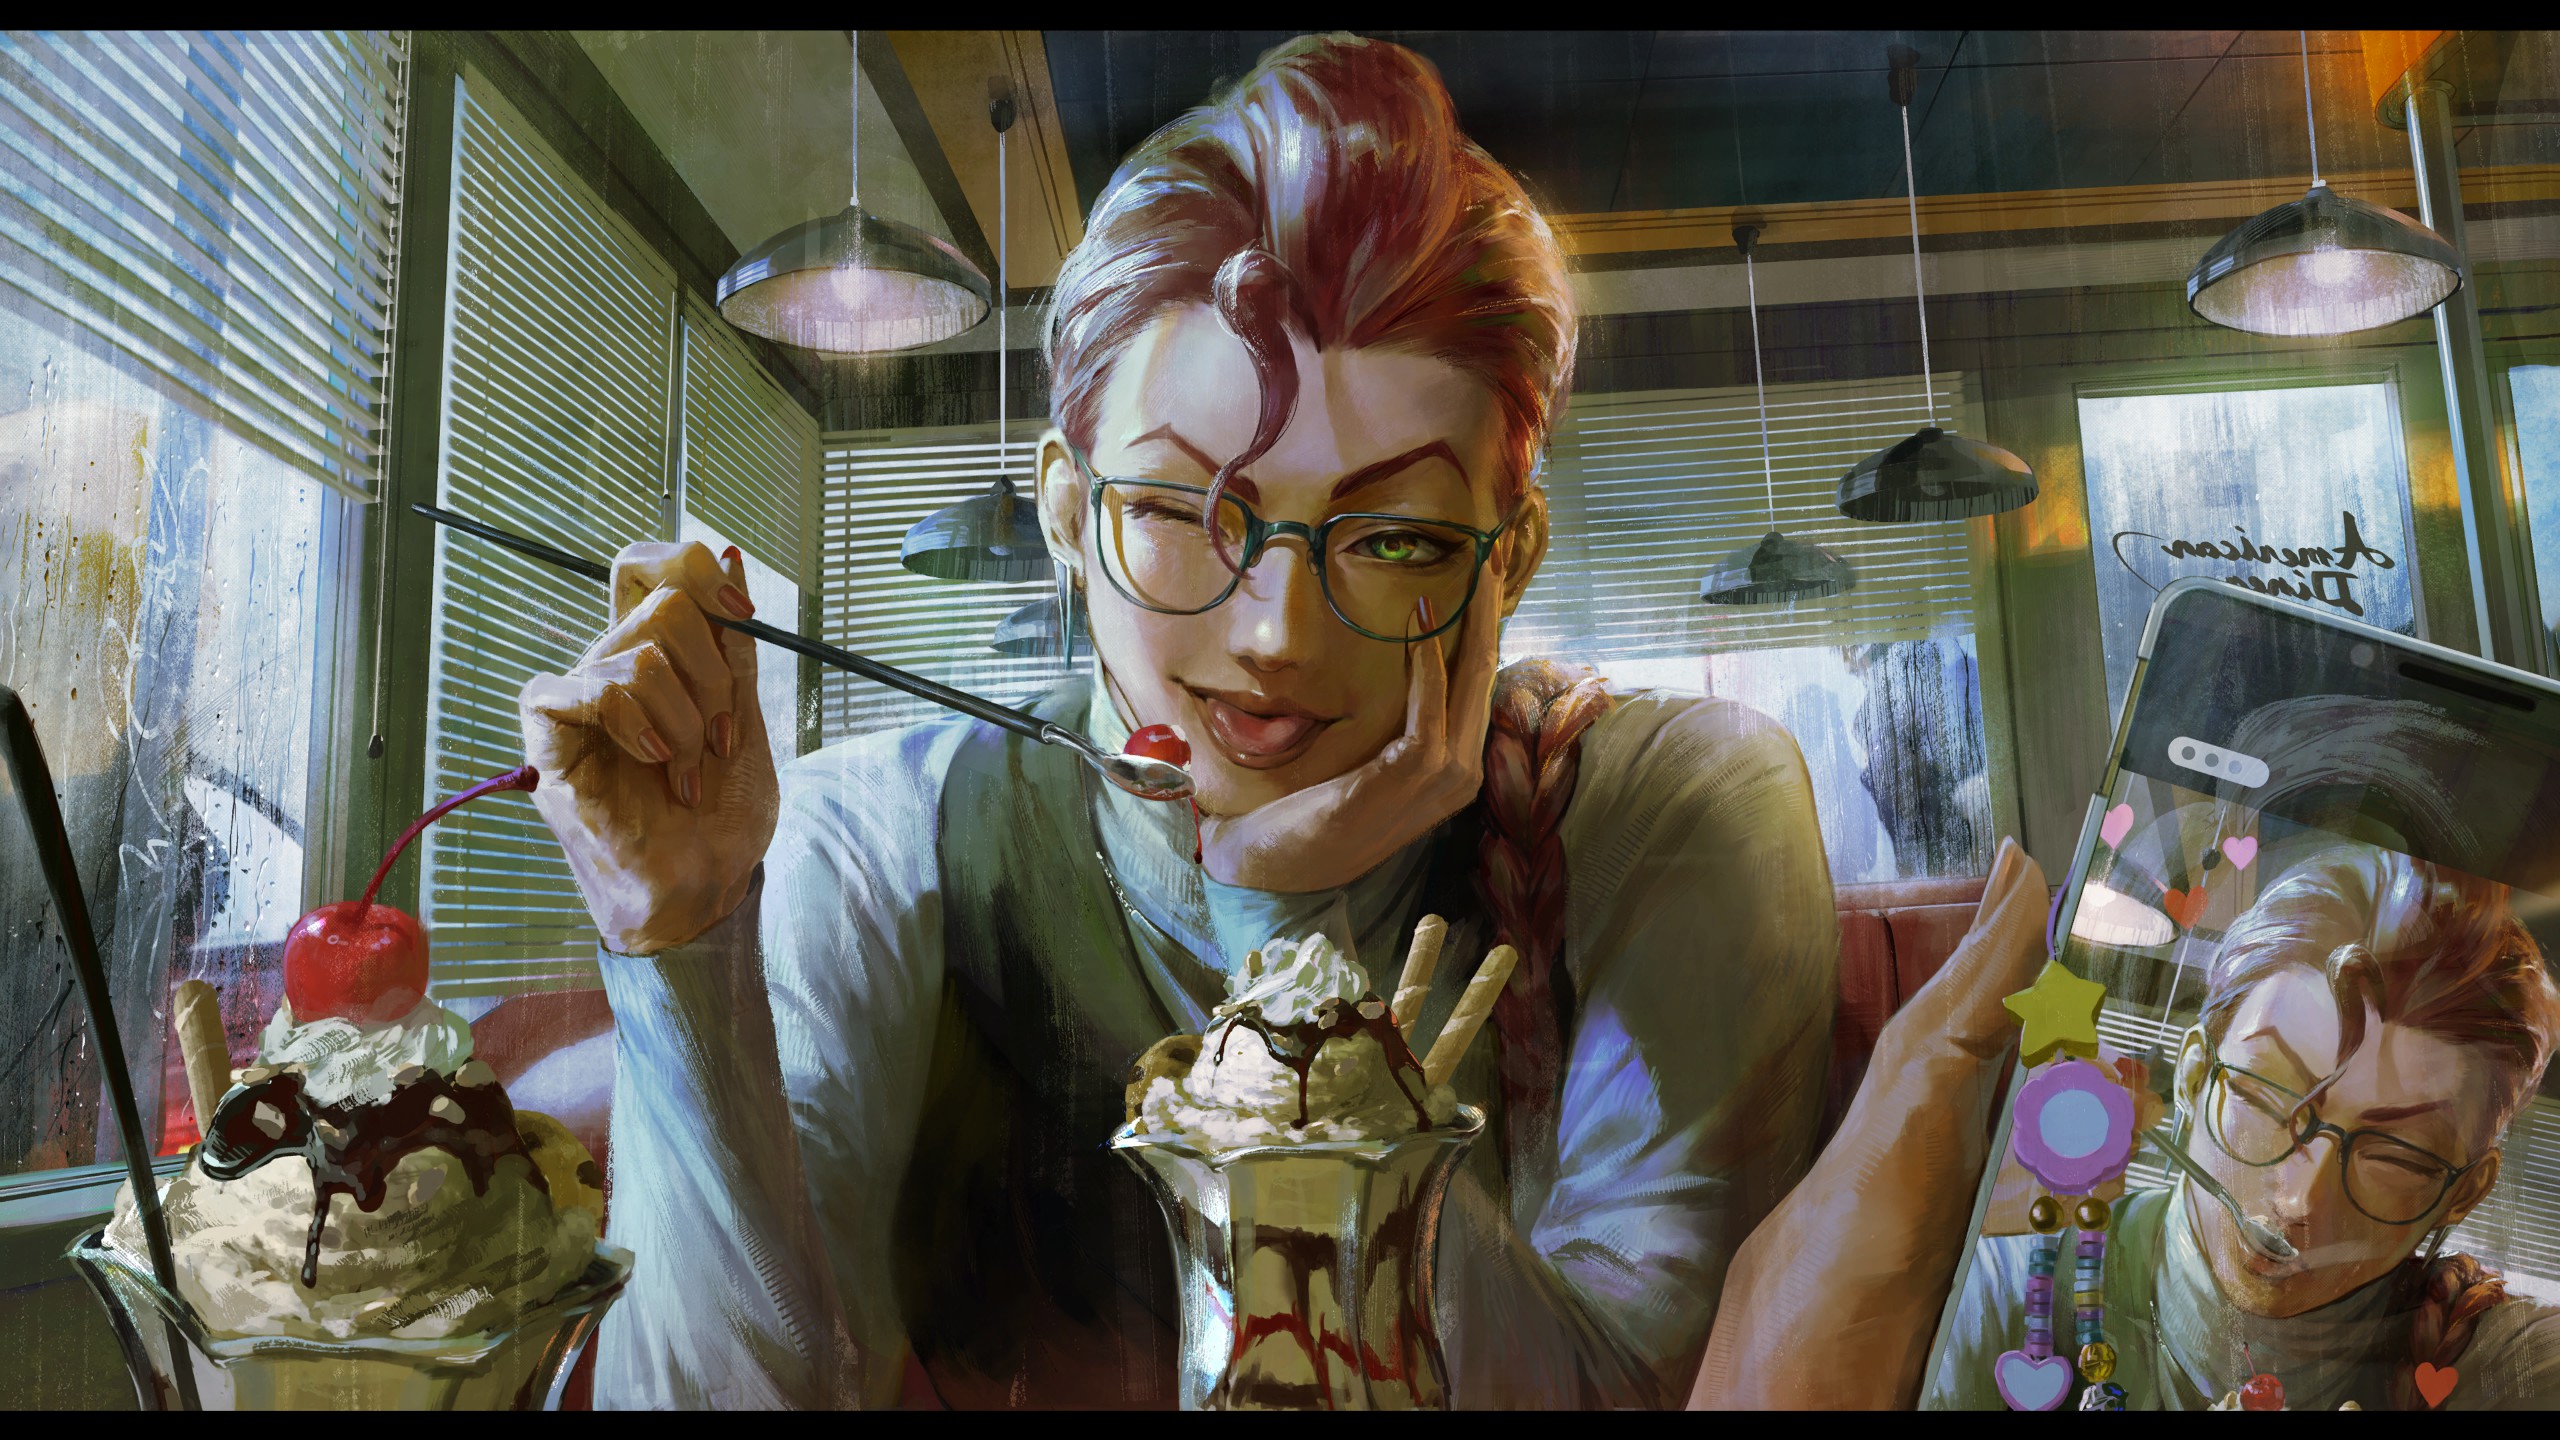
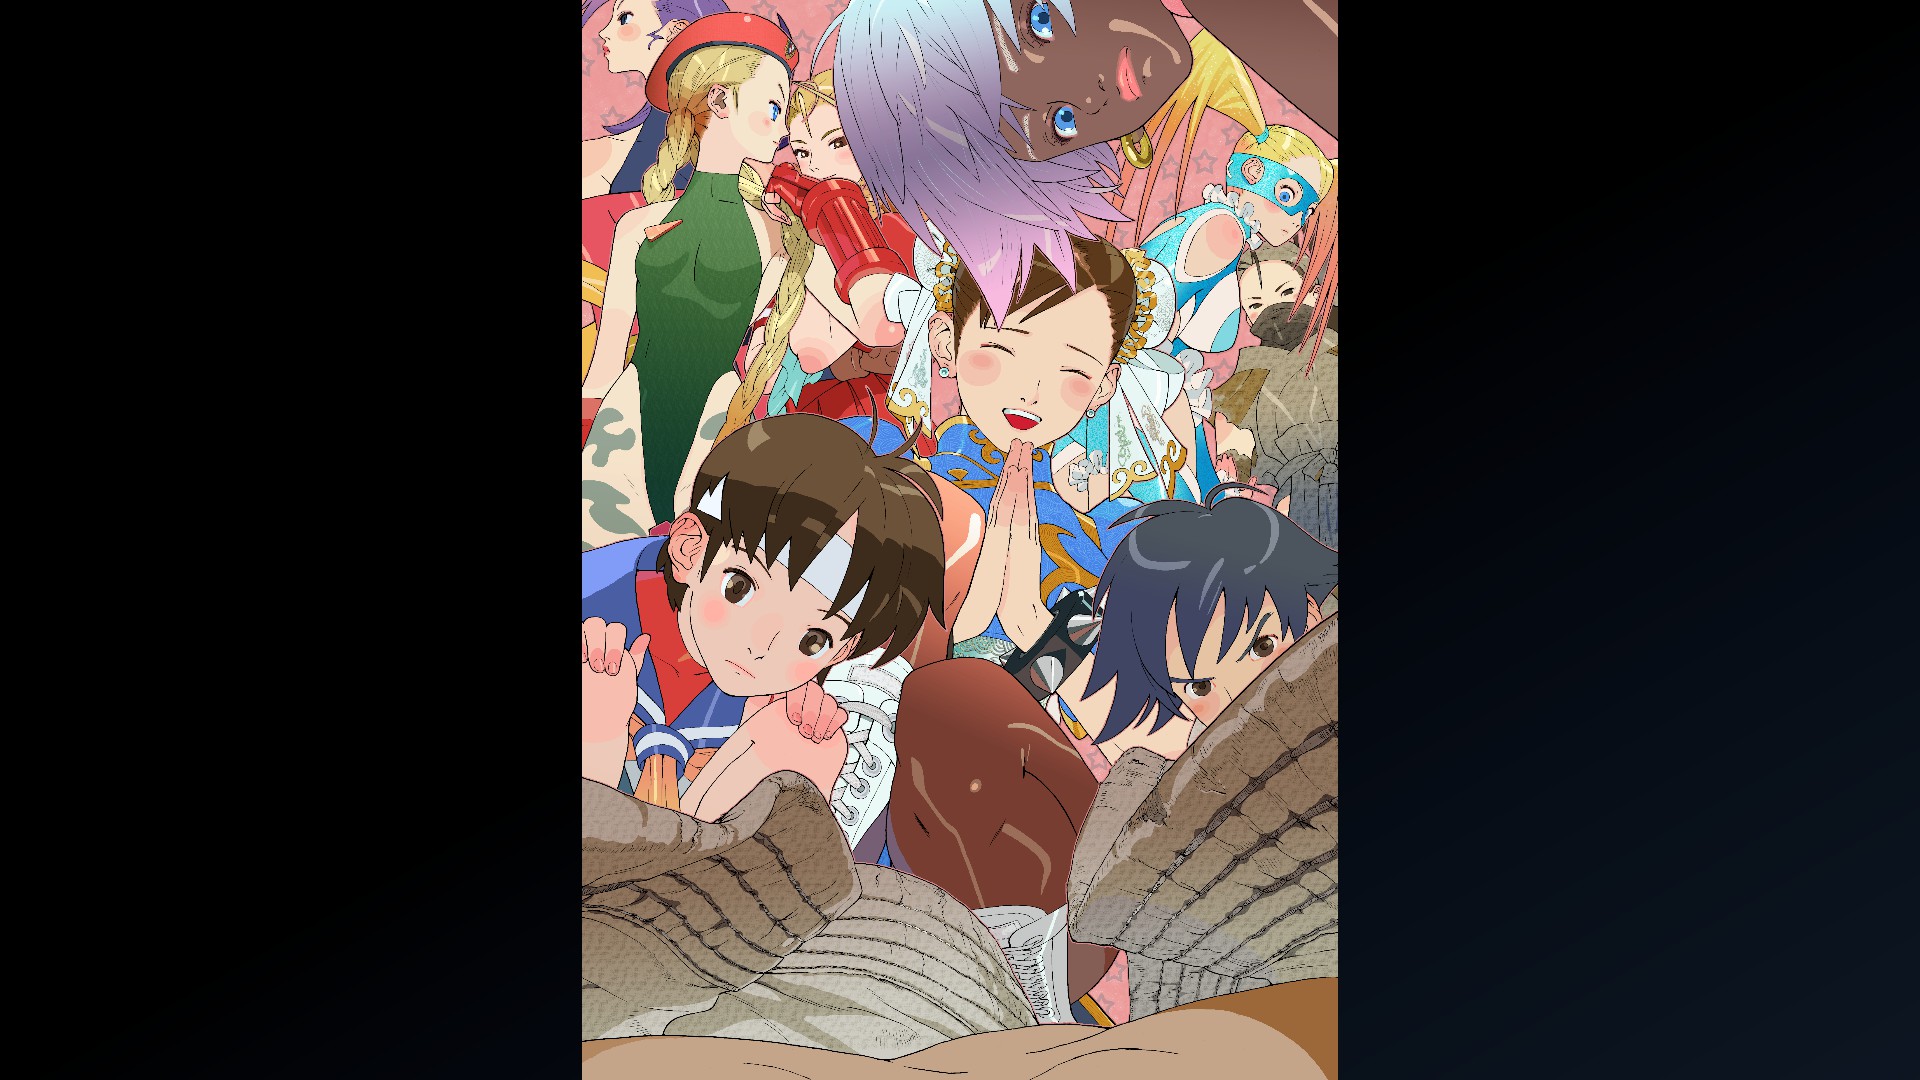
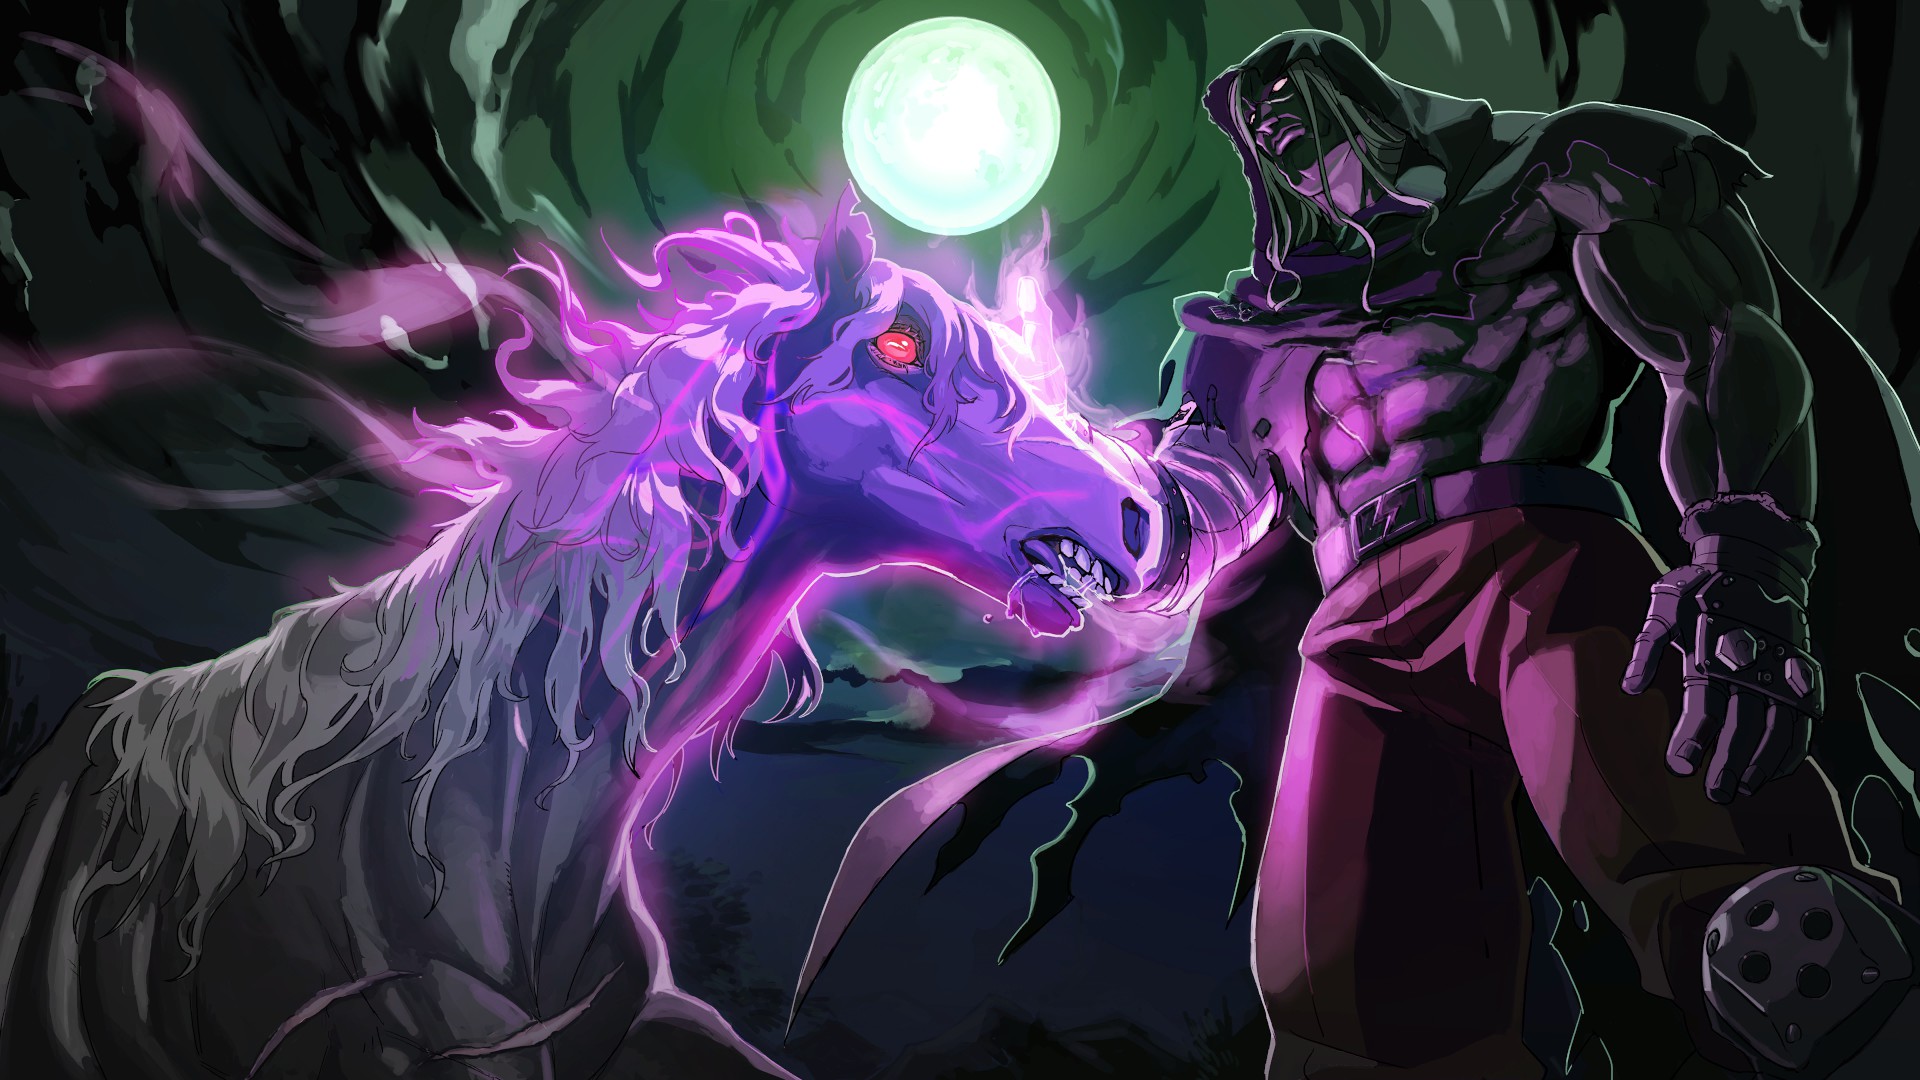
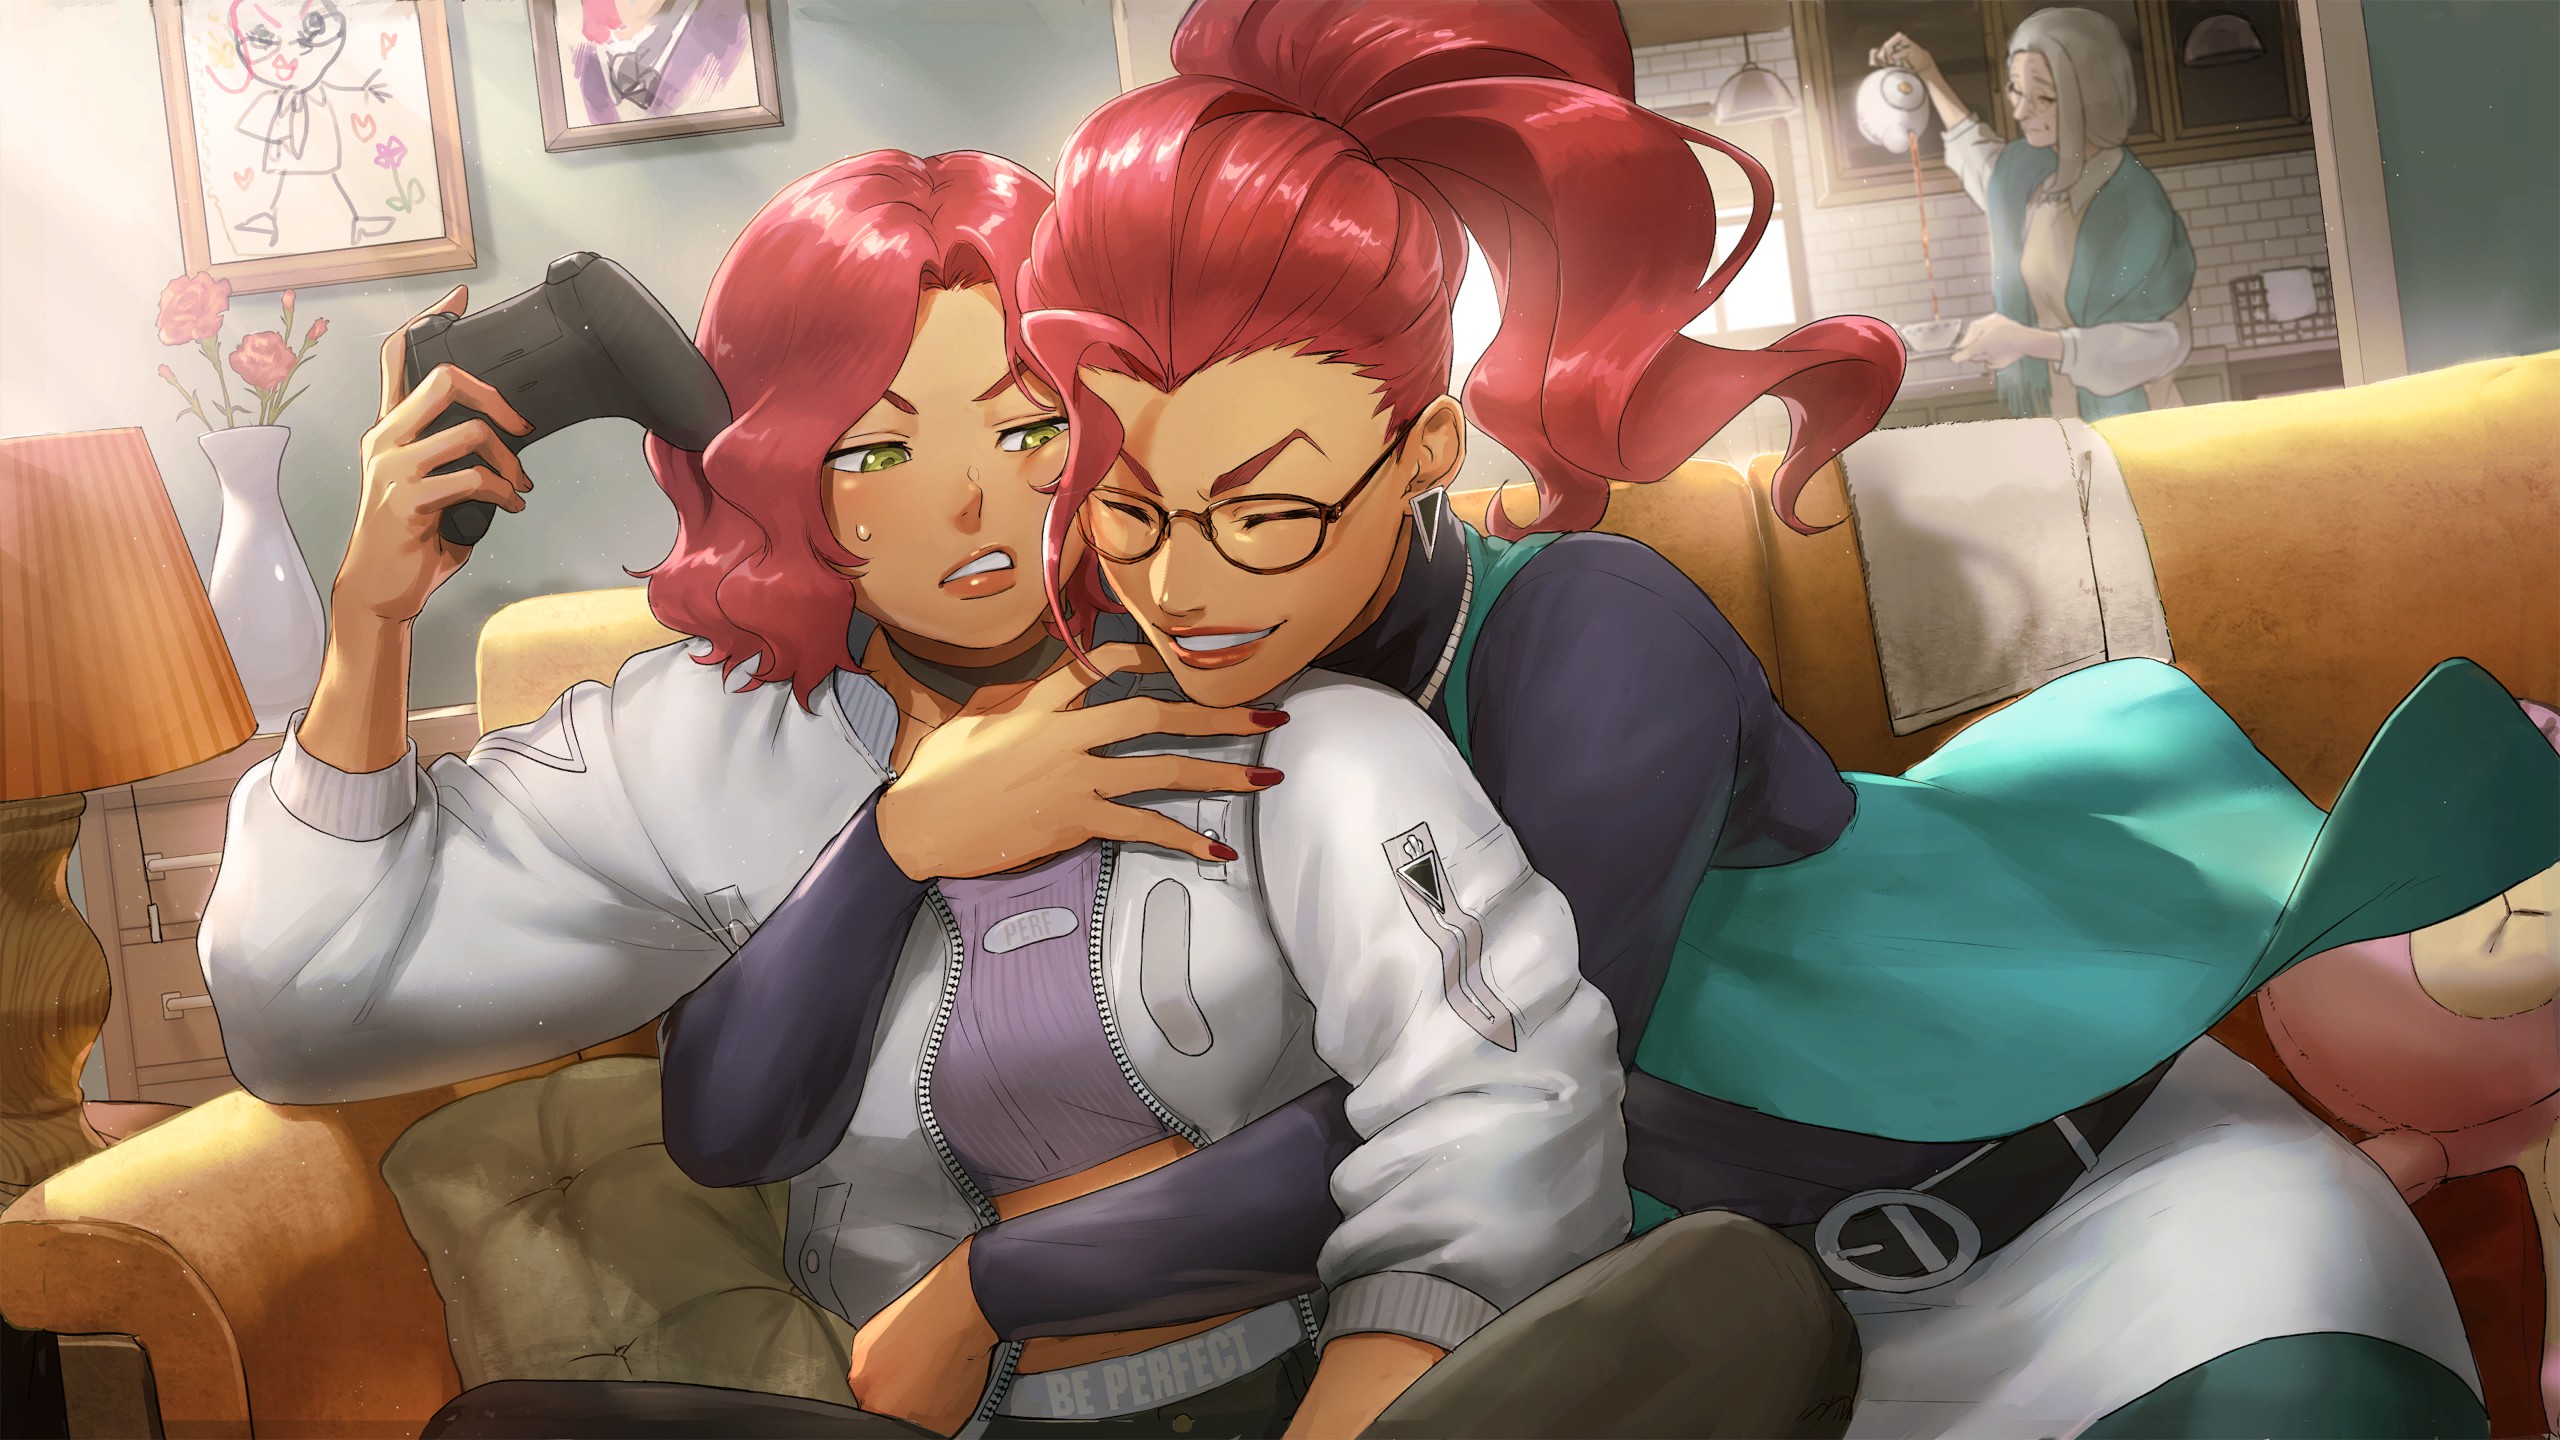
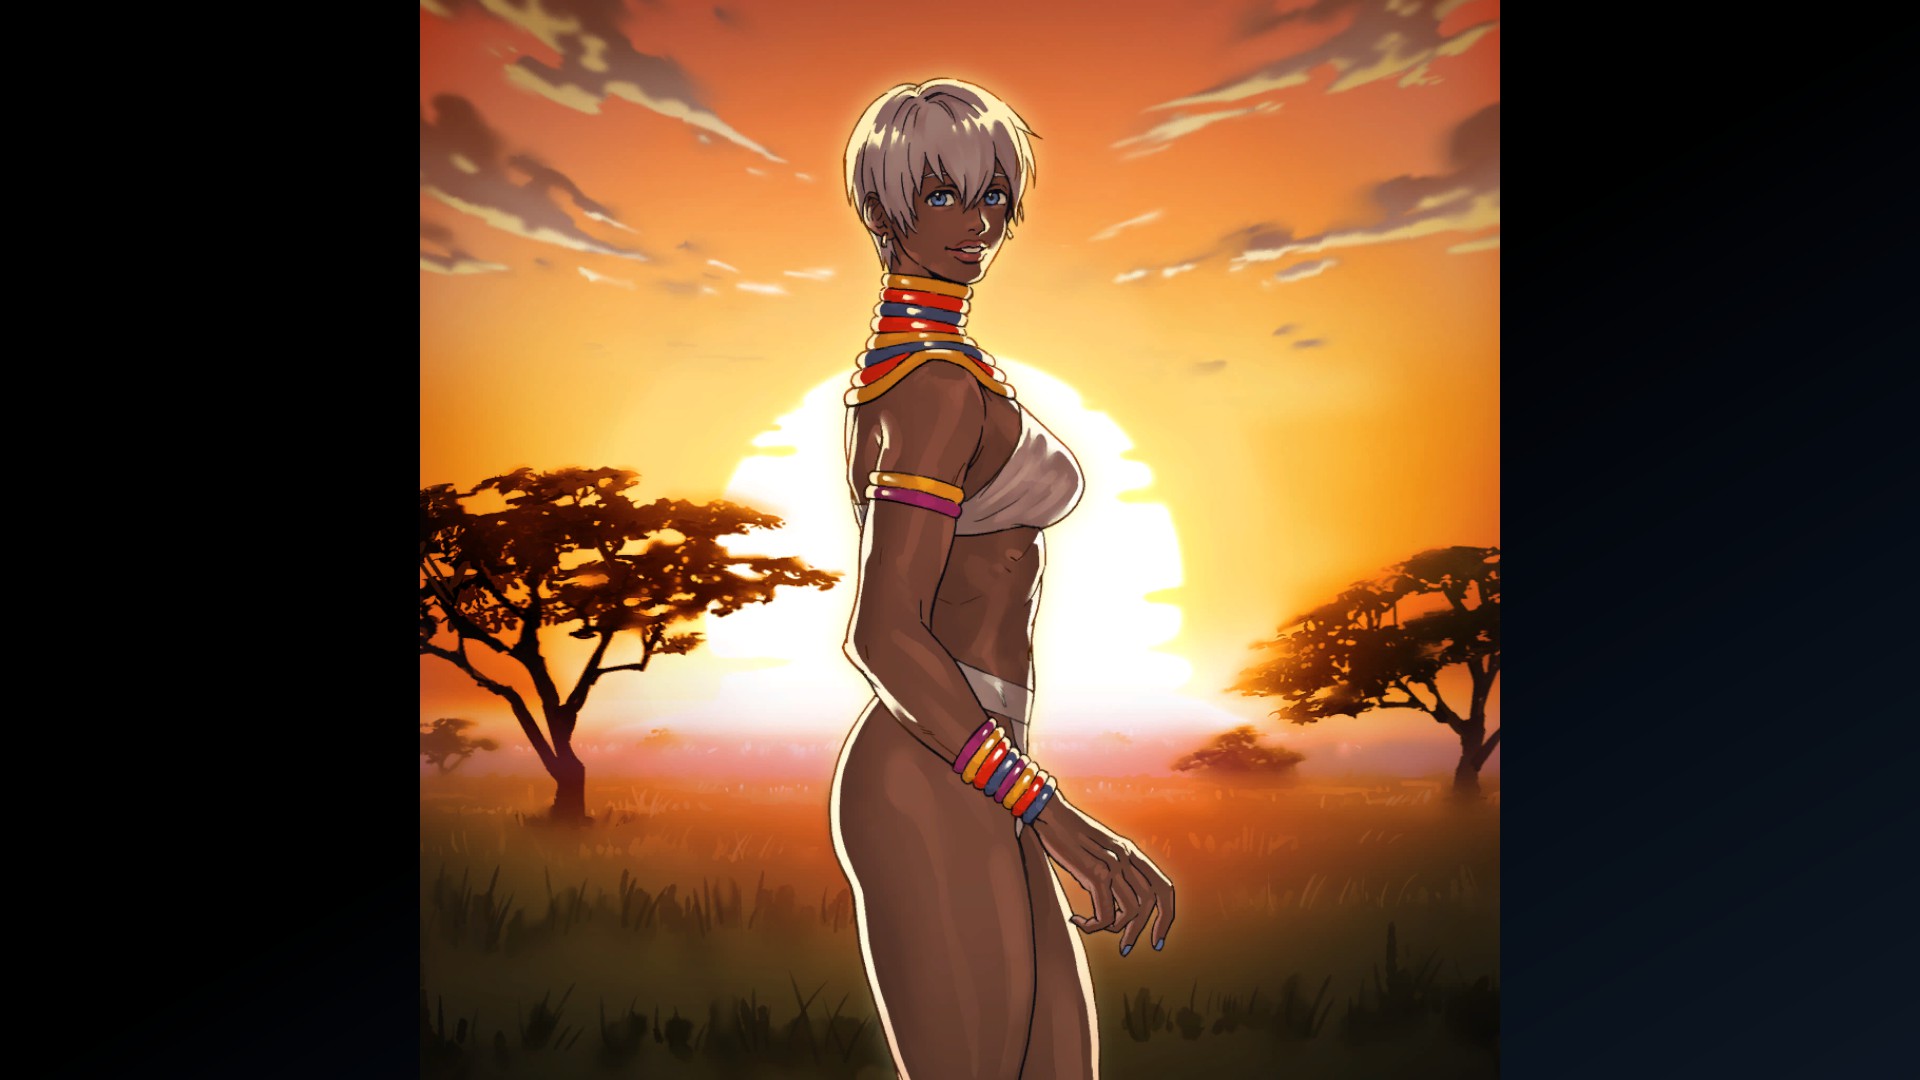
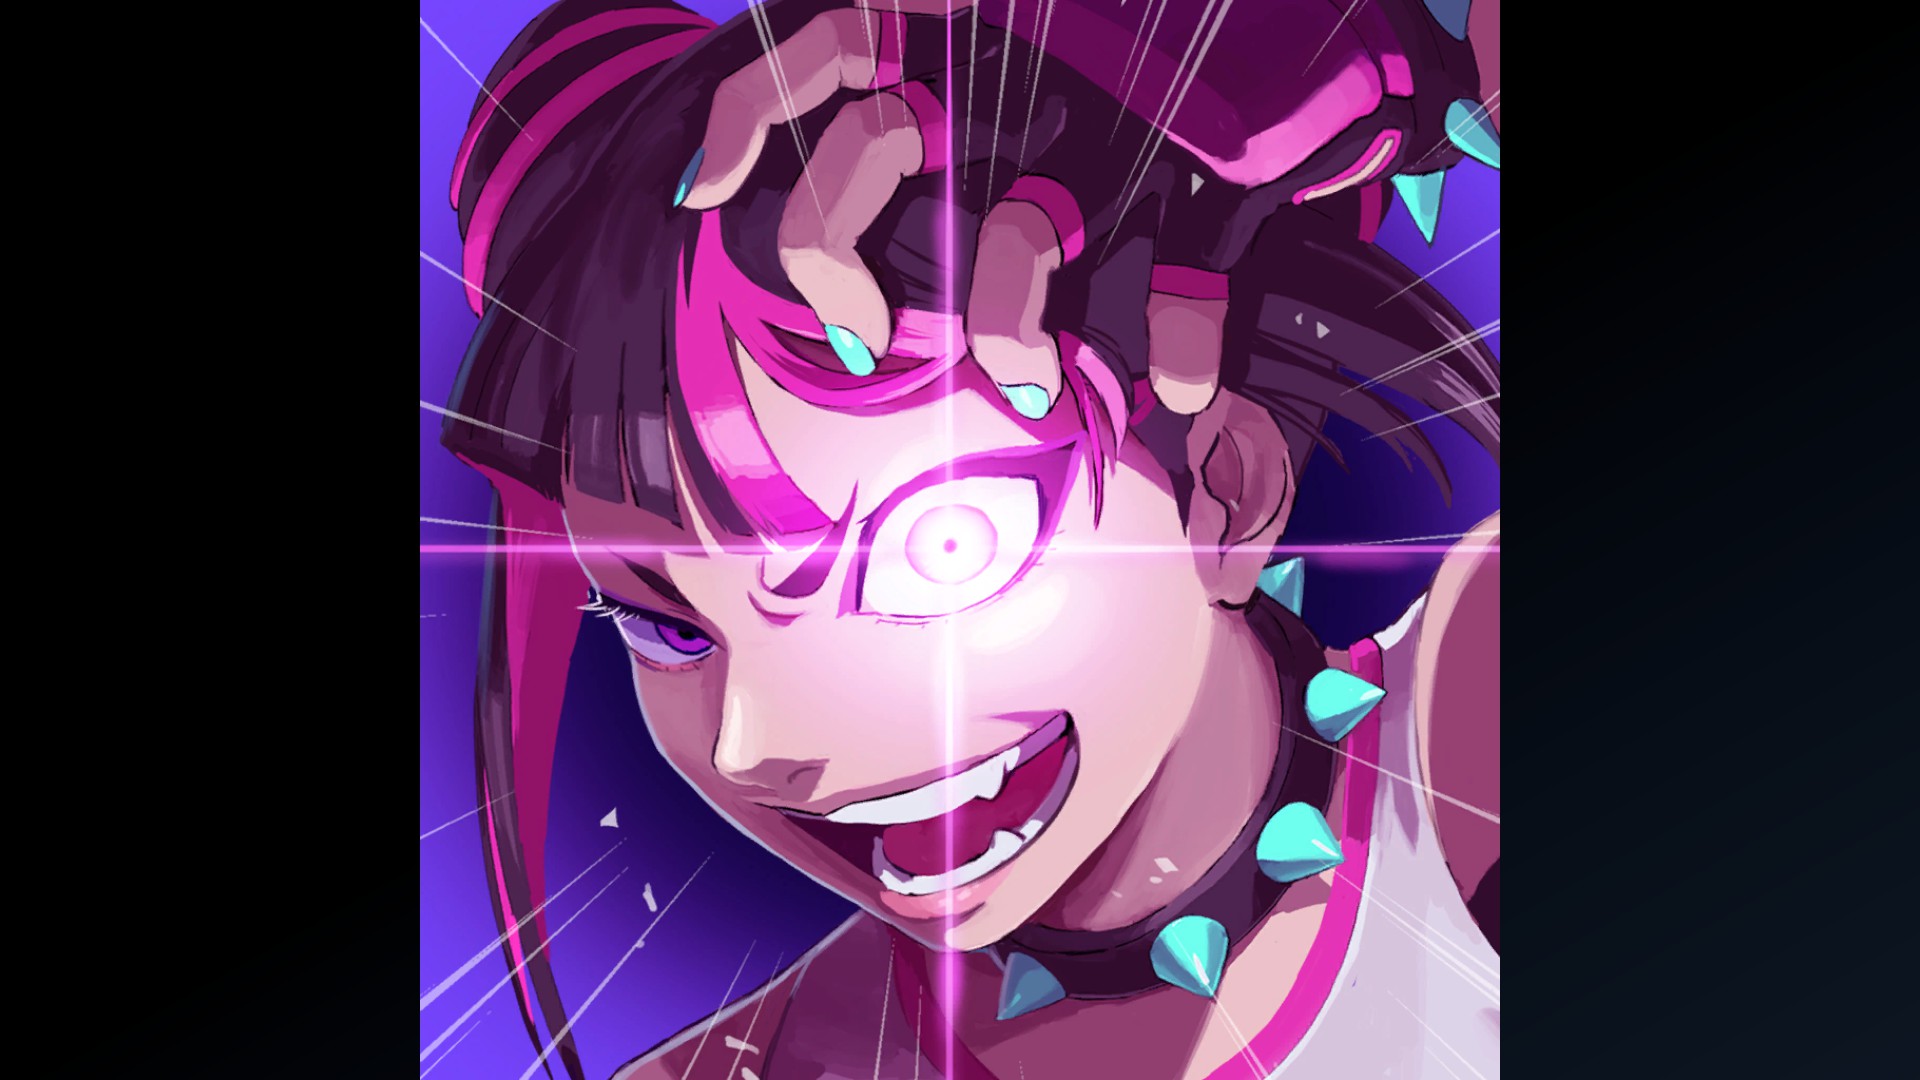
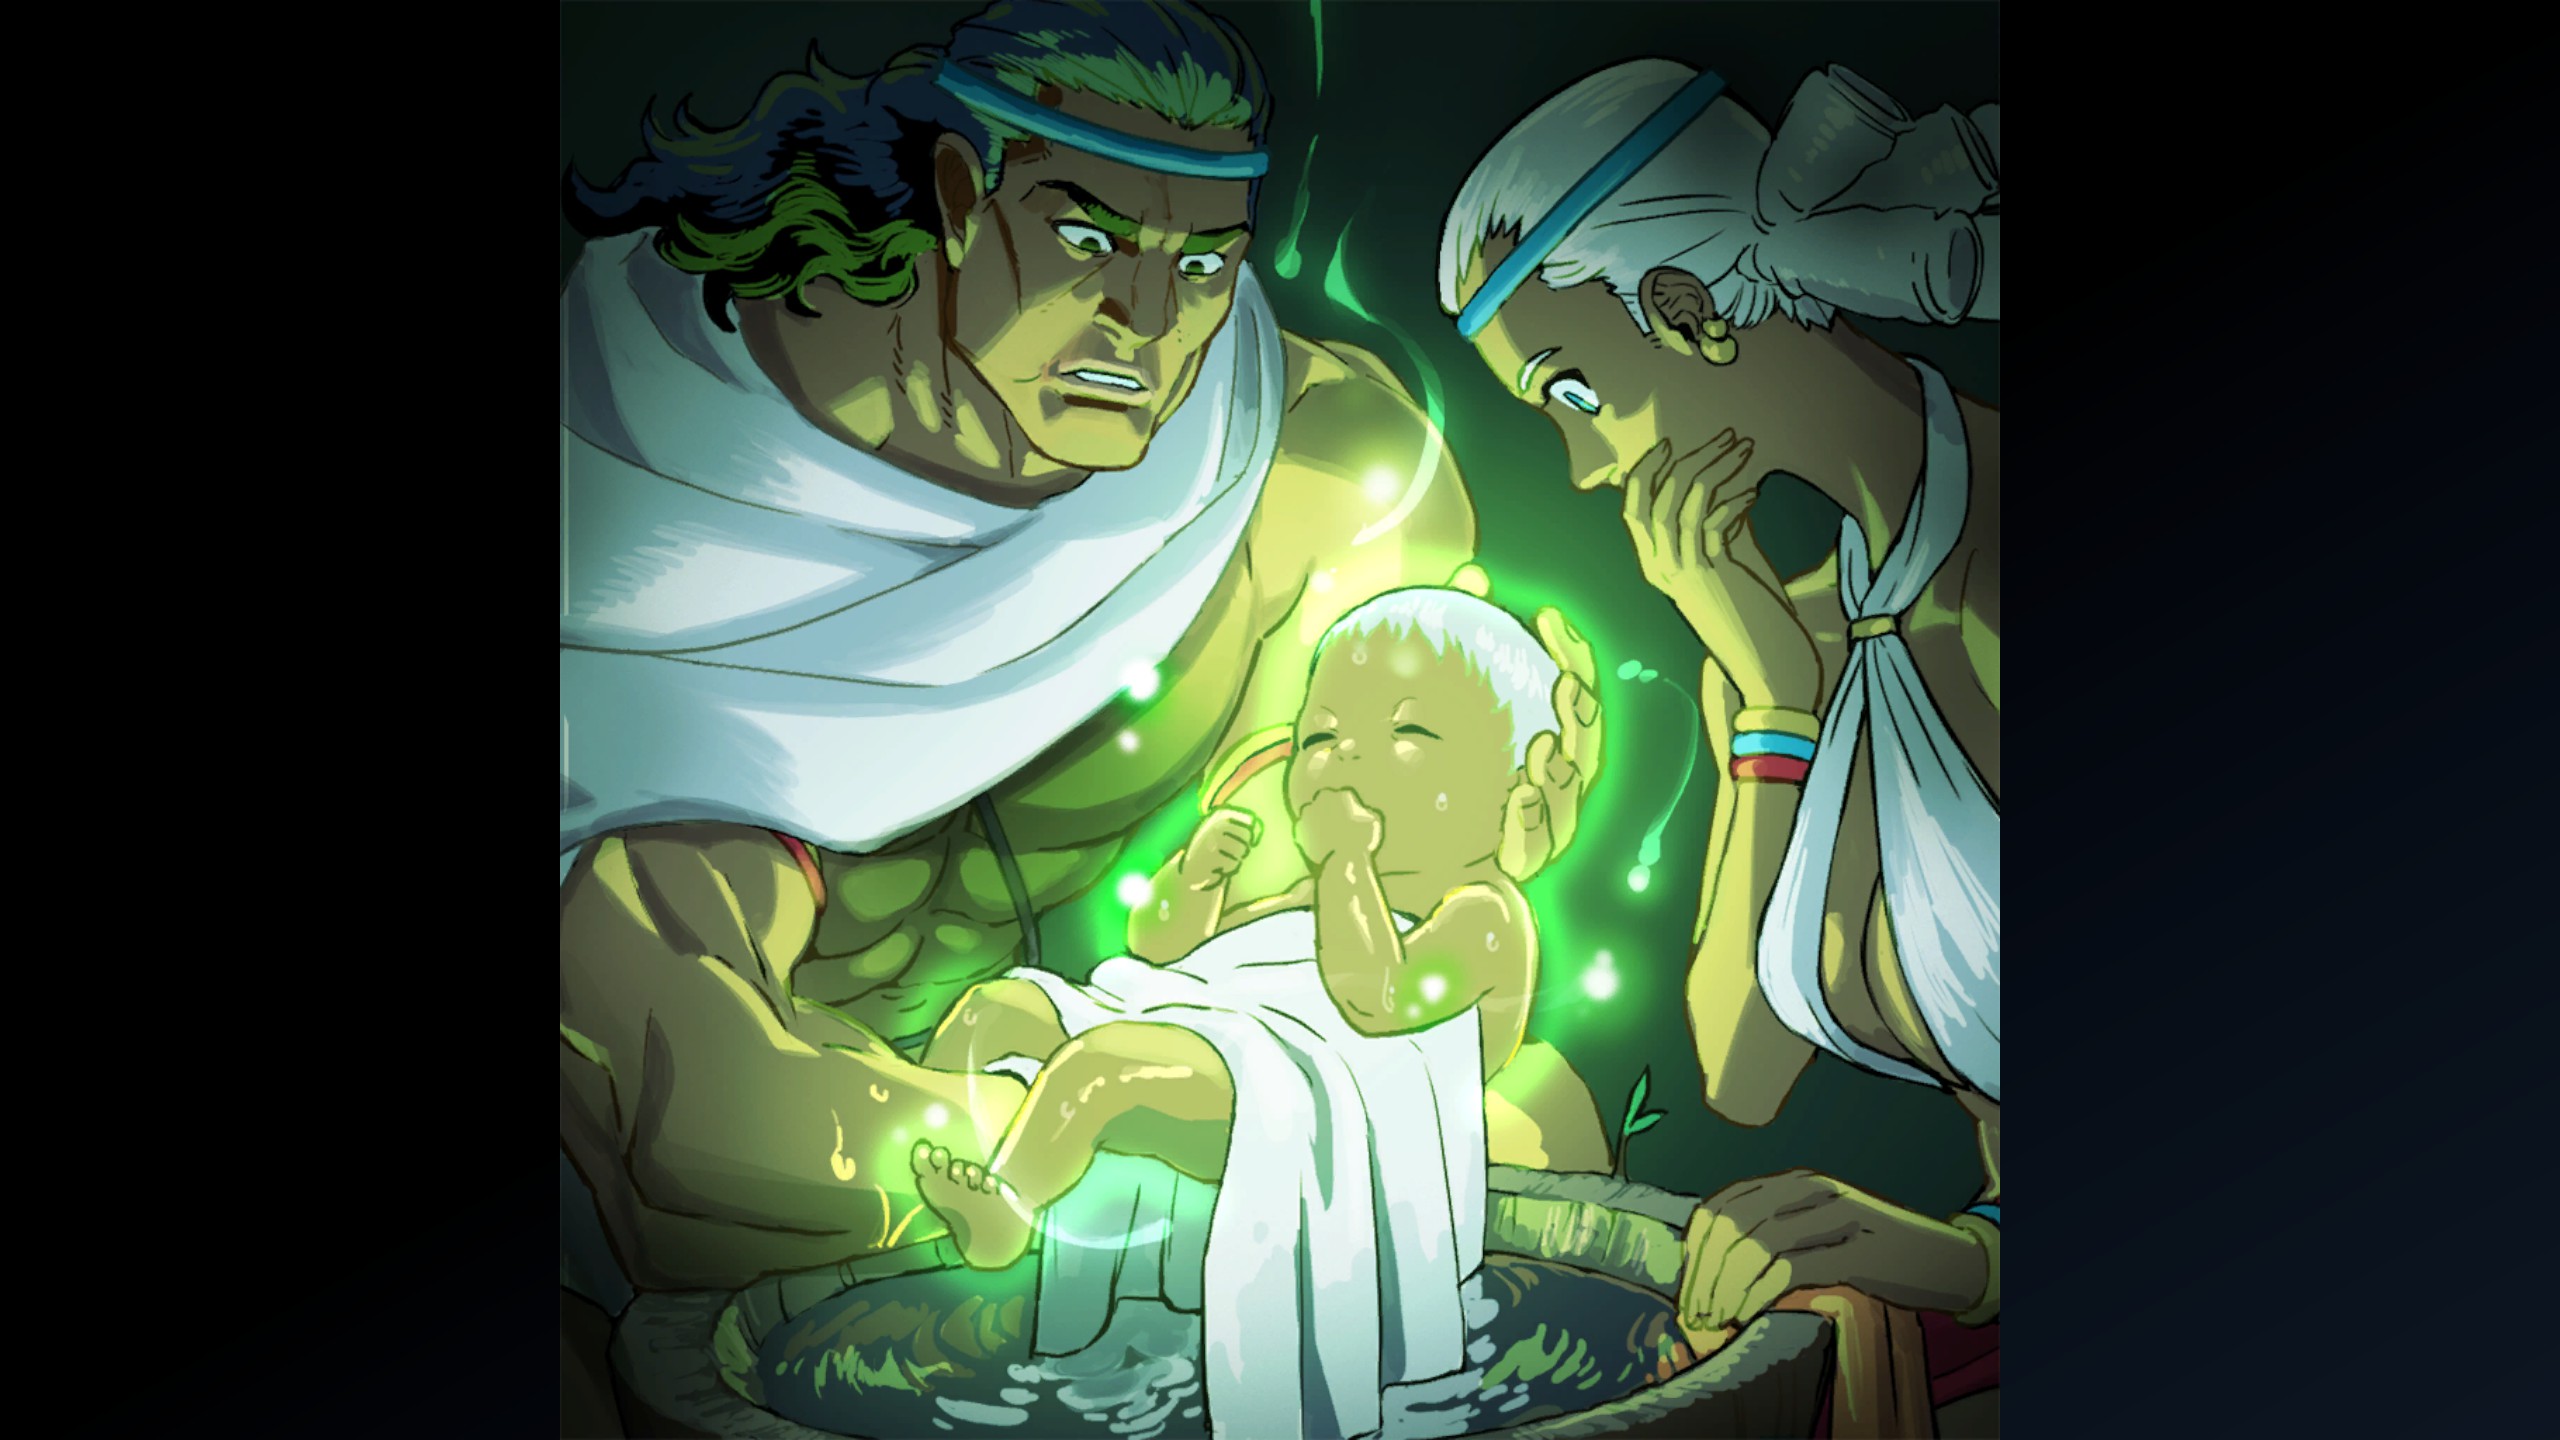
The ninth comic is related to C. Viper:

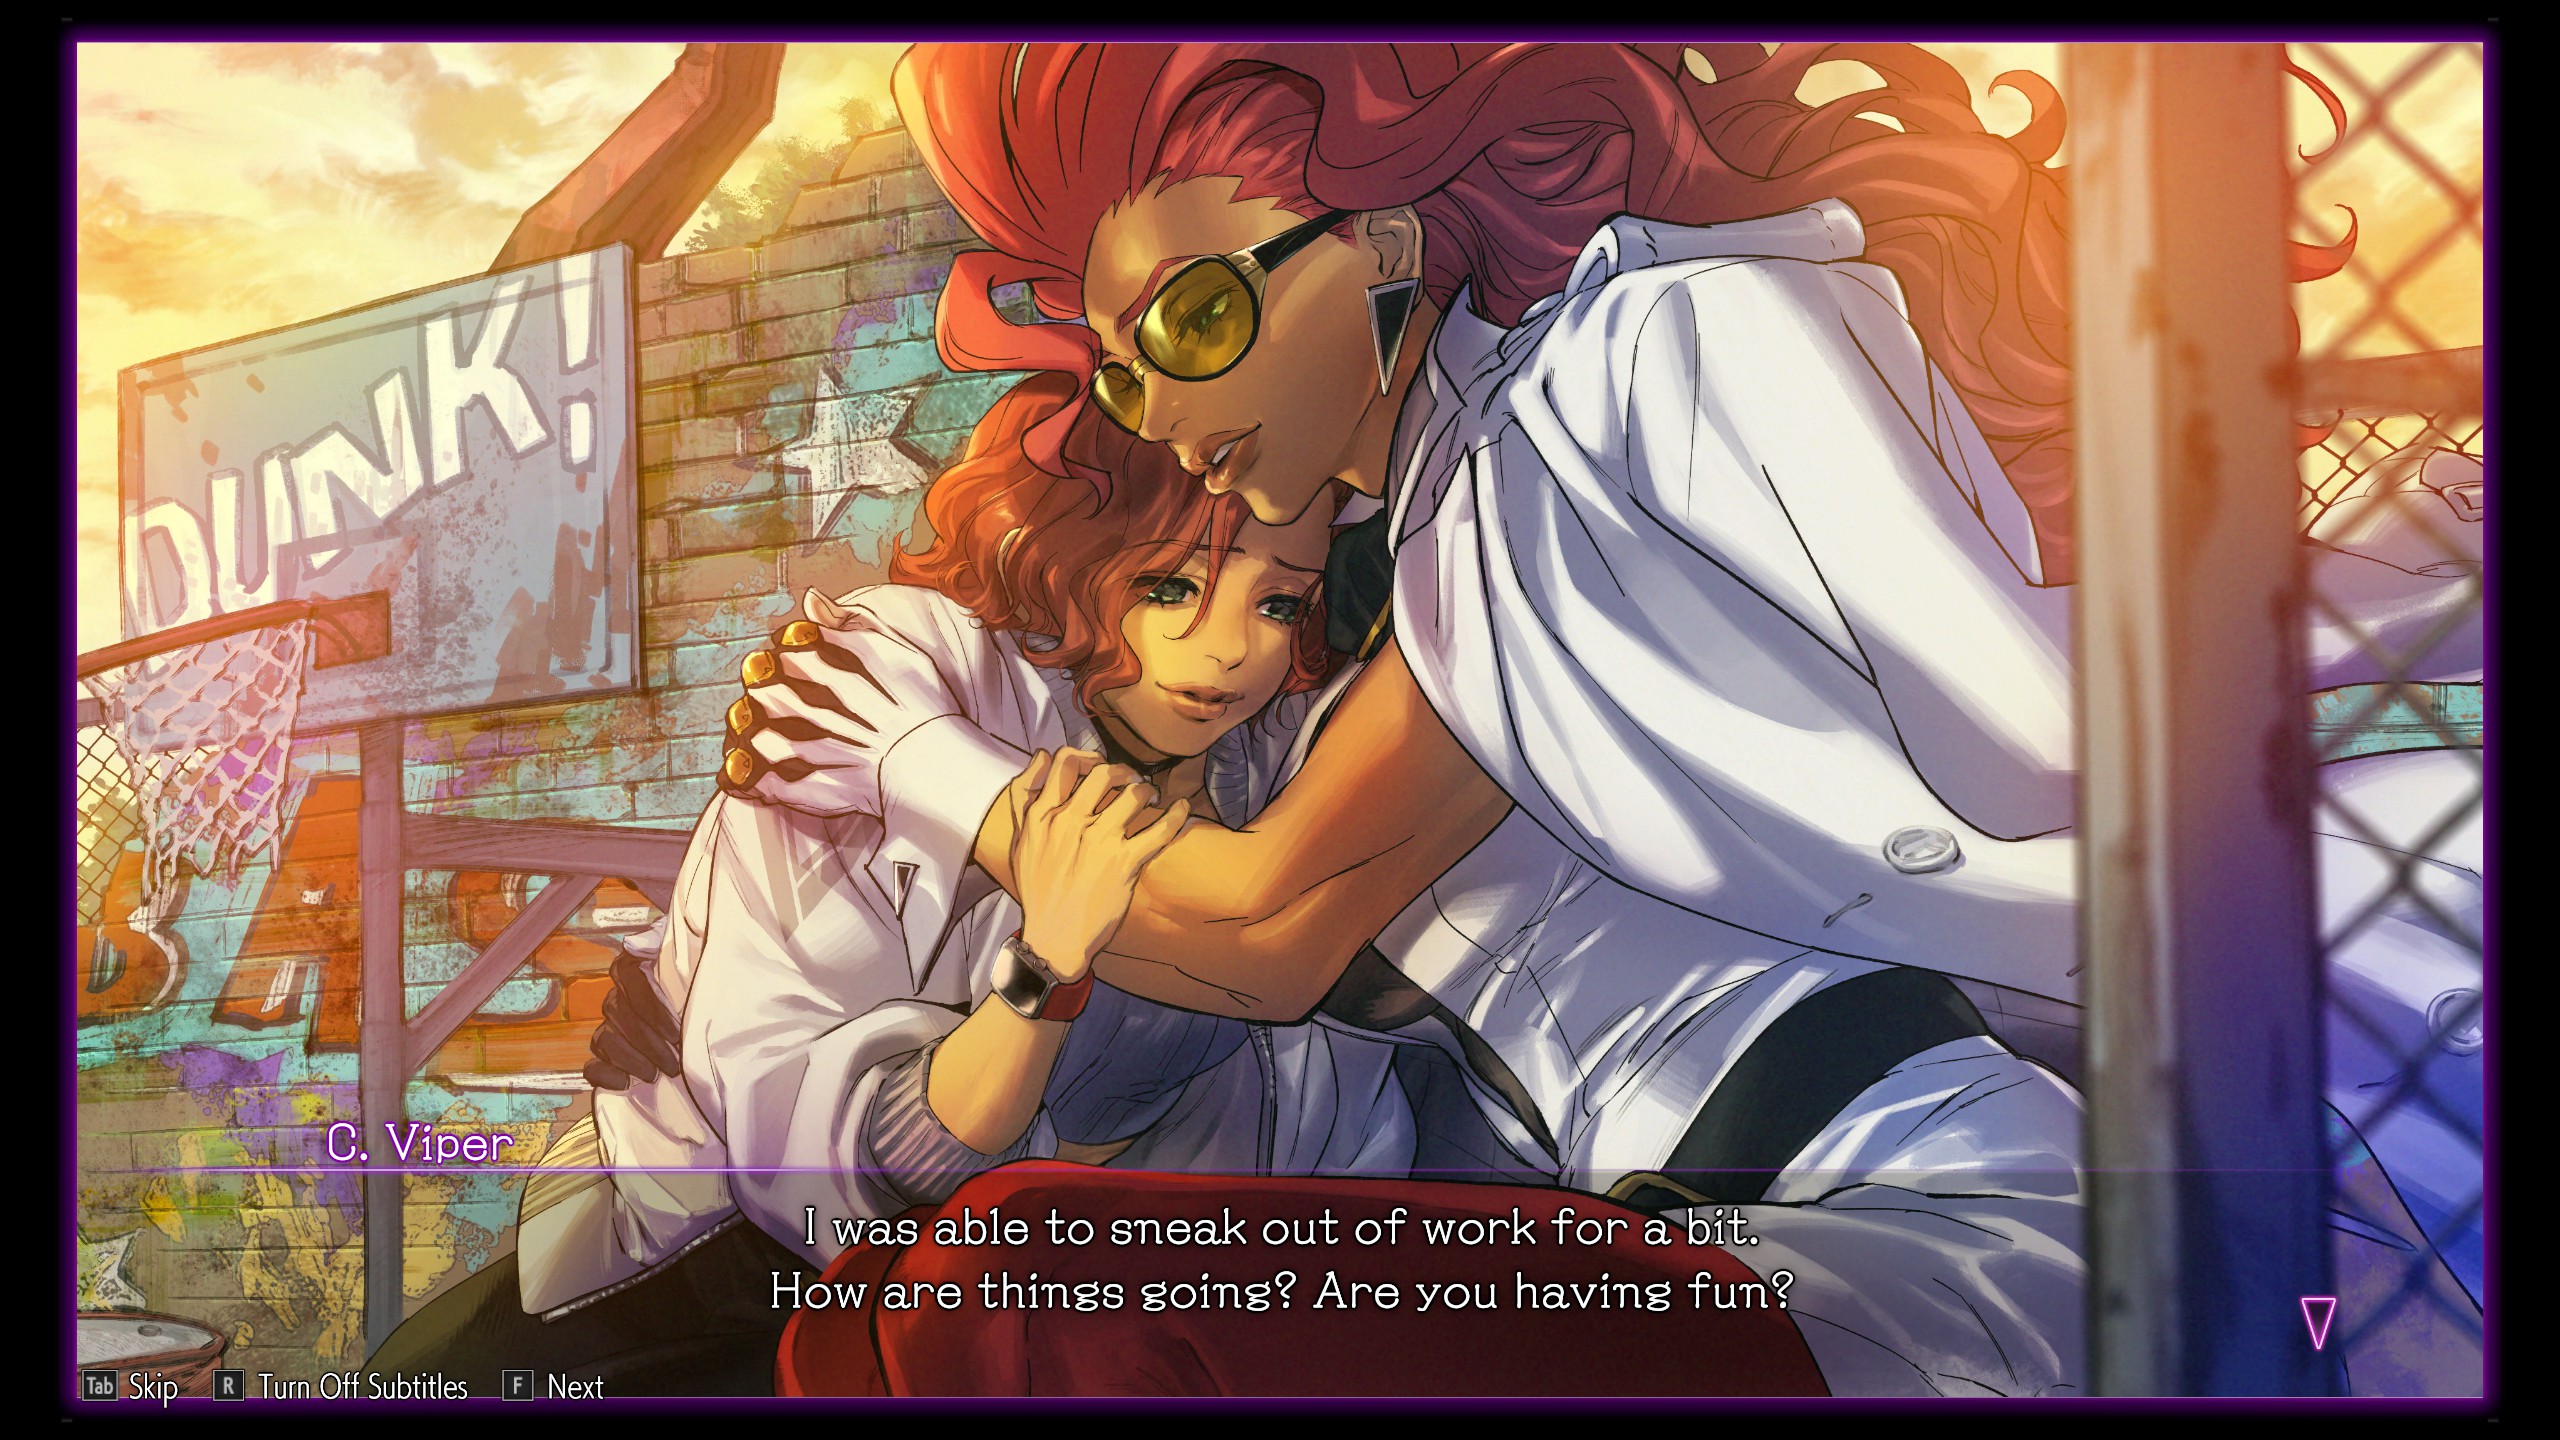


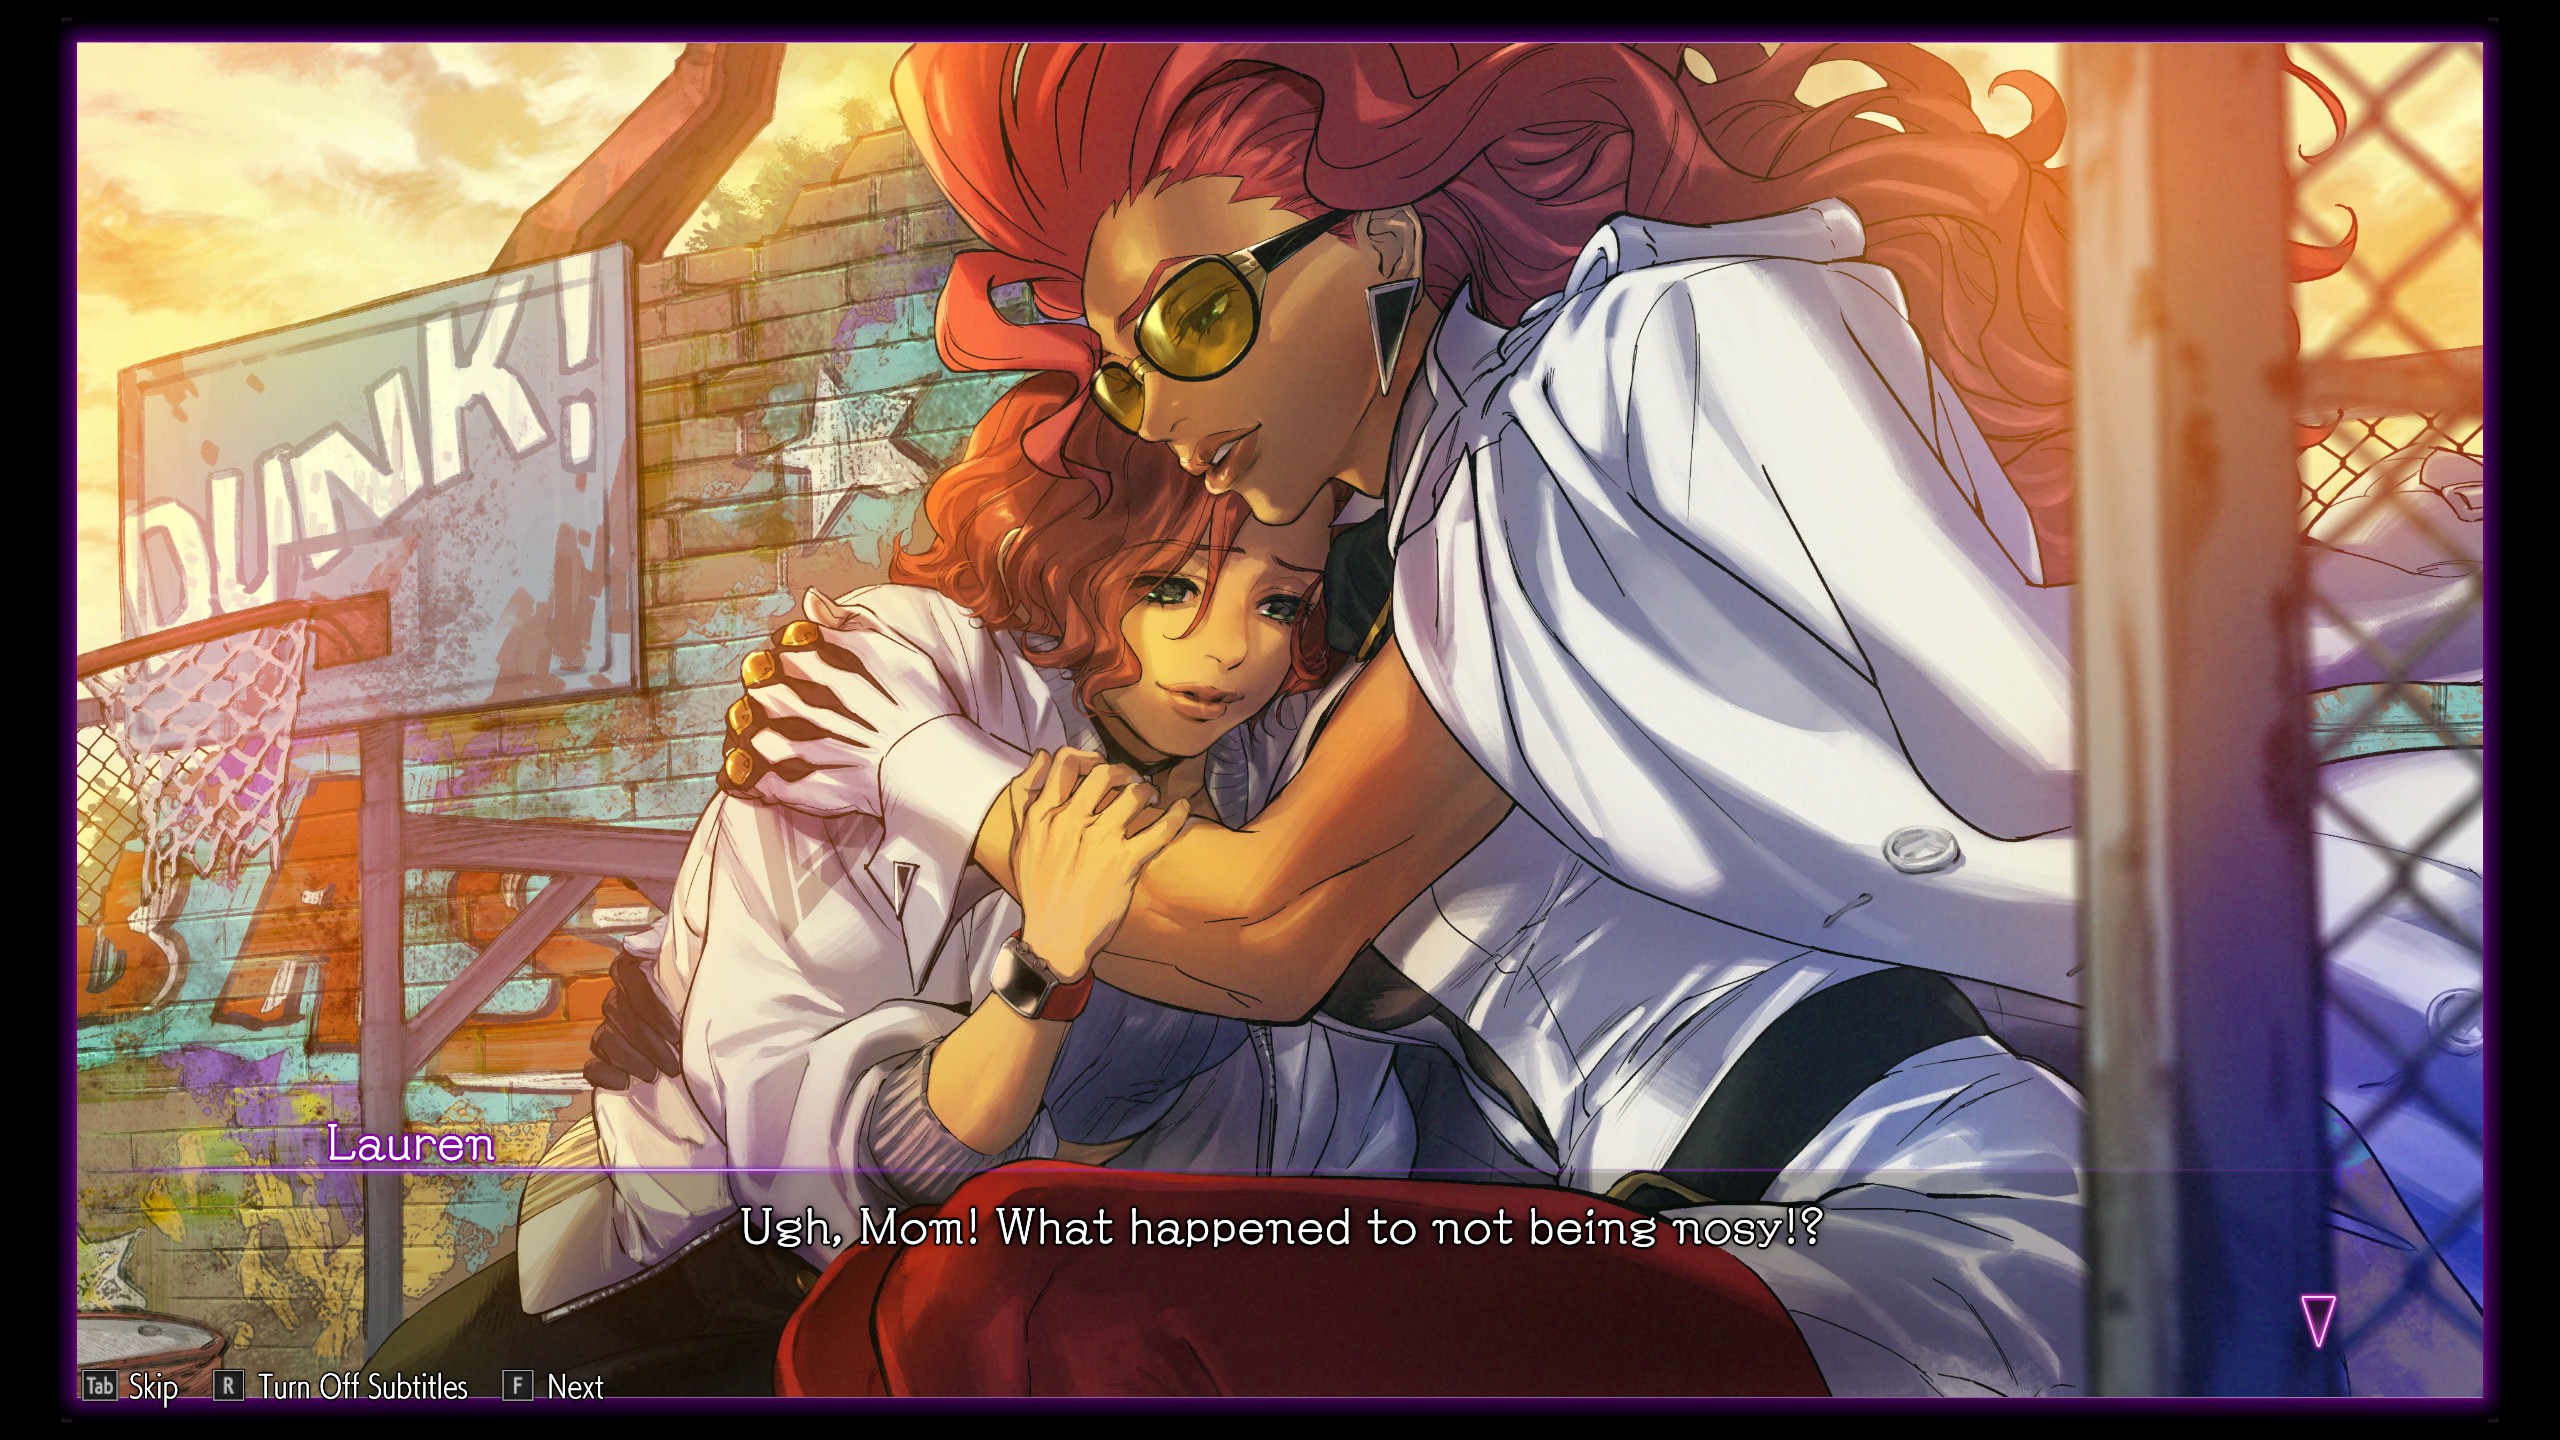
Mother and Daughter
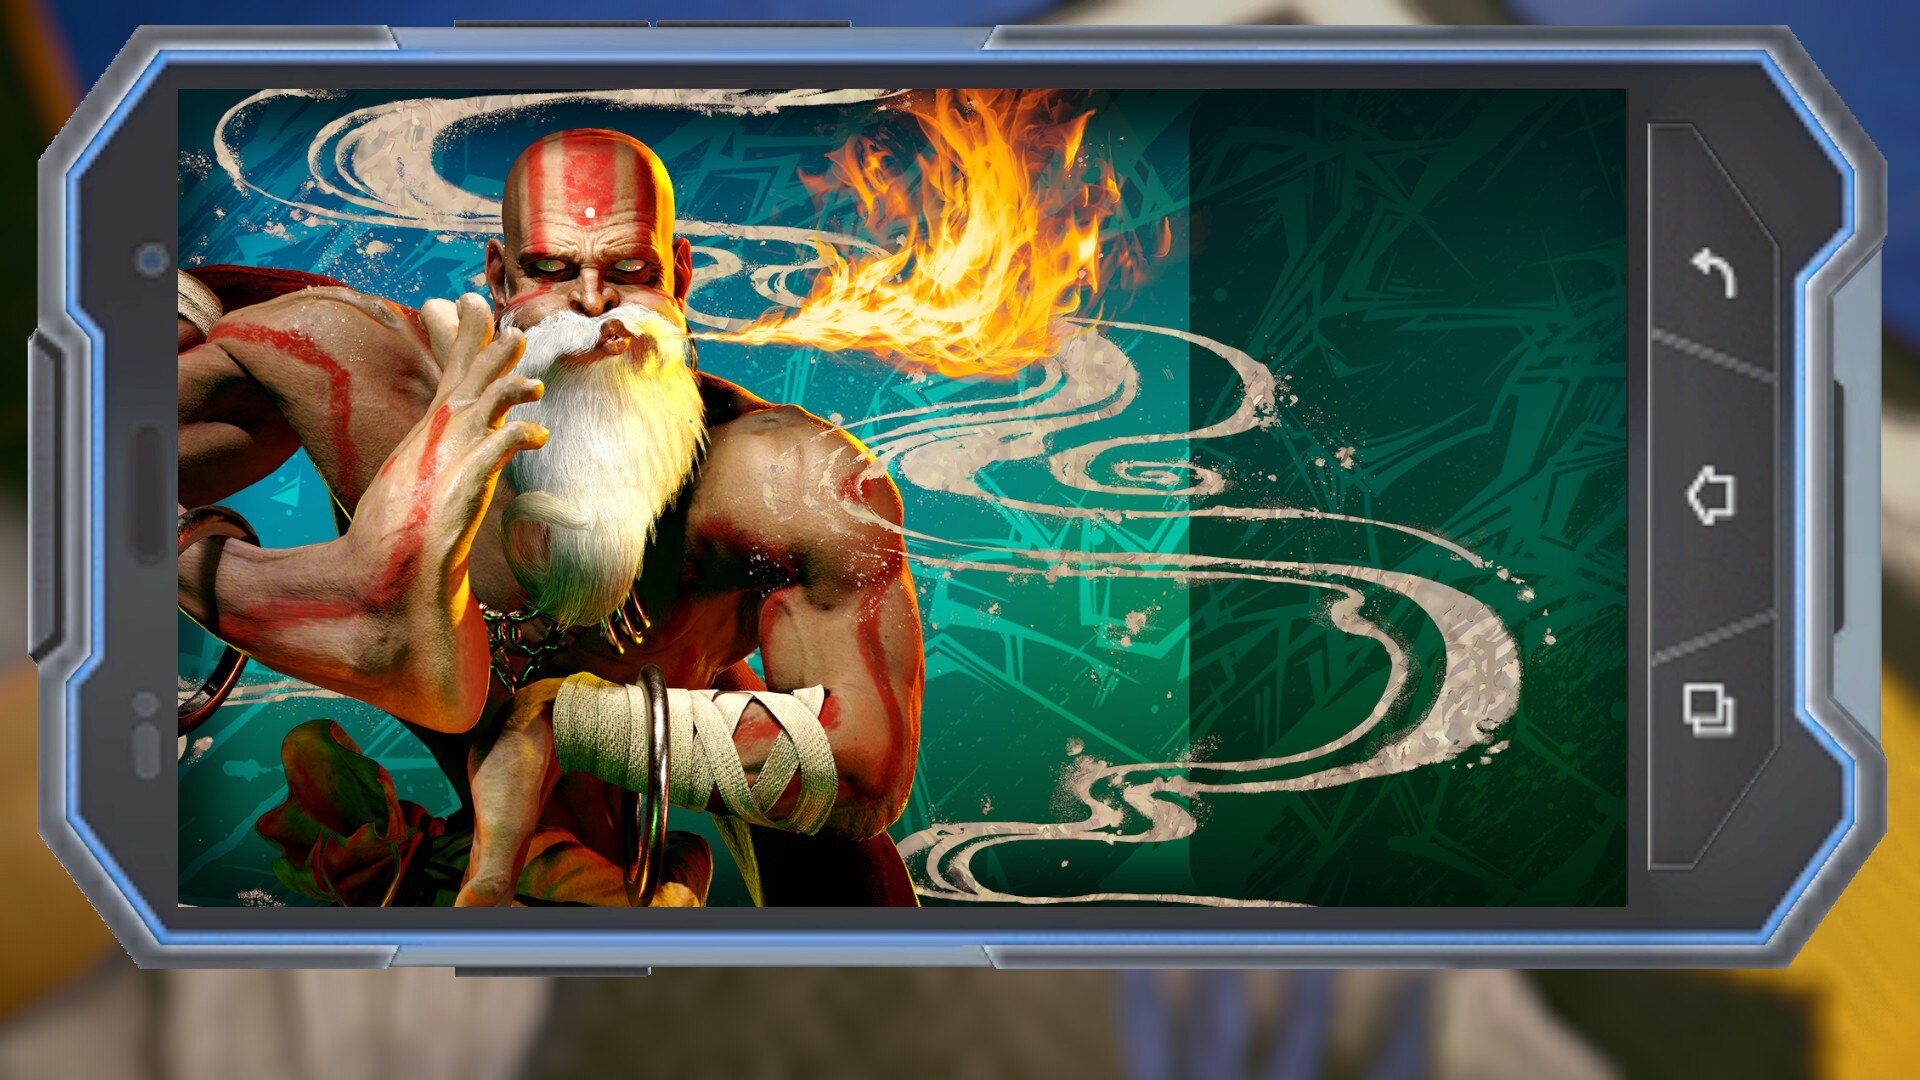
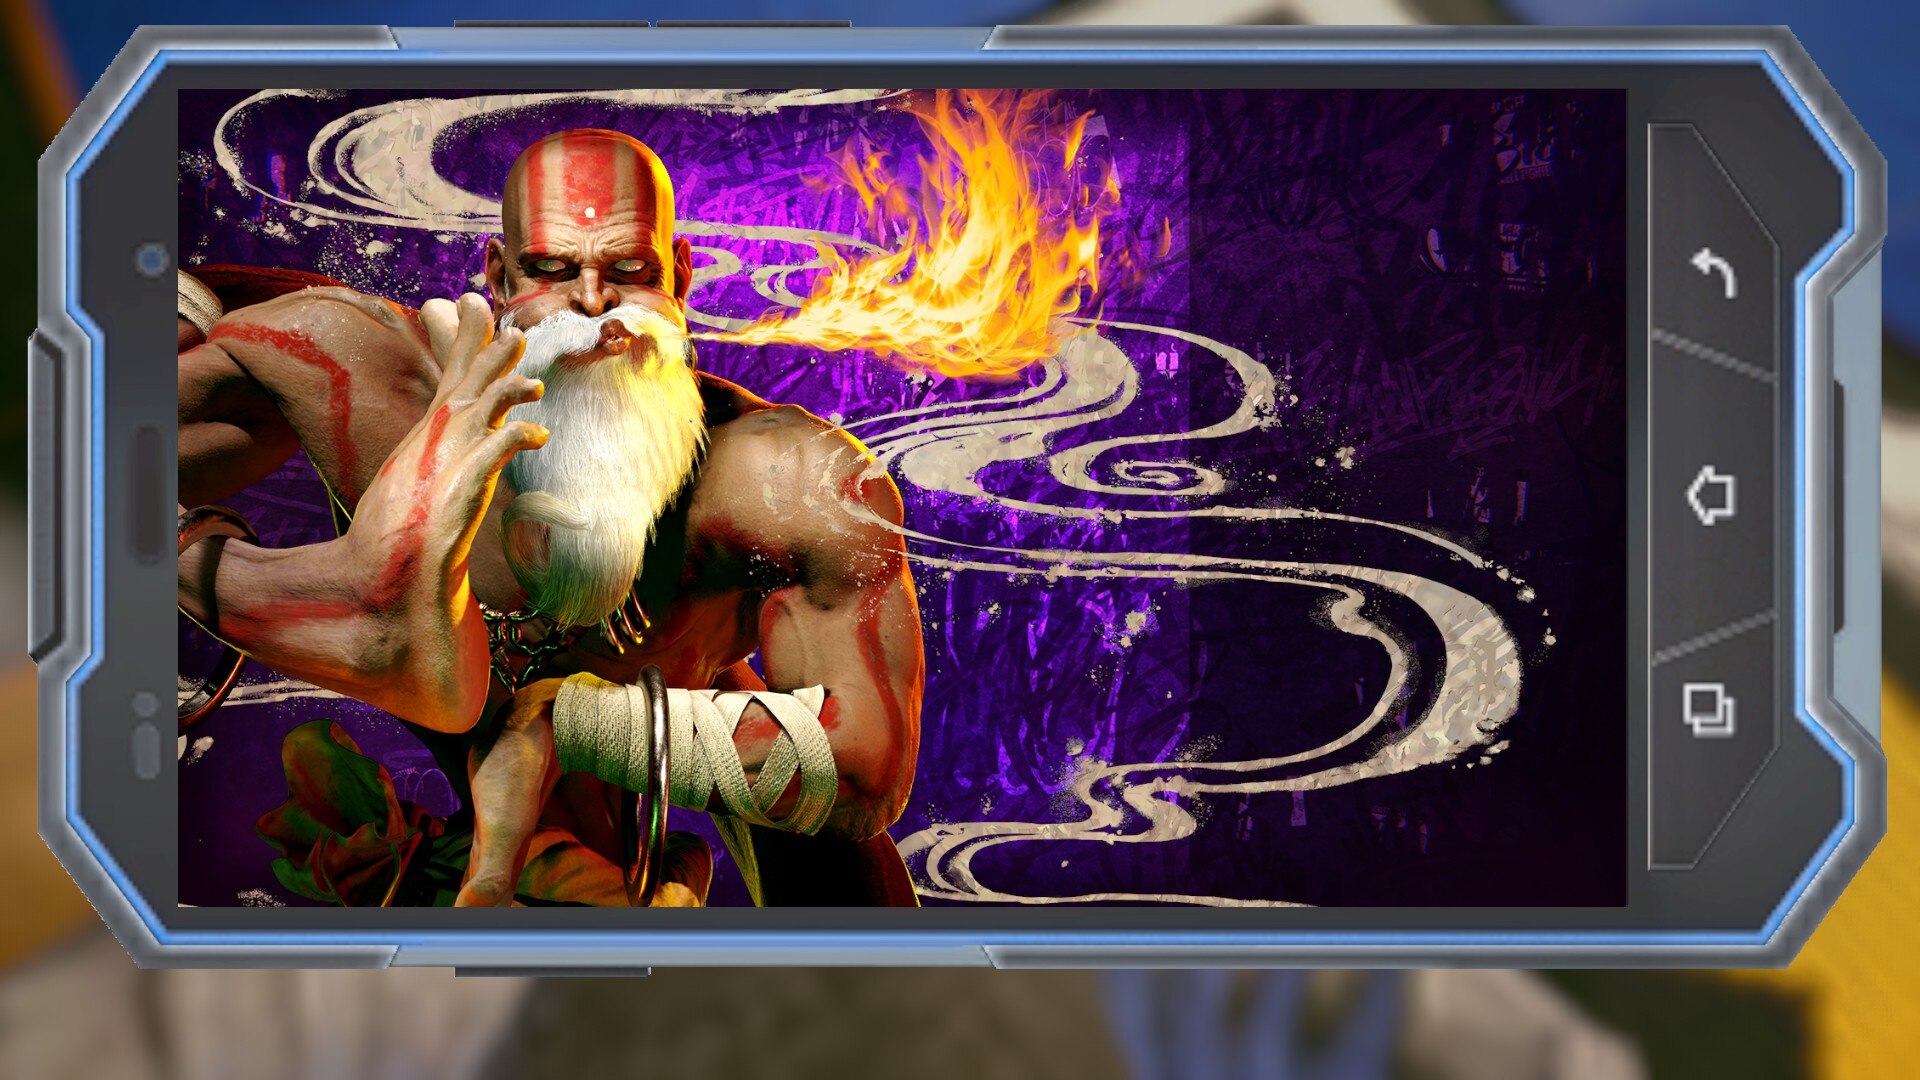
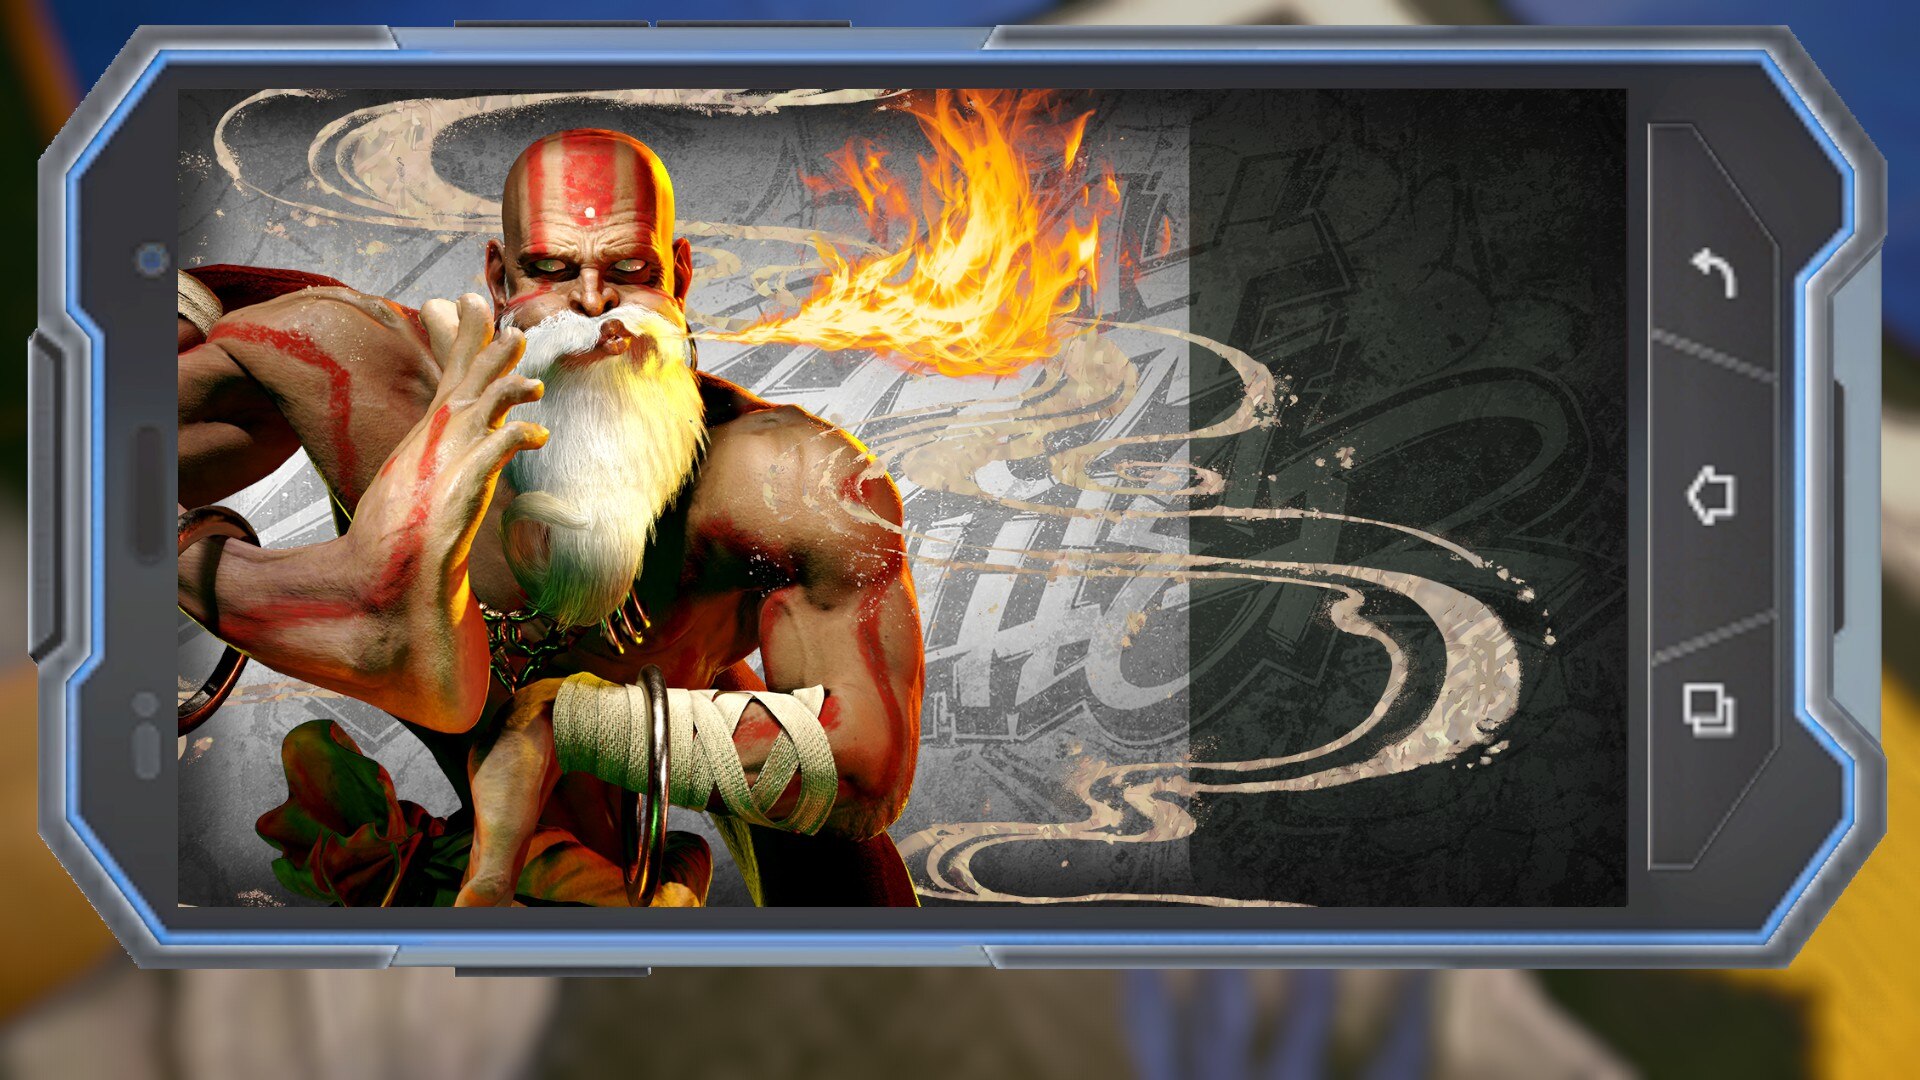
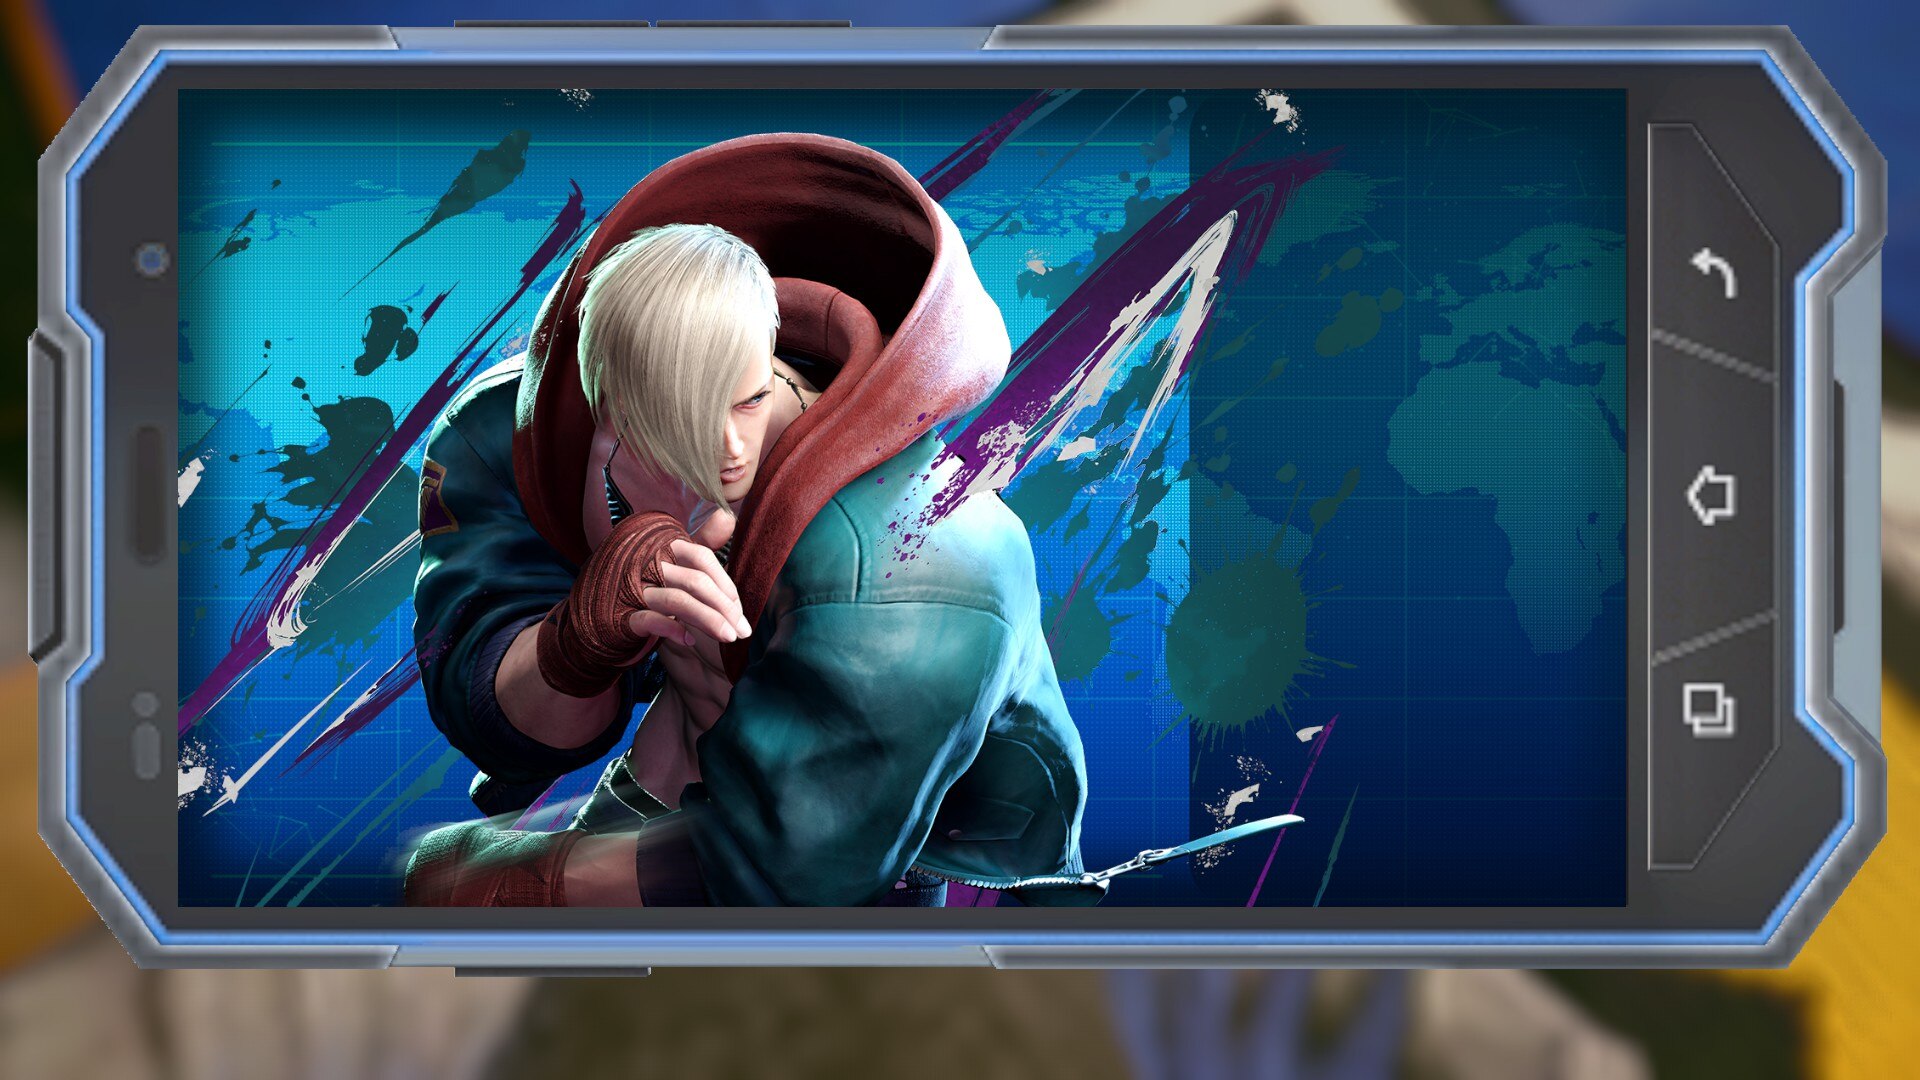
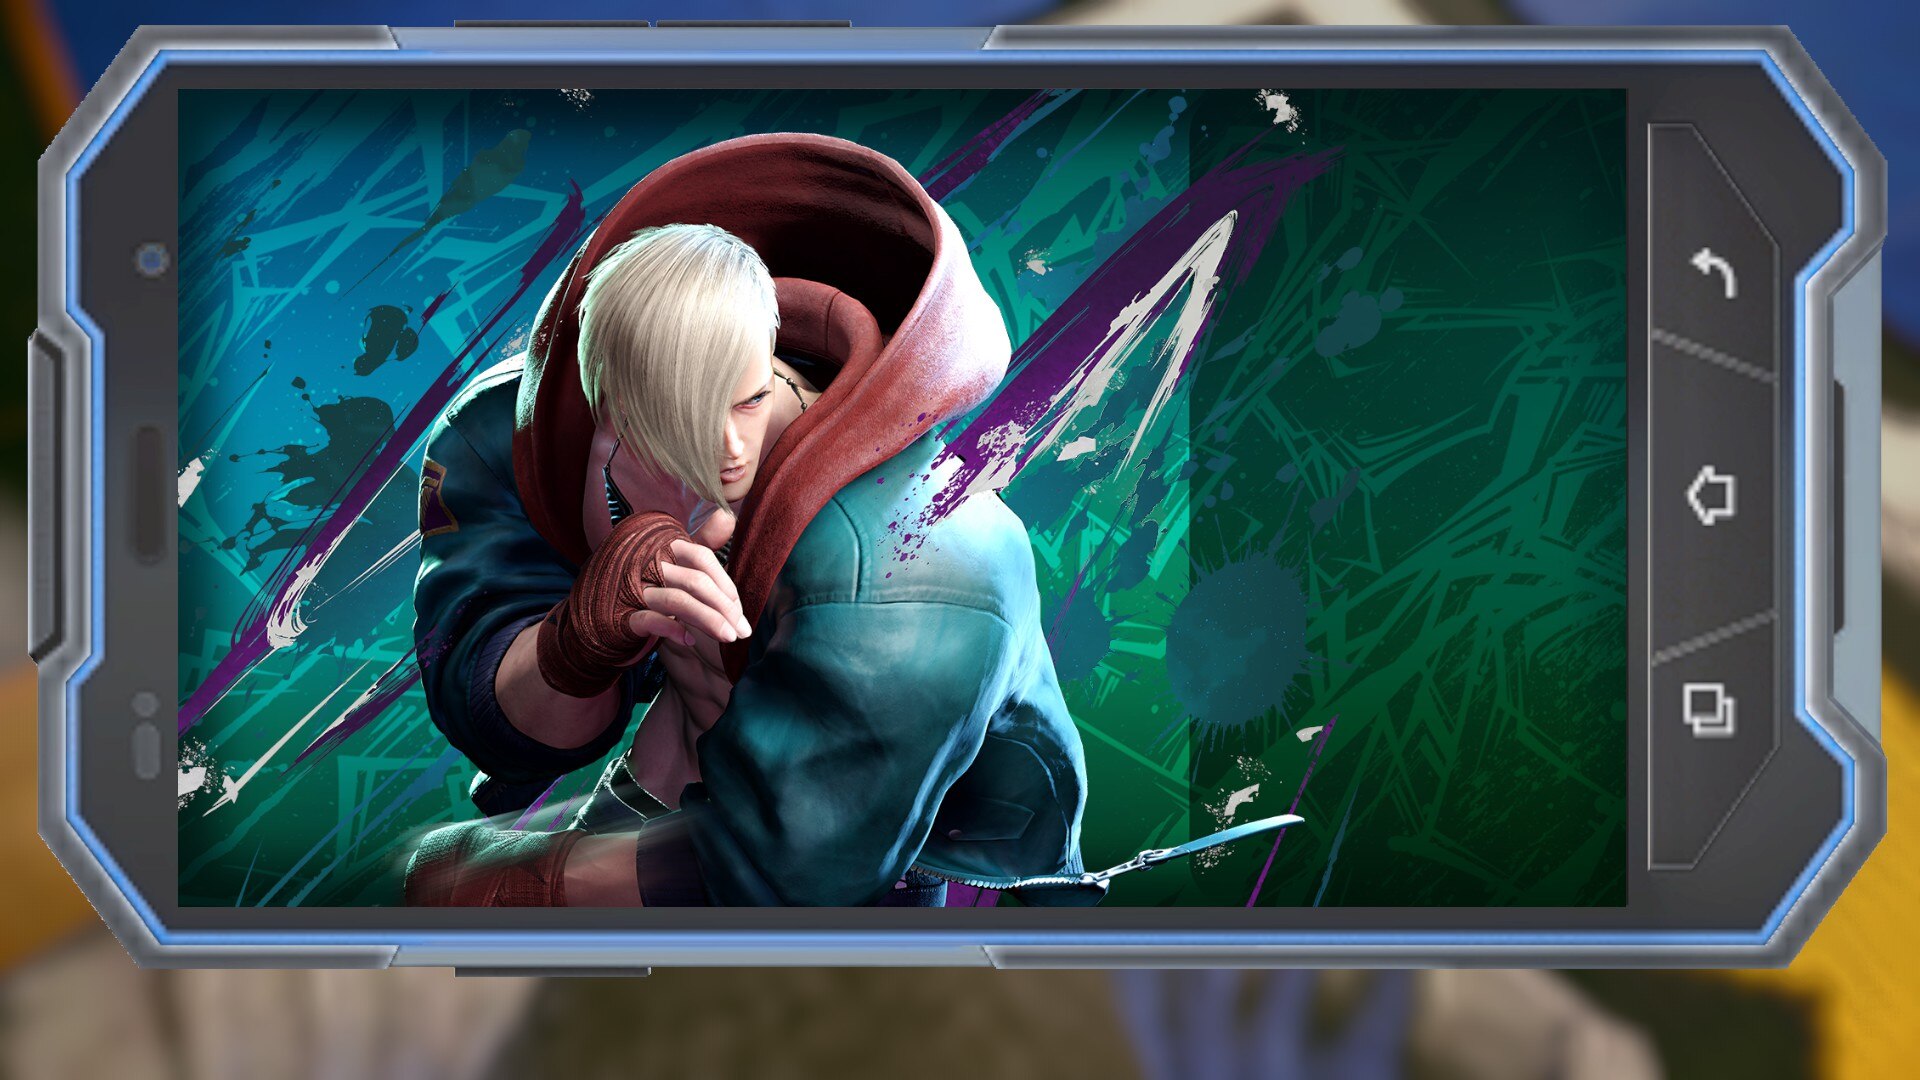
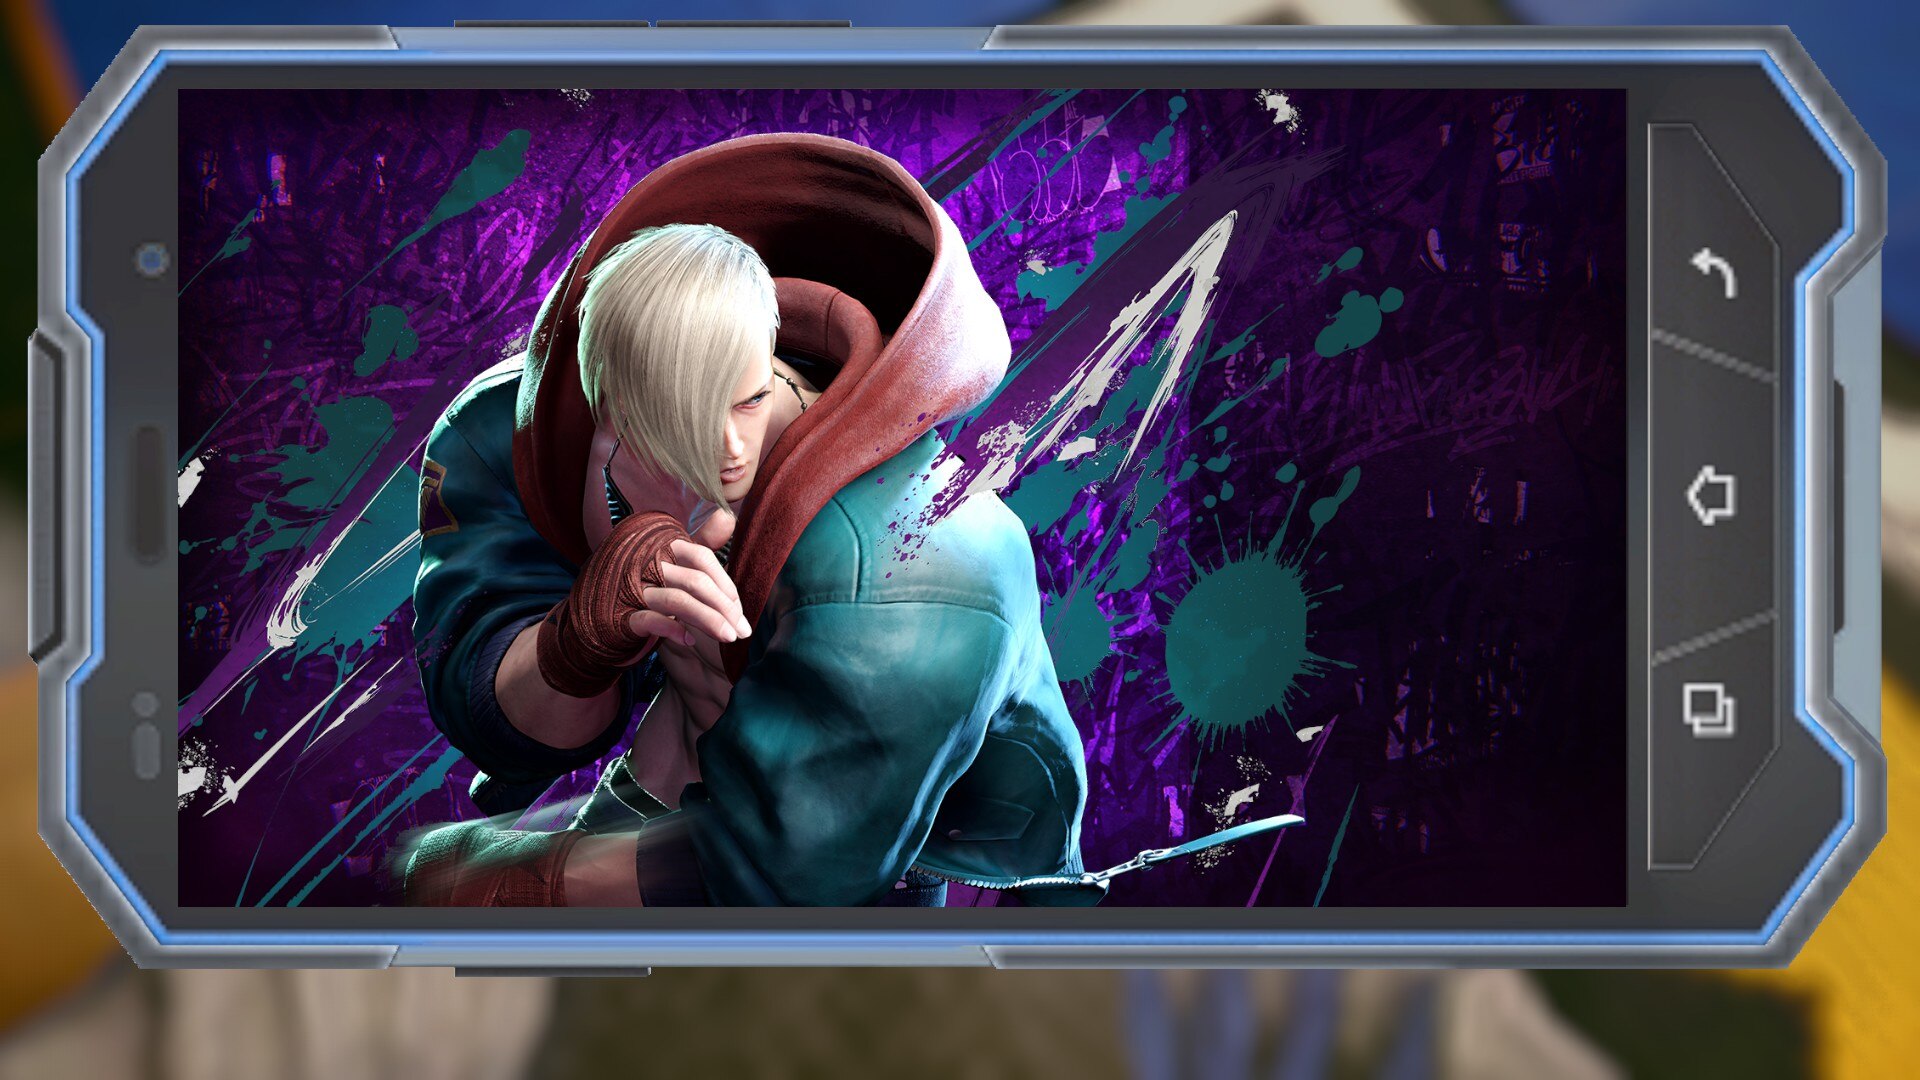
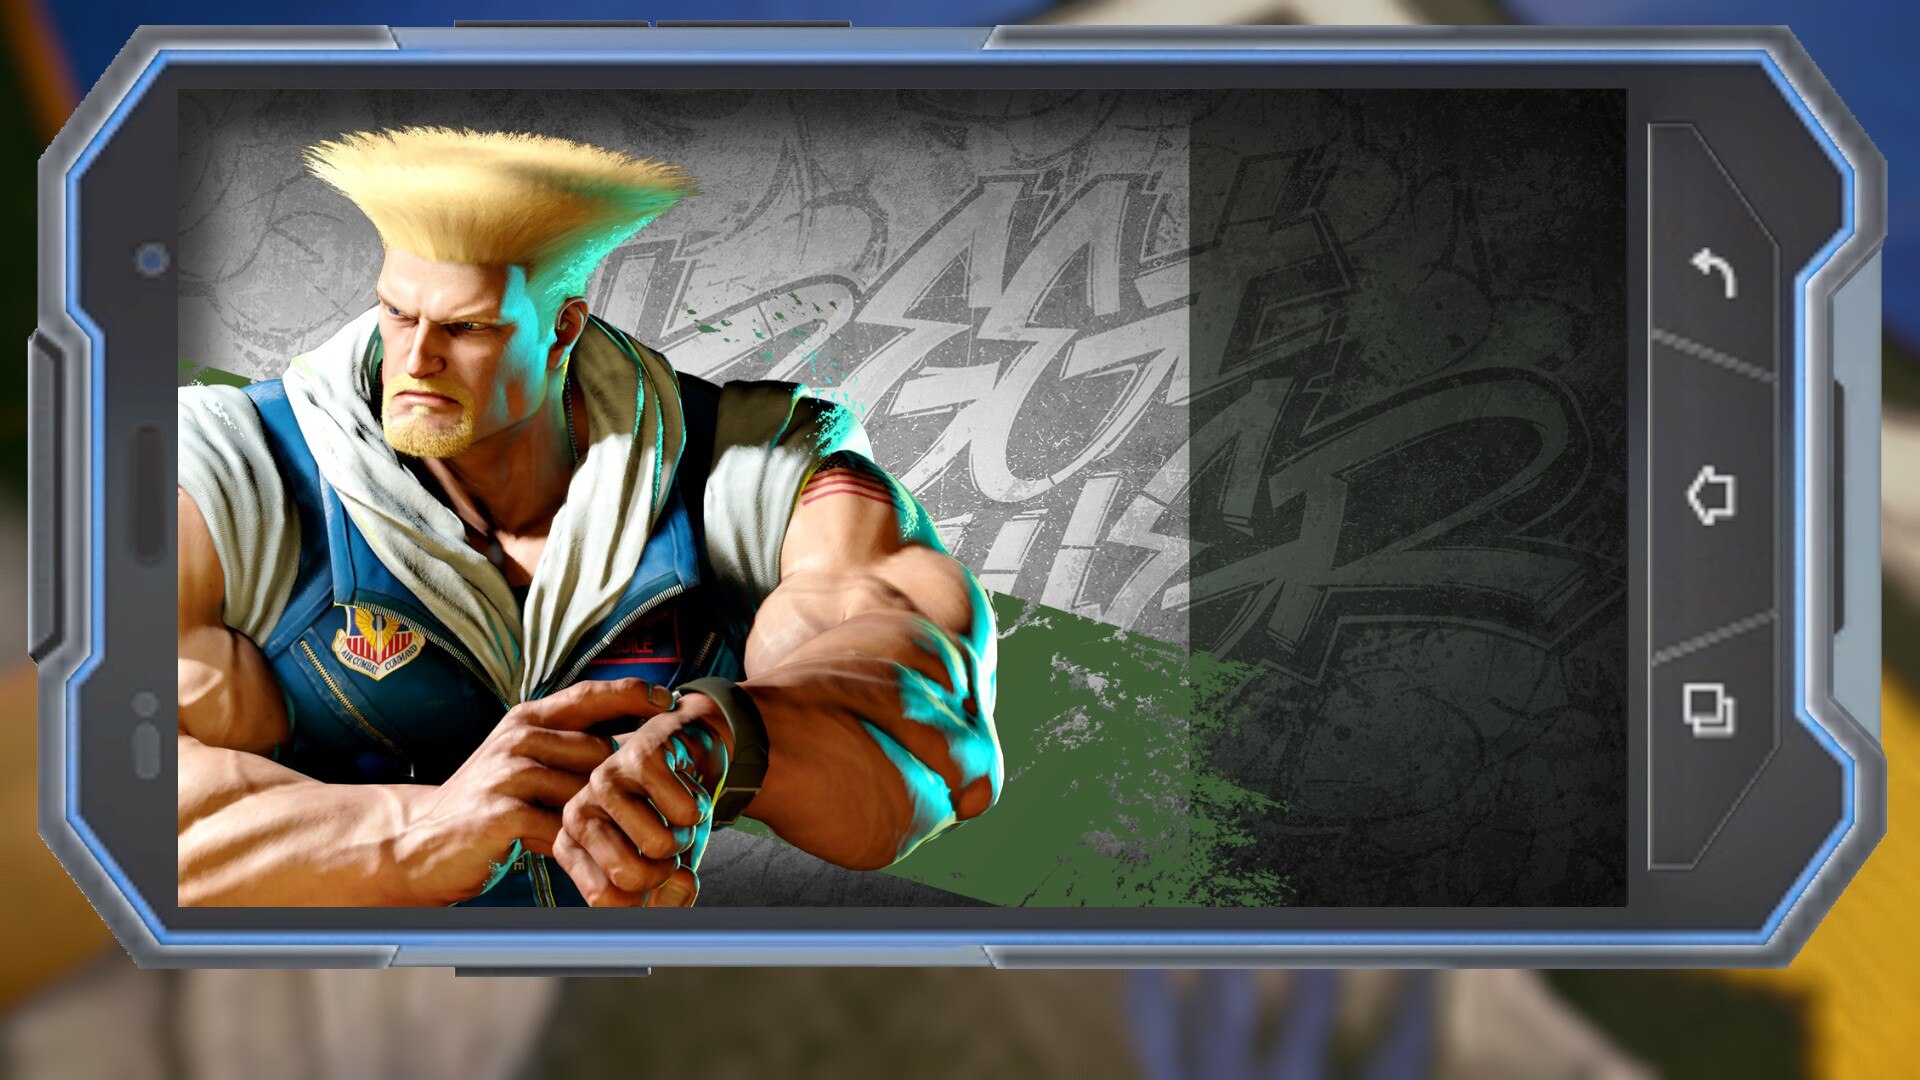
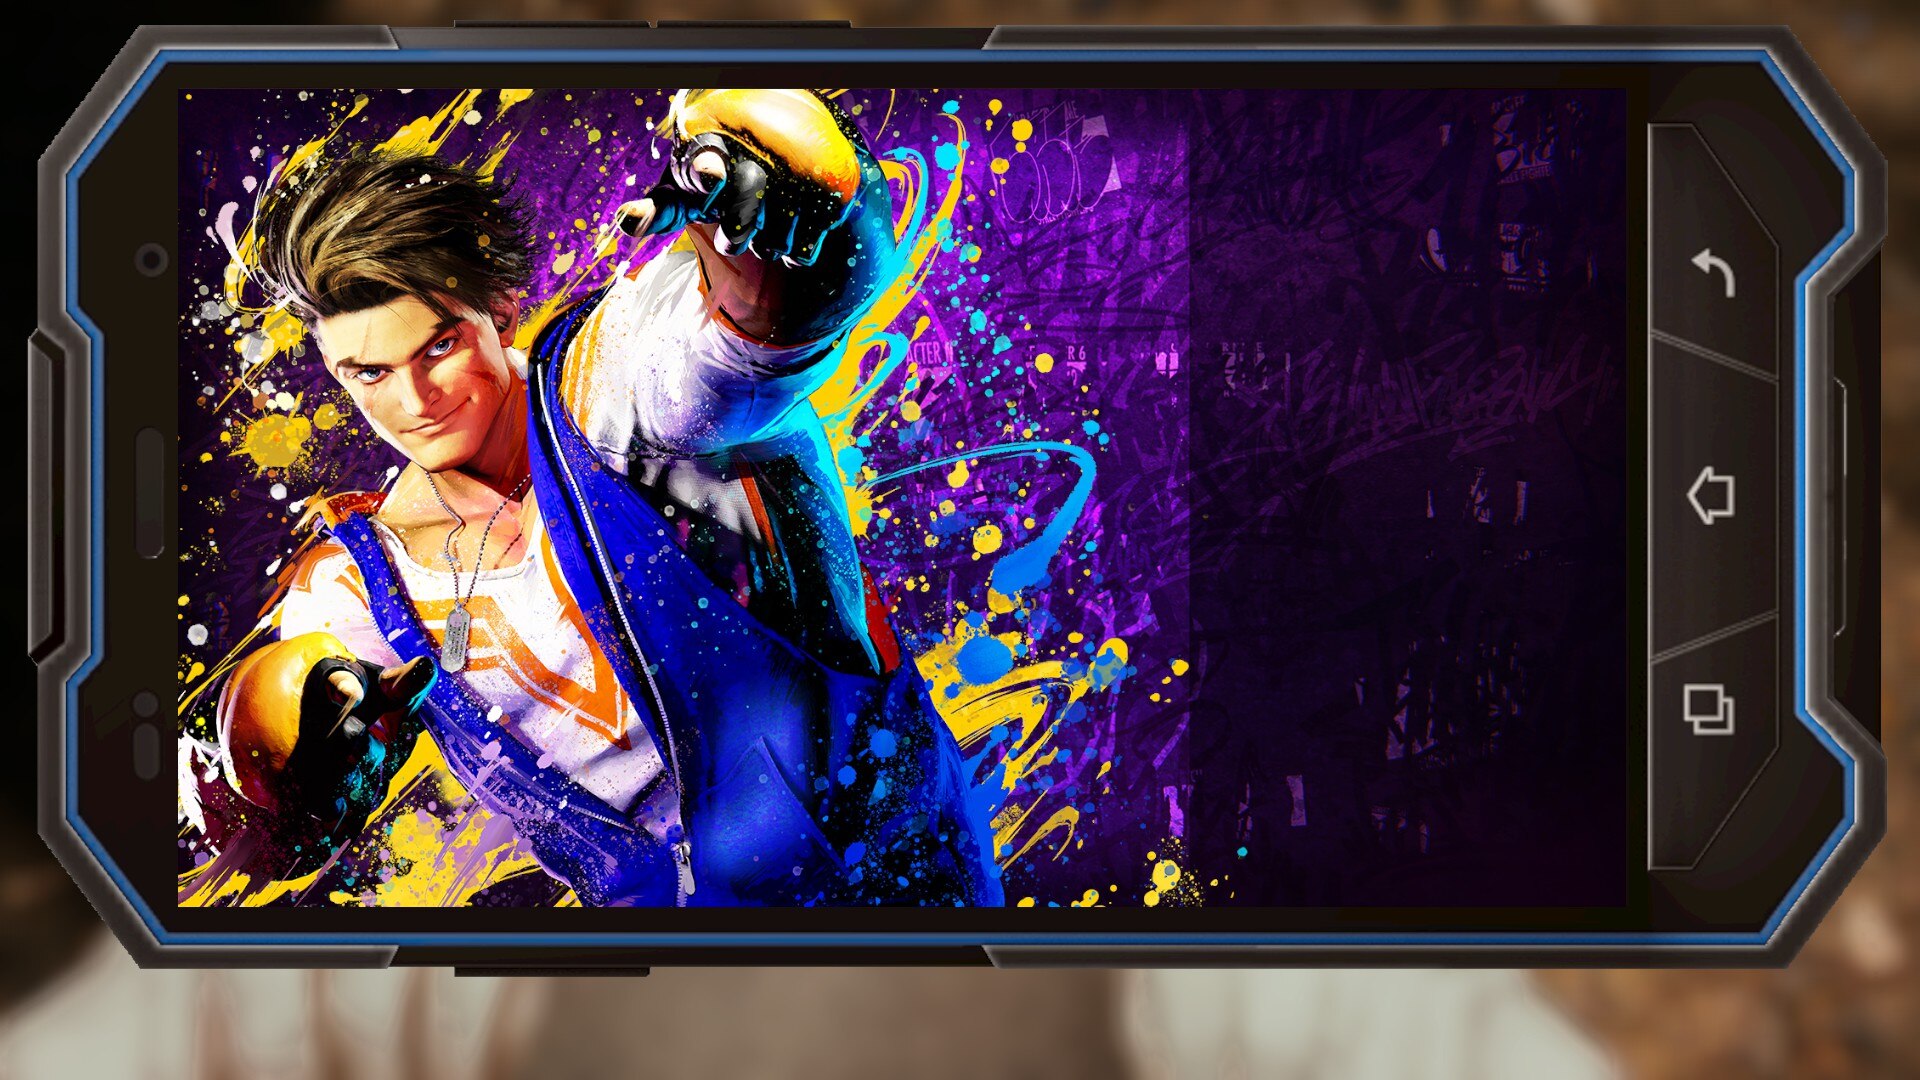
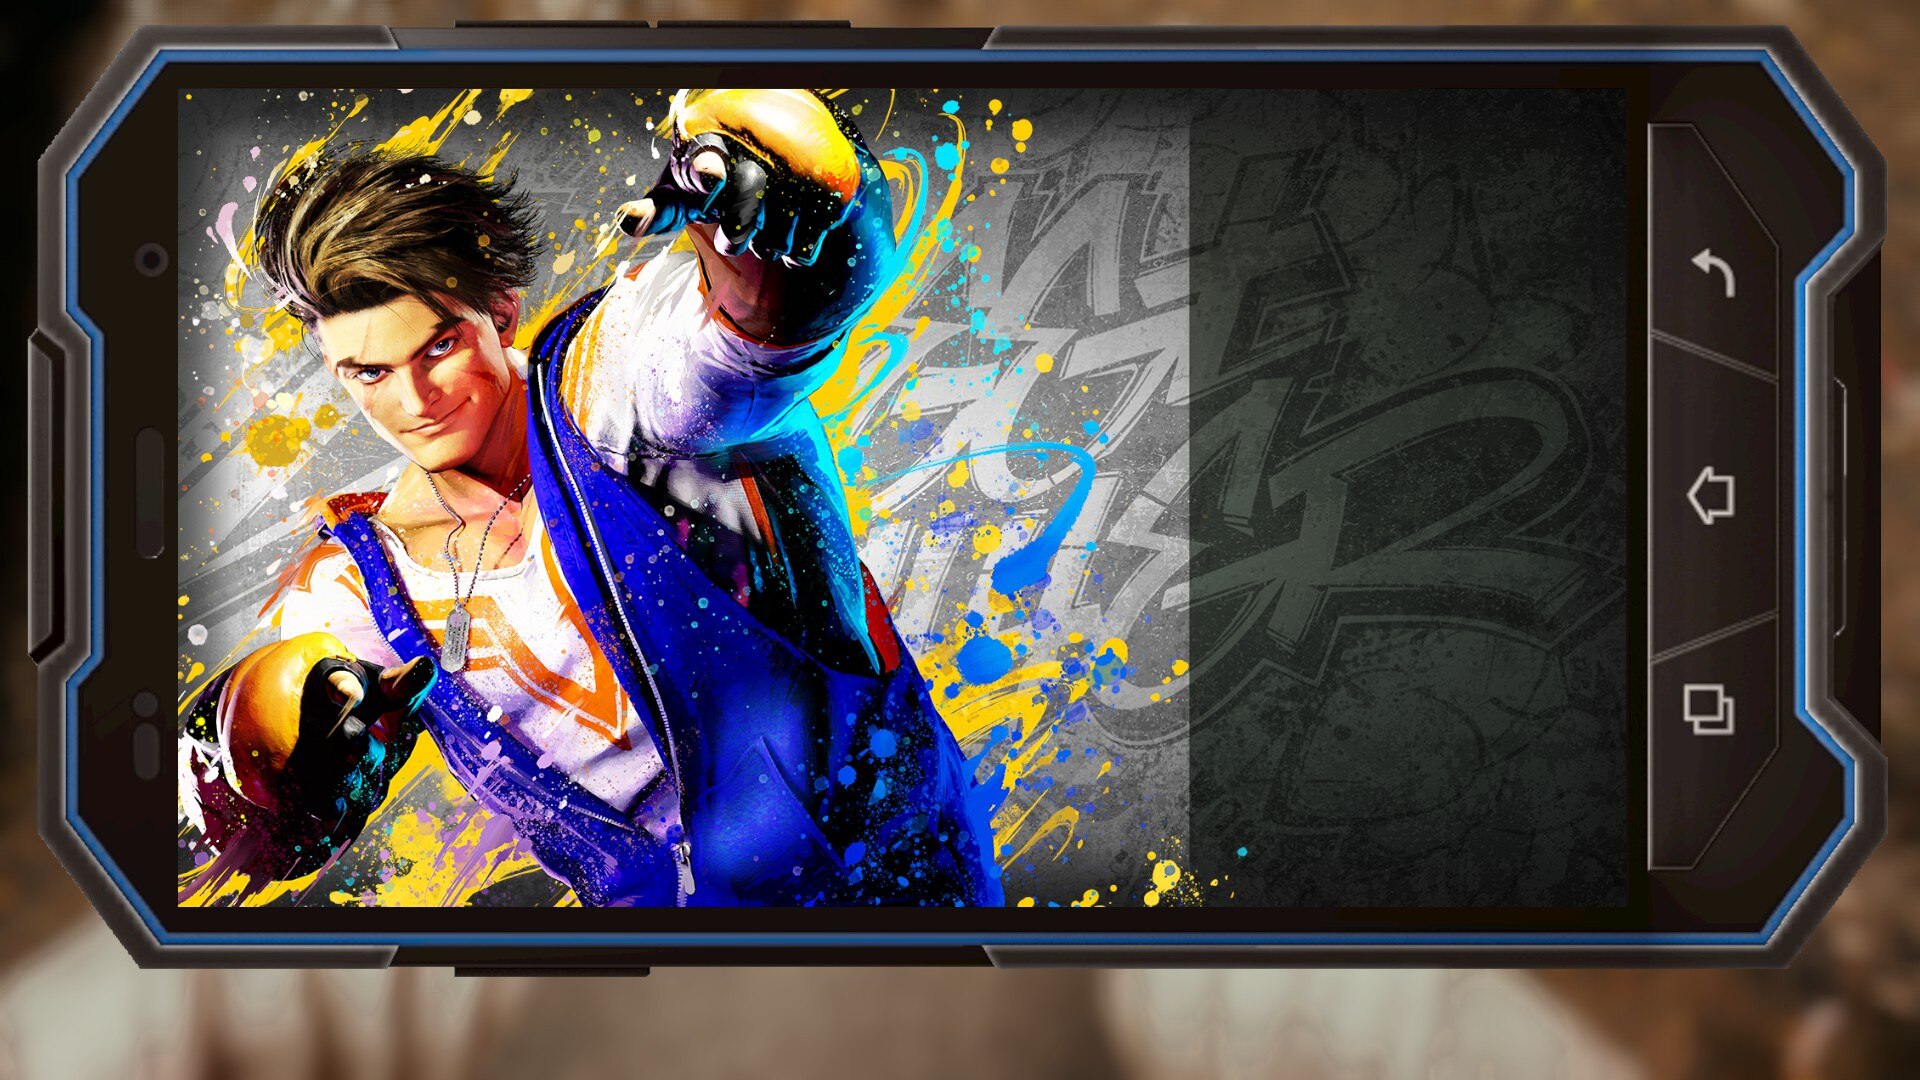
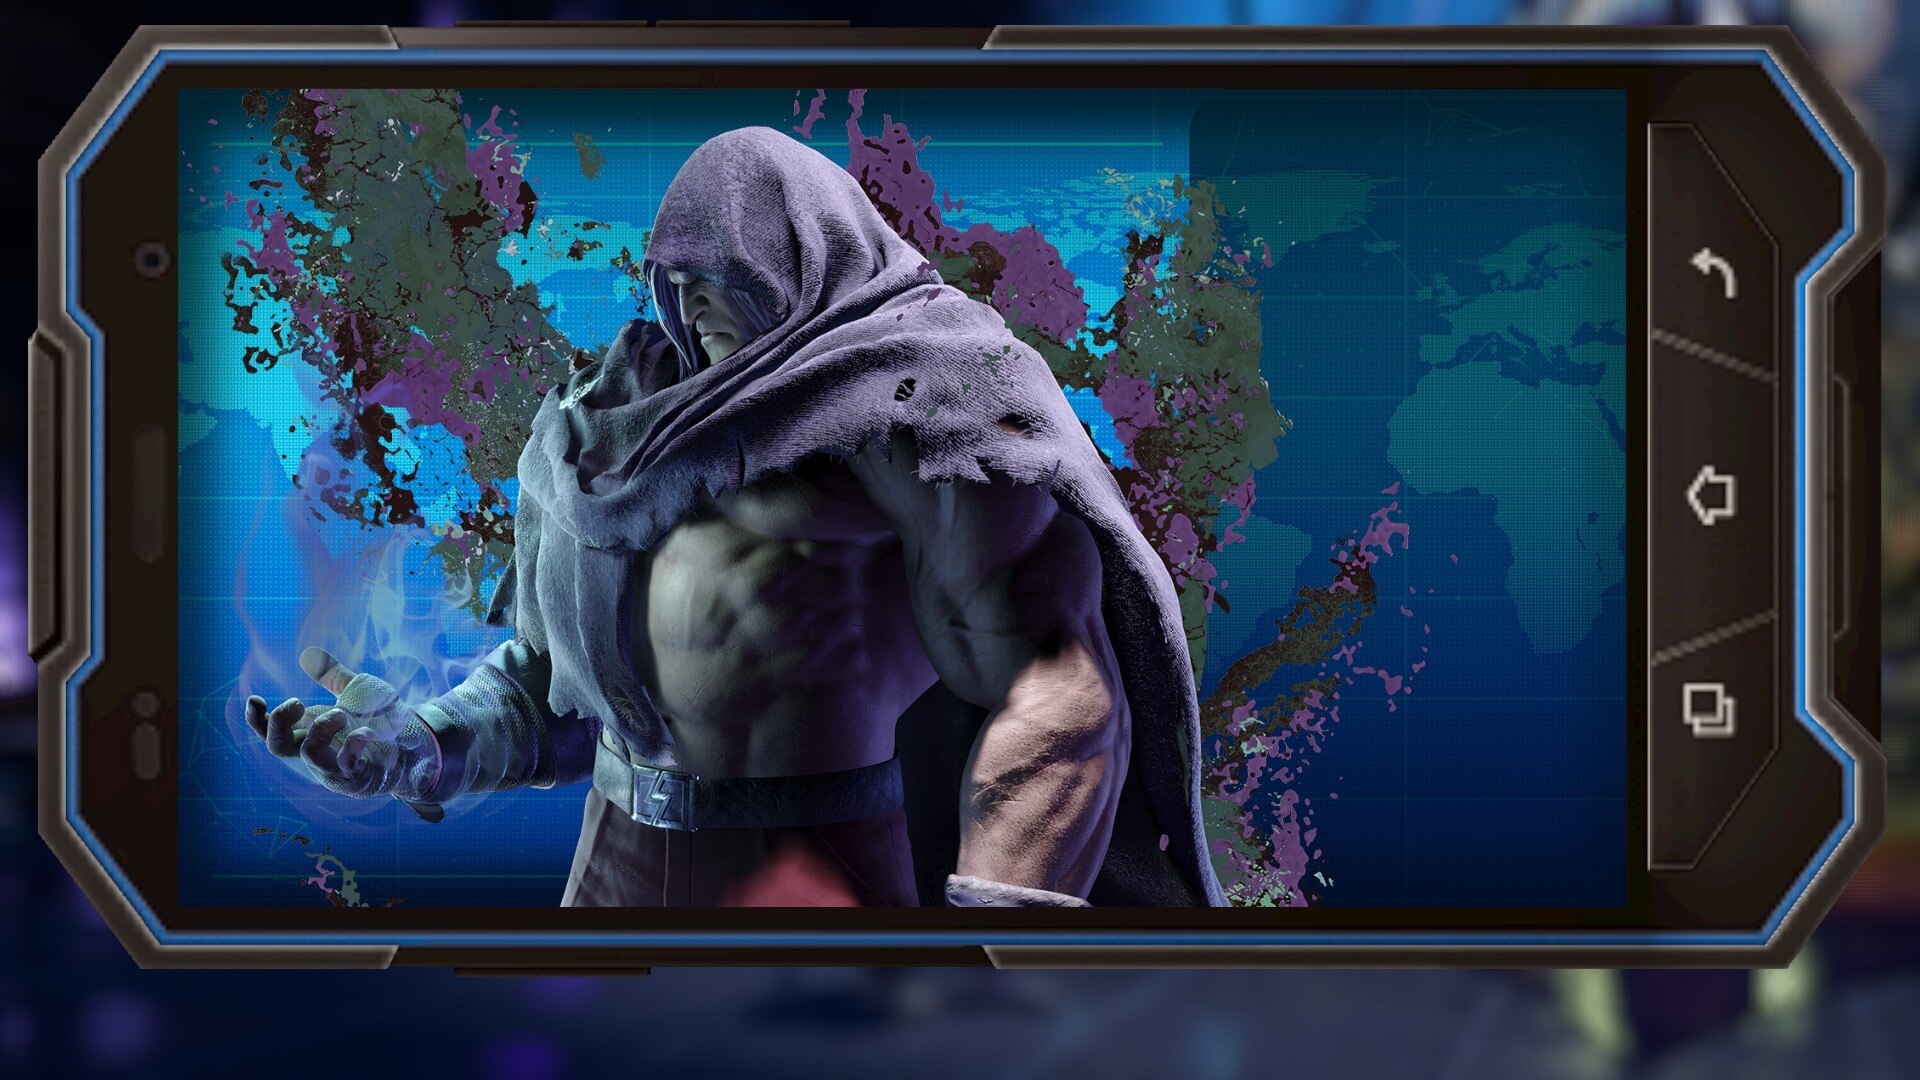
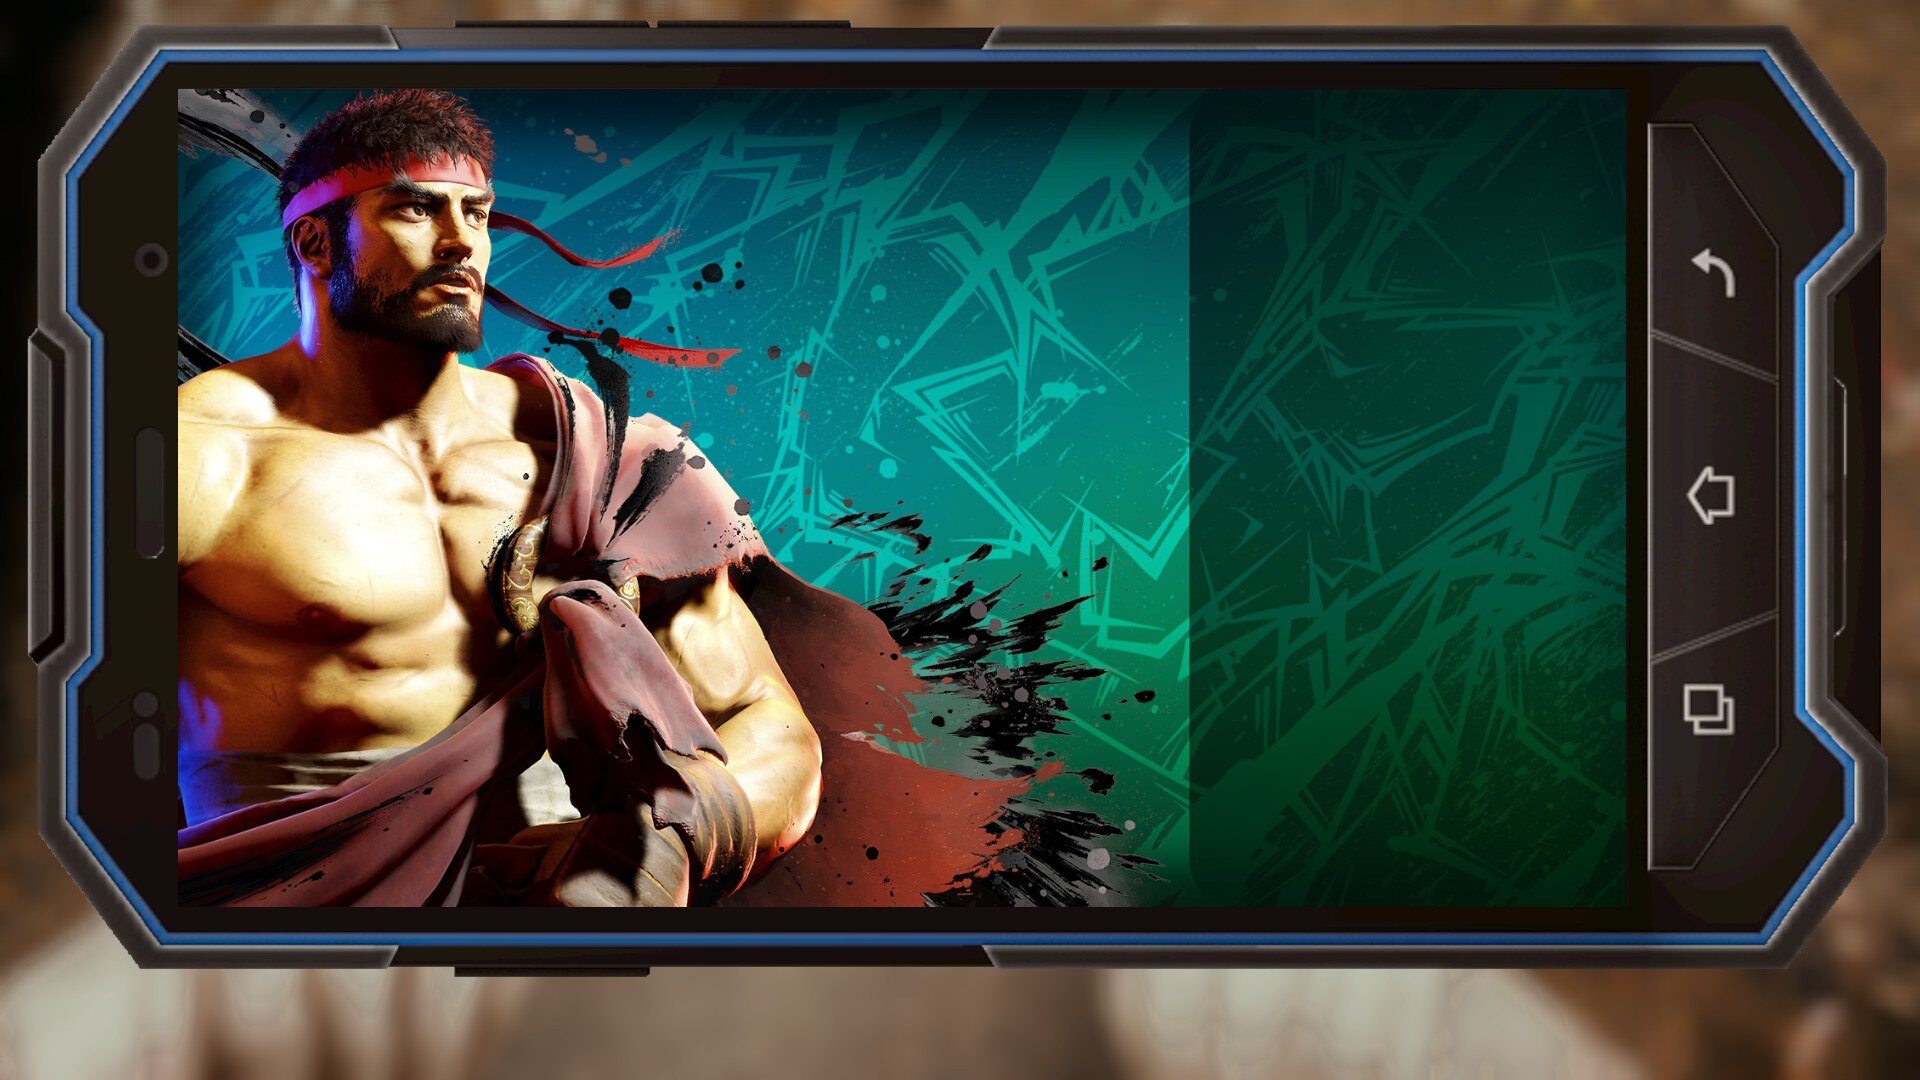
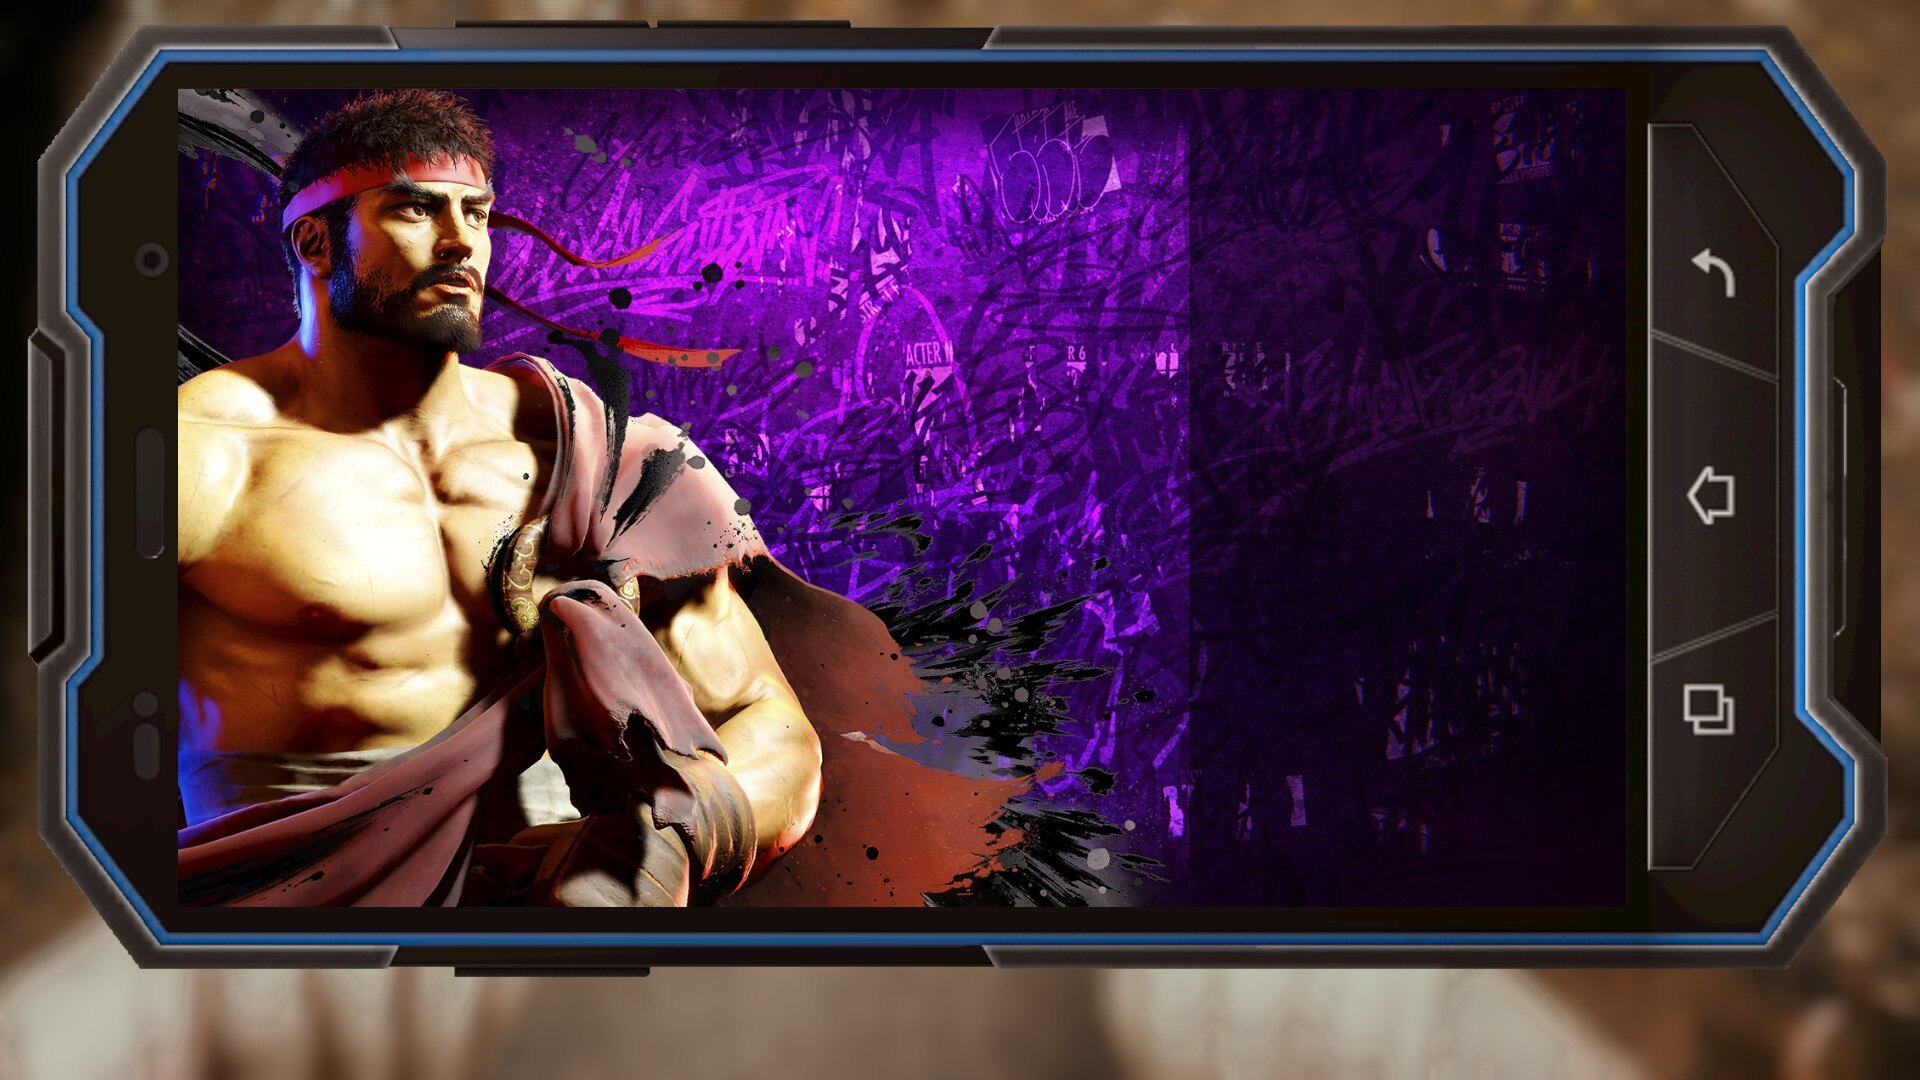
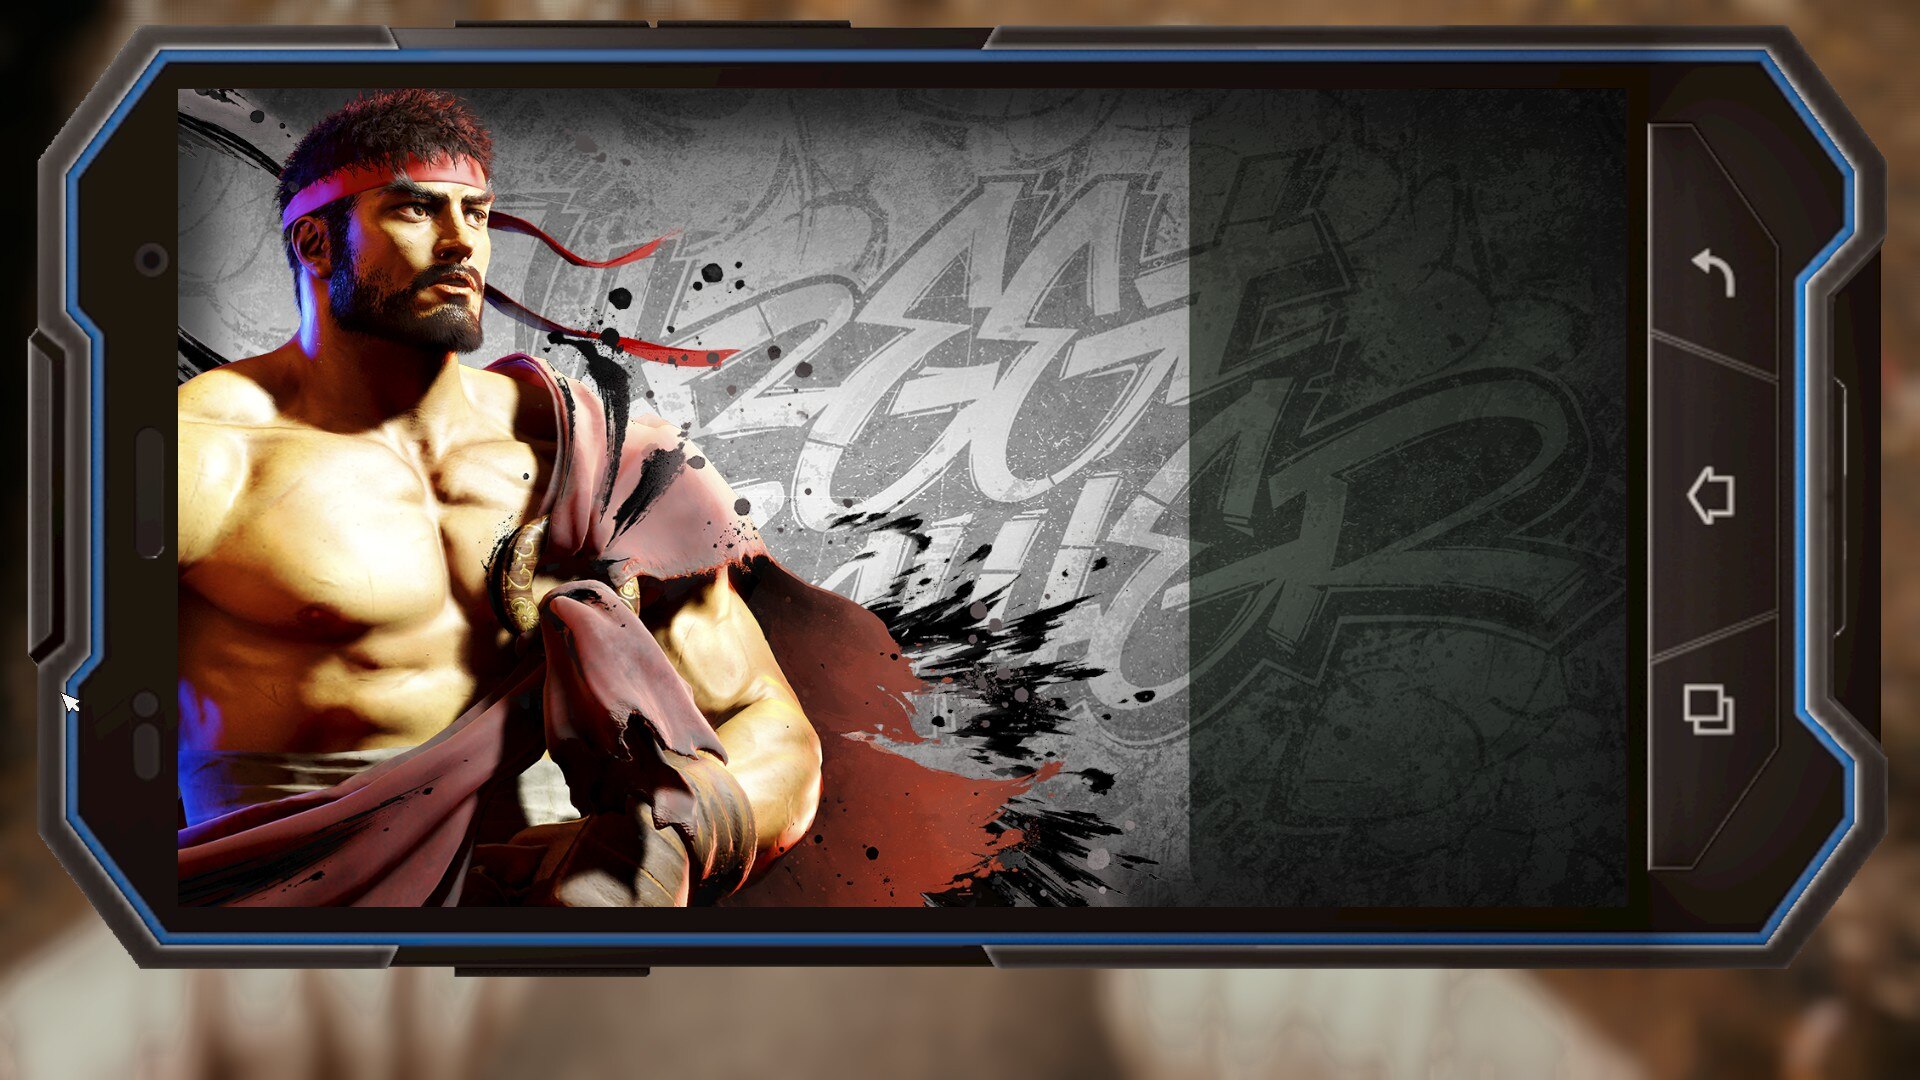
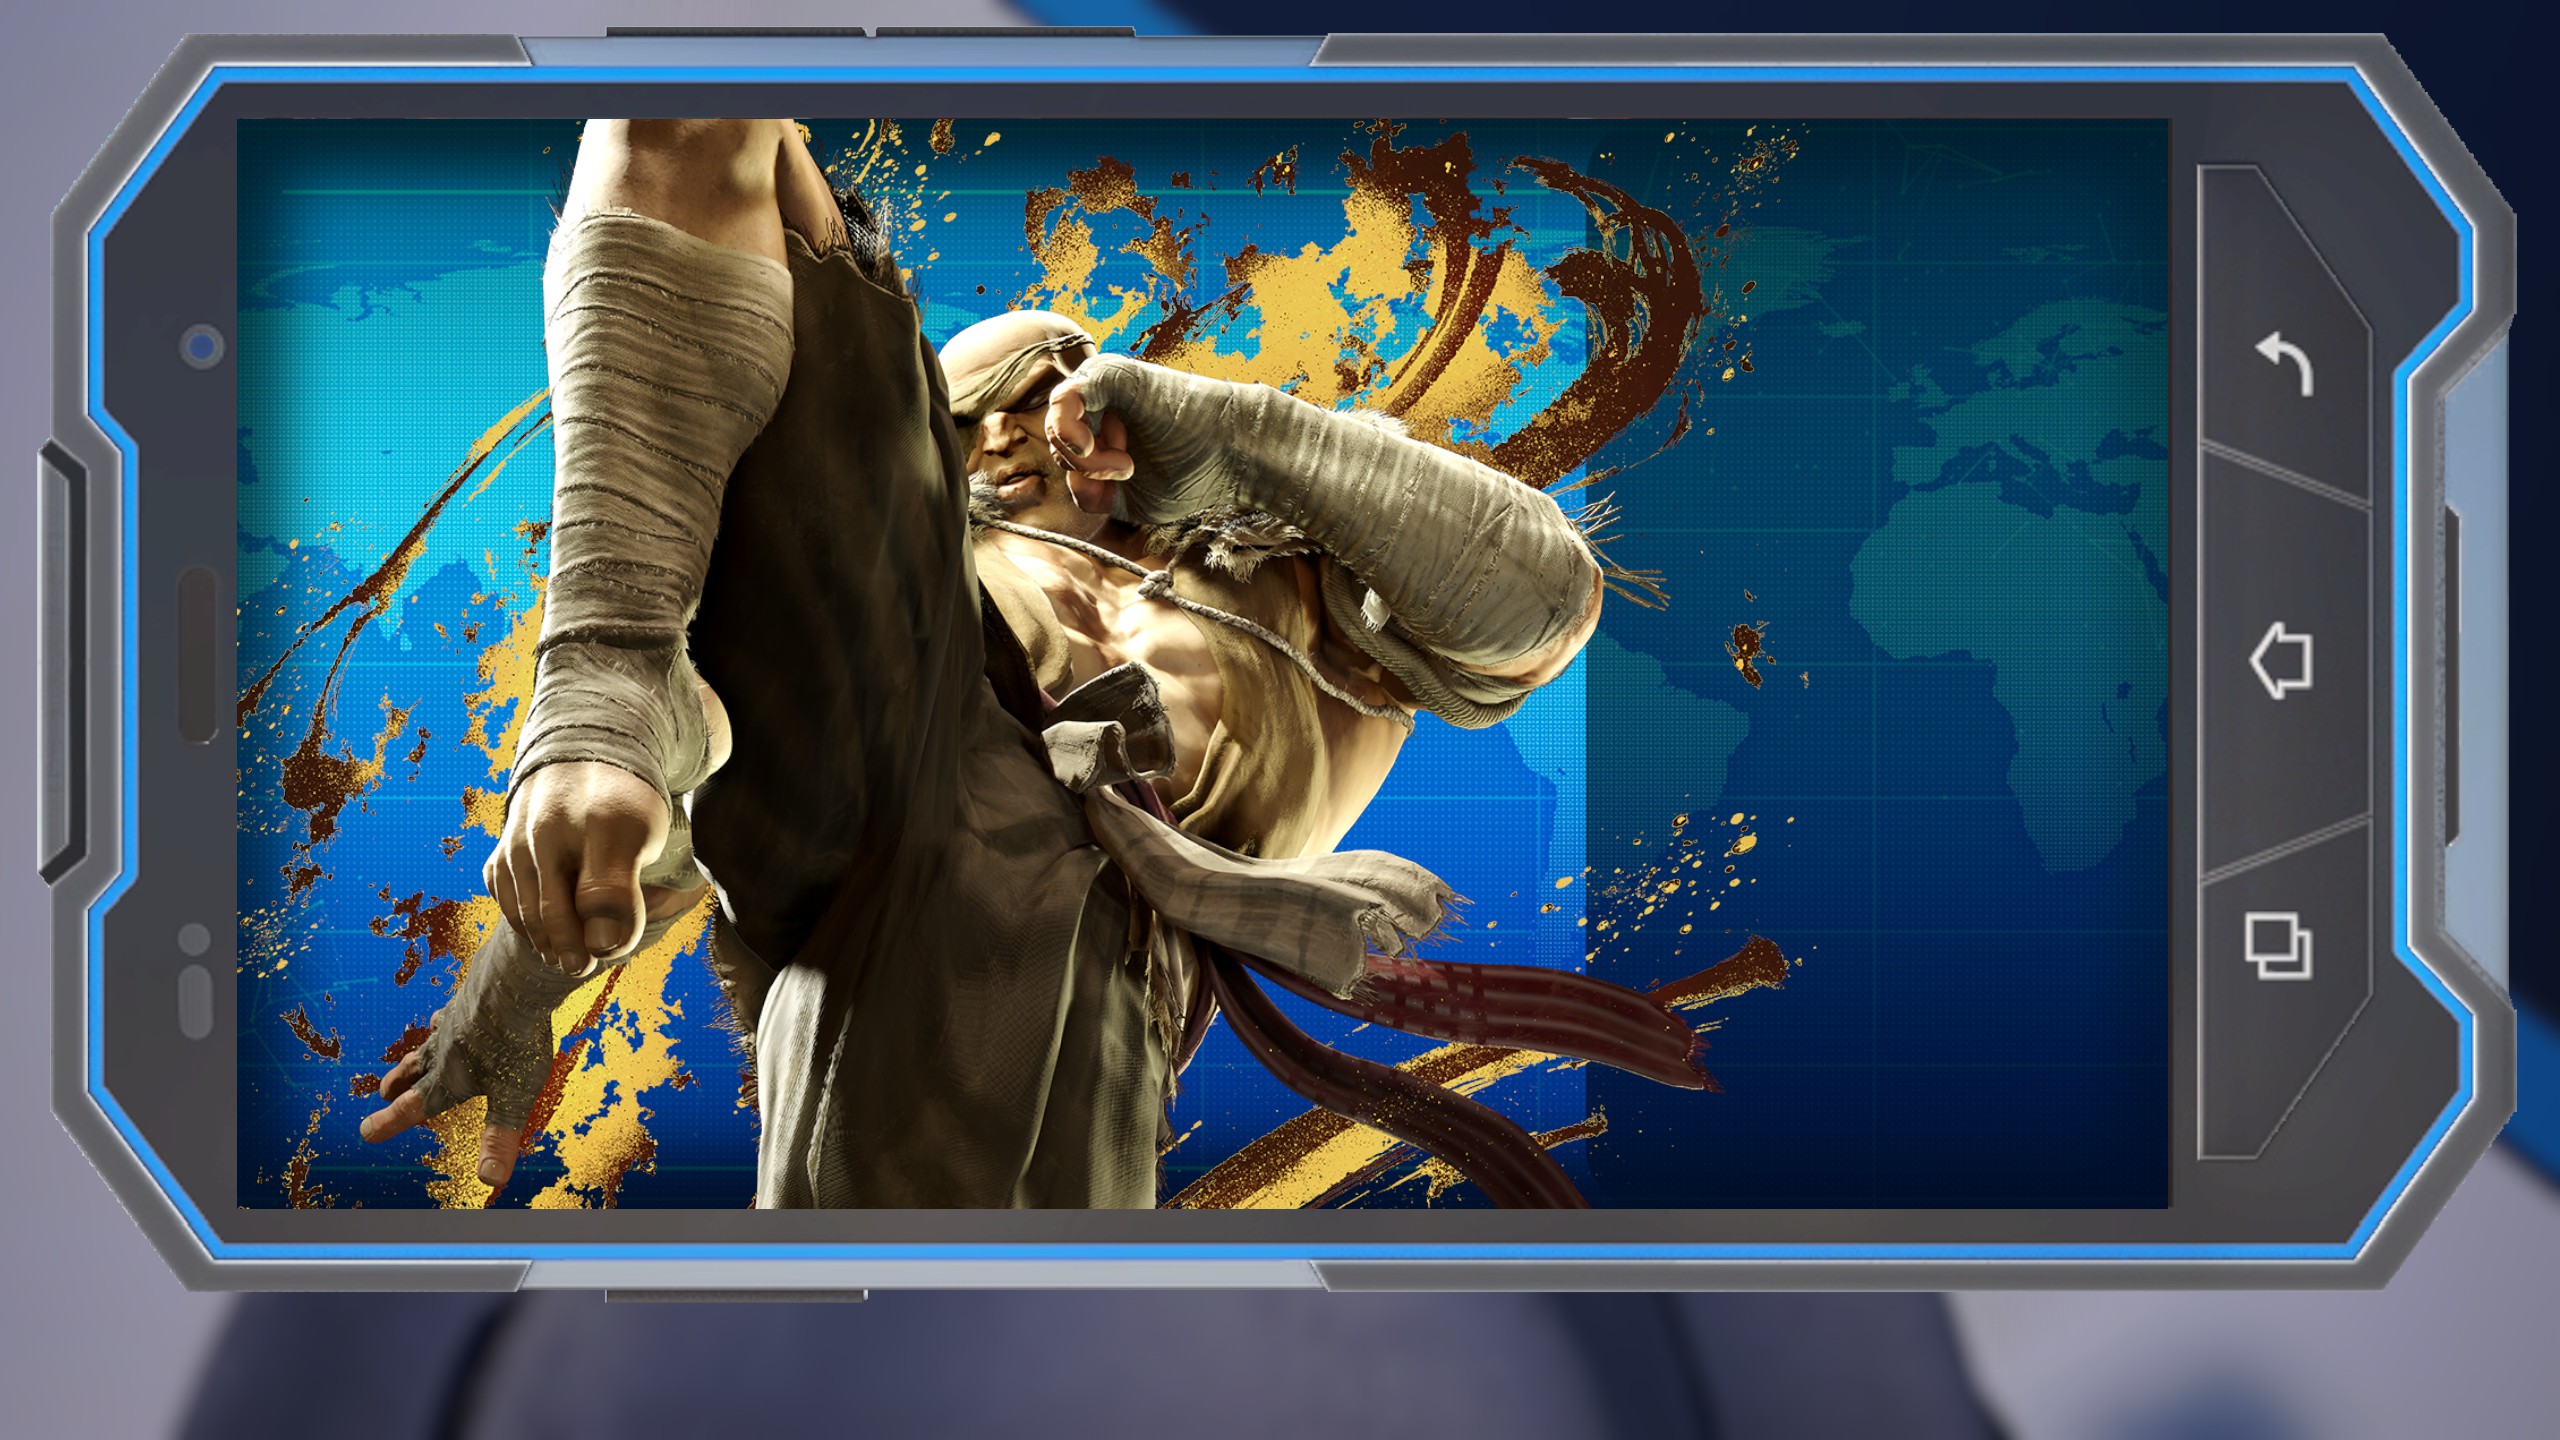
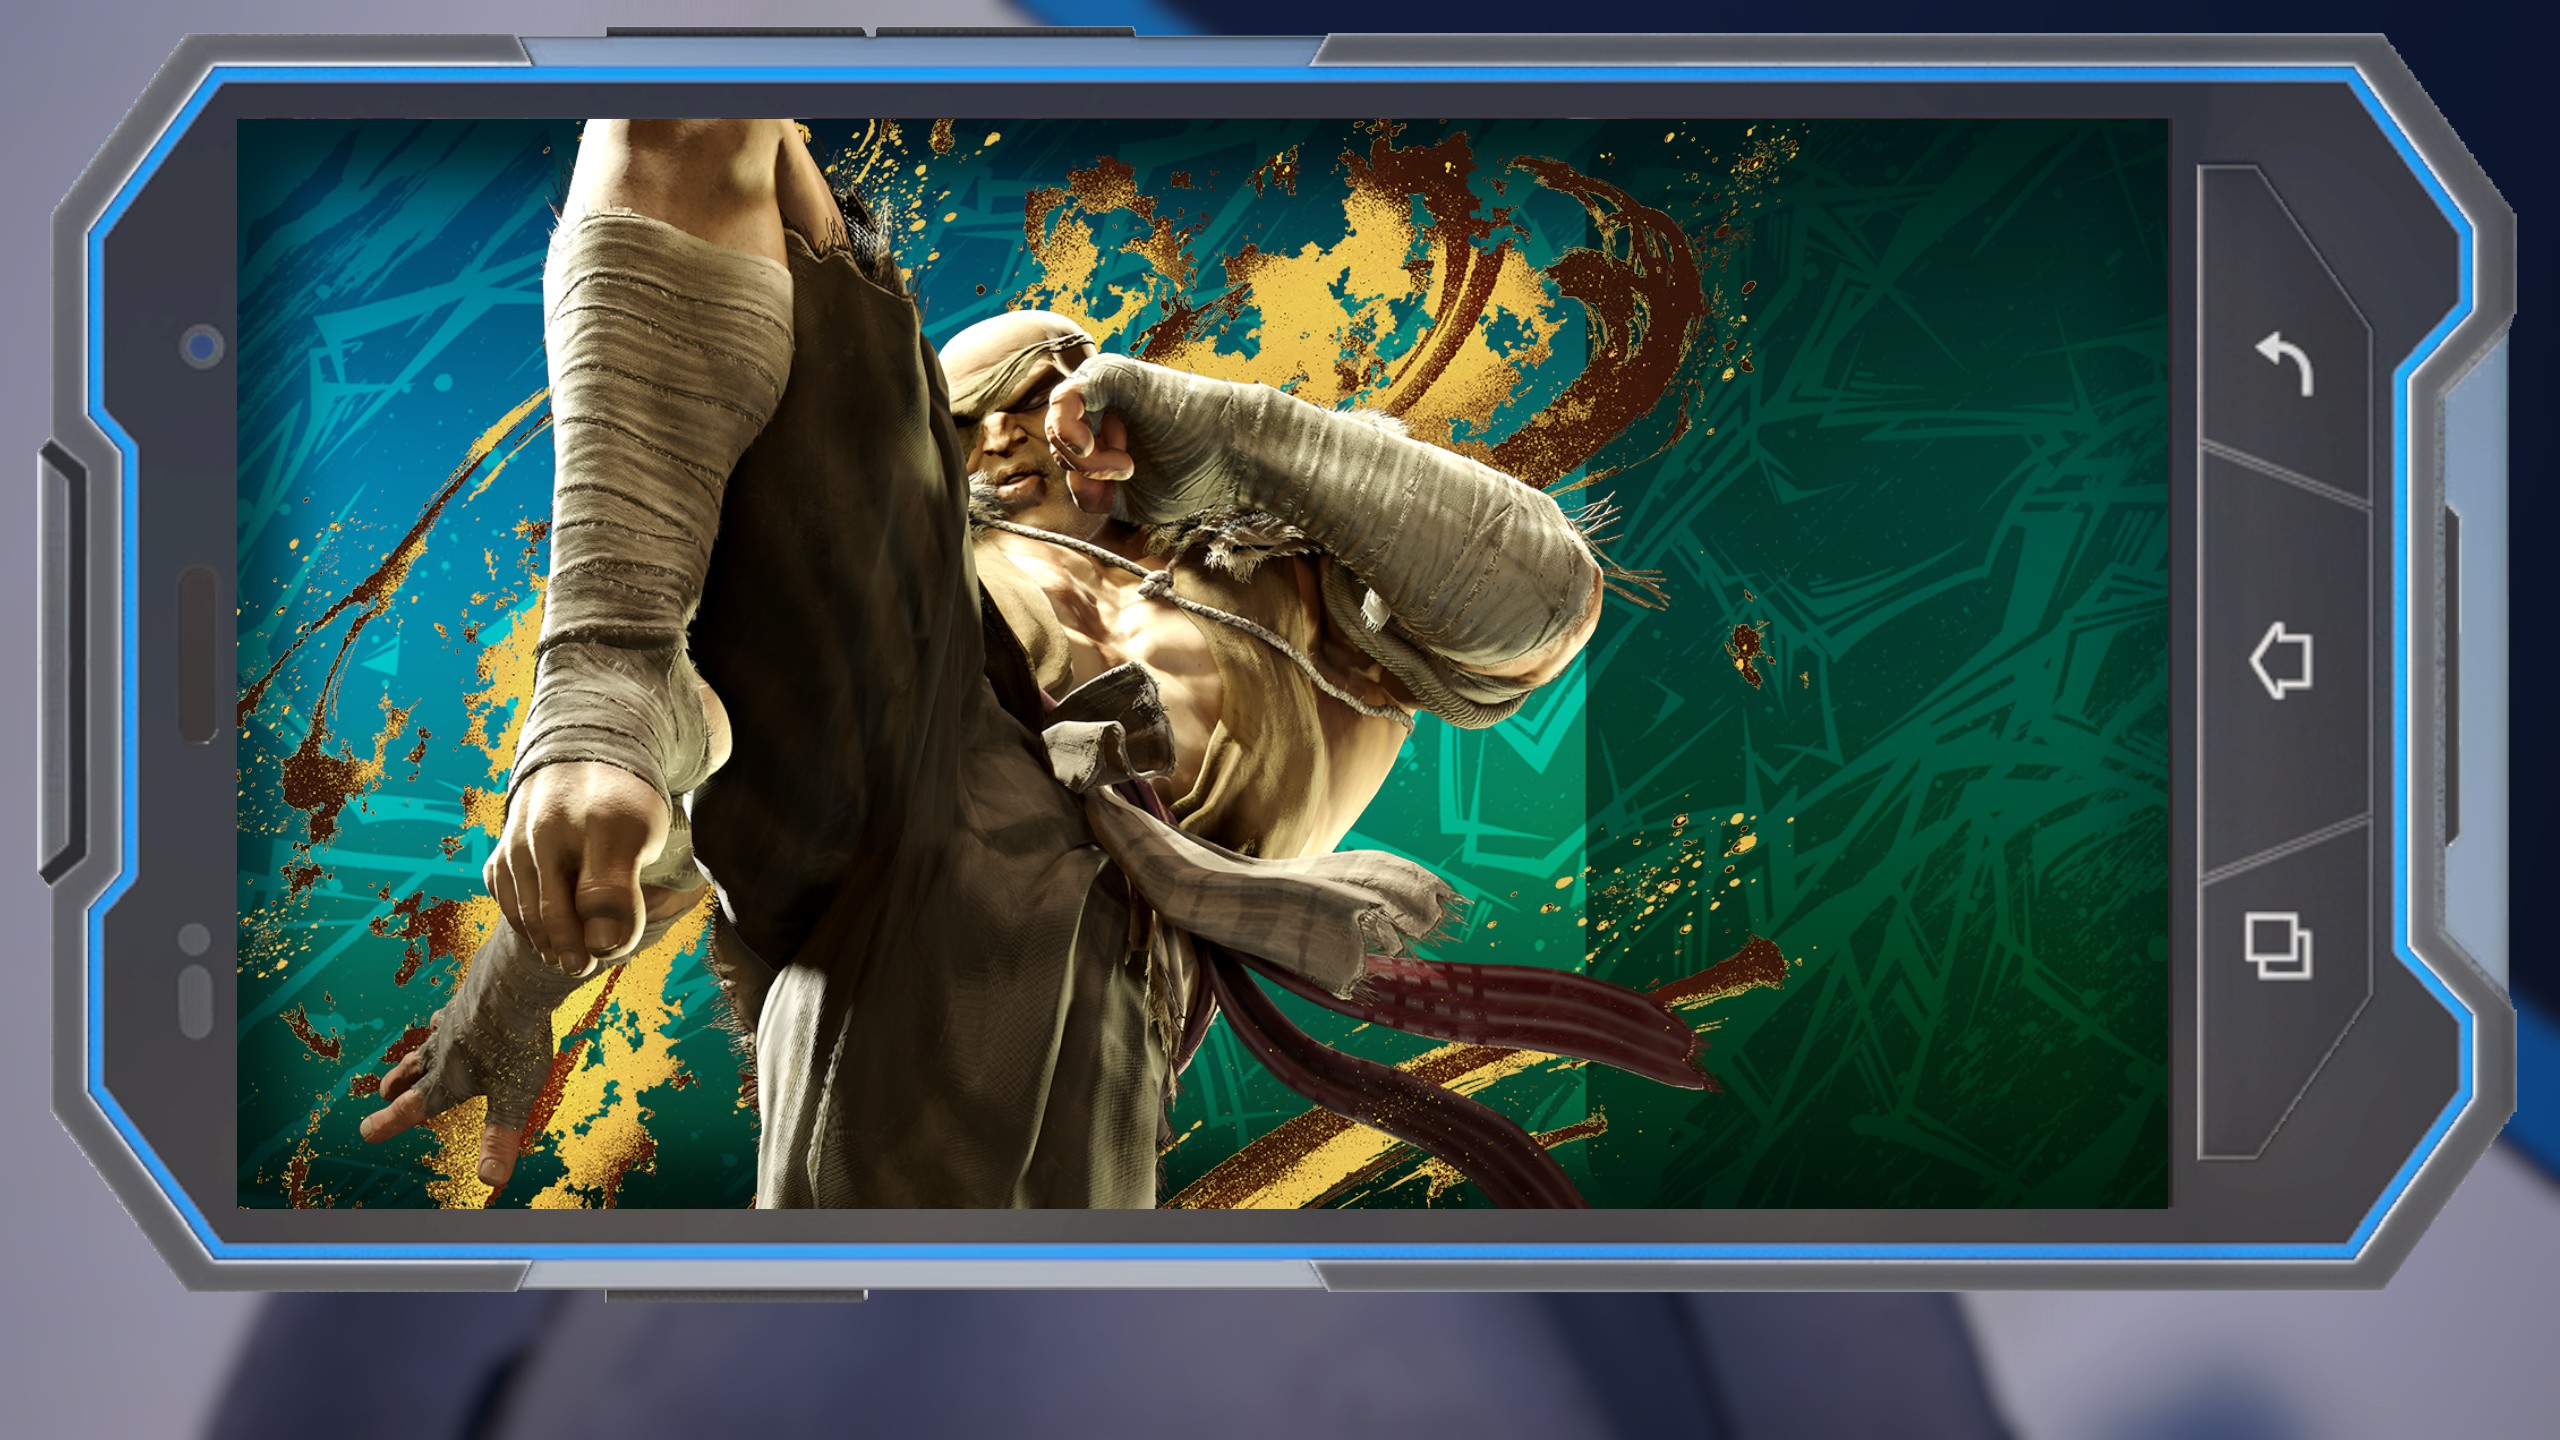
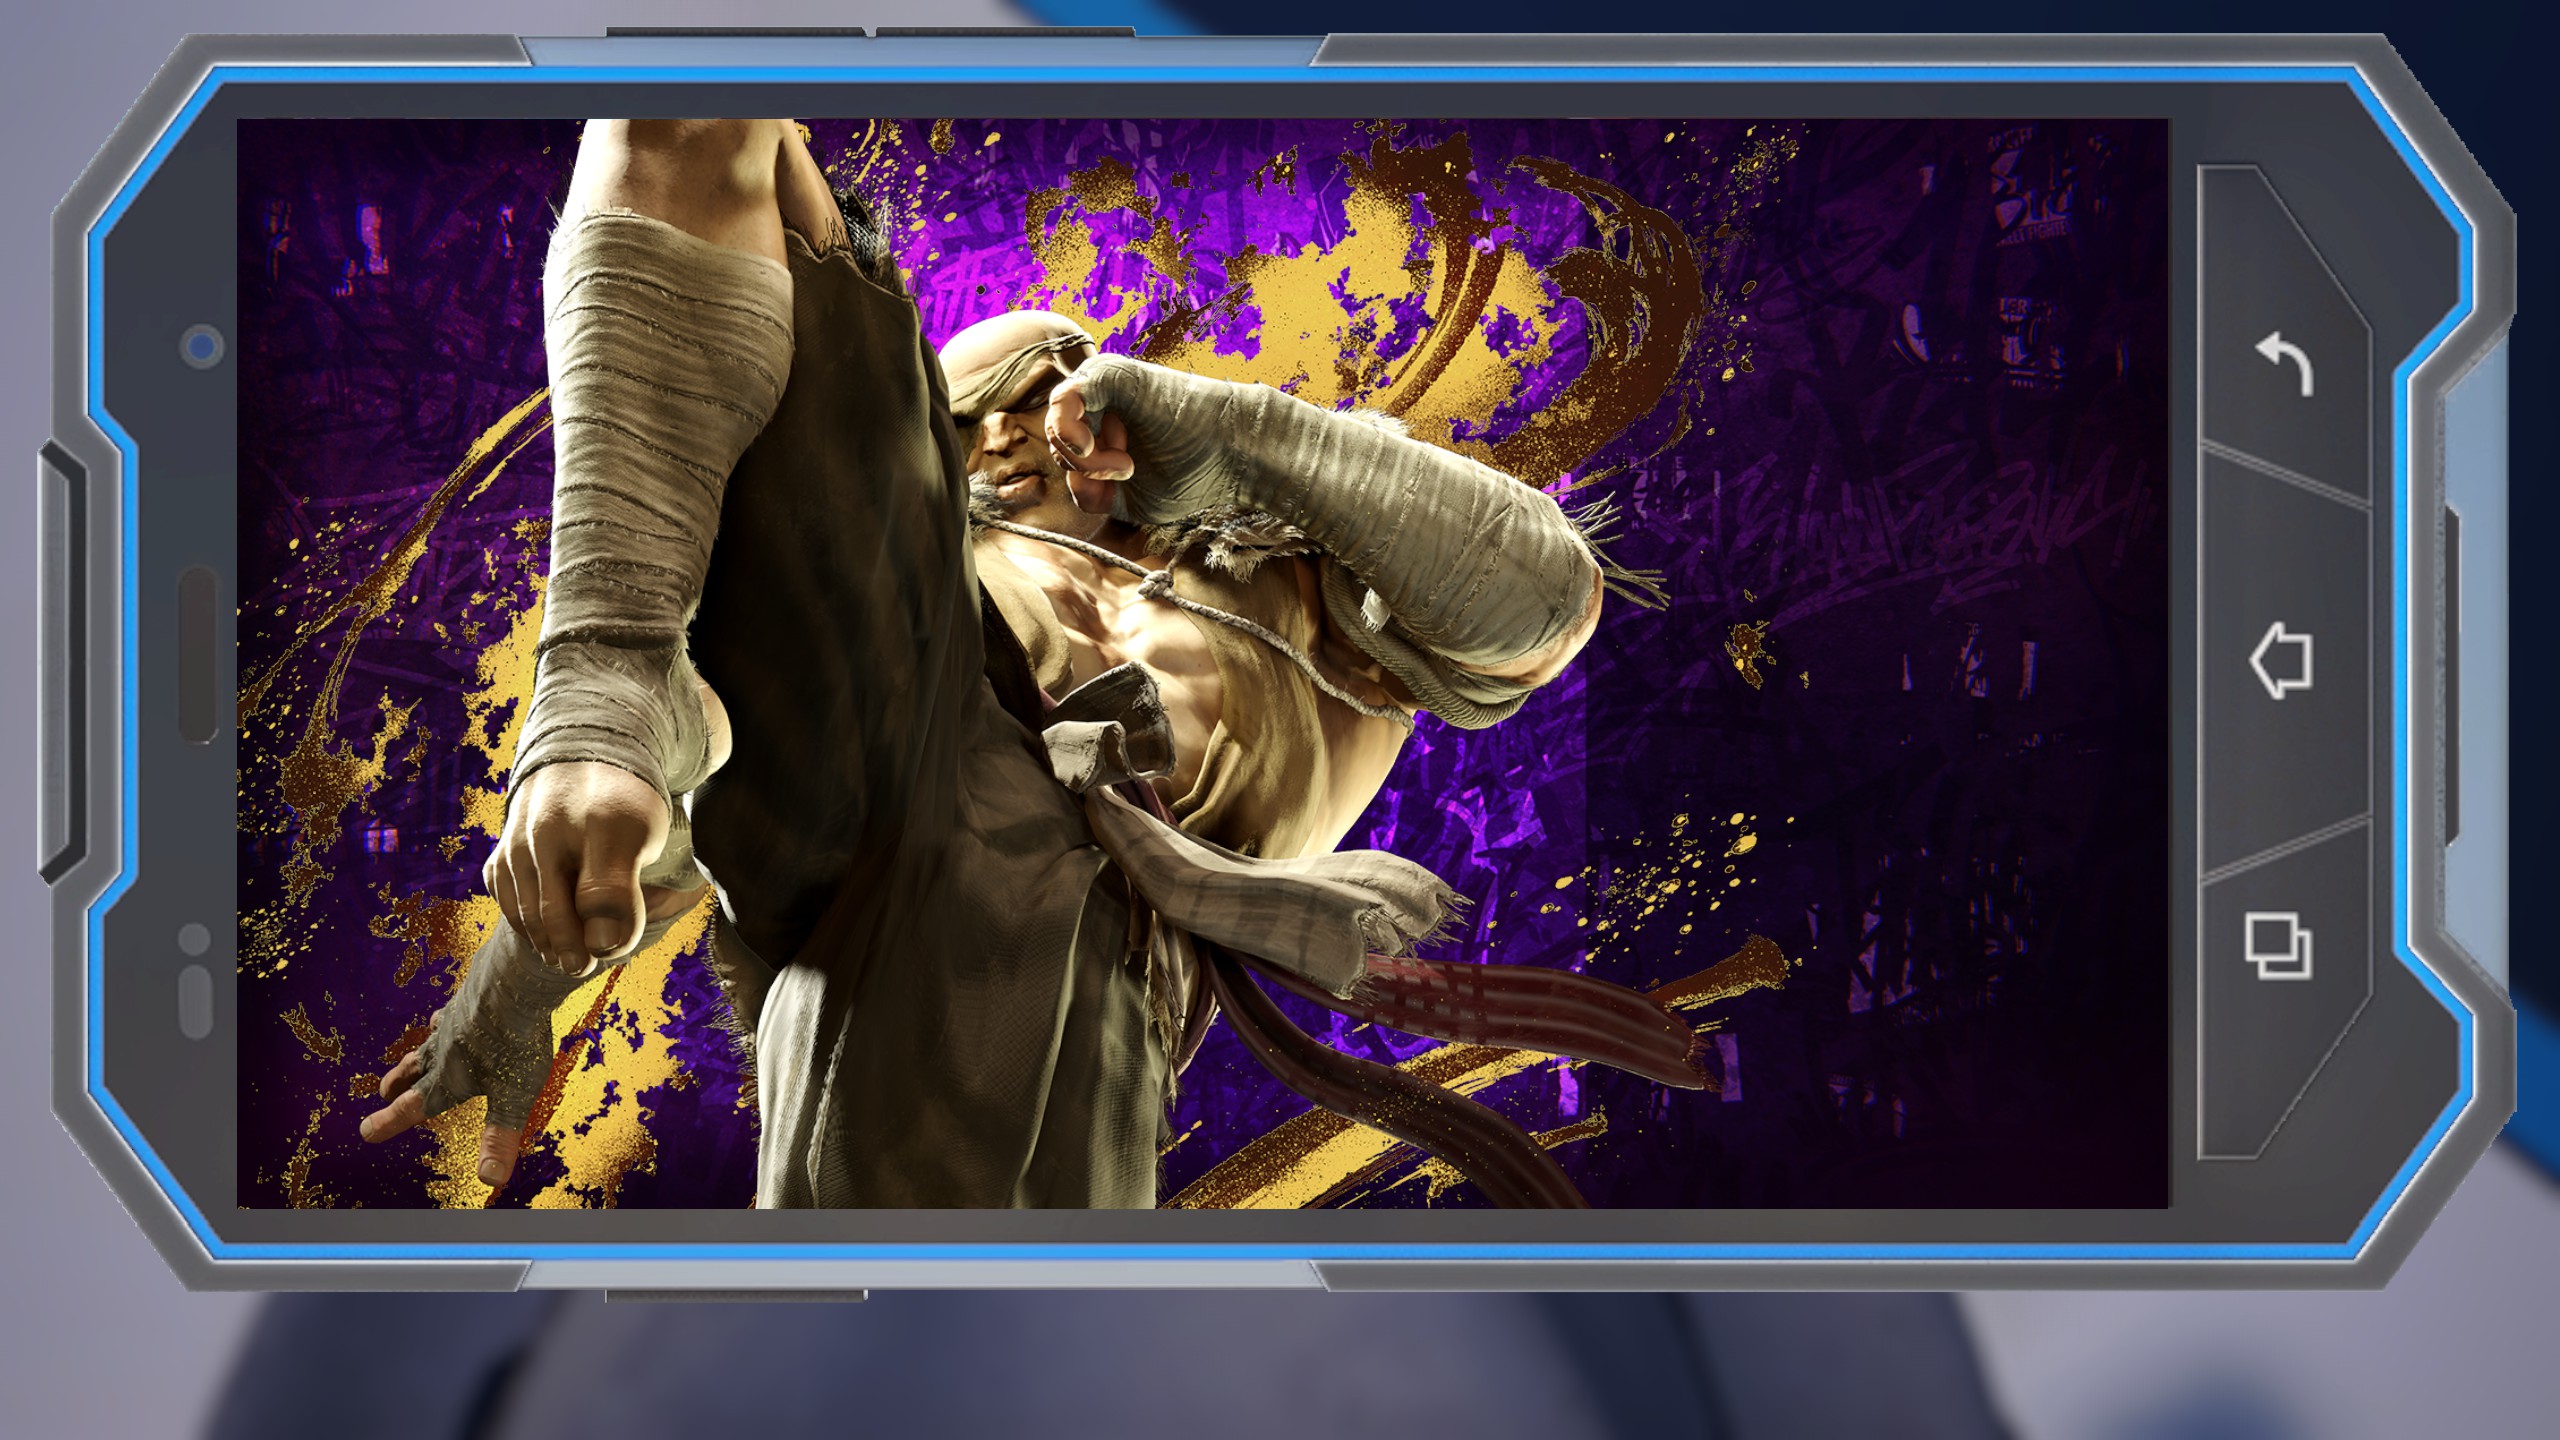
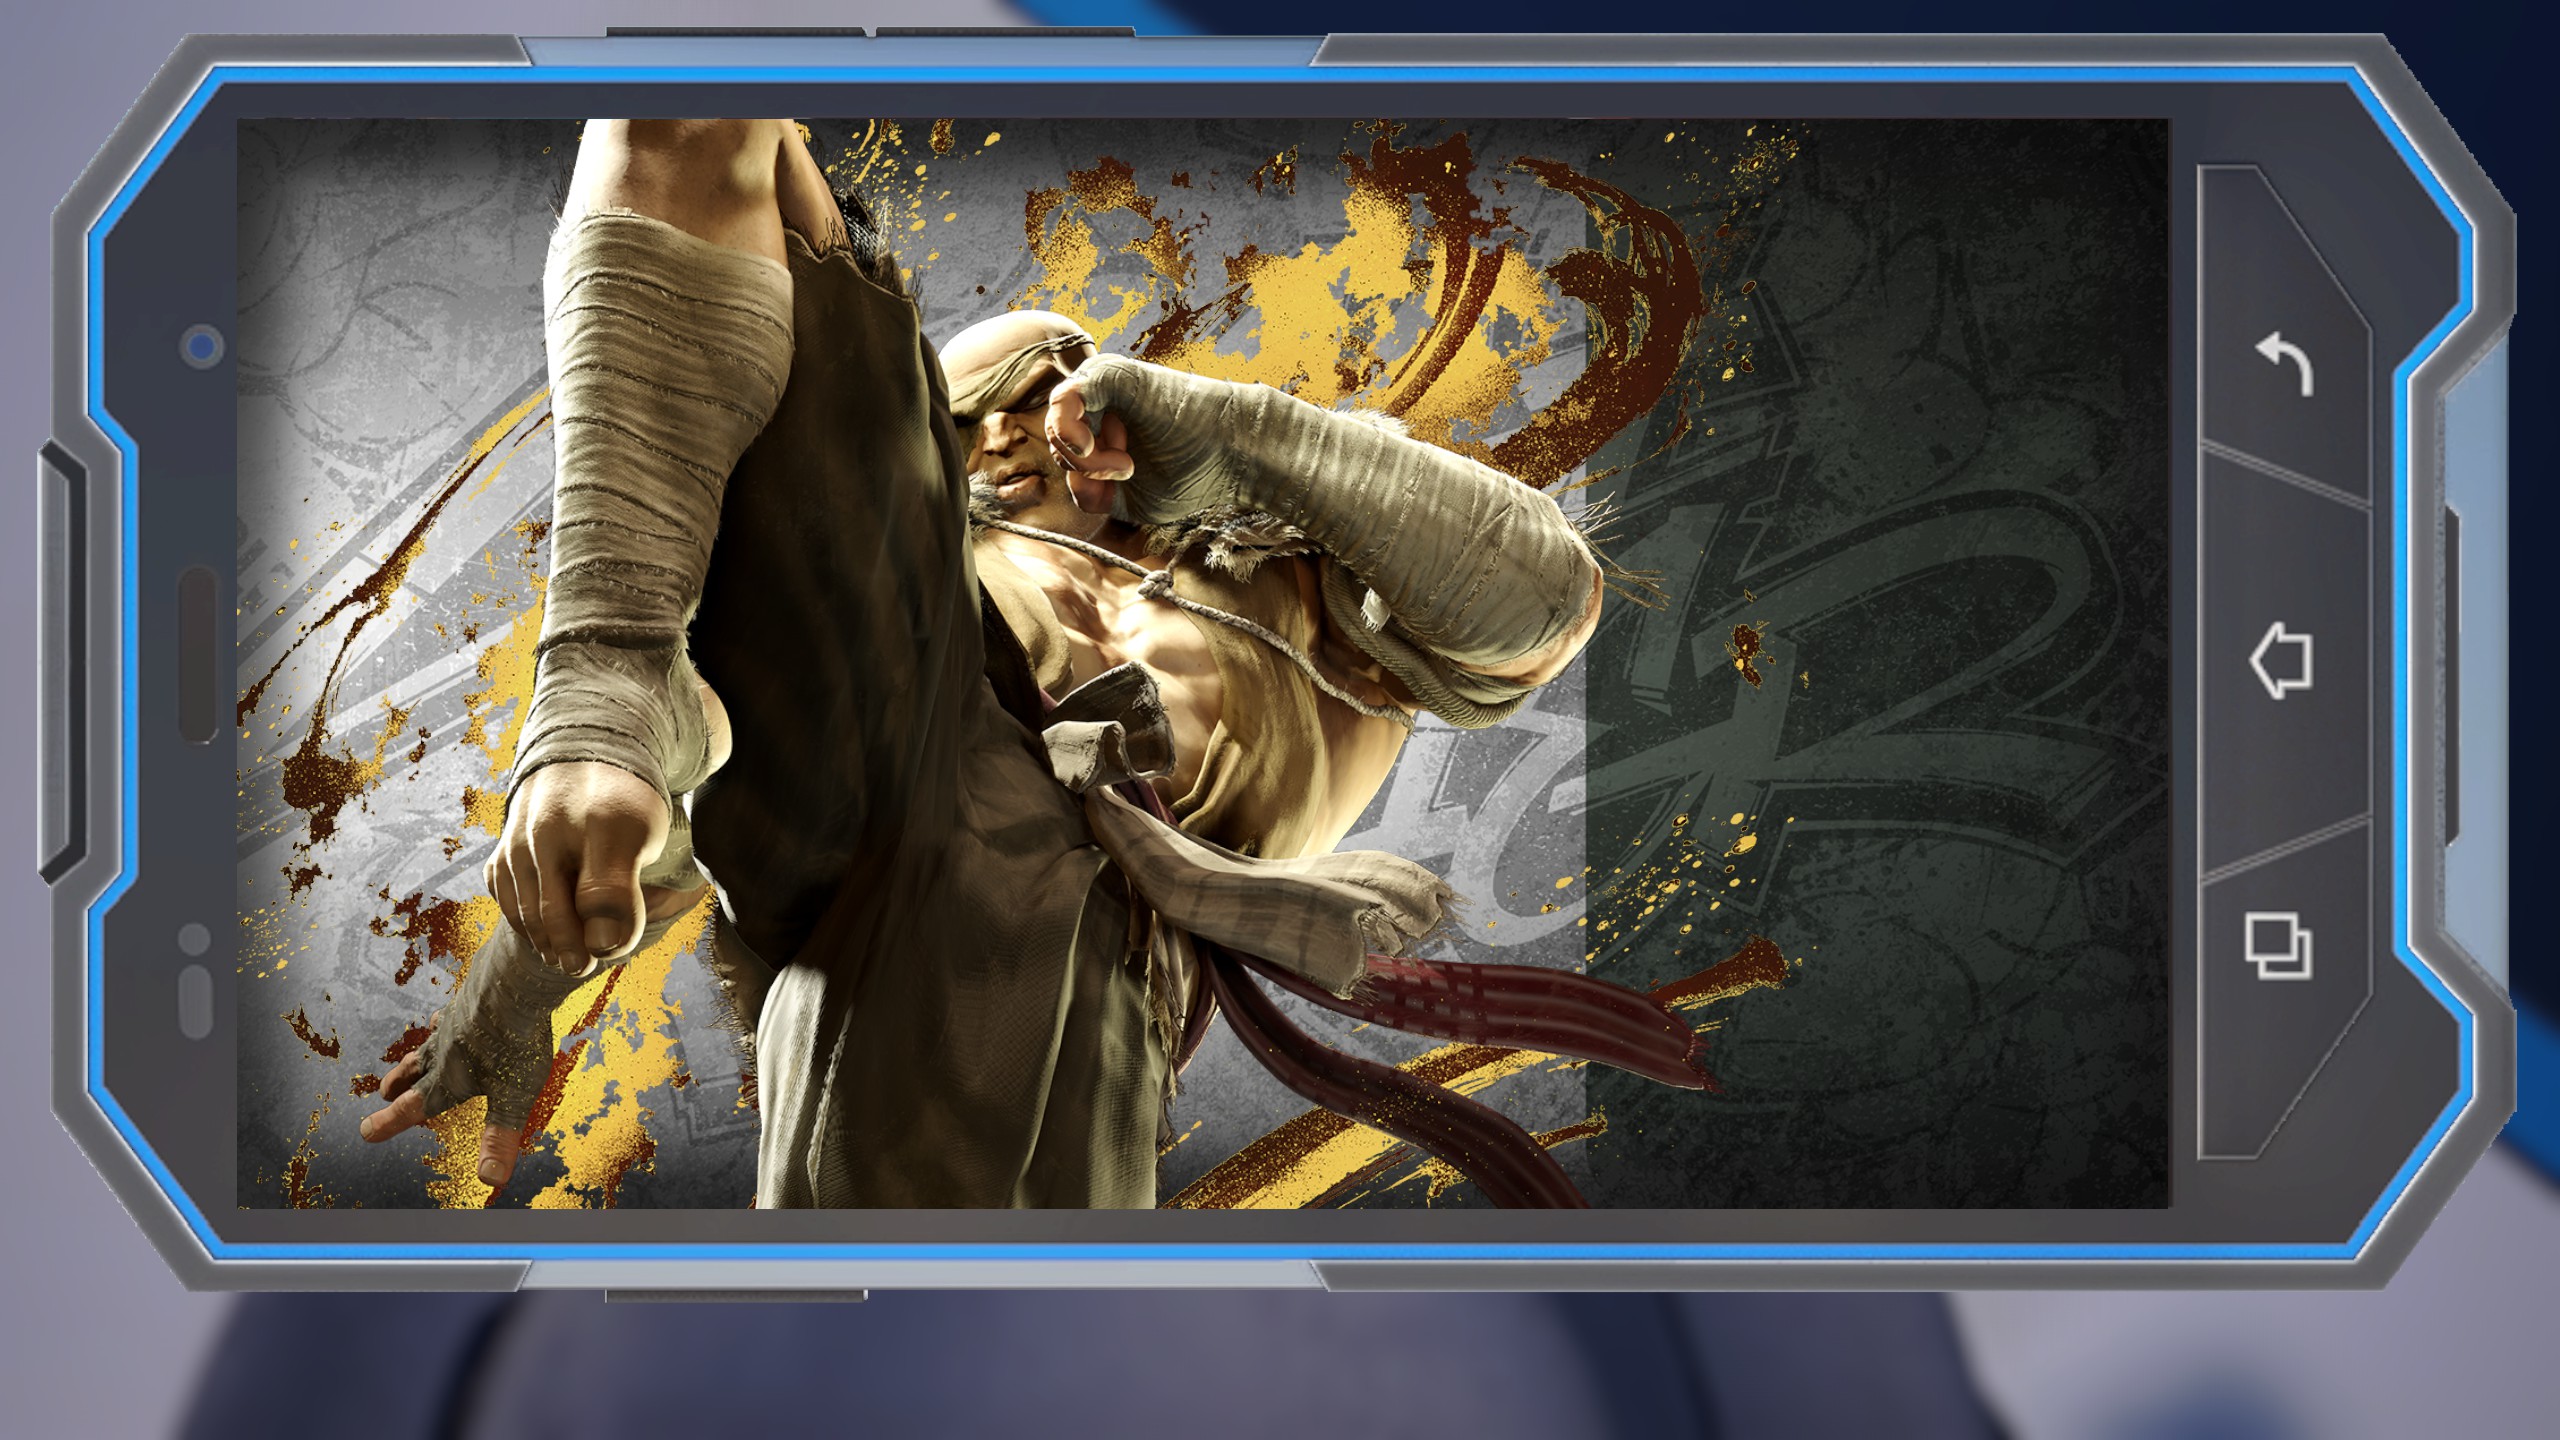
Wallpapers - World Tour Masters (Part 1)
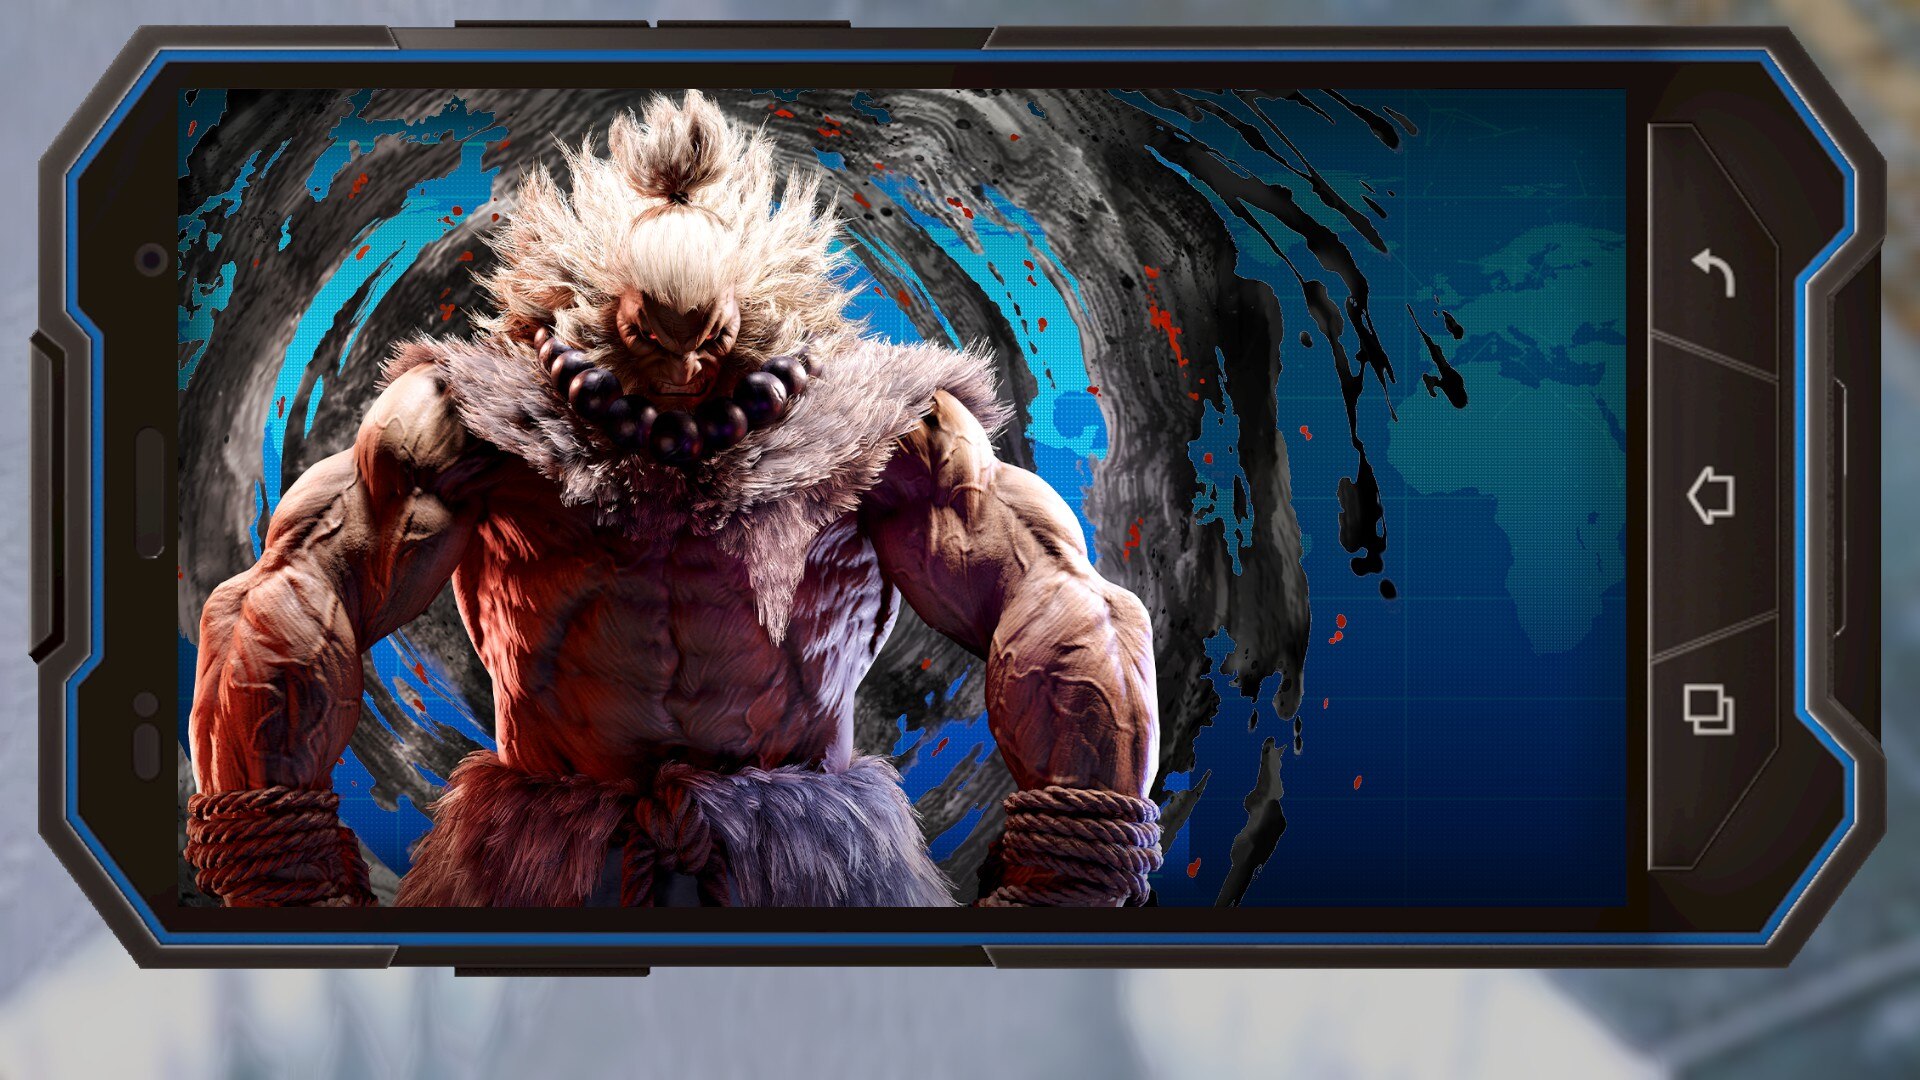
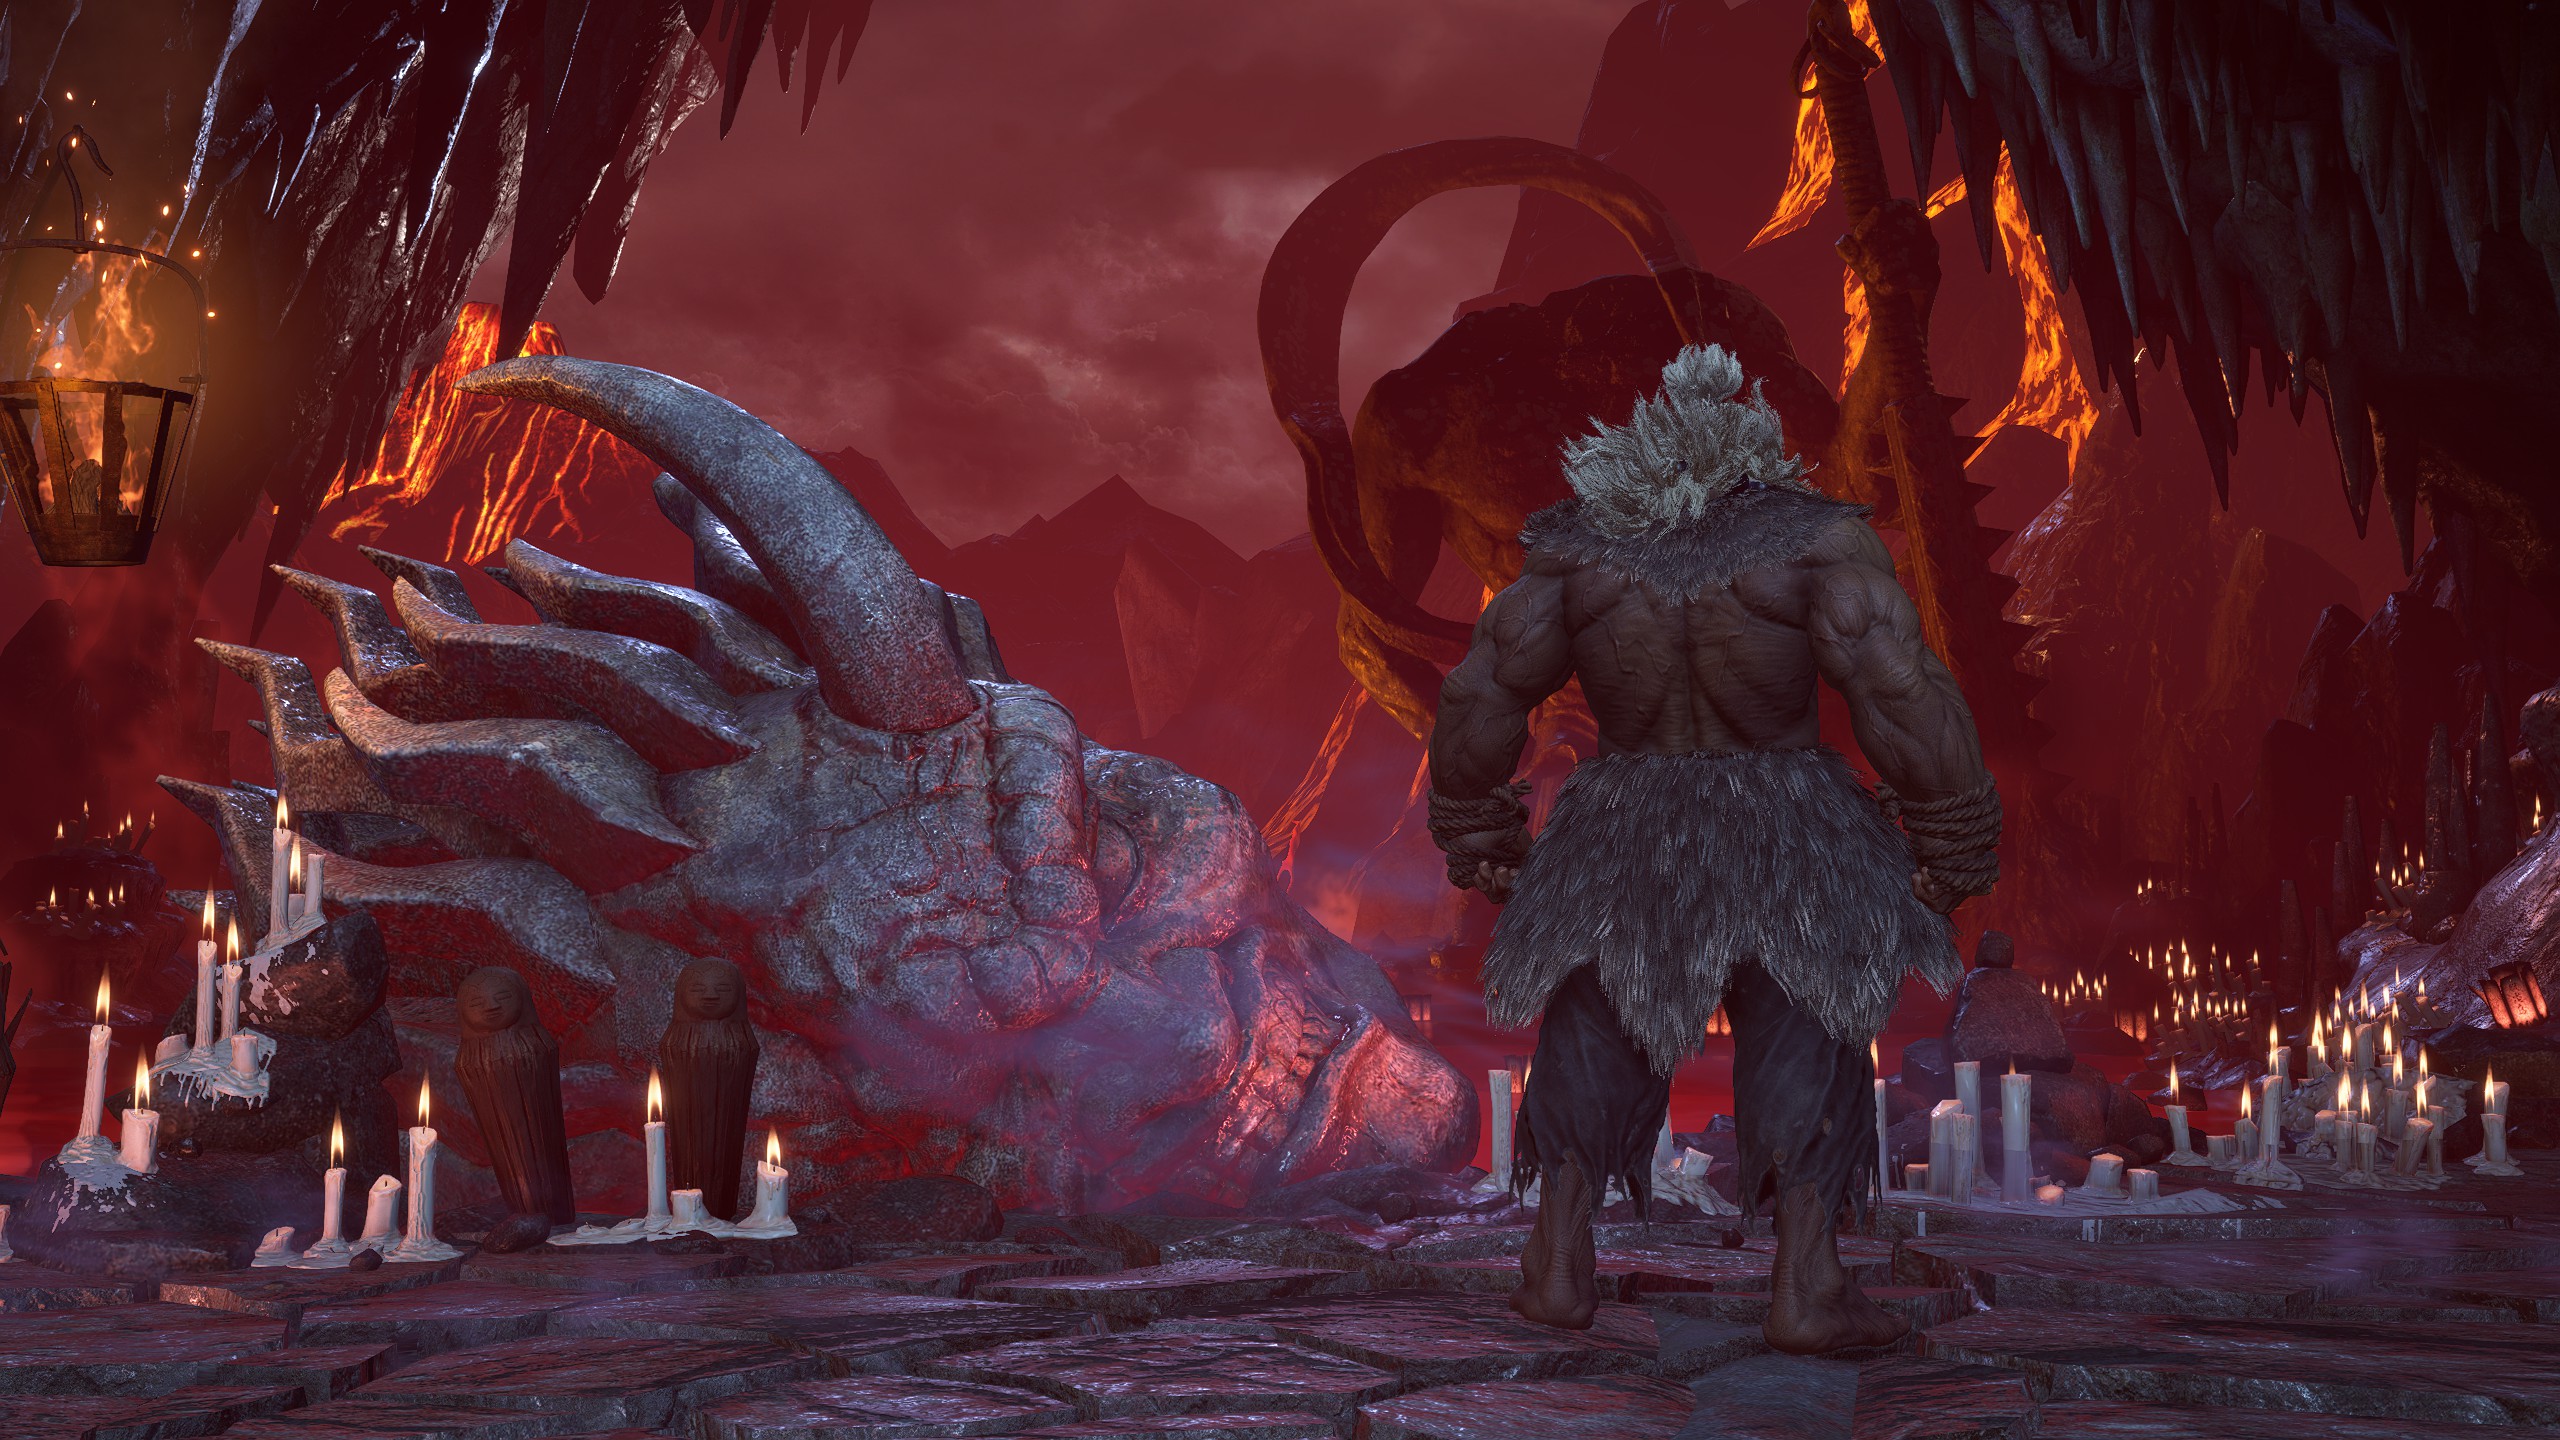
Akuma
Black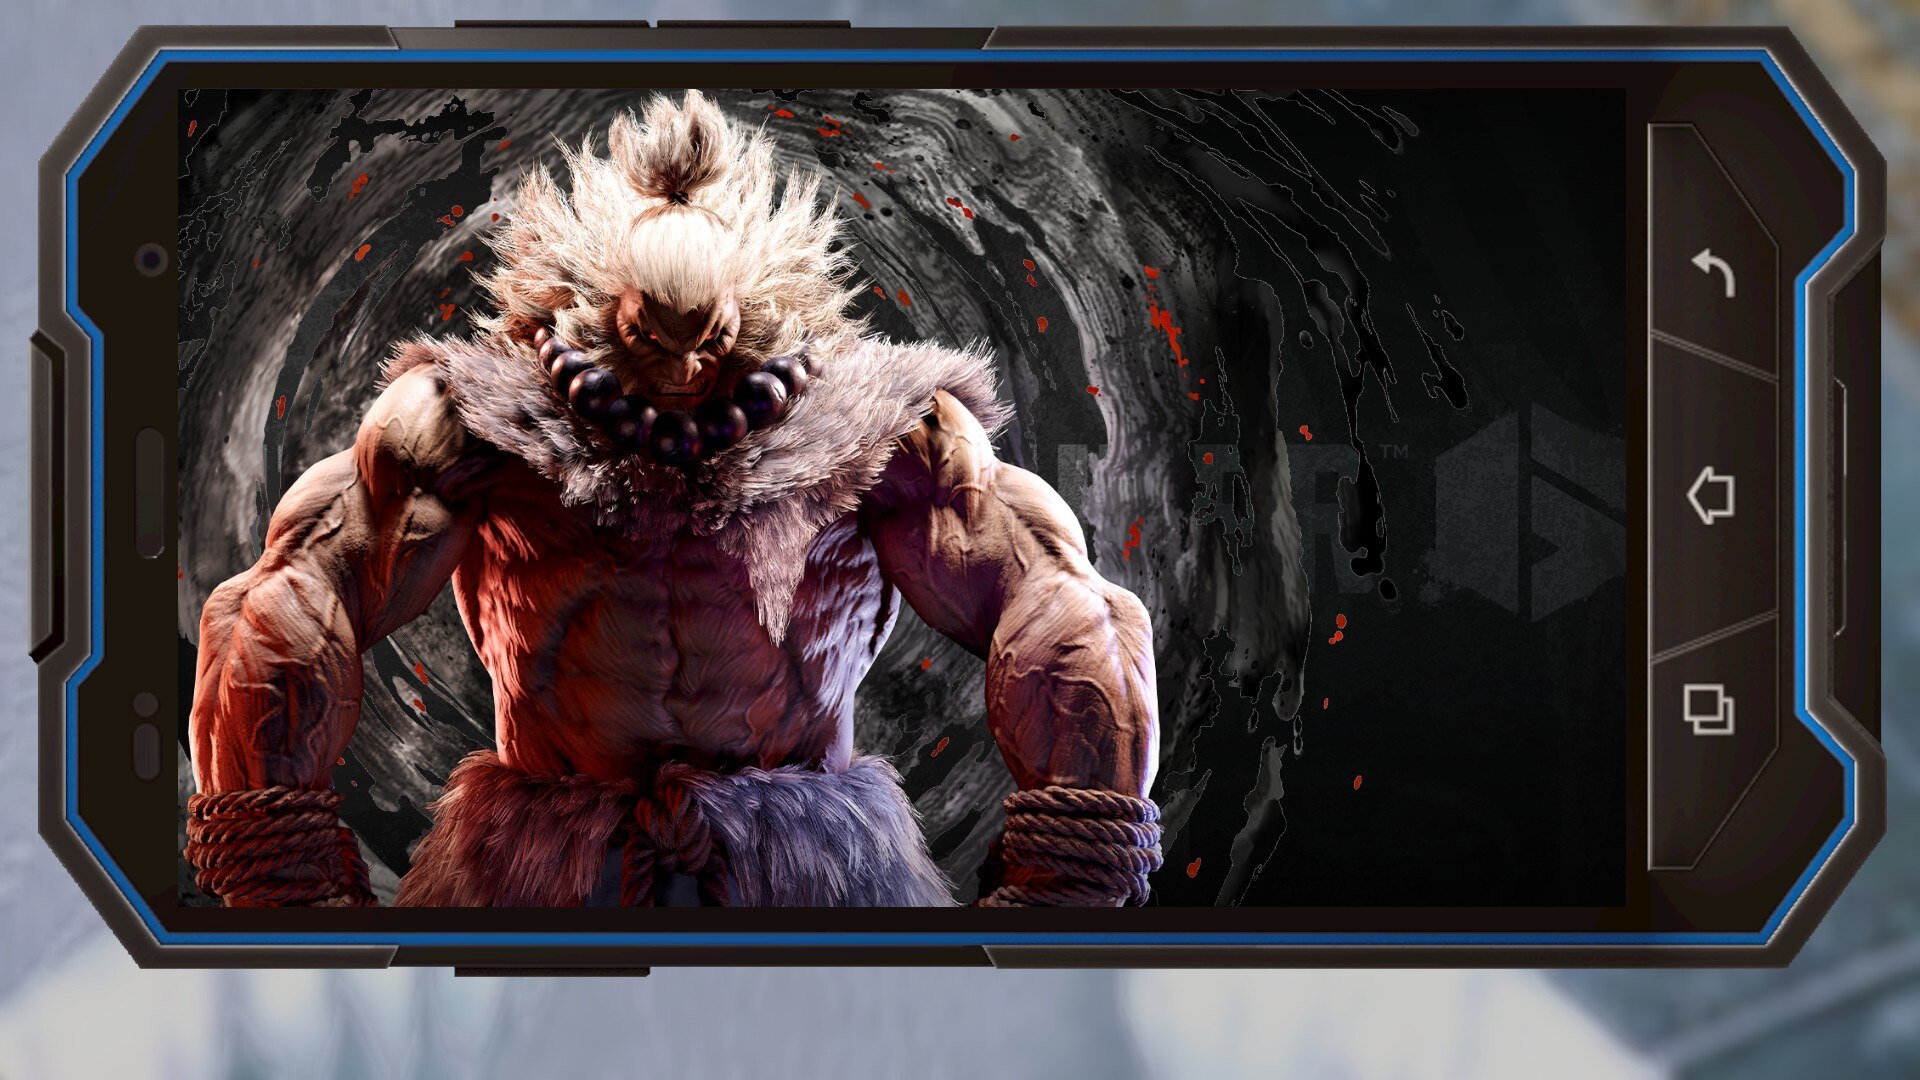
Blue
Green

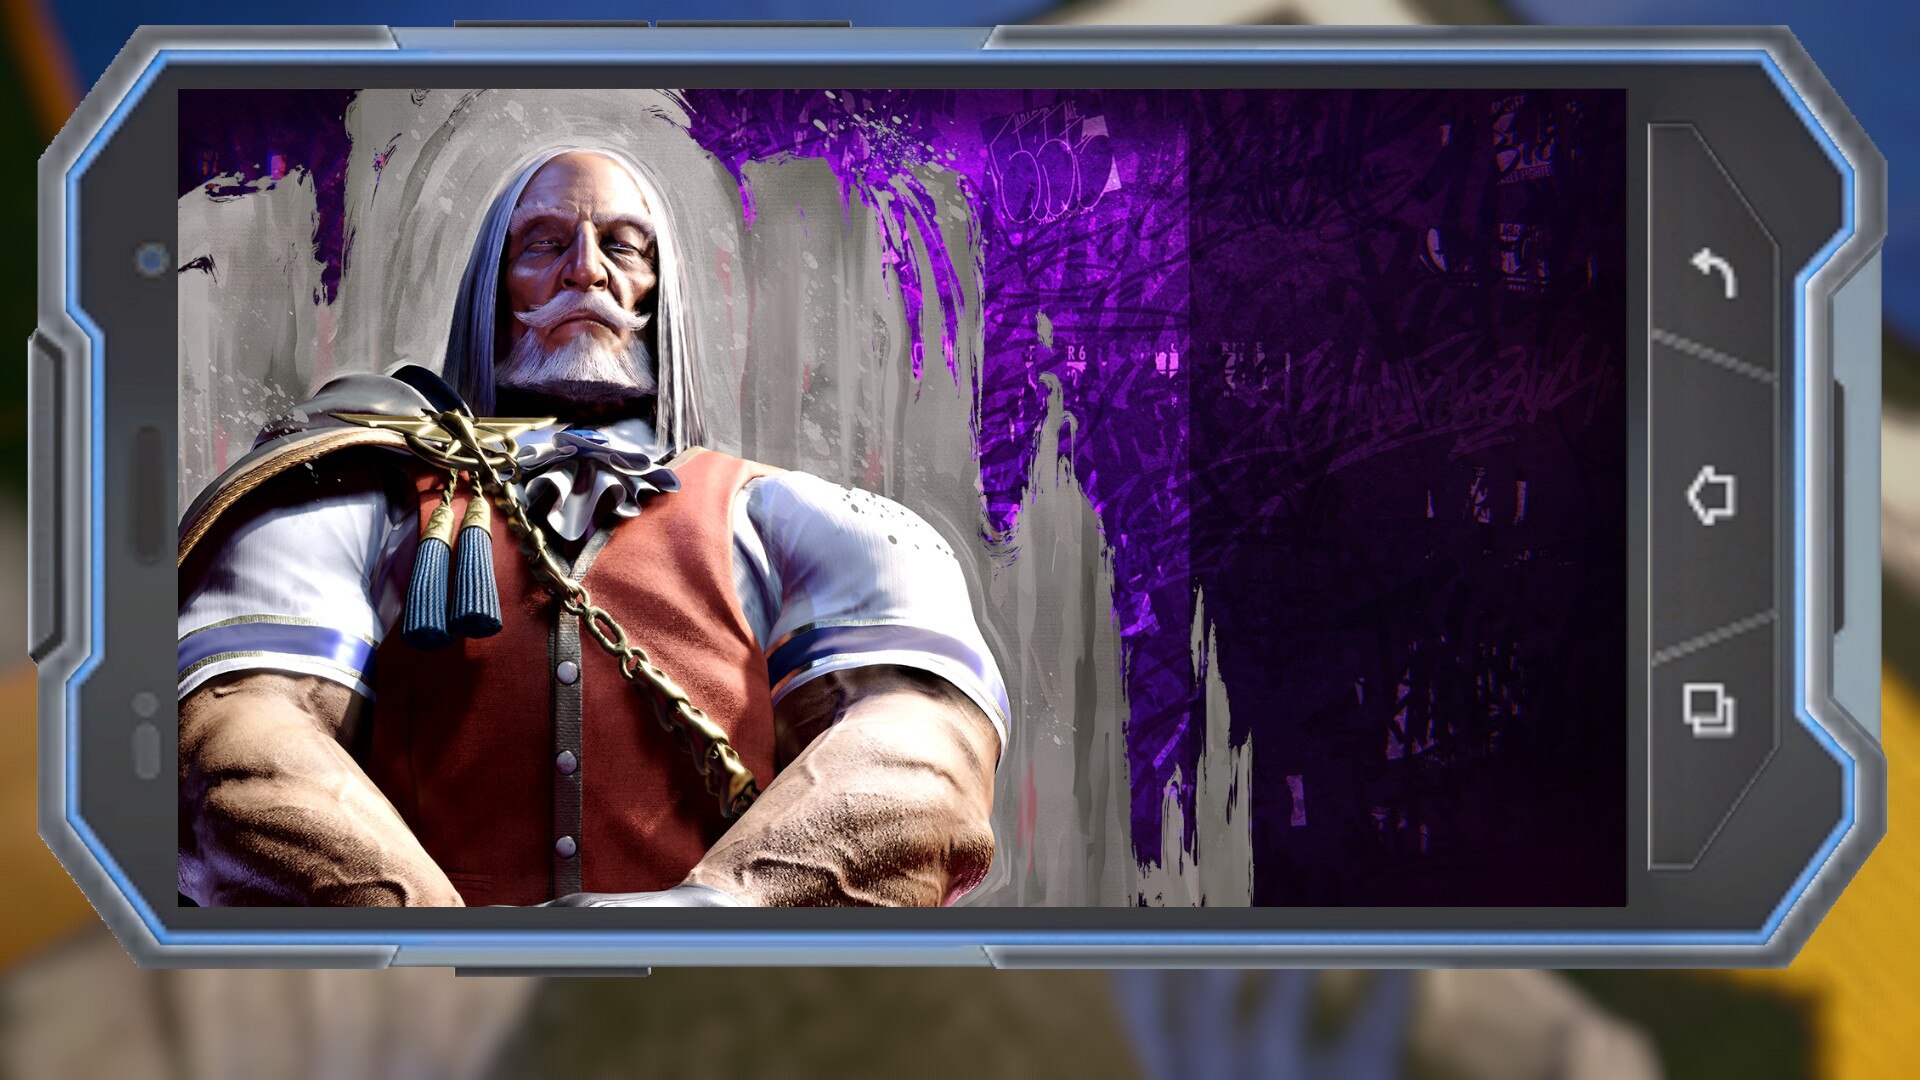
Purple
White
A.K.I.
Black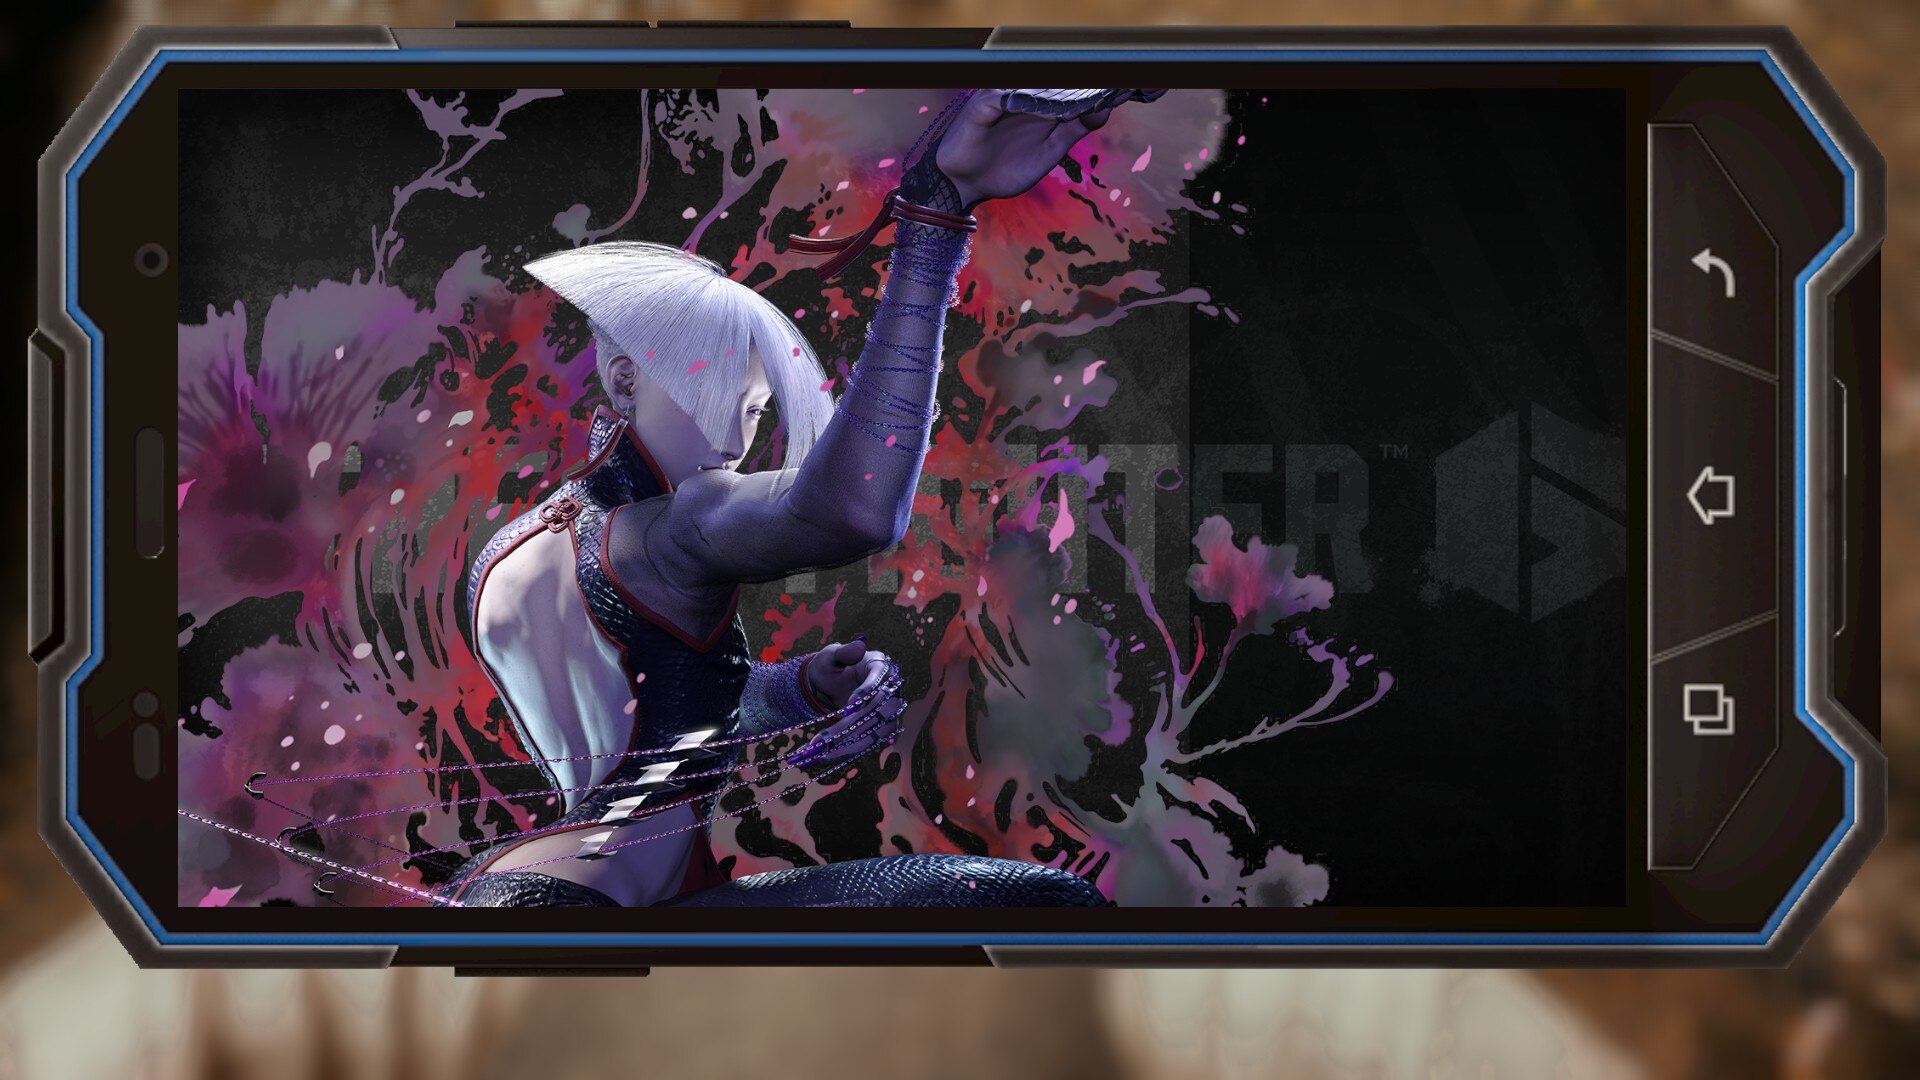
Blue
Green
Purple
White
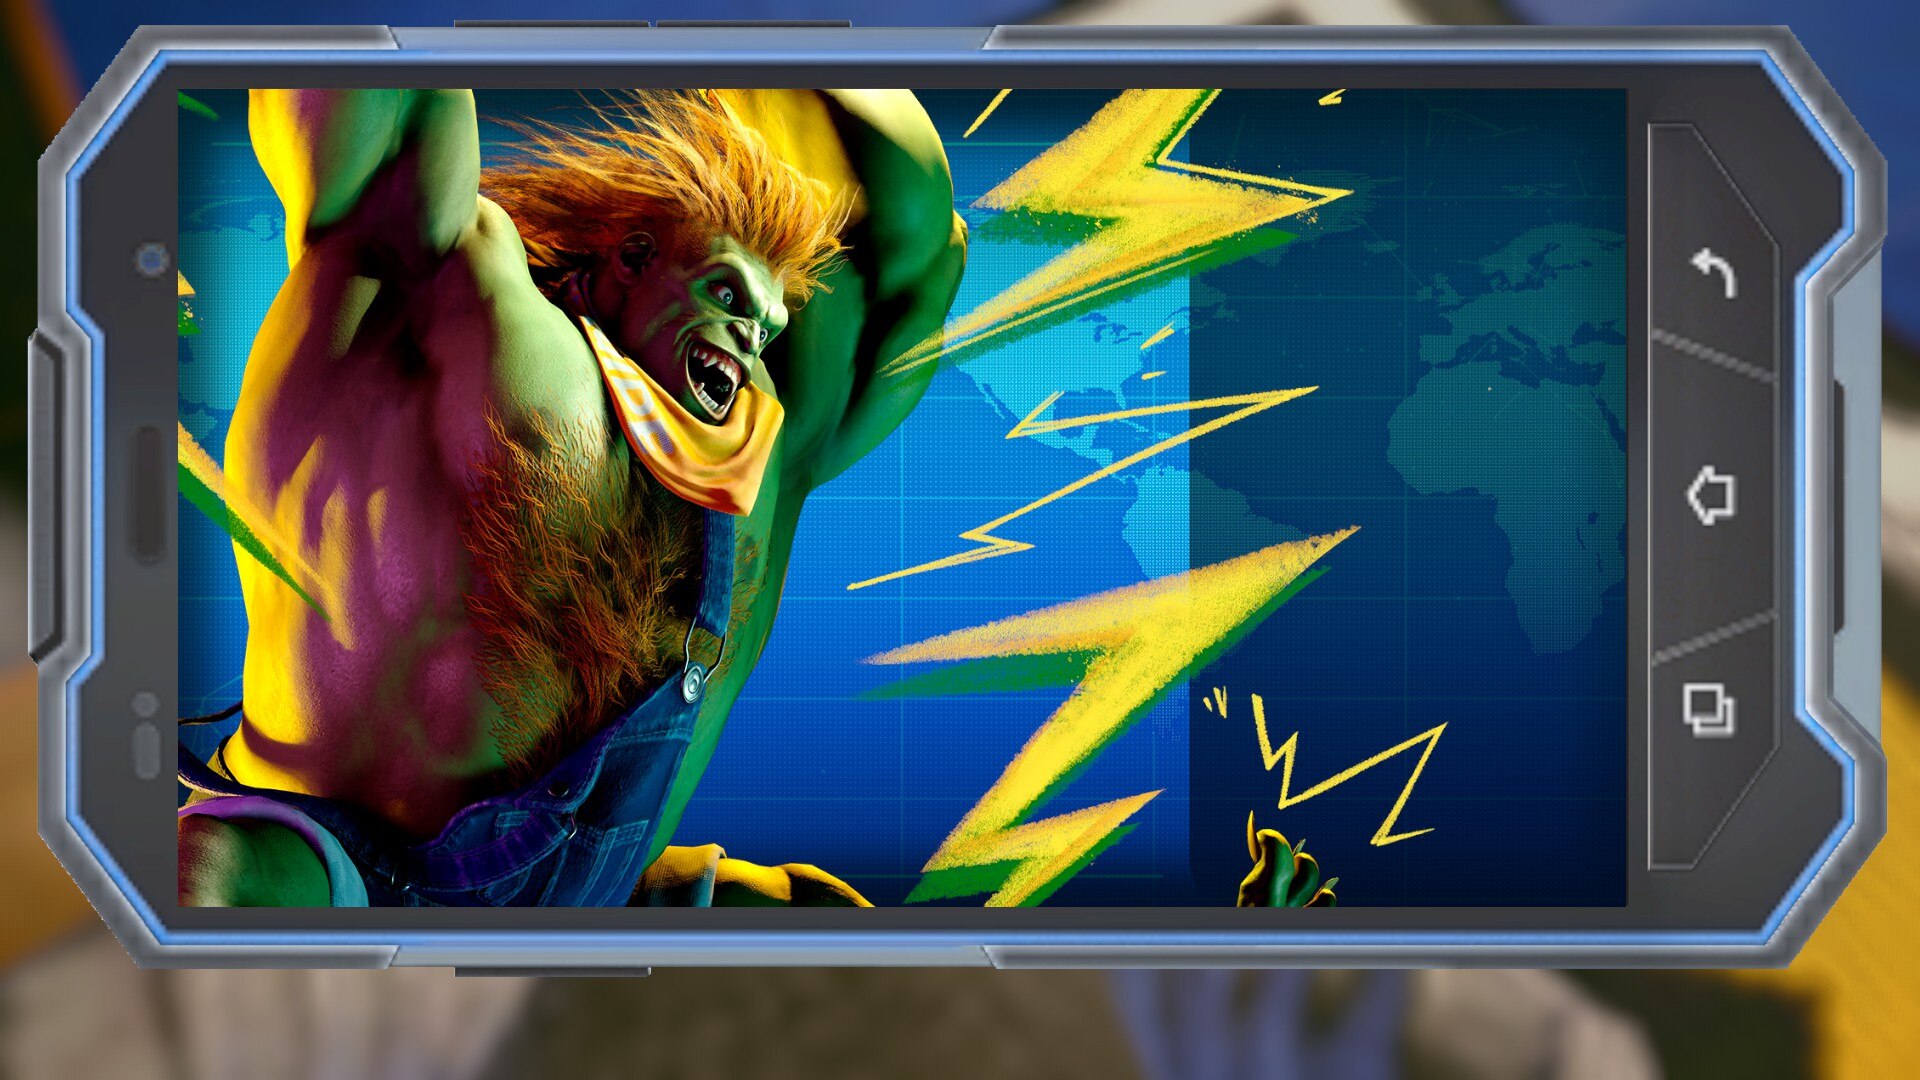
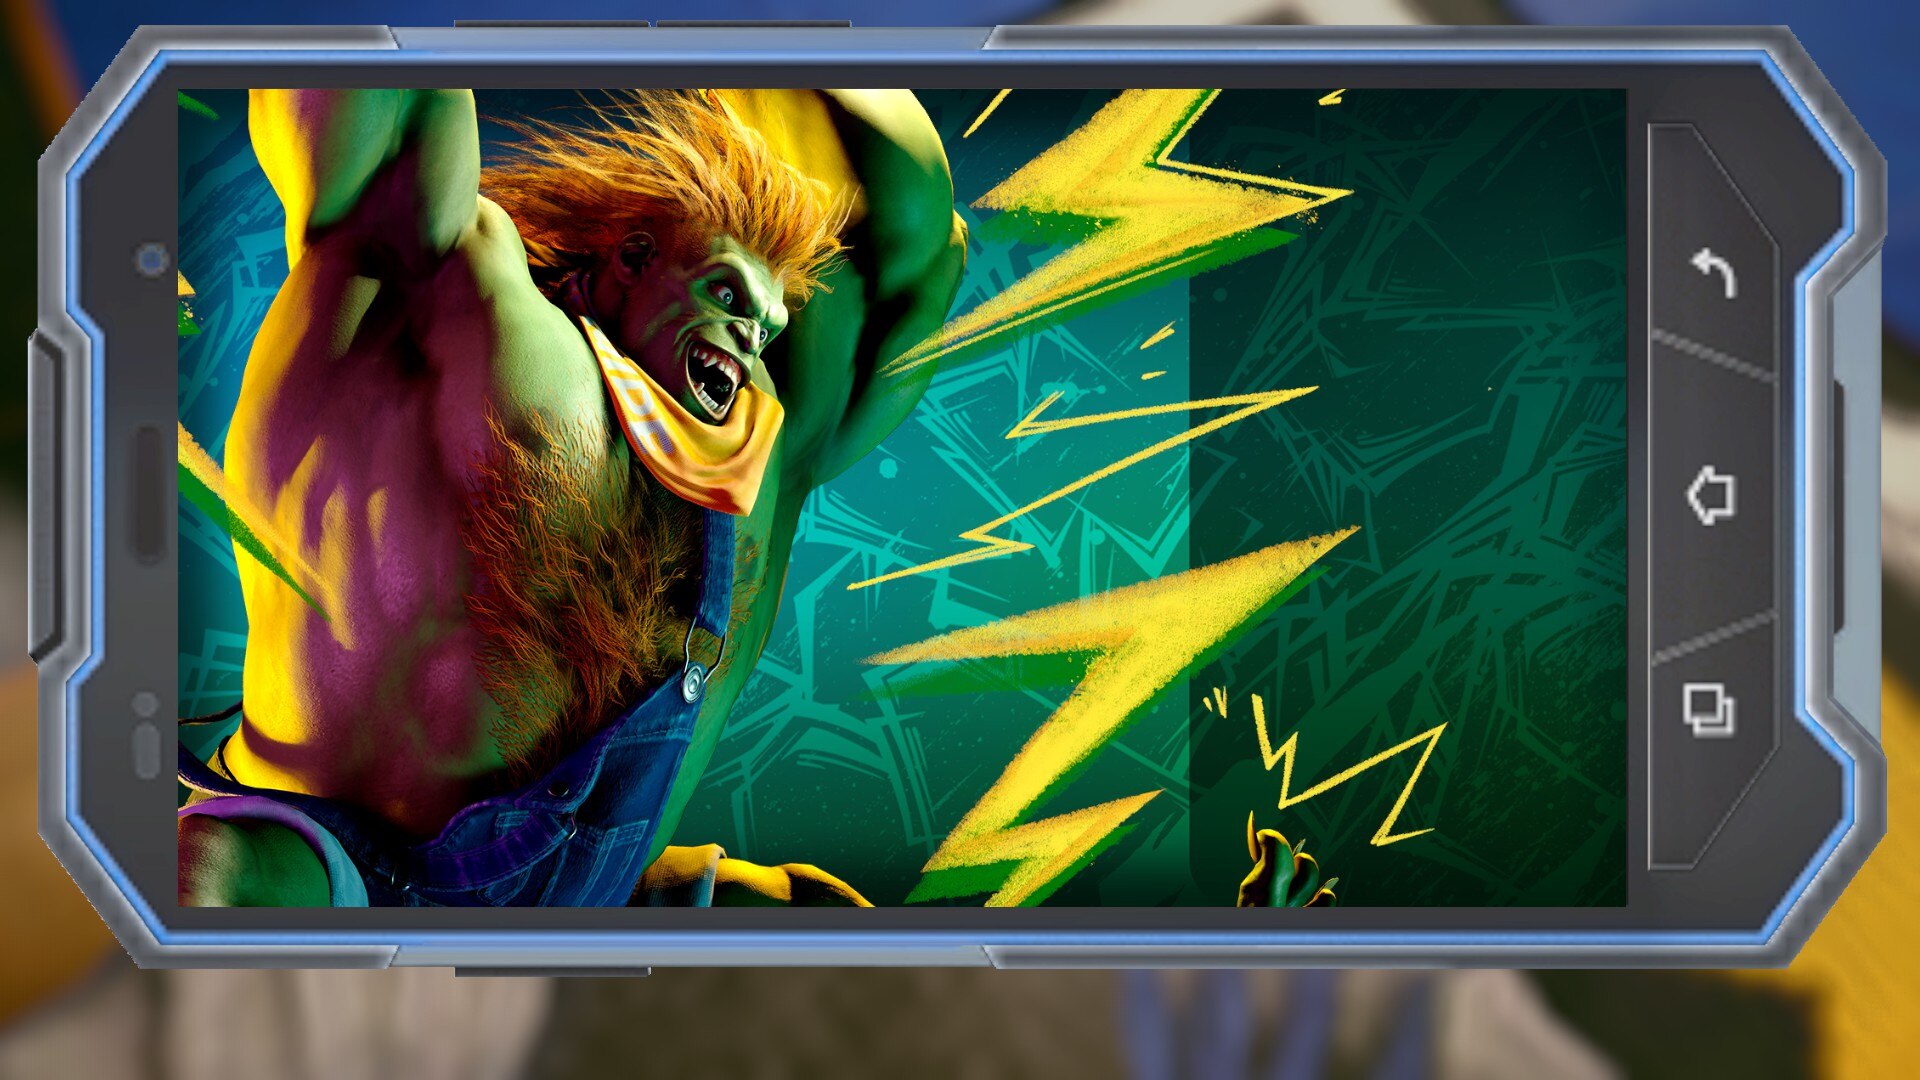
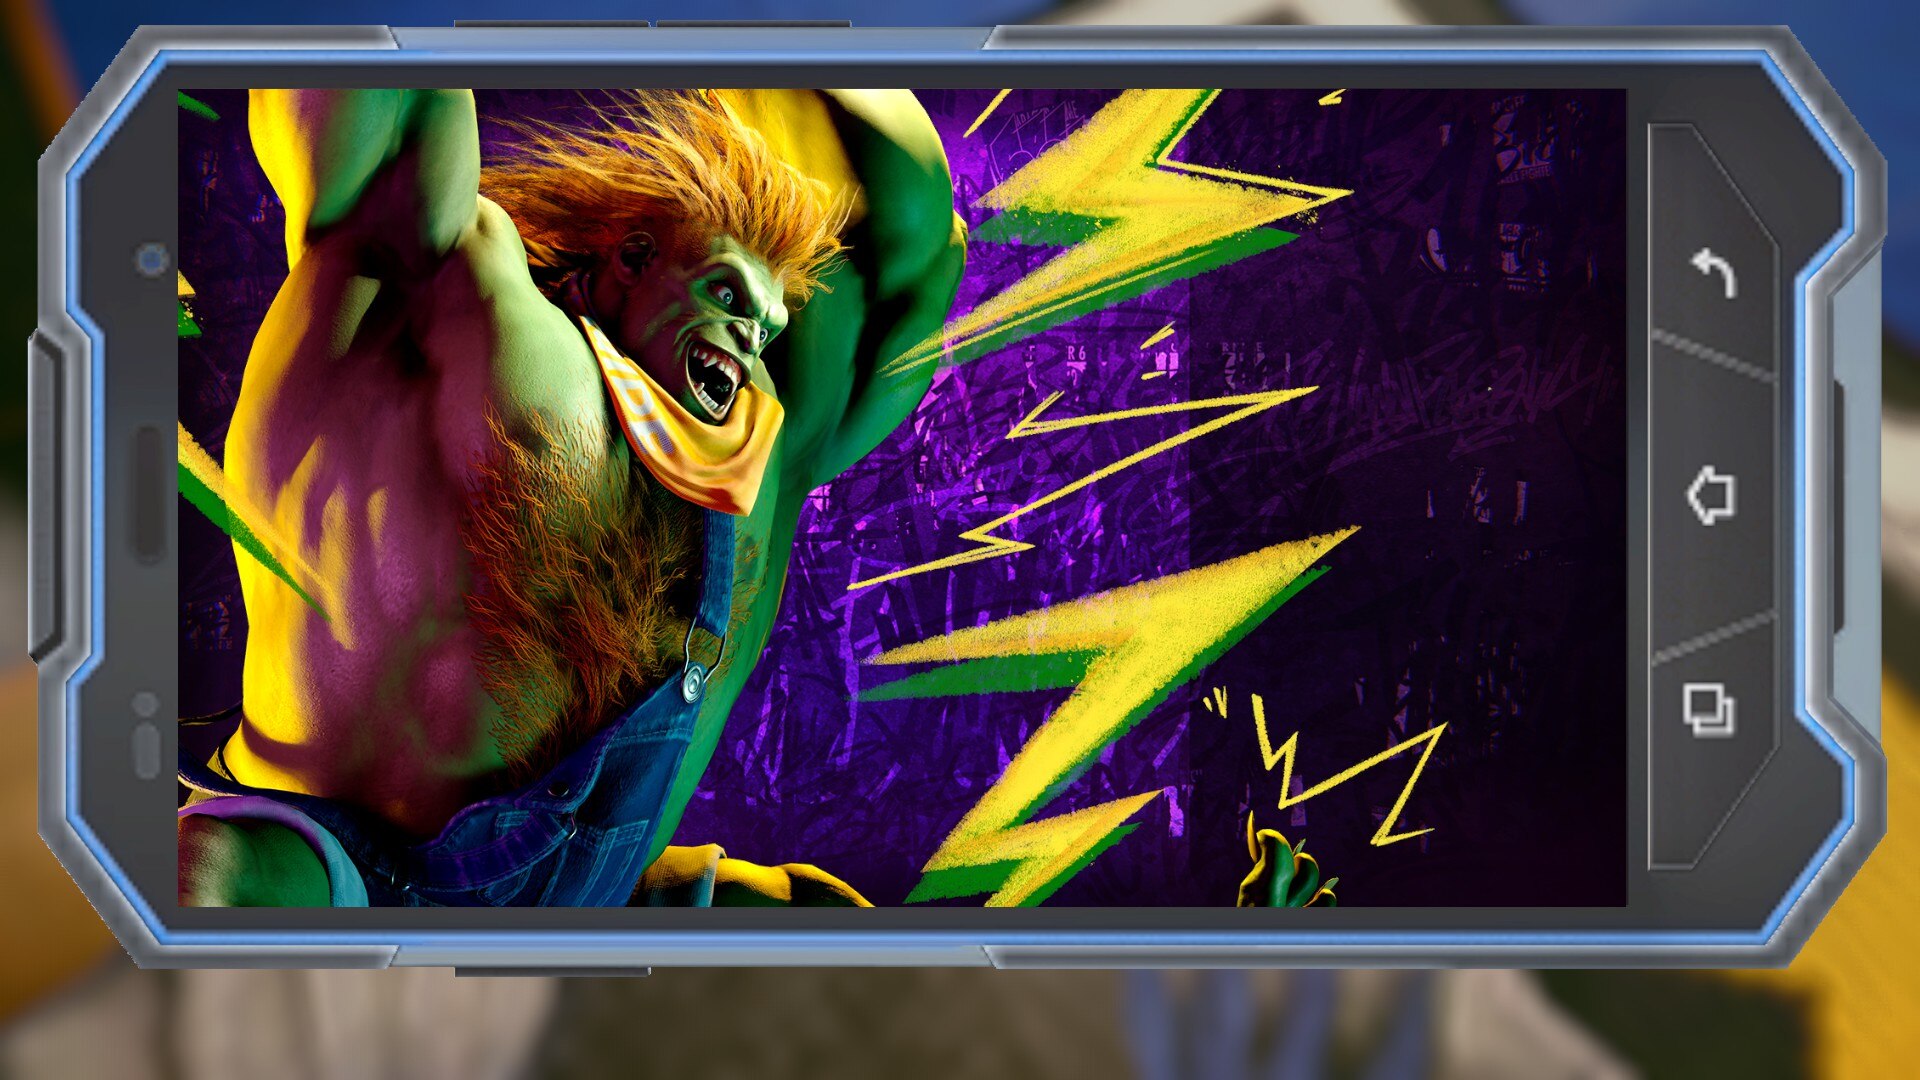
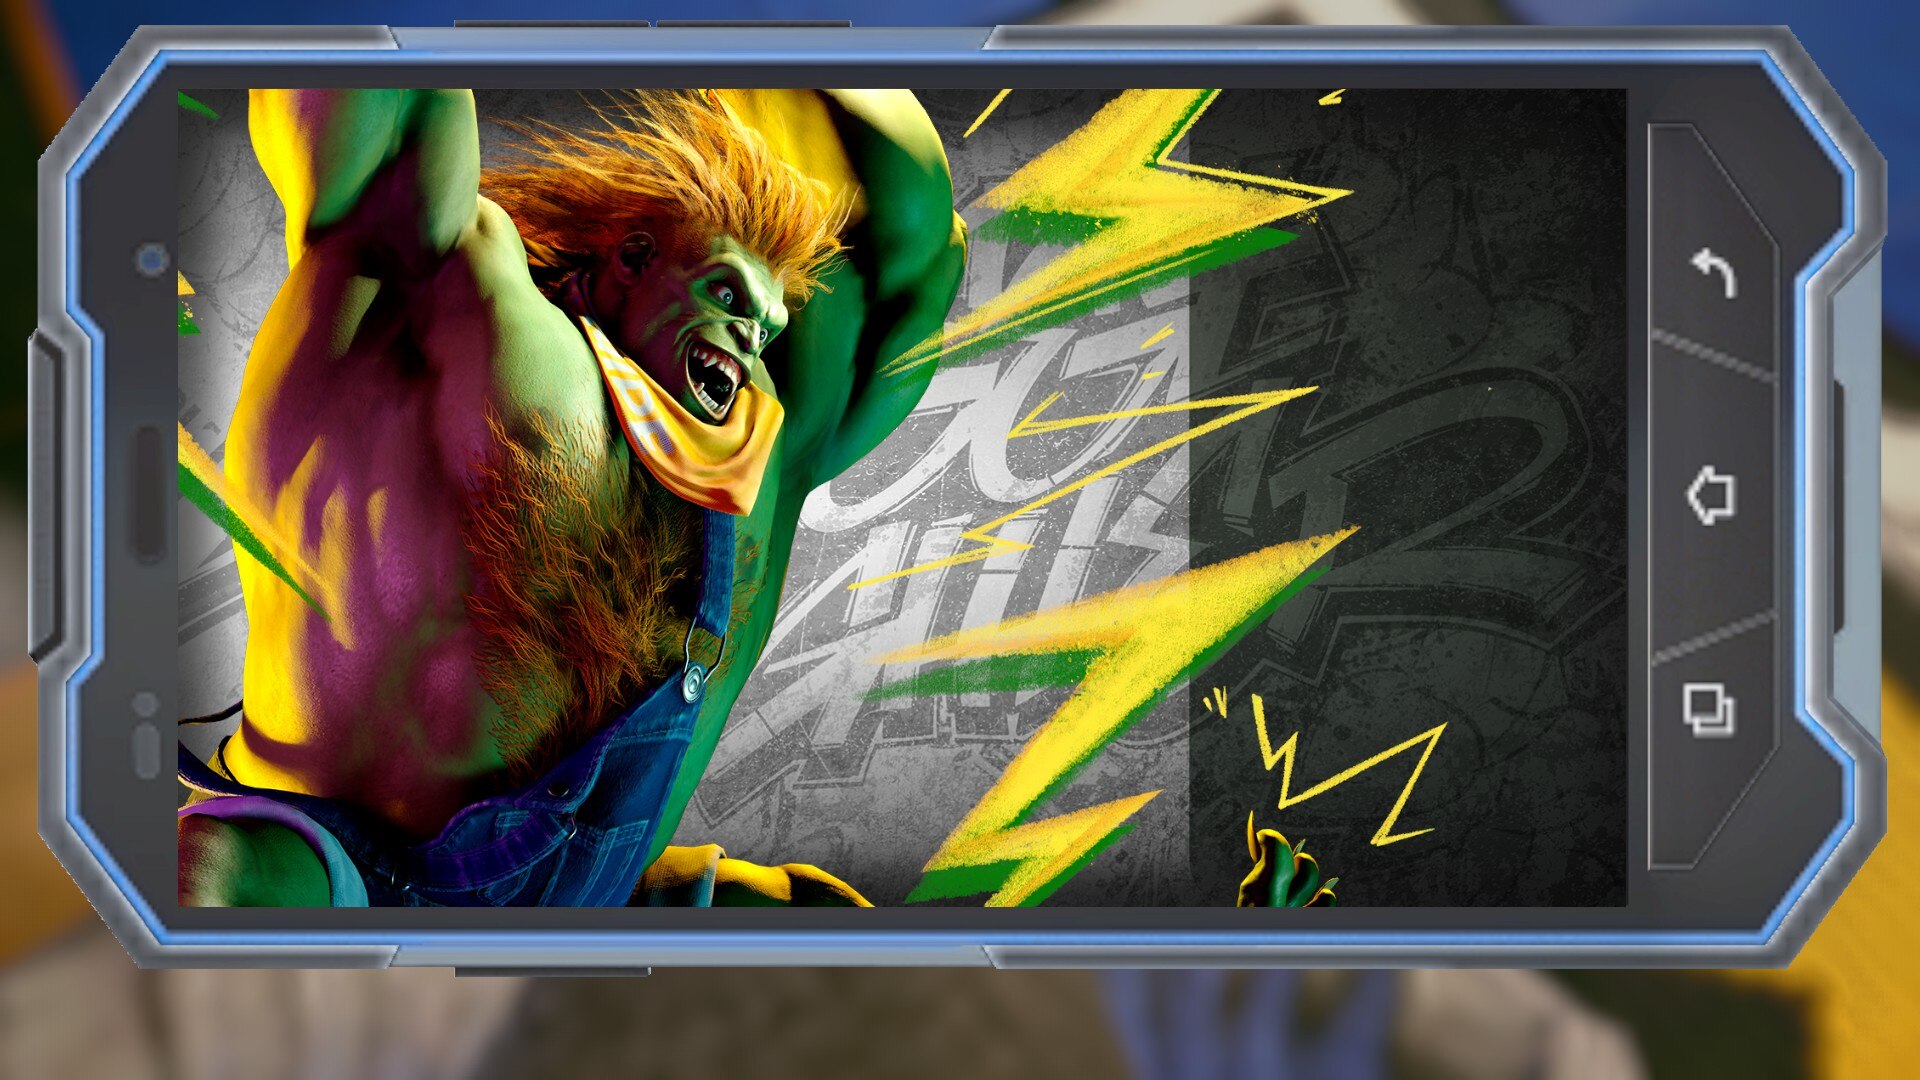
Blanka
Black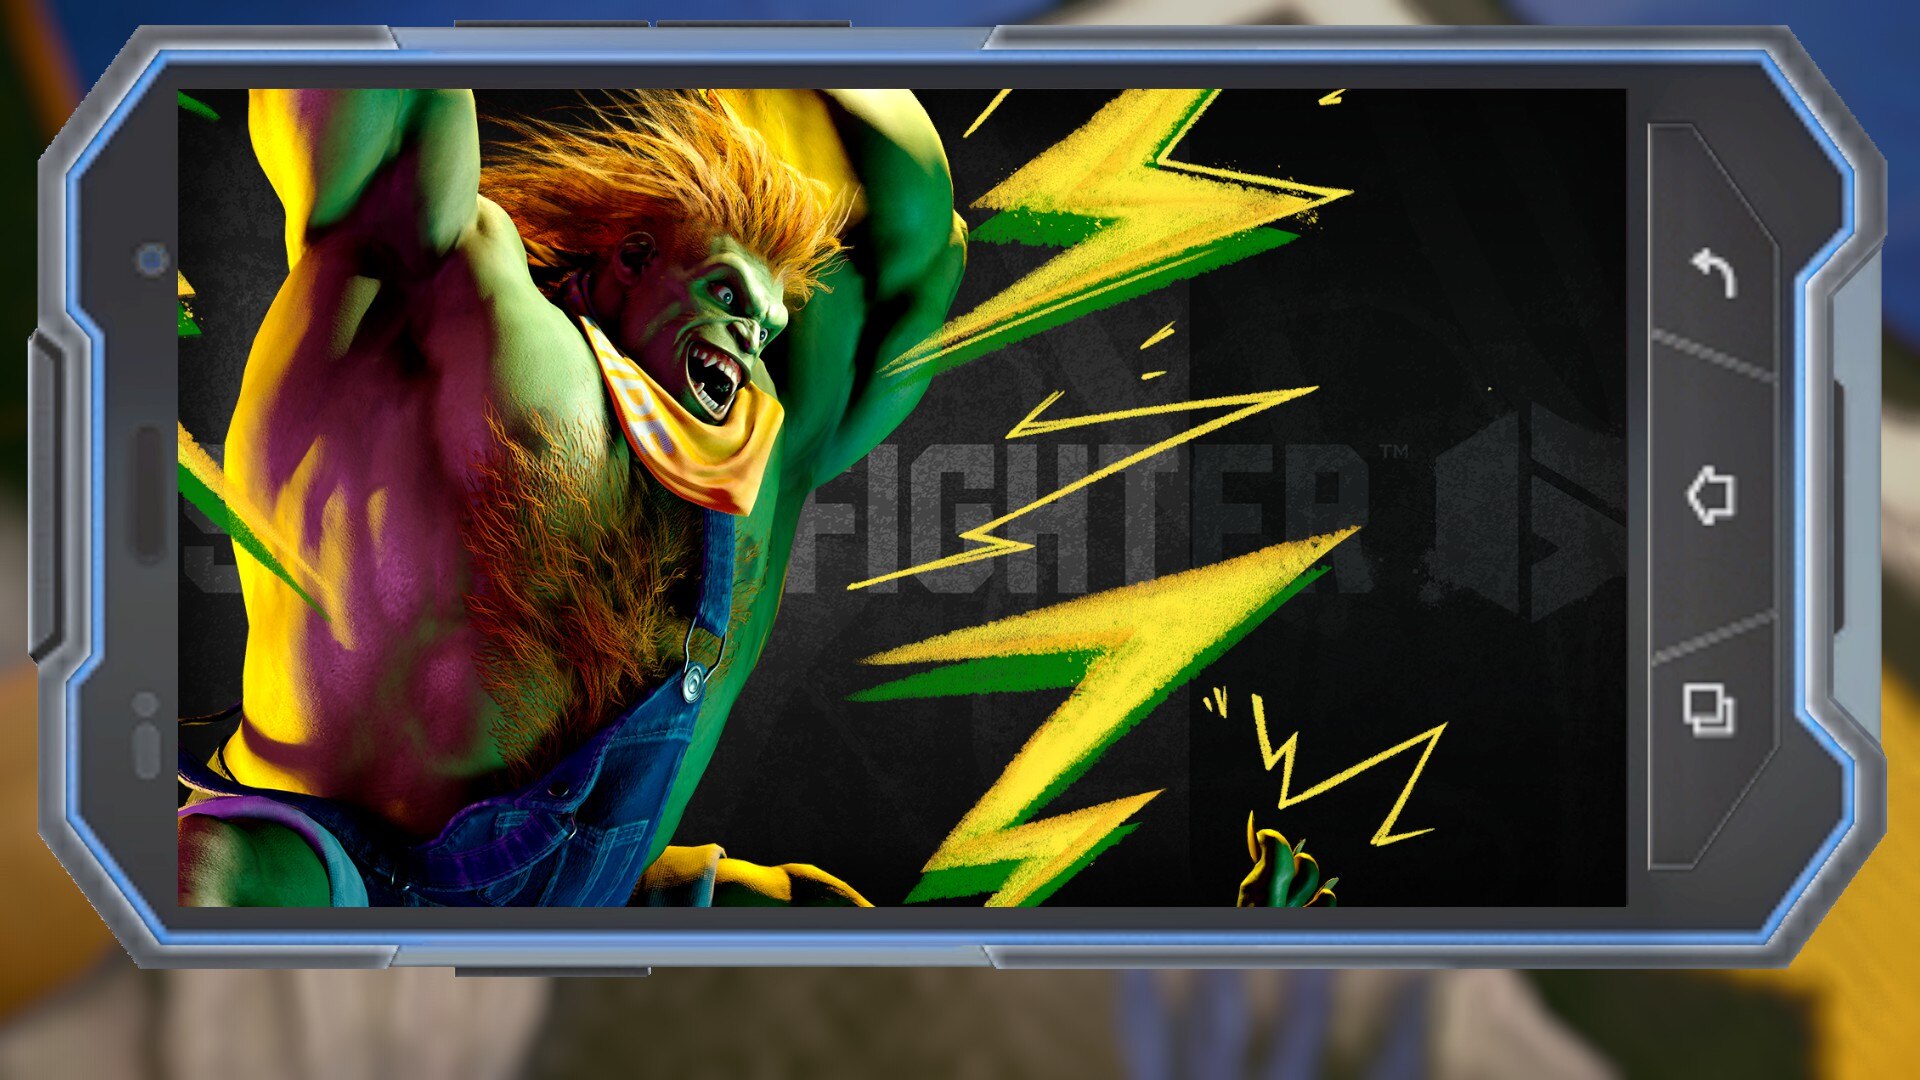
Blue
Green
Purple
White
Cammy
Black
Blue
Green

Purple
White
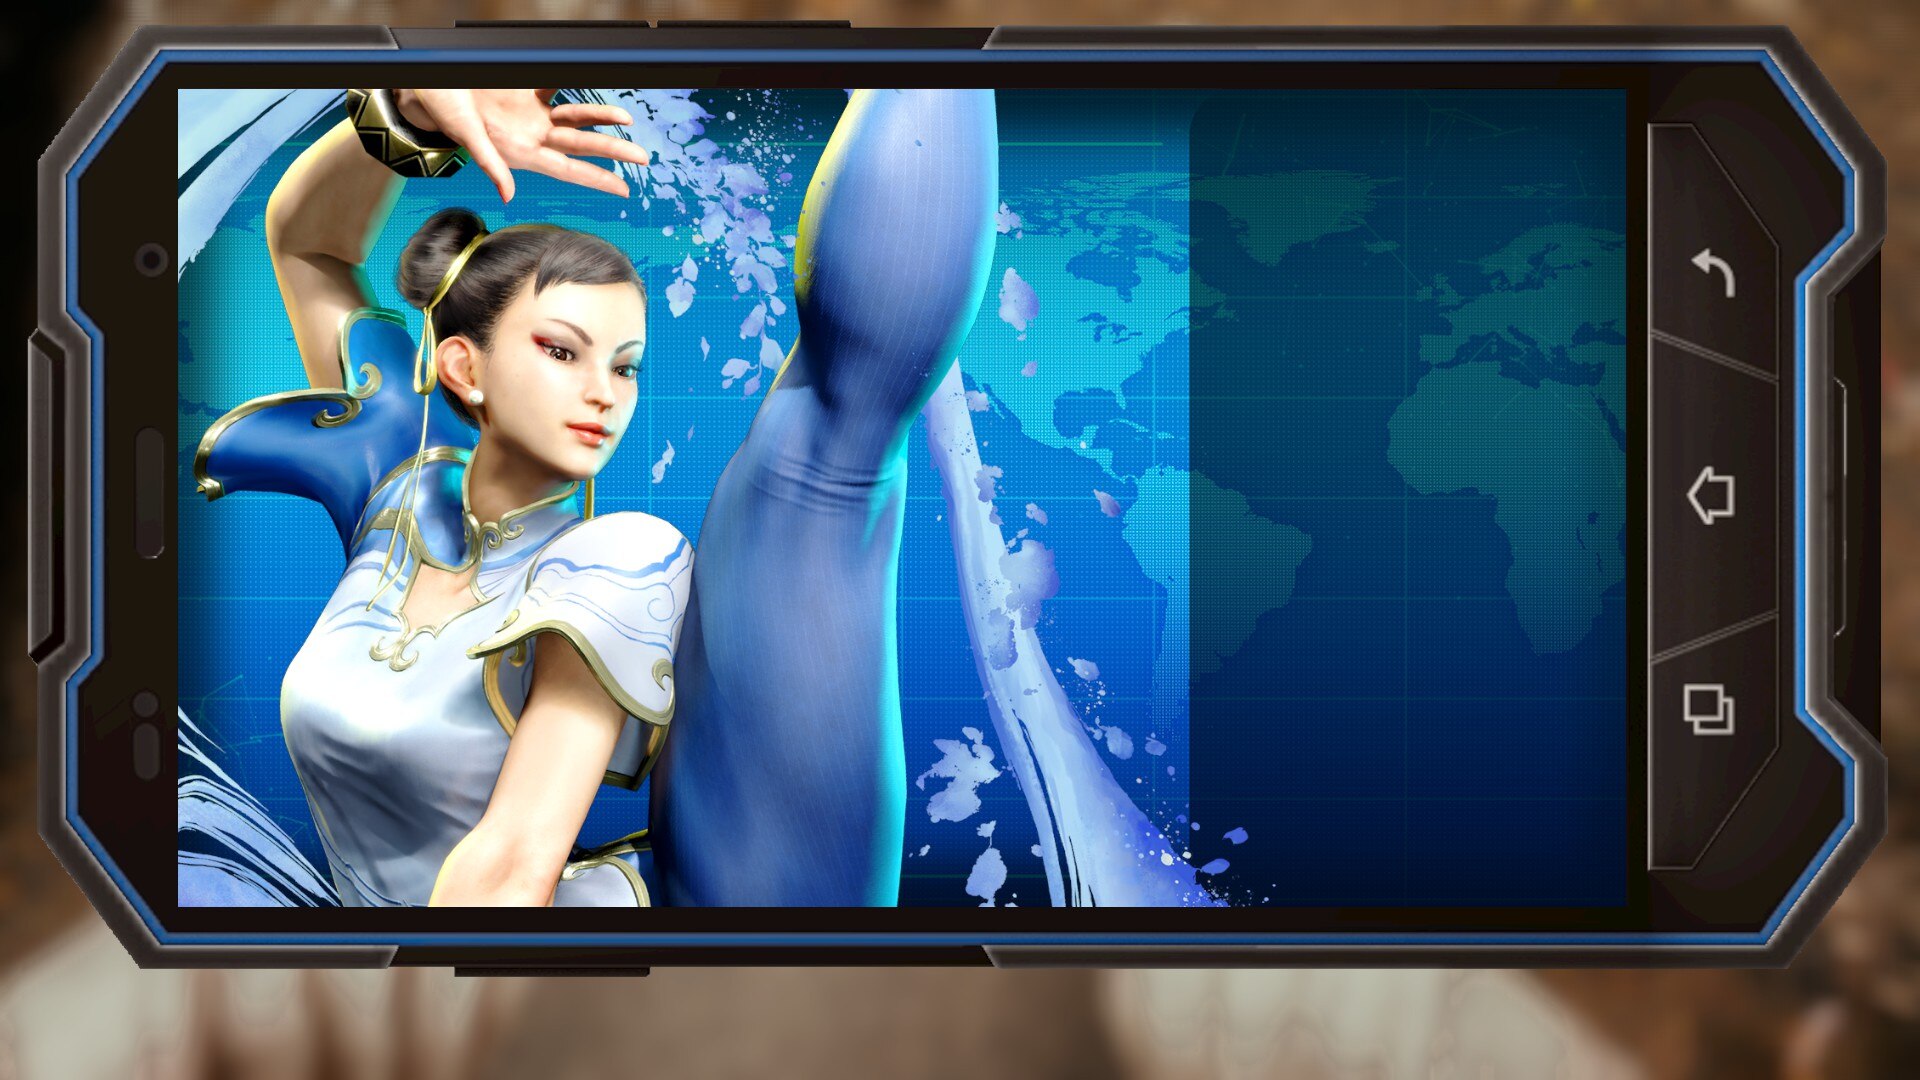
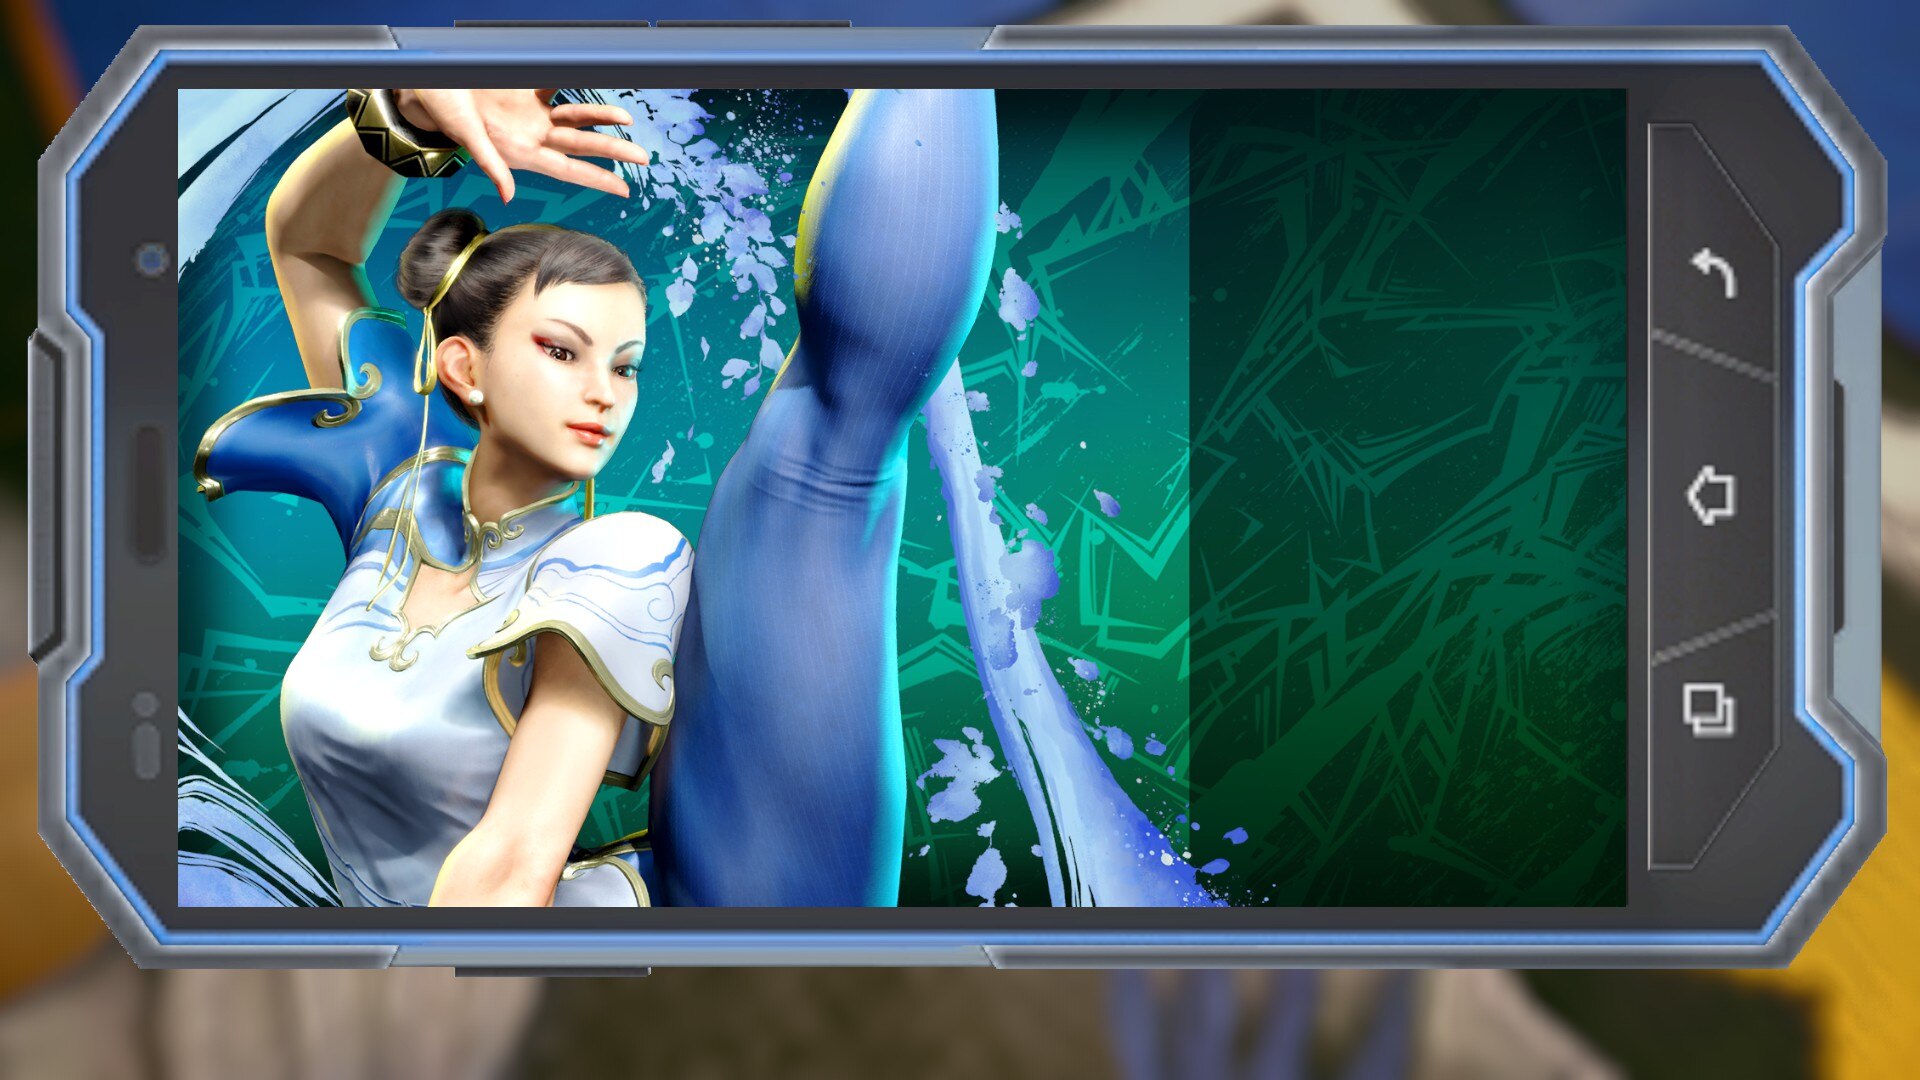
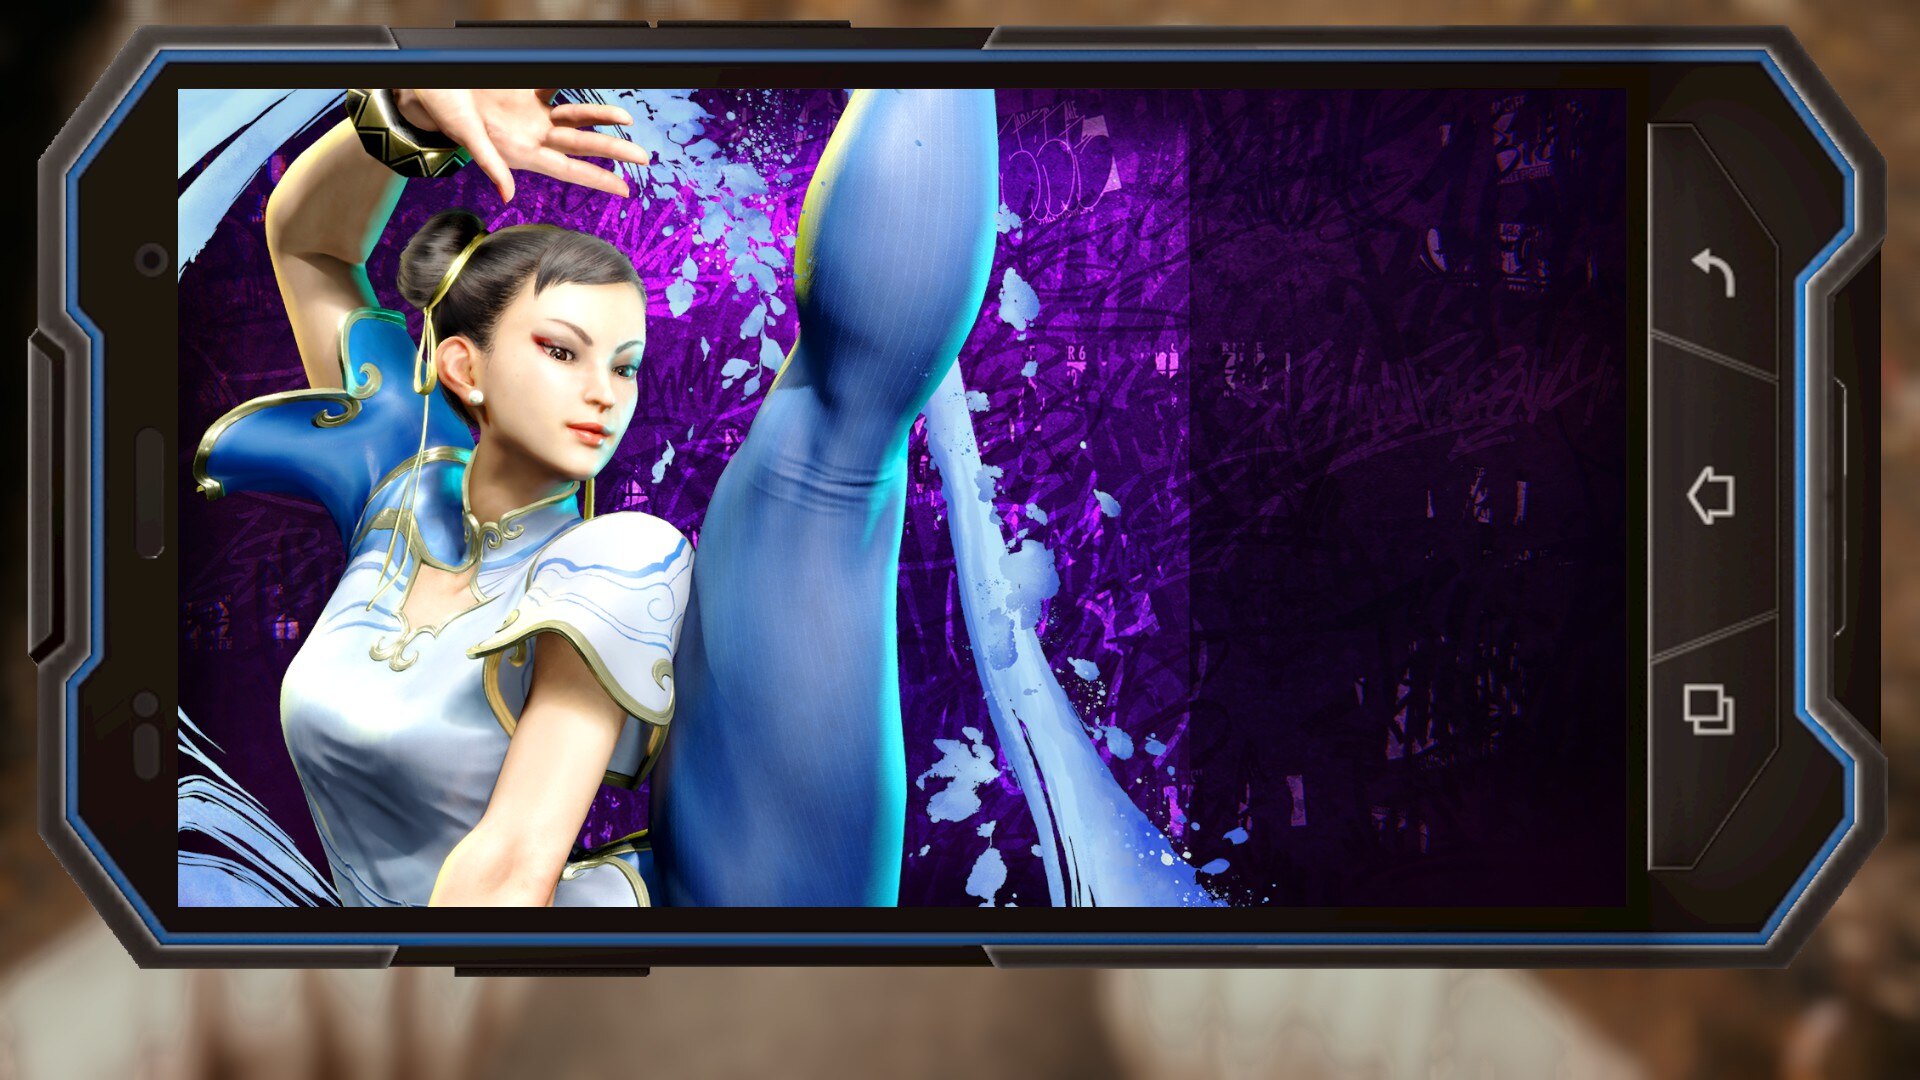
Chun-Li
Black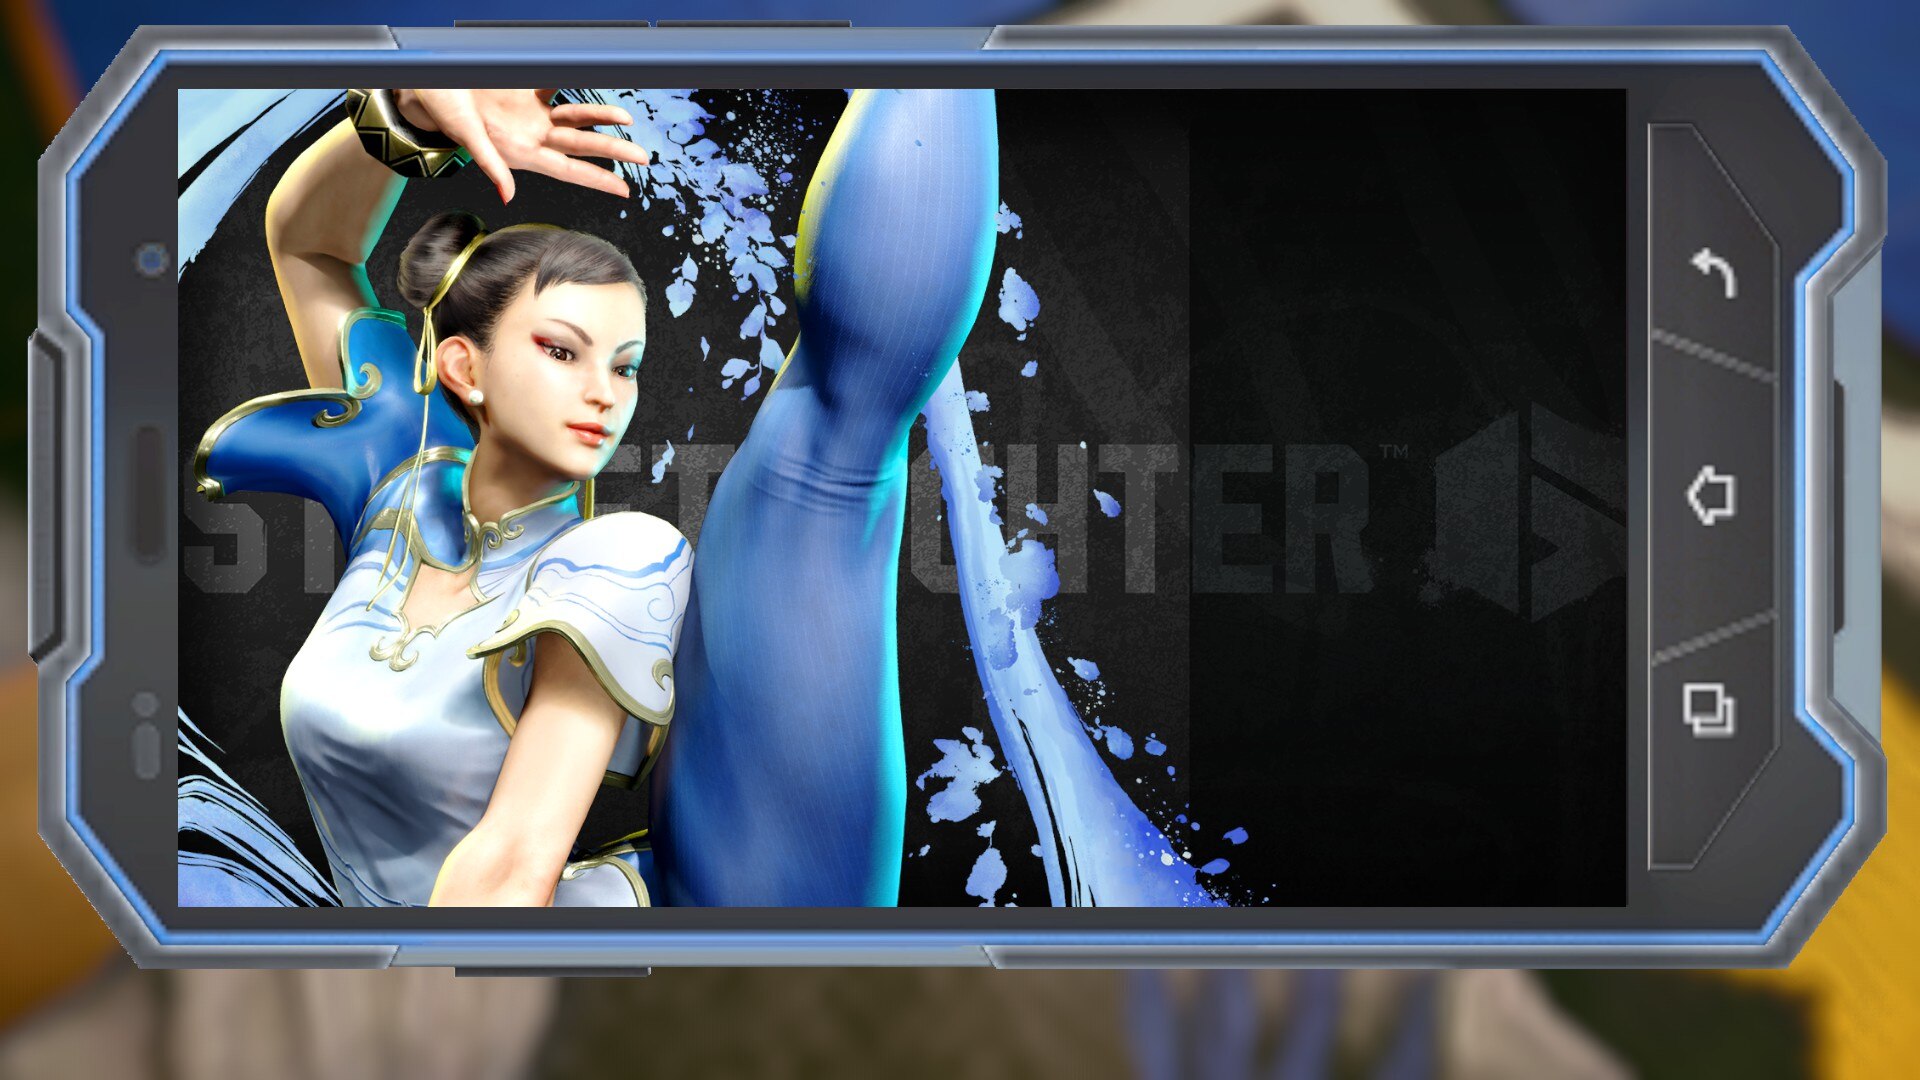
Blue
Green
Purple
White
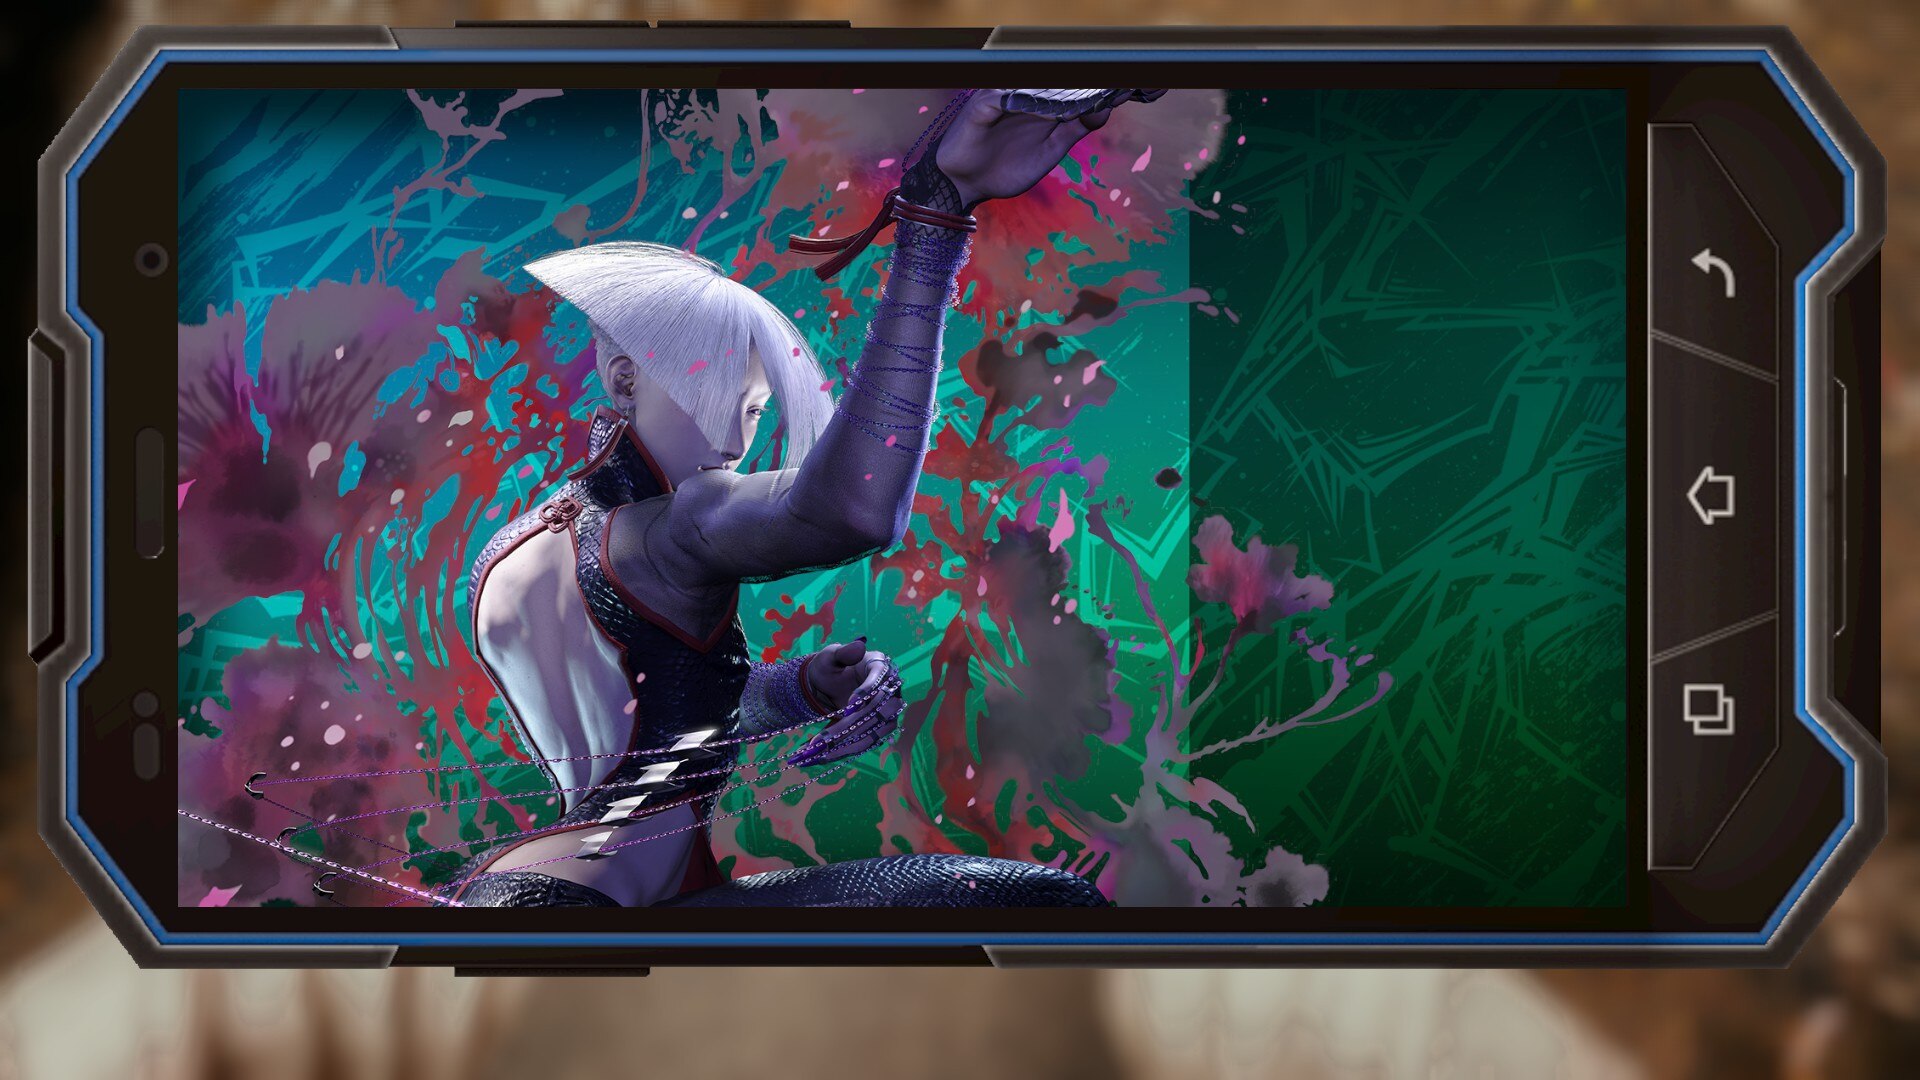
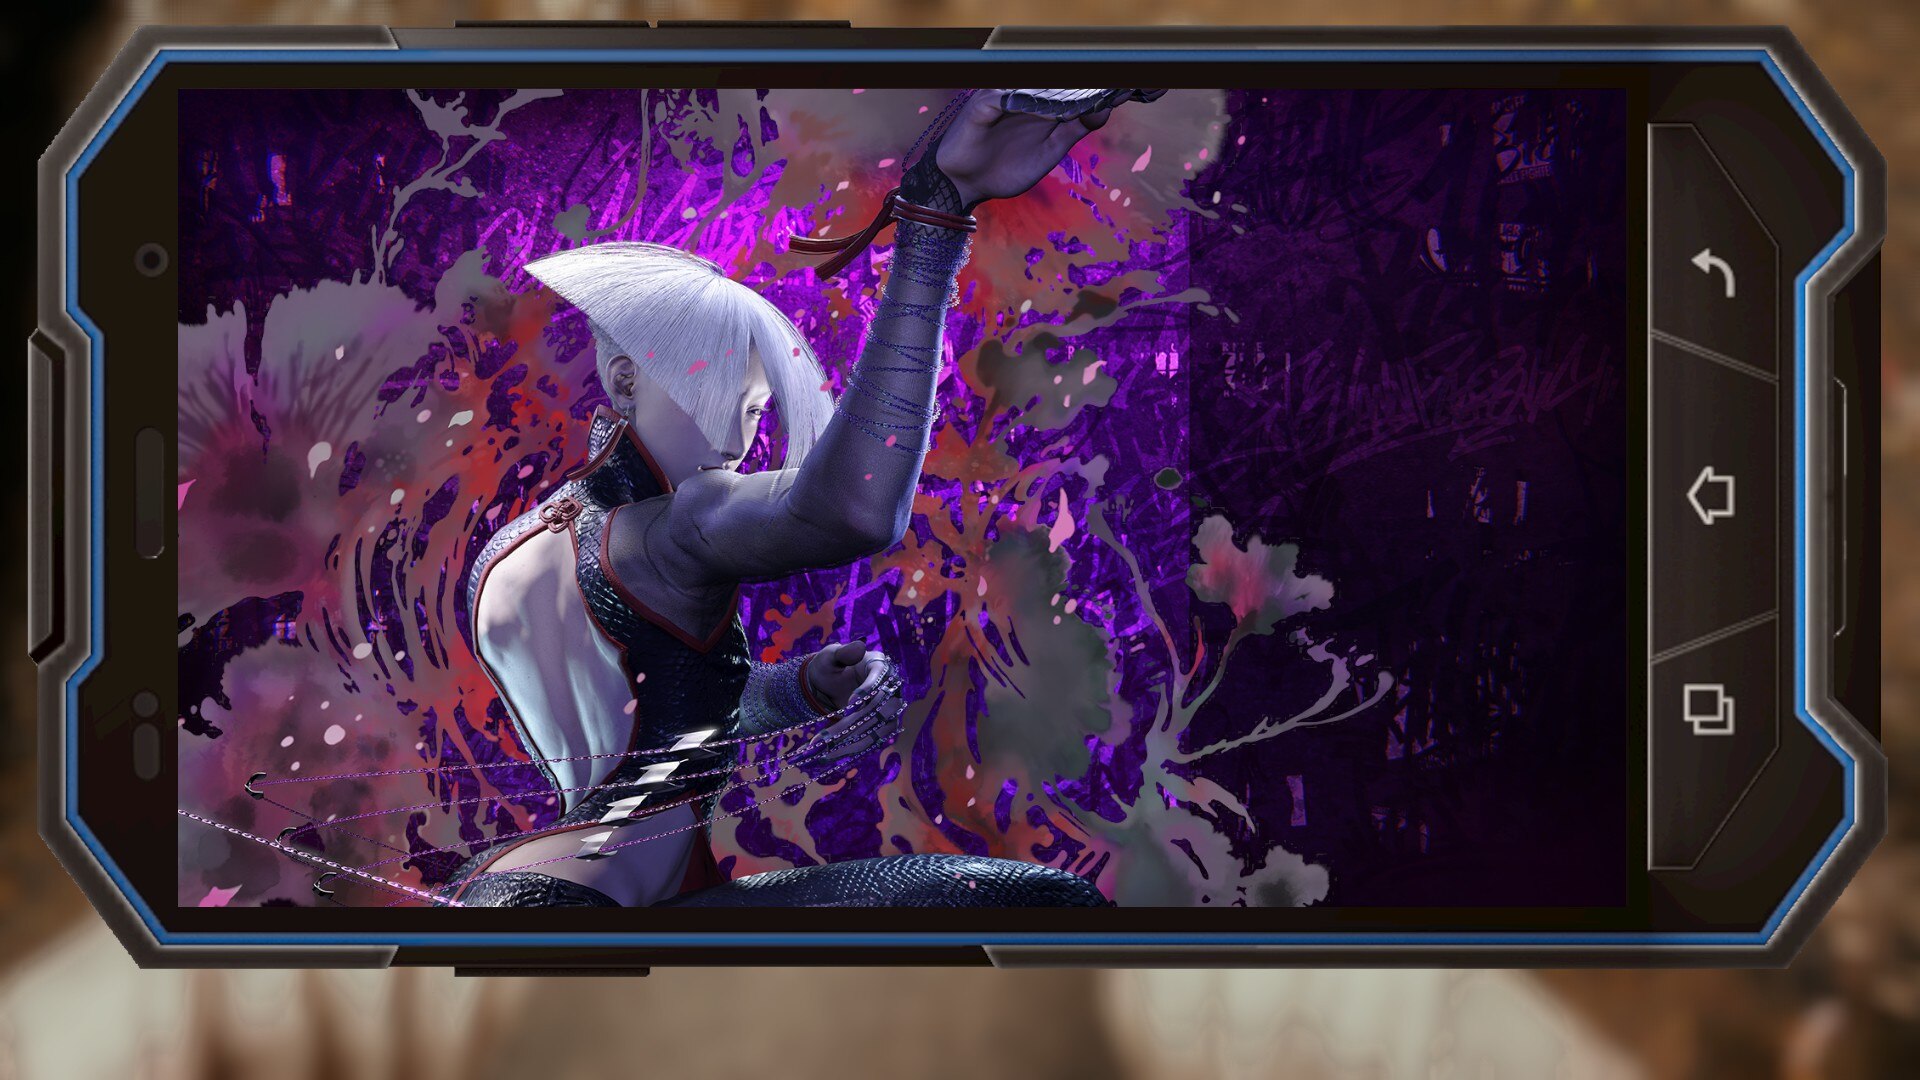
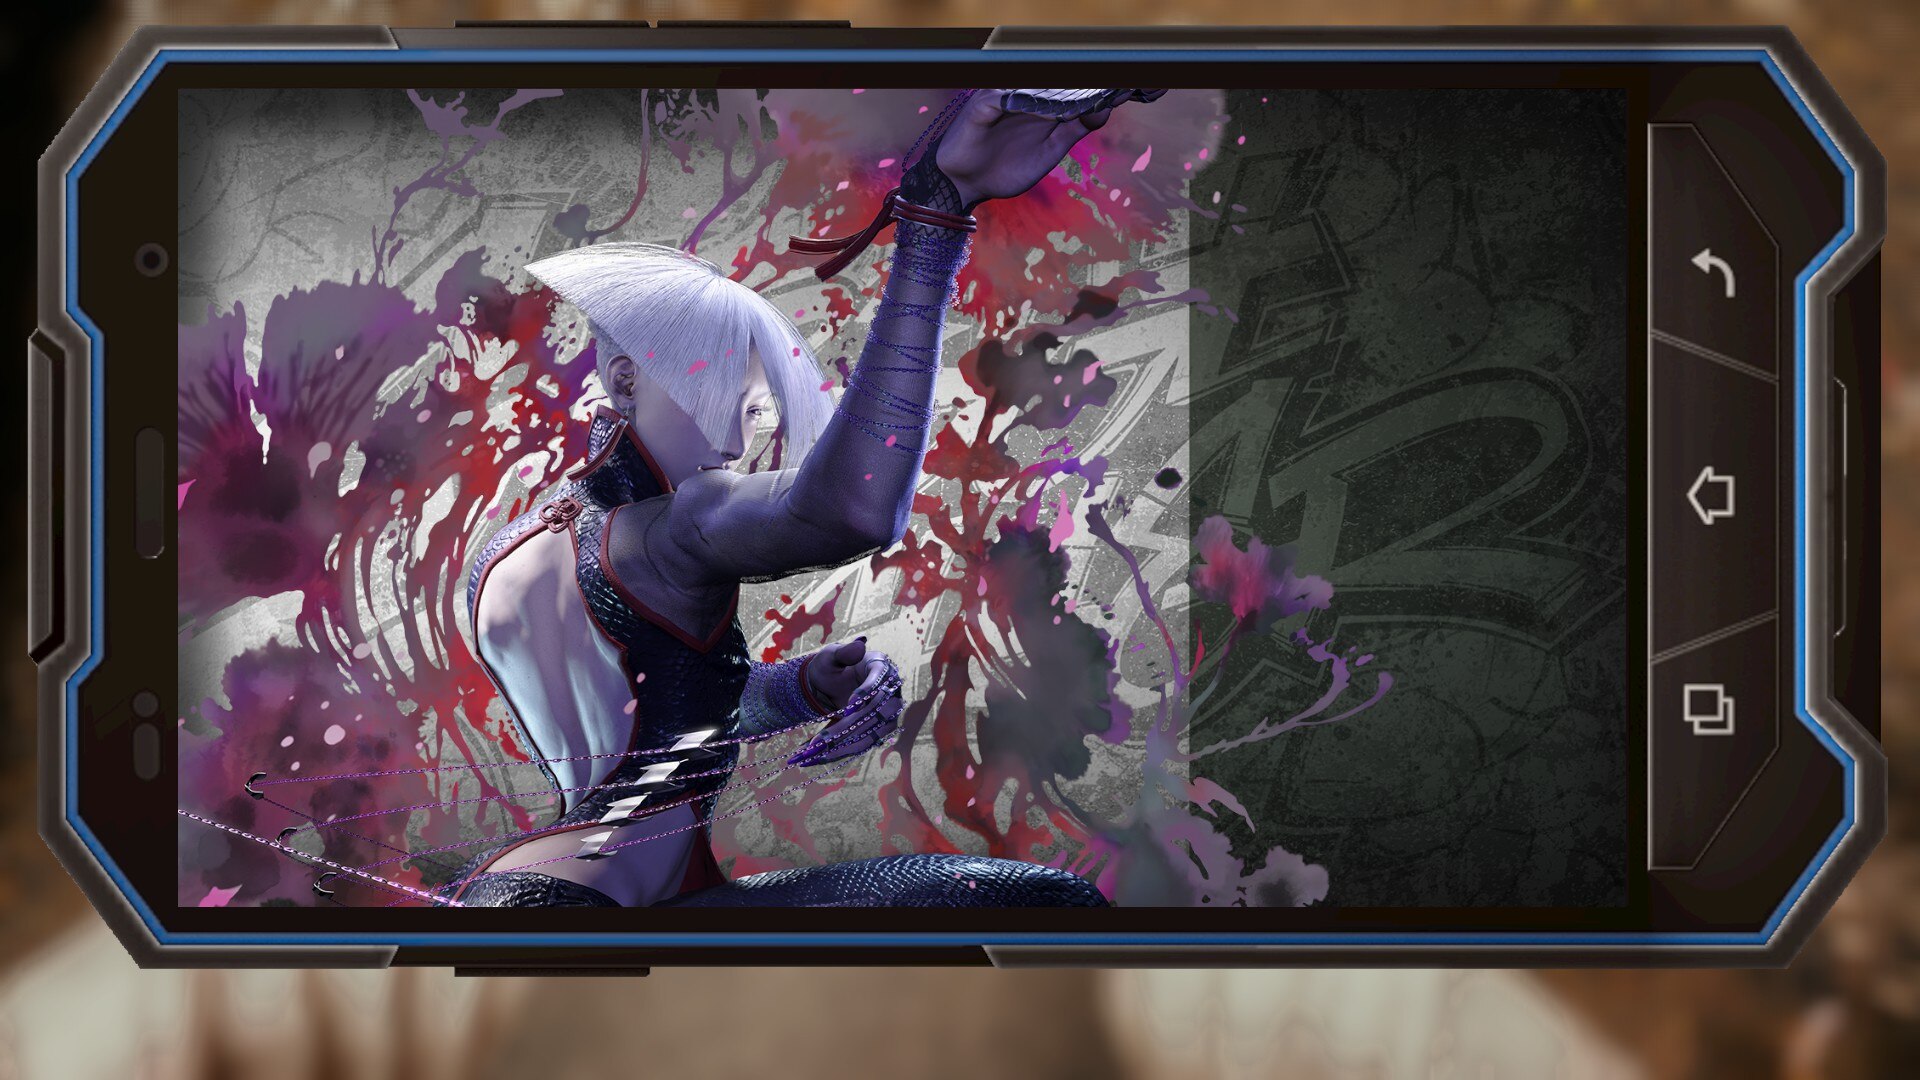
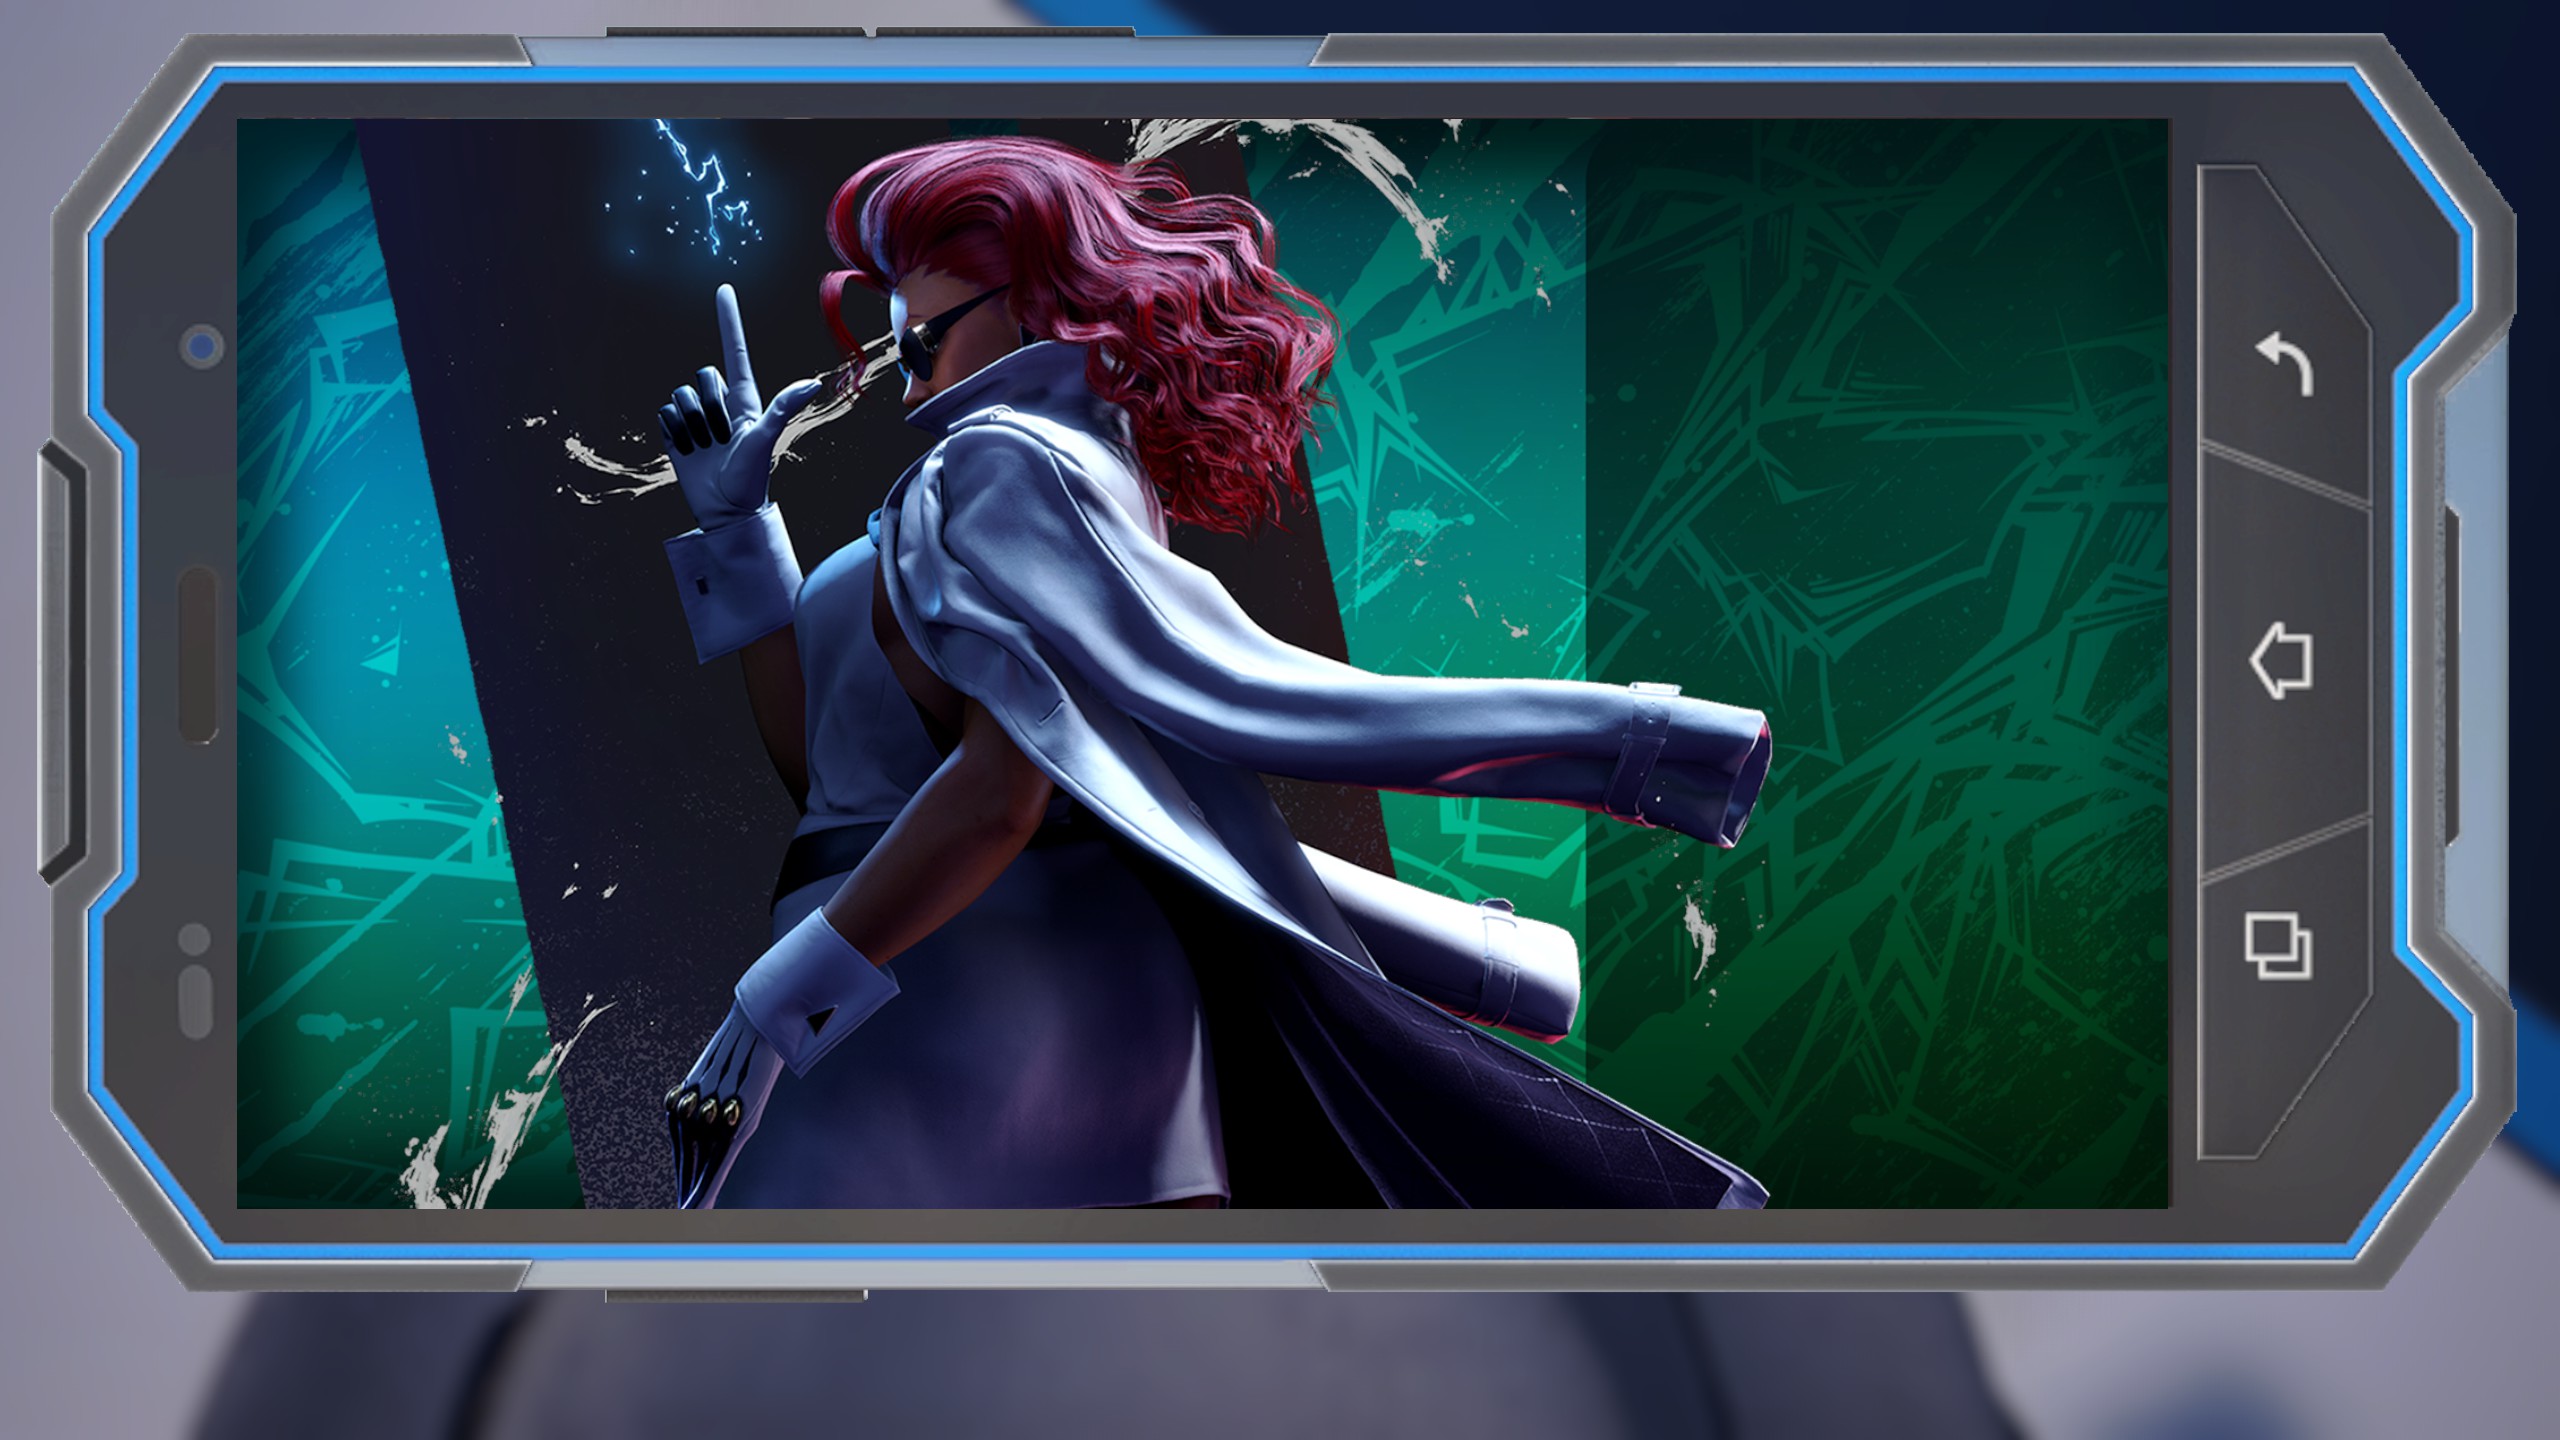
Crimson Viper
Black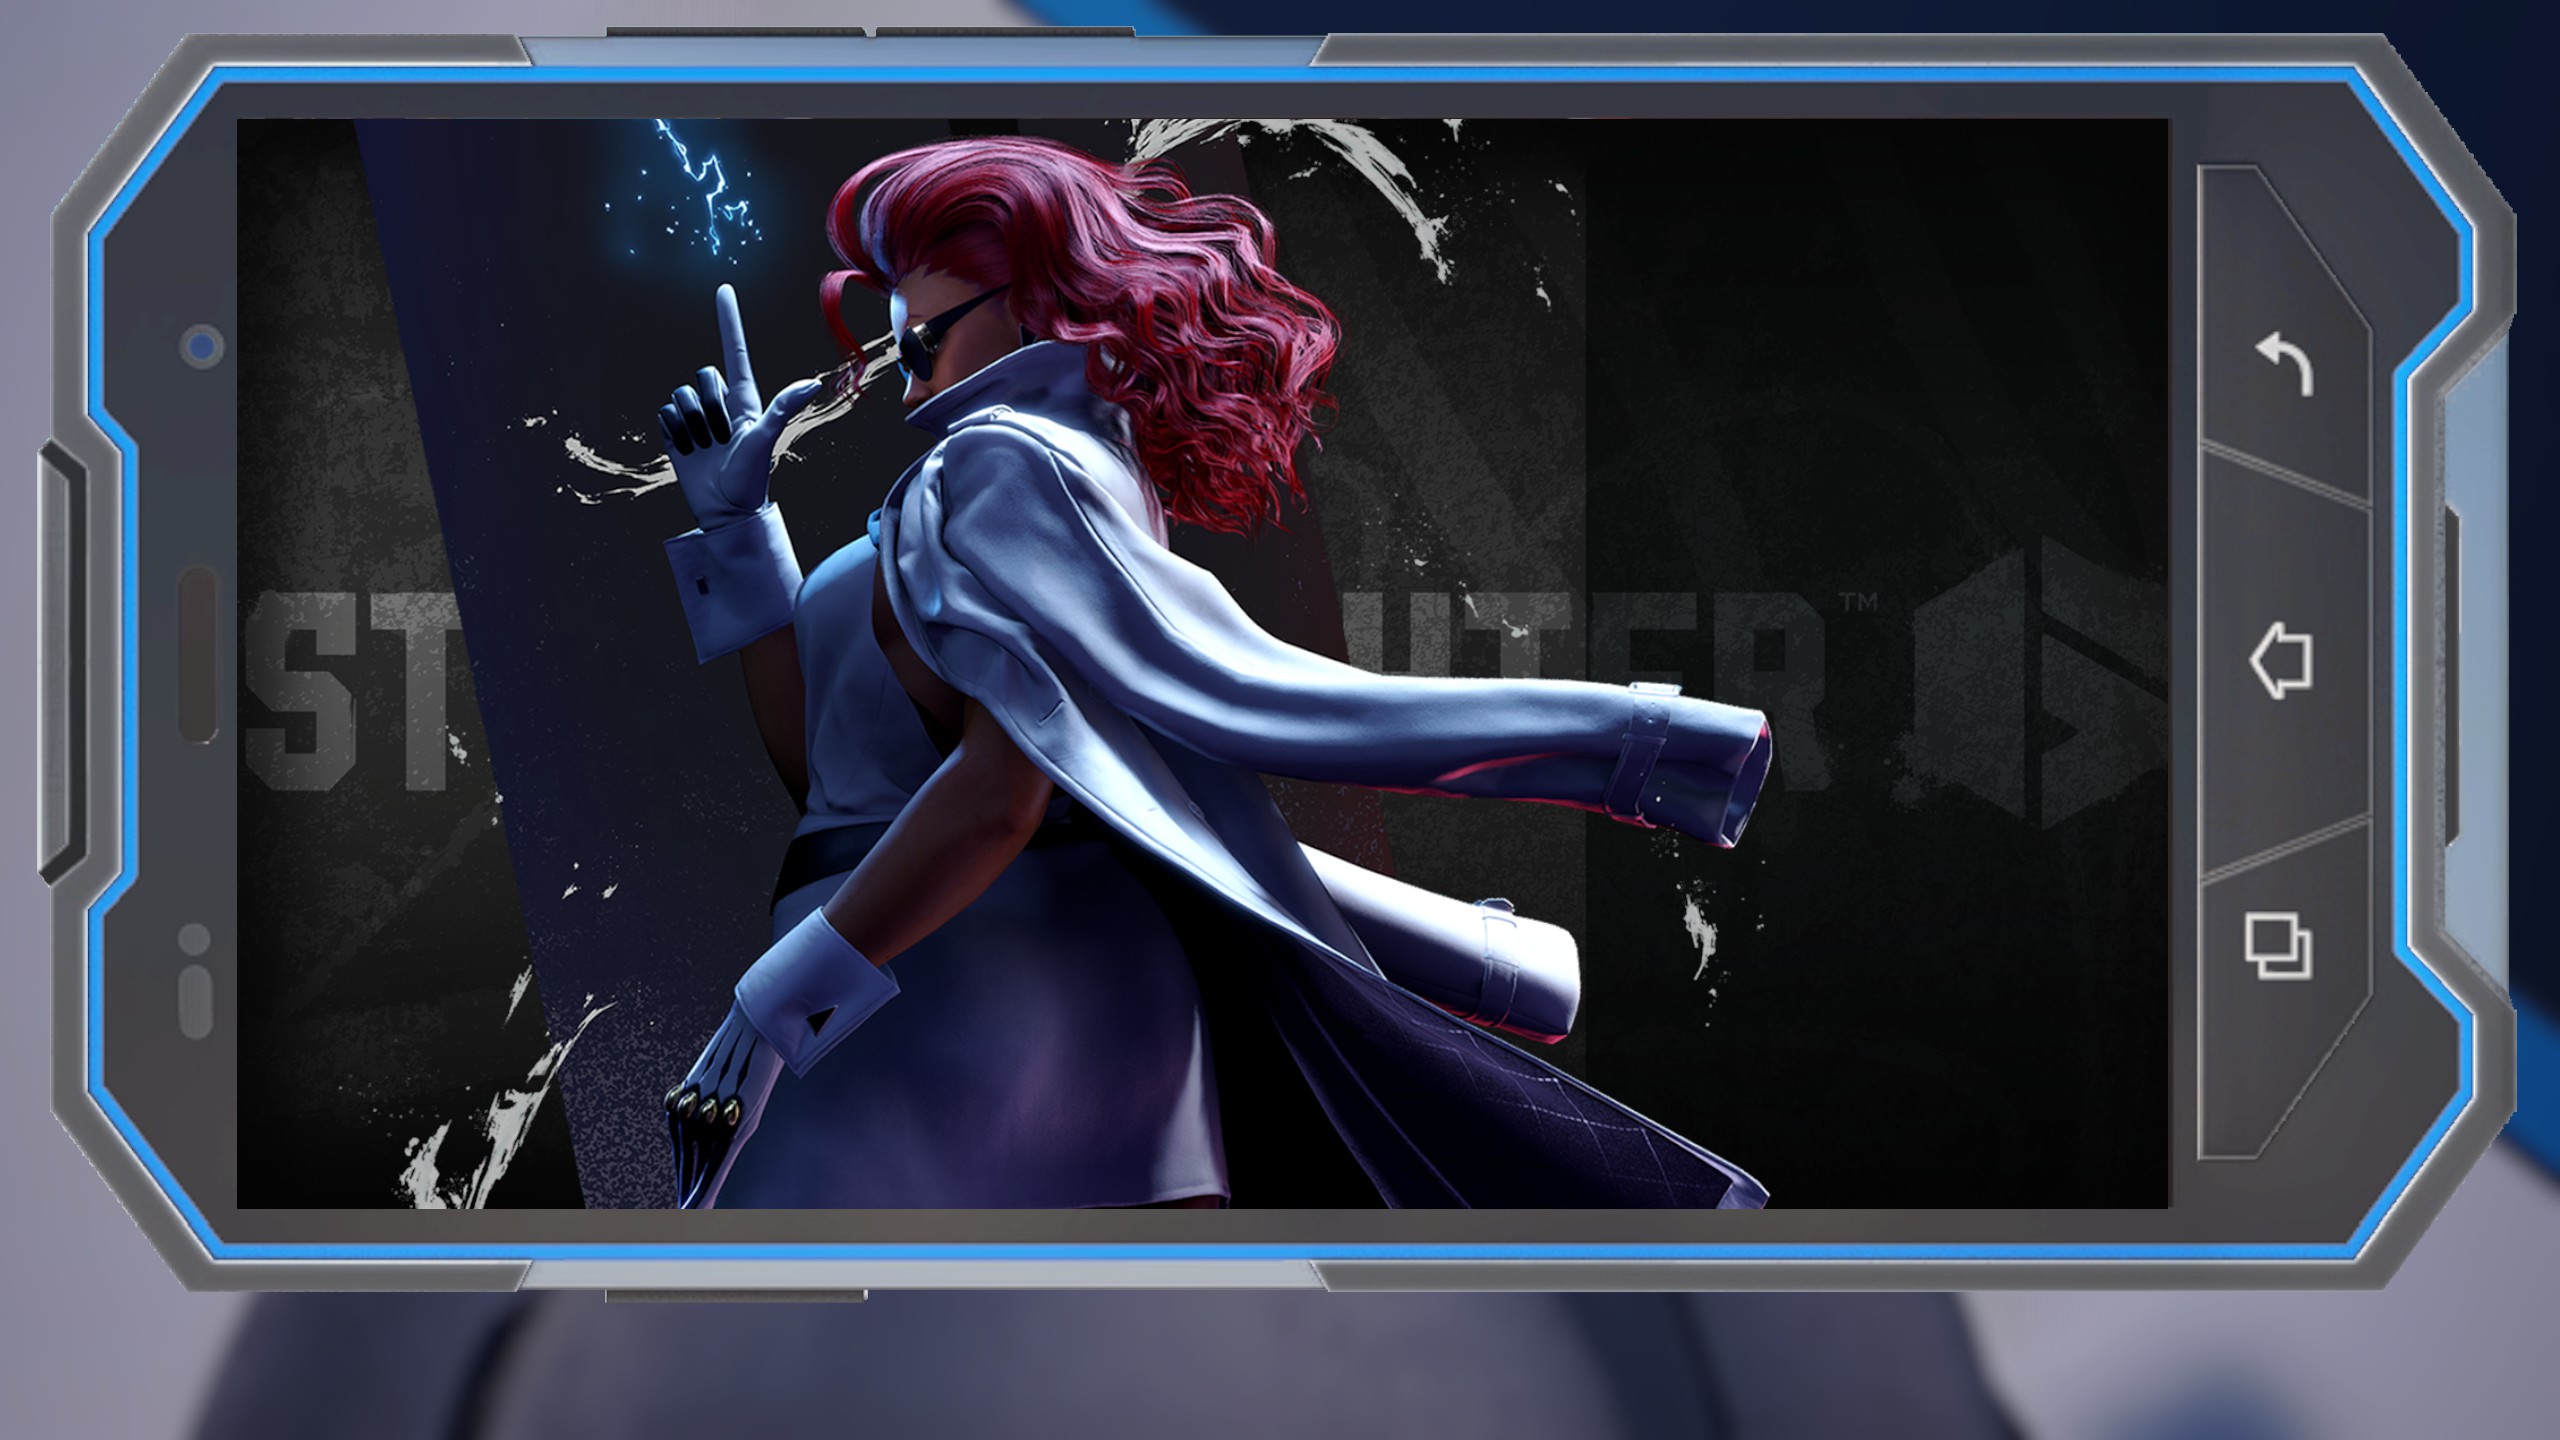
Blue
Green
Purple
White
Dee Jay
Black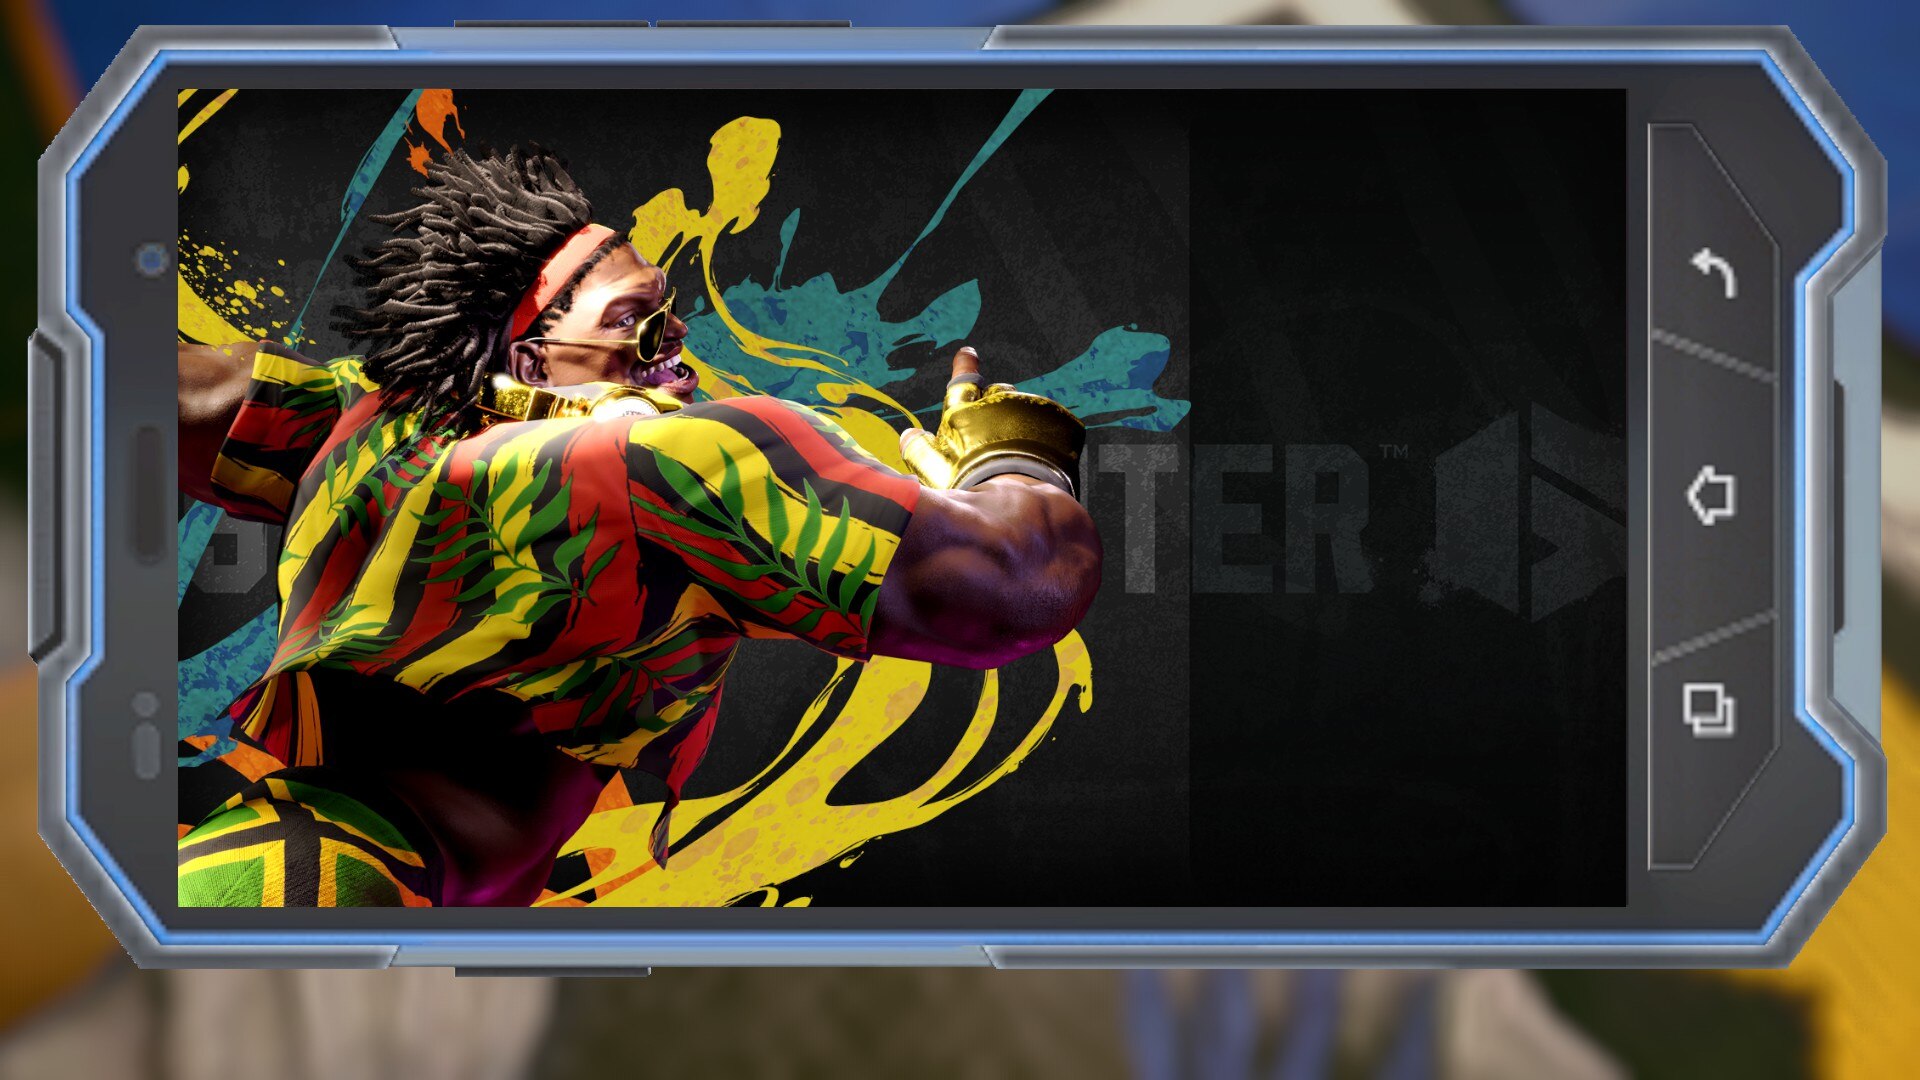
Blue
Green
Purple
White
Dhalsim
Black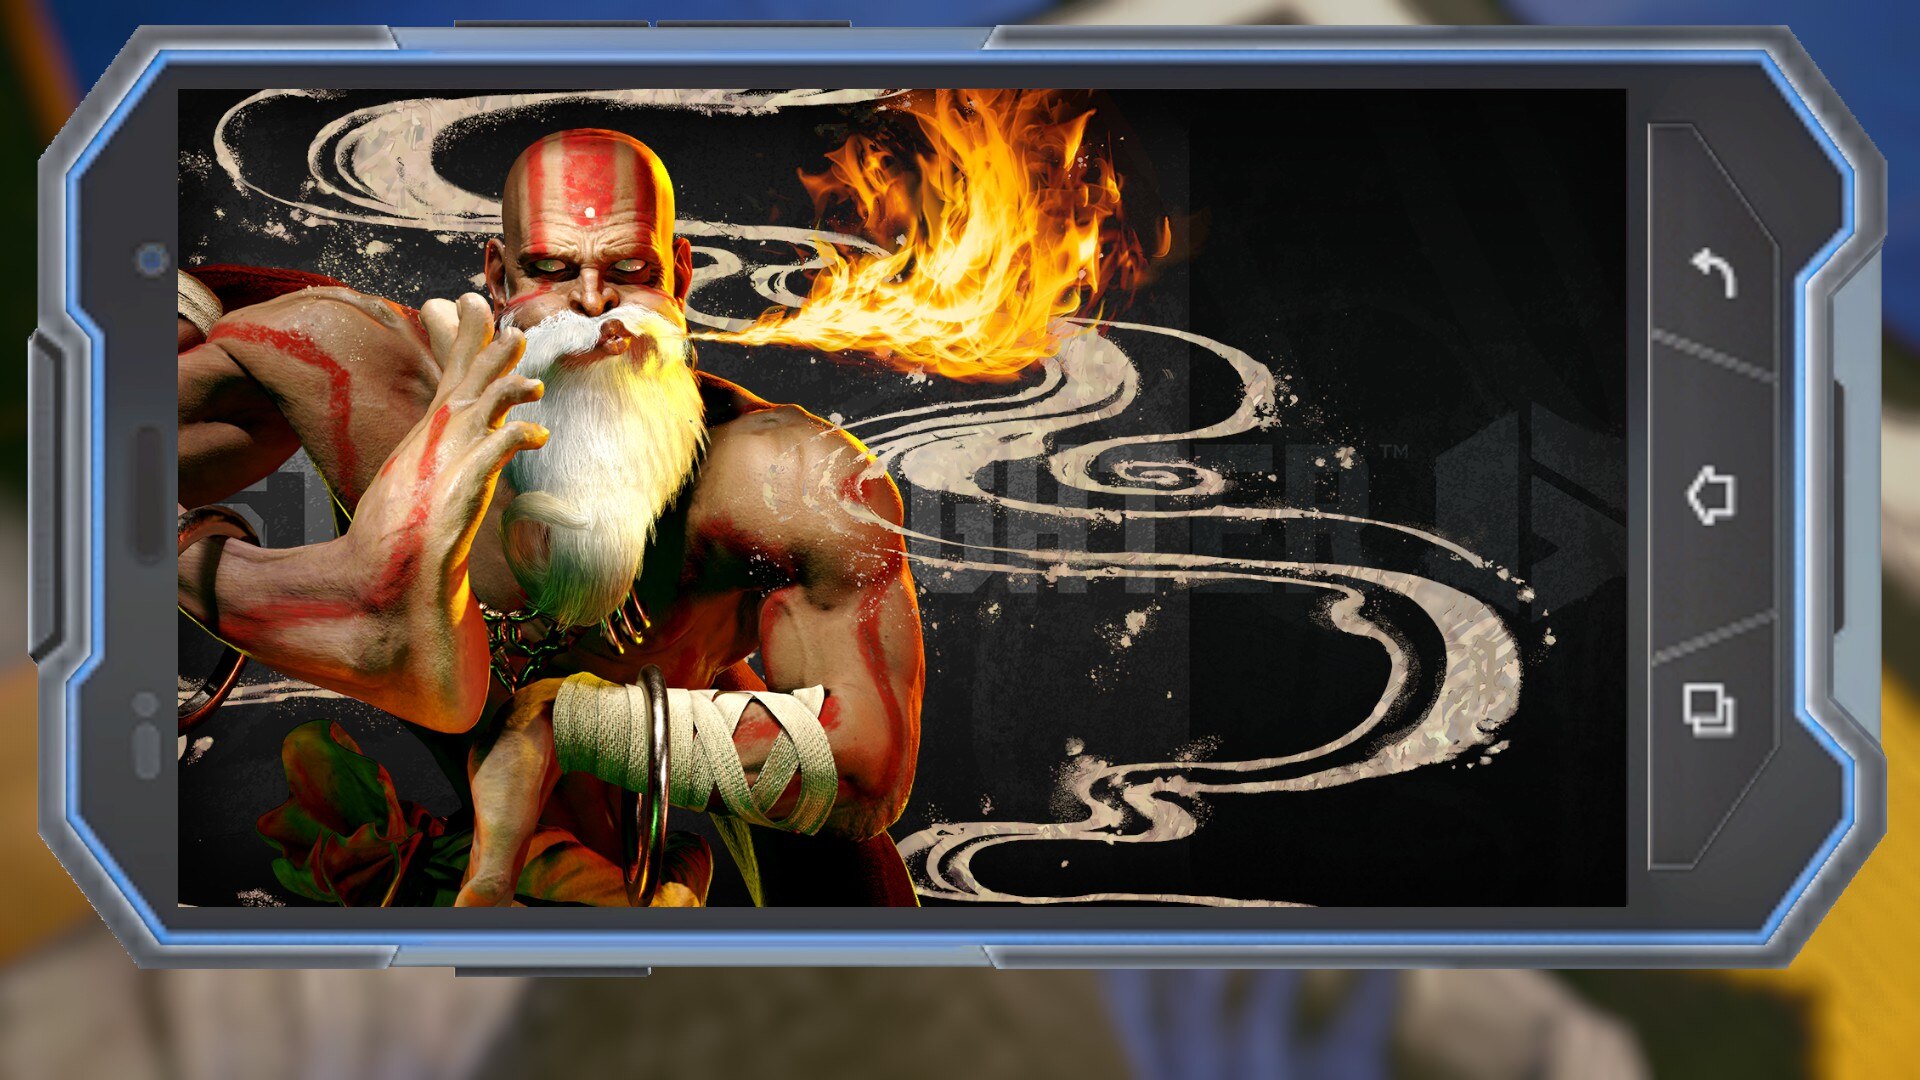
Blue

Green
Purple
White
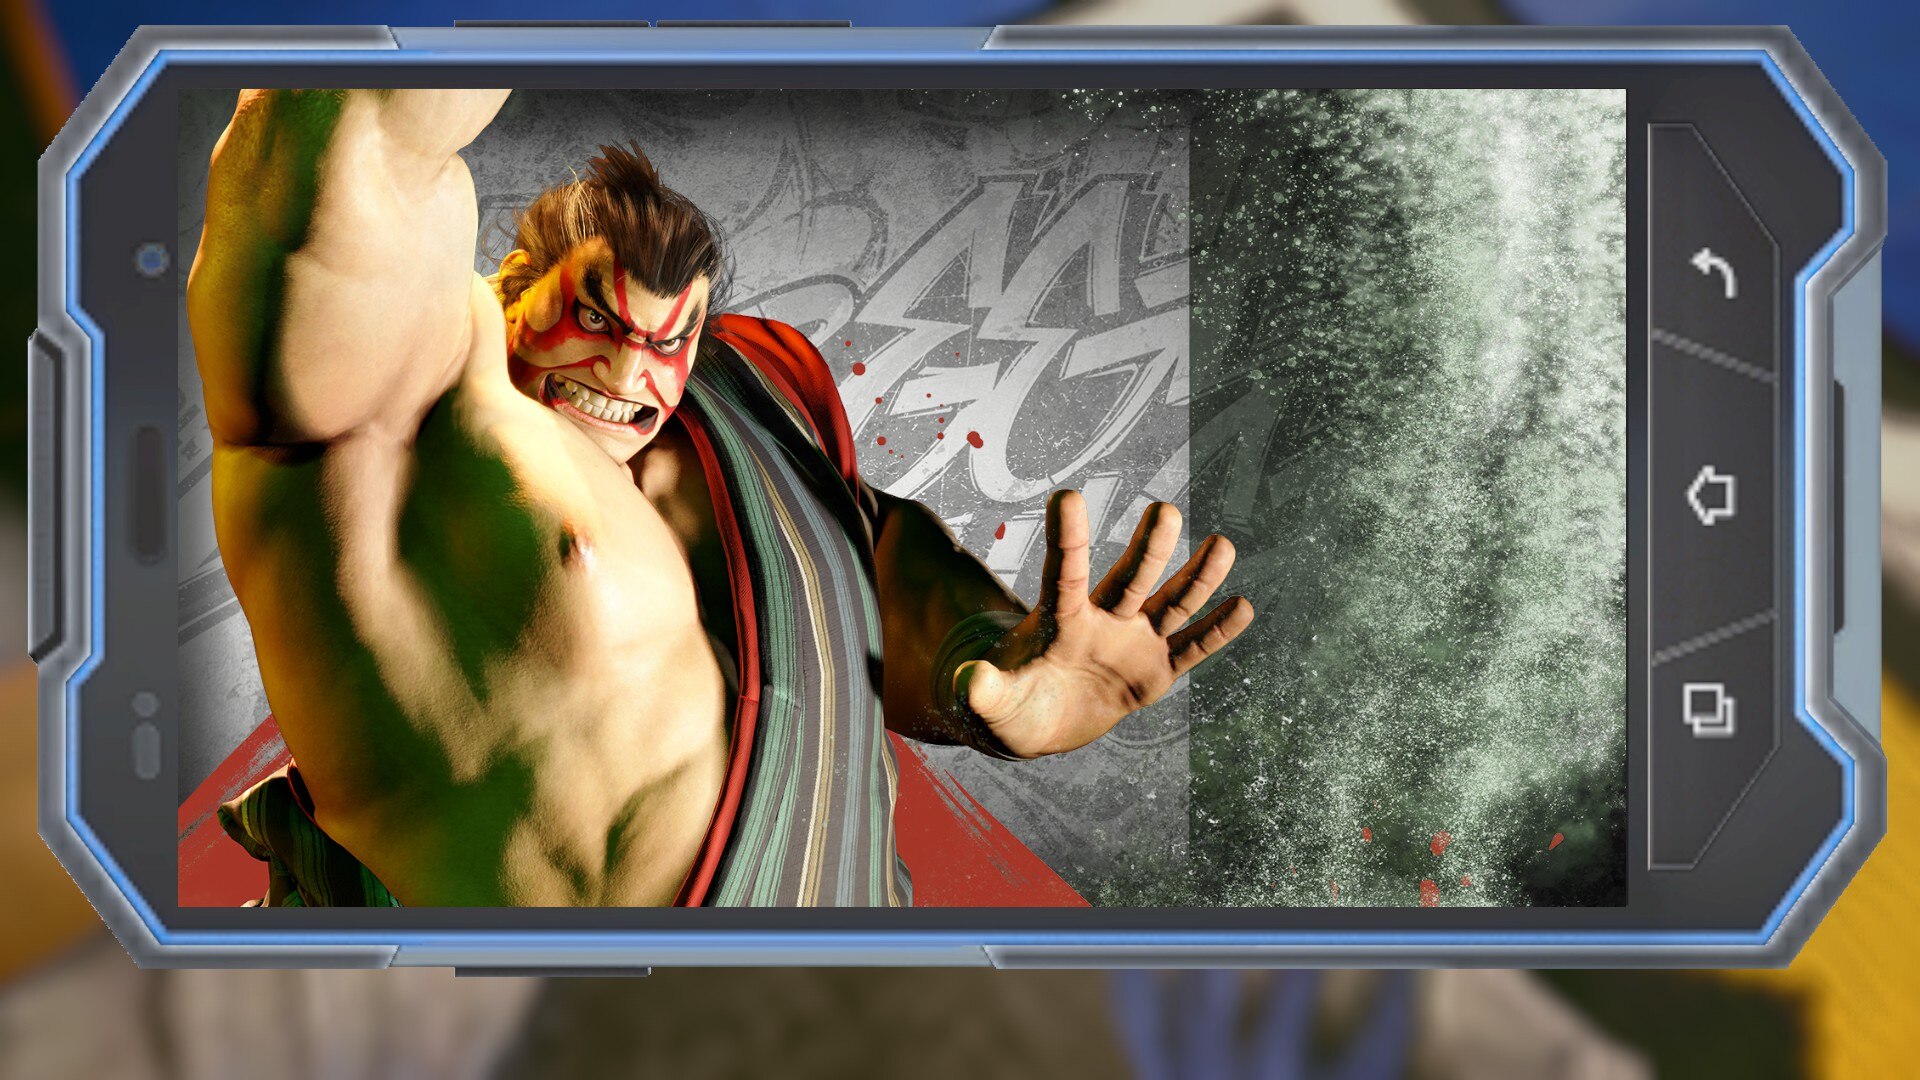
E. Honda
Black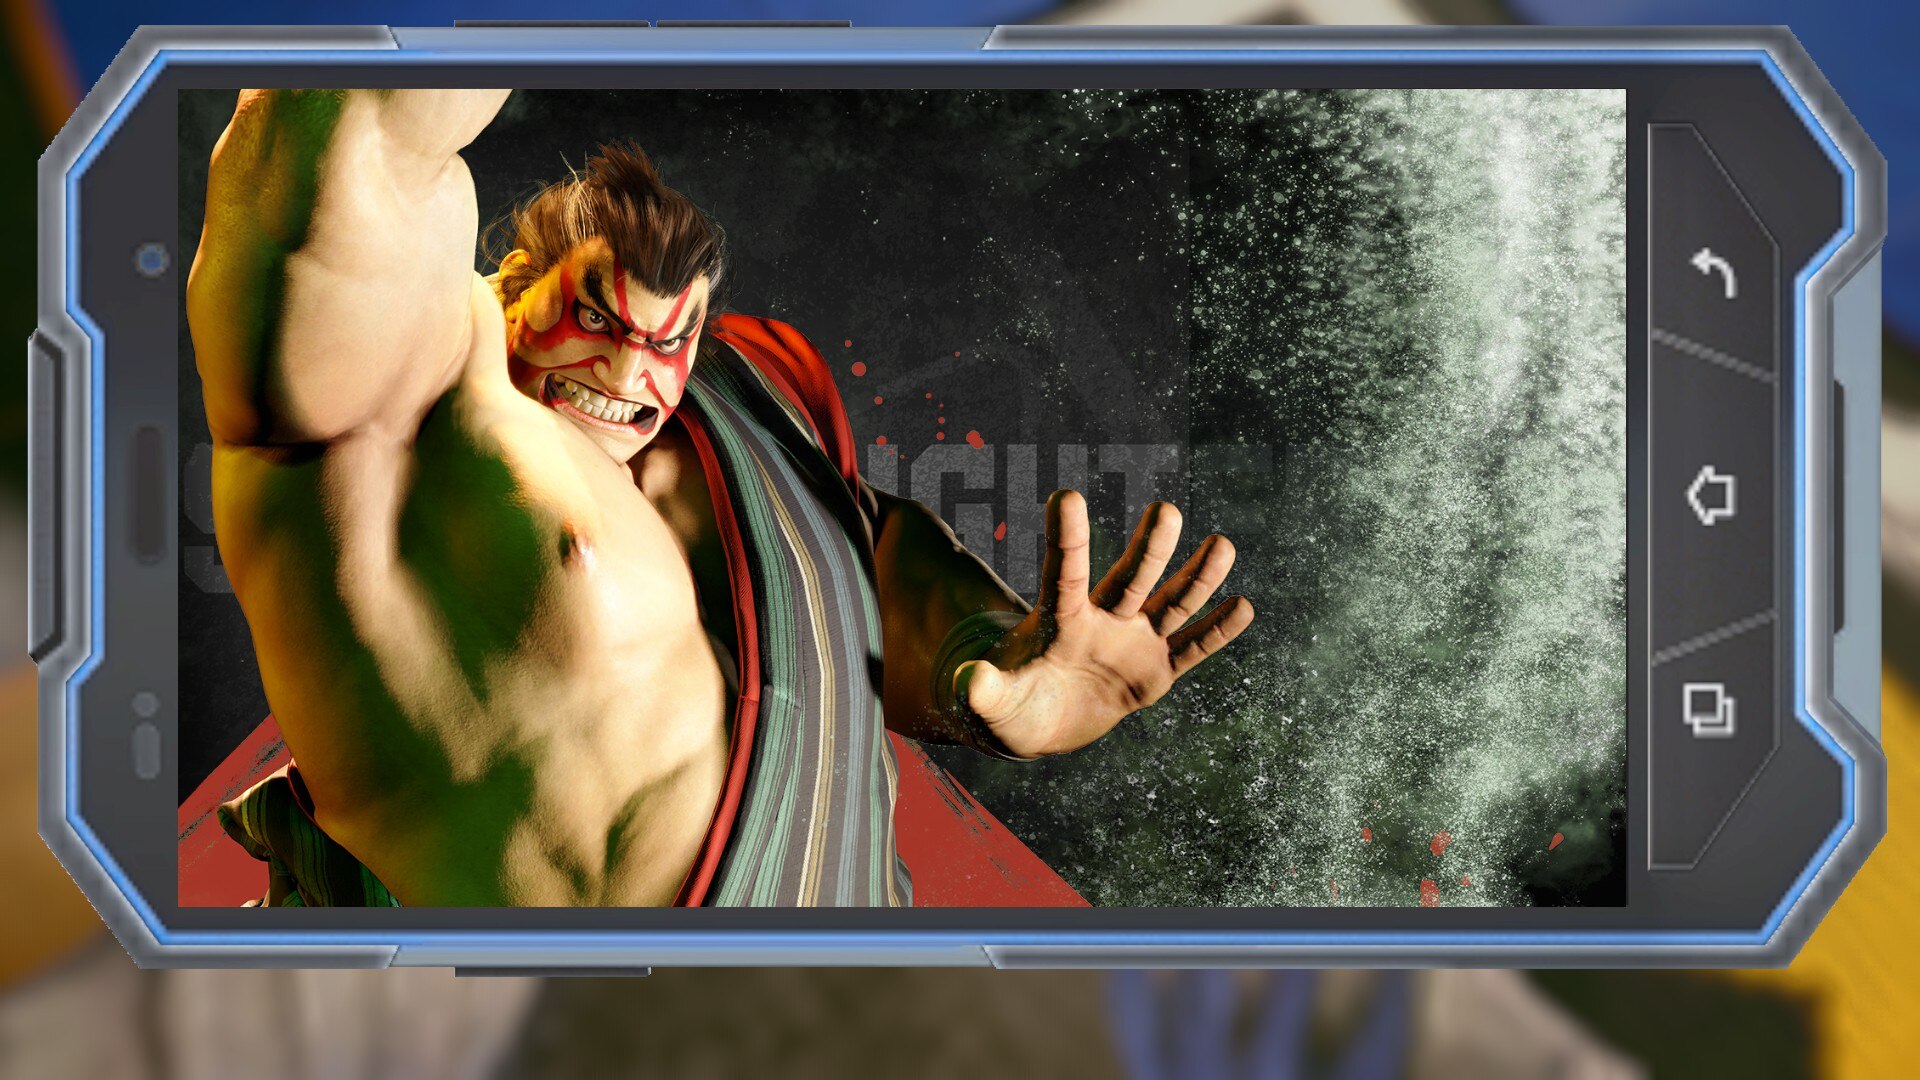
Blue
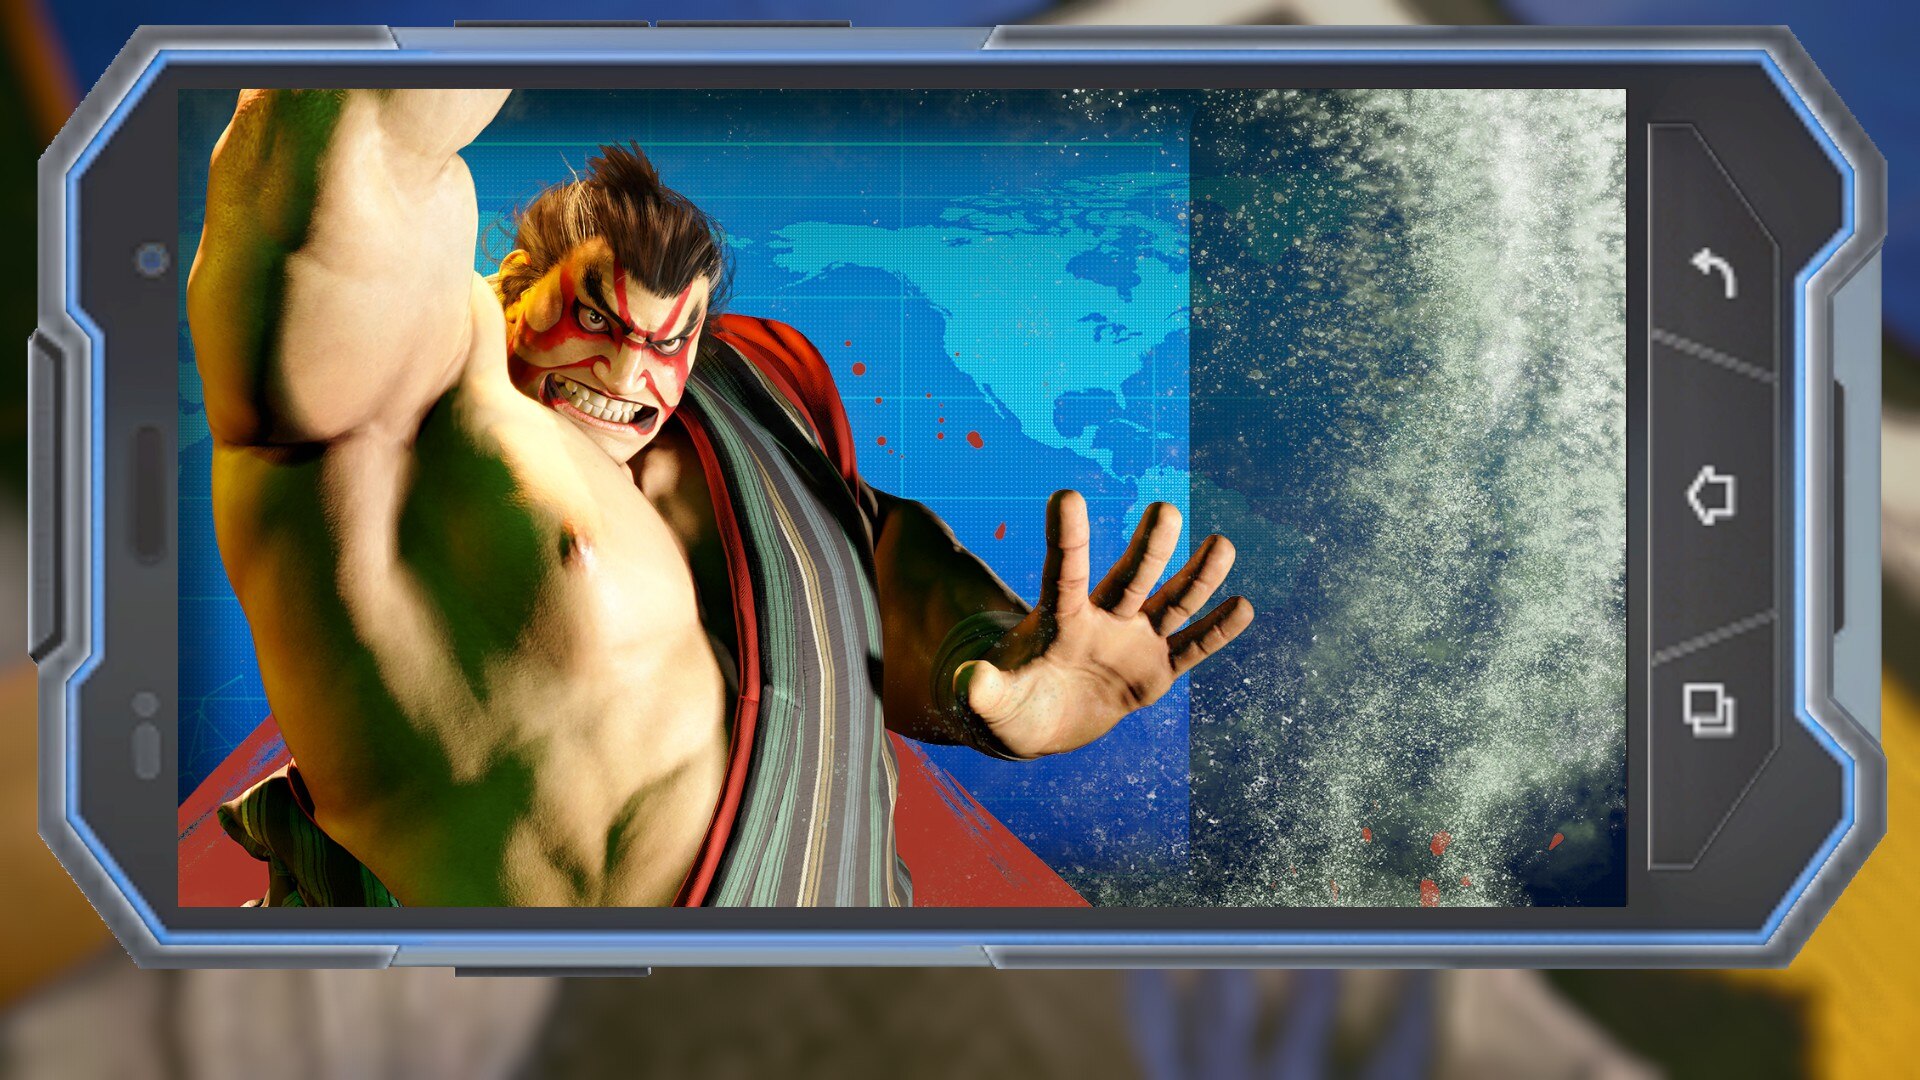
Green
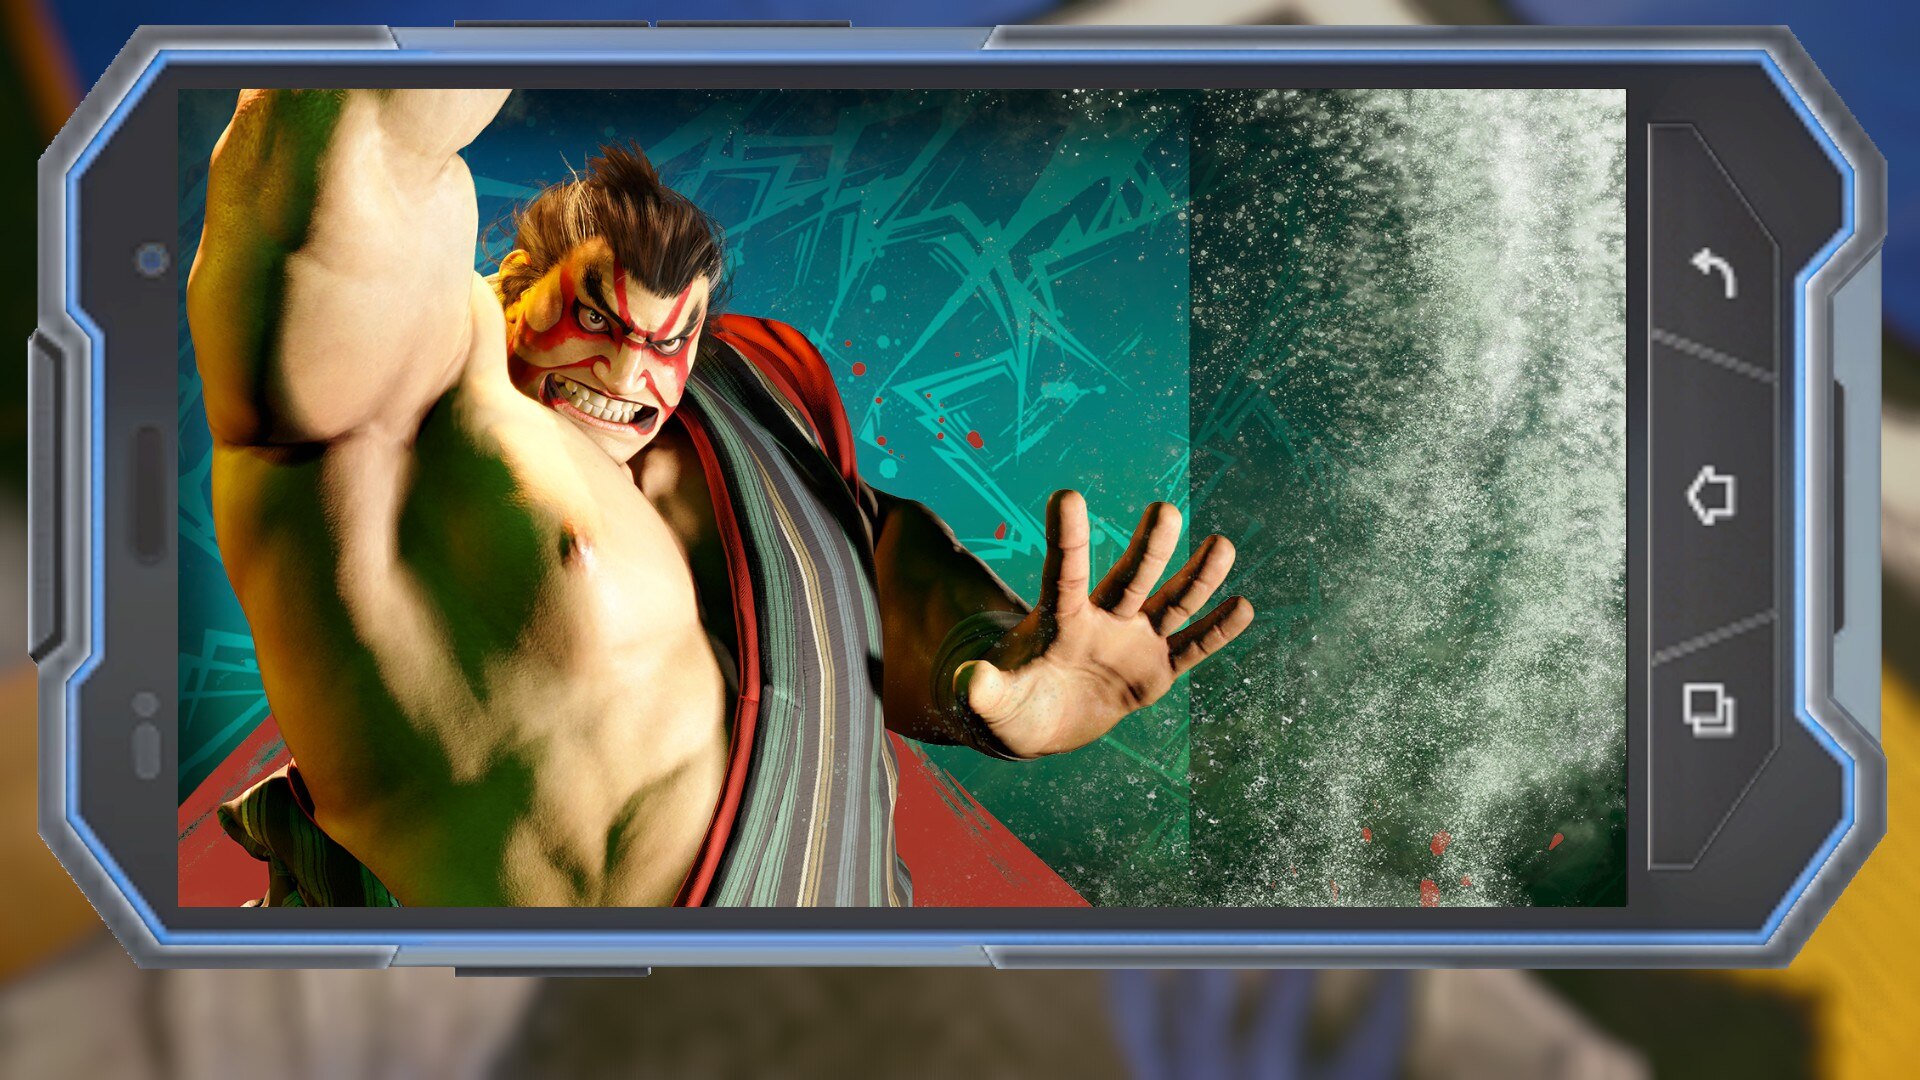
Purple
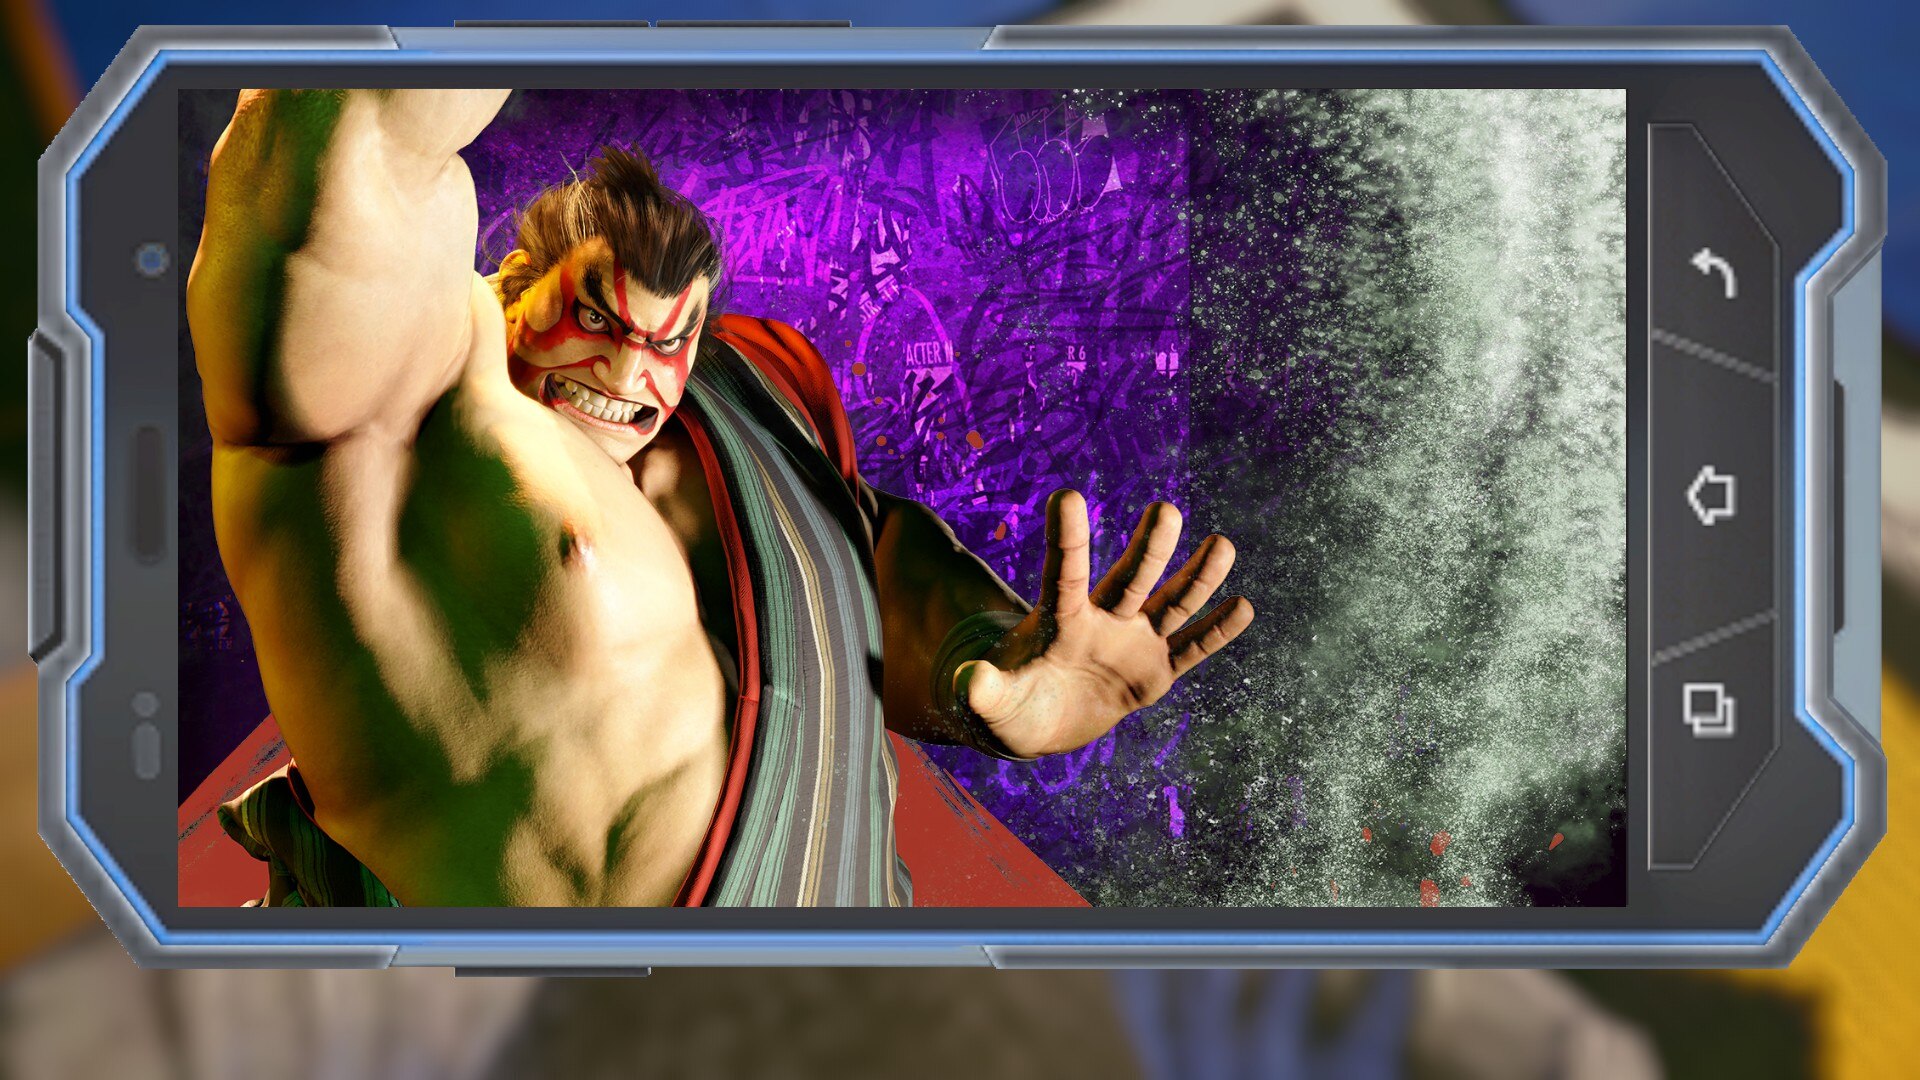
White
Ed
Black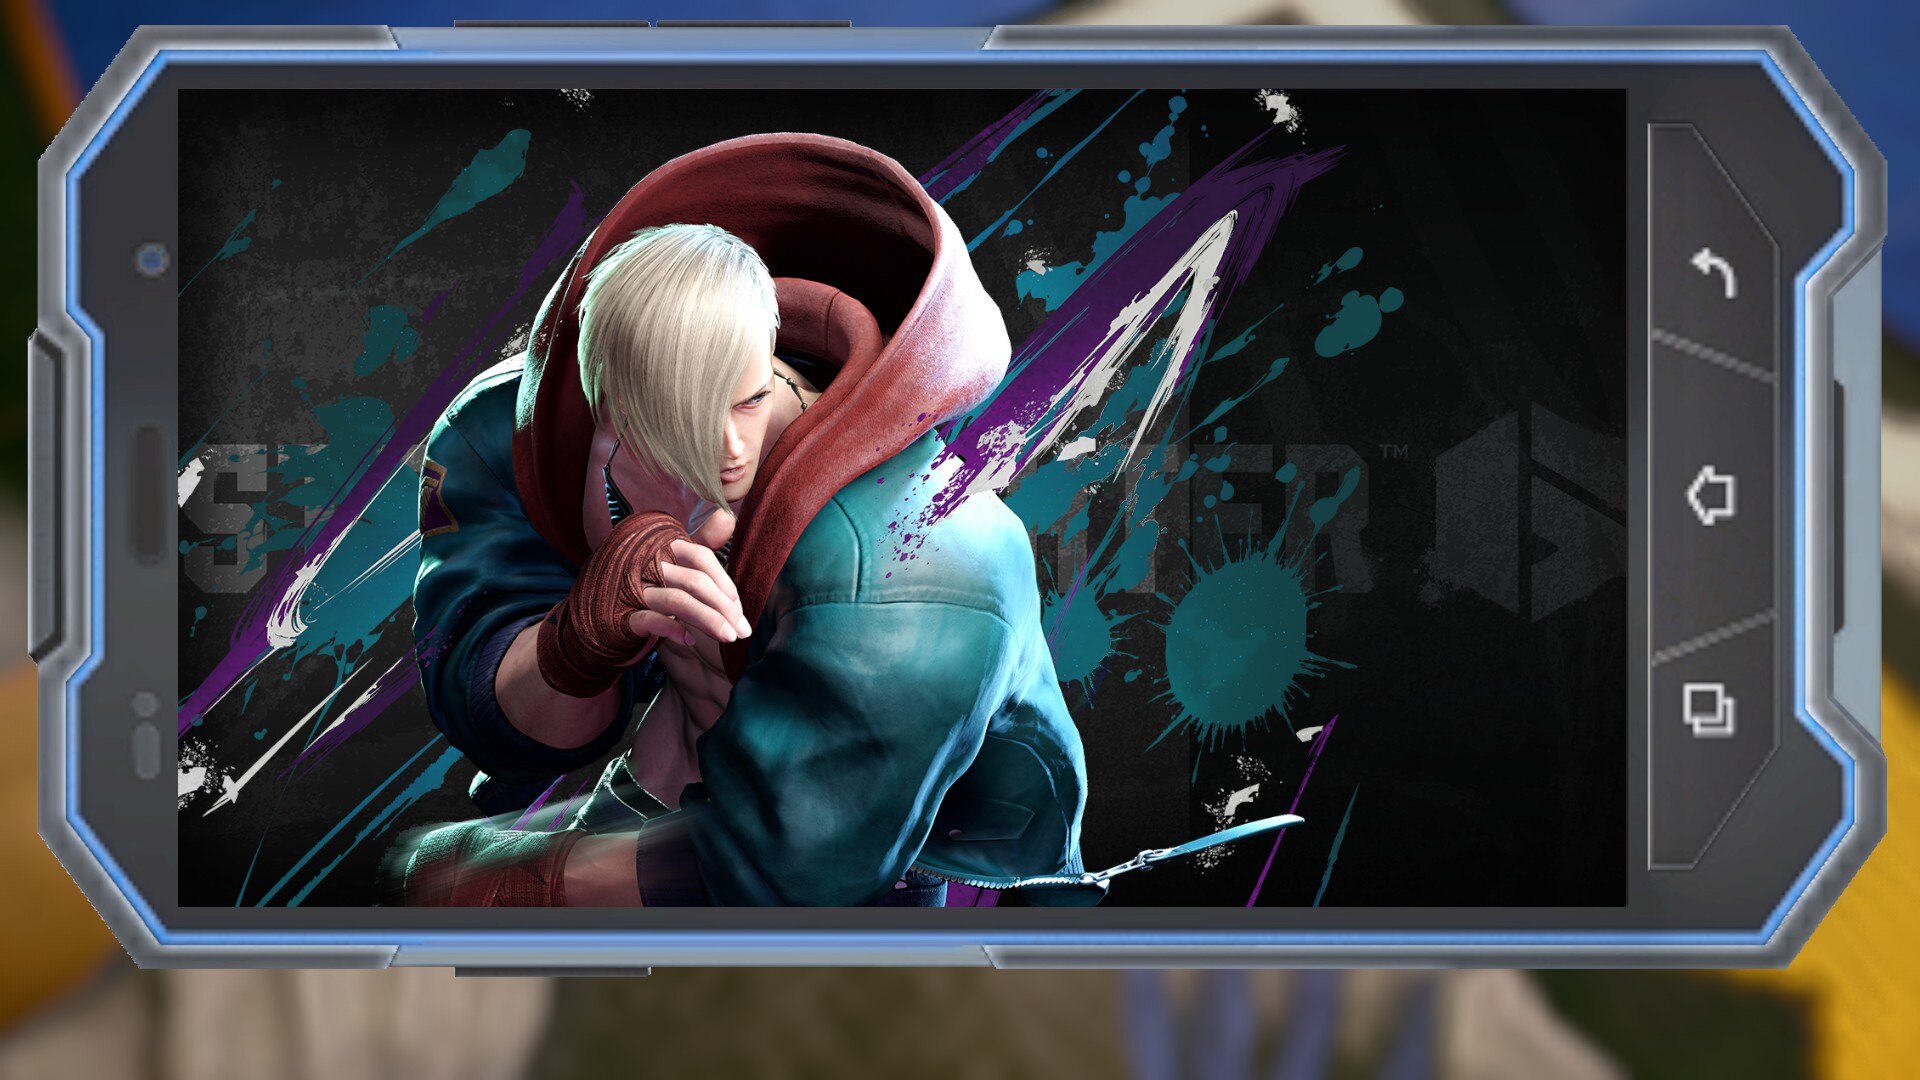
Blue
Green
Purple
White
Elena
Black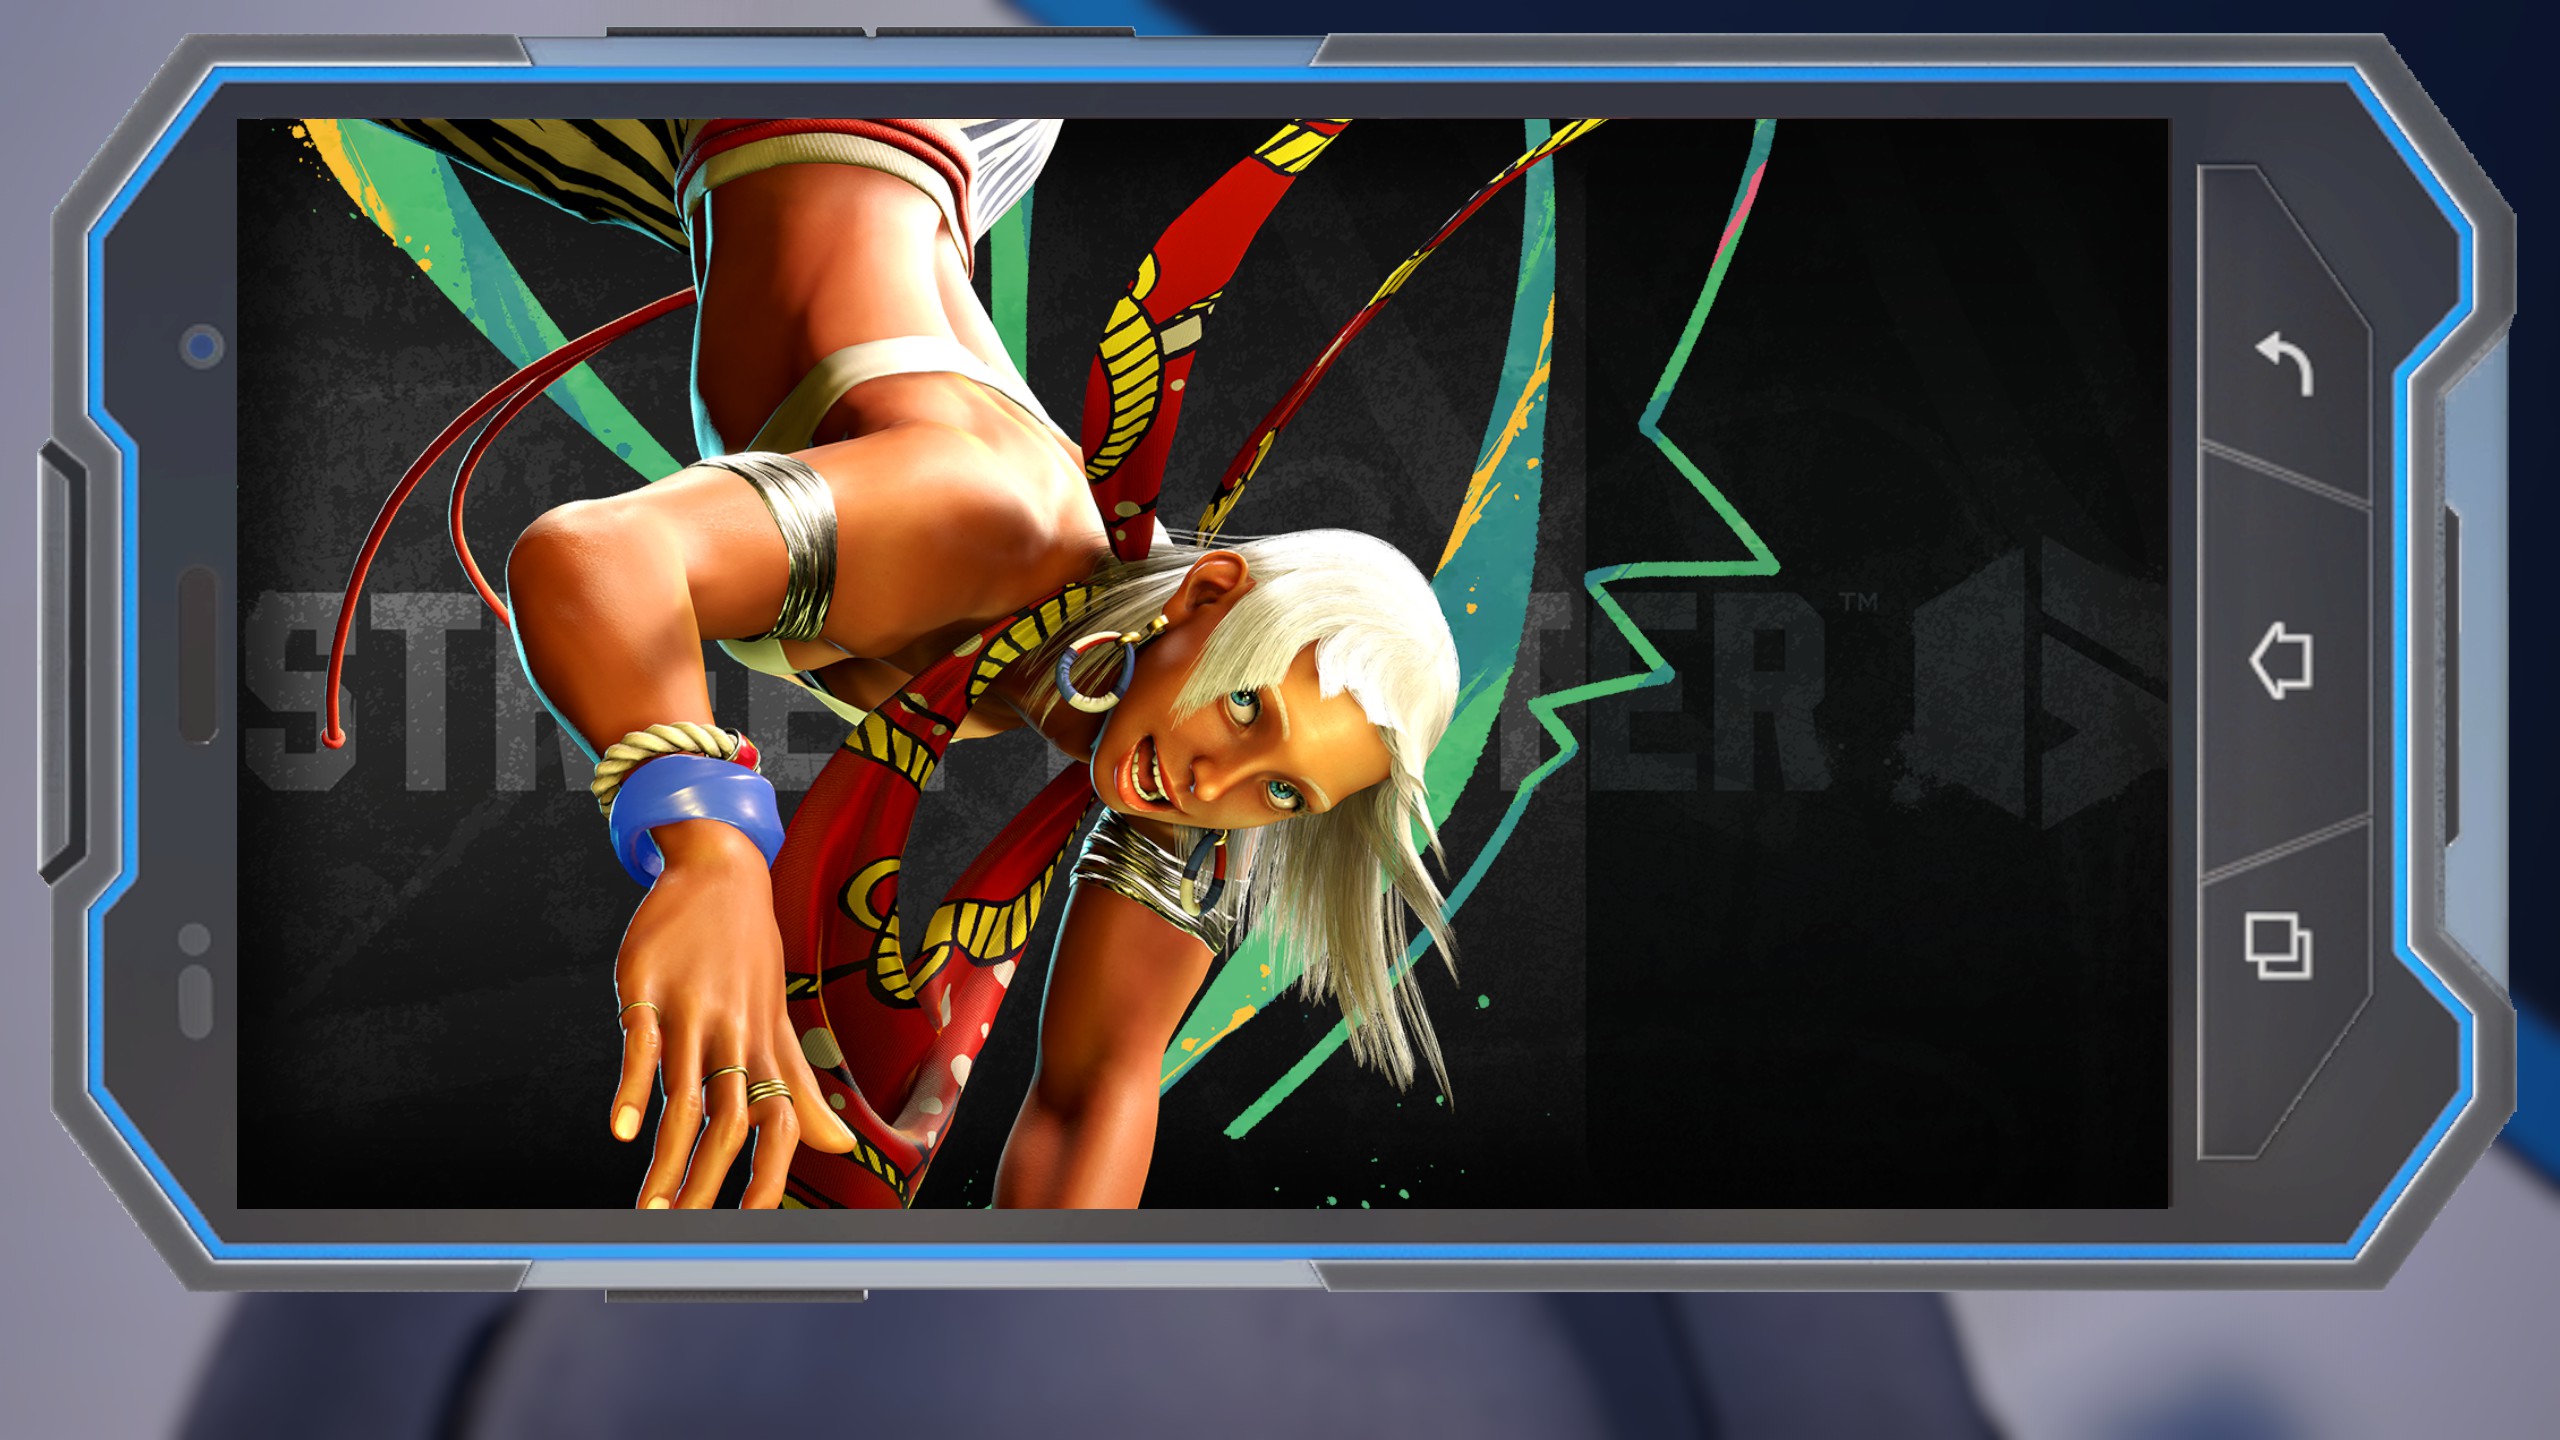
Blue
Green
Purple
White
Guile
Black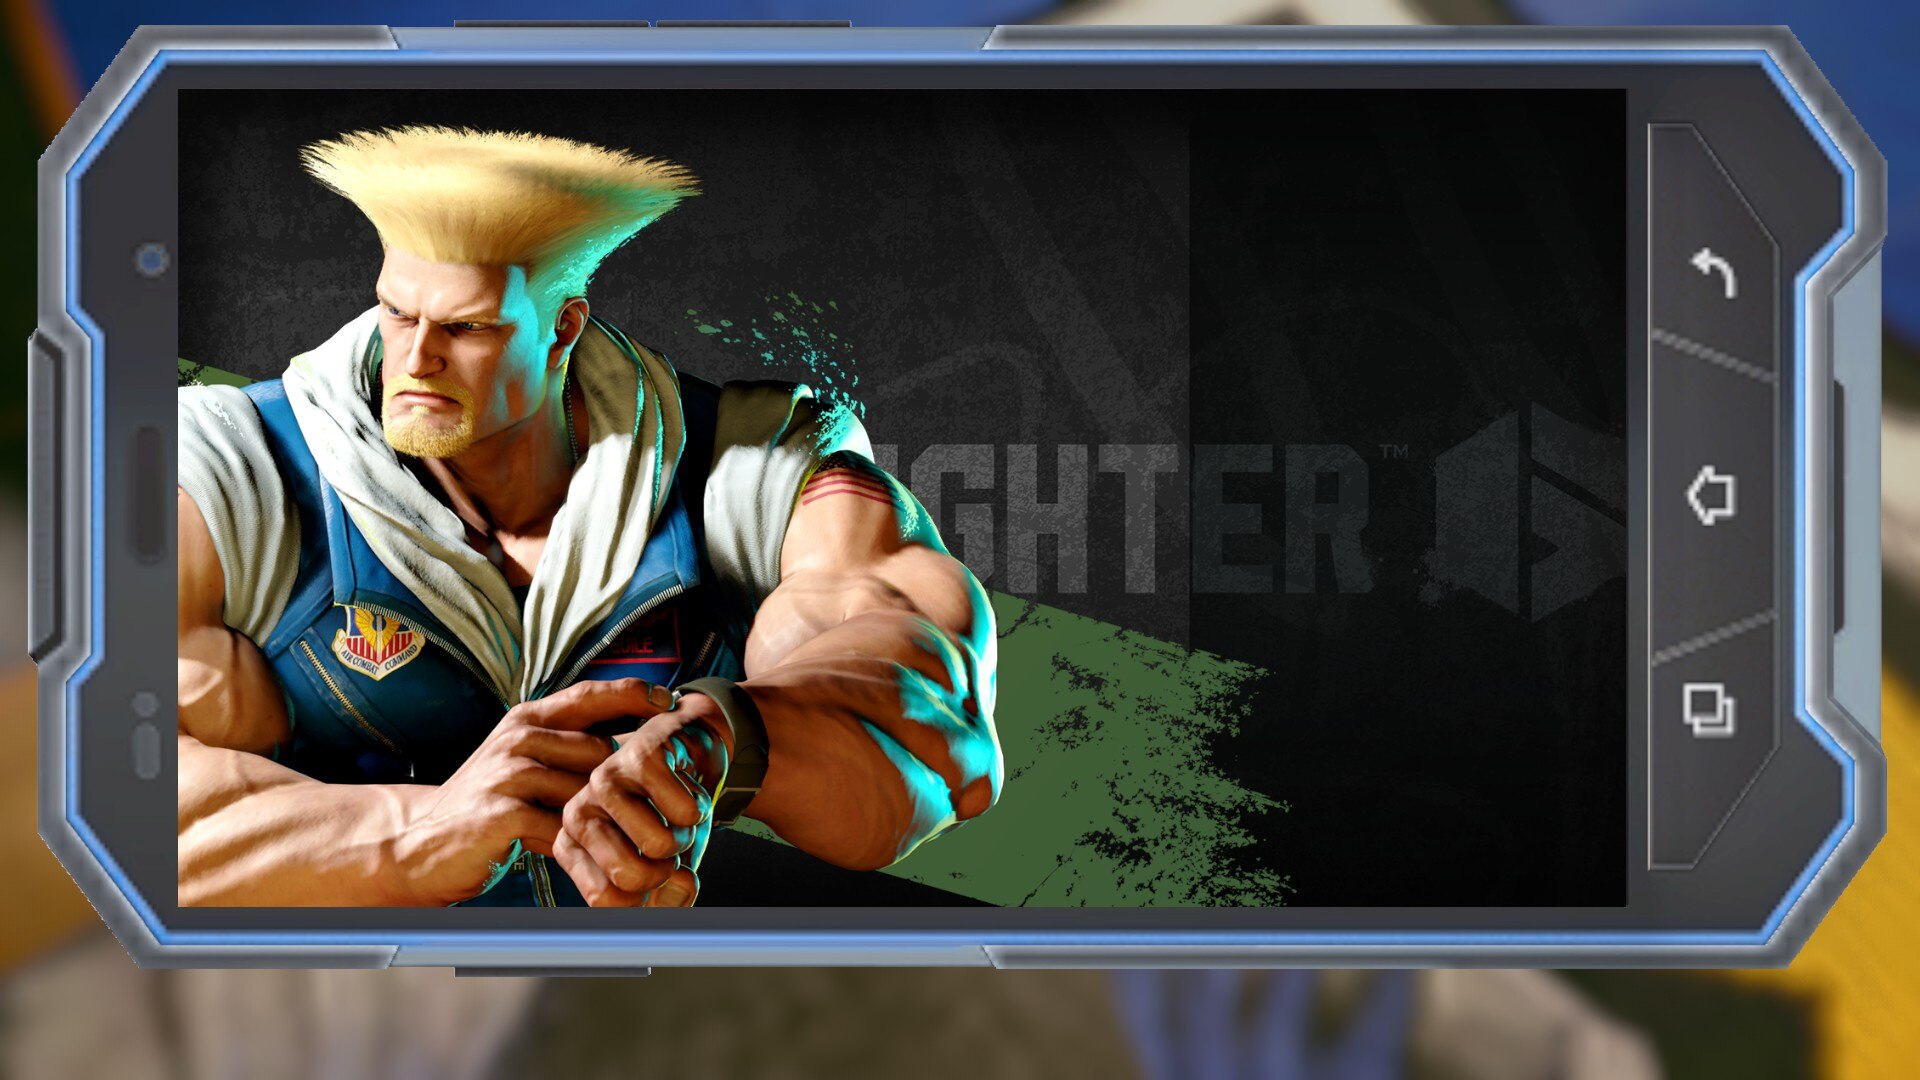
Blue

Green
Purple
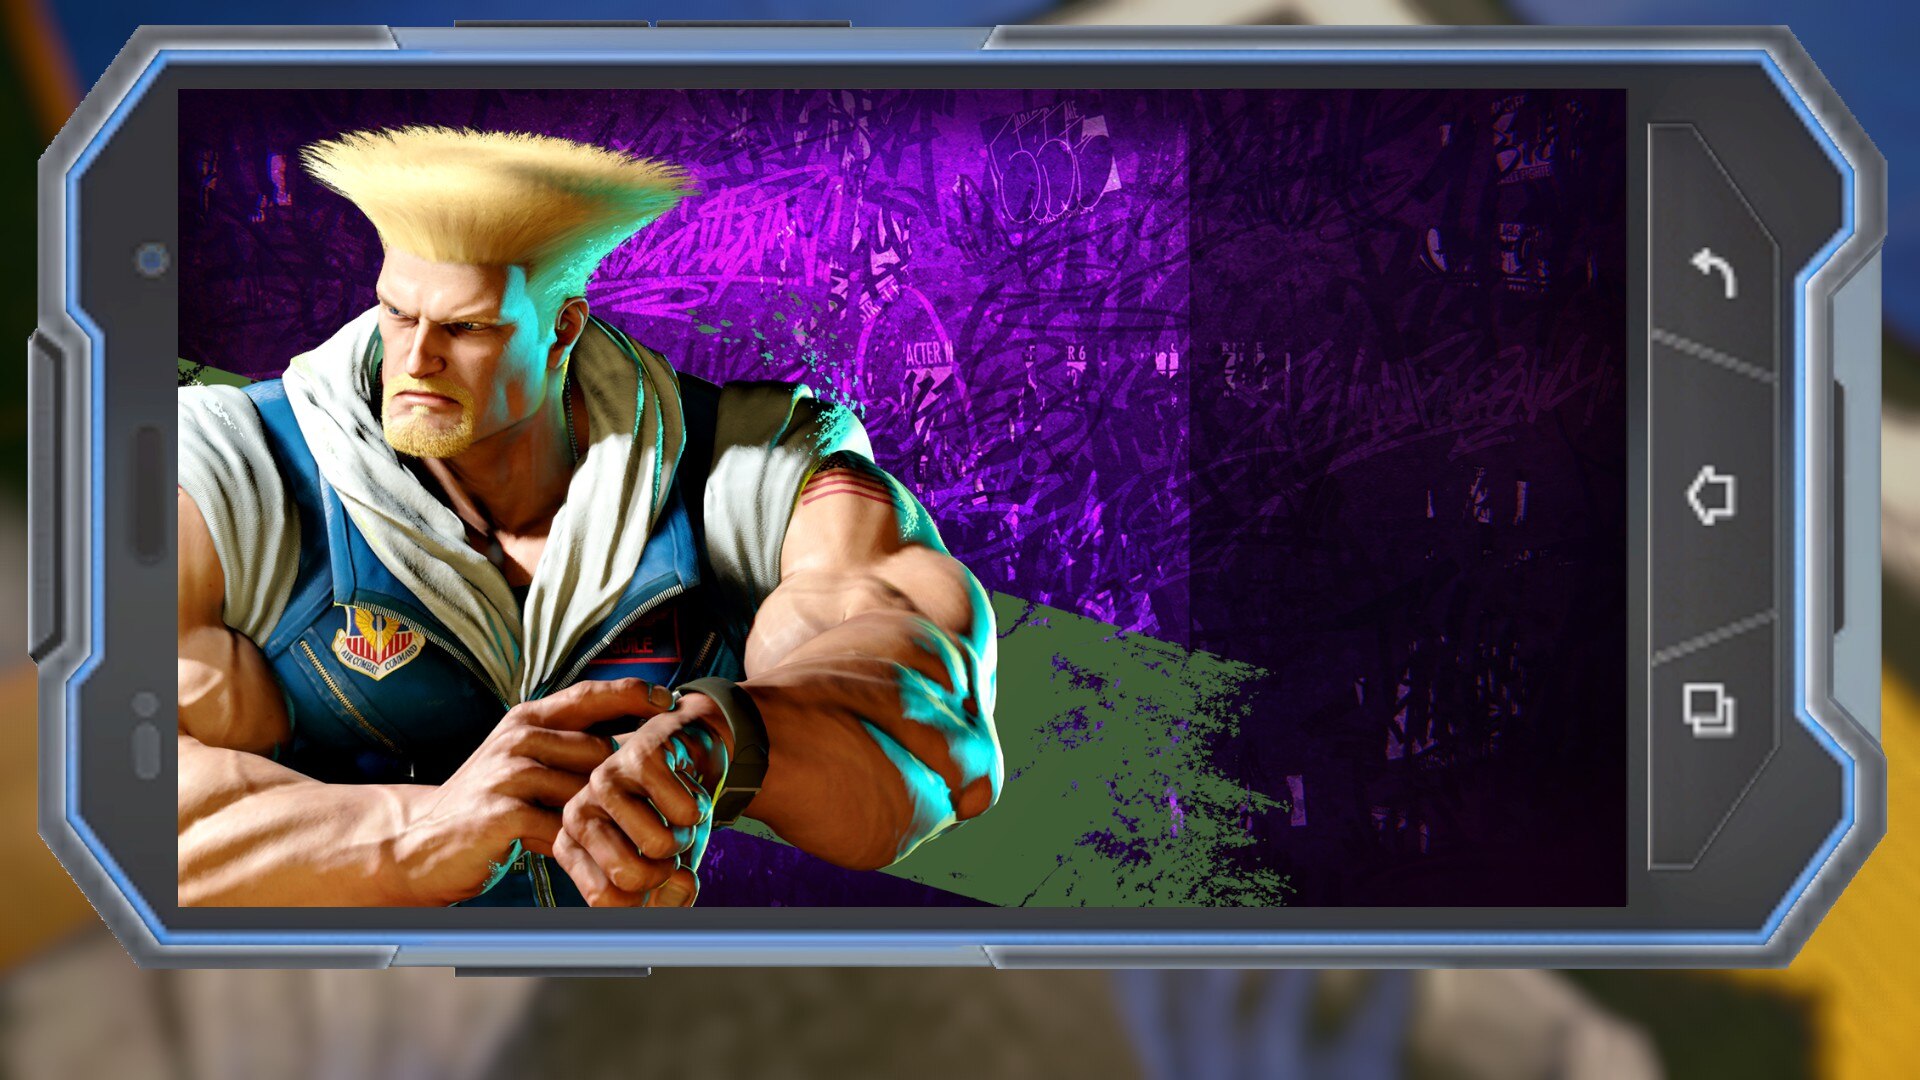
White
Jamie
Black
Blue
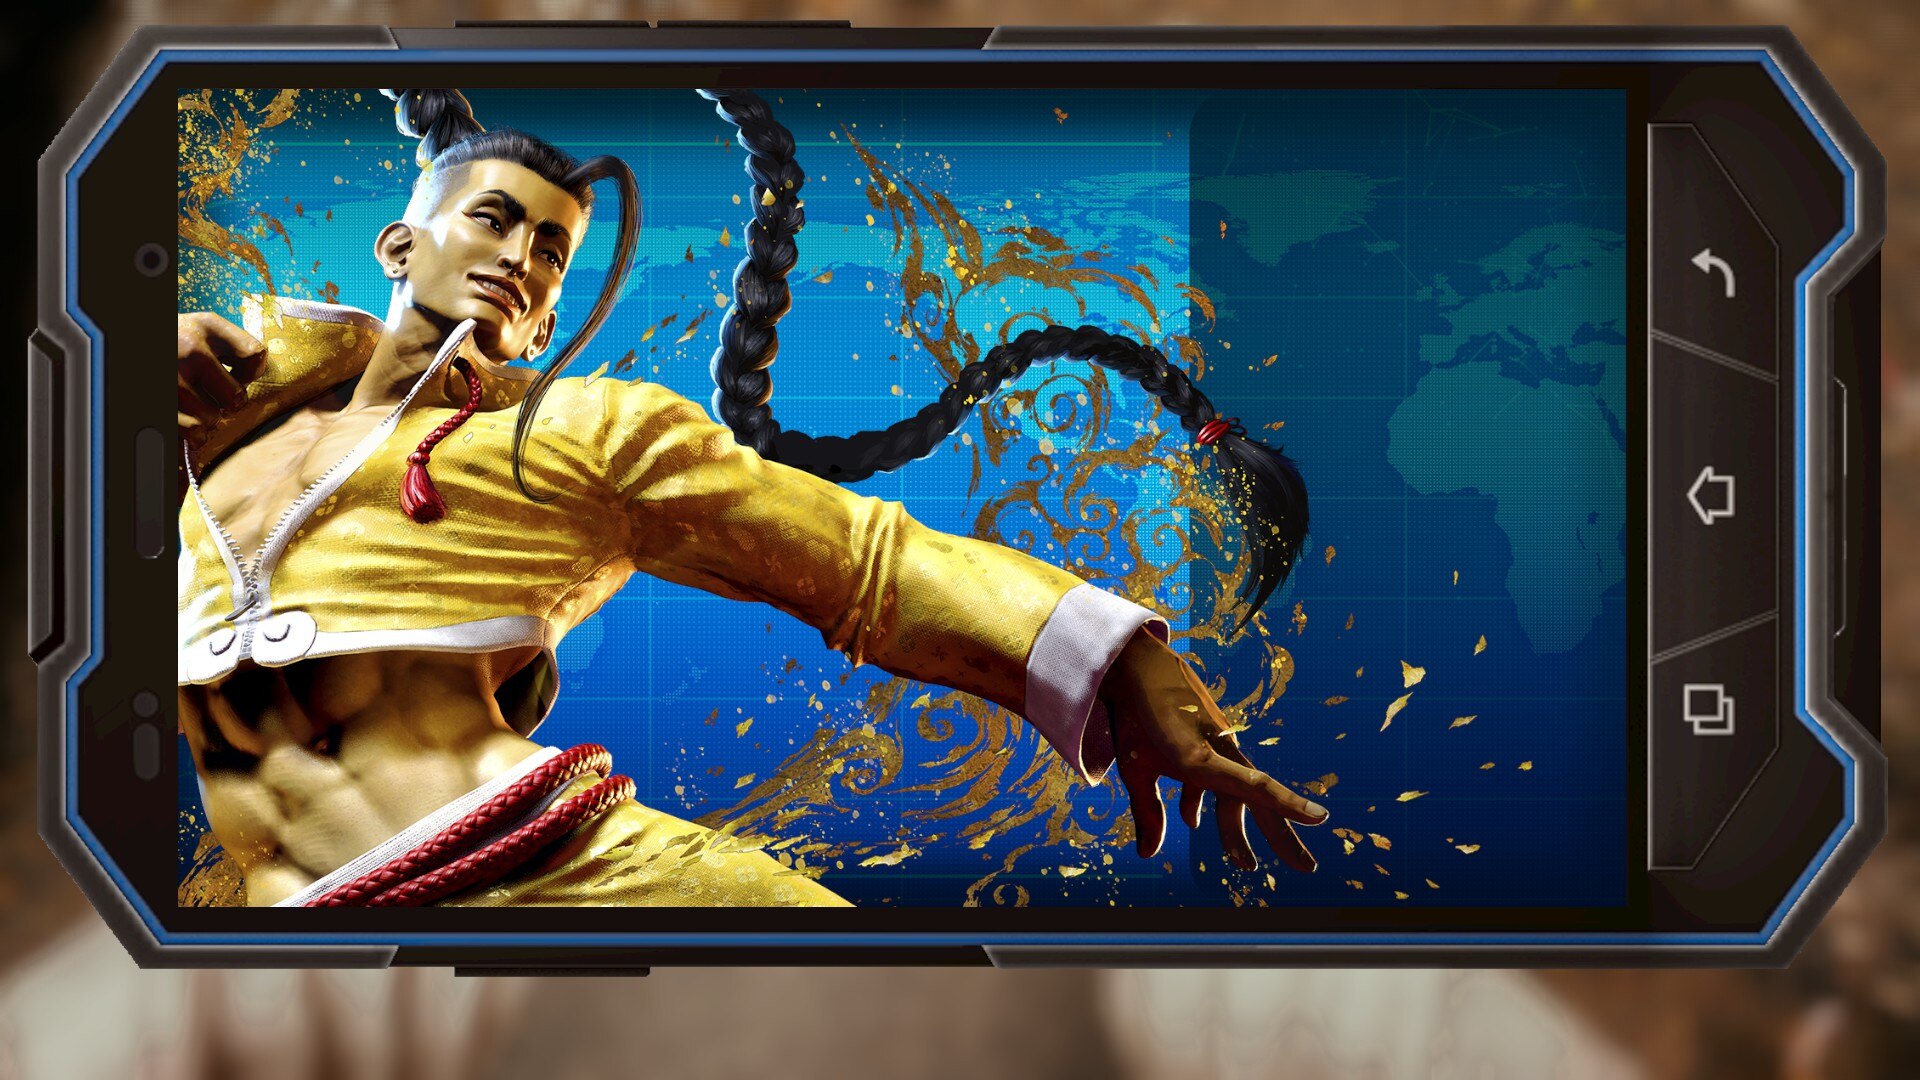
Green
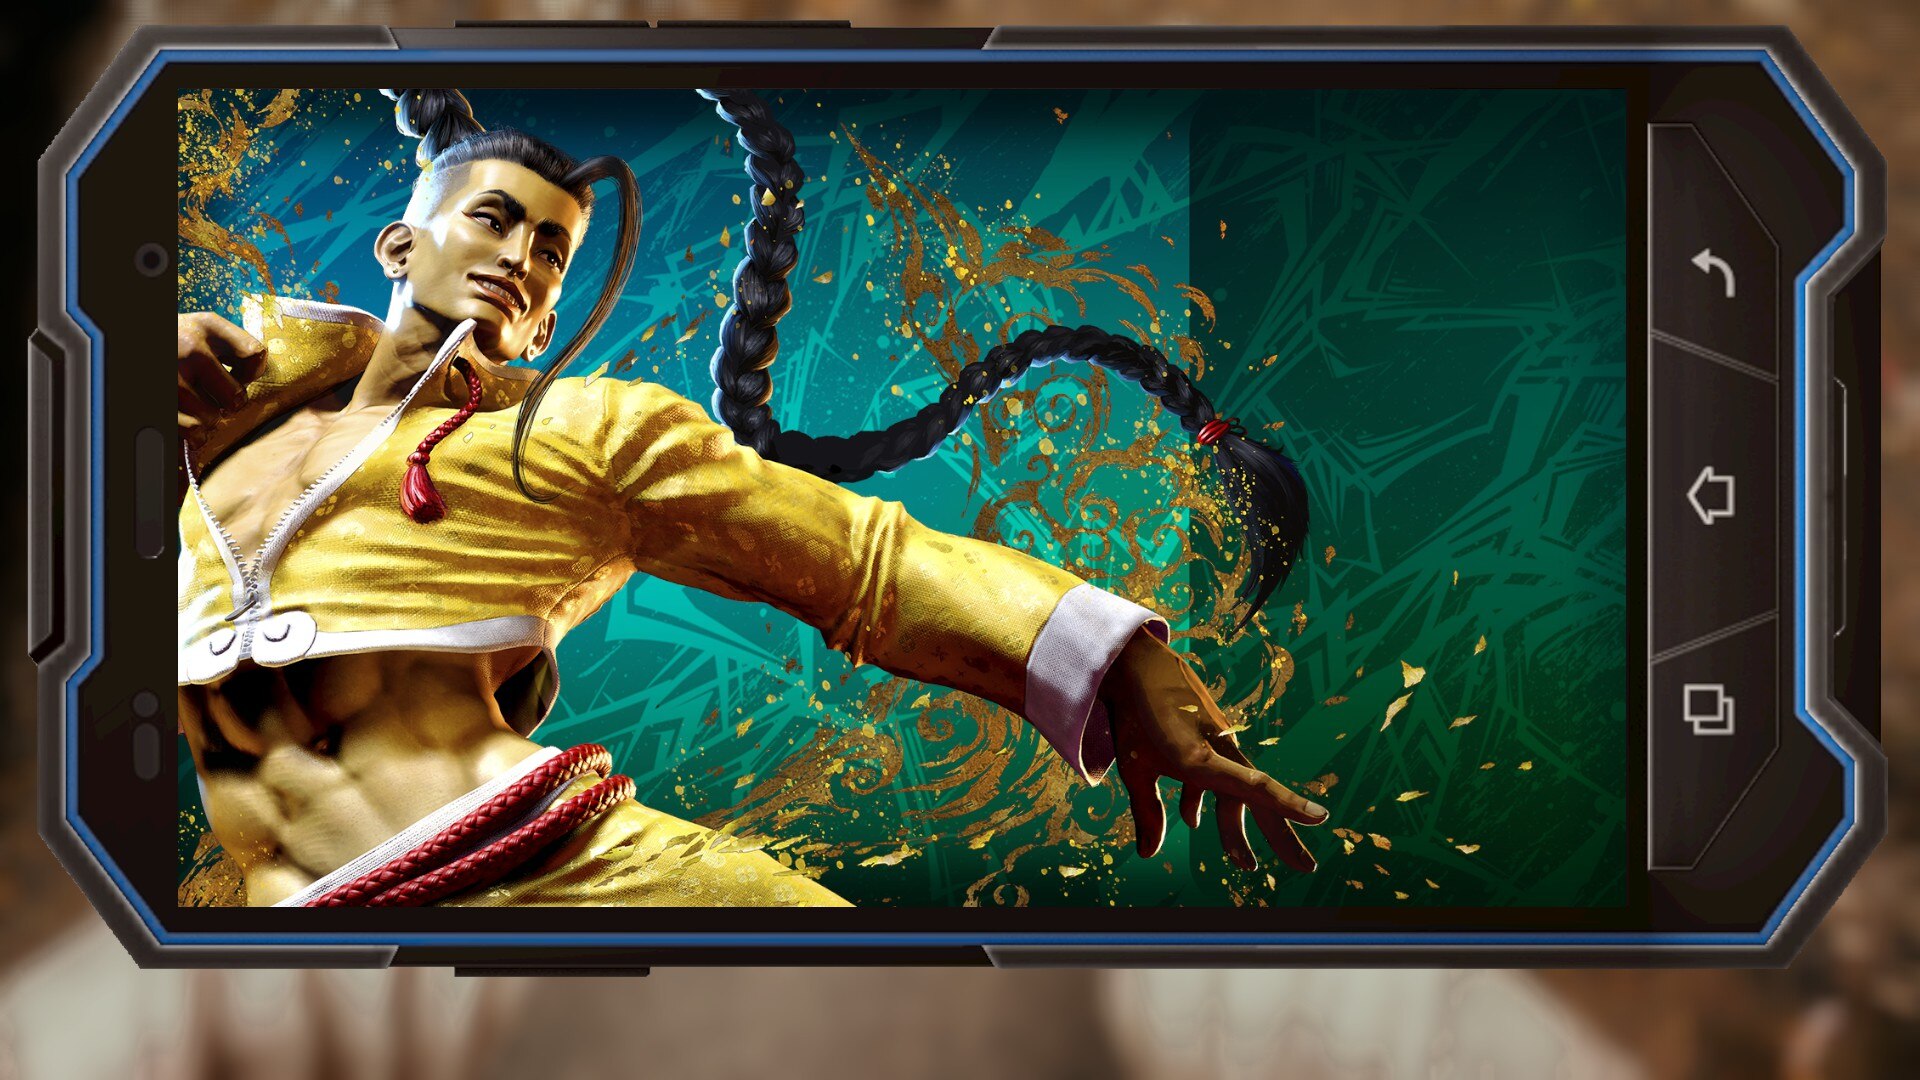
Purple

White
JP
Black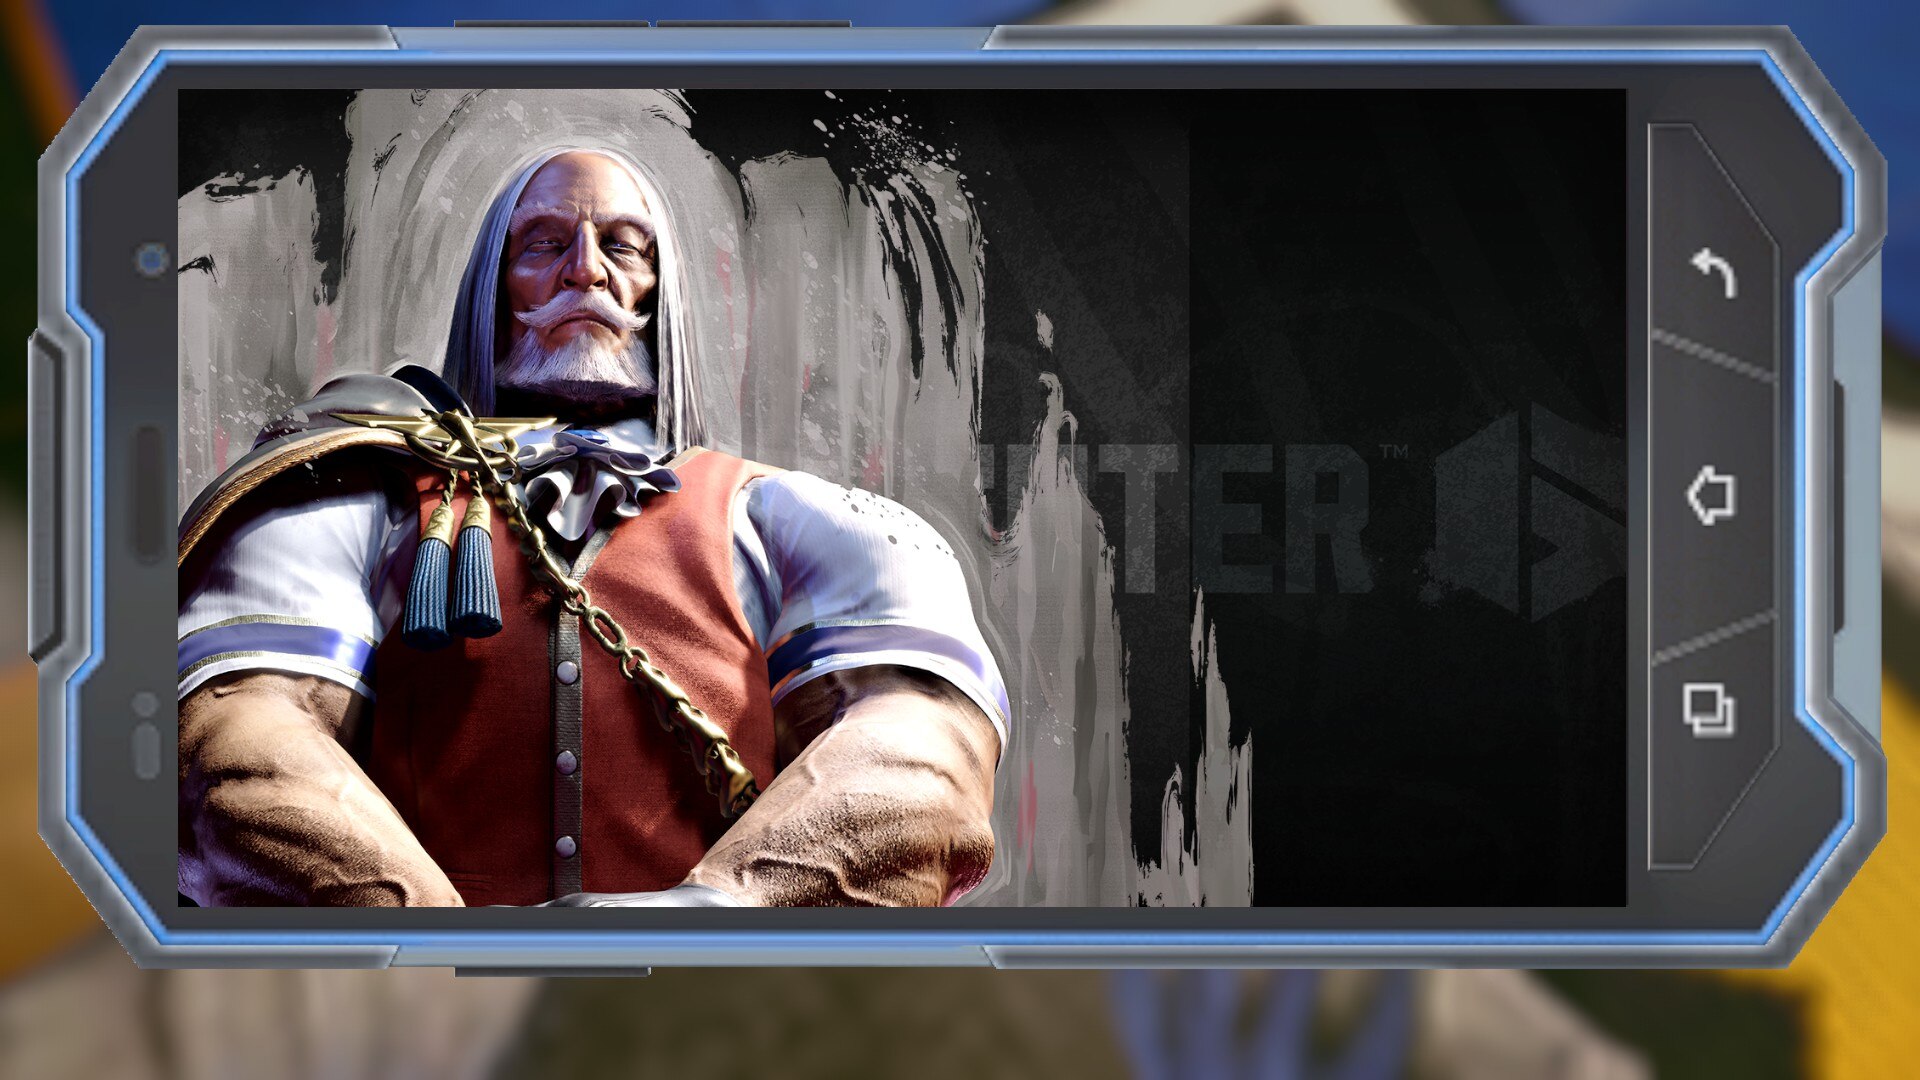
Blue
Green
Purple
White
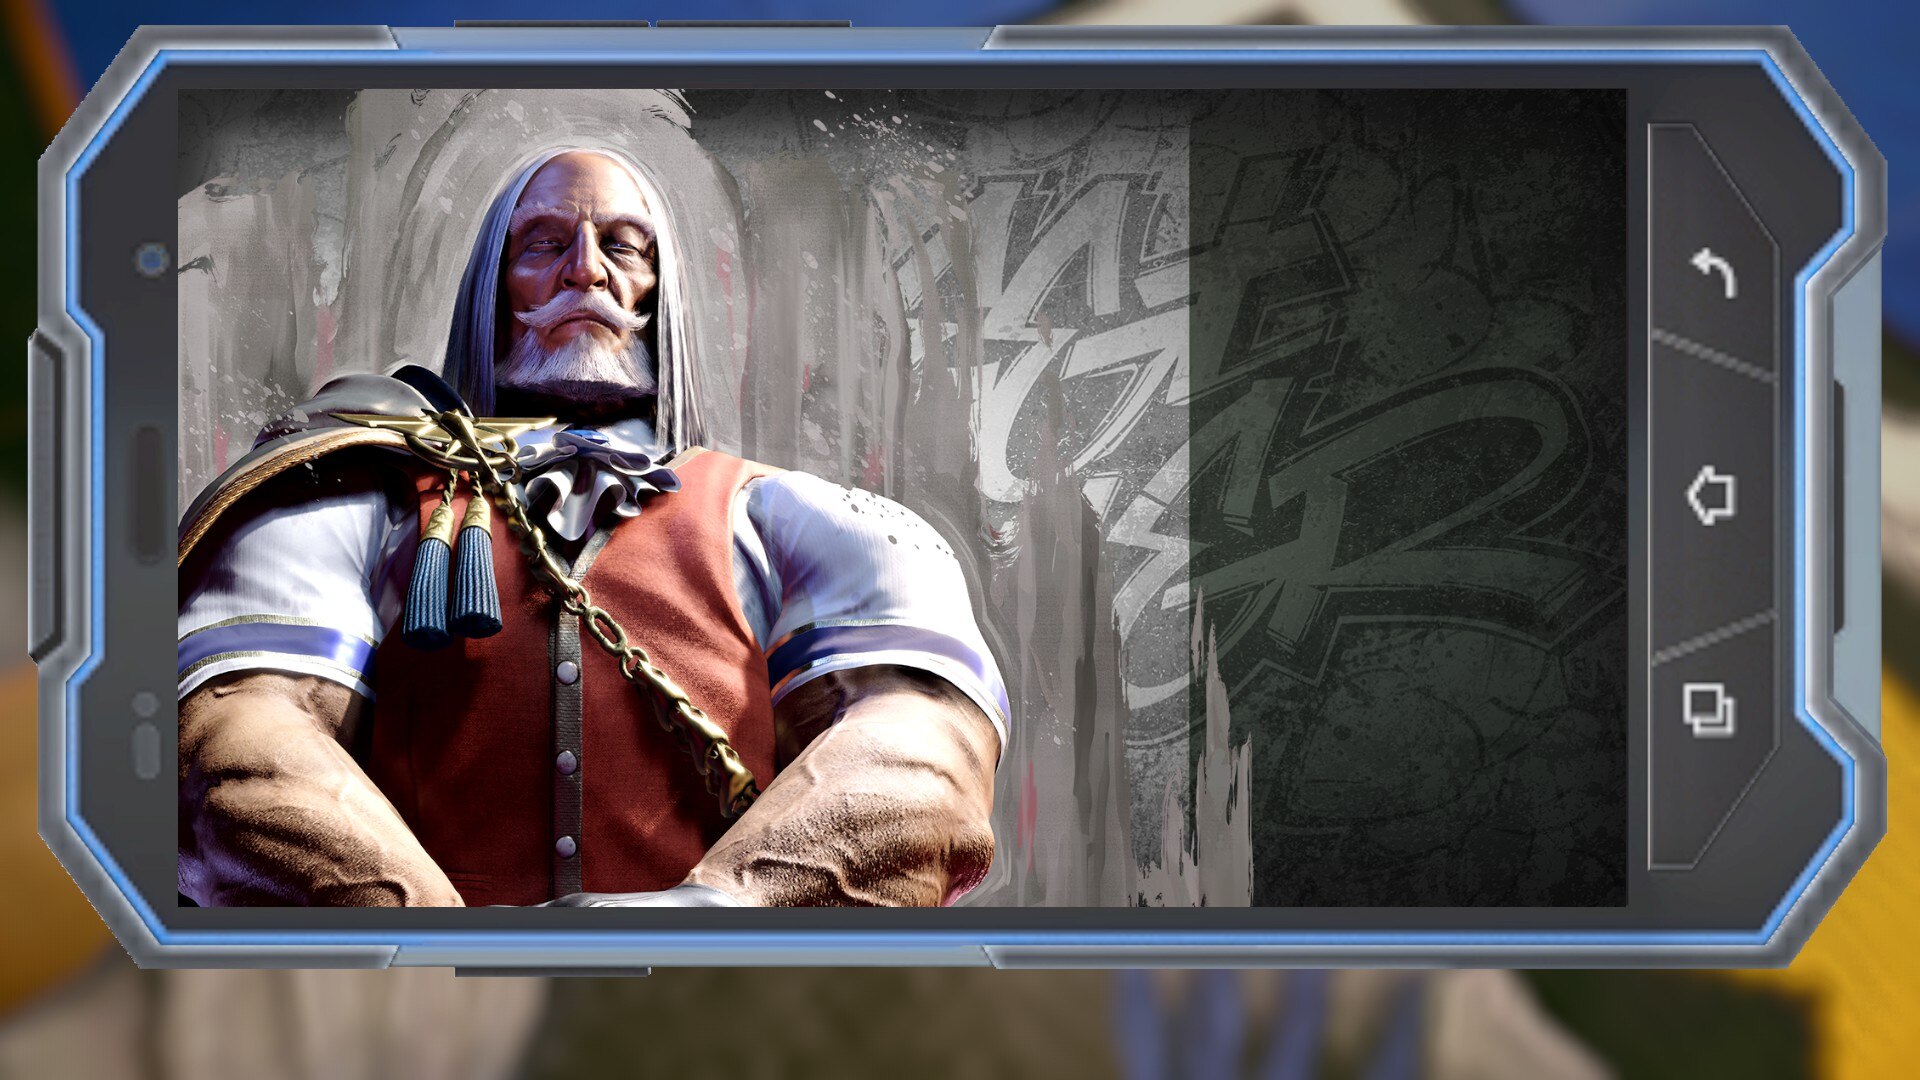
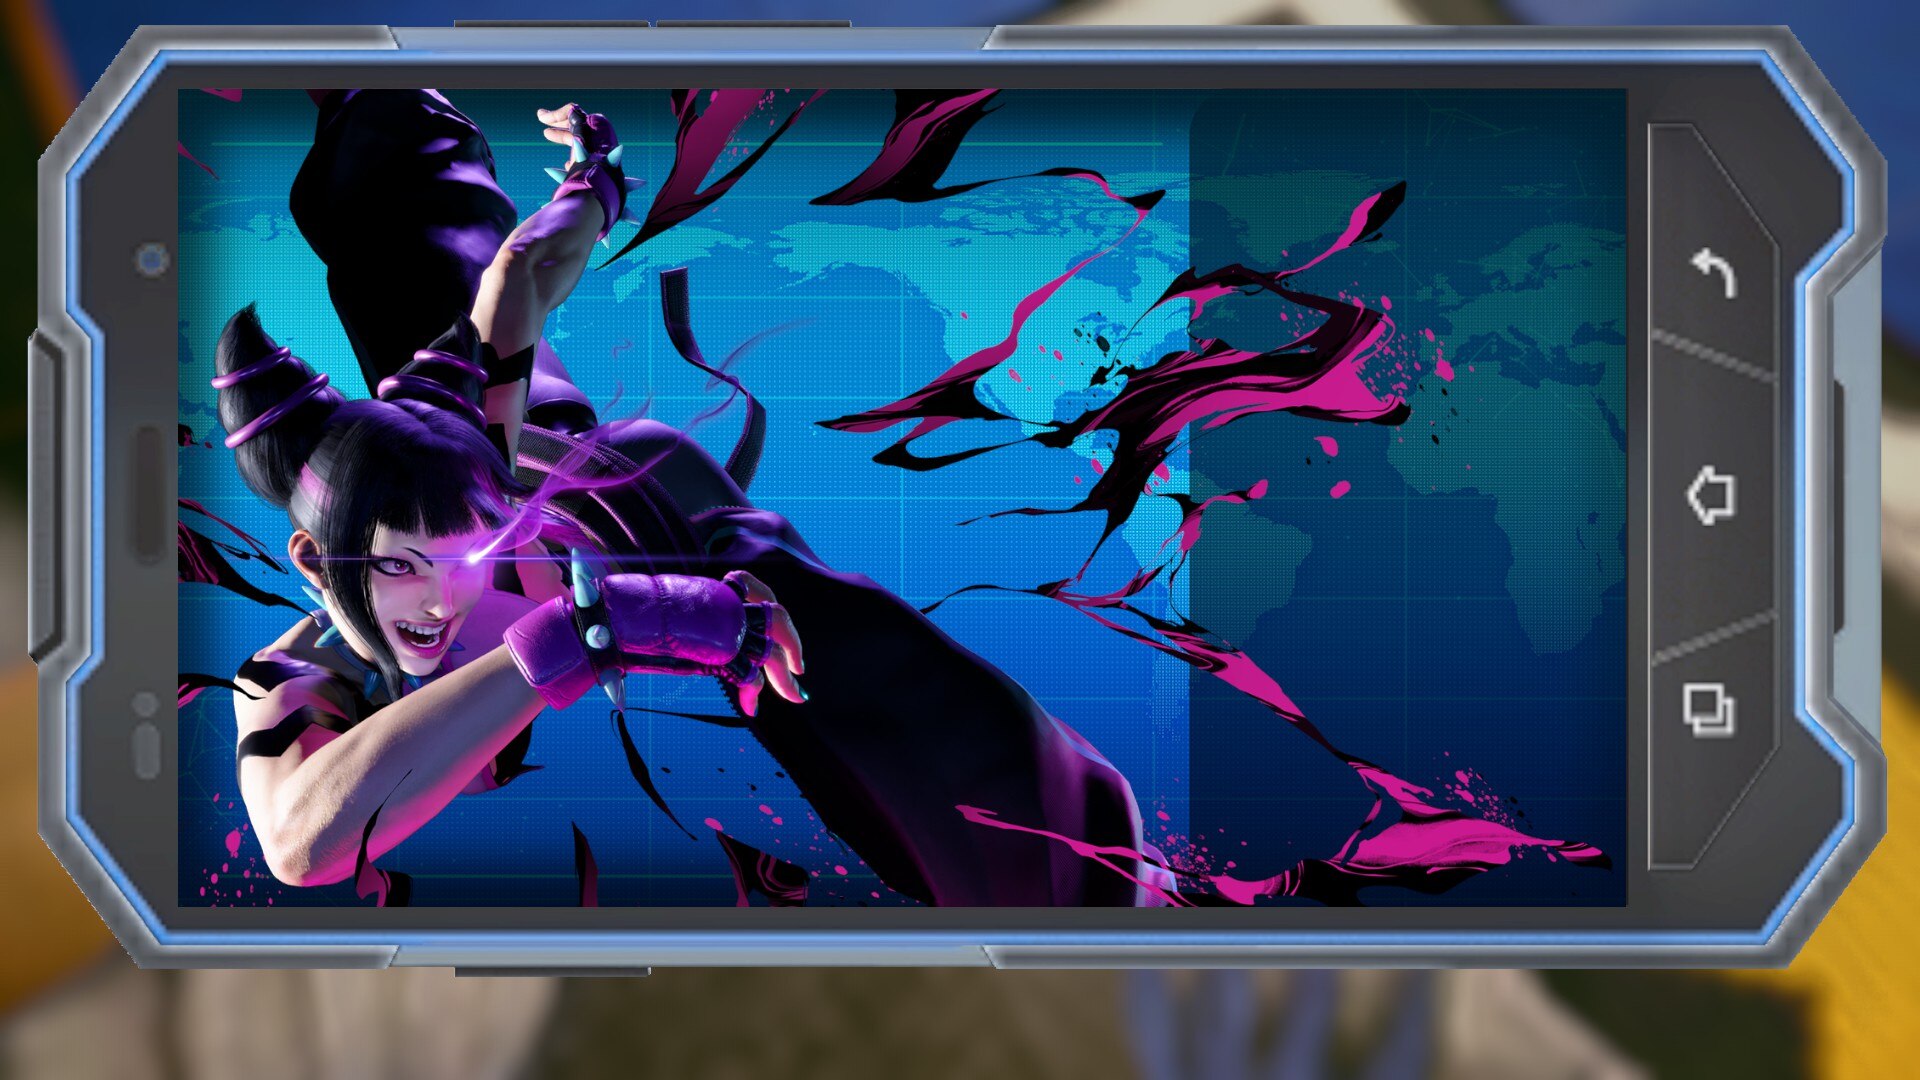
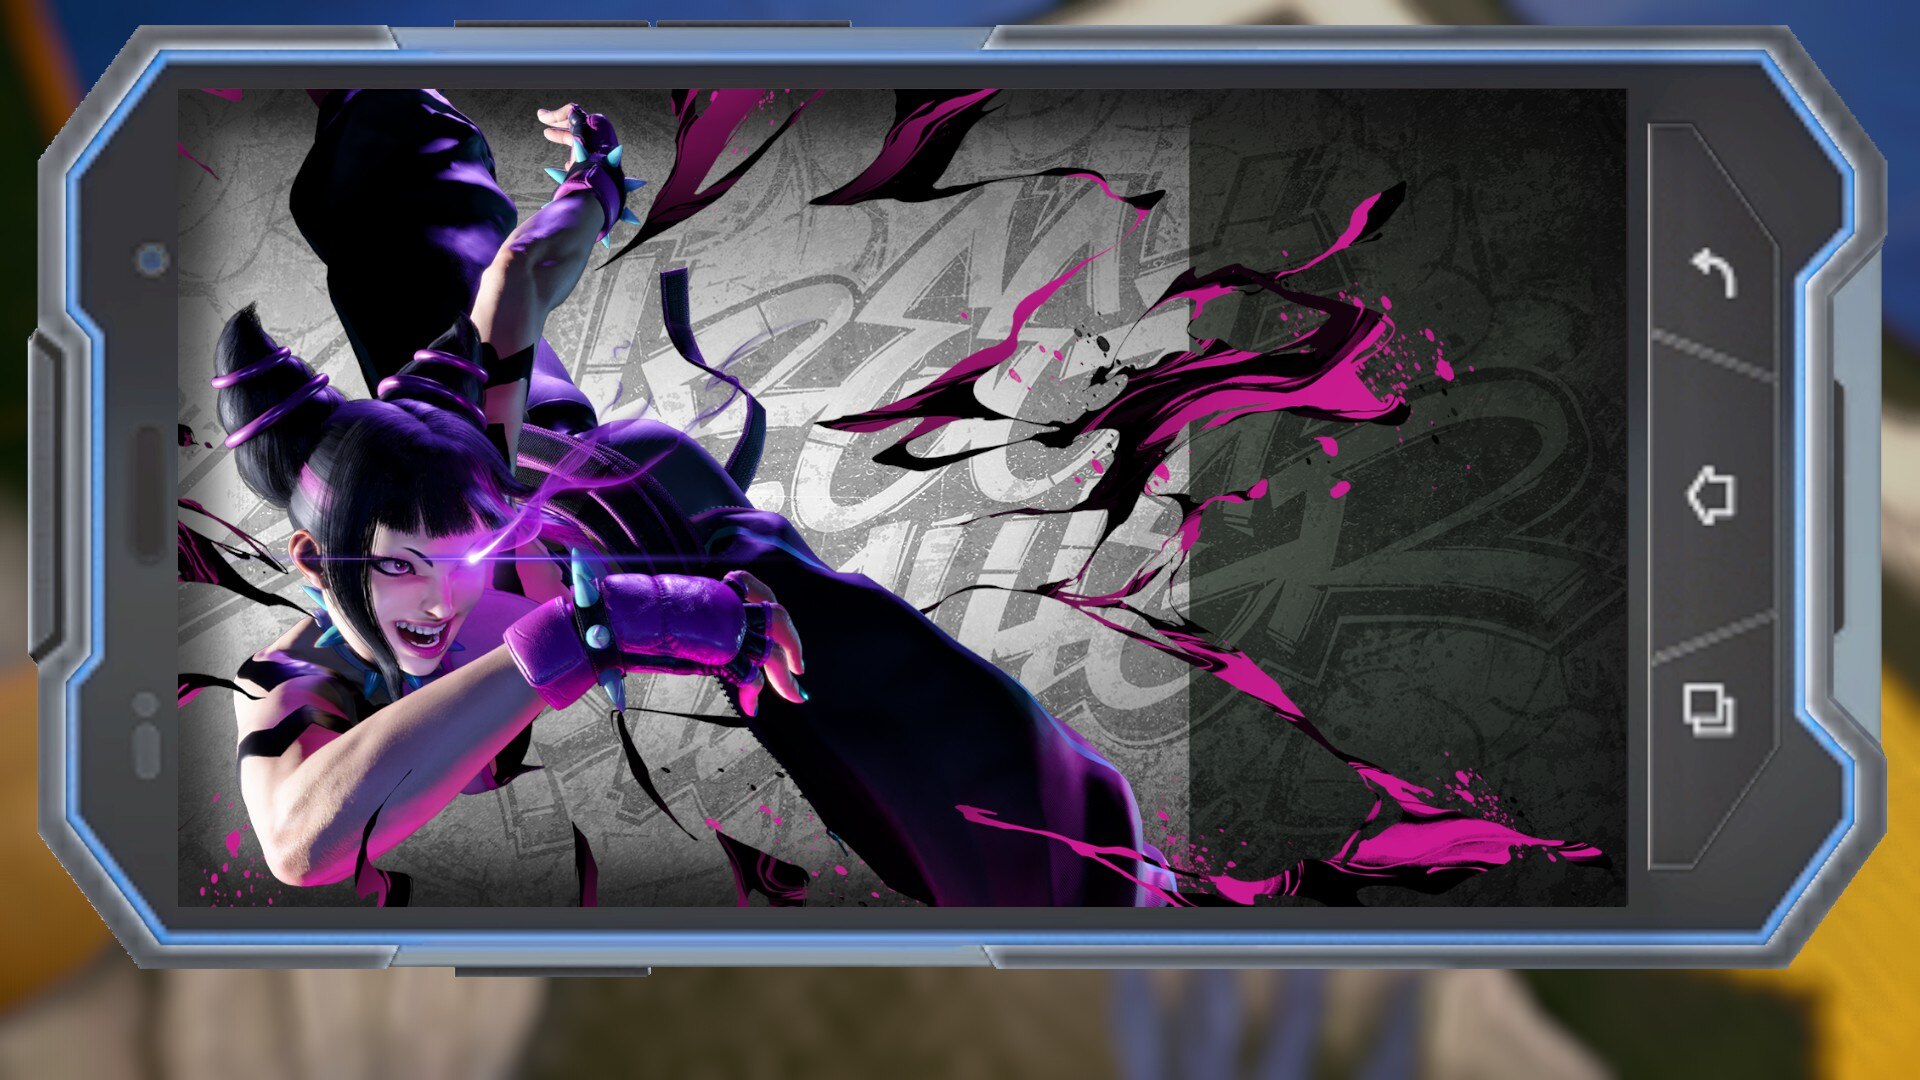
Juri
Black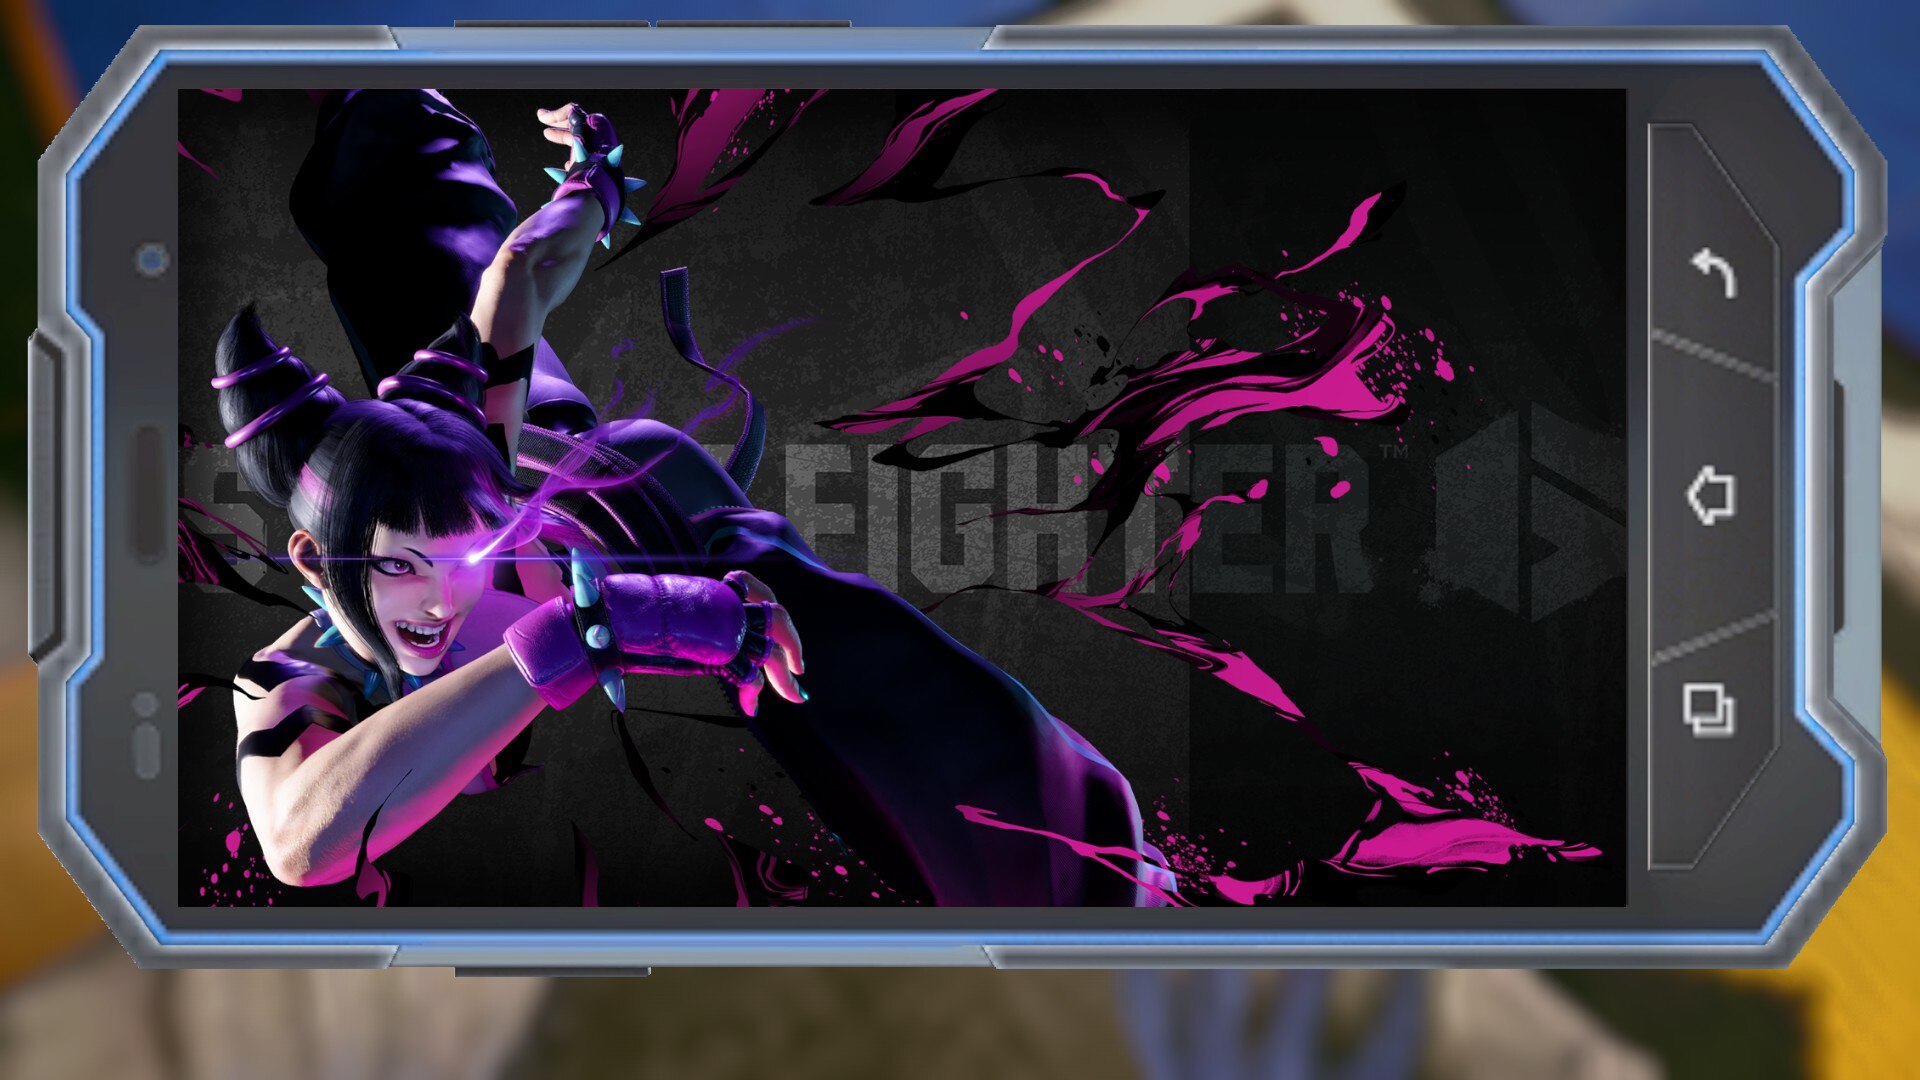
Blue
Green
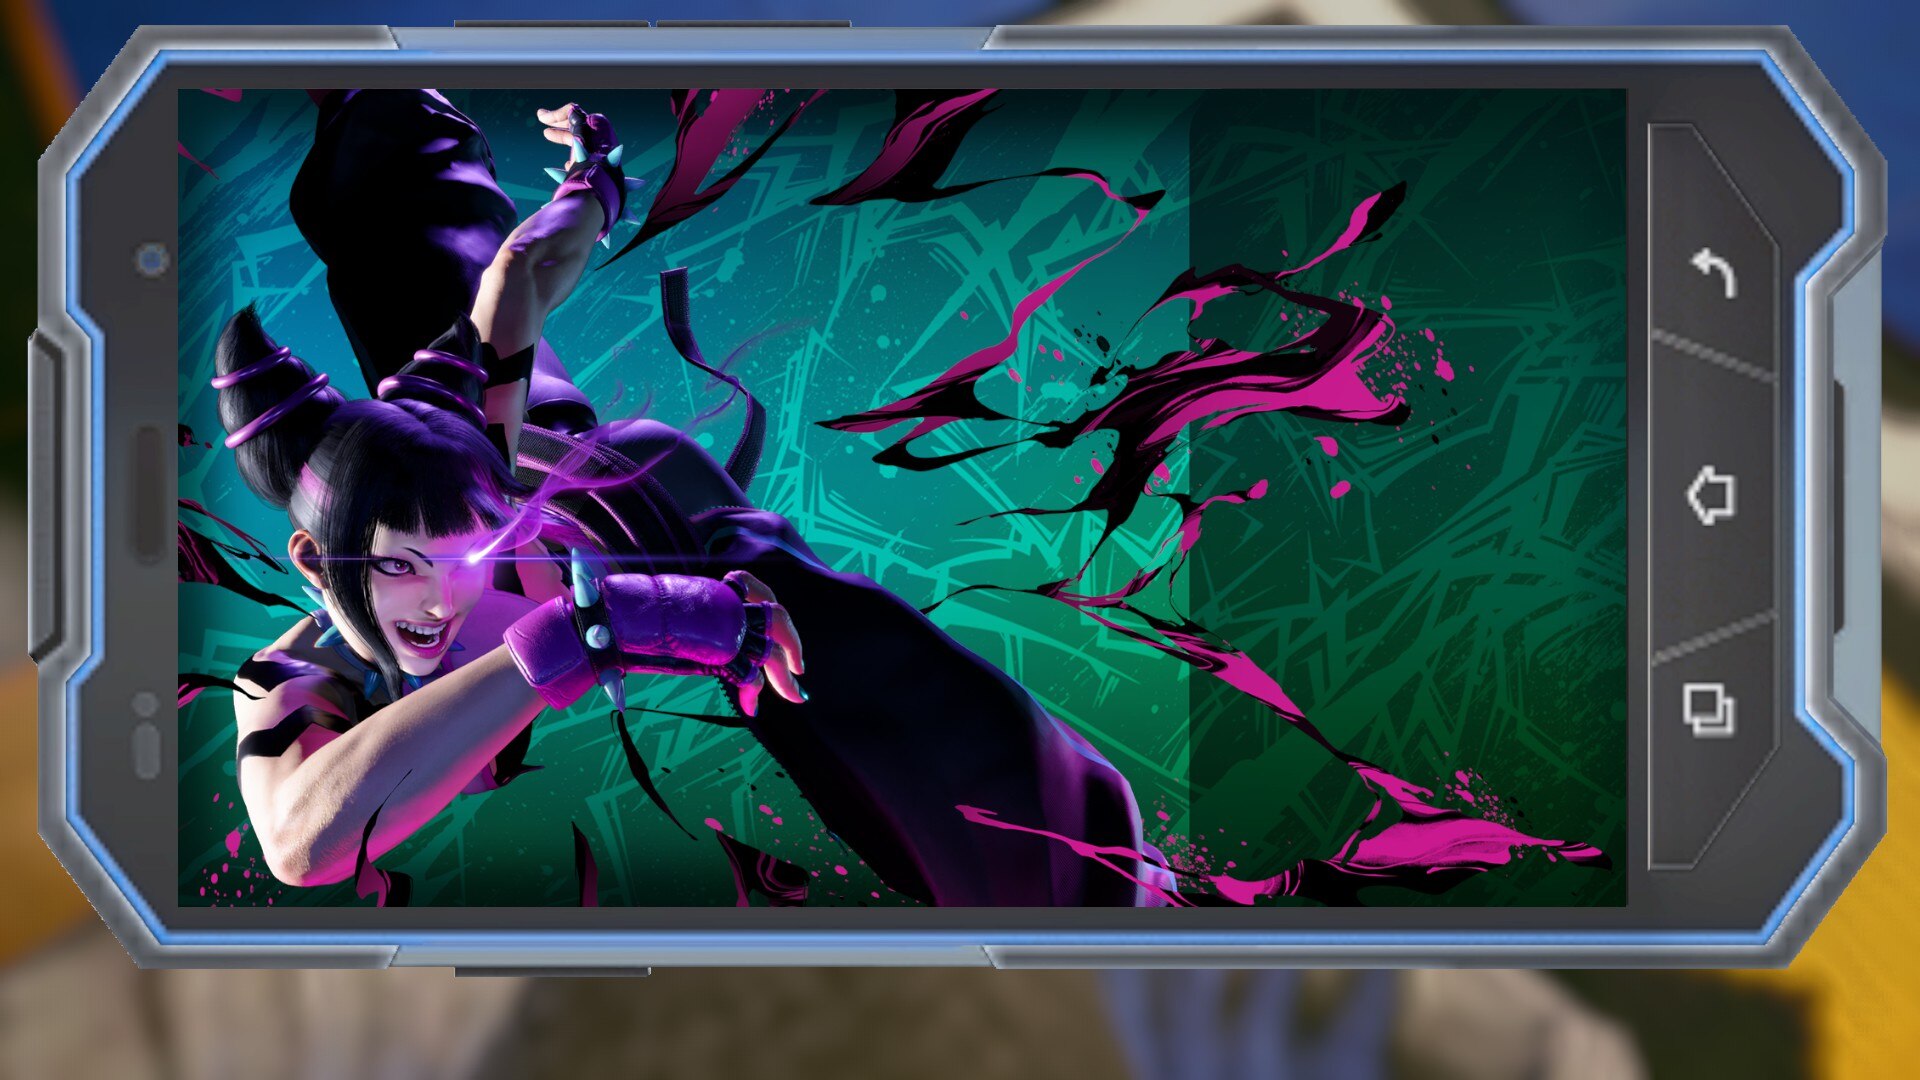
Purple
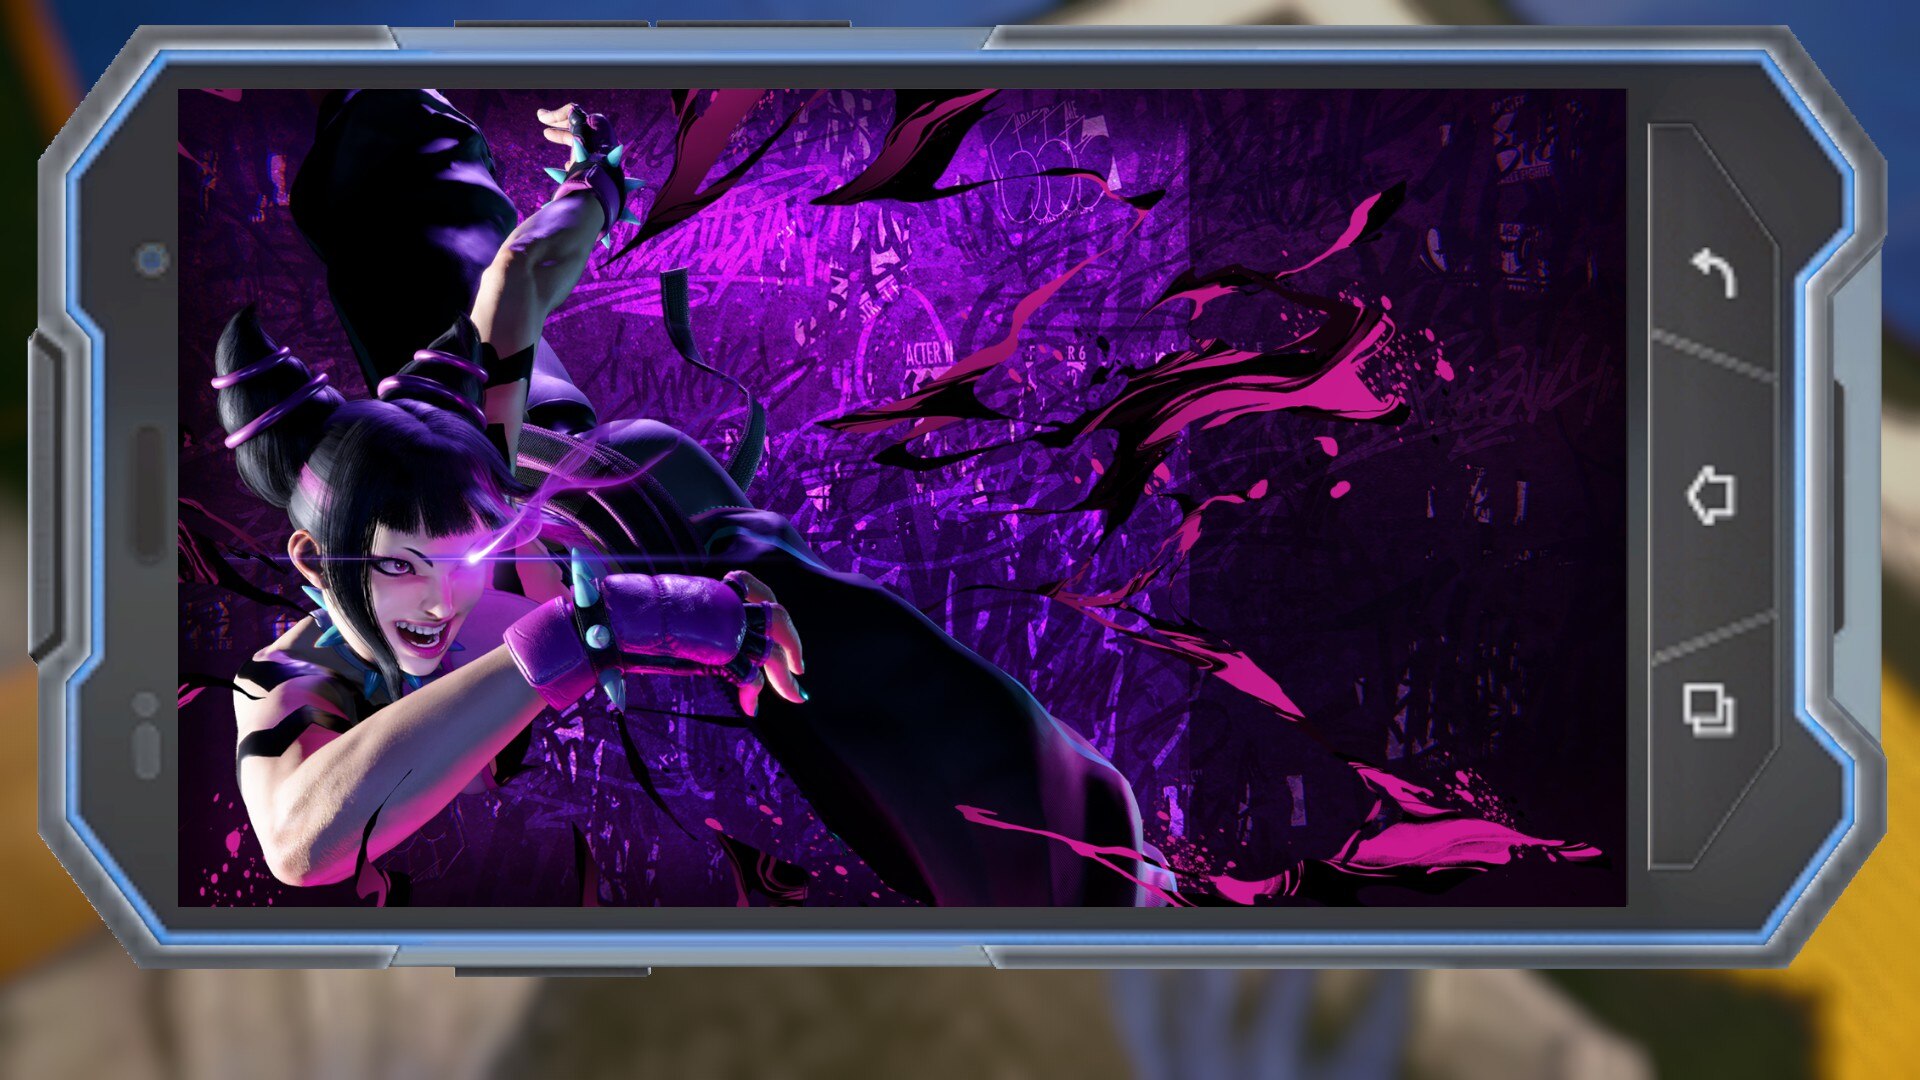
White
Ken
Black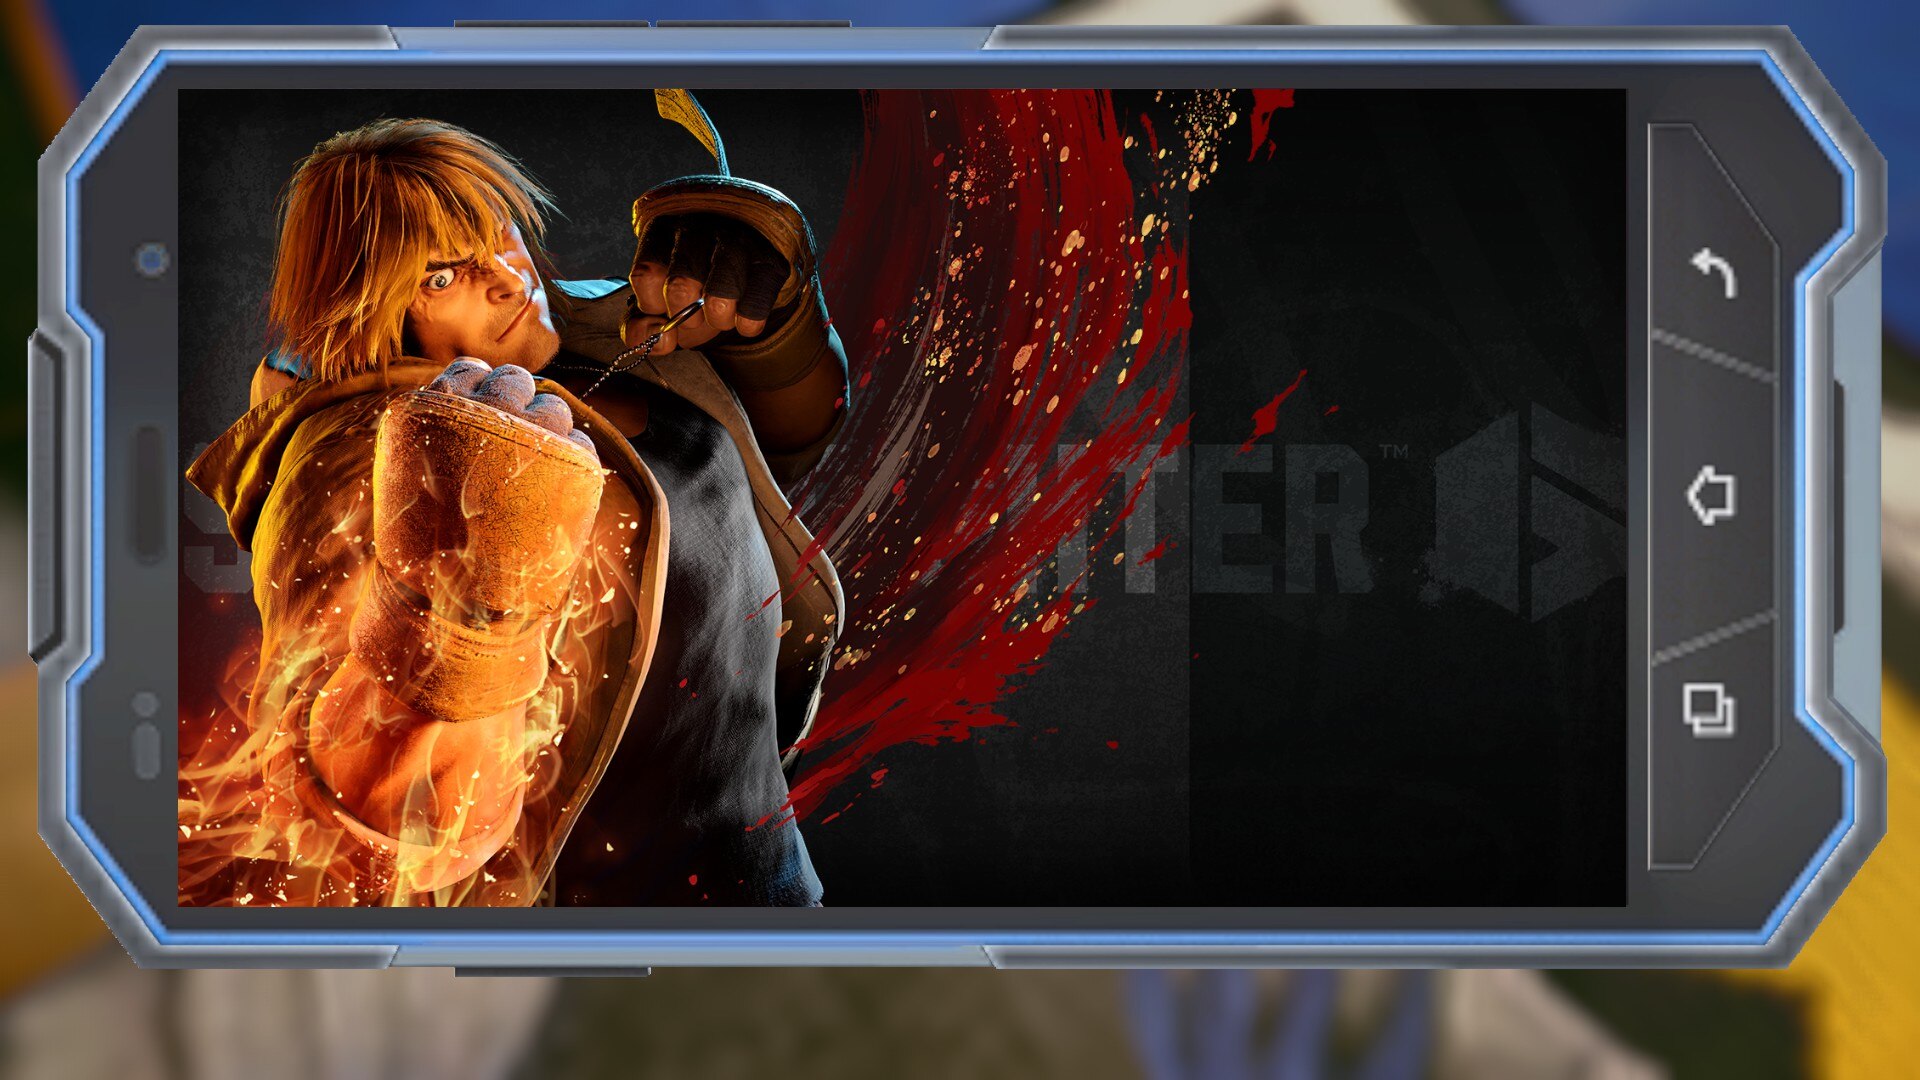
Blue
Green
Purple
White
Wallpapers - World Tour Masters (Part 2)
Kimberly
Black
Blue
Green
Purple
White
Lily
Black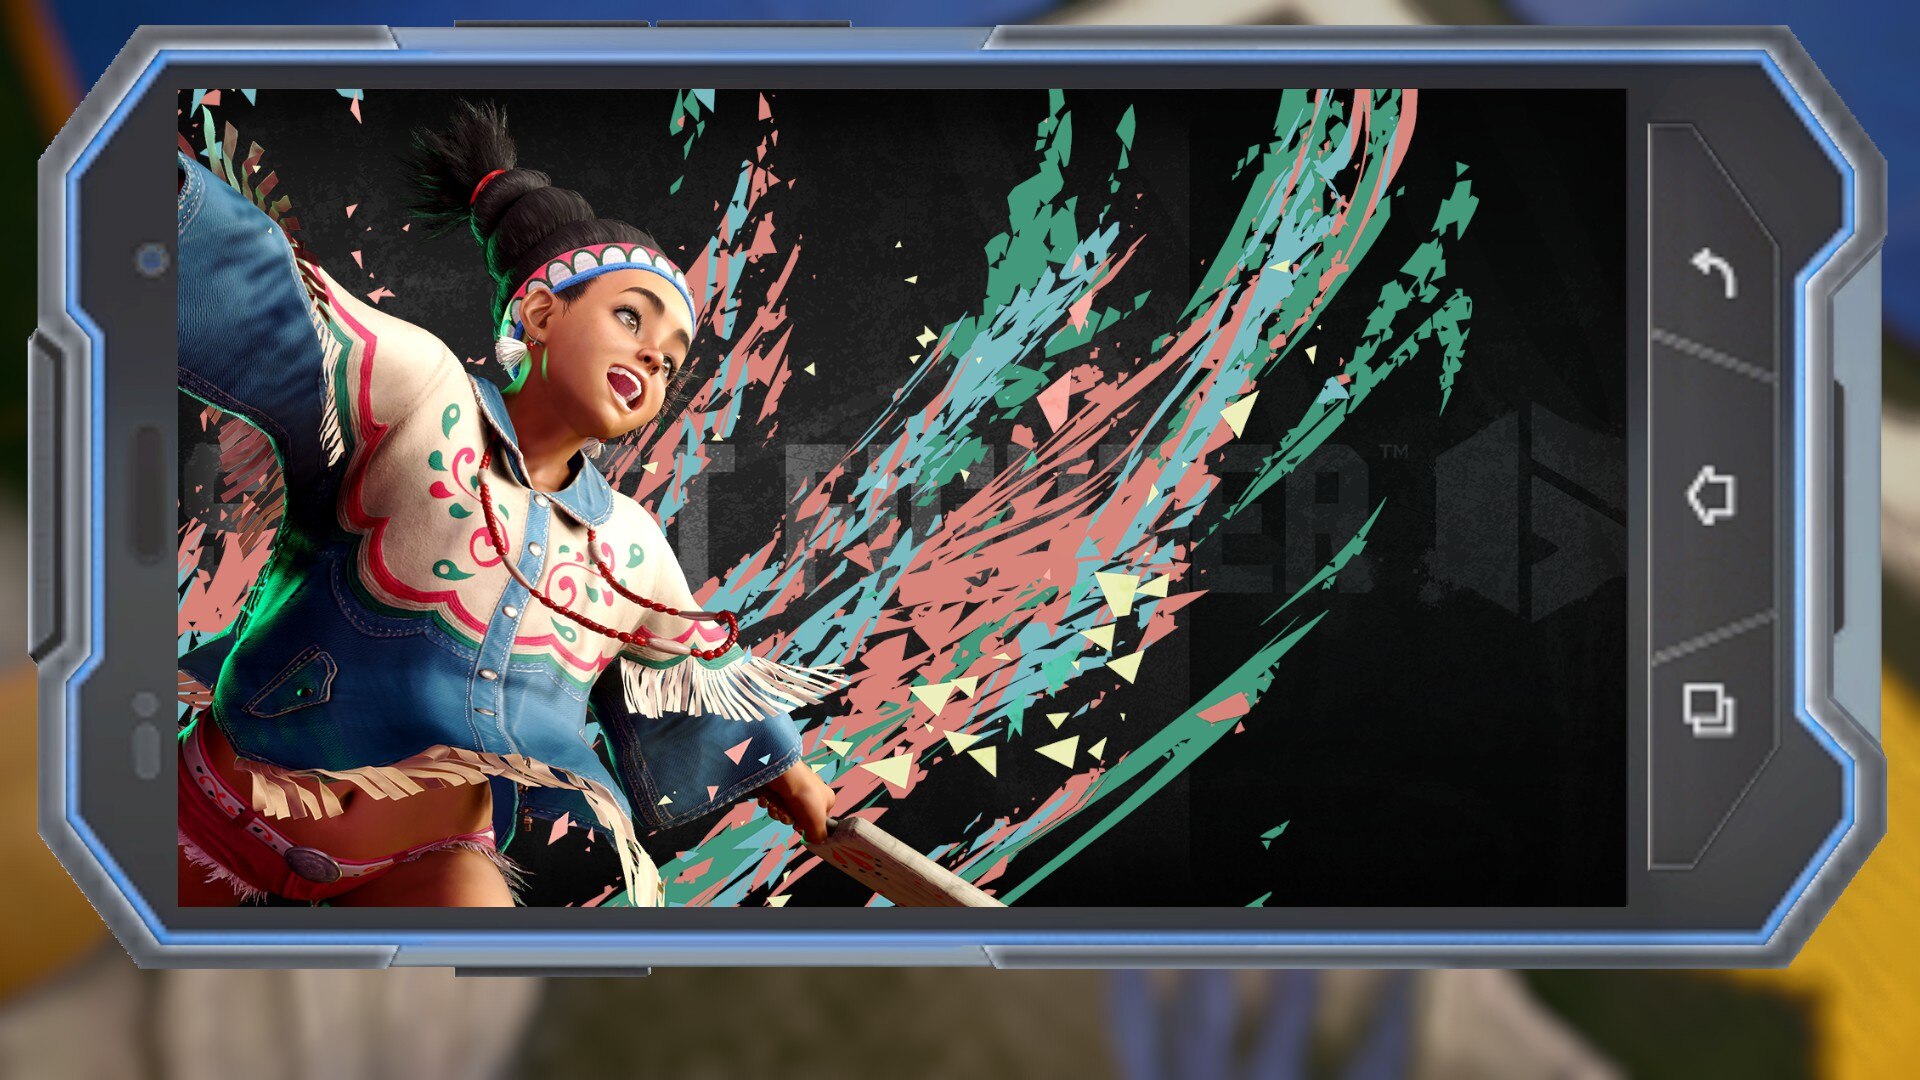
Blue
Green

Purple
White
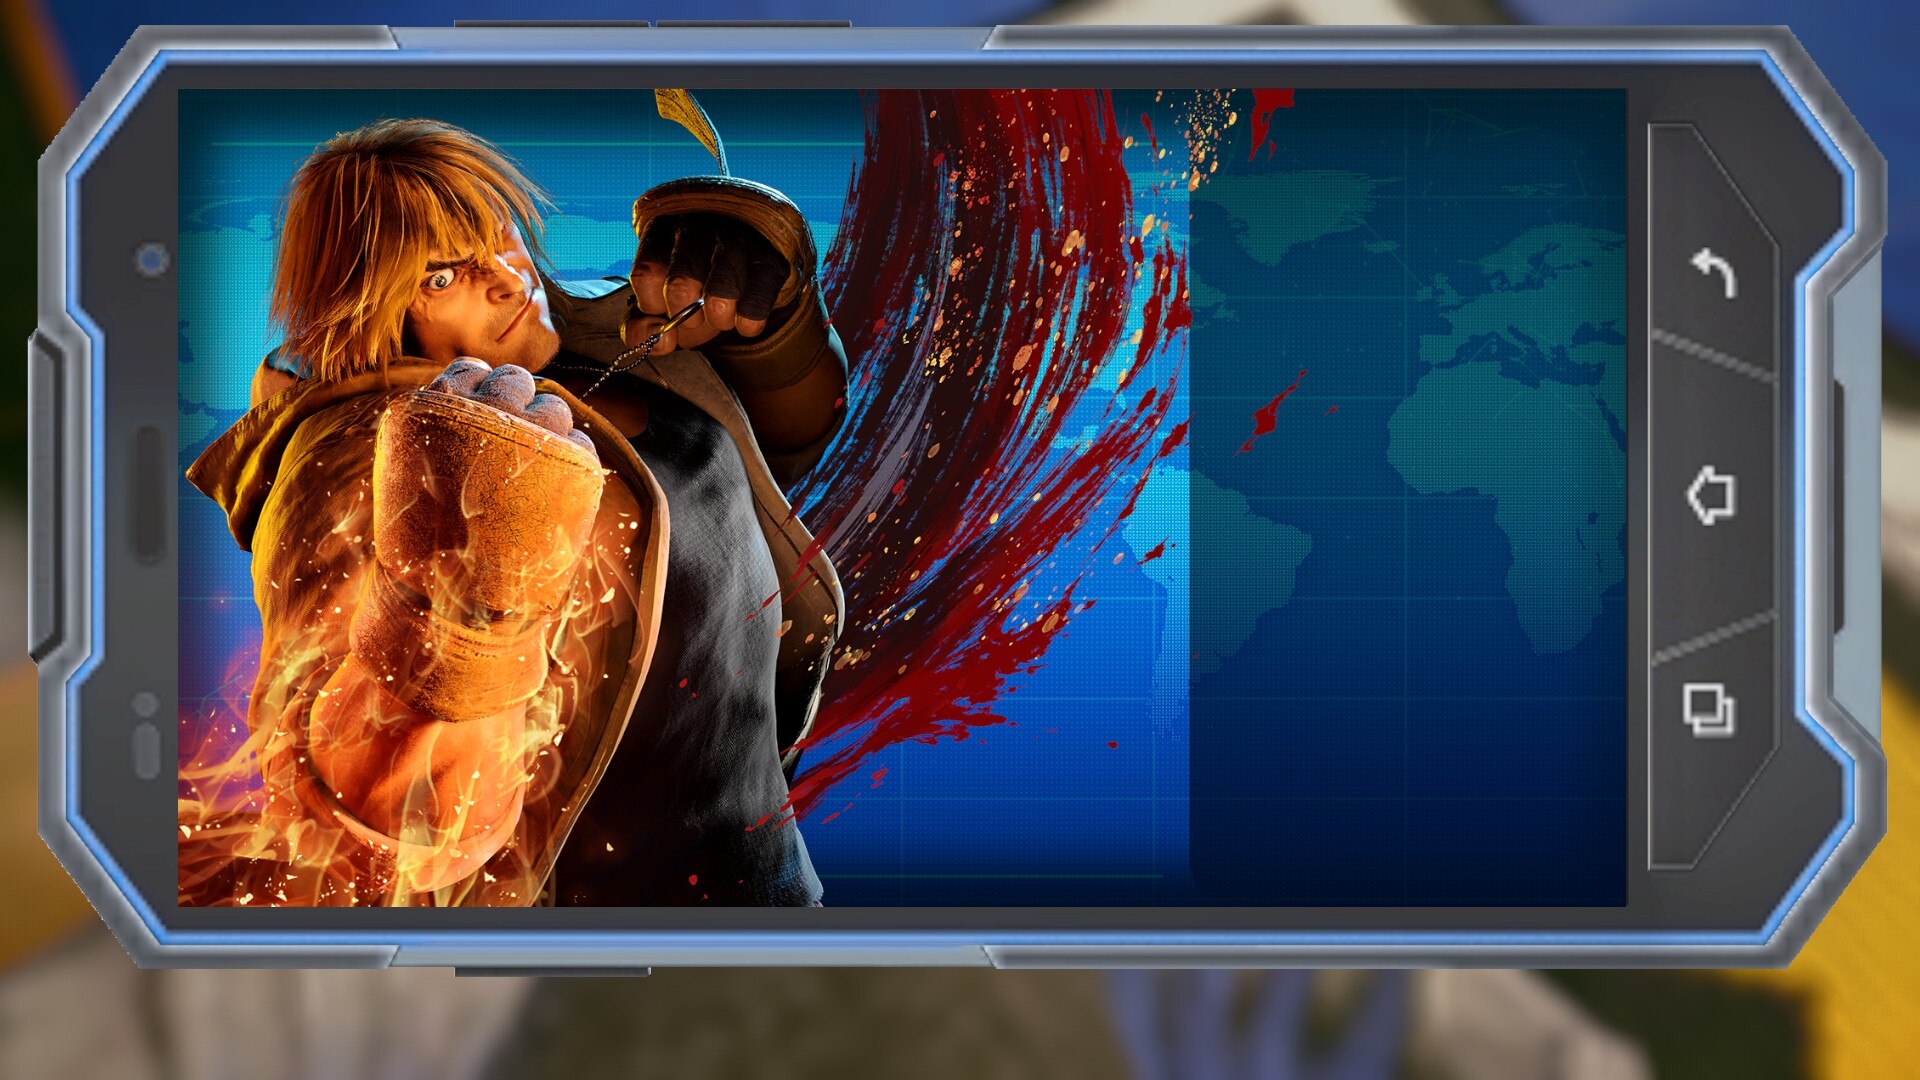
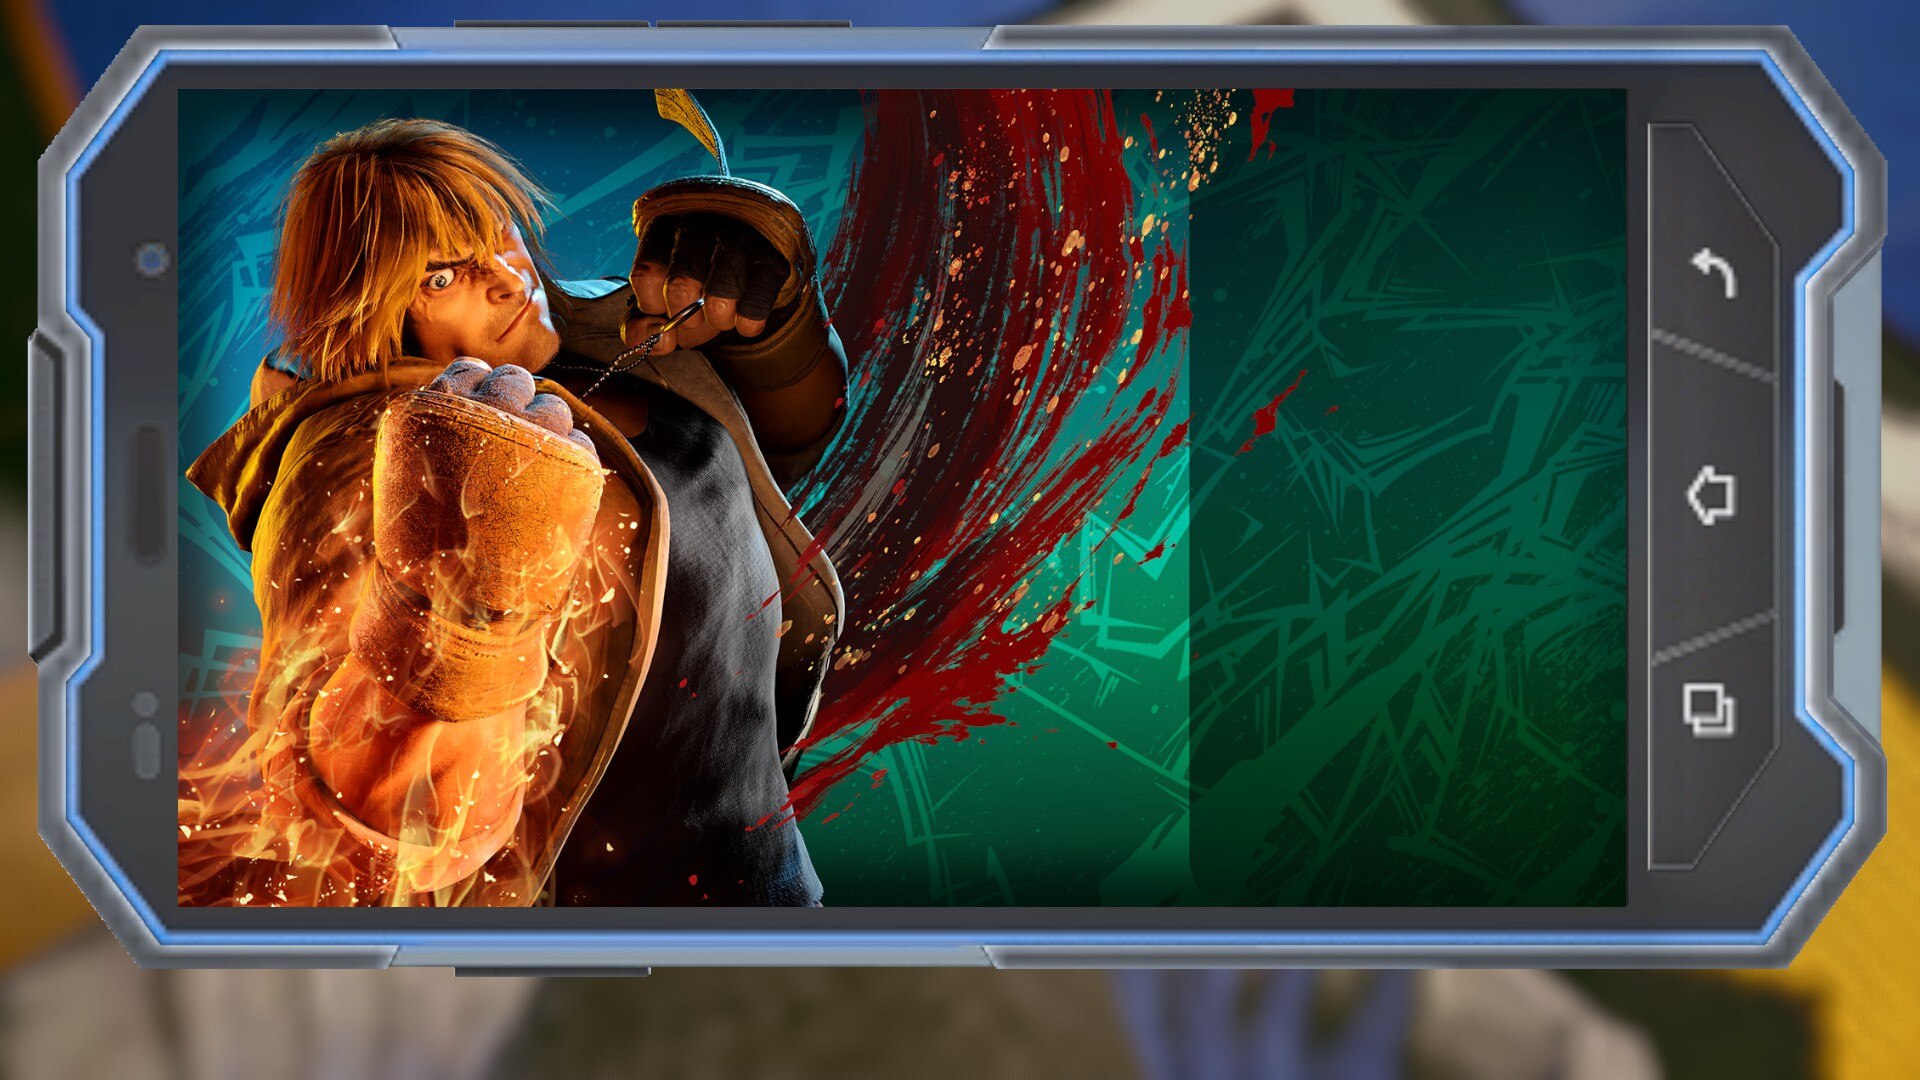
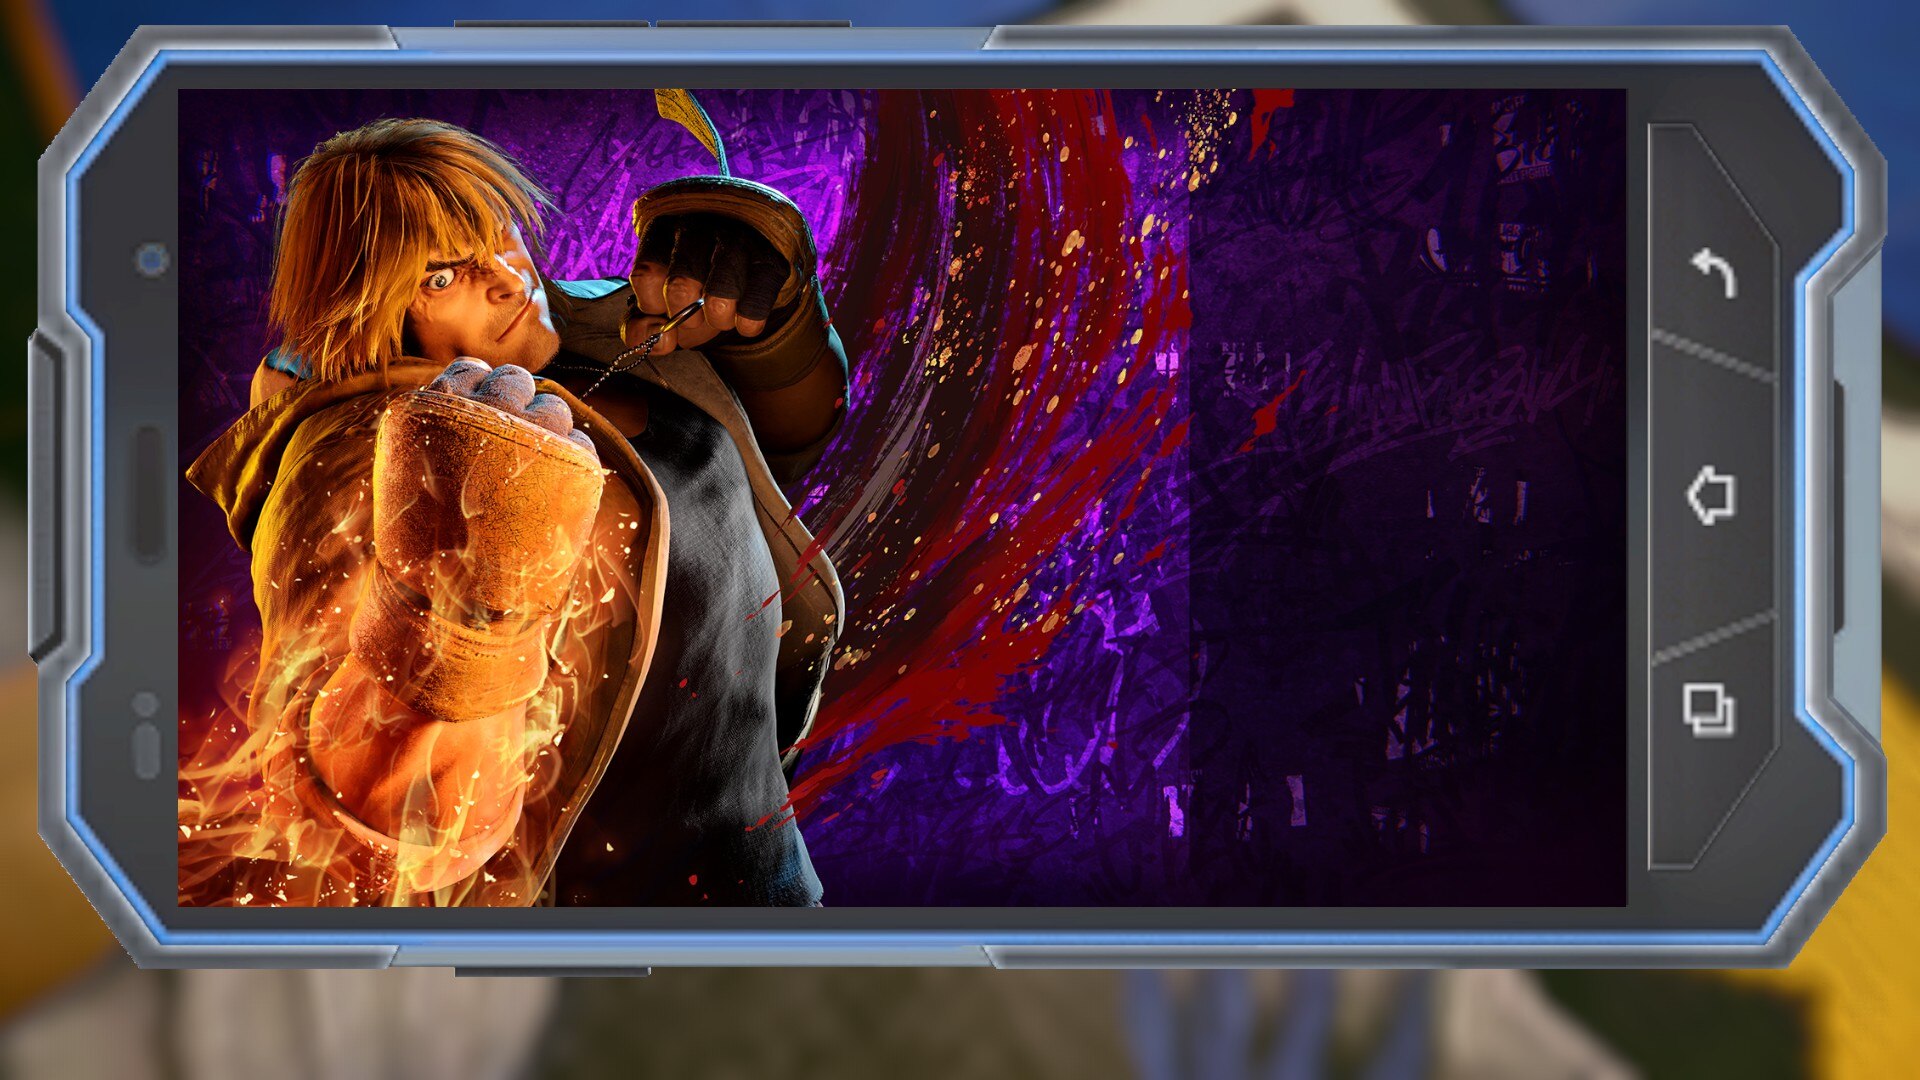
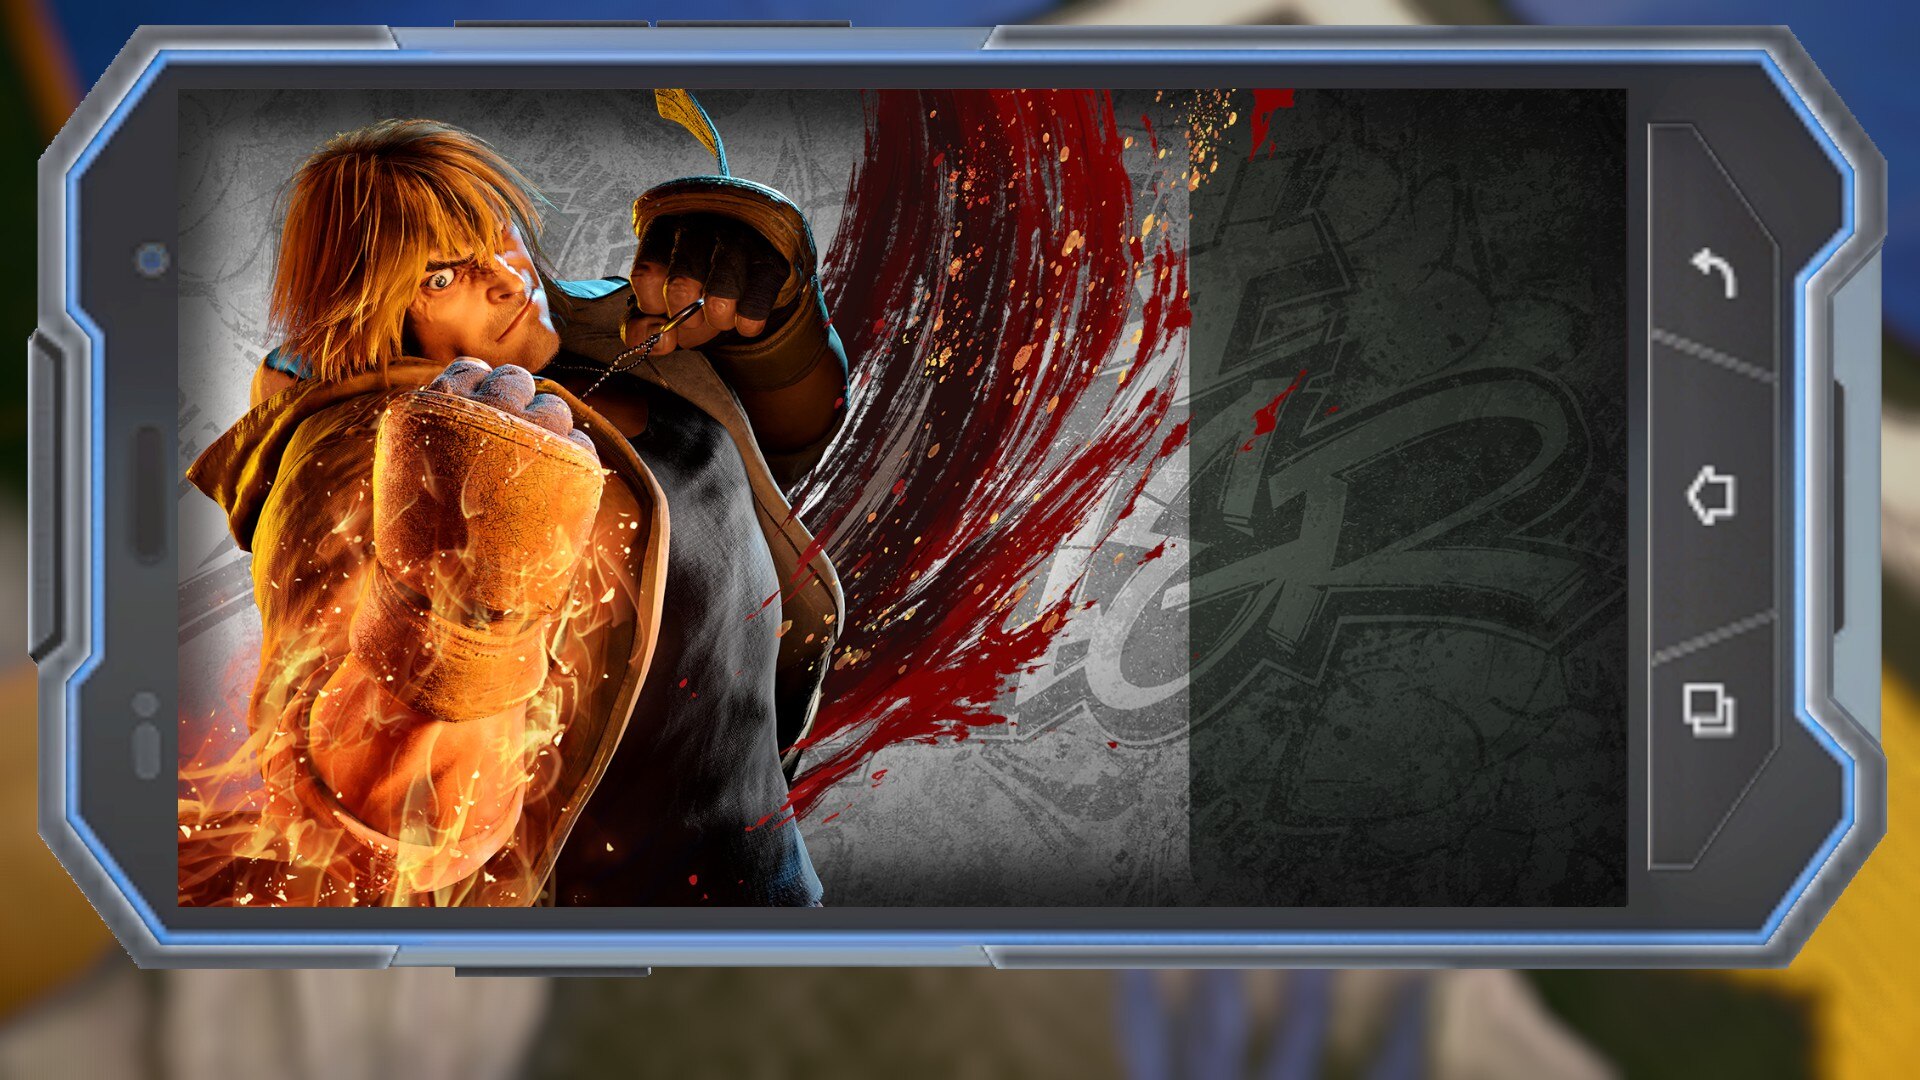
Luke
Black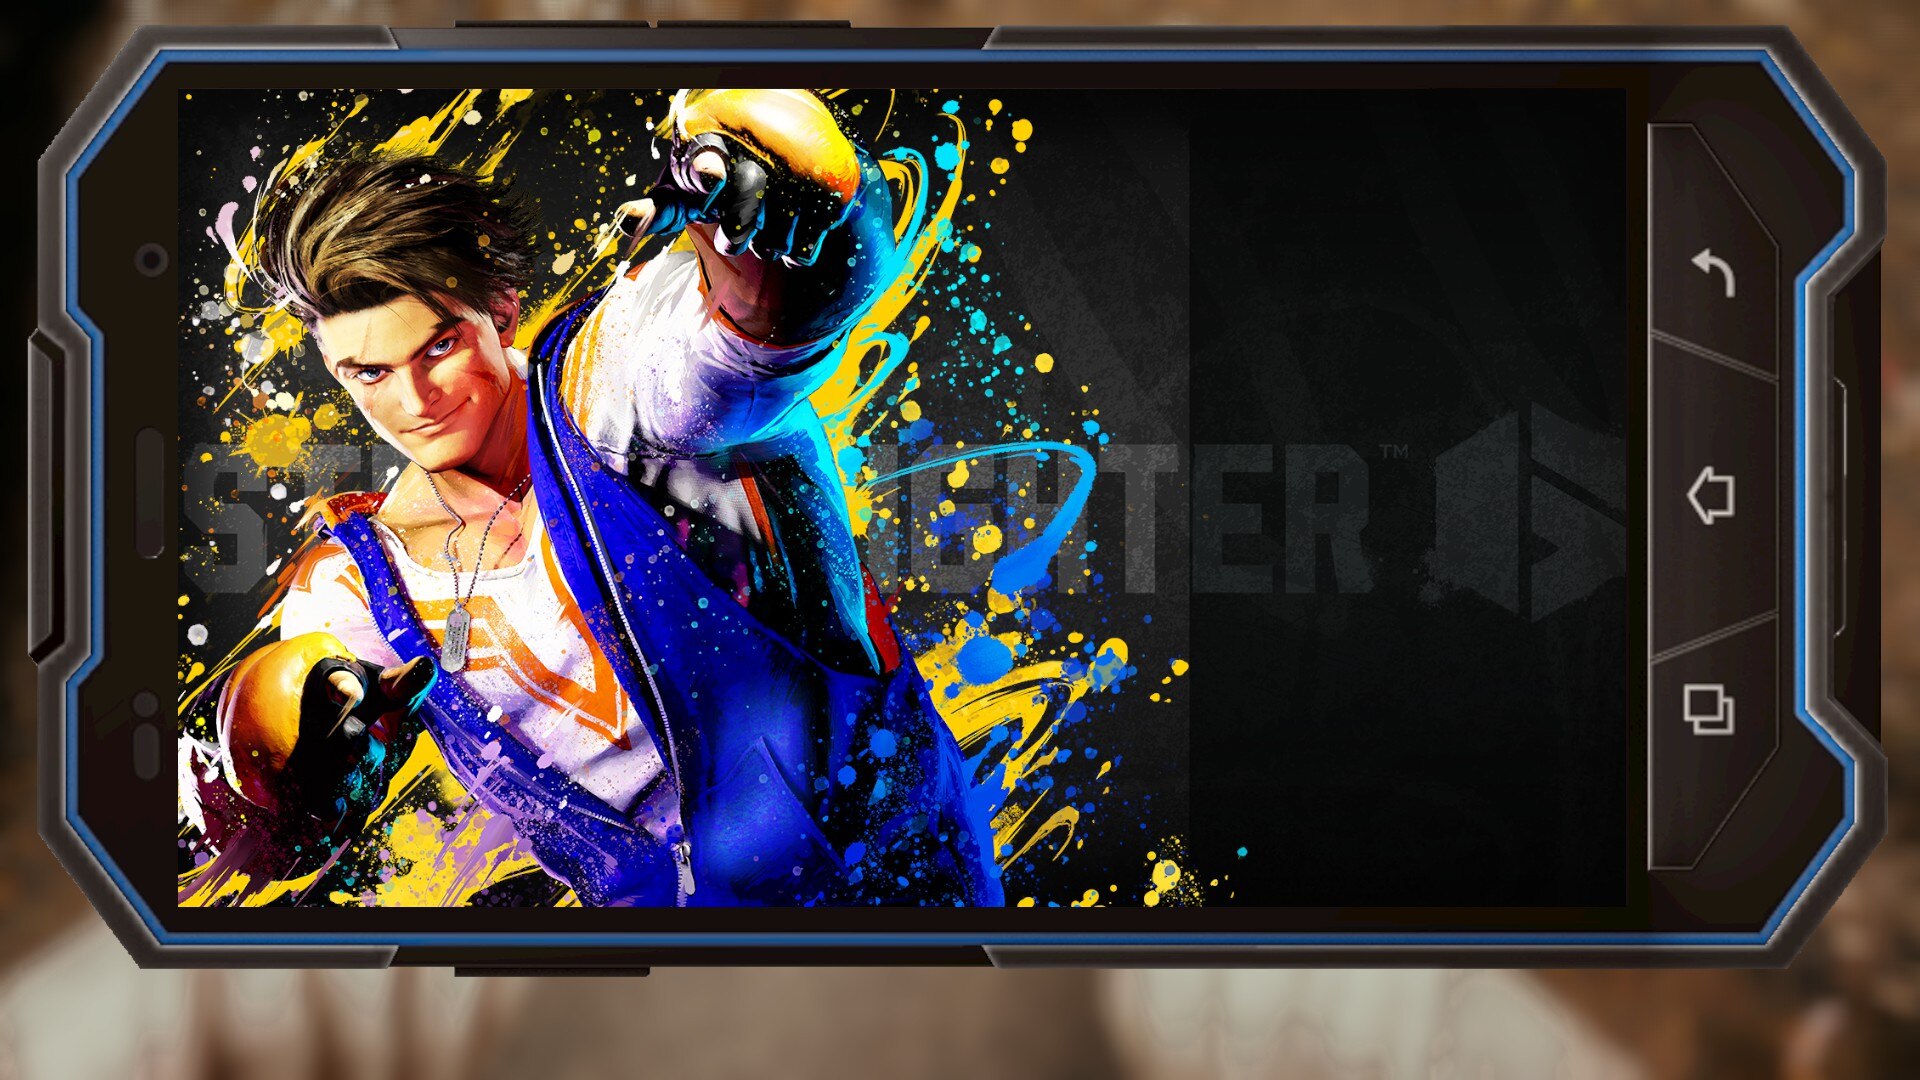
Blue
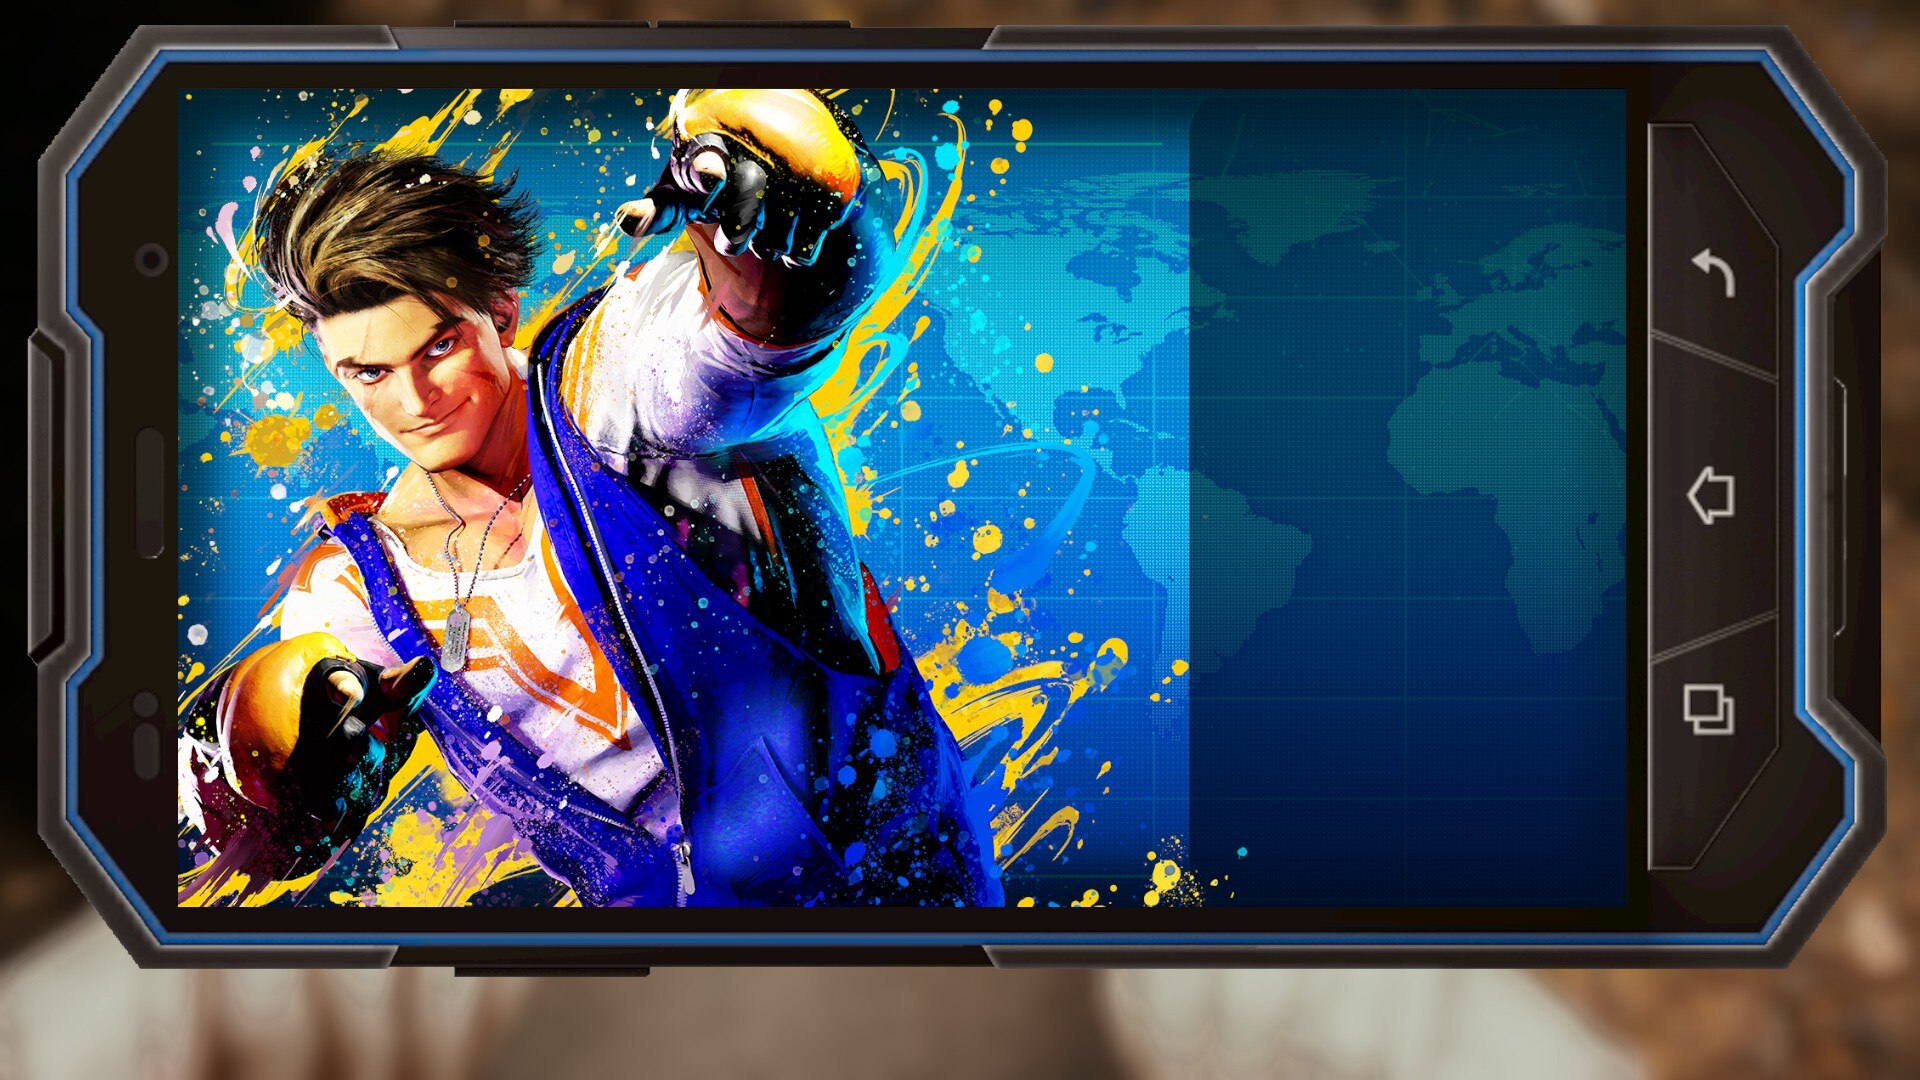
Green
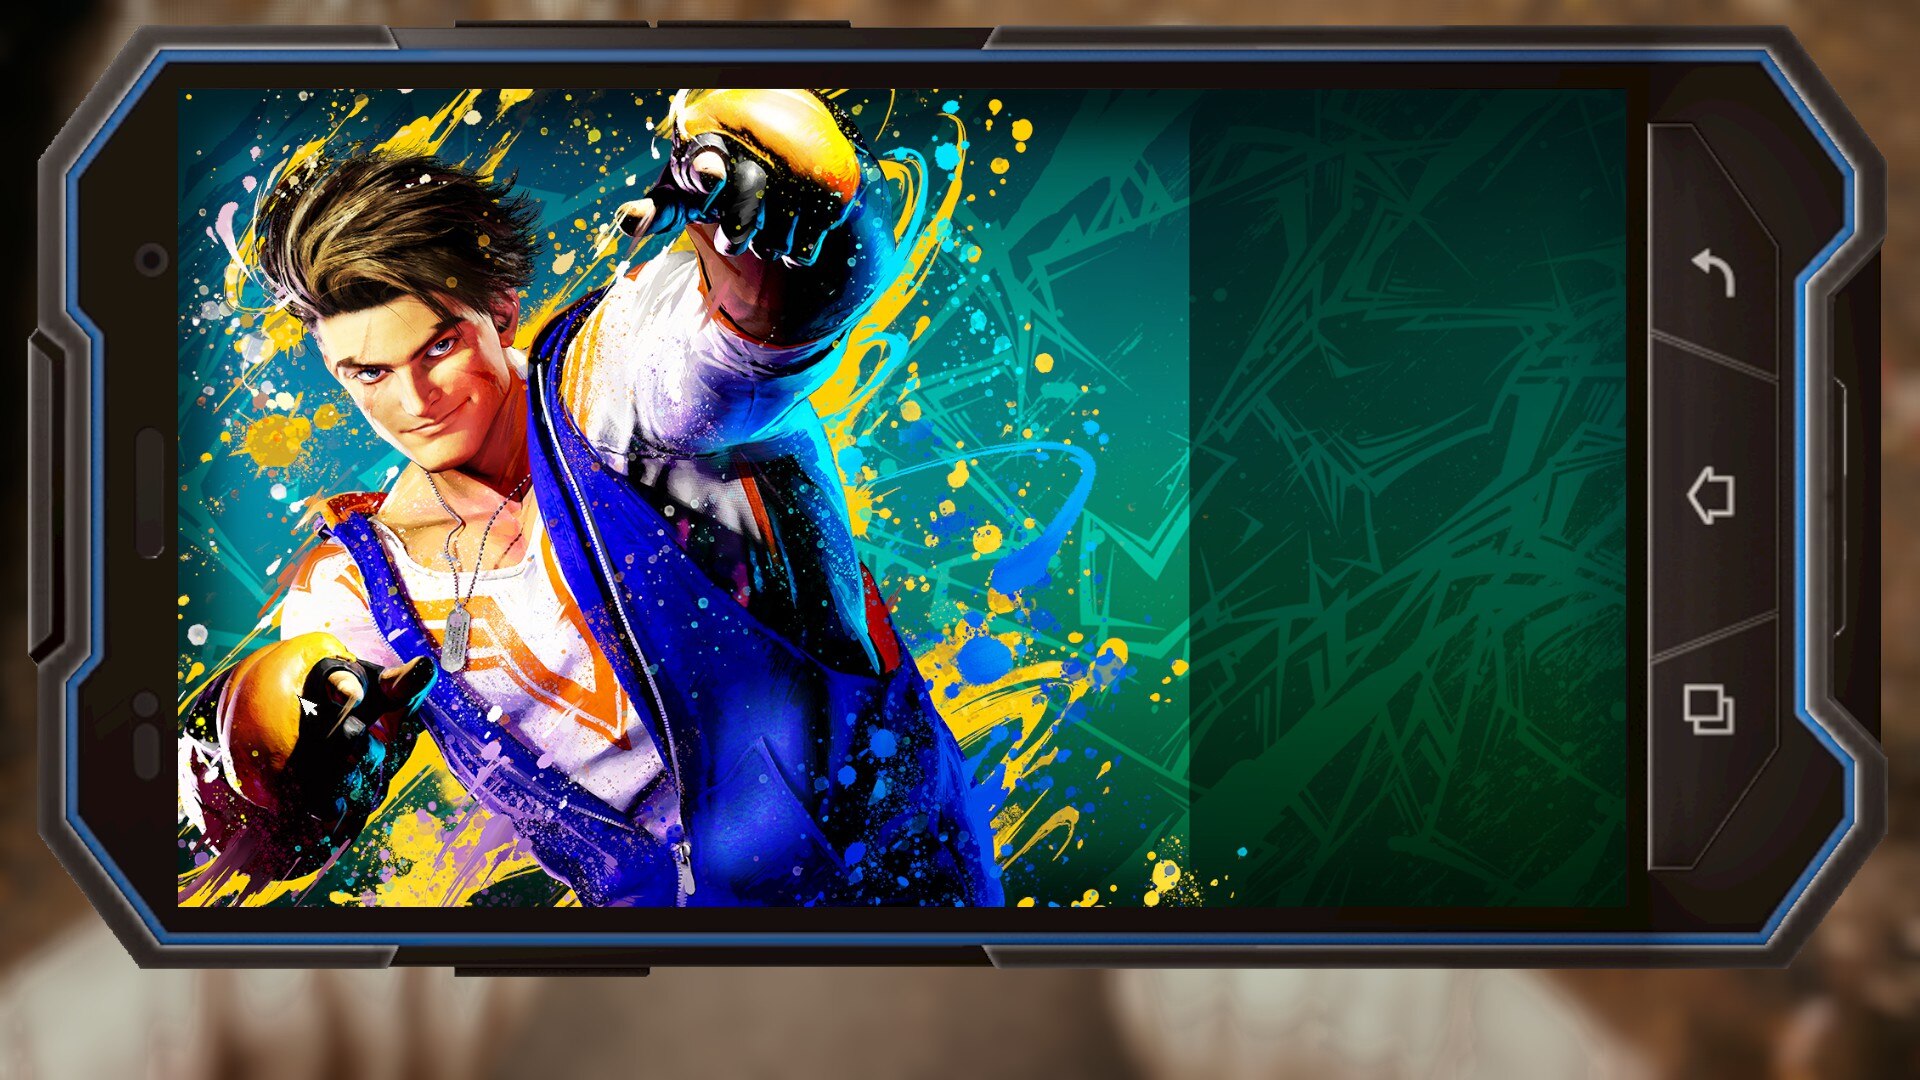
Purple
White
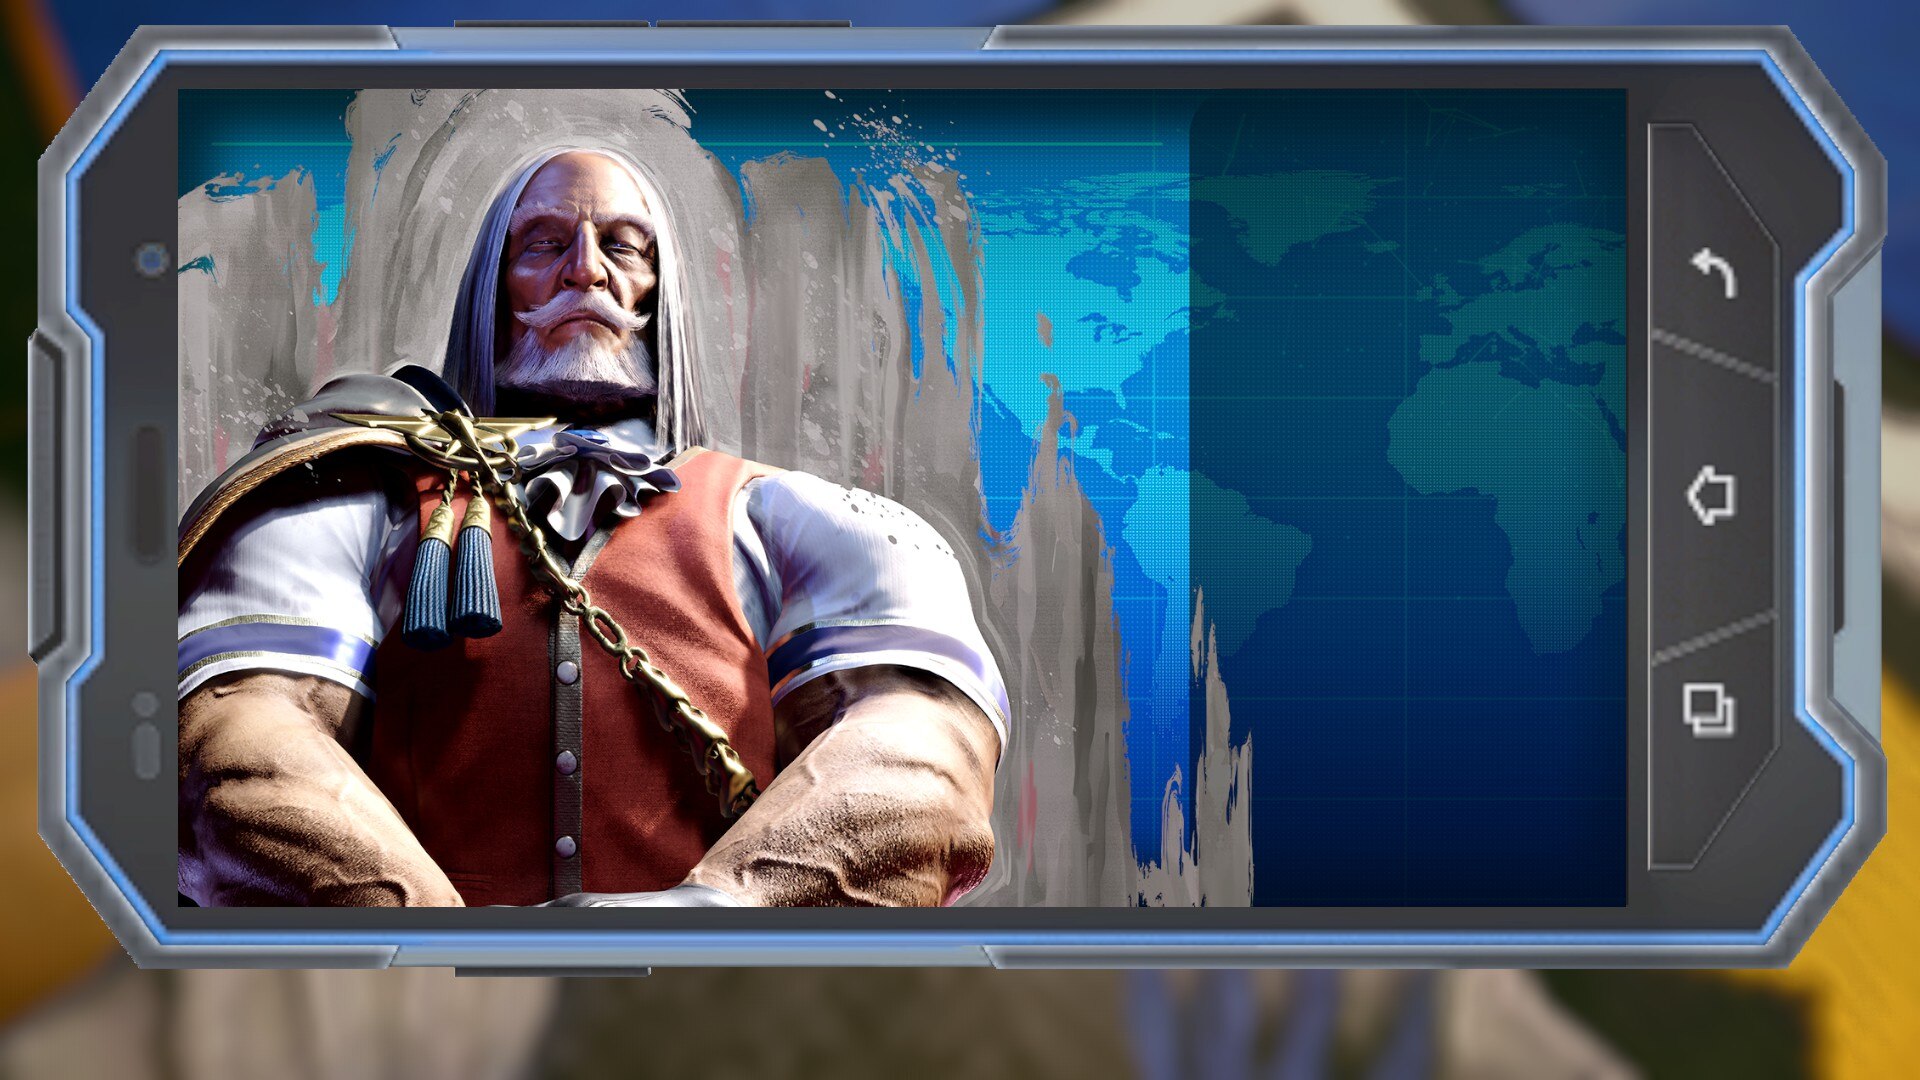
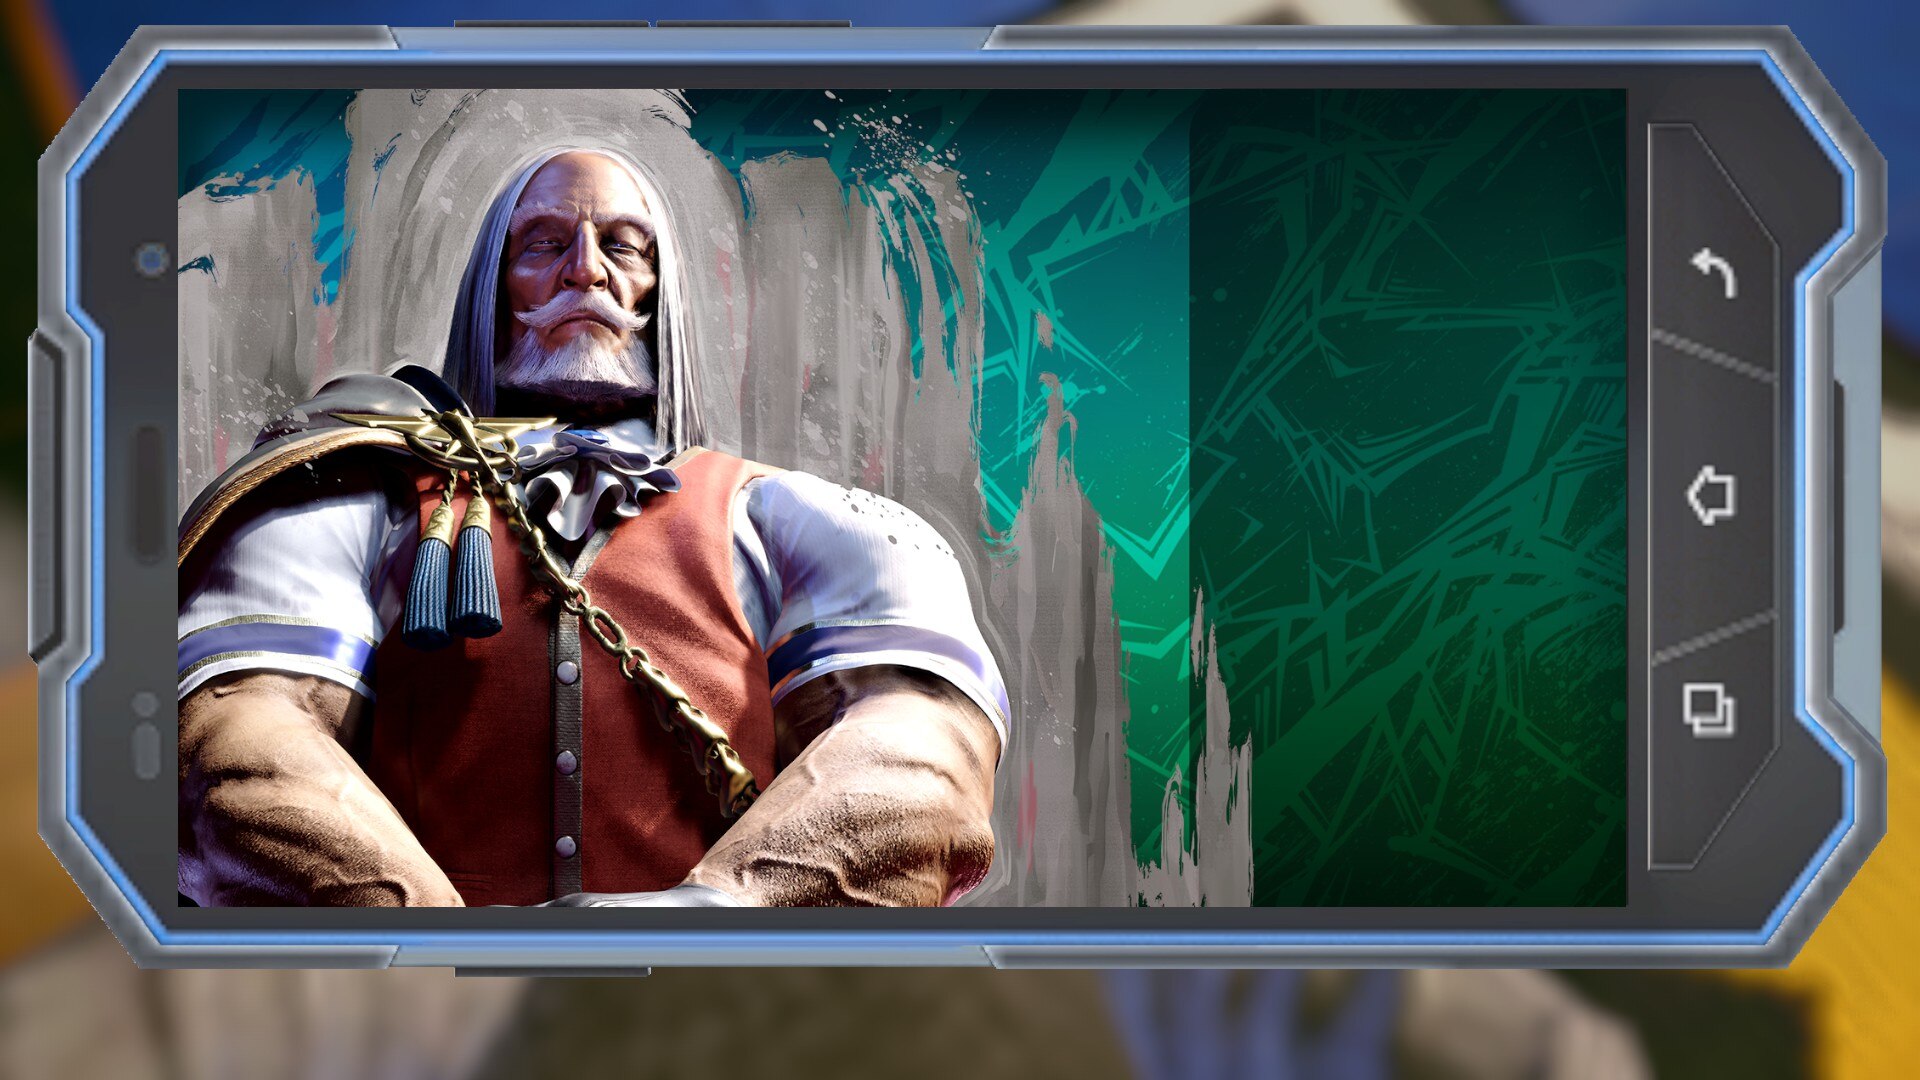
M. Bison
Black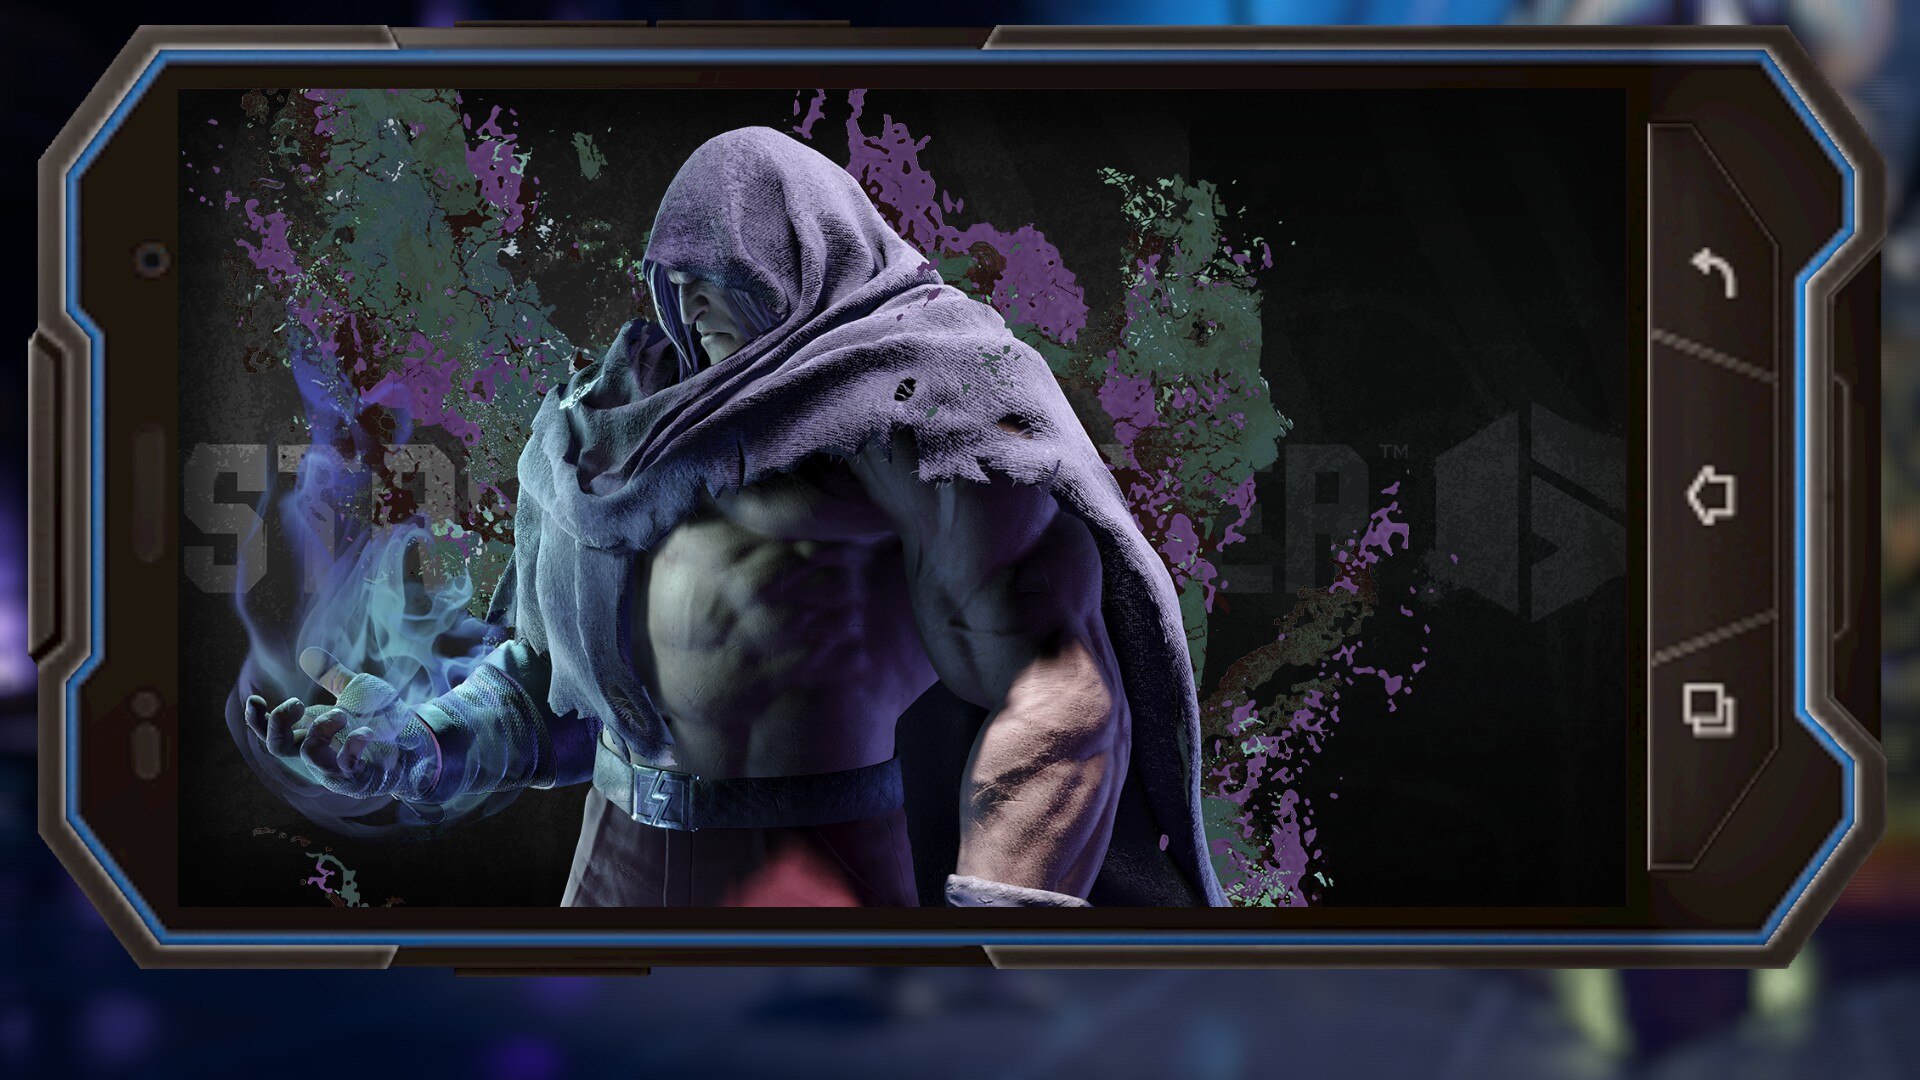
Blue
Green
Purple
White
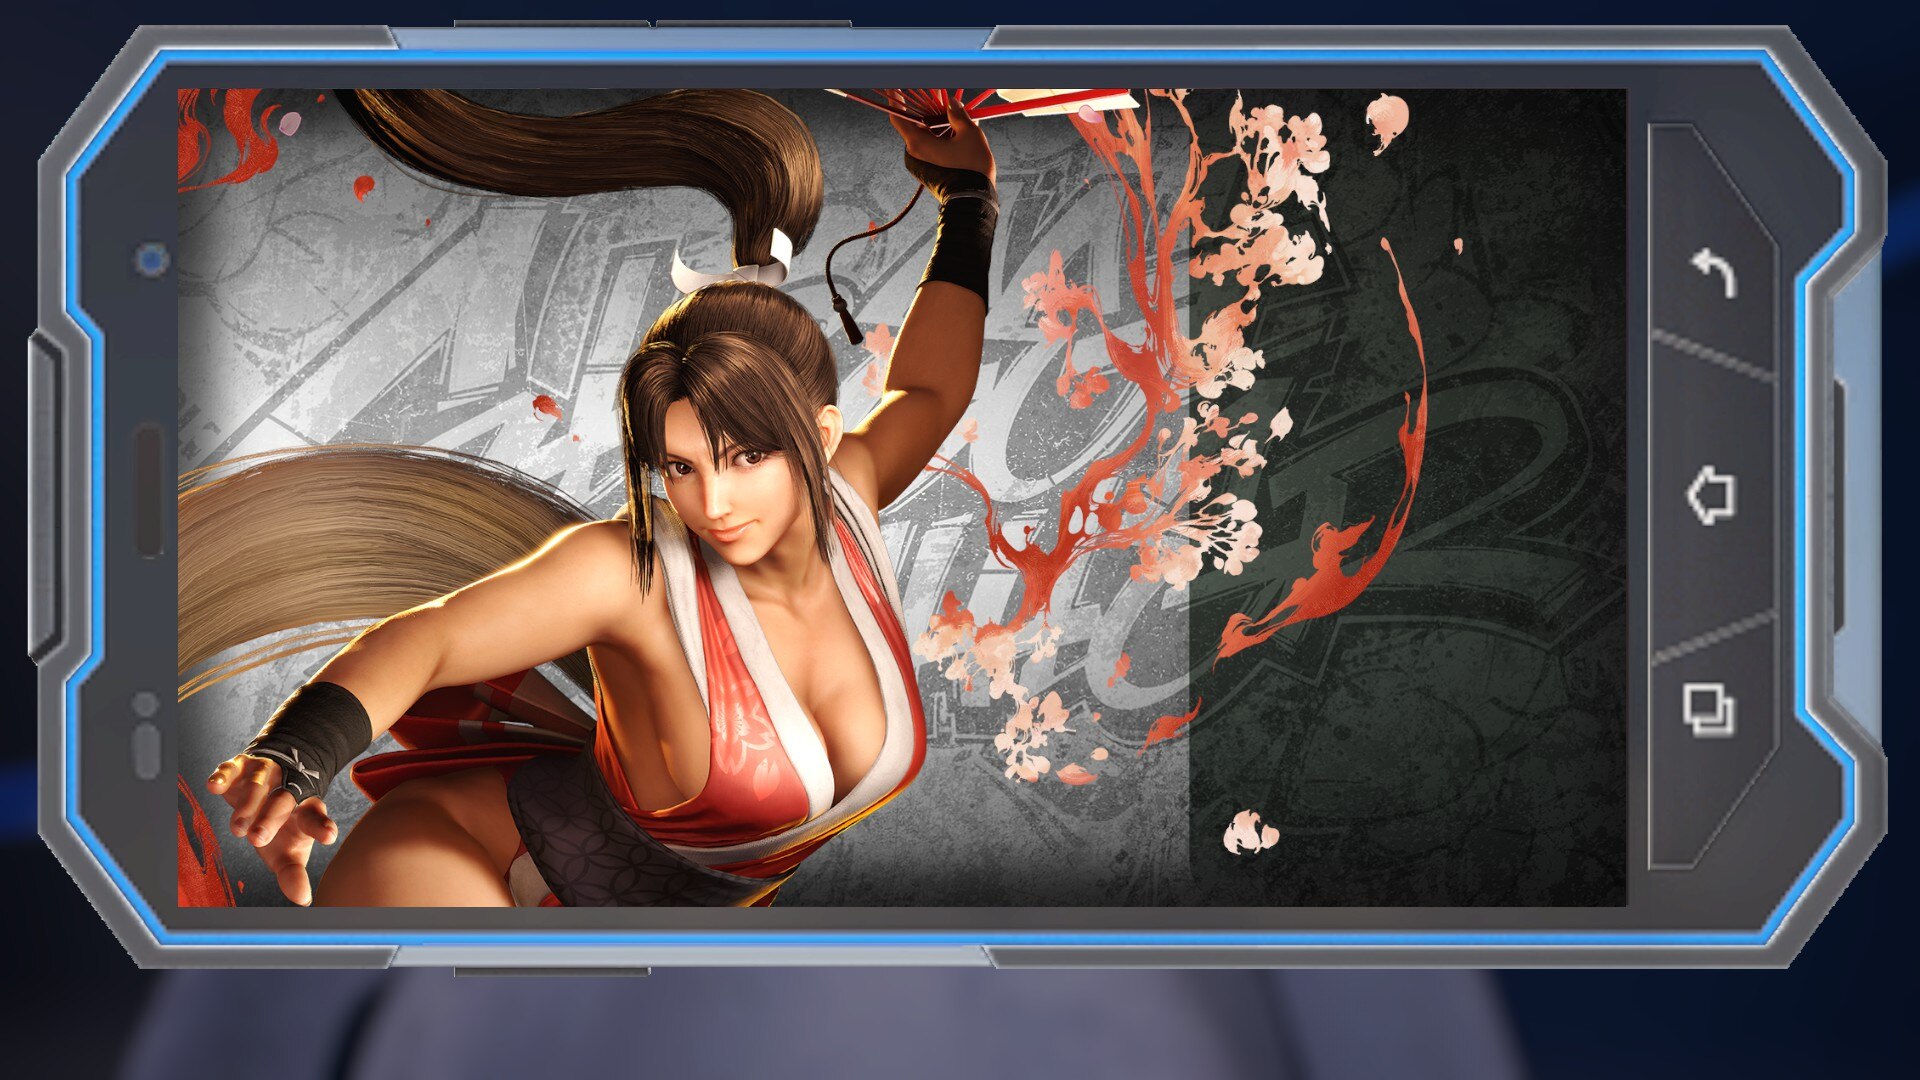
Mai
Black
Blue
Green
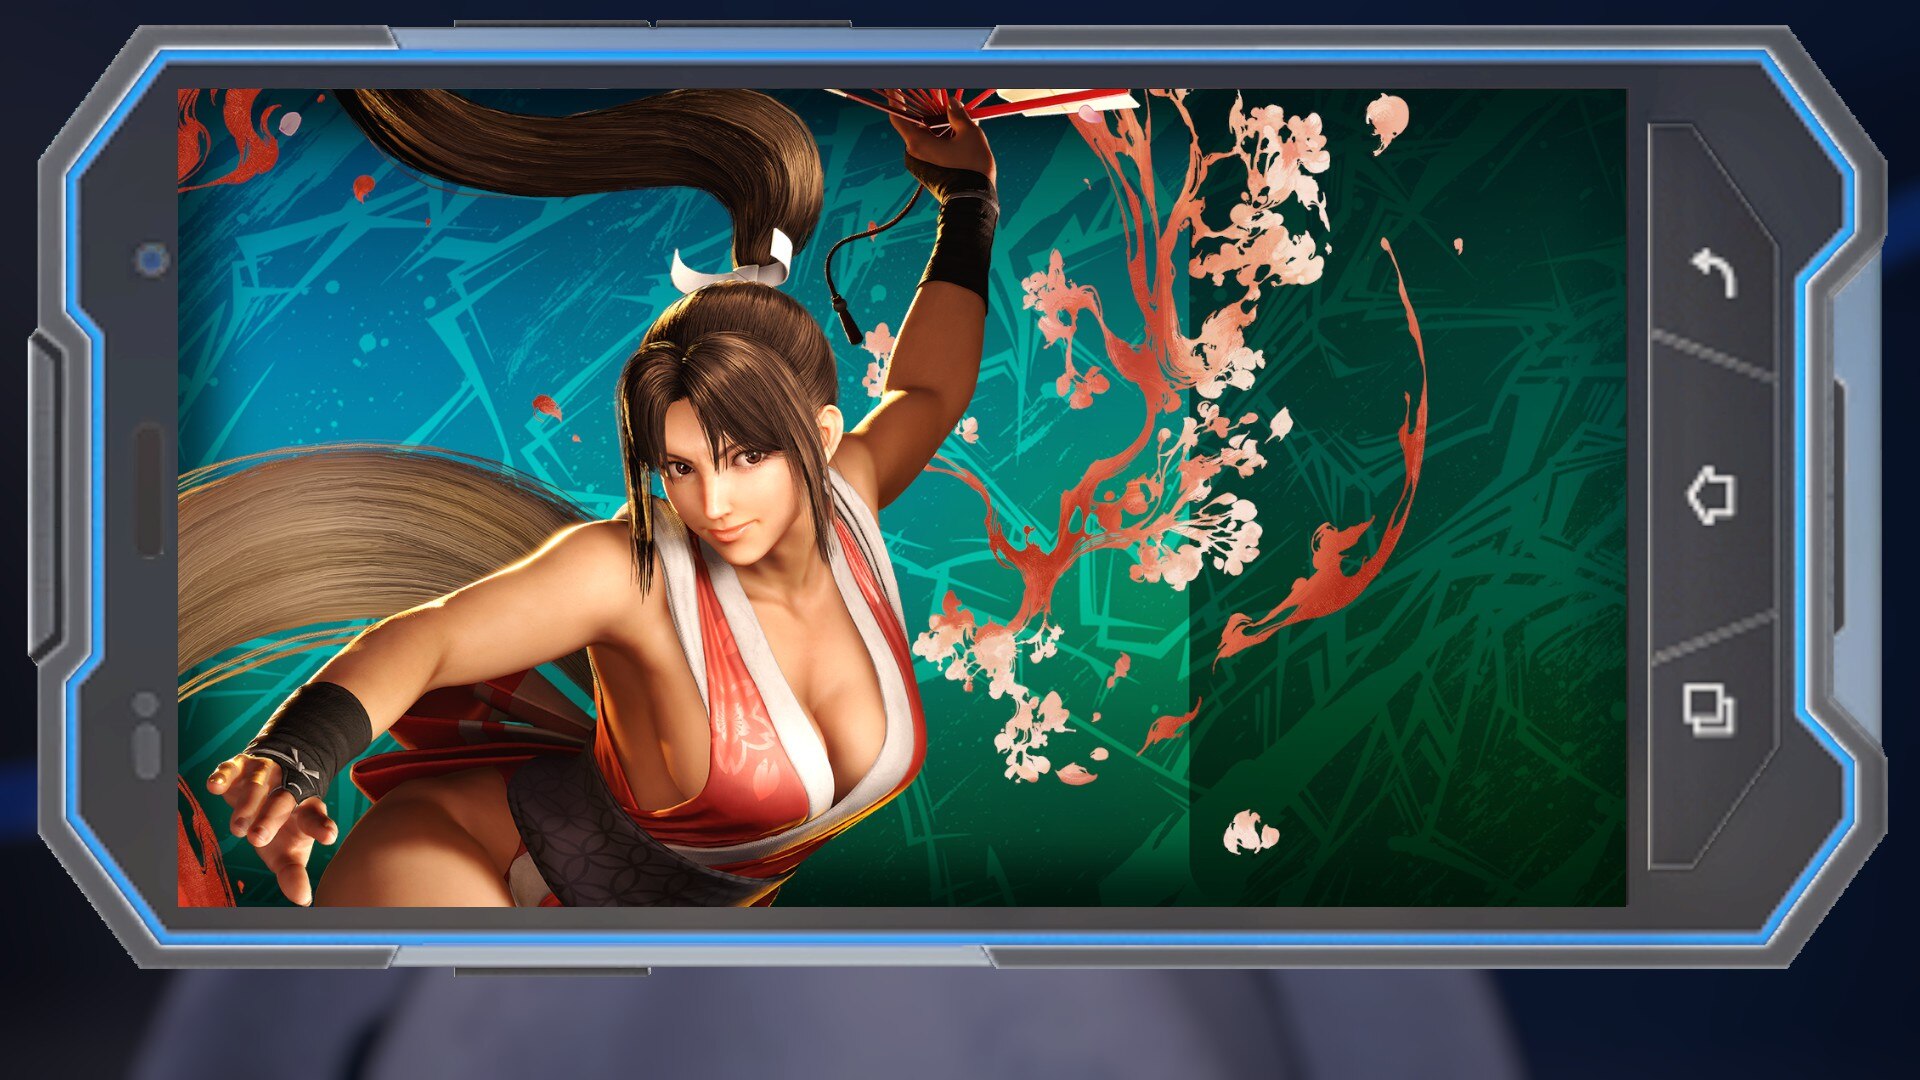
Purple
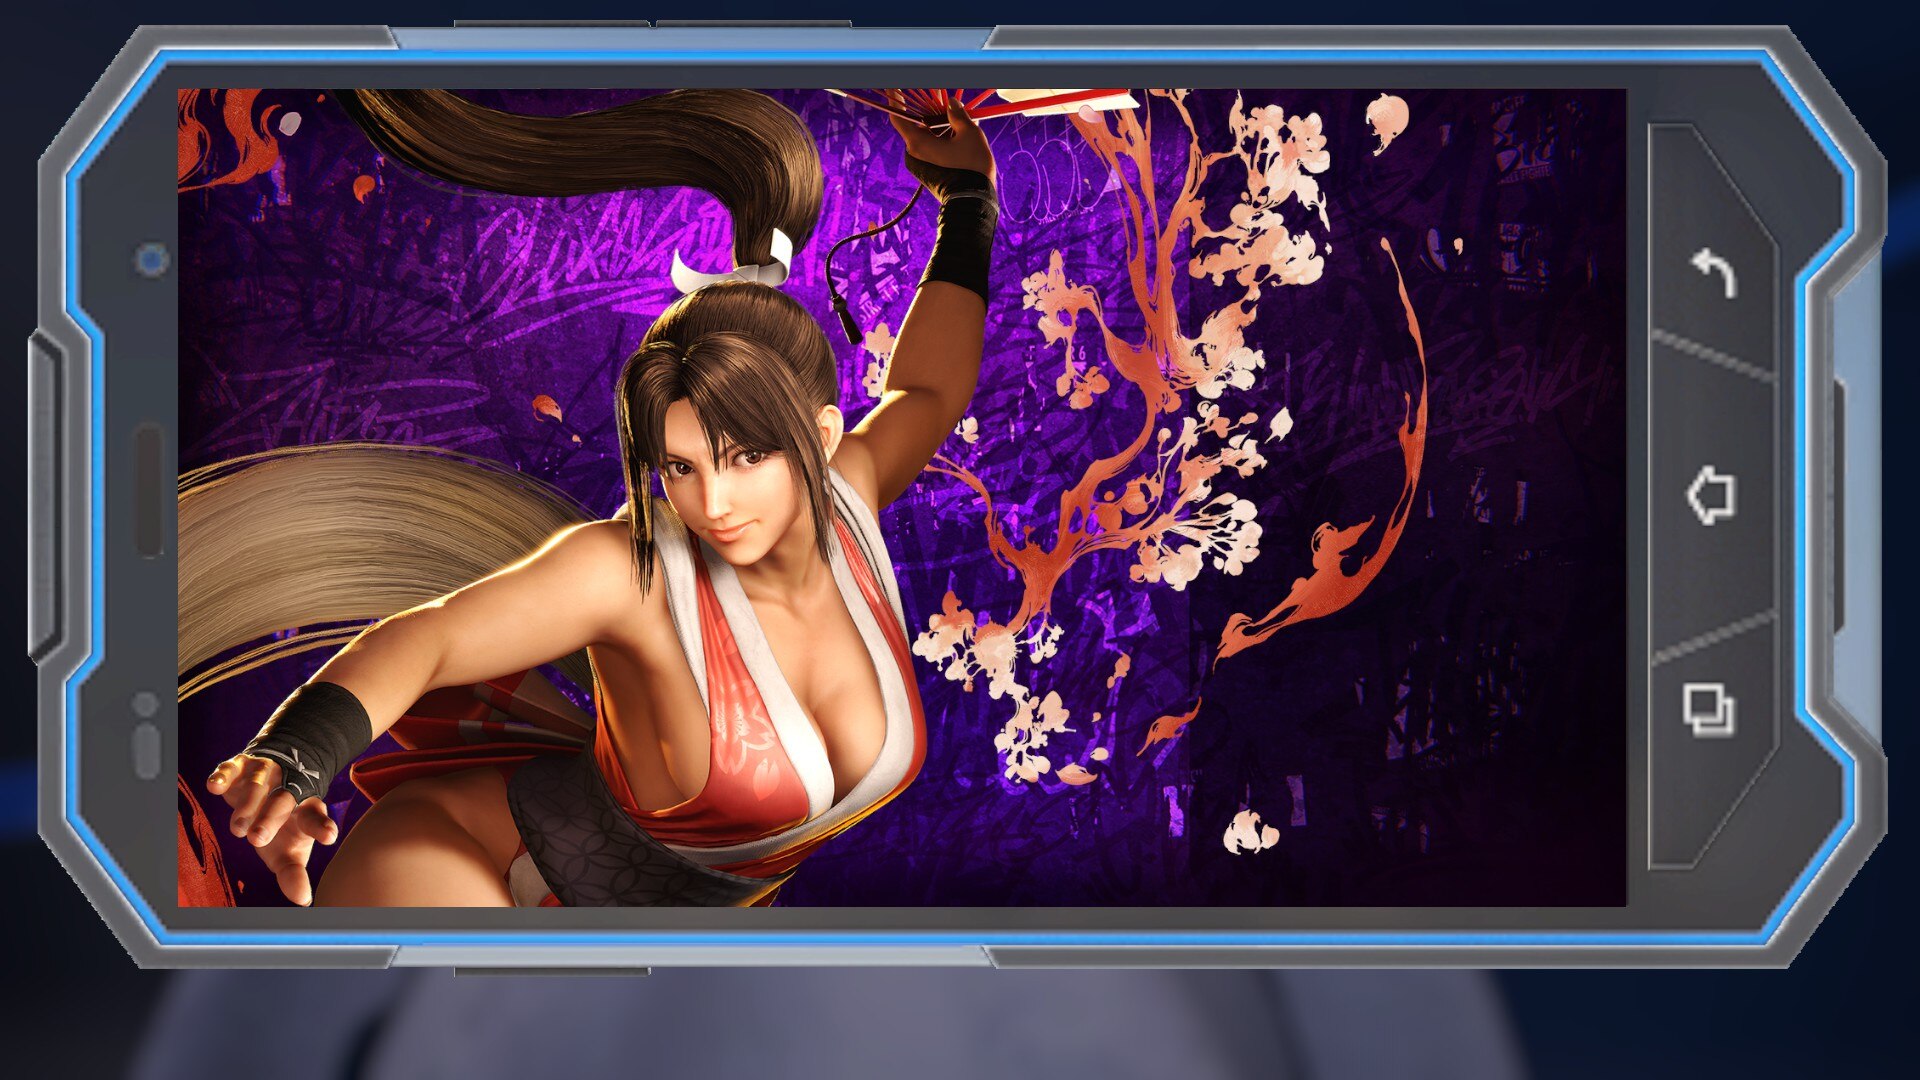
White
Manon
Black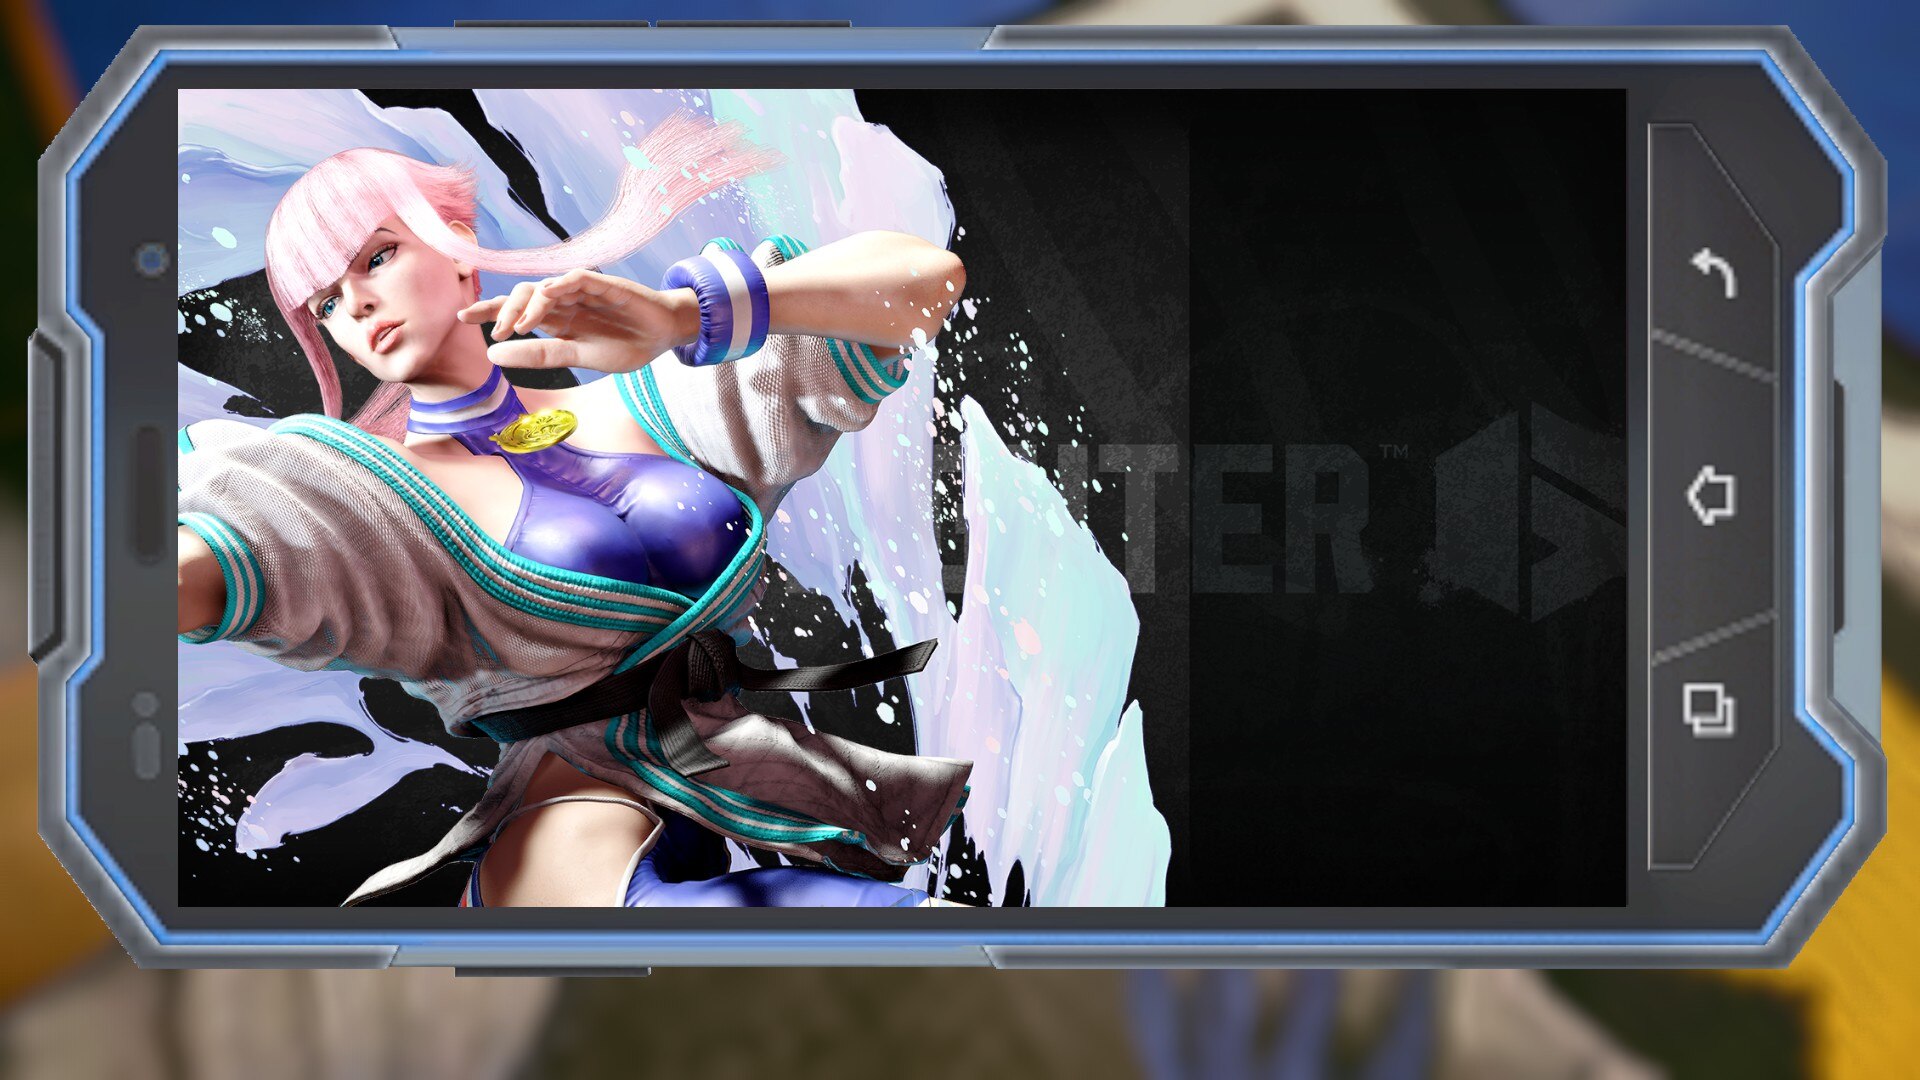
Blue
Green
Purple
White
Marisa
Black
Blue
Green
Purple
White
Rashid
Black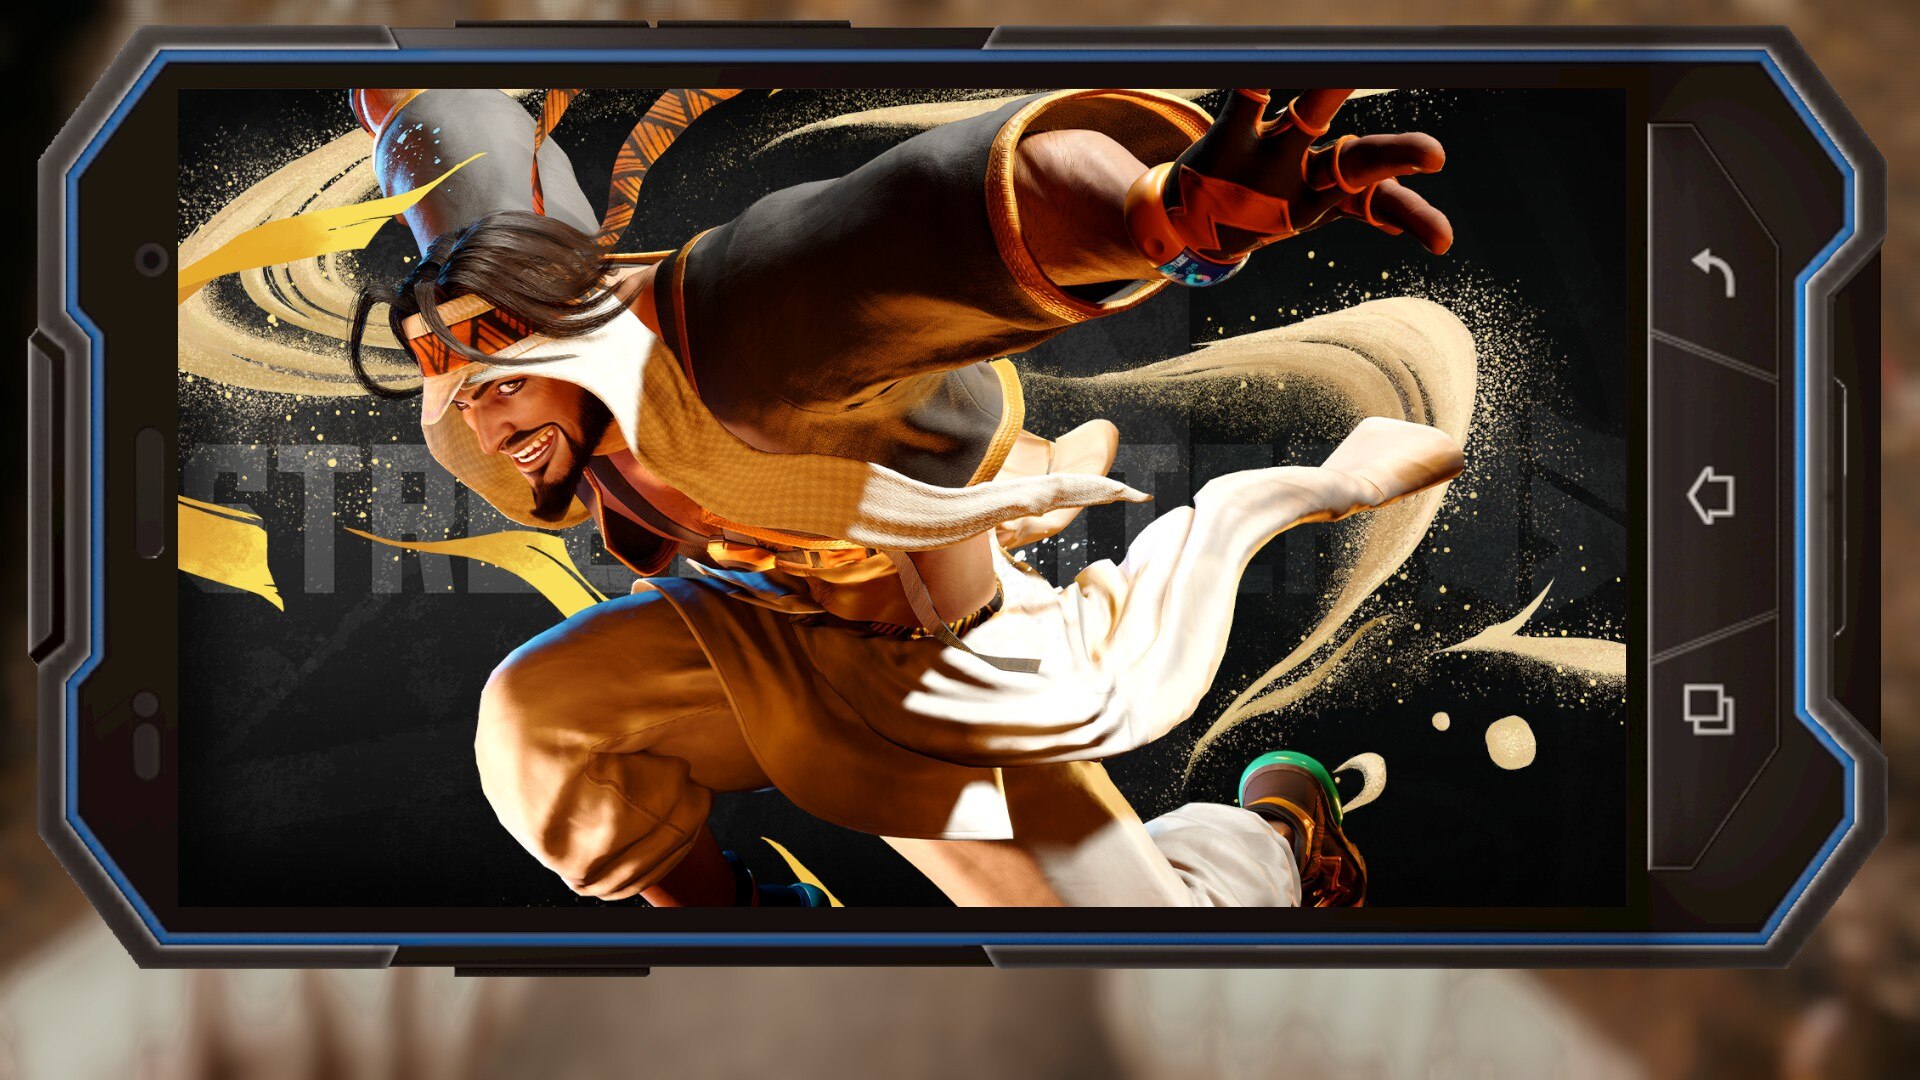
Blue
Green
Purple
White
Ryu
Black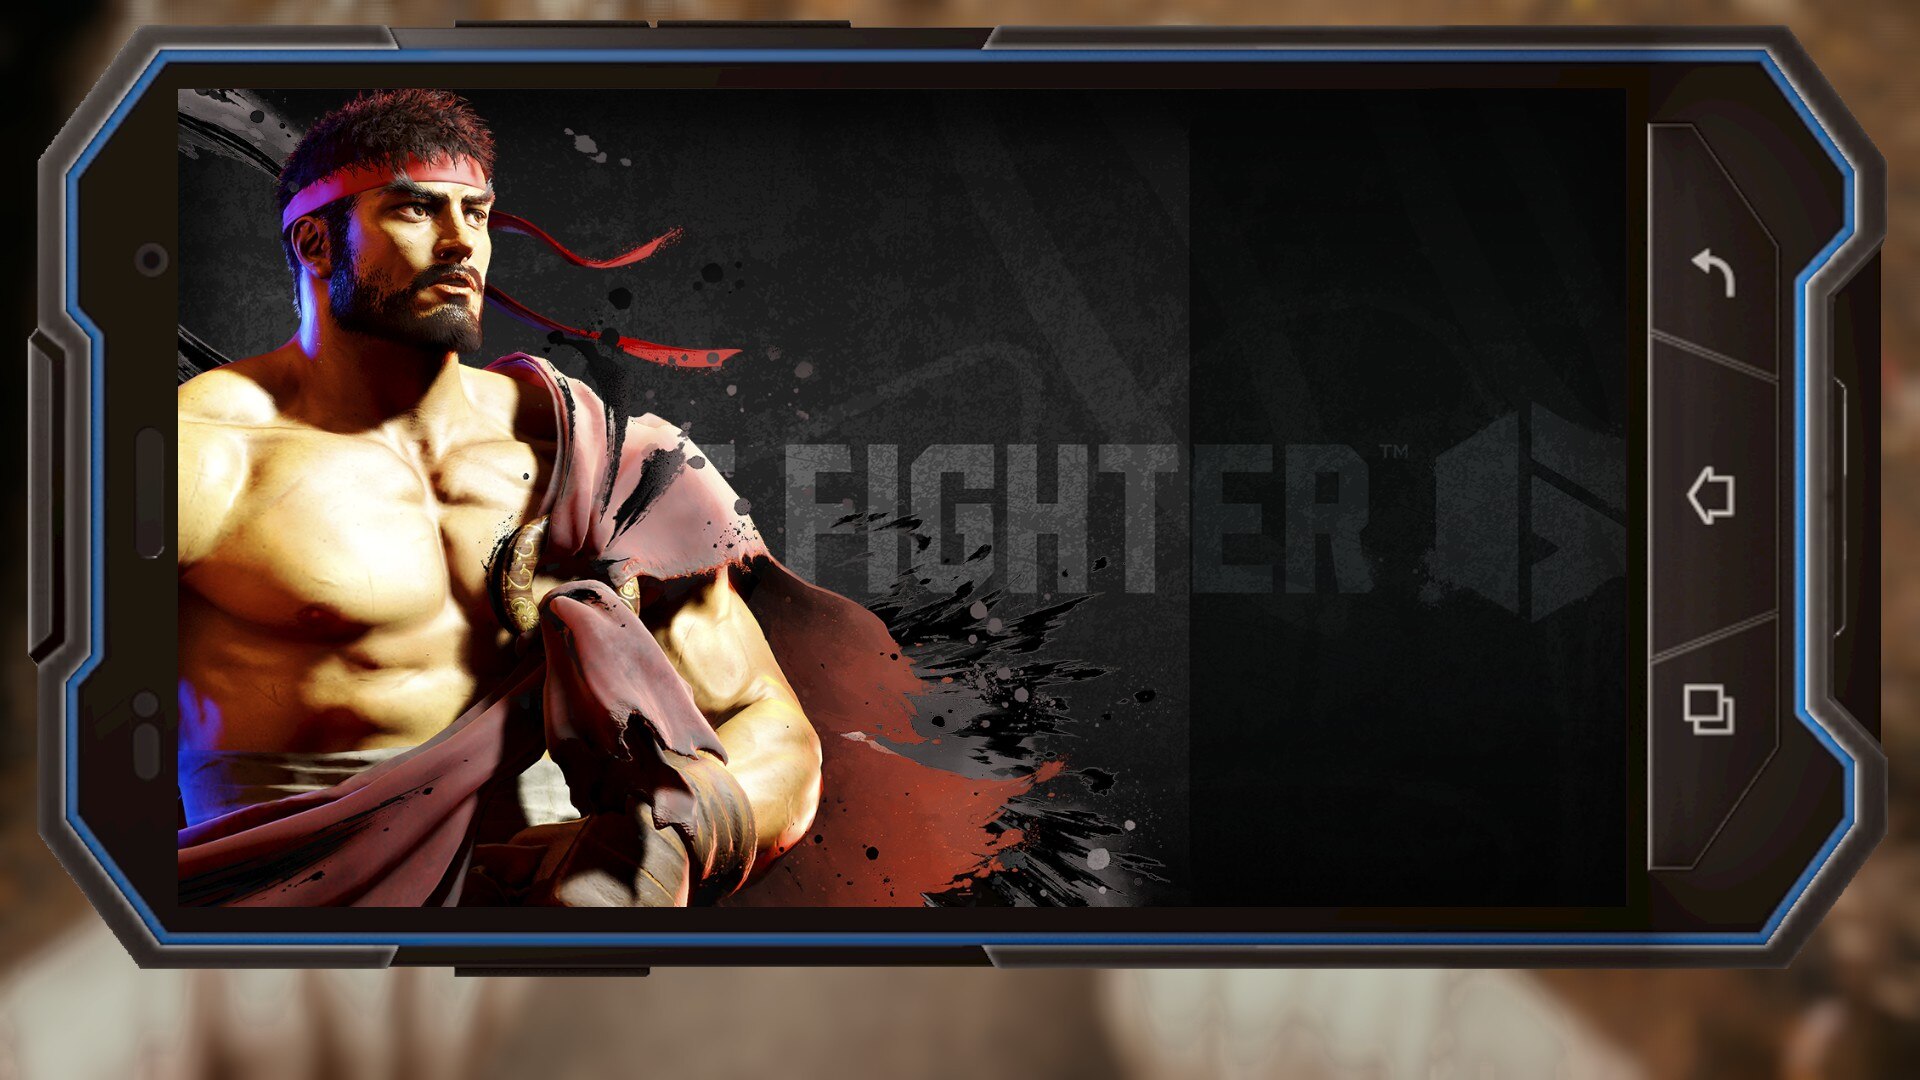
Blue
Green
Purple
White
Sagat
Black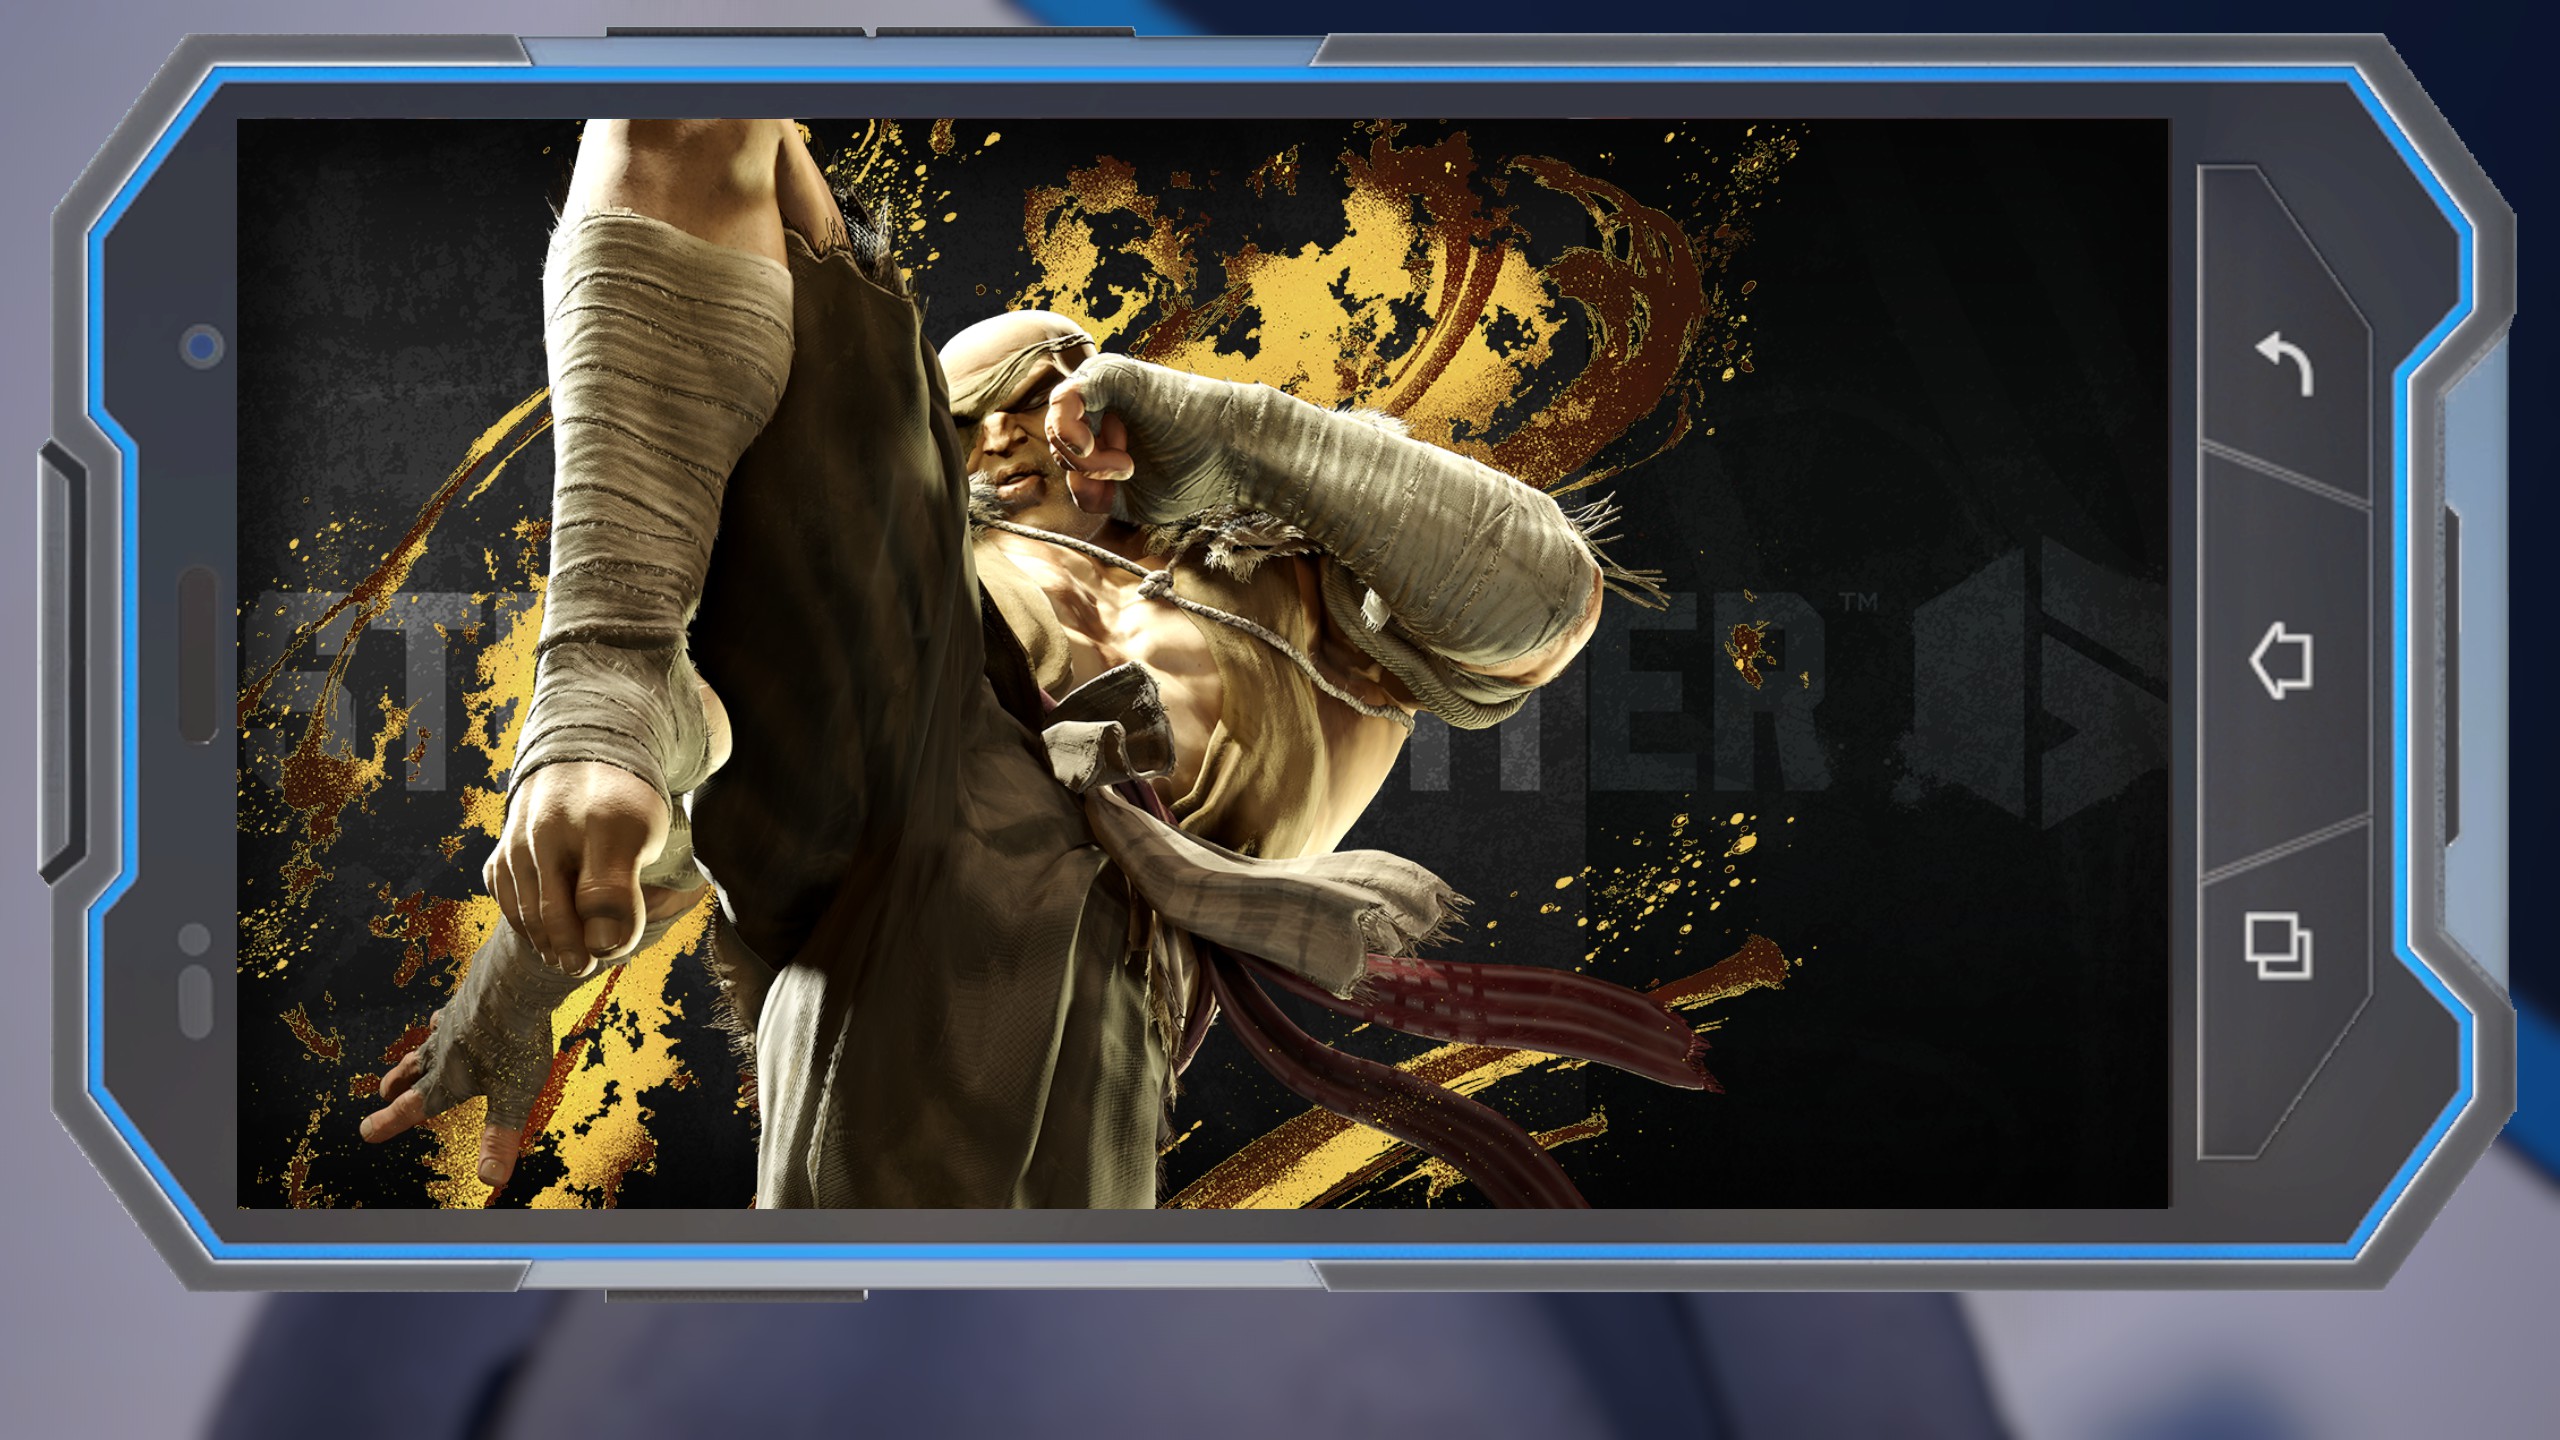
Blue
Green
Purple
White
Terry
Black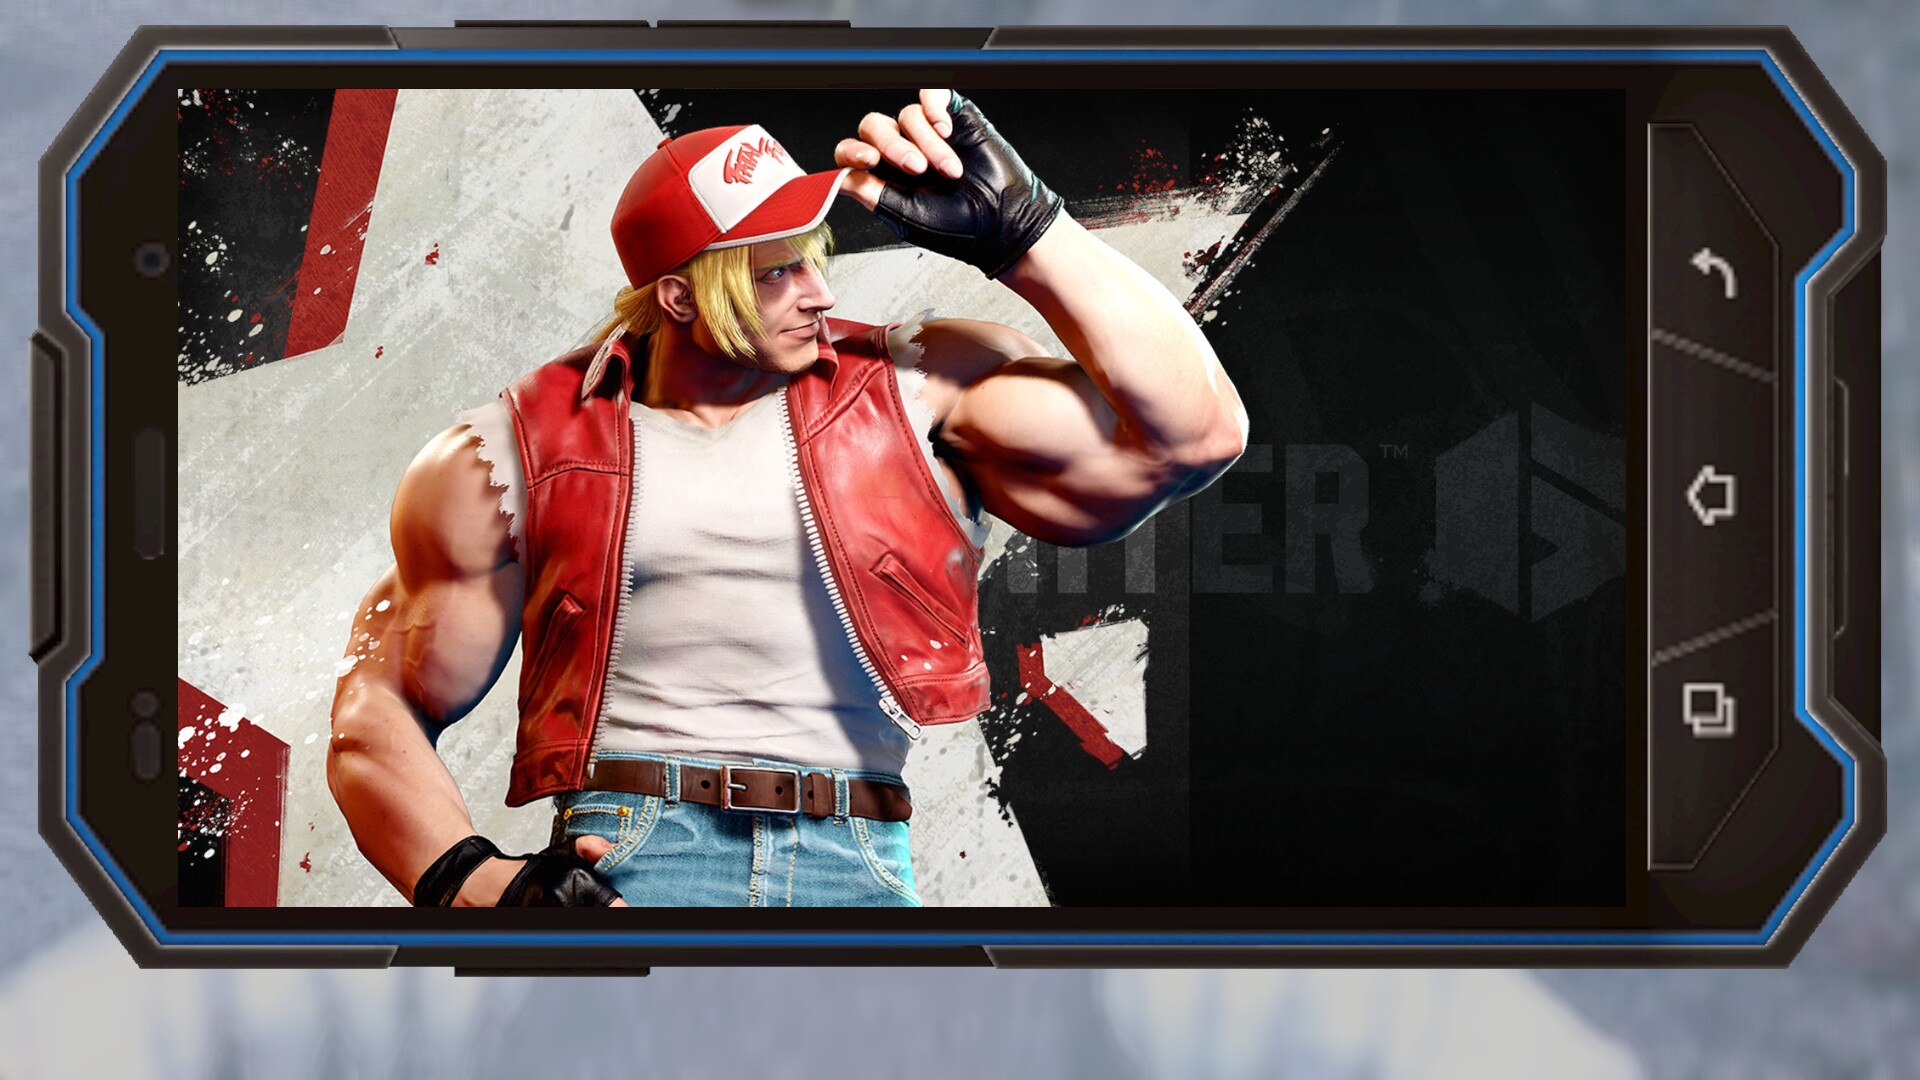
Blue
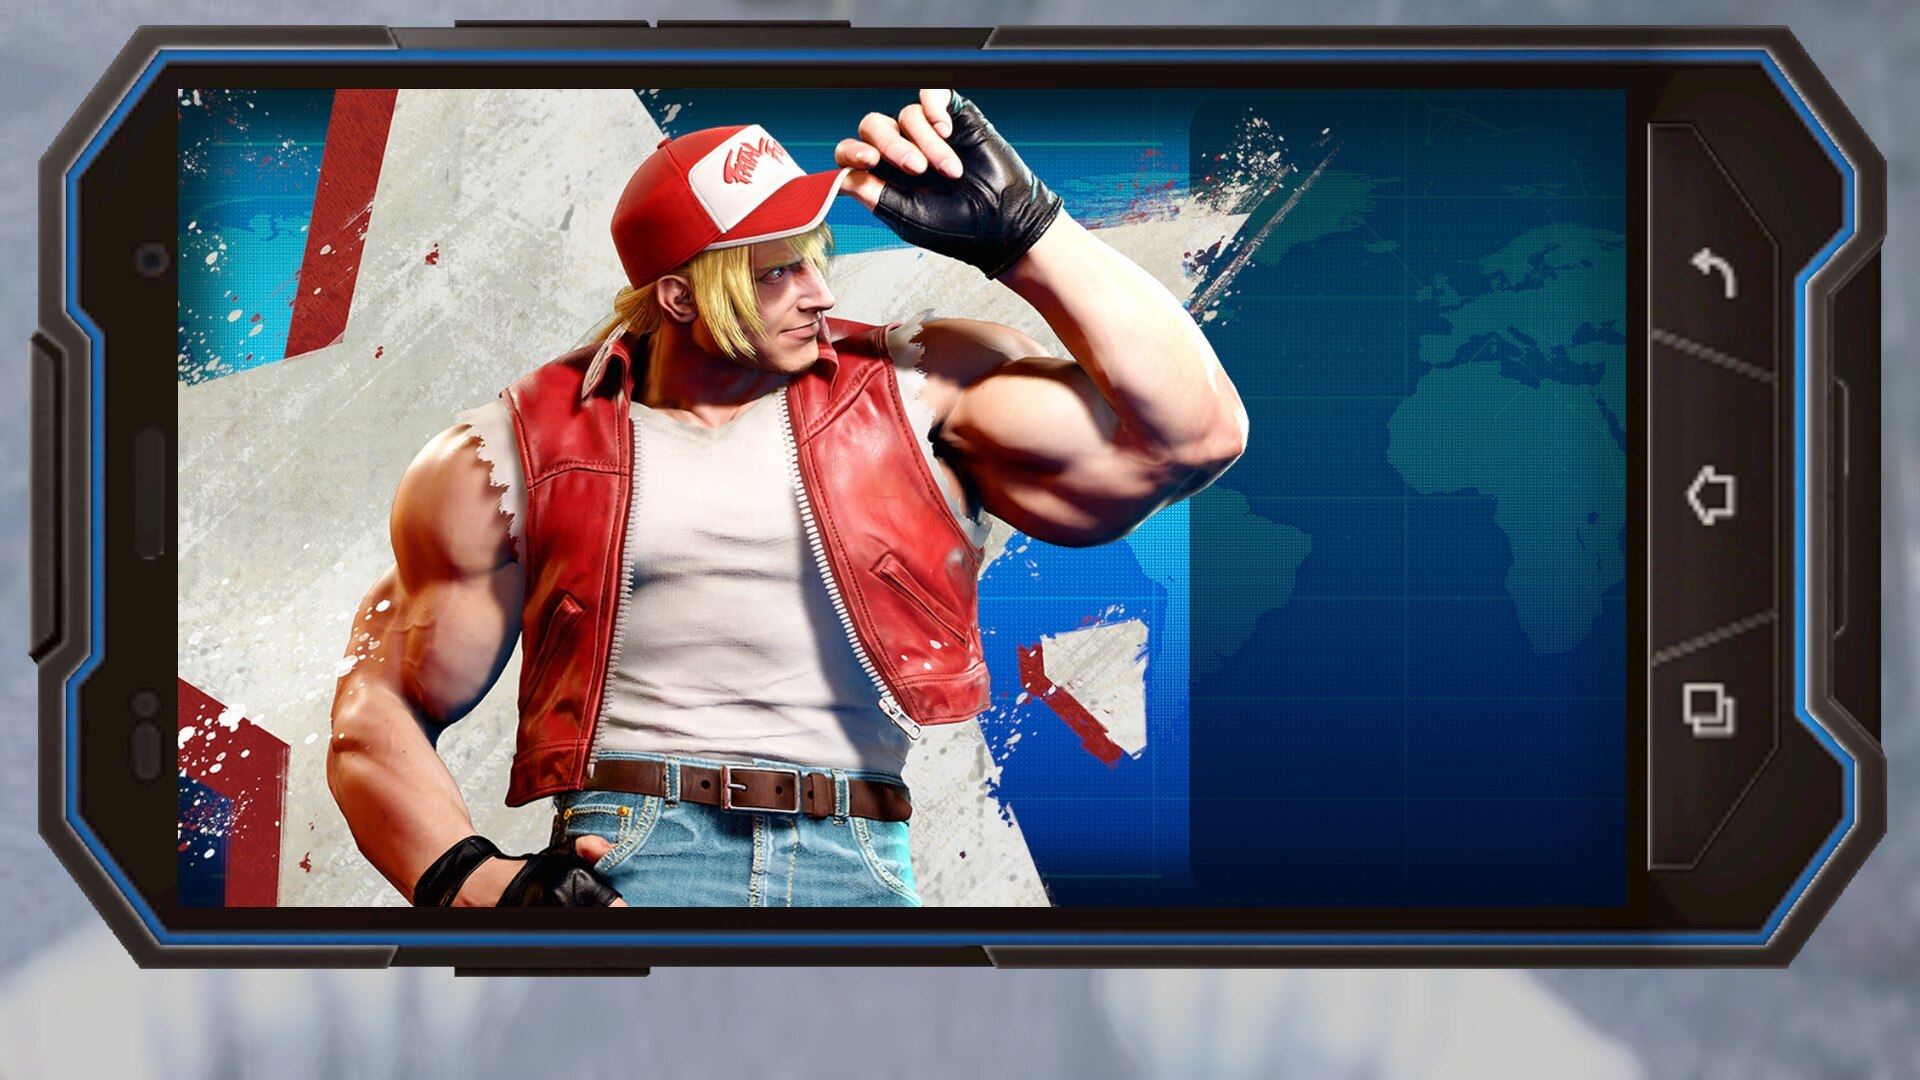
Green
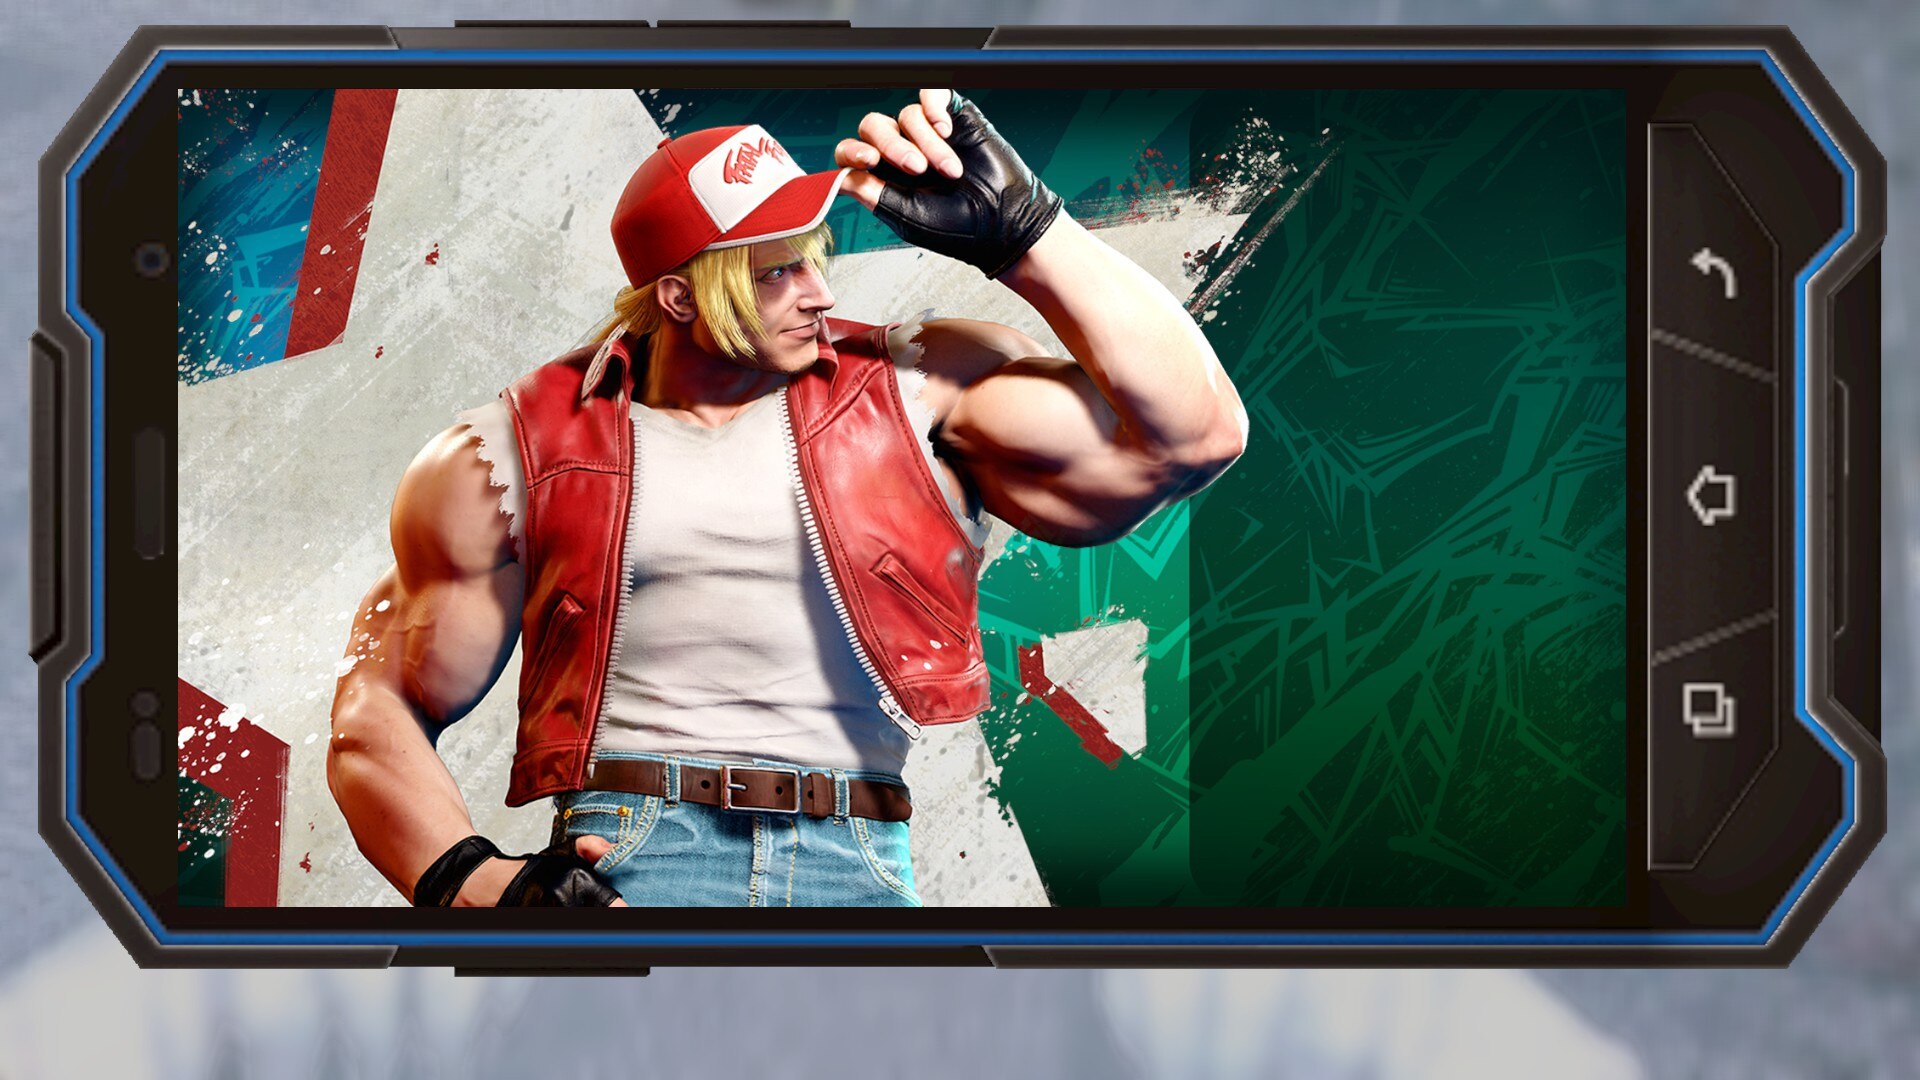
Purple
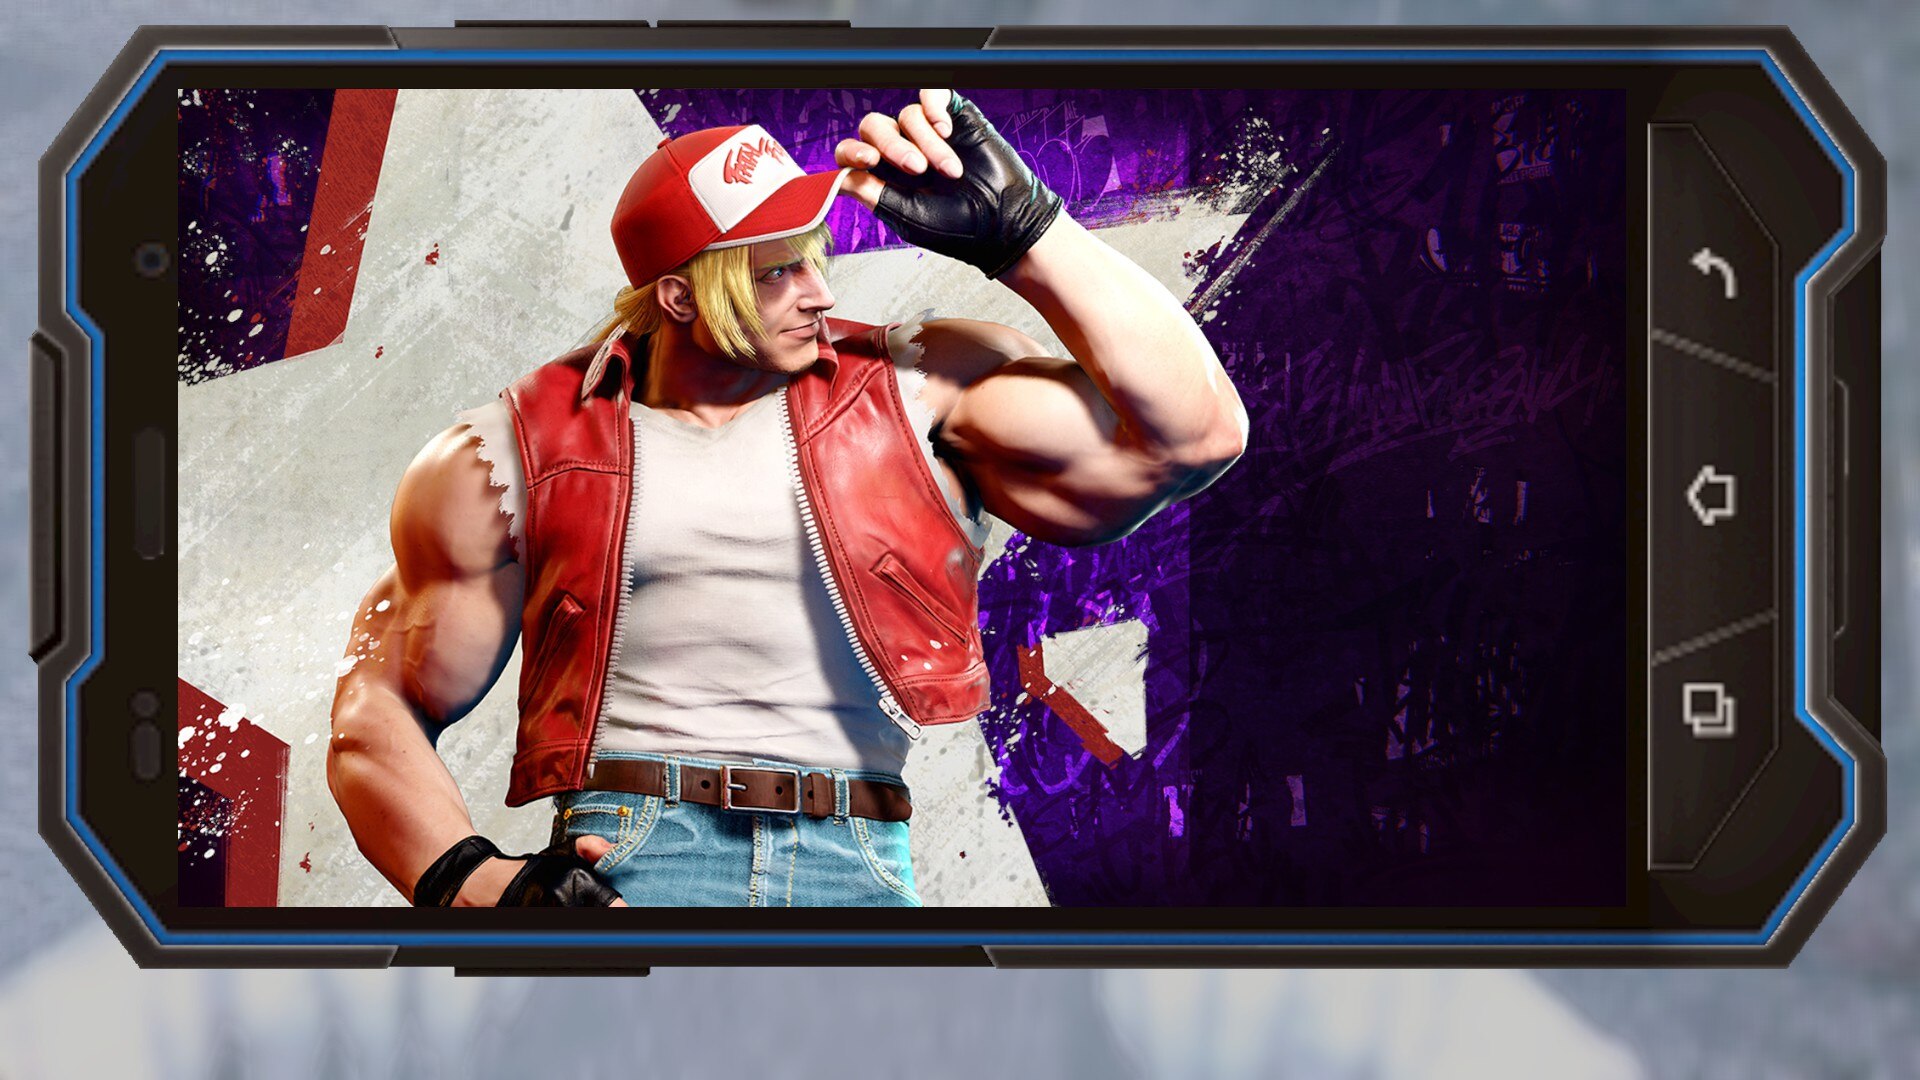
White
Zangief
Black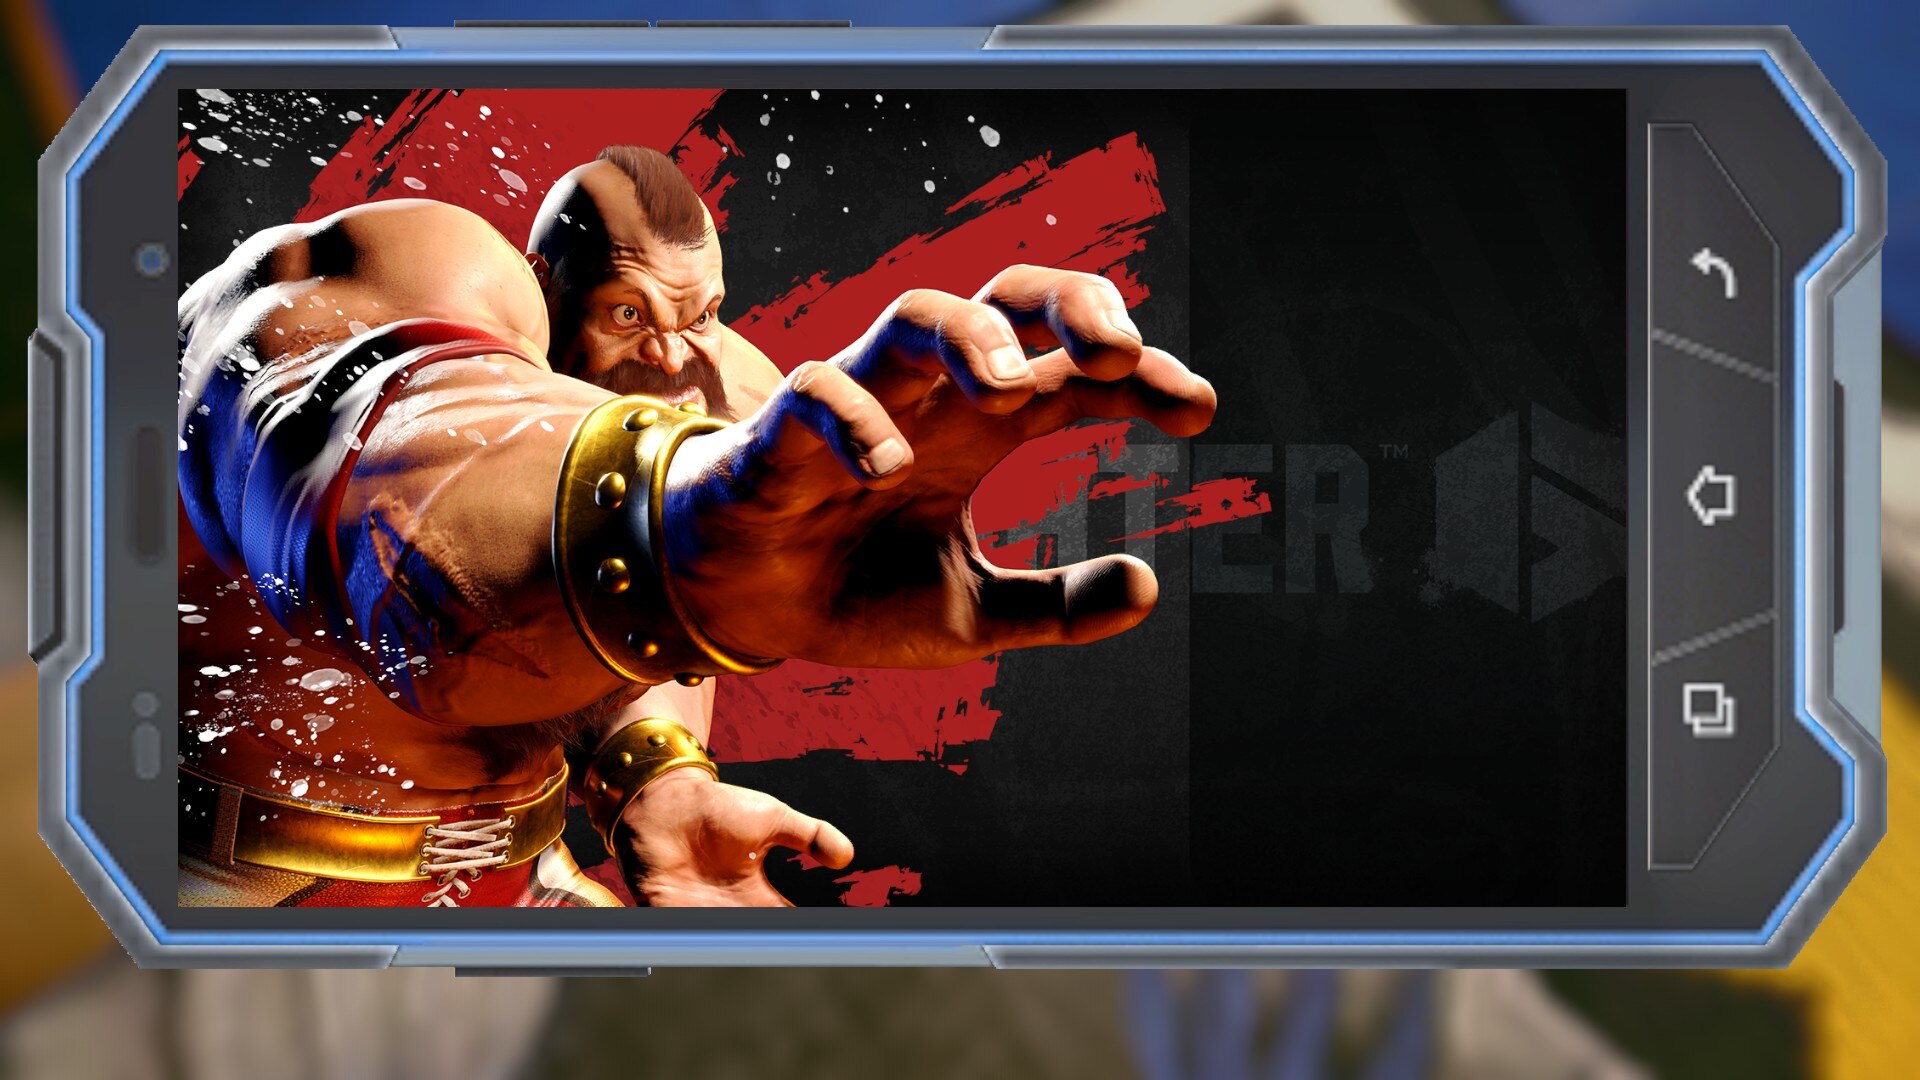
Blue
Green
Purple
White

Wallpapers - Other
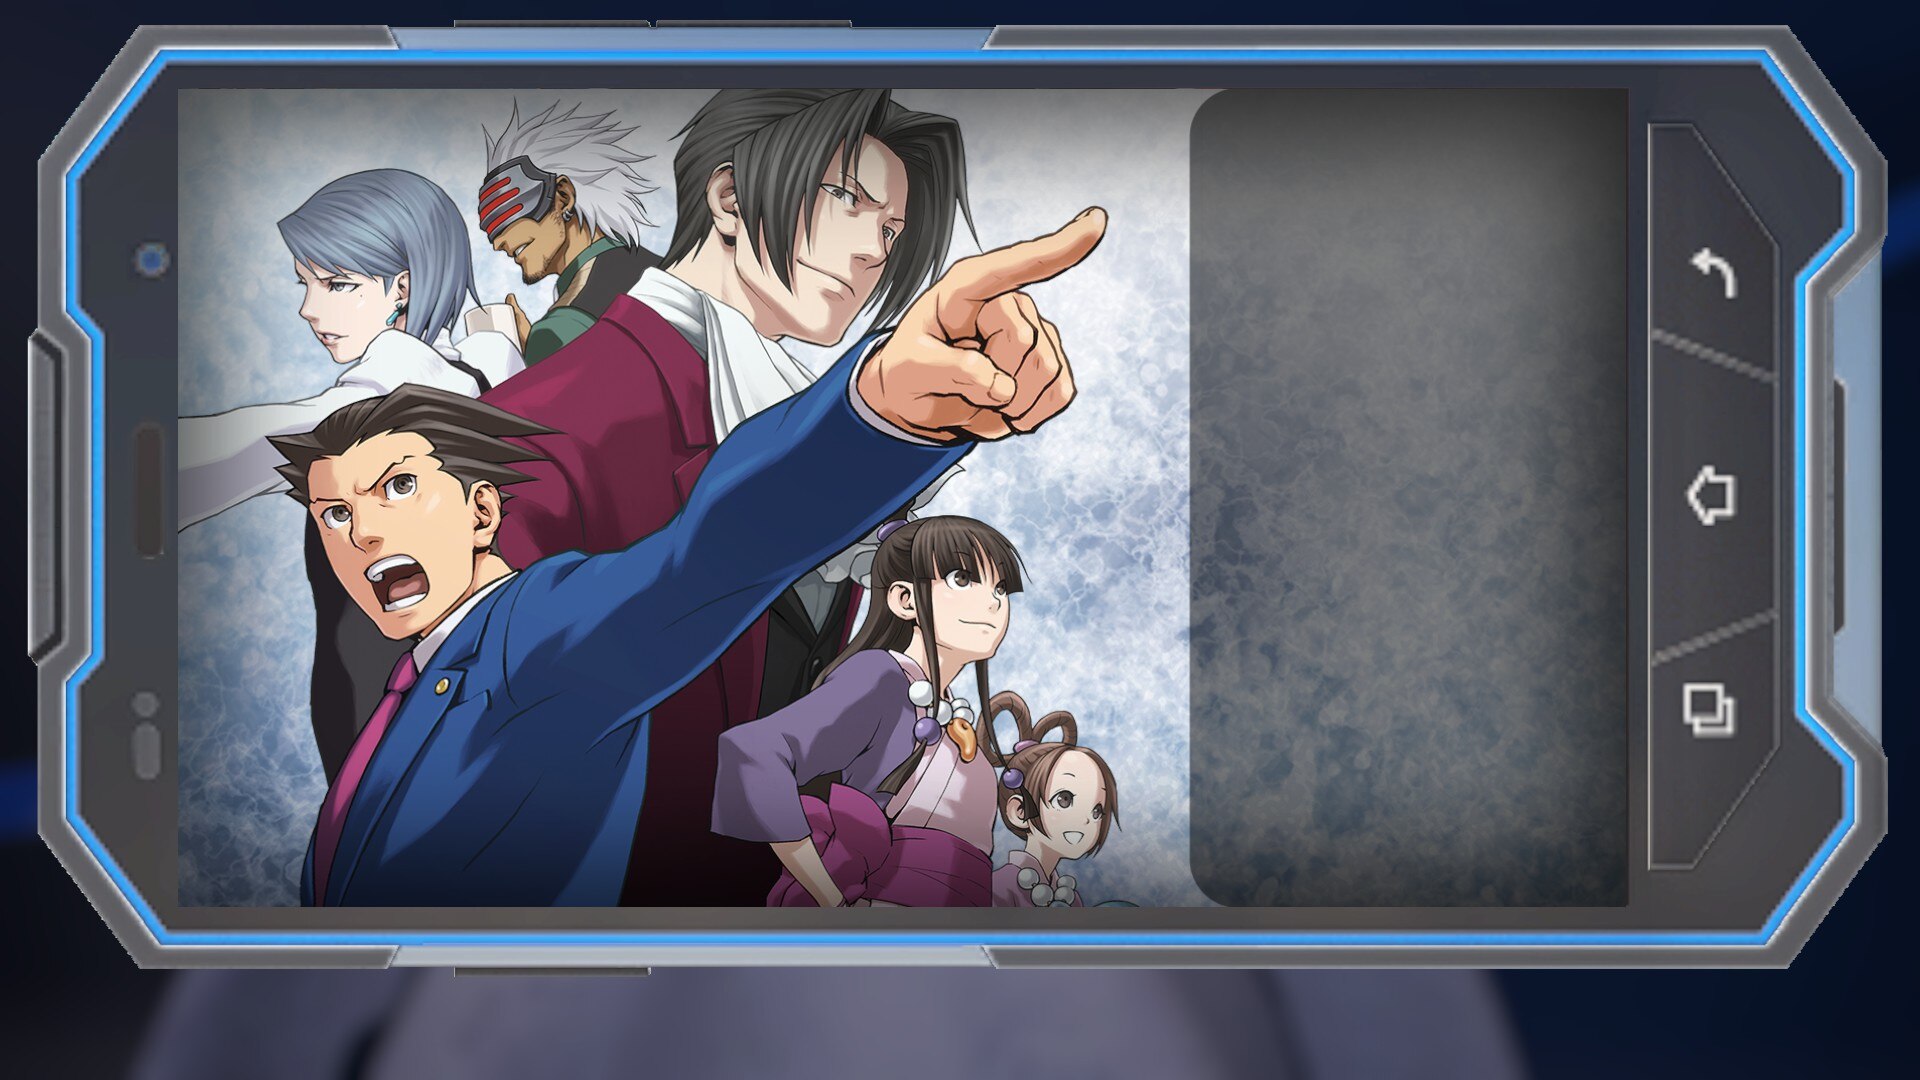
Ace Attorney
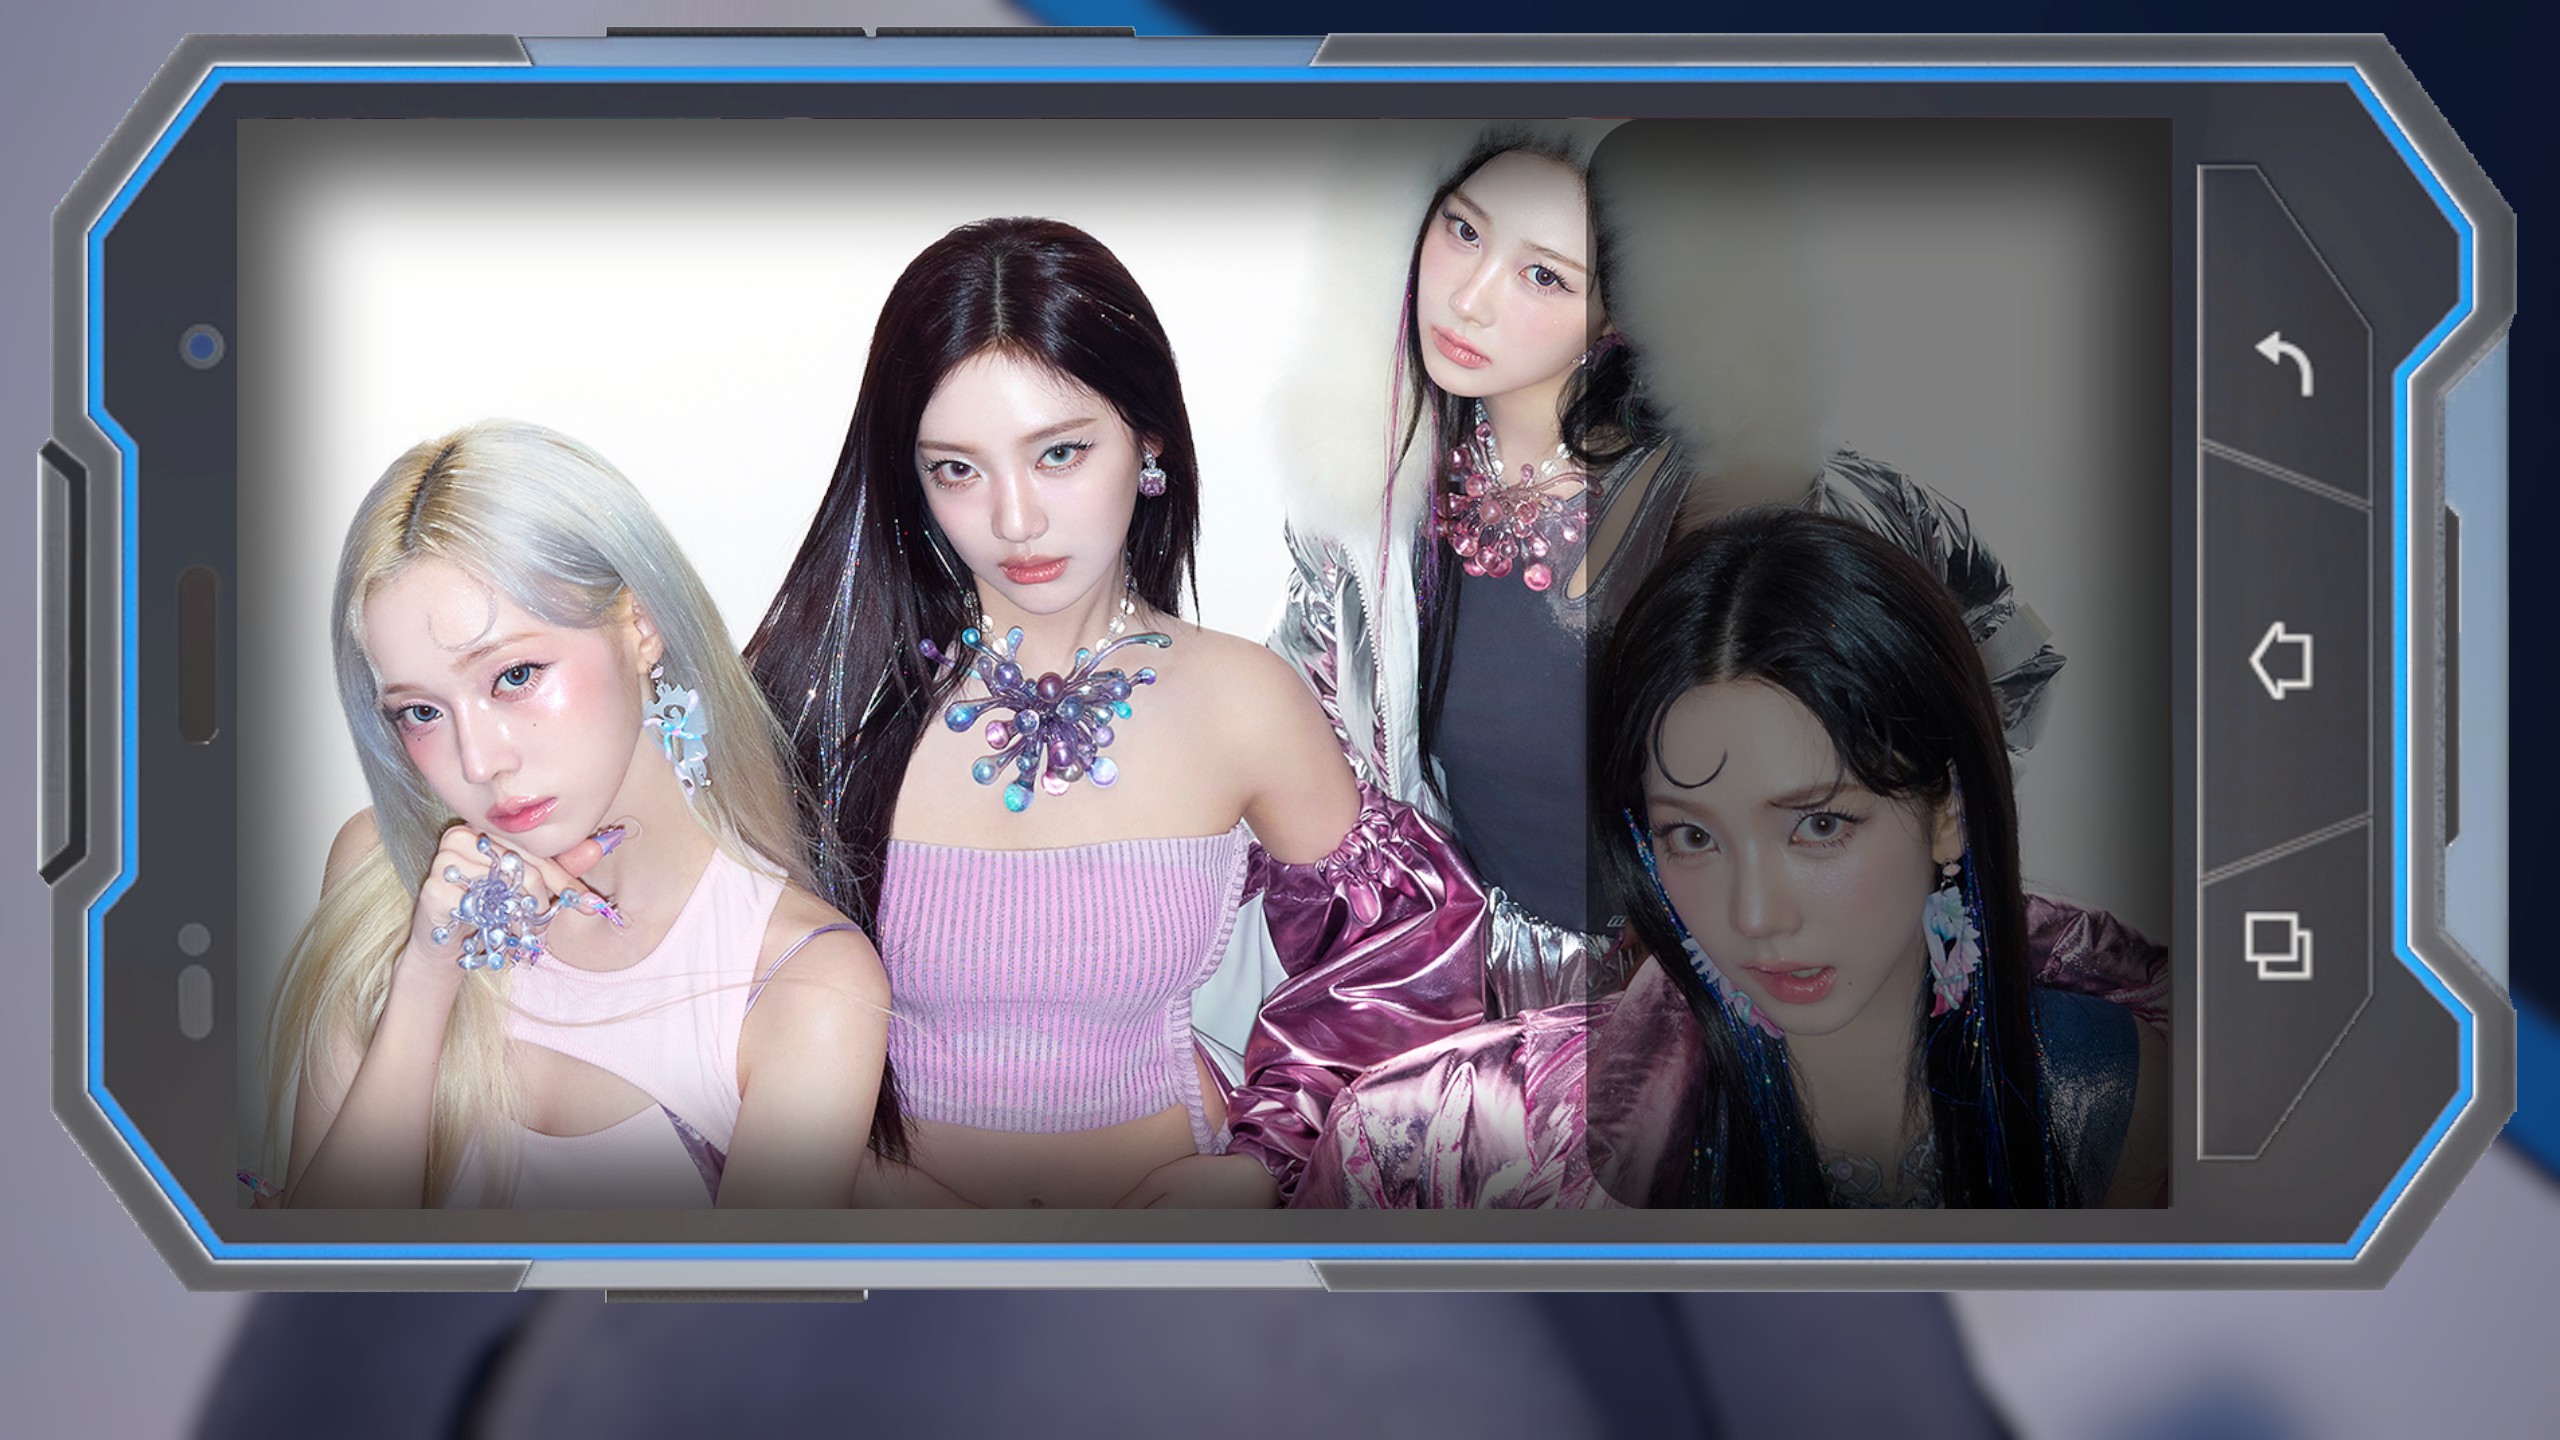
aespa Wallpaper 1
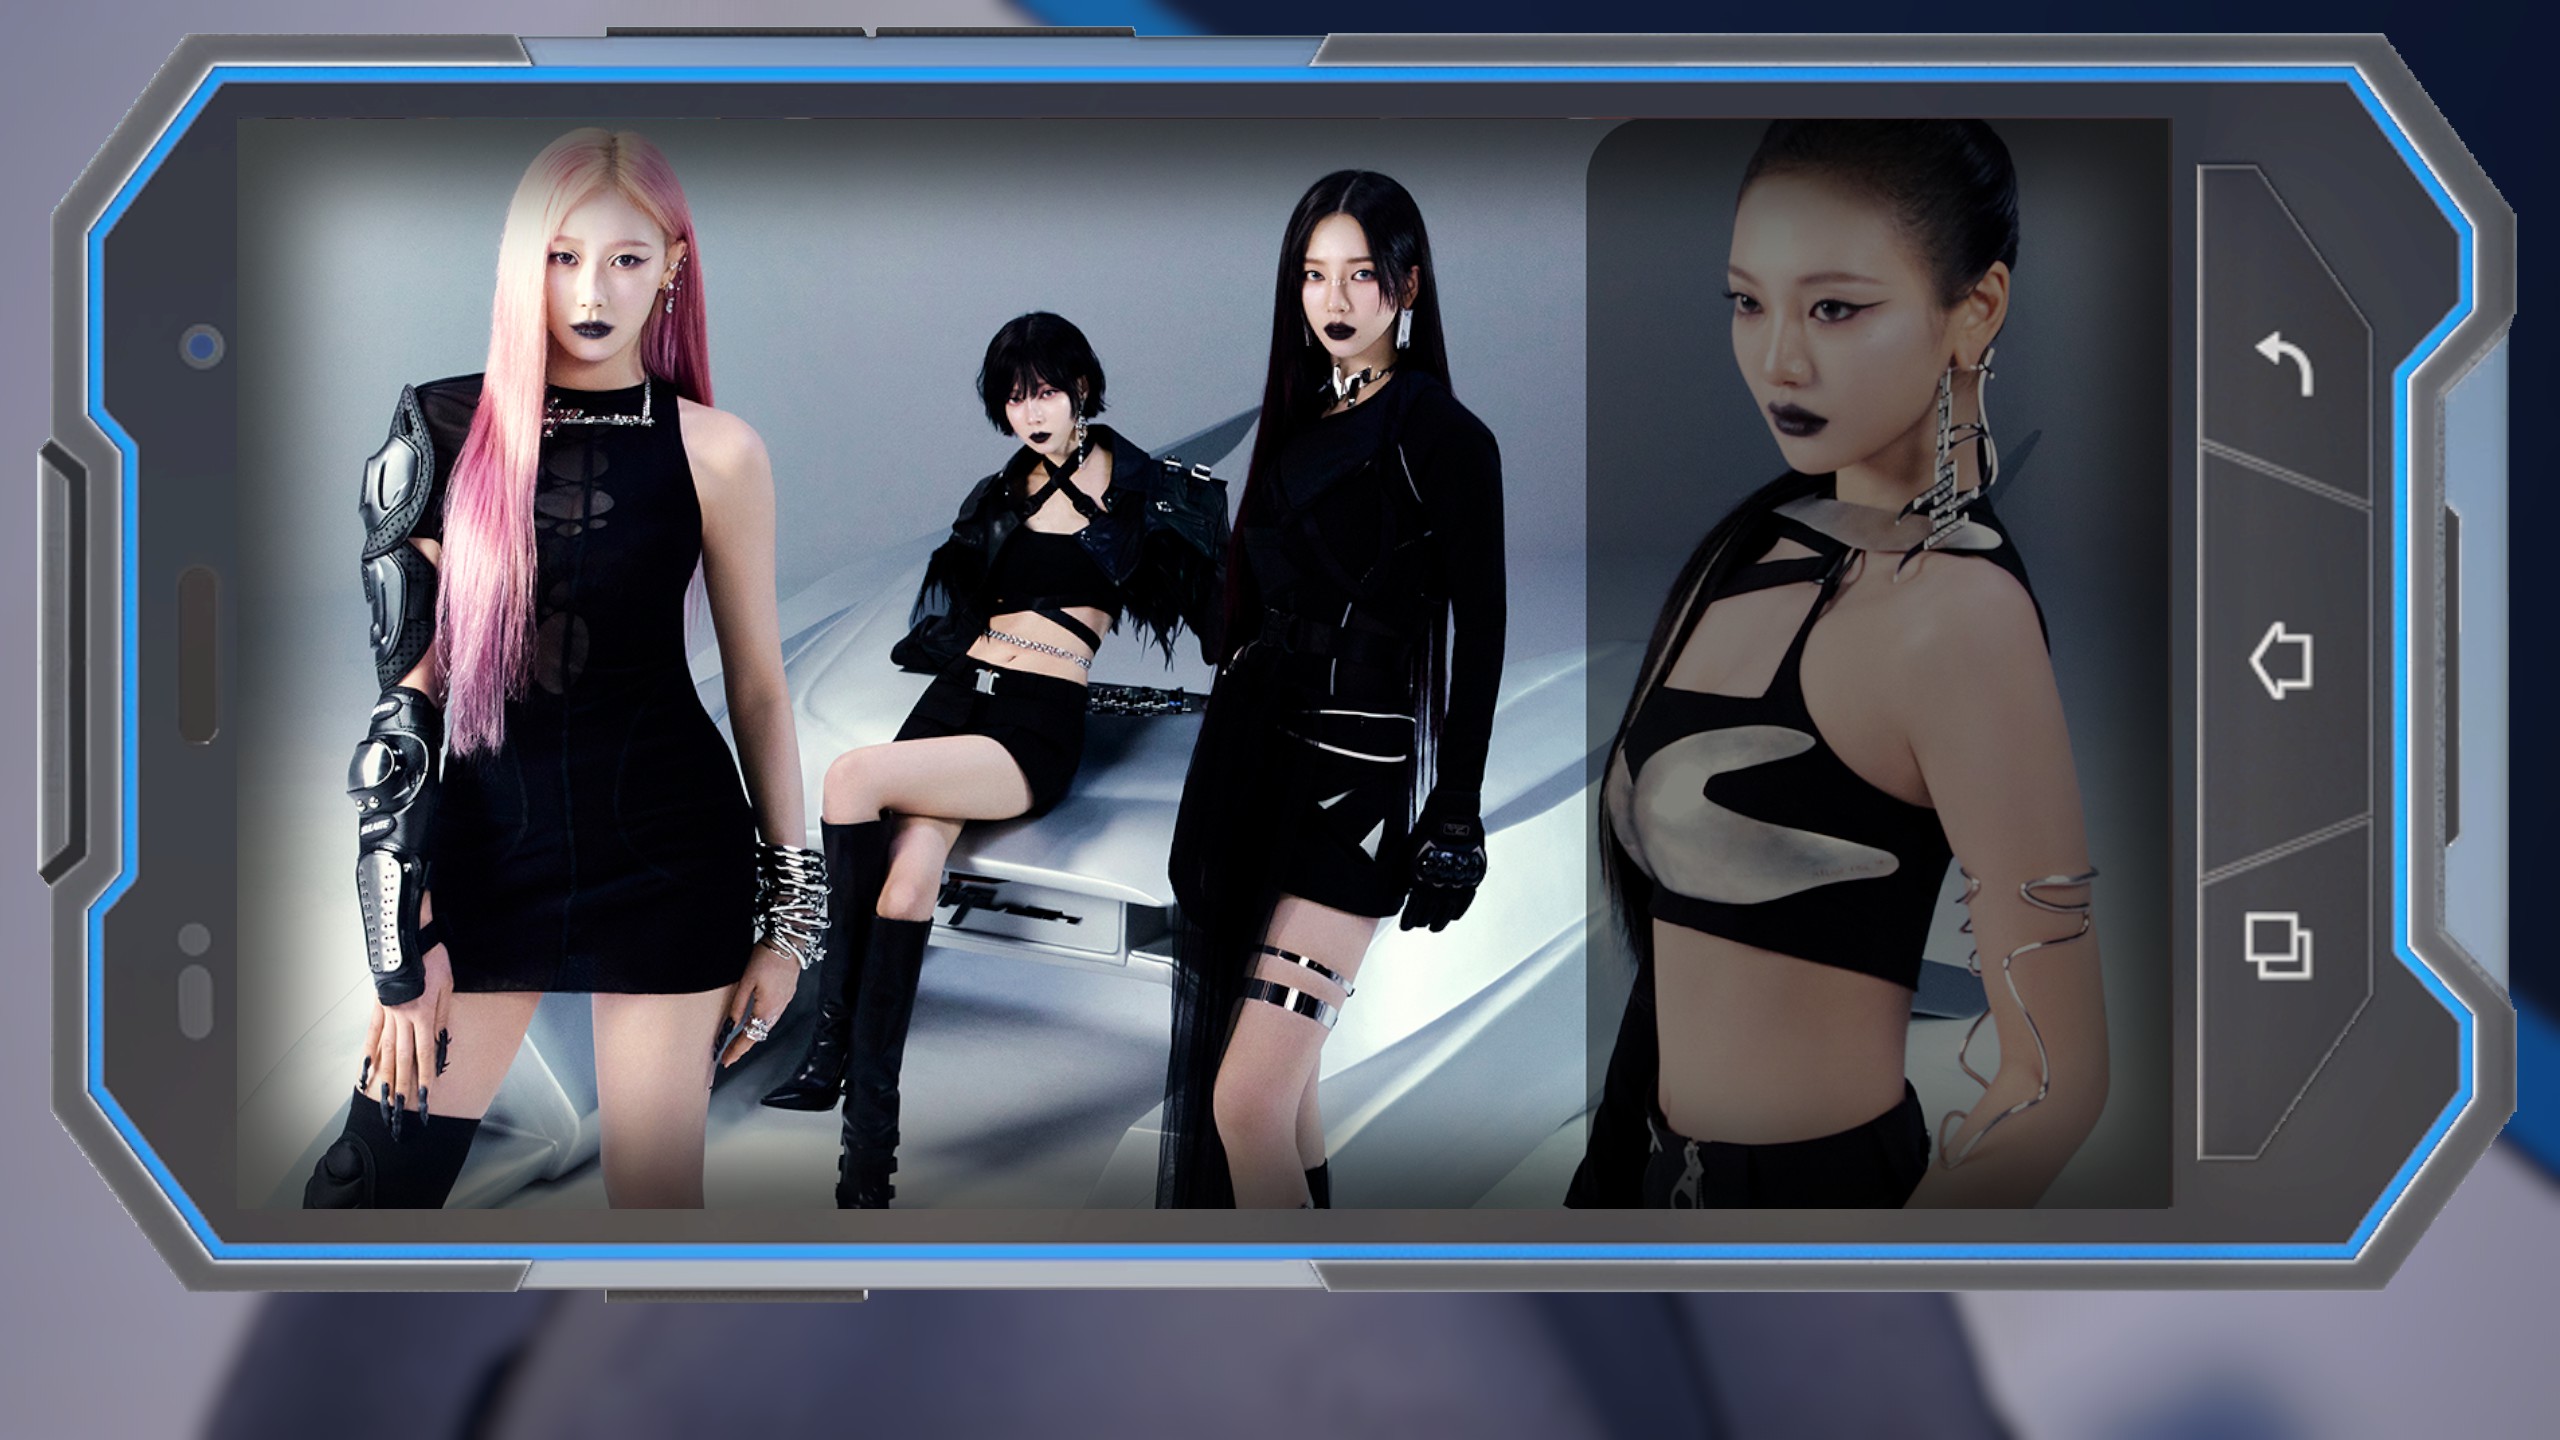
aespa Wallpaper 2
Black
Blue
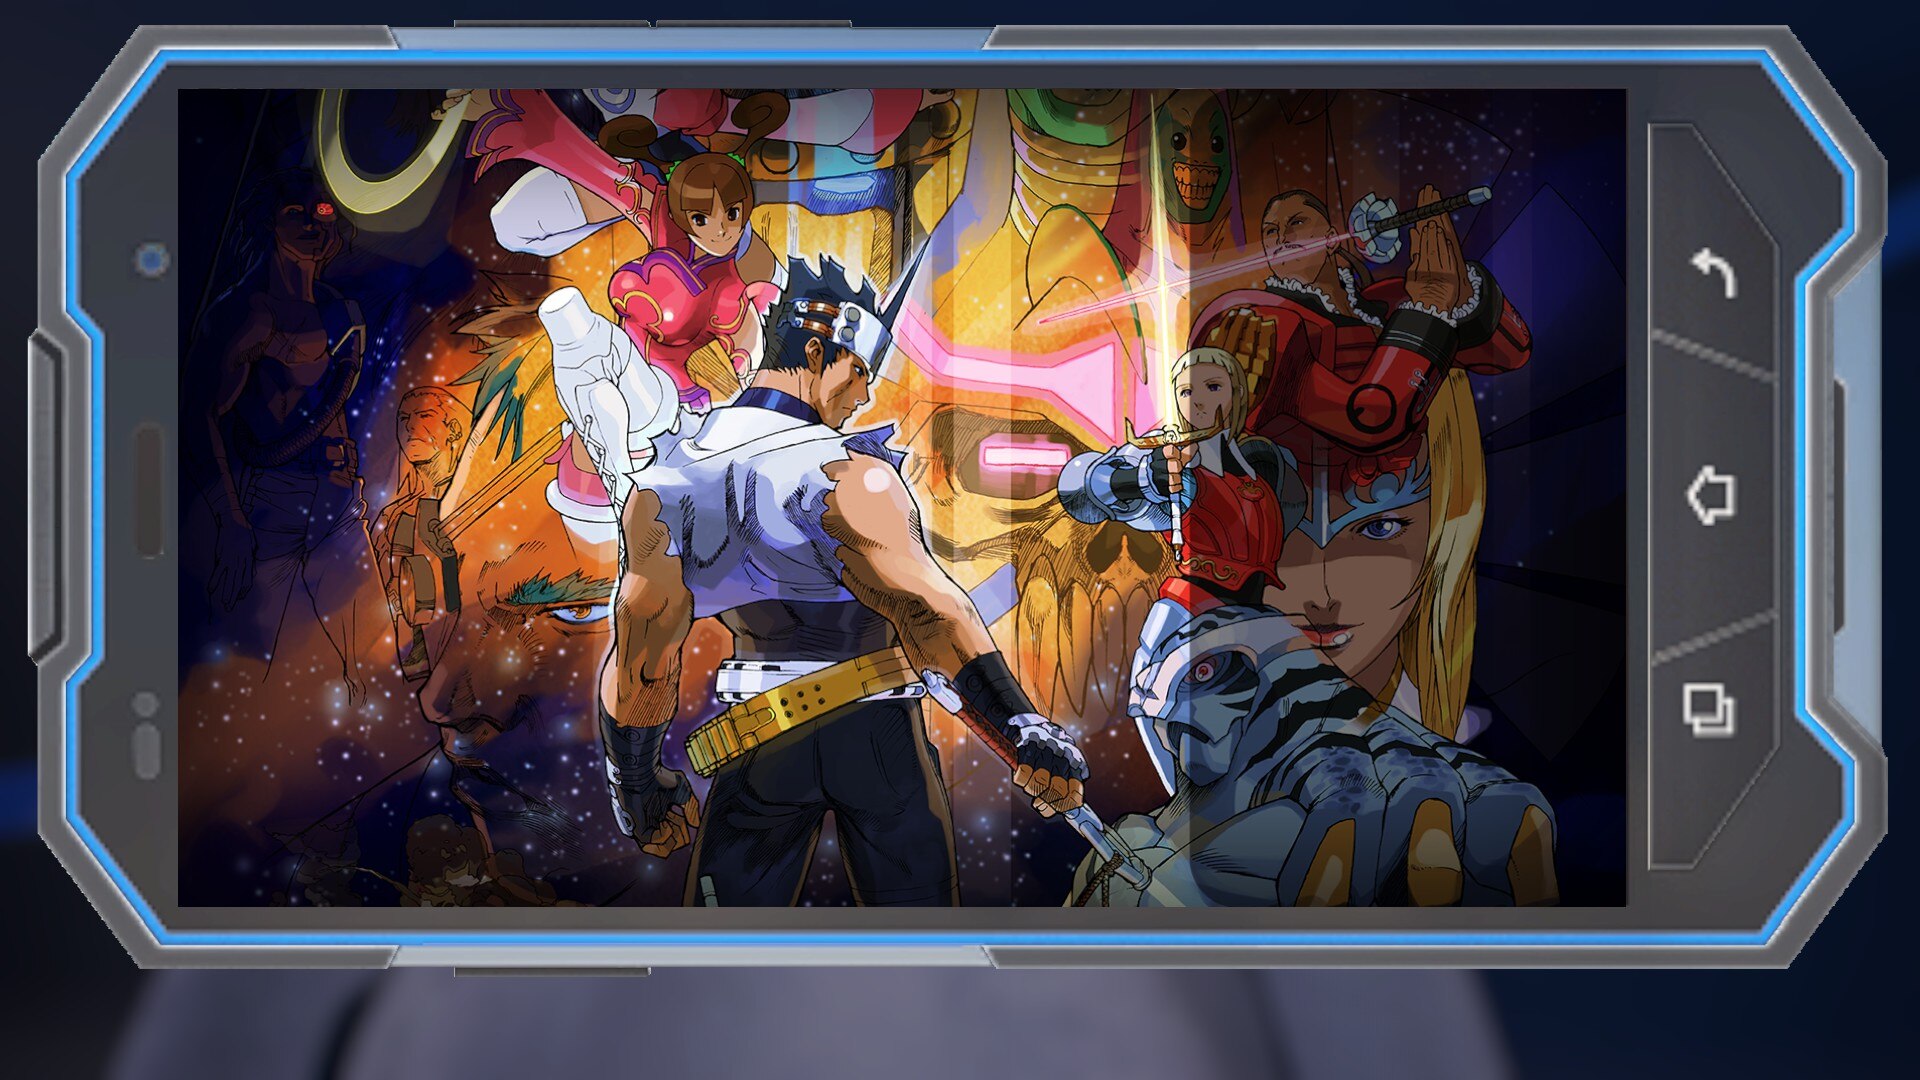
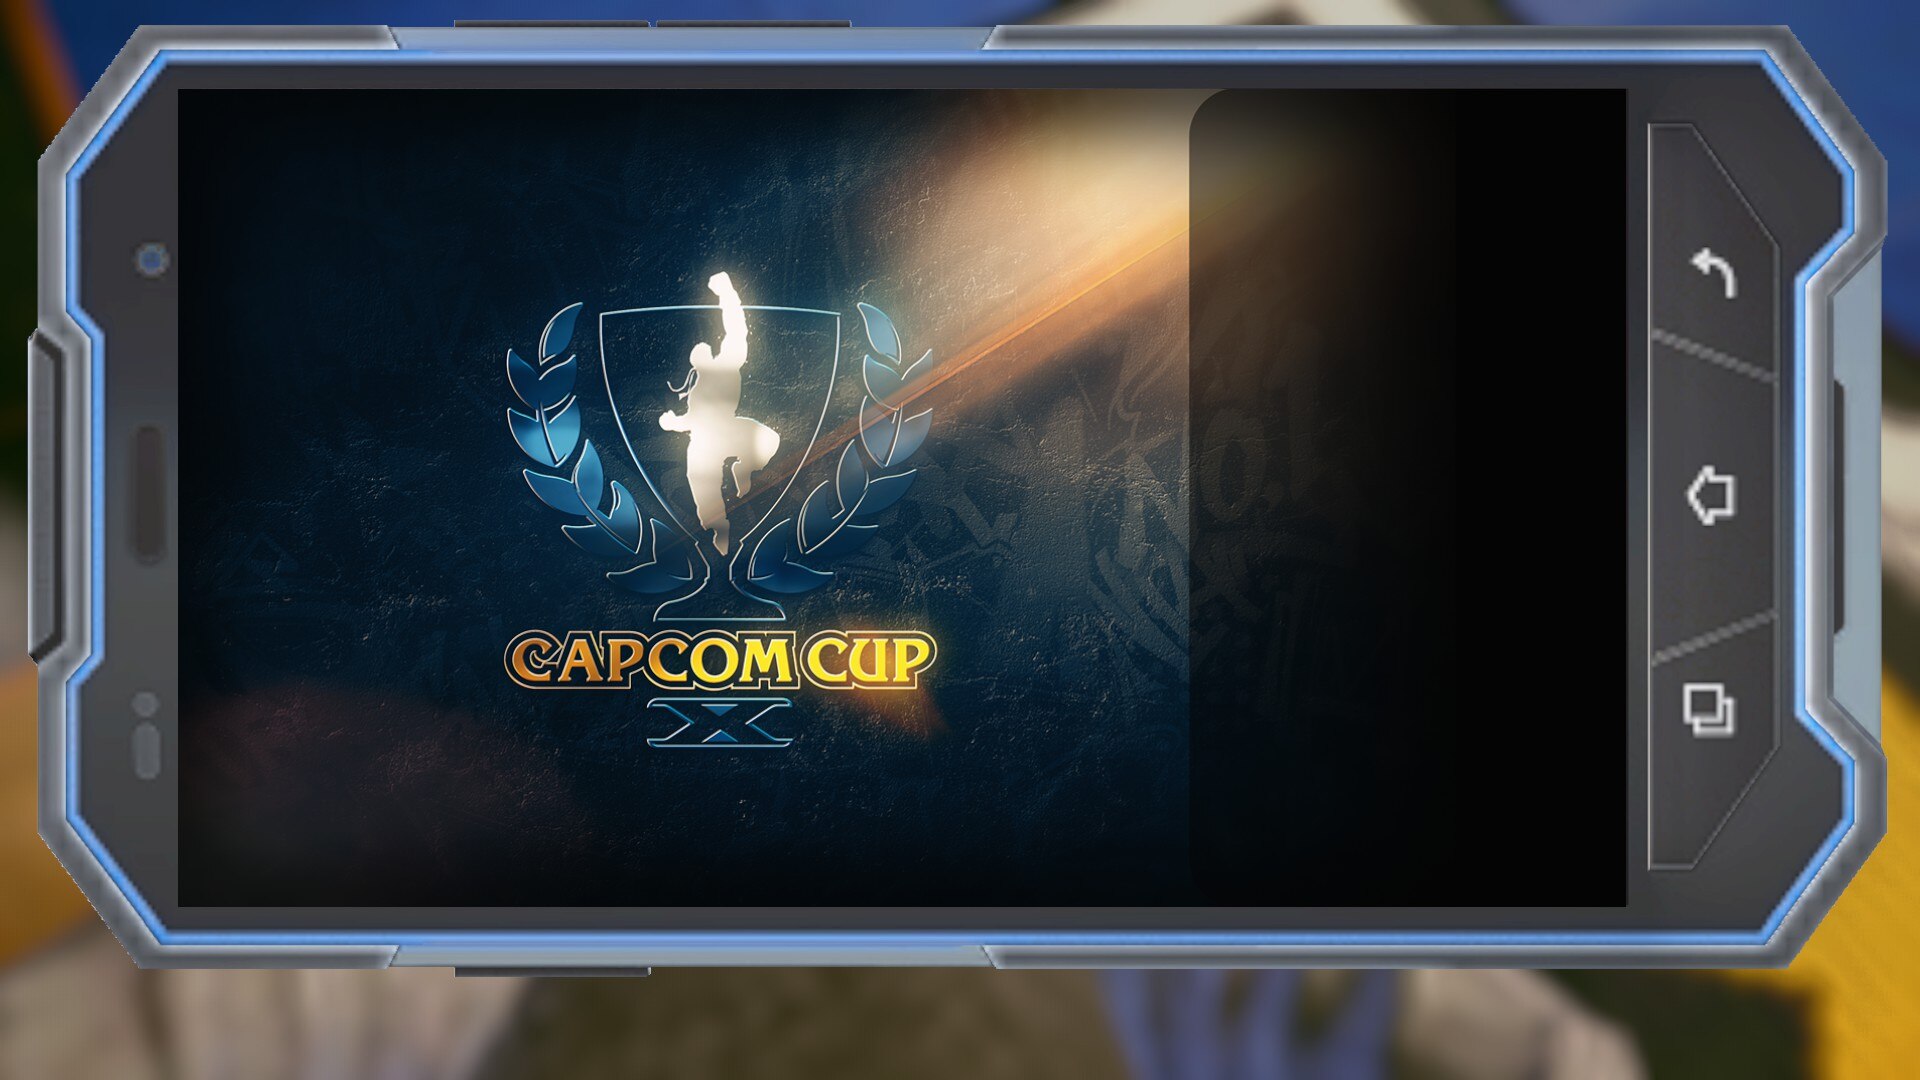
Capcom Cup Supporter
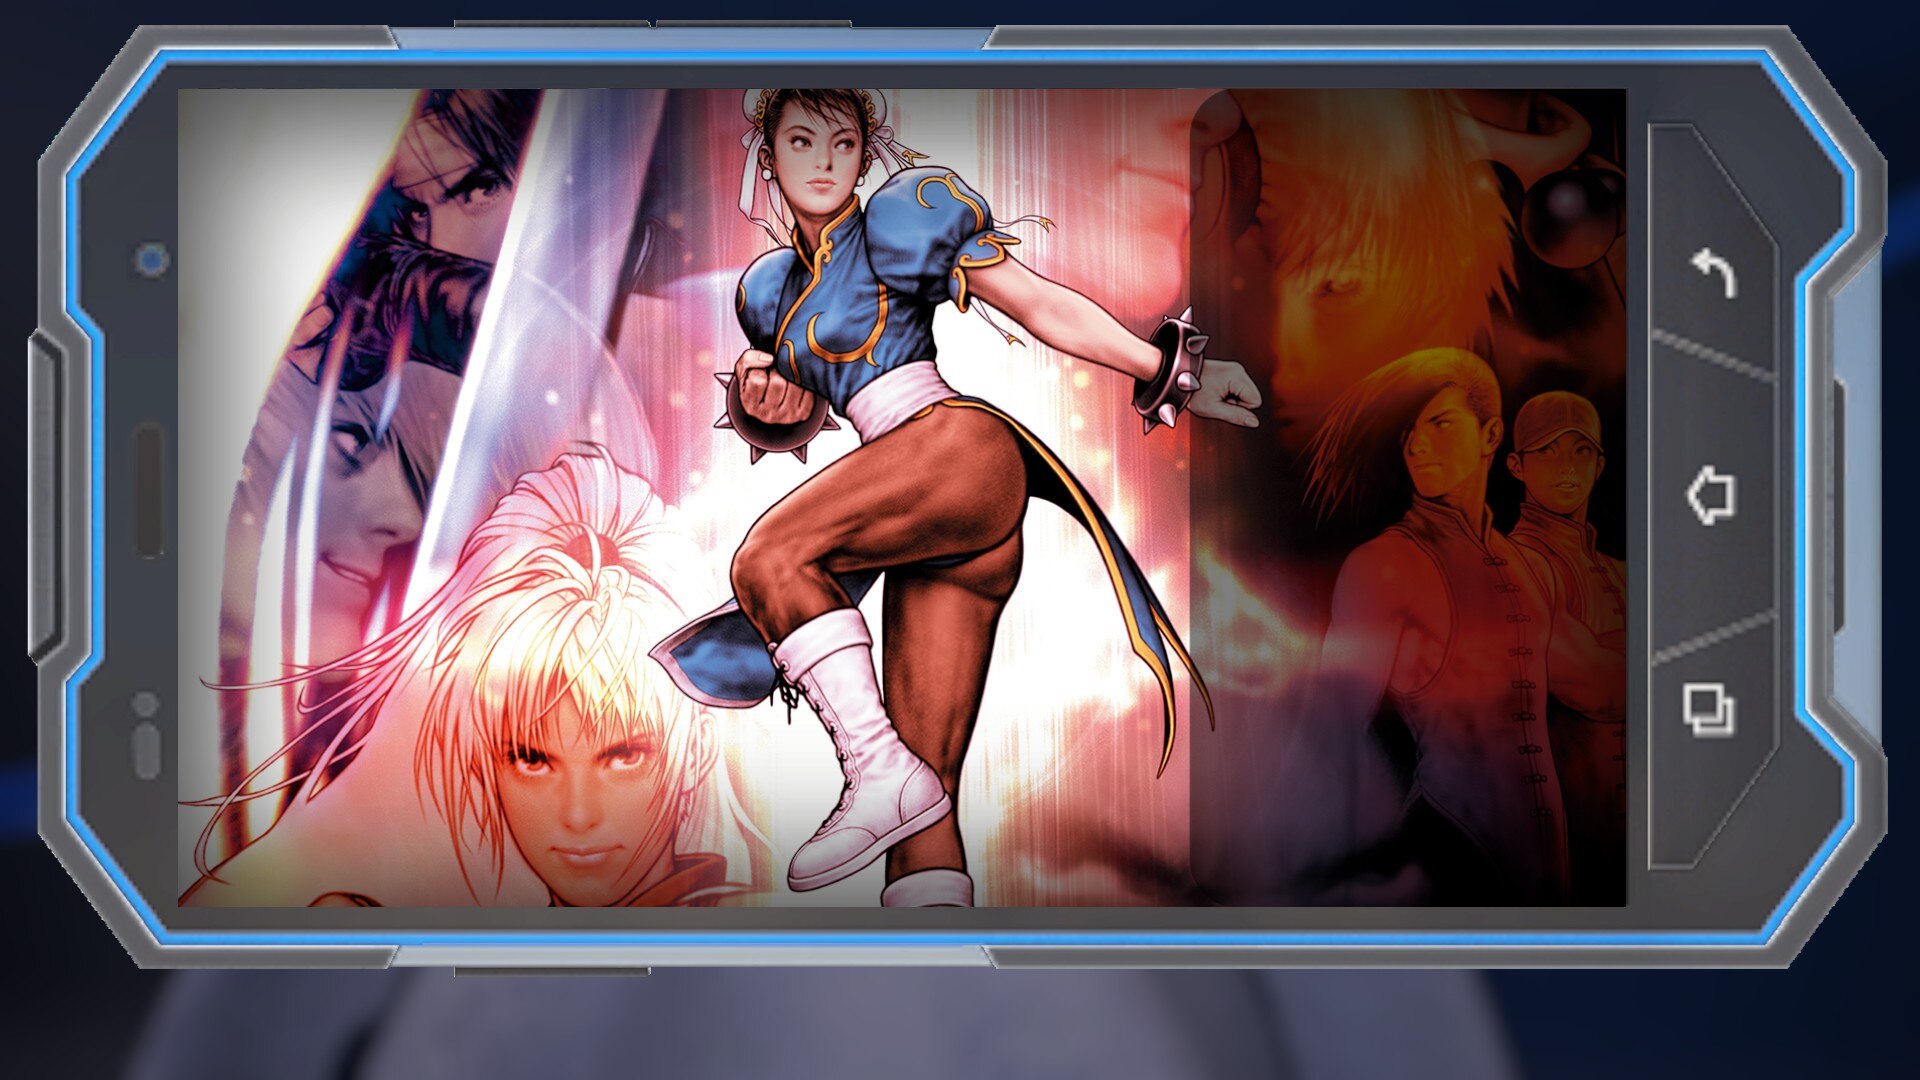
Capcom vs. SNK 2 Wallpaper
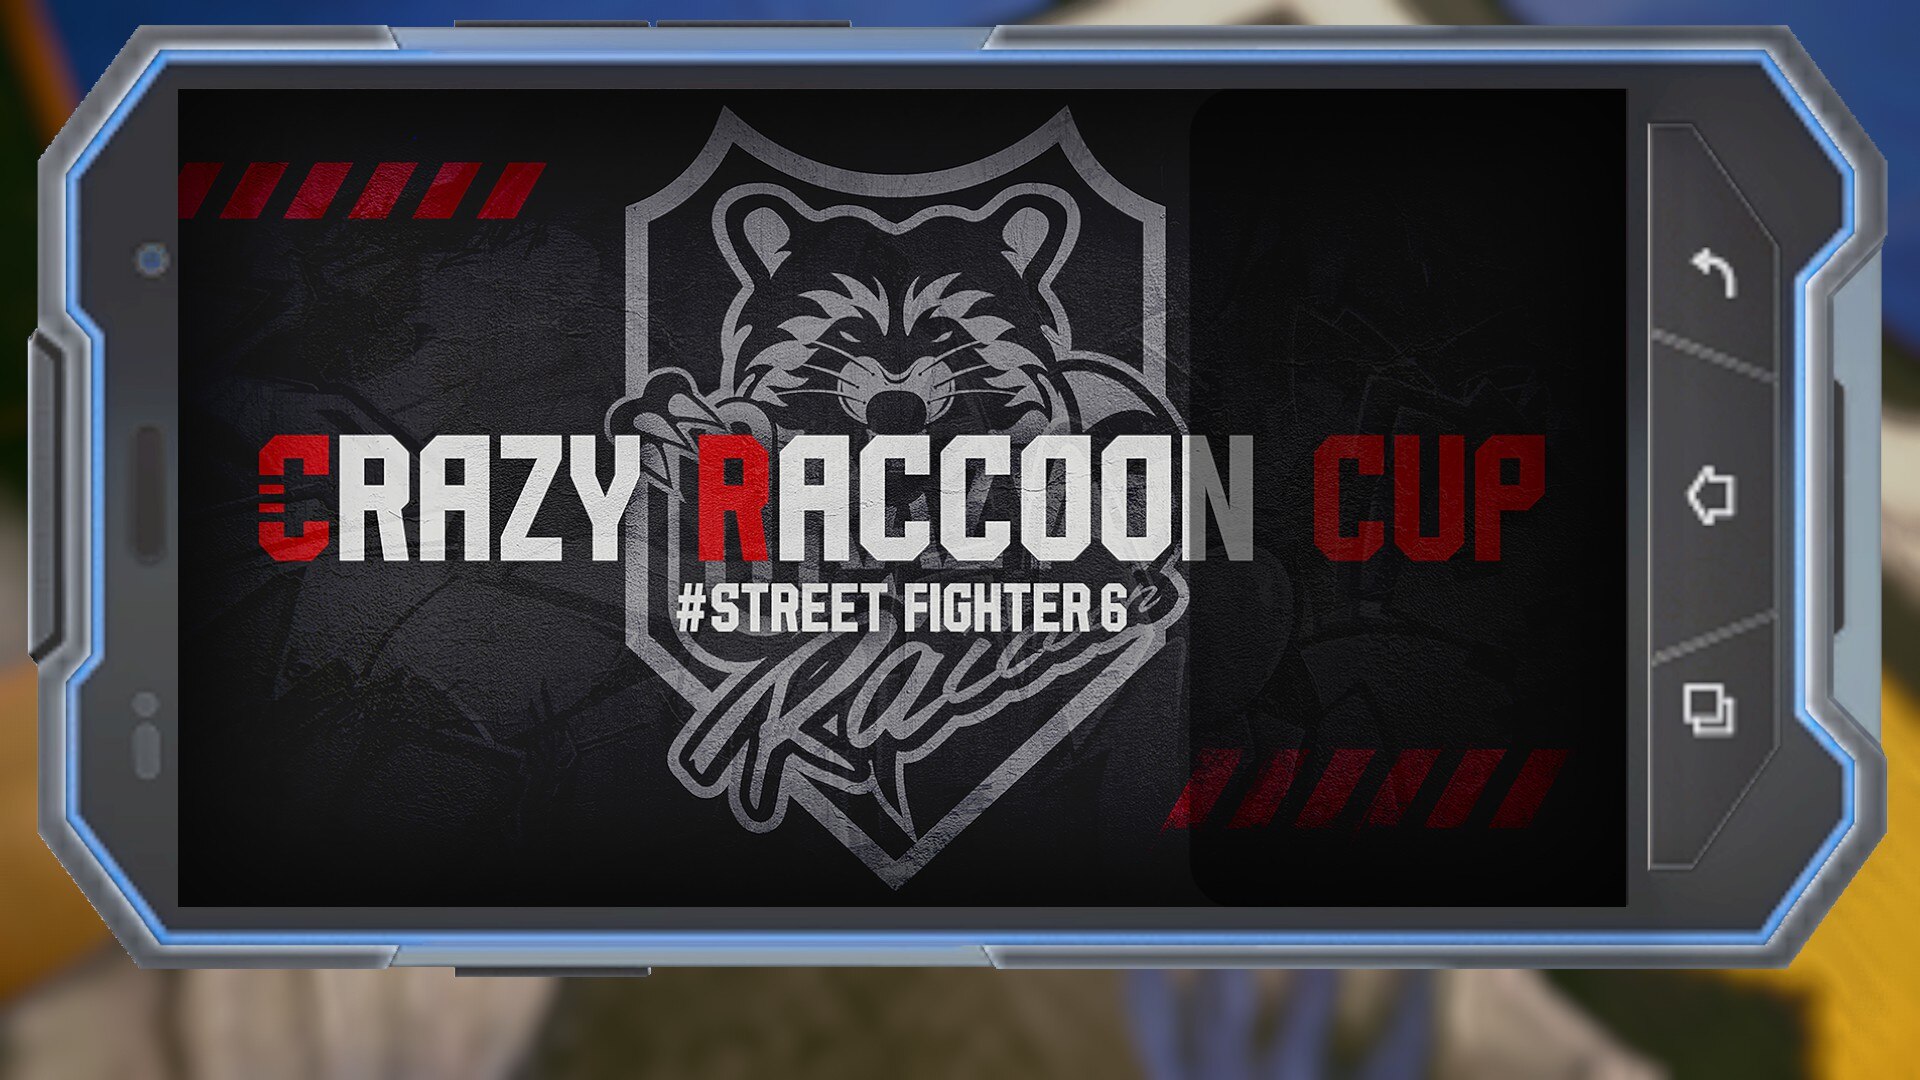
CR CUP #SF6 Wallpaper 1
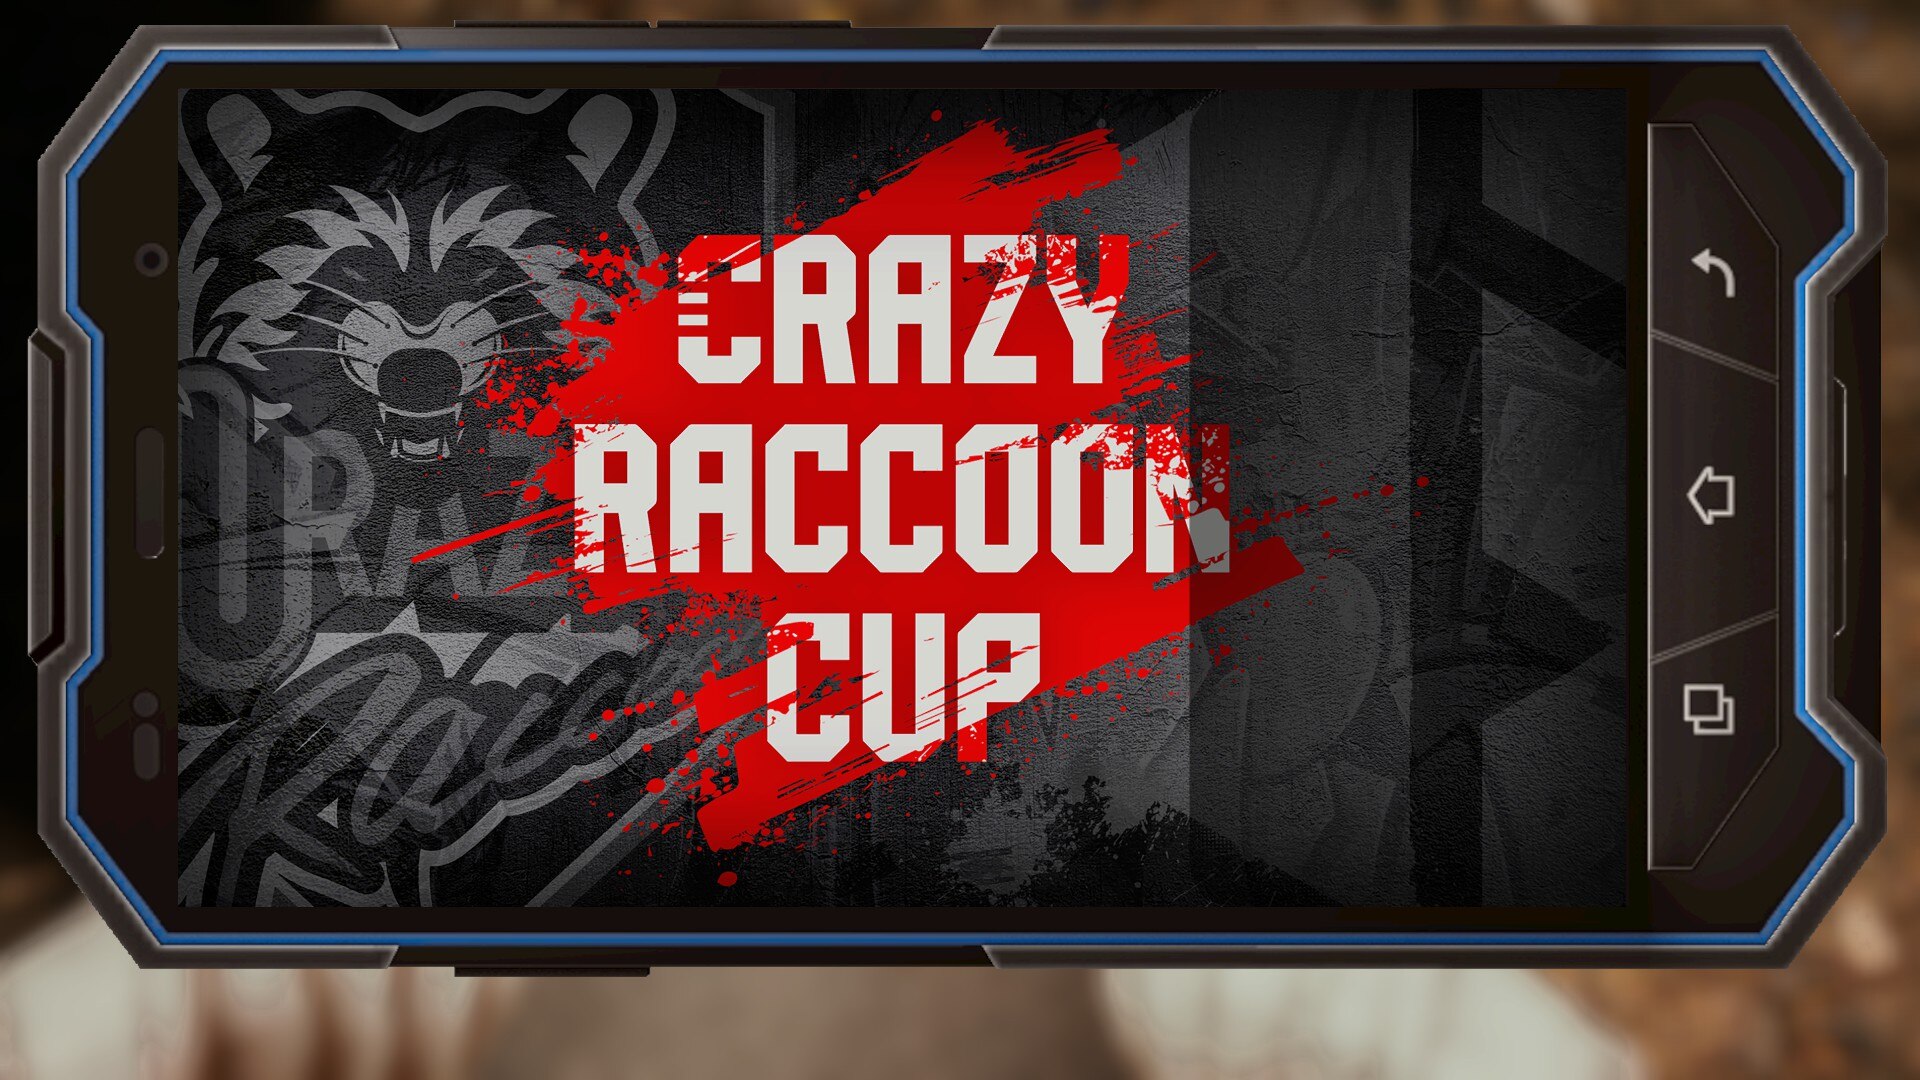
CR CUP #SF6 Wallpaper 2
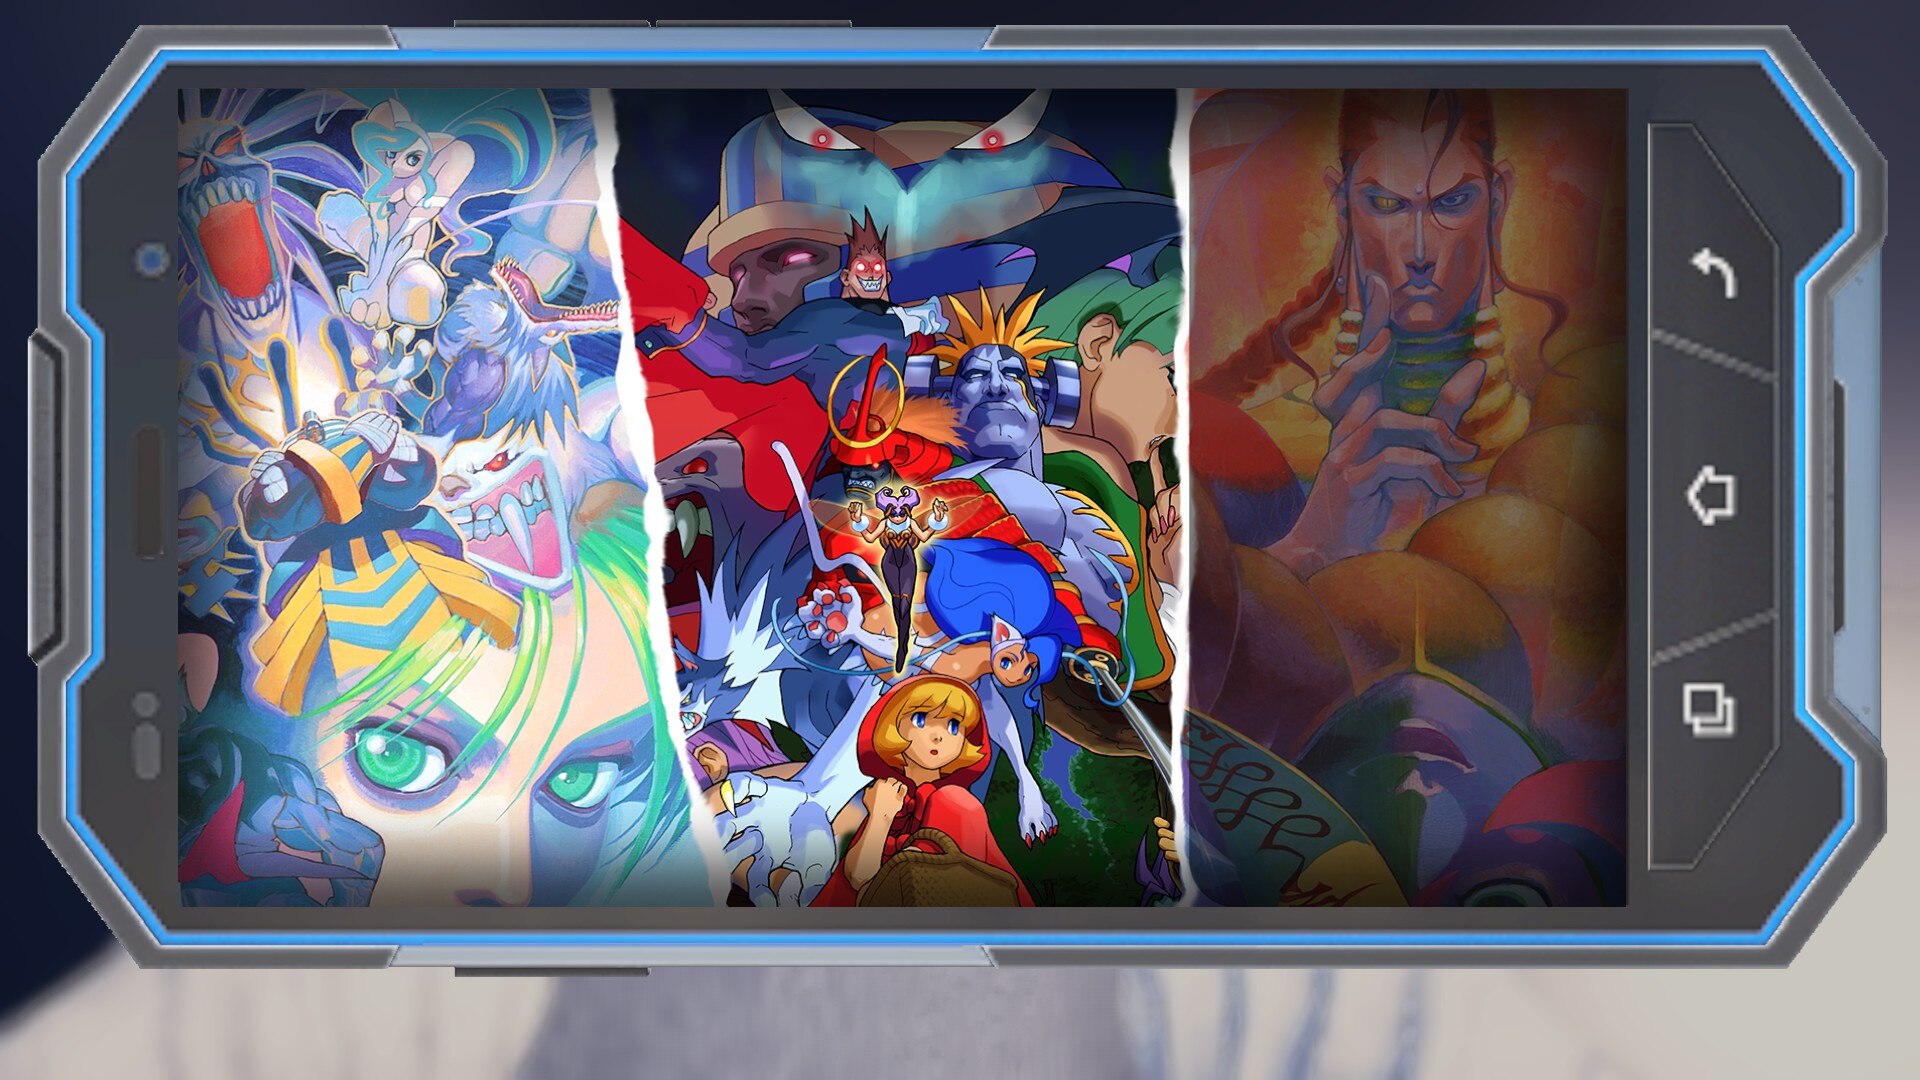
Darkstalkers
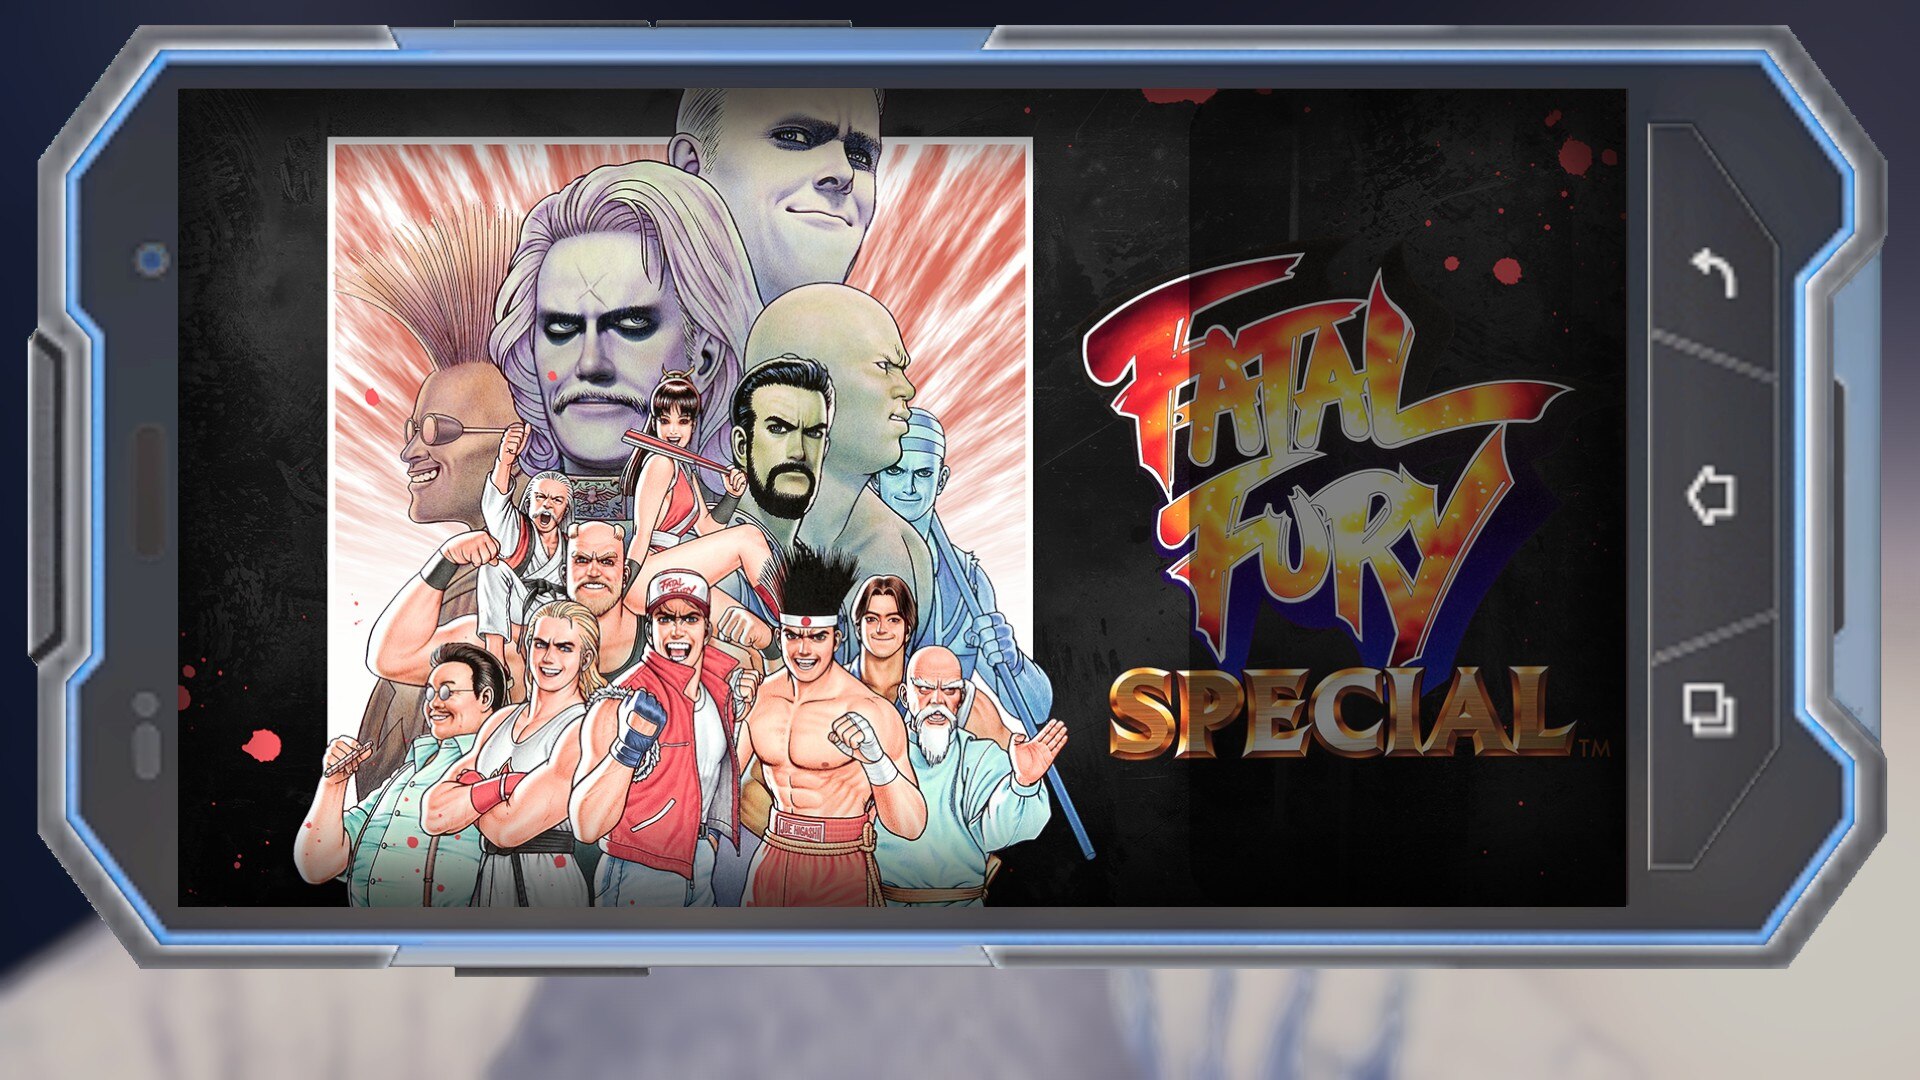
Fatal Fury Special
Ghosts 'n Goblins Resurrection
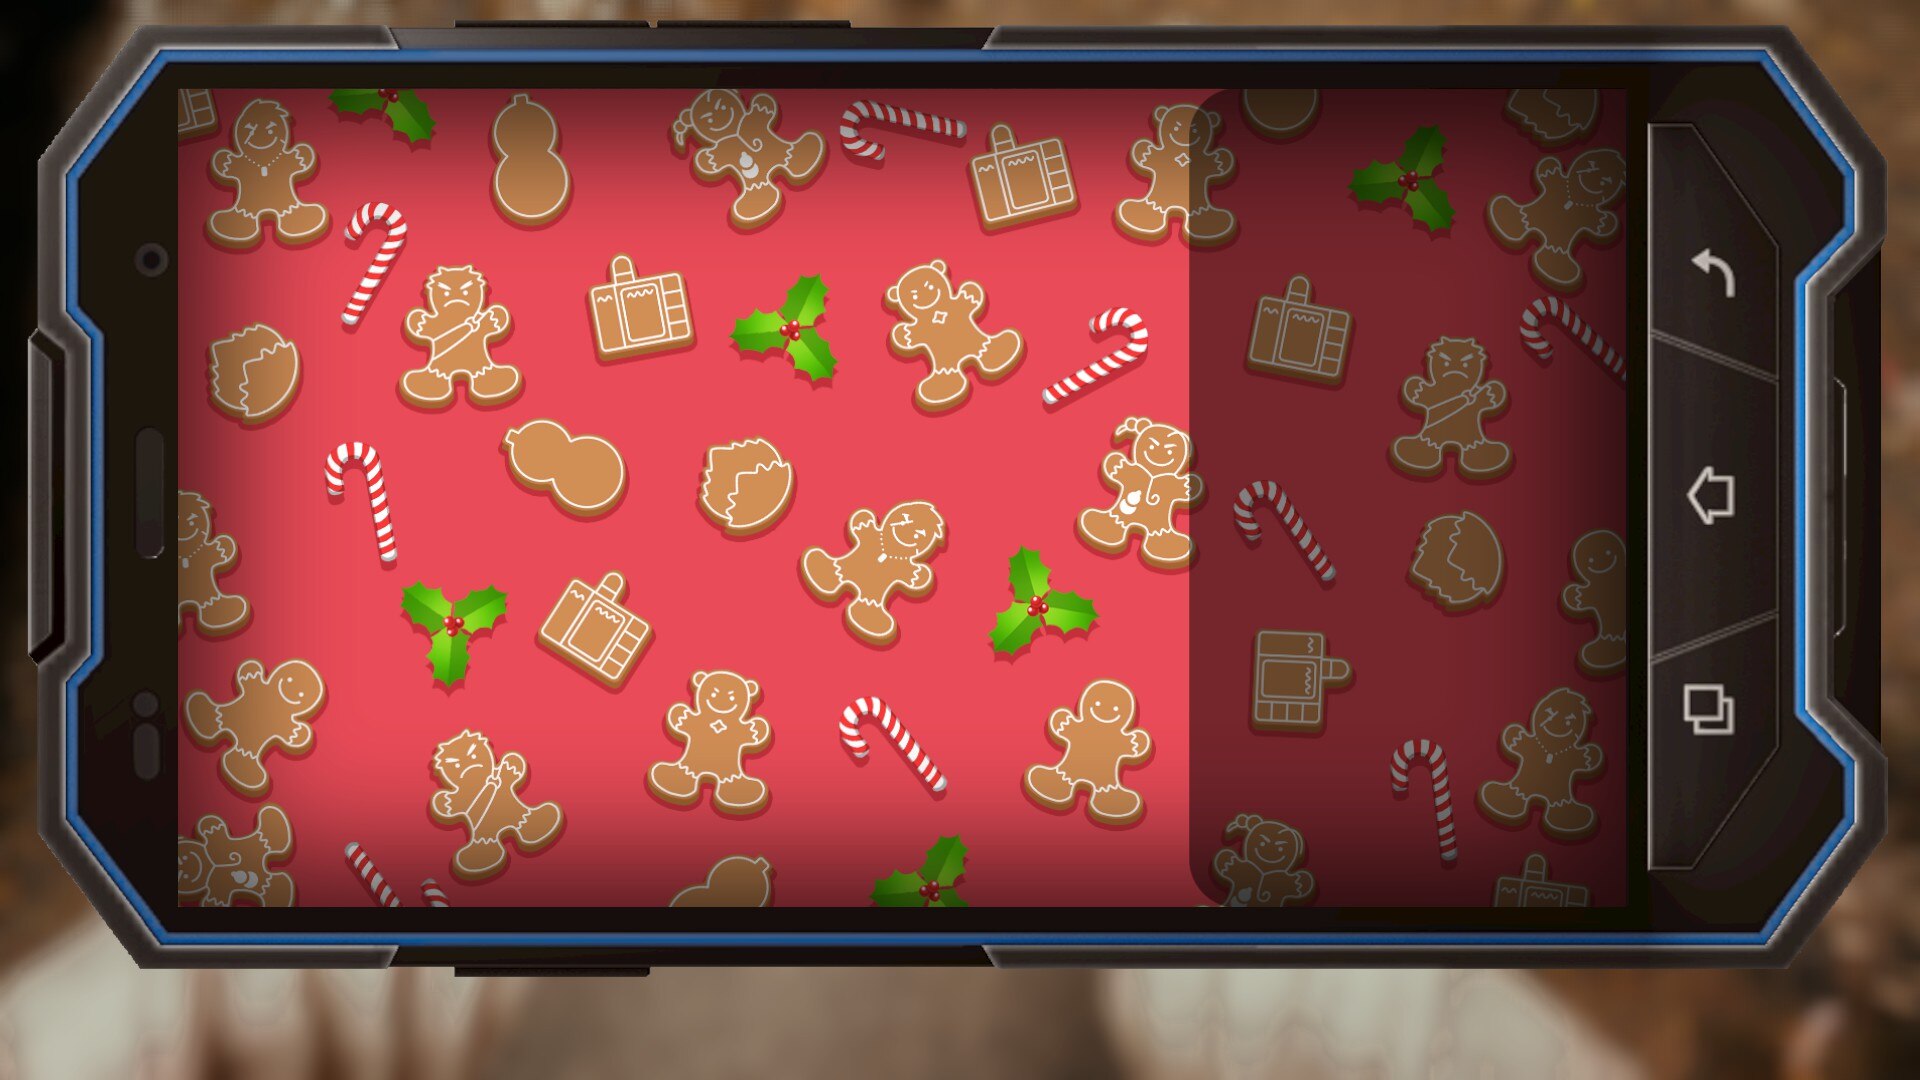
Gift Wrapping
Green
KZH Cup Wallpaper 1
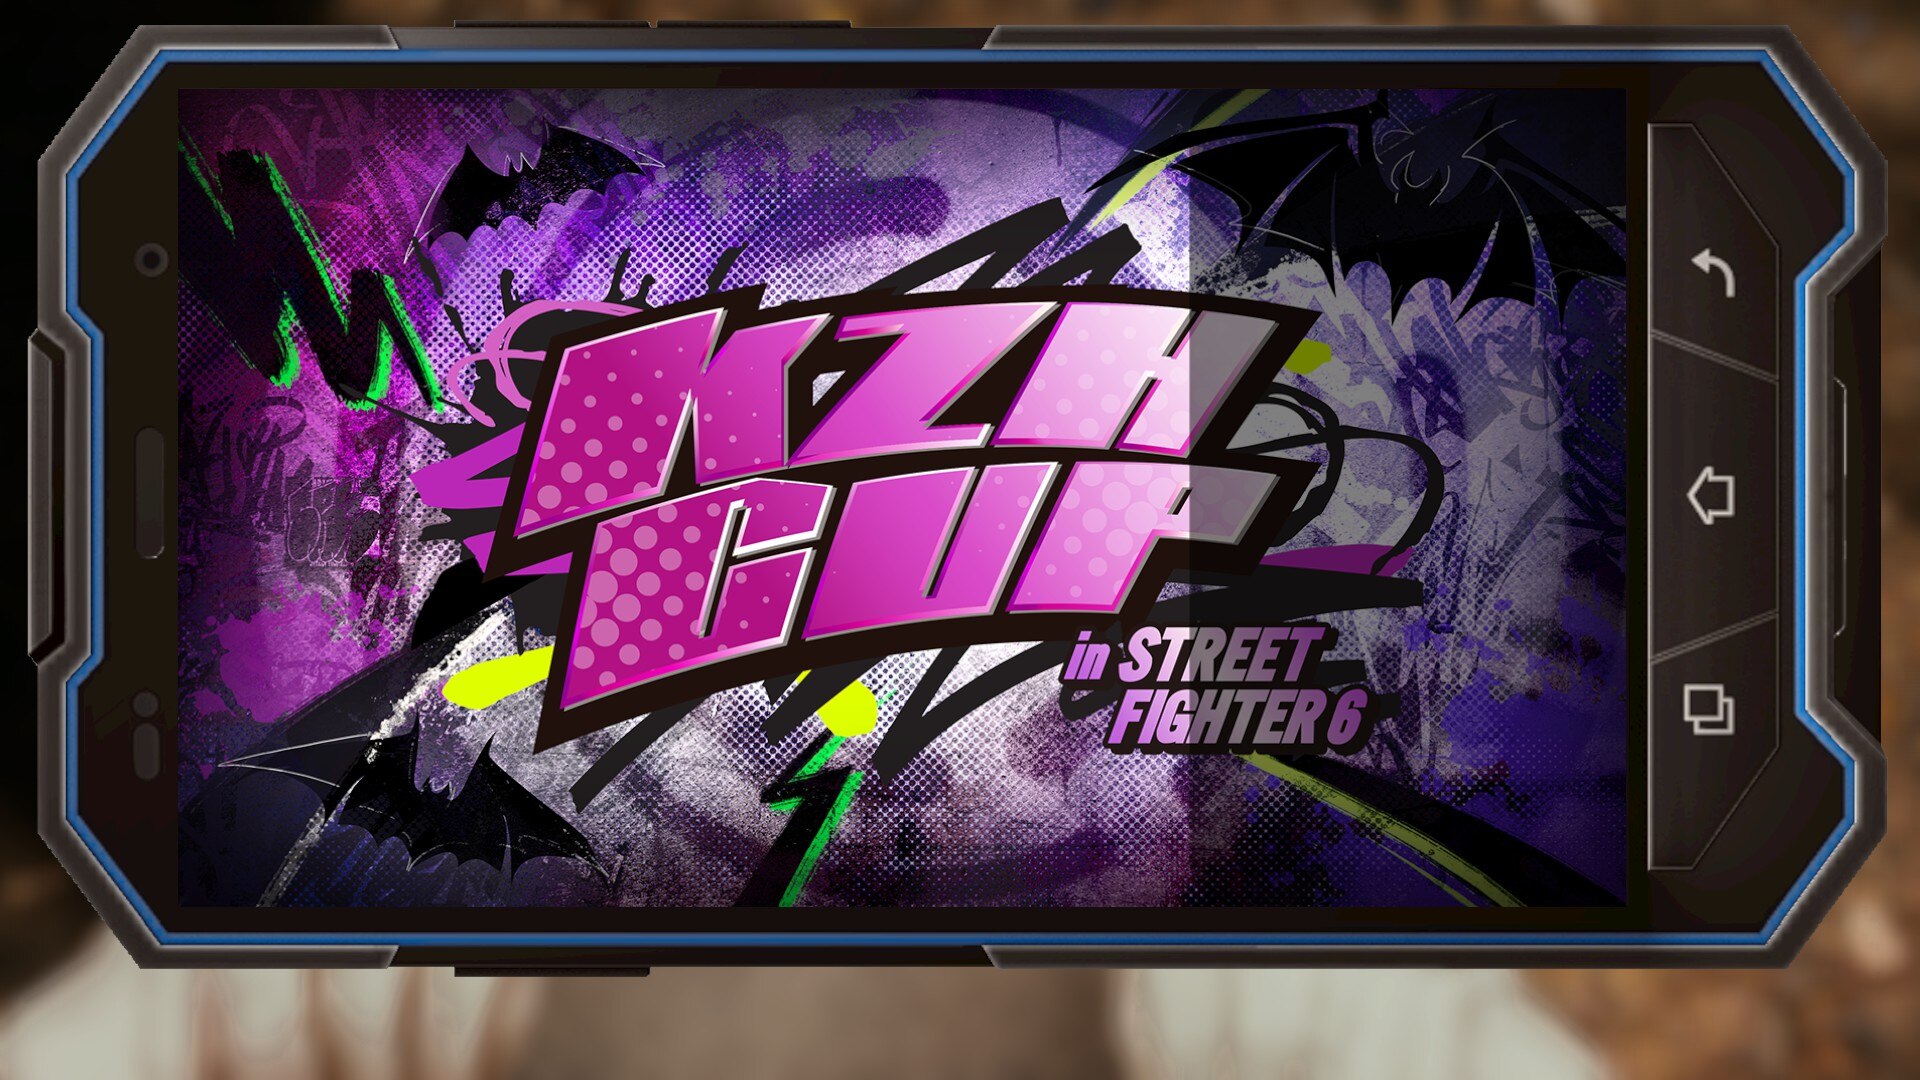
KZH Cup Wallpaper 2
Masami Obari Special Wallpaper
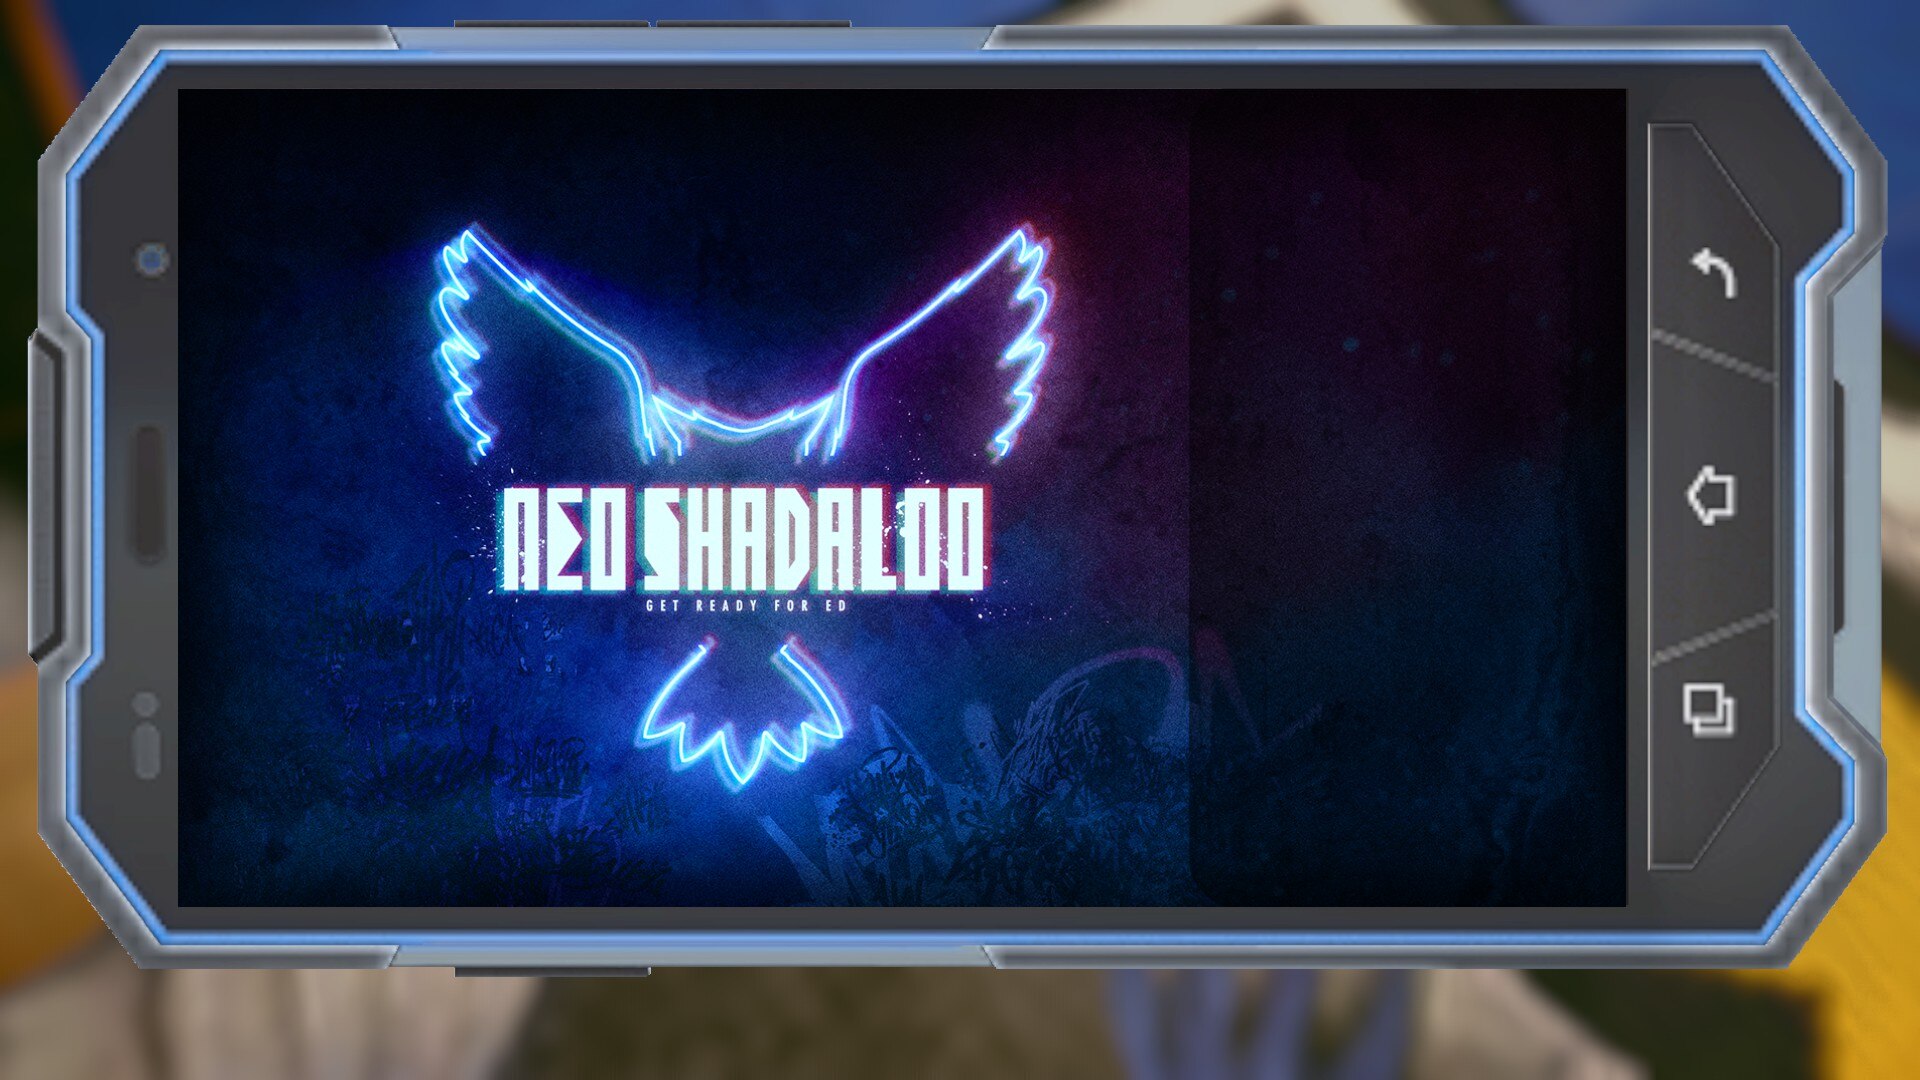
Neo Shadaloo
Plasma Sword Wallpaper
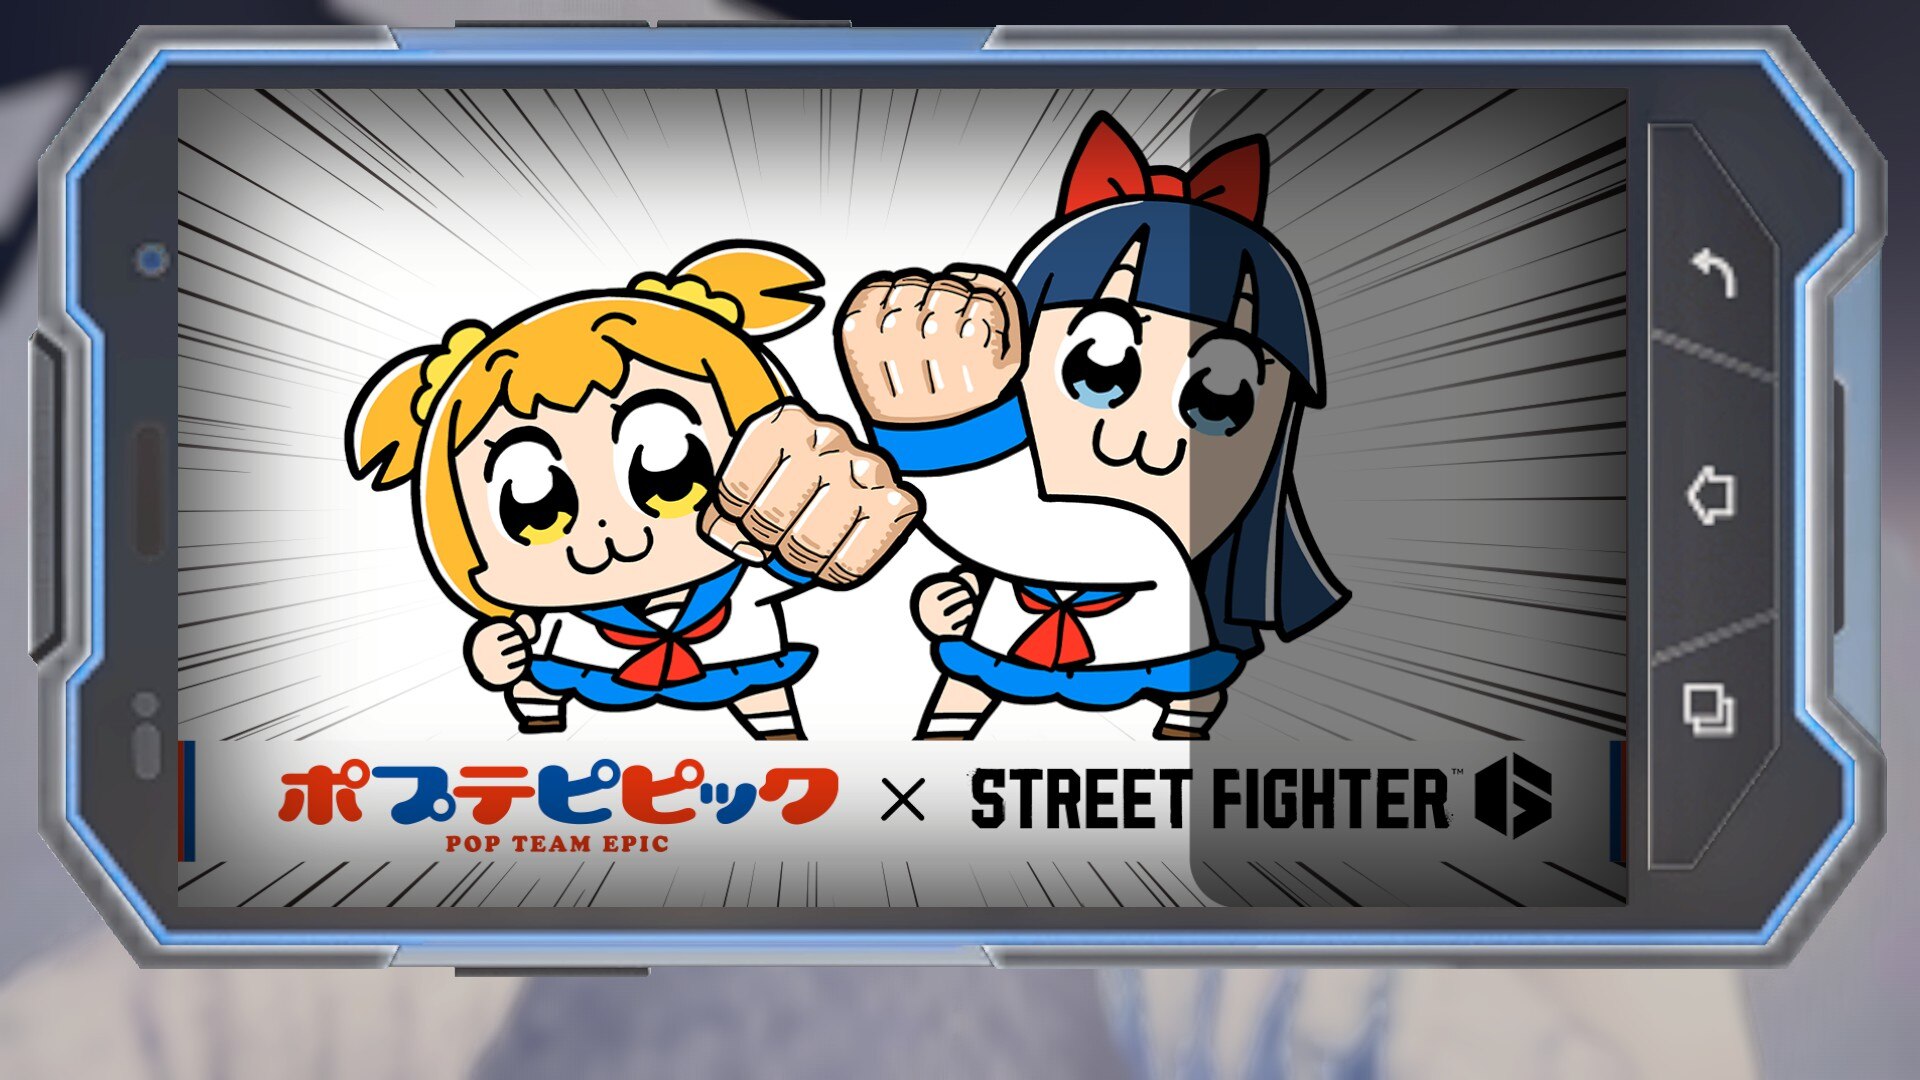
POP TEAM EPIC Wallpaper
Power Stone 2 Wallpaper

Purple
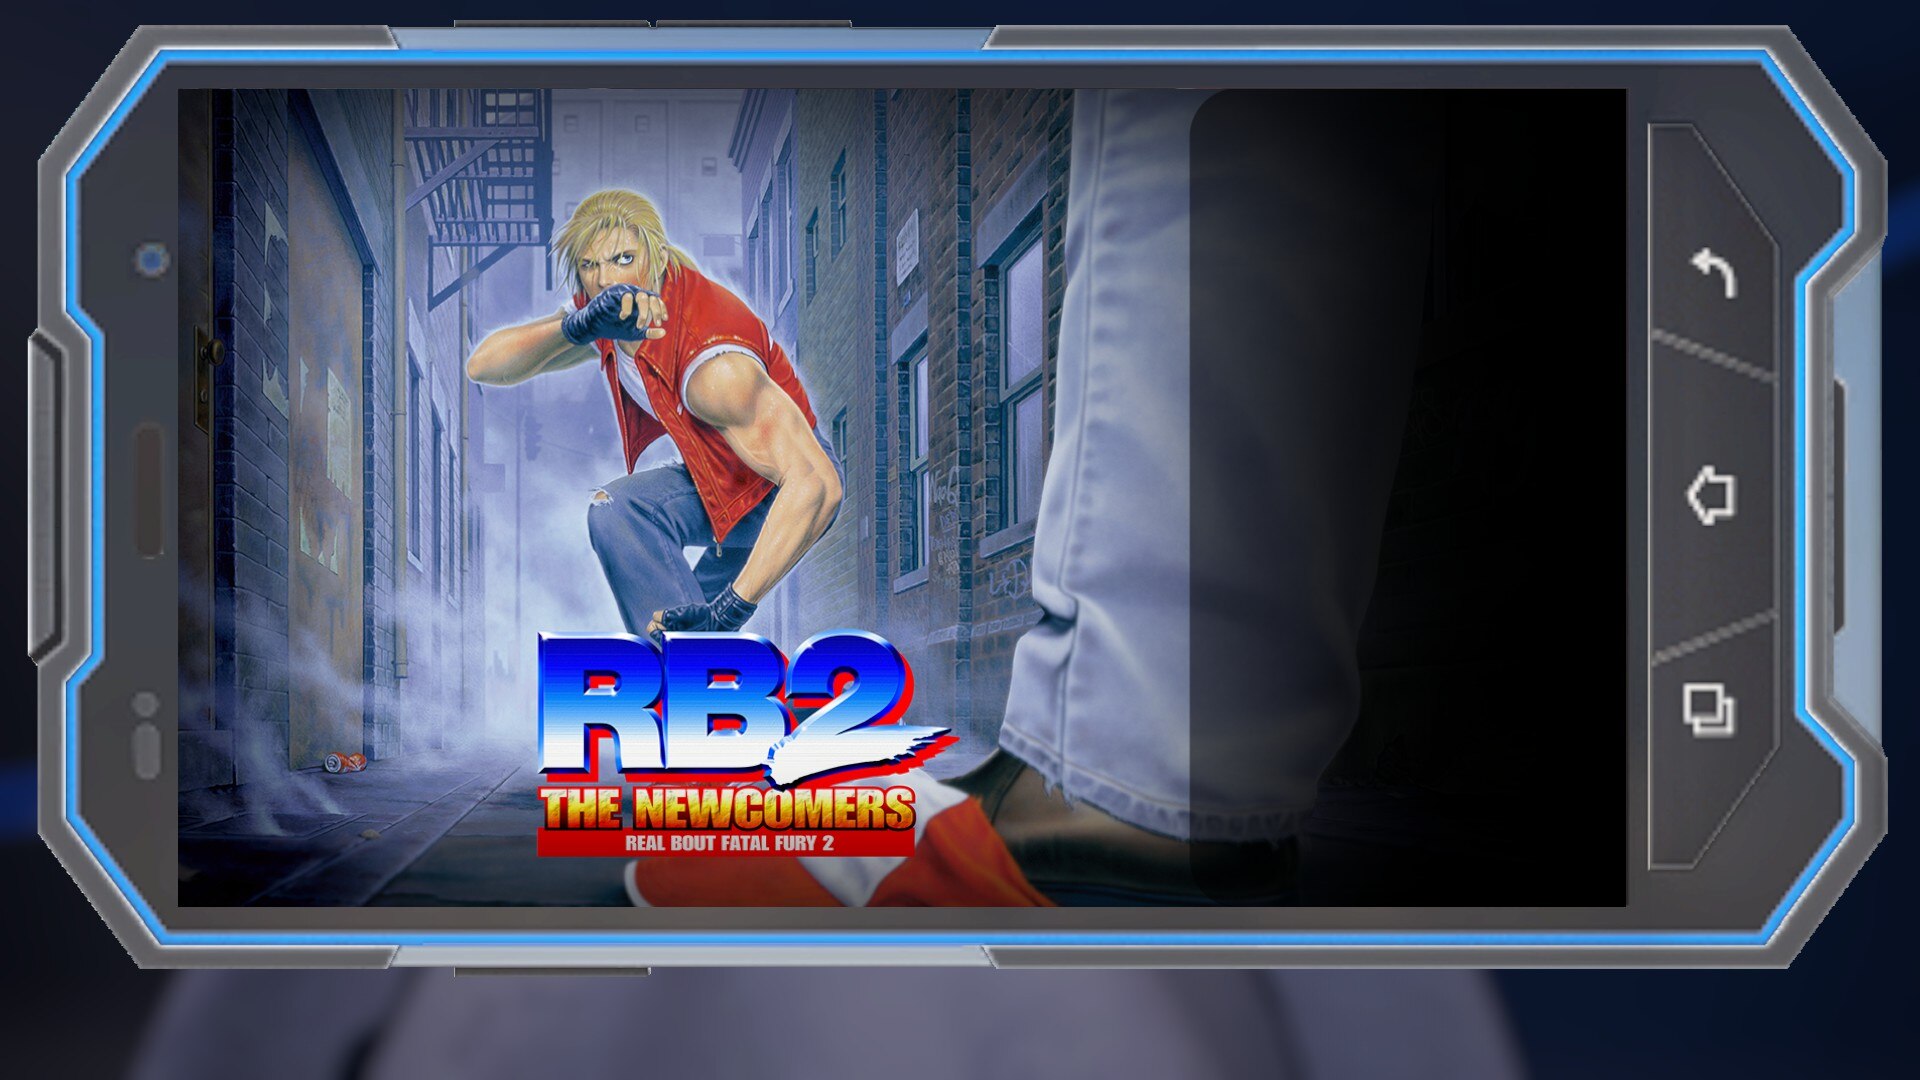
Real Bout Fatal Fury 2
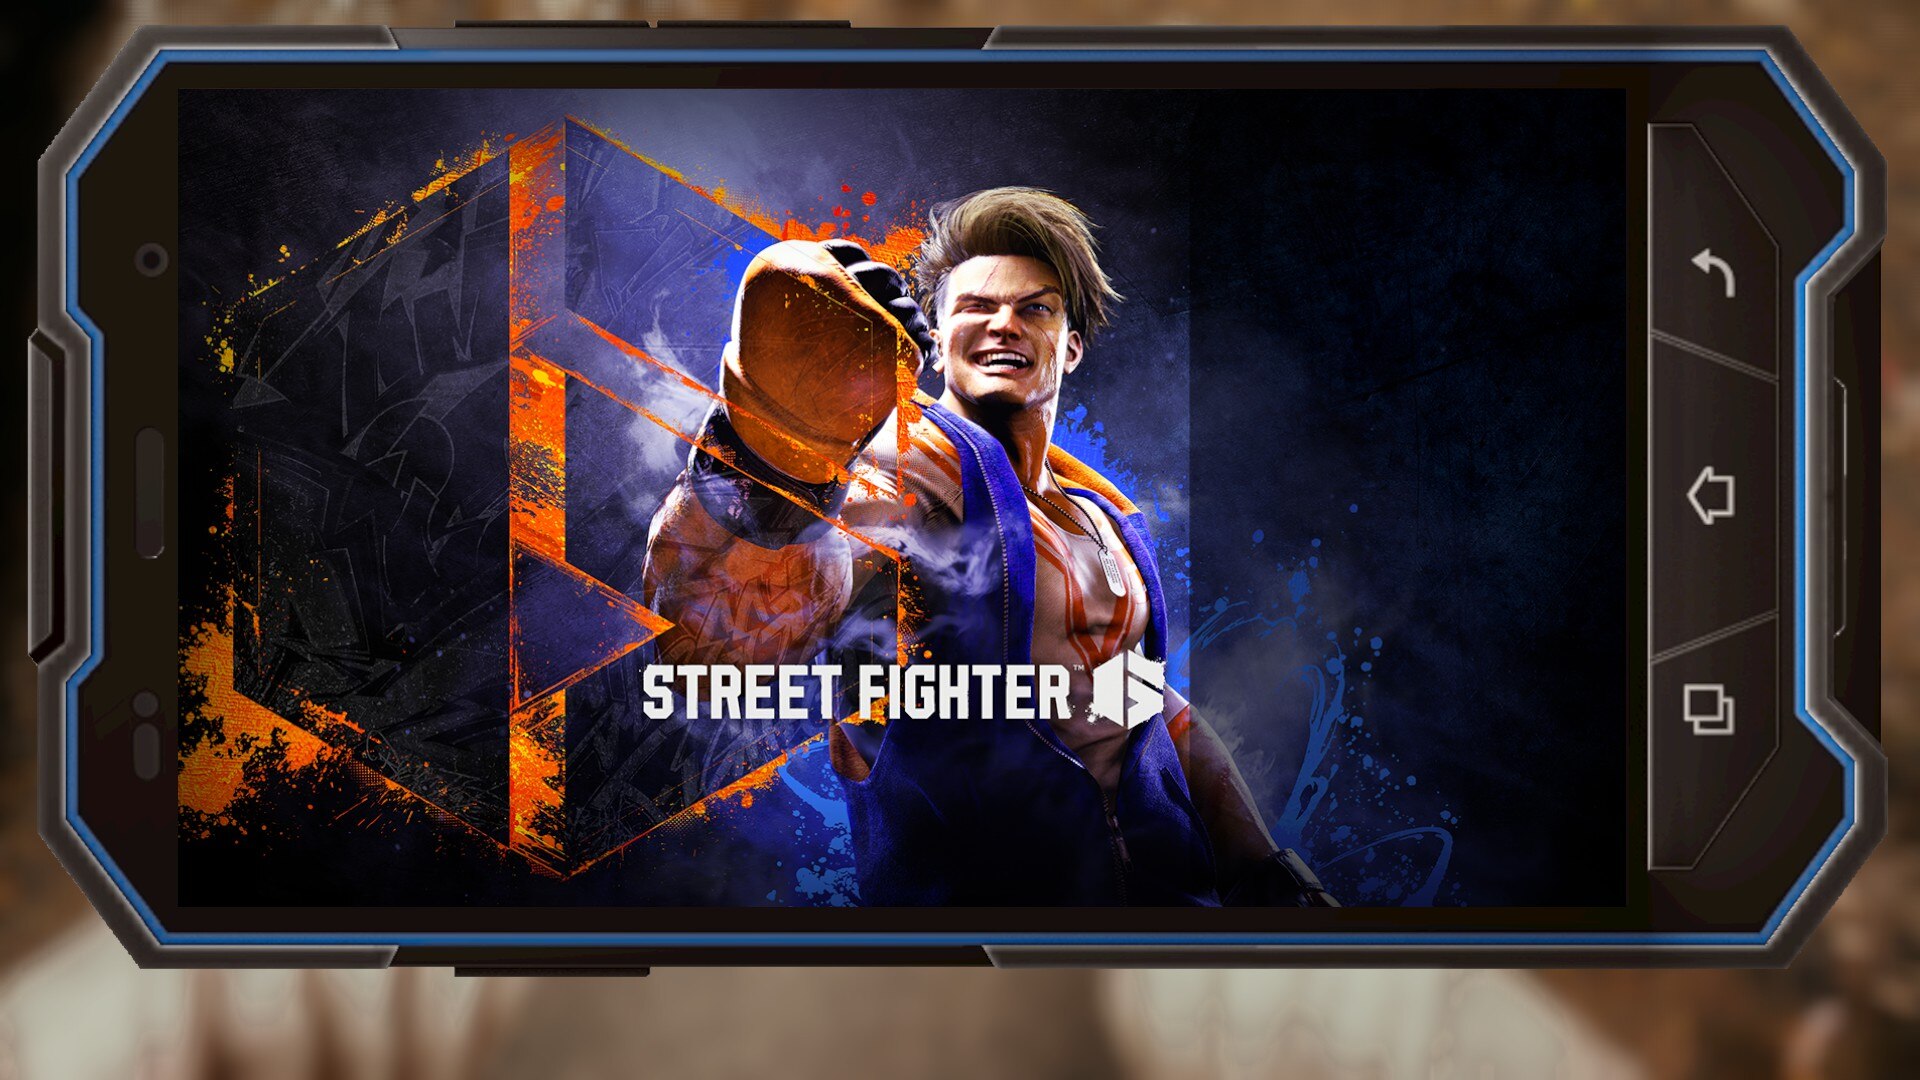
SF6 Key Art
SF6 Logo
Street Fighter
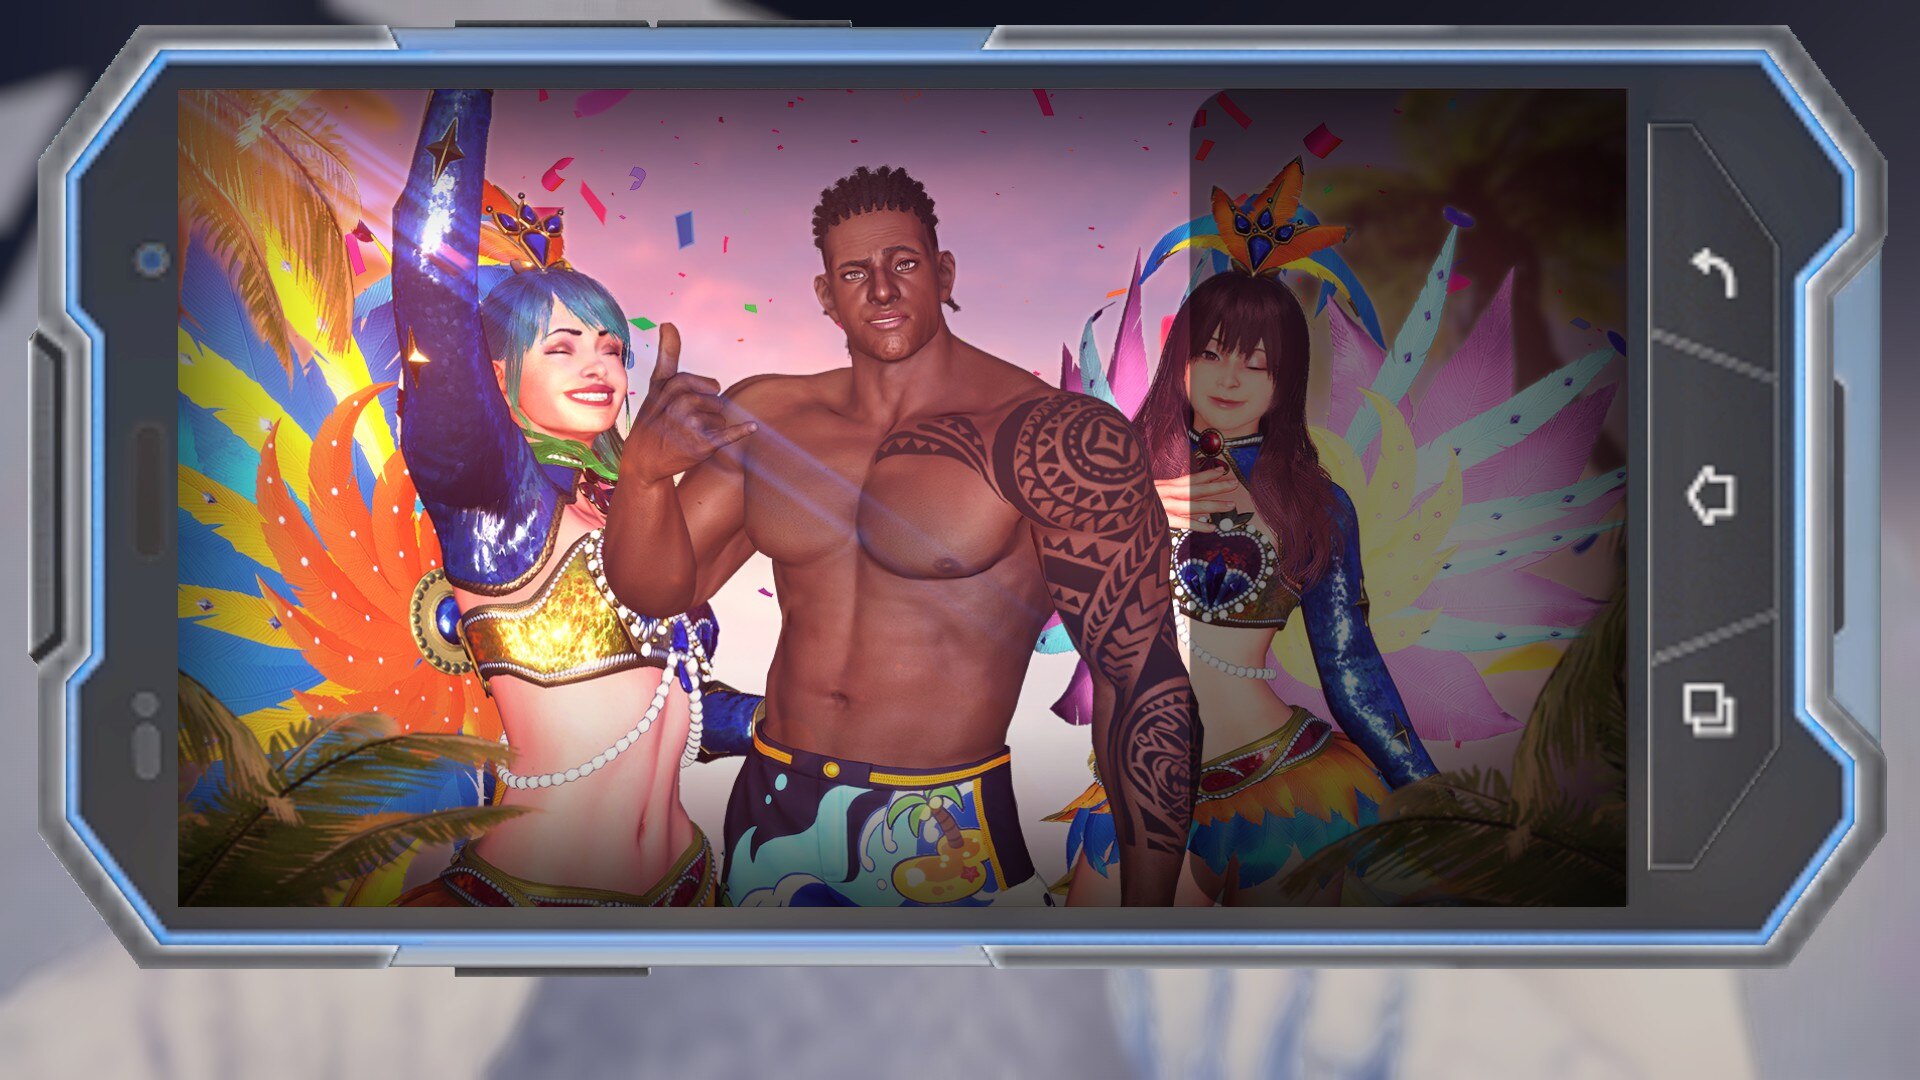
Summer Samba Slam
The Champion
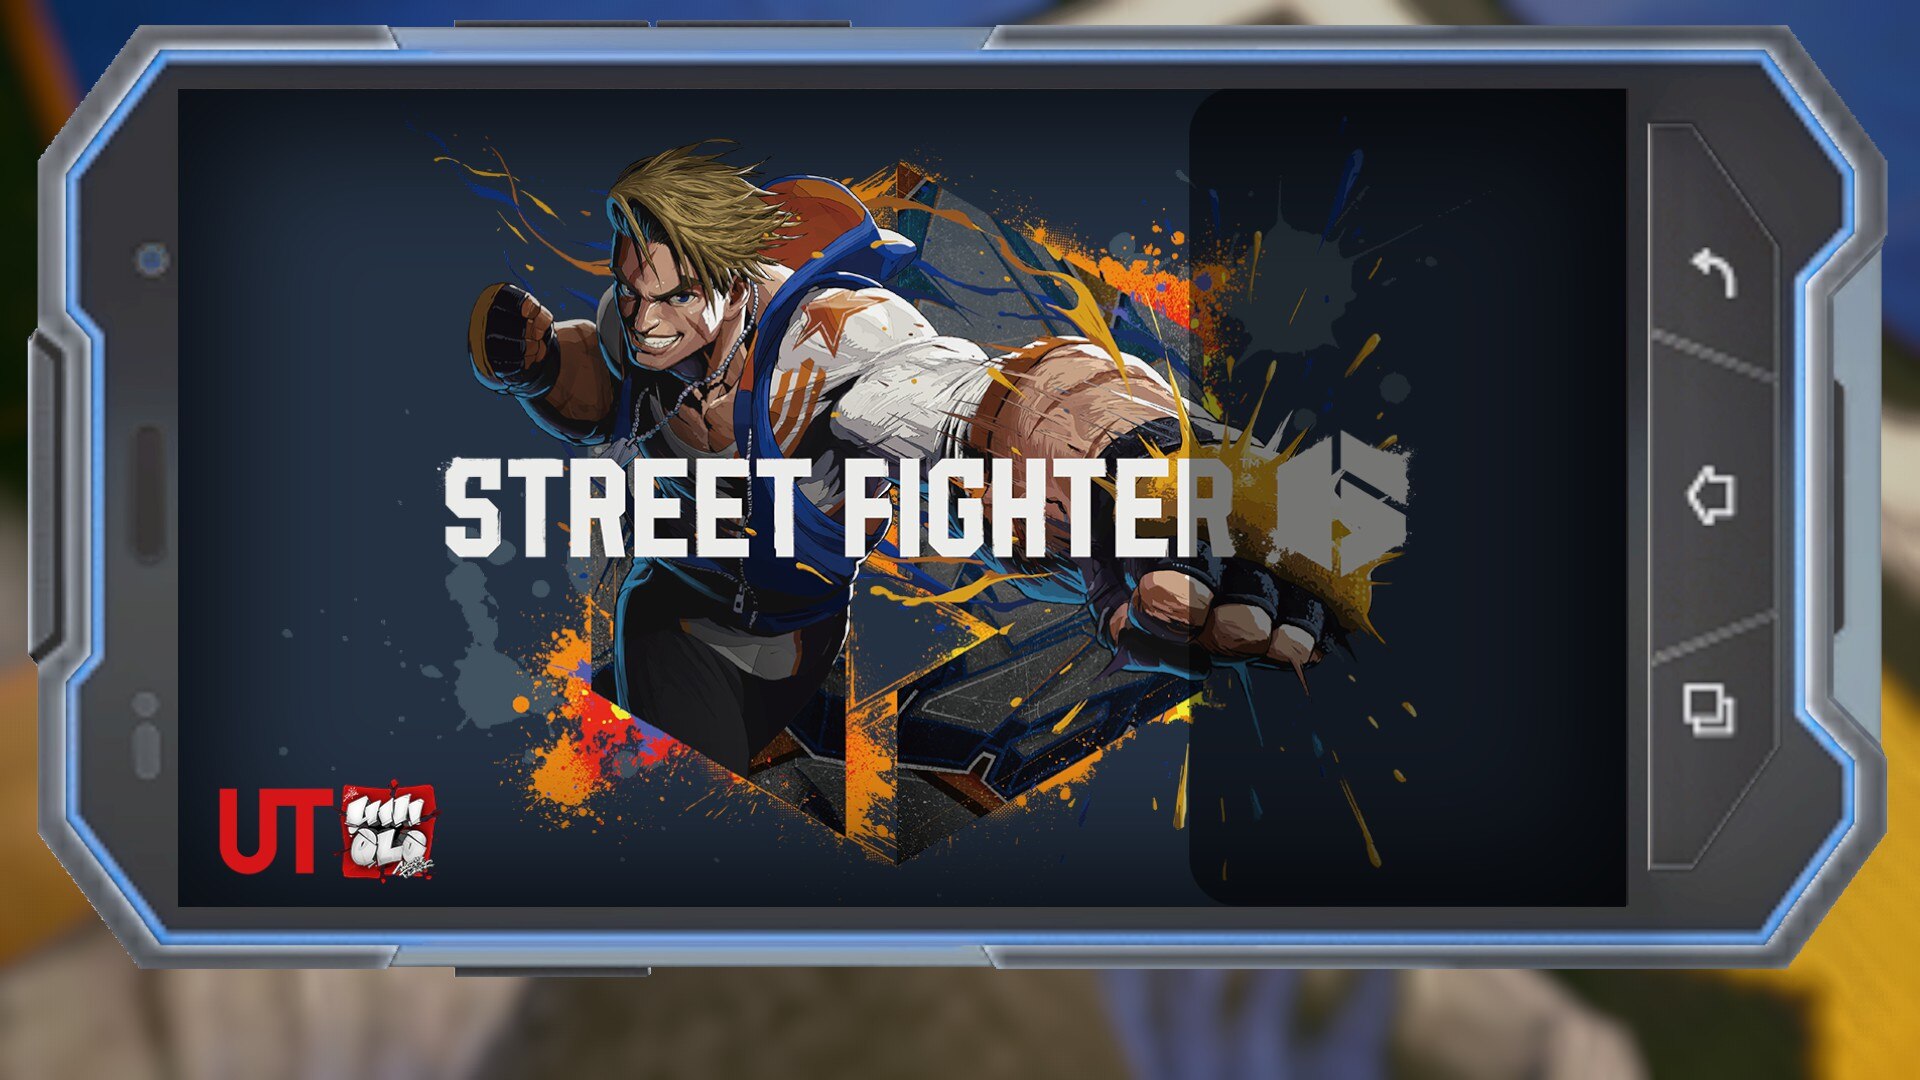
UNIQLO UT Wallpaper
White
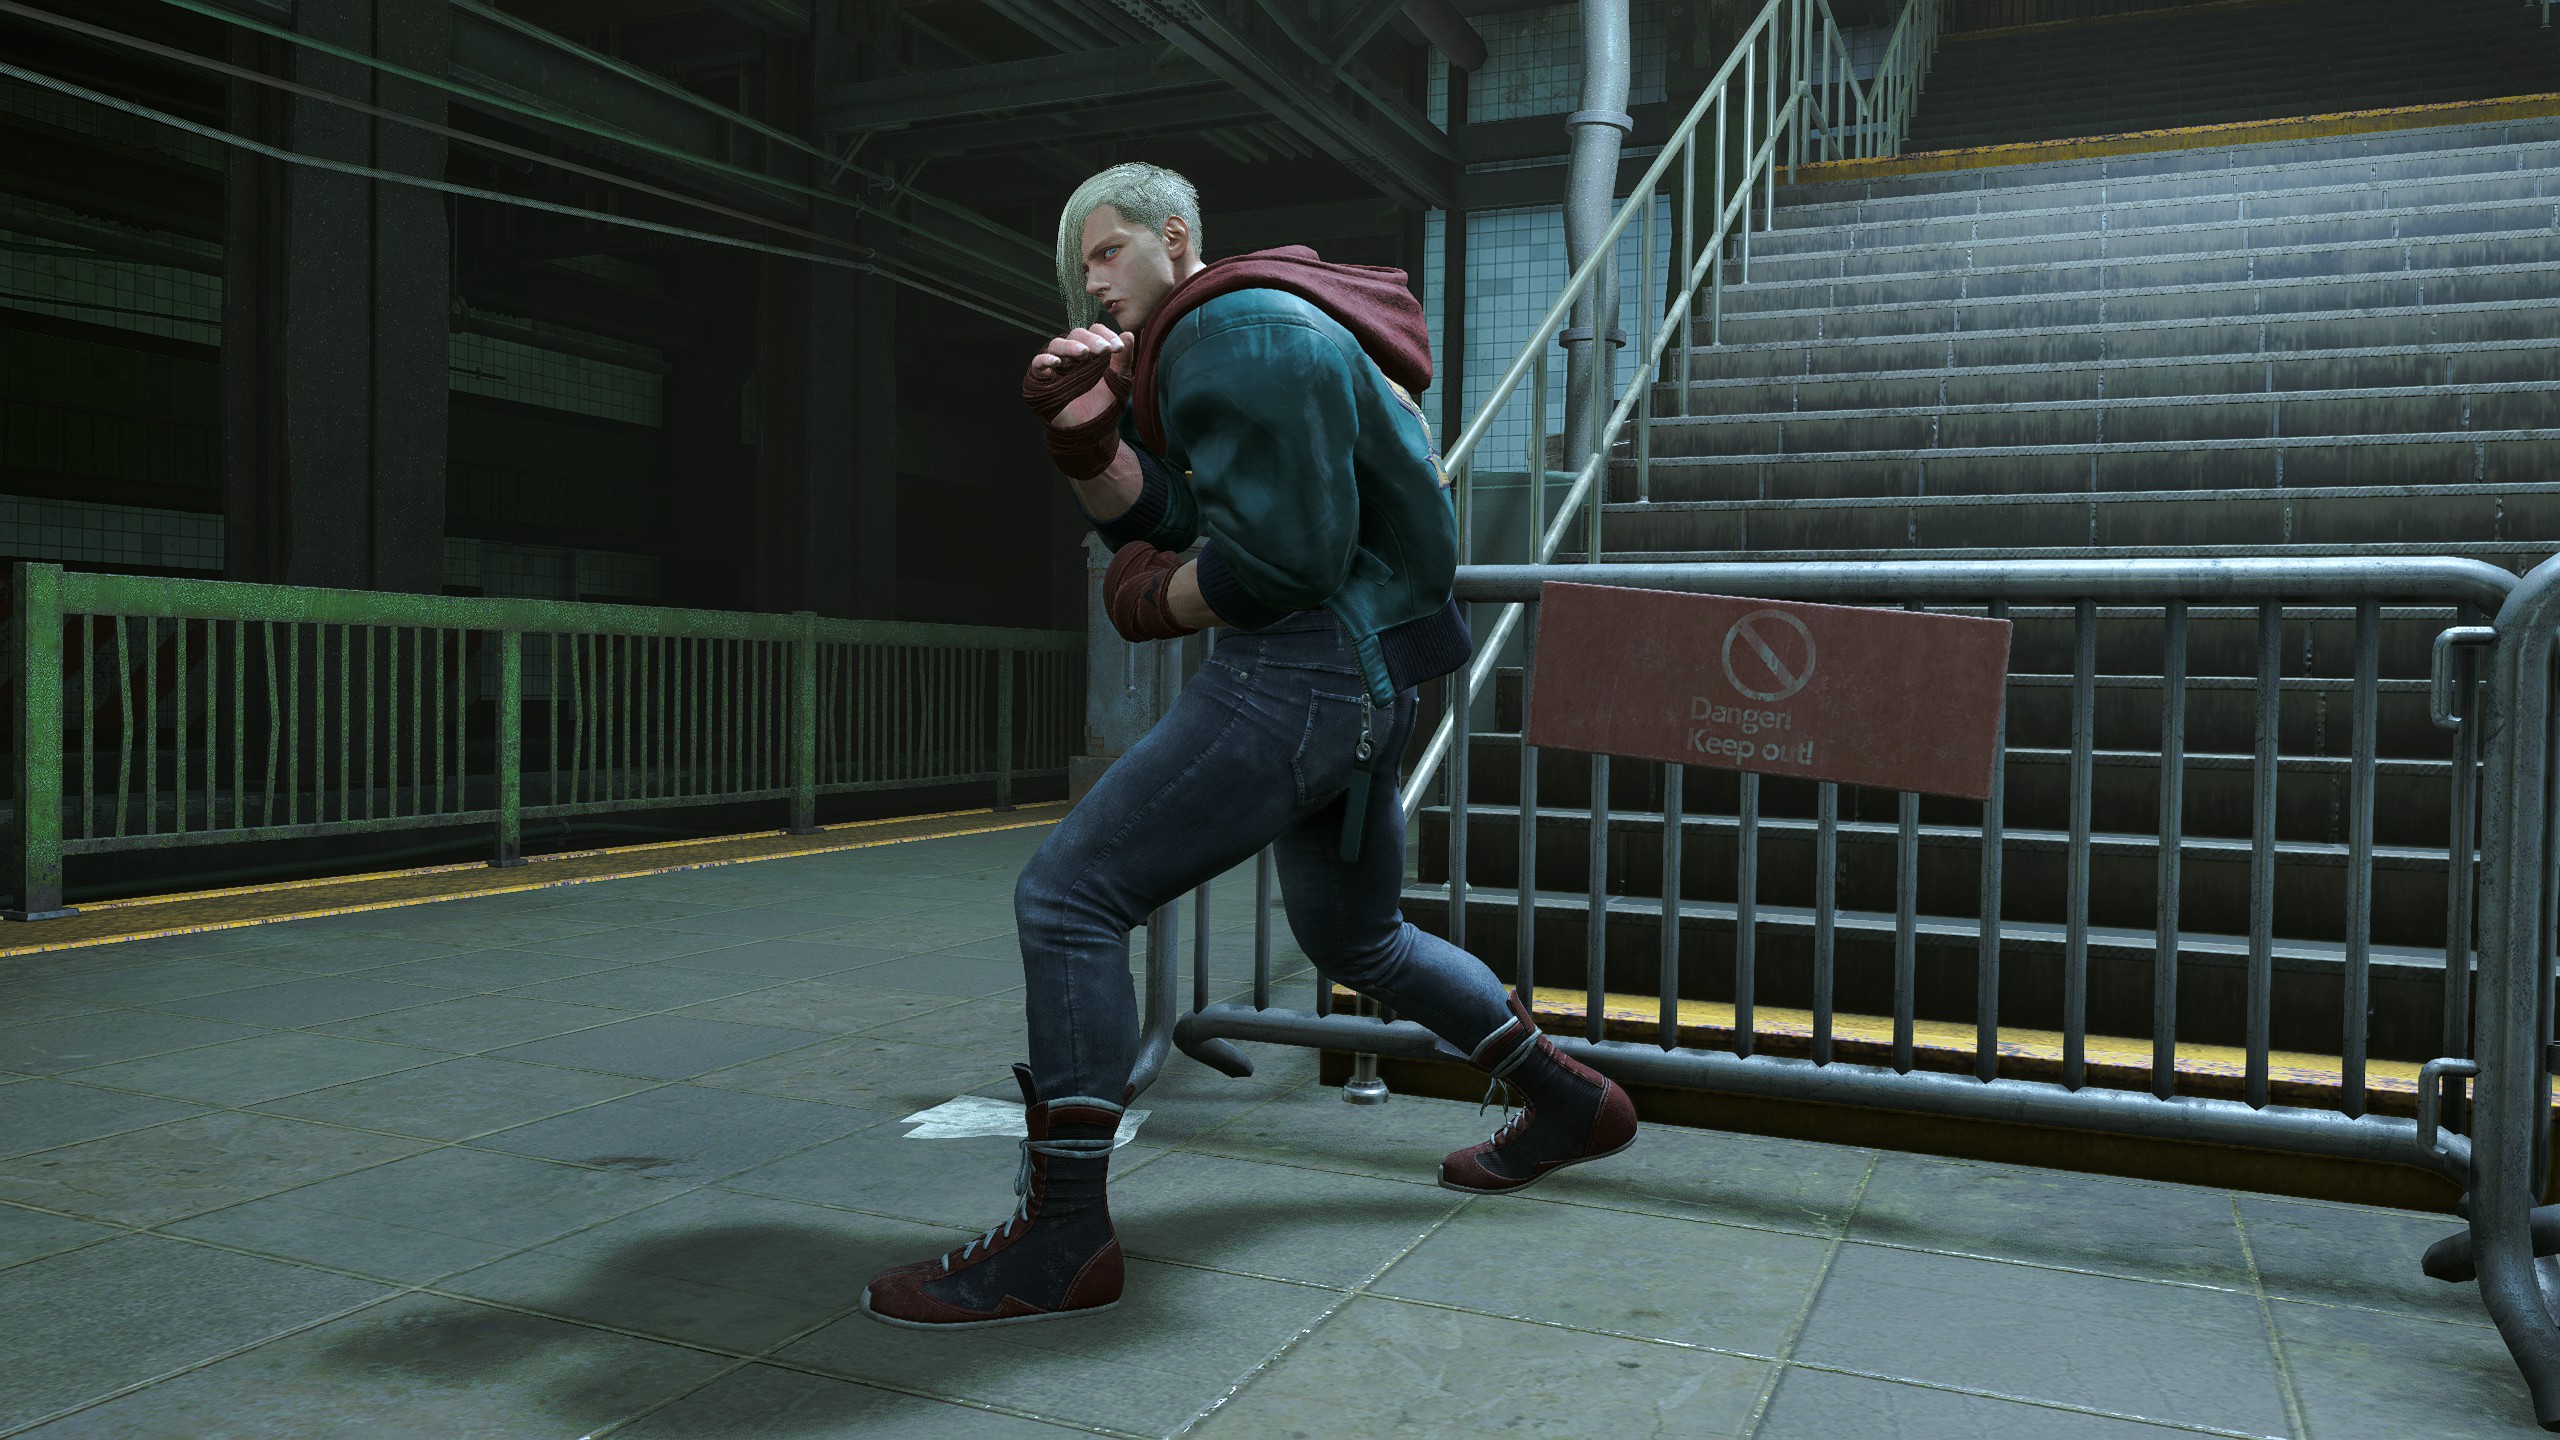
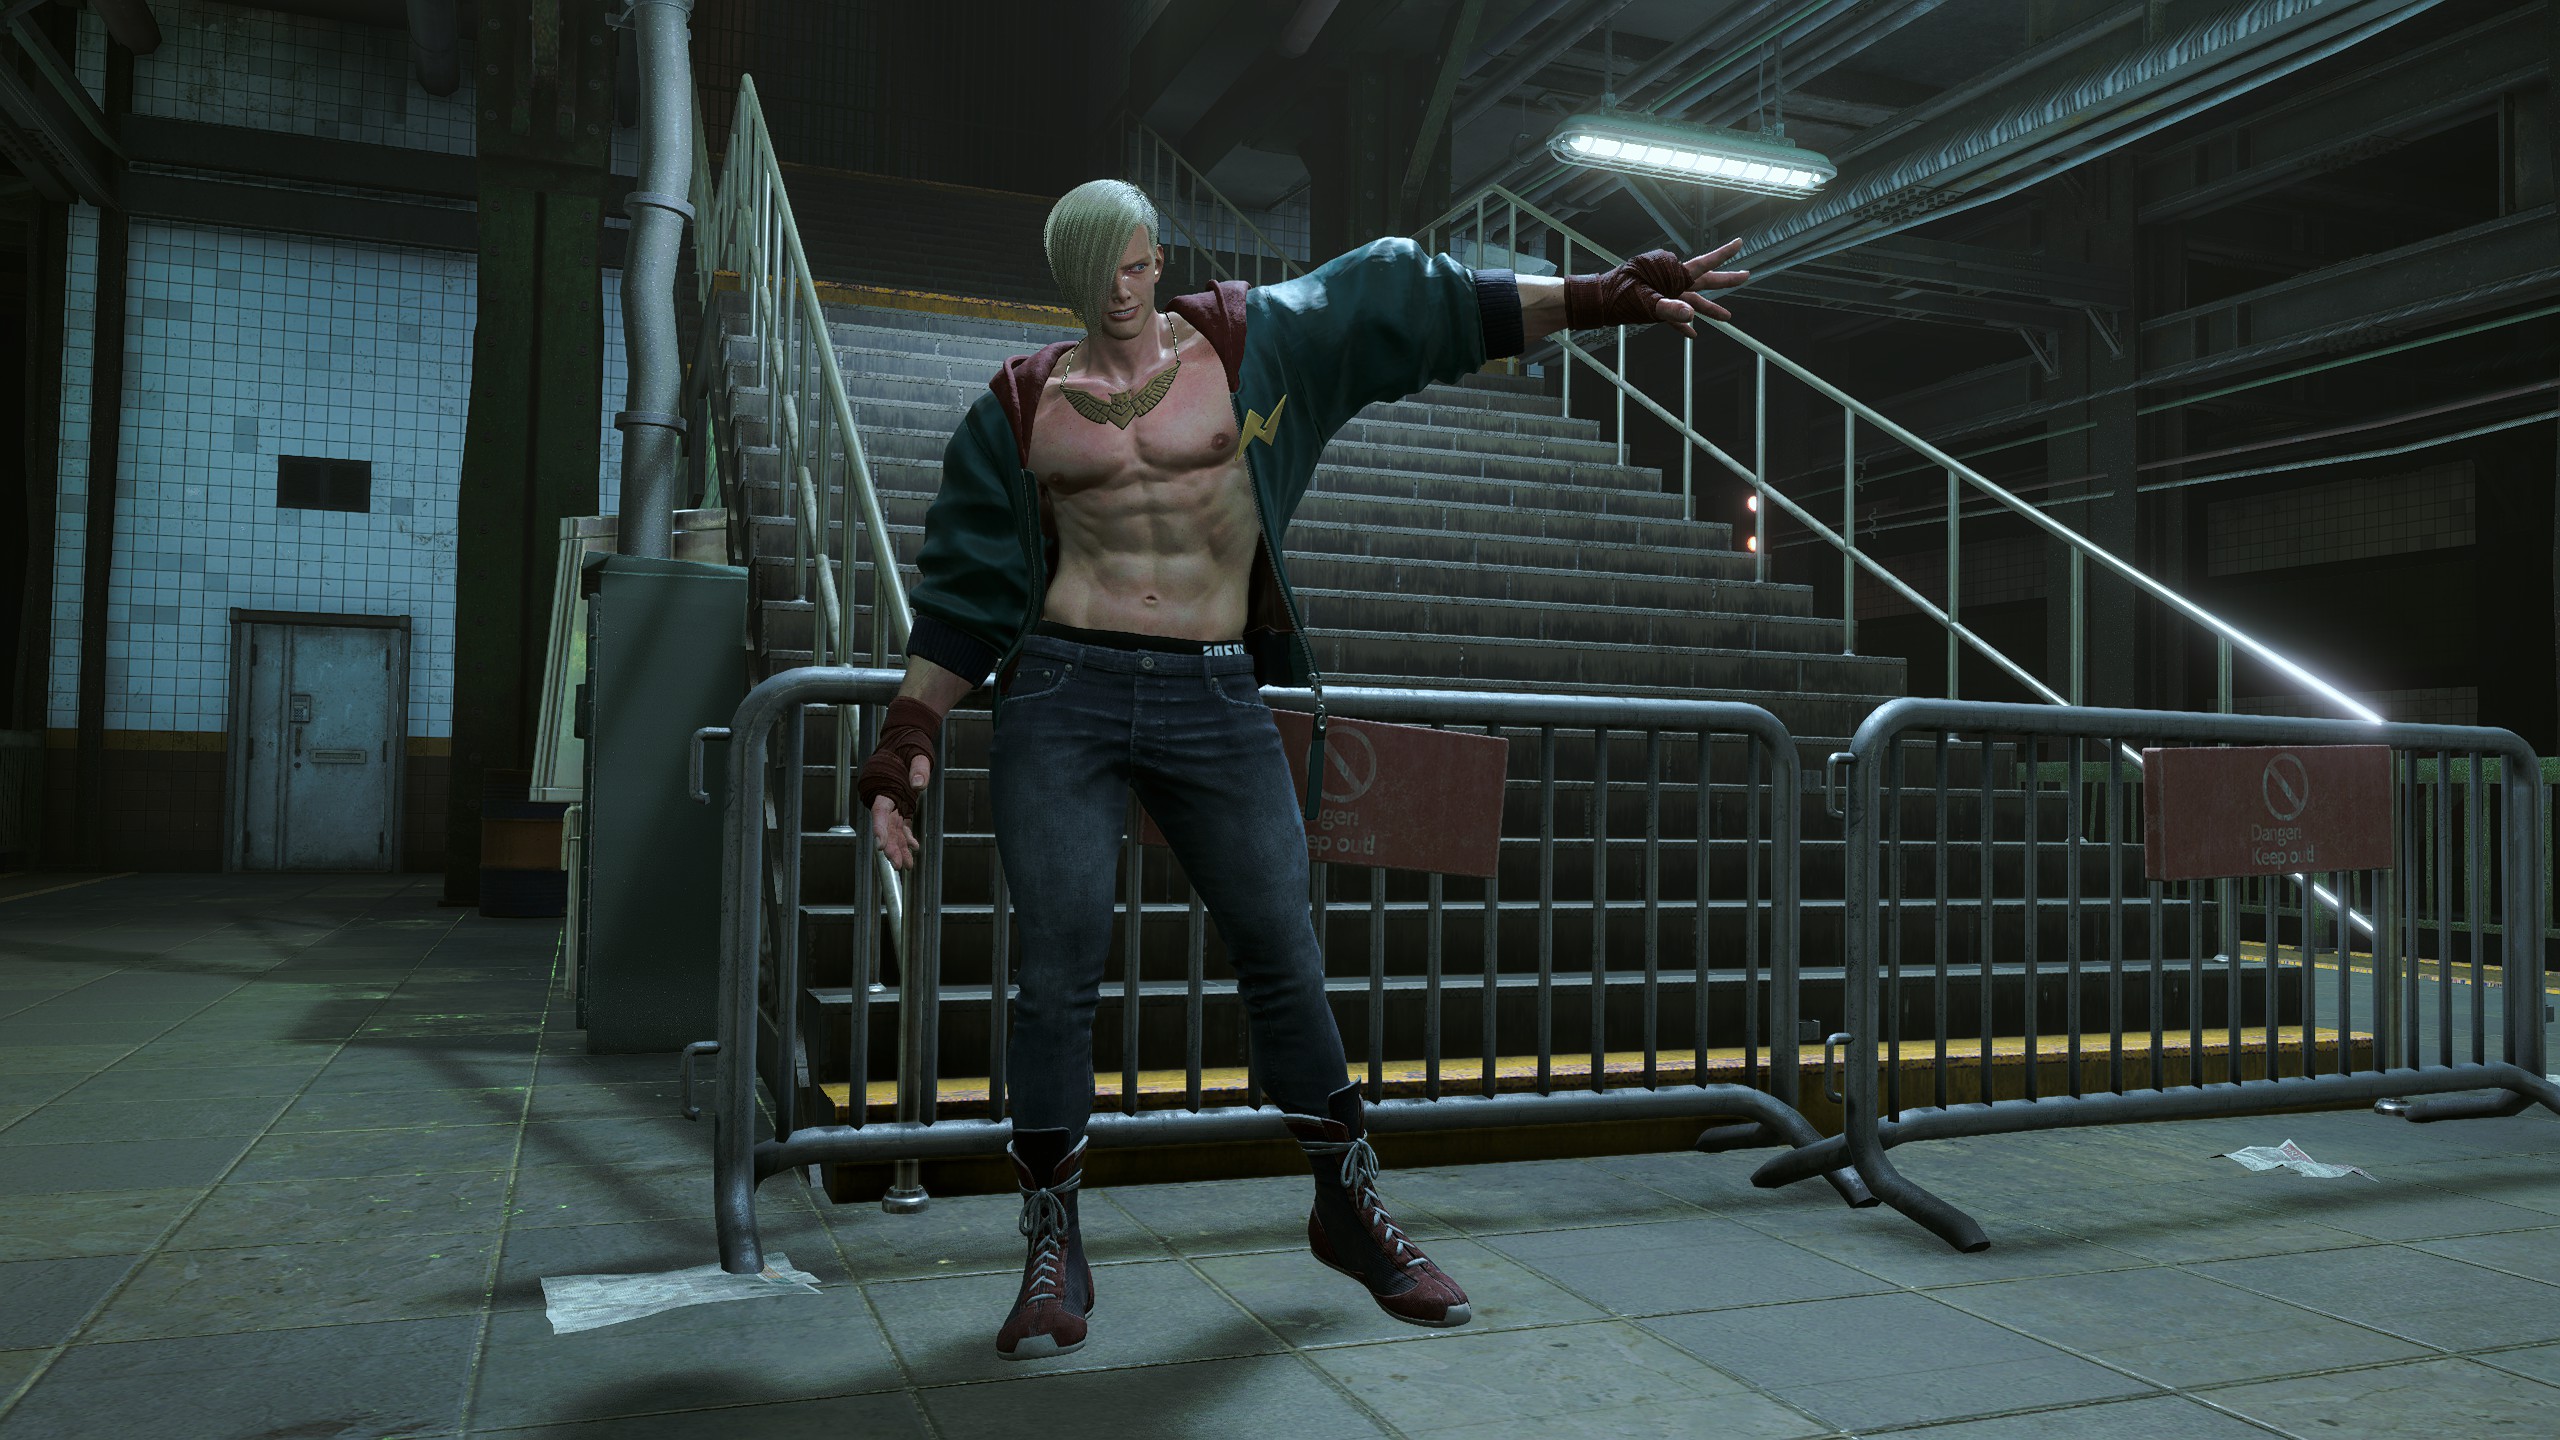
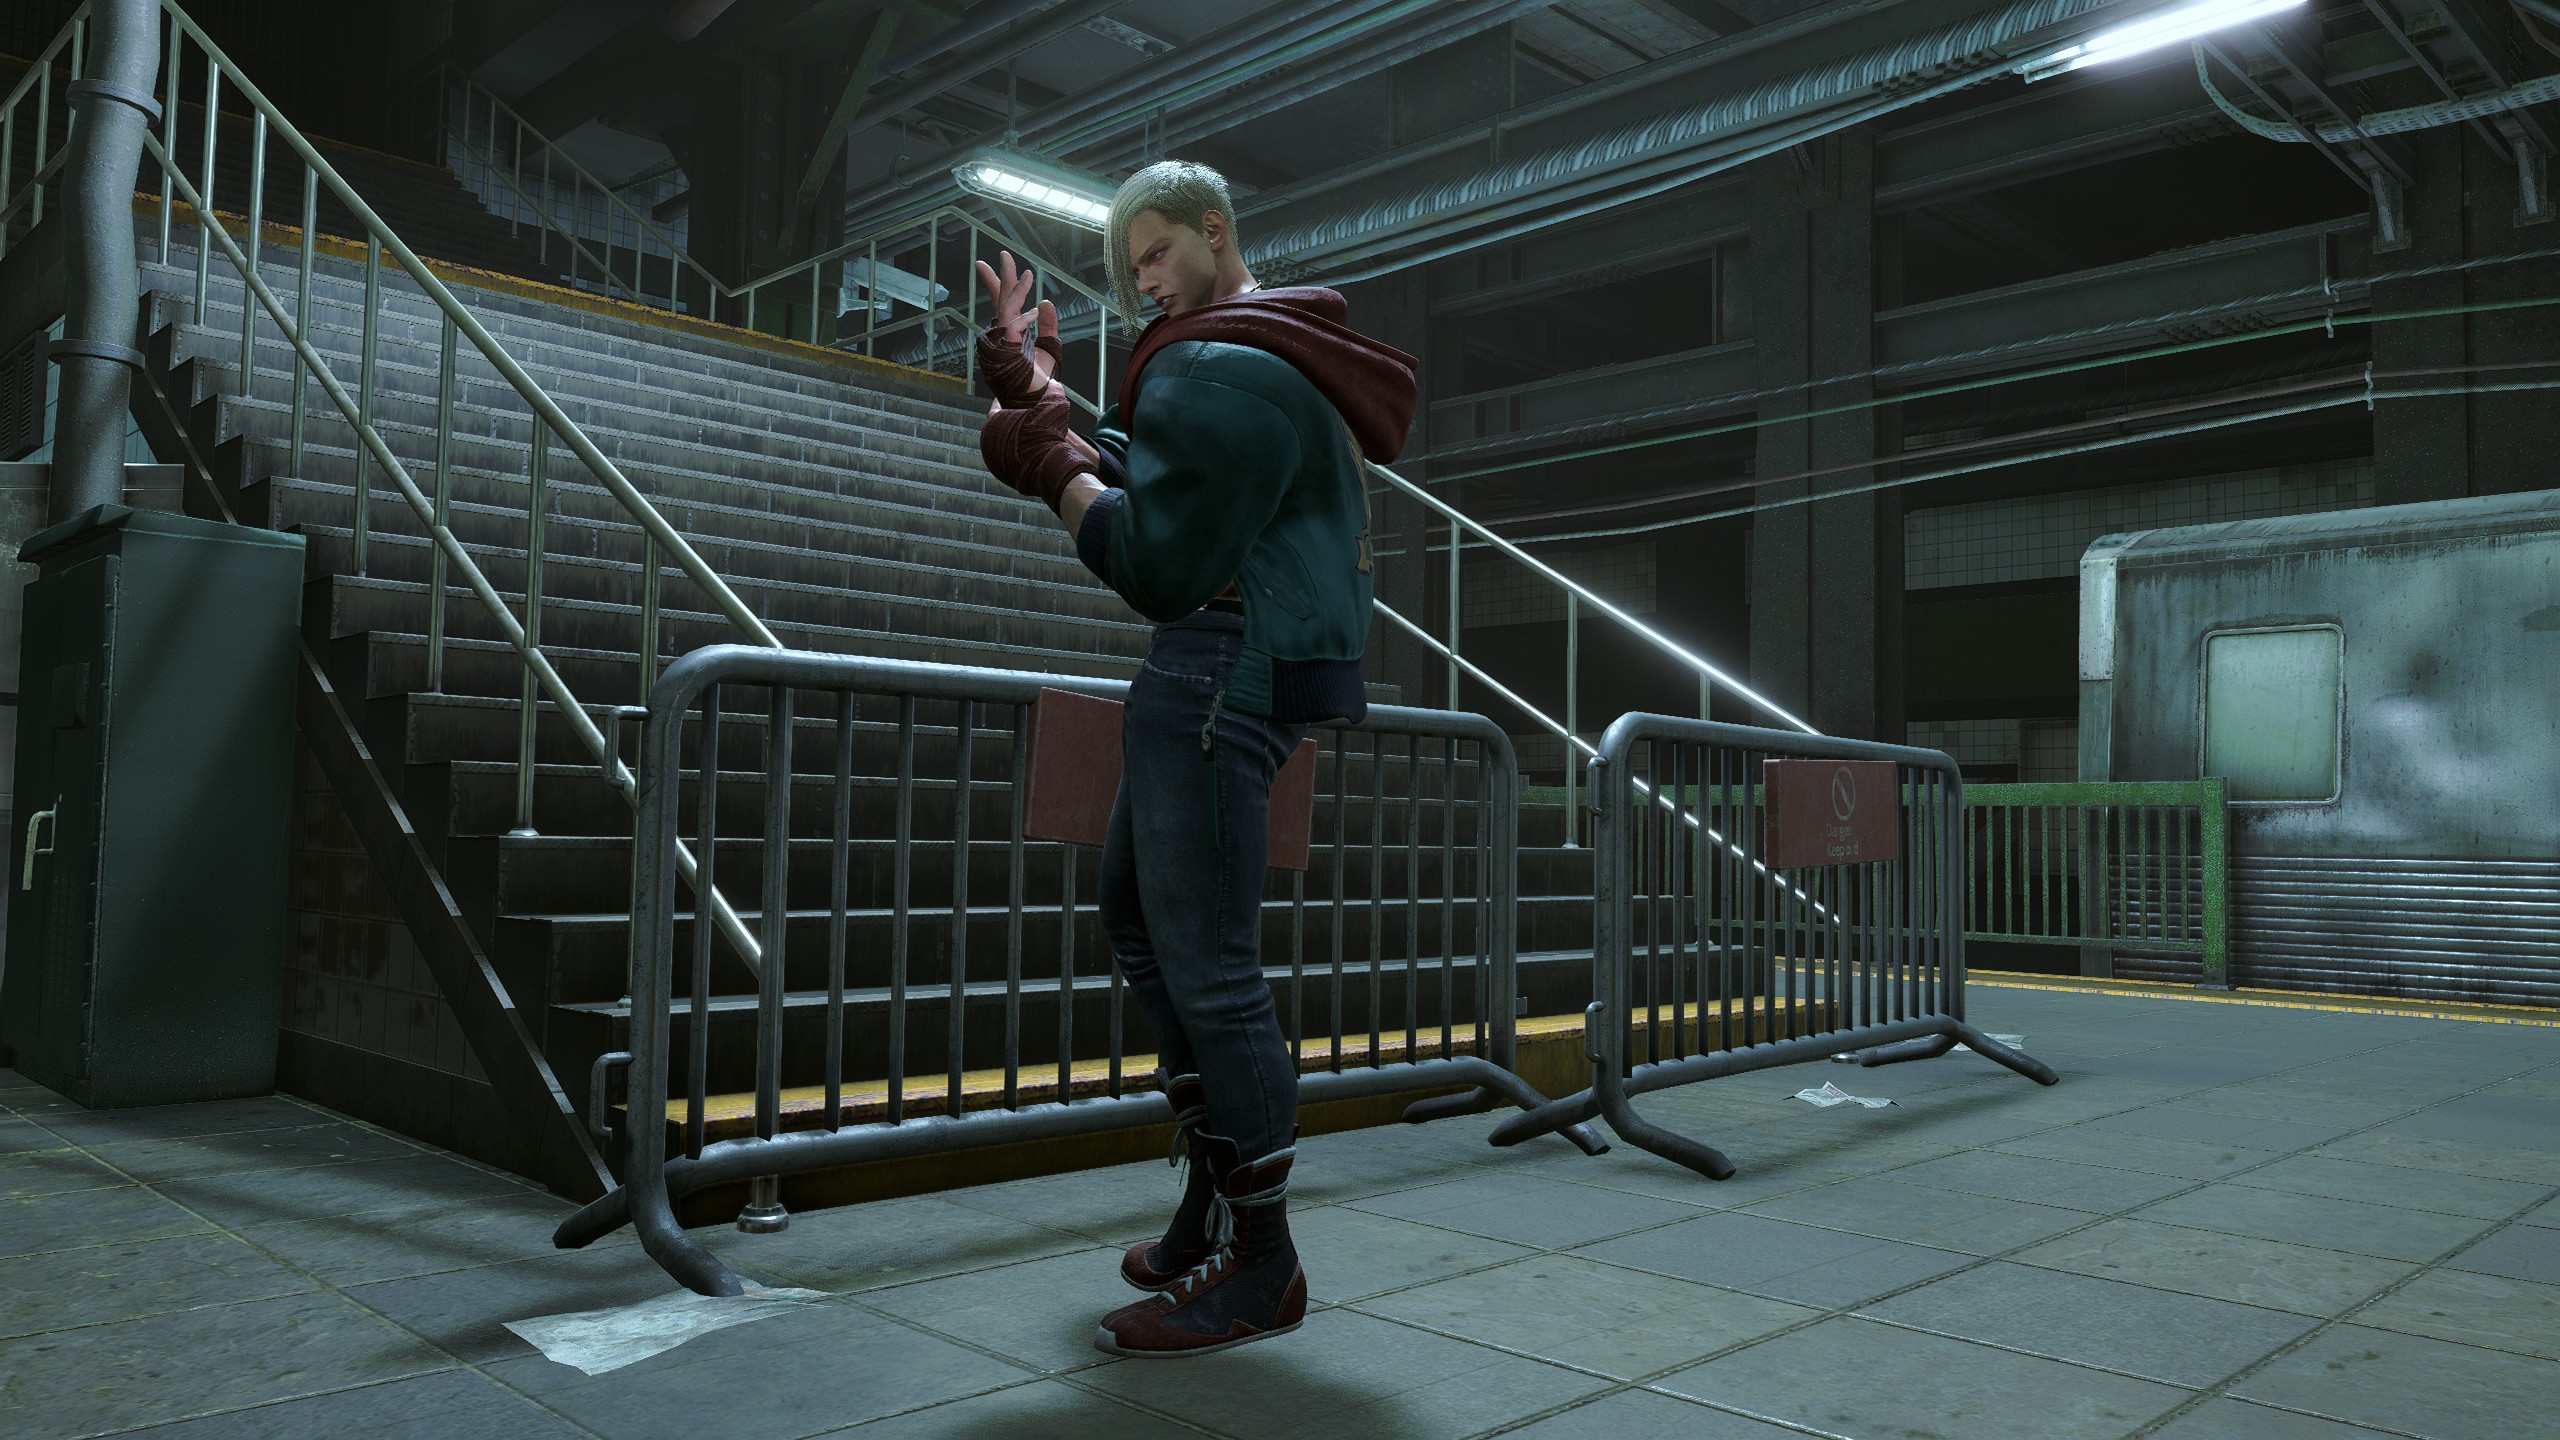
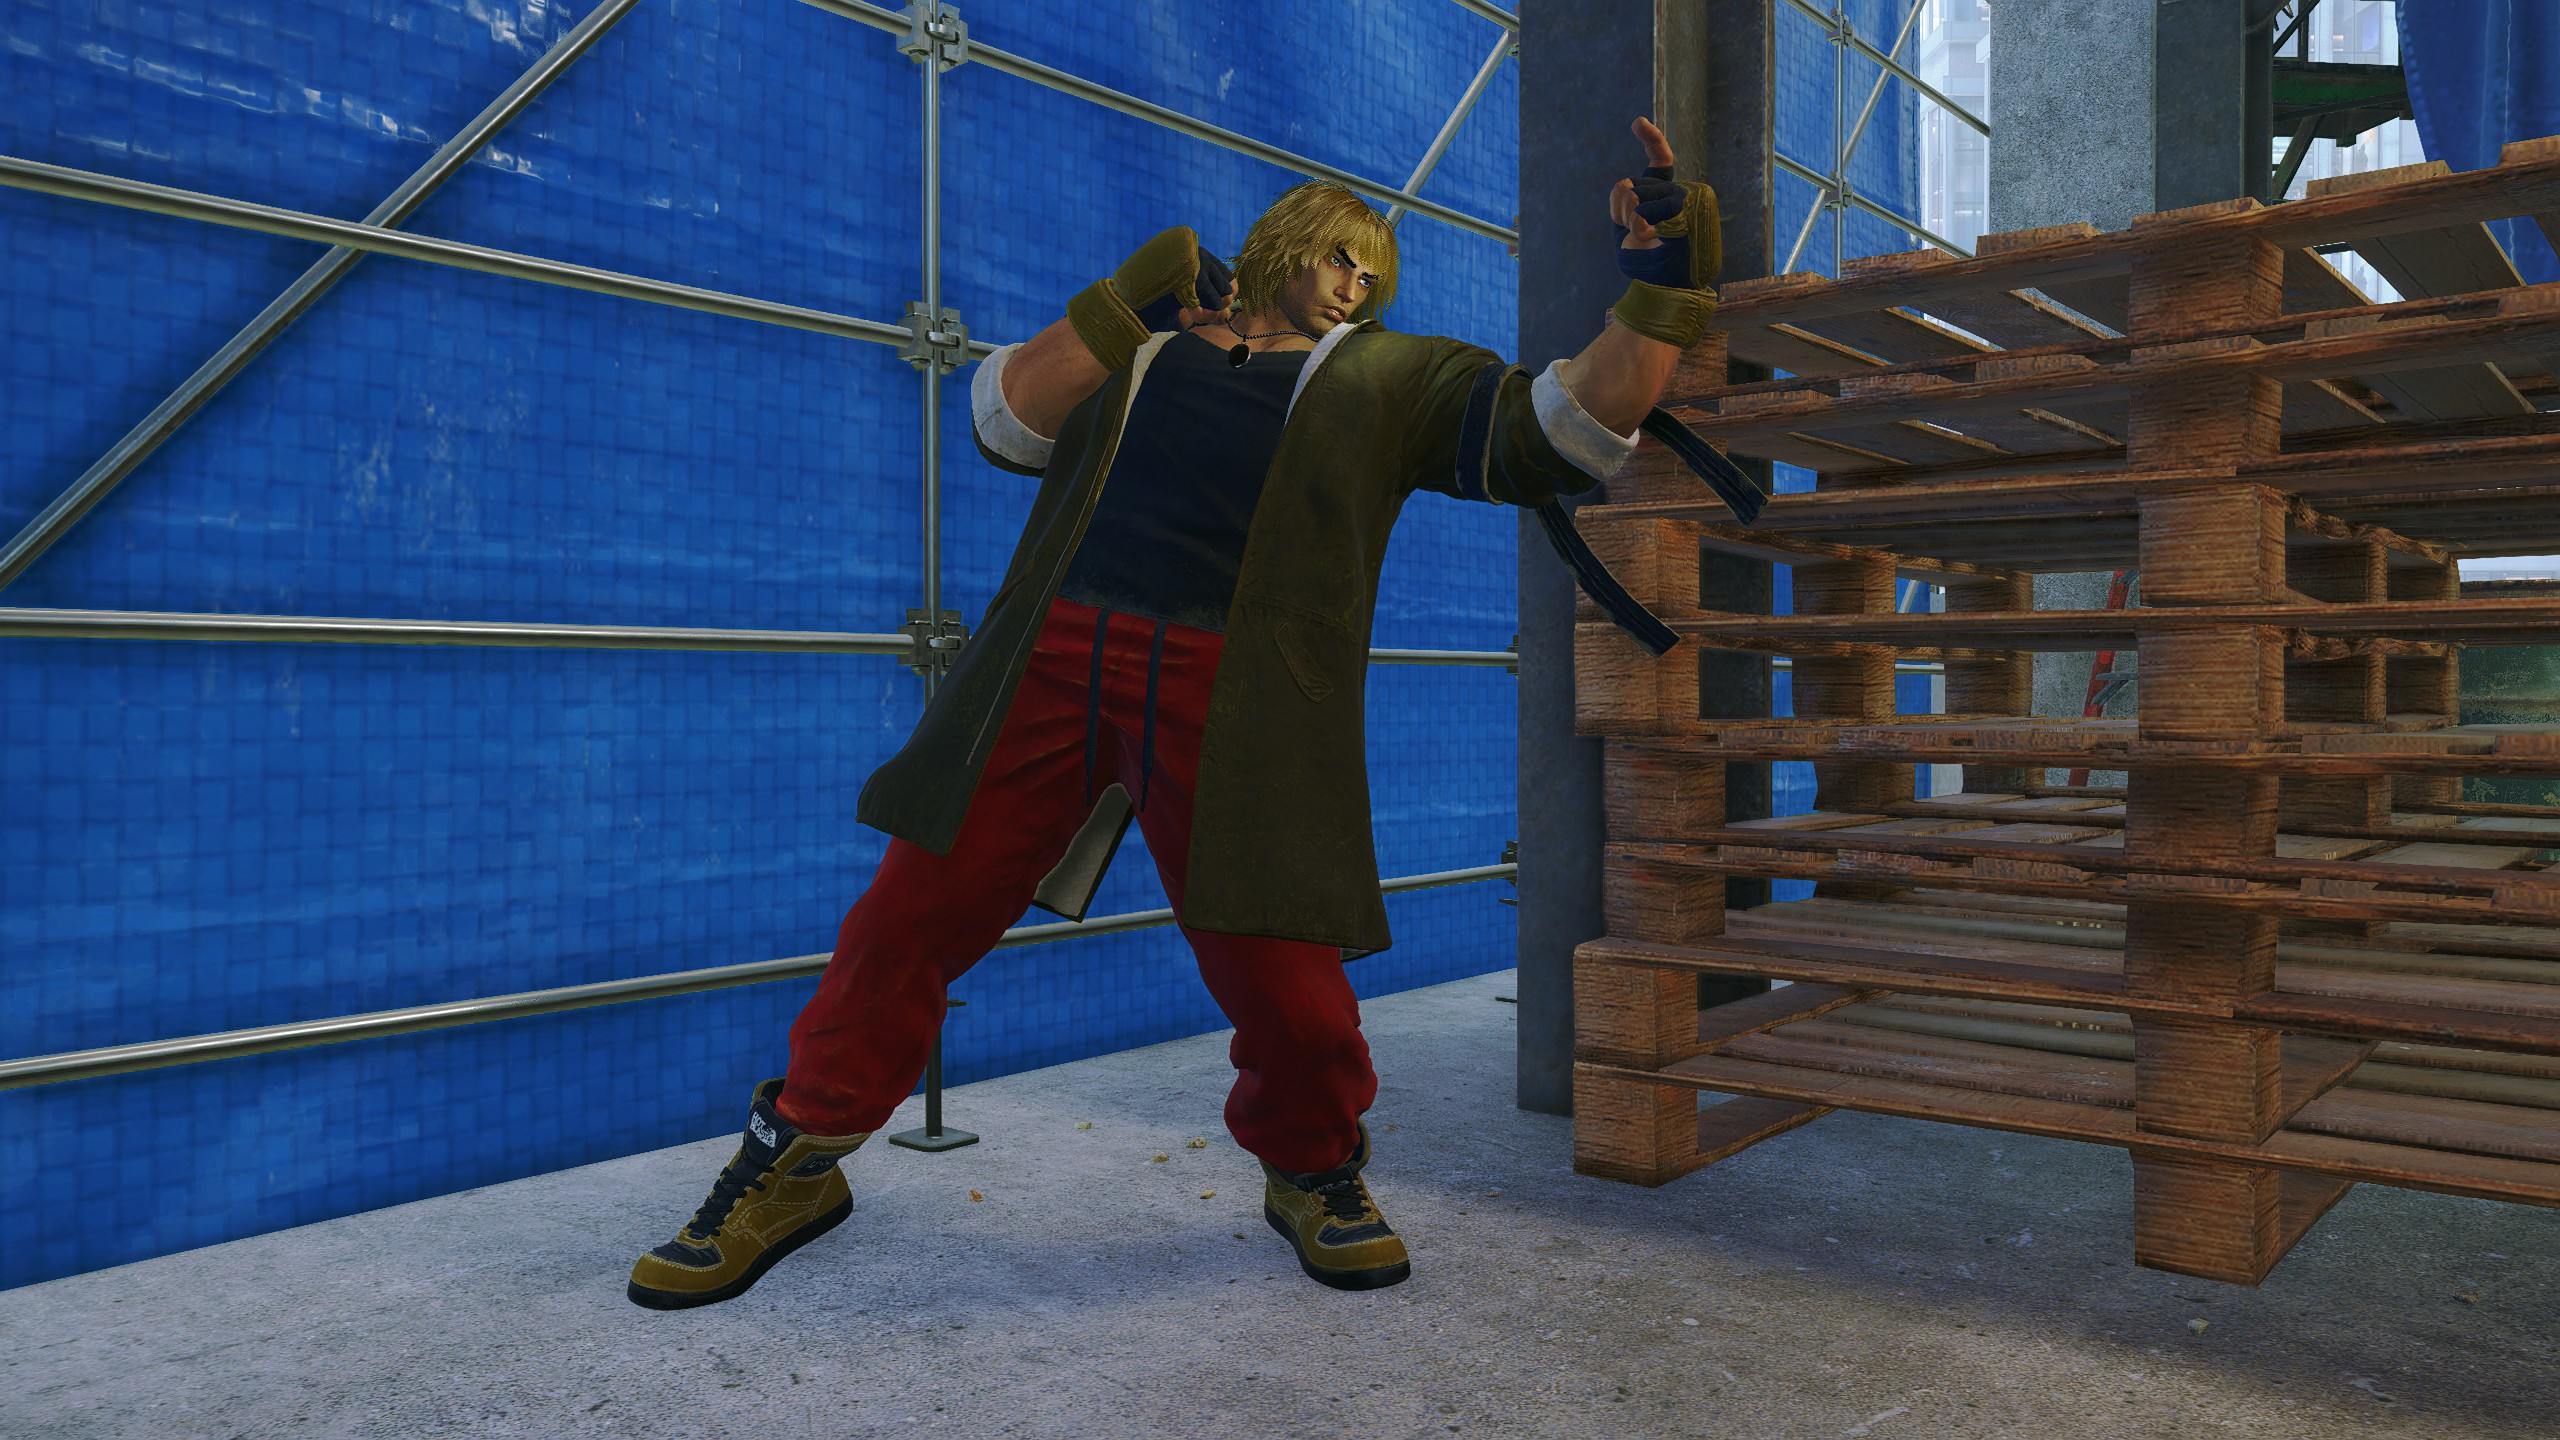
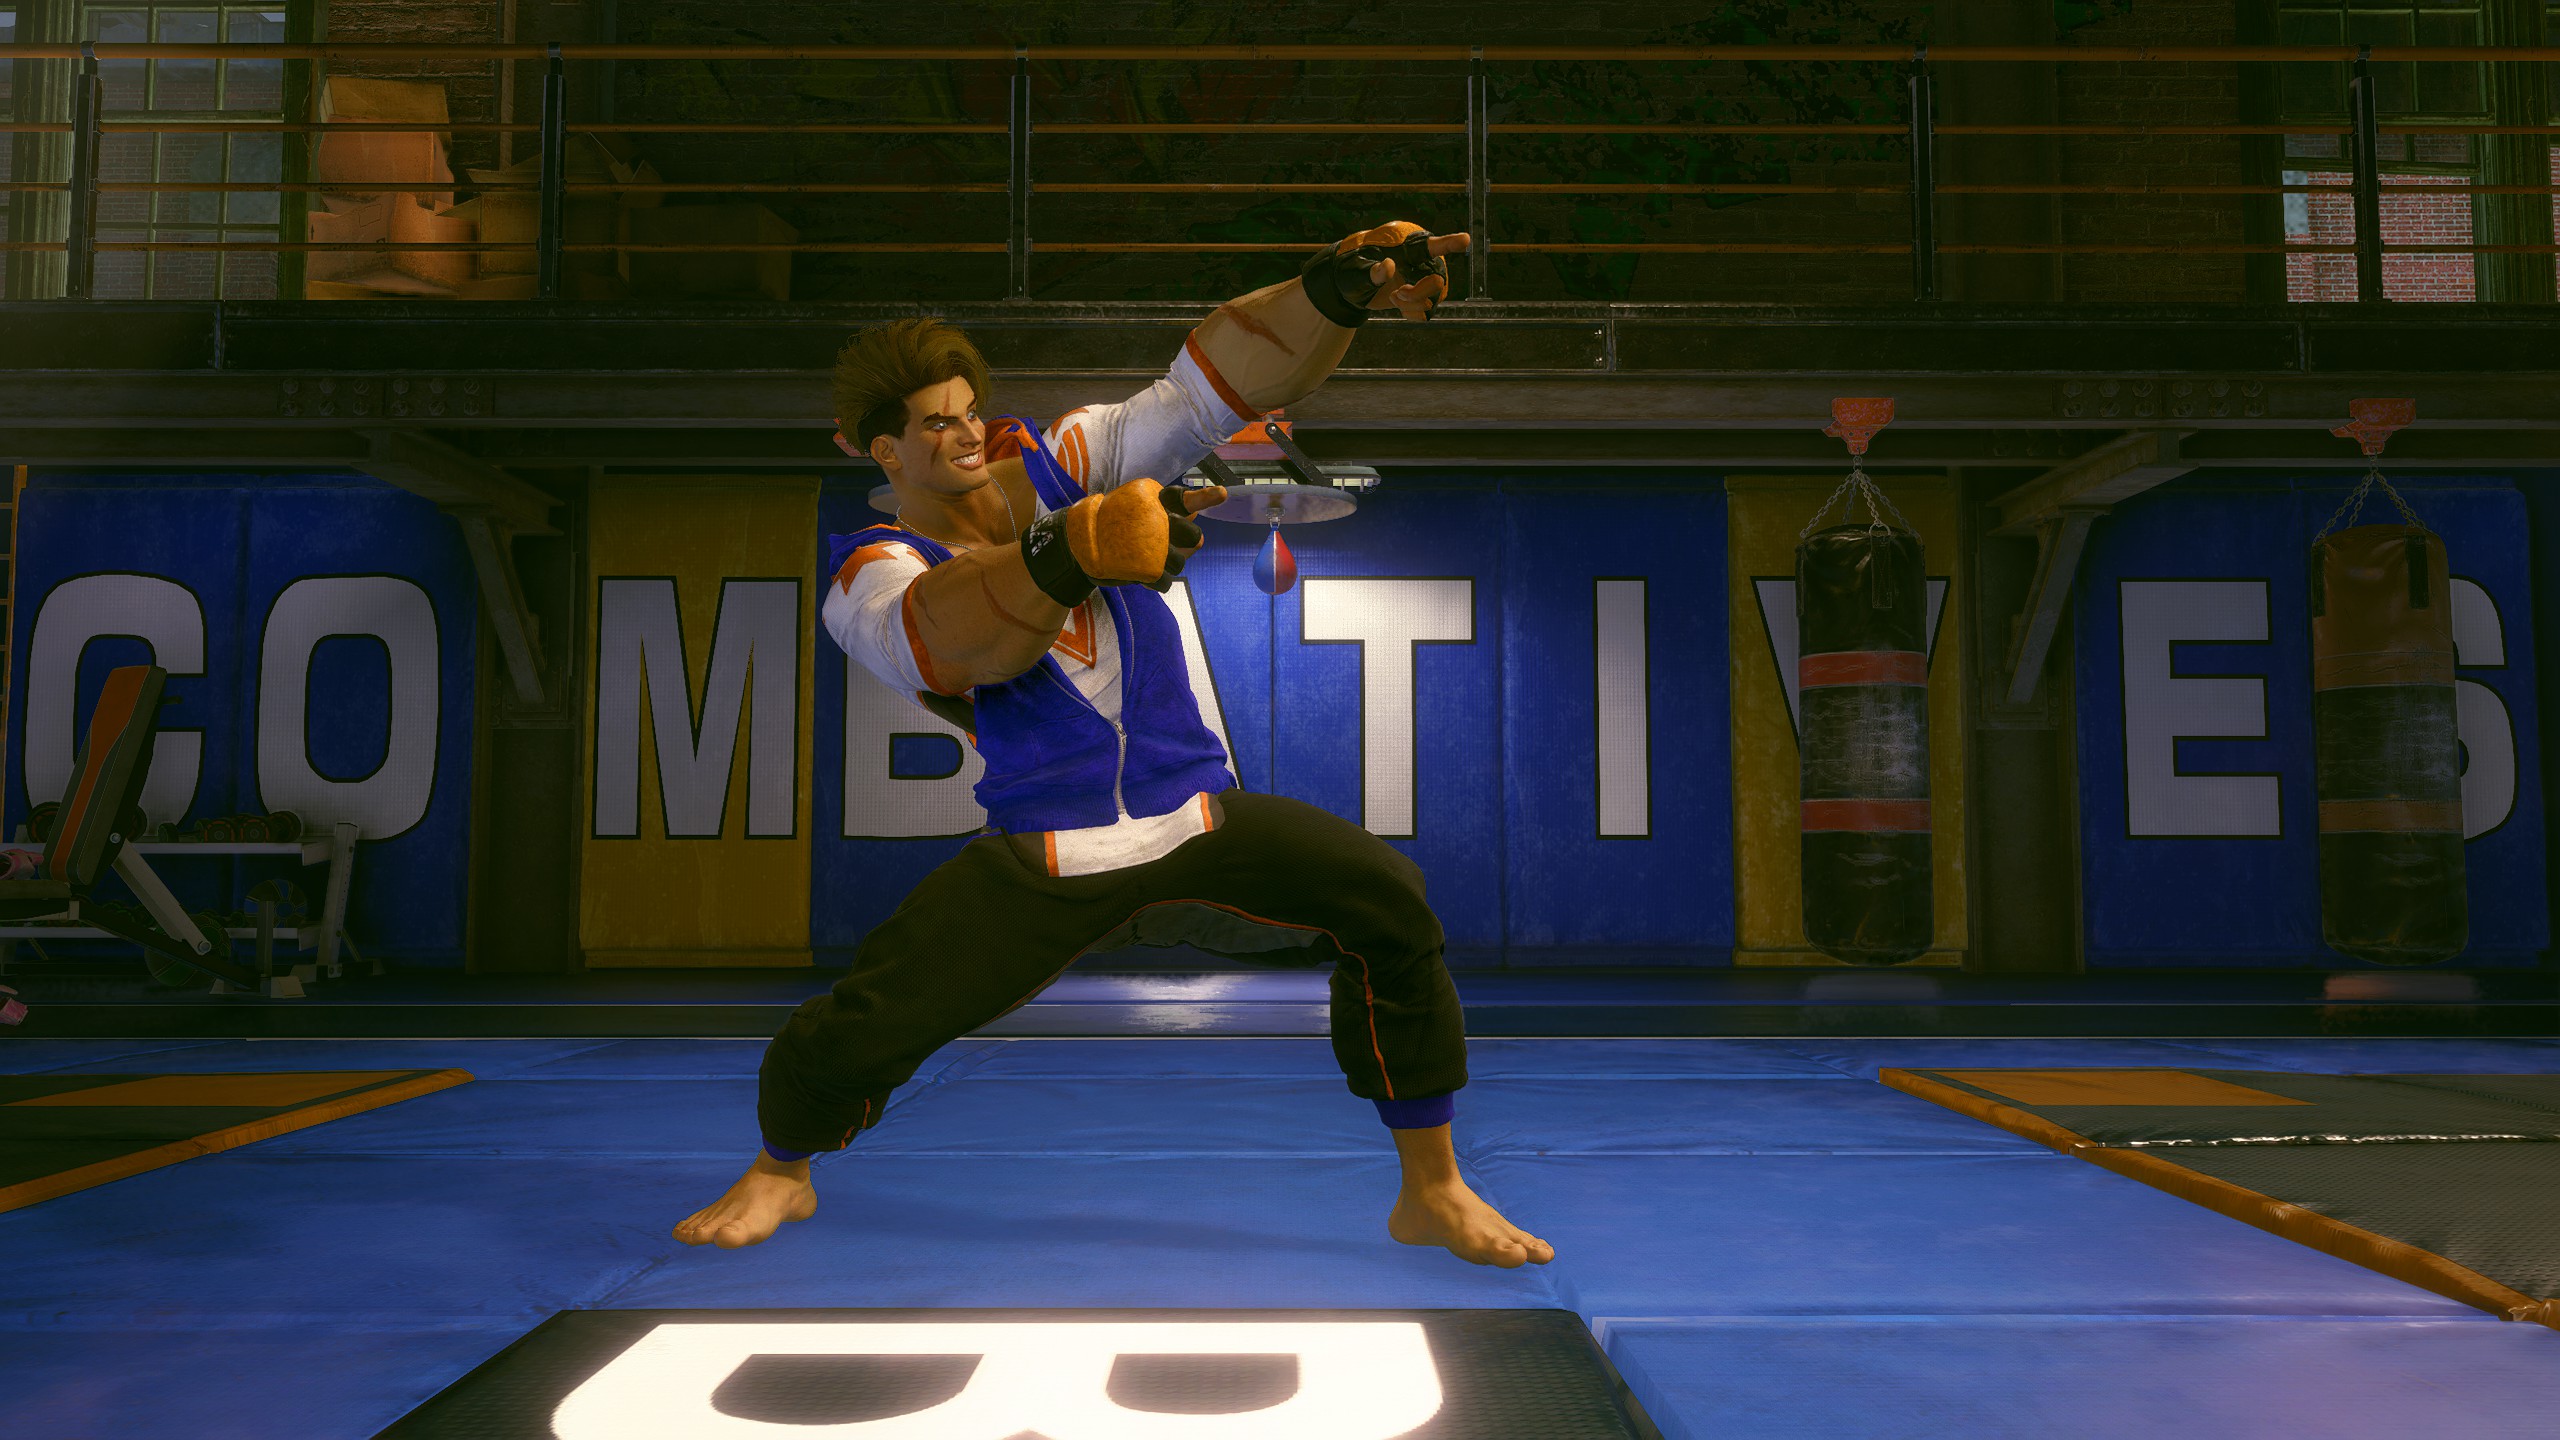
Poses (Part 1)
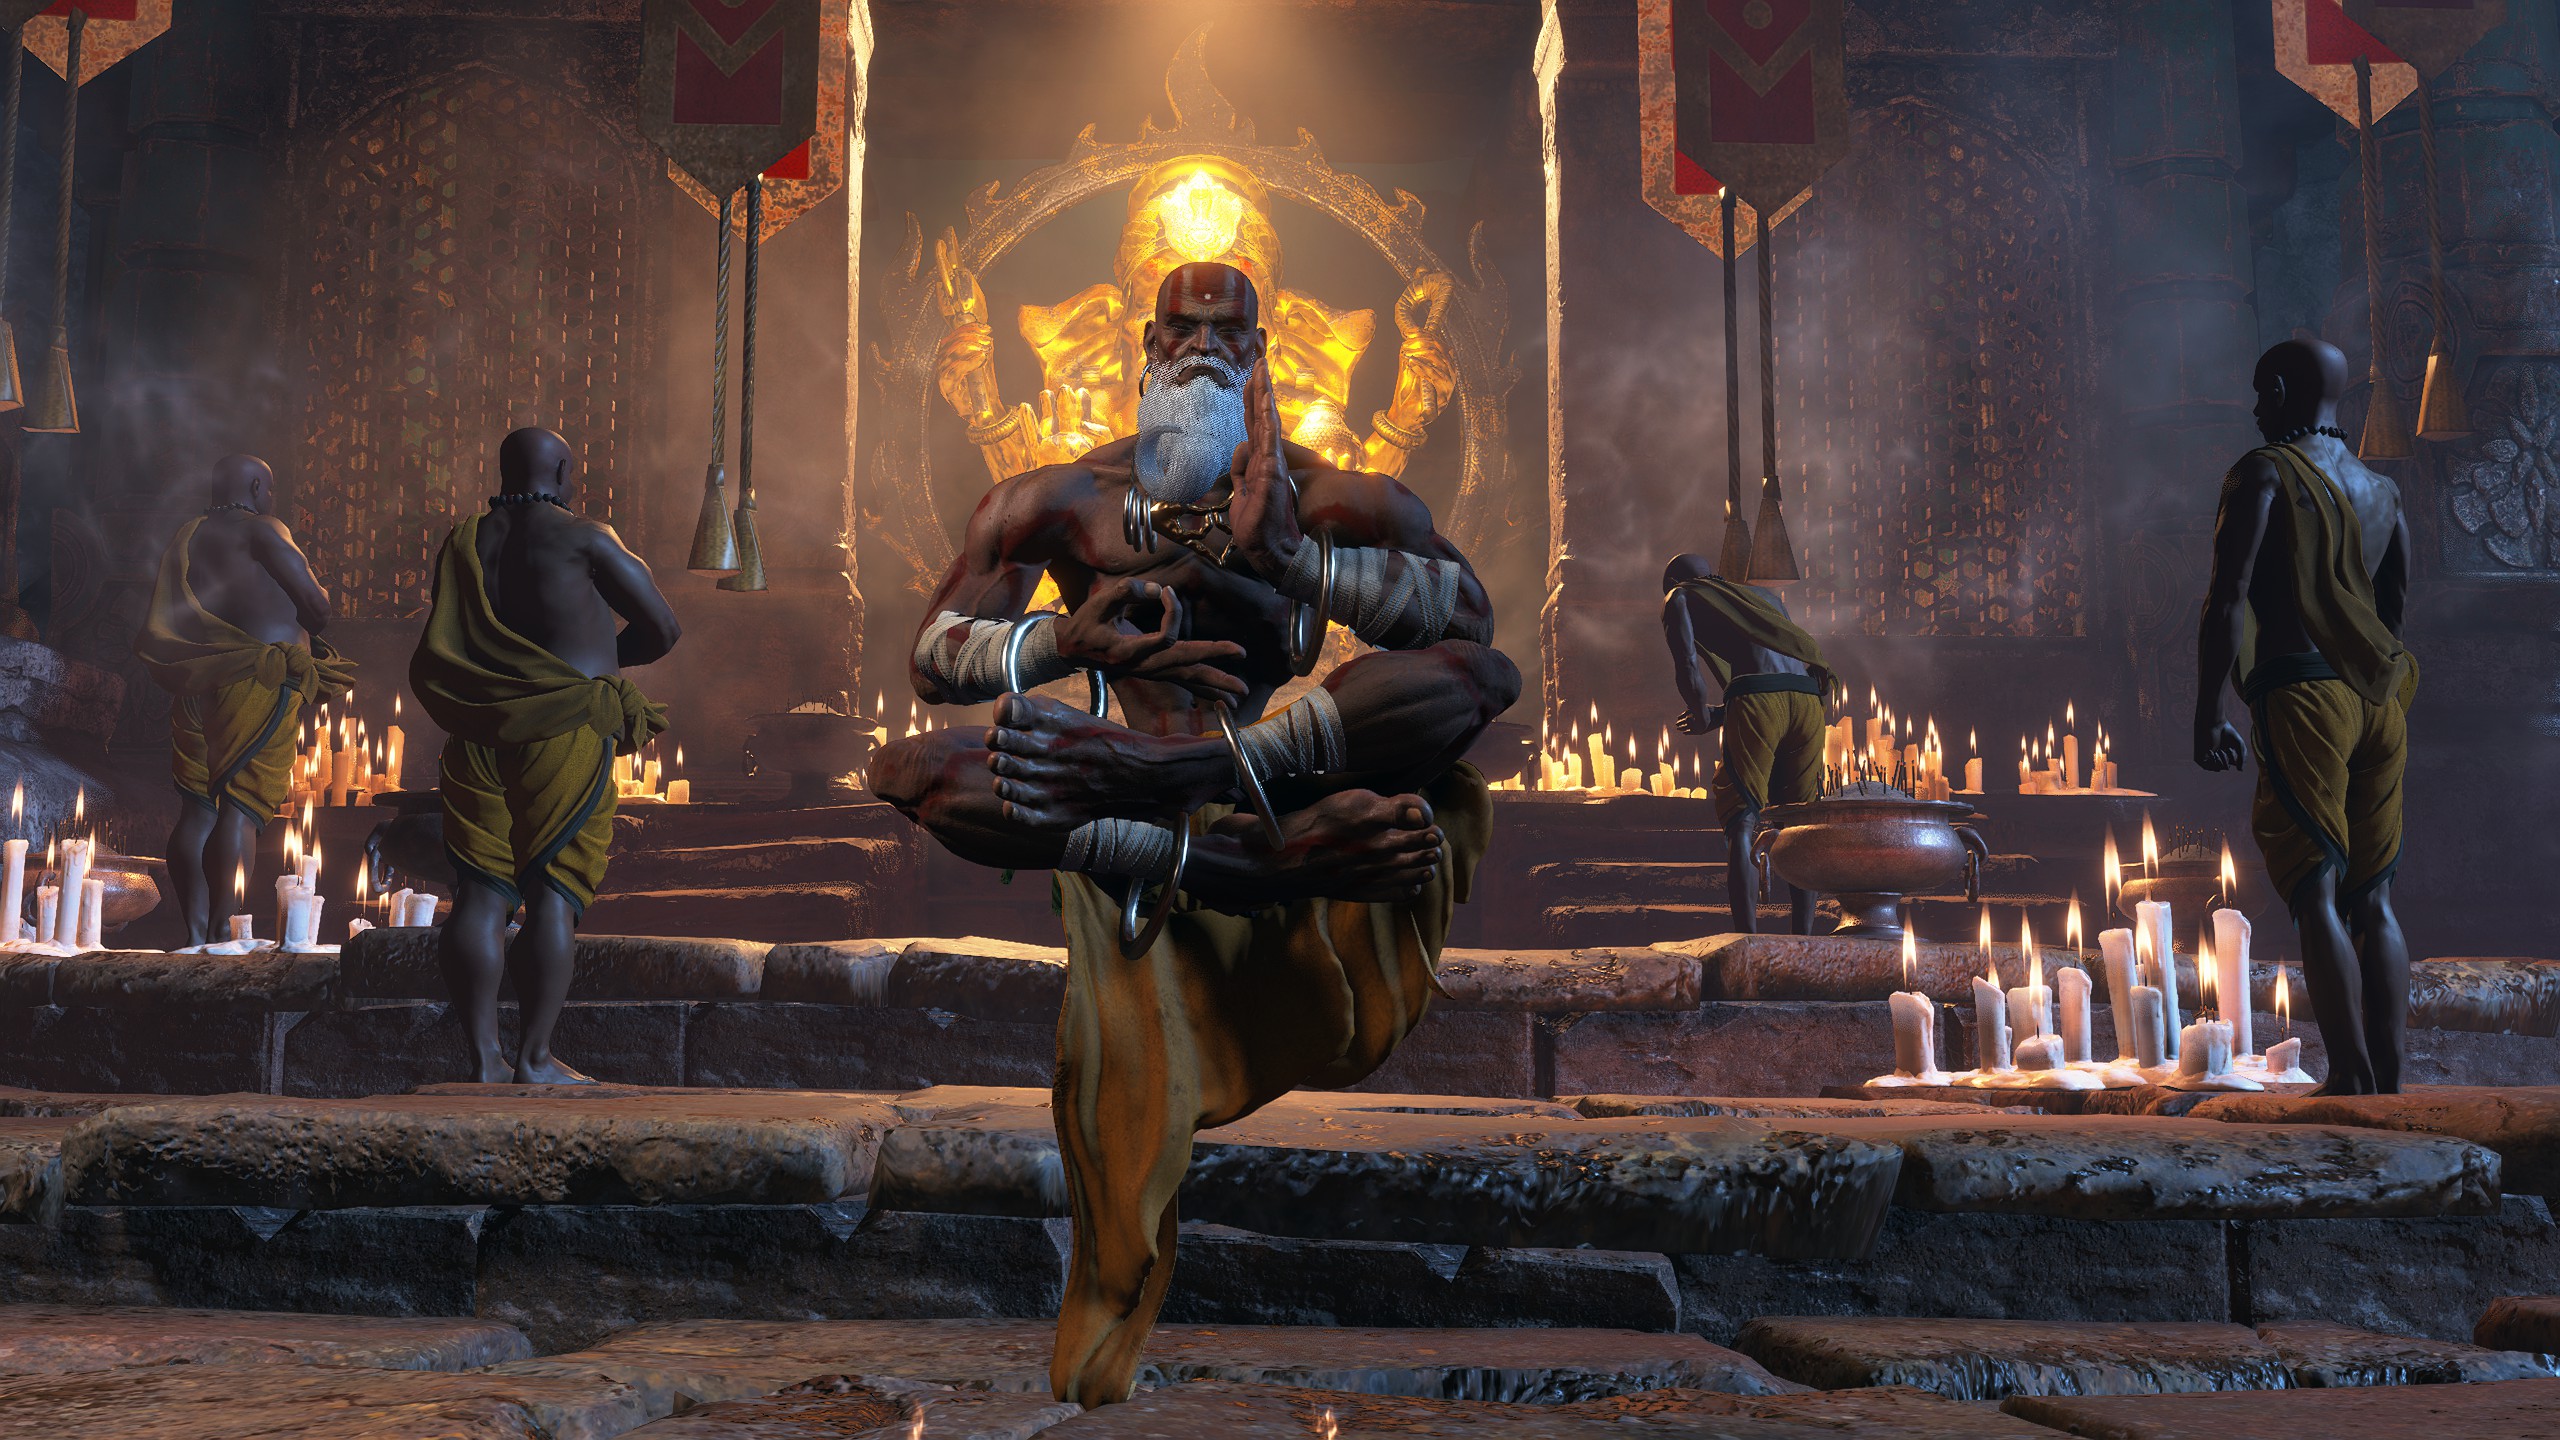
Akuma
Default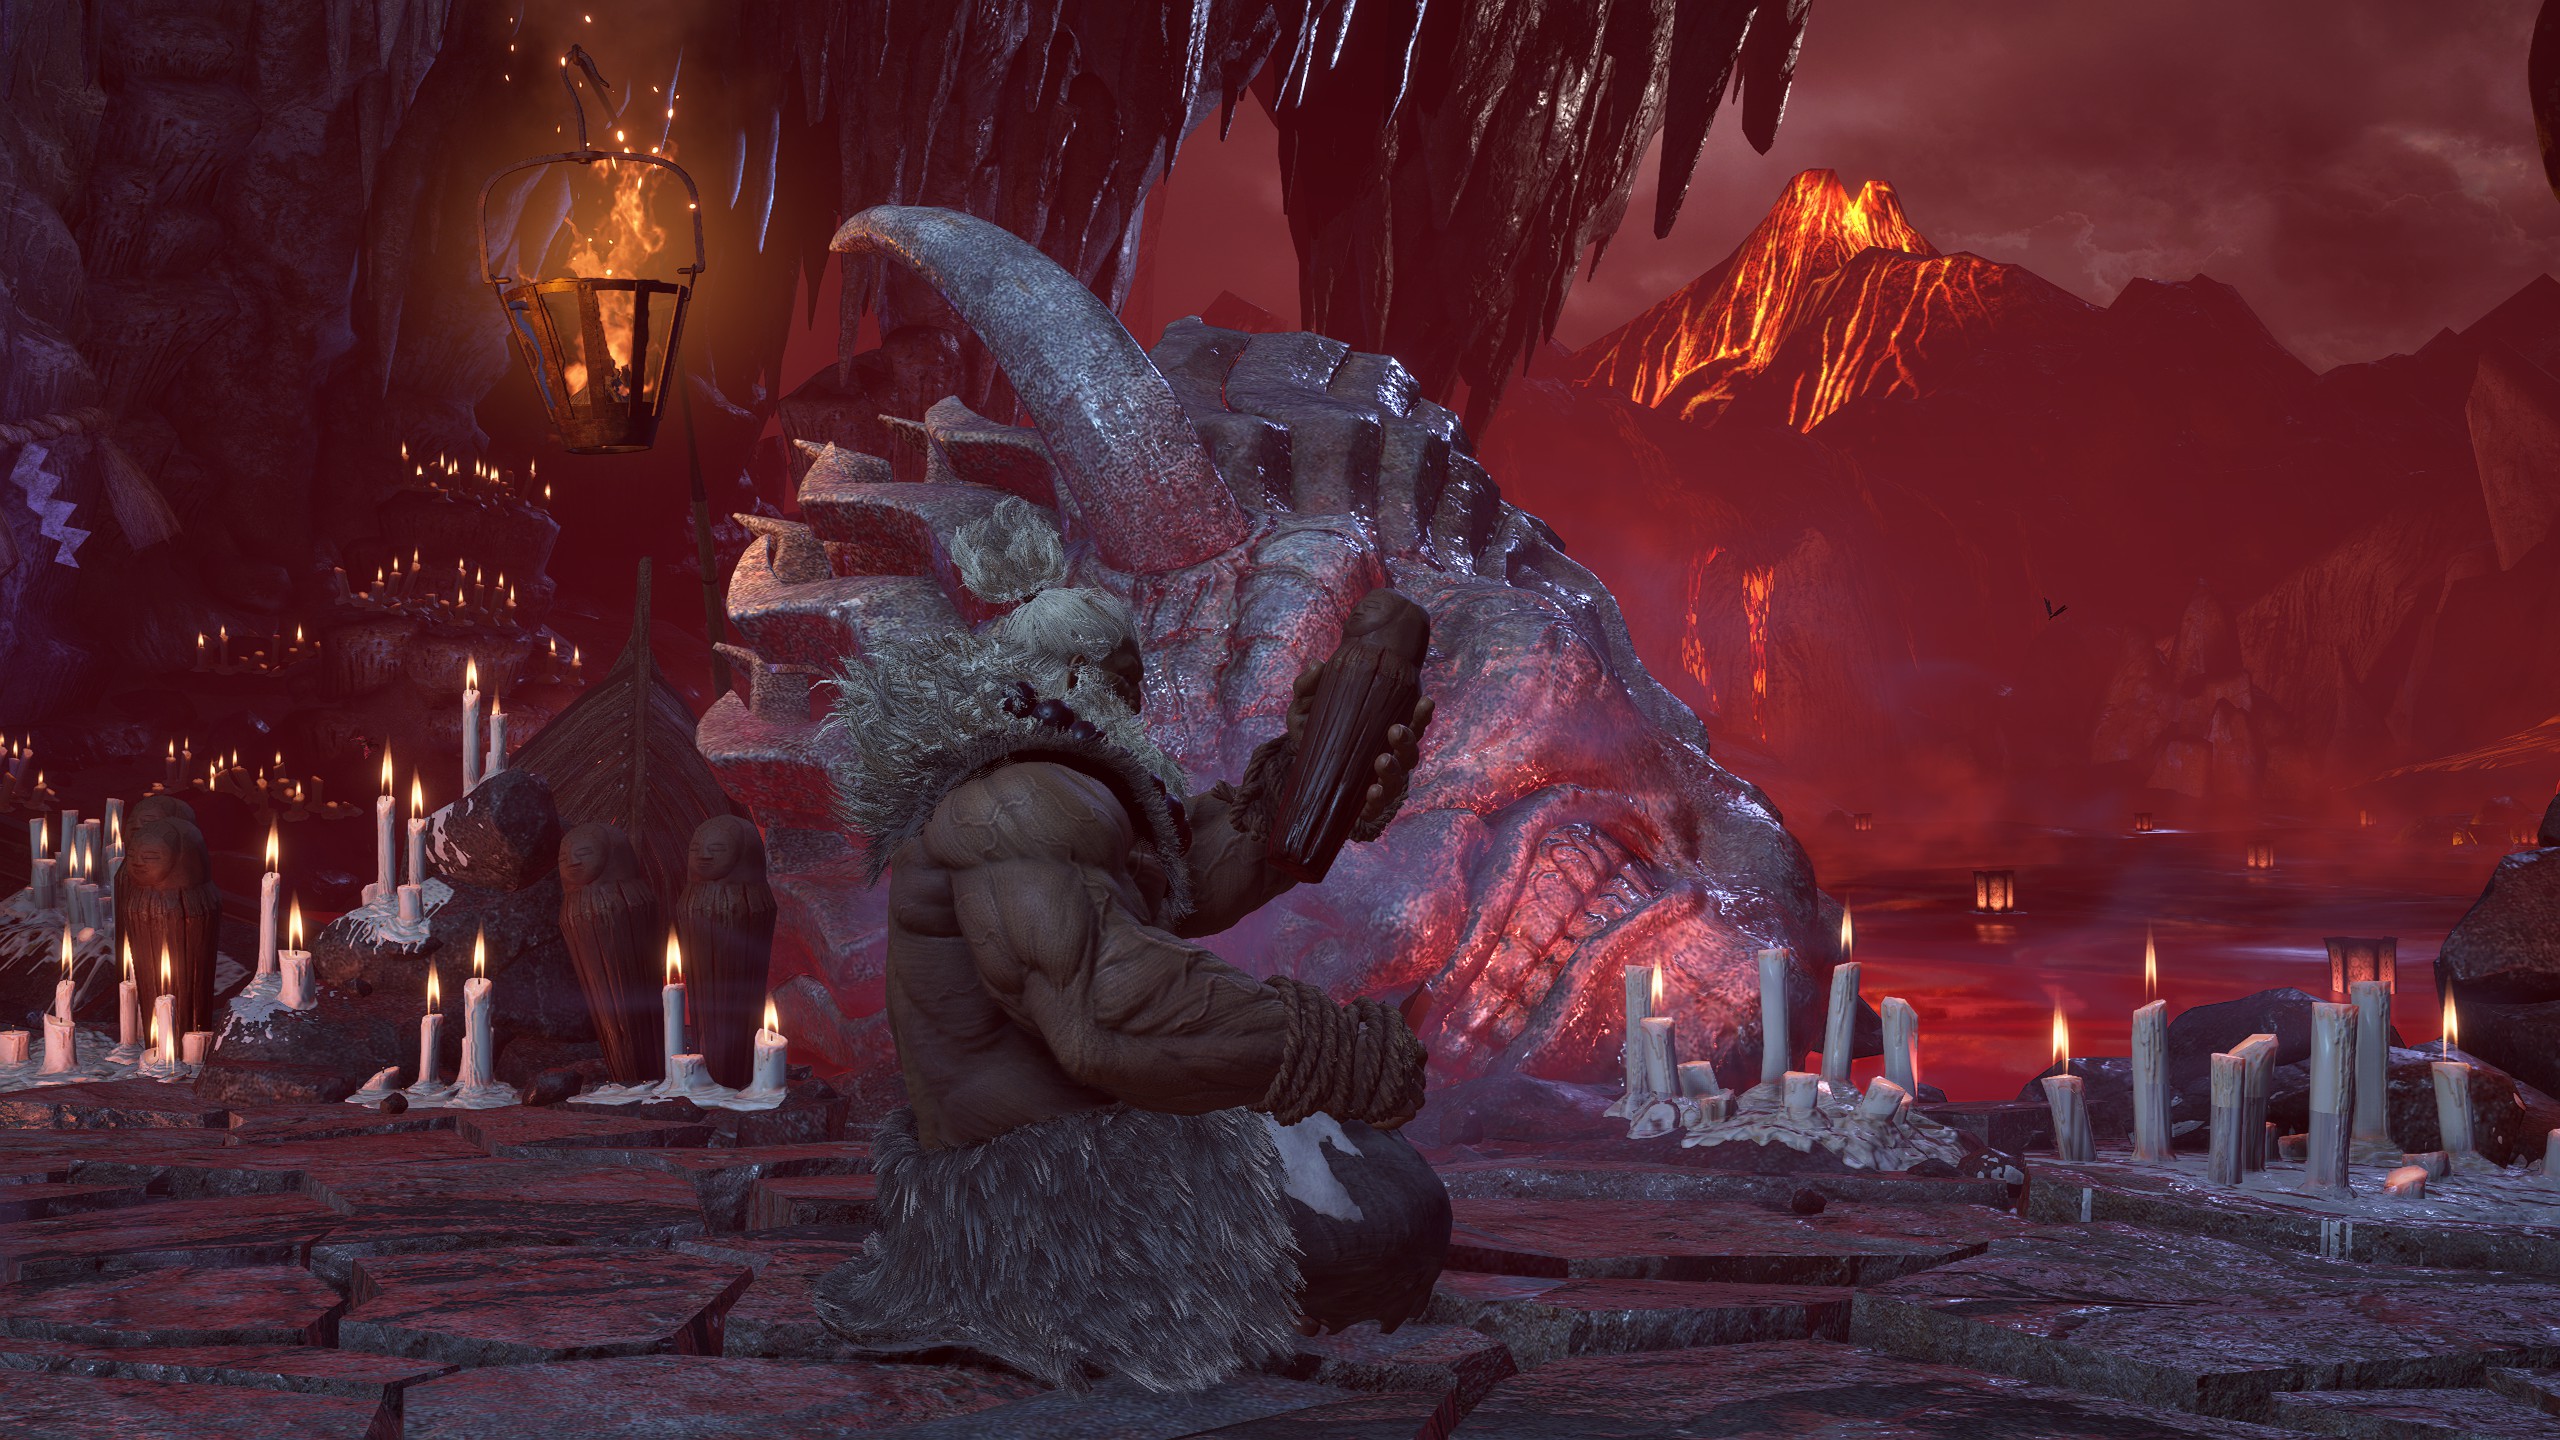
Poses
A.K.I.
Default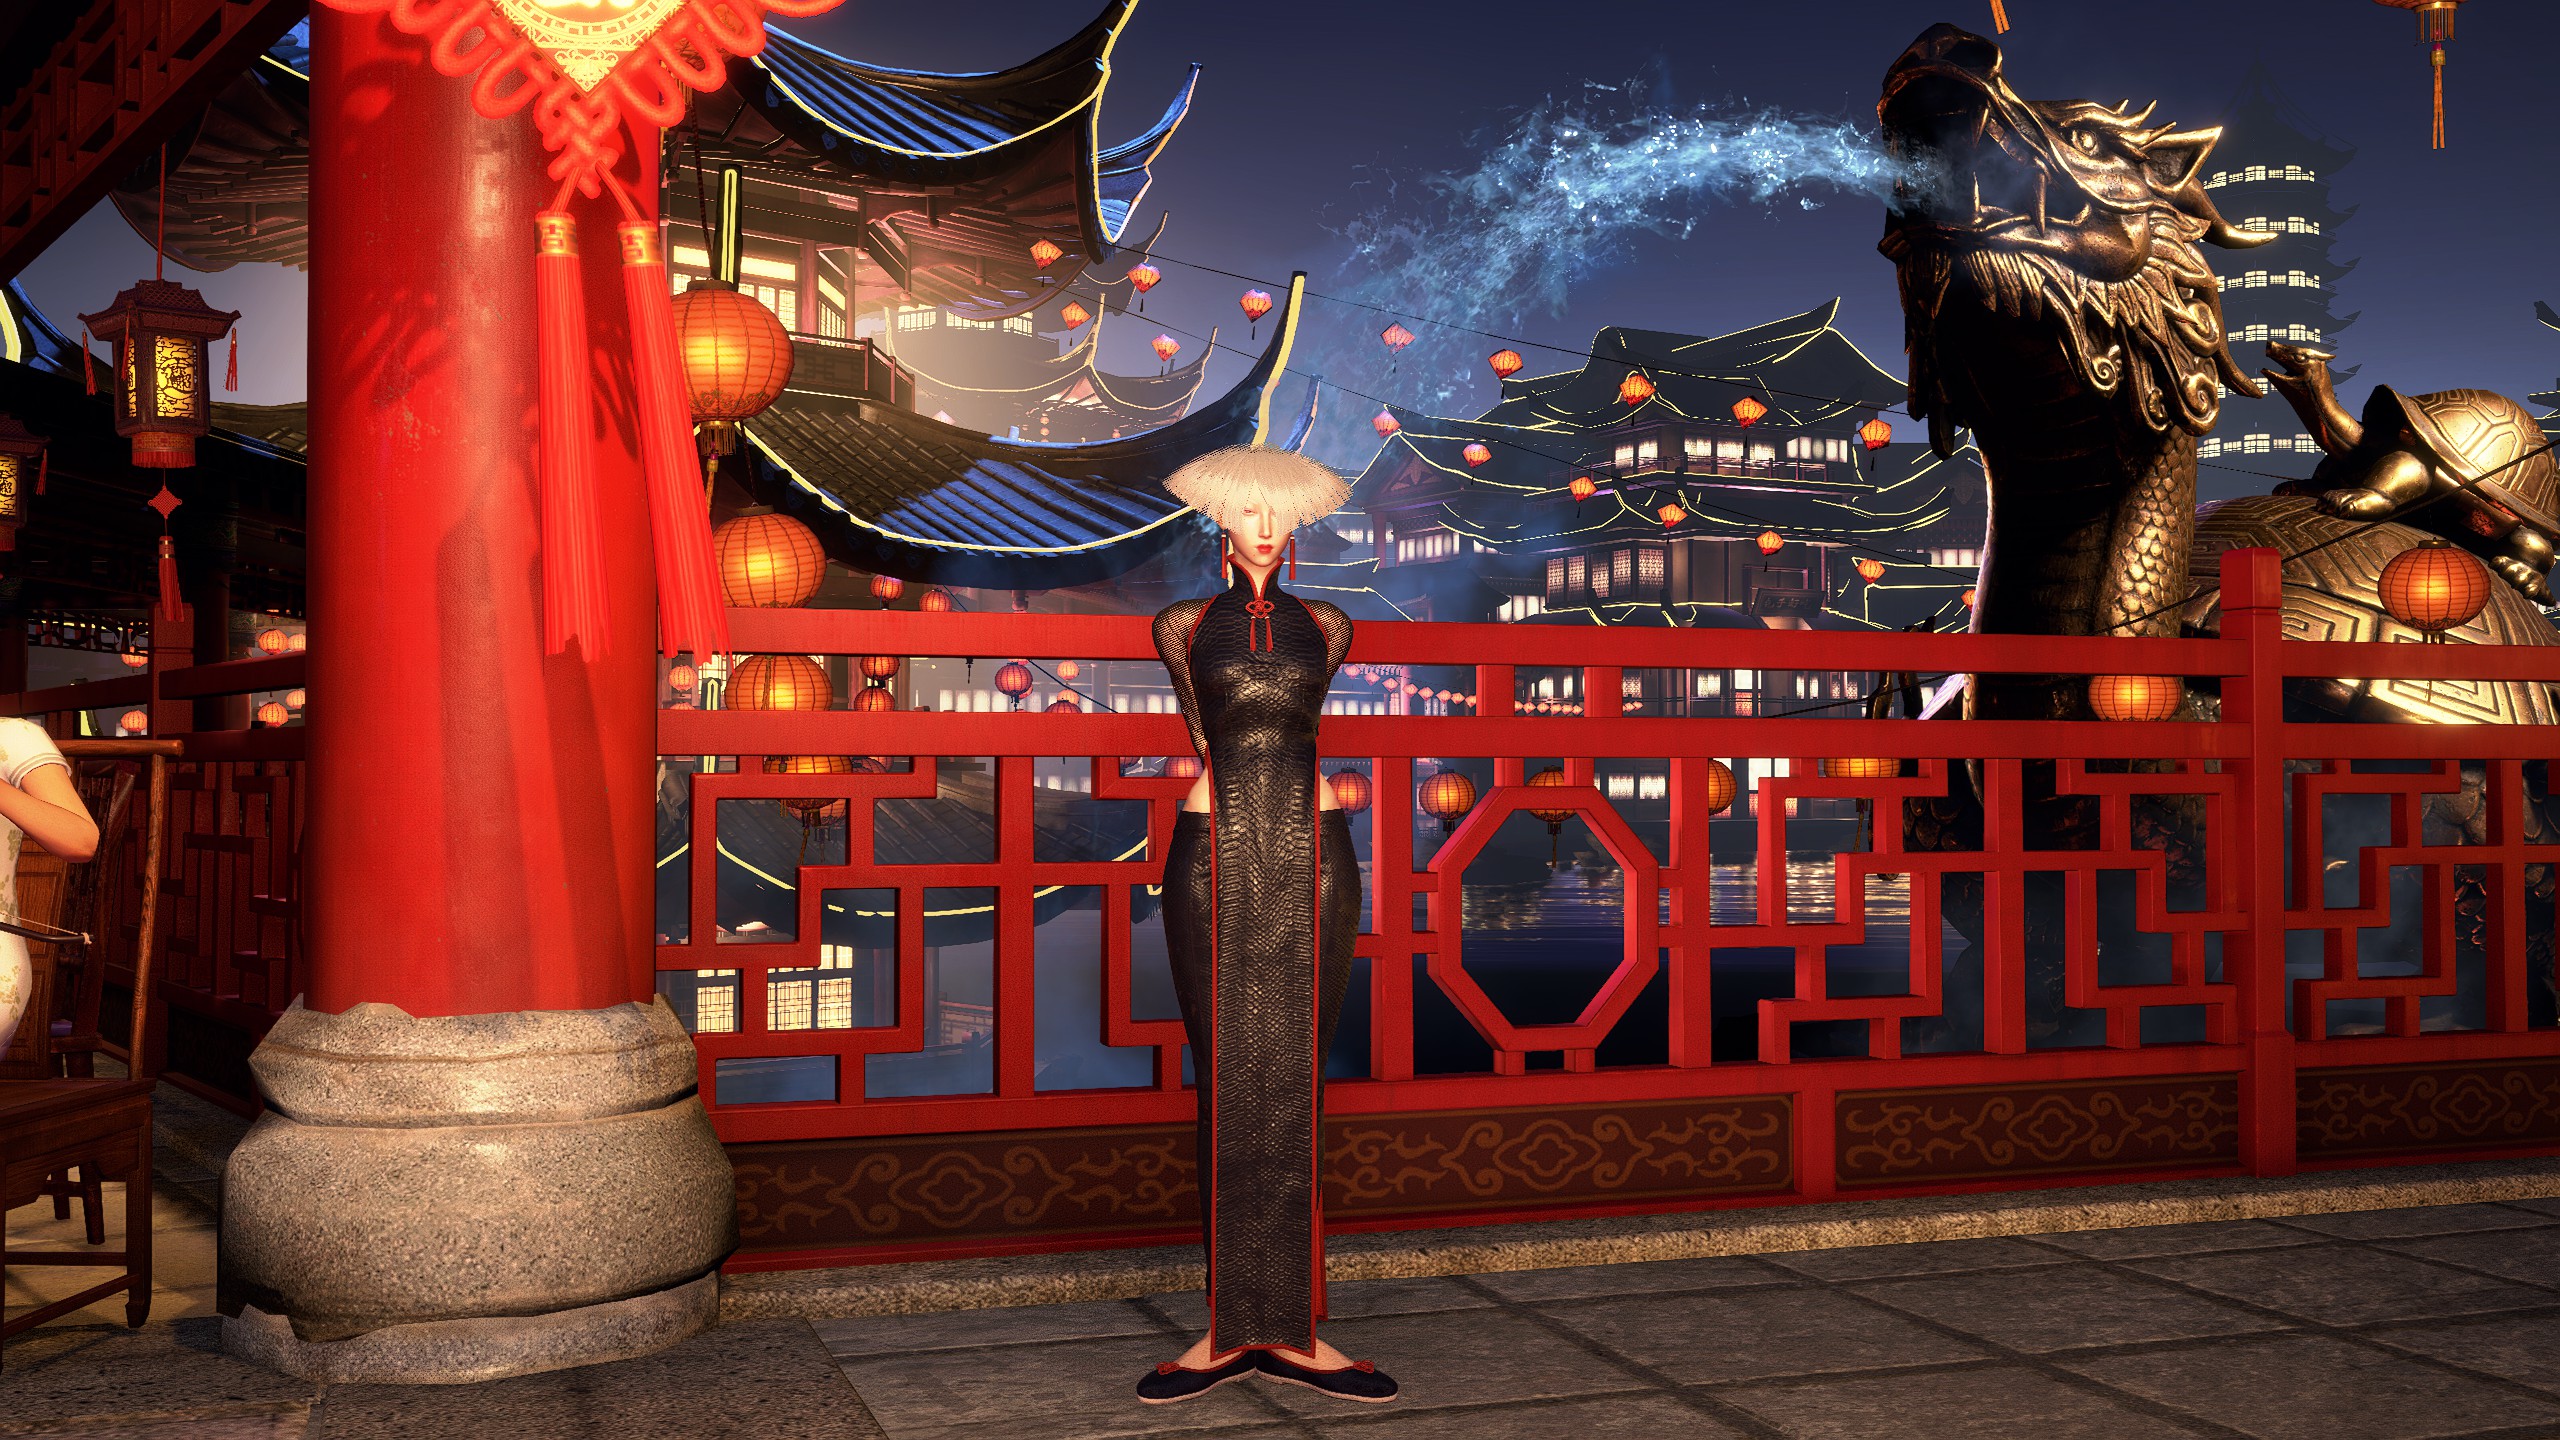
Poses
Blanka
Default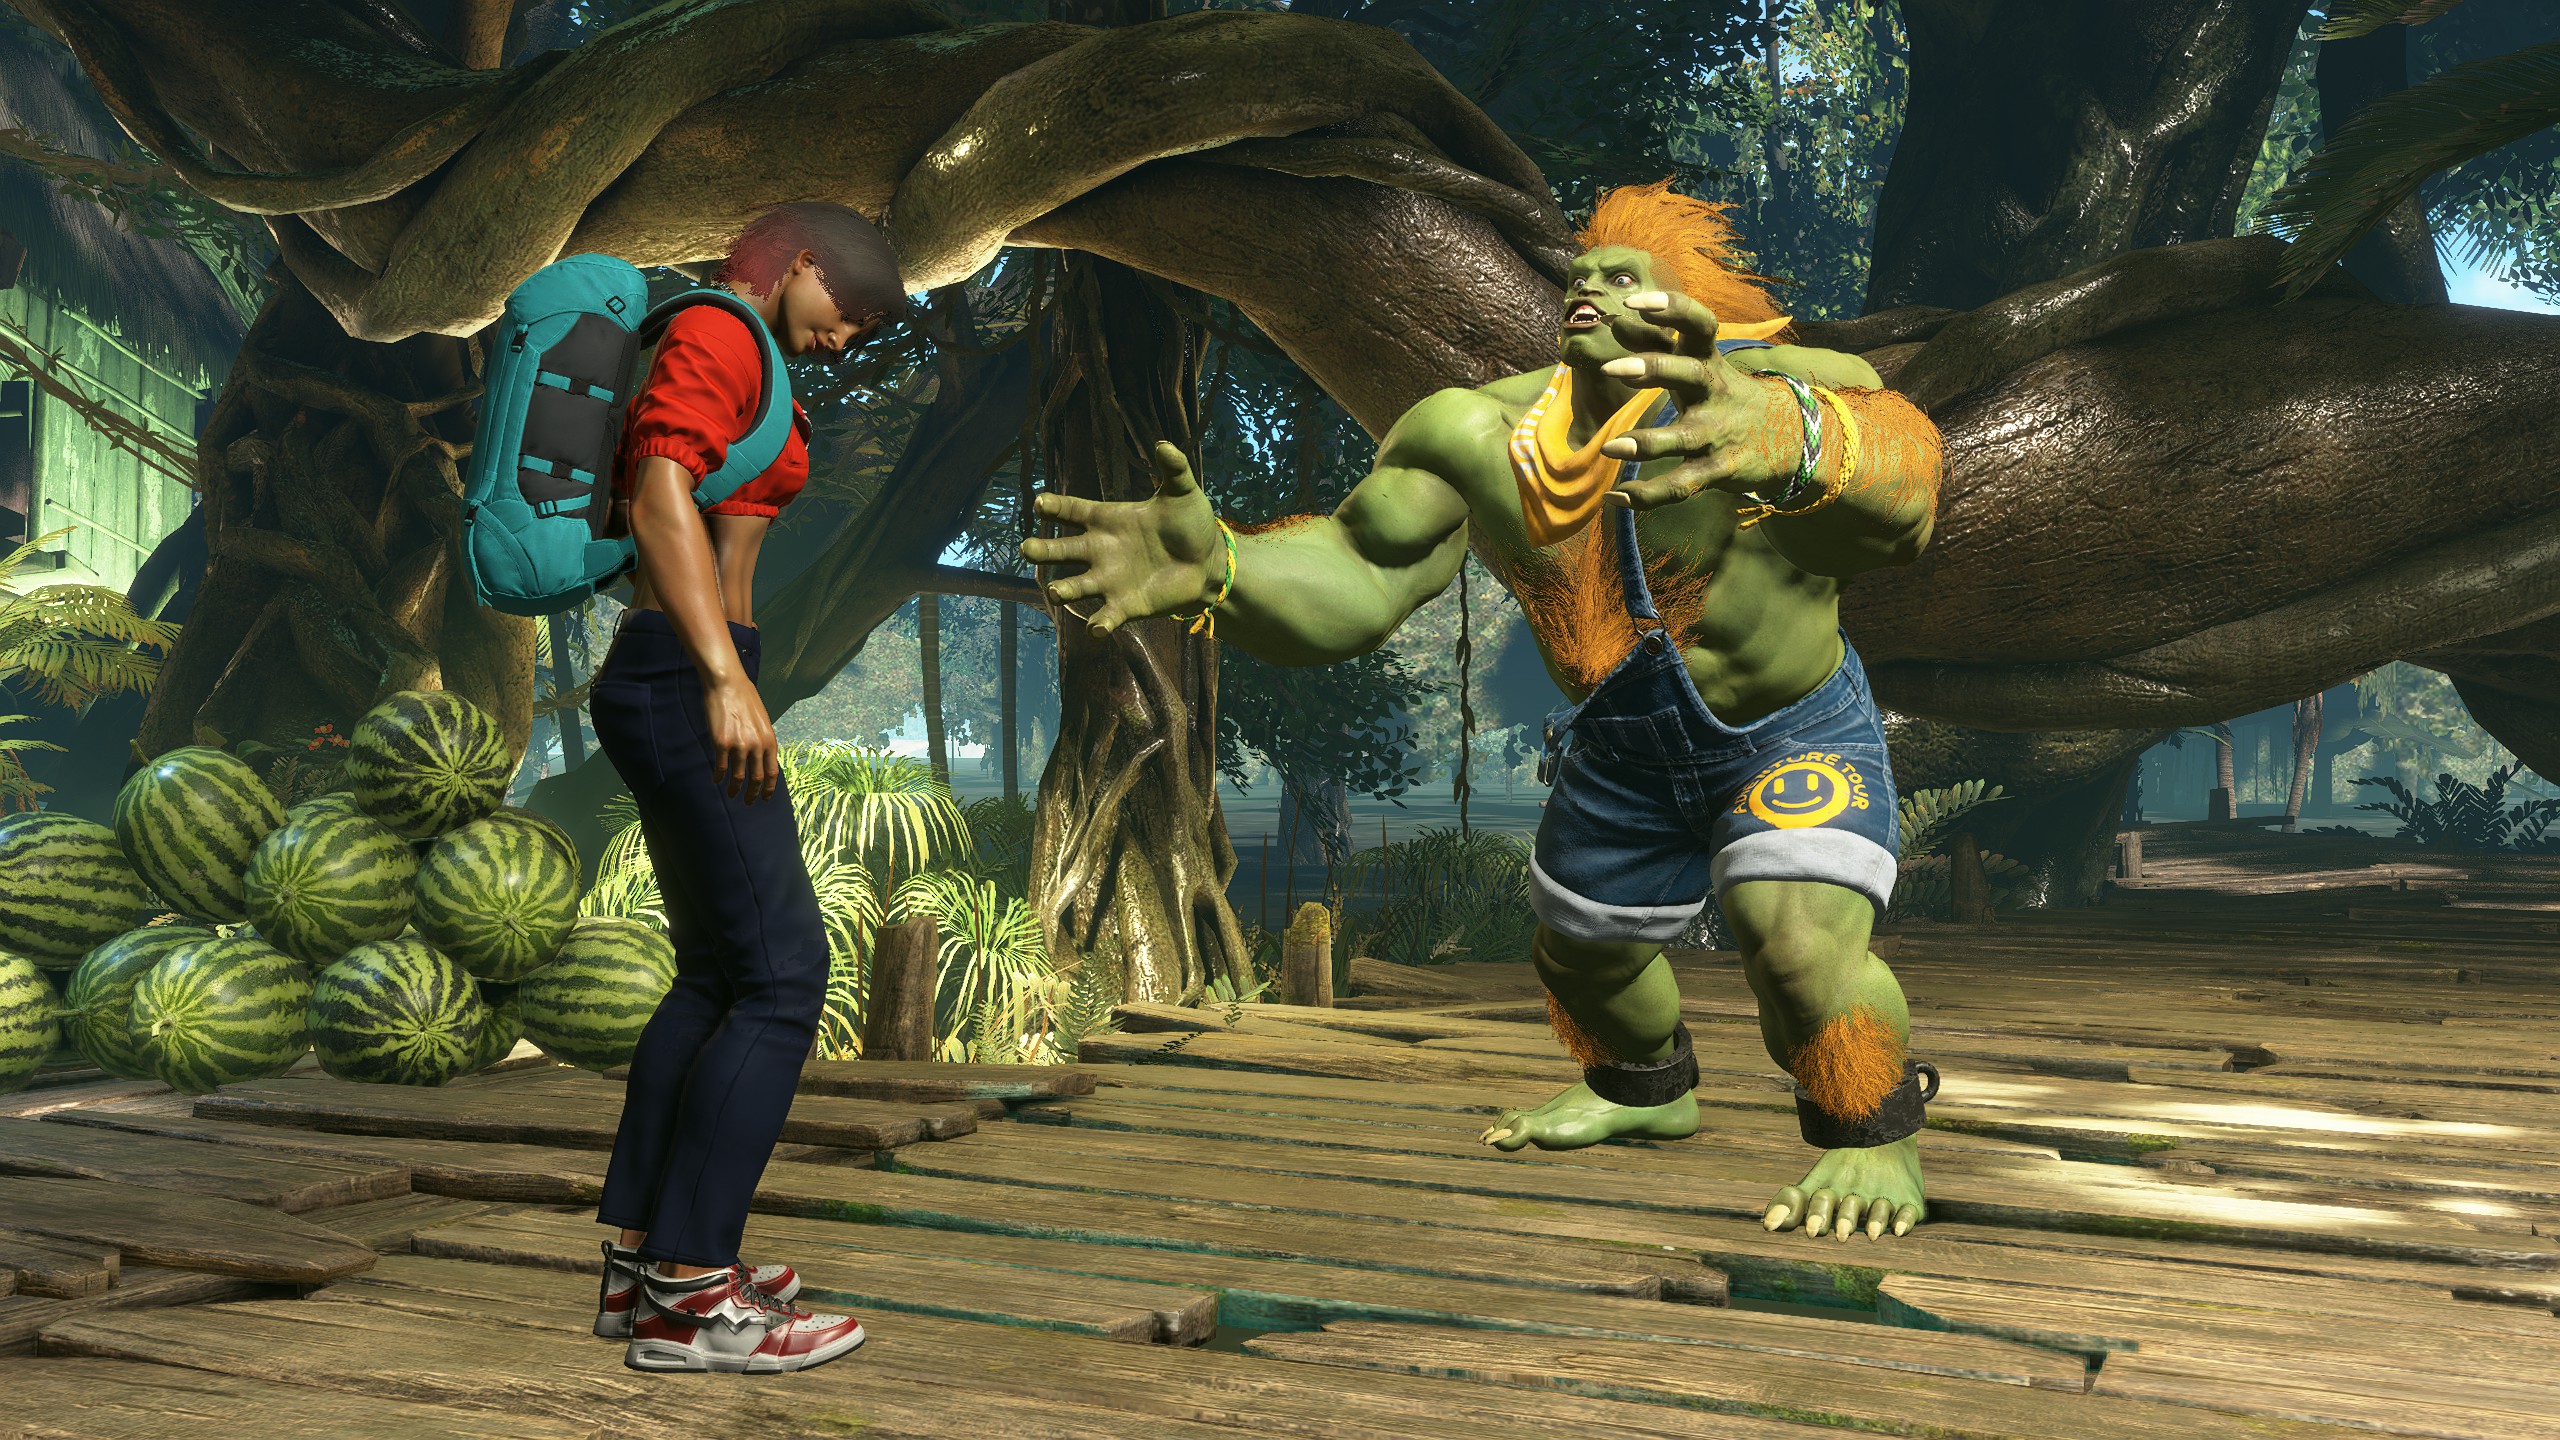
Poses


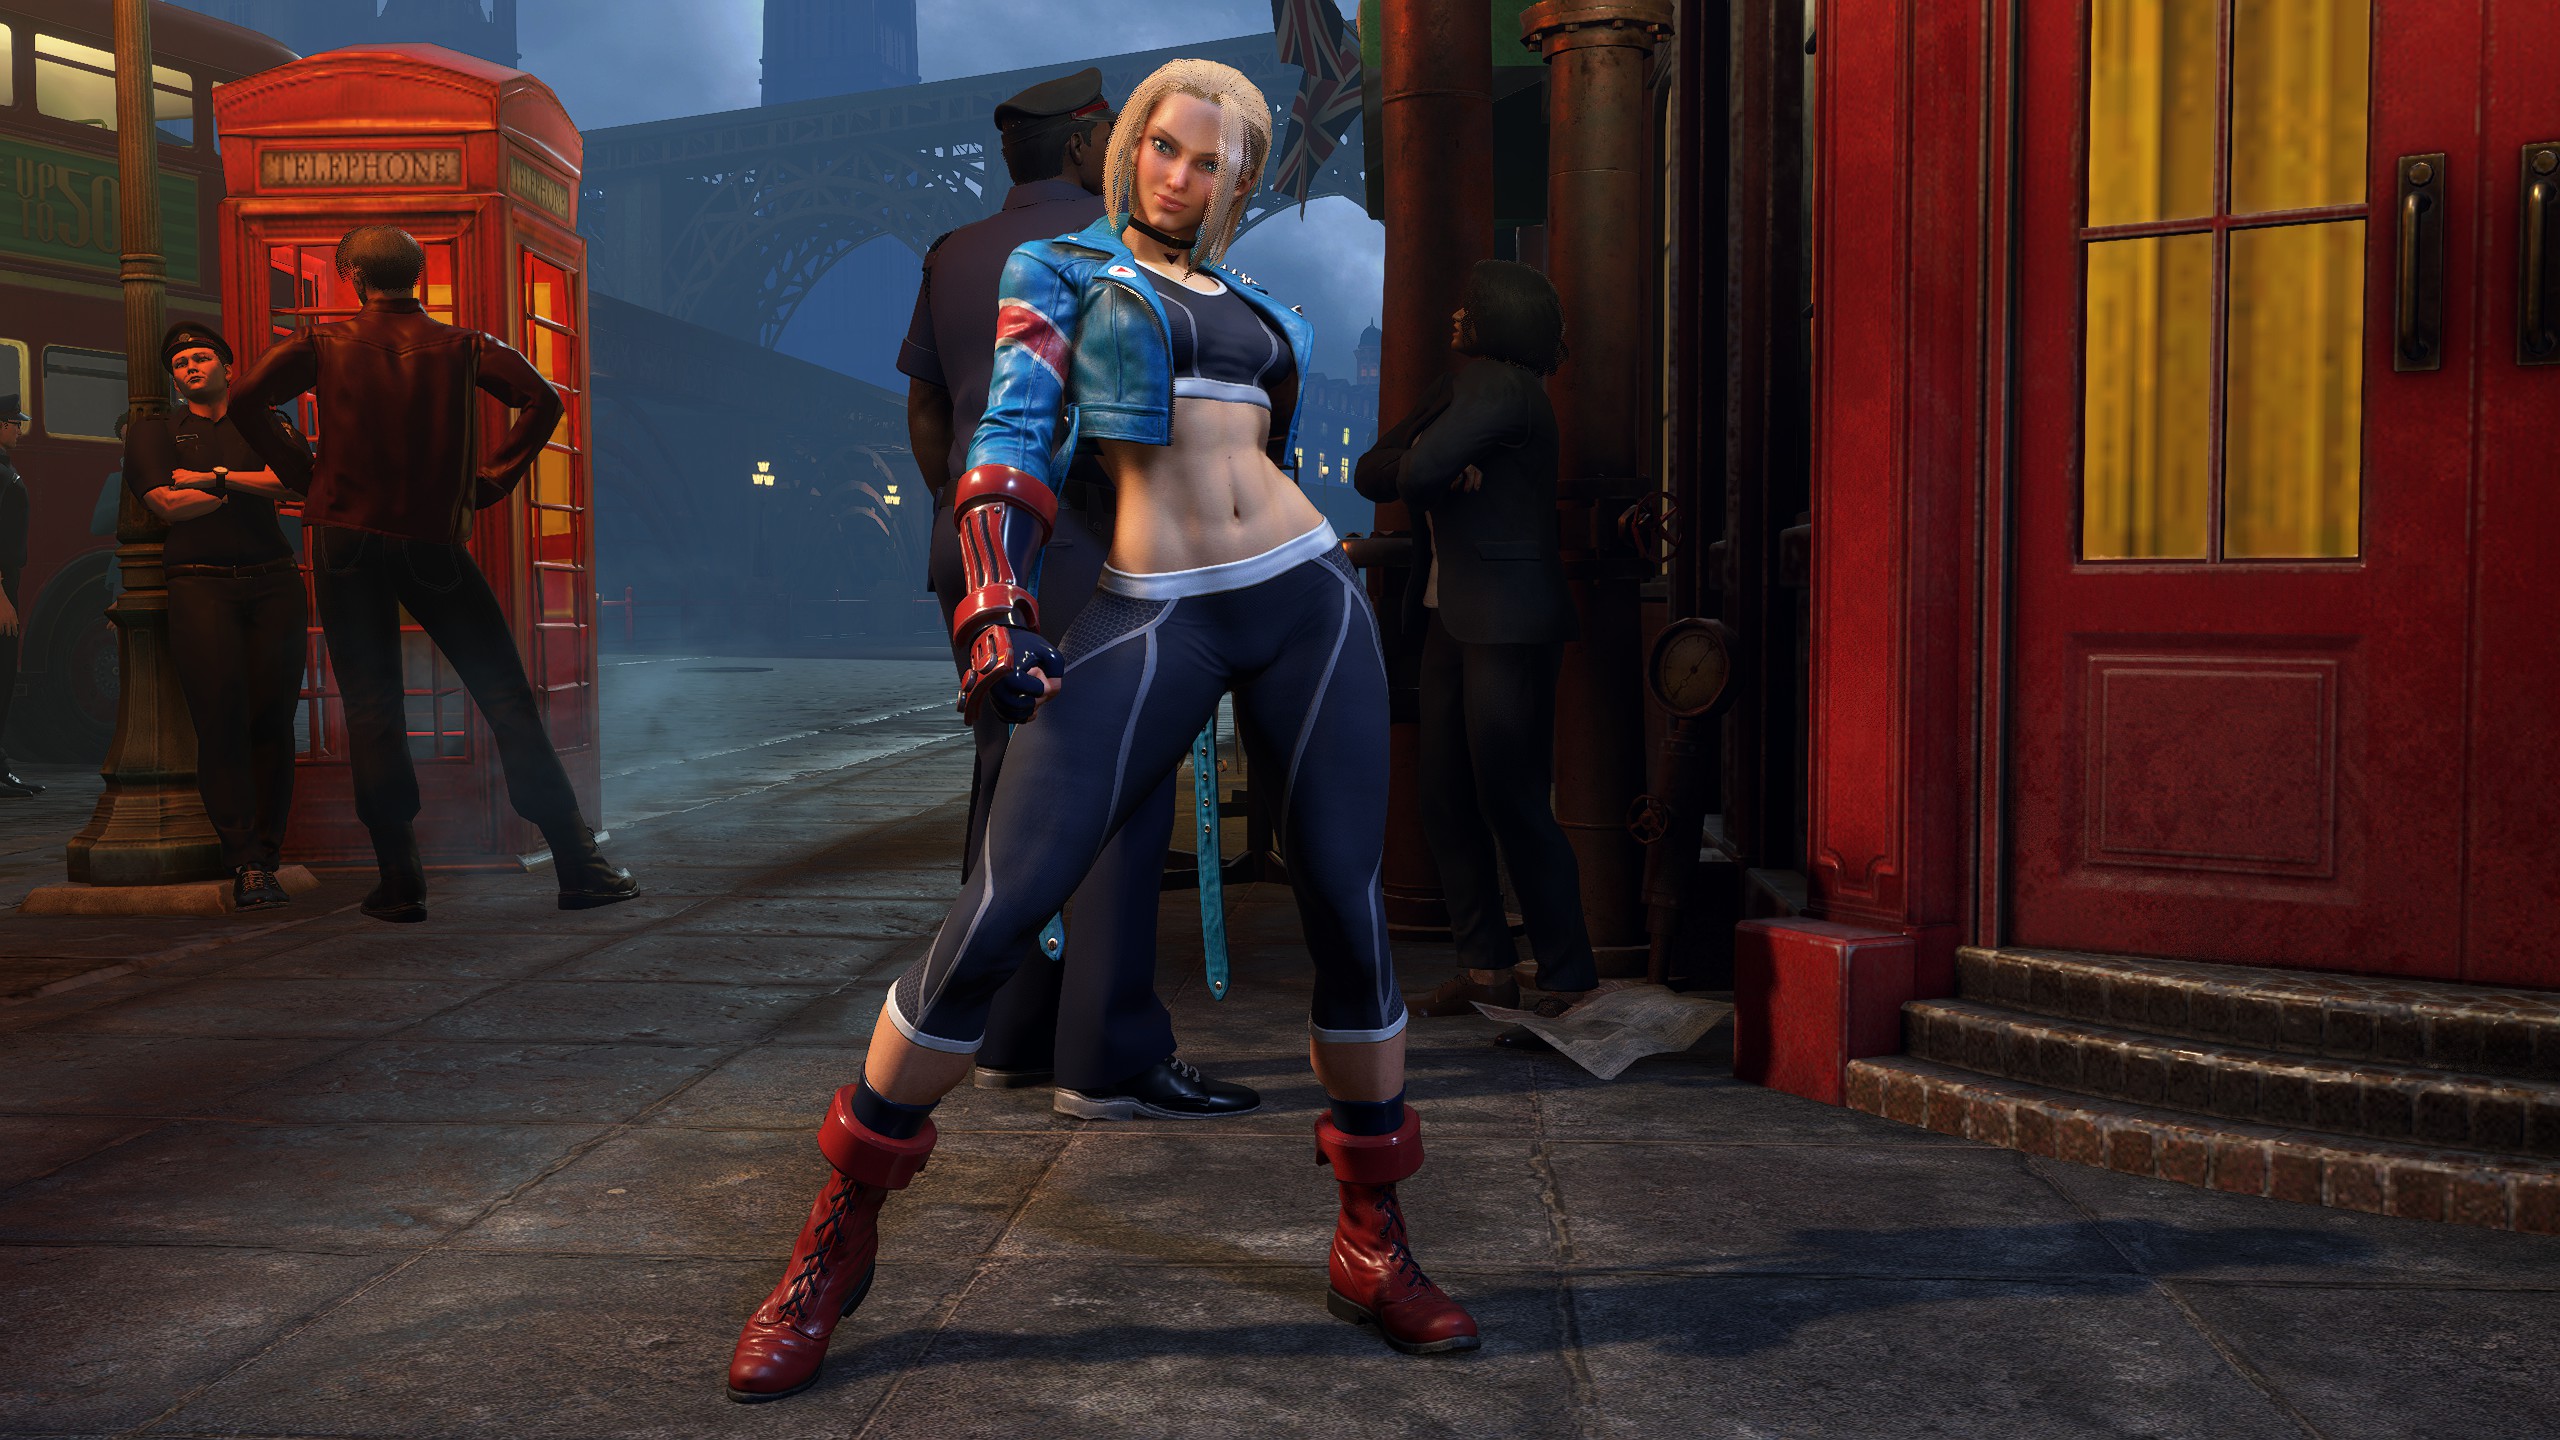
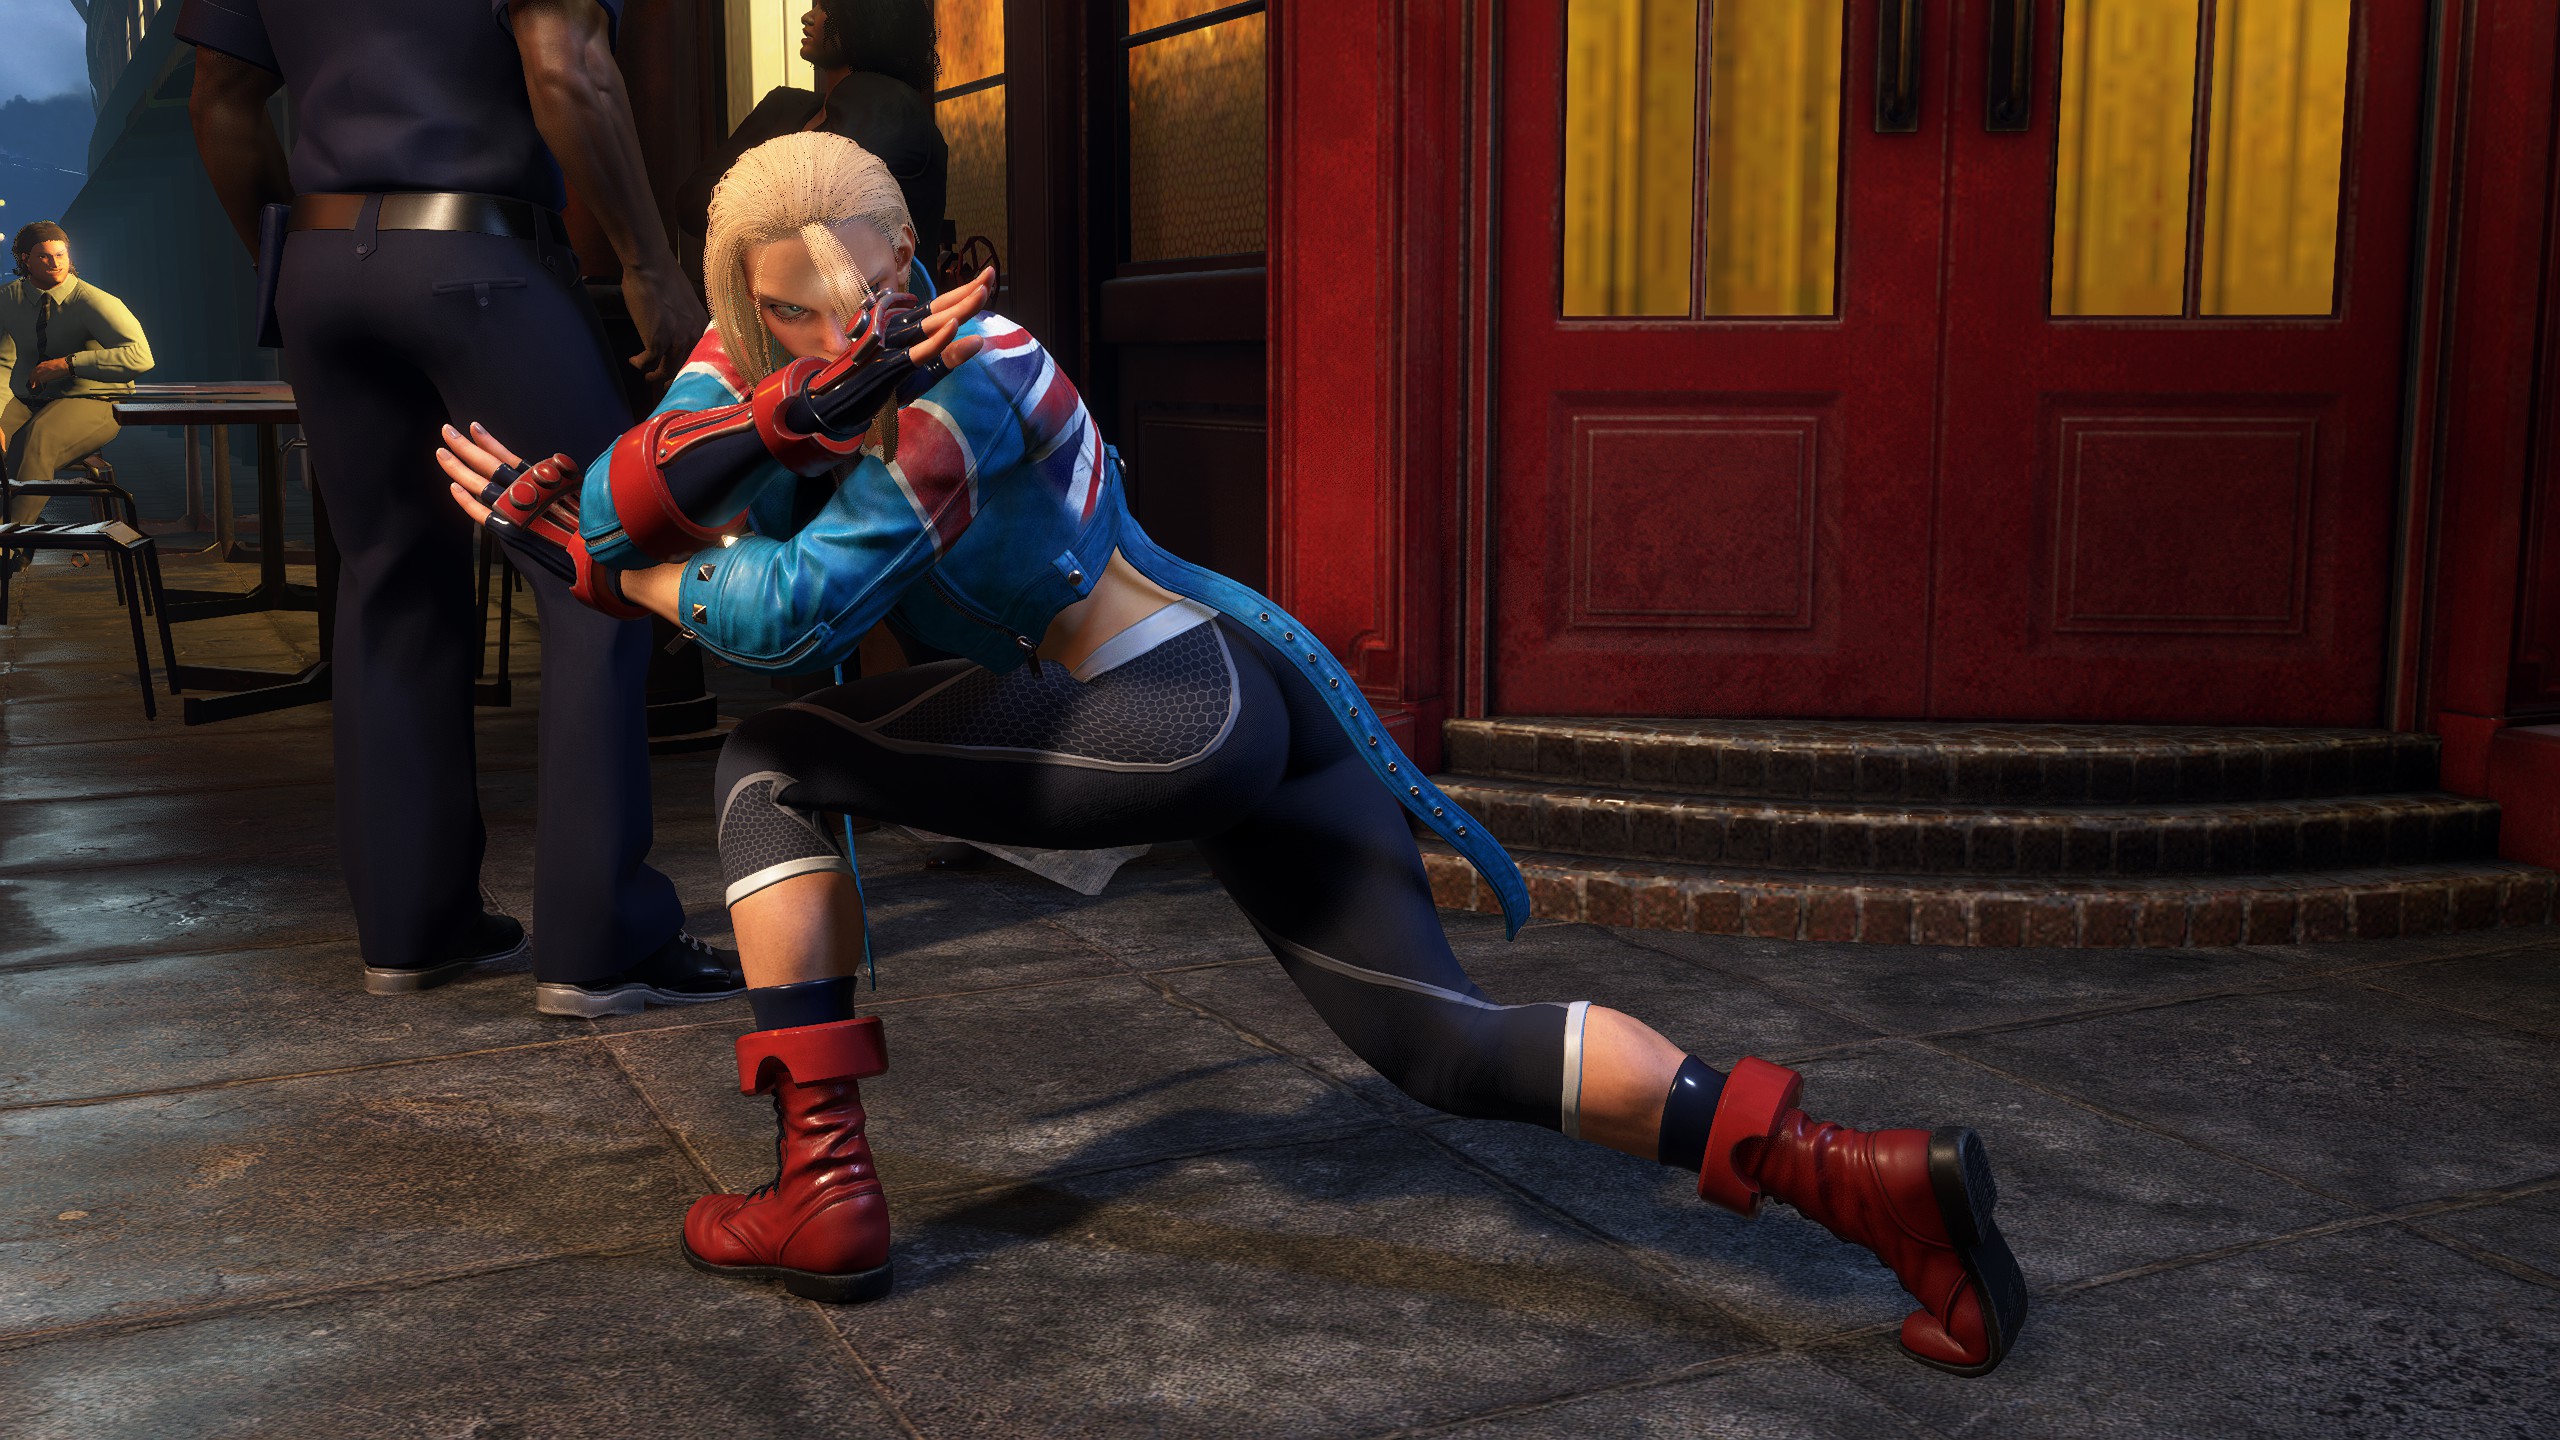
Cammy
Default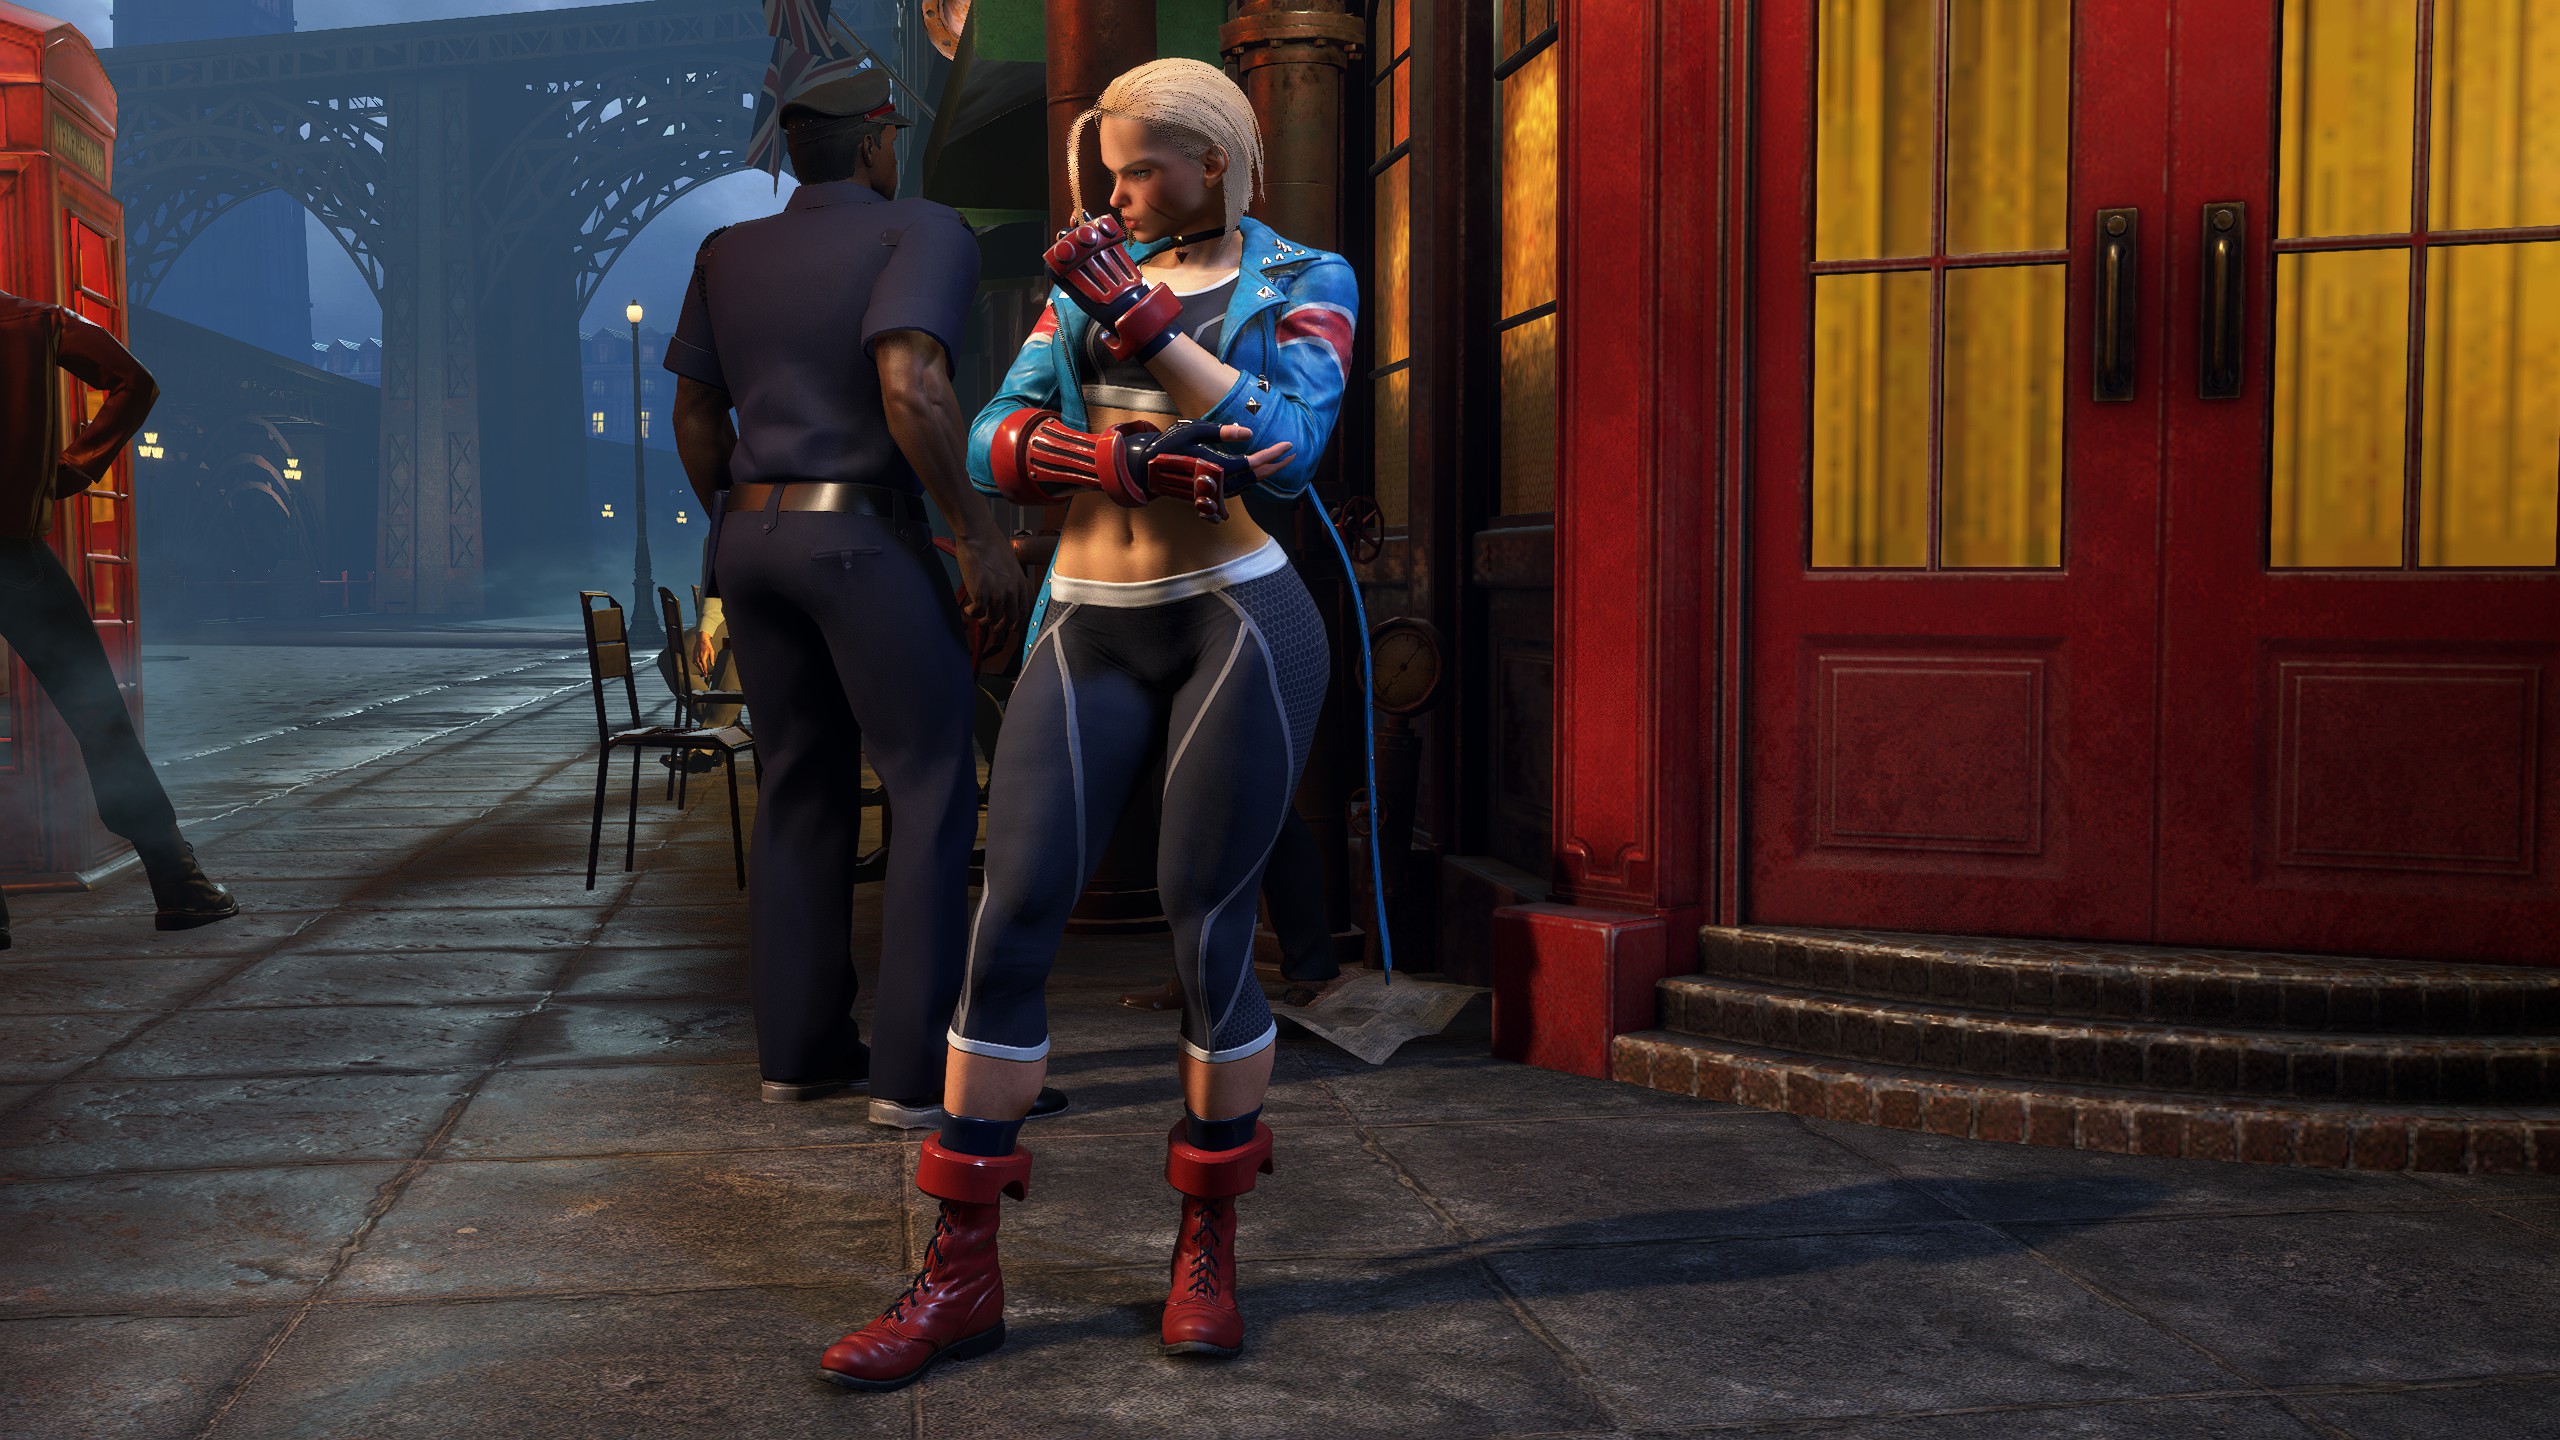
Poses

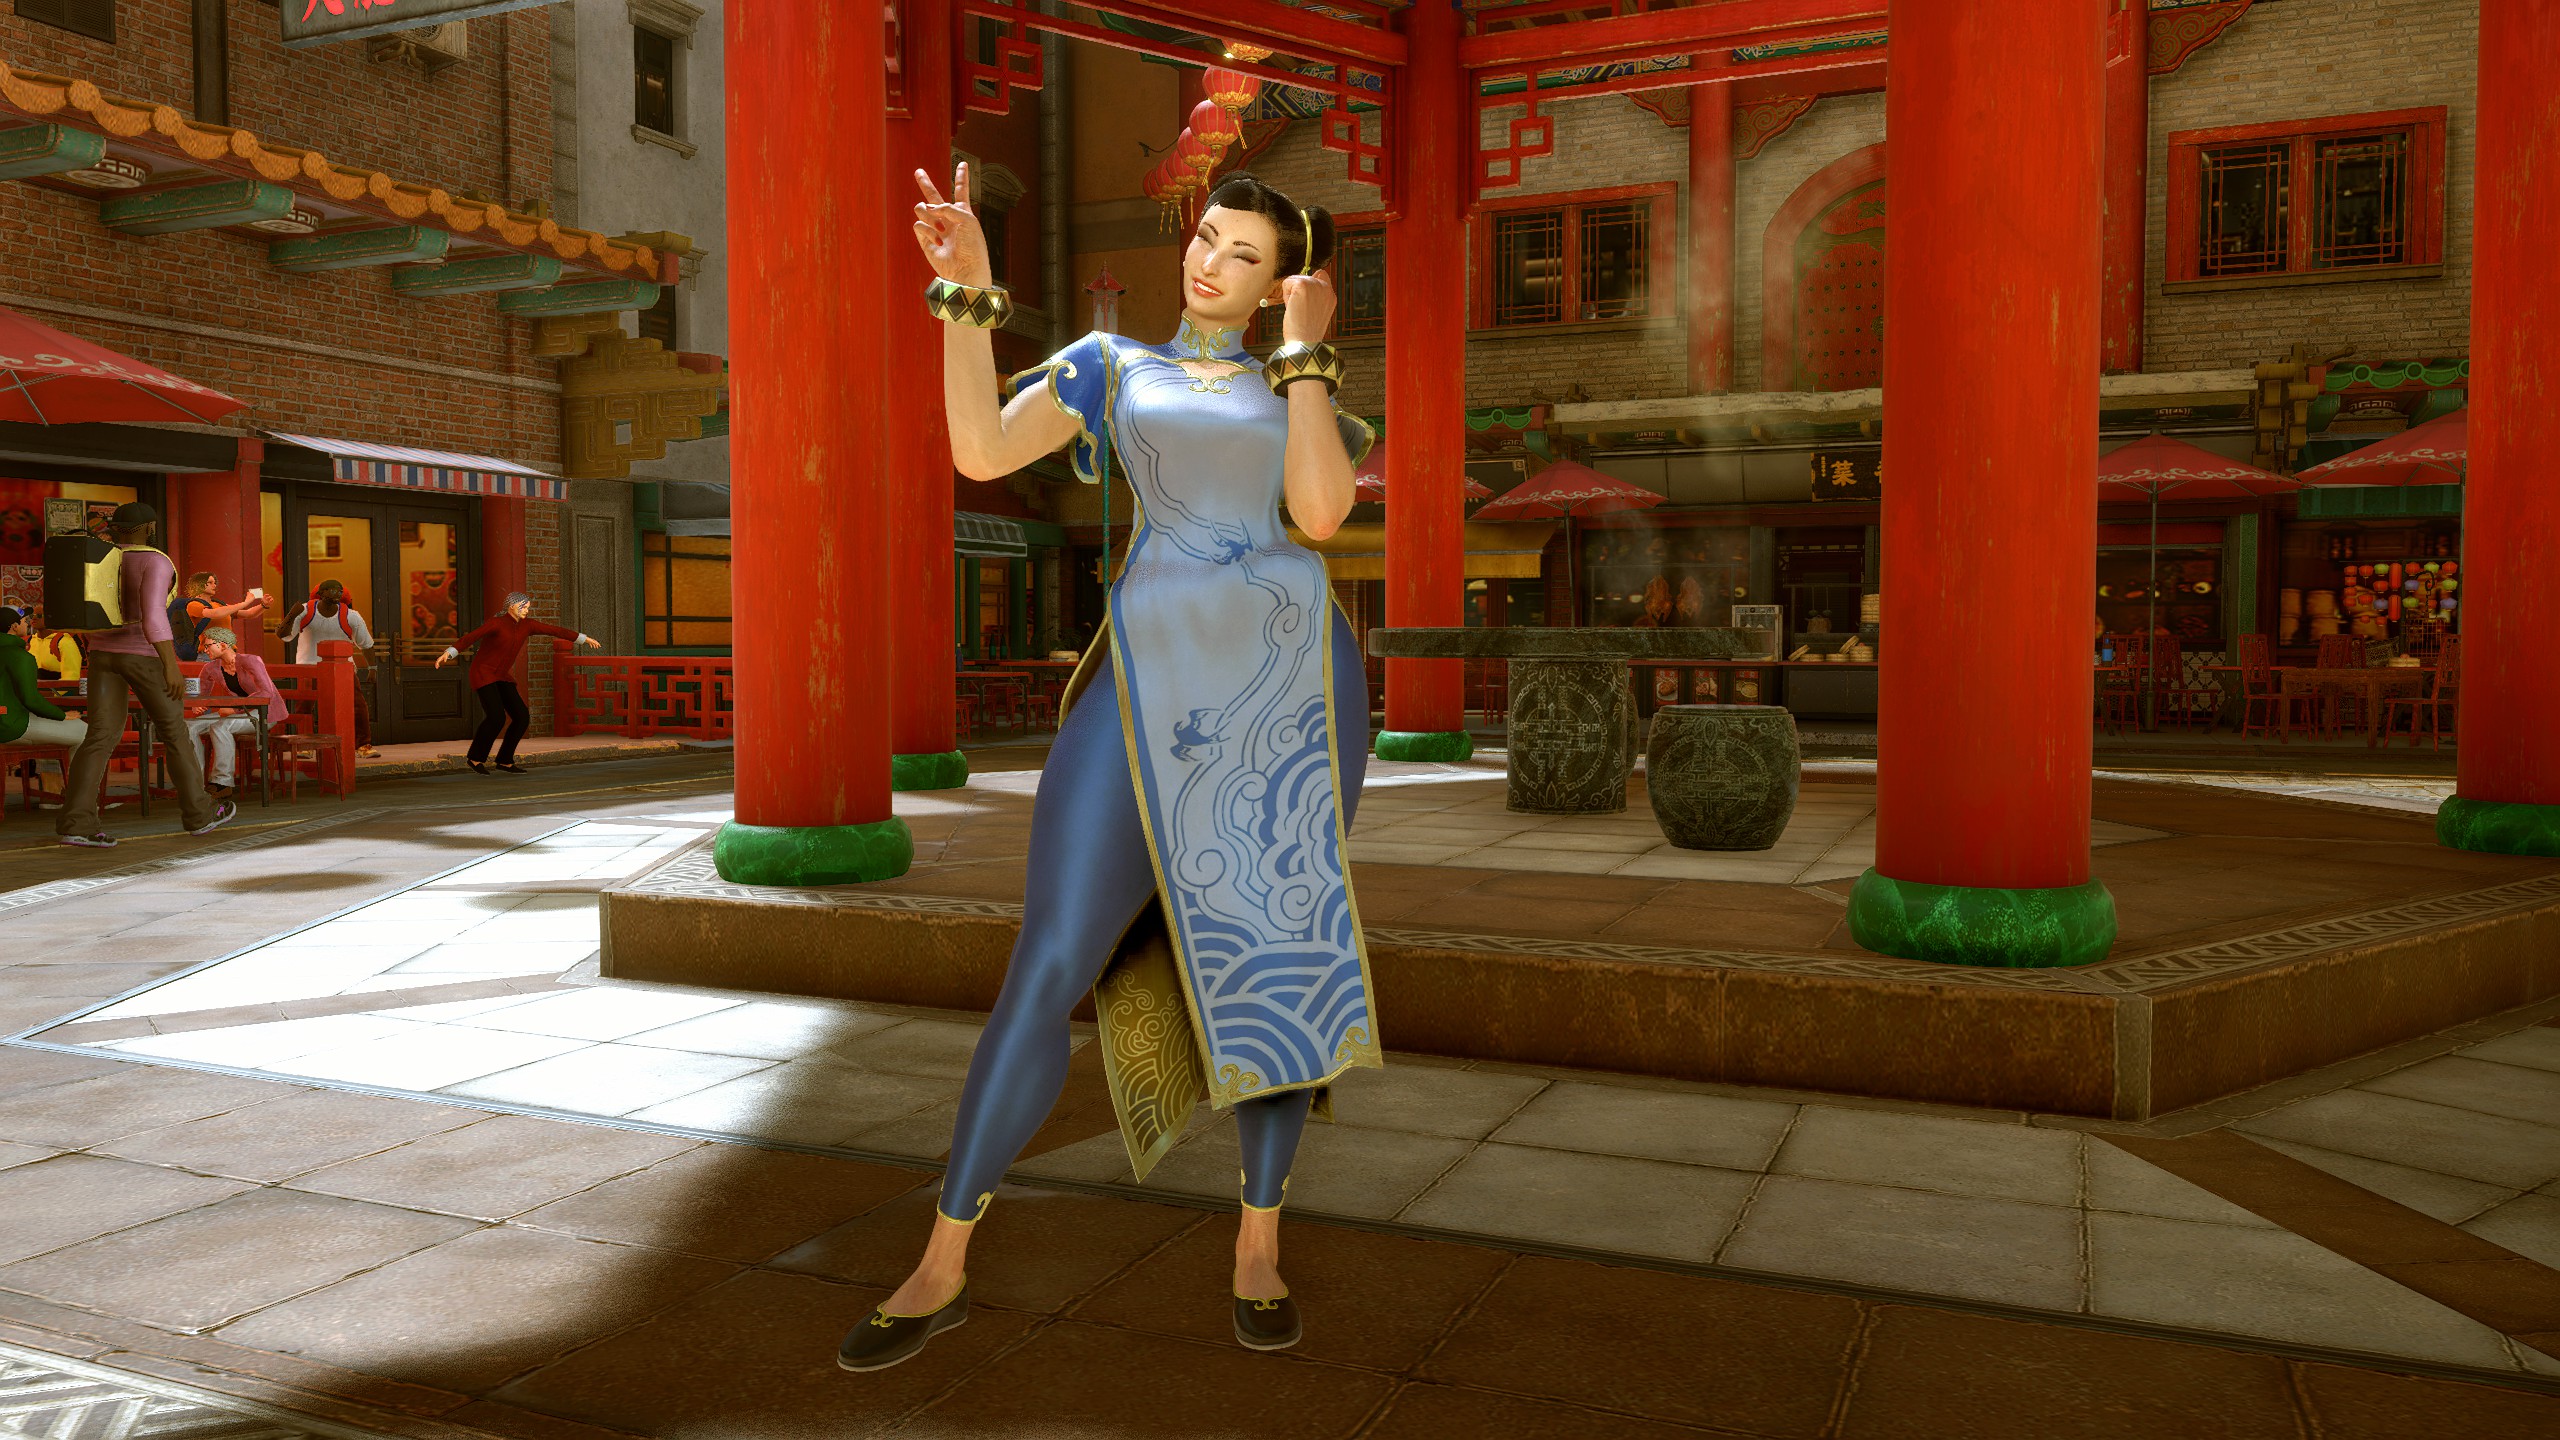
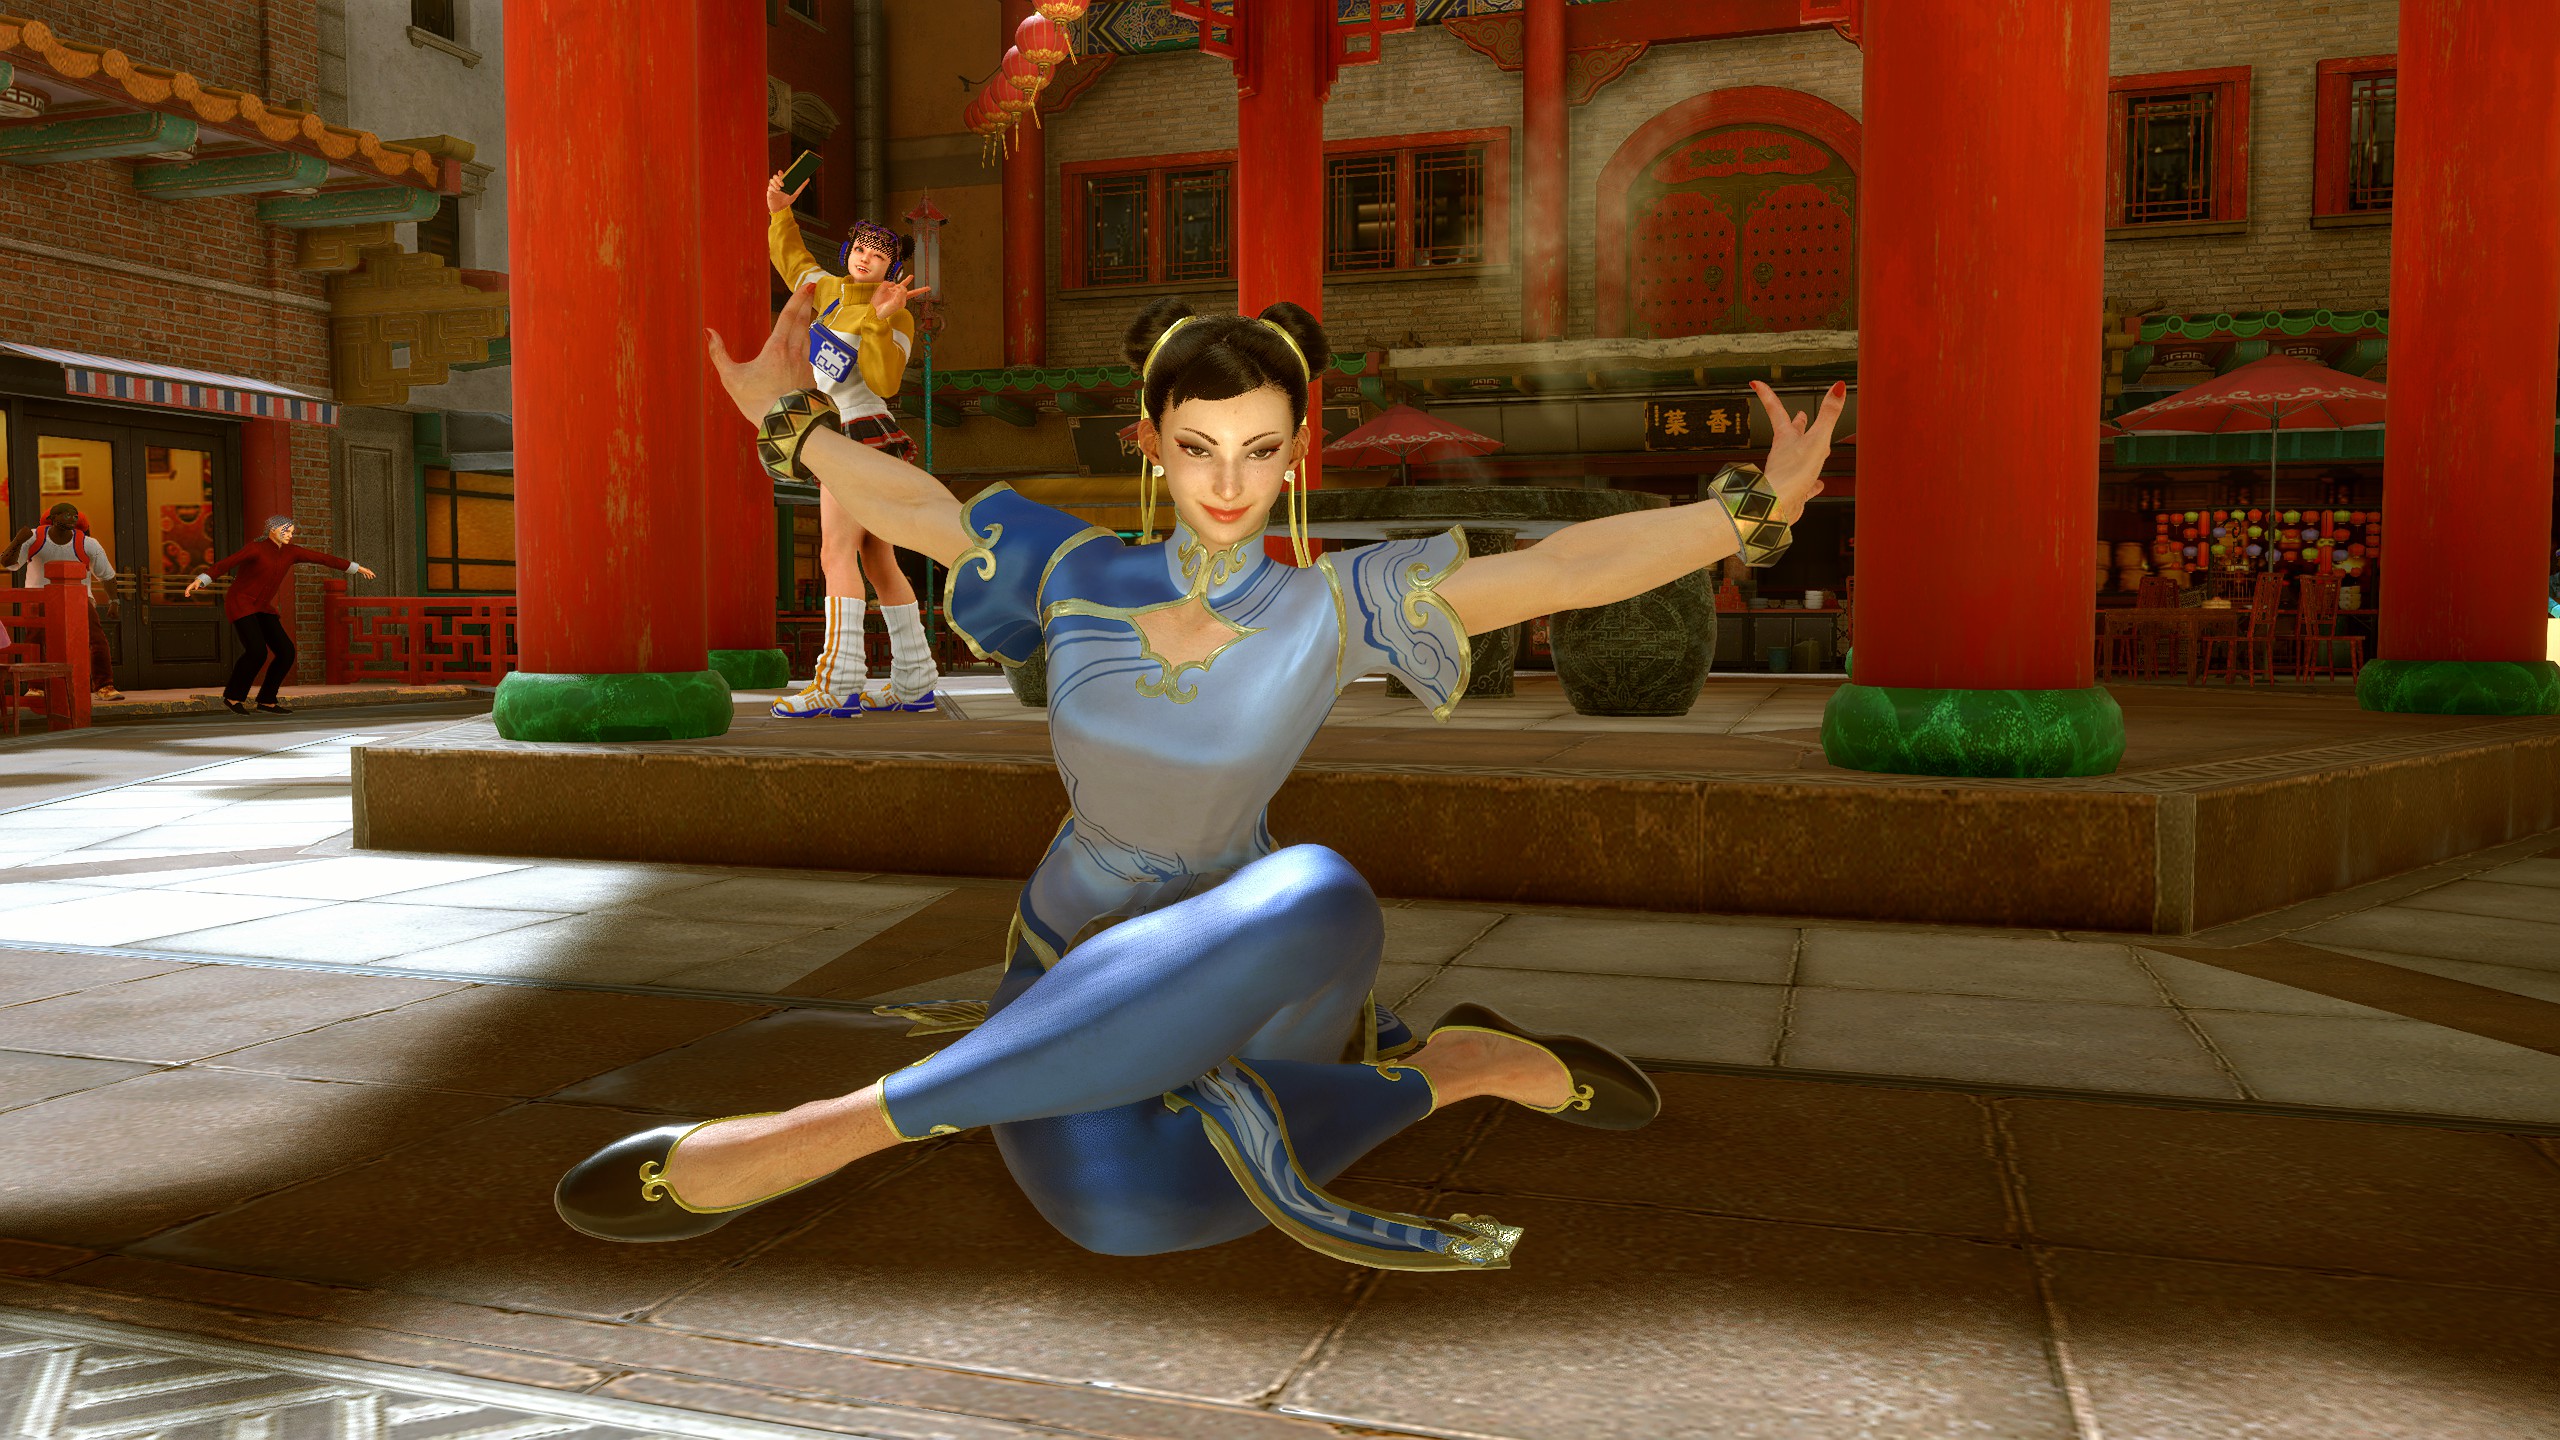
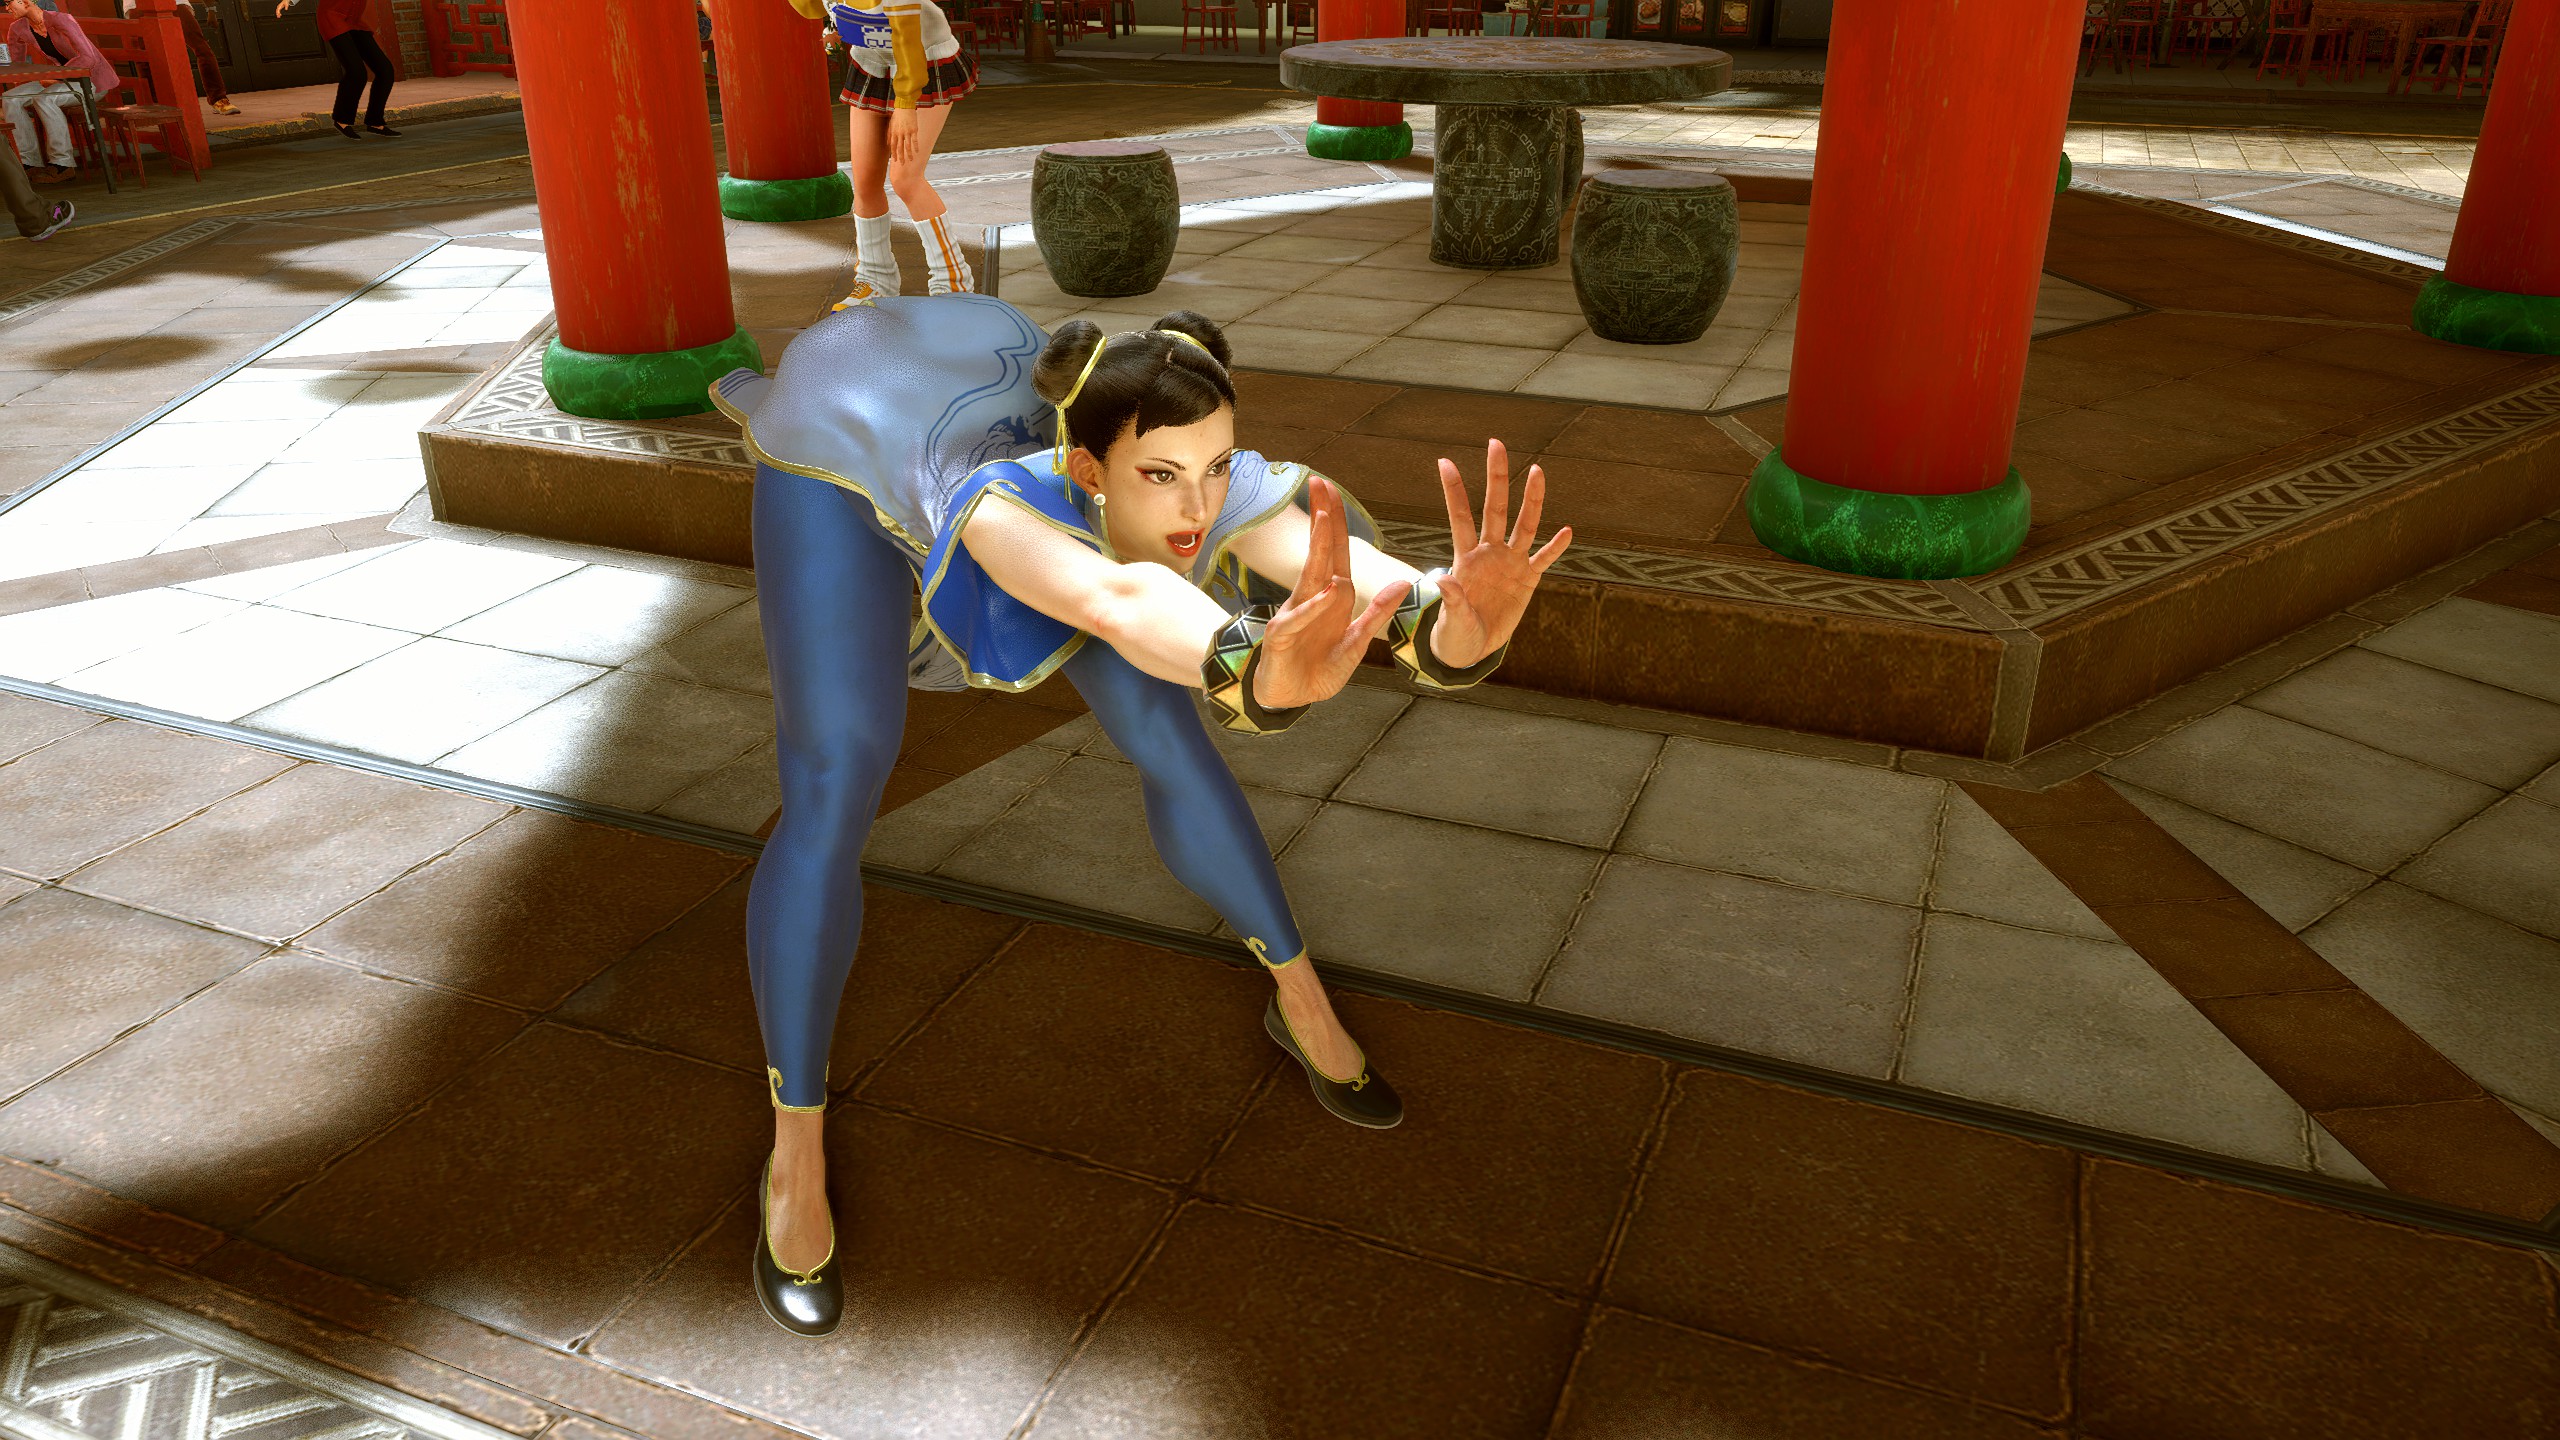
Chun-Li
Default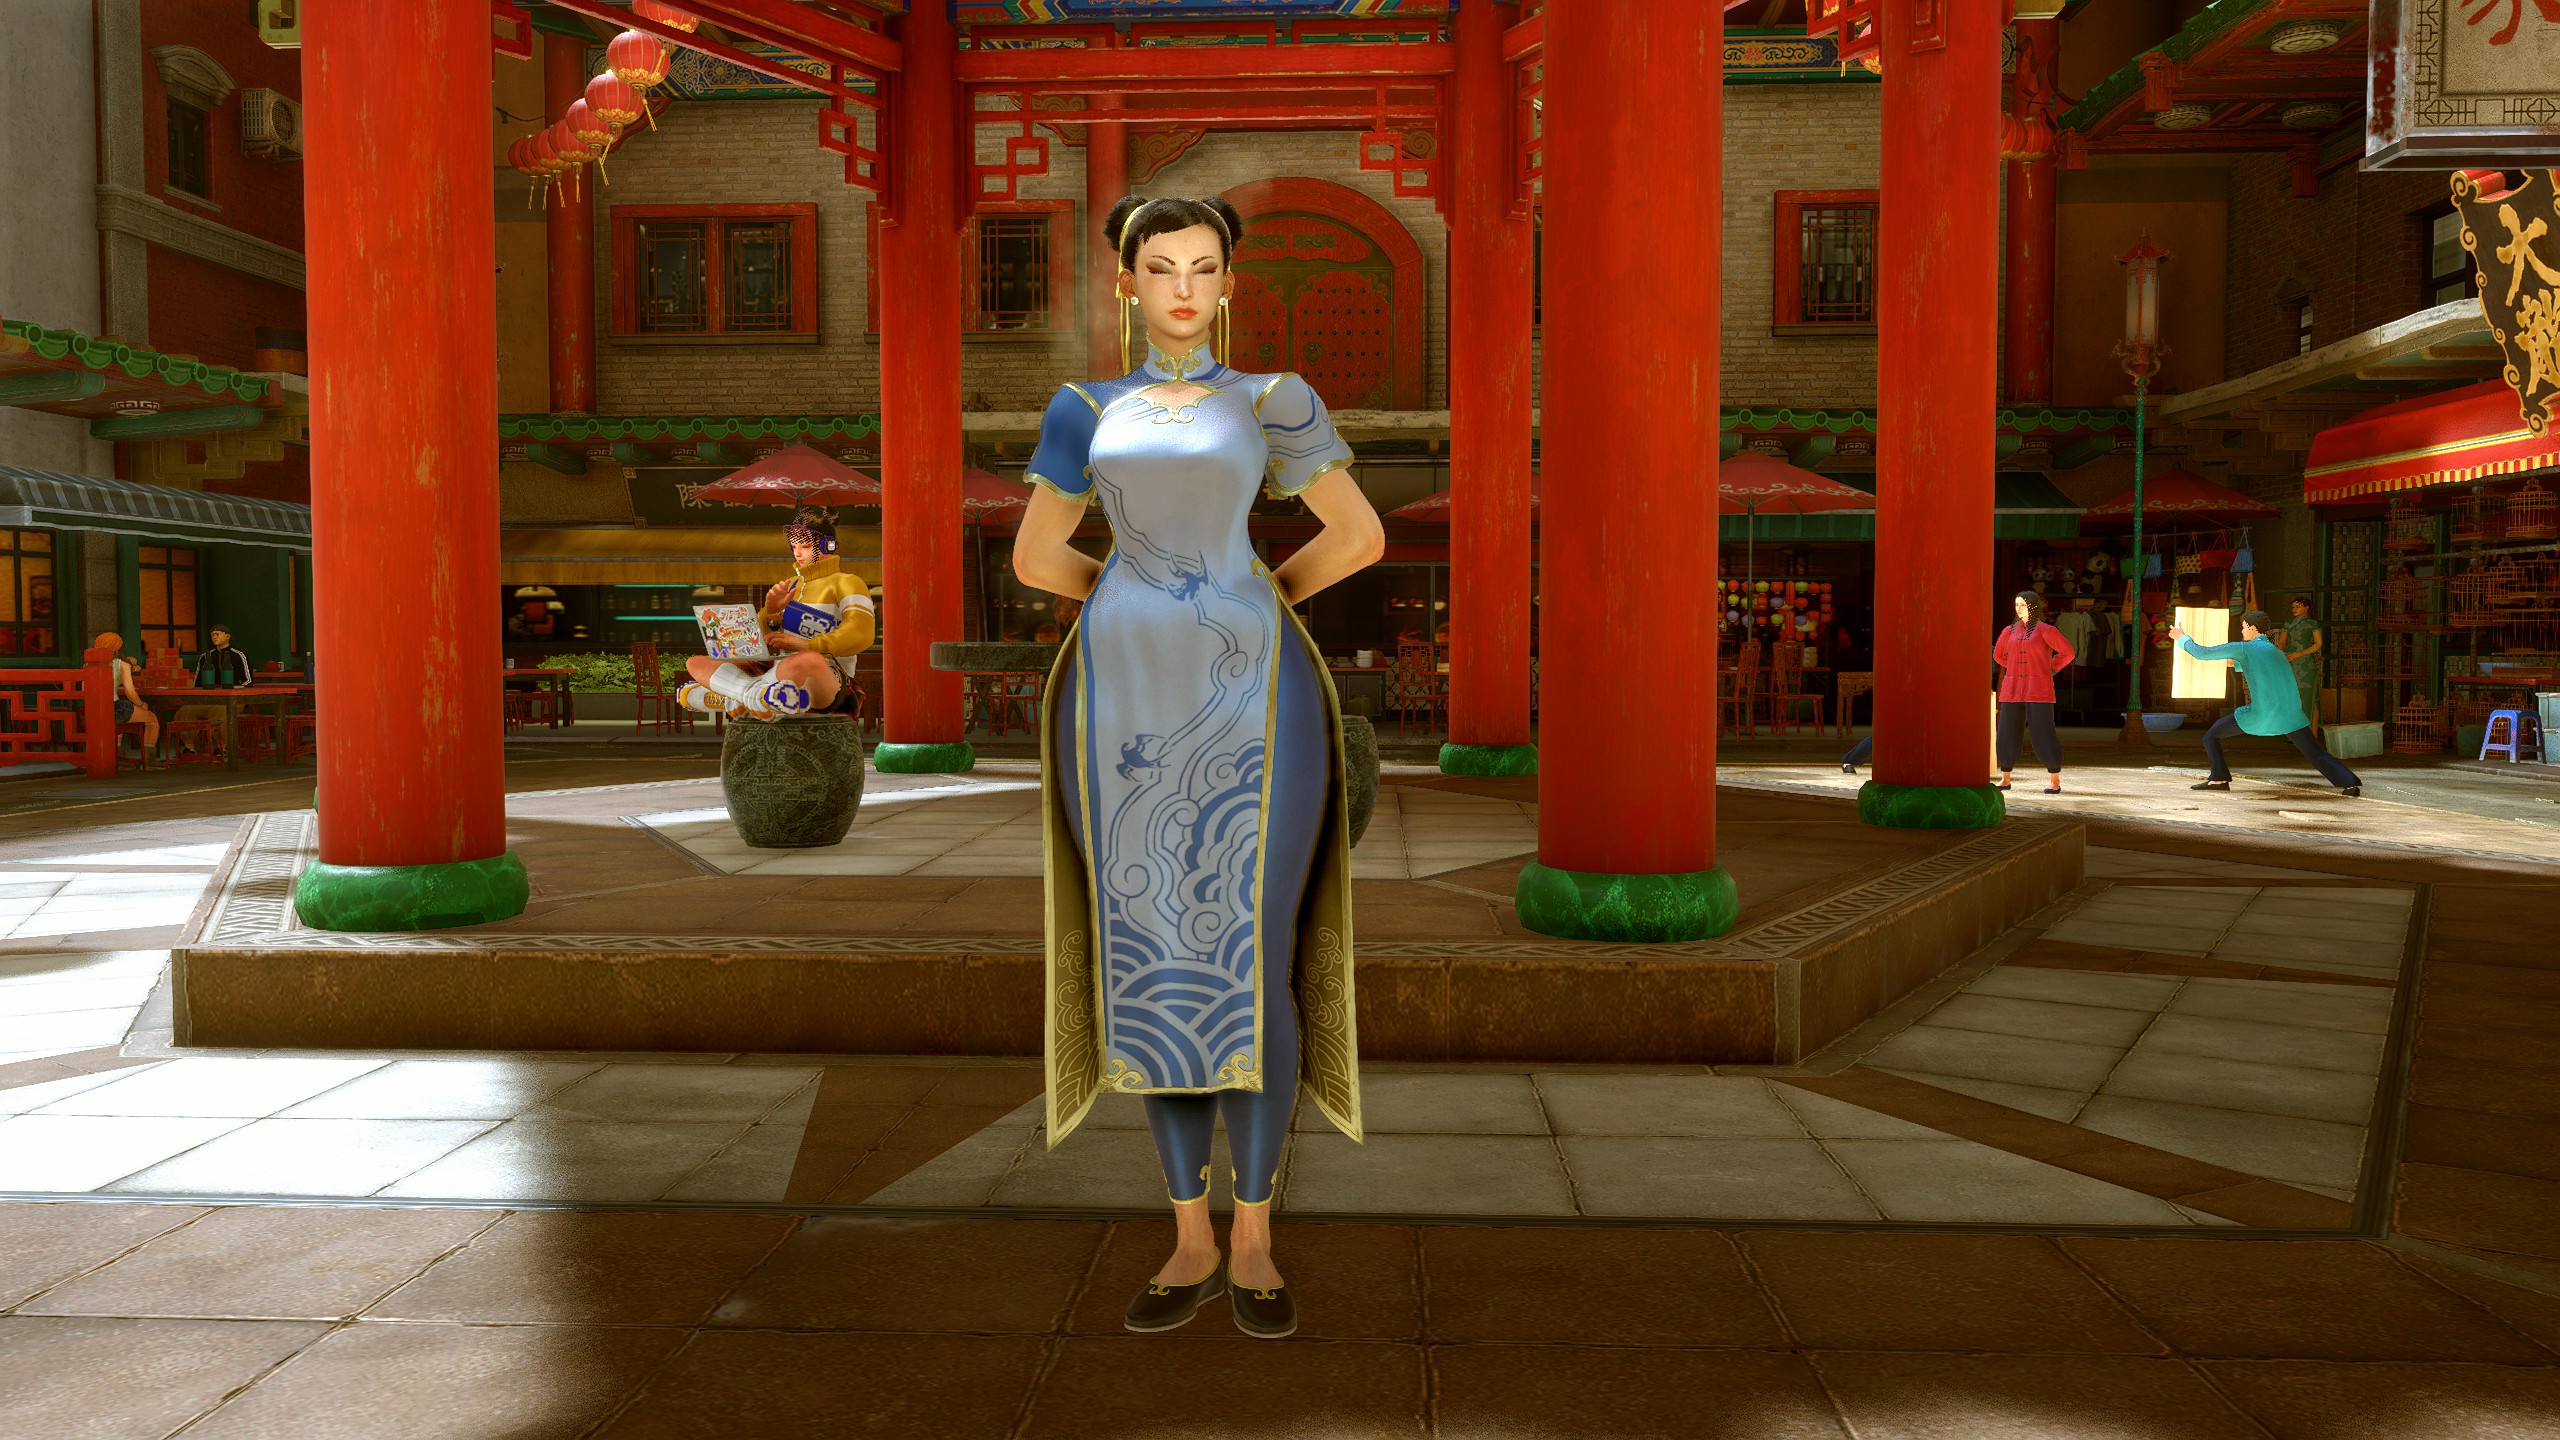
Poses
Crimson Viper
Default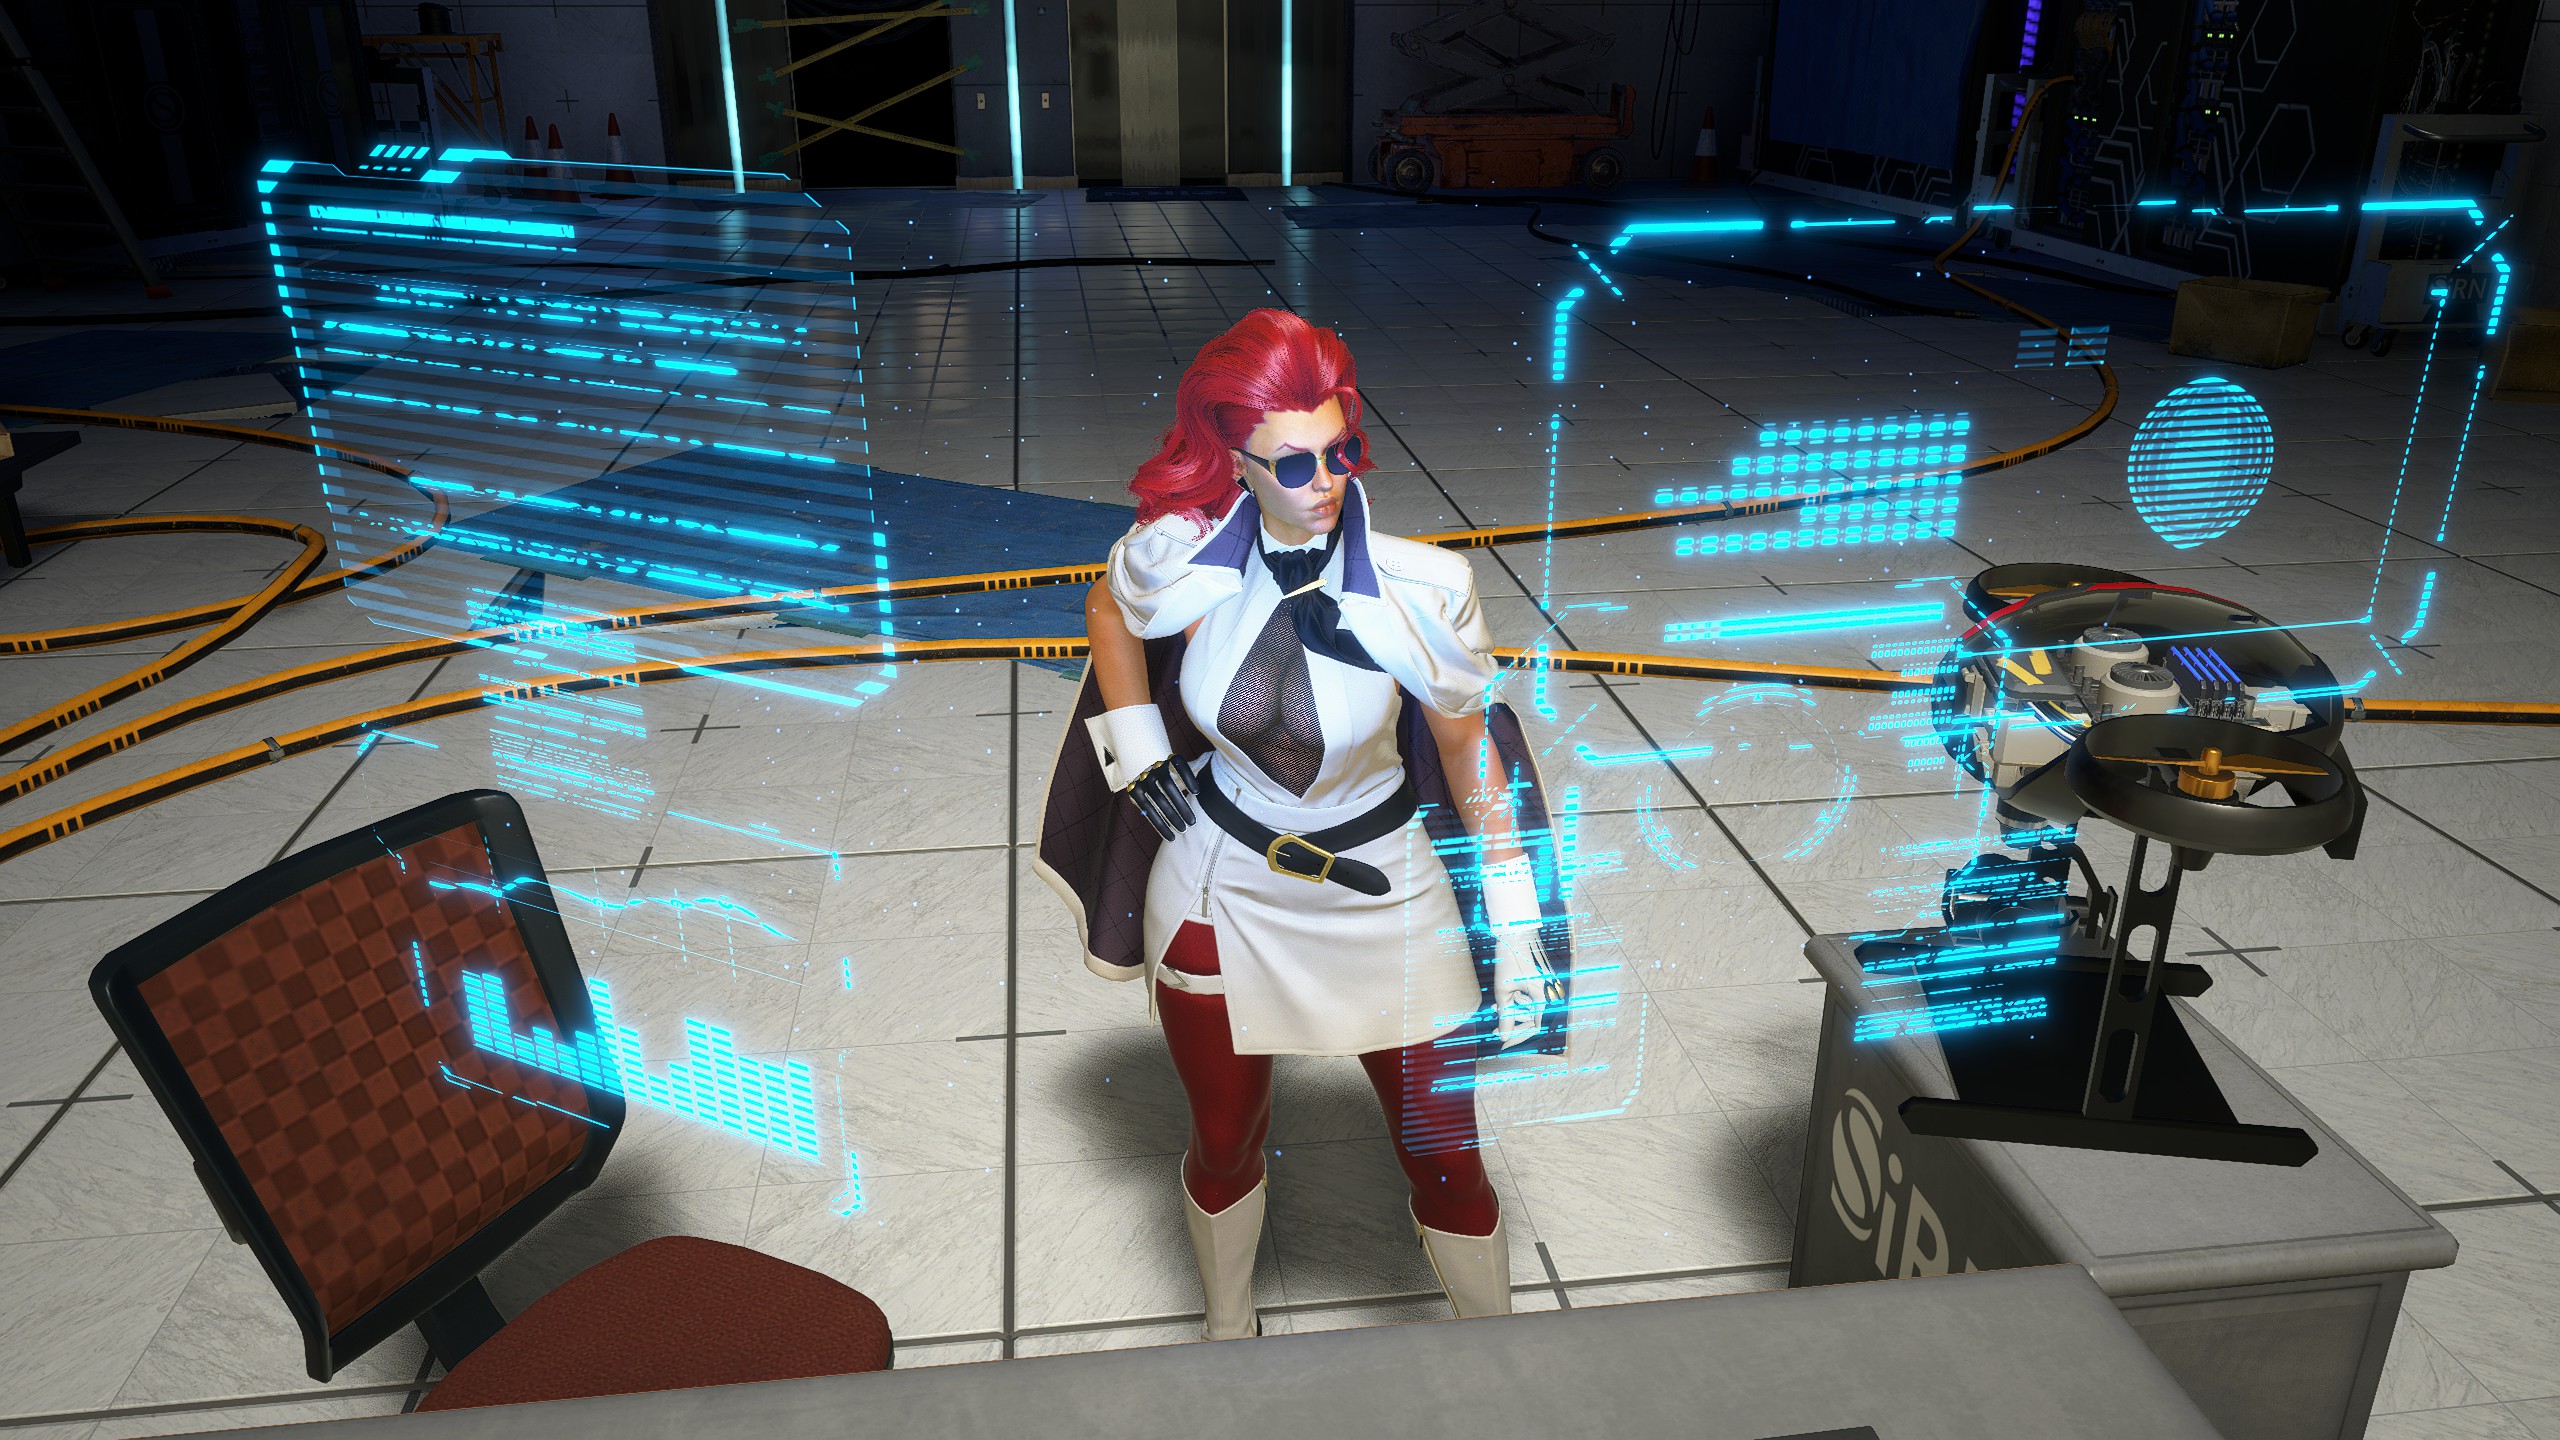
Poses
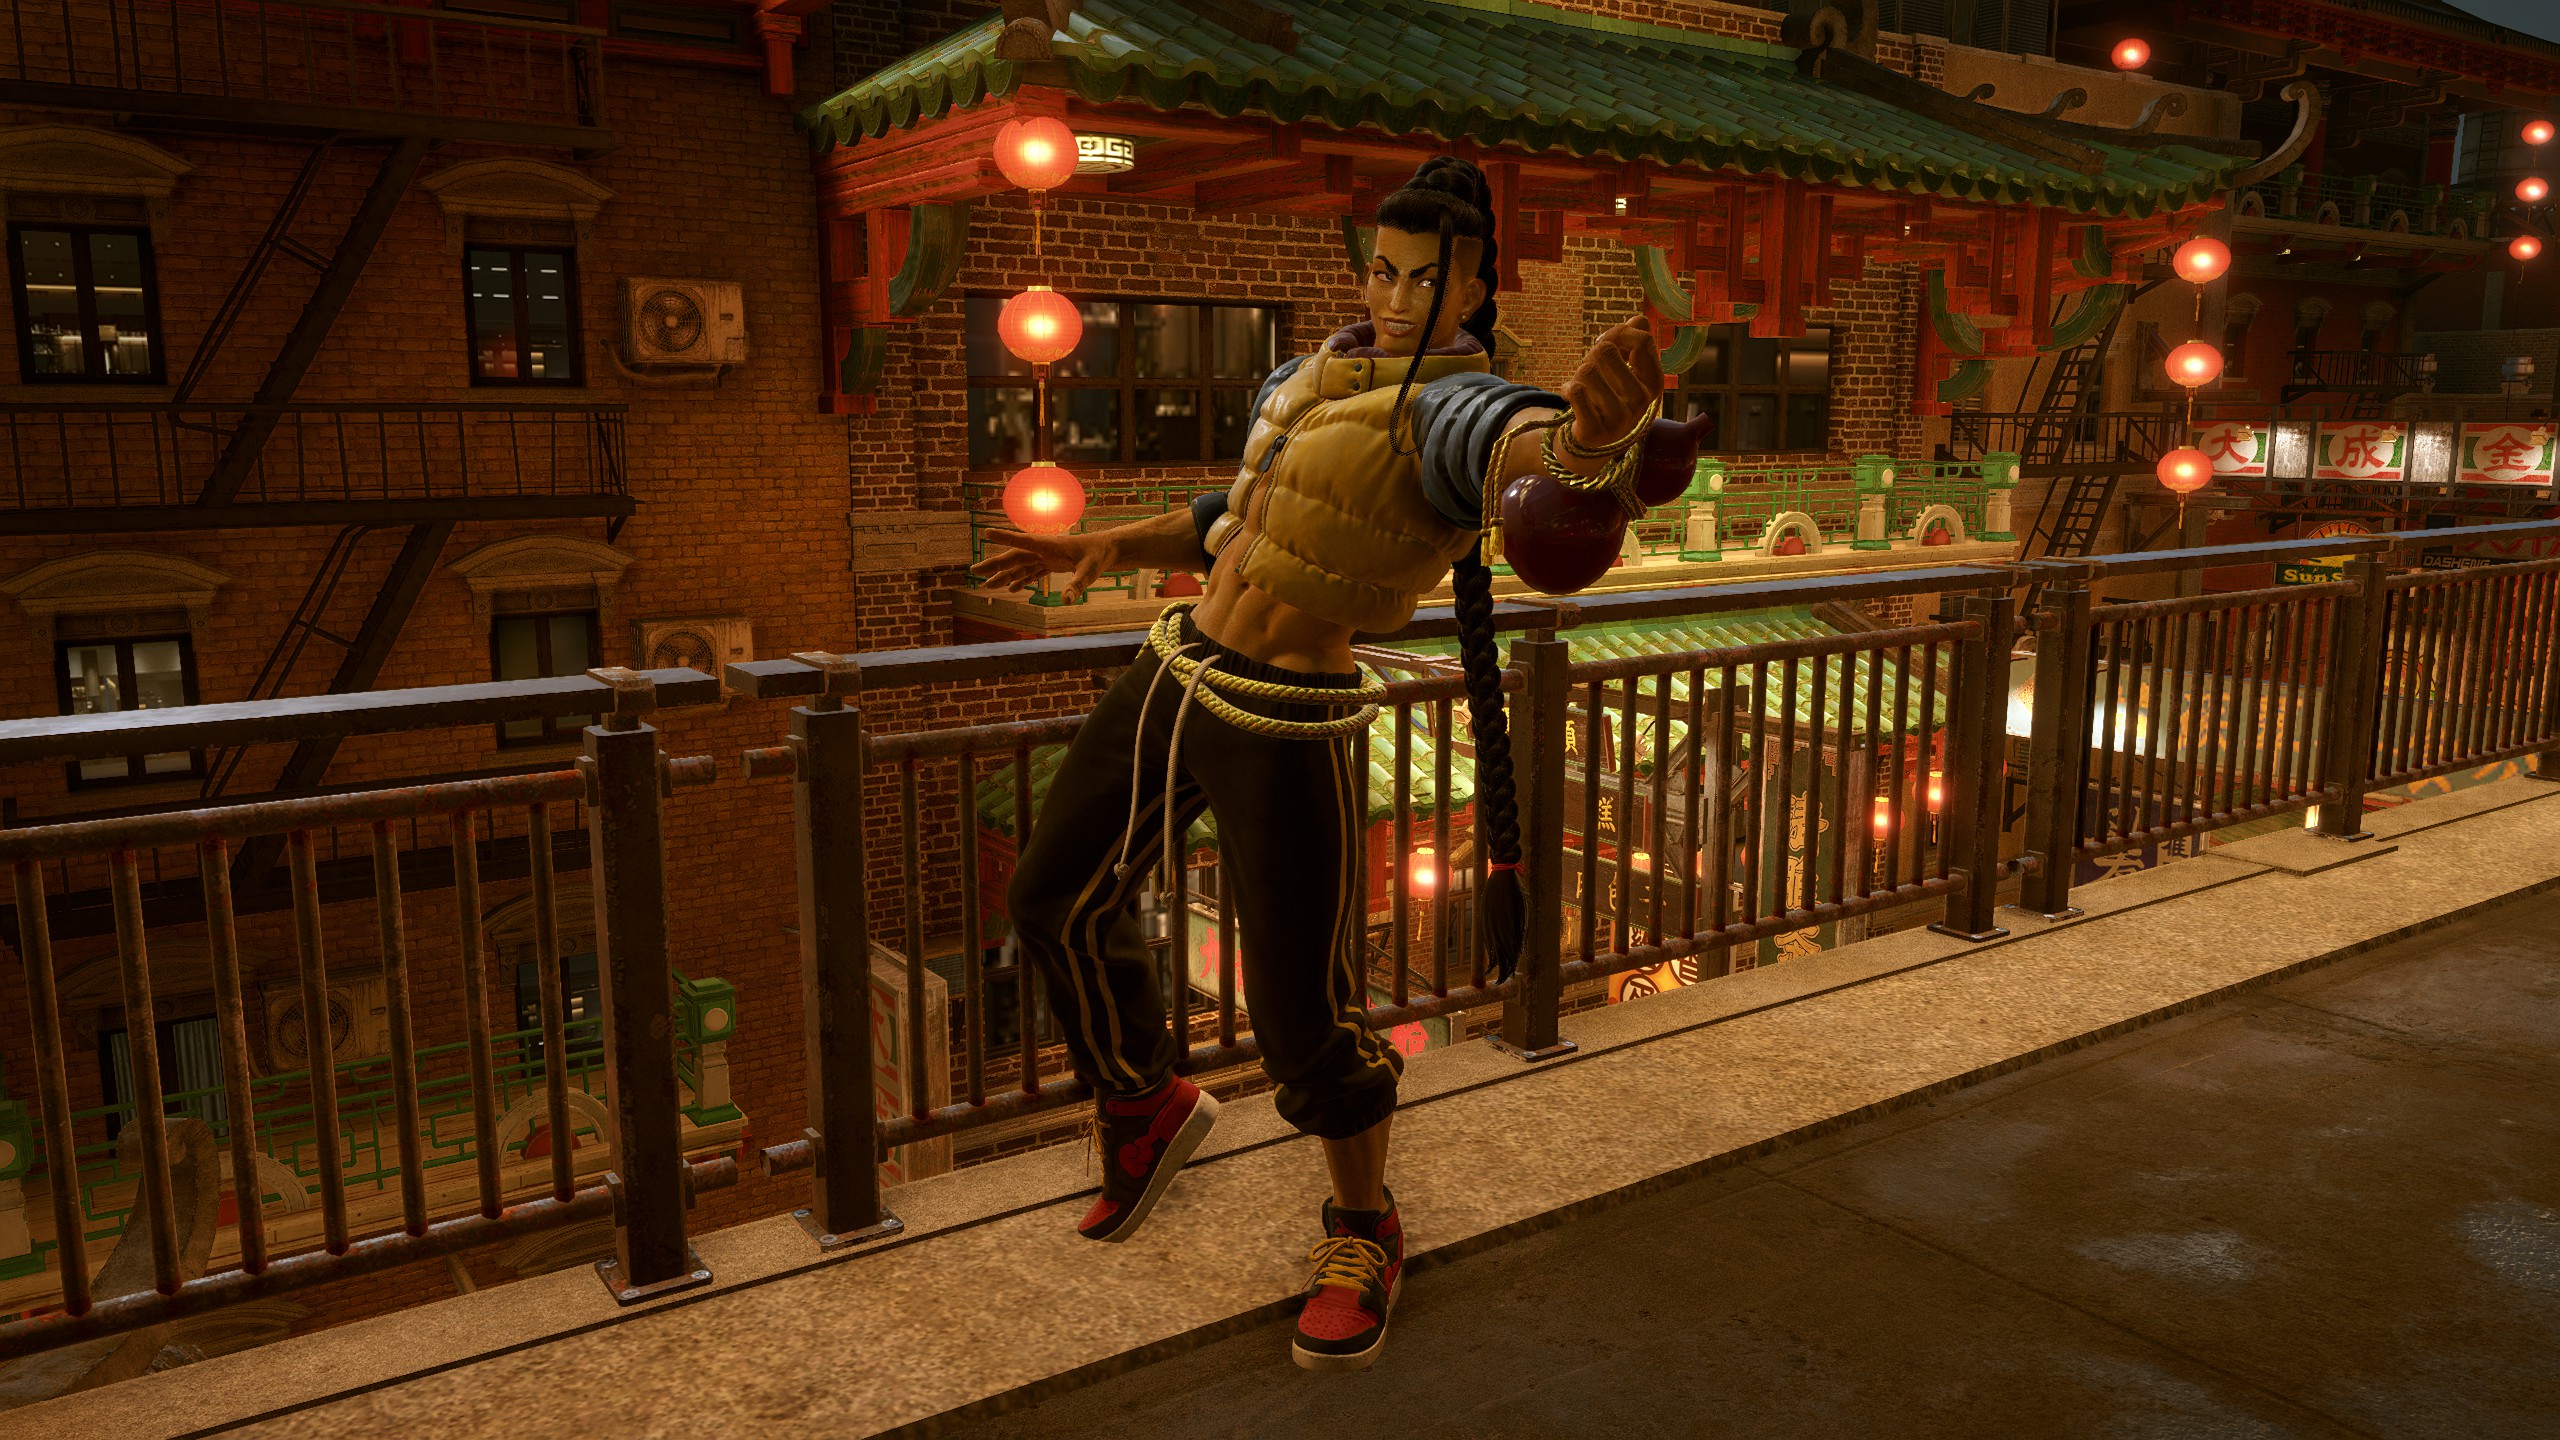
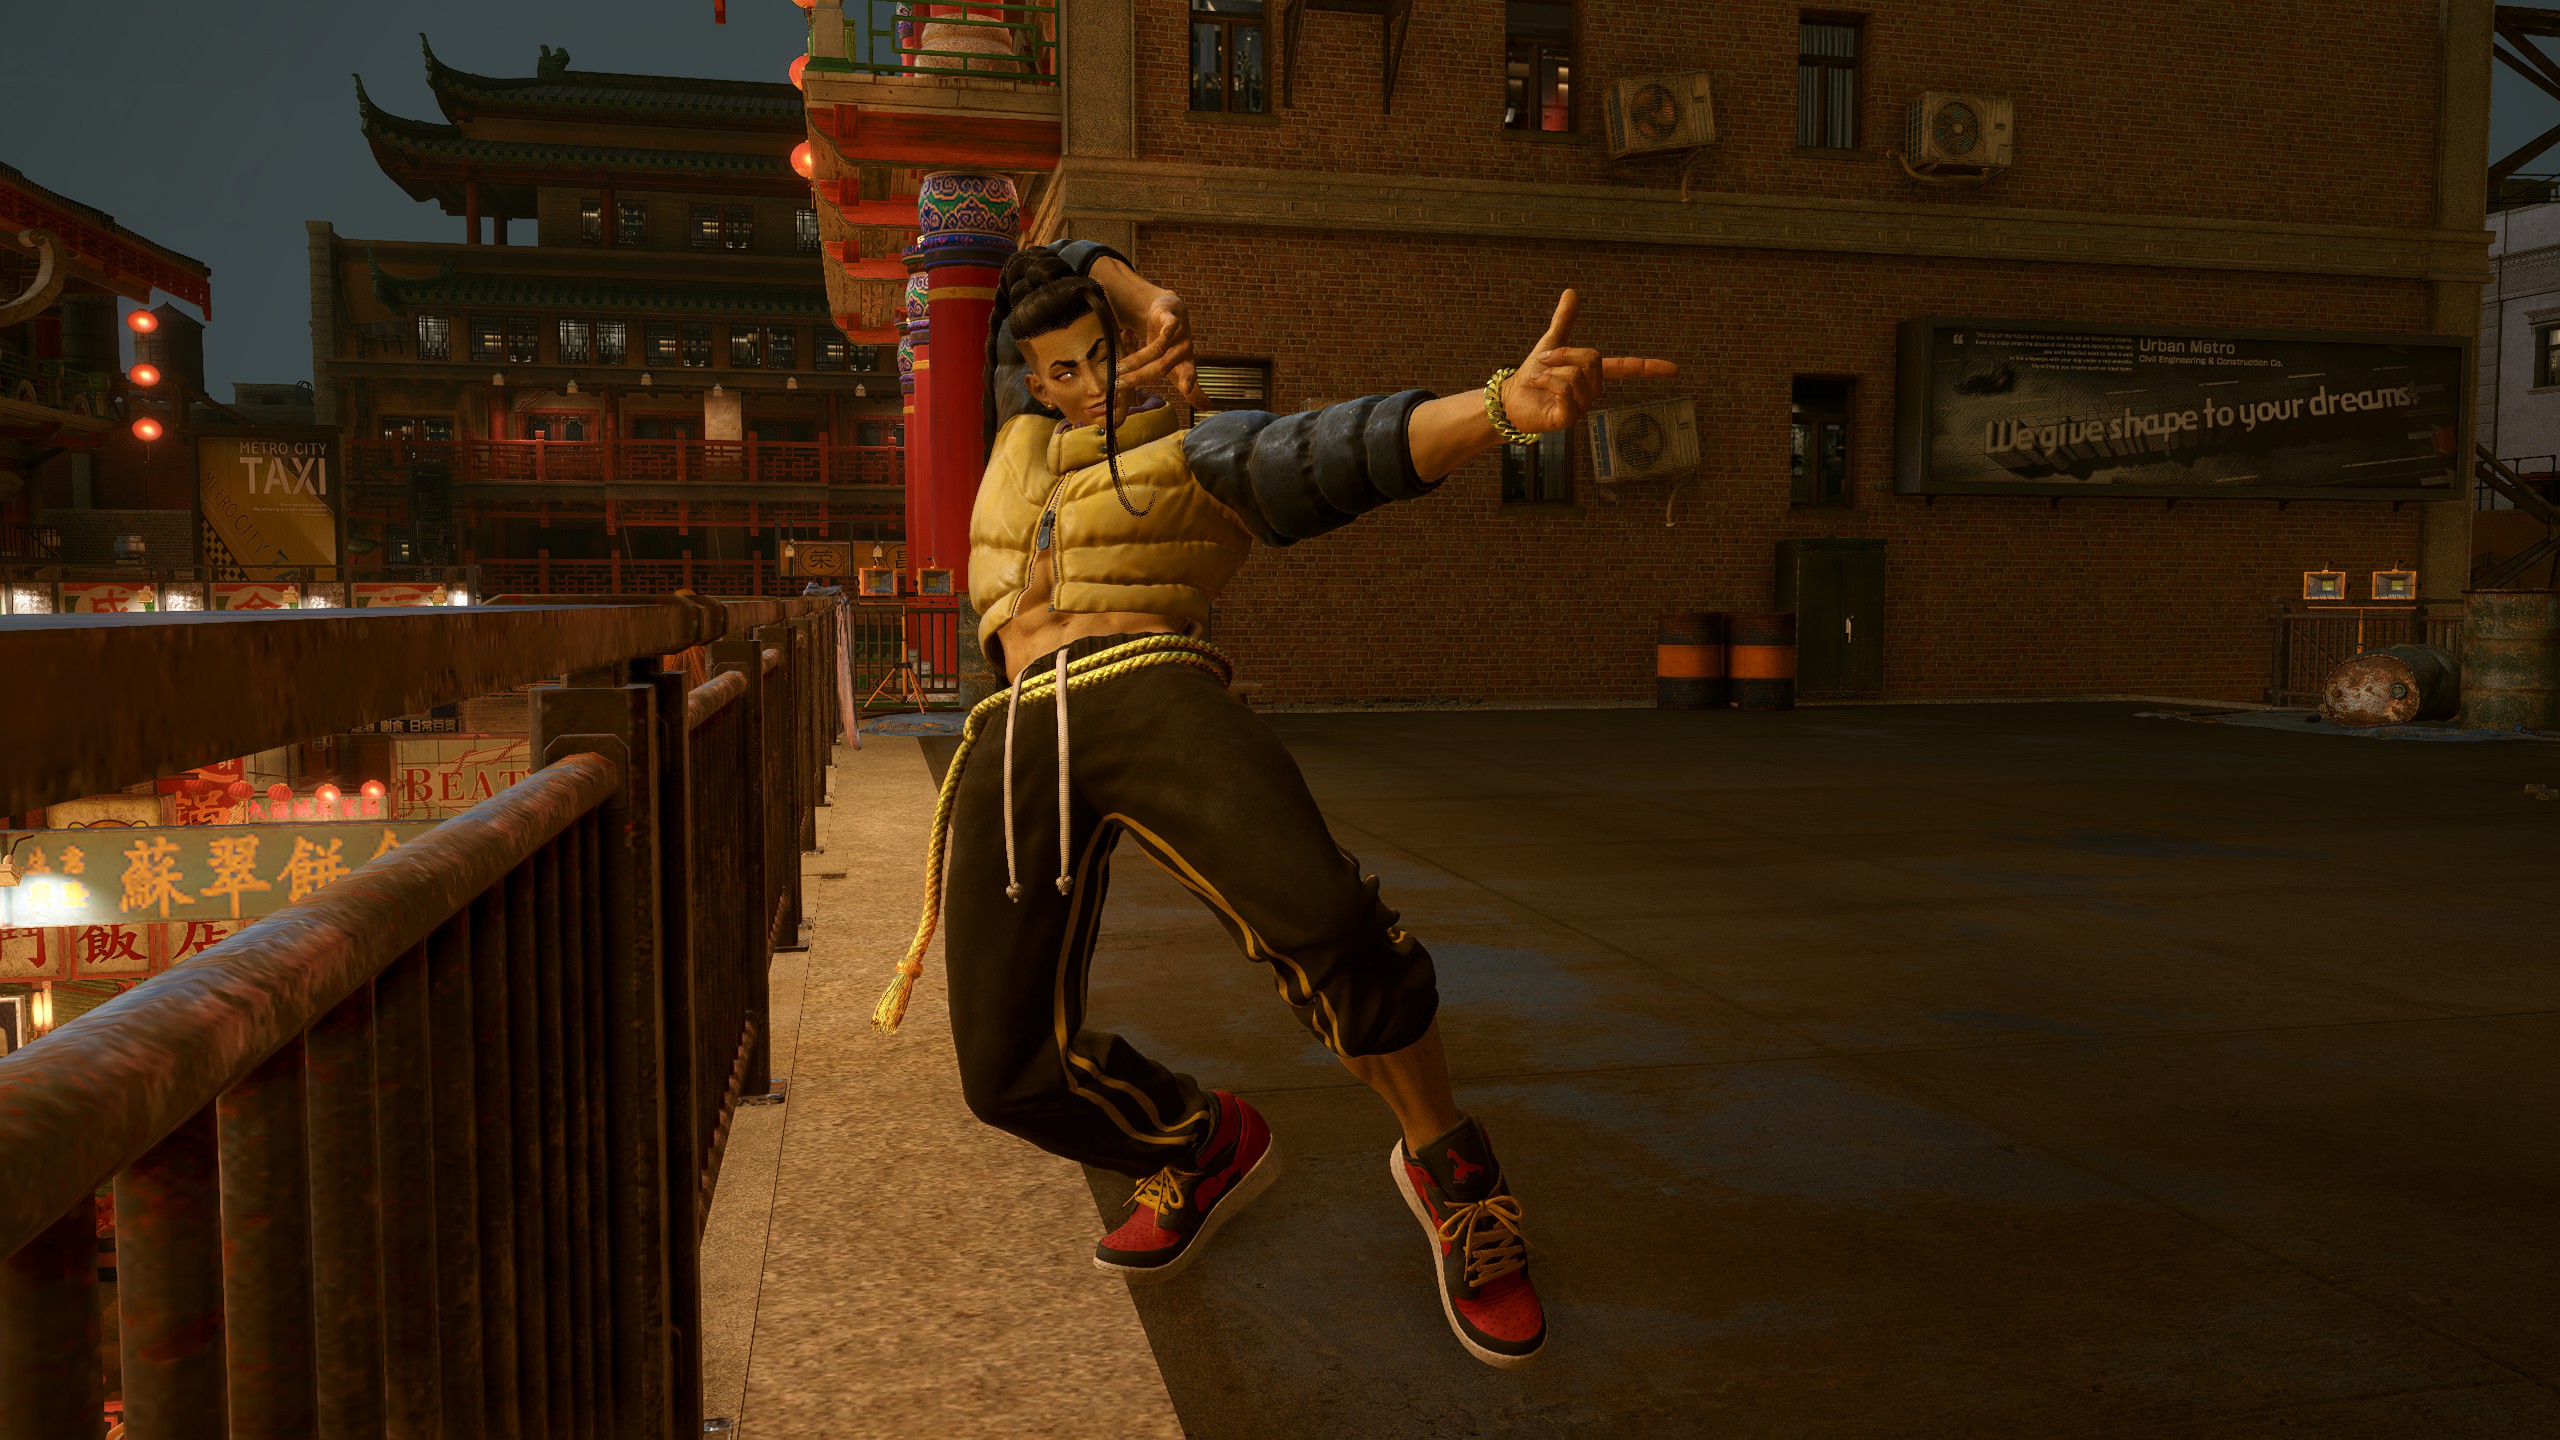
Dee Jay
Default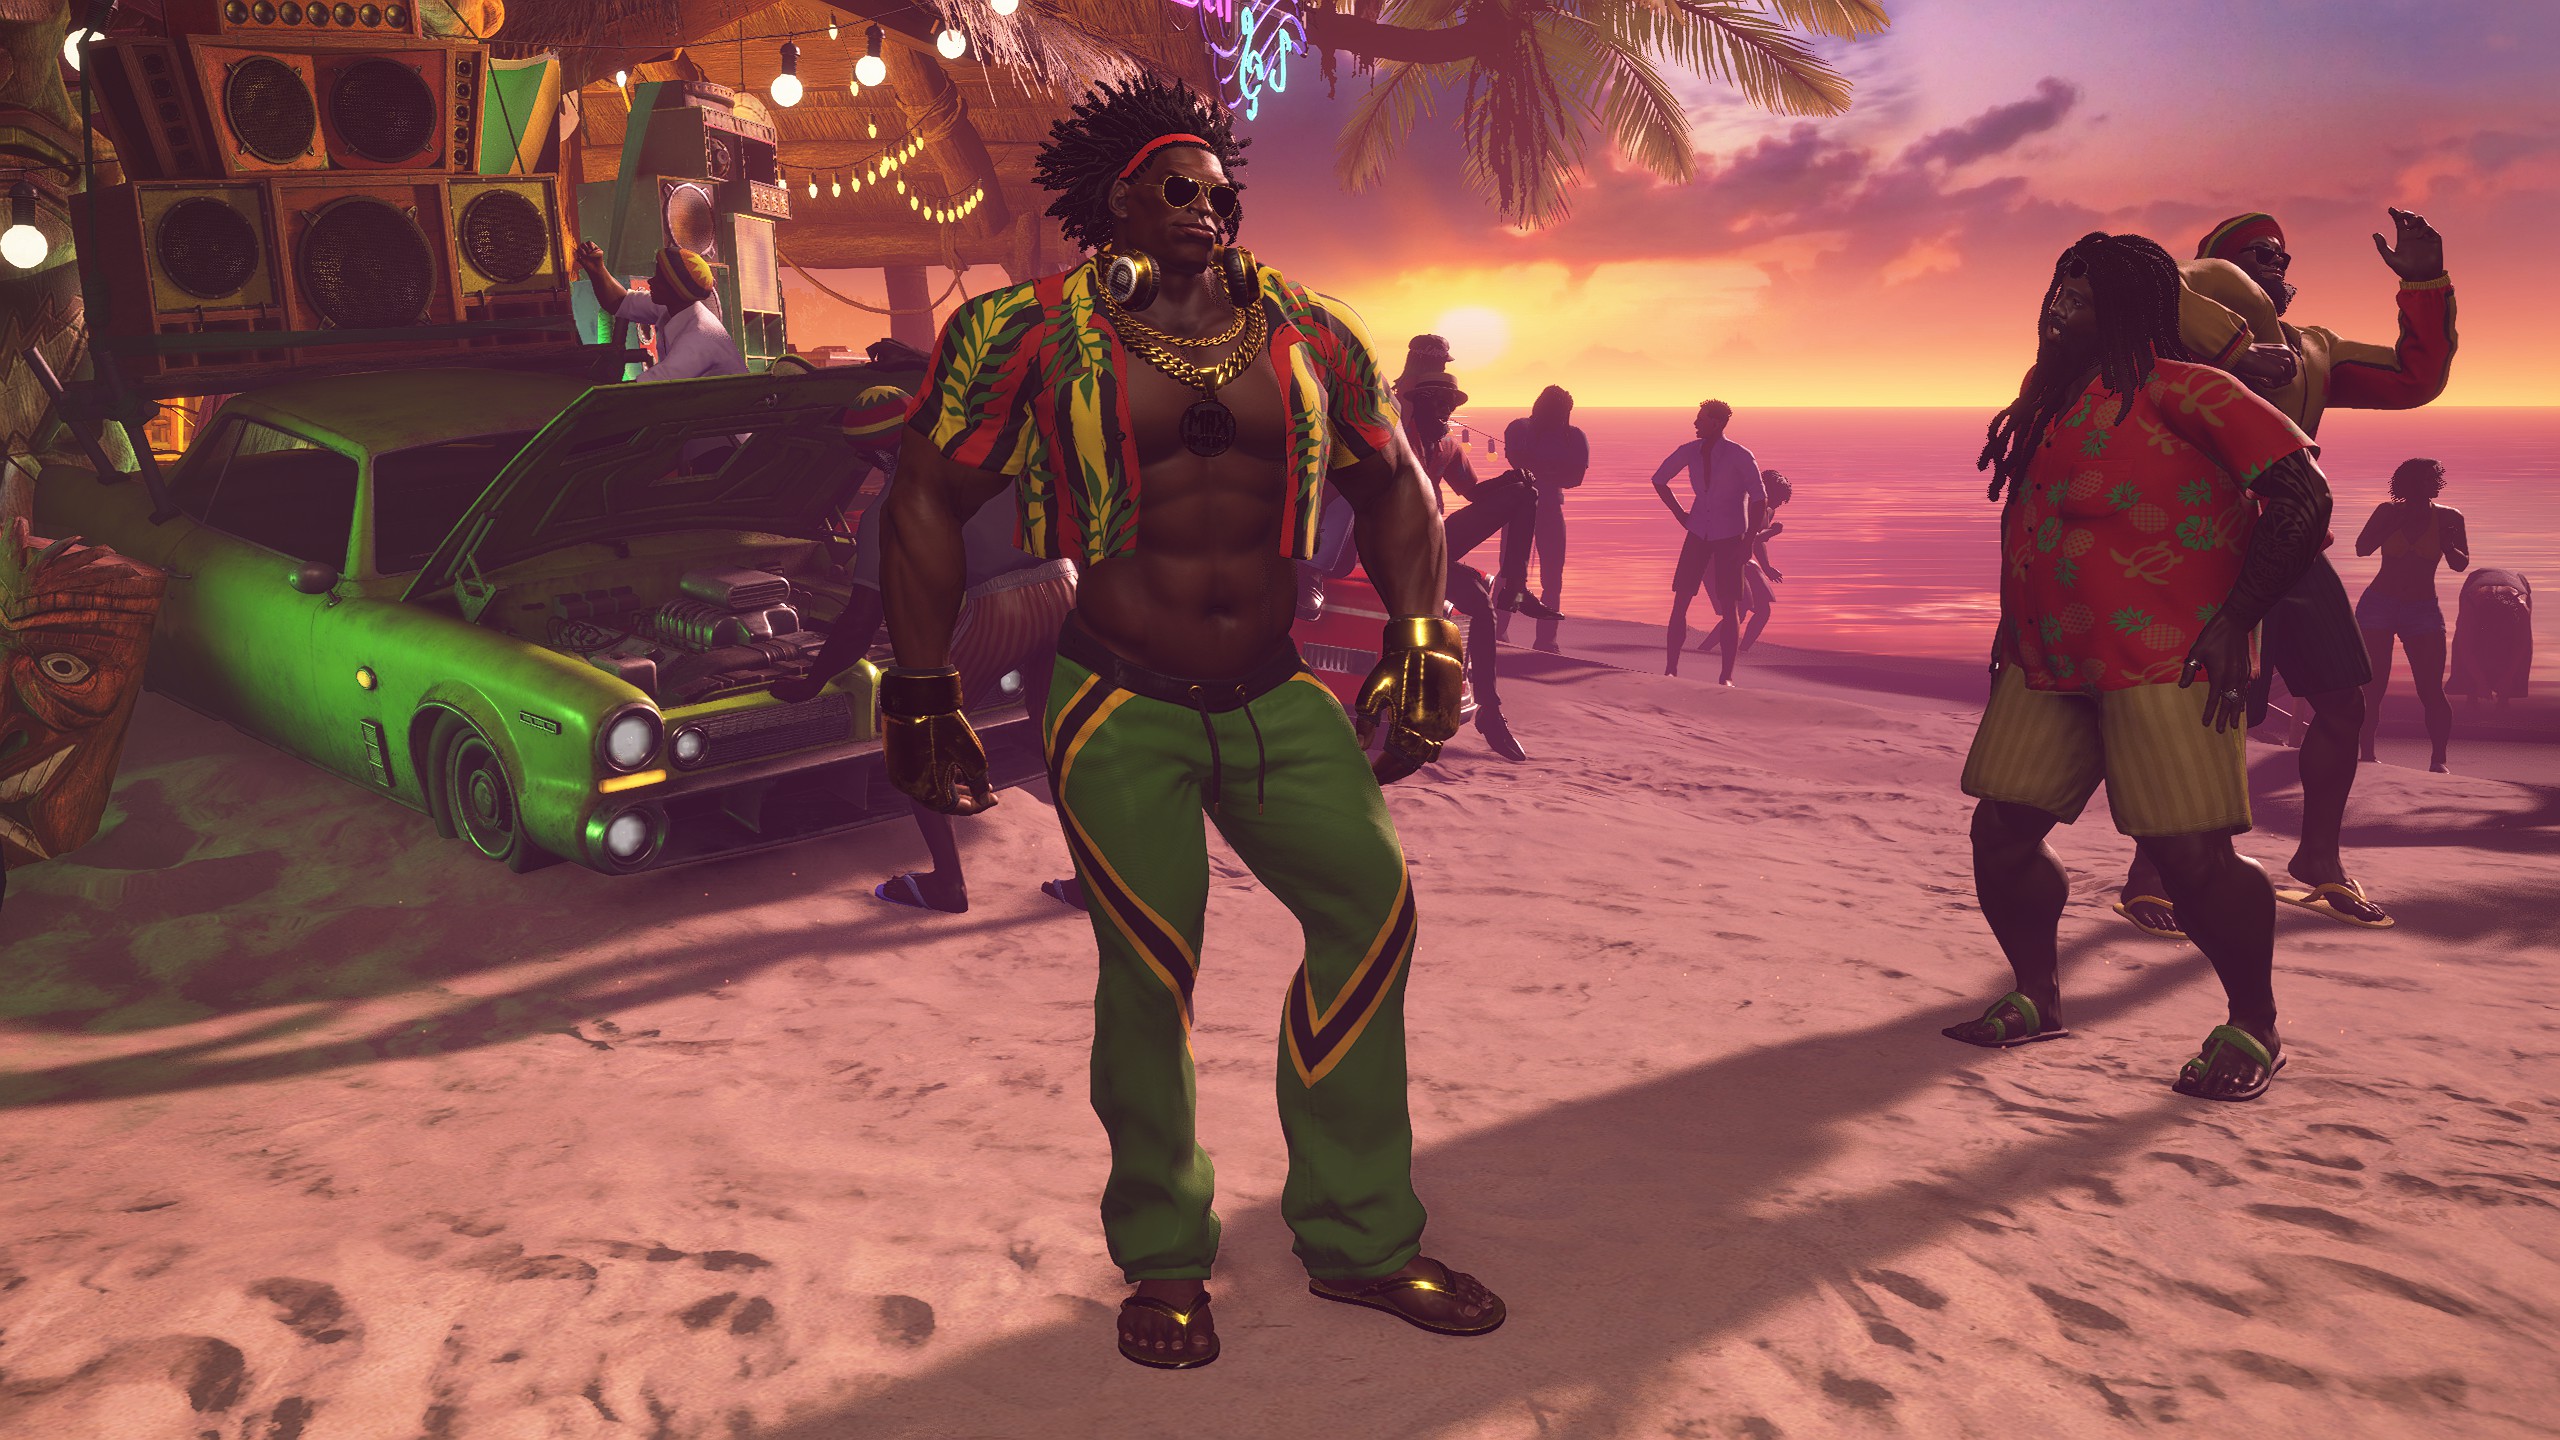
Poses
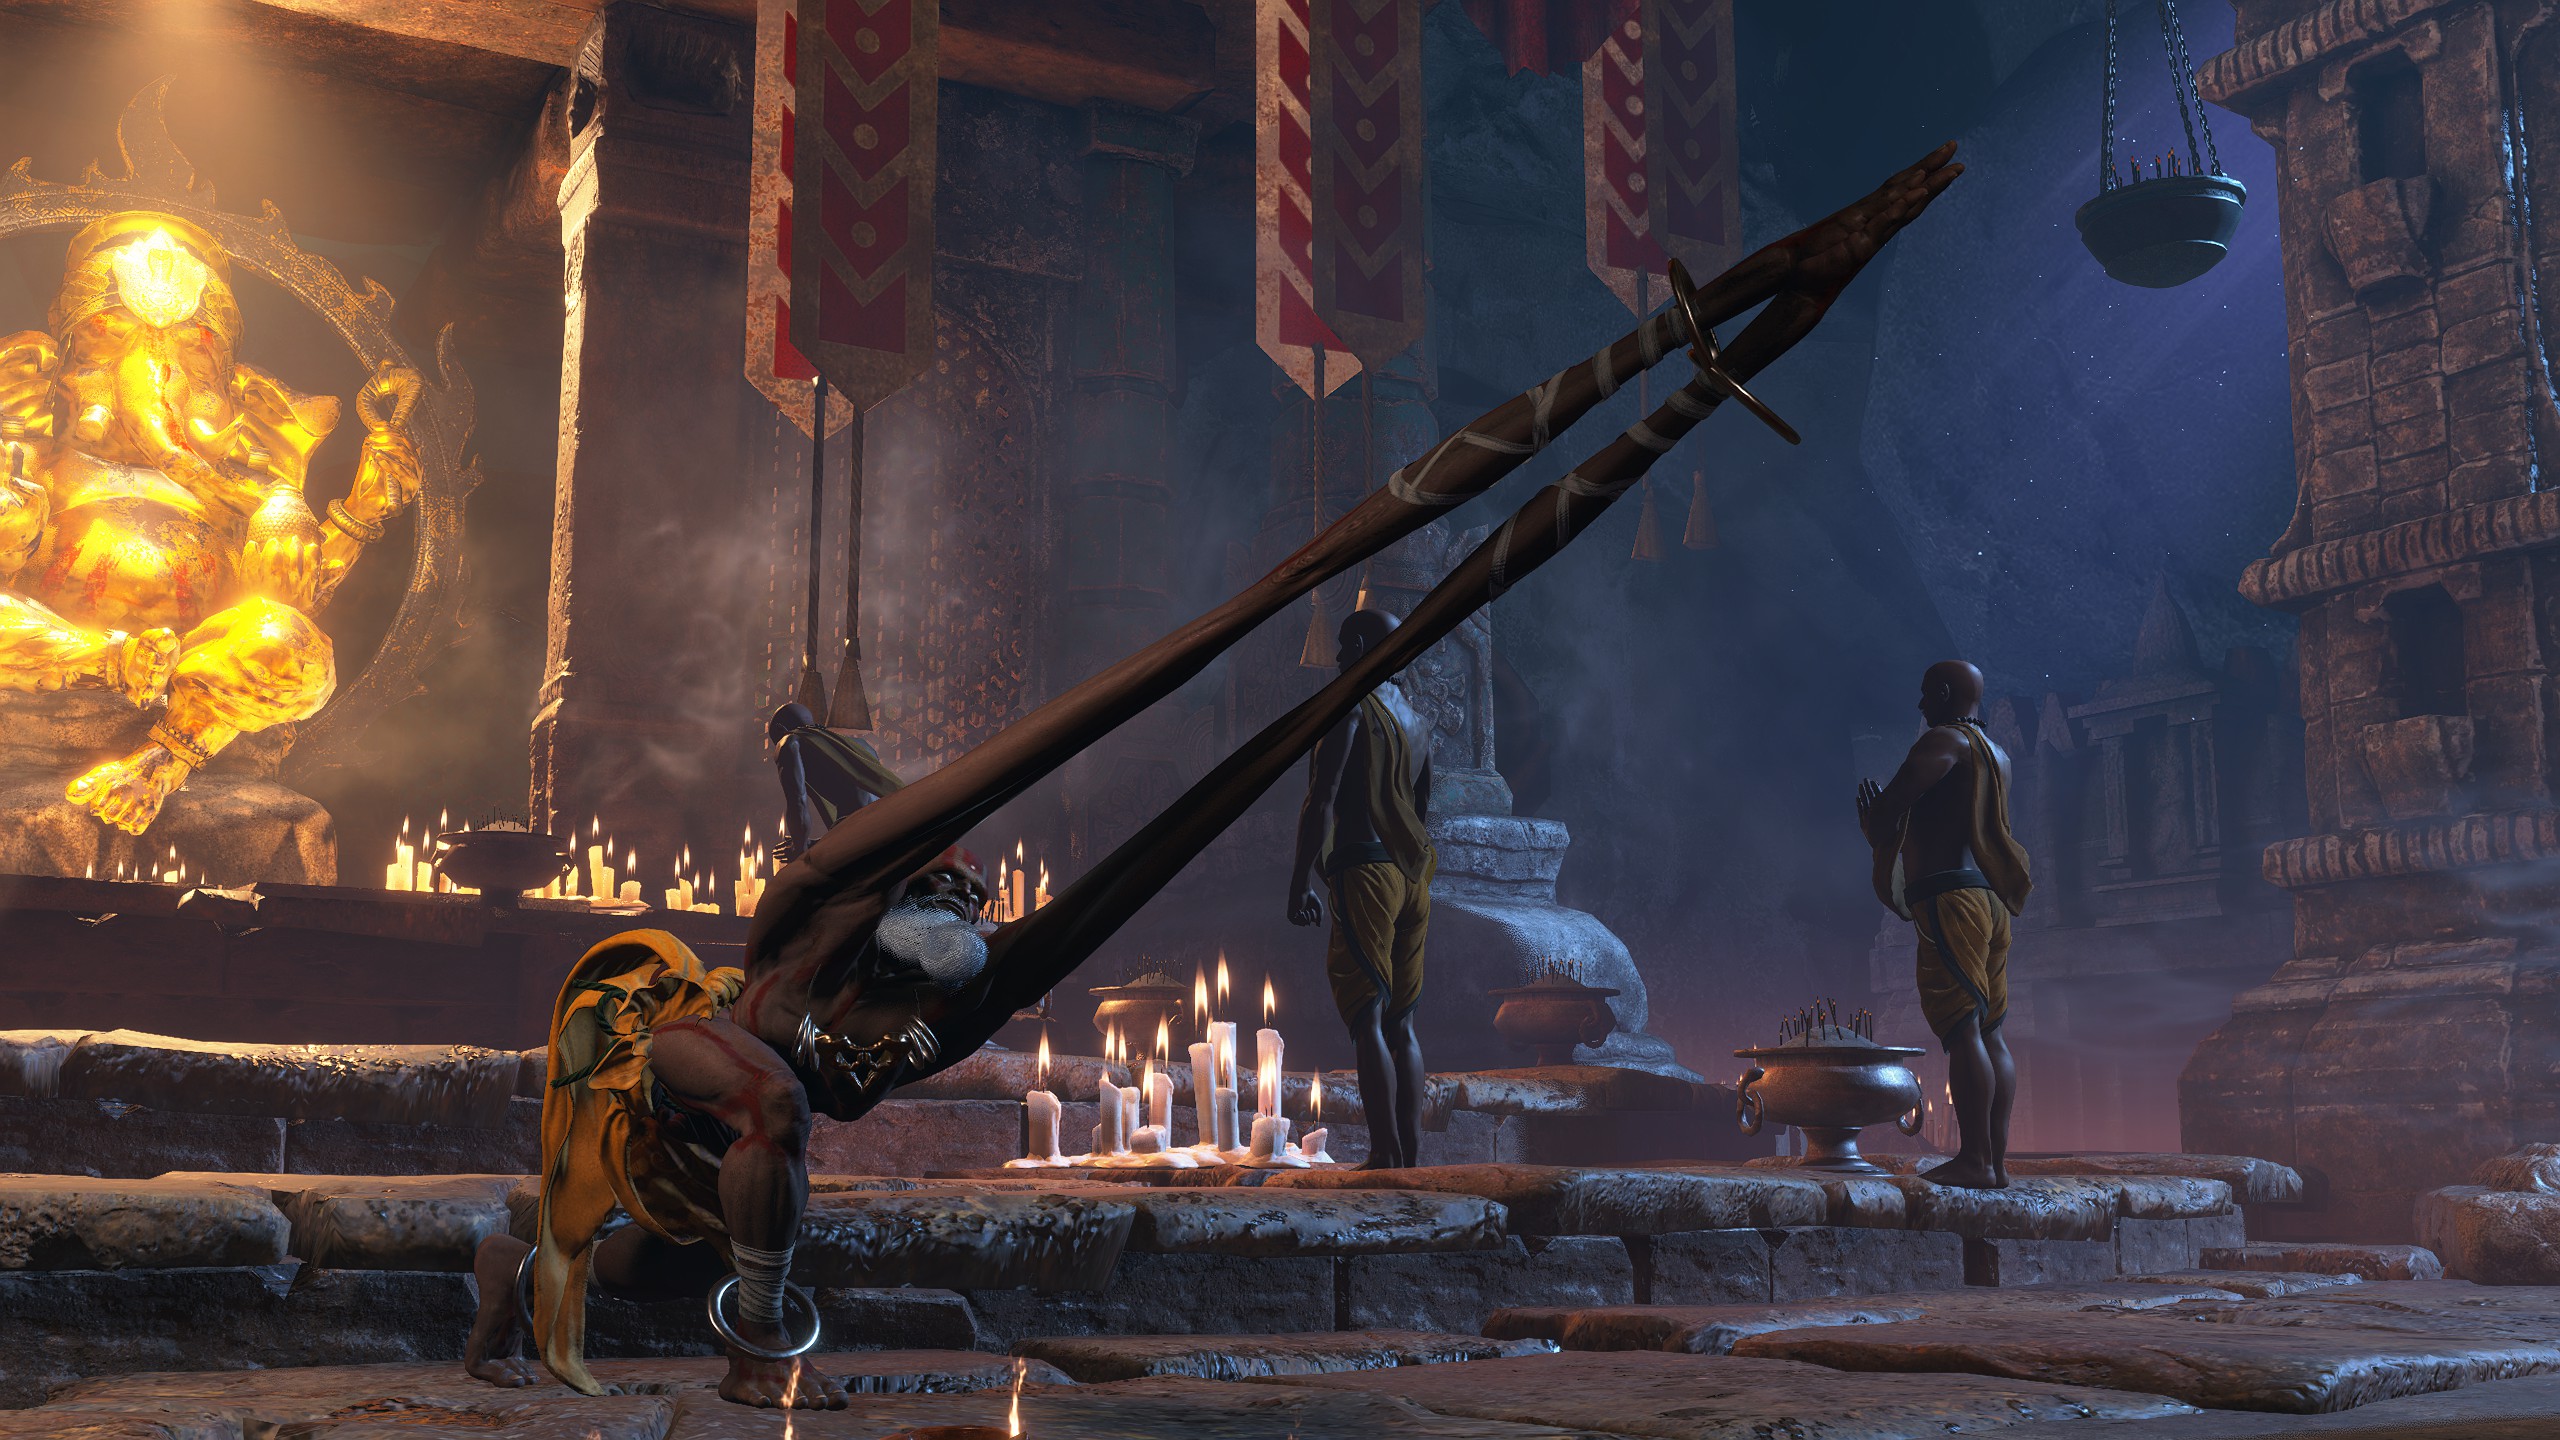
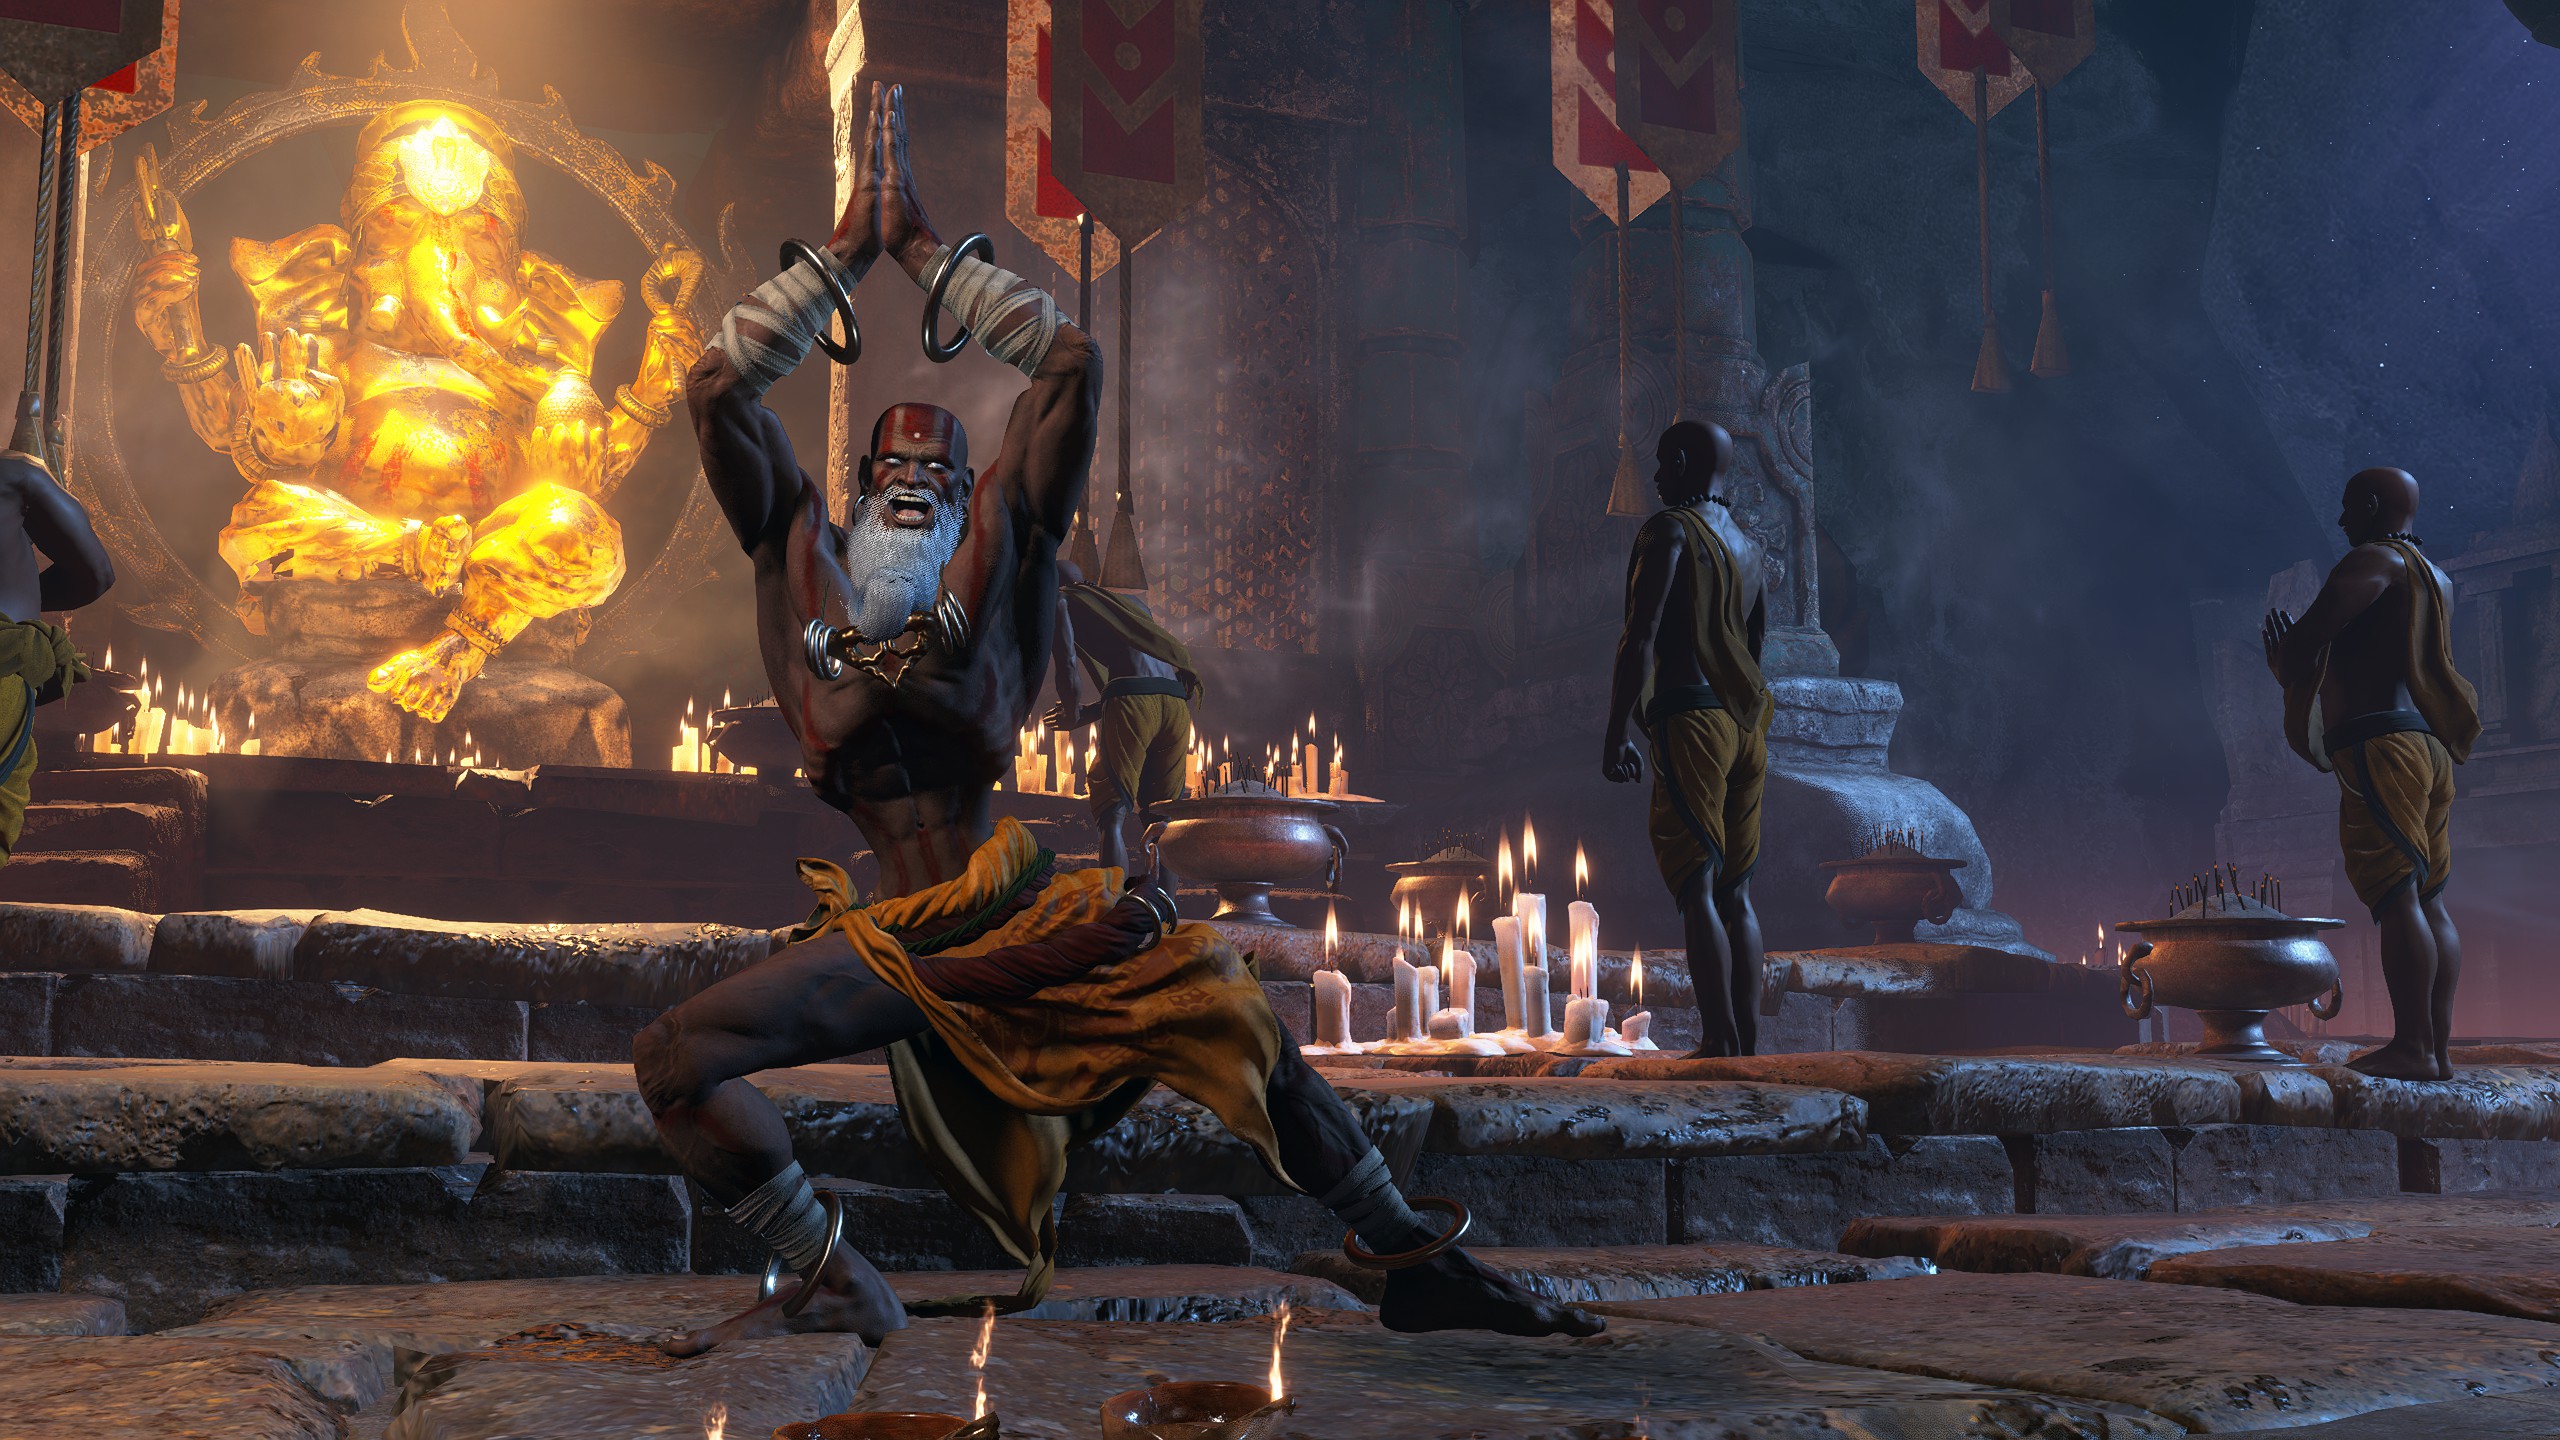
Dhalsim
Default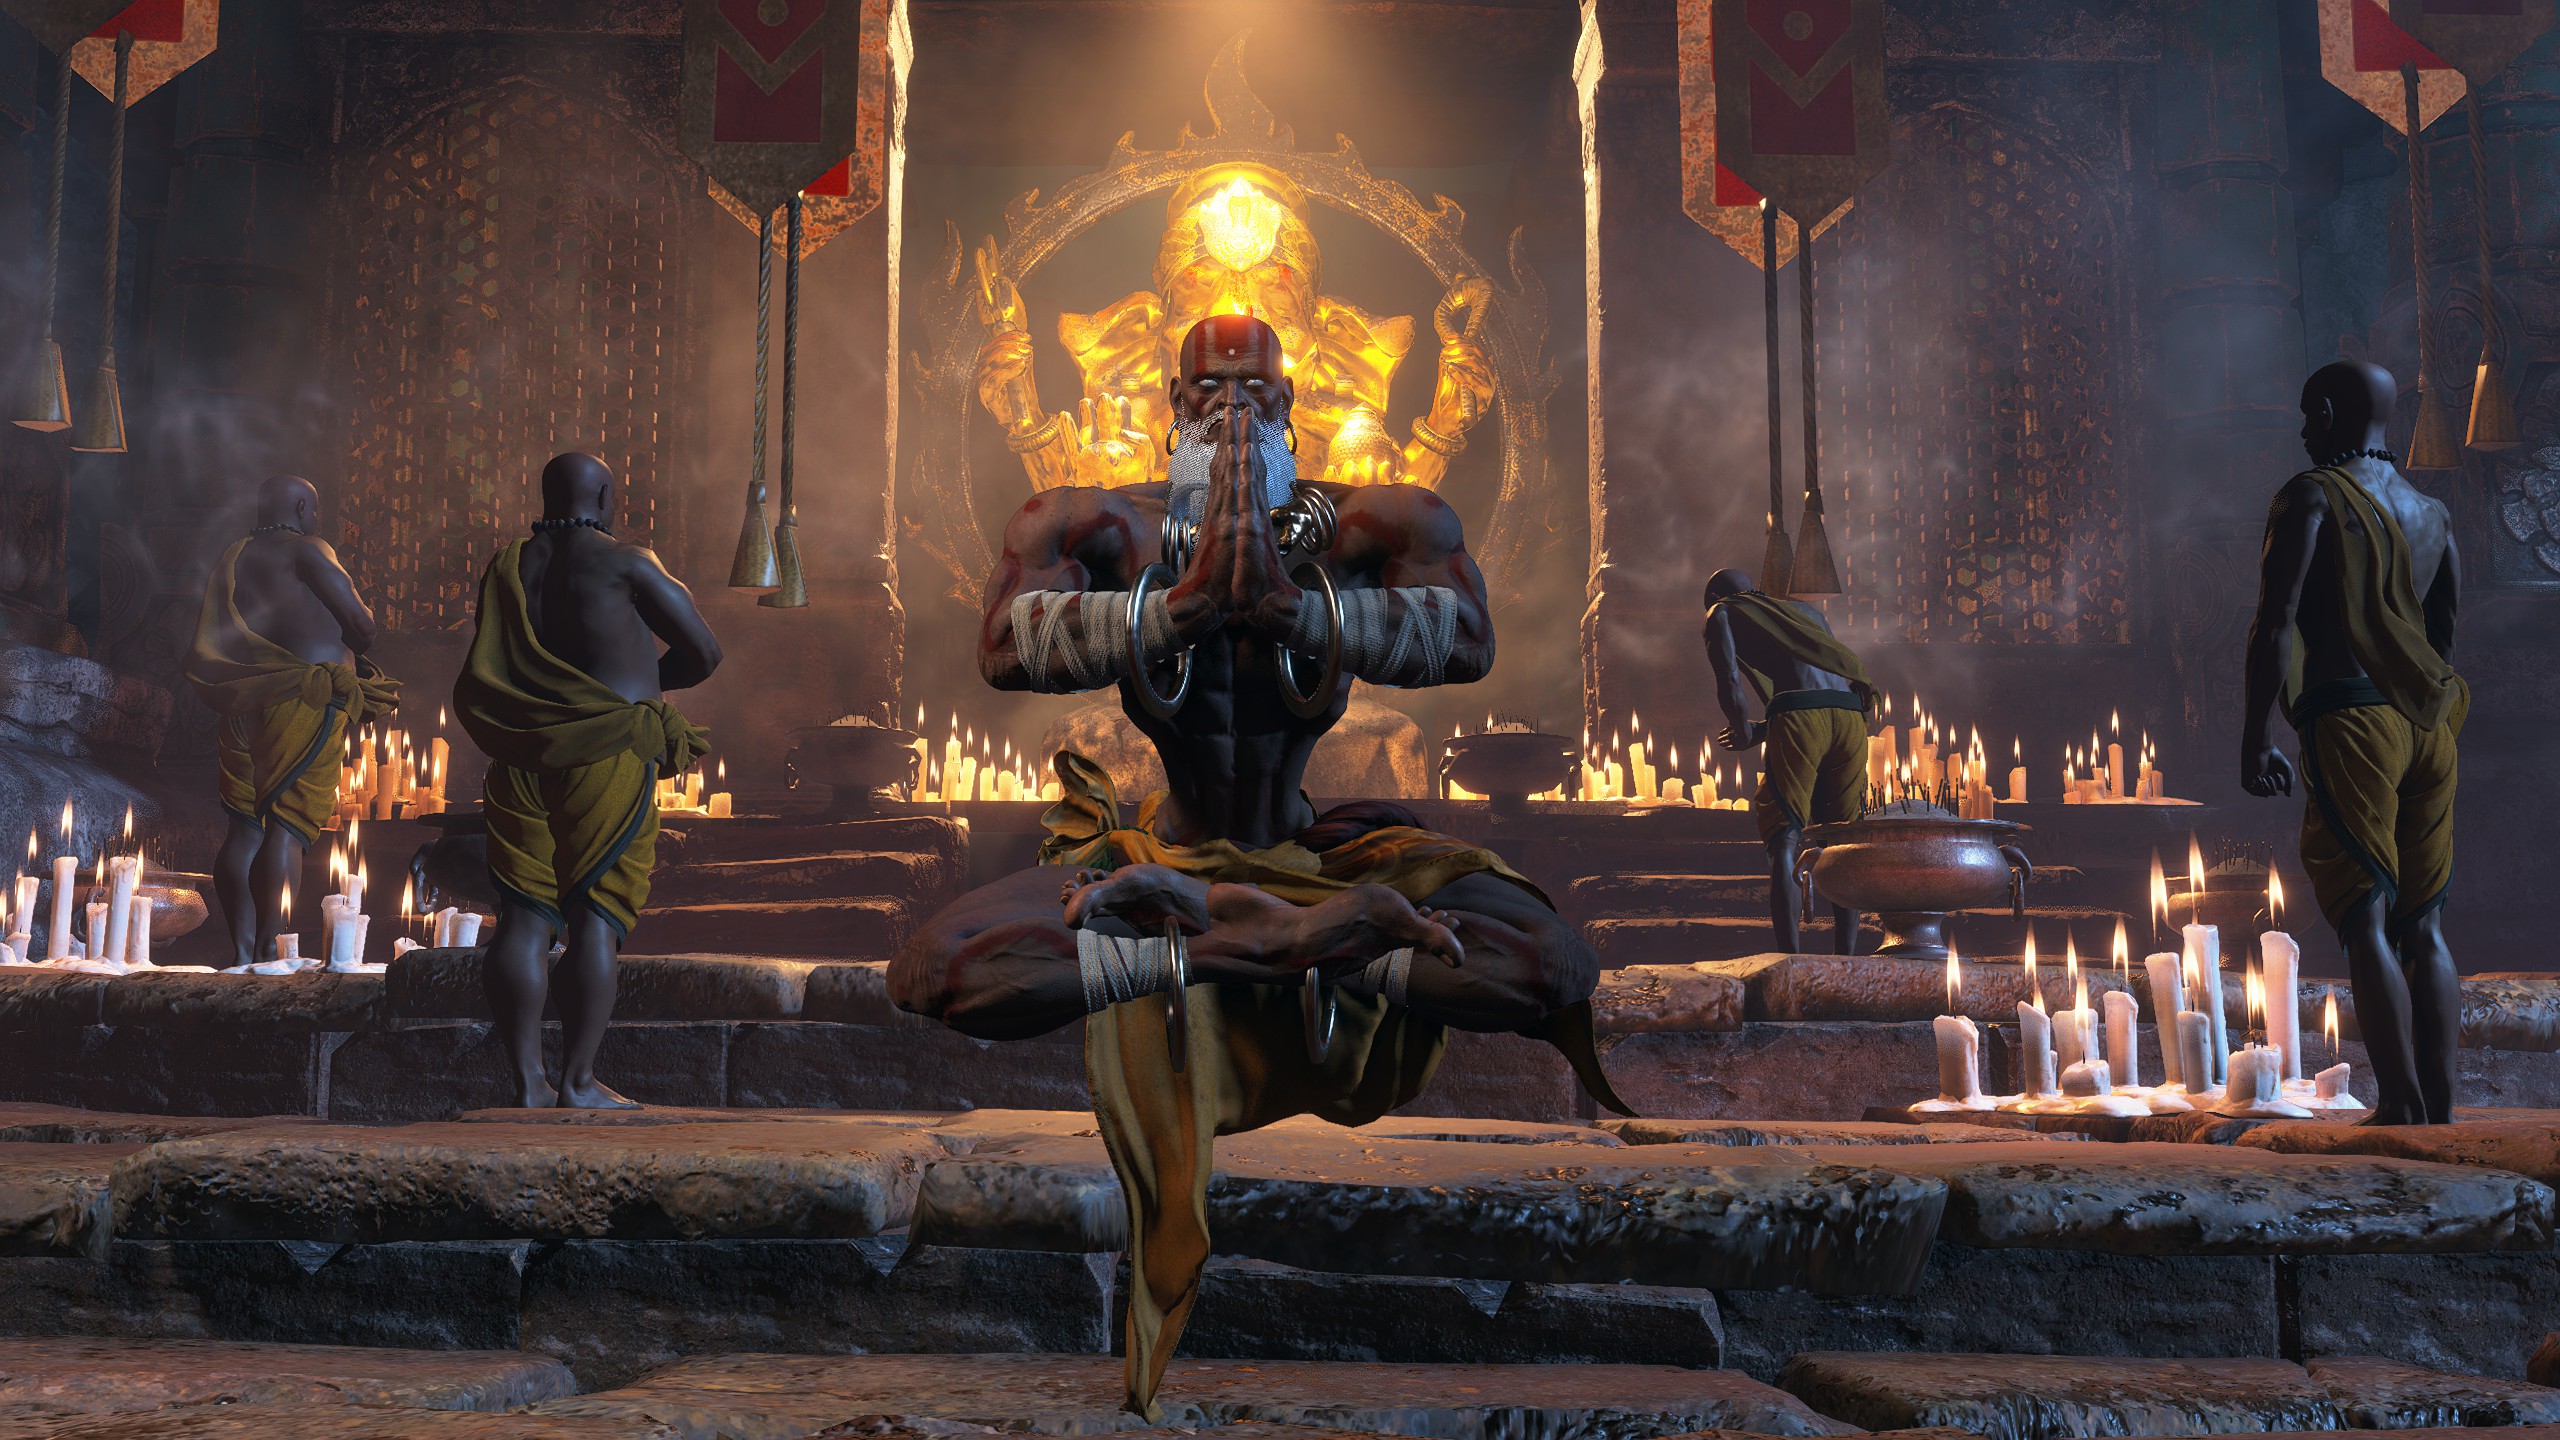
Poses
E. Honda
Default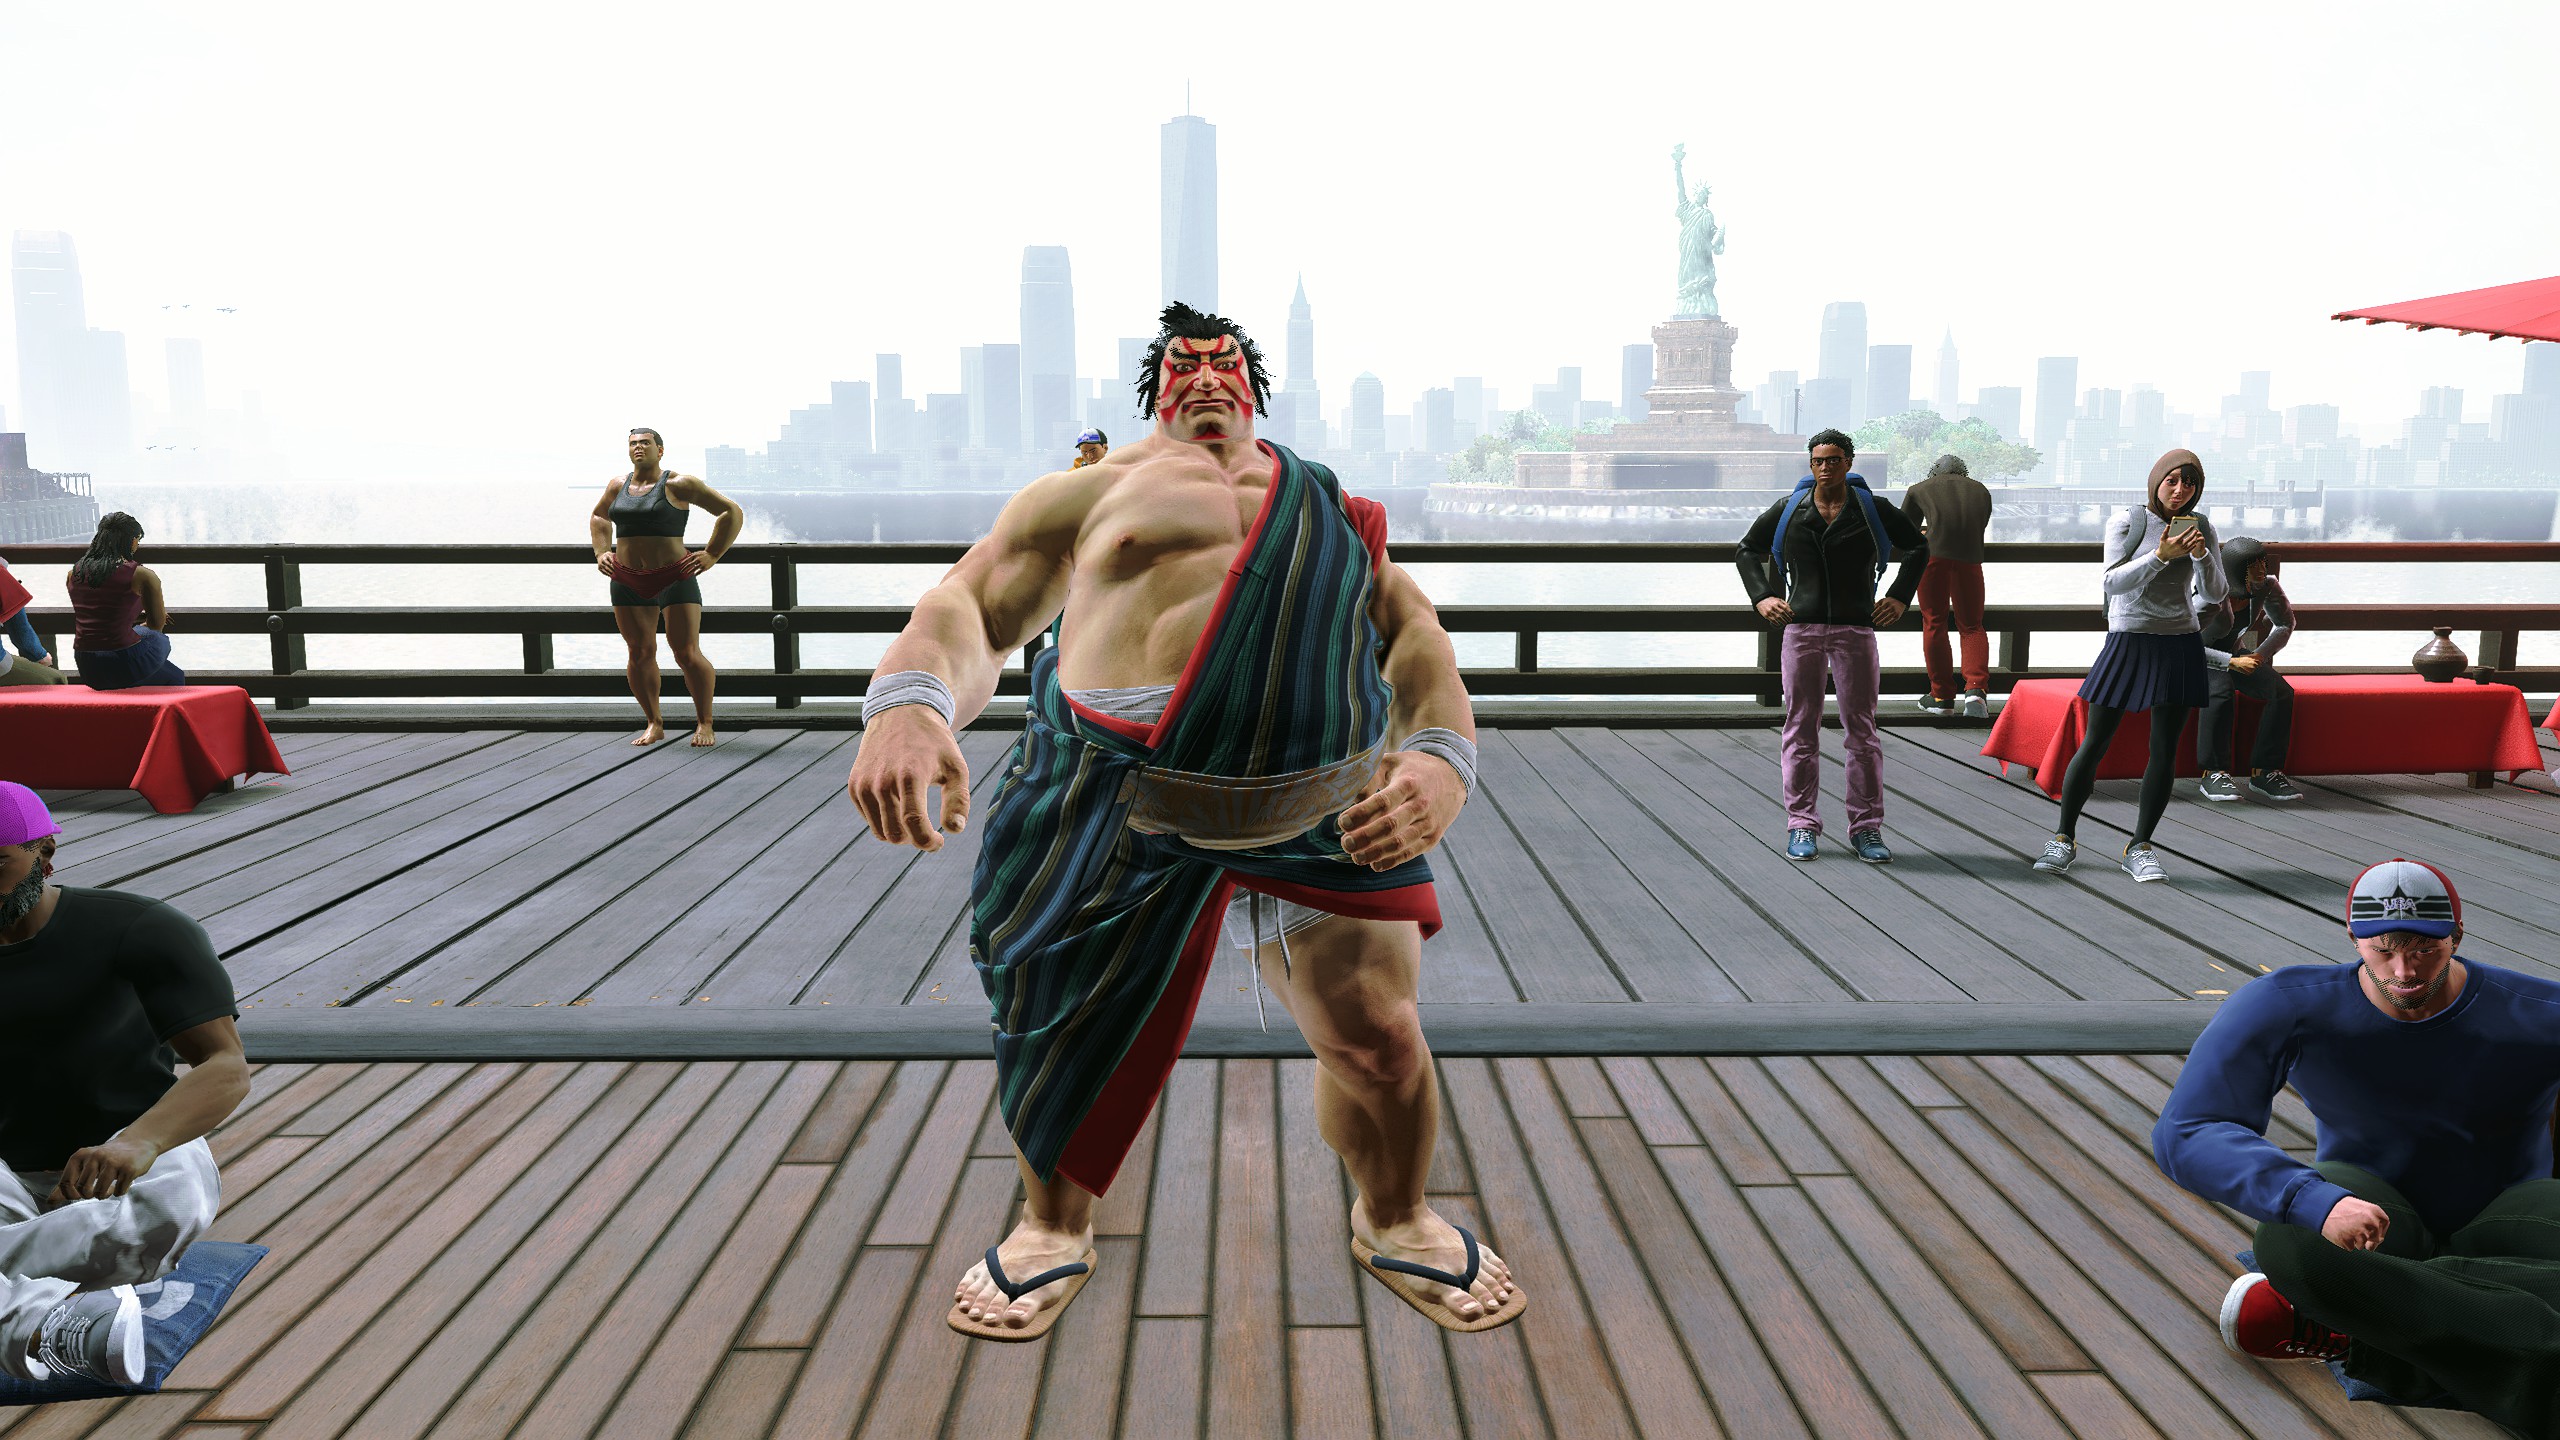
Poses
Ed
Default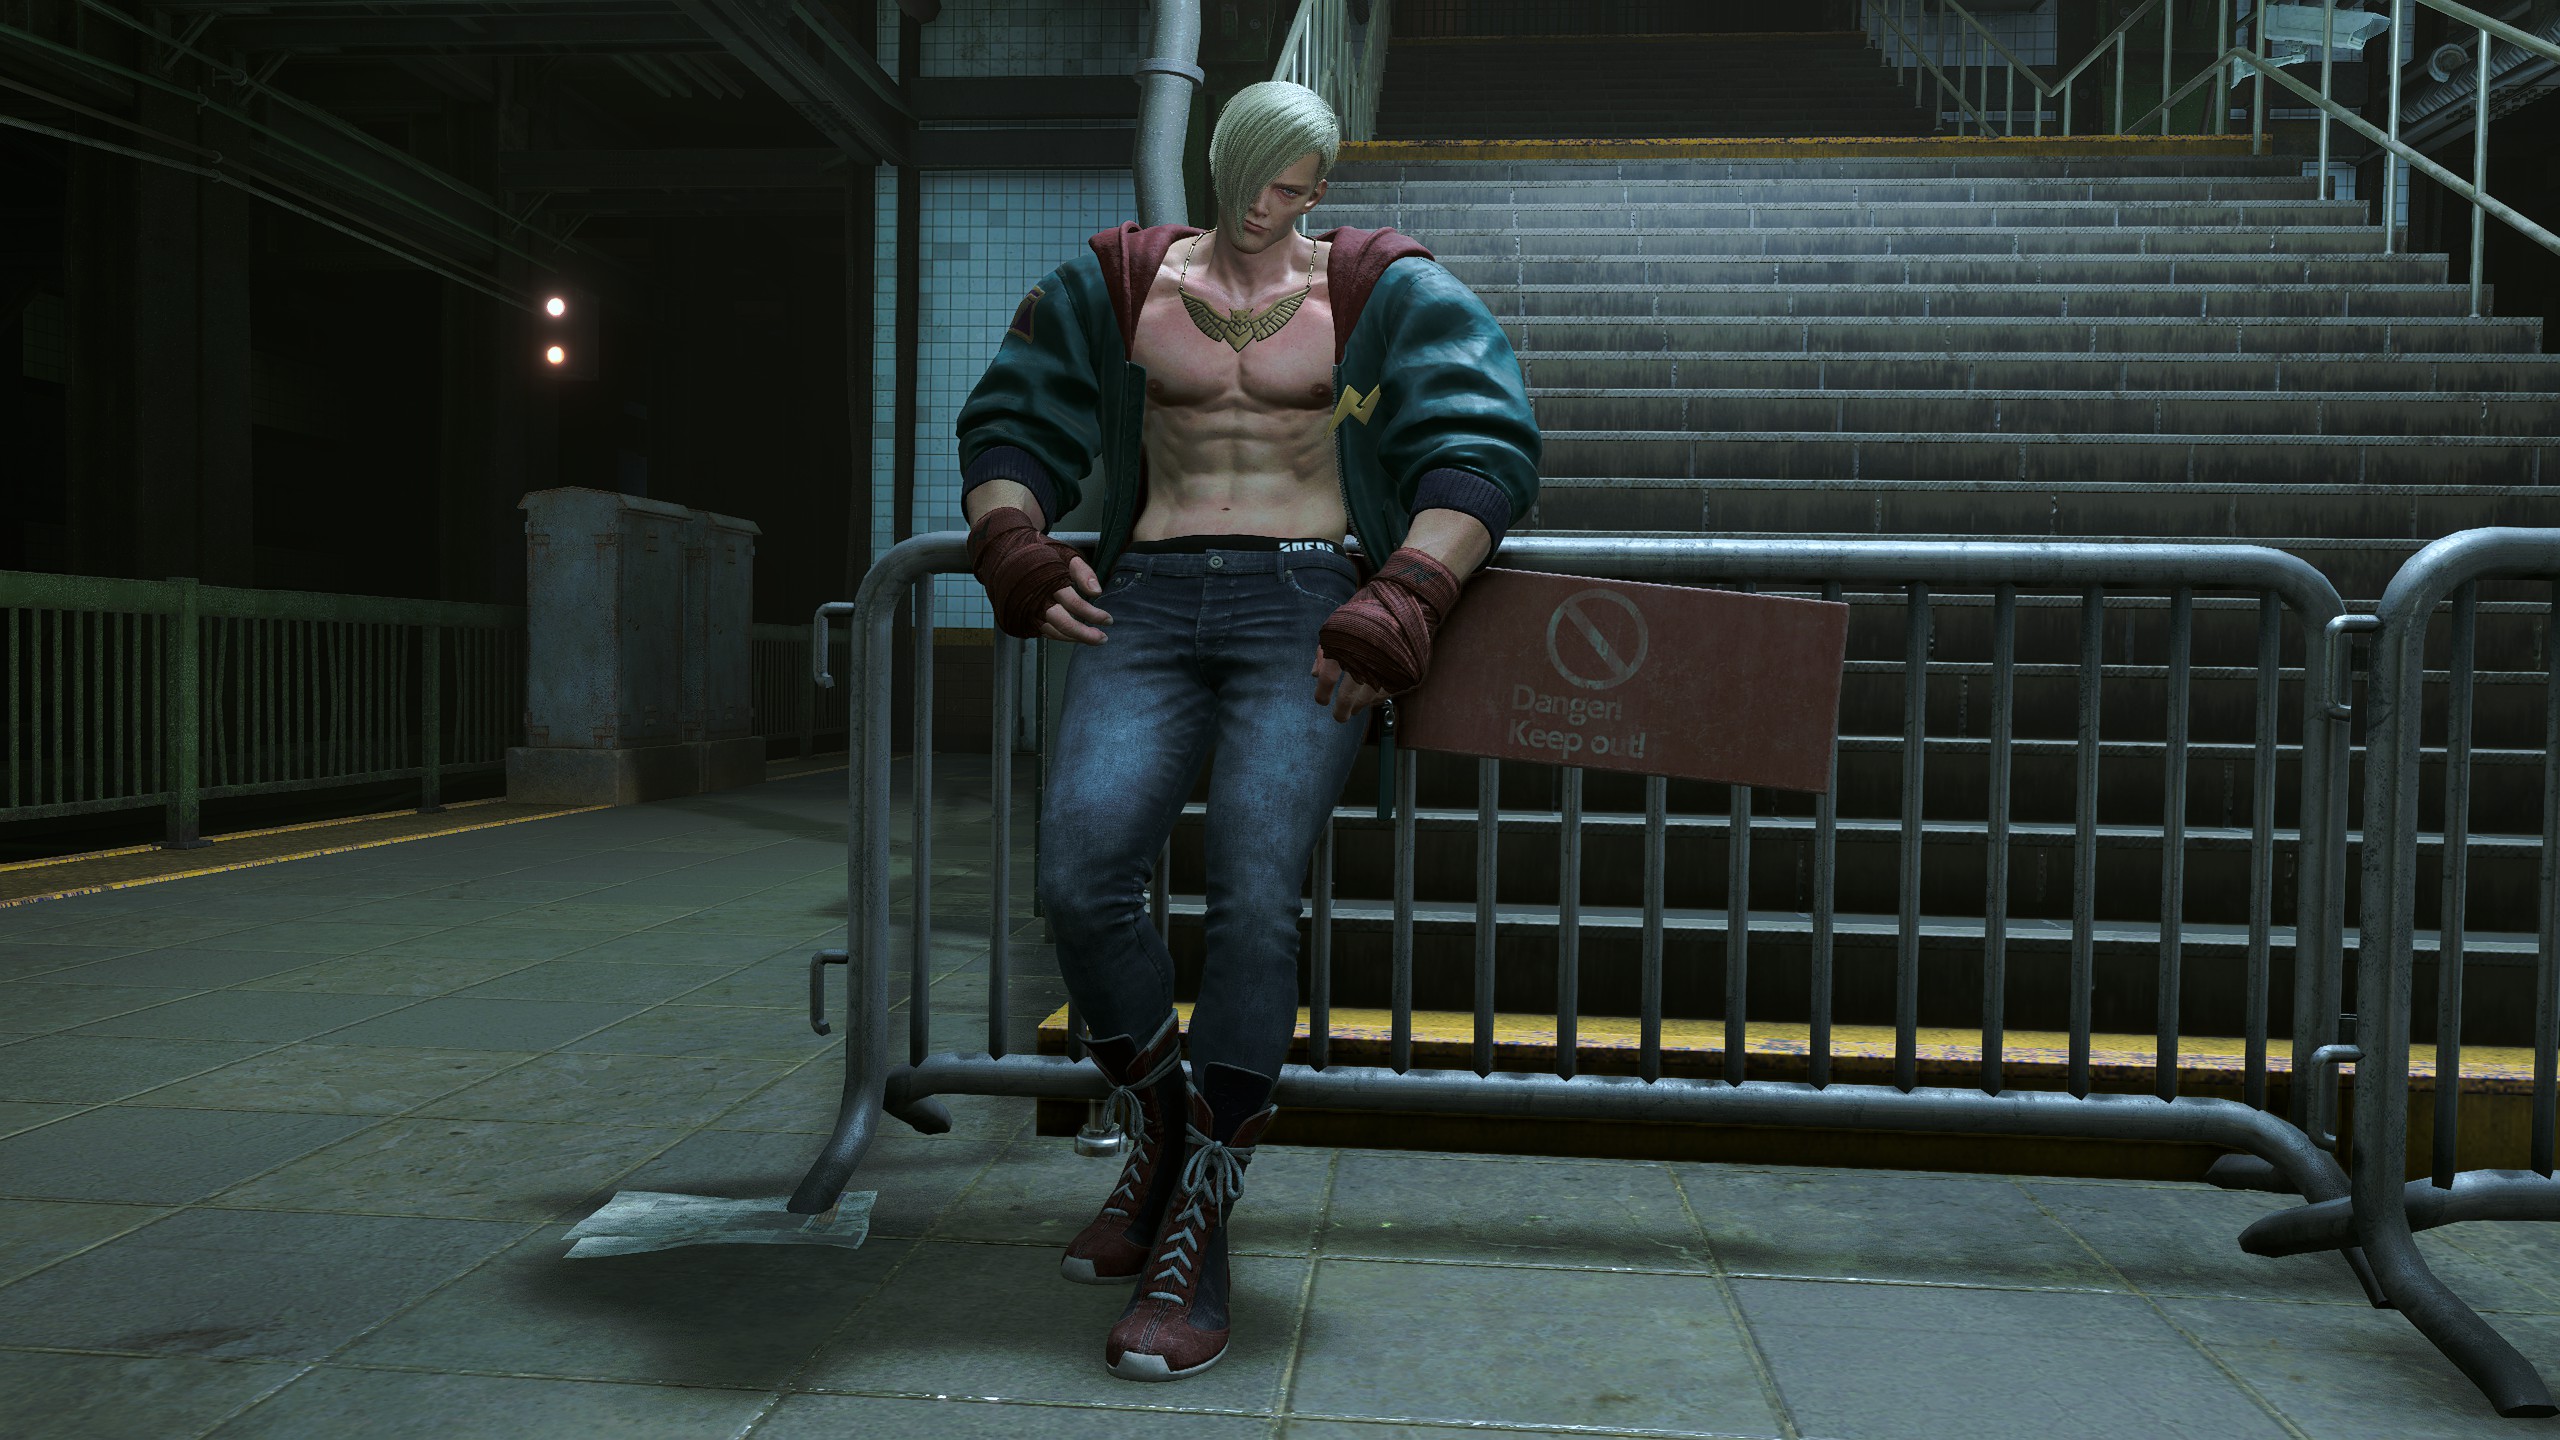
Poses
Elena
Default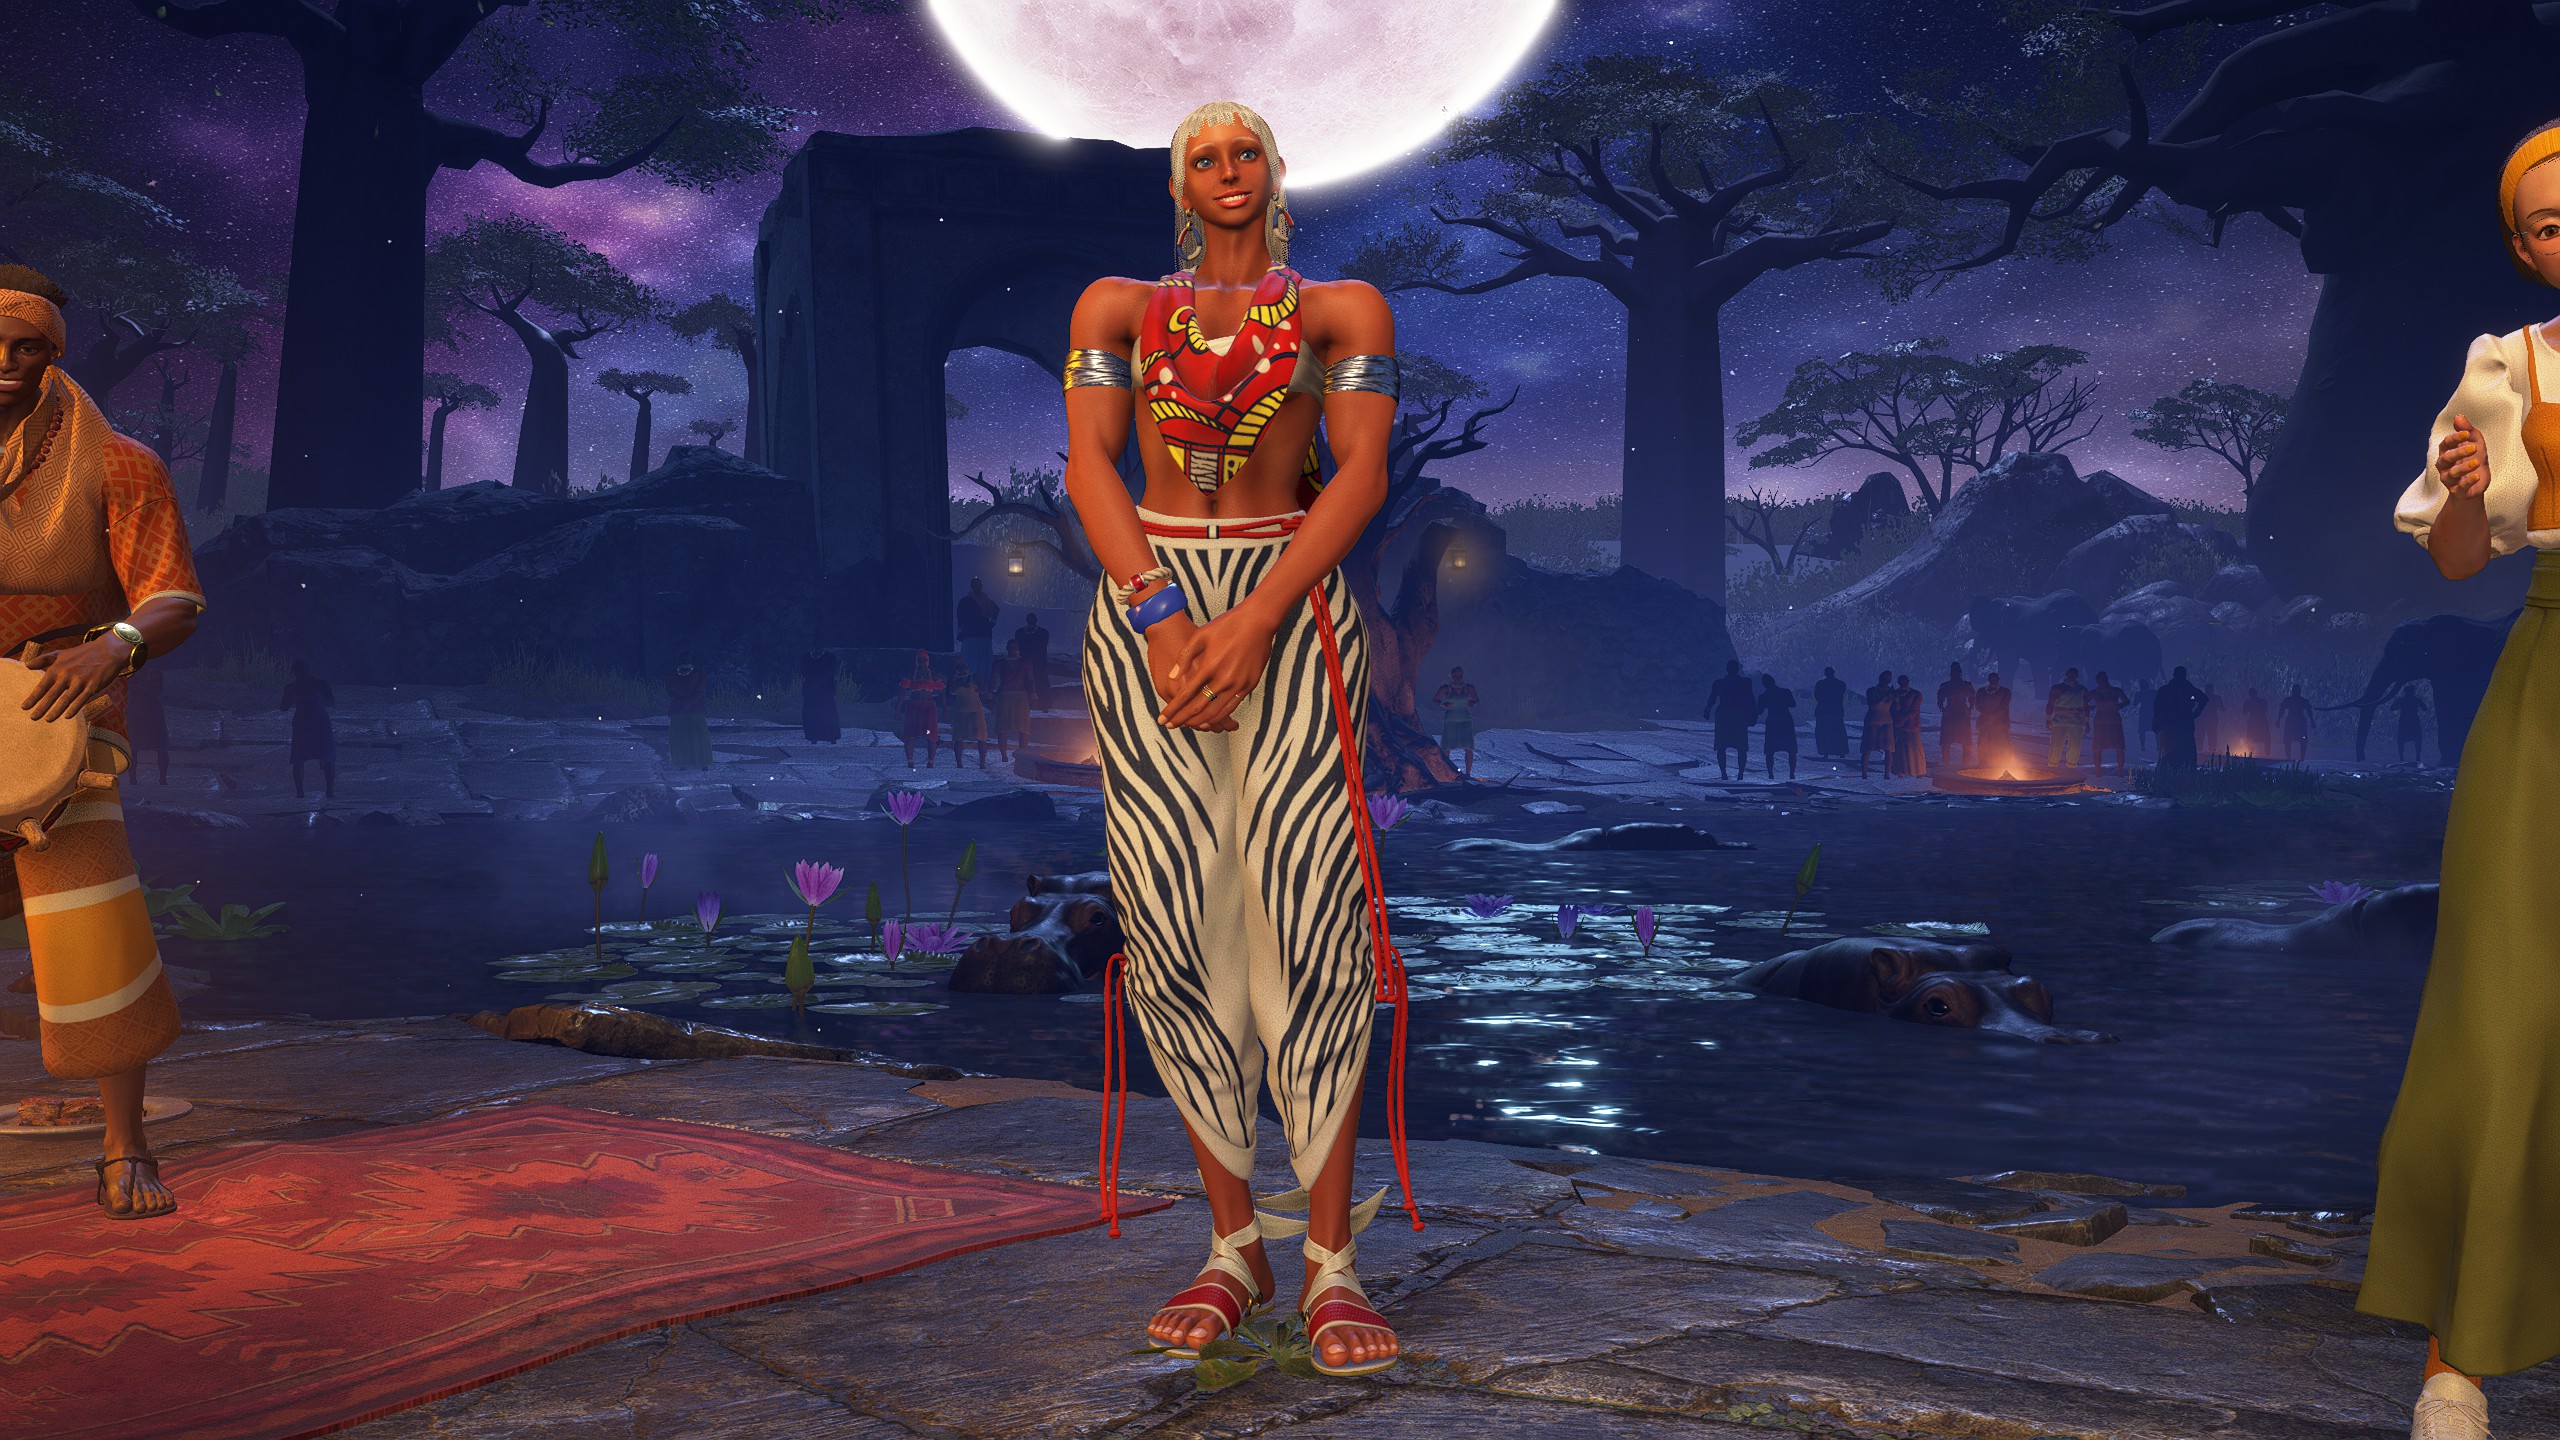
Poses
Guile
Default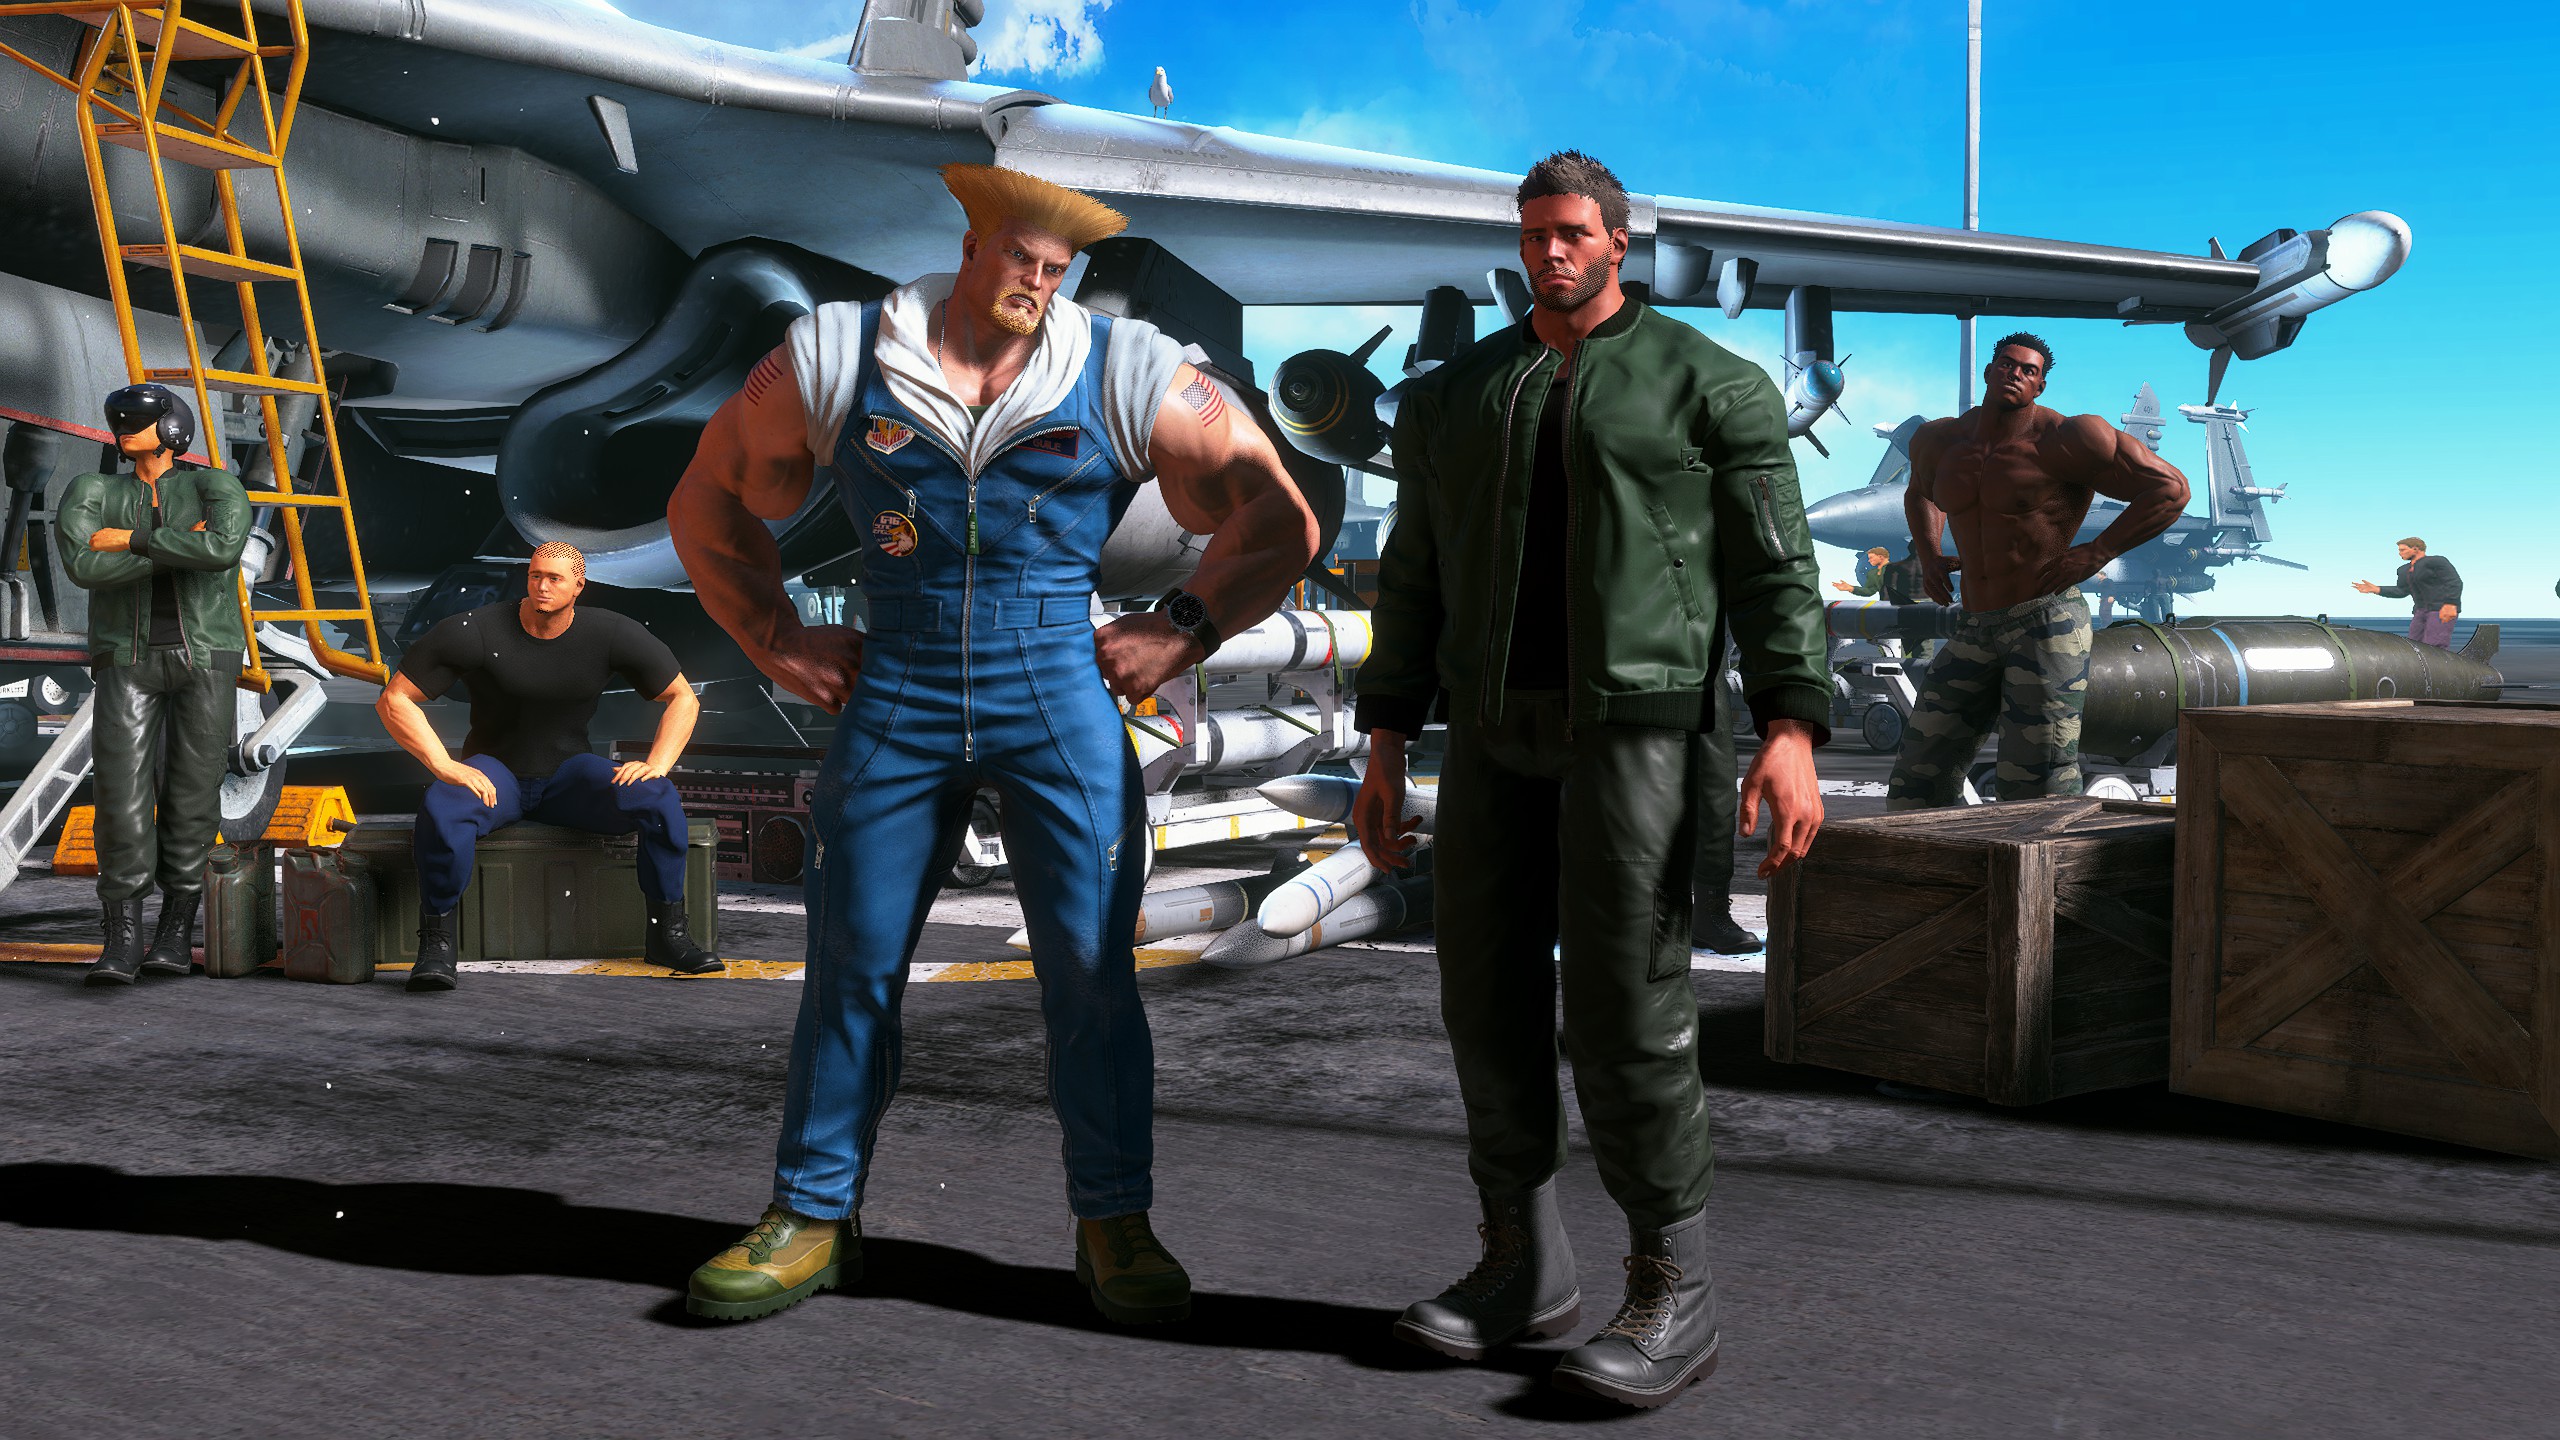
Poses
Jamie
Default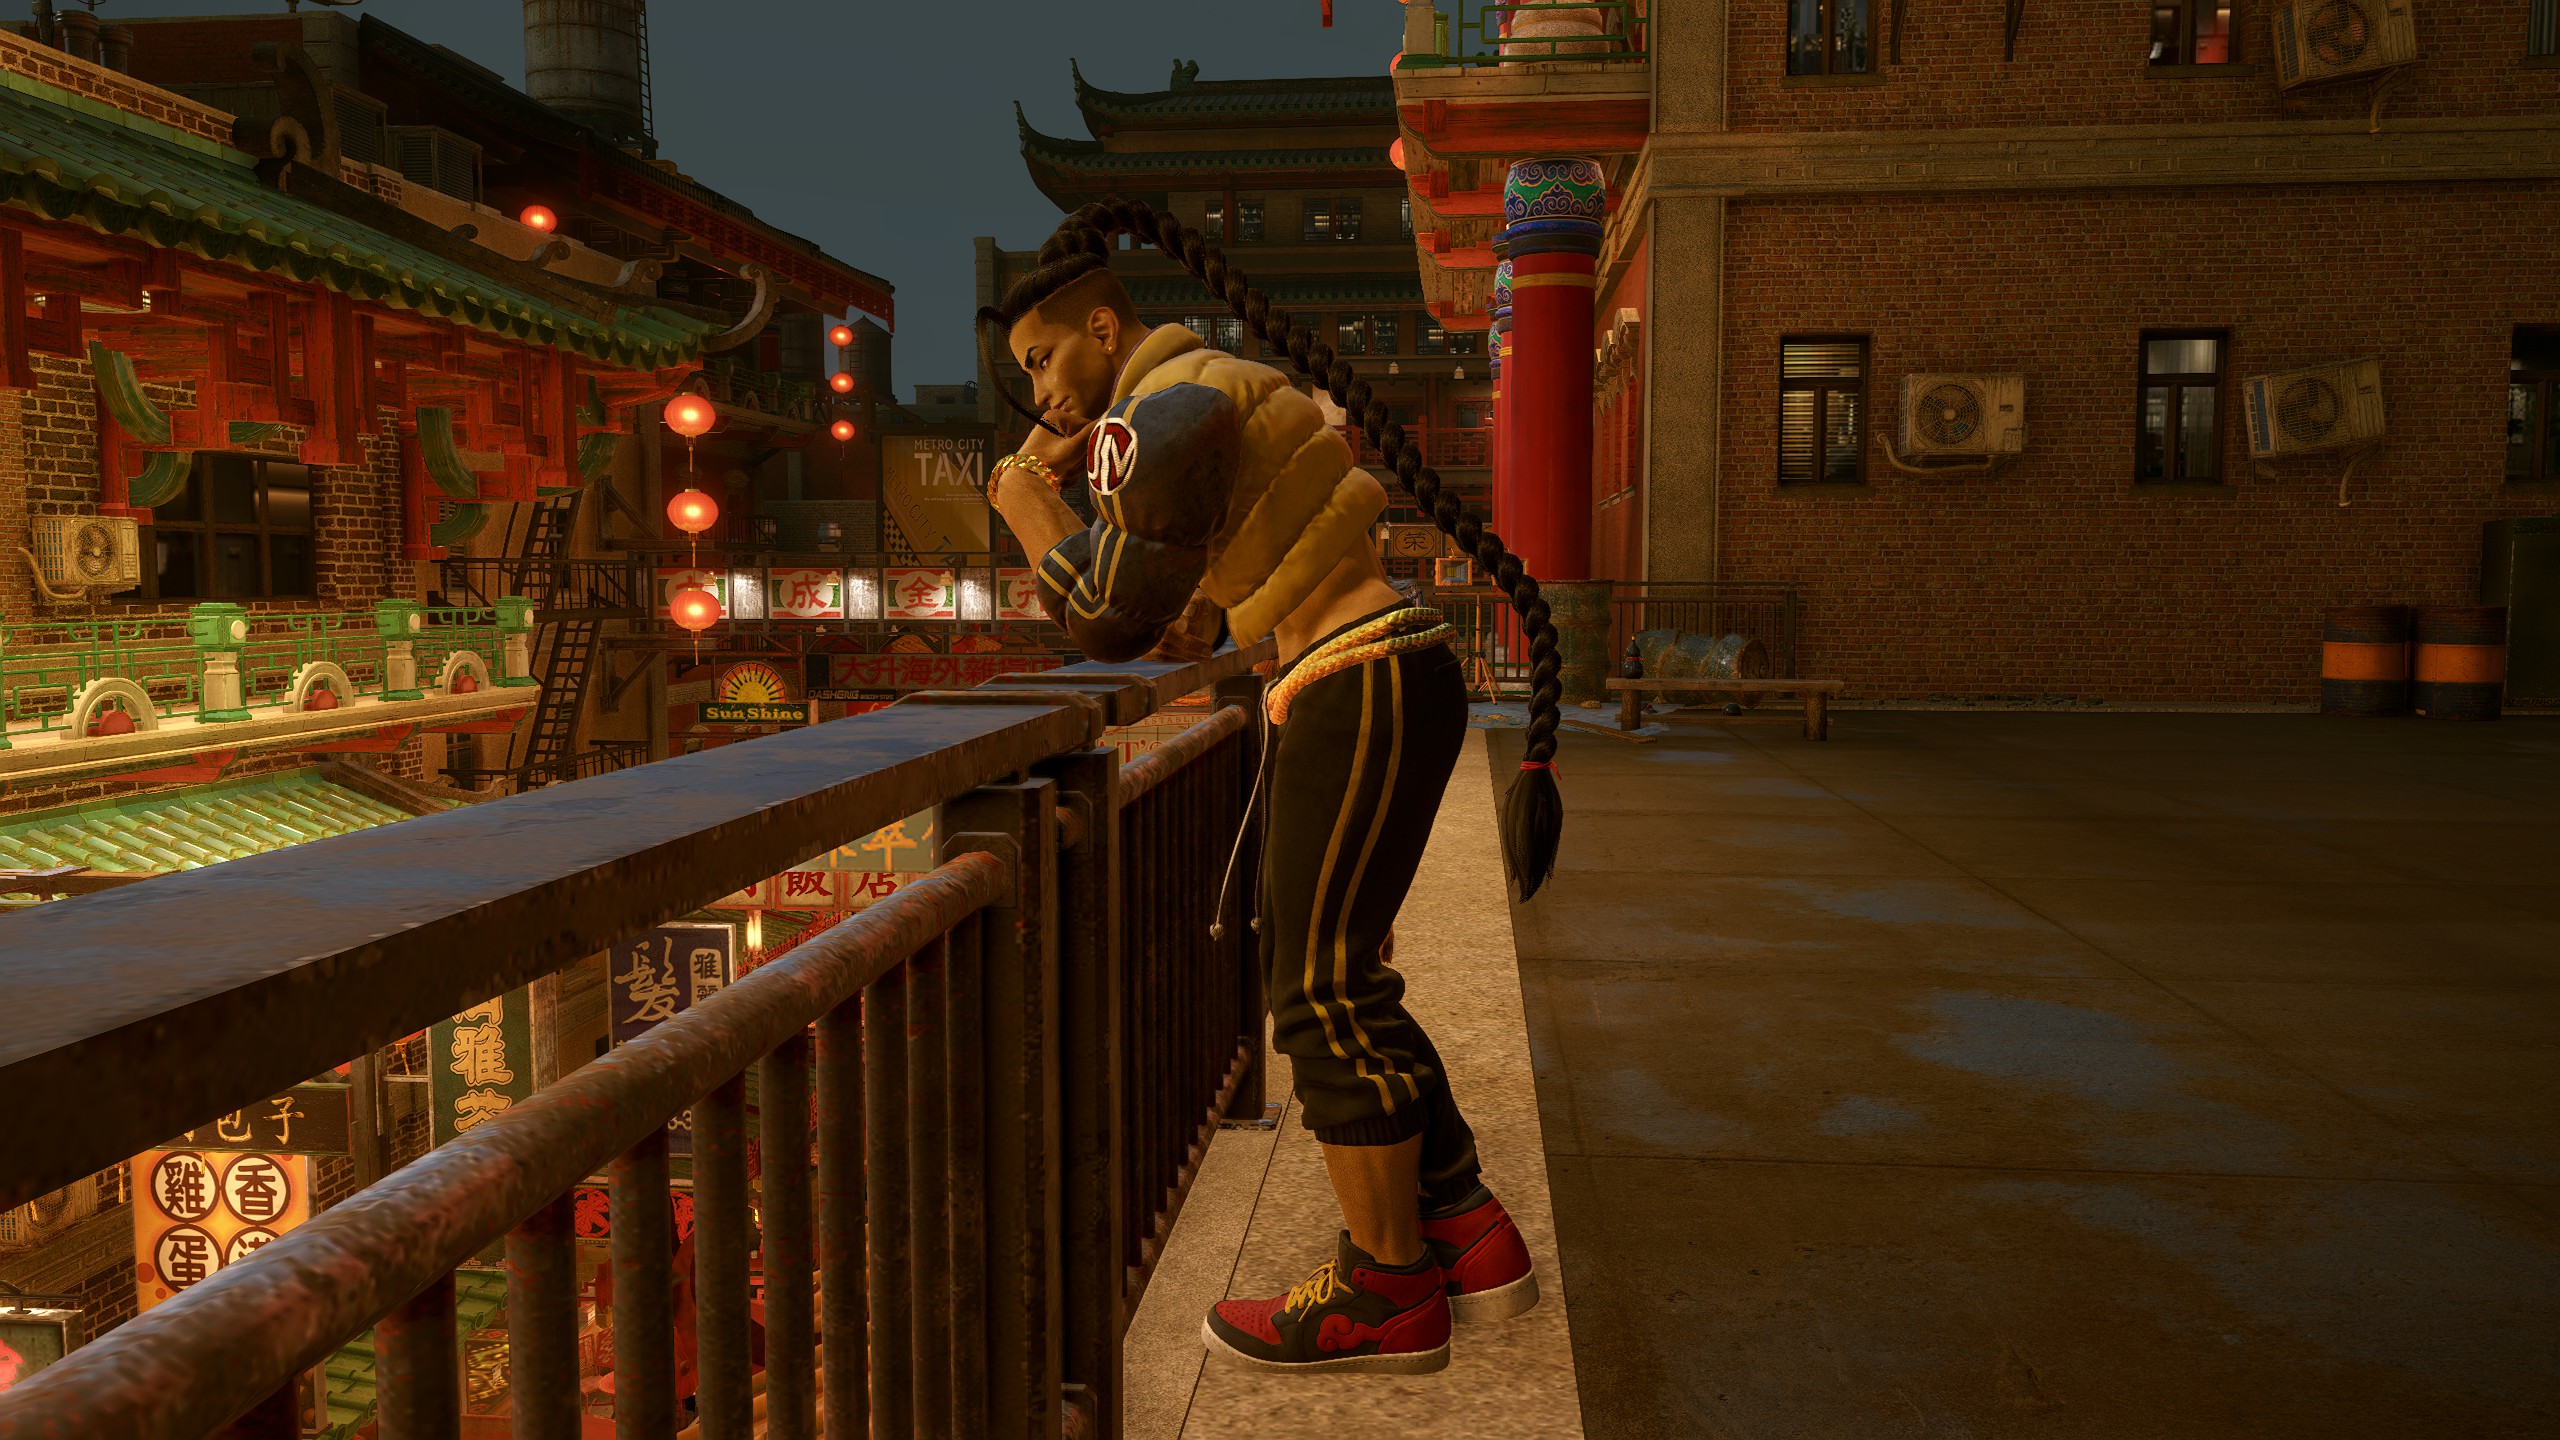
Poses

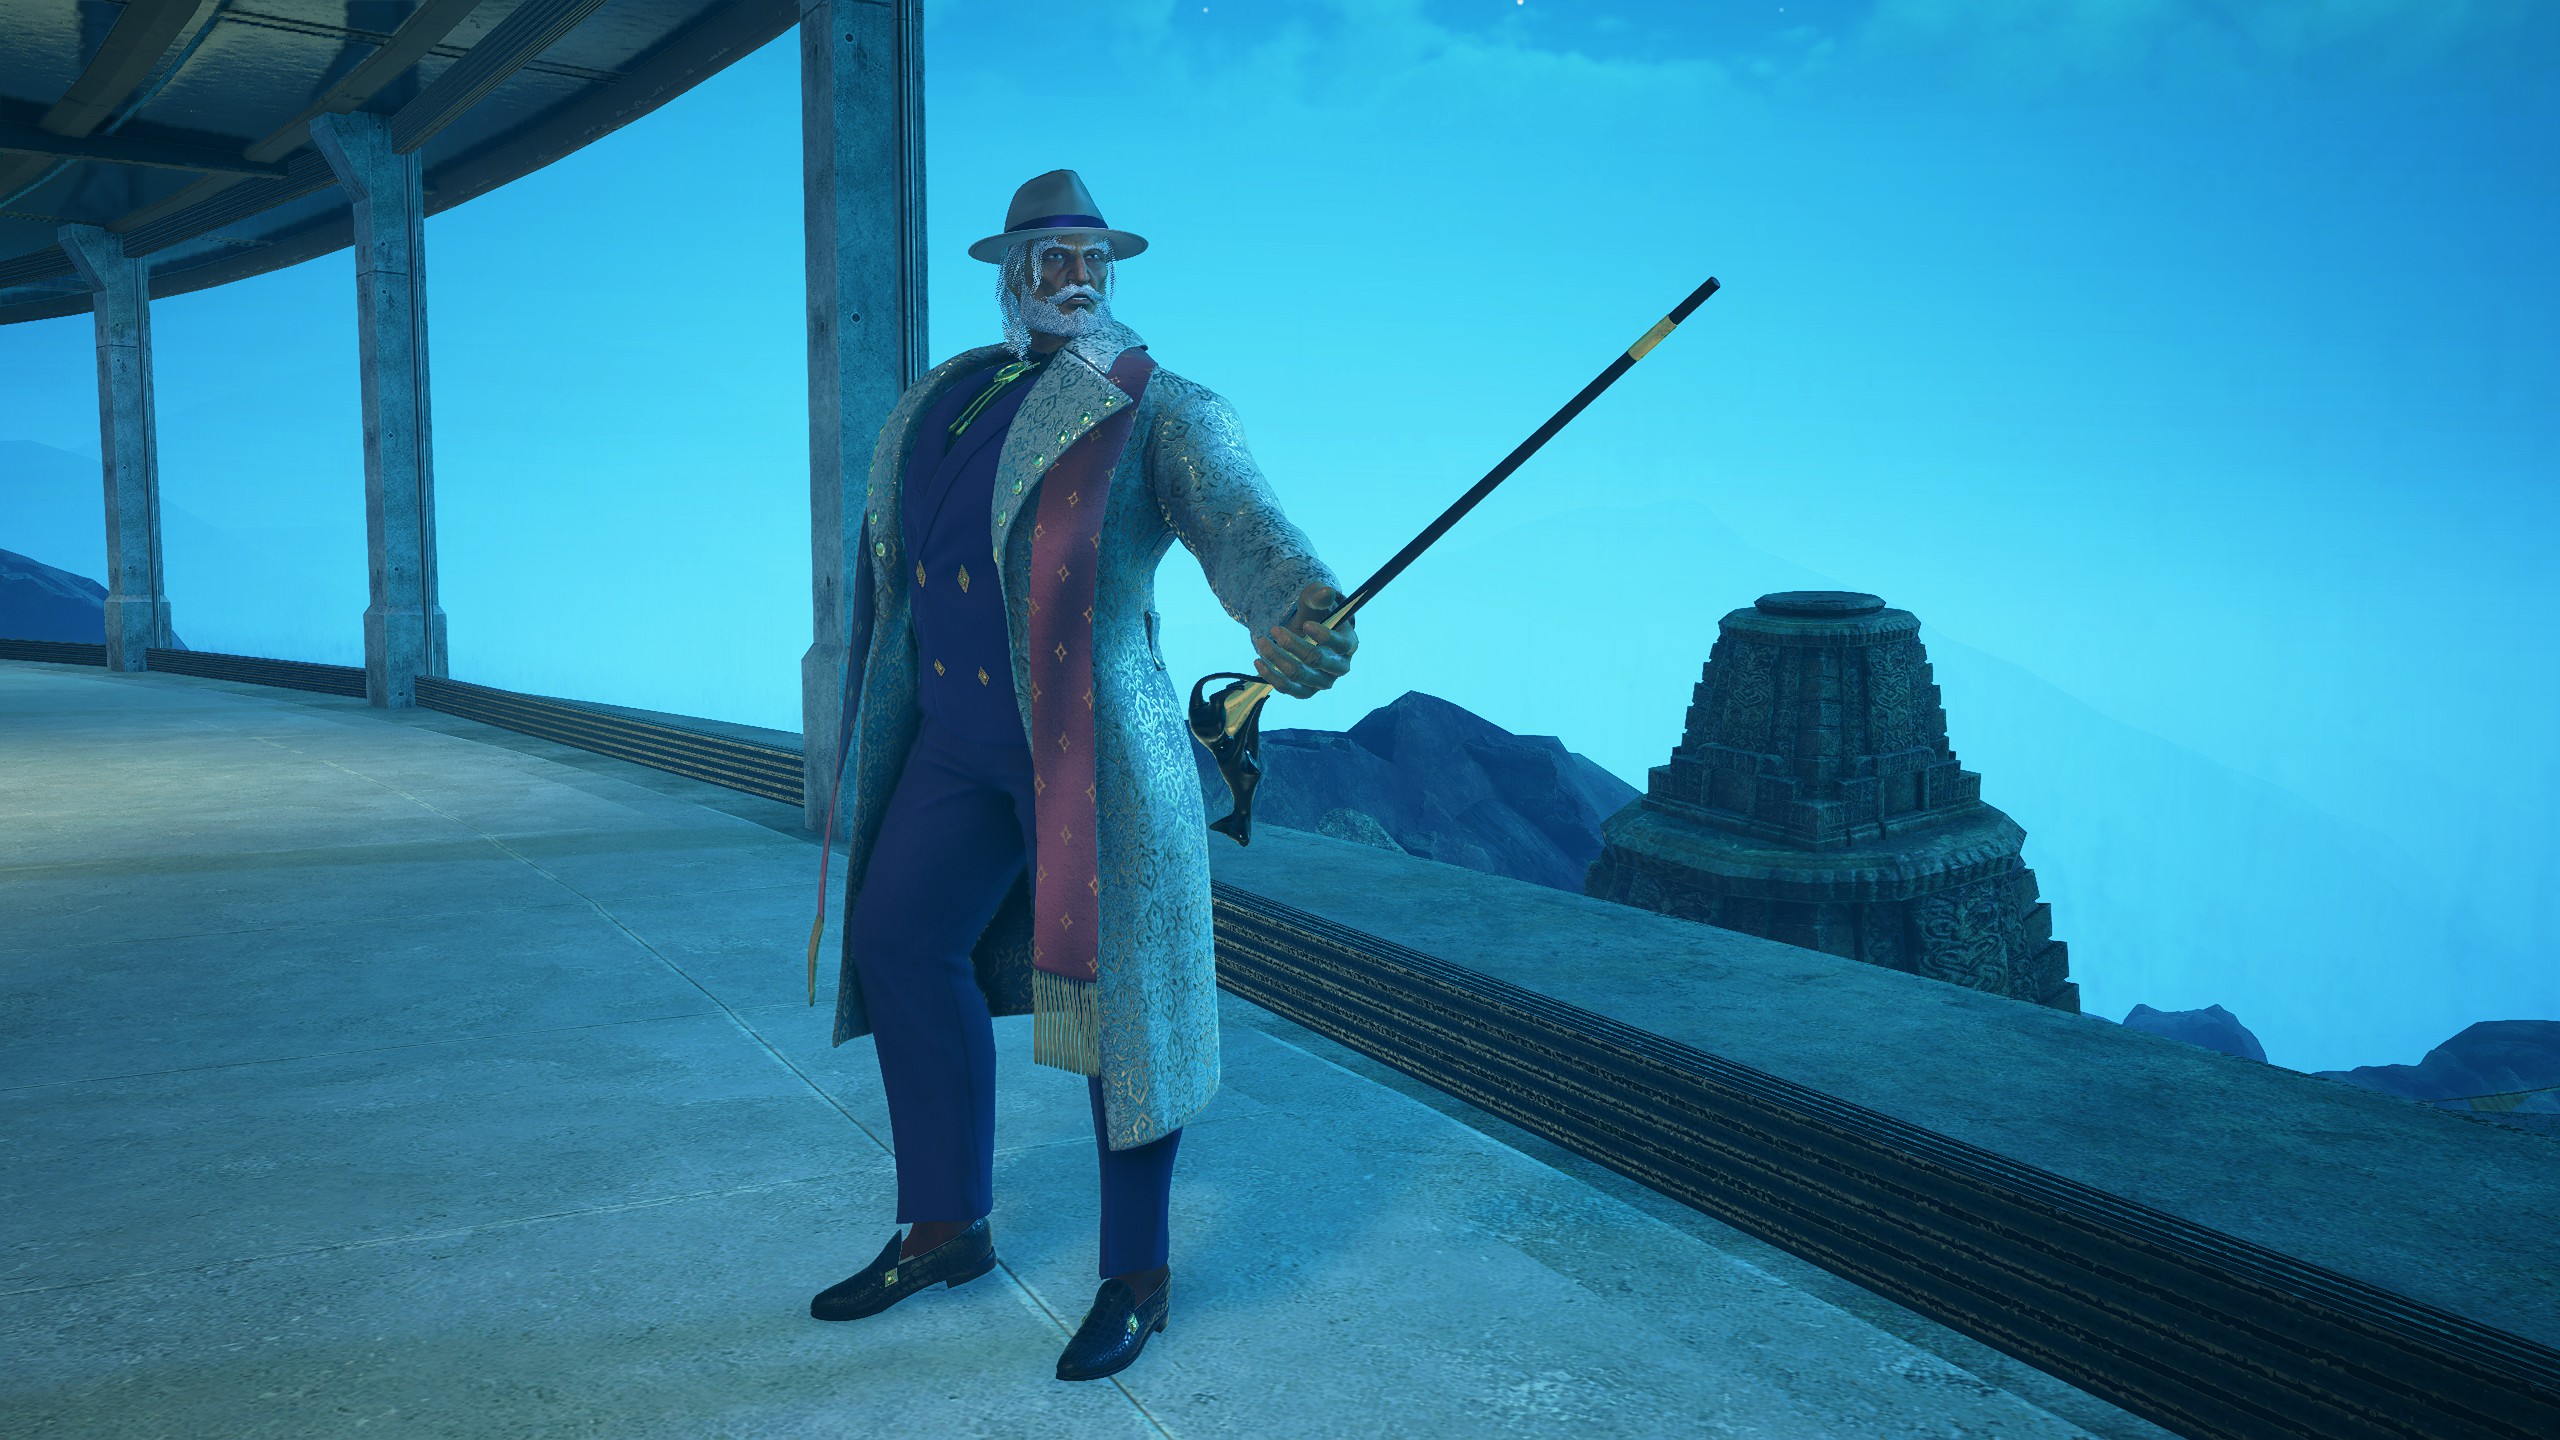
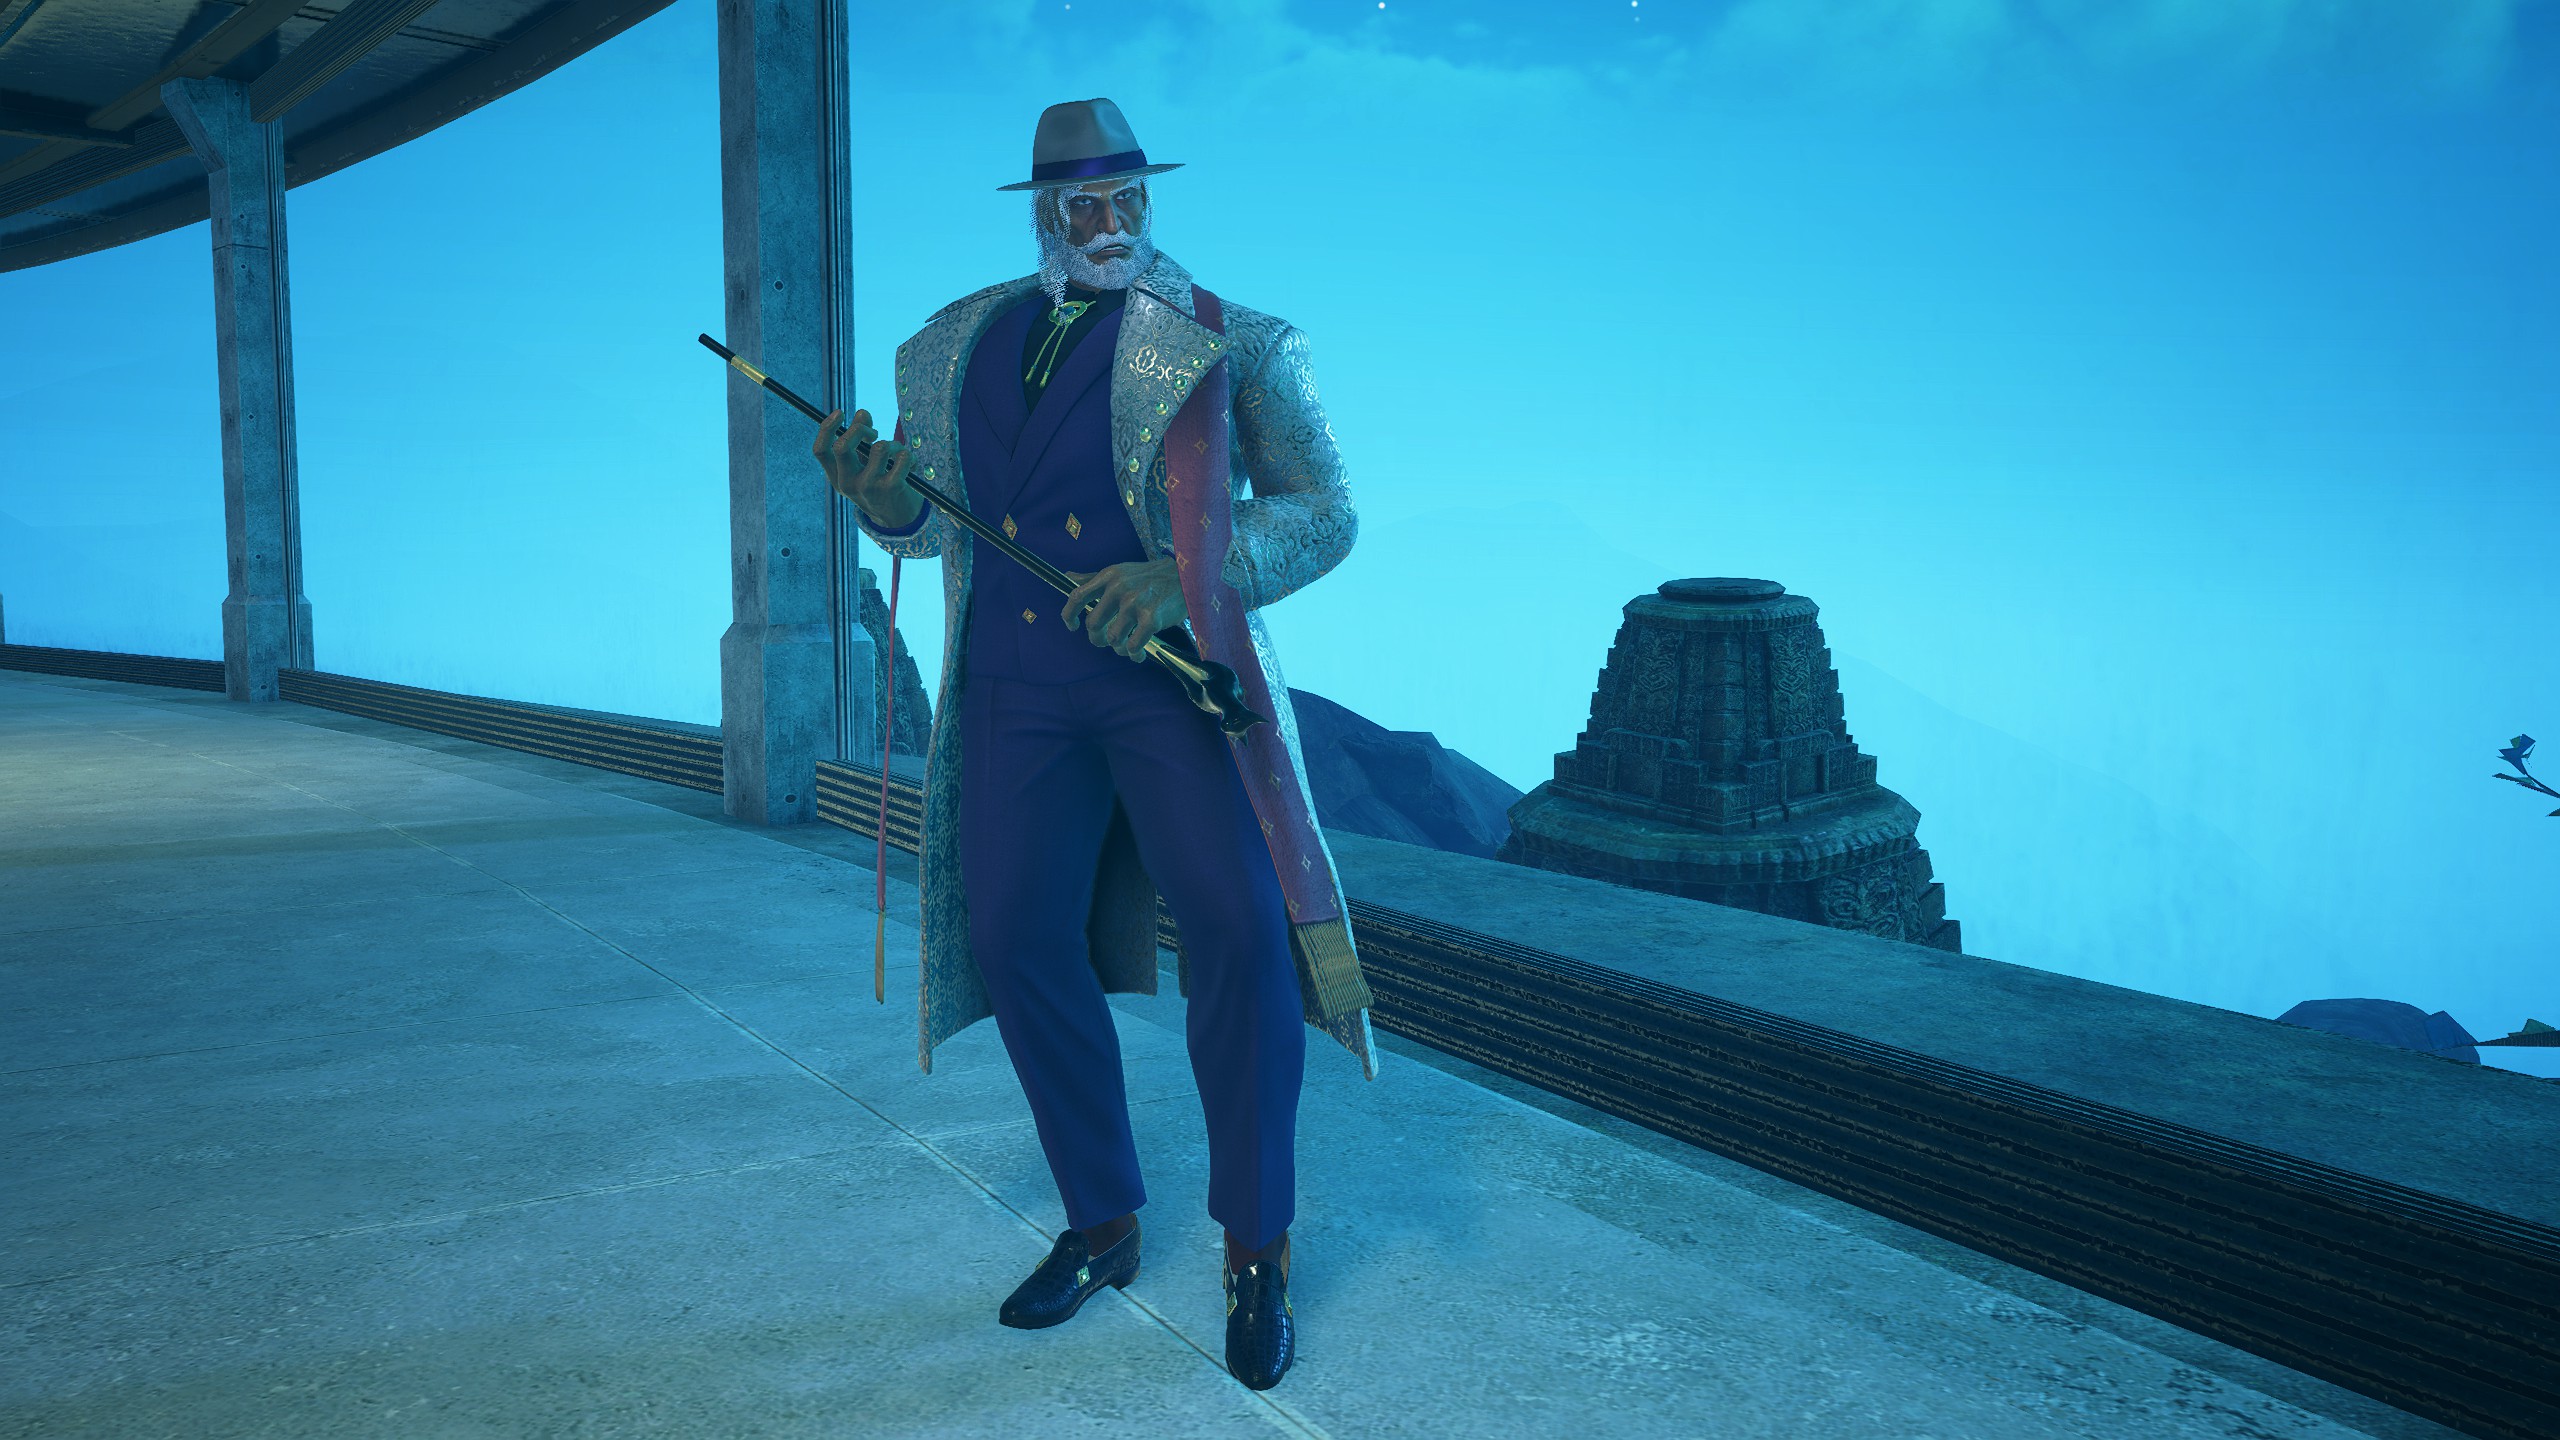
JP
Default
Poses
Juri
Default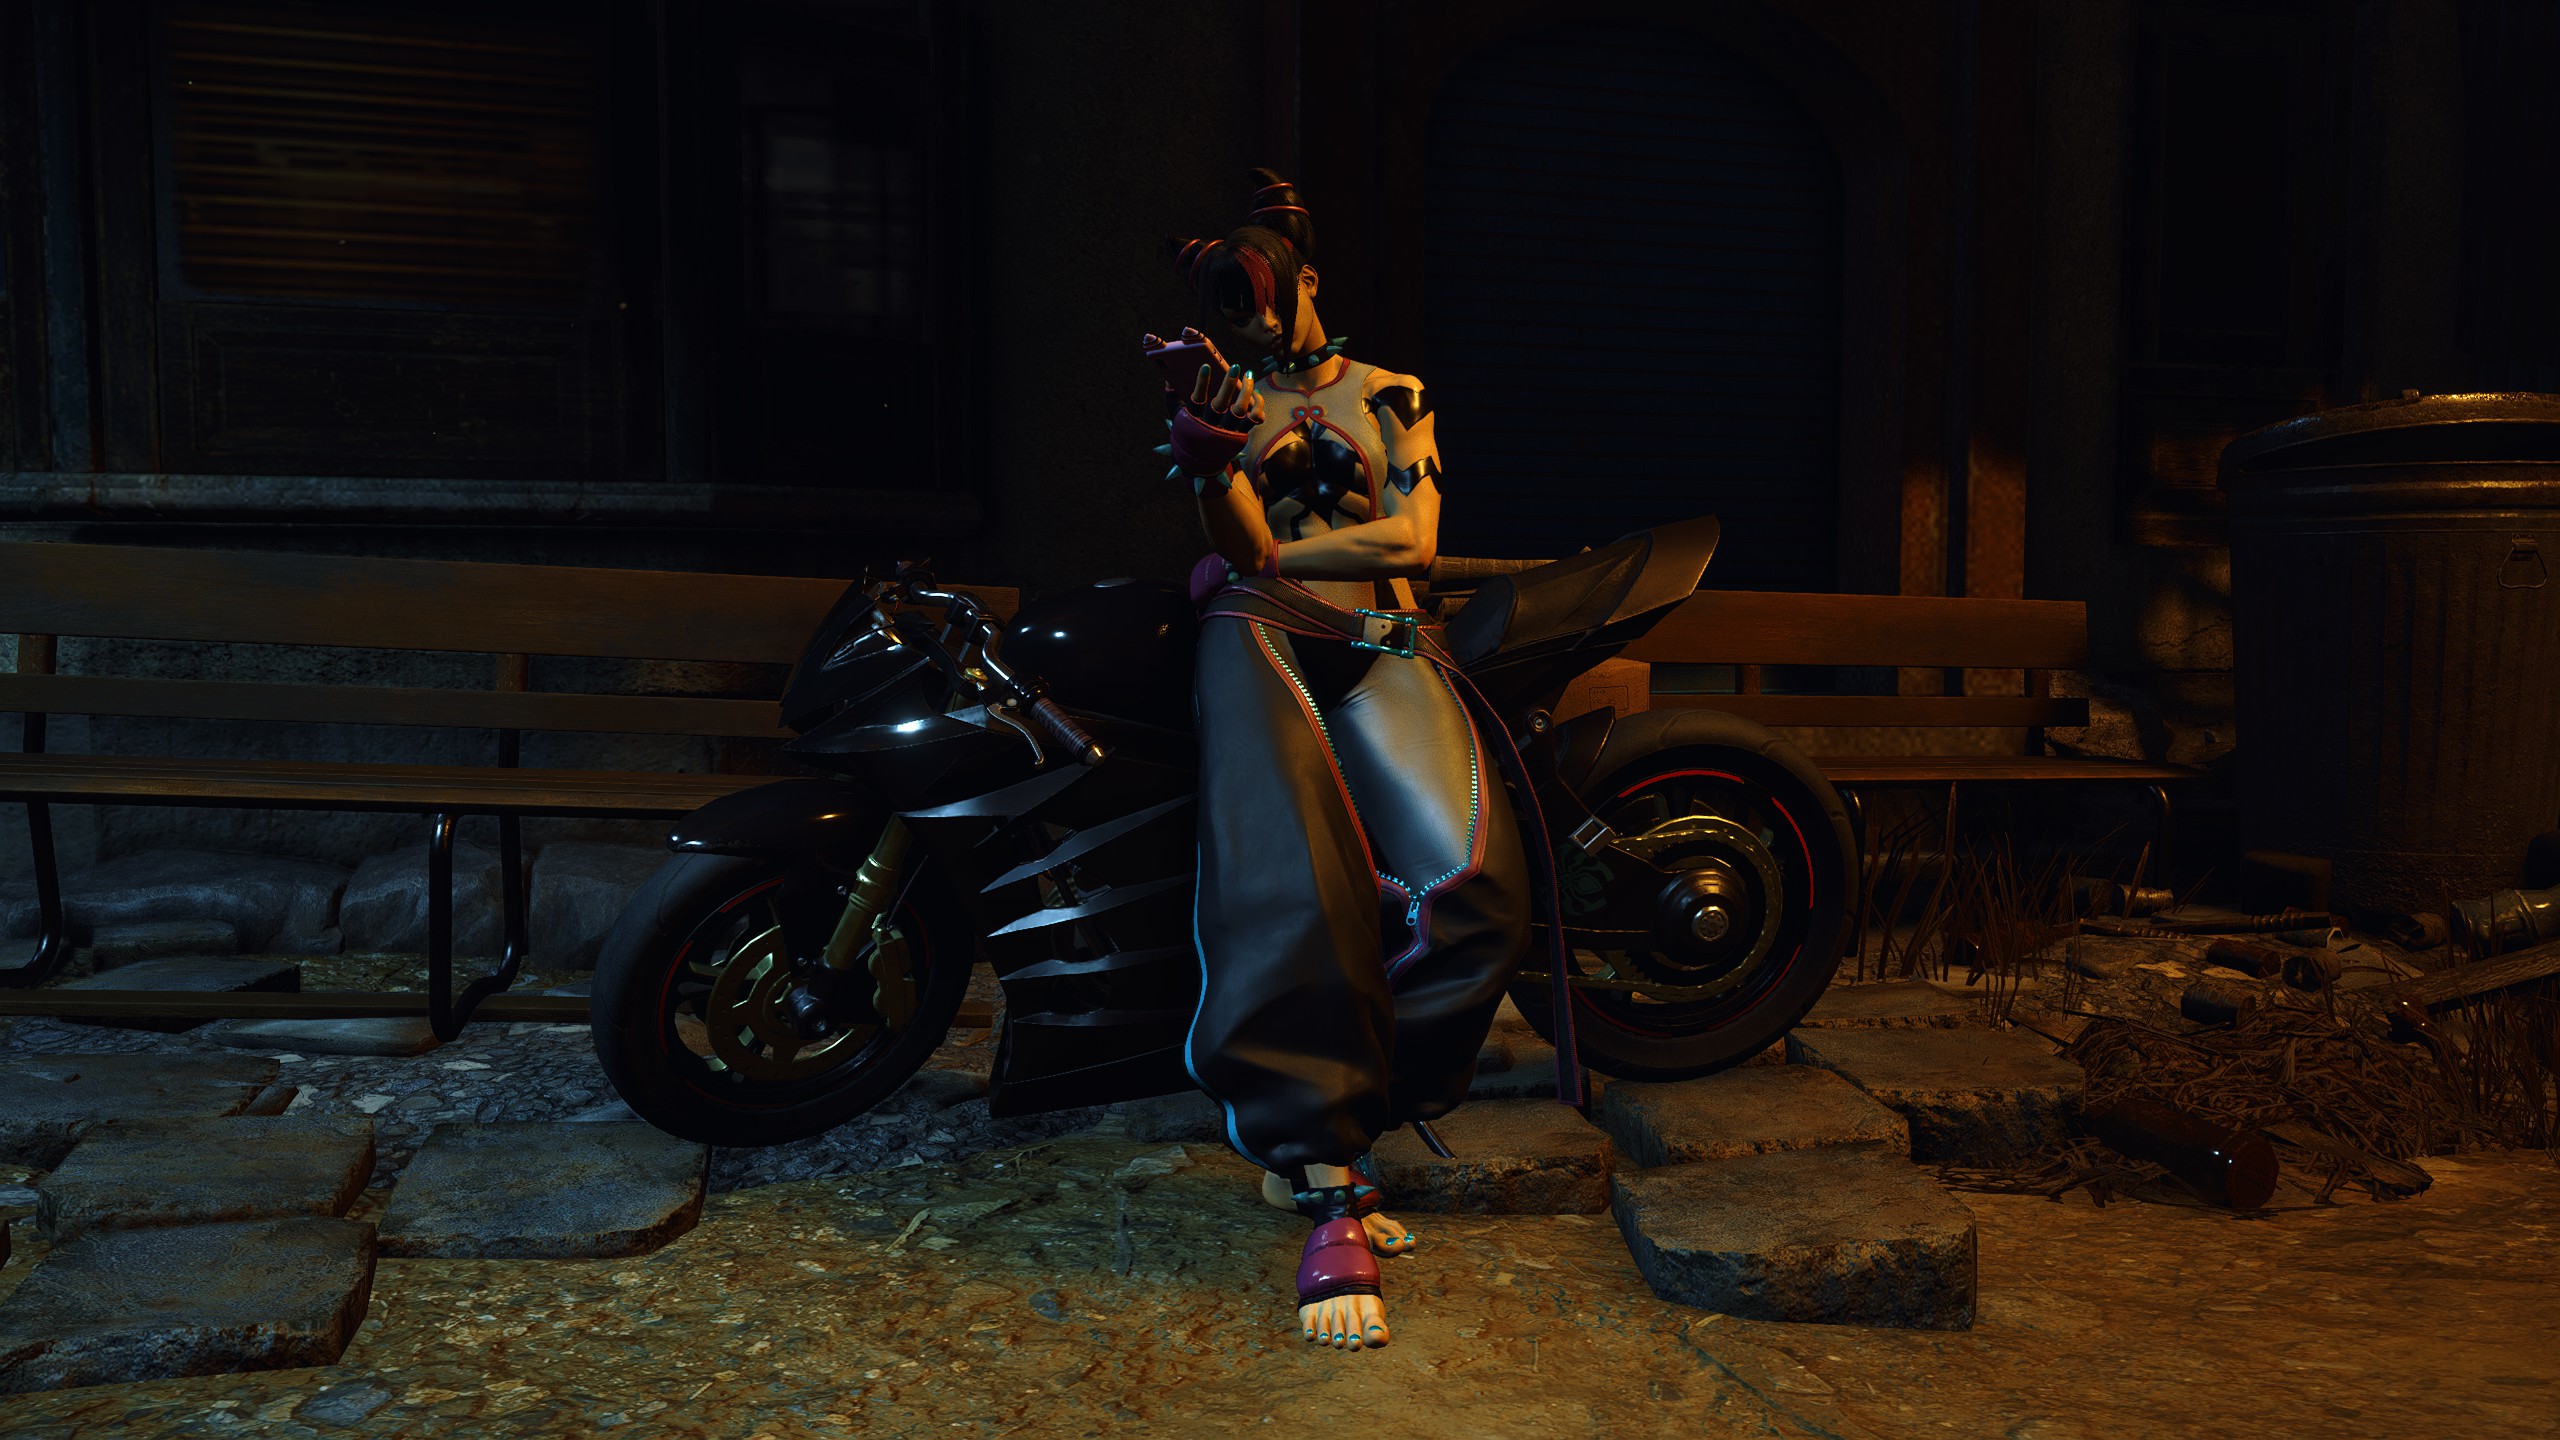
Poses
Ken
Default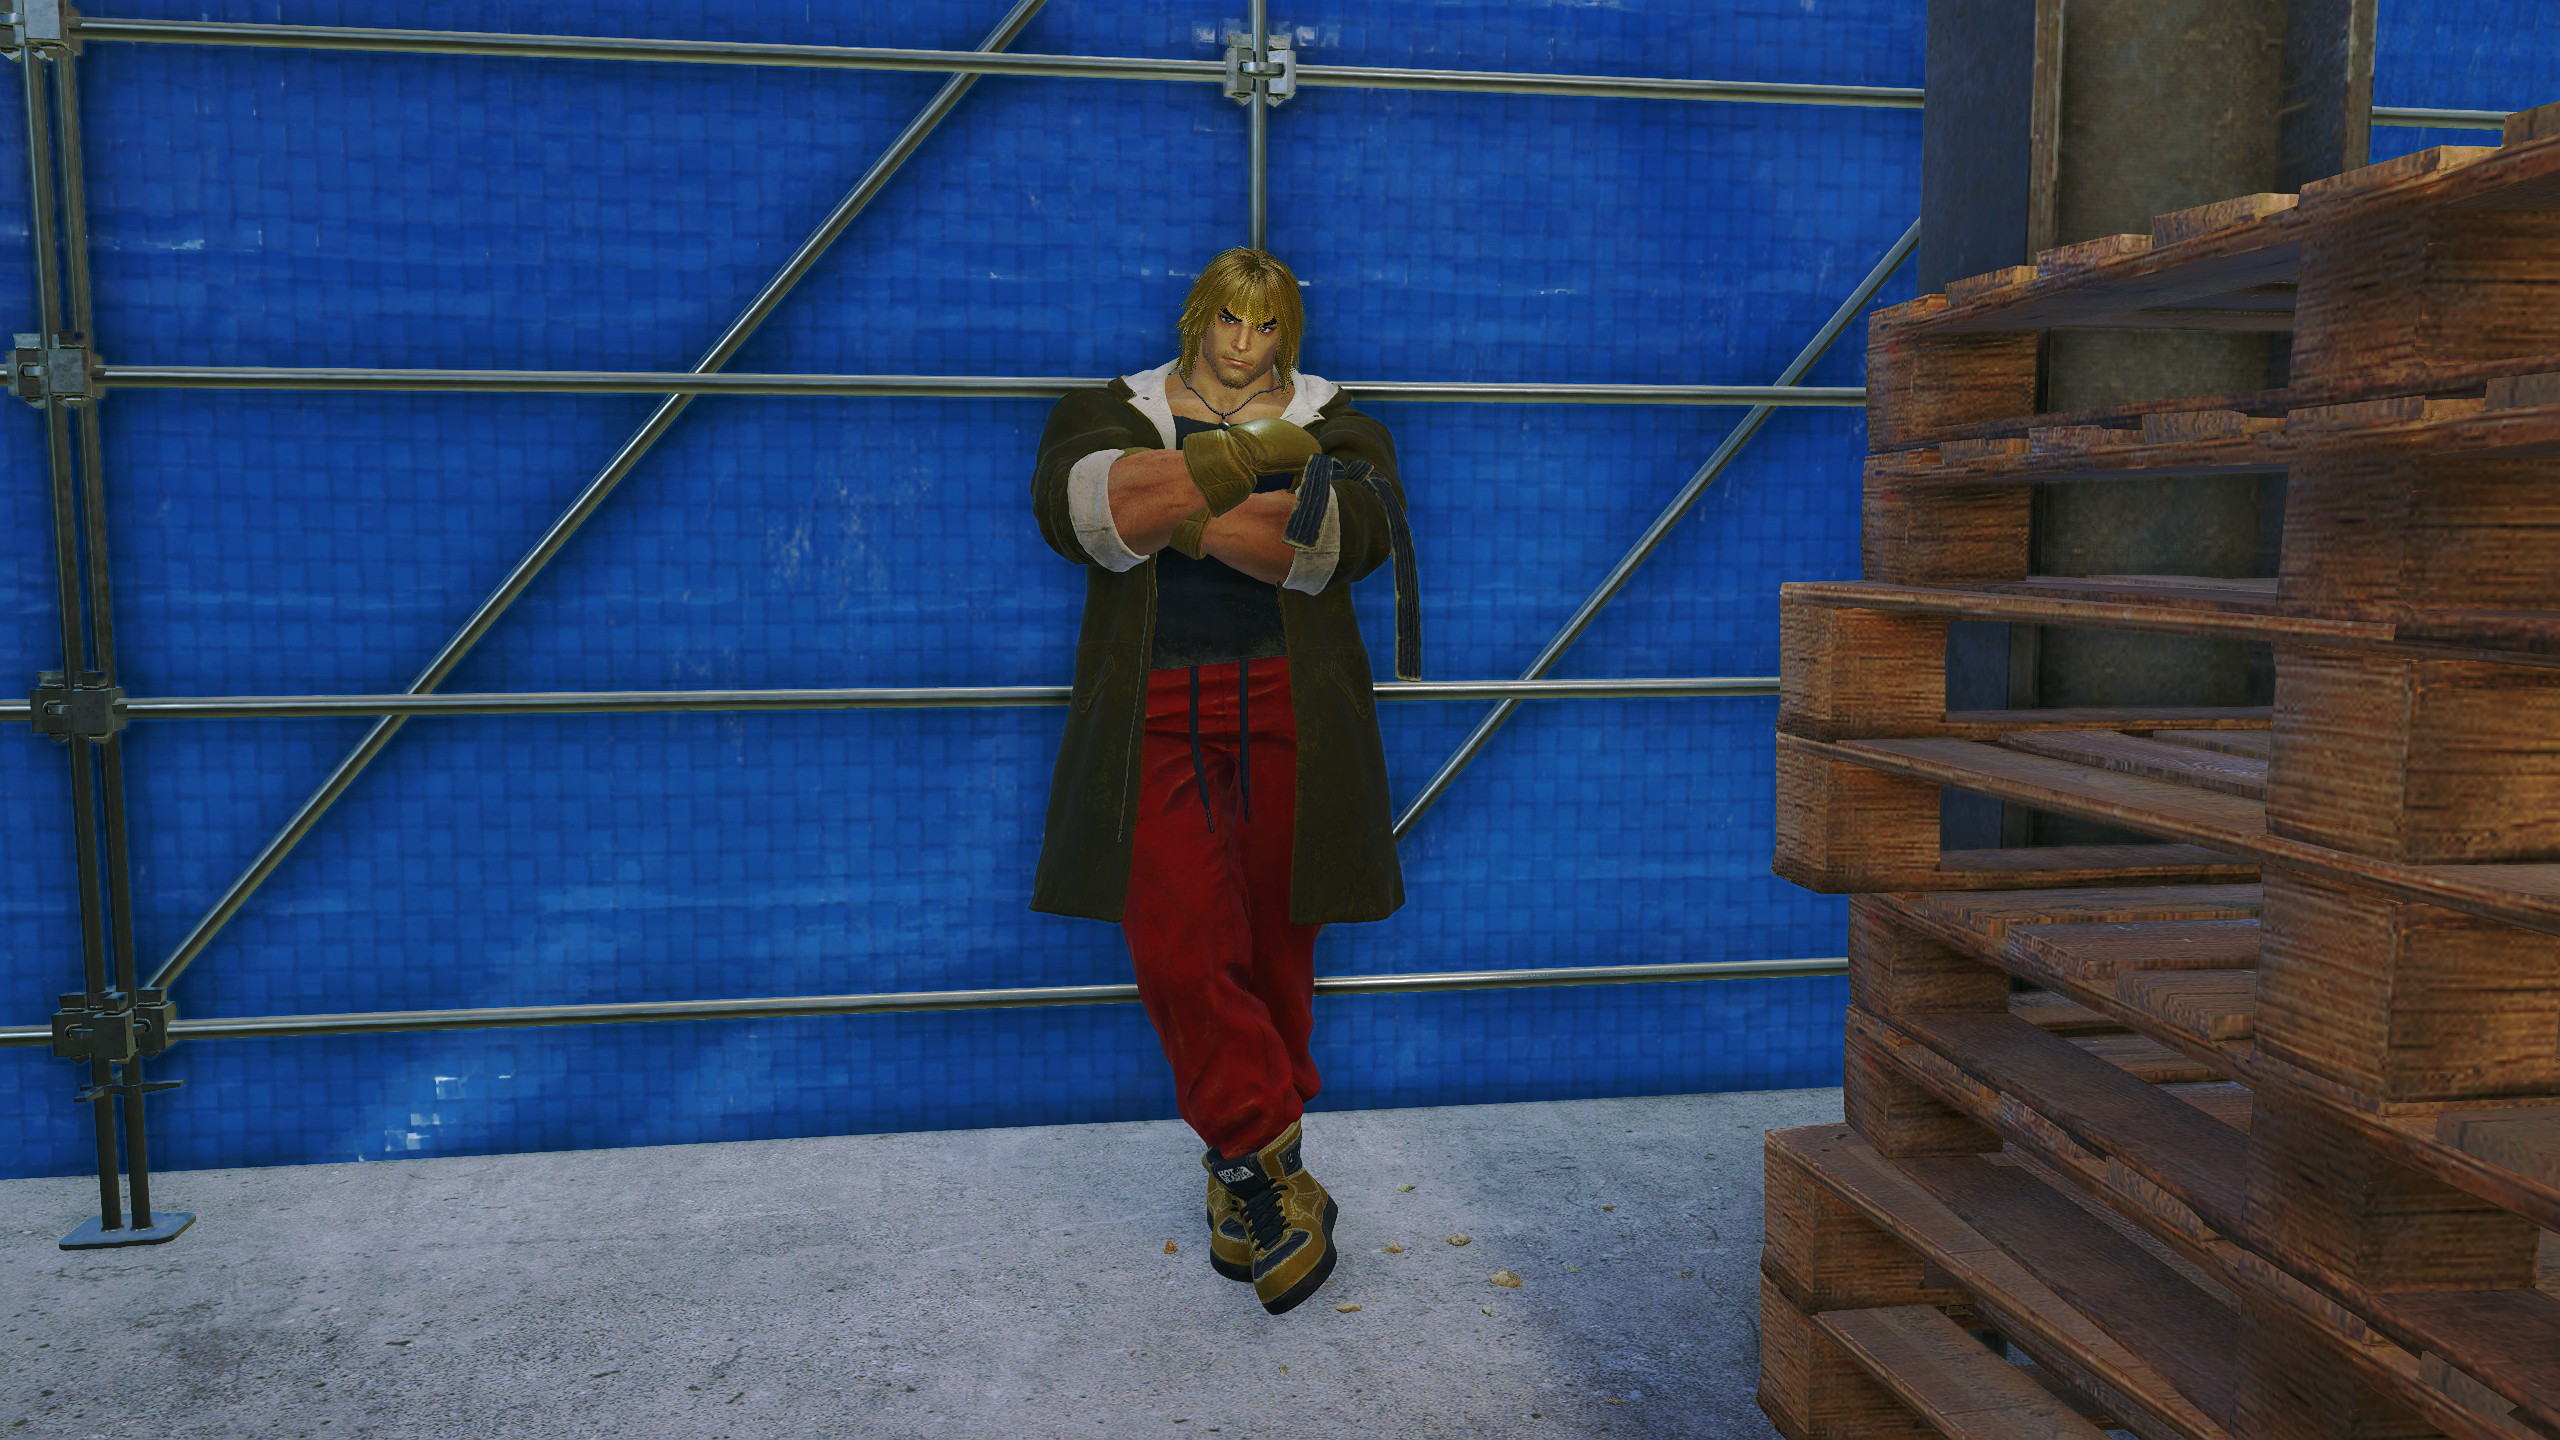
Poses
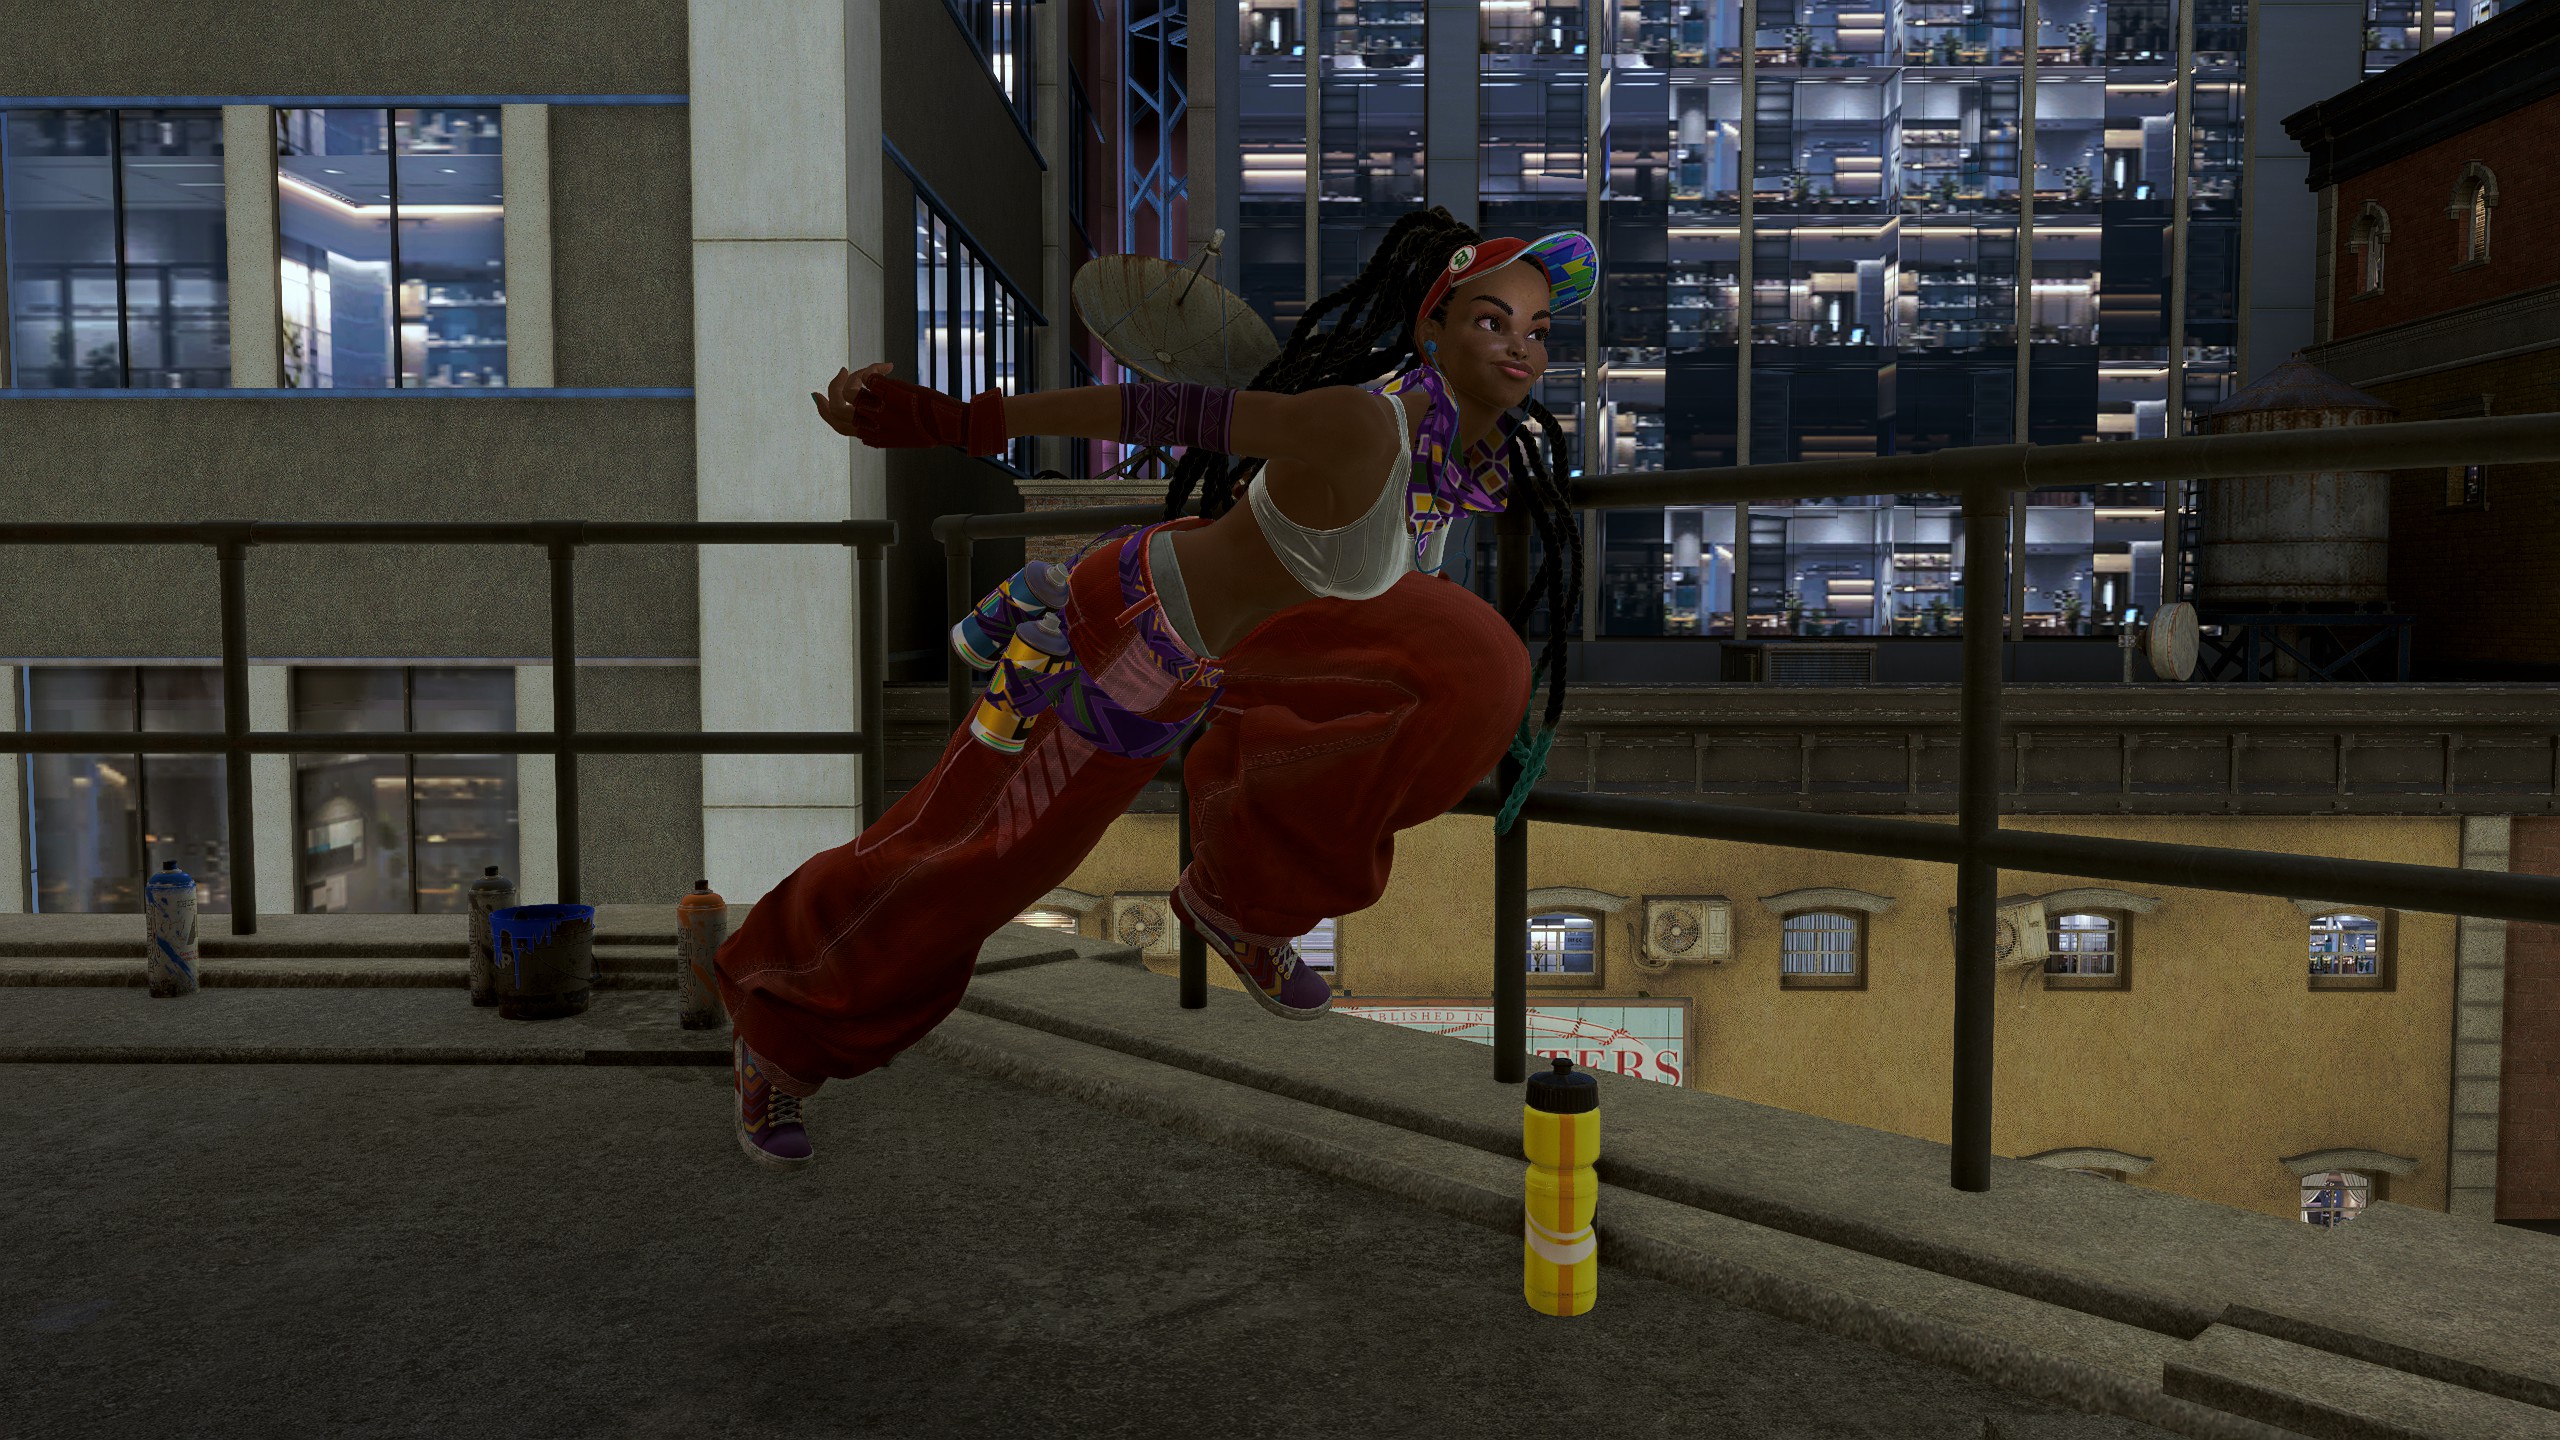
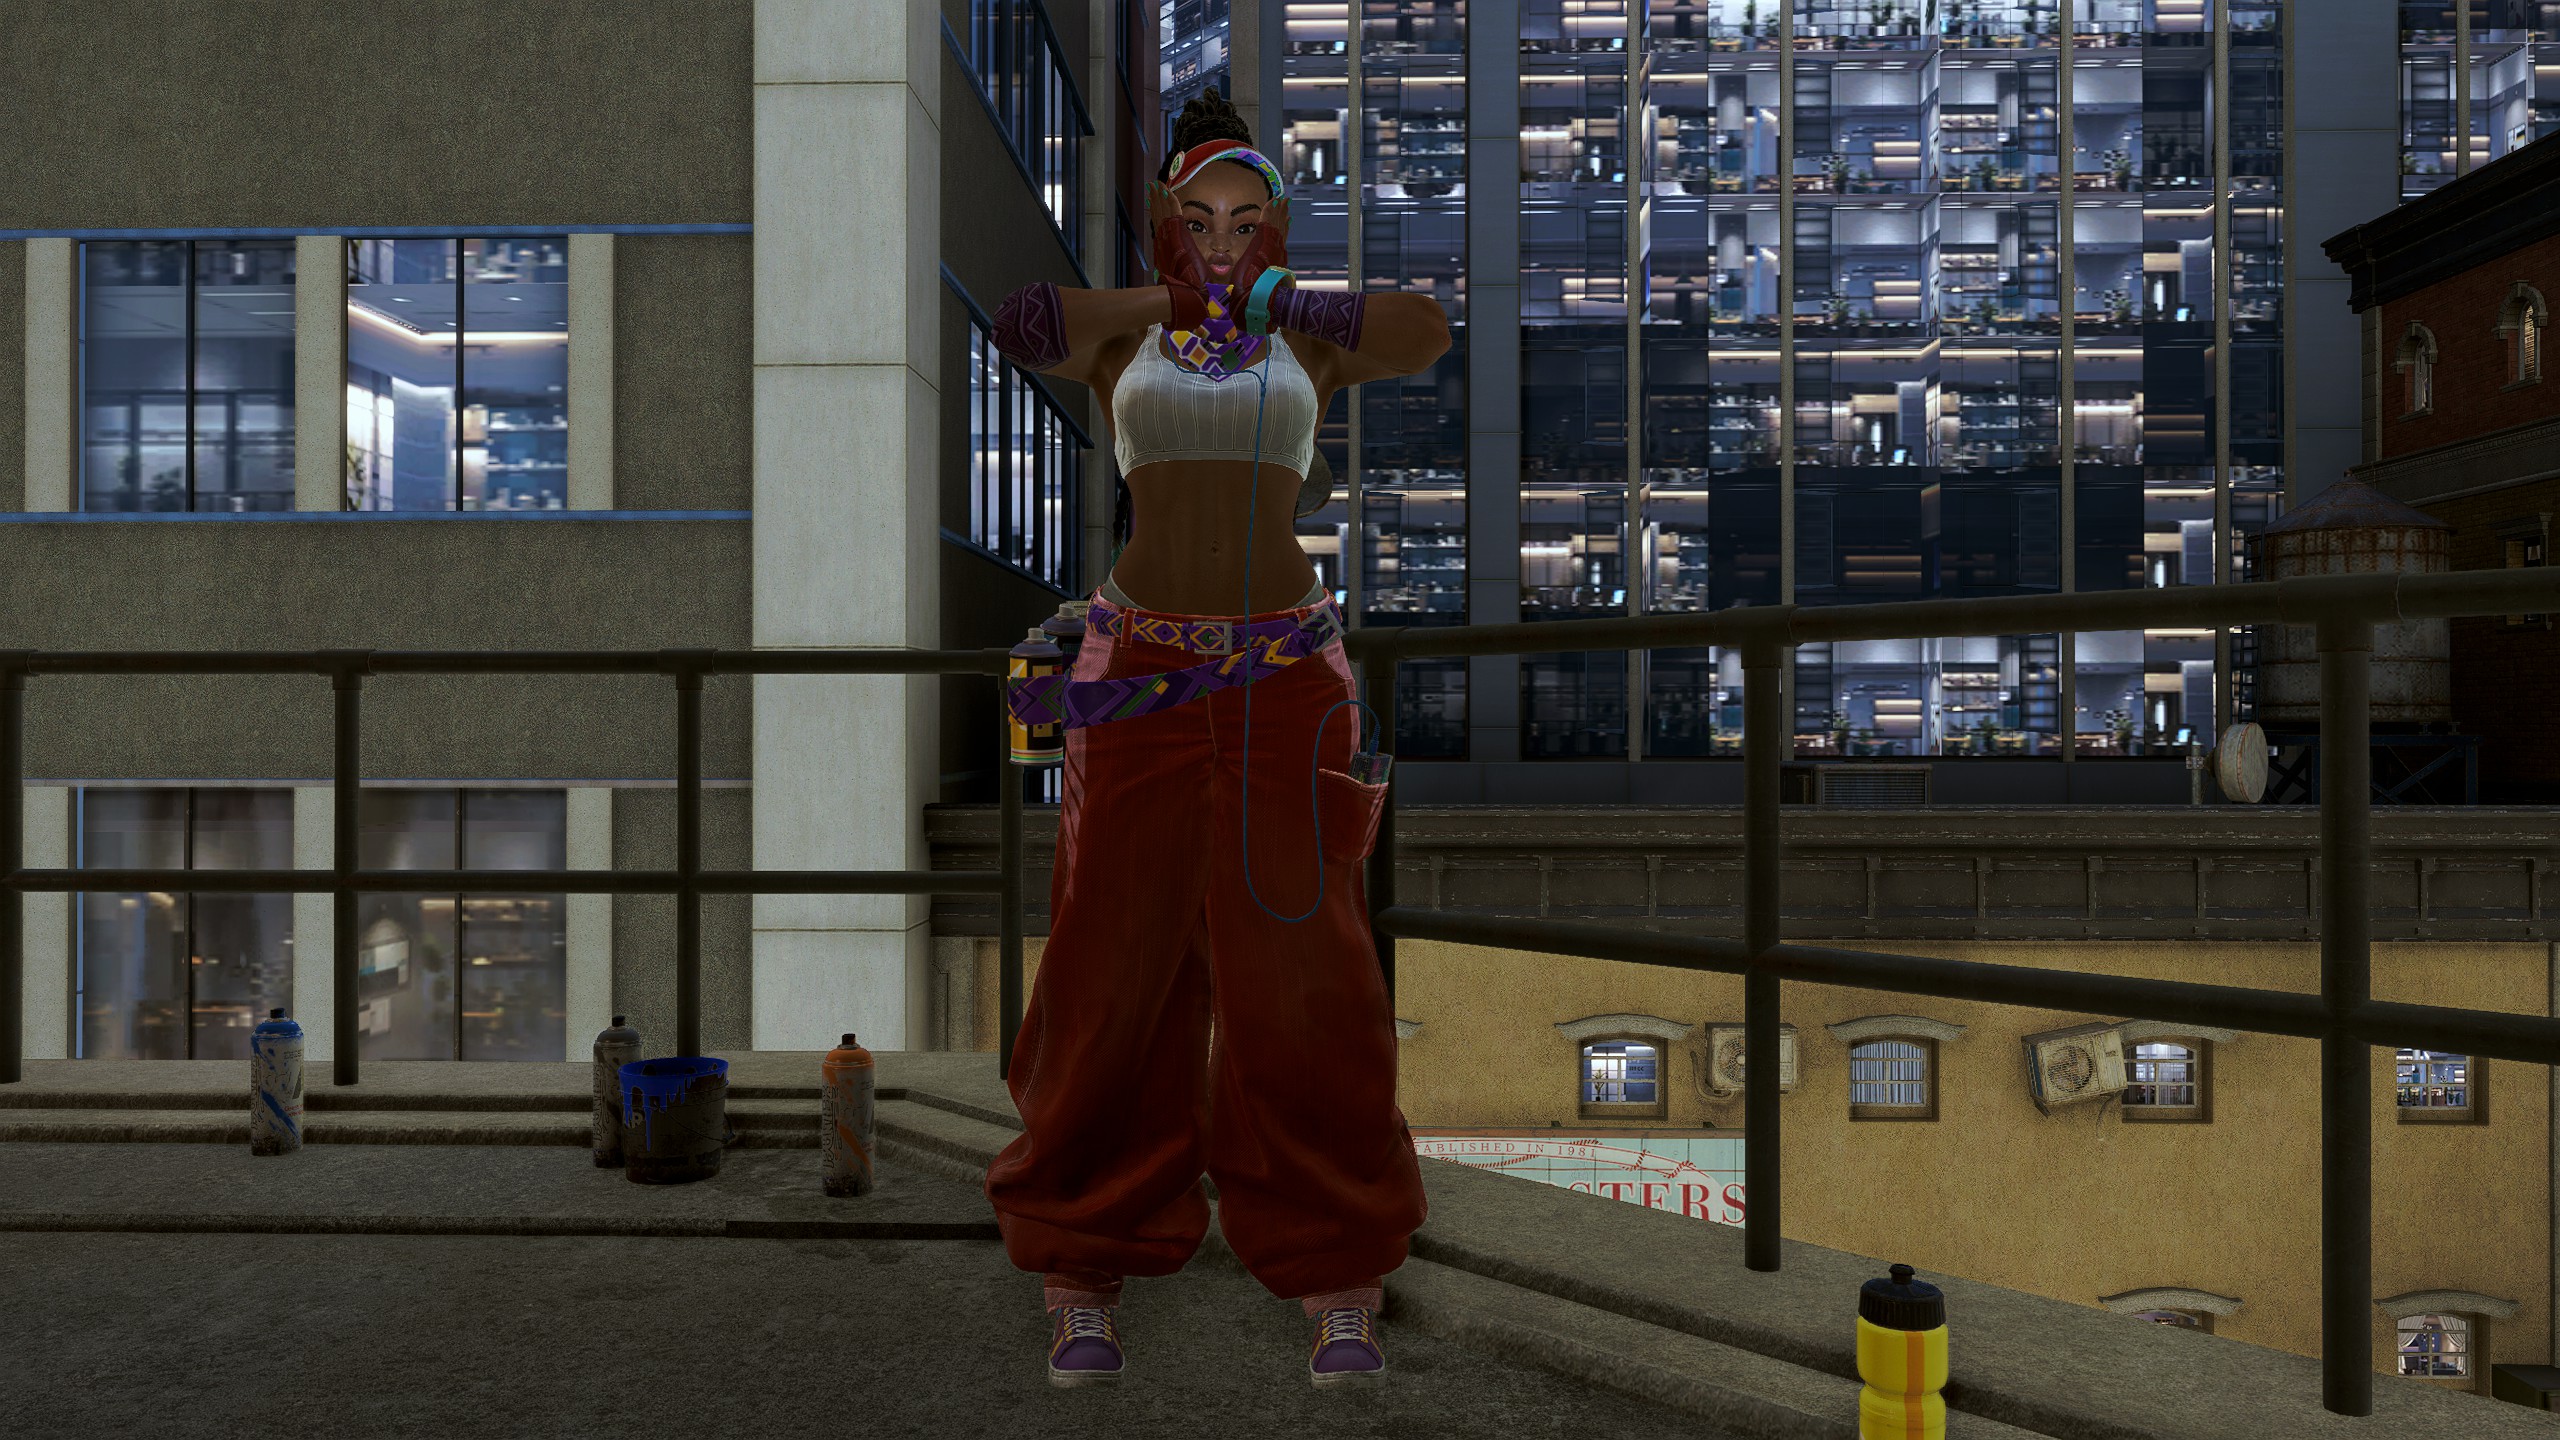
Kimberly
Default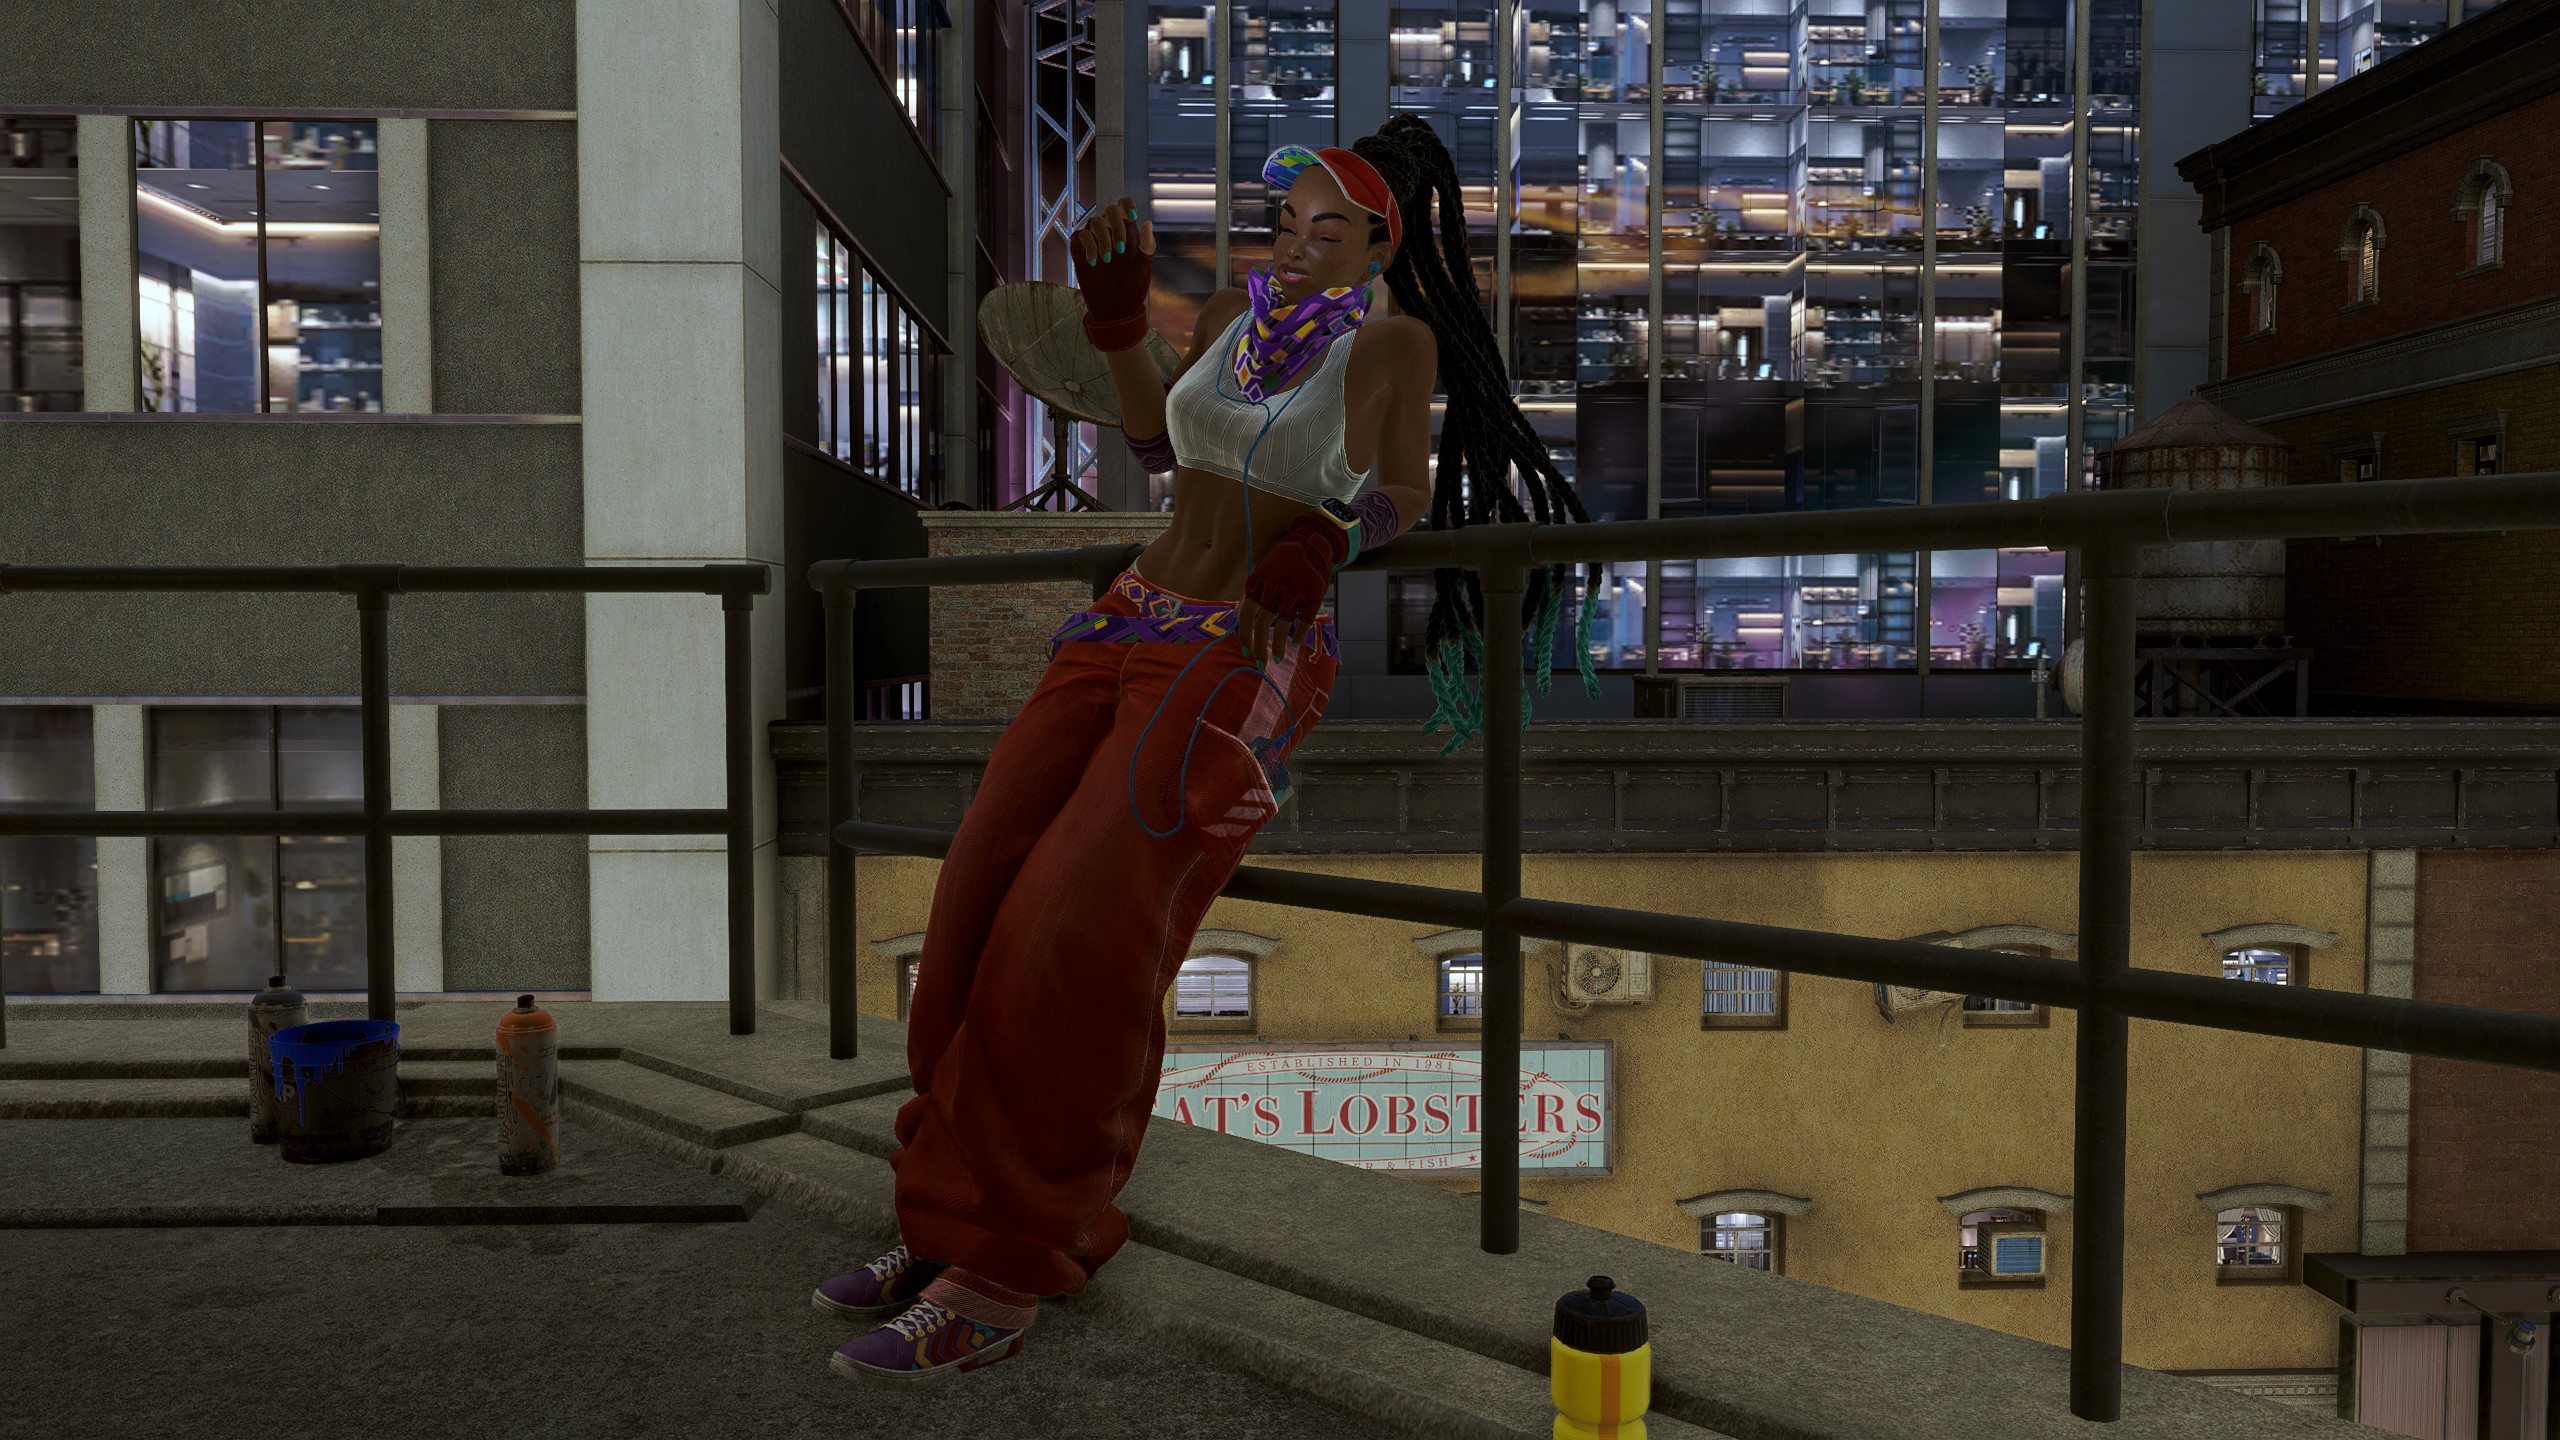
Poses
Lily
Default
Poses
Luke
Default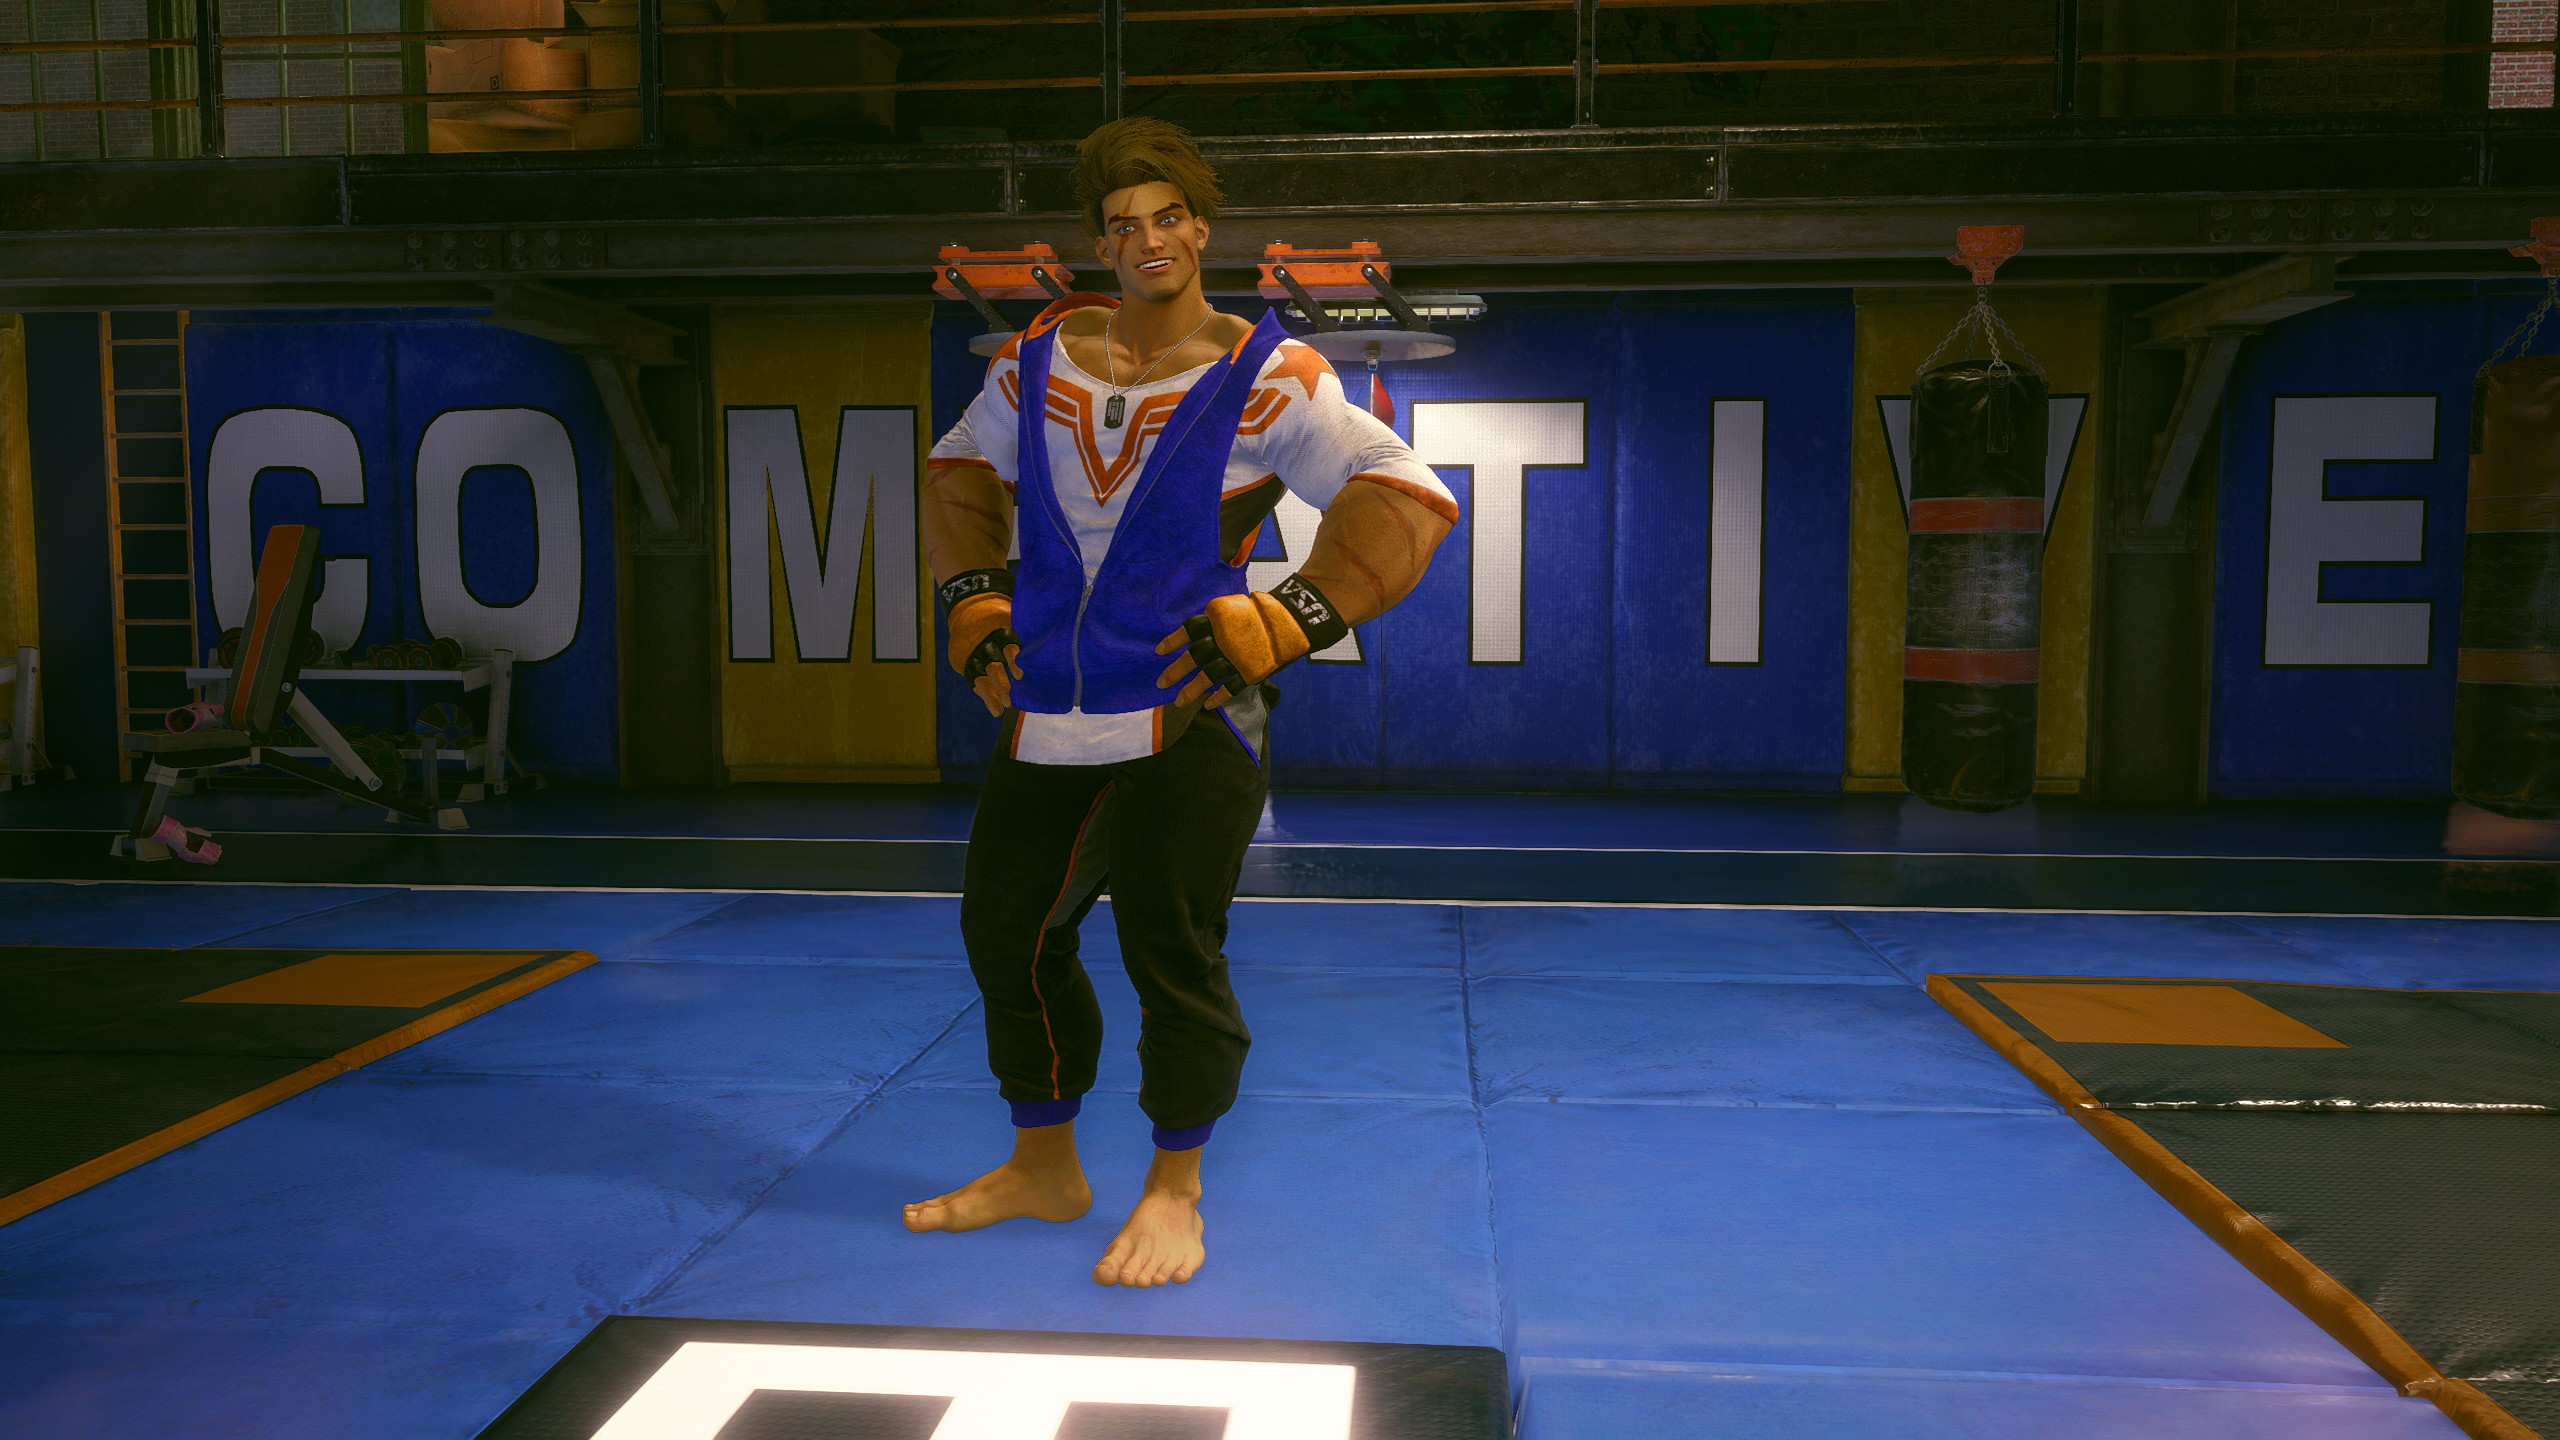
Poses
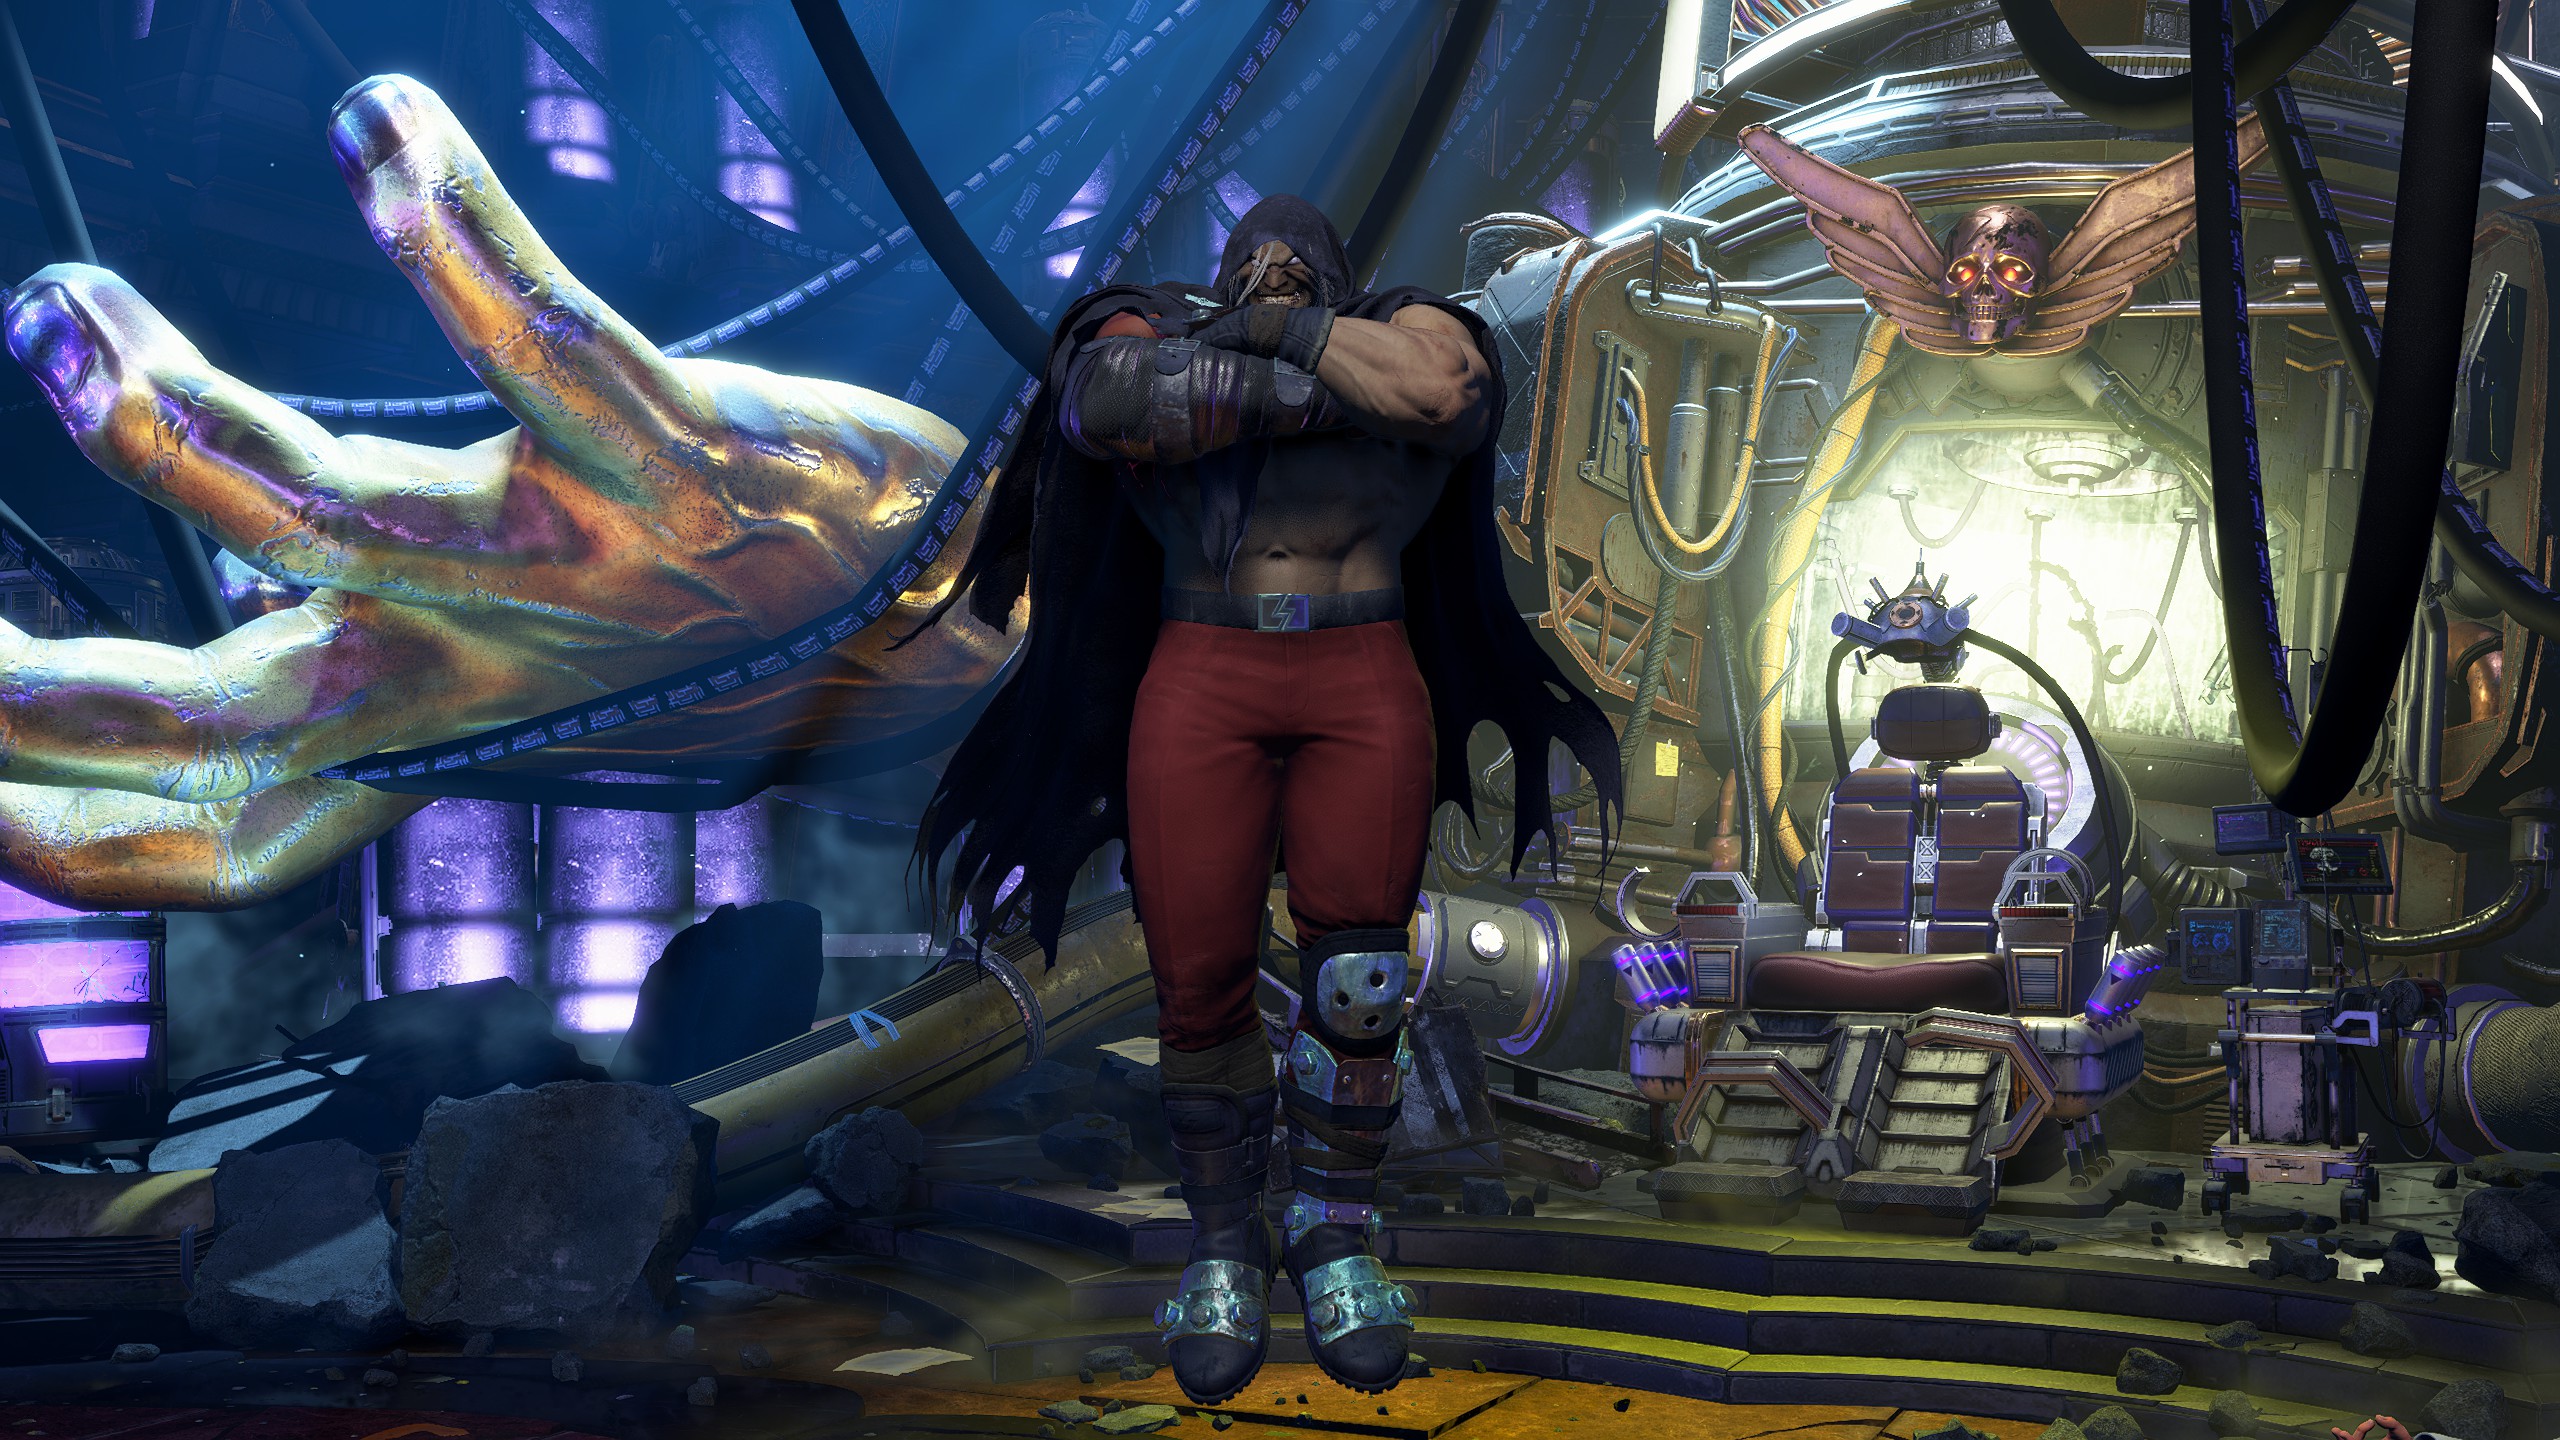
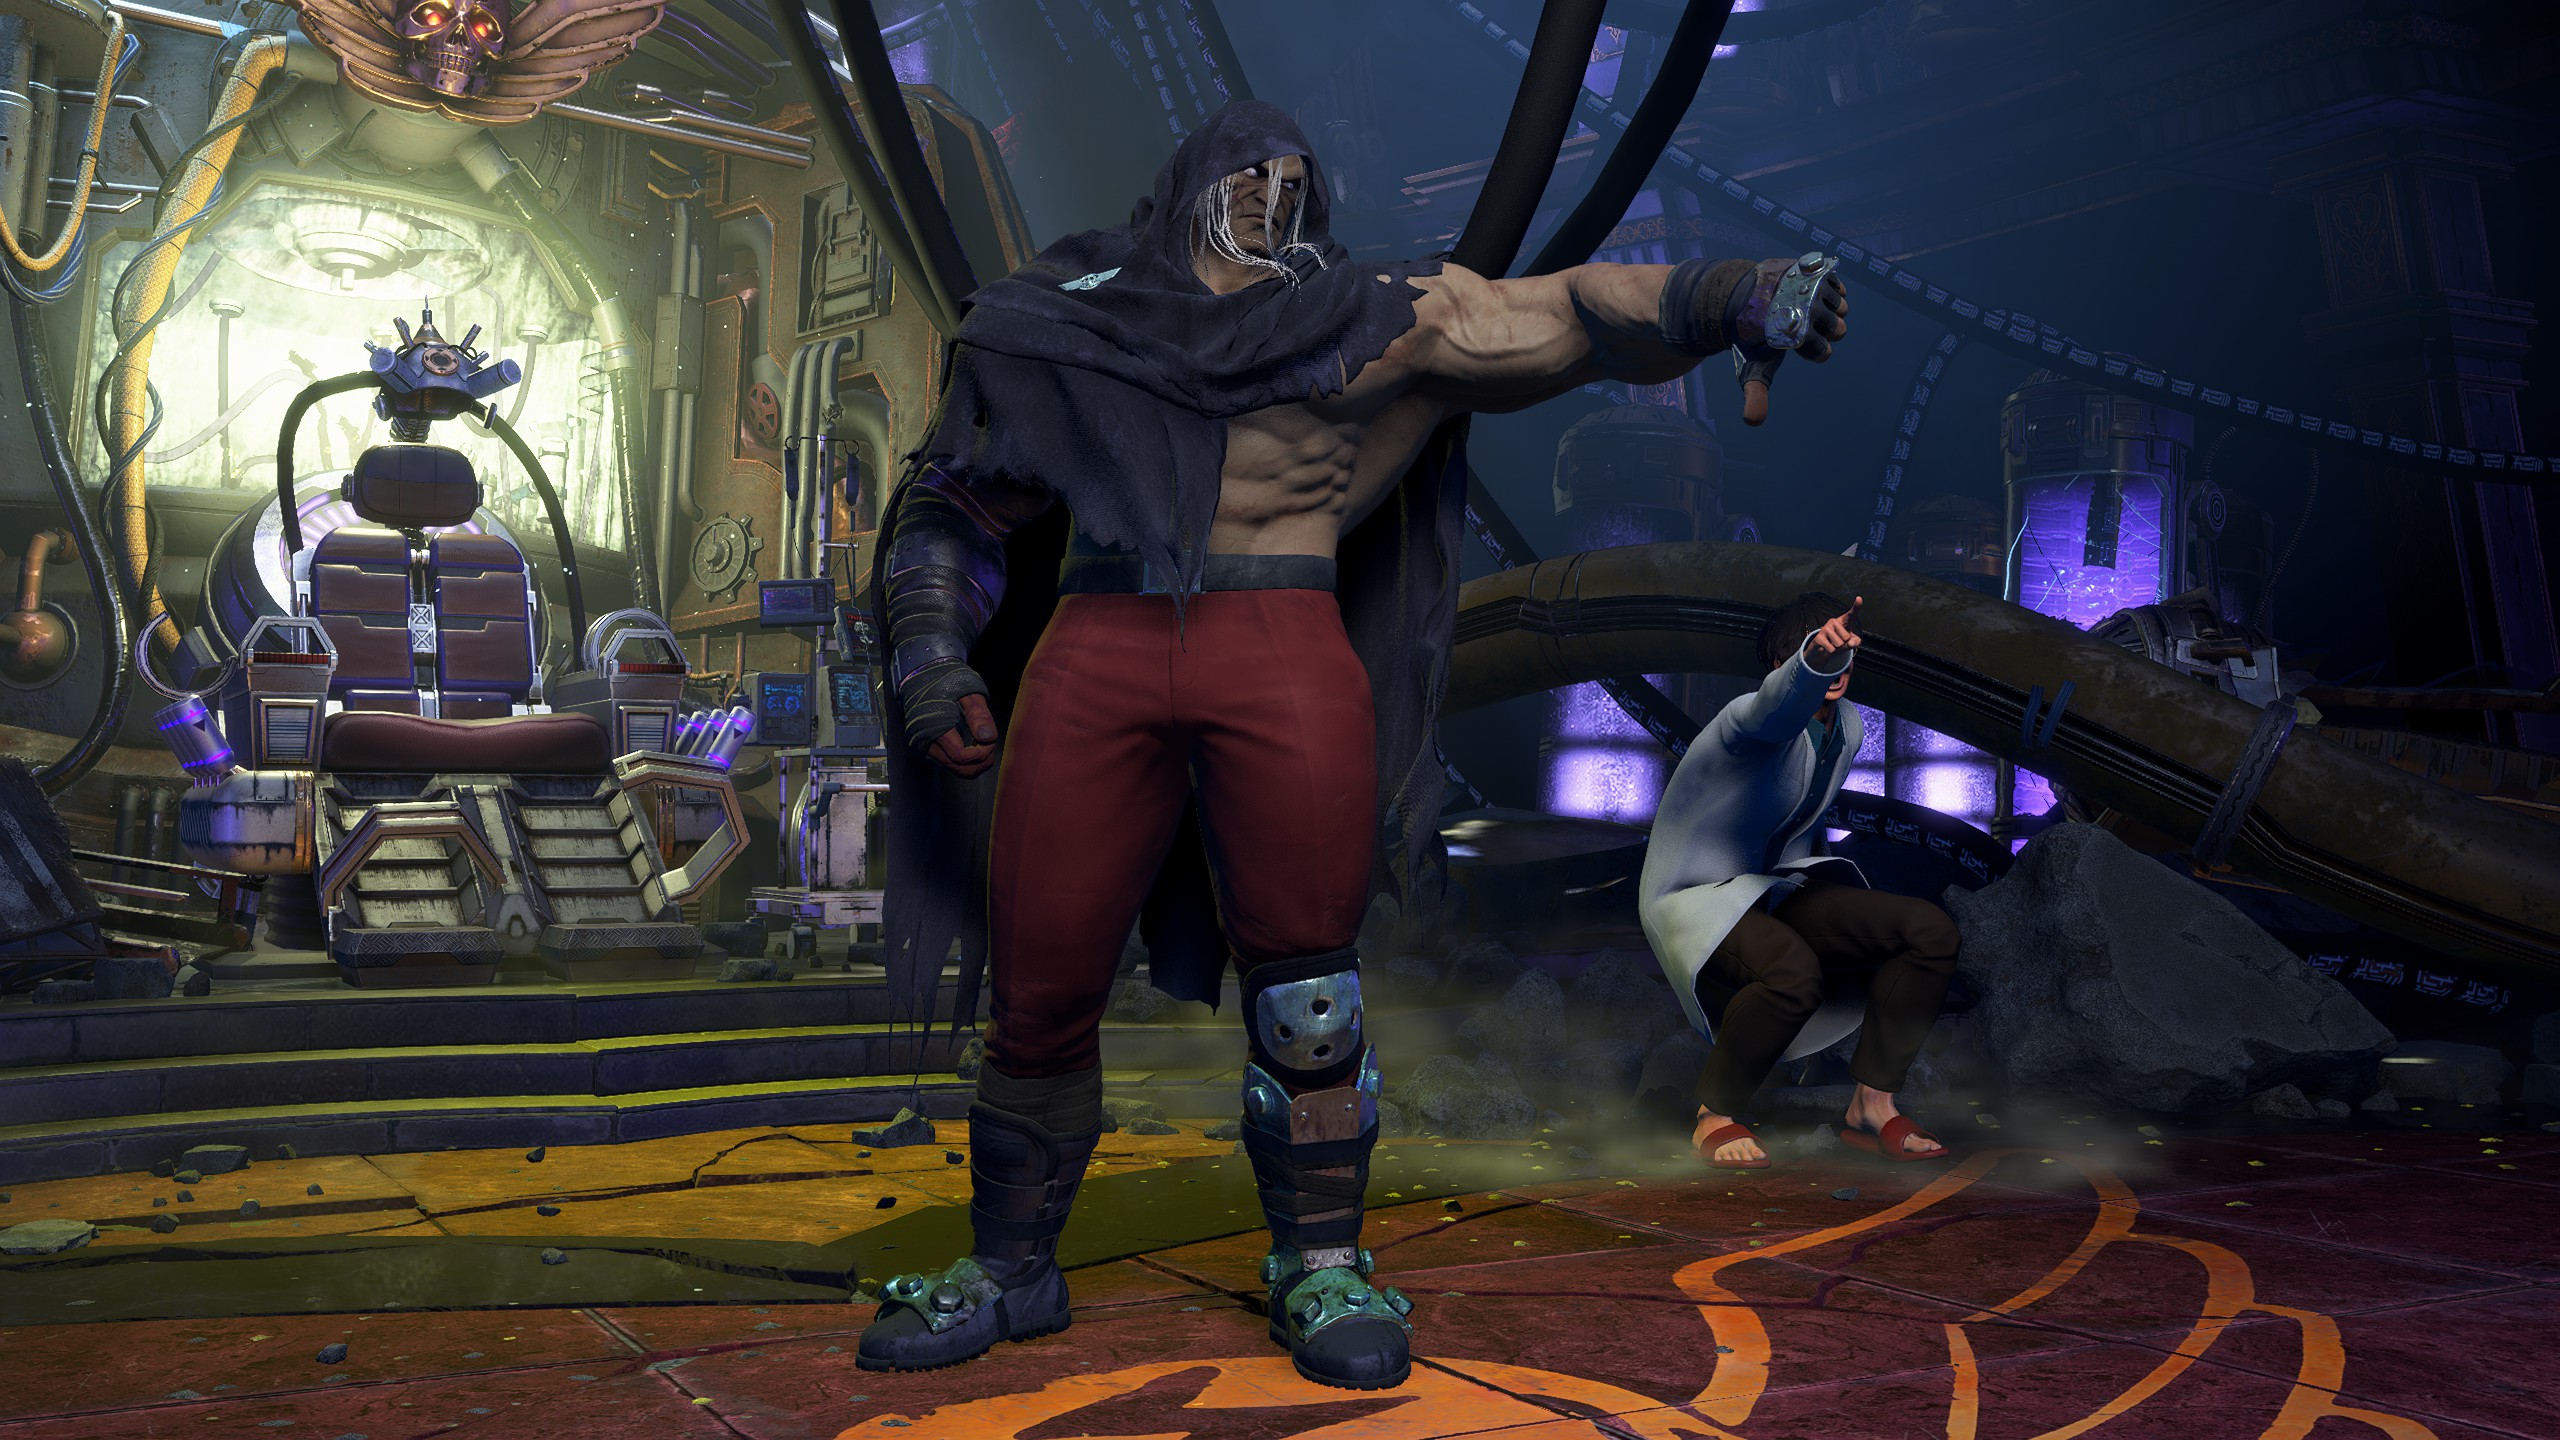
M. Bison
Default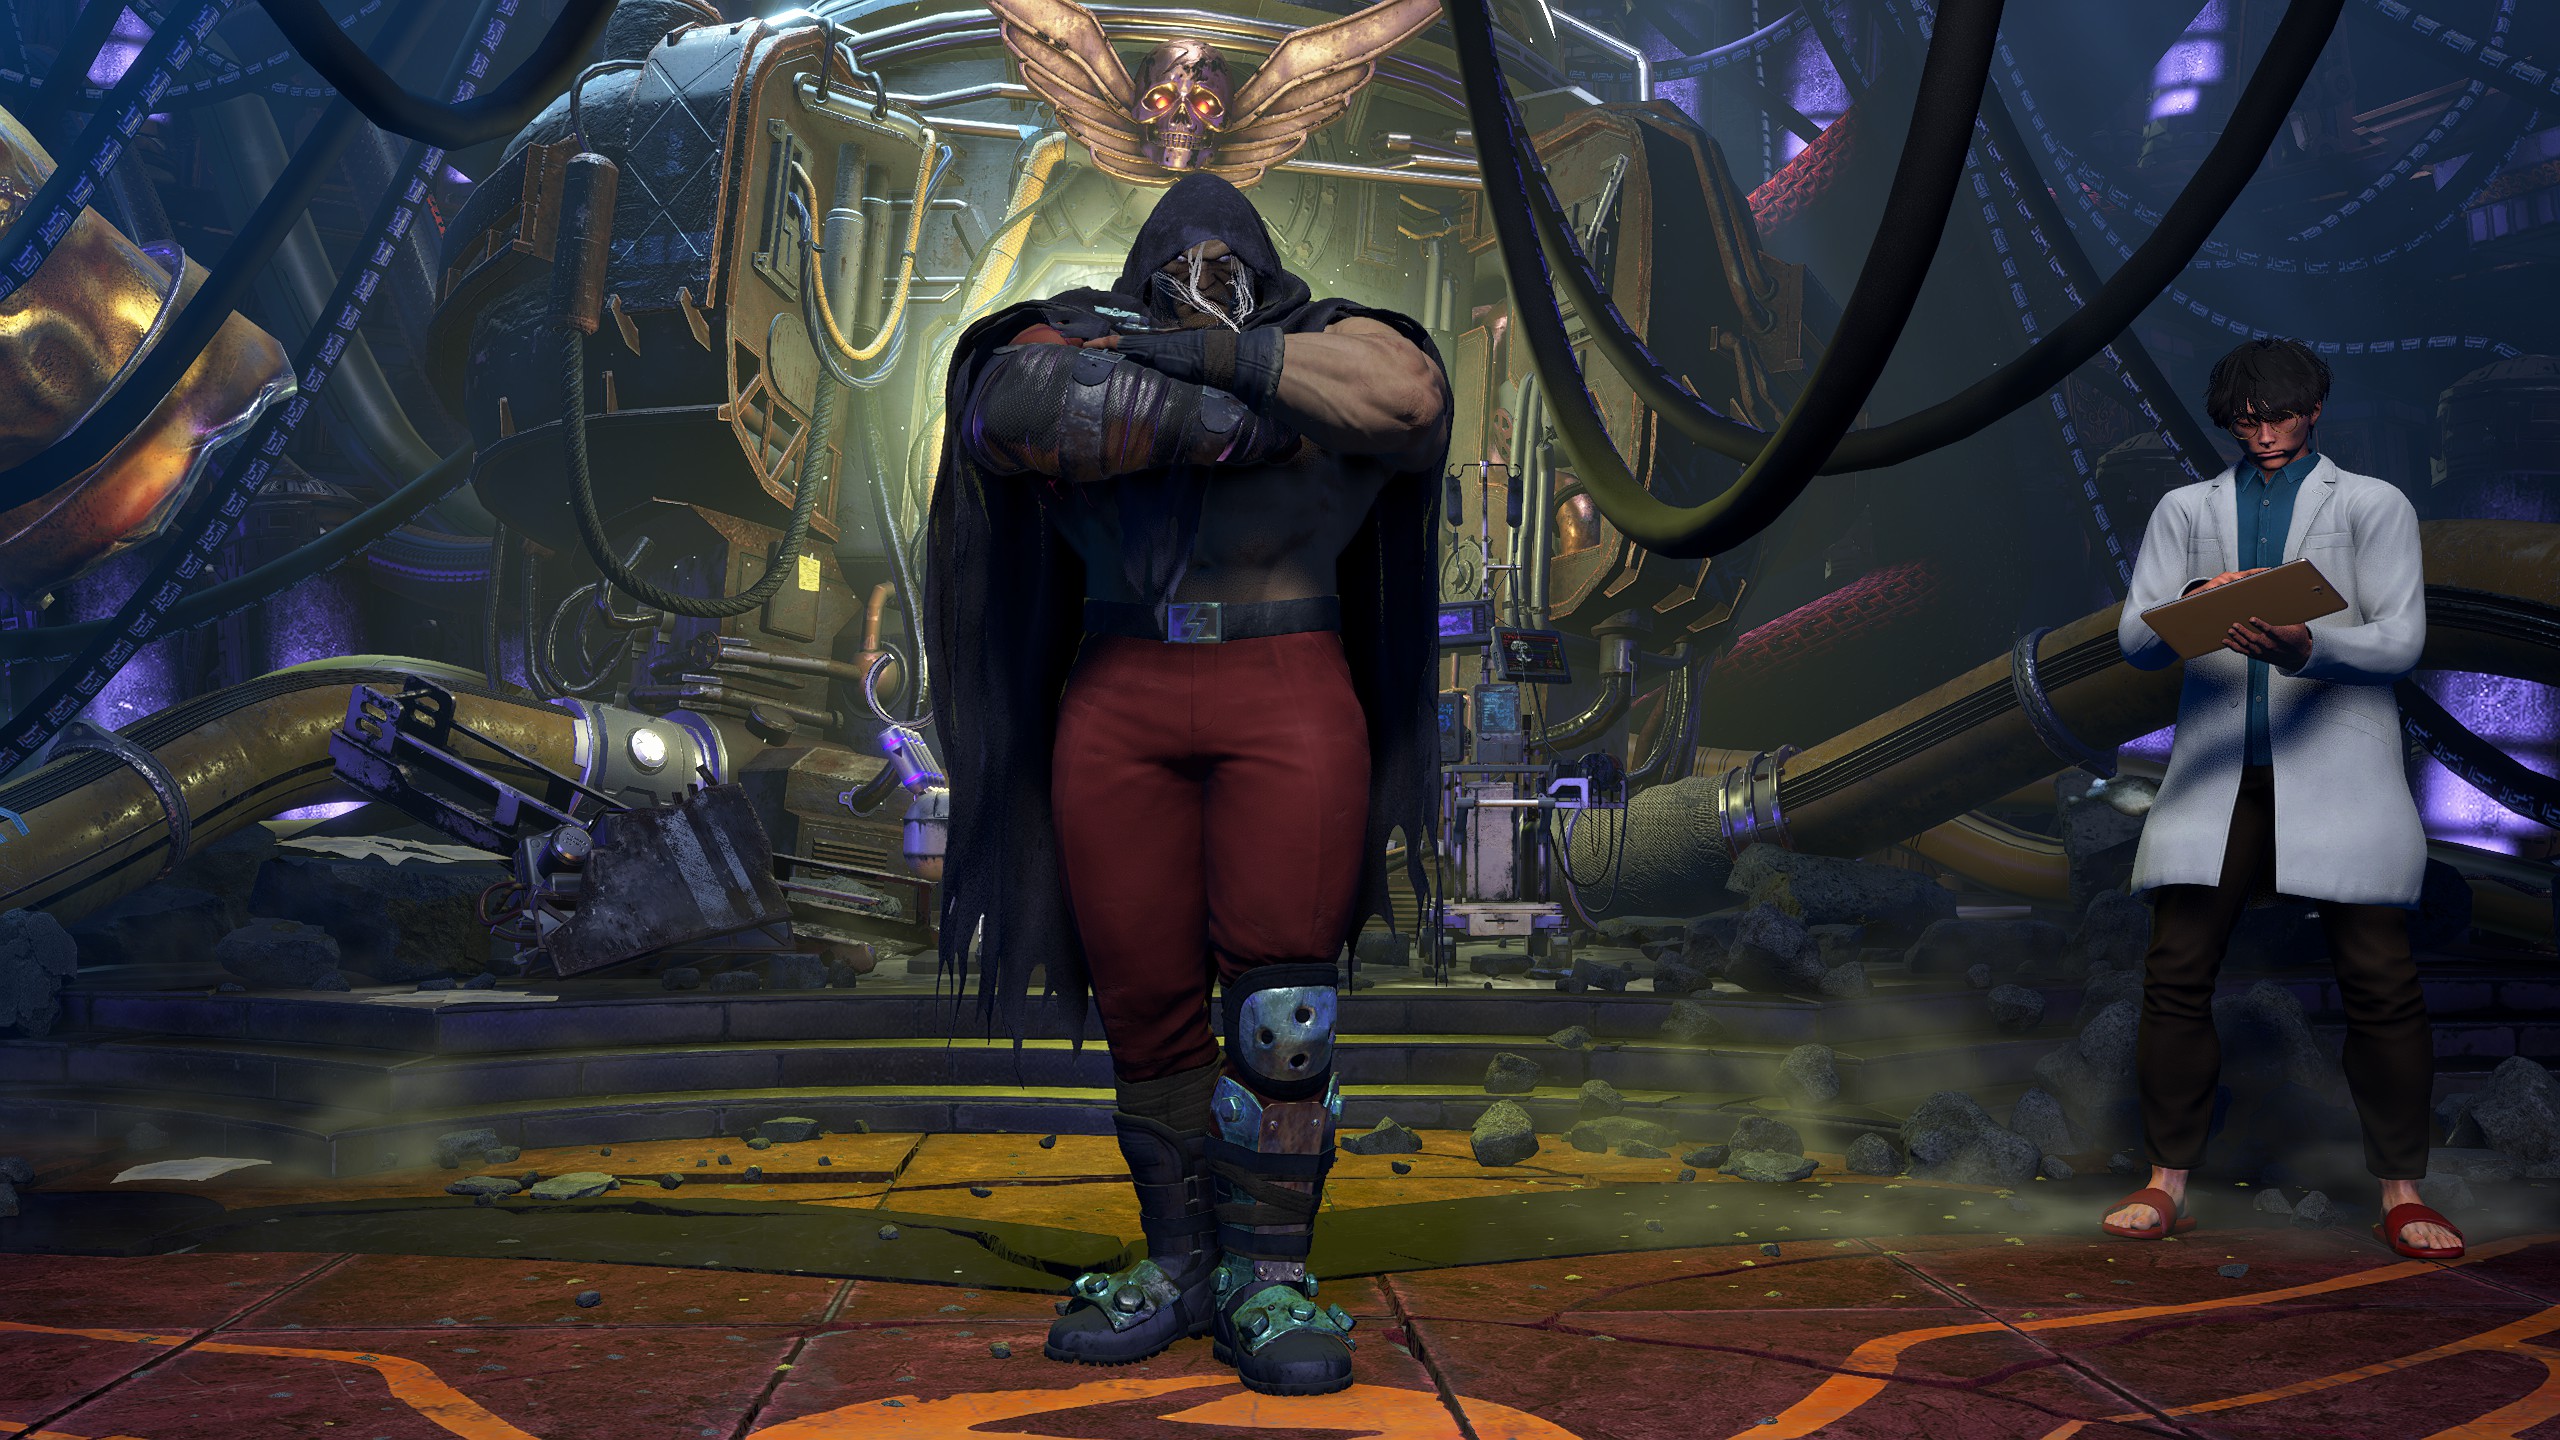
Poses
Mai
Default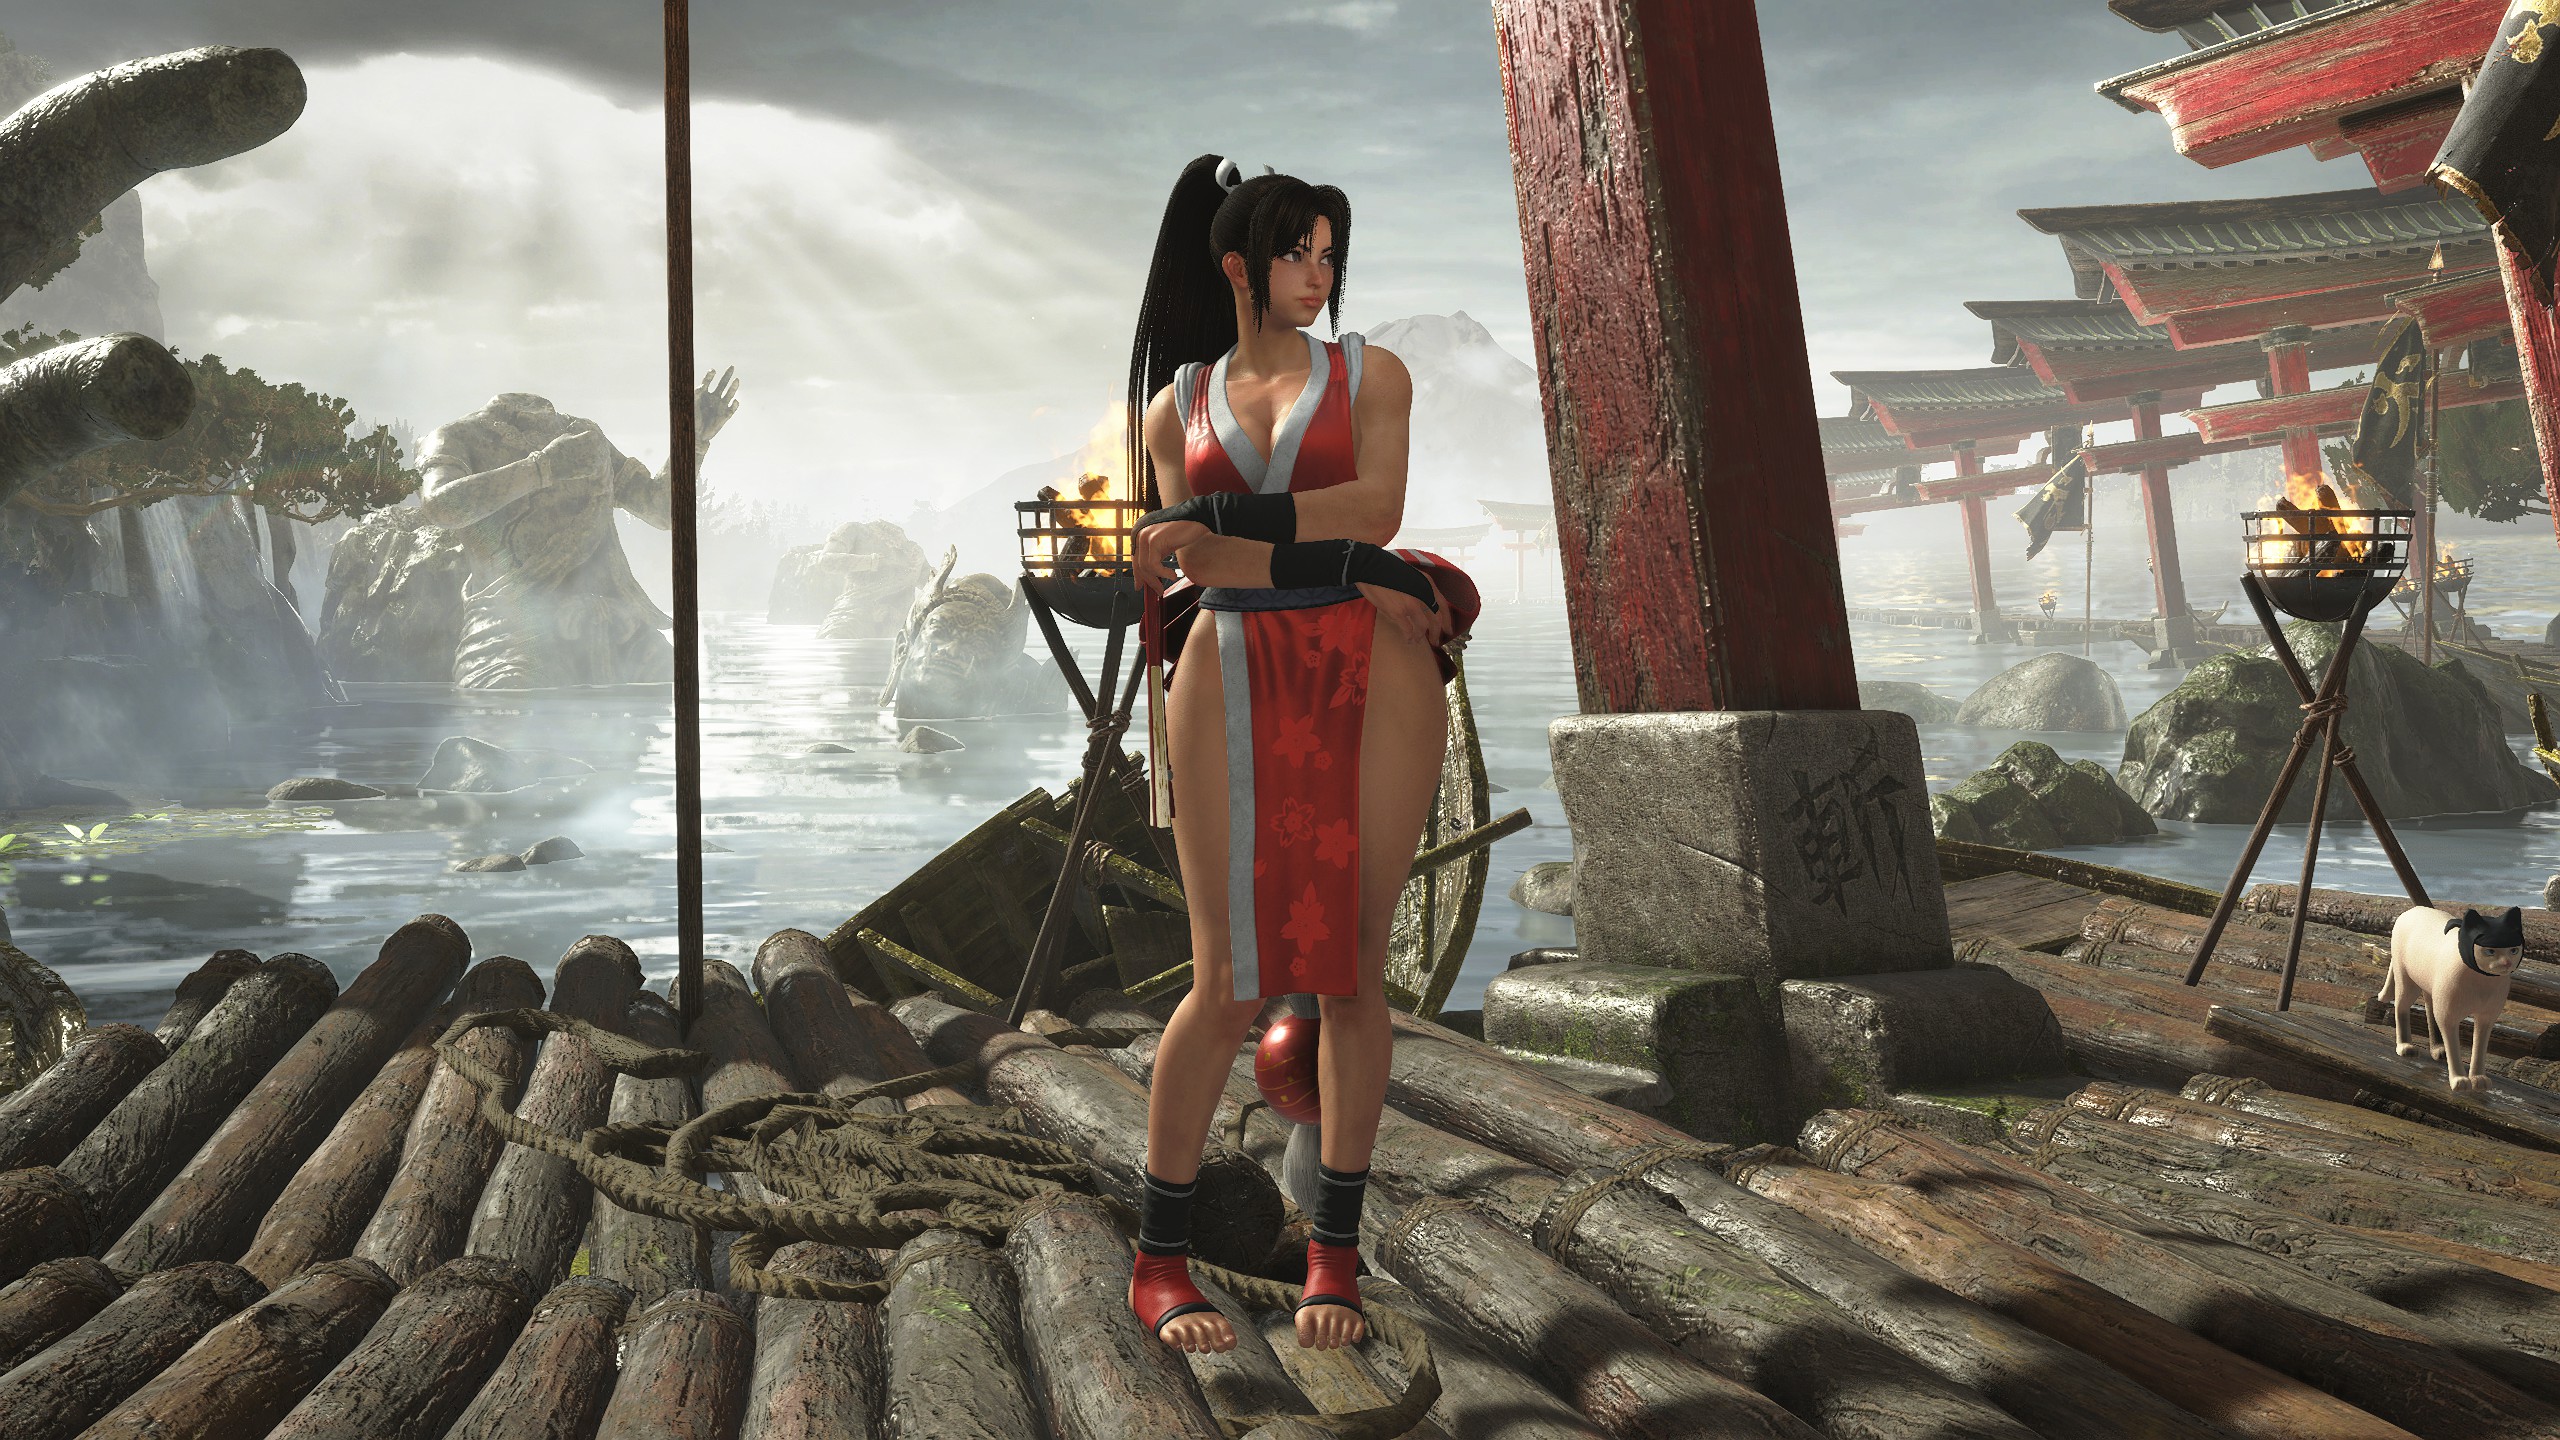
Poses
Manon
Default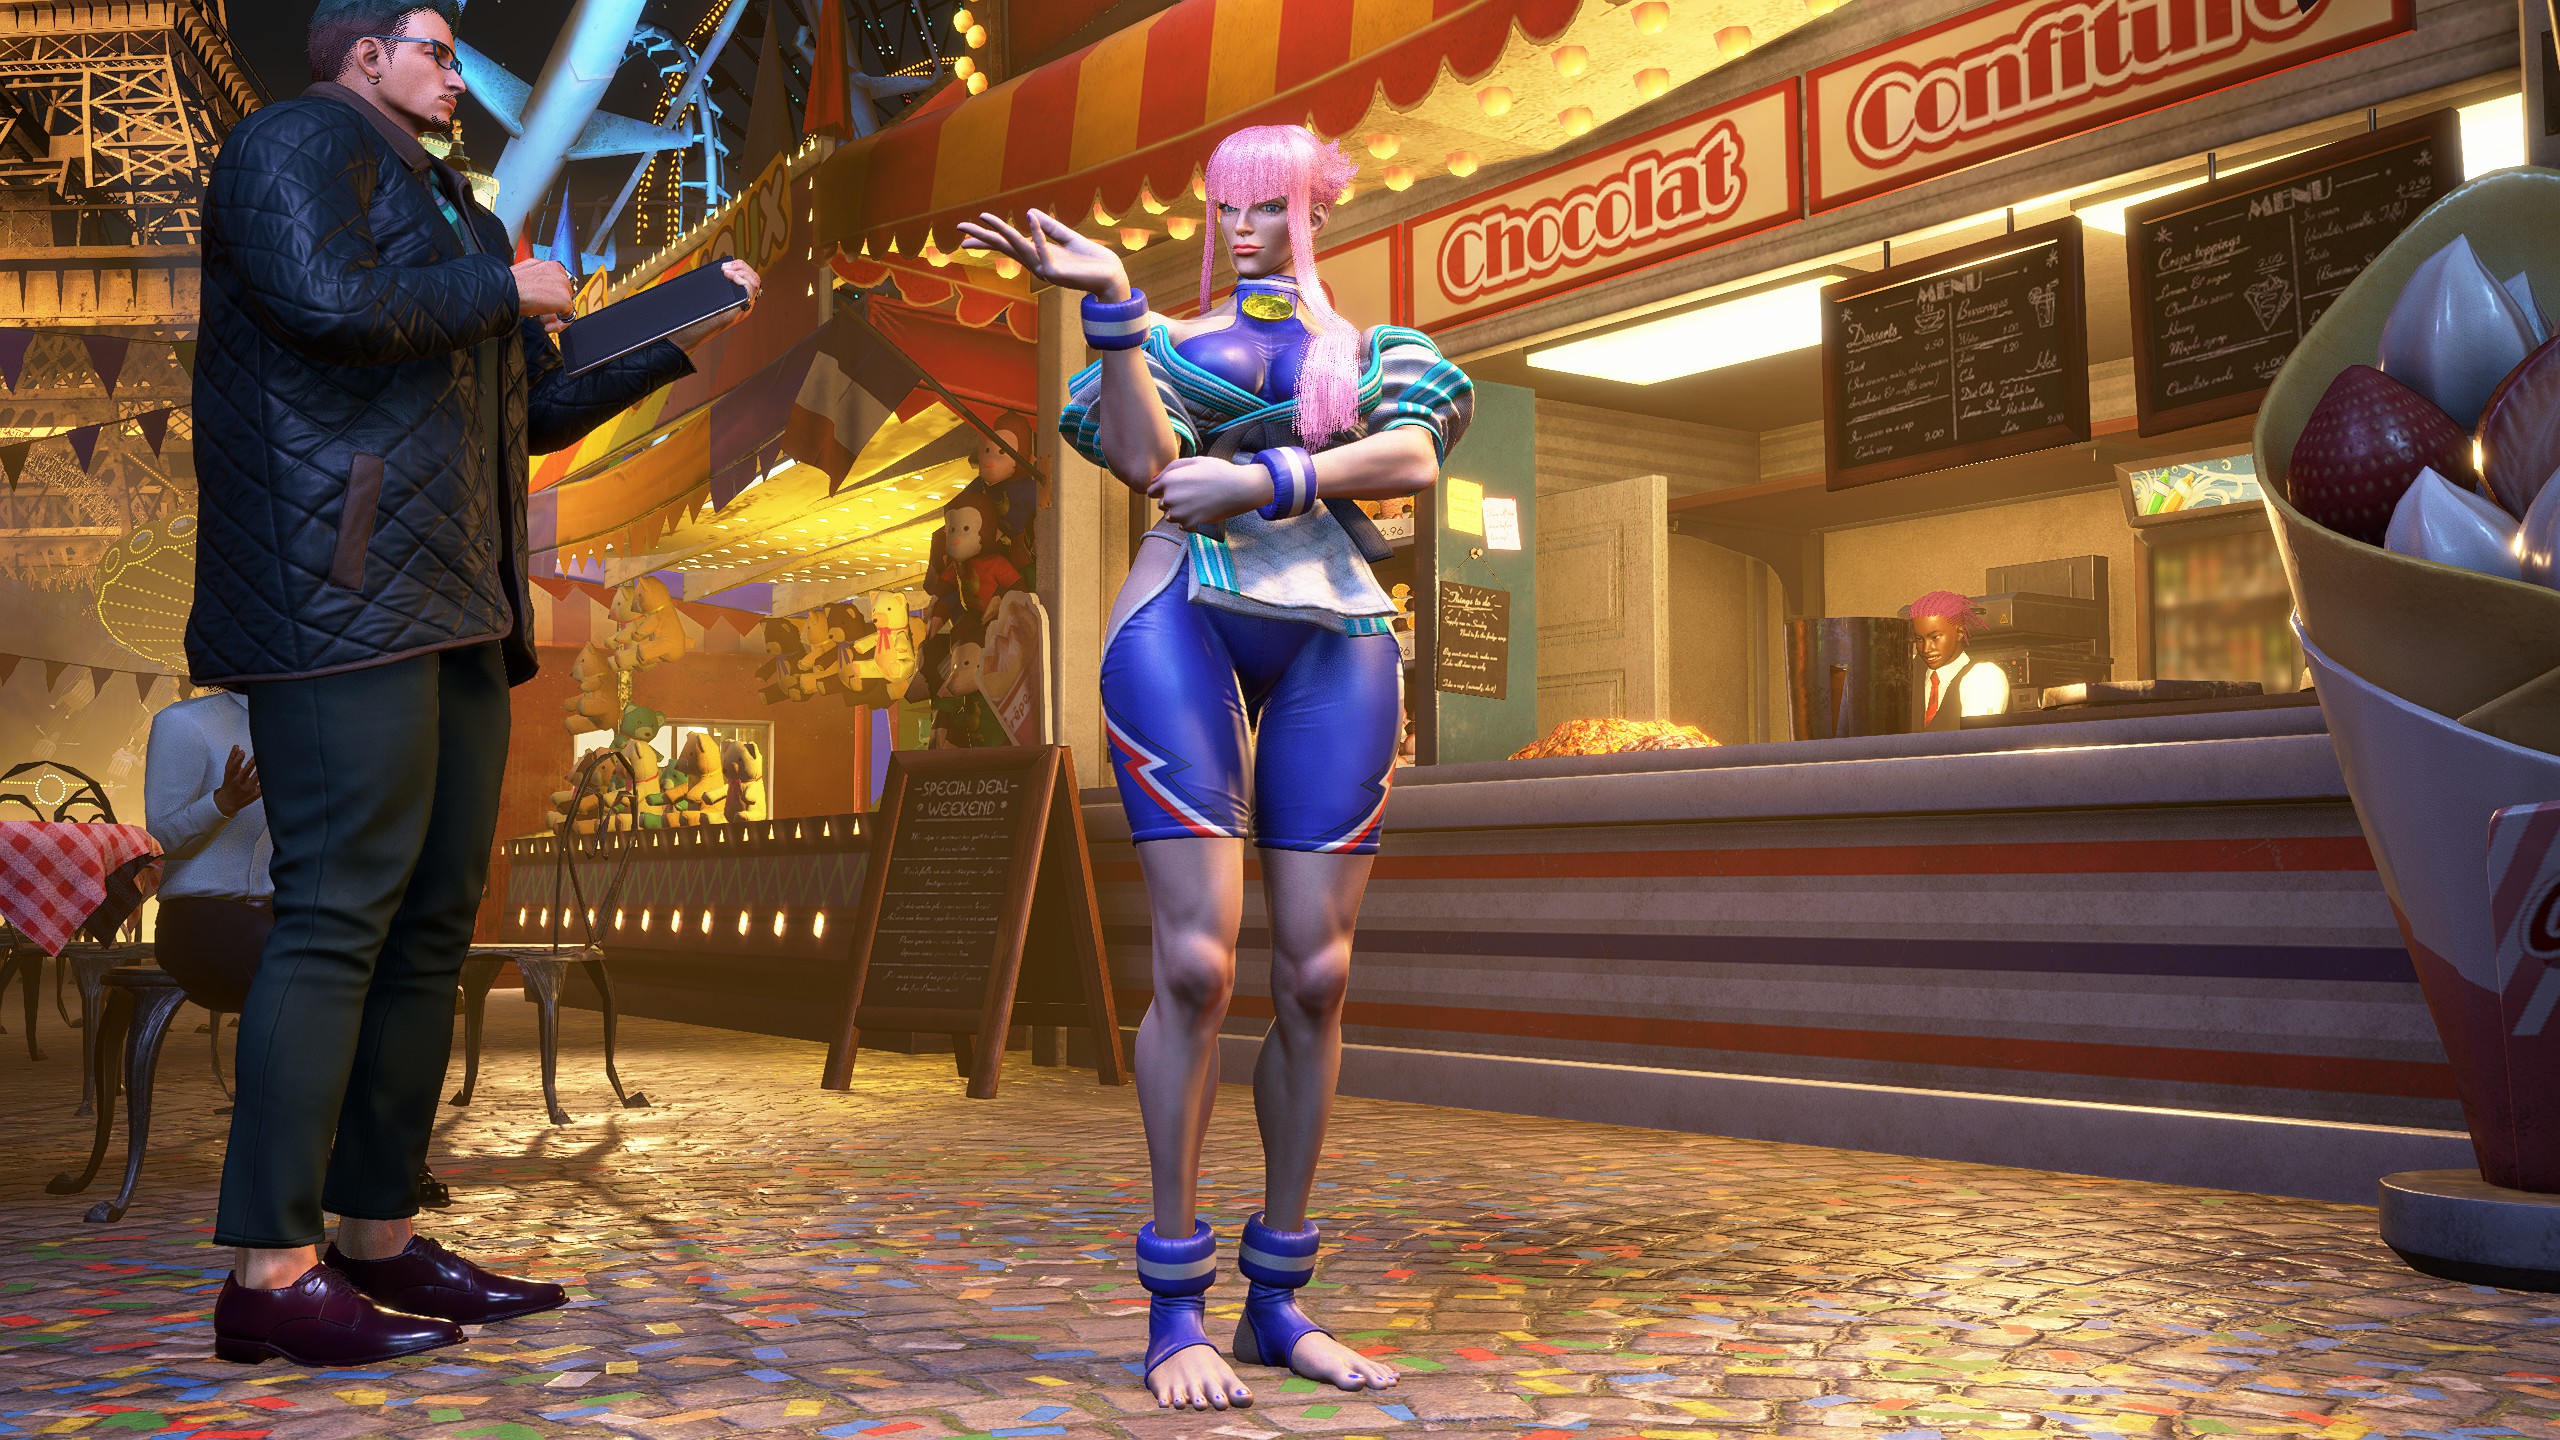
Poses
Poses (Part 2)
Marisa
Default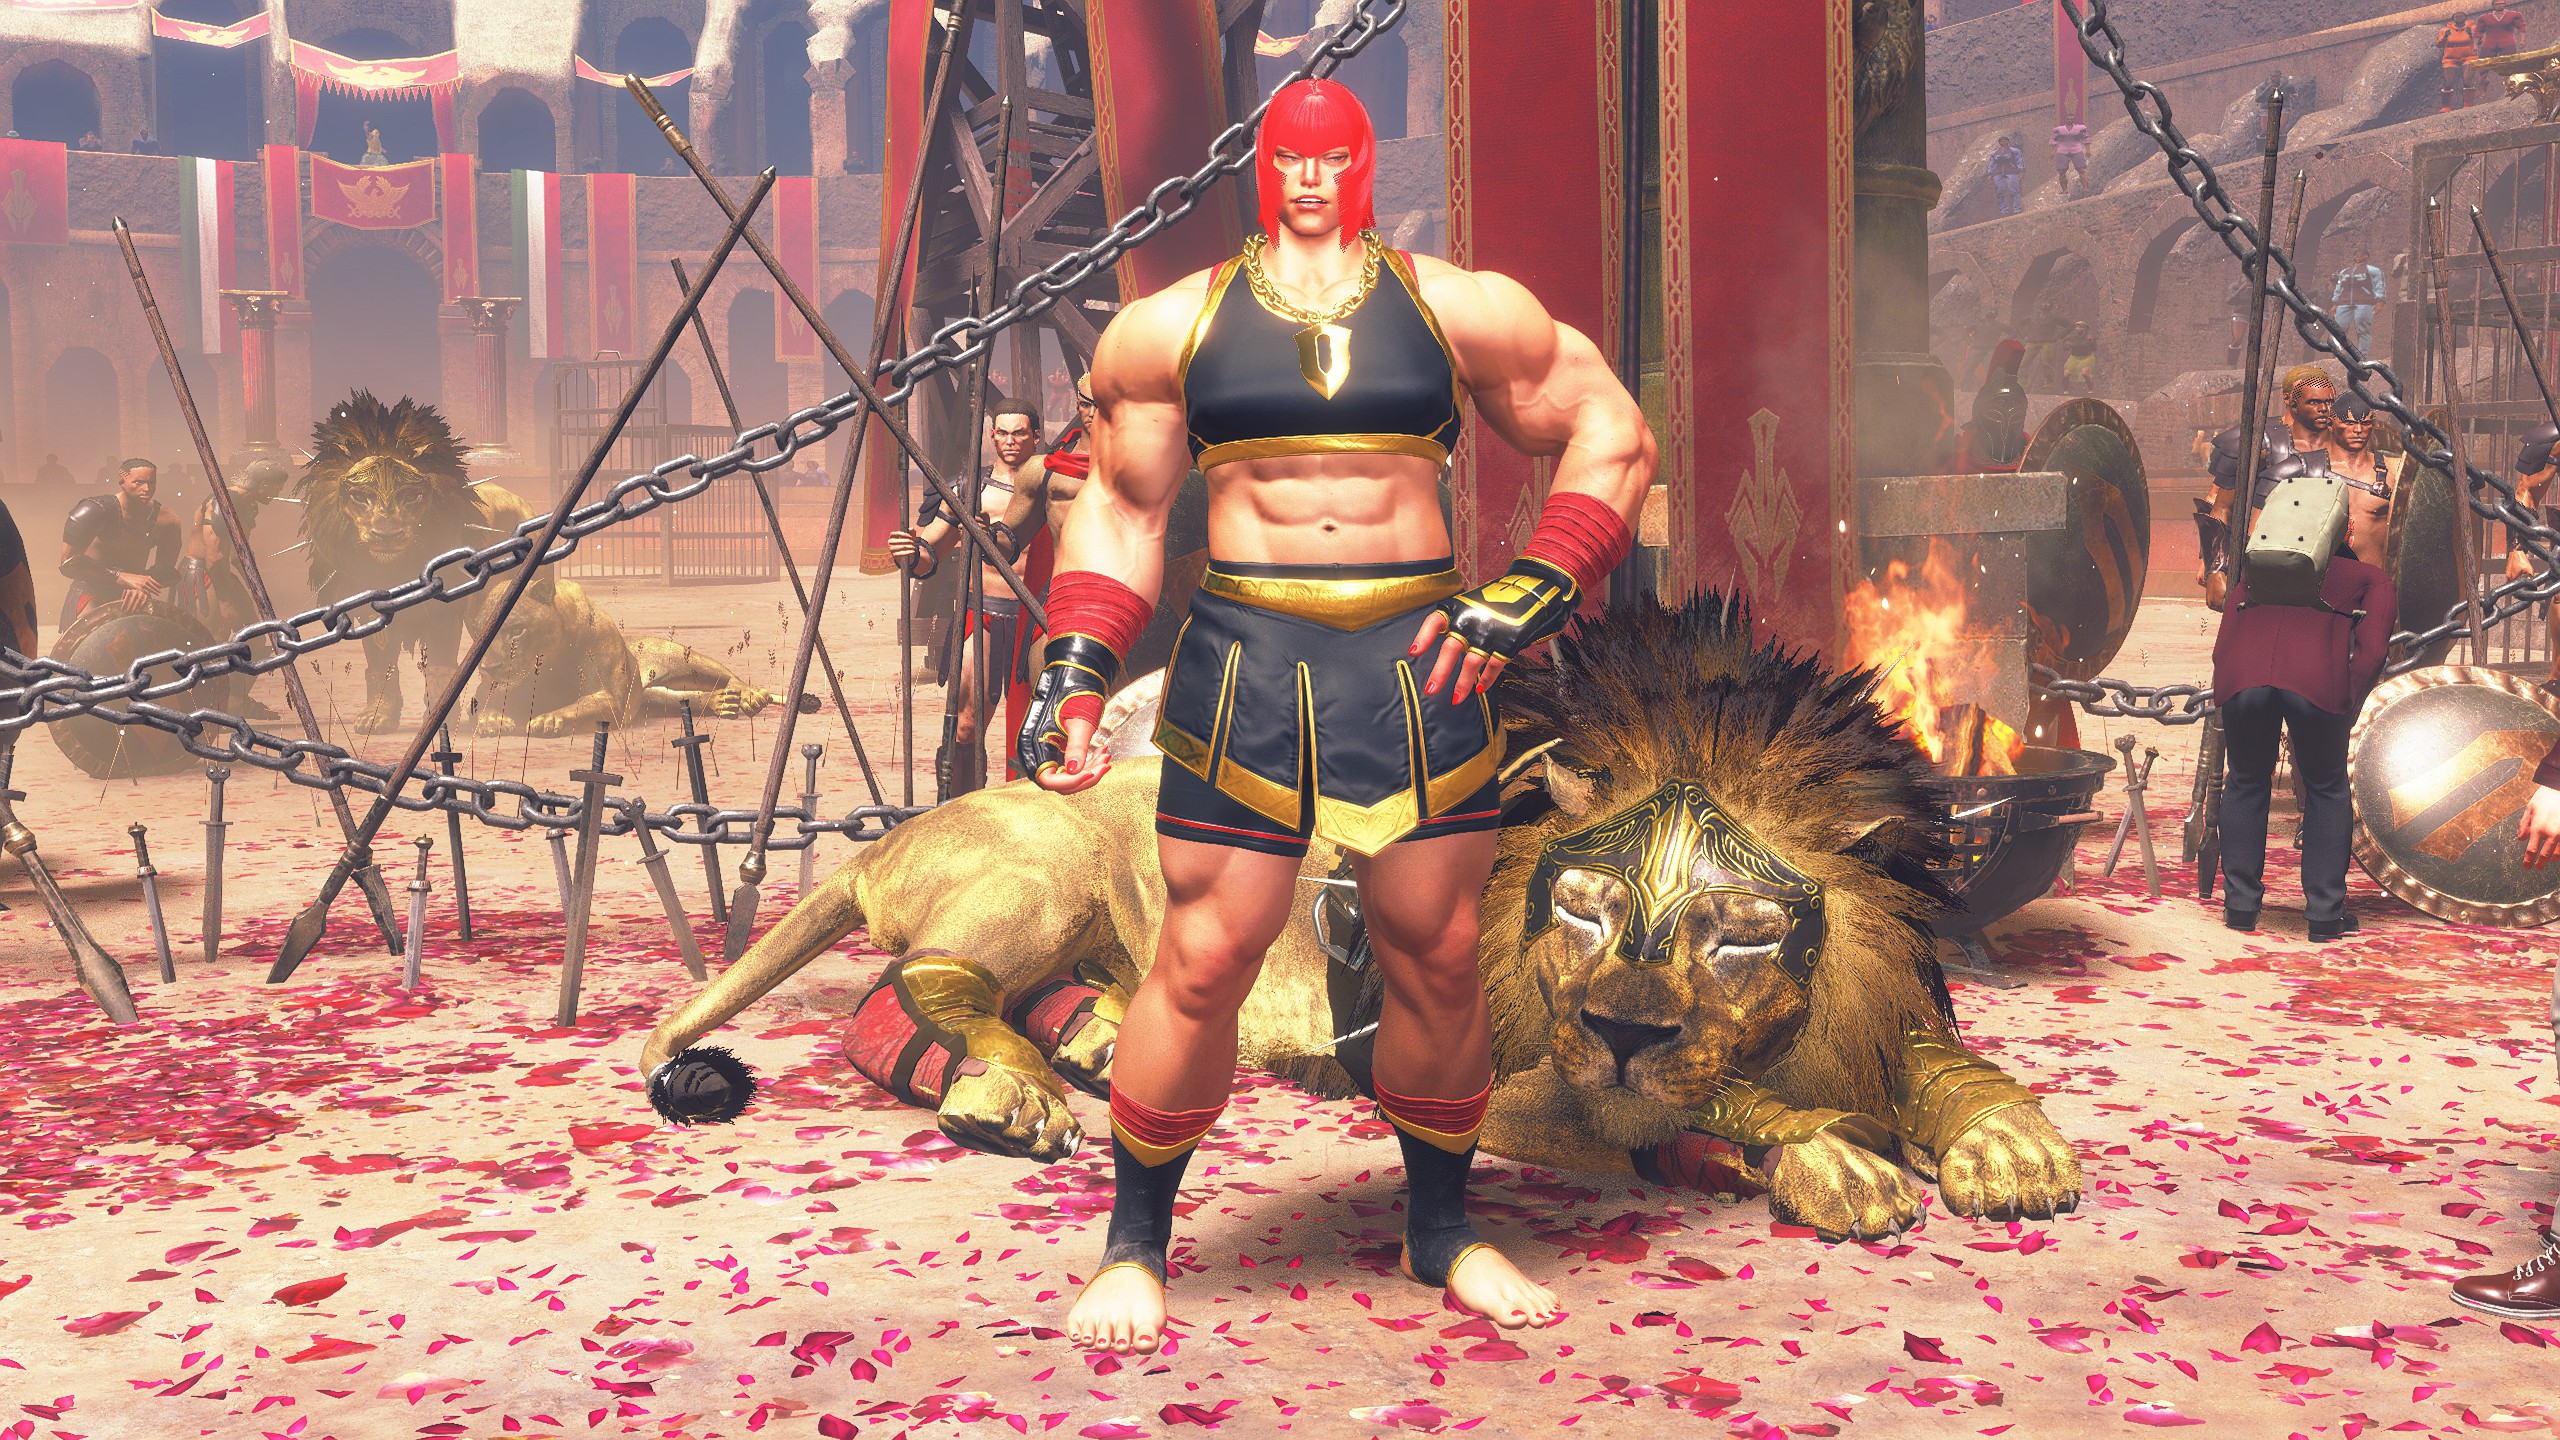
Poses
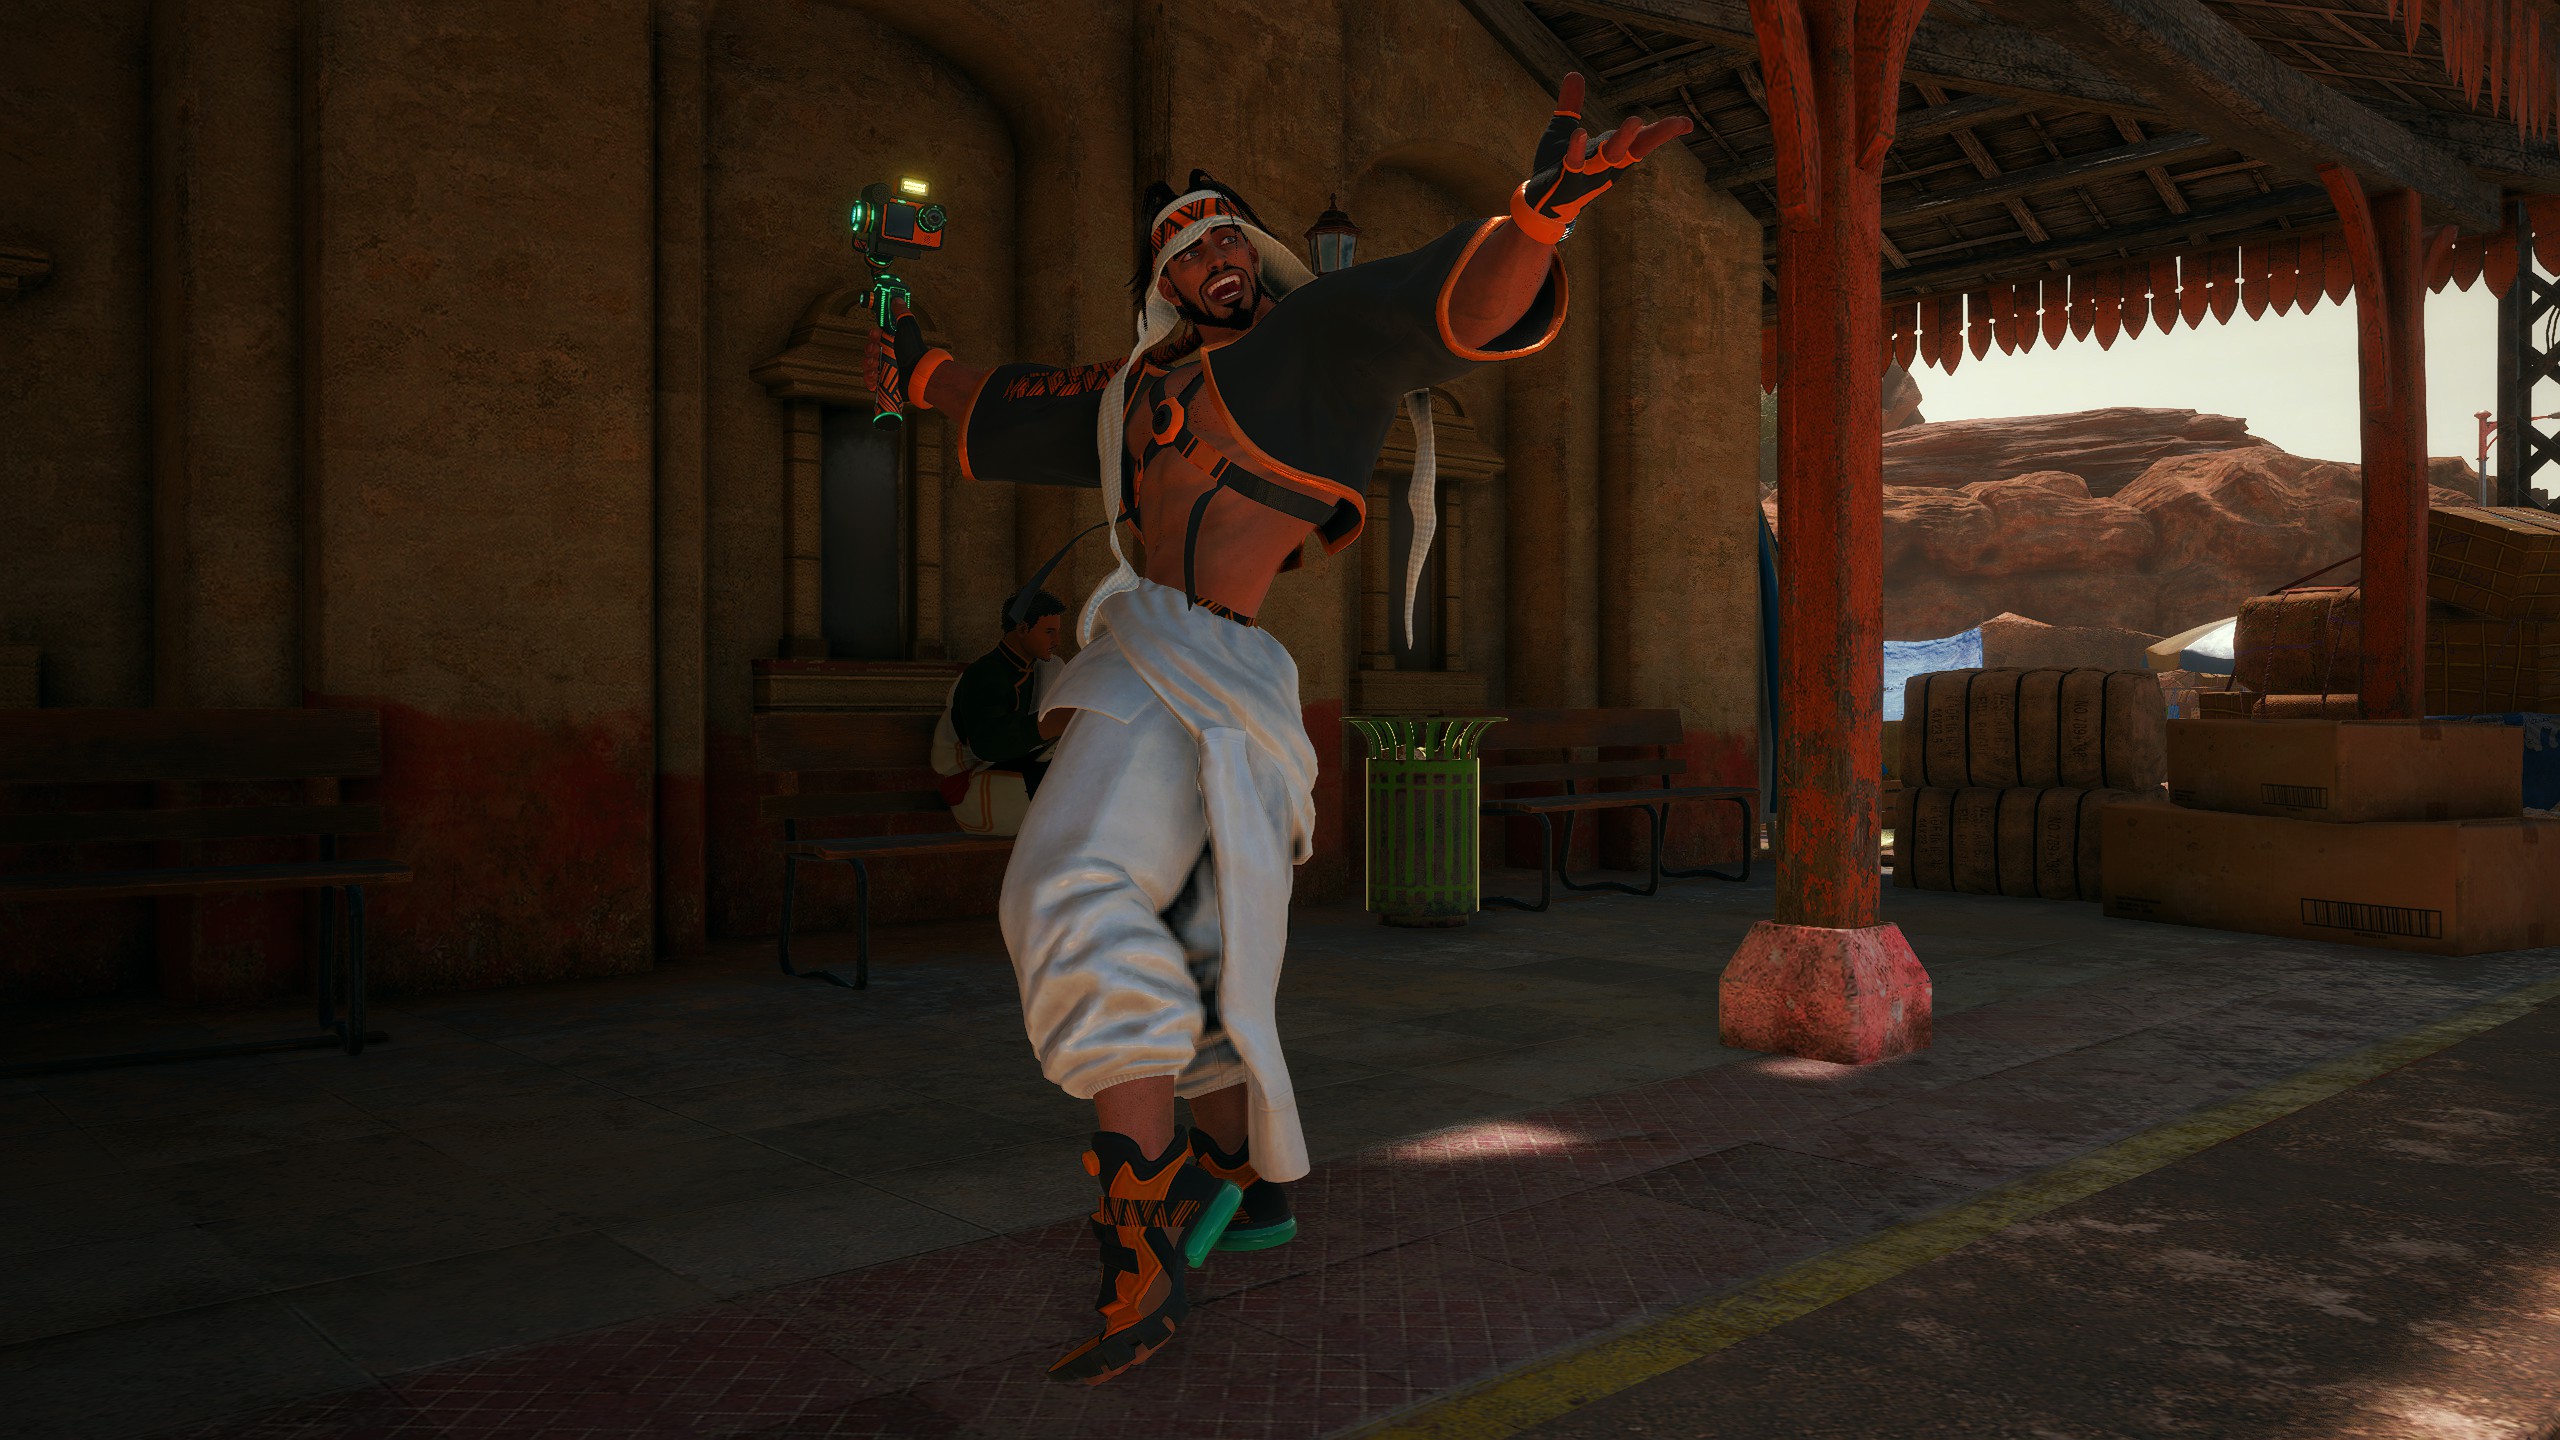
Rashid
Default
Poses
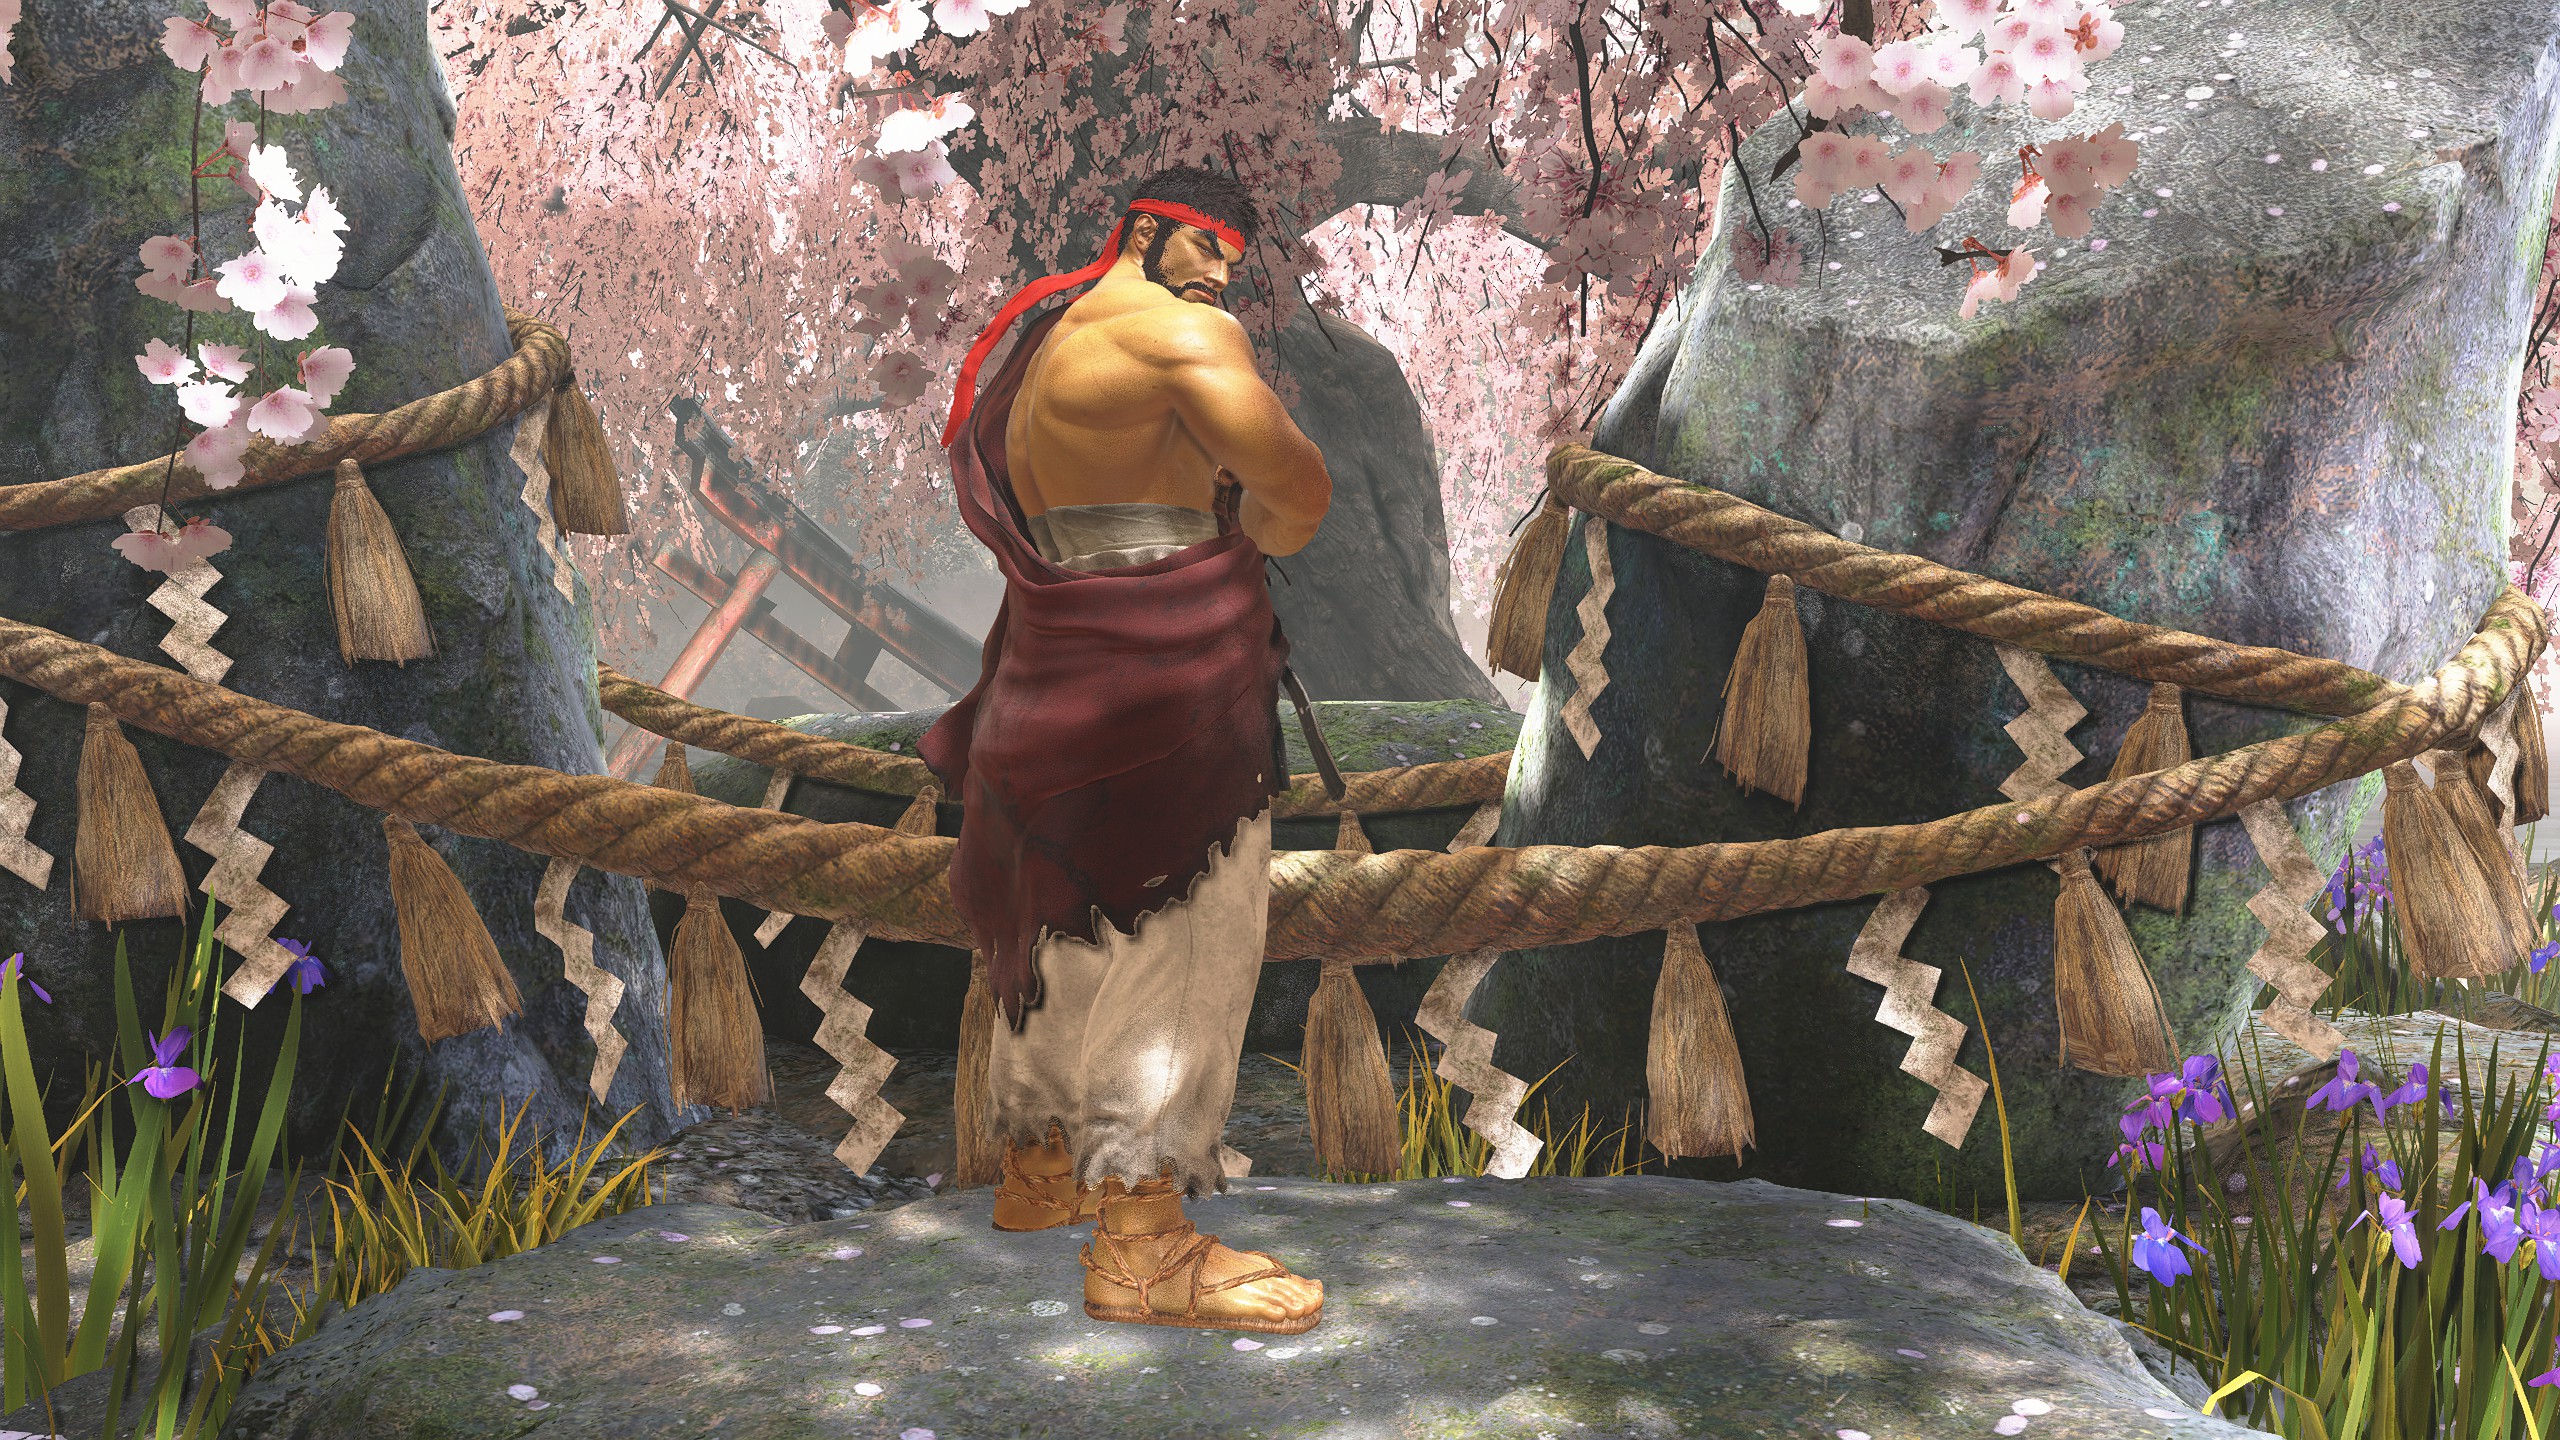
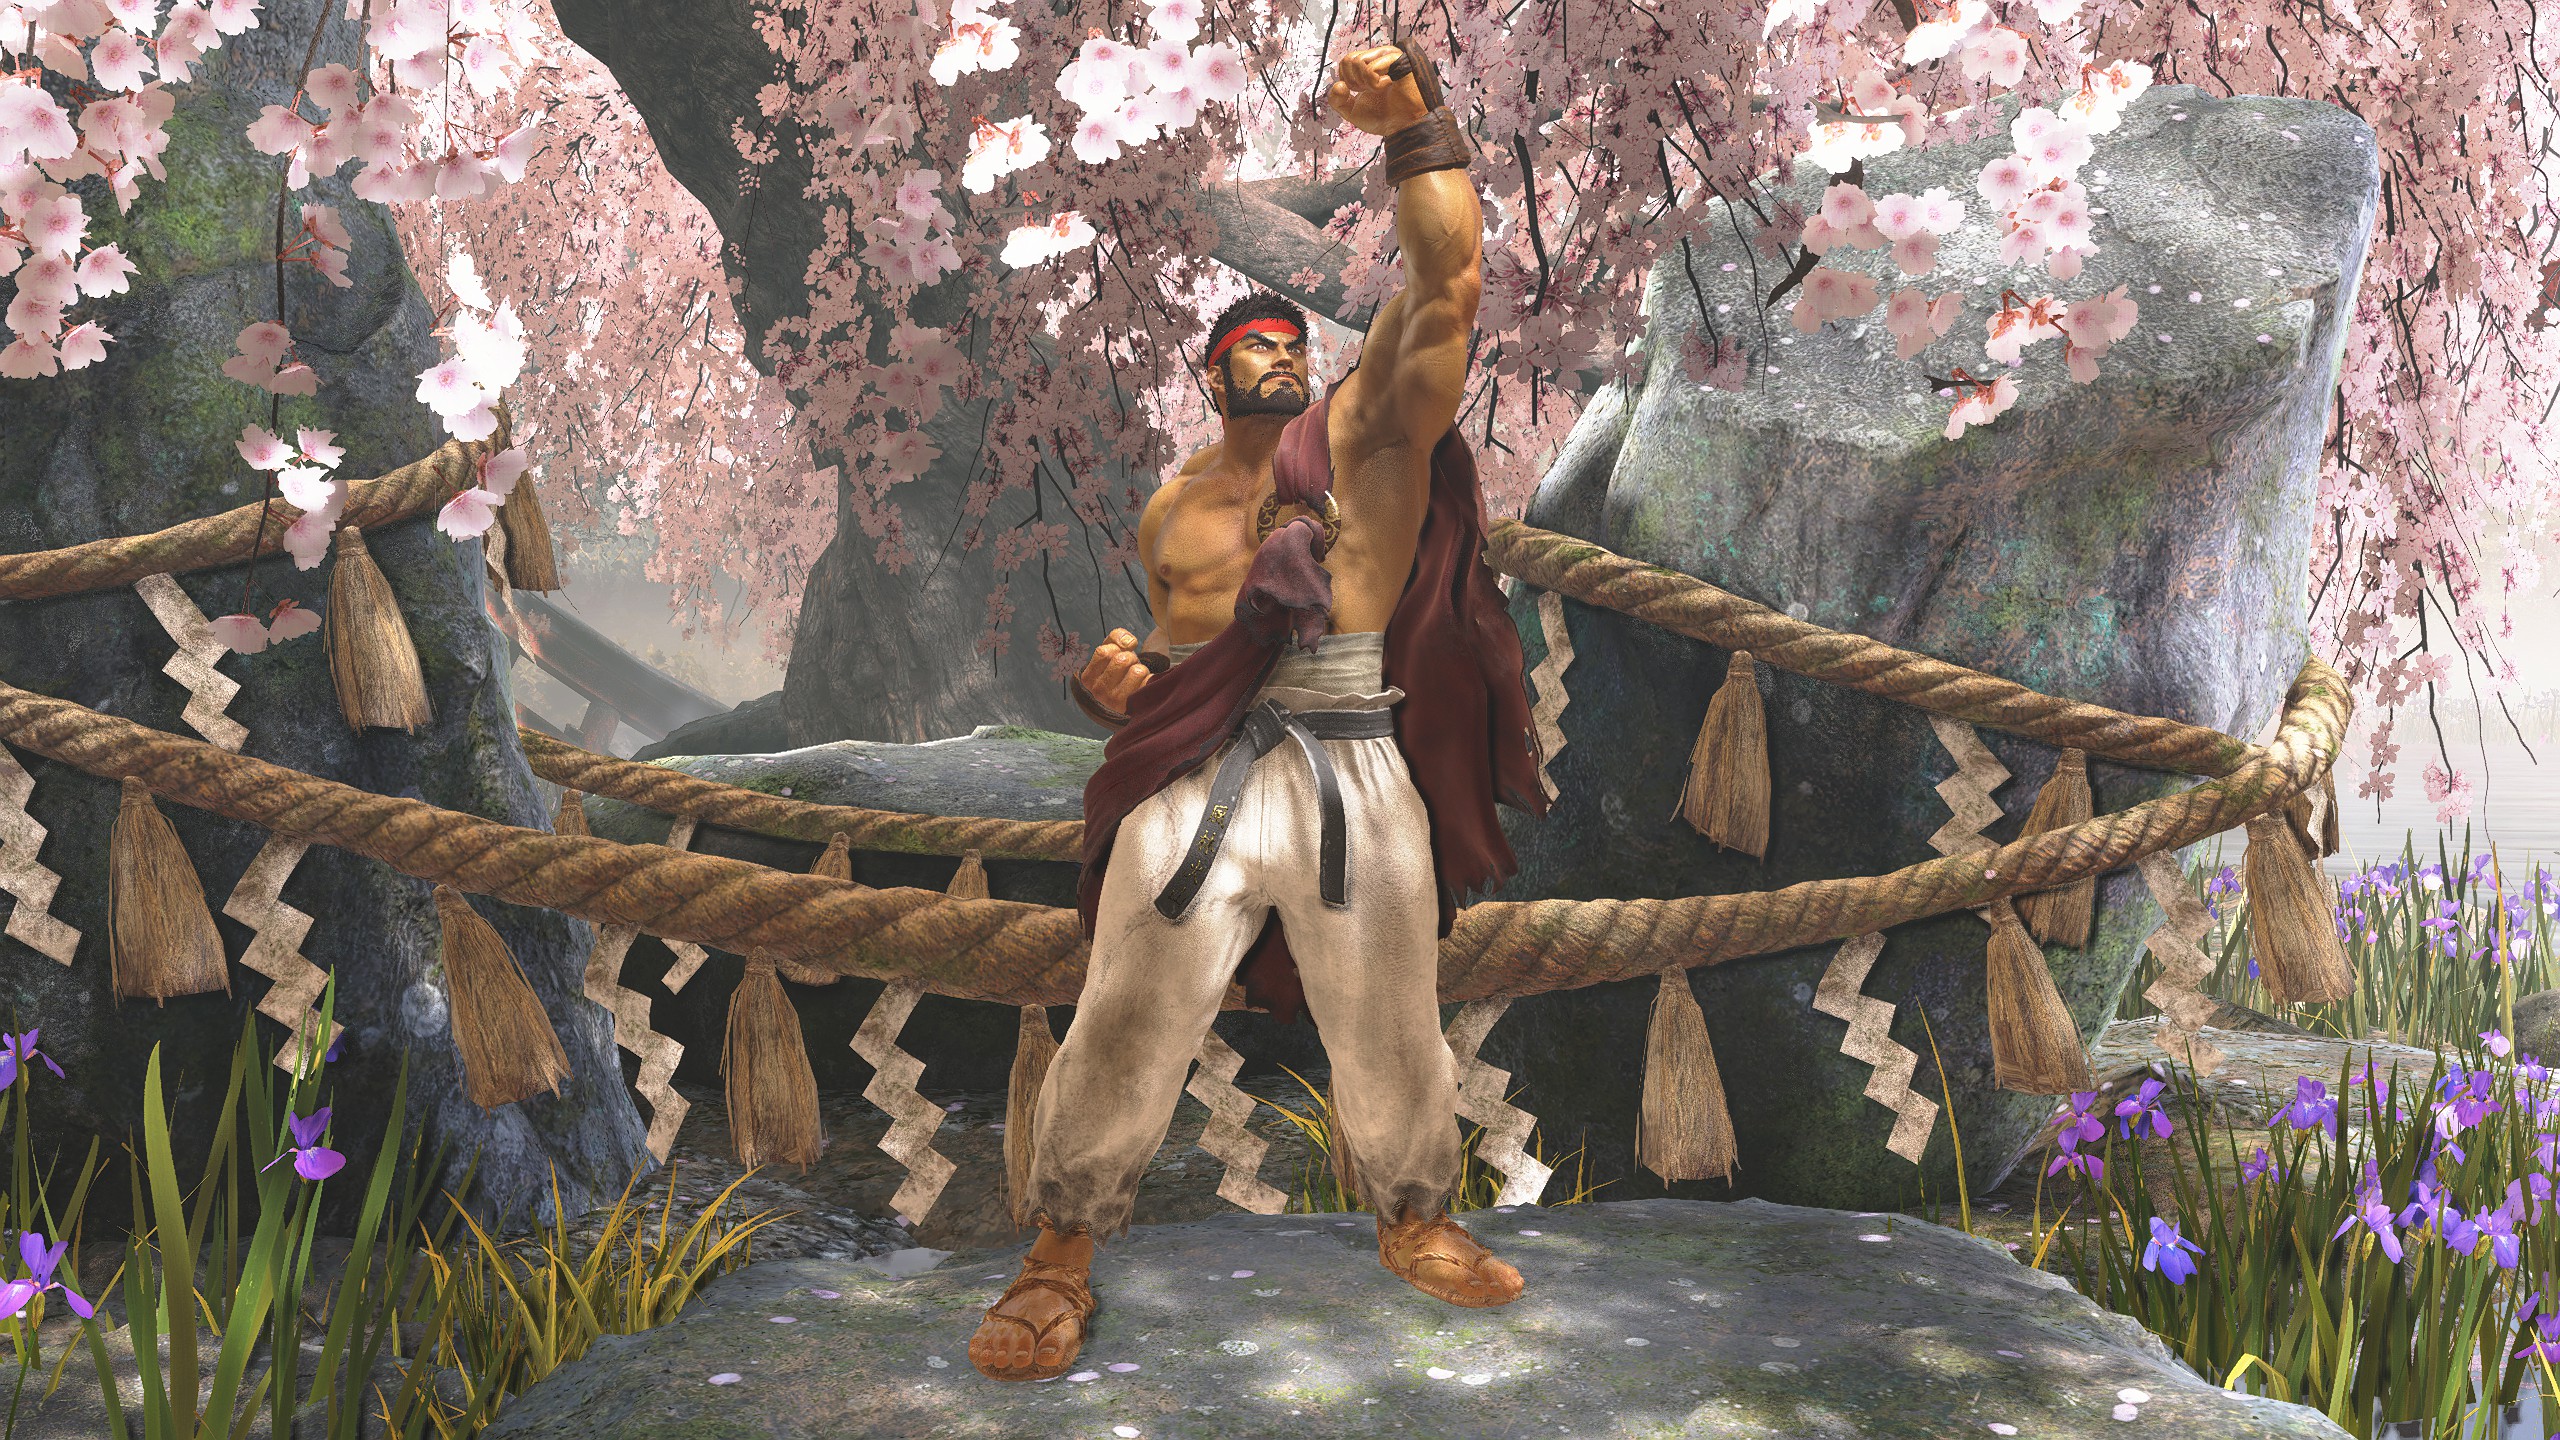
Ryu
Default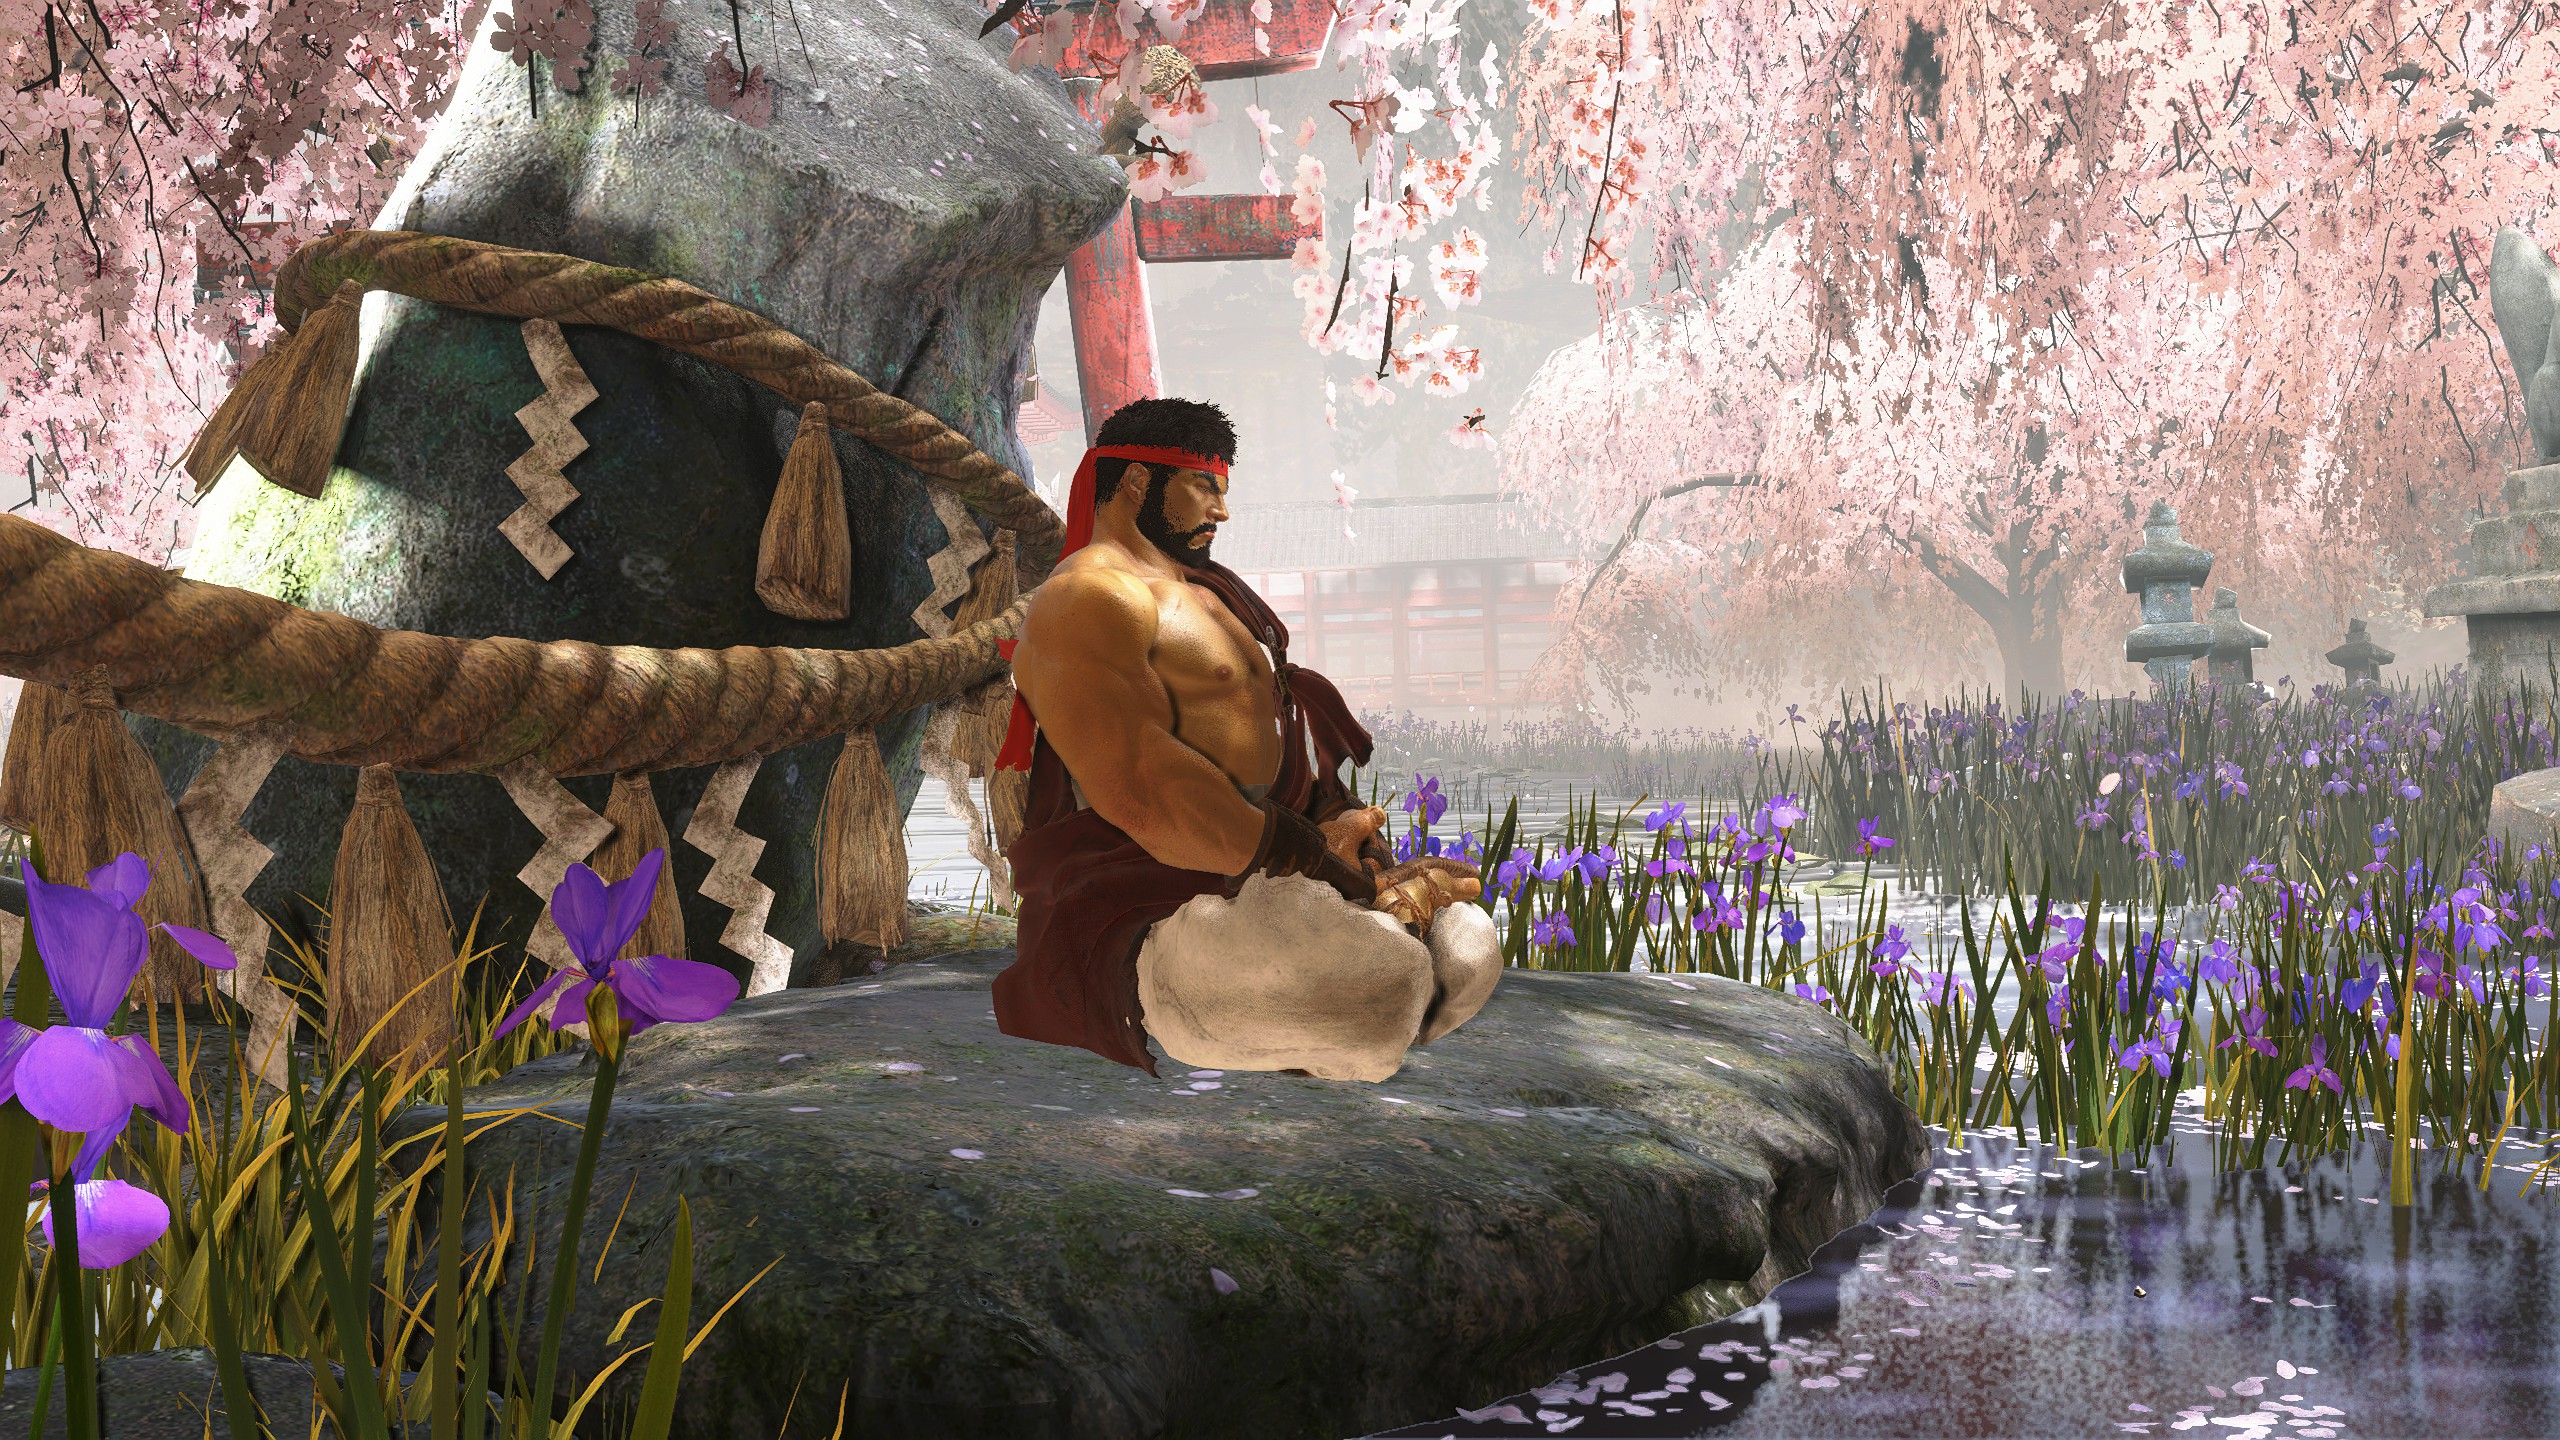
Poses
Sagat
Default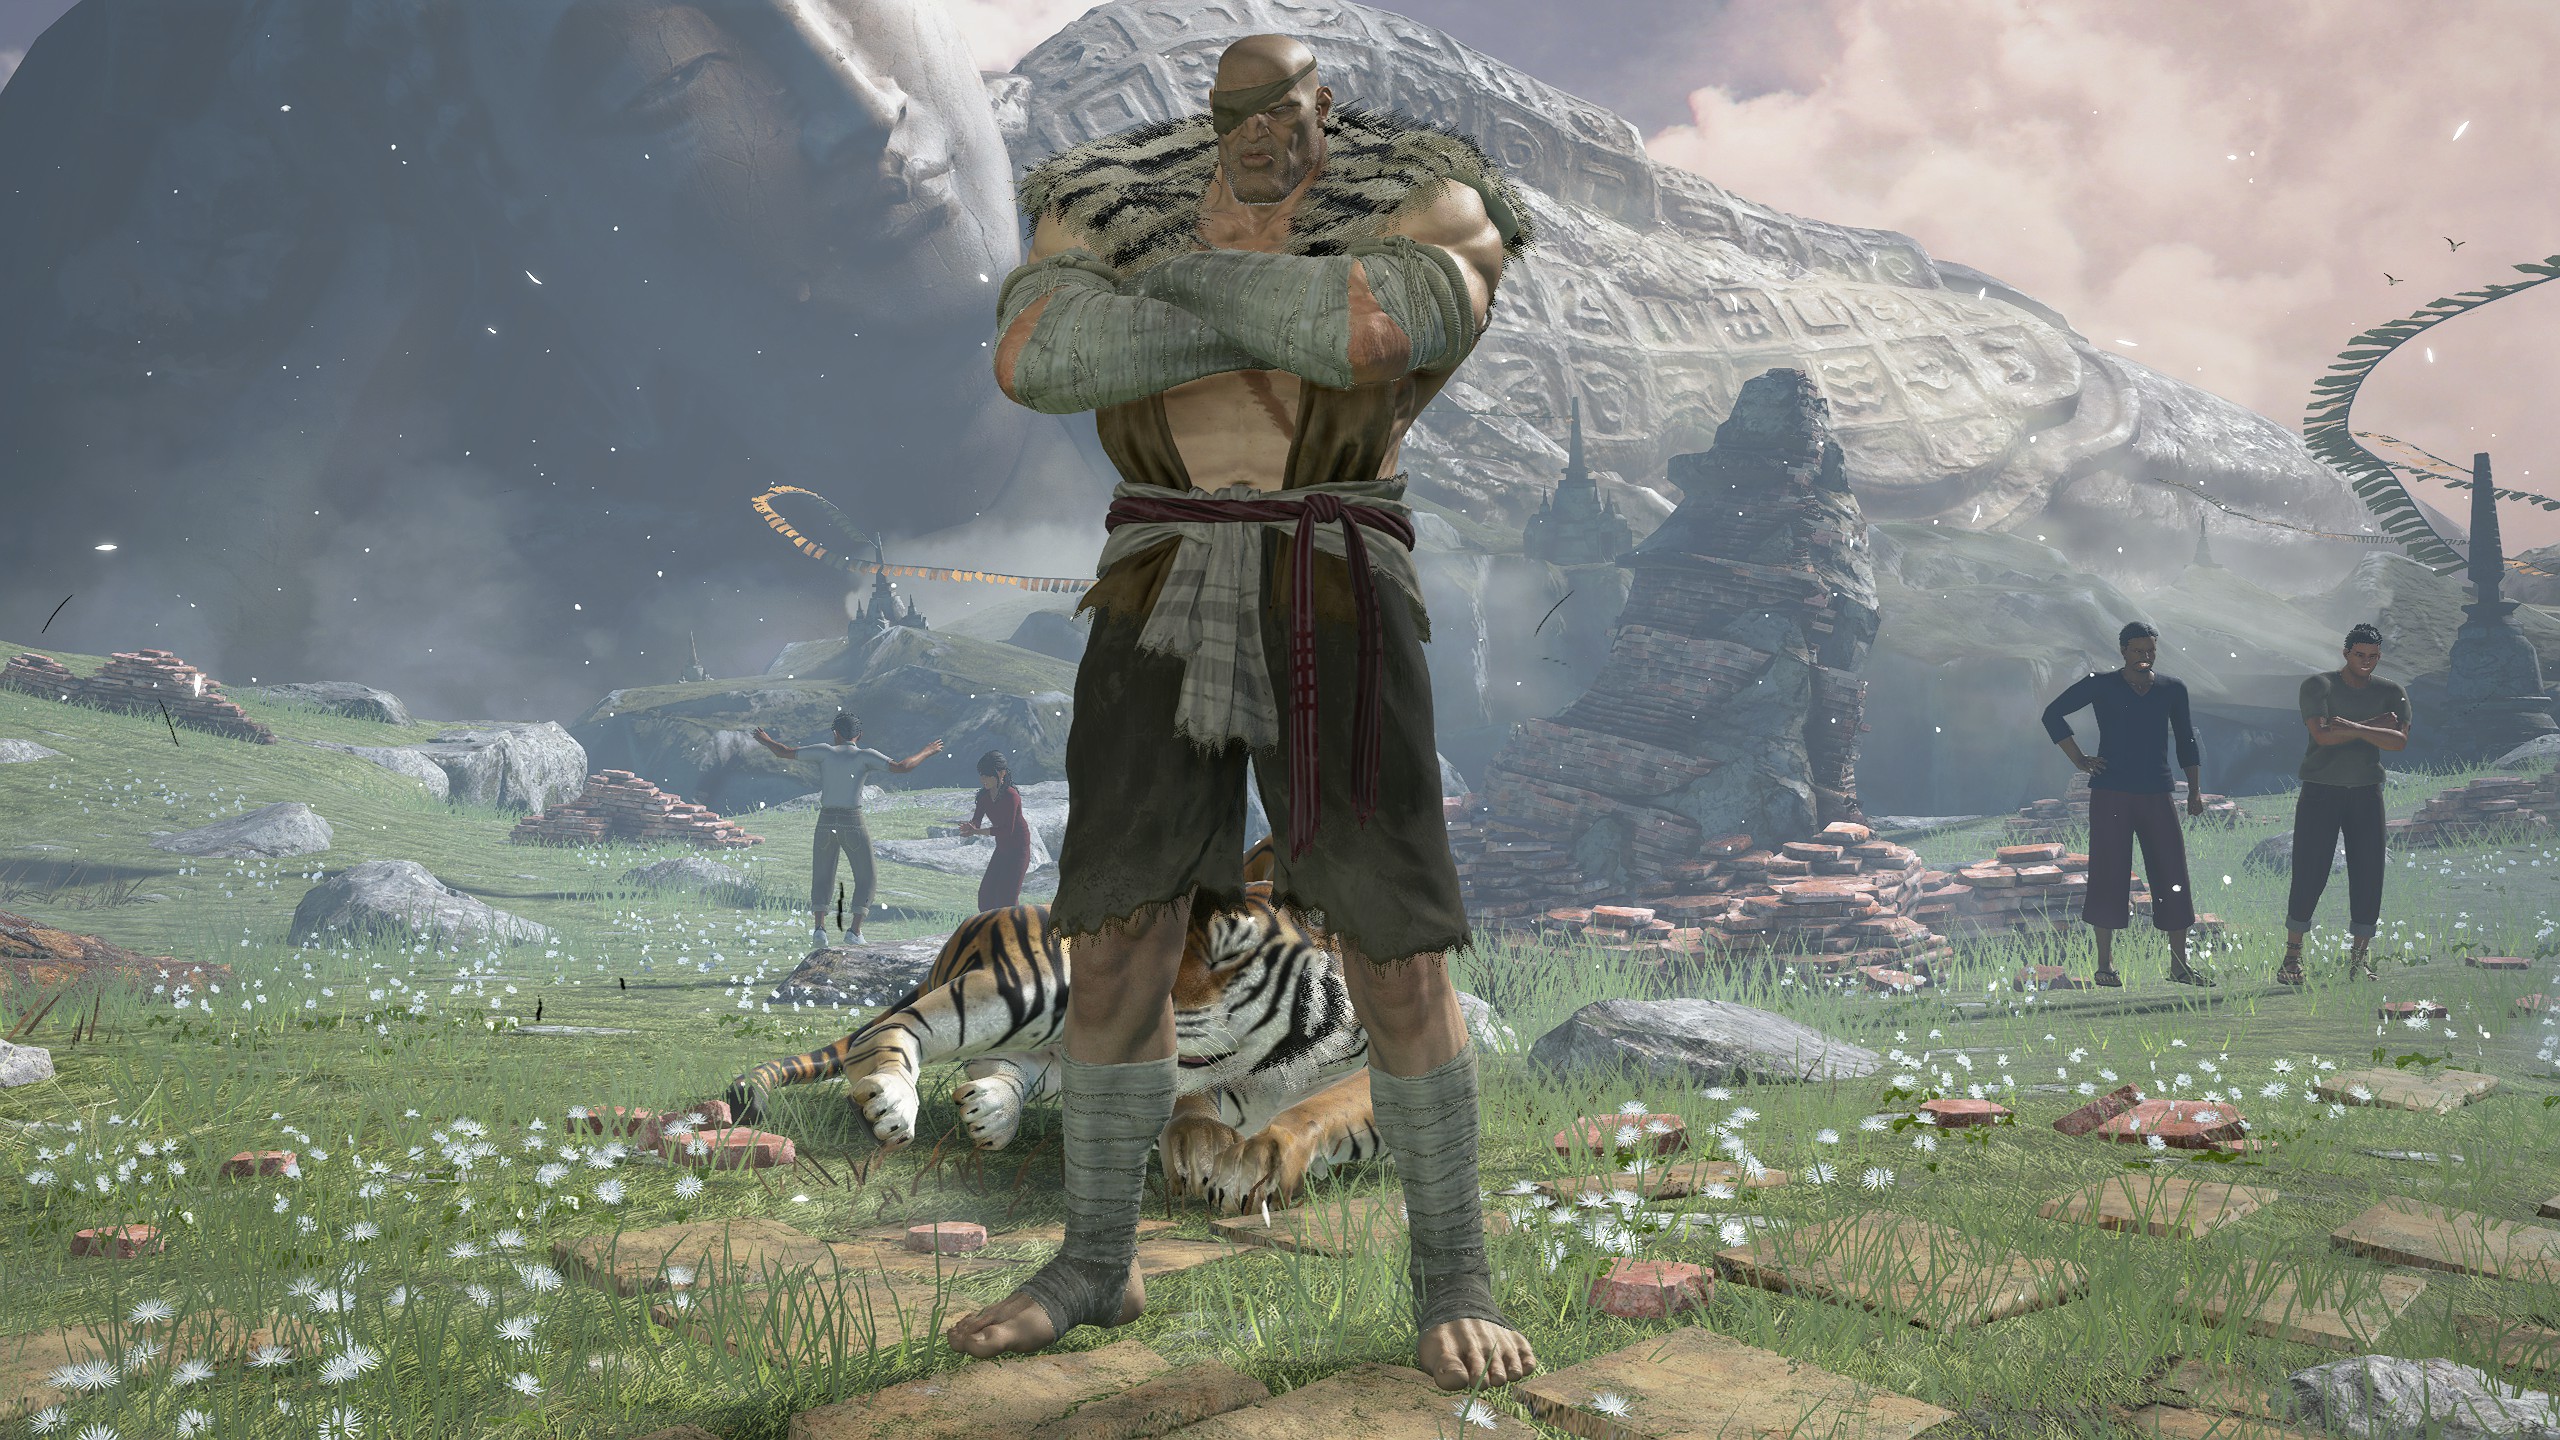
Poses
Terry
Default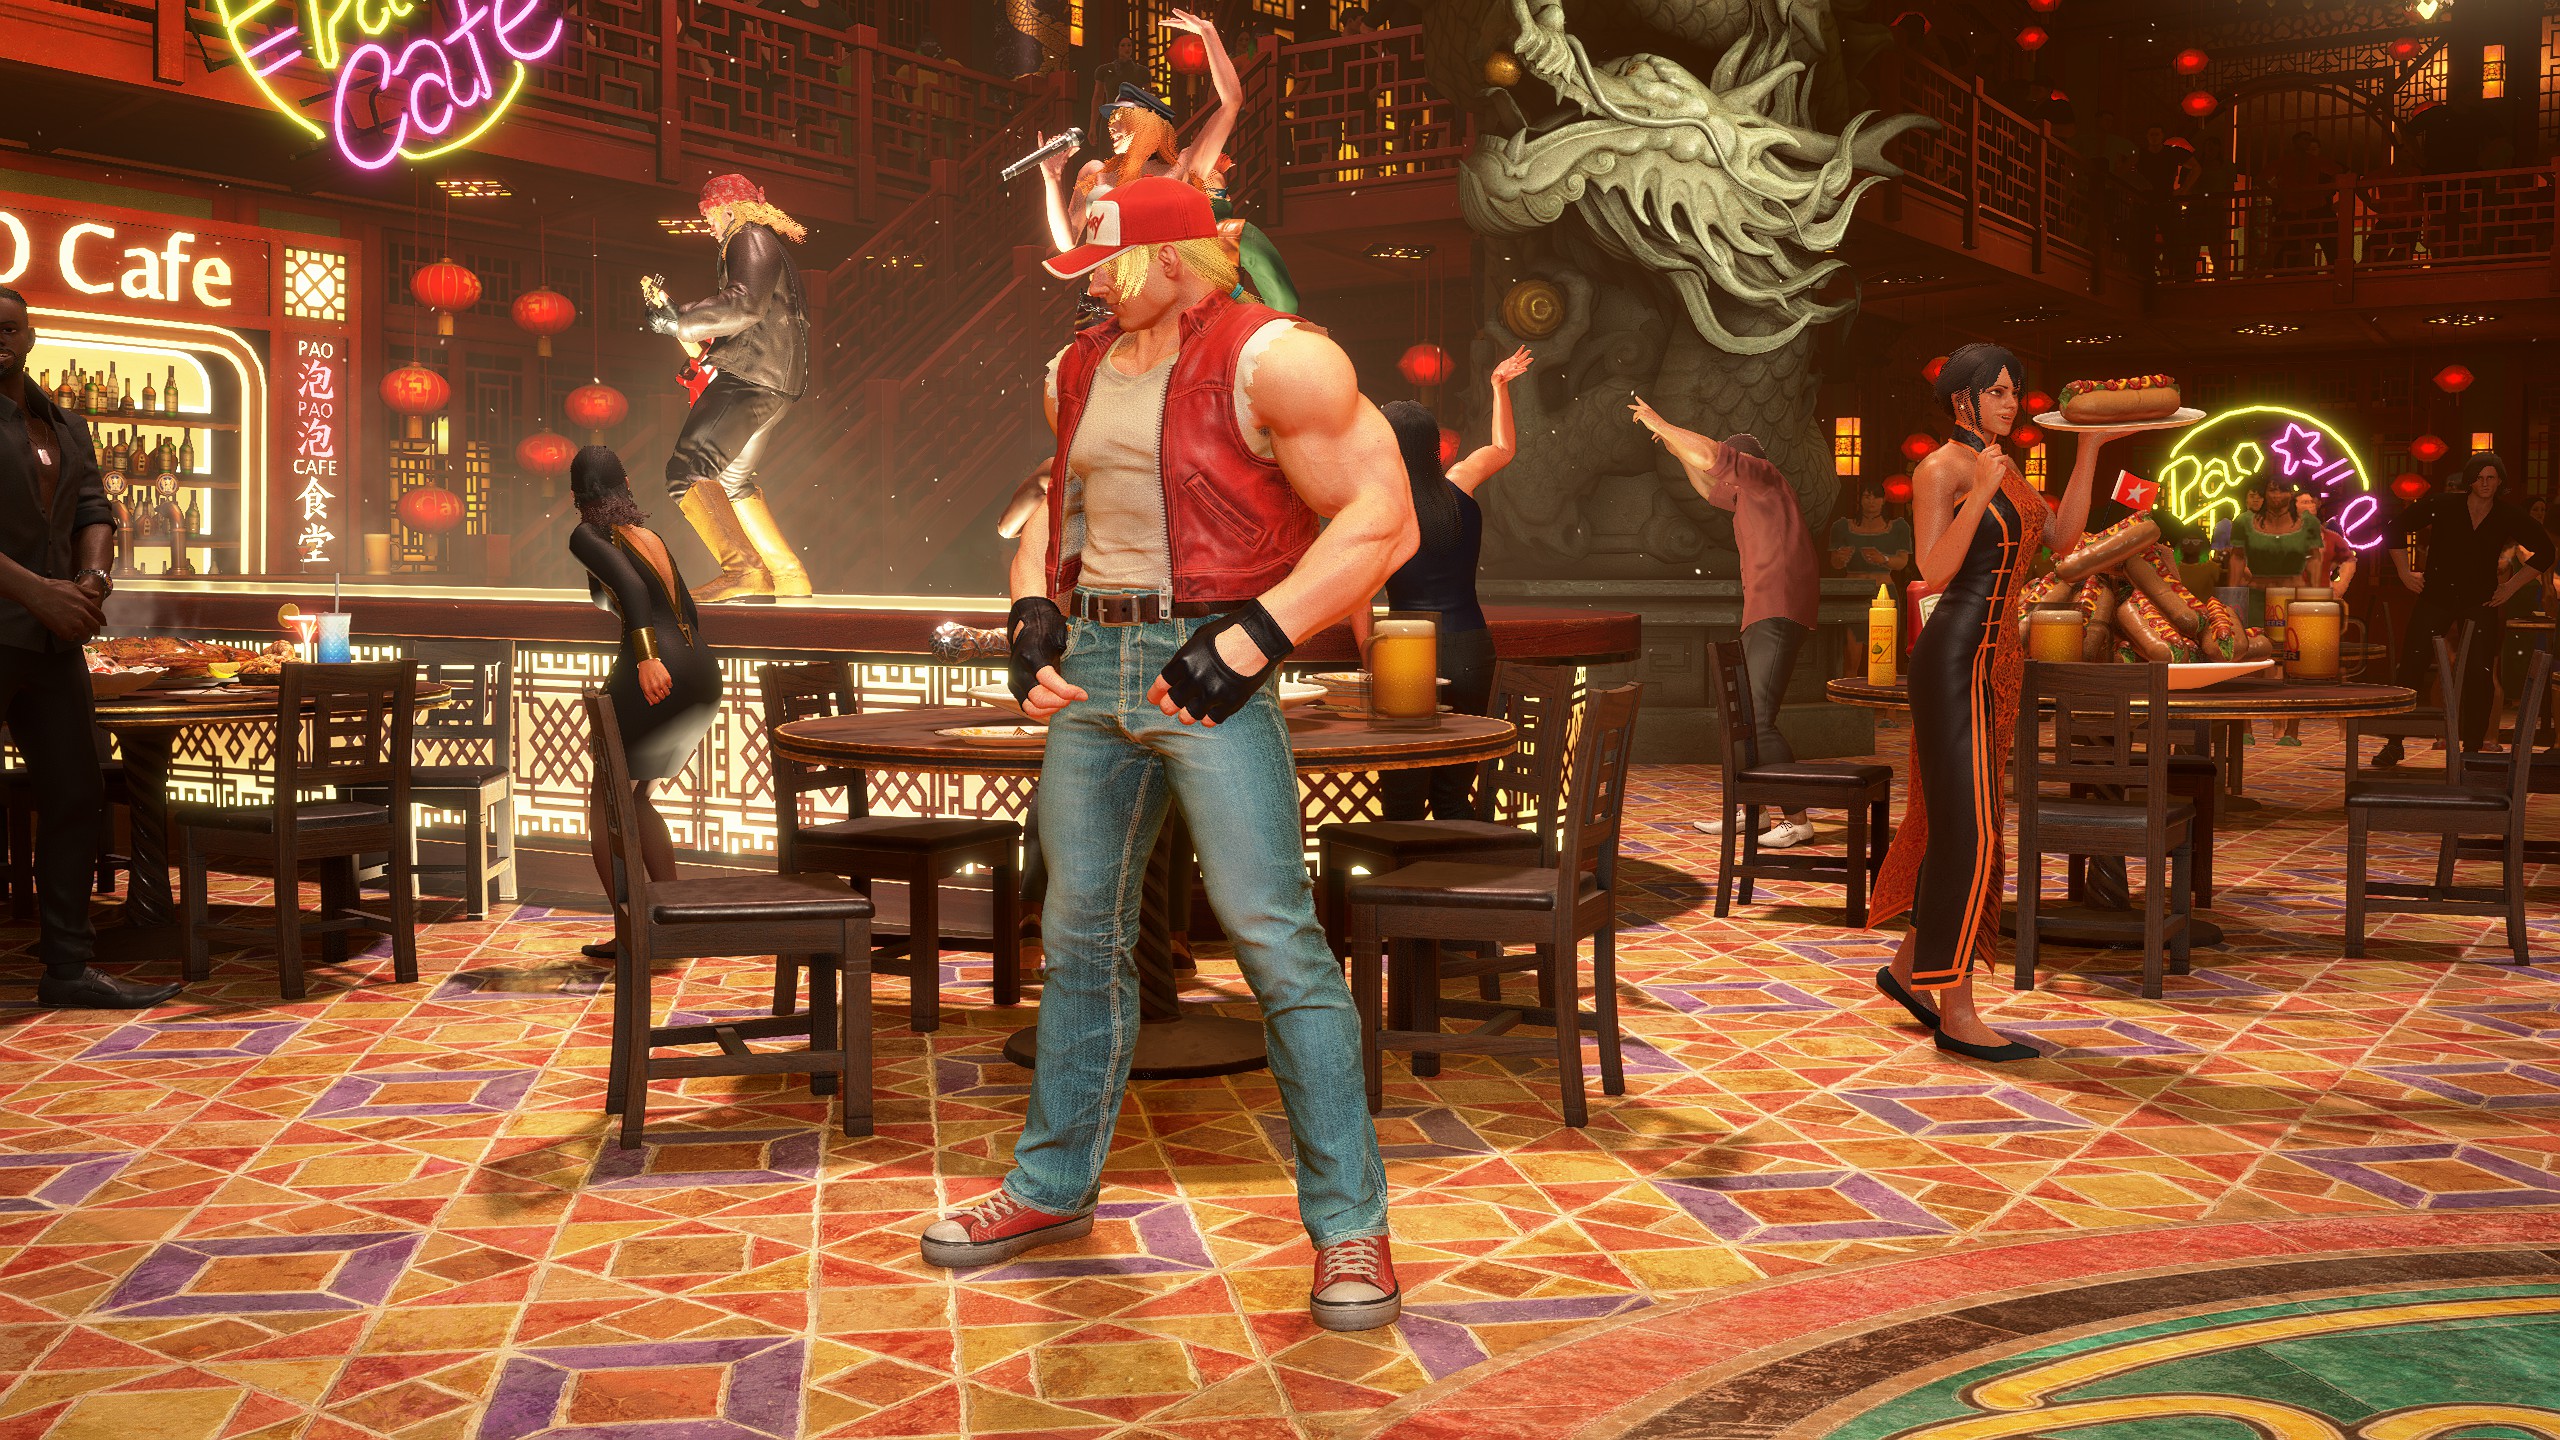
Poses
Zangief
Default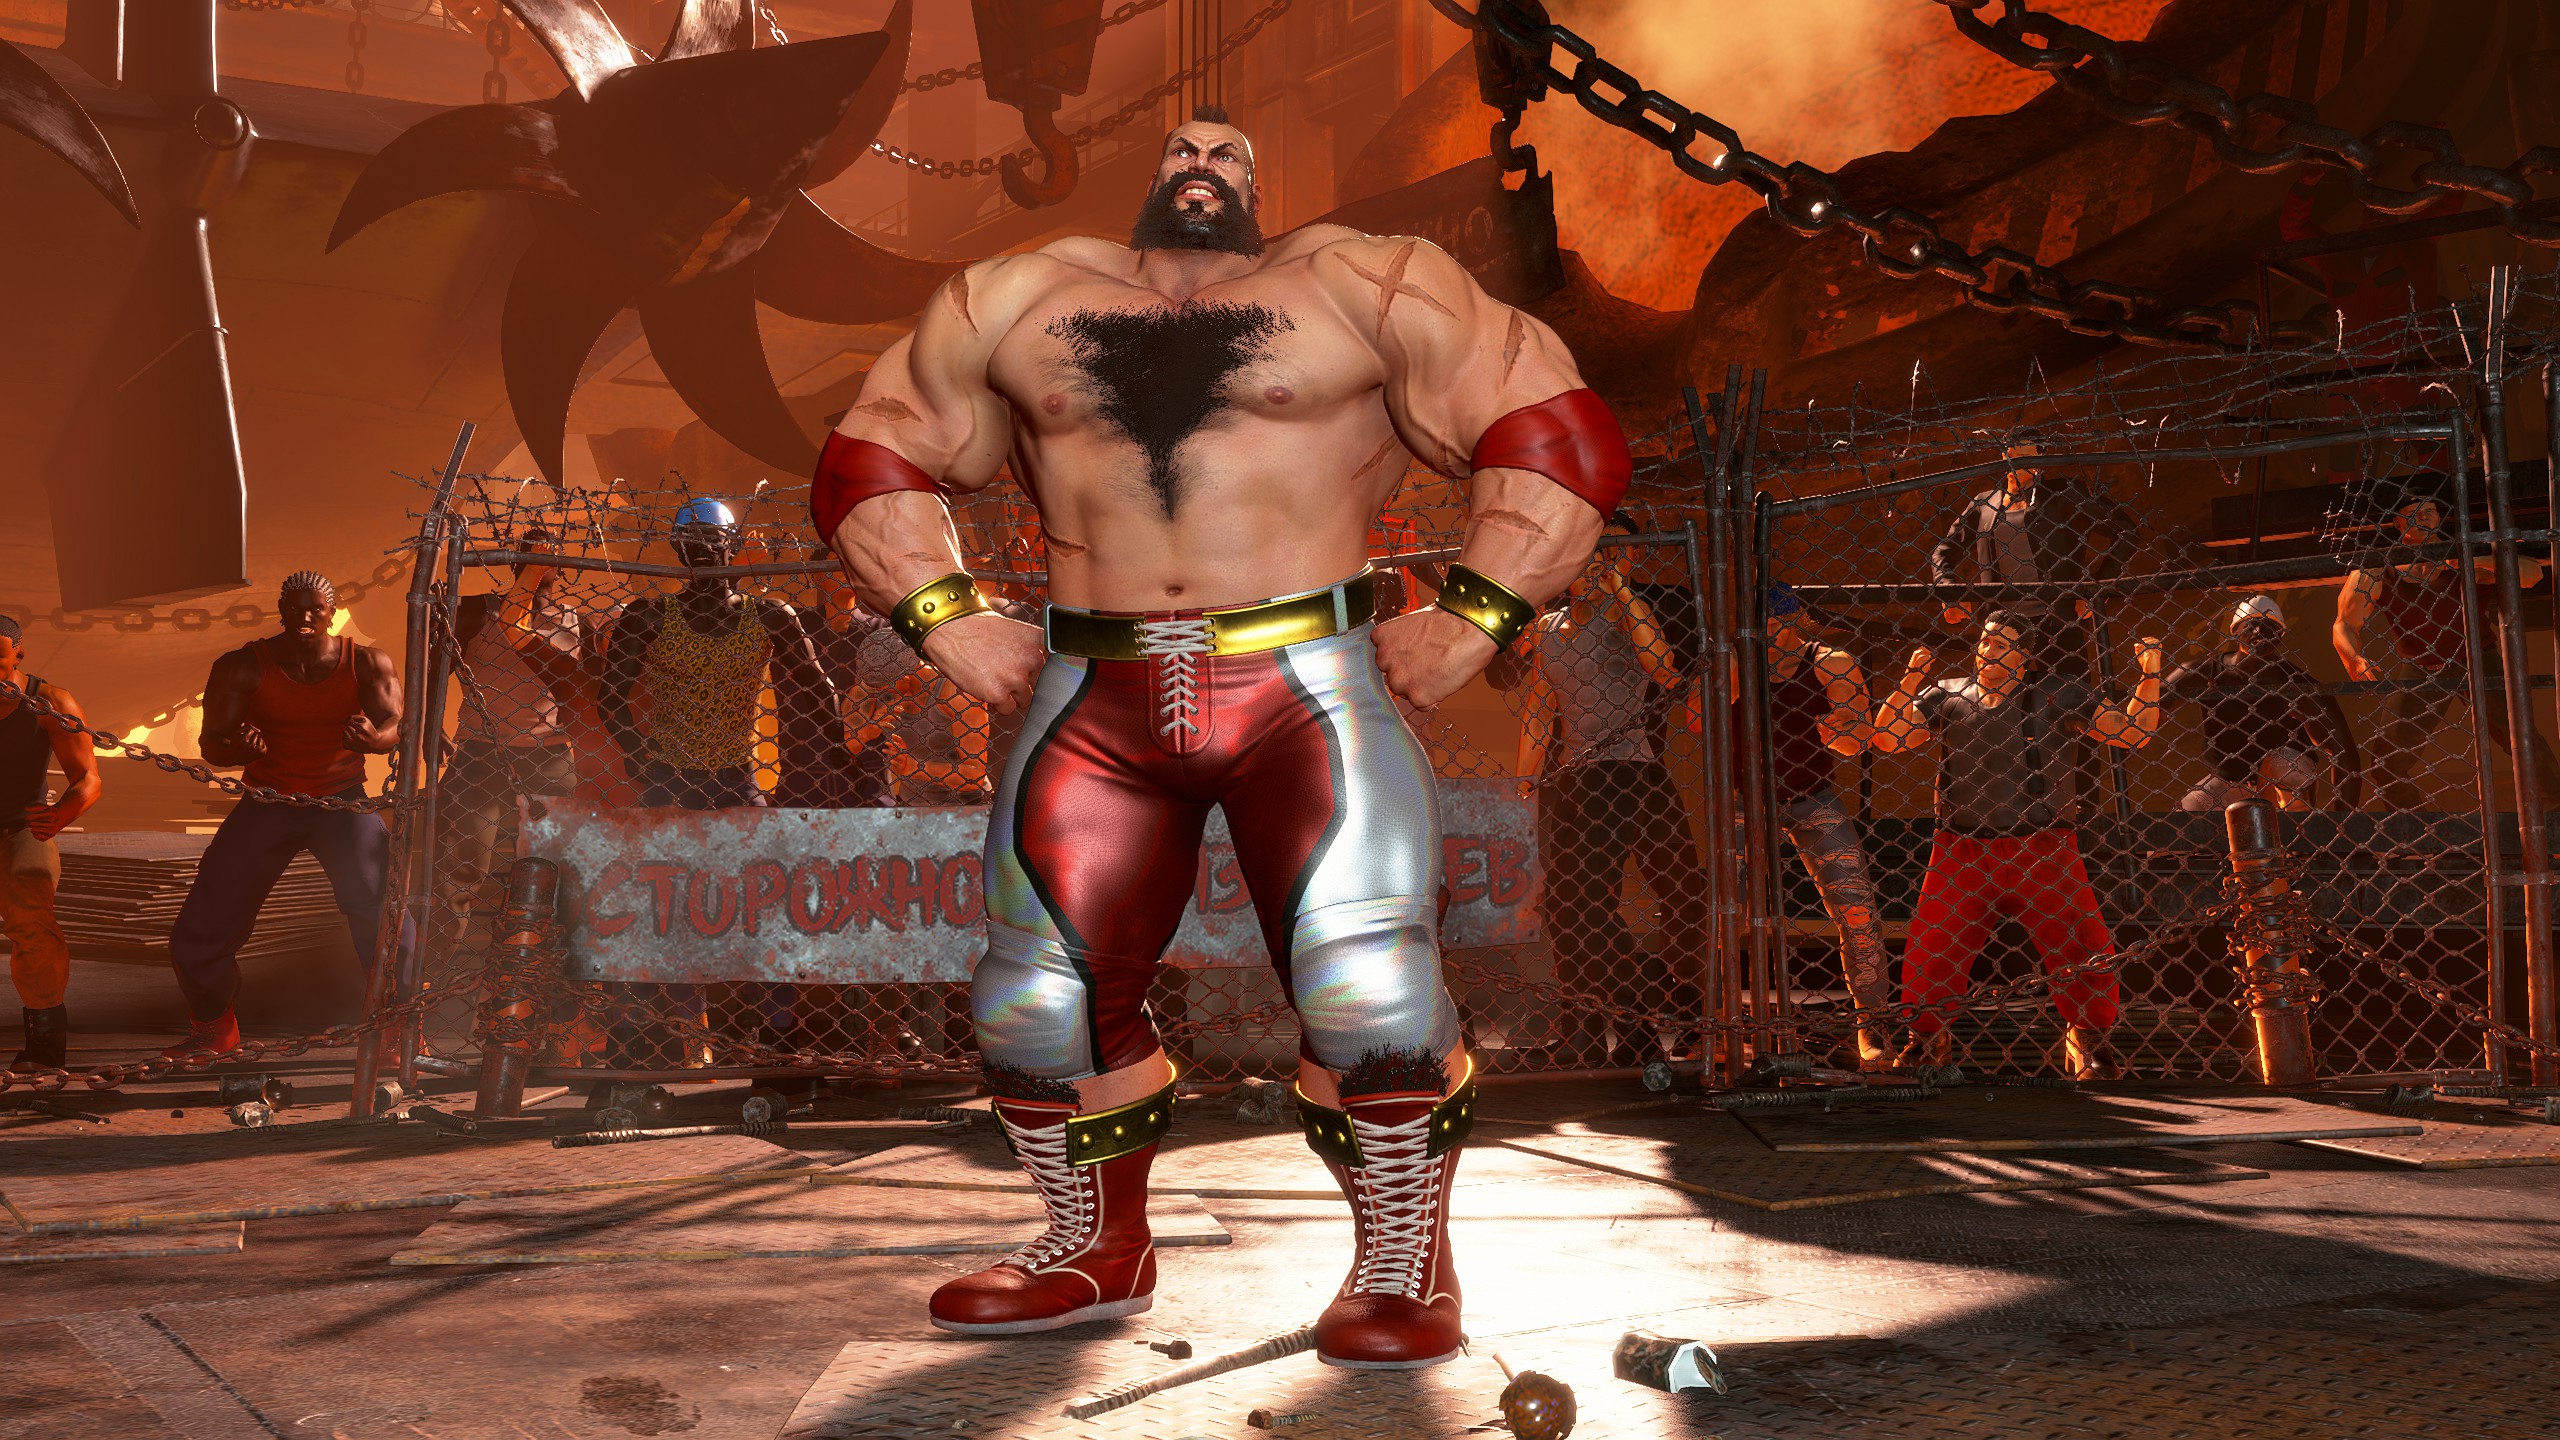
Poses
Special Thanks
This section is dedicated to everyone who took time out of their personal lives to contribute to this guide. By clicking on a name, you'll be taken to the individual's profile page. If you support community contributions and want to express your thanks, please stop by the contributor's page and give them a profile award.
1) Doc Holiday - Submitted artwork for the following games:
2) Spurg - Helped clarify the unlock conditions for six images in the Fighting Ground - Trophies sub gallery:
3) ShadowBowserPL and Wormerine made me aware of the possibility that some Game Center images may only be Premium Pass exclusives, and therefore unobtainable through Battle Hub's Game Center arcade cabinets (I am going to assume this is true unless someone demonstrates otherwise). To the best of my knowledge, this applies to the following Game Center artwork:
The following games are also probably unobtainable through Battle Hub's Game Center arcade cabinets. Instead, they are either available to everyone who owns the game, or were one time awards in the past (I have yet to receive confirmation of their unlock conditions, so these are my two best guesses):
In addition to the above, Wormerine also submitted the artwork for Forgotten Worlds (Game Center artwork).
4) Io helped answer a few miscellaneous questions I had about the game but couldn't check because I had unlocked everything.
5) azurelore helped clarify the unlock condition for Special Artwork: Masami Obari.
1) Doc Holiday - Submitted artwork for the following games:
- Battle Circuit
- Night Warriors
- 1942
- 19XX - The War Against Destiny -
- Strider
- Cyberbots
- Warriors of Fate
- GUN SMOKE
- Bionic Commando
- Street Fighter 2010
- Mighty Final Fight
- Mega Man 3
2) Spurg - Helped clarify the unlock conditions for six images in the Fighting Ground - Trophies sub gallery:
- Real Bout Fatal Fury Special
- Fatal Fury 2
- SF Legacy: akiman [Elena]
- SF Legacy: Kinu Nishimura [Elena]
- SF Legacy: Ikeno [1st Elena Image]
- SF Legacy: Ikeno [2nd Elena Image]
3) ShadowBowserPL and Wormerine made me aware of the possibility that some Game Center images may only be Premium Pass exclusives, and therefore unobtainable through Battle Hub's Game Center arcade cabinets (I am going to assume this is true unless someone demonstrates otherwise). To the best of my knowledge, this applies to the following Game Center artwork:
- Battle Circuit
- Night Warriors
- The King of Dragons
- 1942
- 19XX - The War Against Destiny -
- Strider
- Cyberbots
- Warriors of Fate
- GUN SMOKE
- Tiger Road
- Ghouls 'n Ghosts
The following games are also probably unobtainable through Battle Hub's Game Center arcade cabinets. Instead, they are either available to everyone who owns the game, or were one time awards in the past (I have yet to receive confirmation of their unlock conditions, so these are my two best guesses):
- Bionic Commando
- Street Fighter 2010
- Mighty Final Fight
- Mega Man 3
In addition to the above, Wormerine also submitted the artwork for Forgotten Worlds (Game Center artwork).
4) Io helped answer a few miscellaneous questions I had about the game but couldn't check because I had unlocked everything.
5) azurelore helped clarify the unlock condition for Special Artwork: Masami Obari.