R.E.P.O Monster Guide
 FarCrest
(180 ratings)
Mar 9, 2025 @ 6:08pm37,718278
CharactersCo-opGame ModesGameplay BasicsMaps or LevelsMultiplayerSecretsStory or LoreWalkthroughsEnglish
Welcome
If you have any question's or if you have any info that I should add feel free to comment. I hope you like it, it took me 3 weeks to make this. I am also currently trying to get images of all the monsters. The monsters are in A-Z order so you can find them easily. If you don’t like it please leave a comment so I can change/fix what you did not like.
Special Thanks to: Anoobis821 for getting me to buy this game. Here’s his profile: https://steamcommunity.com/profiles/76561198069086219
Special Thanks to: Anoobis821 for getting me to buy this game. Here’s his profile: https://steamcommunity.com/profiles/76561198069086219
General Info
This section of the guide is just some general information about most monsters.
Monsters will get mad at you and try to kill you if you grab them (Except Animals and Spewers who run away). Don’t grab them unless trying to die (With the exception of Bangers and Gnomes who need to be picked and thrown to die).
When a monster dies after a set time (Unknown at the moment) it will respawn the same monster, For example if a Reaper dies a Reaper will respawn. Some monsters (Gnomes and Bangers) seem to respawn faster. When you kill a monster it drops a glowing orb that is either purple or white when killed (Bangers and Gnomes do not) The orbs value changes every kill but not by much, For example if you kill a Clown it’s orb could get you 6k or 7k. The general value of the orb changes depending on the monster that died. Also if there are no players near a monster it will despawn and respawn later in the level.
Monster Rankings
Tier 1: Can be helpful in some situations but mostly a nuisance.
Tier 2: Not terrible but not helpful.
Tier 3: These enemies are deadly and can turn the diffucility up a notch.
Tier 4: APPROACH AT YOUR OWN RISK. Will often insta-kill you and can change the way you play the level. The most deadly monsters.
Tier 2: Not terrible but not helpful.
Tier 3: These enemies are deadly and can turn the diffucility up a notch.
Tier 4: APPROACH AT YOUR OWN RISK. Will often insta-kill you and can change the way you play the level. The most deadly monsters.
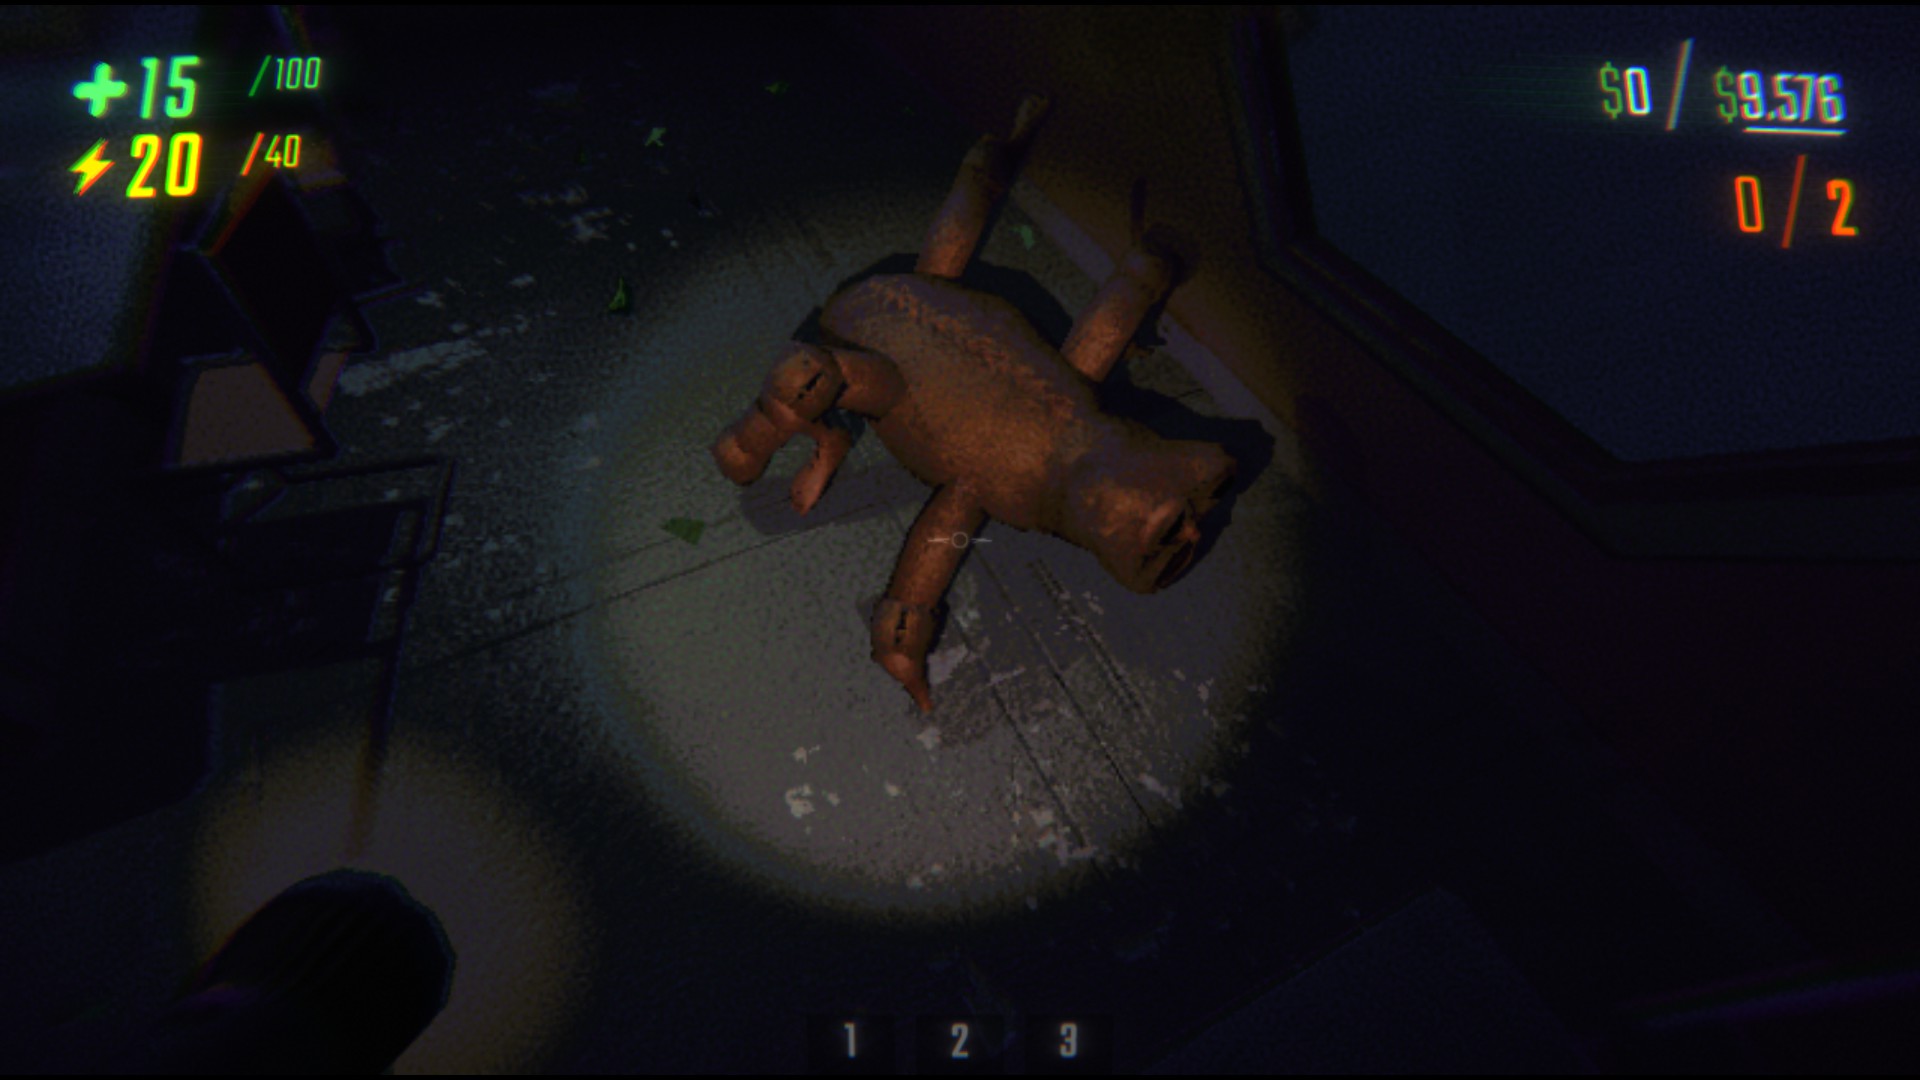
Apex Predator
 AKA: Duck
Tier: 1.5
Behavior: The Duck will roam around the map until it sees a player which it will then follow them every where. It will try to stay in your crosshair begging to be picked up. Even jumping if you look up. If you are dumb enough to pick it up it will transform into Apex Predator form for 10 seconds. In this form the ducks beak grows longer and has multiple rows of teeth. It is very fast in this form and deals 10 damage per bite. With an average of about 3 bits per second it can kill VERY fast. Additionally if the duck will transform into Apex Predator if it is damaged by another monster. If this happens the duck will turn on you instead of the monster.
Additional Info: When the duck actives Apex Predator it can fly.
Tips to Not Die: DON’T touch it, or hit it with any items. “ My friend and I found out that the duck will jump in front with it's target, which can be used to put it somewhere you want it. We also learned that using this method you can get it to jump into either the potion pots or the toilets, to which if you blast one off twice with one it will die.” This is a strategy used by: FrigidFun.
Animal
 AKA: Runner
Tier: 1
Behavior: Fast creatures that roam around the map looking for you. When spotted they run towards you in an erratic pattern.
Additional Info: They often come in groups of 2. Their attacks are slow and do ONLY 2 damage.
Any gnomes that they run over get killed.
Tips to Not Die: Sometimes if you grab them they begin to run much faster and go in random directions.
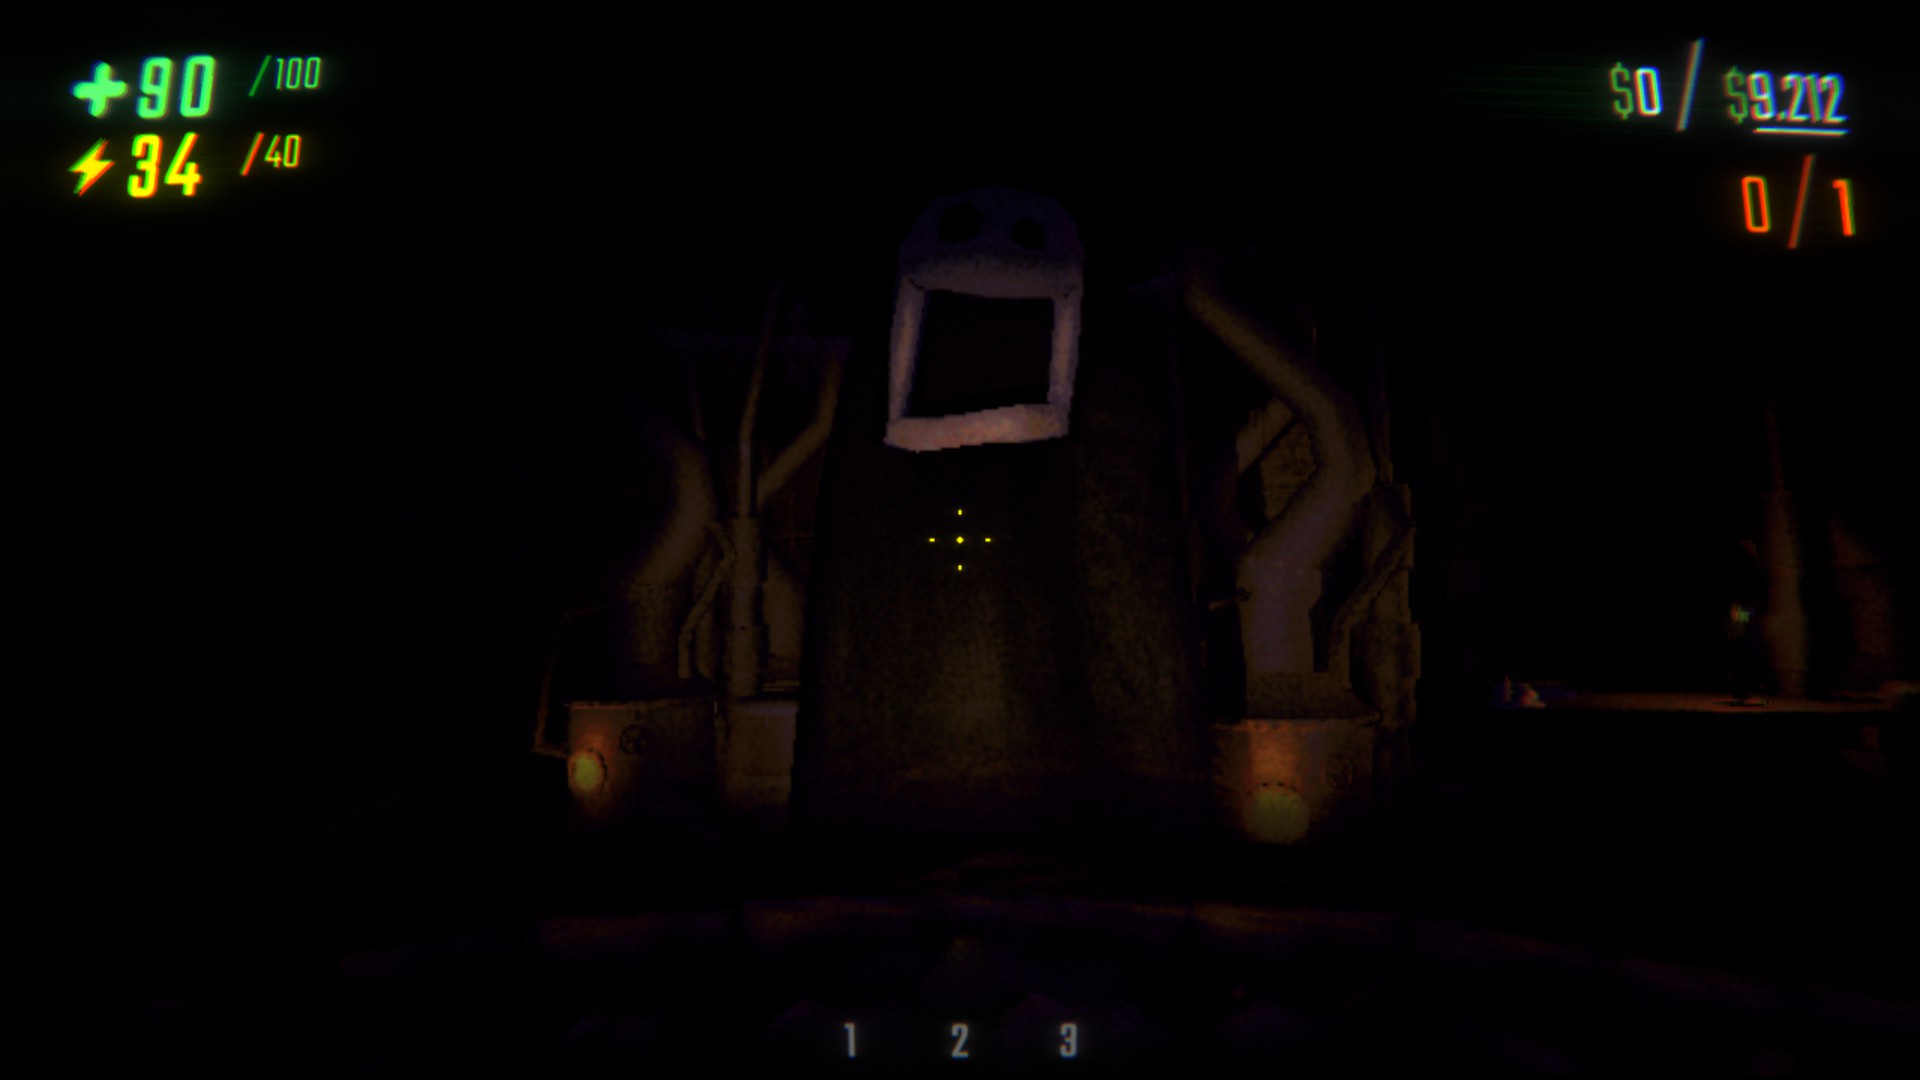
Bowtie
AKA: Marshmallow, BugsBunny
Tier: 2
Behavior: Will roam around the map at a slow pace. When it spots a player it will yell at them turning into a large mouth that pushes you back. This may hurt you if you hit a object while being pushed back. It can also push back smaller monsters like Gnomes and Rugrats.
Additional Info: Cannot move while yelling. They have low Health so a gun will take them out in few shots. Tranquilizer guns are also effective against them. They are large and therefore easy to hit.
Info From Comments: “What about bugs bunny the white saquatch looking thing? (don't know the official name). don't know much on it. I saw it at the science map, it can see you but i'm not sure it hear. When it see's you it screams for roughly 5 seconds and the it charges blindly in one direction blowing off doors. While it is screaming you are blown back and most likely cannot move (depends on where in the room you are). When it charges it is semi blind and cannot turn well, so hiding from it is best, its walking is heavy and shakes your entire screen.” -.Muted.BlackGuy
Banger
 AKA:Bomber
Tier: 2
Behavior: The Banger will run around looking for the player, when they spot you they will approach you and ignite themselves. After a few seconds they will explode.
Additional Info: They seem to spawn in groups of 2-4.
Tips to Not Die: Walk/Run away when you see them. They are not very fast.
Clown
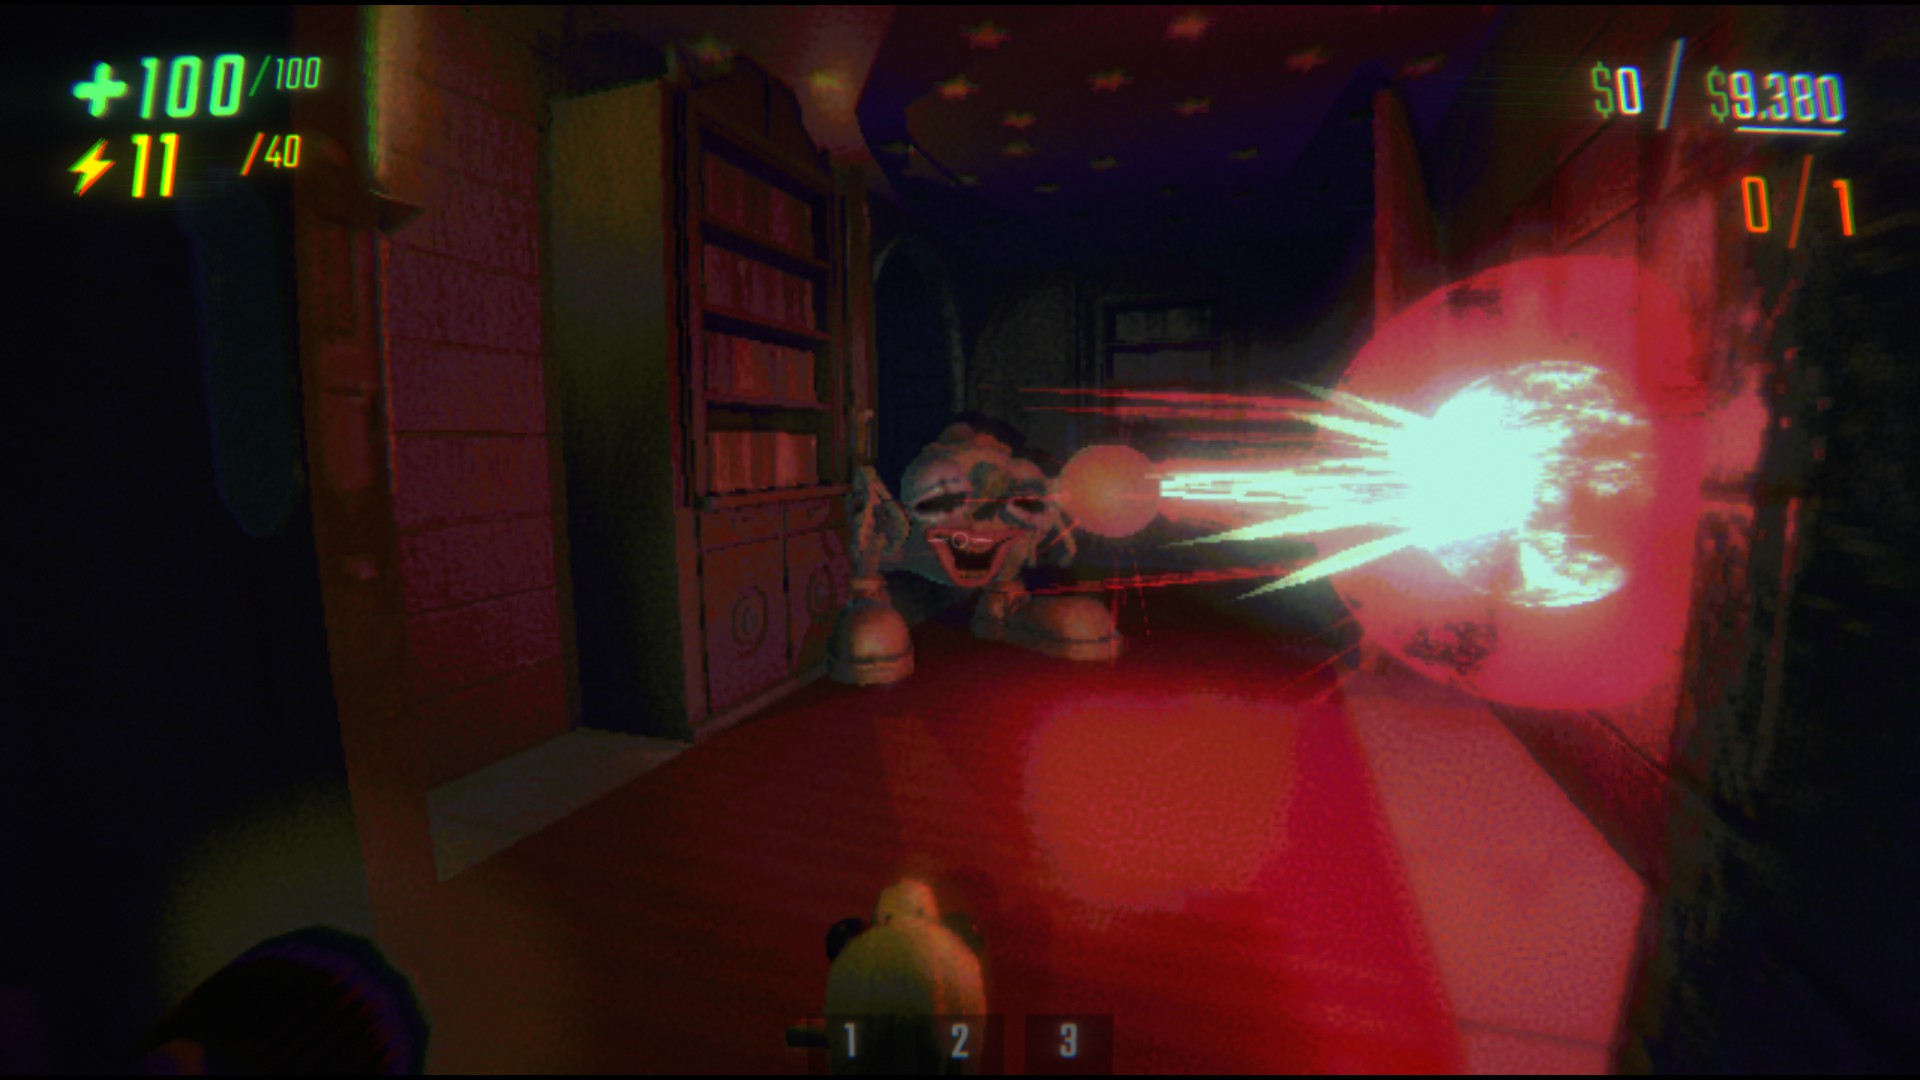 AKA: Angler, Beamer.
Tier: 3.5
Behavior: Roam around the map until they spot a player. When it spots you it will begin to charge up a laser which you can tell by the laughter. After it uses the laser the clown is stuck in place for a brief time. The clown also has a kick that deals anywhere from 50-100 damage.
Additional Info: Foot steps make a thumping sound. The beam sweeps across the area that the player is in. Laser beam has a cool down of about 8-10 seconds. Laser beam also does high damage to artifacts. Laugh sounds like a Rehehe.
Tips to Not Die: When it doesn’t know that you are there you can get around it by crouching behind/under things. When you hear the laughter (charging laser beam) press the crouch button and it should shoot over your head. If you are on high terrain (Desk, Stairs) run away instead because it will hit you.
Ceiling Eye
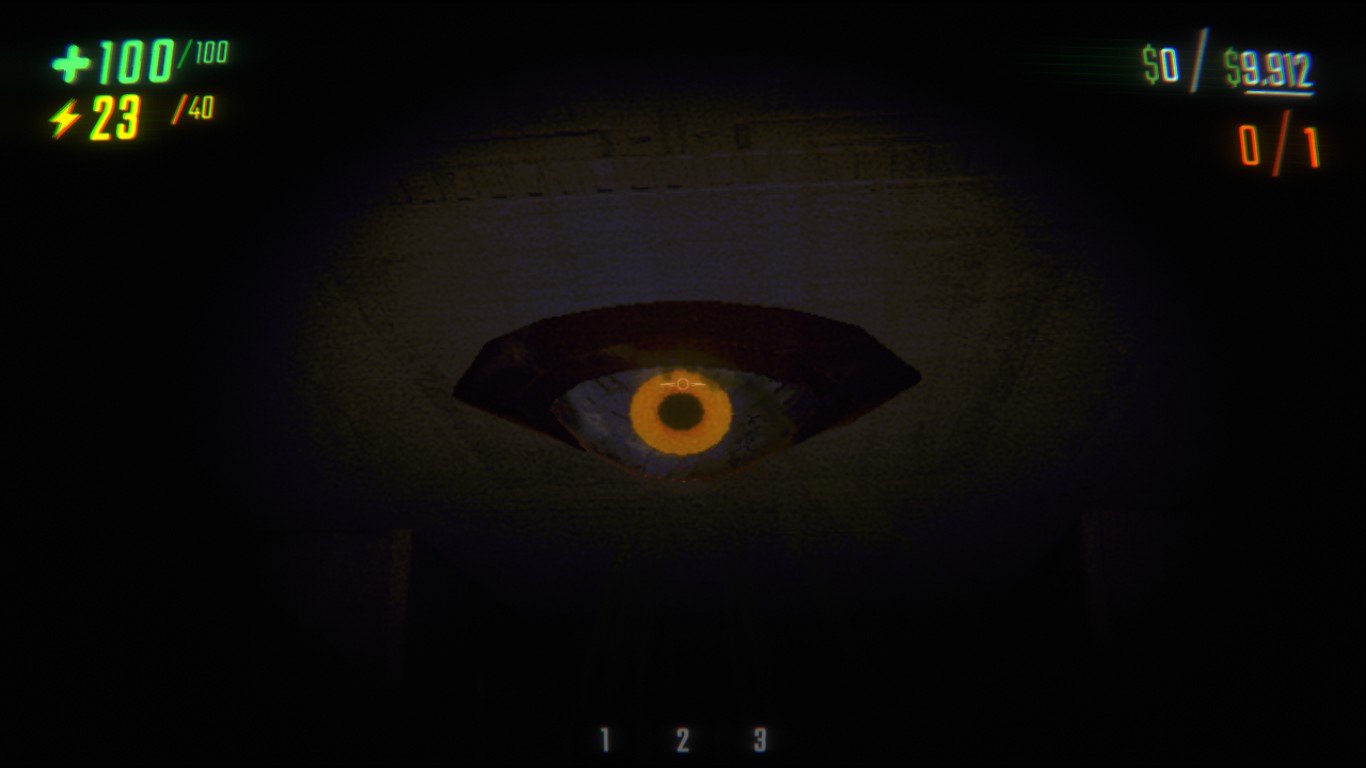 AKA: Eye, Peeper
Tier: 2.5
Behavior: They will appear on the ceilings with the eye wide open. When you enter the same room as it your crosshair is pulled towards it. If you stare at it for about 2 seconds you start to take damage equal to roughly 10 health per second. The effect stops if you get something to block your vision (chair, wall, etc). If nobody looks at it for a while it will disappear and spawn somewhere else.
Additional Info: If you look at it your voice becomes very high pitched.
Tips to Not Die: Very dangerous if other monsters are in the room, if they aren’t then low danger. If you look at it press Q to rag doll and have a teammate move you out of its line of sight. If you don’t have a teammate reposition yourself so you can’t see it.
Chef
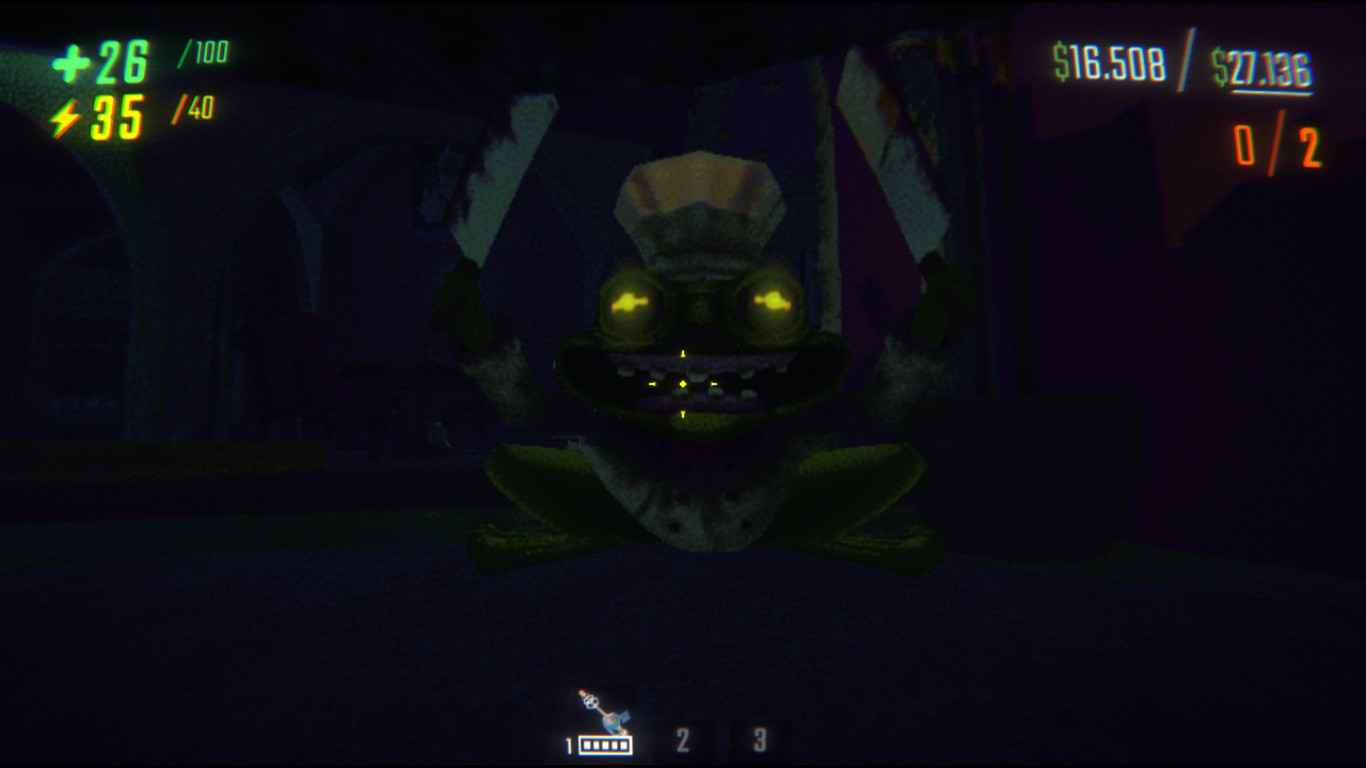 AKA: Frog, Tumbler
 Tier: 2
Behavior: The from roams around the map slowly until it spots a player. When it sees you it stops and smiles revealing its teeth, pulls out to bloody butcher knives and rolls (tumbles) towards you at a fast pace. Of it hits you it will not kill you if you have 100 heath or more but it still does heavy damage.
Additional Facts: If he misses his jump he will go limp and rag doll for a few seconds before he tries again.
Tips to Not Die: Hide under something because most of the time he cannot fit, or when he rolls at you move to the side to avoid him.
Mesmer
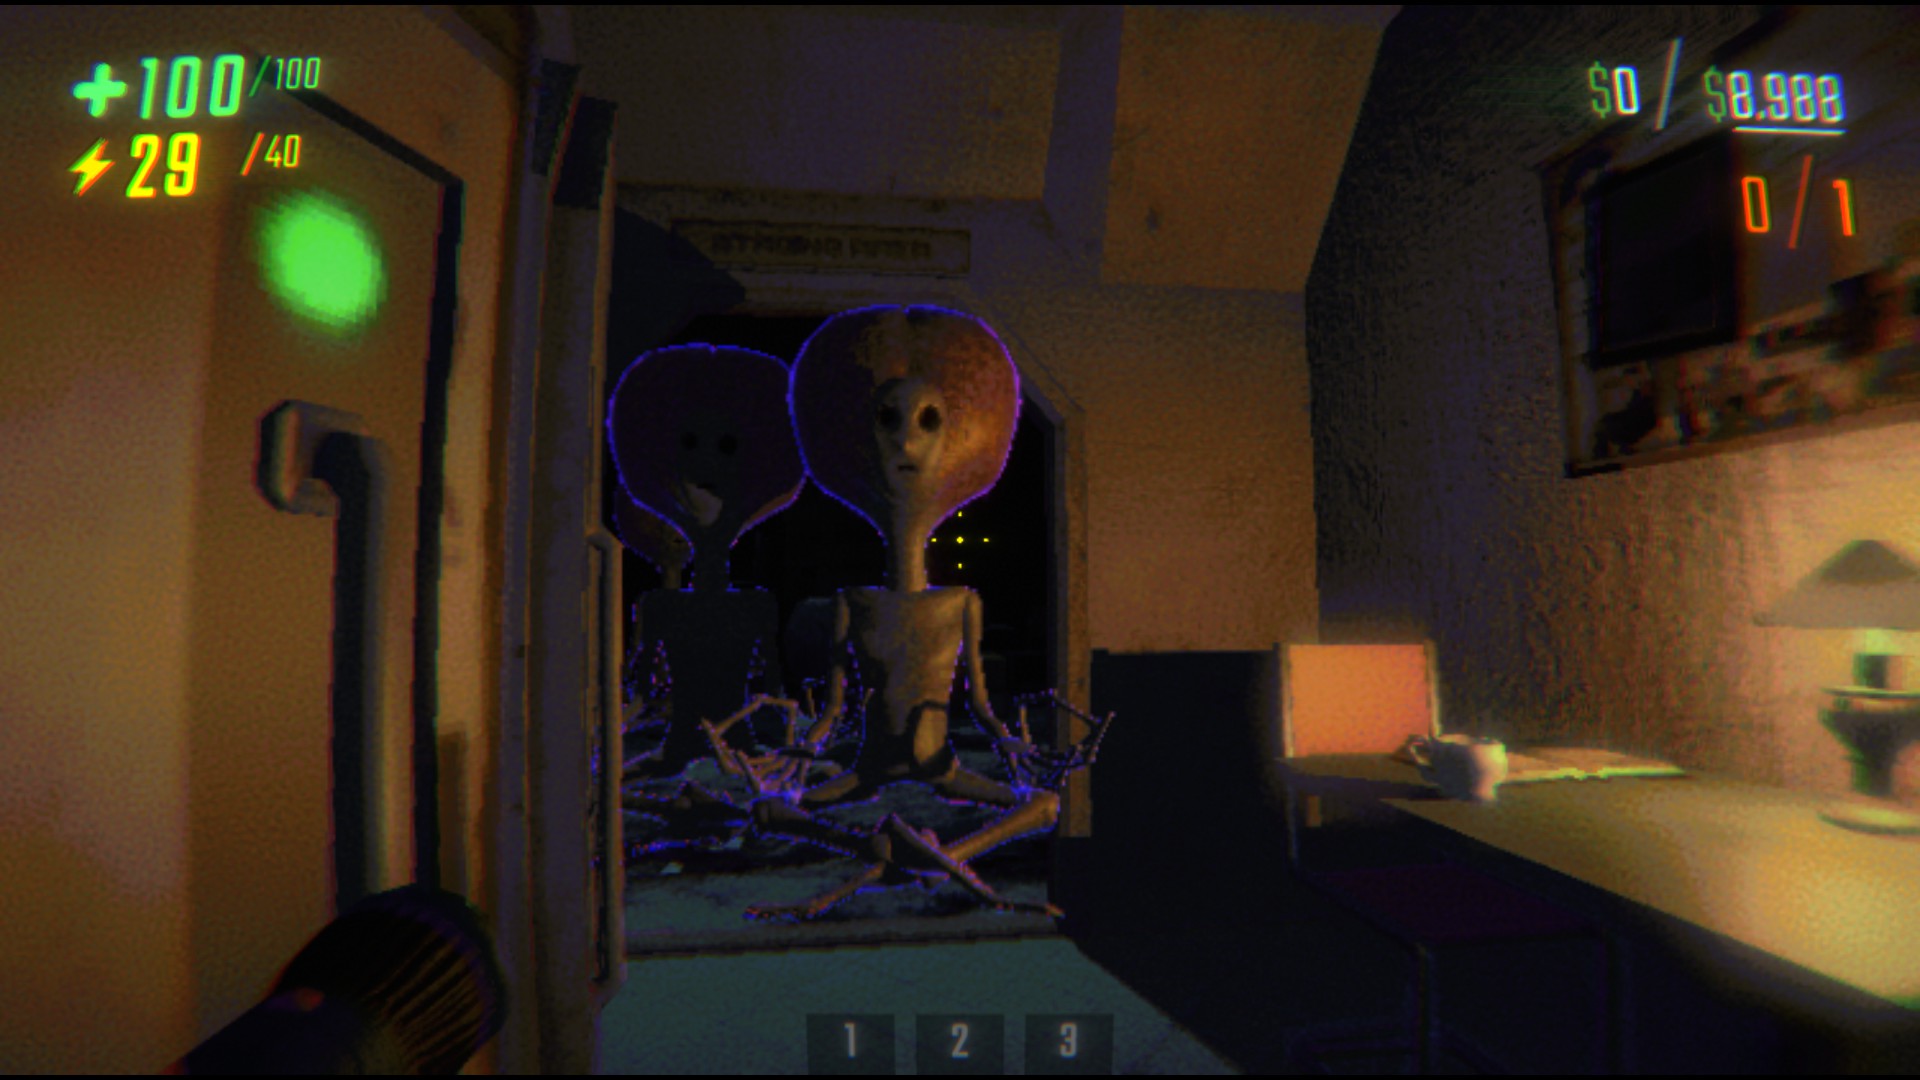 AKA: Alien, Floater
Tier: 3.5
Behavior: The Alien floats around the map looking for players. When it spots one it a bright purple area appears around the Alien. If a player enters this area the player floats up a few feet then comes crashing down. This deals 50 damage, killing a player without health upgrades in 2 hits.
Additional Info: After it attacks you it has a short cooldown when it cannot attack. If you find a group of 3 Aliens they attack together in a coordinated way that allows them to bypass the cooldown. If there are 3 and you enter the radius you are cooked. It also seems to be much rarer than other monsters. It has bad eyesight but good hearing. This means it can hear you moving loot and the cart so be careful.
Tips to Not Die: Run away, when out of view hide under something and wait for them to pass you. If it is tormenting your teammates you can "hide under a table shouting gibberish to keep the alien distracted and, consequently, away from my teammates" This is a strategy used by Professor Bean.
Info From Comments "The alien has poor eyesight and good hearing, almost like a slightly less extreme version of the hunter. I once hid under a table shouting gibberish to keep the alien distracted and, consequently, away from my teammates. This does mean however that it might hear you moving loot, including putting big loot in the cart, and beings how silent it is it's likely to get in a sneak attack. Has done so multiple times as well." -Professor Bean
Gnome
AKA: Garden Gnome
Tier: 1
Behavior: The Gnome often spawns in groups of 4-6 gnomes or very rarely groups of 12. Their main goal is to destroy any items that you are carrying or are in the cart. They can and will climb into the cart to destroy your items. If they can’t find any they will use you instead dealing low 2-4 Health per hit.
Additional Info: When killing them they can be flung at other monsters to hurt them as well. A good tactic is to drop them on each other letting you kill two birds (Gnome) with one stone (Gnome). Before they attack a player they sometimes converse (group up and chatter) before they attack the player.
Tips to Not Die: Because they are small they can be picked up VERY easily allowing you to drop them and shatter them. This destroys them and stops them from hurting you or your loot.
Info From Comments: “ gnomes are weak but spawn extremely frequently and in large groups later on in runs, whenever someone dies and is revived gnomes become a problem, they also can fit under things the player can so they are honestly one of the biggest issues once you start pushing far especially when they are paired with big threats like blind man and robe” -Pirate135246
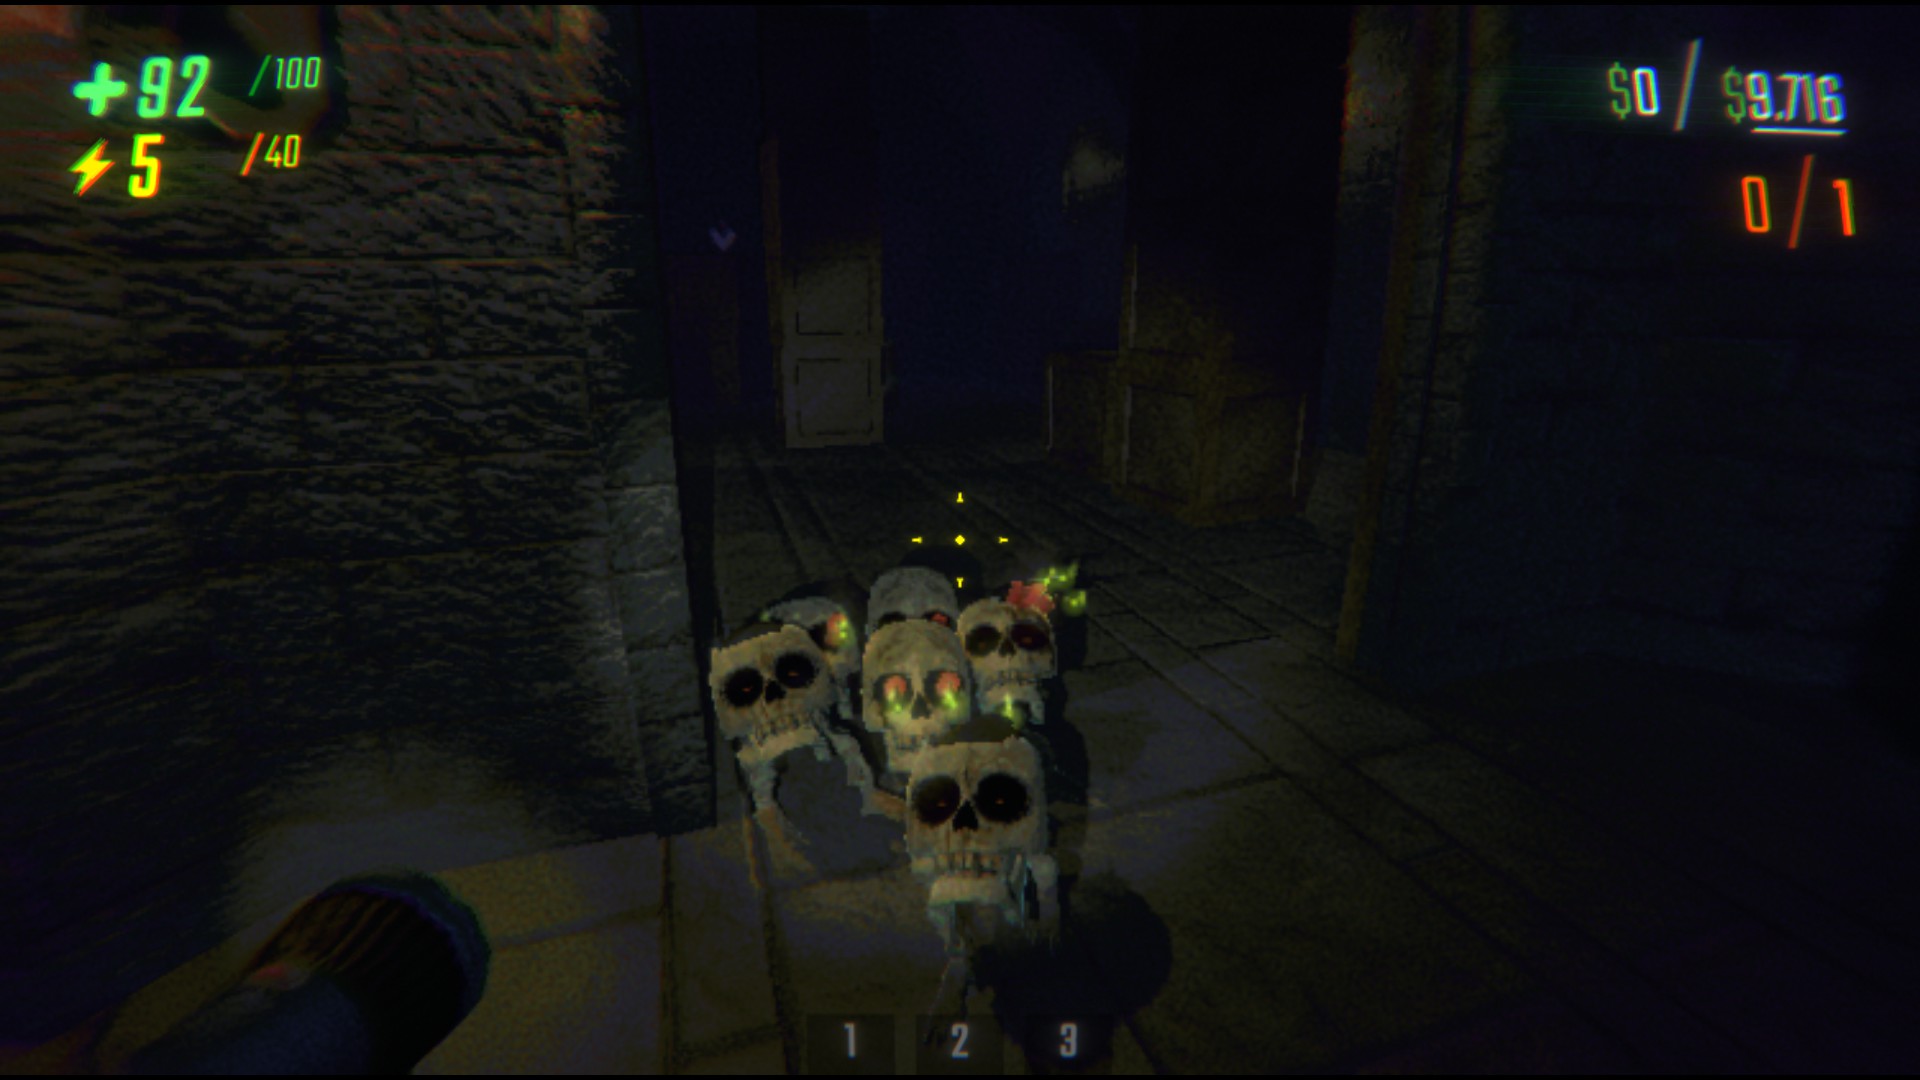
Headman
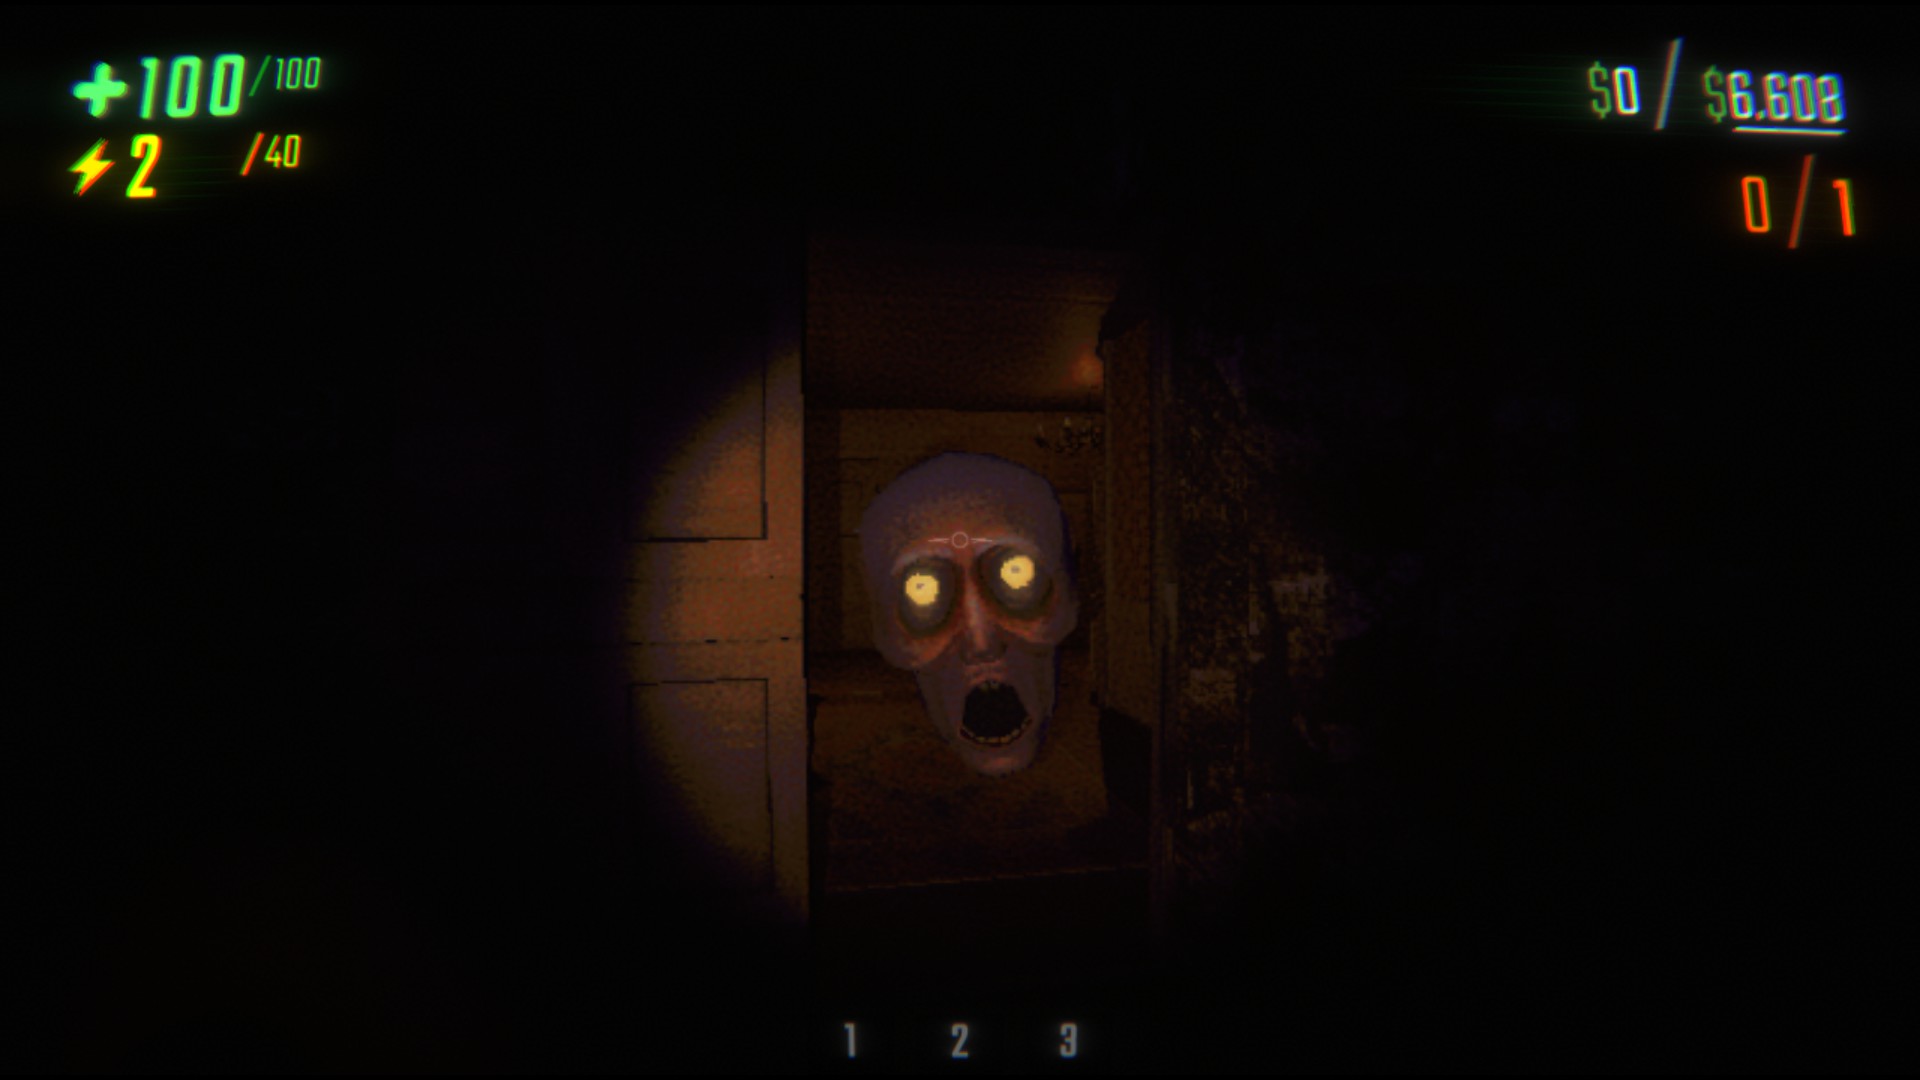 AKA: Skull, Big Head
Tier: 3
Behavior: He will float around the map looking for players and making biting sounds. He is extremely aggressive to light but less so to players without one. If you look at him with your flashlight he will scream and charge towards you trying to bite you. If he is successful he will deal a considerable portion of your health. (50)
Additional Info: “He cannot get you if you hide under a table with something in front of it. Case in point, I hid under a table in the wizard school, and moving behind the chair at the table blocked it from getting to me. It eventually lost interest and left the room. So it is possible to hide from them, just under very specific conditions” This is a strategy used by: MoosenMasen
Tips to Not Die: Run away and hide or hide under something and use a chair or C.A.R.T/other object to block yourself from getting bitten by it.
Hidden
AKA: Ghost, Taxi
Tier: 1
Behavior: The Ghost roams around the map looking for players, when it spots you it will giggle and rushes towards you grabbing you. When it grabs you it sprints to a (Random?) room on the map and drops you, then runs away.
Additional Info: The Ghost is invisible and can only be seen from its foot steps or its breath, which creates small puffs of black dust. When it grabs you it takes you to a set spot that can be super far away or occasionally the van a extraction point.
Tips to Not Die: As far as I know it cannot kill you, so you should not have a hard time dealing with it. If you grab a teammate that is caught in its grasp they will immediately cancel the hidden’s move and “save” the teammate.
Credit to: Buizel, Guibus, Shy Hardonz and Ridge for the info.
Huntsman
 AKA: Hunter, Blind guy, Grampa, Shotgunner
Tier: 4
Behavior: The Hunter will walk around while using his shotgun as a walking stick. If he hears you he will immediately pull out his gun and shoot in the direction of the sound. This deals 100 damage to (insta-killing without health upgrades) whatever it hits.
Additional Info: Before he shoots he takes a split second to aim. He also has high Health making it hard to kill him. Very dangerous when combined with other entities. He uses his shotgun as a walking stick.
Tips to Not Die: Do NOT talk near him because he can hear you and will immediately shoot at you. Don’t pick things up near him either. If he does notice you just run and there is a chance he will not kill you. When walking by him crouch walk so he cannot hear you. Get health upgrades to increase the amount of hits you can take.
Reaper
AKA: Runner, Scarecrow, Harvester, Mama
Tier: 3
Behavior: They roam around map aimlessly until they see a player. When they see a player they will start attacking with their arm blades and run toward the player.
Additional Info: When they walk their foot stops sound like hay rustling. The run that they do is slower than the player default sprint but much faster than the walk. They can kill you in about 2 seconds if you are at 100 Health.
Tips to Not Die: They have bad eyesight so you can crouch walk by them occasionally, additionally they are also deaf so feel free to talk loudly when near them. Don’t pick up items near it because it can detect that.
Rugrat
AKA: Baby, Thrower
Tier: 2
Behavior: They crawl around the map looking for loot to throw at players. When it finds something it picks it up over its head and runs towards players. Once it finds you it throws the object at you dealing 30(ish) damage. After it throws the item it runs away to find something else.
Additional Info: Can be picked up and killed by smashing them against something, but you either need 3 players or 3 strength upgrades. When they throw the object at you the object can take damage/break on impact. It is very strong meaning it can lift 2 player items.
Tips to Not Die: Hide when it enters the room and it shouldn’t find you. DO NOT let it get any item that can explode if it does you are cooked.
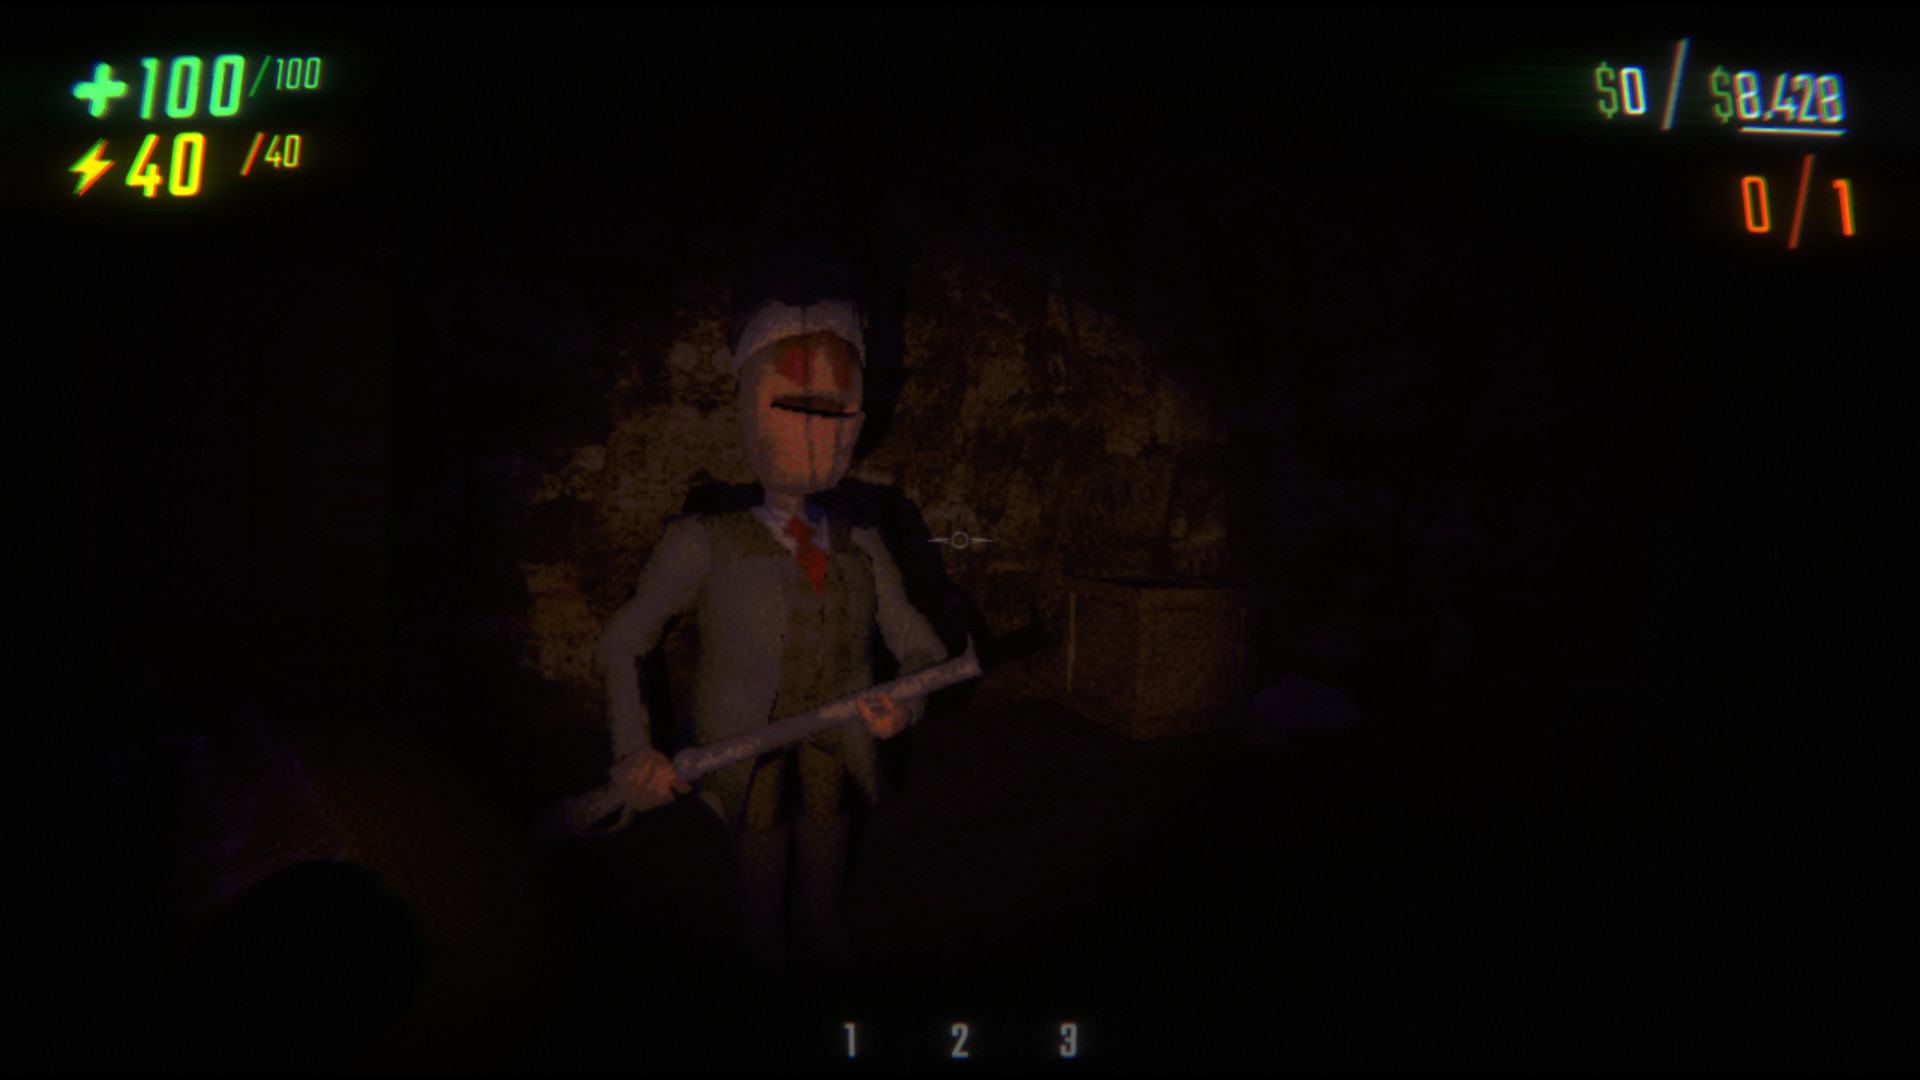
Robe
 AKA: Mask, Shadow
Tier: 3
Behavior: It roams around the map at a medium pace looking for players. If it spots you it slowly follows you (often in a way where you don’t notice). While it’s following you if you glance at it, it gets mad with its mouth opening wide and running straight at you. This increases it movement speed a lot.
Additional Info: If it spots you and you hide it’s able to reach under the table and kill you. When it hits you it often it instantly kills you, unless you are hiding under something then it only deals 50 heath but knocks you back enough to possibly kill you. It also has high health making it hard to kill.
Tips to Not Die: Don't let him see you if he does your only (small) chance is to run. Don’t look at him if he is facing you. Hide if it enters the room and wait for it to leave.
Spewer
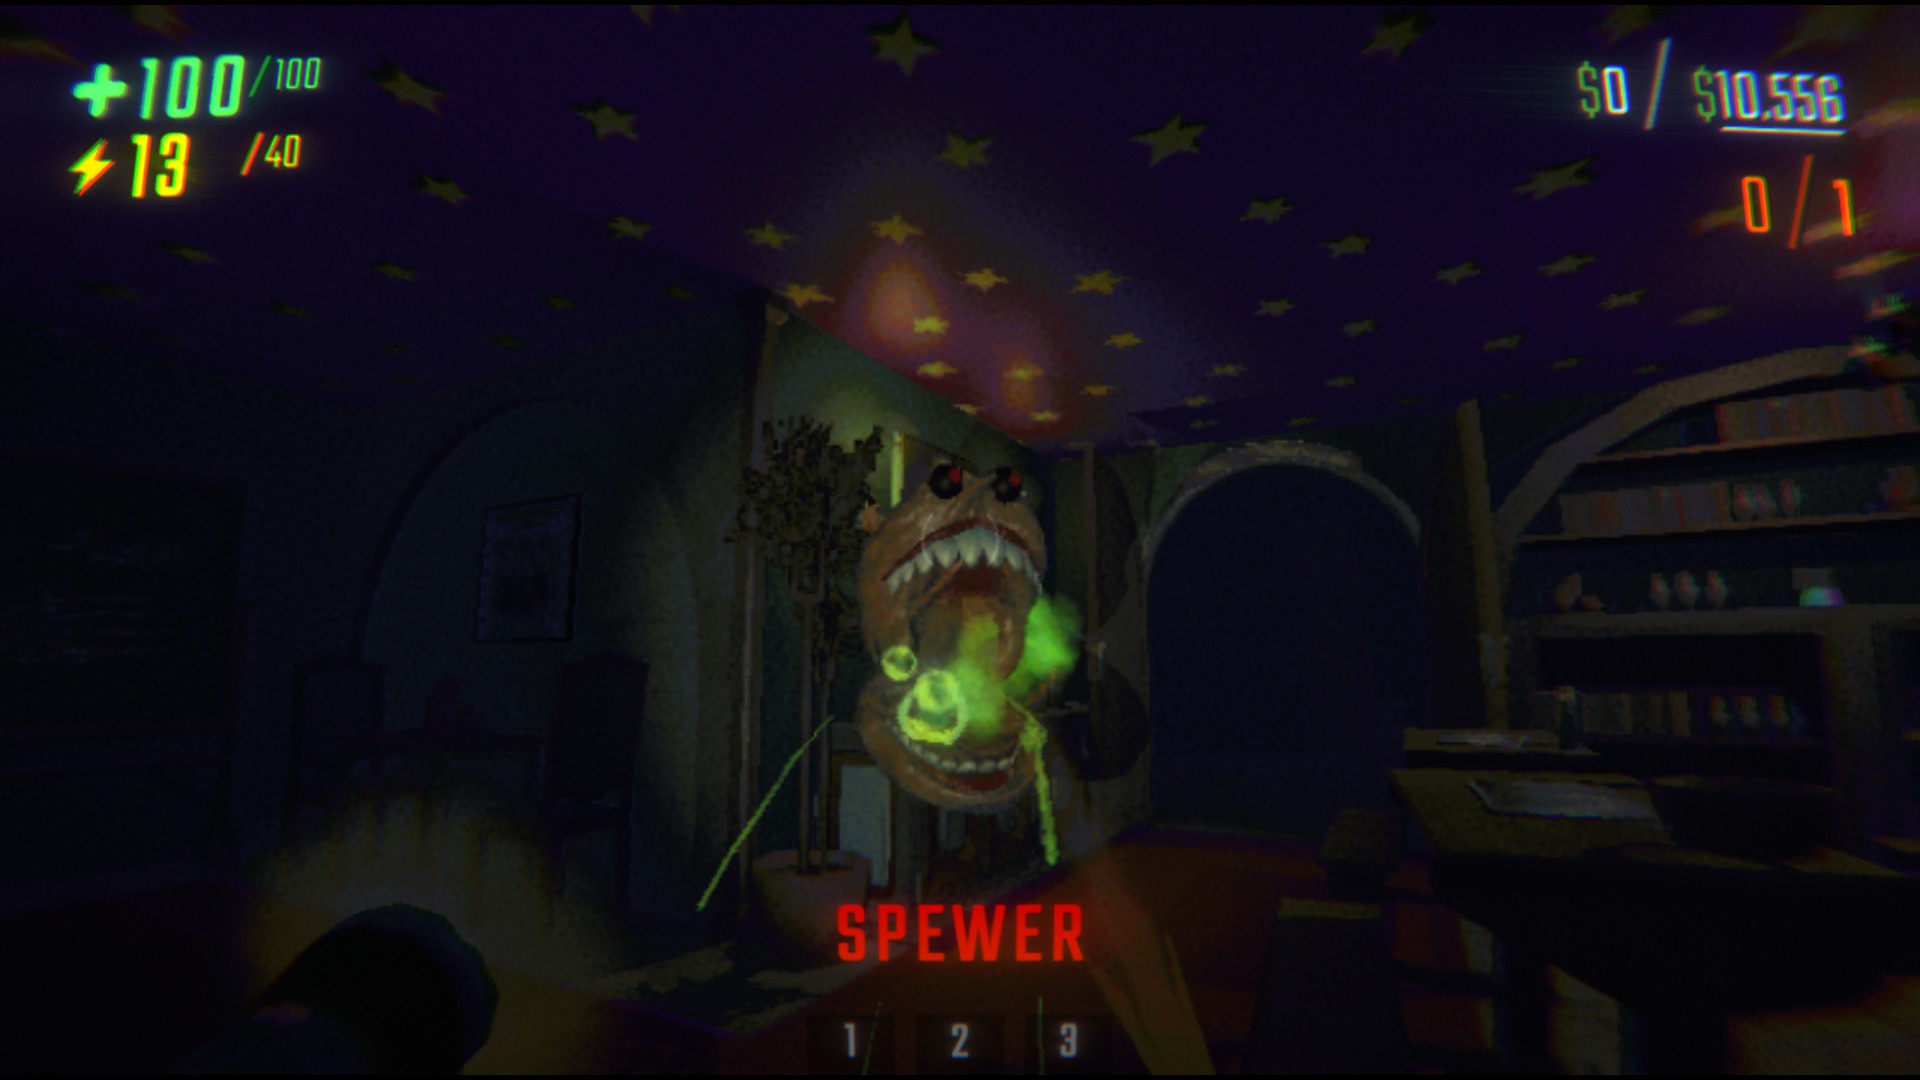 AKA: Squigms
Tier: 1
Behavior: The spewer flies around the map looking for players at a moderate pace. When it finds one it does 2 things: 1 it will gurgle and fly towards you, or 2 it will scream at you and barf on them. The bark deals damage. If it touches you while it’s chasing you it will latch onto you for around a 30-60 seconds.This deals no damage but making you bark ever 5 seconds which can destroy/damage loot. The barf can also hurt players and a few monsters.
Additional Info: When it attaches to you it makes your voice very deep. If you grab it, it will try to fly away or it will latch onto you. It’s more of a good thing than a bad one, because you can use it as a weapon against some monsters. Monsters that can find with hearing may hear the puking. Pressing Q to tumble cancels the barf.
Tips to Not Die: Hide when it enters room. If it sees you hiding it can get you.
Shadow Child
 AKA: Child
Tier: 2
Behavior: Instead of walking around it teleports. When it teleports into the room that you are in (or the one next to you) it makes the sound of children laughing. If you look at it for about 3 seconds it will attack you and do 30 damage. The attack also launch’s the player far away from where it was possibly dealing physics damage.
Additional Info: While looking at it darkens your view. They have low Health and one shot from a melee weapon should kill it. If you don’t have one and you want to kill it try sprinting towards it while jumping and pressing Q to tumble. This will damage both of you and will make the monster fall over. Soon after it falls it will teleport away.
Tips to Not Die: When your vision darkens just look down and it should stop.
Trudge
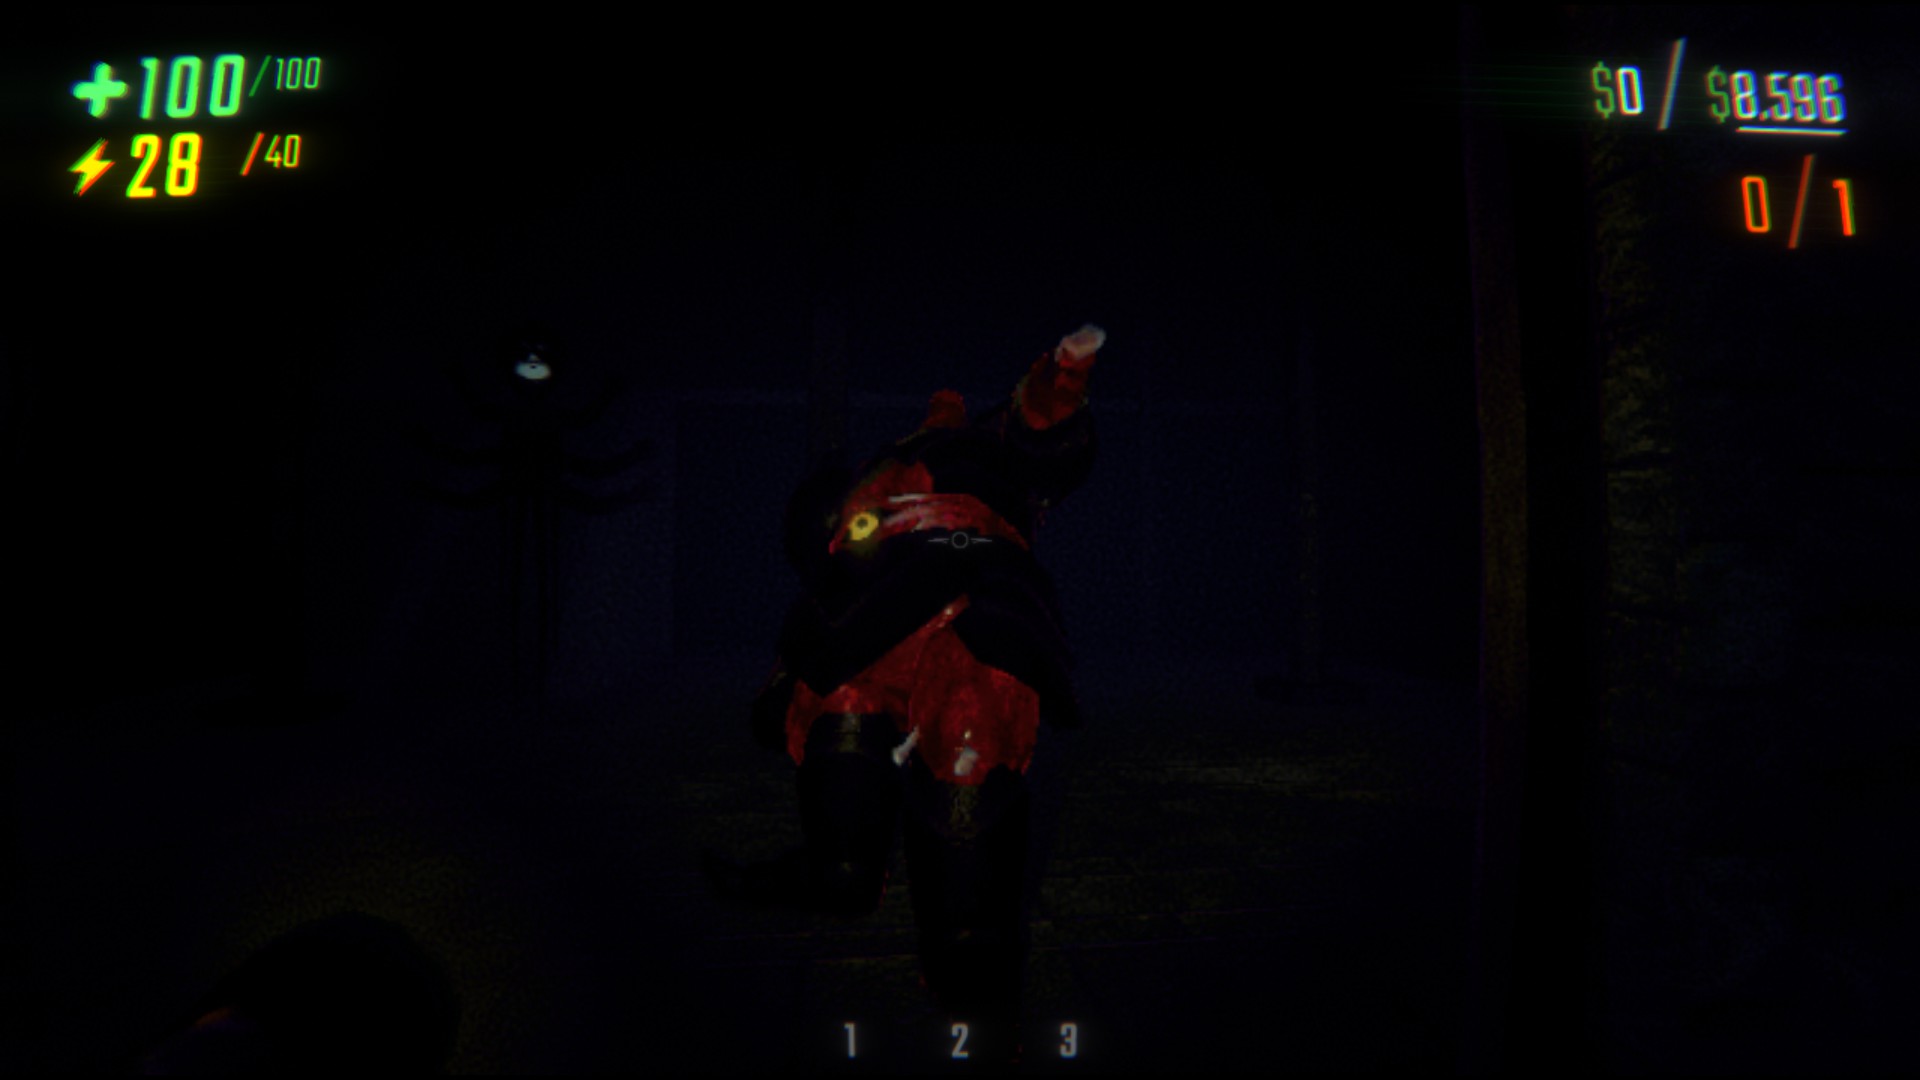 AKA: Tank, Slowwalker, Executioner, Big Red
Tier: 3
Behavior: The monster walks around looking for players, when it finds one it creates a massive shock wave with its mace that pulls all players in same room towards it. This can deal heavy damage and occasionally kill. After the shockwave it follows up with a new attack that insta kills you. This attack also has a big AOE.
Additional Info: Very dangerous, but also very slow. Slowest monster in the game. Can be heard from far away because it drags its weapon behind it. If it spots you under an object it can reach you with a tentacle. Completely deaf, meaning you can walk/run behind it and it won't notice you. This also means if it turns away from you, you can pick up objects/the cart.
Tips to Not Die: Hide under a table when it enters a room and hope it doesn’t see you. I don’t recommend trying to kill it, it has lots of heath and if you get cornered you are cooked. If you do choose to kill it use landmines. Be warned you will need to use a lot of mines if you want to kill it.
Info From Comments: "The Trudge (or Big Red as I like to call it) will be fairly easy for any mildly experienced/skilled player to deal with, right up until you throw a teammate into the mix. I have never died to a trudge that saw me. I have died multiple times to a trudge that saw one of my buddies. I shortly afterwards had several choice words for them. " -Professor Bean
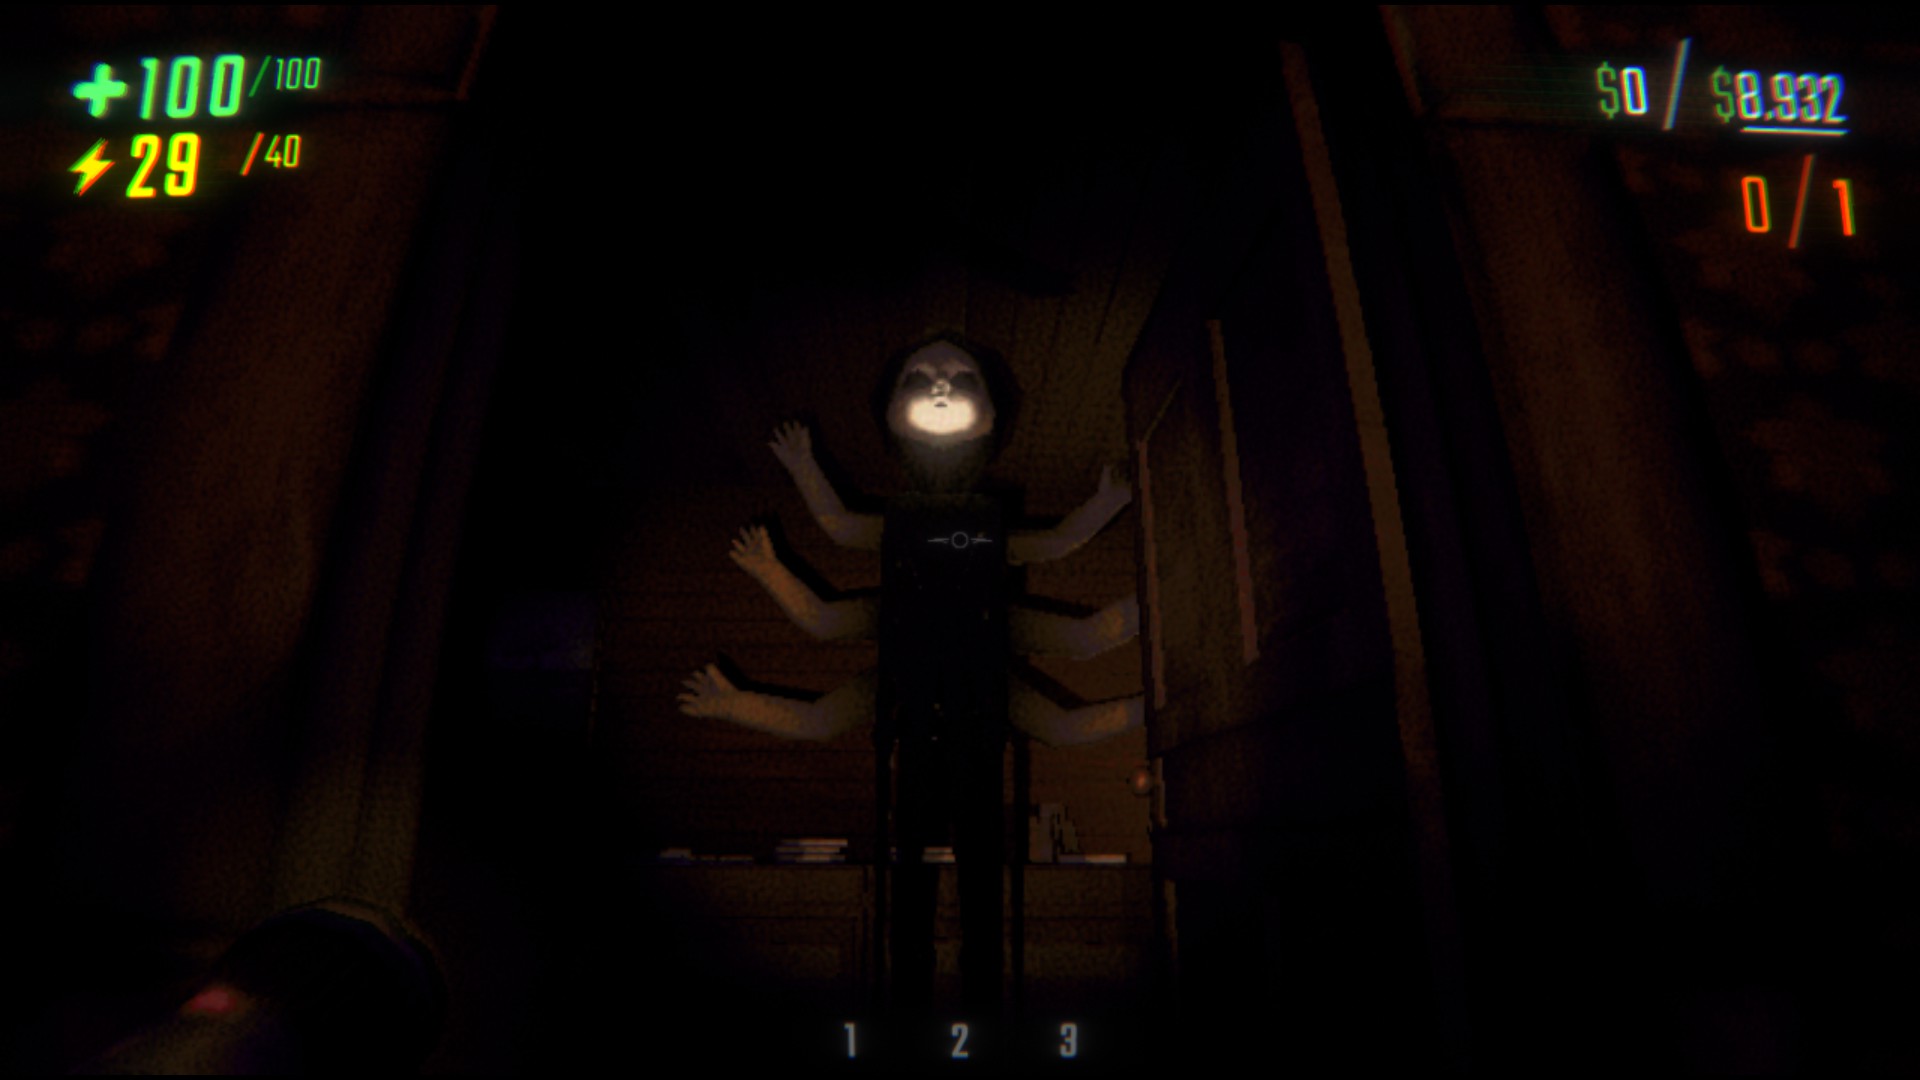
Upscream
Appearance: The Upscream looks similar to a Animal but it has a human head.
AKA: Crawler
Behavior: The Upscream crawls around the map looking for players. When it spots you it grabs you screams, then flings you back, stunning you and dealing damage.
Additional Info: You a group of Upscream’s catches you, you can get stun locked and will die.
Tips to Not Die: Jump onto something high that they cannot reach.
Credit to: WafflePancake for the info