100% Achievement Guide | All Missions, Collectibles & Secrets
 Johnny Doge
(1,581 ratings)
Oct 10, 2025 @ 9:58am37,1522,650
AchievementsMaps or LevelsMultiplayerWalkthroughsEnglish
About this guide
This is a complete achievement guide for Battlefield 6, covering both single player and multiplayer.
All single-player achievements and collectibles are organized in the order they appear during a typical playthrough.
⚠️This guide is not spoiler-free. It reveals mission details, collectible locations, and achievement requirements that may spoil parts of the story. Use it at your own risk if you want to experience the game's narrative without hints or spoilers⚠️
Quick Stats
Total Achievements
53
Total Collectibles (Single Player Campaign)
30
Estimated Completion Time (Single Player Campaign)
5–8 hours
Missable Achievements (Single Player Campaign)
14
Playthroughs Required (Single Player Campaign)
1
Before you start
You don't have to play entire campaign on hardest difficulty. There's only one achievement requiring it. You can lower it after you complete the first mission
Collectibles glow/blink (but not all of them)
FAQ (Frequently Asked Questions)
I did everything required for the achievement, but I didn't receive it (Single Player)This can sometimes happen due to a bug or a tracking issue. Try the following steps:
- Verify the integrity of the game files and restart your game
- Restart from the last checkpoint and complete the objective again
- If that doesn't work, restart the entire mission and try again from the beginning

Single Player Achievements
Some achievements are missable, typically requiring you to collect dog tags or complete specific actions during missions. Campaign related achievements, however, are unmissable and unlock through normal progression
- One Stone
- Peak Performance
- Liquidator
- Armor Annihilation
- End of an Era
- In Memoriam
- Stand Alone
- Dogs of War
- Efficiency
- Deep-Six
- Rock of Gibraltar
- Hounds of War
- Sidearm Savant
- Devil in the Dark
- Looks Like a Nail
- Bullseye Blitz
- Wolves of War
- Secret Service
- Roadside Assistance
- High Roller
- Being Watched
- Damned If You Do
- No Reinforcements
- Pack Leader
- Cloak and Dagger
General Single Player Achievements
🏆One StoneEliminate 3 enemies with a single grenade in single player
💡This can be done in the first mission. Just throw a grenade at the jeep after exiting the forest (the place where you meet with your sniper team).

🏆Peak PerformanceComplete a Single Player mission on the hardest difficulty
💡Can be unlocked during the first mission if you're playing on the hardest difficulty.
Once you earn this achievement, you're free to lower the difficulty - no other achievements require playing on the hardest setting

🏆LiquidatorHeadshot kill 50 Enemies in the Campaign

🏆Armor AnnihilationDestroy 10 enemy vehicles in Single Player

Mission 1: Always Faithful
Collectibles
3
Achievements
3
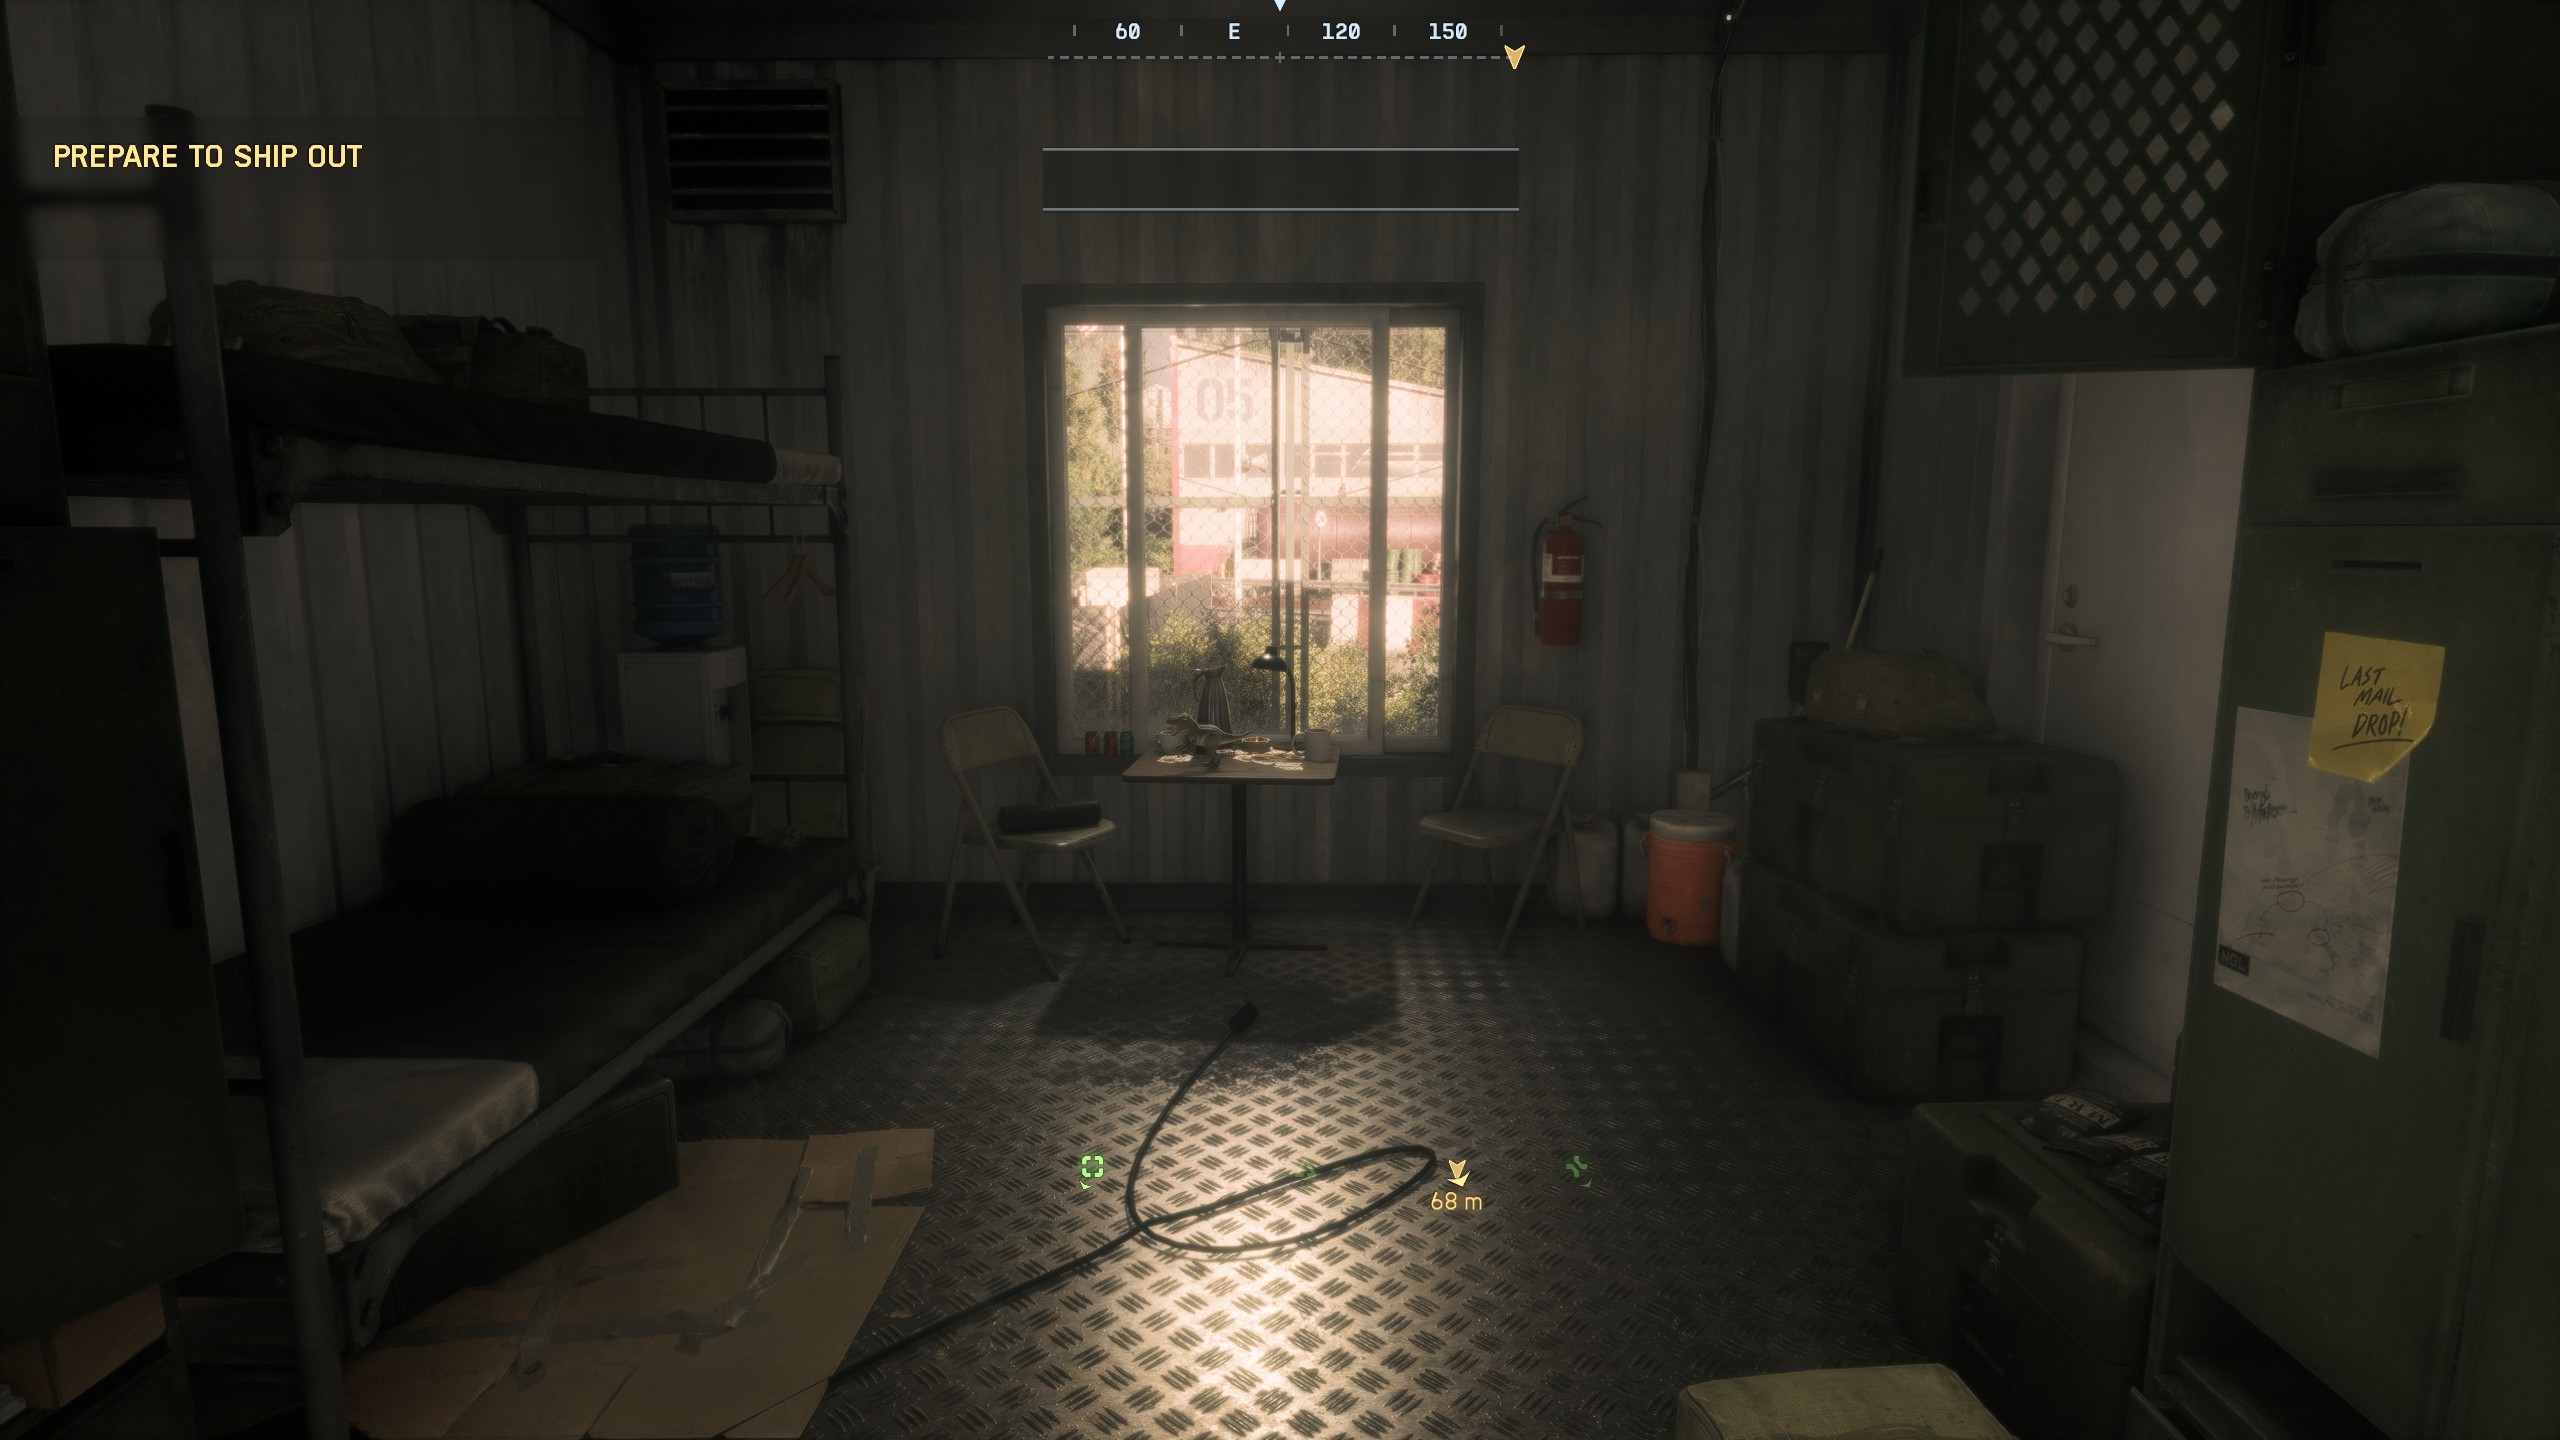
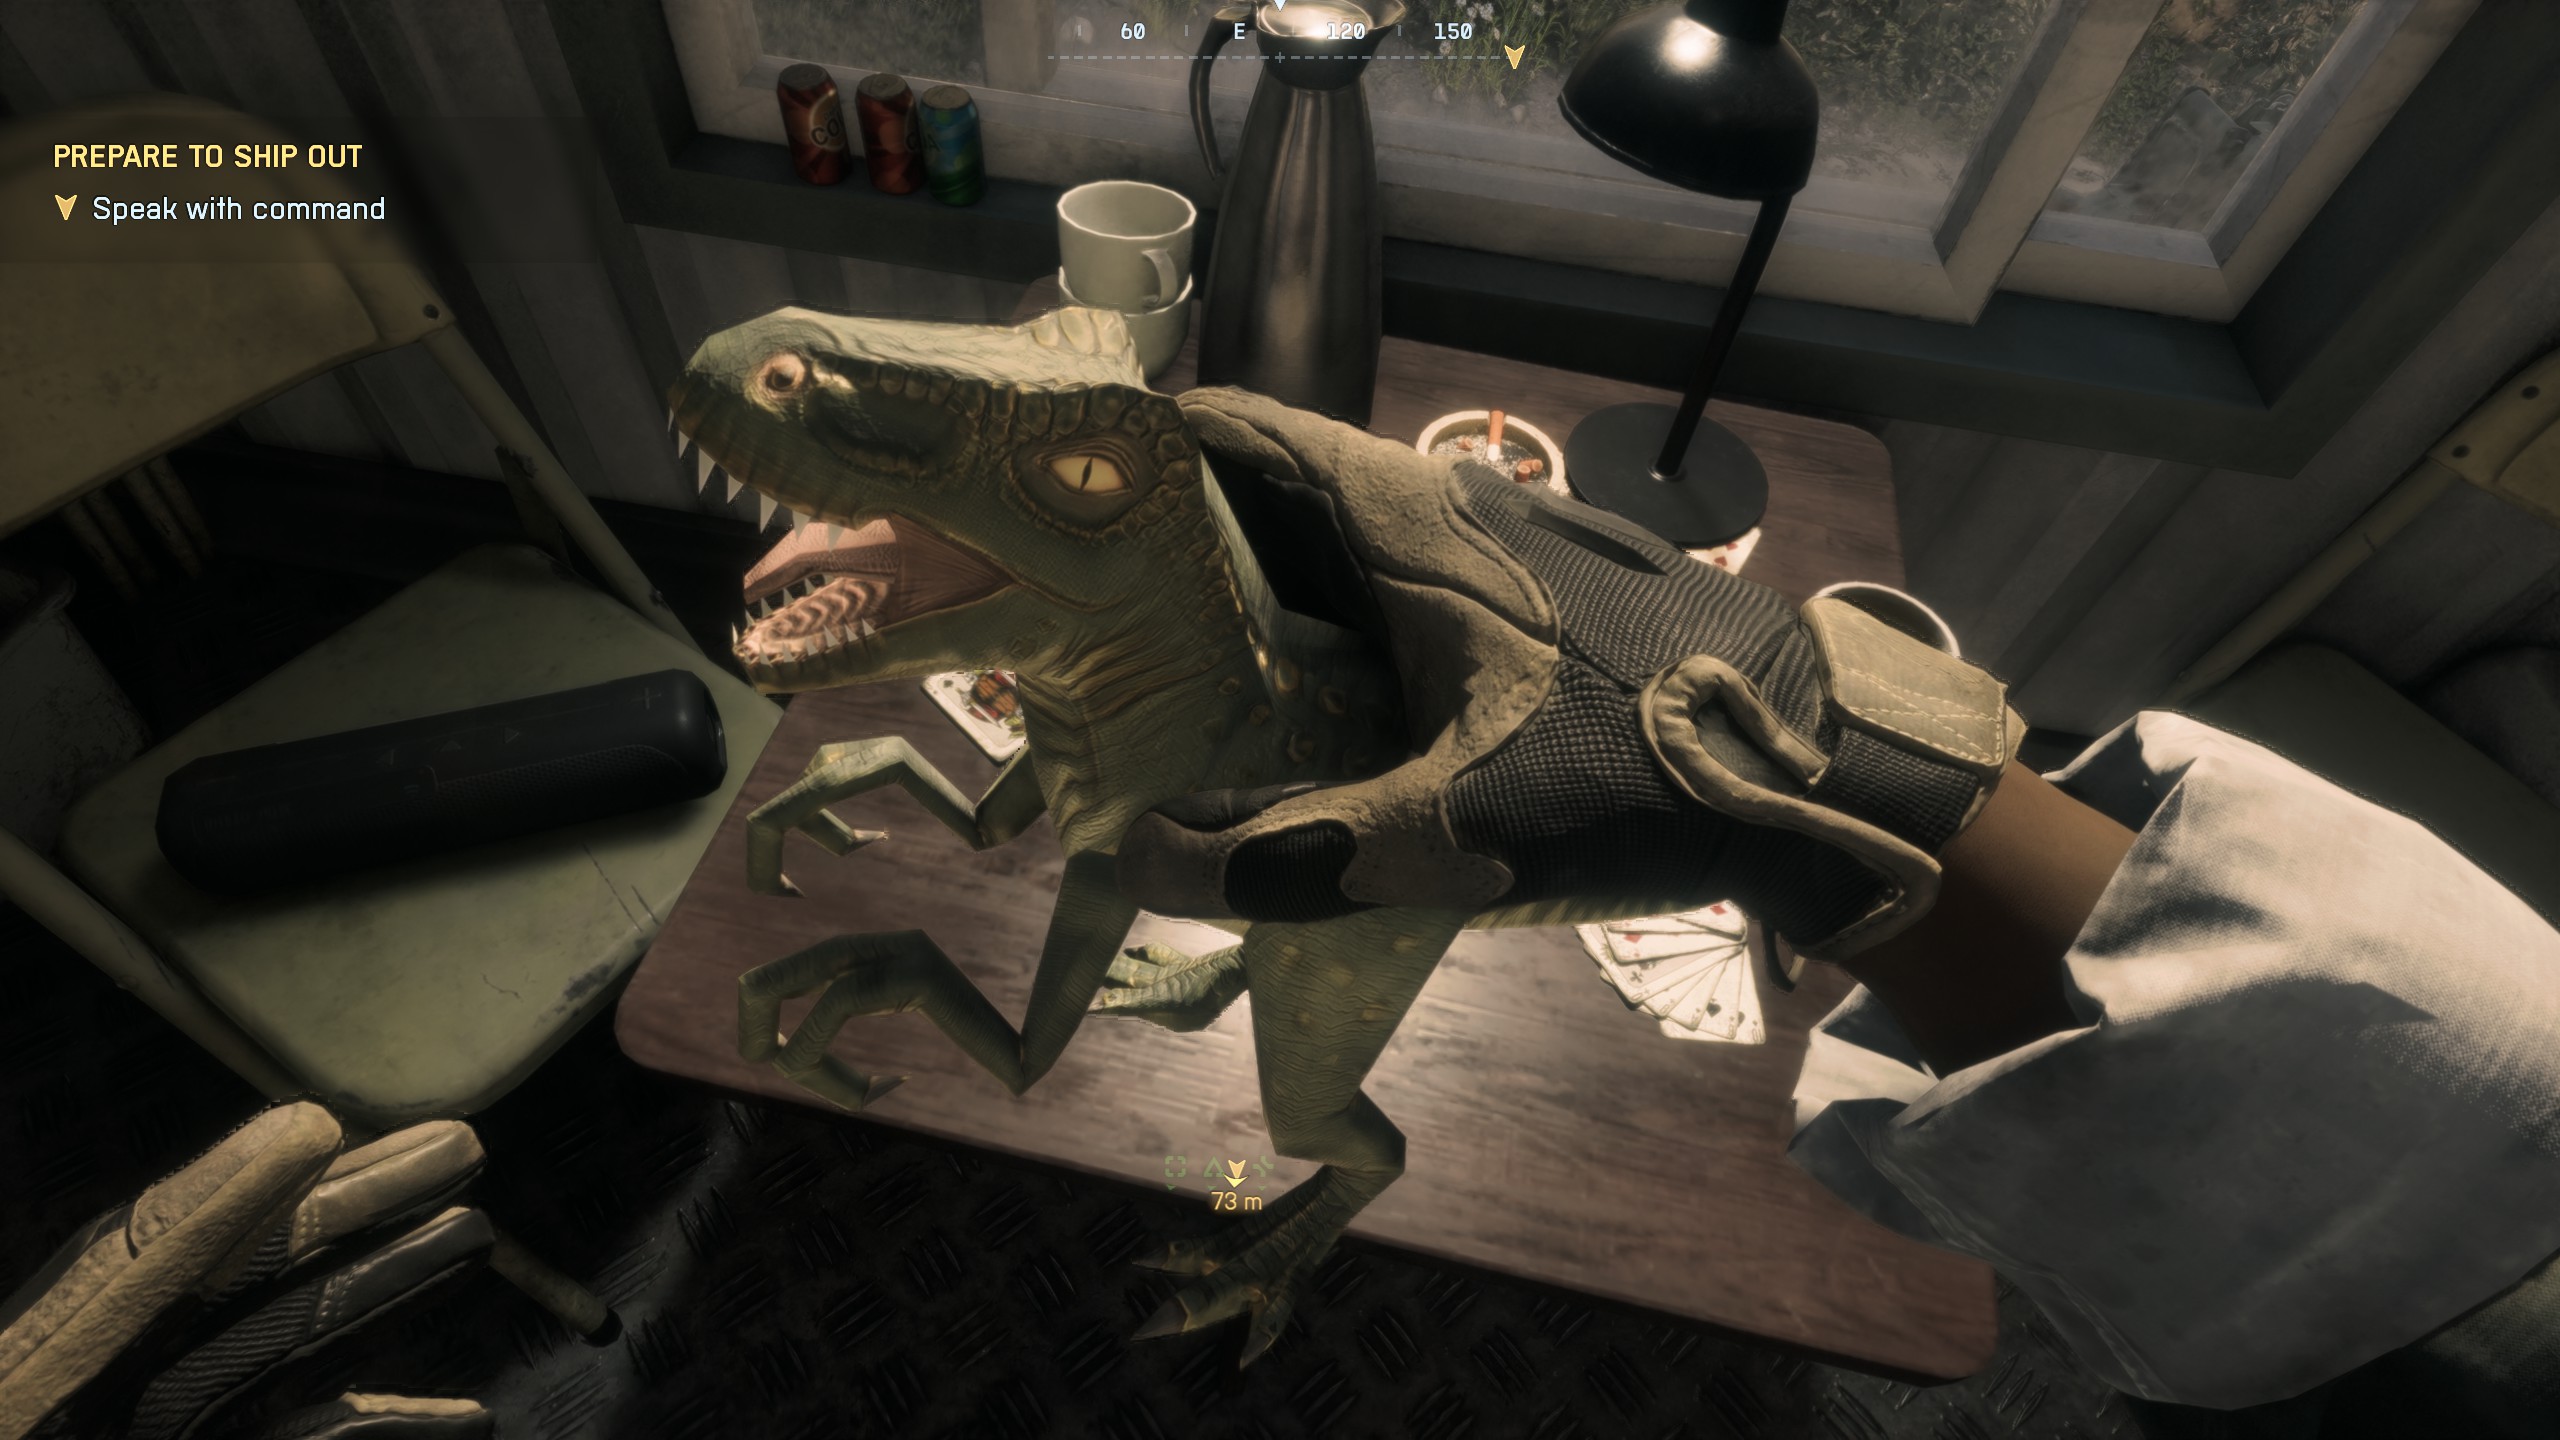
🏆End of an EraFind the dinosaur figurine in the NATO base in Always FaithfulAs soon as you take control of your character, immediately turn around. You'll see the dinosaur figurine on a table. You'll likely need to crouch to pick it up

📍Collectible #1 - Dog Tag (#1)Location: Beginning of the missionWhen you meet the sniper squad, look for the ammo crate. The dog tag will be sitting on top of the crate
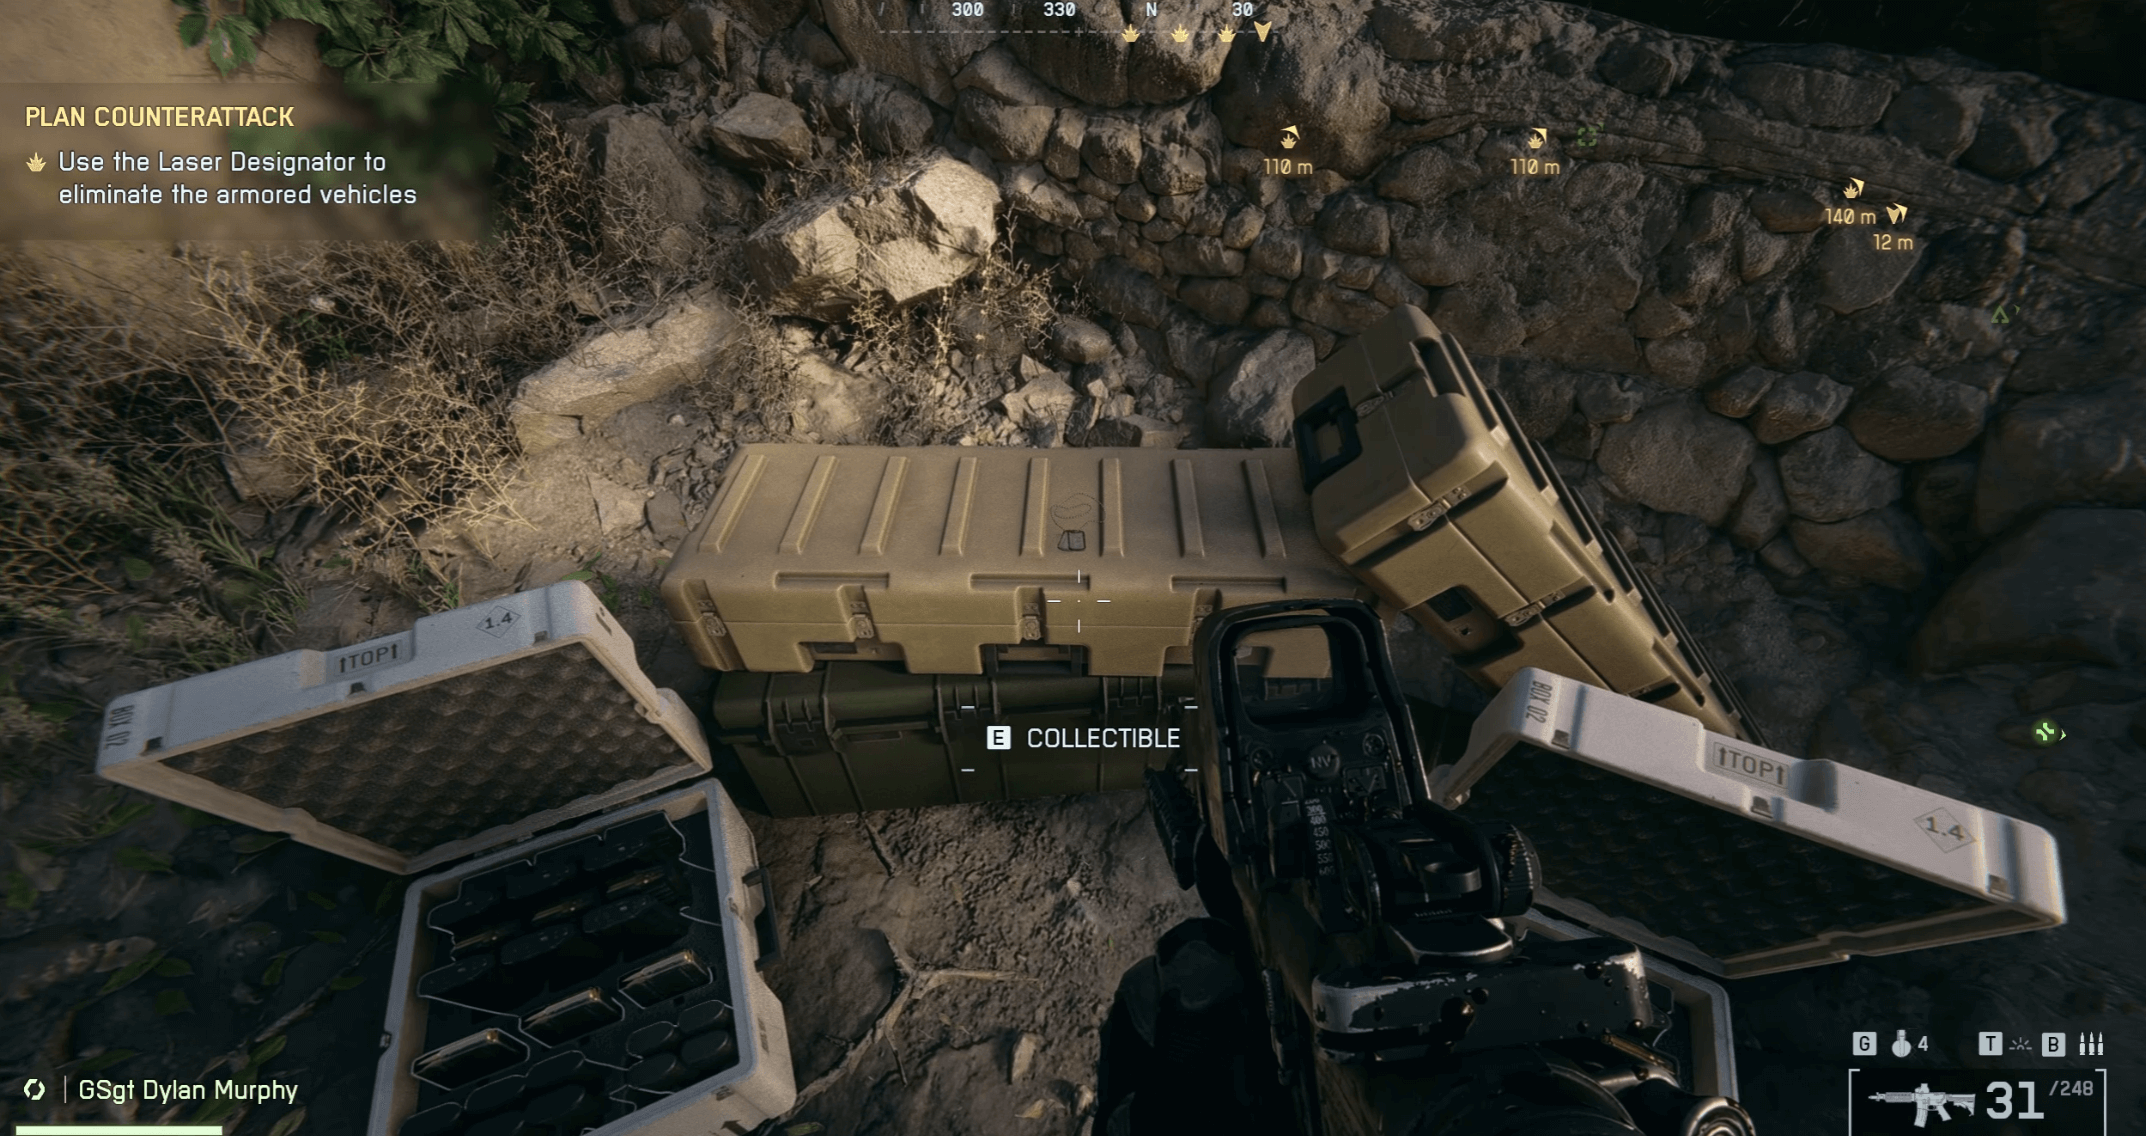
🏆In MemoriamPick up a Campaign collectibleThis achievement unlocks when you collect any Campaign collectible

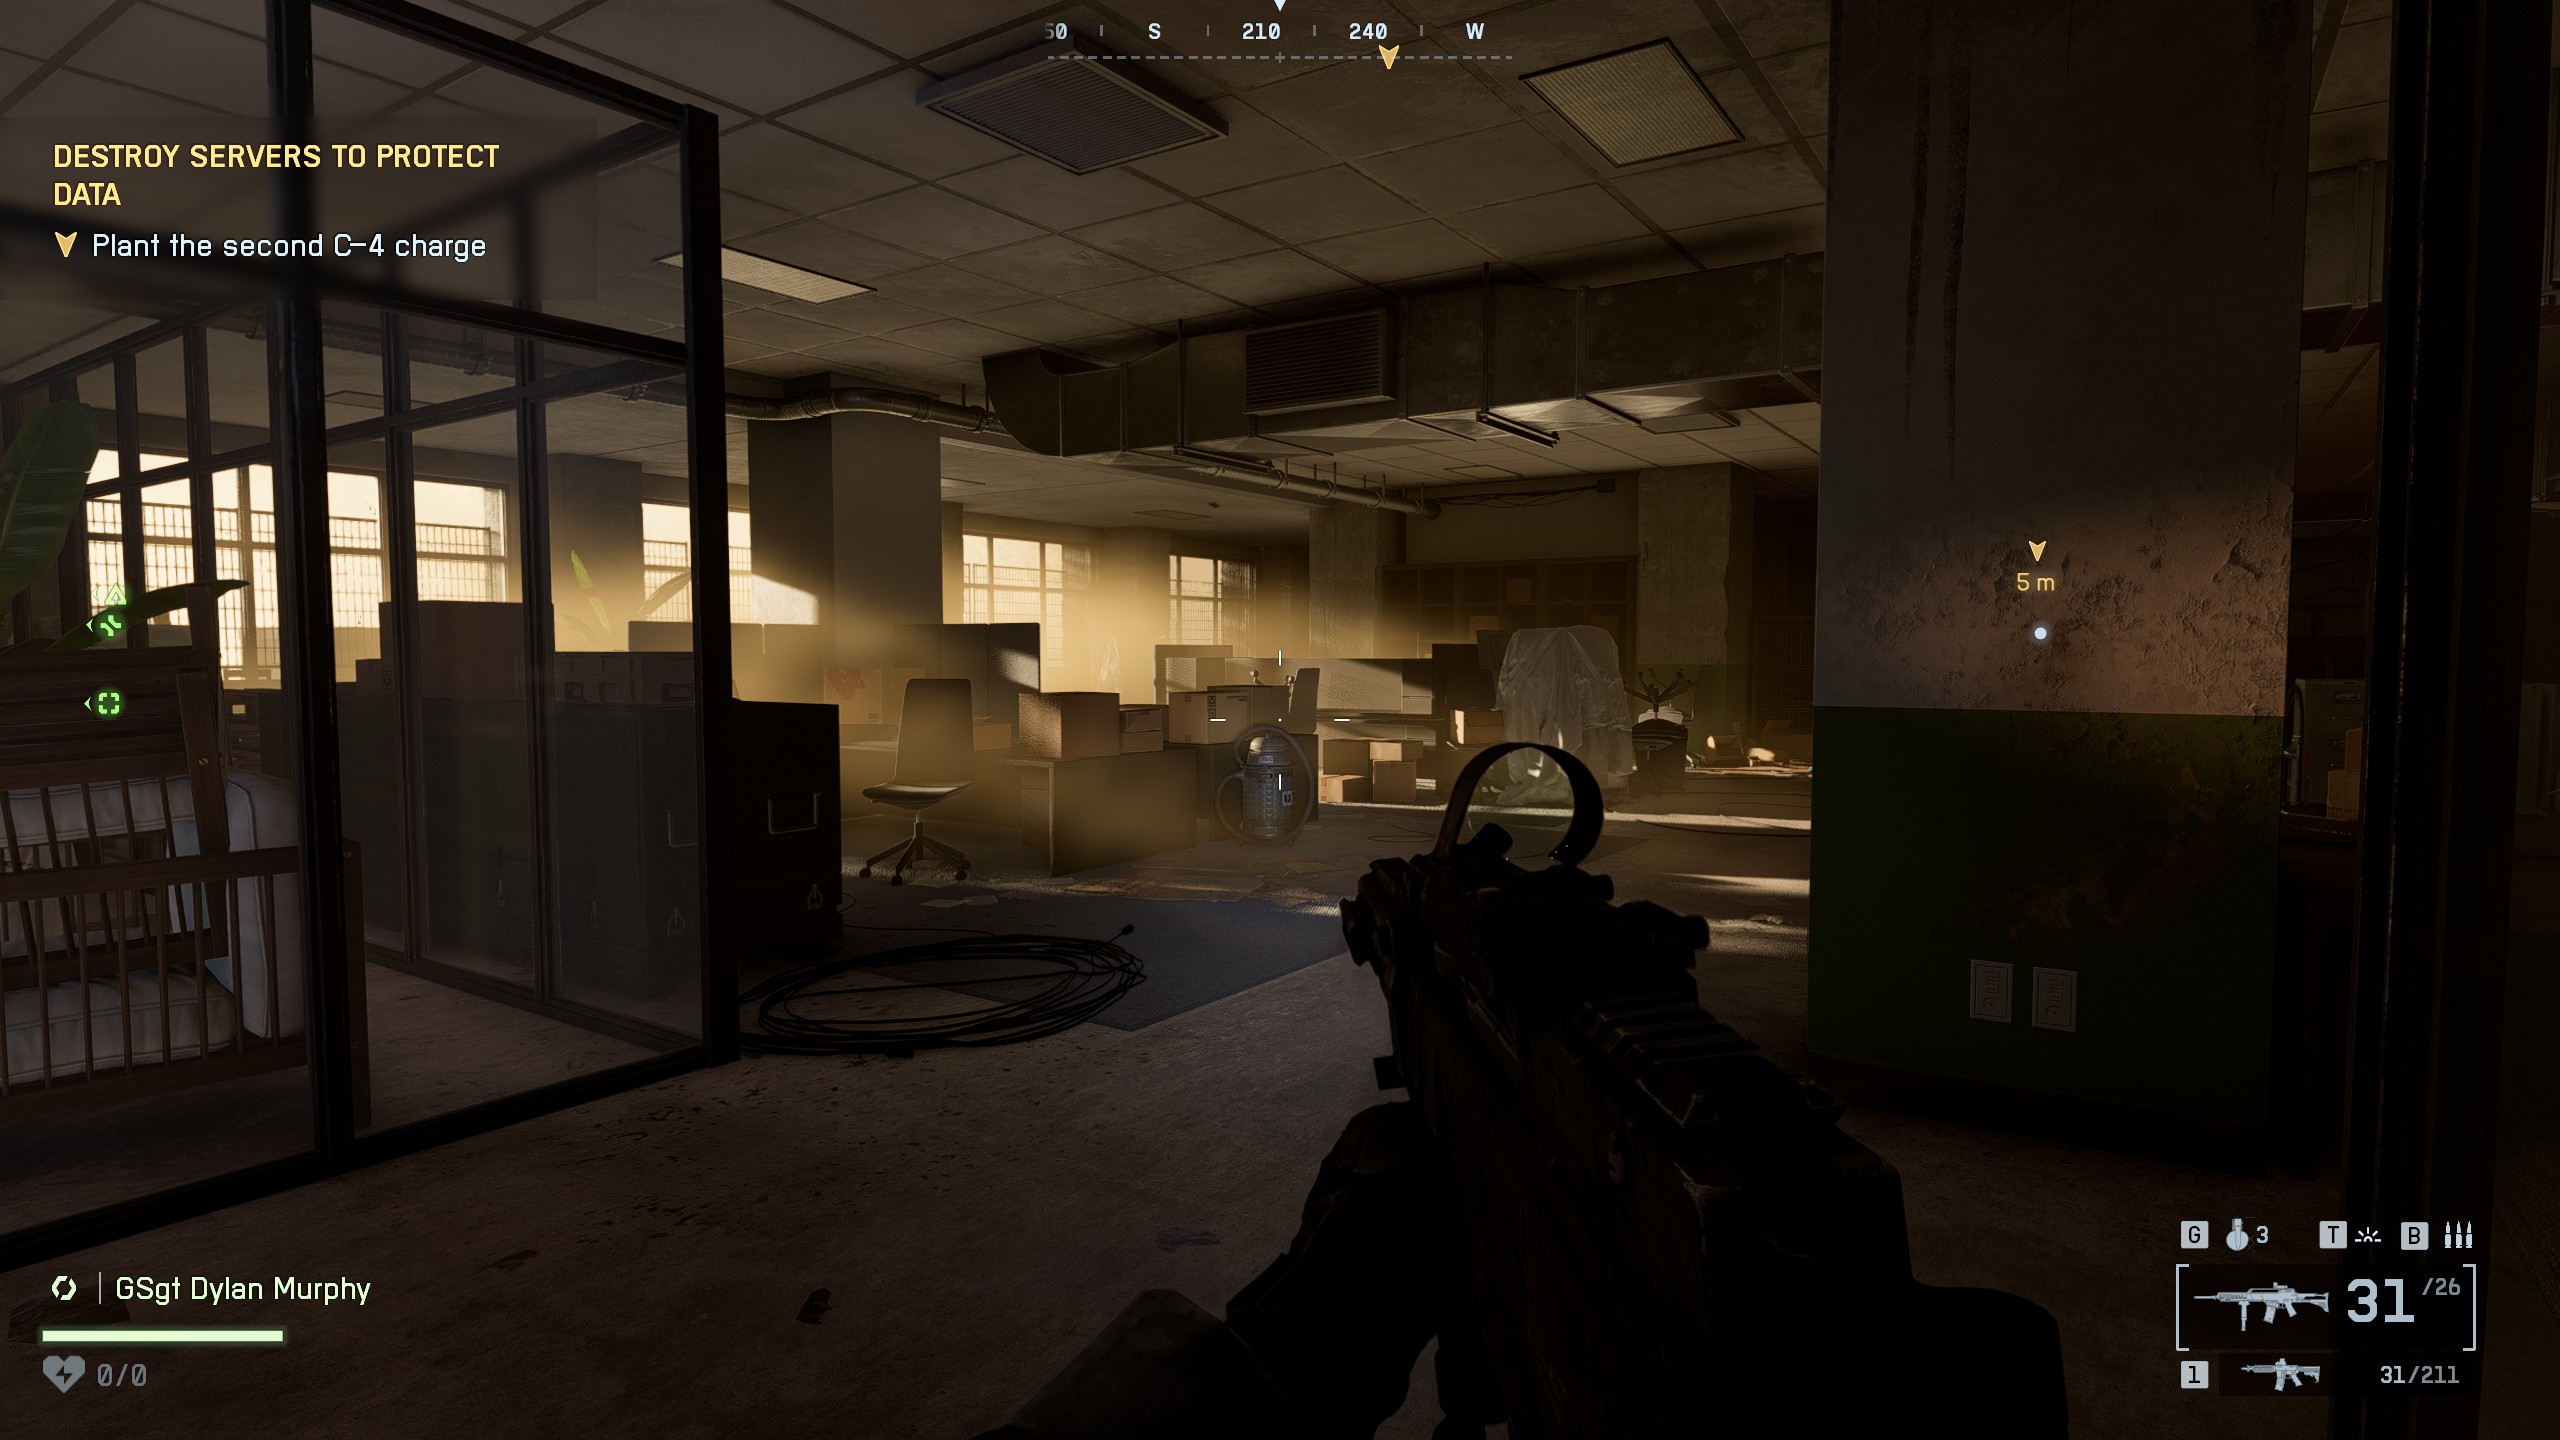
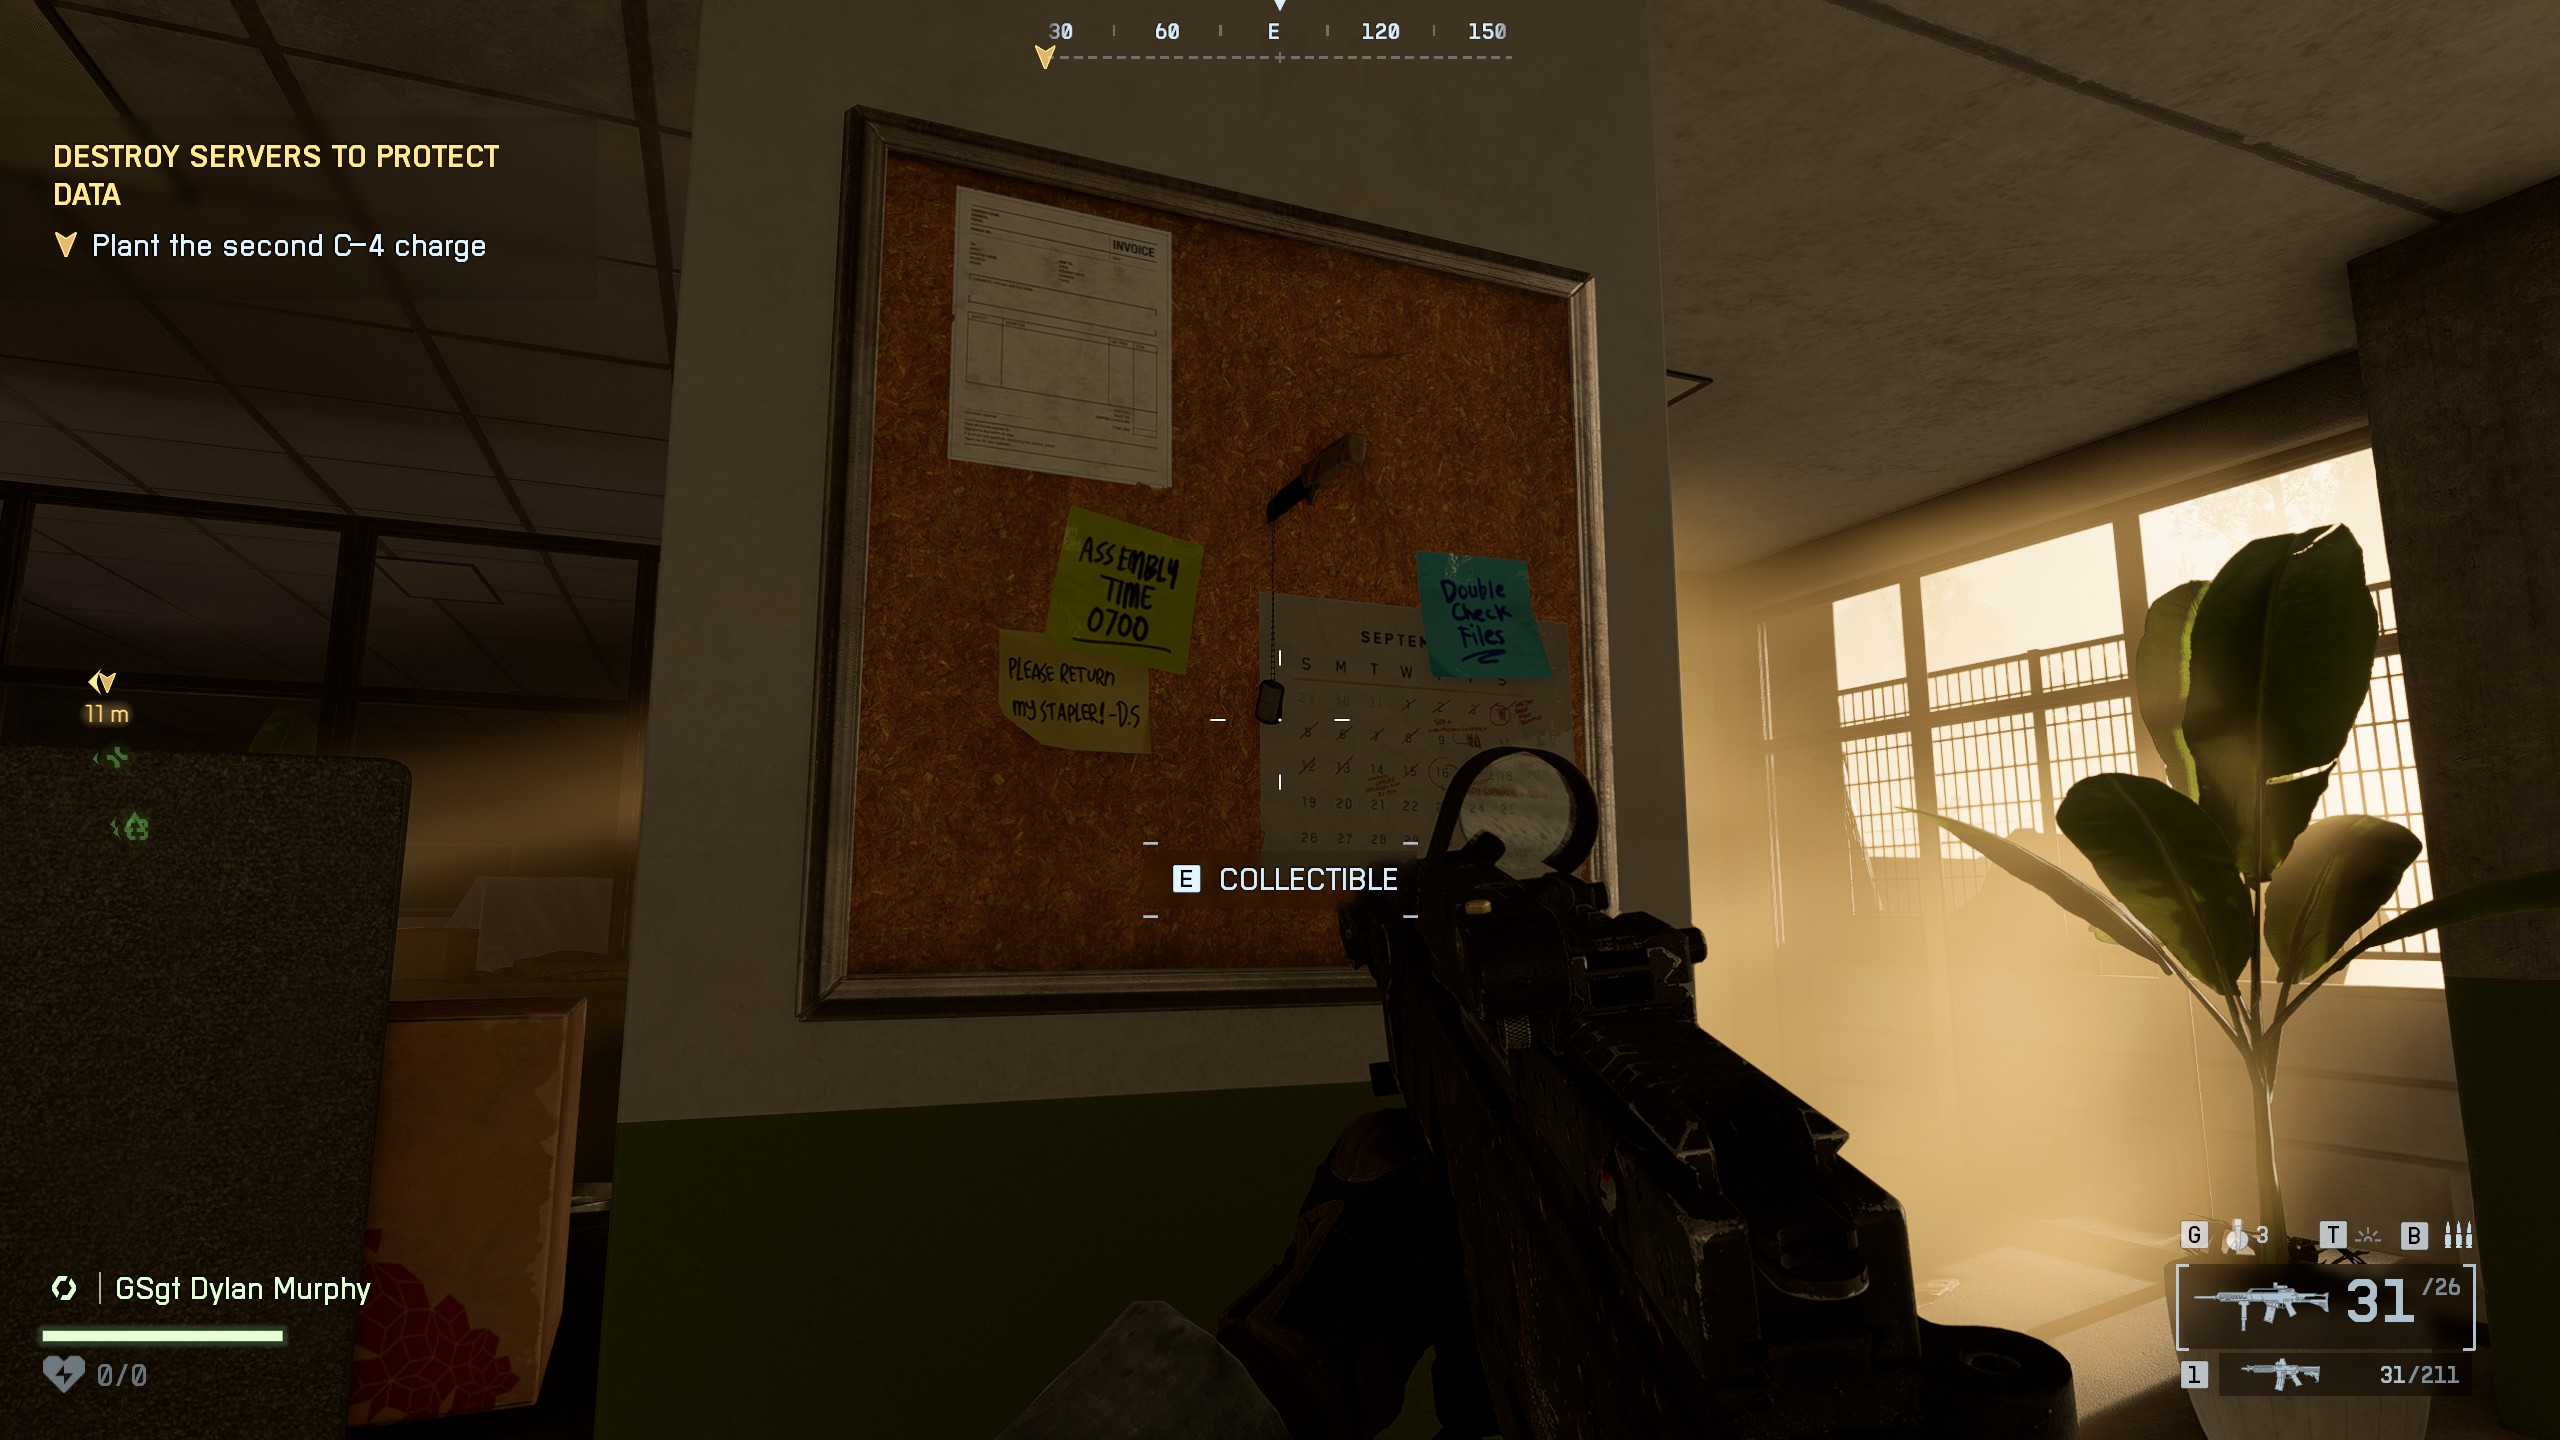
📍Collectible #2 - Dog Tag (#2)Location: Near the second C4 objectiveWhen the objective updates to "Plant the second C4 charge", turn left toward the windows. On the opposite side, you'll see a pillar with a knife stuck in it - the dog tag is hanging from the knife
📍Collectible #3 - Dog Tag (#3)Location: After climbing the rope, immediately turn LEFT - it will be blinking
Hard to miss once you know to look left. The blinking gives it away.
🏆Stand AloneComplete Always Faithful

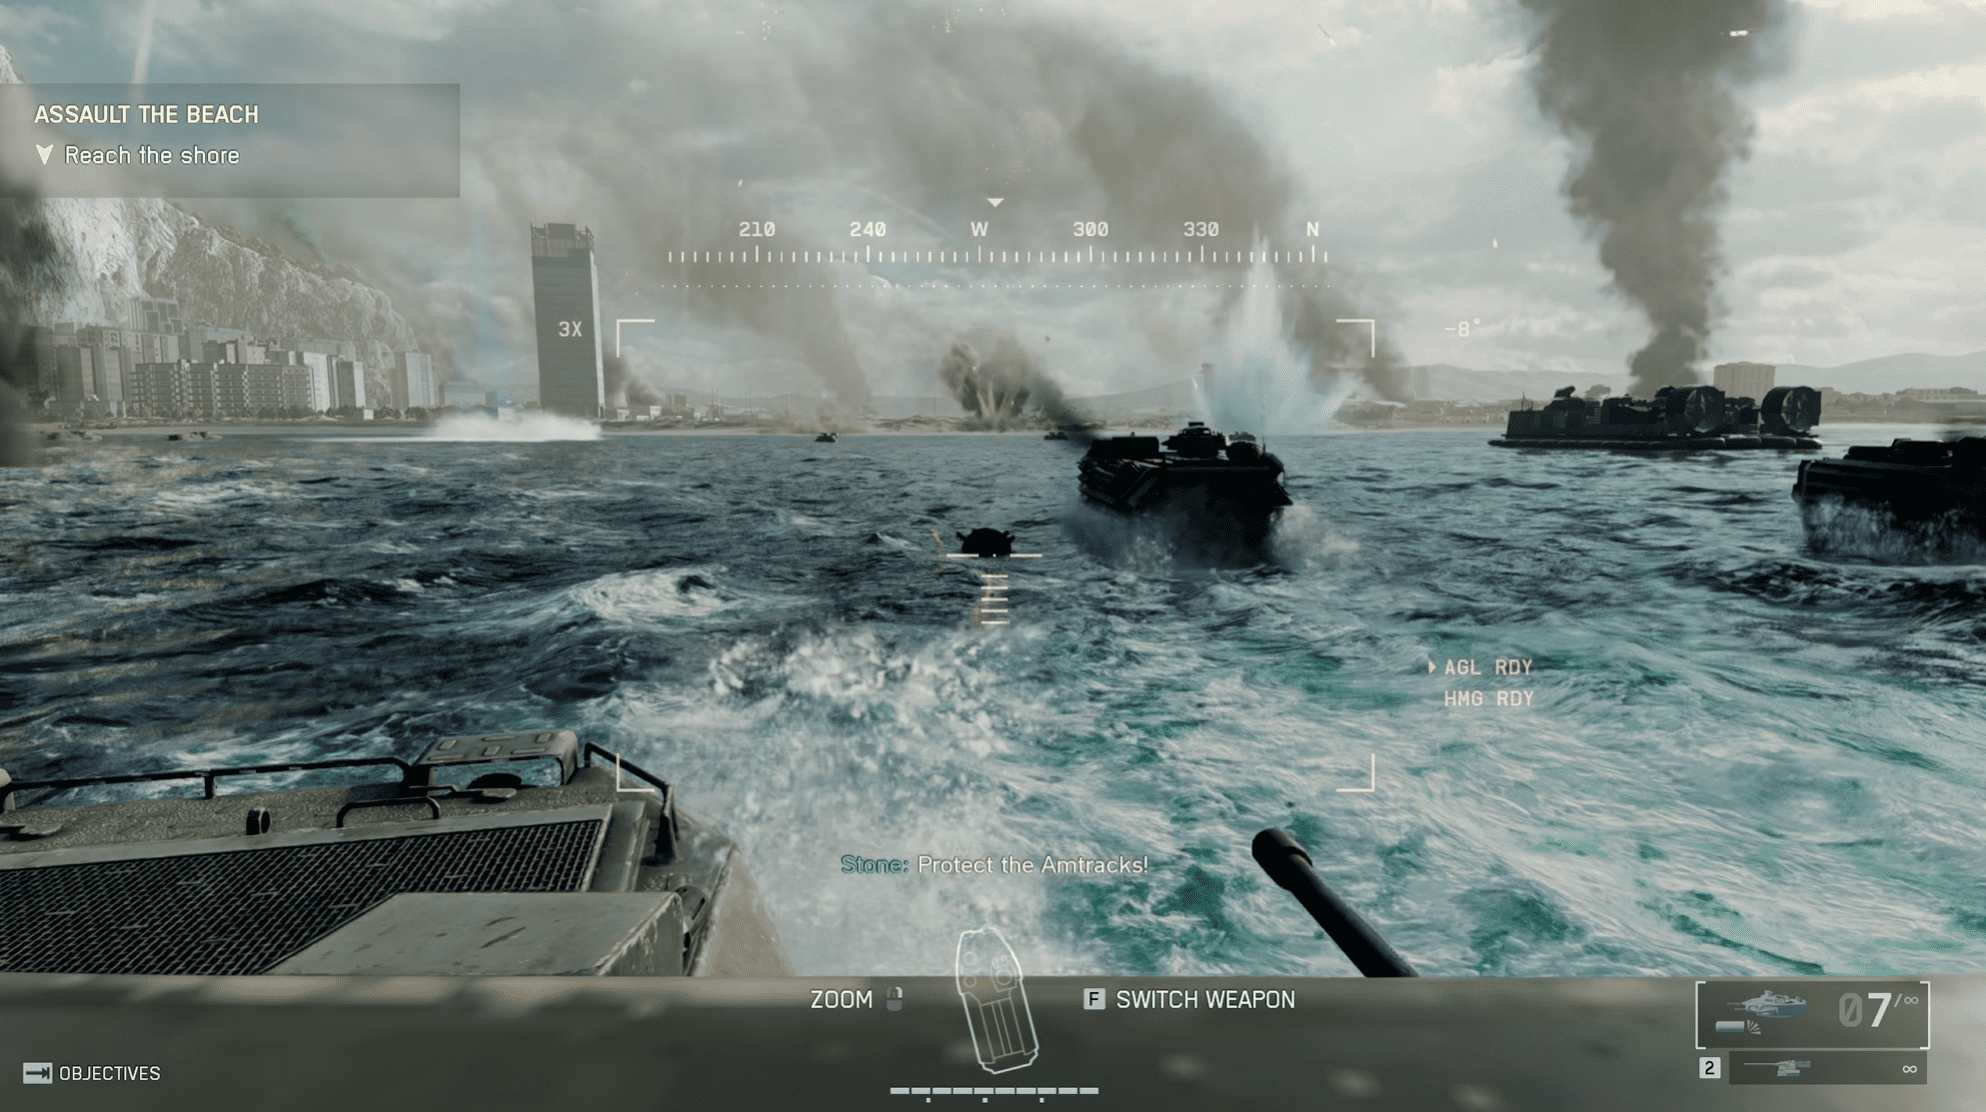
Mission 2: Gibraltar
Collectibles
3
Achievements
2
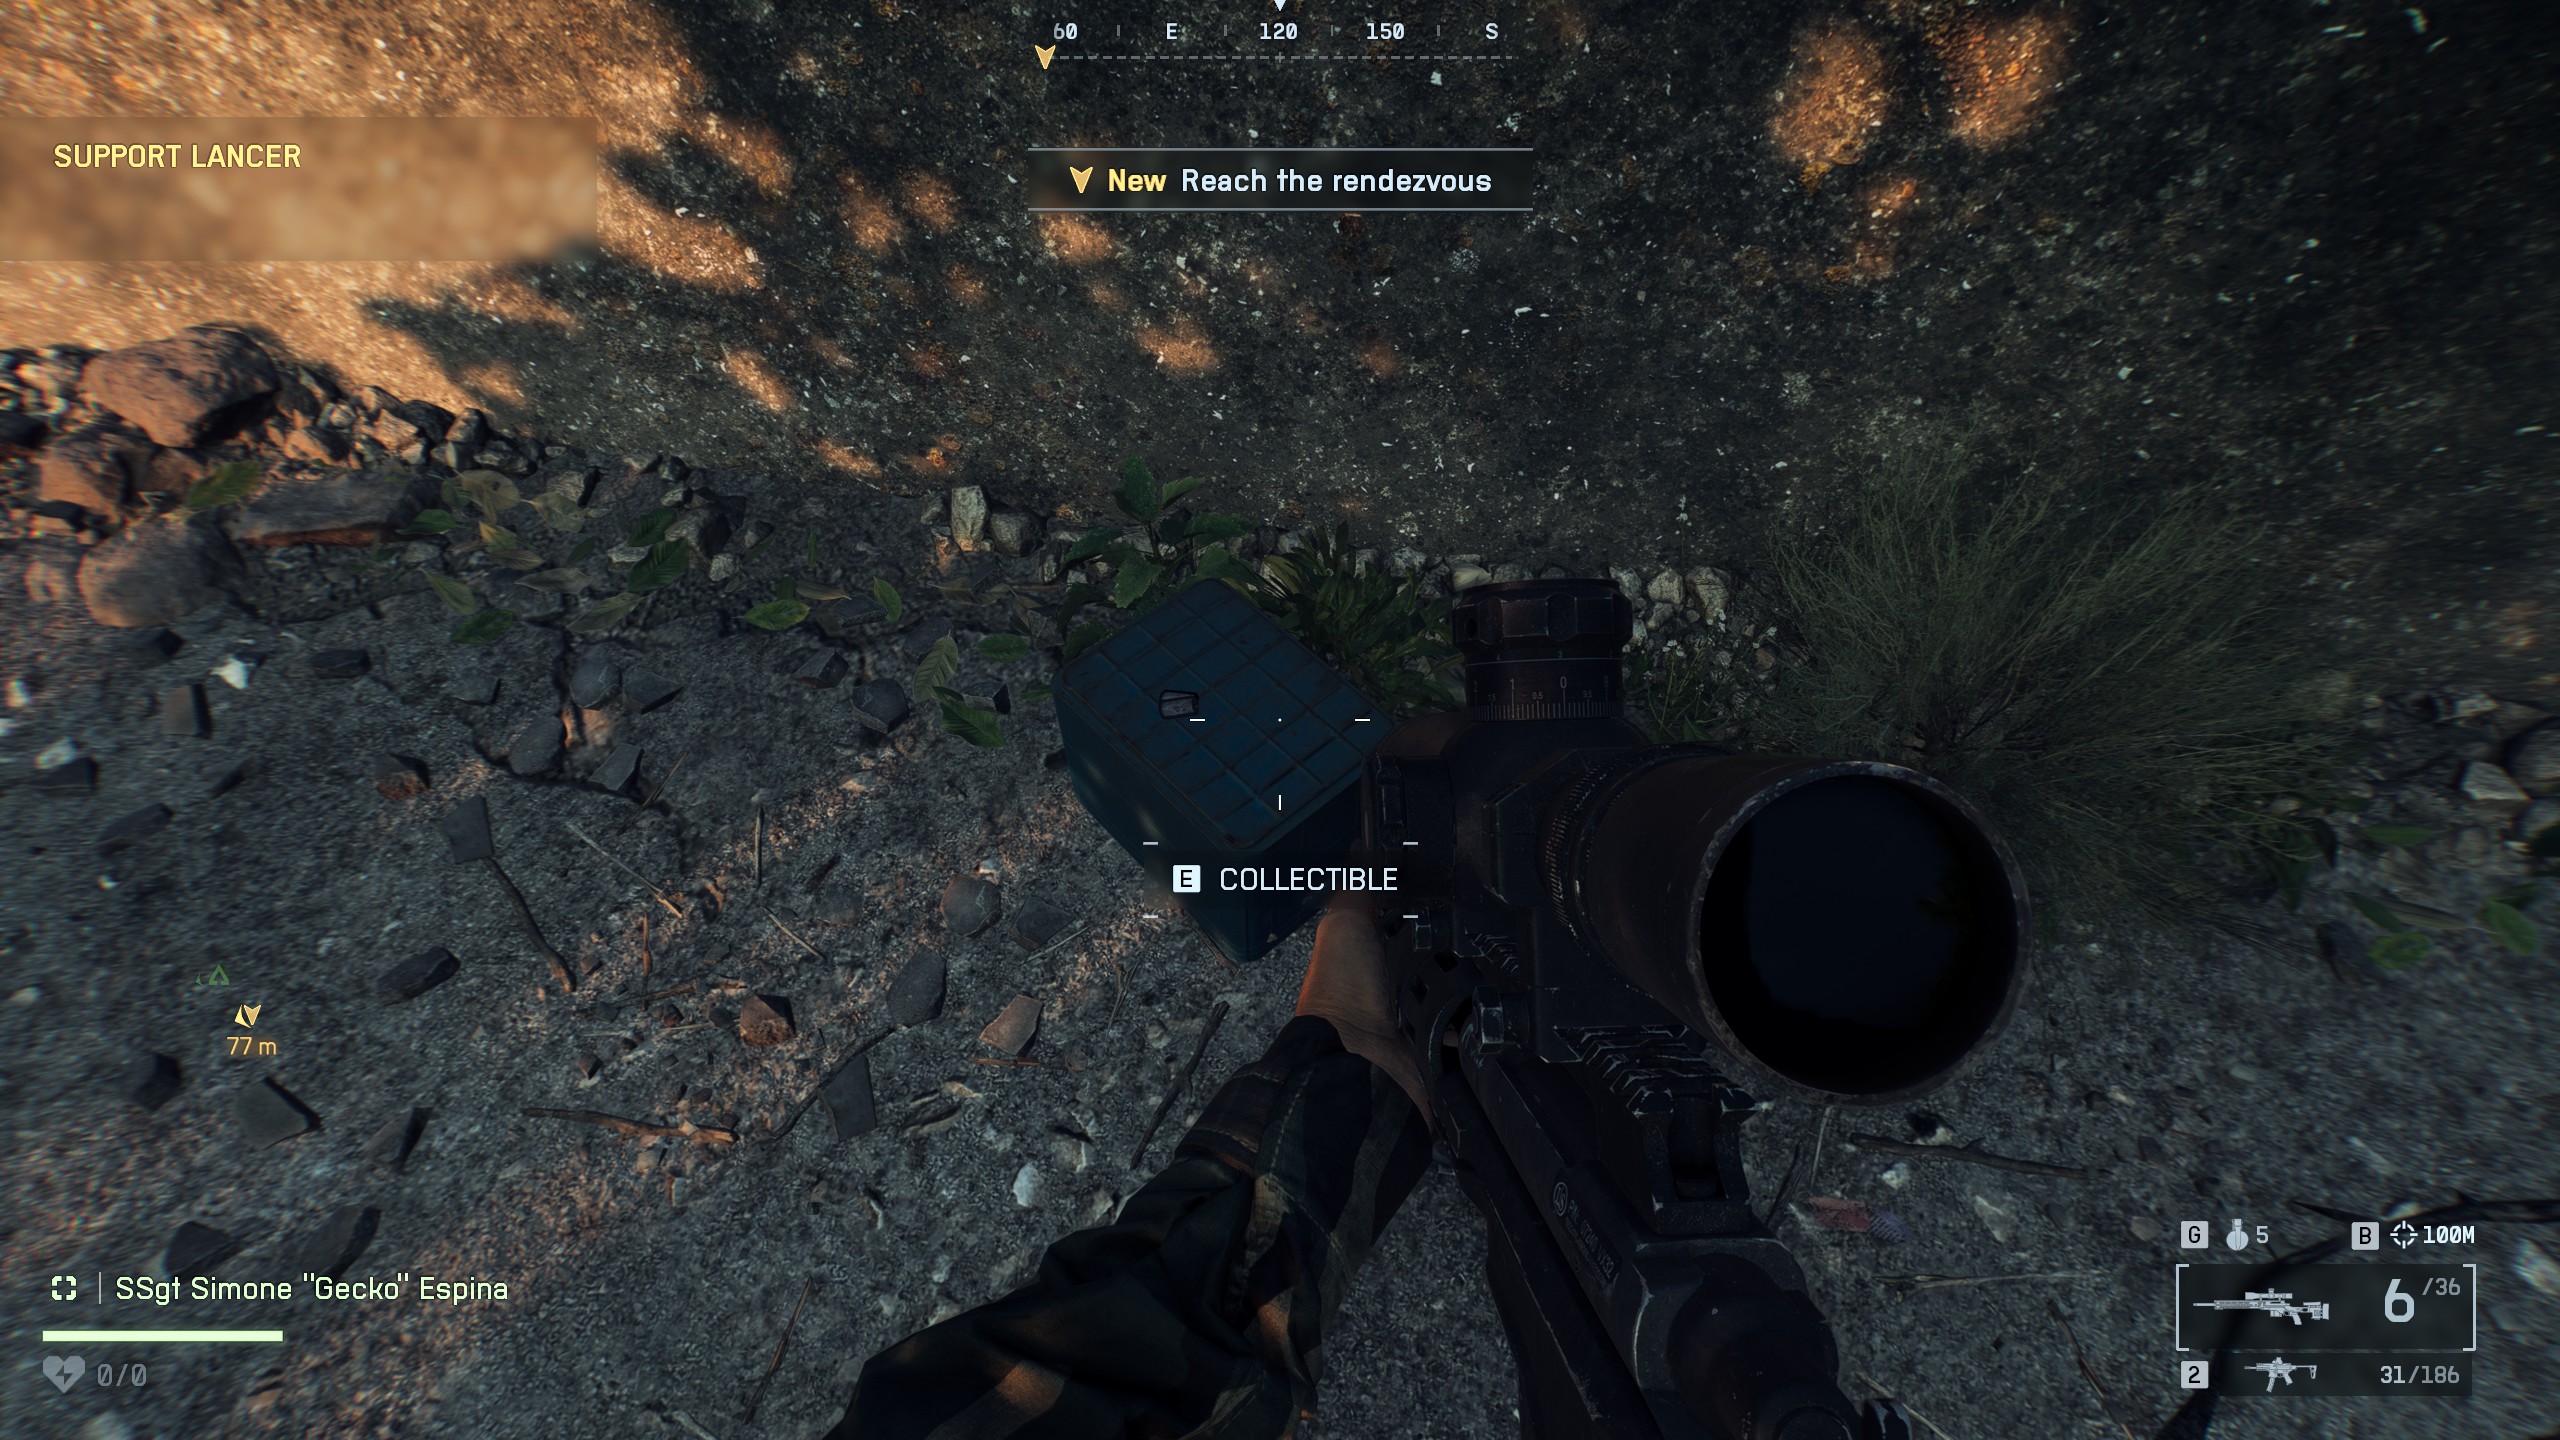
📍Collectible #1 - Dog Tag (#4)Location: Beginning of the missionAs soon as you gain control of the character, turn directly around. The dog tag is on a blue box near the coastal gun
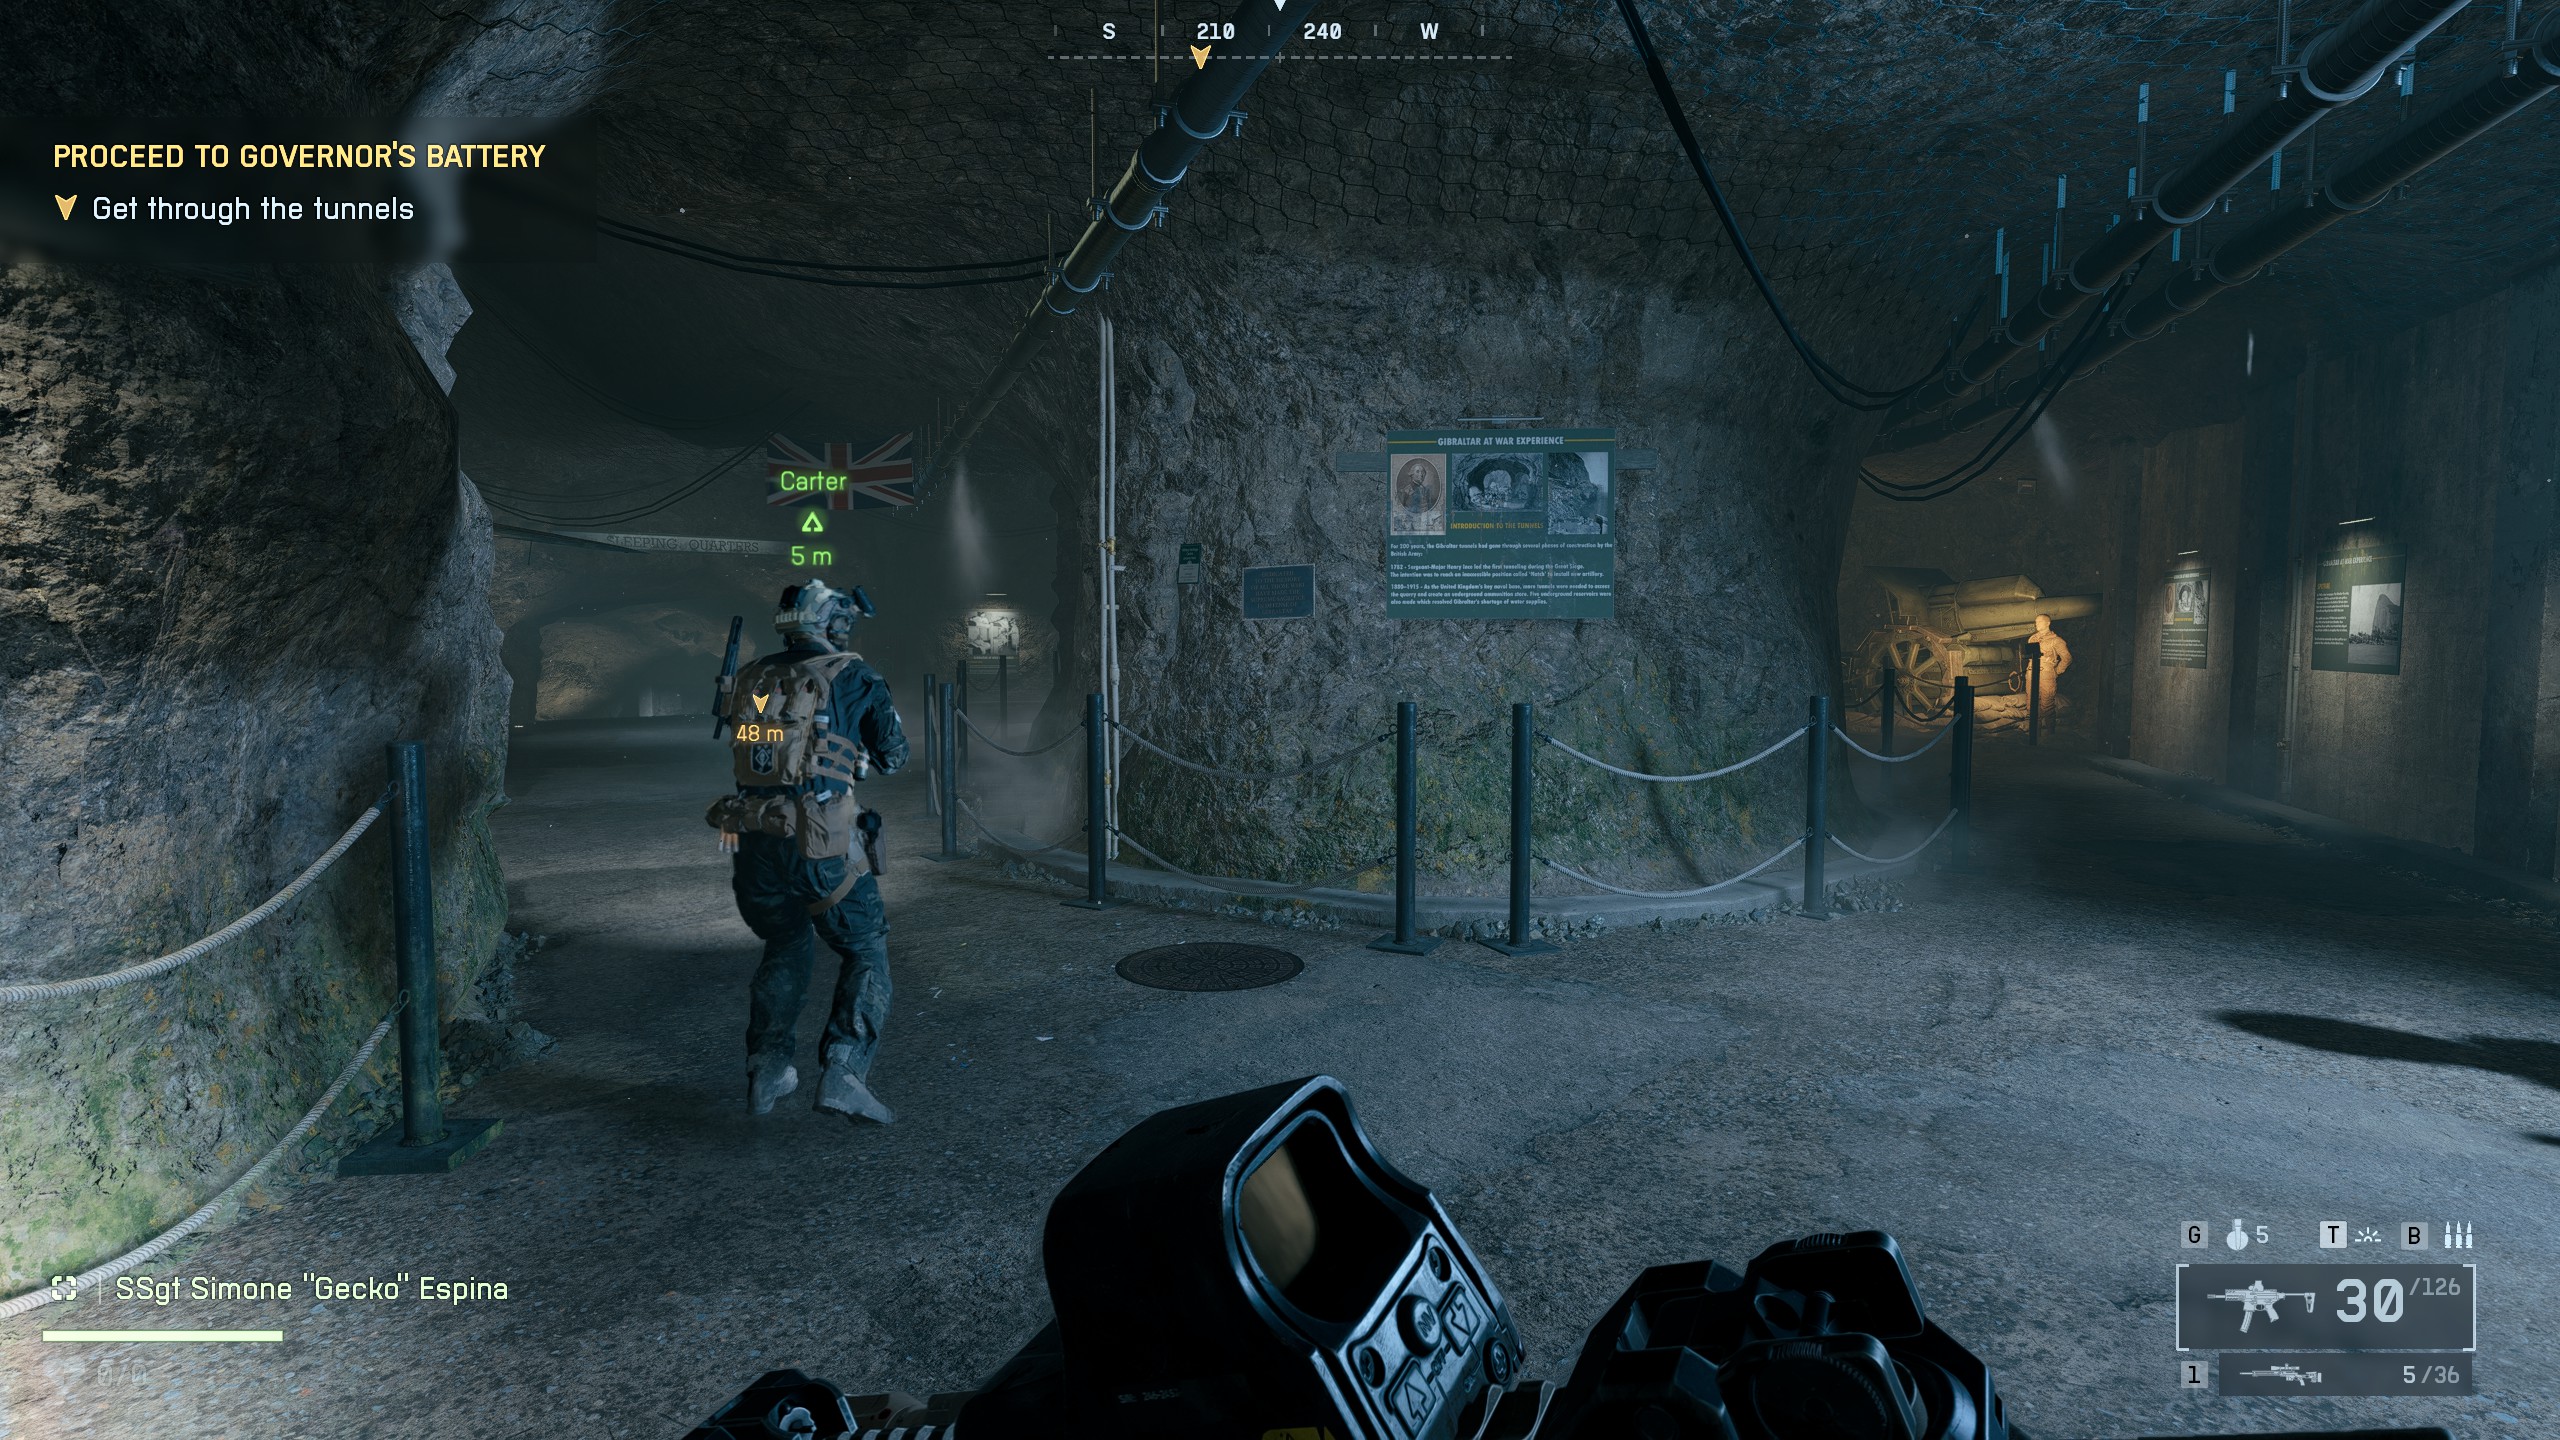
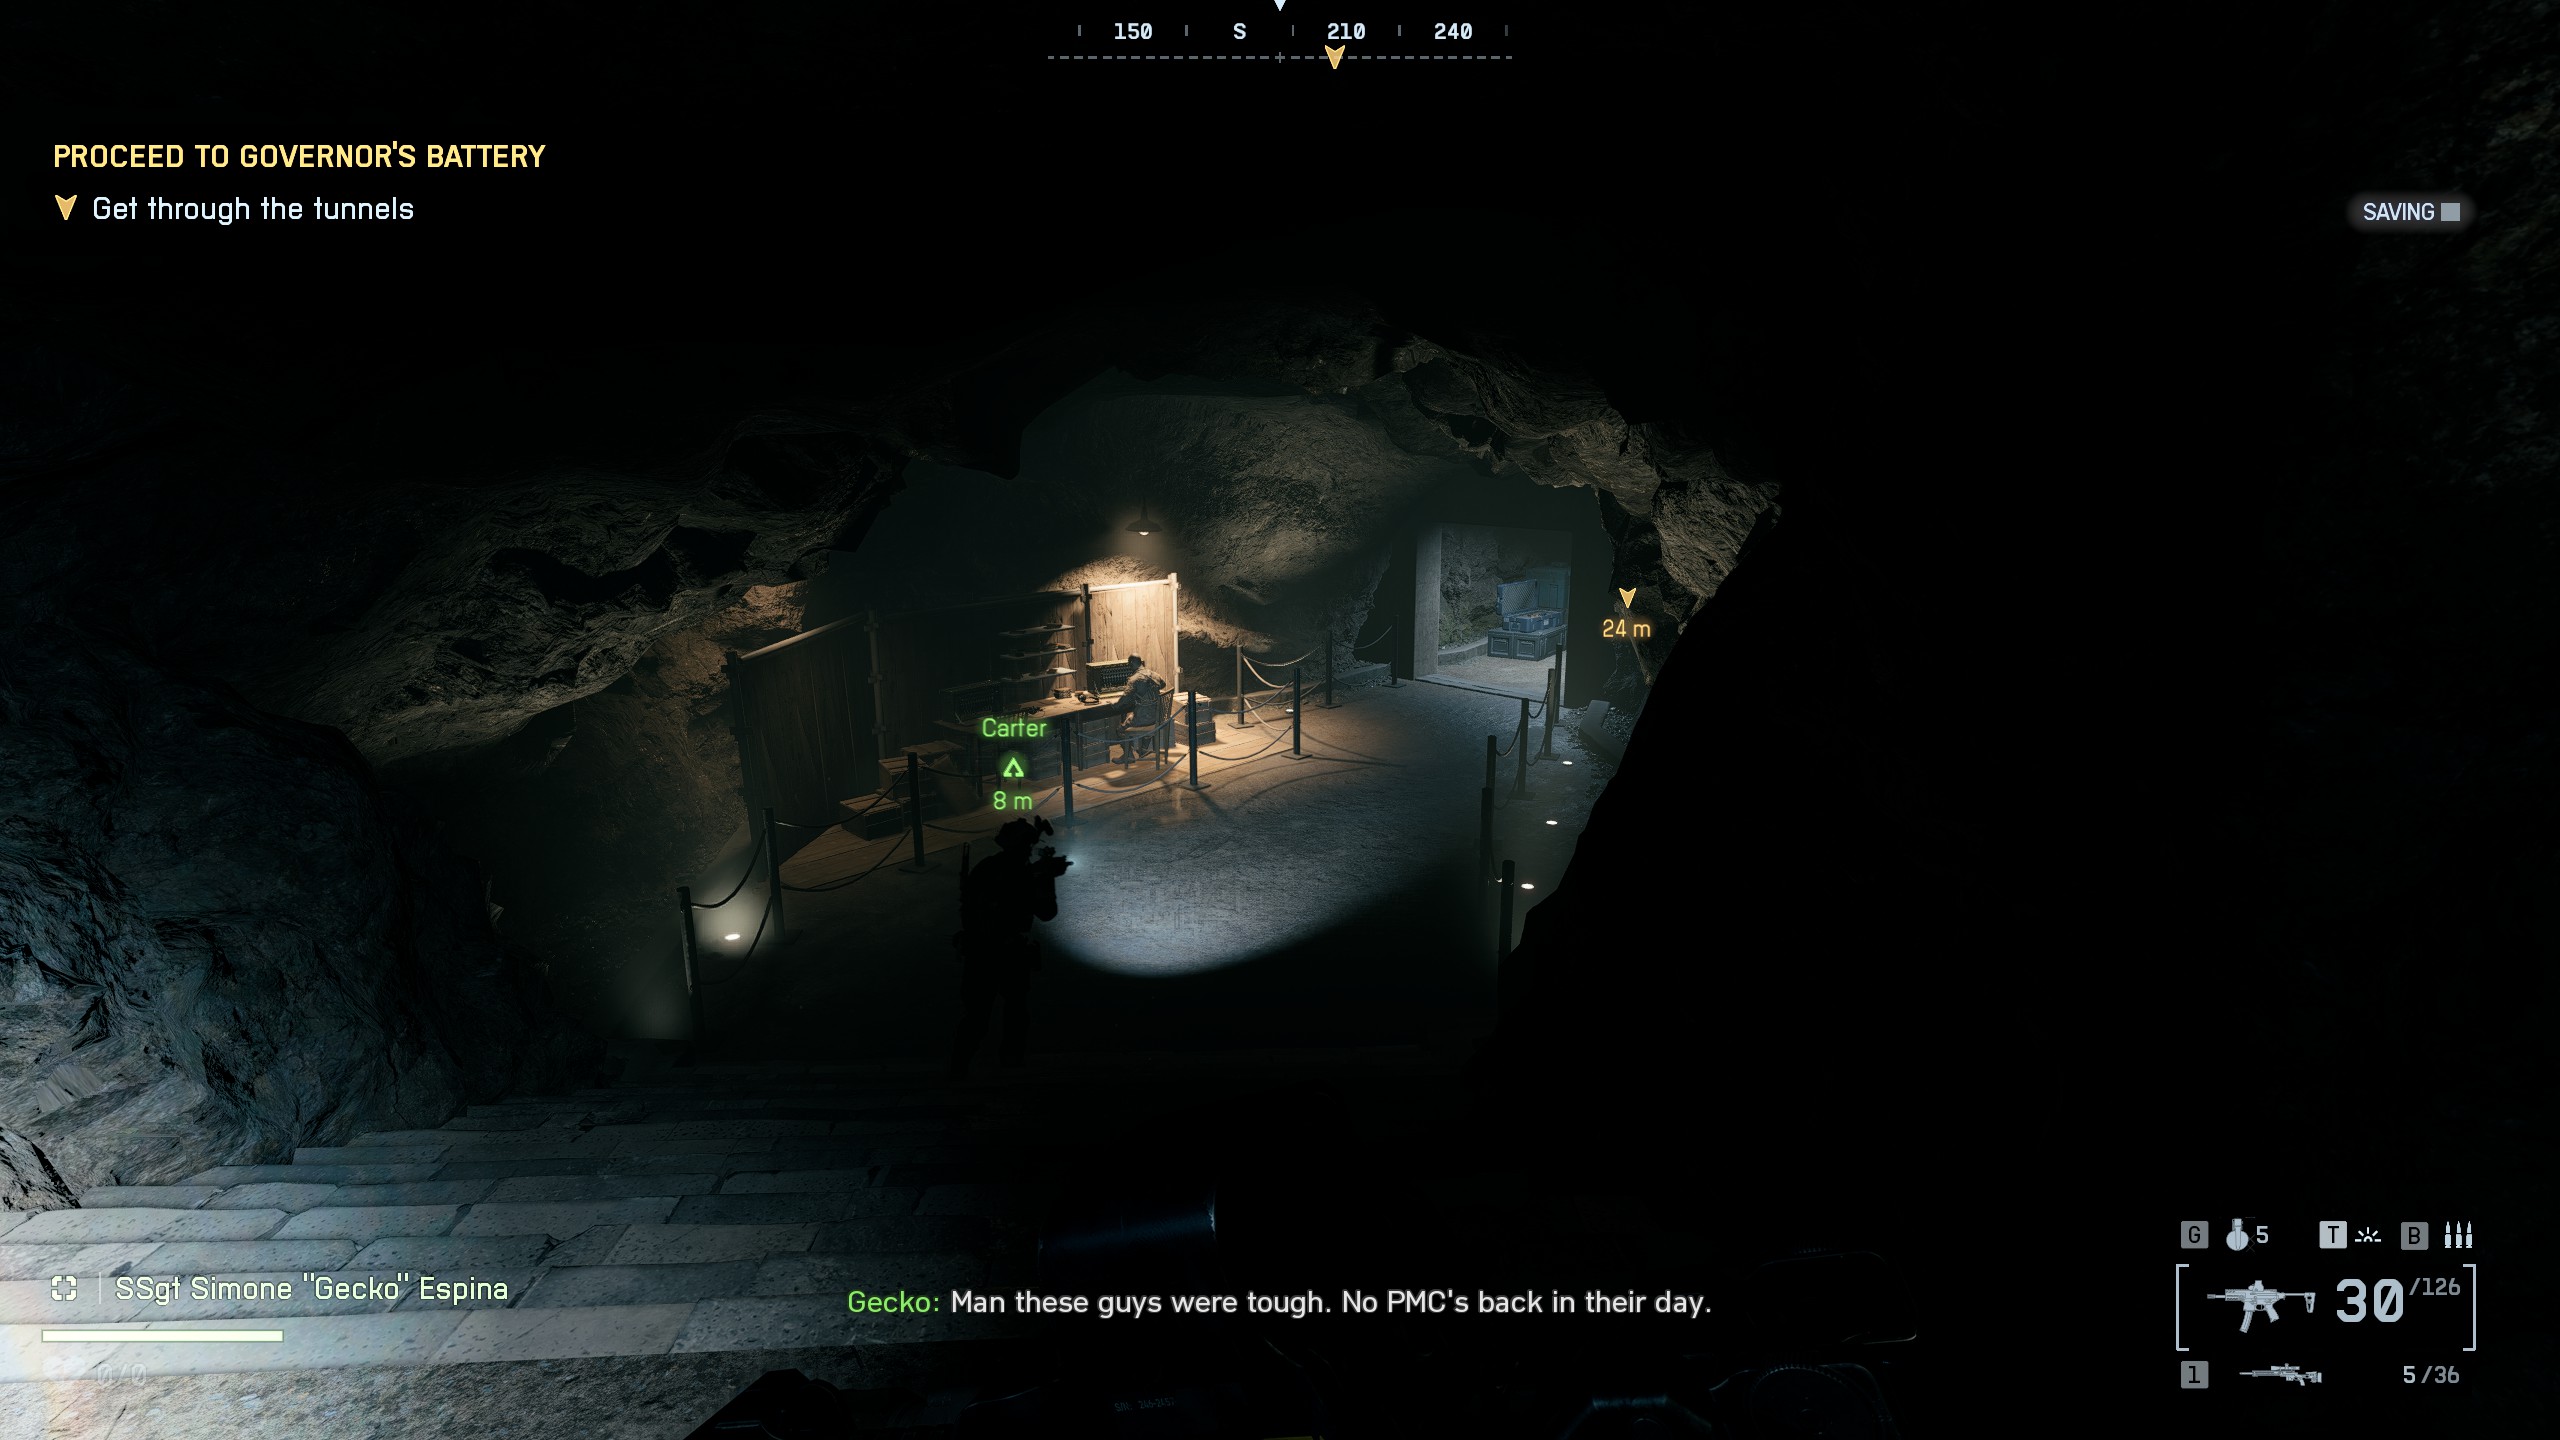
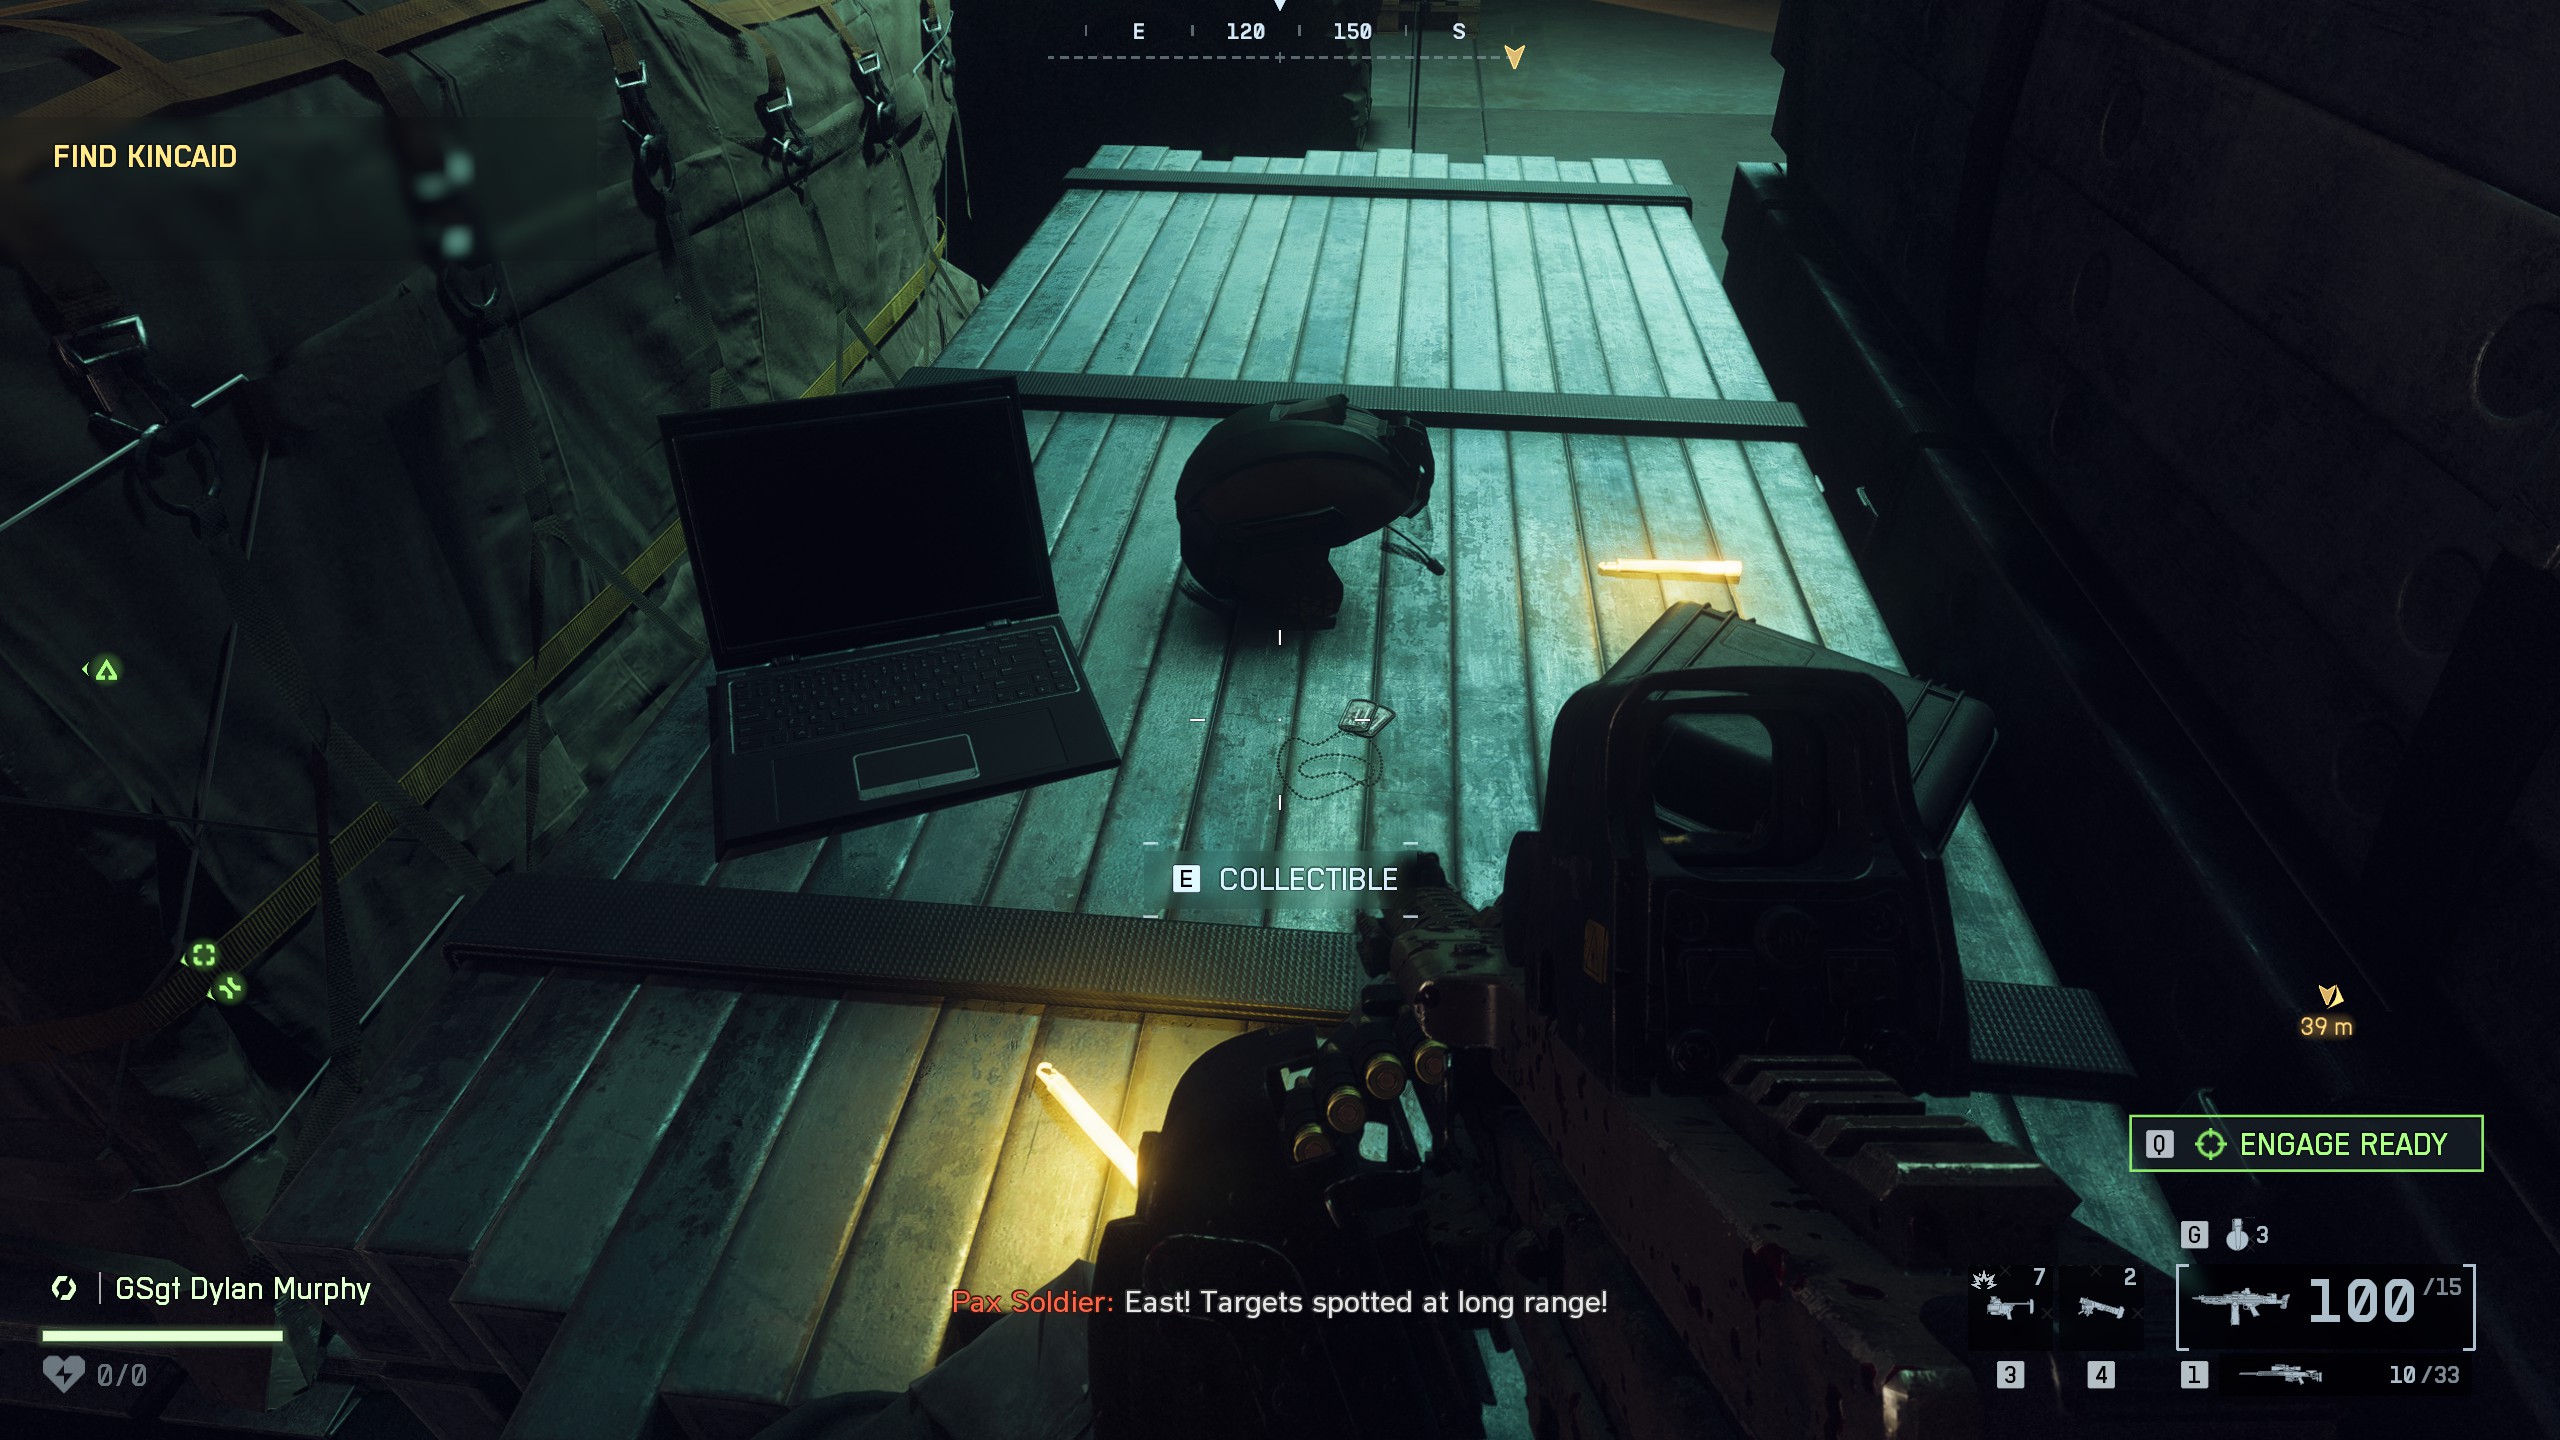
📍Collectible #2 - Dog Tag (#5)Location: Underground MuseumFound in the museum area where you can't use your weapon. After passing the plane on your left, head downstairs. Look for a radio operator table. The dog tag is sitting next to a headset

🏆Dogs of WarPick up 5 Campaign collectibles

🏆EfficiencyDestroy 10 mannequins in The RockJust shoot the mannequins in the underground museum

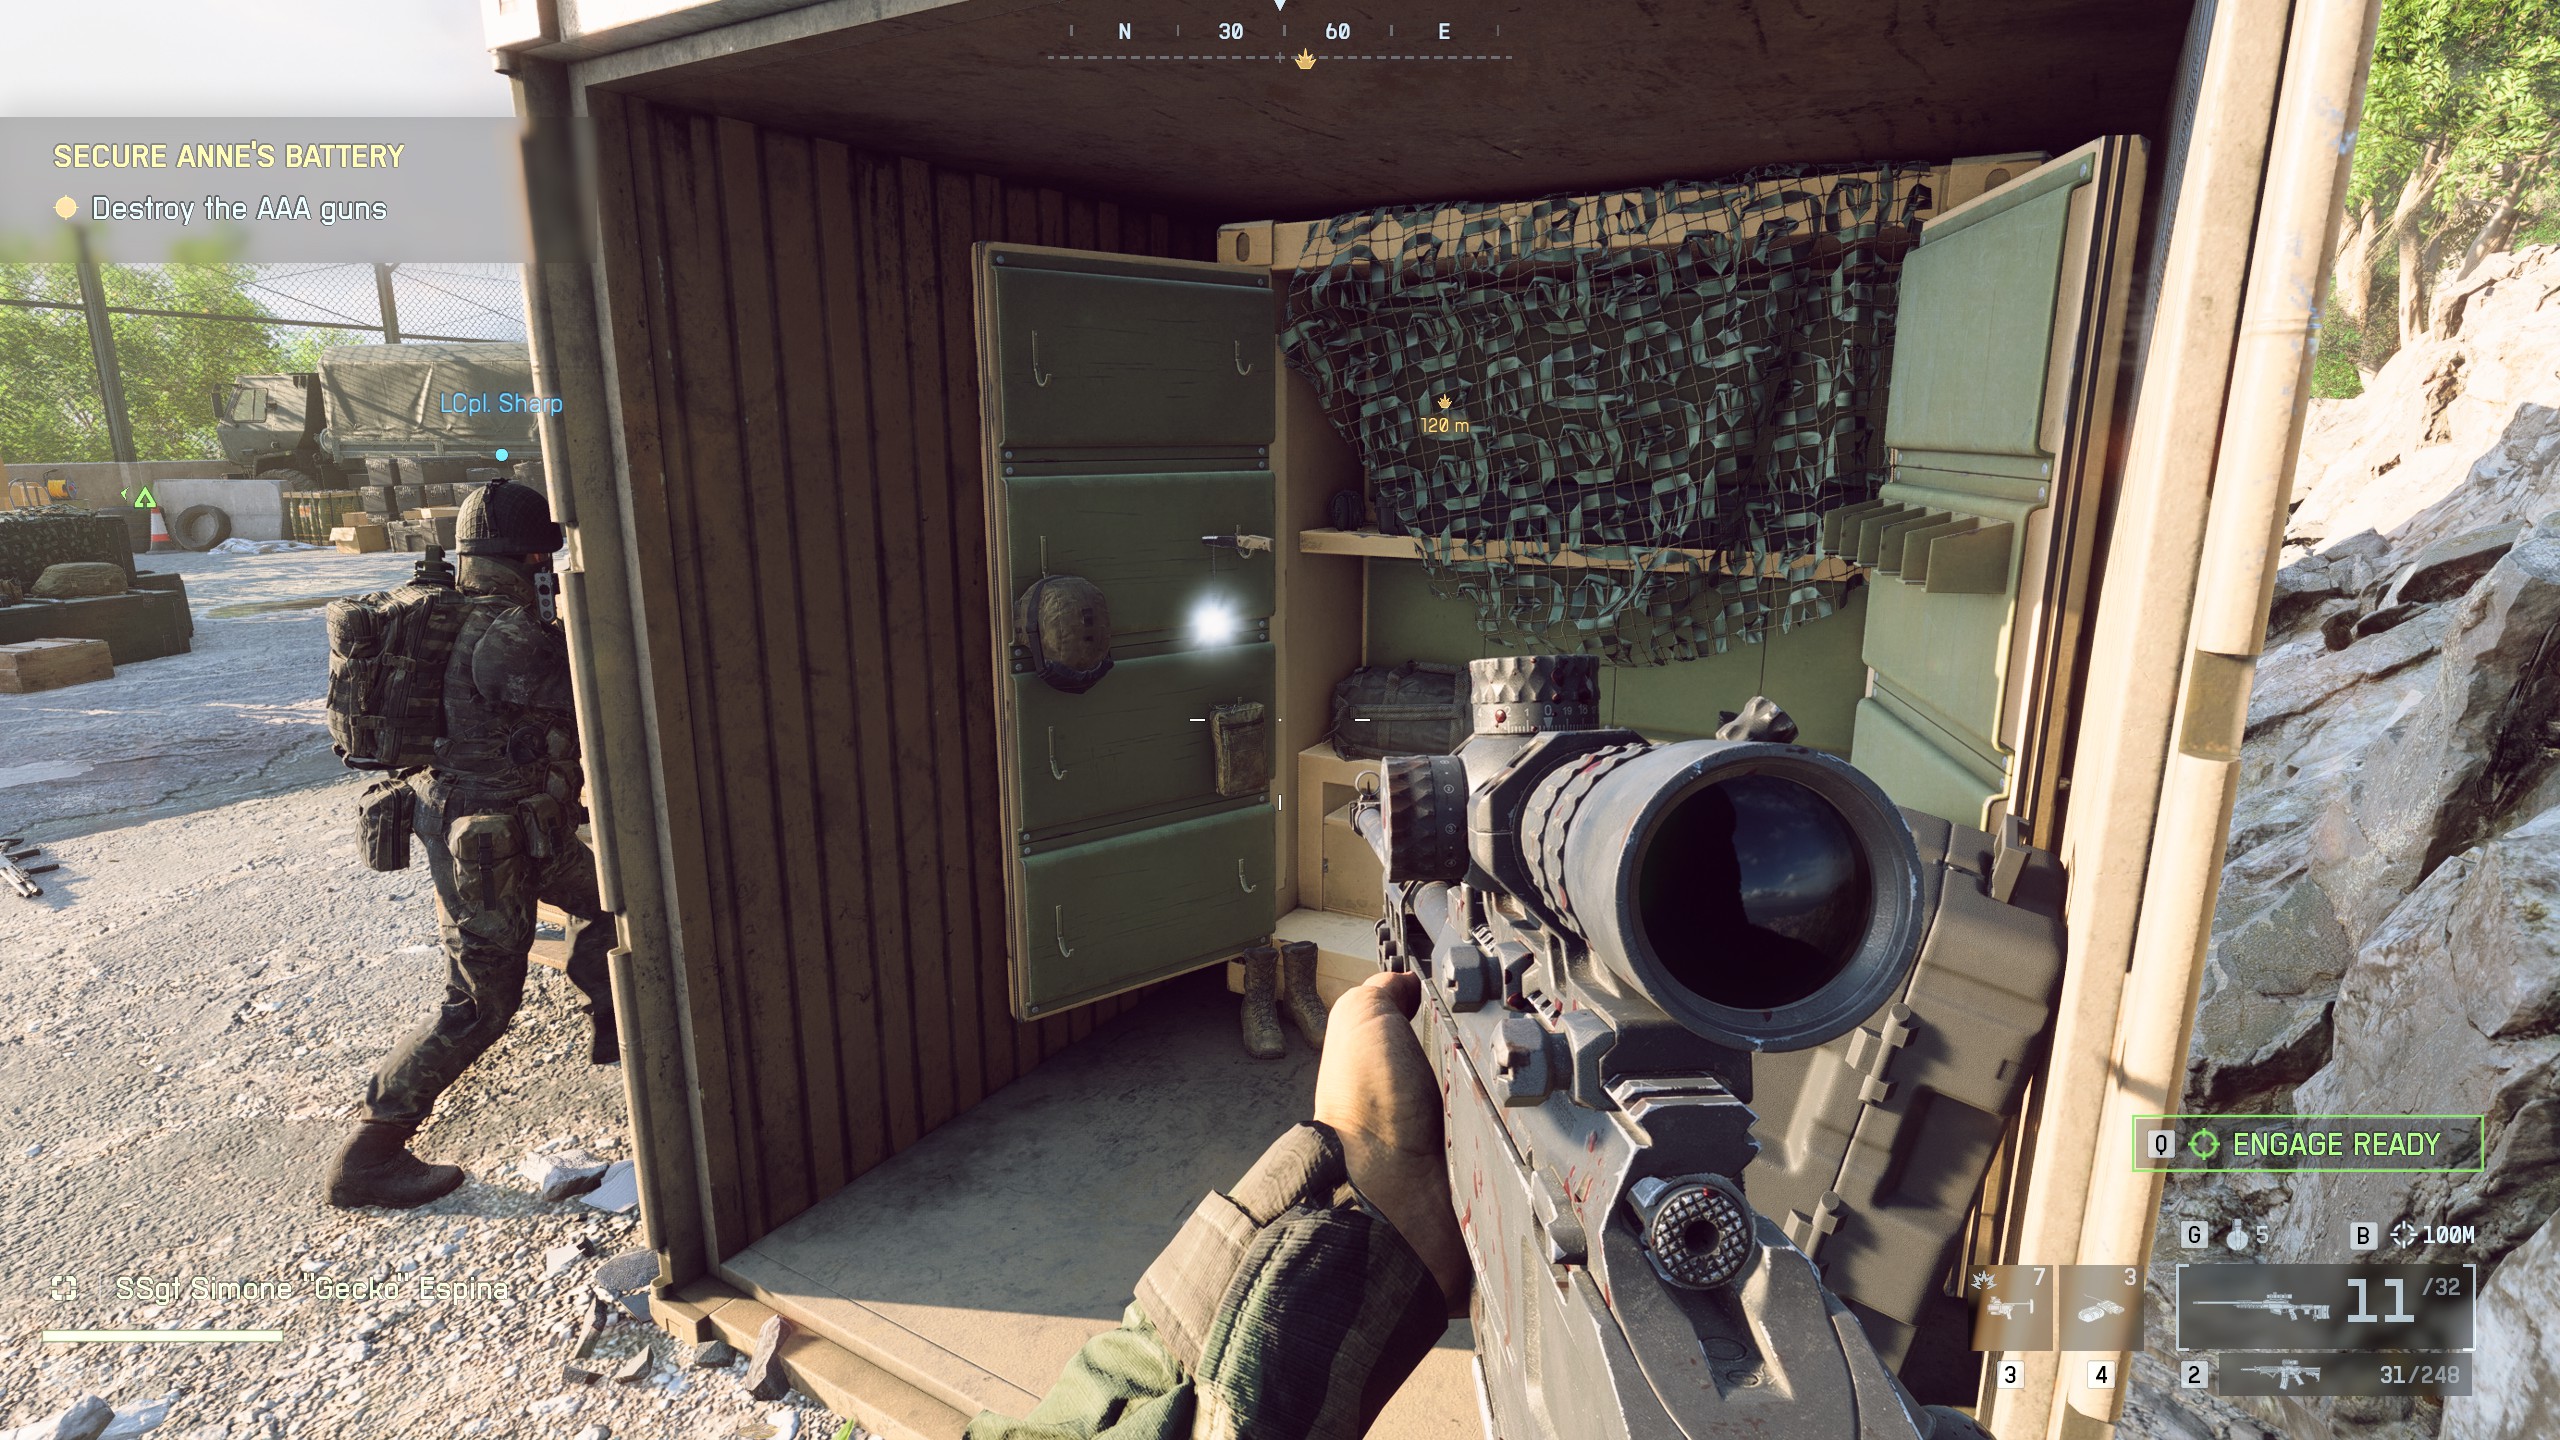
📍Collectible #3 - Dog Tag (#6)Location: Second AAA guns place, in the container.It's in the ship container with ammo crate
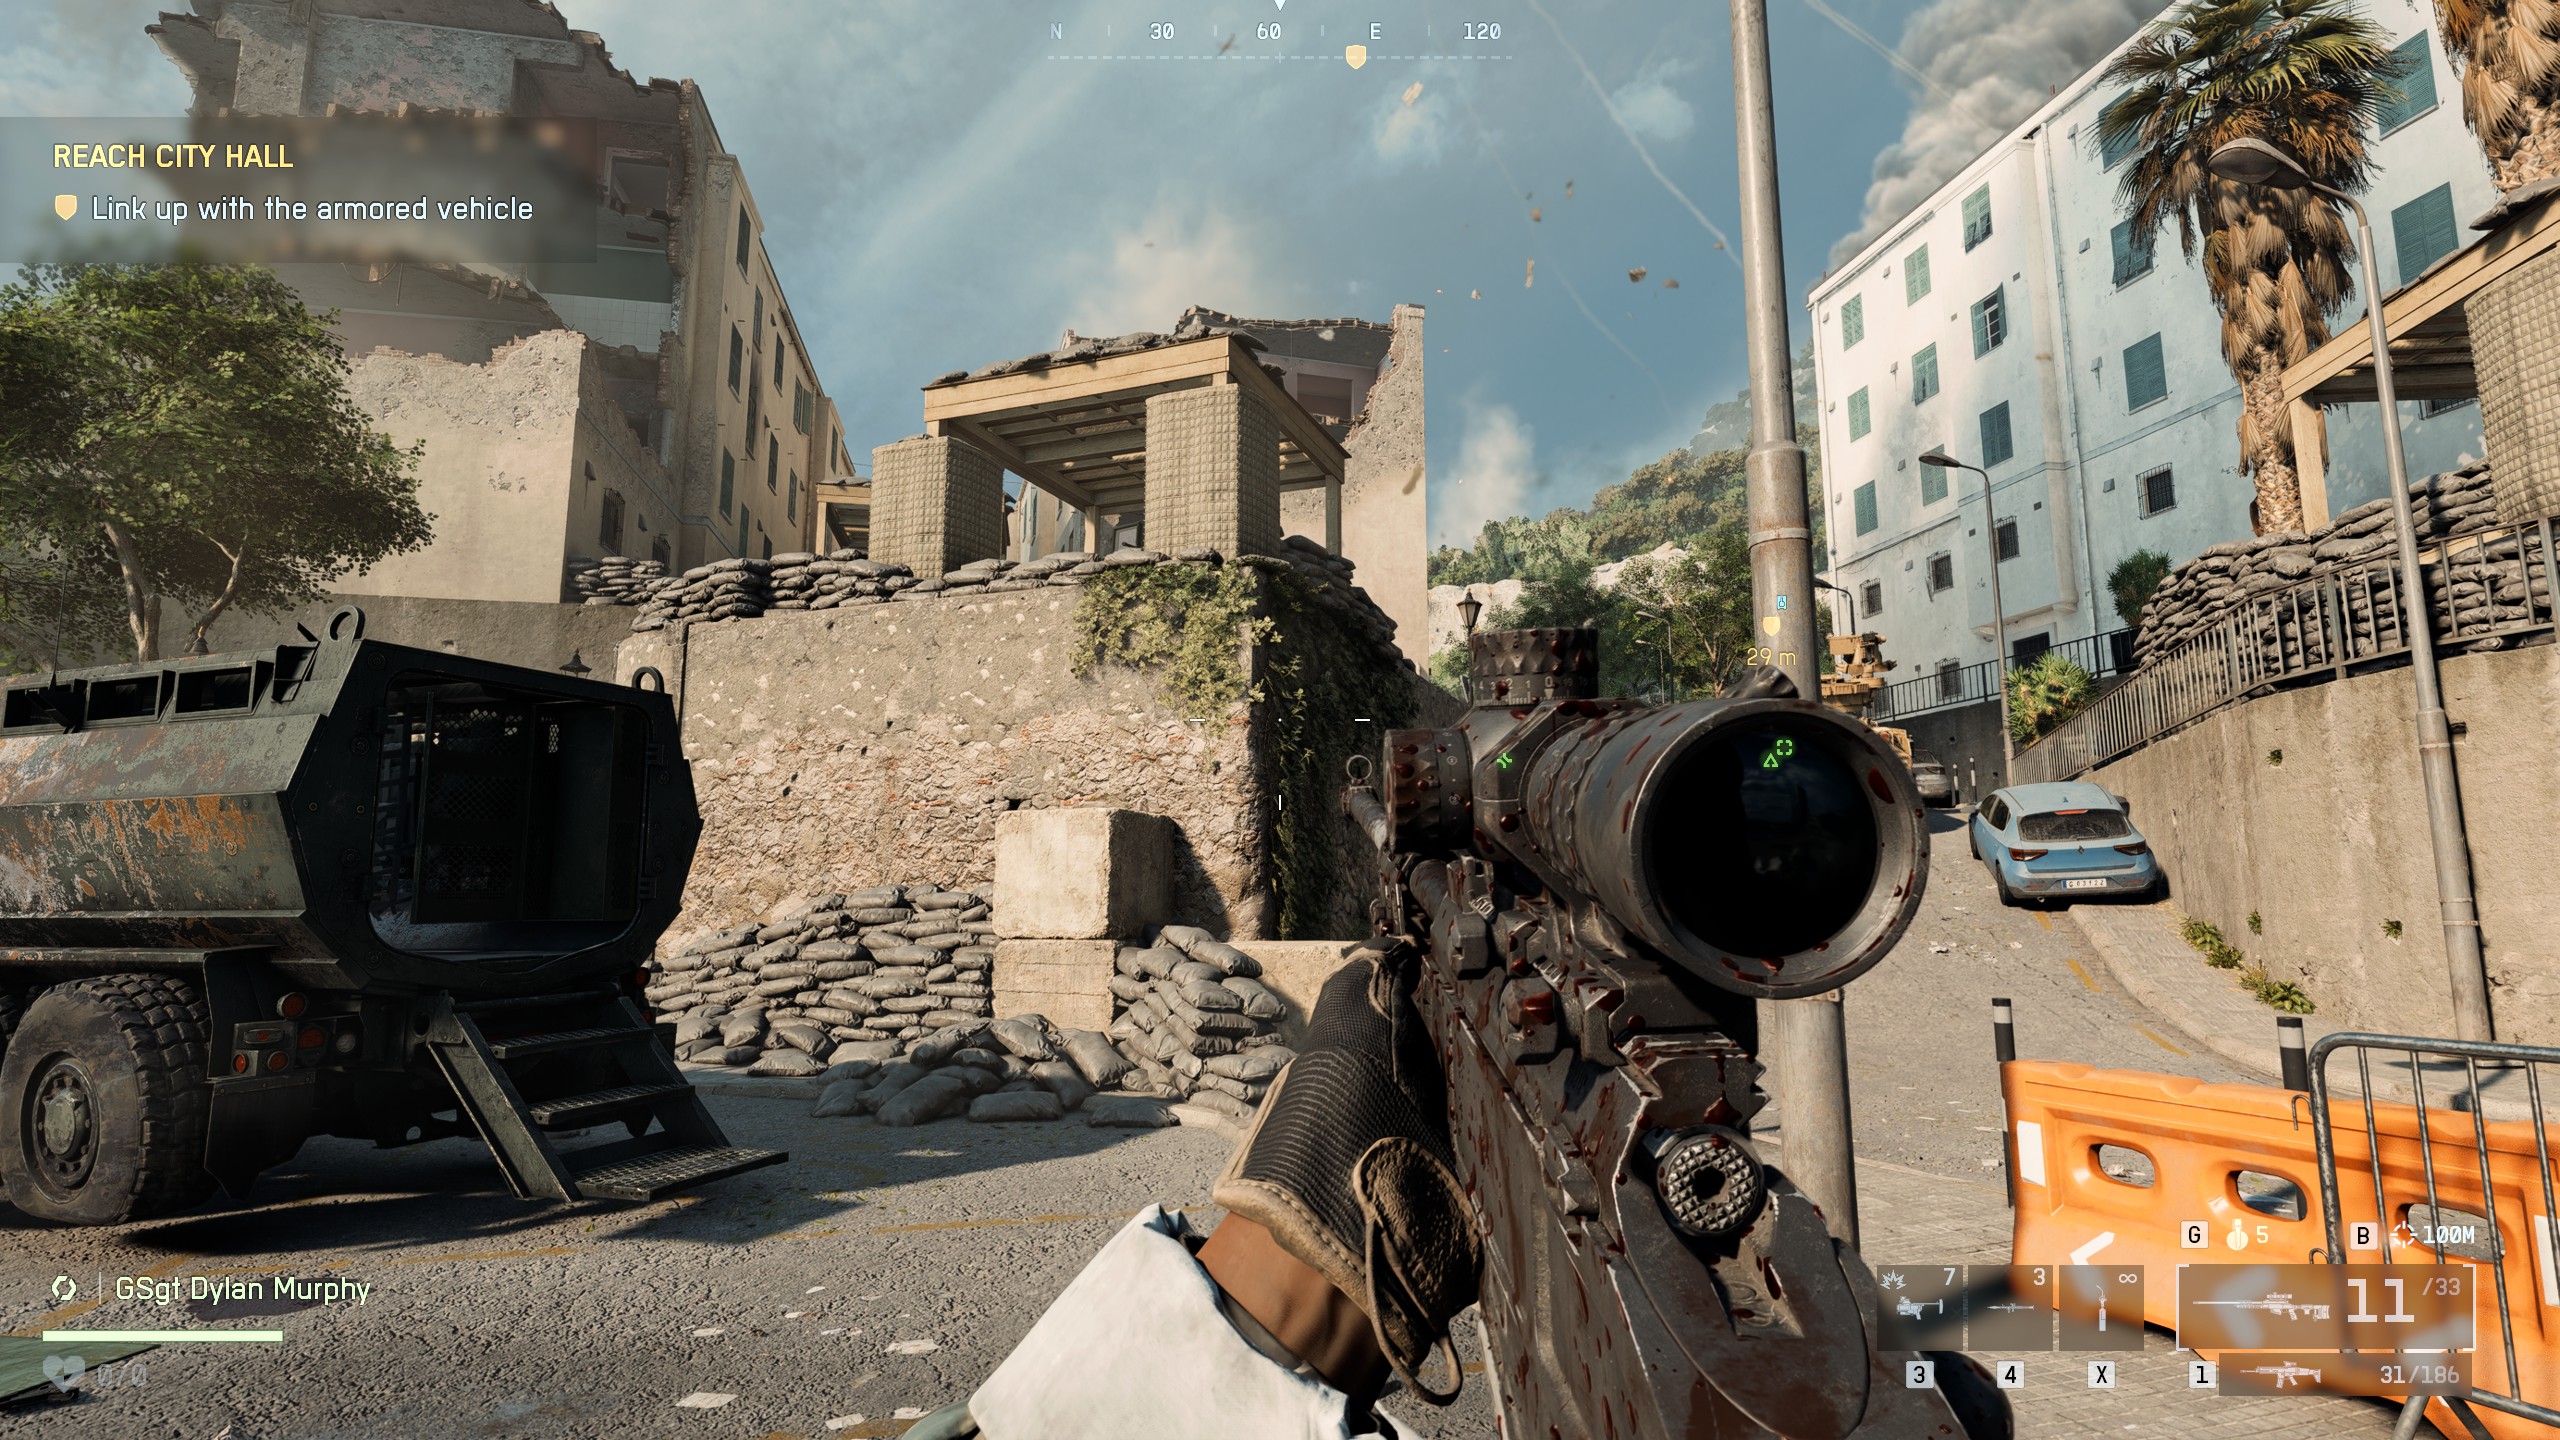
Mission 3: Operation Gladius
Collectibles
3
Achievements
2
⚠️One achievement is missable: Destroy 3 floating mines in the beginning of the mission
🏆Deep-SixDestroy 3 floating mines in Operation Gladius

📍Collectible #1 - Dog Tag (#7)Location: Behind the Machine Gun defensive position near the radio station
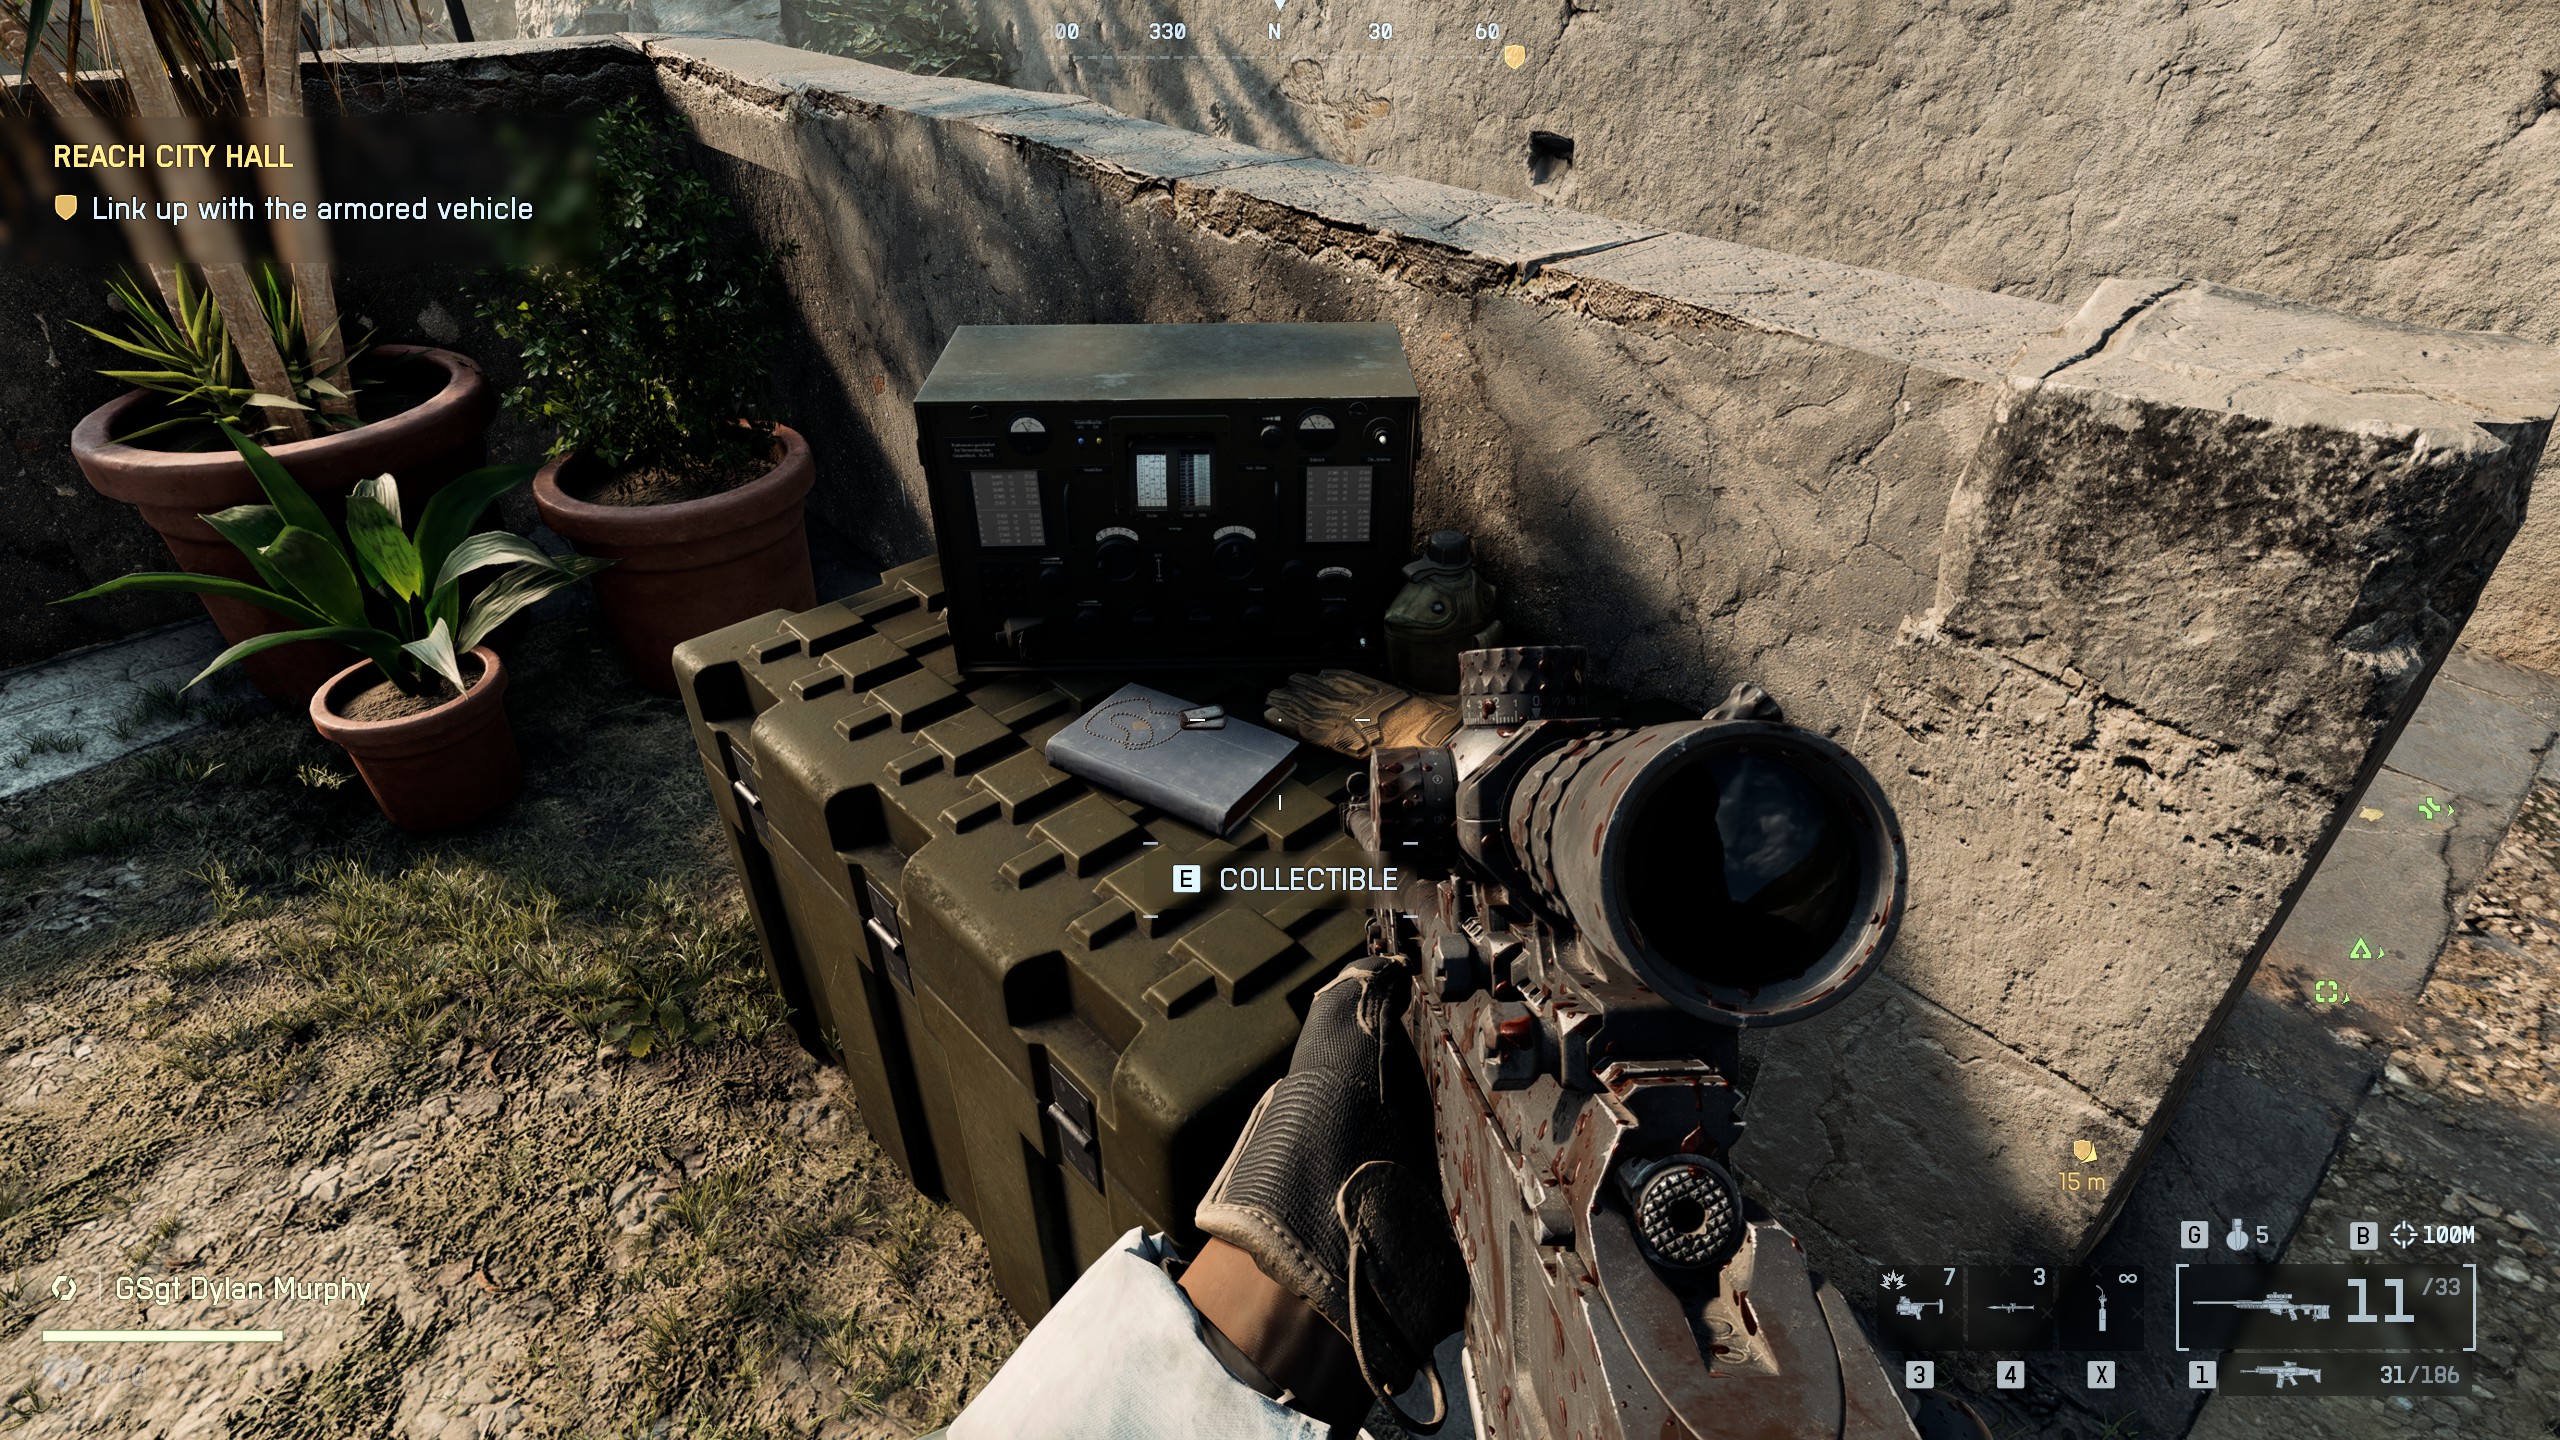
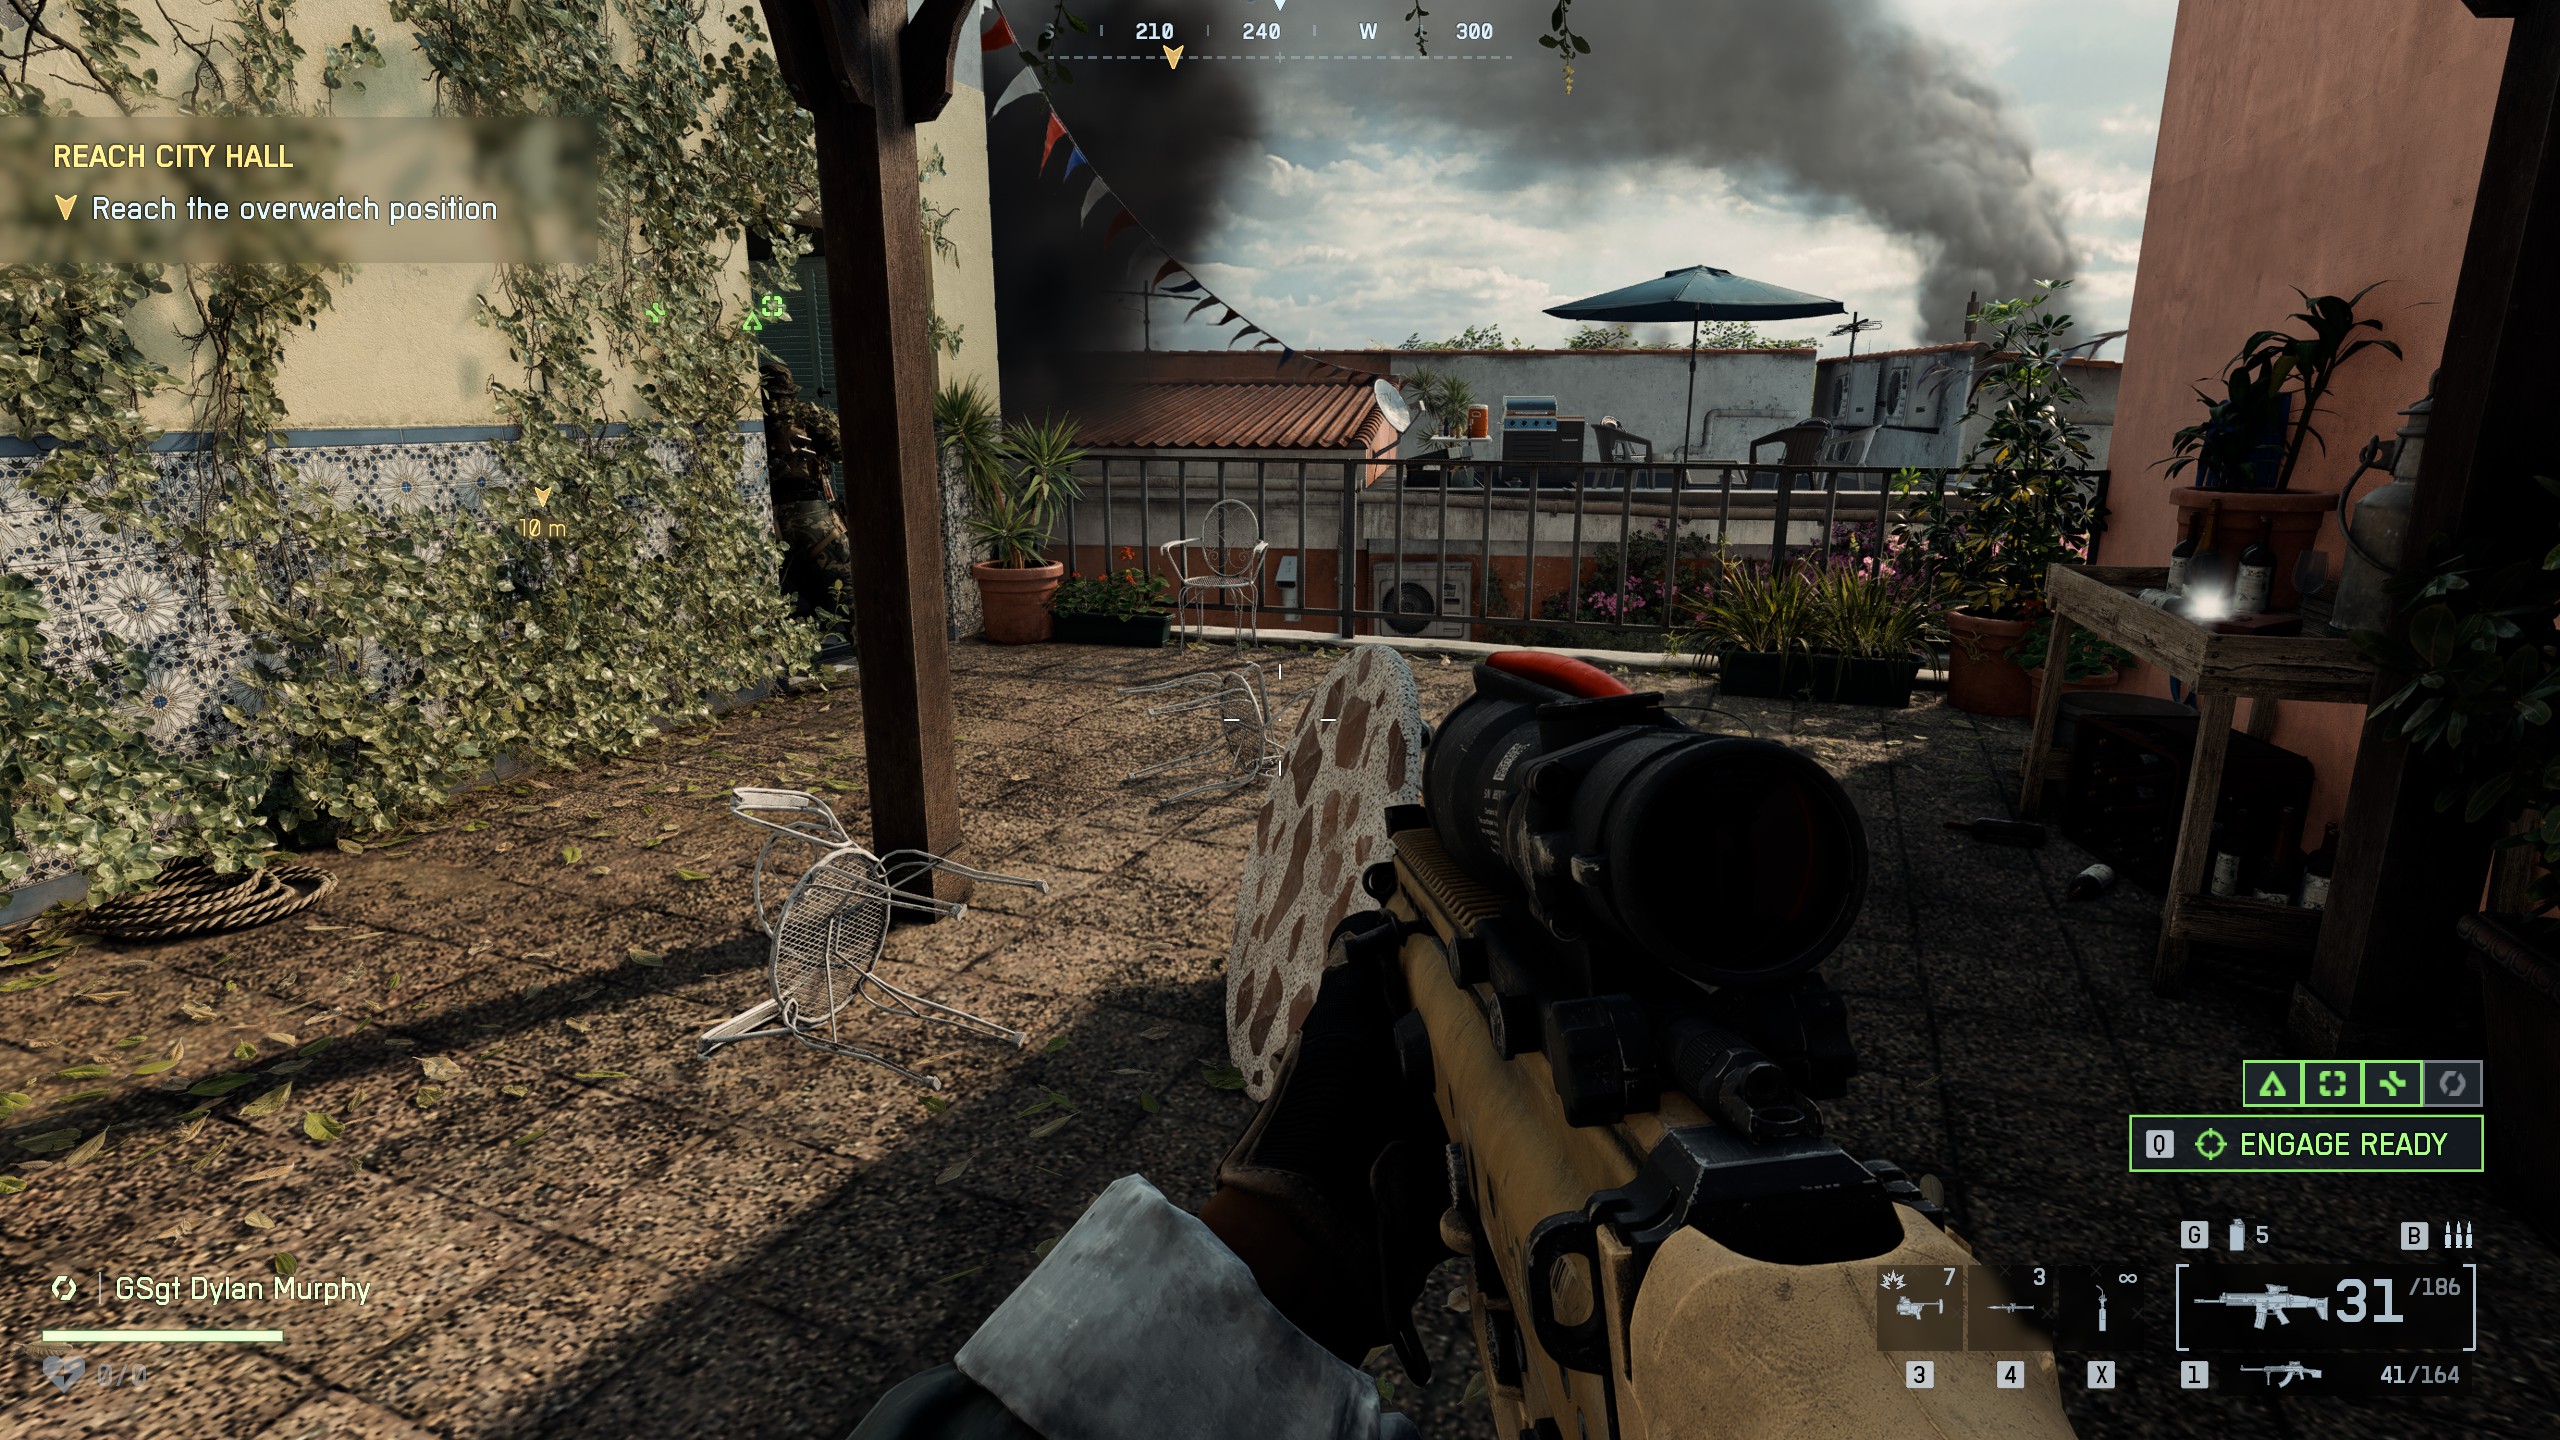
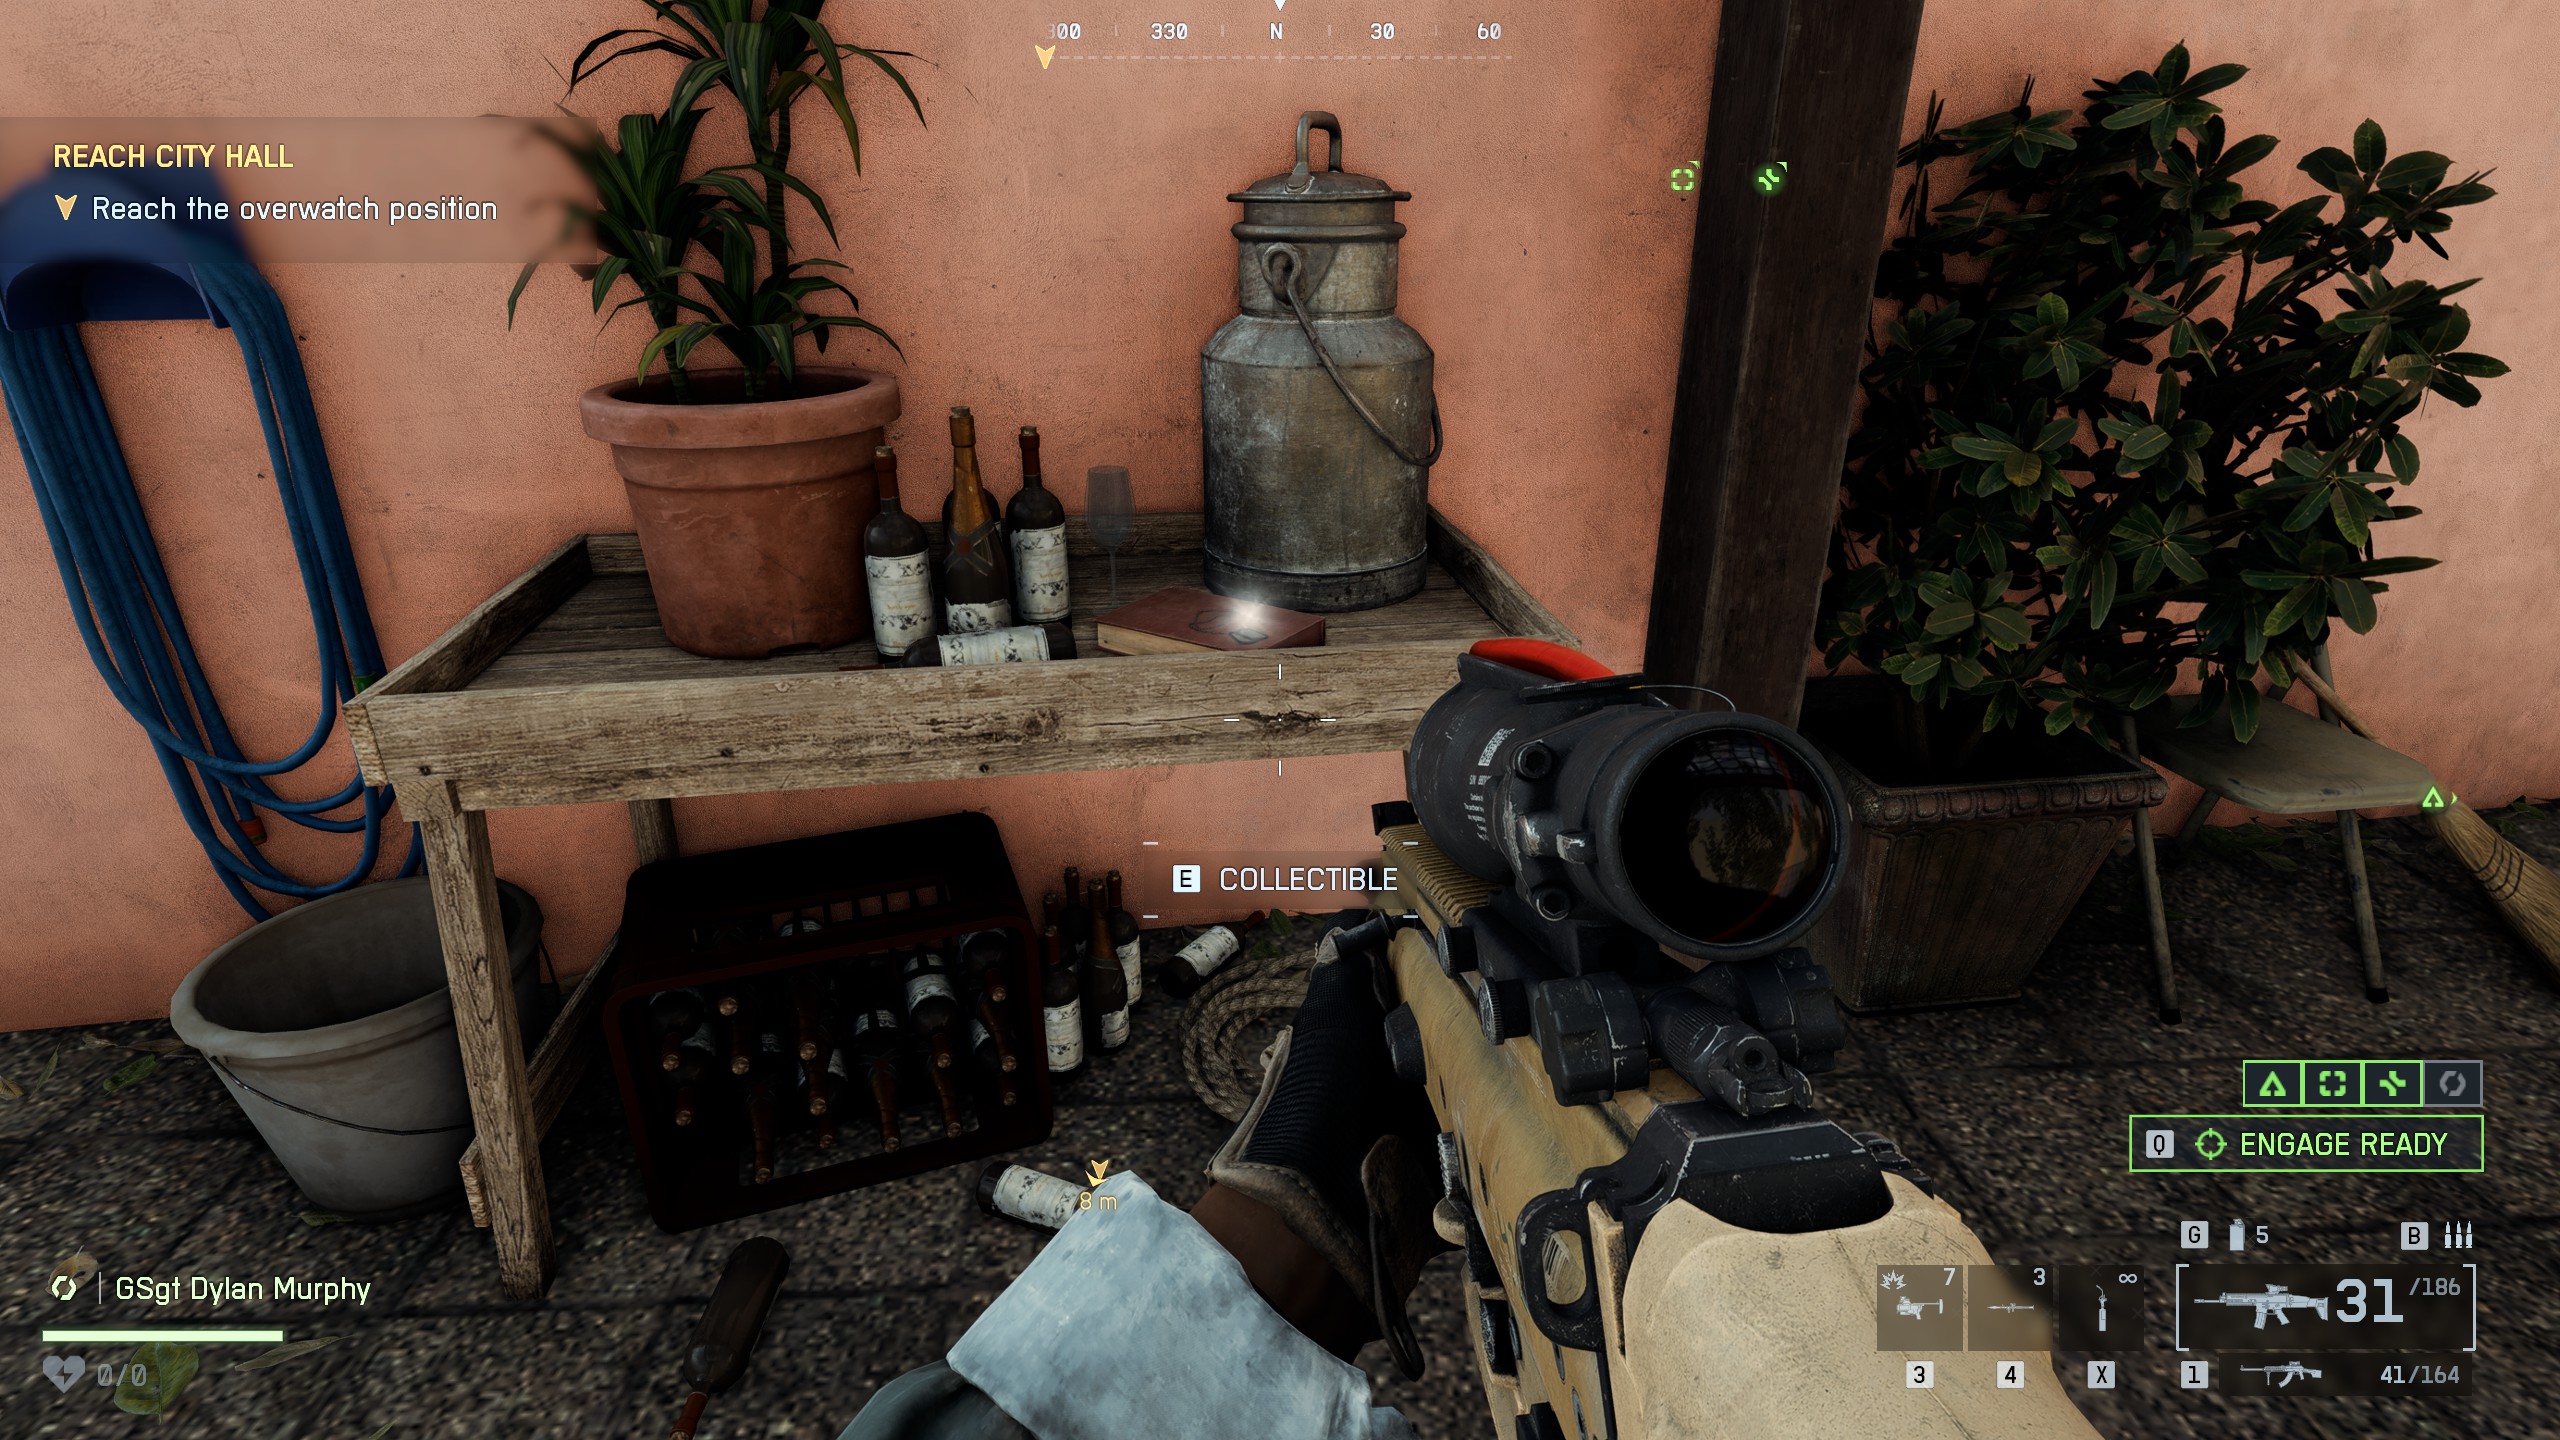
📍Collectible #2 - Dog Tag (#8)Location: Before proceeding to the overwatch position, check the table in the open area between rooms
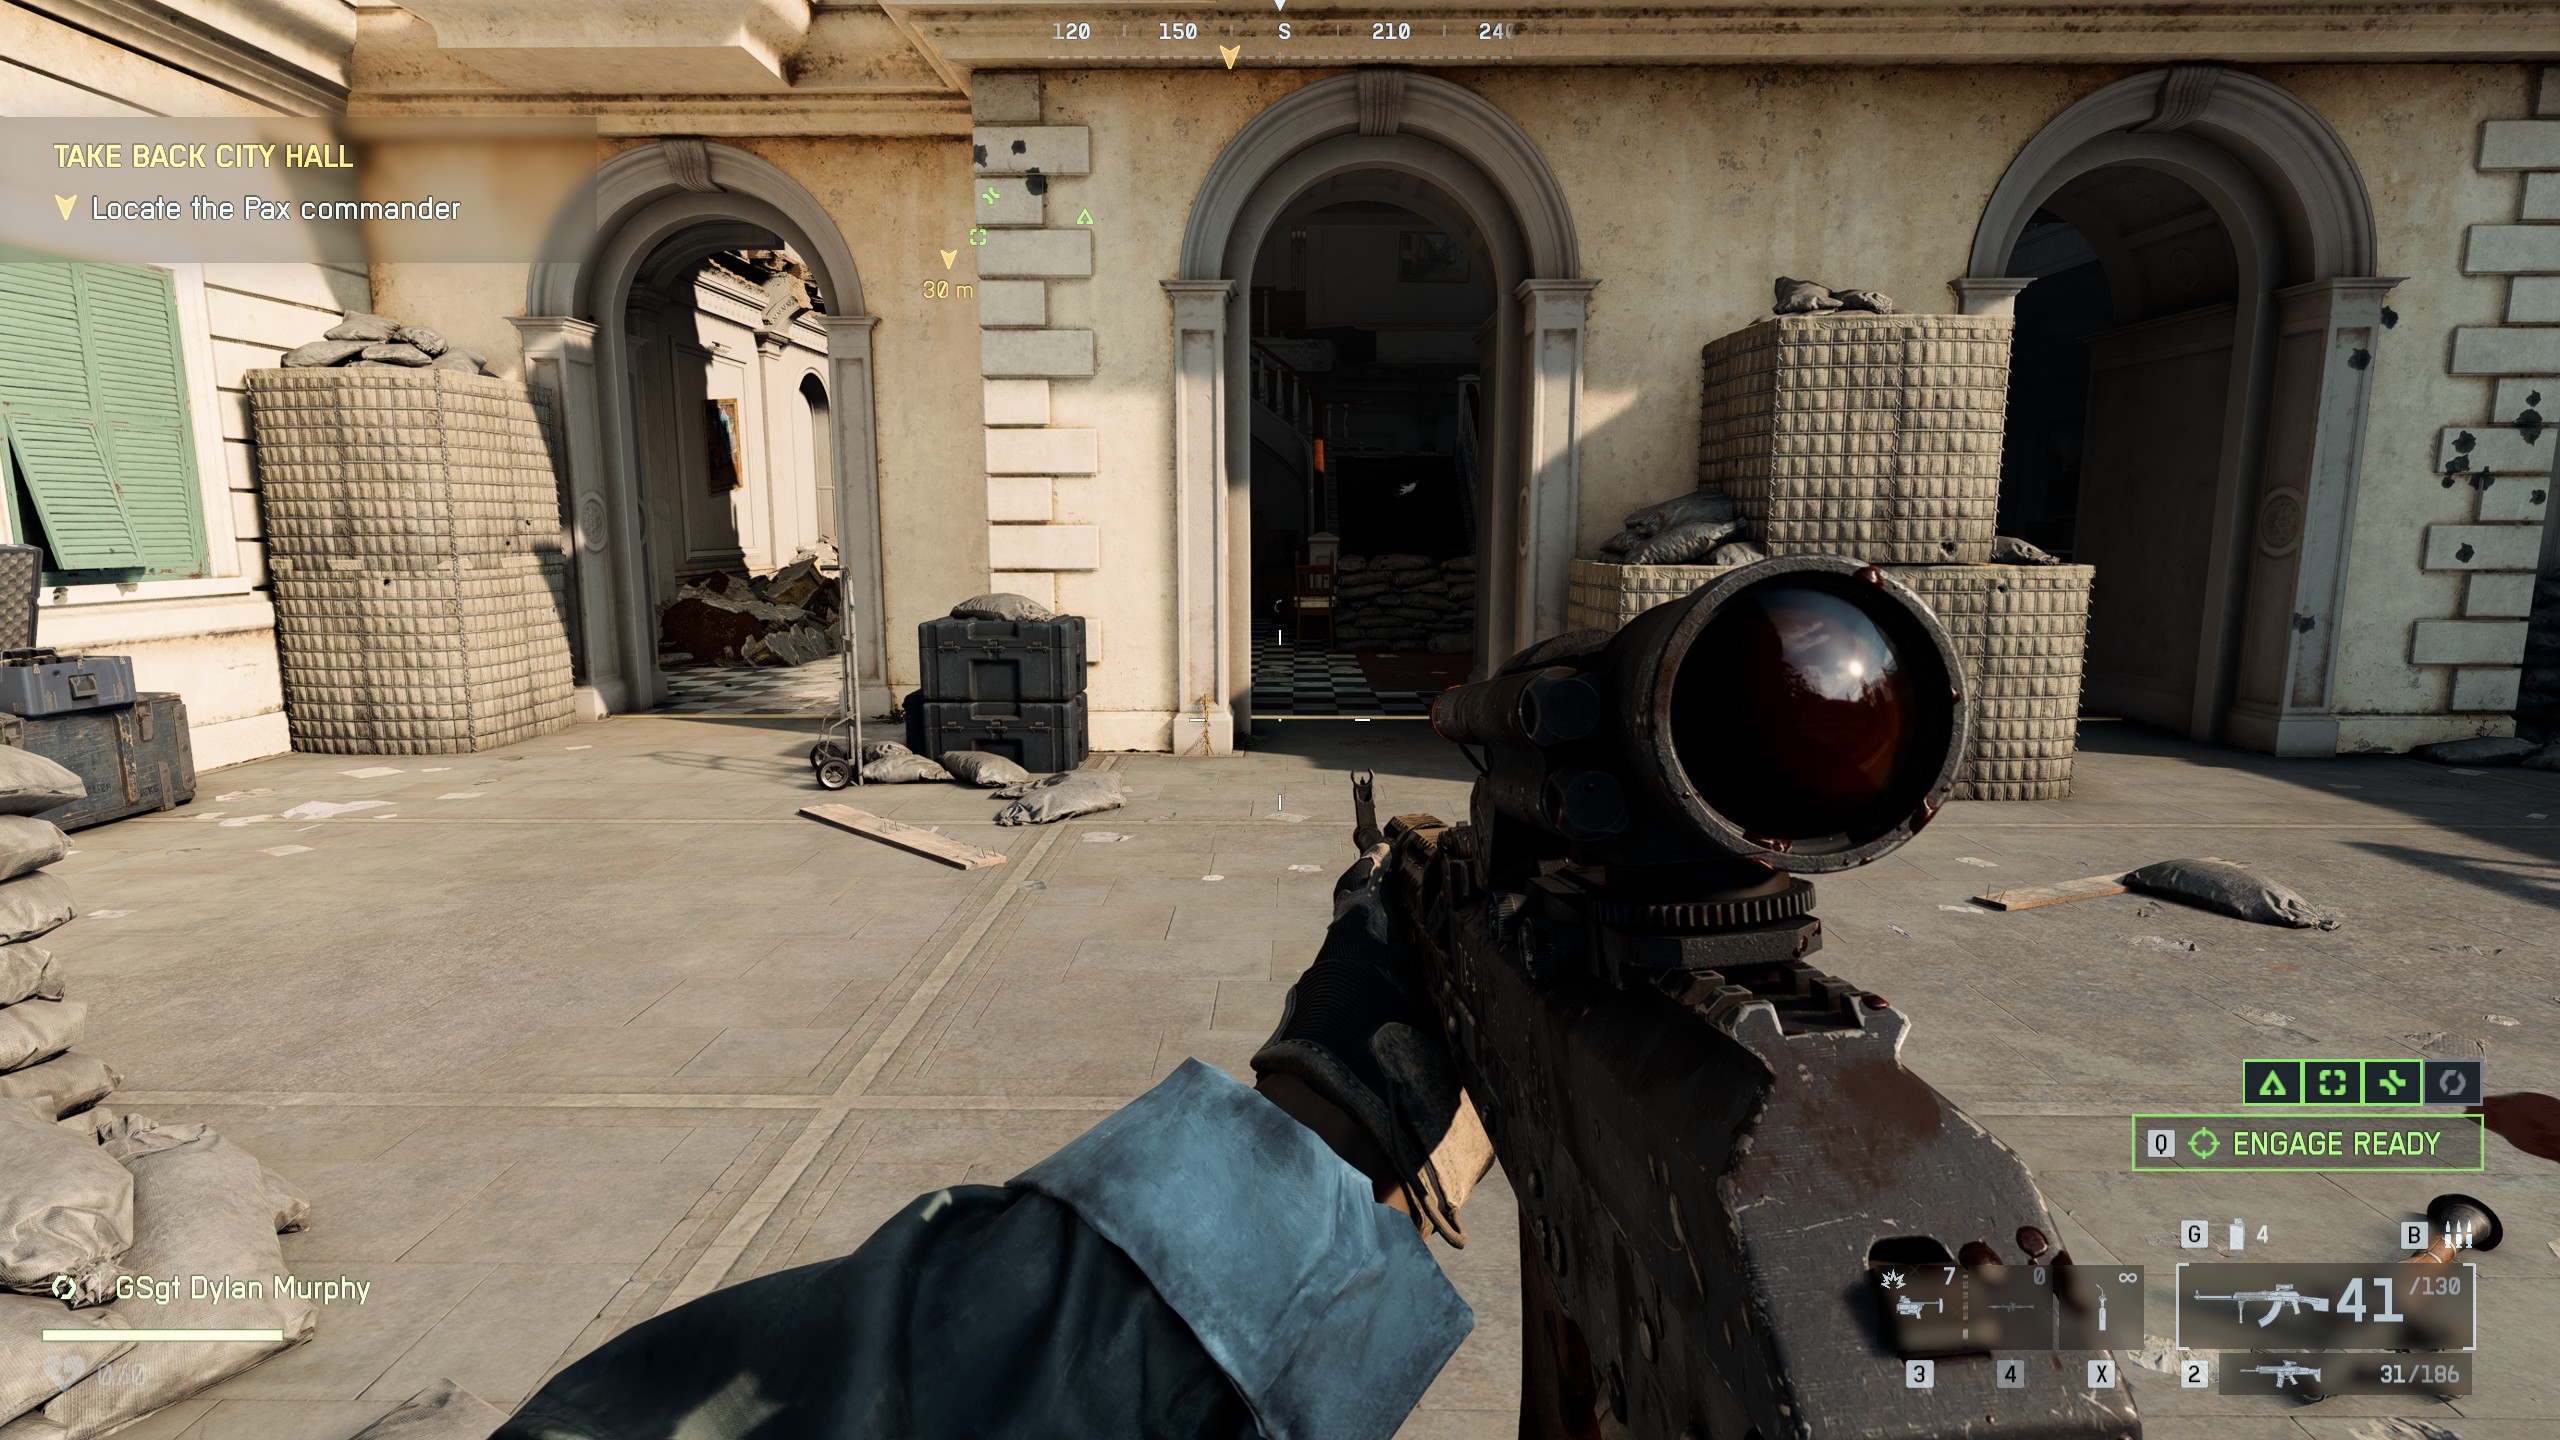
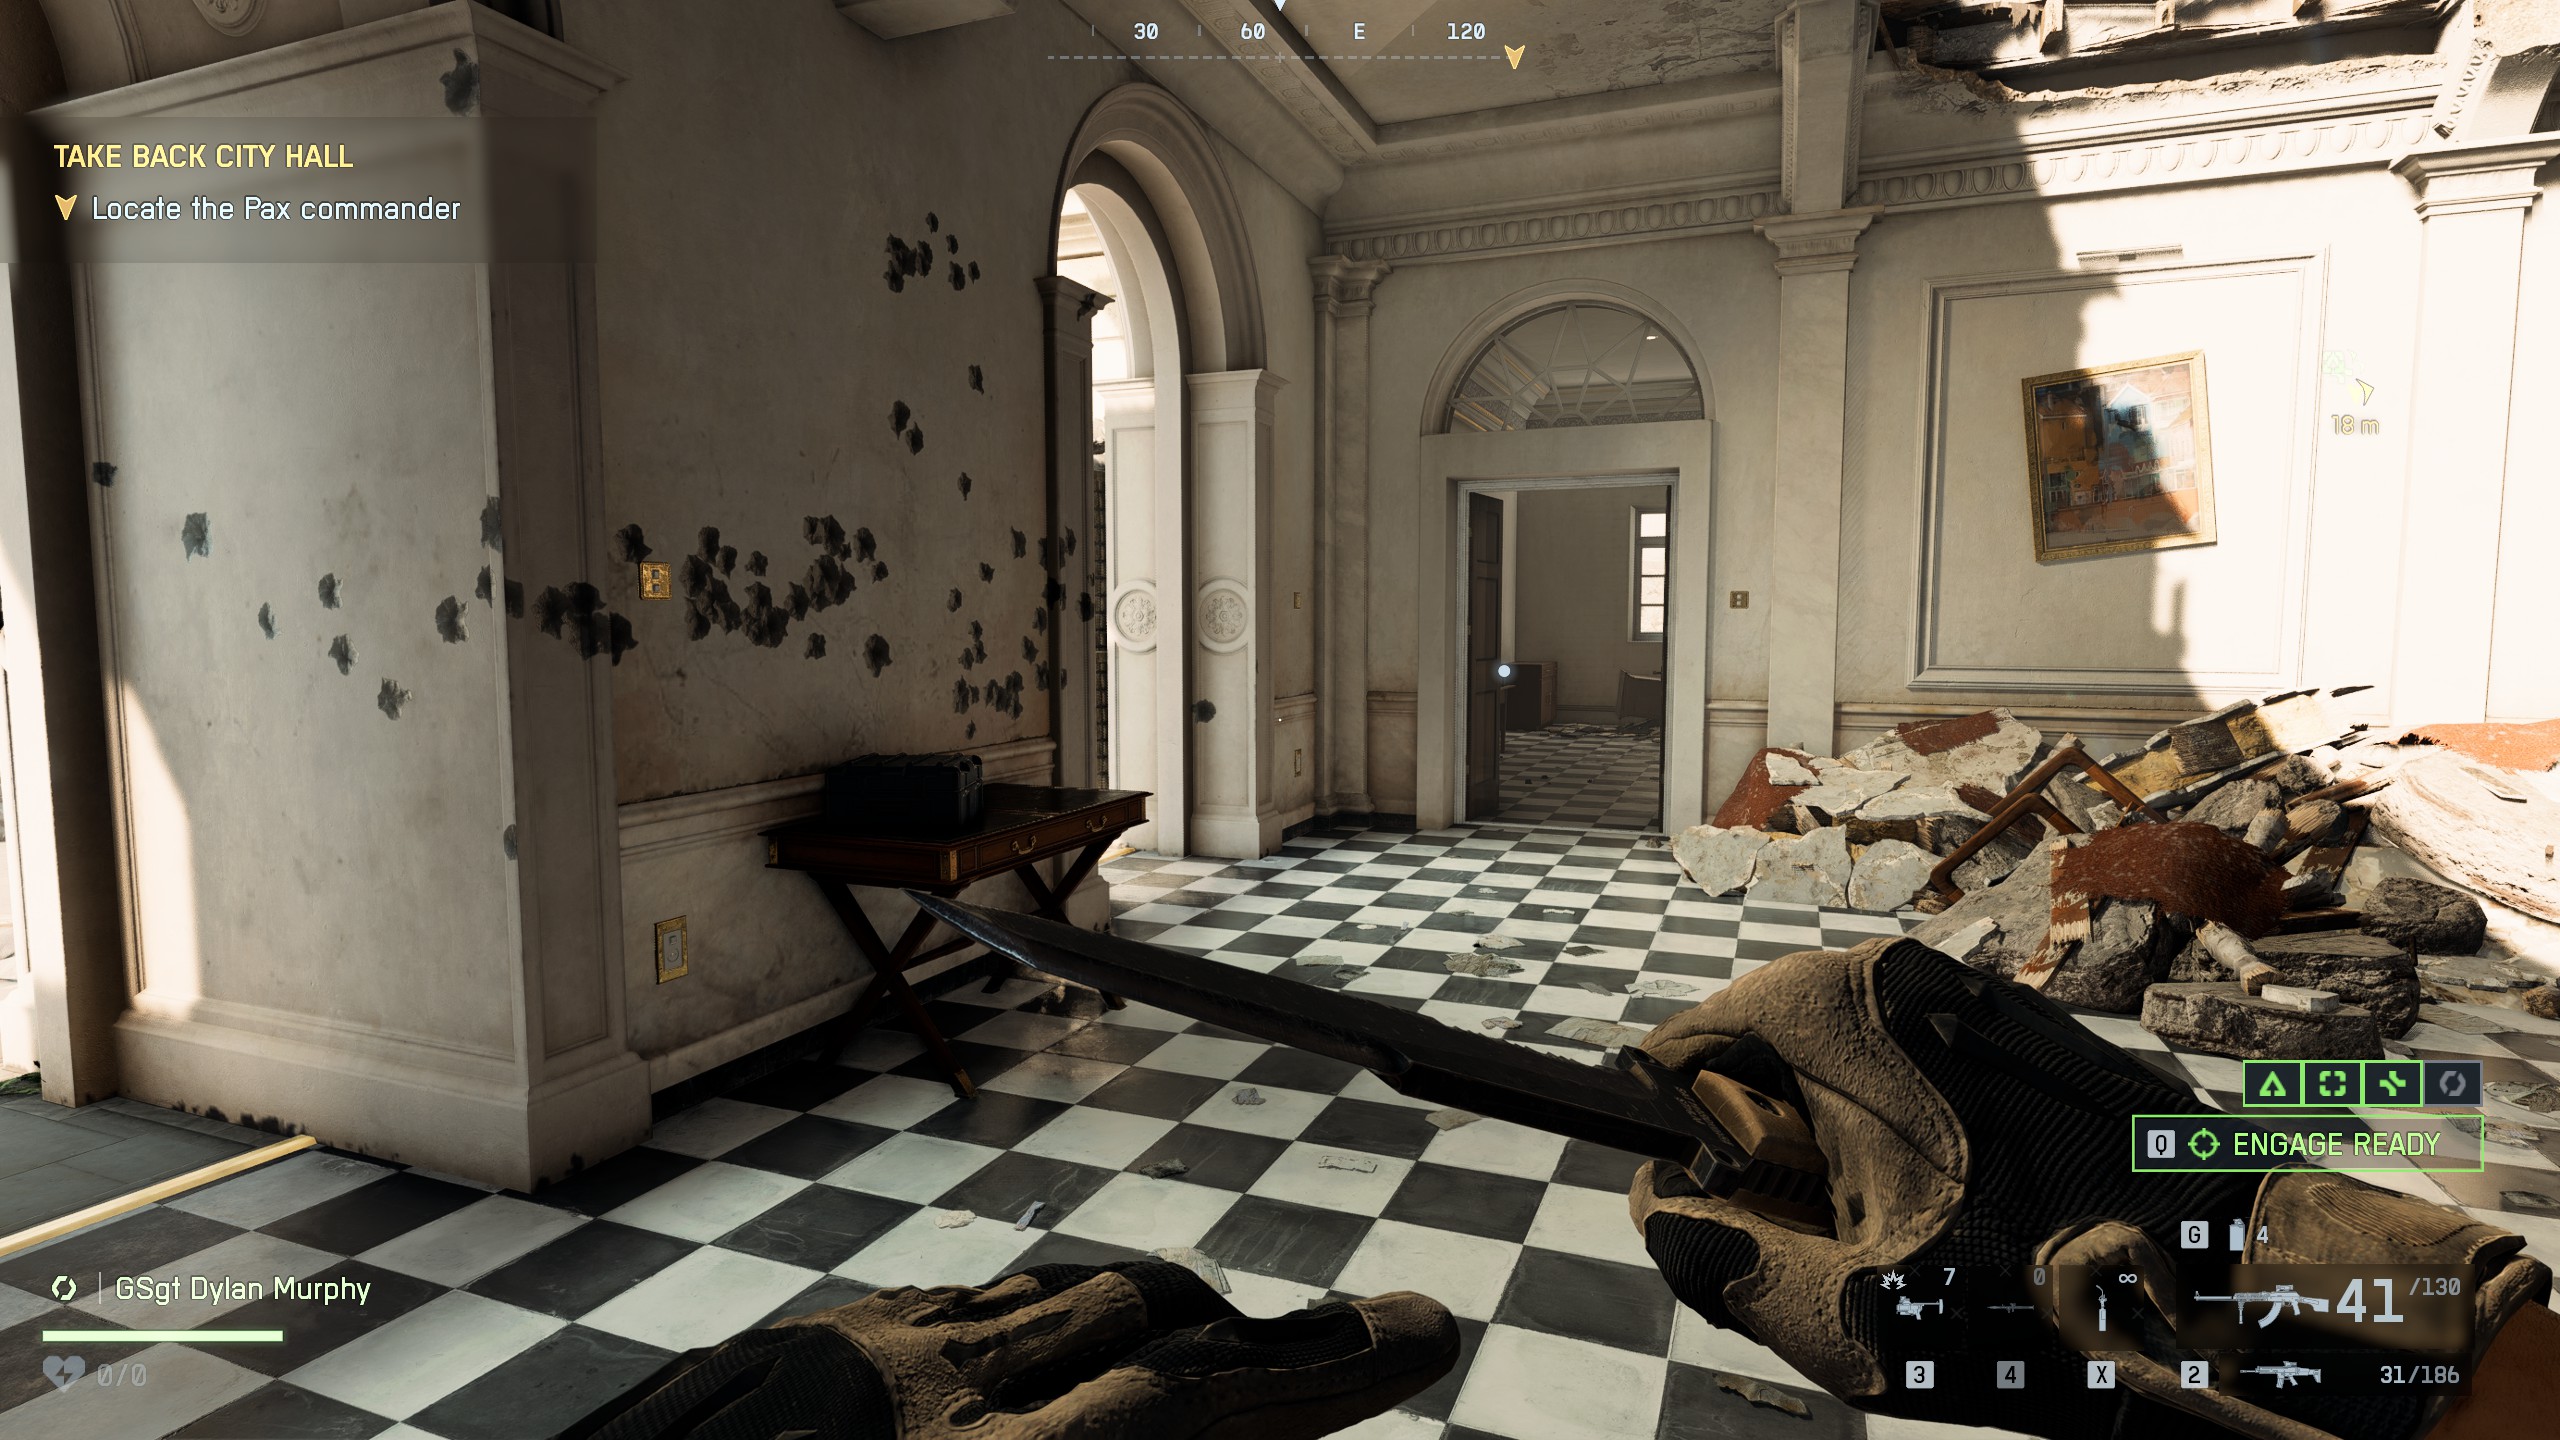
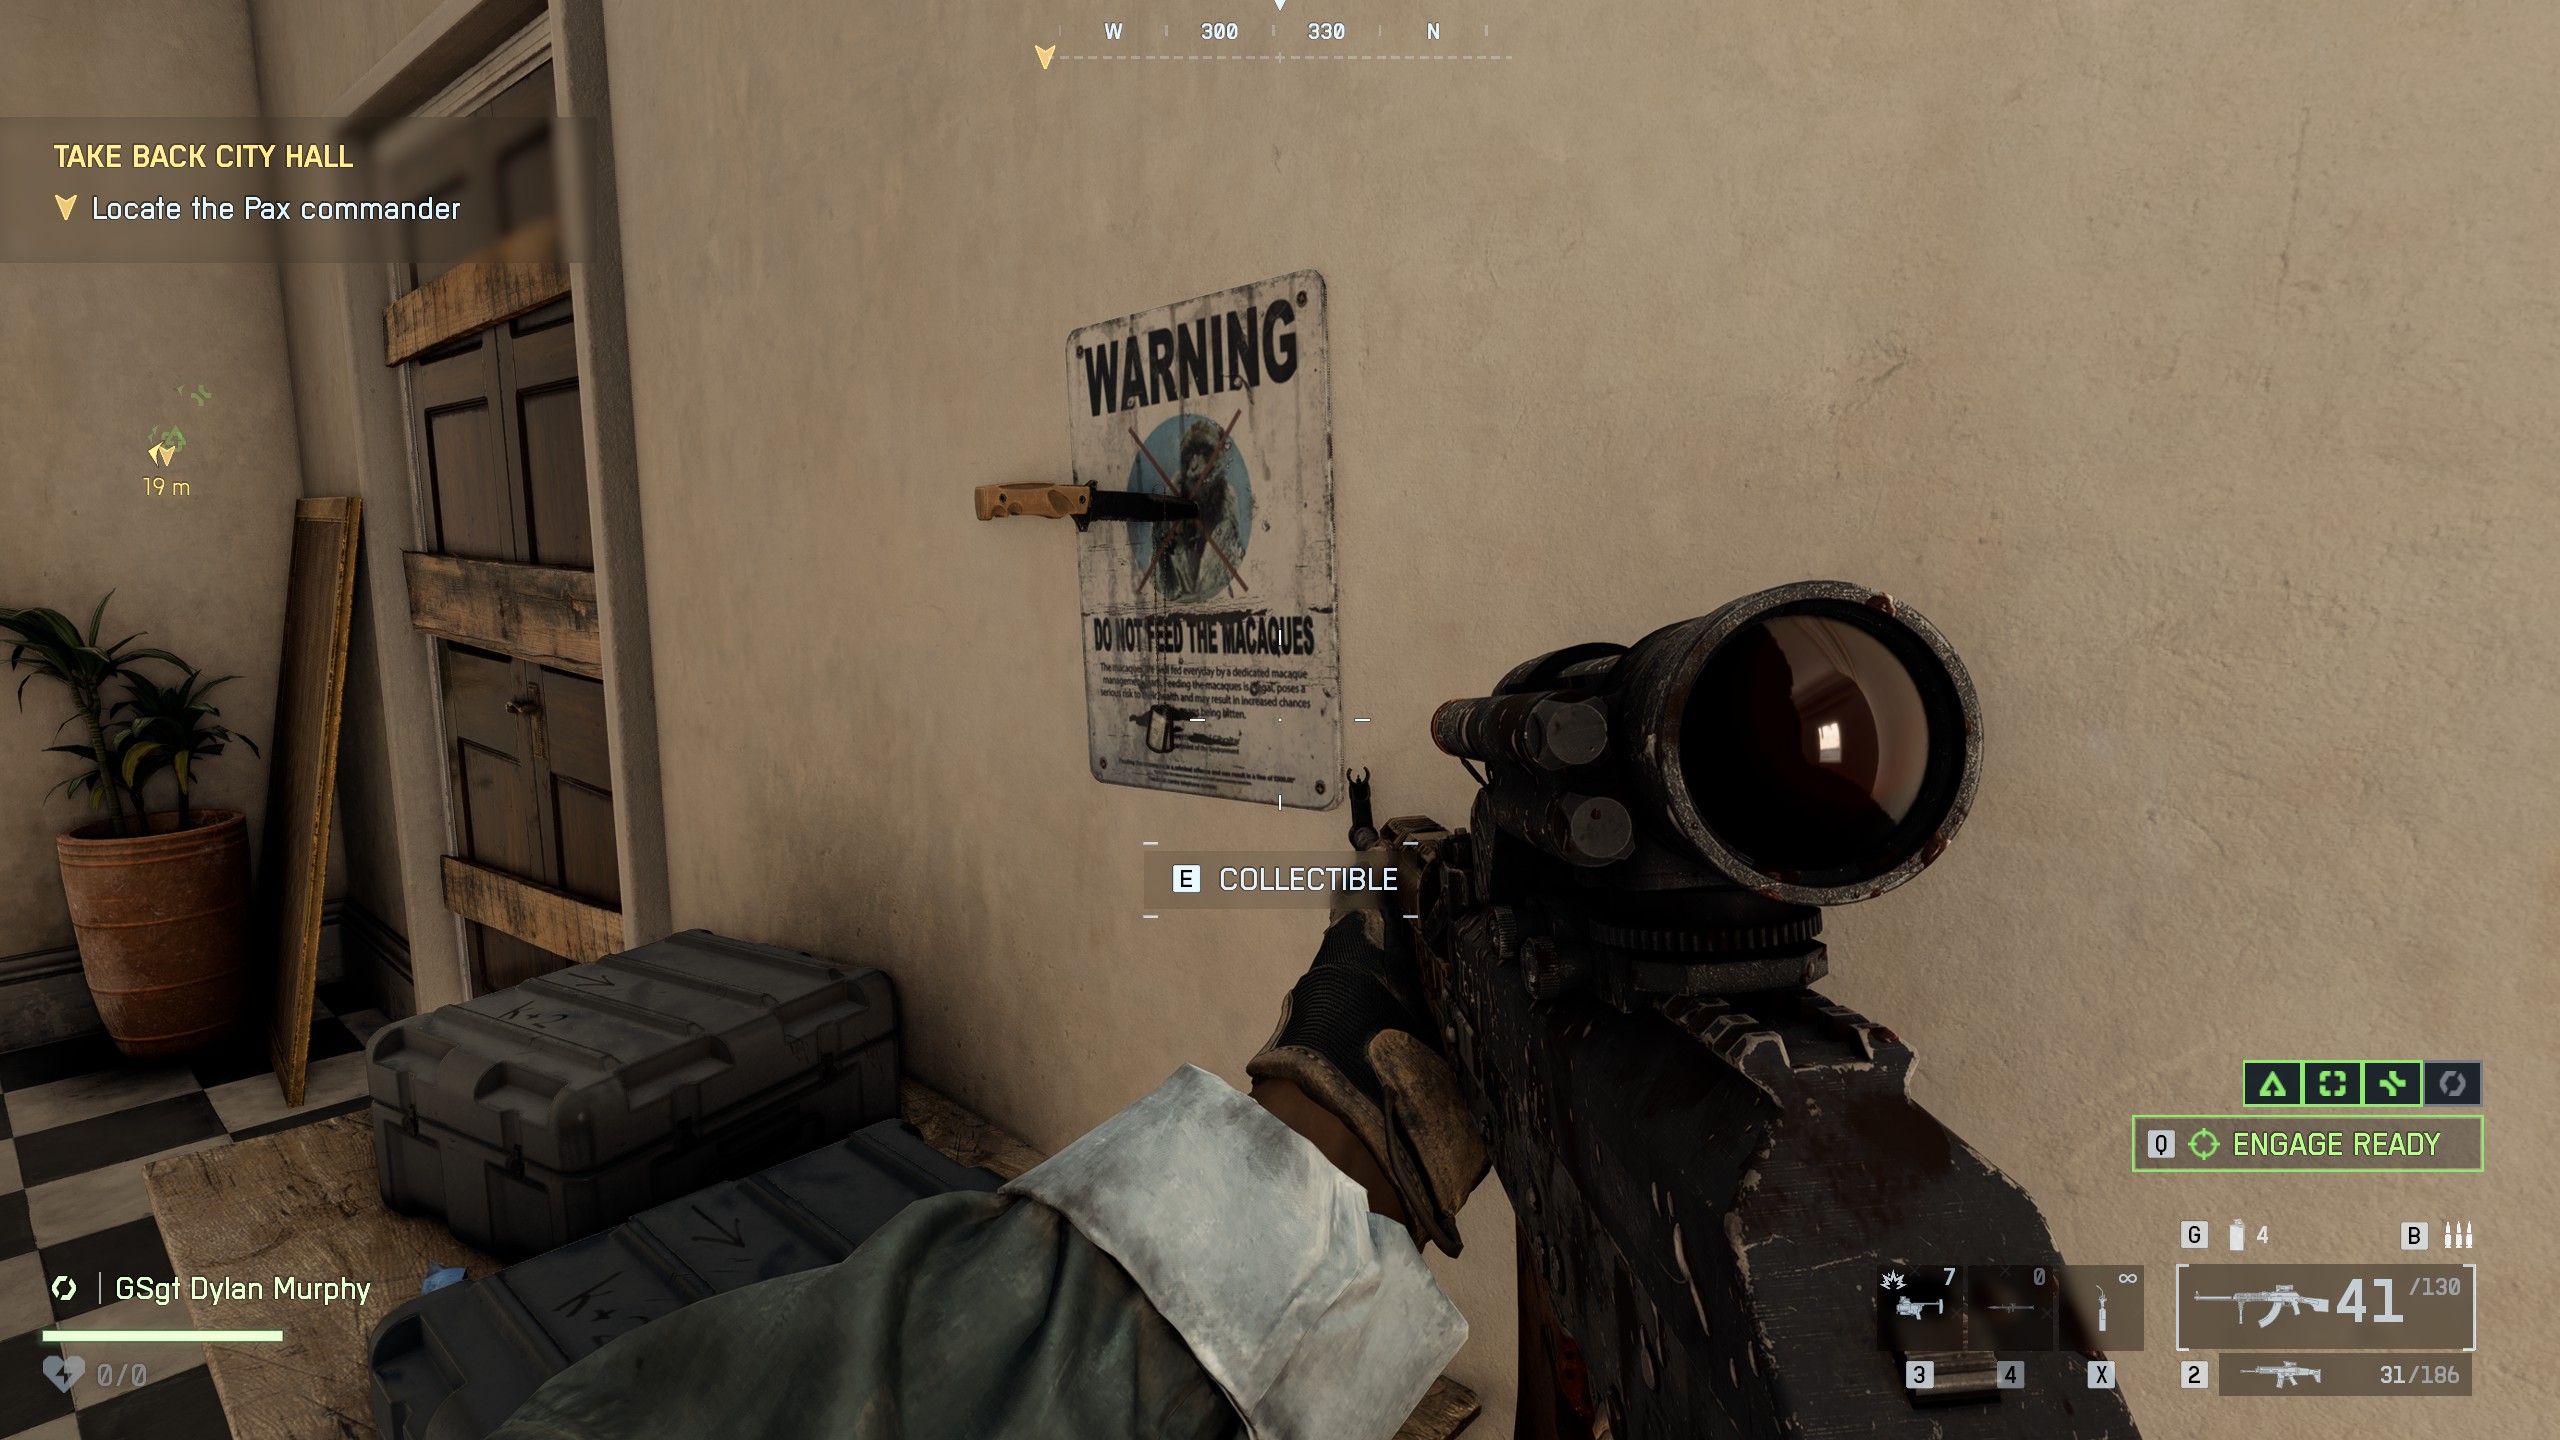
📍Collectible #3 - Dog Tag (#9)Location: As you enter the City Hall building, go into the room on the left. It’s hanging on a knife stuck in the wall
🏆Rock of GibraltarComplete The Rock and Operation Gladius

Mission 4: Night Raid
Collectibles
4
Achievements
3
⚠️One achievement is missable: You need to complete this mission using only pistols, knives, or gadgetsYou can use RPG or XM25 as they count as gadgets⚠️Some players have reported that this achievement doesn't unlock, even after completing the requirements.
Workaround that might work:This workaround seems to help trigger the achievement if it glitched the first time
- After finishing the final mission where the achievement should unlock, continue into the next mission until your character can walk around
- Then, exit to the main menu
- From there, select Continue Mission: NIght Raid
- Let the final cutscene play again
- The achievement should pop after the cutscene ends
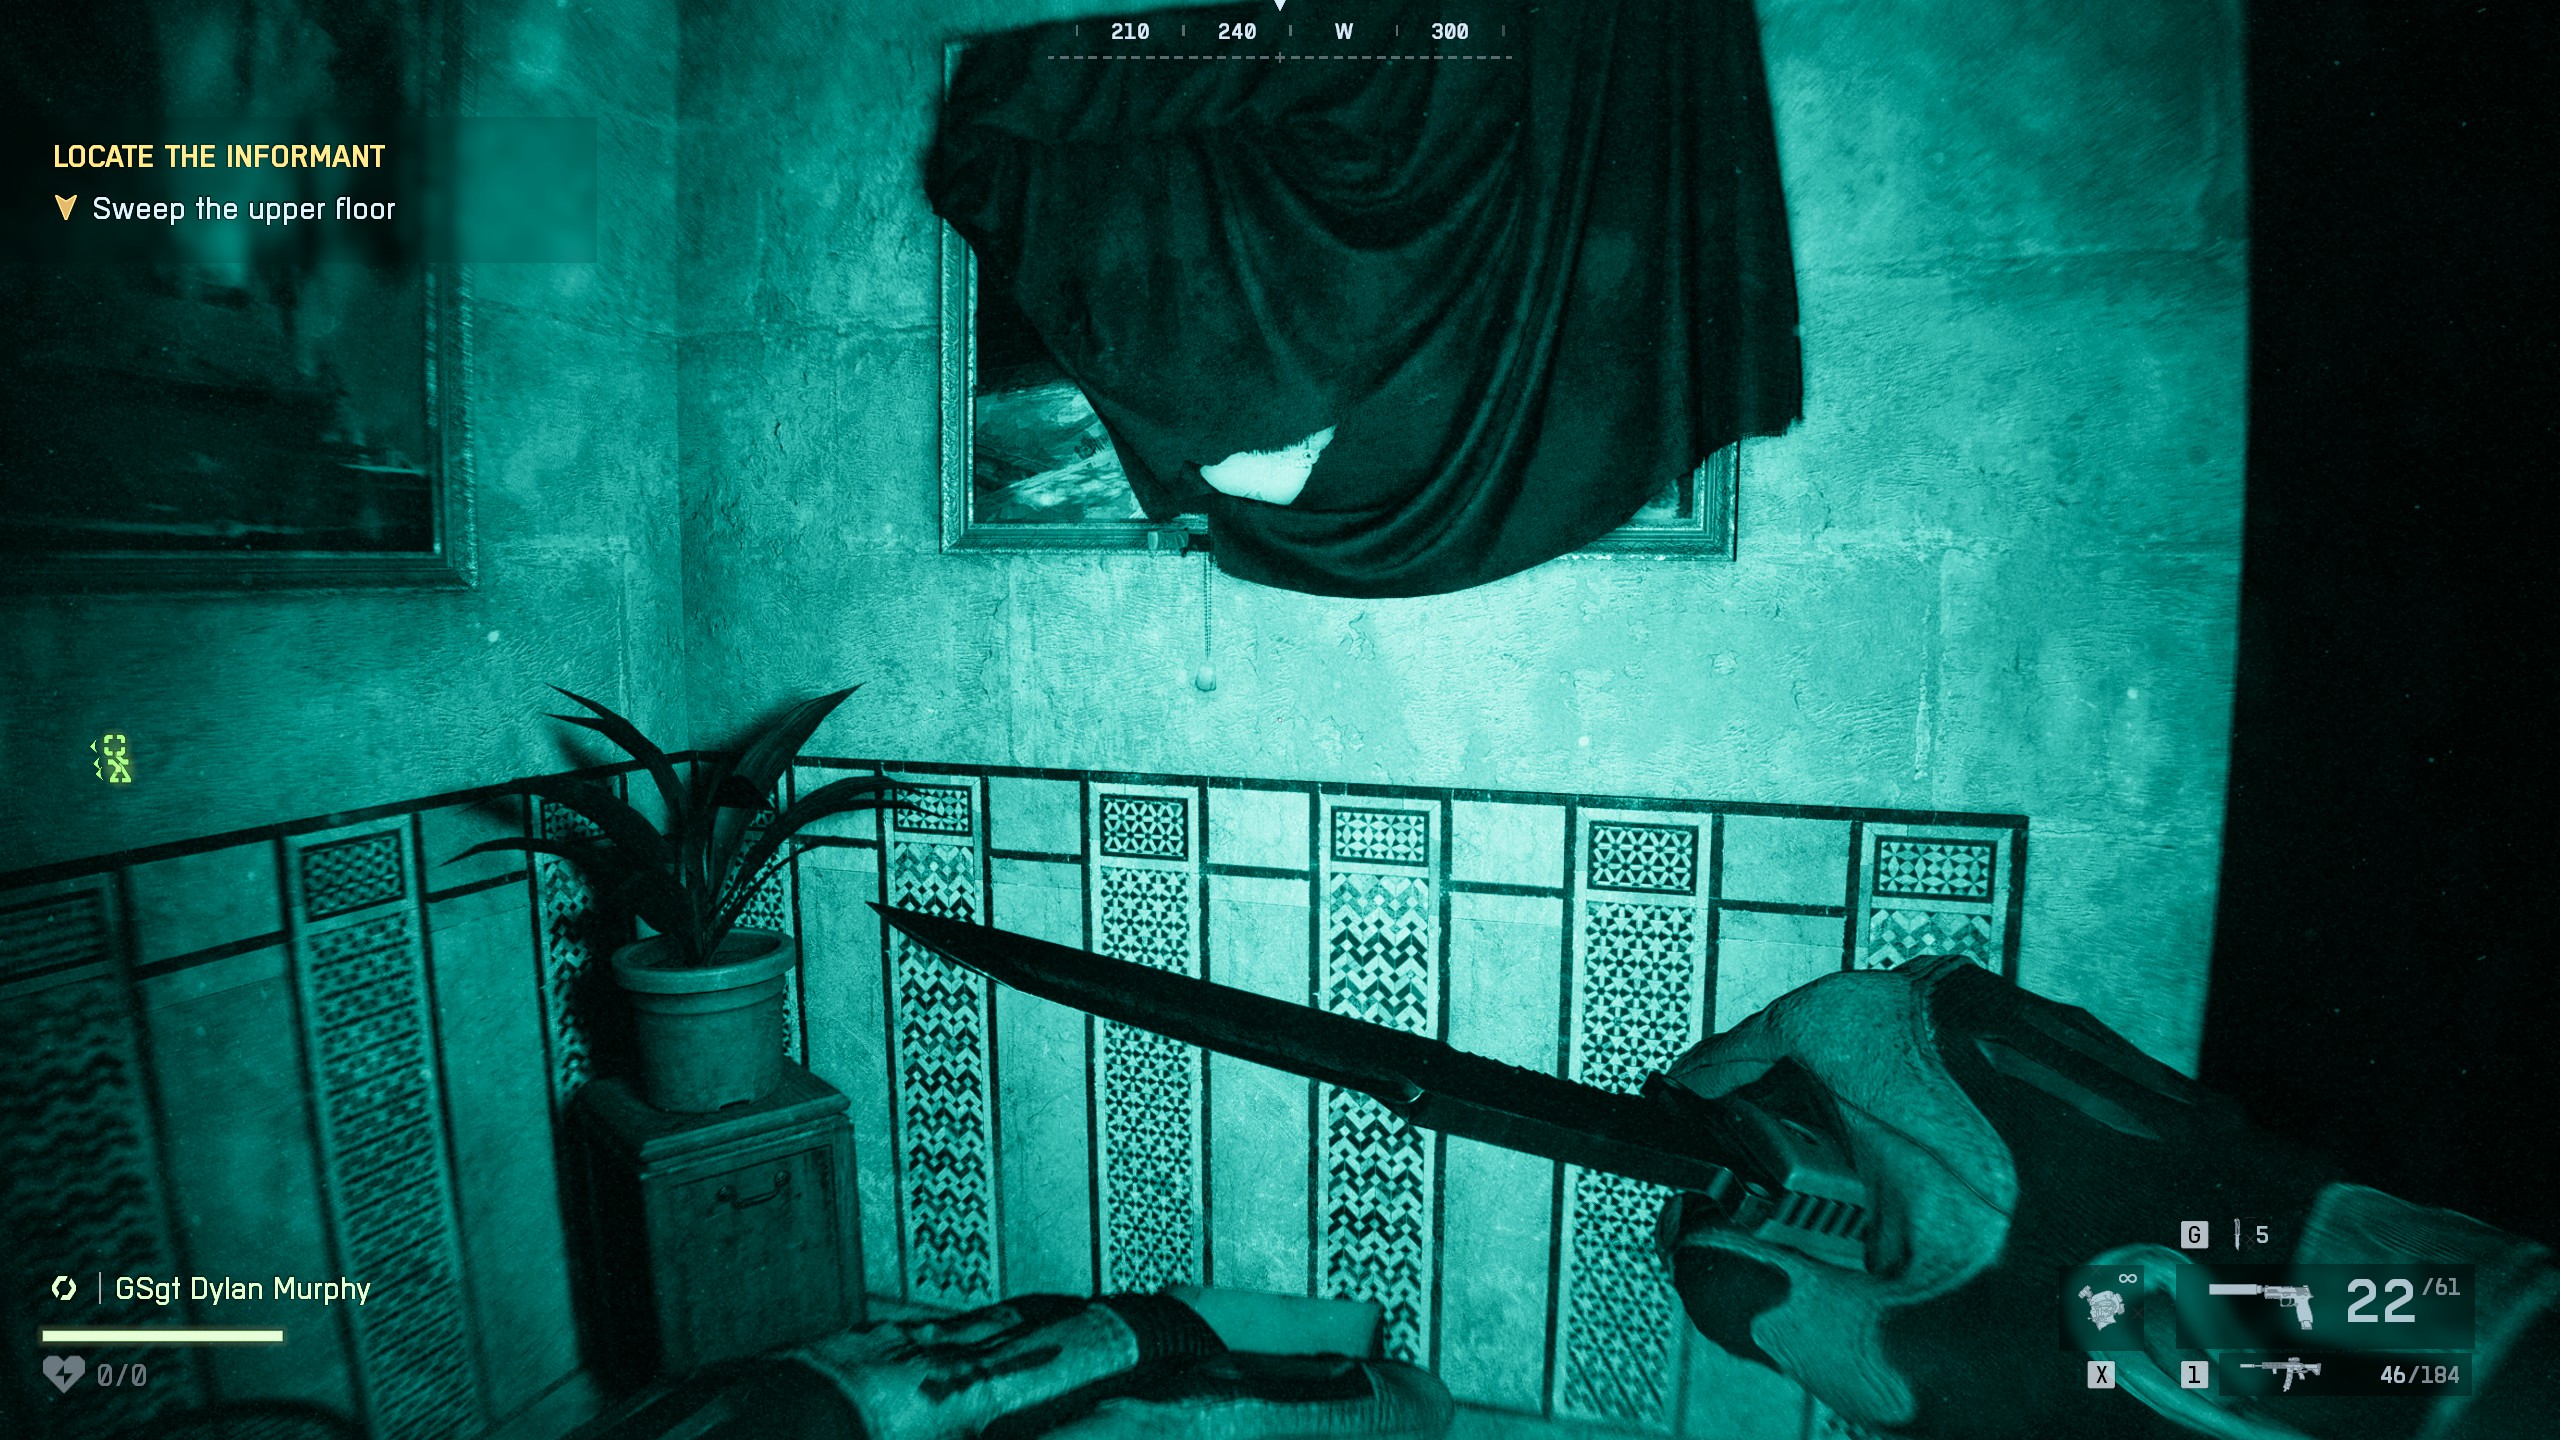
📍Collectible #1 - Dog Tag (#10)Location: Bathroom on the second floor of the palace.After the palace catches fire and your squad moves upstairs, continue forward. Once you reach the upper floor, head straight north, enter the room ahead, then turn into the room on the left. The bathroom is inside. The dog tag is hanging on a knife stuck in the wall.


🏆Hounds of WarPick up 10 Campaign collectibles

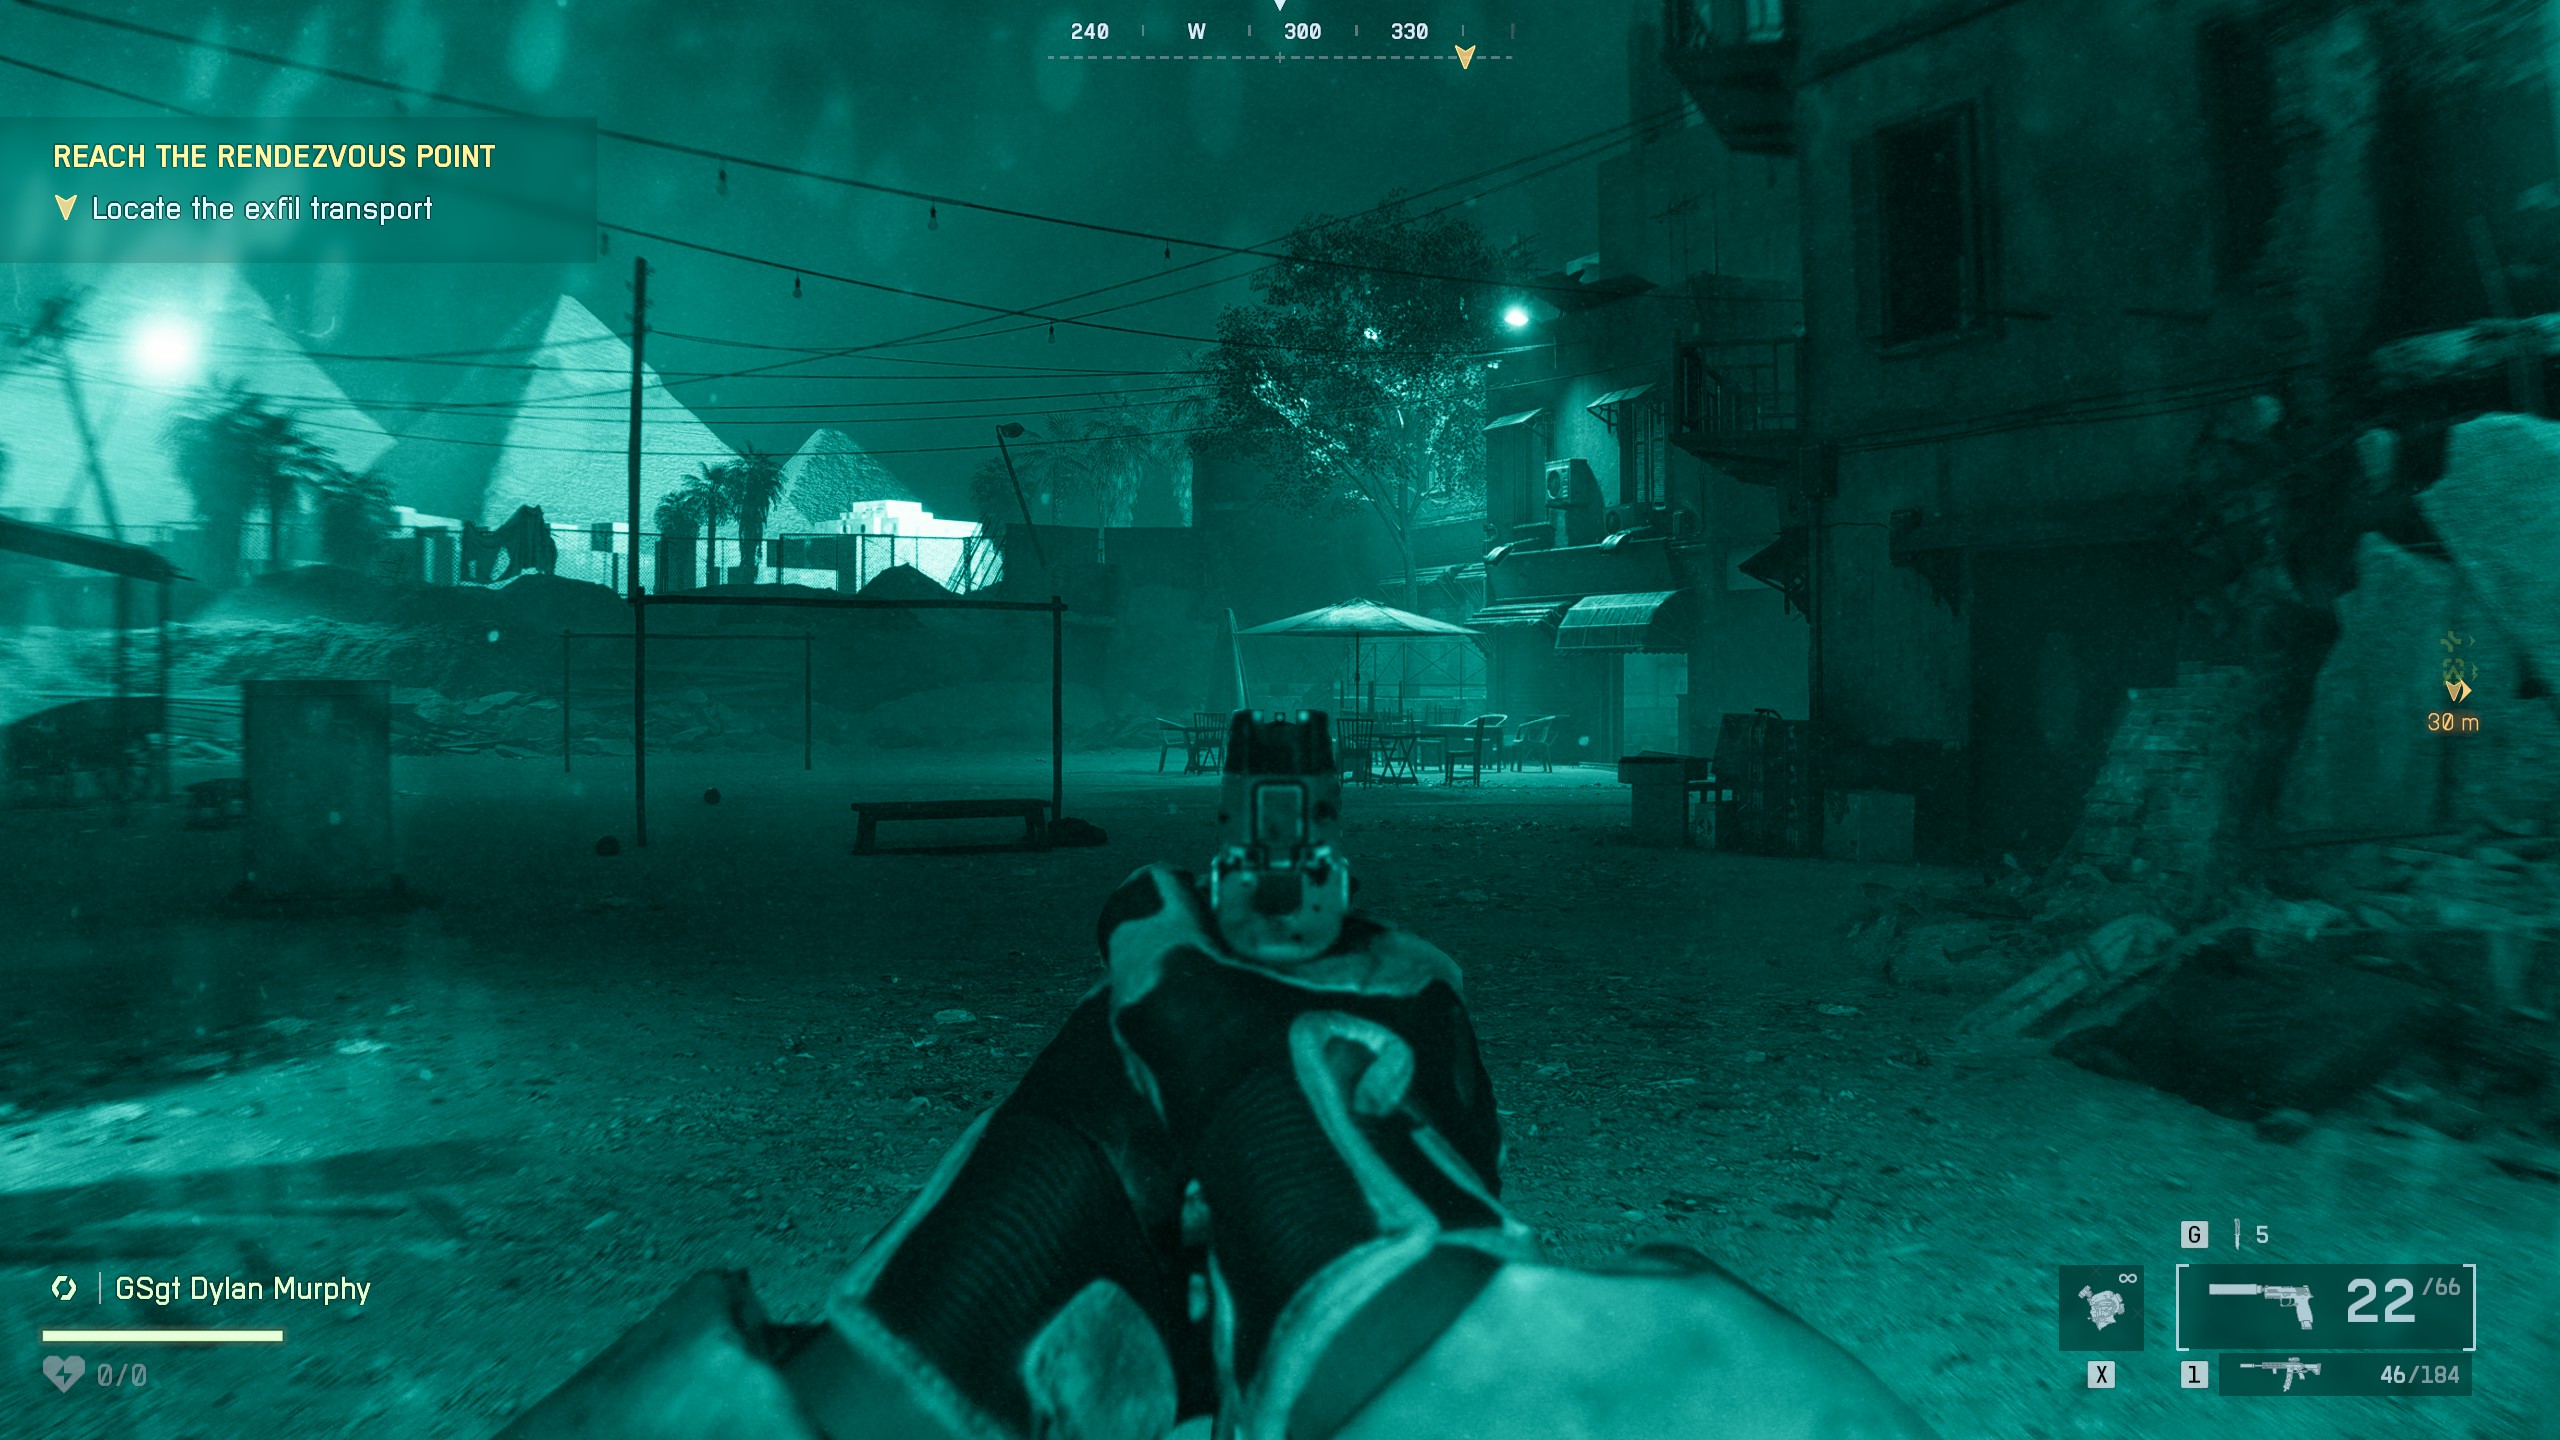
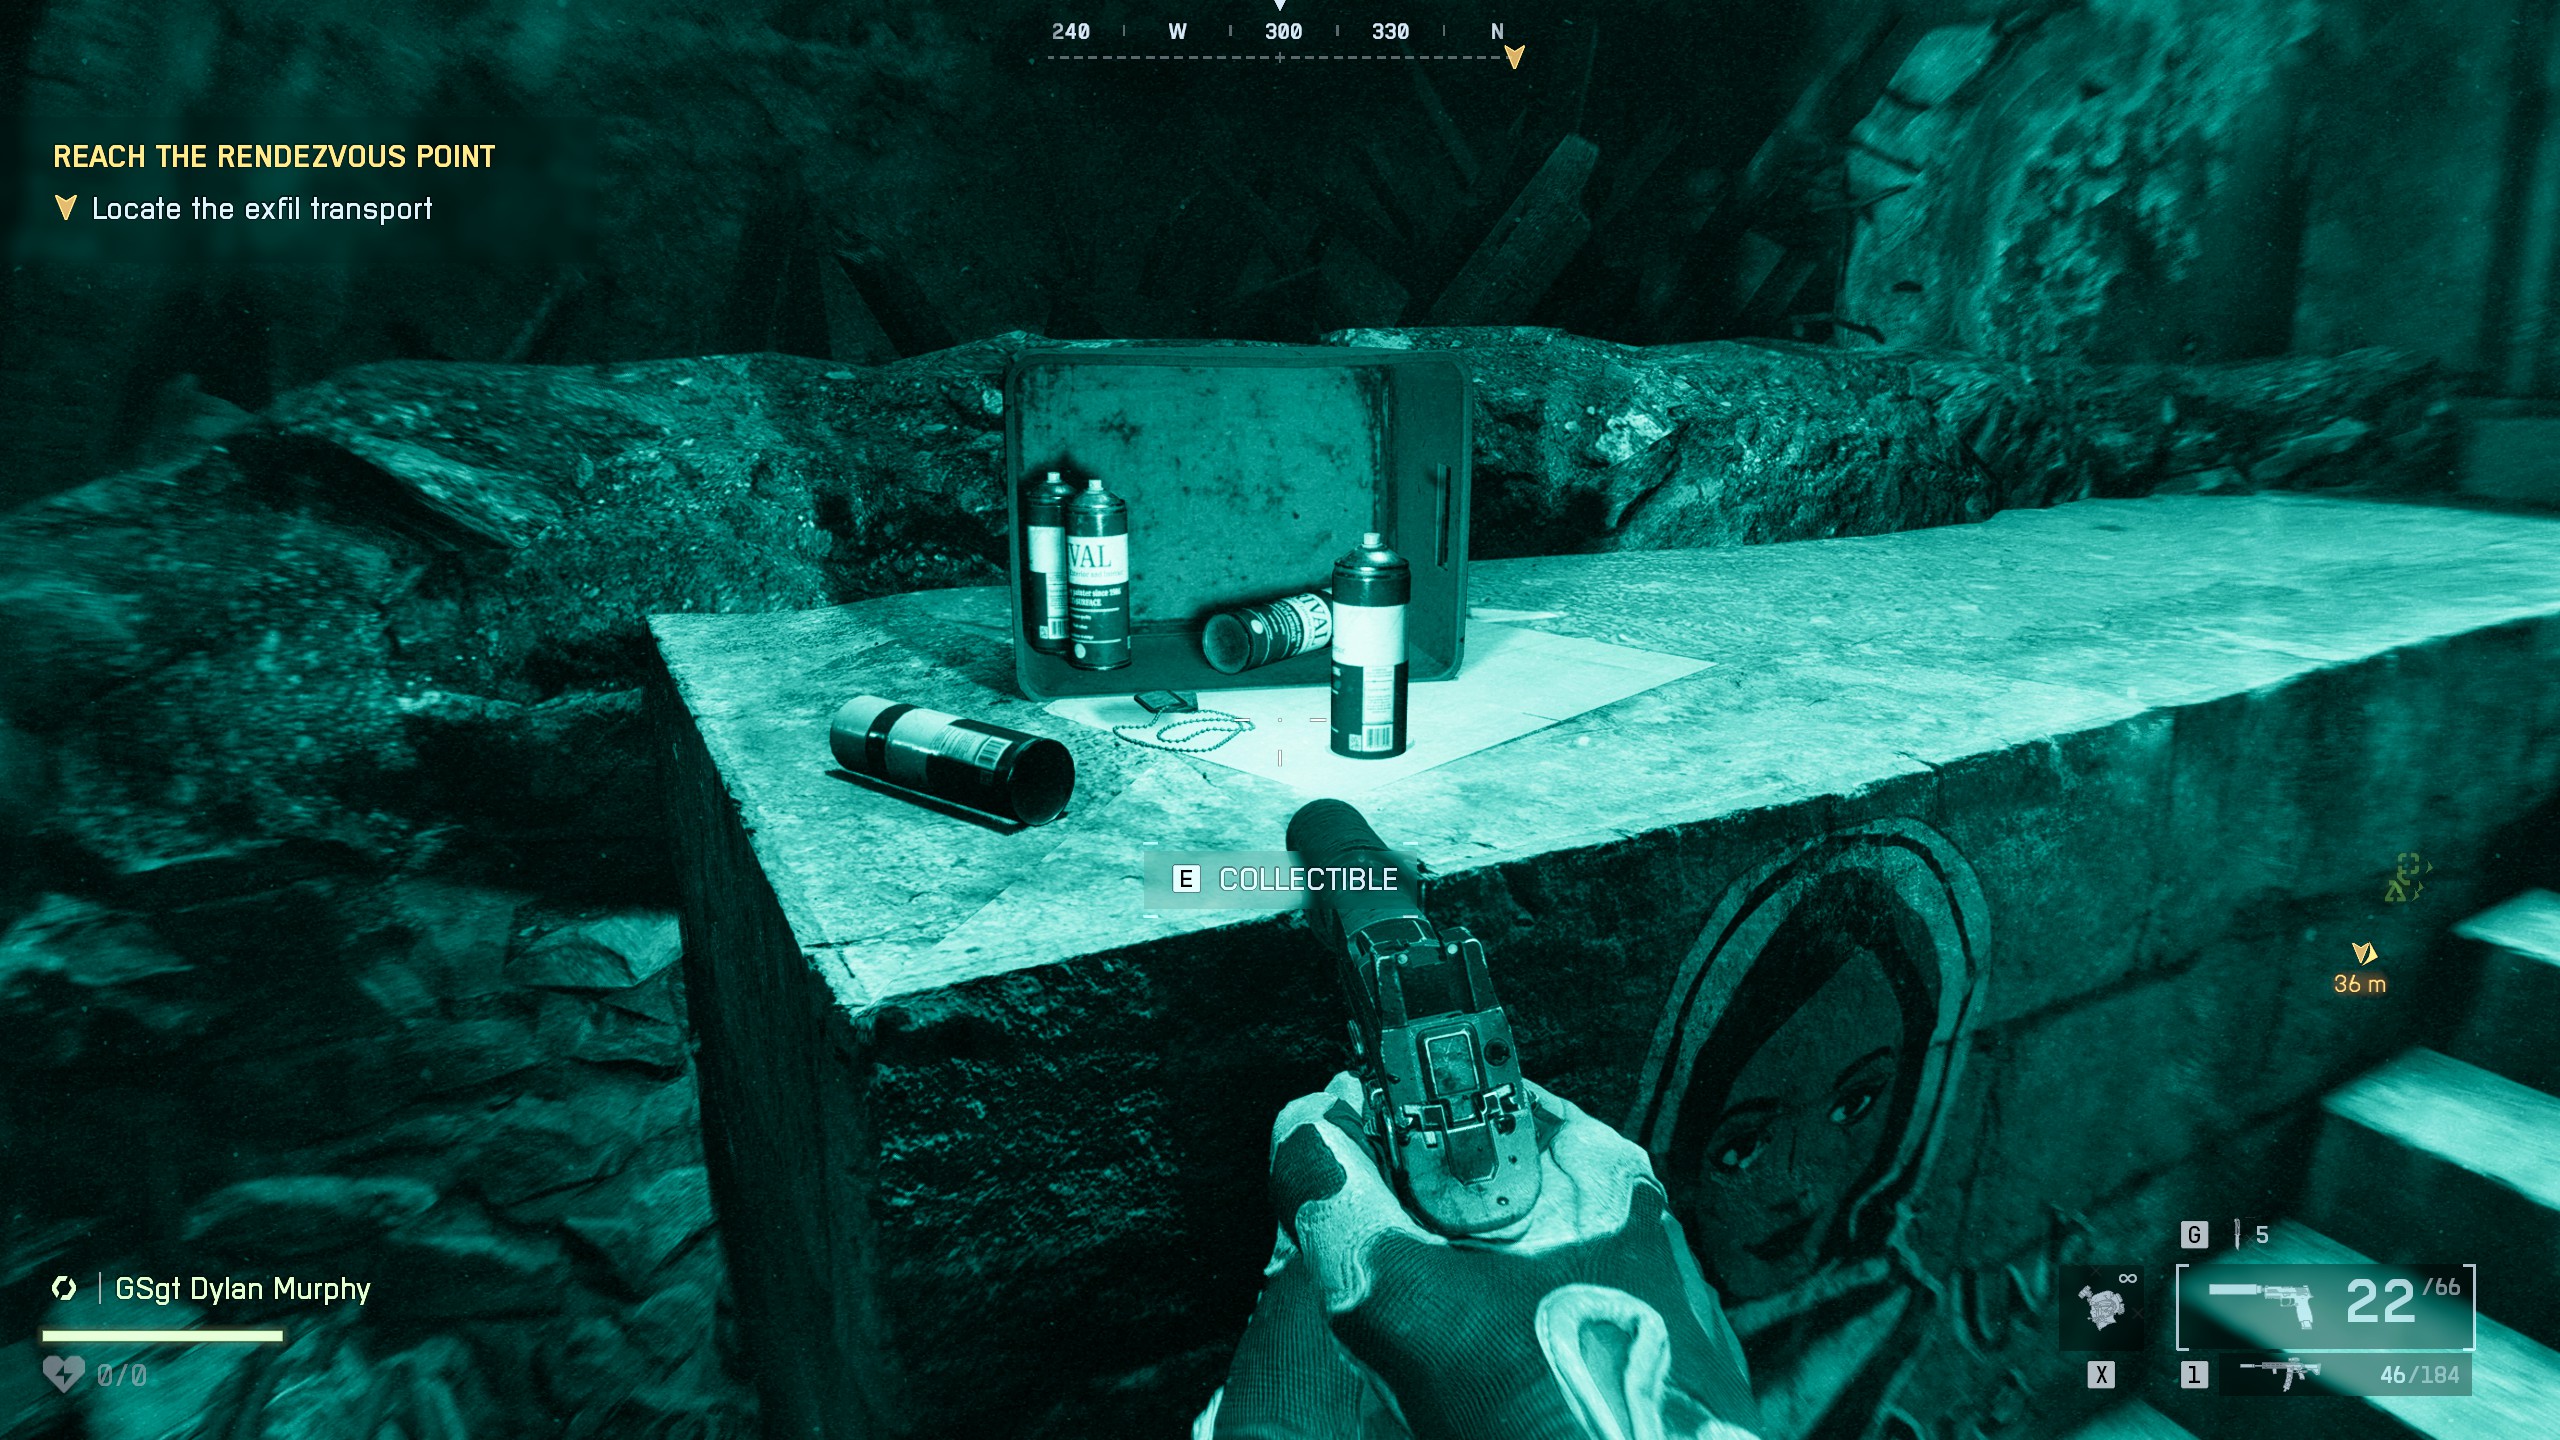
📍Collectible #2 - Dog Tag (#11)Location: Near the football field, in the far-right cornerAfter the helicopter's spotlight finds you, you'll enter a shop. Once you exit, you'll arrive at a football field with a view of the pyramids in the background. Head to the far-right corner of the field. The dog tag is right next to the stairs
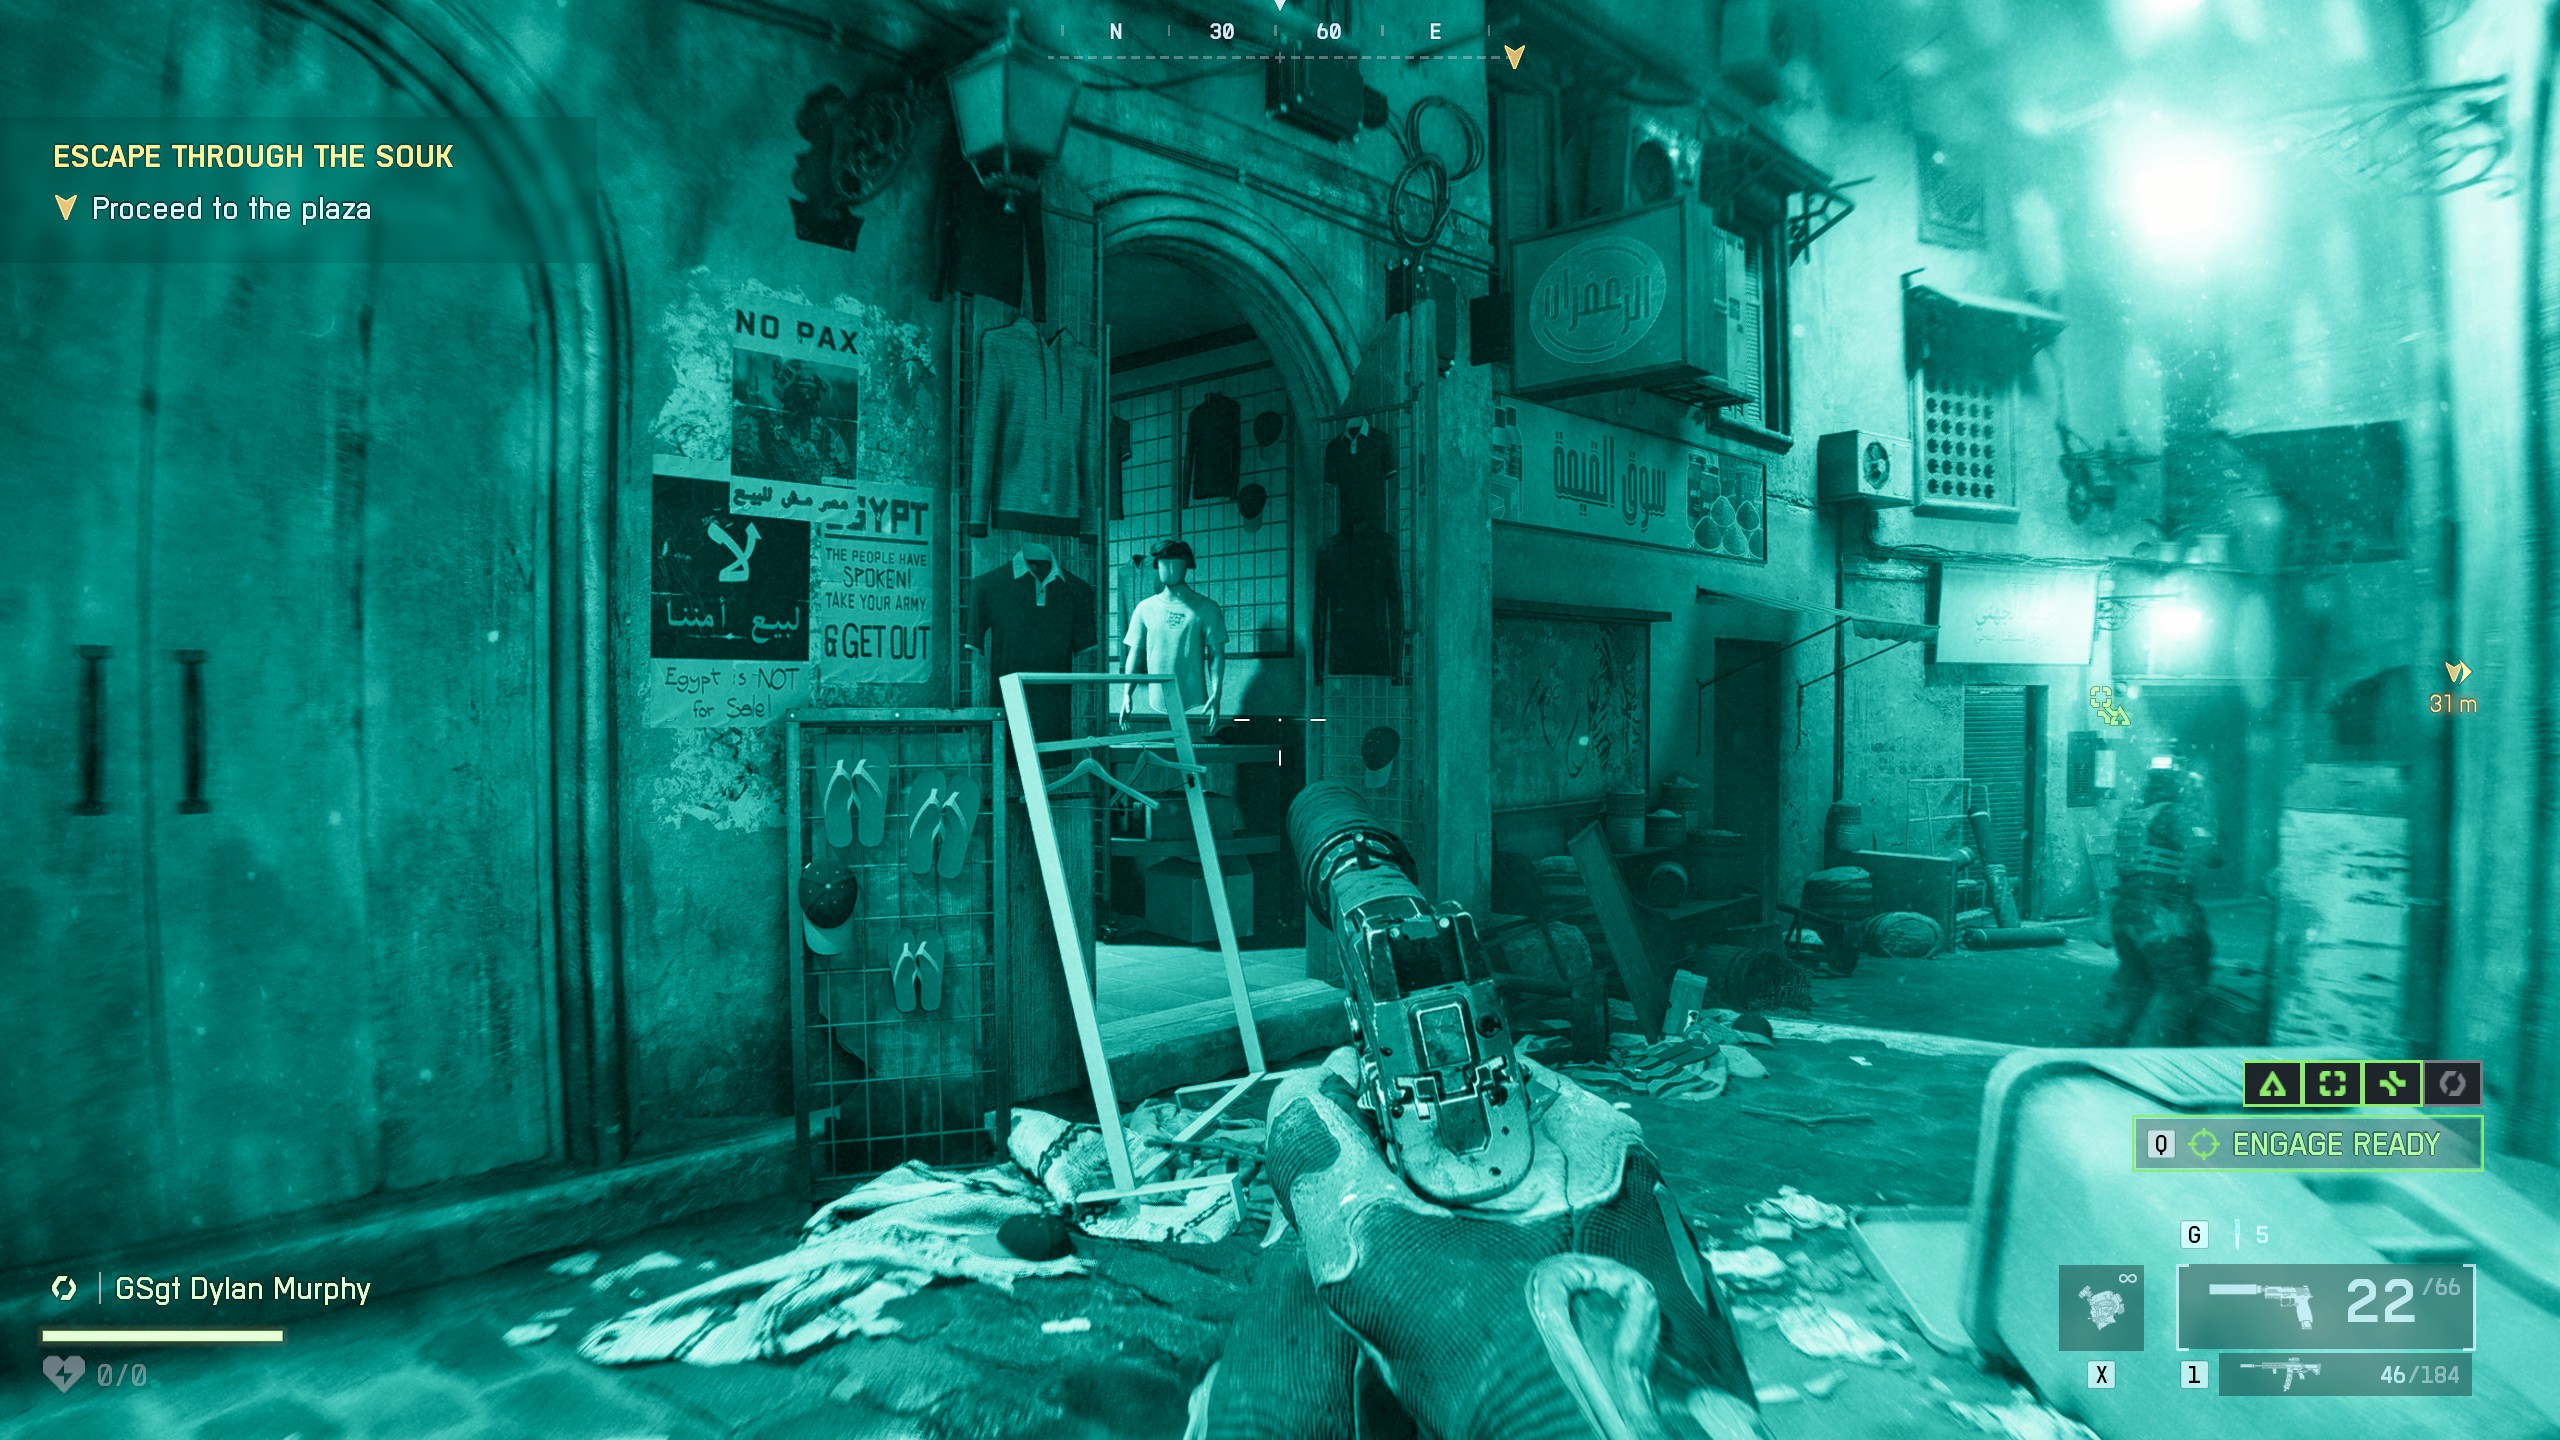
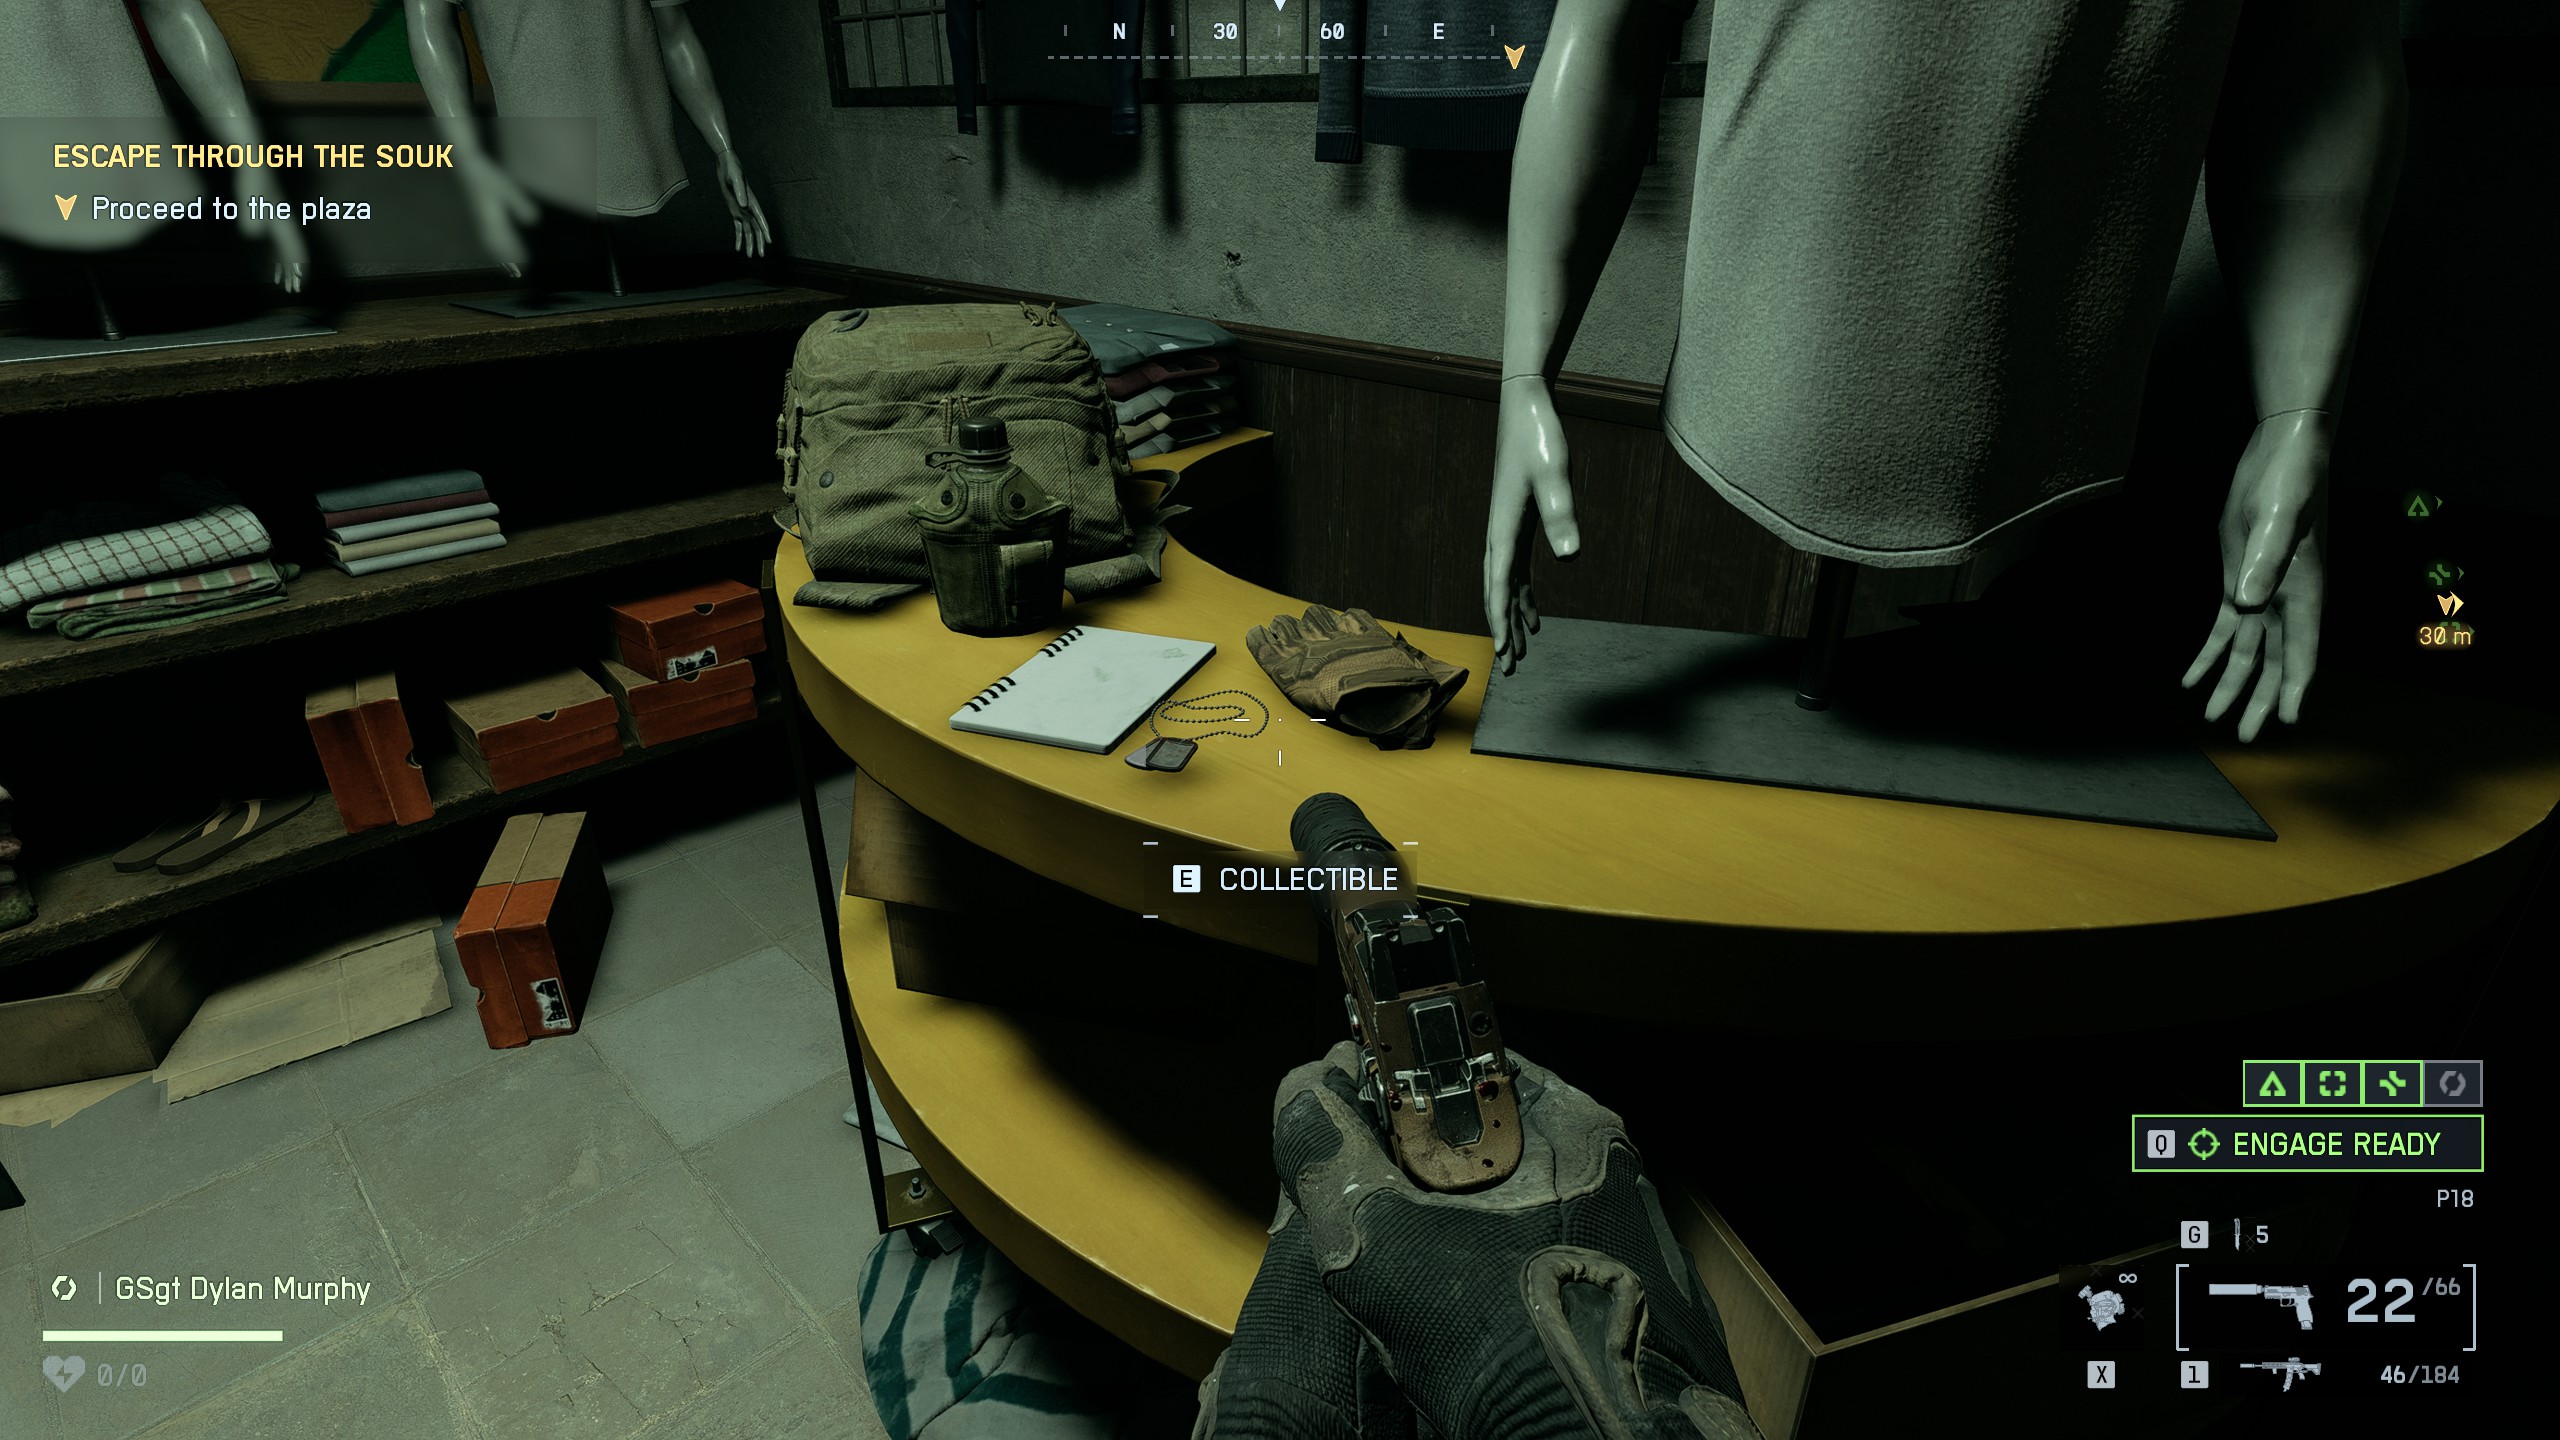
📍Collectible #3 - Dog Tag (#12)Location: In the open shop with mannequins in white shirts, just after exiting the building into the alleyAfter the helicopter leaves and you receive the new objective "Proceed to the plaza", your squad will move forward. Exit the building into the street area. There's an open shop with mannequins wearing white shirts. The dog tag is on the table inside
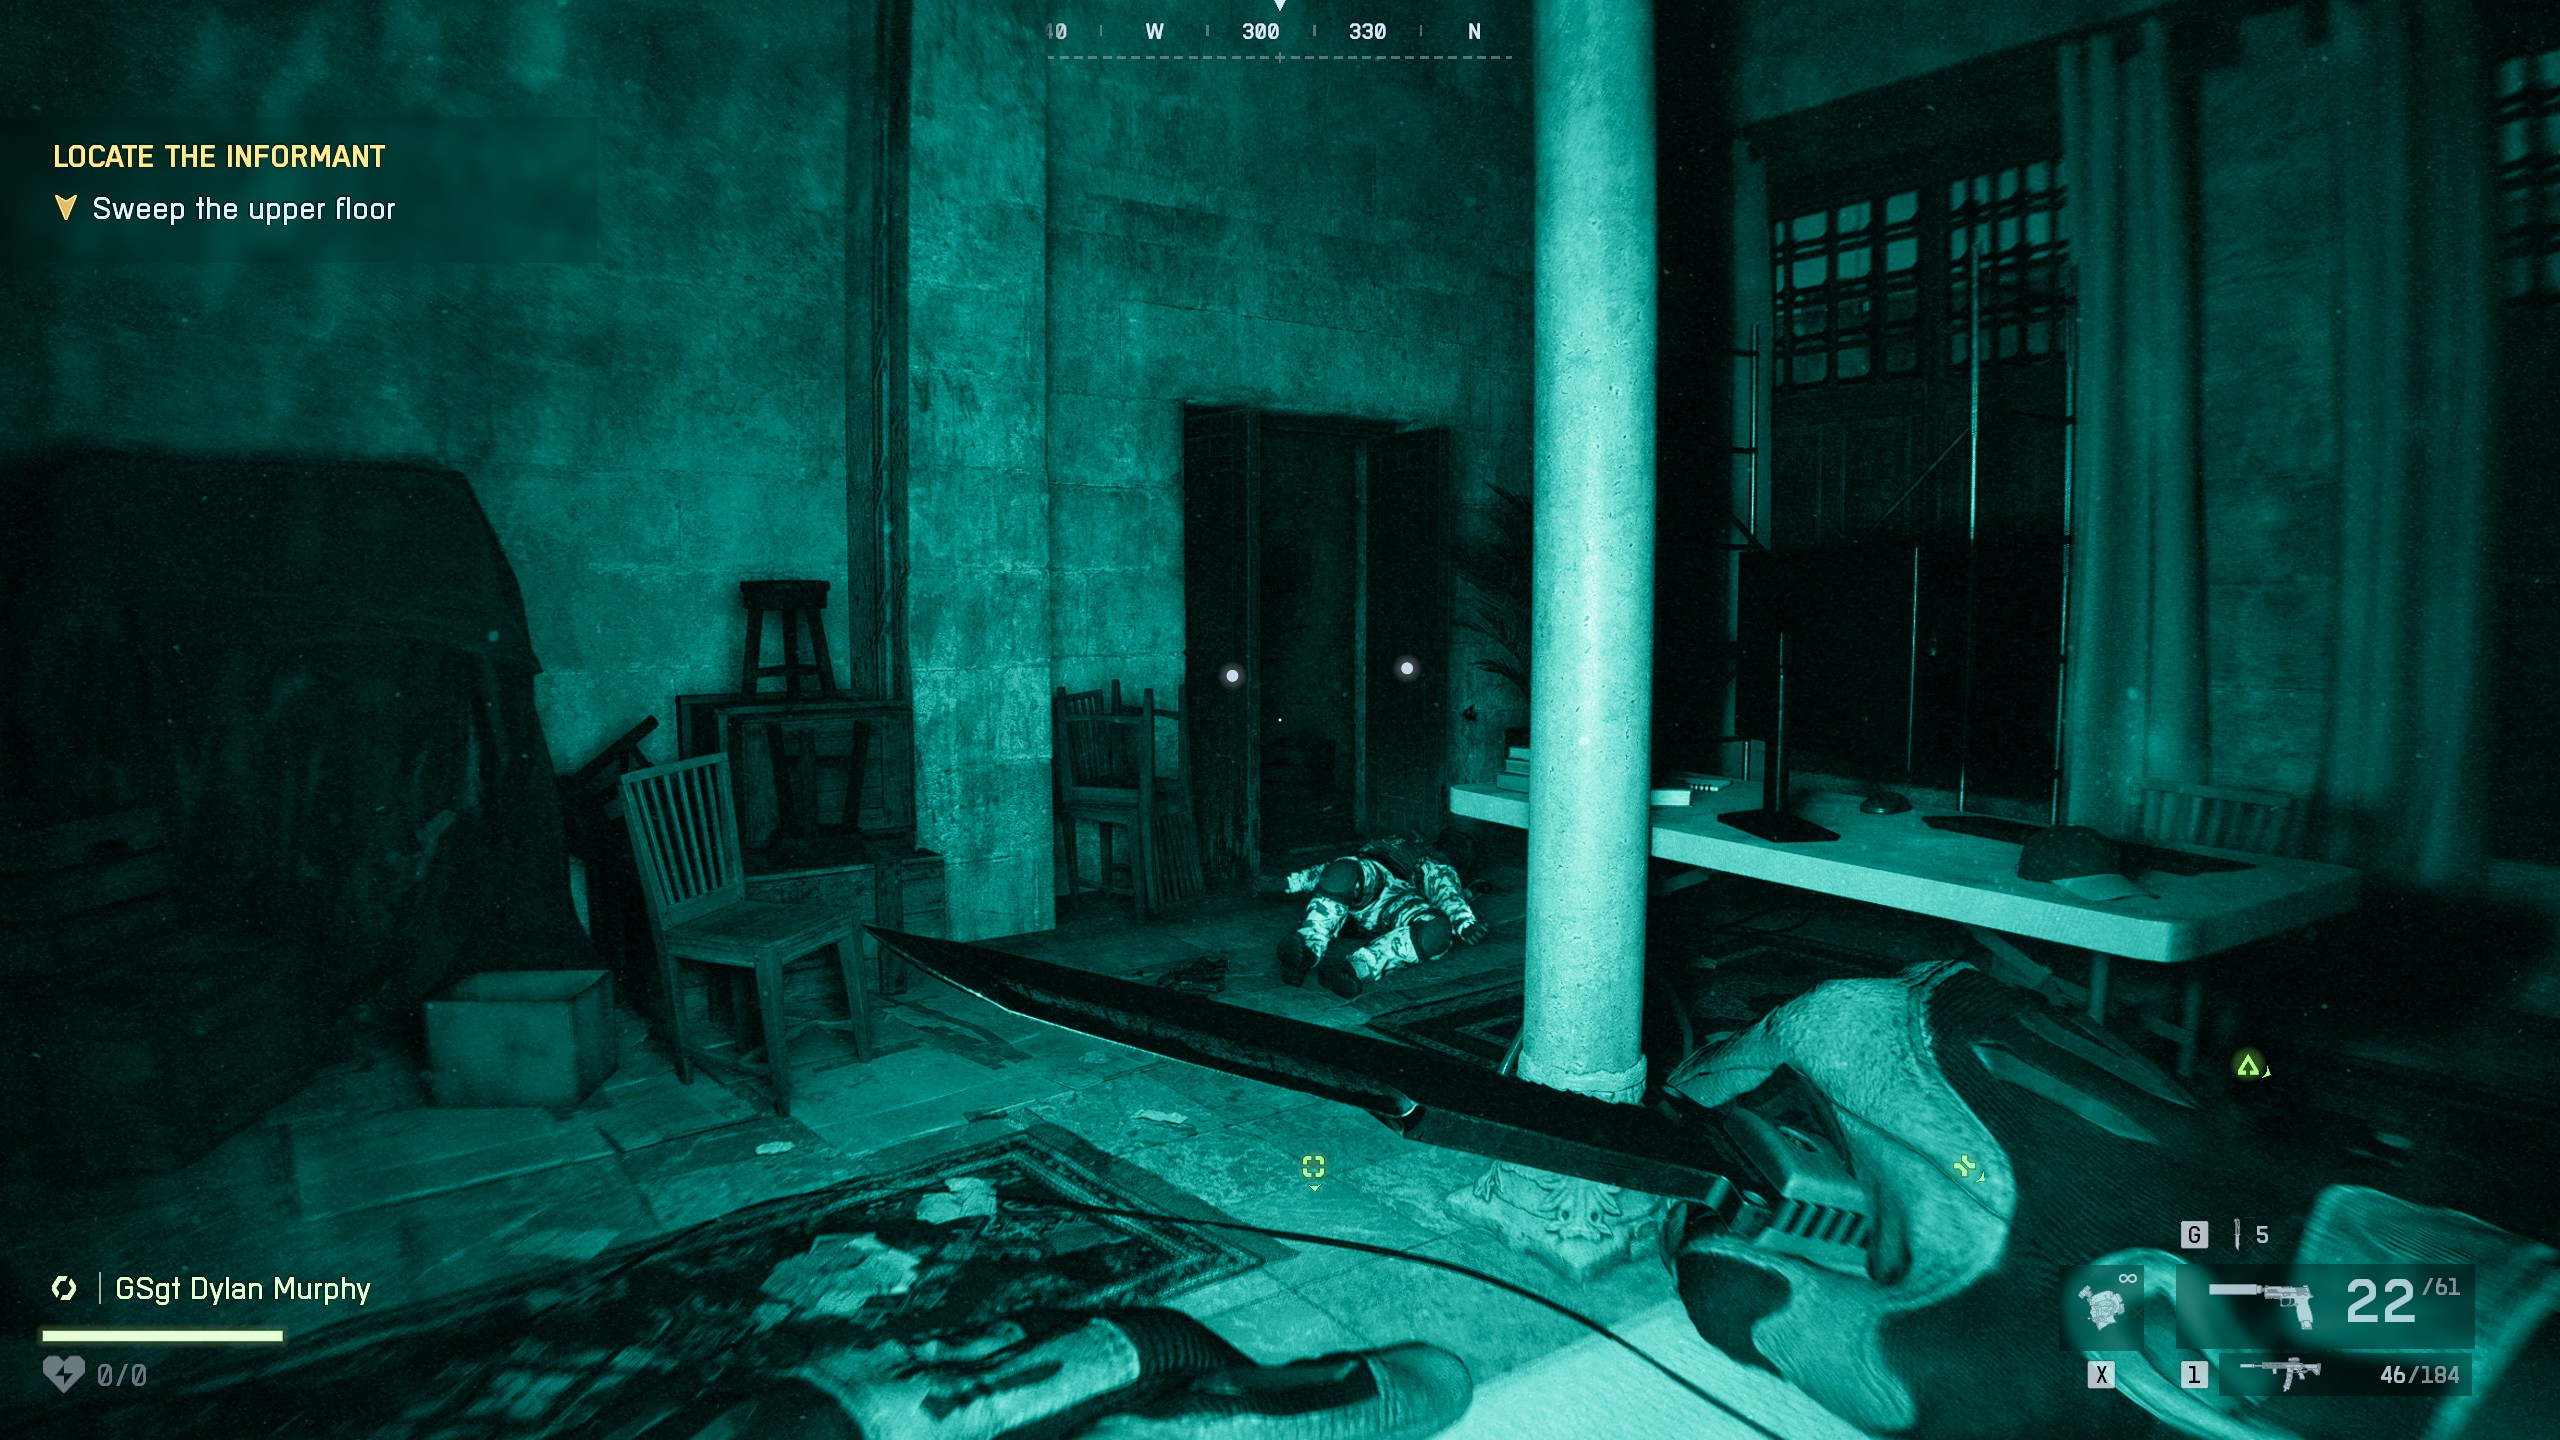
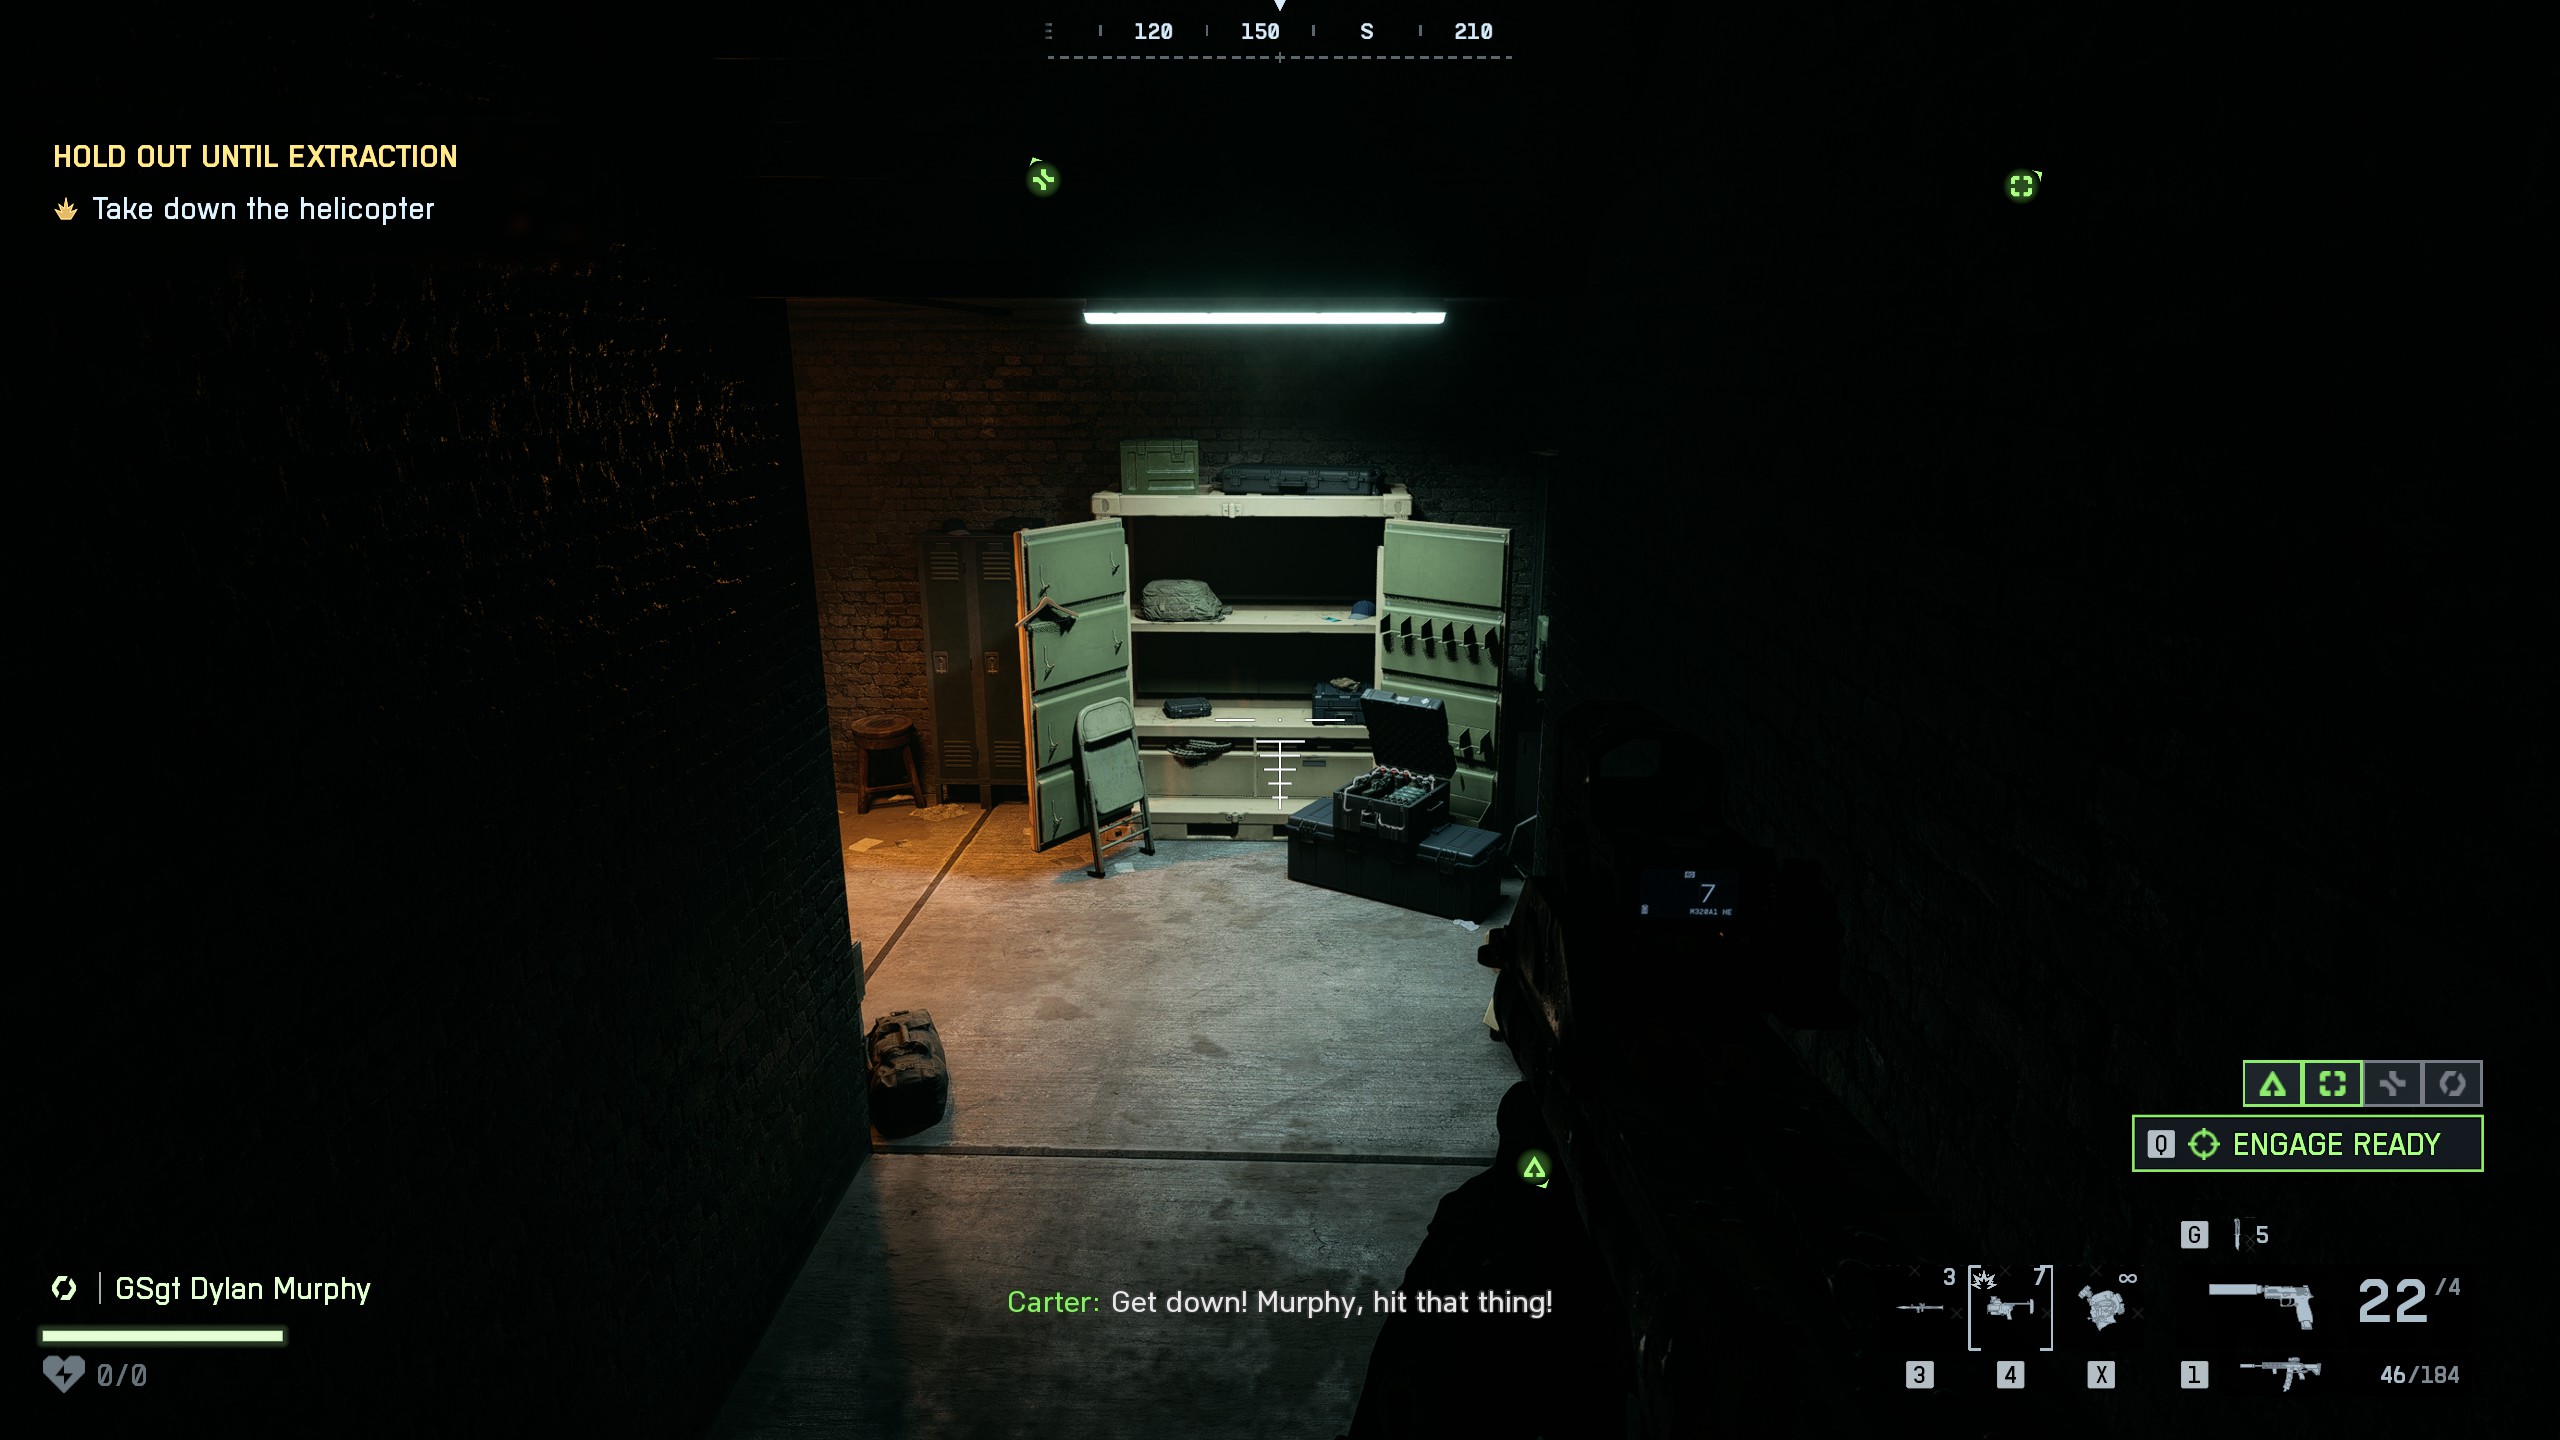
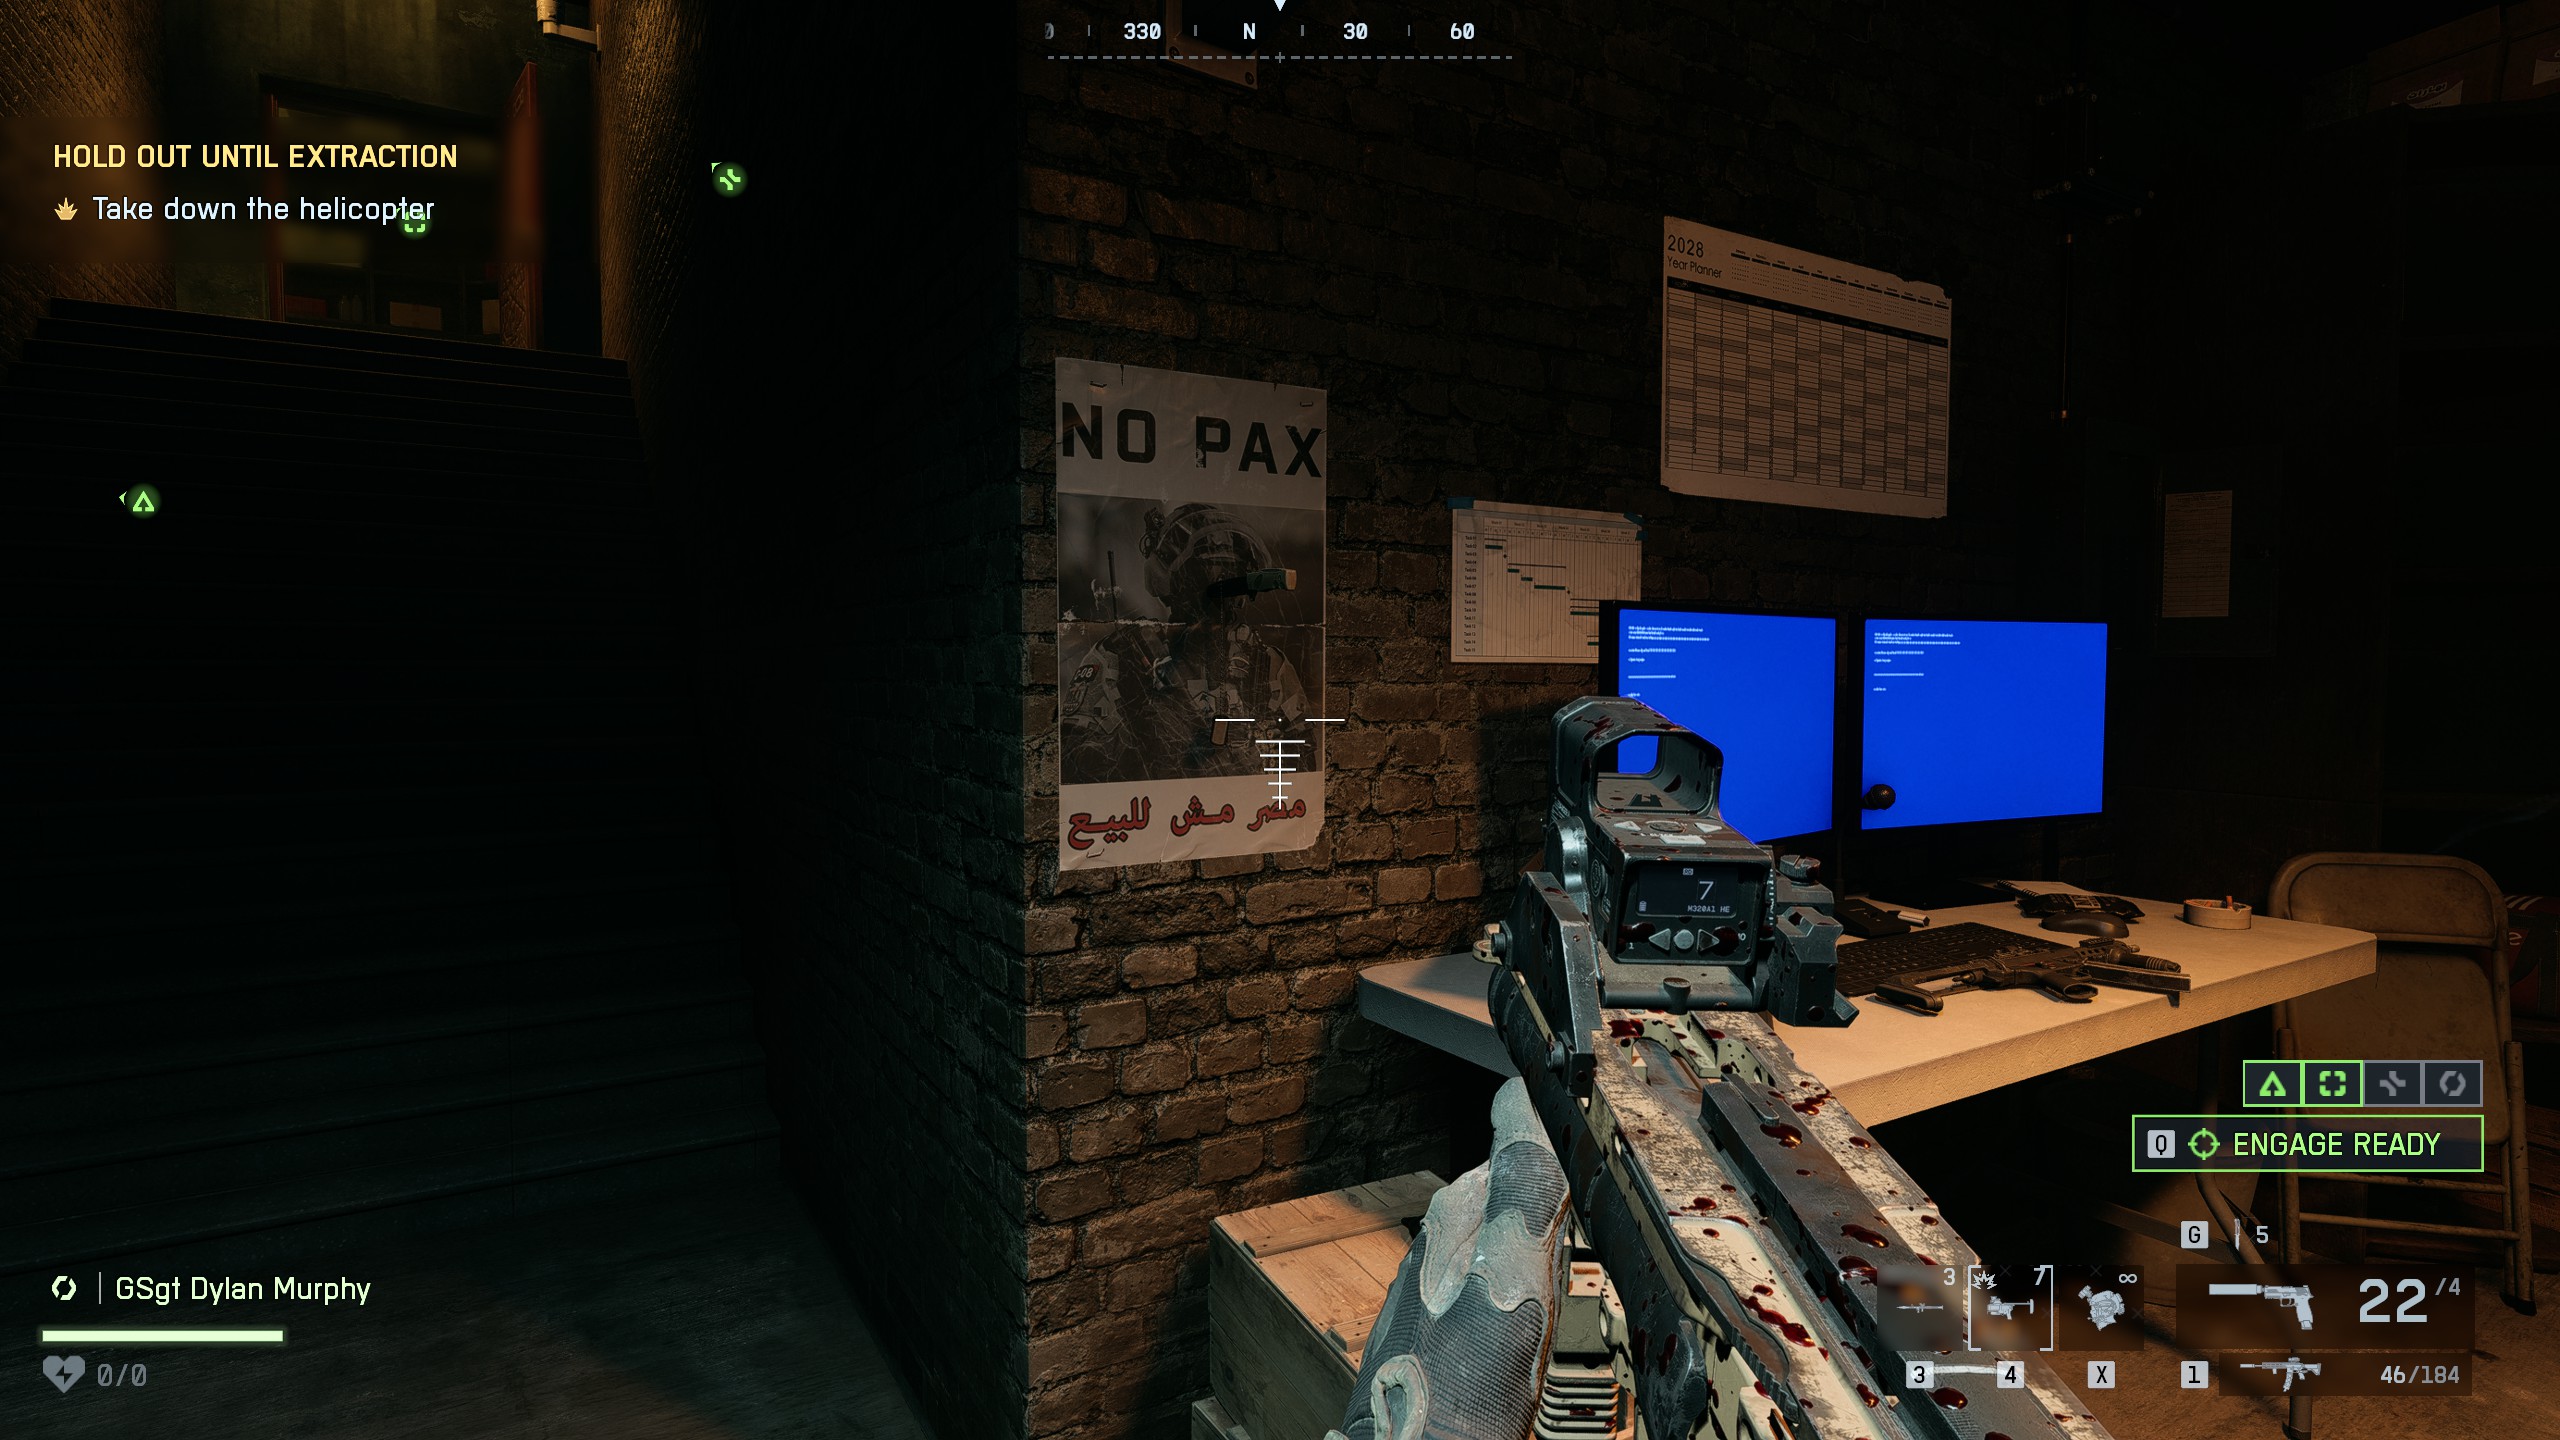
📍Collectible #4 - Dog Tag (#13)Location: Basement, to the left of the stairs - near a table with two monitorsOnce you've held off the enemy waves, the helicopter will return. Head down into the basement. Look left, the dog tag is hanging on a knife stuck in the wall, right next to a table with two monitors
🏆Sidearm SavantComplete Night Raid using only pistols, knives, or gadgetsYou can use RPG or XM25 as they count as gadgets⚠️Some players have reported that this achievement doesn't unlock, even after completing the requirements.
Workaround that might work:This workaround seems to help trigger the achievement if it glitched the first time
- After finishing the final mission where the achievement should unlock, continue into the next mission until your character can walk around
- Then, exit to the main menu
- From there, select Continue Mission: NIght Raid
- Let the final cutscene play again
- The achievement should pop after the cutscene ends
🏆Devil in the DarkComplete Night Raid

Mission 5: No Sleep
Collectibles
3
Achievements
1
⚠️One achievement is missable: You need to kill five enemies with a sledgehammer
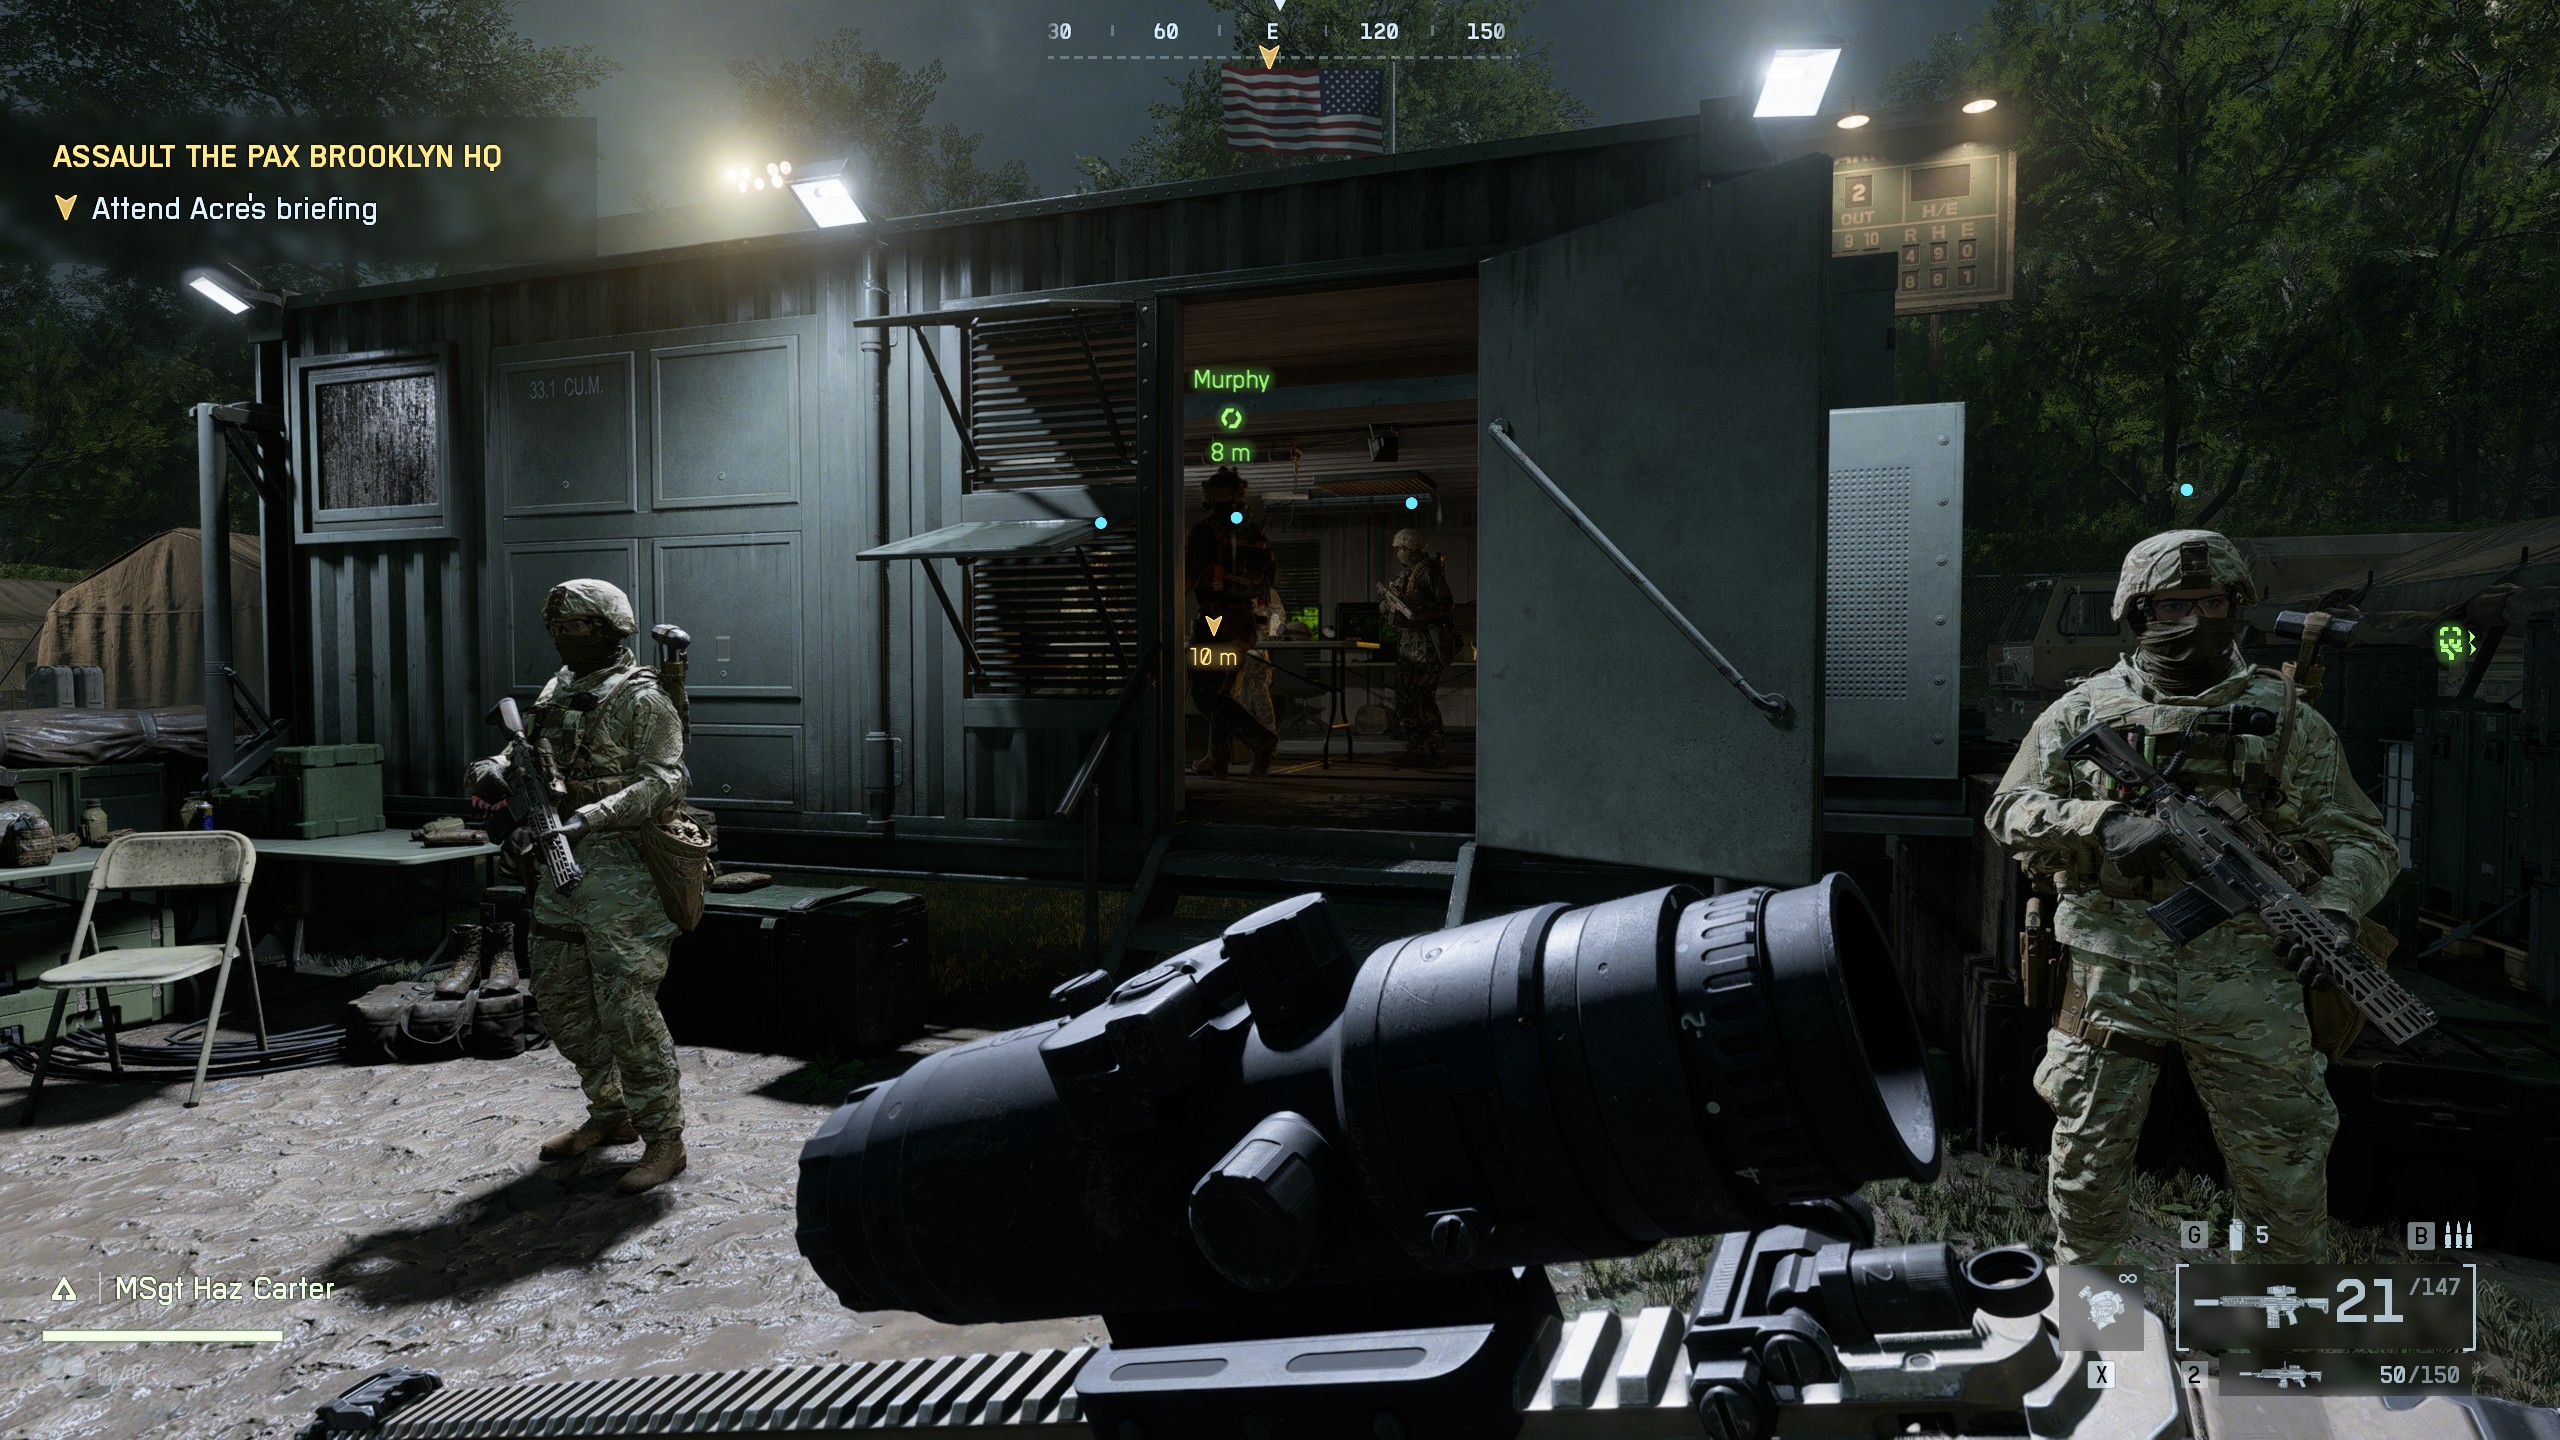
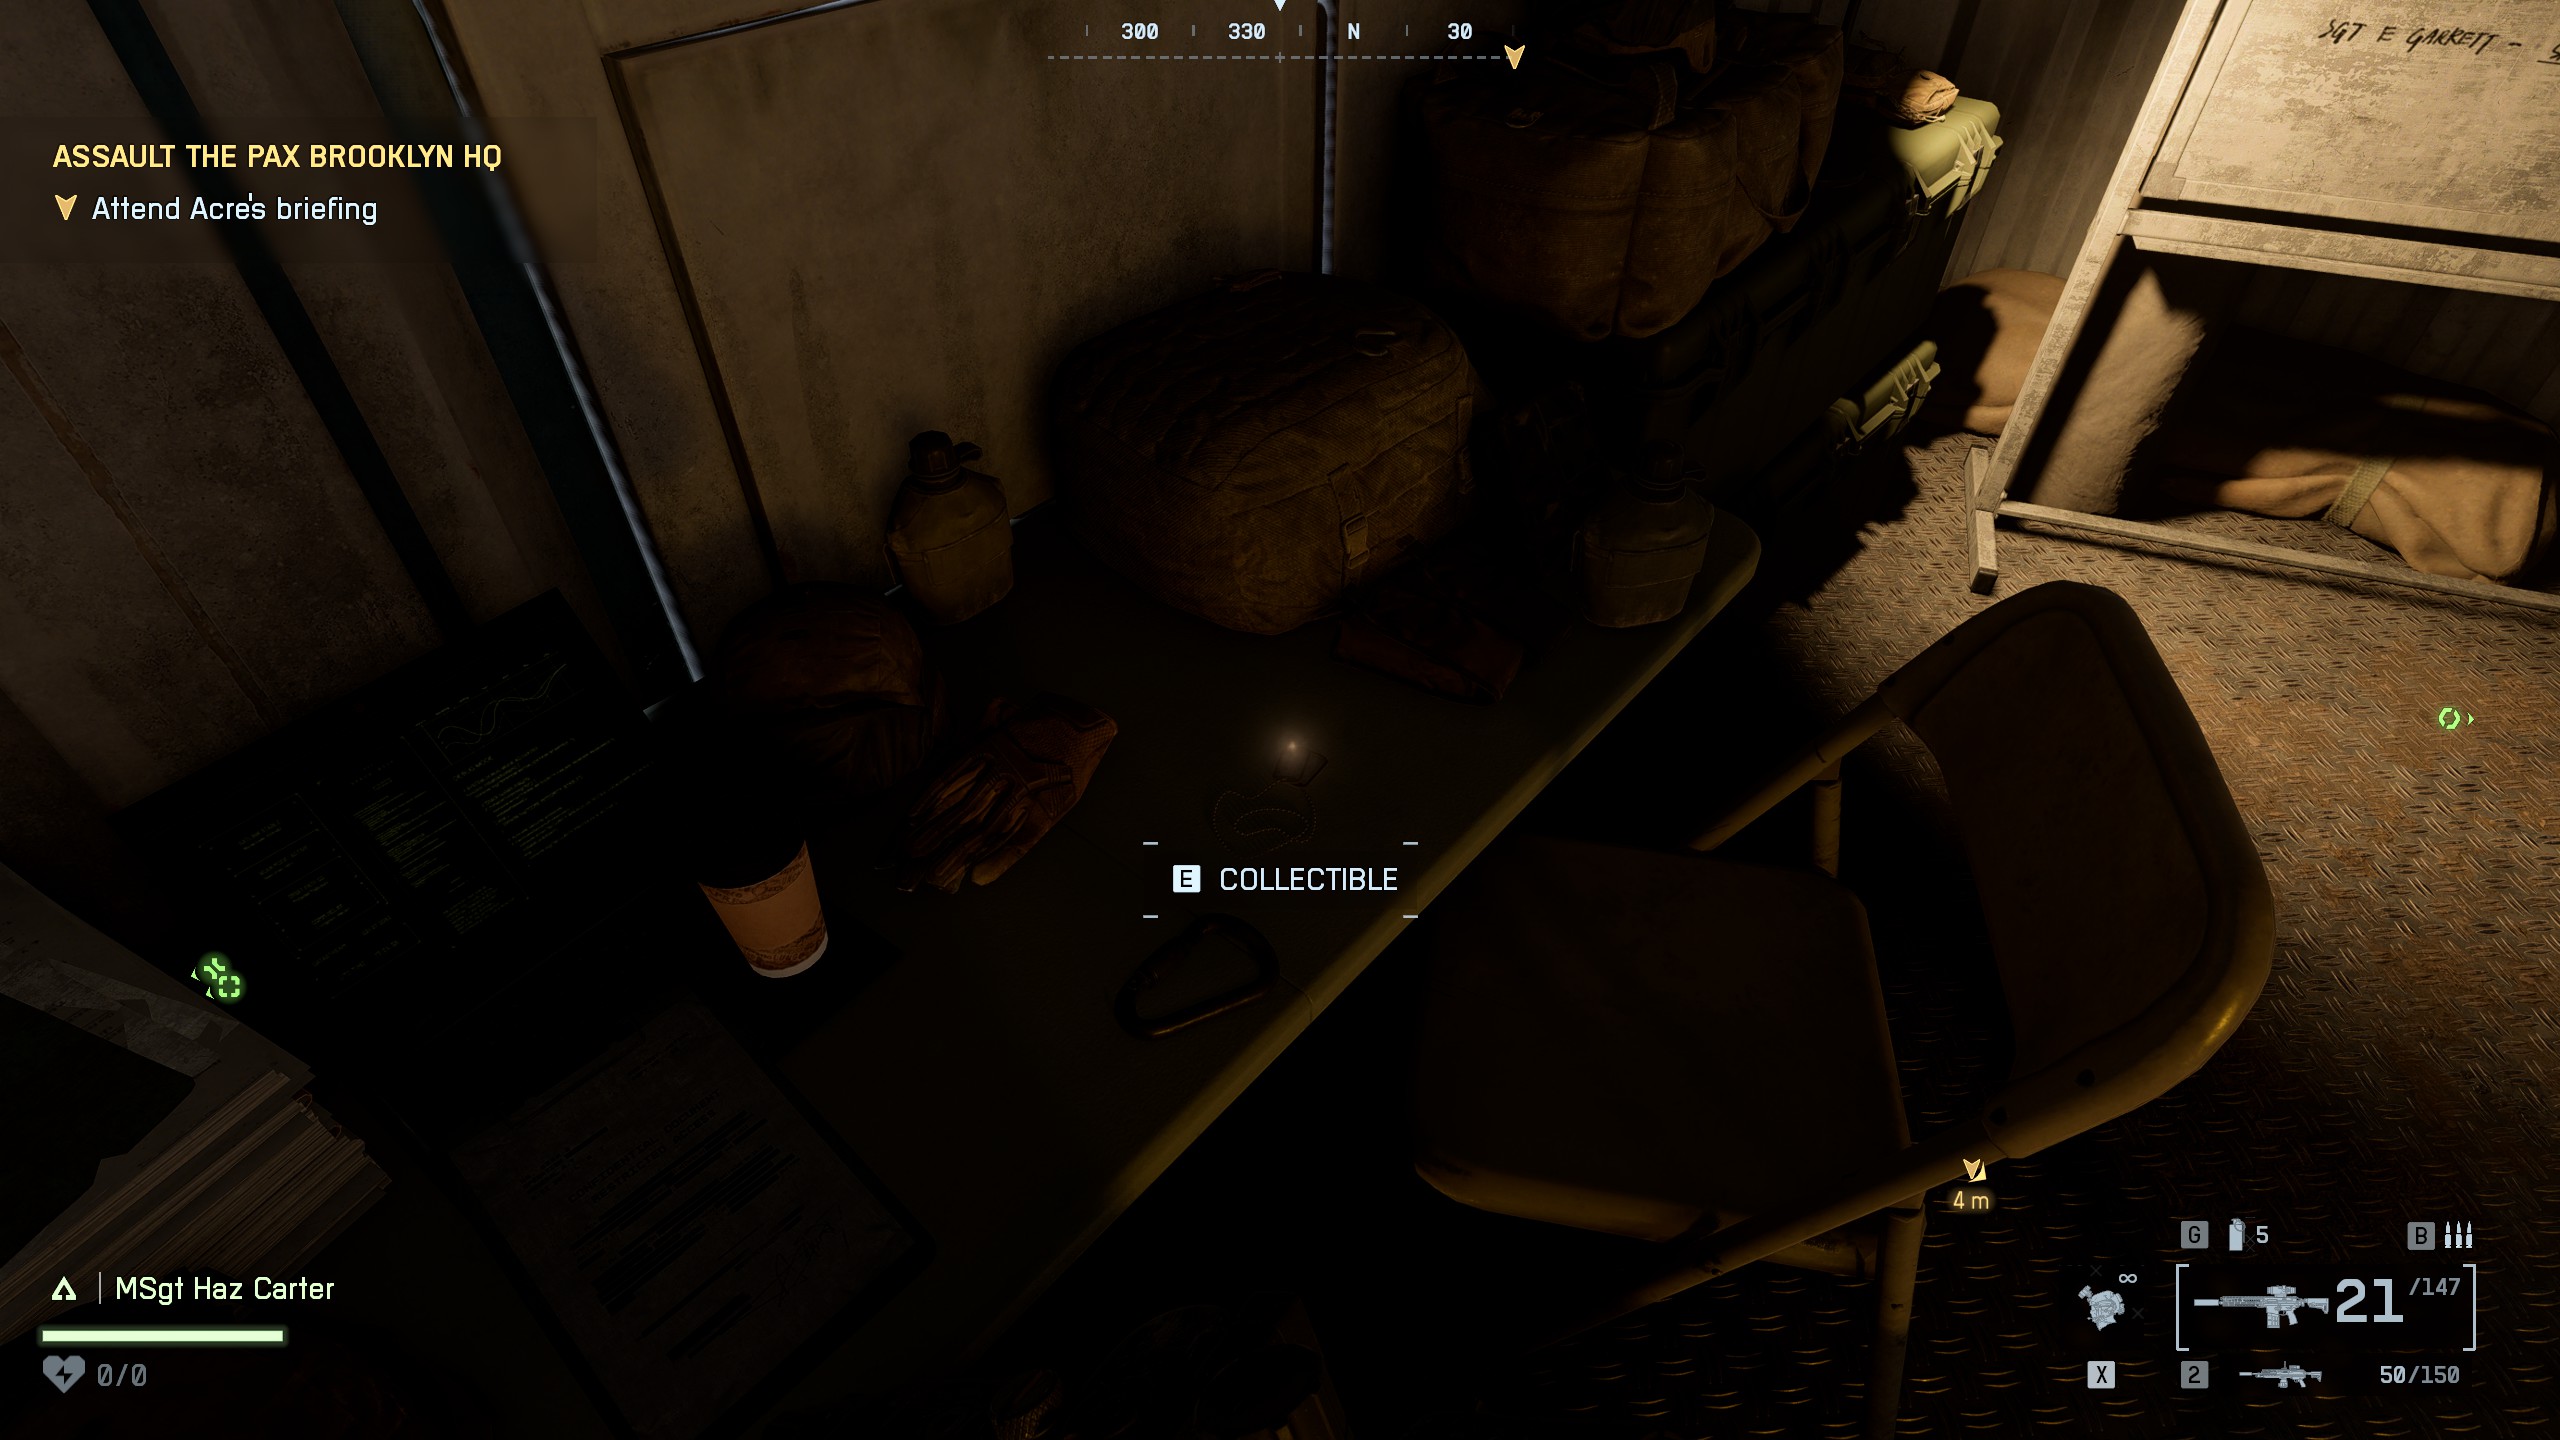
📍Collectible #1 - Dog Tag (#14)Location: Table in the briefing roomAs soon as you enter the briefing room, look to your left - the dog tag is on the table
🏆Looks Like a NailKill five enemies with a sledgehammer in No SleepYou’ll breach a building using a sledgehammer. Once you have it, it replaces your knife - you can now use it as a melee weapon. Kill enemies using only the sledgehammer. Four can be taken out during the first sweep of the building. Head to the next floor to find the final enemy and complete the achievement

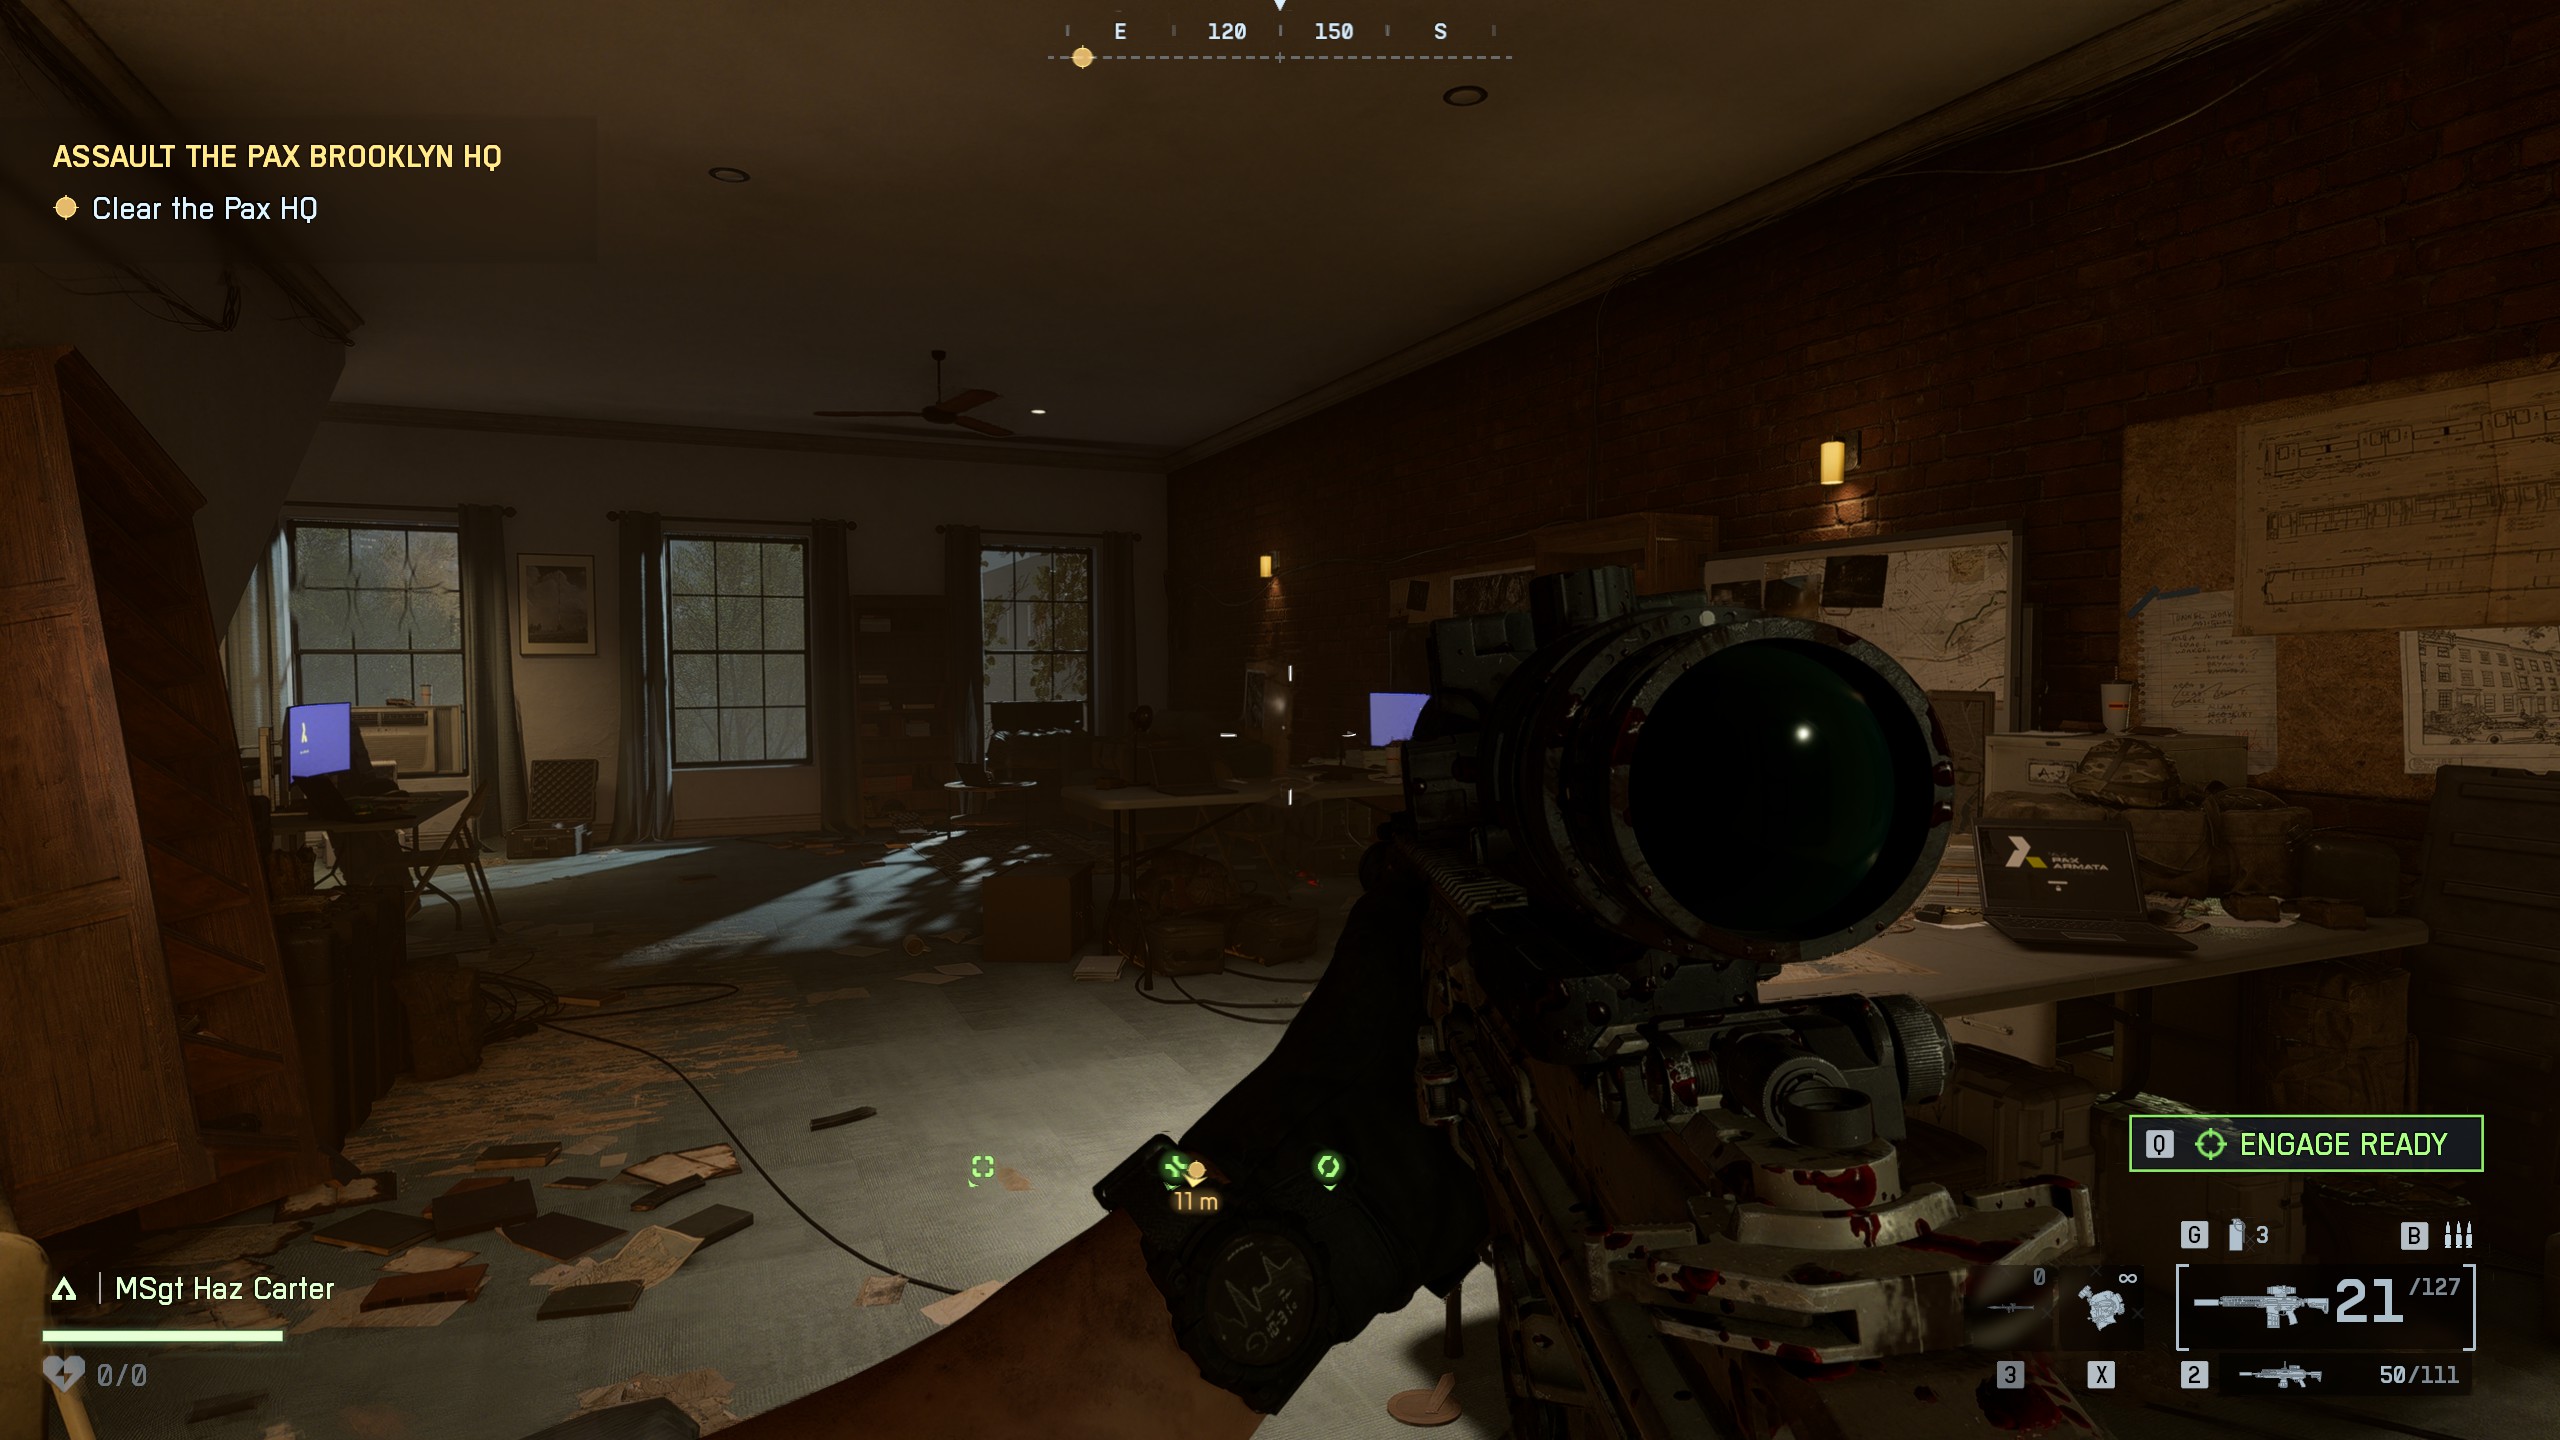
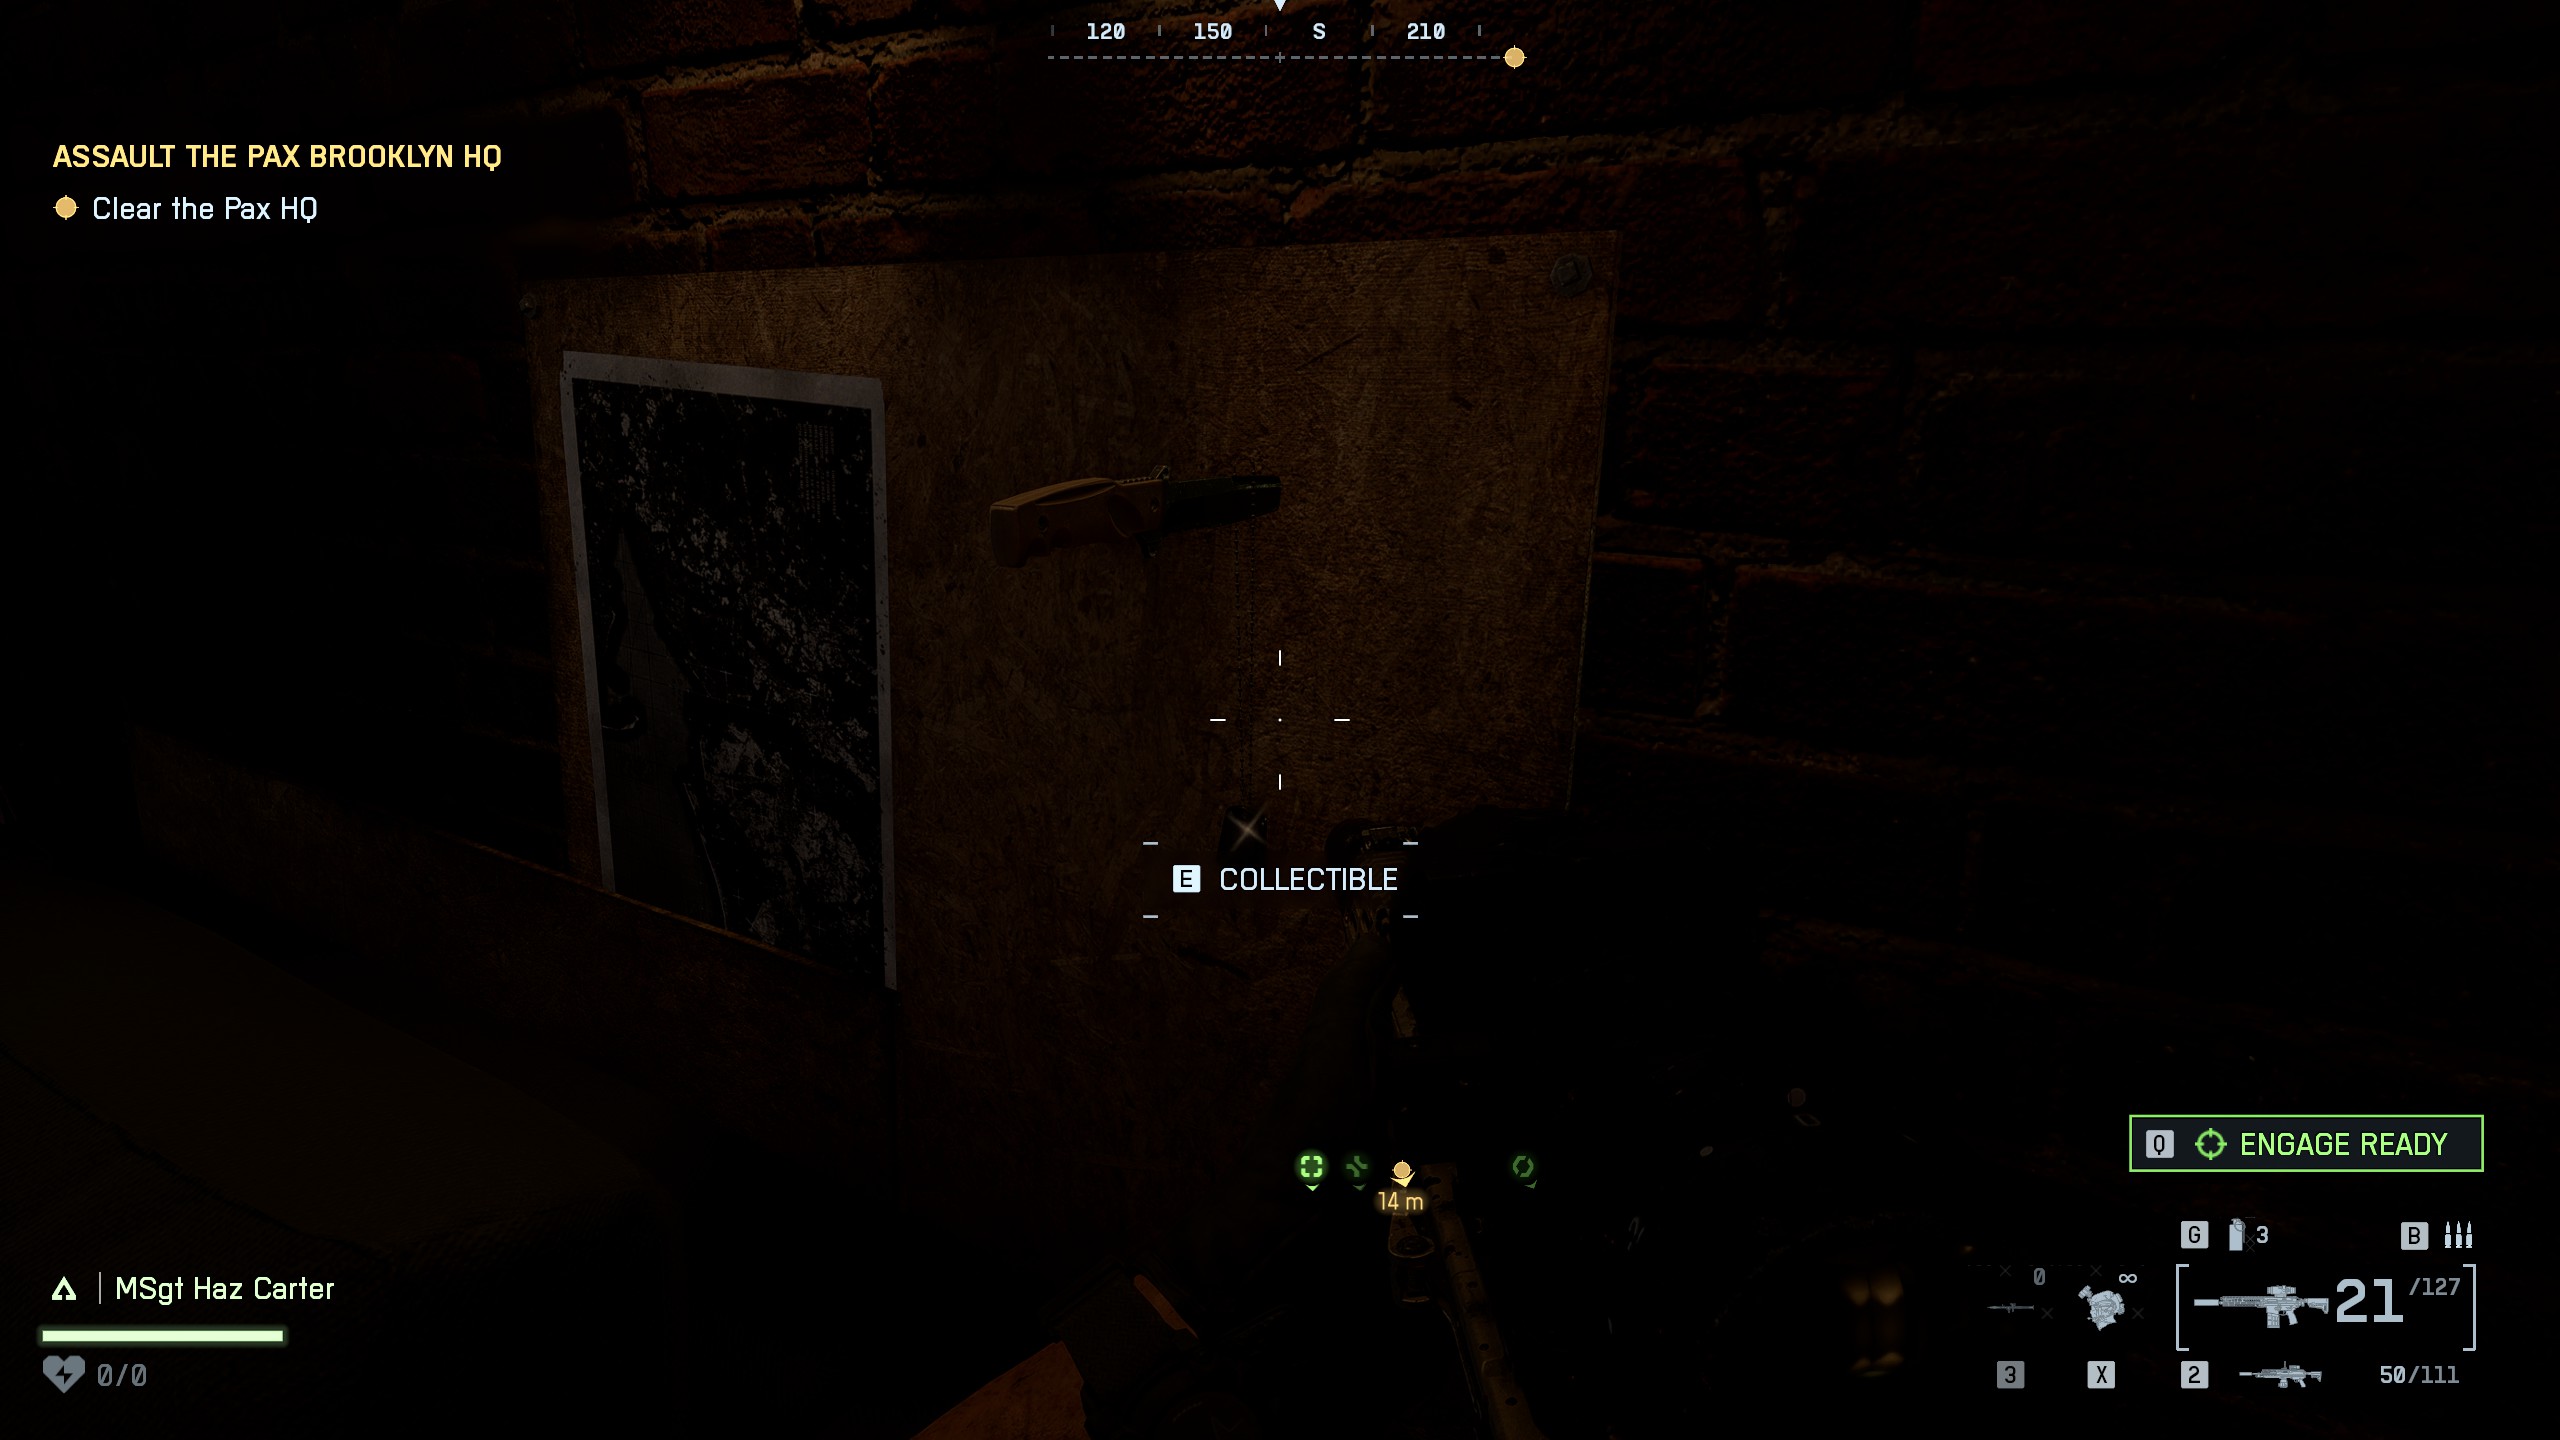
📍Collectible #2 - Dog Tag (#15)Location: Cutscene roomAfter the rooftop fight, you'll enter a building that triggers a cutscene. When it ends, look to the right side of the room - the collectible is stuck into the whiteboard, hanging from a knife.

📍Collectible #3 - Dog Tag (#16)Location:After the tunnel driving part, go past the truck near your vehicle. There's a shipping container up ahead - head inside and grab the collectible on the right
Mission 6: Moving Mountains
Collectibles
4
Achievements
3
⚠️One achievement is missable: You need to land six consecutive headshots
🏆Bullseye BlitzLand six consecutive headshots in Moving Mountains💡This achievement can be unlocked either at the start of the mission or later on the roof of the fire station - make sure to look out for the opportunity early on!

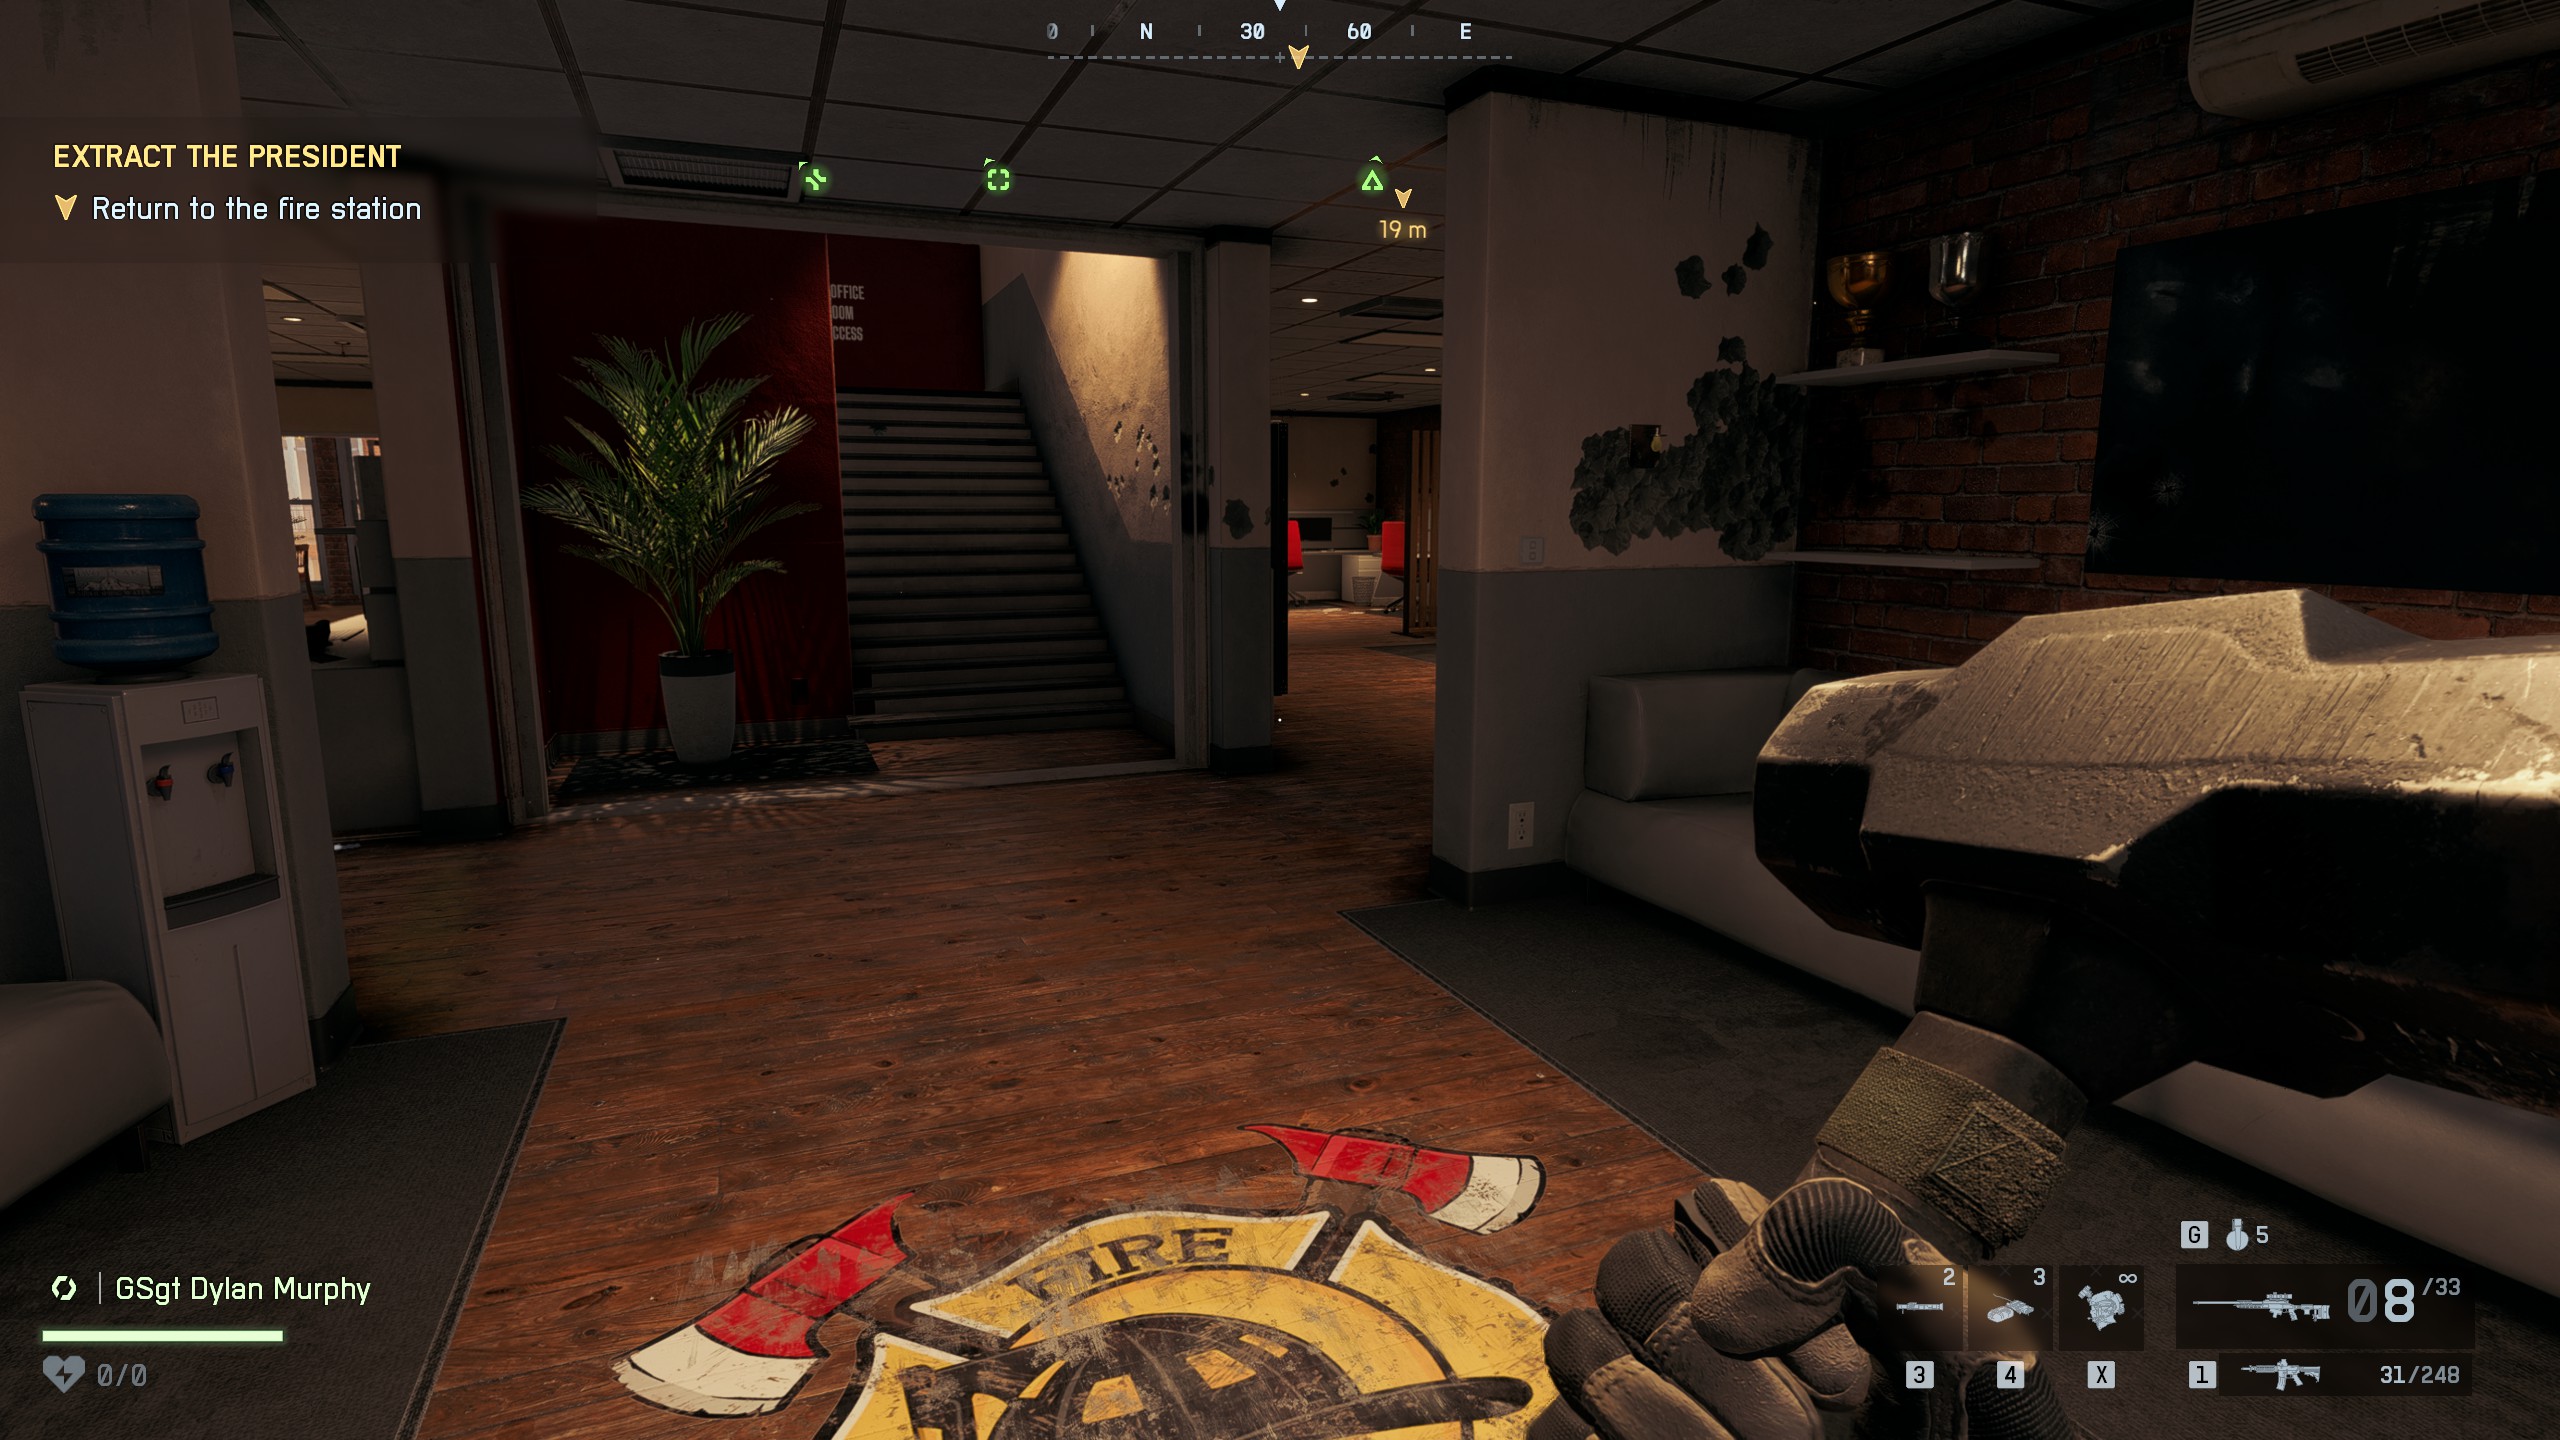
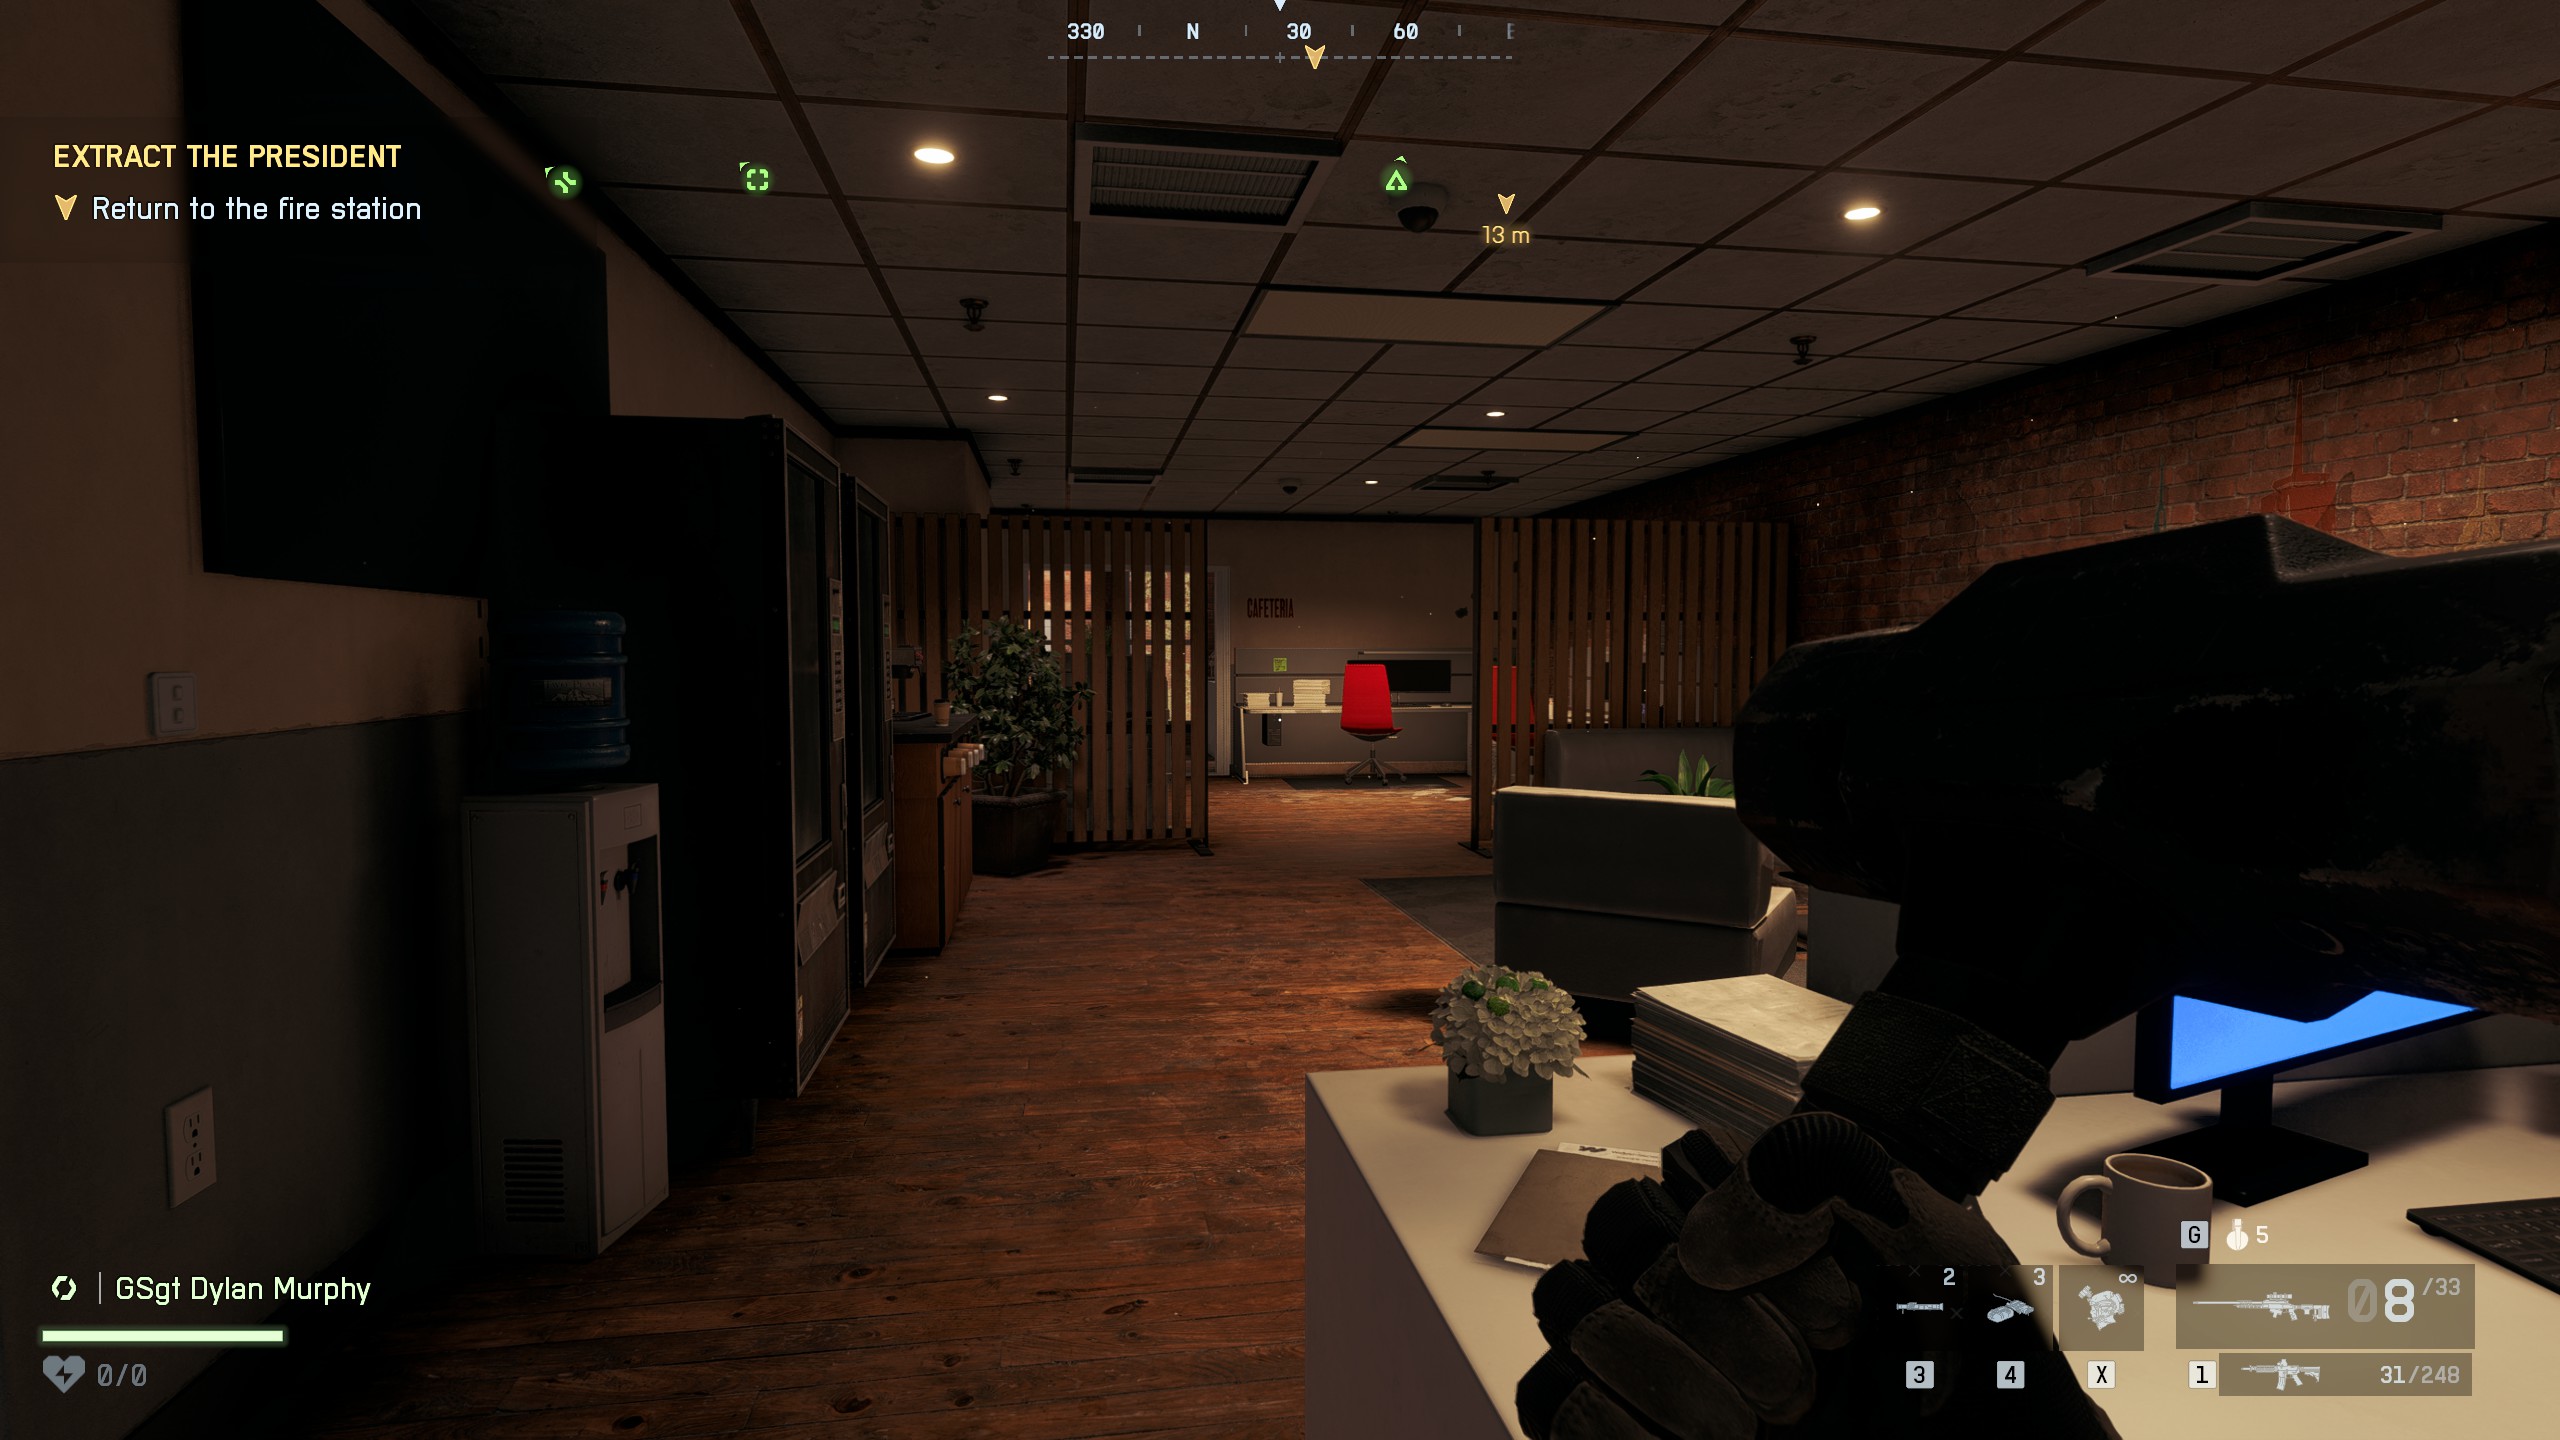
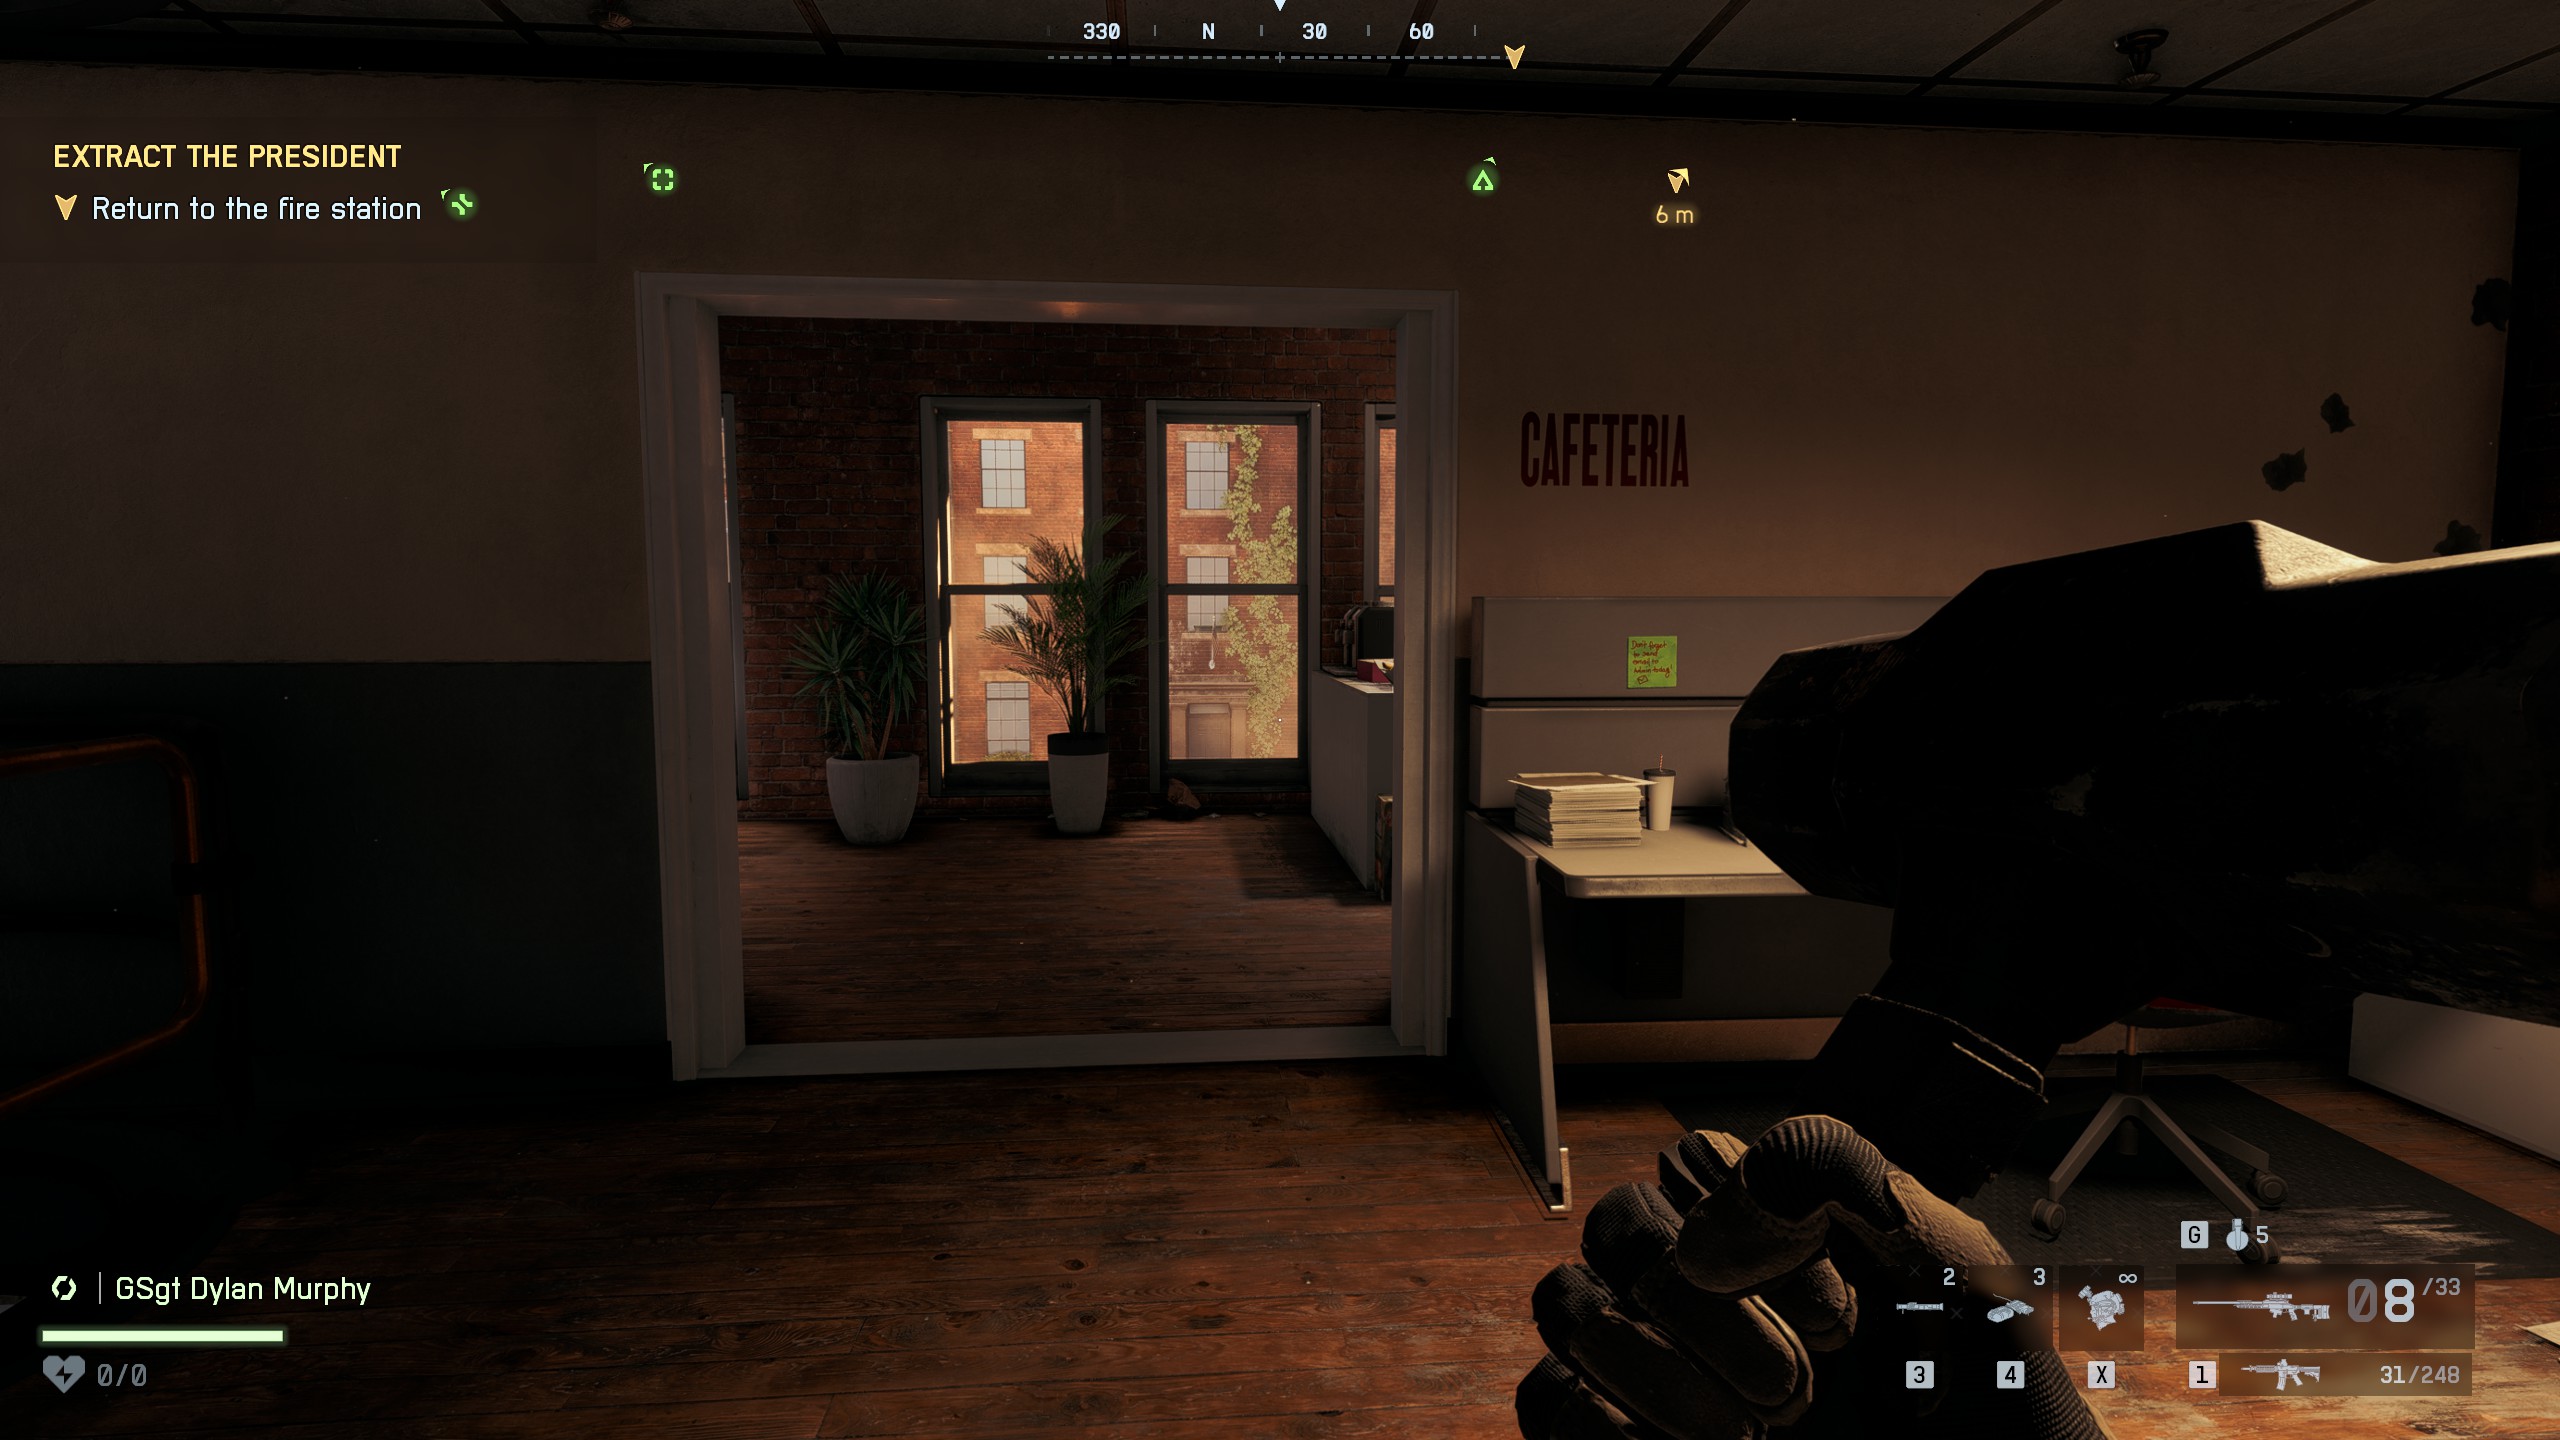
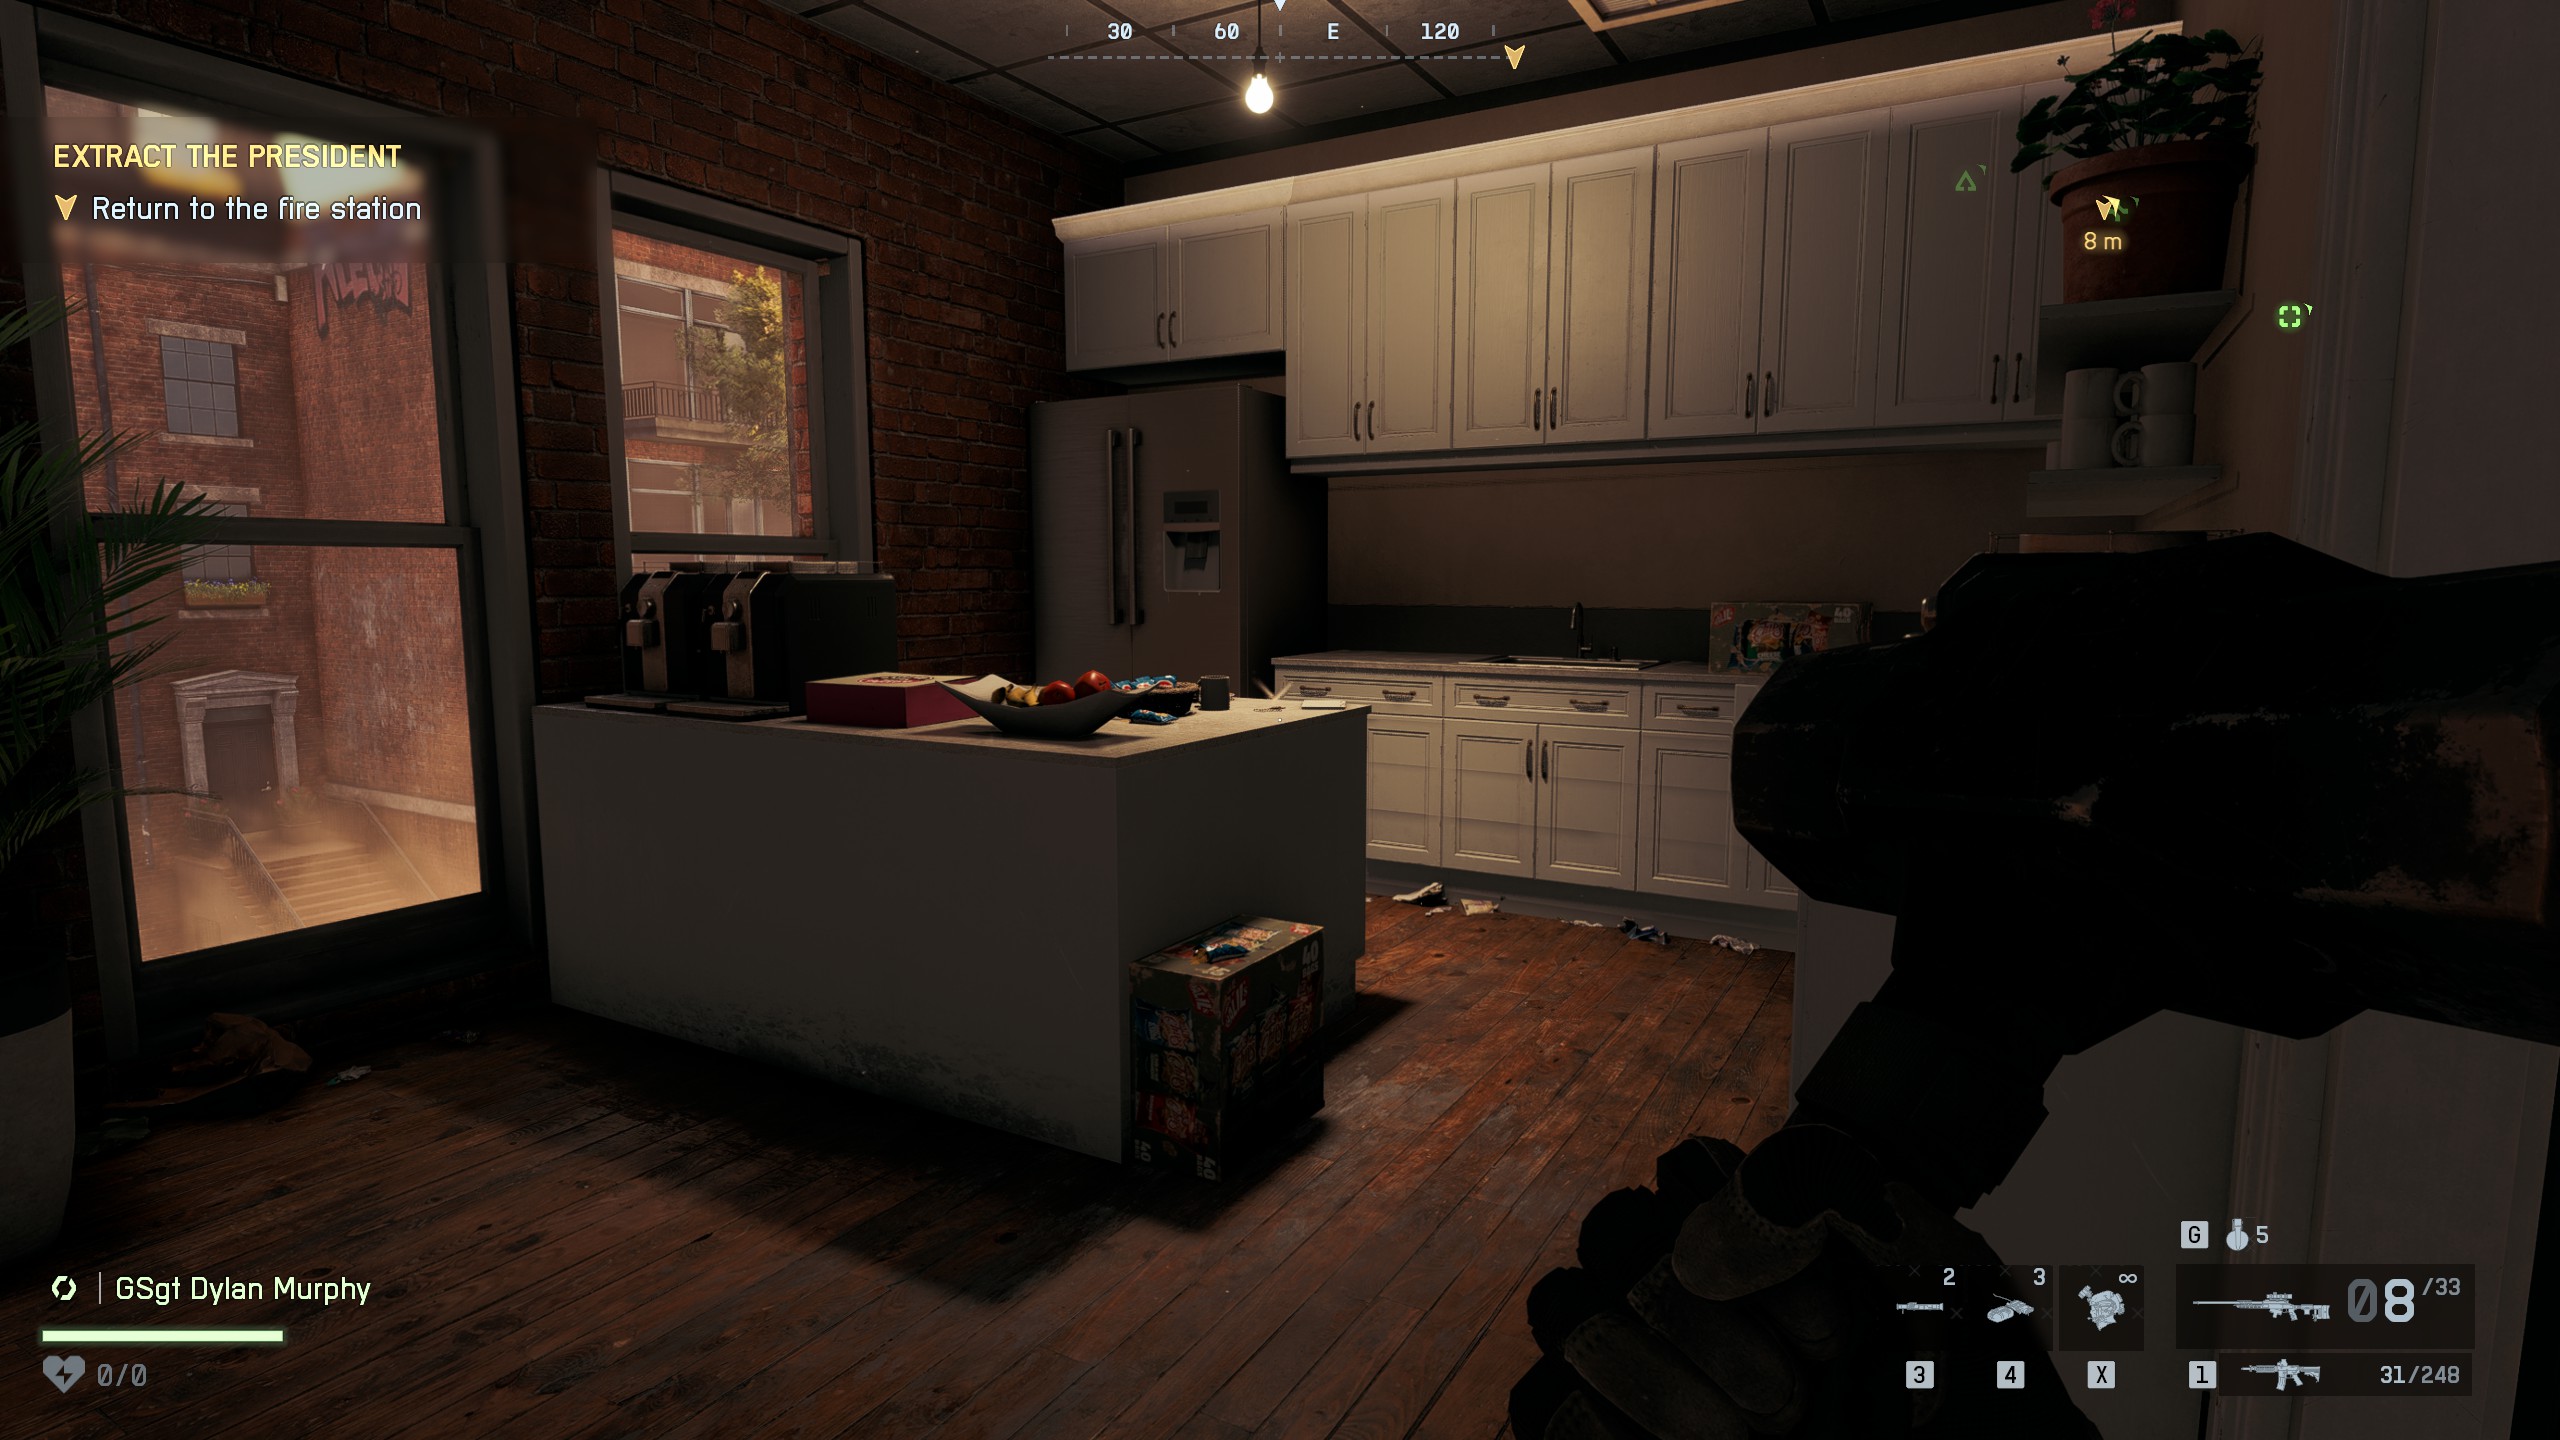
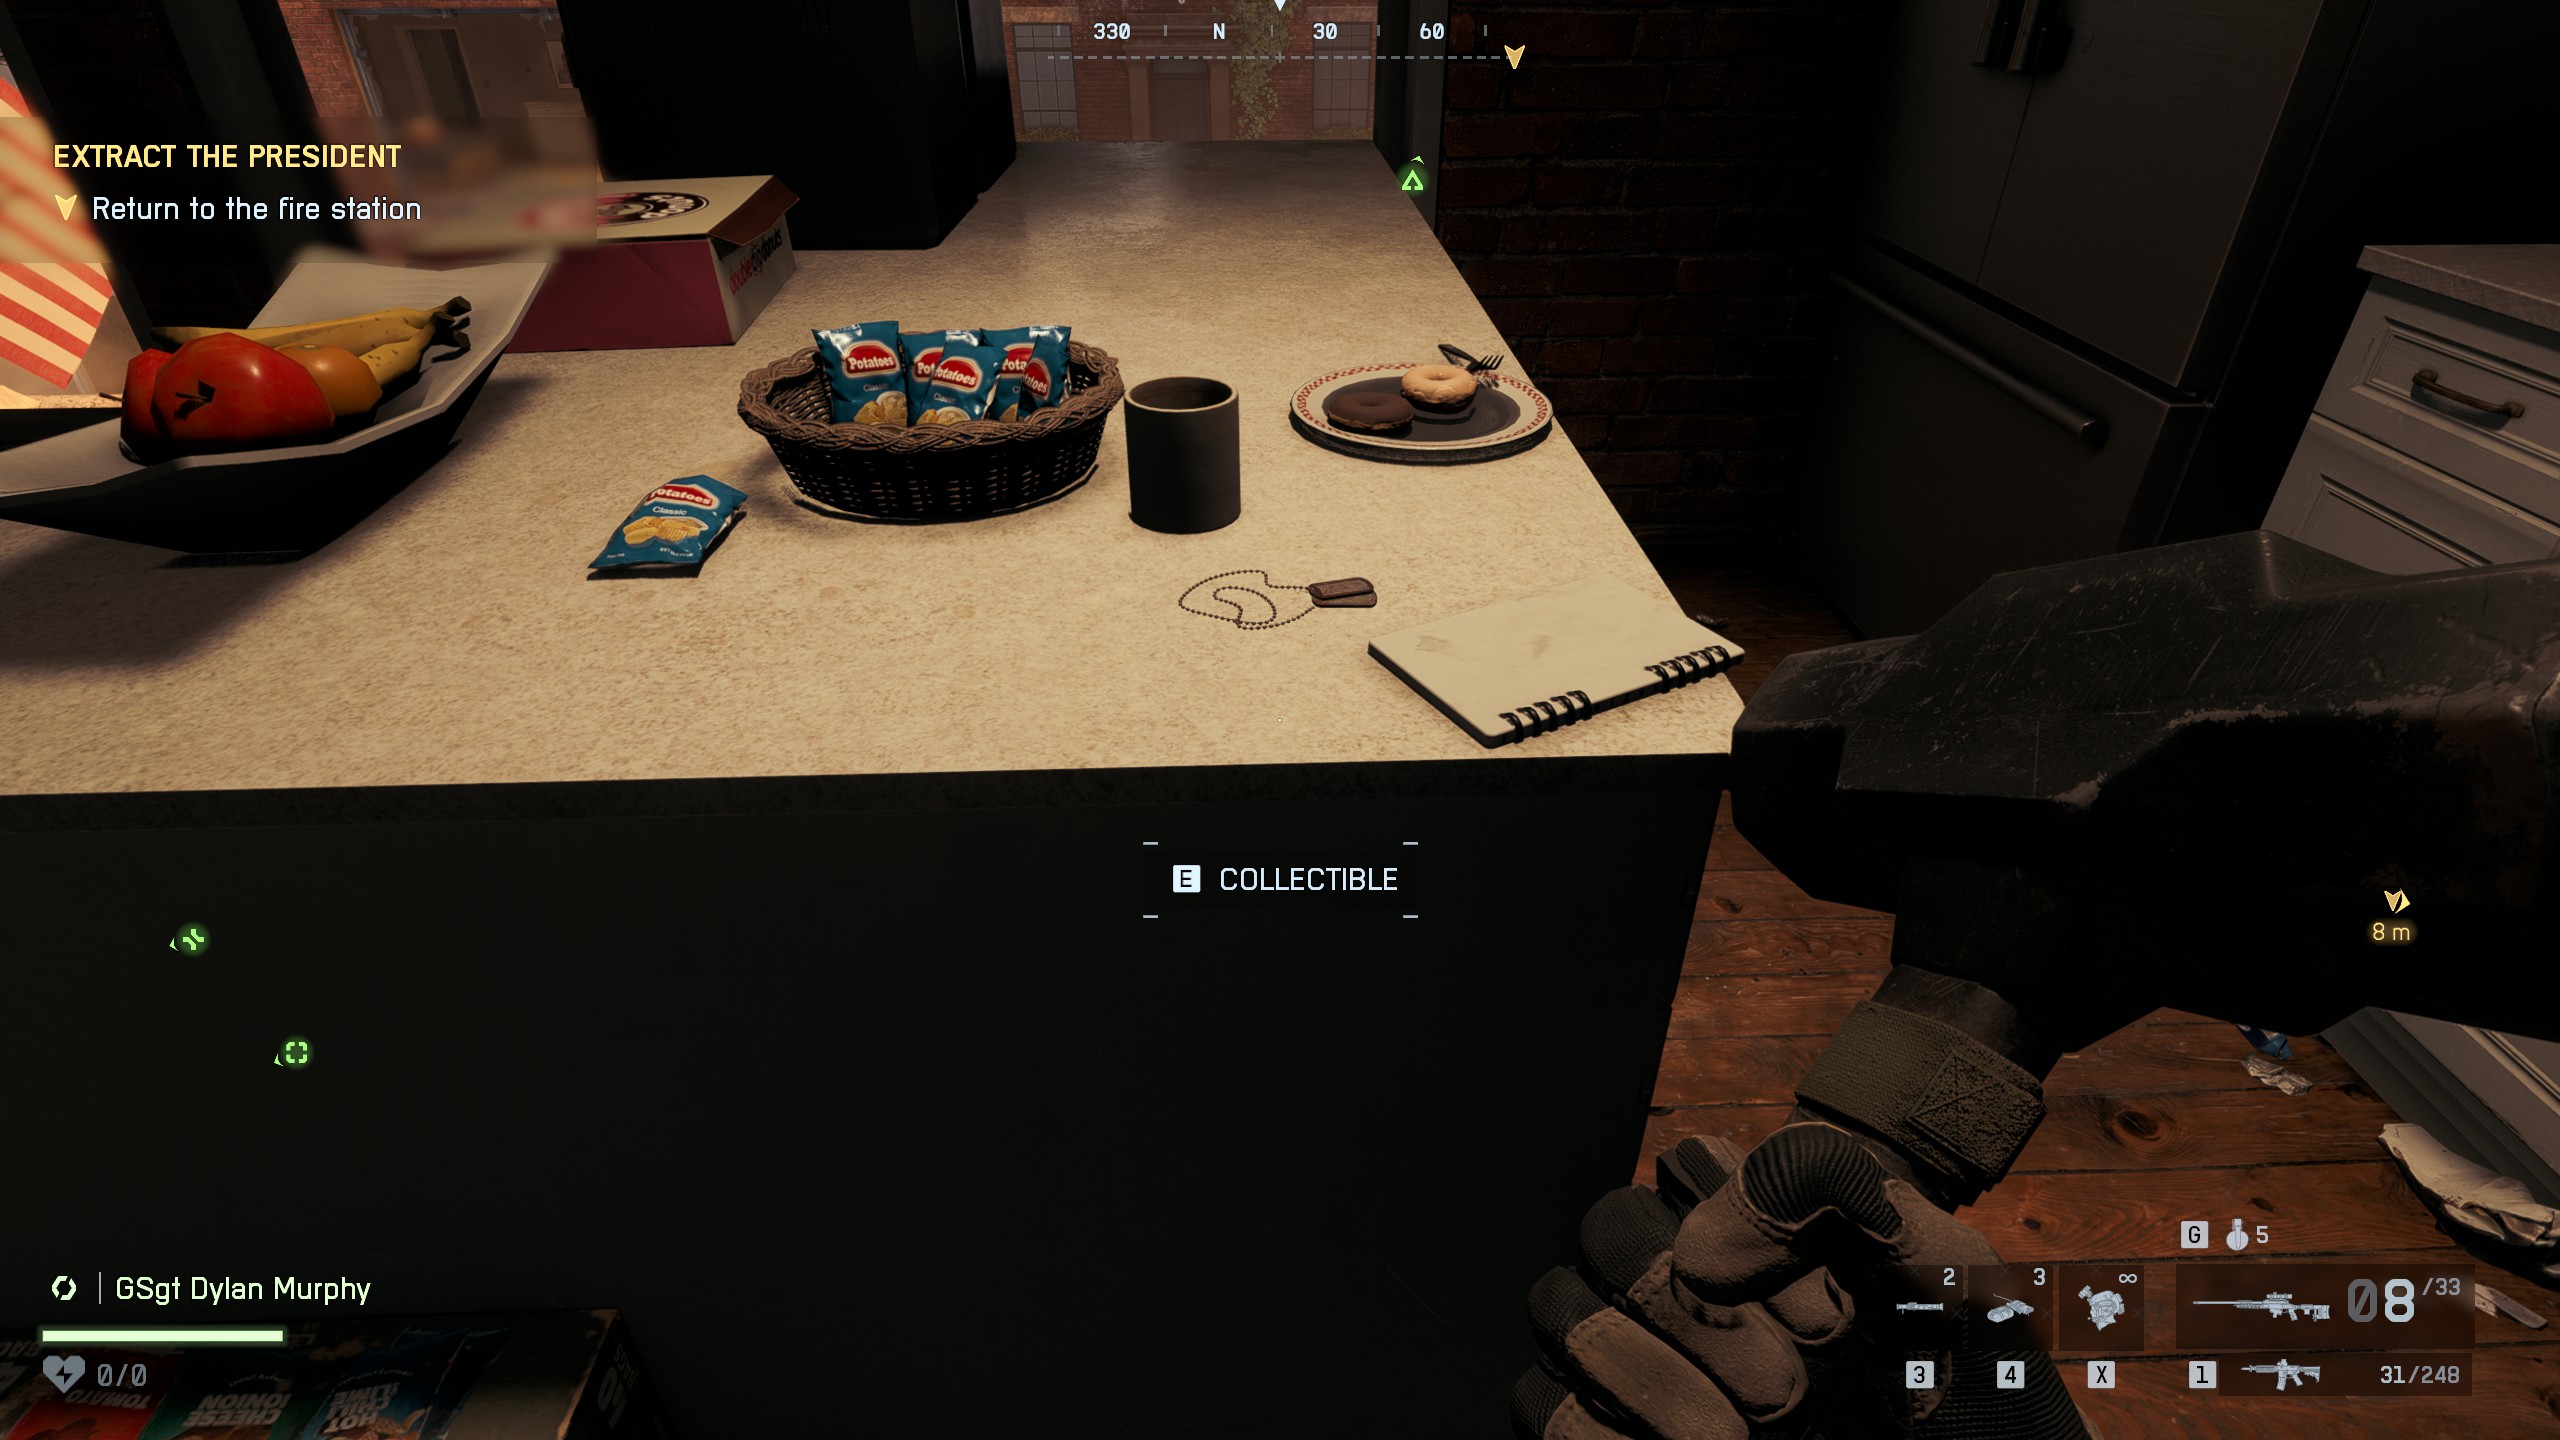
📍Collectible #1 - Dog Tag (#17)Location: Cafeteria TableYou enter the fire station and trigger a cutscene with the president. After it ends, your squad will start moving upstairs, but instead of following them, go to the right side of the stairs. Walk straight down the hallway until you reach the cafeteria on the north side of the building. Inside the cafeteria, turn right toward the serving counter - the dog tag is sitting on top
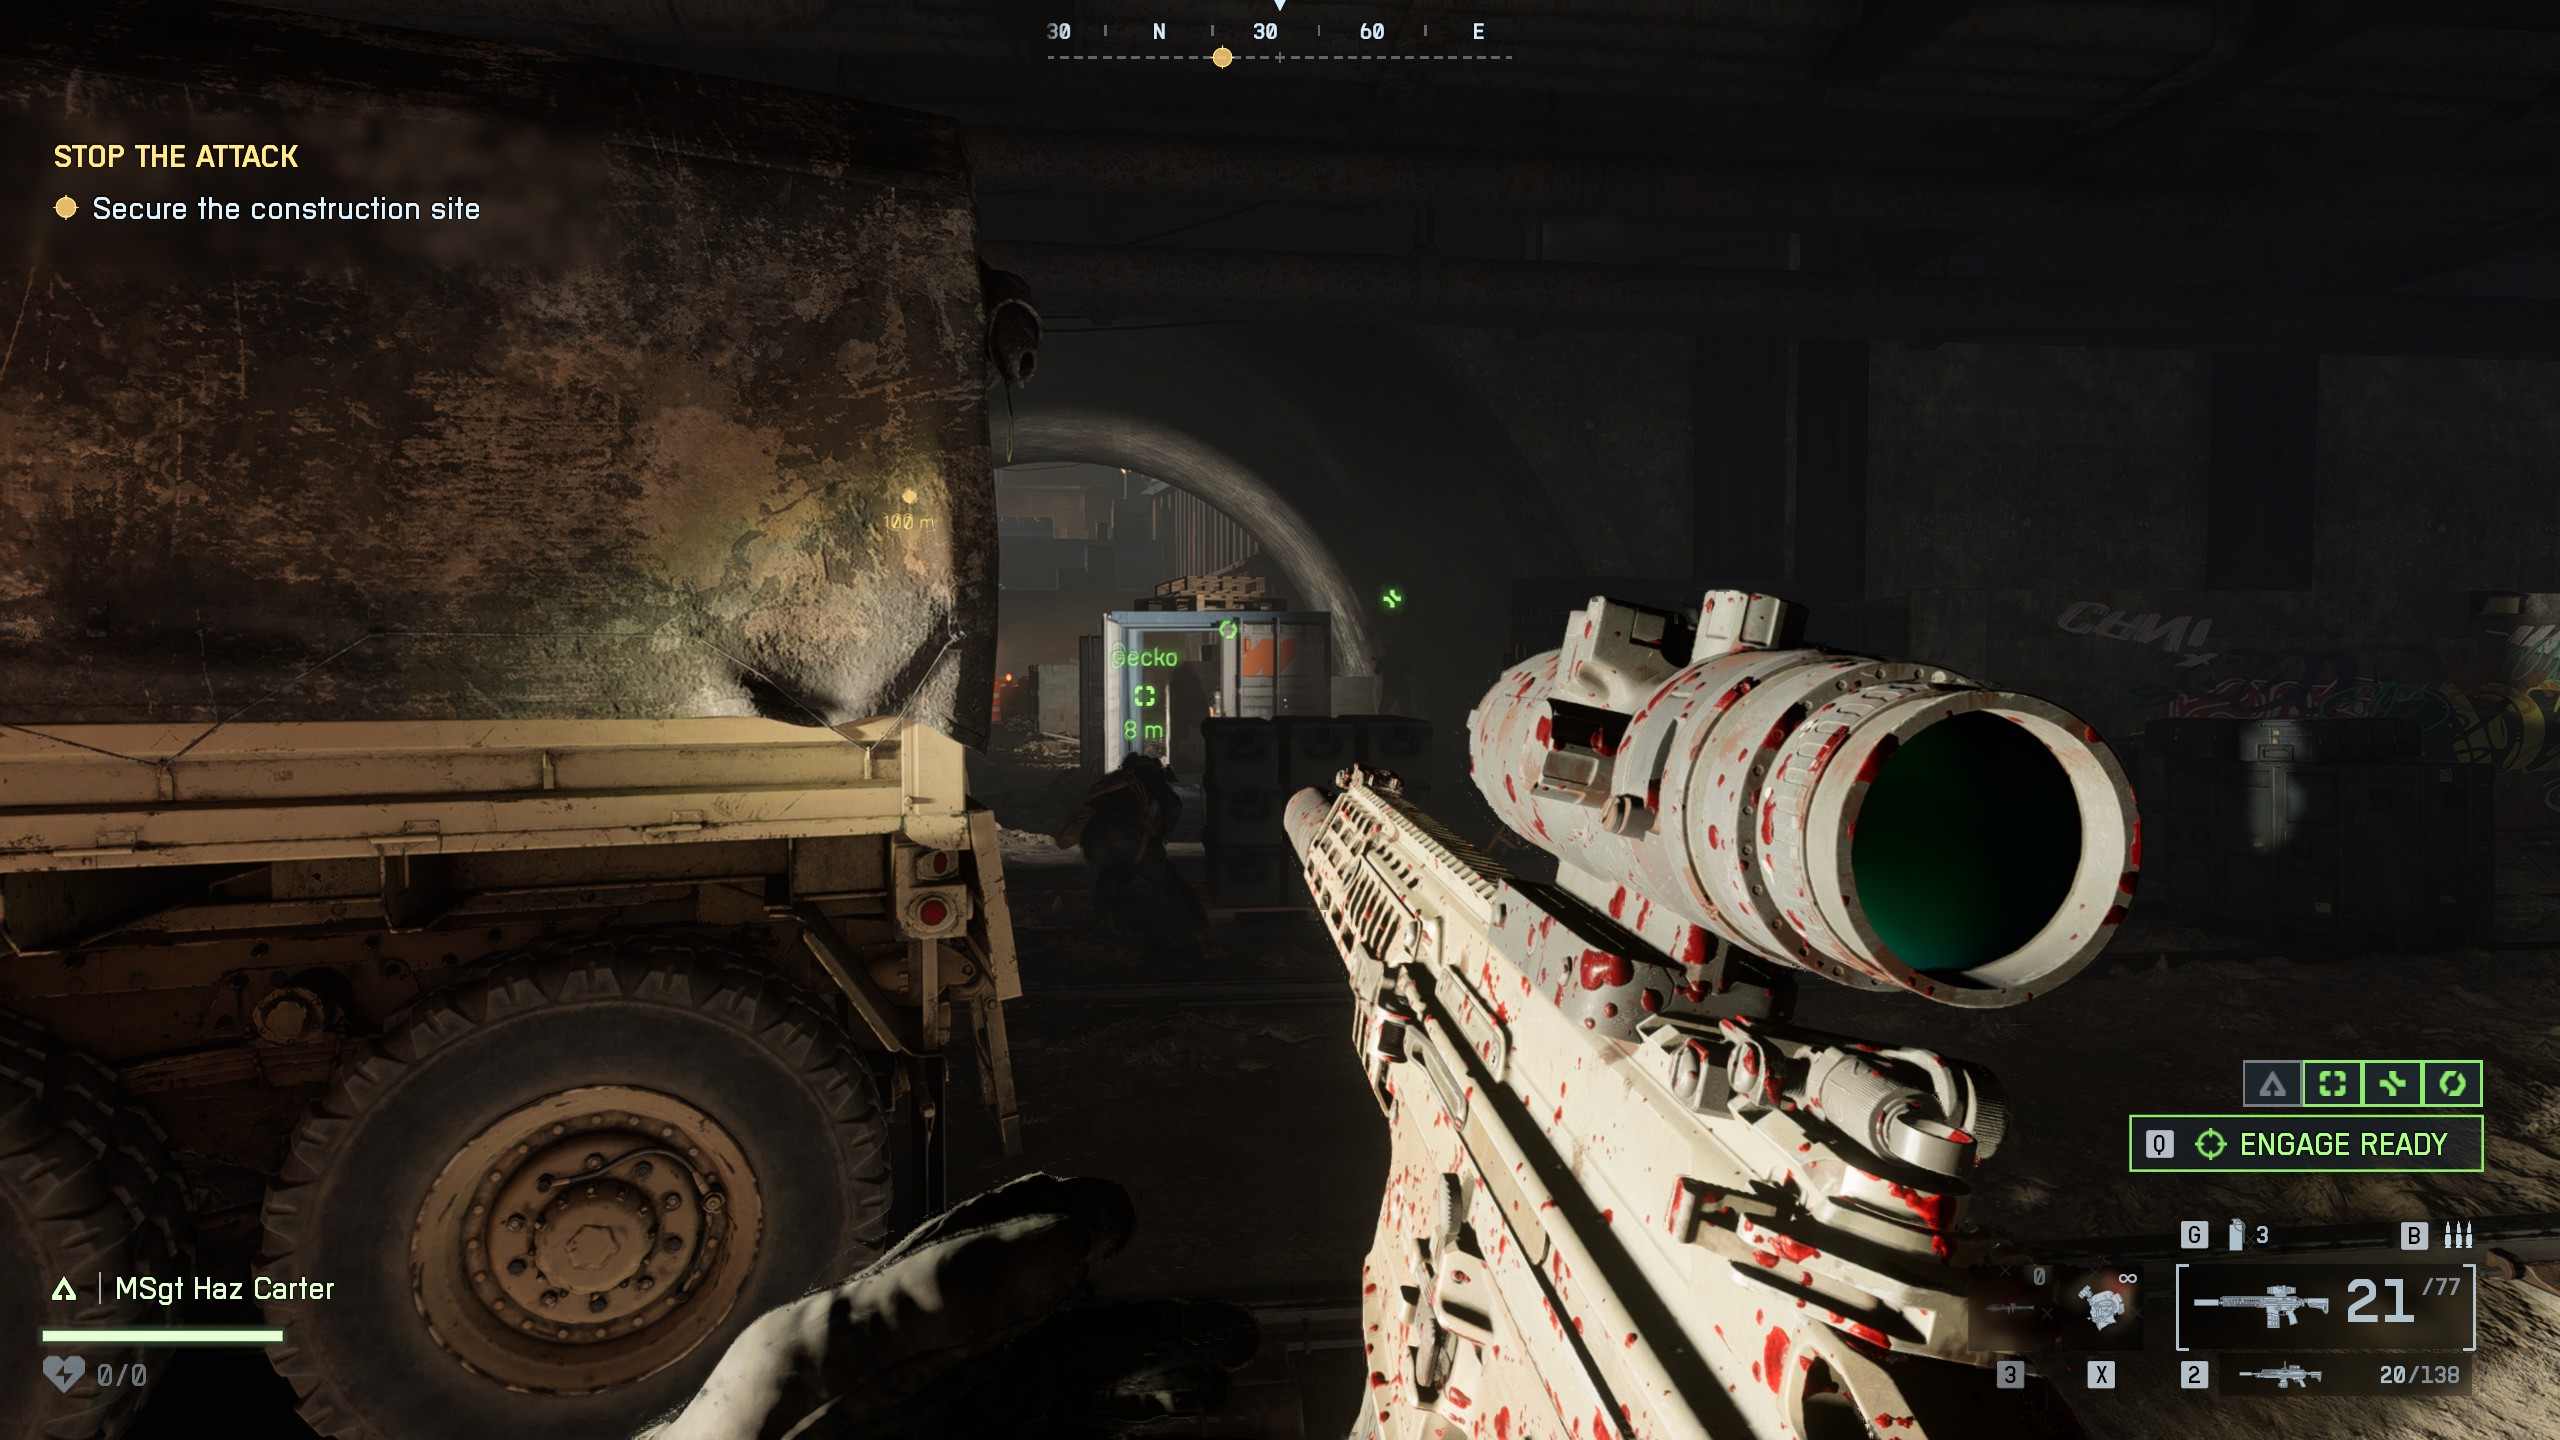
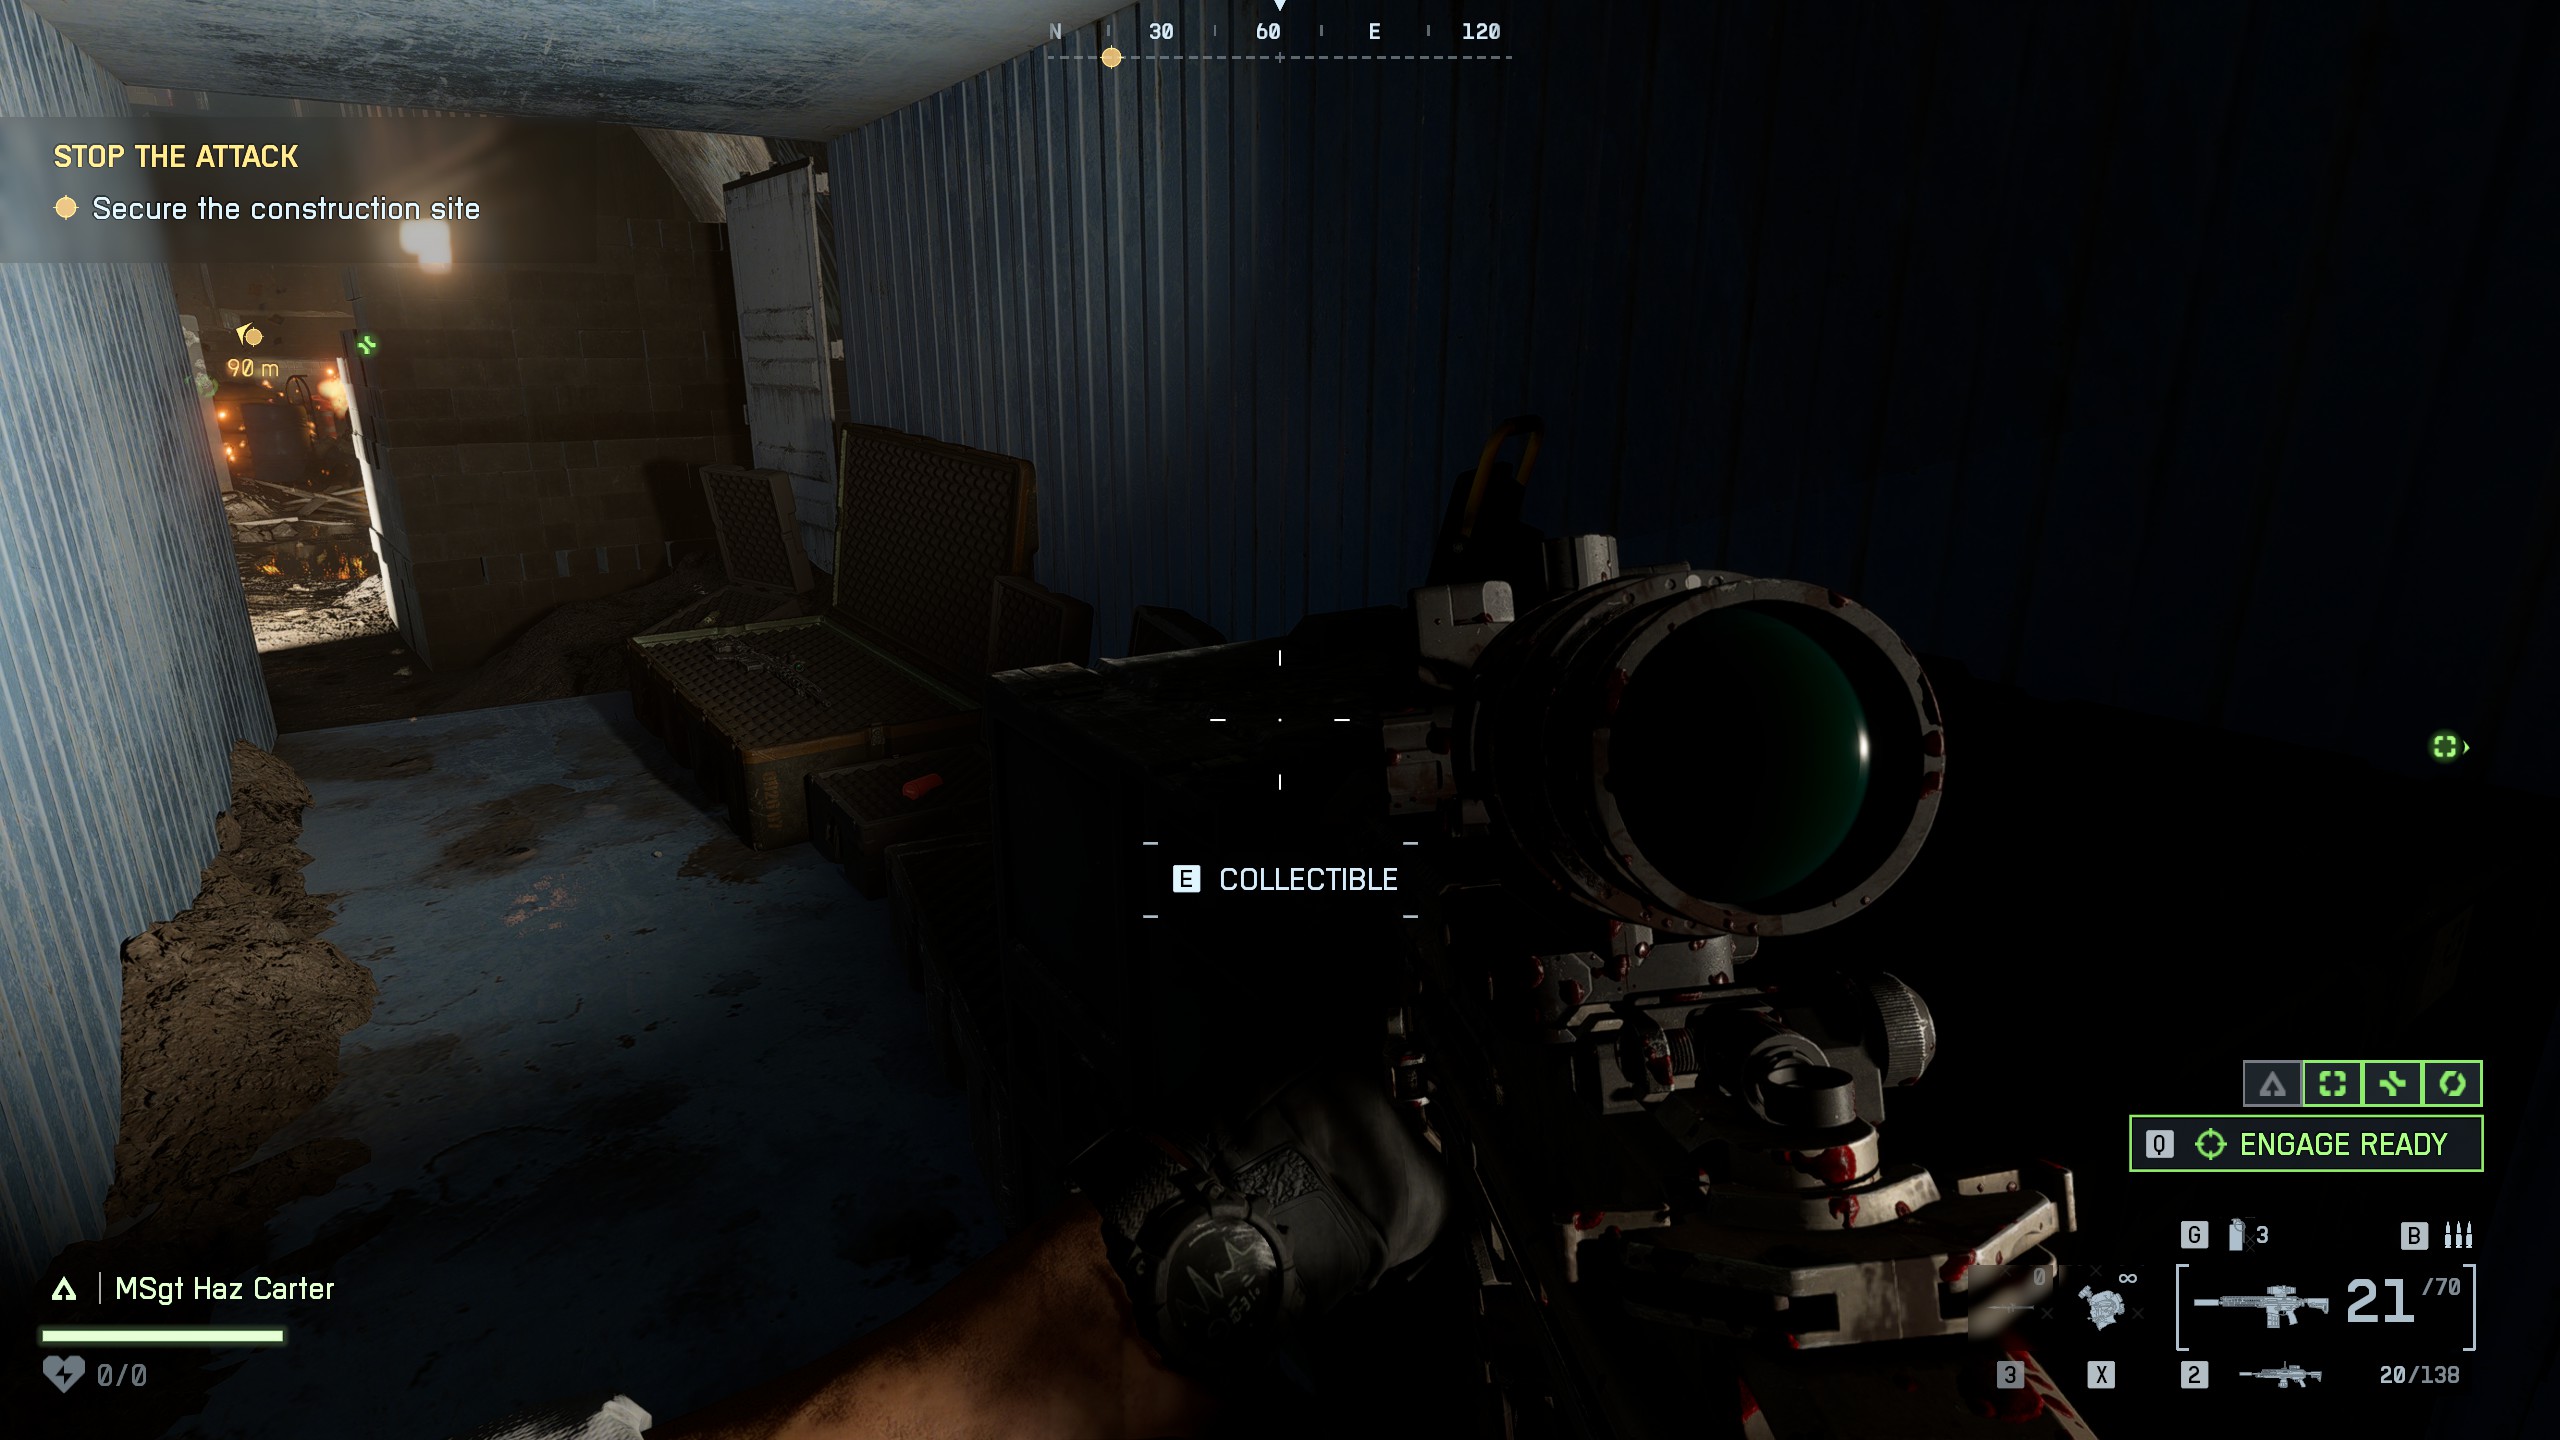
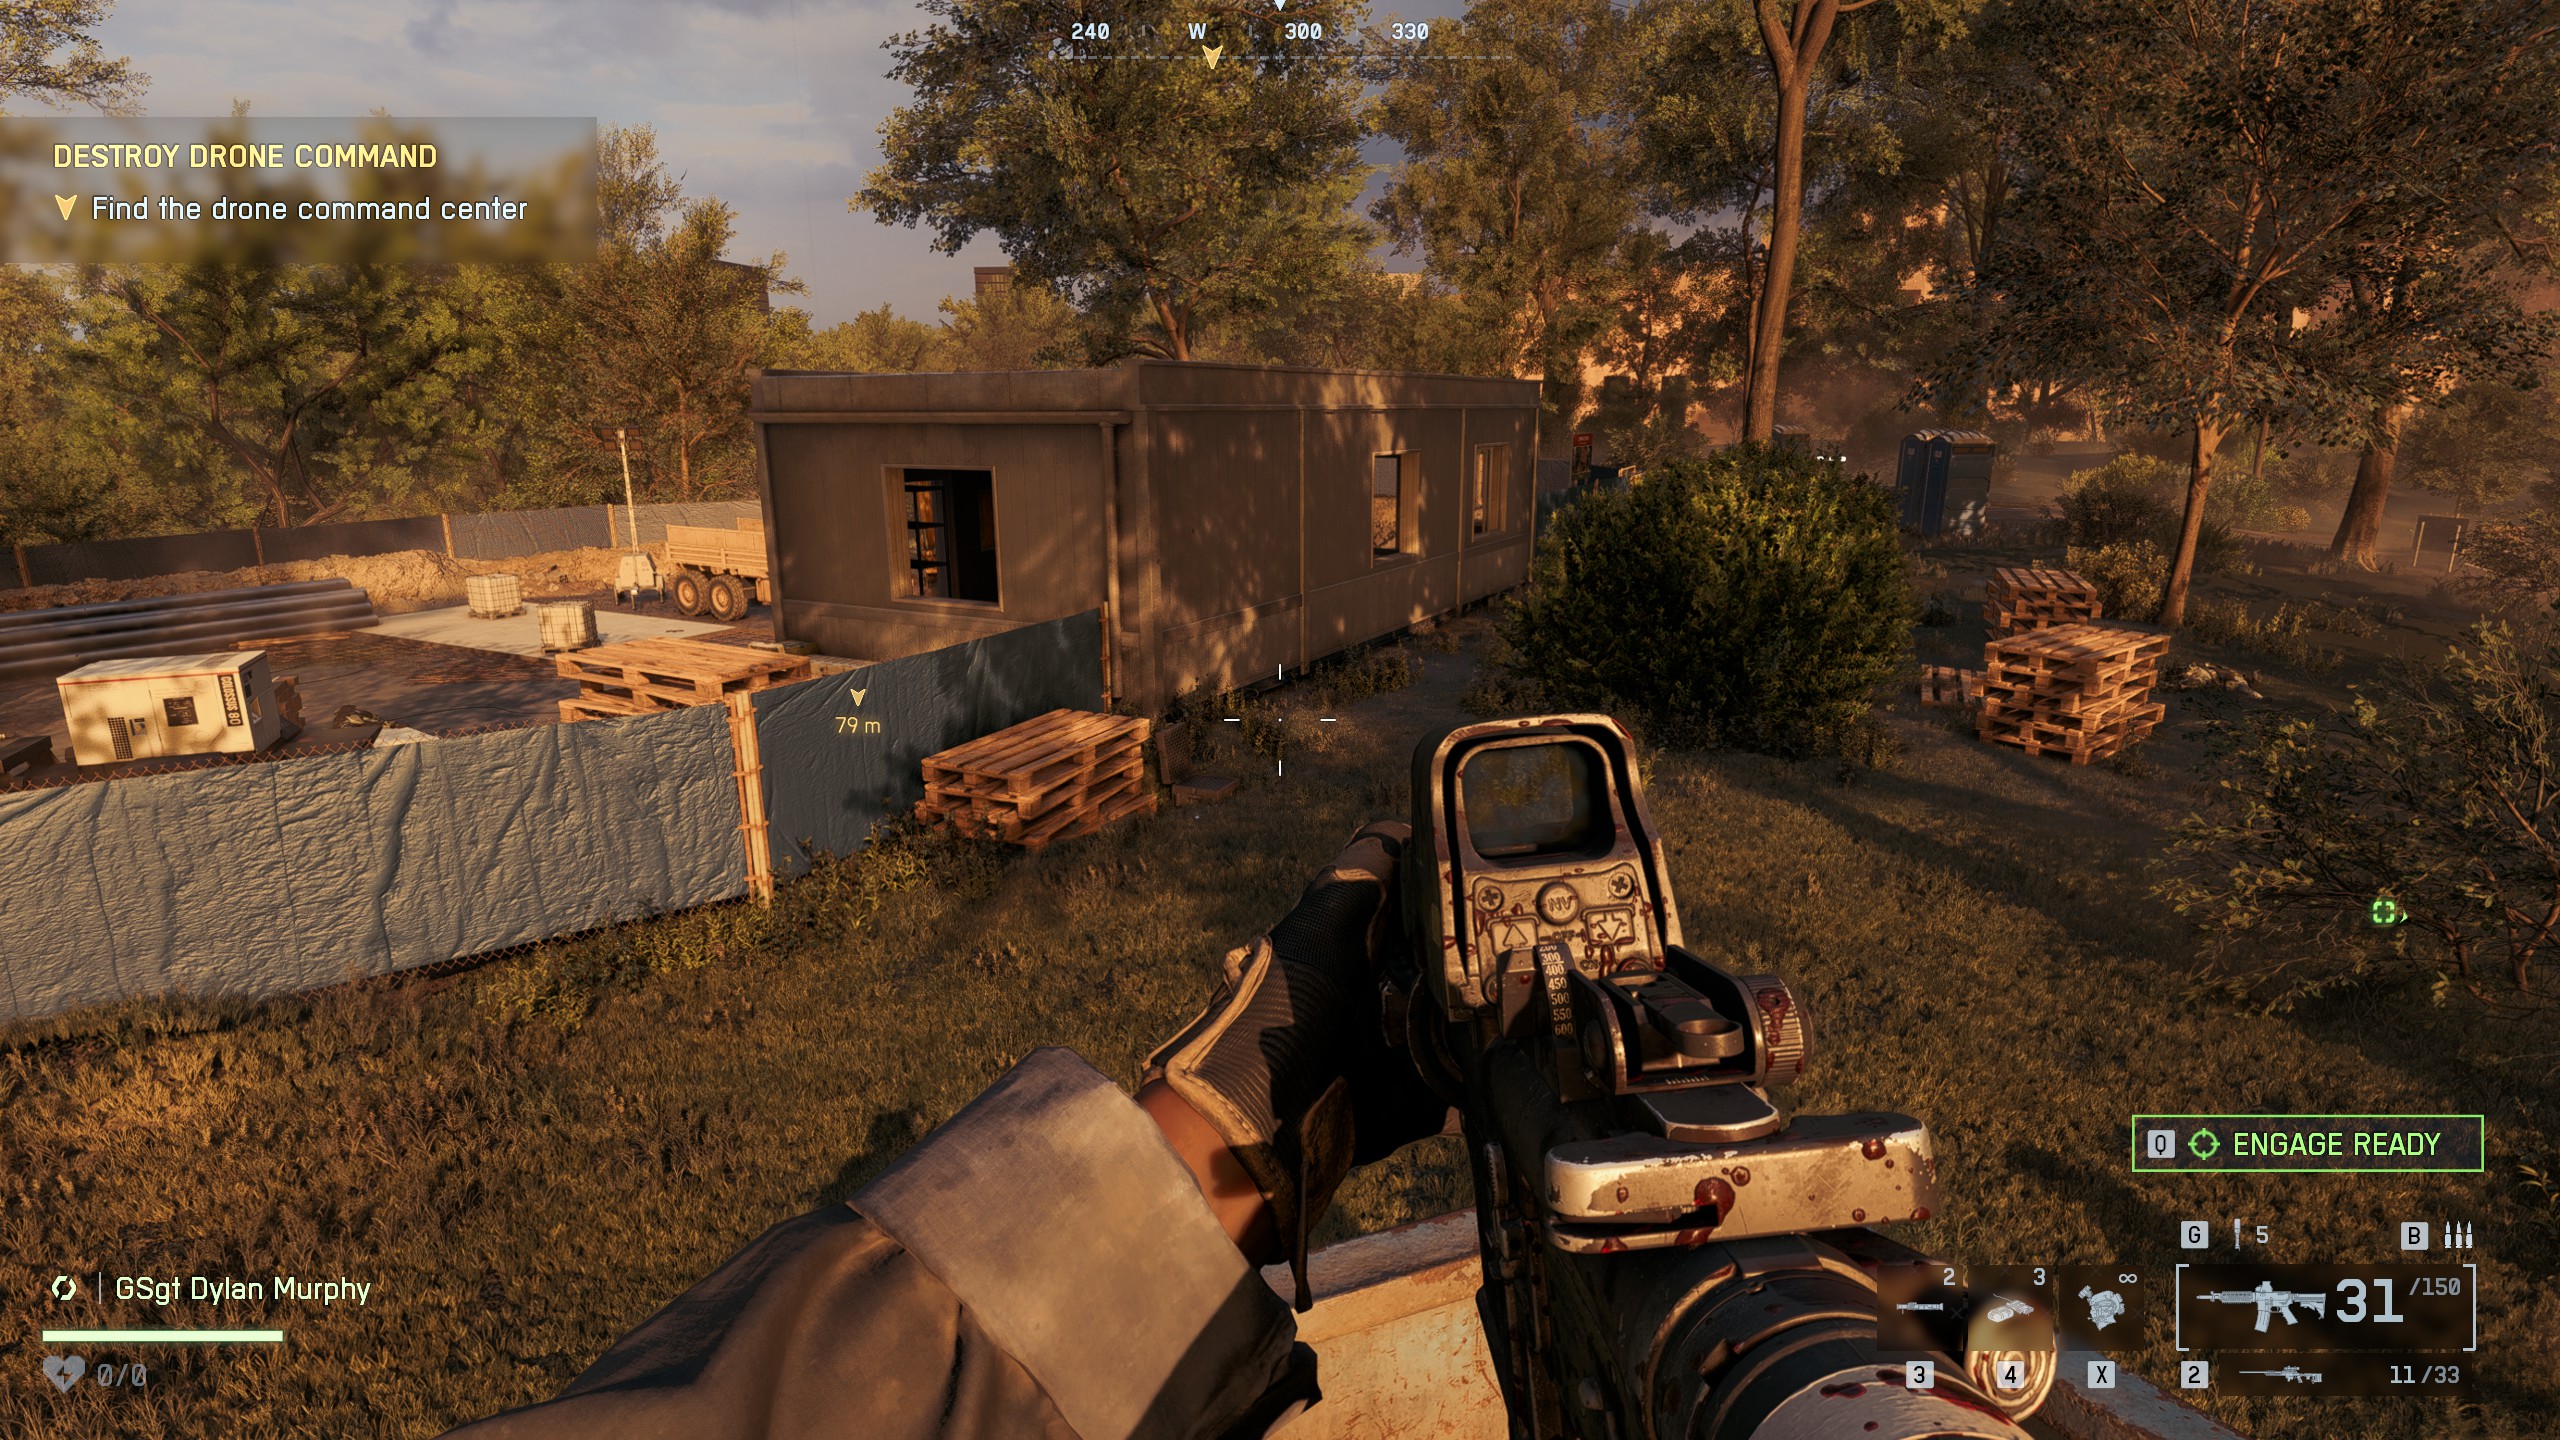
📍Collectible #2 - Dog Tag (#18)Location: Building in the parkHead to the park to locate the drone operators. The dog tag can be found inside a building at the construction site. Once inside, look for the dog tag on the floor

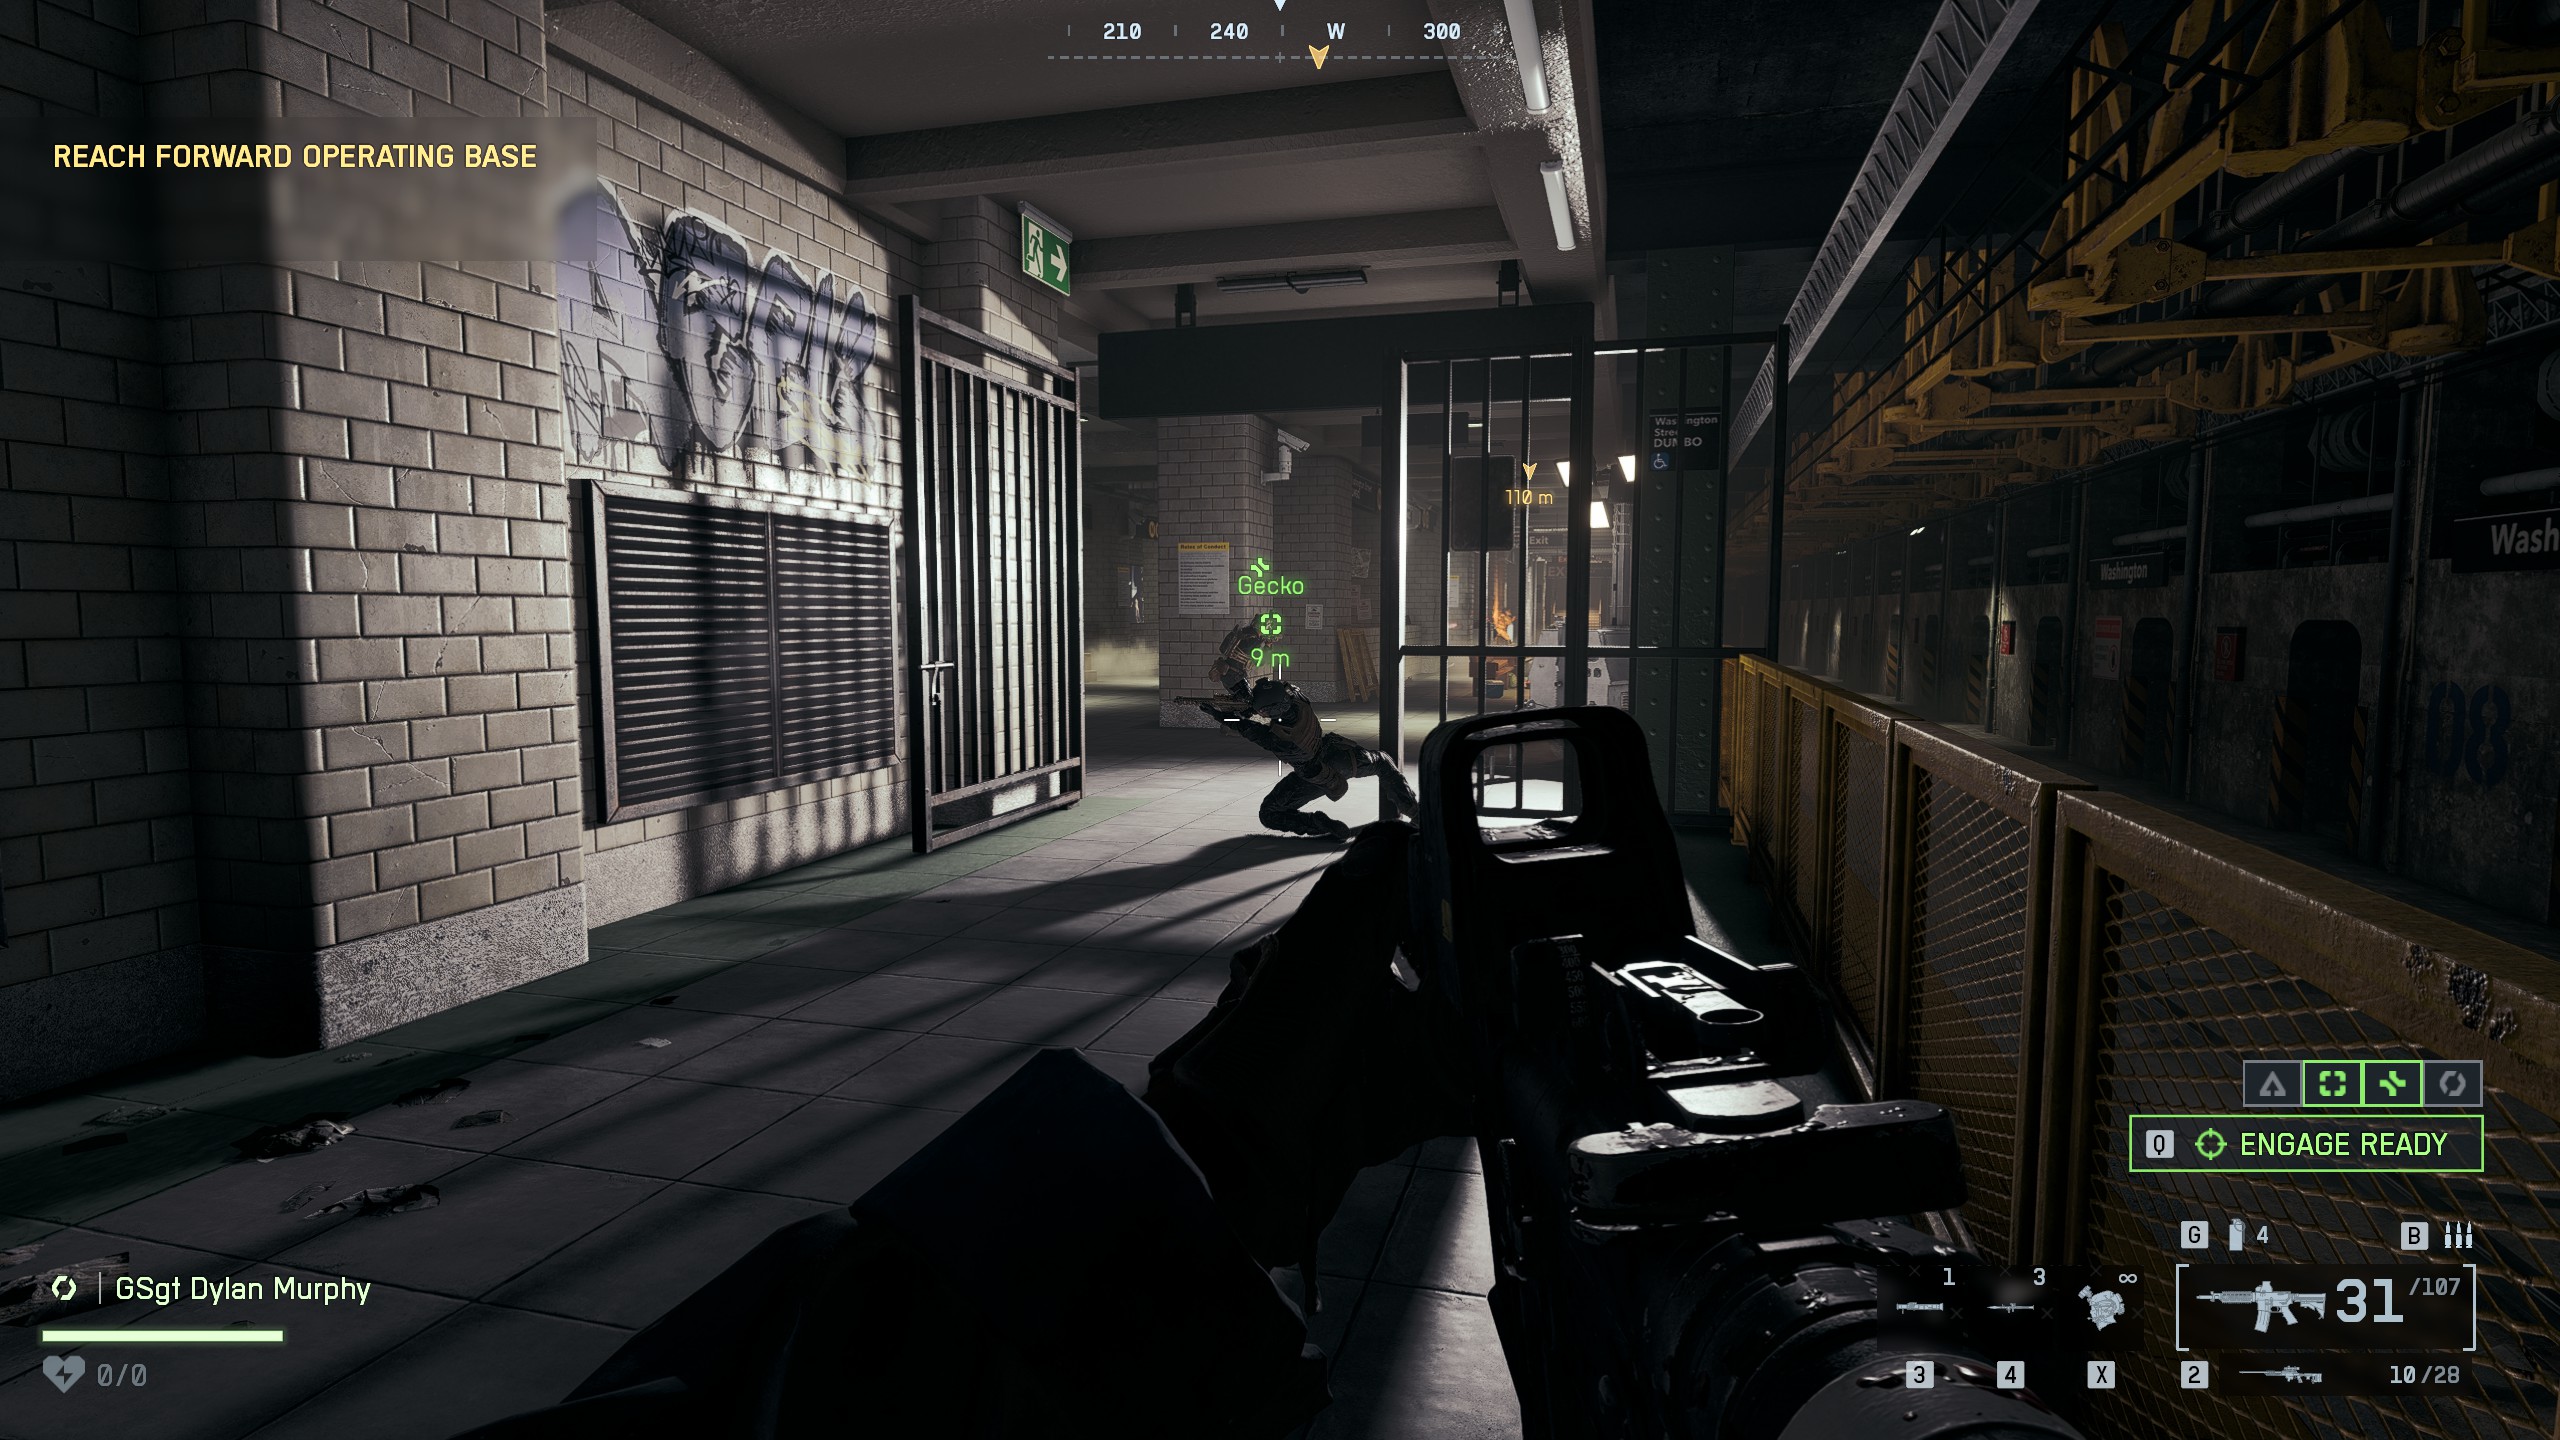
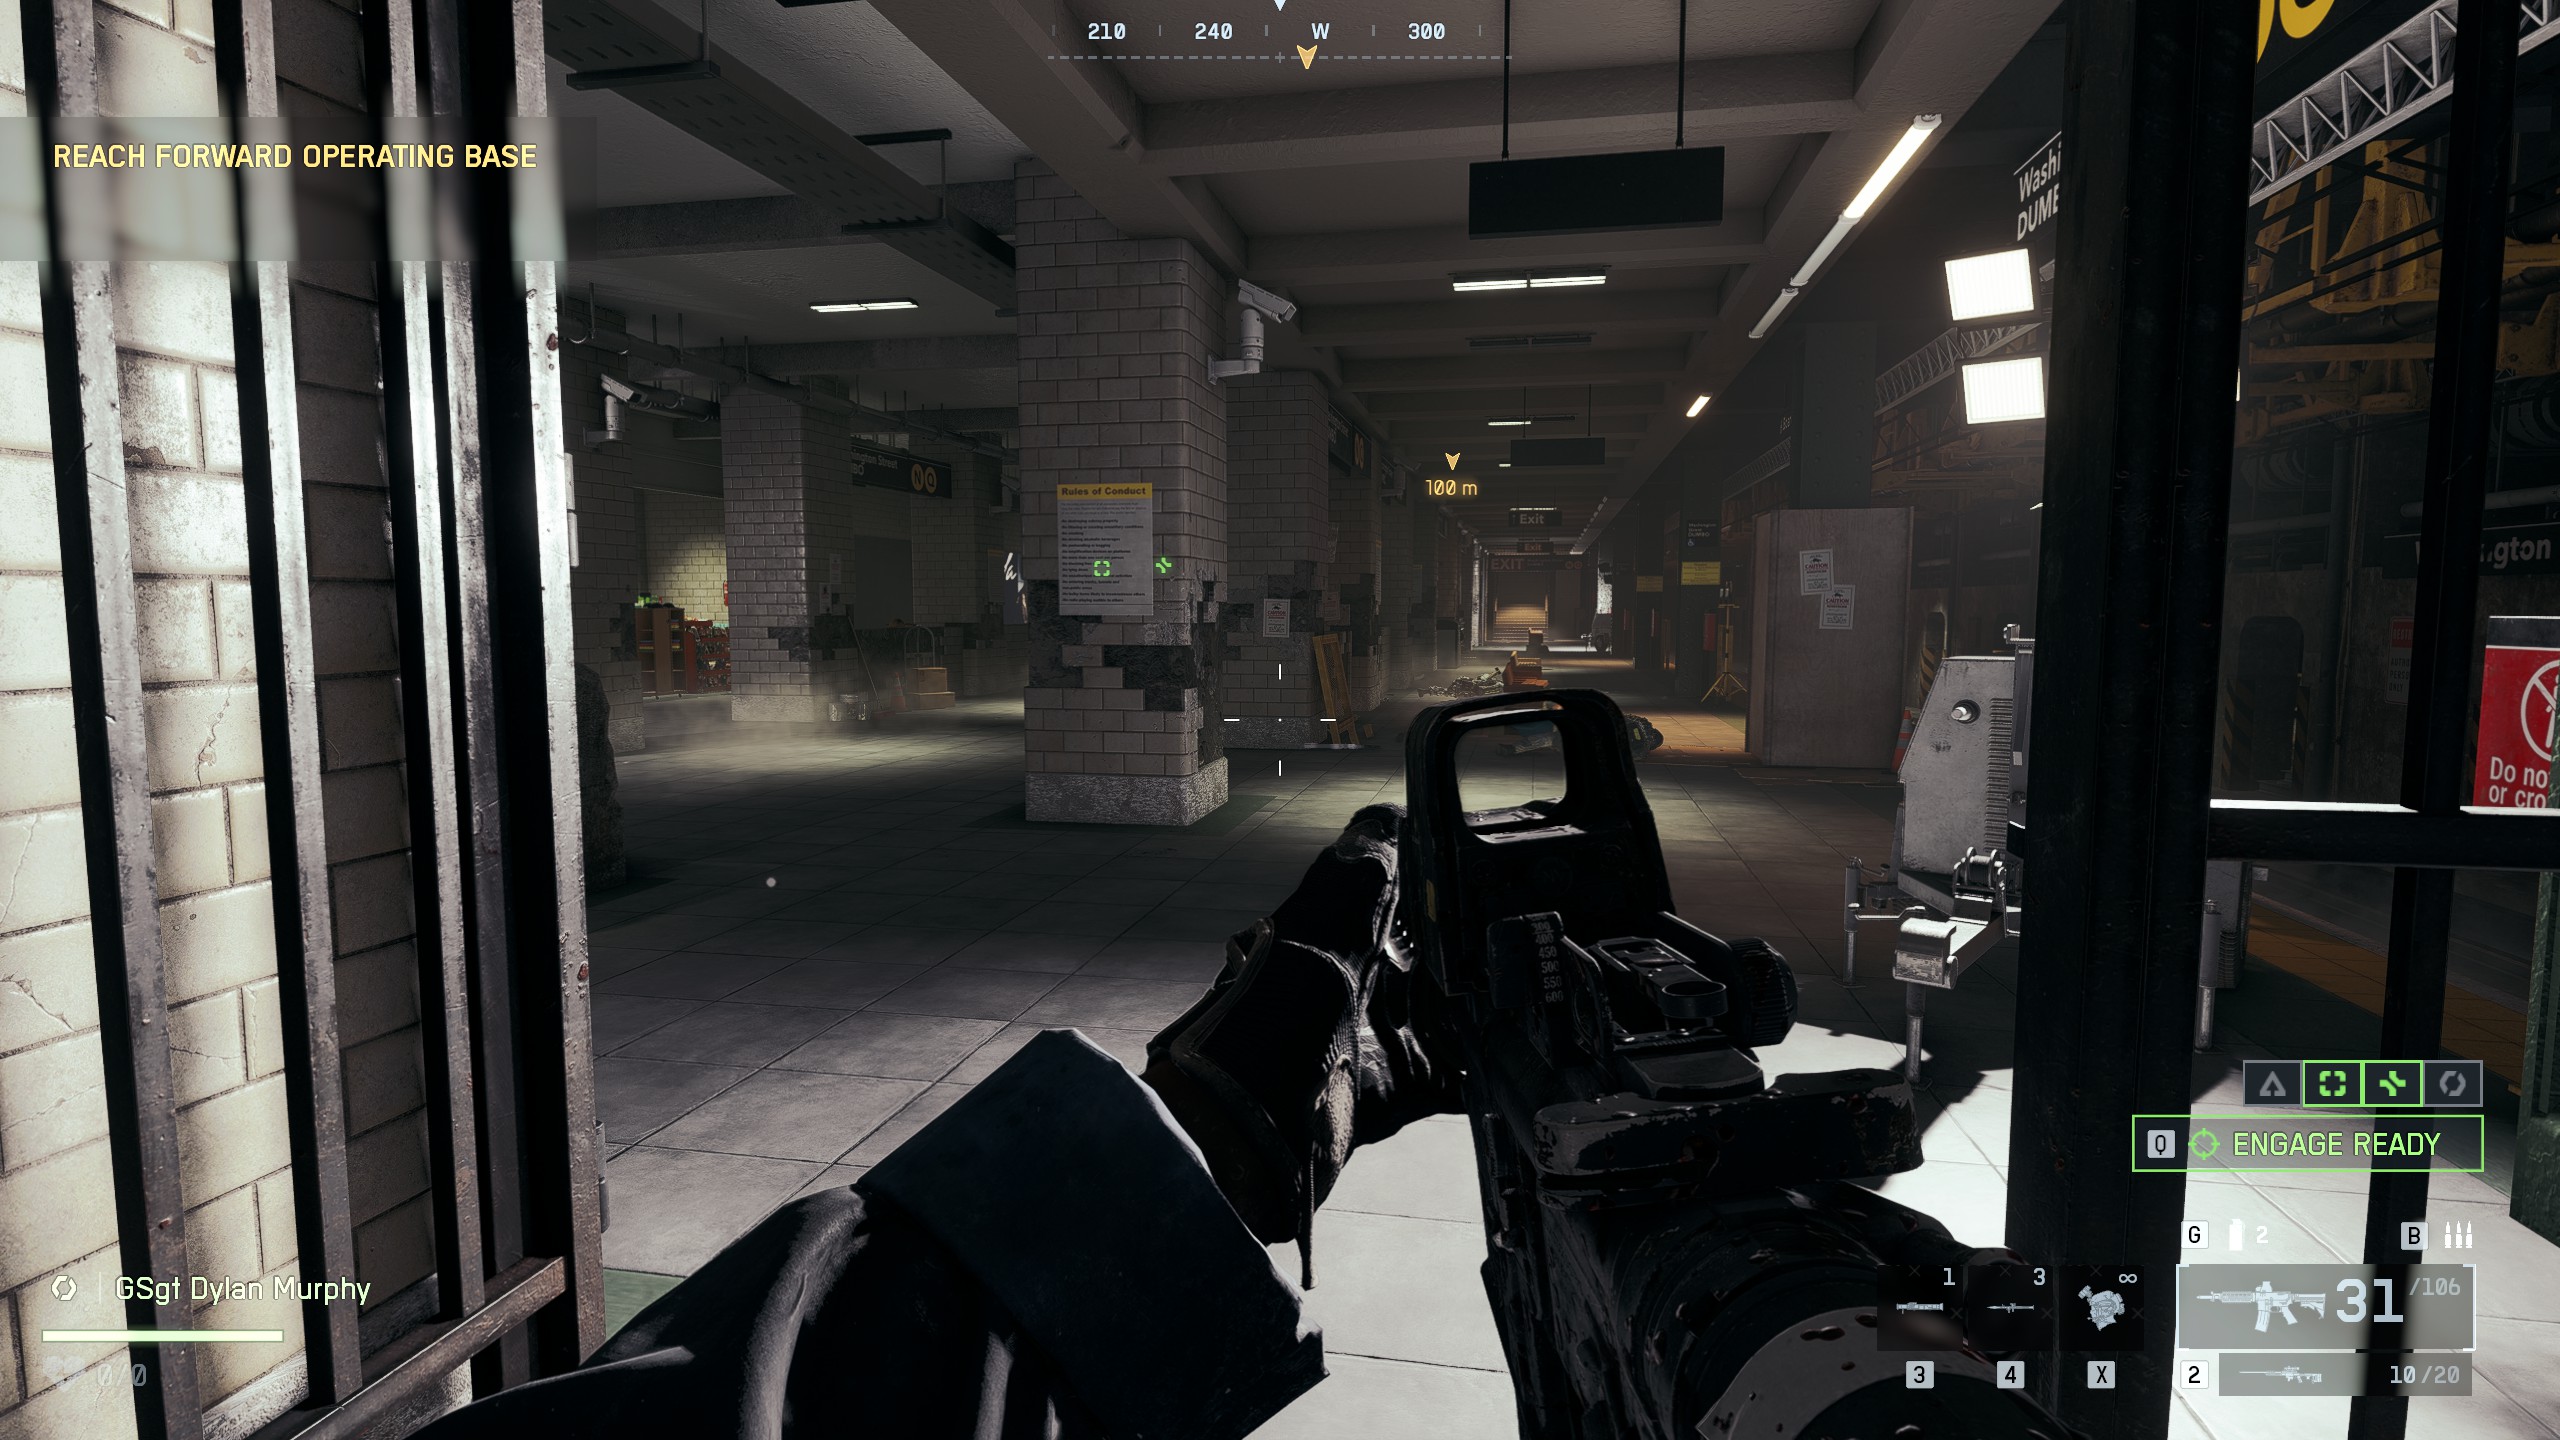
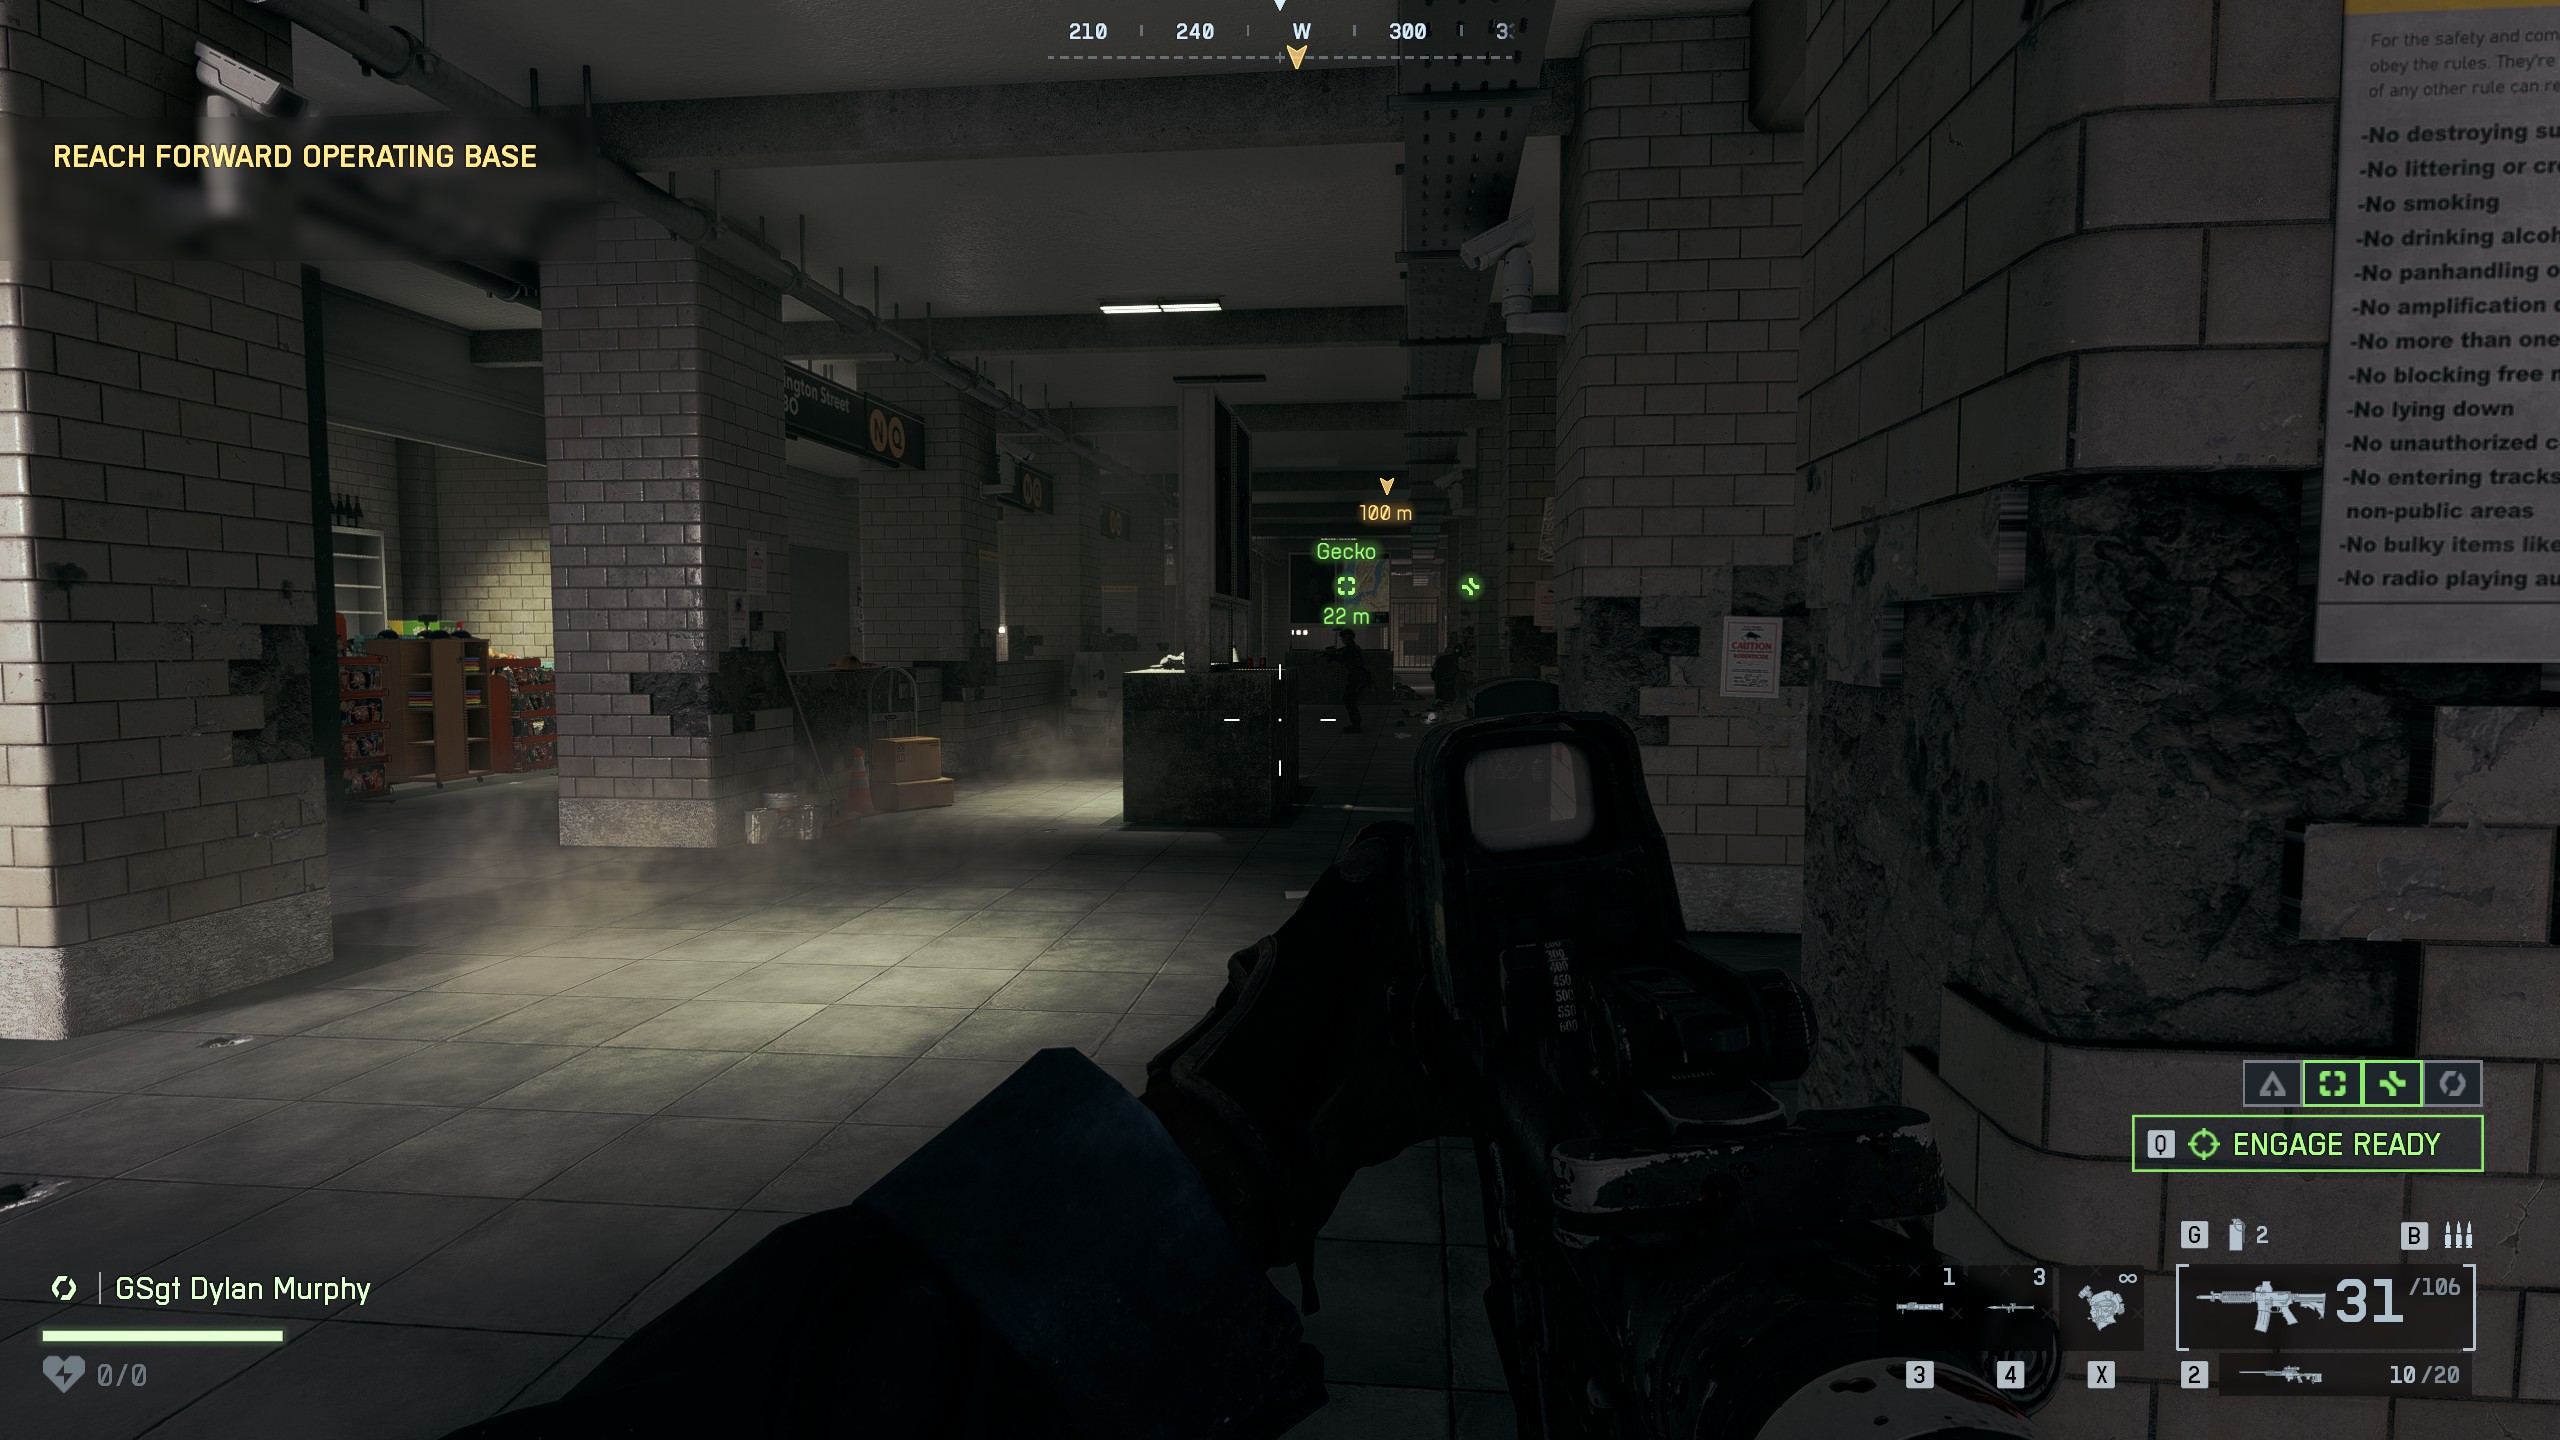
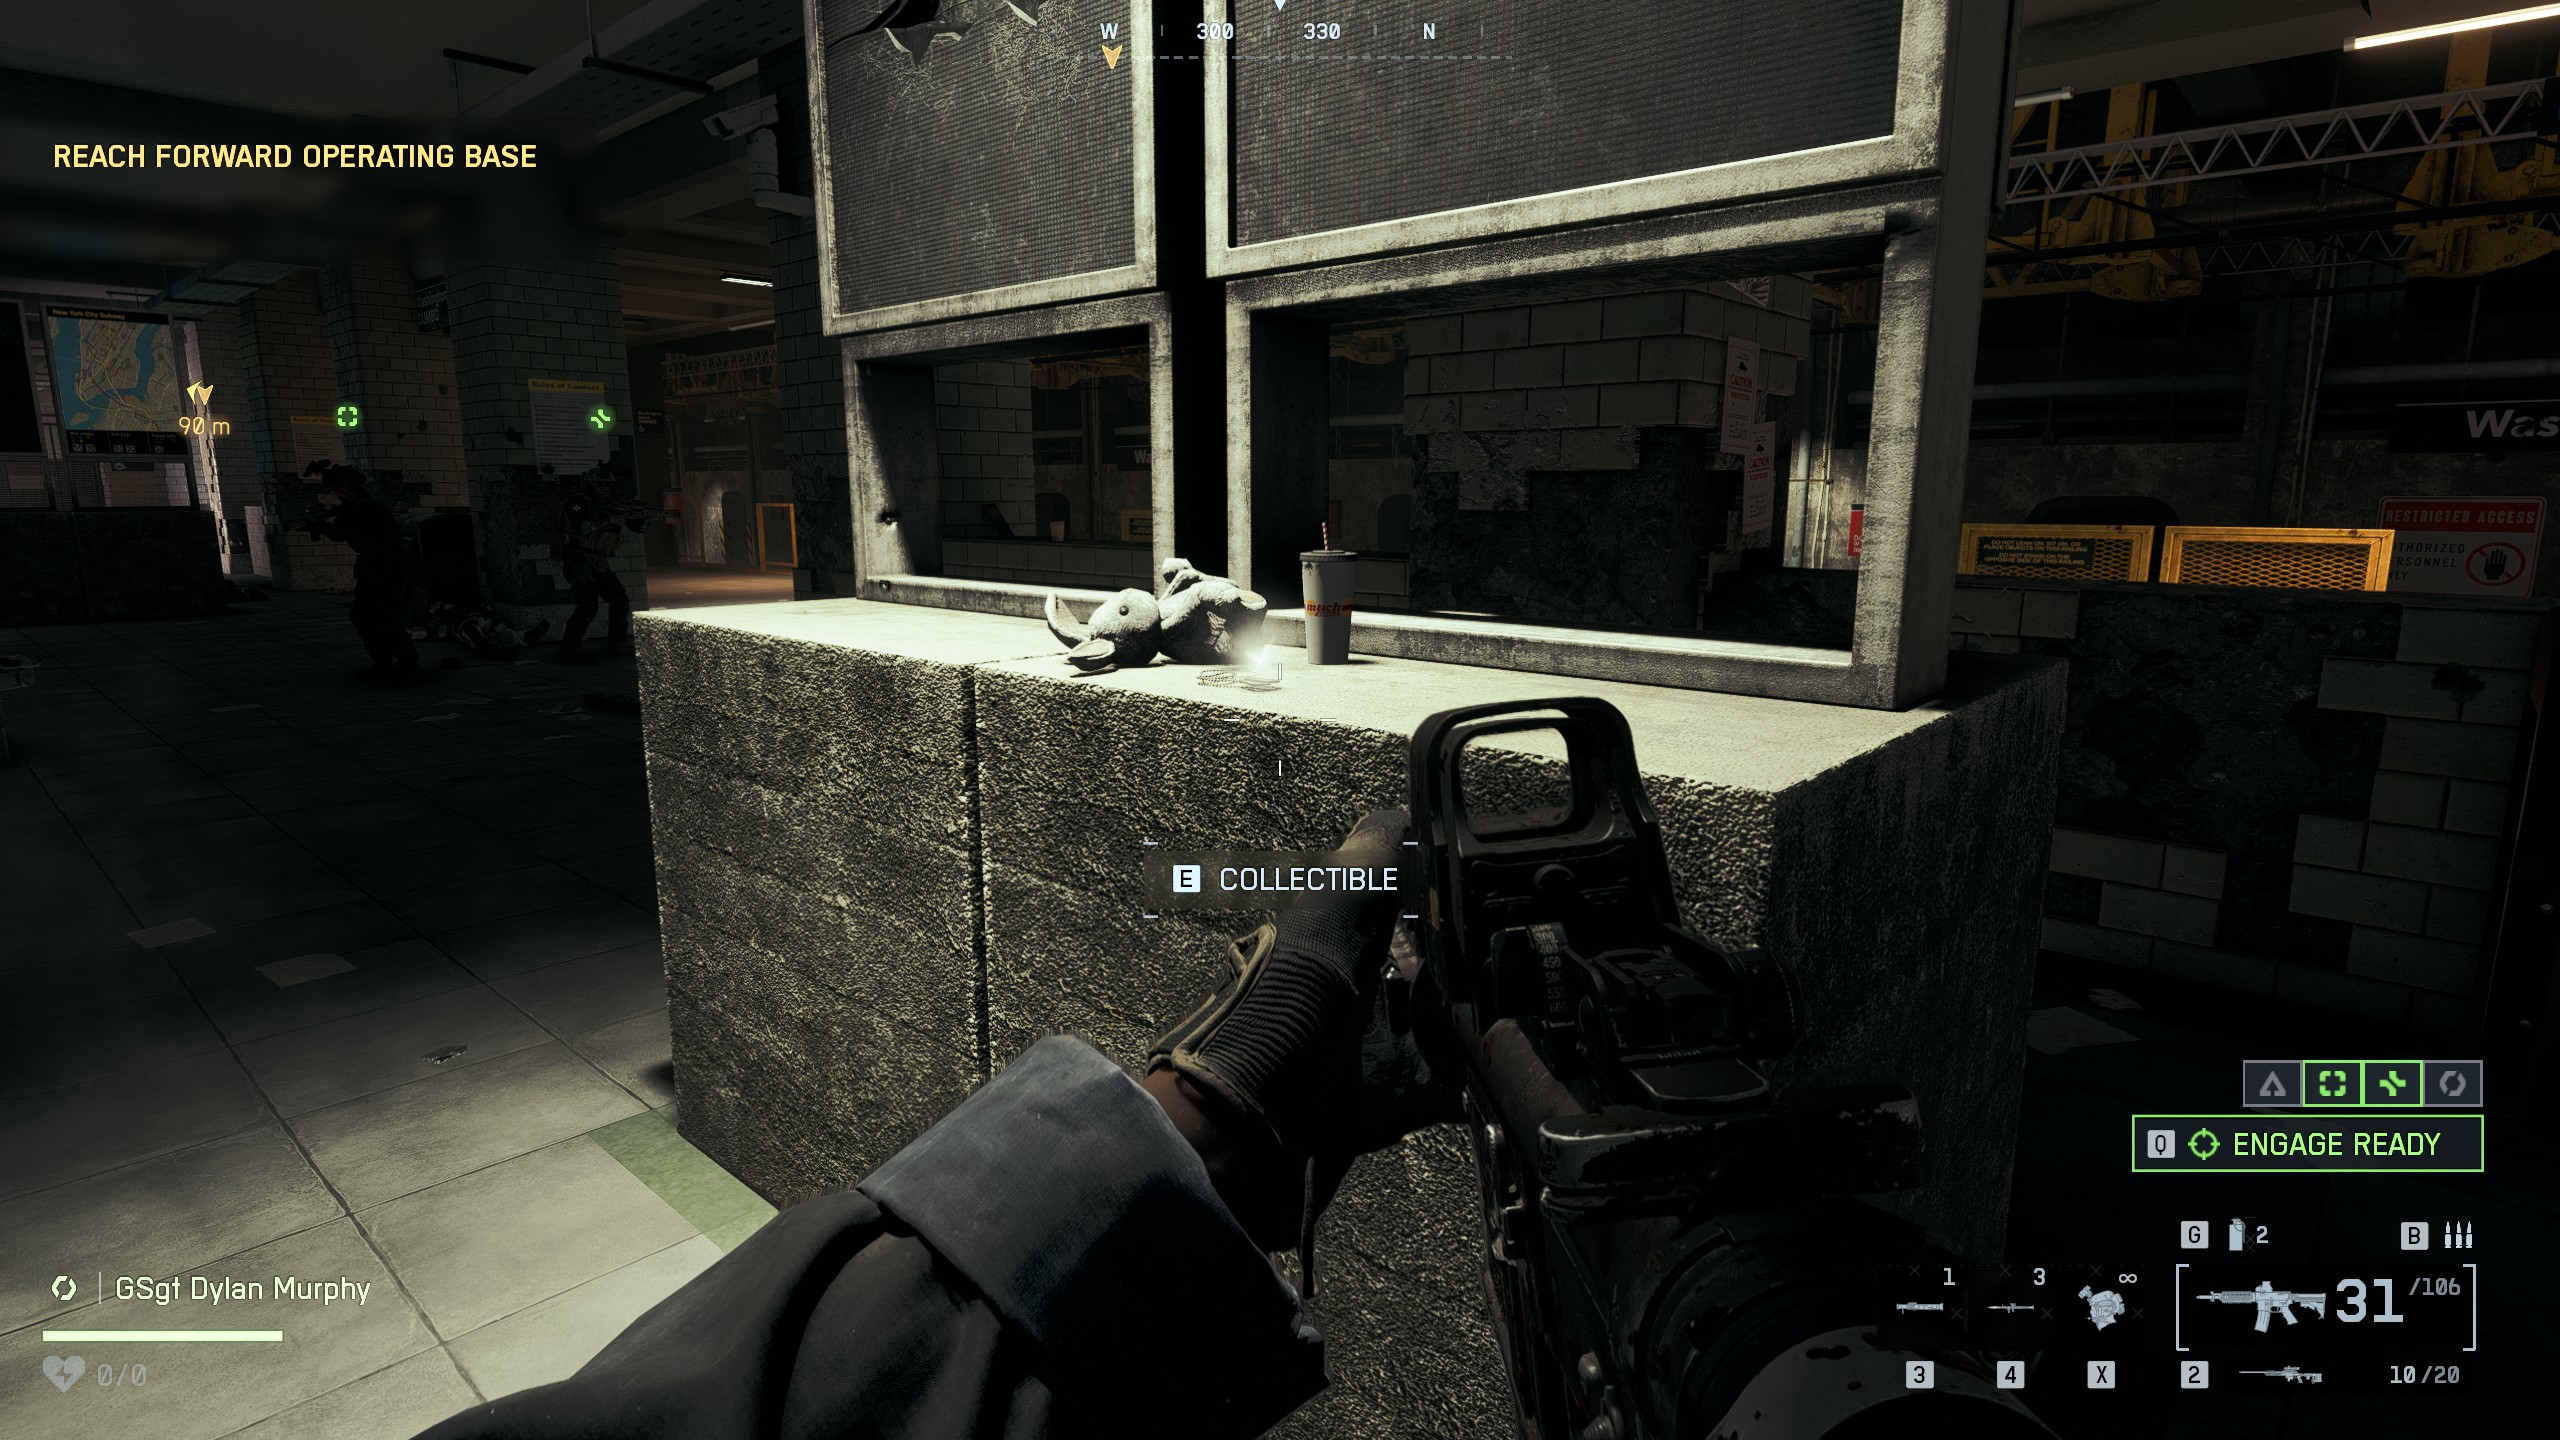
📍Collectible #3 - Dog Tag (#19)Location: Subway stationAfter escorting the President, you'll eventually reach the subway. Once you're there, continue forward until you arrive at a station where you'll engage enemies. The dog tag is located in the center of the room, under a ceiling spotlight, near a green bag and a bunny
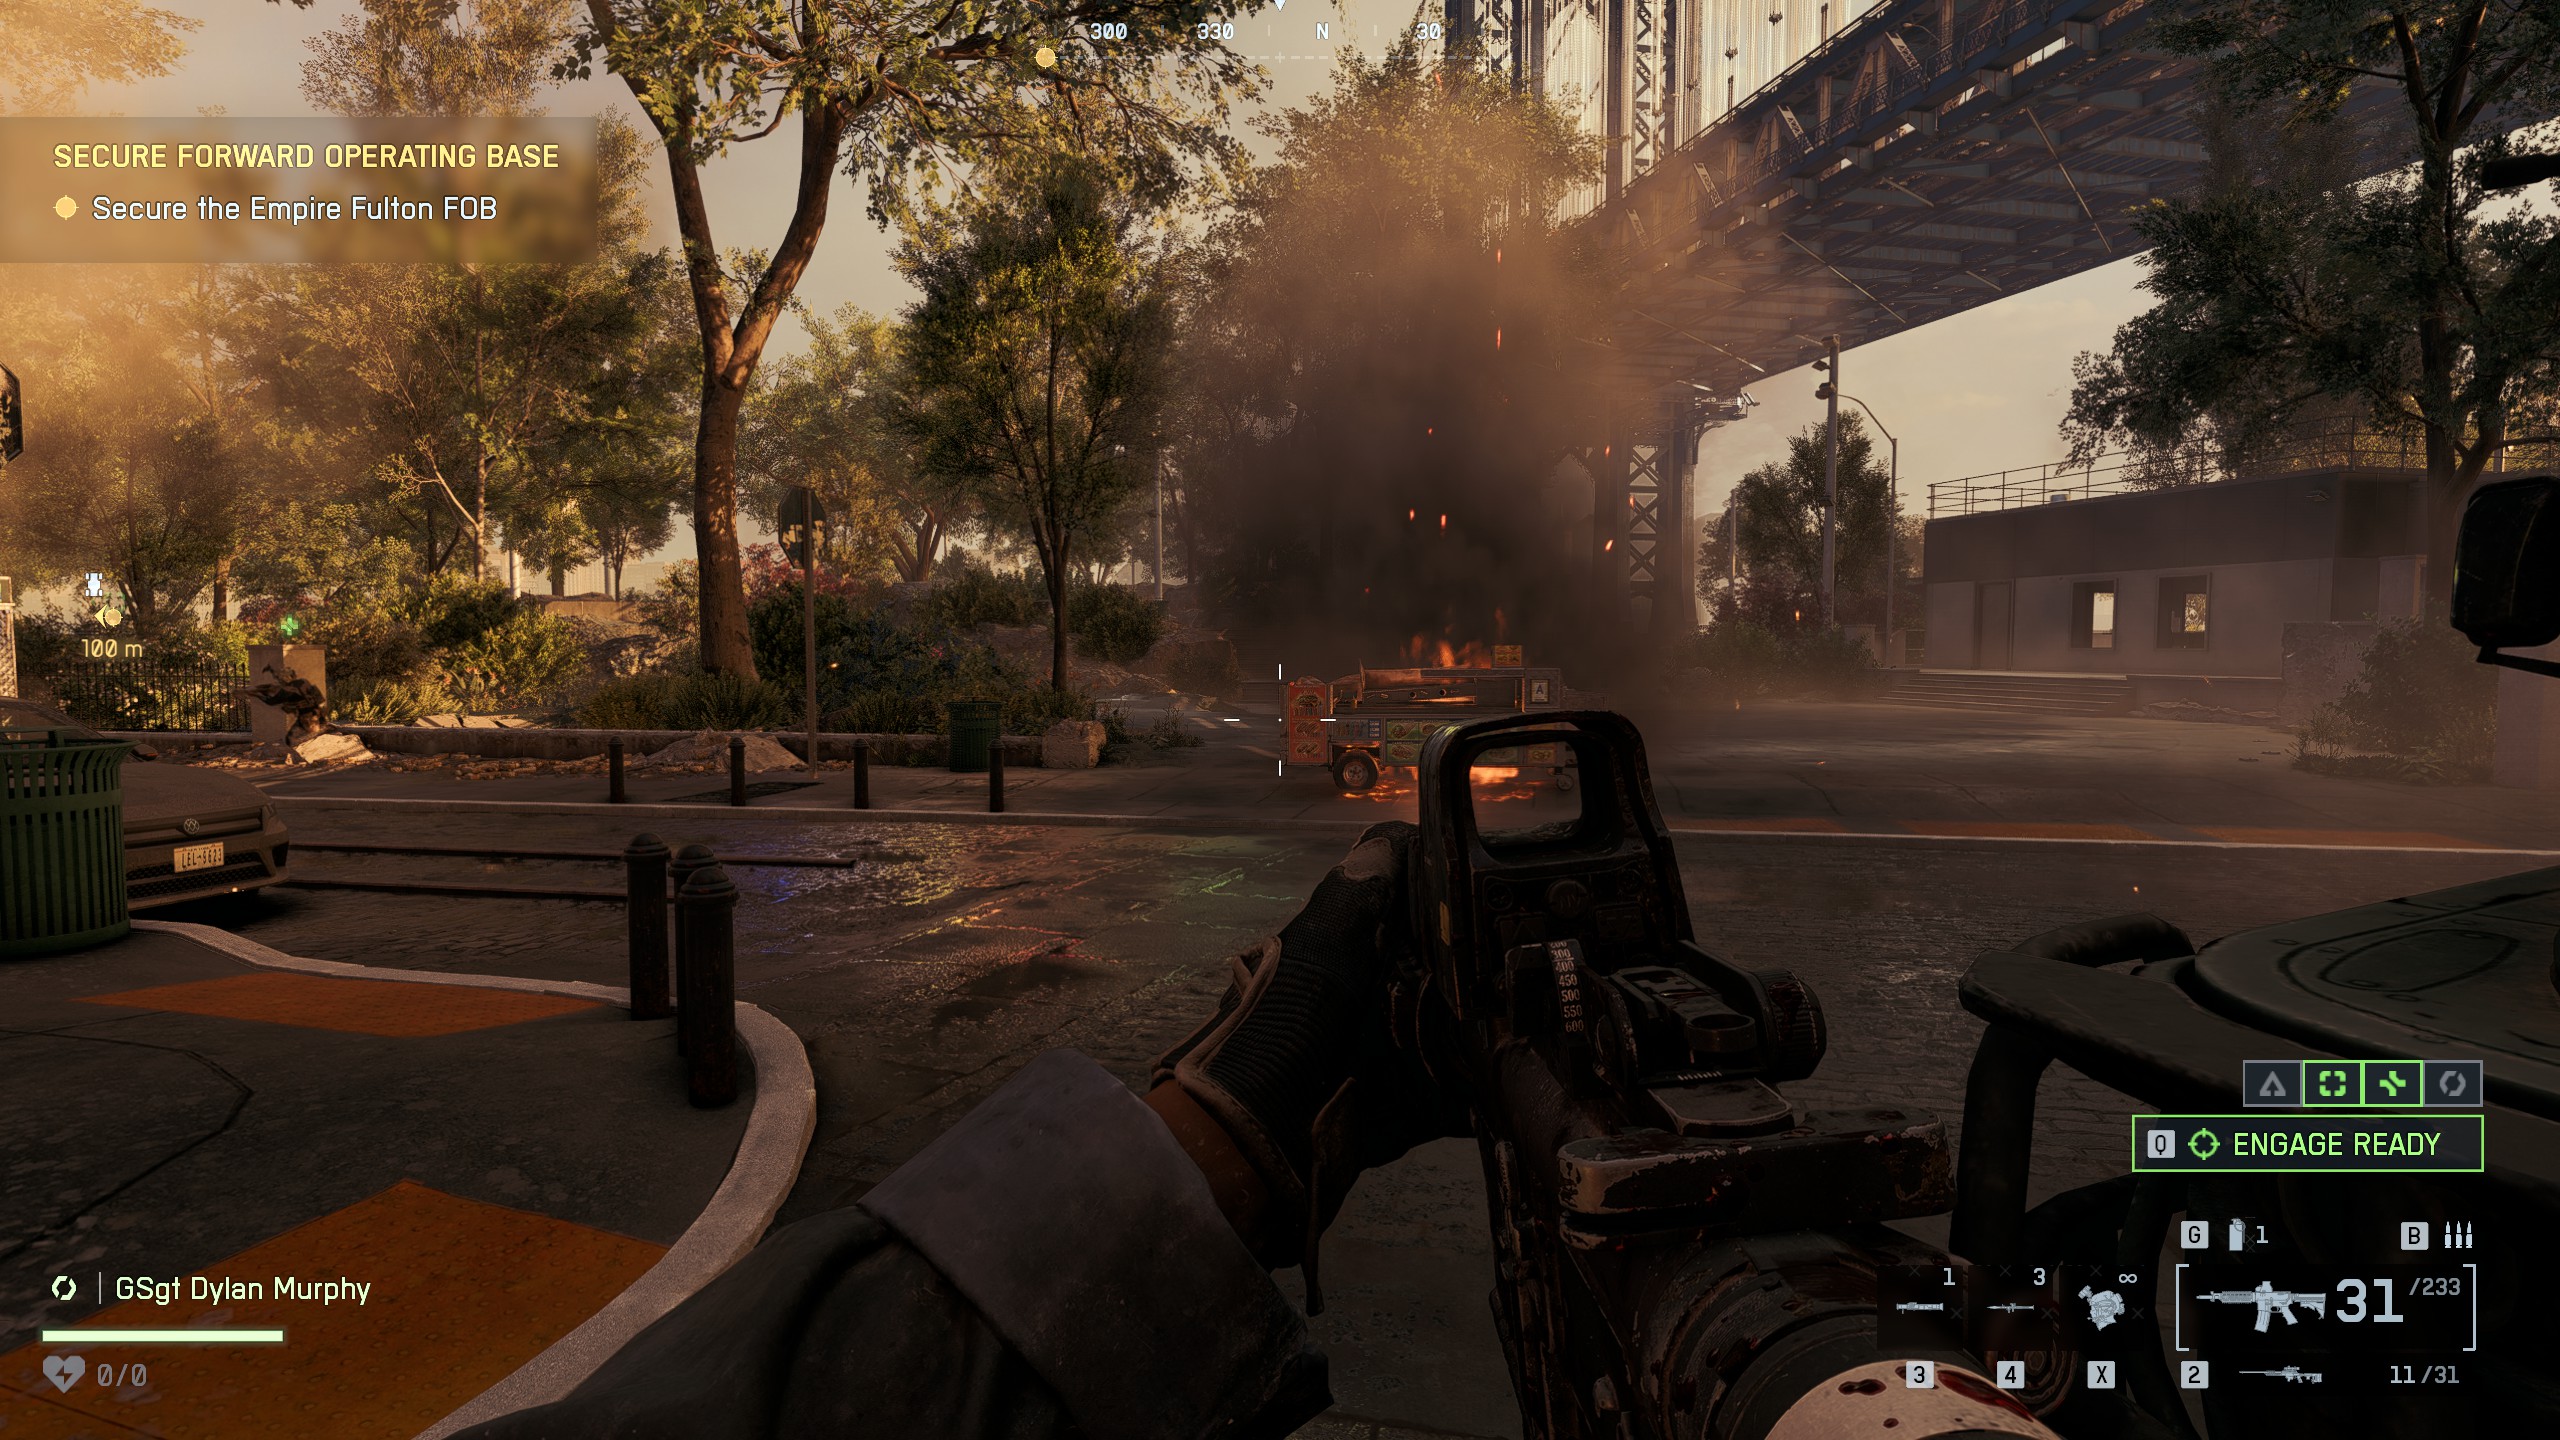
📍Collectible #4 - Dog Tag (#20)Location: Park areaAfter exiting the underground, continue moving forward. You'll see a group of vehicles passing from right to left. Head into the park ahead. Look for a burning street food card, then take the path to the left (in the park). Go up the stairs, and you'll find a body with a dog tag nearby

🏆Wolves of WarPick up 20 Campaign collectibles

🏆Secret ServiceComplete No Sleep and Moving Mountains

Mission 7: Nile Guard
Collectibles
2
Achievements
2
⚠️One achievement is missable: You need to collapse an overpass
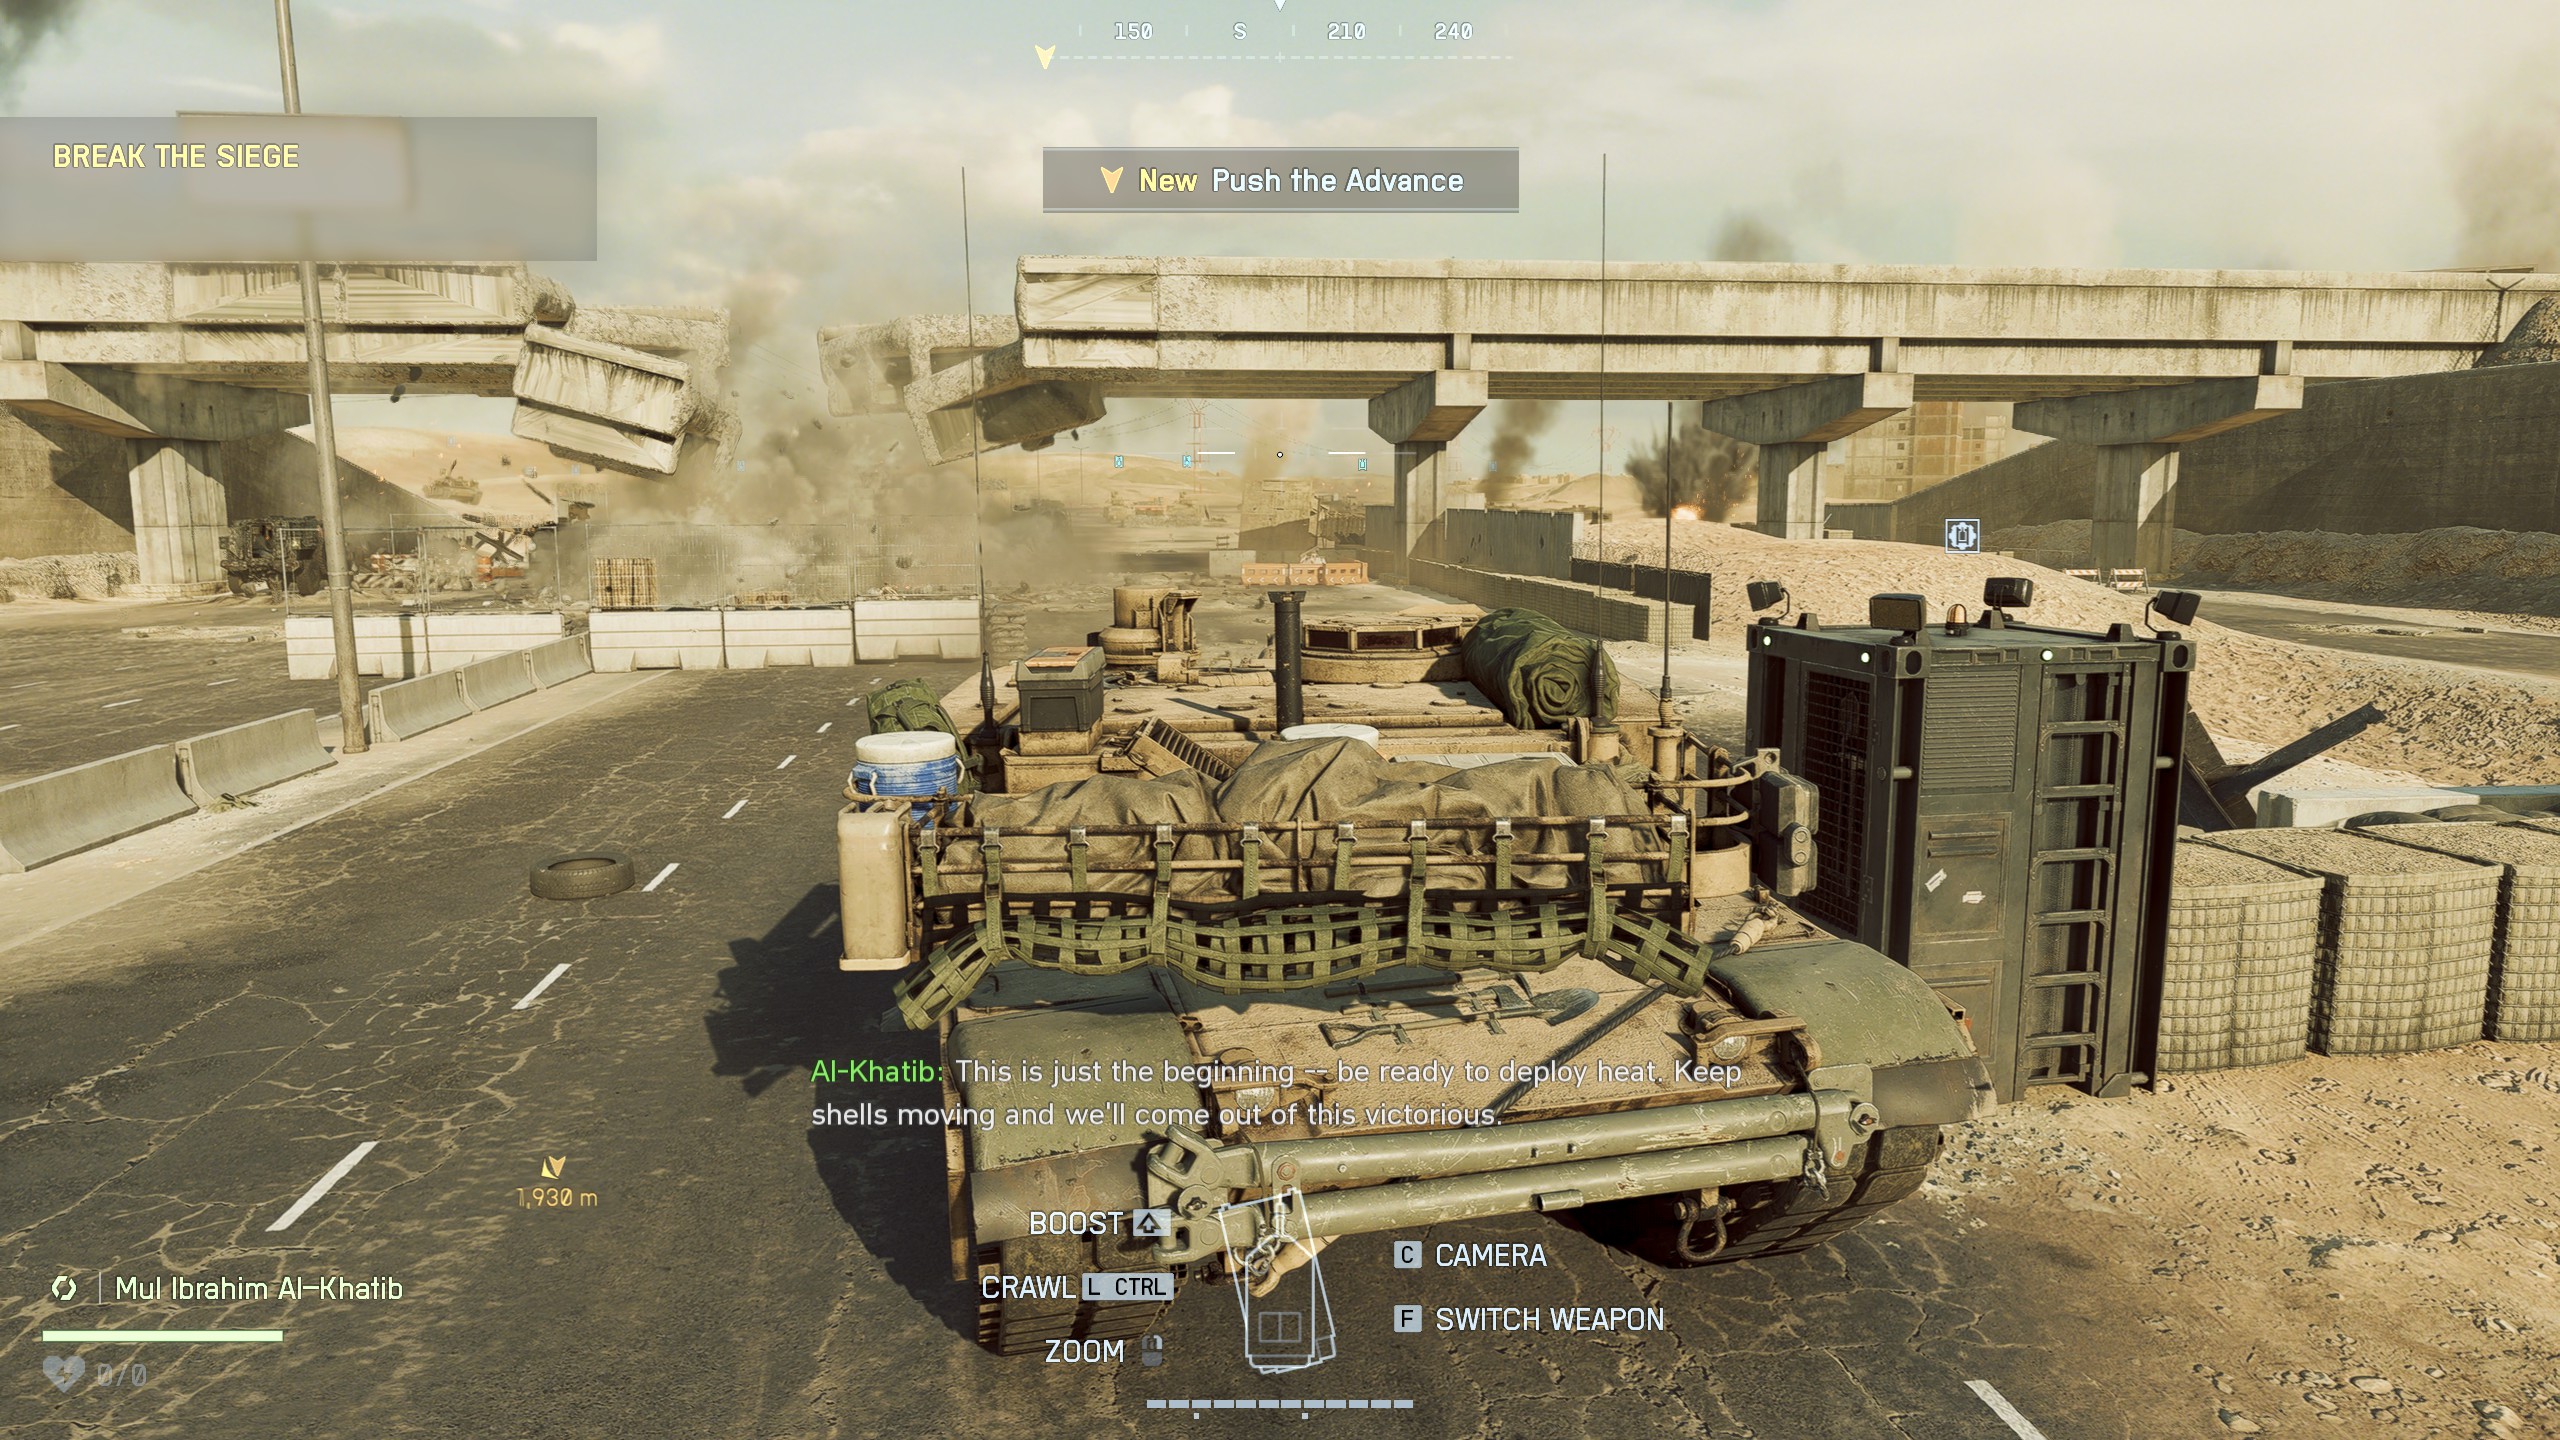
🏆Roadside AssistanceCollapse an overpass on a tank in Nile Guard

📍Collectible #1 - Dog Tag (#21)Location: Outside the building after dismounting the tankAfter dismounting from the tank, enter the building as part of the mission path. Once you exit the building, immediately turn right. The dog tag is on the ground near a tree
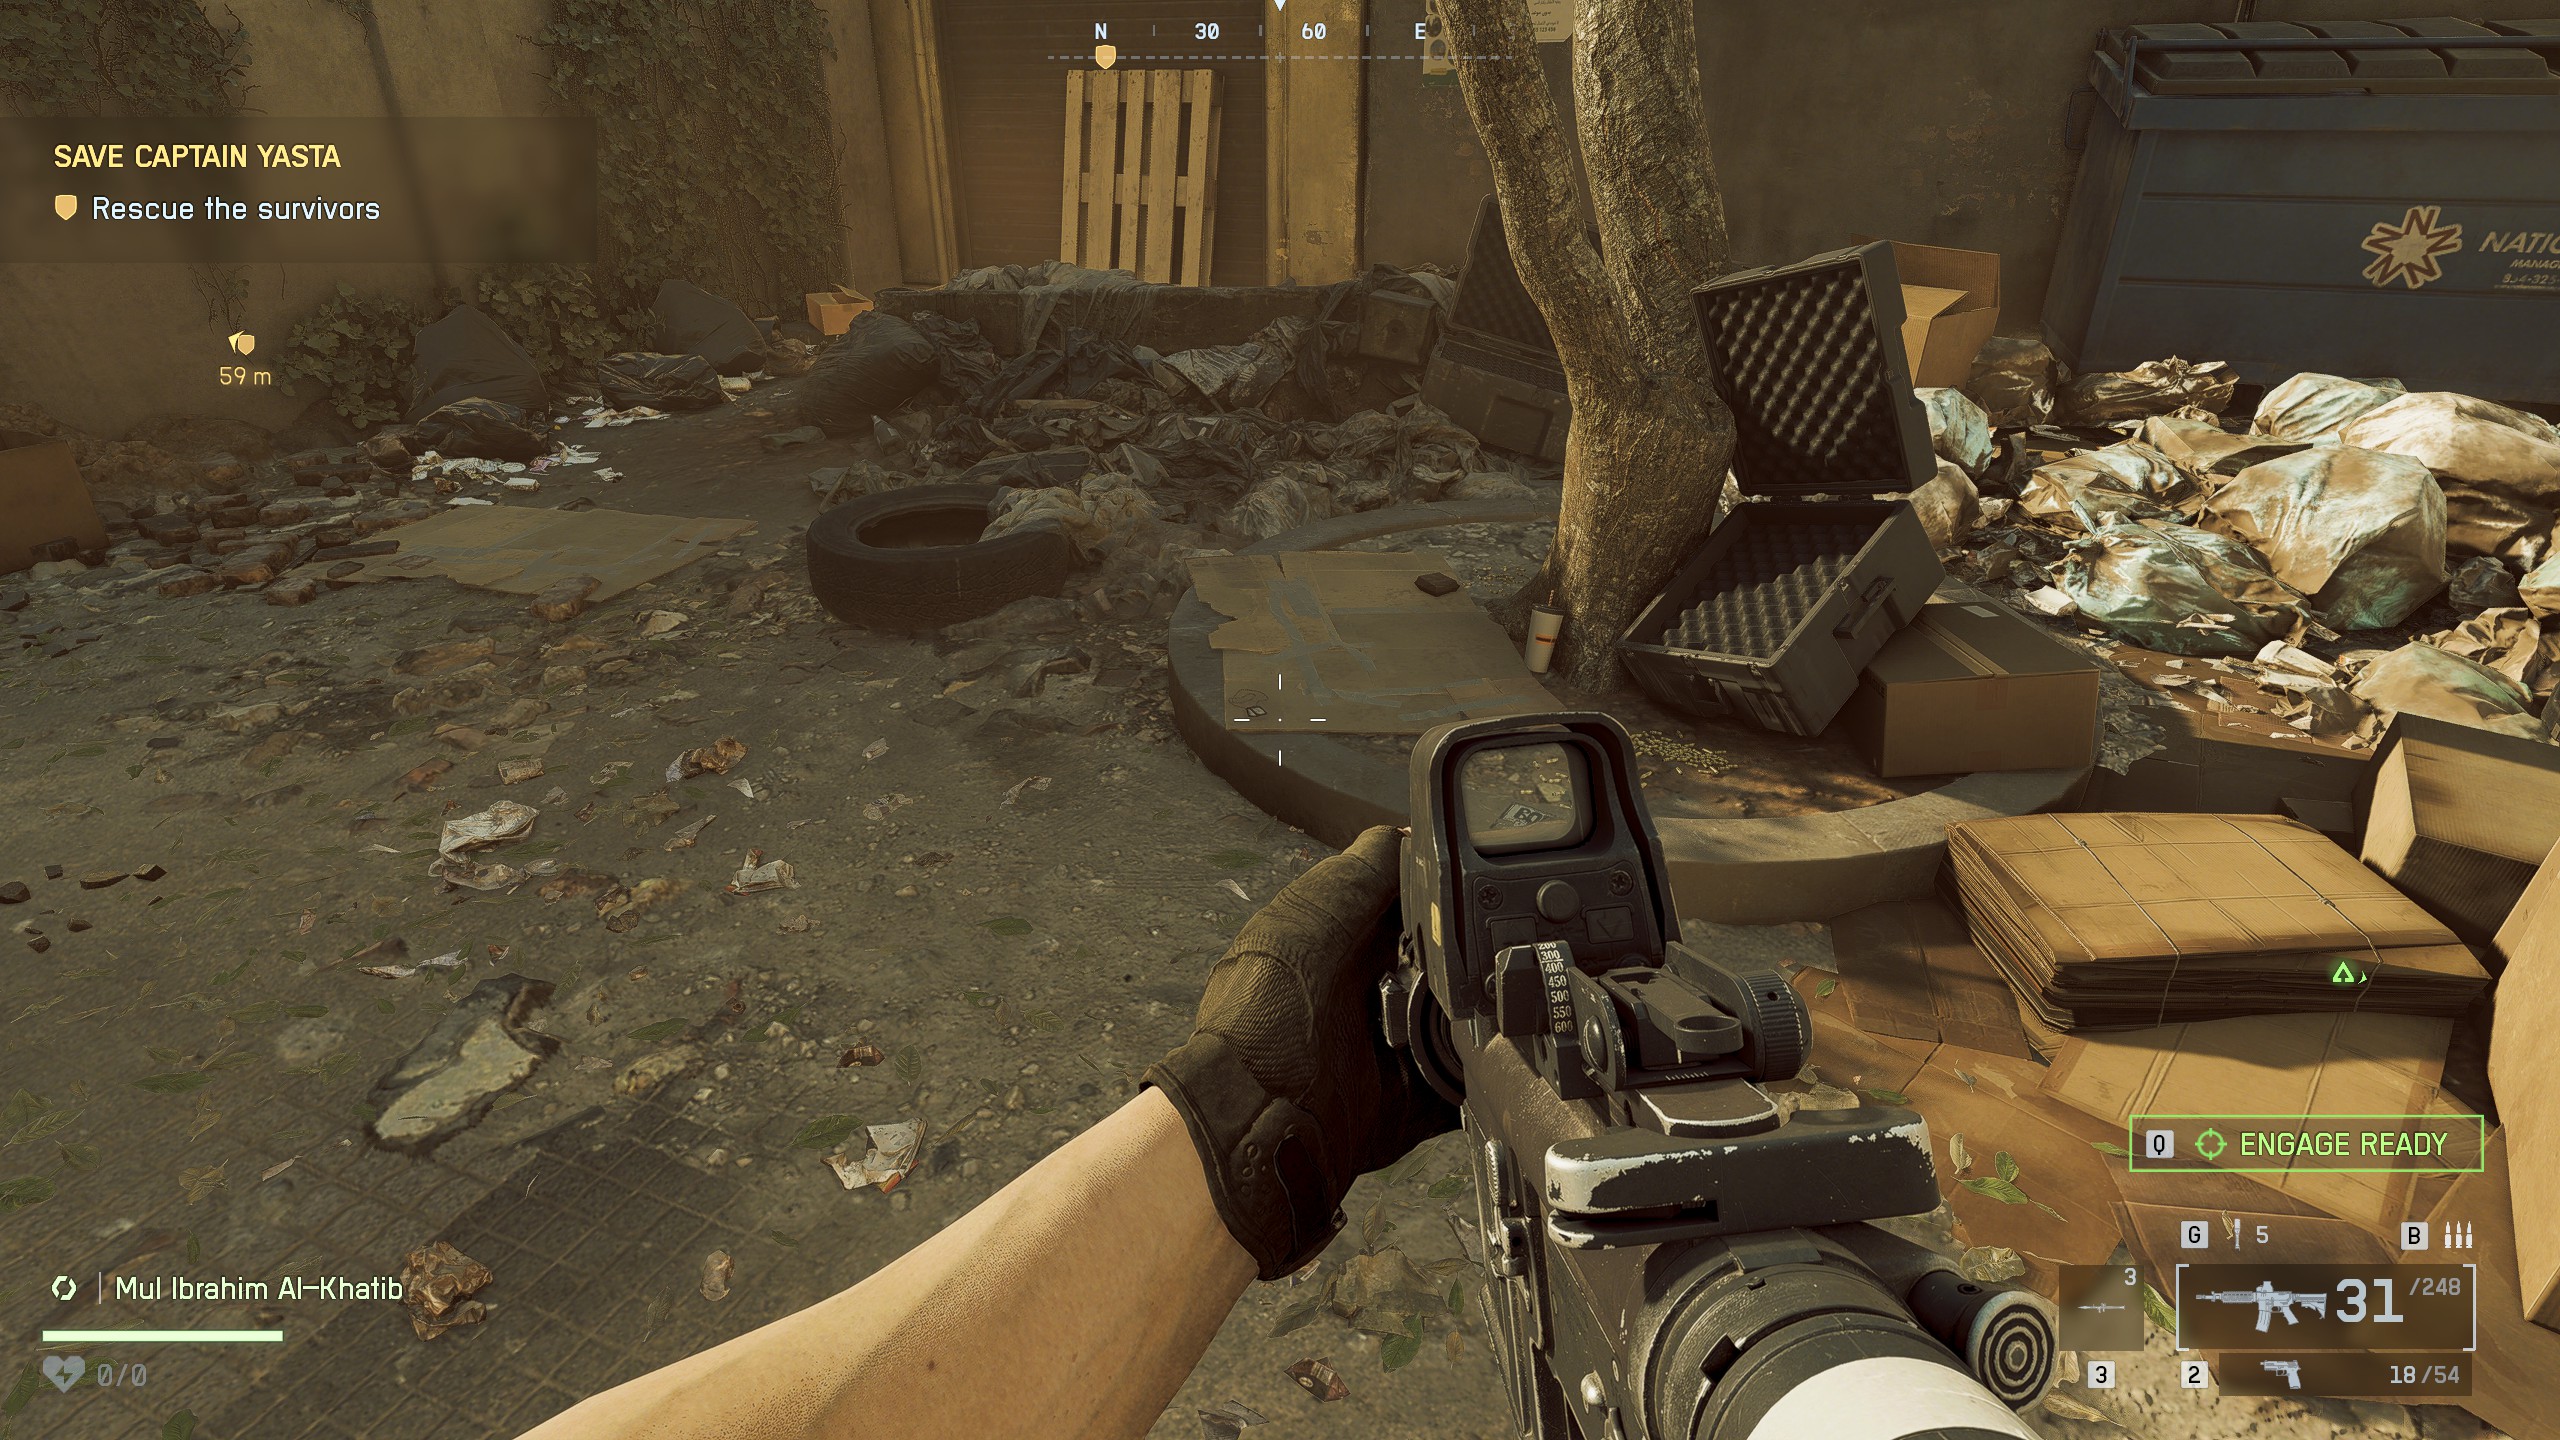
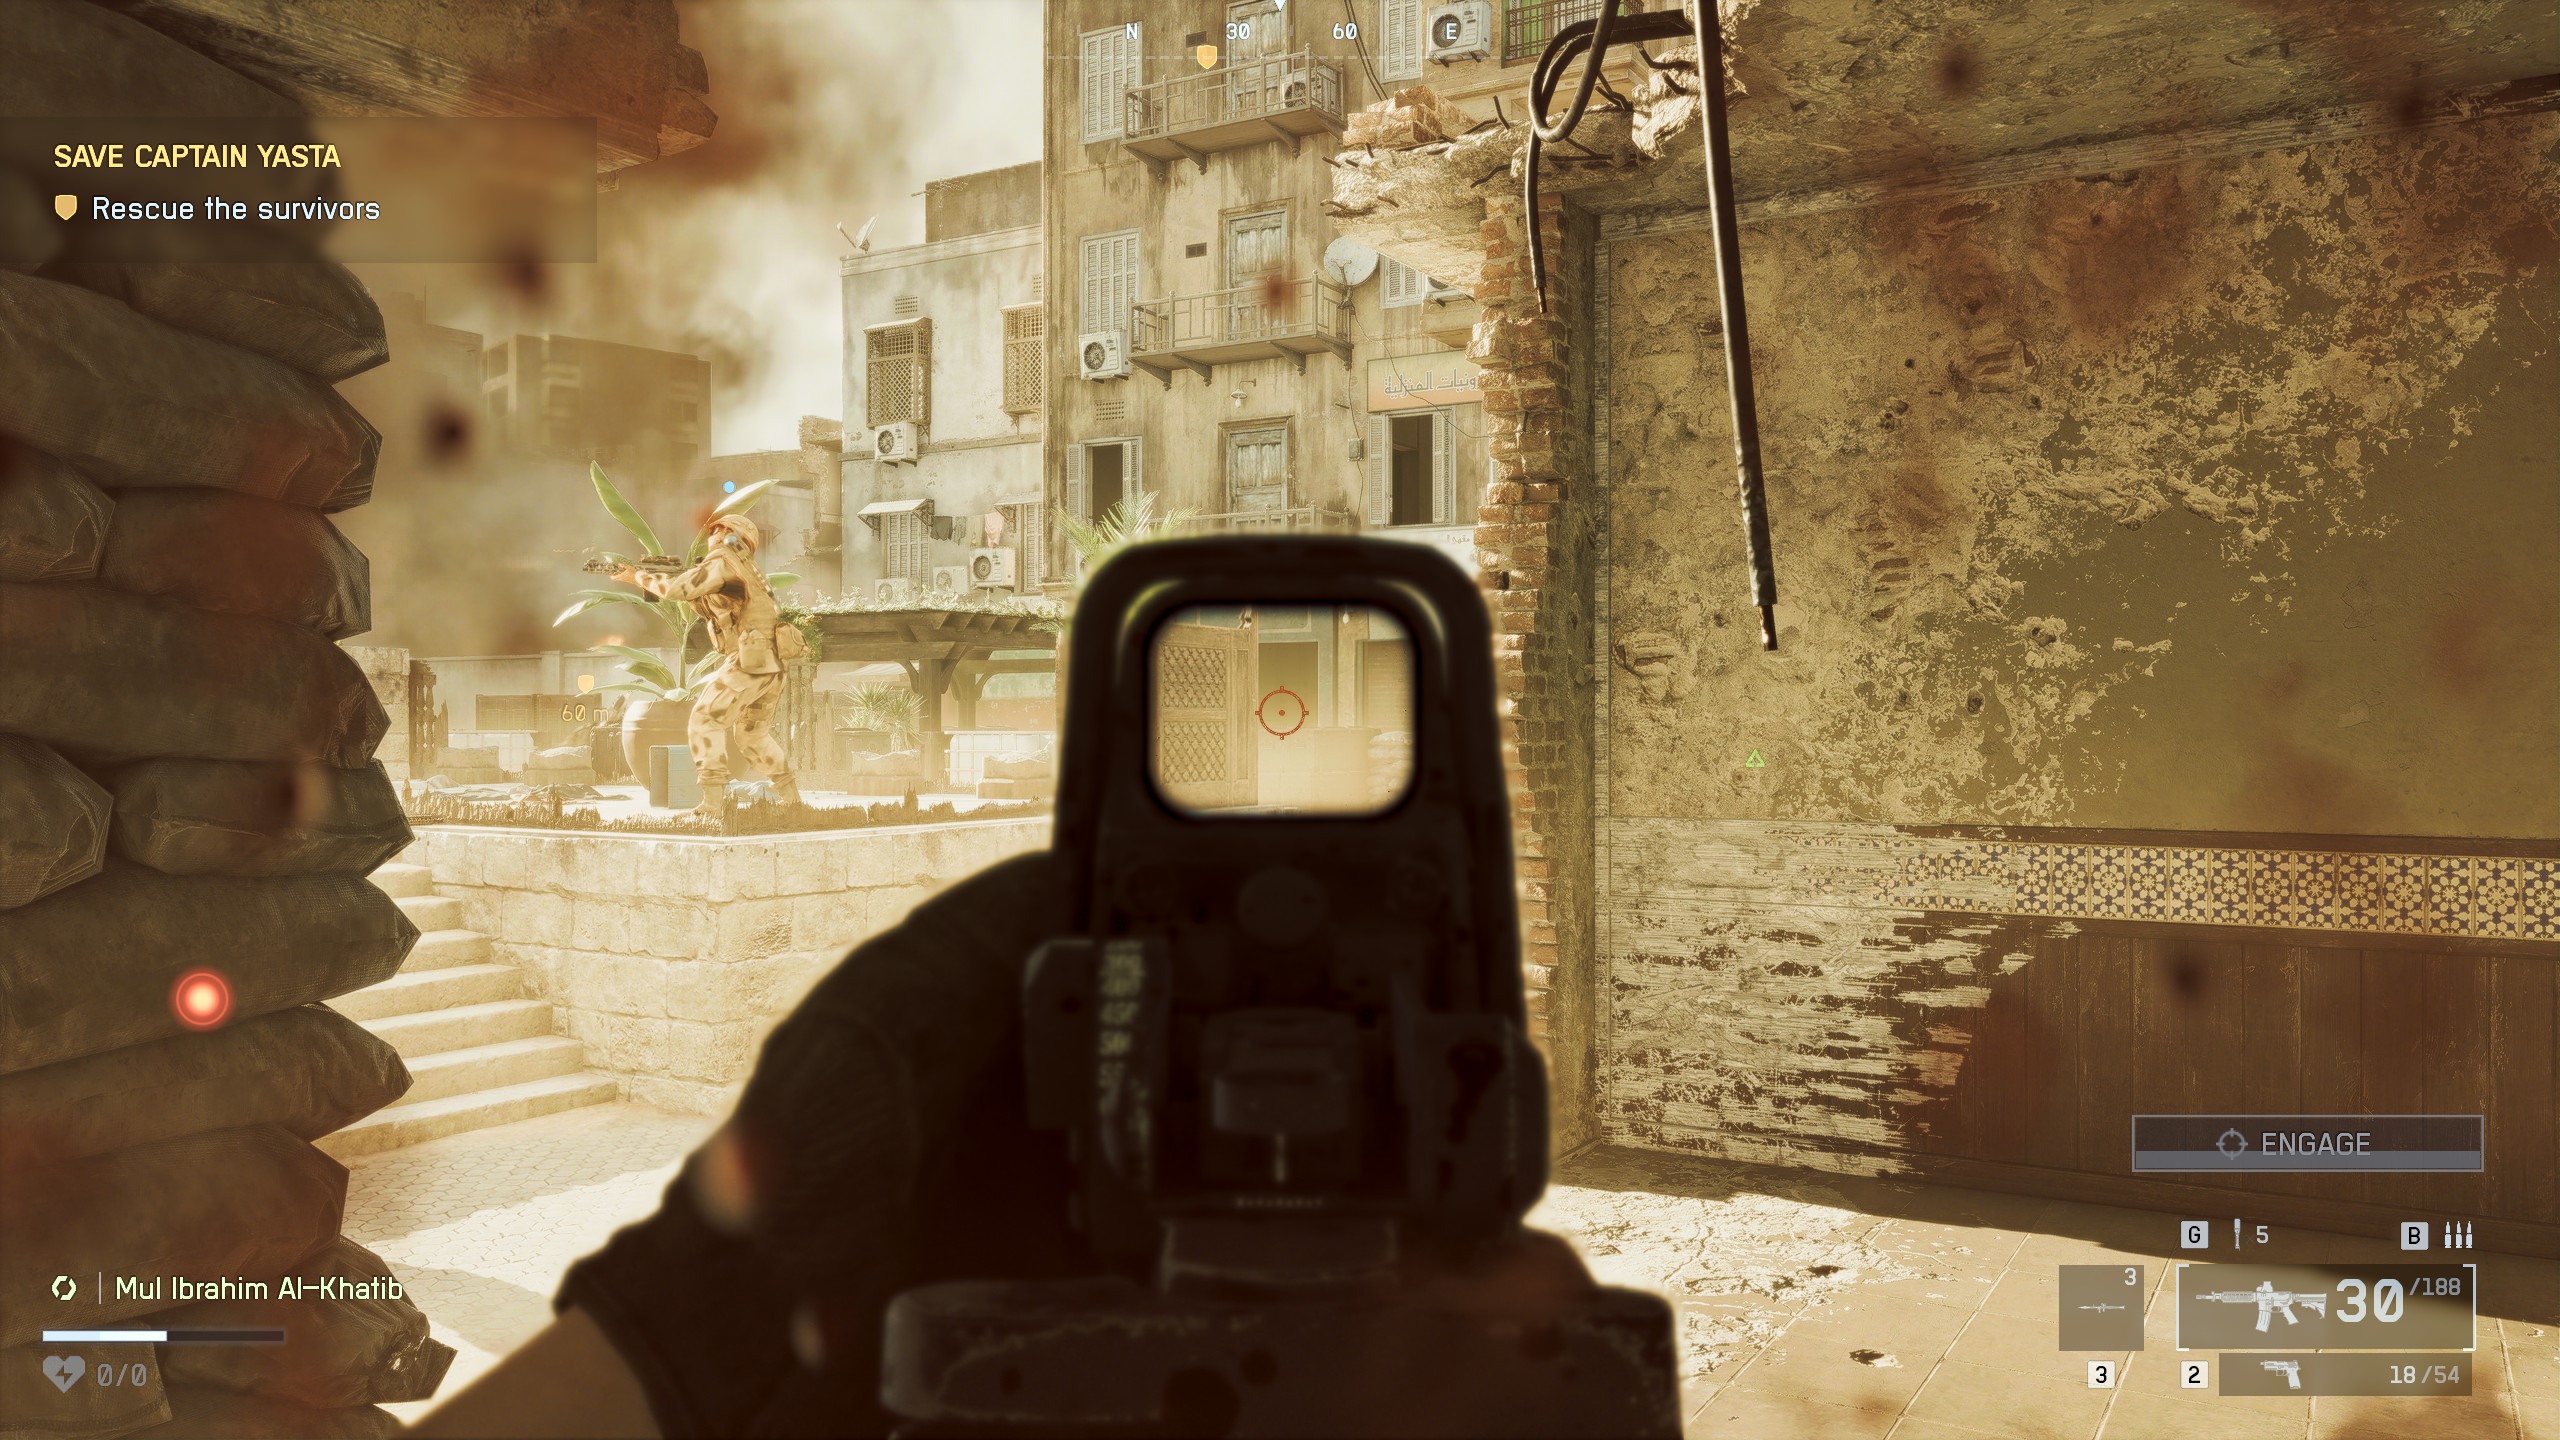
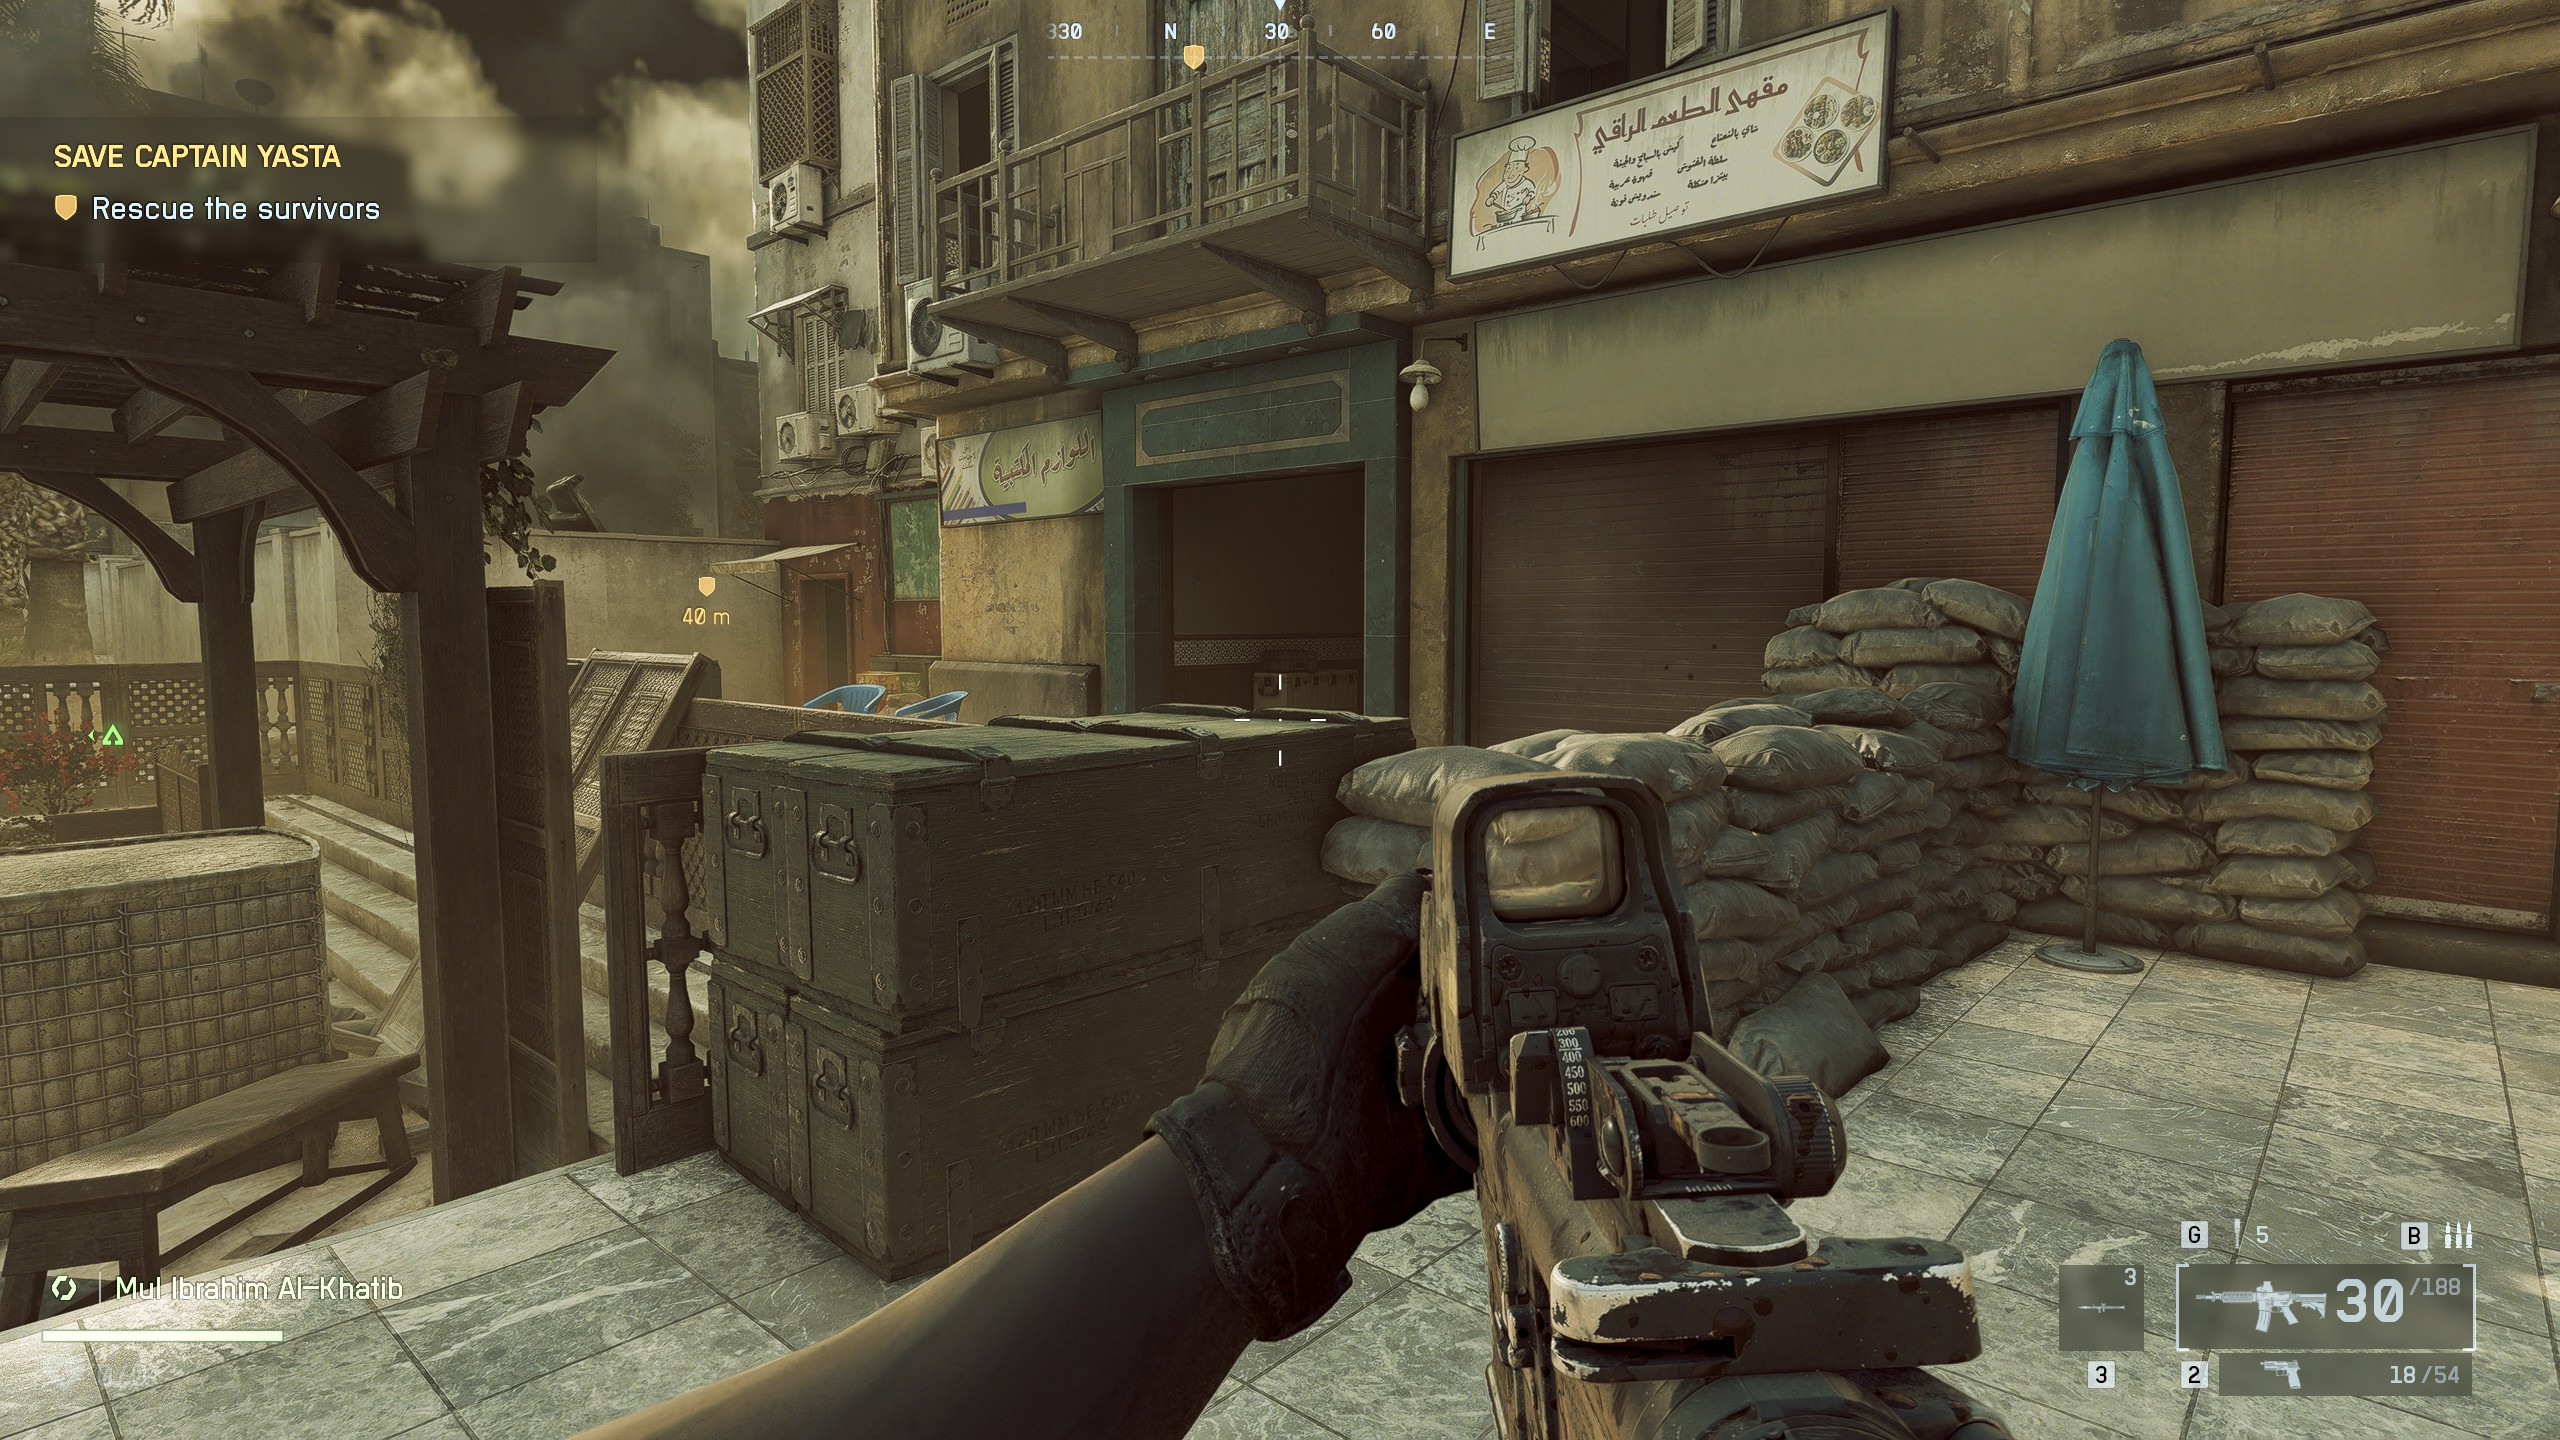
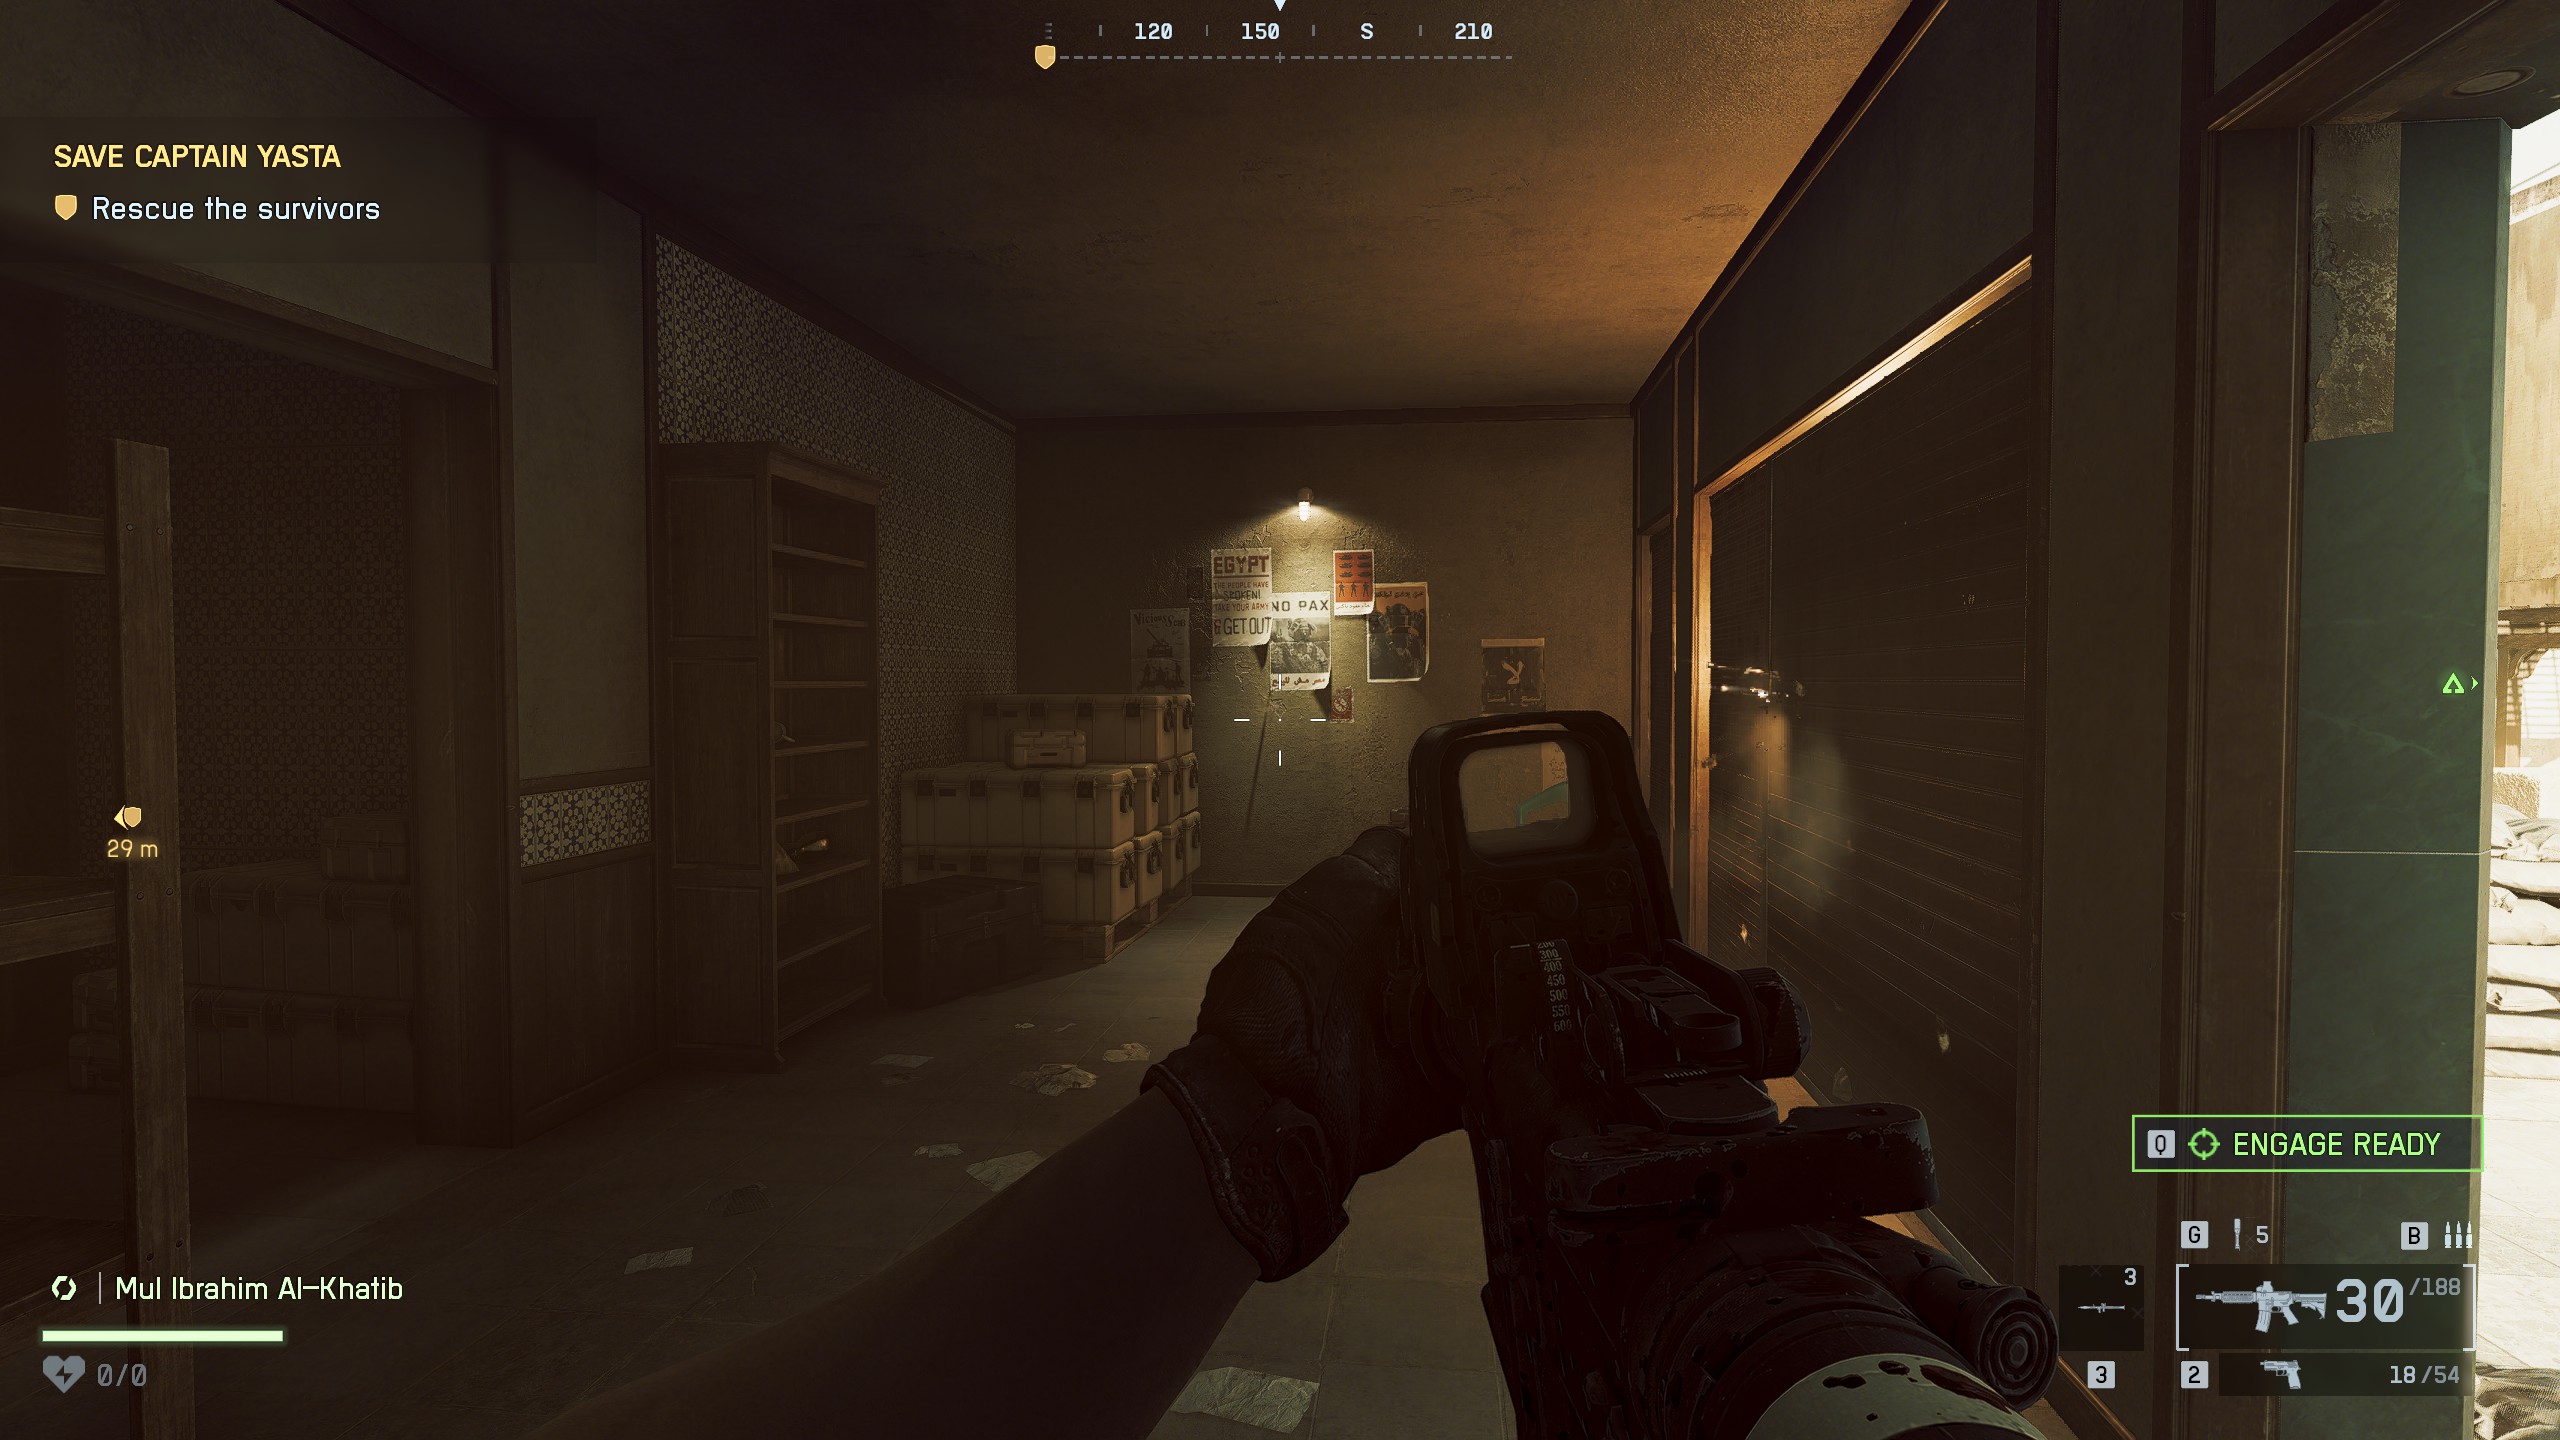
📍Collectible #2 - Dog Tag (#22)Location: Right building after entering the open areaRight after you enter the open area where you encounter enemies, head to the building on the right. Find the opening, go inside and approach the wall. The dog tag is hanging on a knife stuck in the wall, near some posters

🏆High RollerComplete Nile Guard

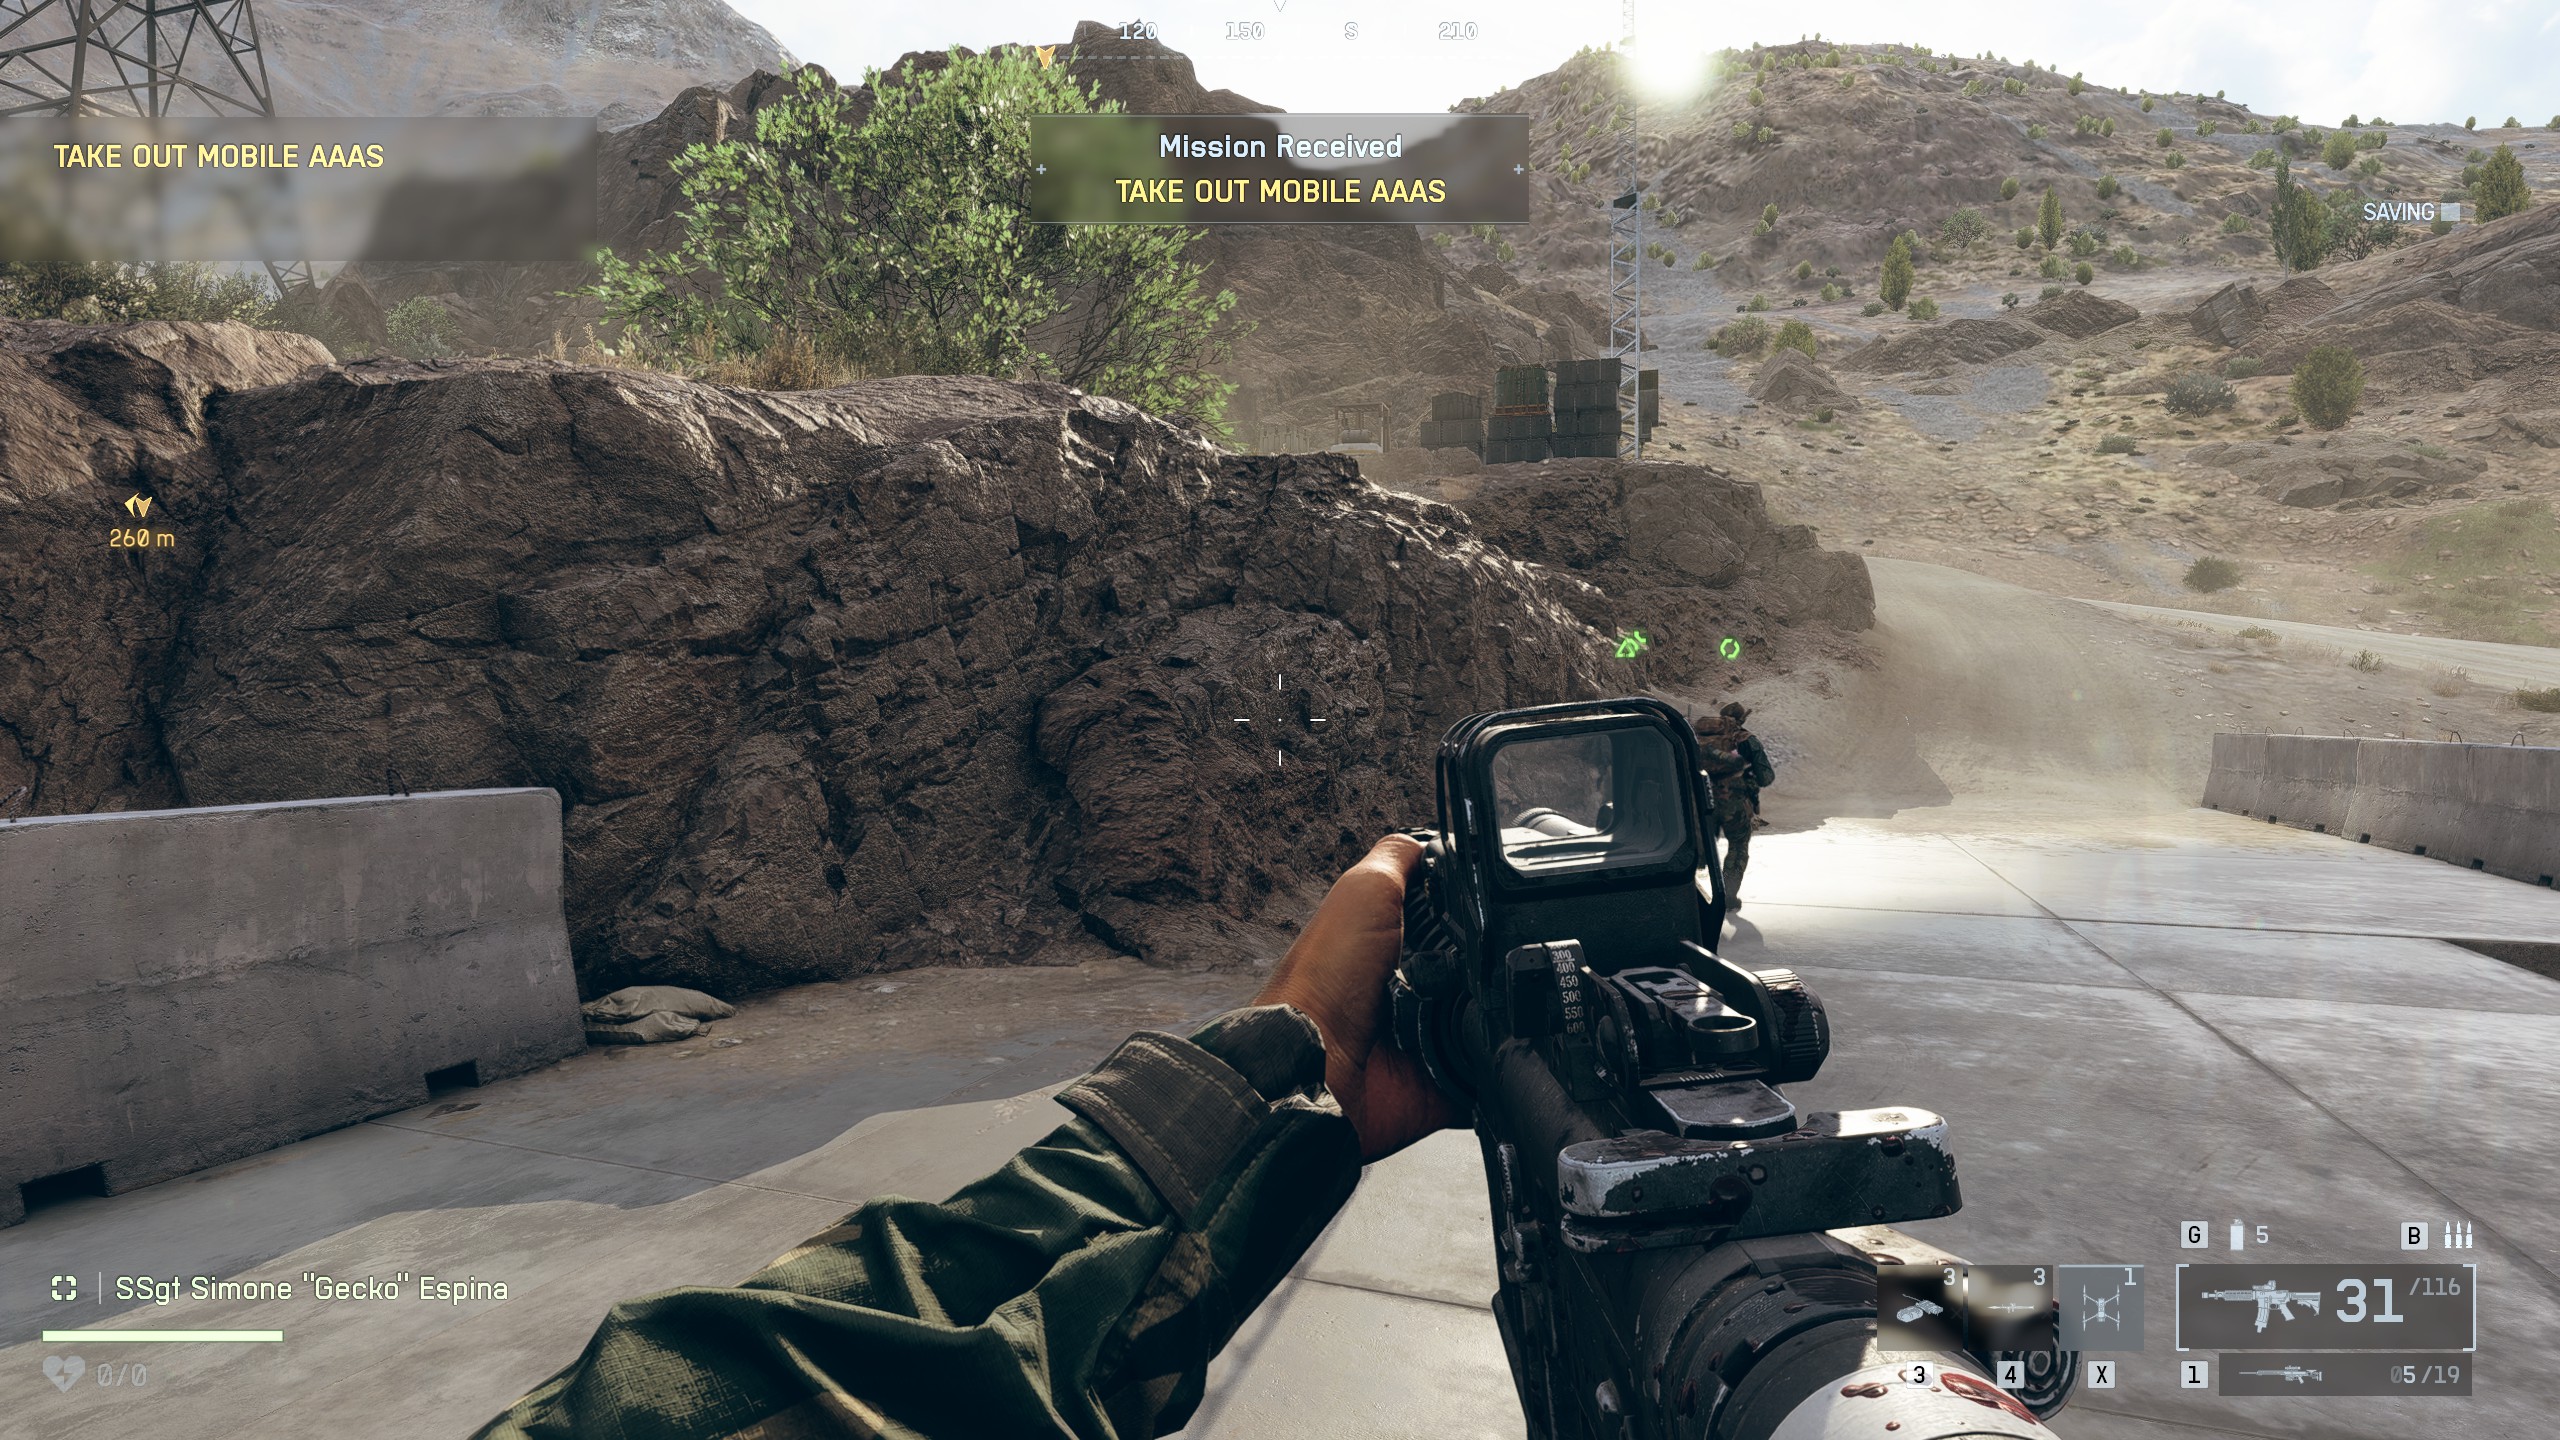
Mission 8: Operation Ember Strike
Collectibles
4
Achievements
2
⚠️One achievement is missable: You need to spot 20 enemies using your droneThis is easily achievable - just use your drone to spot enemies before engaging in combat
📍Collectible #1 - Dog Tag (#23)Location: Inside the center building after riding the quad bikesAfter mounting the quad bikes, drive forward until you see three buildings. Enter the main (center) building. Under the window on the left, on the floor, you'll find the dog tag.
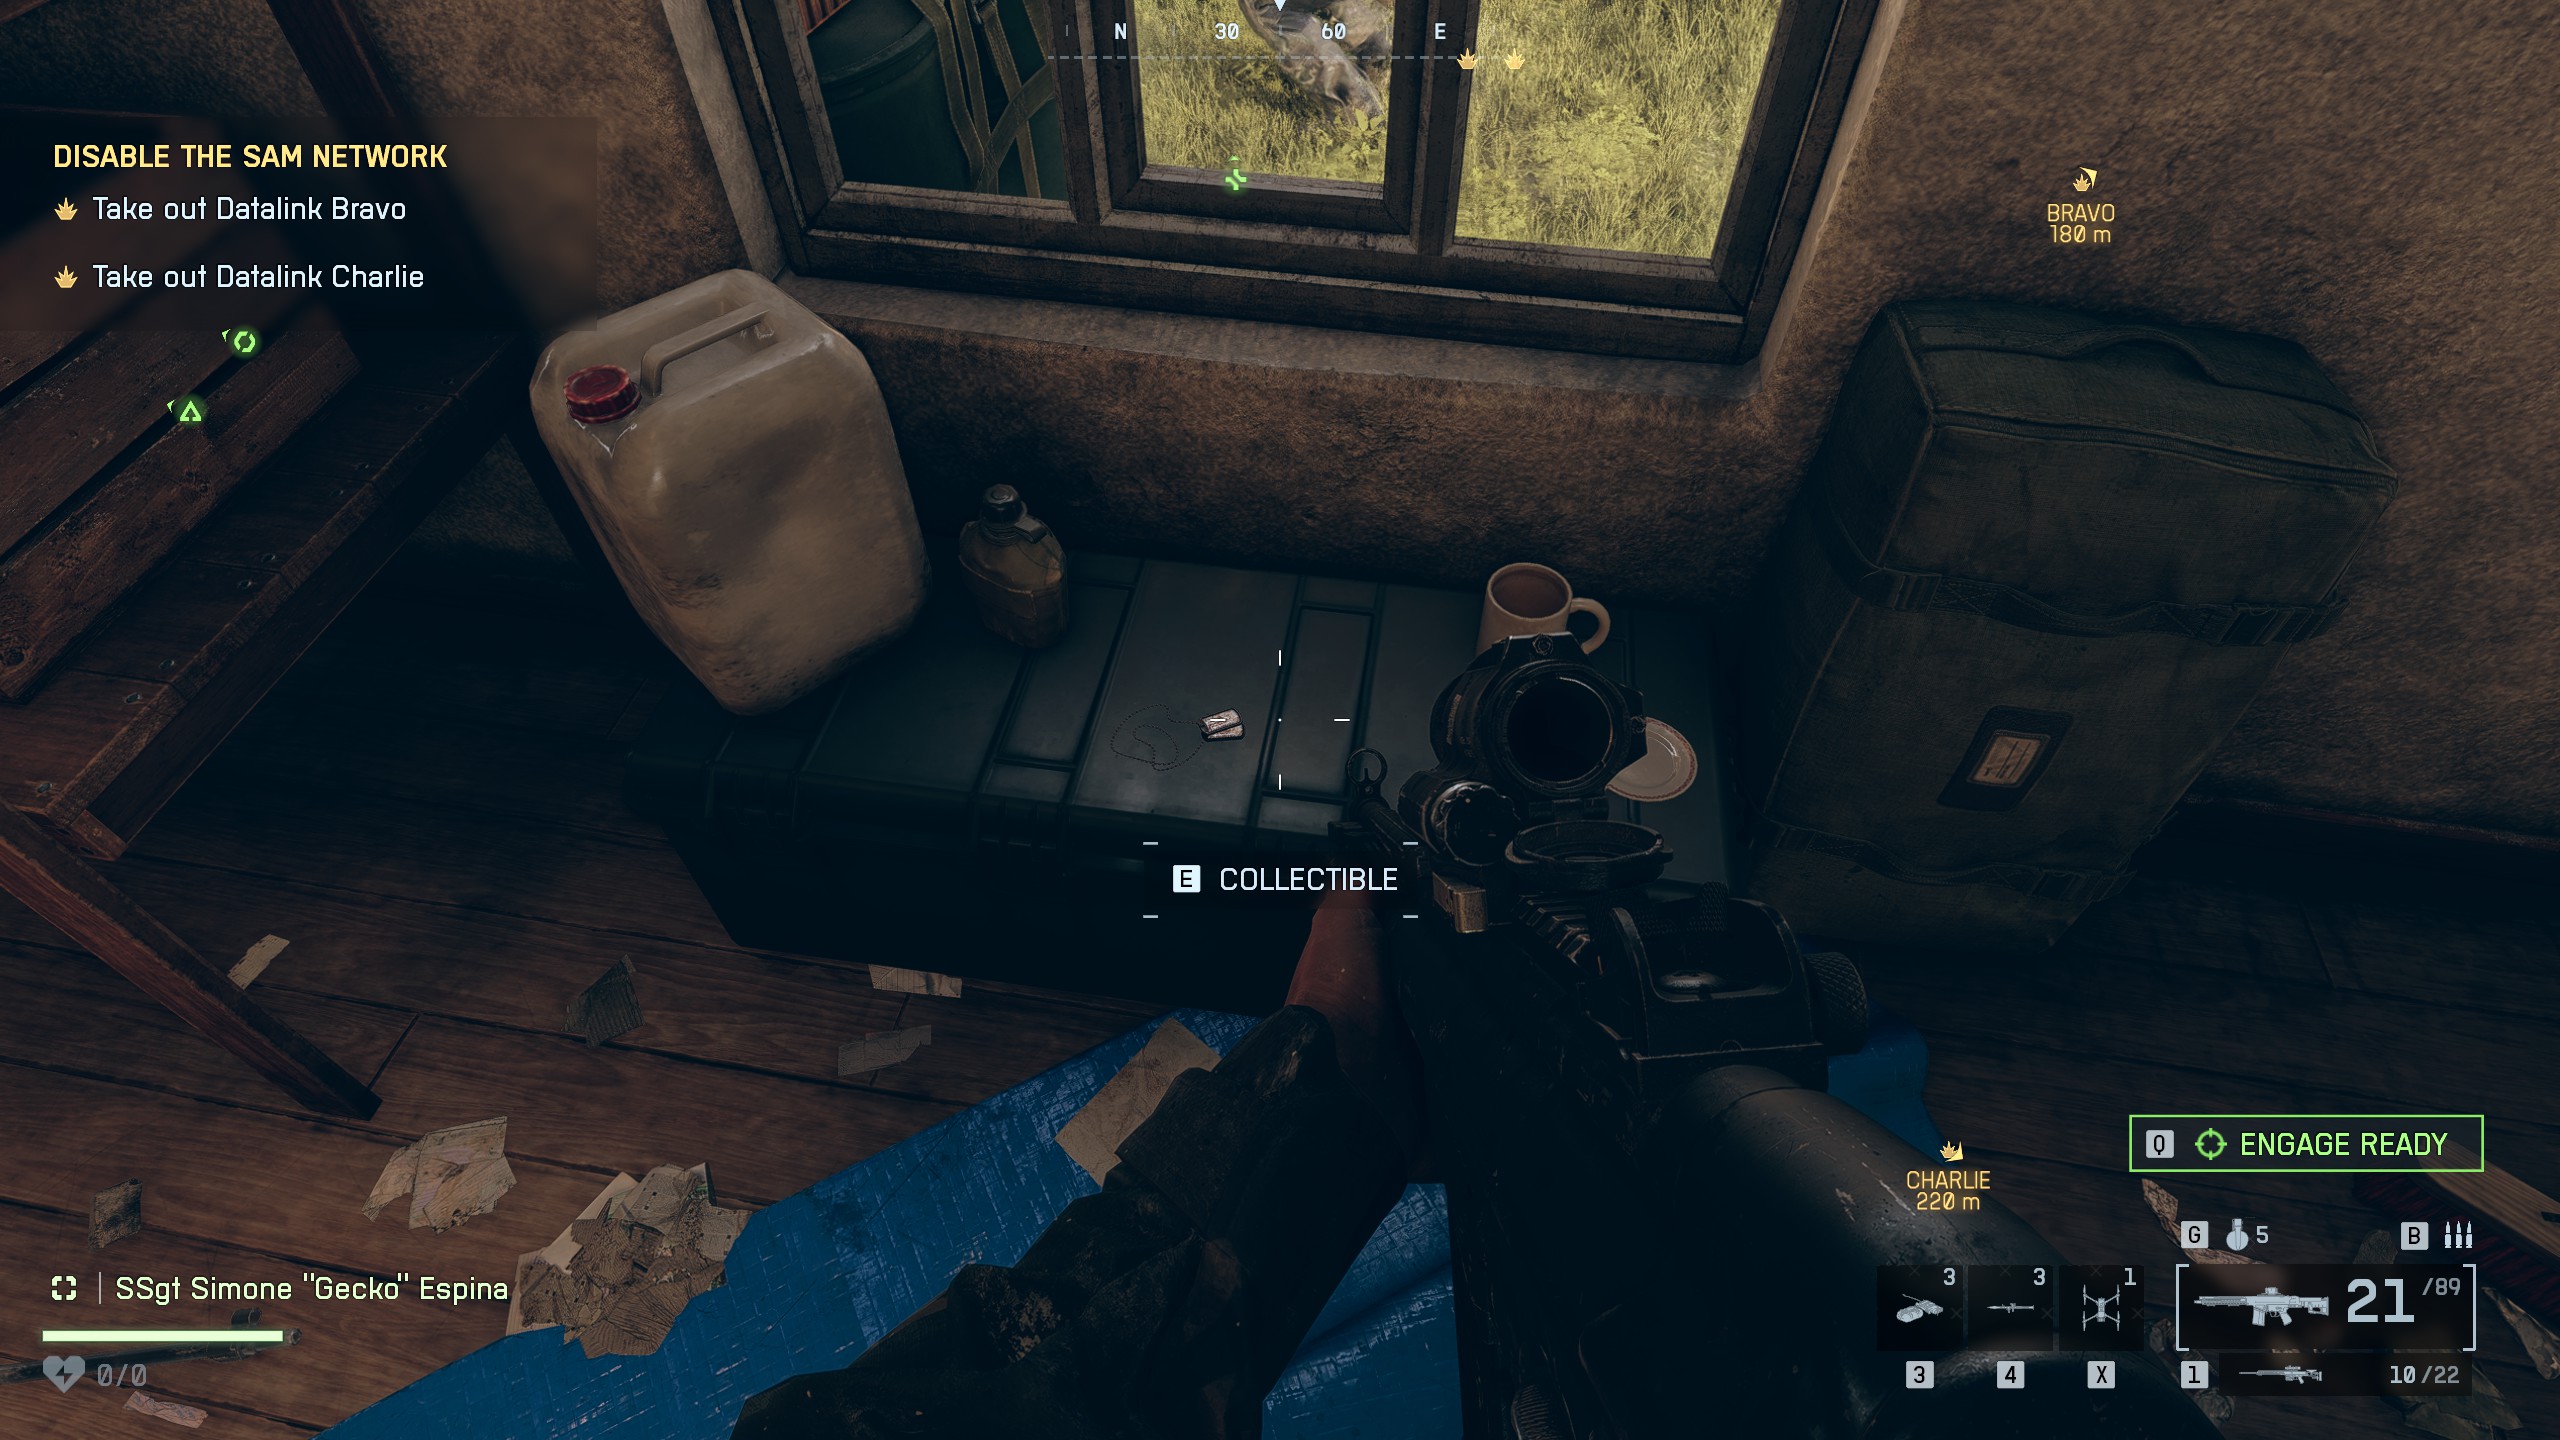
📍Collectible #2 - Dog Tag (#24)Location: Building with goat paintingOnce you're in the open area with three objectives, look for the building with a goat painting on it. This building is located about 190 meters in the direction of the Bravo task. Enter the building and find the dog tag on a crate near the window on the left
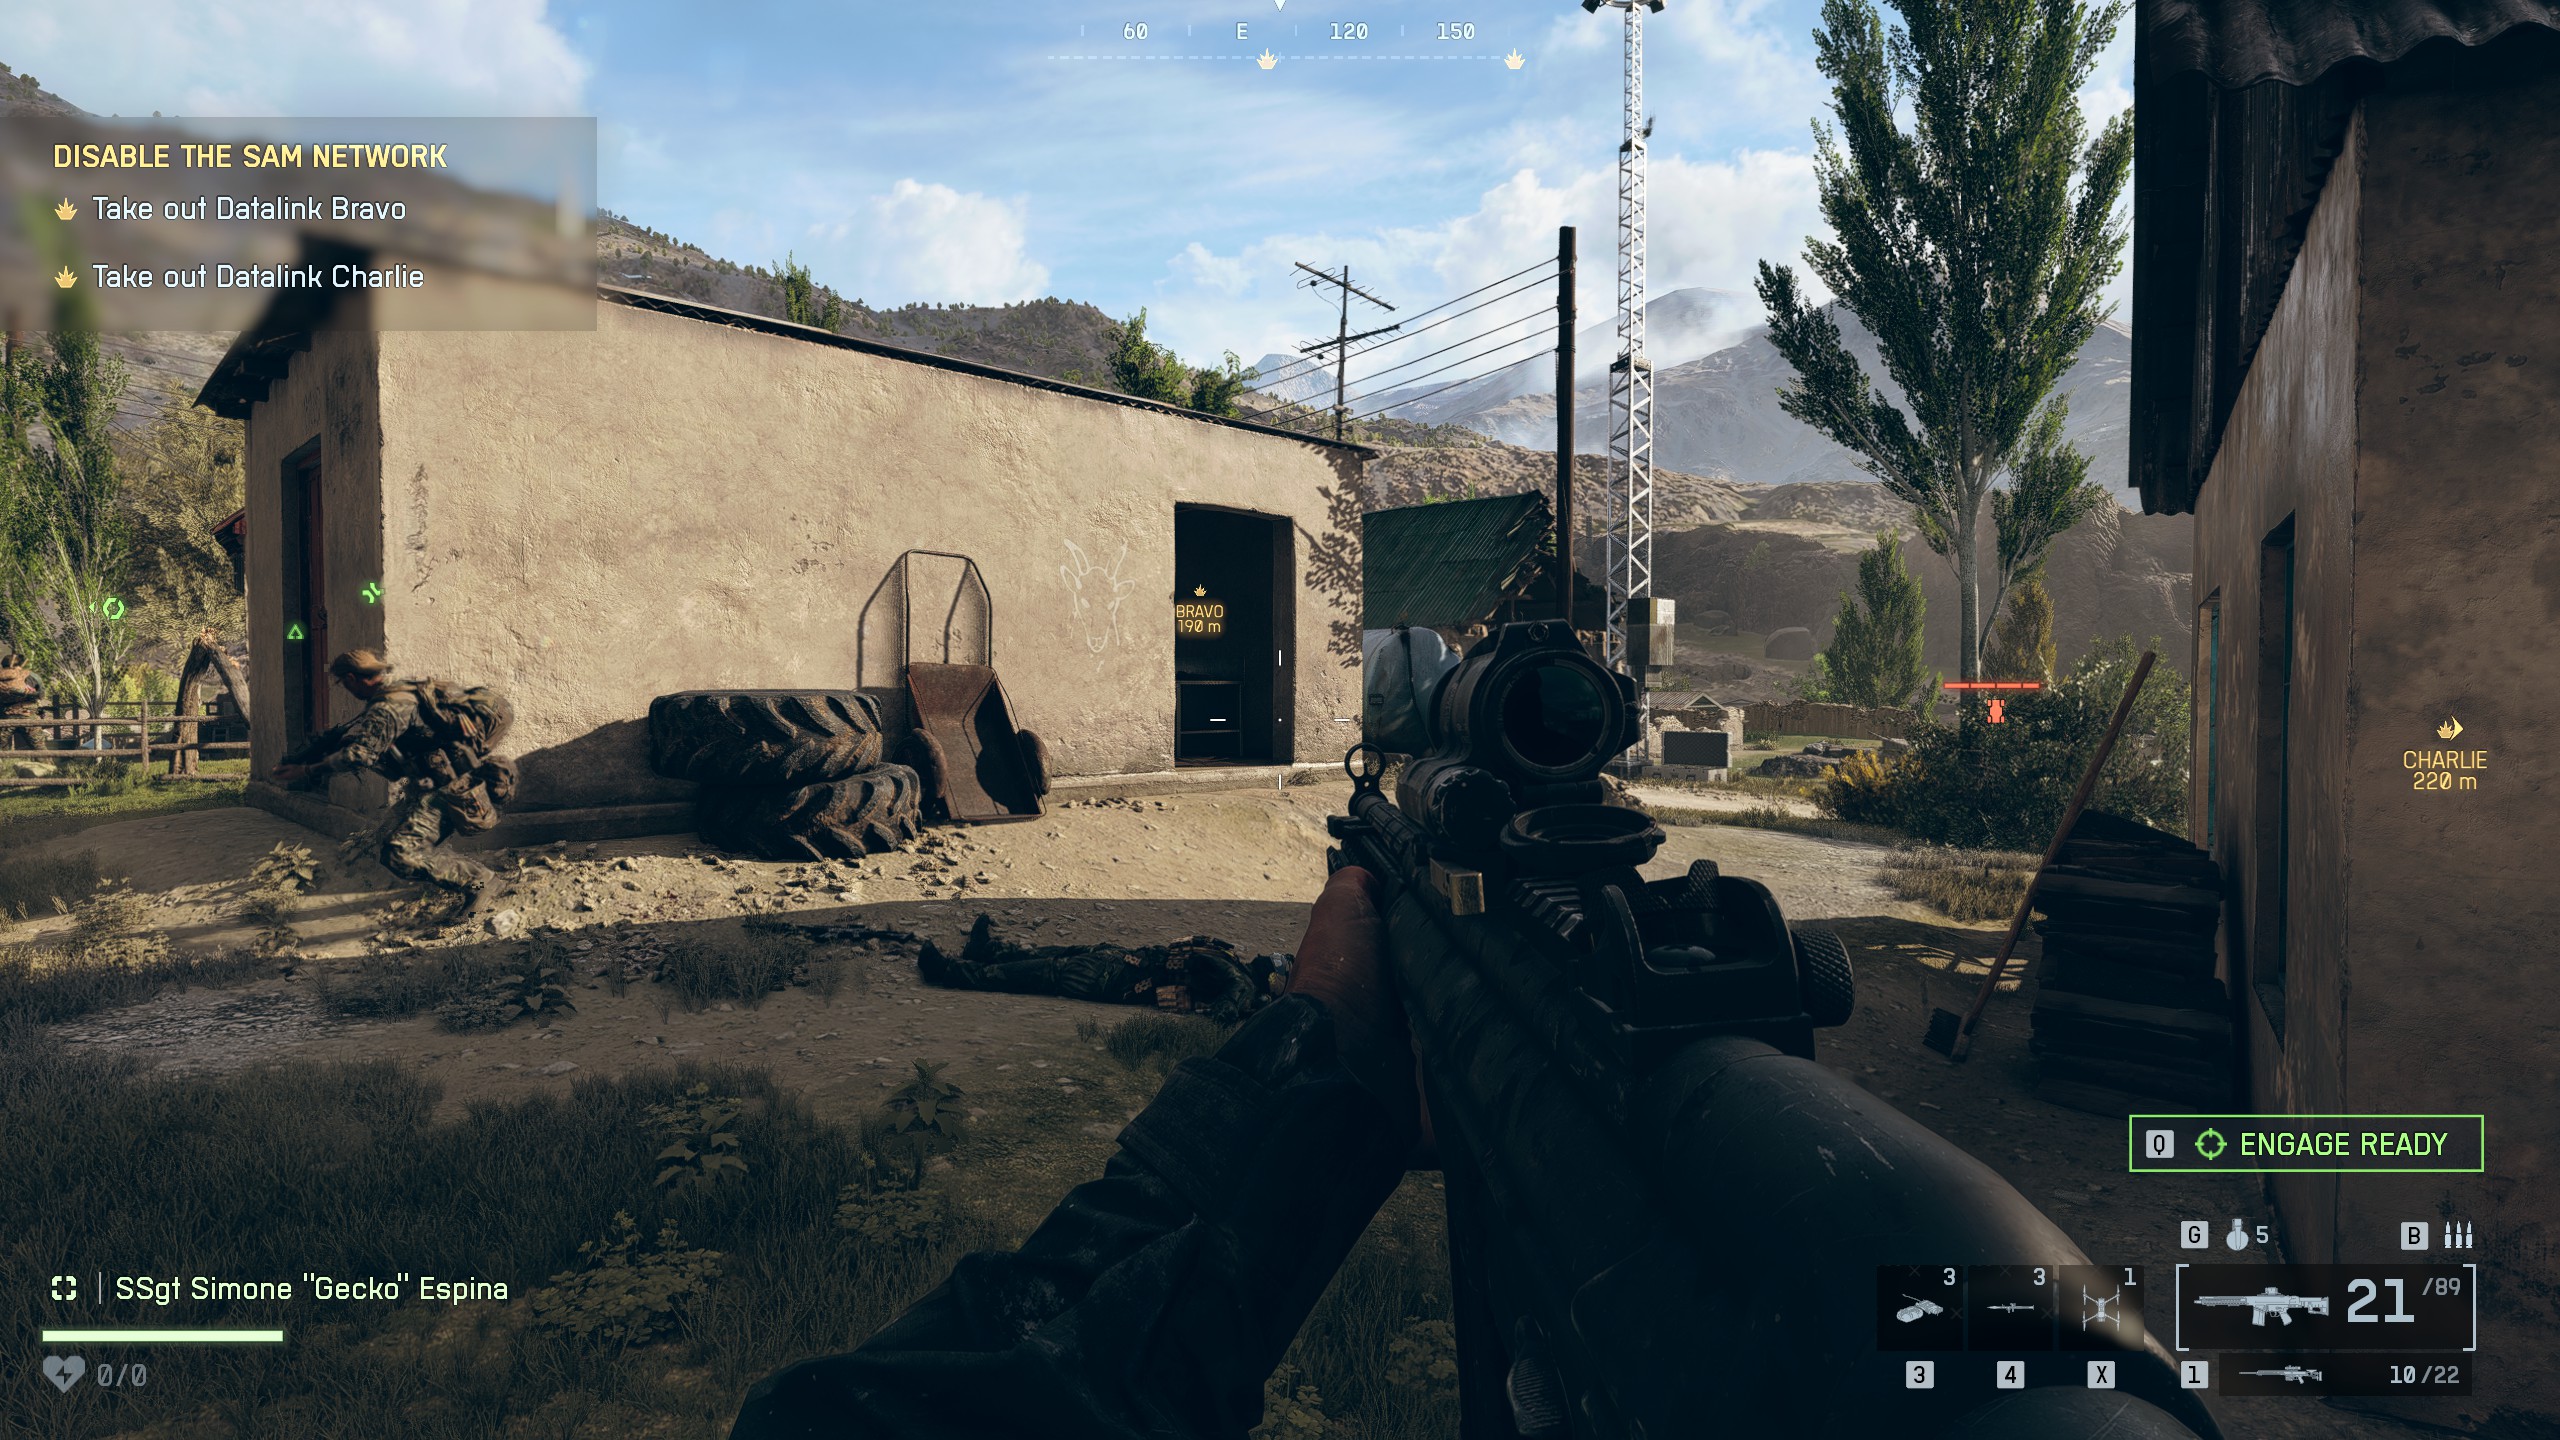
🏆Being WatchedSpot a total of 20 enemies with your drone in Operation Ember Strike

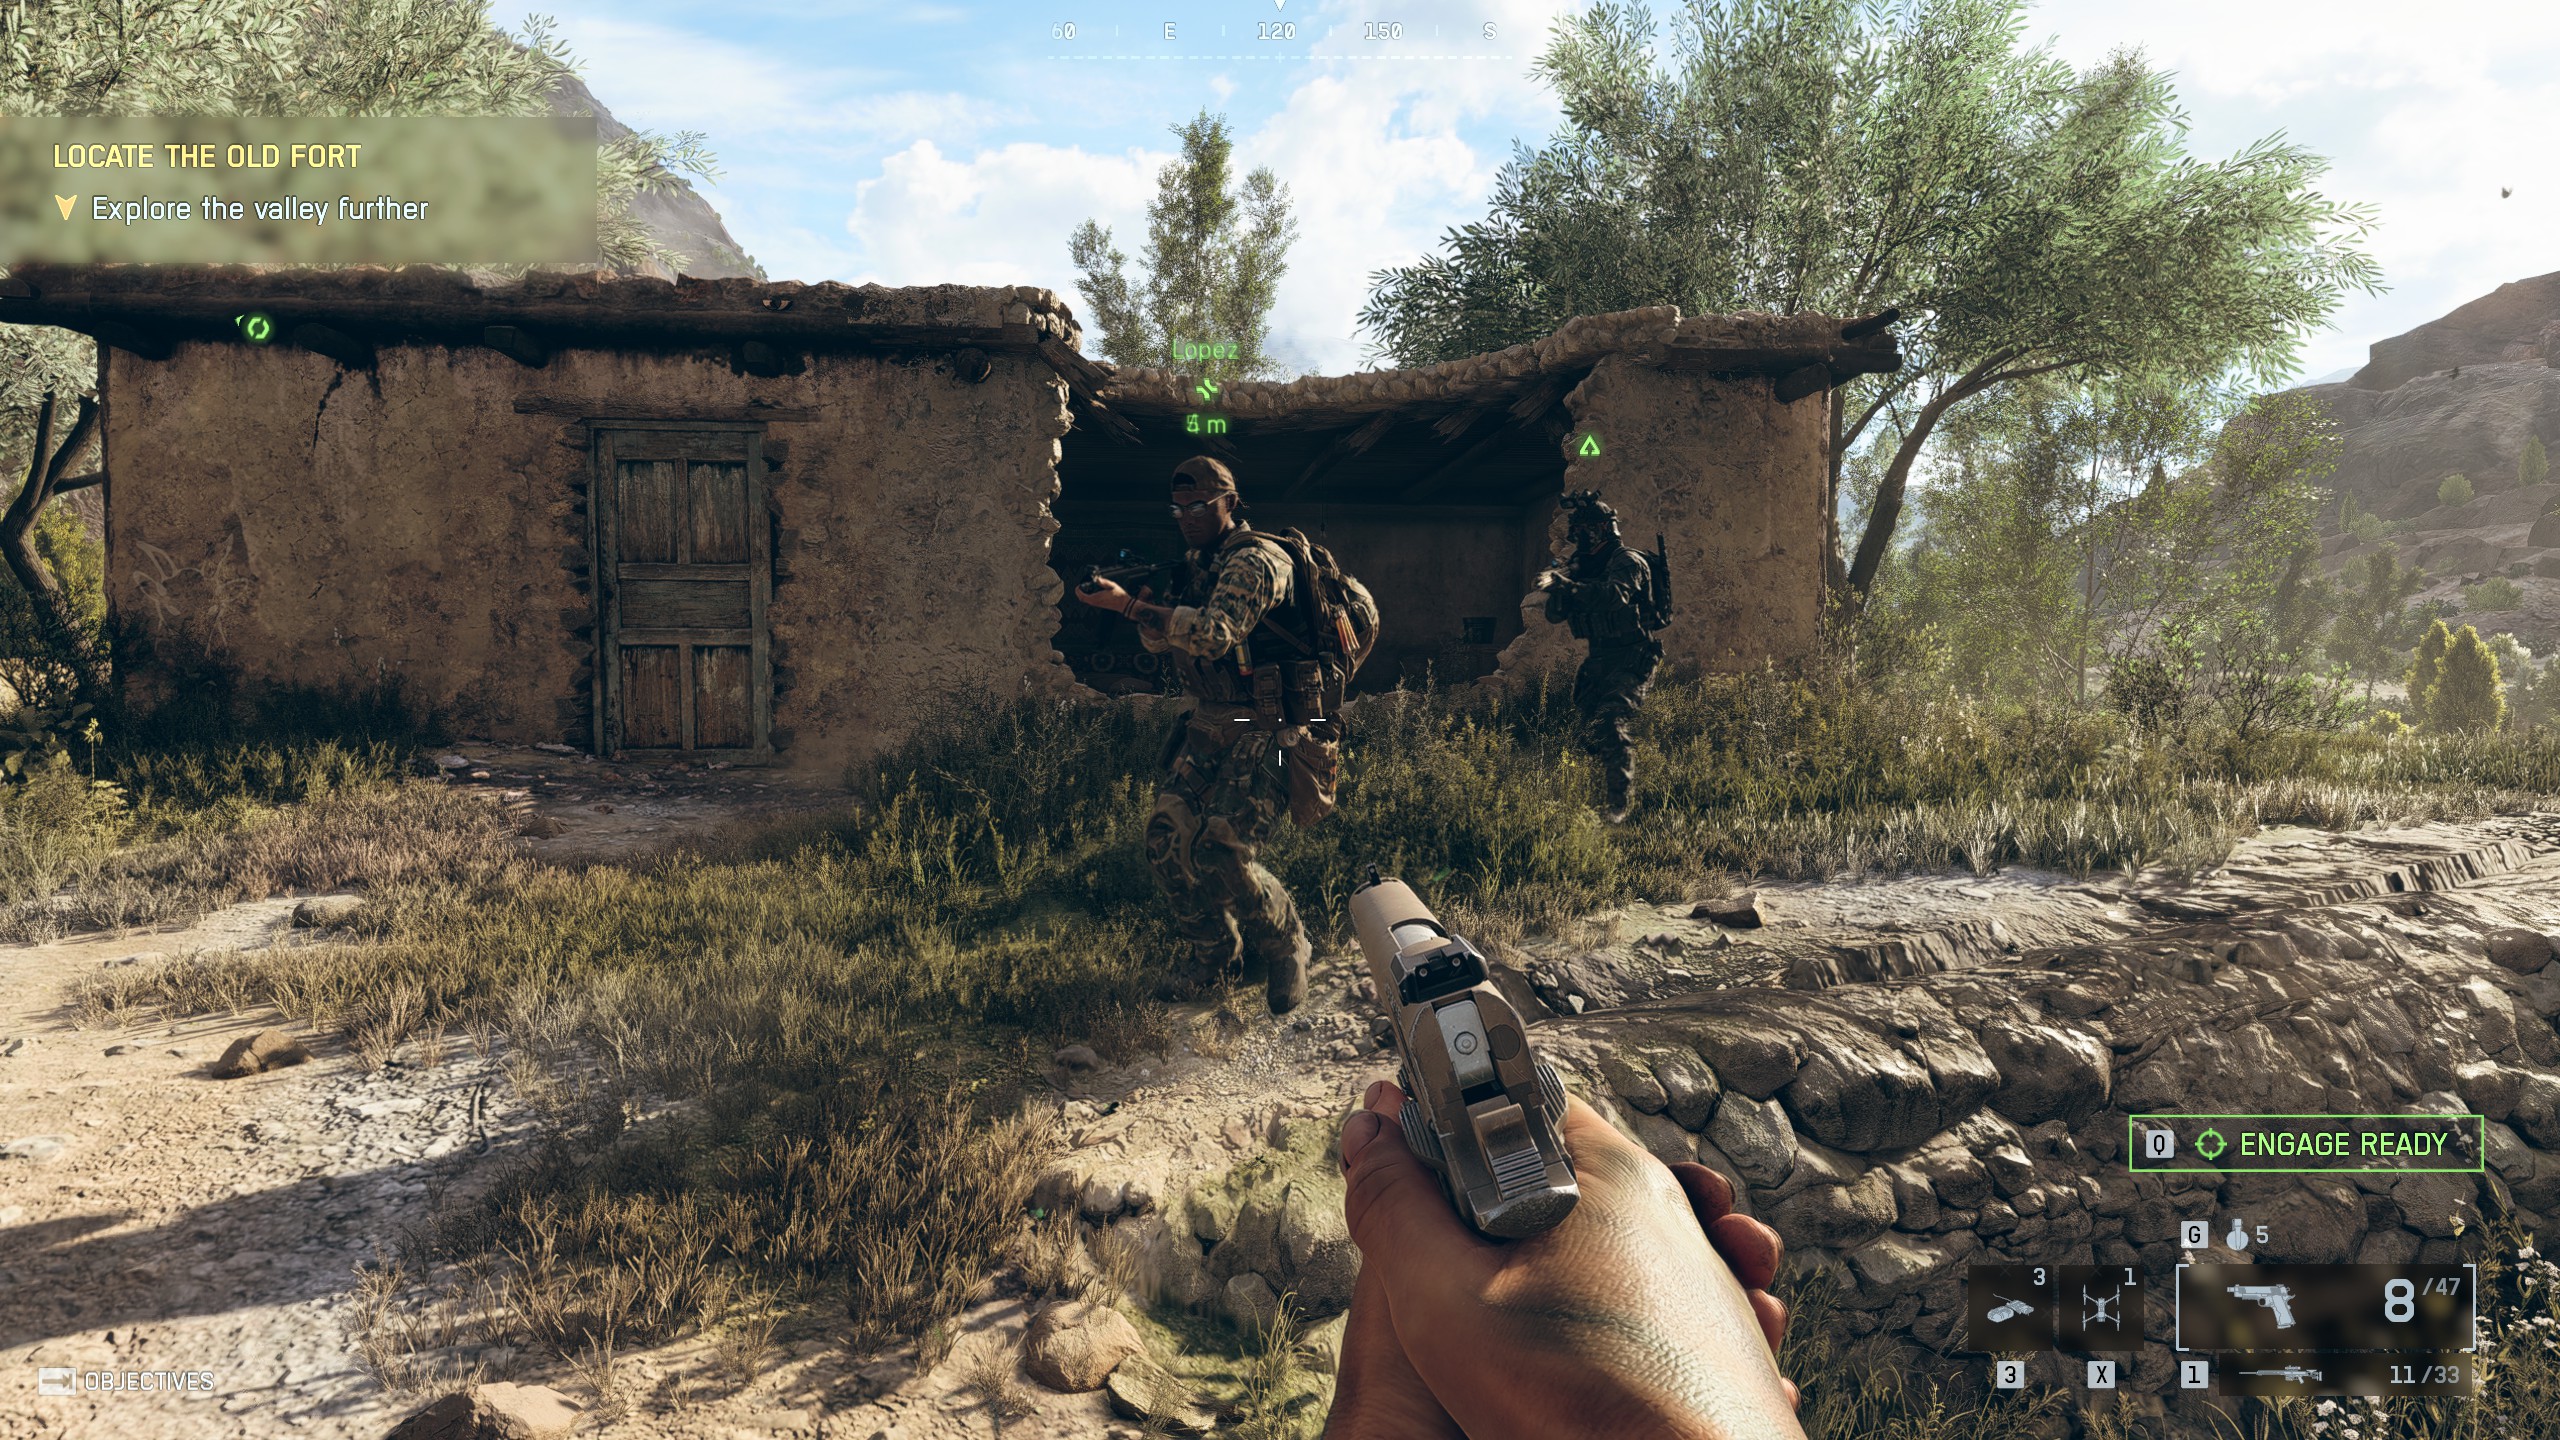
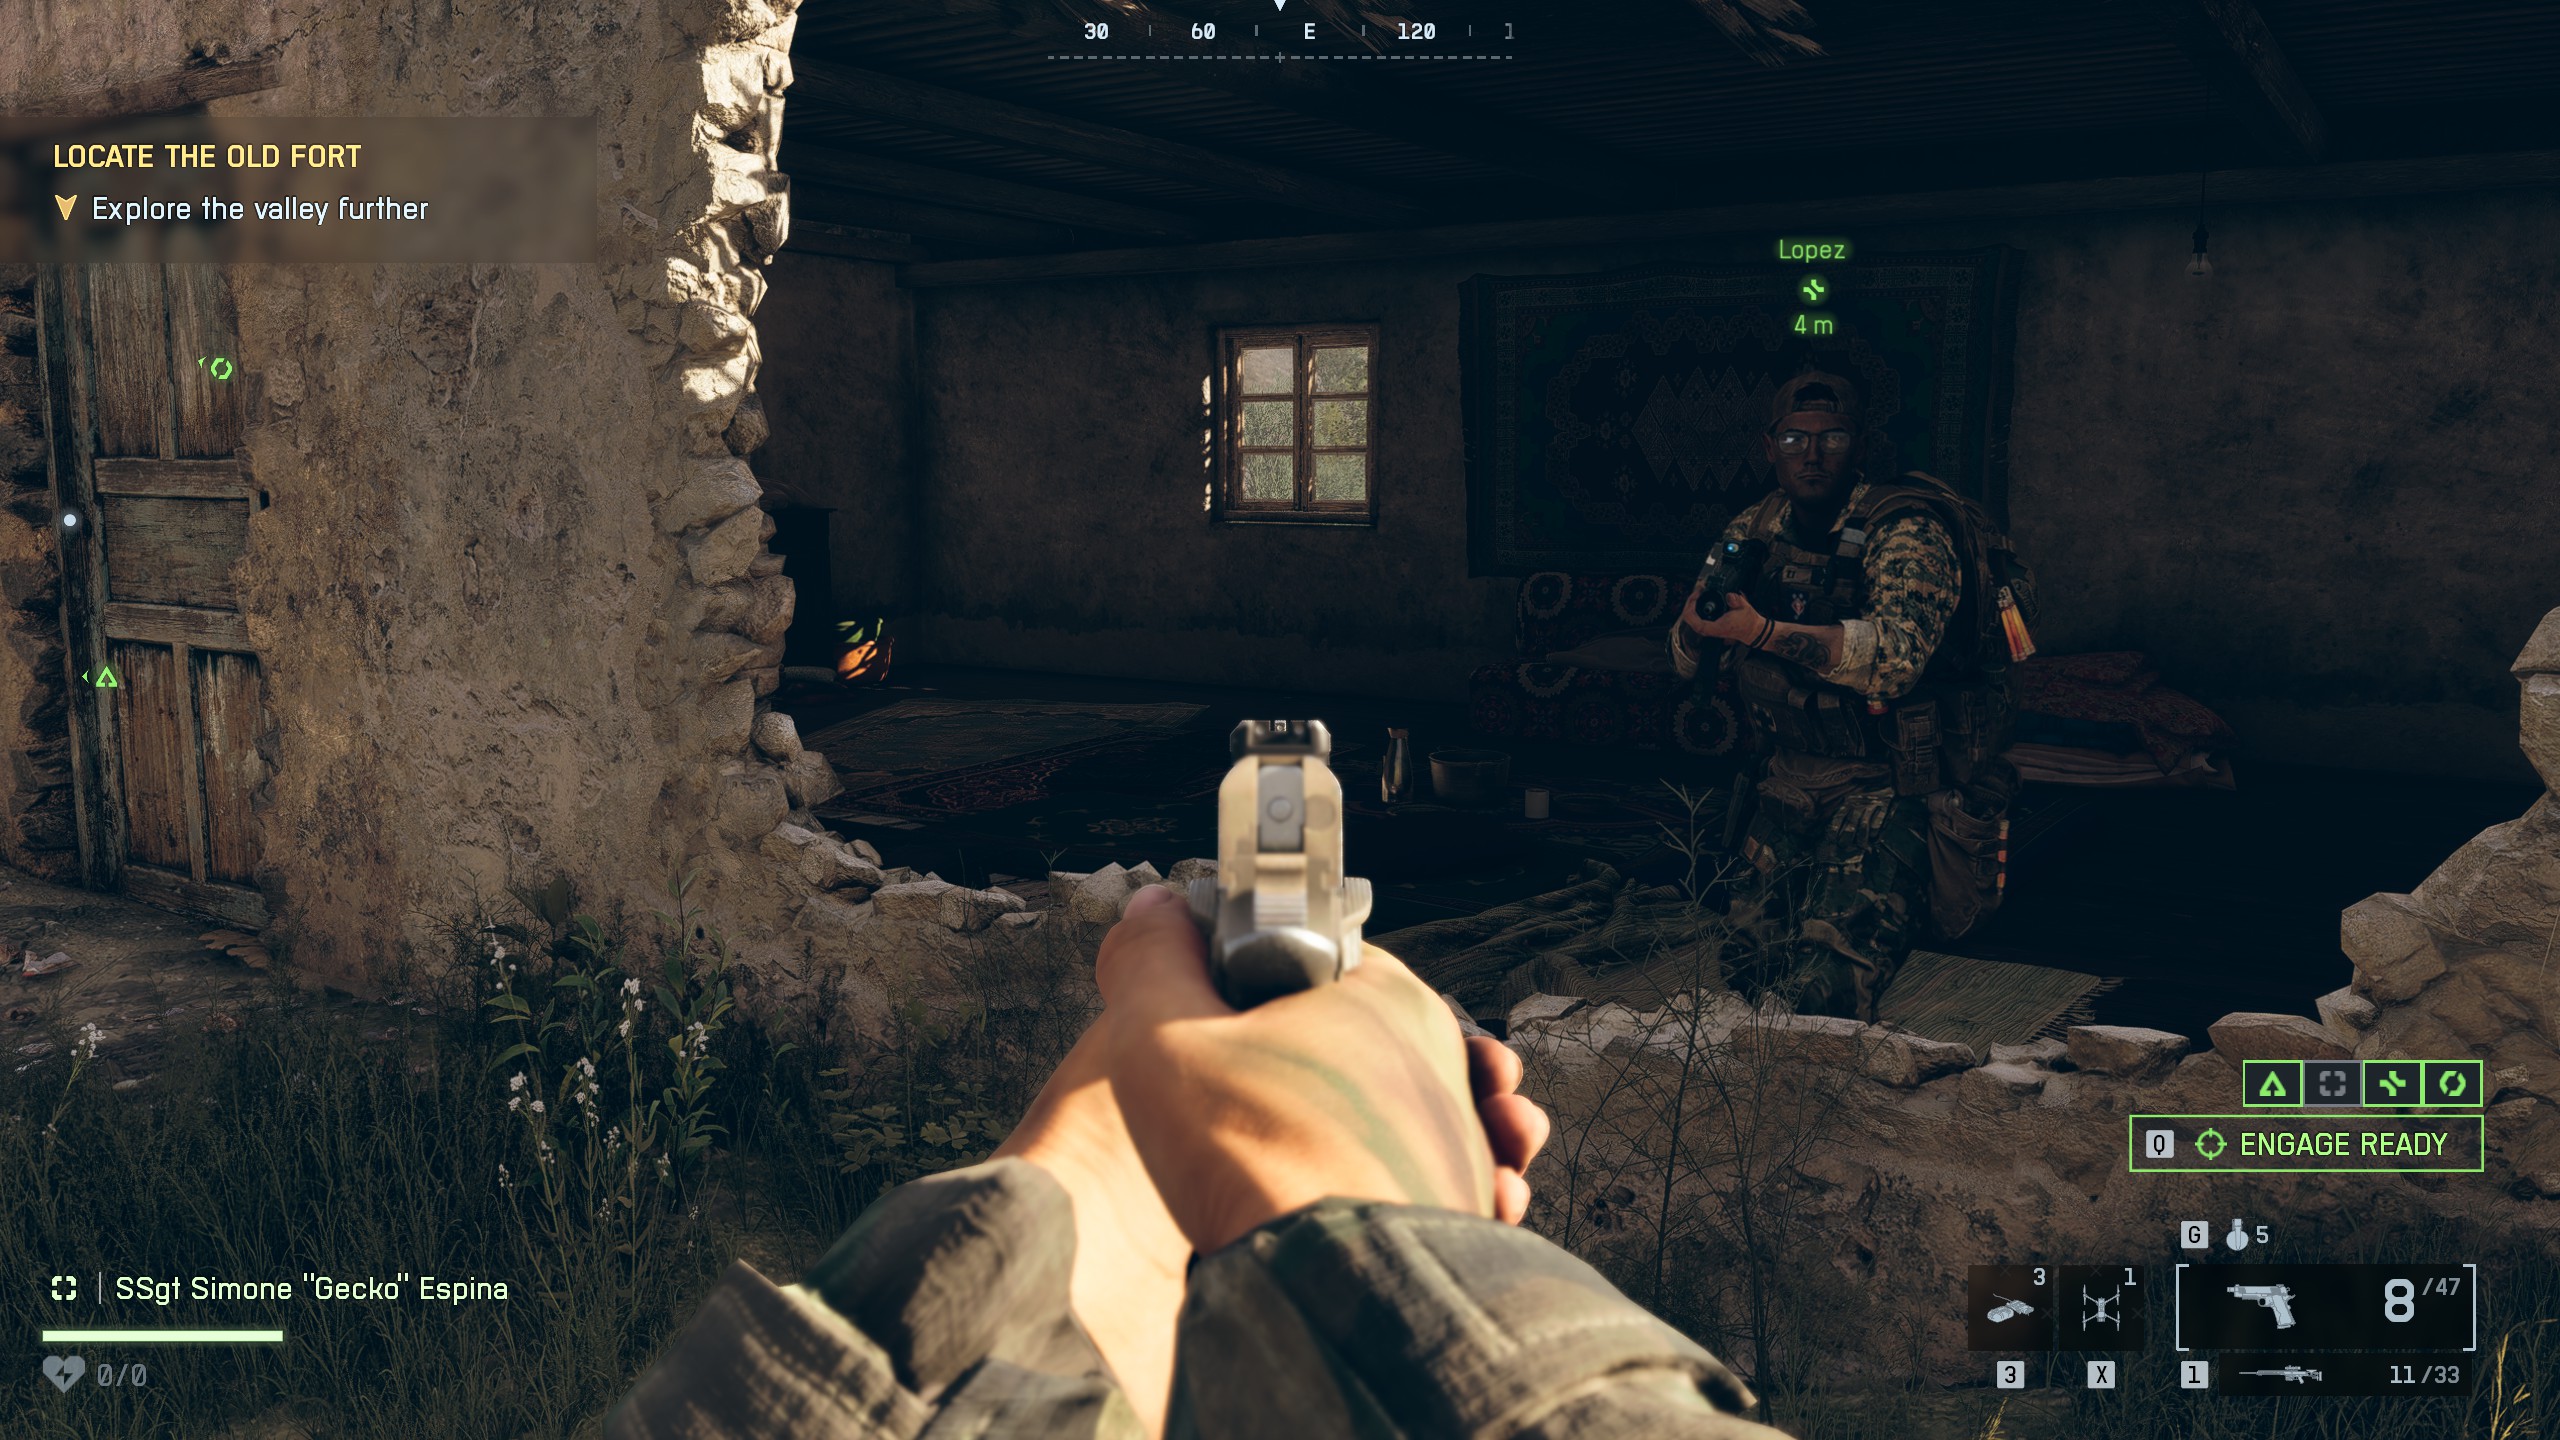
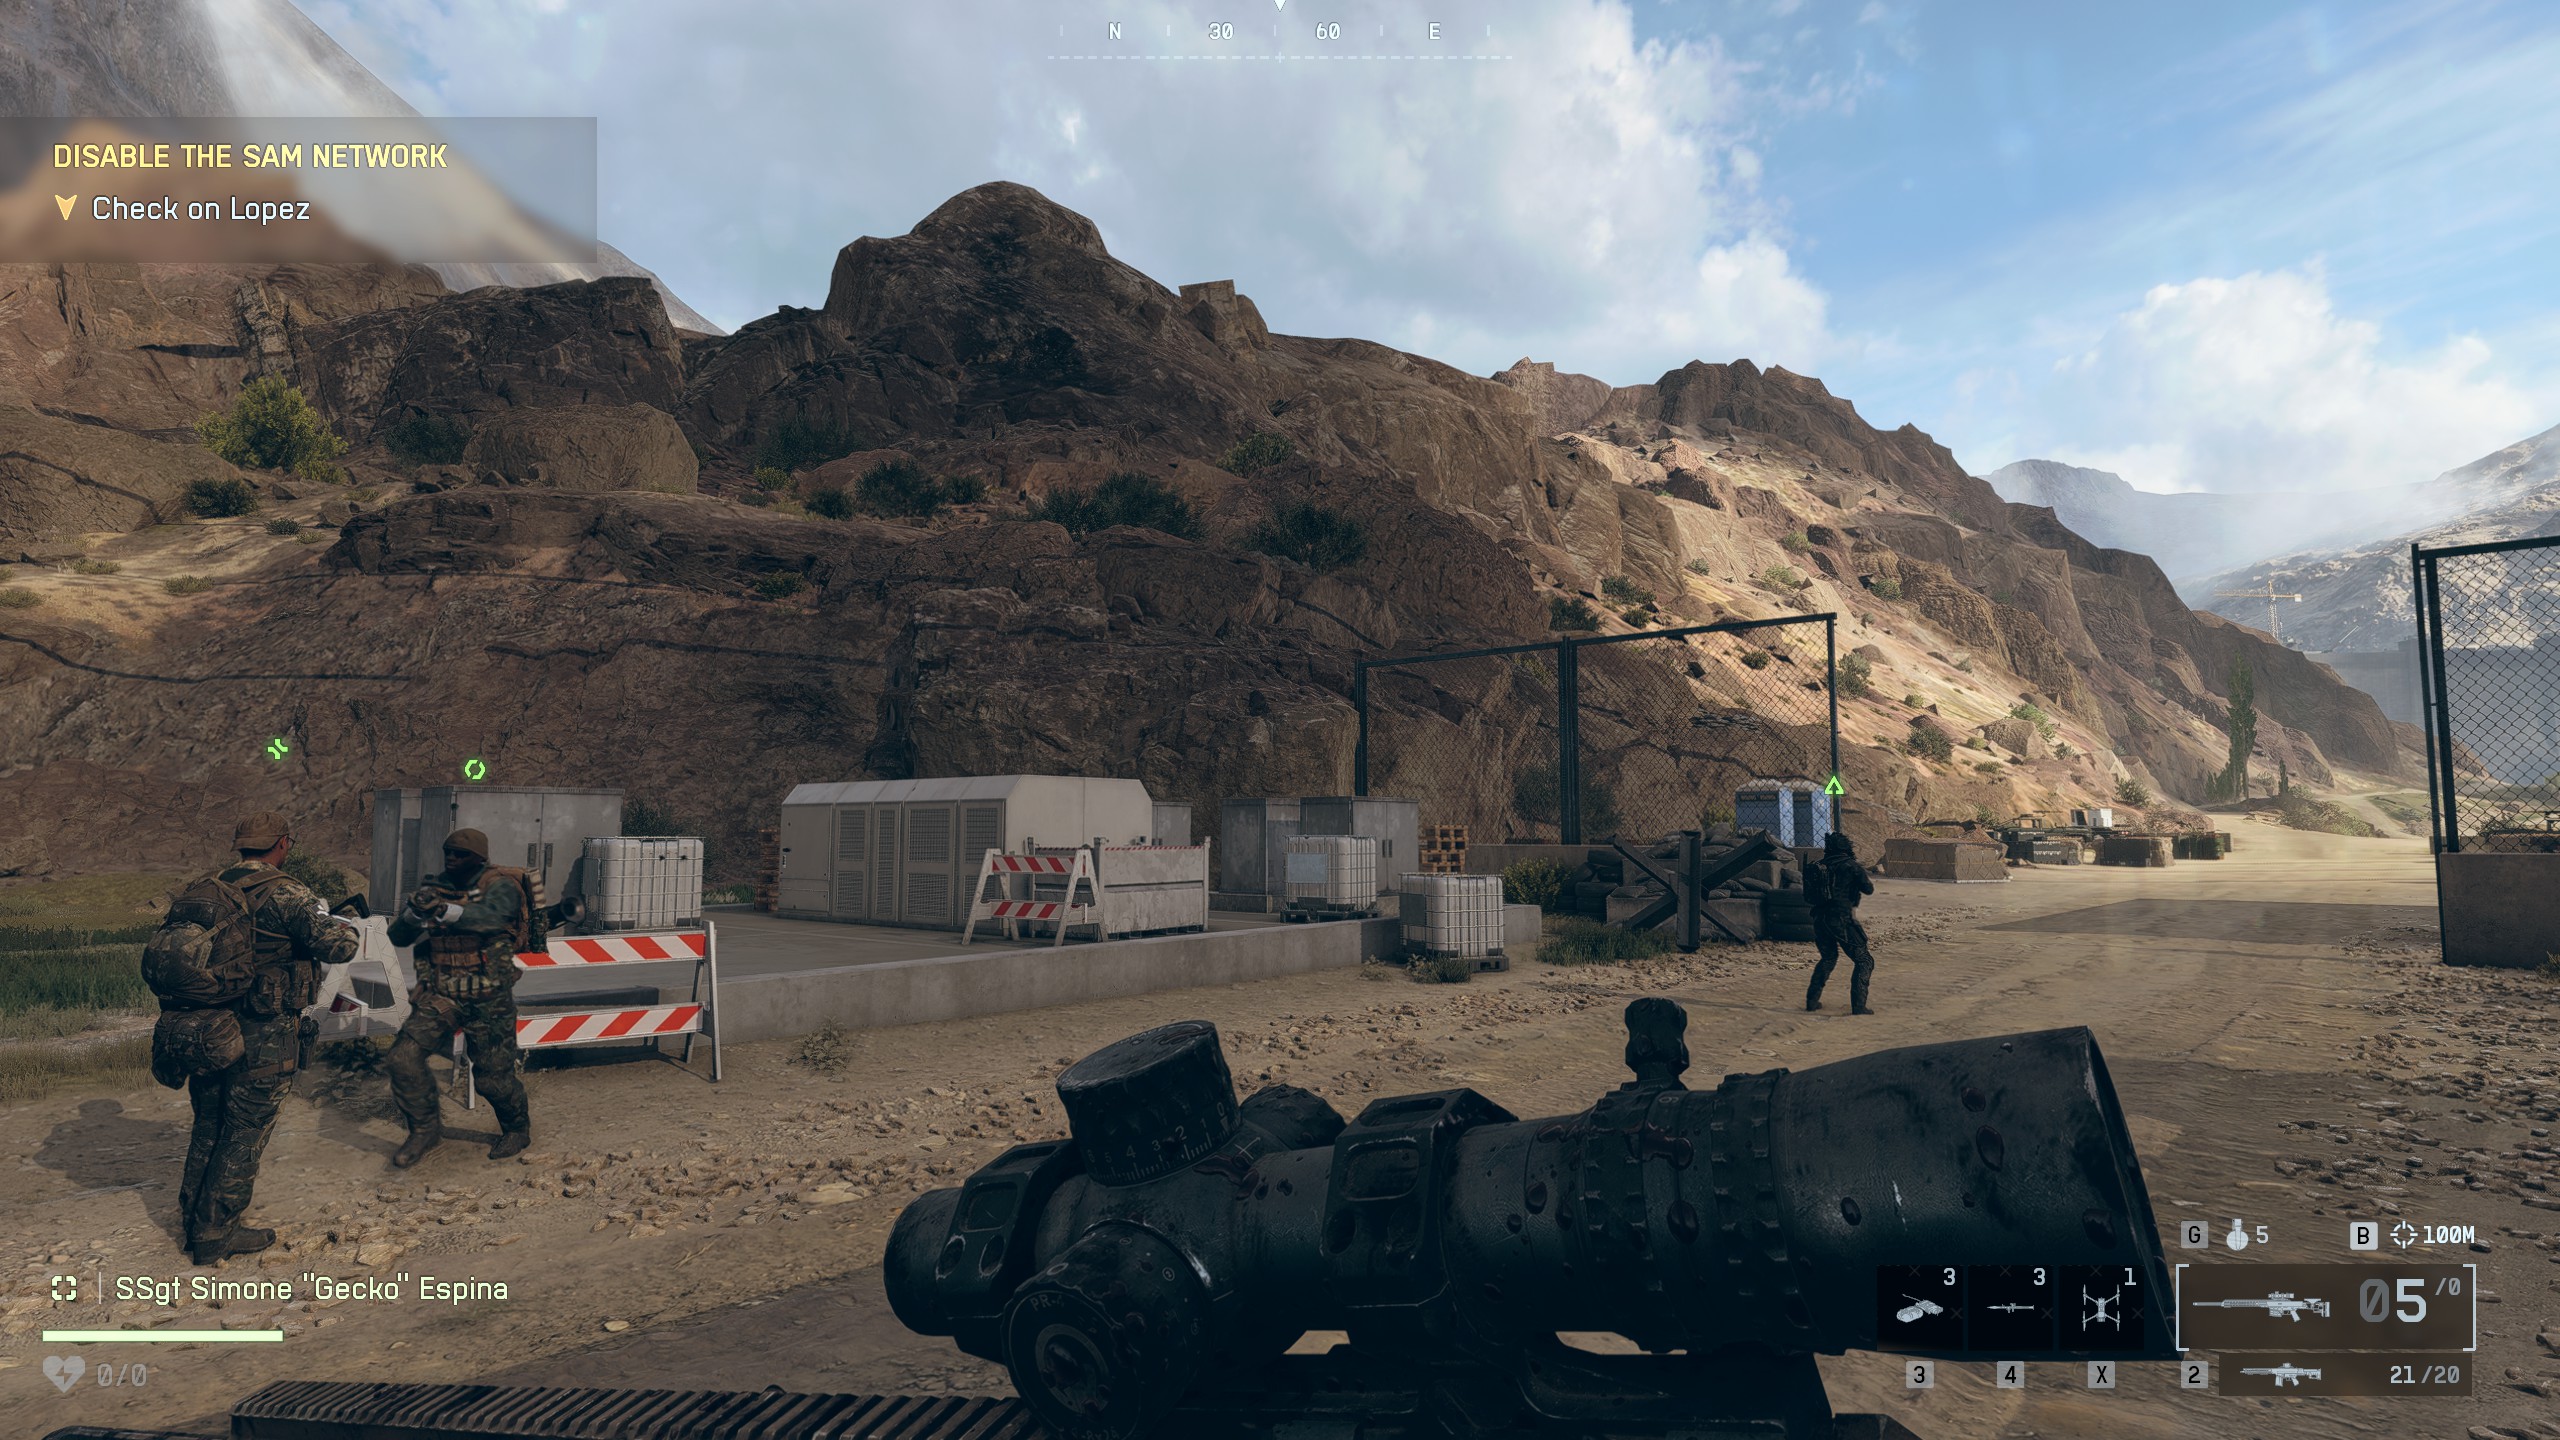
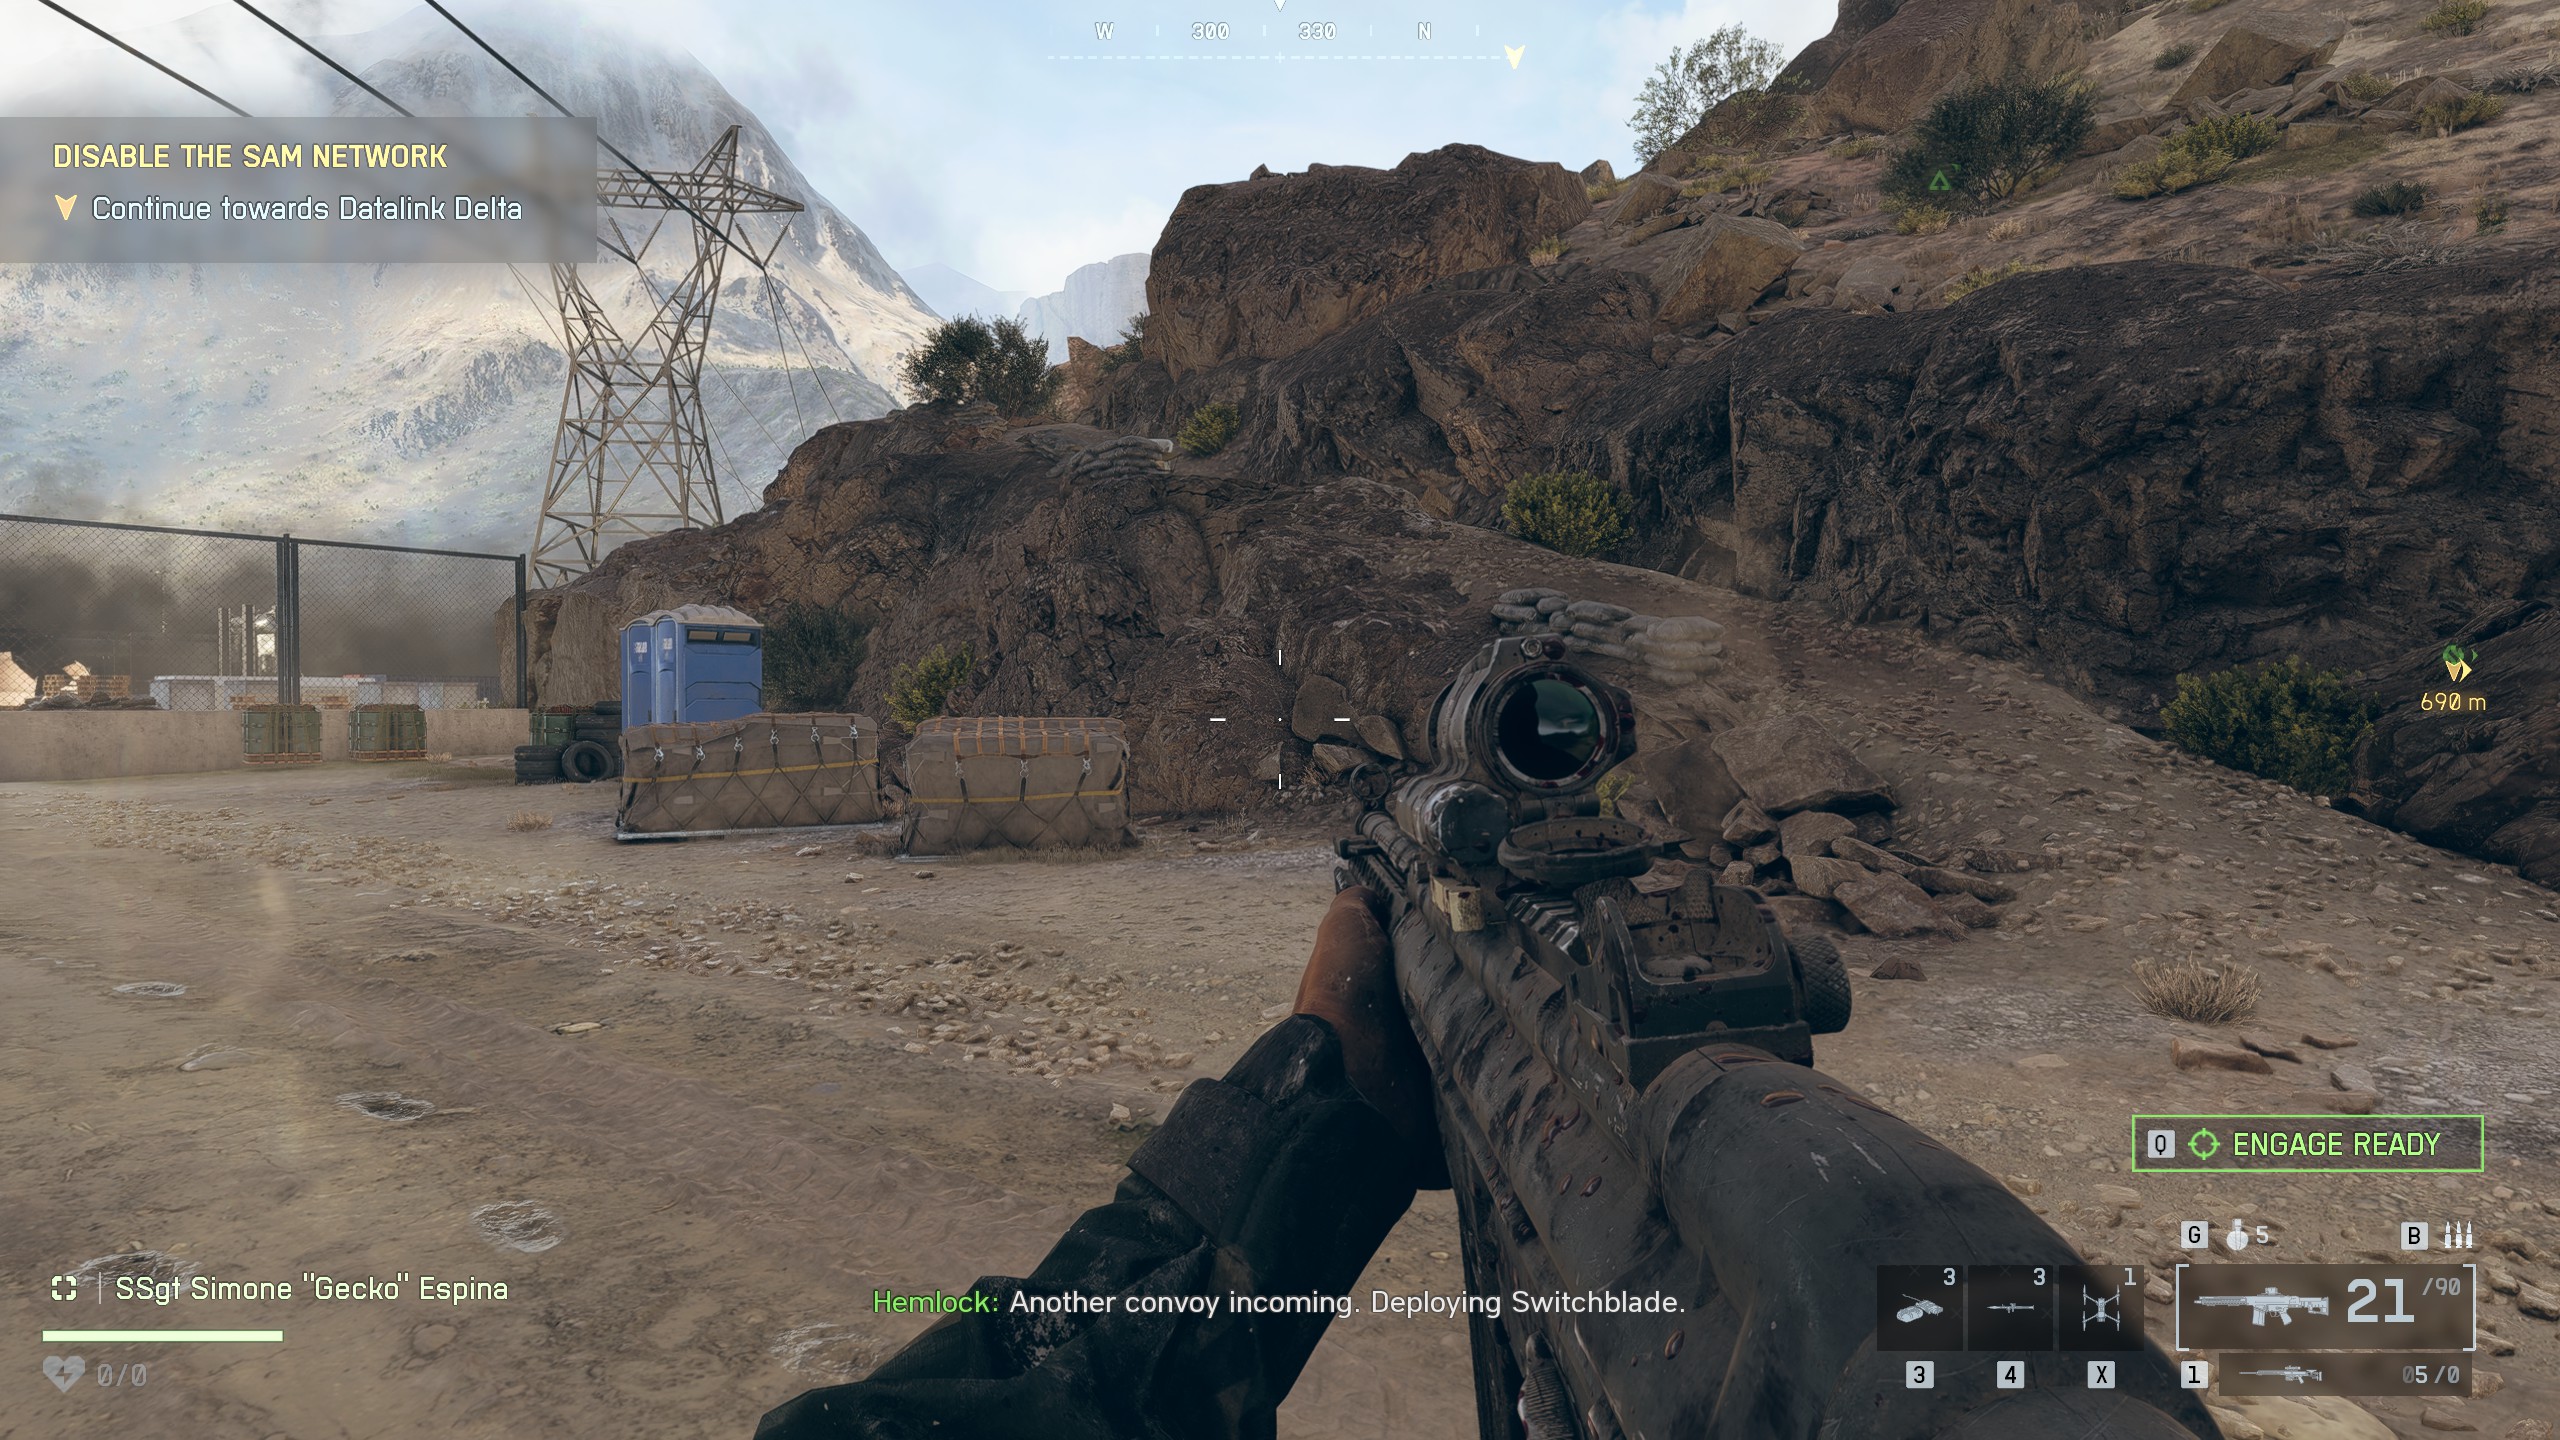
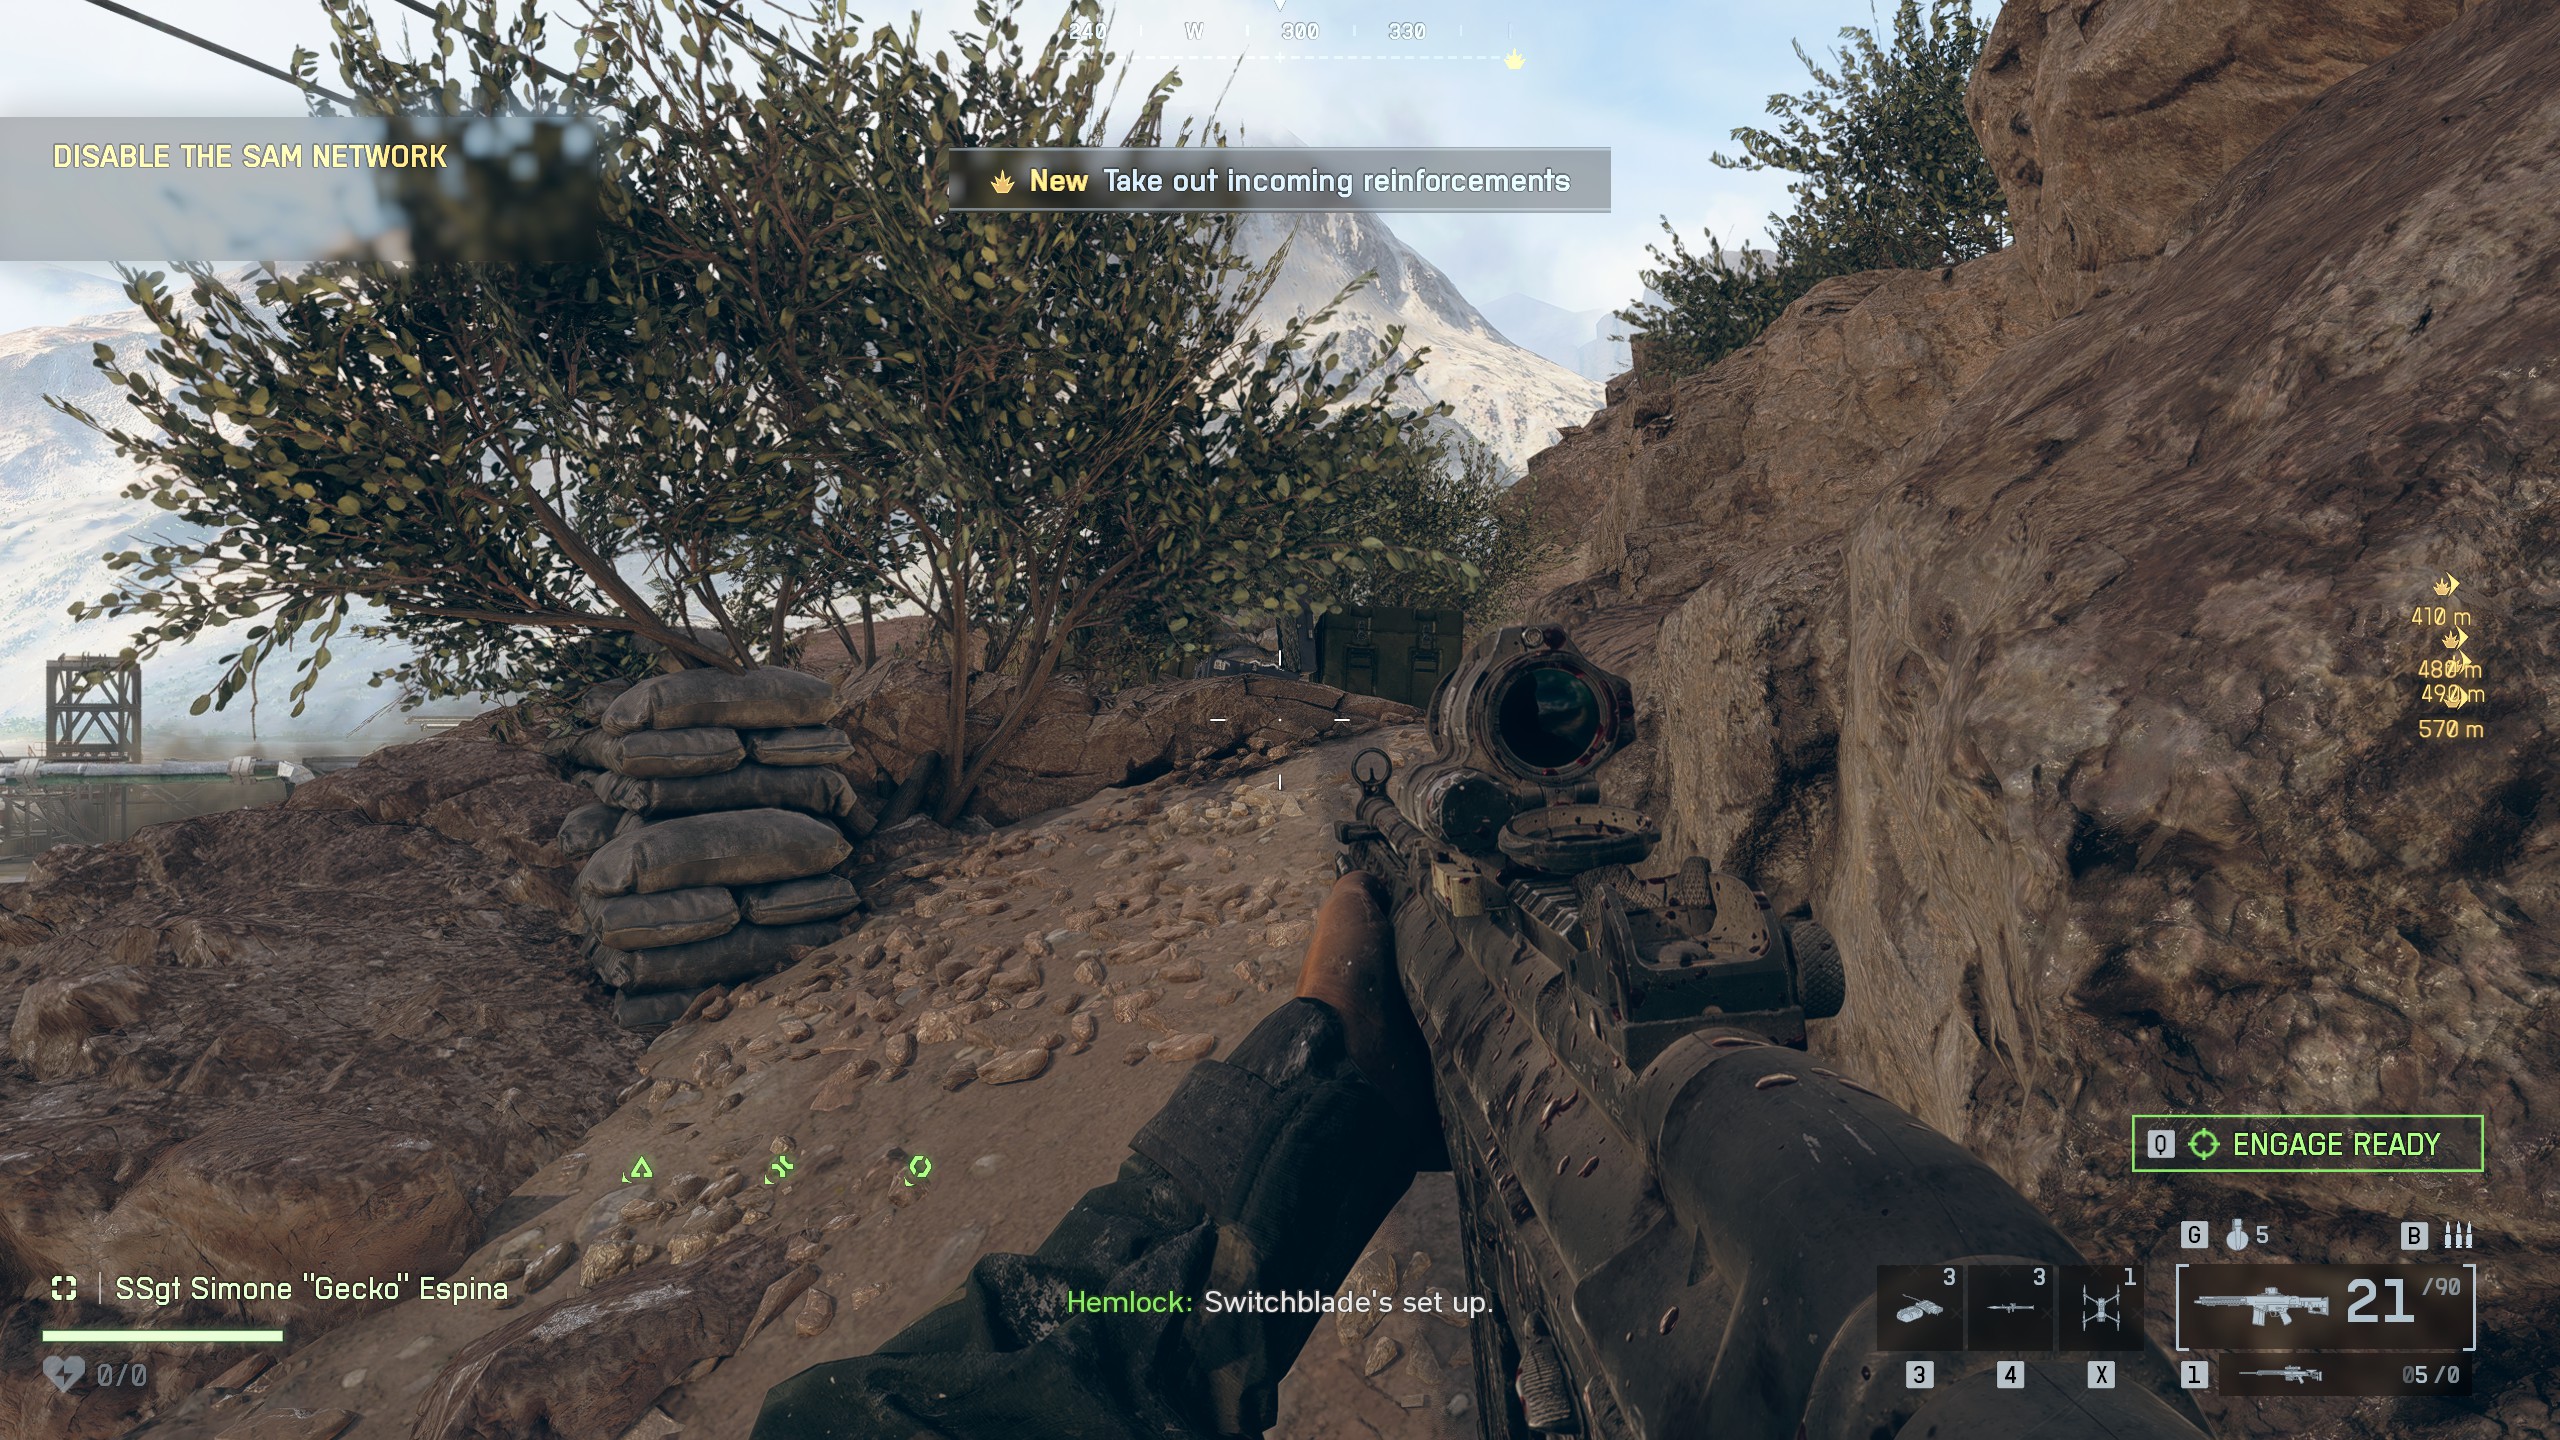
📍Collectible #3 - Dog Tag (#25)Location: Sniper position areaAs you progress, you'll pass through gates and use the Switchblade drone to defend against a wave of enemies. Continue forward through the mission until your objective updates to "Disable the SAM network". At this point you'll see an open gate. Climb up to the former sniper position on your left. The dog tag is resting on a crate there

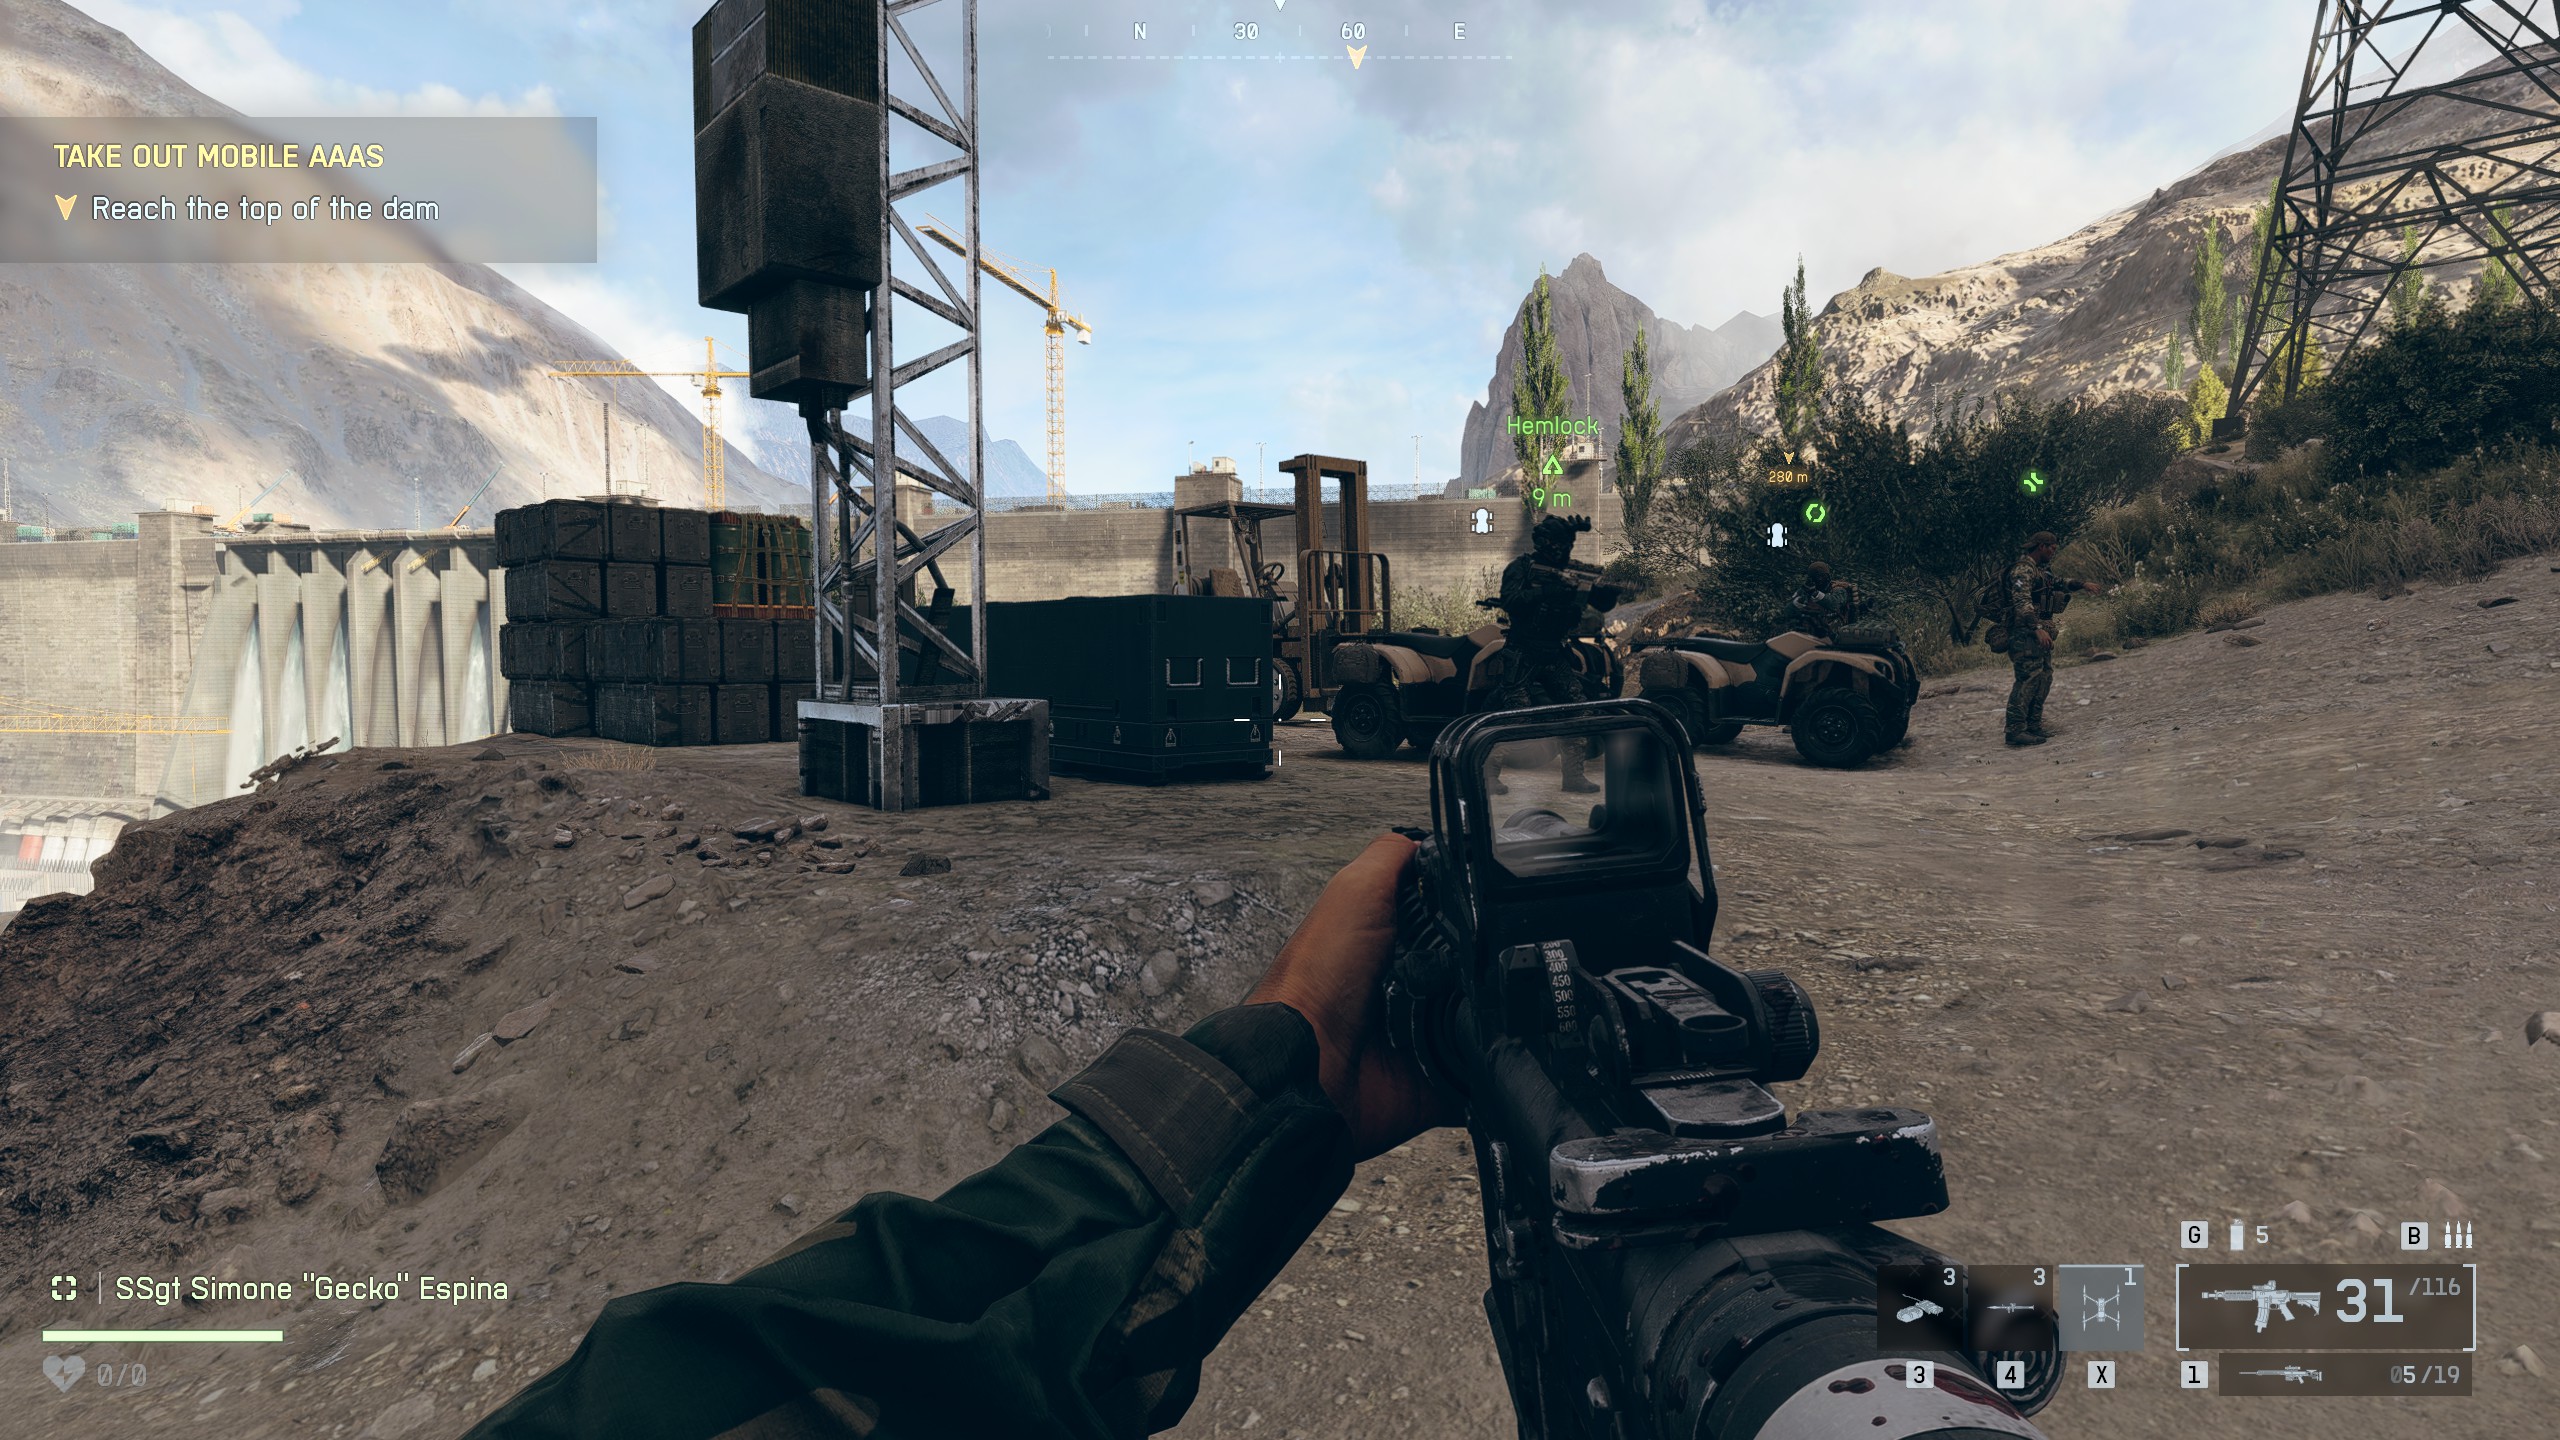
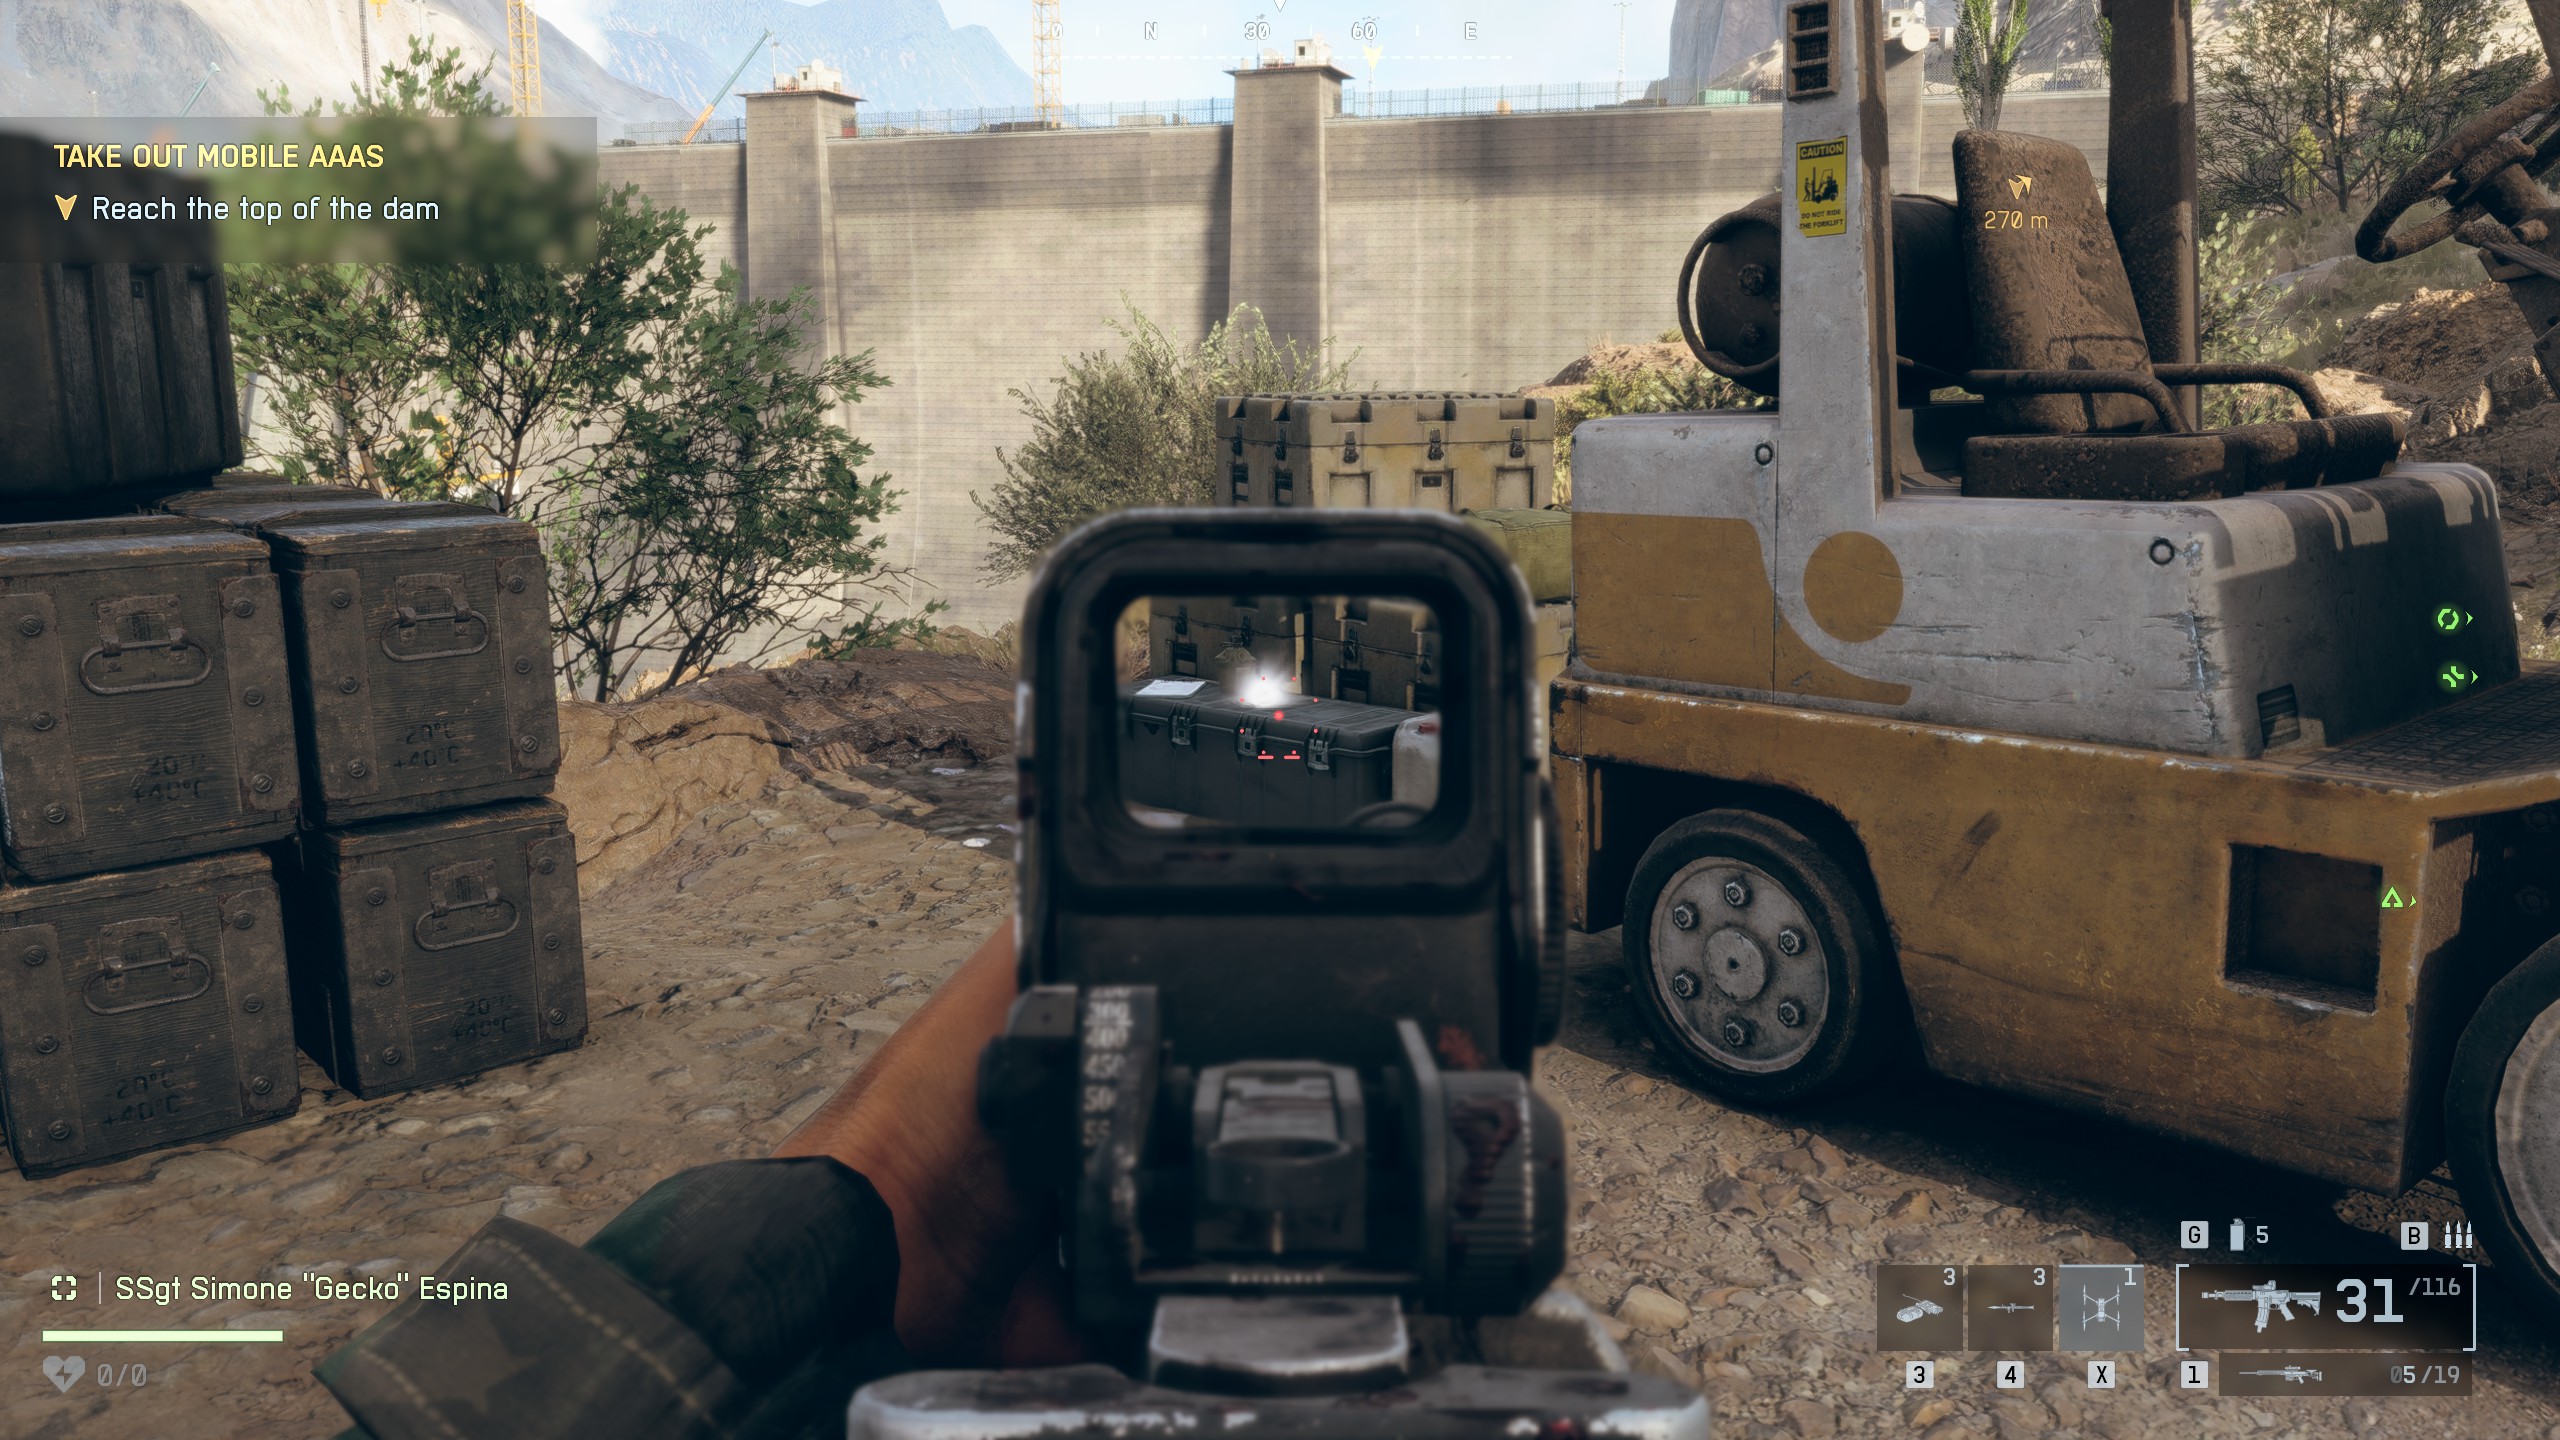
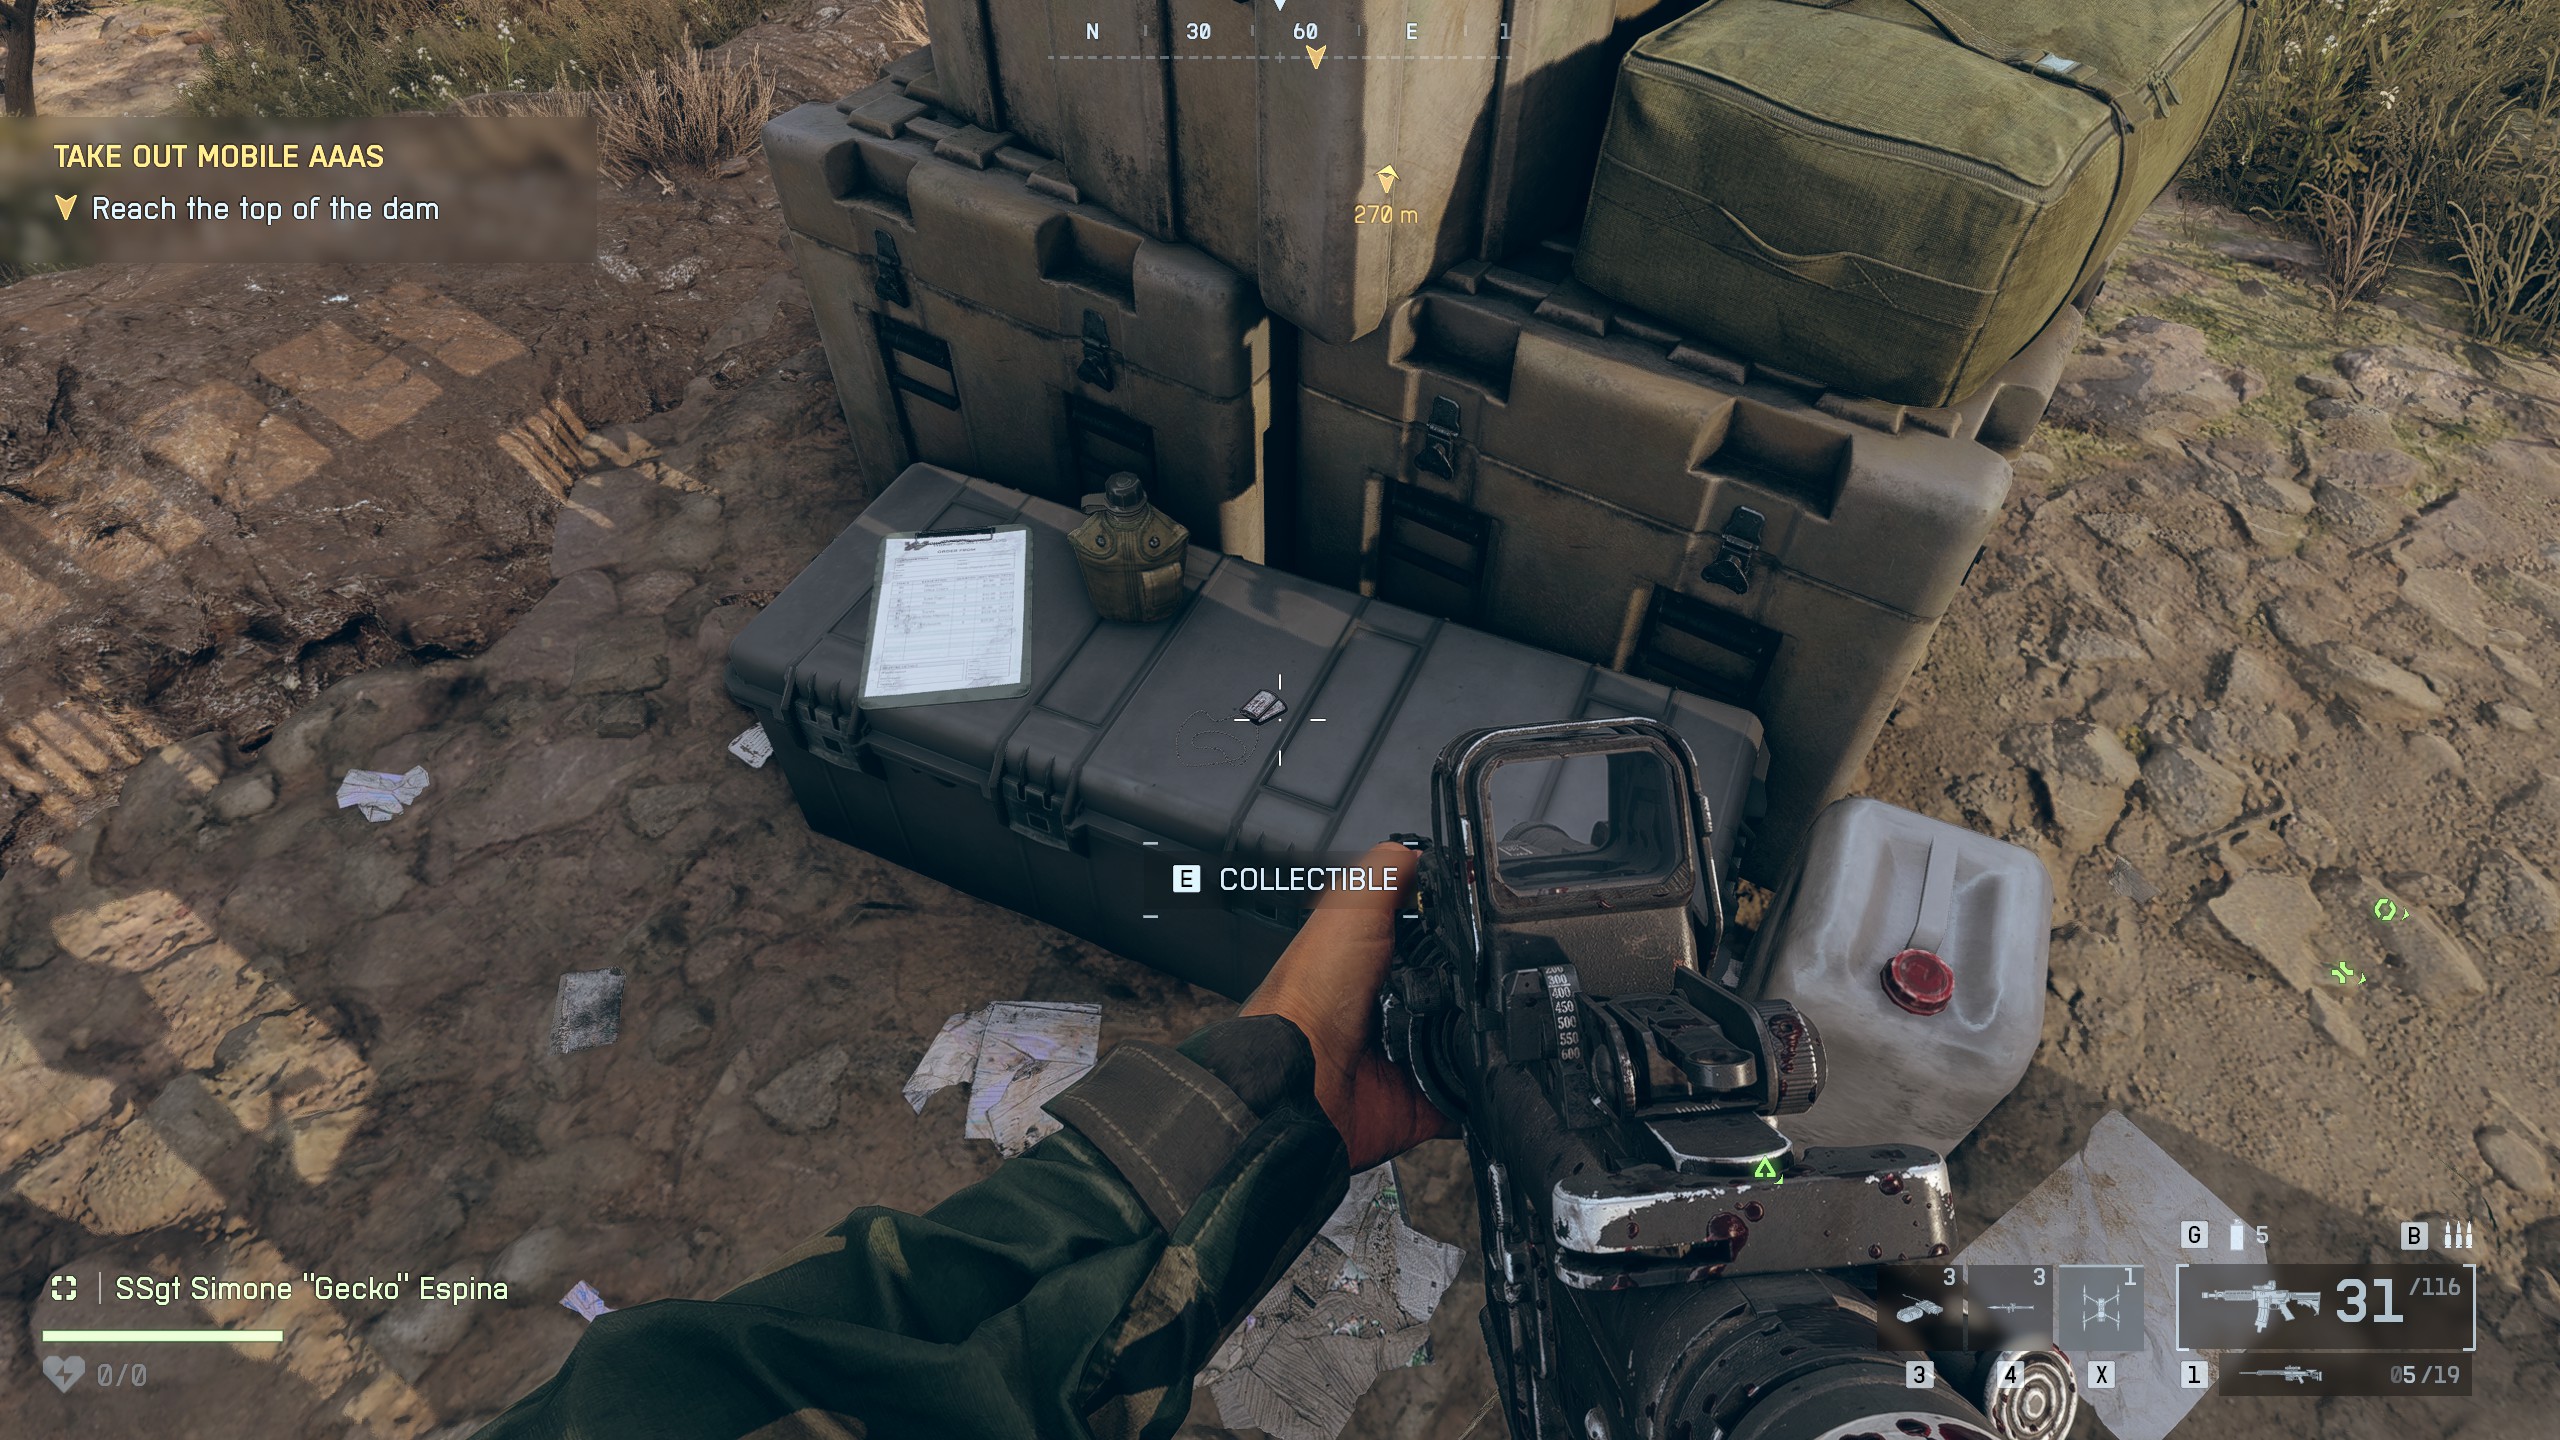
📍Collectible #4 - Dog Tag (#26)Location:After regrouping with Murphy cutscene, climb up to the area where the quad bike are parked. Look for a forklift nearby - the dog tag is on a crate next to it
🏆Damned If You DoComplete Operation Ember Strike

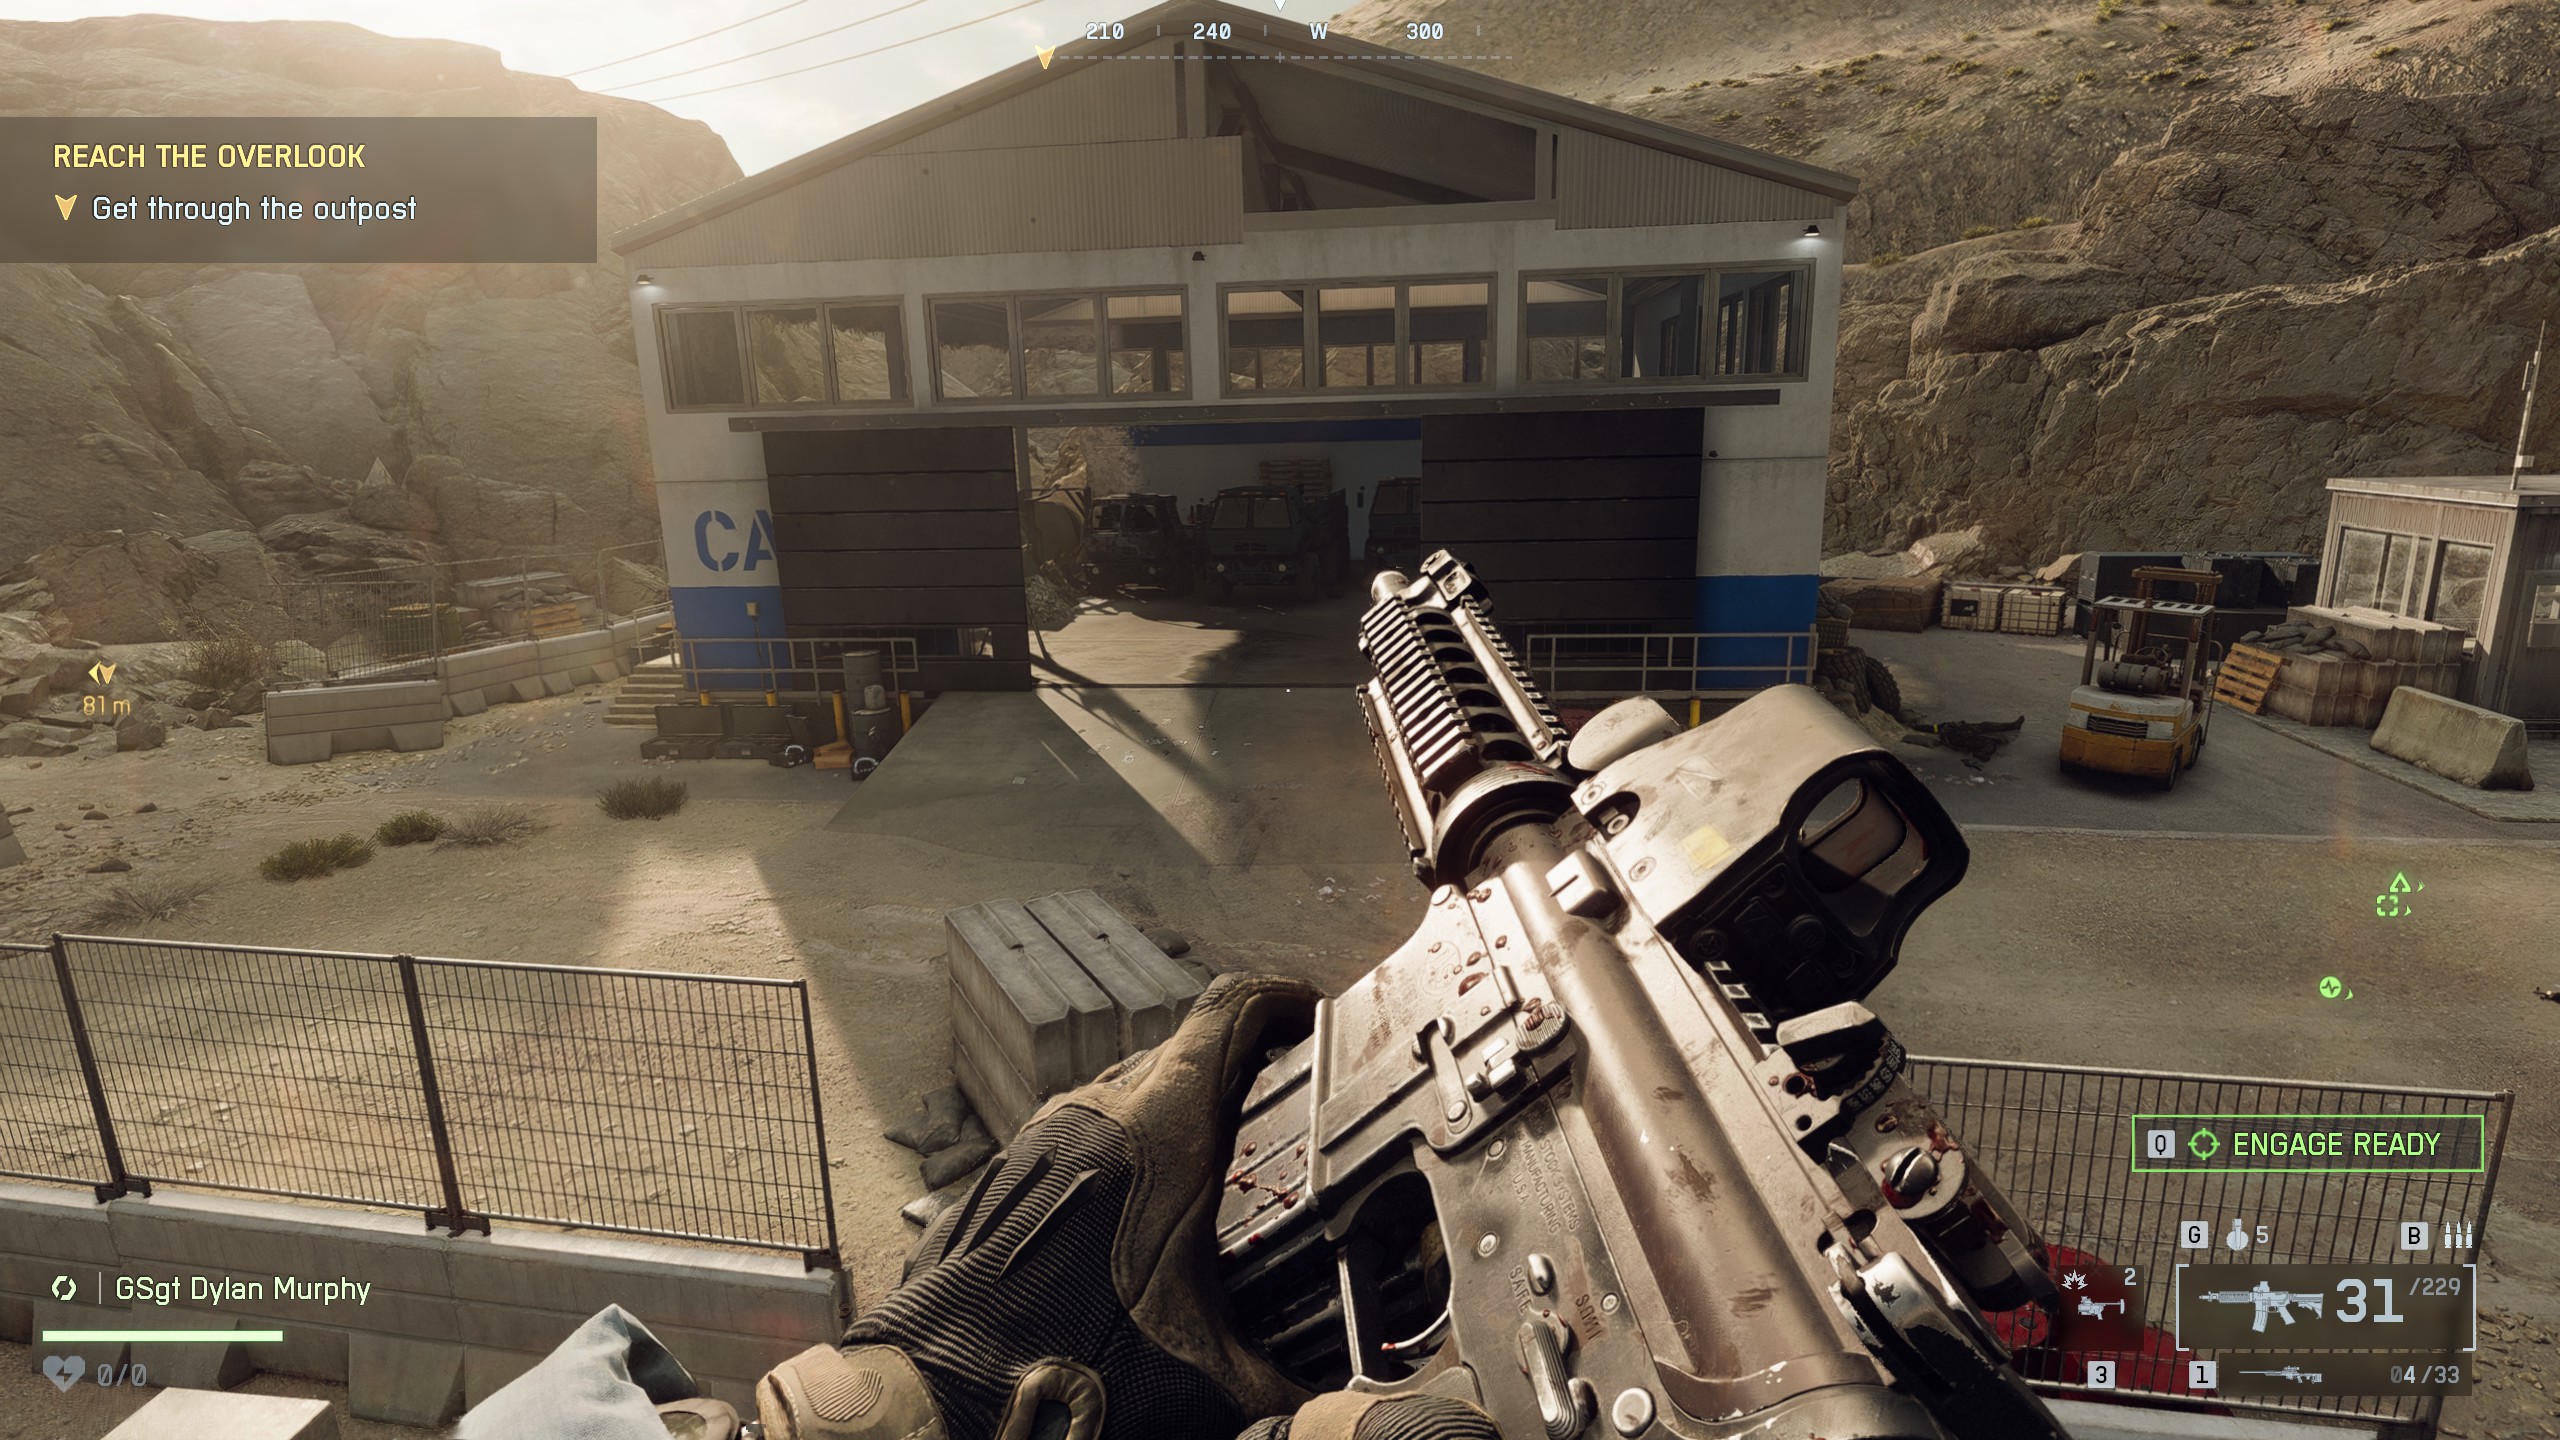
Mission 9: Always Forward
Collectibles
4
Achievements
3
⚠️One achievement is missable: You need to shoot down the reinforcement chopper with a tank
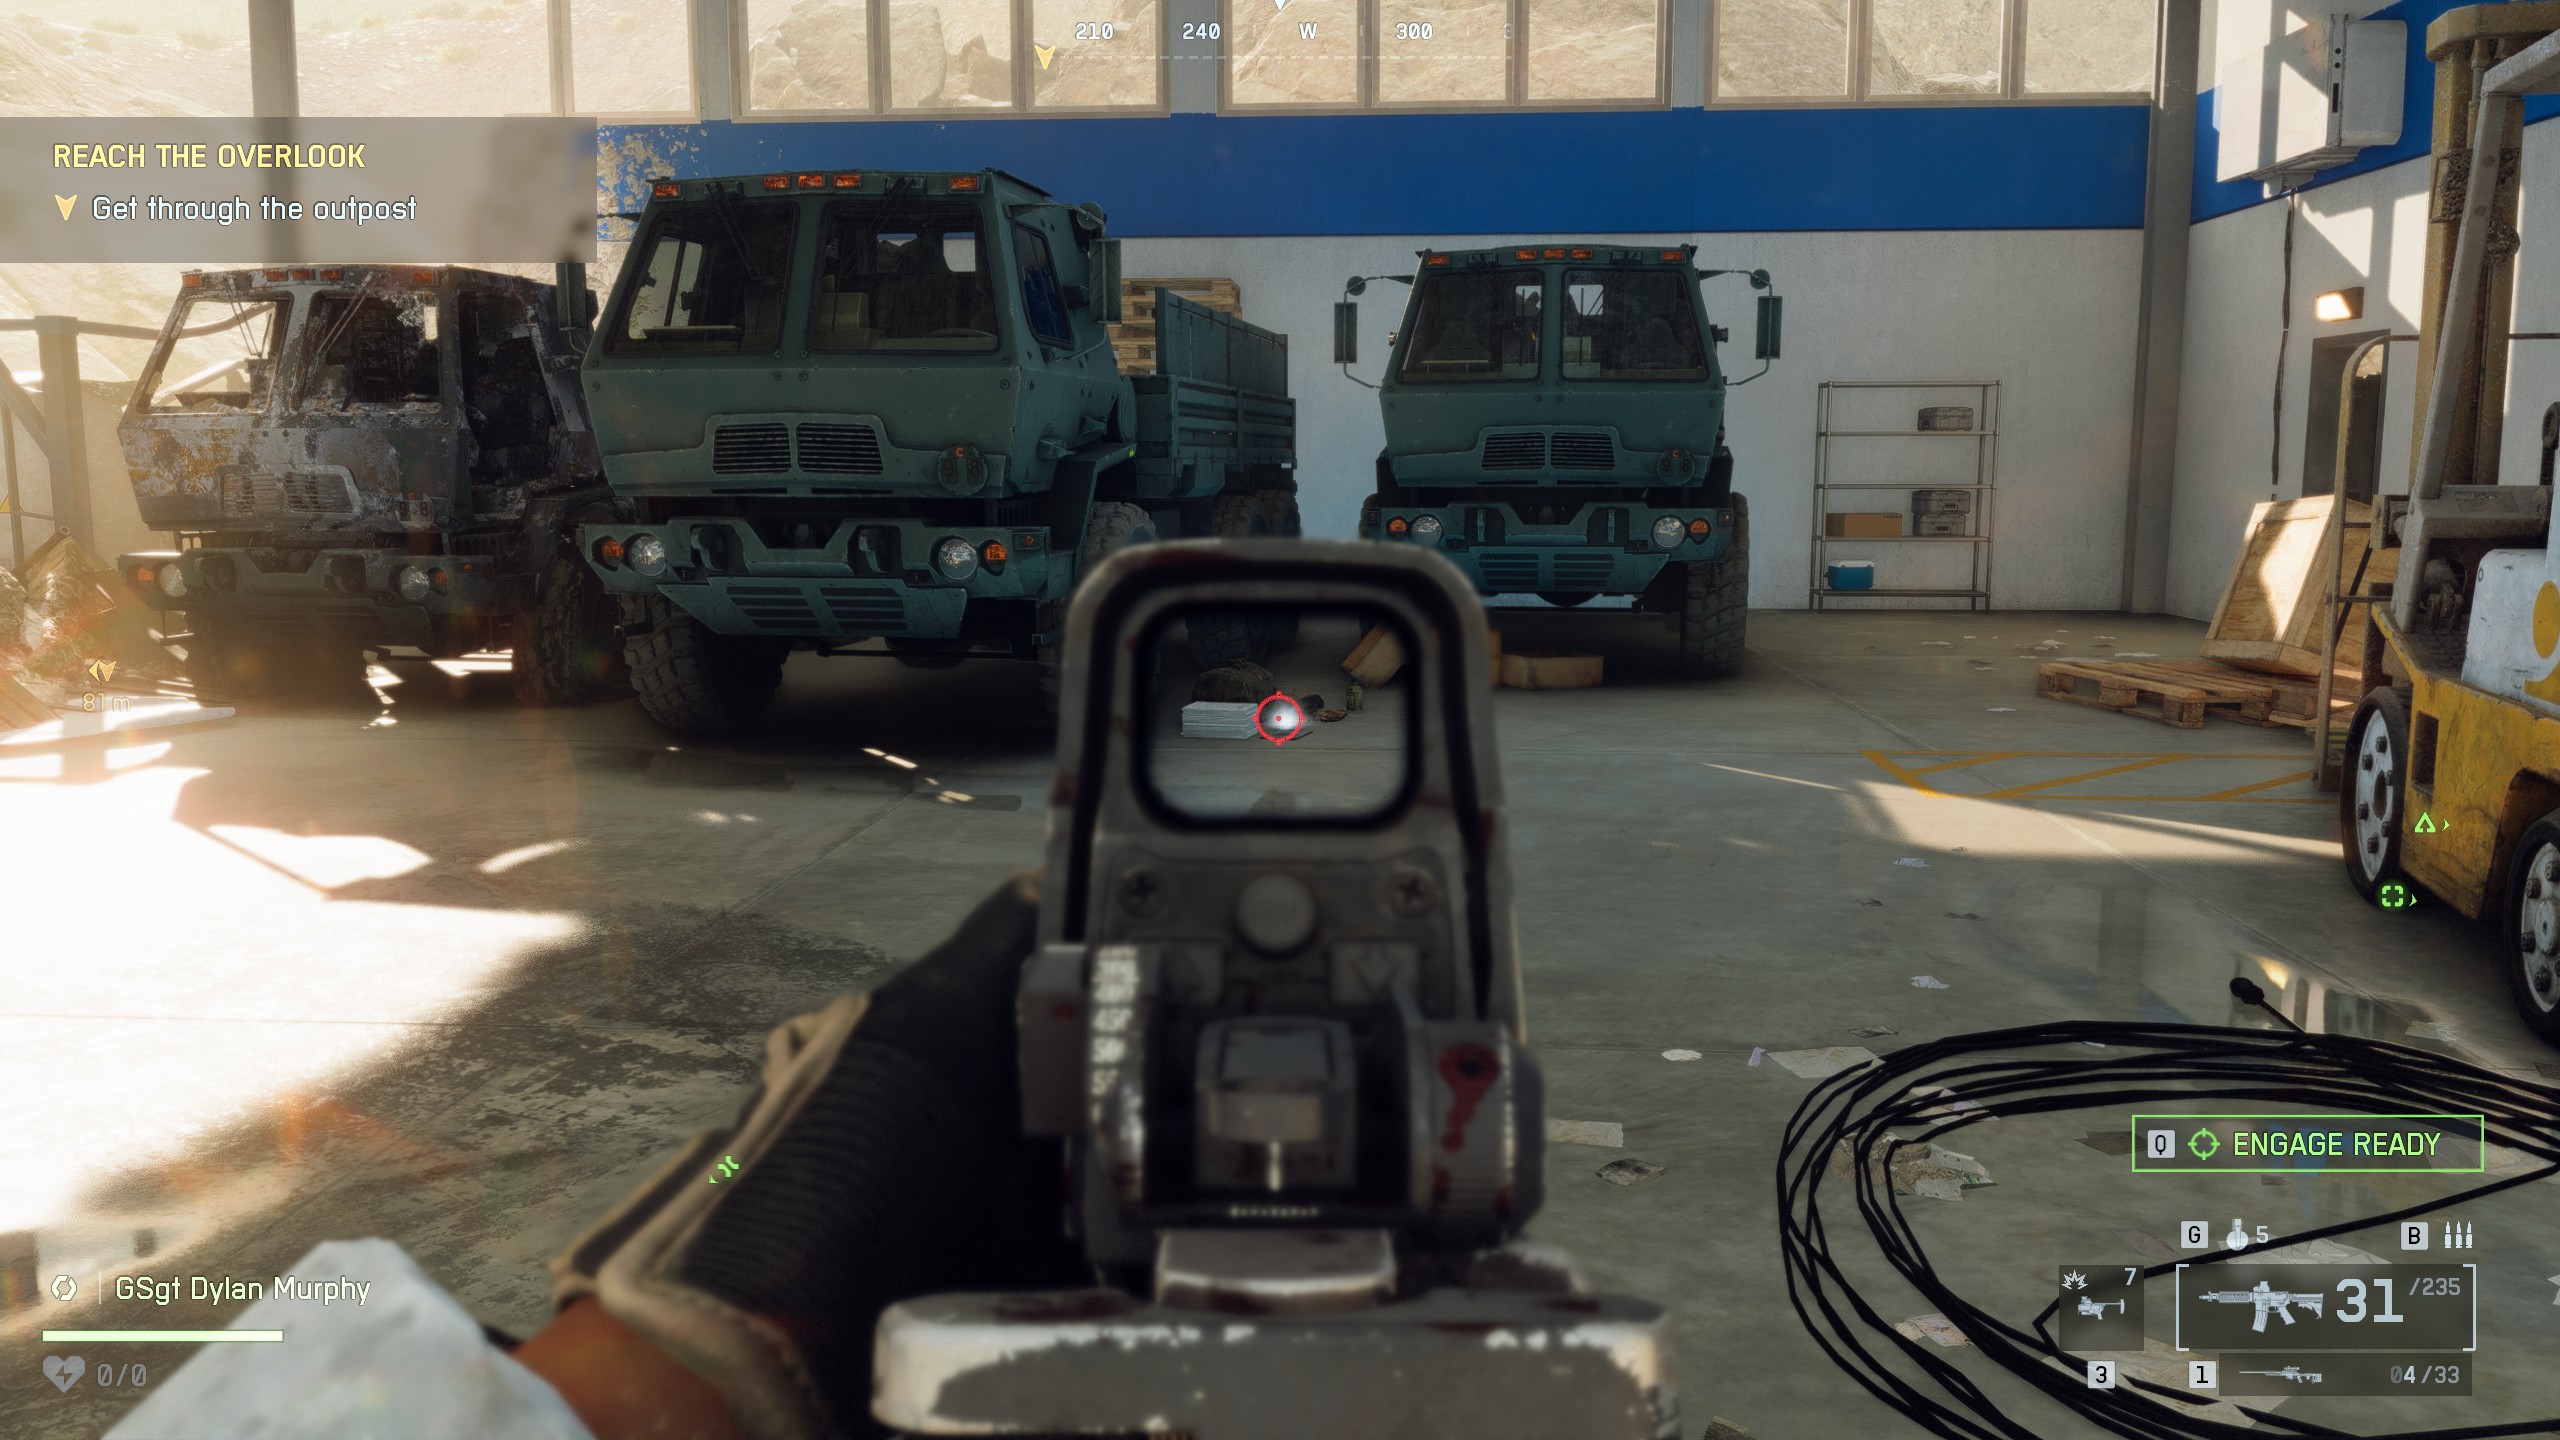
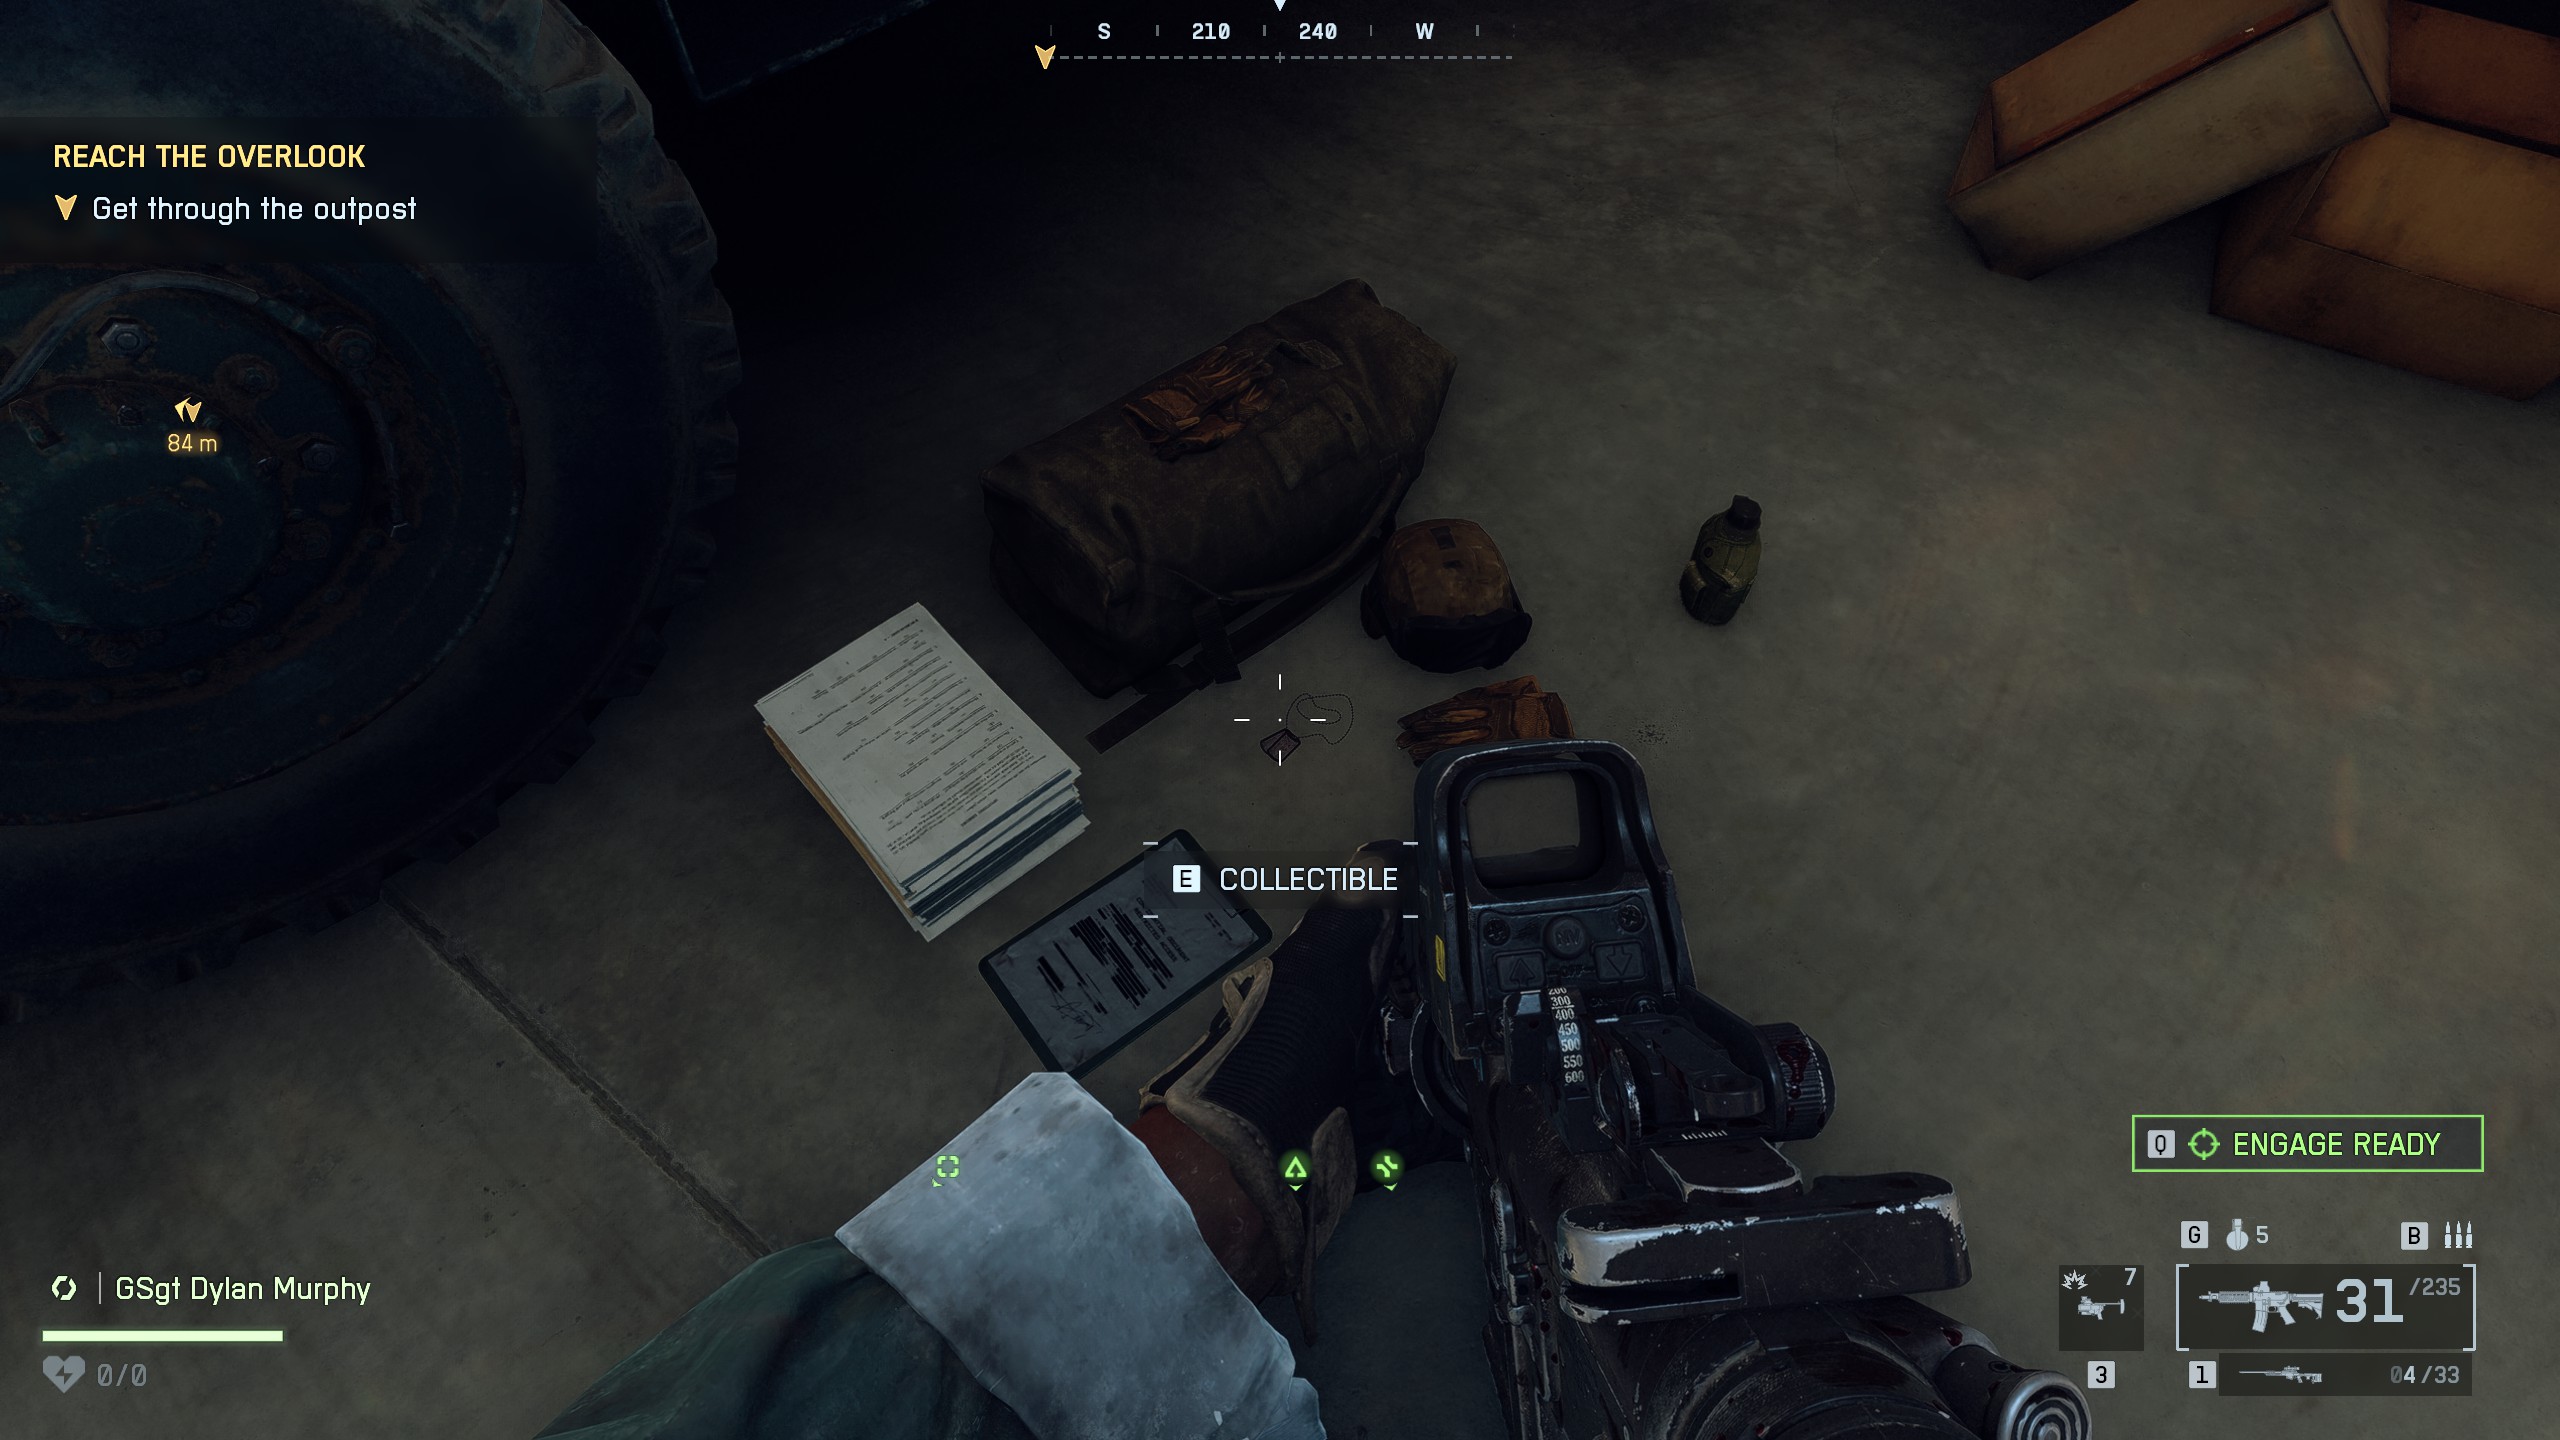
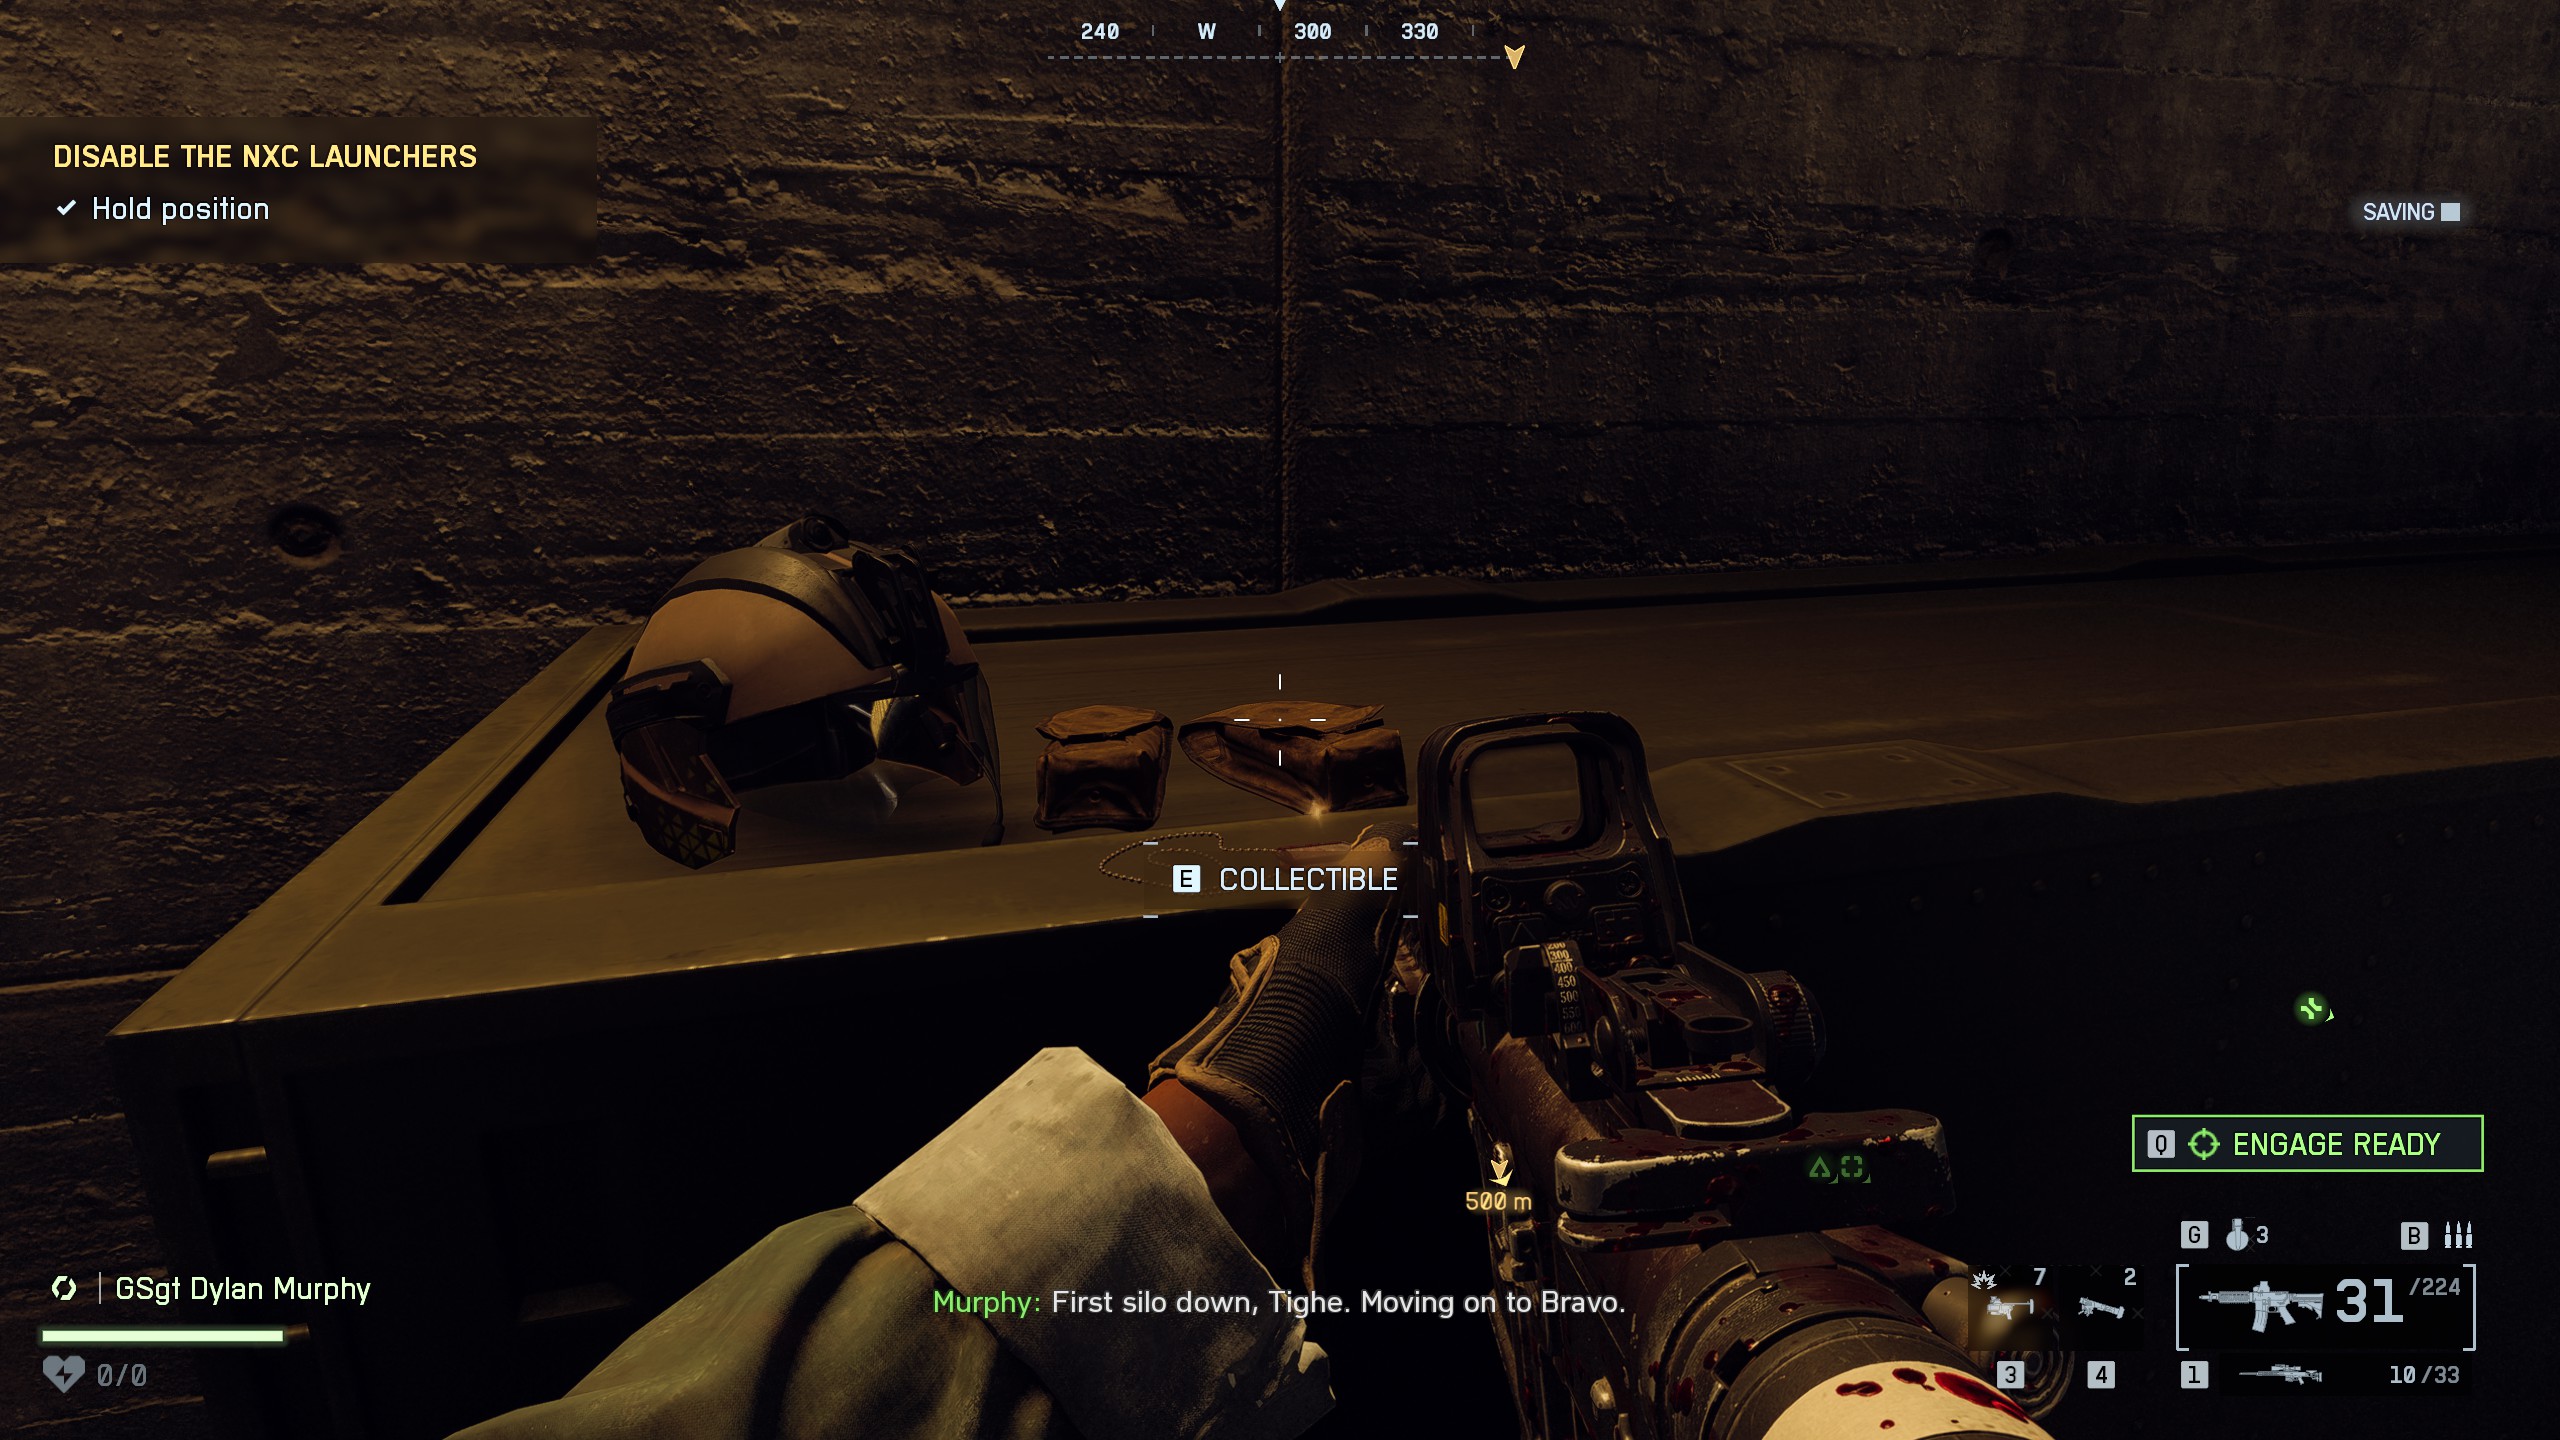
📍Collectible #1 - Dog Tag (#27)Location: Inside the hangar near the trucksAs you progress through the mission, enter the hangar. The dog tag is on the floor near a bag, close to the trucks
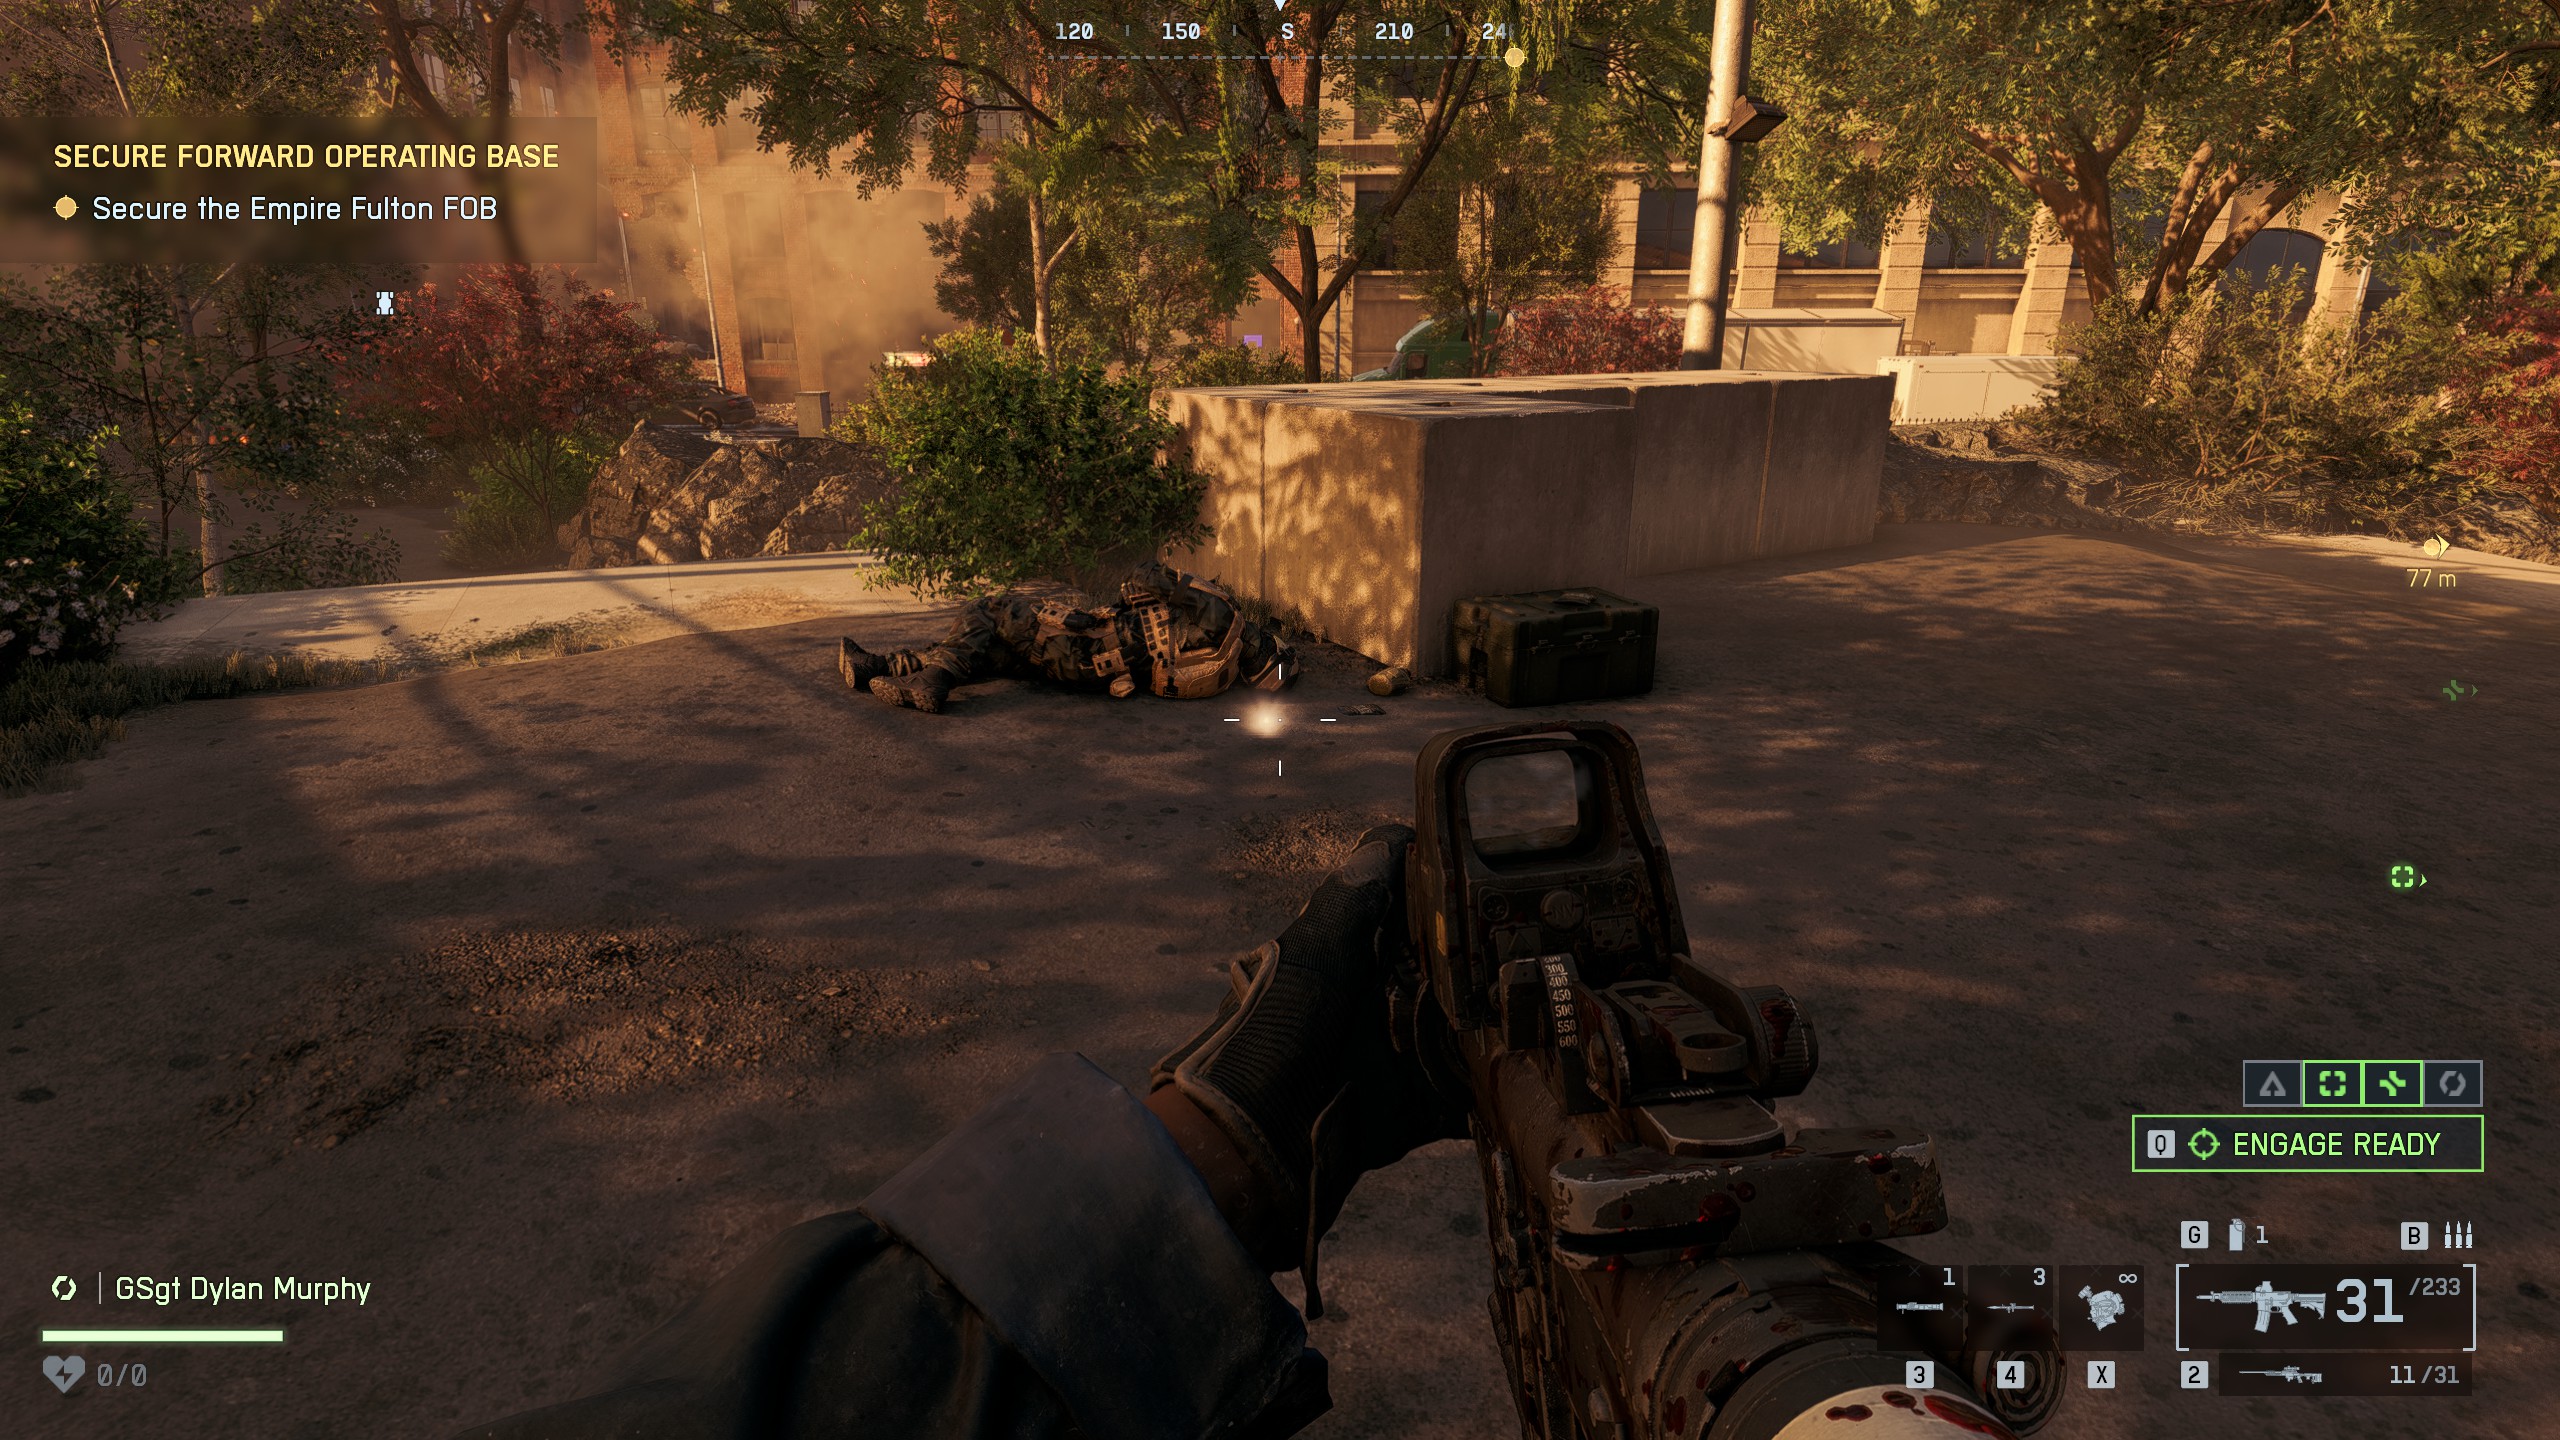
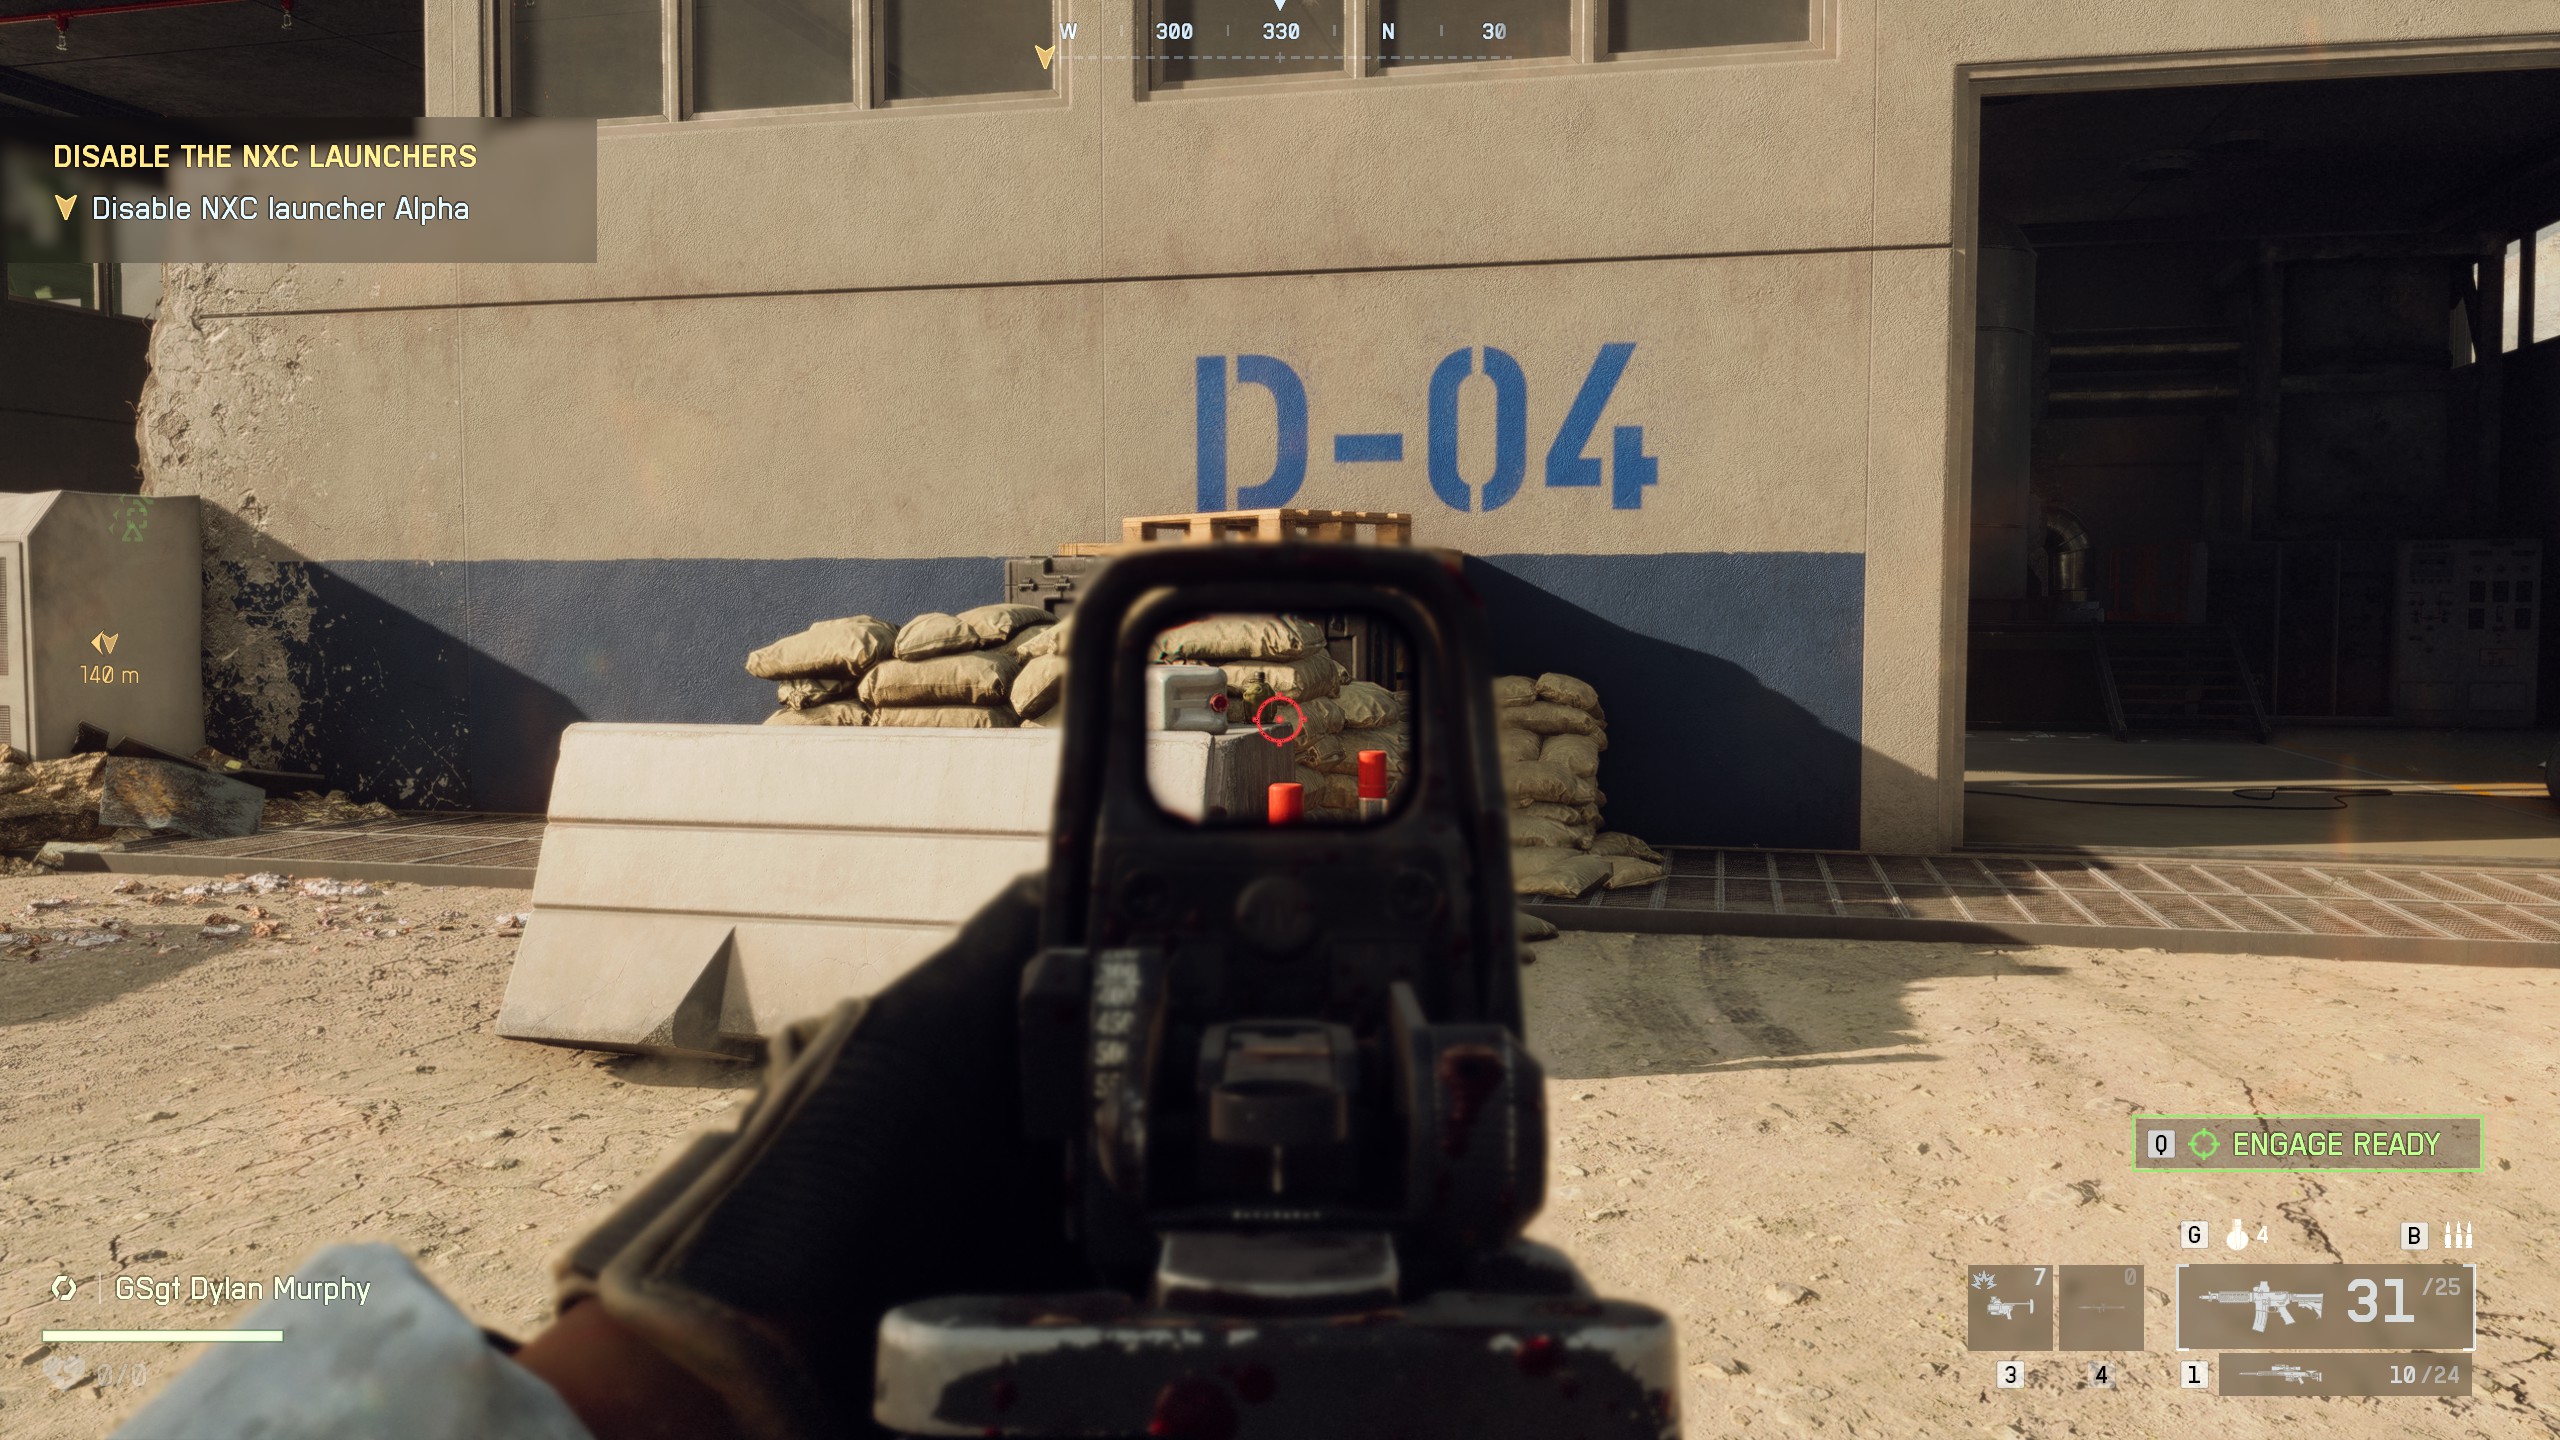
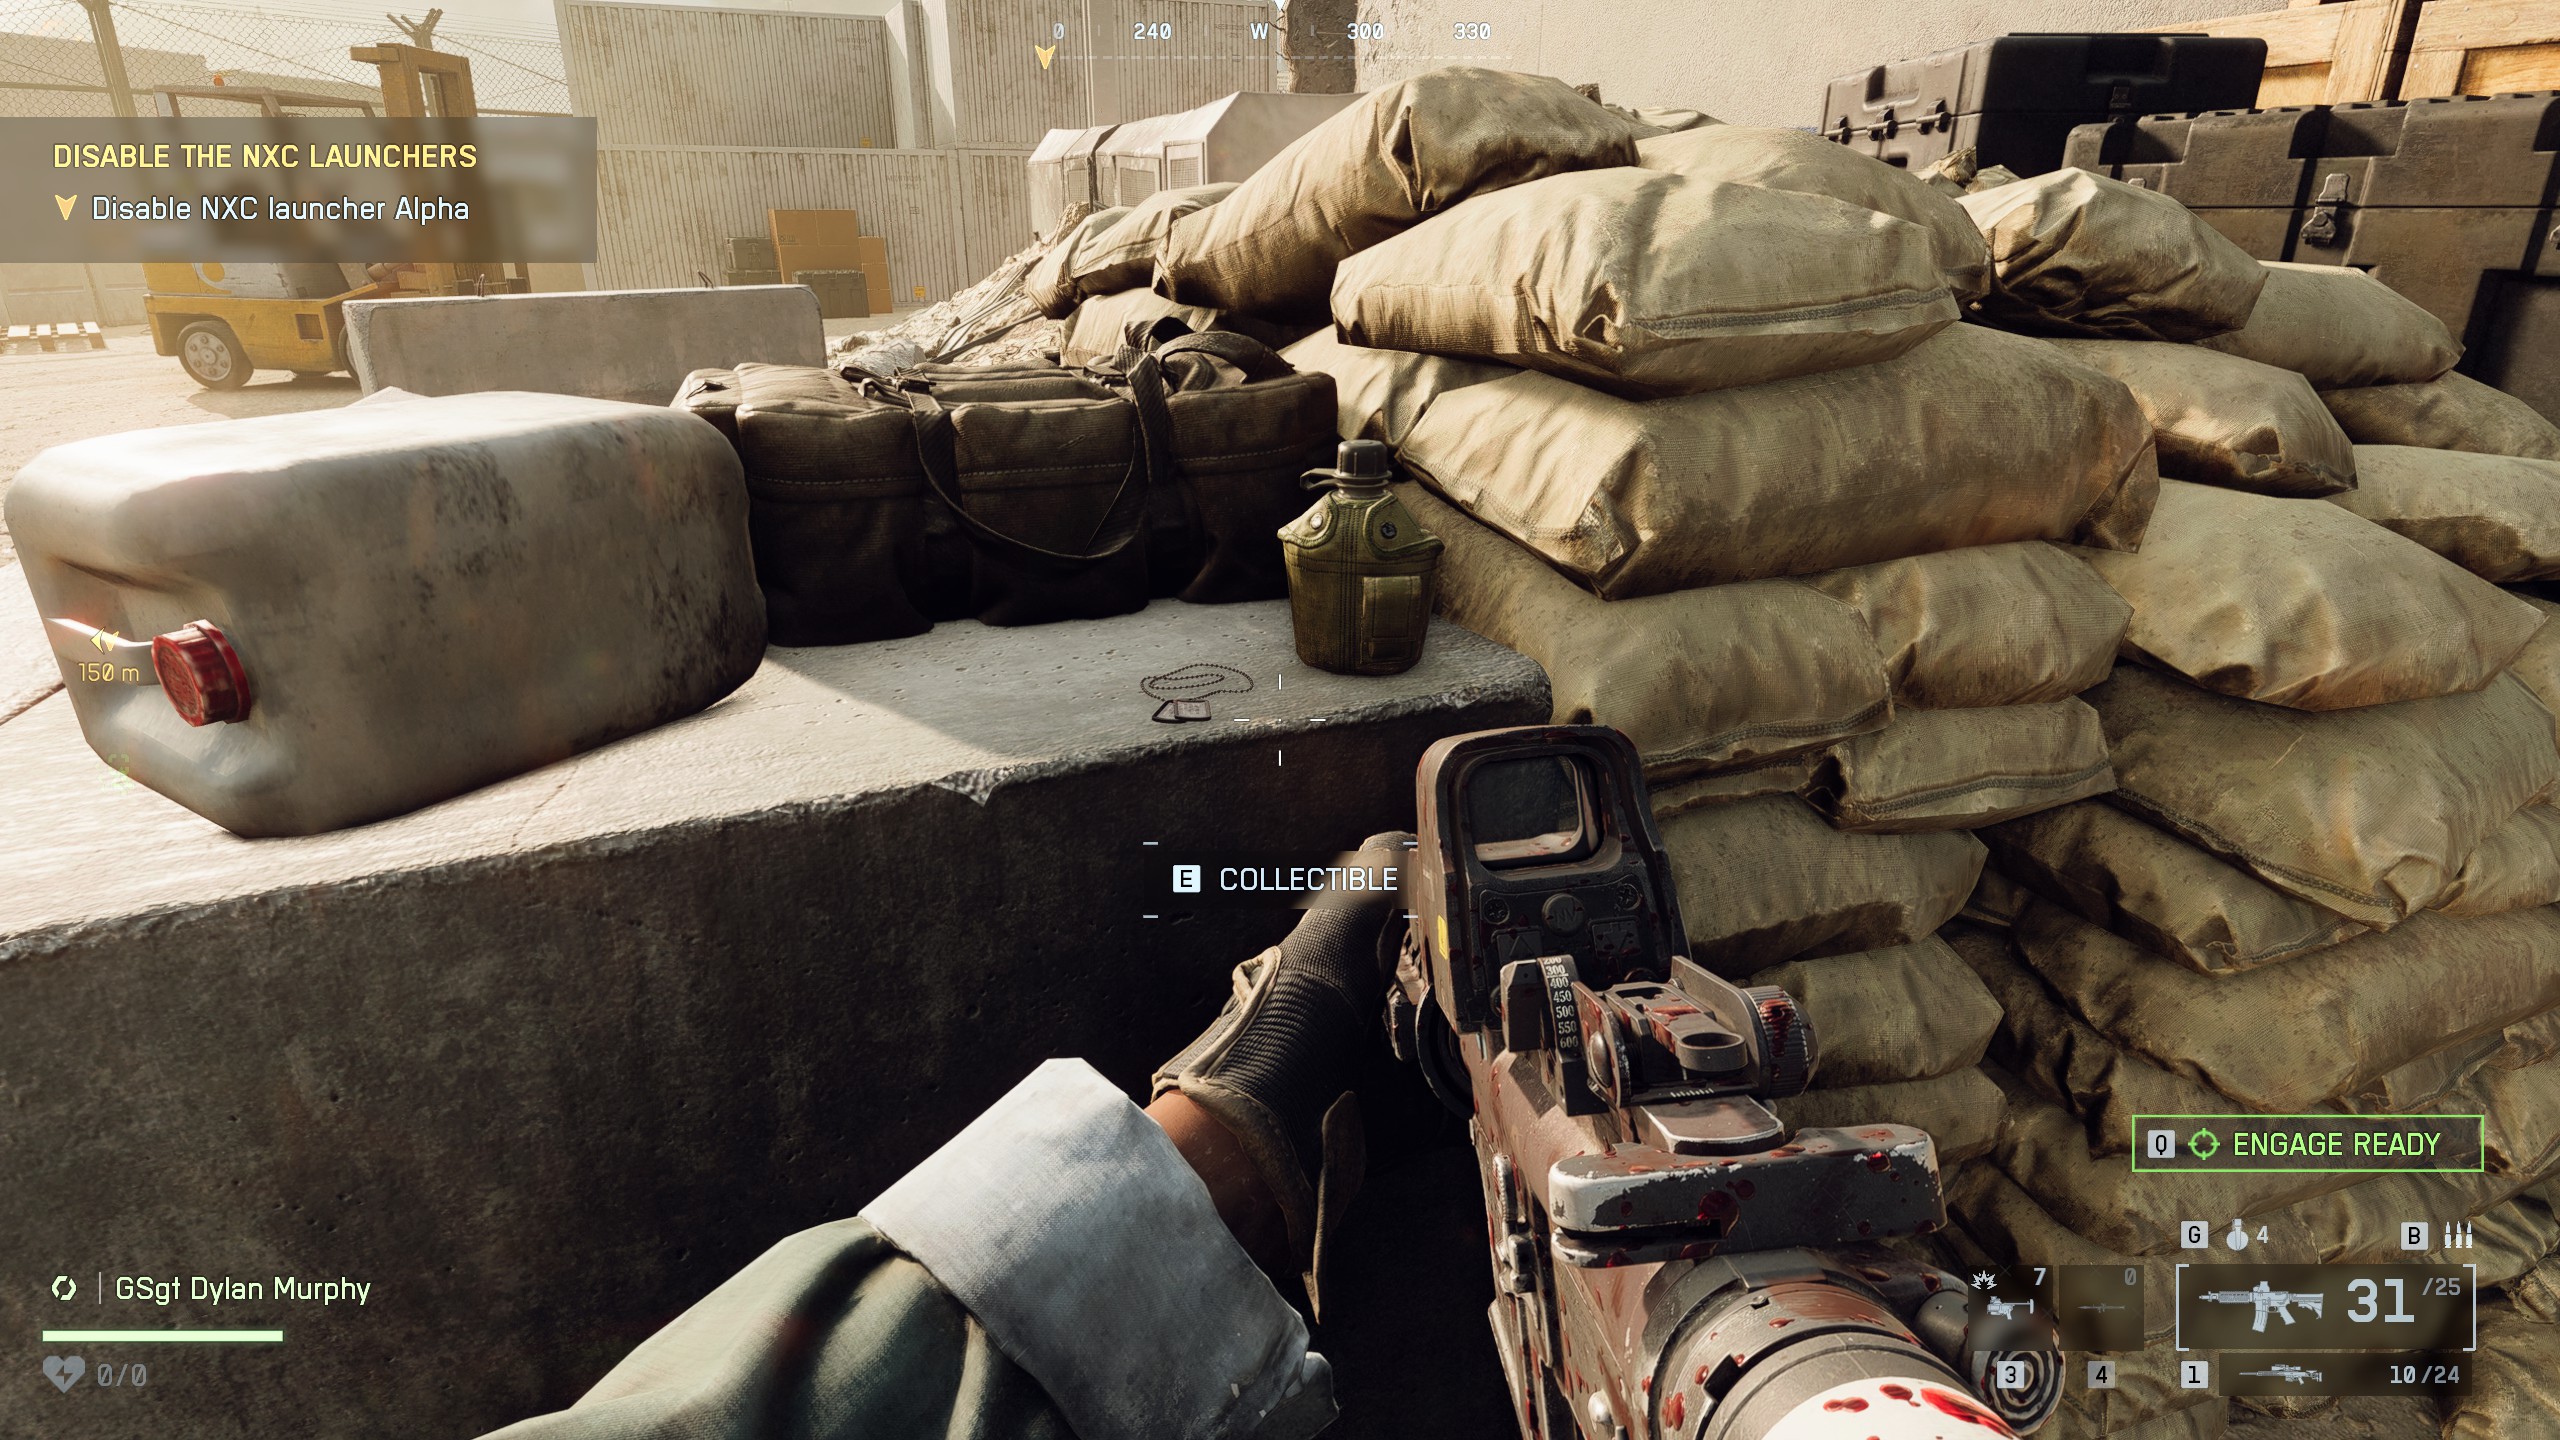
📍Collectible #2 - Dog Tag (#28)Location: Near the radar antenna, on a concrete block by sandbagsAs you progress through the mission, you'll eventually reach a large radar antenna. After exiting the building near the antenna, look for a concrete block next to some sandbags - the dog tag is lying on top of it

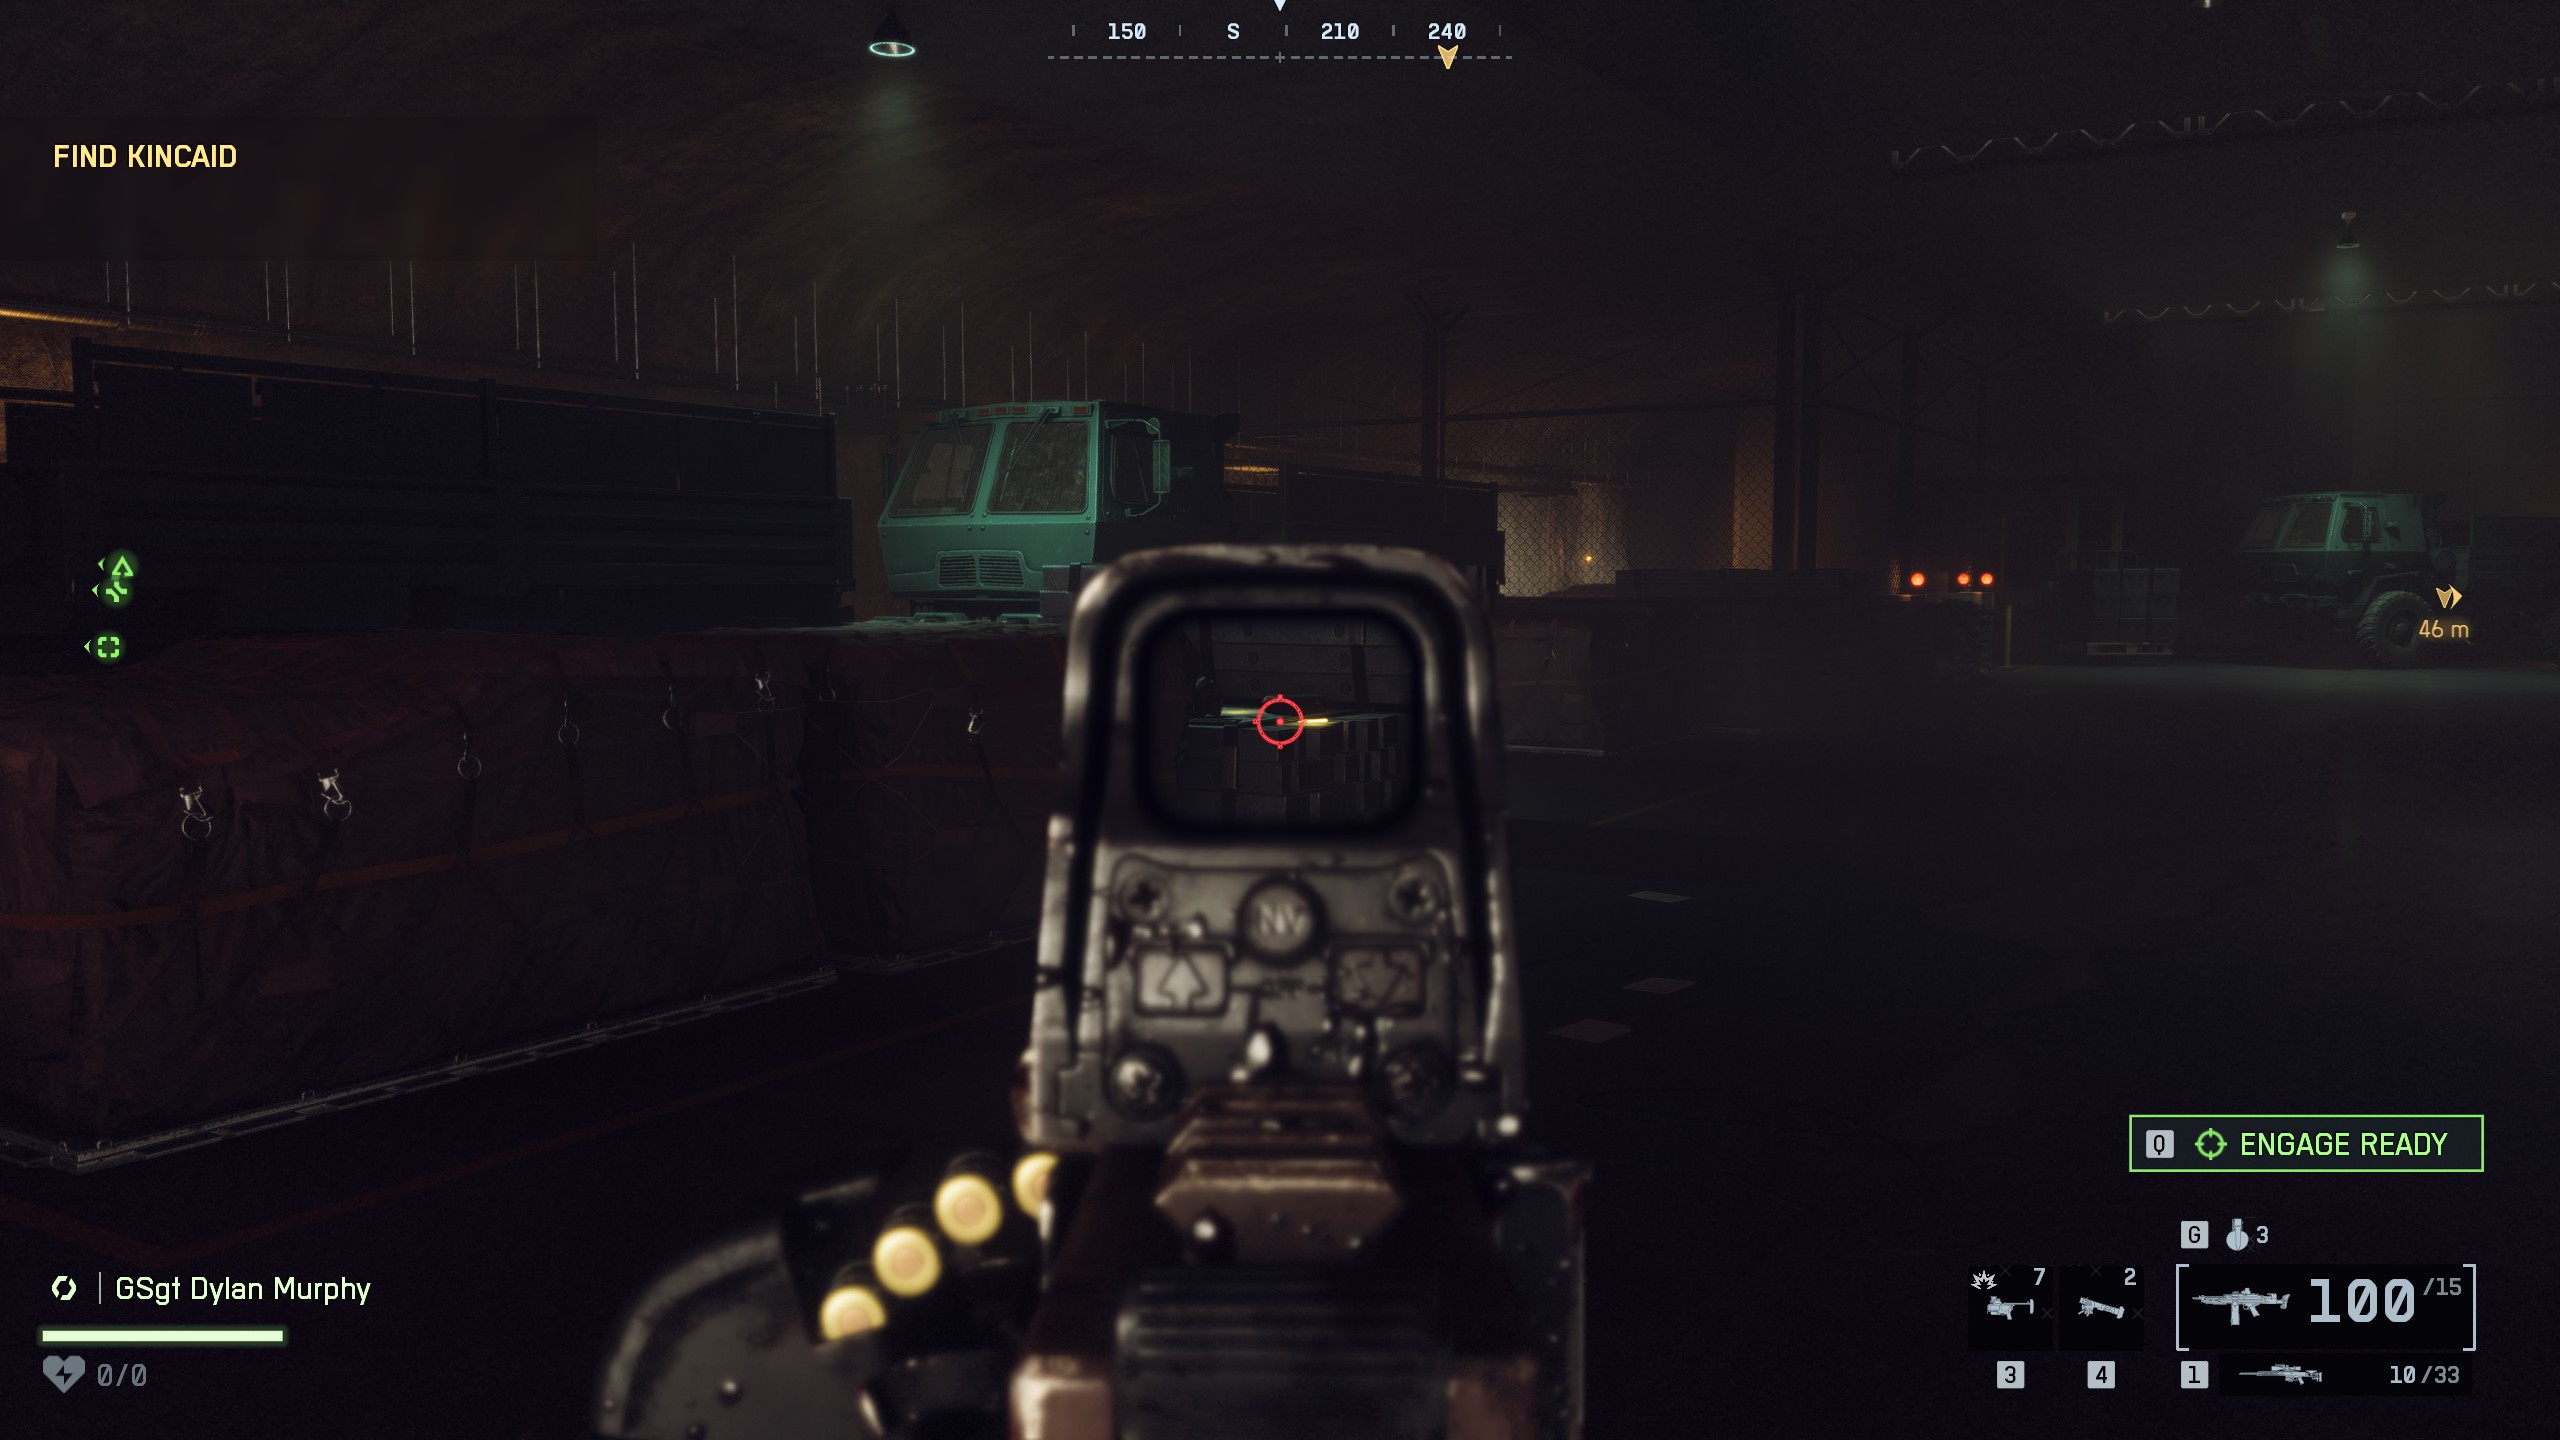
📍Collectible #3 - Dog Tag (#29)Location: Inside the hangar, back left cornerOnce you reach the hangar - head inside and make your way to the far left corner. Look for a stack of crates - the dog tag is resting there
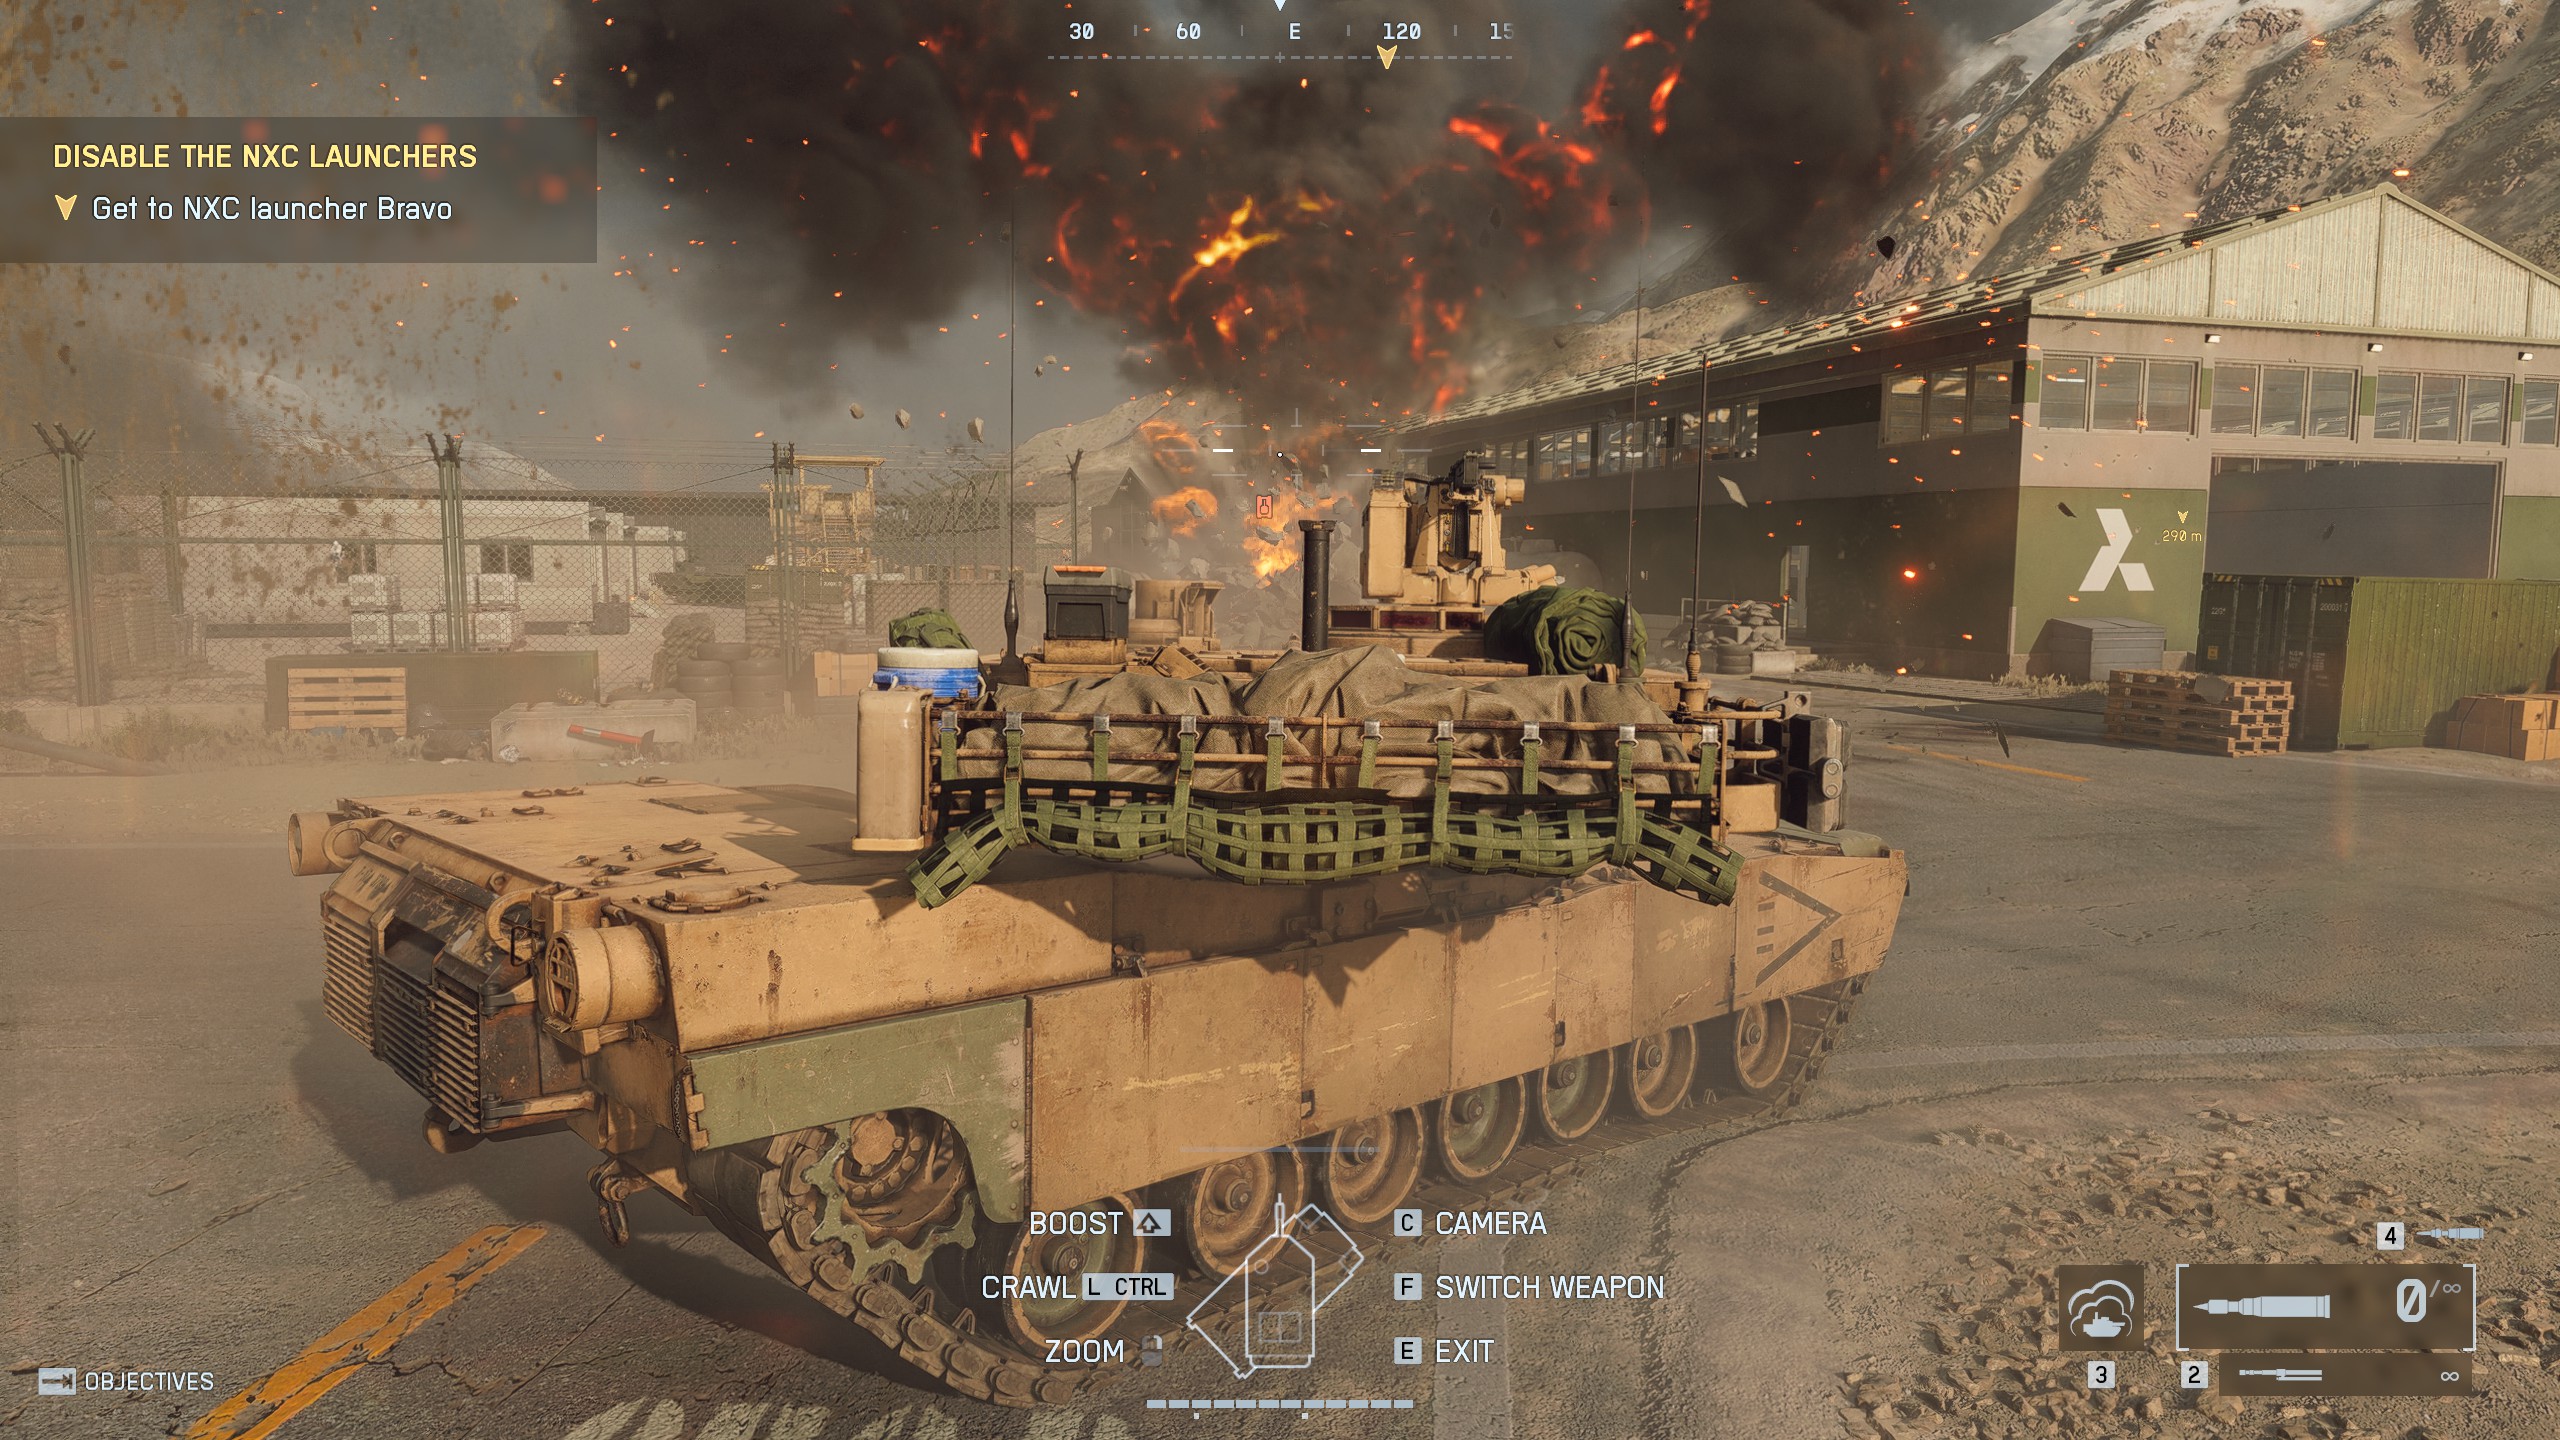
🏆No ReinforcementsShoot down the reinforcement chopper with a tank during Always ForwardAfter exiting the hangar, you'll find a tank waiting outside. Hop in and drive toward the mission objective. Shortly after, a helicopter will appear overhead - shoot it down with the tank to unlock this achievement

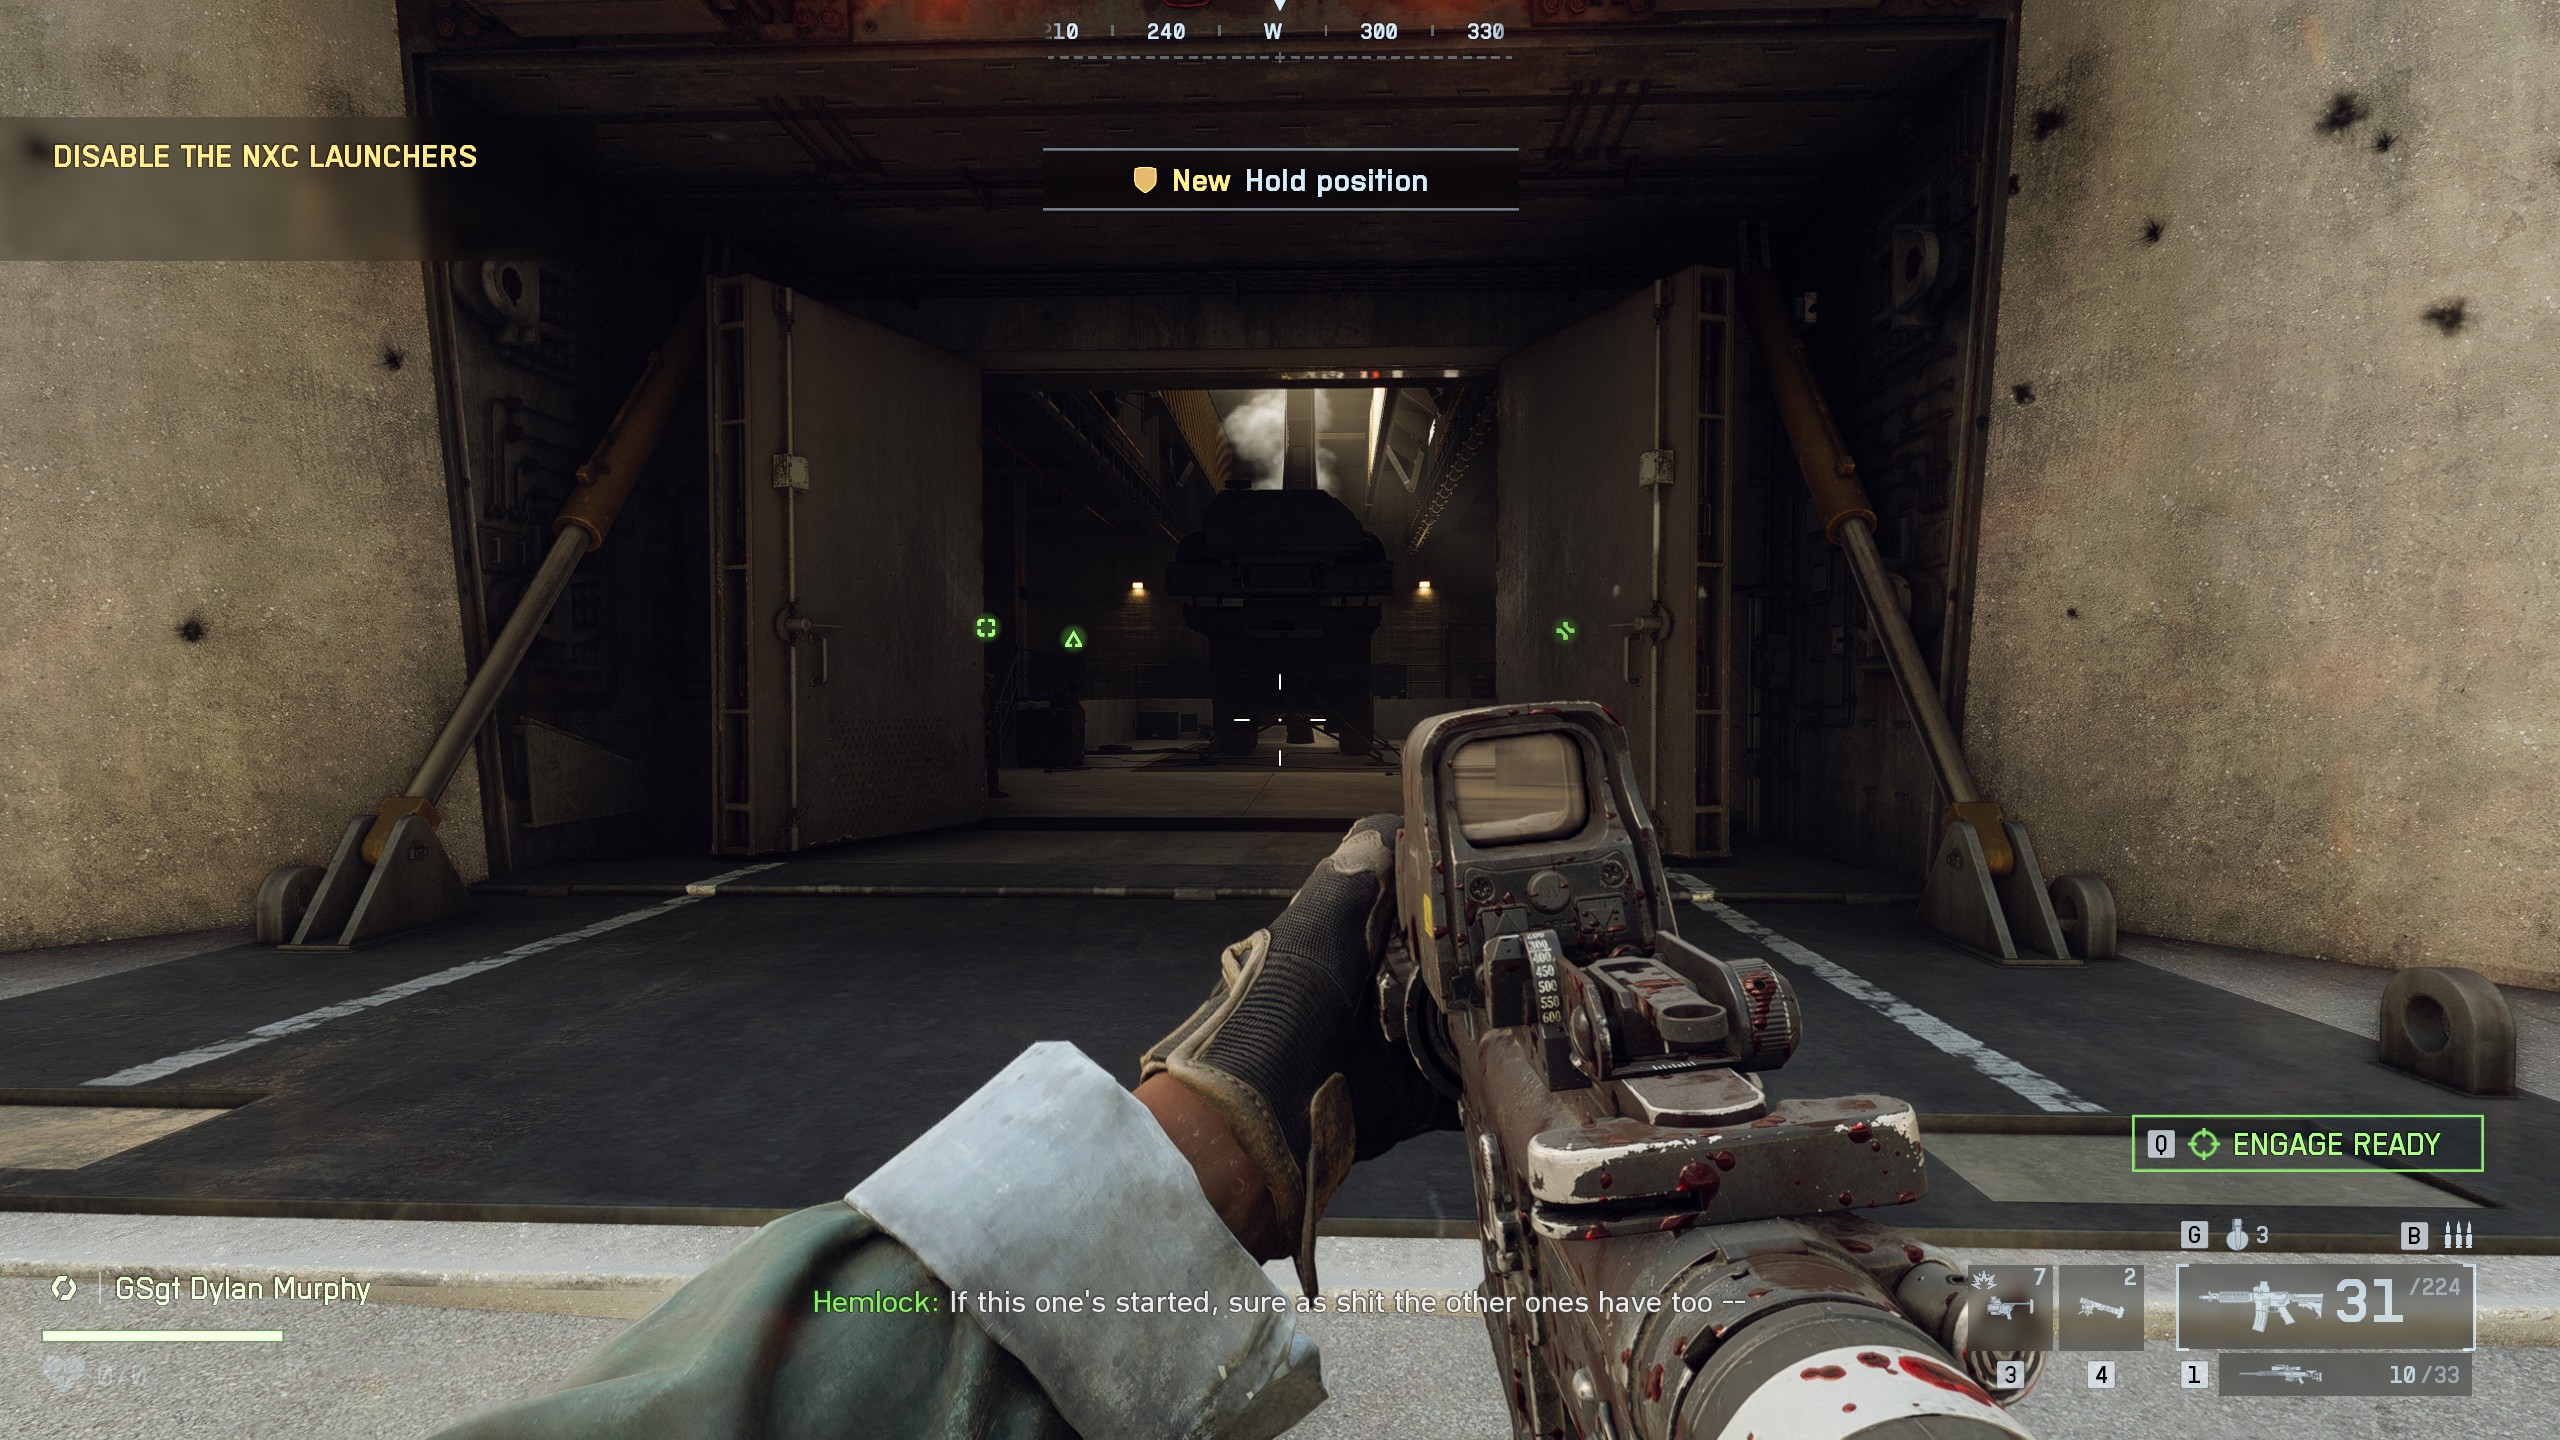
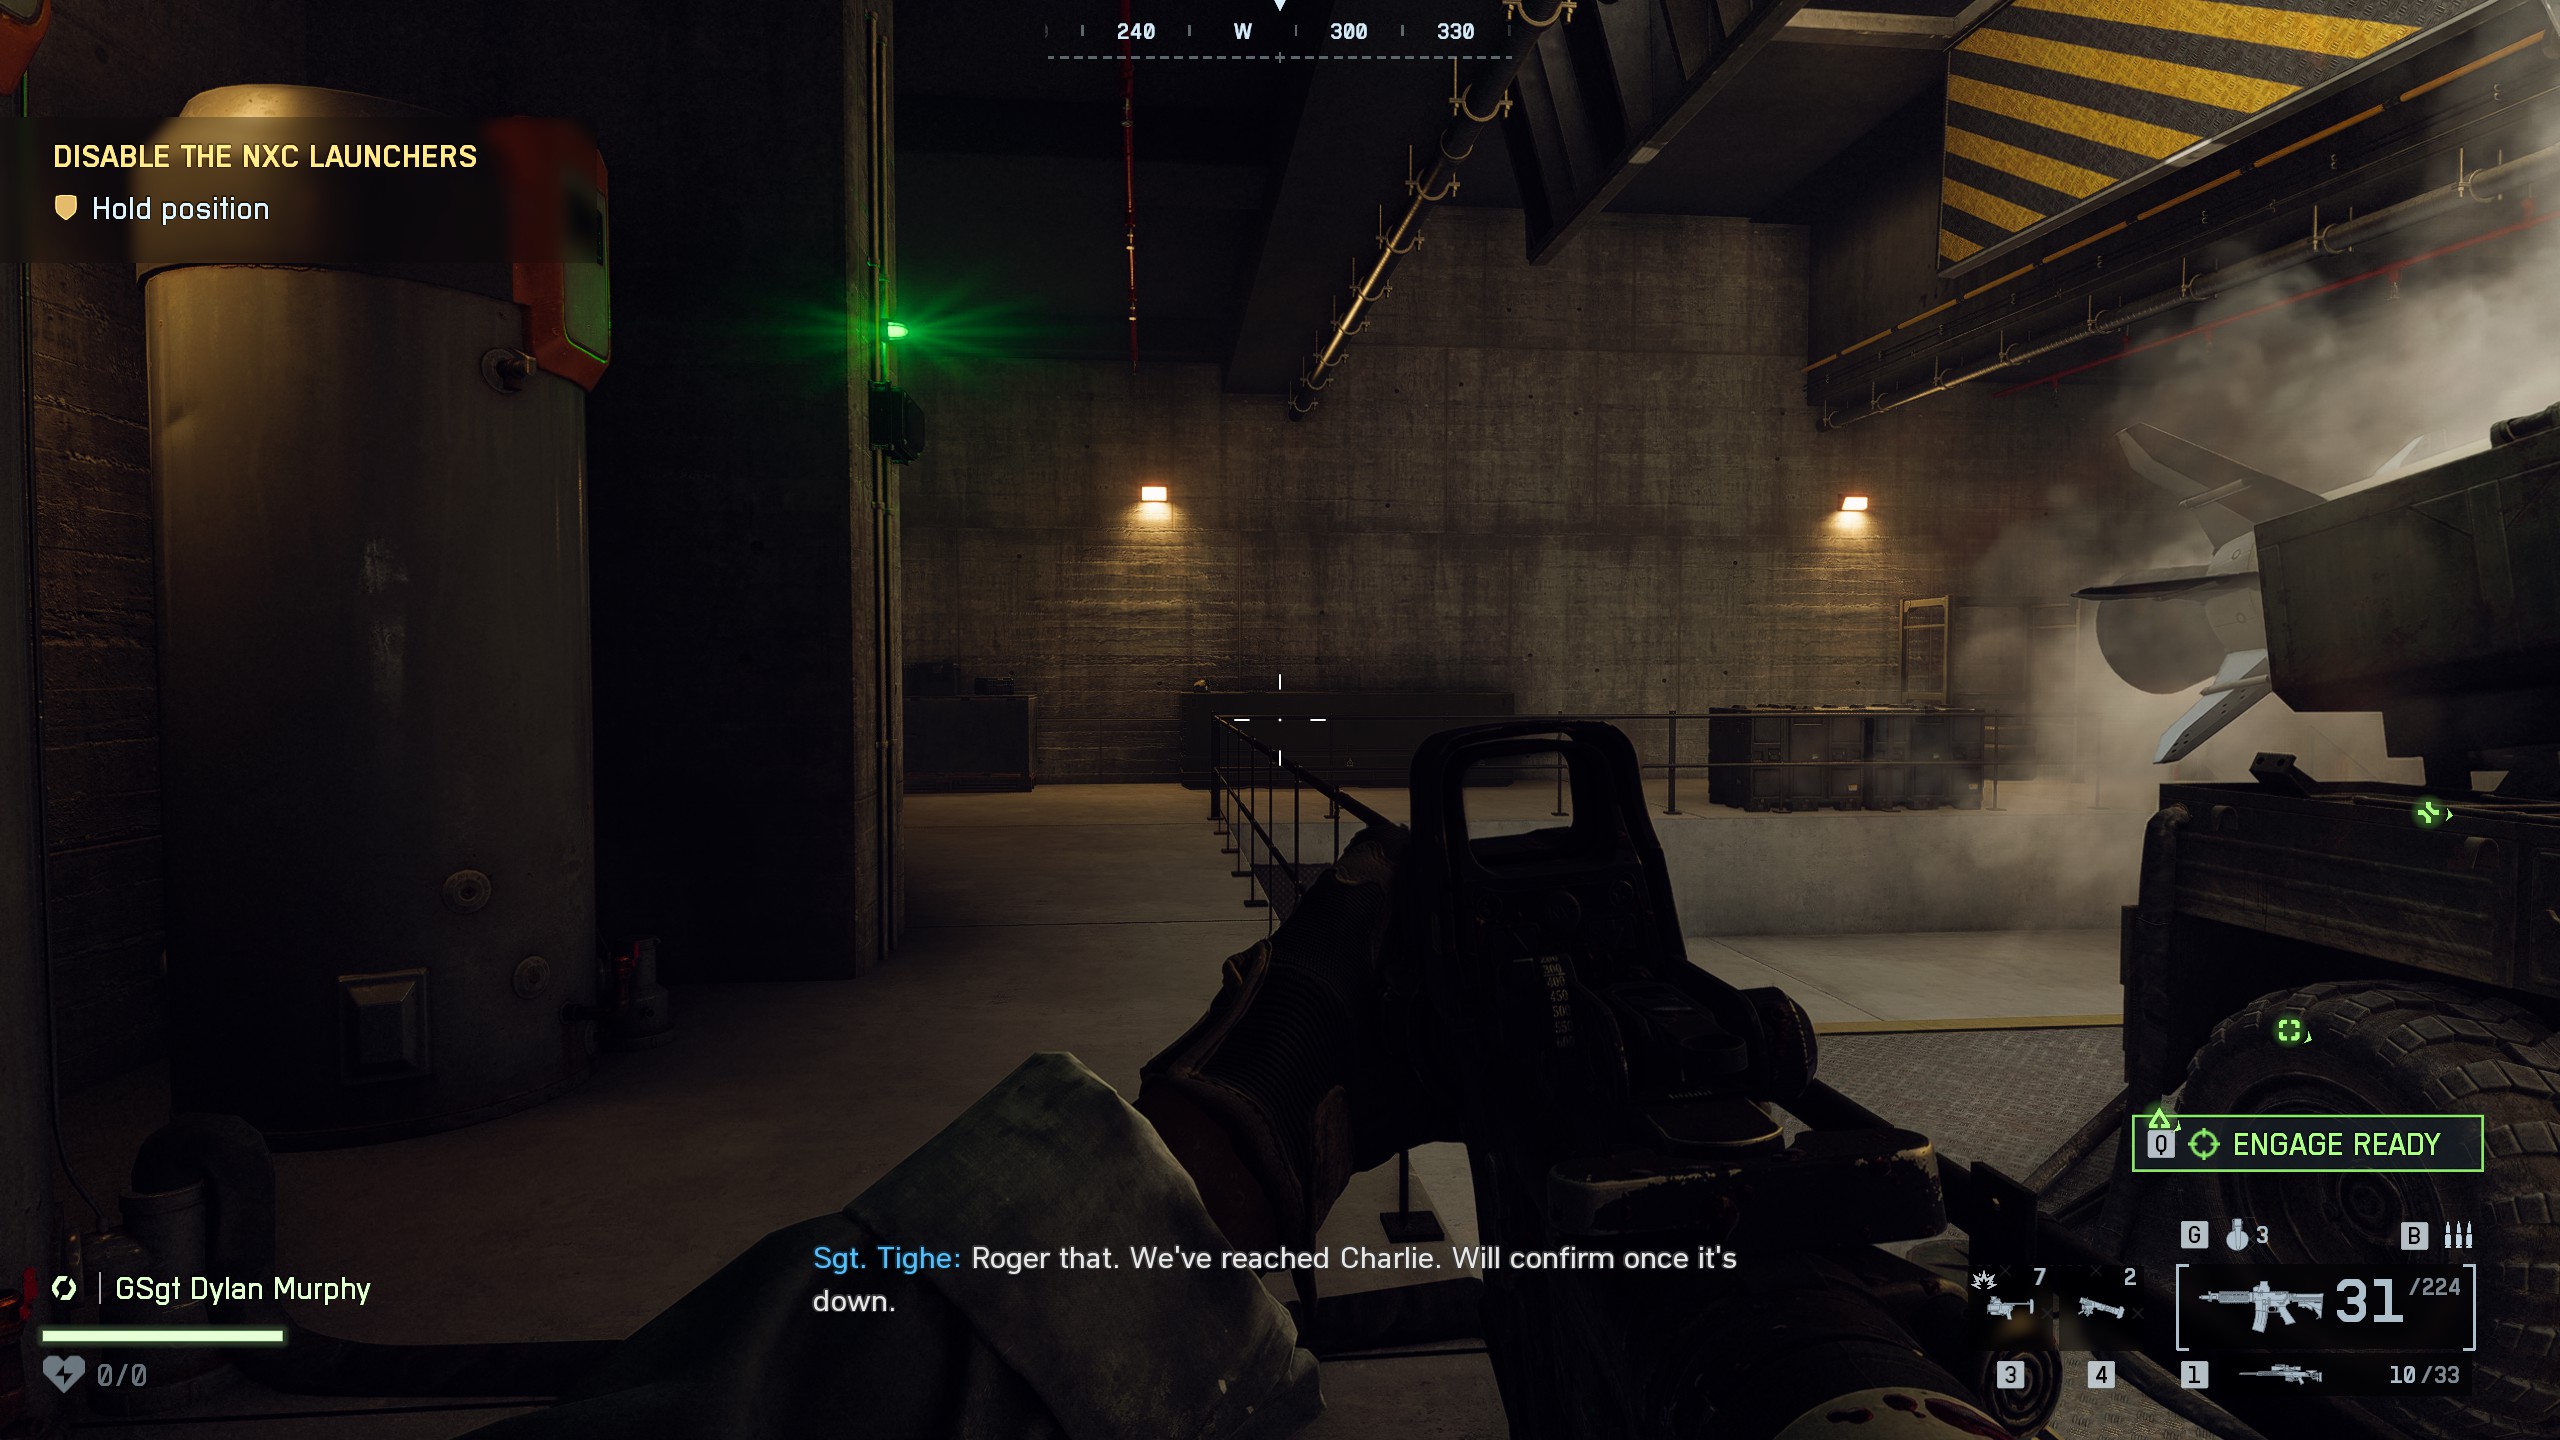
📍Collectible #4 - Dog Tag (#30)Location: Inside the bunker, right after the cutsceneOnce you enter the bunker, a cutscene will play. After it ends and you regain control of your character, the dog tag will be nearby on a crate - on your left if you're facing the mission marker
🏆Pack LeaderPick up all Campaign collectibles

🏆Cloak and DaggerComplete the Battlefield 6 Campaign

Multiplayer Achievements
🏆Heavy WeaponryGet 5 kills with LMGs without reloading in Multiplayer💡You need to get 5 consecutive kills (a kill streak) with an LMG without reloading
- Kills must be quick enough to count as a streak (Marauder award appears)
- 5 kills spread out too much won't work
- Some players report occasional inconsistencies

🏆Five by FiveGet 5 multi-kills as Assault in MultiplayerTo unlock this achievement, you need to earn the 'Marauder' award 5 times while playing as the Assault class.
The marauder is awarded when you get a 5th kill in a rapid multi-kill streak - after killing 4 enemies in quick succession. These awards stack beyond 5 kills, meaning:💡So if you get 9 rapid kills in one streak, you'll earn 5 Marauders and immediately unlock the achievement.
- 5 rapid kills = 1 Marauder
- 6 rapid kills = 2 Marauders
- 7 rapid kills = 3 Marauders
- 8 rapid kills = 4 Marauders
- 9 rapid kills = 5 Marauders
⚠️You don't need to earn all five Marauders in a single game! Progress is cumulative across all multiplayer games!
The kills must happen within a short time window, so speed and positioning matter!

🏆PunishedGet 129 kills in Multiplayer

🏆Wrench MonkeyRepair vehicles for 2042 damage in Multiplayer

🏆Road RashGet a Roadkill with vehicles in Multiplayer

🏆1200Get 6 sidearm headshot kills in a Multiplayer matchSimply use your pistol and get 6 headshot kills in a single multiplayer match
⚠️All 6 headshots must be done within the same match!

🏆First Blood 2Perform 10 takedowns in a Multiplayer matchA takedown is done by sneaking up behind an enemy and pressing the interact button (usually "F") to melee them and take their dog tag

🏆Private First Class MontesReach Rank 9

🏆Lance Corporal MatkovicReach Rank 14

🏆Sergeant RedfordReach Rank 25

🏆Command and Conquest 2Capture 128 objectives in Conquest

🏆Front lineTake or Defend 41 sectors in Breakthrough

🏆Super Bomb manArm or disarm 5 M-COM explosives in a Multiplayer matchMust be completed in a single RUSH match - it is not cumulative
💡Clear enemies near the objective, throw smoke grenades for cover, and quickly arm or disarm the M-COM

🏆Stolz der NationGet 250 sniper rifle kills as Recon in Multiplayer

🏆A Joyful NurseRevive 1996 players as Support in Multiplayer

🏆Medal of HonorCommit 414 acts of valor in Multiplayer

🏆A Little C-4 Knocking on Your DoorDeal 2000 damage to enemy vehicles with the Demolition ChargeTo unlock the Demolition Charge (C4) for the Recon class, you need to:Once you've completed these steps, the C4 will be available for use
- Reach level 10 to unlock the Recon Assignment
- Spot 250 enemies in objective areas using Recon gadgets (like the spotting drone)
- Earn 10 000 score while paying as Recon
⚠️If you've completed all the requirements but the C4 is still locked, try restarting the game - sometimes it doesn't update until you do

Battle Royale Achievements
🏆May the Odds Forever Be in Your FavorPlay 74 matches of any version of Battle Royale.

🏆Never-Ending GamePlay 125 rounds of Gauntlet.

🏆Everybody Fights, Nobody QuitsWin a Battle Royale match as a full squad with total squad survival.

🏆Army of TwoWin 7 matches in Battle Royale: Duos.

🏆Mission AcceptedComplete 214 missions in any version of Battle Royale.

🏆Dog of WarCollect 9 Dog Tags in Battle Royale or Gauntlet.

🏆CollectorLoot 10 Superior or Unique items.

🏆Mozambique Here!Ping a Shotgun in Battle Royale.

🏆Here's Your Birthday PresentTake advantage of 42 Call-Ins.

🏆Stone ColdStun 316 times in Battle Royale or Gauntlet.

🏆Rise from Your GraveRevive teammates 1988 times in Battle Royale or Gauntlet.

🏆Secret 12Unknown

Assignments
Single Player Assignments
⚠️Each level of the assignment is locked until you complete the previous one, so you can't finish everything in one go
Challenge Expert
- Polar Nexus (Weapon Camo)
Complete a mission without firing a gun (melee, grenades and gadgets only)💡You can easily get this by playing mission "Nile Guard"
- Set difficulty to the Recruit
- Using the tank's main cannon and machine count does not count as firing a gun for this challenge
- Frag grenades help if you need to clear groups quickly
- After you exit the tank and enter the building, use an RPG to clear group of enemies in front of you, then just sprint to the right-side building (where the dog tag is), and run straight to the crash site
- Deadheader (Player Card Title)
Complete a Mission without needing to be revivedAny mission will do. On average, missions take around 20-25 minutes.
Personally, I'd go with the "Nile Guard"- Hardware XP Booster (Consumable)
Complete a Mission using only a pistolAny mission will do. On average, missions take around 20-25 minutes.- Breach (Player Card Background)
Complete a Mission while performing 30 headshotsAlmost any mission will do.
⚠️Do NOT pick "Nile Guard"!- Safeties On (Player Card Icon)
Complete a Mission while performing 10 Melee KillsAlmost any mission will do.
⚠️Do NOT pick "Nile Guard"!
Recommended missions: "Night Raid", "No Sleep", "Operation Gladius"
💡Easy Method to Complete 3 Challenges at OnceYou can complete the following challenges in one go with a simple trick:
- Complete a mission without firing a gun
- Complete a mission without needing to be revived
- Complete a mission using only a pistol
- Start the mission Nile Guard on Recruit difficulty and play normally (you can use the tank, it's fine).
- Complete the mission as usual, after the cutscene begins, skip it
- When you're at the Deploy screen for the next mission:
> Immediately ALT+F4 (close the game)
> Relaunch Battlefield- In the main menu, press on Nile Guard again and choose Continue Mission
- You'll spawn after the tank section, just sprint to the helicopter without firing
That’s it! The three challenges should all complete if done correctly.
Credit to Shovel & Community!
Community Support & Thanks
Big thanks to everyone who has supported this guide so far, whether by giving awards, adding it to your favorites, or jumping into the comments to share your knowledge and experience.
Special shoutout to those who've helped improve the guide by pointing out updates, corrections, or tips I might've missed - your feedback makes this better for everyone!
If you spot anything else or have more info to share, feel free to drop it in the comments!
Don't forget to actually enjoy the game too! It's easy to get caught up chasing 100%, but the fun moments along the way matter just as much ❤️