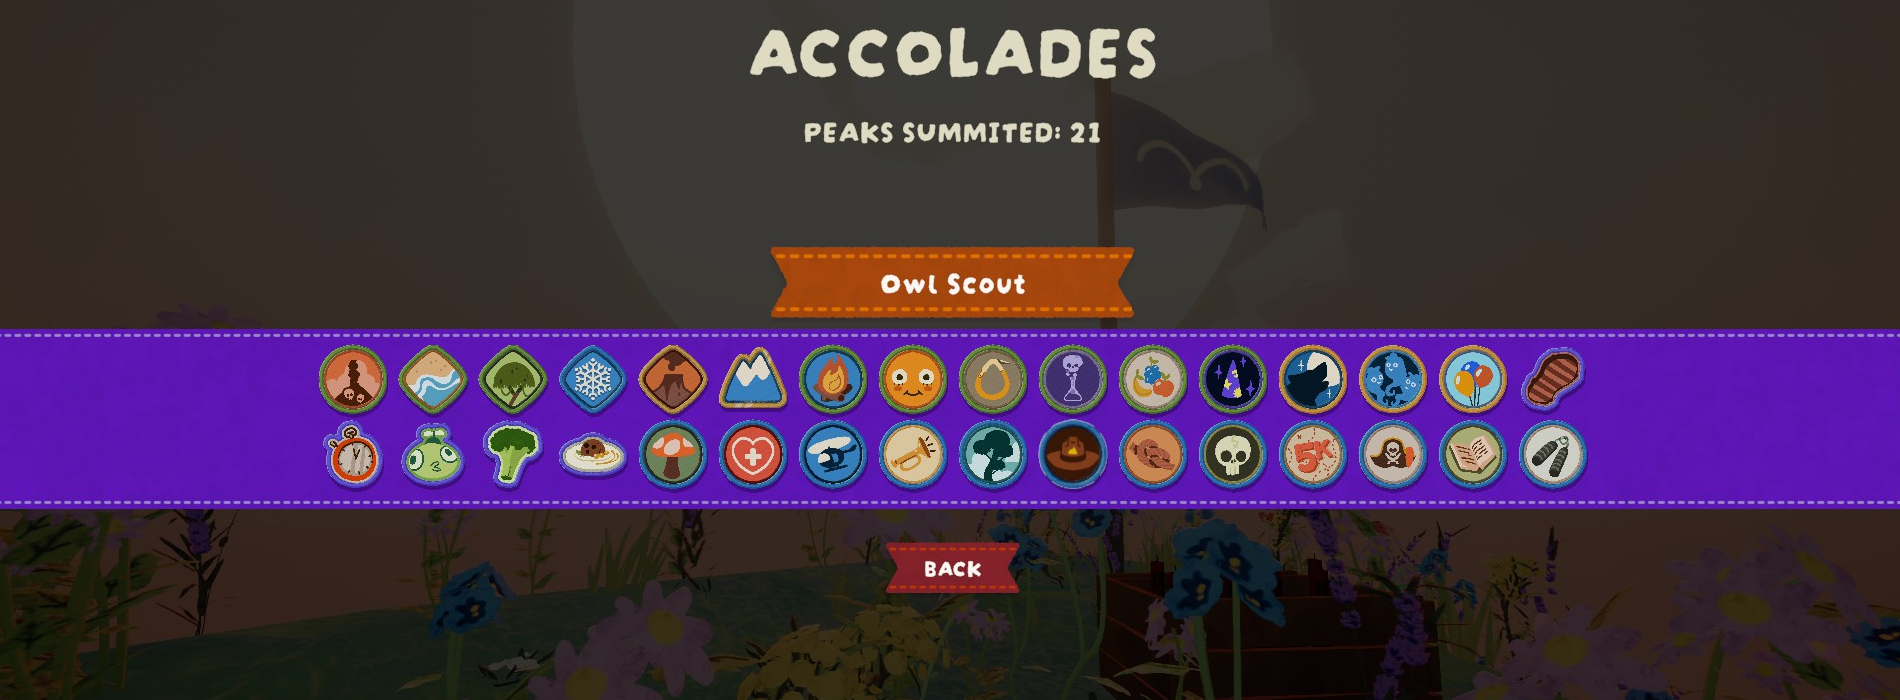
[OUTDATED] Peak: 100% Achievements + SECRET [EN]
 Croustilune
(721 ratings)
Jun 22, 2025 @ 3:19am65,877973
AchievementsSecretsWalkthroughsEnglish
Other Languages
Ask for my permission before translating my guide into another language.
Languages already translated:
French / Français
https://steamcommunity.com/sharedfiles/filedetails/?id=3504546744
Russian / Русский
https://steamcommunity.com/sharedfiles/filedetails/?id=3507861981
Spanish / Español
Currently being translated
Languages already translated:
French / Français
https://steamcommunity.com/sharedfiles/filedetails/?id=3504546744
Russian / Русский
https://steamcommunity.com/sharedfiles/filedetails/?id=3507861981
Spanish / Español
Currently being translated
Introduction
Welcome to this guide.
If you found this helpful, please give it a thumbs up!
It helps a lot for the guide’s visibility.
And good luck with your ascent.

Before we begin, be warned: this guide contains SPOILERS!
If you haven’t finished the game yet, feel free to use the index to navigate through the different achievements while avoiding spoilers.
• To make unlocking achievements easier, you can play on TENDERFOOT difficulty.
Note: All achievements can be unlocked on this difficulty.
In this mode:
- Climbing consumes less stamina.
- Hunger increases more slowly.
- And there's no time limit to complete areas.
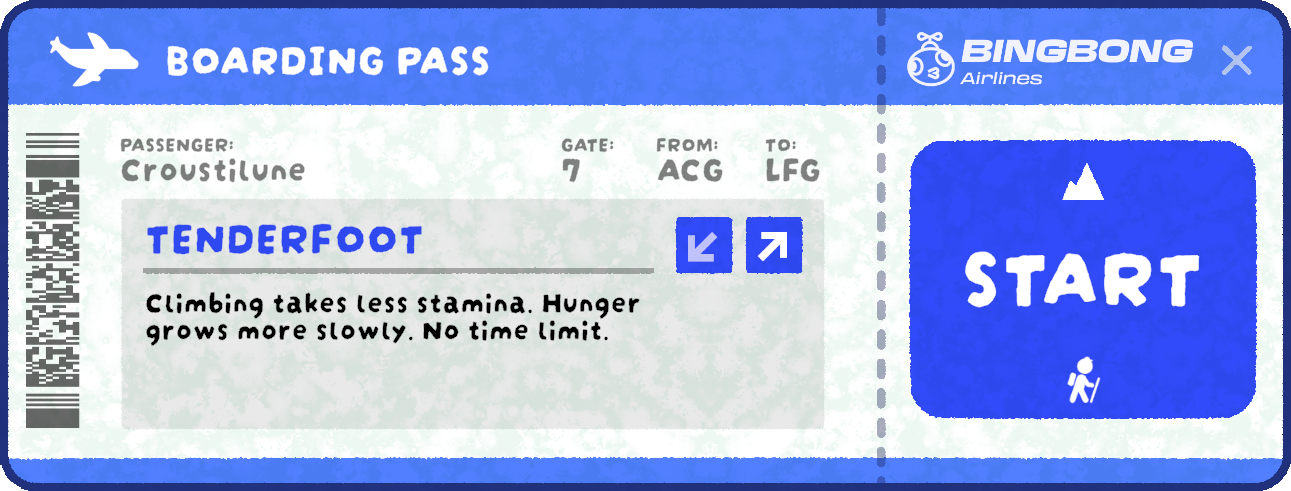
• Keep in mind that the game map changes every 24 hours.
If an achievement seems impossible at the moment, wait a few hours and you might get a map that makes it easier to unlock it.
If you found this helpful, please give it a thumbs up!
It helps a lot for the guide’s visibility.
And good luck with your ascent.
Before we begin, be warned: this guide contains SPOILERS!
If you haven’t finished the game yet, feel free to use the index to navigate through the different achievements while avoiding spoilers.
My tips for getting started:
• To make unlocking achievements easier, you can play on TENDERFOOT difficulty.
Note: All achievements can be unlocked on this difficulty.
In this mode:
- Climbing consumes less stamina.
- Hunger increases more slowly.
- And there's no time limit to complete areas.
• Keep in mind that the game map changes every 24 hours.
If an achievement seems impossible at the moment, wait a few hours and you might get a map that makes it easier to unlock it.
-------------------------
Beachcomber Badge
 This achievement is unlocked at the end of the first area of the game: SHORE, after lighting the campfire.
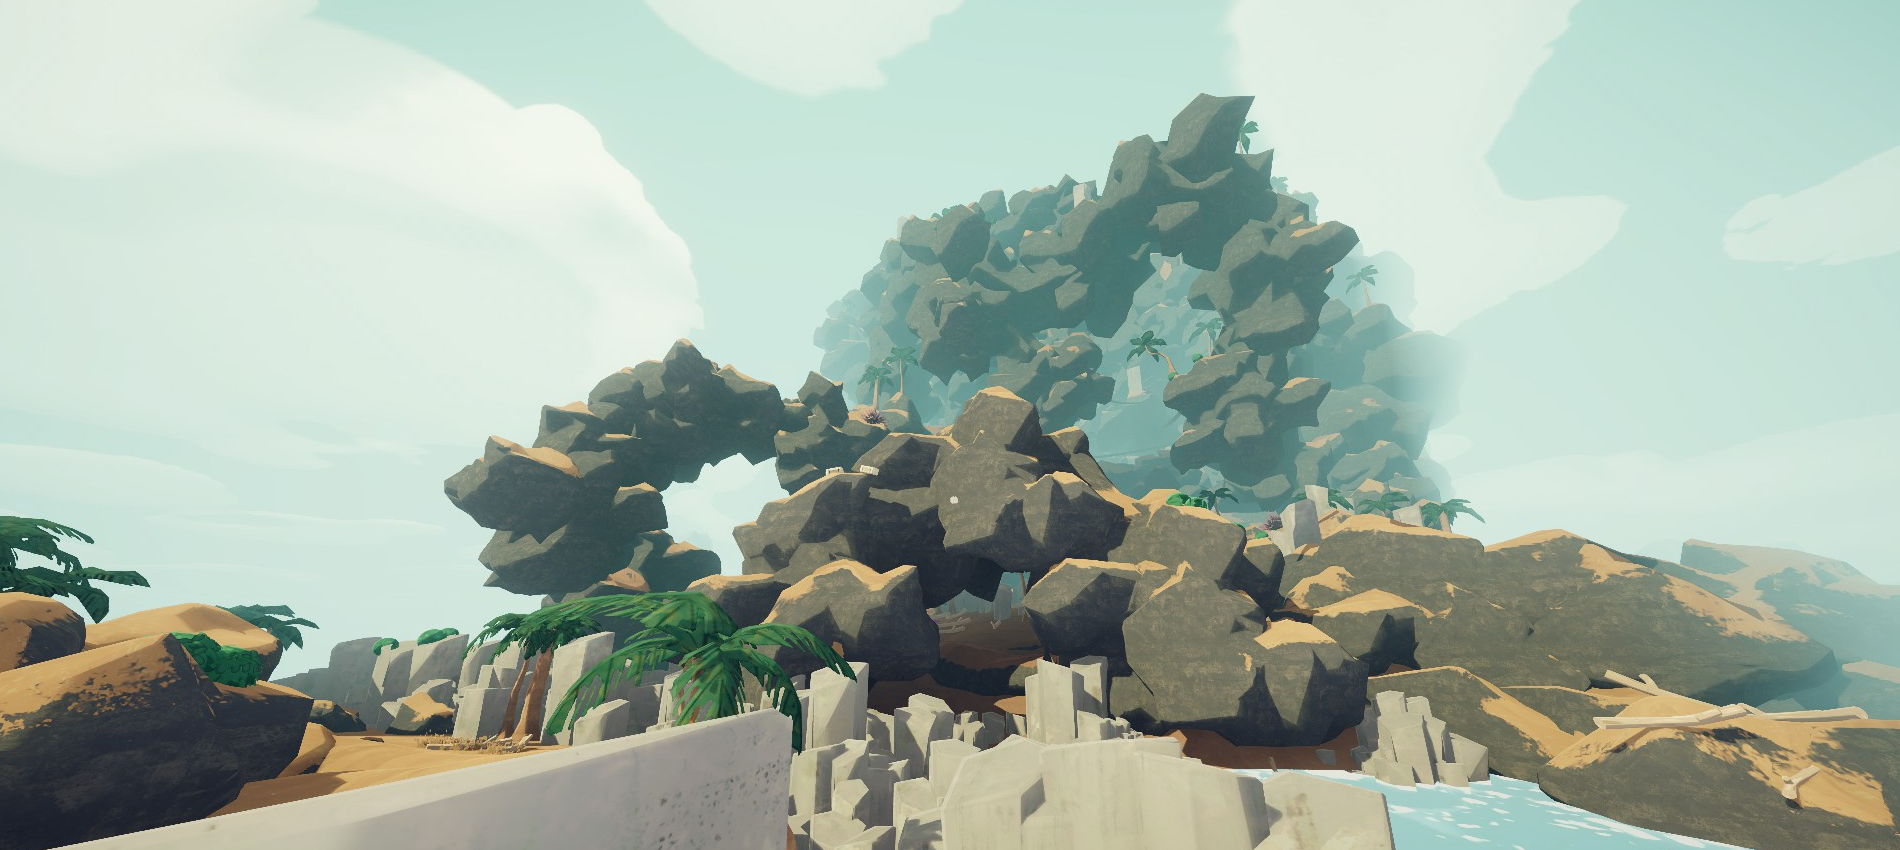 (The game map changes every 24 hours, so this image may not match the current layout of the area.)
Trailblazer Badge
 This achievement is unlocked at the end of the second area of the game: TROPICS, after lighting the campfire.
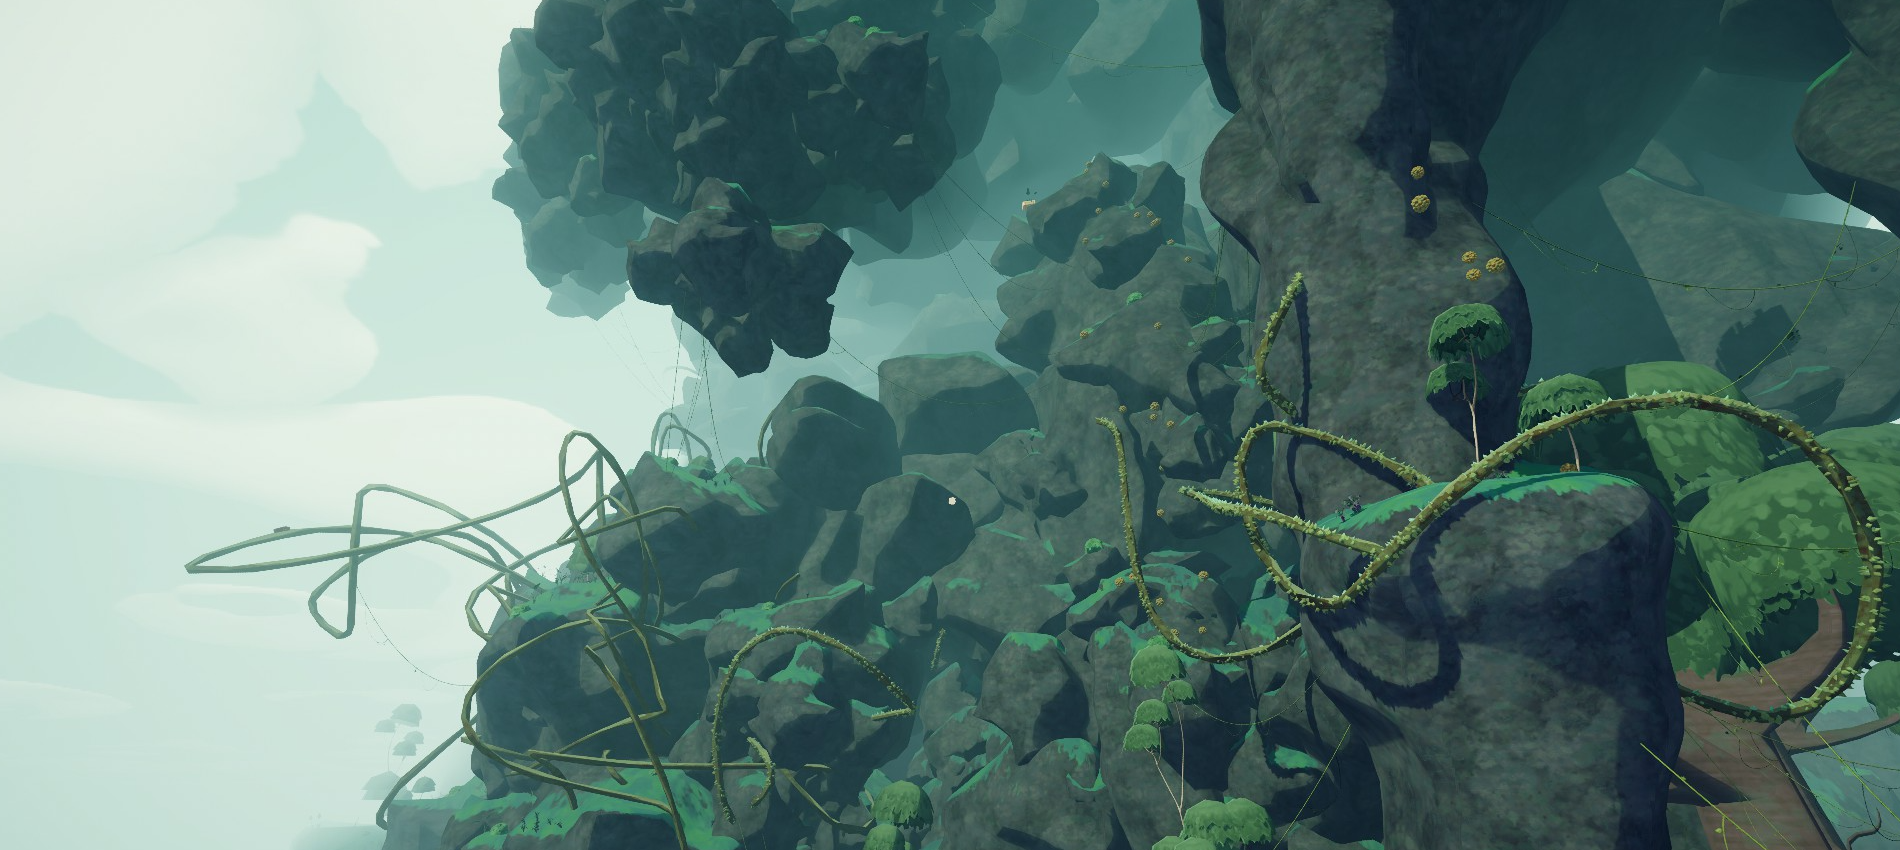 (The game map changes every 24 hours, so this image may not match the current layout of the area.)
Alpinist Badge
 This achievement is unlocked at the end of the third area of the game: ALPINE, after lighting the campfire.
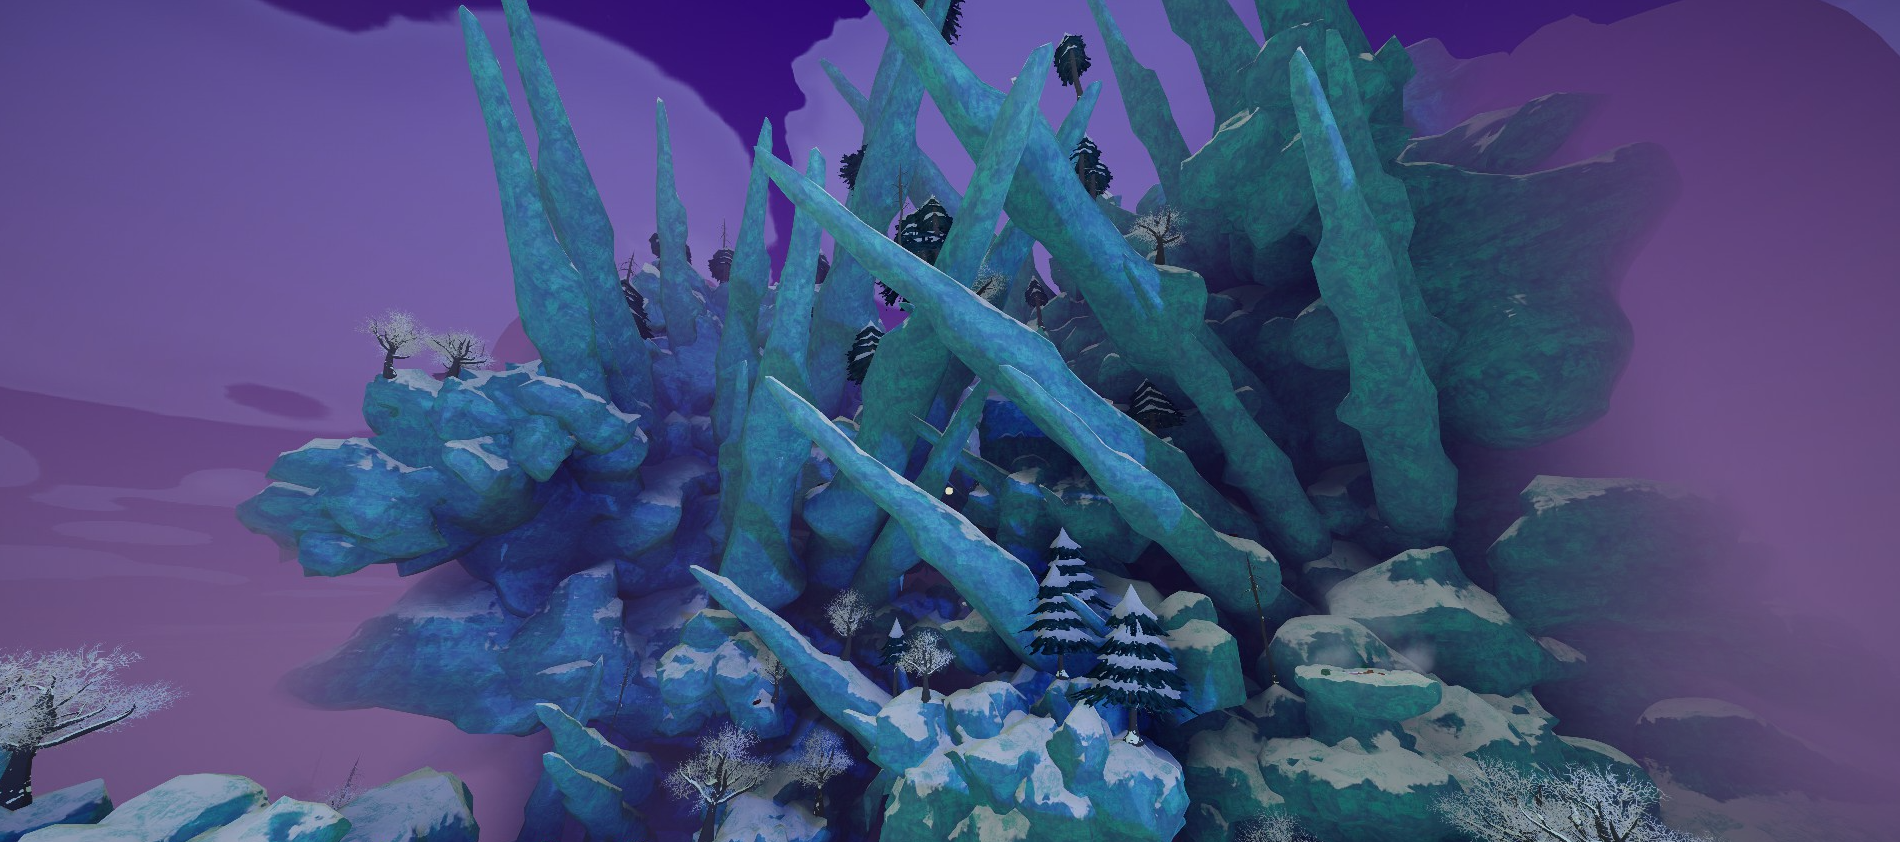
(The game map changes every 24 hours, so this image may not match the current layout of the area.)
Volcanology Badge
 This achievement is unlocked at the end of the fourth area of the game: CALDERA, after reaching the heart of the volcano.
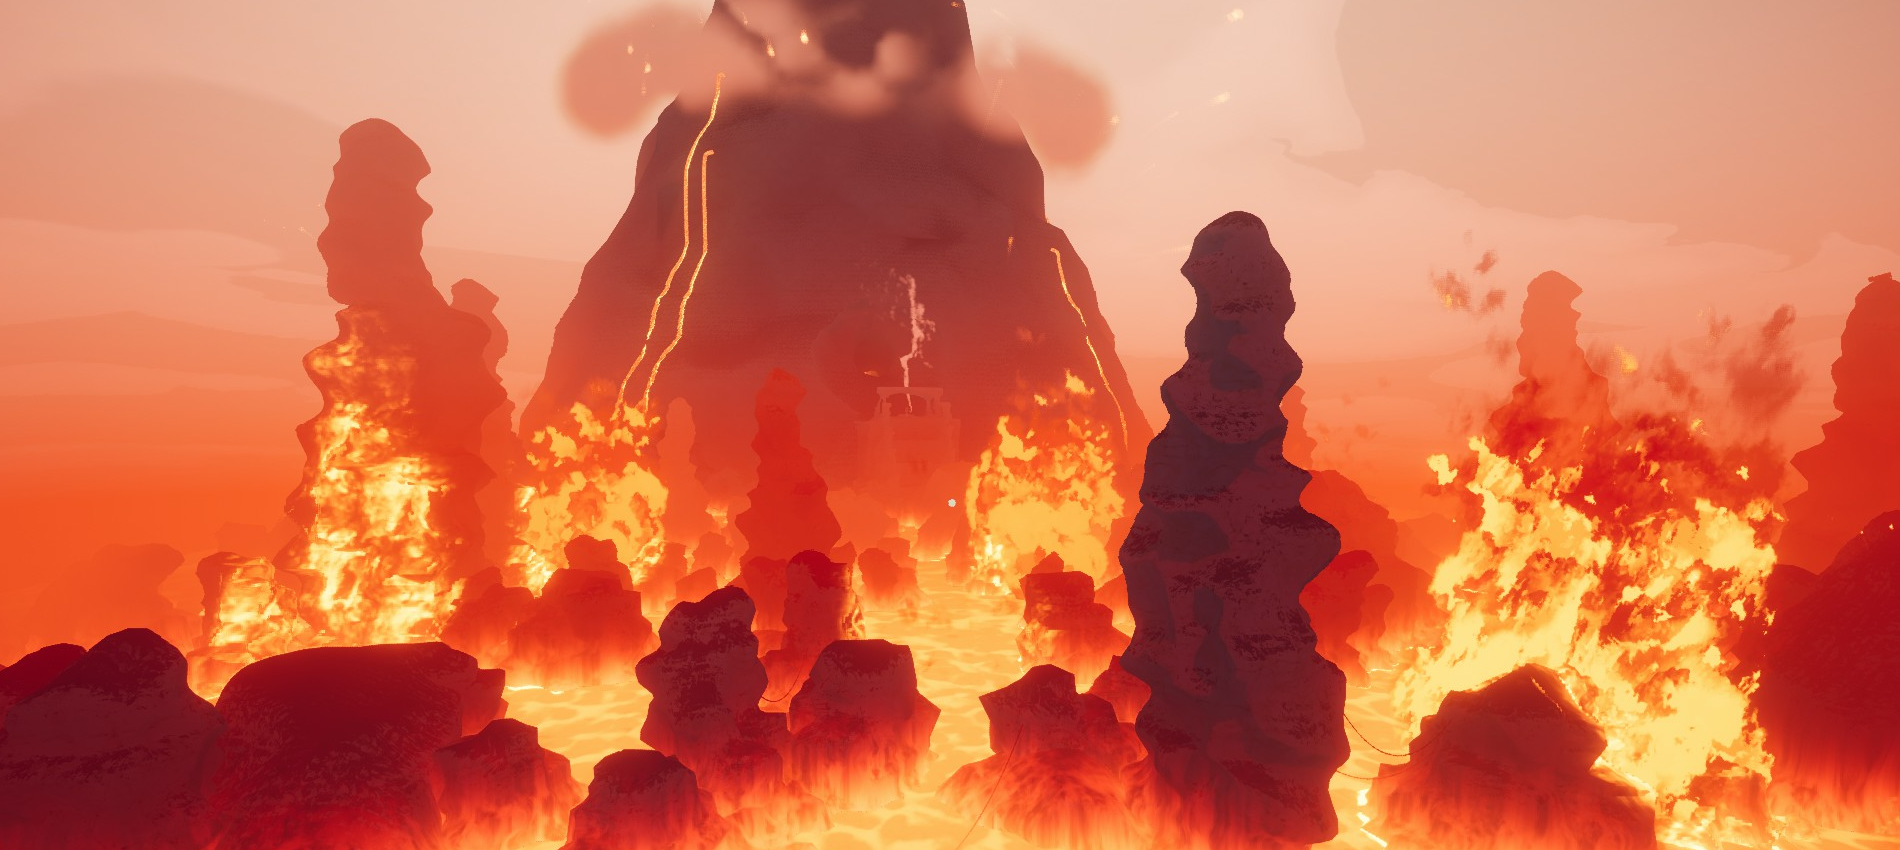 (The game map changes every 24 hours, so this image may not match the current layout of the area.)
Peak Badge
 This achievement is unlocked after the fifth zone of the game: THE KILN, when you reach the sixth zone: PEAK.
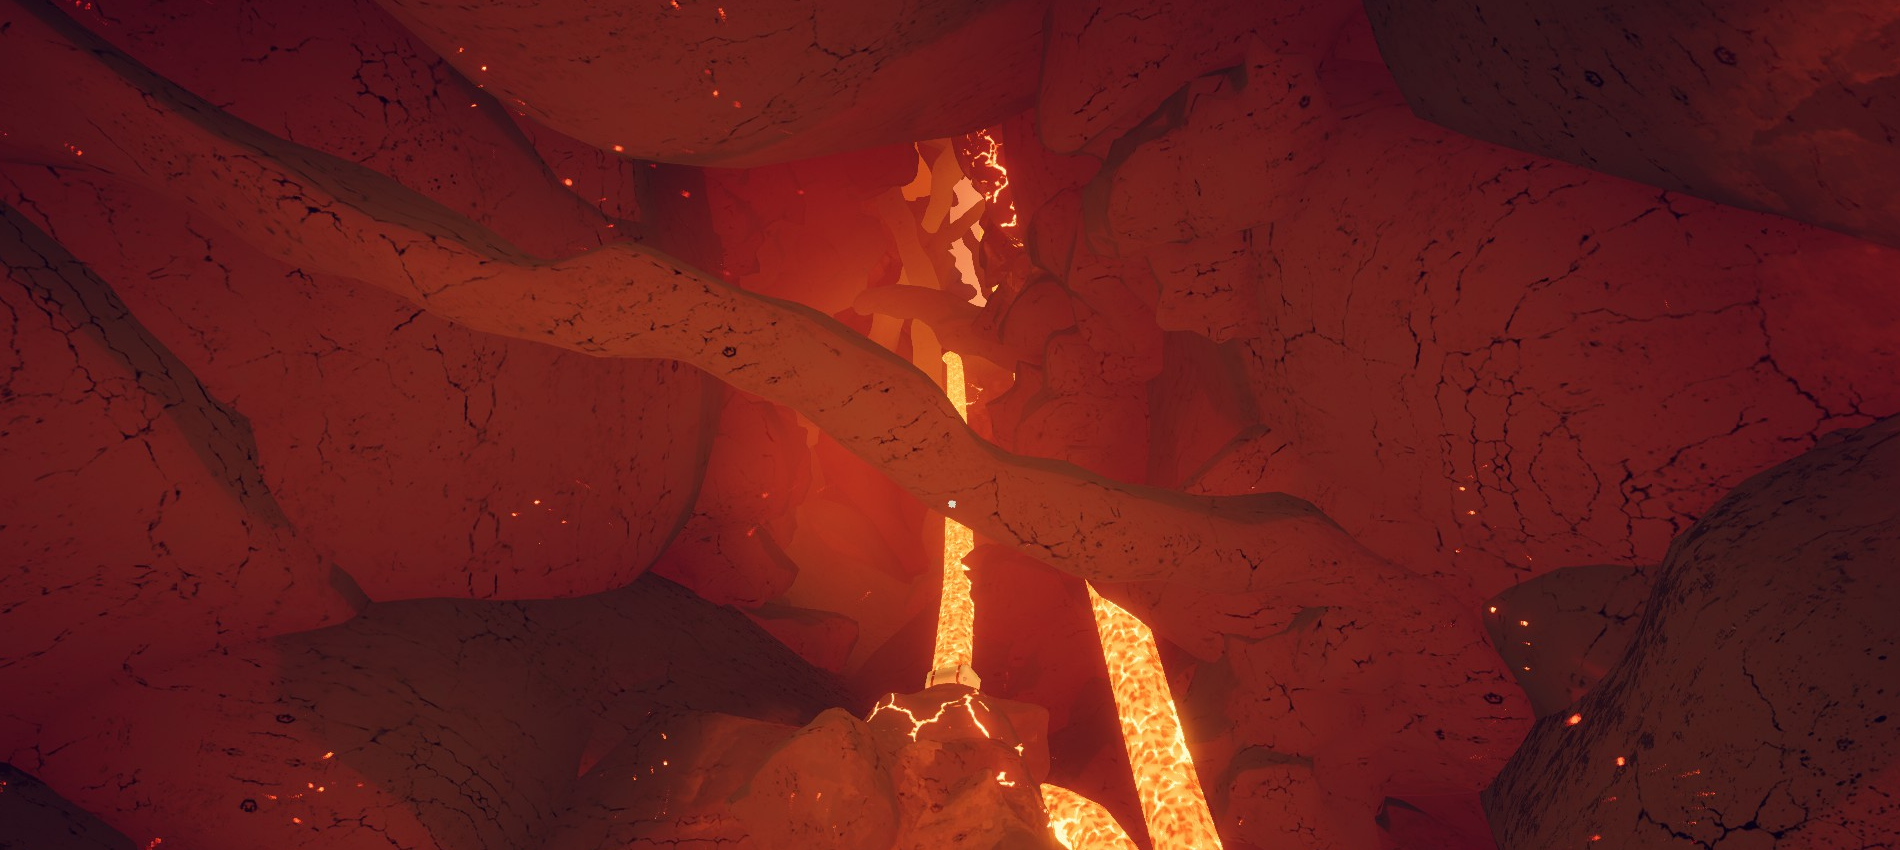
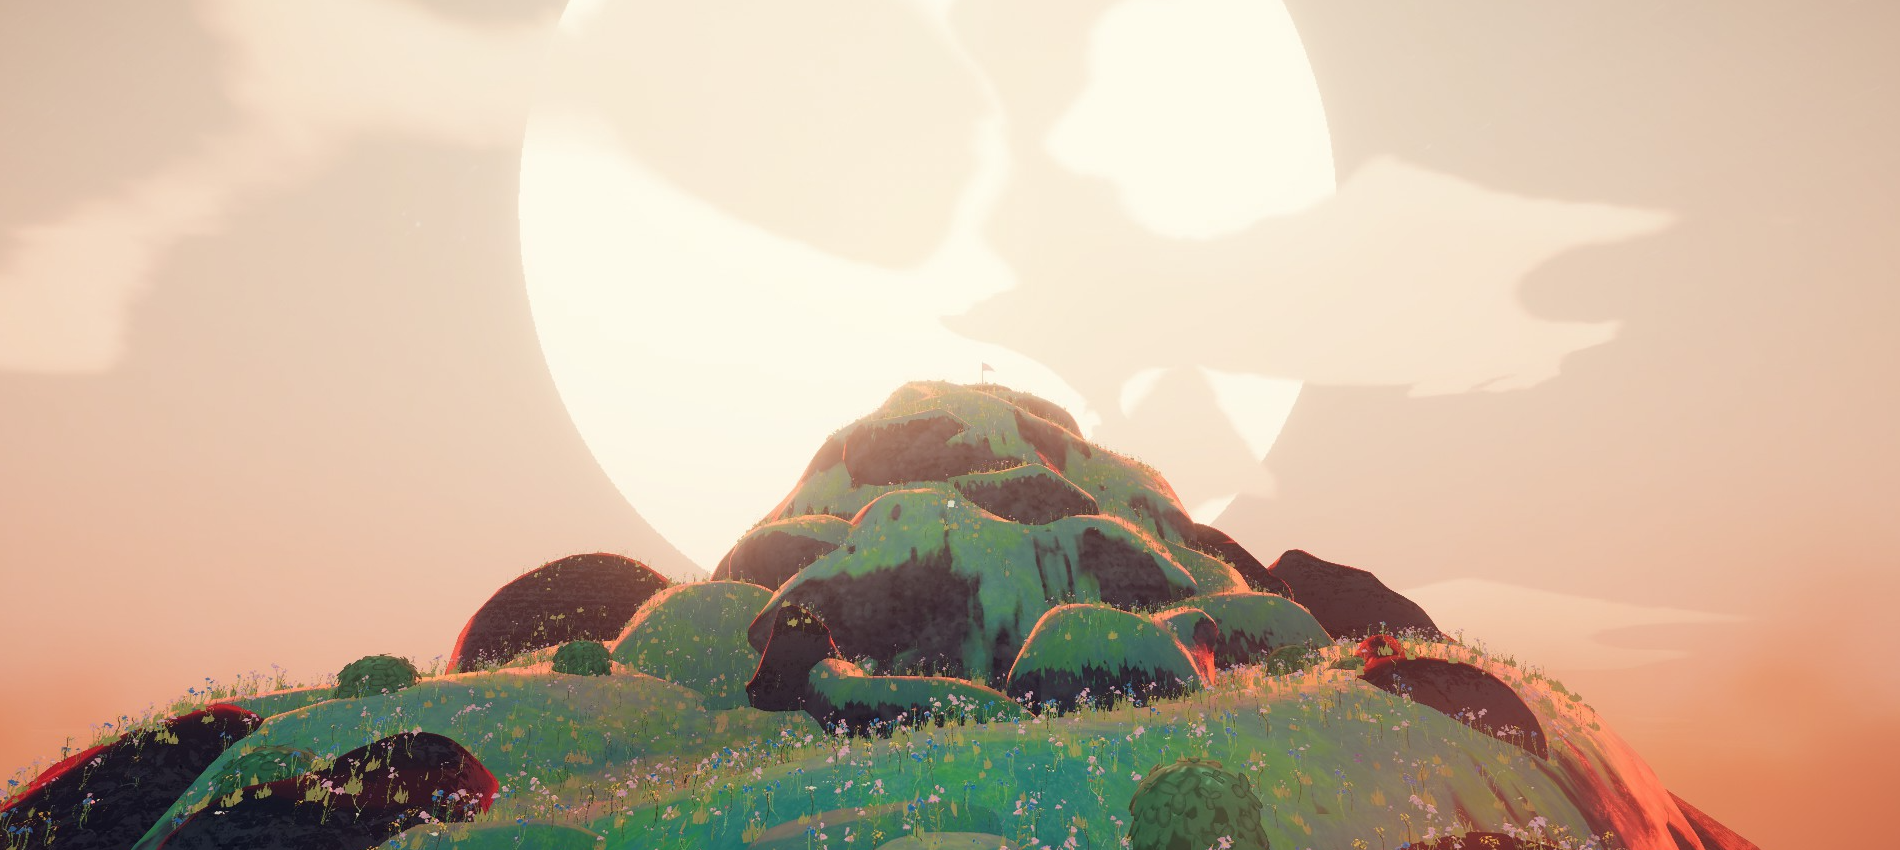 (The game map changes every 24 hours, so these images may not reflect the current appearance of the areas.)
-------------------------
Animal Serenading Badge
 For this achievement, you'll need to play the bugle for a capybara.
You'll have to carry any bugle all the way to the third area of the game: ALPINE, then find the capybaras and play them some music.
Note: The Scoutmaster's Bugle and the Bugle of Friendship can be obtained from an ancient statue or found in ancient luggage.
But the easiest way is to bring back the Bugle you find in the plane, right after waking up on the island.
To find them more easily, approach the mountain and look for a steam cloud.
Their locations don’t change on the same map, but they can be anywhere along the height of the zone.

Arborist Badge
 For this achievement, you'll need to find a way to climb a giant tree in the second area of the game: TROPICS.
Balloon Badge
 For this achievement, you must complete the game without taking any fall damage.
Take your time, stay vigilant, avoid risks, and keep an eye on your stamina bar.
Try again on a different map if the current one seems too difficult.
Bing Bong Badge
 For this achievement, you must carry the Bing Bong plush from the starting area all the way to the end of the game, then leave the island with it.
Note: In multiplayer, everyone earns the achievement as soon as one player finishes with Bing Bong.
Bookworm Badge
 For this achievement, you’ll need to collect the bonus pages from Myres’ journal, the Scoutmaster.
The pages can only be found at the top of the areas, near the campfires.
The location of the pages remains the same on a given map.
The pages are found in order: 1, 2, 3, 4, 5, 6, 7, 8.
In multiplayer, their content depends on the progression of the first player to open them.
The pages can only be found in the SHORE, TROPICS, ALPINE, and CALDERA zones
You need to inspect the pages to advance the progress.
Once you have found and inspected a page, the progress is saved. You don’t need to finish the run to record the achievement progress.
Note: If you don’t find any pages in any zone, there’s no point in restarting the game repeatedly. You’ll need to wait for the map to change and hope for better luck next time.
Difficulty does not affect the spawn of the pages.
Here are all the pages:
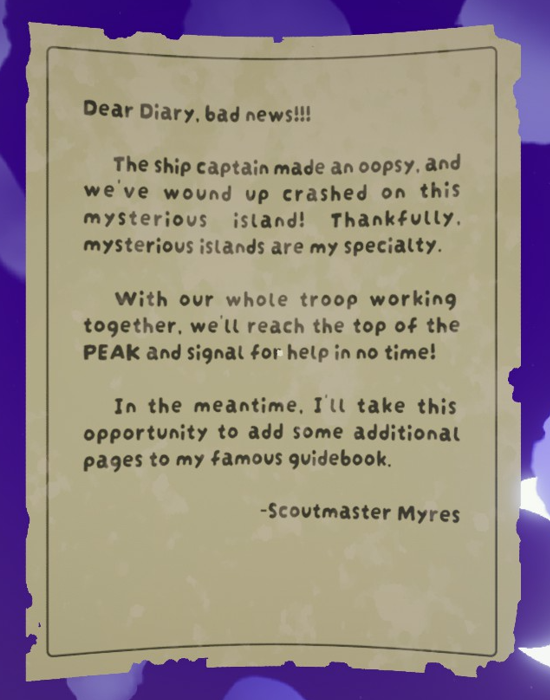
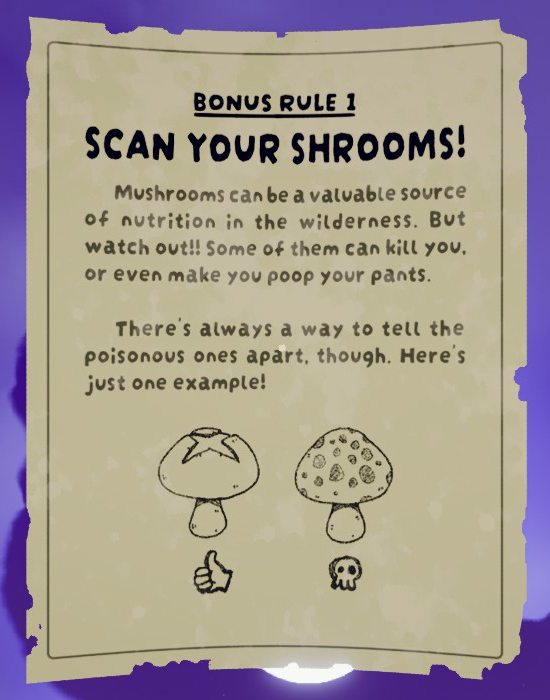
Page 1: Diary⠀⠀⠀⠀⠀⠀⠀⠀⠀⠀⠀⠀⠀⠀⠀⠀⠀⠀⠀⠀⠀⠀⠀⠀⠀⠀⠀Page 2: Mushrooms
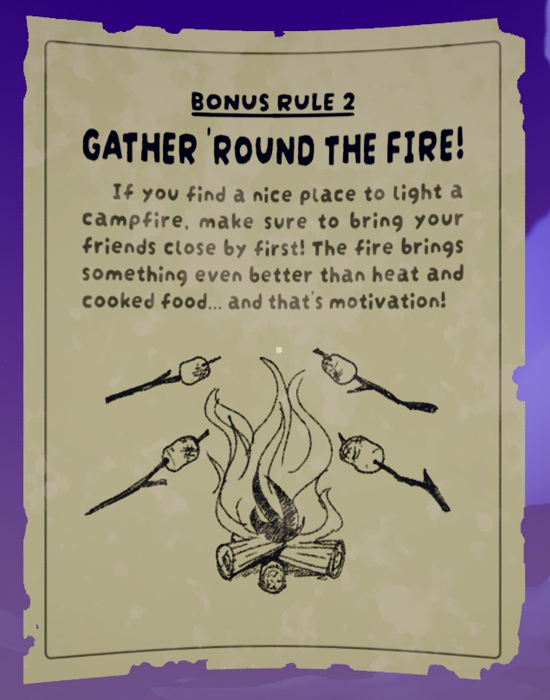
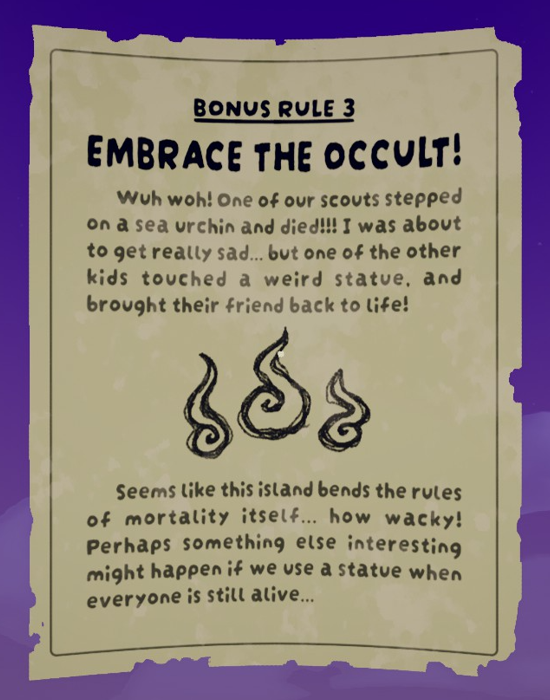
Page 3: Campfire⠀⠀⠀⠀⠀⠀⠀⠀⠀⠀⠀⠀⠀⠀⠀⠀⠀⠀⠀⠀⠀⠀⠀⠀Page 4: Occult
Page 5: Huddling⠀⠀⠀⠀⠀⠀⠀⠀⠀⠀⠀⠀⠀⠀⠀⠀⠀⠀⠀⠀⠀⠀⠀⠀Page 6: Napberry
Page 7: Confusion⠀⠀⠀⠀⠀⠀⠀⠀⠀⠀⠀⠀⠀⠀⠀⠀⠀⠀⠀⠀⠀⠀⠀Page 8: Abandonned
Bouldering Badge
 For this achievement, you need to place a total of 10 pitons.
You can spread the progress of this achievement across multiple play sessions.
Feel free to place any pitons you find right away if you don’t need them or don’t have room to carry them.
Clutch Badge
 This achievement is earned in multiplayer. You need to revive a total of three players during a single game.
To revive a player who has become a ghost, you must go to one of the ancient statues located at the summit of the SHORE, TROPICS, ALPINE, or CALDERA zones.
You don’t have to revive all three players at once, as long as you revive at least three throughout the match.
Note: Using the Scout Effigy item to revive a player does not count toward the achievement.
Cooking Badge
 For this achievement, you’ll need to cook 20 food items at a campfire or using a stove.
Note: Food cooked on a Portable Stove does not count for the achievement.
You can fill your pockets and backpack with whole coconuts, break them near a campfire, and you’ll get 14 coconut halves to cook.
But don’t waste time, the fire only stays lit for 60 seconds.
Repeat this process as many times as needed.
Emergency Preparedness Badge
 This achievement is earned in multiplayer. You’ll need to revive another player.
You can use a First Aid Kit if the player is unconscious due to an injury, or an item that removes status effects if the cause only affects the stamina bar.
Endurance Badge
 For this achievement, you need to climb 50 meters without touching any flat surface.
Here are two different strategies:
N°1
- Equip a Lollipop (which grants unlimited stamina for 7 seconds).- Also equip an Energy Drink (which boosts movement speed for a short time).
- Fill your extra stamina bar (Optional).
Find a smooth, fairly straight wall, consume the Energy Drink and the Lollipop, then climb until achievement popped.
Feel free to use Pitons if needed.
N°2
- Get yourself a Chain Launcher.With the Chain Launcher, aim at the highest point you can shoot.
Climb the chain.
You might need to climb a bit further up the wall just above the chain to unlock the achievement.

Note: I personally got this achievement by climbing a sufficiently long vine.
Esoterica Badge
 For this achievement, you need to obtain a mystical item.
Search all luggage or reach an ancient statue near a campfire to get a relic.
Note: In multiplayer, if a player is dead, using the ancient statue will revive the player but won’t grant an item.
First Aid Badge
 This achievement is earned in multiplayer. You need to heal others players for at least 100 damage points in a single game.
To do this, you can use First Aid Kits or bandages on other players if they’re injured, until you unlock the achievement.
Foraging Badge
 For this achievement, you need to eat 5 different fruits in a single game.
Explore the first two areas thoroughly, and you should unlock this achievement fairly easily.
Be careful, some fruits are poisonous but still counts for the achievement.
Note: If you catch a tick in the TROPICS area, eating it counts as a fruit for the achievement.
Gourmand Badge
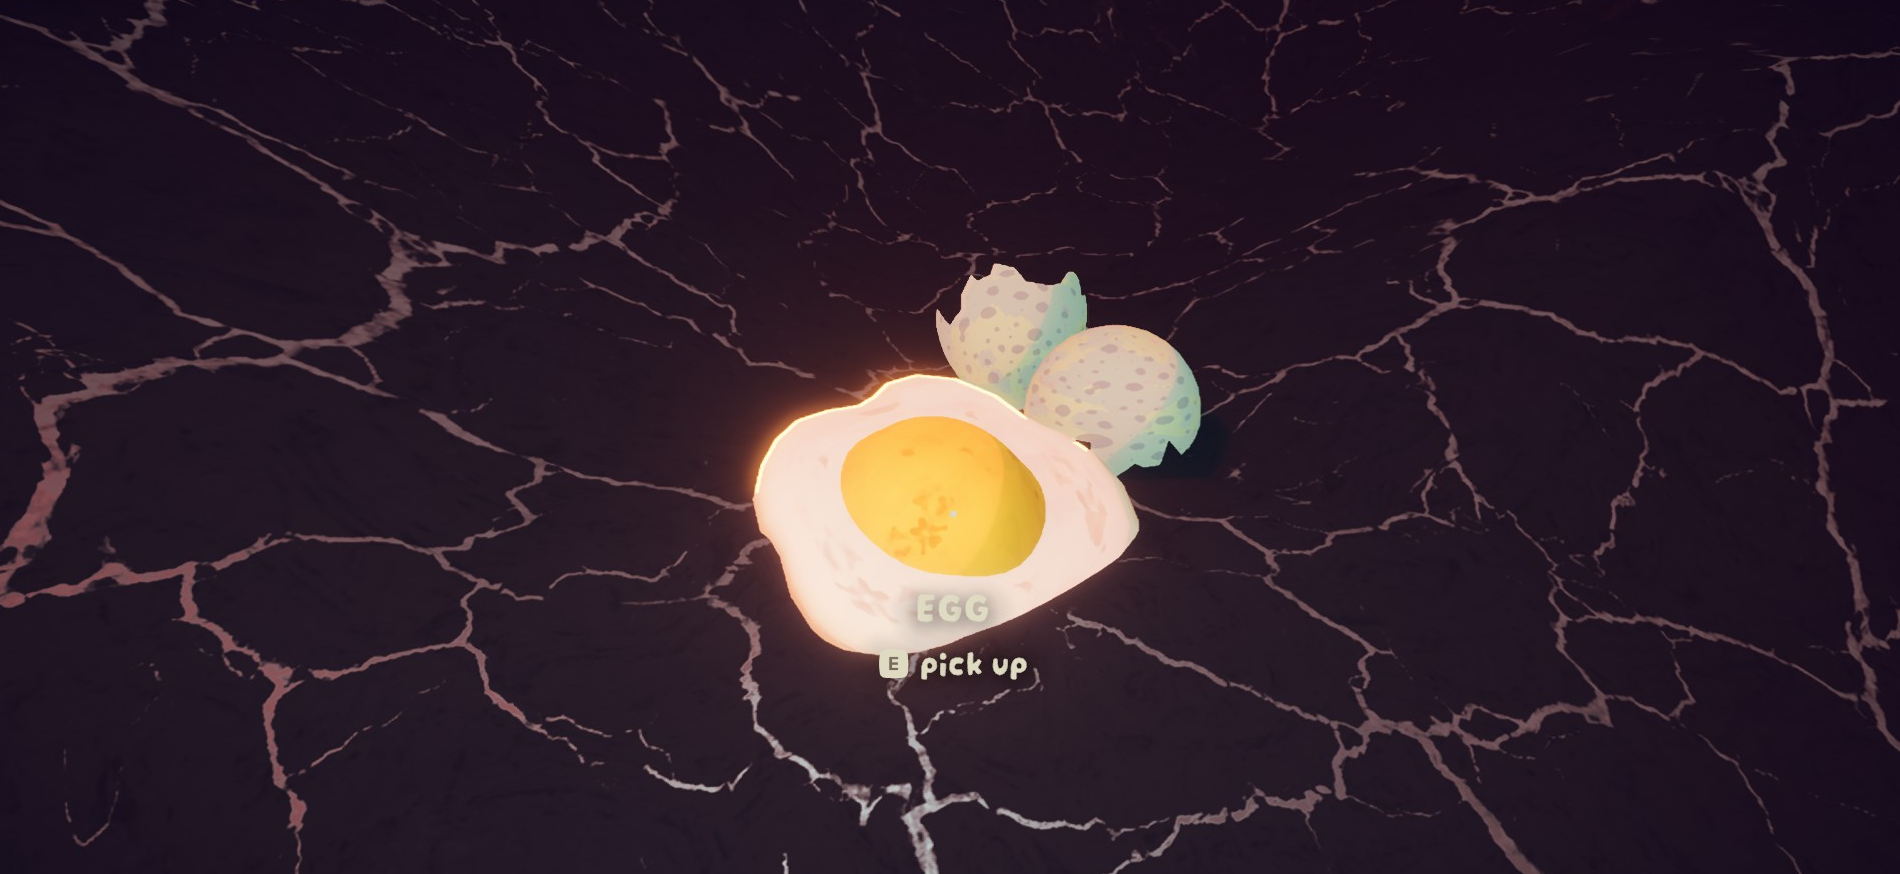
 For this achievement, you need to cook and consume a coconut half, a honeycomb, a yellow winterberry, and an egg, then leave the island.
• You only need to cook the coconut half, which can be found in the first two areas of the game: SHORE and TROPICS.
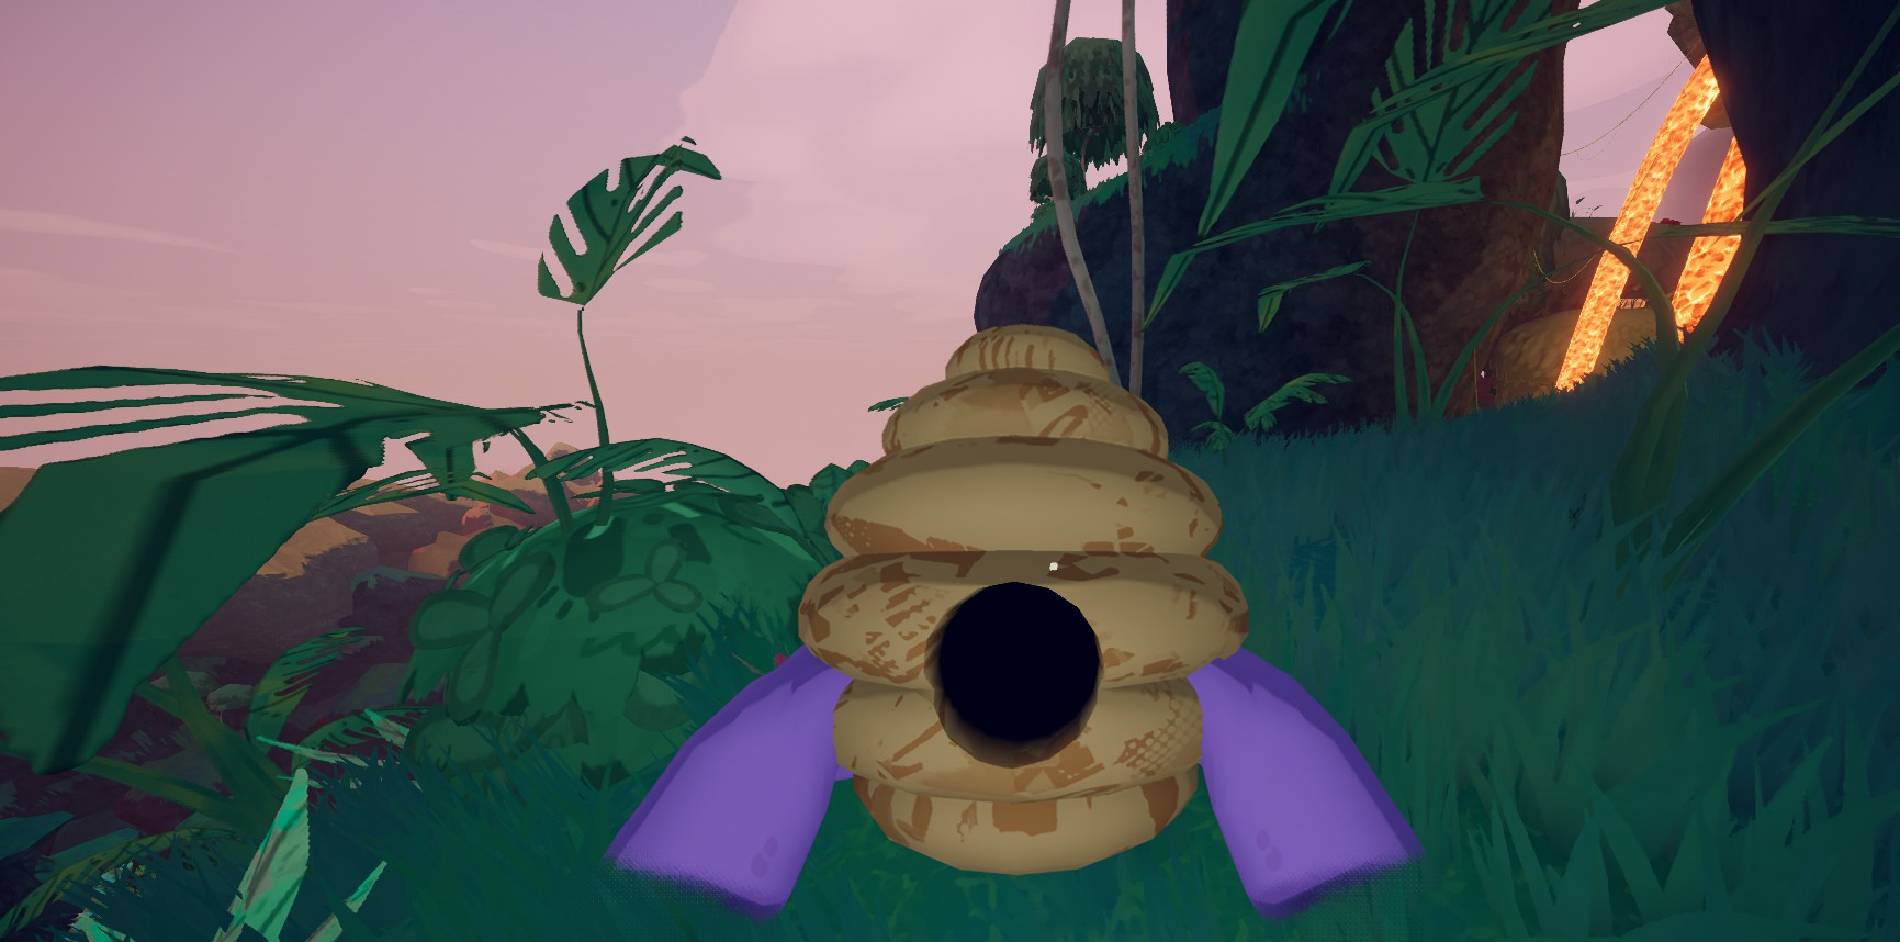
• You can find honeycombs by breaking beehives in the second area: TROPICS.
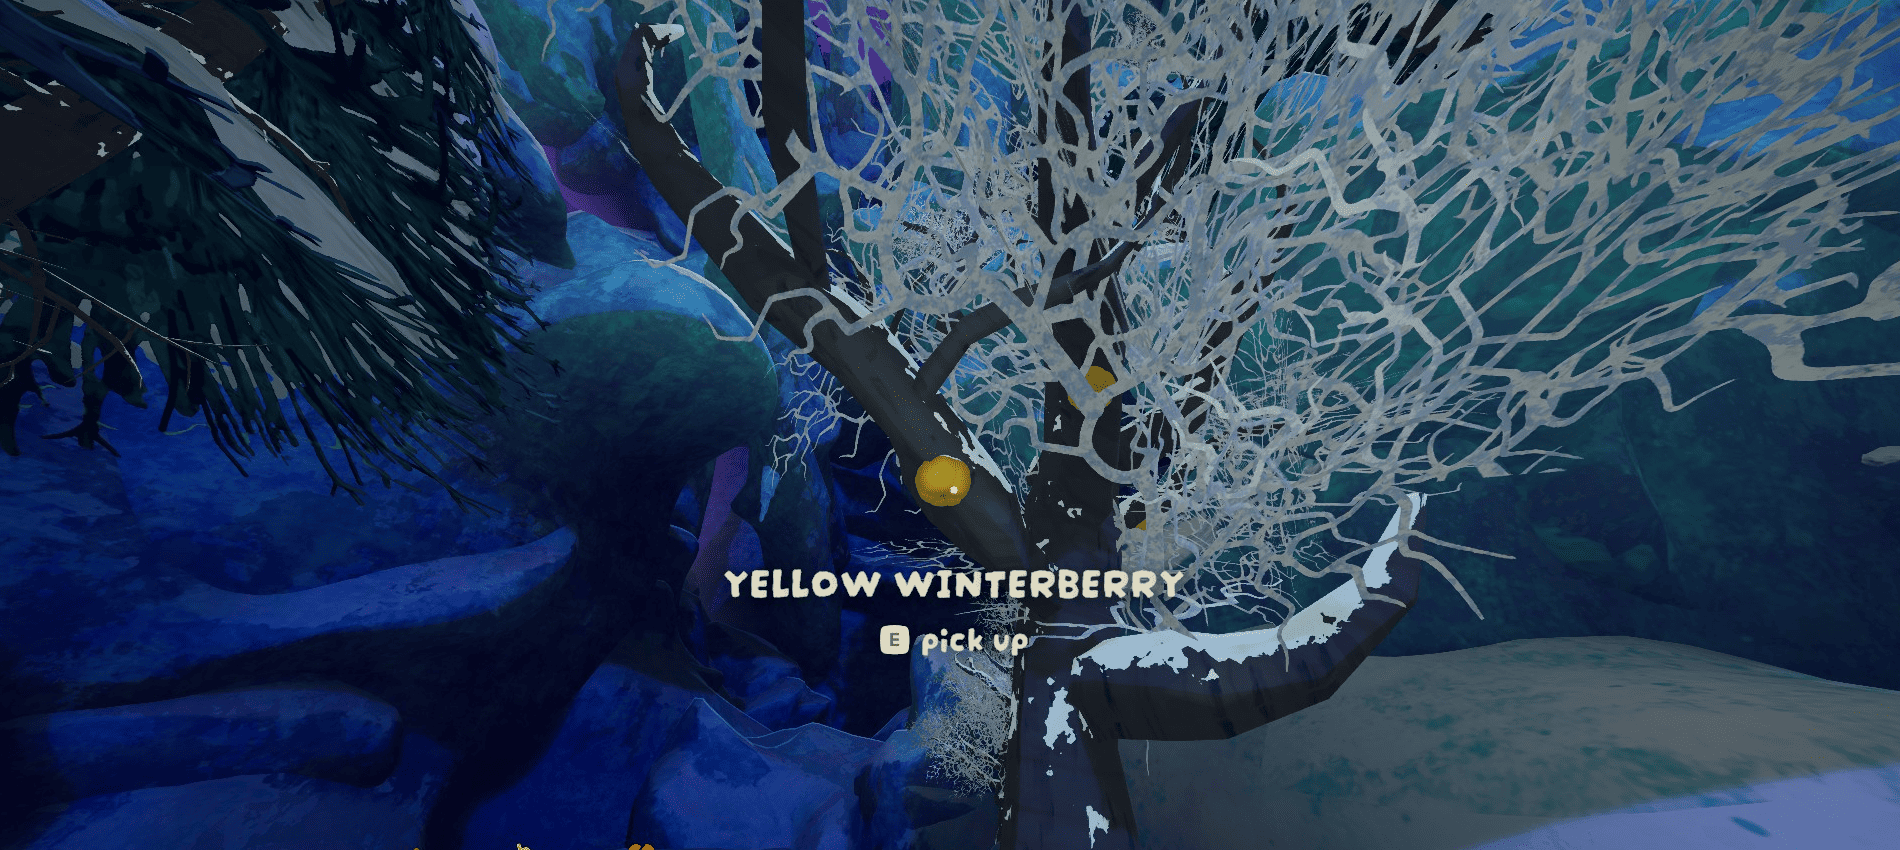
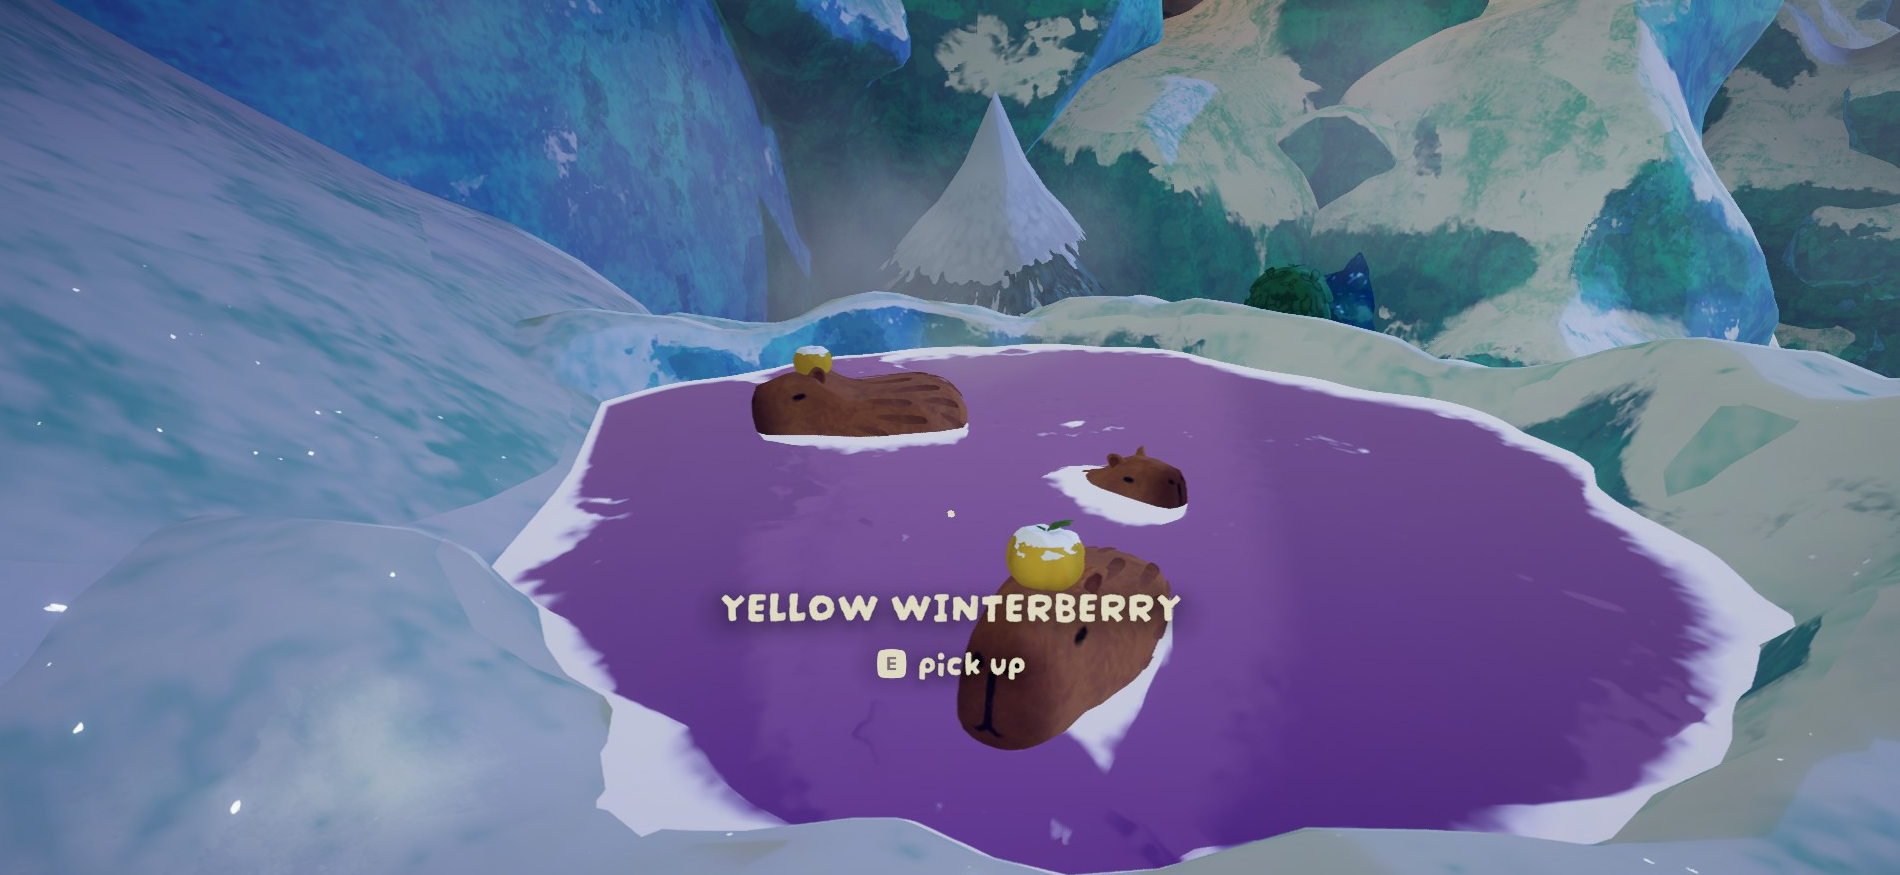
• Yellow winterberries are located in the third area: ALPINE.
You might occasionally find them on trees, but you’re guaranteed to find some on the heads of the capybaras.
Note: The fruit locations vary from tree to tree on the same map.
• Eggs are found in the fourth area: CALDERA.
Happy Camper Badge
 This achievement can only be unlocked in multiplayer, you’ll need to receive the morale boost from 5 campfires.
Since the areas THE KILN and PEAK don’t have campfires, you’ll need to play at least 2 sessions to earn this achievement.
Note: In multiplayer, if a player is too far from the campfire when it’s lit, they won’t receive the boost.
High Altitude Badge
 For this achievement, you need to climb a total of 5000 meters.
You should normally unlock it while completing the other achievements in the game.
Knot Tying Badge
 For this achievement, you need to place 100 meters of rope in a single game.
Search as much luggage as possible and use every rope you find.
All ropes are 12.5 meters long, so you'll need at least 8 of them.
Note: The rope cannon also counts, as do anti-gravity ropes.
The rope from a rope cannon is 5 meters long.
Leave No Trace Badge
 For this achievement, you must complete the game without placing anything on the island.
You cannot place ropes, chains, pitons or anything.
This also applies to rope cannon and chain launcher.
But Magic Bean and Shelf Fungus can be used.
If the climb is too difficult without equipment, try again after the map has changed.
Note: In multiplayer, no one is allowed to place anything (except Magic Bean and Shelf Fungus). If anyone does, no one will earn the achievement.
Lone Wolf Badge
 For this achievement, you need to successfully leave the island in solo mode.
Stay vigilant and avoid unnecessary risks. Depending on the map, this achievement can be more or less difficult to obtain.
You can use any equipment at your disposal to make the climb easier.
Mentorship Badge
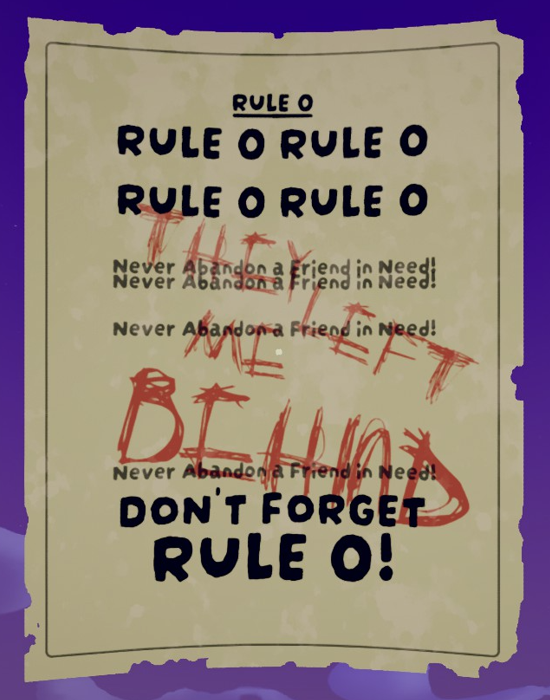
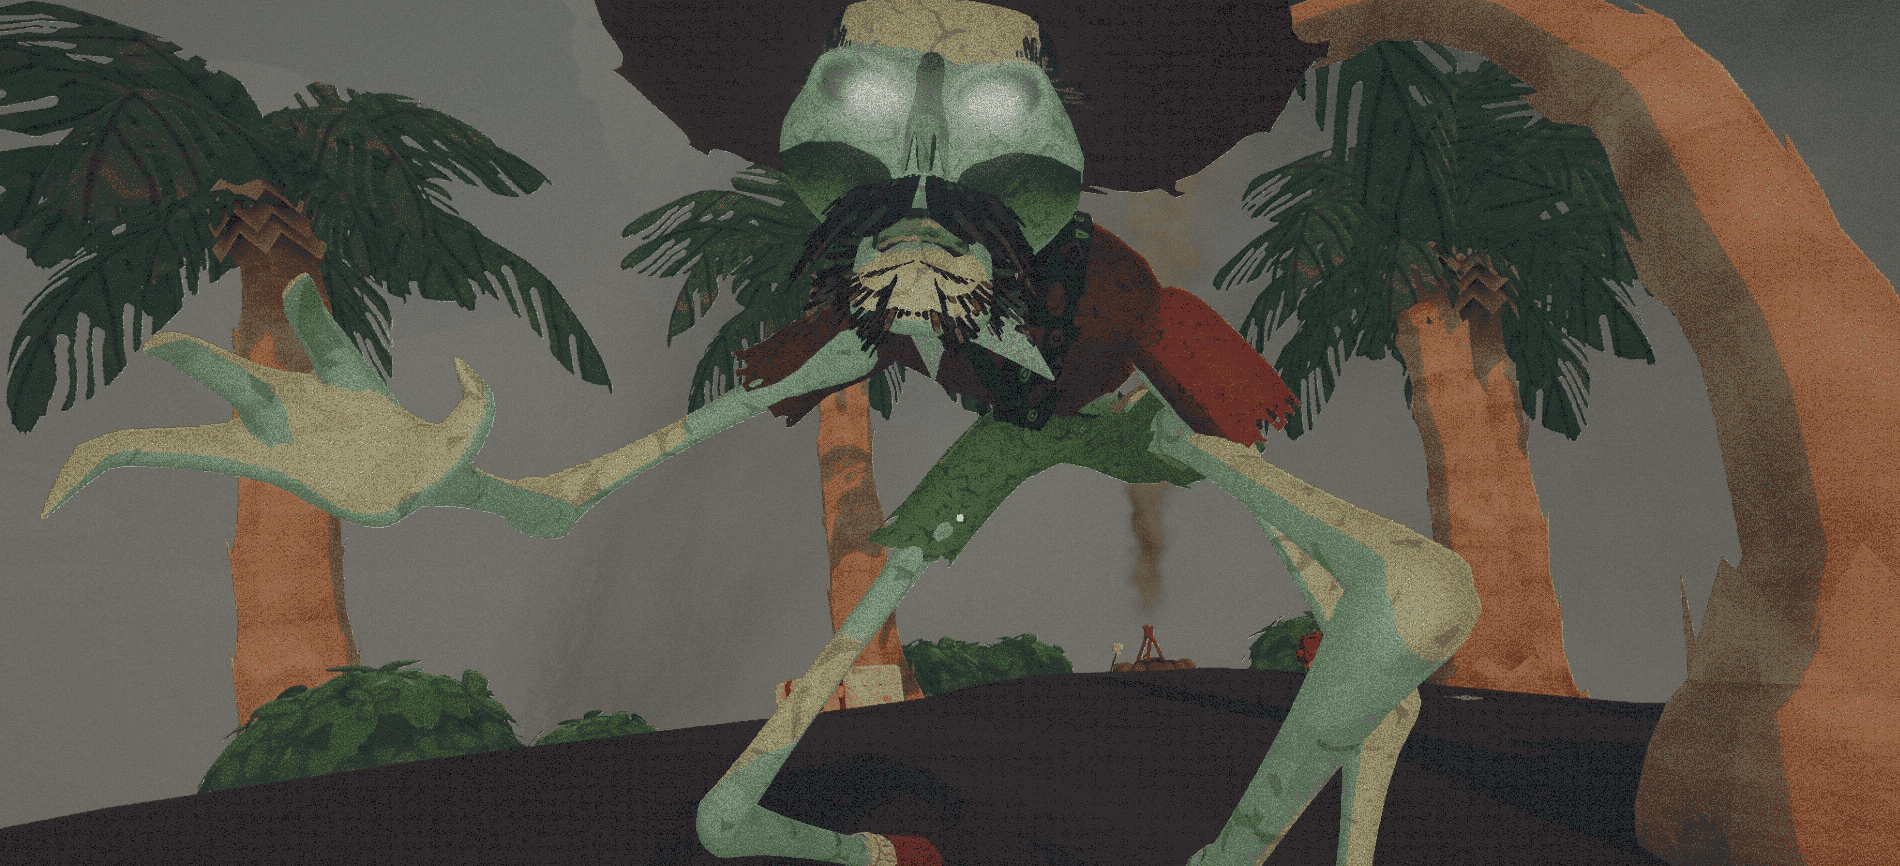
 For this achievement, you need to encounter Myres, the Scoutmaster.
In multiplayer, you’ll need to break the most important rule in his handbook:
NEVER ABANDON A FRIEND IN NEED! !
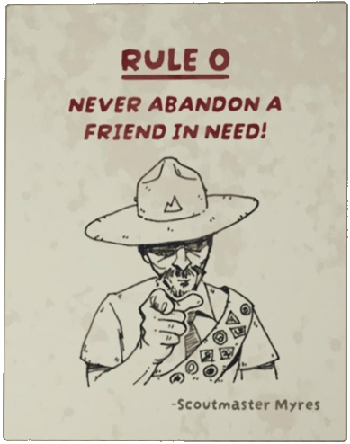 • Make sure one player stays at the beginning of the area while the host climbs to the top.
If the two players are far enough apart, the Scoutmaster should appear.
Note: Anyone can summon the Scoutmaster, but only the host of the game can earn the achievement.
The Scoutmaster can appear in every zone.
• You can also summon him in solo mode using the Scoutmaster’s Bugle, but the drop rate for this item from an ancient statue is only 0.9%.
So you’ll need perseverance, patience, and determination to get your hands on this relic.
Don’t worry, he just wants to shake your hand.
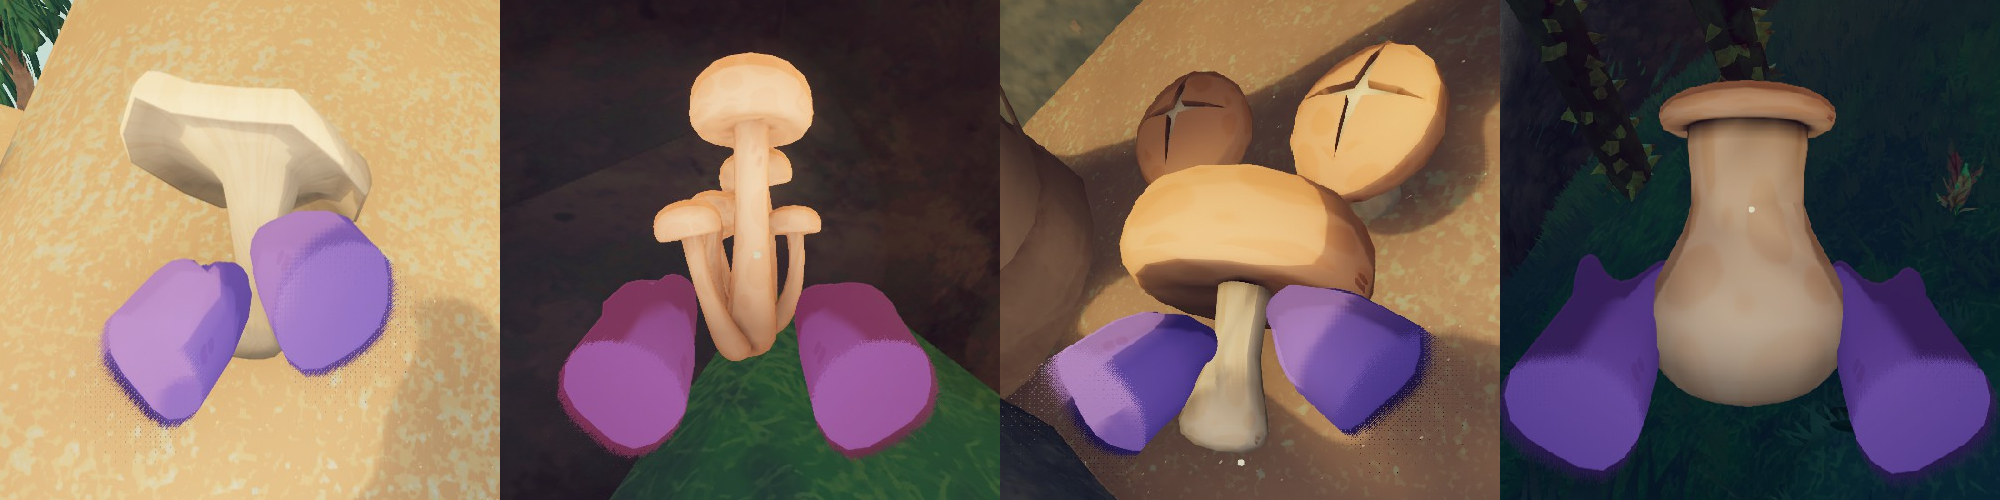
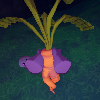
Mycology Badge
 For this achievement, you need to eat 4 different non-toxic mushrooms.
There are 7 types of mushrooms — 4 are safe to eat, and 3 are poisonous.
They can only be found in the first two areas of the game: SHORE and TROPICS.
Study them carefully to figure out which ones are safe to eat.
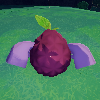
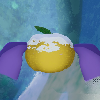
Here are the 4 edible mushrooms ✅:
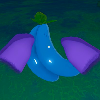
And the 3 poisonous mushrooms ⛔:
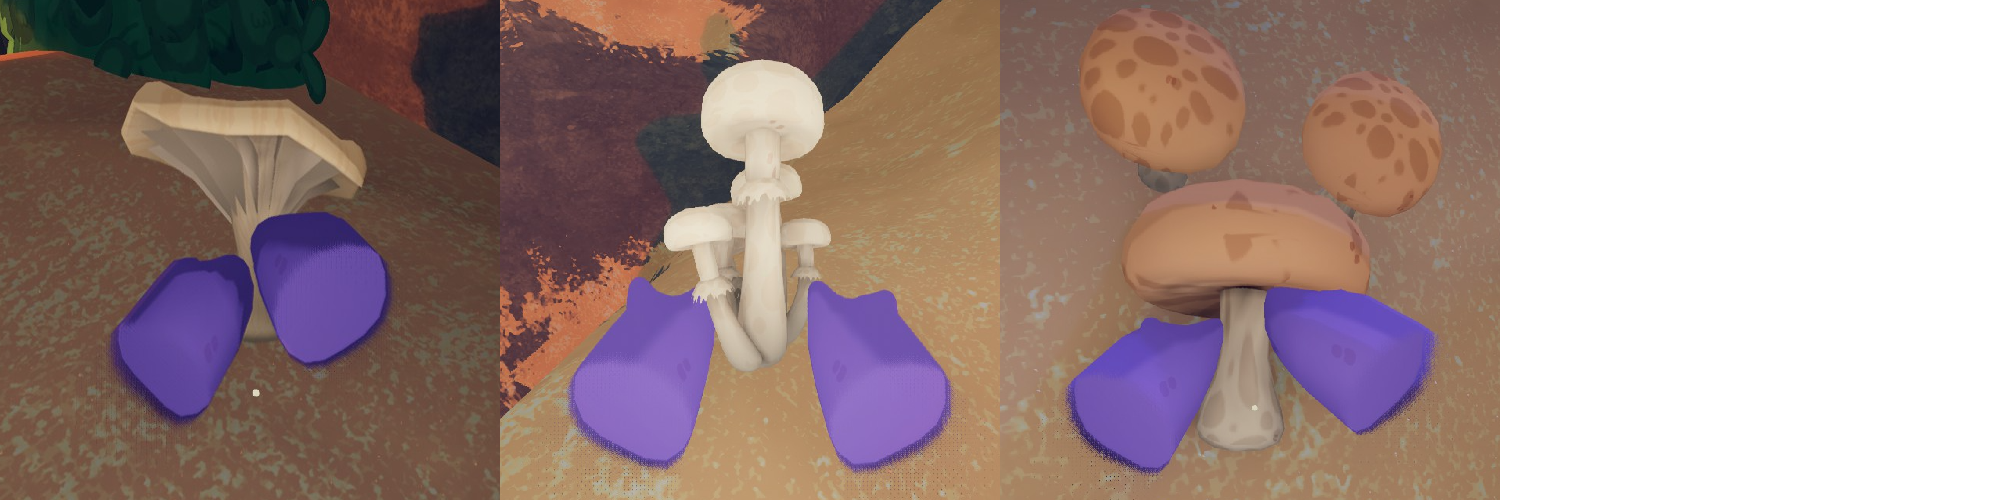
Note: It doesn’t matter if you eat a poisonous mushroom, you’ll still earn the achievement as long as you eat at least 4 non-toxic ones.
Naturalist Badge
 For this achievement, you must complete the game without consuming any packaged food.
You are ONLY allowed to eat fruits, mushrooms, honeycombs, eggs, and marshmallows.
You can also use the Pandora's Lunchbox.
Make sure to fill your backpack with natural food, as you won’t find any in the fifth zone of the game: THE KILN.
Here’s a list of recommended items to bring with you:
Appearance
Name
Effect
Zone
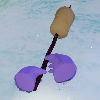
Purple Kingberry
Restores 30 Hunger
(60 if cooked)
+
35% Extra Stamina
(52% if cooked)
(60 if cooked)
+
35% Extra Stamina
(52% if cooked)
TROPICS
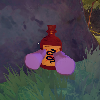
Honeycomb
Restores 10 Hunger
(20 if cooked)
+
50% Extra Stamina
(75% if cooked)
(20 if cooked)
+
50% Extra Stamina
(75% if cooked)
TROPICS
Blue Berrynana
Restores 30 Hunger
(60 + 10% Extra Stamina if cooked)
(60 + 10% Extra Stamina if cooked)
TROPICS
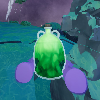
Yellow Winterberry
Restores 30 Hunger
(60 if cooked)
+
35% Extra Stamina
(52% if cooked)
+
Restores 50 Heat
+
Restores 20 Injury
(60 if cooked)
+
35% Extra Stamina
(52% if cooked)
+
Restores 50 Heat
+
Restores 20 Injury
ALPINE
Marshmallow
Restores 20 Hunger
(40 + 10% Extra Stamina if cooked)
(40 + 10% Extra Stamina if cooked)
SHORE
TROPICS
ALPINE
CALDERA
TROPICS
ALPINE
CALDERA
Participation Badge
 This achievement is unlocked in multiplayer as soon as any player, except yourself, manages to leave the island.
Make sure to die before someone lights a flare at the end of the last zone: PEAK.
Note: You must be a ghost at the end of the countdown. If you are only unconscious, you will not earn the achievement.
Plunderer Badge
 For this achievement, you need to open at least 15 luggages in a single game.
The luggage locations don’t change on the same map, so you can memorize their positions.
Speed Climber Badge
 For this achievement, you must finish the game in under one hour.
Carefully analyze and memorize the most efficient routes.
Try multiple maps if needed.
Note: If you join a player mid-game, your playtime won’t be affected by theirs.
In other words: You can join a player at the beginning of CALDERA, and you’ll have a full hour to complete CALDERA, THE KILN, and escape. So only two areas.
Survivalist Badge
 For this achievement, you must leave the island without passing out.
Watch out for status effects and fall damage.
Avoid unnecessary risks, and you should unlock the achievement without much trouble.
Toxicology Badge
 For this achievement, you need to heal 200 points of poison using items.
Here is a list of poison-healing items:
Appearance
Name
Poison Healed Points
Antidote
3 x 35 (105)
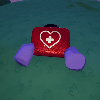
First Aid Kit
100
Cure-All
35
Medicinal Root
25
Once you have one of these items, approach the following elements to get poisoned, then heal yourself.

-------------------------
SECRET
Many people don’t know this, but...
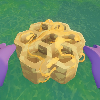
There is a statue just behind the summit of the final zone: PEAK.
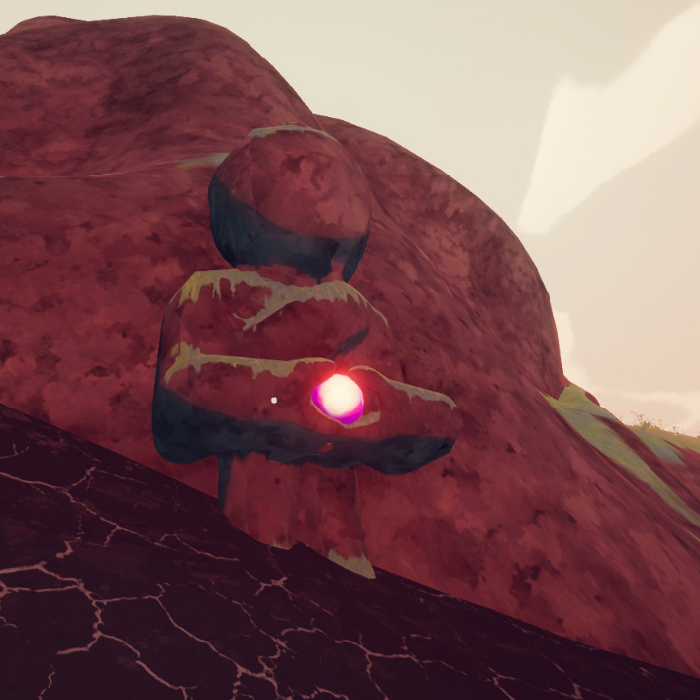
There is a statue just behind the summit of the final zone: PEAK.
-----------------------
Conclusion
Thank you very much for reading this far! I hope my guide has been helpful to you.
It took me a lot of time climbing again and again to take screenshots and make this guide look as good and purple (my fav color ^^) as possible.
So please give it a thumbs up!
It boosts the guide’s visibility.
I’m truly grateful to all the friends who supported me throughout this guide, whether by digging through the game or indulging my more questionable theories.
Especially to the friends who put up with me all the way to Ascent 5 difficulty just so I could get a purple scarf.
Thanks to the teams at Landfall and Aggro Crab for creating such a great game.
I really enjoyed it.
Feel free to ask any questions in the comments or submit your suggestions for improvement.
Thanks to Pharmacomaniac for their guide Items Data - Status Effects, Properties, Spawn Chance.
It took me a lot of time climbing again and again to take screenshots and make this guide look as good and purple (my fav color ^^) as possible.
So please give it a thumbs up!
It boosts the guide’s visibility.
I’m truly grateful to all the friends who supported me throughout this guide, whether by digging through the game or indulging my more questionable theories.
Especially to the friends who put up with me all the way to Ascent 5 difficulty just so I could get a purple scarf.
Thanks to the teams at Landfall and Aggro Crab for creating such a great game.
I really enjoyed it.
Feel free to ask any questions in the comments or submit your suggestions for improvement.
-----------------------
Thanks to Pharmacomaniac for their guide Items Data - Status Effects, Properties, Spawn Chance.
-----------------------