A Complete Remembrance Guide (Secret Endings Included) - Scholar & Undertaker Added!!!
 EzraPhoenyx
(190 ratings)
Jun 2, 2025 @ 3:44am10,724568
AchievementsCharactersClassesCo-opCraftingGame ModesGameplay BasicsLootMaps or LevelsModding or ConfigurationMultiplayerSecretsStory or LoreTradingWalkthroughsWeaponsWorkshop
IMPORTANT INFORMATION BEFORE GOING INTO THE GUIDE!
Remembrance Quests are Nightfarer (playable character) specific sidequests that you will encounter during your Elden Ring Nightreign playthrough.
Each Nightfarer has their own series of Remembrance Quests, which involve interacting with the other Nightfarers, solving basic puzzles, and completing objectives within Limveld.
Usually when completing objectives in Limveld, which are called "personal objectives" in-game, the place where you must complete the given objective will be marked as a red circle on the map.
Nightfarer or the next chapters will not unlock. This may include repeating expeditions and defeating Night Lords again with that same character to continue the journal.
Acquiring these special endings requires you to play as the specific character along with adding a remembrance related relic, to enable the option for a second ending. More information regarding it is in the character guides below.
Each Nightfarer has their own series of Remembrance Quests, which involve interacting with the other Nightfarers, solving basic puzzles, and completing objectives within Limveld.
Usually when completing objectives in Limveld, which are called "personal objectives" in-game, the place where you must complete the given objective will be marked as a red circle on the map.
IMPORTANT NOTE!
If you are pursuing this Remembrance, you must complete the required steps as that specific Nightfarer or the next chapters will not unlock. This may include repeating expeditions and defeating Night Lords again with that same character to continue the journal.
Update:
Updated requirements for special endings with certain characters after beating the final boss. For Wylder, Ironeye, and Recluse there is a separate ending after you beat the final boss, Night Aspect. Acquiring these special endings requires you to play as the specific character along with adding a remembrance related relic, to enable the option for a second ending. More information regarding it is in the character guides below.
Wylder's Remembrance
IMPORTANT NOTE!
If you are pursuing this Remembrance, you must complete the required steps as that specific Nightfarer or the next chapters will not unlock. This may include repeating expeditions and defeating Night Lords again with that same character to continue the journal.
- Chapter 1:Initially available after unlocking the Wylder. You can unlock memory fragments for the next chapter by either running expeditions or defeating a Nightlord as Wylder.
Defeating a Nightlord guarantees a 100% drop rate for the memory fragments, while simply running expeditions—regardless of whether you beat the boss—offers a lower chance of obtaining them.
Also after beating your first Nightlord, you must unlock Duchess to progress Wylder's questline.
To unlock the Duchess you must defeat Gladius during the Tricephalos Expedition, obtain the Old Pocketwatch, and give it to the Priestess (Duchess) at the Roundtable Hold to unlock the Duchess. - Chapter 2:Run expeditions to collect Memory Fragments or defeat Tricephalos.
- Chapter 3:Find a whetstone in Limveld. Reward: Slate Whetstone (Relic)First Wylder Remembrance
- Head to the Journal and flip to Wylder Chapter 3. If you do not have access to Chapter 3, you need to complete runs as Wylder until the Memory Fragment is unlocked.
- Once in the Realm of Remembrance, talk to the Iron Menial in the room next to the Journal. Say “Understood”, then exhaust his dialogue. This will unlock Personal Objective: Find a whetstone in Limveld.
- If you are ever unsure where an NPC is located, open the Roundtable map and you will see their location marked with an exclamation point. Additionally, you can fast travel to any location by selecting it in the map menu.
- Begin any Expedition as Wylder while the Remembrance is active. Go to the Red Marked Mine, then find the glowing rocks deep inside. Defeat the Tunnel Crystallian that spawns in front of the objective.
- Once the boss is beaten, grab the Slate Whetstone, then finish the run (win or lose). Once back in the Roundtable, give the Slate Whetstone to Iron Menial
- Grab the relic rewards off the table, then grab the Mended Earring.
- Take the Mended Earring into the study just past the Iron Menial, hold them up to the light.
- Return the Mended Earrings to the Duchess, then conclude Remembrance using the Journal.
- Head to the Journal and flip to Wylder Chapter 3. If you do not have access to Chapter 3, you need to complete runs as Wylder until the Memory Fragment is unlocked.
- Chapter 4:Run expeditions to collect Memory Fragments and unlock the next chapter.
- Chapter 5:Talk to the Iron Menial. Reward: Wylder's ChaliceSecond Wylder Remembrance
- Head to the Journal and flip to Wylder Chapter 5. Once in the Realm of Remembrance, open the map then go to the exclamation point in the west hall. Read the three glowing notes in the west hall.
- You will get a message: “from somewhere, the sound of a heavy door opening rings out”. Go down the stairs in the west hall, turn left, then go down the next set of stairs to find the newly opened door leading to the crypt.
- Descend into the crypt where you will find the Iron Menial. Speak with the Iron Menial, exhaust his dialogue. Then read the three glowing notes in the crypt.
- Talk to the Duchess, who is out on the beach south of the Roundtable. Say “Are you trapped here?”, then exhaust her dialogue. Conclude the Remembrance at the Journal.
- Head to the Journal and flip to Wylder Chapter 5. Once in the Realm of Remembrance, open the map then go to the exclamation point in the west hall. Read the three glowing notes in the west hall.
- Chapter 6:Defeat 4 unique Nightlords to unlock the next chapter.
- Chapter 7:Find a Silver Tear in Limveld. Rewards: Silver Tear (Relic), Wylder's Remembrance OutfitThird Wylder Remembrance
- Head to the Journal and flip to Wylder Chapter 7. Once in the Realm of Remembrance, check the glowing note on the nearby table to obtain Virtuous Thief’s Key.
- Make your way toward the crypt. Find the small chest at the bottom of the stairs. Use the key to open the chest, obtain Torn-Out Paper Scrap.
- Talk to the Recluse in the west hall. Say “About taking the Nightlord’s Power”, speak to her again, exhaust her dialogue.
- Talk to the Iron Menial about finding a silver tear. Say “whereabouts of silver tear”, then exhaust his dialogue. This will unlock Personal Objective: Find a Silver Tear in Limveld.
- This Personal Objective requires Shifting Earth: Noklateo, the Shrouded City. You will need to progress in the game, completing Expeditions until this Shifting Earth appears.
- Start any Expedition with Wylder while Shifting Earth: Noklateo the Shrouded City is active, then make your way to the city. You should reach Day 2 to ensure you are strong enough to deal with the enemies inside. Enter Noklateo, head for the red marker.
- Approach the objective marker and defeat the Mimic Troll that appears.
- Interact with the objective to get the Silver Tear from the large chest. Complete the run (win or lose).
- Back at the Roundtable, talk to the Iron Menial. Conclude the Remembrance by interacting with the glowing strand in the corner of the room.
- Head to the Journal and flip to Wylder Chapter 7. Once in the Realm of Remembrance, check the glowing note on the nearby table to obtain Virtuous Thief’s Key.
- Chapter 8:Unlocked after completing the third Remembrance Quest (Wylder Secret Ending).Fourth Wylder Remembrance (Wylder Secret Ending)This Remembrance Quest is a bit unorthodox. It is not started via the Journal. Instead, you need to complete the final Expedition, Night Aspect, while equipping the Silver Tear in your relic slot, and then after completing it instead of going into the Roundtable after the boss battle, you will be able to turn around and interact with the boss corpse. View the unique cutscene to unlock the final Memory Fragment and get your final reward.
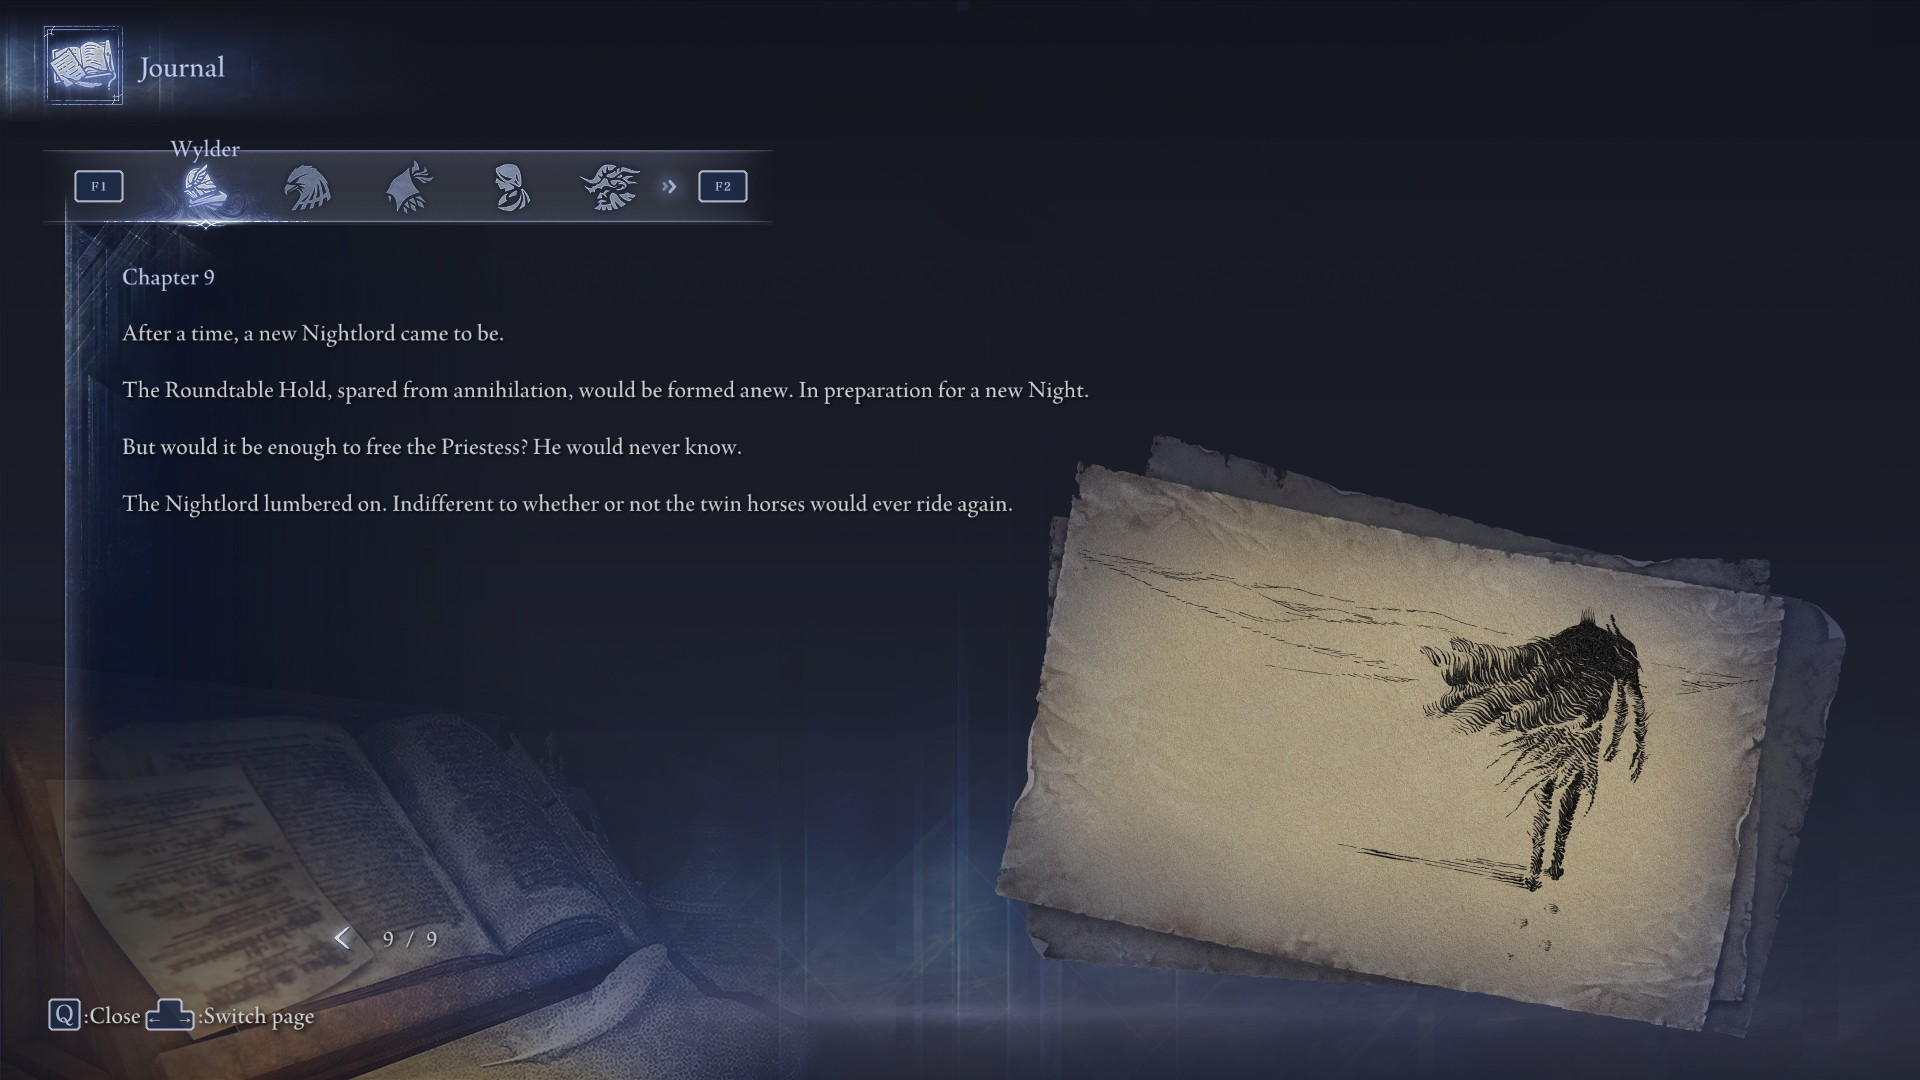
Reward: The Wylder’s Earring Relic - Chapter 9:Automatically unlocked upon completing Wylder's secret ending.
Guardian's Remembrance
IMPORTANT NOTE!
If you are pursuing this Remembrance, you must complete the required steps as that specific Nightfarer or the next chapters will not unlock. This may include repeating expeditions and defeating Night Lords again with that same character to continue the journal.
- Chapter 1:Initially available after unlocking the Guardian. You can unlock memory fragments for the next chapter by either running expeditions or defeating a Nightlord as Guardian.
Defeating a Nightlord guarantees a 100% drop rate for the memory fragments, while simply running expeditions—regardless of whether you beat the boss—offers a lower chance of obtaining them. - Chapter 2:Run expeditions and collect Memory Fragments.
- Chapter 3:Defeat a Nightlord
- Chapter 4:Find the Cracked Golem in Limveld and obtain the Stone Stake from it. Reward: Stone Stake (Relic)First Guardian Remembrance
- Check the Guardian's Journal and accept the Remembrance quest (this will take you to the Realm of Remembrances). Talk to the Iron Menial at the southwest library of the Roundtable Hold.
- Exhaust the dialogue of the Iron Menial until you are able to ask "about the cursed weapon". The Iron Menial will hint at items to obtain from the expedition.
- While in the Realm of the Remembrances, commence an expedition. Once on an expedition, open your map and note the red marked circle location. Make your way to that spot.
- At the marked location, defeat the Cracked Golem to obtain the Stone Stake. You should get the Objective Achieved notification afterwards.
- After the expedition (completion not required), return to Iron Menial and exhaust his dialogue. He will give you the Second Volume key item. You are free to conclude the remembrance afterwards via the gateway beside him.
- Check the Guardian's Journal and accept the Remembrance quest (this will take you to the Realm of Remembrances). Talk to the Iron Menial at the southwest library of the Roundtable Hold.
- Chapter 5:Defeat a Night Lord.
- Chapter 6:Talk to the ghostly Wandering Merchant in the Roundtable Hold, head to the center room, then return and talk to the merchant after the cutscene. Choose to eliminate the merchant. Reward: Guardian's ChaliceSecond Guardian Remembrance
- Once you have made it to page 6 of the Guardian Remembrances, accept the remembrance and you will be taken to the Roundtable Hold main room. Head to the dressing room at the east of the Journal room.
- In the dressing room, talk to the ghostly Wandering Merchant. Exhaust his dialogue until he gives you the Eerie Charm.
- At this point, you can proceed to the next objective. Talking to the Wandering Merchant again will have him open up his shop for Relics to sell (all 1-passive relics only).
- Note: you will be locked out of this shop once you reach the Roundtable Hold main room.
- Head back to the main room of the Roundtable Hold, and then the Guardian will fall unconscious. You will awaken on your bed and will have a short conversation with both the Iron Menial and Recluse.
- Return to the ghostly Wandering Merchant again in the dressing room and talk to him. You will have two choices: 'Eliminate' or 'Leave alone'. Choose Eliminate to progress the Remembrance.
- Once you have chosen Eliminate, the Wandering Merchant will be slain. You will obtain the Merchant's Ledger and then a gateway to concluding the Remembrance will become available.
- After concluding this Chapter 6 Remembrance, you will automatically obtain the Guardian's Chalice for equipping a different color set of Relics.
- Once you have made it to page 6 of the Guardian Remembrances, accept the remembrance and you will be taken to the Roundtable Hold main room. Head to the dressing room at the east of the Journal room.
- Chapter 7:With the remembrance active, find the Demon Merchant (Scale-Bearing Merchant) in an expedition and pay 10,000 Runes for the tome. Return to Iron Menial afterwards. Reward: Third Volume (Relic)Third Guardian Remembrance
- At the Journal, accept the Chapter 7 remembrance for the Guardian. This will take you again to the main room of the Roundtable Hold. Head over to the Iron Menial.
- Talking to the Iron Menial will have you show him the Merchant's Ledger to him. You will then get a Personal Objective to find the "demon merchant" (Scale-Bearing Merchant). Go on an expedition while this remembrance is active, then open your map and check for a red marker.
- Accumulate 10,000 Runes, then head over to the marker. At this spot you will find the Scale-Bearing Merchant which will offer 4 things in exchange for certain conditions. The 1st, the tome option, will be fixed, while the other 3 offerings will be random. Pick "I want the tome" and pay 10,000 Runes to progress the remembrance. This will give you the Third Volume.
- Complete the expedition (you do not have to successfully beat a Night Lord) and then return to the Iron Menial. Talk to him and this will show him the tome. Afterwards, the remembrance can be concluded, setting the Guardian's Journal progress at Chapter 8.
- At the Journal, accept the Chapter 7 remembrance for the Guardian. This will take you again to the main room of the Roundtable Hold. Head over to the Iron Menial.
- Chapter 8:This chapter is available at the conclusion of the Remembrance in Chapter 7.
- Chapter 9:Fourth Guardian RemembranceFourth Guardian Remembrance
- Accept the remembrance for Chapter 9 at the Journal for the Guardian, then head over to the west library. Look for a book you can interact with to the northwest corner of the library.
- Afterwards, open your map and check the northwest side of the map for Recluse's position in the Garden. Head over to her and exhaust her dialogue, then choose any of the two options available when prompted (they will both lead to giving you the Witch's Brooch).
- After the interaction with the Recluse, a gateway to conclude the remembrance should appear behind you. Conclude the remembrance and you will receive the Witch's Brooch.
Reward: Witch's Brooch
- Accept the remembrance for Chapter 9 at the Journal for the Guardian, then head over to the west library. Look for a book you can interact with to the northwest corner of the library.
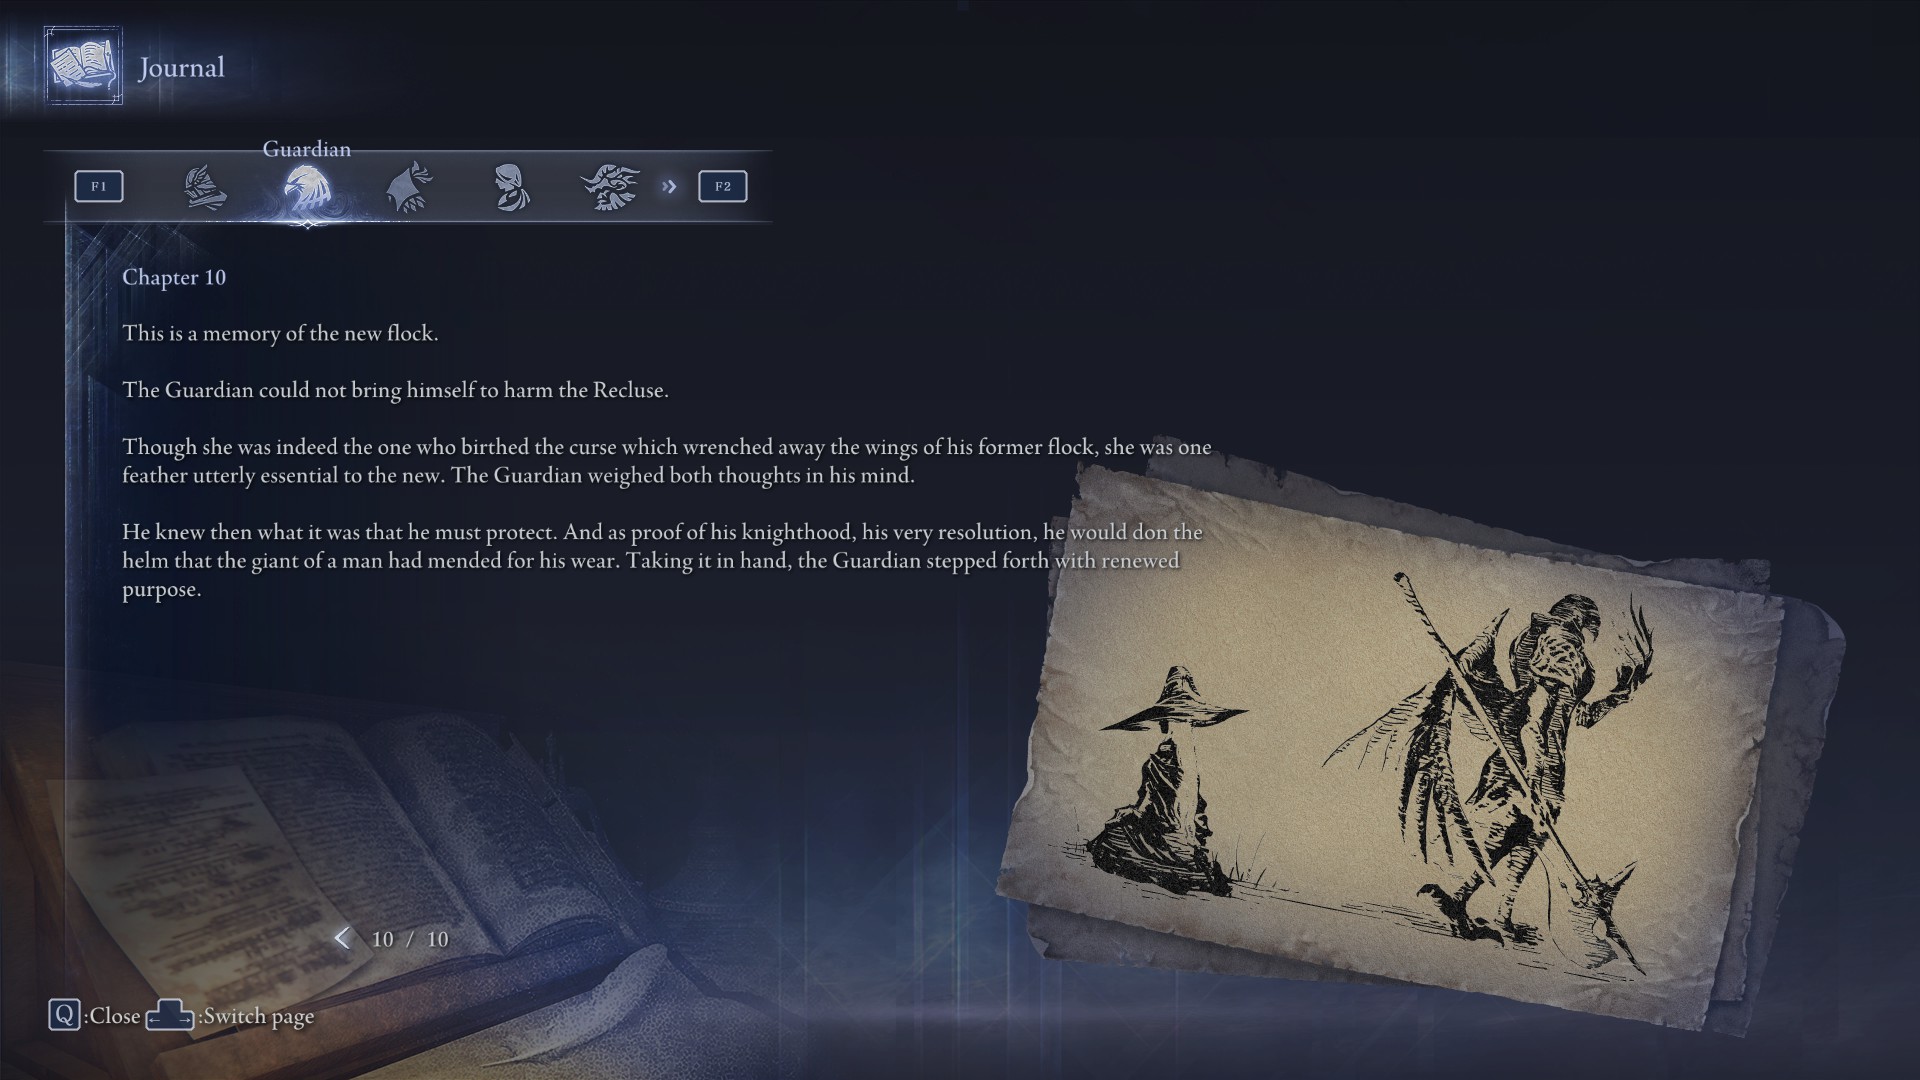
- Chapter 10:Unlocked automatically upon completing chapter 9.
Ironeye's Remembrance
IMPORTANT NOTE!
If you are pursuing this Remembrance, you must complete the required steps as that specific Nightfarer or the next chapters will not unlock. This may include repeating expeditions and defeating Night Lords again with that same character to continue the journal.
- Chapter 1:Initially available after unlocking the Ironeye. You can unlock memory fragments for the next chapter by either running expeditions or defeating a Nightlord as Ironeye.
Defeating a Nightlord guarantees a 100% drop rate for the memory fragments, while simply running expeditions—regardless of whether you beat the boss—offers a lower chance of obtaining them. - Chapter 2:Run expeditions and collect Memory Fragments to unlock Chapter 3.
- Chapter 3:Run expeditions or possibly defeat a Nightlord to unlock Chapter 4.
- Chapter 4:First Remembrance Quest: Defeat the Night Huntsman and deliver the Traitor's Letter to the Priestess back at the Roundtable Hold. Rewards: Ironeye's Chalice, Cracked Sealing Wax (Relic)First Ironeye Remembrance
- To unlock the first Remembrance Mission, you must embark on enough expeditions to reveal Journal Chapter 4. This should appear whether you end your expeditions in victory or defeat. At the bottom of the Ironeye's Journal Chapter 4, you can select "Begin Remembrance" relive the memory fragment.
- Once in the Realm of Remembrance the Roundtable Hold will be tinted with fog, indicating you are currently in a Remembrance, where certain NPCs will have new and unique topics to discuss with you.
- Start by talking to the Priestess -- the woman in the white hooded cloak who can be found off the western wing of the hold, down some stairs past the library room where the Jar Merchant can be found.
- If you are ever unsure where an NPC is located, open the Roundtable map and you will see their location marked with an exclamation point. Additionally, you can fast travel to any location by selecting it in the map menu.
- In the small overgrown room covered in dirt and grass, speak to the Priestess about a Traitor who has been identified in the Ironeye's Fellowship. When asking about the Traitor, you will learn that someone who was summoned to the Roundtable Hold abandoned their duties, and must be eliminated by your hand. Speak to her again to Accept the Task, which will begin the Personal Objective: Defeat the other Ironeye who has appeared in a cataclysm in Limveld.
- Begin any Expedition as Ironeye while the Remembrance is active and you will have the chance to complete this objective. While it can be done in a group, this objective can be just as easily done solo.
- To find the Condemned Ironeye, look for a Red Marker that appears in the far west of Limveld's map.
- When he dies, you'll automatically get the Traitor's Letter, and a hefty amount of Runes (30,000!) to help you on your current Expedition. That said, you don't actually have to win the Expedition to keep the letter, it will stay with you as a Key Item regardless.
- Once back in the Roundtable Hold, take the Traitor's Letter back to the Priestess where you met with her before, and she'll reward your efforts. Look to the right of her for a stream of light to Conclude the Remembrance, unlocking Journal Chapter 5. The new relic you'll gain will extend the duration of the weak point created by the Marking skill, and is a great item to enhance your expeditions!
- To unlock the first Remembrance Mission, you must embark on enough expeditions to reveal Journal Chapter 4. This should appear whether you end your expeditions in victory or defeat. At the bottom of the Ironeye's Journal Chapter 4, you can select "Begin Remembrance" relive the memory fragment.
- Chapter 5:Run expeditions and defeat four unique Nightlords to unlock Chapter 6.
- Chapter 6:Second Remembrance Quest: Defeat the Darkdrift Knight and collect the Edge of Order. Reward: Edge of Order (Relic)Second Ironeye Remembrance
- To unlock the second Remembrance Mission, you must complete a successful expedition and defeat a Nightlord (any boss will do) to gain another Memory Fragment to reveal Journal Chapter 6. As with the previous mission, check the bottom of the Ironeye's Journal Chapter, and select "Begin Remembrance" relive the memory fragment.
- Once back in the Realm of Remembrance, you're immediate objective is to find and speak with the traitor you defeated that is now being kept below Roundtable Hold. It's not exactly obvious where this is, as the entrance to this area is normally closed.
- Head back down the stairs through the west wing beyond the library to where you spoke to the Priestess last time, only this time if you look next to the stairs you came down, there's another set of stairs leading to a now open doorway.
- Inside this room you'll find a eerie alabaster tomb where the Priestess is watching over the traitor, who has been waiting to speak to you. Talk to him, and he'll ask to be executed -- but when you oblige, you'll find that even he can't stay dead in this realm.
- The Traitor will offer you an exchange: If you can find an artifact known as the Edge of Order, he'll let you in on a secret.
- The Edge of Order, as the Priestess nearby will tell you, is carried by creatures called Night Centaurs, and one of them just happens to be a Nightlord, and will begin the personal objective: Defeat the Darkdrift Knight in Limveld.
- The Darkrdrift Knight is the sixth Nightlord Expedition in the Roundtable Hold list of targets, though you can attempt the Nightlords in any order you wish. Given that this is a final boss, you should also aim to find a Lightning-affinity weapon during the Expedition, so you can exploit the Nightlord's weakness.
- Once defeated, you'll find the Edge of Order among your victory rewards.
- Return back down below Roundtable Hold, and oblige the traitor by executing him with the relic you've obtained. In return, he'll share with you a dark and terrible secret.
- With the traitor dead, speak to the Priestess to learn her musings of your true nature. Look to the right of her for a stream of light to Conclude the Remembrance, unlocking Journal Chapter 7.
- The new relic you'll obtain can massively boost your abilities as the Ironeye, including boosting attacks, counterattacks made after using your Ultimate Art (counterattacks are attacks made while an enemy is in their own attack animation) and giving your starting bow holy damage!
- To unlock the second Remembrance Mission, you must complete a successful expedition and defeat a Nightlord (any boss will do) to gain another Memory Fragment to reveal Journal Chapter 6. As with the previous mission, check the bottom of the Ironeye's Journal Chapter, and select "Begin Remembrance" relive the memory fragment.
- Chapter 7:Third Ironeye Remembrance (Ironeye Secret Ending)Third Ironeye Remembrance (Ironeye Secret Ending)
- This Remembrance Quest is a bit unorthodox. It requires you to play as Ironeye and it is not started via the Journal. Instead, you need to complete the final Expedition, Night Aspect, while equipping the relic Edge of Order or you won't get the second option after killing the Night Aspect in the endgame.
- Once the final Nightlord has been defeated, you'll see an empty version of the Roundtable Hold in the distance. Travel to it, and head pass the Roundtable Hold's main room to find a corpse-like man kneeling in the room beyond.
- You'll be given the opportunity to Offer the Nightlord's Rune, or Clench Dagger. Choose the Clench Dagger option to fulfill your Assassination Target, and you'll get to view the unique cutscene to unlock the final Memory Fragment and get your final reward.
Reward: Ironeye Remembrance Outfit
- This Remembrance Quest is a bit unorthodox. It requires you to play as Ironeye and it is not started via the Journal. Instead, you need to complete the final Expedition, Night Aspect, while equipping the relic Edge of Order or you won't get the second option after killing the Night Aspect in the endgame.
- Chapter 8:Automatically unlocked upon completing chapter 7.

Duchess' Remembrance
IMPORTANT NOTE!
If you are pursuing this Remembrance, you must complete the required steps as that specific Nightfarer or the next chapters will not unlock. This may include repeating expeditions and defeating Night Lords again with that same character to continue the journal.
- Chapter 1:Initially available after unlocking the Duchess. You can unlock memory fragments for the next chapter by either running expeditions or defeating a Nightlord as Duchess.
Defeating a Nightlord guarantees a 100% drop rate for the memory fragments, while simply running expeditions—regardless of whether you beat the boss—offers a lower chance of obtaining them.
To unlock the Duchess you must defeat Gladius during the Tricephalos Expedition, obtain the Old Pocketwatch, and give it to the Priestess (Duchess) at the Roundtable Hold to unlock the Duchess. - Chapter 2:Initially available. To progress you must have Revenant unlocked and then unlock memory fragments for the next chapter by either running expeditions or defeating a Nightlord as Duchess.
Defeating a Nightlord guarantees a 100% drop rate for the memory fragments, while simply running expeditions—regardless of whether you beat the boss—offers a lower chance of obtaining them. - Chapter 3:Talk to other Nightfarers in Roundtable Hold, then run an expedition and acquire the Golden Dew. Reward: Golden Dew (Relic)First Duchess Remembrance
- To complete the first Duchess Remembrance in Elden Ring Nightreign, head to the Journal and flip to Duchess Chapter 3. If you do not have access to Chapter 3, you need to complete runs as Duchess until the Memory Fragment is unlocked.
- Once you are in the Realm of Remembrance, talk to the Raider who is standing next to the Roundtable. Exhaust his dialogue.
- If you are ever unsure where an NPC is located, open the Roundtable map and you will see their location marked with an exclamation point. Additionally, you can fast travel to any location by selecting it in the map menu.
- Next, go talk to the Wylder, who is found in the room next to the Journal. Exhaust his dialogue as well, then return to the Raider and speak to him again. This unlocks Personal Objective: Find armament maintenance materials in Limveld.
- Begin any Expedition as Duchess. The location of the materials will be marked with a red circle on your map. I'd recommend reaching Day 2, Level 7-8, before taking on the objective. You will need to defeat three Erdtree Guardians.
- Use your Ultimate to take down one or two immediately, then carefully dispatch the third. Once the enemies are defeated, grab the Golden Dew from the glowing bush. Finish the run (win or lose).
- Back at the Roundtable, return to the Wylder and give him the Golden Dew. Listen to his dialogue, and he will give you the Faded Iron Coins.
- Talk to the Raider again, exhaust his dialogue, then go talk to the Revenant who is in the small forest on the west side of the map. Exhaust her dialogue.
- Finally, talk to the Iron Menial in the Codex room. Say “About the Wylder’s condition”, then listen to his dialogue. Conclude the Remembrance using the glowing strand.
- To complete the first Duchess Remembrance in Elden Ring Nightreign, head to the Journal and flip to Duchess Chapter 3. If you do not have access to Chapter 3, you need to complete runs as Duchess until the Memory Fragment is unlocked.
- Chapter 4:Defeat a Nightlord to unlock Chapter 5.
- Chapter 5:Find and talk to the Wylder, he is behind a wall on the right, next to the Executor's painting station, then talk to the Iron Menial. Reward: Duchess' ChaliceSecond Duchess Remembrance
- To complete the second Duchess Remembrance, head to the Journal and flip to Duchess Chapter 6. Once in the Realm of Remembrance, find the Wylder who is sitting out back around the corner from Executor’s easel.
- Examine the plate next to the Wylder, then eat the pita bread. Listen to the Wylder’s dialogue, and you will obtain the Pita Bread.
- Talk to the Iron Menial in the dressing room. Say “About the pita bread”, then listen to all of his dialogue. Conclude remembrance using the glowing strand.
- To complete the second Duchess Remembrance, head to the Journal and flip to Duchess Chapter 6. Once in the Realm of Remembrance, find the Wylder who is sitting out back around the corner from Executor’s easel.
- Chapter 6:Talk to the Raider in the Roundtable Hold, run an expedition and acquire Weathervane's Words, then challenge the Revenant to a duel. Reward: Crown Medal (Relic)Third Duchess Remembrance
- To complete the third Duchess Remembrance in Nightreign, head to the Journal and flip to Duchess Chapter 6. Once in the Realm of Remembrance, read the glowing note on the Roundtable. It is from the Revenant, telling you to meet her on the beach.
- Talking to the Revenant will initiate a battle with her, which earns you an extra reward. This battle is a 4v1, just like the one needed to unlock her. I recommend focusing on the quick swordsman first, then turning your attention to the Revenant after. The other two summons are relatively slow and easy to ignore. Don’t forget to use your weapon’s Art and your Restage skill for extra damage.
- After the battle, talk to the Revenant again and listen to her dialogue to obtain the Crown Medal.
- Next, talk to the Raider in the dining room. Say “Maybe we shouldn’t defeat the Nightlord”, then exhaust his dialogue. This will unlock Personal objective added: Find the message in Limveld.
- Begin any Expedition as Duchess. The location of the message will be marked in red on your map. I'd recommend reaching Day 2, Level 8+, before taking on the objective. You will need to defeat 3 Kaiden Sellswords at the same time.
- These guys are tanky, and they can block your attacks and counter for big damage. Use your Ultimate and Restage to focus and kill one immediately, then carefully kill the other two. If you die, you can simply run back and keep trying. Once the enemies are defeated, grab the Weathervane’s Words from the glowing gravestone. Complete the run (win or lose)
- Return to the Raider, then select “Share Weathervane’s message”. Exhaust his dialogue to obtain the Double Sided Coin. Conclude the remembrance using the glowing strand
- To complete the third Duchess Remembrance in Nightreign, head to the Journal and flip to Duchess Chapter 6. Once in the Realm of Remembrance, read the glowing note on the Roundtable. It is from the Revenant, telling you to meet her on the beach.
- Chapter 7:Defeat four unique Nightlords to unlock Chapter 8.
- Chapter 8:Bless the Iron Coin, then talk to the Iron Menial and Wylder. Rewards: Duchess Remembrance Outfit, Blessed Iron Coin (Relic)Fourth Duchess Remembrance
- To complete the fourth Duchess Remembrance, head to the Journal and flip to Duchess Chapter 6. Once in the Realm of Remembrance, bless the iron coin at the Roundtable to receive Blessed Iron Coin.
- Talk to the Iron Menial in the basement crypt. Listen to his dialogue, then “Give blessed iron coin”, and exhaust his dialogue.
- Talk to the Wylder in the dressing room. Say “Let us defeat the Nightlord”, then exhaust his dialogue. Talk to the Iron Menial again, then conclude the remembrance using the glowing strand.
Reward: Duchess Remembrance Outfit, Blessed Iron Coin Relic
- To complete the fourth Duchess Remembrance, head to the Journal and flip to Duchess Chapter 6. Once in the Realm of Remembrance, bless the iron coin at the Roundtable to receive Blessed Iron Coin.
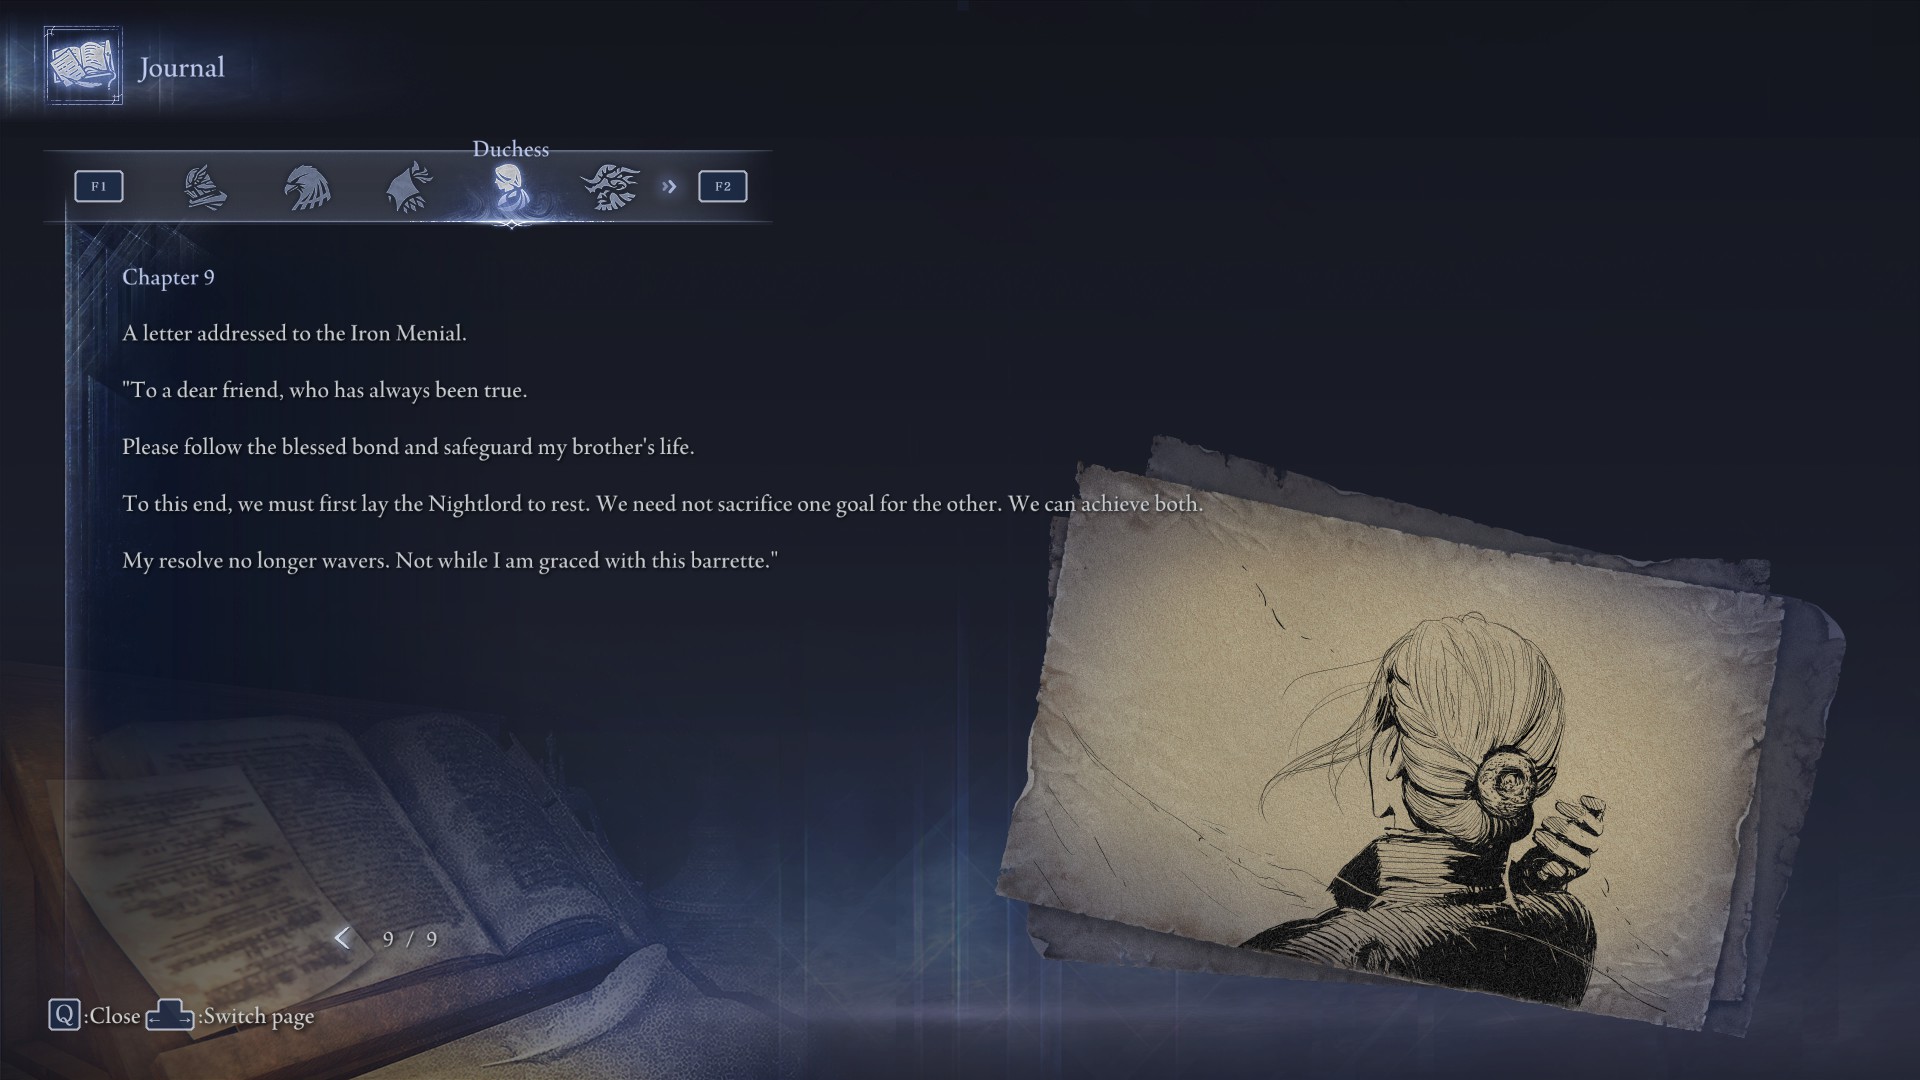
- Chapter 9:Unlocked upon completing the fourth Duchess remembrance.
Raider's Remembrance
IMPORTANT NOTE!
If you are pursuing this Remembrance, you must complete the required steps as that specific Nightfarer or the next chapters will not unlock. This may include repeating expeditions and defeating Night Lords again with that same character to continue the journal.
- Chapter 1:Initially available after unlocking the Raider. You can unlock memory fragments for the next chapter by either running expeditions or defeating a Nightlord as Raider.
Defeating a Nightlord guarantees a 100% drop rate for the memory fragments, while simply running expeditions—regardless of whether you beat the boss—offers a lower chance of obtaining them. - Chapter 2:First Remembrance Quest: Defeat the Onestrike Gladiator. Reward: Torn Braided Cord (Relic)First Raider Remembrance
- After earning the first memory fragment with Raider, Chapter 2 will be unlocked in his journal. Launch the memory and speak with Iron Menial.
- Iron Menial will explain a bit about the monument, then ask you to touch it. This begins the Tourney Between contest.
- Speak with Iron Menial a few more times to prepare for the first challenger. You can change your equipped relics at the Relic Rite before the fight.
- Touch the monument to begin the first battle against the Onestrike Gladiator.
- Onestrike Gladiator is a relatively easy fight. Watch for his steam-rush combo and dodge twice quickly.
- Use Raider’s knockdown ability to create windows for extra attacks. Avoid close range when he swings his chain.
- If you fail, you will respawn next to the monument and can retry the fight.
- After winning, speak to Iron Menial and then touch the monument for the next challenger — but the next fight won’t start yet.
- Talk to Iron Menial one last time, then conclude the remembrance.
Reward: Torn Braided Cord Relic
- After earning the first memory fragment with Raider, Chapter 2 will be unlocked in his journal. Launch the memory and speak with Iron Menial.
- Chapter 3:Run expeditions and collect Memory Fragments to unlock Chapter 4.
- Chapter 4:Second Remembrance Quest: Defeat the Blinding Elder Lion. Reward: Raider's ChaliceSecond Raider Remembrance
- Upon completing Chapter 2, Chapter 4 will be unlocked with a new remembrance.
- You will spawn next to the monument. Talk to Iron Menial, then touch the monument to begin the next fight.
- The next challenger is the Blinding Elder Lion.
- The Lion is faster and has a long-range leap that deals heavy damage.
- Roll forward to dodge attacks, not backward, as its range is wide.
- Use abilities liberally; you have unlimited attempts.
- After defeating the Lion, talk to Iron Menial to conclude the remembrance.
Reward: Raider’s Chalice
- Upon completing Chapter 2, Chapter 4 will be unlocked with a new remembrance.
- Chapter 5:Defeat your second Nightlord to unlock Chapter 6.
- Chapter 6:Defeat your third Nightlord to unlock Chapter 7.
- Chapter 7:Final Remembrance Quest: Defeat White Horn. Rewards: Raider's Remembrance Outfit, Black Claw Necklace (Relic)Third Raider Remembrance
- Chapter 7 becomes available after defeating two Nightlords, unlocking the required memory fragments.
- Talk to Iron Menial; he’ll say the next challenger hasn’t arrived.
- Open the map and fast travel to the shore. Stand next to a fallen pillar to teleport to the arena.
- Face White Horn, who has stronger versions of Onestrike Gladiator’s moves.
- Once White Horn drops below 25% health, he transforms into a giant worm-like creature.
- Use Raider’s Ultimate Art to avoid damage during this final phase.
- After winning, speak to Iron Menial, read the writing on the monument, and pay respect to White Horn.
- Raider's identity twist is revealed in the monument’s inscription.
- The Remembrance skin will auto-equip. Return to the present for the final reward.
Reward: Raider’s Remembrance Outfit, Black Claw Necklace Relic
- Chapter 7 becomes available after defeating two Nightlords, unlocking the required memory fragments.
- Chapter 8:Automatically unlocked after finishing Chapter 7's Remembrance quest.

Revenant's Remembrance
IMPORTANT NOTE!
If you are pursuing this Remembrance, you must complete the required steps as that specific Nightfarer or the next chapters will not unlock. This may include repeating expeditions and defeating Night Lords again with that same character to continue the journal.
- Chapter 1:Initially available after unlocking the Revenant. You can unlock memory fragments for the next chapter by either running expeditions or defeating a Nightlord as Revenant.
Defeating a Nightlord guarantees a 100% drop rate for the memory fragments, while simply running expeditions—regardless of whether you beat the boss—offers a lower chance of obtaining them.
To unlock the Revenant, after unlocking the Duchess, buy the Besmirched Frame from the Small Jar Bazar Merchant, find the female phantom in the east wing of the Hold, and defeat the Revenant in the Tutorial Zone to unlock her.
Defeat the Tricephalos or the Darkdrift Knight as Revenant and obtain the Blade of Night Fragment. Reward: Small Makeup Brush (Relic)First Revenant Remembrance- Inspect Revenant's journal page and press begin remembrance.
- After starting the Remembrance quest, talk to the Duchess and exhaust her dialogue. After this, find the Guardian.
- Talk to the Guardian twice until the dialogue option Speak of your request appears. Choose this option to progress the quest.
- After talking to the Guardian, a personal objective will be added. This objective will require you to defeat the Tricephalos or the Darkdrift Knight in Limveld.
- Once you defeat one of the required Nightlords, you will receive the Blade of Night Fragment.
- Talking to the Guardian again will conclude the remembrance.
Reward: Small Makeup Brush Relic
- Inspect Revenant's journal page and press begin remembrance.
- Chapter 2-4:Chapter 2 is available upon completing chapter 1. You can unlock memory fragments for the next chapters by either running expeditions or defeating a Nightlord.
Defeating a Nightlord guarantees a 100% drop rate for the memory fragments, while simply running expeditions—regardless of whether you beat the boss—offers a lower chance of obtaining them. - Chapter 5:Defeat Corrosion. Reward: Revenant's ChaliceSecond Revenant Remembrance
- After starting the Remembrance Quest, talk to the Duchess twice. Choose the dialogue option Ask about the Night's corrosion. You will then be tasked to find the Recluse in the Garden.
- Along the Garden's pathway, you will see the Recluse standing beside a bench. Talk to the Recluse to progress.
- The Recluse will request you to sit on the bench, which should now be possible by approaching it. Doing this will teleport you to another location.
- Move forward through the new location until Corrosion's health bar pops up. Corrosion is a group of enemies that will self-destruct once you go near them.
- Their self-destruction damages Corrosion's health bar, so you may opt to go near them and dodge until Corrosion's health bar drops to 0.
- After defeating Corrosion, examine the sitting doll that looks exactly like Revenant. Doing so will teleport you back to the Garden.
- Once you're back in the Garden, talk to the Recluse once more. You can then conclude the remembrance behind the bench.
Reward: Revenant's Chalice
- After starting the Remembrance Quest, talk to the Duchess twice. Choose the dialogue option Ask about the Night's corrosion. You will then be tasked to find the Recluse in the Garden.
- Chapter 6:Defeat a Nightlord to unlock Chapter 7.
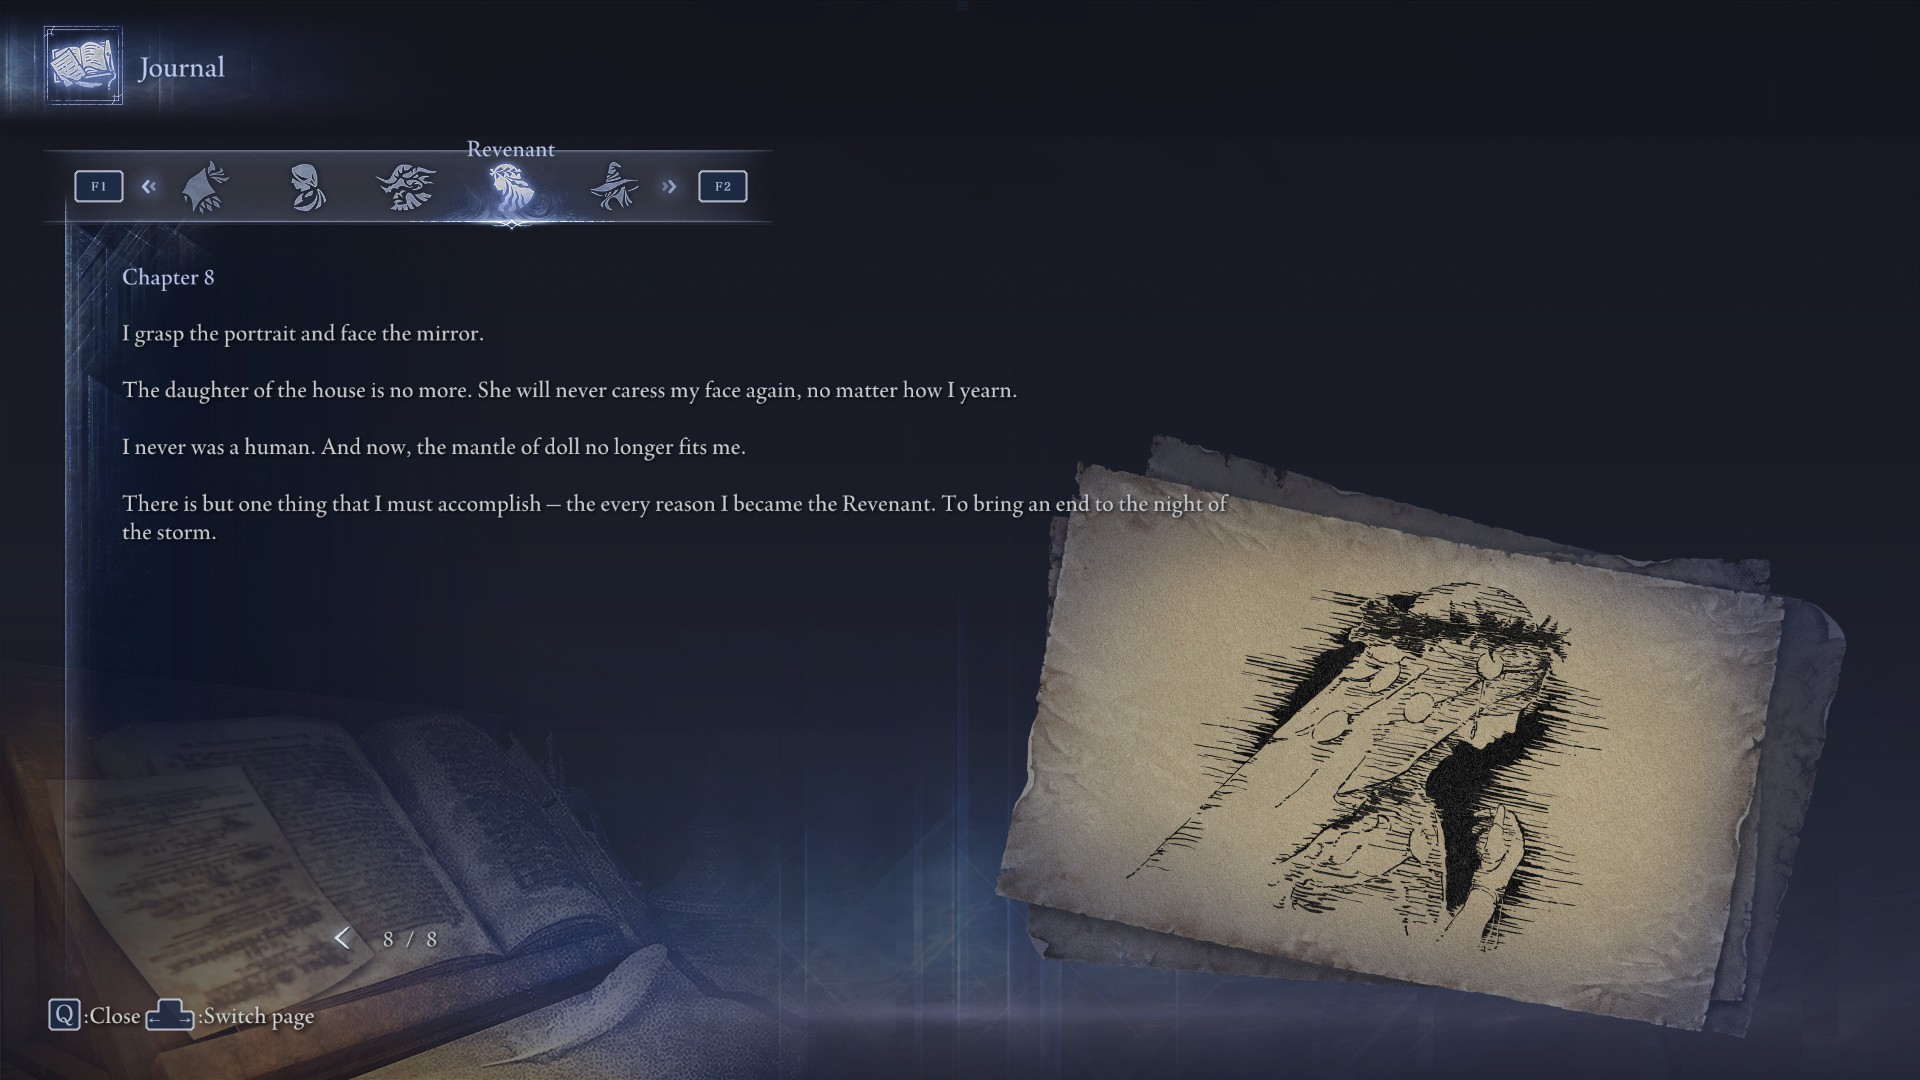
- Chapter 7:Defeat the Contaminant. Rewards: Revenant's Remembrance Skin, Old Portrait (Relic)Third Revenant Remembrance
- After starting the Remembrance Quest, head to the Garden and talk to the Recluse.
- After talking to the Recluse, sit on the bench. Doing this will teleport you to another location.
- Once you arrive, head forward until the Contaminant appears.
- Defeat the Contaminant to trigger a cutscene where you will see a glimpse of the Revenant's past.
- Once the cutscene ends, you will be transported back to the Garden.
- Finish the conversation between the Recluse and the Revenant and conclude the remembrance.
Rewards: Revenant's Remembrance outfit, Old Portrait Relic
- After starting the Remembrance Quest, head to the Garden and talk to the Recluse.
- Chapter 8:Automatically unlocked after finishing Chapter 7 remembrance quest.
Recluse's Remembrance
IMPORTANT NOTE!
If you are pursuing this Remembrance, you must complete the required steps as that specific Nightfarer or the next chapters will not unlock. This may include repeating expeditions and defeating Night Lords again with that same character to continue the journal.
- Chapter 1:Initially available after unlocking the Recluse. You can unlock memory fragments for the next chapter by either running expeditions or defeating a Nightlord as Recluse.
Defeating a Nightlord guarantees a 100% drop rate for the memory fragments, while simply running expeditions—regardless of whether you beat the boss—offers a lower chance of obtaining them. - Chapter 2:Defeat the Night-Swallowed Golden Hippopotamus. Reward: Recluse's ChaliceFirst Recluse Remembrance
- Accept the Remembrance quest from the Journal and talk to the Iron Menial in the far western room with the fireplace.
- The Iron Menial suspects the Recluse has ulterior motives and asks her to defeat Night-tainted Foes in Limveld.
- Begin any expedition; a red objective marker will appear on the northeastern side of the map.
- Approach the marker to trigger a boss fight against the Night-Swallowed Golden Hippopotamus.
- Defeat the boss, upon victory, you receive a Night Shard.
- Complete or fail the expedition to return to the Roundtable Hold.
- Show the Night Shard to the Iron Menial to prove the Recluse's cooperation.
- Speak with him again, and the Recluse will ask you to search for someone.
- Offer the Night Shard again, and the Iron Menial agrees to investigate.
- Conclude the remembrance.
Reward: Recluse’s Chalice
- Accept the Remembrance quest from the Journal and talk to the Iron Menial in the far western room with the fireplace.
- Chapter 3:Run expeditions and collect Memory Fragments to unlock chapter 4.
- Chapter 4:Obtain the Vestige of Night. Reward: Vestige of Night (Relic)Second Recluse Remembrance
- Accept the Chapter 4 Remembrance and read the note in front of you.
- The Night Shard appears to be pointing toward something.
- Go to the western room where the Small Jar Bazaar is and speak with the Iron Menial nearby.
- Ask to take the Night Shard back to receive it again as a key item.
- Head to the eastern side of the Roundtable Hold and inspect the darkly glowing bed.
- Receive a new item: Vestige of Night.
- Show the Vestige of Night to the Iron Menial.
- Conclude the remembrance.
Reward: Vestige of Night Relic
- Accept the Chapter 4 Remembrance and read the note in front of you.
- Chapter 5:Defeat a total of 4 different Nightlords to unlock the next chapter.
- Chapter 6:Obtain the Bone-Like Stone. Reward: Bone-Like Stone (Relic)Third Recluse Remembrance
- Go to the Sparring Grounds and speak to the Iron Menial.
- Attack him to reveal his true identity: the Witch of the Wheel.
- Speak to the Witch to receive cryptic information about the Recluse.
- Ask her about her resurrection, then speak again to receive your next instruction.
- Head to the Roundtable Hold mausoleum.
- From the Small Jar Bazaar room, go down the stairs to the right.
- Once at the bottom, turn around and find another staircase leading deeper to the mausoleum.
- At the rear, interact with the Iron Menial and recalibrate him.
- Speak to him about the impostor, and he will thank you and give you the Bone-Like Stone.
- Conclude the remembrance.
Reward: Bone-Like Stone Relic
- Go to the Sparring Grounds and speak to the Iron Menial.
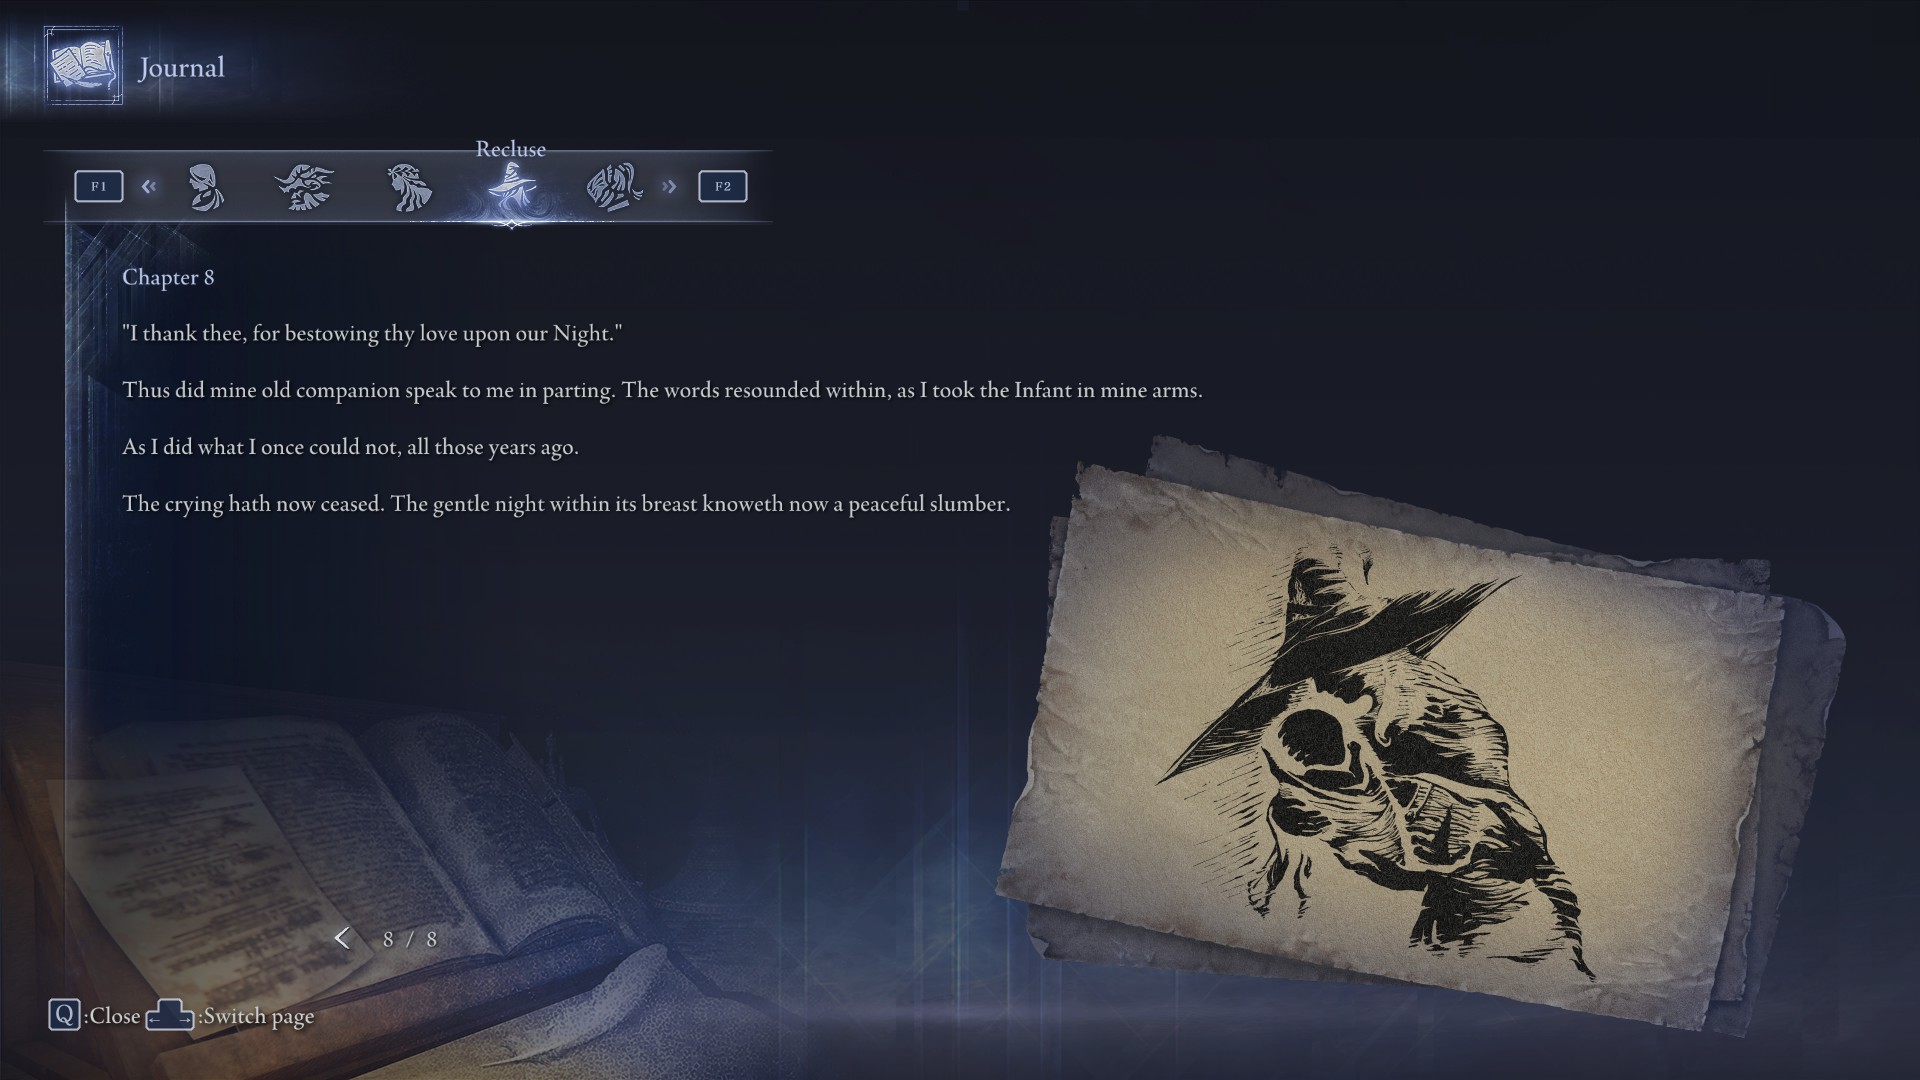
- Chapter 7:Automatically available (Recluse Secret Ending).Fourth Recluse Remembrance (Recluse Secret Ending)
- This Remembrance Quest is a bit unorthodox. It is not started via the Journal. Instead, you need to complete the final Expedition, Night Aspect, as Recluse to progress. After defeating him a short cutscene will commence & you'll arrive at a ruined Rountable Hold. Head inside and make your way to the center of the hold.
- You'll hear the sounds of a baby crying as you approach the table with the large site of grace.
- Note: Do not interact with the corpse north of the the table as this will end the game without progressing the Recluse's remembrance quest. If you interact with the corpse, you'll need to defeat the final boss again!
- From the center of the hold, turn right into the hallway and make your way to the beds where you first obtained the Vestige of Night key item.
- Interact with the infant on the bed and the Recluse will cradle it, ending the game.
- After the credits roll, make your way to the same area where you cradled the infant and the Witch of the Wheel will be there.
- Speak to her and she'll thank you before fading away, leaving her clothes behind. Interact with her clothes to receive the Recluse's Remembrance Garb as a reward for completing the Recluse's Remembrance Quest.
Reward: Recluse's Remembrance Outfit.
- This Remembrance Quest is a bit unorthodox. It is not started via the Journal. Instead, you need to complete the final Expedition, Night Aspect, as Recluse to progress. After defeating him a short cutscene will commence & you'll arrive at a ruined Rountable Hold. Head inside and make your way to the center of the hold.
- Chapter 8:Unlocked upon completing the secret ending with Recluse.
Executor's Remembrance
IMPORTANT NOTE!
If you are pursuing this Remembrance, you must complete the required steps as that specific Nightfarer or the next chapters will not unlock. This may include repeating expeditions and defeating Night Lords again with that same character to continue the journal.
- Chapter 1:Initially available after unlocking the Executor. You can unlock memory fragments for the next chapter by either running expeditions or defeating a Nightlord as Executor.
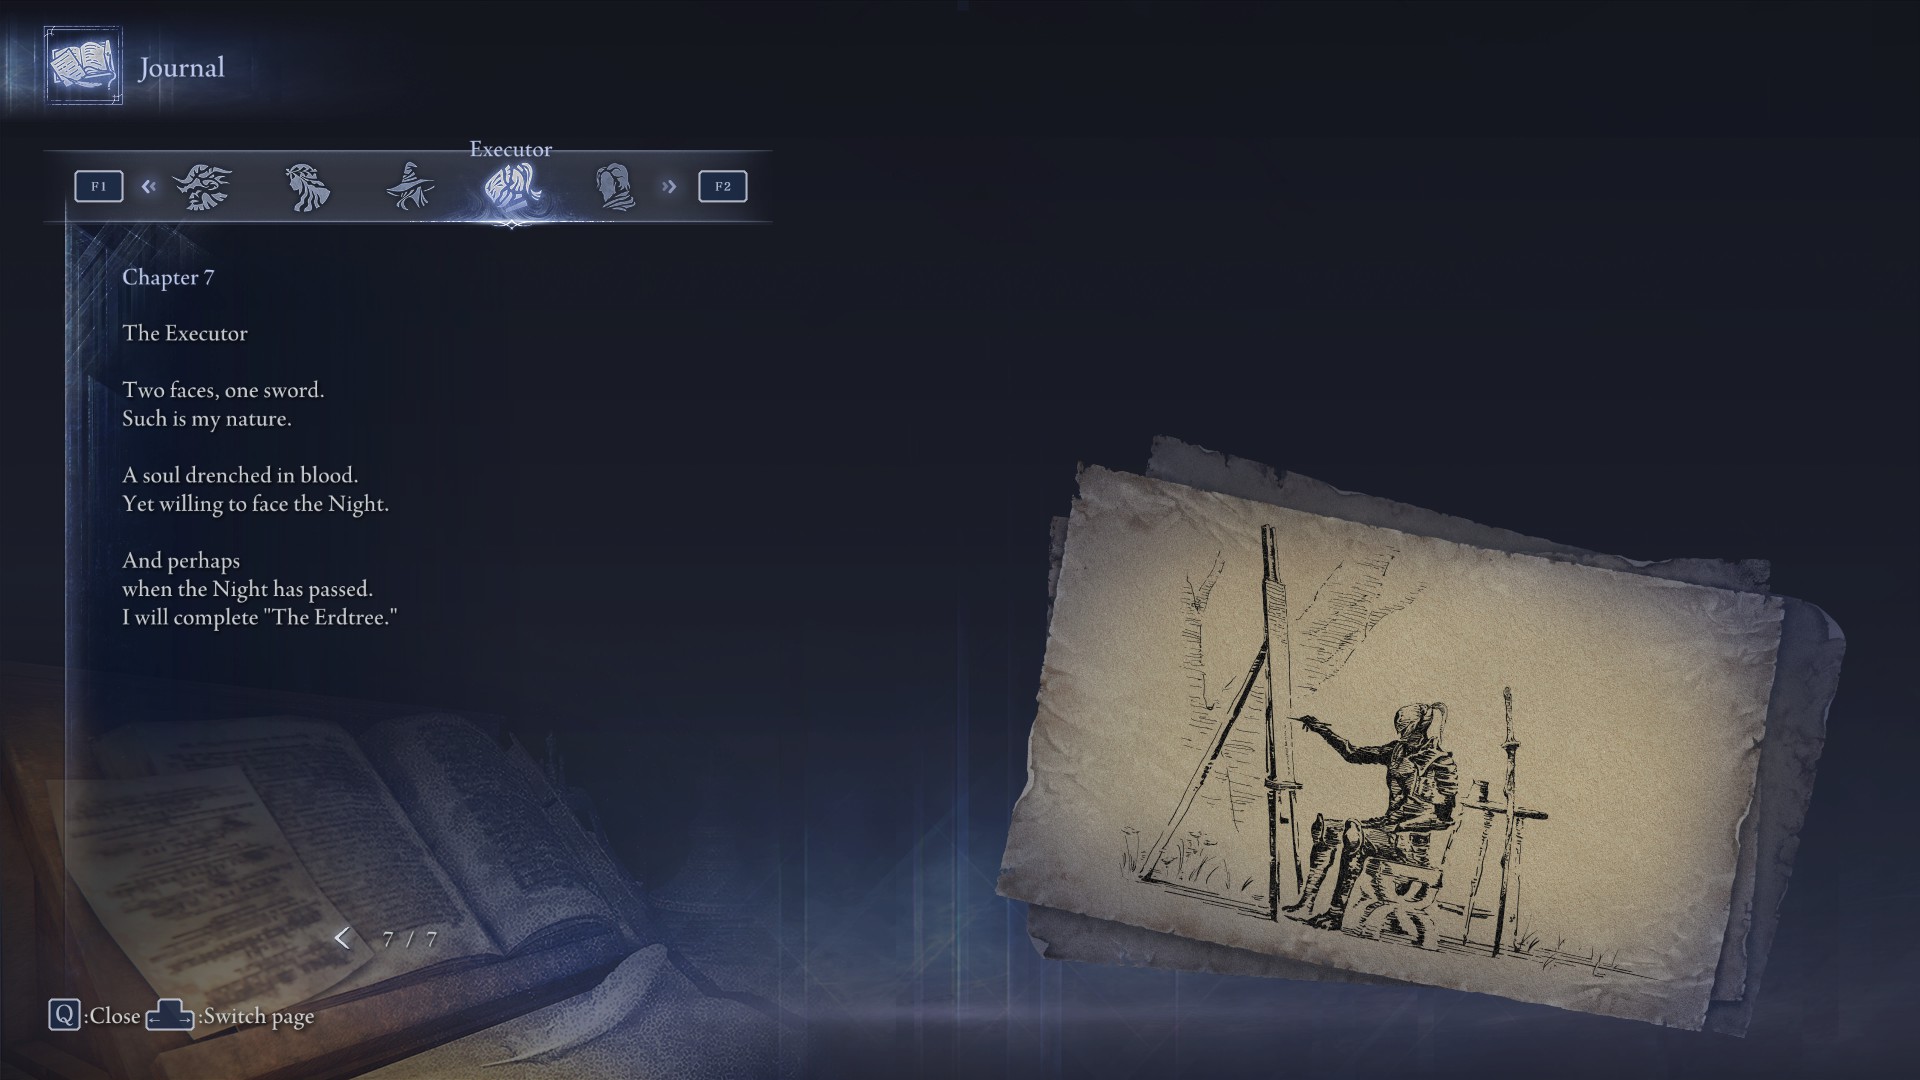
Defeating a Nightlord guarantees a 100% drop rate for the memory fragments, while simply running expeditions—regardless of whether you beat the boss—offers a lower chance of obtaining them. - Chapter 2:Find a Flower in Limveld. Rewards: Executor's Chalice, Blessed Flowers (Relic)First Executor Remembrance
- Head to the Journal and flip to Executor Chapter 2. If you do not have access to Chapter 2, you need to complete runs as Executor until the Memory Fragment is unlocked.
- Once you are in the Realm of Remembrance, talk to the Guardian who is looking at a painting in the Journal room. Choose “Affirm”, then exhaust his dialogue.
- If you are ever unsure where an NPC is located, open the Roundtable map and you will see their location marked with an exclamation point. Additionally, you can fast travel to any location by selecting it in the map menu.
- Talk to the Priestess and exhaust her dialogue. This will unlock Personal Objective: Find flowers in Limveld.
- Begin any Expedition as Executor. Go to the red marked spot and defeat the Stray Bloodhound Knight. I'd recommend doing this at the start of Day 2, once you’ve reached level 7 or higher.
- After defeating the boss, inspect the glowing flowers to obtain the Blessed Flowers. Finish the run (win or lose).
- Back at the Roundtable, talk to the Priestess and exhaust her dialogue. Then talk to the Iron Menial, who is in the forest behind the castle. Give him the Blessed Flowers and exhaust his dialogue.
- Next, interact with the canvas and view the scene. Conclude the Remembrance at the Journal.
Reward: Executor’s Chalice, Blessed Flowers Relic
- Head to the Journal and flip to Executor Chapter 2. If you do not have access to Chapter 2, you need to complete runs as Executor until the Memory Fragment is unlocked.
- Chapter 3:Run expeditions and collect Memory Fragments to unlock chapter 4.
- Chapter 4:Defeat either 2 Nightlords or the Night Aspect as Executor to progress. I am not sure what triggered the unlock as I beat the Night Aspect twice as Executor and then it unlocked for me.
- Chapter 5:Run expeditions and collect Memory Fragments to unlock chapter 6.
- Chapter 6:Defeat the Erdtree Avatar and acquire the Golden Sprout in Limveld. Rewards: Golden Sprout (Relic), Executors Remembrance SkinSecond Executor Remembrance
- Head to the Journal and flip to Executor Chapter 6. Talk to the Priestess and exhaust her dialogue. This will unlock Personal Objective: Find a golden sprout in Limveld.
- This Personal Objective requires Shifting Earth: Mountain. You will need to progress in the game, completing Expeditions until this Shifting Earth appears.
- Start any Expedition with Executor while Shifting Earth: Mountain is active, then make your way to the red marked spot on the map. (Note: there will be two red markers on the Mountain map, we want the lighter red one in the far north.)
- You will have to defeat a powerful foe, so I recommend doing this partway through Day 2, around level 8–10. Once you are at the base of the mountain, all you need to do is go straight through the canyon in the middle.
- Reach the quest marker, then defeat the Erdtree Avatar. A heavy weapon with good stagger is strong against it. Once the Avatar is defeated, inspect the glowing flowers to obtain the Golden Sprout. Complete the run (win or lose).
- Back at the Roundtable, talk to the Priestess, which will initiate a cutscene followed by a special instance.
- Watch the cutscene, then get ready to battle a mini-boss: Executor’s Cry.
- The optimal approach here is to draw your Cursed Blade and wait for him to attack. Deflect all 5 hits of his combo, then immediately use the weapon art which will be fully charged. You need to do this about 8 times in a row to defeat him.
- You should never try to initiate the attack; remember to back off and use a Flask if you need it. You can retry as many times as you like.
- Once he is defeated, walk over to the golden light which will trigger an event. Go inside the hut and speak to the Crucible Knight. View the cutscene.
- Back at the Roundtable, listen to the Priestess dialogue, then conclude the Remembrance at the glowing strand.
Reward: Executor’s Remembrance Outfit, Golden Sprout Relic
- Head to the Journal and flip to Executor Chapter 6. Talk to the Priestess and exhaust her dialogue. This will unlock Personal Objective: Find a golden sprout in Limveld.
- Chapter 7:Automatically unlocked after finishing Chapter 6 Remembrance quest.
Scholar's Remembrance
IMPORTANT NOTE!
If you are pursuing this Remembrance, you must complete the required steps as that specific Nightfarer or the next chapters will not unlock. This may include repeating expeditions and defeating Night Lords again with that same character to continue the journal.
- Chapter 1:Initially available after unlocking the Scholar. You can unlock memory fragments for the next chapter by either running expeditions or defeating a Nightlord as Scholar.
Defeating a Nightlord guarantees a 100% drop rate for the memory fragments, while simply running expeditions—regardless of whether you beat the boss—offers a lower chance of obtaining them.
To unlock Scholar & Undertaker you must purchase The Forsaken Hollows DLC, you must have defeated Tricephalos prior or after, speak to the Iron Menial then the Small Jar Bazar Merchant, open the door to face Dreglord, then talk to the Scholar & Undertaker in the Chapel to unlock them and their Remembrance quests. - Chapter 2:Run Expeditions to collect Memory Fragments.
- Chapter 3:Search the Underground Chamber. Reward: Scholar's ChaliceFirst Scholar Remembrance
- Queue for an Expedition against the Balancers without any Shifting Earth Event. The underground chamber spawns randomly but is marked by a red circle.
- Descend through the chamber and look for an opening on the right side. This path is located before the boss of this POI.
- Proceed deeper and pick up the Vassal's Journal from the table. Complete the expedition and return to the Roundtable Hold.
- Go to the Chapel and speak with the Undertaker. Talk to the Iron Menial when he arrives.
- Read the Vassal's Journal on the desk. Speak with the Undertaker and conclude the Remembrance Quest.
- Queue for an Expedition against the Balancers without any Shifting Earth Event. The underground chamber spawns randomly but is marked by a red circle.
- Chapter 4:Run expeditions to collect Memory Fragments and unlock the next chapter.
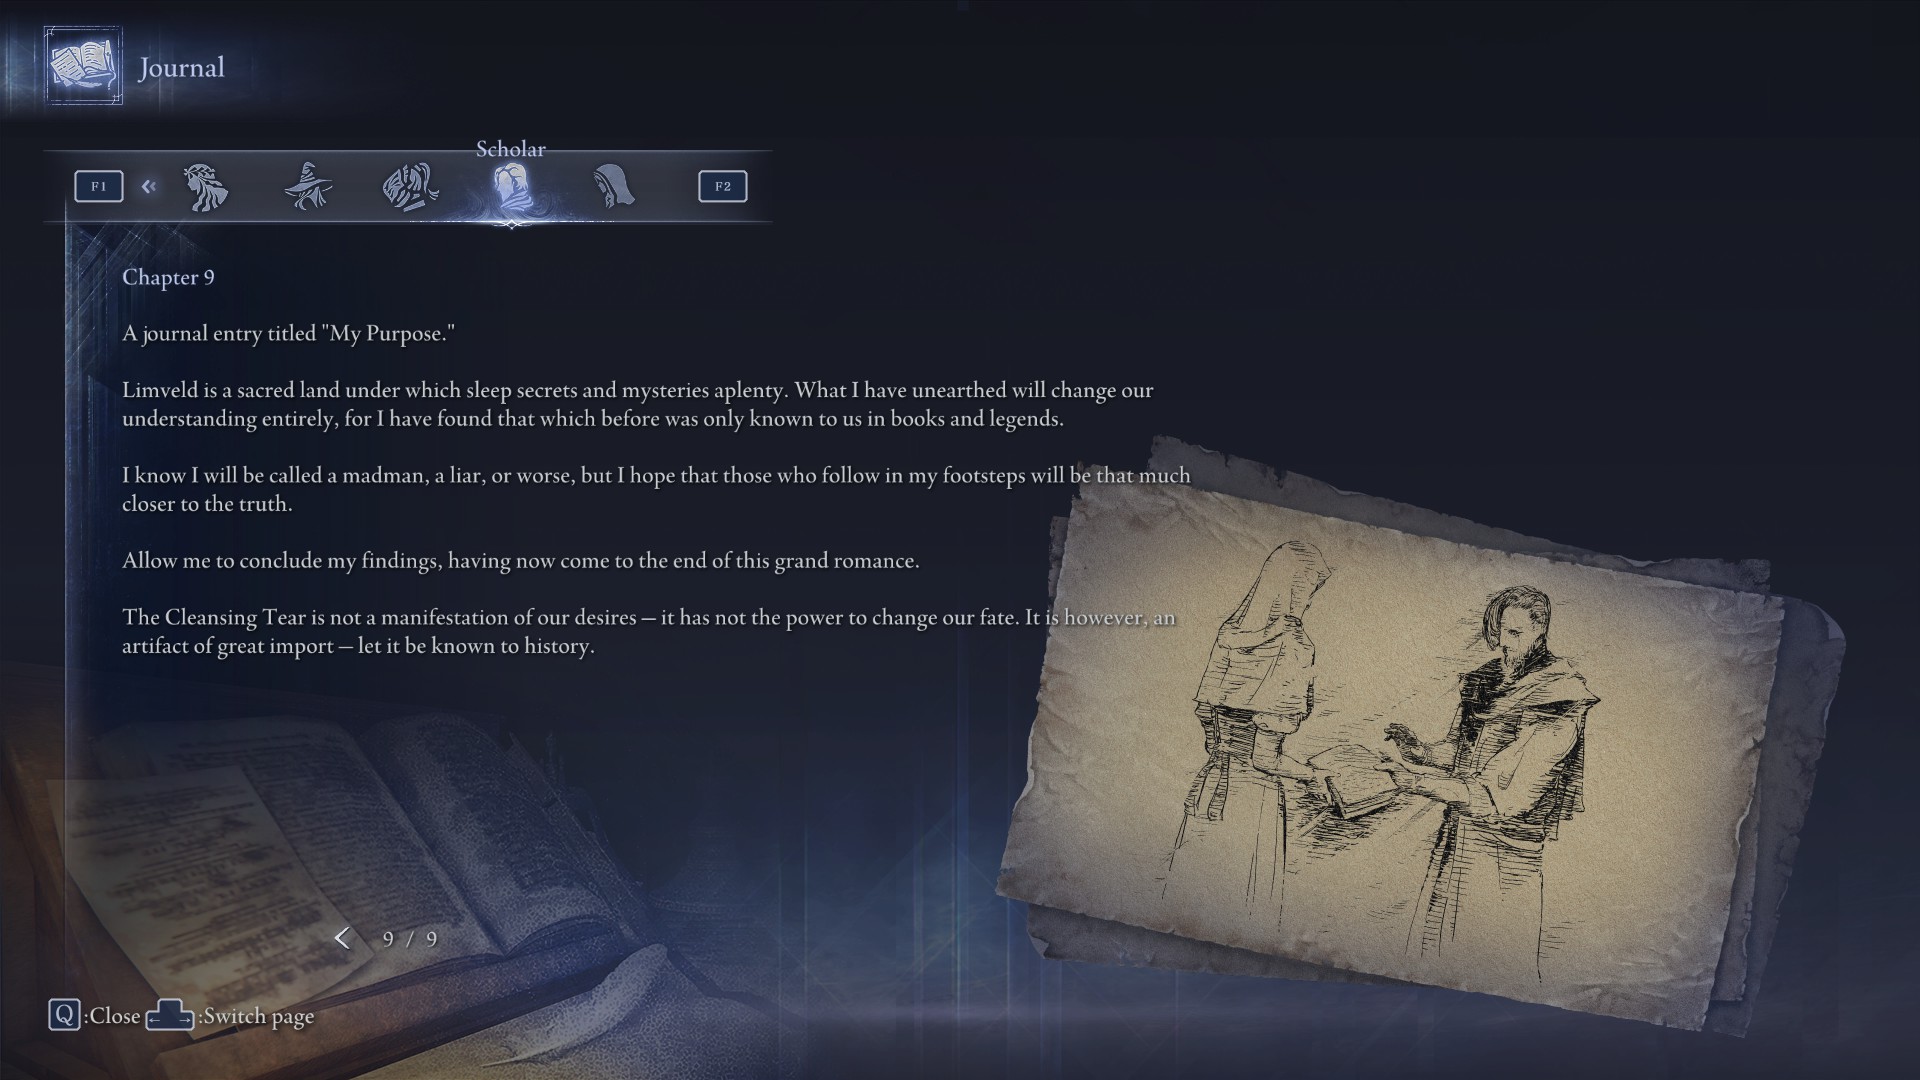
- Chapter 5:Investigate the Great Hollow. Reward: Cleansing Tear (Relic)Second Scholar Remembrance
- Make your way to the top of the building, defeating enemies along the way to reduce resistance later.
- Climb the hanging rock and proceed through the hole in the wall. Approach the door where noise can be heard and investigate.
- Backtrack and defeat the three Marauders that arrive. Return to the previously inaccessible door.
- Interact with all objects available to complete the Remembrance Quest.
- Make your way to the top of the building, defeating enemies along the way to reduce resistance later.
- Chapter 6:Unlocked after completing the second Remembrance Quest.
- Chapter 7:Defeat the Balancers as Scholar.
- Chapter 8:Complete the Dreglord Expedition. Rewards: Note "My Dear Successor" (relic), Scholar's Remembrance OutfitThird Scholar Remembrance
- Head to the Chapel and talk with the Undertaker.
- go check yourself out at the Change Garb mirror.
- Return to the Chapel, head to the Scholar's table and interact with the book, choose any choice and it will give you a personal objective.
- Defeat the Dreglord. Start an Expedition to defeat the Dreglord. Ensure the personal objective is active or the task will need repeating.
- Head to the Chapel and speak with the Undertaker.
- Return to the desk and interact to conclude the Remembrance Quest.
- Head to the Chapel and talk with the Undertaker.
Undertaker's Remembrance
IMPORTANT NOTE!
If you are pursuing this Remembrance, you must complete the required steps as that specific Nightfarer or the next chapters will not unlock. This may include repeating expeditions and defeating Night Lords again with that same character to continue the journal.
- Chapter 1:Initially available after unlocking the Undertaker. You can unlock memory fragments for the next chapter by either running expeditions or defeating a Nightlord as Undertaker.
Defeating a Nightlord guarantees a 100% drop rate for the memory fragments, while simply running expeditions—regardless of whether you beat the boss—offers a lower chance of obtaining them.
To unlock Scholar & Undertaker you must purchase The Forsaken Hollows DLC, you must have defeated Tricephalos prior or after, speak to the Iron Menial then the Small Jar Bazar Merchant, open the door to face Dreglord, then talk to the Scholar & Undertaker in the Chapel to unlock them and their Remembrance quests. - Chapter 2:Defeat any Nightlord to secure the Memory Fragment required to unlock the next chapter.
- Chapter 3:Defeat the Nightfarers. Reward: Leather Monocle Case (Relic)First Undertaker Remembrance
- Head to the east side of the Roundtable Hold and speak to the Iron Menial. He punishes you for indulging in the Night and immediately challenges you. Defeat him to begin the Remembrance.
- Afterward, speak with the Guardian. He informs you that the Priestess is searching for you. Find her near the Roundtable’s entrance; she tasks you with locating a Flower in Limveld.
- Travel toward the Chapel, the same location where Scholar and Undertaker were originally awakened. Nightfarers confront you along the route — defeat all of them to proceed.
- You will battle the Nightfarers in the following order:
- Executor near the Journal space
- Guardian and Recluse inside the Roundtable
- Wylder beside the Visual Codex
- Raider and Ironeye within the Chapel - Once Raider and Ironeye fall, the Iron Menial approaches. Apologize when prompted, then continue speaking with him until he steps aside.
- Look for a wall glowing with faint purple light. Interact with it, crush the corruption, and draw in the power of the Night.
- Seek out the Scholar near the Garden. He gives you the Leather Monocle Case and requests that you inform the remaining Nightfarers that he perished and did not return. Conclude the Remembrance using the glowing circle nearby.
- Head to the east side of the Roundtable Hold and speak to the Iron Menial. He punishes you for indulging in the Night and immediately challenges you. Defeat him to begin the Remembrance.
- Chapter 4:Run expeditions to gather the Memory Fragments needed to proceed.
- Chapter 5:Locate the Scholar. Reward: Undertaker's ChaliceSecond Undertaker Remembrance
- Speak with the Duchess at the center of the Roundtable Hold. She questions you regarding the Scholar’s whereabouts.
- Travel to the Chapel and interact with the prompt near the front pews to advance the objective.
- Talk to the Iron Menial. He explains that the Scholar has traveled into Limveld. Begin a Balancers expedition with the Remembrance active. Running this solo is recommended for an easier time completing the requirement.
- Follow the red circle objective marker on your map to a small chapel structure. Enemies patrol the area, but you do not need to fight them to complete the task.
- Enter the chapel and climb two flights of stairs to reach the third floor. You will pause beside a dangling rock when climbing the second staircase. Avoid confrontation as you proceed.
- Move to the far side of the hanging stone through the connecting platform. You will find an opening in the railing that allows you to jump directly onto the stone.
- Jump across, then carefully climb upward until you reach the ceiling’s support beams. Enemies may fire at you during the ascent, so move carefully.
- Slip through the break in the wall and proceed to the small doorway next to a chest. Inside, you find the Scholar imprisoned within a crystal.
- Interact with the trapped Scholar to obtain his Primal Core. Speak to him again until all dialogue is exhausted. Once you acquire the Core, the Remembrance objective completes. You may finish the expedition normally or simply fall during the Night 1 final circle.
- Upon returning to the Roundtable, visit the Chapel again and speak to the Scholar. He awards you the Night-Hued Glass and the Bundled Paper. Use the glowing circle to conclude the Remembrance and complete the chapter.
- Speak with the Duchess at the center of the Roundtable Hold. She questions you regarding the Scholar’s whereabouts.
- Chapter 6:This chapter unlocks immediately after finishing the second Remembrance.
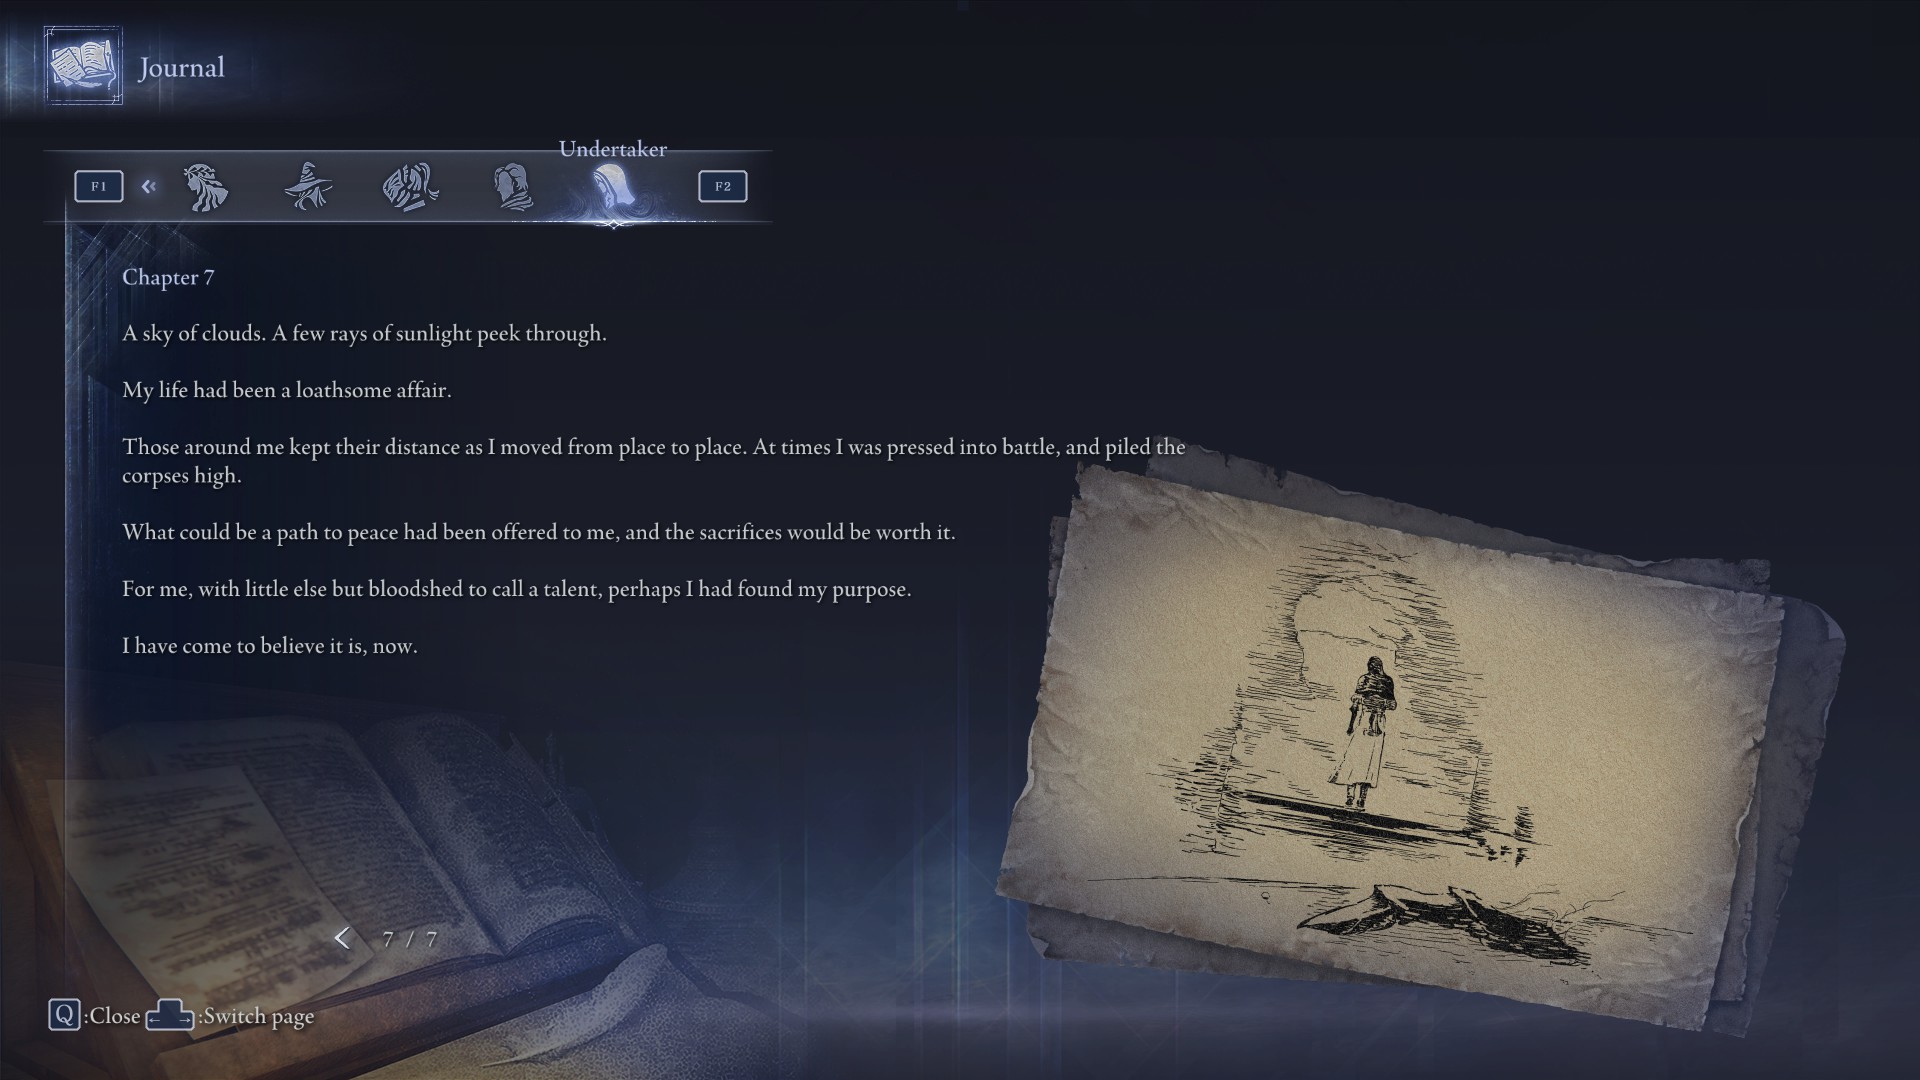
- Chapter 7:Defeat Heolstor the Nightlord. Rewards: Glass Necklace (Relic), Undertaker's Remembrance OutfitThird Undertaker Remembrance
- You must defeat Heolstor (Night Aspect) as Undertaker specifically. Victories with other Nightfarers do not count. You must also drop the Dismembered Finger that you obtain after beating Heolstor, before offering the Nightlord’s Rune at the end.
- Inside the Hold, drop the Dismembered Finger on the ground. If Undertaker murmurs “This will do... I’m sure”, the step has registered correctly.
- Failing to drop the Finger before the next step mean you'll have to defeat Heolstor again.
- Approach the corpse sitting near the exit and offer the Nightlord’s Rune as usual. After the cutscene and credits (which can be skipped), you will return to the Roundtable and the chapter will conclude.
- You must defeat Heolstor (Night Aspect) as Undertaker specifically. Victories with other Nightfarers do not count. You must also drop the Dismembered Finger that you obtain after beating Heolstor, before offering the Nightlord’s Rune at the end.