A Comprehensive-ish Guide to Ascending the Peak™ (Mesa Updated)
 ShogunTaira
(152 ratings)
Jun 30, 2025 @ 10:51pm21,930166
Maps or LevelsWalkthroughsEnglish
Intro + Disclaimer
Introduction
Hello climbers!
In this guide, I'll be providing tips on how to successfully ascend to the highest point of the Peak™ you see in front of you. If you're questioning my credentials (don't worry, I do too), I've completed fast runs in jump-centric games like Knight's Try and Guild Wars 2's Halloween Jumping Puzzle. Thus, I like to imagine I'm pretty well versed in how, when, why, where, and who to hit the spacebar. As of version 1.6.b, the game is still getting updates, so assume things can shift around in this guide; at the very least, remember to hold left click, look slightly above the horizon, and try not to question your life choices too much. It won't get any simpler than that, save for the developers doing something weird.
Boy, do I hope nothing weird happens.
What This Guide Covers
This guide covers general tips and tricks to understand and anticipate in each level of Peak™. Every day the layout changes, but there are certain patterns that can be discerned in each one that is consistent no matter what kind of generation you get. This isn't just a survival manual - it's a better one than the game hands you. Less vague, more useful, and at least 26% more emotionally supportive. Beginners and intermediate players can find refuge in these pages, and some much needed insight to playing through each level.Disclaimer? What's all this?
The disclaimer for this guide is that it is geared for (and sourced by) the intrepid solo climber. Due to my friend-base still being in the process of loading, I can only provide insight from the perspective of someone who has ascended at least twice in one day by myself. Dynamics between multiple players is not yet my forte, so sorry if you're looking for anything on that front. This guide also includes spoilers, so proceed with caution if you don't want to be spoiled on certain things.
Invite me to carry you or something, I dunno.
If you prefer to just learn a variety of cool, sicknasty tricks/things to know about the game and not get a walkthrough of tips, feel free to skip to the last section where I infodump.
So with that out of the way, let's get into the guide.
Level 1: The Shore
Take your time.
Seriously, no rush.
Consider the initial leg of the Shore to be your prep phase. Your main goals here before you start climbing should be:
- Collecting any food you might need
- Looting briefcases
- Mentally mapping your initial route
The game does not put you on a timer in this area, so relax and loot to your heart's content. Peak™ actually does a solid job of placing briefcases throughout each level, but Shore is where it's by far the easiest to gear up. Most times, you'll find at least four suitcases along any given path with very adequate gear for all of your needs.
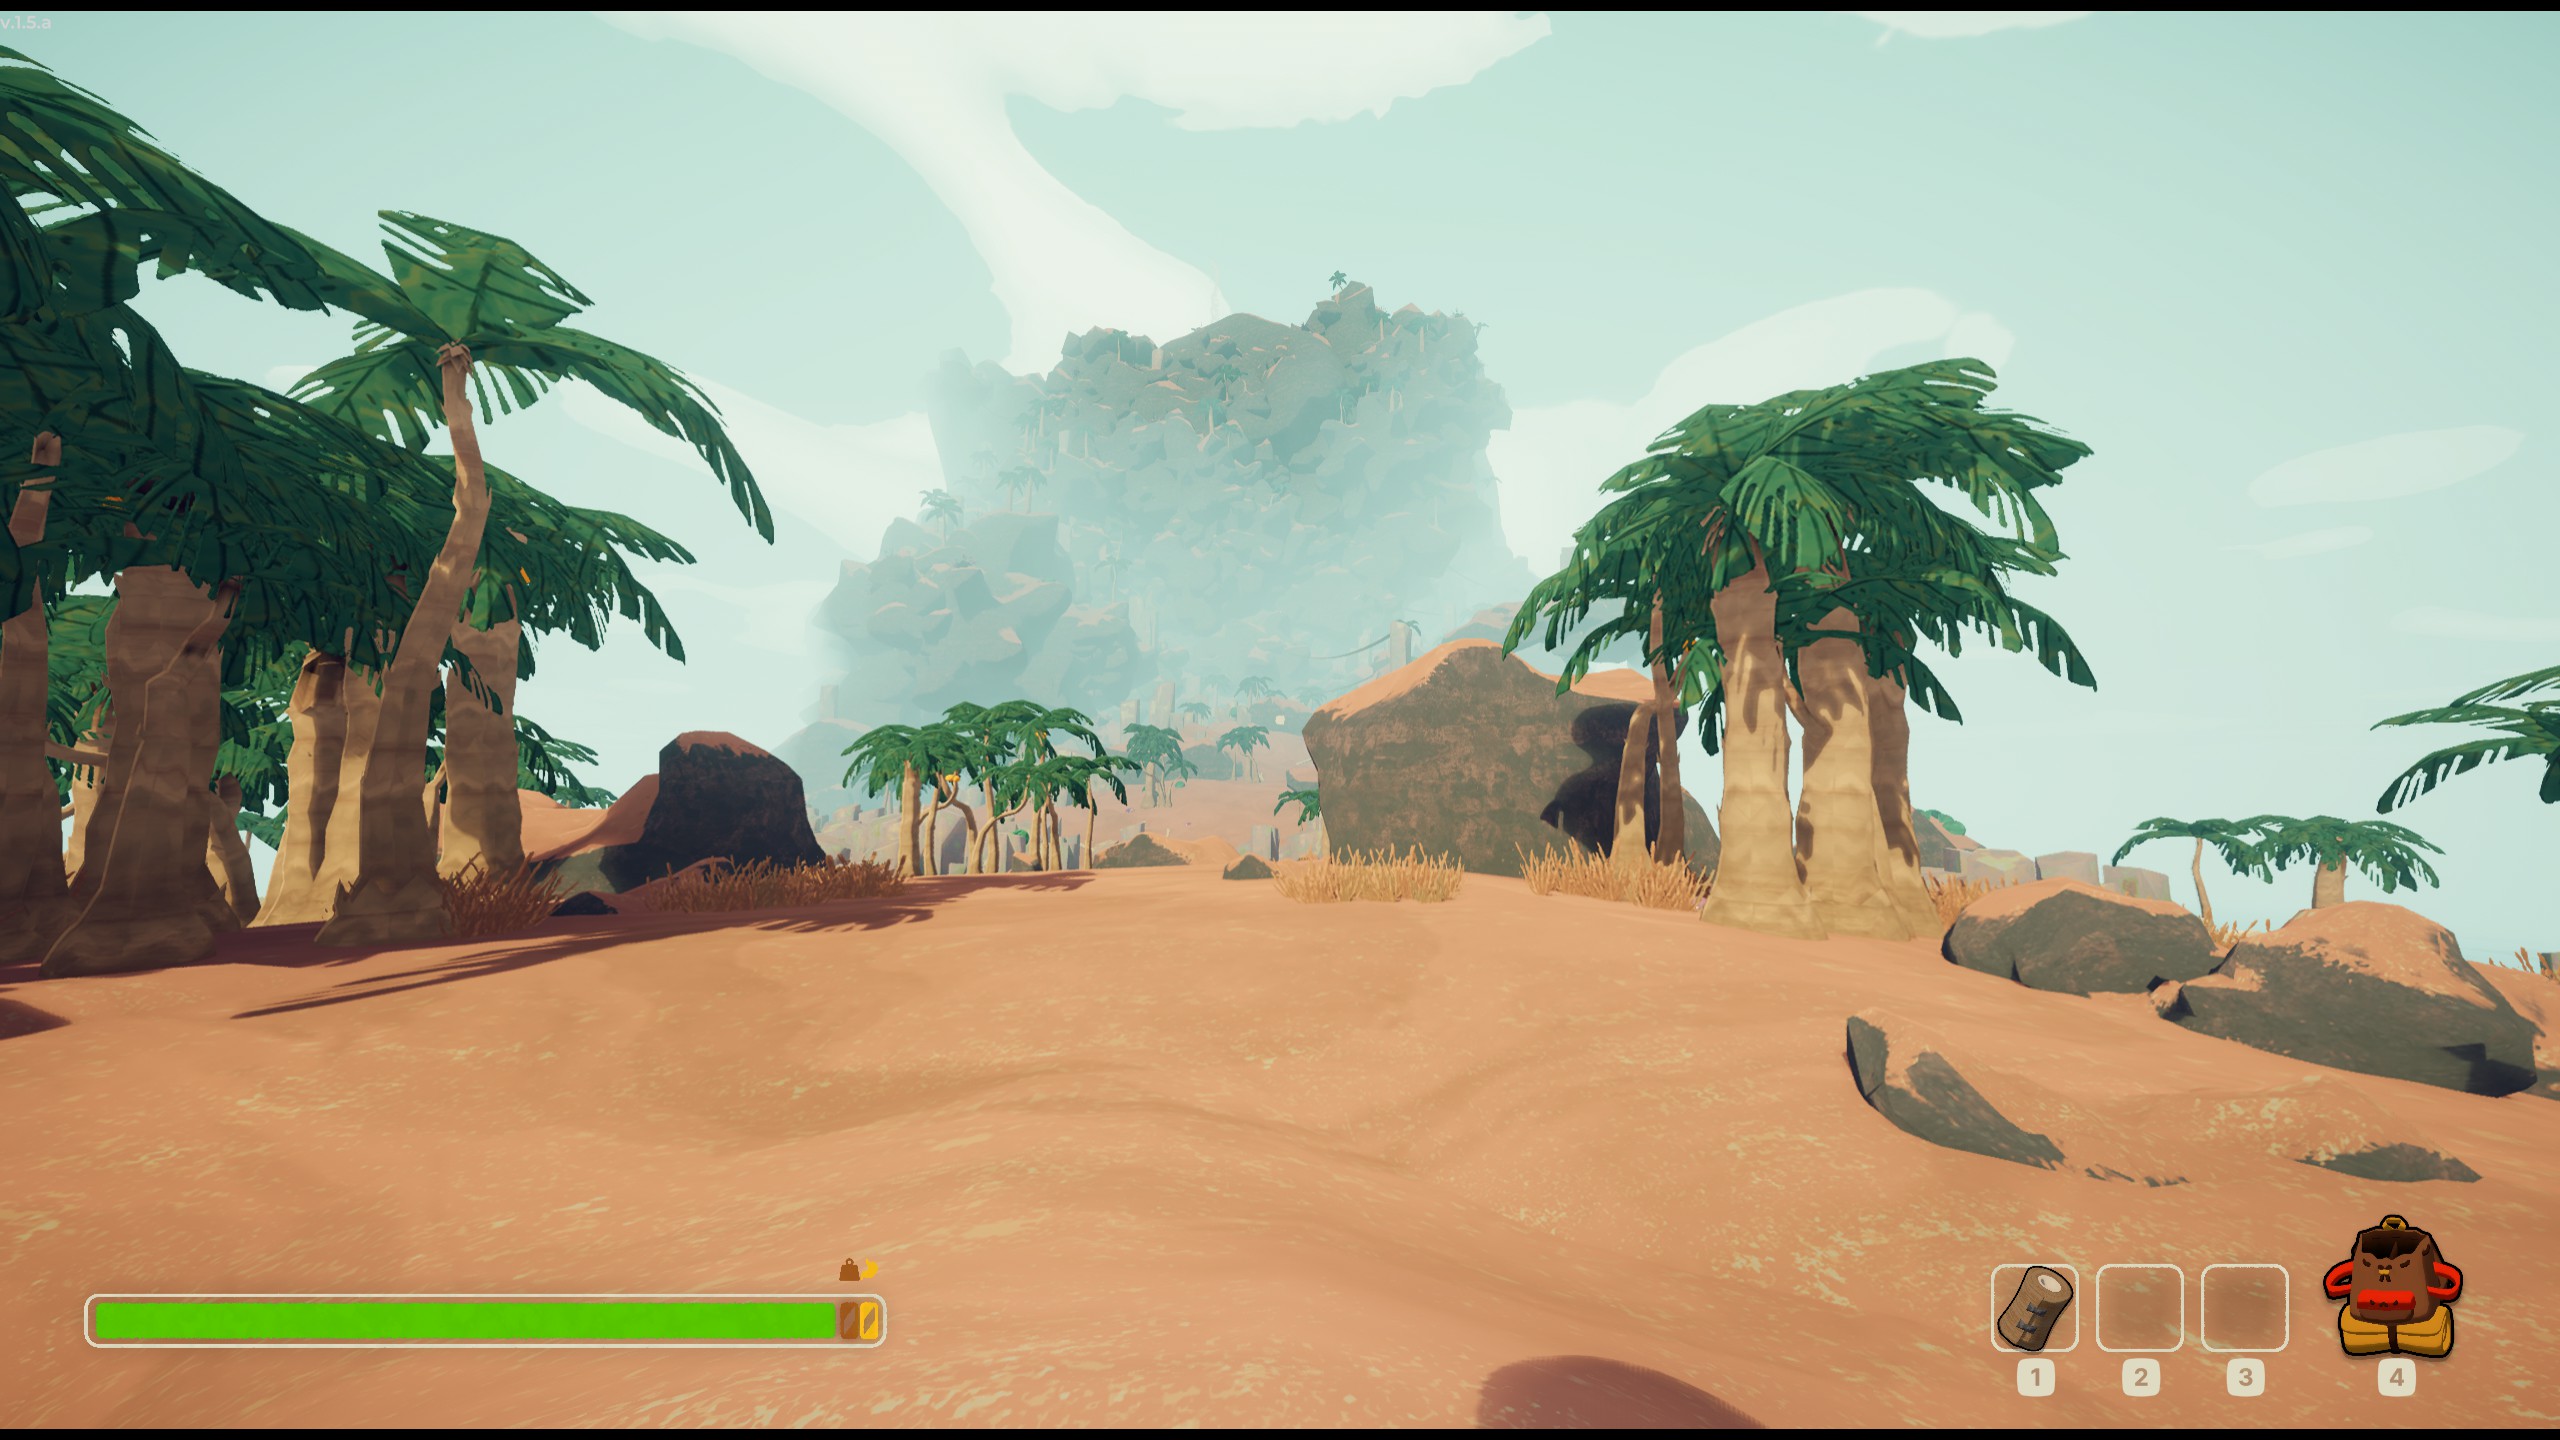
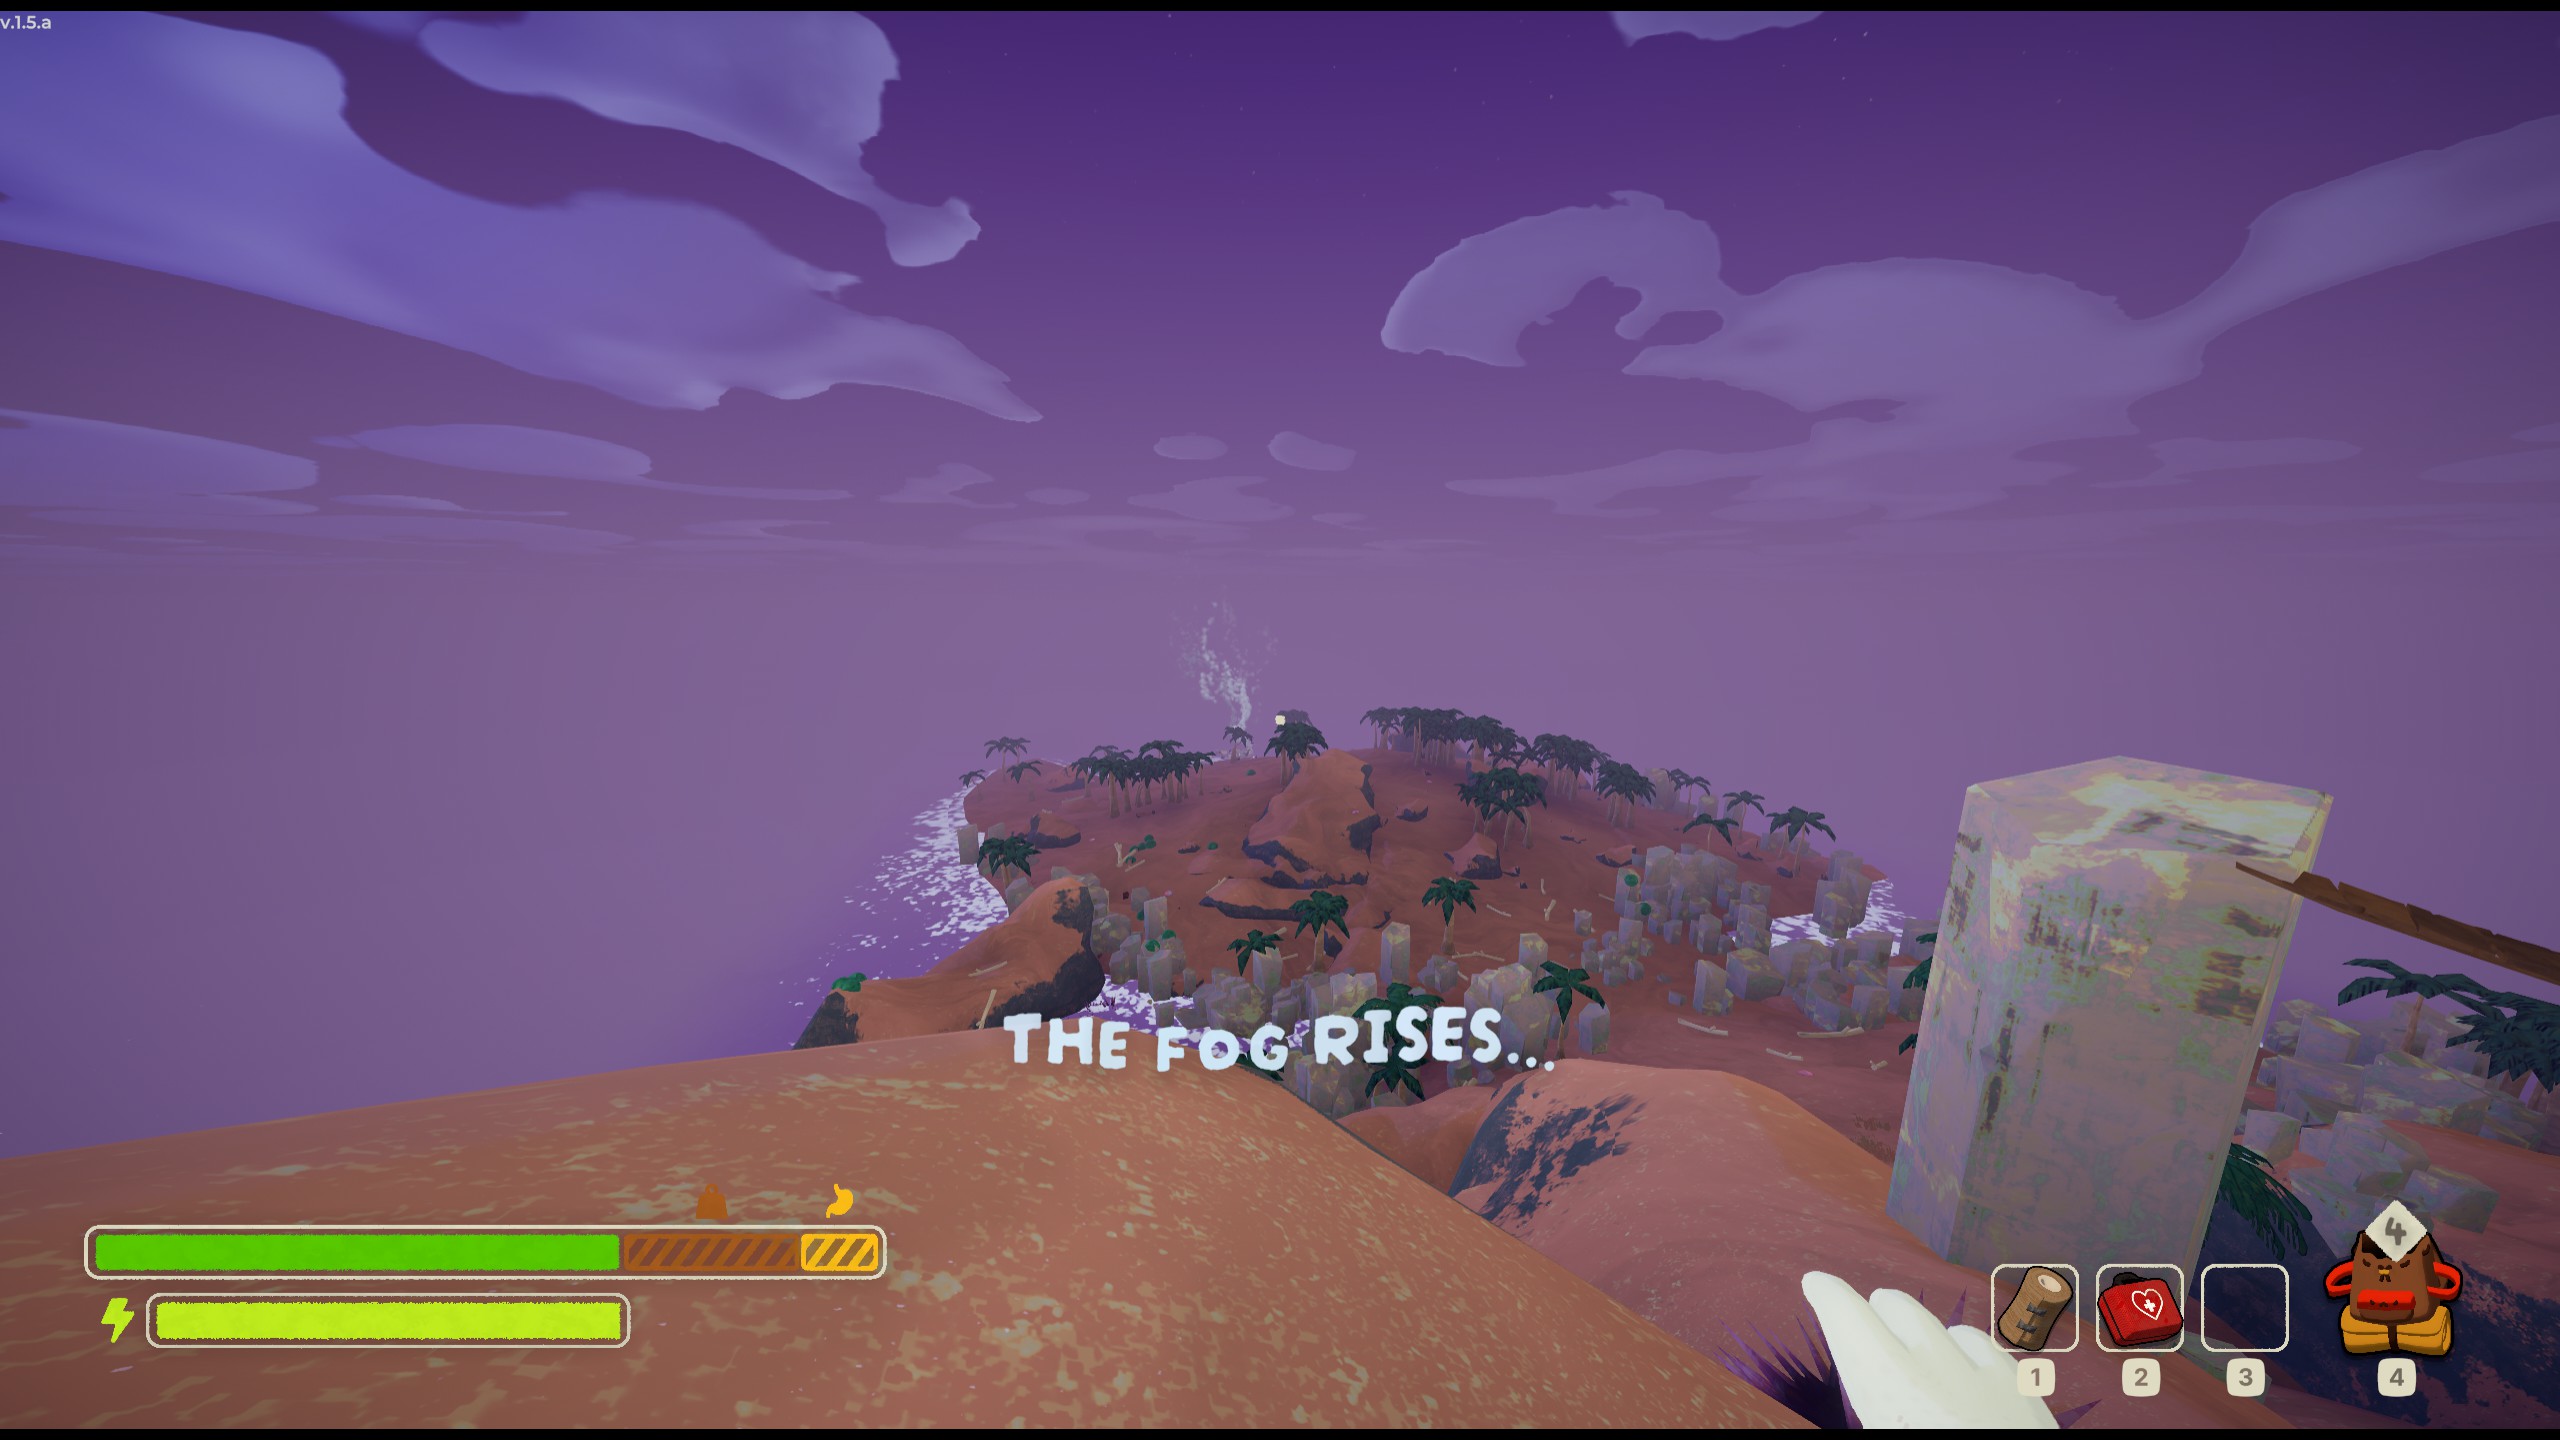
For a visual reference, the image below is the average height you can expect your timer, the fog, to start. Stay anywhere lower than here and you can wander around as long as you want.
"Okay, what items should I pick up?"
I dunno man, you do you....but sure, whatever, here's some help anyway:
Your item strategy should match whatever is troubling you most often throughout your runs:
- Taking bad falls or otherwise getting hurt? Prioritize first-aid kits and bandages.
- Getting hungry a lot? Grab more food and backup food than anything else.
- Feeling like a true mountain goat? Take chain launchers, mobility buffs and/or stamina boosts.
Really, no item is going to be a bad pick (aside from poisonous food); just be sure it fits the style you're climbing with.
Overall Difficulty: Easy
This level is basically a cakewalk with sand in it. There are a few real dangers but even those are mild. You are very unlikely to die here unless you jump off a cliff without looking, eat too many poisoned mushrooms (You really ate four more of those after the first time?), or absolutely cannot resist hugging sea urchins.
Level 2: Tropics
Focus now. Improv begins here.
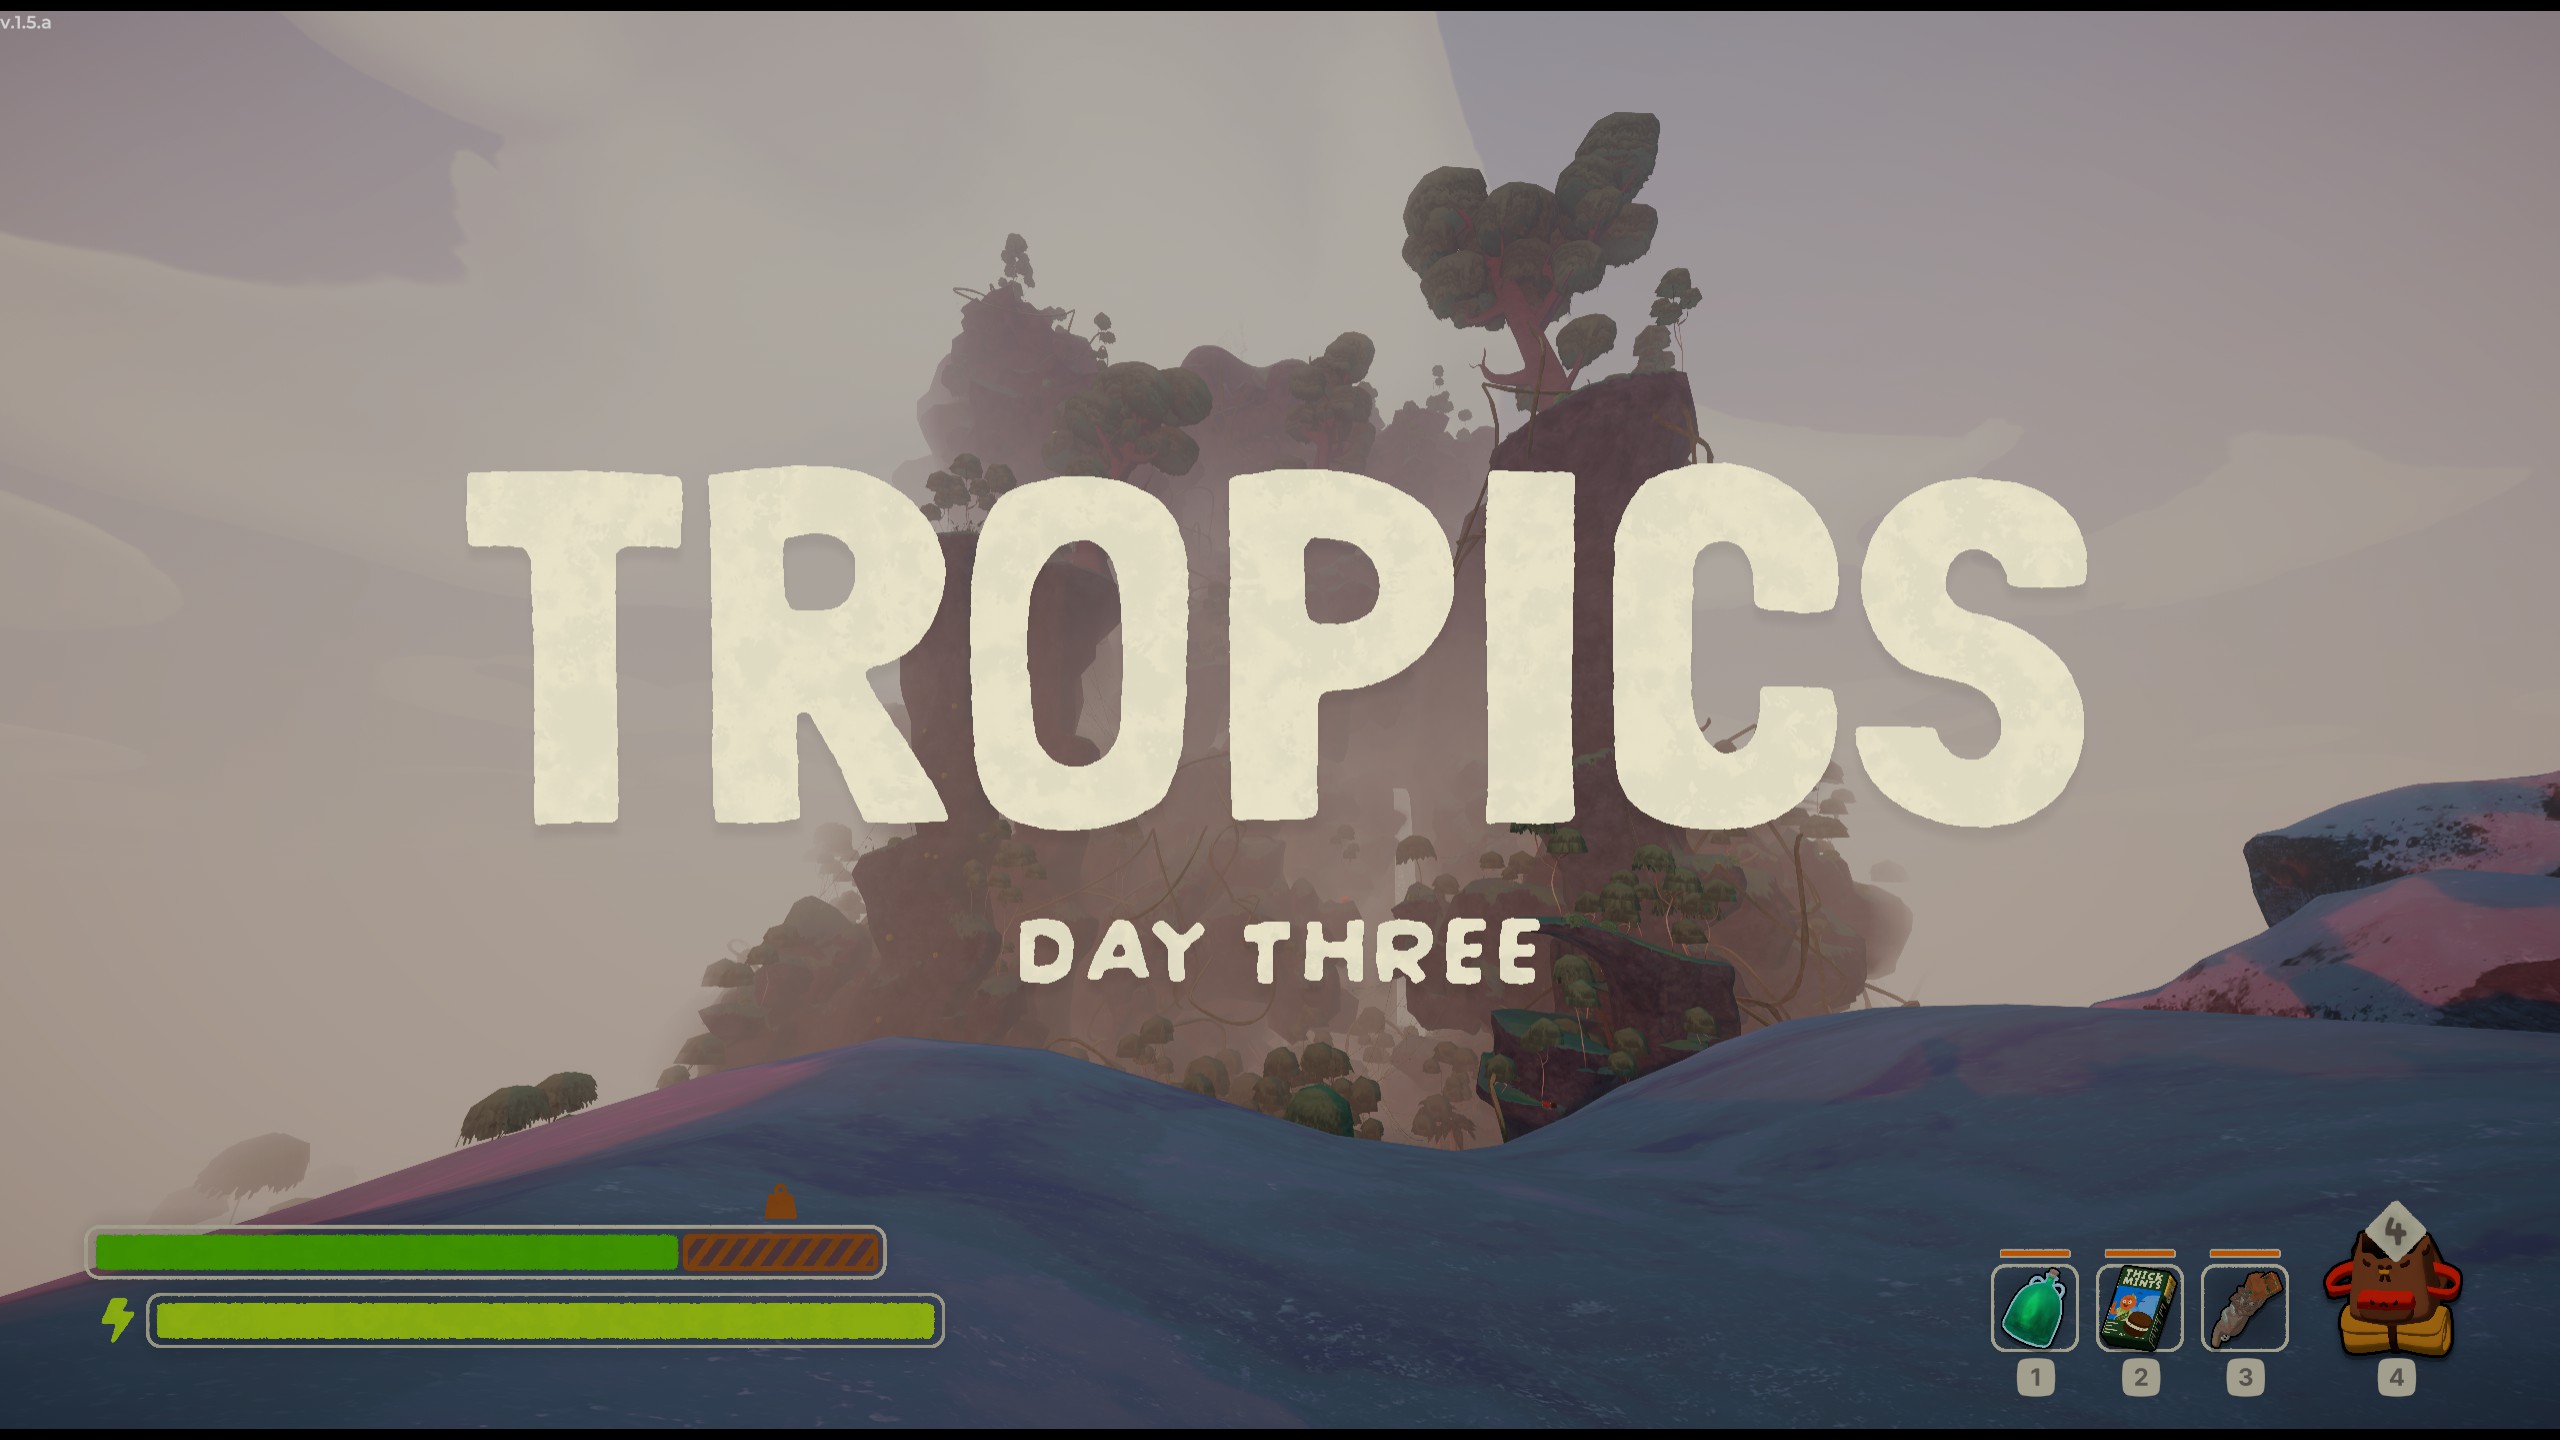
Tons more to do, so much to die to.
Think of the Tropics as everything you did on the Shore, but harder, wetter, and judgmental of every decision you've come to be comfortable with. More food types, more environmental dangers, and more mobility options await. There are now also various pillars that split you off from the main Peak™ as well.
This is where you improvise.
Use vines, shoot chain launchers, walk up twisting branches, climb onto trees, hell maybe take an energy drink if you're feeling a bit Tom Cruise-y and wanna jump over a death gap (I like your moxxy, kid). Whatever methods you can use to find your way up, use them.
Hazard Warning: Rain
One big problem, though, is also being aware of the level's mechanic: rain. Rain can easily, singlehandedly ruin your entire run if you underestimate what it can do. If you're climbing any surface that's being rained on, you'll move slower and use more stamina as a result. Climb the wrong thing too far and uh oh!Best advice? Wait it out. It isn't worth it most times to soldier on through the rain. You're not that guy waving the American flag in the middle of a tornado here, alright? Nobody is as cool as that guy.
Tropics will also be the first level to throw some deceptive helpers at you. Vines will extend in all different directions and will look useful, but strand you.
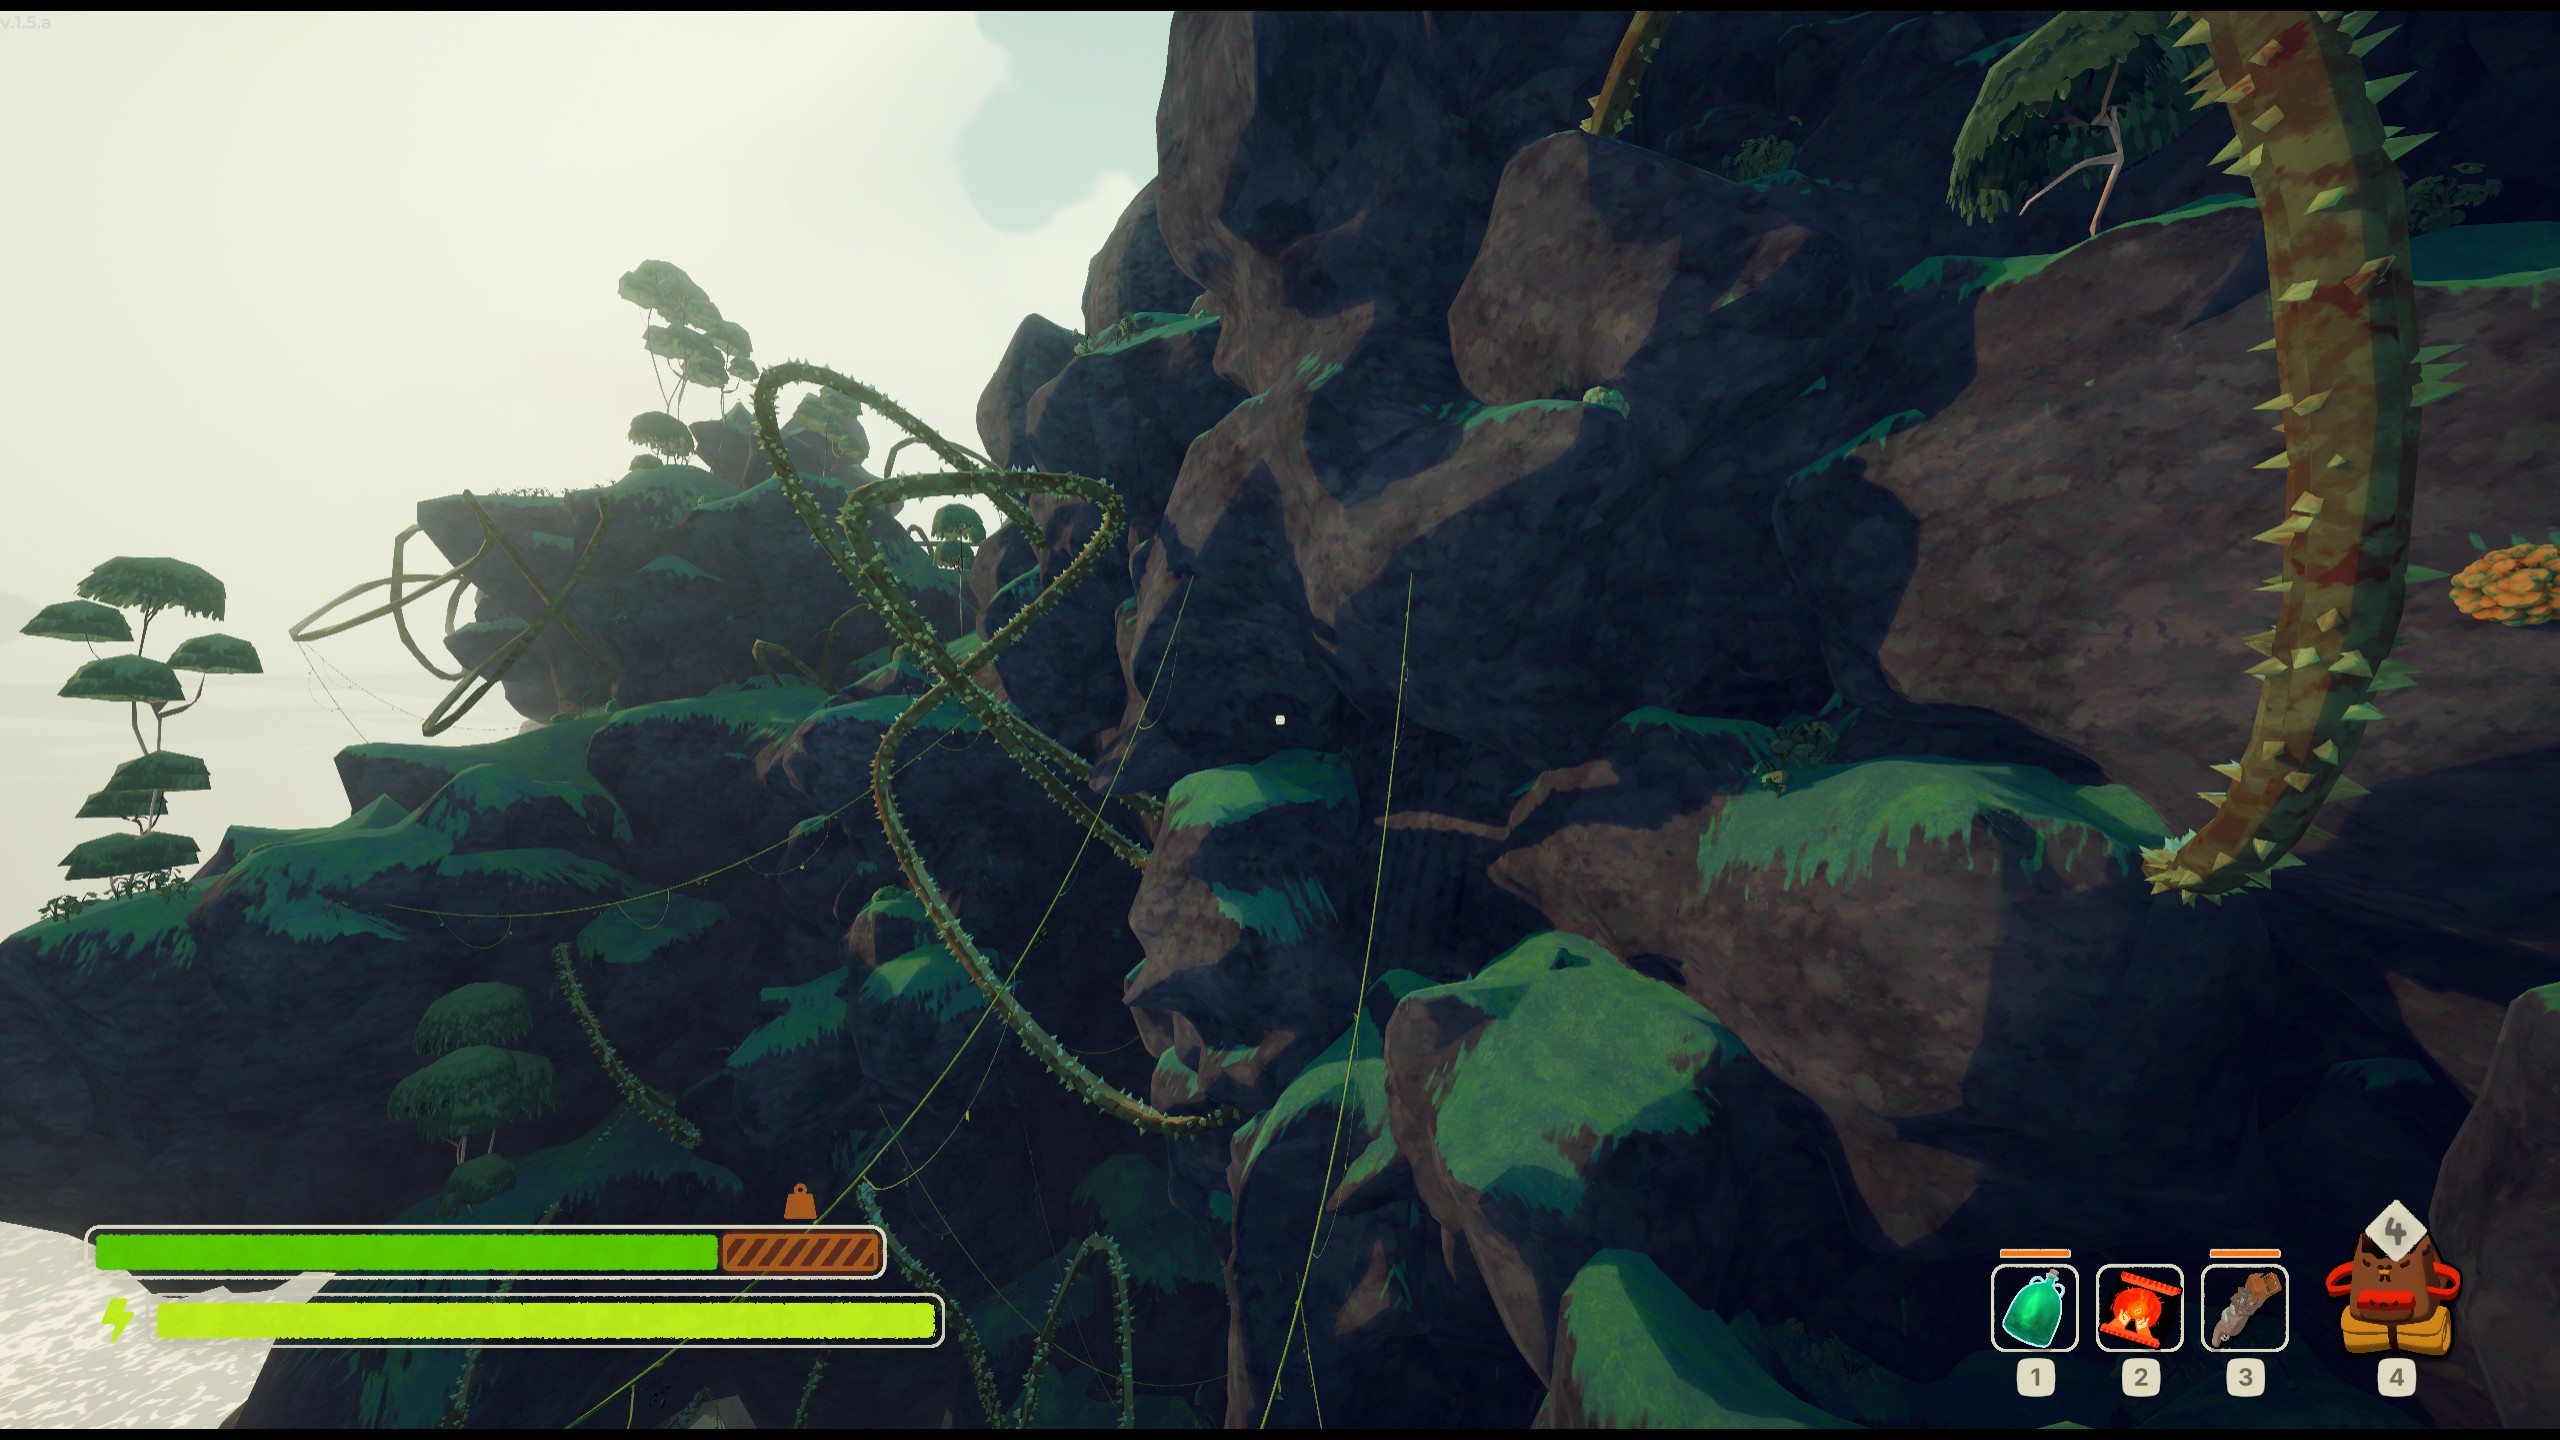
Like look at that. Who's gonna use that left vine and say "yeah I can climb up the rest of that rock and be fine"?
This is what I mean by focusing up. Not every route is made equal. The good ones include any of the following:
- Skips past entire areas
- Multiple briefcase pickups
- Landings that put you higher up for fewer transitions between ledges
Overall Difficulty: Medium
Tropics rewards creativity, so be creative. It also punishes distraction and complacency, so don't be that. The level will also happily provide with some good food and utility items to help make climbing out of the Tropics and on to Alpine a tropical breeze.
Aww dangit. Almost made it through without making a Donkey Kong reference. Swing and a miss, I guess.
...aww dangit.
Level 3a: Mesa
Hey. I heard you like mechanics.

Enjoy ALL of the mechanics.
Okay, it's not every mechanic, but it feels like a lot at least.
If Alpine had a sibling, Mesa would be the redheaded stepchild that always wears baggy pants with the flame decal on the side. You know the one. He's hot.
Anyway, we have a collection of different things to be aware of on Mesa. Let's talk about them, shall we?
Hazard Warning: Heat
This level's main mechanic is heat, which comes from the sun, our resident deadly laser. Seems straightforward enough, and is in fact even moreso straightforward when you understand how angles work. The way heat is applied to players is not whether or not you are standing in shade, but if your model is in the angle of the sun's rays. This is demonstrated below:
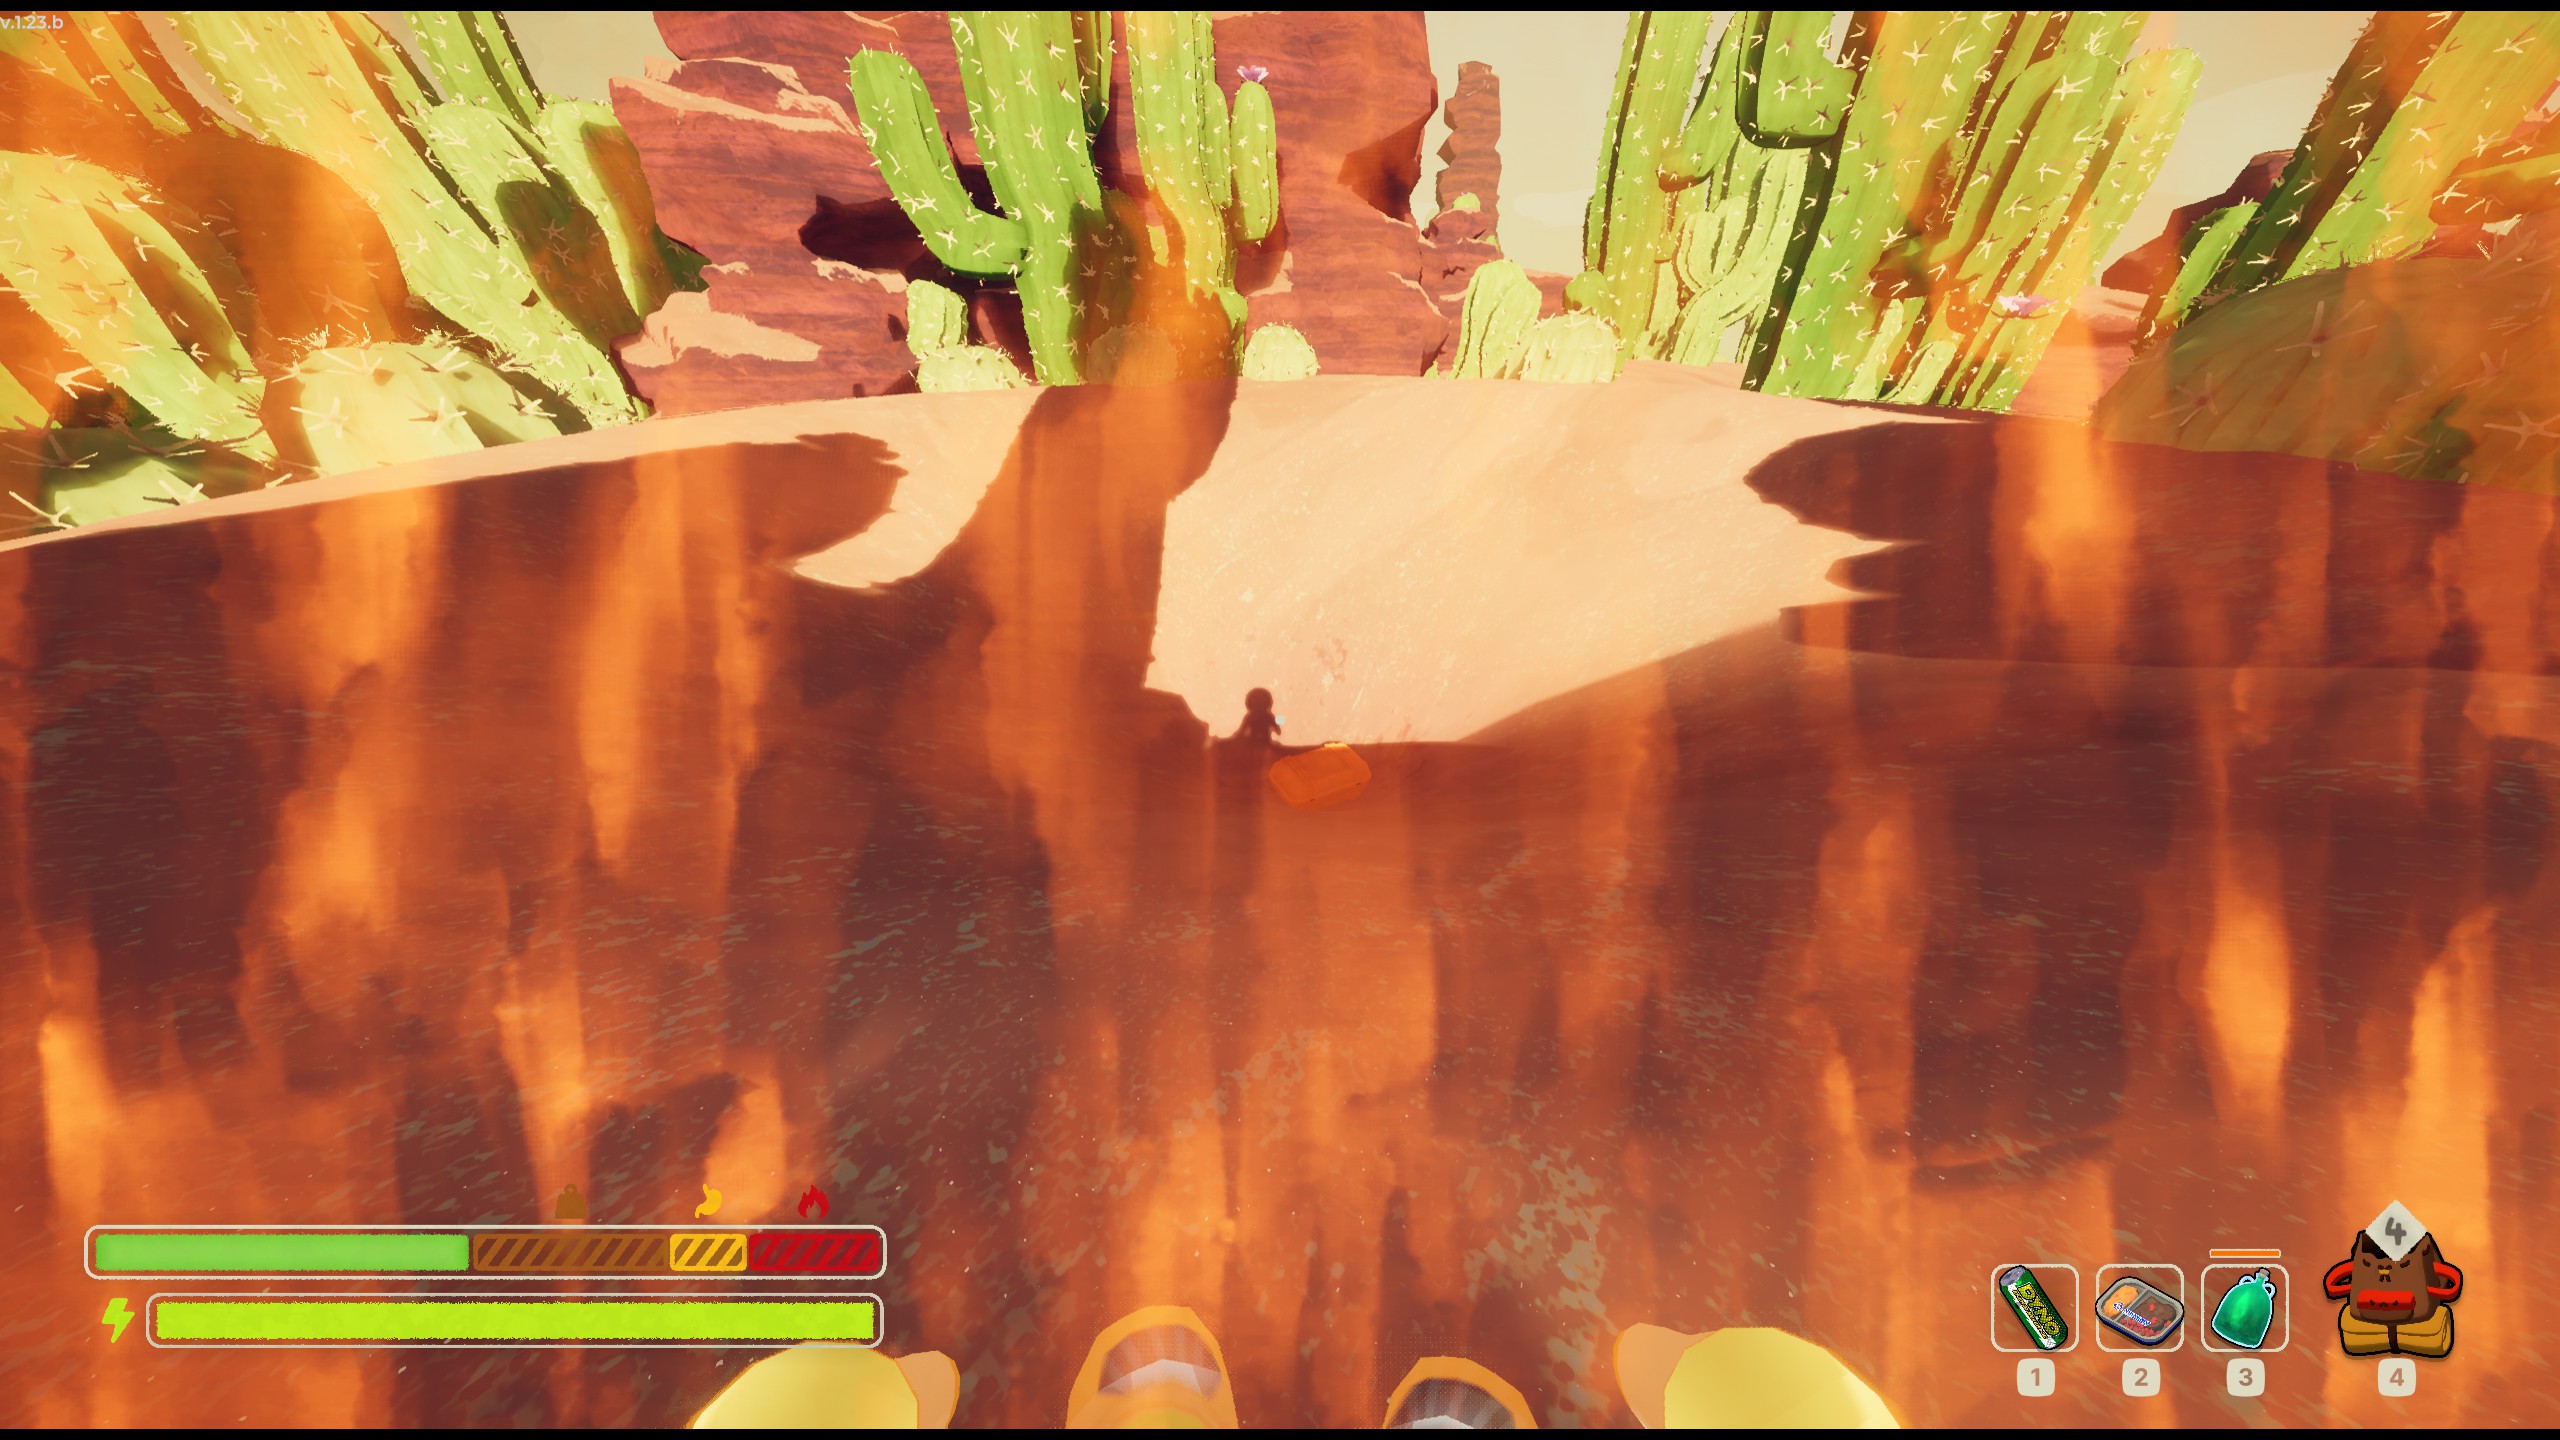
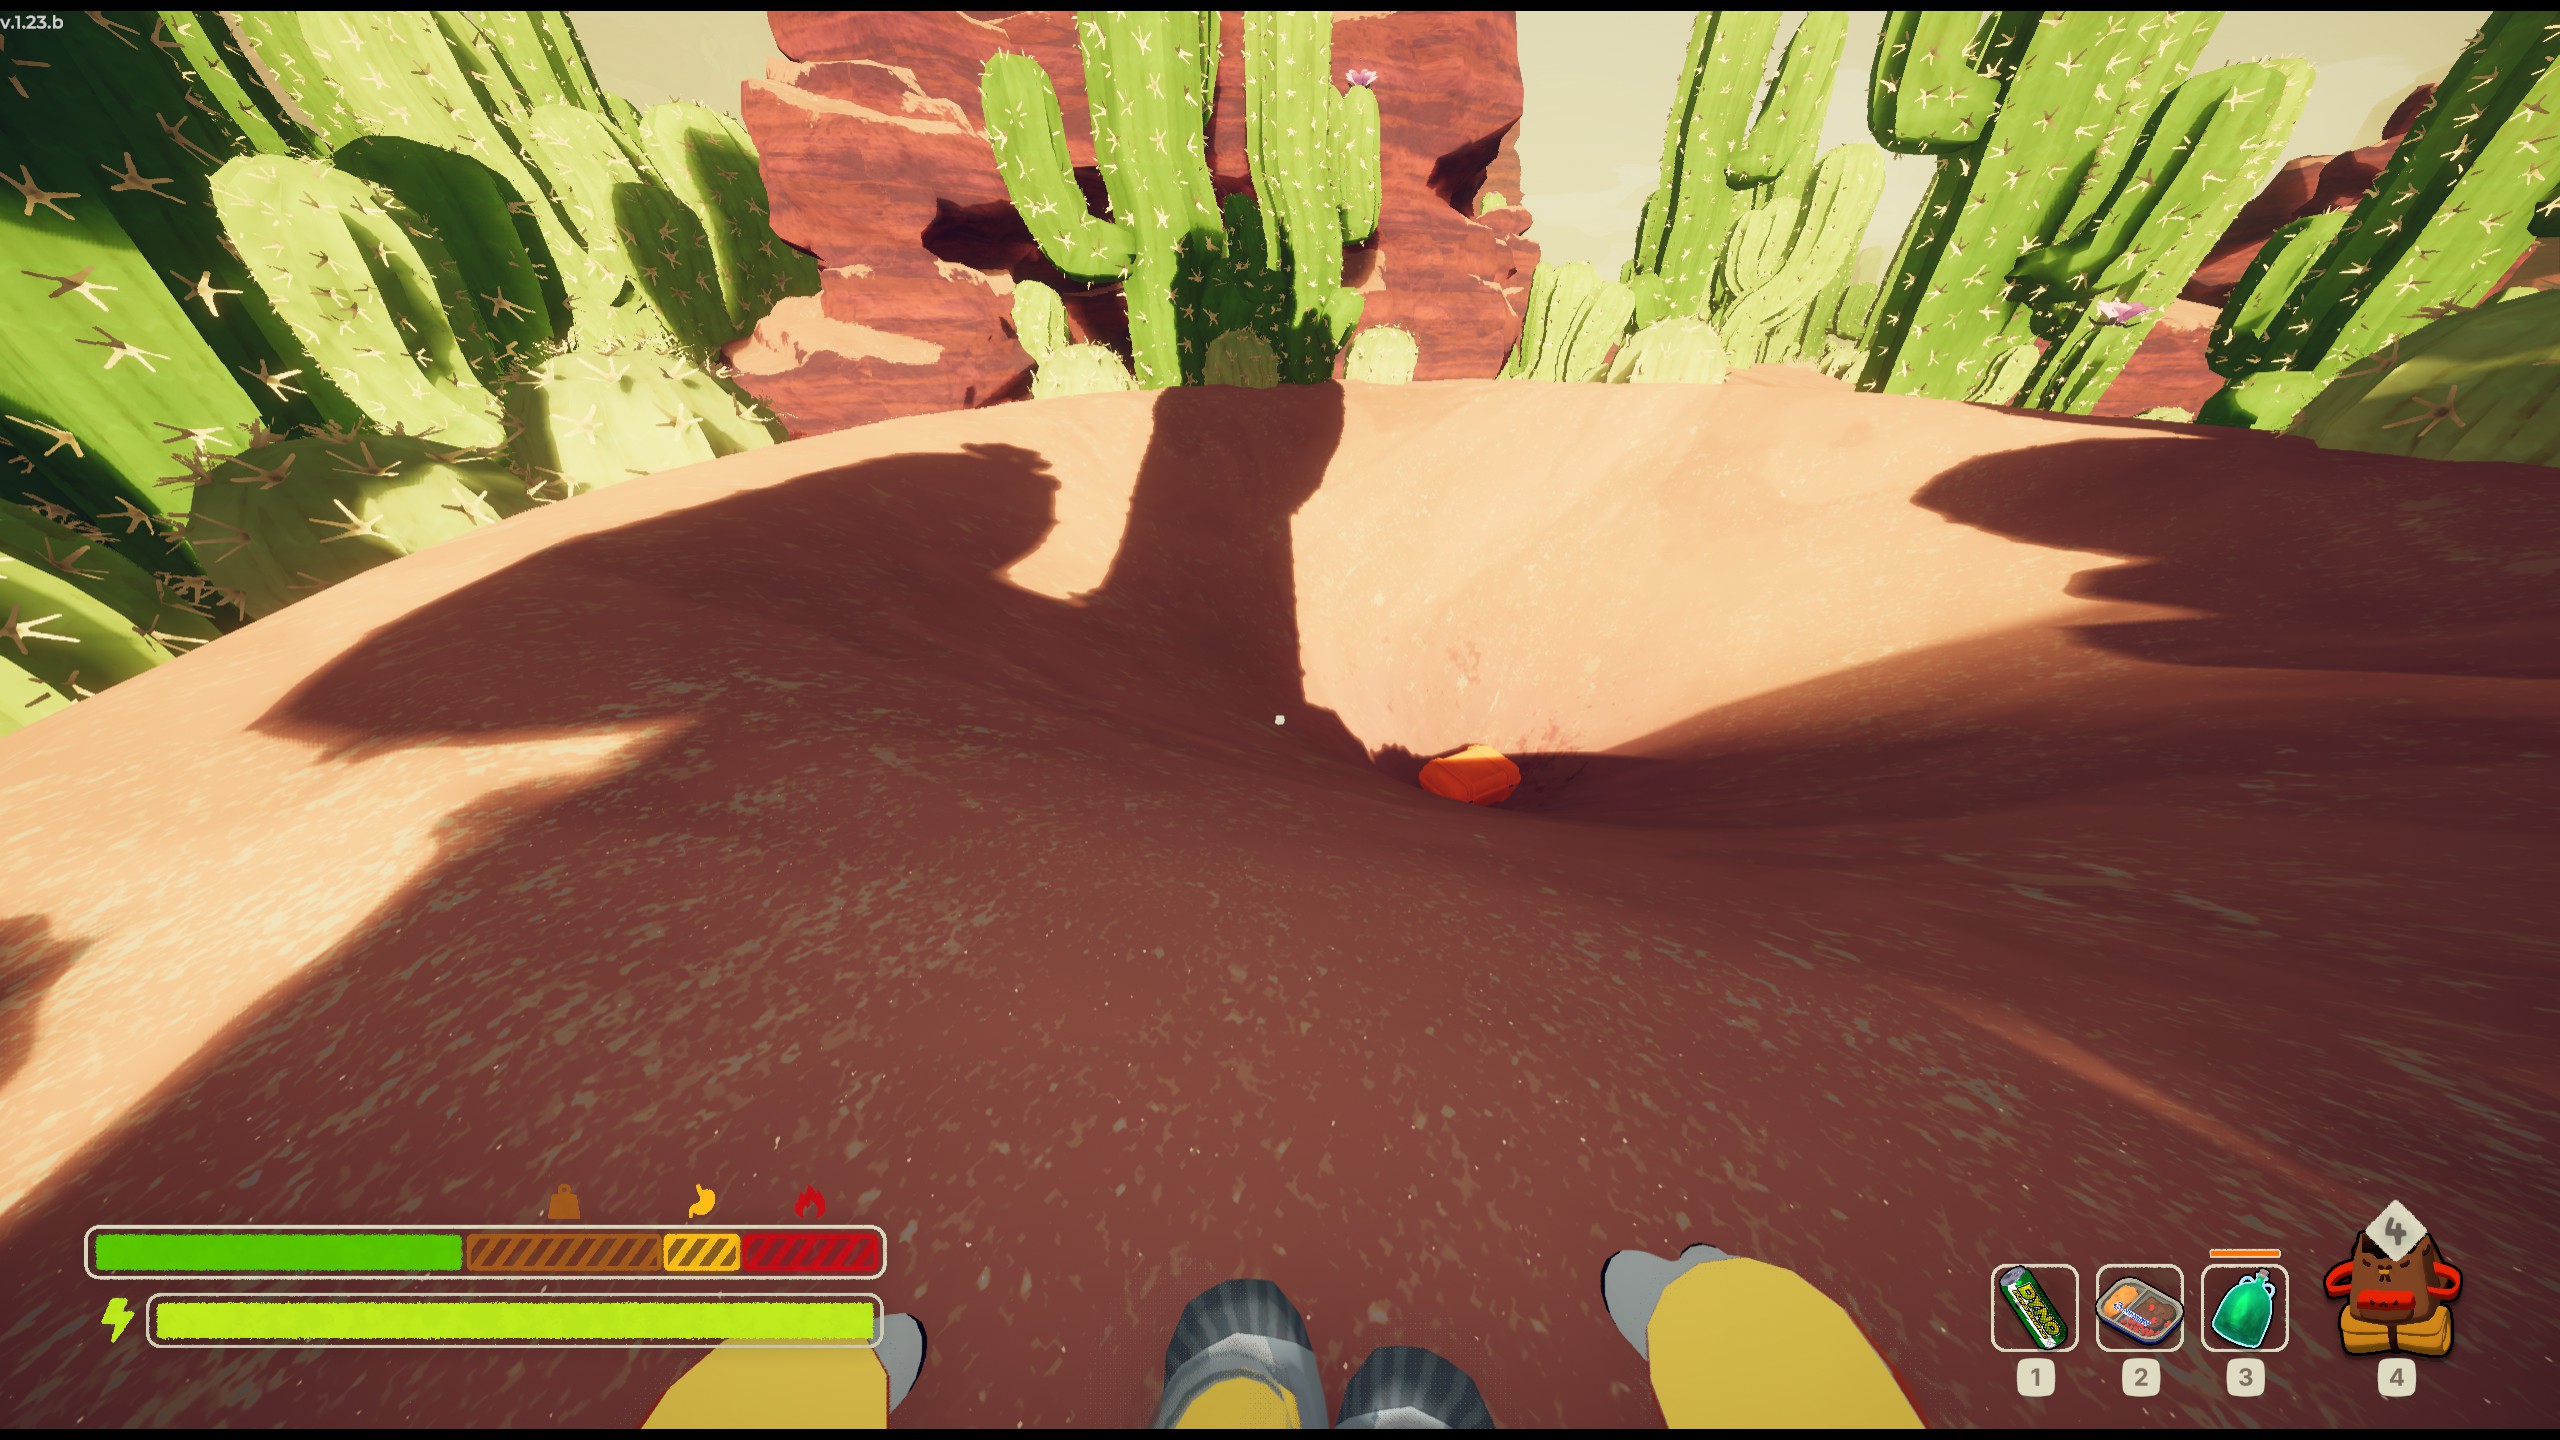
Keeping this in mind, the best time for absolute safety when moving through the Mesa is when it is nighttime. No matter where you are on the map, you will not suffer from the heat. Use that time, then, to find items to mitigate the sun's assaults on your epidermis (e.g. sunscreen, sports drink, aloe vera, etc). If you can navigate the shadow adequately enough, however, you shouldn't have to worry too much about heat as a mechanic.
This dynamic changes a bit toward the later end of the level where you're climbing more through caves than the side of a mountain. Because there is usually a large amount of rocky outcroppings within the mountain, at least 80% of your journey up through the caves will be shaded. If you need to go through a large section of sunlight, then consider using sunscreen. It is for this reason that you may be surprised at my final difficulty ranking for Mesa.
Mesa is a kind of three-in-one level - three different areas that all have different methods of traversing. The first and third are more or less as what you are used to already: a flat ground section and a climbing section. The second, however, is a bit different but not too difficult. Obviously the fastest way across would be to use the new scout launcher, but you can also just as easily make your way across gaps to the the other side. It's ultimately up to you how you want to get across. Both work.
Hazard Warning: Scorpions & Dynamite
When climbing the last section of Mesa, you'll run into a couple more mechanics: scorpions and dynamite. Both can be rendered harmless by the one truly OP strategy in all video games of all time, and as Jey Uso would say: YEET. Picking up both scorpions and dynamites will require some fast reflexes to proper throw them away, but it's a large enough window. I recommend opting to throw the dangers away rather than run away, especially dynamite; running to avoid dynamite may mean you run into more dynamite, which can easily make you panic in the moment. Don't risk panicking when you can just toss the threat away.
Hazard Warning: Tornados
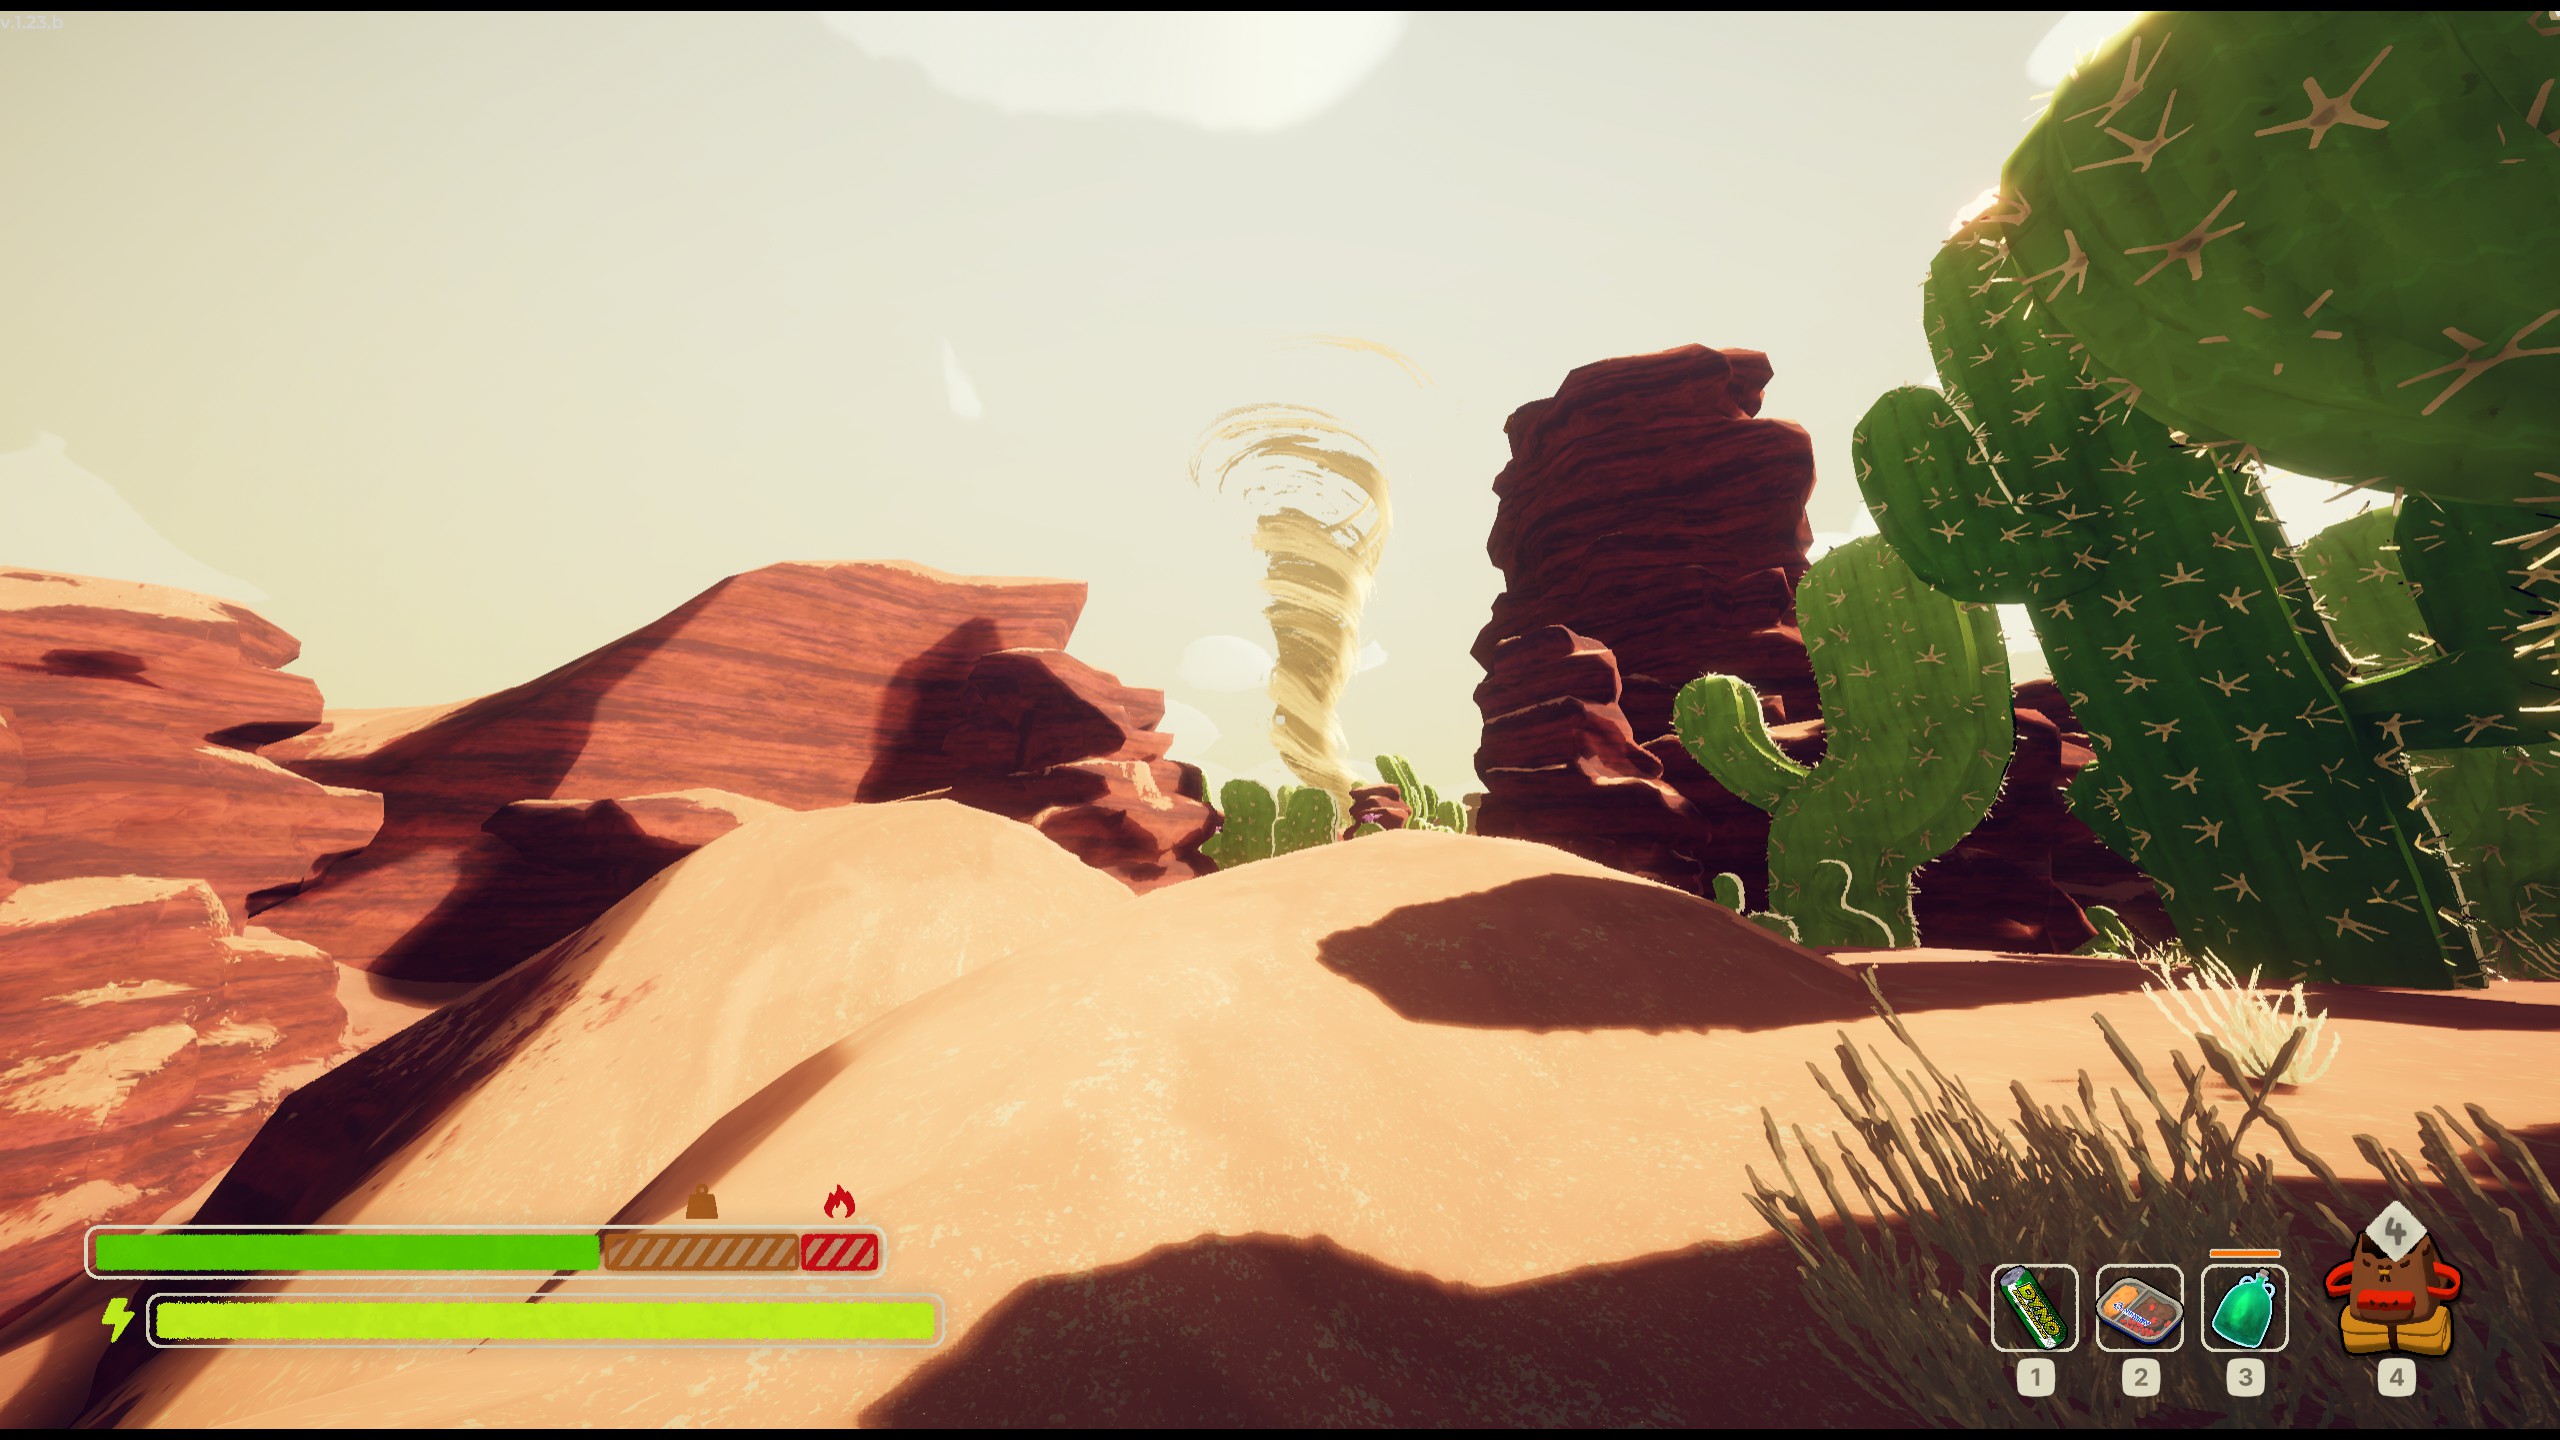
Uhhhh, perish?
Yeah, no. That's about it. As much as I'd like to say "tornadoes take this predetermined path so go that way", it oftentimes feels like it has a mind of its own and will just tear through whatever it decides to move toward. The absolute best advice I can give is to be aware of its location and position yourself inside of an overhang of rocks opposite of where the tornado is. If rock separates you from the strong winds, you can more often than not survive the carnage.
Overall Difficulty: Medium
There's a lot here that can throw a wrench in your run, but Mesa is overall an easier time than Alpine. Stay cool, friends.
Level 3b: Alpine
Buckle up.
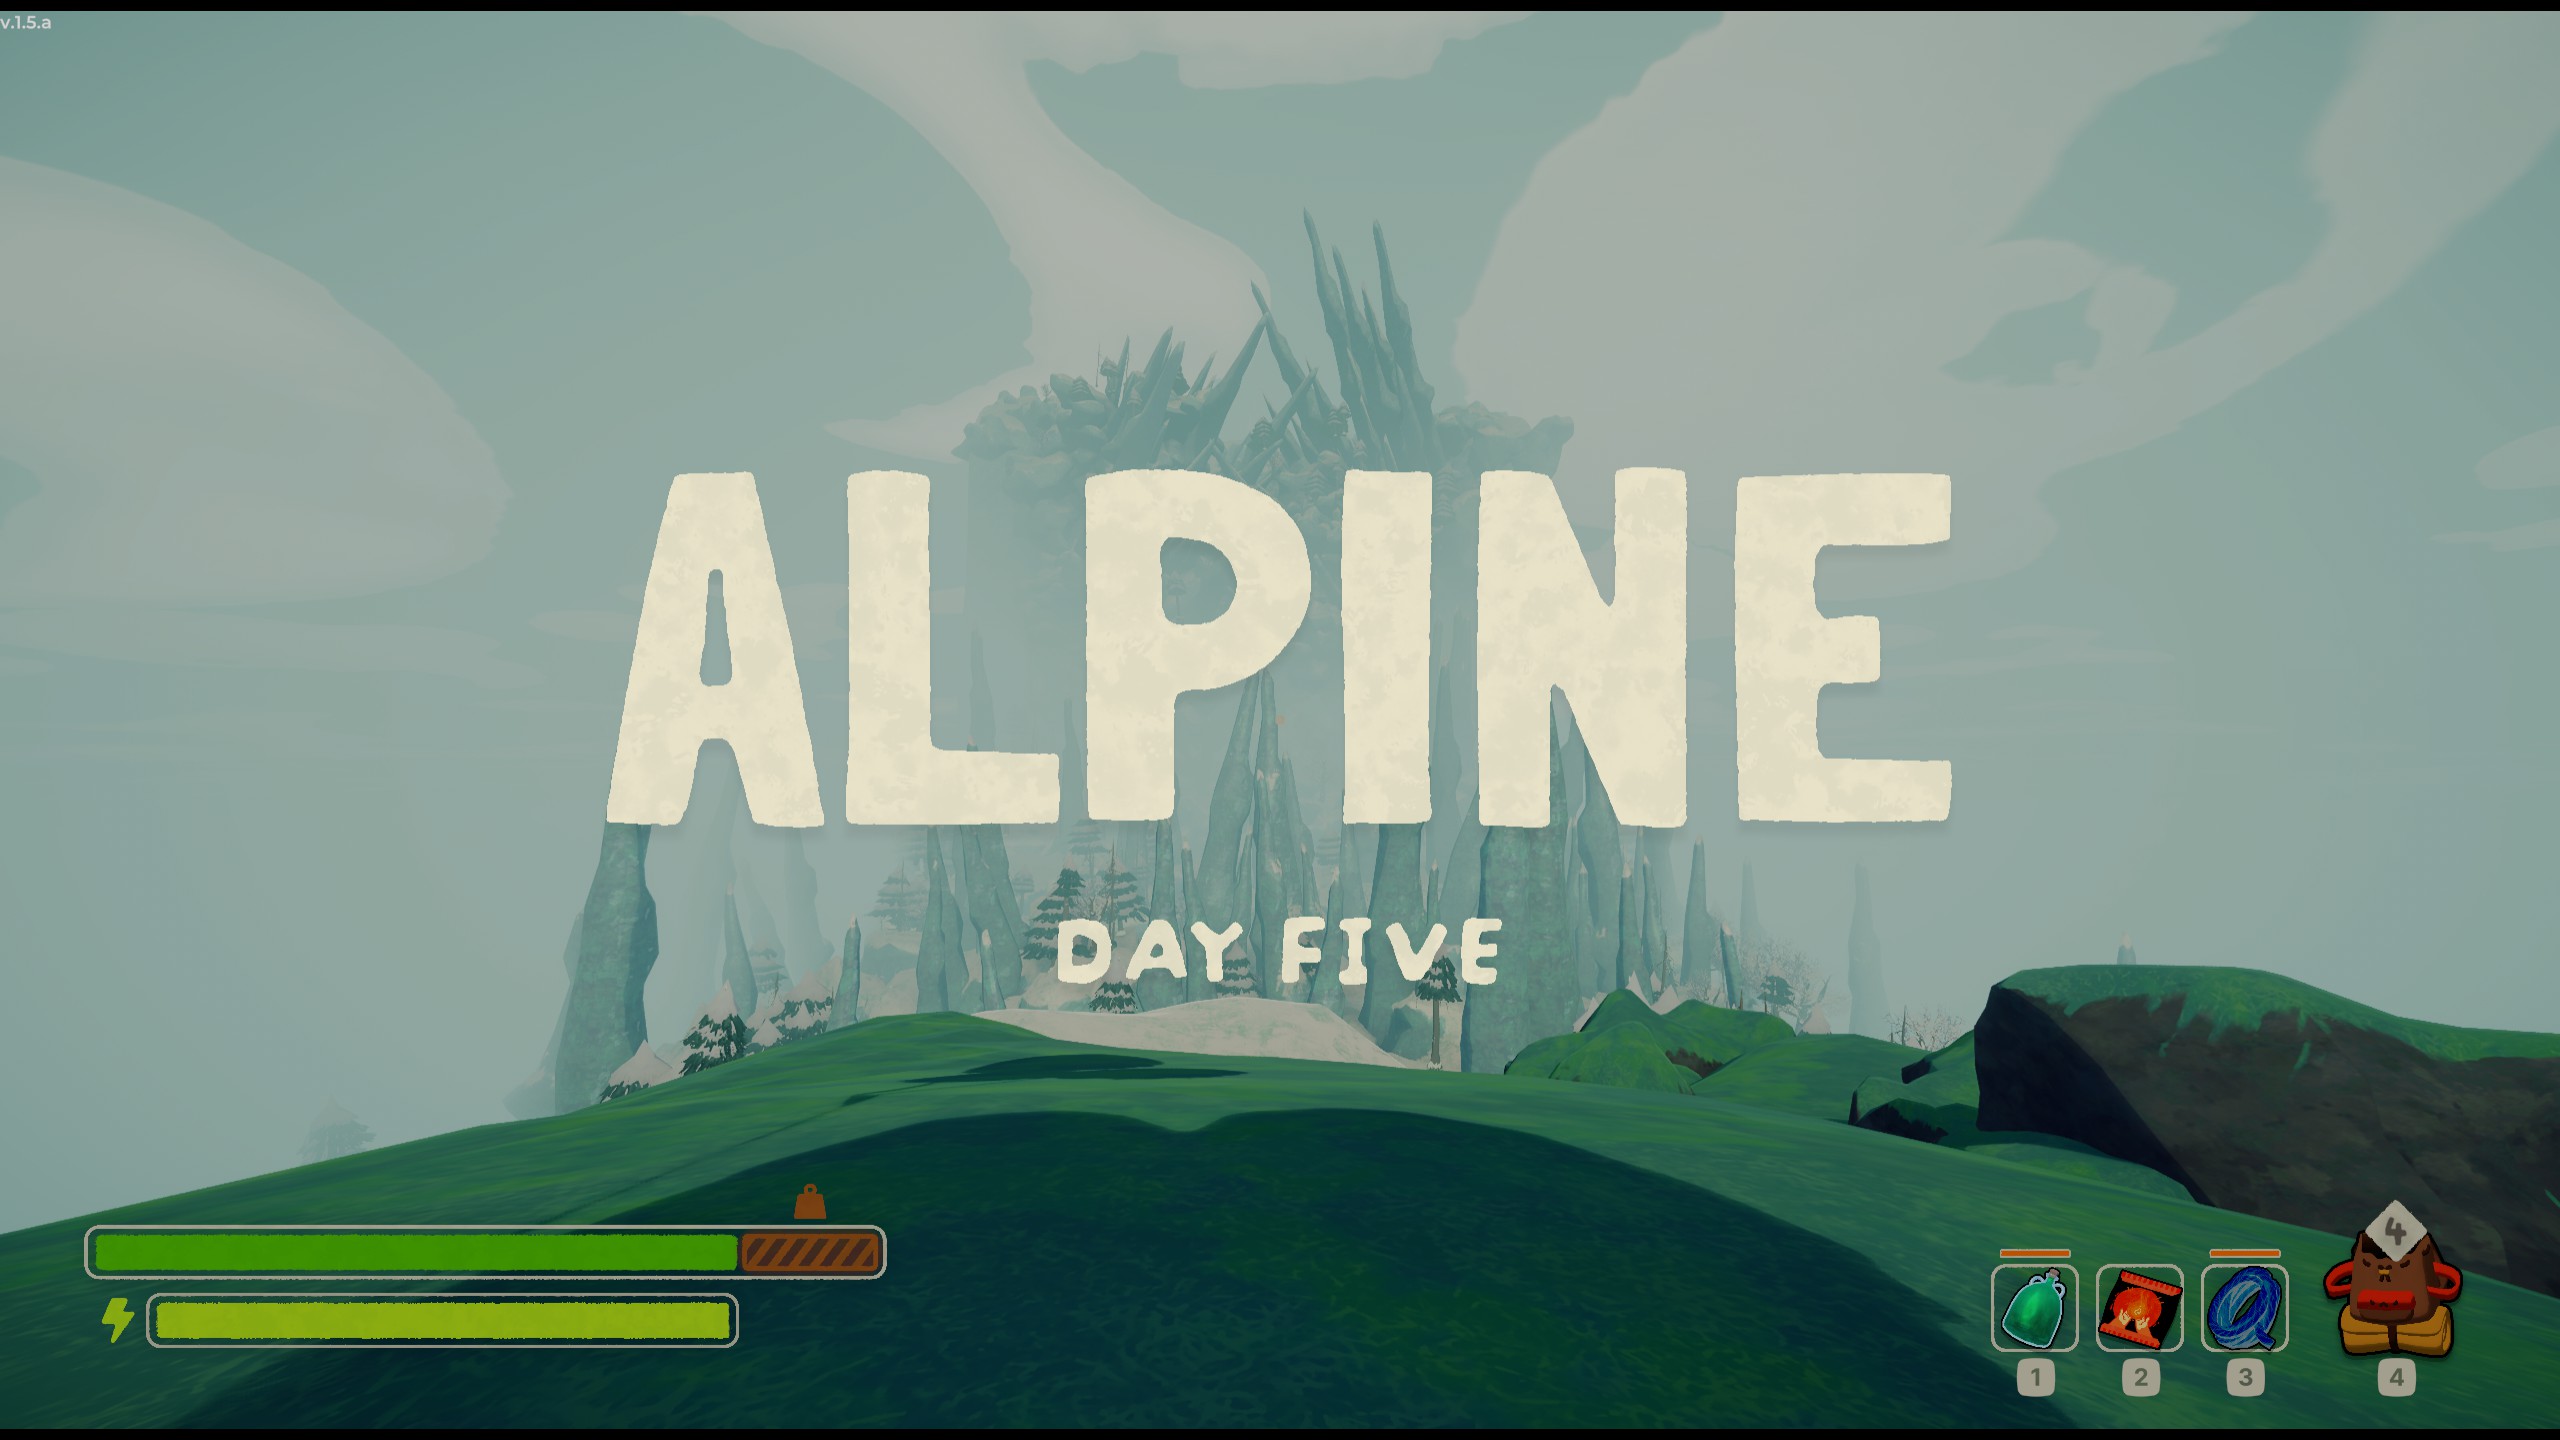
Welcome to frigid hell.
Nah I'm only slightly messing with you.
If I had to rank these levels by personal hatred, Alpine takes the cake. It's level three of five, but arguably the most lethal. Expect tight resource management, brutal vertical climbs, and a blizzard that causes almost as much pain as the company (I will never forgive them for Overwatch).
Hazard Warning: Blizzards
This level's mechanic is blizzards, which blow in from random directions every so often and build up a lot of cold depending on how exposed you are. There are two ways to go about getting around it:
- Hide in nooks and crannies, specifically dark corners of the rocky areas
- Use heat mitigation items to soldier through it (lanterns, heat packs, etc)
I personally love using heat packs. They show up often enough to be useful no matter where you are on the map, you can survive up to two full blizzards walking around and keeping pace, and they aren't too much of an inventory burden as a result.
An example of a good recessed spot to avoid blizzards is pictured below:
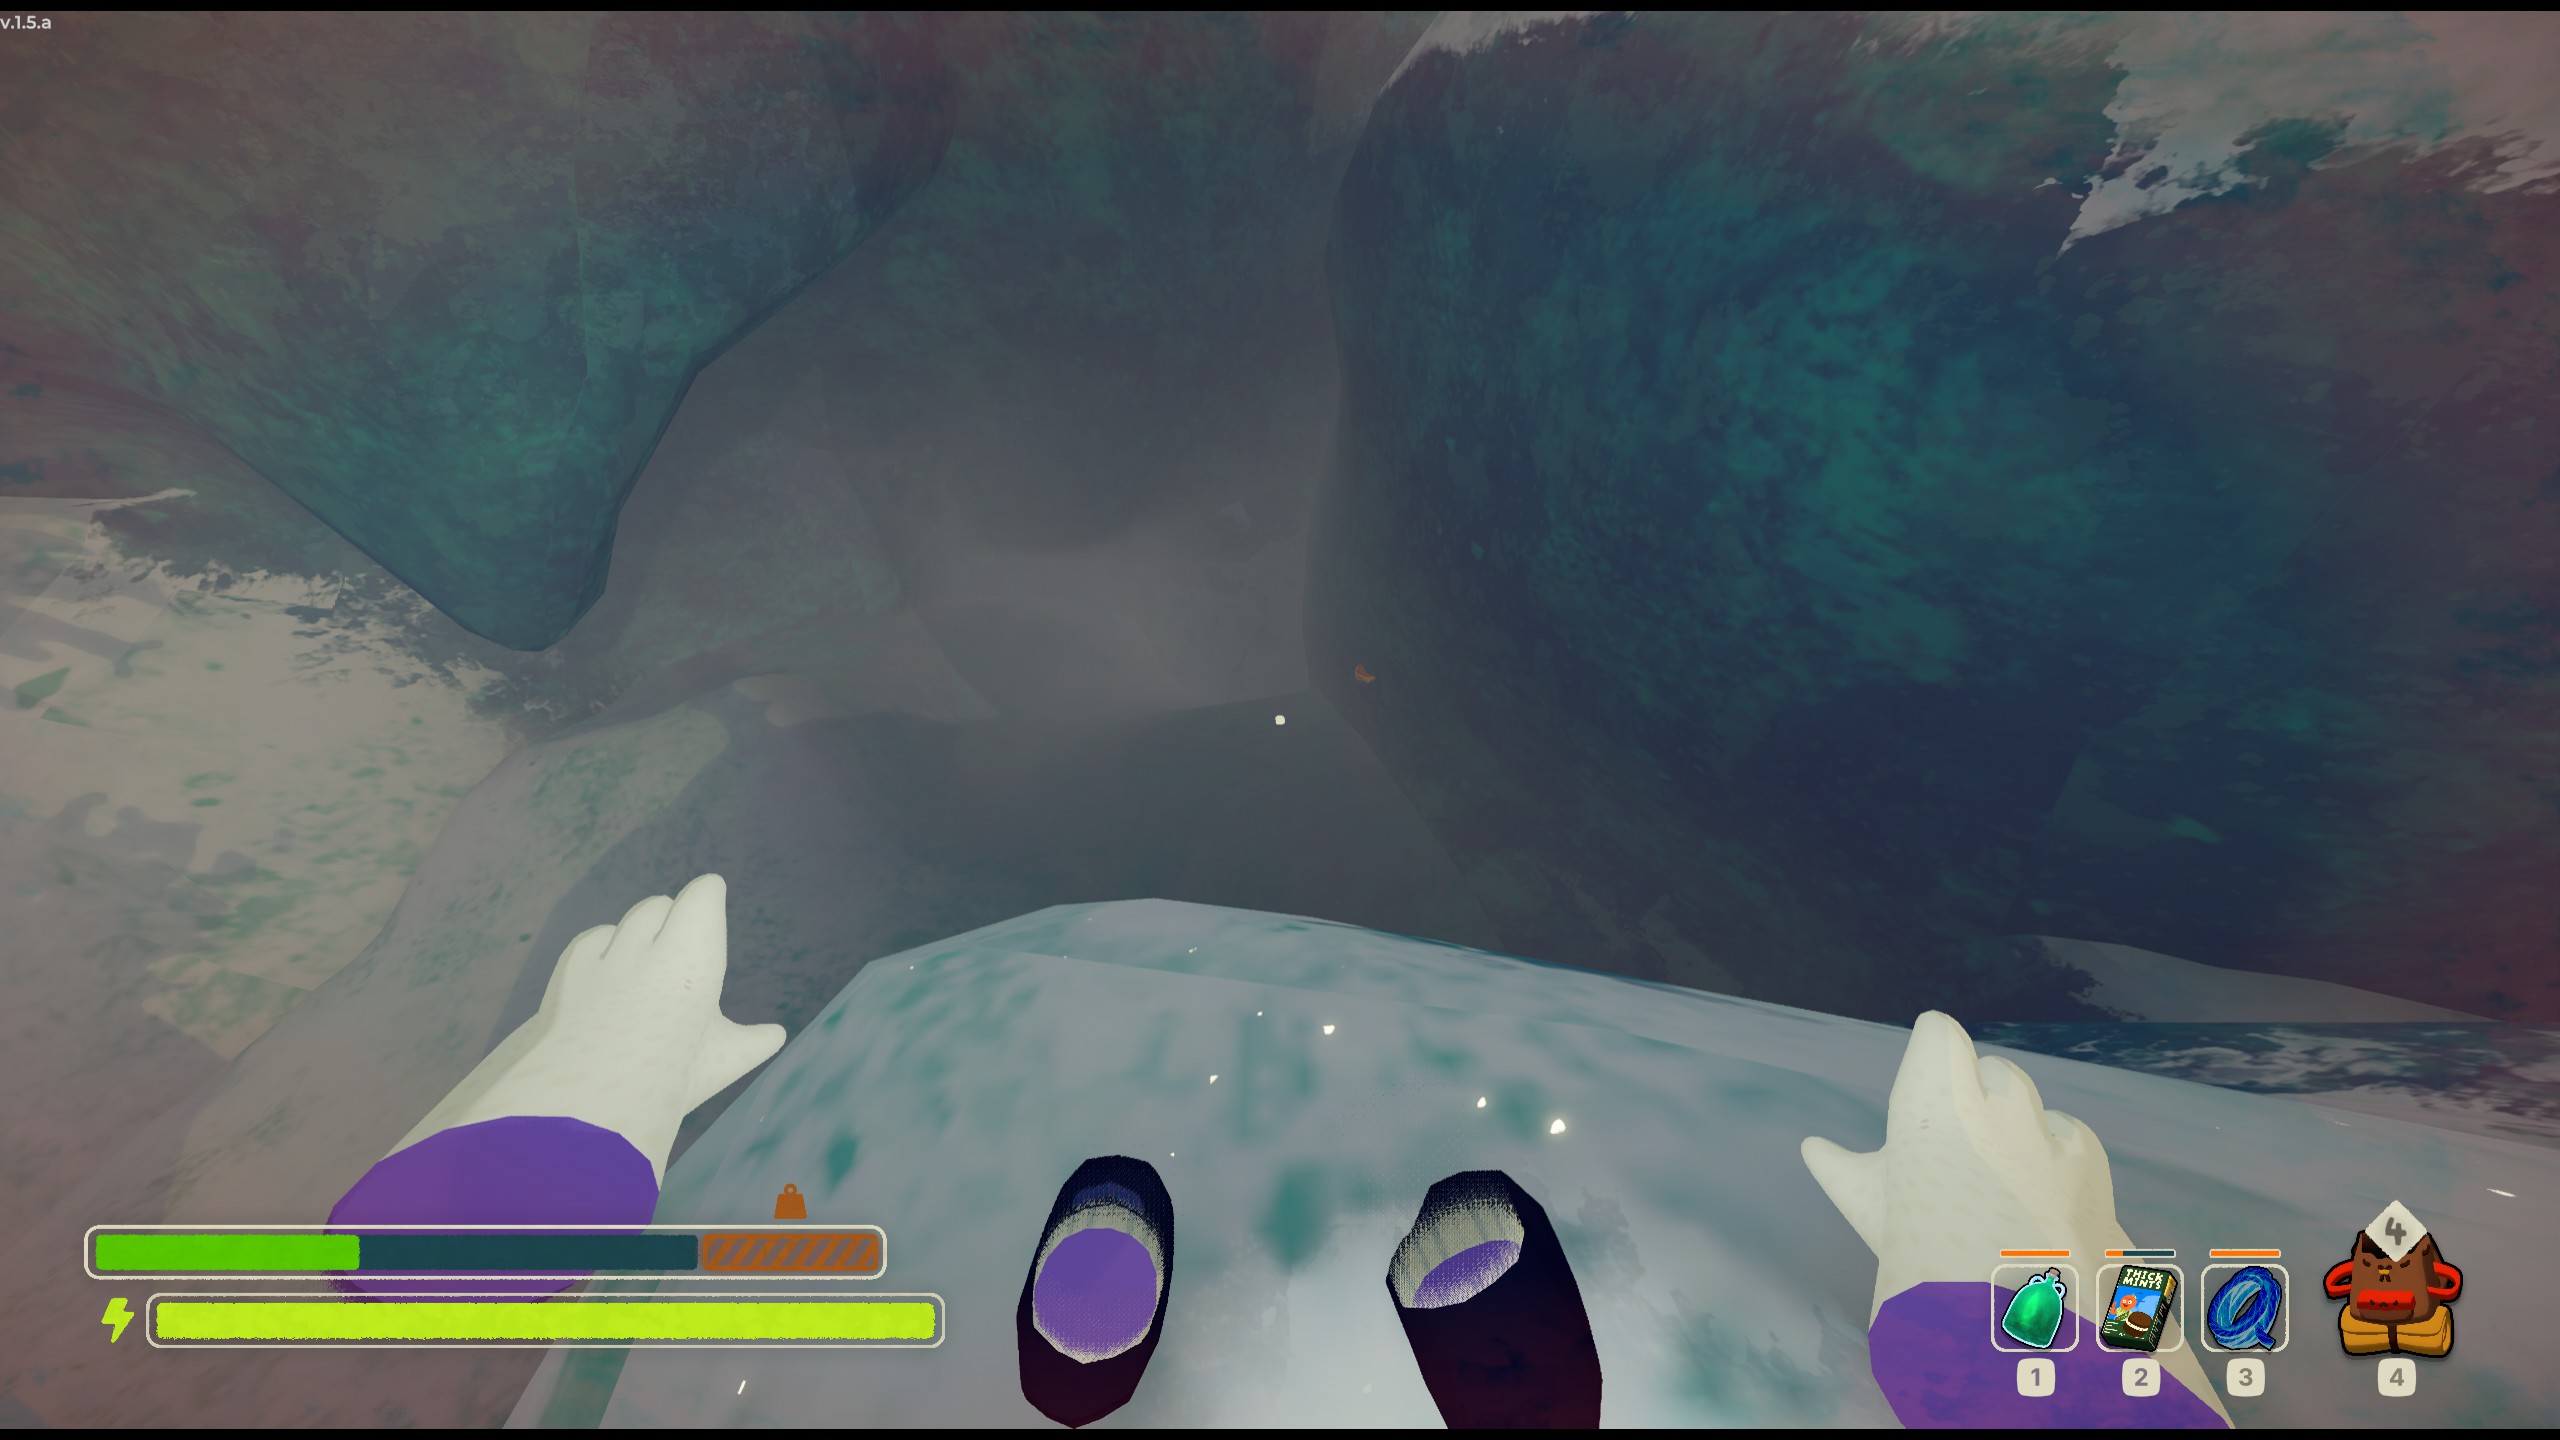
Sometimes it won't work fully, however, and you'll still take a small tick of ice damage. Darker areas of these nooks and crannies shield you from more of the blizzard, so be mindful of where you stand. Still, any cover is better than no cover, especially the higher you go.
When making your way to the mountain here, definitely be on the lookout for briefcases. Having a good storage of items for traversal and healing is crucial on Alpine to make it through comfortably. Finding a good route up, surprisingly enough, lies in what is to the left and right of you. Most times when I'm climbing through Alpine, I find that moving left or right and then up nets me a solid route up the Peak™. Wrap around the Peak™ until a clear path reveals itself.
Something that is also unique to this level is the presence of long-lost pitons and chains left by previous climbers (thank you, legends). As with the Tropics, some of these will be useful and others, well, less so:
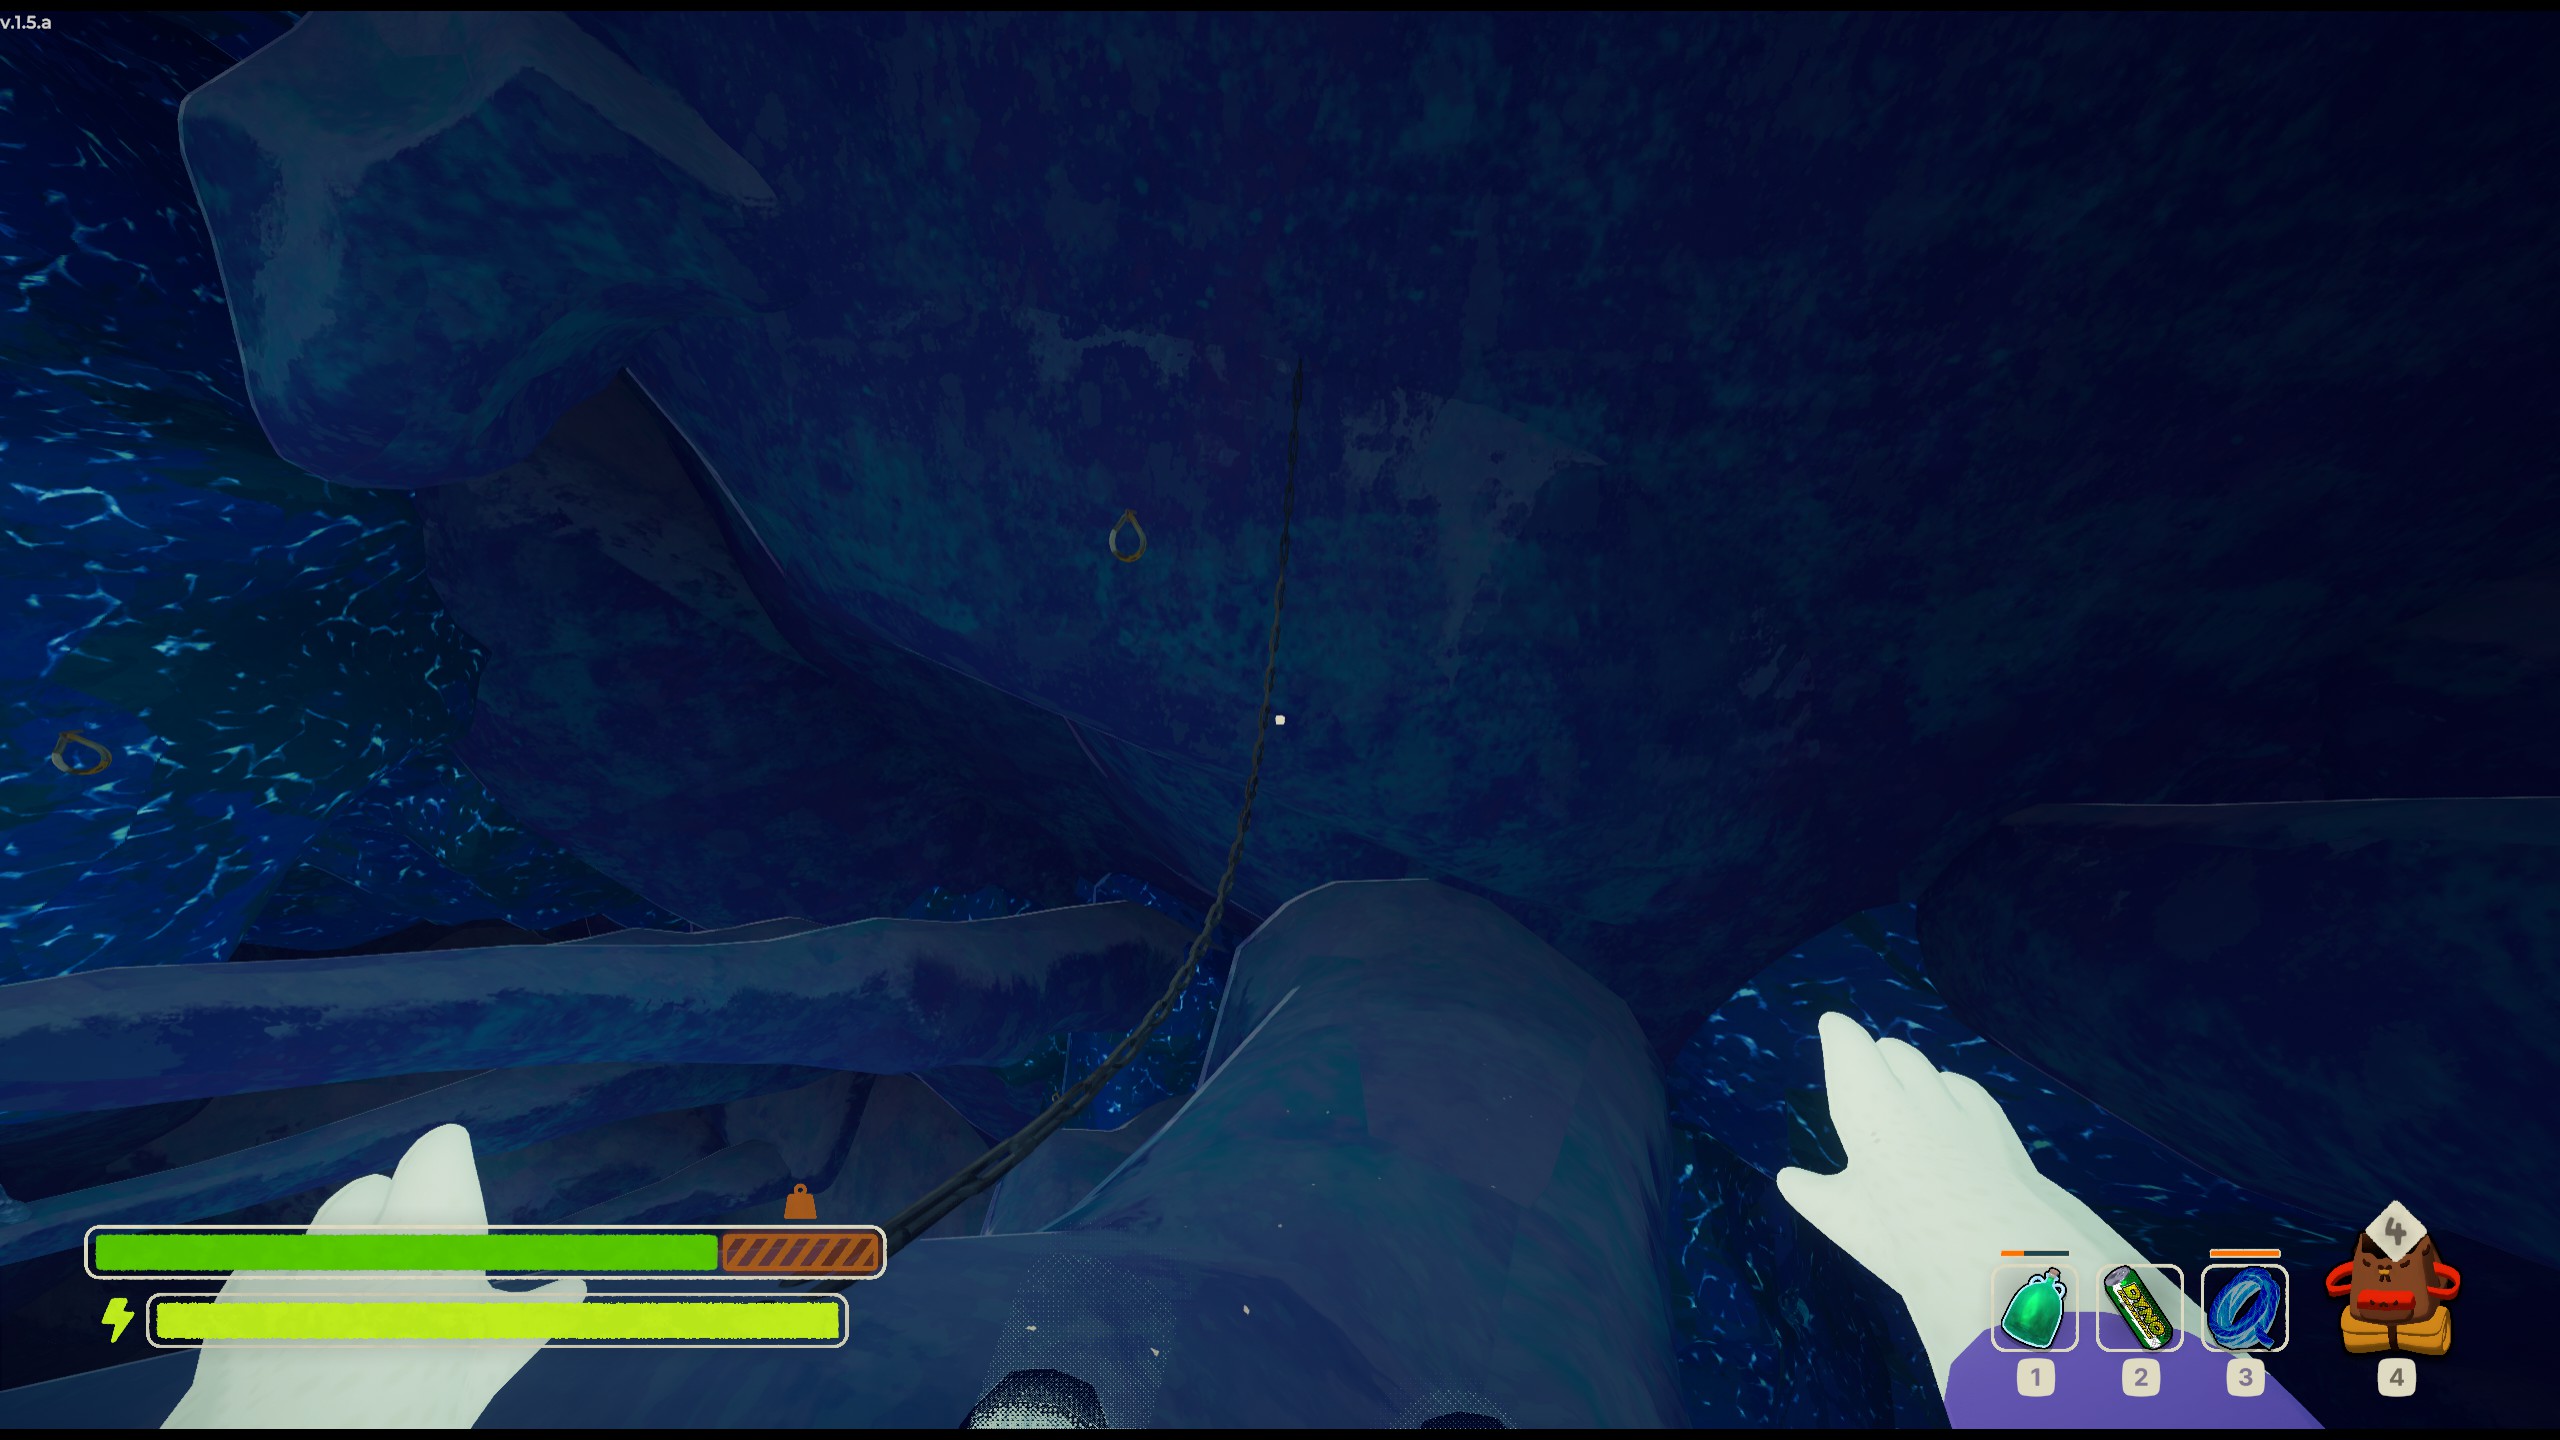
Thanks, guys. Appreciate it.
If you decide you're going to utilize these, keep in mind the following:
- Be confident that you can climb away from it comfortably
- Have some kind of exit plan if things (i.e. you) go south
- Bring backup/supporting gear if needed
Overall Difficulty: HELP
Nothing is worse than having your entire run be ruined by sliding down the ice 50 meters and splatting hard. Later levels will give you more options, but play it safe here more than anywhere else.
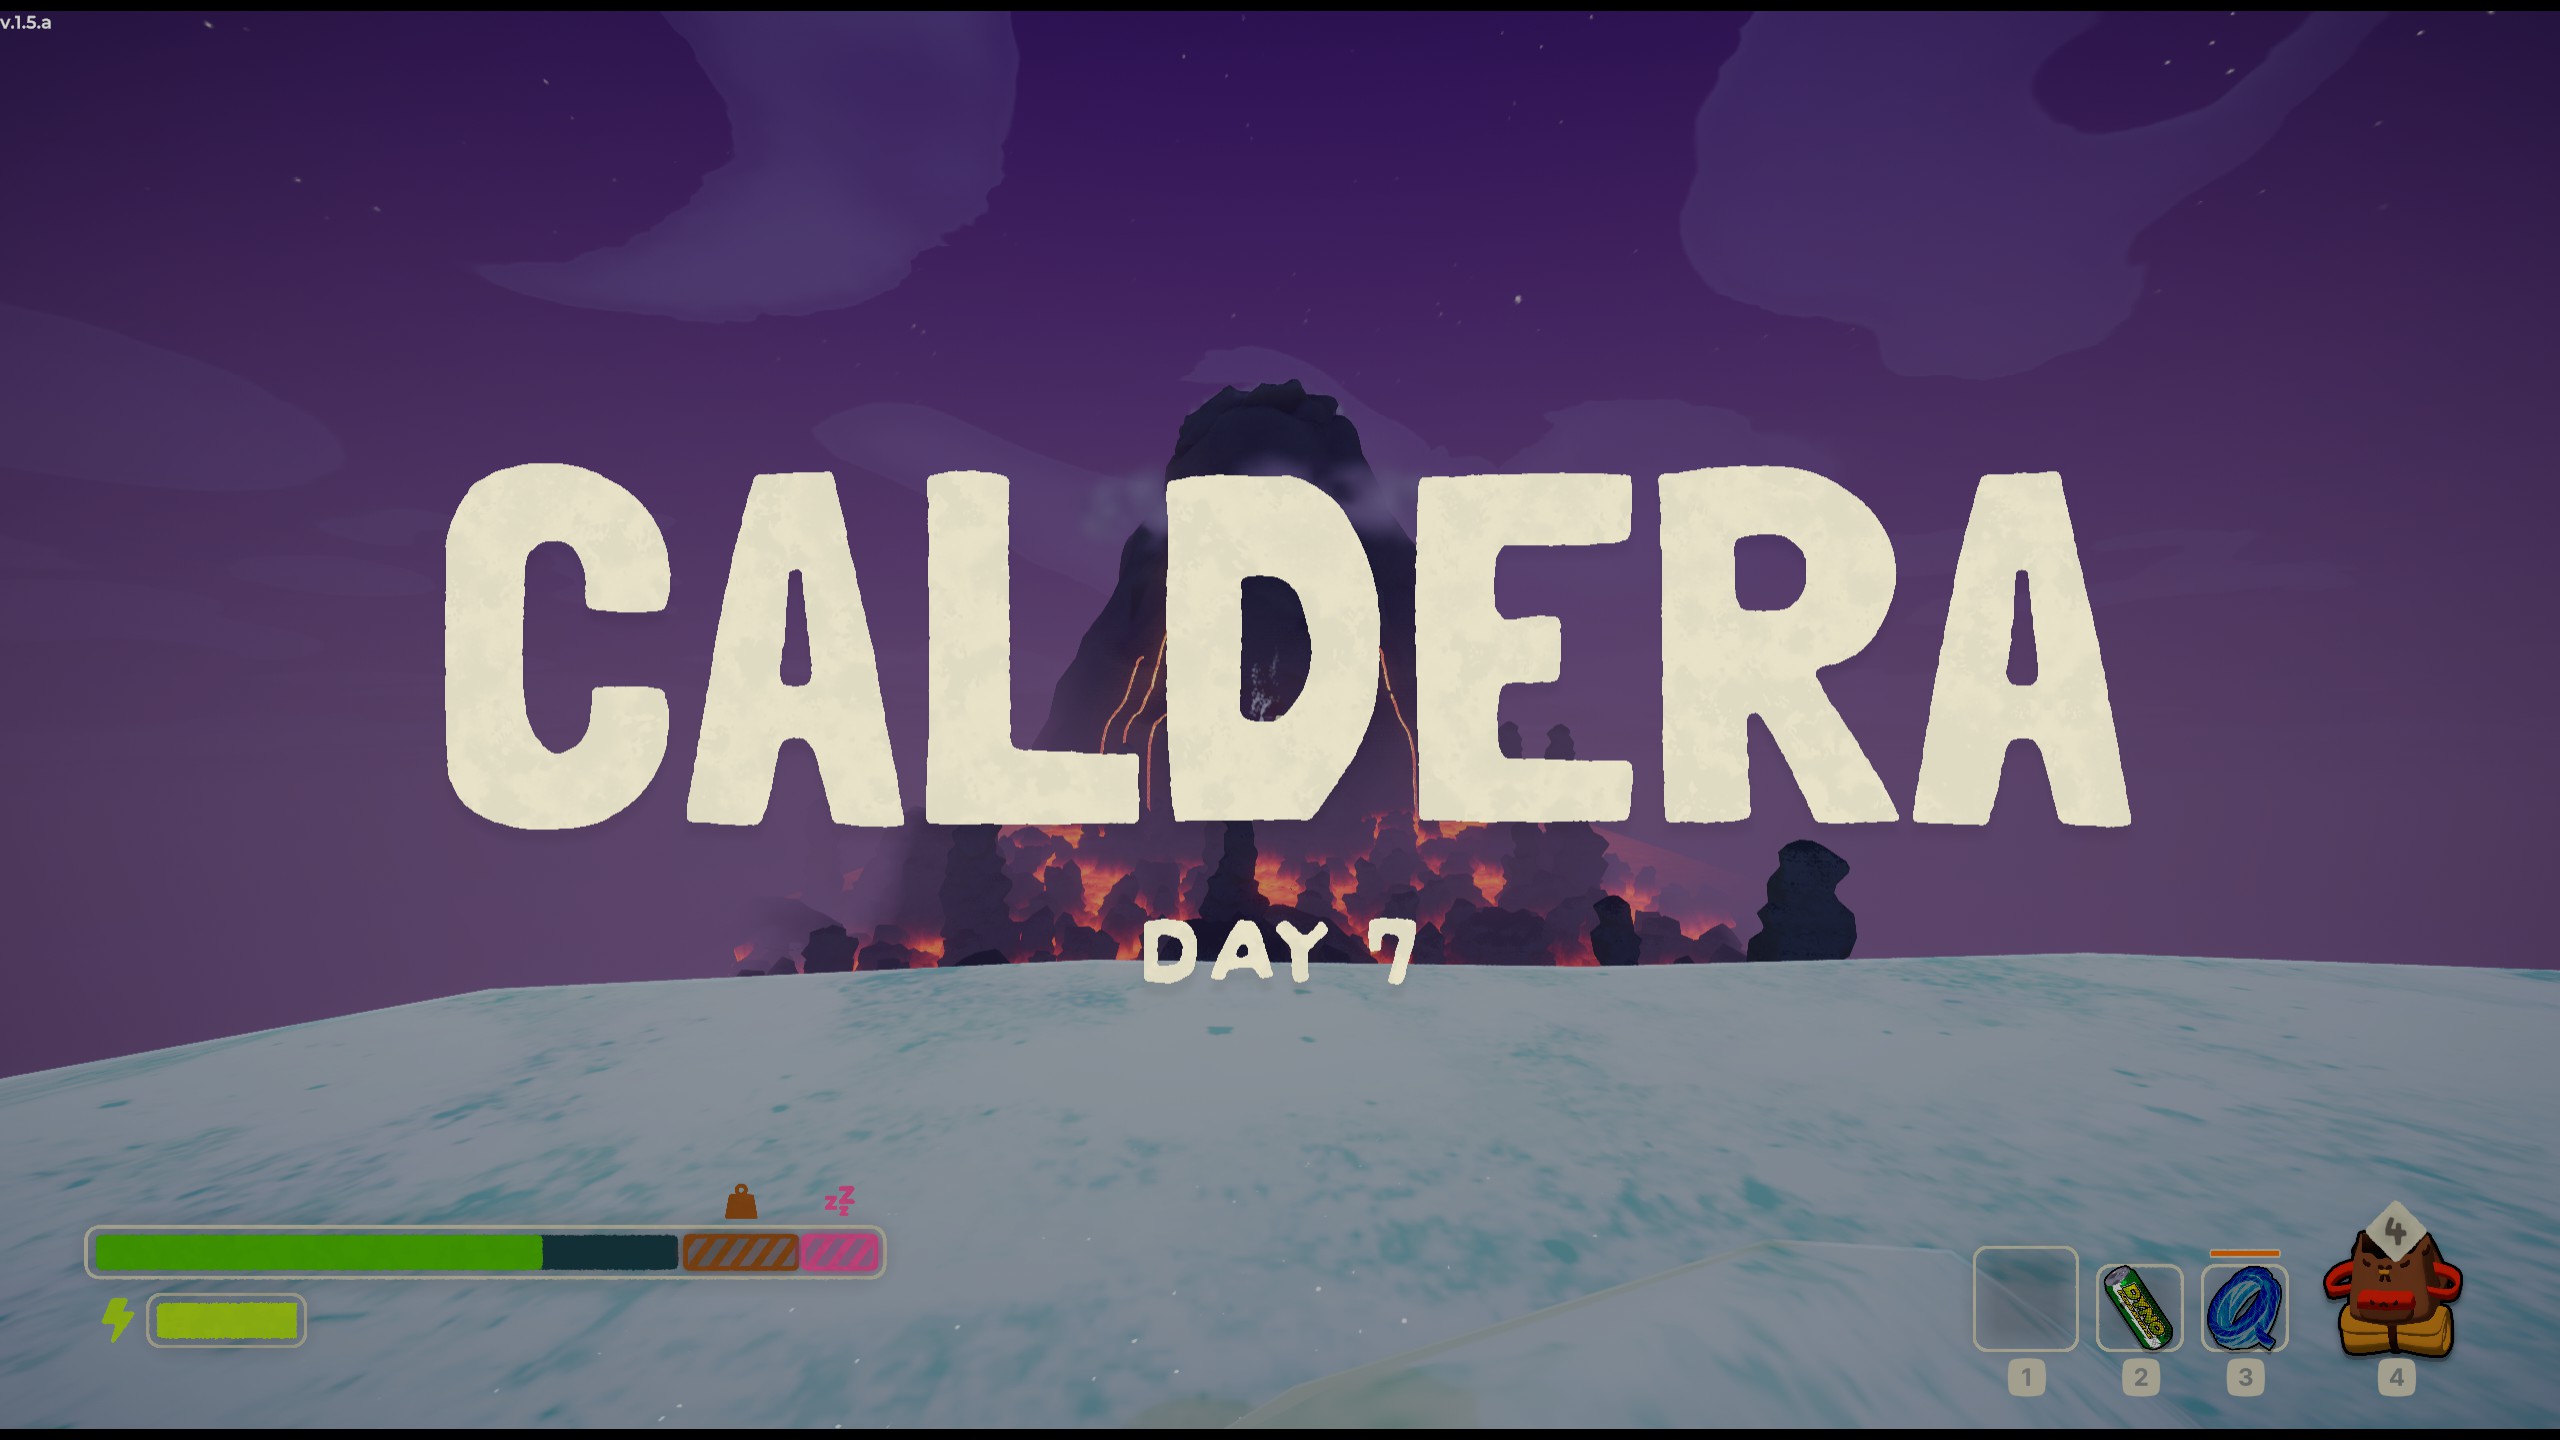
Level 4: Caldera
Things are heating up a bit.
EDIT: As of the Mesa update, the majority of this section is still accurate and applicable. The biggest change is in the spacing of rock formations which makes planning routes slightly harder, but you can still navigate it fairly easily overall. Get more comfortable with the idea of running across the flat molten floor to rock formations further out.
Welcome to actual hell!
Pranked you again; Caldera isn't that much more difficult than Alpine, but it can definitely catch you off guard. Be aware of this level's main mechanic: rising and falling lava tides.
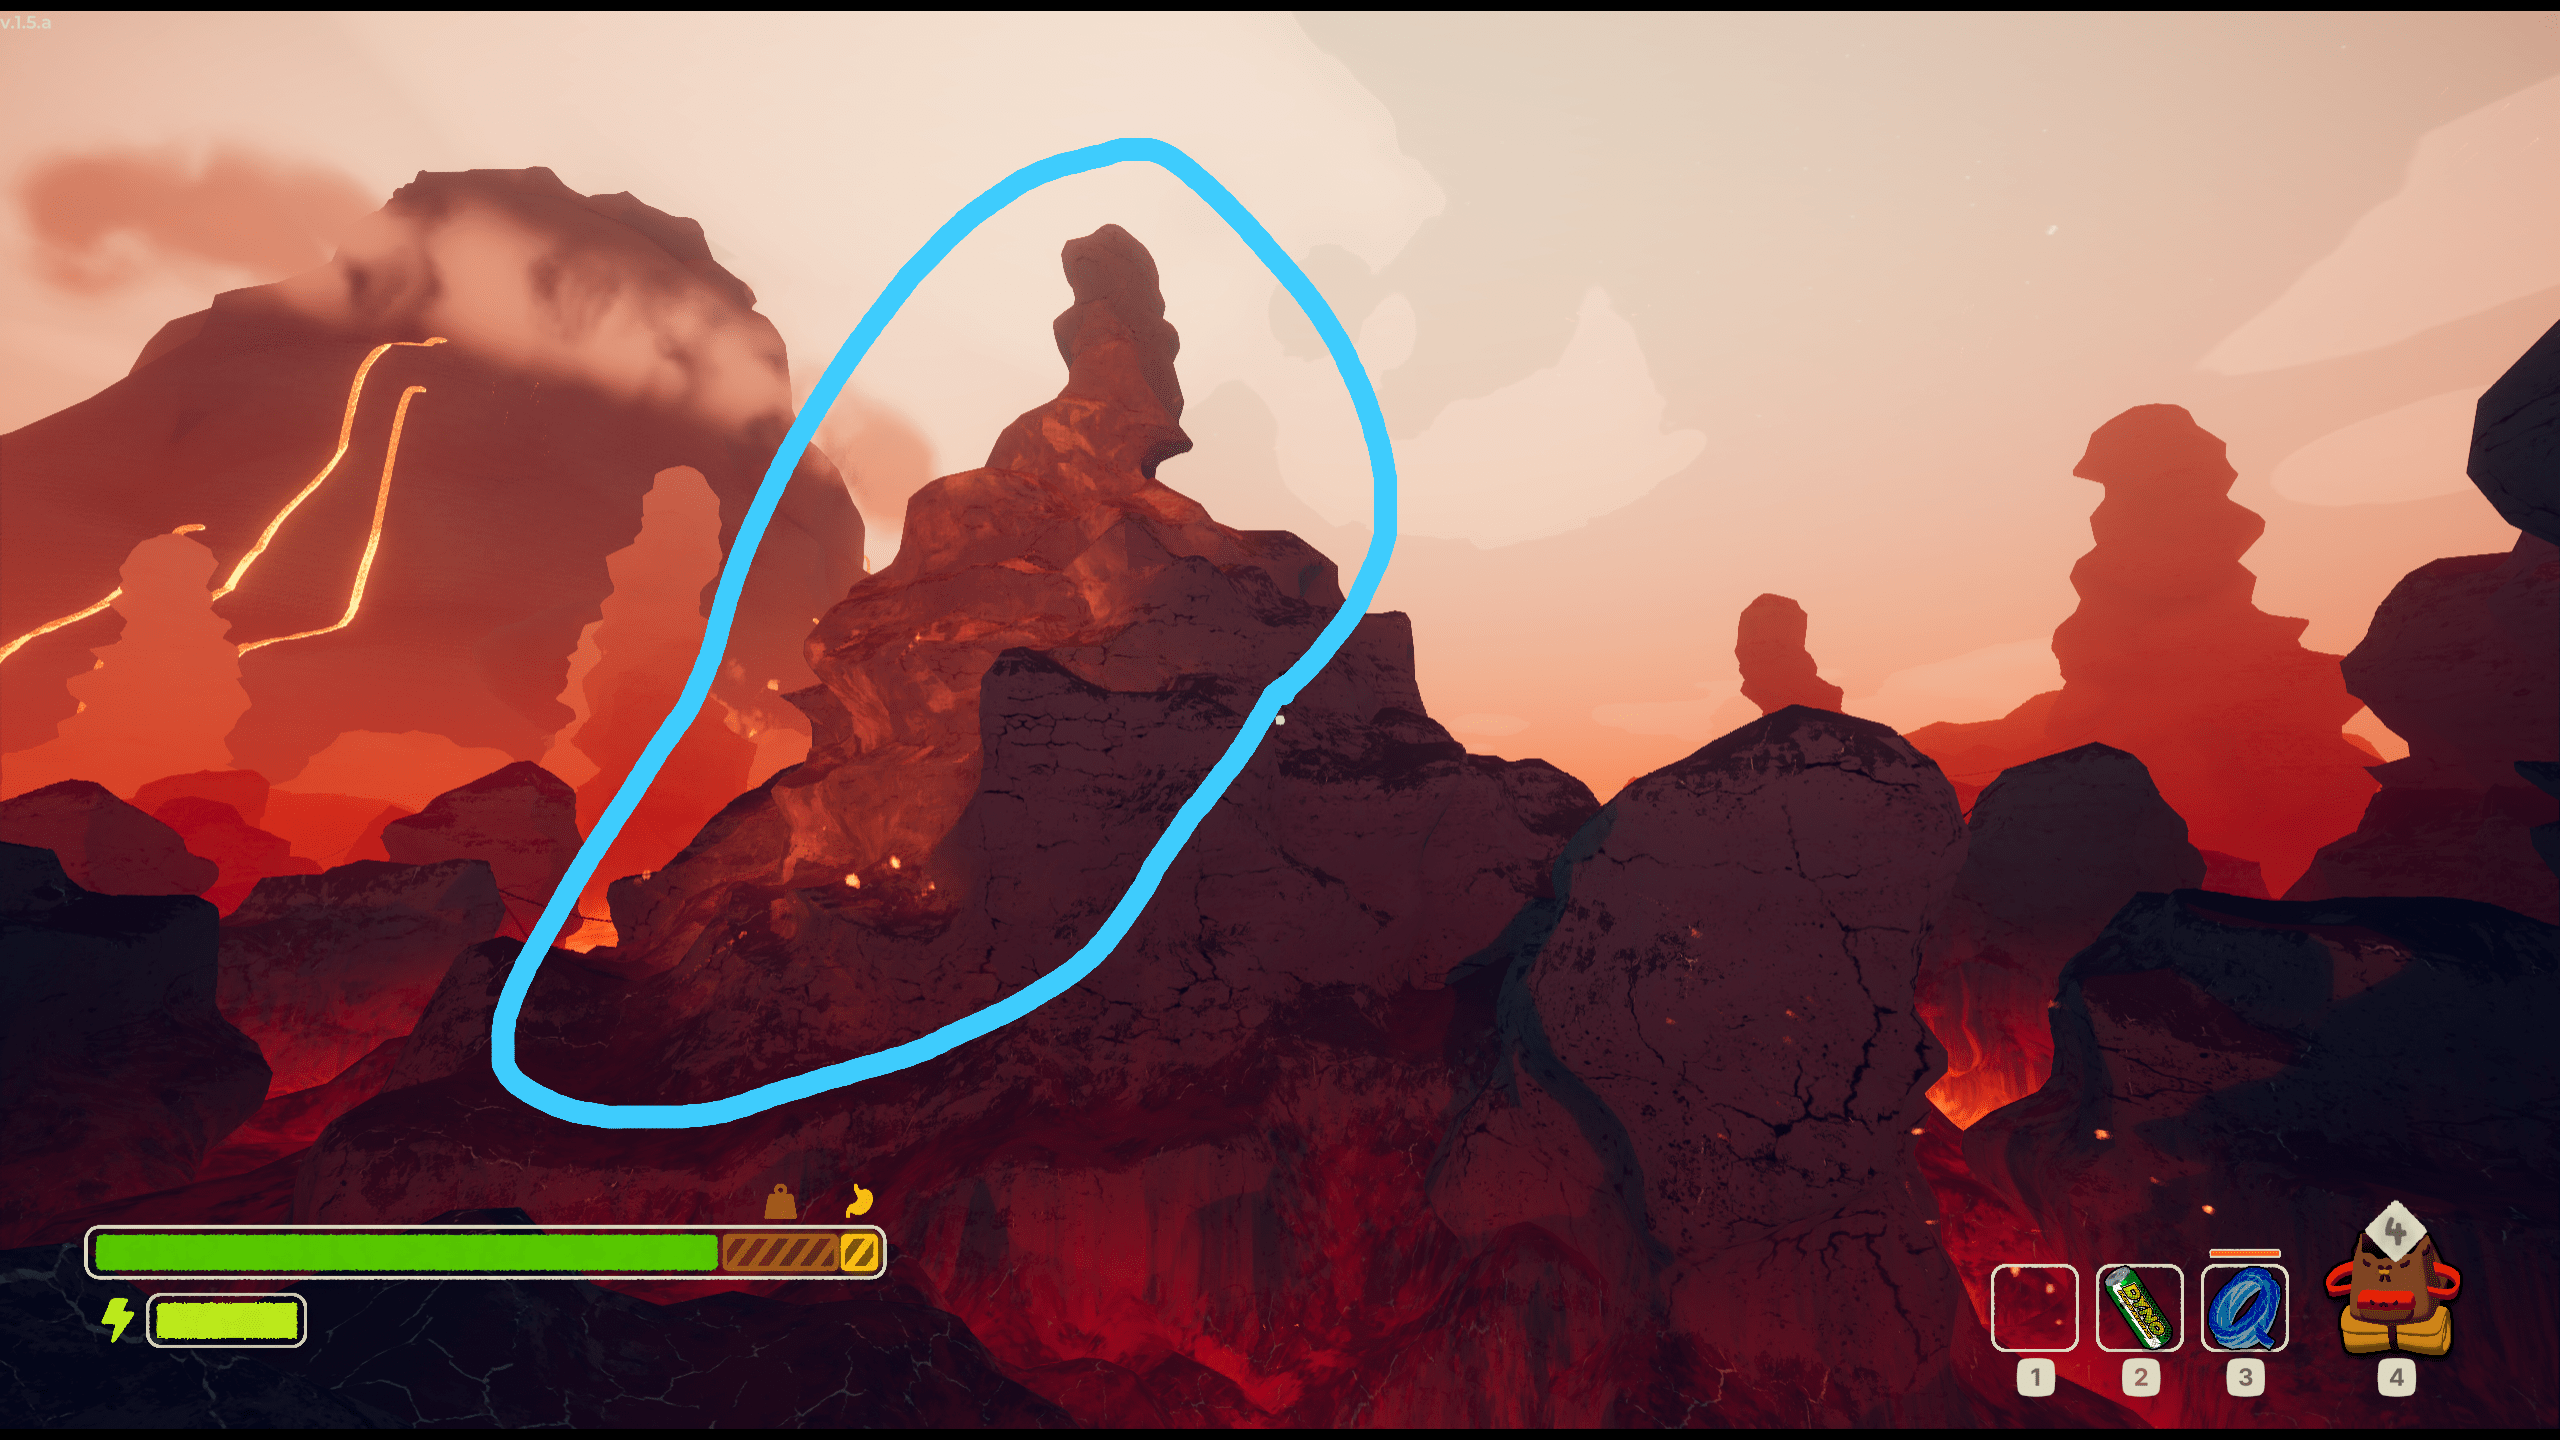
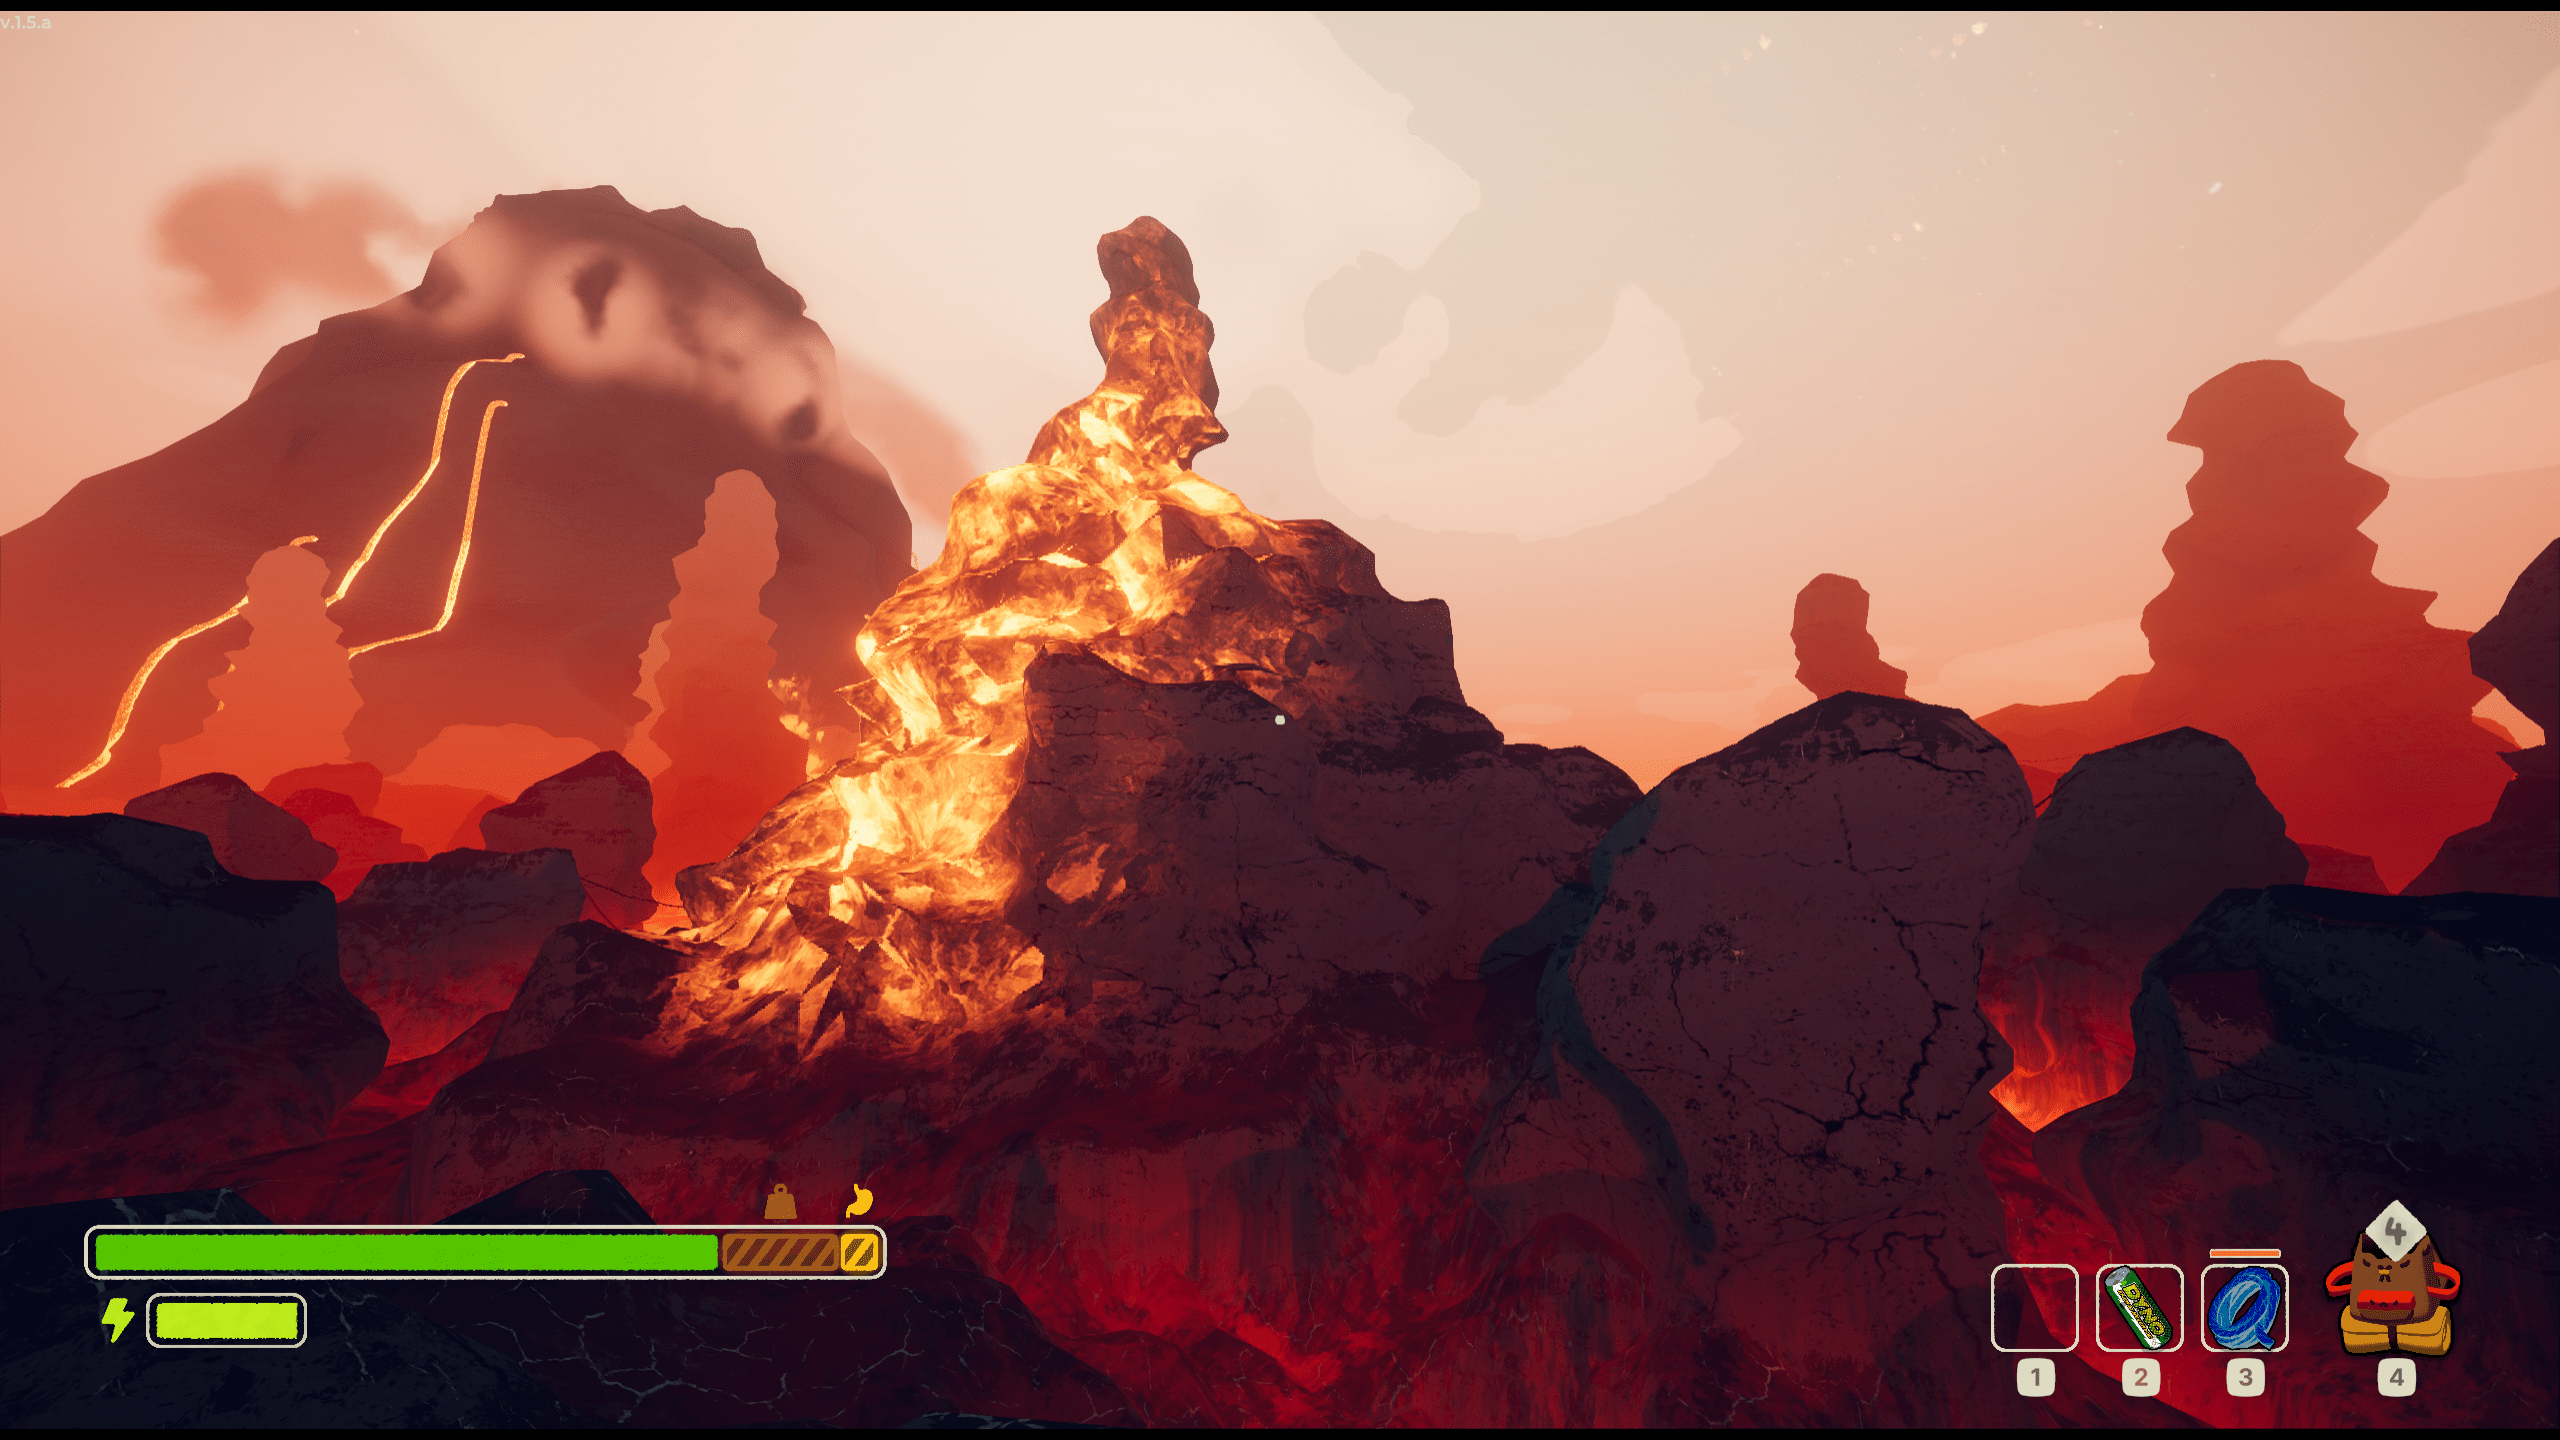
Hazard Warning: Lava Tides
For the most part, you can gauge how and when to advance along a certain path if the tide is high or low. Err on the side of caution if you don't think you can make it; better safe than sorry. The lava tides will rise and fall as shown below:
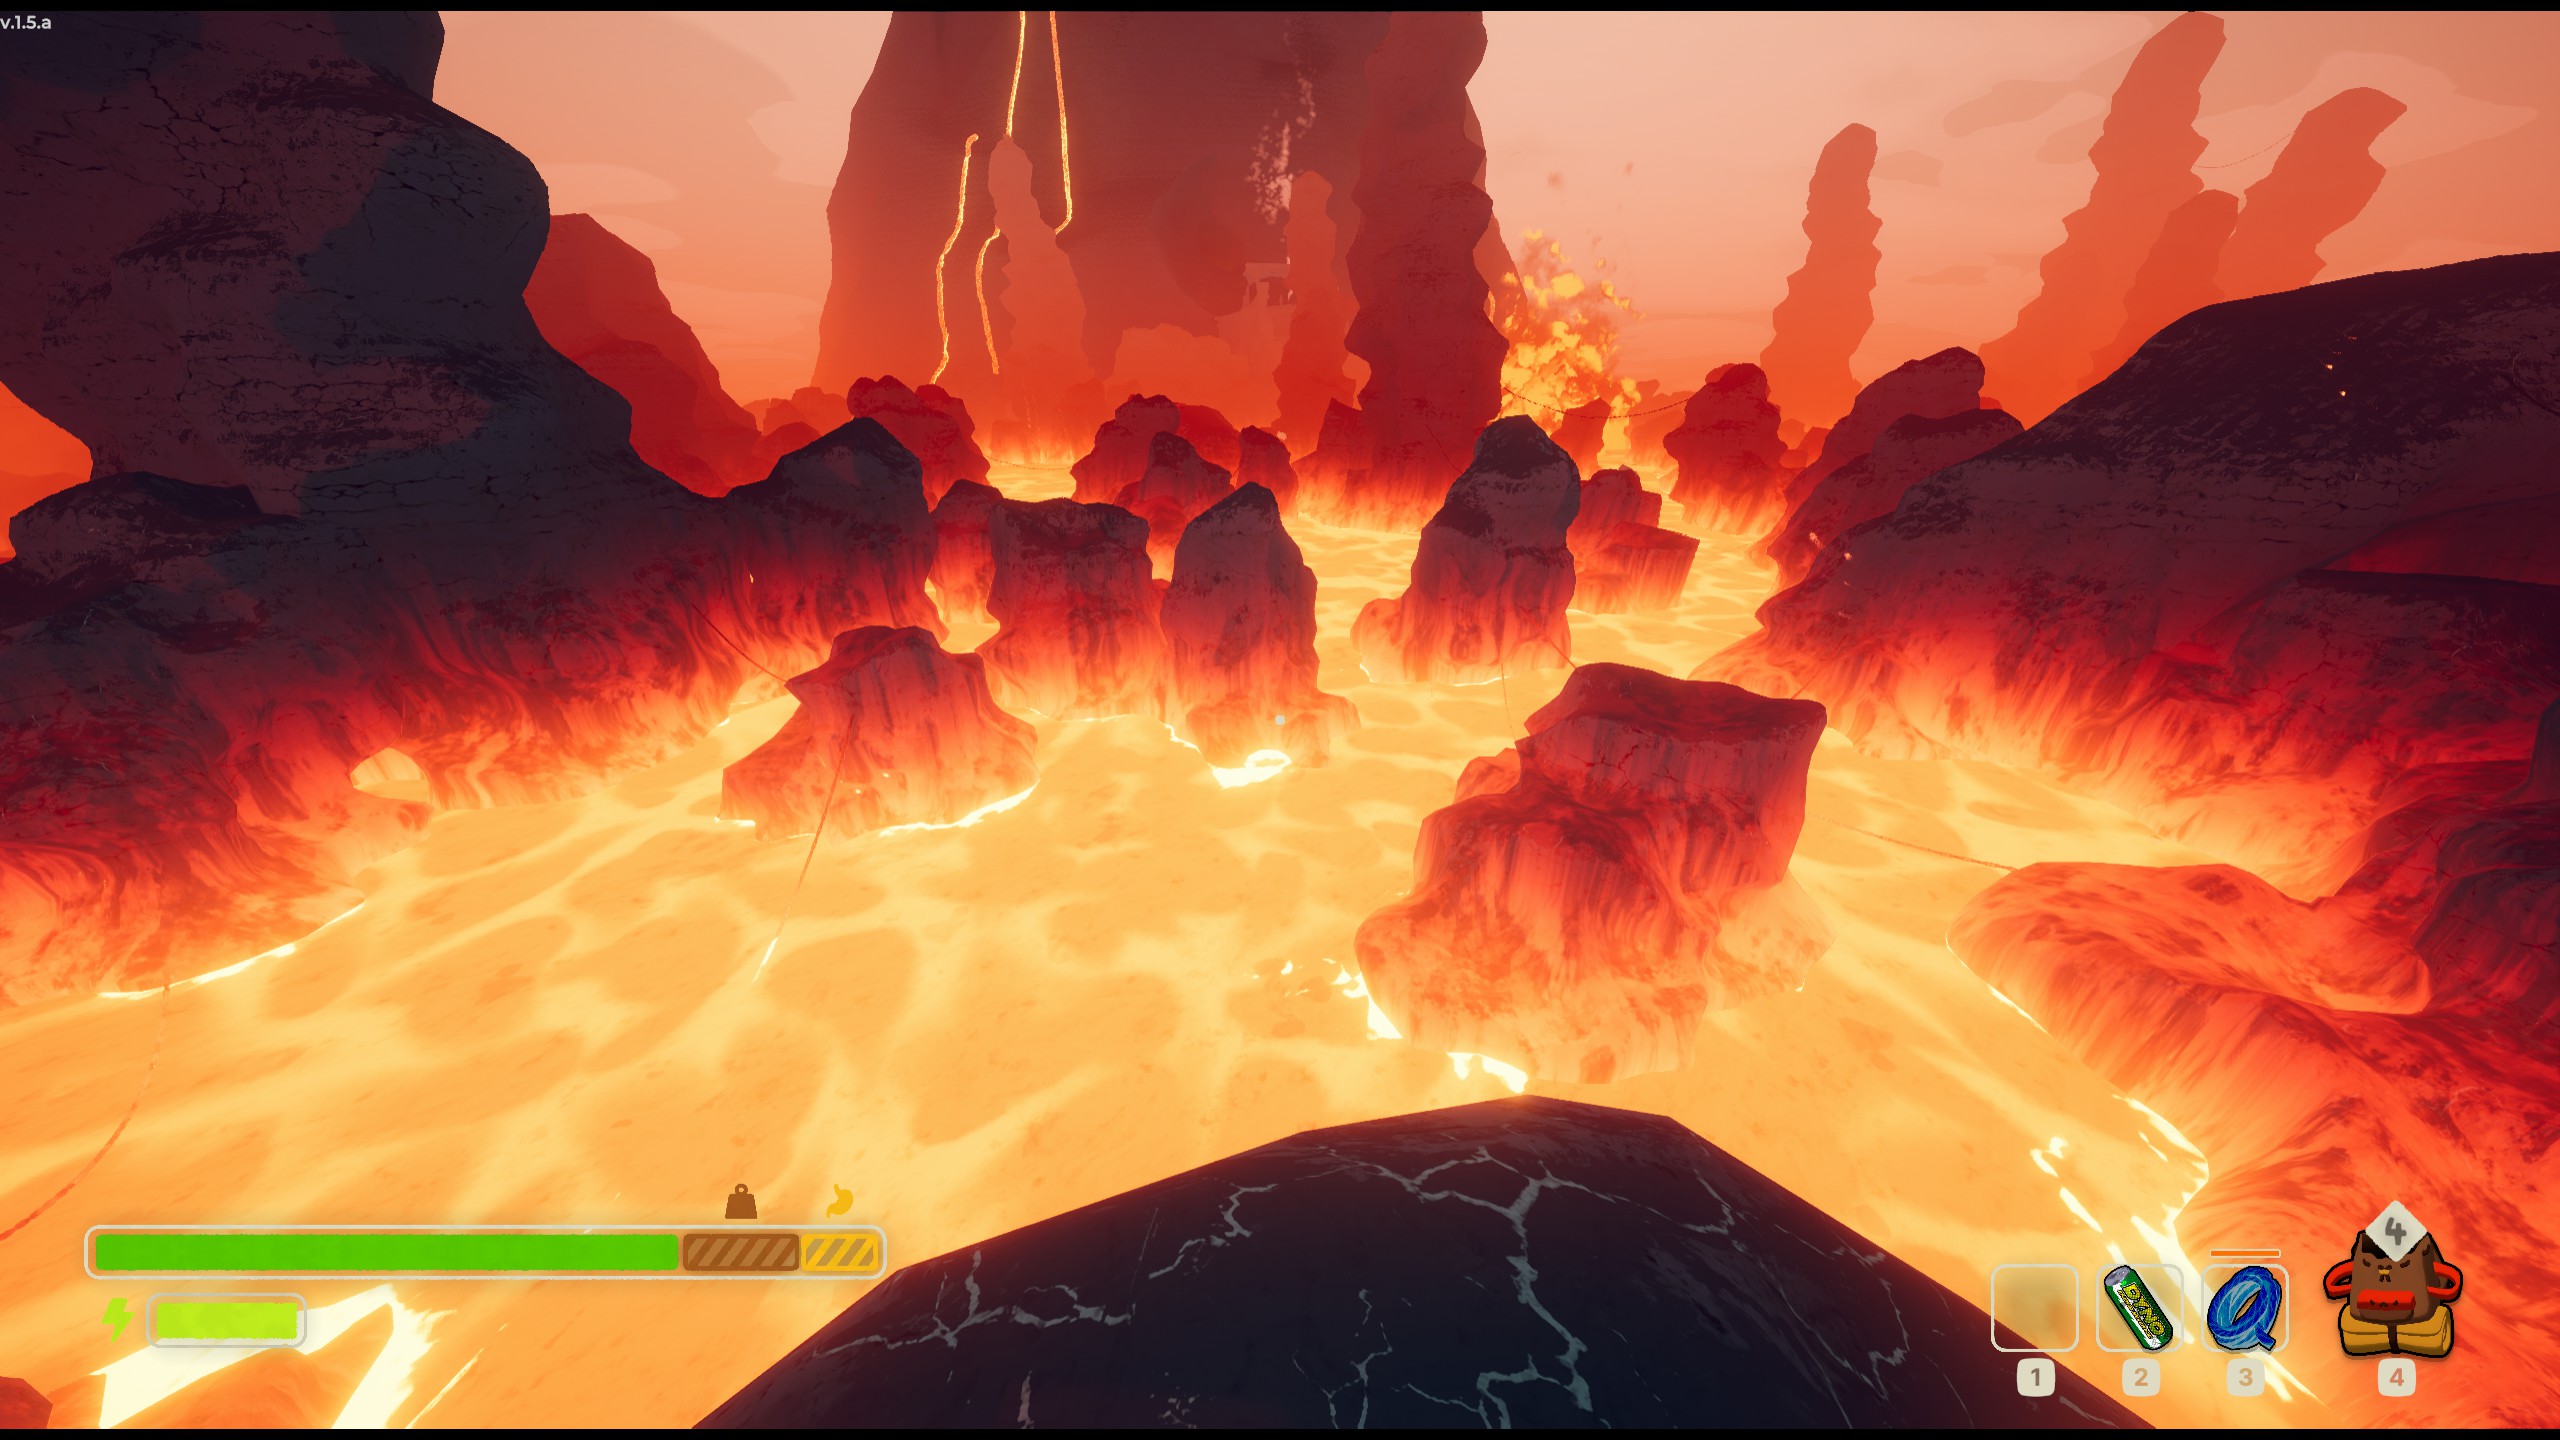
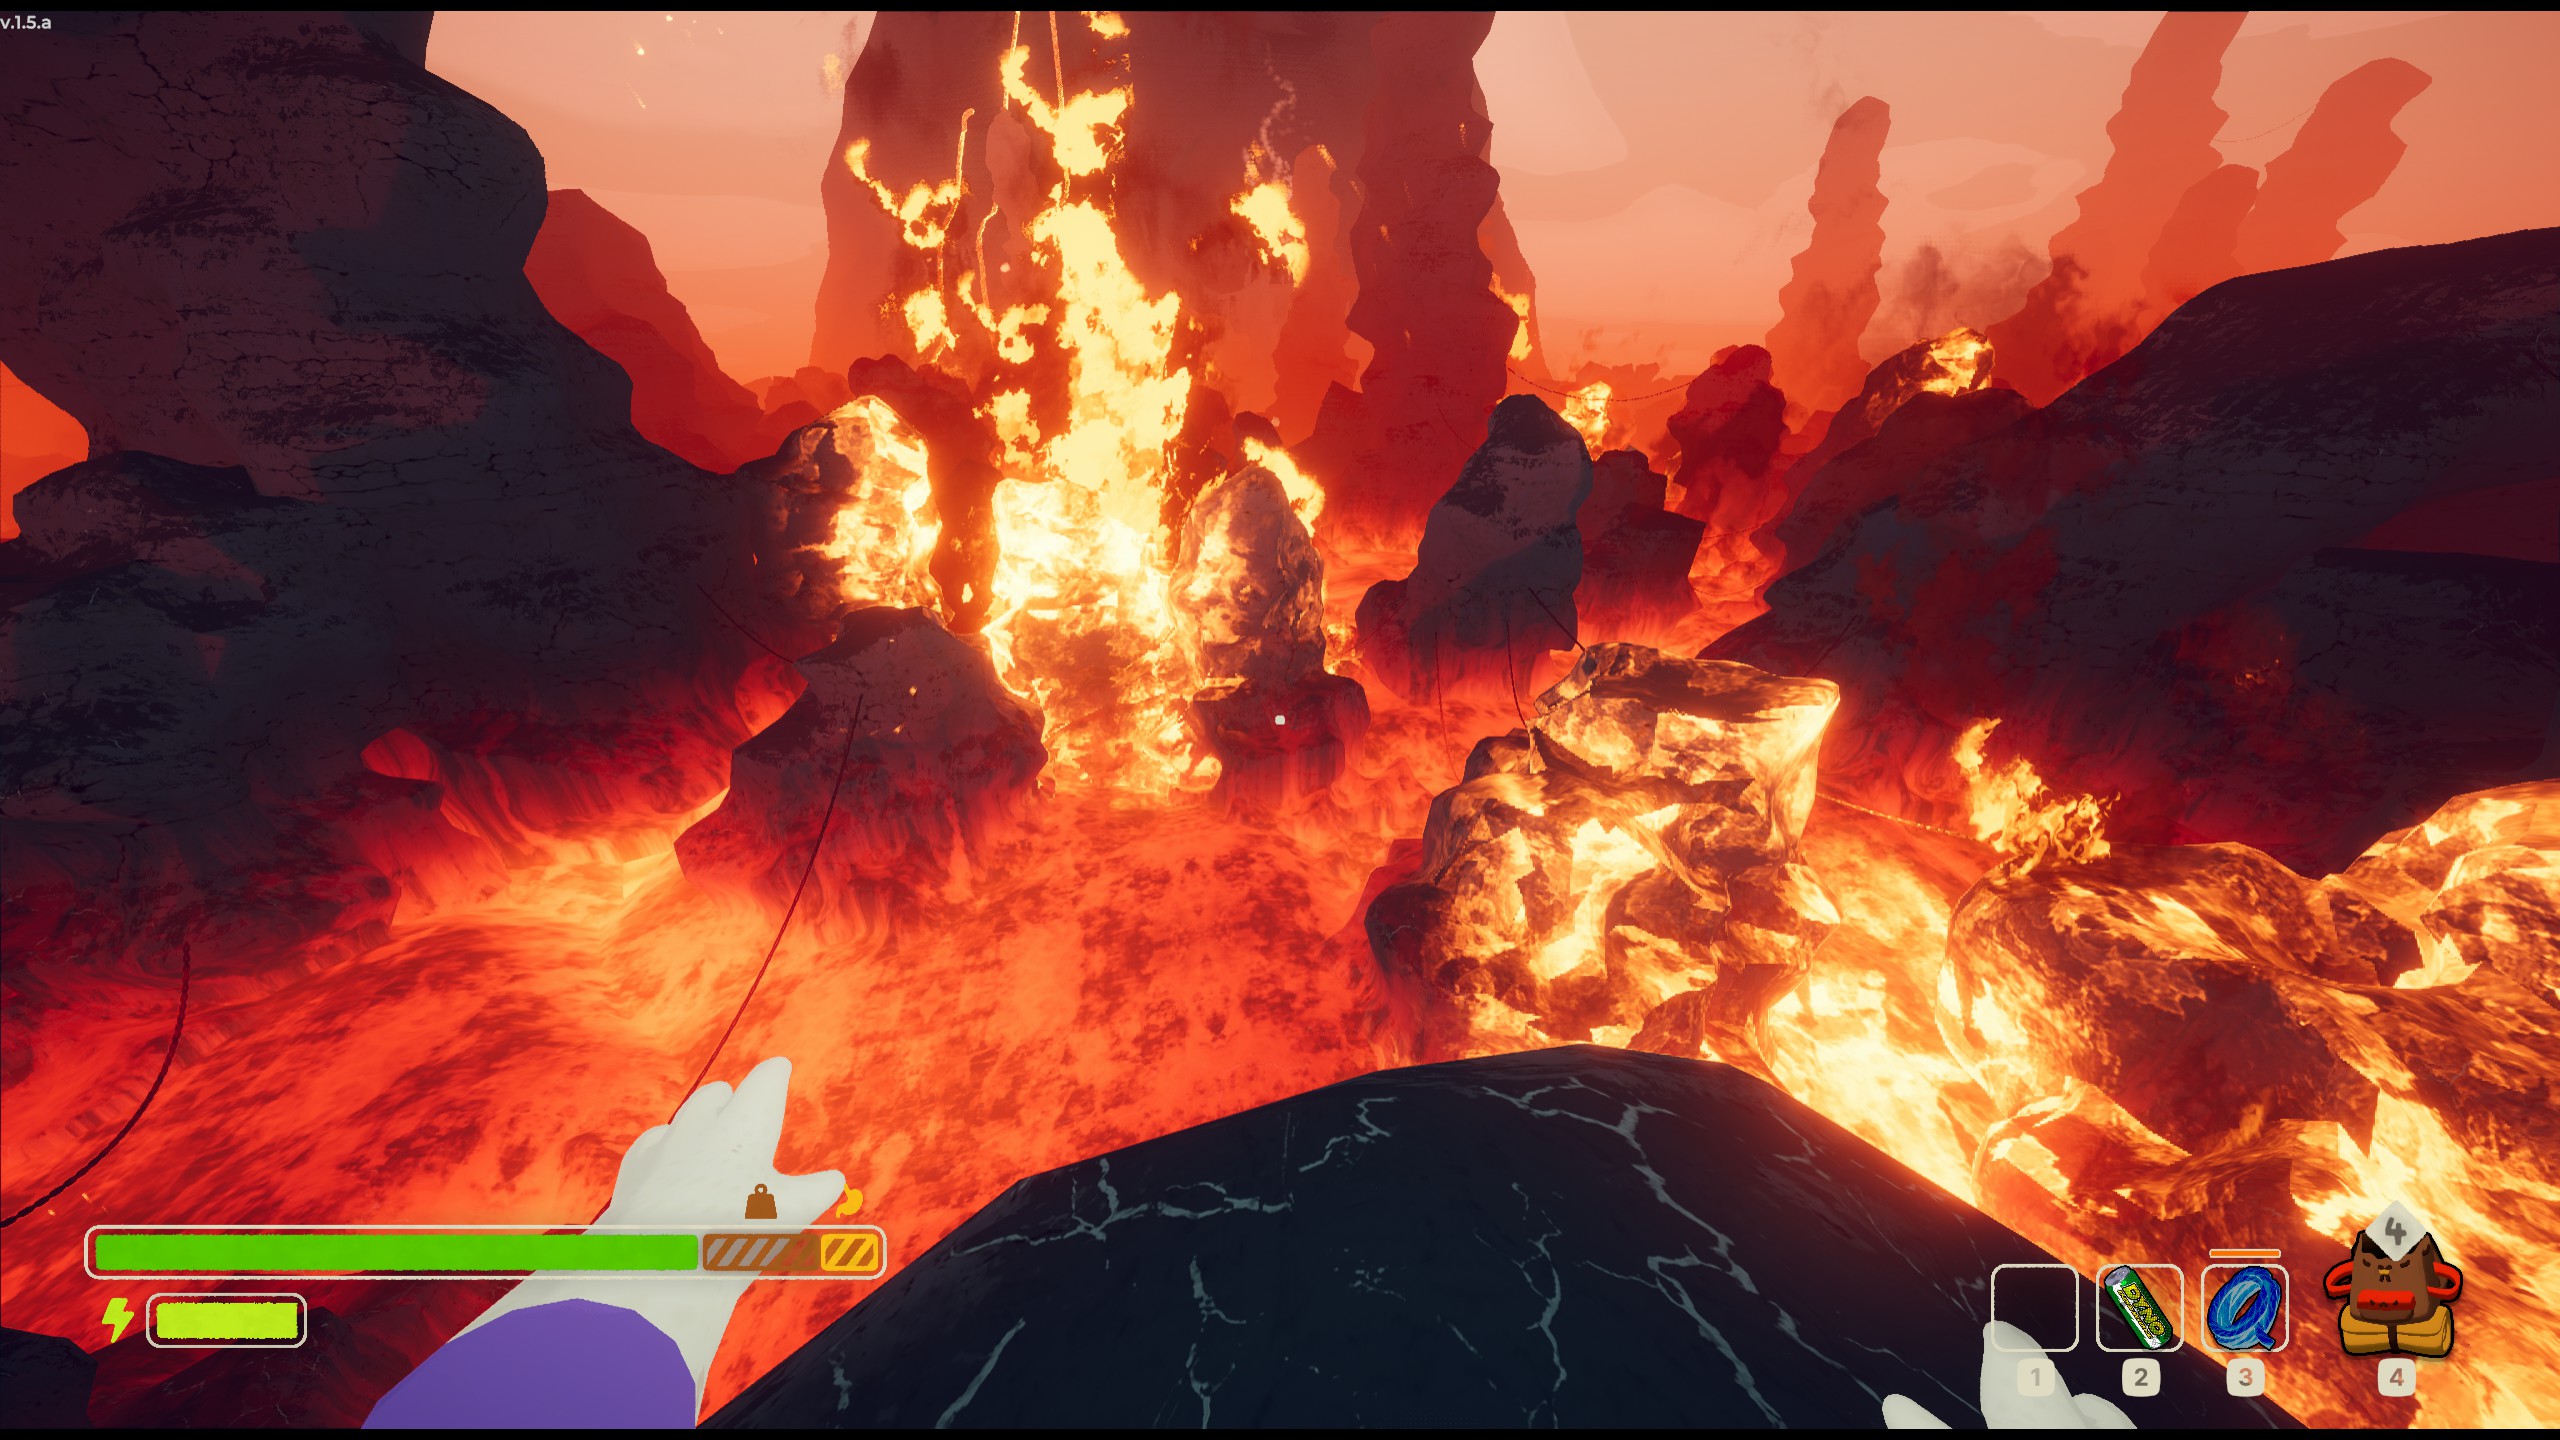
See the portion of the rock's lower half that fades into red? That's the danger zone. The deeper you are into that, the more heat damage you'll take. You can guess what I'm going to say on that. Once you've stopped panicking over that, let's talk about big, giant explosions that will also melt you.
The secondary mechanic of this level, too, cannot be overlooked. At random, certain areas of the level will be highlighted a bright orange/red shade, indicating that a massive fireburst will consume that area. Please do not enter this area. It is bad.
If your reaction times and/or quick thinking skills aren't the best, you're probably going to suffer some bad burns courtesy of these fire geysers. If you want to play it very safe, carry a chain launcher or energy drink to quickly make an escape.
Something that is applicable most effectively here but also in all levels is sliding on vines/chains. Here in Caldera, chains will often times be very close to the ground, meaning eggs aren't the only thing that can easily get cooked. Shown below is a comparison between sliding (left) and not sliding (right):

There are two things happening here that makes sliding much better than not:
- Speed: You traverse the gap much faster depending on how fast you fall down onto the vine/chain.
- Stamina-saving: Your stamina doesn't deplete until you start actually moving once you're done sliding. This means you have extra stamina at the end to do any extra climbing with.
Overall Difficulty: Hard
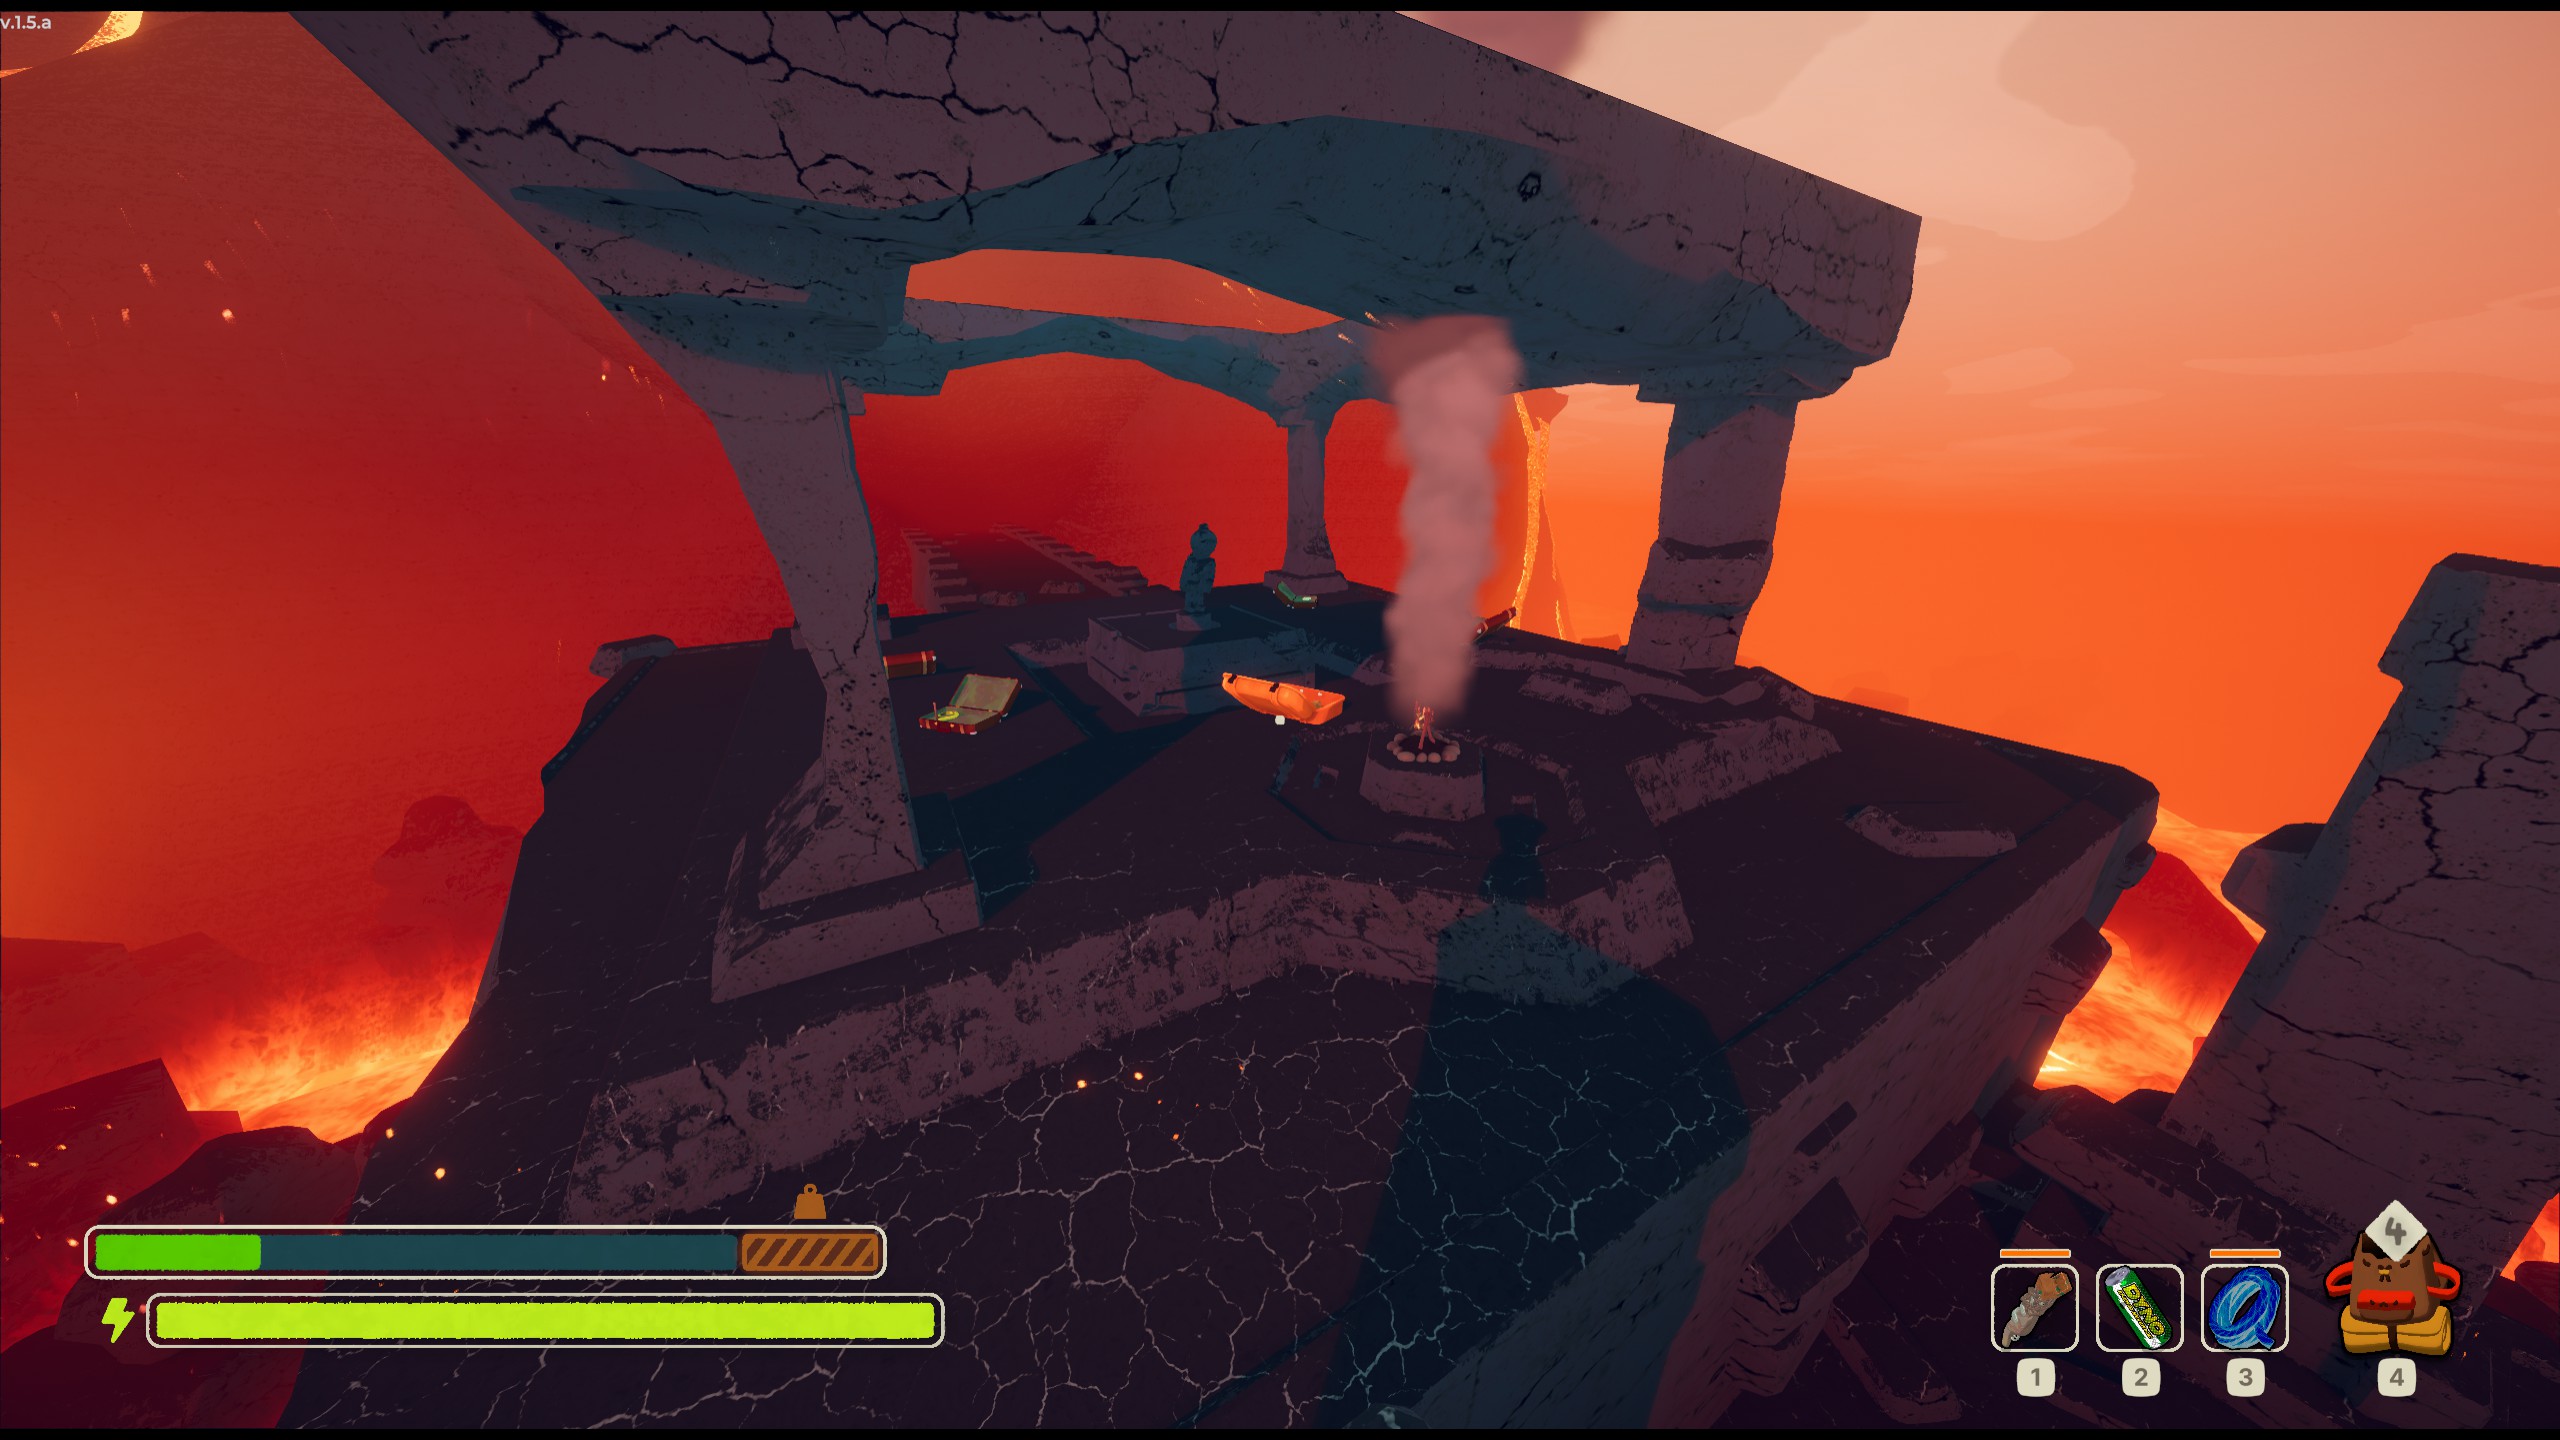
Caldera is equal parts simple and lethal. One wrong decision or timing can spell near death for you, so be quick and nimble after you've exercised that brain on a path through. Once you pass all of that, you're on to the final stage after looting a very generous boss fountain.
Level 5: The Kiln
Behold: the Belly of the Beast.
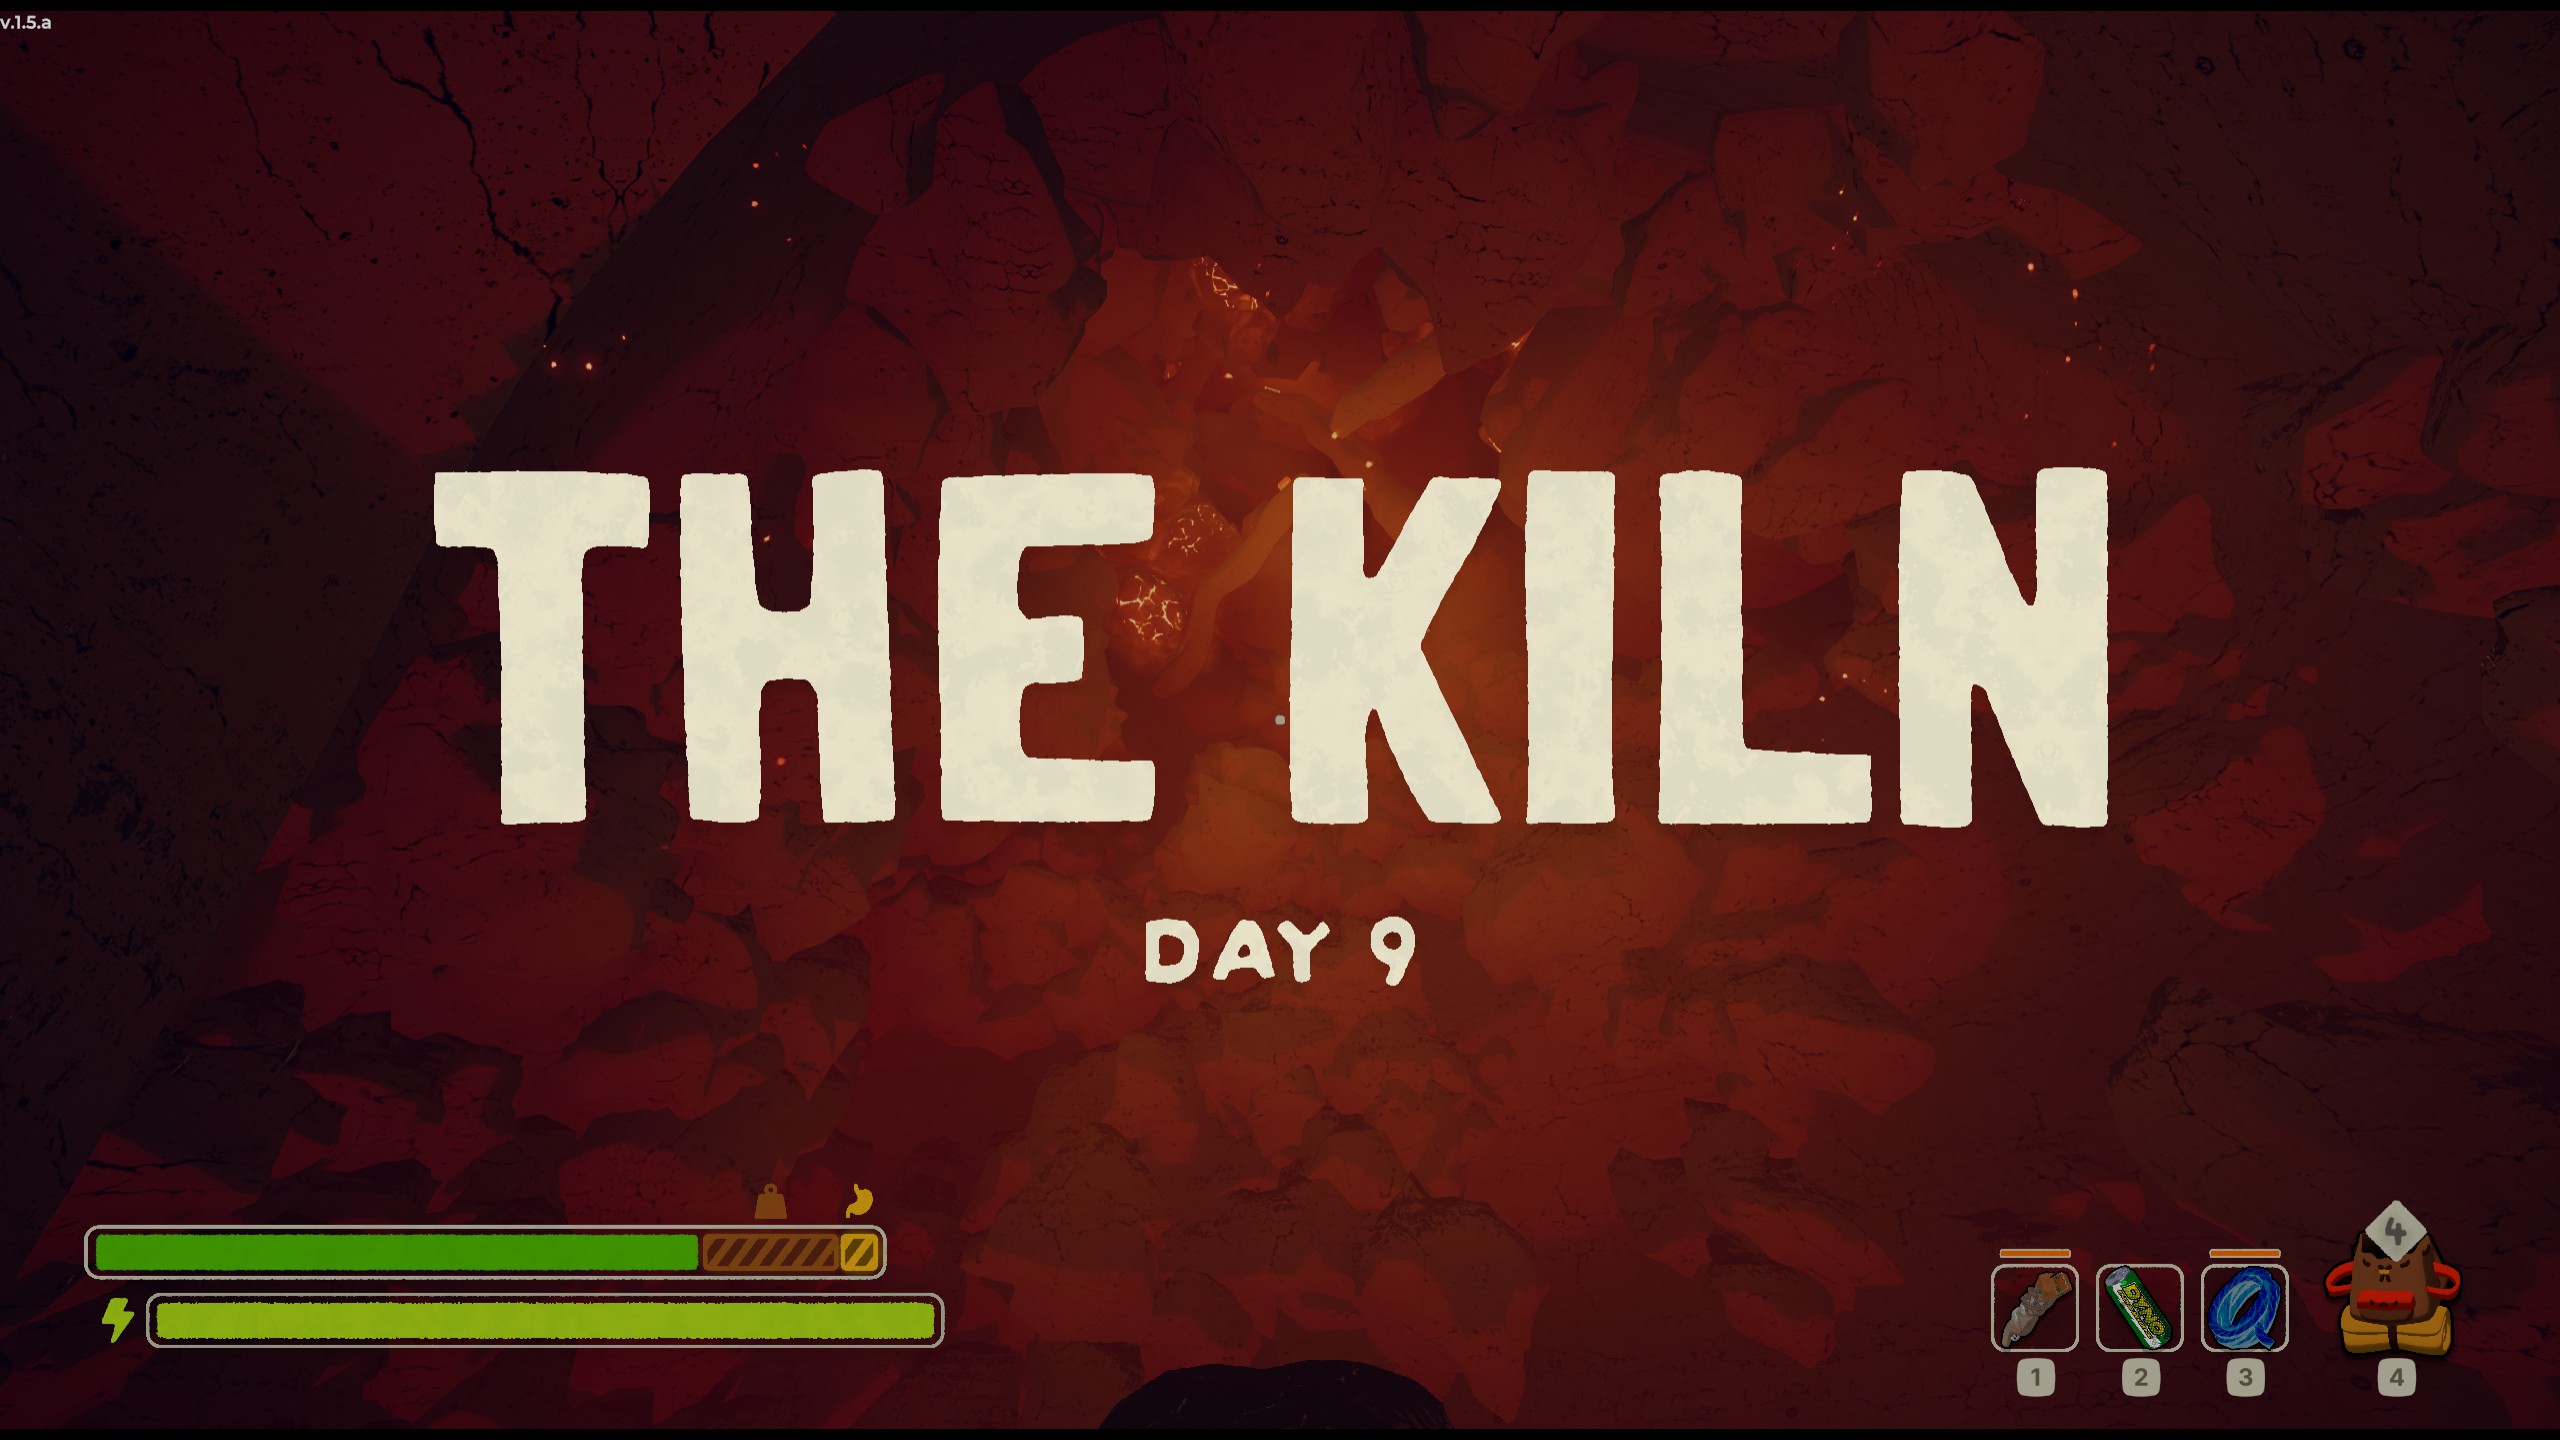
Welcome to actual, actual hell!
No more pranking, folks. This here's the real deal. You thought you had it tough back at Alpine? You've had it easy, sunshine!
The Kiln is a segmented climb up through the throat of the volcano, with plenty of ways for you to easily fall to your doom. This first area is simple enough if you've gotten comfortable with identifying places to climb.
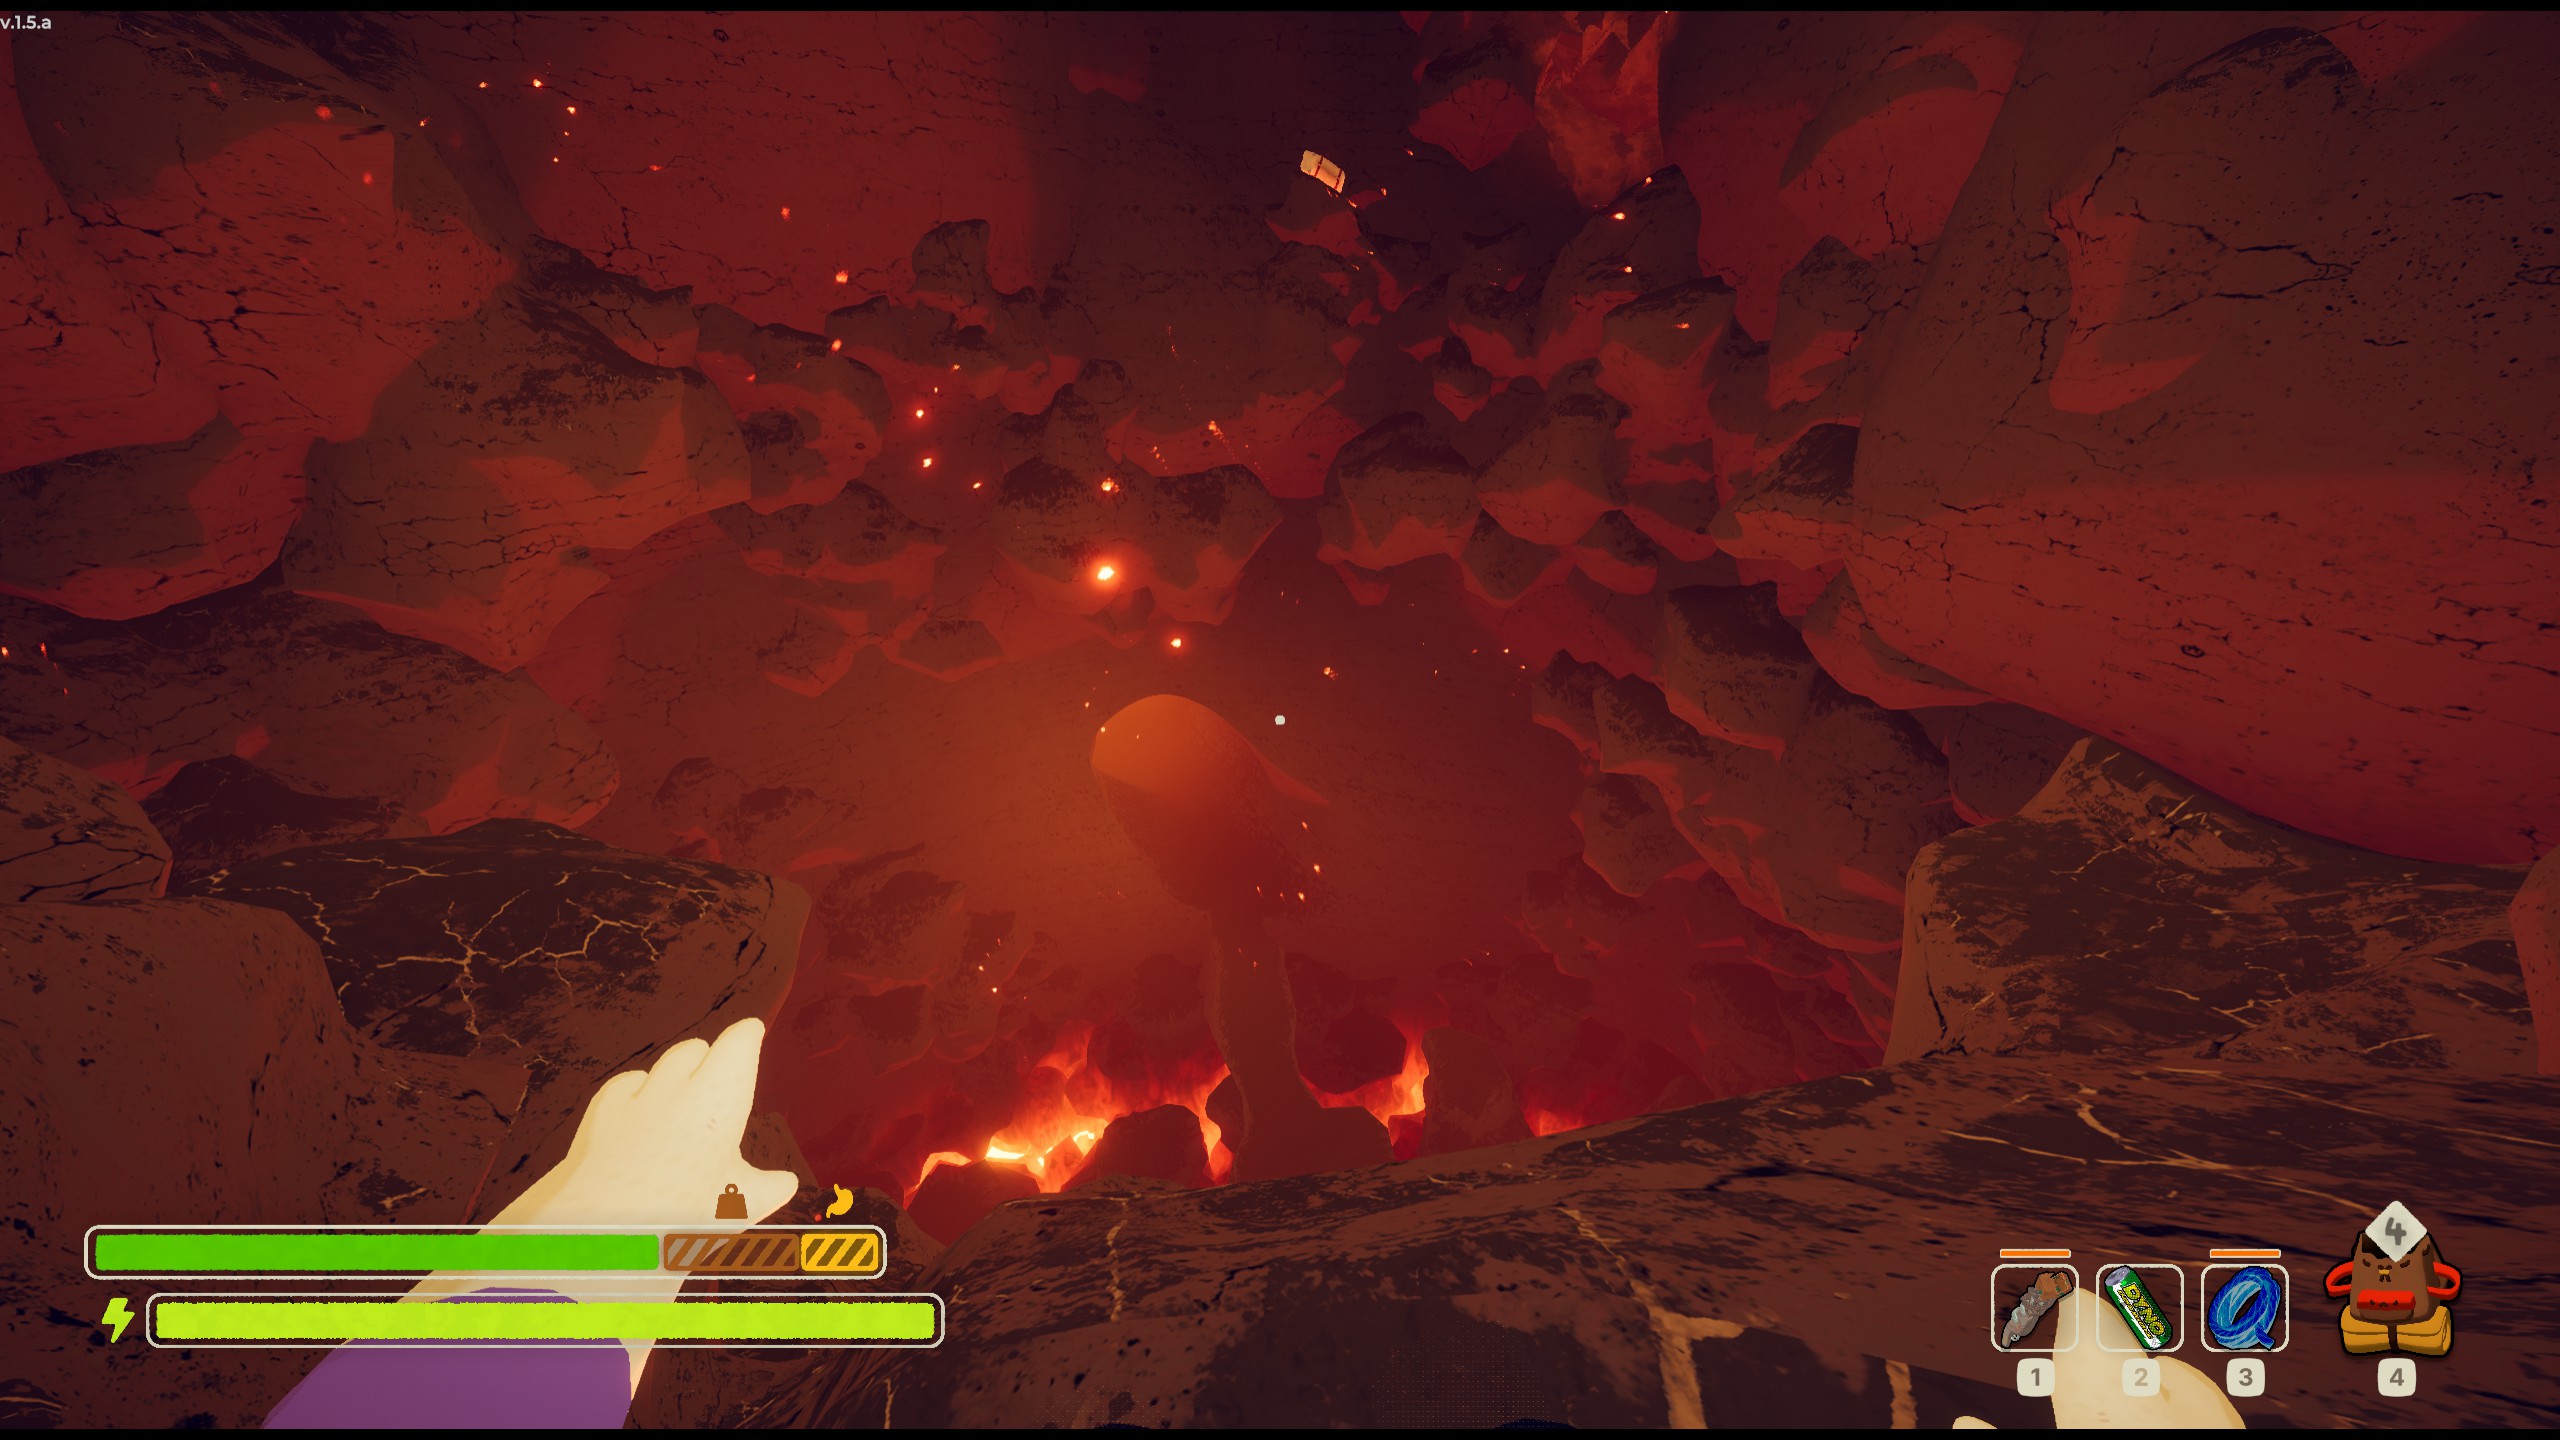
It shouldn't be too difficult at this point to find a way up, but above here is where you really have to prove that you have some buff brain cells. Rock formations will become larger (and hence take longer to traverse) and there will be less options to climb the further up you go. If you were lucky enough to pick up good traversal items and stamina boosts, they will most often be required to progress. There are some indicators that you're making good progress though, namely the change of scenery.
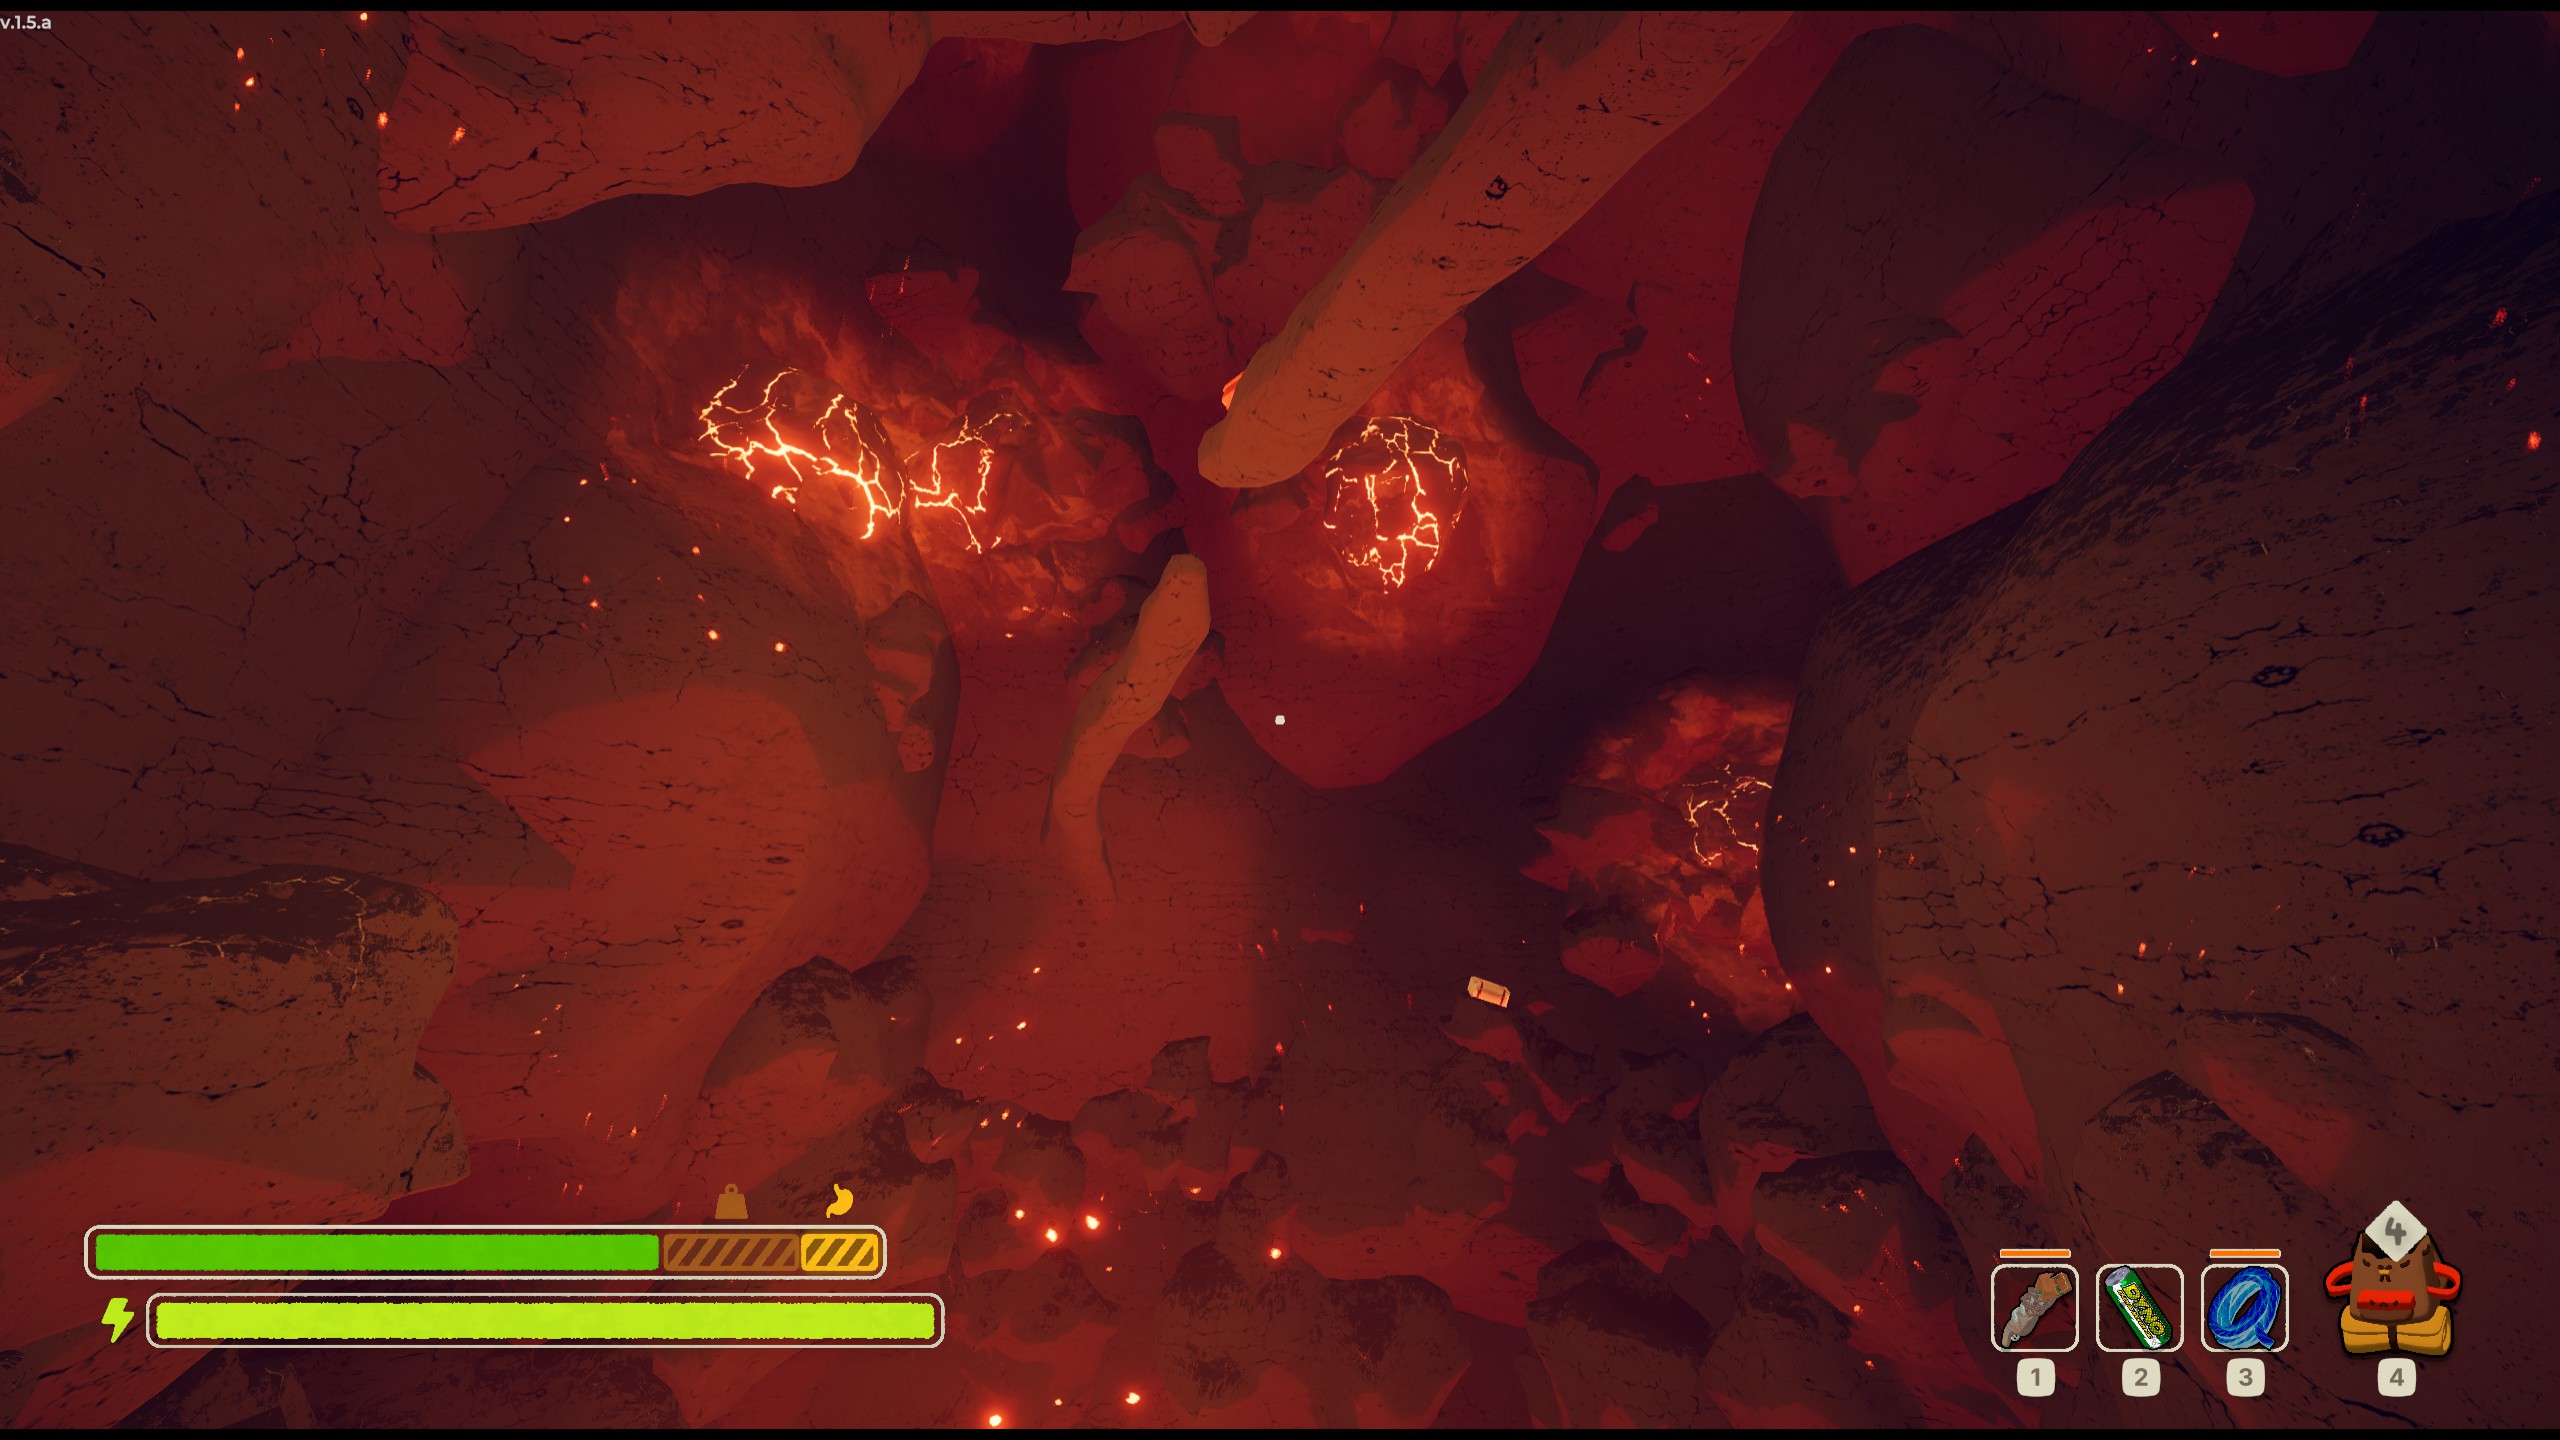
Look for these long rocks with gaps in the middle. Nearly every time, you'll see a potential way up to the next rock ring at the end of those things. That isn't to say that they will always be easy gaps to work with. All the way up, relying on energy drinks and chain launchers (if you have them) is going be your best bet to traverse the larger gaps.
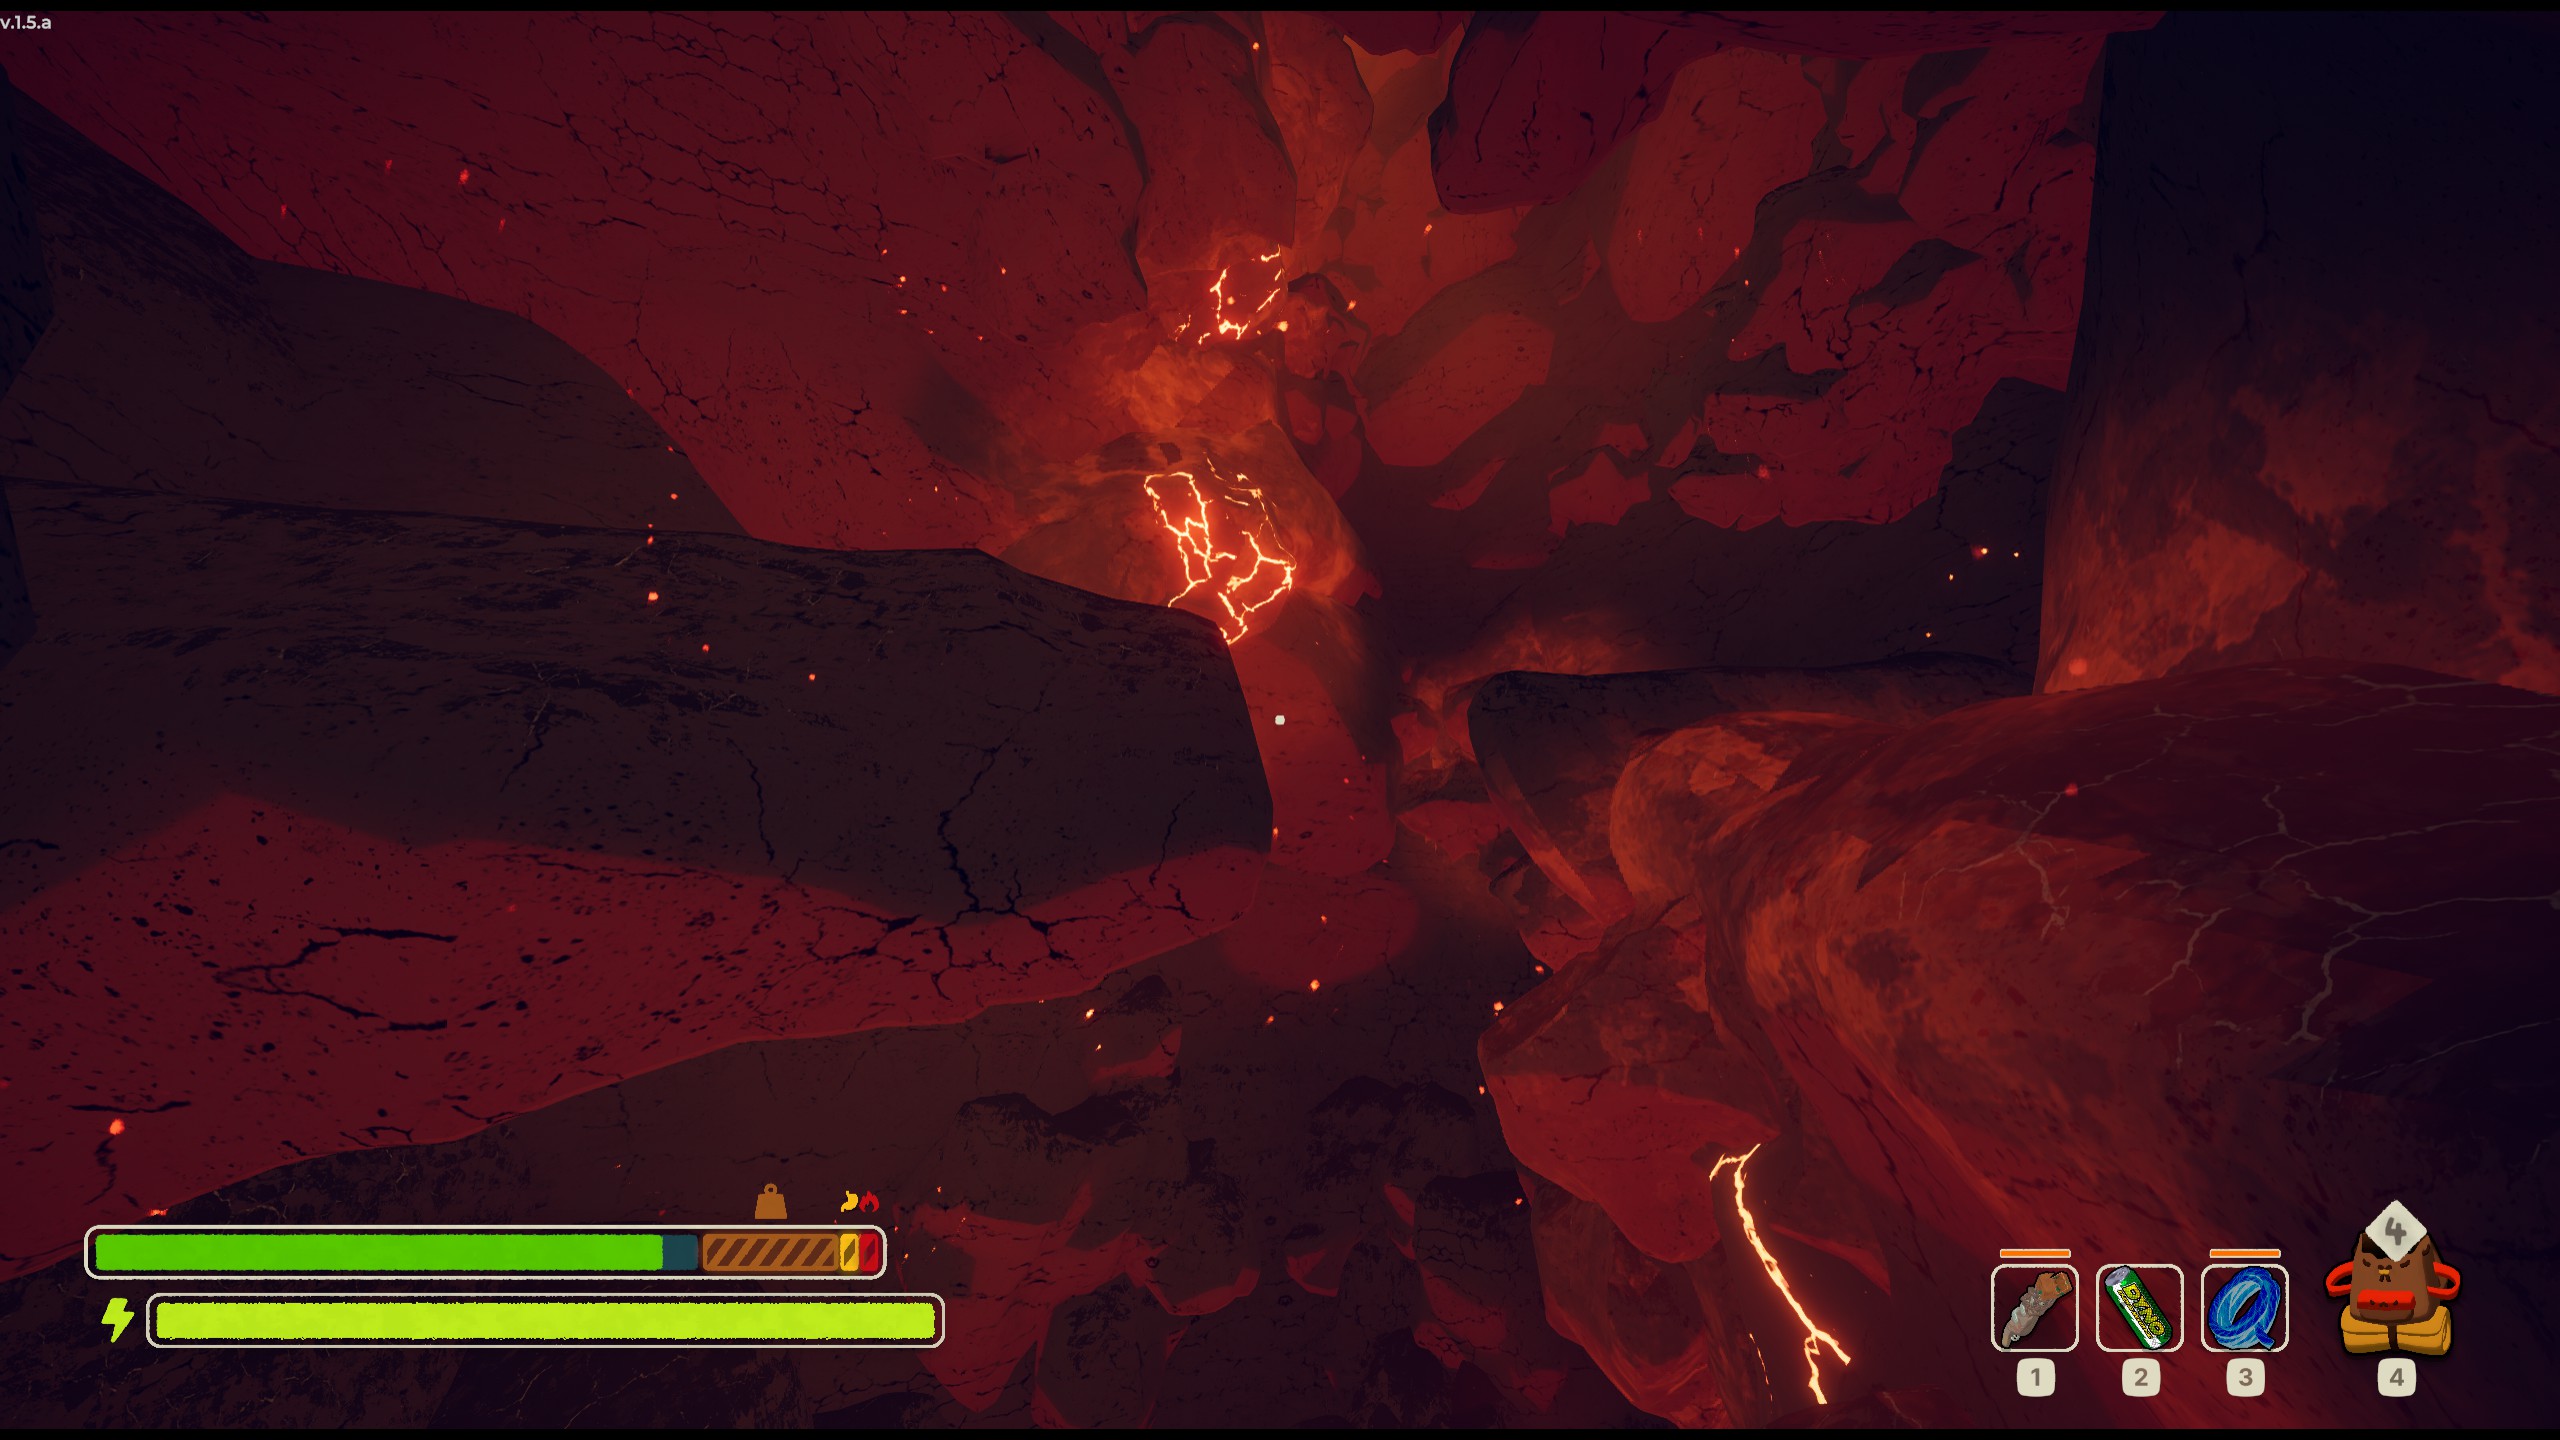 Oh hey, you found me! Wanna know a good way to skip like 25% of this level at any given time? Use chain launchers!
Overall Difficulty: Peak Difficulty
Fire EVERYTHING. Drink that sports drink, that energy drink, eat the trail mix, paint the walls with pitons and chains, anything to get yourself further up the Kiln. You need to think about every angle you can possibly think of, even if this level doesn't have fog or any other kind of time constraint. Your skills will be tested.
PEAK™
PEAK™?
PEAK™.
You did it.
Yay.
You brought Bing Bong with you, right?
...right?
Ascent 1
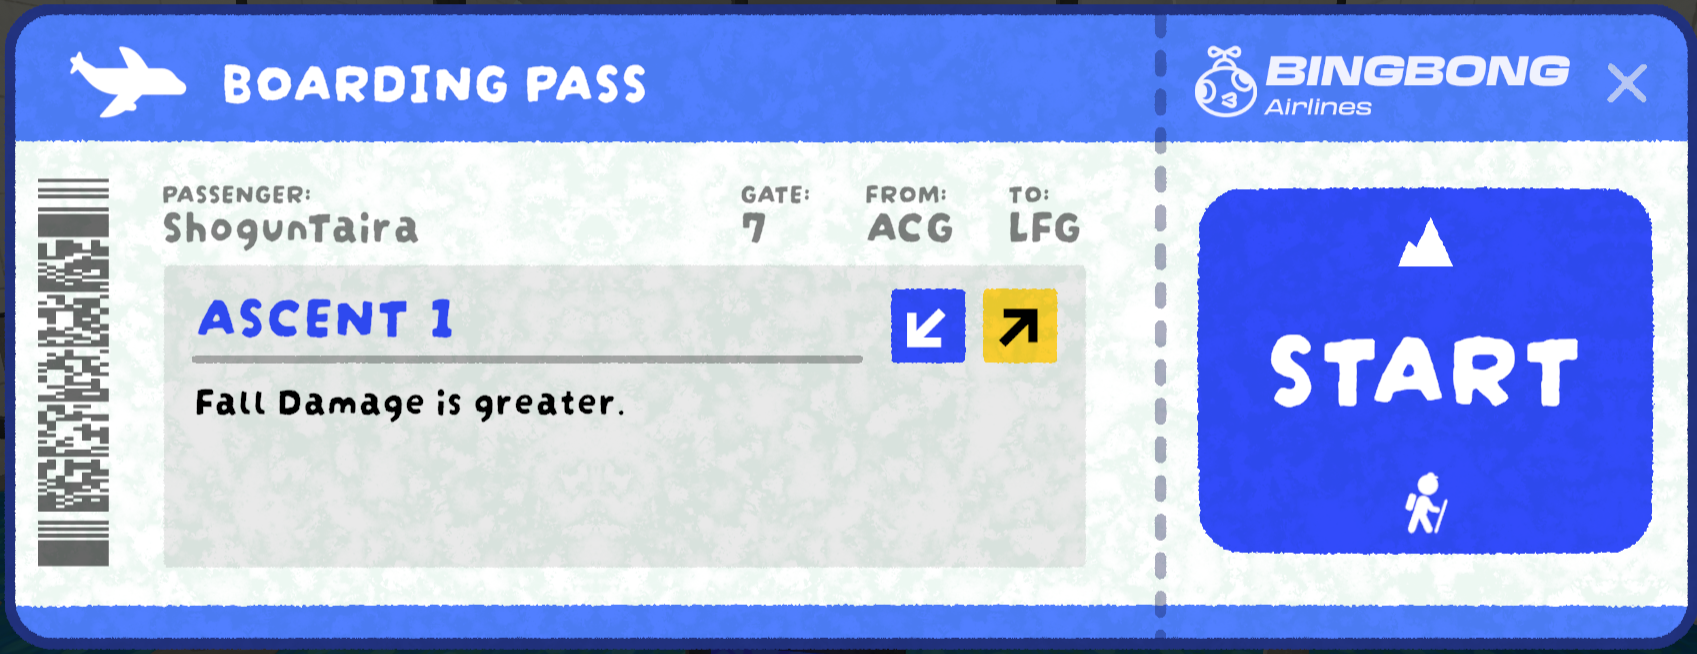
Fall damage is greater.
Fall damage increased is a bit of a jump up from original difficulty.
Since this is the case, consider taking more items to mitigate potential injuries like bandages or first aid kits. If you're quite good at avoiding falling off of cliffs or walls, you're most likely in the clear and won't have to worry about this modifier for the extent of your climb. If you aren't, though, definitely consider your climbs a bit more carefully.
Remember: falling is the key to this difficulty jump, NOT whether or not you can use stamina to climb up somewhere. Having a very full extra stamina bar will take you a long way in this tier. Stock up on it early and carry items to keep it up through the run and you'll be a-okay for this difficulty.
Ascent 2
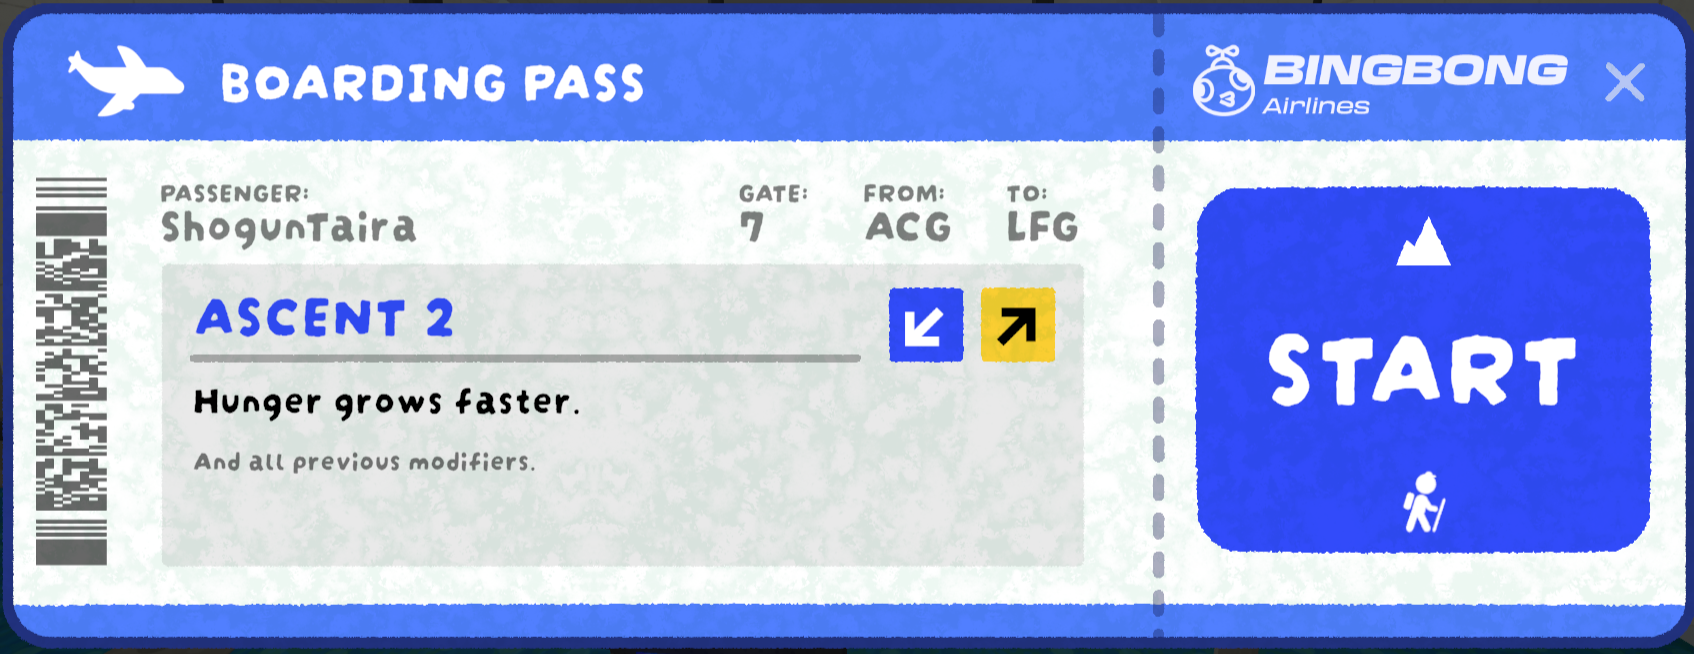
Hunger grows faster.
This difficulty will get you a bit more aware of your hunger (WOW, NO WAY). While it can be alarming to see the yellow bar fill up a bit faster, there are easy ways to mitigate this.
Shore and Tropics should have a steady appearance of fruits and other food items that can help you keep the hunger down, though Alpine can give you some difficulty. My recommendation is to try and cook the marshmallow you get at the campfire before each level transition and keep it in your backpack as an emergency snack. While it may not be quite enough to fully feed you, it can be a lifesaver as far as climbing with enough stamina goes.
If you're getting used to going through each level at a good enough pace, however (i.e. sprinting most of the time) , you can mostly ignore this modifier.
Ascent 3

Items have increased weight.
Probably the most inconsequential difficulty on the ascent list so far.
By this point, you should be more than comfortable with the weight of your chosen items and planning what you bring up the Peak™ with you. This difficulty, while not directly challenging to you, will get you to be more aware of your stamina bar as a limited resource - and boy will you need to know how to utilize it soon.
Just be mindful of the new limit it imposes on your weight and you'll be fine.
Ascent 4
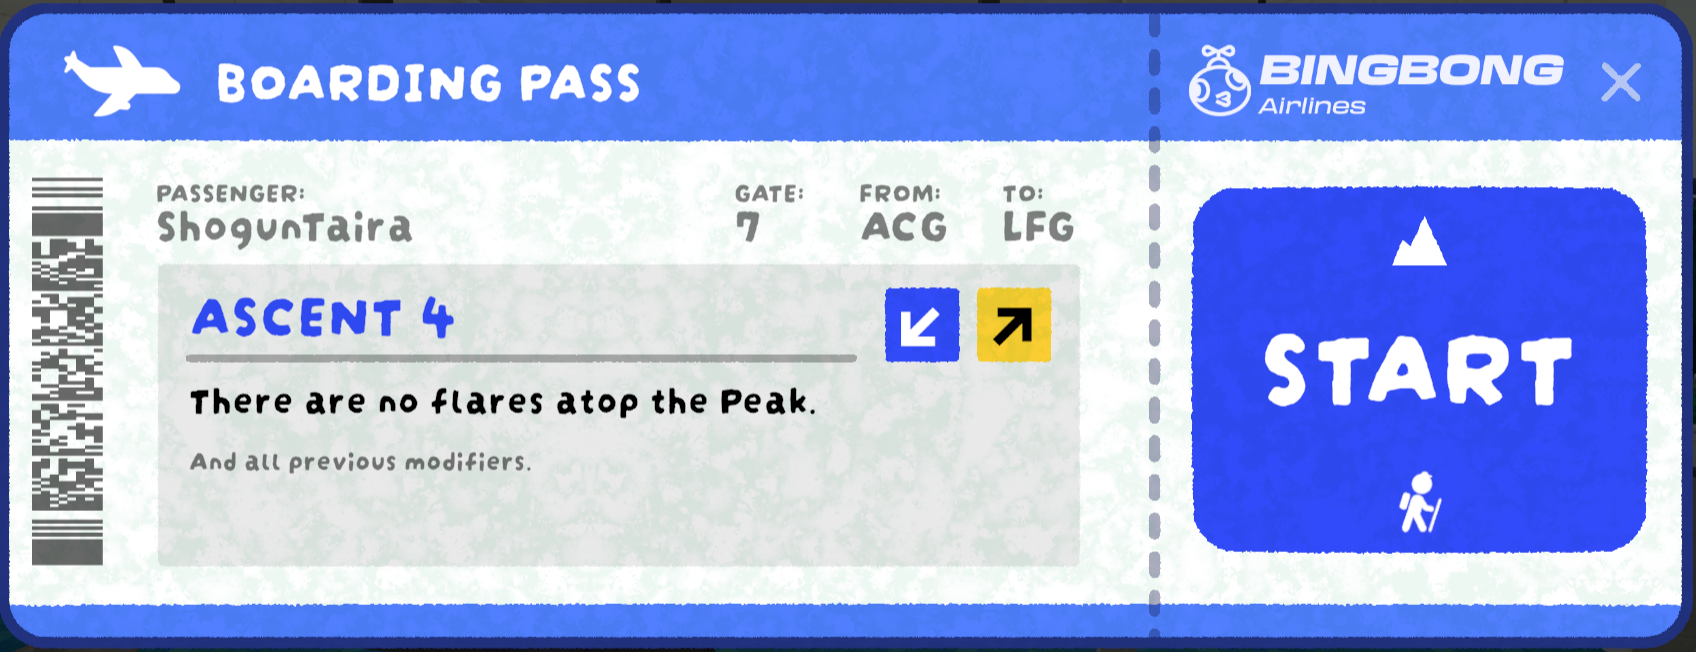
There are no flares atop the Peak™.
Cmon devs, get on that trademarking. Someone's gonna leap at that opportunity if you don't yourselves (aww dangit).
This one is a fun modifier, in all honesty. At the top of the Peak™, you usually have a whole box of flares to light up and signal the helicopter to come pick you up. Now you don't. Lucky for you, however, the plane crash at the very beginning gives you a free one!
Now there are some things to consider with this:
- You could choose to allocate a backpack slot for this flare.
- You could chance it and see if a briefcase could spawn one for you while you climb.
If you go for option one, you have a guaranteed flare that is your ticket home - no questions asked. However, you are sacrificing an inventory slot in the process, in which you could have space for a cure-all or something.
If you go for option two, you have that extra space for an item to help you up the Peak™, but you are putting yourself at risk of not finding a flare at the right time to actually escape, making your run worthless.
Personally, I highly recommend option one. I'm not leaving my completion of the run to chance at all, especially since the spawn rate for flares does not seem to increase at this difficulty. Have your backpack take the L, suck it up, and get good with climbing the Peak™ with one less slot to work with. Trust me.
Ascent 5

The night is cold.
Now THIS is where these gut punches really start to hurt.
You'll have to exercise your ability to juggle multiple kinds of items in your inventory much more efficiently now, as regular cold damage at night will creep into your weight and hunger. You do, however, have a freebie in the form of a lantern in the starting plane crash. Use this to survive the first couple of nights, at least until Tropics where you should run into some more lantern spawns to keep yourself warm. If you can come across some faerie lanterns as well, even better; they serve more of a purpose than regular lanterns, so try and rely on those if your damages as a whole are becoming too much of a burden.
The strategy for surviving nights efficiently is a slightly complicated one. Once night falls, don't feel panicked to light the lantern immediately. You can afford to use a bit more stamina for a short time get a better, more stable position to then use the lantern. Once you do have to use it, first take note of where the moon is in the night sky. I recommend timing your first lantern light to the middle of the night, where the moon is the highest in the sky, and when the cold damage usually gets close to knocking you out. You're looking to burn it for as long as it takes to simply soldier through until the break of dawn. At that point, you can let nature do the rest and degrade it naturally.
An extra tip related to the above is to have your lantern in your backpack and when it comes time to light, drop the backpack and hold the lantern. This gives you a bit more time to prepare to light it and survive the night. Afterward, pack everything up and keep climbing.
Using this method, you use the lantern most efficiently and can survive comfortably until you get to Tropics. Tropics does a really good job of supplying just enough additional lanterns in briefcases to give you a fighting chance throughout the nights. Scorchberries in Tropics are also great options too if lanterns aren't spawning. Heat packs in Alpine are the GOAT, giving you a full minute of protection from the blizzard and the night, and I always love to use them whenever I can.
Overall, this is only a modifier you need to worry about until the end of Alpine. Night ceases to have an effect when you're regularly in contact with fire on Caldera and The Kiln.
Ascent 6
Climbing takes additional stamina.
By far the hardest of the Ascent difficulties. This is Peak™ difficulty.
This is also the hardest you'll have to think about your stamina bars as resources. Look around for routes that are shorter than the ones you've been trying. Find ledges, shelf shrooms, anything to give you a window to breathe and let your stamina recover by standing still. With all of the previous modifiers included, Tropics becomes the most difficult stage to go through (Alpine is still top of the list for me, but that's neither here nor there), as you are probably going to have to rely on briefcase spawns a lot more than you have been.
In Tropics, then, certain items like the purple kingberry and other extra stamina boosts become a lot more useful. Try to find a good balance between food/extra stamina items and heat sources. My preferred loadout in my hand slots can change depending on what I immediately need, but my backpack usually is as follows:
- Lantern
- Purple Kingberry
- Flare
- Honeycomb/(extra stamina item)
Your mileage may vary, but you get the idea. Just exercise extreme caution for the first two levels, find a reliable and quick route through Alpine and you're basically home free.
Ascent 7
You cannot revive the dead.
Okay.
But seriously, for multiplayer people, just don't die. You can do that, right?
Miscellaneous Tips and Tricks (Ongoing WIP)
- Try to initiate climbs up rocks without first jumping onto it. You're wasting precious climbing stamina on a two foot jump you'll cover anyway. Hold left click and simply move forward.
- At any given point, on any given difficulty, on any given level, plan each and every climb to use up your base stamina bar. Only think of your extra stamina bar as an emergency fund, a pile of stamina you need in order to make a climb you can't find another route up, and can't climb just with one bar. Extra stamina is king in this game.
- Continuing on from the previous tip, canceling a climb you can't make without using extra stamina is almost always better than using up extra stamina. Think quick and fall back to a safe landing rather than use extra stamina you might need in the near future.
- Consume as much extra stamina items (granola bars, airline food, etc) in the beginning as possible until you're full up on extra stamina. Only eat them afterwards for hunger if you don't have hunger options.
- Got poisoned? Getting persistently poisoned long after you think you healed it? It's porbably a big ol' tick on your kneecap. If a tick happens to latch onto you, removing it will get rid of the poison DoT (damage over time). Flick your view downward and hit use to pick it up. You can either yeet it into oblivion, or eat it for a weirdly decent amount of hunger restoration. You know, normal things you do with ticks.
- While Shore is the first level to not have the fog start until you reach a certain height, don't get complacent. That benefit does not exist on Tropics or Alpine Mesa; once you get moving, you need to keep a steady pace or else the fog will start and freeze you whole.
- Caldera and The Kiln are the only two other levels where there is no rising kill plane, so feel free to take a bit more time traversing these levels.
- When planning to use a piton, climb until your stamina fully drains, then look as high up as you can to place your piton. Once you run completely dry and the piton is in, grab on. It can be tempting to simply place it in front of you, but you lose out on more distance to climb by doing so. Place it further up, hold on and wait for your stamina to regenerate up there before moving on.
- Break the statue at every checkpoint before you move on. These give free rare items that could be extremely useful in your run.
- You can cook most food items multiple times, with "cooked" being the best prefix you can have on any given food item.
- When you're in a situation where you feel you need to lunge, climb until the VERY last second and then lunge. You have a small window when the stamina bar is almost empty where you can cover a little more distance, making the lunge more likely to succeed
- A combo to use with stamina boosts is lollipop into energy drink which makes it so you move fast and have a lot of stamina. While this can be useful on levels like Tropics, I would not recommend it on levels like The Kiln as it knocks you out instantly after your combo is done. Fainting for any length of time there could mean a fast fall into the lava below. I'd rather not risk that over getting up a chunk of the level. There are better ways.